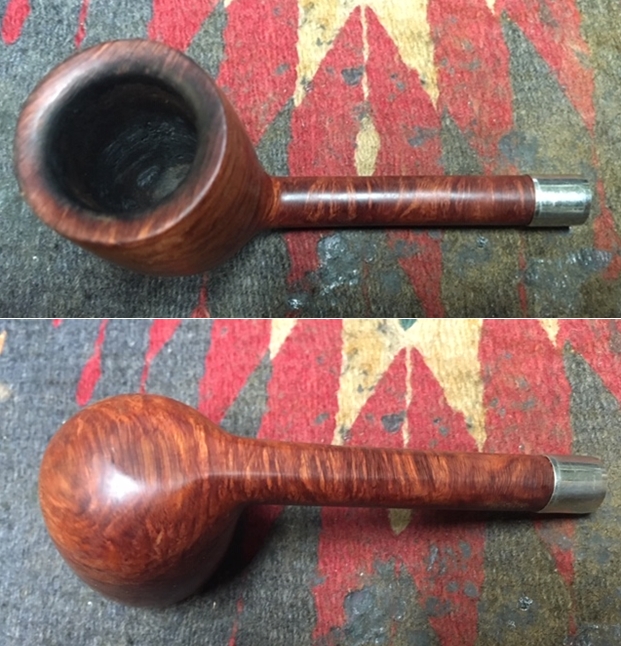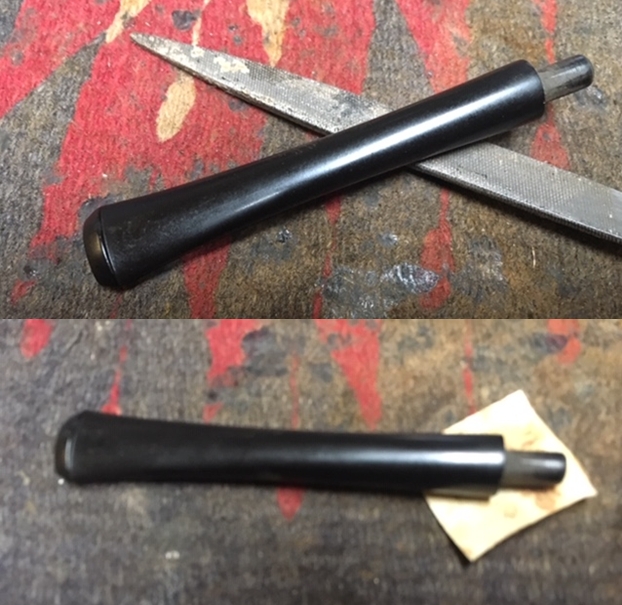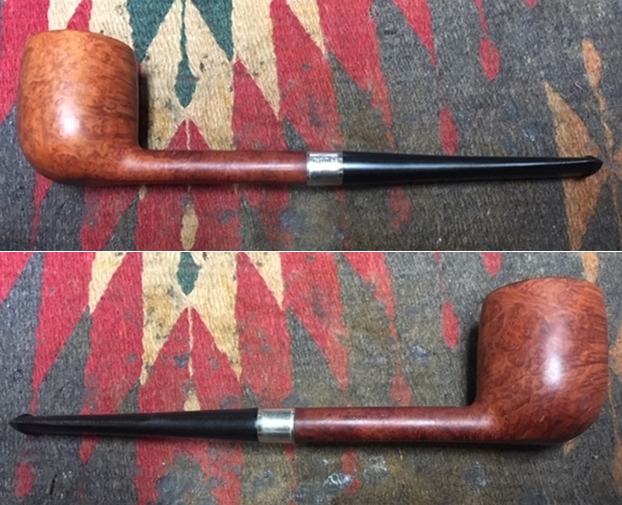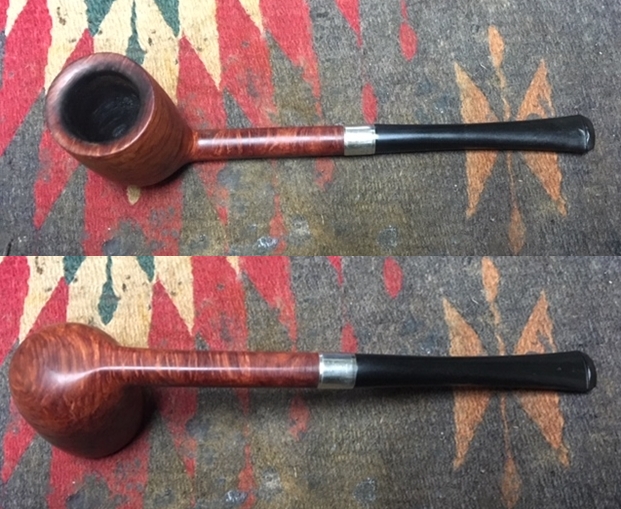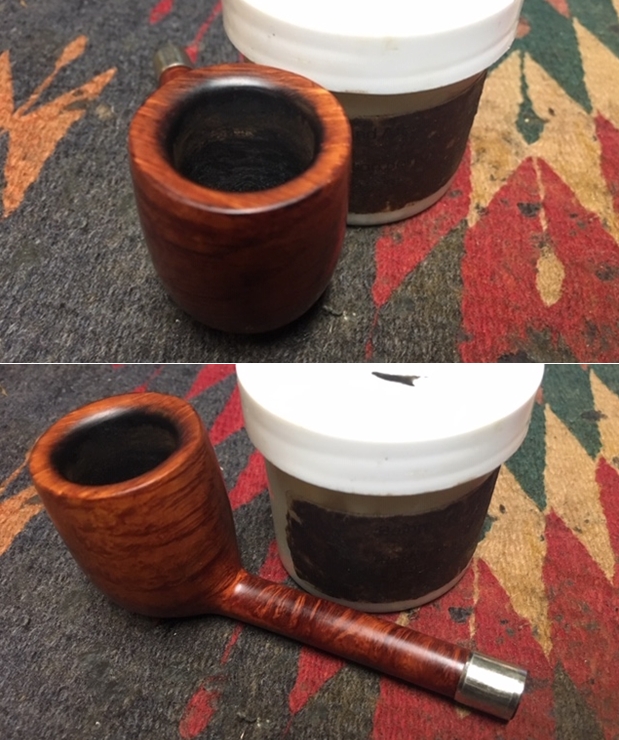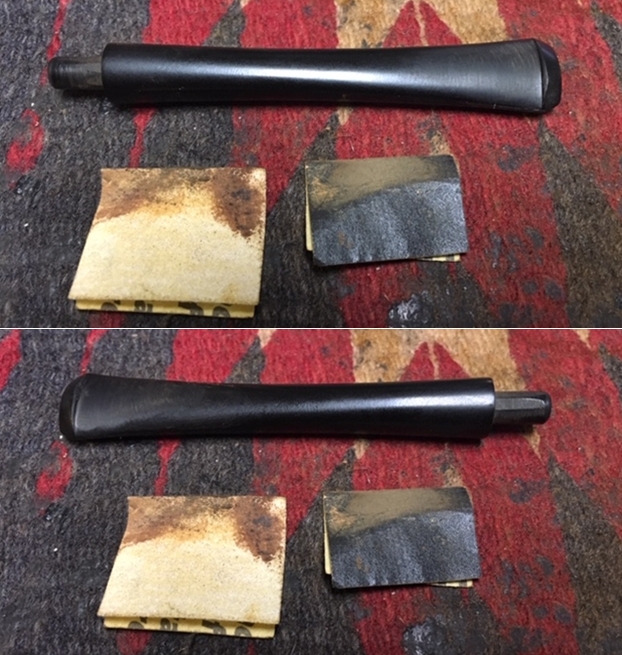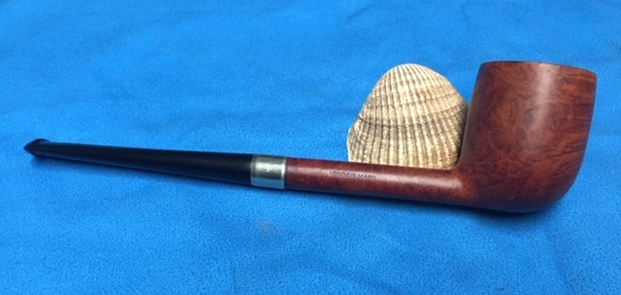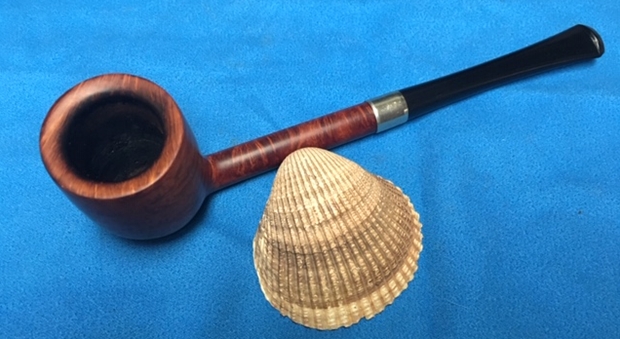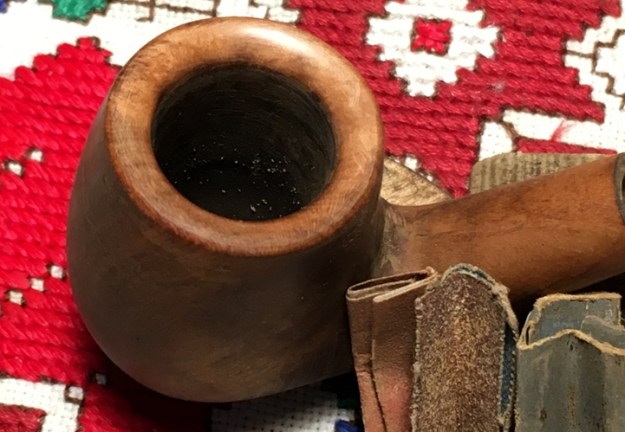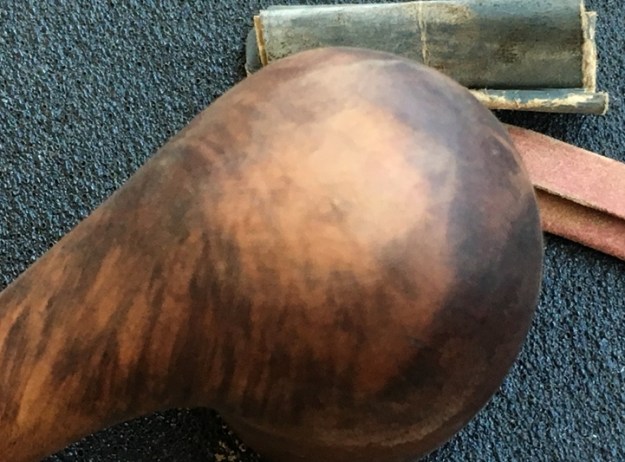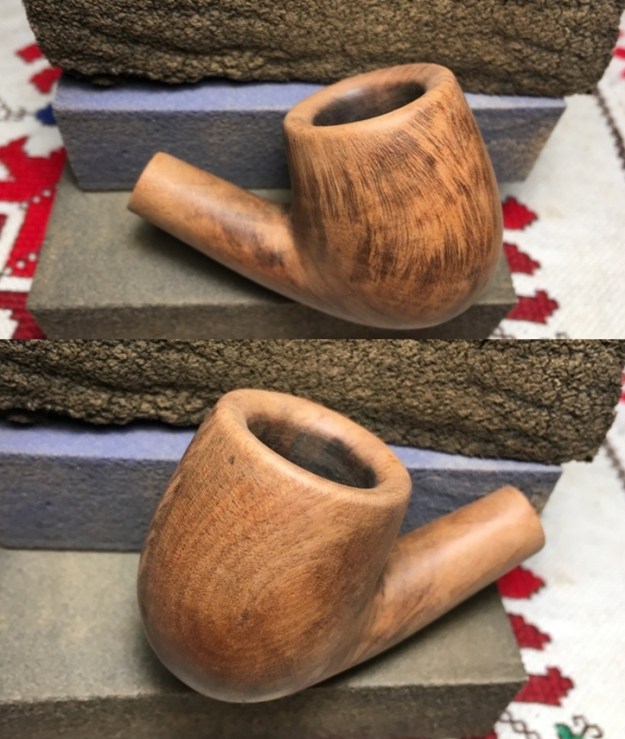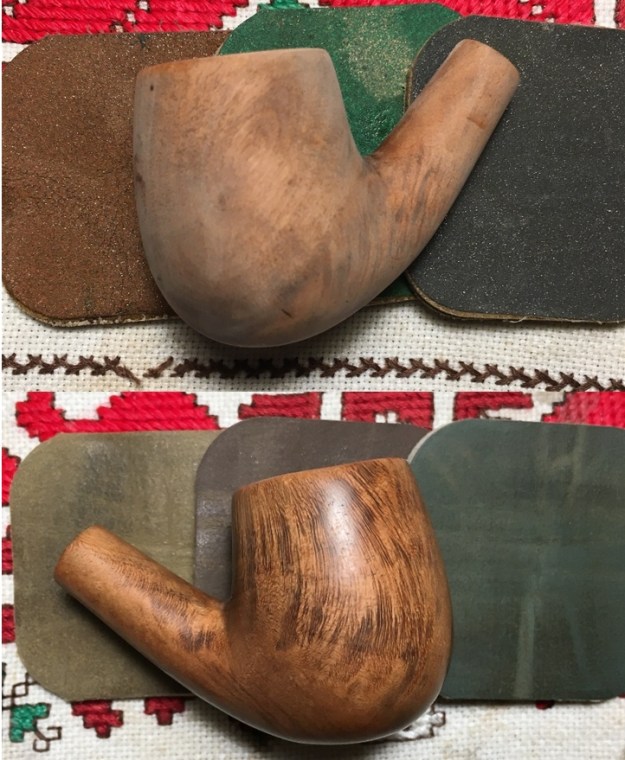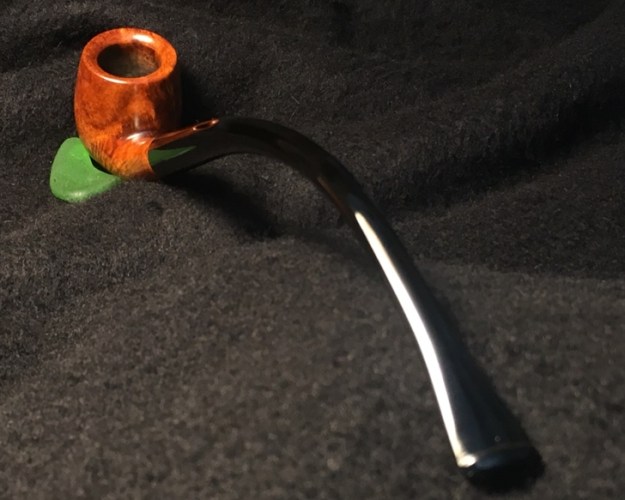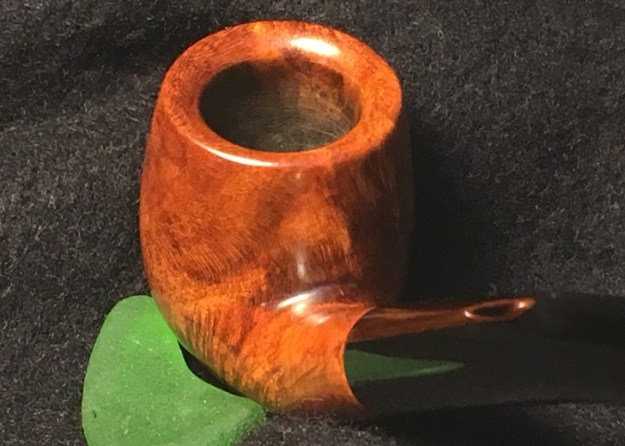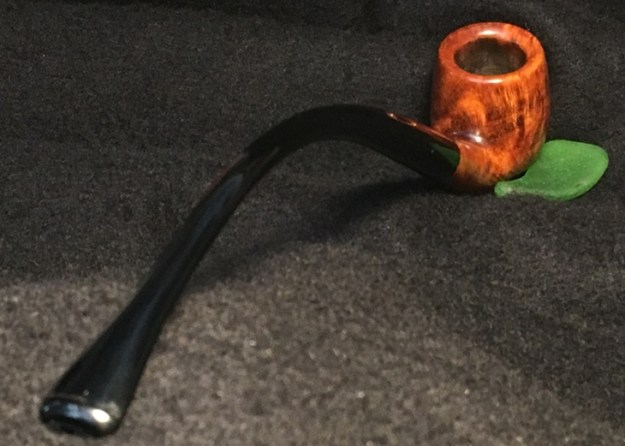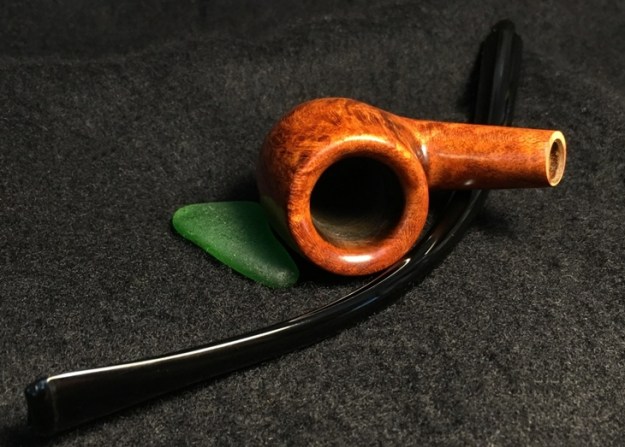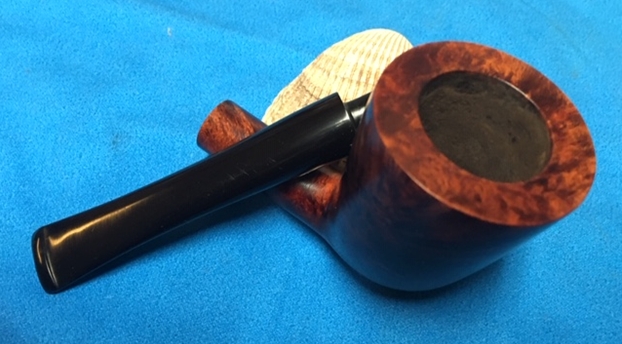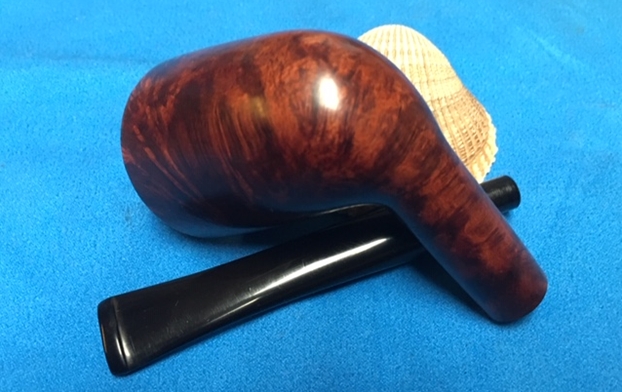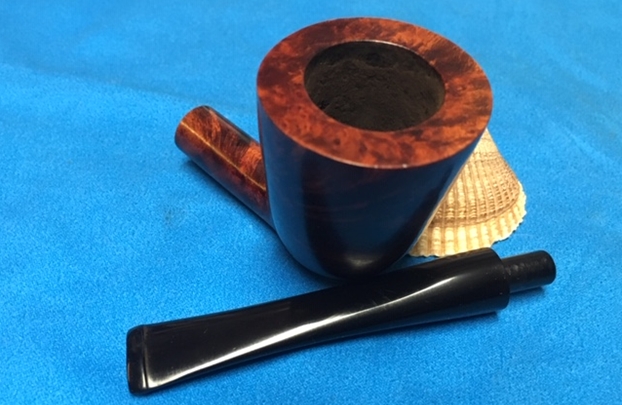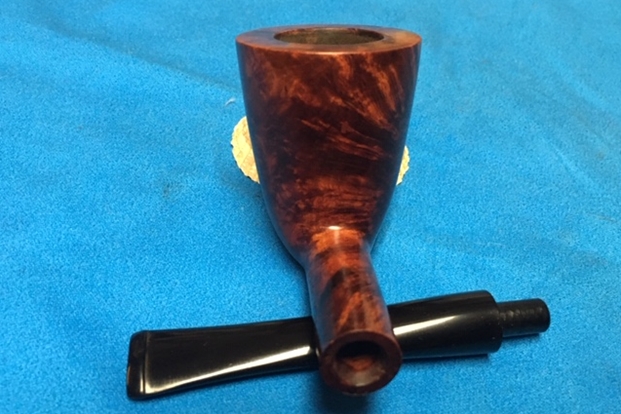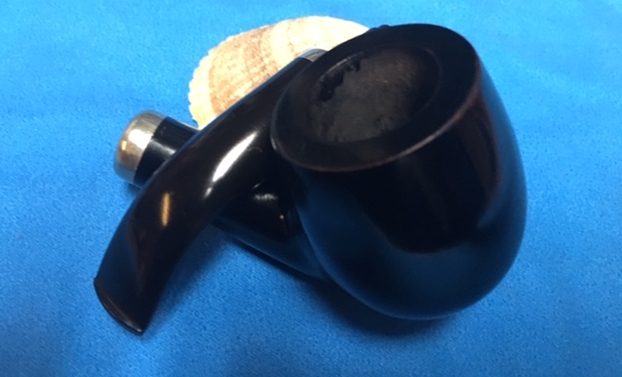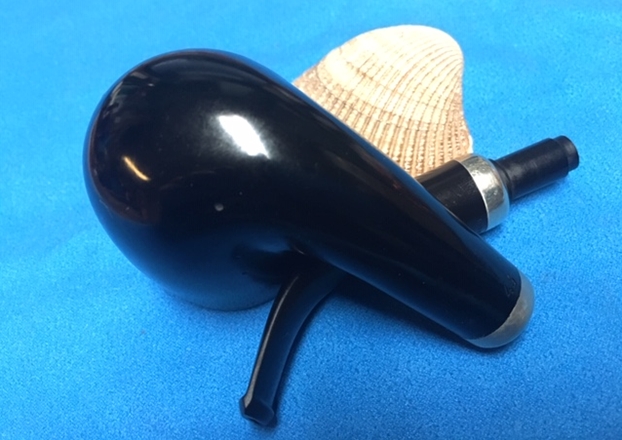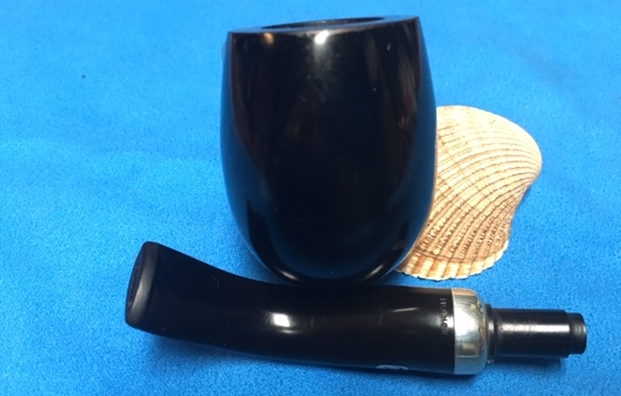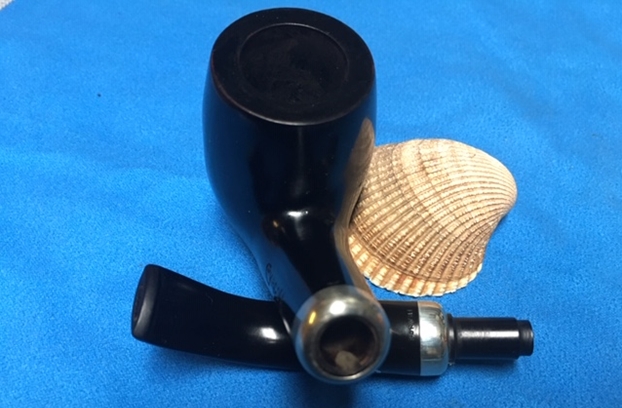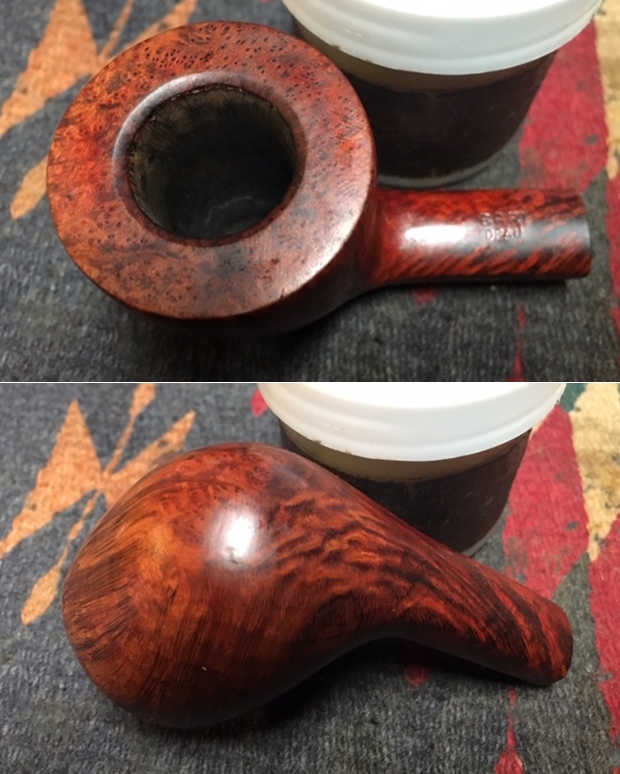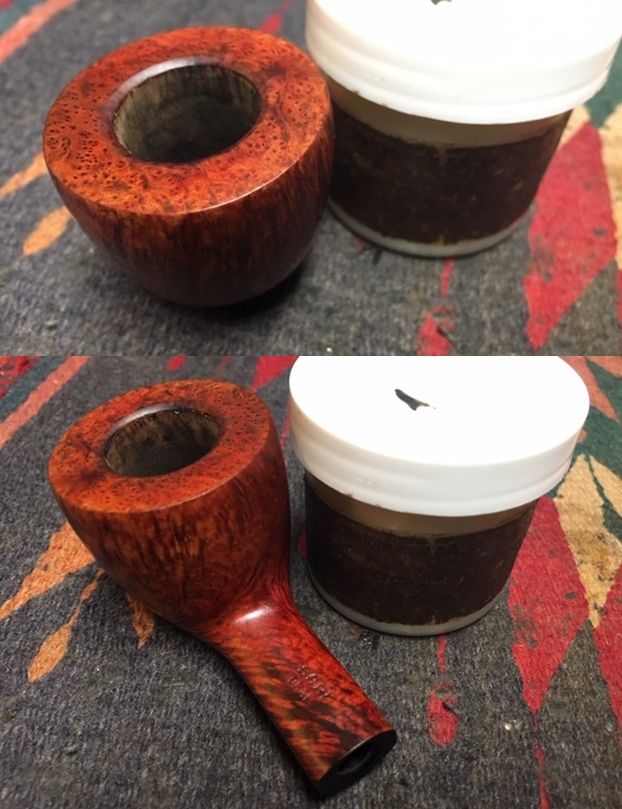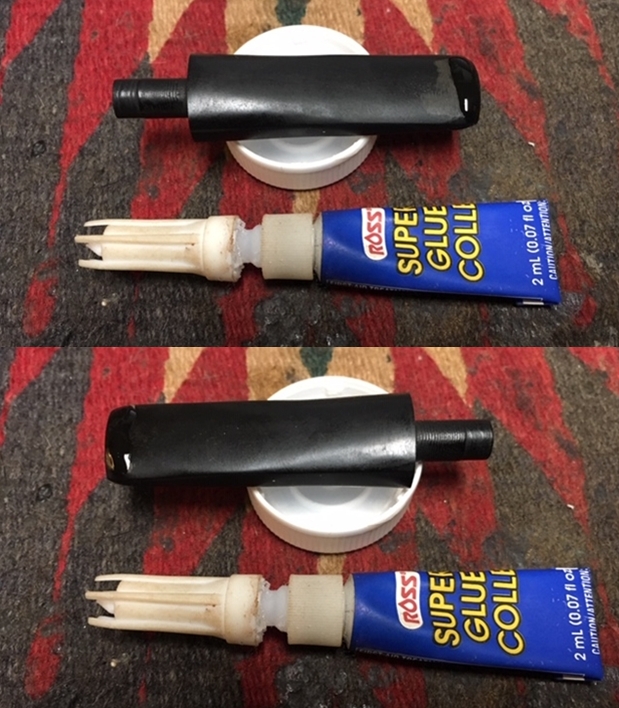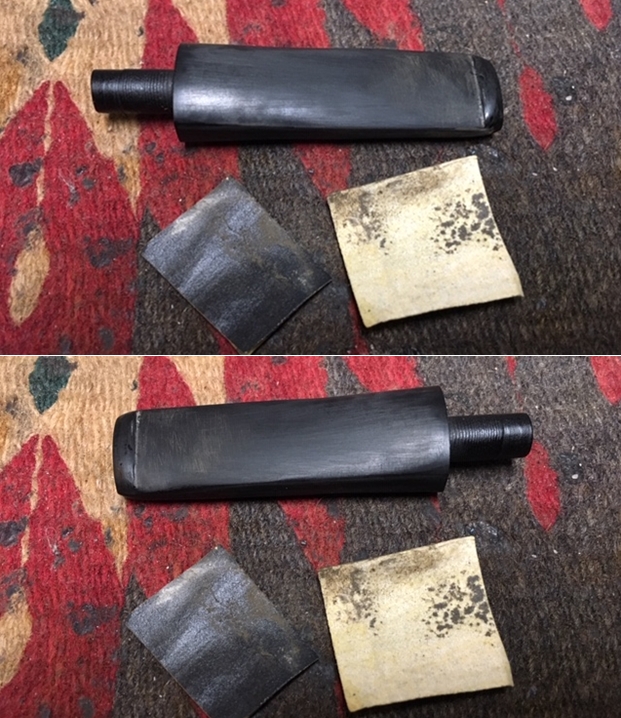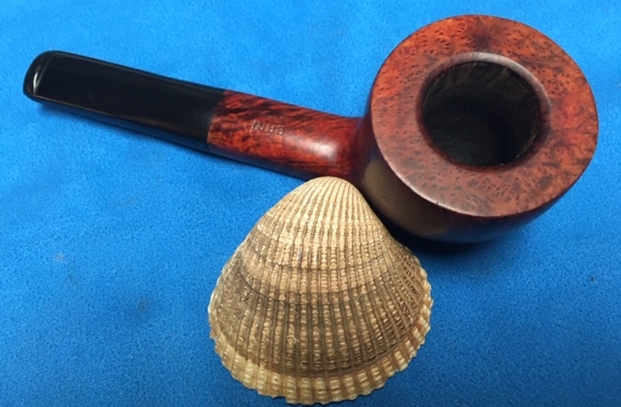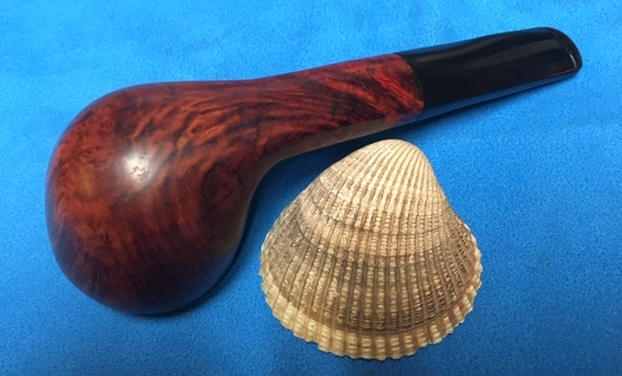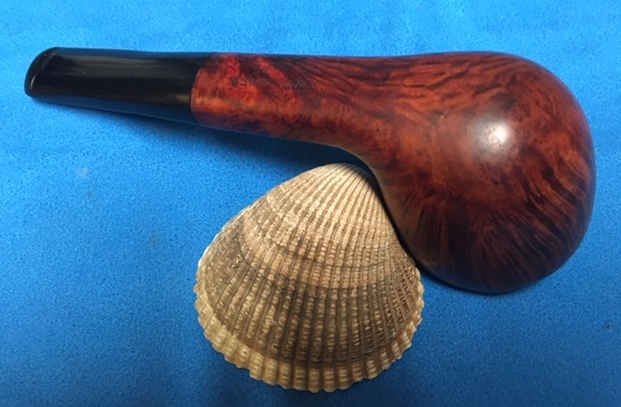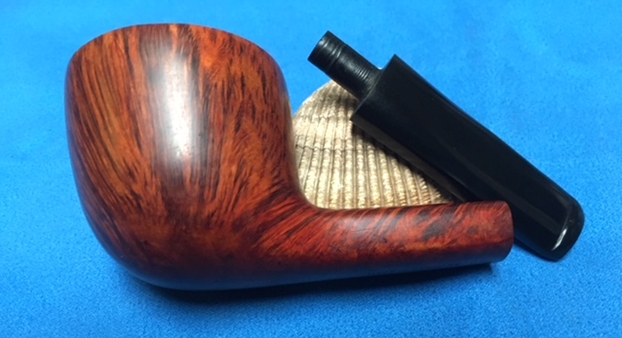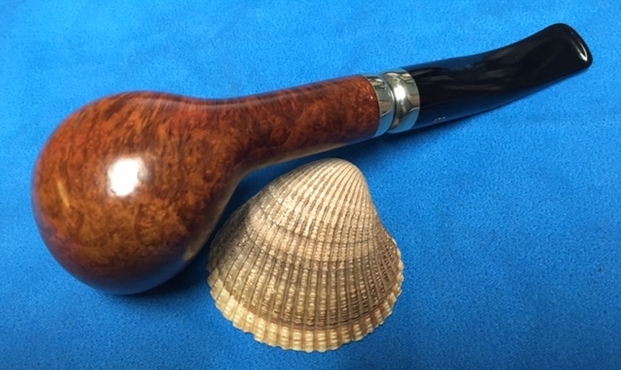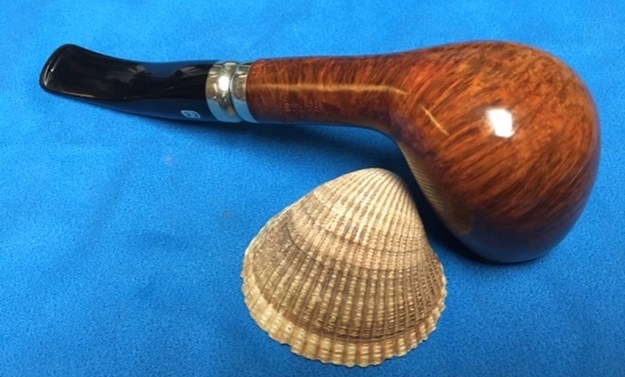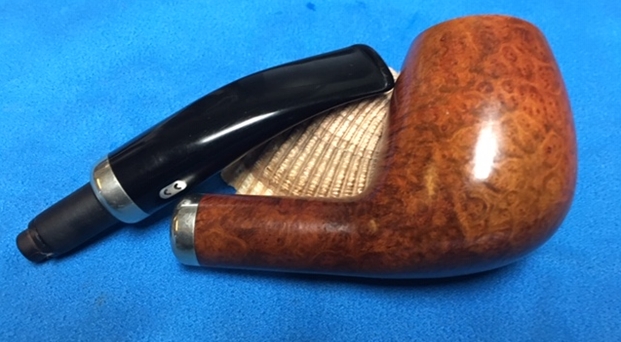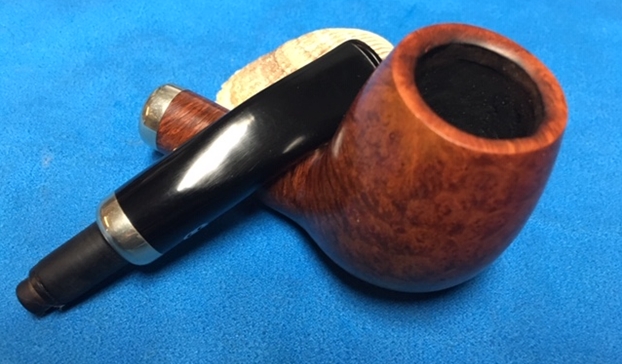
Tag Archives: shaping a stem

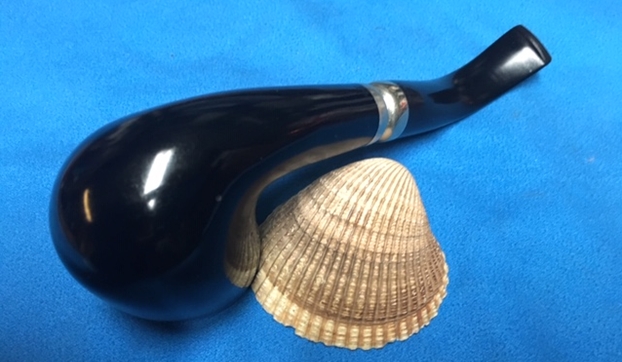
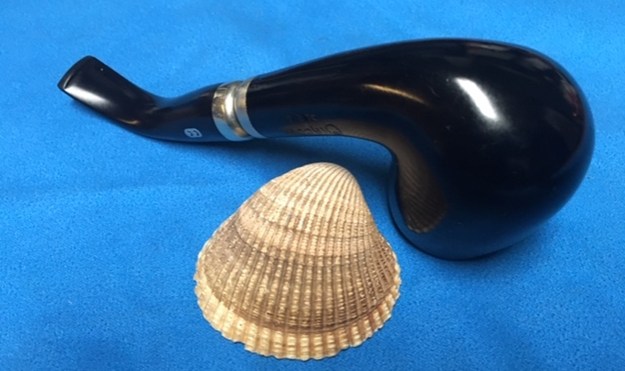
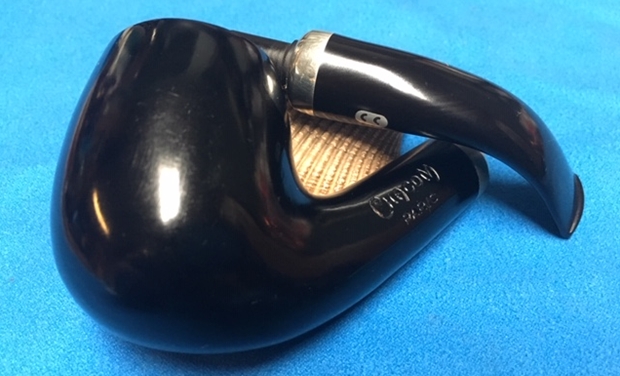
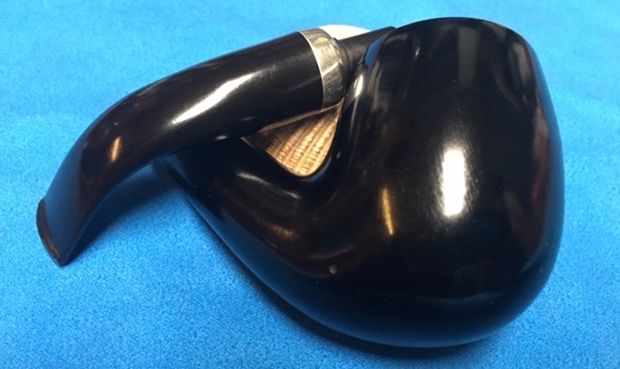
The Restoration of the First of Jennifer’s Dad’s Estate Pipes – A Comoy’s Deluxe 78


Blog by Steve Laug

The next pipe on the worktable came from the estate of George Rex Leghorn. I received an email from his daughter Jennifer who is a little older than my 64+ years about whether I would be interested in his estate. My brother Jeff and I have been picking up a few estates here and there, so I was interested. Here is the catch – she did not want to sell them to me but to give them to me to clean up, restore and resell. The only requirement she had was that we give a portion of the sales of the pipes to a charity serving women and children. We talked about the organization I work for that deals with trafficking and sexual exploitation of women and their children and she decided that would be a great way to carry on the charitable aspect of her Dad’s character. With some great conversation back and forth she sent the pipes to Jeff and he started the cleanup process on them. Once he had finished cleaning them all he sent them to me to do my work on them.

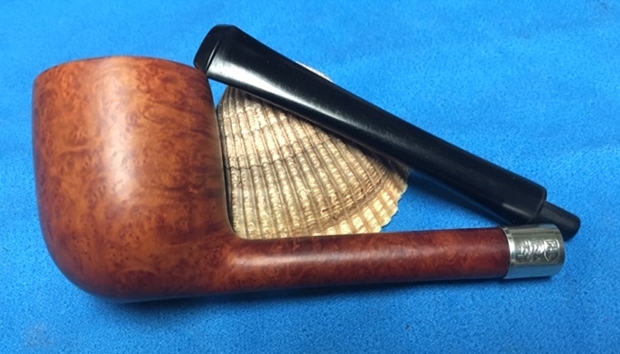
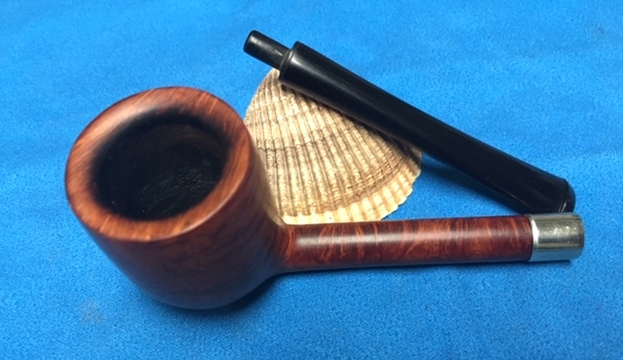
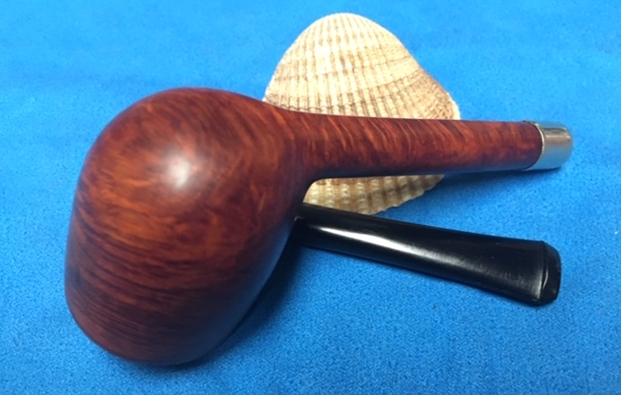
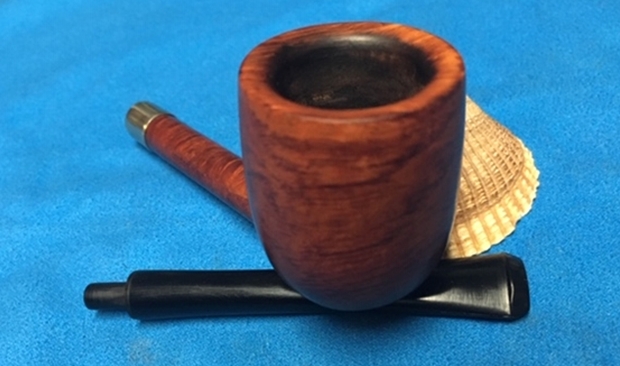
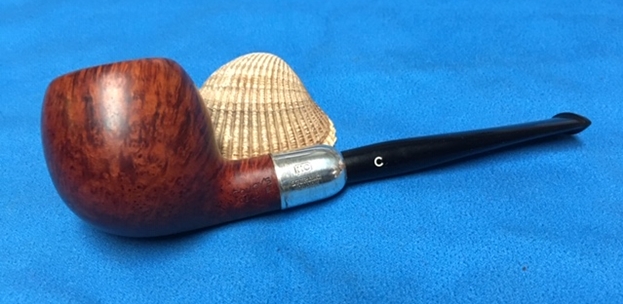
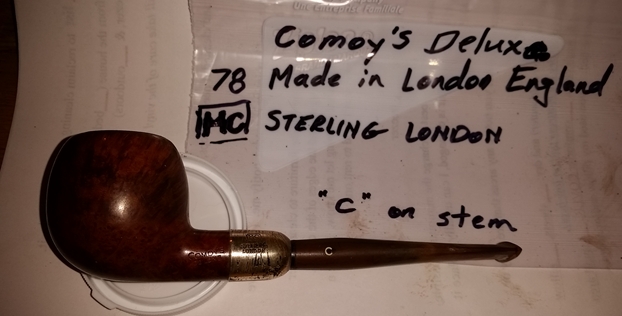
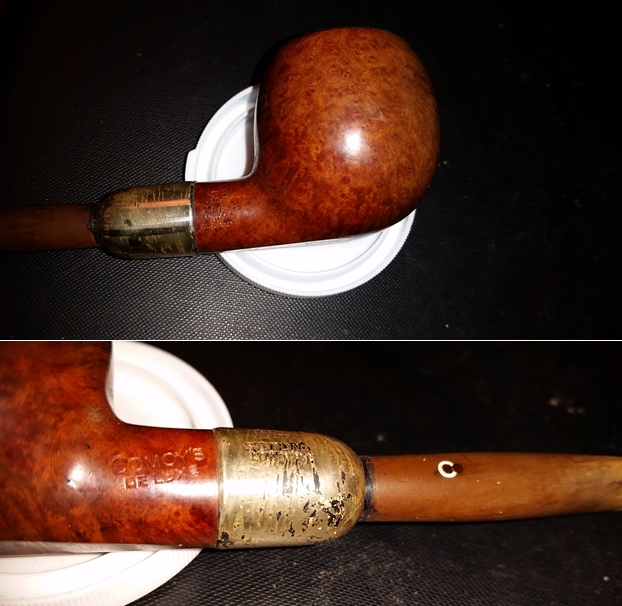
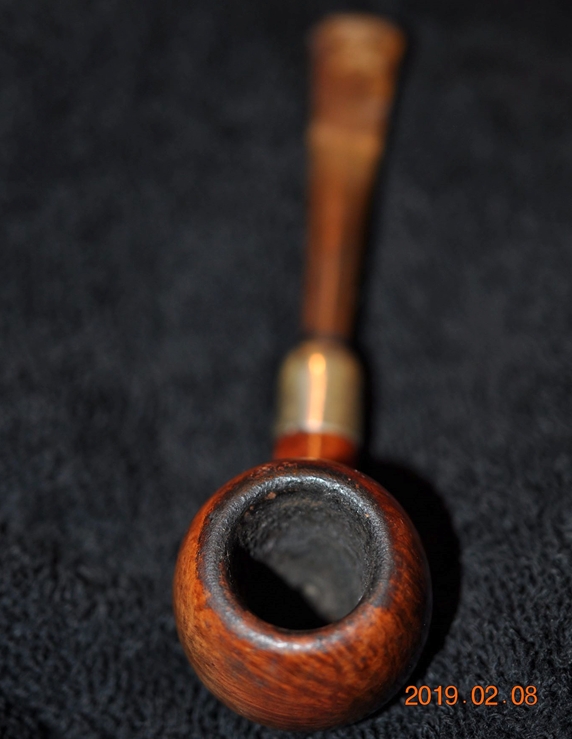
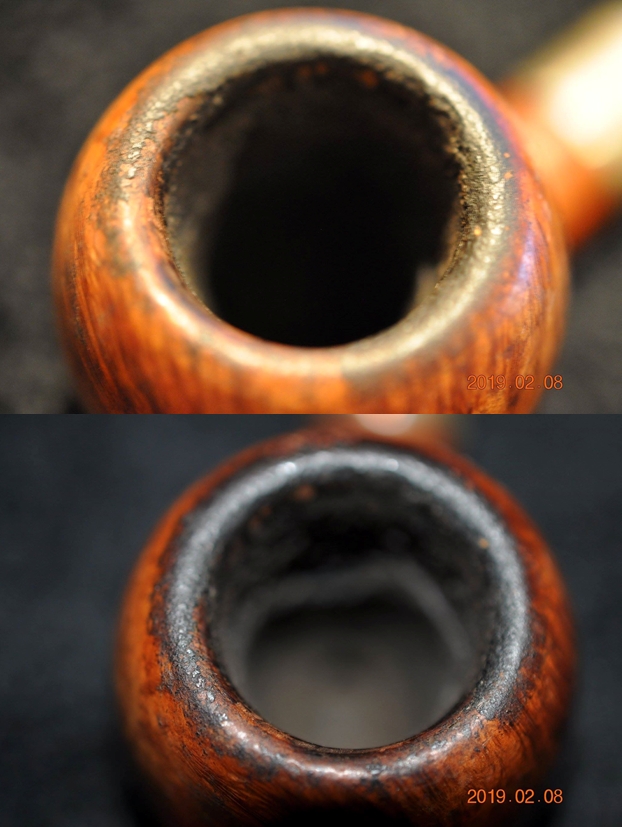
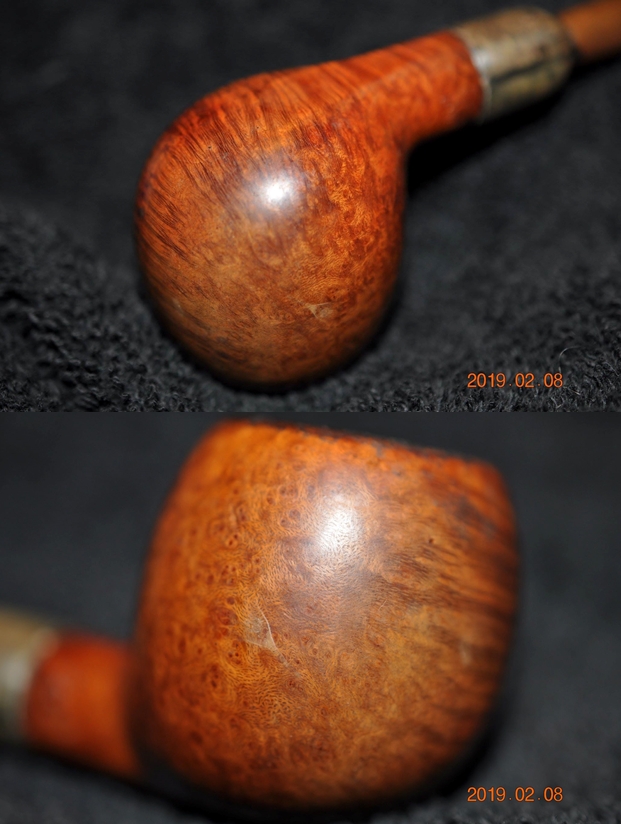
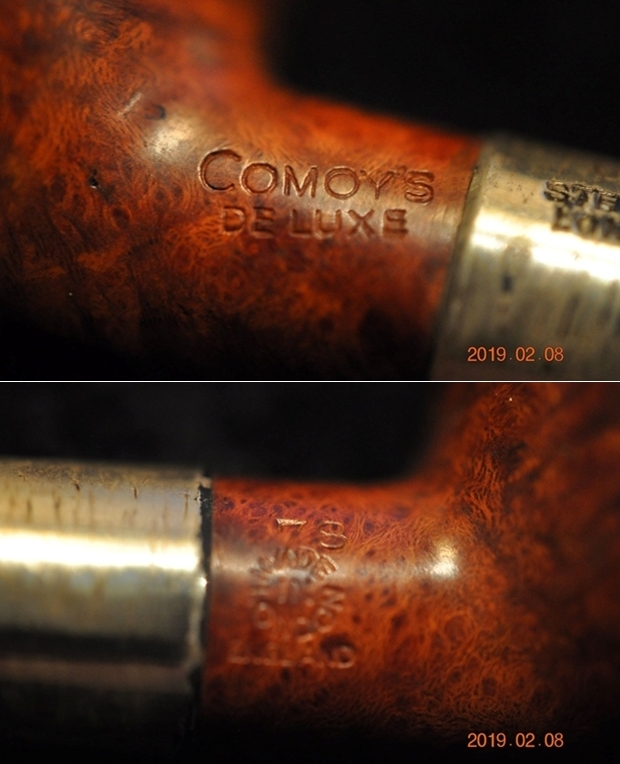
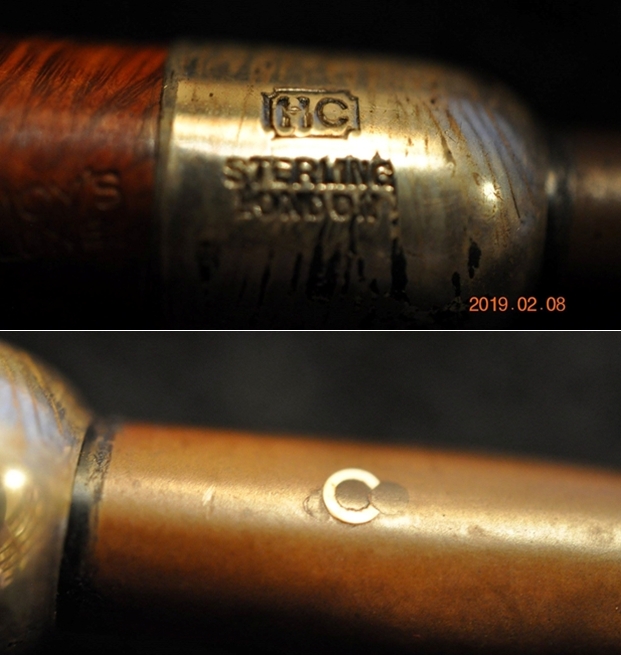
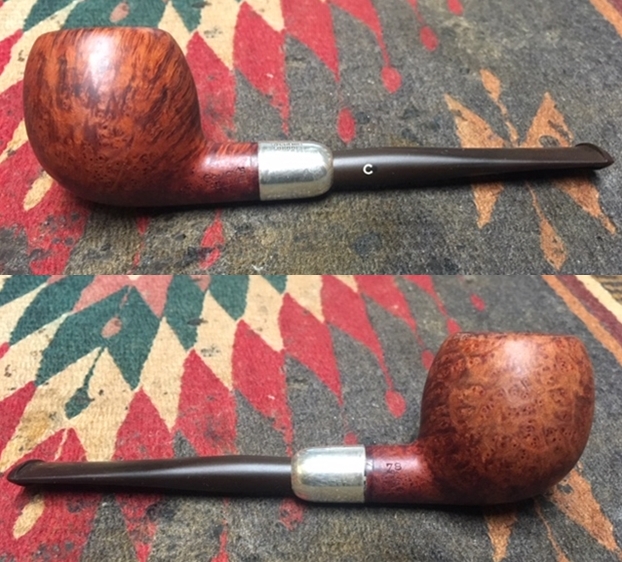
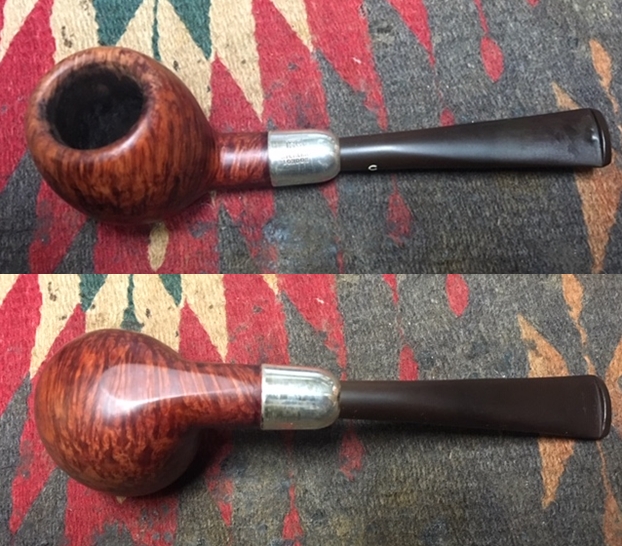
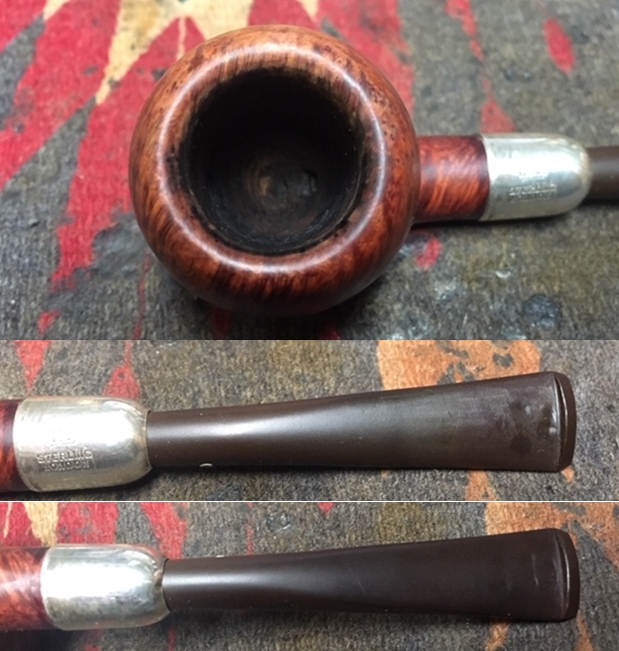
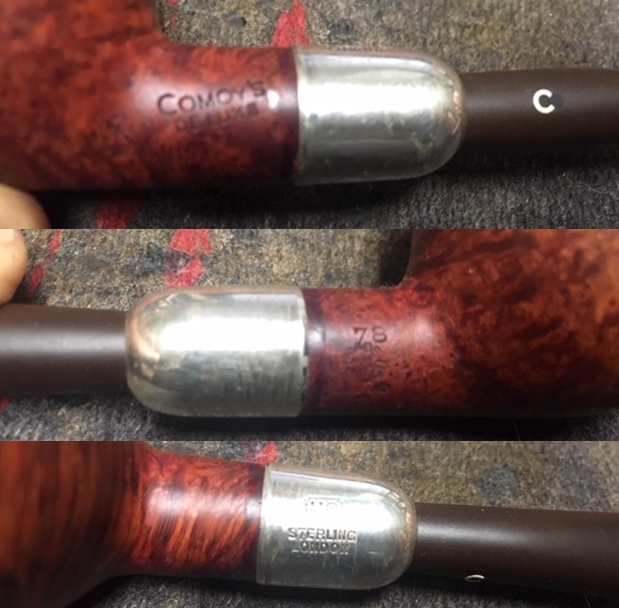
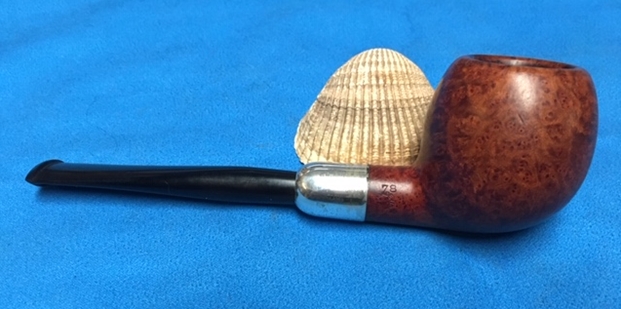
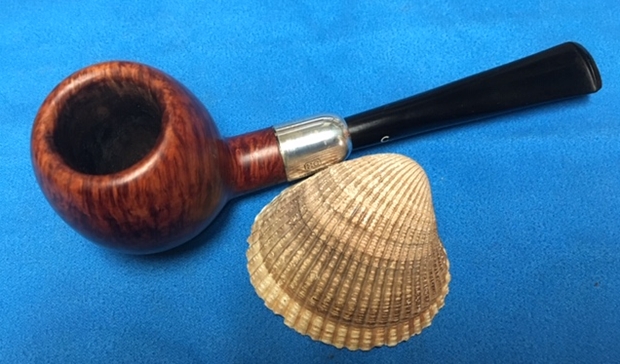
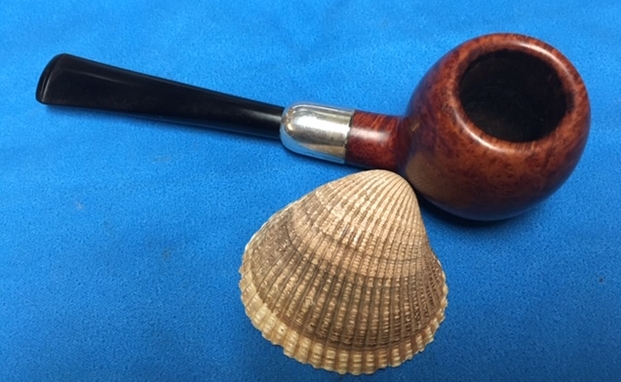
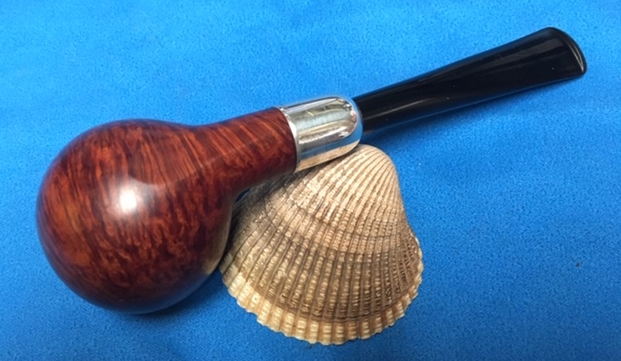
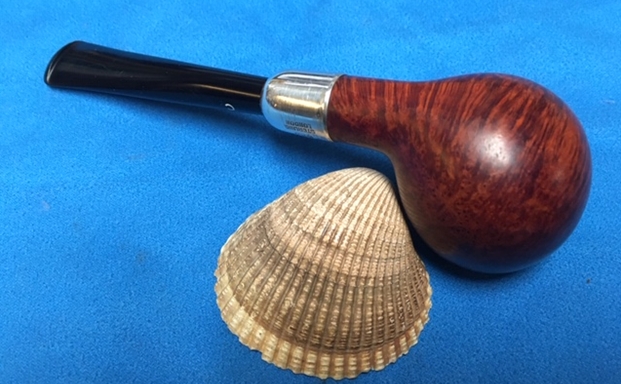
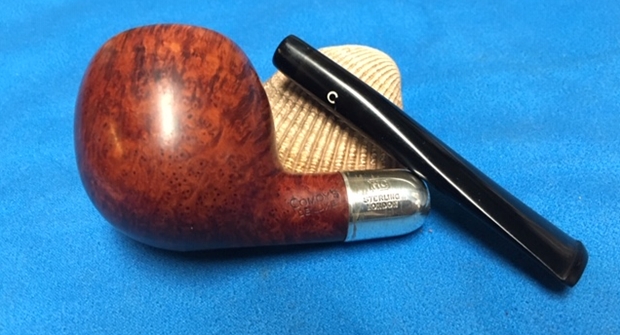
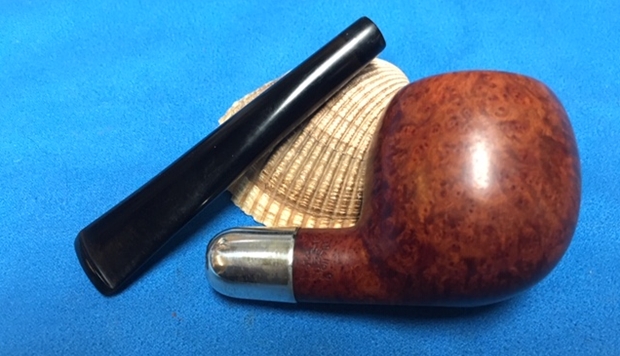
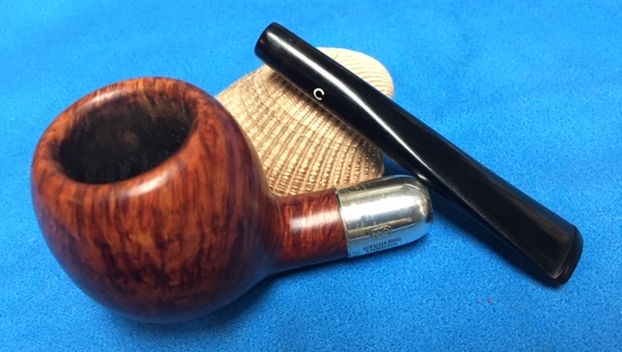
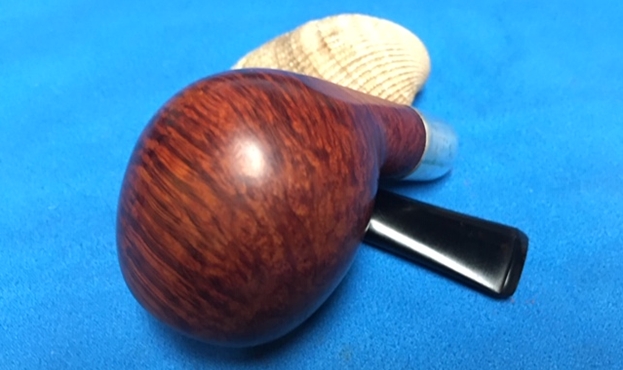
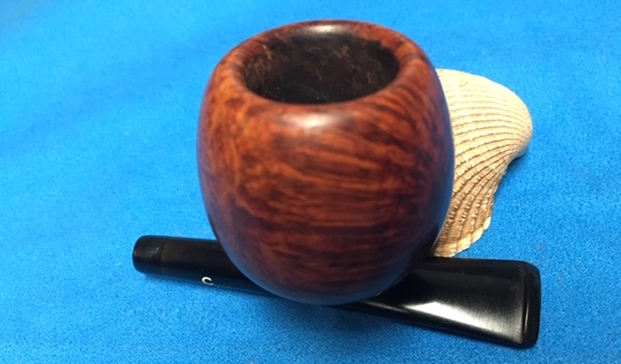
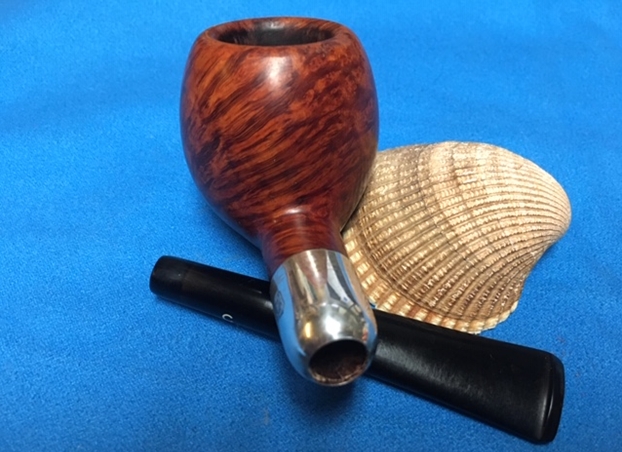
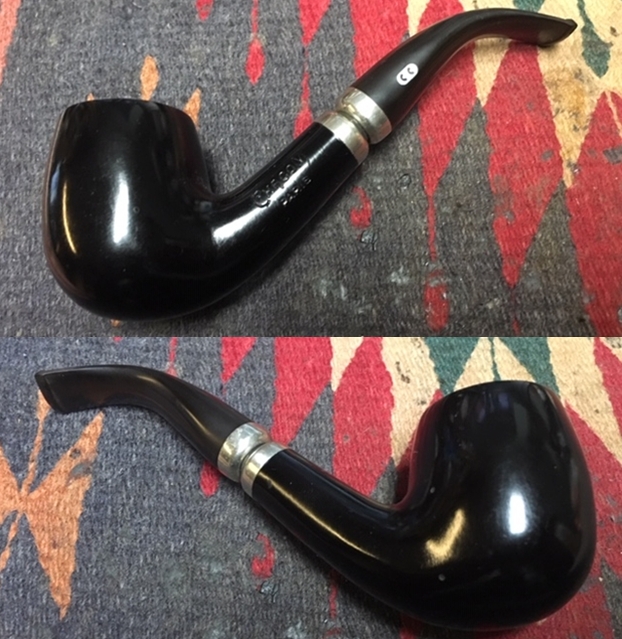
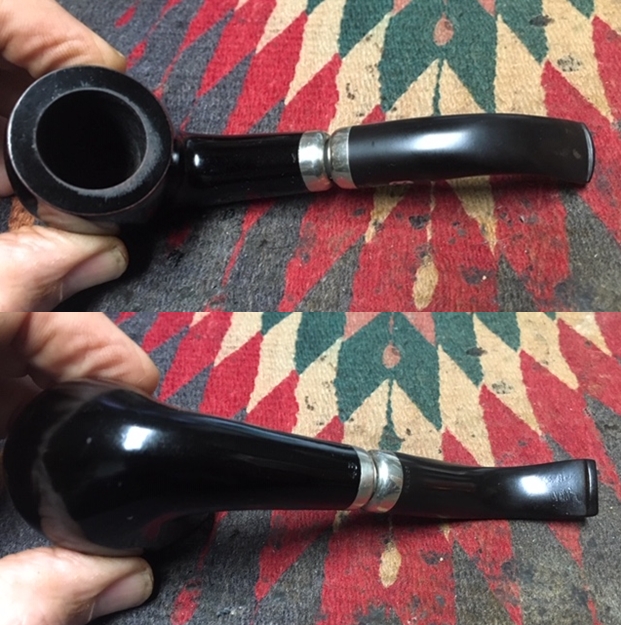
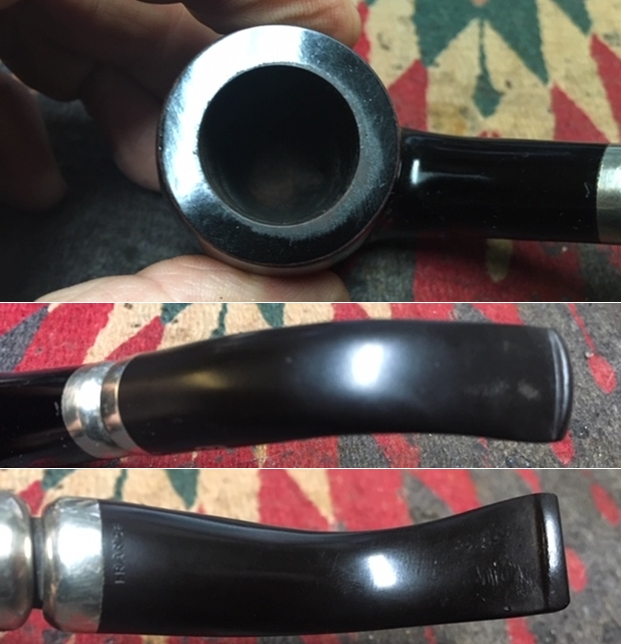
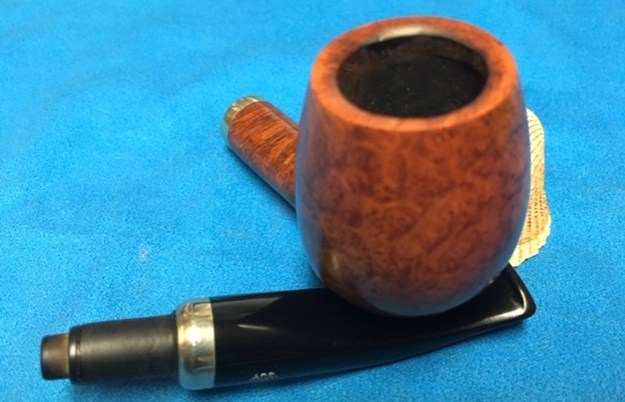
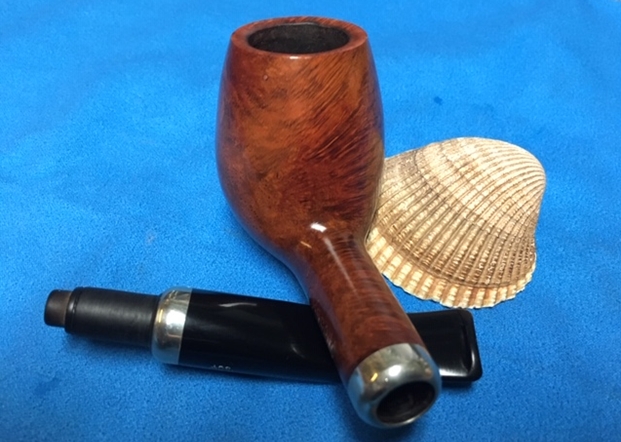
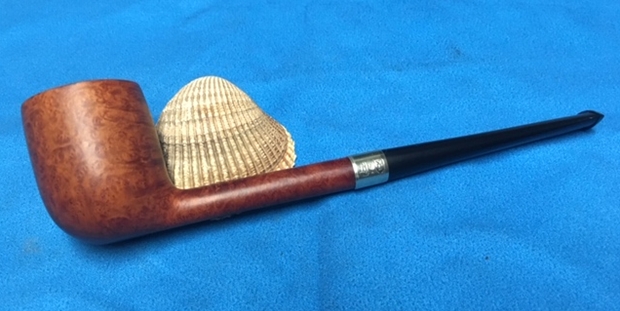
The first pipe I chose to work on from the lot was a Comoy’s De Luxe 78 Military Bit Apple. It had some amazing grain on the bowl sides and shank. It had a Sterling Silver ferrule on the shank end that was oxidized and blackened. It had a badly oxidized stem with tooth marks and chatter on the top and underside near the button. There was a thick cake in the bowl and it was dirty and tired looking. It had been sitting in boxes for a lot of years and it was time to move ahead with the restoration. Jennifer took photos of the pipes she was sending. I have included the three she included from this pipe. When the box arrived from Jennifer Jeff opened it and took photos of each pipe before he started his cleanup work on them. This Comoy’s was a real beauty underneath the grime, tarnish and oxidation on the bowl and stem. The finish looked intact under the grime. The bowl had a thick cake that had hardened with time. The lava overflow on the rim could very well have protected the rim from damage. We won’t know what is under it until Jeff had cleaned it off. The silver work was tarnished but still looked classy on this old timer. The ferrule was undamaged with no dents of dings that are often found on these pipes. The stem was worn looking with a lot of deep oxidation and some tooth chatter and bite marks on both sides at the button. The overall look of the pipe made me think seriously about adding it to my own collection. Jeff took photos of the bowl and rim top to show the cake in the bowl and the lava build up on the edges of the bowl. It was thick and hard but hopefully it had protected the rim and edges from damage.The grain around the bowl sides and heel was quite beautiful. Lots of cross grain and birdseye that would clean up very nicely. It was a beautiful pipe.Jeff took photos of the stamping on both sides of the shank. The left side was stamped Comoy’s De Luxe and the right side had the Comoy’s COM stamp and shape number. The COM stamp is a circle with Made and London arching around “in” in the centre. Underneath it read England. The shape number is 78. I am not overly familiar with this line of Comoy’s and will need to do some work to get an idea of both age and value in the hierarchy of the lines.He also took photos of the stamping on the ferrule and the three circle inlay of the C on the left side of the stem. The ferrule read HC in a box over STERLING LONDON. There were no hallmarks on the silver so I could not use those to help date the pipe. The C inlay looked very good and did not show damage to any of the three circles. Jeff did not take photos of the stem at this point. It is so easy to miss some photos in the processing of pipes.Jennifer consented to write a short tribute to her Dad for the blog. She is also sending along some photos and an article that her Dad wrote for Jeff and me to be able to get a feel for him. When it arrives I will post the photo with the other blogs on his pipes and will add it to this one as well. In the meantime I asked her to also send me an email with a brief tribute that I can use until then. Here is her email to me.

Steve, I want to thank you again for accepting my dad’s pipes.  They were so much a part of my dad’s life that I could not simply discard them. But as his daughter, I was not about to take up smoking them either. *laughing* I think my dad would like knowing that they will bring pleasure to others.  I know that I do.

I’m not sure what to say about his pipes.   I always remember Daddy smoking pipes and cigars.

First a bit about my dad. Though my father, George Rex Leghorn, was American (growing up in Alaska), he managed to join the Canadian Army at the beginning of WWII, but in doing so lost his American citizenship.  He was fortunate to meet a Canadian recruiting officer who told him the alphabet began with “A” and ended with “Zed” not “Zee”, and also told him to say that he was born in a specific town that had all its records destroyed in a fire.  When the US joined the war my dad, and thousands of other Americans who had made the same choice*(see the link below for the article), were given the opportunity to transfer to the US military, and regain their citizenship.

After WWII, my dad, earned his degree at the University of California Berkeley and became a metallurgist. There is even a bit about him on the internet.

He loved taking the family out for a drive, and he smoked his cigars on those trips. (As a child, those were troubling times for my stomach.)

I most remember my father relaxing in his favorite chair with a science fiction book in one hand and a pipe in the other… Sir Walter Raleigh being his favorite tobacco… and the pipes themselves remind me of him in that contented way.  If I interrupted his repose, he’d look up, with a smile on his face, to answer me.

It seemed he smoked his Briarwood pipes the most, though he had others.  At the time, it was only the Briarwood I knew by name because of its distinctive rough shaped bowl.  And it was the Anderson Free Hand Burl Briar, made in Israel, which I chose for his birthday one year, because I thought he might like that particular texture in his hand.

At least two of his pipes, he inherited from his son-in-law, Joe Marino, a retired medical laboratory researcher (my sister Lesley’s late husband)… the long stemmed Jarl (made in Denmark), and the large, white-bowled, Sherlock Holmes style pipe.  I believe Joe had others that went to my dad, but Lesley was only sure about those two.

The Buescher, corncob pipe my older sister Lesley bought for Daddy while on one of her travels around the States.

A note on the spelling of my sister’s name…

My dad met my mother, Regina, during WWII and they married in Omagh, Ireland.  My mother was English and in the military herself.  The English spelling of Lesley is feminine, and Leslie masculine, in the UK… just the opposite of here in the United States.  I guess my mom won out when it came to the spelling of the name.

I’ll send you photos of my dad soon, along with his WWII experience story.

Jennifer

*https://www.thestar.com/news/world/2013/10/22/the_americans_who_died_for_canada_in_wwii.html

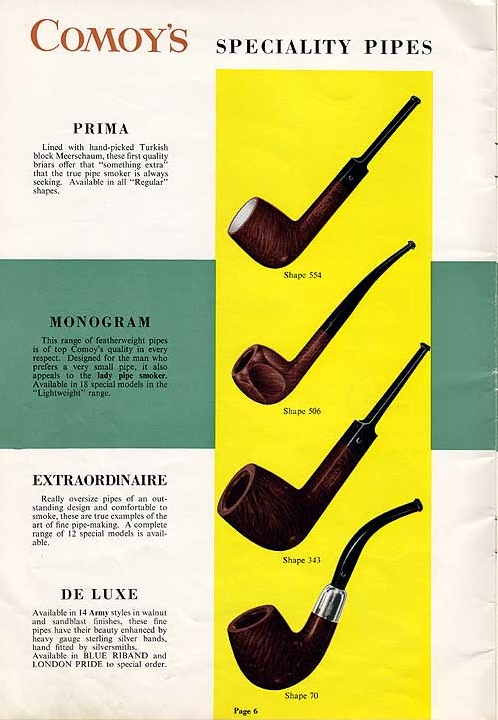
I turned to my usual sources for information about the De Luxe line of Comoy’s and found nothing on the pipephil website. On the Pipedia site there was nothing clearly written identifying the brand but there was a page from a Comoy’s Catalogue advertising Specialty pipes from Comoy’s that included the De Luxe (https://pipedia.org/wiki/File:Comoy-Specialty.jpg). I have included a screen capture of the page for you to have a look.It describes the De Luxe as being available in 14 Army styles in walnut and sandblast finishes. These fine pipes have their beauty enhanced by heavy gauge sterling silver bands hand fitted by silversmiths. It is also available in Blue Riband and London Pride on special order. So it seems that it is a specialty item and a beautiful one at that. Does anyone know anything else about the line?

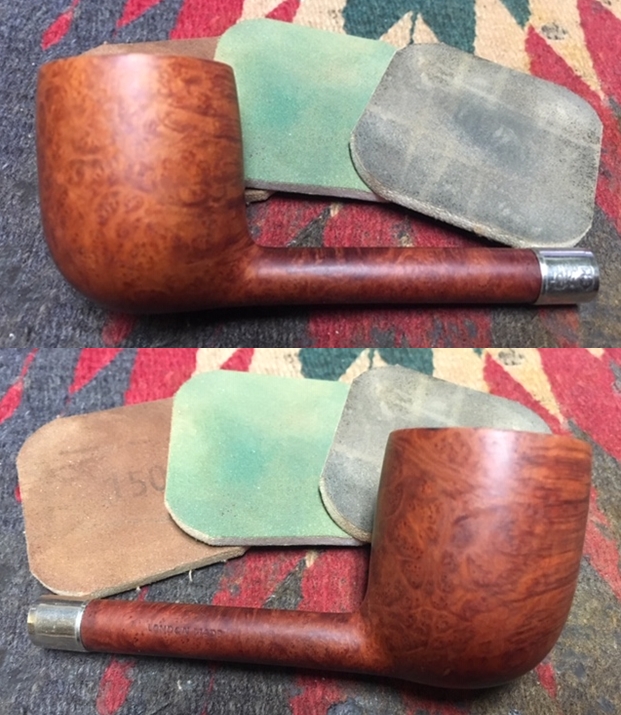
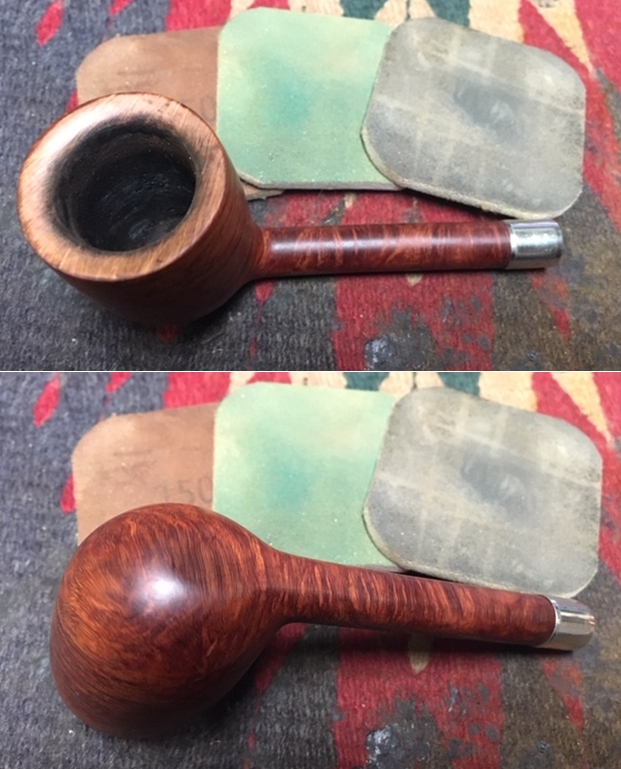
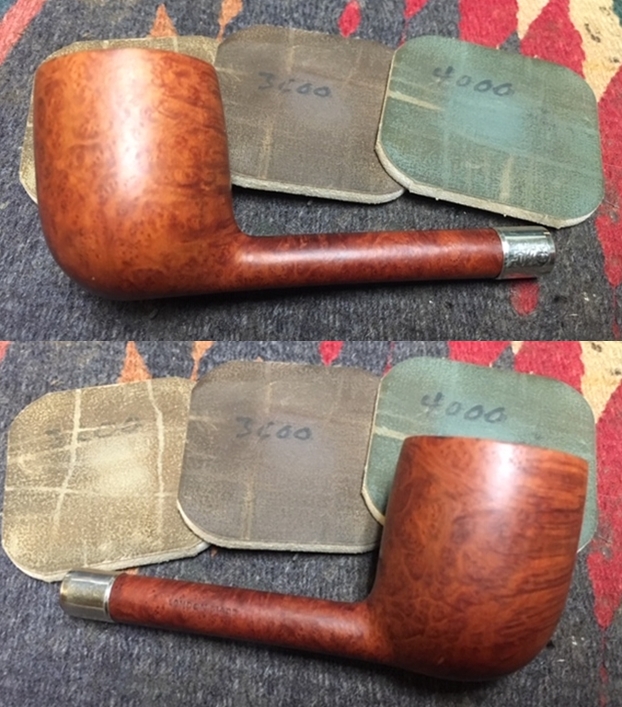
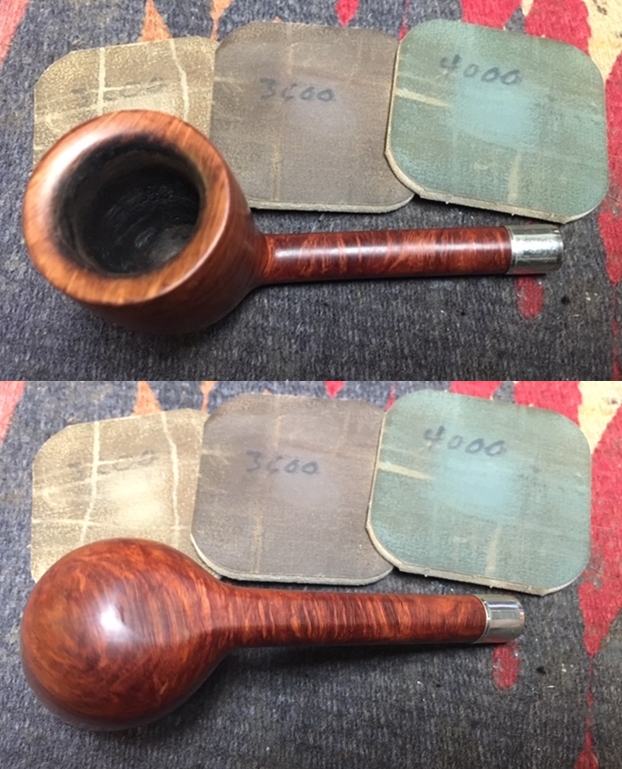
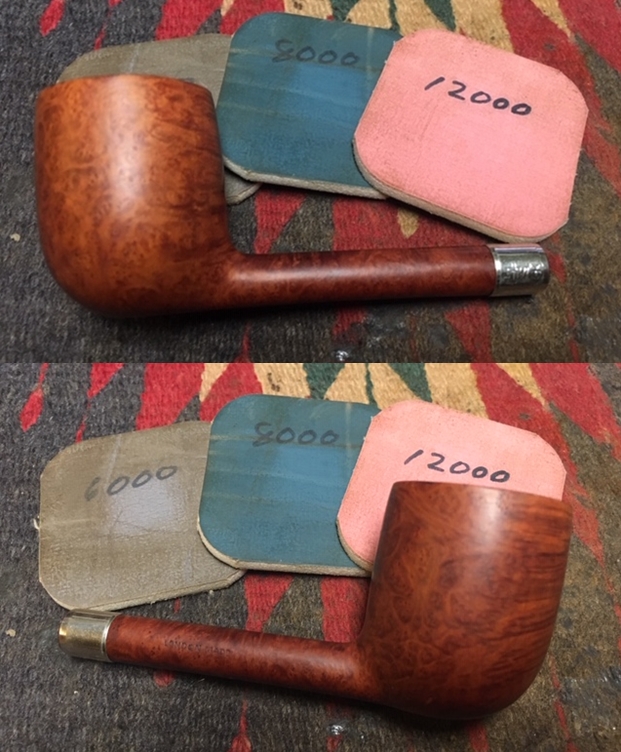
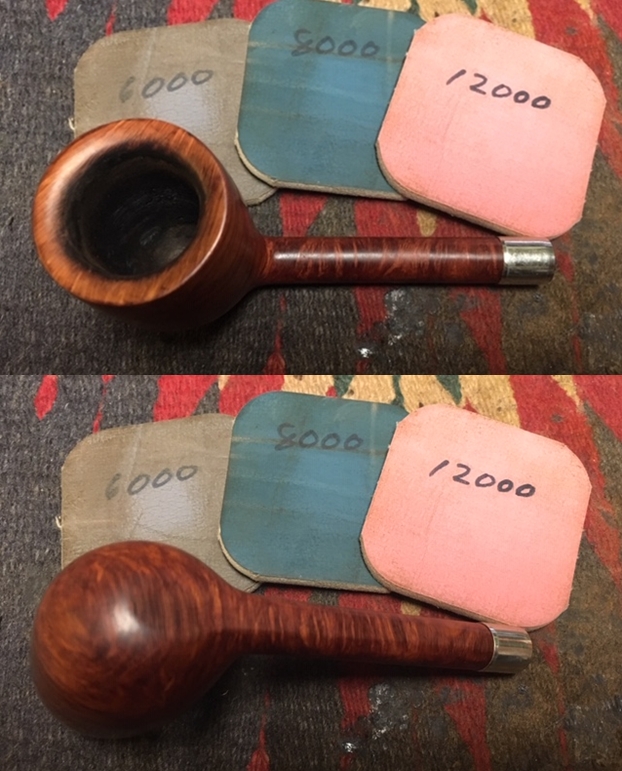
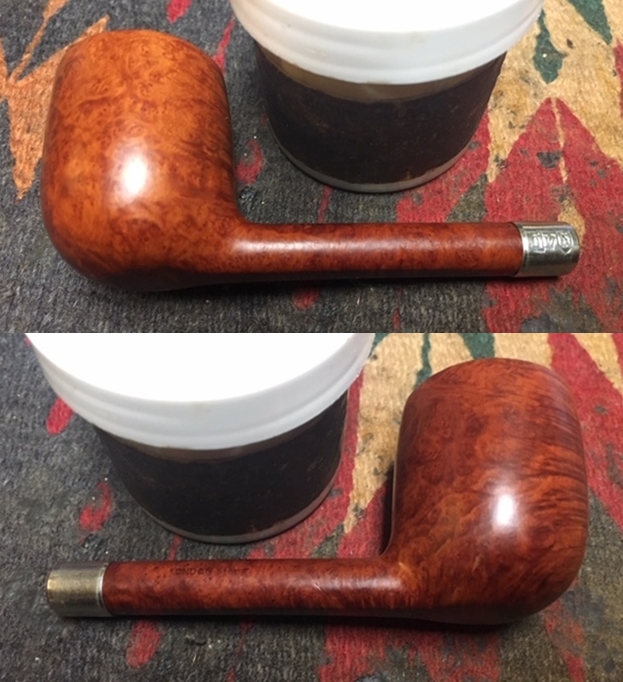
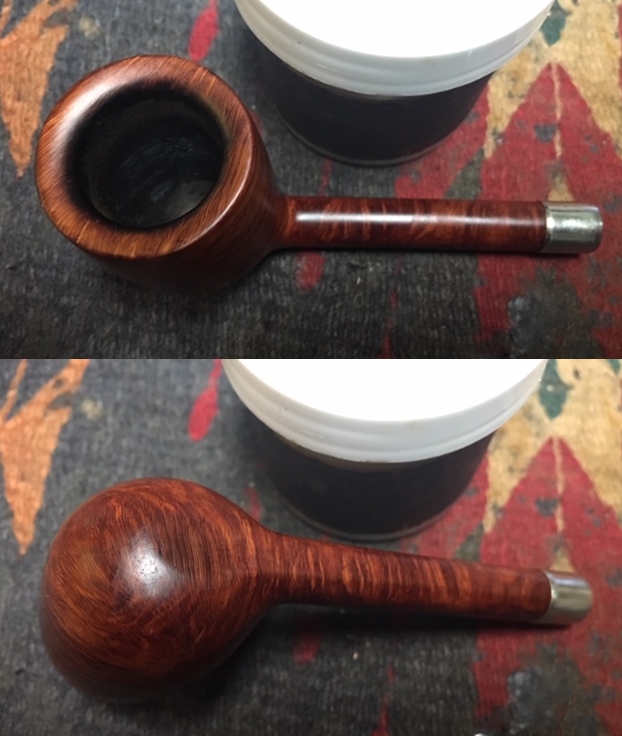
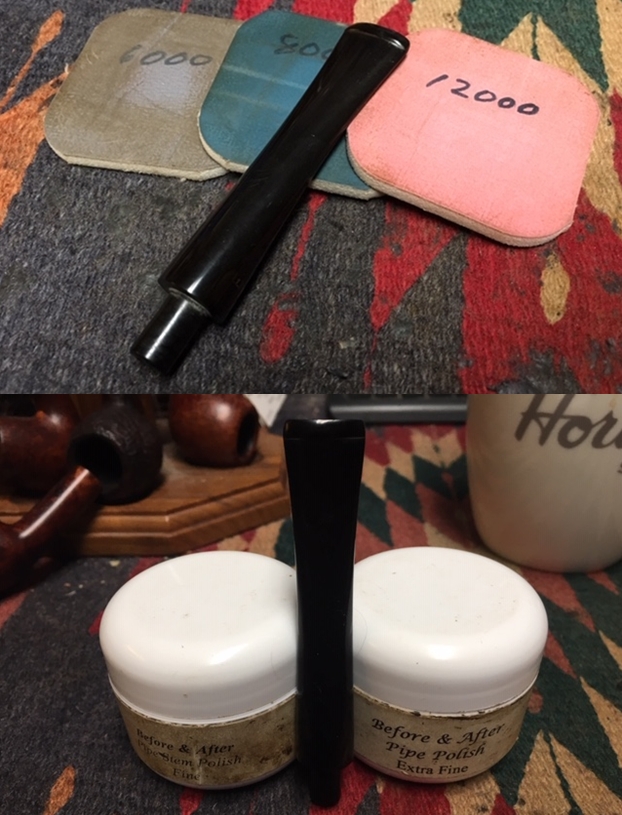
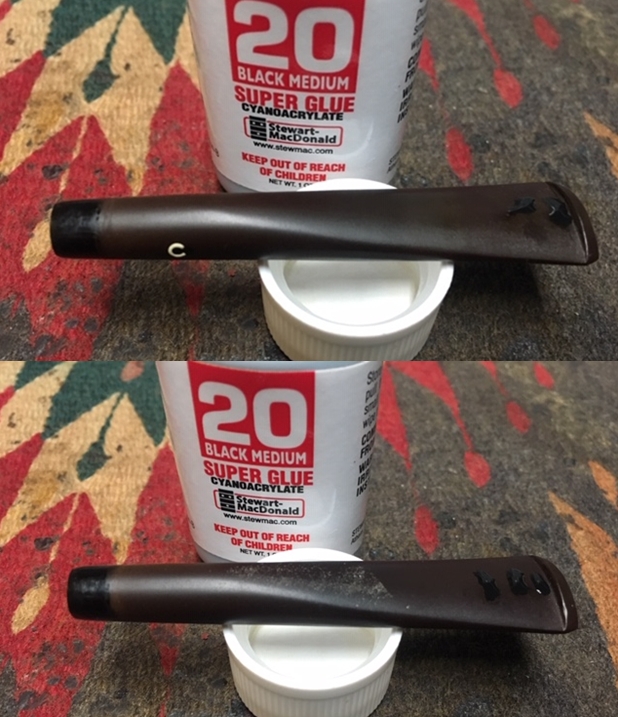
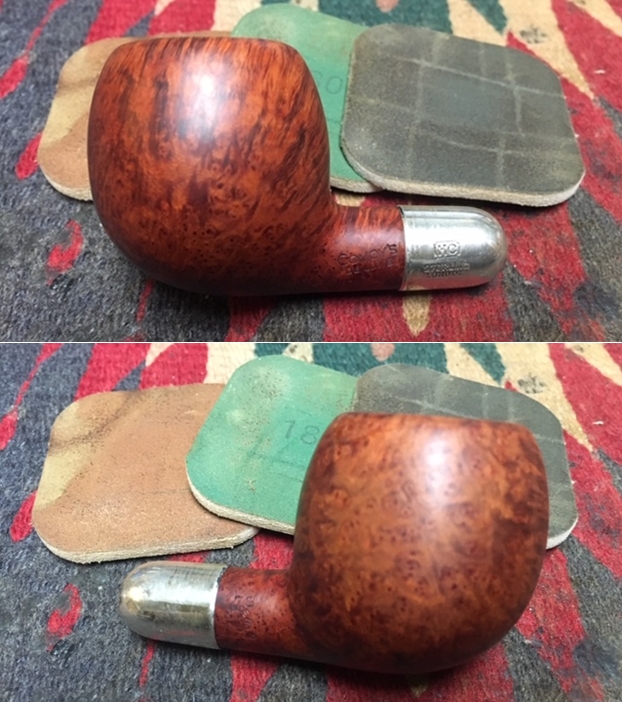
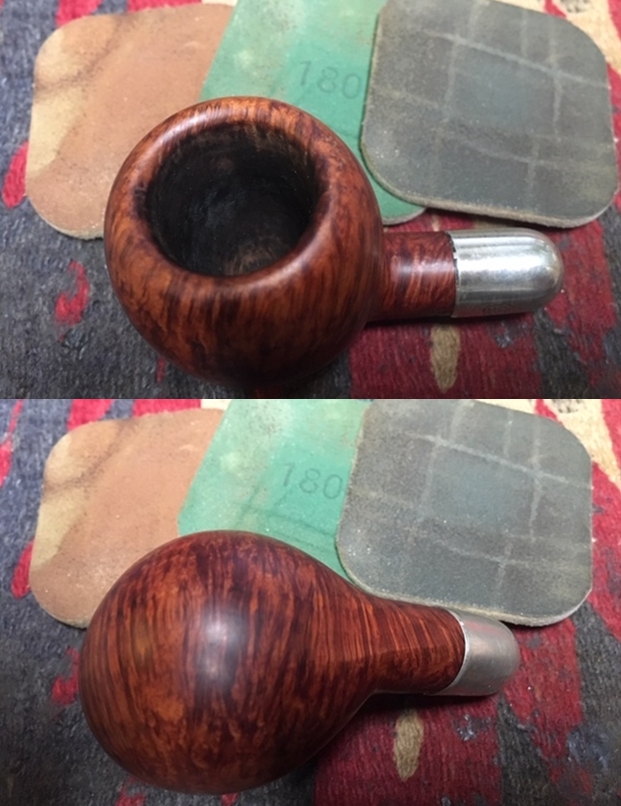
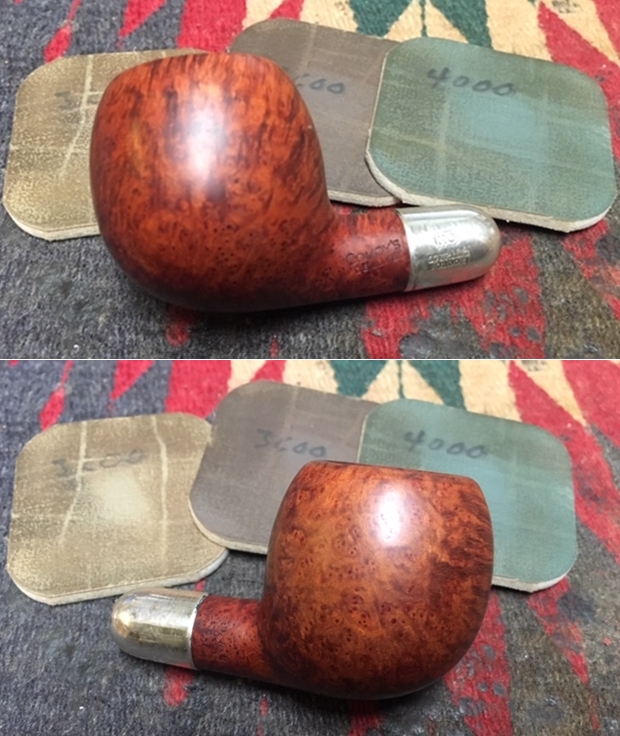
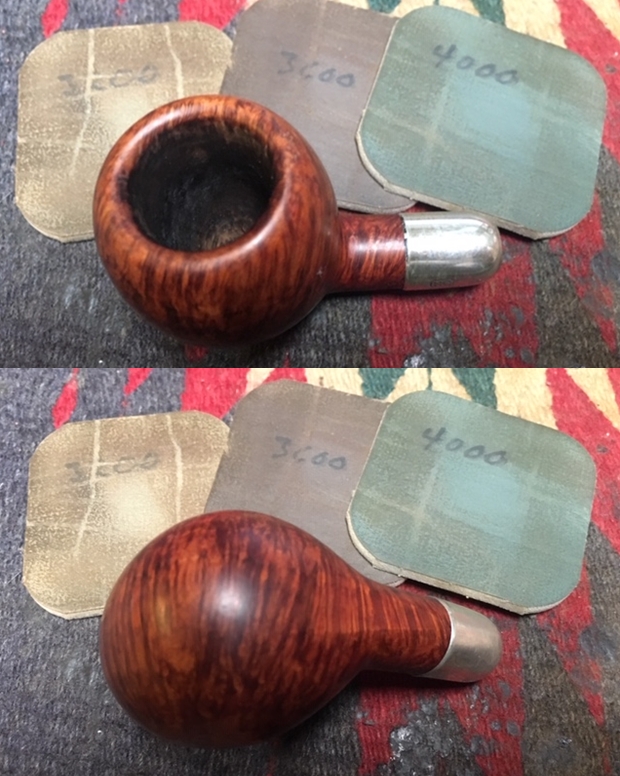
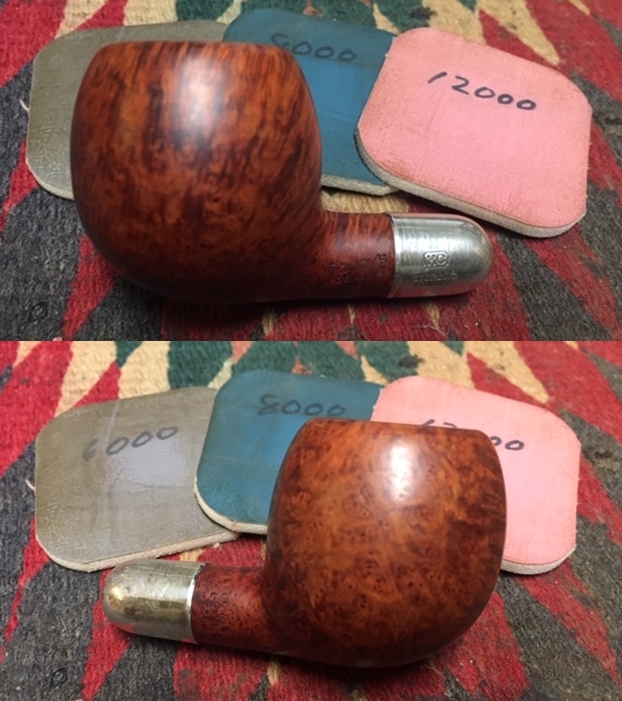
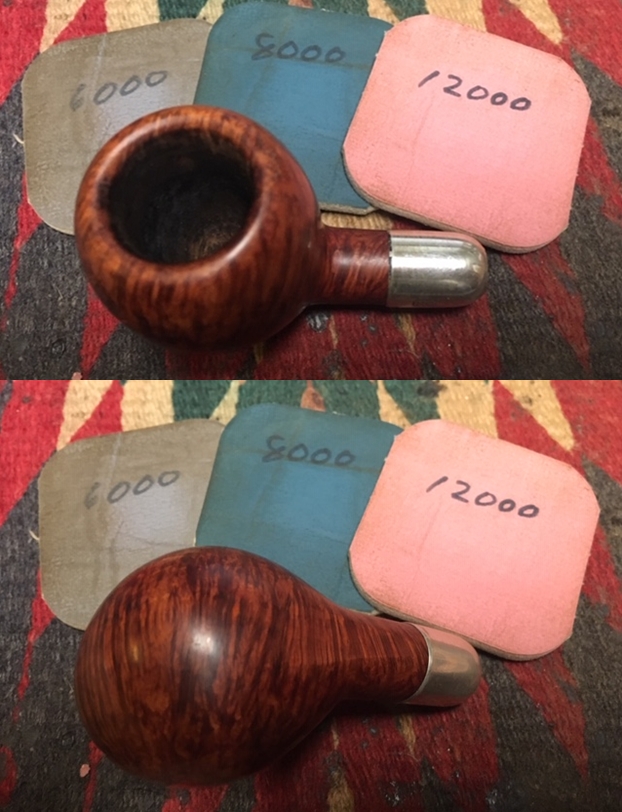
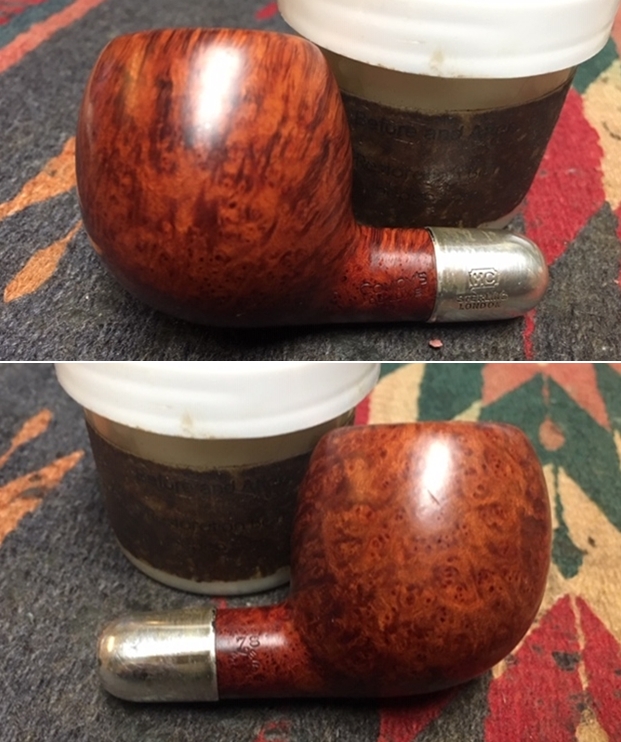
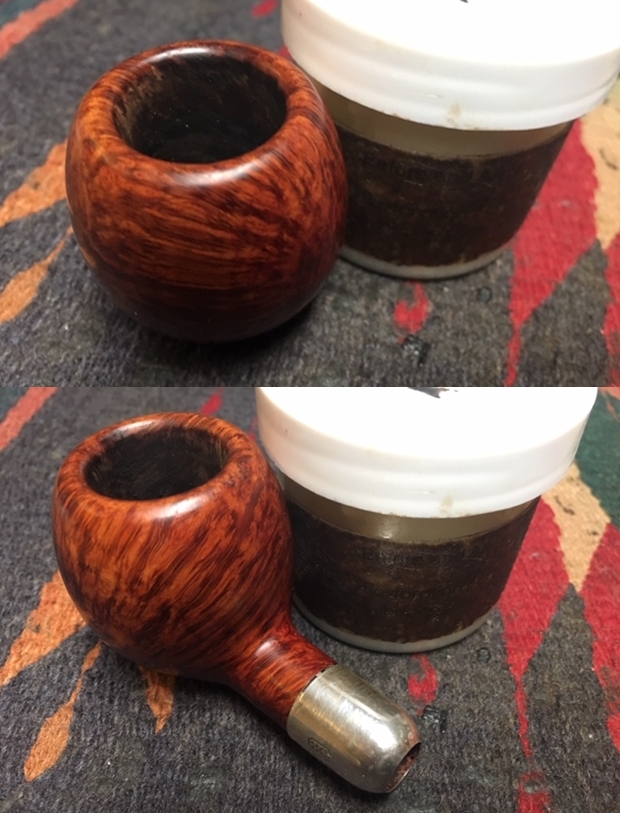
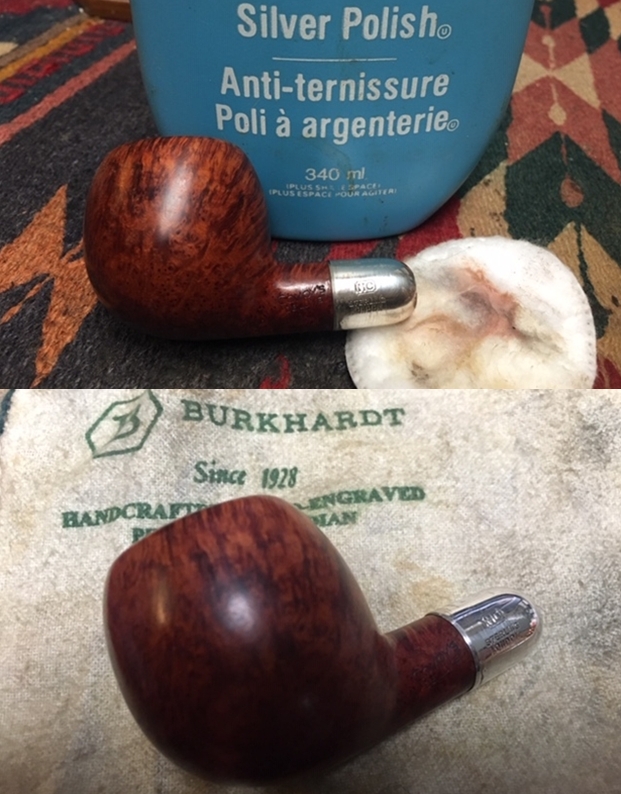
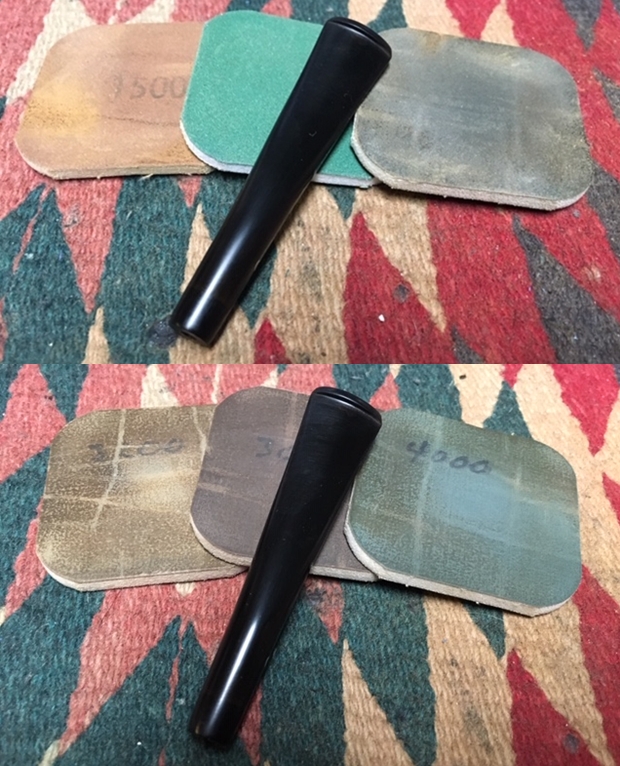
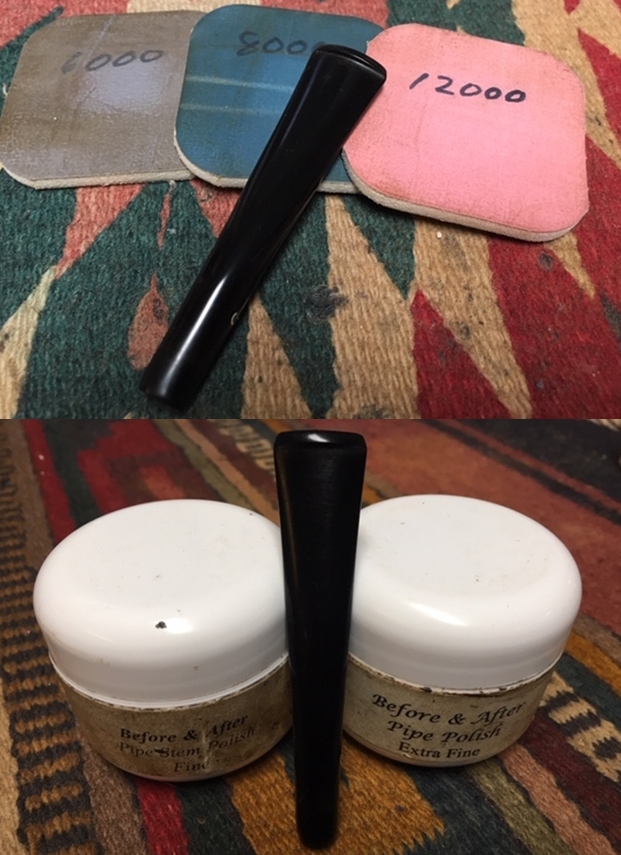
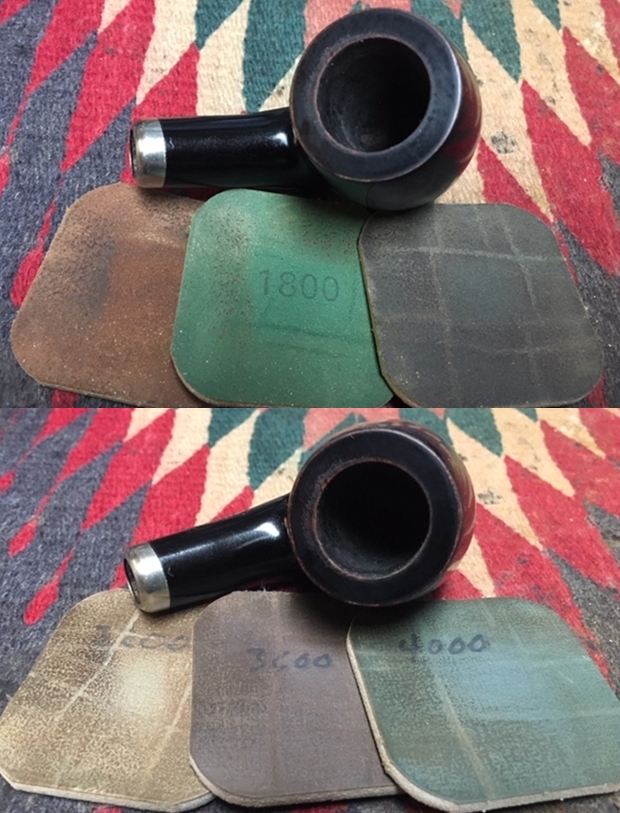
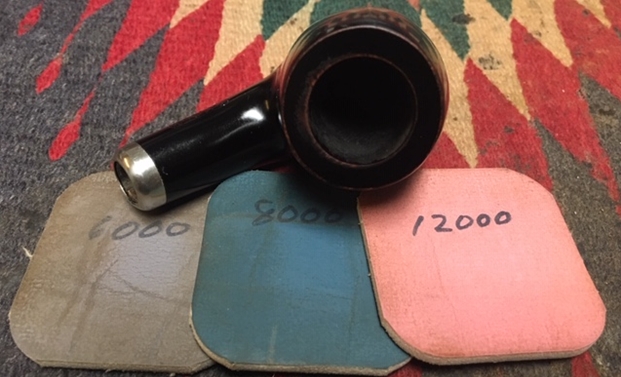
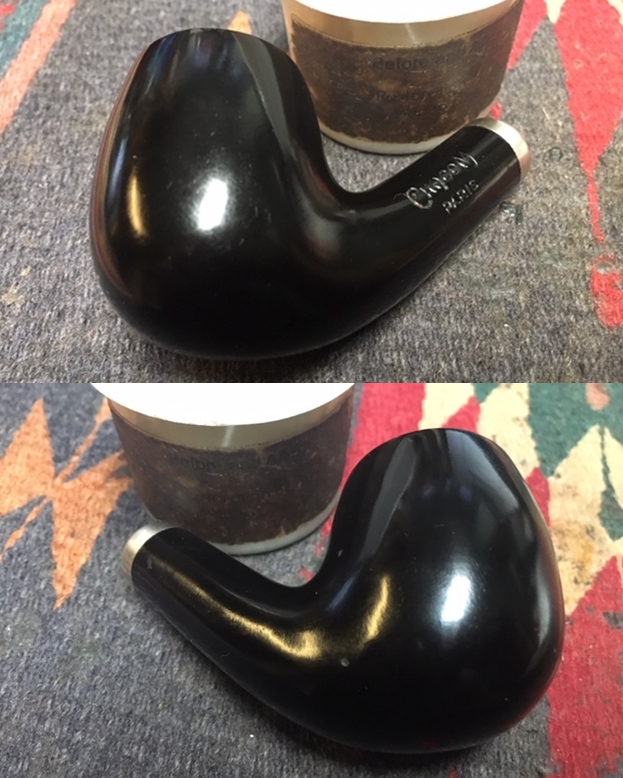
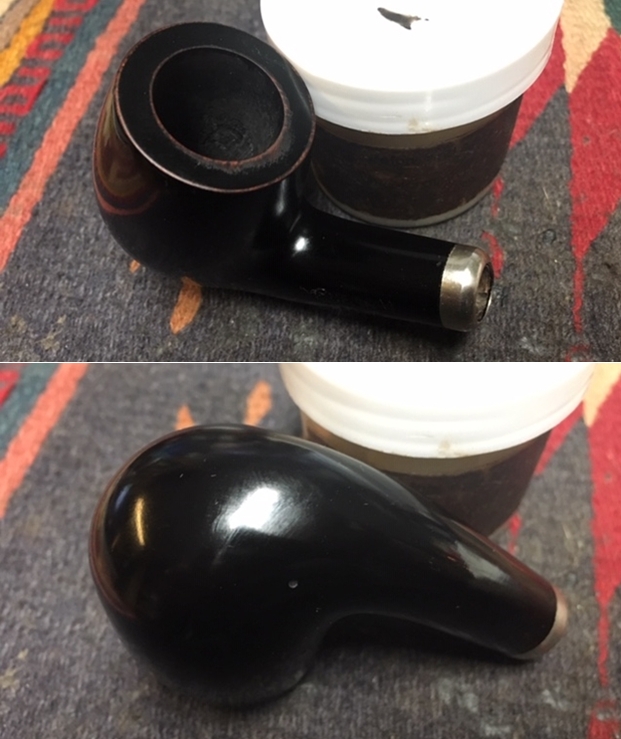
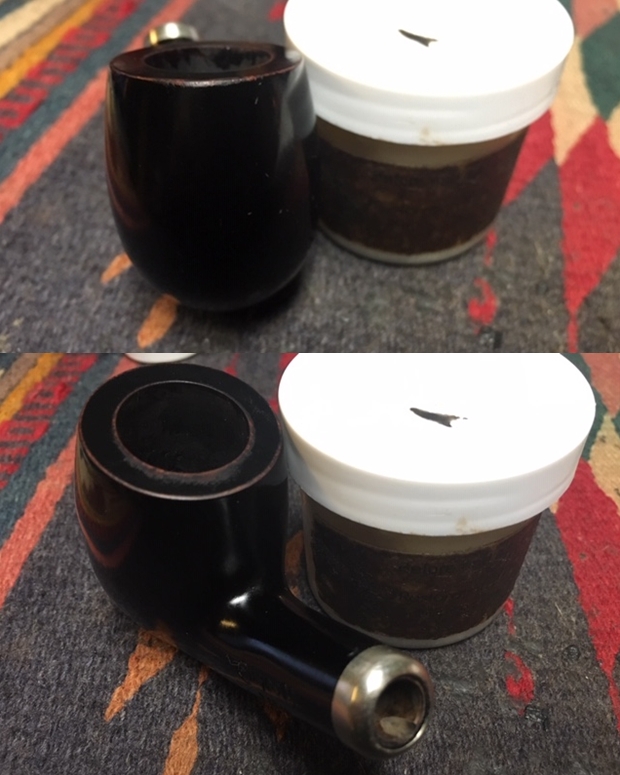
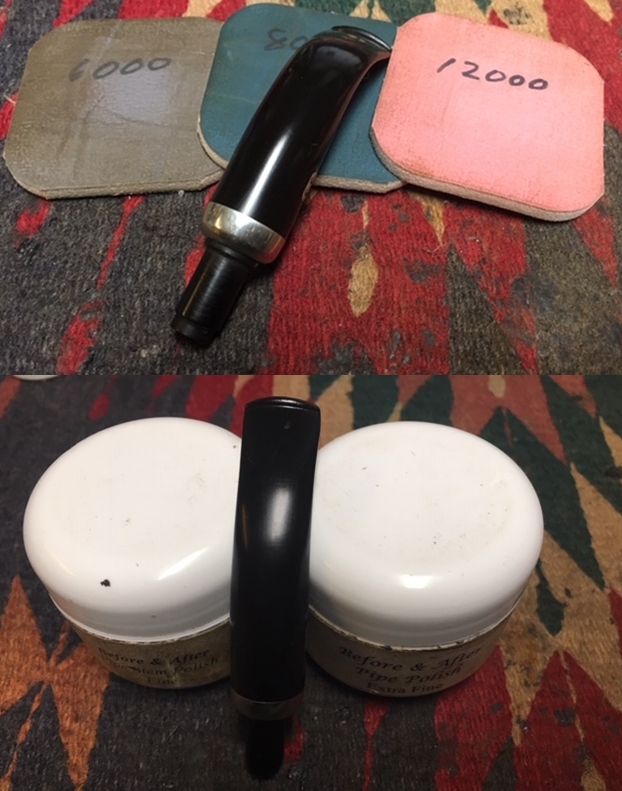
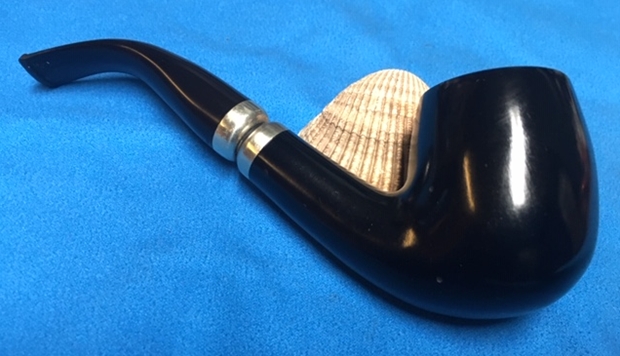
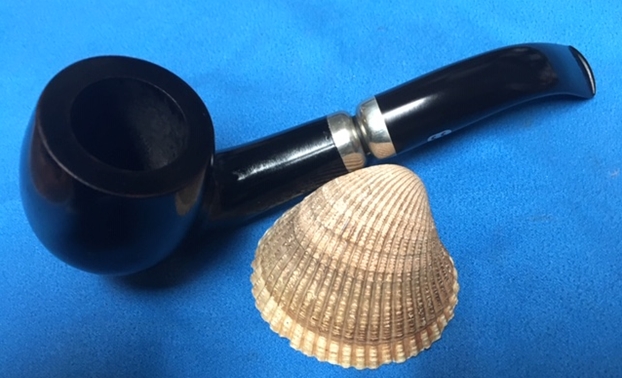
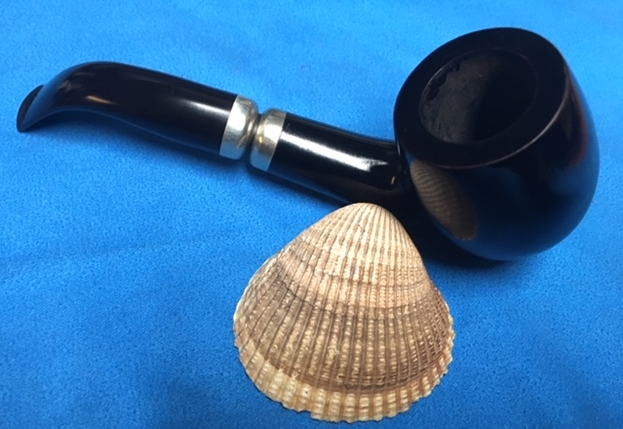
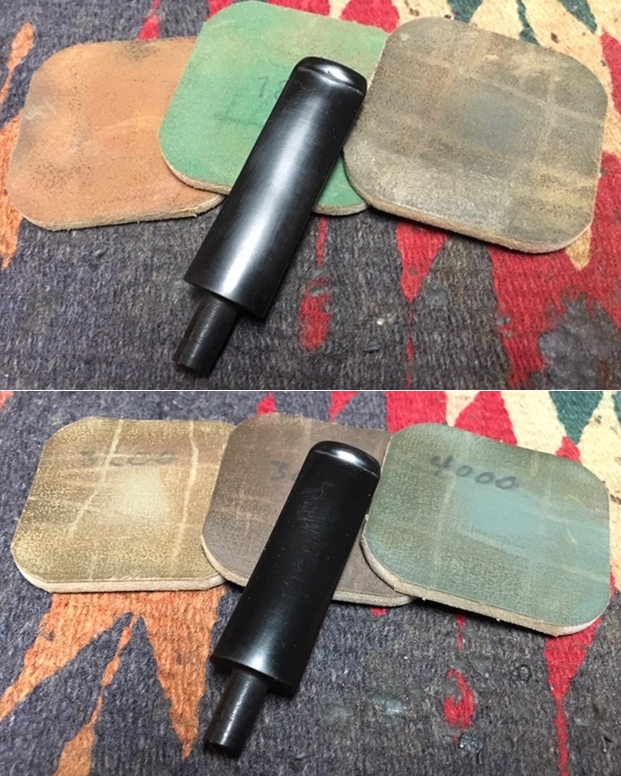
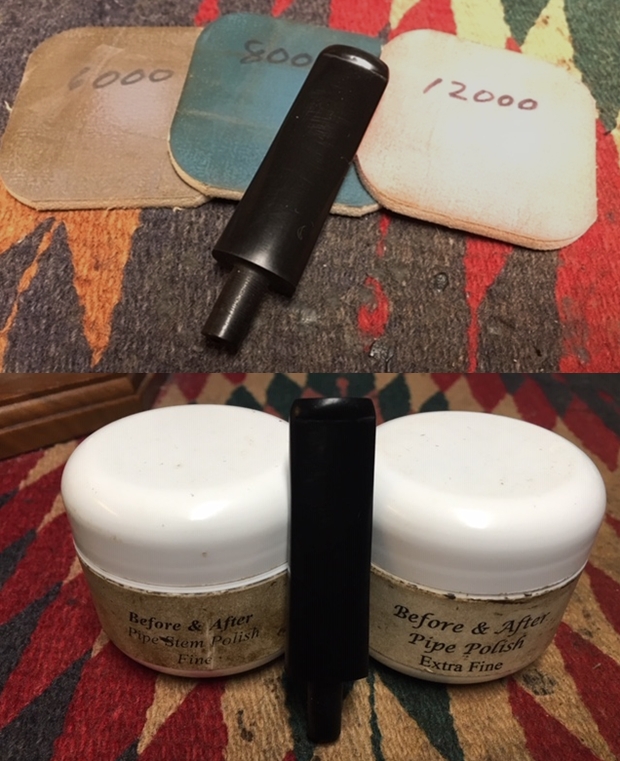
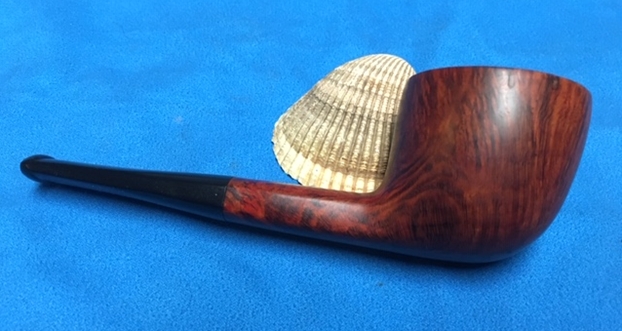
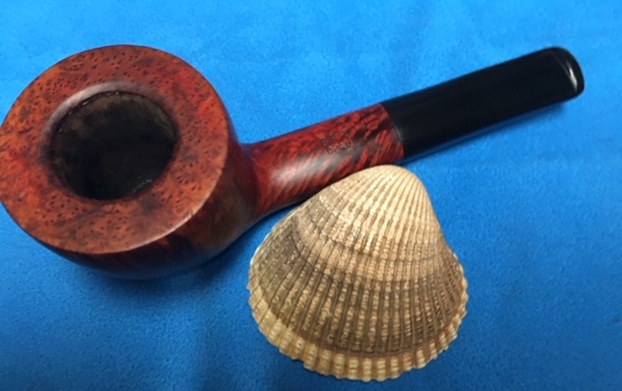
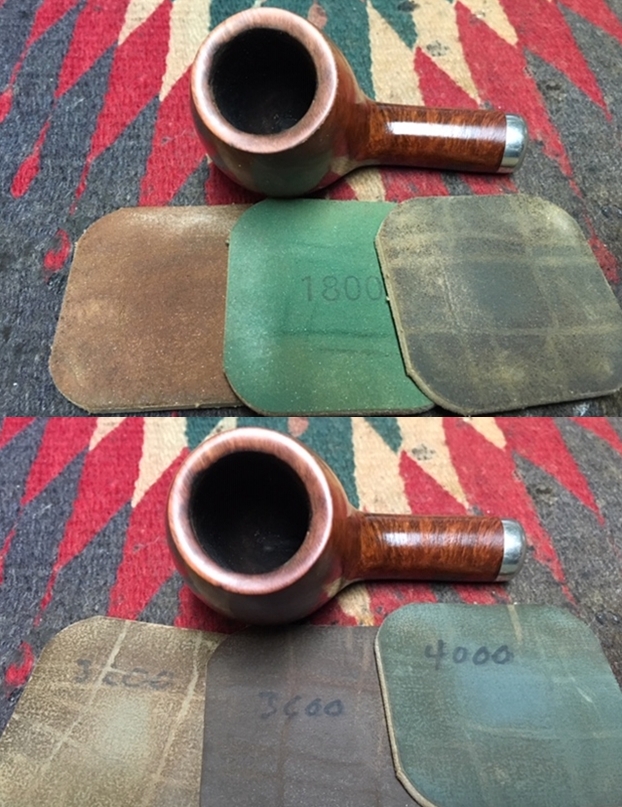
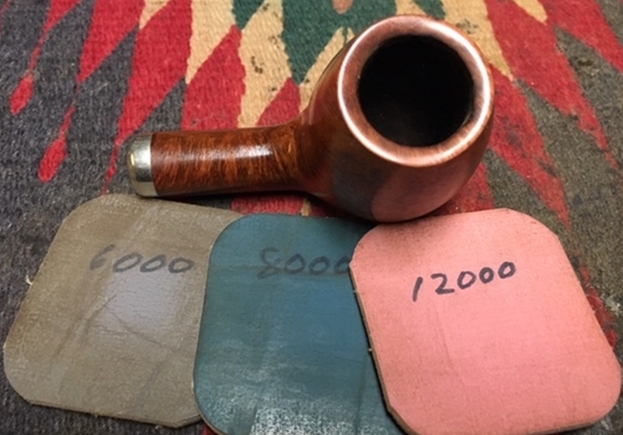
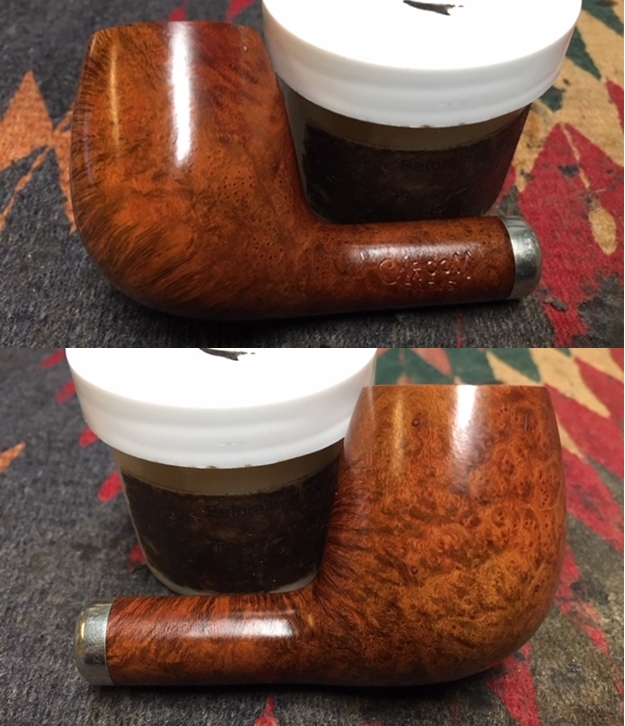
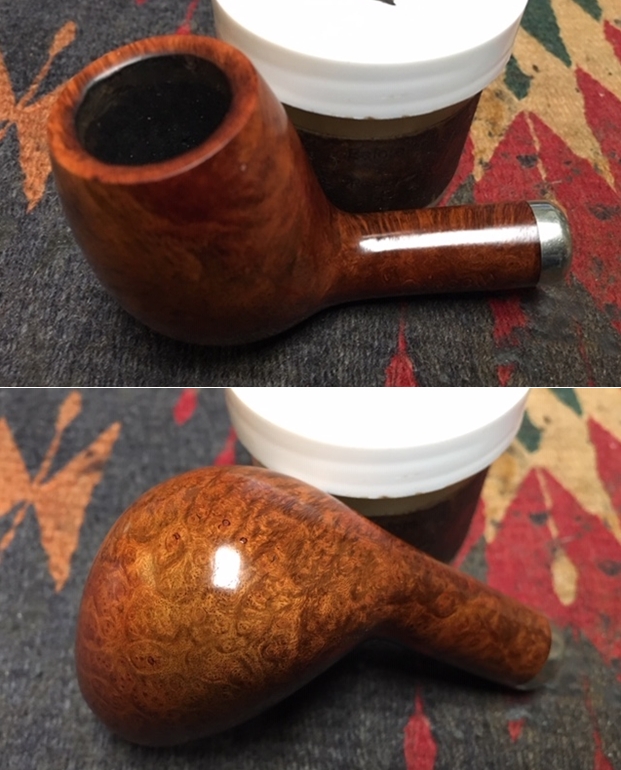
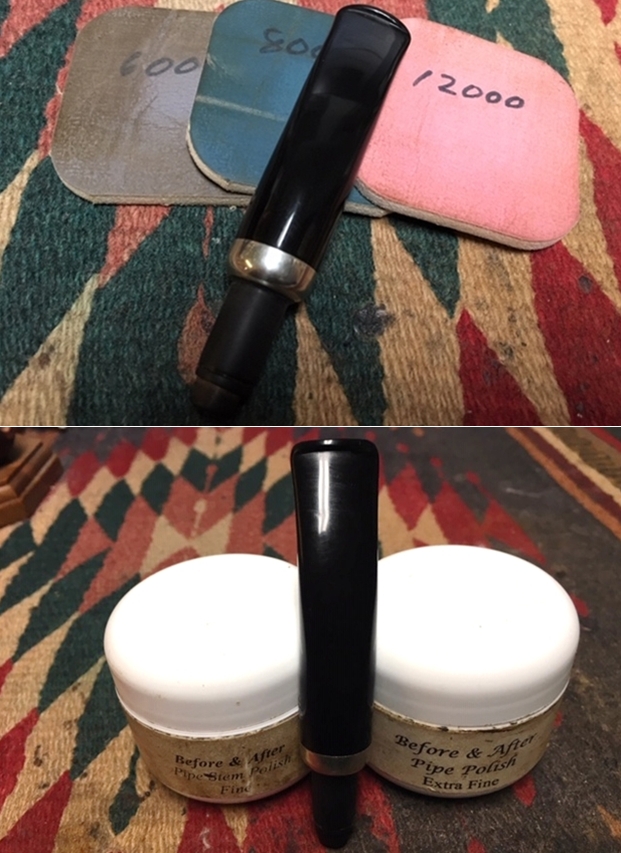
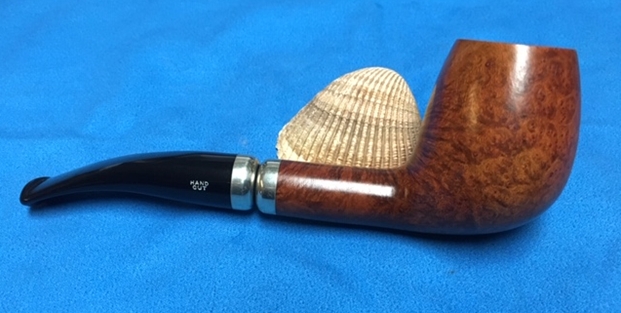
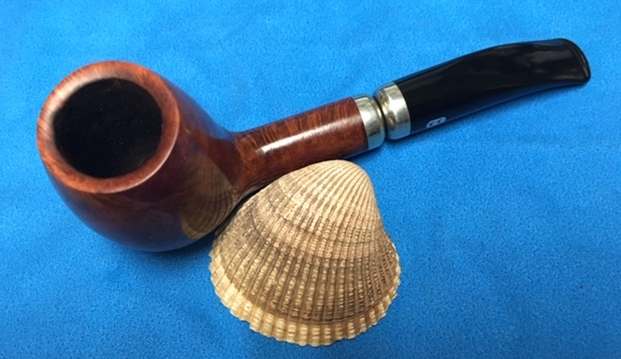
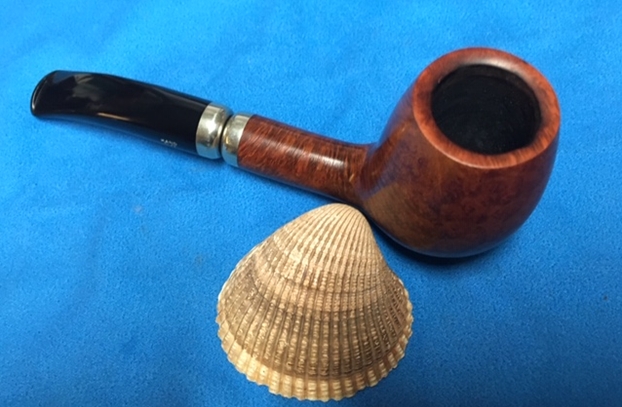
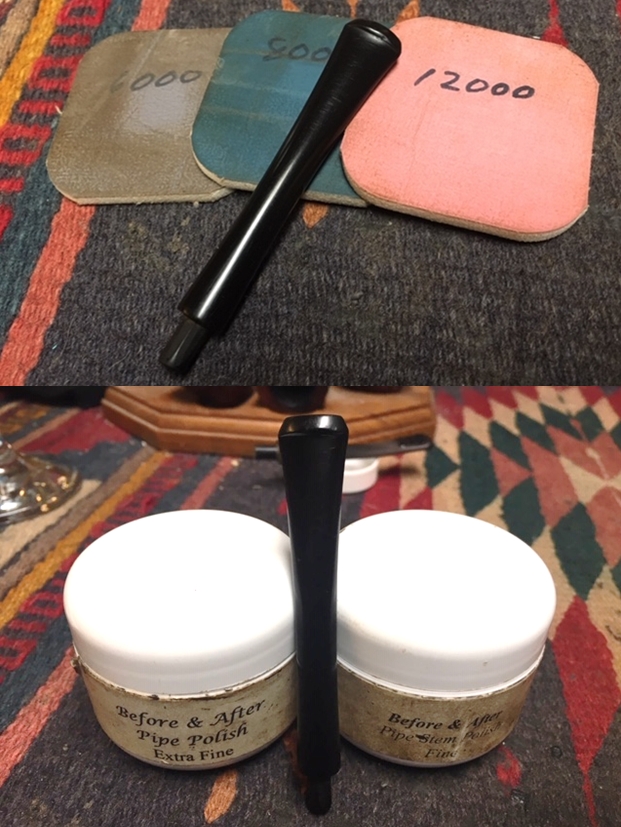
Jeff cleaned the pipe with his usual penchant for thoroughness that I really appreciate. He reamed it with a PipNet pipe reamer and cleaned up the reaming with a Savinelli Fitsall Pipe Knife. He scrubbed out the internals with alcohol, pipe cleaners and cotton swabs until the pipe was clean. He scrubbed the exterior of the bowl with Murphy’s Oil Soap and a tooth brush to remove the grime and grit on the briar and the lava on the rim top. He was able to get most of the oxidation off of the silver ferrule as well. He soaked the stem in Before & After Deoxidizer to remove the oxidation on the rubber. When the pipe arrived here in Vancouver for the second stop of its restoration tour it looked very good. I took photos before I started my part of the work. I took some close up photos of the rim top and stem surface. I wanted to show what an amazing job Jeff did in the cleanup of the rim top and the great condition it was in under the thick lava coat. I also took close up photos of the stem to show the tooth marks and chatter in front of the button on both sides.I also took some photos of the stamping on the pipe – both sides of the shank and the Sterling ferrule. You can see the three part C in the stem as well. The ferrule is loose and will need to be glued in place again. You can see in the third photo below that it is on the top of the shank instead of aligned on the left side with the stamping on the briar.I decided to repair the tooth marks on the top and underside of the stem so it could be drying while I worked on the bowl. I cleaned the tooth marks with a cotton swab and alcohol and dried it off. I filled in the deep divots with black super glue and set the stem aside so the repairs could cure.I turned my attention to the bowl. I painted some white all-purpose glue on the shank end and carefully pressed the ferrule onto the end of the shank. I turned it on the shank to align the HC Sterling London stamp on the ferrule with the Comoy’s stamp on the briar shank. I let the glue dry on the ferrule and once it had set I polished the briar with micromesh sanding pads. I wet sanded with 1500-2400 grit pads and dry sanded it with 3200-12000 grit pads. I wiped the bowl down after each pad with a damp cloth. The grain really began to stand out. I worked some Before & After Restoration Balm into the briar with my fingertips to clean, enliven and protect it. I find that the balm really makes the briar come alive again. The grain shines through and really stands out. I let the balm sit for a little while and then buffed with a cotton cloth to raise the shine. The pipe really looks good at this point. I am very happy with the results. I used some silver polish to remove the remaining oxidation on the Sterling Silver ferrule. I rubbed it in with a cotton pad and polished it once it had dried. It took some time to polish out the scratches in the silver and give it a shine. I followed that up by polishing the ferrule with a jeweler’s polishing cloth. The photos show the shine.I set the bowl aside at this point and turned back to address the cured repairs on the stem surface. I sanded the stem with 220 grit sandpaper to blend the repairs into the surface of the rubber and also to remove the oxidation that remained after Jeff’s cleanup. I polished it with 400 grit sandpaper to smooth out some of the scratching that was left behind by the earlier sanding.I polished the stem with micromesh sanding pads – wet sanding it with 1500-2400 grit pads and dry sanding it with 3200-12000 grit pads. I wiped the stem down with Obsidian Oil after each pad. I polished it with Before & After Pipe Stem Polish – both Fine and Extra Fine polishes. I wiped it down with a final coat of Obsidian Oil and set it aside to dry. I put the stem back on the bowl and polished the bowl and stem with Blue Diamond polish on the buffing wheel. I carefully worked around the Sterling Silver ferrule so I would not damage it. I gave the bowl and the stem multiple coats of carnauba wax. I buffed the pipe with a clean buffing pad to raise the shine. I hand buffed it with a microfiber cloth to deepen the shine. The grain on this briar is absolutely beautiful and the shine on it makes the grain really shine. The pipe polished up really well. The wax and the contrasting stain on the bowl made the grain just pop on the briar. The polished black vulcanite seemed to truly come alive with the buffing. Comoy’s really captured this shape in a way that no one else has in my opinion. The pipe is perfect in my hand and when it warms with smoking I think it will be about perfect. Have a look at it with the photos below. The dimensions are Length: 5 1/2 inches, Height: 1 3/4 inches, Outside diameter of the bowl: 1 1/4 inches, Chamber diameter: ¾ of an inch. This is one that will remain in my collection. Once I figure out the value of the pipe I will make a donation on behalf of Jennifer’s Dad to the organization that I work for. It is a pipe like no other Comoy’s that I have seen before. I want to carry on the pipe trust of George Leghorn. Thank you Jennifer for trusting us with his pipes. Thanks to each of you who are reading this blog. Remember we are not pipe owners, we are pipemen hold our pipes in trust until they pass on into the trust of the next pipeman or woman.
Breathing Life into a Chacom Paris Dress Black 43 Bent Billiard


Blog by Steve Laug

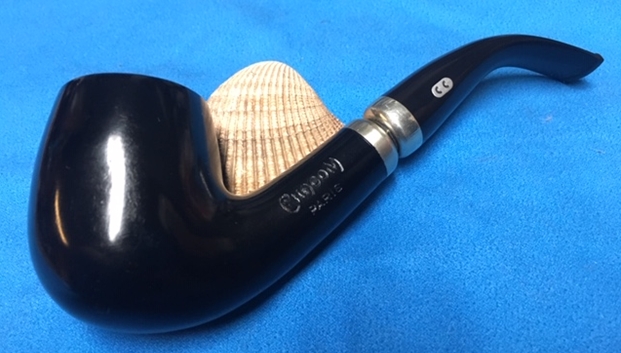
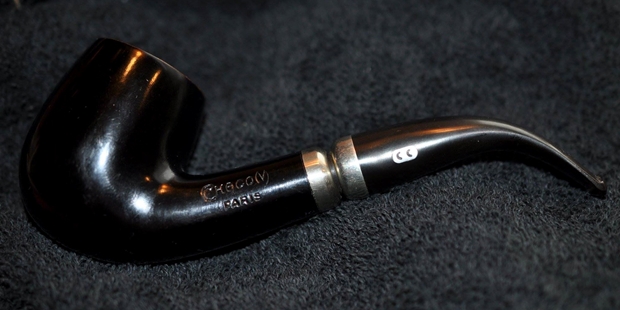
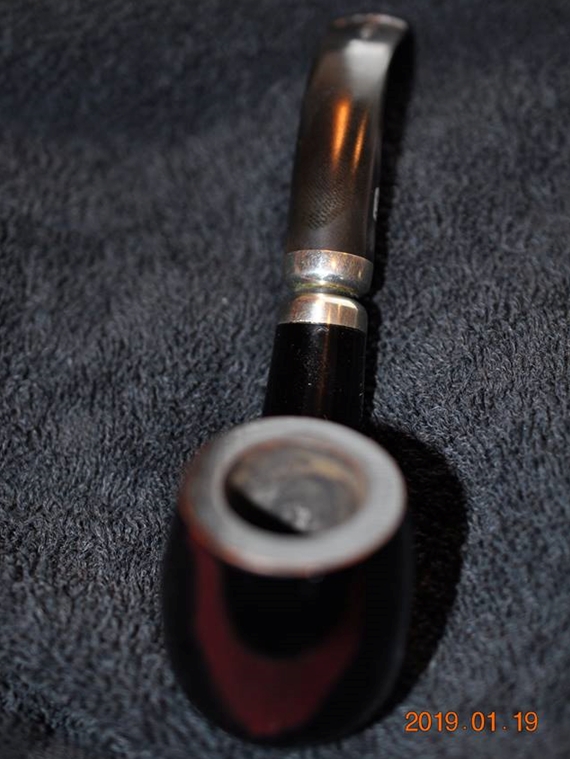
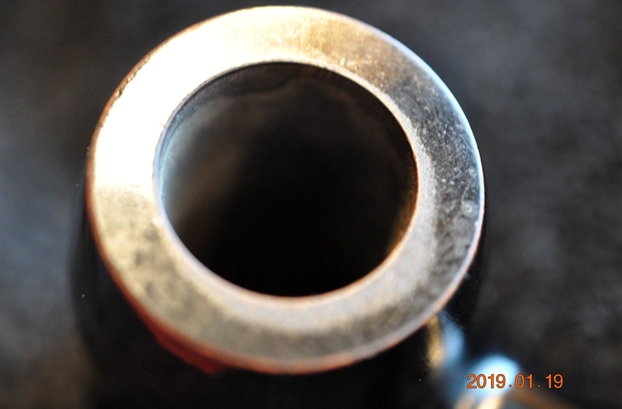
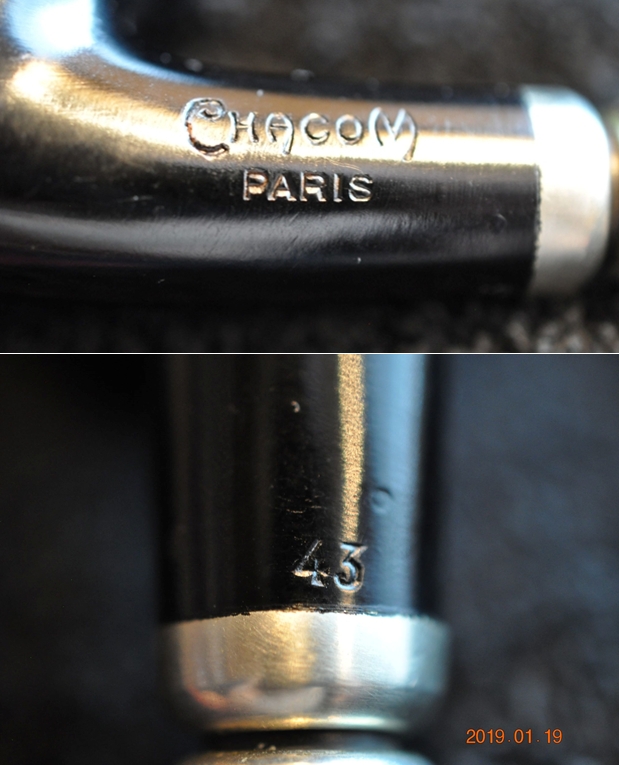
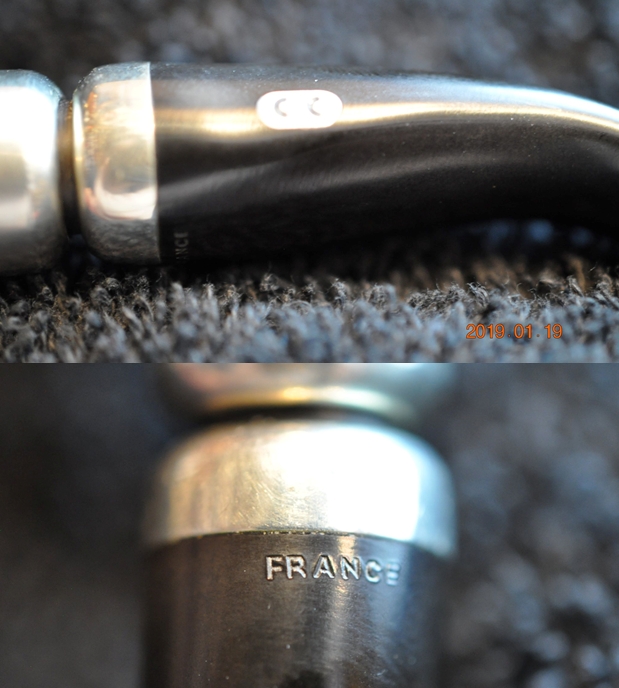
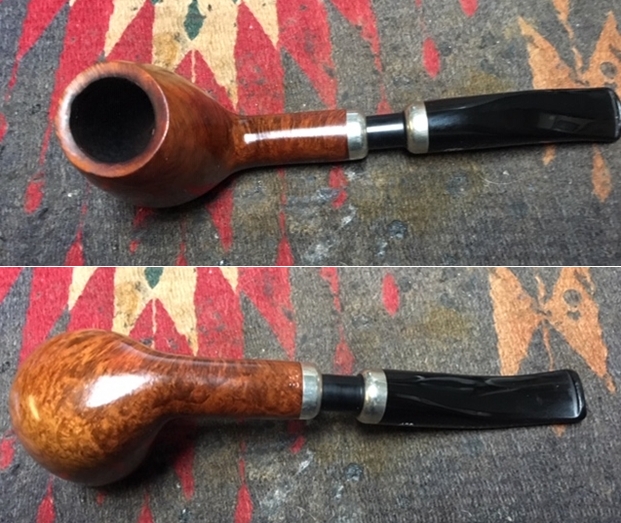
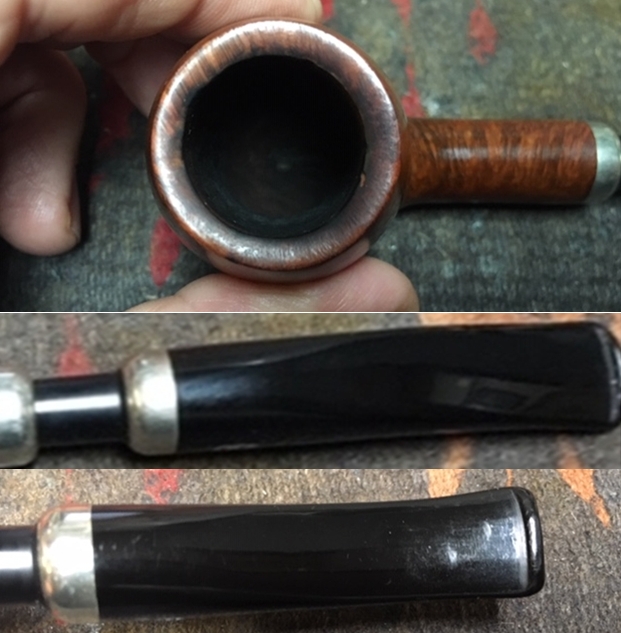
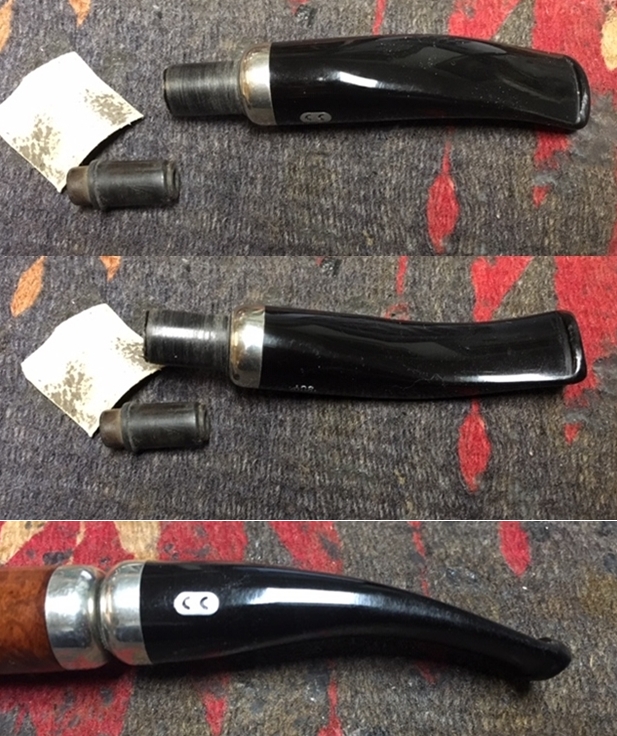
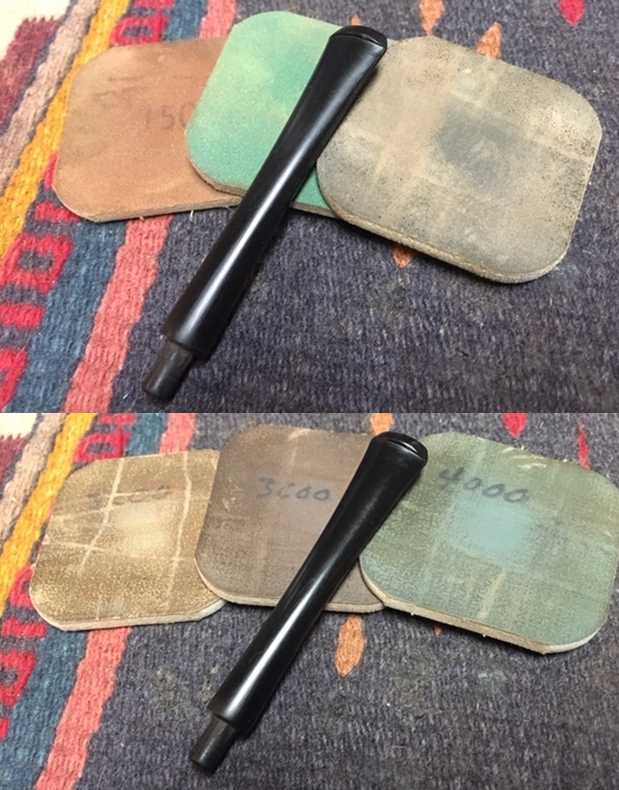
I finished the restoration of one of the pipes that Jeff and I picked up from a fellow in Pennsylvania, a Chacom Paris straight Brandy. I wrote about that restoration on the blog at this link: (https://rebornpipes.com/2019/03/22/breathing-life-into-a-chacom-paris-861-quarter-bent-brandy/). I had a second Chacom Paris in my restoration bin that needed some work. It had come to us from a fellow in New York who periodically picks up pipes for Jeff and me. It was a dress bent billiard with a shiny black painted coat around the bowl and shank. The pipe is stamped on the left side of the shank Chacom over Paris and there is Chacom CC logo stamped in the left side of the tapered, vulcanite stem. On the underside of the shank next to the ferrule on the shank was the shape number 43. It was very dirty with a thin cake in the bowl and a light layer of lava overflowing on to the rim top. From the photos it appeared that the inner and outer edges were in good condition. Other than a few small nicks in the black paint and a dirty finish it appeared to be in good condition. The stem and the shank end had a decorative metal ferrule that was supposed to meet once the stem was in place. On this pipe the stem sat well in the shank and there was no gap between the stem and shank. Jeff took photos of the pipe before he started his cleanup work. He took a photo of the rim top to show the cake in the bowl and the light overflow of lava. The cake was thin and the lava overflow is a thicker toward the back of the beveled rim. The bowl and the rim actually looked very good. The next photo shows the right side of the bowl and shank to give a clear picture of the condition of the dress finish on the pipe. It was in very good condition. Jeff took photos of the stamping on the left side of the shank and the shape number 43 on the underside of the shank near the ferrule to capture the clarity of it even under the grime. He also included some photos of the CC logo on the left side of the stem and the FRANCE stamp on the underside. The vulcanite stem was in okay condition other than some tooth chatter and marks on the top and underside near the button.Just a reminder from the previous blog on the Chacom Paris pipes:

The brand Chacom turned up (1934) after fusion of Chapuis-Comoy with La Bruyère. Yves Grenard (†2012), second cousin of Pierre Comoy headed the company from 1971. He was responsible for Chapuis Comoy’s recovering its independence from Comoy. His son Antoine Grenard took over the direction of the company in 2007. Chacom is a brand of Cuty-Fort Entreprises (Jeantet, Vuillard, Jean Lacroix, Ropp …) (http://www.pipephil.eu/logos/en/logo-chacom.html).

Pipedia gives a great historical overview of the brand (https://pipedia.org/wiki/Chacom). I have not included that here but if you are interested click on the link and you can read about the company from its inception to its current status.

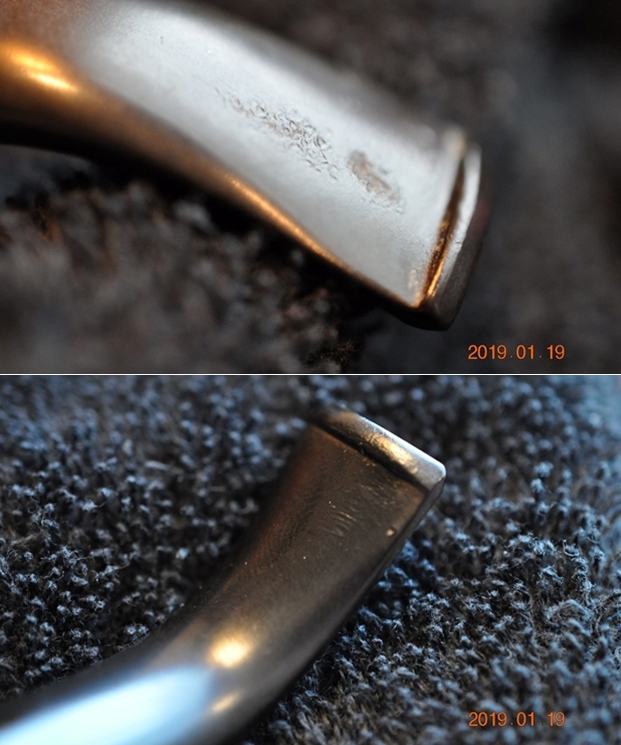
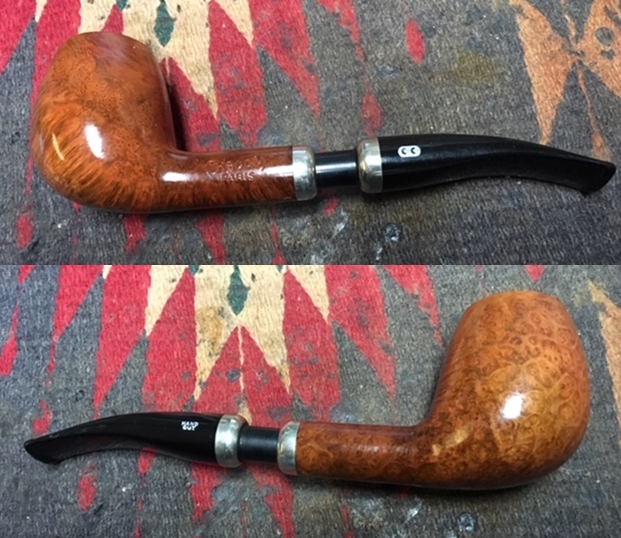
I turned to address the pipe itself. Jeff had already cleaned up the pipe before sending it to me. He had reamed the bowl with a PipNet pipe reamer and cleaned it up with a Savinelli Fitsall Pipe Knife. He scrubbed the exterior with Murphy’s Oil Soap and a tooth brush to clean the finish and the lava on the rim top. He cleaned up the internals of the shank, mortise and stem with pipe cleaners, cotton swabs and alcohol to remove all of the oils and tars in the pipe. When it arrived here in Vancouver it was a clean pipe and I knew what I had to work with. I took photos of it before I started my part of the restoration. I took photos of the rim top and the stem to show their condition. Jeff was able to clean up the cake and the lava overflow that was shown in the rim and bowl in the earlier photos. There was some damage to the rim top at the back of the bowl. The stem had some tooth chatter and tooth marks on the surface of both sides.I removed the stem and set it aside to address the issues with the rim top. I polished it with micromesh sanding pads – wet sanding with 1500-2400 grit pads and dry sanding with 3200-12000 grit pads. I wiped the rim down with a damp cloth after each pad. I was able to polish out much of the damage. The finish on the rest of the bowl was in good condition. The rim top was worn and there was some paint missing along the inner and outer edges. I decided to rub the bowl and shank down with Before & After Restoration Balm to deep clean the finish. The product works to clean, enliven and protect the briar. After it sat for a little while I wiped it off and buffed it with a soft cloth. The pipe had a rich shine. I took some photos of the bowl at this point to mark the progress in the restoration. It is a beautiful bowl. I used a black Sharpie pen to touch up the damaged areas around the rim top. I touched up both the inner and outer edges of the bowl.I set the bowl aside and worked on the stem at this point in the  process. The stem had tooth chatter and marks on the top and underside. I sanded the surfaces with 220 grit sandpaper and was able to remove the majority of the damage. I filled in the one remaining tooth mark on the top side with clear super glue and set the stem aside to allow the repairs to cure.After the repair had cured I blended it into the surface of the vulcanite with a folded piece of 220 and when finished started polishing the stem with 400 grit sandpaper. The repaired area looked good at this point in the process. There was a faint light spot in the repair that I could not sand out but it blended in very well.I polished the stem with micromesh sanding pads – wet sanding with 1500-2400 grit pads and dry sanding with 3200-12000 grit pads. I wiped the stem down after each pad with a damp cloth to remove the sanding dust. I polished Before & After Pipe Stem Polish – both Fine and Extra Fine. I gave it a final hand buff with a microfiber cloth. I put the stem back on the pipe and the pipe to the buffer. I carefully worked the stem over with Blue Diamond to polish out the remaining small scratches. I was careful not to buff the bowl and damage the painted surface. I gave the bowl multiple coats of Conservator’s Wax and the stem several coats of carnauba wax and buffed the pipe with a clean buffing pad to raise the shine. I hand buffed it with a microfiber cloth to deepen the shine. The pipe polished up really well and the rim top looked good. I was happy with the look of the finished pipe. The photos below show what the pipe looks like after the restoration. The Black Dress Chacom Paris with the metal fitments another very elegant looking pipe. The polished black vulcanite stem looks really good with the browns of the briar. The dimensions of the pipe are Length: 6 inches, Height: 2 inches, Outside diameter of the bowl: 1 1/4 inches, Chamber diameter: 3/4 of an inch. This is another pipe that I will be putting it on the rebornpipes online store shortly, if you are interested in adding it to your collection. The shape of the pipe and the bent stem give this pipe a great feel in the hand and the mouth. This one should be another great smoker. Thanks for walking through the restoration with me on another beauty!
Renewing a Classic Bari Shape – A Bari Opal 8443


Blog by Steve Laug

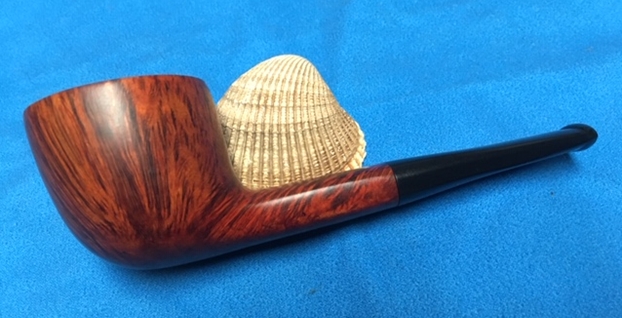
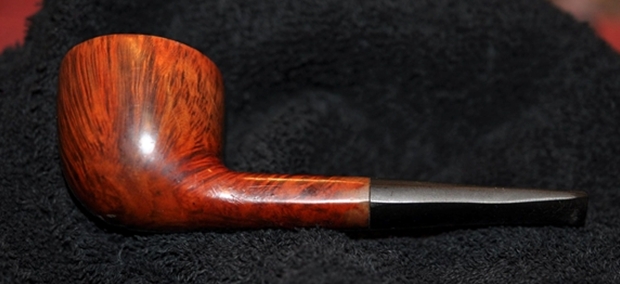
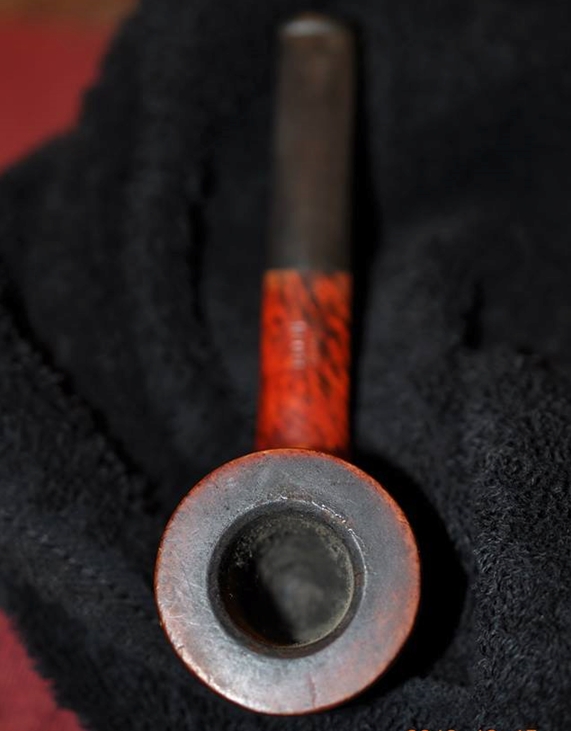
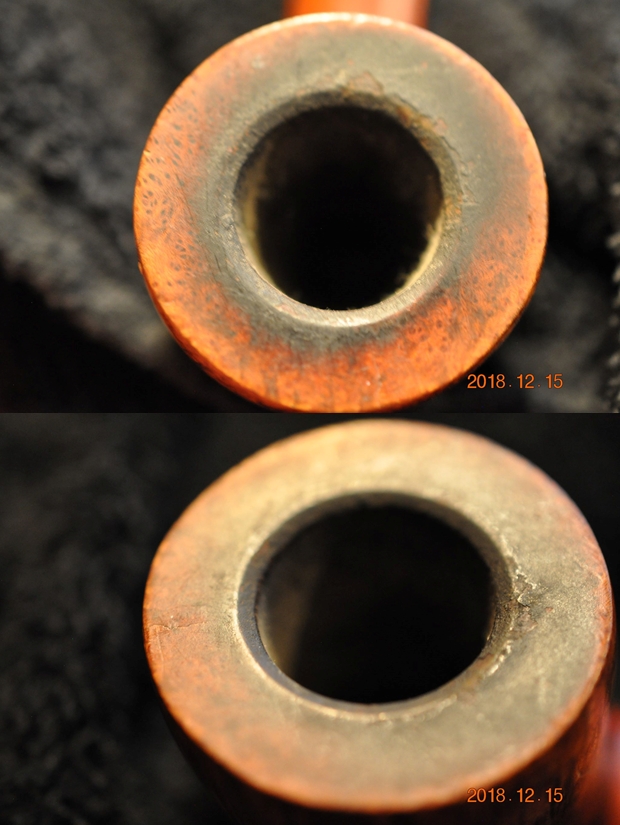
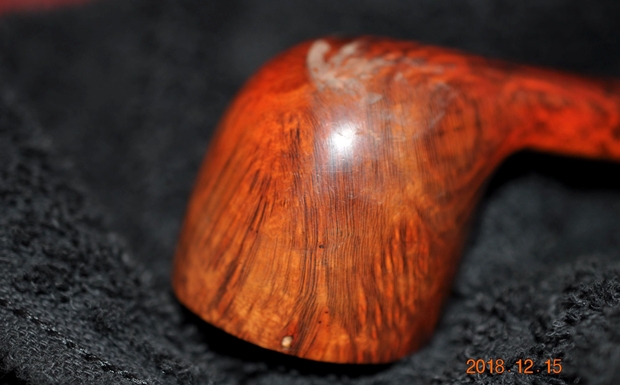
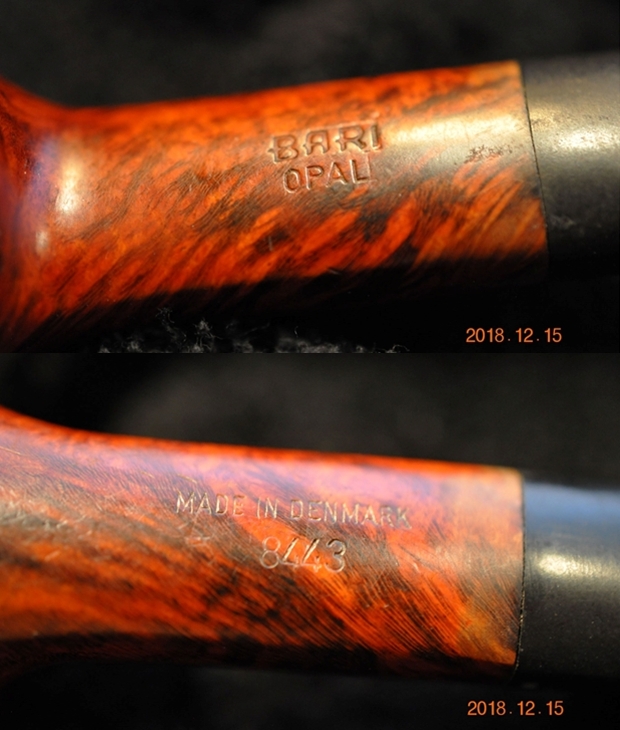
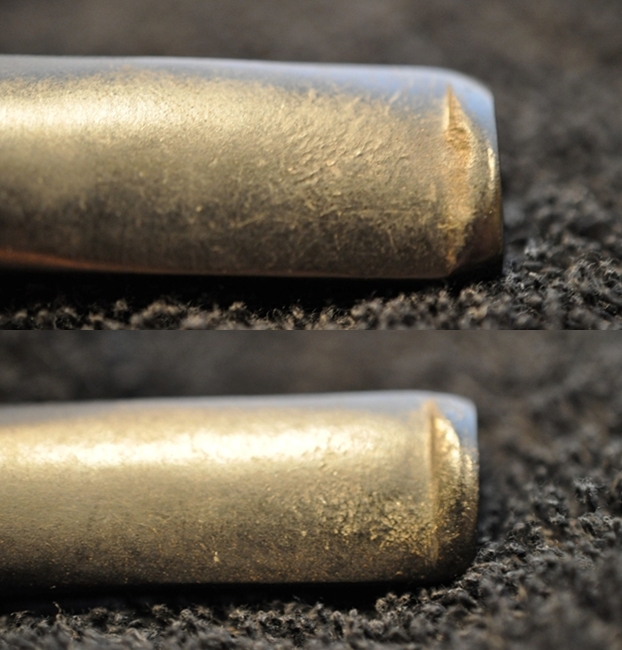
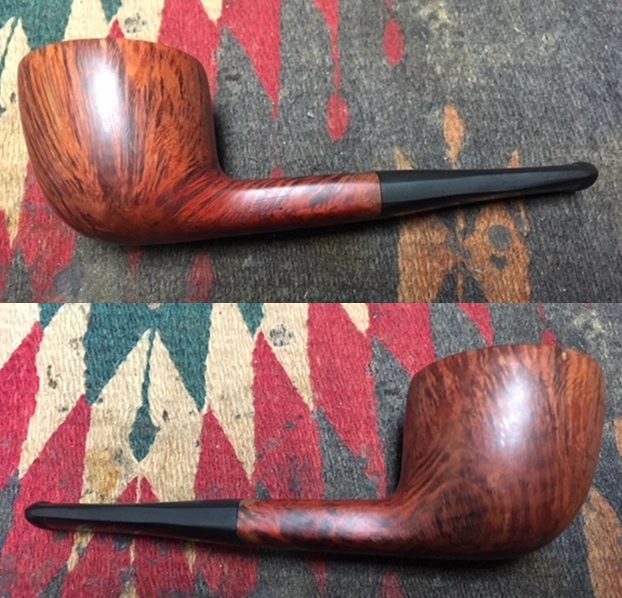
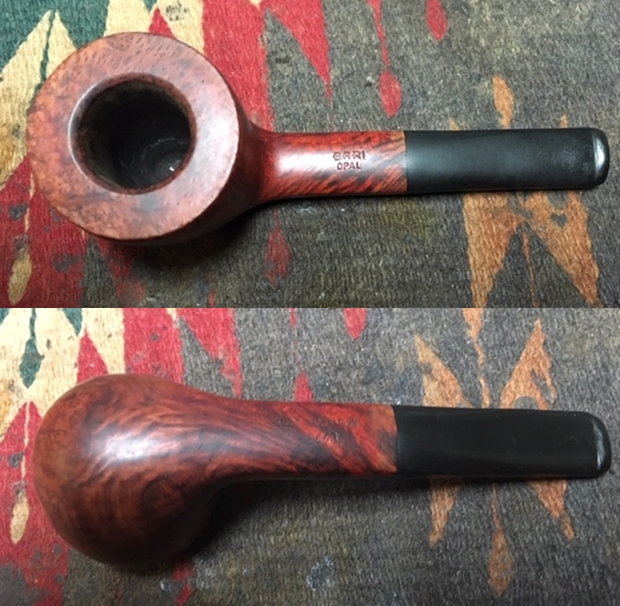
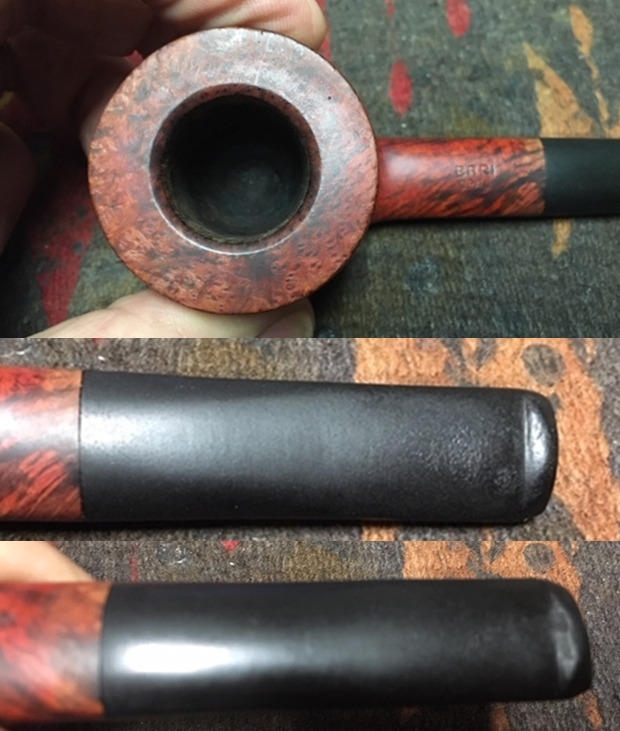
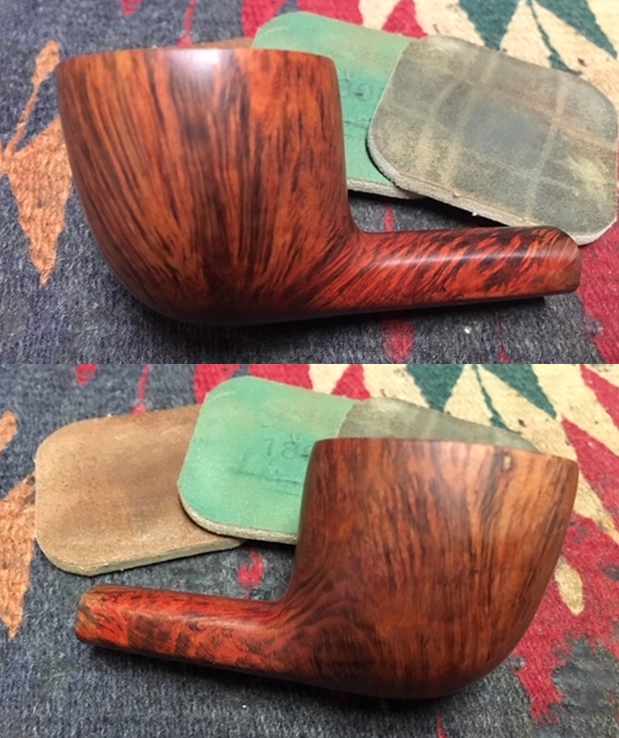
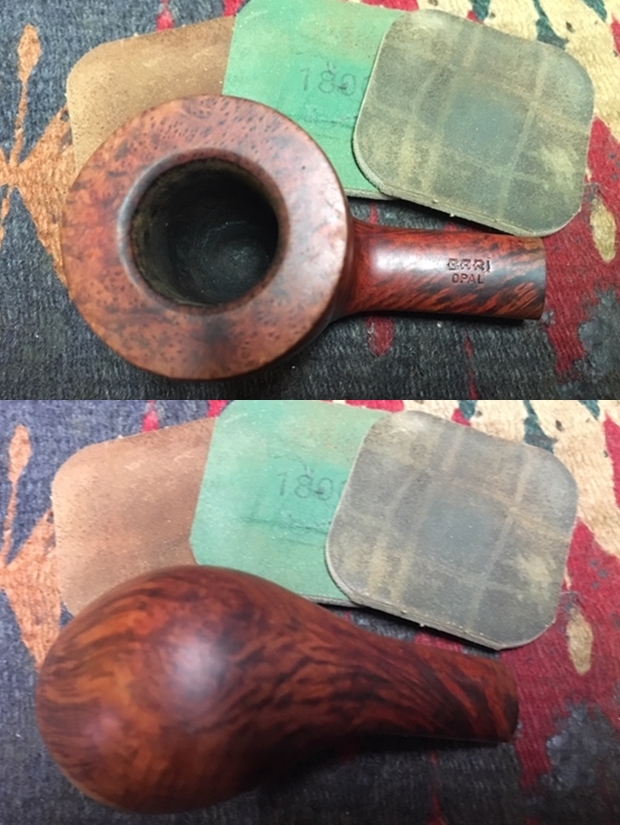
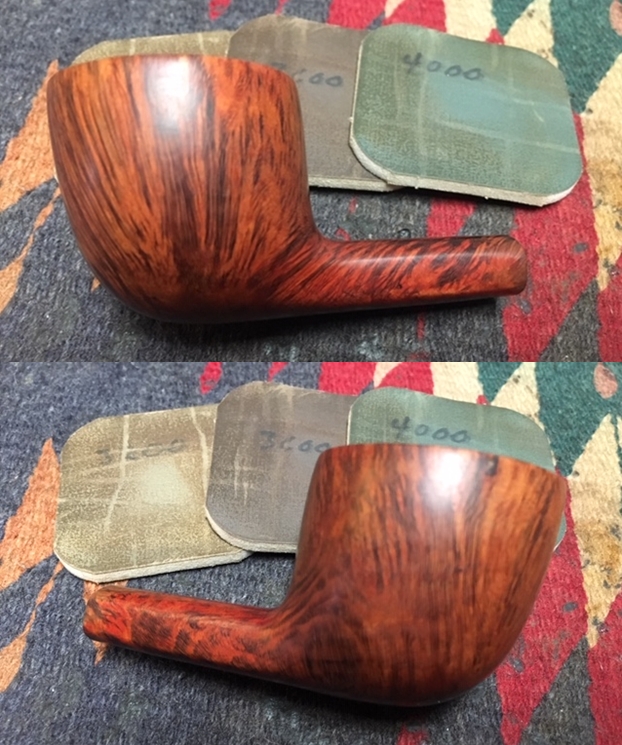
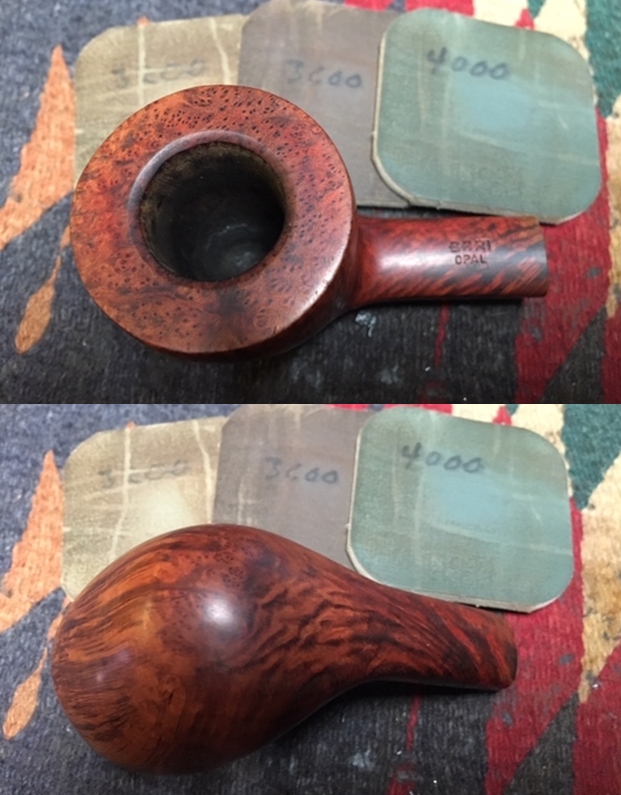
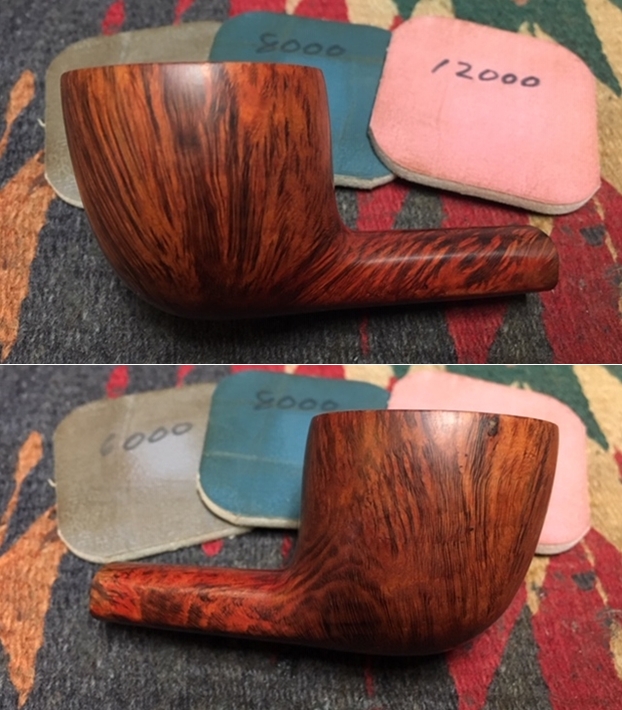
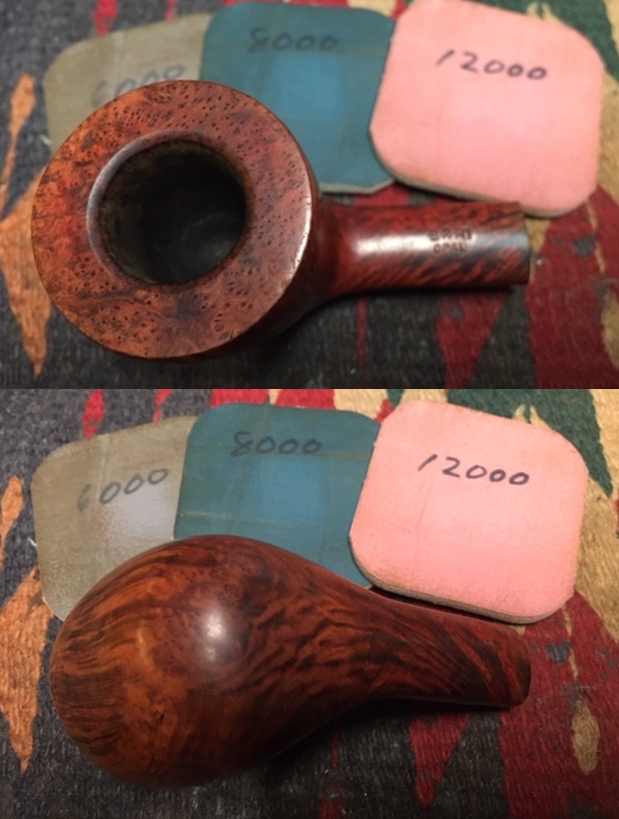
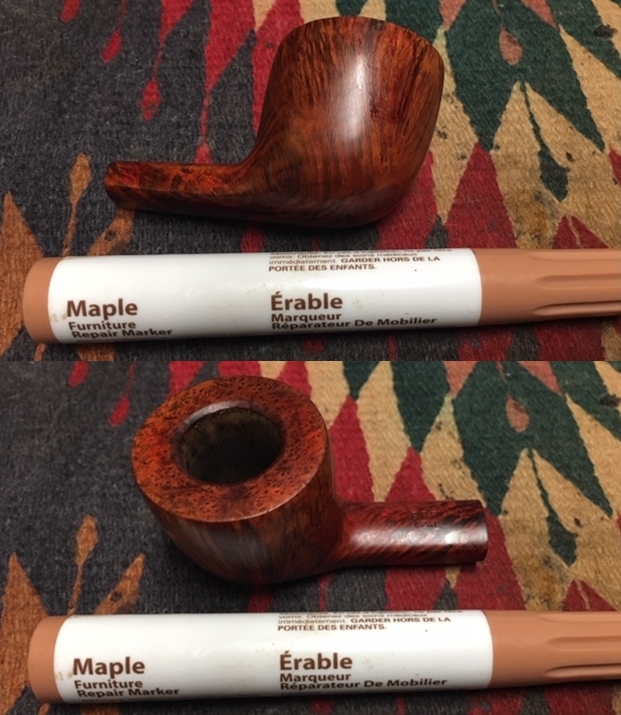
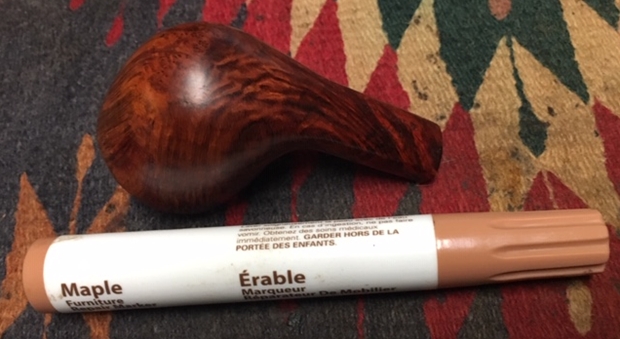
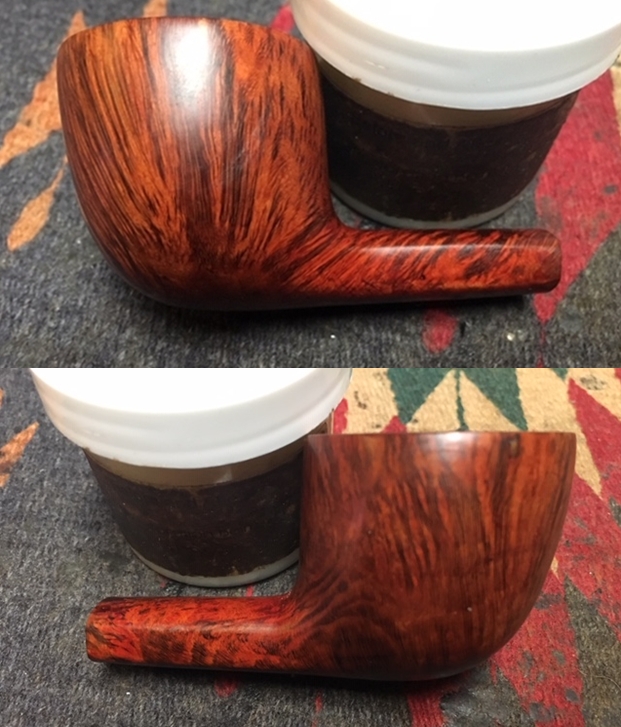
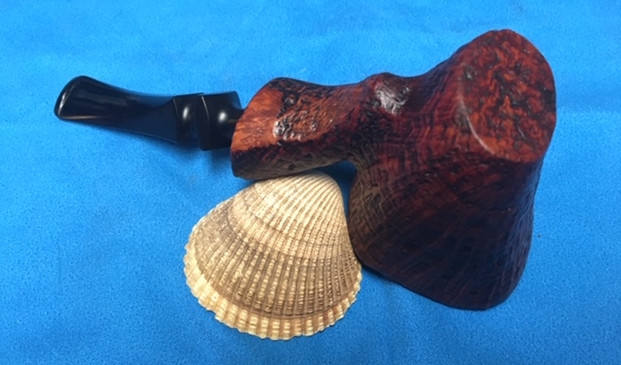
The next pipe on the table is from one of the unsung pipe makers that I really enjoy working on. It is a Bari pot shaped pipe with a rectangular shank and tapered vulcanite stem. This has some stunning straight and flame grain around the bowl and shank with birdseye on the top of the bowl and the heel. It showed a lot of promise even in its filthy condition. The rim top was quite wide and had a slight bevel on the inside rim edge. The pipe is stamped on the topside of the shank Bari over Opal and on the underside Made in Denmark over the shape number 8443. Lately we have been picking up some really dirty pipes and this pipe was no exception. It was very dirty with a thick cake in the bowl and a layer of lava overflowing on to the rim top. It was thick enough to have some wrinkles in the surface that looked almost like cracks. It was hard to know what the inner edge of the rim looked like because of the lava and cake. From the photos it appeared that the inner edge was in good condition. Other than being dirty the finish also appeared to look very good. The stem was lightly oxidized and the button surface on both sides was worn down from tooth damage. There was chatter on both sides of the stem. Jeff took some photos of the pipe before he started working on it. He took photos of the rim top to show the thick cake in the bowl and the overflow of lava. The cake is thick and hard and the lava overflow is a thicker toward the back of the beveled rim. The bowl and the rim are a real mess. This must have been a great smoking pipe.He took a photo of the right side and heel of the bowl to show some of the grain and the condition of the pipe. There is one small fill at the top of the bowl that will need to be dealt with but otherwise it is a pretty pipe.Jeff took photos of the stamping on the top and underside of the shank to capture the clarity of it even under the grime. It is clear and legible.The vulcanite stem was worn at the button with the sharp edge of the button worn down with tooth marks. The stem also had a lot of chatter both sides and some oxidation.Jeff had already cleaned up the pipe before sending it to me. He had reamed the bowl with a PipNet pipe reamer and cleaned it up with a Savinelli Fitsall Pipe Knife. He scrubbed the exterior with Murphy’s Oil Soap and a tooth brush to clean off the grime off the finish and the heavy overflow of lava on the rim top. He cleaned up the internals of the shank, mortise and stem with pipe cleaners, cotton swabs and alcohol to remove all of the oils and tars in the pipe. When it arrived here in Vancouver it was a clean pipe and I knew what I had to work with. I took photos of it before I started my part of the restoration. I took photos of the rim top and the stem to show their condition. Jeff was able to clean up the thick cake and lava overflow that was shown in the rim and bowl in the earlier photos. He was also able to get rid of the grime and grit in the surface of the briar. The rim top looked a lot better than when he started. There was still some pitting and darkening on the surface of the inward bevel but it should clean up very well.I decided to work on the scratches in the surface of the briar first. I polished the surface with micromesh sanding pads – wet sanding with 1500-2400 grit pads and dry sanding with 3200-12000 grit pads. I wiped the rim down with a damp cloth after each pad. I was able to polish out the scratches without damaging the finish on the bowl or the rim. The finish looked very good once I was done polishing it. On the right side of the bowl there was a fill that stuck out. I touched it up with a black Sharpie pen and buffed it by hand. I used a Maple stain pen to touch up the area around the fill and the lighter areas on the shank end. The finish on the rest of the bowl was in excellent condition. After I was finished with the stain pens and polishing the restained areas I rubbed the bowl and shank down with Before & After Restoration Balm to deep clean the finish on the bowl and shank. The product works to clean, enliven and protect the briar. After it sat for a little while I wiped it off and buffed it with a soft cloth. The briar really began to have a rich shine. I took some photos of the bowl at this point to mark the progress in the restoration. It is a beautiful bowl. I set the bowl aside and worked on the stem at this point in the  process. The stem may well be a replacement one but it is hard to know for certain. It is well made and fits perfectly to the shank. I decided to start by repairing the deep tooth marks on the button and the stem. I filled them in and built up the surface of the button with clear super glue and set the stem aside while I went to lunch.I used a needle file to cut a sharp edge on the button on both sides of the stem. I worked it until there was a definite sharp edge. I sanded the button and the stem with 220 grit sandpaper and 400 grit sandpaper to remove the scratches. I polished the stem with micromesh sanding pads – wet sanding with 1500-2400 grit pads and dry sanding with 3200-12000 grit pads. I wiped the stem down after each pad with Obsidian Oil to remove the sanding dust. I polished Before & After Pipe Stem Polish – both Fine and Extra Fine. I gave it a final hand buff with some Obsidian Oil and laid it aside to dry. I put the stem back on the pipe and the pipe to the buffer. I worked it over with Blue Diamond to polish out the remaining small scratches in the briar and the vulcanite. I gave the bowl and the stem several coats of carnauba wax and buffed the pipe with a clean buffing pad to raise the shine. I hand buffed it with a microfiber cloth to deepen the shine. I love the way that the buffer brings a shine to the pipe. I was happy with the look of the finished pipe. The photos below show what the pipe looks like after the restoration. I have worked on quite a few Bari’s over the years and I am always pleased with the way the shape and the grain work together.  The shape and the look is uniquely Bari and are very elegant. The polished black vulcanite stem looks really good with the contrasting browns of the briar. The dimensions of the pipe are Length: 5 inches, Height: 1 3/4 inches, Outside diameter of the bowl: 1 3/4 inches, Chamber diameter: 7/8 of an inch. This pipe will soon be added to the rebornpipes online store. If you are interested in adding it to your collection let me know. This one should be a great smoker. Thanks for walking through the restoration with me on another beauty!
Breathing Life into a Chacom Paris 861 Quarter Bent Brandy


Blog by Steve Laug

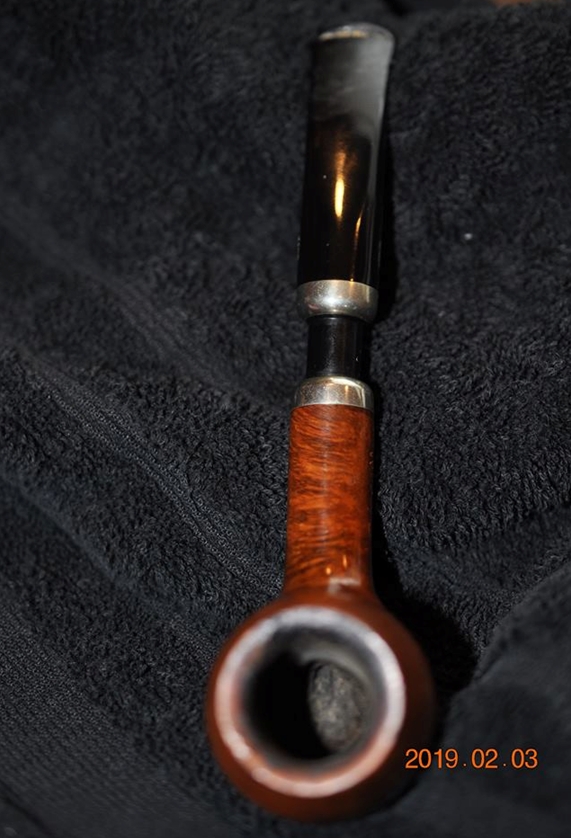
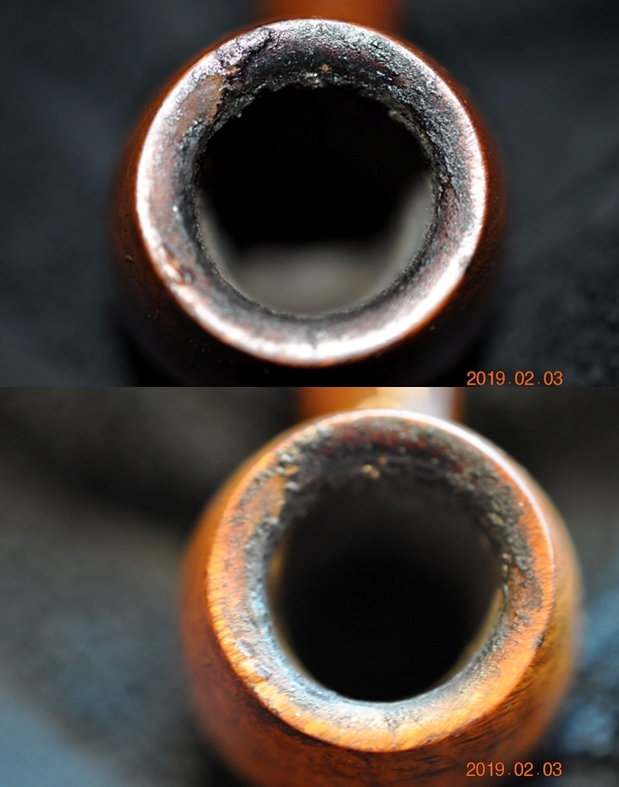
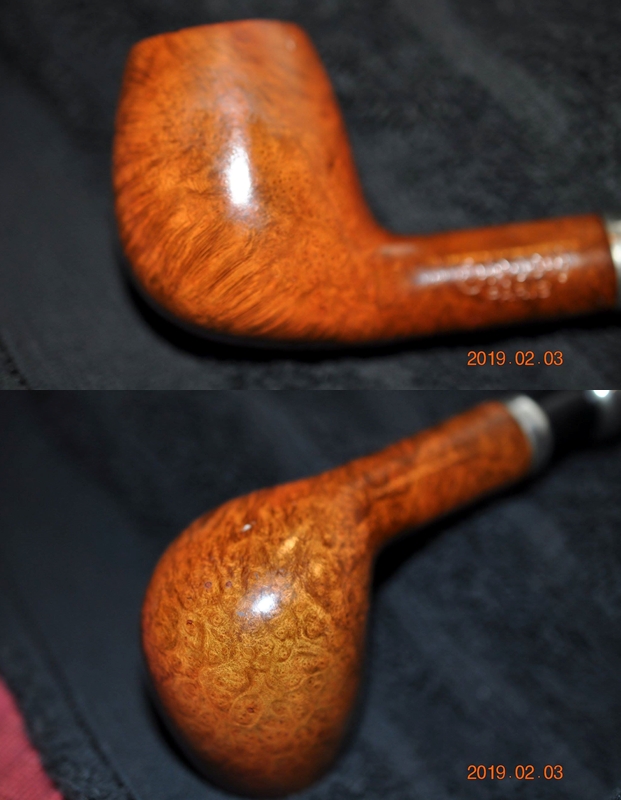
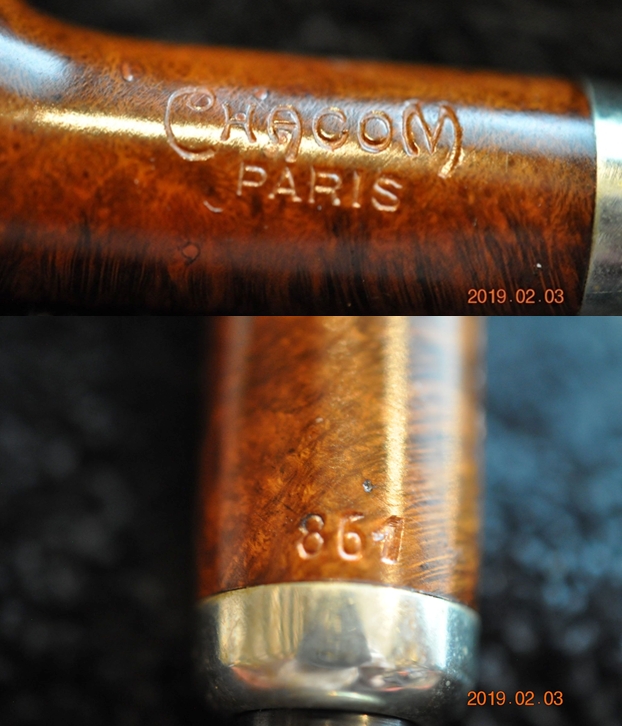
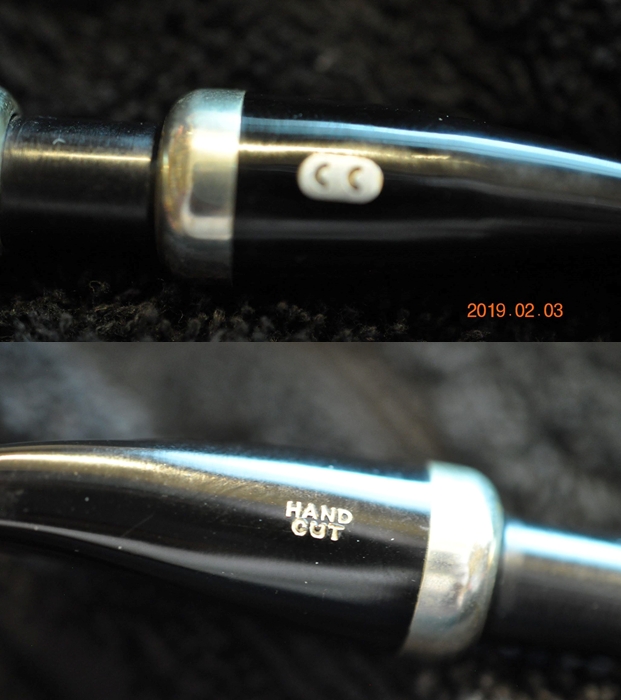
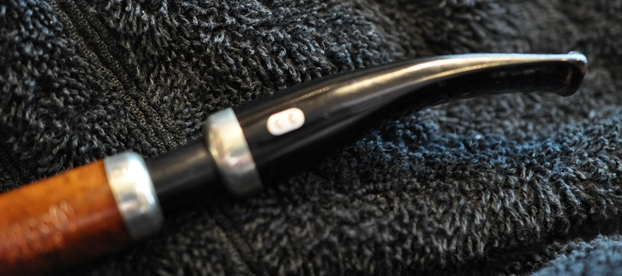
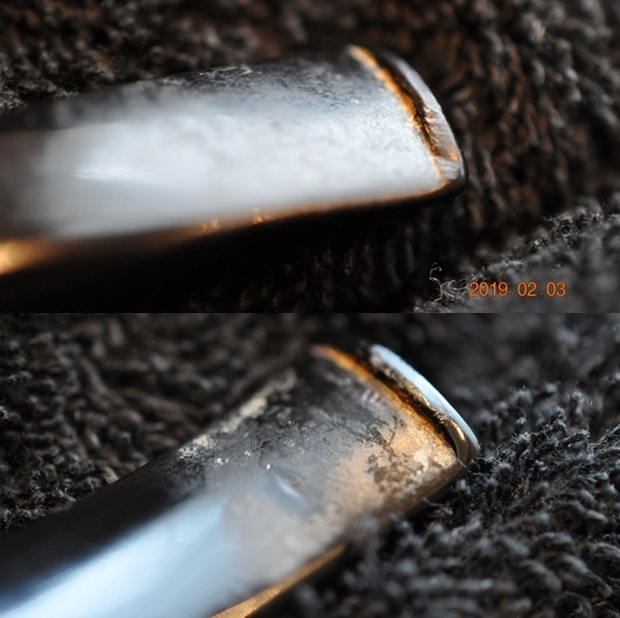
One of the pipes that Jeff and I picked up from a fellow in Pennsylvania was a Chacom Paris straight Brandy. He contacted us about purchasing his pipes as he was cleaning out his collection. This particular pipe showed promise but it was in rough condition. It had some beautiful grain – birdseye and mixed grain. The rim top was beveled inward. The pipe is stamped on the left side of the shank Chacom over Paris and there is Chacom CC logo stamped in the left side of the tapered, acrylic stem. We seem to pick up some really dirty pipes and this pipe was no exception. It was very dirty with a thick cake in the bowl and a heavy layer of lava overflowing on to the rim top. It was hard to know what the inner edge of the rim looked like because of the lava and cake. From the photos it appeared that the inner edge was in good condition. Other than being dirty the finish also appeared to look very good. The stem and the shank end had a decorative metal ferrule that was supposed to meet once the stem was in place. On this pipe the stem would not sit in the shank and there was a gap between the stem and shank. I am including some photos of the pipe that the seller emailed me when we were discussing the pipe.Needless to say we went for the deal and soon the pipe was on its way to Jeff’s place for cleaning and preparation for restoration. Jeff took these pictures when it arrived. You can see the issues that I noted above in the following photos. It was going to take some work to bring it back to what it was supposed to look like. He took photos of the rim top to show the thick cake in the bowl and the overflow of lava. The cake is thick and hard and the lava overflow is a thicker toward the back of the beveled rim. The bowl and the rim are a real mess. This must have been a great smoking pipe.The next photo shows the right side of the bowl and shank to give a clear picture of the beauty of the birdseye and mixed grain around the bowl of the pipe. It is a beauty. Jeff took photos of the stamping on the left side of the shank and the shape number 861 on the underside of the shank near the ferrule to capture the clarity of it even under the grime. He also included some photos of the CC logo on the left side of the stem and the Hand Cut stamp on the right side. Jeff took a photo of the fit of the stem in the shank. The tenon (Delrin) did not seem to fit in the mortise. I would need to check it out because it did not look right to me.The acrylic stem was in okay condition other than some heavy tooth marks on the button surfaces and some calcification where the seller had used a softee bit. There looked like there were some light tooth marks and chatter on the stem that should not take too much work to remedy. The brand Chacom turned up (1934) after fusion of Chapuis-Comoy with La Bruyère. Yves Grenard (†2012), second cousin of Pierre Comoy headed the company from 1971. He was responsible for Chapuis Comoy’s recovering its independence from Comoy. His son Antoine Grenard took over the direction of the company in 2007. Chacom is a brand of Cuty-Fort Entreprises (Jeantet, Vuillard, Jean Lacroix, Ropp …) (http://www.pipephil.eu/logos/en/logo-chacom.html).

Pipedia gives a great historical overview of the brand (https://pipedia.org/wiki/Chacom). I have not included that here but if you are interested click on the link and you can read about the company from its inception to its current status.

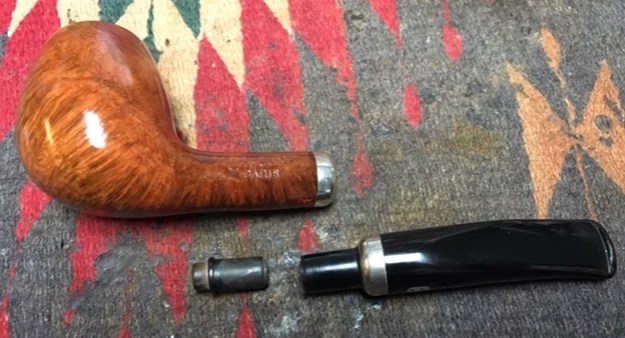
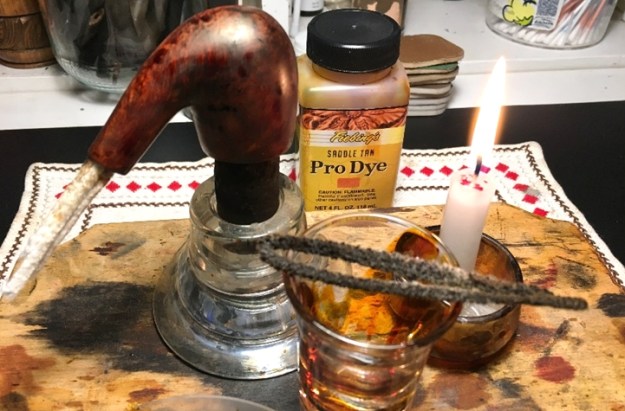
I wanted to know what the pipe should have looked like when it was made so I did a quick google search to see if could find a photo. I turned up a straight shank brandy in a red stain that showed the way that the tenon and mortise should have worked. The stem should have fit into the mortise and the silver ferrule on the shank end and the one on the stem should have met. Now I knew what I was aiming for and work to get the correct fit. Armed with the information I needed I turned to address the pipe itself. Jeff had already cleaned up the pipe before sending it to me. He had reamed the bowl with a PipNet pipe reamer and cleaned it up with a Savinelli Fitsall Pipe Knife. He scrubbed the exterior with Murphy’s Oil Soap and a tooth brush to clean off the grime off the finish and the heavy overflow of lava on the rim top. He cleaned up the internals of the shank, mortise and stem with pipe cleaners, cotton swabs and alcohol to remove all of the oils and tars in the pipe. When it arrived here in Vancouver it was a clean pipe and I knew what I had to work with. I took photos of it before I started my part of the restoration. I took photos of the rim top and the stem to show their condition. Jeff was able to clean up the thick cake and lava overflow that was shown in the rim and bowl in the earlier photos. He was also able to get rid of the grime and grit in the surface of the briar. The rim top looked a lot better than when he started. There was still some pitting and darkening on the surface of the inward bevel but it should clean up very well.As I examined the stem I found that it had an adapter in the tenon to convert the pipe from a 9mm filter pipe to a non-filtered pipe. The adapter was removable so that the pipe could be smoked either way. I took the adapter out of the tenon and took a photo of the parts.I decided to address the improperly fitting tenon first. I removed the adapter from the tenon and sanded it with a folded piece of 220 grit sandpaper to reduce the diameter of the tenon. The third photo shows the stem after I have reowrked the tenon. The fit is perfect.I set the stem aside to address the issues with the rim top. It had some light pitting and scratches in the surface of the bevel. I sanded the surface with micromesh sanding pads – wet sanding with 1500-2400 grit pads and dry sanding with 3200-12000 grit pads. I wiped the rim down with a damp cloth after each pad. I was able to polish out the scratches without damaging the finish to the rim top. A side benefit was that the darkening also was removed. The finish on the rest of the bowl was in excellent condition. After it was finished with the rim polishing I rubbed the bowl and shank down with Before & After Restoration Balm to deep clean the finish on the bowl and shank. The product works to clean, enliven and protect the briar. After it sat for a little while I wiped it off and buffed it with a soft cloth. The briar really began to have a rich shine. I took some photos of the bowl at this point to mark the progress in the restoration. It is a beautiful bowl. I set the bowl aside and worked on the stem at this point in the  process. I still needed to polish the tenon but I decided to start by repairing the deep tooth marks on the stem. The button on the top edge had tooth marks and the flat portion of the stem on the underside also had tooth marks. I filled them in with clear super glue and set the stem aside to allow the repairs to cure overnight.In the morning the repairs had cured so I blended them into the surface of the acrylic with a folded piece of 220 and began polishing the stem with 400 grit sandpaper. I also began polishing the tenon at the same time with the 400 grit sandpaper. The repaired areas looked very good at this point in the process.I polished the Lucite stem with micromesh sanding pads – wet sanding with 1500-2400 grit pads and dry sanding with 3200-12000 grit pads. I wiped the stem down after each pad with a damp cloth to remove the sanding dust. I polished Before & After Pipe Stem Polish – both Fine and Extra Fine. I gave it a final hand buff with a microfiber cloth. I polished the metal at the same time. I put the stem back on the pipe and the pipe to the buffer. I worked it over with Blue Diamond to polish out the remaining small scratches. I gave the bowl and the stem several coats of carnauba wax and buffed the pipe with a clean buffing pad to raise the shine. I hand buffed it with a microfiber cloth to deepen the shine. The pipe polished up really well and the beveled rim top looked good. I was happy with the look of the finished pipe. The photos below show what the pipe looks like after the restoration. I have a dress black Chacom Paris that is a lot like this pipe. The shape and the fitments are very elegant. The polished black Lucite stem looks really good with the browns of the briar. The dimensions of the pipe are Length: 6 inches, Height: 2 inches, Outside diameter of the bowl: 1 1/4 inches, Chamber diameter: 3/4 of an inch. This is another pipe that I will be putting it on the rebornpipes online store shortly, if you are interested in adding it to your collection. The shape of the pipe and the ¼ bent stem give this pipe a great feel in the hand and the mouth. This one should be a great smoker. Thanks for walking through the restoration with me on another beauty!

Tina’s first choice: Renewing a Lindbergh 324 Poker


Blog by Dal Stanton
Burgas, Bulgaria, is a coastal city on the Black Sea where my wife and I as often as we can, go to find some rest and relaxation on the beach, especially during the summer months.  When we’re not enjoying the surf and sand, one of my favorite activities is to go pipe picking, of course!  I found the Lindbergh 324 Poker on one of these expeditions in 2017 on the main walking streets in Burgas – an antique shop I’ve visited before did not let me down on this visit!

I found the treasure trove in a copper pot waiting for me on a stack of books.  I carefully and methodically sifted through the pipes in the brass pot and culled 5 nice candidates who were calling my name!  They were a Butz Choquin Supermate 1596 Paneled Billiard – St Claude-France, a Rusticated Harvey Meerschaum Lined Dublin (LONDON/PARIS/NEW YORK), a Lincoln London Made Real Sandblasted Billiard, and an Old Bruyere Billiard with an interesting P-Lip saddle stem and the Lindbergh Select 324 Poker.

I was drawn to both the Lincoln and the Harvey because they had the “RESEARCH ME!” aura about them in addition to being cool looking pipes.  The BC Panel had gain that said, “Let me loose!”  Yes, I believe pipes speak if we have ears to hear and my ears were fine-tuned having spent time on the beach clearing the senses!  After negotiations were completed, the Burgas 5 were wrapped and bagged and came home with me to Sofia.

As with most of my acquisitions that benefit the Daughters of Bulgaria, they are pictured, recorded, catalogued and put into the online For “Pipe Dreamers” Only! collection waiting for a steward to hear them calling from the virtual ‘Help Me!’ baskets.

Tina was visiting us in Bulgaria with a group of other ladies from Birmingham, Alabama, USA, and with most of our visitors, they heard of my ‘interesting’ hobby of collecting and restoring vintage pipes.  Tina was intrigued and asked to see my work table and some pipes – she had the growing idea of commissioning some pipes FOR THE DAUGHTERS to gift special men in her life – husband, sons, colleagues…. This was my kind of visit!  She started going through the troves of pipes that I have in the inventory for the Daughters and it was fun watching her settle on certain pipes that ‘matched’ the man she had in mind and in the end, she commissioned 4 pipes to be restored and one Churchwarden project which I will fashion from a repurposed bowl.  I gave her estimates for the pipes she had chosen, and she solemnly agreed to a vow of PATIENCE.  I’m thankful for her patience which is finally bearing fruit on my work table!  I chose the Lindbergh Select Poker with a shape number of 324 to work on first.  I love the iconic Poker shape and the story associated with the utilitarian purpose of the Poker’s flat bottom, that easily finds a casual place on the card table next to the adult beverage while its hopeful steward looks expectantly at the cards dealt.  This Poker has a large swatch of briar real estate and an attractive canted volcano-like descent that results in a larger card table base or heel.  The 3/4 bent shank/stem gives the entire pipe a casual, reach for me feel.  Here are pictures of the Lindbergh Select 324 now on my work table: The stamping on the left flank of the shank is ‘LINDBERGH’ [over] ‘SELECT’.  The right flank is stamped with what I’m assuming is the Poker’s shape number, 324.  There are no other identifying marks that I can see.To learn more about Lindbergh Select, I look to Pipedia with no nibbles.  My copy of Herb Wilczak and Tom Colwell’s, ‘Who Made That Pipe?’ also came up empty.  Turning next to Pipephil.eu I found more.  The examples of Lindbergh I found there were of various markings without a strong sense of a positive hit.  The note that was included in this name that gave a COM of France was that they were most likely crafted by more than one maker, which makes sense looking at the different markings and especially the stem stampings and different stem lettering.  Seemingly no continuity in the markings.This was a helpful bit of information which pushes my thinking a bit broader than a single manufacturer of the Lindbergh name.  Next I do a Google search and found another Lindbergh SELECT that was for sale on an auction block (LINK) and found an interesting similarity – the sharply beveled internal rim. Unfortunately, the pictures they provided did not show the nomenclature but did show a shape number – 601 for the oval shank Billiard.  My search took me next to a discussion thread about a Lindbergh pipe on PipesMagazine.com that brought me as close to understanding the origins of this pipe as I’m going to get for now.  The thread started with sablebrush52 who purchased a Meerlined Panel with the markings Lindbergh with the addition of ‘New York – Paris’ in the nomenclature.  The thread described the historical attachment the French have with the famous and controversial aviator Charles Lindbergh, whose historic jaunt across the Atlantic in the prop plane, The Spirit of St. Louis, captured the imaginations and hearts of the French at that time.  This national embrace of Charles Lindbergh would explain how pipes were produced from different French sources with the Lindbergh name – more of a historical commemoration of this event.  The nomenclature of the pipe under discussion in the thread is pictured here:I’m including one well-known contributor’s statement as a summary of this history and fascination with Charles Lindbergh.  From mso489:

Lindberg was one of the early American mega-celebrities, which both immortalized his life and damaged it in various ways, the later kidnapping of his child and his relationship with the rise of the Nazi regime with their interest in aeronautics. So this pipe reflects that tender moment in history where his mere name sent out sparks of admiration. It’s appropriately a handsome example of industrial design. Lindberg was a farsighted designer of aircraft which is why he succeeded first with his flight. His plane, The Spirit of St. Louis, was a masterpiece of prioritization, economy, and spareness; he gave up a front windshield substituted with a periscope to make room for yet another fuel tank — but that’s an easy example. The whole plane was conceptualized that way. Then there was the whole problem of staying awake to fly the plane, which he managed to do.

Looking more closely at the Lindbergh Select on my work table, the chamber has light cake and some lava flow on the rim and shows some scorching on the right forward quadrant.  The large Poker stummel has several fills that will need to be cleaned out and refilled on the stummel side and the heel.  The upper right side of the bowl has a dent which might be able to be drawn out through heating.  The saddle stem has oxidation.  The bit has very little tooth chatter at all. I discover that scotch tape was wrapped around the tenon in order to tighten the fit.  When I remove the tape, the result is a very loose fitting tenon – rattling around in the mortise! It’s very possible that this stem is a replacement, but it should fit nicely. The balance of the Poker is perfect – it sits quite nicely. I start the restoration of this Lindbergh Select Poker by first cleaning the internal airway of the stem with pipe cleaners dipped in isopropyl 95% and then placing it in a bath of Before & After Deoxidizer along with other pipes and stems in the queue – most commissioned by Tina! After some hours, I fish out the Lindbergh bent Saddle Stem and allow the B&A Deoxidizer to drain off.  I also run another pipe cleaner through the airway to force the Deoxidizer out and then wipe the raised oxidation with cotton pads wetted with isopropyl 95%.  Much oxidation is removed.After finishing the removal of oxidation, I begin to revitalize the vulcanite stem by applying a coat of paraffin oil (a mineral oil) and I put the stem aside to soak in the oil and dry.Turning now to the Poker stummel, using 3 of the 4 blade heads available in the Pipnet Reaming Kit, I ream the chamber.  I follow by employing the Savinelli Fitsall tool to fine tune by scraping the chamber walls further.  Finally, I use a Sharpie Pen wrapped with 240 grade paper and sand the chamber removing the residue carbon and revealing fresher briar.  I wipe the chamber with a cotton pad wetted with alcohol to remove the remaining carbon dust.  After inspection of the chamber, all looks great!  There are no evidences of heating problems. Next, I clean the external real estate of the Poker’s briar using undiluted Murphy’s Oil Soap and a cotton pad.  I keep my eye on the old fills to see how they react.  I also utilize a brass bristled brush to work on the darkened scorched area on the rim.  I also carefully scrape the rim with the sharp edge of a Buck pocket knife.The results of the cleaning are good, but the rim still shows the burn trail of the lighting practice of the former steward – pulling the flame over the rim instead of over the tobacco and pulling the flame downwardly.As I suspected would be the case, the old fill material softened, and I easily remove it from the side and heel of the stummel using a sharp dental probe.Before moving further with the external repairs, I clean the internals of the stummel by using pipe cleaners and cotton buds wetted with isopropyl 95%. The internals turn out to be nasty and I do much excavating using a dental spatula – scraping the mortise walls of tars, old oils and much gunk. I also use a shank brush to clean the airway. Finally, the crud starts giving away and cotton buds start emerging a much lighter hue. I call the job done for now, to return later for a kosher salt and alcohol soak to draw more tars and oils from the internal cavity as well as to freshen the stummel.To continue the work on the stummel surface, I start from the top down.  First, to address the deep scorching on the rim, I use the topping board with 240 grade paper on it to top the stummel.  Thankfully, this stummel as a good bit of real estate but I still am very stingy in giving up the briar.  I take a picture to mark the start and then a few pictures showing the progression as I rotate the inverted stummel over the 240 grade paper. I come to a place that is the tension between complete removal of the dark area and having given up enough top briar in the effort.  I stop and switch out the paper to 600 grade paper and give the stummel a few more rotations to smooth out the scratches of the 240 paper.  The rim lines are refreshed, but a darkened area remains at this point.To now sharpen the bevel and clean the rim further, I use 240 grade paper tightly rolled and sand the internal bevel. I follow this with 600 grade paper (which I forgot to picture!) and then, one final rotation on the topping board with 600 grade paper to sharpen the rim lines once more.  I like it.  The rim looks great.With the rim repair advanced to this point, I now work on refilling the pits on the side and the heel of the stummel that were left after removing the old fill.I mix briar dust and thick CA glue to form a putty that I use to fill the pits.  After putting a small amount of briar dust on an index card, I then place some CA glue next to it.  Using a toothpick, I gradually mix briar dust into the CA glue until it thickens to the consistency of molasses.  I then apply the putty to the pits using a tooth pick.  When filled, I put the stummel aside for the putty to cure.After the briar dust patches have set up sufficiently, I now work on the two dents on the upper part of the Poker.  I take a couple pictures to capture the larger and the smaller dents from different angles.The heating method can work very well to expand the compressed wood by using heat to hydrate the wood and causing it to expand.  I’m thankful that my wife allows use of her iron to do the job.  I go to the ironing board for this activity.  I wet a cotton cloth handkerchief and place the wet cloth over the dents then I apply the hot iron over the dented area. It steams a lot as the moisture in the cloth rapidly evaporates and steam is forced toward the wood surface.After doing this steaming procedure a few times, I take another picture.  You can still see the outline of the injury, but compared to where it was, by touch it is much less pronounced and should easily sand out.With the briar putty patches now fully cured after several hours, I use a flat needle file to begin working the patch mounds down to the briar surface. From the needle file I transition to 240 grade paper and remove the remainder of the excess briar patch material bringing the fill flush with the briar surface.Next, I again bring out the topping board with 240 grade paper.  This time, though, I’m topping the heel of the stummel which has taken the brunt of the wear and tear.  It is interesting to see the progression of the ‘topping’ of the heel which is not flat.  The first picture marks the starting point followed by a progression of rotations on the topping board. I switch the topping paper to 600 grade paper and take the heel a few more rotations to smooth the heel surface after the 240 grade paper.  The grain on the heel looks good.Now moving to the stummel proper, I return to the dents that I used the steaming method to expand and minimize the dents.  To fully remove these injuries, I lightly sand the area with 240 grade paper and follow with 600 grade paper to smooth further.  The steaming method helped and now the dents have been erased.With all the patches and blemishes addressed, I use a progression of sanding sponges from coarse, medium to light to sand the entire stummel removing the nicks and scratches.  I lightly address the surface around the Lindbergh Select nomenclature and shape number. I’m at a junction point for the stummel – moving on to the micromesh pad regimen.  I also have a stem that is waiting in the wings for attention.  I reunite the stem and Lindbergh Select Poker to get a look at the progress.  I love the shape of this Poker as its heel expands outwardly to form a stable platform to sit. With the reunification of the stem and stummel, I’m reminded again of the very loose-fitting junction of the tenon’s seating in the mortise.  During the cleaning of the stem, I discovered that the stem fitting had been tightened by wrapping scotch tape around the tenon.  The picture below shows the extent of the looseness. To rectify this by expanding the tenon, I use a drill bit one size larger than what will fit comfortably into the airway. To introduce the larger drill bit end into the tenon’s airway to begin expanding it, I first heat the end of the tenon with a Bic lighter to soften the vulcanite.  When the heated vulcanite becomes supple, I begin to gently insert the drill bit into the airway.  The larger bit expands the airway which pushes the tenon’s diameter outwardly.  As the bit begins to enter less supple, cooler vulcanite while I’m inserting it, the bit is straightened by this, so I don’t have to worry about the tenon during the supple stage to be angled improperly.After the first try, I refit the stem into the shank and it is tighter, but it needs a little more tightening for a snugger fit. I repeat the process and heat more of the tenon and then insert more of the bit into the expanding airway.  Before taking the bit out of the airway, I set the vulcanite with cool water from the tap so that the expansion holds. The second procedure works like a charm with a good snug junction.  I’m pleased.I decide to move forward with the finishing of the stummel’s briar surface with the micromesh regimen.  I plan to apply a dye to the Poker, but we’ll see how things develop.  I first wet sand using pads 1500 to 2400 and then dry sand with pads 3200 to 4000 and 6000 to 12000.  I love this part of teasing out the grain of this large Poker stummel.  I’m amazed at how the grain darkened and deepened during the micromesh process.  Before this, I was thinking that I would need to stain the stummel to mask the patches on the briar surface.  After looking at the natural grain, the patches look like natural knots in the briar.  I decide at this point to go with the natural briar hue. Before applying Before & After Restoration to the briar surface, I eyeball once more the junction between stem and stummel.  I’m not satisfied with the seating of the stem in the shank.  I can see a gap on the lower side of the shank/stem junction.  The top of the junction is riding high preventing a clean meeting on the lower side.  To address this, I fold a piece of 240 grade paper in half and insert it between the upper shank/stem junction and sand between the two.  This eventually lowers the top side helping the lower junction to seat better.  I’m not totally pleased with the junction at the end, but I’ve learned when to stop striving for perfection! With the stem and shank junction fitting much better, I put the stem aside again and apply Before & After Restoration Balm to the Poker surface.  I place some of the Balm on my finger and work it in to the briar surface.  After about 10 minutes I wipe off the excess and buff up the surface with a microfiber cloth.  The grain hues deepen and the natural briar finish is very nice.Turning now to the stem, the tooth marks on the bit are very minor.Using 240 grit paper, I sand out the minor issues on the bit very quickly.I then wet sand the stem using 600 grade paper and then follow by applying 0000 grade steel wool.  In addition, I scrub the surface with Magic Eraser to finish the cleaning. With my day ending, I have two projects that I’ll leave to work through the night.  I apply paraffin oil to the stem to further rejuvenate it.I also give the stummel internals a further cleaning and freshening with a kosher salt and alcohol soak.  I create a mortise ‘wick’ by pulling and twisting a cotton ball and then insert it down the mortise with the help of a stiff straight wire.  I then sit the Poker in its natural state on the table and fill the bowl with salt.  I then fill the bowl with isopropyl 95% until it surfaces over the salt.  After a few minutes the alcohol has been absorbed and I top the bowl with more alcohol and turn out the lights. The next morning, the soak had furthered the cleaning – there was minor discoloration in the salt and wick.  I tossed the salt in the waste and cleaned out the stummel with a paper towel and blowing through the mortise to be sure to remove all the expended salt.  To be on the safe side, I expend a few more pipe cleaners and cotton buds to clean up residue after the soak.  All was clean!  Moving on. Now back to the stem.  I now apply the full regimen of micromesh pads from 1500 to 12000 to the stem.  I first wet sand using pads 1500 to 2400, then dry sand using pads 3200 to 4000 and 6000 to 12000.  After the wet sanding I move out to the satellite work desk on my 10th floor ‘Man Cave’ balcony where spring is trying to show itself.  A shot of me enjoying the change of weather and the view that I have of Sofia’s Vitosha Mountain nursing a bowl of Land BCA with my smooth Meer and teasing out more patina!

Next, I reunite stem and stummel and after mounting a cotton cloth buffing wheel to the Dremel, I adjust the speed to about 40% of full power and apply Blue Diamond compound to the entire Lindbergh Select Poker.  Following the compound, I wipe/buff using a felt cloth to clean the pipe of compound dust.  I then mount a cotton cloth buffing wheel dedicated to applying carnauba wax.  Leaving the Dremel and 40% power, I apply several coats of wax and finish by hand buffing with a microfiber cloth.

The Lindbergh Select 324 Poker fits and exceeds the expectations of this classic shape.  The grain is displayed over the large briar landscape and the broad heel is an added benefit.  The vertical flame grain terminates in the rim revealing distinctive bird’s eye grain – very nice.  The 3/4 bent saddle stem also adds to the overall balanced feel of the iconic Poker.  The Lindbergh Select’s specific manufacturer will remain a mystery, but the French origin seems secure.  Tina commissioned this pipe along with 4 others from the For “Pipe Dreamers” Only! collection to give as gifts to special men in her life.  She will have the first opportunity to acquire the Lindbergh Select in The Pipe Steward Store.  This pipe benefits the Daughters of Bulgaria – women and girls who have been trafficked and sexually exploited.  Thanks for joining me!

Breathing Life into a Paneled Royal Esquire 730 Dublin


Blog by Steve Laug

The next pipe on my worktable is yet another pipe from a local pipe shop. It is another of the pipes that came from the estate of an older gentleman whose wife returned his pipes to the shop for restoration and resale. This one is a smooth finished Paneled Dublin. It is stamped on a left side of the shank Royal Esquire over Made in France with the shape number 730 next to the shank/stem junction on the underside of the shank. On the left side of the saddle stem is the is a stamped top hat logo. The pipe was very dirty with a thick cake in the bowl and some lava overflowing on to the rim top. It was hard to know what the inner edge of the rim looked like because of the lava and cake. There were some nicks on the left side of the bowl and the cap that would need to be dealt with. The stem was lightly oxidized and had come calcification where a pipe Softee bit had been. There was some tooth chatter and tooth marks on both sides of the stem at the button. I included this pipe in the batch that I sent off to my brother for cleaning. I know I have said this before but I will have to say it again. I can’t say enough how much I appreciate his willingness to clean and ream the pipes for me. It allows me to move through the repairs much more quickly. When he received the pipe he took a series of photos of it to show its condition.He took a photo of the rim top to show the thick cake in the bowl and the overflow of lava on the rim top.He took photos of the sides and bottom of the bowl to give a clear picture of the beauty of the grain on this smooth finished old pipe. Under the grime there is some great grain peeking through. Jeff took photos of the stamping to capture the clarity of it even under the grime. The brand and the shape number are very readable. He also included a photo of the Top Hat logo on the stem. The stem looked dirty and oxidized with the calcification left behind by a pipe Softee bit. The edges of the button had bite marks and there was some tooth damage to the surface of the stem next to the button on both sides.I have worked on one other Royal Esquire pipe previously from this same collection. It was a poker with a lot of fills in the shank and bowl. It was a mess and once finished turned out very well. Here is the link to that blog: https://rebornpipes.com/2018/03/25/breathing-new-life-into-a-royal-esquire-french-made-poker/. On the previous pipe I had done a lot of searching and hunting to find out about the maker and found nothing on Pipedia or on PipePhil’s site. It remains a mystery to me. Are any of you familiar with the brand? Let us know.

Jeff cleaned up the pipe for me. He reamed the bowl with a PipNet pipe reamer and cleaned it up with a Savinelli Fitsall Pipe Knife. He scrubbed the exterior with Murphy’s Oil Soap and a tooth brush to clean off the grime in the sandblast finish and the heavy overflow of lava on the smooth rim top. He cleaned up the internals of the shank, mortise and stem with pipe cleaners, cotton swabs and alcohol to remove all of the oils and tars in the pipe. When it came back to Vancouver it a cleaner and better looking pipe. I took photos of it before I started the restoration. I took photos of the rim top and the stem to show their condition. Jeff was able to clean up the grime and darkening on the rim top. The inner edge of the bowl had some damage on the front left and right. There was some general rim darkening and the rim top was damaged from tapping it out on hard surfaces. The stem had light tooth chatter and some deeper tooth marks on both sides near the button.I was able to get a very clear picture of the stamping on the left and underside of the shank and the Top Hat logo on the saddle stem.I decided to address the issues with the bowl and rim top first. I wiped the bowl down with acetone on a cotton pad to remove the shiny spots of the lacquer coat that remained on the shank. The acetone also cleaned off any remaining debris on the briar. You can see the deep nicks and gouges on the left side of the bowl in the photos below. I  topped the bowl on a topping board with 220 grit sandpaper to clean up the rim top damage and to minimize the burn damage on the edge of the bowl. I used a folded piece of 220 grit sandpaper to smooth out the inner edge and give it a slight bevel to remove more of the burn marks and damage. I repaired the gouges and nicks in the left side of the bowl and cap with clear super glue and briar dust. Once the repairs cured I sanded them smooth with a folded piece of 220 grit sandpaper. I polished the rim top and the bowl and shank with micromesh sanding pads – wet sanding with 1500-2400 grit pads and dry sanding with 3200-12000 grit pads. I wiped the bowl down after each pad with a damp cloth. The photos tell the story. I used a Maple coloured stain pen to blend the newly sanded areas on the side of the bowl and the rim top into the rest of the bowl.I rubbed the bowl and shank down with Before & After Restoration Balm to deep clean the finish on the bowl and shank. The product works to clean, enliven and protect the briar. I worked it in with my fingers to get it into the finish. After it sat for a little while I wiped it off with a soft cloth. I buffed the bowl with a horsehair shoe brush to polish it. The briar really began to have a rich shine. I took some photos of the bowl at this point to mark the progress in the restoration. I buffed the bowl with Blue Diamond polish on the buffing wheel to even out the look of the stain on the bowl sides and rim top. The pipe is looking really good at this point. It is even better in person than the photos show. I set the bowl aside and worked on the stem. I repaired the tooth marks with clear super glue. I set the stem aside to let the repairs cure. Once the glue cured I cleaned up the edge of the button and flattened out the repaired areas with a needle file. I sanded the repaired areas with folded pieces of 220 to remove the scratches and file marks on the stem surface. I sanded them with 400 grit sandpaper until the repairs were blended into surface of the stem.I polished the stem with micromesh sanding pads – wet sanding with 1500-2400 grit pads and dry sanding with 3200-12000 grit pads. I wiped the stem down after each pad with a damp cloth to remove the sanding dust. I used the Before & After Pipe Polish to remove the small minute scratches left in the vulcanite. I finished by wiping the stem down with a final coat of Obsidian Oil and set it aside to dry. I put the stem back on the pipe and worked it the pipe over with Blue Diamond to polish out the remaining small scratches. I gave the bowl and the stem several coats of carnauba wax and buffed the pipe with a clean buffing pad to raise the shine. I hand buffed it with a microfiber cloth to deepen the shine. The pipe polished up really well with the repairs disappearing into the new finish. The finished pipe is shown in the photos below. There is something about the pipe that reminds me of some of the Edwards pipes that I have repaired and restored over the years. The paneled Dublin and cap polished really well. The polished black vulcanite looks really good with the browns of the briar. The dimensions of the pipe are Length: 5 3/4 inches, Height: 1 3/4 inches, Outside diameter of the bowl: 1 1/2 inches, Chamber diameter: 3/4 of an inch. This is another pipe that I will be putting it on the rebornpipes online store shortly, if you are interested in adding it to your collection. Thanks for walking through the restoration with me as I worked over this interesting smooth finished paneled Dublin with a square shank. It was a fun one to work on.


Restoring a Sandblast Danish Shaped Loewe’s Cutlass 21 Bent Acorn


Blog by Steve Laug

This Loewe’s Bent Acorn is yet another pipe from a local pipe shop. It came from the estate of an older gentleman whose wife returned his pipes to the shop for restoration and resale. This one is a sandblast finished Loewe Danish Shaped Cutlass. The rim top is smooth briar and the bowl and shank are all sandblast. It is stamped on a smooth band on the underside of the shank Loewe Cutlass with the shape number next to the shank/stem junction it has the shape number 21. On the left side of the saddle stem is the Loewe’s brass box L logo. The pipe was very dirty with a thick cake in the bowl and some lava overflowing on to the rim top. It was hard to know what the inner edge of the rim looked like because of the lava and cake. The stem was lightly oxidized and had come calcification where a pipe Softee bit had been. There was some tooth chatter and tooth marks on both sides of the stem at the button. This was included in the pipes that I sent off to my brother for cleaning. I can’t say enough how much I appreciate his willingness to clean and ream the pipes for me. It allows me to move through the repairs much more quickly. When he received the pipe he took a series of photos of it to show its condition. He took photos of the rim top to show the thick cake in the bowl and the overflow of lava on the rim top.He took photos of the sides and bottom of the bowl to give a clear picture of the beauty of the sandblast finish on this old pipe. Under the grime there is some great grain peeking through.Jeff took a photo of the stamping to capture the clarity of it even under the grime. He also included a photo of the L square logo on the stem and the FRANCE stamping on the underside. The stem looked dirty and oxidized with the calcification left behind by a pipe Softee bit. The edges of the button had bite marks and there was some tooth damage to the surface of the stem next to the button on both sides.I have worked on quite a few Loewe pipes over the years but have never worked on one with this shape. Most of the others have been classic English shaped pipes. I have always enjoyed the shapes and the craftsmanship on each of them. It is well made and well-shaped. I turned to my usual sources to check out the particular “Cutlass” line pipe. First I turned to the pipephil site (http://www.pipephil.eu/logos/en/logo-l5.html). I have included a screen capture from that site that highlights the line I am working on. In fact the pipe given as an example is similar to the one I am working on. I have enclosed the pipe in the photo below in a red box.I turned next to Pipedia to read some more detail of the history and see if there was more detailed information on the Cutlass line (https://pipedia.org/wiki/Loewe_%26_Co). There was no more detail or help in dating the pipe I was working on.

Jeff cleaned up the pipe for me. He reamed the bowl with a PipNet pipe reamer and cleaned it up with a Savinelli Fitsall Pipe Knife. He scrubbed the exterior with Murphy’s Oil Soap and a tooth brush to clean off the grime in the sandblast finish and the heavy overflow of lava on the smooth rim top. He cleaned up the internals of the shank, mortise and stem with pipe cleaners, cotton swabs and alcohol to remove all of the oils and tars in the pipe. When it came back to Vancouver it a cleaner and better looking pipe. I took photos of it before I started the restoration. I took photos of the rim top and the stem to show their condition. Jeff was able to clean up the grime and darkening on the rim top. The inner edge of the bowl looked pretty good. The stem had light tooth chatter and some deeper tooth marks on both sides near the button. I was able to get a very clear picture of the stamping on the shank and the L square logo on the saddle stem.I polished the rim top and the smooth portions of the bowl and shank with micromesh sanding pads – wet sanding with 1500-2400 grit pads and dry sanding with 3200-12000 grit pads. I wiped the bowl down after each pad with a damp cloth. The photos tell the story. I rubbed the bowl and shank down with Before & After Restoration Balm to deep clean the sandblast finish on the bowl and shank and the smooth portion on the rim and underside of the shank. The product works to clean, enliven and protect the briar. I worked it in with my fingers to get it into the sandblast finish. After it sat for a little while I wiped it off with a soft cloth. I buffed the bowl with a horsehair shoe brush to polish it. The briar really began to have a rich shine. I took some photos of the bowl at this point to mark the progress in the restoration. I set the bowl aside and worked on the stem. I repaired the tooth marks with clear super glue. I set the stem aside to let the repairs cure. Once the glue cured I cleaned up the edge of the button and the repaired areas with folded pieces of 220 and 400 grit sandpaper until the repairs were blended into surface of the stem. I polished the stem with micromesh sanding pads – wet sanding with 1500-2400 grit pads and dry sanding with 3200-12000 grit pads. I wiped the stem down after each pad with a damp cloth to remove the sanding dust. I used the Before & After Pipe Polish to remove the small minute scratches left in the vulcanite. I finished by wiping the stem down with a final coat of Obsidian Oil and set it aside to dry. I put the stem back on the pipe and worked it over with Blue Diamond to polish out the remaining small scratches. I lightly buffed the sandblast bowl. I gave the bowl multiple coats of Conservator’s Wax and the stem several coats of carnauba wax and buffed the pipe with a clean buffing pad to raise the shine. I hand buffed it with a microfiber cloth to deepen the shine. The pipe polished up pretty nicely. The finished pipe is shown in the photos below. There is something about the pipe that reminds me of a Stanwell shape and finish. The shape is very Danish and the restoration has brought it back to life. The dimensions of the pipe are Length: 5 1/4 inches, Height: 2 1/4 inches, Outside diameter of the bowl: 1 3/8 inches, Chamber diameter: 3/4 of an inch. I will be putting it on the rebornpipes online store shortly, if you are interested in adding it to your collection. Thanks for walking through the restoration with me as I worked over this interesting and unique sandblast Loewe Cutlass 21.

Restoring a Danish Handmade Kriswill Chief 50 Oom Paul


Blog by Steve Laug

This Kriswill is yet another one from a local pipe shop. It came from the estate of an older gentleman whose wife returned his pipes to the shop for restoration and resale. This one is a smooth finished Kriswill Full Bent/Oom Paul. The briar is a combination of mixed grain around the bowl. It is stamped on the left side of the shank Kriswill over Chief over Handmade in Denmark. On the underside near the shank stem junction it has the shape number 50. On the left side of the saddle stem is the Kriswill Snowflake logo. The pipe was very dirty with a thick cake in the bowl and some lava overflowing on to the rim top. It was hard to know what the inner edge of the rim looked like because of the lava and cake. The stem was lightly oxidized and had come calcification where a pipe Softee bit had been. There was some tooth chatter and tooth marks on both sides of the stem at the button.This was included in the pipes that I sent off to my brother for cleaning. This is probably the 24/25 pipe that I have brought to the work table from the lot of about 50 to rework. I can’t say enough how much I appreciate his willingness to clean and ream the pipes for me. It allows me to move through the repairs much more quickly. When he received the pipe he took a series of photos of it to show its condition. He took photos of the rim top to show the thick cake in the bowl and the overflow of lava on the rim top.He took photos of the sides and bottom of the bowl to give a clear picture of the beauty of the grain on this old pipe. Under the grime there is some great grain peeking through. Jeff took a photo of the stamping to capture the clarity of it even under the grime.The stem looked dirty and oxidized with the calcification left behind by a pipe Softee bit. The edges of the button had bite marks and there was some tooth damage to the surface of the stem next to the button on both sides.I have worked on quite a few Kriswill pipes over the years and have always enjoyed the shapes and the craftsmanship on each of them. This one is no different. It is well made and well-shaped. I reviewed the information I had on Kriswill and have included some of that here.Kriswill was one of the large pipe manufacturers in Denmark during the 1960s and 1970s, and closed around 20 years ago. Their catalog cover read “By Appointment to the Royal Danish Court, KRISWILL, Kriswork Briar Trading, Briar Pipes Hand Made in Denmark.” After the Danish Kriswill enterprise ended, pipes were made in Norway and in France under the Kriswill label. In the 1970s Kriswill was bought by Lillehammer, and in the 1980s the pipes were made for a while at the Catalan factory, Iberica de Pipas  (https://pipedia.org/wiki/File:Kriswill_Factory.jpg).

Jeff cleaned up the pipe for me. He reamed the bowl with a PipNet pipe reamer and cleaned it up with a Savinelli Fitsall Pipe Knife. He scrubbed the exterior with Murphy’s Oil Soap and a tooth brush to clean off the grime in the rustication and the heavy overflow of lava on the rim top. He cleaned up the internals of the shank, mortise and stem with pipe cleaners, cotton swabs and alcohol to remove all of the oils and tars in the pipe. When it came back to Vancouver it a cleaner and better looking pipe. I took photos of it before I started the restoration. I took photos of the rim top and the stem to show their condition. Jeff was able to clean up the grime and darkening on the rim top. The inner edge of the bowl looked pretty good. The stem had light tooth chatter and some deeper tooth marks on both sides near the button. I took a photo of the stamping on the shank and the Kriswill Snowflake Logo on the left side of the saddle stem.I worked over the inner edge of the rim with a folded piece of 220 grit sandpaper to remove the damaged portions of the inside edge of the rim. It did not take a lot of sanding to smooth out the damaged areas.I polished the rim top and the rest of the bowl and shank with micromesh sanding pads – wet sanding with 1500-2400 grit pads and dry sanding with 3200-12000 grit pads. I wiped the bowl down after each pad with a damp cloth. The photos tell the story. I rubbed the bowl down with Before & After Restoration Balm to deep clean the briar on the bowl and rim. The product works to clean, enliven and protect the briar. I hand rubbed it with my fingers and worked it into the briar. I wiped it off with a soft cloth. I buffed the bowl with a horsehair shoe brush to polish it. The briar really began to have a rich shine. I took some photos of the bowl at this point to mark the progress in the restoration. I set the bowl aside and worked on the stem. I repaired the tooth marks with clear super glue. I set the stem aside to let the repairs cure. Once the glue cured I cleaned up the edge of the button and the repaired areas with folded pieces of 220 and 400 grit sandpaper until the repairs were blended into surface of the stem. I polished the stem with micromesh sanding pads – wet sanding with 1500-2400 grit pads and dry sanding with 3200-12000 grit pads. I wiped the stem down after each pad with a damp cloth to remove the sanding dust. I used the Before & After Pipe Polish to remove the small minute scratches left in the vulcanite. I finished by wiping the stem down with a final coat of Obsidian Oil and set it aside to dry. The pipe has been sitting in the queue since late in 2017 so the stem was loose in the shank. I know from experience that once the pipe is smoked it will be good and snug. To take care of the interim period I gave the tenon a light coat of clear nail polish. Once it dries the stem will fit snugly in the mortise.I put the stem back on the pipe and worked it over with Blue Diamond to polish out the remaining small scratches. I gave the bowl and the stem several coats of carnauba wax and buffed the pipe with a clean buffing pad to raise the shine. I hand buffed it with a microfiber cloth to deepen the shine. The pipe polished up pretty nicely. The finished pipe is shown in the photos below. Though the briar has some fills on the left side of the bowl it is nonetheless a beautiful piece of briar. The shape is a Danish version of a classic Oom Paul pipe and with the restoration has been brought back to life. The dimensions of the pipe are Length: 5 inches, Height: 2 1/4 inches, Outside diameter of the bowl: 1 3/8 inches, Chamber diameter: 3/4 inch. I will be putting it on the rebornpipes online store shortly, if you are interested in adding it to your collection. Thanks for walking through the restoration with me as I worked over this interesting Kriswill Chief 50 Oom Paul.

Restoring an Interesting Piece of American Pipe History – Pat Vottis’ Contribution to the Ongoing Quest for a Cool Smoke


Blog Steve Laug

Every so often my brother and I come across very unique pipes that are worth restoring just for the thing that makes them particularly notable. Each pipe that falls into this category has its own uniqueness that sets them apart as different. These unique pipes come to us from a large variety of different sources and the one I am working on now came to me from a reader of rebornpipes.  Christine contacted me to see if I would be interested in purchasing her Grandfather’s pipes and restoring them. She was particularly interested in seeing what I could do with a Vottis pipe that he had. She sent me photos of the lot and we struck a deal. Over the years I have worked on several Vottis pipes coming from different sources. But this Vottis pipe from Albany, New York is not like anything I have ever seen before. I am including some photos to show the system. There is an air hole (not big) on each side of the shank near the bowl (Photos 1 and 2). These run parallel to the airway and come out on either side of the mortise (Photo 3). The stem is drilled with the same two small channels that run the length and out the button on either side of the slot (Photos 4 and 5). The red arrows in each photo point to the airways that I am referring to throughout the blog. The basic airflow diagram is illustrated by the red lines on the photo below. The thinner lines on either side reflect the airflow running parallel to the airway in the shank and mortise. The shank airway is shown by the thicker red line and runs to the bottom of the bowl from the slot in the button. I am convinced that the mechanics were designed to pull cool air into the tubes alongside the shank to cool the smoke in the chamber and cool it all the way to the end of the button. If I plug the slot in the button I can pull air out of the twin tubes and it is a steady stream. Once the pipe is restored I will load a bowl and try it out to test my hypothesis. I will soon know how it works. It is definitely a unique design and one that is in the camp of the proverbial eternal hunt for a cooler smoke. With that information have a look at the restoration of this Vottis design pipe.With the mechanics clearly spelled out in the above diagrams and explanations it is time to do a bit of research on the brand and see if there is any mention of this cooling system design. I looked at the various sites that I usually go to (pipedia and pipephil) and there was nothing about this kind of pipe on either site. So I dug a bit more deeply. I read the obituaries of Pat (Pasquale) Vottis and S. Vottis in the Albany newspapers and the online Funeral Home sites. Lots of references were made to their shop in Albany and Schenectady, New York but nothing on the unique designs they may have done with pipes. It did add colour to my understanding of the carvers of the pipes – both were local philanthropists and involved in their local Catholic parishes. Both were well loved by the community.

I went on to look further and found more info on the brand on the brothers of the briar site (http://www.brothersofbriar.com/t5244-information-on-s-m-vottis-pipes). The site gave two links that sadly are no longer active. I am including them in case they ever come back on line. I quote as follows:

I think that the information you are looking for is in the following link: http://www.jbriarpipes.com/blog/2014/12/10/the-rise-and-fall-of-a-historic-local-landmark-paying-homage-to-the-vottis-pipe-shop found on the J Briar Pipes site.  Pat (Pasquale) Vottis and his brother S. (Salvatore) Vottis had a pipe shop in Schenectady NY.  The article referenced contains information about the Vottis Pipe Shop.  A second link found on the page directs you to an Albany Times-Union article (archived) (http://alb.merlinone.net/mweb/wmsql.wm.request?oneimage&imageid=5580379) that contains more info.  Happy reading!  I enjoyed finding these articles and reading them.  I have lived within 50 miles of Albany NY most of my life and never knew about Vottis pipes.

I also followed a link to a thread on pipes.org that was very interesting. It is written by Pat Vottis’ grandson and is interesting to read. Here is the link to the quote. (http://pipes.org/forums/messages/23/46034.html?1171913269) It is also tied back to a thread on pipes.org that I cannot access. I include that link as well should some of you be able to access the information. This post references Harold Vance Post #4 username hbvance and Jose Manuel Lopes Post #91 in the Archive of 2005 Sept 20 with a Subject Title of Vottis Pipes (http://pipes.org/forums/discus~discus/discus~discus/discus/cgi-bin/discus/show.cgi?tpc=23&post=45187#POST451 87).

Jose, I am not quite sure where you obtained your information regarding Pat Vottis but it is incorrect and I would like to share a bit of good information for the audience.

Pasquale (Pat) Vottis is my grandfather. He did not die as you have posted on the web in 2005. He actually died this morning at 99 yrs 9 months of age on Feb 18, 2007. He had a passion for the customers and the business.

My grandfather opened his first pipe shop in Albany, NY on South Pearl St. It was in the Bank Building (which took up a whole city block) at the corner of State Street and South Pearl. We also opened a second shop in Albany which was in the Empire State Plaza on the Concourse level. This was to serve all of the State Workers so they could do business at lunch time and not be strapped for time while trying to get down to the South Pearl shop. We still have the Vottis Pipe Shop Sign and the Vottis Pipe Shop Clock that was a landmark for the customers.

Harold Vance’s pipes may very well came from a pipeshop in Santa Monica. We mailed pipes all over the world. My grandfather’s sister actually lived in Santa Monica for many years. We also had a very large tobacco mail order business in which I mixed 1000s of pounds of tobacco and mailed them all around the world as well. We closed the pipe shops in the early 90s due to the numerous break-ins late at night. The locals would throw rocks through the store front windows to steal the hand carved pipes and the meerschaums.

My grandfather hand carved many, many pipes himself. He usually carved the big blocks. My grandfather, my uncle, and my father repaired pipes for everyone even if they had not bought a pipe at our shops. We had a metal lathe in the basement as well as a stove. They machined the tenon portion of the stem with a carbide cutter to match the stem of the bowl for a perfect fit every time. To match the stem or the fit of the customer, we custom bent the stems of the pipes to their satisfaction.

I recall boxes of briar blocks that were rough turned and my uncle, my father, and my grandfather would also hand finish these too. We had a lot of fun in the stores too. Mixing different formulas of tobaccos to see how the public would respond. We had numerous successful formulas. Our approach was to make all natural formulas with no sugars added, no sugar sprays, or flavorings added.

The most popular formula was created by grandfather and was called Black Watch. Some of the other blends were North Woods, Vottis’s Own, Vottis Club, Boulevard 76, No#9. These blends were comprised of barley, yellow Cavendish, black Cavendish, Turkish, Latakia, and others of which I do not recall. Ironically, for the namesake, my grandfather has died at a Nursing Home named North Woods just like one of his tobacco blends called North Woods.

Finally, I also found a PDF of a brochure that Pat Vottis put together for his Albany Pipe Shop. I am including it as it is an interesting read.

When the pipe arrived at Jeff’s in Idaho he took photos of it before he started his clean up. It is one of my favourite shapes – a squat Rhodesian with a thick shank and saddle stem. The briar was dirty but had some amazing grain on the bowl. The stamping on the left side of the shank is clear and readable – Vottis in script. The rim top had some lava overflowing the bowl particularly on the back side. The edges looked very good – both inner and outer. The cake in the bowl was quite thick and hard. The double rings around the bowl below the rim cap were in good condition other than the usual collection of debris and dust. The stem was clean but had some light oxidation and tooth marks on both sides of the stem near the button. The button surface also had some tooth damage. Jeff’s photos are below (The above photos of the airways also are from Jeff). Jeff took some photos of the rim top to show the lava overflow and the cake in the bowl. The two photos are from slightly different angles and have different exposures but clearly show the condition. The inner edge of the bowl looks good but I will know more once it is cleaned and reamed. There appears to be some damage on the rear right of the bowl but again it is not clear until the bowl has been reamed and cleaned.Jeff also took photos of the sides and bottom of the bowl and shank to give an idea of the beautiful grain on this pipe. The photos of the stem show the deep tooth marks and chatter on both sides near the button as well as the damage to the button edge and surface. You can also see the scratching and oxidation in the photos.When Christine wrote me about the pipes and the deal was struck I asked her if she would like to put together a brief tribute to her Grandfather to include in these blogs. She was happy to write it and send it to me. I include her tribute now go give a glimpse in to the life of the pipeman who held this pipe in trust before it came to me.

My grandfather, Paul Richter, first came to the United States from Germany in the mid 1920’s with his younger brother, Walter.  Paul was born in 1899 in Leipzig, Germany. He had a degree in engineering and was looking for a better life to start a family.  Paul and Walter were hired to work at a machine shop in Flushing, NY. They then heard about a town in upstate NY called Schenectady and decided it was worth a trip to check it out. They stayed at a boarding house next to the railroad station and were eaten up by bed bugs.  Despite this experience, my grandfather decided that Schenectady was a good place to live and start his career with the General Electric Company (GE).

In 1928 he returned to Germany and brought his new wife from Leipzig to Flushing via boat and shortly after they moved to Schenectady. Paul worked hard and earned his way up the ladder to a management position; eventually managing 400 people at the GE main plant in downtown Schenectady. With his wife, Ella, they raised 2 sons, Ralph and Peter who both ended up with lifelong careers at GE.  Schenectady was a thriving and exciting city during this time with much to keep a family happy. One of the things that Paul enjoyed was quality tobacco smoked in a finely crafted pipe.  He found one of his favorite pipes at the Vottis Pipe Shop on Erie Blvd in downtown Schenectady. After Paul passed away in 1979, his son Peter (my father) kept all of his Dad’s old pipes among other sentimental memorabilia.  The pipes were packed away in a box until 2018, when I opened the box and smelled that wonderful pipe aroma that I recall from many years ago. The aroma brings back fond memories of time spent with my family!

Thanks for giving Paul’s Vottis pipe another life! — Christine

Thanks for writing this Christine. It helps to set the stage for this restoration and give colour to the story. I was excited to work on this interesting old pipe. In fact so much so that I forgot to take pics of it before I started working on it. I filled in the tooth marks on both sides of the stem and rebuilt the edge of the button at the same time.At that point I remembered I had not taken photos so I put the stem back on the shank and took some photos of the bowl and stem to show the magnificent cleanup job Jeff had done with the pipe and to show the areas that I would need to work on. I took some photos of the rim top to show the area at the back that had been covered in lava. It was now clean but had some darkening and would need a bit of polishing to remove the darkening. I also took photos of the stem surfaces to show the repaired areas to highlight the tooth damage that had been present.I took photos of the stamping on the shank sides. The left side read Vottis in script looking like it was almost engraved. The right side read Genuine Algerian Briar.I cleaned up the darkening on the rim top and the inner edge of the bowl with a folded piece of 220 grit sandpaper. I worked it over the surface and around the edge to smooth out the damages and also to remove the darkening. Over all the sandpaper did the trick. The edge and top still show some damage but polishing it should remove the remaining damages.I polished the bowl and rim cap with micromesh sanding pads. I wet sanded with 1500-2400 grit pads and dry sanded with 3200-12000 grit pads. I wiped the bowl down after each sanding pad with a damp cloth to remove the dust and check my progress. The photos tell the story. Once I was finished polishing the bowl and rim, I worked some Before & After Restoration Balm into the surface of the briar with my fingertips to clean, enliven and protect it. I let the balm sit for a little while and then buffed with a cotton cloth to raise the shine. I took photos of the pipe at this point to show how good the pipe was beginning to look. The bowl and the rim top look really good and the grain really stood out on the smooth rim. The finish looks very good and the birdseye grain on the bottom and the cap of the bowl and flame grain on the sides stand out in all their beauty. I set the bowl aside and turned my attention to the stem. The repairs to the button area had cured so I used a needle file to clean up the edge of the button and flatten the repairs on the surface of the stem. I also reshaped the button surface. I blended in the repairs and removed the scratching from the file with 220 and 440 grit sandpaper. The repairs and shape of the button looked really good at this point. I polished the stem with micromesh sanding pads – wet sanding with 1500-2400 grit pads and dry sanding it with 3200-4000 grit pads. I buffed the stem with red Tripoli and brought it back to the work table and finished polishing it with 6000-12000 grit pads. I wiped the stem down with Obsidian Oil after each pad. I further polished it with Before & After Pipe Polish – both Fine and Extra Fine. I finished by giving it a final coat of Obsidian Oil and setting it aside to dry. Since I had finished both the bowl and stem I put them back together and polished the bowl and stem with Blue Diamond polish on the buffing wheel. I gave the bowl and the stem multiple coats of carnauba wax. I buffed the pipe with a clean buffing pad to raise the shine. I hand buffed it with a microfiber cloth to deepen the shine. The pipe polished up pretty nicely. The birdseye grain on the rim cap and the beautiful straight/flame grain around the sides of the bowl and shank came alive on the buffing wheel. The rich brown stain works well with polished black saddle vulcanite stem. The finish looks amazing and it is smooth and light weight in the hand. Judging from the condition of the pipe when we got it, I am sure that it will be an amazing smoker. Have a look at it with the photos below. The dimensions are Length: 5 1/2 inches, Height: 1 7/8 inches, Outside diameter of the bowl: 2 1/4 inches, Chamber diameter: 1 inch. Thanks Christine for sending this pipe to me from your Grandfather Paul Ricther. It is a beauty and a pipe that I intend to hold onto (at least for now). I have never seen another like it and I am anxious to fire up a bowl and try it out.

A Unique Piece of Pipe History – A Beautiful WDC Calabash with Bling


Blog by Steve Laug

The next pipe in the queue is an old timer that Jeff picked up somewhere in his journeys whether online in his pipe hunting is antique shops. This one an interesting older WDC Calabash with a brass shank cap and a rim top cap. The stem is Bakelite with an amber colour. It is stamped on the left side of the shank WDC in a triangle (William DeMuth & Company). It is a Calabash shaped pipe decorated with a brass rim top and cap as well as a brass ferrule. Both have a pattern of filigree and hearts. These older WDC and CPF Calabashes were decorative and had a real flourish that makes them readily identifiable. The finish is smooth and is in good condition despite the years. The brass rim top has some dings in it and there was some lava buildup on various spots. The inner edge of the brass cap was turned down into the inner edge of the bowl. It was dirty with lava and there was a thick cake in the bowl. The brass was tarnished but looked easy to clean up. The pipe was dusty but the finish looked like it was rich and would clean up well. The stem is an amber coloured Bakelite with a threaded tenon in the shank and the stem. The stem has tooth marks and chatter on both sides at the button edge. The photos below tell the story and give a glimpse of the pipe before clean up. Jeff took a photo of the bowl and rim to show the condition of the pipe before he started his cleanup work. The spots of lava overflowing on the rim top made me thick that some of the lava had been scraped off by the seller.  There was a thick cake in the bowl that would need to be reamed out. There was dust and debris in the curls and curves of the brass cap.He also took a photo of the right side and underside of the bowl and shank to show the amazing birdseye and swirling grain around the bowl. The classic WDC stain looked pretty good under the grime.Jeff took photos of the stamping on the left side of the shank and the setting between the brass ferrule and the bowl. The WDC triangle logo stamping is legible and very readable.The next photos show the rim cap and ferrule and highlight the heart and filigree patterns in the brass. You can also see the oxidation on the brass in the photos.The next two photos show the stem surface. They show the tooth marks and chatter on both sides near the button. They also show the deep oxidation on the stem. The third photo below shows the threaded bone tenon. Jeff did a thorough clean up job on the pipe so that  when it arrived here in Vancouver it looked amazingly good for a pipe that is at least a hundred years old. Jeff carefully reamed the bowl with a PipNet pipe reamer and followed up with a Savinelli Fitsall pipe knife to remove the cake. He scrubbed out the mortise and the airway in the shank and the stem with alcohol, cotton swabs and pipe cleaners. He scrubbed the exterior of the bowl, rim, shank and stem with a tooth brush and Murphy’s Oil Soap to remove the oils and tars on the rim and the grime on the finish of the bowl of the pipe. He rinsed it off under running water. He dried it off with a soft cloth. He was able to remove all of the lava build up on the beveled rim top of the pipe. The brass rim top and ferrule looked very good. The birdseye and cross grain was beautiful and the pipe looked very good. There were tooth marks and chatter visible on both sides of the stem at the button. I took photos of the pipe to show its condition before I started my work. I took close up photos of the bowl, rim and stem surfaces to capture the condition of the pipe after Jeff had done his cleanup. The rim top was clean and the brass inner edge was in excellent condition. The stem was quite clean with some tooth marks and chatter on the top and underside near the button.I took a photo of the stamping on the left side of the shank and the flow of the grain on the shank and bowl side. It is a beautiful piece of briar.The bowl and rim top looked really good after Jeff’s clean up work. I decided to go straight to polishing the bowl. I worked some Before & After Restoration Balm into the surface of the briar with my fingertips to clean, enliven and protect it. I let the balm sit for a little while and then buffed the bowl with a cotton cloth to raise the shine. The following photos show the bowl at this point in the restoration process. The bowl and the rim top look really good and the grain really stood out on the smooth rim. The finish looks very good with the grain popping through the brown stain on the bowl and the brass on the rim top and shank end. I set the bowl aside and turned my attention to the stem. I filled in the deep tooth marks on both sides with clear super glue. It takes a while  to cure so I set it aside and worked on another pipe while it hardened.Once the repairs had cured I used a needle file to sharpen the edge of the button and smooth out the repairs on the surface of the stem. I sanded it with 220 and 400 grit sand paper to smooth out the repairs and blend them into the surface of the stem. I polished the stem with micromesh sanding pads – wet sanding with 1500-2400 grit pads and dry sanding it with 3200-12000 grit pads. I wiped the stem down with Obsidian Oil after each pad. I further polished it with Before & After Pipe Polish – both Fine and Extra Fine. I finished by giving it a final coat of Obsidian Oil and setting it aside to dry. Since I had finished both the bowl and stem I put them back together and carefully polished the bowl and stem with Blue Diamond polish on the buffing wheel. The combination of metal, Bakelite and briar makes this a very touch process. I gave the bowl and the stem multiple coats of Conservator’s Wax. I carefully buffed the pipe with a clean buffing pad to raise the shine. I hand buffed it with a microfiber cloth to deepen the shine. The pipe polished up pretty nicely. The brass rim cap and shank end and the beautiful grain of the briar on the bowl came alive on the buffing wheel. The rich brown stain works well with polished amber coloured Bakelite stem. The finish looks amazing and it is smooth and light weight in the hand. Judging from the condition when we got it, I am sure that this will be another amazing smoker. Have a look at it with the photos below. The dimensions are Length: 5 1/4 inches, Height: 2 inches, Outside diameter of the bowl: 1 7/8 inches, Chamber diameter: 3/4 of an inch. This beauty will be going into my collection of old WDC and CPF. Thanks for walking through the restoration with me on this beautiful old time WDC Calabash pipe.