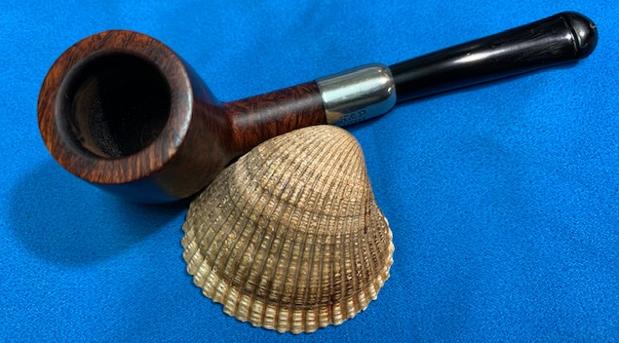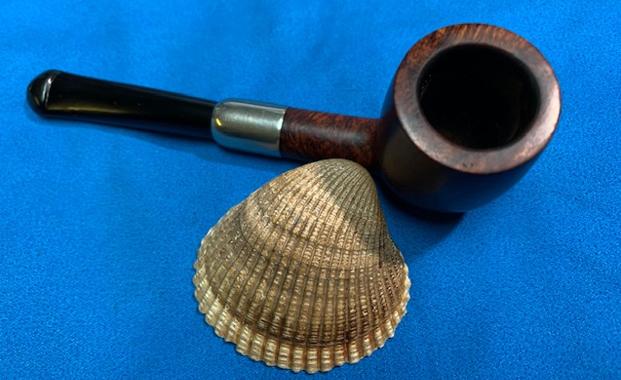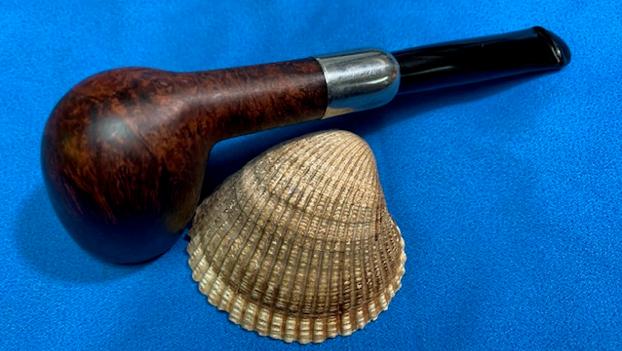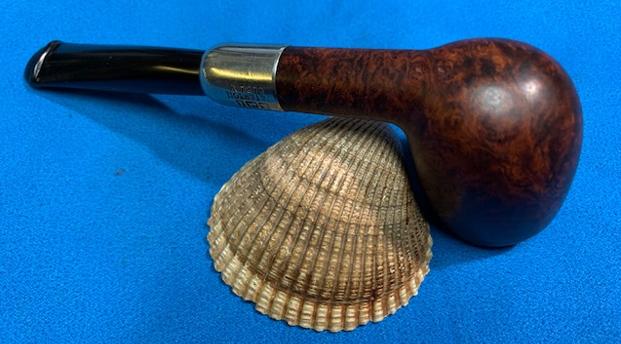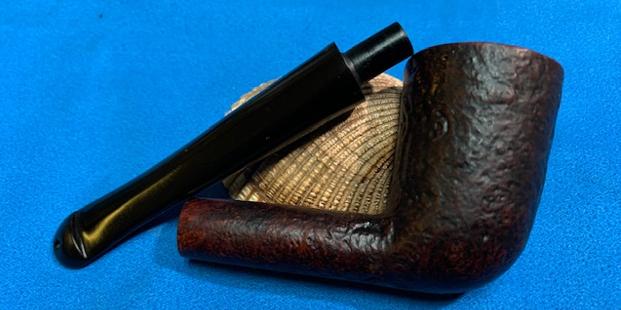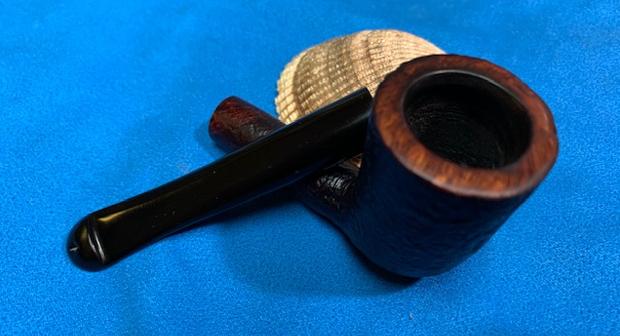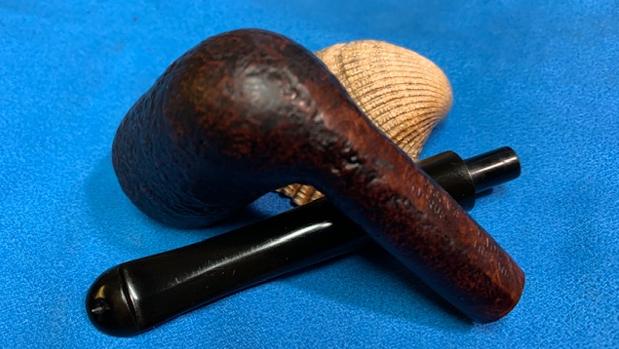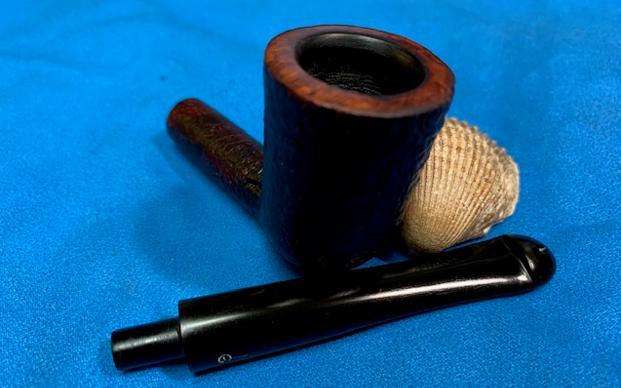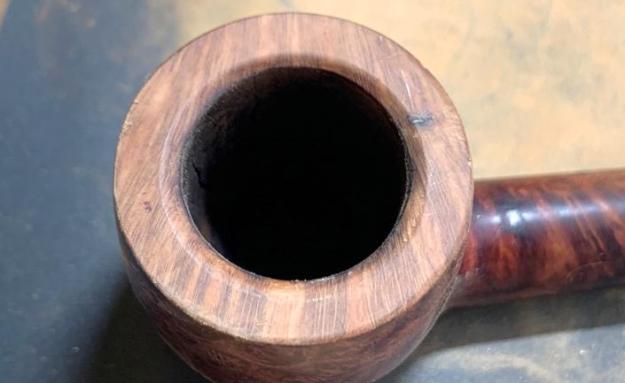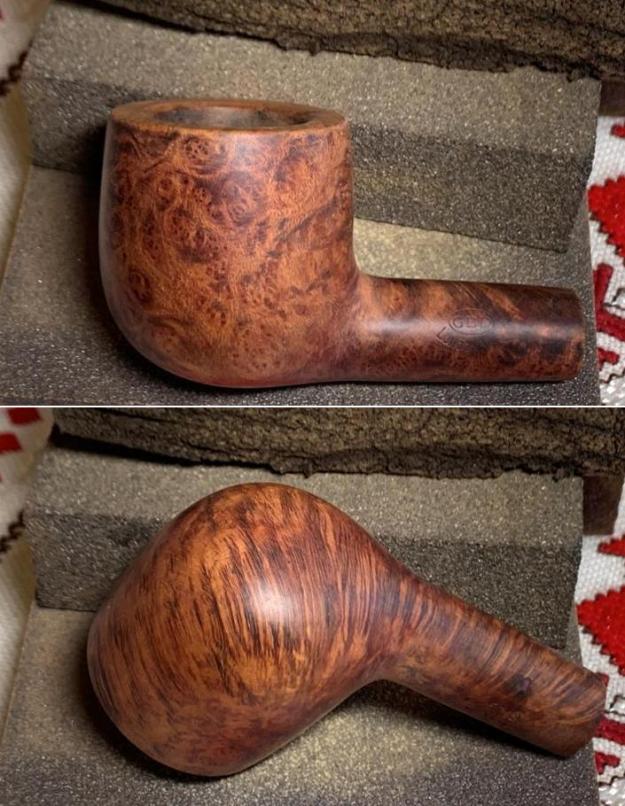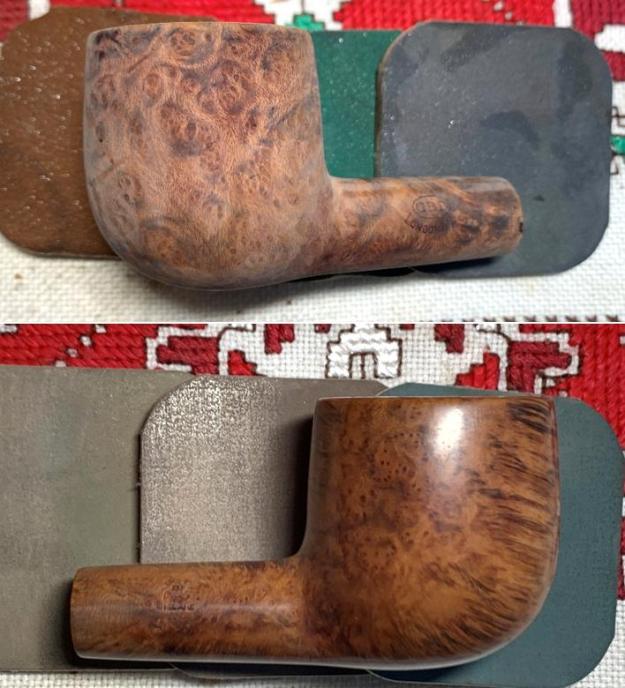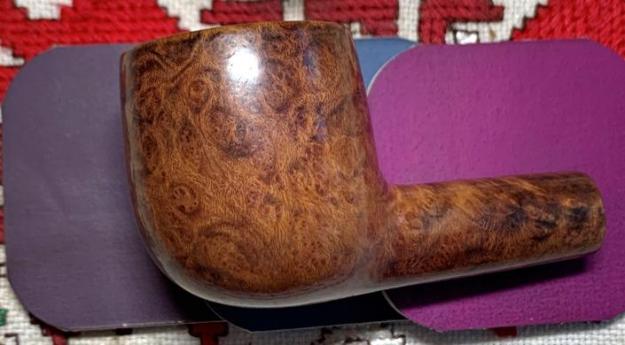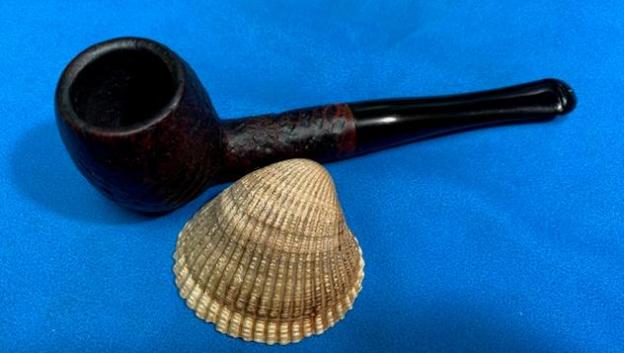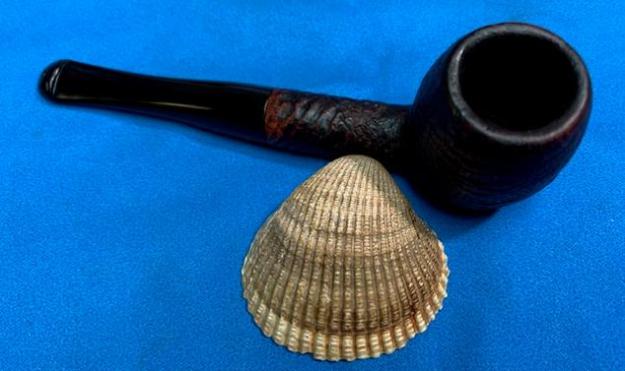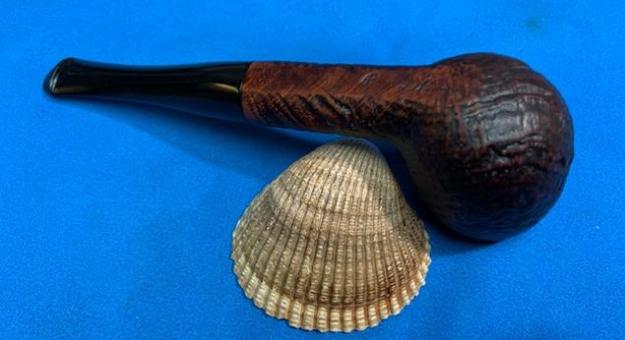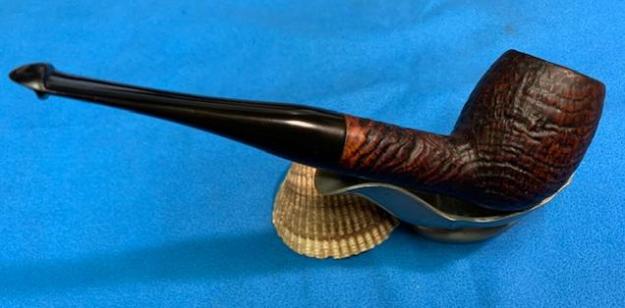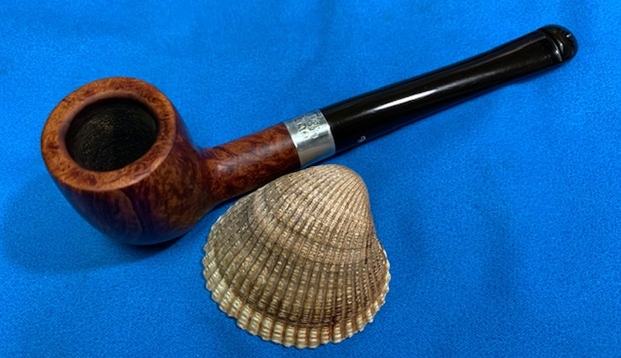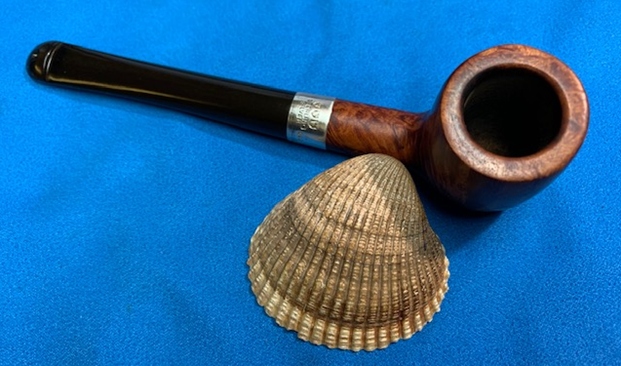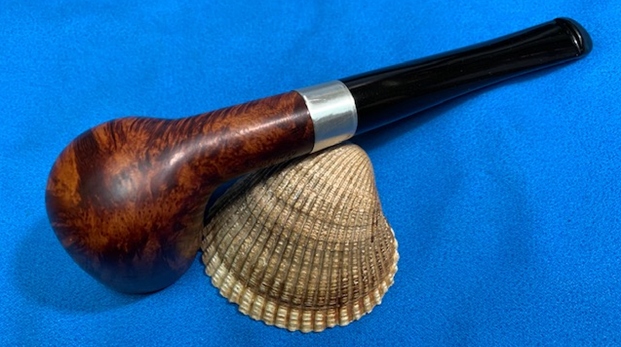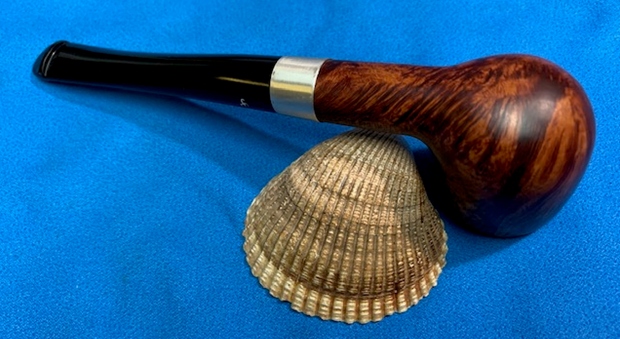
Tag Archives: shaping a stem

A Mobile Christmas Vacation Restoration of an Exquisite Fratelli Rossi Century Old Briar Billiard


Blog by Dal Stanton

This Rossi of Italy, along with several other pipes, were donated to The Pipe Steward from a good friend and pipe man, Dave Shain, who I worked with in Ukraine several years ago.   Dave also restores pipes and has a great website, http://www.ThePipery.com and regularly produces live podcasts opining the latest tobaccos, pipes and also critiques on cigars he’s tried out.  In 2017, Dave won the Master of Pipes award from the Chicago Pipe Collectors Club for his restoration work and charitable activities through The Free Pipe Project where Dave spearheads a program to send quality restored pipes to servicemen serving their country.  A few years ago, I visited Dave where he lives near Atlanta, Georgia, and we had a great time renewing our relationship.  He showed me his workshop, pipes and tobacco collection, and of course, we settled down in the ‘Barn’ flanked by a vintage Ford pickup – his Man Cave, to share a bowl or two.  It was a great reunion!  I left with a tin of his aged Escudo which continues to age today and several pipes he wanted me to restore for the Daughters of Bulgaria, which I was more than happy to do.  Thanks again, Dave!

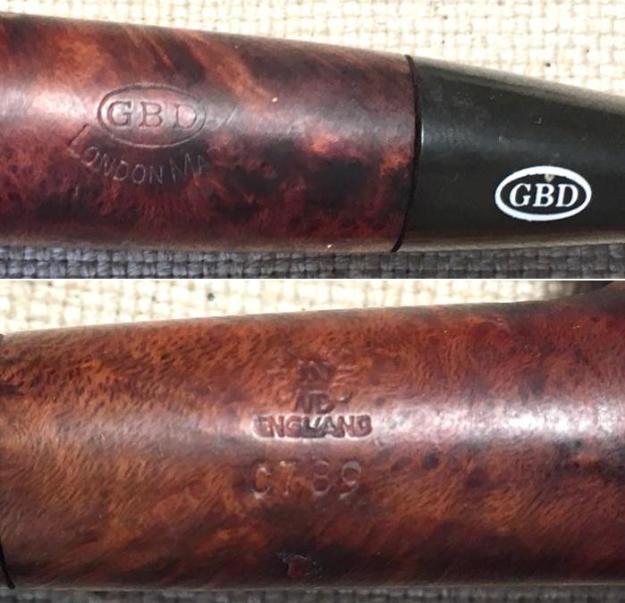
The pipe now on my Christmas Vacation mobile worktable in Port St. Lucie, Florida, is a Fratelli Rossi.  Chris, a pipe man from Argo, Alabama, saw some of my other restorations posted on a popular FB Group,  Pipe Lifestyle, and decided to take a look at the For “Pipe Dreamers” Only! collection.  He reached out to me with 4 contenders that he desired to commission.  In the end, he commissioned the Rossi now on the table and a Cadogan era GBD London Made – Made in London England C789 Pot.  Without a doubt, Chris has learned the meaning of patience that I ask of all commissioners when they commission pipes!  He commissioned them before my wife and I moved from Sofia, Bulgaria, to Golden, Colorado, and so he’s been waiting a while for his pipes to work up the queue to the worktable.  Thanks, Chris!

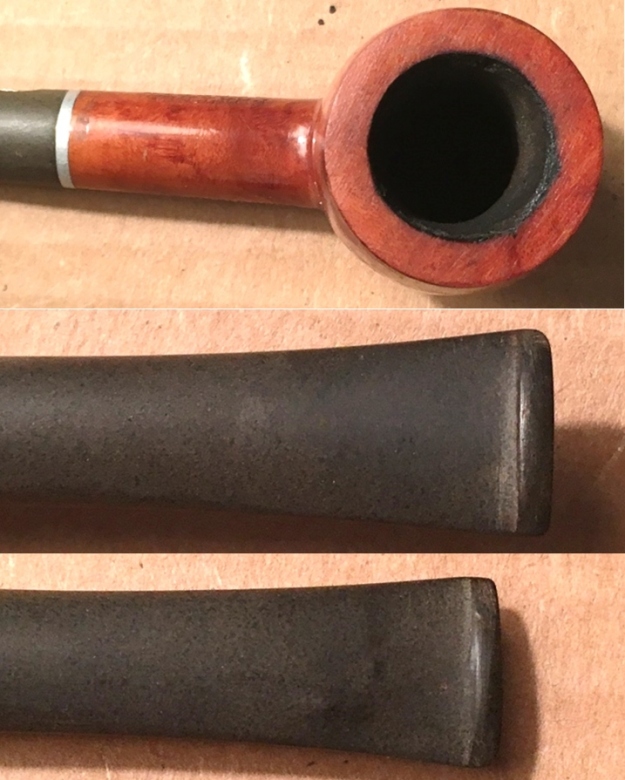
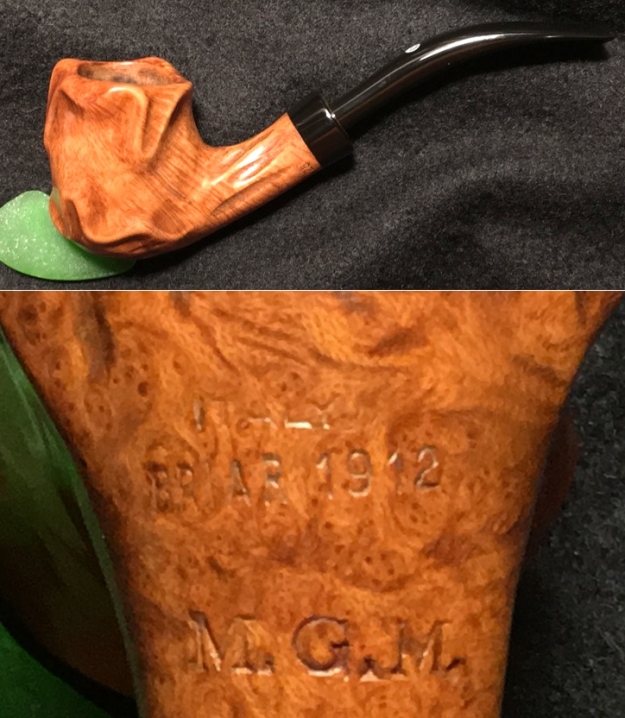
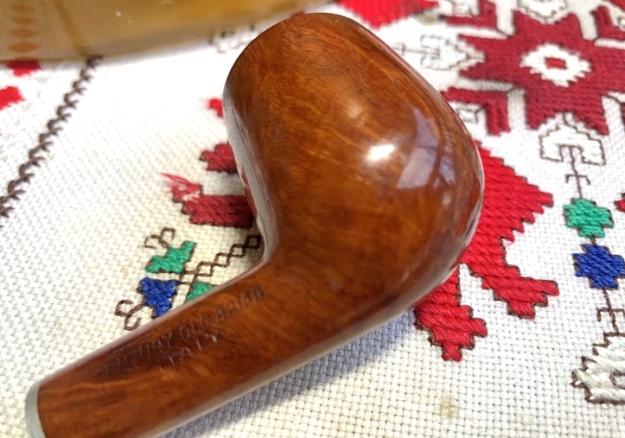
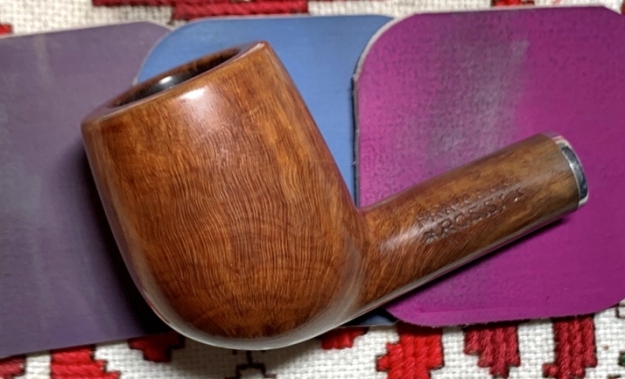
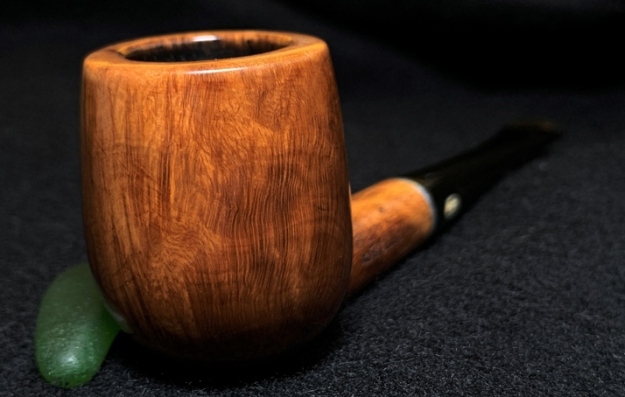
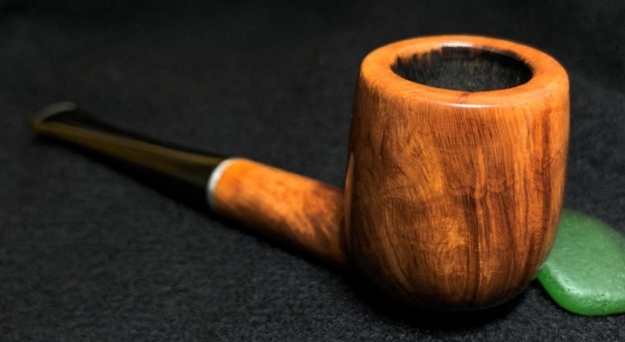
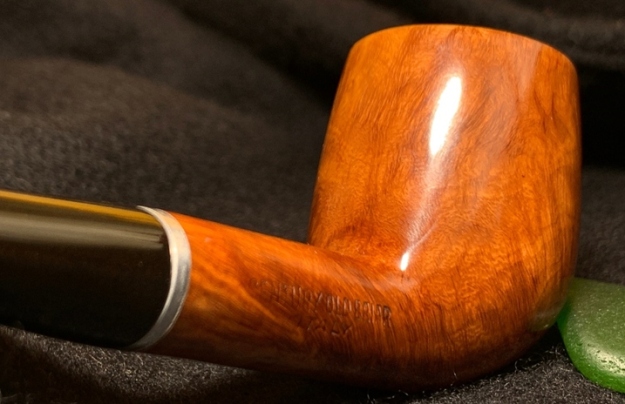
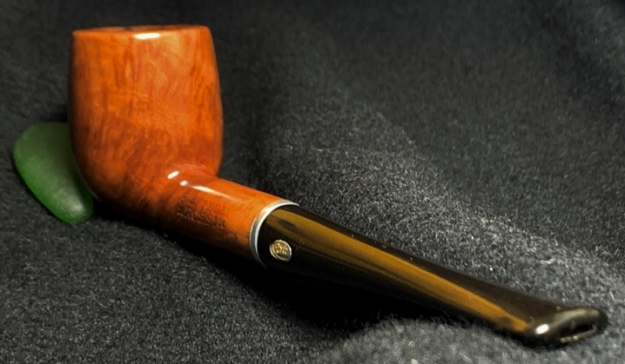
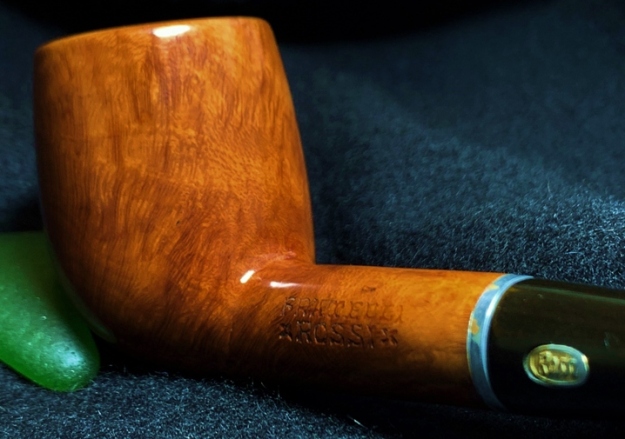
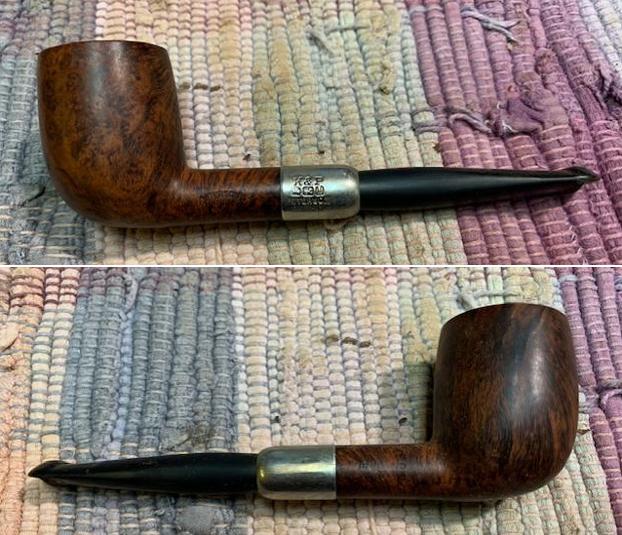
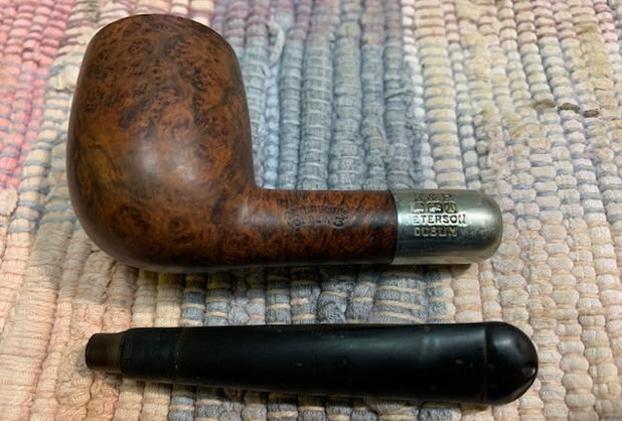
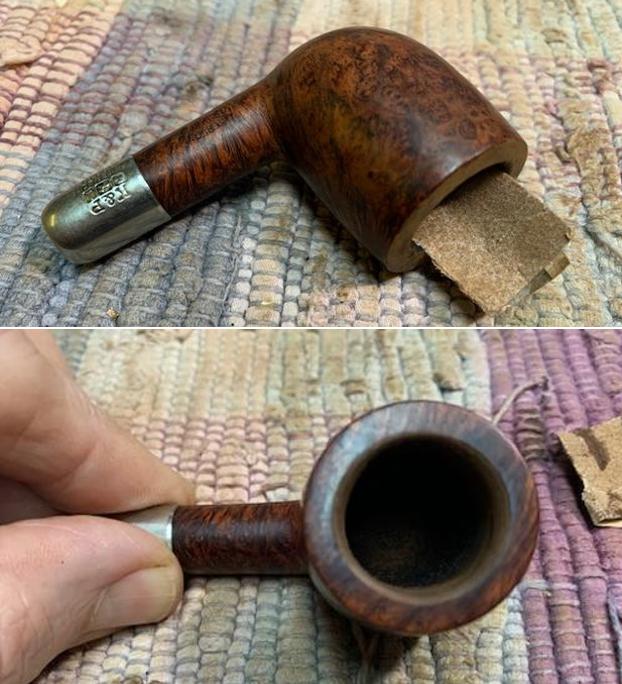
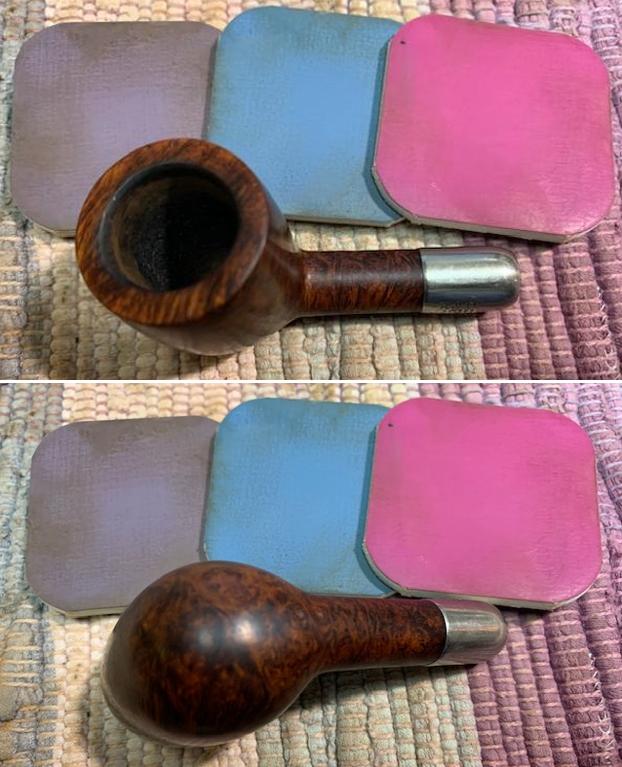
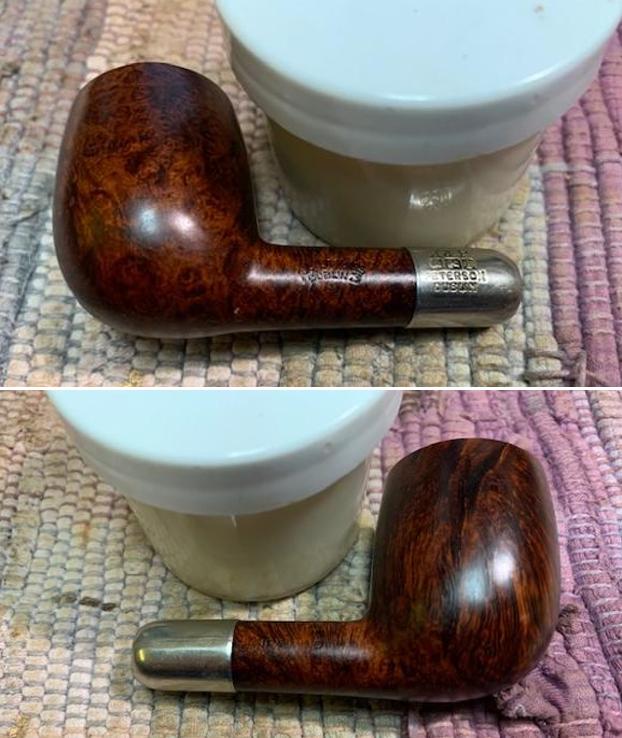
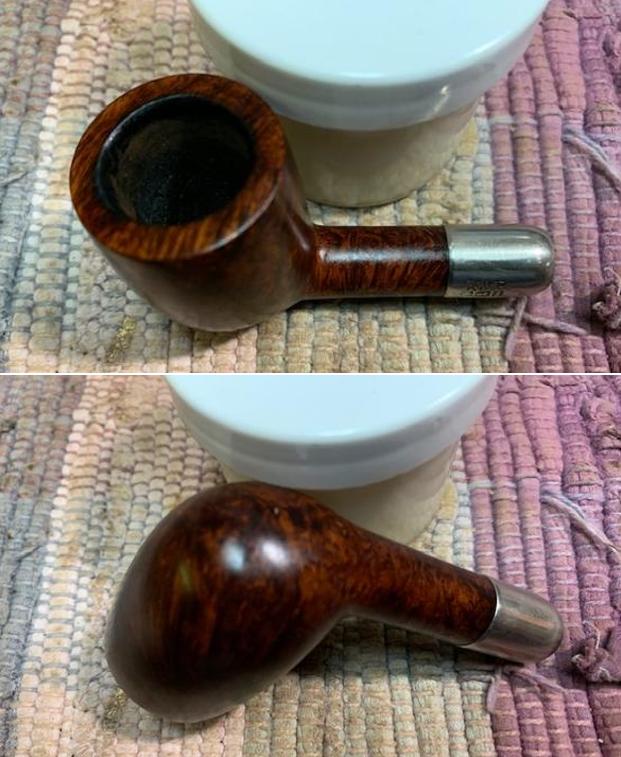
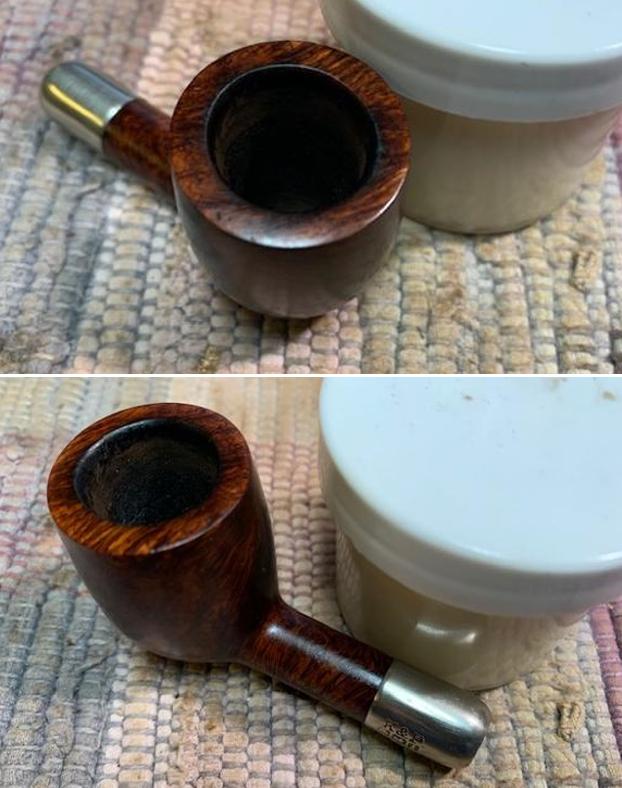
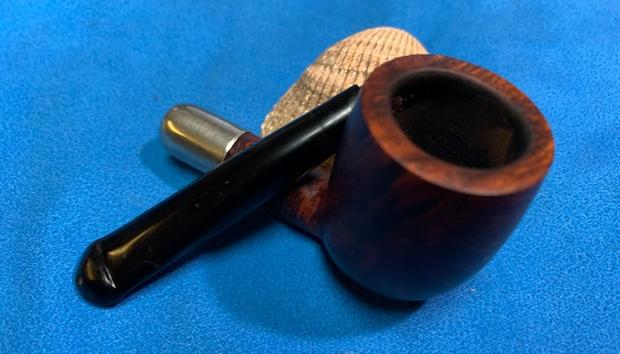
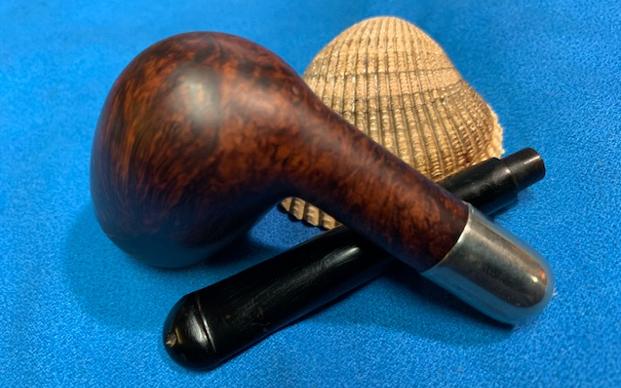
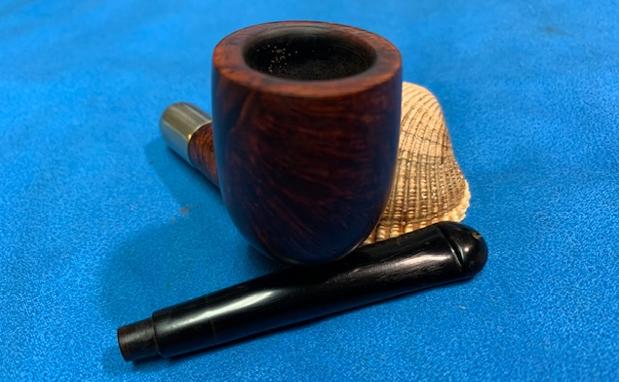
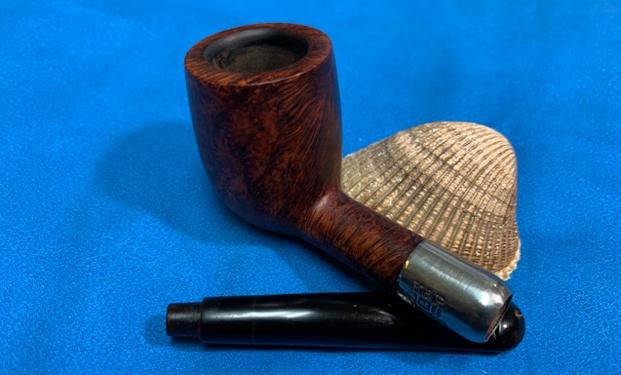
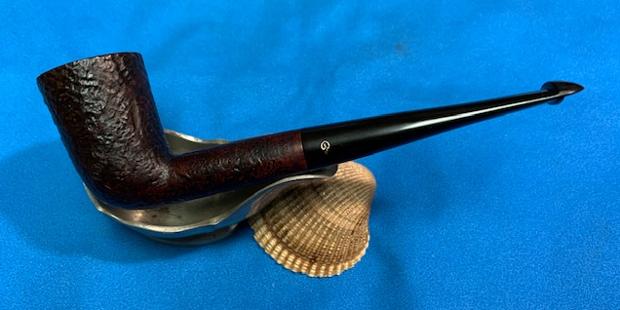
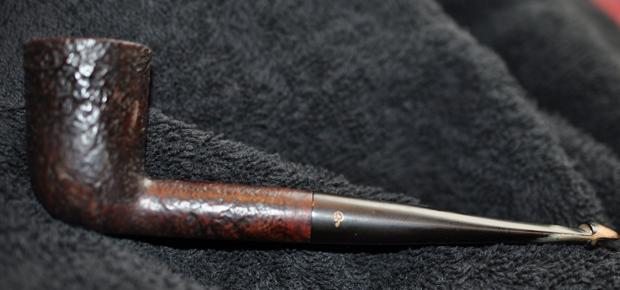
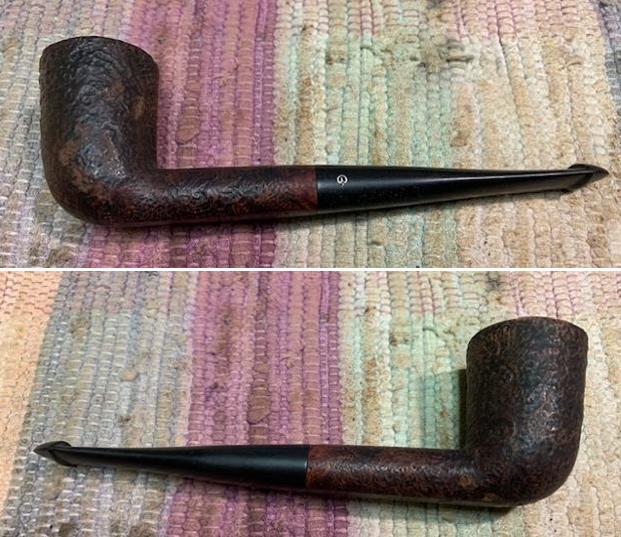
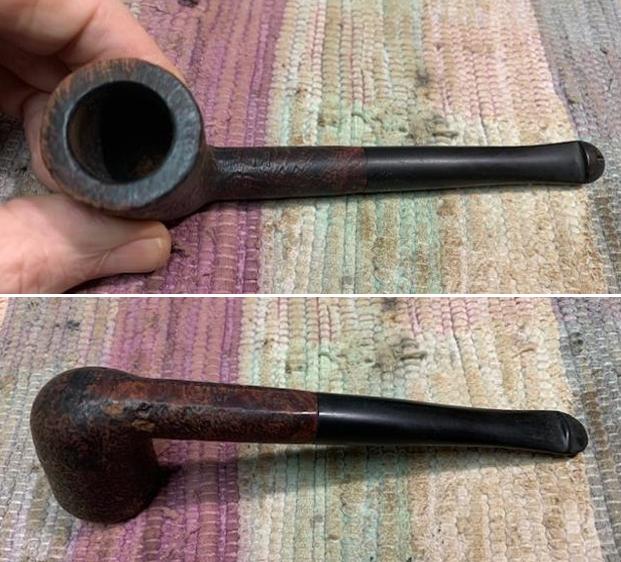
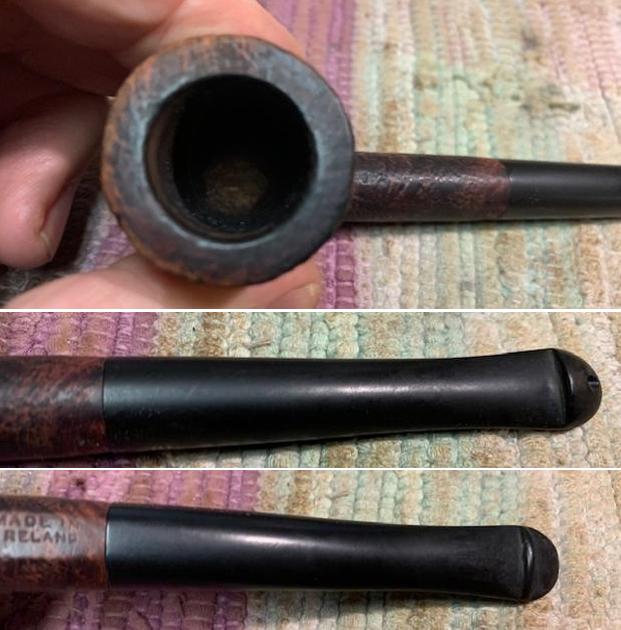
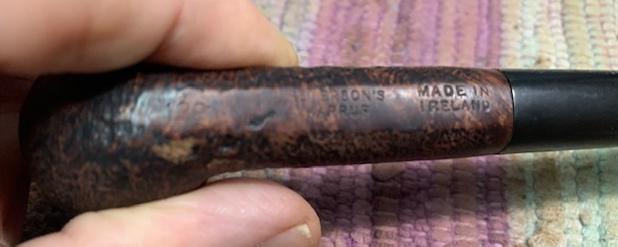
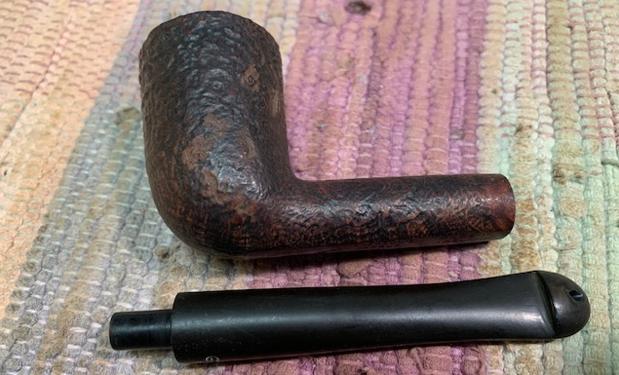
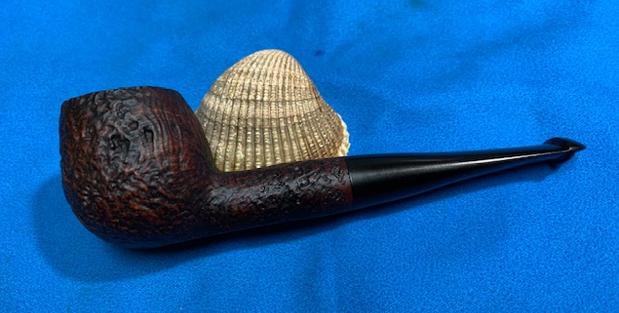
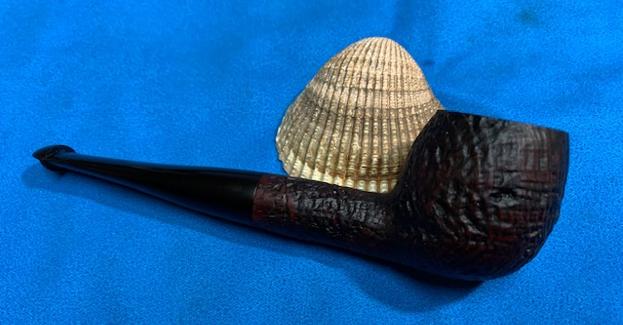
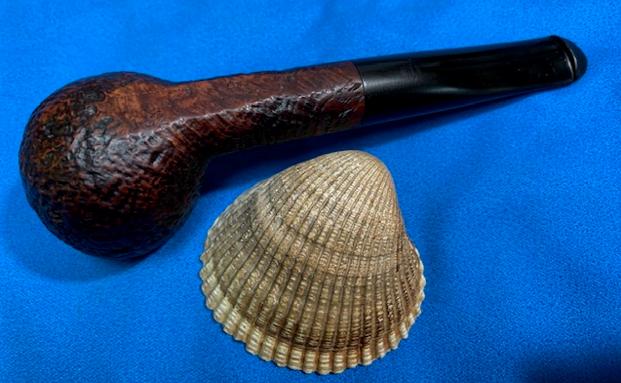
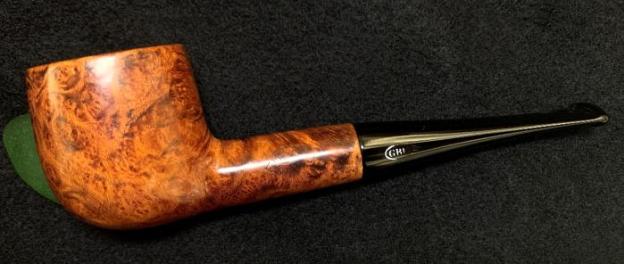
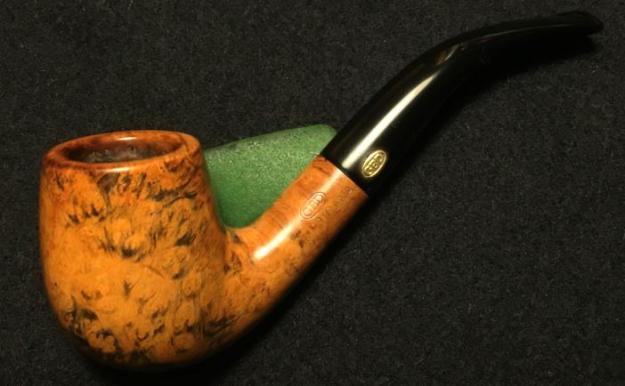
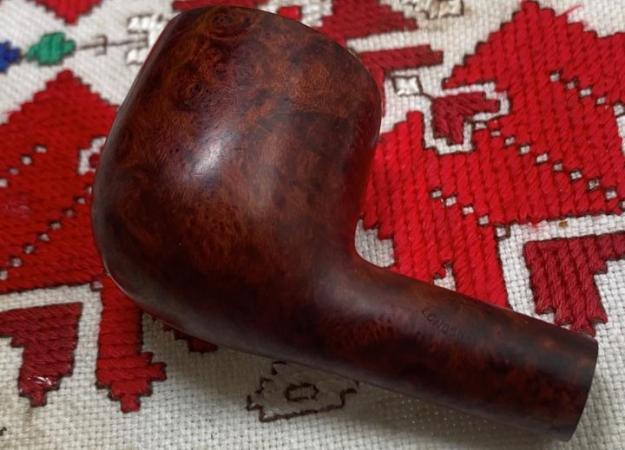
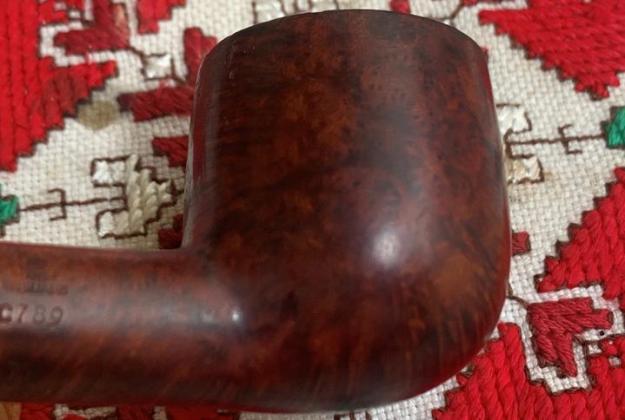
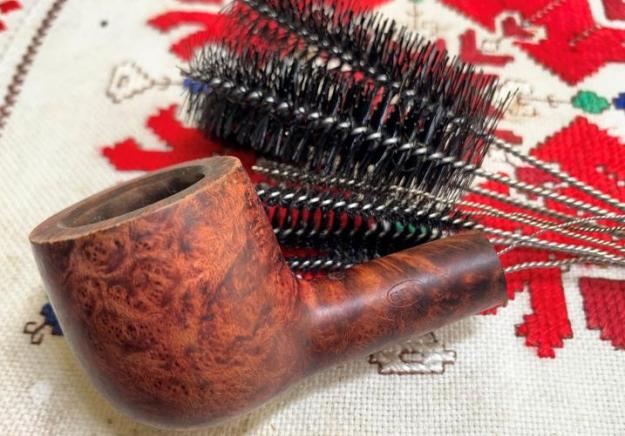
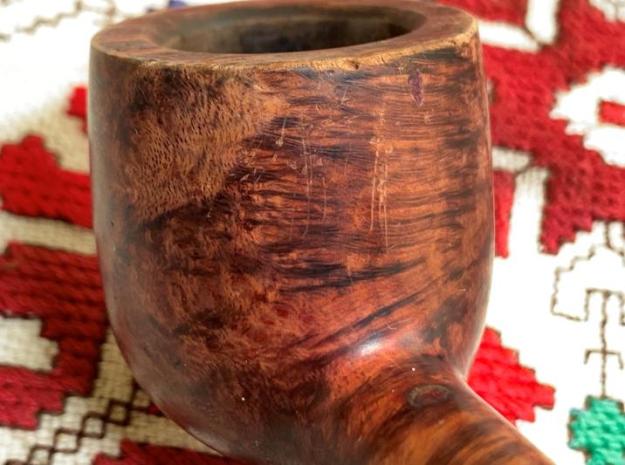
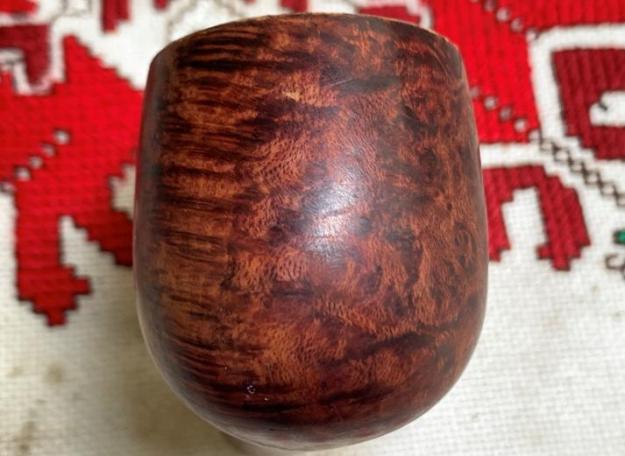
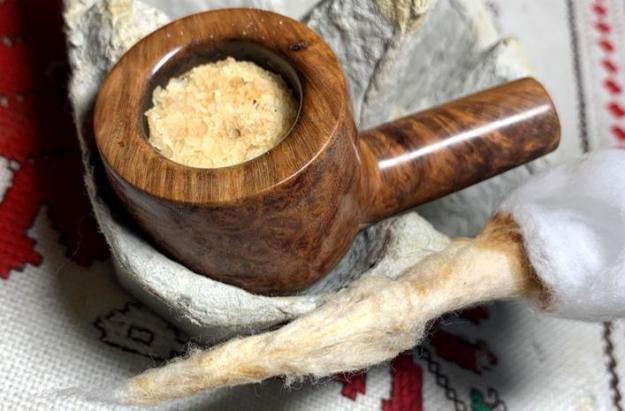
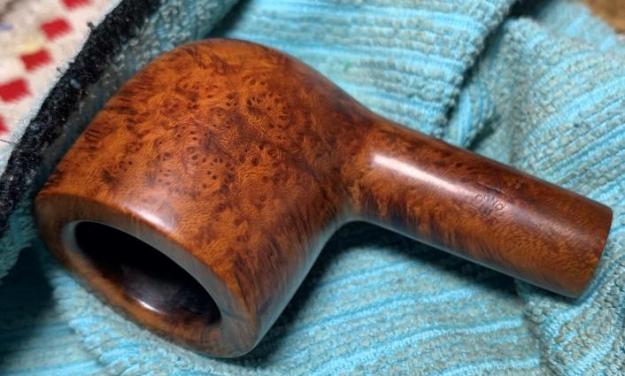
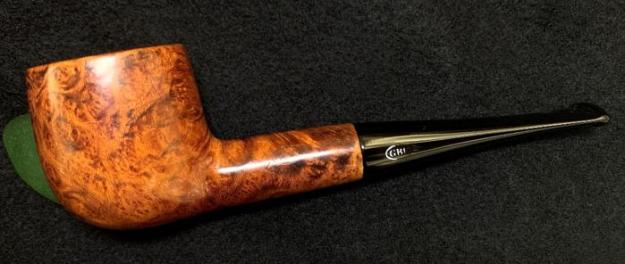
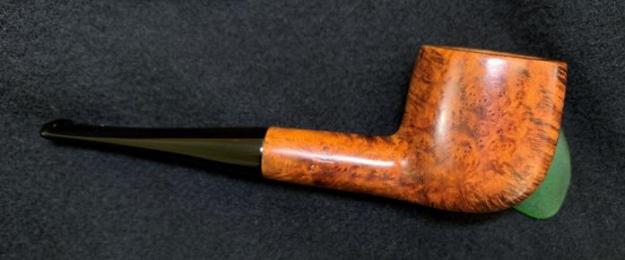
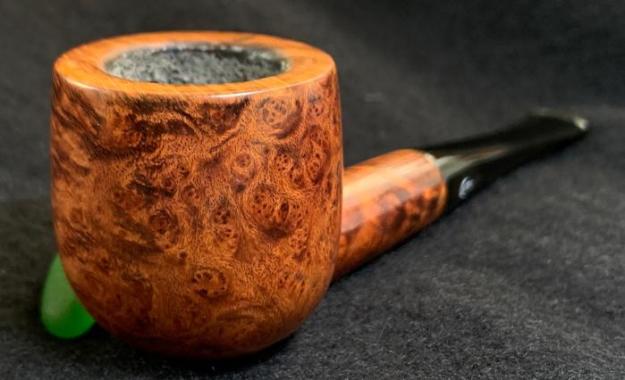
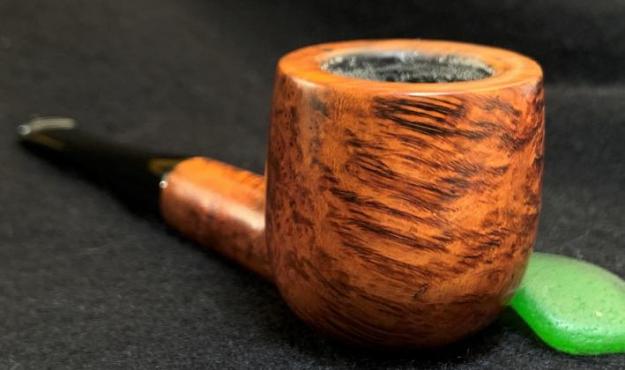
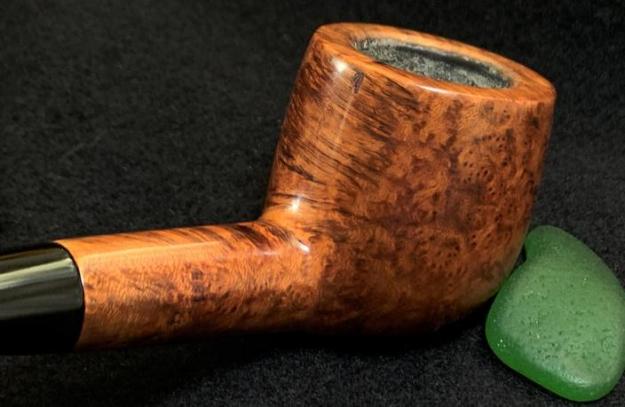
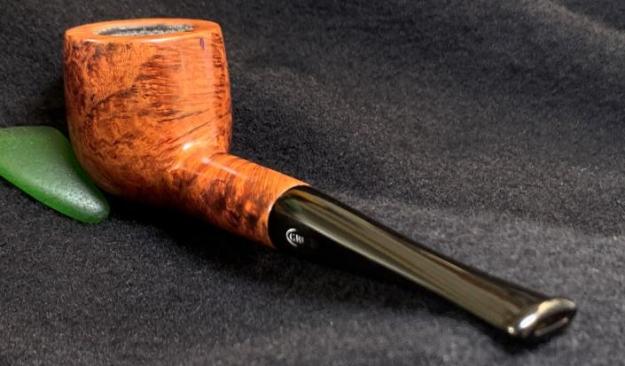
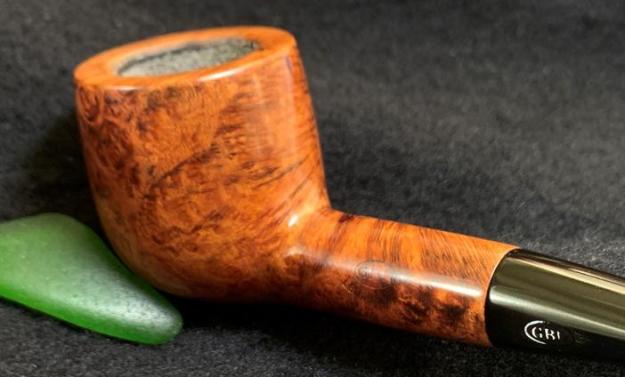
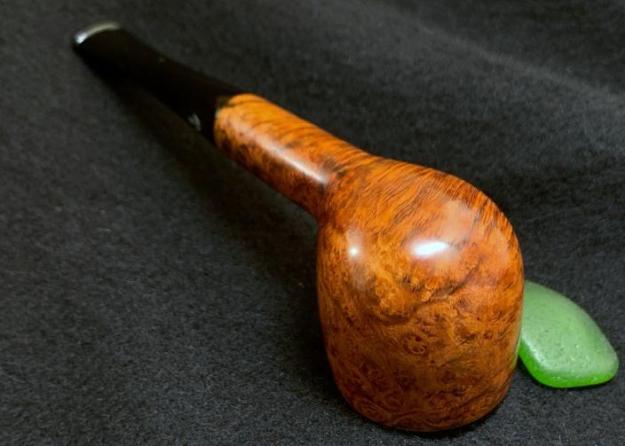
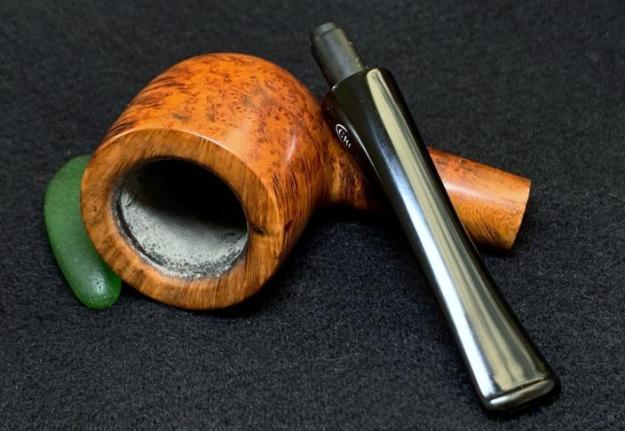
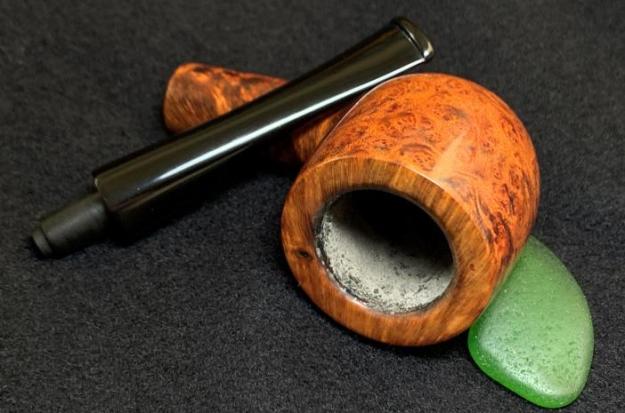
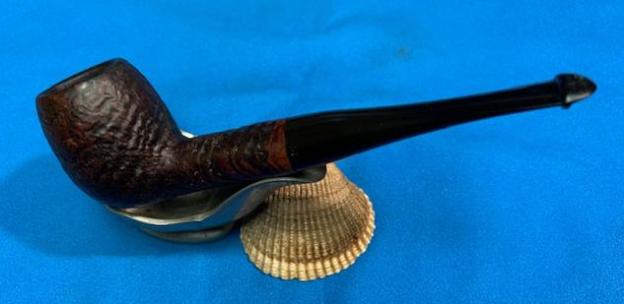
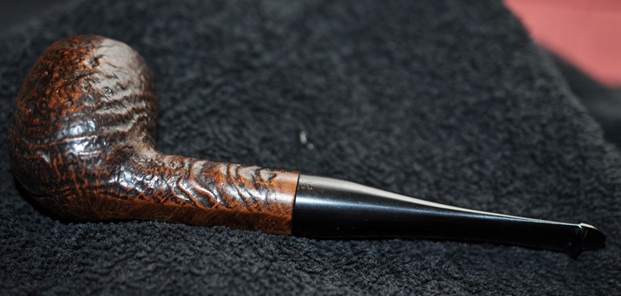
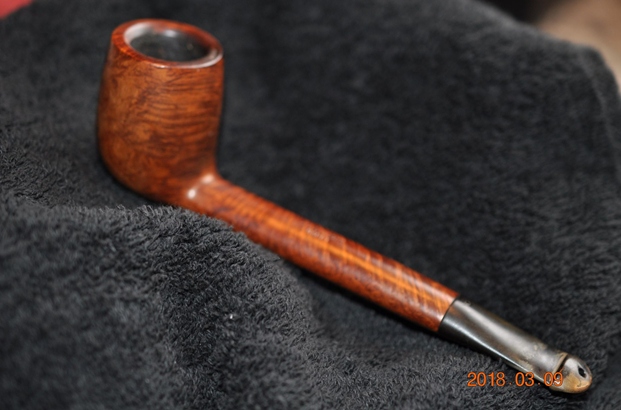
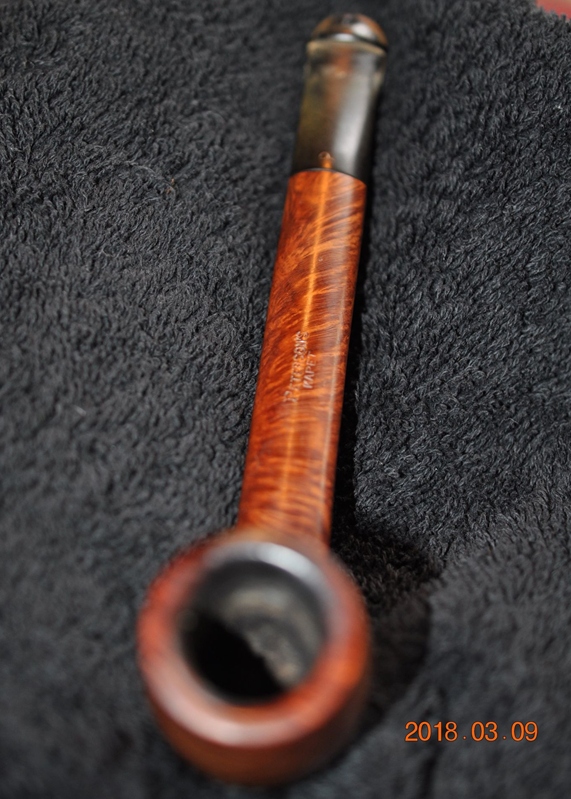
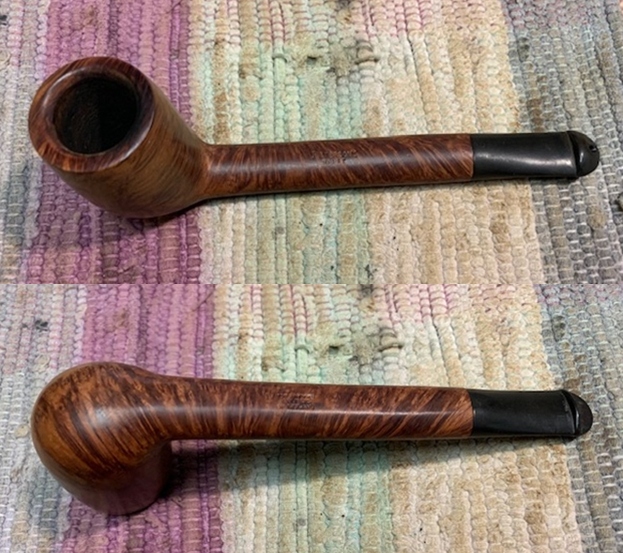
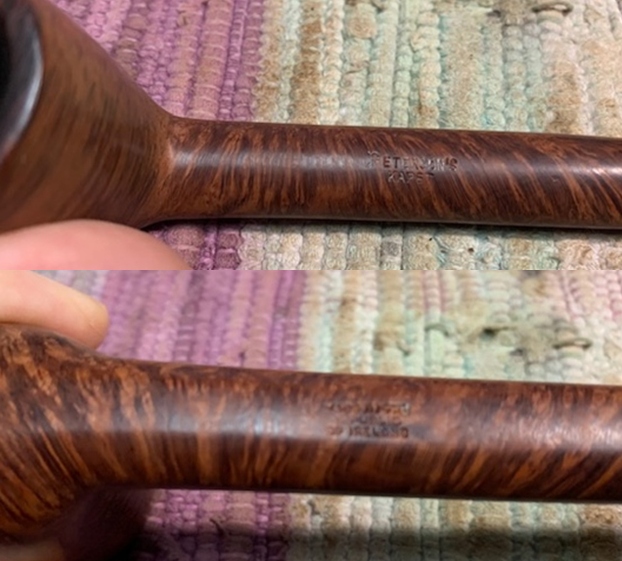
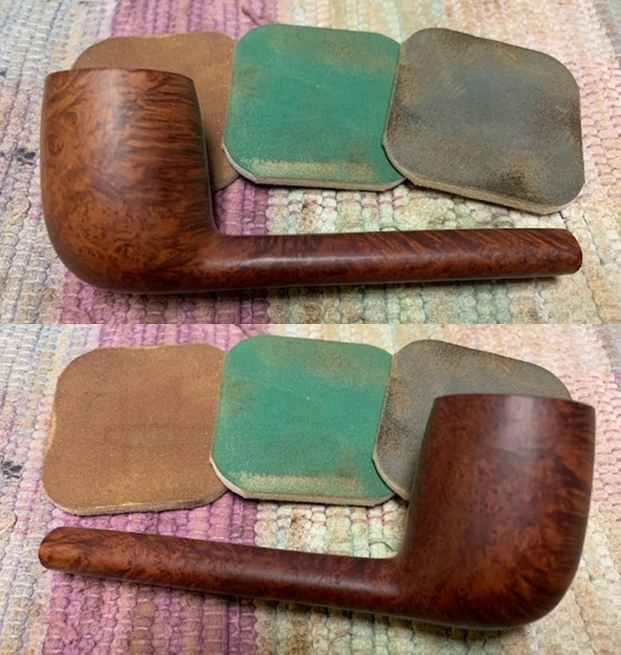
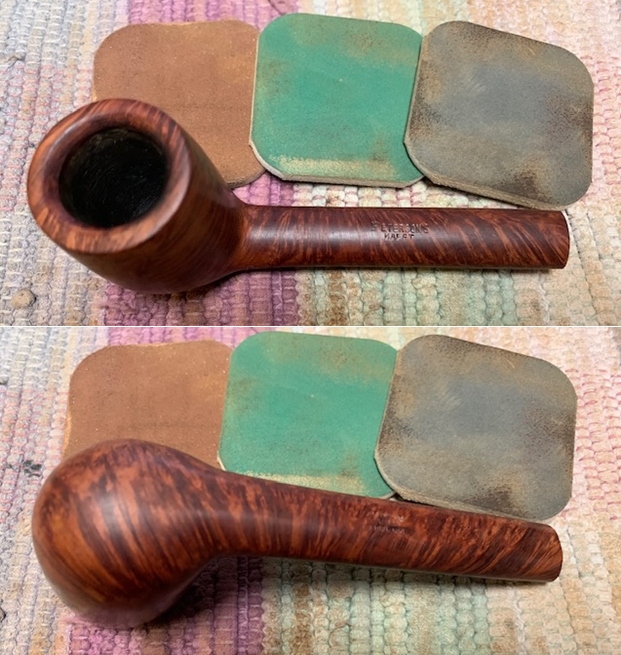
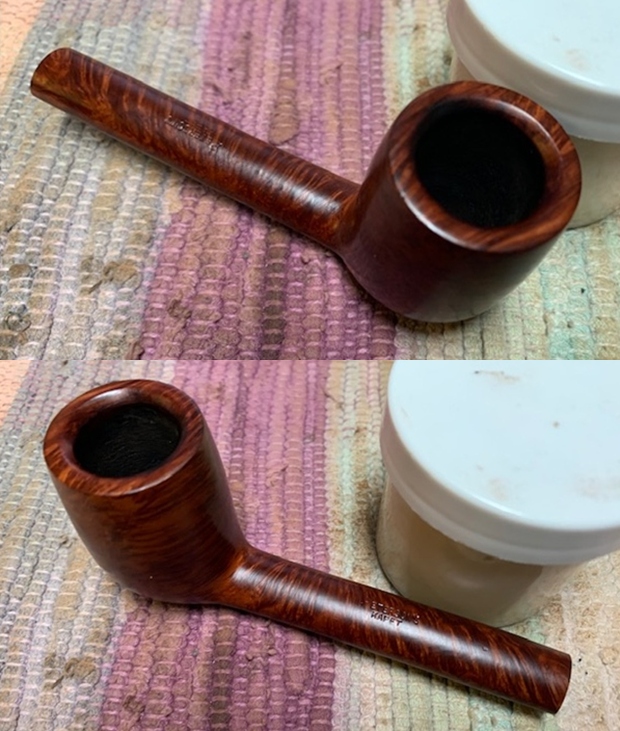
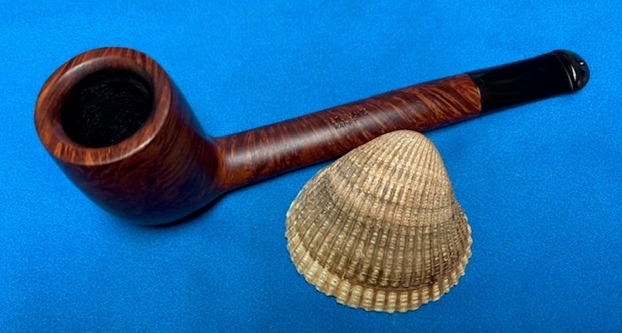
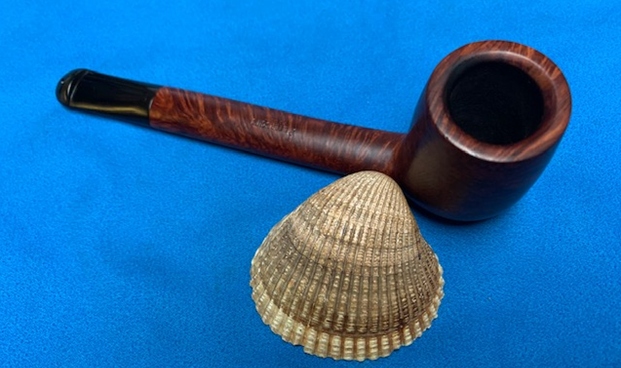
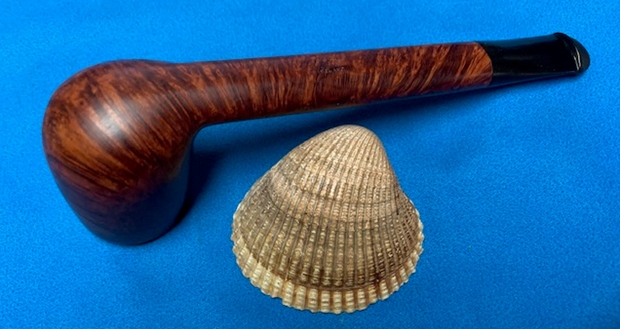
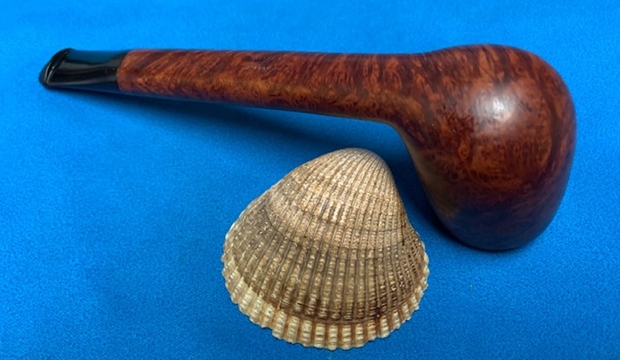
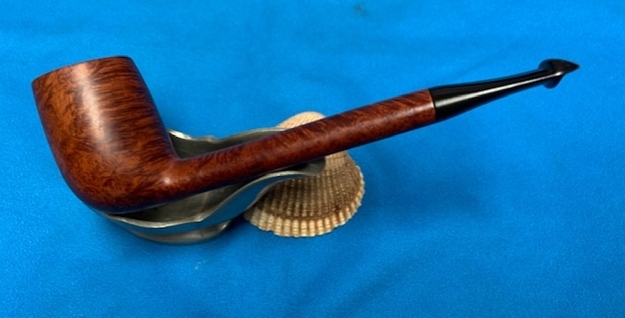
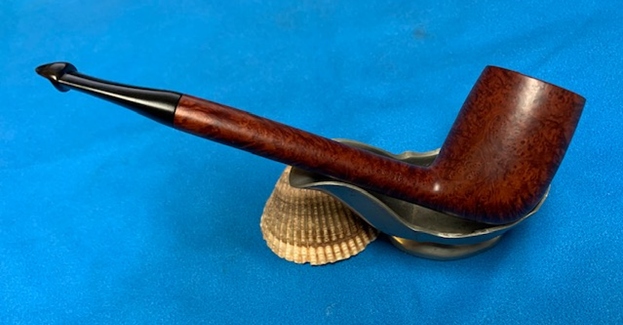
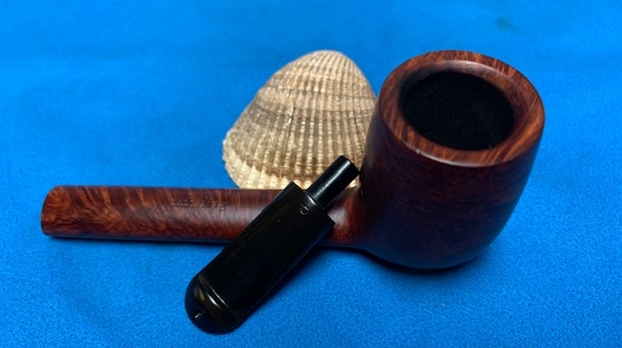
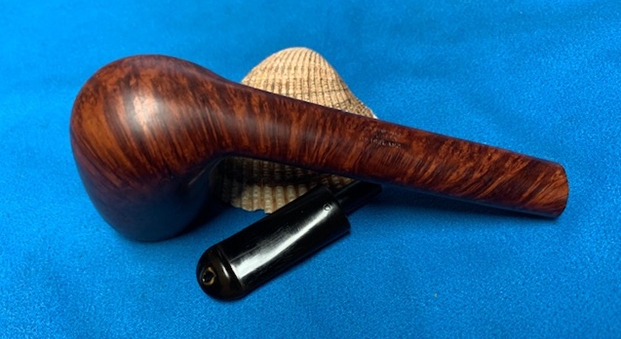
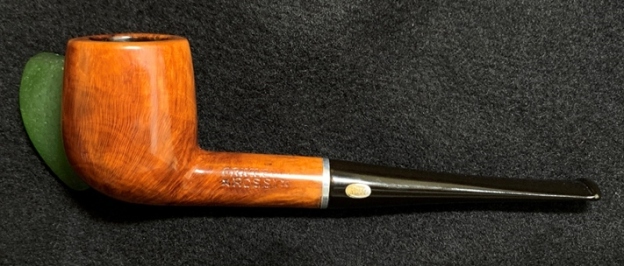
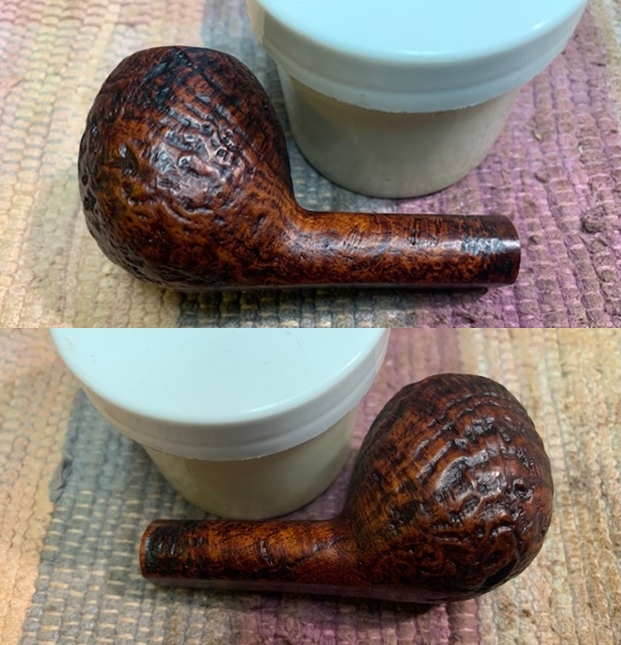
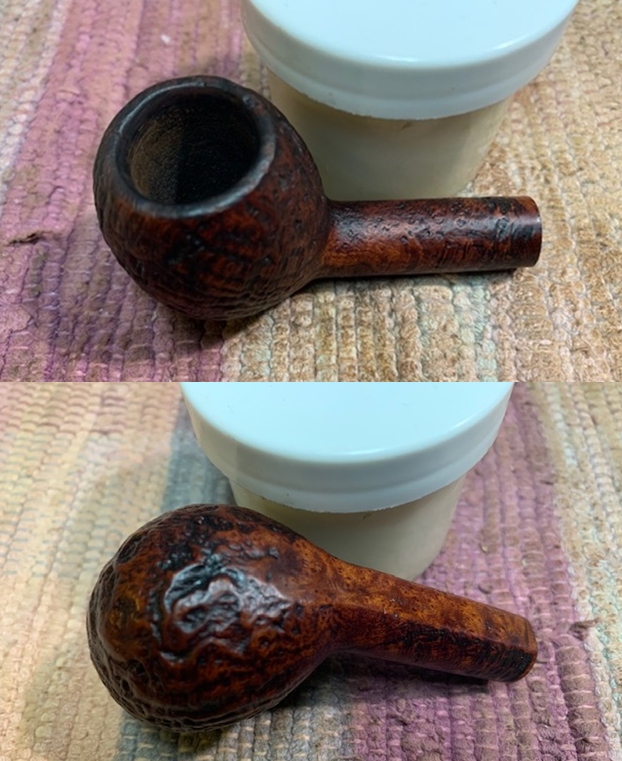
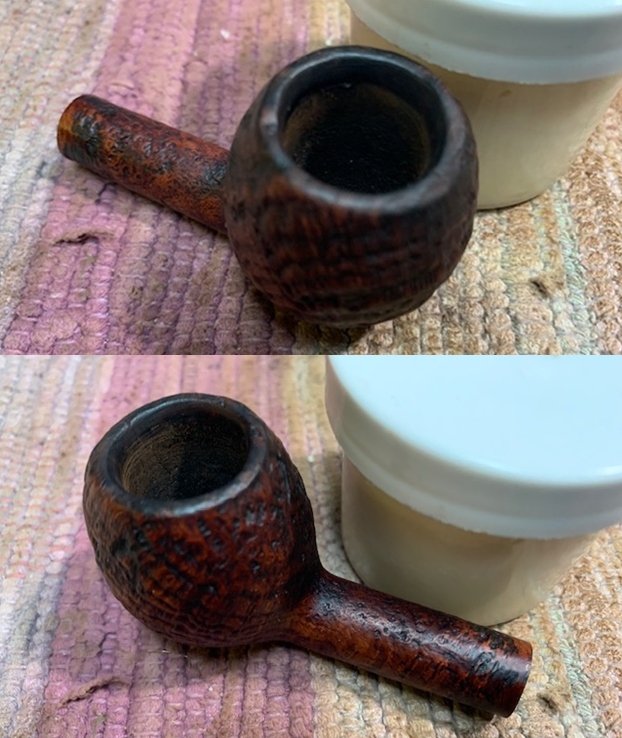
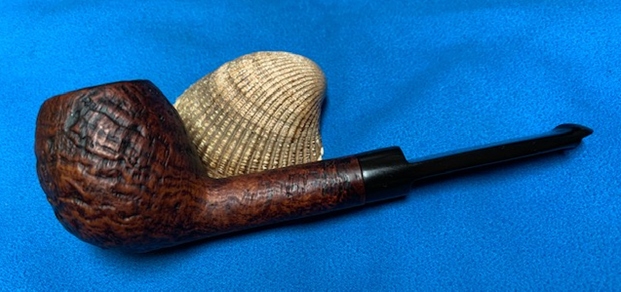
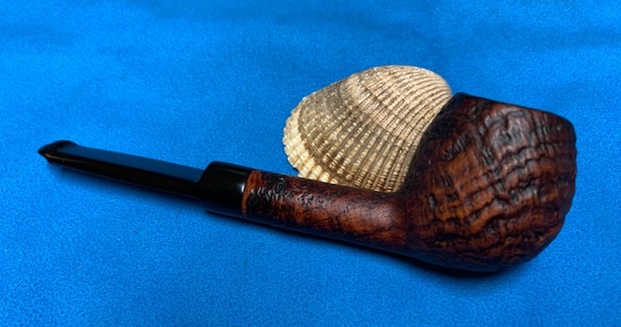
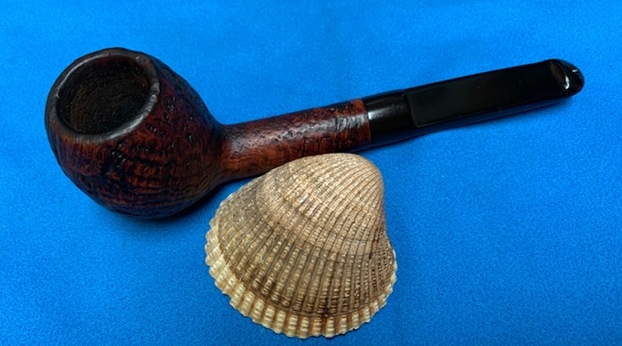
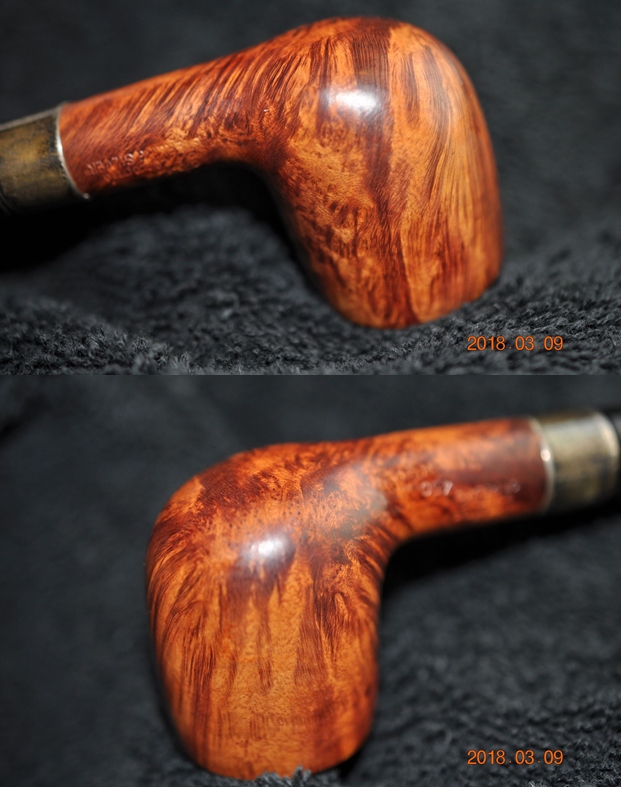
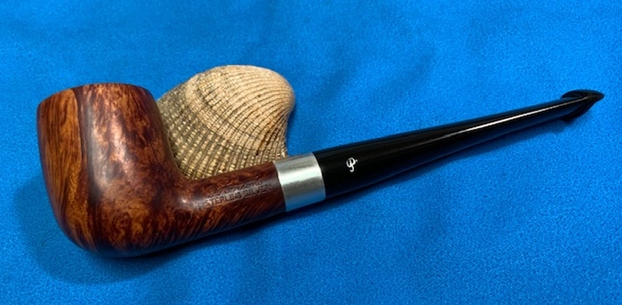
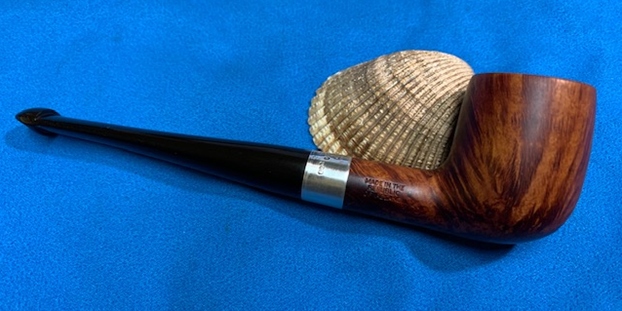
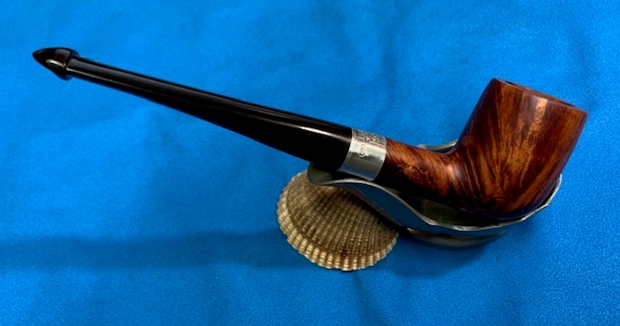
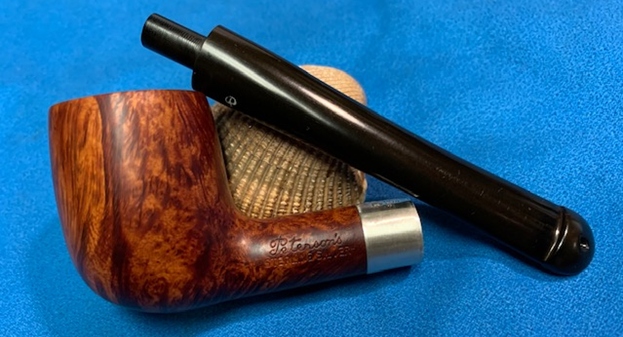
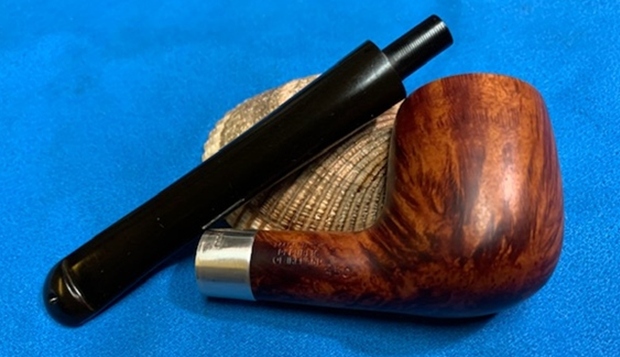
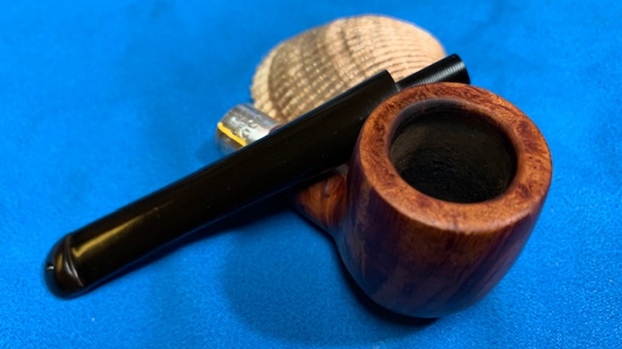
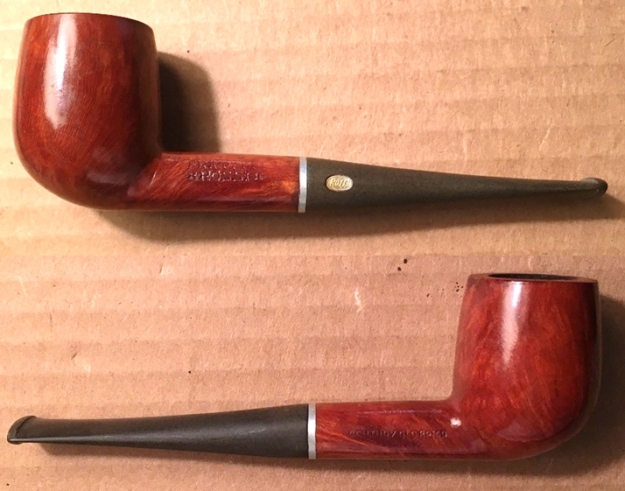
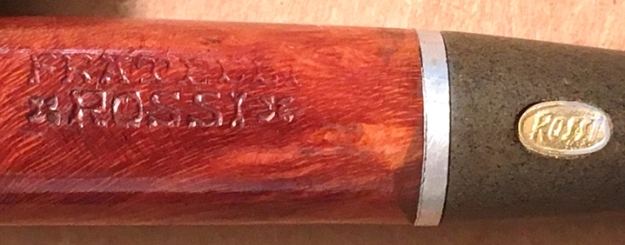
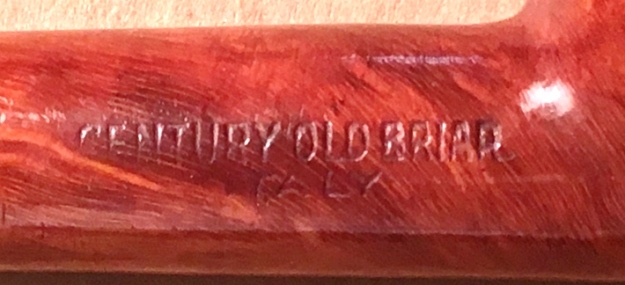
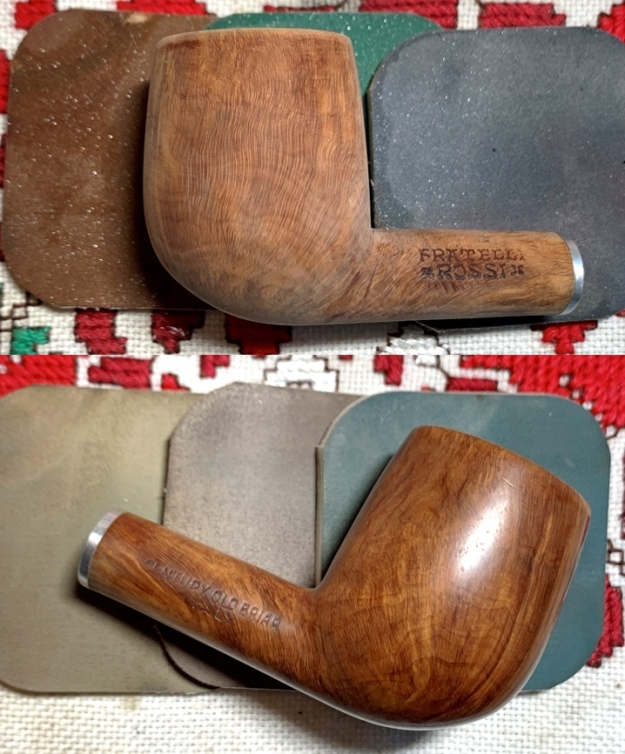
When I first received this lot of pipes from Dave during that visit to the Atlanta, Georgia, area, I took pictures of each.  Here are the pictures of an attractive Fratelli Rossi Billiard now on the table with a make-shift rustic cardboard backing!   The nomenclature is crisp and clear on the shank.  On the left is stamped FRATELLI [over] *ROSSI*.  The text is old world print and stars flank both sides of Rossi.  The inlaid ‘Rossi’ brass stem rondel is reminiscent of GBD’s pre-Cadogan era rondels.   The right flank of the shank is stamped, CENTURY OLD BRIAR [over] ITALY.  The pipe itself is an attractive pipe with distinctive briar grain.  It is a medium sized classic Billiard shape with the dimensions: Length: 5 1/2 inches, Height: 1 11/16 inches, Rim width: 1 3/16 inches, Chamber width: 3/4 inches, and a Chamber depth: 1 1/2 inches.   When I read this part of the nomenclature after the pipe finally made it to the worktable, I did a double-take.  It reminded me of another pipe that made a similar claim on the nomenclature and my first response was to write it off as hype.  That pipe turned out to be a diamond in the rough – a Gasparini M.G.M. Rock Italy Briar 1912 – 25 FreehandThe claim was that the briar on this Gasparini was harvested in 1912 which turned out not to be hype, but the reality.  The Rossi claim is similar, the briar being used to fashion this pipe, at whatever point it was manufactured by Rossi, was from briar that was in the curing process for at least 100 years.  That is not only a great claim that points to a nice piece of briar but increases the collectibility value of this Billiard. 
With the question of the “claim” of Century Old Briar, I turn my focus to finding out more about the Rossi name and hope that I can find out more about the claim.  This is the first Rossi that I’ve worked on so doing some research on the origins of the name deepens my appreciation for the pipe on my worktable.  It doesn’t take much effort to uncover a plethora of information about the Rossi name.  I am fascinated by the story and I decide to repeat the somewhat lengthy but interesting and thorough historical focused Pipedia Rossi article here:
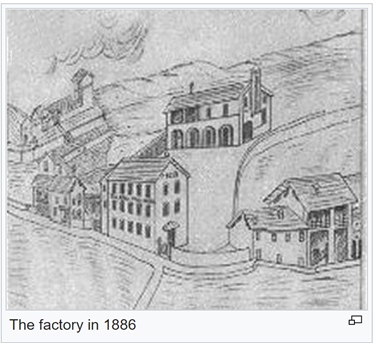
In the years around 1870 and still later the bulk of Italian pipes was made by time taking and laboriously manual work. Mainly based on families who sold their pipes to travelling purchasers handing them on to some wholesaler. Most pipes were still made of box or olive wood.

 Ferdinando Rossi from Milan was one of the most important wholesalers for tobacco related goods of northern Italy. When he attended one of his pipe suppliers in Saint-Claude in 1880 he got hooked on the idea to establish this manner of industrialized briar pipe production in Italy as well. Rossi went abroad several times to buy the hardware here and there because the special features of machines for pipe making were secrets – well kept by the French in those days. Many machines and tools had to be modified on Rossi’s defaults.

He acquired a large area of land in Barasso in the province of Varese and founded the Fabbrica di Pipe di Radica Rossi in 1886. For sure there was no lack of skilled workers and Rossi personally recruited 30 craftsmen of different occupations from the environment to get started. After a few years the enterprise had developed well and entered into export trades. In 1892 e.g. the ledgers registered the first pipes shipped to Brazil.

One reason of success was the ultramodern conception of the factory and its equipment at the given time. To give an example: a system of canals invented by Rossi drove water to turbines propelling downstream generators, which supplied the entire machinery with electricity. Also lighting and heating were already electrically operated.

In the first years after 1900 Rossi grew steadily and became one of the ten biggest pipe manufacturers of the world. Rossi’s rapid ascent produced further foundations of pipemaking firms in the area around the Lake of Varese.

  • 1897 Gerolamo Ceresa (starting as subcontractor for Rossi) in Cassano Magnano
  • 1900 Fratelli Lana in Gallarate (bought by Tagliabue in 1922)
  • 1910 Stefano Santambrogio (working with Lana and with Rossi before) in Groppello di Gavirate
  • 1911 Federico, Carlo, Cornelio and Francesco Rovera (all working for Rossi before) even there.

 So, the province of Varese became the most important center of Italy’s pipemaking industry after the turn of the century. Still going strong today along with the brands in the provinces of Como and of Pesaro.

From 1918 on Leonida Rossi supported his father in the management of the company. Later he was designated as chairman and joined by his brothers. Rossi now firmed as Fratelli Rossi Barasso shortly FRB.

Between the world wars Rossi finally promoted to be the biggest pipe factory in the entire world. Next to the domestic market in Italy the United States were the most important client.

The factory was systematically and consequently modernized and extended. The briar was stored in 18 sheds, which were arranged six by six in three rows. There was a power plant, a sawing mill, a department for ebonite mouthpieces as well as a department for horn mouthpieces, a department for filter tubes and one for fittings made of metal etc. Taken for its size practically any of these individual departments outmatched any other complete pipe factory in Italy! At the end of the production line stood a warehouse for the finished pipes featuring the dimensions of a big a department store.
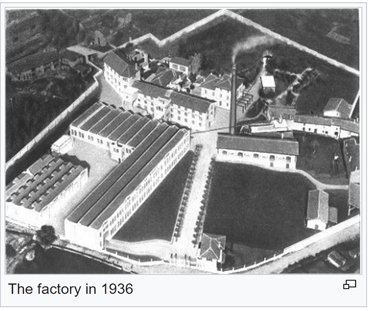
The absolute peak of production was reached in 1936, the year of Rossi’s 50th anniversary. Rossi employed 860 persons – 95% of them were women – who turned out more than 50,000 pipes per day. Per day!

(Remember, those were the days when good restaurants offered a free pipe to the gentleman to end a fine meal with a fine smoke!) These numbers were never reached by any other manufacturer. Even not approximately.

Rossi is also credited with exemplary social features. The company maintained a well equipped hospital ward, the employees enjoyed large dining rooms and showers after work. There were shops where they could buy the products of some Rossi owned farms from the environment at subsidized prices. For the youngest children there was a kindergarten and the elder ones could spend their school vacations in a holiday camp named after the founder’s wife Marisa.

From appr. 1946 up to the end Ferdinando Rossi II, a grandchild of the founder, headed the company. But after World War II the world of the pipe changed dramatically. Especially in Italy, where those big pipe factories mainly turned out pipes for the lower priced segments of the international mass markets. The demand for these pipes shrunk considerably as more and more smokers turned to cigarettes. Rossi got into this vortex as well. Little by little the number of pipes produced sank. This evolution was accelerated by the upcoming fame of pipes from Denmark. As well, new Italian brands established after the war like Castello, Brebbia or little later Savinelli operated cleverer and thus were more successful.

So, the decline went on through the 1960’s and 1970’s, even though Rossi offered more than 800 possible shapes in dozens of lines and uncounted finishes. Besides the completely machine-made pipes there were also some lines of semi-freehands and even quite considerable freehands were made. But all these efforts could not stop the fall anyway. Due to increasing financial difficulties Rossi closed down in 1985, just one year before the 100th anniversary.

“Ferdinando Rossi was one of the pioneers in bringing the production of briar pipes to Italy, a contemporary of Achille Savinelli. And though the two were competitors in business, in their private lives they enjoyed a close friendship. So it came to be that, just shy of a century after its founding, the Rossi family’s marque came into the caretaking of Savinelli, after the former found itself unable to adapt to the changes in the post-WWII tobacciana market. This same old friendship is also one of the reasons why Savinelli has been keen to give the Rossi name new life, as Rossi by Savinelli, focusing on quality, affordable Italian pipes.” Courtesy, smokingpipes.com

The heights to which the Italian pipe manufacturing enterprise of Rossi reached in 1936, of a workforce of 860 and a production pace of 50,000 pipes per day is astounding.  The decline of the company, especially in the 60s and 70s, is in stark contrast to the earlier entrepreneurial vision of Ferdinando Rossi who built the company into an empire.  The last paragraph above is important.  It references from Smokingpipes.com, what seems like the epitaph of the Rossi Company that closed its doors in 1985 – “unable to adapt to the changes in the post-WWII tobacciana market”.  The Rossi name was taken over by Savinelli because of the friendship of the founders of these two competing Italian enterprises and Savinelli’s respect for Rossi motivated the continued production of pipes with the Rossi name.   I find this factoid not only to be interesting but quite remarkable.

The same Pipedia article concludes with a section on the dating of Rossi pipes which draws my attention with the focus on the Fratelli Rossi ‘Century Old Briar’ on my table.  I include what is described in Pipedia only the later periods of the Rossi evolution:

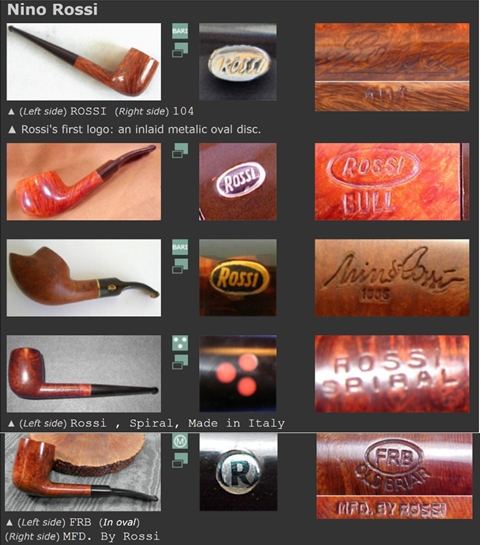
From, approximately, Seventies, until 1985, Rossi pipes were marked with “ROSSI”, into an oval (sometimes there was also “ITALY” on the shank); on the stem, there was “ROSSI”. In these years, appeared the signature “Nino Rossi” (in cursive font): he was the last heir of the factory.

When Savinelli took back the production, it is said that first pipes had a twinbore mouthpiece, with “ROSSI” on the stem, and they were marked with “ROSSI” on the shank. Today most of them had 6 mm or 9 mm adapter (also, for the most part, the stem was made by methacrylate, always with “Rossi” on the side).

The lack of a twinbore mouthpiece and what appears to be an older tenon/stinger setup would suggest that the pipe on my table is pre-Savinelli – pre-1985.  There is no mention of a period when ‘Fratelli Rossi’ was used as the nomenclature marking by either Rossi or Savinelli.  In the history above, ‘Fratelli Rossi’ was a son of the founder, Ferdinando Rossi, who in 1918 joined the company with his brother, ‘Leonida’, at which time the new labeling became ‘Fratelli Rossi Barasso’ or abbreviated as, FRB.

Looking to Pipephil.eu’s information about Rossi, it is added that ‘Ferdinando Rossi Junior’ (Nino), was also among the brothers of 1918 and headed the company from 1946 until its closing in 1985.  Pipephil.eu’s panel below shows the evolution or uses of several differing stamping styles and stem displays over the years and 1000s of different lines that were offered by Rossi.  Of interest is the very first example.  The pipe is very similar to the Rossi on the worktable, but the nomenclature is different.  Yet, what is exact is the brass rondel on the stem with ‘Rossi’ in a cursive-like text.  The comment beneath says, “Rossi’s first logo: an inlaid metallic oval disc.”
It’s difficult without more direct information to place a date on the Fratelli Rossi Century Old Briar.  My efforts to find more than anecdotal information about the ‘Century Old Briar’ were unsuccessful.  I found a few Rossi pipes marked ‘Century Old Briar’ for sale on different platforms such as Etsy and eBay.  Much of the ‘info’ given about the pipe on the block was incorrect and someone guessing.  One seller placed the pipe in the 1960s and described the ‘Century Old Briar’ as coming from the warehouse of the famous Savinelli company… Savinelli didn’t come into the Rossi picture until the mid-1980s.

I looked through old catalog listings and searched but found very little information about this specific Rossi nomenclature.  With no more than an informed guess, I would say that the pipe comes from the 60s or 70s based upon the stem’s nickel screw in tenon/stinger.  It predates Savinelli’s involvement it would seem to me.  The information that the brass rondel was the ‘first’ model, doesn’t provide a definite dating, but would confirm a pre-Savinelli dating. Yet, the overall ‘feel’ of the pipe is that it wasn’t manufactured during or before WW2.  The claim to have been produced with ‘Century Old Briar’, I’m inclined to believe based upon the integrity and history of the Rossi name.  So, my sense is that this pipe was produced during the declining years of the Rossi name – 60s, 70s, and perhaps the early 80s before Rossi closed its factory, but was perhaps a special line of high quality briar that included the ‘Fratelli’ name with Rossi and the claim of ‘Century Old Briar’.

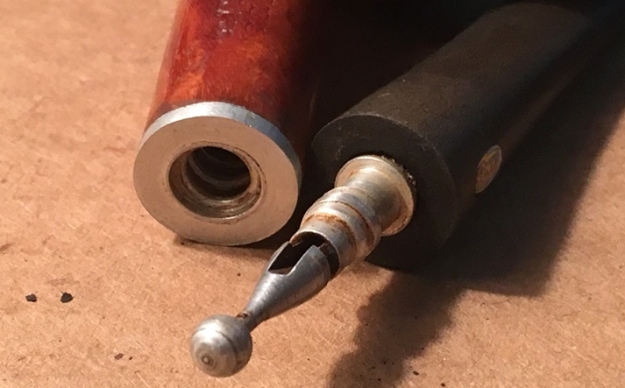
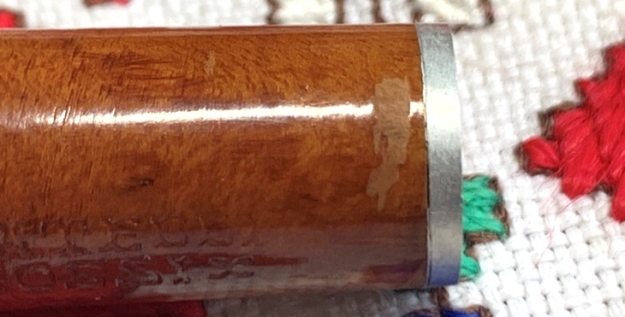
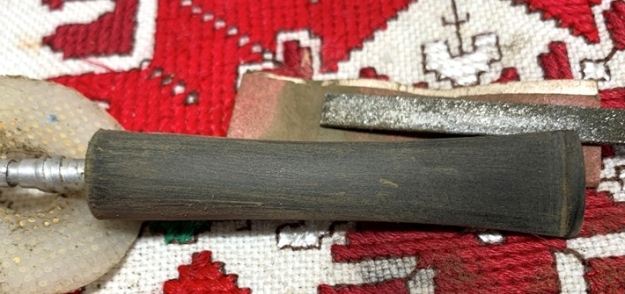
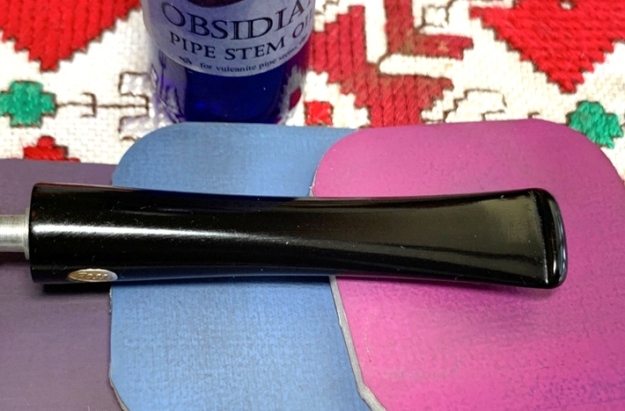
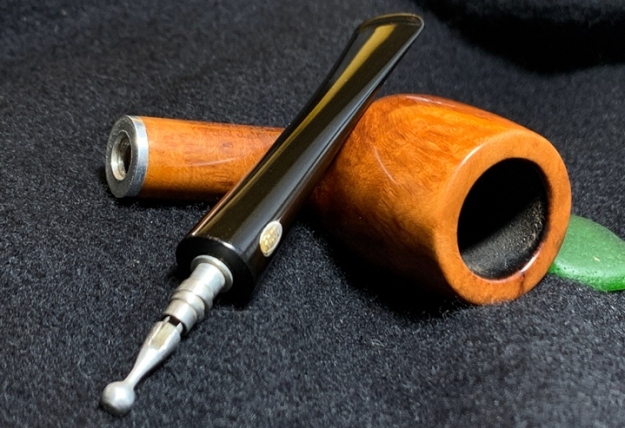
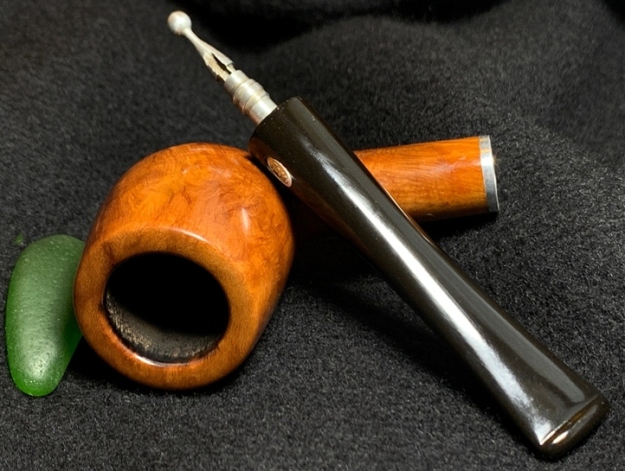
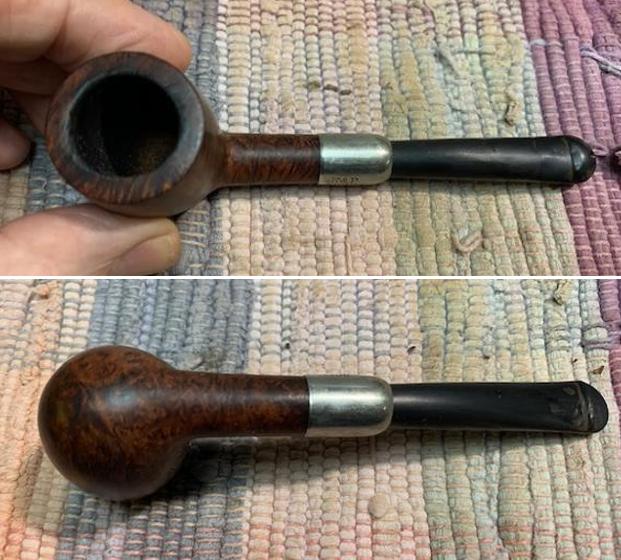
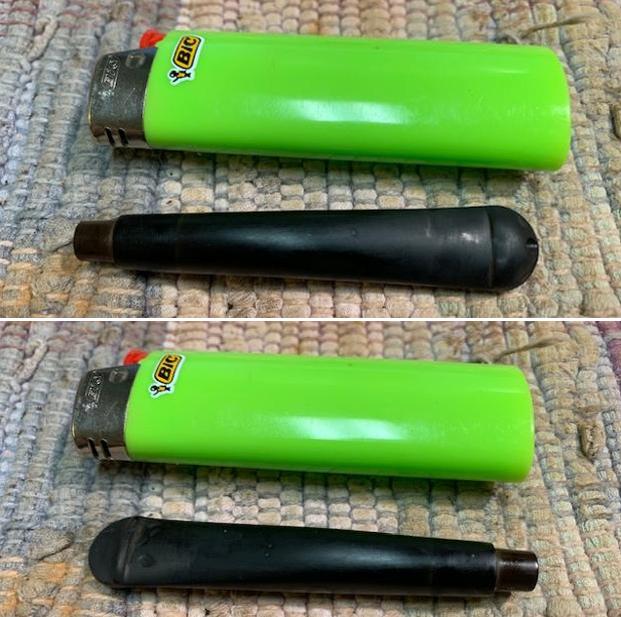
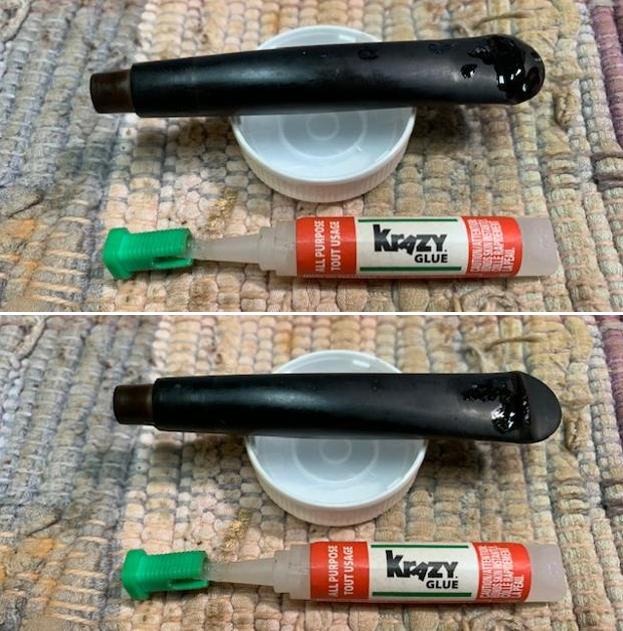
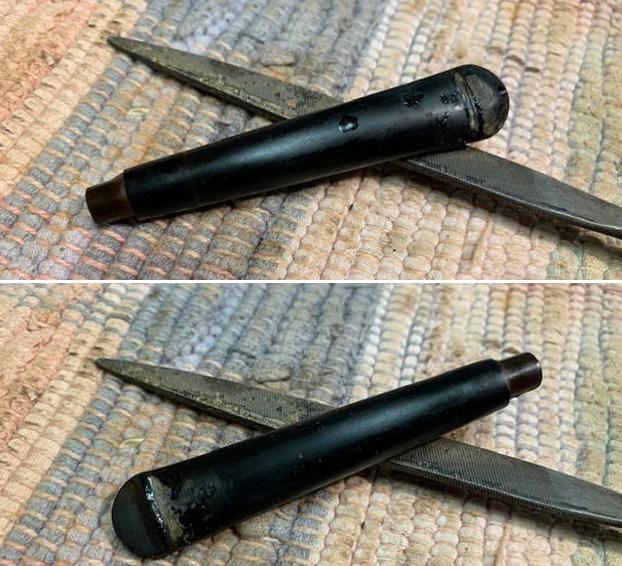
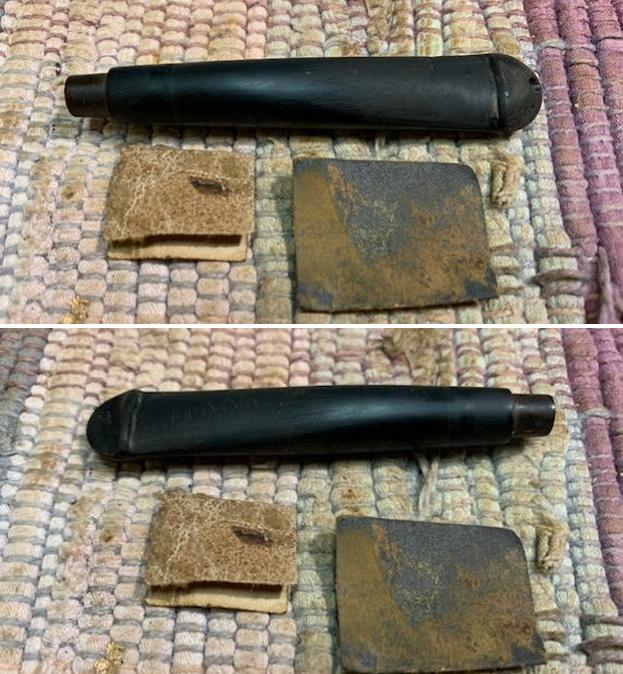
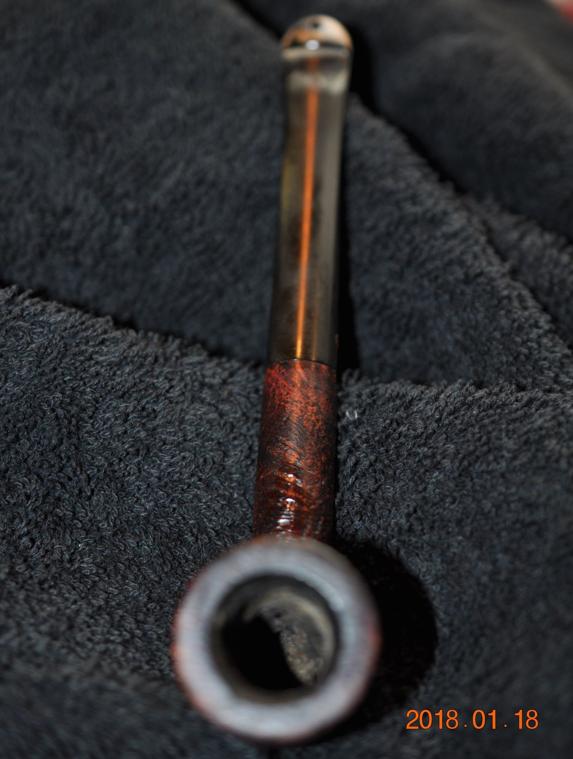
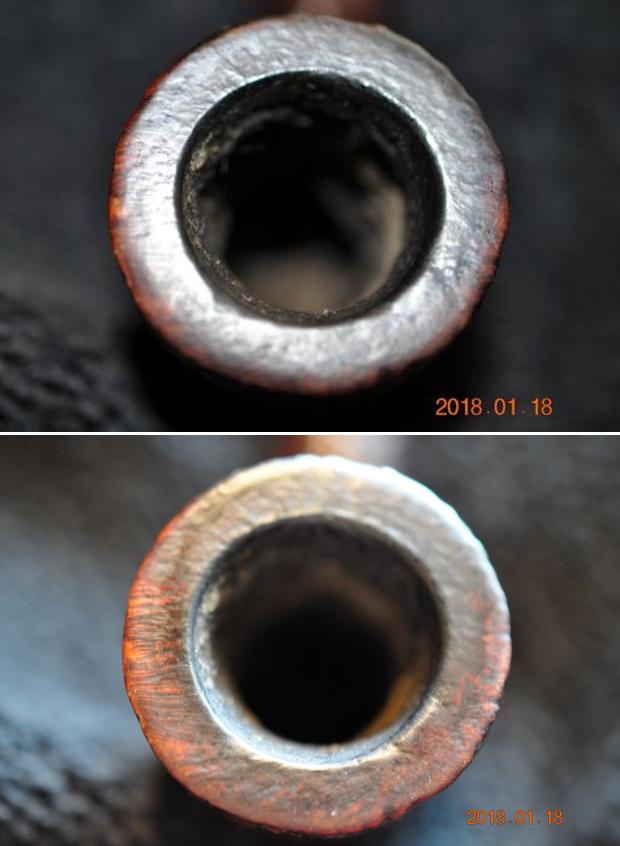
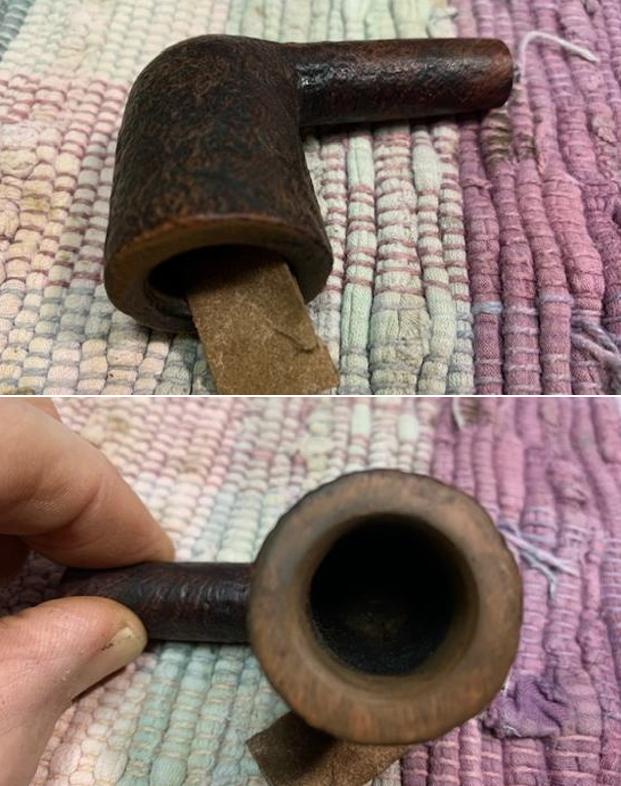
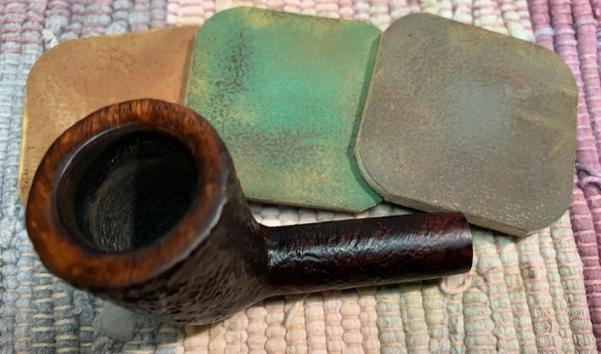
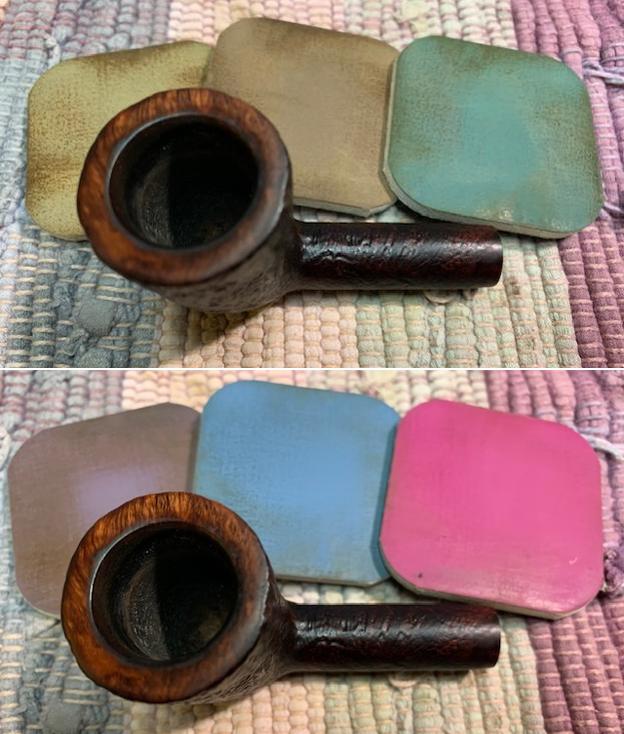
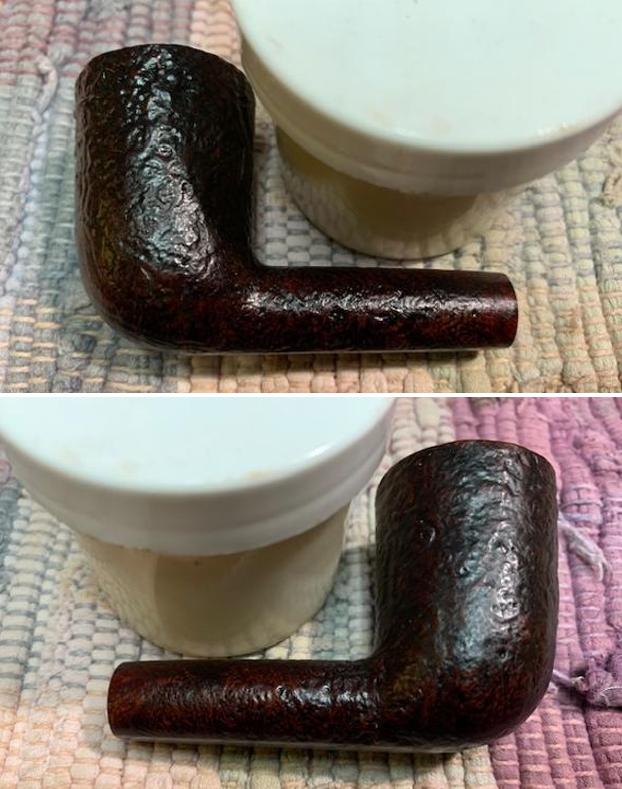
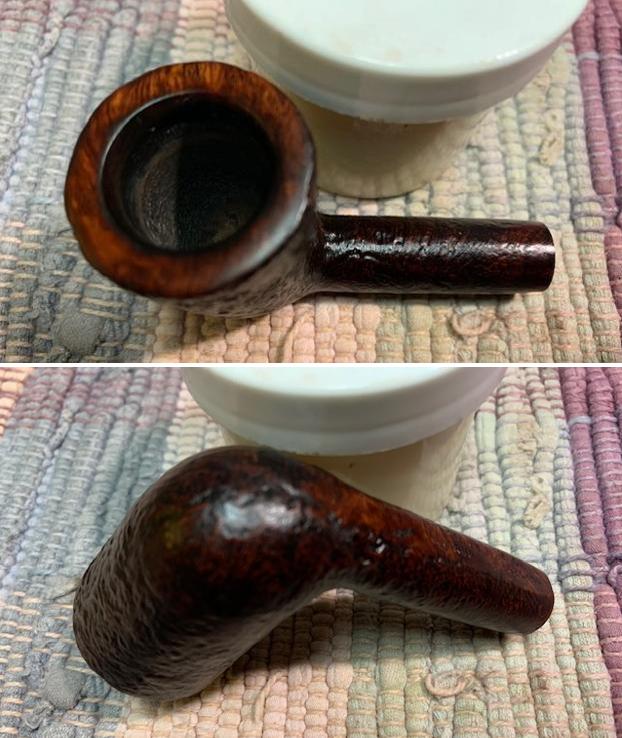
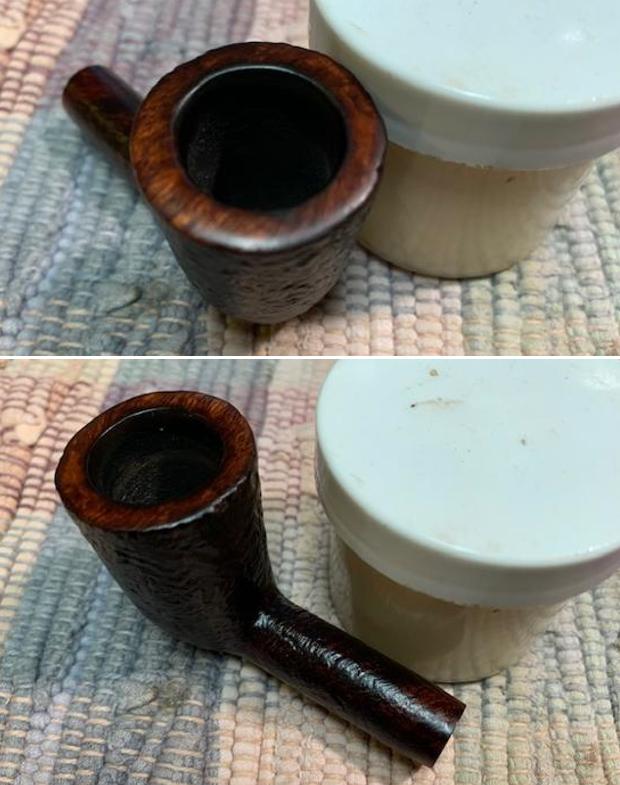
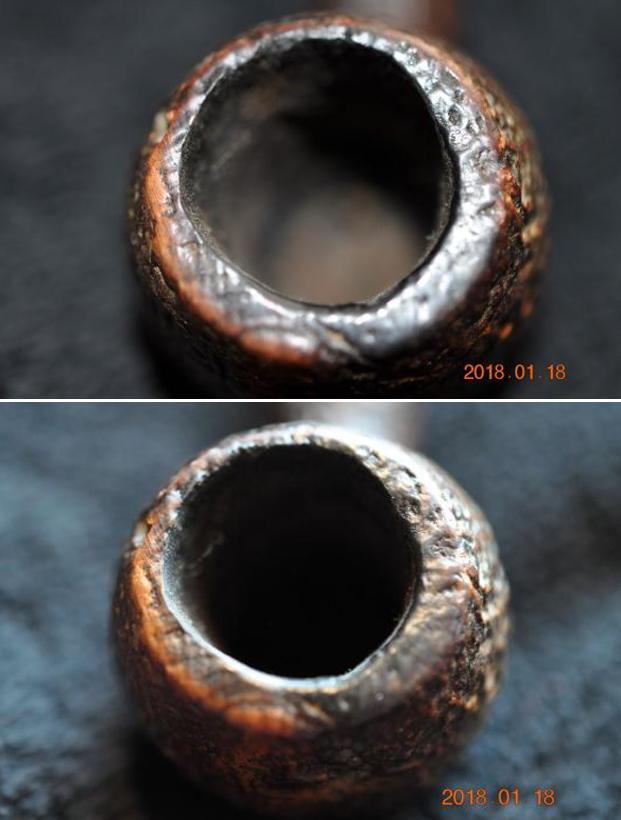
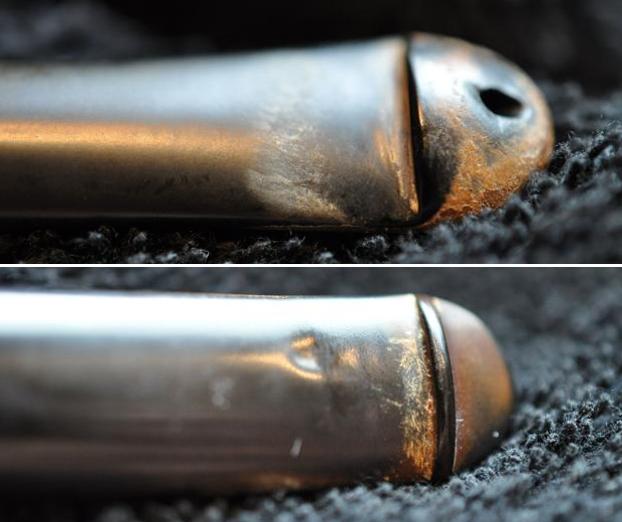
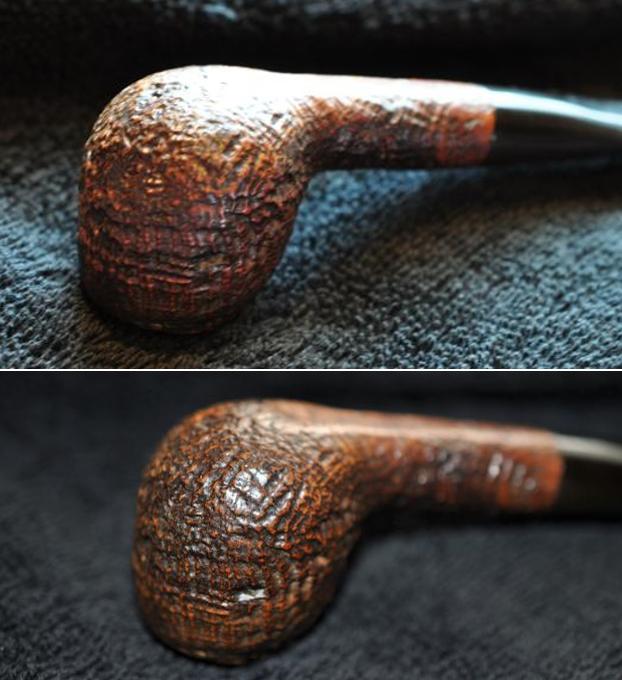
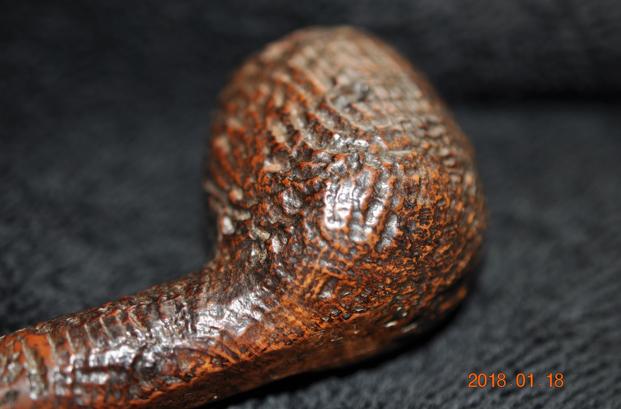
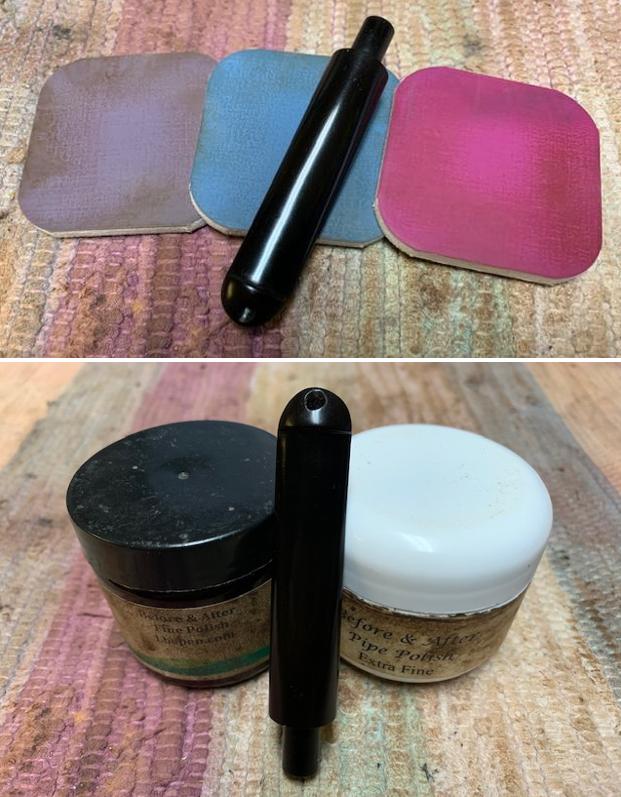
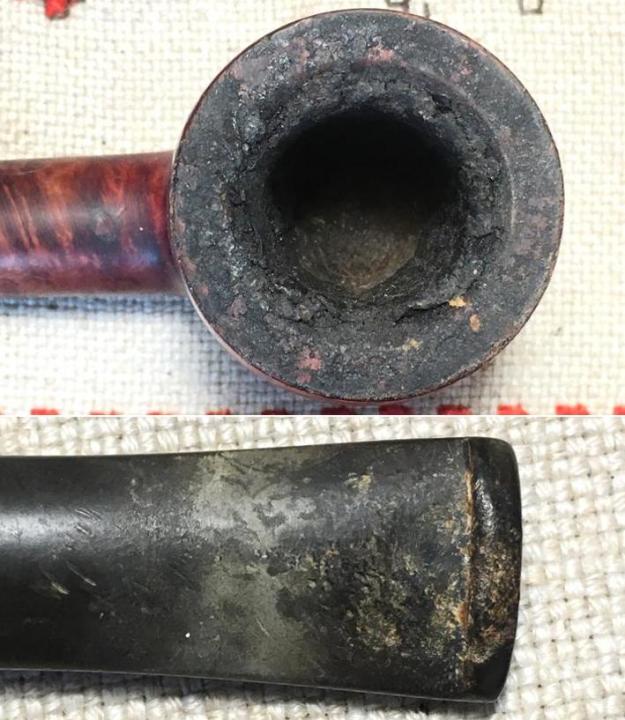
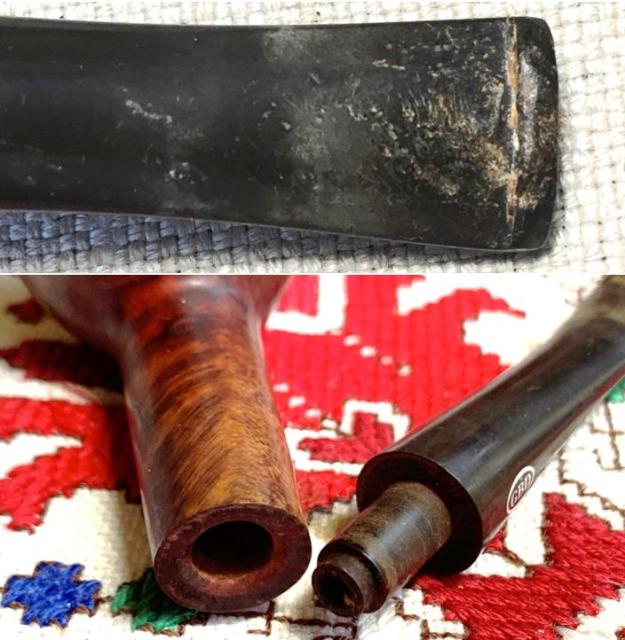
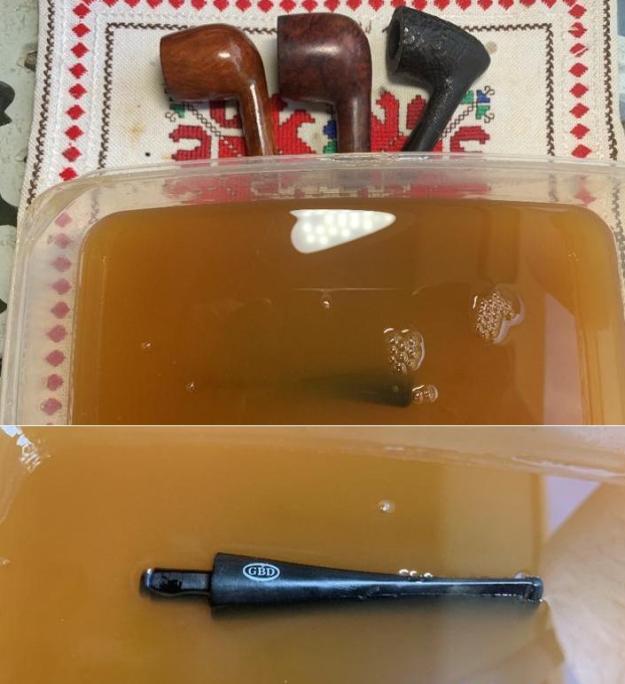
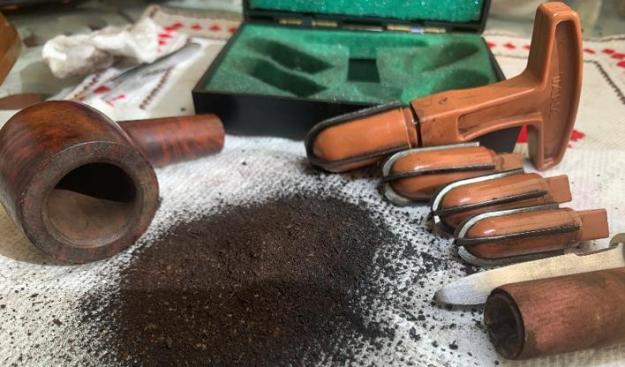
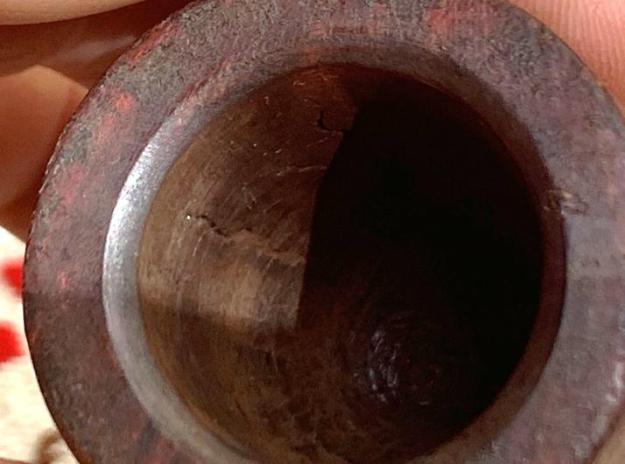
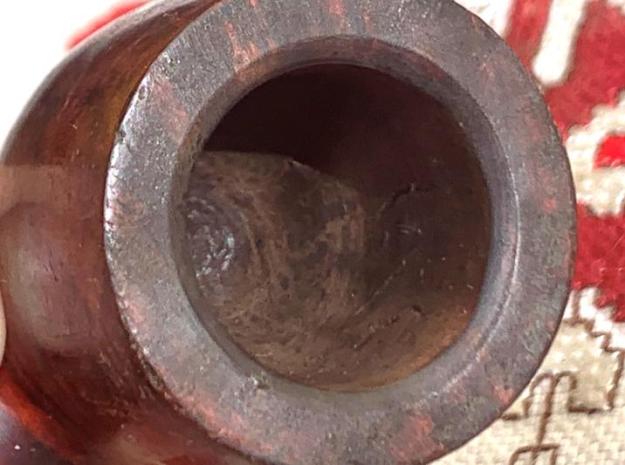
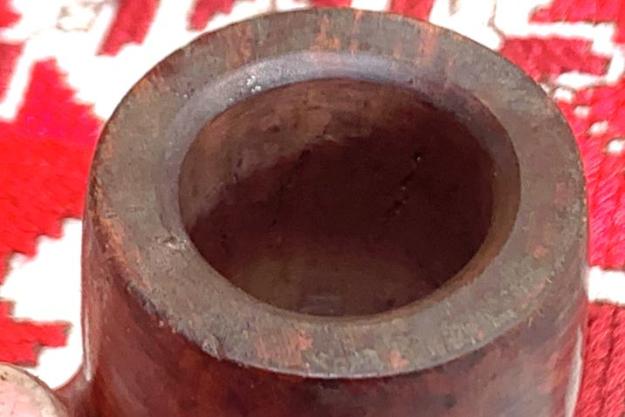
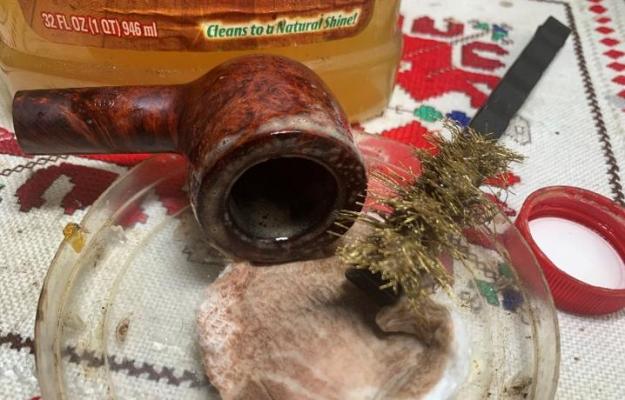
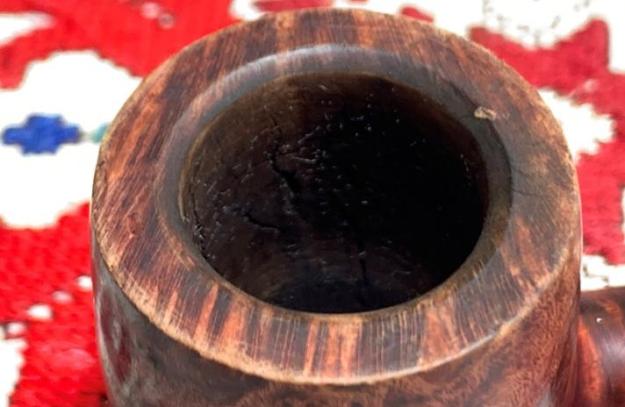
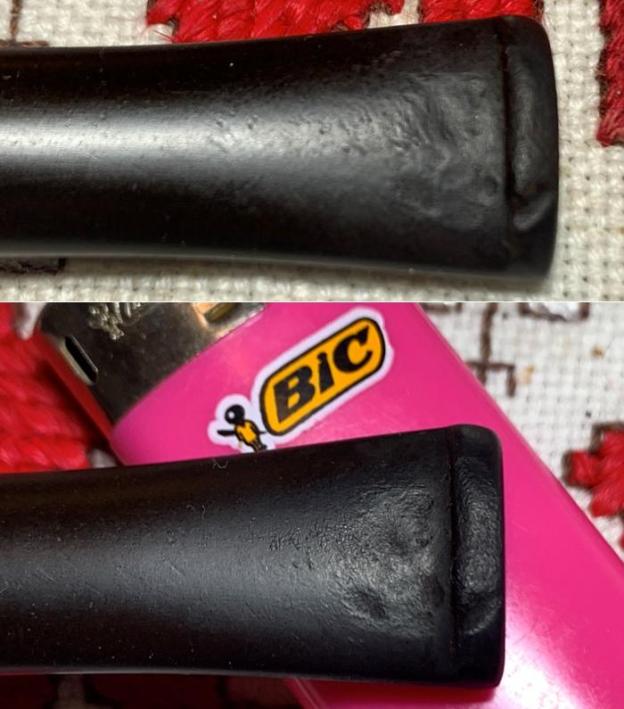
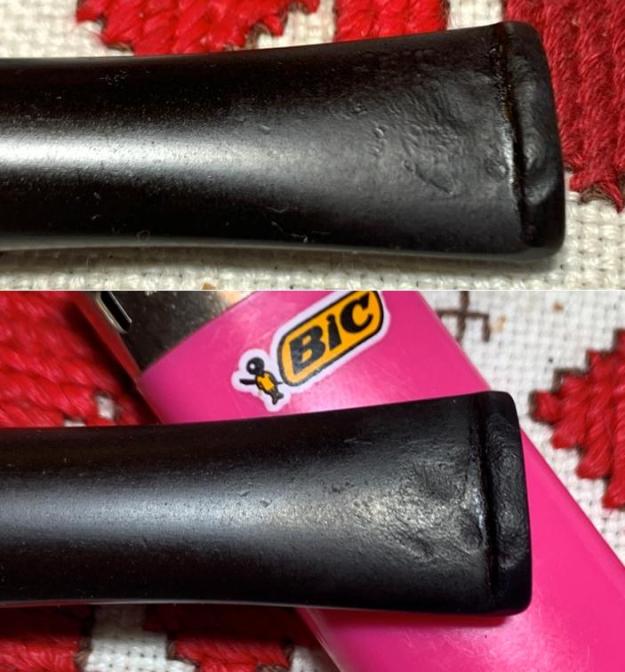
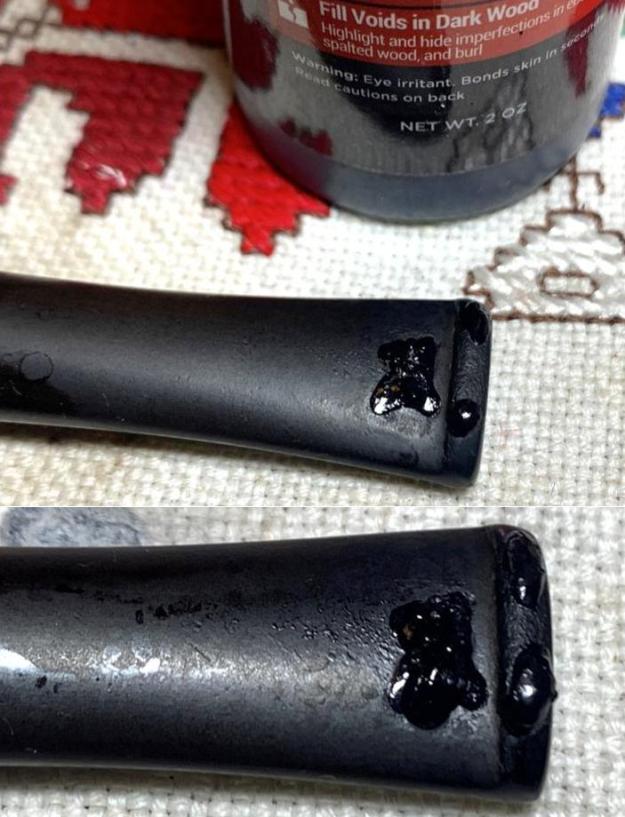
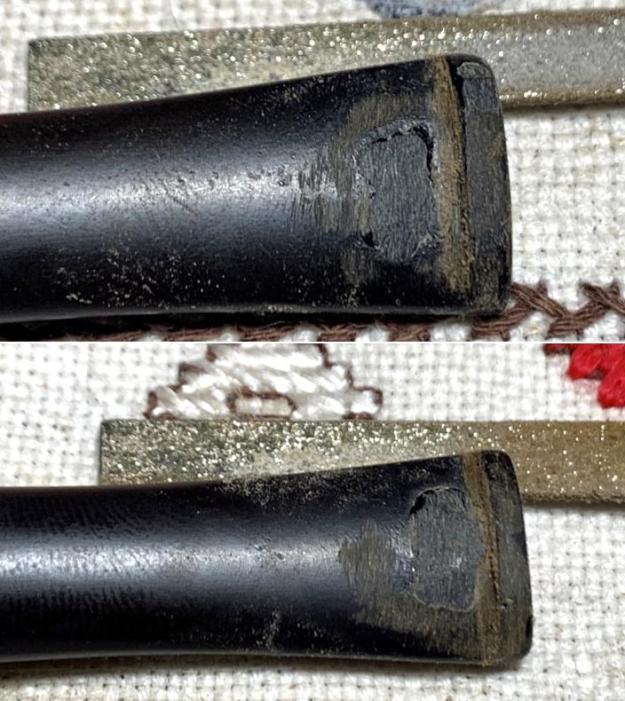
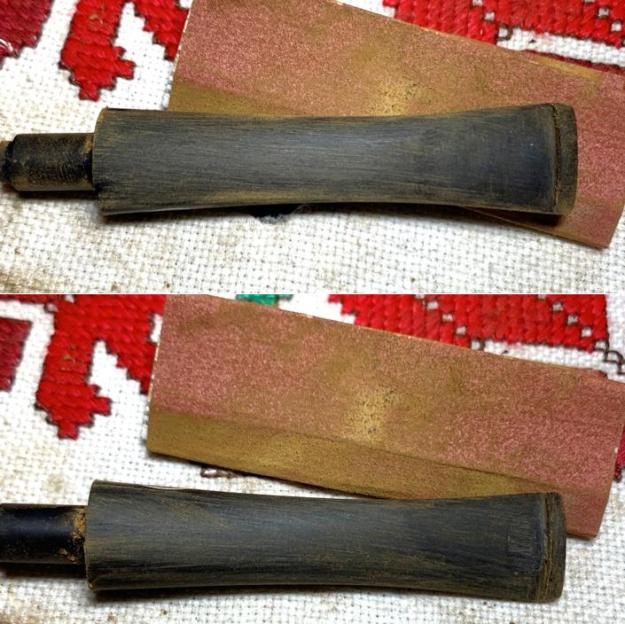
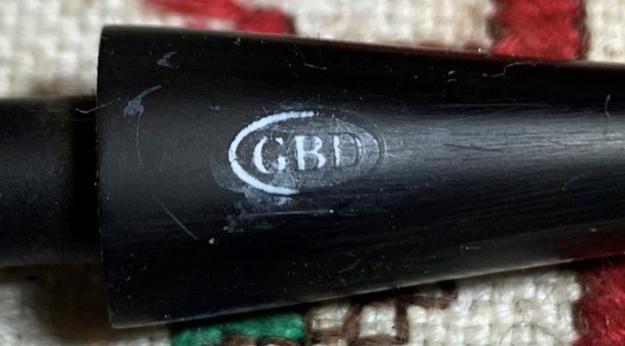
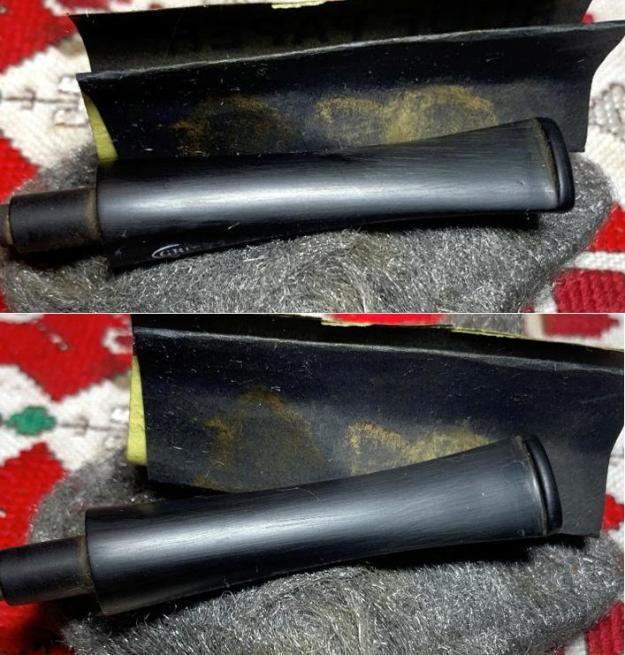
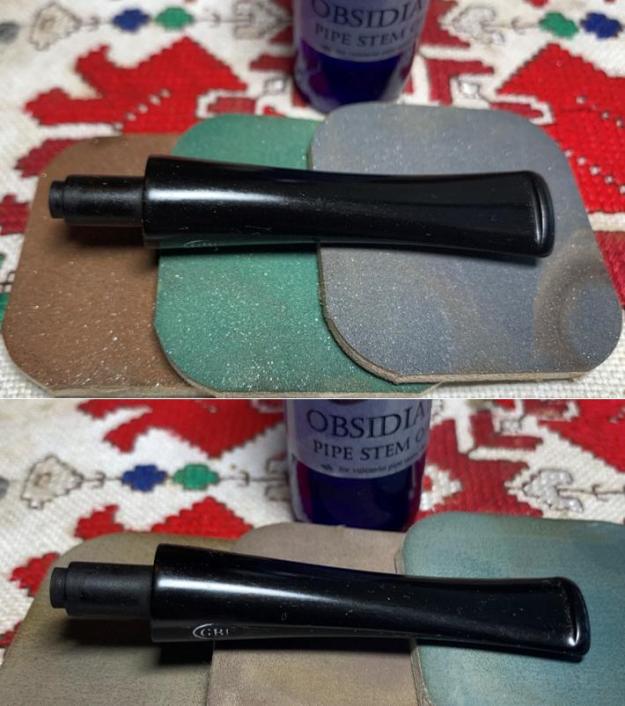
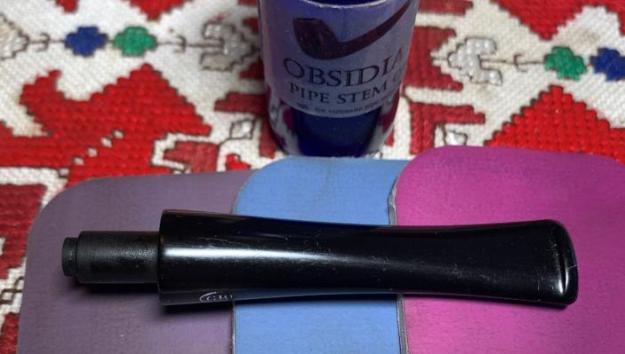
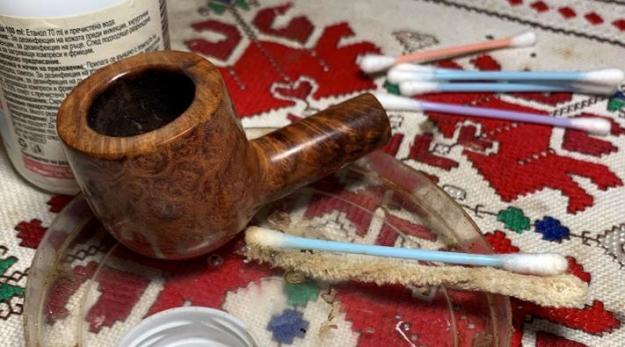
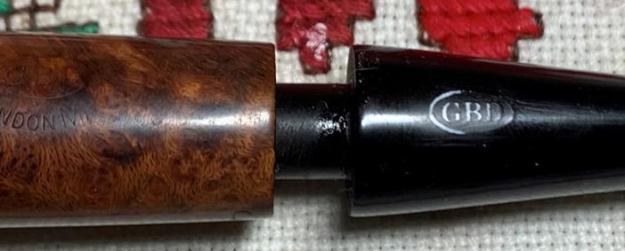
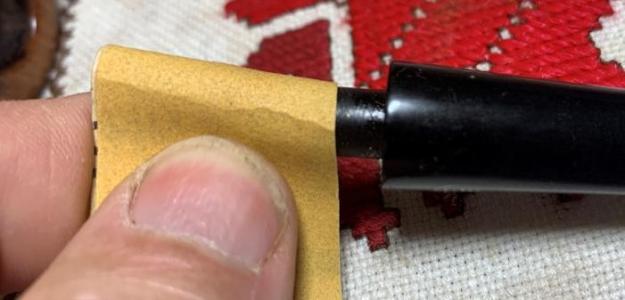
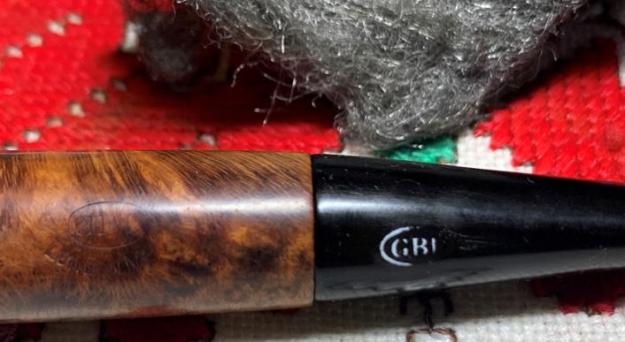
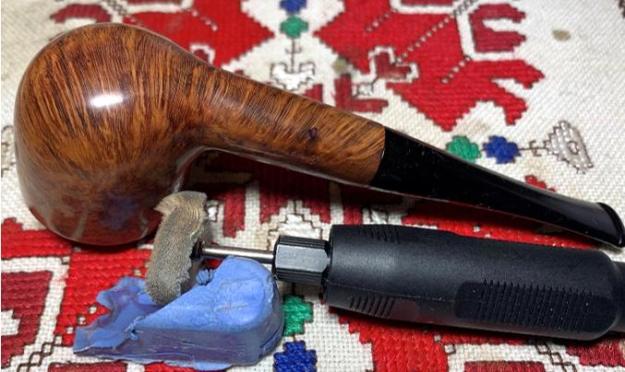
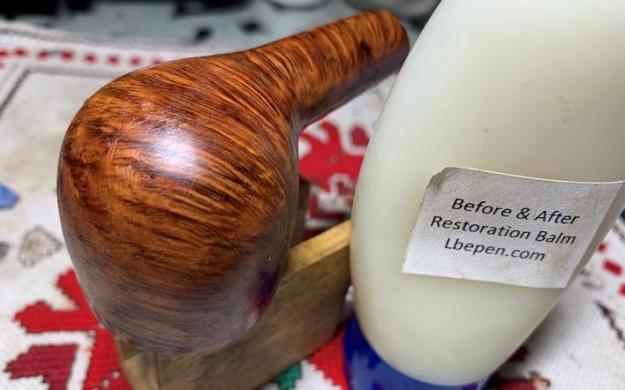
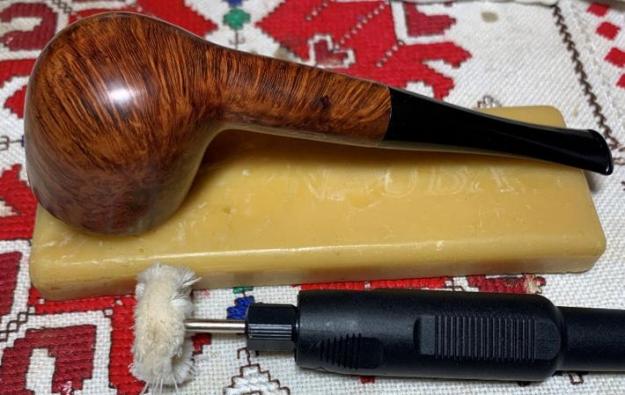
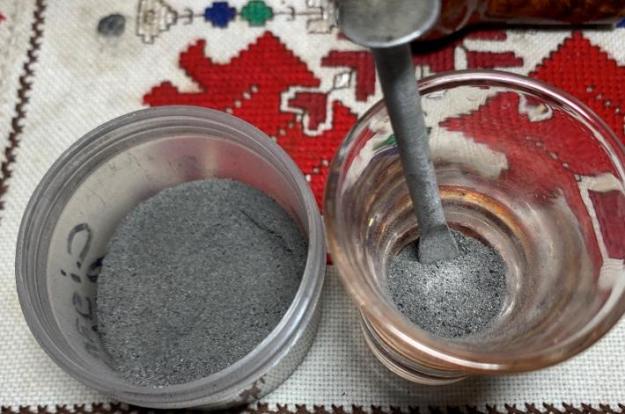
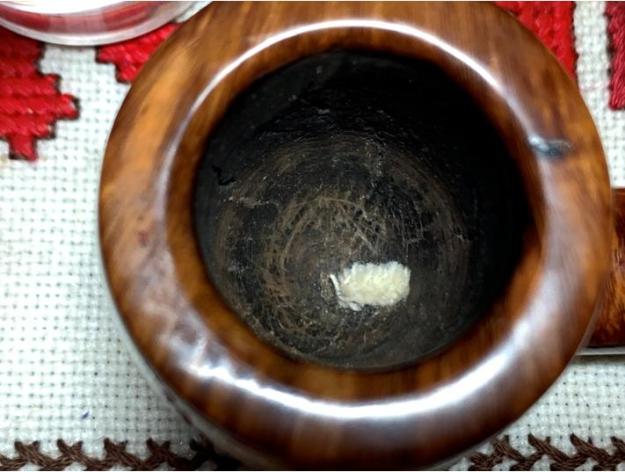
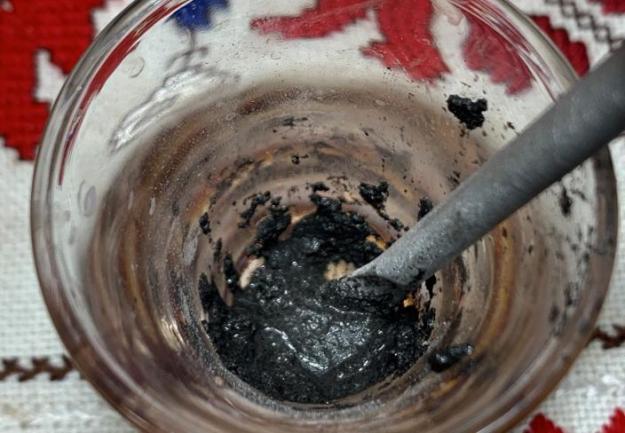
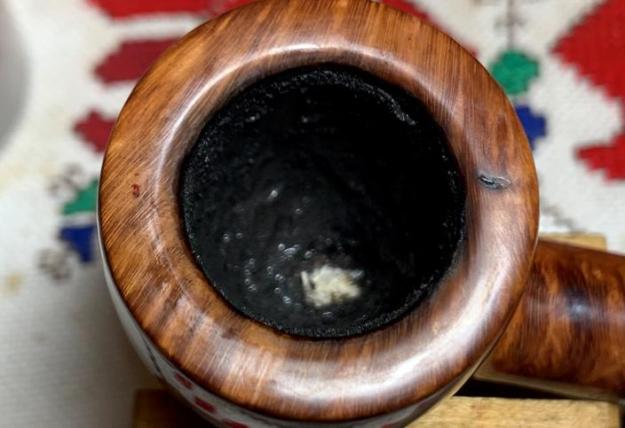
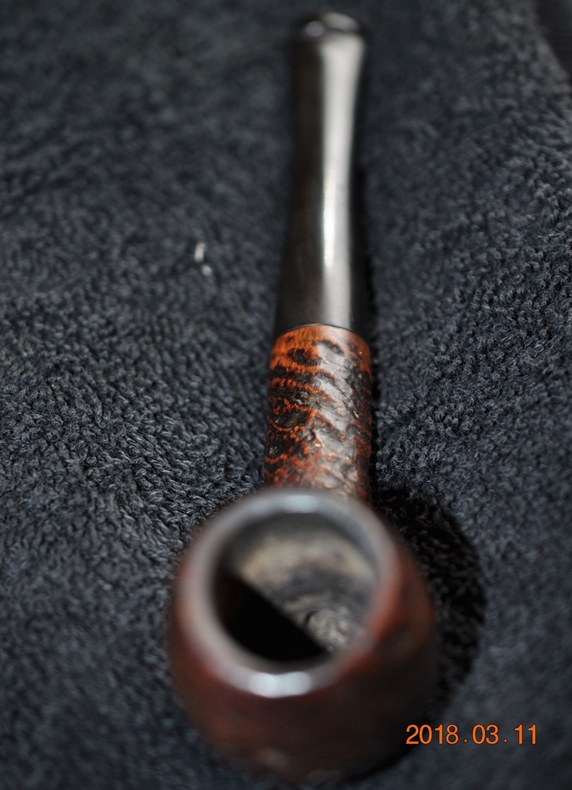
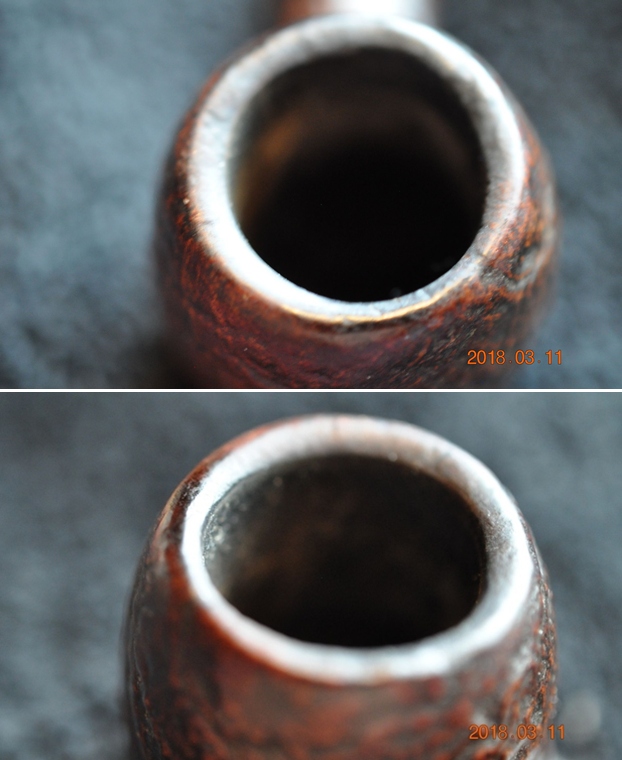
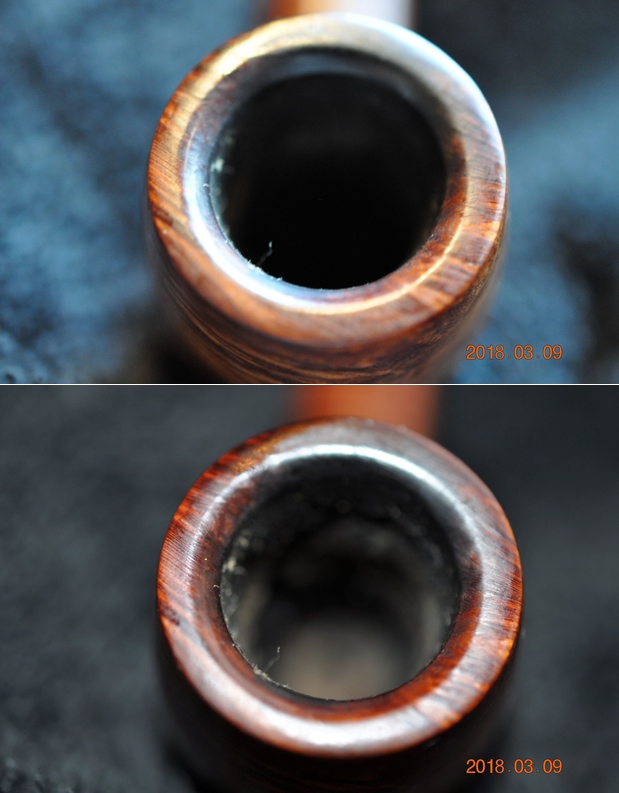
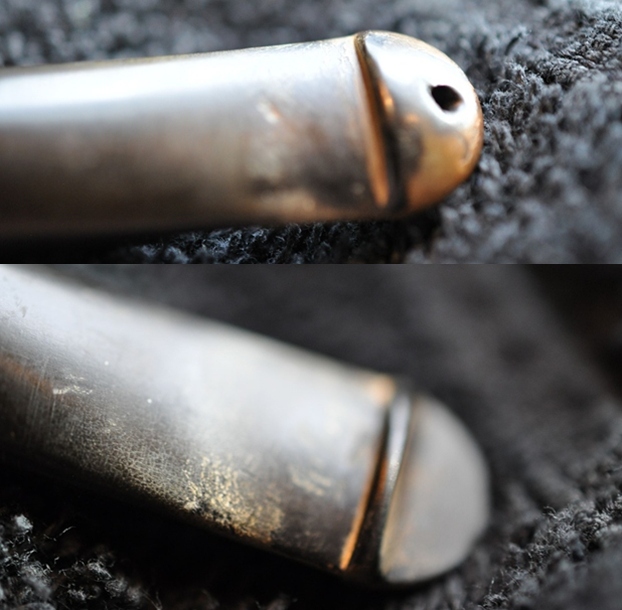
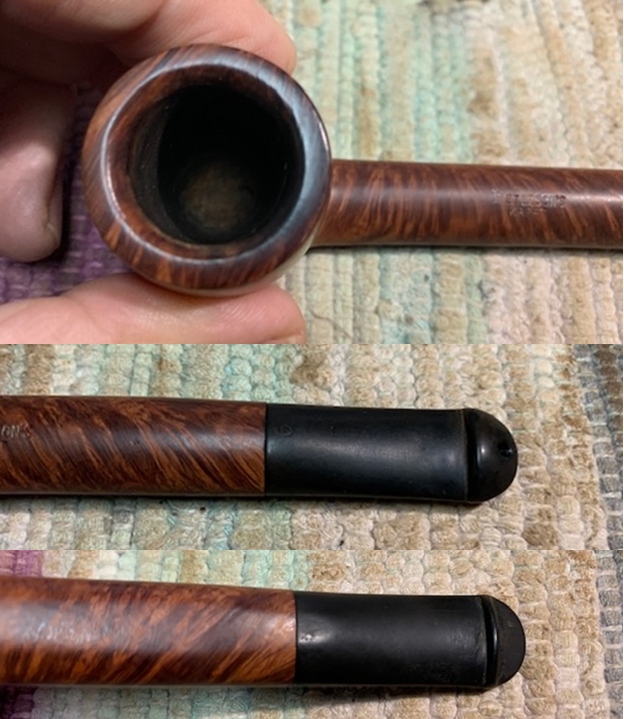
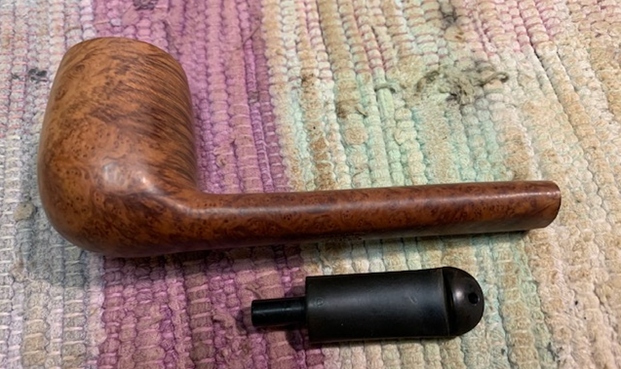
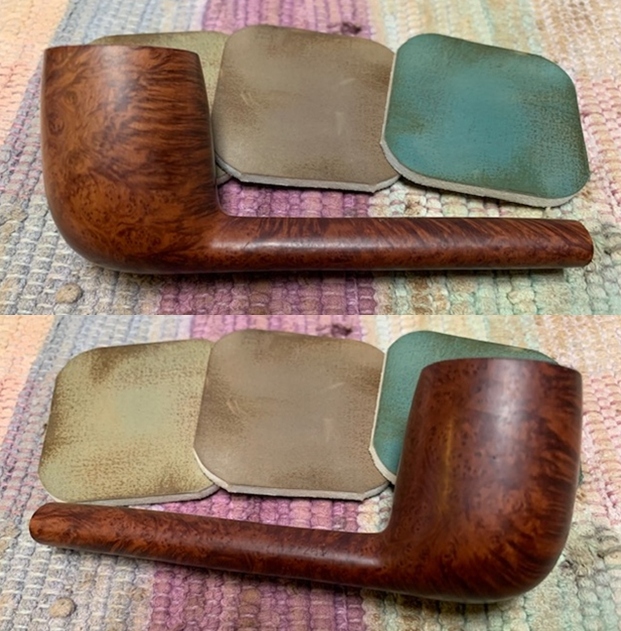
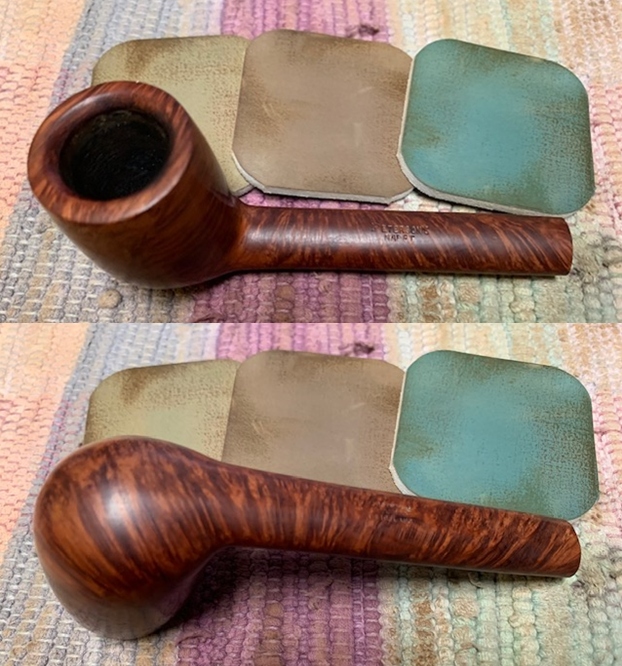
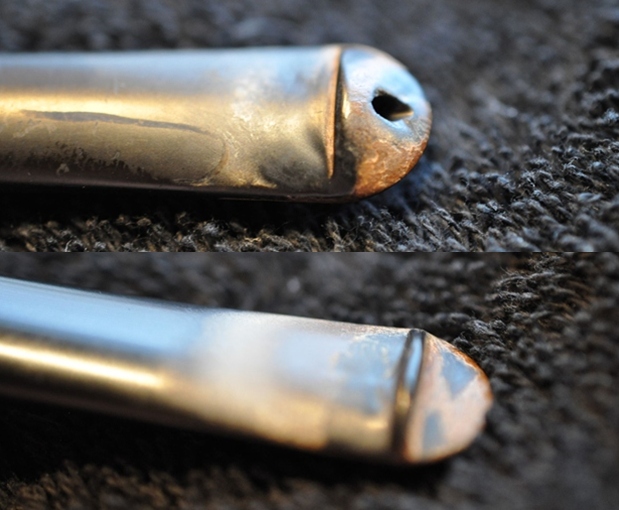
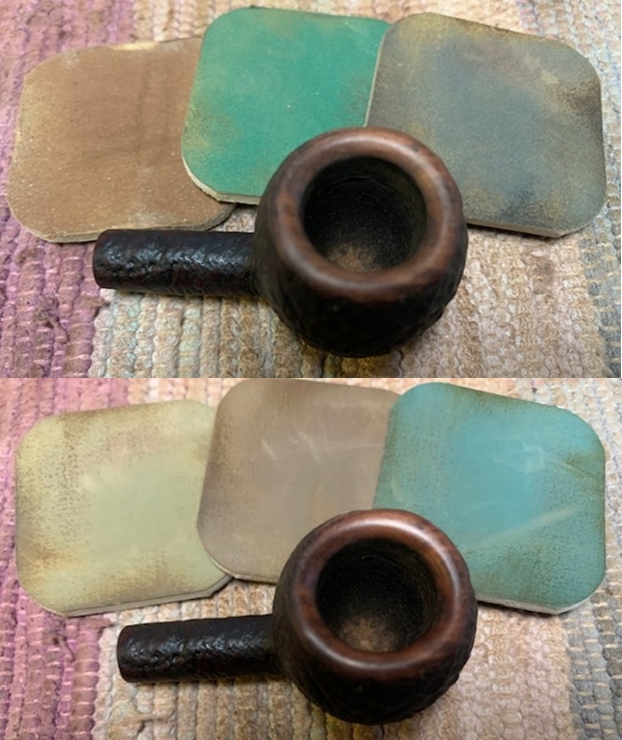
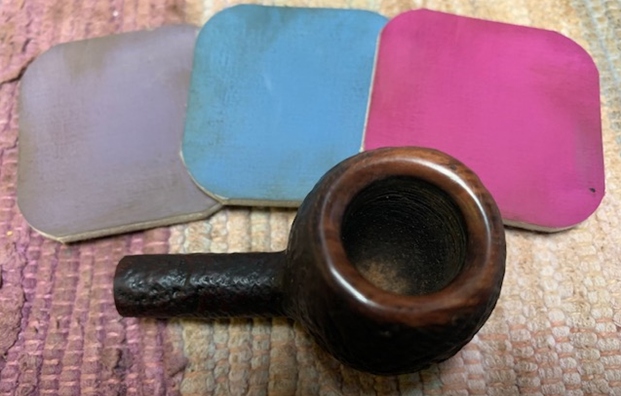
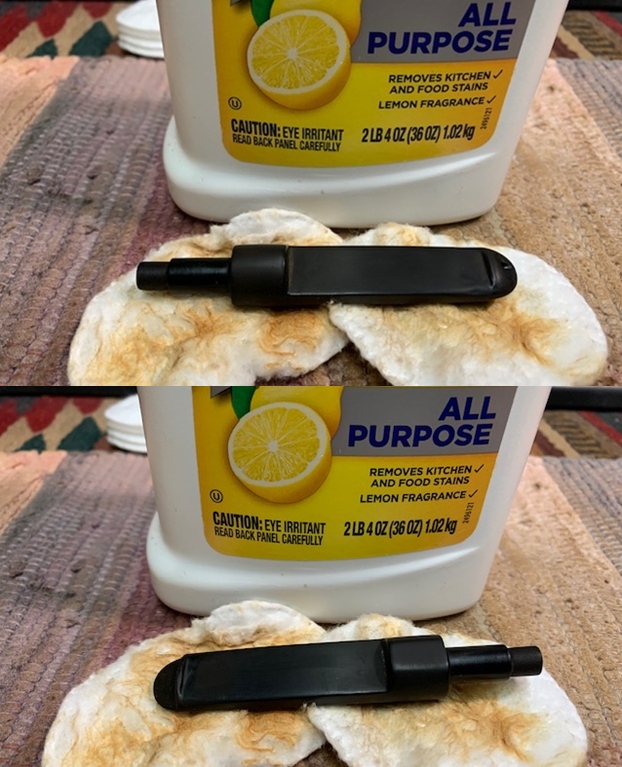
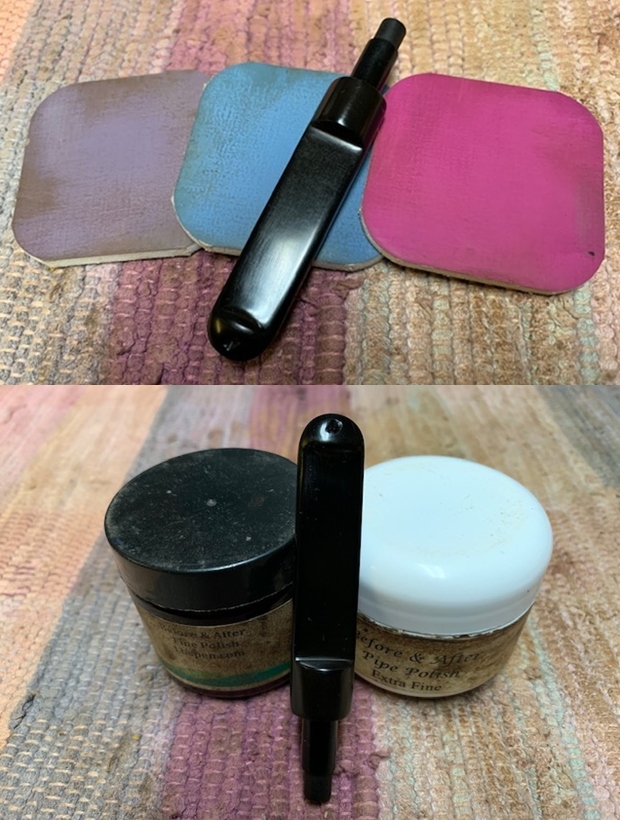
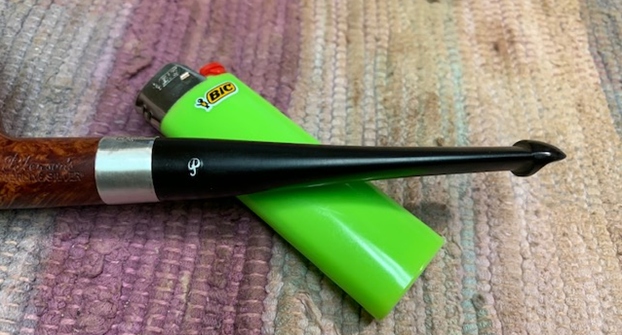
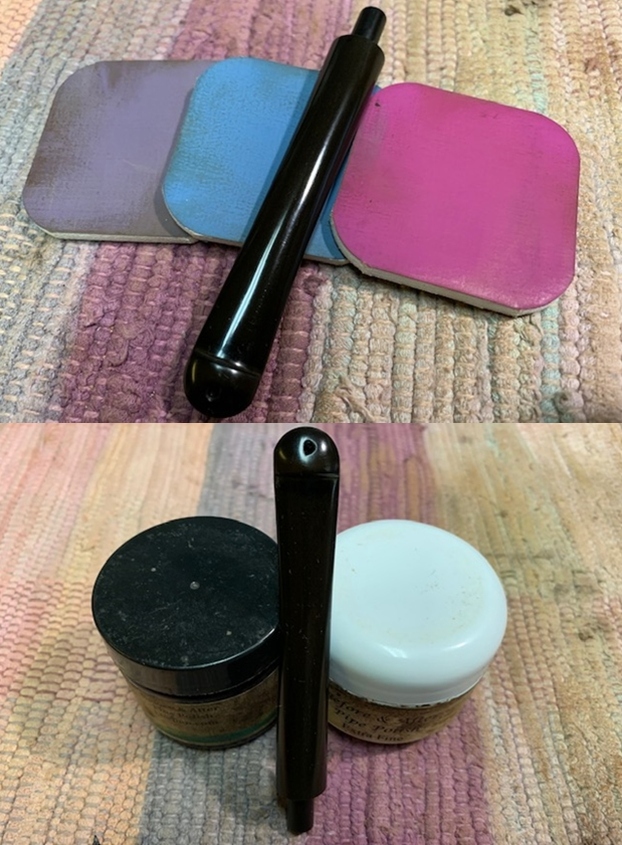
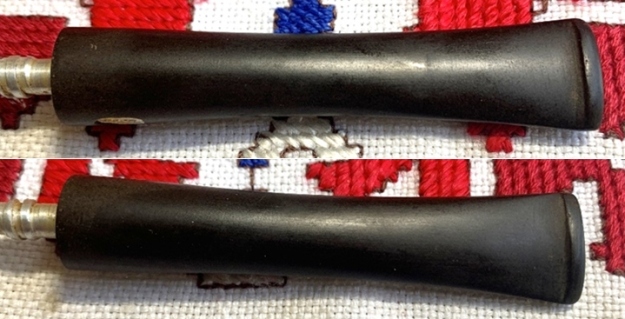
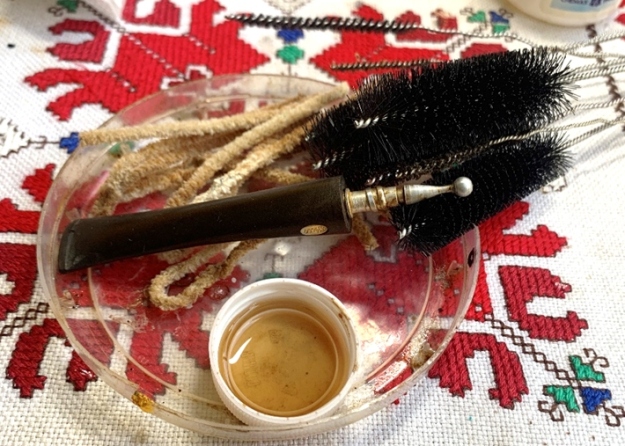
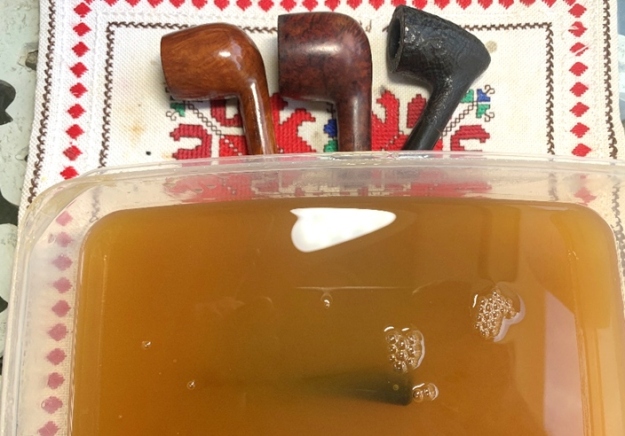
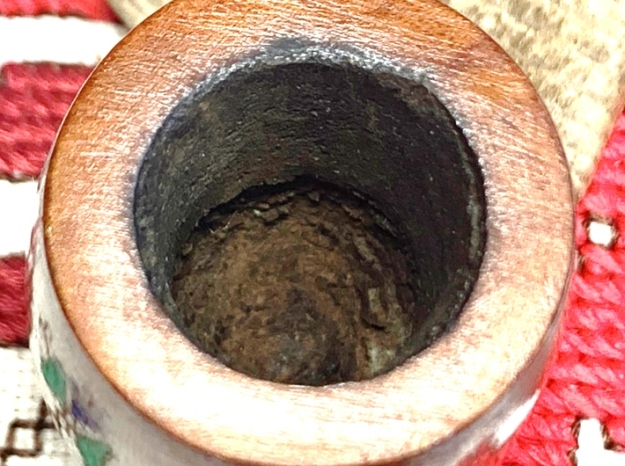
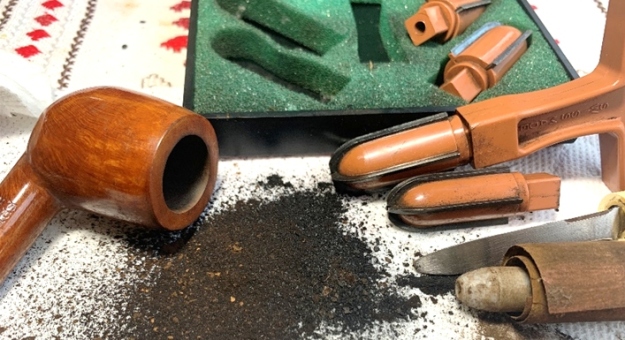
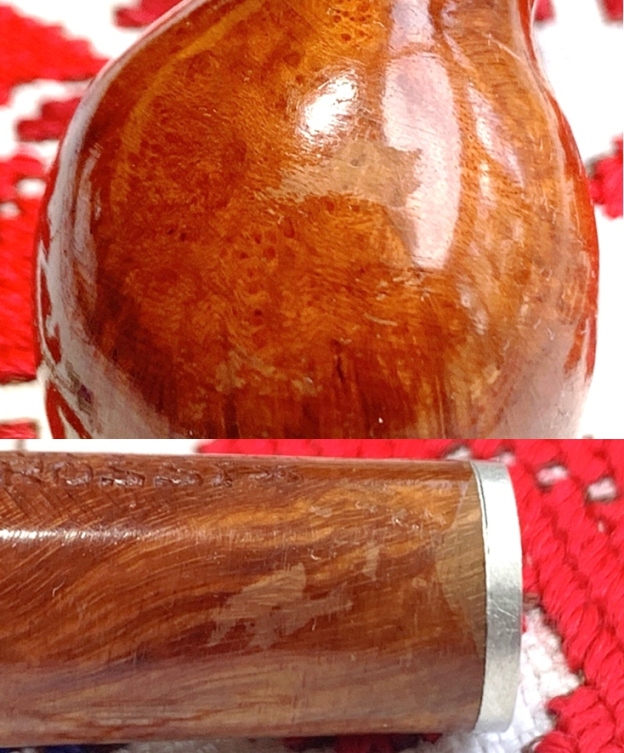
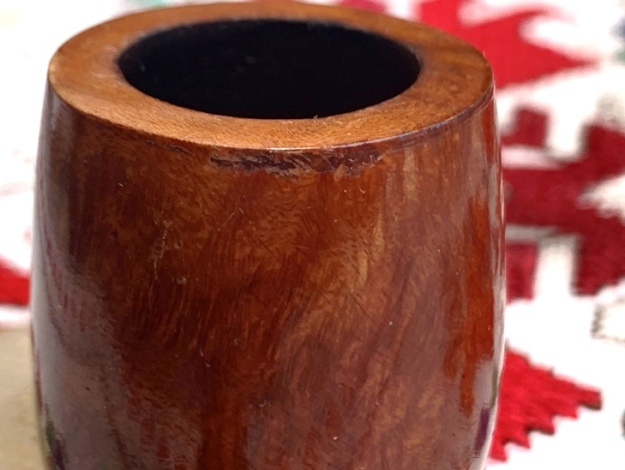
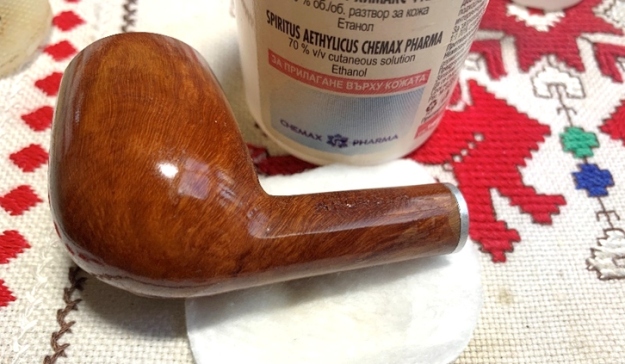
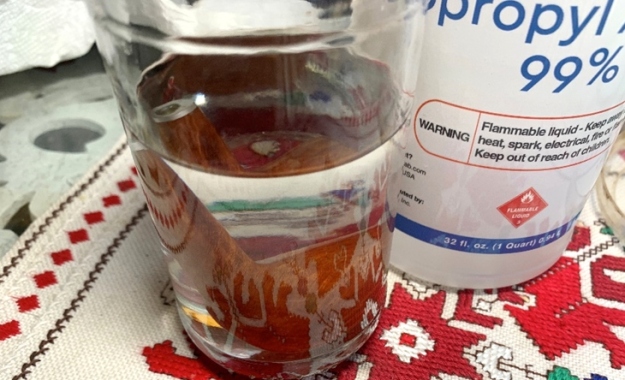
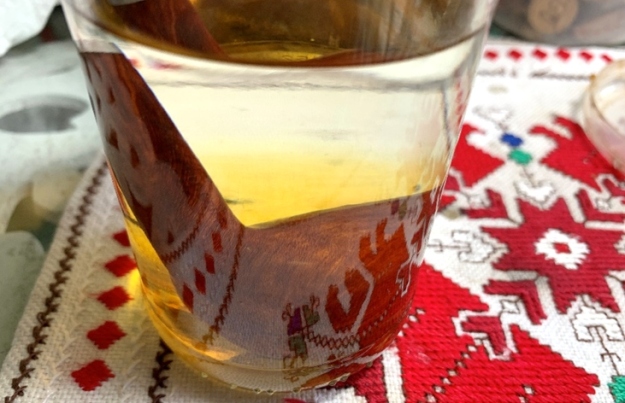
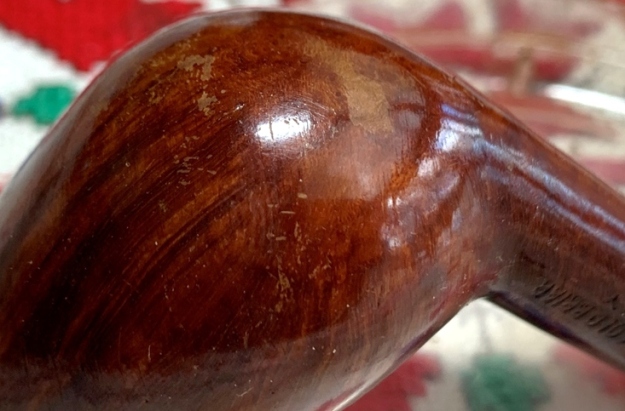
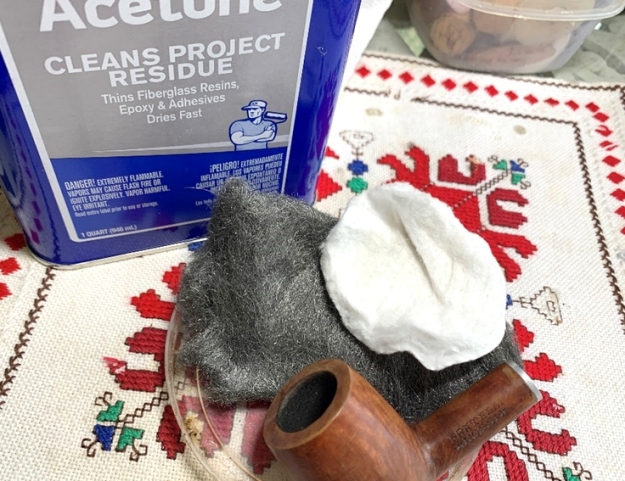
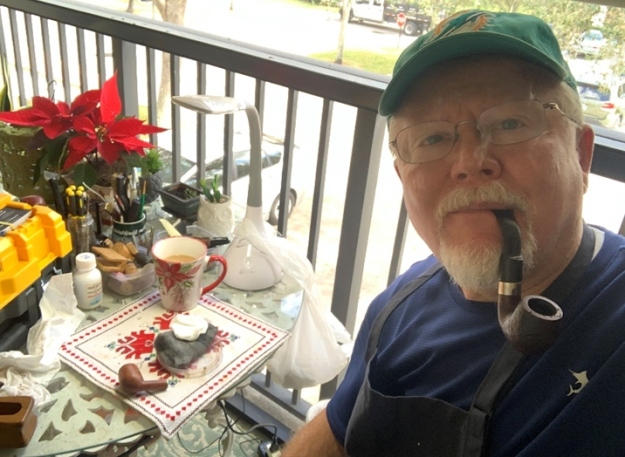
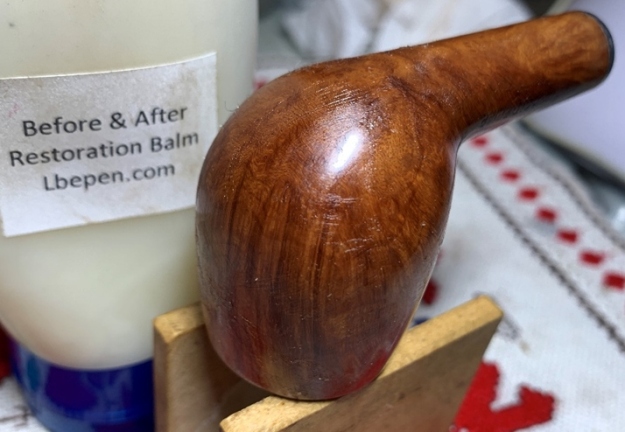
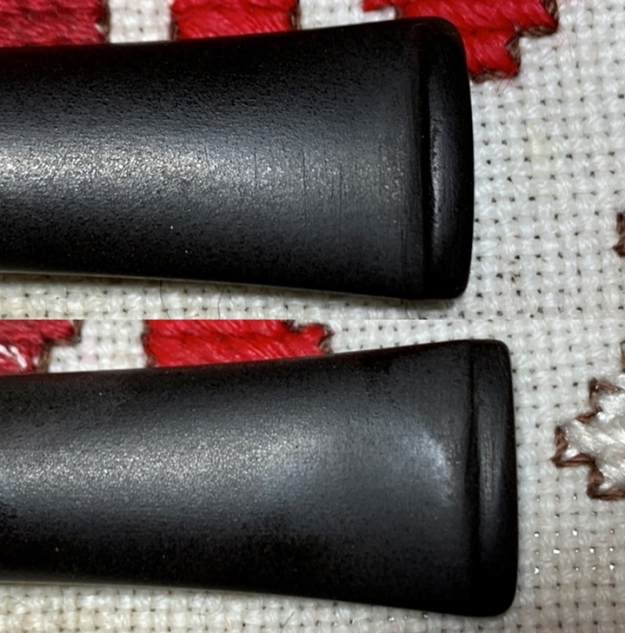
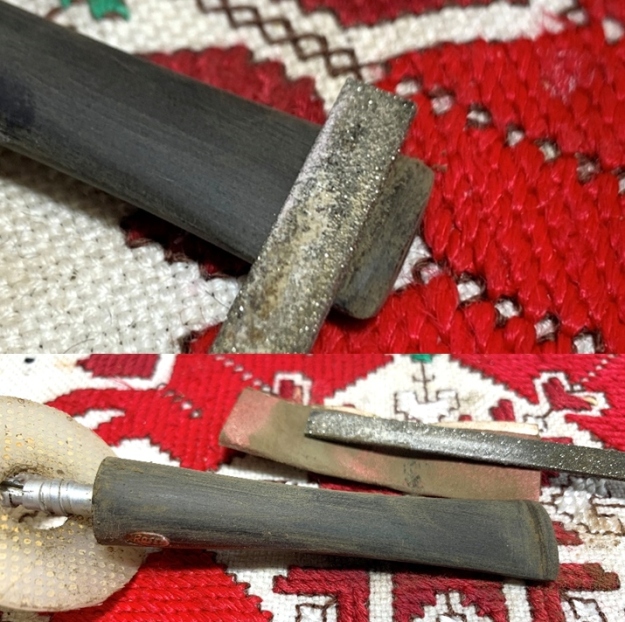
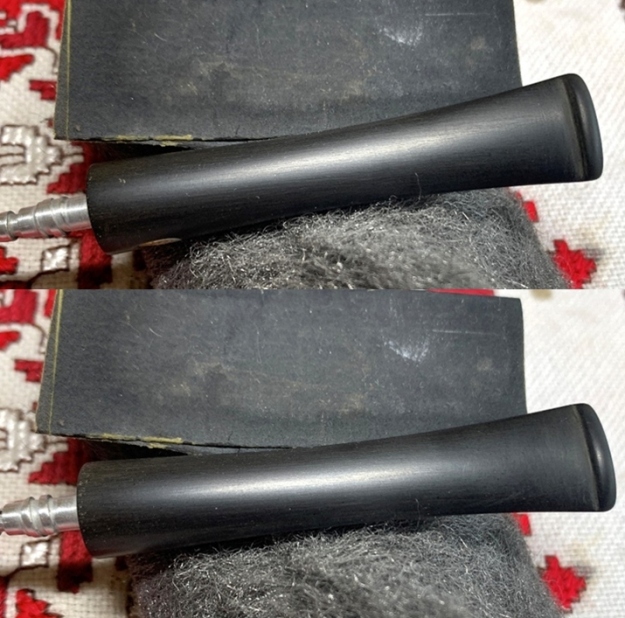
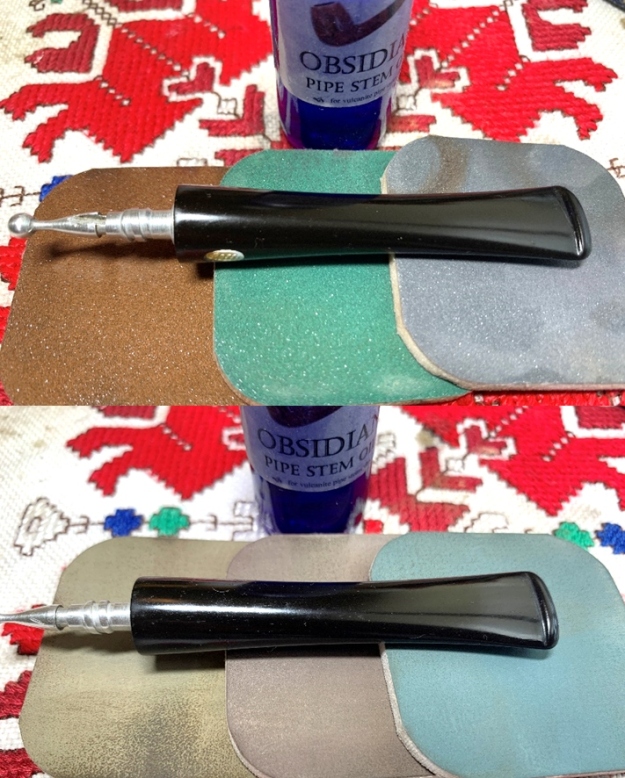
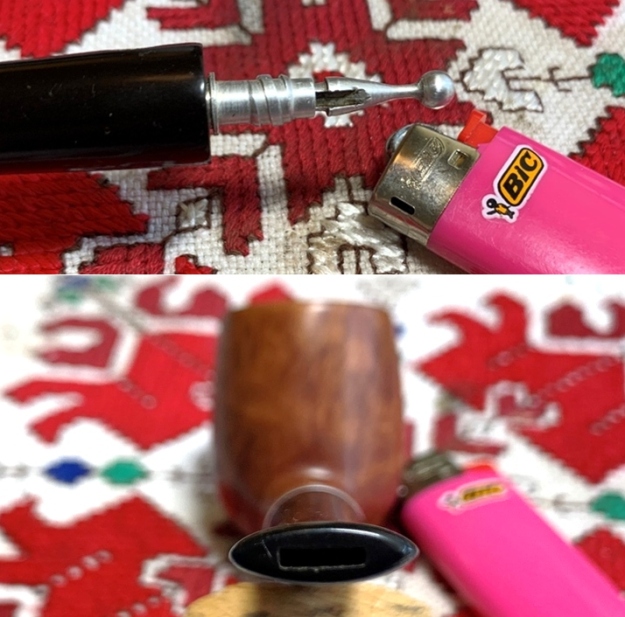
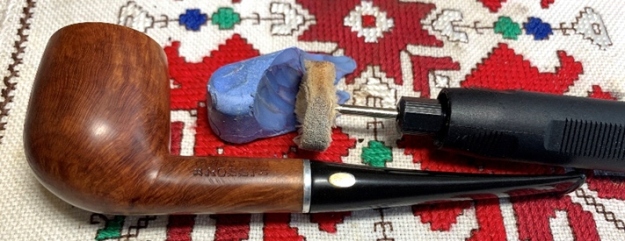
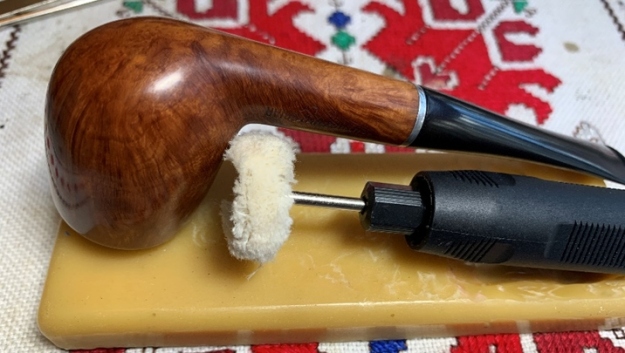
With a deeper appreciation for the history of the Rossi name and the heritage that this Fratelli Rossi brings to my table, I take a closer look at what is needed to recommission this pipe for Chris.  The pipe is in good condition.  The stummel shows no fills or major issues.  The only issue I see is what looks like an acrylic-candy apple finish that needs to be removed.  The chamber has moderate cake buildup, and the stem is rough and with moderate oxidation.  I start with the stem. I take a couple additional pictures of the upper and lower stem to show the fuzzy haze of oxidation and wear and tear.  The bit has minor tooth chatter and some marks on the button.    I start by cleaning the airway using pipe cleaners and the smaller diameter shank brushes to clean the airway.  Using isopropyl 99% the airway is cleaned as well as the tight quarters of the nickel screw in stinger.  After a bit of effort, the airway is cleaned up.Next, to address the oxidation in the stem, the Rossi stem joins other pipes in the queue for a soak in Mark Hoover’s Before & After Deoxidizer (www.lbepen.com).  I leave the stem in the soak for several hours to achieve the full benefit of the Deoxidizer.With the stem in the soak, I now address the cake buildup in the chamber.  I take a starting picture showing the moderate cake buildup.The chamber is cleared of the carbon buildup first using 2 of the 4 blade heads of the Pipnet Reaming Kit.  This is followed first by scraping the chamber walls with the Savinelli Fitsall Tool which does a great job cleaning the angles of the chamber floor.  Next, the chamber is sanded with 220 grade sanding paper wrapped around a Sharpie Pen.  This gives more leverage and pressure as I sand away the remaining vestiges of carbon.After wiping the bowl with a cotton pad, an inspection of the chamber reveals no problems – all looks great.With the chamber cleared, I use undiluted Murphy’s Oil Soap to clean the external briar.  I’m hopeful that the cleaning will possibly make a dent in the sheen of the candy apple finish.  Murphy’s does a good job cleaning the grunge off the surface, but the sheen remains.  I transition the stummel to the sink and continue the cleaning with shank brushes to work on the internal mortise.  With liquid anti-oil dishwashing soap on the brushes, warm water is used to scrub.After thoroughly rinsing the stummel, I go back to the worktable and take these additional pictures to get a closer look.The glossy sheen is now clean, but the sheen continues unabated.  The cleaning does show some thinning in the finish where the raw briar is peeking through.  The first picture shows a gap in the finish on the heel of the bowl and the next pictures show the finish wearing away on the shank.     The rim lip also shows a bit of roughness that should be rectified through minor sanding.My next step is to address the ‘cotton candy’ finish.  It needs to be stripped so that the finish is even and revealing the natural briar underneath the shell.  My personal preference regarding finishes on pipes that create the high glossy shell is that the gloss is fake.  It is not the natural briar showing off but a shell of sorts which does protect the briar, but the sacrifice is an artificial gloss.  My goal is to remove the gloss and hopefully retain the patina of the ‘Century Old Briar’ which can stand on its own.  It is a beautiful block of wood!   I first attempt, which I’m not hopeful of from the outset, is simply to wipe the bowl surface with a cotton pad wetted with isopropyl 99%.  This does not phase the finish.The next step is to place the stummel in a soak of isopropyl 99%.  My experience is that this will also not do the job, but I do not have on hand acetone in the supplies of my mobile Christmas worktable in Port St. Lucie.  Acetone will probably be the only thing that will break down the finish.  I decide to soak the stummel overnight in isopropyl 99% to see if it does the job, but I plan to go to the store tomorrow morning to pick up acetone.The stem has been soaking in Before & After Deoxidizer now for several hours. After fishing out the stem and letting it drain off – using my fingers to squeegee the remaining Deoxidizer, I use pipe cleaners wetted with isopropyl 99% to clear the airway of Deoxidizer.  While the stem was draining, I noticed for the first time that the nickel stinger was in fact inserted into the metal barrel and not one piece!  After wrapping the stinger with paper towel, I gently gripped the stinger with needle nosed pliers and coaxed the stinger out!  What a wonder and thankfulness for small things.  With the airway now clear of the stinger, the cleaning of the airway is more productive and easier!  I also wipe off the stem with cotton pads and alcohol to clear away the raised oxidation.I wasn’t satisfied with the results of the deoxidation process after a closer look.  There remains deep oxidation that I can see with the eye and only visible with the aperture open on the camera.After just perusing Steve’s latest posting of a very nice blasted No Name Danish, (See: The Sandblast on this No Name Hand Made in Denmark Freehand is Incredible) I noticed that Steve used Soft Scrub with cotton pads to address the oxidation with the fancy stem he was working on.  Taking his cue, I did the same and I like the results.  It took some intensive scrubbing, but the results are better.I finish the stem clean up by applying paraffin oil to the vulcanite to rejuvenate and condition it.The next morning, the brownish hue floating in the alcohol indicates that some progress has happened through the night soak.After fishing out the stummel and inspecting, with the sheen still shining and with patches of bare briar still silhouetted against old finish, I grab the keys and head to the store to purchase acetone.Having the right tools and supplies is key to any job – not just pipe restoration!  When arriving home, I open the acetone and place a small amount on 0000 grade steel wool.  I then gently apply the acetone-wetted steel wool over the stummel with the hope that the shiny shell will break down allowing the unadorned briar patina to be exposed.I was able to observe immediately the removal of the finish as the wood dulled.  I apply the steel wool over the entire stem removing the shell as I go.  I complete the project by wiping the stummel with a cotton pad wetted with acetone.  I’m pleased with the results.  The basic hue of the briar’s patina remains intact.  Sometimes, after using acetone, the briar seems bleached which probably indicates that the stummel was colored with a dye.  This stummel looks like it received a hot oil treatment and was then covered with the shellac-like shell to protect it.   A quick picture of my Christmas Vacation worktable on the balcony of my mother’s condo in Florida, with a bit of Plum Cake in the bowl is very enjoyable!Continuing with the Fratelli Rossi stummel.  It’s time to let the grain make an appearance.  Using the full regimen of micromesh pads, I begin by wet sanding with pads 1500 to 2400.  Following this, dry sanding is done with pads 3200 to 4000 and 6000 to 12000.  With each 3-set picture, the briar is teased out and without doubt, this is an exquisite piece of briar.  It appears to be a very high-grade briar with absolutely no fills and displaying beautiful vertical flame grain and bird’s eye on the heel of the stummel as one would expect.   The next step, before again turning to the stem, is to apply Before & After Restoration Balm to the stummel.  Mark Hoover’s product (www.lbepen.com) does a great job bringing out the natural hues of the briar.  After putting a small amount on my finger, the Balm is worked into the briar surface. The initial viscosity of the Balm is cream-like, and it gradually thickens as the Balm is worked.  After applied, I place it aside for about 20 minutes.After 20 minutes, a microfiber cloth is used to wipe off the excess Balm and to buff the surface.  I’m loving the quality of this Rossi stummel.With the stummel on the sideline, the stem is ready to catch up.  I take a few pictures looking closely at the bit.  There is little in the way of tooth chatter, but the vulcanite is rough.     I begin by doing a quick sanding using 240 sanding paper and refreshing the button with the flat needle file. The button lips over time have rounded.  I like a crisp lip to allow the free hang function of the button to work.  A plastic disc I fabricated is used to guard against shouldering the edge of the stem facing during the 240 sanding.  The 240 sanding is followed by first wet sanding with 600 grade paper and then applying 0000 grade steel wool to the entire stem.   With the heavier duty sanding completed, the stem is sanded with micromesh pads.  From pads 1500 to 2400 the stem is wet sanded and then dry sanded with pads 3200 to 4000 and 6000 to 120000.  Between each set of 3 pads, Obsidian Oil is applied to guard against future oxidation and to rejuvenate the stem.  I love the newly micromeshed ‘pop’ that emerges with this Rossi stem.  Now, in the home stretch.  The Fratelli Rossi stem and stummel are reunited to see how things are going.  I find that through the cleaning that the stem is now somewhat overclocked.  I take a picture to show the few degrees out of alignment it is. To remedy this, I use a Bic lighter to heat the nickel screw in tenon which in turn, heats the vulcanite in which it is seated.  As the metal heats, gradually the vulcanite loosens its grip on the tenon.  When this happens, the stem is rejoined with the stummel and as it screws in, I continue to rotate the stem after the tenon tightens with its threads.  I continue to rotate the now loosened stem around the fixed tenon almost 360 degrees until it is aligned properly with the stummel.  The heat and rotate method works like a charm!   Next, Blue Diamond compound is applied to the entire pipe (minus nickel shank facing) with a cotton cloth buffing wheel mounted on the rotary tool at about 40% full power.After the compound is applied, a felt cloth is used to buff the pipe removing vestiges of compound residue left behind.  I do this to prepare for the next step, application of the wax.Another cotton cloth wheel dedicated to application of carnauba wax is mounted onto the rotary tool maintaining 40% full power.  The wax application I treat as frosting on the cake after the primary shining process results from the sanding processes – papers, steel wool, micromesh pads and compound.After application of the wax over the entire pipe, the pipe receives a vigorous hand buffing with a microfiber cloth not only to raise the shine, but to remove excess wax that was not absorbed.
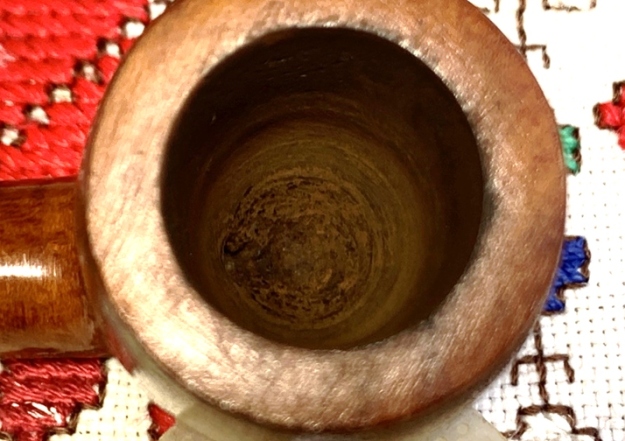
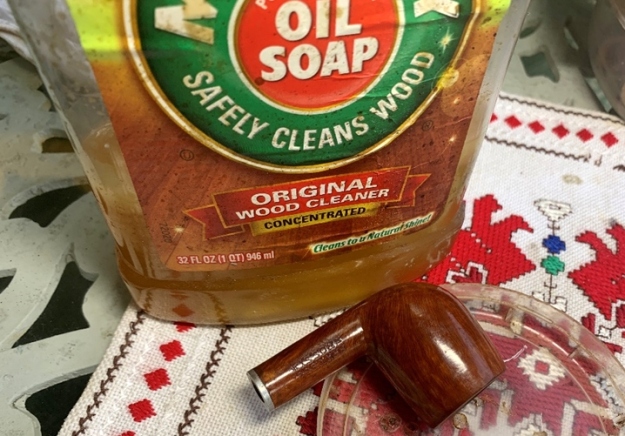
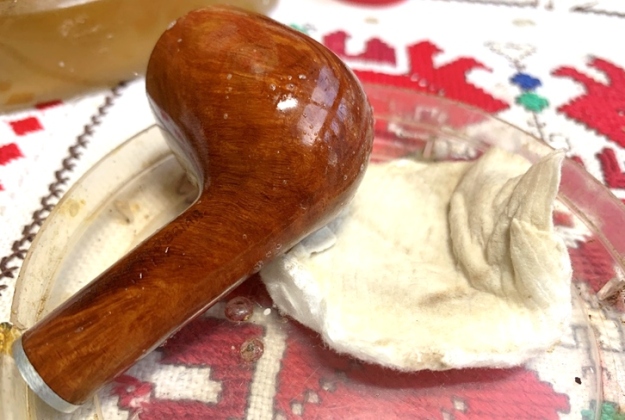
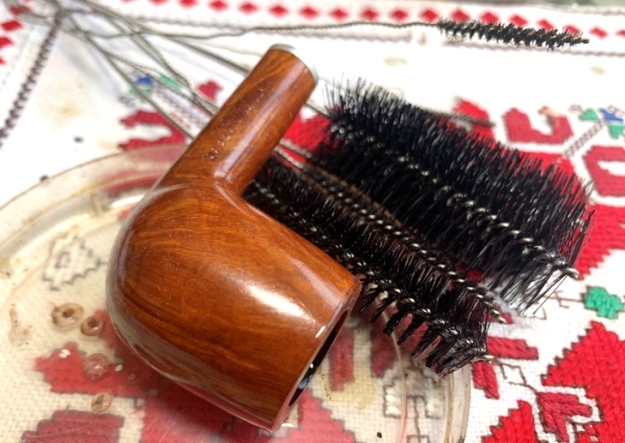
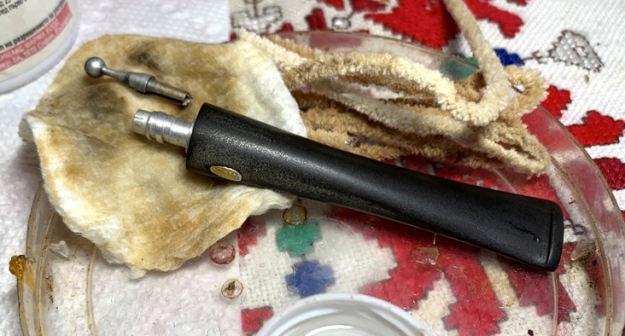
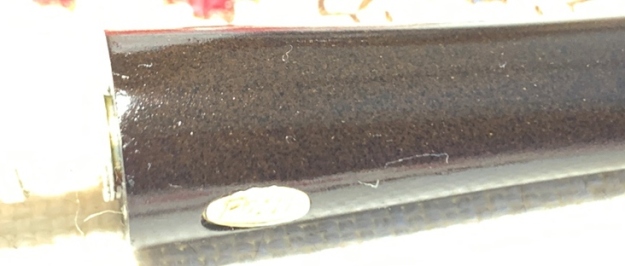
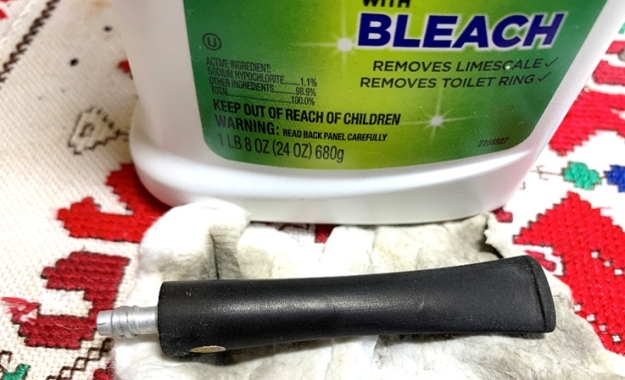
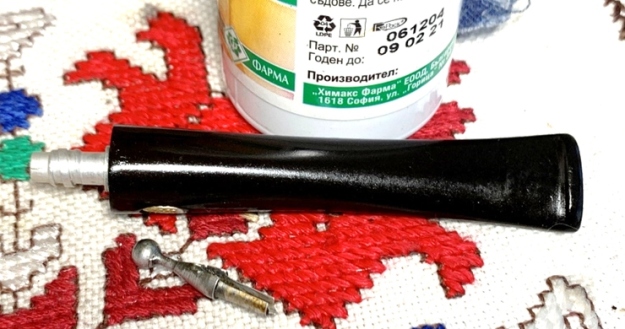
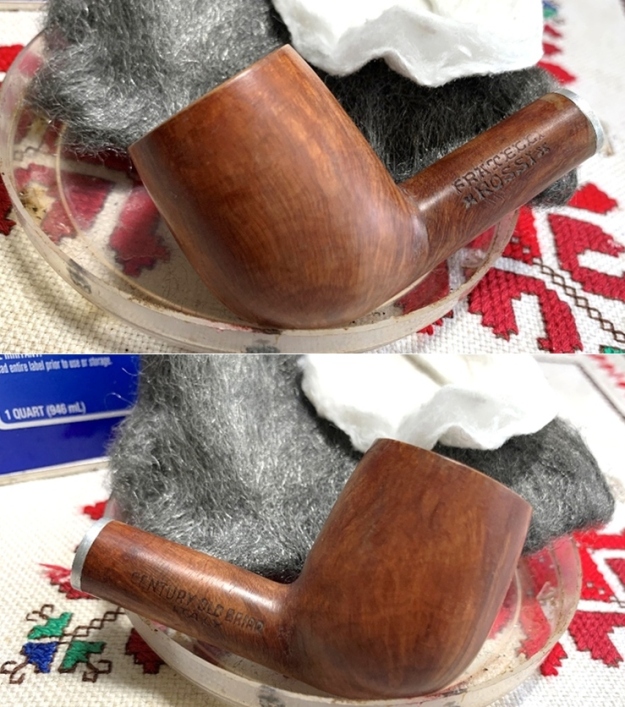
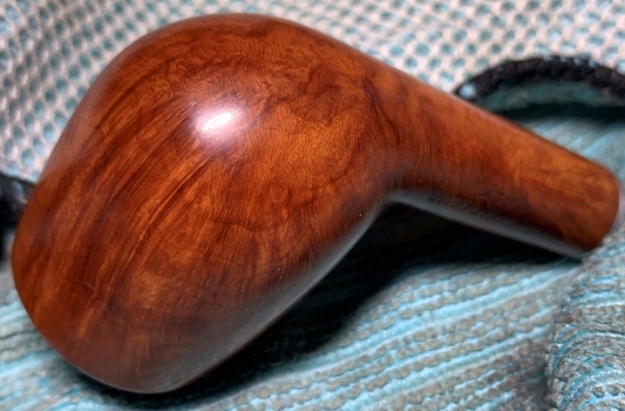
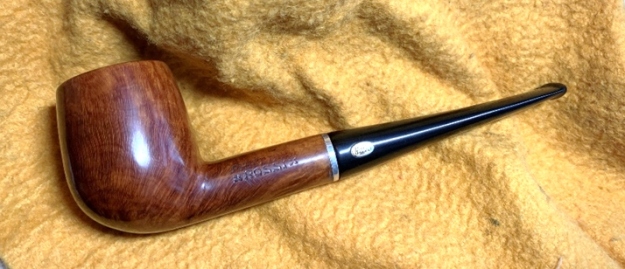
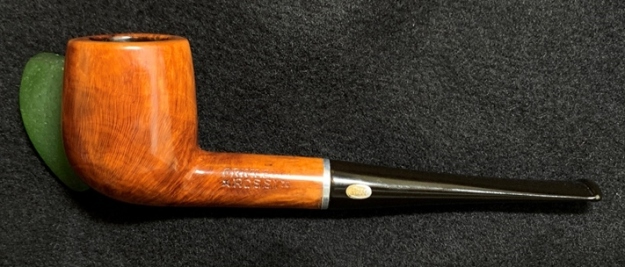
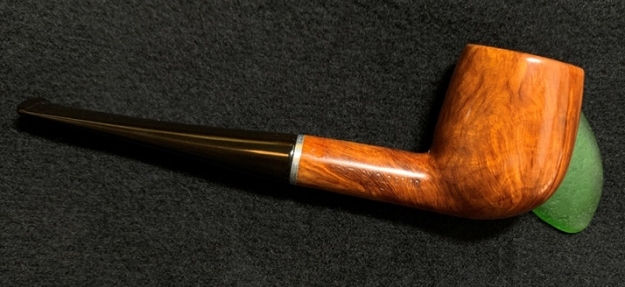
The grain on this Fratelli Rossi is, as I described before, exquisite.  The classic lines of this medium sized Billiard are timeless and will serve his next steward well.  The exact dating of the pipe remains obscure and the claim of ‘Century Old Briar’ is not to be doubted as I look at the pipe’s overall presentation.  Chris had the vision to commission this Rossi and will have the first opportunity to claim him from The Pipe Steward Store benefitting the Daughters of Bulgaria – helping women and girls who have been trafficked and sexually exploited.  Thanks for joining me!
Rebirthing a Republic Era Peterson’s Kapruf 86 Apple


Blog by Steve Laug

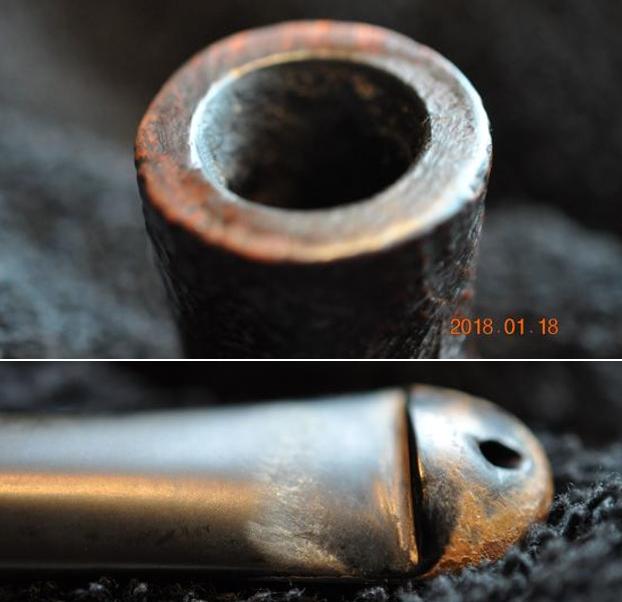
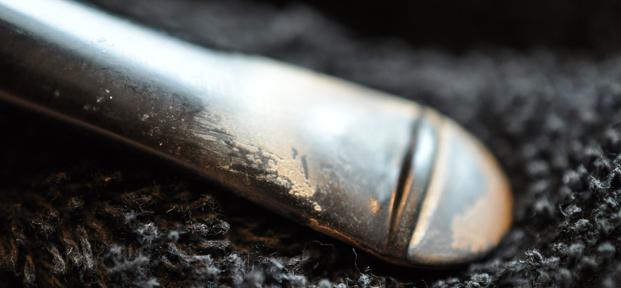
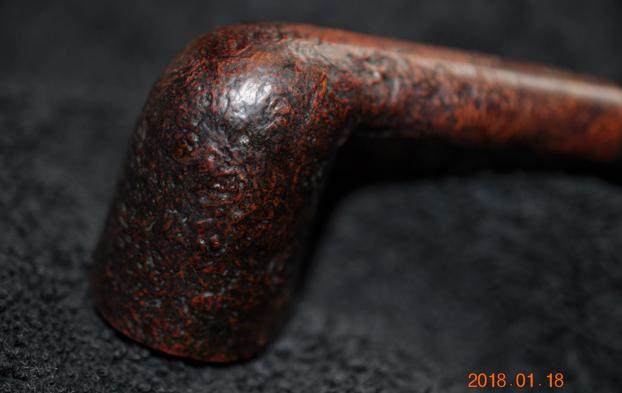
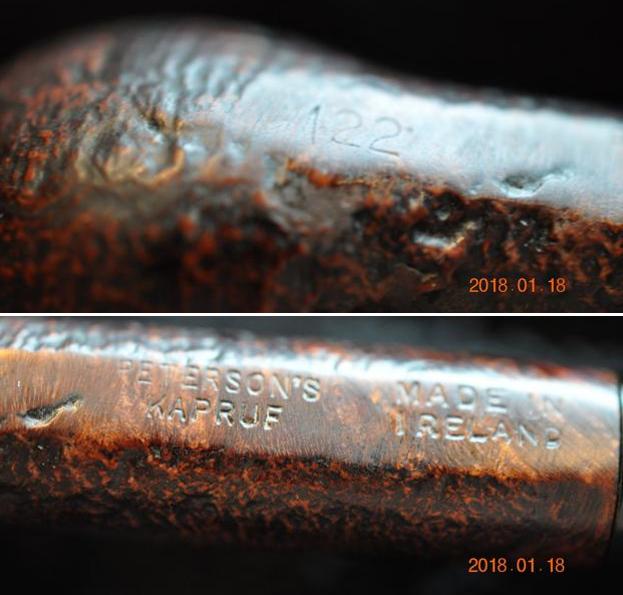
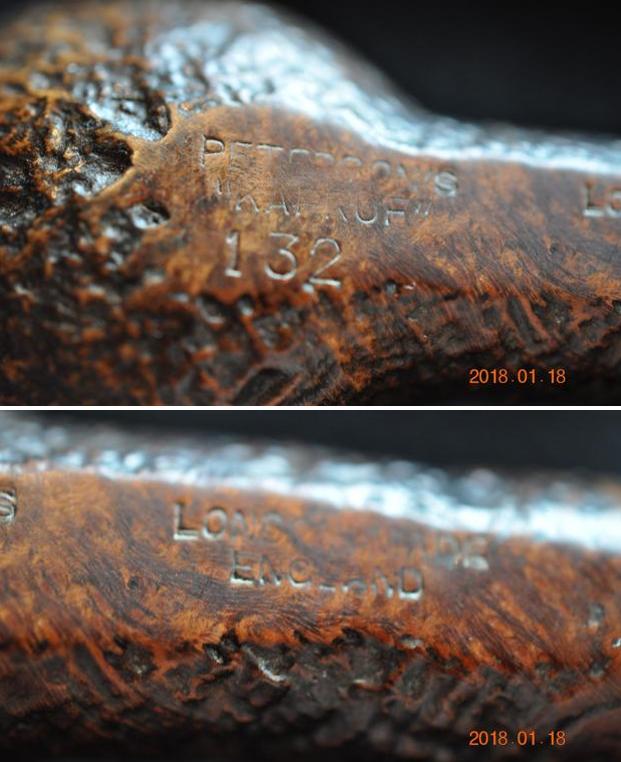
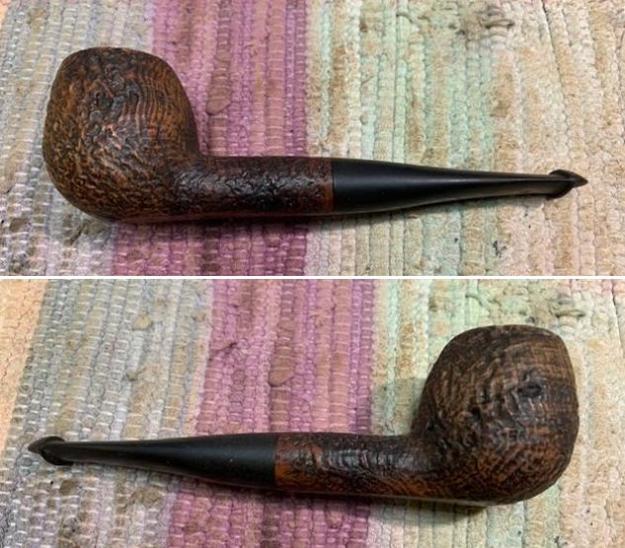
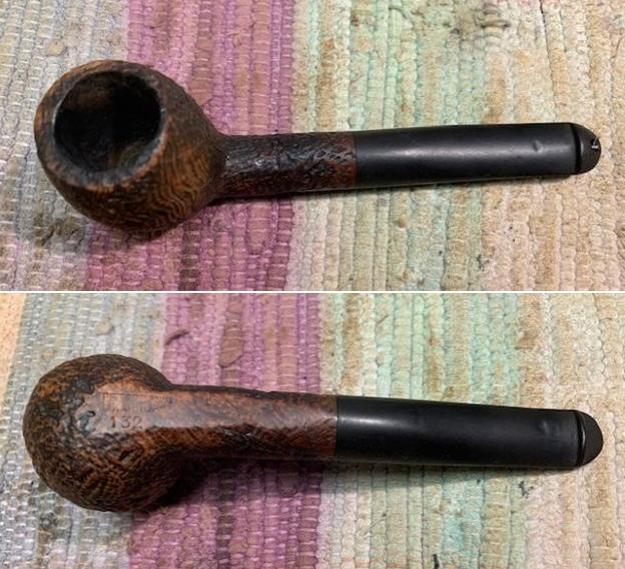
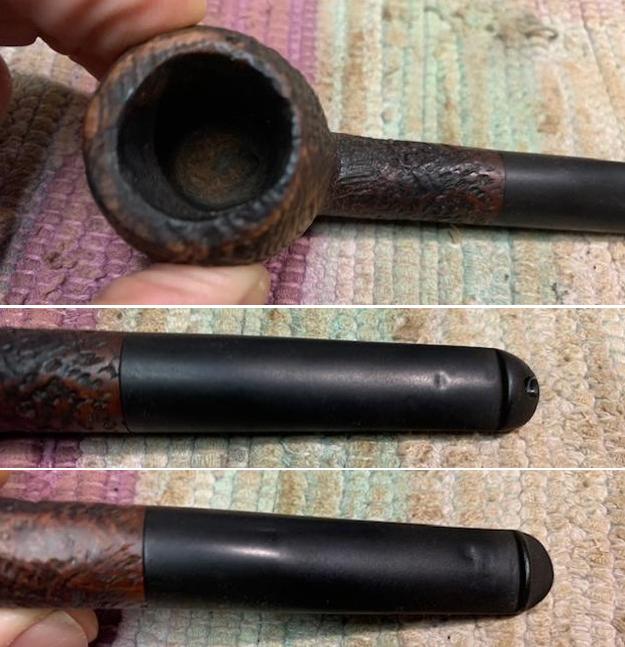
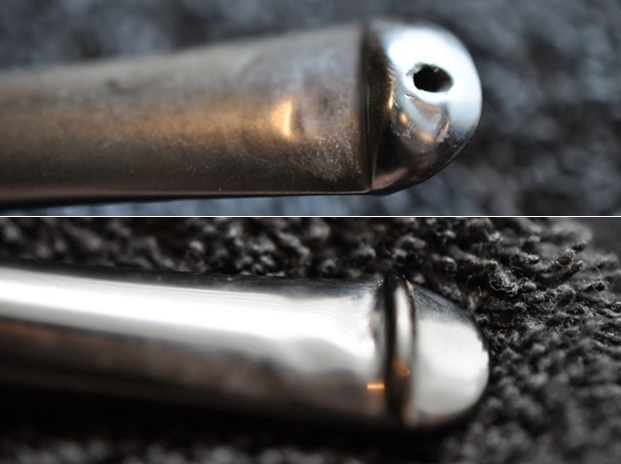
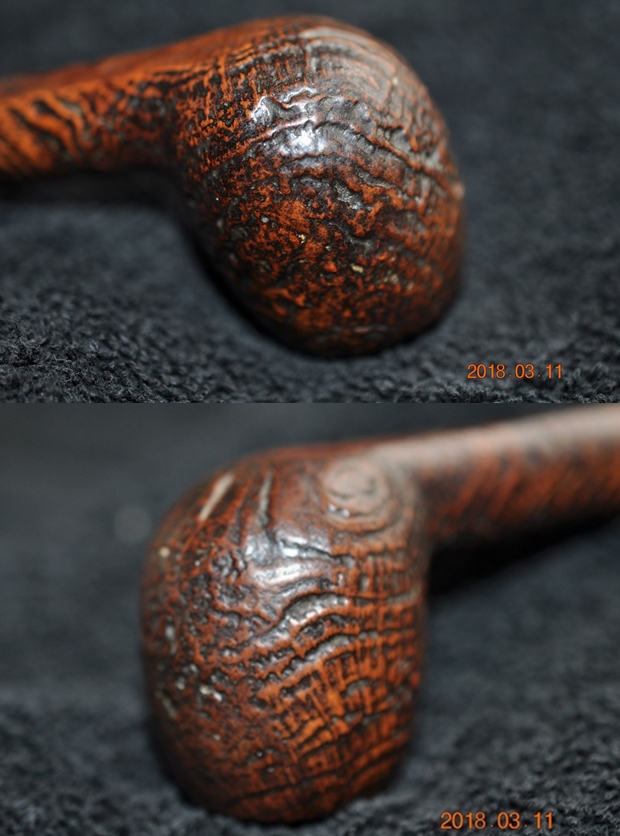
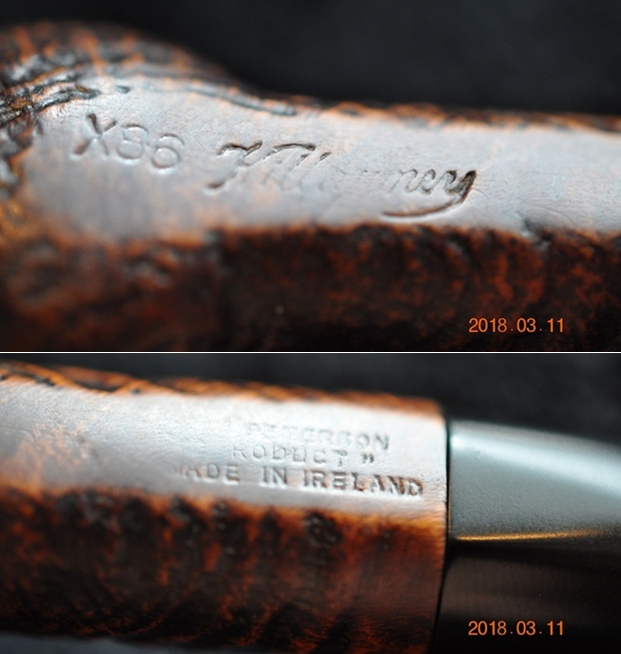
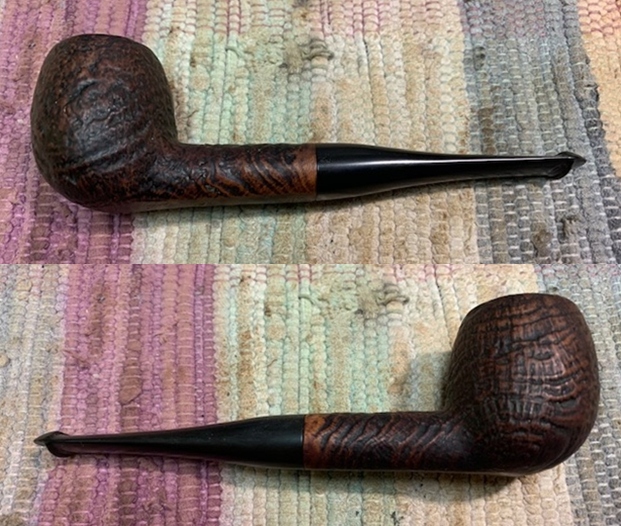
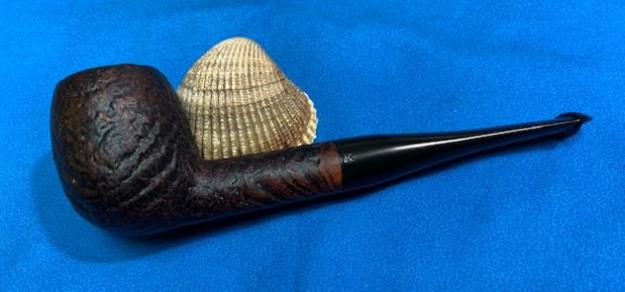
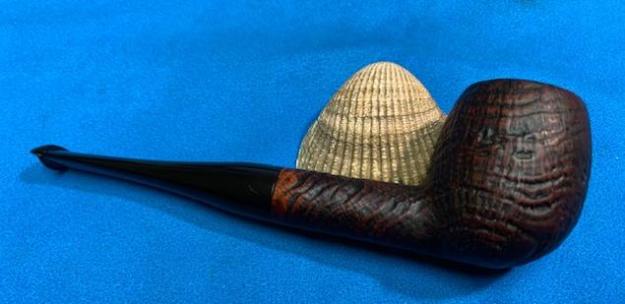
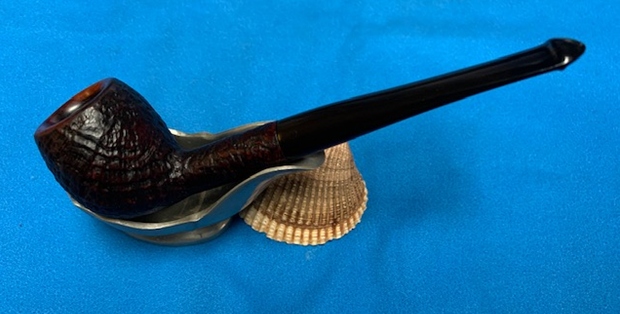
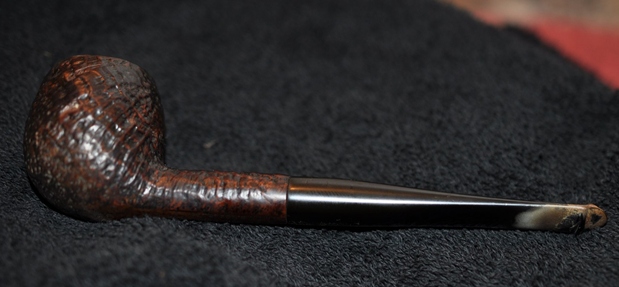
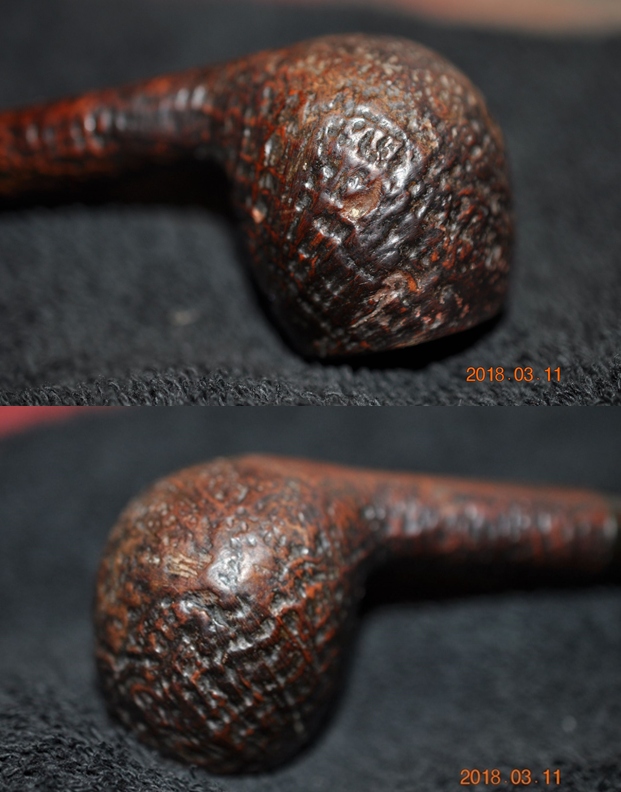
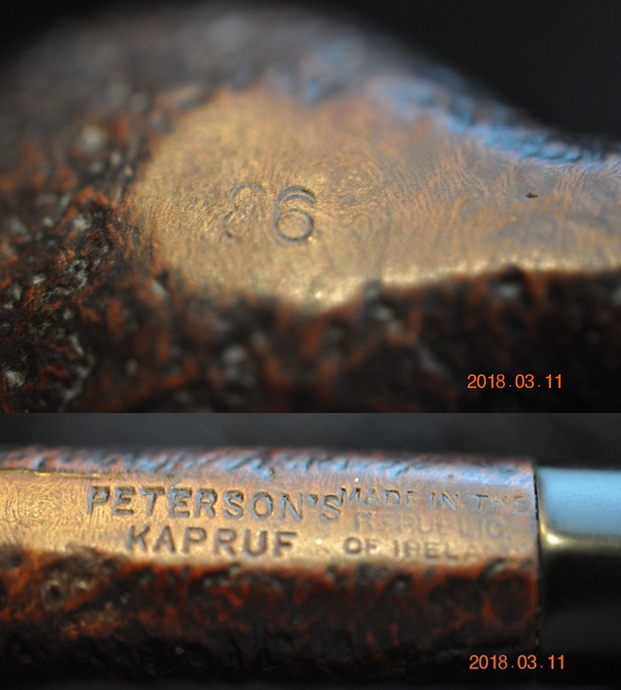
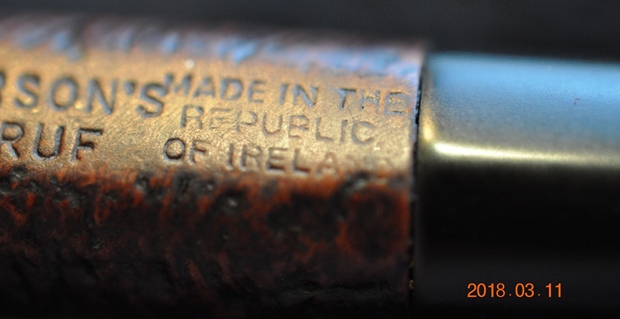
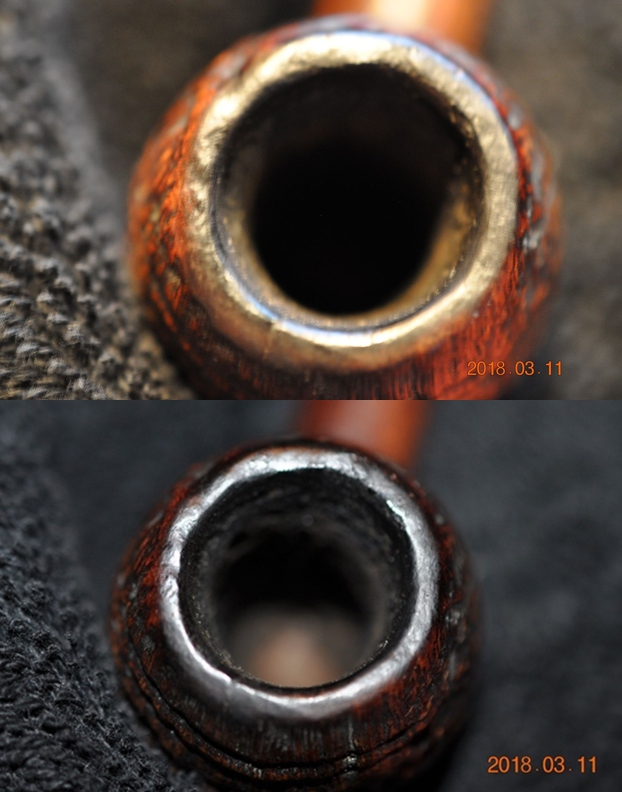
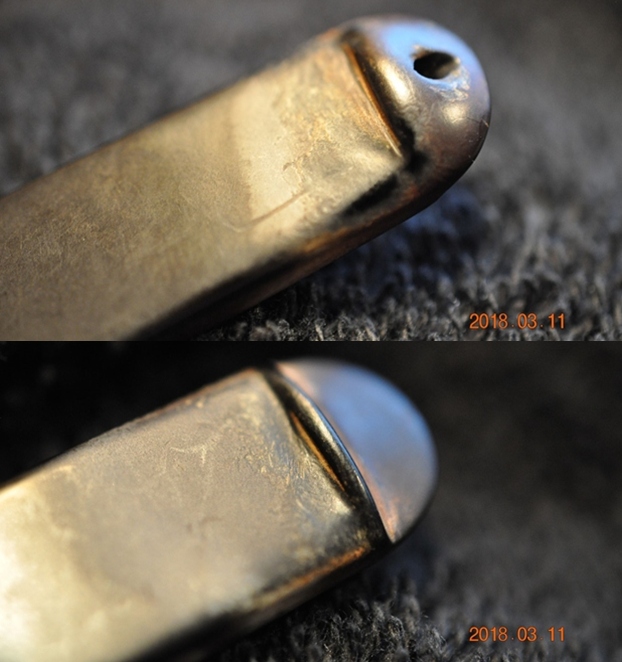
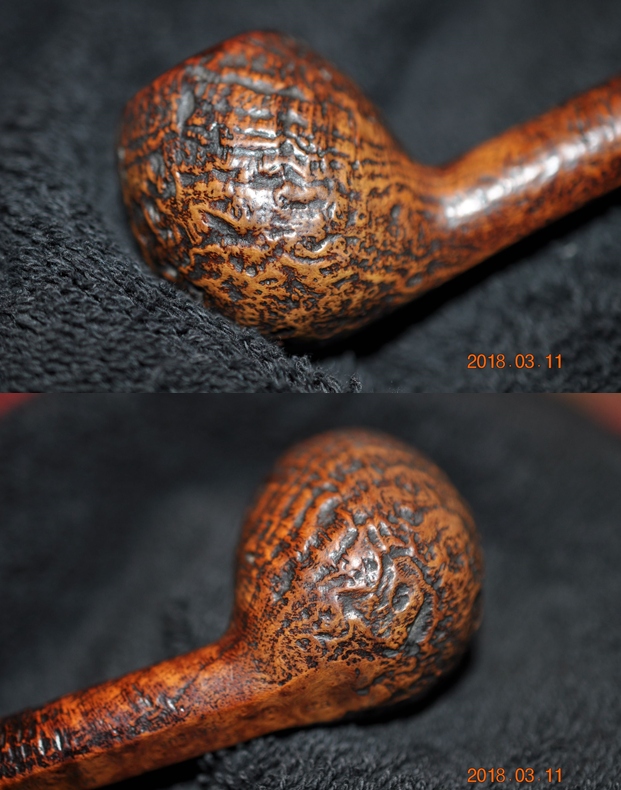
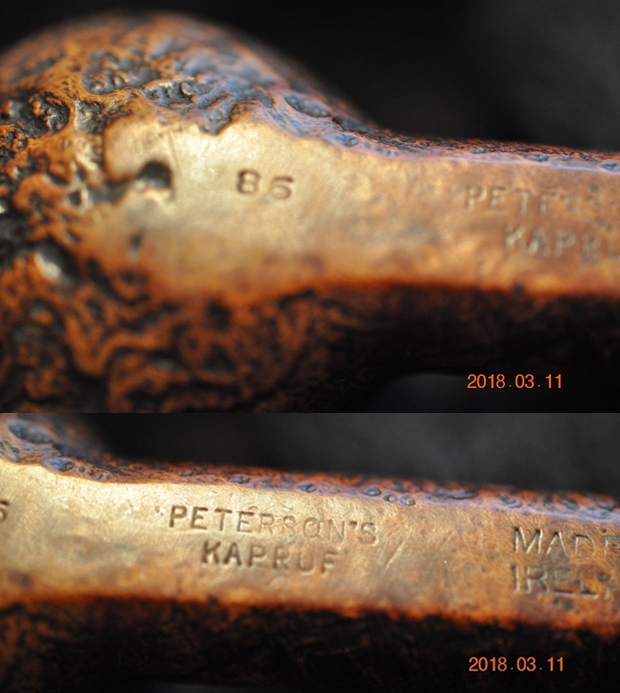
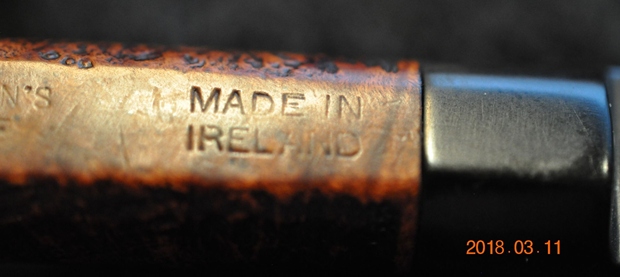
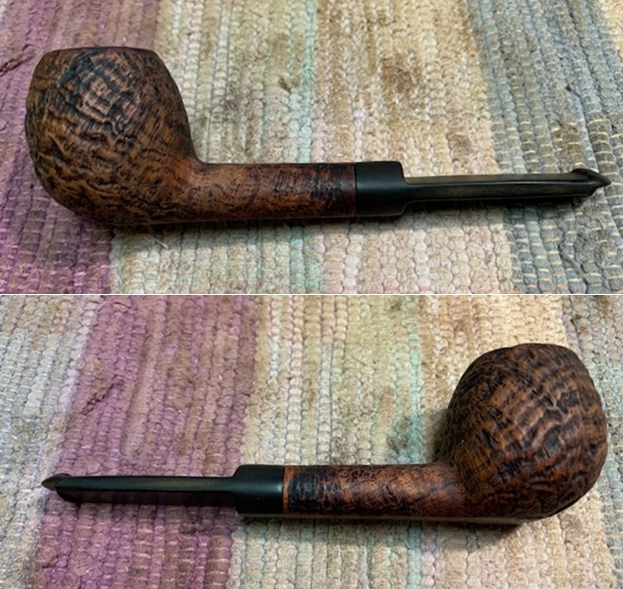
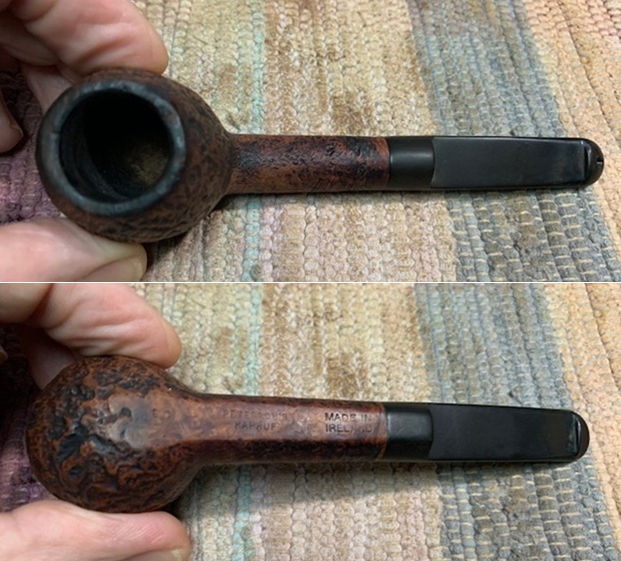
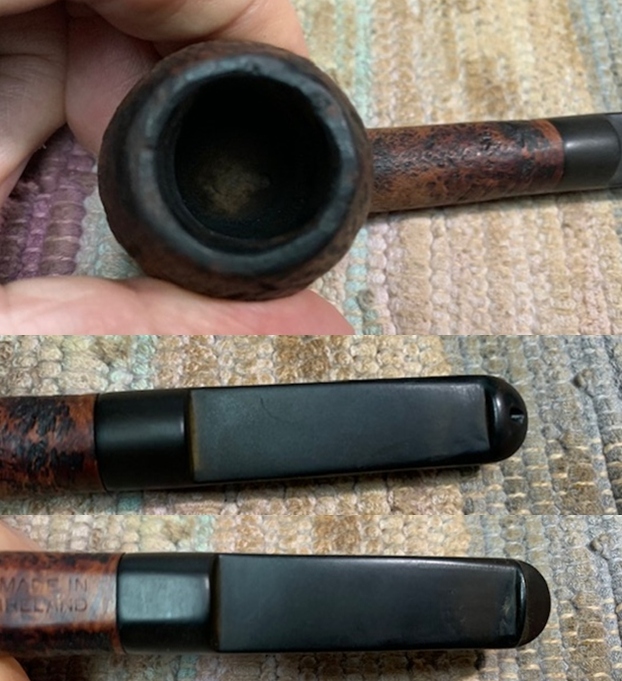
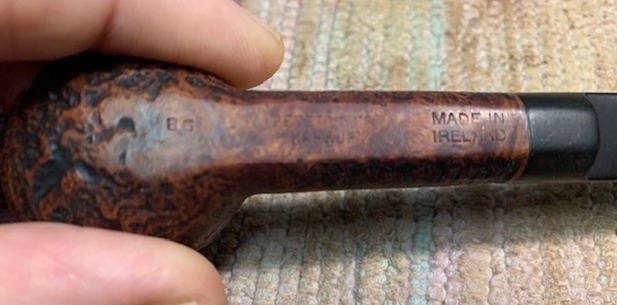
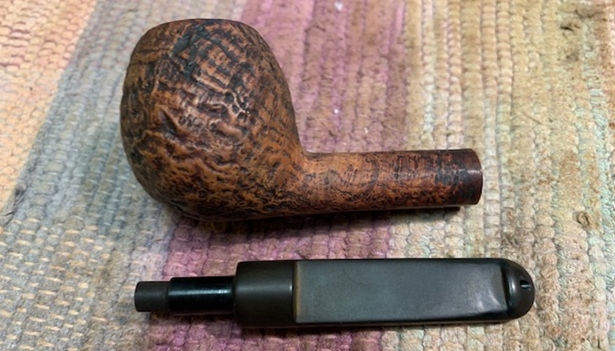
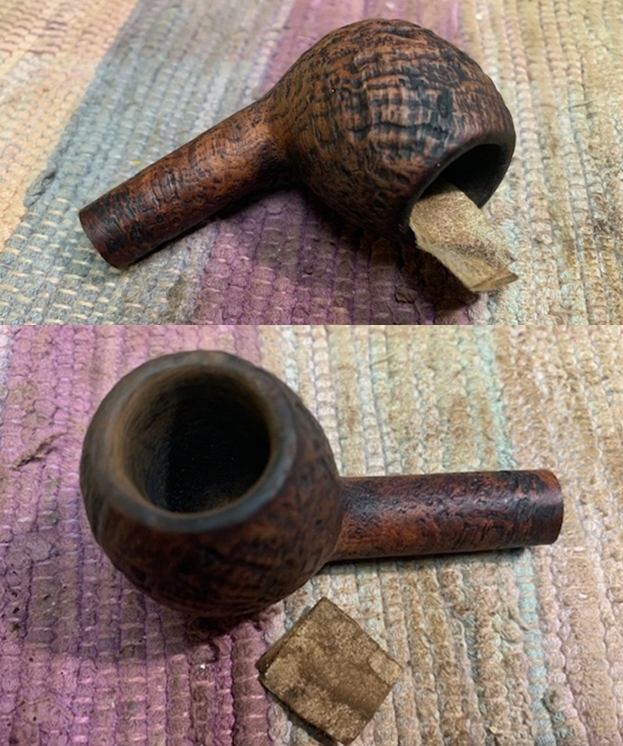
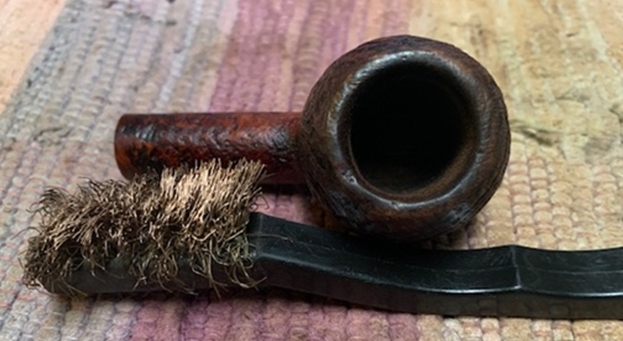
Today is an interesting day for me to work on pipes. It is Christmas Day and still fighting the sprained wrist. It is better than it was yesterday and the wrist brace really helps. I am slowed down a bit by it, but I have not stopped. The next pipe I have chosen is another Peterson’s Sandblast Apple. It is more delicate looking than the previous one but it was another very dirty pipe. It also came to us from the estate of Anglican minister that was a great friend of mine here in Canada. The grime was ground into the grooves of the sandblast finish on the bowl sides. The contrast of the brown stains gave the blast a sense of depth. It was stamped on the flat underside of the shank and read Peterson’s [over] Kapruf. To the left of that on the heel was the shape number 86. To the right of the Kapruf stamp it read Made in the Republic of Ireland (three lines). This pipe must have been another favourite as it had been well smoked. There was a moderate cake in the bowl a light overflow of lava and darkening on the thin rim top. The edge of the bowl looked was rough and out of round. The stem was oxidized, calcified and had light tooth marks and chatter on the top and underside on and near the button. Jeff took photos of the pipe before his cleanup work. They tell the story and give a glimpse of the promise that we see in this pipe.   Jeff took photos of the rim top and stem to show the general condition of the pipe. The bowl is moderately caked and the smooth rim top and edges have a lava overflow obscuring the apparent damage to the inner edge. The photos of the stem show that it was oxidized, calcified and has light tooth marks on the top and underside near the button.   Jeff took a photo of the bowl sides and heel to show the blast that was around this bowl. There were some nicks in the sides but overall it is a nice looking pipe.      He took photos of the stamping on the underside of the shank. It is clear and readable and reads as noted above.     I turned to “The Peterson Pipe” by Mark Irwin and Gary Malmberg to get some background on the Aran line. On page 306 it had the following information.
Kapruf amd “Kapruf” (c.1922-87) Sandblast (hence the name, Kapp-rough) P-lip or fishtail mouthpiece, in catalogs from 1940-87. Early documented specimens stamped IRISH over FREE STATE, no Eire specimens documented. Mid-century specimens may be stamped LONDON MADE [over] ENGLAND or MADE IN ENGLAND forming a circle or MADE IN [over] IRELAND, all dating no later than 1970. Those of recent vintage stamped MADE IN THE[over] REPUBLIC [over]OF IRELAND.

I knew that I was dealing with a KAPRUF made before 1970 as it is stamped MADE IN IRELAND as noted above. That fit with the majority of his pipes so I was clear what I was working on. Now it was time to work on the pipe.

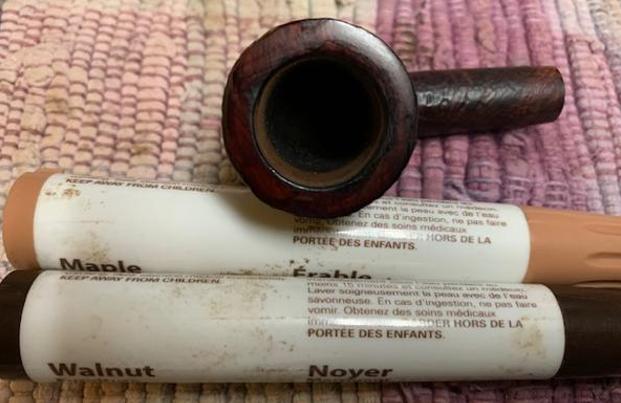
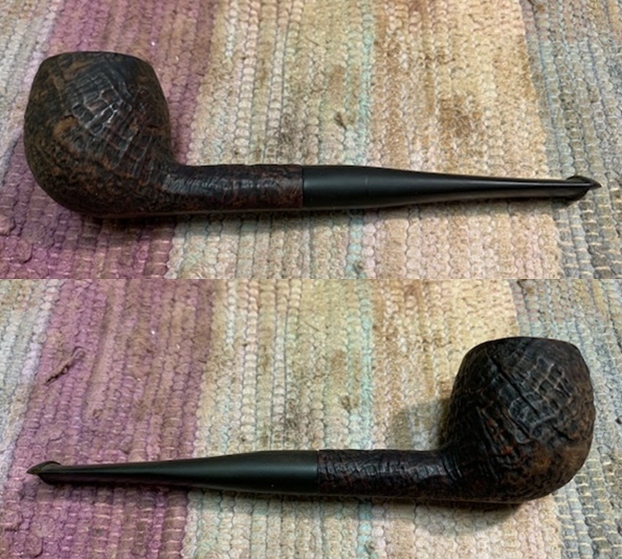
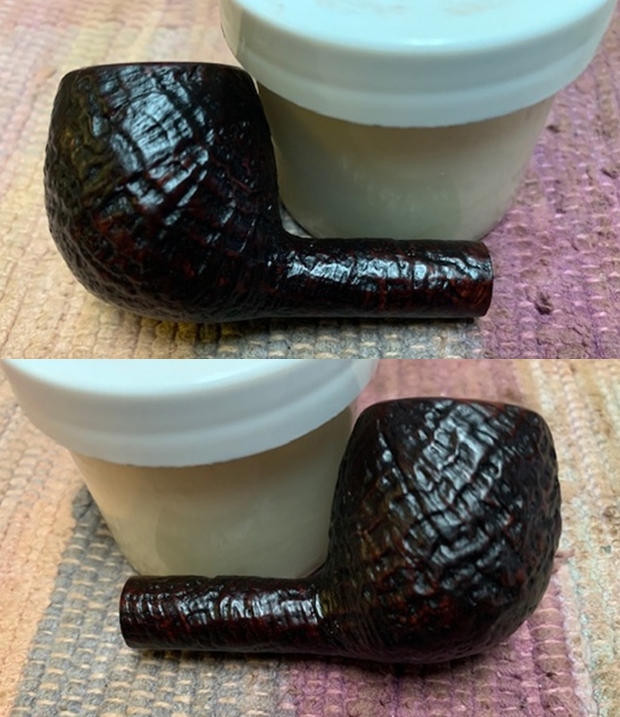
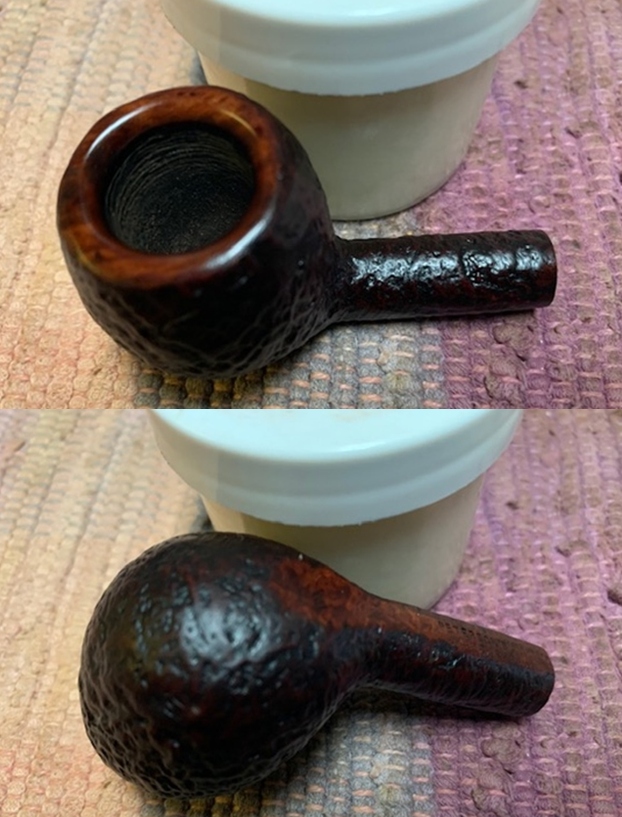
Jeff had done a great job cleaning up the pipe as usual. He reamed the pipe with a PipNet reamer and cut back the cake back to the bare briar. He cleaned up the walls with a Savinelli Fitsall Pipe Knife. He scrubbed the interior of the bowl and shank with pipe cleaners, cotton swabs and alcohol to remove the tars and oils. He scrubbed the exterior of the pipe with Murphy’s Oil Soap and a tooth brush to remove the grime from the finish. He worked on the rim top lava and darkening with the soap and tooth brush. He scrubbed the inside of the stem with alcohol and pipe cleaners. He scrubbed the exterior with Soft Scrub and then soaked it in Before & After Deoxidizer. He washed it off with warm water to remove the Deoxidizer. The pipe looked far better when it arrived.    I took some close up photos of the rim top and also of the stem surface. I wanted to show how well it had cleaned up. The rim top photo shows some damage on the back side of the rim top and inner edge. It should clean up really well. I also took close up photos of the stem to show the light tooth marks on the surface near the button. There was also some remaining oxidation.     I took a photo of the stamping on the underside of the shank. You can see that it is stamped as noted above. It is faint but readable.   I took the pipe apart and took a photo of the pipe. It is a good looking pipe and has a great sandblast on the bowl. I started my work on the pipe by cleaning up the damage on the back of the inner edge and rim top. I used a folded piece of 220 grit sandpaper to smooth out the damage. The rim top was smooth originally so that is what I worked with as I cleaned it up. I crowned the rim edge to eliminate the damage and blend it into the rest of the rim edge.  I polished the rim top with micromesh sanding pads – dry sanding with 1500-12000 grit sanding pads. I wiped down the briar between each pad to remove the sanding debris. I stained the rim top  with a Maple stain pen to blend it into the surrounding briar and to match the smooth panel on the underside of the shank.I worked some Before & After Restoration Balm into the surface of the briar with my fingertips and a horse hair shoe brush to clean, enliven and protect the briar. I let the balm sit for 15 minutes and then buffed with a cotton cloth to raise the shine. The photos show the bowl at this point in the restoration process.   I set the bowl aside and turned my attention to the stem. I scrubbed the stem with Soft Scrub All Purpose Cleaner to remove the oxidation on the surface of the vulcanite. It took a bit of scrubbing and I was able to remove the remaining oxidation.     I filled in the few tooth marks on both sides of the stem with clear super glue. Once the repairs cured I sanded the stem with 220 grit sandpaper to blend them into the rest of the stem. Then started the polishing with 400 grit wet dry sandpaper. I polished the stem with micromesh sanding pads – wet sanding with 1500-12000 grit sanding pads. I wiped it down after each sanding pad with Obsidian Oil. I polished it with Before & After Pipe Stem Polish – both Fine and Extra Fine.      I am excited to finish this Peterson’s Kapruf 86 Apple, Made in the Republic of Ireland. I put the pipe back together and buffed it with Blue Diamond on the buffing wheel. I gave the bowl multiple coats of Conservator’s Wax and the stem multiple coats of carnauba wax. I buffed the pipe with a clean buffing pad to raise the shine and hand buffed it with a microfibre cloth to deepen the shine. It is fun to see what the polished smooth rim top and the sandblast bowl looks like with the black vulcanite taper stem. This Classic looking Peterson’s Kapruf Sandblast Apple feels great in my hand. It is light and well balanced. Have a look at it with the photos below. The dimensions are Length: 5 ½ inches, Height: 1 ½ inches, Outside diameter of the bowl: 1 ¼  inches, Chamber diameter: ¾ of an inch. The weight of the pipe is 28grams/.99oz. It is a beautiful pipe and one that will be on the Irish Pipe Makers section of the rebornpipes store soon. If you are interested in adding it to your collection let me know. Thanks for walking through the restoration with me as I worked over this pipe. Thanks to each of you who are reading this blog.

Rebirthing a Lovely Peterson’s Kapruf  86 Made in Ireland Apple


Blog by Steve Laug

Today is an interesting day for me to work on pipes. It is Christmas Eve and last night somehow I sprained my wrist. So I am slowed down a bit by a wrist brace but I have not stopped. The next pipe I have chosen is a Peterson’s Sandblast Apple. It was another very dirty pipe. It is another one that came to us from the same estate of Anglican minister that was a great friend of mine here in Canada. The grime was ground into the grooves of the sandblast finish on the bowl sides. The contrast of the brown stains gave the blast a sense of depth. It was stamped on the flat underside of the shank and read Peterson’s [over] Kapruf. To the left of that on the heel was the shape number 86. To the right of the Kapruf stamp it read Made in Ireland. This pipe must have been a favourite as it had been well smoked. There was a moderate cake in the bowl a light overflow of lava and darkening on the thin rim top. The edge of the bowl looked to be in good condition with some nicks on the inner edge. The stem was oxidized, calcified and had light tooth marks and chatter on the top and underside on and near the button. Jeff took photos of the pipe before his cleanup work. They tell the story and give a glimpse of the promise that we see in this pipe.   Jeff took photos of the rim top and stem to show the general condition of the pipe. The bowl is moderately caked and the rim top and edges have a lava overflow obscuring the sandblast and inner edge. The photos of the stem show that it was oxidized, calcified and has light tooth marks on the top and underside near the button. Jeff took a photo of the bowl sides and heel to show the grain that was around this bowl. It is a nice looking pipe.       He took photos of the stamping on the underside of the shank. It is clear and readable and reads as noted above.    I turned to “The Peterson Pipe” by Mark Irwin and Gary Malmberg to get some background on the Aran line. On page 306 it had the following information.
Kapruf amd “Kapruf” (c.1922-87) Sandblast (hence the name, Kapp-rough) P-lip or fishtail mouthpiece, in catalogs from 1940-87. Early documented specimens stamped IRISH over FREE STATE, no Eire specimens documented. Mid-century specimens may be stamped LONDON MADE [over] ENGLAND or MADE IN ENGLAND forming a circle or MADE IN [over] IRELAND, all dating no later than 1970. Those of recent vintage stamped MADE IN THE[over] REPUBLIC [over]OF IRELAND.

I knew that I was dealing with a KAPRUF made before 1970 as it is stamped MADE IN IRELAND as noted above. That fit with the majority of his pipes so I was clear what I was working on. Now it was time to work on the pipe.

Jeff had done a great job cleaning up the pipe as usual. He reamed the pipe with a PipNet reamer and cut back the cake back to the bare briar. He cleaned up the walls with a Savinelli Fitsall Pipe Knife. He scrubbed the interior of the bowl and shank with pipe cleaners, cotton swabs and alcohol to remove the tars and oils. He scrubbed the exterior of the pipe with Murphy’s Oil Soap and a tooth brush to remove the grime from the finish. He worked on the rim top lava and darkening with the soap and tooth brush. He scrubbed the inside of the stem with alcohol and pipe cleaners. He scrubbed the exterior with Soft Scrub and then soaked it in Before & After Deoxidizer. He washed it off with warm water to remove the deoxidizer. The pipe looked far better when it arrived. I took some close up photos of the rim top and also of the stem surface. I wanted to show how well it had cleaned up. The rim top photo shows some damage on the back side of the rim top and inner edge. It should clean up really well. I also took close up photos of the stem to show the light tooth marks on the surface near the button. There was also some remaining oxidation.  I took photos of the stamping on the underside of the shank. You can see that it is stamped as noted above. It is faint but readable.   I took the pipe apart and took a photo of the pipe. It is a good looking pipe and has a great sandblast on the bowl. I started my work on the pipe by cleaning up the damage on the back of the inner edge and rim top. I used a folded piece of 220 grit sandpaper to smooth out the damage. I gave the rim edge a slight bevel to take care of the damage and blend it into the rest of the rim edge.  I scrubbed the rim top with a brass bristle brush to remove the debris remaining in the finish.  I worked some Before & After Restoration Balm into the surface of the briar with my fingertips to clean, enliven and protect the briar. I let the balm sit for 15 minutes and then buffed with a cotton cloth to raise the shine. The photos show the bowl at this point in the restoration process.   I set the bowl aside and turned my attention to the stem. I scrubbed the stem with Soft Scrub All Purpose Cleaner to remove the oxidation on the surface of the vulcanite. It took a bit of scrubbing and I was able to remove the remaining oxidation.  I “painted” the surface of the stem with the flame of a lighter to life the tooth marks on the surface of the vulcanite. I was able to lift most of them. I filled in the few remaining marks on both sides of the stem with clear super glue. Once the repairs cured I sanded the stem with 220 grit sandpaper to blend them into the rest of the stem. Then started the polishing with 400 grit wet dry sandpaper.  I polished the stem with micromesh sanding pads – wet sanding with 1500-12000 grit sanding pads. I wiped it down after each sanding pad with Obsidian Oil. I polished it with Before & After Pipe Stem Polish – both Fine and Extra Fine.    I am excited to finish this Peterson’s Kapruf 86 Apple, Made In Ireland. I put the pipe back together and buffed it with Blue Diamond on the buffing wheel. I gave the bowl multiple coats of Conservator’s Wax and the stem multiple coats of carnauba wax. I buffed the pipe with a clean buffing pad to raise the shine and hand buffed it with a microfibre cloth to deepen the shine. It is fun to see what the polished bowl looks like with the black vulcanite saddle stem. This Classic looking Peterson’s Kapruf Sandblast Apple feels great in my hand. It is light and well balanced. Have a look at it with the photos below. The dimensions are Length: 5 ½ inches, Height: 1 5/8 inches, Outside diameter of the bowl: 1 ¼  inches, Chamber diameter: ¾ of an inch. The weight of the pipe is 31grams/1.09oz. It is a beautiful pipe and one that will be on the Irish Pipe Makers section of the rebornpipes store soon. If you are interested in adding it to your collection let me know. Thanks for walking through the restoration with me as I worked over this pipe. Thanks to each of you who are reading this blog.

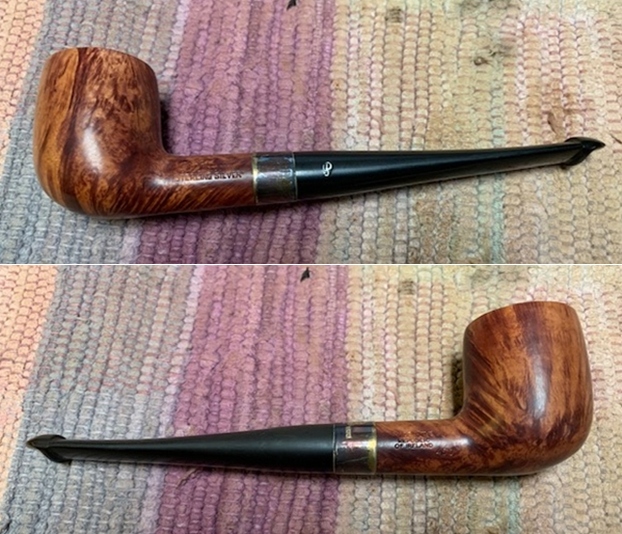
Breathing Life a Peterson’s Republic Era 1999 “Sterling Silver” 450 Billiard


Blog by Steve Laug

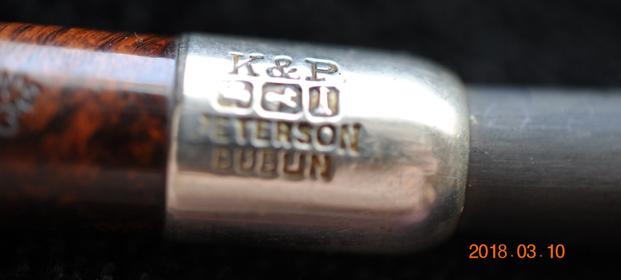
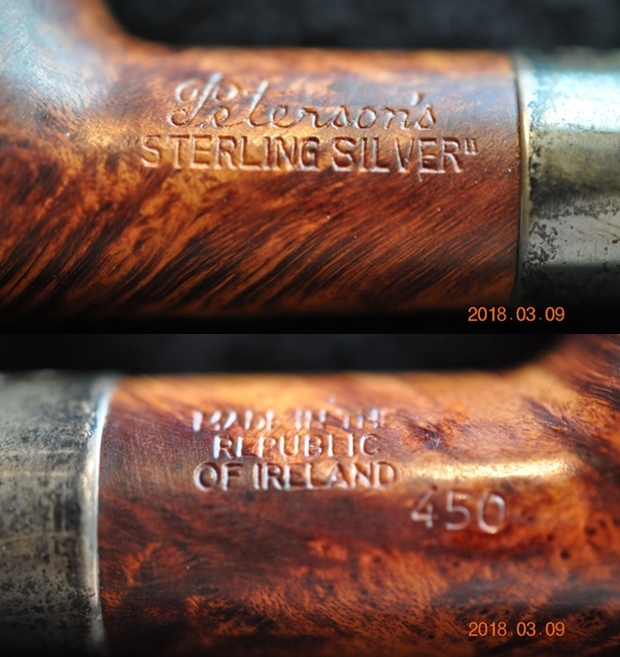
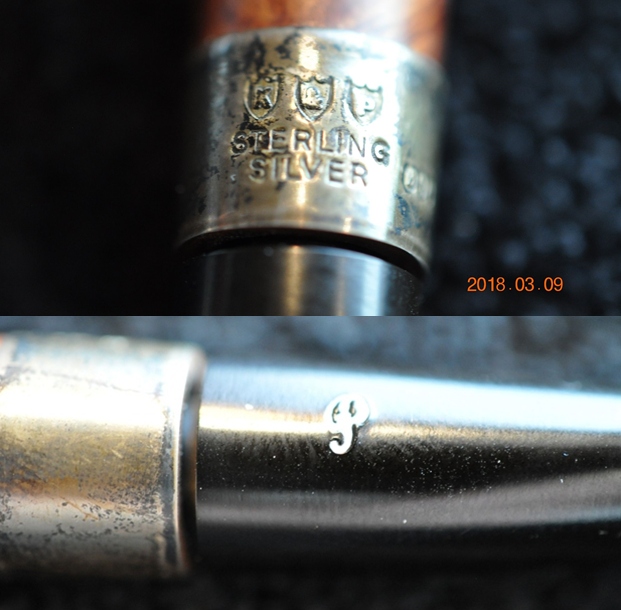
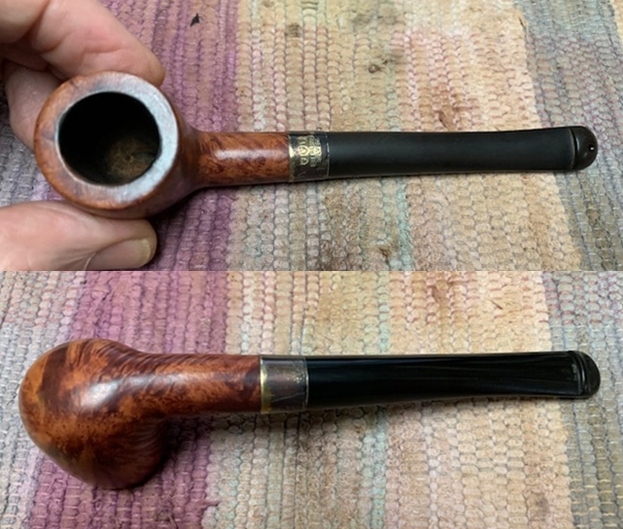
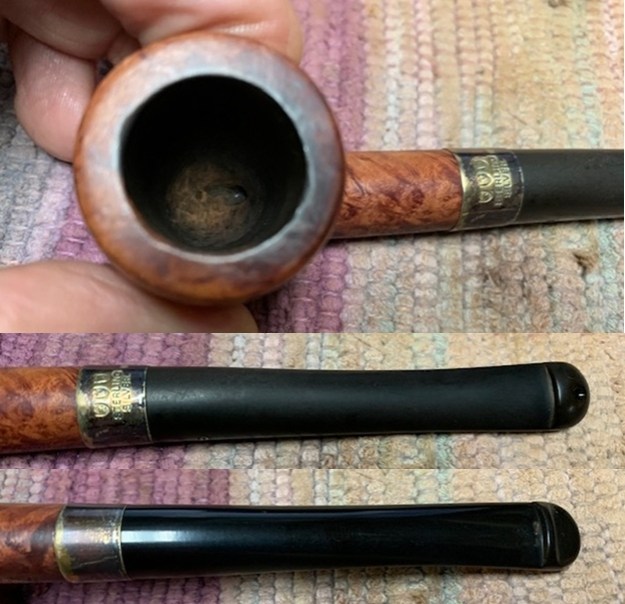
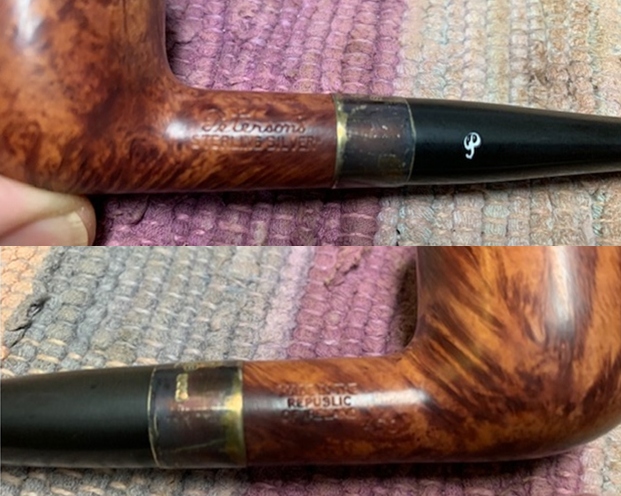
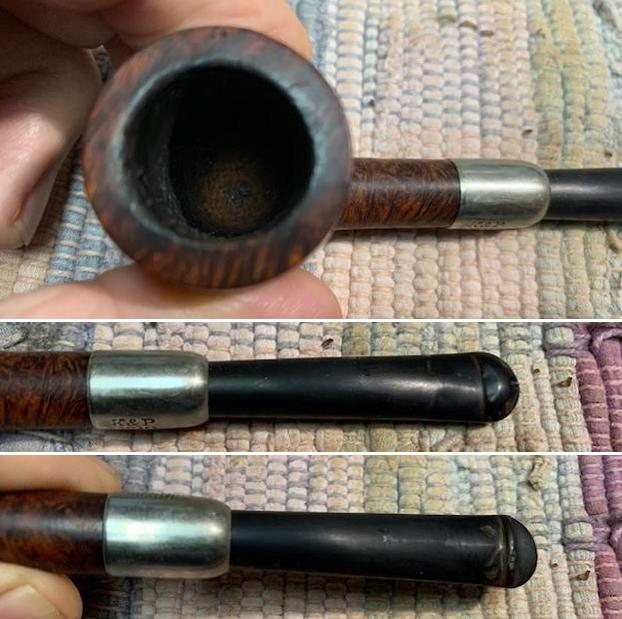
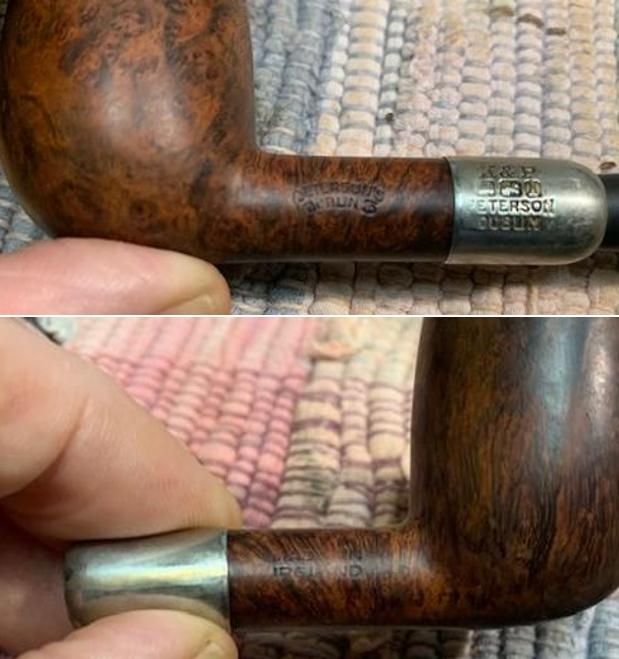
The next pipe I have chosen is smooth finished Peterson’s “Sterling Silver” pipe. This one is a 450 Billiard that has a light coloured finish with amazing grain around the bowl sides and shank. It is also incredibly dirty. It also came to us from the estate of Anglican minister that was a great friend of mine here in Canada. I was in the airport in Hong Kong when his daughter contacted me to tell me of his death and asked if I wanted to take on his pipes. I told her that I was sad to hear of his death but would gladly take on his pipes to restore and sell. This Billiard had a silver band on the shank that was badly oxidized. The grime on the finish was ground into the finish on the bowl sides. The contrast of the brown stains the grain really pop. It was stamped on the left side of the shank and read Peterson’s [over] “Sterling Silver”. It was stamped on the right side and read Made in the Republic of Ireland in three lines. That is over the shape number 450. The tarnished band is stamped with K&P in shields [over] Sterling Silver. That was followed by three hallmarks – the seated woman, the harp and the italic letter N. It was in filthy when he brought it to the table. The finish was dirty with grime ground into the briar sides and rim. There was a thin cake in the bowl and light spattering of lava on the rim top and the inner edge of the bowl. The stem was lightly oxidized and had light tooth marks and chatter on the top and underside on and near the button. Jeff took photos of the pipe before his cleanup work. They tell the story and give a glimpse of the promise that we see in this pipe. Jeff took photos of the rim top and stem to show the general condition of the pipe. The bowl is lightly caked and the rim top and edges have some light lava overflow. The stem is lightly oxidized and has light tooth marks on the top and underside near the button.   Jeff took some photos of the bowl sides and heel to show the amazing grain that was around this bowl. It is a nice looking pipe.He took photos of the underside of the shank to show the stamping. The stamping is readable in the photos below and is as noted above. He also took a photo of the band. I am including the information from Pipedia’s article on Peterson pipes. It is a great read in terms of the history of the brand (https://pipedia.org/wiki/Peterson). I have included a bit of the pertinent history here.
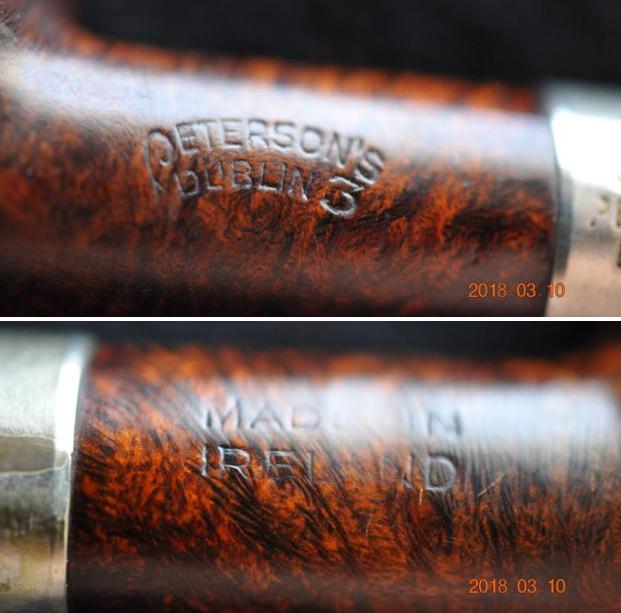
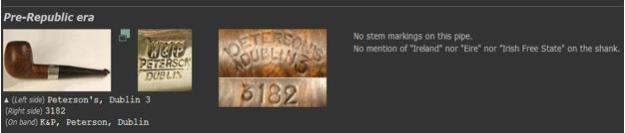
1950 – 1989 The Republic Era – From 1950 to the present time, the stamp for this era is “Made in the Republic of Ireland” in a block format generally in three lines but two lines have been used with or without Republic being abbreviated.

During the 1950’s and 60’s the Kapp & Peterson Company was still in the ownership of the Kapp family. However 1964 saw the retiral of the company Managing Director Frederick Henry(Harry) Kapp.

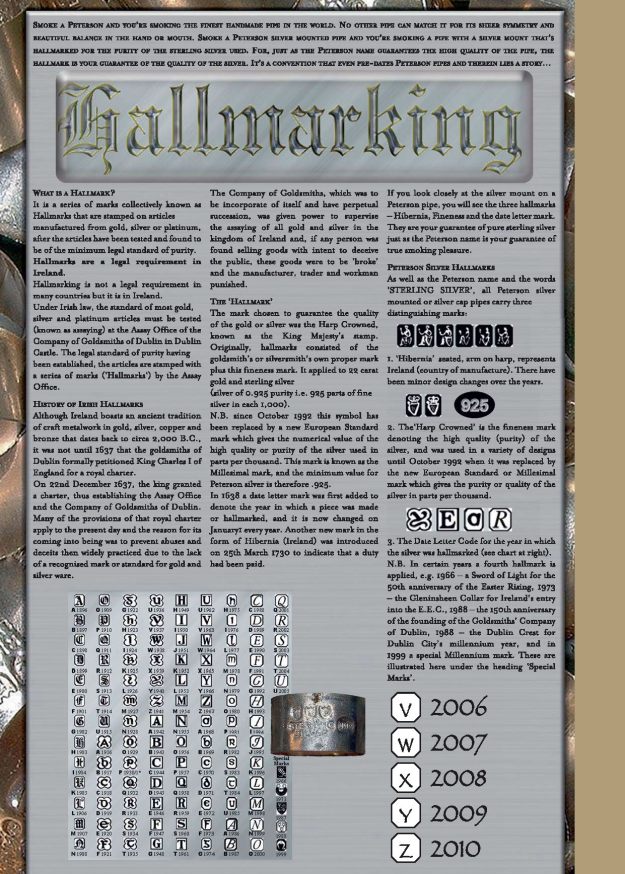
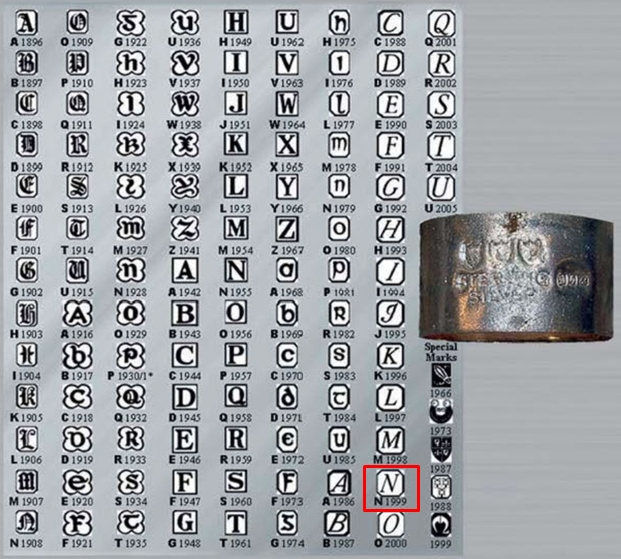
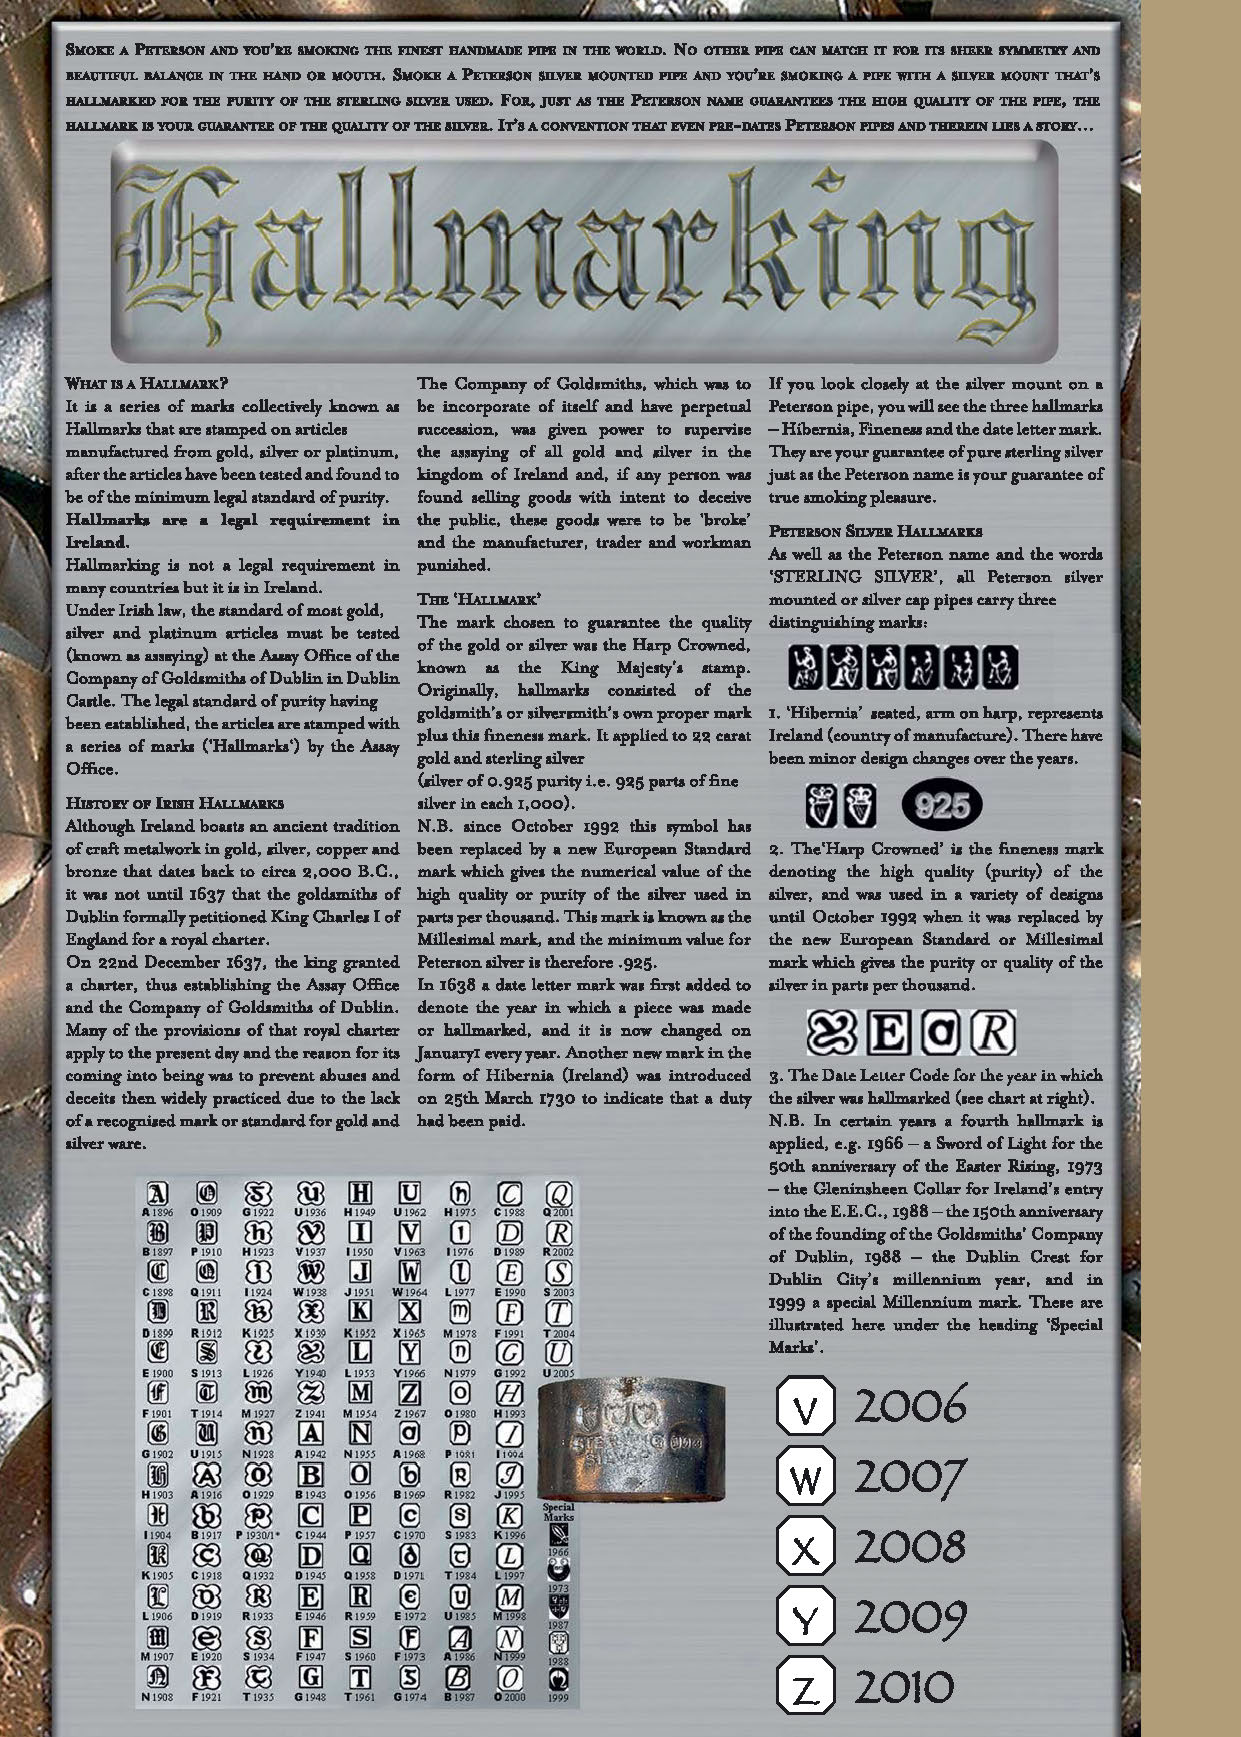
I turned to the hallmarking chart on one of the blogs on rebornpipes to lock down the date for the pipe (https://rebornpipes.com/wp-content/uploads/2015/05/peterson-cataloguecomp_page_27.jpg). The chart defines the meaning of each hallmark. The first one of the seated woman with a harp is known as the Hibernia stamp and identifies the pipe as made in Ireland. The second stamp is a crowned harp which is a fineness mark denoting the high quality of silver that was used. The third stamp is the italic letter N. I have included a larger screen capture of the chart in the lower left of the photo below.I have drawn a square around the date letter below. It identifies the date of this Peterson’s pipe to 1999.I knew that I was dealing with a Republic Era pipe made between 1950 and the present. The hallmarks date the pipe to 1999. Now it was time to work on the pipe.

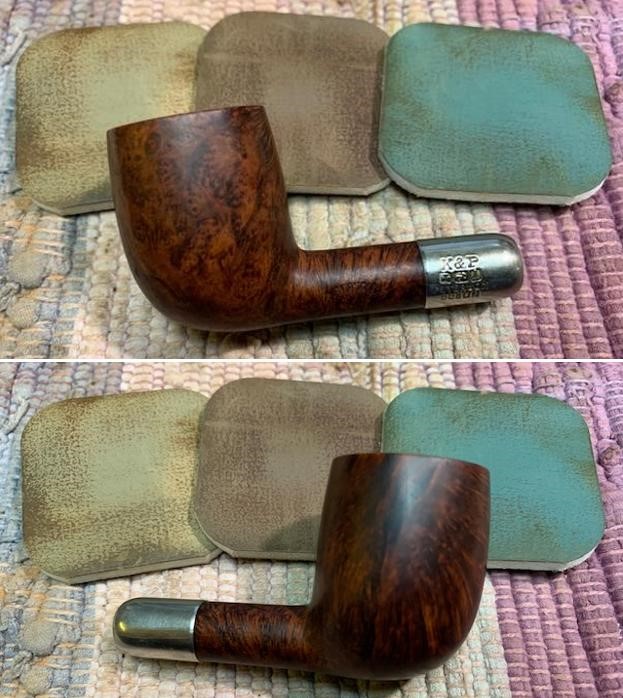
Jeff had done a great job cleaning up the pipe as usual. He reamed the pipe with a PipNet reamer and cut back the cake back to the bare briar. He cleaned up the walls with a Savinelli Fitsall Pipe Knife. He scrubbed the interior of the bowl and shank with pipe cleaners, cotton swabs and alcohol to remove the tars and oils. He scrubbed the exterior of the pipe with Murphy’s Oil Soap and a tooth brush to remove the grime from the finish. He worked on the rim top lava and darkening with the soap and tooth brush. He scrubbed the inside of the stem with alcohol and pipe cleaners. He scrubbed the exterior with Soft Scrub and then soaked it in Before & After Deoxidizer. He washed it off with warm water to remove the Deoxidizer. The pipe looked far better when it arrived. It has been sitting here for 2 years so the silver tarnished once again and would need to be polished. I took some close up photos of the rim top and also of the stem surface. I wanted to show how well it had cleaned up. The rim top had some darkening on the back top and the inner edge had burn damage on the front right and back. It should clean up really well. I also took close up photos of the stem to show the light tooth marks on the surface near the button.   I took photos of the stamping on the sides of the shank. You can see that it is stamped as noted above. It is clear and readable.  I took the pipe apart and took a photo of the pipe. It is a good looking pipe and has a rugged rustication around the bowl. I polished the Sterling Silver band on the shank with a jeweler’s cloth to remove the tarnish and polish it.     I decided to address the out of round bowl first. I used a folded piece of 220 grit sandpaper to give the inner edge of the bowl a slight bevel to accommodate the burned areas and blend them into the surrounding briar.  I polished the briar with micromesh sanding pads – dry sanding with 1500-12000 grit sanding pads. I wiped the bowl down with a damp cloth after each sanding pad.  I worked some Before & After Restoration Balm into the surface of the briar with my fingertips and a horsehair shoe brush to clean, enliven and protect the briar. I let the balm sit for 15 minutes and then buffed with a cotton cloth to raise the shine. The photos show the bowl at this point in the restoration process.    I sanded out the deep tooth marks on the underside of the stem next to the button with 220 grit sandpaper until they were smooth. I started   polishing the stem with 400 grit wet dry sandpaper. The stem was bent slightly upward so I heated it with a lighter flame until it was flexible enough to straighten out. I straightened it and held it in  place until it cooled.I polished the stem with micromesh sanding pads – wet sanding with 1500-12000 grit sanding pads. I wiped it down after each sanding pad with Obsidian Oil. I polished it with Before & After Pipe Stem Polish – both Fine and Extra Fine.   I am excited to finish this Republic Era Peterson’s “Sterling Silver” 450 Billiard. I put the pipe back together and buffed it with Blue Diamond on the buffing wheel. I gave the bowl and the stem multiple coats of carnauba wax. I hand buffed the pipe with a clean buffing pad to raise the shine. It is fun to see what the polished bowl looks like with the grain popping all around it. Added to that the polished Sterling Silver band and the black vulcanite stem was beautiful. This smooth Classic Peterson’s Billiard is nice looking and the pipe feels great in my hand. It is light and well balanced. Have a look at it with the photos below. The dimensions are Length: 6 inches, Height: 1 ¾ inches, Outside diameter of the bowl: 1 ¼ inches, Chamber diameter: ¾ of an inch. The weight of the pipe is 34grams/1.20oz. It is a beautiful pipe and one that will be on the Irish Pipe Makers section of the rebornpipes store soon. If you are interested in adding it to your collection let me know. Thanks for walking through the restoration with me as I worked over this pipe. Thanks to each of you who are reading this blog.
Restoring a Peterson’s Republic Era System Standard 302 Bent Apple


Blog by Steve Laug

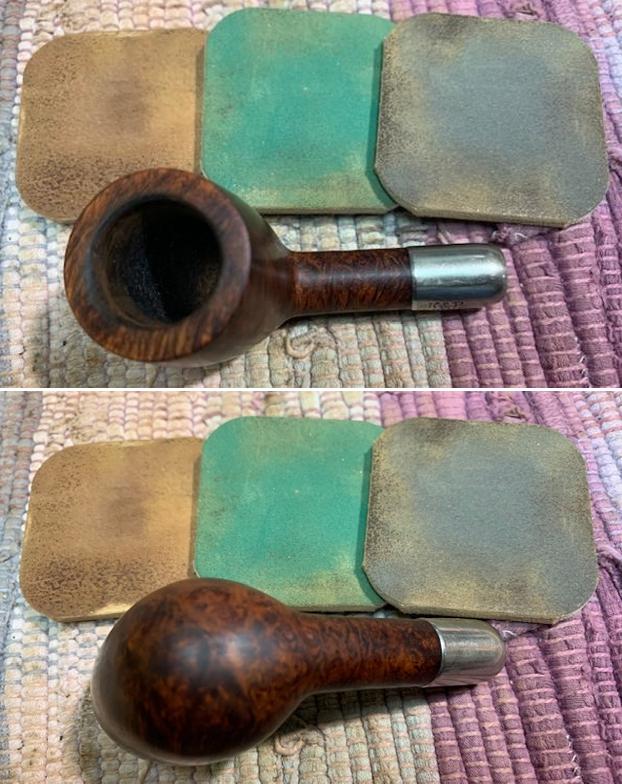
The next pipe on the work table came to us from an online auction from Romney, West Virginia, USA. It is a smooth Peterson’s System Apple shaped pipe with a saddle vulcanite stem. The pipe is stamped on the left side of the shank and reads Peterson’s [over] System [over] Standard. On the right side it is stamped Made in the Republic of Ireland and underneath that is the shape number 302. The nickel ferrule is stamped K & P [over] Peterson. The nickel ferrule was also heavily discoloured by oils and tars. The finish had a lot of grime ground into it and it was very dirty. There was also some serious road rash on the front of the bowl and rim. The bowl was heavily caked and there was a thick lava coat on the flat rim top and the inner edge of the rim. It was hard to tell what condition of the inner edge was because of the lava coat. Only cleaning would make that clear. The stem was oxidized, calcified and had tooth chatter and marks on the top and underside near the P-lip style button. The pipe showed promise but it was very dirty. Jeff took photos of the pipe before he started his cleanup work.  He took photos of the rim top and bowl to give a clear picture of the thickness of the cake and the condition of the rim top and edges. He also took photos of the top and underside of the stem to show the oxidation, calcification and chatter and tooth marks. Jeff took a photo of the side and heel of the bowl to give a picture of what the briar around the pipe looked like.     He took photos of the stamping on the shank and the nickel ferrule. It reads as noted above and is clear and readable.   I am including the information from Pipedia’s article on Peterson pipes. It is a great read in terms of the history of the brand (https://pipedia.org/wiki/Peterson). I have included a bit of the pertinent history here.

1950 – 1989 The Republic Era – From 1950 to the present time, the stamp for this era is “Made in the Republic of Ireland” in a block format generally in three lines but two lines have been used with or without Republic being abbreviated.

I knew that I was dealing with a Republic Era pipe made between 1950-1989. It was a smooth Peterson’s System Standard 302 Bent Apple with nice grain. The finish was stained with a combination of brown stains. Now it was time to work on the pipe.

Jeff had cleaned up the pipe with his usual penchant for thoroughness. He reamed the pipe with a PipNet Pipe Reamer and cleaned up the remnants with a Savinelli Fitsall Pipe Knife.  He scrubbed the bowl with undiluted Murphy’s Oil Soap with a tooth brush. He rinsed it under running warm water to remove the soap and grime. He cleaned out the inside of the shank and the airway in the stem with alcohol, cotton swabs and pipe cleaners. He soaked the stem in Before & After Deoxidizer and rinsed it off with warm water. I took photos of the pipe once I received it.    The rim top and inner edge of the rim looked very good with a bit of damage on the inner edge and on the rim surface. There were some scratches and nicks on the front outer edge of the bowl. The stem surface looked very good with some light tooth marks and chatter on both sides near the button. I took photos of the stamping on the shank. It is clear and readable as noted above. I removed the stem and took a photo of the pipe to give a sense of the whole. The stem is a typical Peterson’s System stem.I started my work on the pipe by working over the rim top and the inner edge of the bowl to clean up the damage. Once finished the rim top and edge looked much better.  I repaired the deep gouges on the front side of the bowl by filling them in with clear super glue. Once it cured I sanded it smooth to blend it into the surrounding briar. I restained the front of the bowl and the rim top with a combination of Cherry and Maple stain pens to blend in the colour of those areas to the rest of the bowl.I polished the briar with micomesh sanding pads – wet sanding with 1500-12000 grit pads. I wiped the bowl down after each pad with a damp cloth. I rubbed the bowl down with Before & After Restoration Balm. I worked it into the surface of the bowl sides and shank with my fingertips. The product works to clean, enliven and protect the briar. I let the balm sit for a little while and then buffed with a cotton cloth to raise the shine. I polished the vulcanite stem with micromesh sanding pads – 1500-12000 grit pads. I wiped it down with a damp cloth after each sanding pad. I used Before & After Pipe Polish – both Fine and Extra Fine to further polish the stem.     This Peterson’s System Standard 302 Bent Apple with a vulcanite stem is a great looking pipe now that it has been restored. The beautiful grain that shines through the polished finish is stunning. I put the stem back on the bowl and carefully buffed the pipe with Blue Diamond on the buffing wheel. I gave the bowl and the stem multiple coats of carnauba wax on the buffing wheel and followed that by buffing the entire pipe with a clean buffing pad. I hand buffed the pipe with a microfiber cloth to deepen the shine. The grain just popped with the wax and the buffing. It is a beauty! The finished Peterson’s System Standard Apple 302 fits nicely in the hand and feels great. Give the finished pipe a look in the photos below. The dimensions of the pipe are Length: 5 ½ inches, Height: 1 ¾ inches, Outside diameter of the bowl: 1 ½ inches, Chamber diameter: ¾ of an inch. The weight of the pipe is 67gr/2.36oz. If you are interested in adding this pipe to your collection send me a message or an email. Thanks for reading this blog and my reflections on the pipe while I worked on it. There are many more to come!
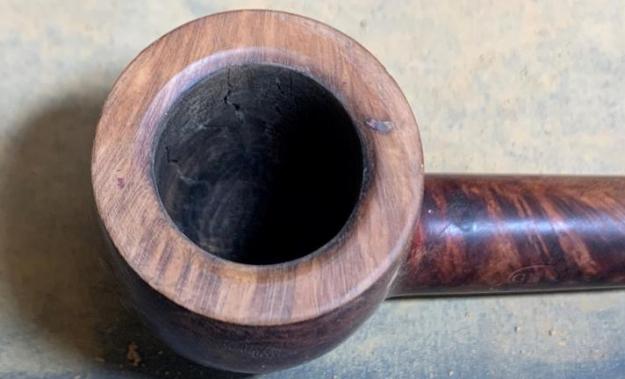
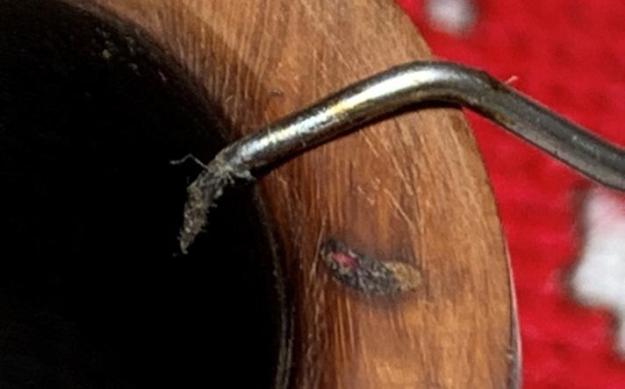
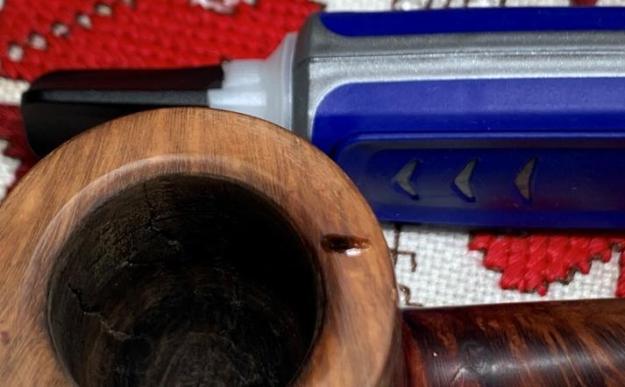
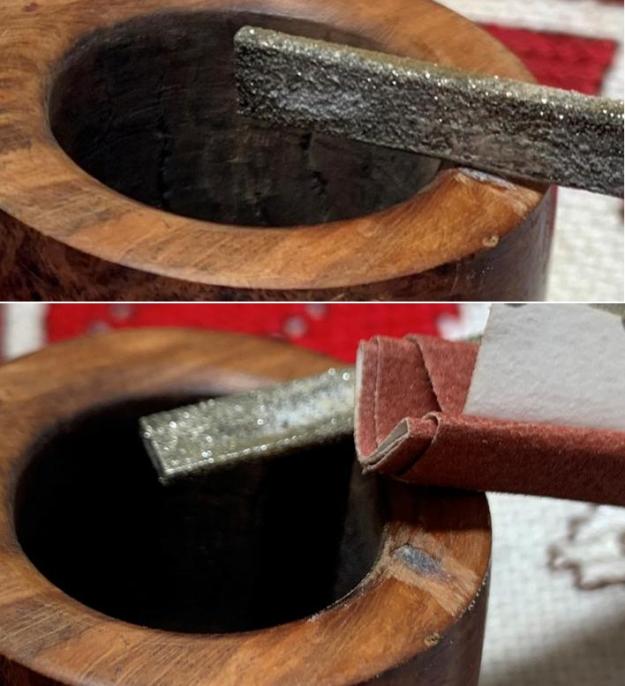
Restemming and Restoring the Smallest Mario Grande Freehand I have seen


Blog by Steve Laug

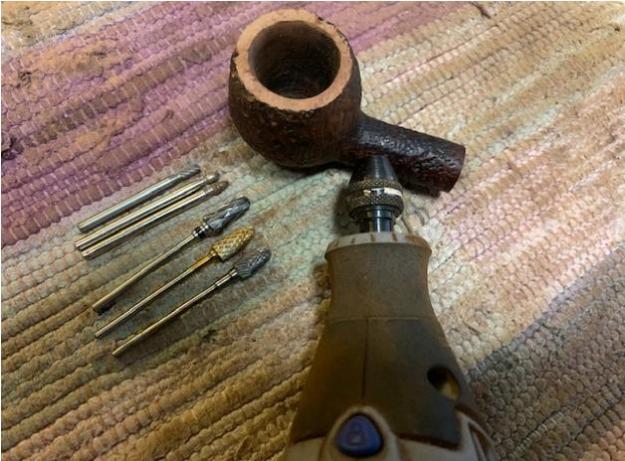
The pipe below is a bit of a mystery to me. It has been in a box of bowls that I have here for a very long time. It is kind of a wedge of nicely grained briar with a plateau rim top. When Jeff and I went through the box of bowls to sort and dispose of them we came across this bowl. I was ready to pitch it but Jeff saw something in it and said to see what we could do with it. So it is on the table today.  It is stamped on the underside of the briar and reads Mario Grande Fatta in Italy. The bowl end of the bamboo shank was loose and had an acrylic end and a Delrin tenon that inserted into the briar. On the stem end the mortise is incredibly small and drilled at an angle. The dark bamboo shank had a split on the underside at the stem end. It was a bit of a mess. The bowl had been well smoked and there was some darkening on the back edge of the rim top and plateau. Somewhere along the way it had been reamed. The shank was clean but there was debris in the mortise end. I am guessing that the original stem probably had a stainless steel tenon and was held in place by friction. I am also guessing that the crack in the shank was from the pipe being dropped. In the photos below of the bowl you will notice a thin brass band on the shank end. I put that in place before I took photos of the pipe. It is thin enough to be almost invisible but one glued in place will bind the crack in the bamboo together permanently. I took a closer photo of the rim top to show the condition of the bowl and plateau. You can see the darkening around back inner edge of the bowl. Otherwise the rim was very clean. I also took photos of the brass band that I had pressed onto the shank end. It is hard to see from my photos but the drilling in the mortise is off.I took a photo of the stamping on the underside of the shank. It clearly reads as noted above.I glued the crack in the shank and glued the brass band in place on the shank end. Then I used my cordless drill with increasingly larger drill bits to carefully straighten out the mortise and prepare it for a saddle stem that I had set aside for the pipe. Unfortunately I did not take photos of the process so my words will have to suffice. Once the mortise was straight and the same size as the opening in the brass band I put the stem on the shank and took photos of the pipe at this point. I would need to reduce the diameter of the saddle portion of the stem as it was larger than the shank end but I liked the look.  I used the Dremel and sanding drum to reduce the diameter of the stem. I worked to match it to the shank end diameter. It took some fiddling but once it was finished I liked the look.    I polished the smooth briar and the bamboo with micromesh sanding pads. I dry sanded with 1500-12000 grit sanding pads. I wiped the briar and bamboo down with a damp cloth after each sanding pad.   I worked some Before & After Restoration Balm into the surface of the briar with my fingertips to clean, enliven and protect the briar. I worked the Balm into the plateau top with a horsehair shoe brush. I let the balm sit for a little while and then buffed with a cotton cloth to raise the shine. The photos show the bowl at this point in the restoration process. I set the bowl aside and turned my attention to the stem. I sanded out scratching and light oxidation on the stem with 220 grit sand paper. I started to polish it with a folded piece of 400 wet dry sandpaper. I polished the stem with micromesh sanding pads – wet sanding with 1500-12000 grit sanding pads. I wiped it down after each sanding pad with Obsidian Oil. I polished it with Before & After Pipe Stem Polish – both Fine and Extra Fine.   I am glad to finish this Mario Grande Fatta in Italy Freehand. It was a bit more work than I expected when I took it out of the bin. I put the pipe back together and buffed it with Blue Diamond on the buffing wheel. I gave the bowl and the stem multiple coats of carnauba wax. I hand buffed the pipe with a clean buffing pad to raise the shine. It is fun to see what the polished bowl looks like with the grain popping through on the bowls sides and the plateau rim top. Added to the briar, the combination of the brass band on the black bamboo and the polished black vulcanite stem was beautiful. This petite Mario Grande (for his pipes it is petite!) is nice looking and feels great in my hand. It is light and well balanced. Have a look at it with the photos below. The dimensions are Length: 6 ½ inches, Height: 1 ¾ inches, Outside diameter of the bowl: 1 ½ inches, Chamber diameter: 5/8 of an inch. The weight of the pipe is 50grams/1.76oz. It is a beautiful pipe and one that will be on the rebornpipes store soon. If you are interested in adding it to your collection let me know. Thanks for walking through the restoration with me as I worked over this pipe. Thanks to each of you who are reading this blog. Remember we are not pipe owners; we are pipemen and women who hold our pipes in trust until they pass on into the trust of the next pipeman or woman. 
Breathing New Life into a Bjarne Hand-Carved Canted Egg


Blog by Steve Laug

The next pipe came to us from a lot of pipes that Jeff and I purchased from a fellow in Los Angeles, California, USA. It is canted egg shape pipe that is quite large in the hand. Even though it was dirty it had some charm showing through the grit and grime of the years. The grain around the bowl and shank were quite stunning under the grime. On the underside of the shank it was stamped Bjarne [over] Hand-Carved [over] Made in Denmark. The finish is filthy with dust and grit ground into the briar of the bowl and shank sides. The bowl had a light cake and no overflow of lava on the top and inner edge of the rim. It was surprisingly clean inside the bowl other than being just dusty. The stem is calcified, oxidized and had tooth marks and chatter on both sides near the button. It was a filter pipe and came to us without a filter in the shank. The interior of the stem and shank were quite dirty with tars and oils. Jeff took some photos of the pipe to show its overall condition before he started his cleanup work. He took photos of the rim top and bowl to give a clear picture of the good the pipe bowl looked inside. The rim was quite clean but the inner edge was out of round on backside. It was not burned but appeared to have been caused when it was reamed sometime in its history. The photos show the contrast of the bowl’s general condition with the wear and tear on the saddle stem surface.   Jeff took photos of the sides and heel of the bowl and shank to give a picture of what the briar around the pipe looked like. He took a photo of the stamping on the shank. It reads as noted above and is clear and readable.    I turned to my favourite go to sites on the background of brands. The first is Pipephil’s site (http://www.pipephil.eu/logos/en/logo-b5.html). There I looked up the Bjarne brand. I have copied the pertinent information below.

Bjarne Nielsen (1941 – † 2008) distributed his own “Bjarne” brand and pipes carved by Danish pipemakers (Mogens Johansen, Tonni Nielsen or Ph. Vigen). High grade pipes were stamped “Bjarne Nielsen” without any logo on the mouthpiece and graded A, B, C and D. Bjarne second brand: Viking.

I have included a screen capture of the section on the brand below. I turned to Pipedia and looked up the brand for a bit more information on the pipes that were stamped like the one that I am working on (https://pipedia.org/wiki/Bjarne). It is a great history of the brand and a good read. Toward the end of the article I found what I was looking for. I quote:

Among the pipemakers that worked for Bjarne were Johs (for the lower priced high volume pieces), and makers like Ph. Vigen, Ole Bandholm and Tonni Nielsen for high grade pieces. The cheaper line was stamped “Bjarne” while the highest grades were stamped “Bjarne Nielsen” (never with the pipemakers’ name) and graded, from highest to lowest, by the letters: AX, A, B, C, D, E, F, G, H, I, and J.

Now I knew that I was dealing with the cheaper line of pipe made by the company. It was stamped Bjarne while the higher grade pipes were stamped Bjarne Nielsen with a grade stamp. Now it was time to work on the pipe. Jeff had cleaned up the pipe with his usual penchant for thoroughness. He reamed the pipe with a PipNet Pipe Reamer and cleaned up the remnants with a Savinelli Fitsall Pipe Knife.  He scrubbed the bowl with undiluted Murphy’s Oil Soap with a tooth brush. He worked over the debris on the plateau rim top and was able to remove it. He rinsed it under running warm water to remove the soap and grime. He cleaned out the inside of the shank and the airway with alcohol, cotton swabs and pipe cleaners. I took photos of the pipe bowl once I received it. It really looked good.    The bowl had been over reamed to the point that there was a pit in the bottom of the bowl. There was a trough from the airway to the front of the bowl and large dip mid bowl. It makes the bottom of the bowl quite thin. There were chips out of the rim top and the bowl was out of round. The stem looks really quite good. There were some light tooth marks and chatter on both sides near the button.I took a photo of the stamping on the underside of the shank. It was clear and read as noted above. I took the stem off the shank and took a picture of the pipe to give a sense of its overall look. It is going to be a great looking pipe once the restoration is finished. I decided to begin my work on the pipe by dealing with the damage to the rim top and inner edge of the bowl. I topped the bowl on a topping board with 220 grit sandpaper. I took of the damage and removed the chips from the rim top. I used a folded piece of 220 grit sandpaper to reshape the inner edge of the bowl. I gave it a light bevel to deal with the damage to the edge of the bowl. When I was finished it looked a lot better than when I started.   The next item on the agenda was the surprise mess on the bottom of the bowl. The bowl had a trough from the entry of the airway to the front of the bowl and a pit mid bowl that made the bowl bottom dangerously thin. I mixed up a batch of JB Weld and filled in both the trough and the pit in the bowl bottom. I used a folded pipe cleaner to press it into the bottom and set it aside to cure.  I polished the briar with micromesh sanding pads – dry sanding with 1500-12000 grit pads. I wiped it down after each sanding pad to remove the sanding dust. I stained the top of the rim with a mix of Walnut and Maple Stain pens and was able to match the surrounding briar perfectly. Once it is buffed it will be very nice.I rubbed the bowl down with Before & After Restoration Balm. I worked it into the surface of the bowl sides and shank with my fingertips. The product works to clean, enliven and protect the briar. I let the balm sit for 15 minutes and then buffed with a cotton cloth to raise the shine.   I set the bowl aside and turned my attention to the stem that I had picked out. I “painted” the surface of the stem with the flame of a lighter to lift the tooth marks. I was able to lift all of them on the top side and all but one on the underside. I filled them in with super glue and set it aside to cure. I used a file to flatten the repair on the stem and reshape the button. Once I had it reshaped and the repair flattened I sanded the stem with 220 grit sandpaper to remove the scratching and blending them into the surface. I began the polishing with 400 grit wet dry sandpaper. The stamping on the left side of the saddle stem was faint but I touched up what remained with Rub’n Buff Antique Gold.  I rubbed it into the stamping and used a tooth pick to work it into the stamp. I buffed it off with a cotton pad.I polished the scratches out of the stem with micromesh sanding pads – 1500-12000 grit pads. I wiped it down with a damp cloth after each sanding pad. I used Before & After Pipe Polish – both Fine and Extra Fine to further polish the stem.    The stem and shank were made for a 9MM filter so I took out a box of Vauen Dr. Perl Filters and fit one into the end of the stem. It fit perfectly in both the stem and the shank. Once the repair in the bowl bottom cured I mixed a bowl of sour cream and charcoal powder to protect the bowl and facilitate breaking it in the first few smokes. I put a pipe cleaner in the airway into the bowl and used a folded pipe cleaner to paint the walls and bottom of the bowl with the mixture. I set the bowl aside to let the mixture harden and cure. Once the bowl coating dries it is neutral and leaves behind no taste that affects the flavour of the tobacco.   This smooth finished Bjarne Hand-Carved Canted Egg is a great looking pipe. It is a pipe made in Denmark. The fancy, saddle vulcanite stem that is drilled for a 9mm filter works well and goes nicely with the reds of briar. I put the stem back on the bowl and buffed the pipe with Blue Diamond on the buffing wheel using a light touch on the briar. I gave the bowl and the stem multiple coats of carnauba wax on the buffing wheel and followed that by buffing the entire pipe with a clean buffing pad. I hand buffed the pipe with a microfiber cloth to deepen the shine. The finished Bjarne Canted Egg fits nicely in the hand and feels great. Give the finished pipe a look in the photos below. The dimensions of the pipe are Length: 6 ½ inches, Height: 2 ¼ inches, Outside diameter of the bowl: 1 ½ inches, Chamber diameter: 7/8 of an inch. The weight of the pipe is 74grams/2.61oz. I will be adding it to the rebornpipes store shortly in the Danish Pipe Makers Section. Thanks for reading this blog and my reflections on the pipe while I worked on it. There are many more to come!
Restoring and Restemming an Asselta Freehand Egg


Blog by Steve Laug

The next pipe came to us from an auction in Huntington Station, New York, USA and has been sitting here since mid-2019. I am finally getting to it. Even though the plateau rim top was dirty it had some charm showing through the grit and grime of the years. The grain around the bowl and shank were quite stunning under the grime. The acrylic shank extension was an incredible mixture of brown, orange and blue swirls. On the left side of the shank it was stamped Asselta. The pipe came to us without a stem so I would need to pick through what I have here and find a good option. The pipe is a smooth egg shape bowl with a plateau rim. The finish is filthy with dust and grit ground into the briar of the bowl and shank sides. The bowl had a thick cake and an overflow of lava on the top and inner edge of the rim obscuring the plateau. Jeff took some photos of the pipe to show its overall condition before he started his cleanup work. He took photos of the rim top and bowl to give a clear picture of the thickness of the cake and the lava and dust ground into the plateau rim top.   Jeff took photos of the sides and heel of the bowl and shank and the acrylic swirled shank extension to give a picture of what the briar around the pipe looked like.   He took a photo of the stamping on the shank. It reads as noted above and is clear and readable.    I turned to Pipedia and did a search for Asselta pipes. The search came with a link in the American Pipe Brands (https://pipedia.org/wiki/American_Pipe_Brands_%26_Makers_A_-_B). It appears that the pipe was potentially made in Long Island, New York, USA. Seeing how the pipe came to us from New York it had not traveled far in its life before we purchased it. Now it has traveled from New York to Idaho and then to Vancouver, Canada. Where its journey will end only time will tell.

Now it was time to work on the pipe. Jeff had cleaned up the pipe with his usual penchant for thoroughness. He reamed the pipe with a PipNet Pipe Reamer and cleaned up the remnants with a Savinelli Fitsall Pipe Knife.  He scrubbed the bowl with undiluted Murphy’s Oil Soap with a tooth brush. He worked over the debris on the plateau rim top and was able to remove it. He rinsed it under running warm water to remove the soap and grime. He cleaned out the inside of the shank and the airway with alcohol, cotton swabs and pipe cleaners. I took photos of the pipe bowl once I received it. It really looked good.    The plateau rim top was very clean and the bowl was spotless. It was a good looking pipe. The swirled acrylic shank extension was beautiful.   I took a photo of the stamping on the left side of the shank. It was clear and read as noted above. I went through my assortment of stems and found one that really worked well with the shank extension and the bowl. It is going to be a great looking pipe. I put the stem in the shank and took photos of the new look of the bowl. I like the overall look that pipe had. Once I cleaned up and polished the stem it would look very good.  I took close up photos of the bowl and plateau rim top and the stem. I was going to need to remove the tooth marks but the stem was going to look very good. The bowl was in such good condition that I started my work on it by rubbing down with Before & After Restoration Balm. I worked it into the surface of the bowl sides and shank with my fingertips. I used a horsehair shoe brush to work it into plateau top. The product works to clean, enliven and protect the briar. I let the balm sit for 15 minutes and then buffed with a cotton cloth to raise the shine.   I set the bowl aside and turned my attention to the stem that I had picked out. I “painted” the surface of the stem with the flame of a lighter to lift the tooth marks. I was able to lift all of them on the top side and all but two on the underside. I filled them in with super glue and set it aside to cure. I used a file to flatten the repair on the stem and reshape the button. Once I had it reshaped and the repair flattened I sanded the stem with 220 grit sandpaper to remove the scratching and blending them into the surface. I began the polishing with 400 grit wet dry sandpaper. I polished the scratches out of the acrylic stem with micromesh sanding pads – 1500-12000 grit pads. I wiped it down with a damp cloth after each sanding pad. I used Before & After Pipe Polish – both Fine and Extra Fine to further polish the stem.     This smooth finish/plateau rim top Asselta Freehand Egg with a swirled acrylic shank extension is a great looking pipe. It is a pipe made in Long Island, New York but other than that the carver is a mystery to me. The replacement fancy, saddle vulcanite stem works well and goes nicely with the extension and the briar. I put the stem back on the bowl and buffed the pipe with Blue Diamond on the buffing wheel using a light touch on the briar. I gave the bowl and the stem multiple coats of carnauba wax on the buffing wheel and followed that by buffing the entire pipe with a clean buffing pad. I hand buffed the pipe with a microfiber cloth to deepen the shine. The finished Asselta Freehand Egg fits nicely in the hand and feels great. Give the finished pipe a look in the photos below. The dimensions of the pipe are Length: 6 ¼ inches, Height: 2 inches, Outside diameter of the bowl: 1 ¼ inches, Chamber diameter: ¾ of an inch. The weight of the pipe is 53grams/1.87oz. I will be adding it to the rebornpipes store shortly in the American Pipe Makers Section. Thanks for reading this blog and my reflections on the pipe while I worked on it. There are many more to come!
Recommissioning Another Barontini Aldo Velani Trio of Italy – A Classic Billiard


Blog by Dal Stanton

The Aldo Velani Trio Classic Billiard now on the worktable represents the 6th of 7 pipes Daniel commissioned from the For “Pipe Dreamers” Only! collection.  It also represents the second Aldo Velani Trio Daniel included in his trove of 7.  I acquired 4 Aldo Velani Trios in 2018 in what I have called the St. Louis Lot of 26 that my son, Josiah, found in an antique shop. The original 4 Velanis are pictured below.The  Bent Apple and Rusticated Volcano have already found homes with new stewards. The Pot on the bottom is waiting for the Billiard to be completed to join Daniel’s commissioned pipes all which benefit the Daughters of Bulgaria – women and girls who have been trafficked and sexually exploited.   This is a classy line up of pipes!  Looking at their current restored states:   With the Classic Billiard next, some pictures provide a closer look.  The nomenclature on the left shank side is cursive script, ‘Aldo Velani’ [over] ‘TRIO’.  On the shank underside, the COM, ‘ITALY’ is followed by the shape number ‘52’.  As I noted with the Pot, when I first looked at the logo it was difficult to figure out but found in Pipedia’s Aldo Velani article, an example and details of the stamping on an original Aldo Velani box (courtesy of Doug Valitchka).  The stamp depicts a pipe as the front leg of the ‘A’ for Aldo and the back leg of the ‘A’ forms the front riser of the ‘V’ of Velani.  Again, I repeat the previous research here:  The article cited from Pipedia provides helpful information understanding the provenance of the Aldo Velani Trio line:

Most Aldo Velani pipes are made in Livorno, Italy, for the USA market by Cesare Barontini. They were previously imported by Lane Limited. Lane spokesman Frank Blews once described Velani’s stylish, intrinsically Italian designs as “Billiards with more ball, bulldogs with more jaw.” The name “Aldo Velani” is actually fictional.

Another Barontini 2nd is named “Cesare”.

I learn two interesting things from this information.  First, Aldo Velani is a faux name that does not describe an Italian pipe house but a specific line of pipes.  Secondly, the Aldo Velani is made by the Casare Barontini name based in Livorno, Italy.   Further information is available cross referencing to Casare Barontini in Pipedia:

In 1890 Turildo Barontini opened a factory for the production of briar. In 1925 his son Bruno began to produce the first pipes. Cesare Barontini, son of Bruno, started direction of the factory in 1955, and still runs it together with his daughters Barbara and Silvia.

Sub-brands & Seconds: Aldo Velani. Cesare, L’artigiana, Stuart, Cortina

Additional information is found in Pipephil’s site.  Aldo Velani line was produced primarily for export.  The stem stamping on the Aldo Velani line had different variations provided by Pipephil:Looking now to the condition of the Aldo Velani Trio Billiard, much like his Apple and Pot brothers, the chamber has a thick cake which needs cleaning.  The lava crusted on the rim too, is thick.  This will need cleaning.  The stummel with the ruby/burgundy is soiled and generally in good shape.  I’m hopeful of keeping the hues consistent between the Pot and Billiard now on the table.  The clear acrylic stem, like the Aldo Velani Trio Apple, is soiled and has some tooth chatter.  There is one tooth compression on the lower bit which was the same on the other Aldo Velani Trio pipes – forensics pointing to a sole steward passing these pipes on.  The clear acrylic always gives a pause to ask the question about whether it is the earlier acrylic known as Perspex, on older GBD pipes.  This stem is not Perspex and therefore alcohol may be used to clean without concerns of the material crazing.  The airway does have a burgundy coloring, so after cleaning, it should still be burgundy but more translucent. I take a picture of the starting point of the clear acrylic stem. To start the airway’s cleaning process, I put the entire stem into a soak of lemon juice to help soften the oils in the airway.  As a natural acidic cleaning agent, I use lemon juice when working on Perspex stems.  I decide to experiment to see how it works on the Aldo Velani stem.  I assure you; the stem is in the lemon juice!While the stem is soaking in the juice, I begin the cleaning process of the chamber and rim.  I’m hopeful that there will be no heating issues with this Aldo Velani Billiard as was the case with his brother, the Pot.  The rim is capped with a thick lava flow crust.  The cake in the chamber is thick and I take a picture to show the starting point.To begin the reaming of the chamber, starting with the smallest of 4 blade heads provided by the Pipnet Reaming Kit, I use 2 blade heads.  Next, I transition to scraping the chamber wall using the Savinelli Fitsall tool and finish by sanding the chamber with 240 grade sanding paper wrapped around a Sharpie Pen.   After wiping the chamber with a cotton pad to remove carbon dust residue, an inspection of the chamber reveals healthy briar ready to go again. Looking to the rim, using the edge of my Winchester pocketknife, I carefully scrape the crusted carbon.  I avoid gouging the briar by pulling the edge over the surface rather than pushing the blade.  Next, using undiluted Murphy’s Oil Soap and starting with a cotton pad, the ruby/burgundy external surface is scrubbed.  I also employ a brass wire brush to work on the rim.  After scrubbing the bowl and rim, I take the stummel to the sink and continue the cleaning using warm water to rinse the Murphy’s Soap.  Using shank brushes, I then work on the internal mortise chamber with anti-oil liquid dishwashing soap.  This helps to break down the tars and oils which have built up through use.  After a thorough rinsing, the stummel is transitioned back to the worktable.  After the cleaning, the rim shows some bald spots where raw briar is exposed.  I’ll need to address these, but the challenge will be to match and blend the stummel ruby/burgundy and the rim contour so that it doesn’t draw attention.I also find a small fill needing attention in the crook of the bowl and shank.  It is not too noticeable.The cleaning continues with the internals using cotton buds and pipe cleaners dipped in isopropyl 99%.  After some effort, the cleaners and buds emerge lighter.  The job is done, and I move on.I continue with the stummel and take another look at the rim.  I had to do some work on rim of the Aldo Velani Trio Pot that I just completed.  I saved the dye mixture I used to color the rim and I’ll use that dye mixture on the Billiard’s rim.  The hue will be consistent between the two restorations of the same colored pipes.  I take another picture of the Billiard’s rim, which is not in bad of shape as was the Pot’s, but the finish on the rim is thin at places and uneven. First, I apply the 1500 grade micromesh pad to clean the rim.This is followed by applying the full battery of micromesh pads to smooth the rim surface.As I mentioned above, I saved the dye mixture that I used to restore the Aldo Velani Pot, in my last restoration project.  After testing and some experimentation, I used a mixture with the base of Fiebing’s Oxblood Leather Dye with a few drops of Fiebing’s Black Leather Dye to deepen the hue.  It worked well on the Pot so I’m hopeful the Billiard will be just as happy! I apply several applications of the dye mixture with a cotton bud until the rim seems to be fully colored.I take another look at the fill I found earlier at the crook of the shank/bowl union.  While I have the dye on the worktable, I apply some of the mixture on the fill to see if it would help camouflage the area. Unfortunately, it didn’t.  Next, a red Sharpie Pen is used to attempt to blend the fill in.  After touching up the fill, the Sharpie has helped somewhat but the fill is still somewhat visible.  The reality of the challenge of this seemingly small repair is that to remove fully it would require refinishing the entire stummel.  Yet, desiring to preserve the original ruby/burgundy finish so that it matches the Aldo Velani Pot also in Daniel’s Trove of 7 commissioned pipes, creates the necessity of leaving small imperfections in the original finish.  If I attempt a spot repair by sanding and then refinishing, I’m afraid the result would be to draw even more attention to it!  I’ll be satisfied at this point with the Sharpie repair.Putting the stummel aside and turning now to the clear acrylic stem, the stem has been waiting in a lemon juice soak.  Using lemon juice allowed the natural acidic hopefully to help clean the airway of staining.  The original stem airway has a burgundy coloring.  I fish the stem out of the lemon juice.  The airway continues to be darkened.  We’ll see if the lemon soak had any benefit.Using bristled and smooth pipe cleaners, I use isopropyl 99% to clean the airway.  Using smaller diameter shank brushes also helped to clear the staining from the airway.  As I work, I can see the cloudiness dissipate and more of a translucent airway emerges.  It looks much better now, and I move on!Looking now more closely at the upper and lower bit, there is tooth chatter on both and the lower also has a small tooth compression.  Using 240 sanding paper, the tooth chatter and tooth compression are easily sanded and dispatched.    After inspecting the entire stem, I can find no scratching in the acrylic stem other than the bit sanding to repair the tooth chatter. With most of the stem in pristine condition, there is no need to sand the entire stem.  I will focus the sanding with 600 grade paper on the bit and then apply 0000 grade steel wool to the entire stem.  Therefore, using 600 grade paper the bit area is wet sanded.  Following this I apply 0000 steel wool to entire stem.Transitioning now to micromesh pads, the stem is wet sanded with pads 1500 to 2400 followed by dry sanding with pads 3200 to 4000 and 6000 to 12000.  Even though it really doesn’t protect the acrylic stem from oxidation, I like applying Obsidian Oil to condition it.  The stem looks great. To shine the gold nickel shank ring, I use Tarn-X Tarnish Remover which gives the metal a new spark of life. I apply some of the Tarn-X to a cotton pad and rub it into the ring, making sure I get it into the crevasse between the two ring risers.  I also am careful to keep the cleaner off the briar which would probably leech the dye.  After applying the Tarnish Remover, I wipe/rinse the fluid off with a cotton pad wet with water.  I then buff up the ring with a cotton cloth.  It looks great – the bling factor is increased with the ring!Next, after reuniting stem and stummel, a cotton buffing wheel is mounted on the Dremel and the speed is set to about 40% full power.  I then apply Blue Diamond to the pipe avoiding the ring – this would create a black gunk that could stain the briar surface.  After applying the Blue Diamond over the entire pipe, the pipe is given a buffing with a felt cloth to remove the residual compound dust before applying the wax.The unique Aldo Velani stem stamping needs refreshing to augment the classy look of this Billiard.Using European Gold Rub ‘n Buff metallic paint, I use a pointed cotton bud to paint over the stem stamping. Once thoroughly covered, I wait only a few moments because the paint sets up very quickly.  I then use the side of the pointed cotton bud to scrape excess paint.  I then flip the bud to the clean end and wipe/buff up the remaining excess to sharpen the stamping.  The results are nice – it looks great!Next, another cotton cloth buffing wheel is mounted onto the Dremel.  Remaining at the same speed, carnauba wax is applied to the stem and stummel.  After applying the carnauba, the pipe is given a rigorous hand buffing to remove excess wax and to raise the shine.I’m pleased with the results of this second of the Aldo Velani Trio pipes that Daniel commissioned.  The ruby-burgundy finish initially draws one’s attention and then the clear, glass-like acrylic stem.  Finishing the ensemble is the golden double-bumped shank ring joining stem and stummel to present this classic Billiard after-dinner pipe.  Both Aldo Velani brothers that Daniel commissioned, this Billiard and the Pot, will provide great fellowship with one’s favorite blend and adult beverage.  Daniel has the first opportunity to claim the Aldo Velani Trio Billiard in The Pipe Steward Store which benefits the Daughters of Bulgaria.  Thank you for joining me!
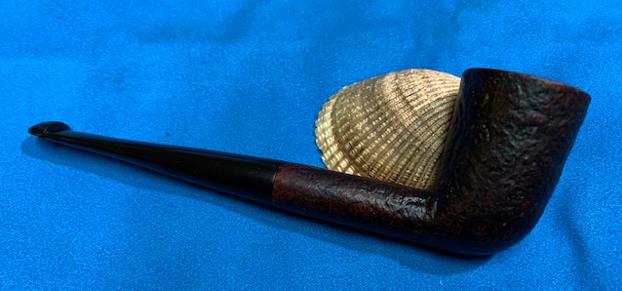
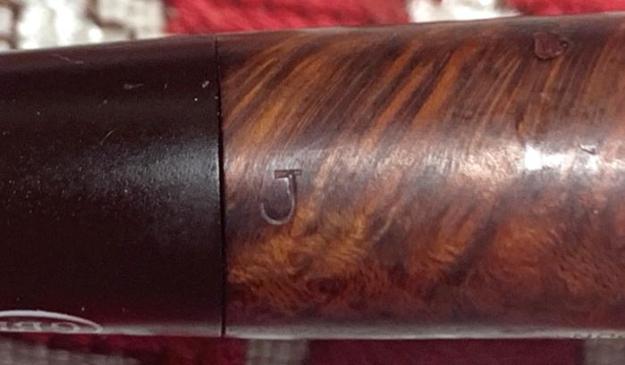
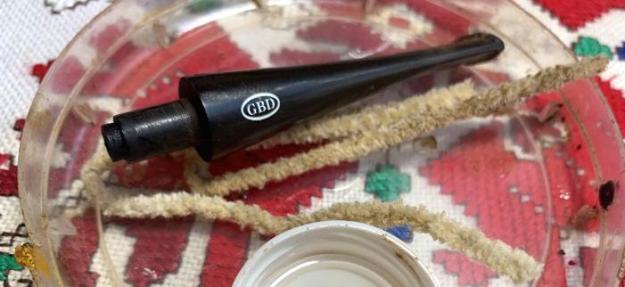
Unleashing the Bling of an Aldo Velani Trio 51 Pot of Italy


Blog by Dal Stanton

With 4 of 7 of Daniel’s commissioned pipes completed, the pipes remaining are the last 2 Aldo Velani Trios that remained in the For “Pipe Dreamers” Only! collection and what I have called a, ‘Spotted Bent Billiard’ or perhaps, dragon skin!  This pipe is a ‘specialty pipe’ where the stummel was wrapped with a carbon resin material.  The ‘skin’ almost looks like dragon hide to me. The 2 Aldo Velani Trios remaining were acquired in 2018 in what I have called the St. Louis Lot of 26 that my son, Josiah, found in an antique shop. He was impressed by the quality of pipes in the Lot and emailed me in Bulgaria with a proposition of going in together for the Lot of 26.  His part in the purchase would be his Christmas present to me – that I would choose a pipe for my own from the Lot.  My part of the purchase would be to restore the pipes to benefit the Daughters of Bulgaria.  It was a proposal hard to refuse and some weeks later I unwrapped the St. Louis Lot of 26 in Denver where our family had gathered for Christmas.  The original 4 Aldo Velani ‘brothers’ stand out among the St. Louis Lot of 26 below.  The upper Bent Apple and the lower Rusticated Volcano have already found homes with new stewards. The Pot and Billiard are next on the worktable.All the Aldo Velani pipes have in common the bling of nickel gold-plated shank rings and acrylic stems.  The Billiard’s stem is a clear acrylic, but the Pot shows off an eye-catching ruby/burgundy stem complementing the characteristic red burgundy Aldo Velani stummel.  With the Pot first in line, some pictures provide a closer look.  The nomenclature on the left shank side is cursive script, ‘Aldo Velani’ [over] ‘TRIO’.  On the shank underside, the COM, ‘ITALY’ is followed by the shape number ‘51’.   The Aldo Velani stem stamp is interesting and in the previous research discovered what it was.  I found in Pipedia’s Aldo Velani article, an example and details of the stamping on an original Aldo Velani box (courtesy of Doug Valitchka).  The stamp depicts a pipe as the front leg of the ‘A’ for Aldo and the back leg of the ‘A’ forms the front riser of the ‘V’ of Velani. As a good refresher, I repeat the previous research here:  The article cited from Pipedia provides helpful information understanding the provenance of the Aldo Velani name:

Most Aldo Velani pipes are made in Livorno, Italy, for the USA market by Cesare Barontini. They were previously imported by Lane Limited. Lane spokesman Frank Blews once described Velani’s stylish, intrinsically Italian designs as “Billiards with more ball, bulldogs with more jaw.” The name “Aldo Velani” is actually fictional.

Another Barontini 2nd is named “Cesare”.

I learn two interesting things from this information.  First, Aldo Velani is a faux name that does not describe an Italian pipe house but a specific line of pipes.  Secondly, the Aldo Velani is made by the Casare Barontini name based in Livorno, Italy.   Further information is available cross referencing to Casare Barontini in Pipedia:

In 1890 Turildo Barontini opened a factory for the production of briar. In 1925 his son Bruno began to produce the first pipes. Cesare Barontini, son of Bruno, started direction of the factory in 1955, and still runs it together with his daughters Barbara and Silvia.

Sub-brands & Seconds: Aldo Velani. Cesare, L’artigiana, Stuart, Cortina

 Pipephil’s site has several examples of the Aldo Velani line depicted which tend to be very stylish and nice-looking pipes which confirms the Pipedia assertion that Casare Brontini produced the Aldo Velani lines primarily for export.  It is evident that there was not a consistency in the stem stamping or name style for Aldo Velani as different examples are given.  Here are the stem stamping variations provided by Pipephil:Looking now to the condition of the Aldo Velani Trio Pot, the chamber has some cake build up as well as a crusted layer of lava flow over the broad Pot rim.  Taking a close look, I can see fissures on the back side of the chamber wall.  This could be an indication of burning problems with the Pot.  He’s been well used and when I ream the chamber, I’ll be able to see if the fissures are only the cake or if it goes deeper into the chamber wall briar – not something I’m hoping for!The ruby/burgundy stummel is sharp but covered with grunge.  The challenge in restoring these two Aldo Velani Trio brothers together, first the Pot then the Billiard, is to maintain the consistency of hue.  The ruby/burgundy is a unique, eye catching hue that sets the entire line apart in a classy way.  They strike me as ‘after dinner pipes’ when the pipe is packed with one’s favorite blend and the glass is poured with one’s favorite adult beverage!  It is possible that during cleaning and possible repairs to the stummel that the hue can change a bit or a lot.  With the previous Aldo Velani Apple, all the stummel needed was a cleaning.  I’m hopeful of the same for the most part with the Pot and Billiard.  A few pictures show some closer looks at the surface’s need of cleaning. The ruby red acrylic stem has amazing ‘fire’ and presents a spectrum of colors which will be beautiful when the stem is cleaned.  The chatter on the bit is more severe on the lower side with a characteristic, singular tooth compression which is consistent with all the Aldo Velani pipes I’ve worked on.  This indicates a common steward of all. To begin with the cleanup of this Aldo Velani Trio Pot, the Pipnet Reaming Kit is employed to begin the process of clearing the chamber of the cake build up which hopefully reveals a healthy chamber. I take a few more pictures to mark the starting point. Working on a piece of paper towel to help cleanup, starting first with the smallest blade head and moving toward the larger from the Pipnet Reaming Kit, I use 3 of the 4 blade heads available.  Next, the Savinelli Fitsall Tool is employed to scrape the walls.  This is followed by sanding the chamber with 240 sanding paper wrapped around a Sharpie Pen.  Finally, a cotton pad wetted with alcohol is used to wipe the chamber to clean the carbon dust residue.   An inspection of the chamber shows some chamber damage from heating where fissures have developed.  The thickness of the carbon cake buildup was deeper toward the backside of the chamber where the damage is located.  It’s important to remove all the charred wood and in doing this, the contour of the chamber is wider or ‘bowed out’ where more char was removed toward the shank-side.Another result of this damage is shown in the next picture.  The shank-side of the rim is thinner just a bit and this has created a flatness on the back of the rim lip.  The result is that the chamber mouth is out of round.  This can be seen in the next picture with a downward perspective.  As I continue to clean the rim and stummel, it will give me time to consider how to approach the chamber repair.Next, I work on scraping the lava caked on the rim.  Both a Winchester pocketknife and the Savinelli Fitsall tool are used to gently scrape the buildup off the rim. I don’t scrape too much to risk scratching or gouging the briar.  Next, I transition to cleaning the rim and stummel using undiluted Murphy’s Oil.  A cotton pad is used to scrub the stummel and a brass wire brush is used to help break up the remaining lava clinging to the rim.Transitioning from the worktable, the next stop is to the sink to continue the cleaning.  Using shank brushes and anti-oil dish washing soap, the mortise is scrubbed with warm water.  The stummel is then rinsed thoroughly with warm tap water.  Back on the worktable, I take another picture.The stummel cleaned up well.  The rim reveals places where the finish has thinned and is absent.  This picture also continues to show the issue of the ‘out-of-round’ chamber.  The challenge in restoring the rim will be to continue to clean the rim and to match the burgundy color of the rim after the repairs are done.While I think about this approach, I continue to fine tune the internal cleaning by using pipe cleaners and cotton buds dipped in isopropyl 99%.  After several buds and pipe cleaners they start emerging lighter.  I move on!With the stummel cleaned, I decide to address the rim issues before going on to the stem work.  I take a fresh picture of the rim to shape out the issues.  First, the reaming of the chamber revealed some heating problems resulting in some smaller fissures on the shank-side of the chamber.  The picture below is facing toward the back or shank-side of the chamber.  You can see the heating cracks.  They are not serious enough to take extraordinary measures to repair – using a product like J-B Weld, a heat resistant epoxy which I’ve used with success with past projects.  To address these heating veins, later I will apply ‘pipe mud’ to the chamber which is made of water and cigar ash.  This mixture will provide a protective layer to help enhance the natural development of a protective carbon cake of about a dime’s width.   The following picture also shows, though not easy to see, the chamber bowing toward the shank because of the charred briar removed.  The rim is also out of shape above this – flattened, throwing the entire rim out of round.  The second picture shows this as well.My plan is to sand the upper chamber on the shank-side (right side below) and transition the sanding up toward the rim.  My goal is to ease the chamber bowing and ‘re-round’ the chamber mouth.  I’m considering after the sanding, creating a sharp, internal rim bevel which should help the rounding and appearance.The next issue is the rim itself – the finish is shot and needs help.  I’ll start by lightly sanding the rim with micromesh pads to see if this cleans things while retaining a measure of the hue. I’ll seek to match the hue with bottle dyes or dye sticks.Starting on the chamber sanding, I use 240 paper wrapped around a Sharpie Pen.  This not only gives me some leverage but helps with the rounded shaping needed on the flattened portion of the rim. After sanding with the 240 Sharpie, trying to regain as much rounding as possible, I use a round hard backing behind 240 paper to cut a bevel.  I hope to gain more rounding doing this.  The picture below shows the result of this approach.  There is a sacrifice of the narrowing of the shank-side rim surface as the sanding and rounding is achieved to some degree.  There is no perfection, but I like the progress made.Next, I sand the rim top, or almost a plateau, to clean and smooth the surface instead of a full topping of the stummel.I follow by applying the full regimen of micromesh pads to smooth the rim – pads 1500 to 12000.The next challenge is to color the rim to match, as closely as possible, the ruby/burgundy stummel finish. The closest color that I have to matching the stummel, after testing several candidates on a cotton pad, is Oxblood.  Yet, I’m concerned that Oxblood hue by itself might not be dark or deep enough.  I decide to use Fiebing’s Oxblood Leather Dye as the base, but I add a drop of Black Leather Dye to deepen the hue a few degrees.  I use a shot glass to mix the dyes.  I use a large eye dropper to draw out a small portion of the Oxblood and place it in the shot glass.  After cleaning the dropper with alcohol, I then draw some Black Dye and allow one drop to join the Oxblood. I use a cotton bud to place some of the mixture on a cotton pad and compare.  Well, this isn’t rocket science and it looks good to me.I then use a cotton bud to apply the dye mixture carefully to the rim.  The next picture shows the result.  It looks good, but I decide to add another drop of Fiebing’s Black Leather Dye to the mixture and give the rim another application.This mixture was hitting the bull’s eye a bit more it seemed to me.  As I apply the dye with the cotton bud, I’m careful to apply dye to the small inner rim lip bevel but not to drift into the chamber.  After applying a few coats of dye, I put the stummel aside to allow the dye to settle.  I also save the mixture in case it’s needed for the next pipe on my table, the Aldo Velani Trio Billiard.  In this way I’ll have consistency of color between the brothers!With the stummel now in the wings, I turn to the acrylic stem and use pipe cleaners dipped in isopropyl 99% to clean the airway.  It does not take a lot of effort and I move on.The stem is dirty, but the main issues are the tooth chatter and a singular tooth depression that has been consistent with all the Aldo Velani Pipes that came from the St. Louis Lot.  The steward who had these pipes was consistent in his clenching habits!    The button has also experienced some clenching and will need to be addressed. I begin with the lower bit looking at the lone tooth compression, most likely from the steward’s eyetooth.  Before sanding, I use regular clear CA glue to fill the compression. I first clean the bit with alcohol and then, using a toothpick, I spot-drop CA glue in the compression.  I also apply some CA on a compression on the button lip.  I set the stem aside for the CA patches to cure.After a time, the patches are cured and using a flat needle file, the patches are filed down to the acrylic surface.  I also refresh the button lips with the file. Next, I continue to sand with 240 paper on first, the lower side then the upper bit.  The patch looks good.On the upper side, along with sanding out the tooth chatter with 240, the button lip is refreshed with the flat needle file.Next, using 600 grade paper, the entire stem is wet sanded.  This is followed by applying 0000 grade steel wool. Moving next to applying the full regimen of micromesh pads, the stem first is wet sanded with pads 1500 to 2400.  After this, the stem is dry sanded with pads 3200 to 4000 then 6000 to 12000.  Between each set of thee pads, Obsidian Oil is applied to the acrylic stem.  The stem’s swirls emerged nicely during the process.  Before rejoining the stem and Pot stummel, I refresh the nickel gold shank ring.  This ring is one of the aspects of the Aldo Velani Trio line that augments the ‘bling factor’.  I use a product called Tarn-X Tarnish Remover that works well with several metals to remove the tarnish and increase the shine.I take a closeup to provide a comparison of before and after application.  Using a cotton pad, I carefully apply some of the Tarn-X to the ring and rub in it in well avoiding the briar.  Per the directions, I then immediately use another cotton pad wetted with water to rinse off the remover.I buff up the ring with a cotton cloth and the bling factor has increased!After reuniting the acrylic stem and Pot stummel, a cotton cloth buffing wheel is mounted onto the extender arm of the rotary tool.  With speed set at about 40% full power, Blue Diamond compound is applied to the stem and stummel.  In the picture below you can see that the rim is still dull from the dye that was applied earlier after having plenty of time to settle.  I start with the rim and remove the excess and continue with the rest of the stummel and stem with the mildly abrasive Blue Diamond.After applying the Blue Diamond, I use a felt cloth to wipe and buff the stummel and stem to remove compound dust.  I do this before applying wax.  The compound is an abrasive and is the final sanding phase in a restoration to sand out fine blemishes and scratches.  It leaves abrasive particles behind which would not be good to mix with a carnauba wax application – which is not an abrasive.

There is still one more cosmetic project before applying wax.  I use European Gold Run ‘n Buff to refresh the Aldo Velani stem stamp.  The gold of the metallic paint will match nicely the gold shank ring.I place a small amount of the Rub ‘n Buff on the end of a toothpick and rub it over the stamp imprint.  After making sure that the paint has found all the crevasses of the lettering, I first lightly scrape the excess paint over the stamping with the flat edge of the toothpick then rub the area with a cotton pad.  The results are great!Next, after mounting another cotton cloth buffing wheel onto the Dremel, set at 40% full power, I apply carnauba wax to the stem and stummel.  Little wax is needed on the highly glossed surface of both the bowl and the acrylic stem.  After applying the wax over the entire pipe, I give the pipe a rigorous hand buffing with a microfiber cloth.  This not only raises the shine but removes excess wax from the surface.After completing the application of wax, one mini project remains.  Earlier during the chamber repair of the heating issues, I decided I would apply ‘pipe mud’ to the chamber walls to provide a starter for a protective cake.  In the picture below, not only am I giving a close up of the now beautiful rim, but also visible are remnants of cracks in the chamber wall.  Earlier sanding almost erased the cracking.  I decide to do a mini tutorial on making pipe mud to conclude the restoration of this Aldo Velani Trio Pot.Pipe mud consists of cigar ash and water.  If you have cigar smoking friends, ask them to save the ash of the cigars they enjoy!  Often, cigars will come in heavy duty plastic tubes or flutes, with caps.  They can use these tubes to store the ash.  When I collect cigar ash, seldom is it ‘clean’.  Often it as chunks of debris left that isn’t great for making pipe mud.  I have my ash in a ‘throw-away’ salt grinder that you can buy at the supermarket with salt in it.  When the salt is used, the grinder works well with grinding up cigar ash!I also have a strainer that I use to catch big stuff that comes through the grinder.  Placing the grinder on a paper plate I grind the ash into the strainer.  When I have enough ash ground, I then sift the ash onto the paper plate.  The picture below shows the ‘big stuff’ caught in the strainer and the finer ‘gold’ on the paper plate.The paper plate is helpful because it then becomes a funnel by bending the plate.  Then with the plate folded and functioning as a funnel or a chute, I transfer the ash to the mixing glass.Using a large eye dropper, I then add a small amount of water into the ash and stir it with a pipe nail tool.  CAUTION!  Go slowly on the water.  If too much water is added, then the resulting concoction will be more like an ash slurry rather than a mud that will hold its shape and adhere to the chamber wall.  If too much water is added, then more ash must be added to again thicken the consistency.The mud below is looking good.  It’s holding its shape as I press it against the glass.I place a pipe cleaner through the draft hole to guard against blockage.  Then, using the pipe nail, mud is troweled into the chamber and spread over the wall.  I start at the floor of the chamber and work my way up to the rim.  The flat side of the nail is good to use as a trowel and the round side is good to spread.  The picture below shows the finished job. When the mud dries, it hardens.  During the curing time, I place the pipe with the bowl down so that leaching water won’t settle in the bottom of the chamber but spread out toward the mouth of the chamber.  It seems to dry better this way.  The hour is late, so I’ll let the pipe mud cure through the night.  The next morning in Golden, Colorado, I’m up with coffee in hand.  The pipe mud has cured, the protective layer is in place and this pipe is ready to go.  I give it one more hand buffing with a microfiber cloth for good measure.This is the 5th of the pipes that Daniel has commissioned – the first of the Aldo Velani Trio brothers.  This Aldo Velani Trio Pot had some chamber and rim issues that had to be addressed and I think the results are great.  The style of this Pot stummel brings attention to the broad Pot rim – could almost be described as a plateau.  The characteristic that predominates on the Trio line though, is the ruby red/burgundy finish.  It catches the eye very quickly.  The gold shank ring dials up the bling factor as it transitions from the bowl to the kaleidoscopic acrylic stem alive with all shades of reds, ruby, burgundy and colors that I don’t have a name for!  This pipe, packed with one’s favorite blend, is an after-dinner player which looks good next to a glass of one’s favorite adult beverage – for me, a single malt.  Daniel will have the first opportunity to claim this pipe in The Pipe Steward Store benefiting the Daughters of Bulgaria.  Thanks for joining me!