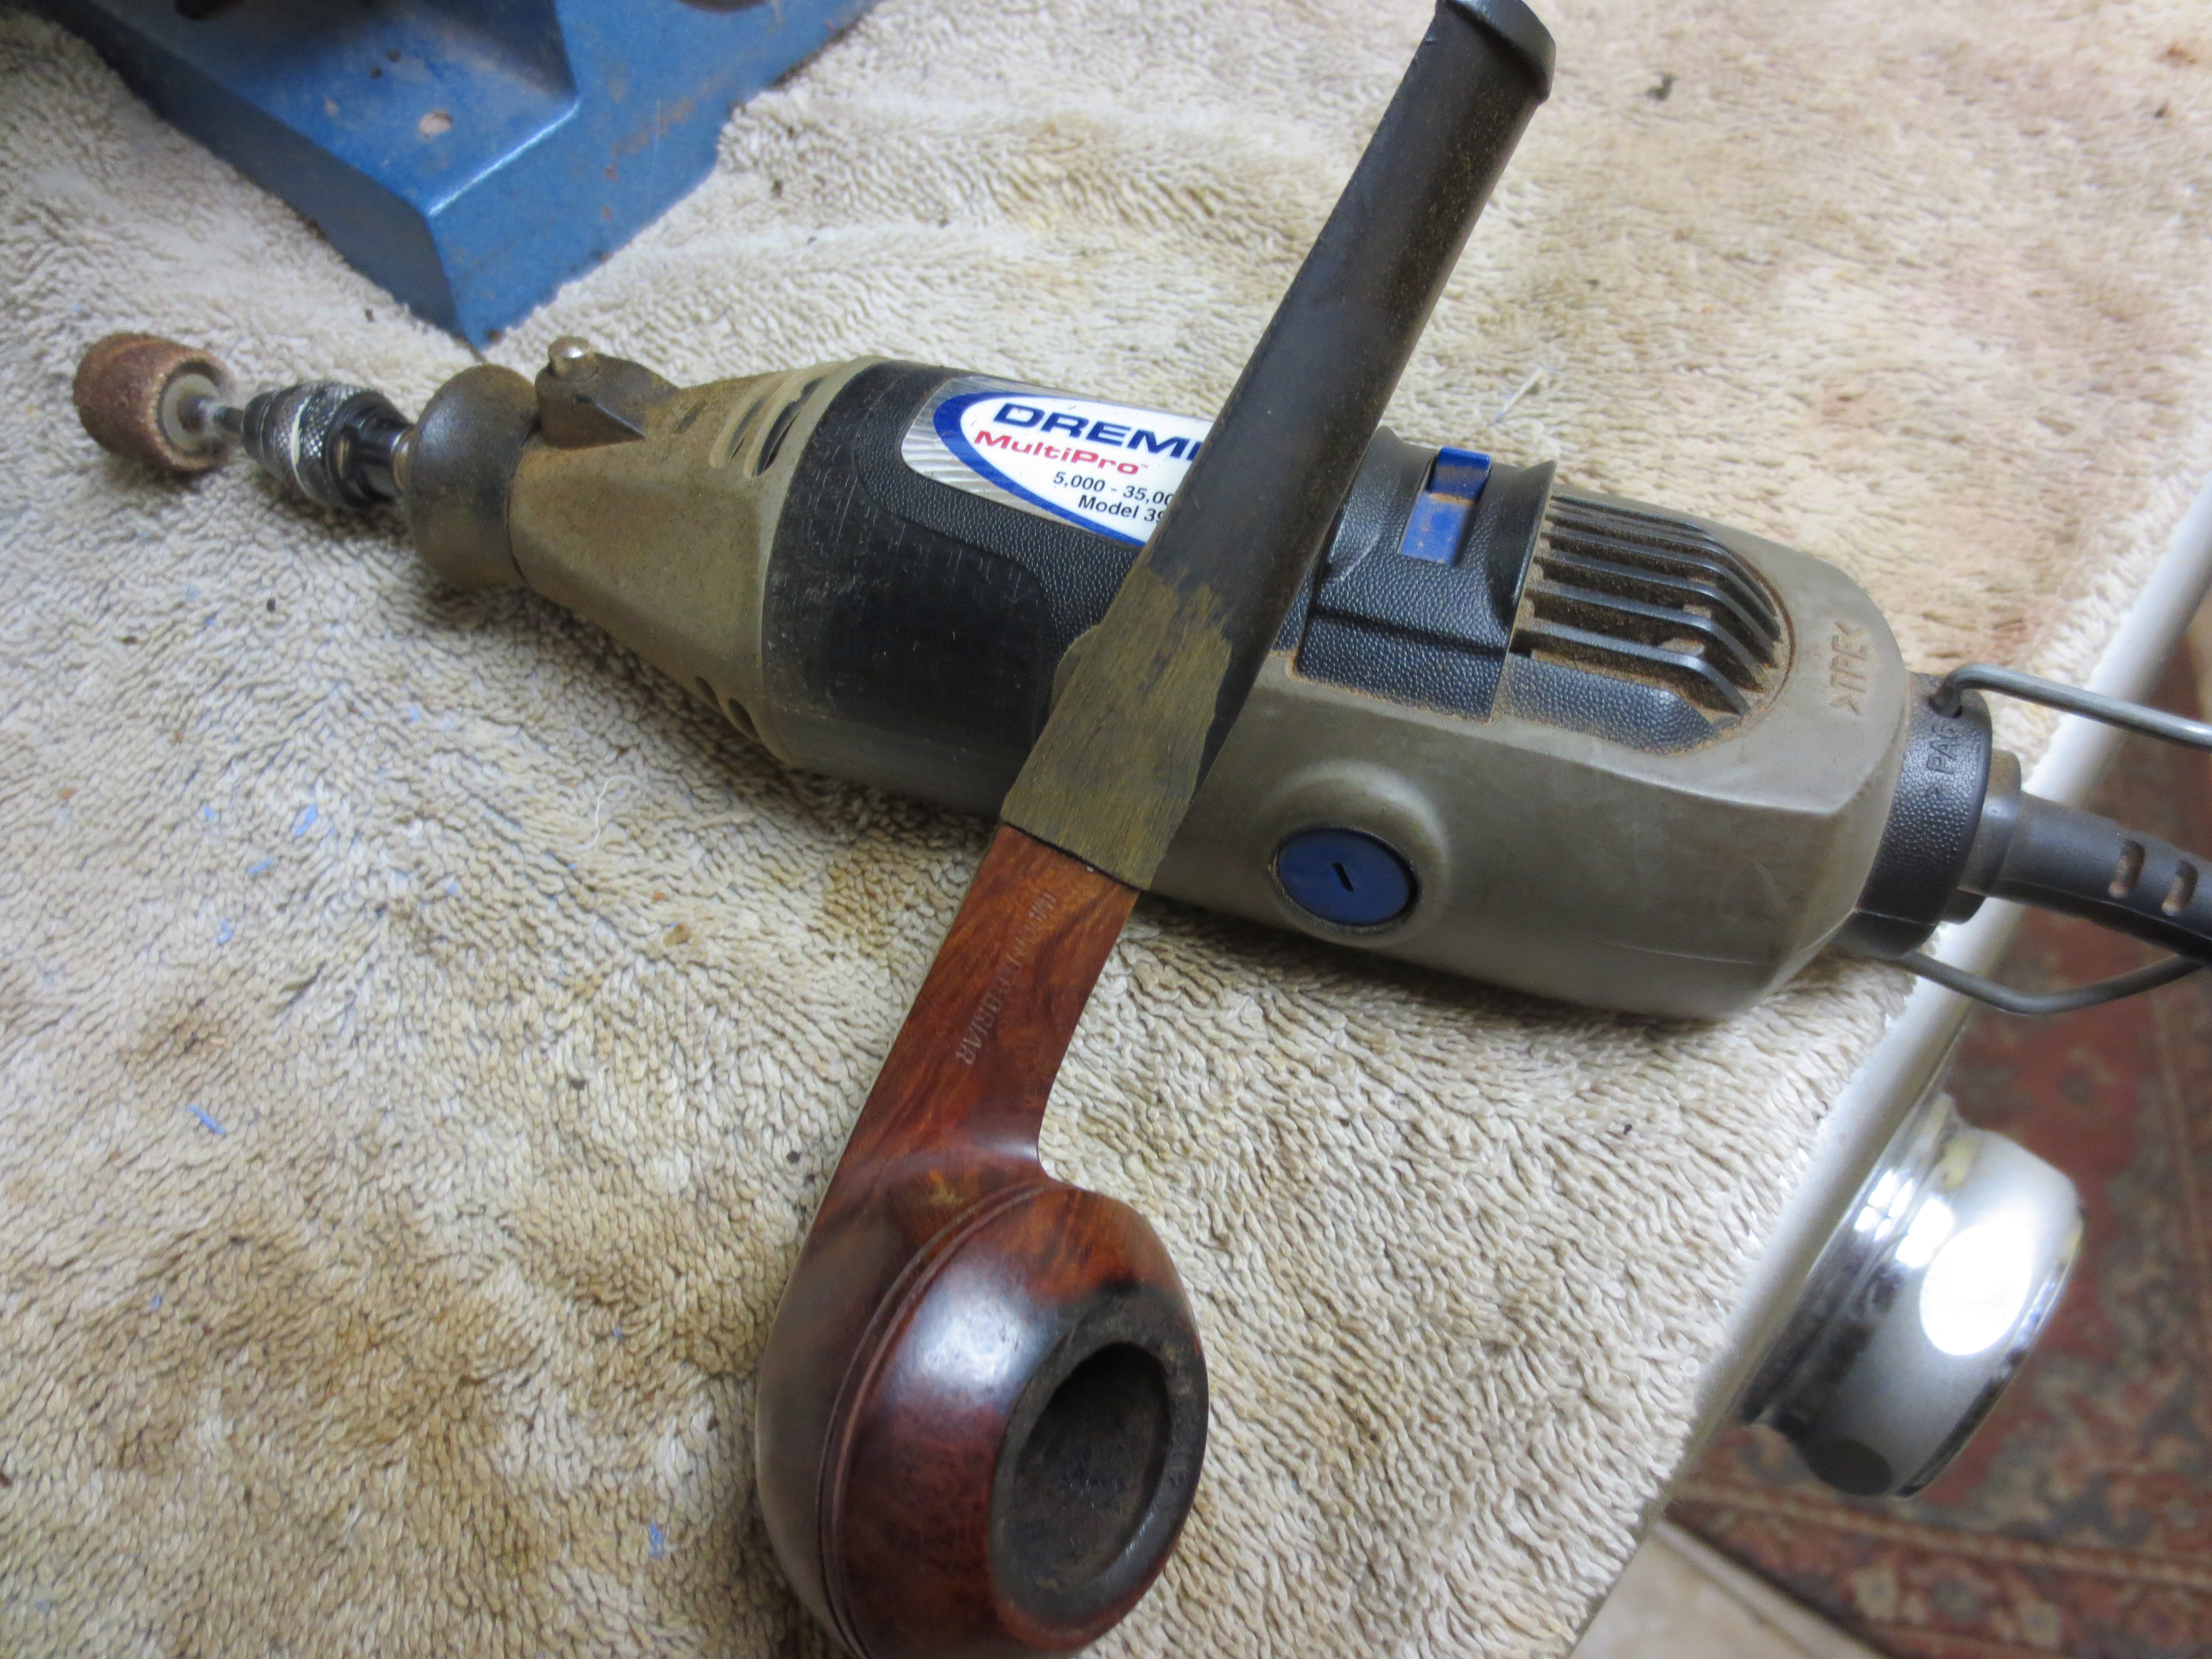
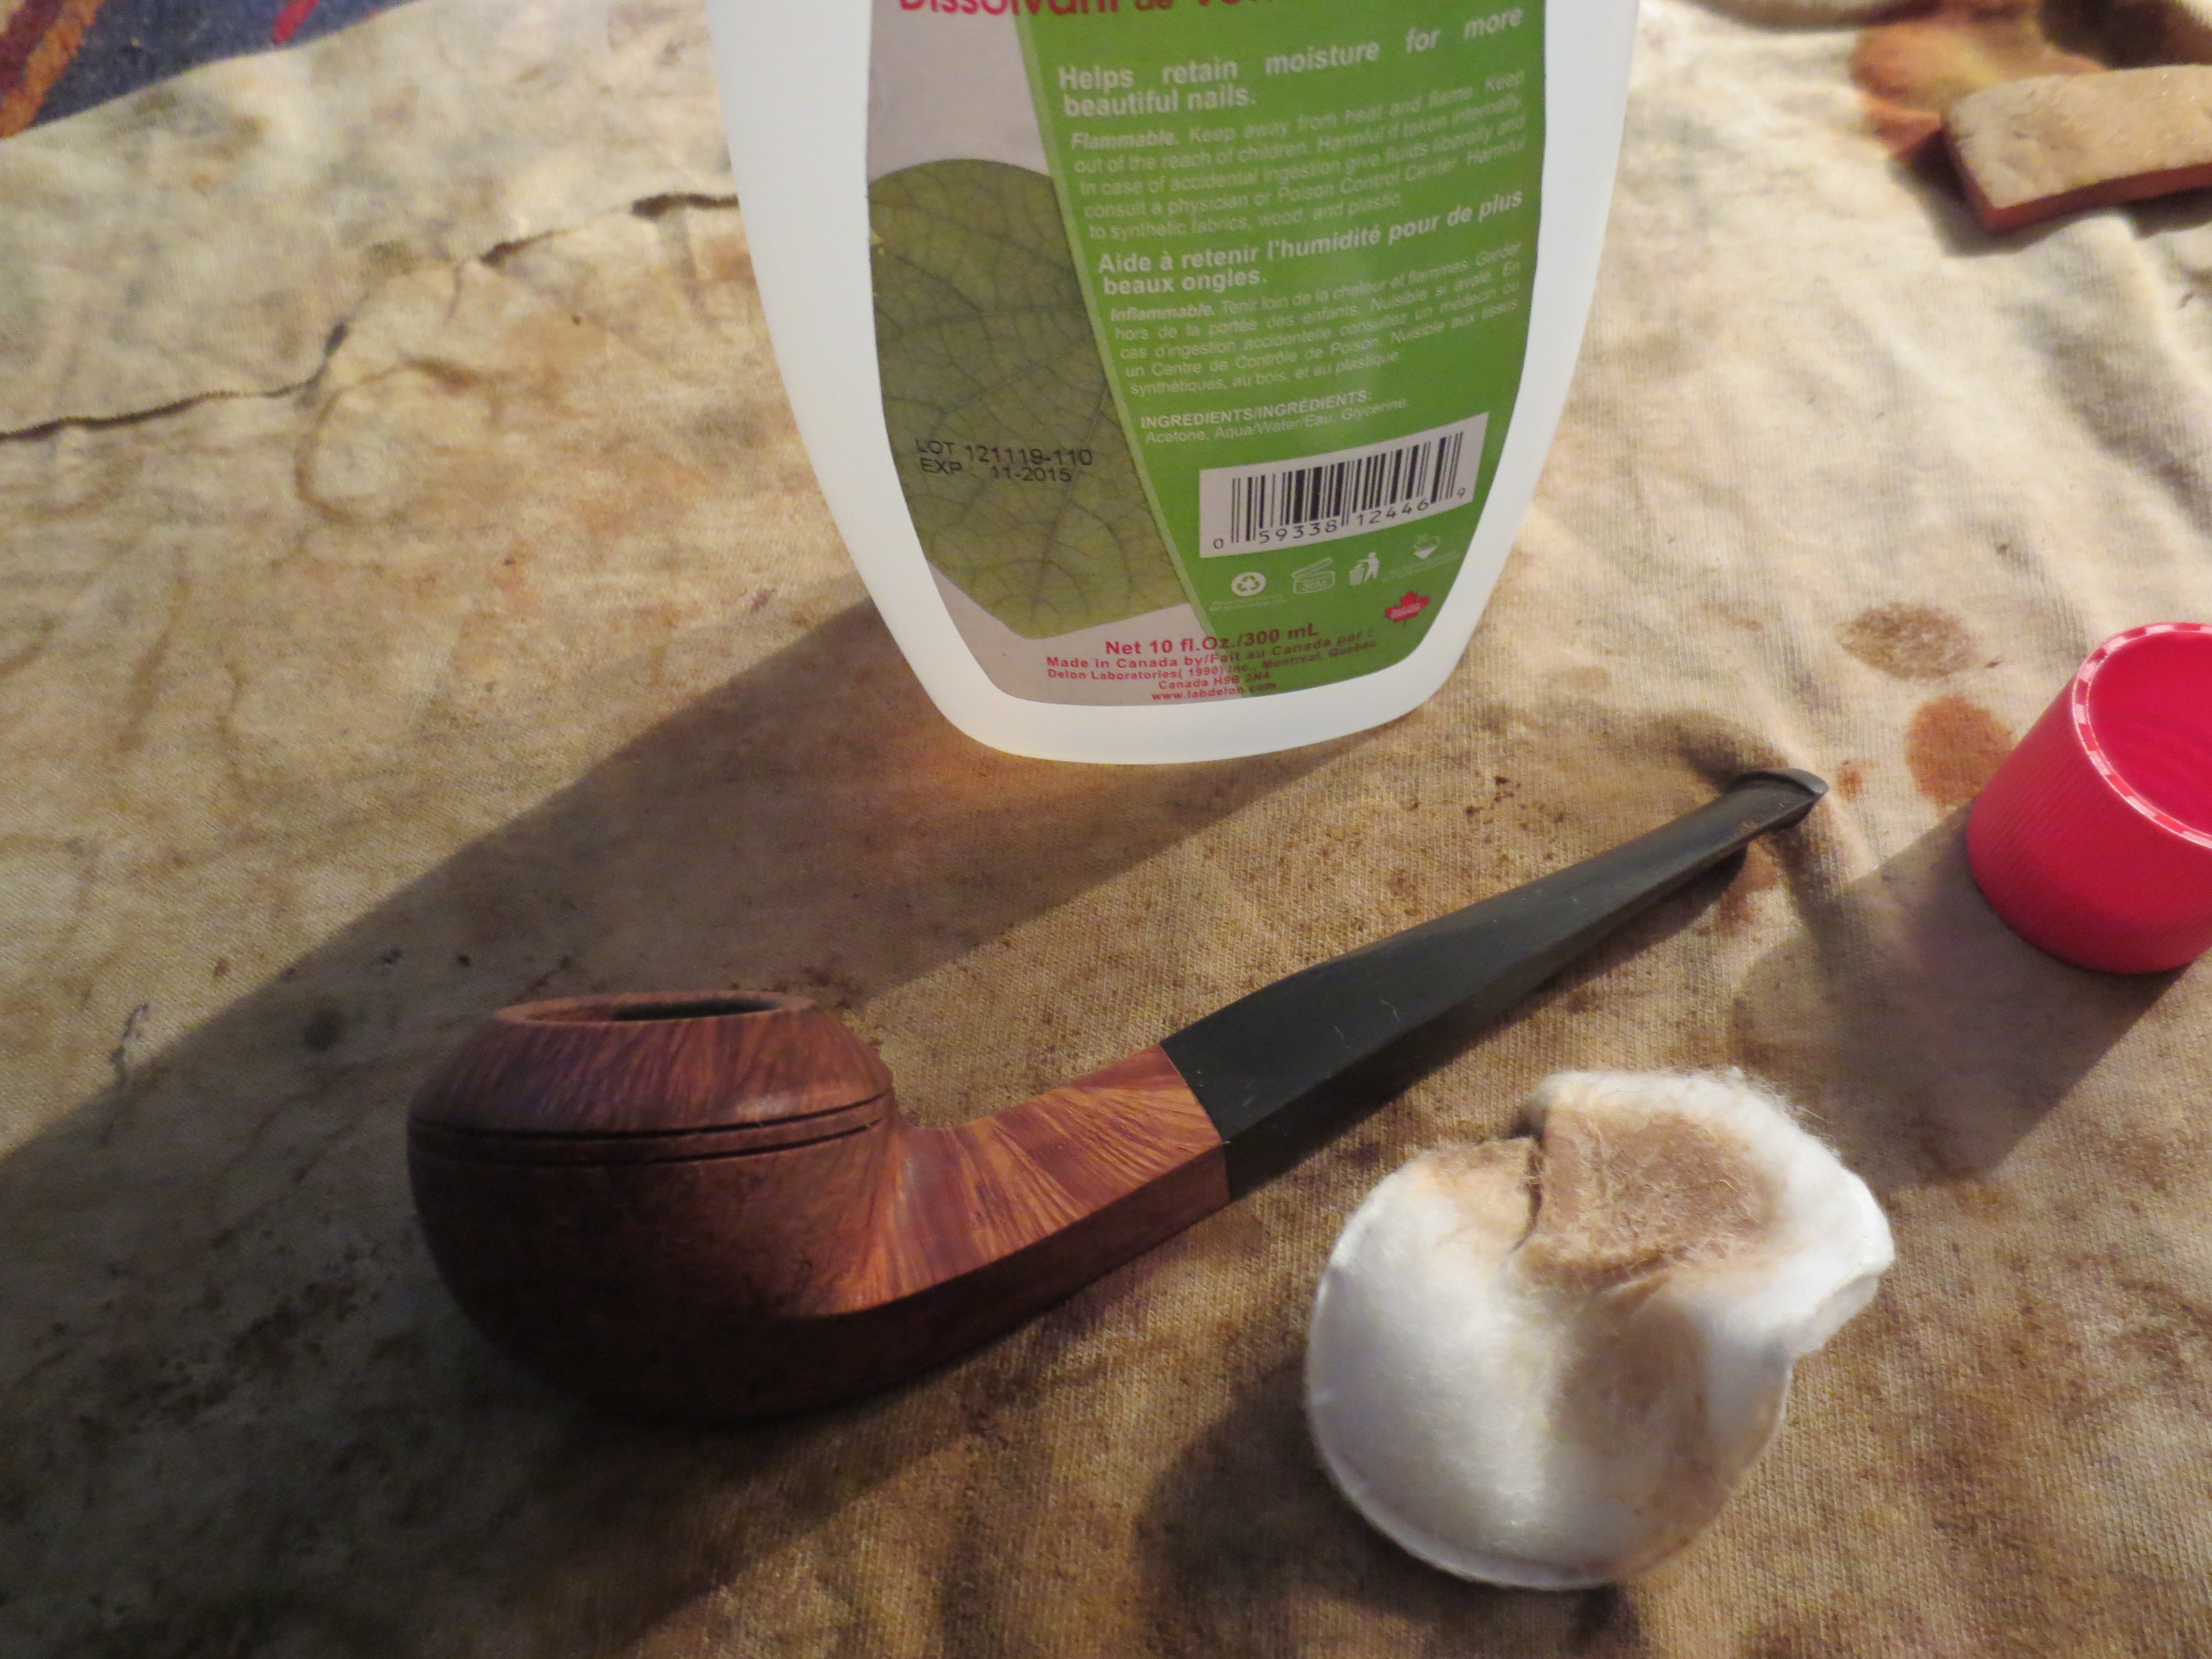
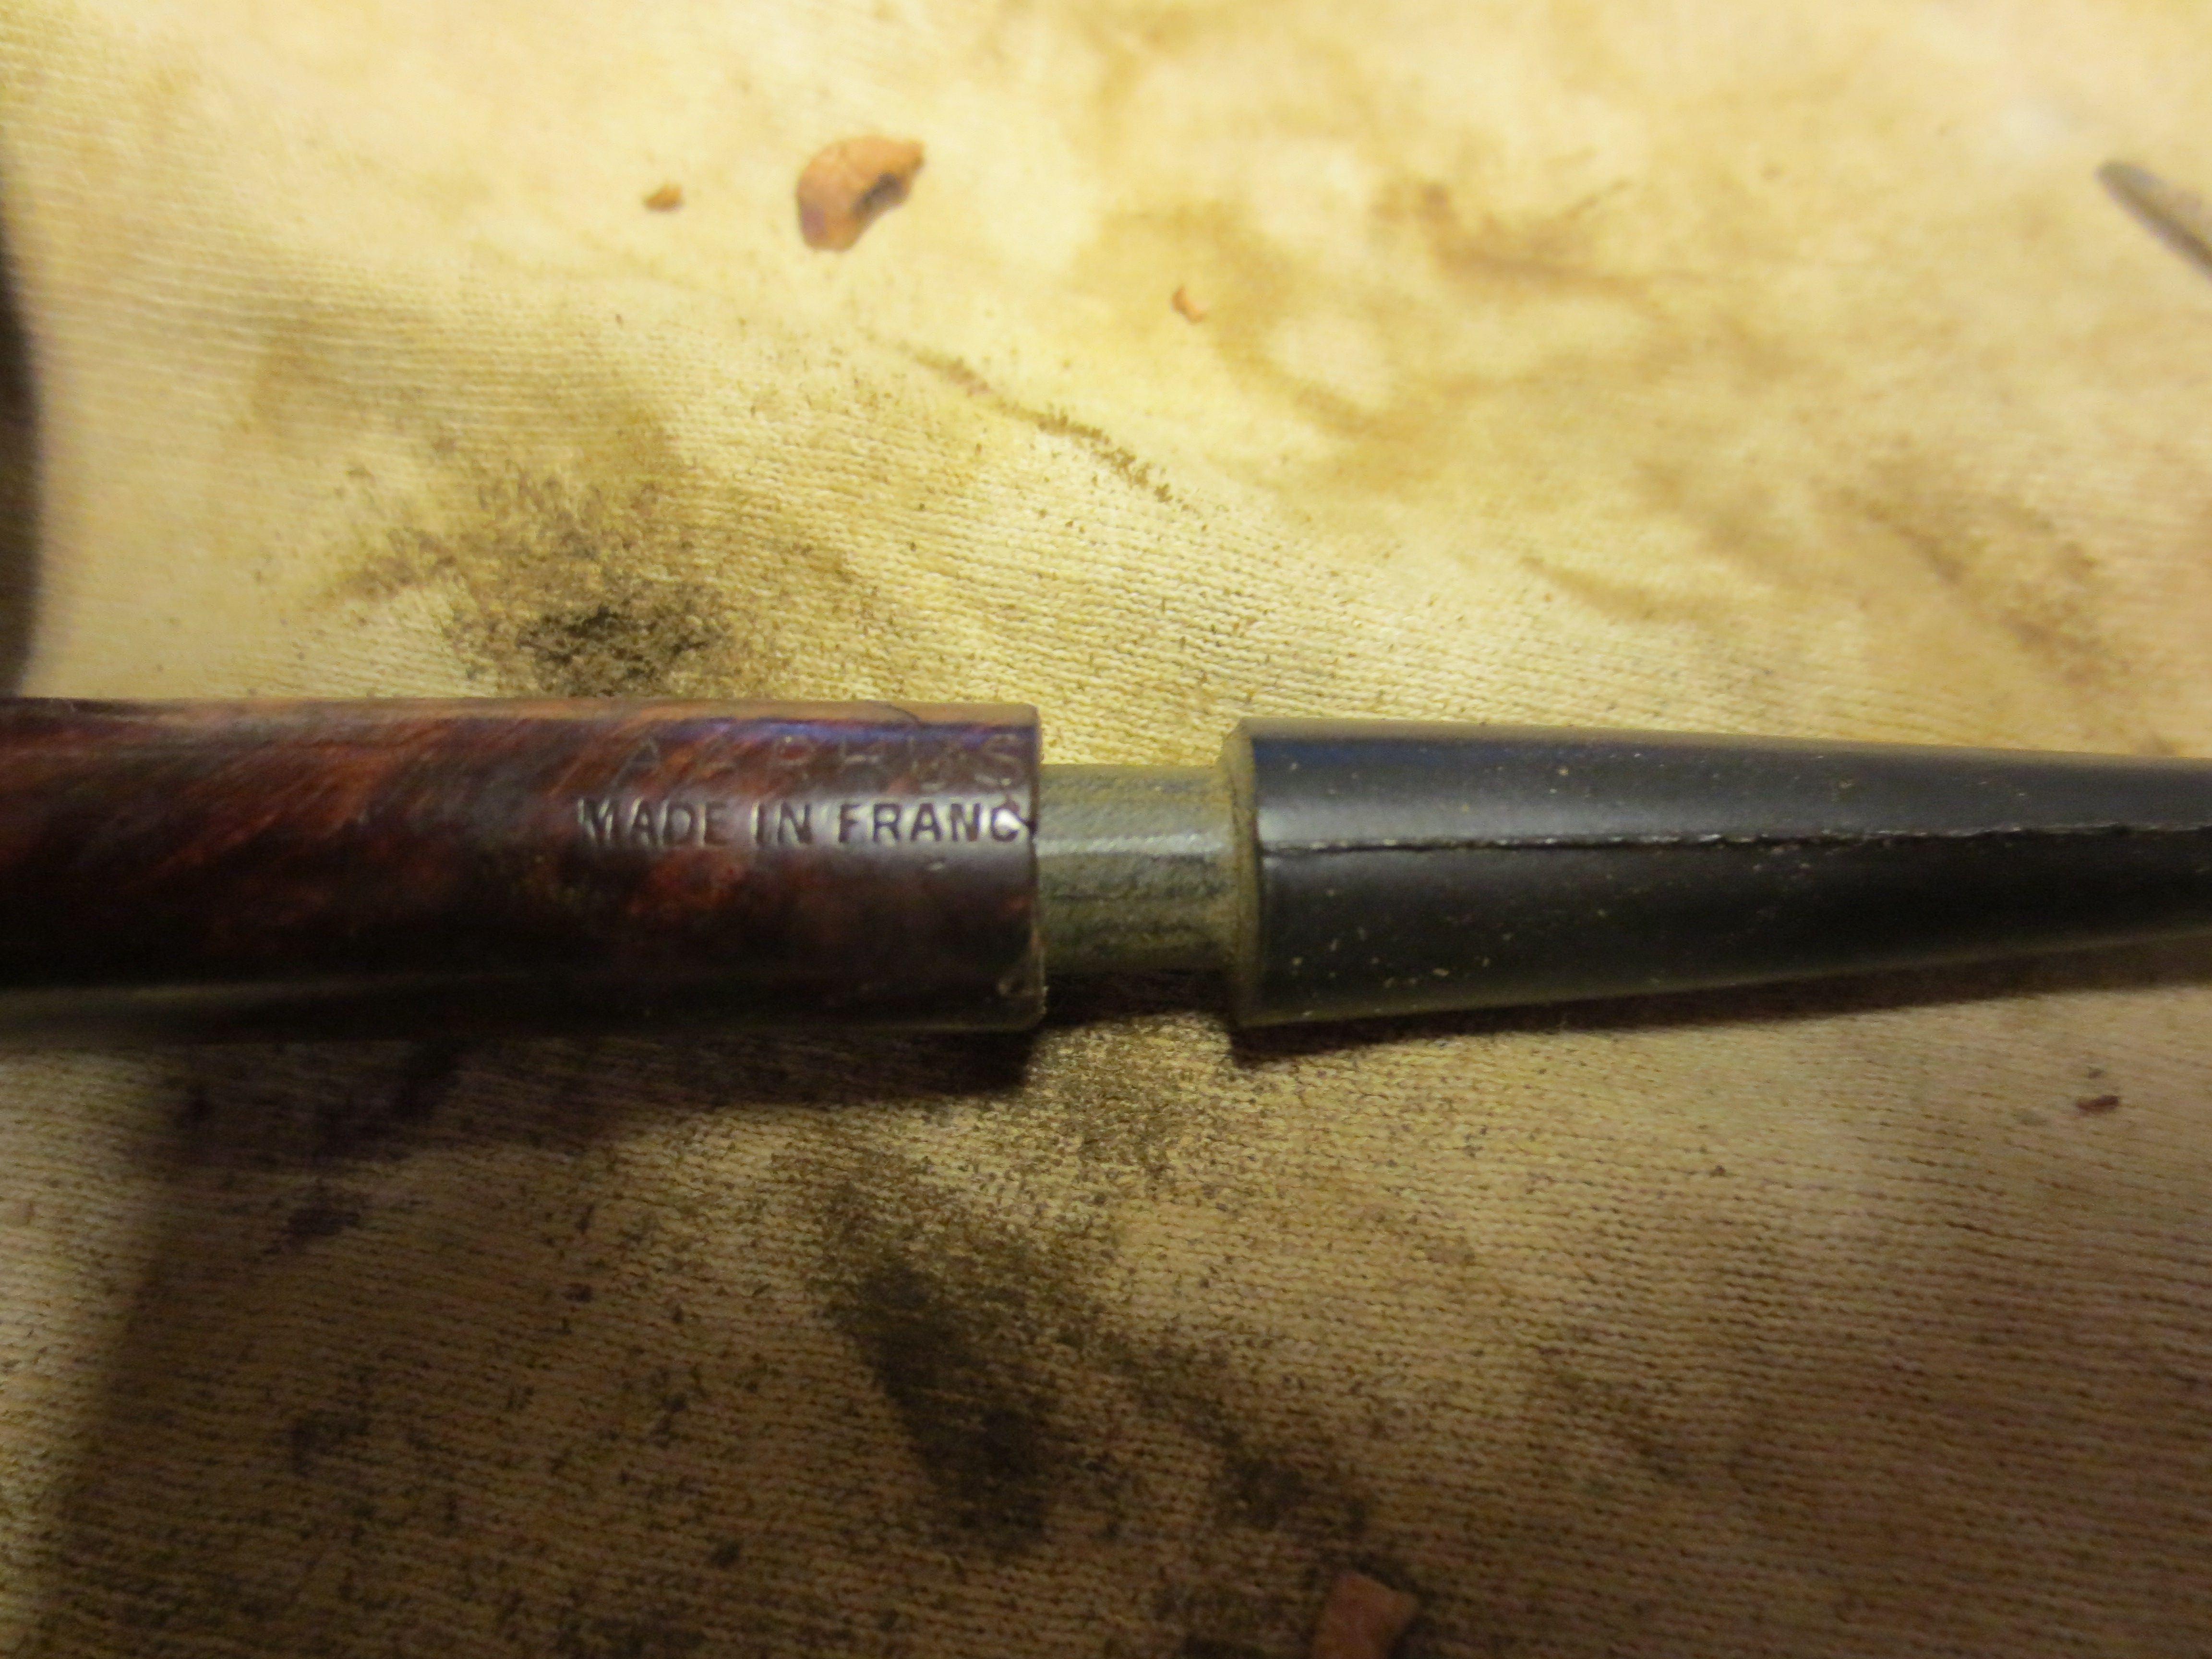
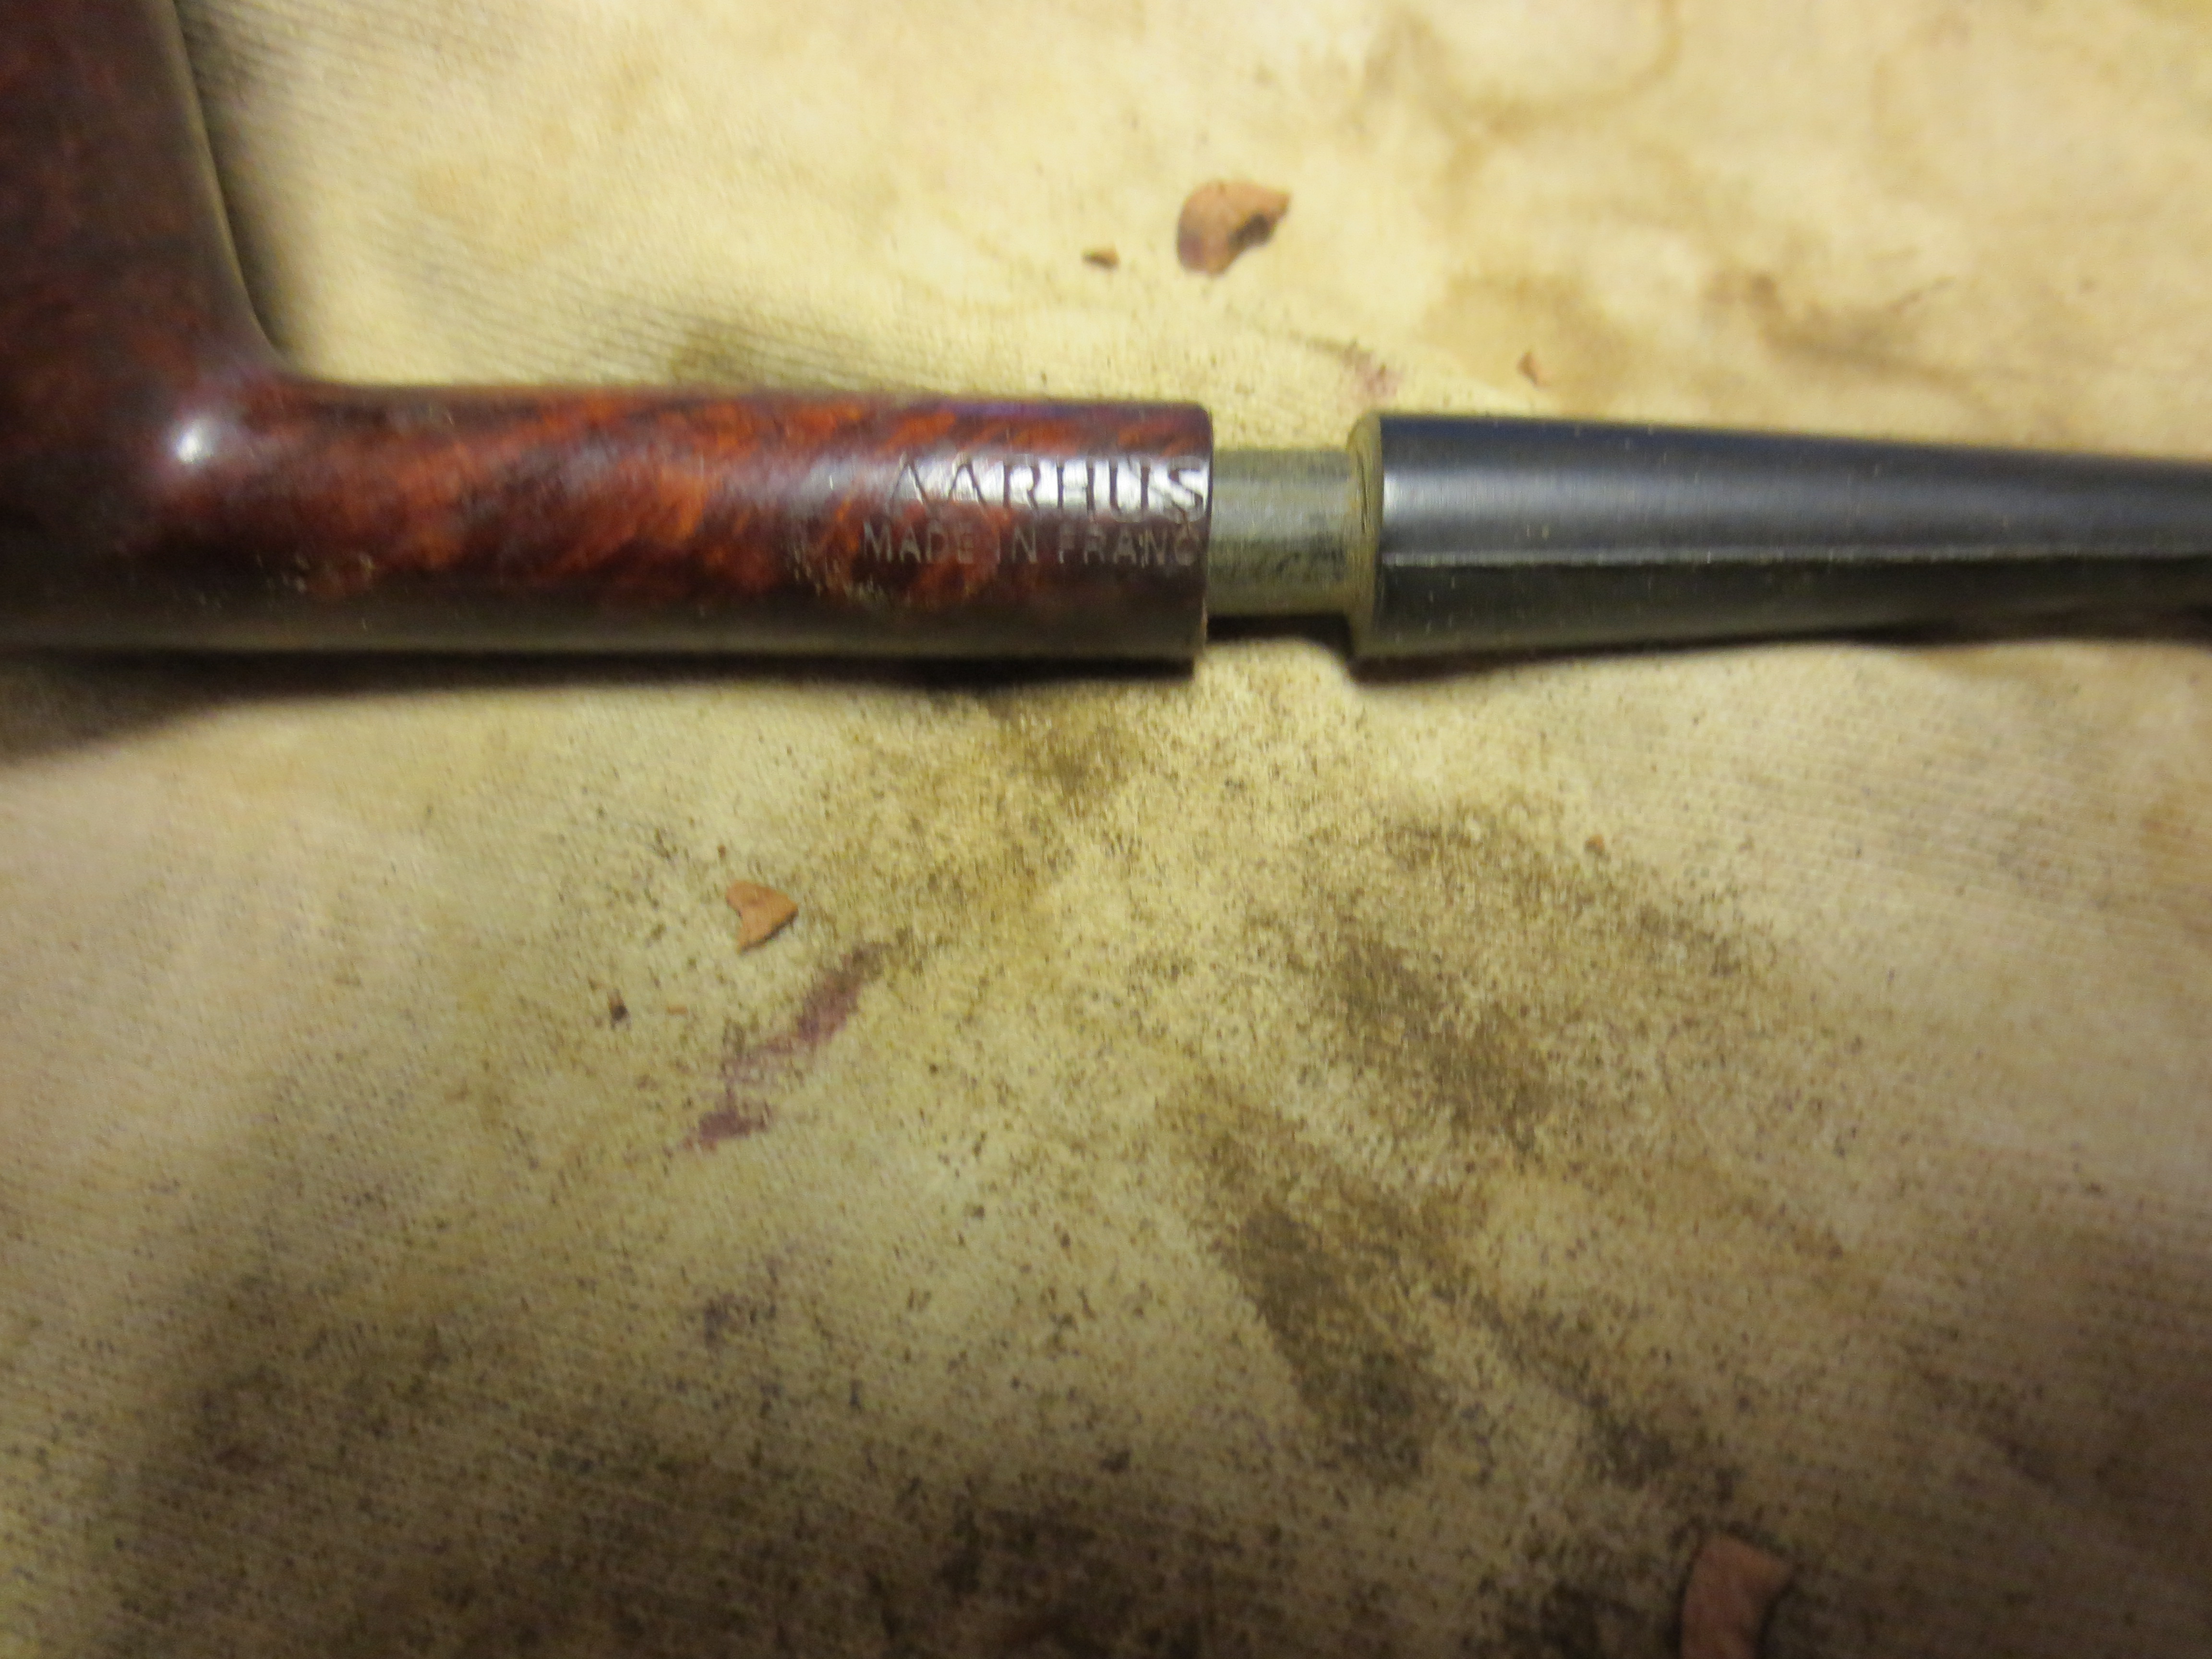
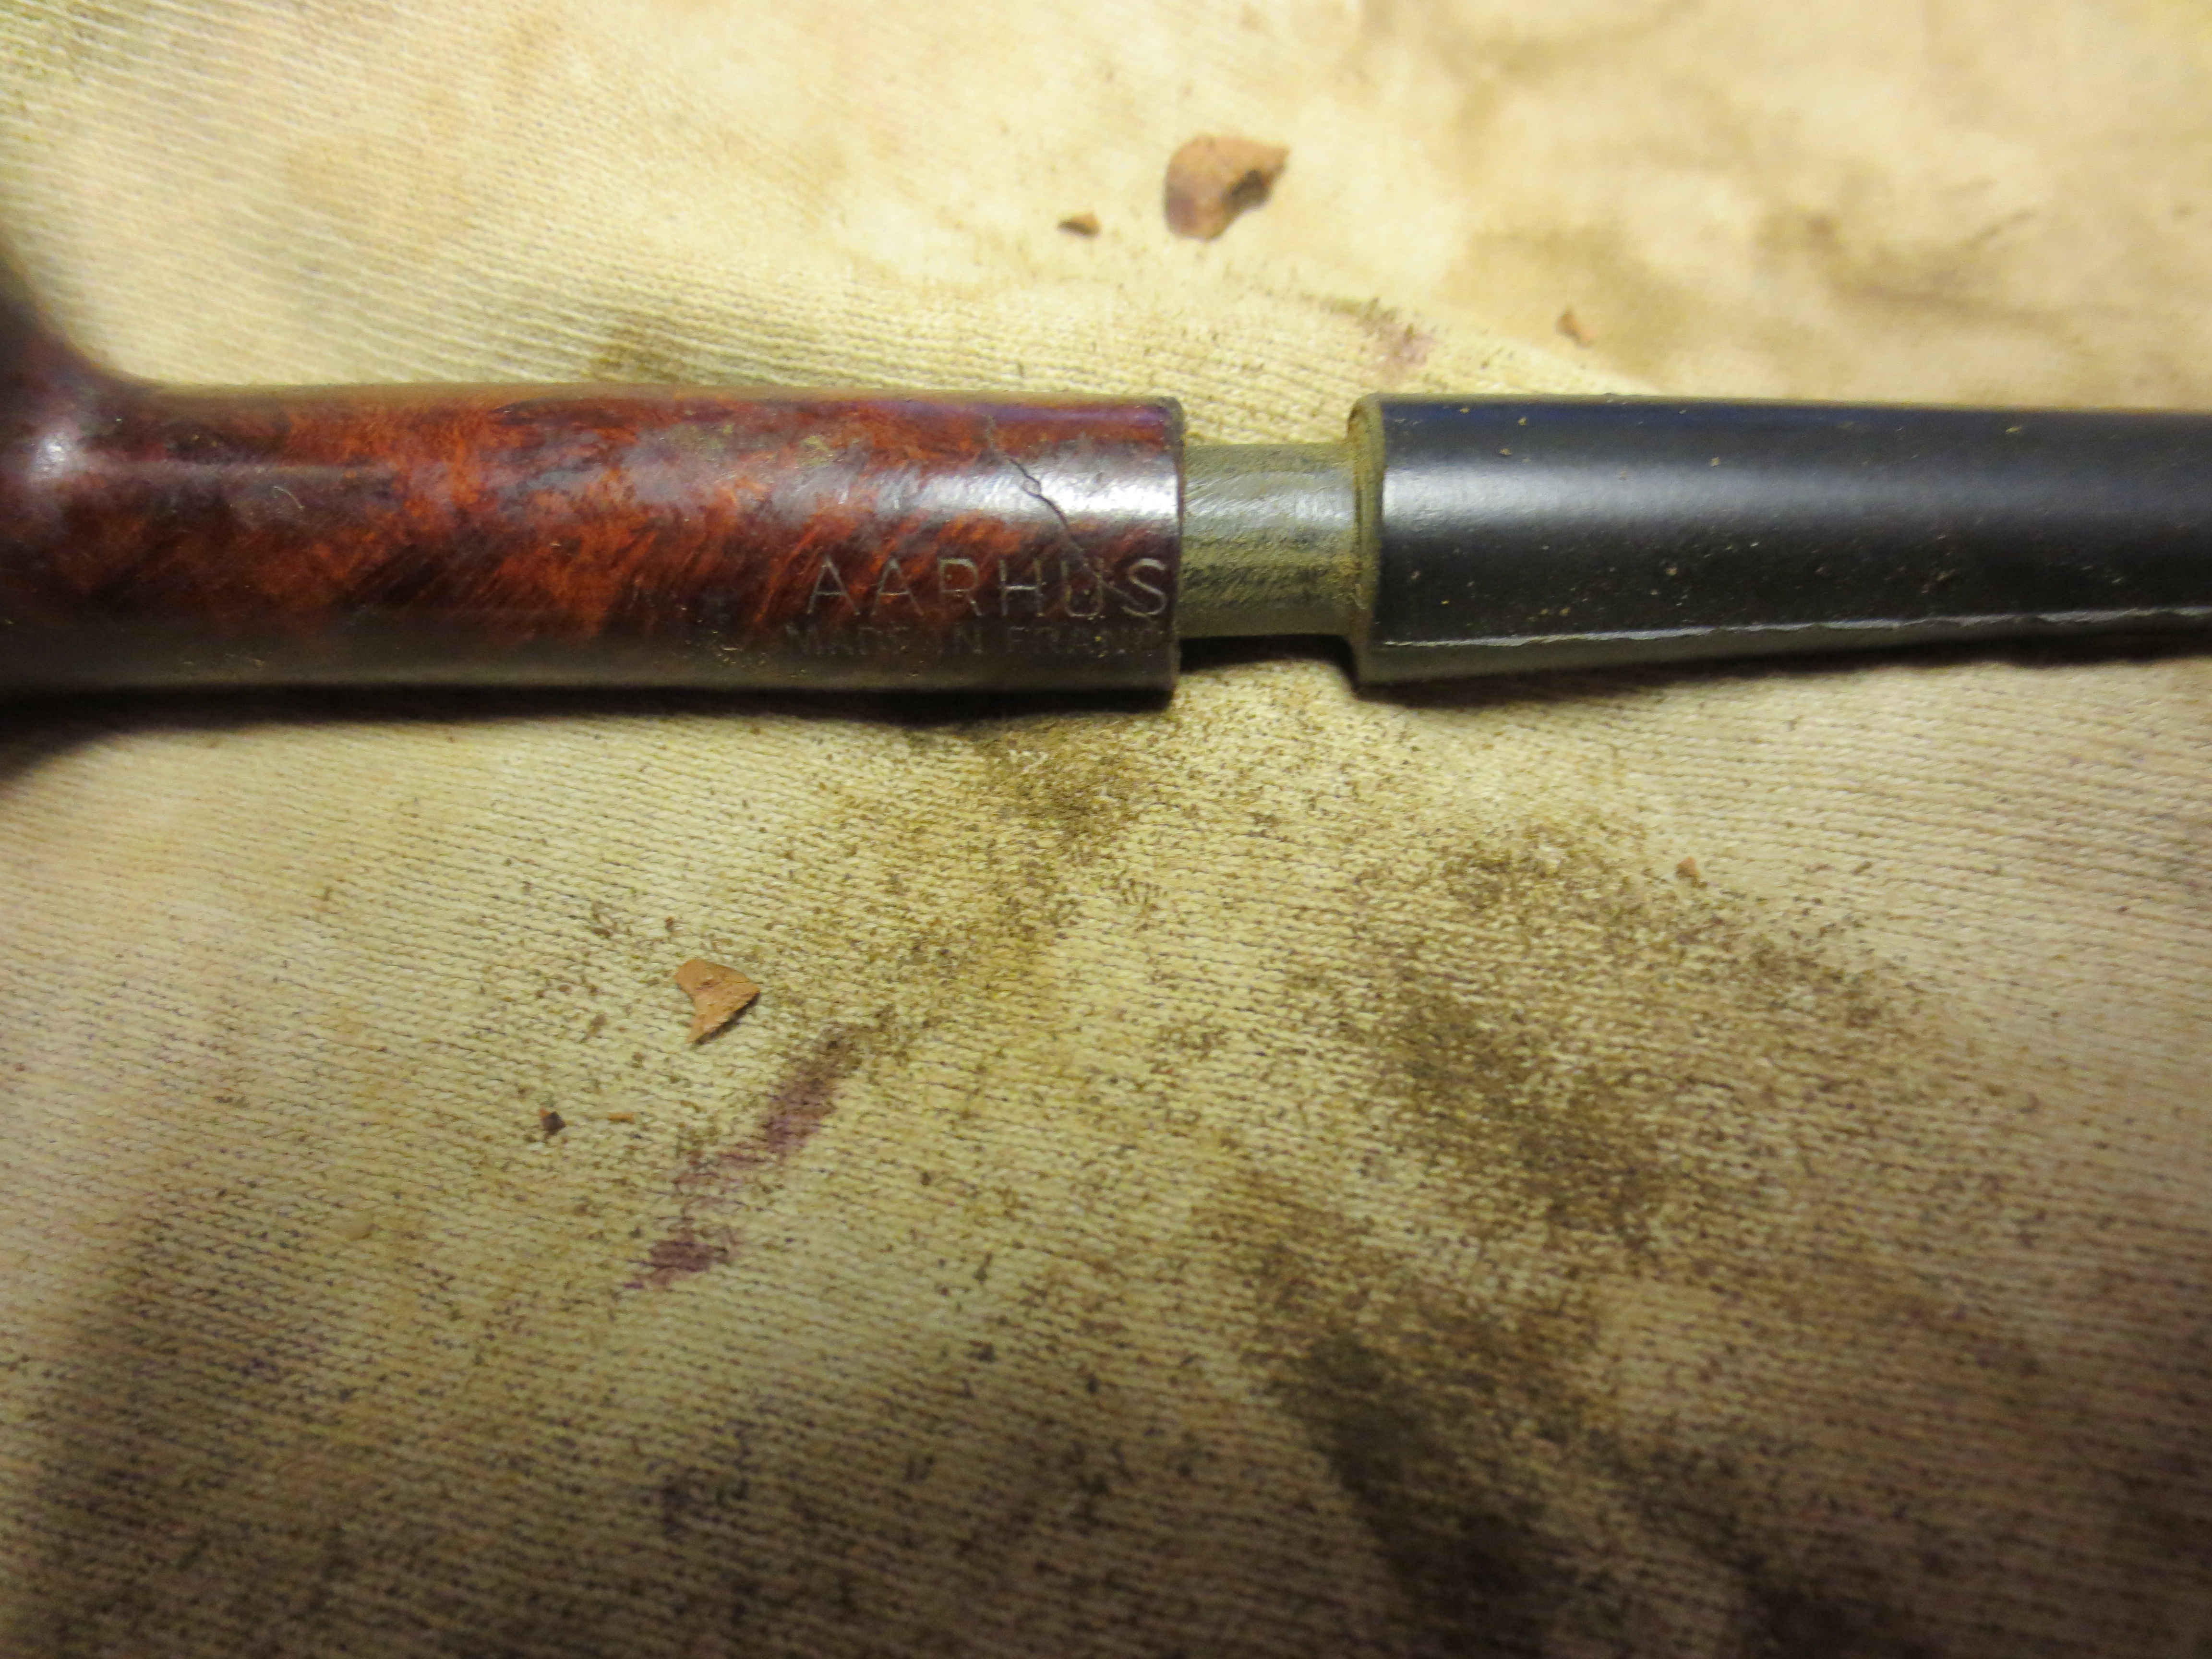
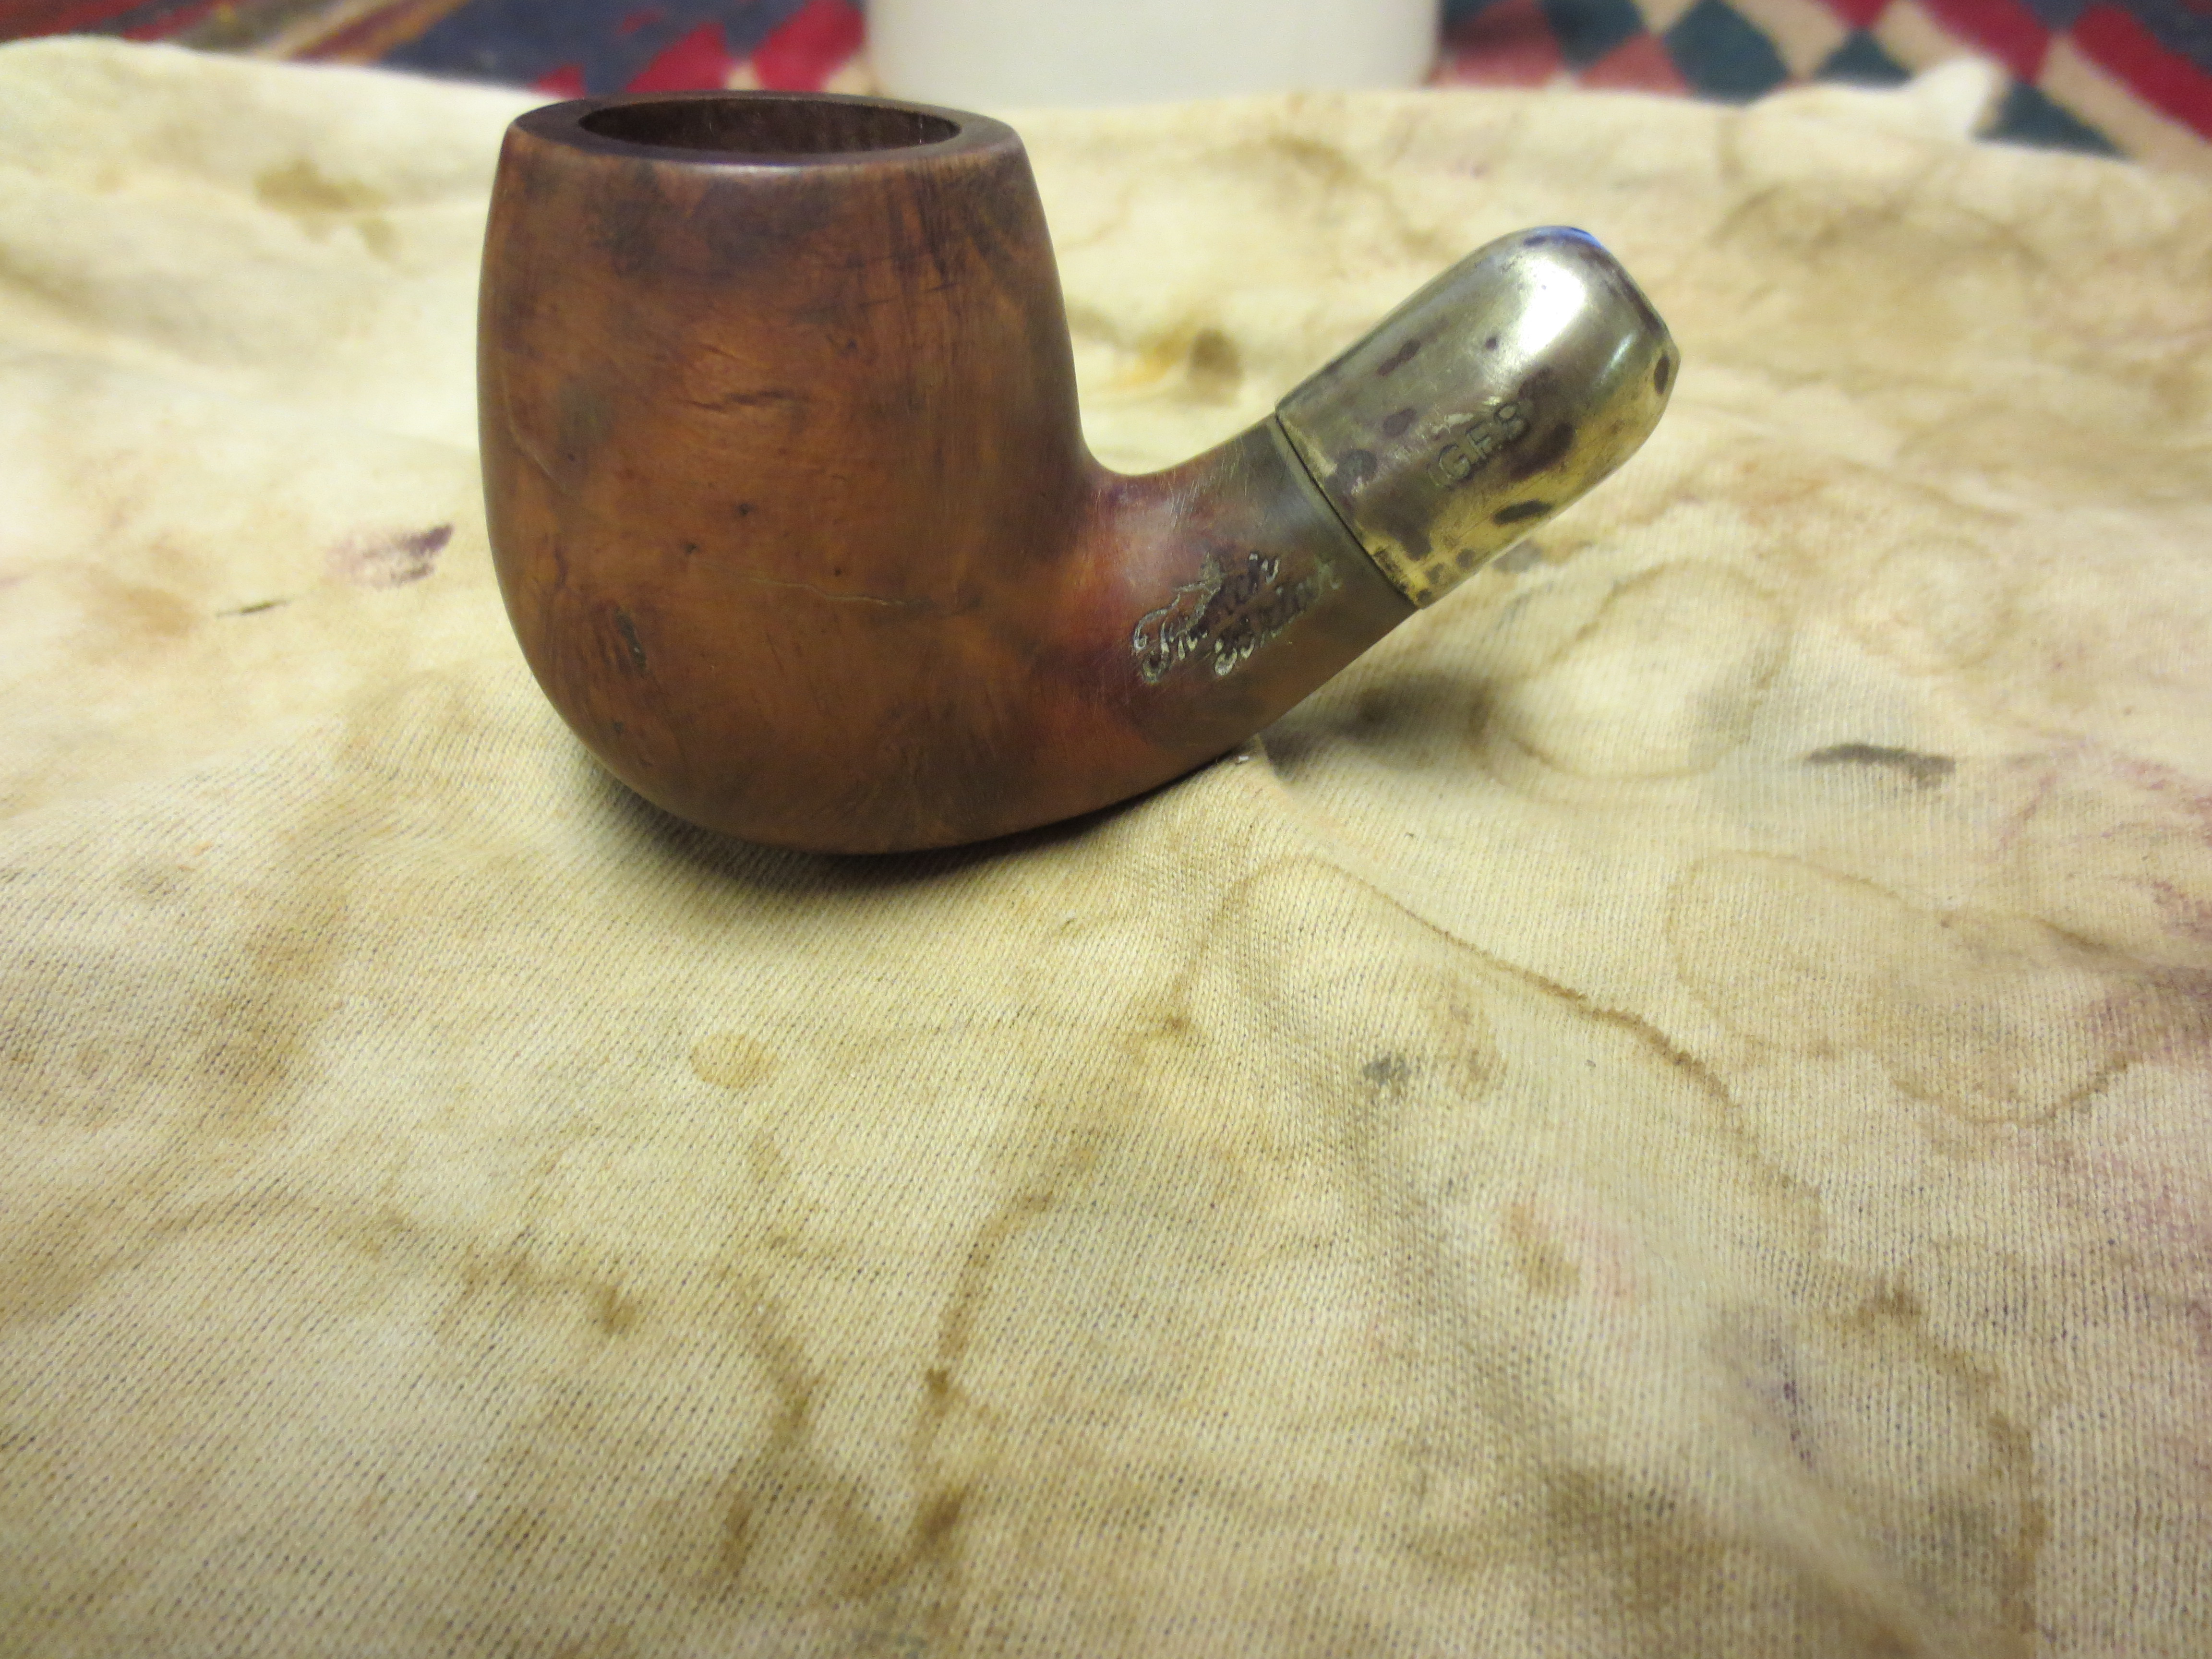
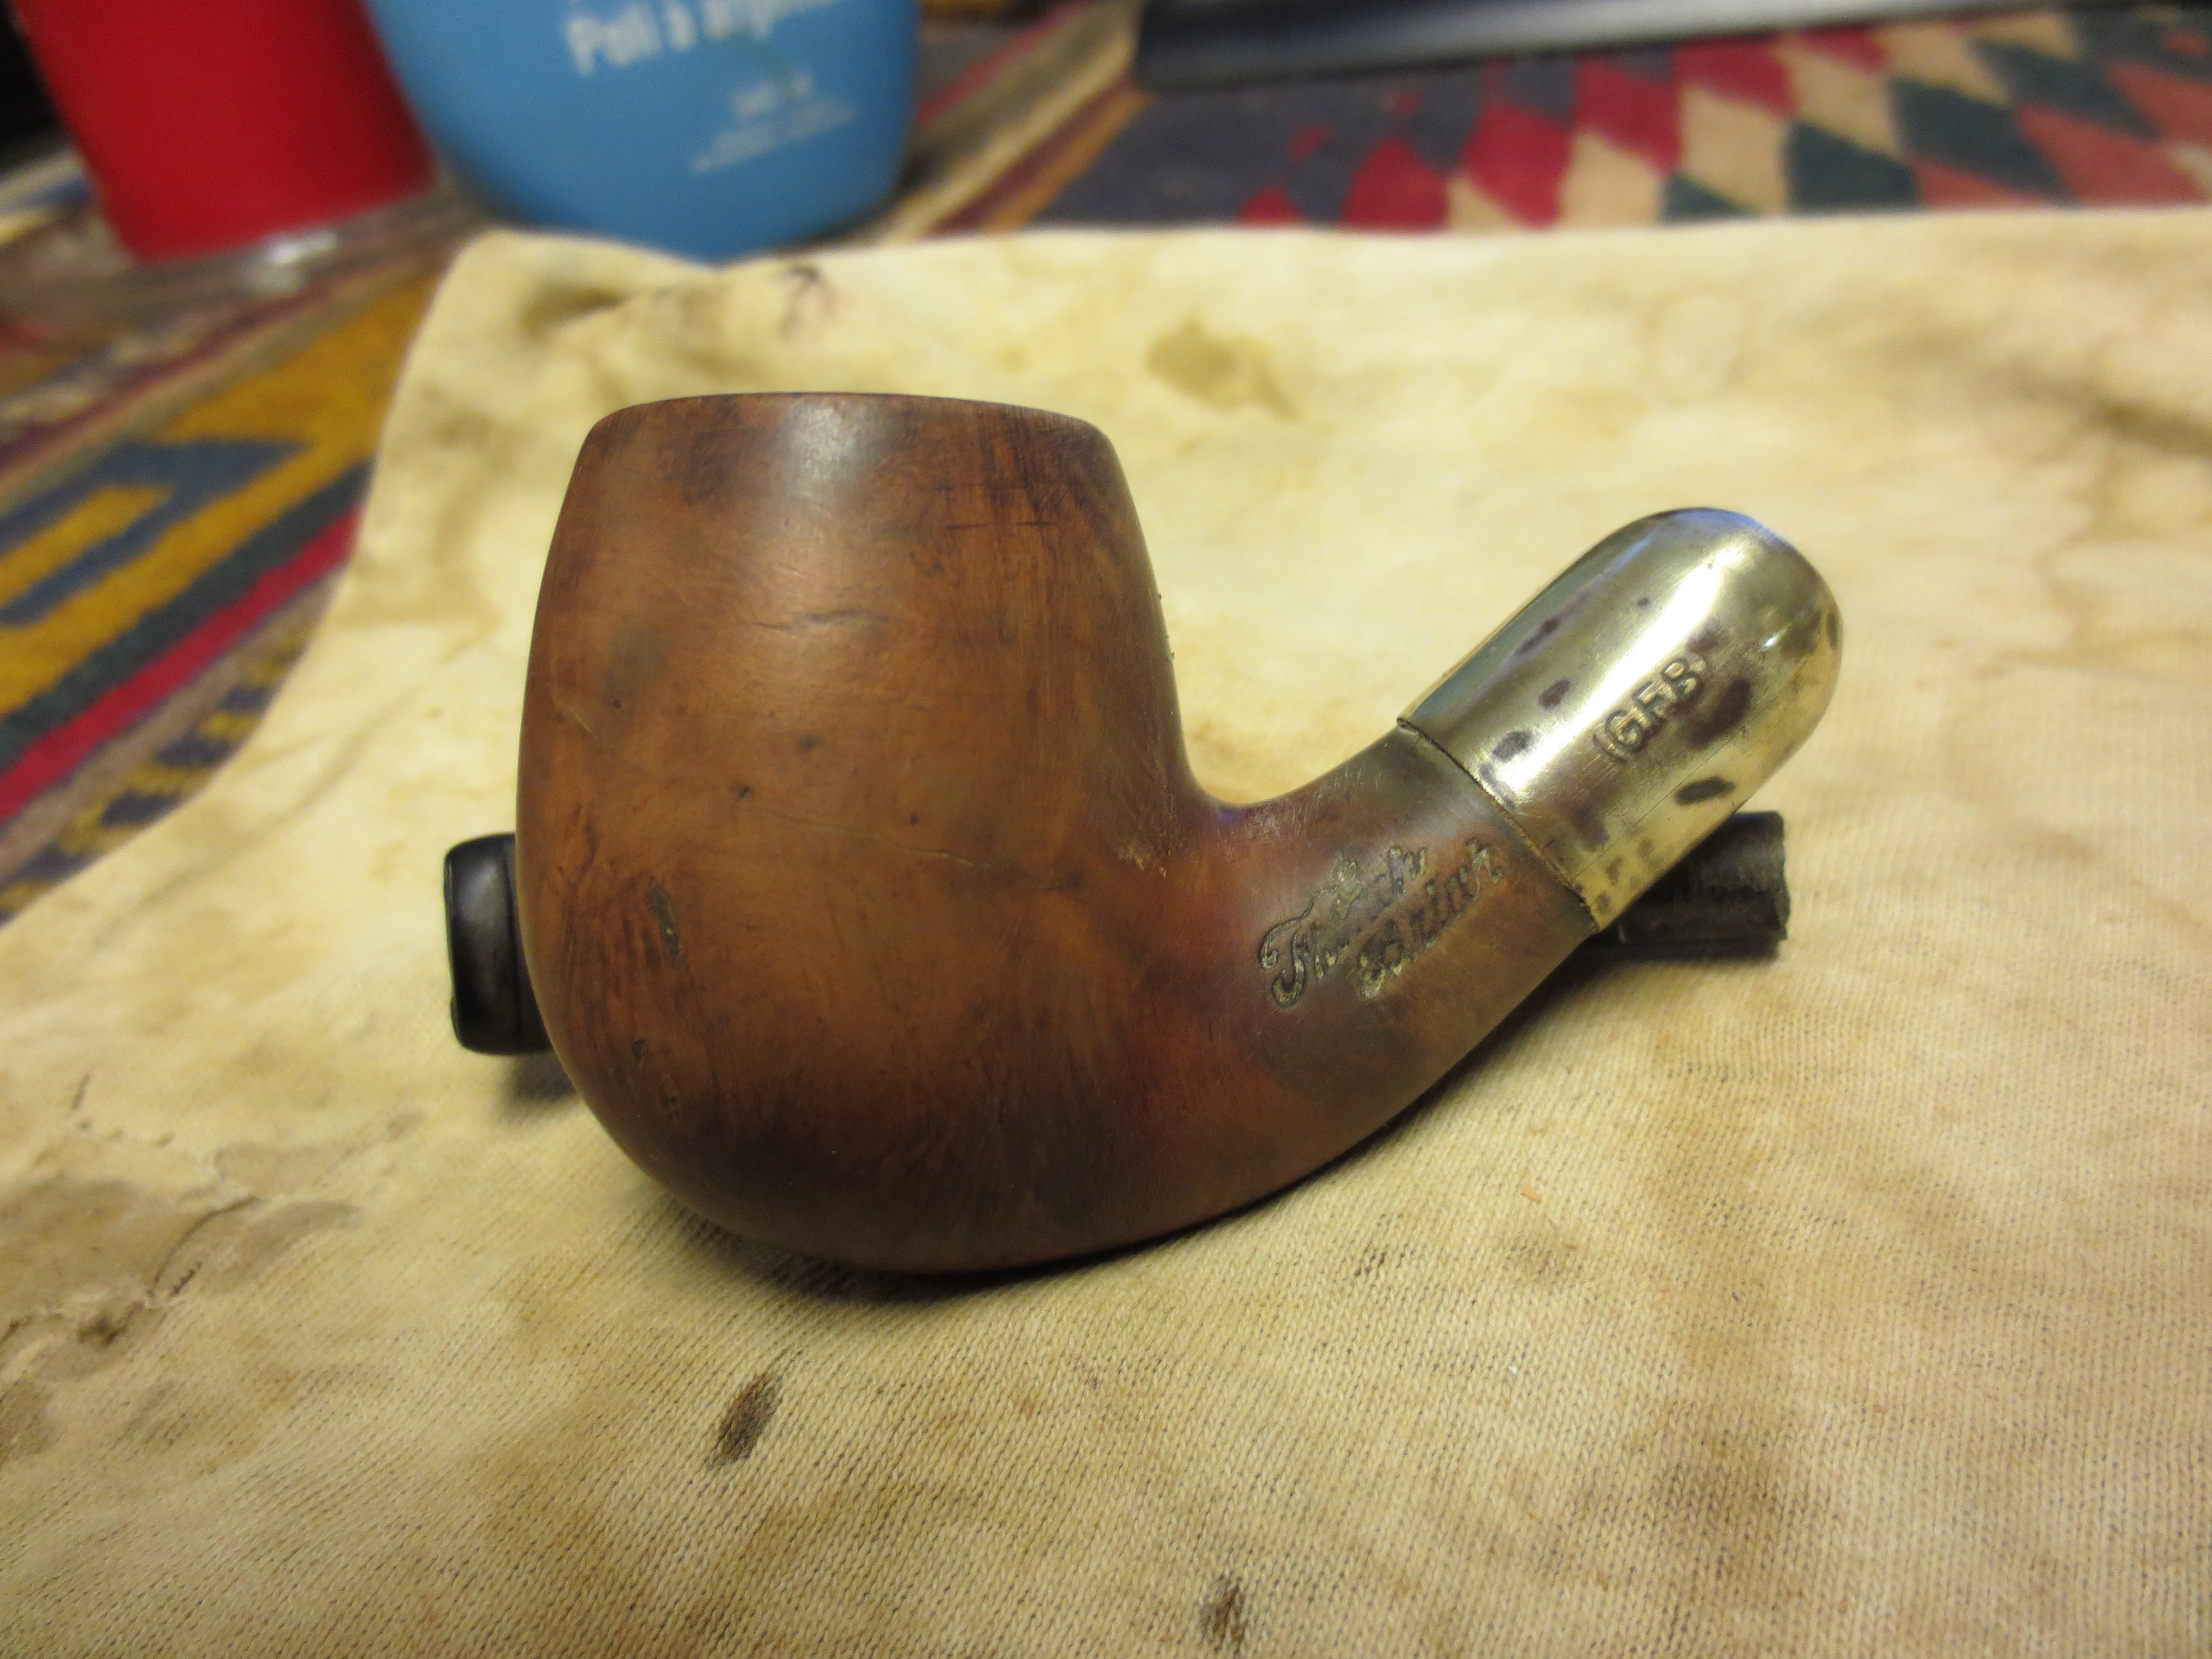
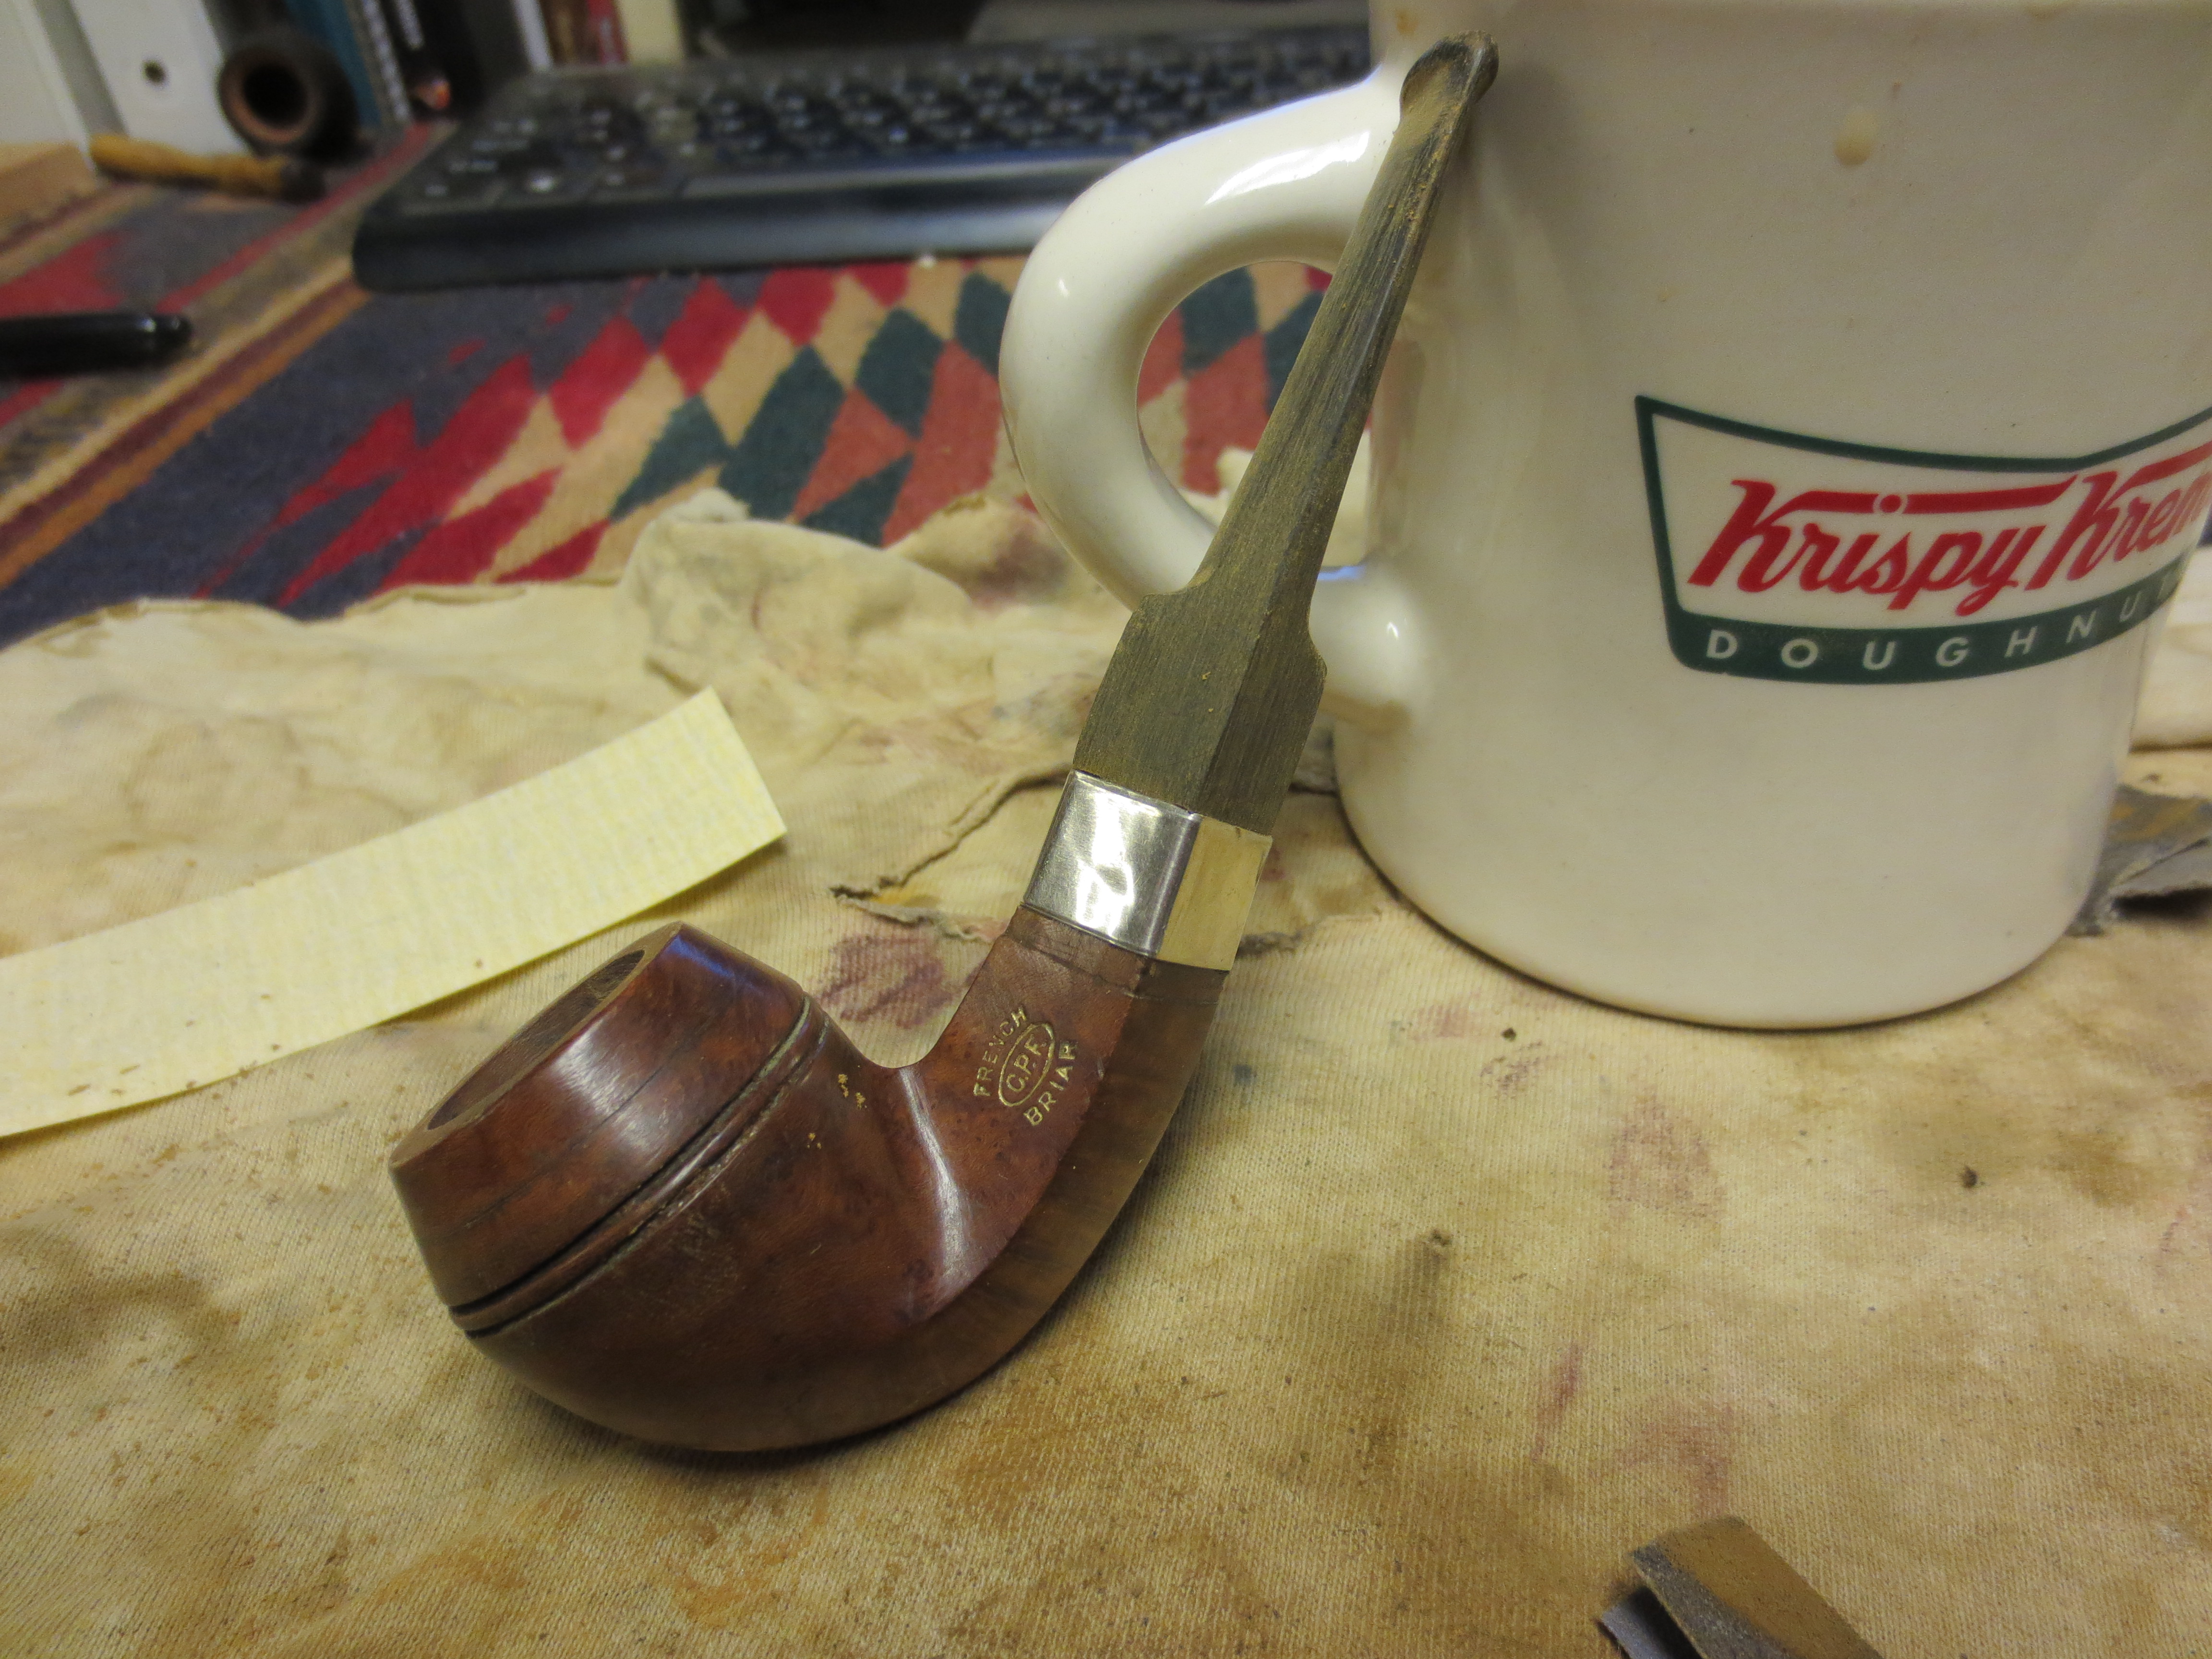
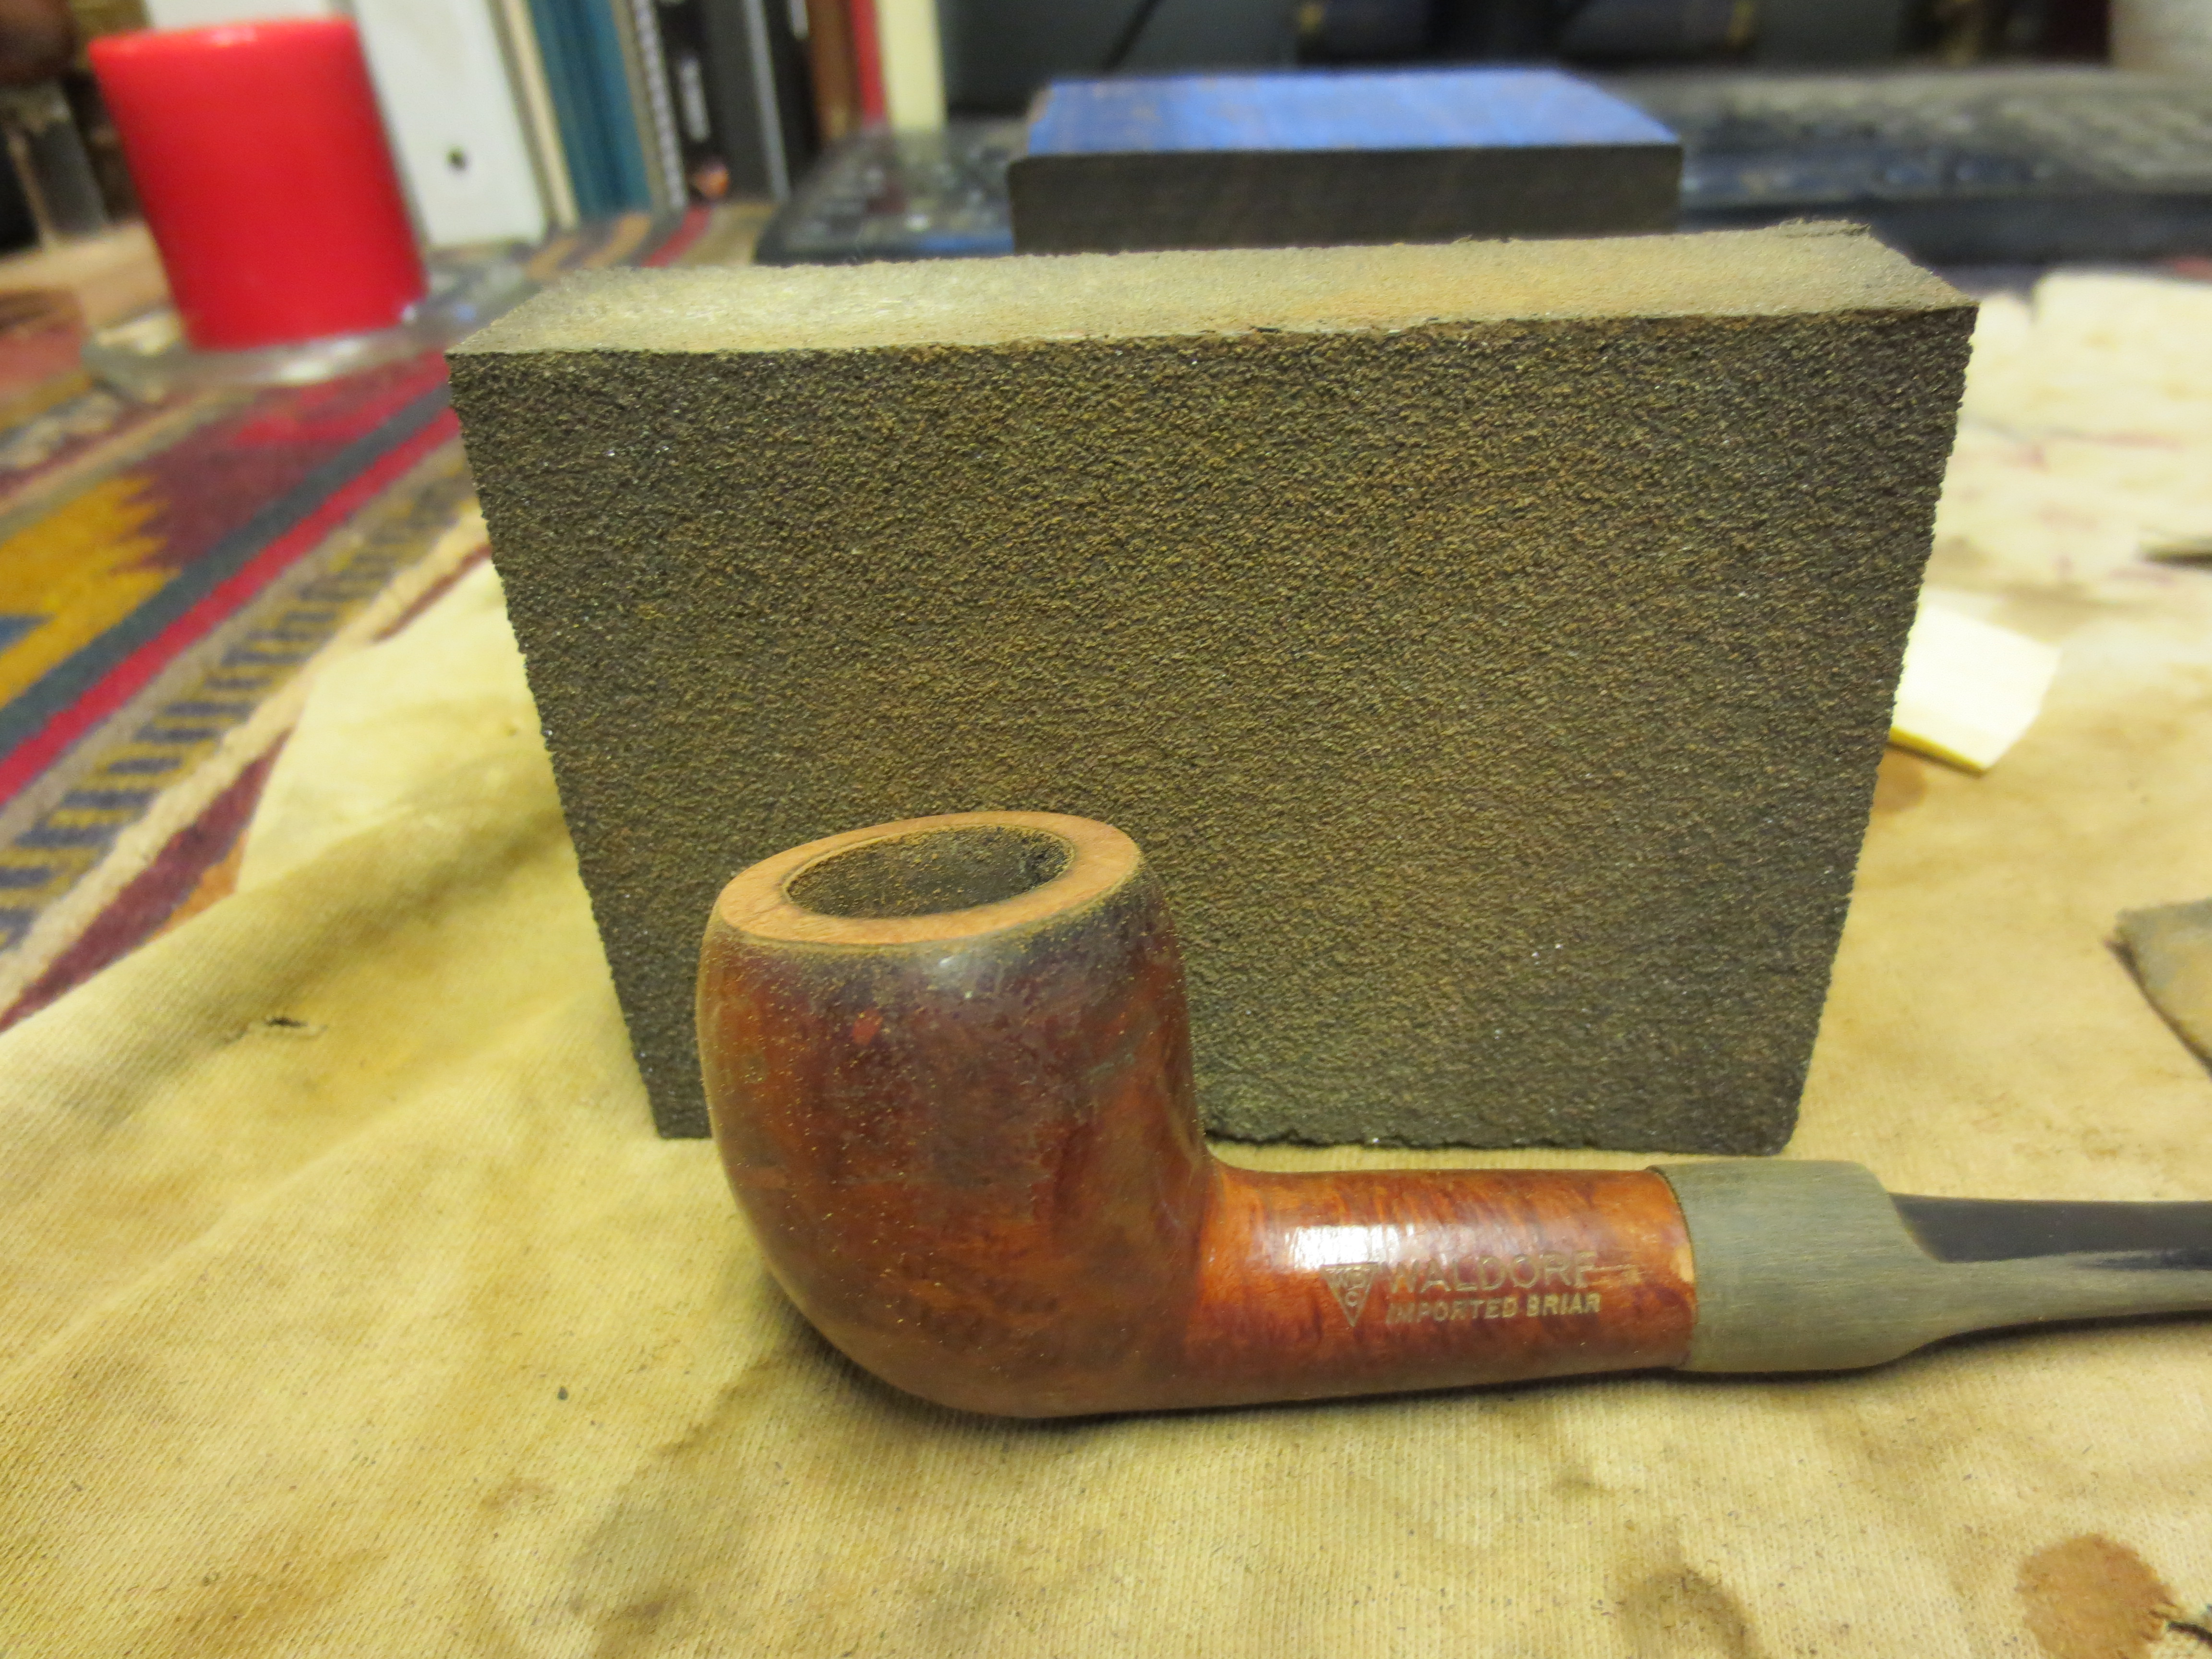
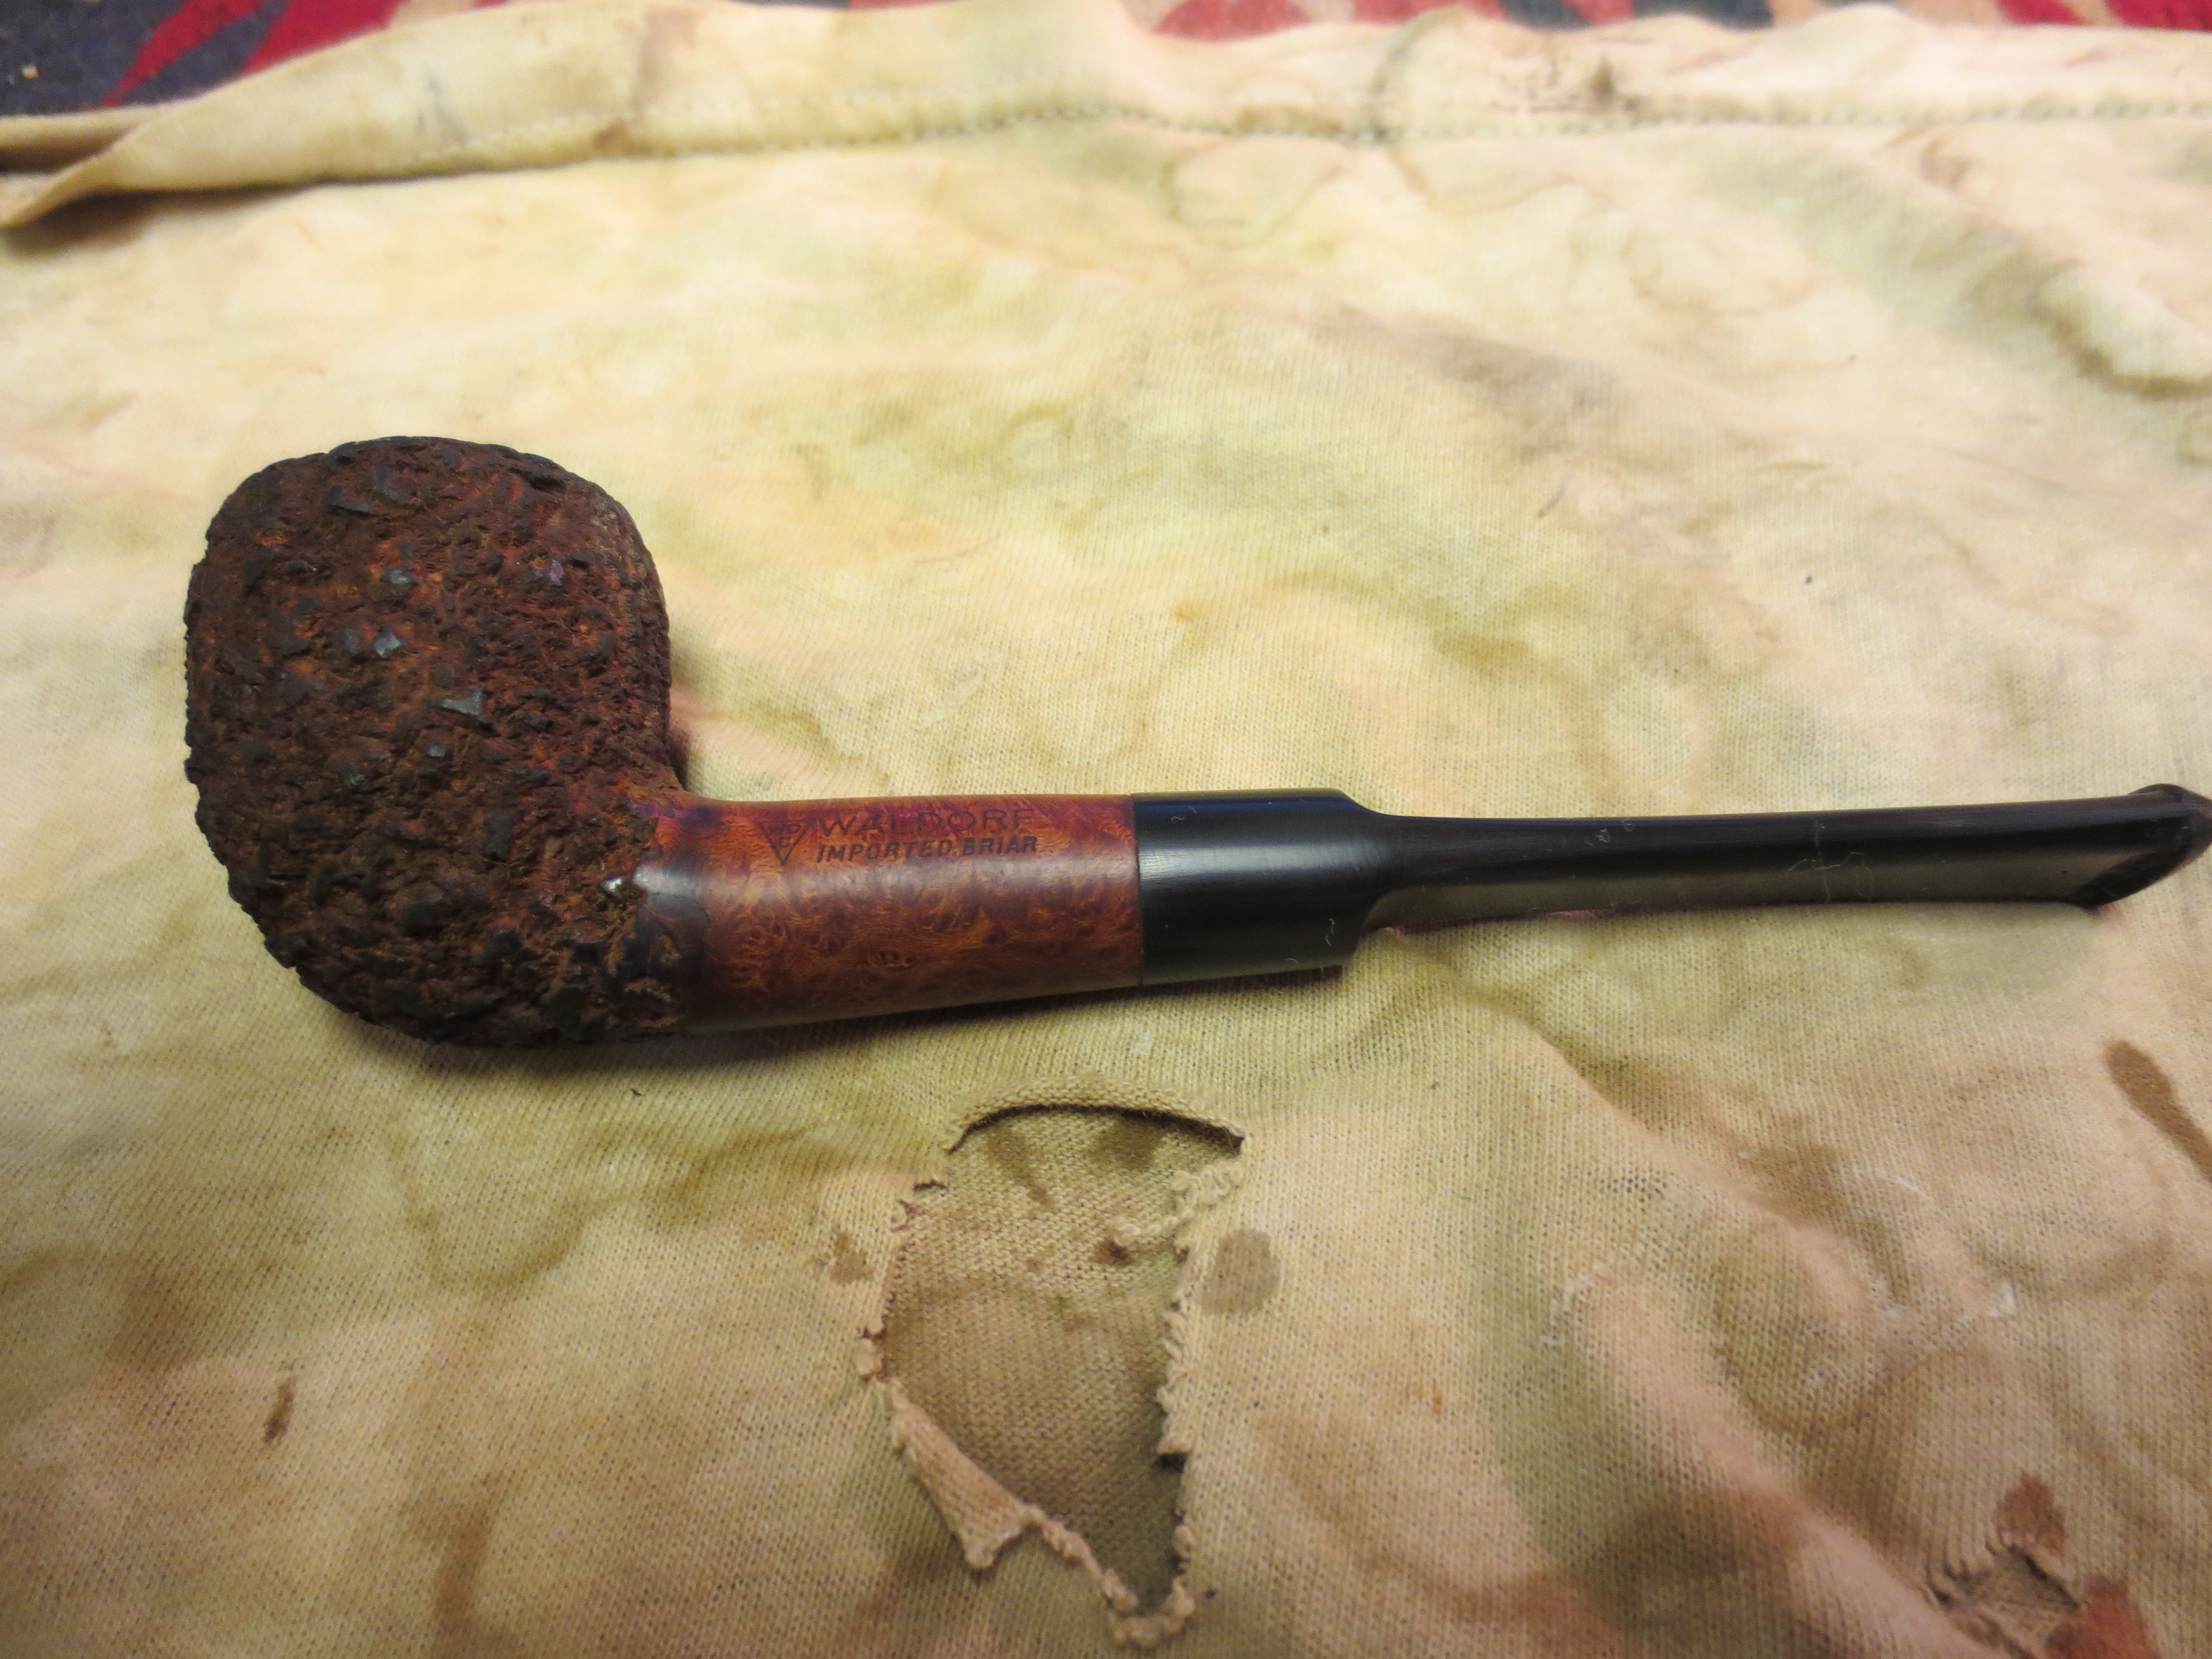
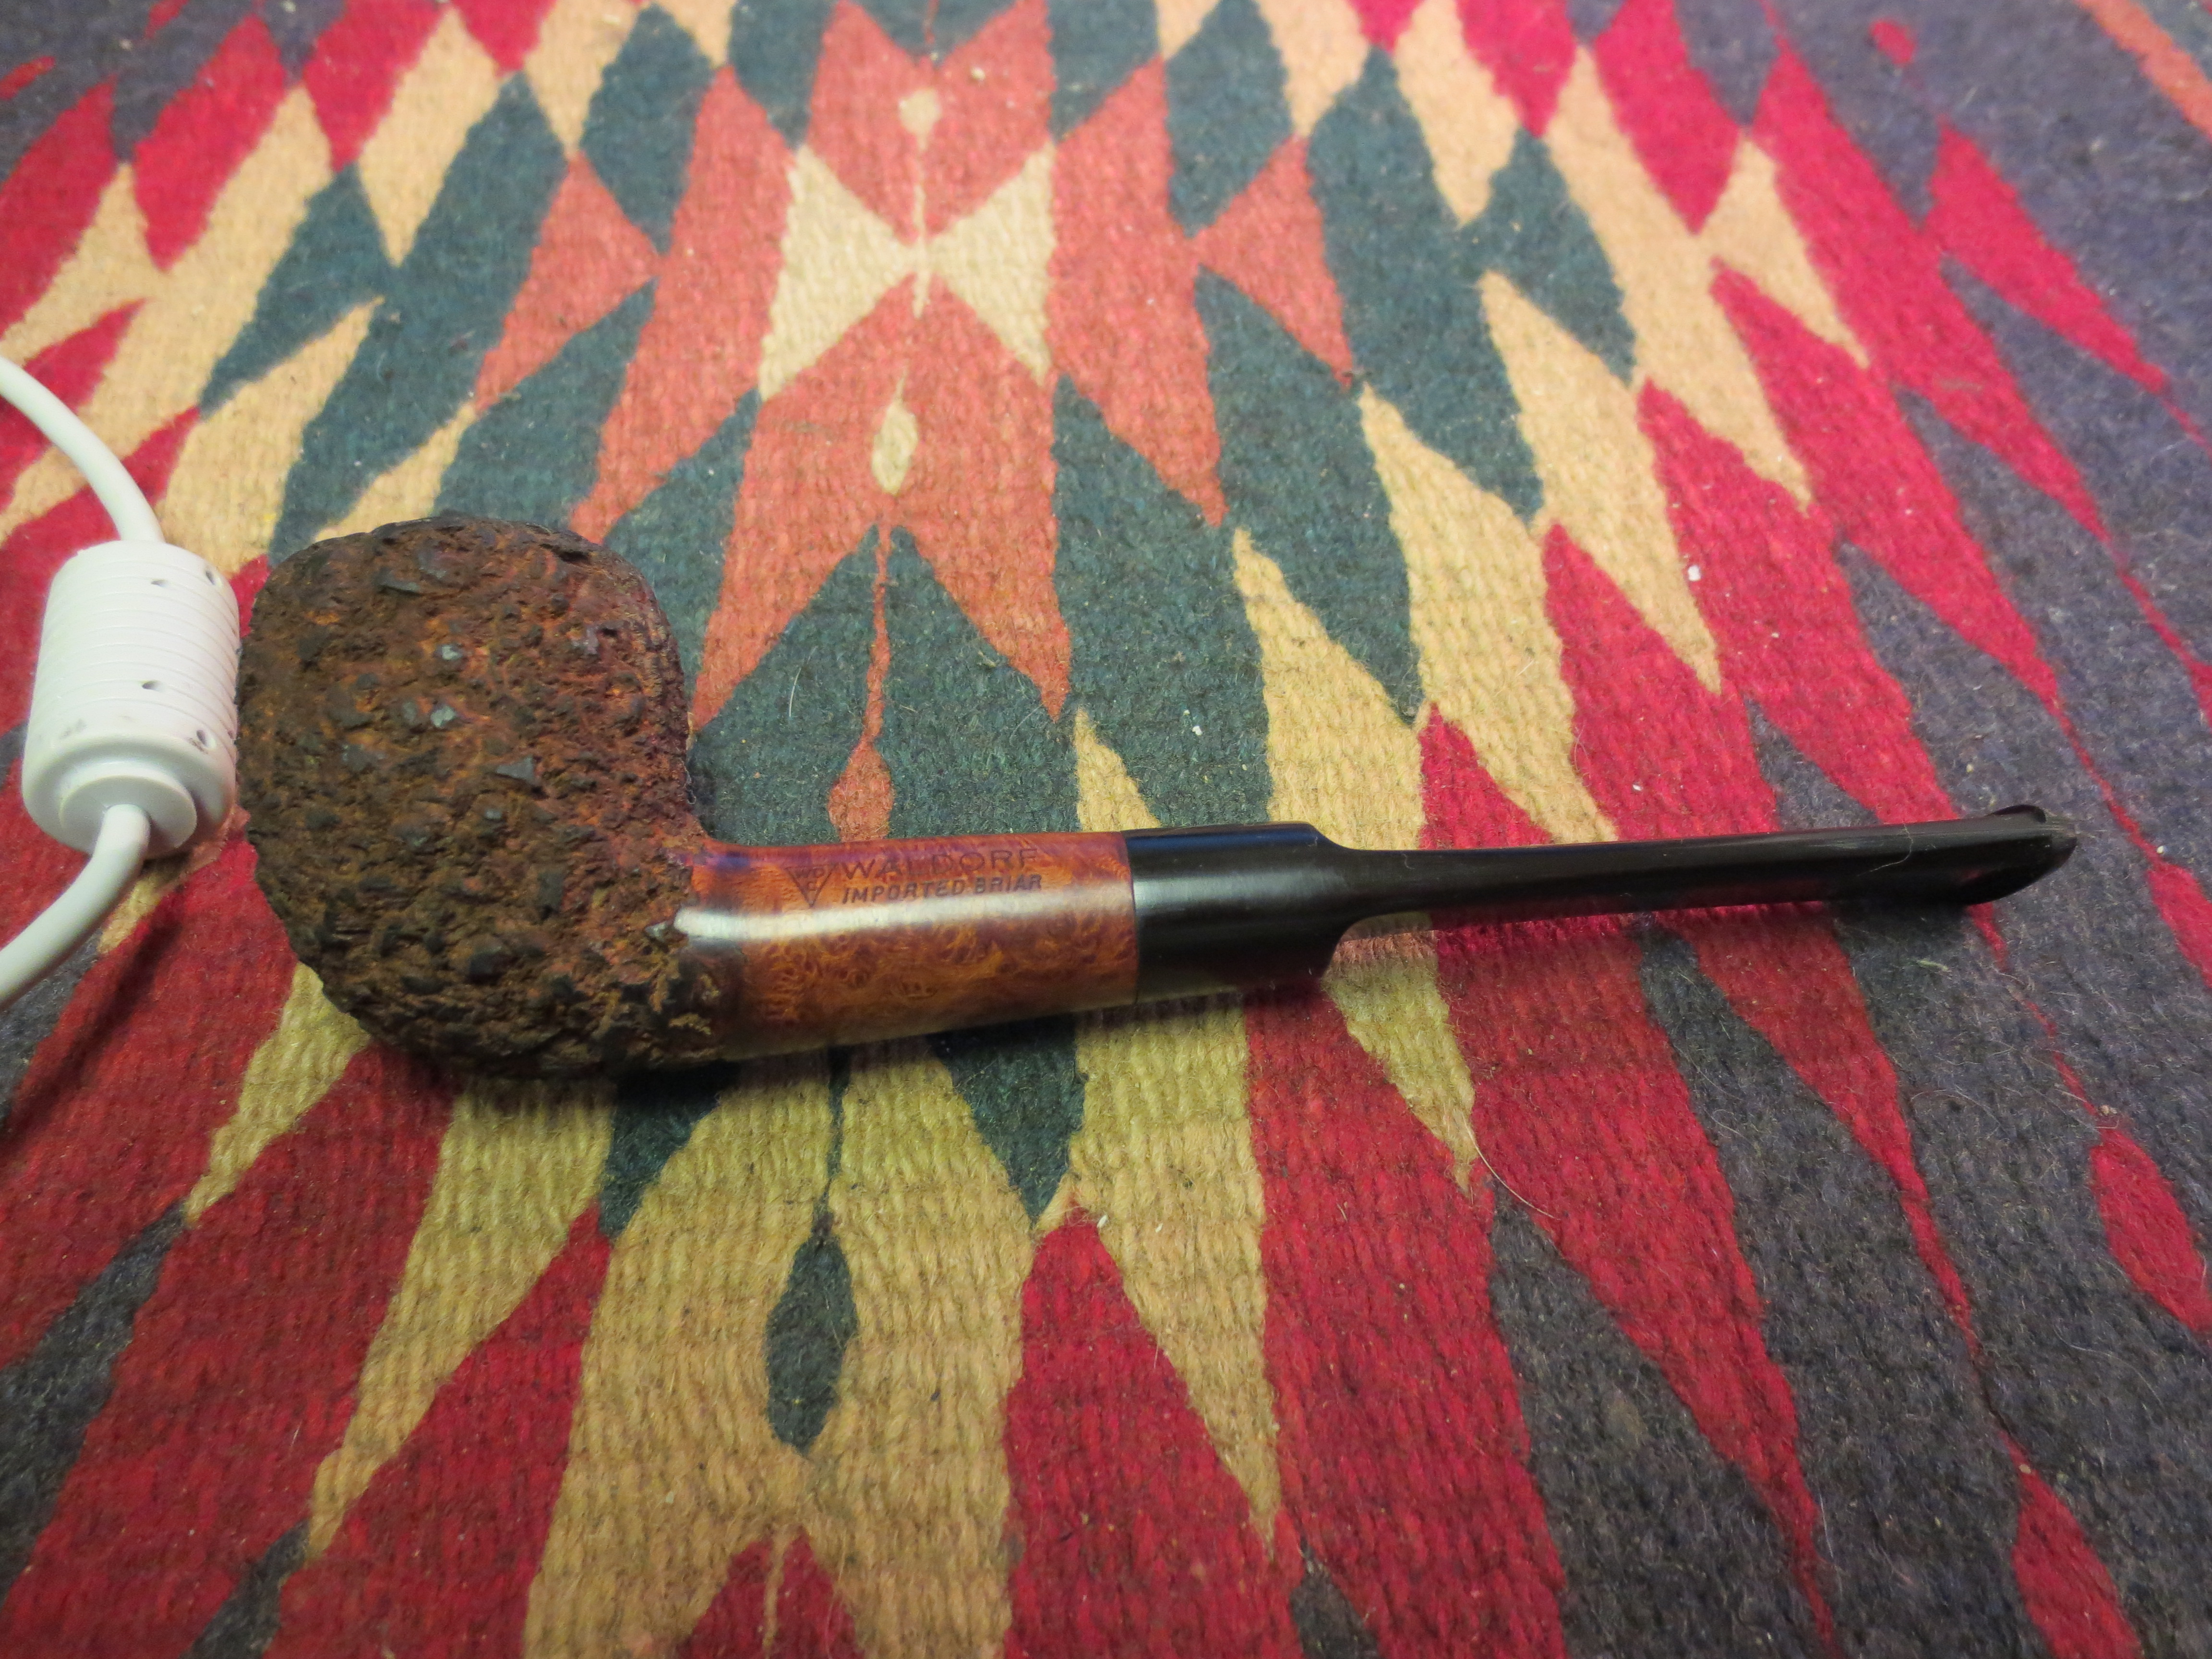
Blog by Steve Laug
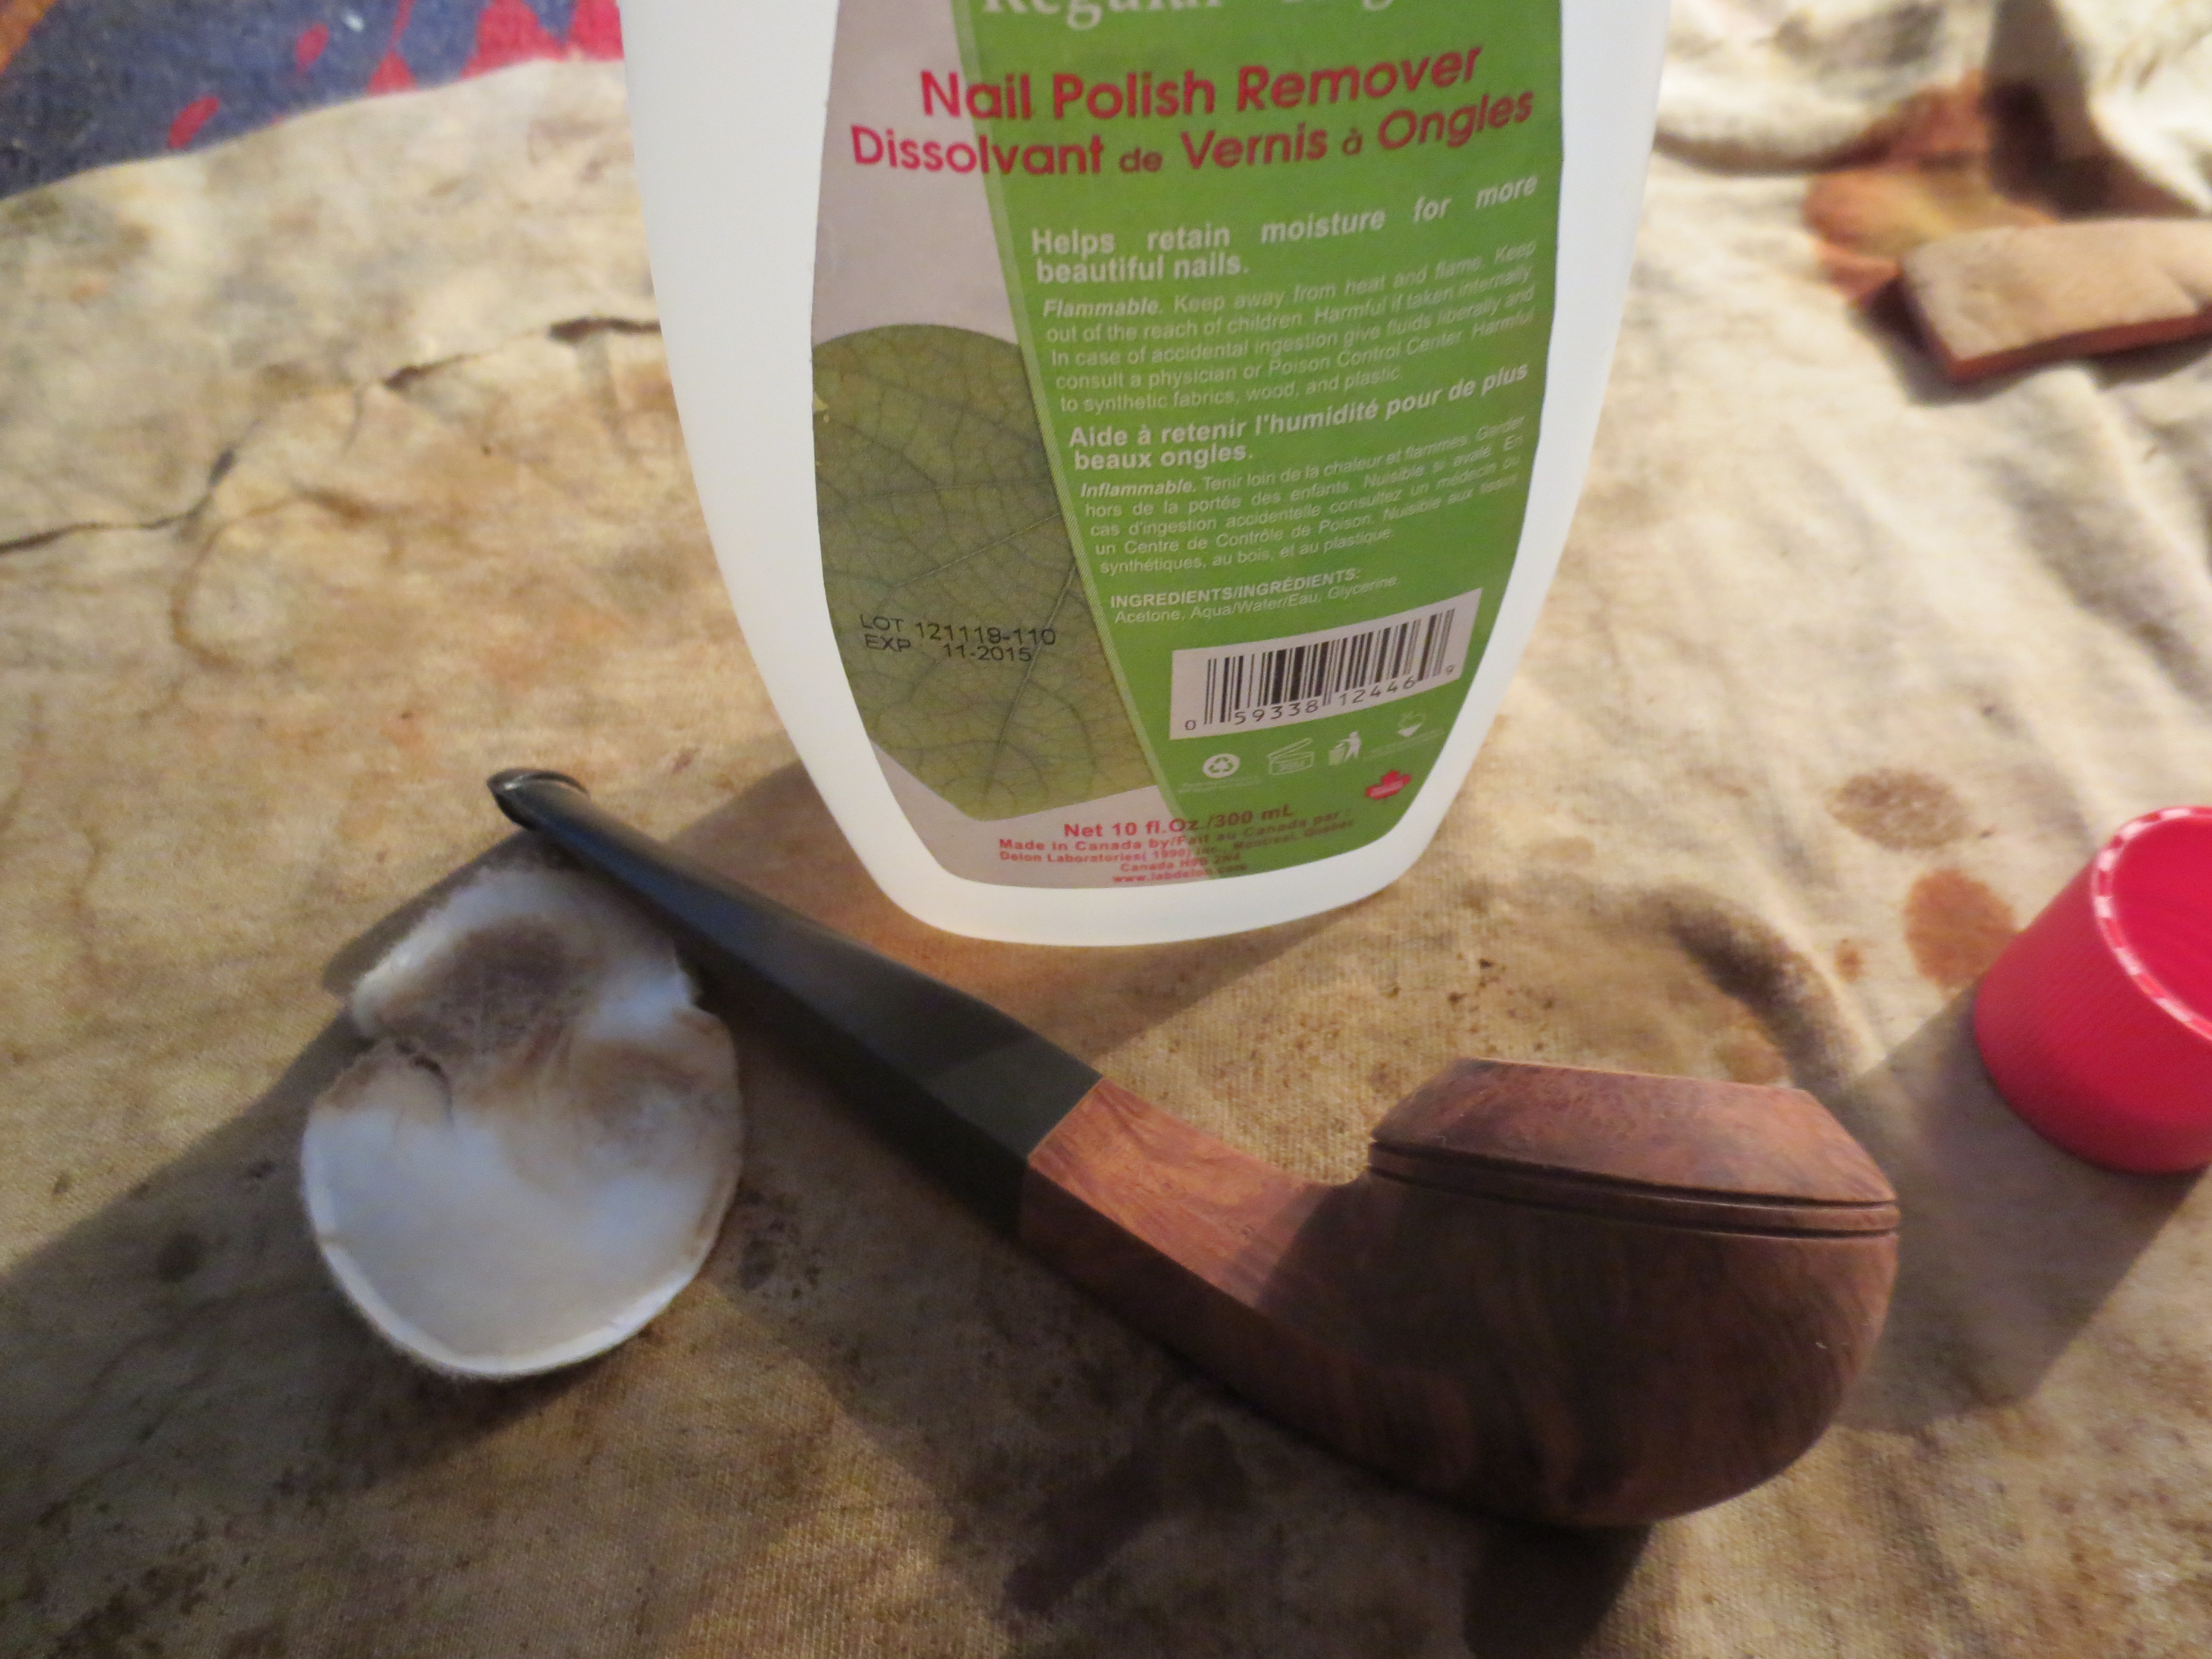
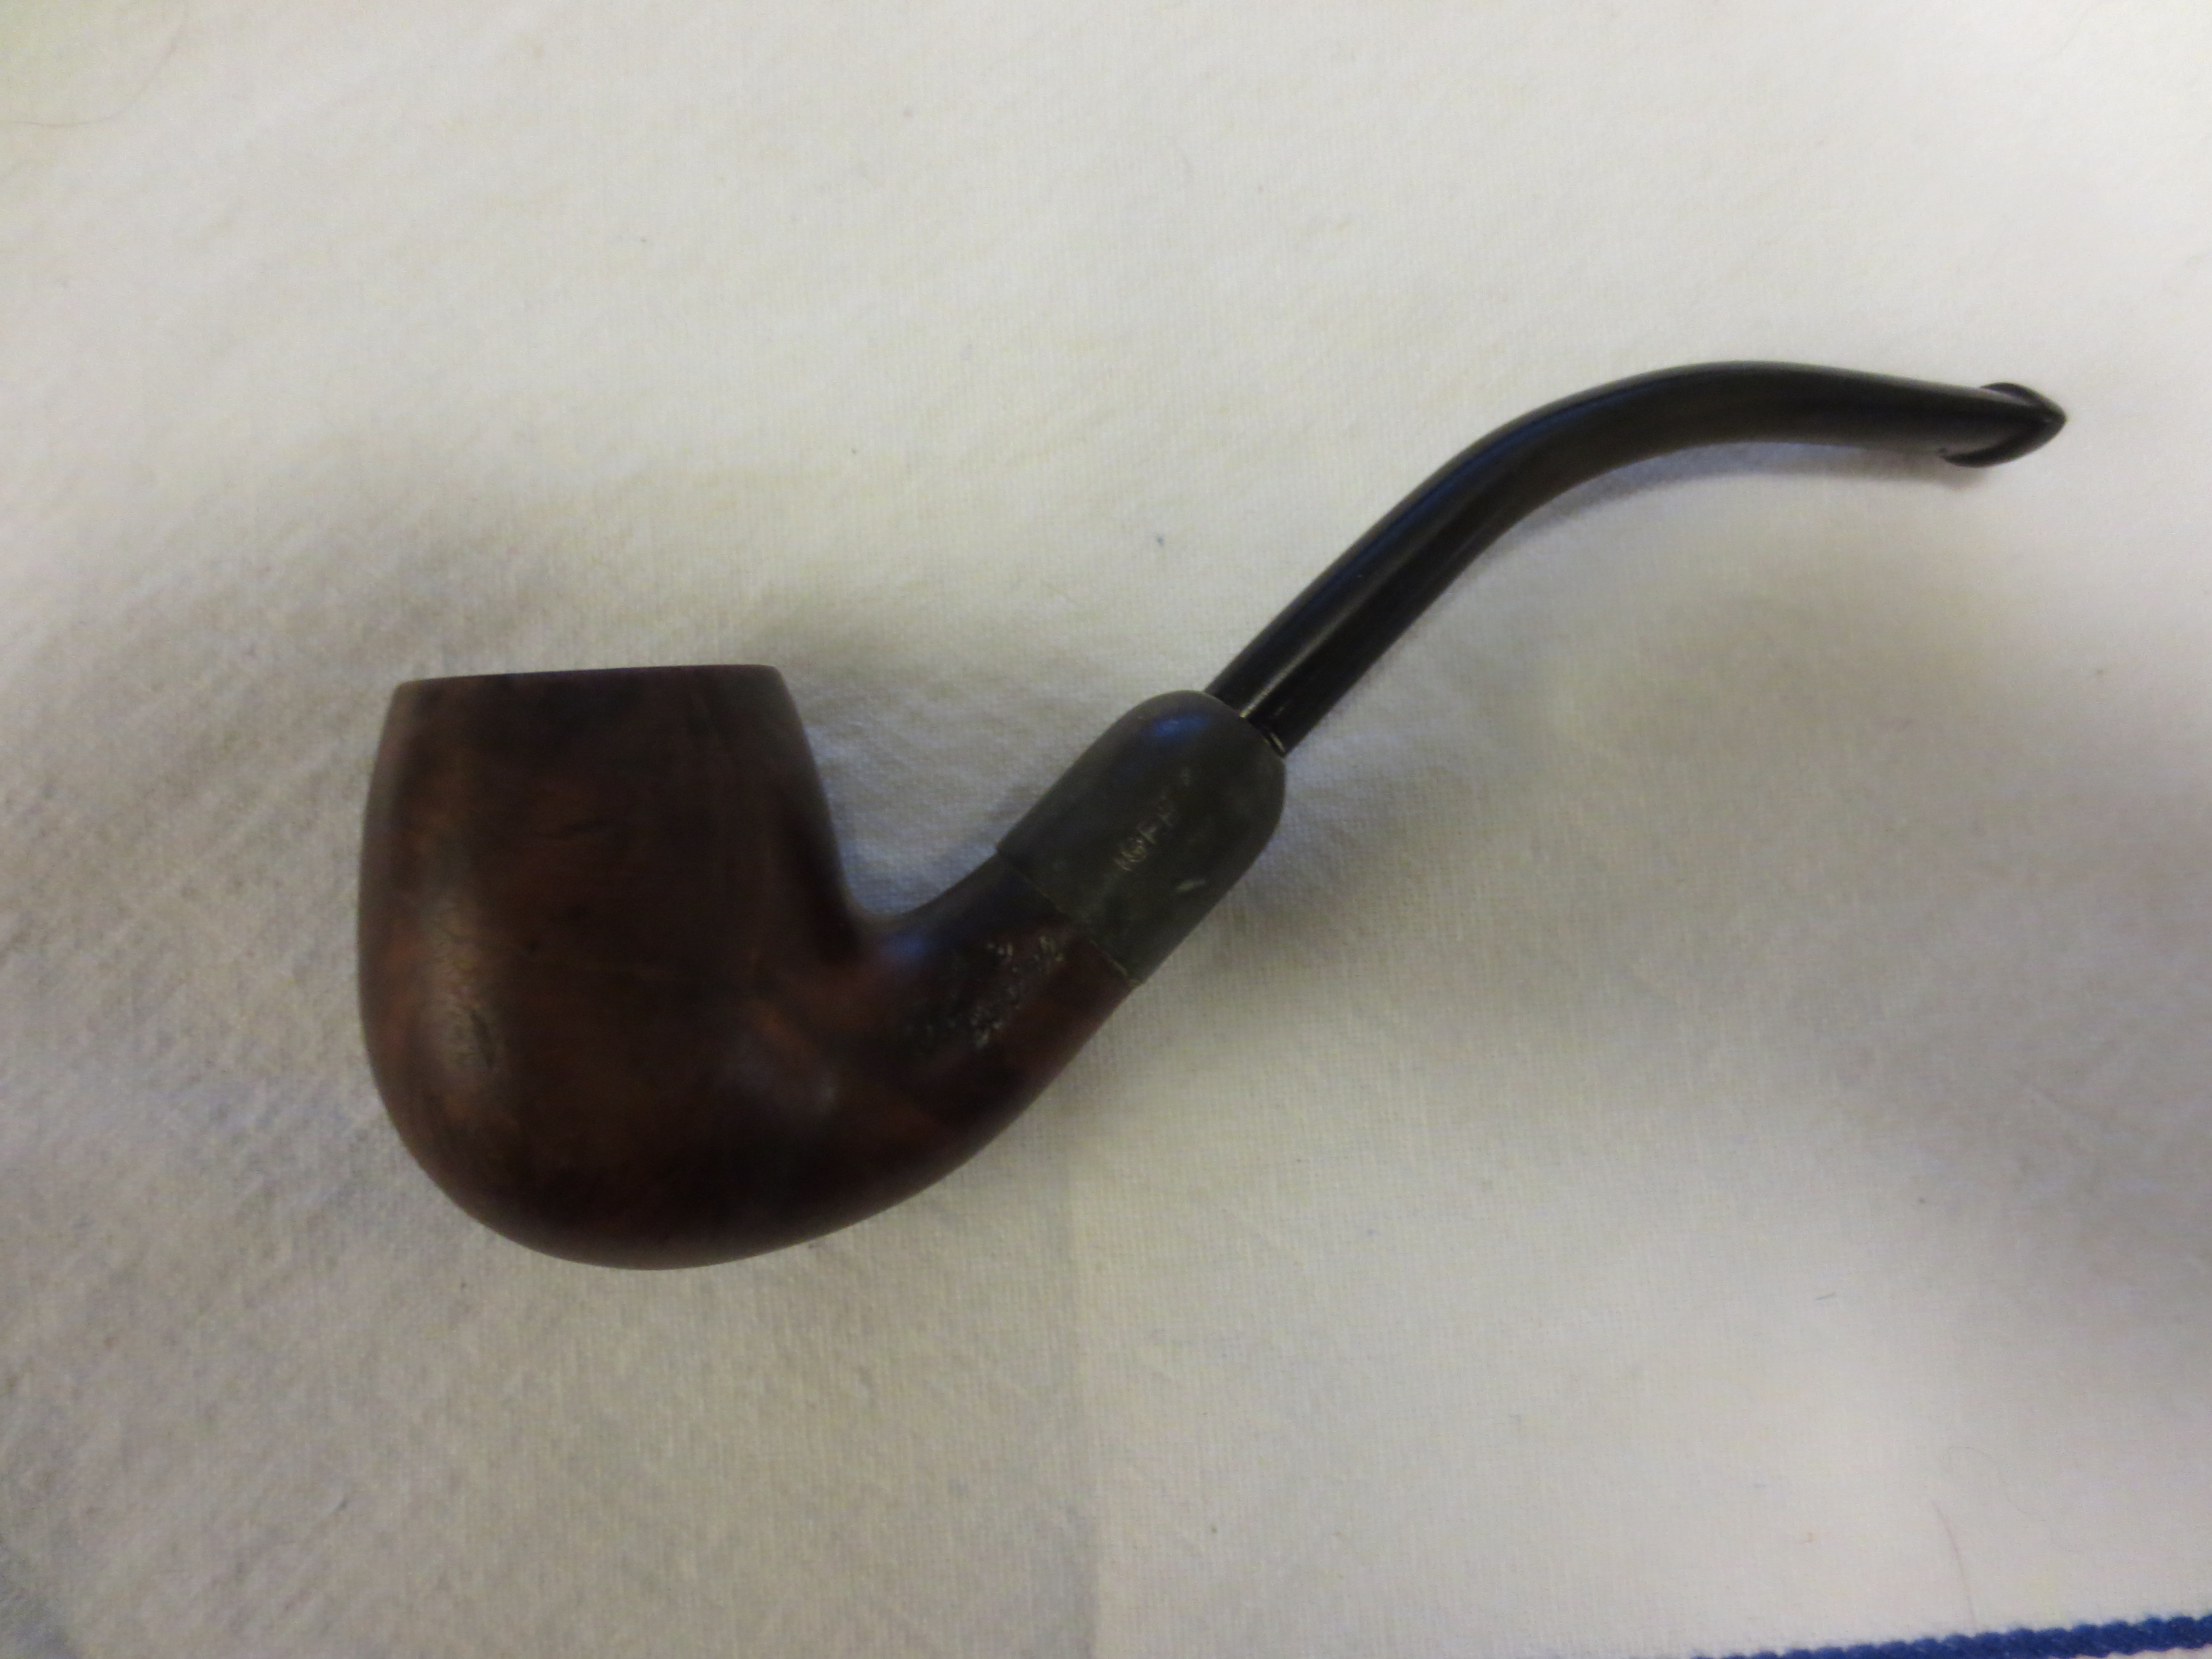
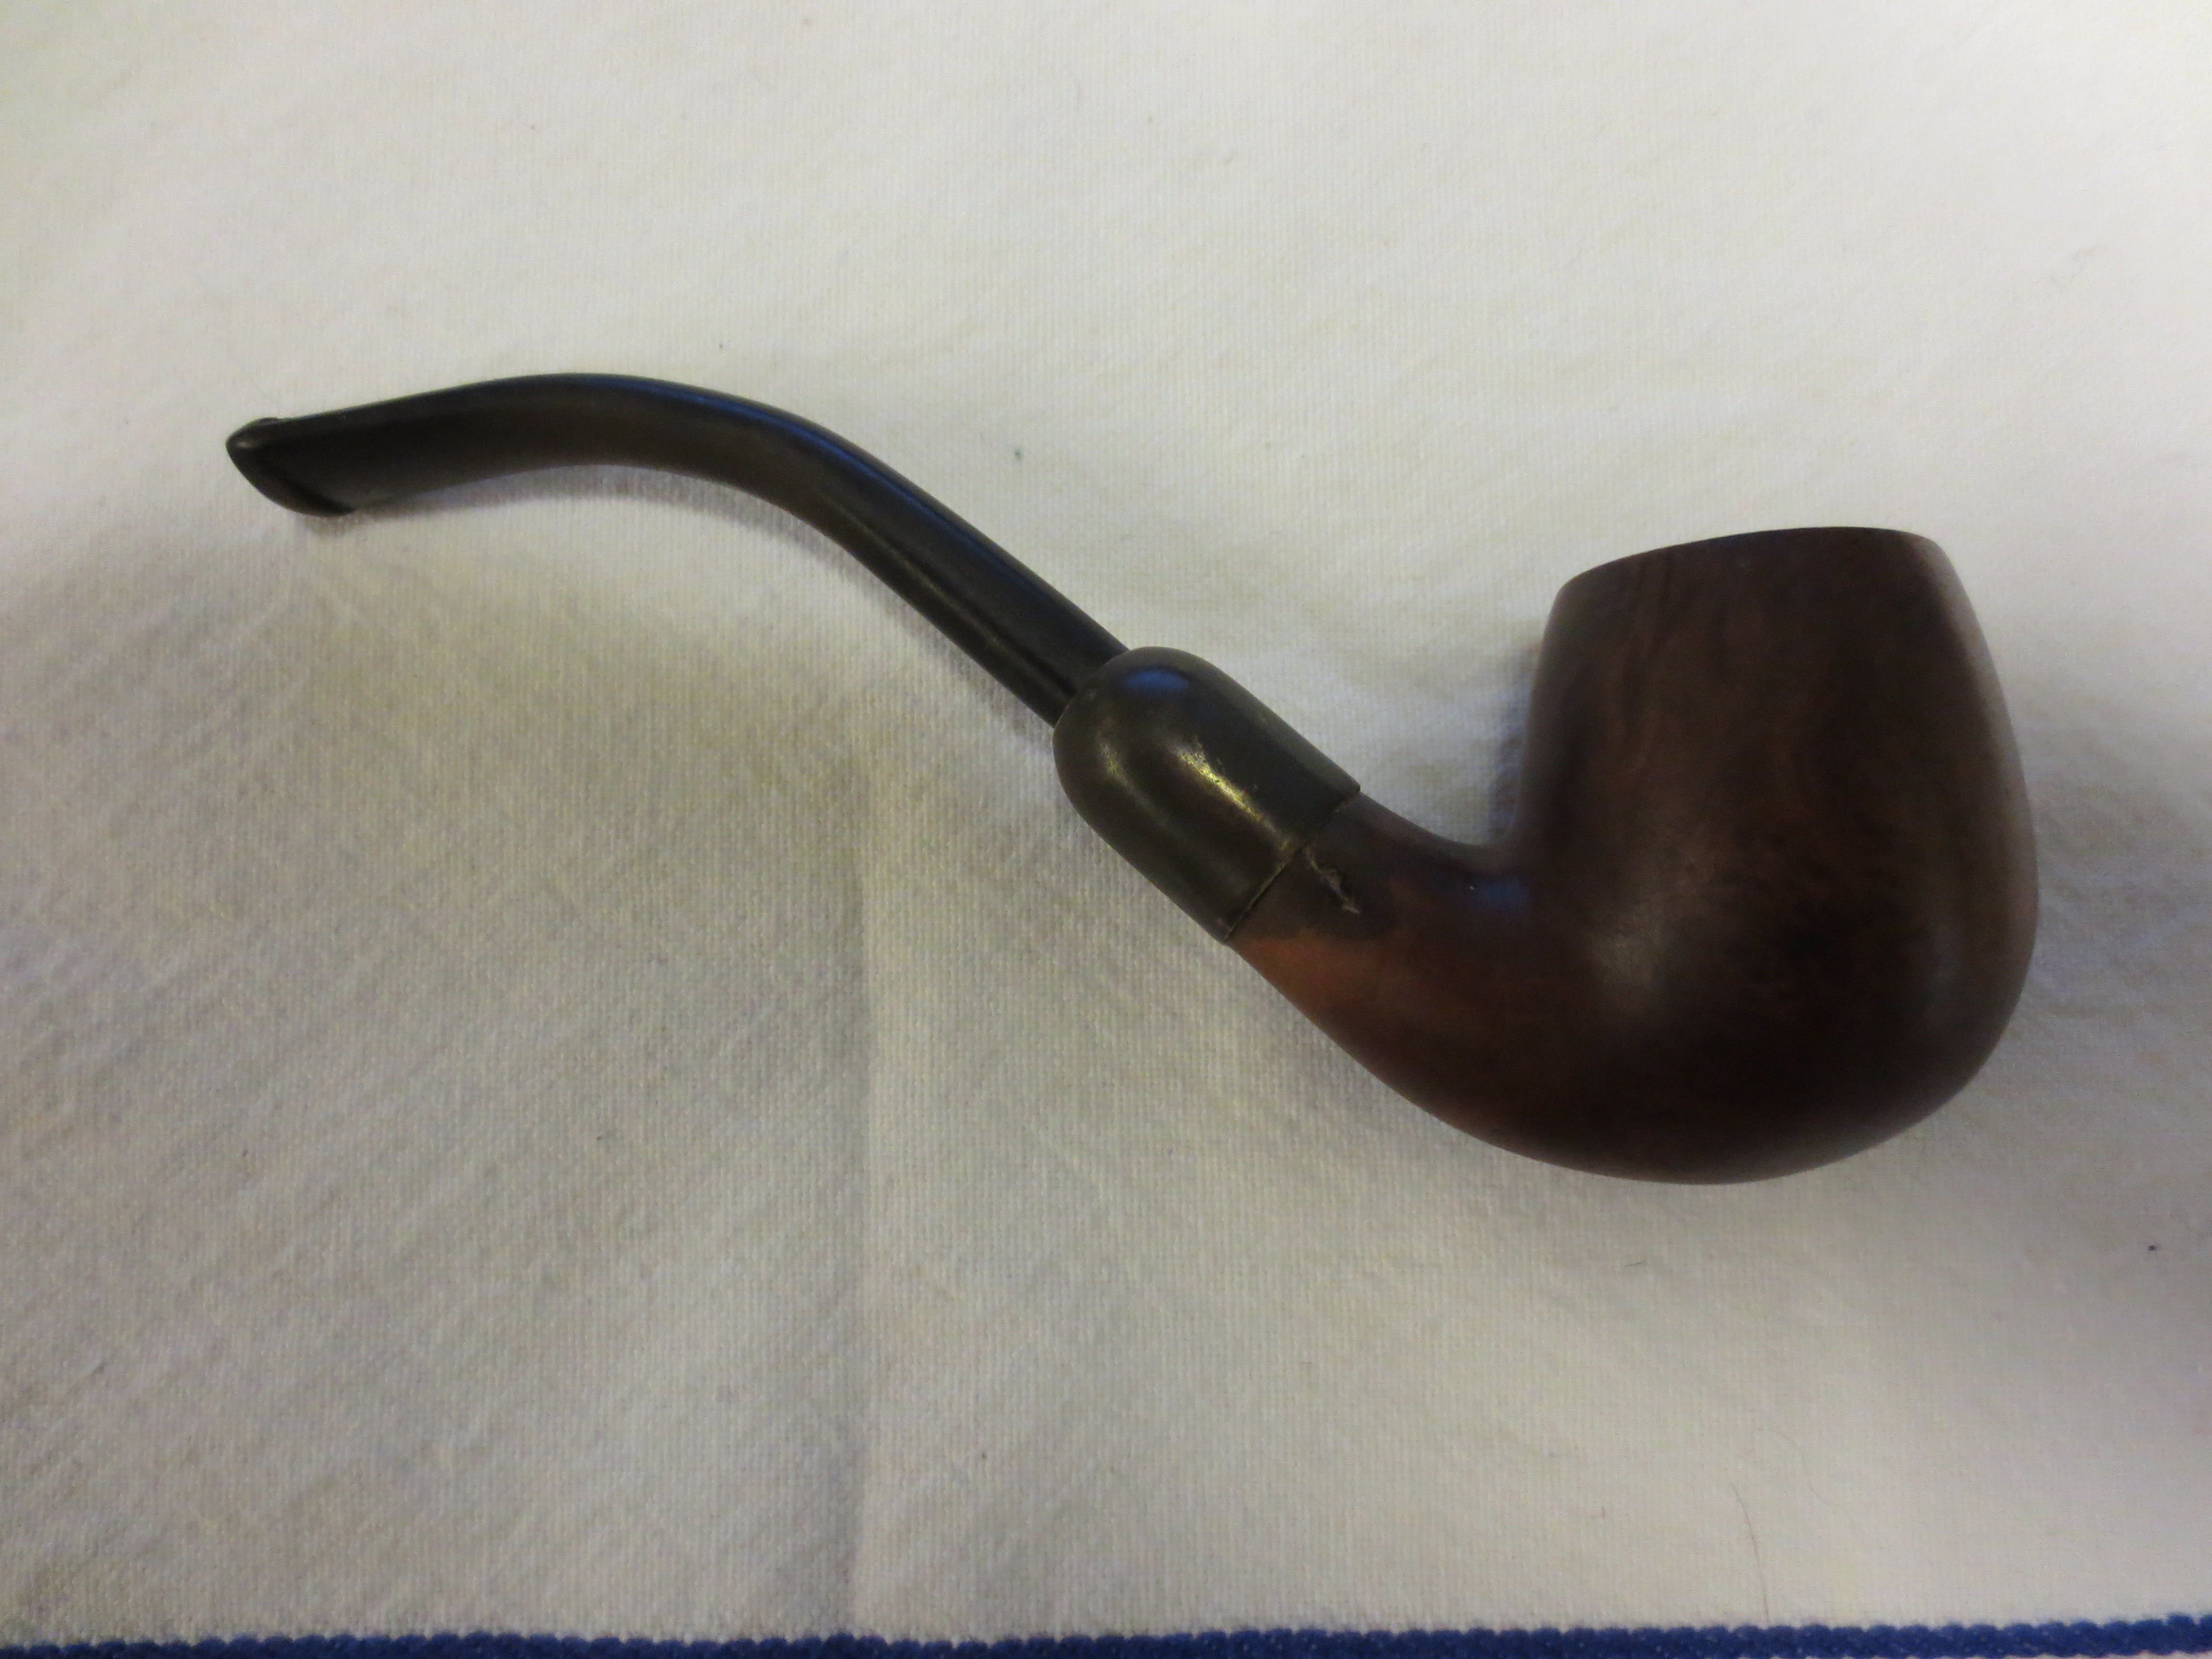
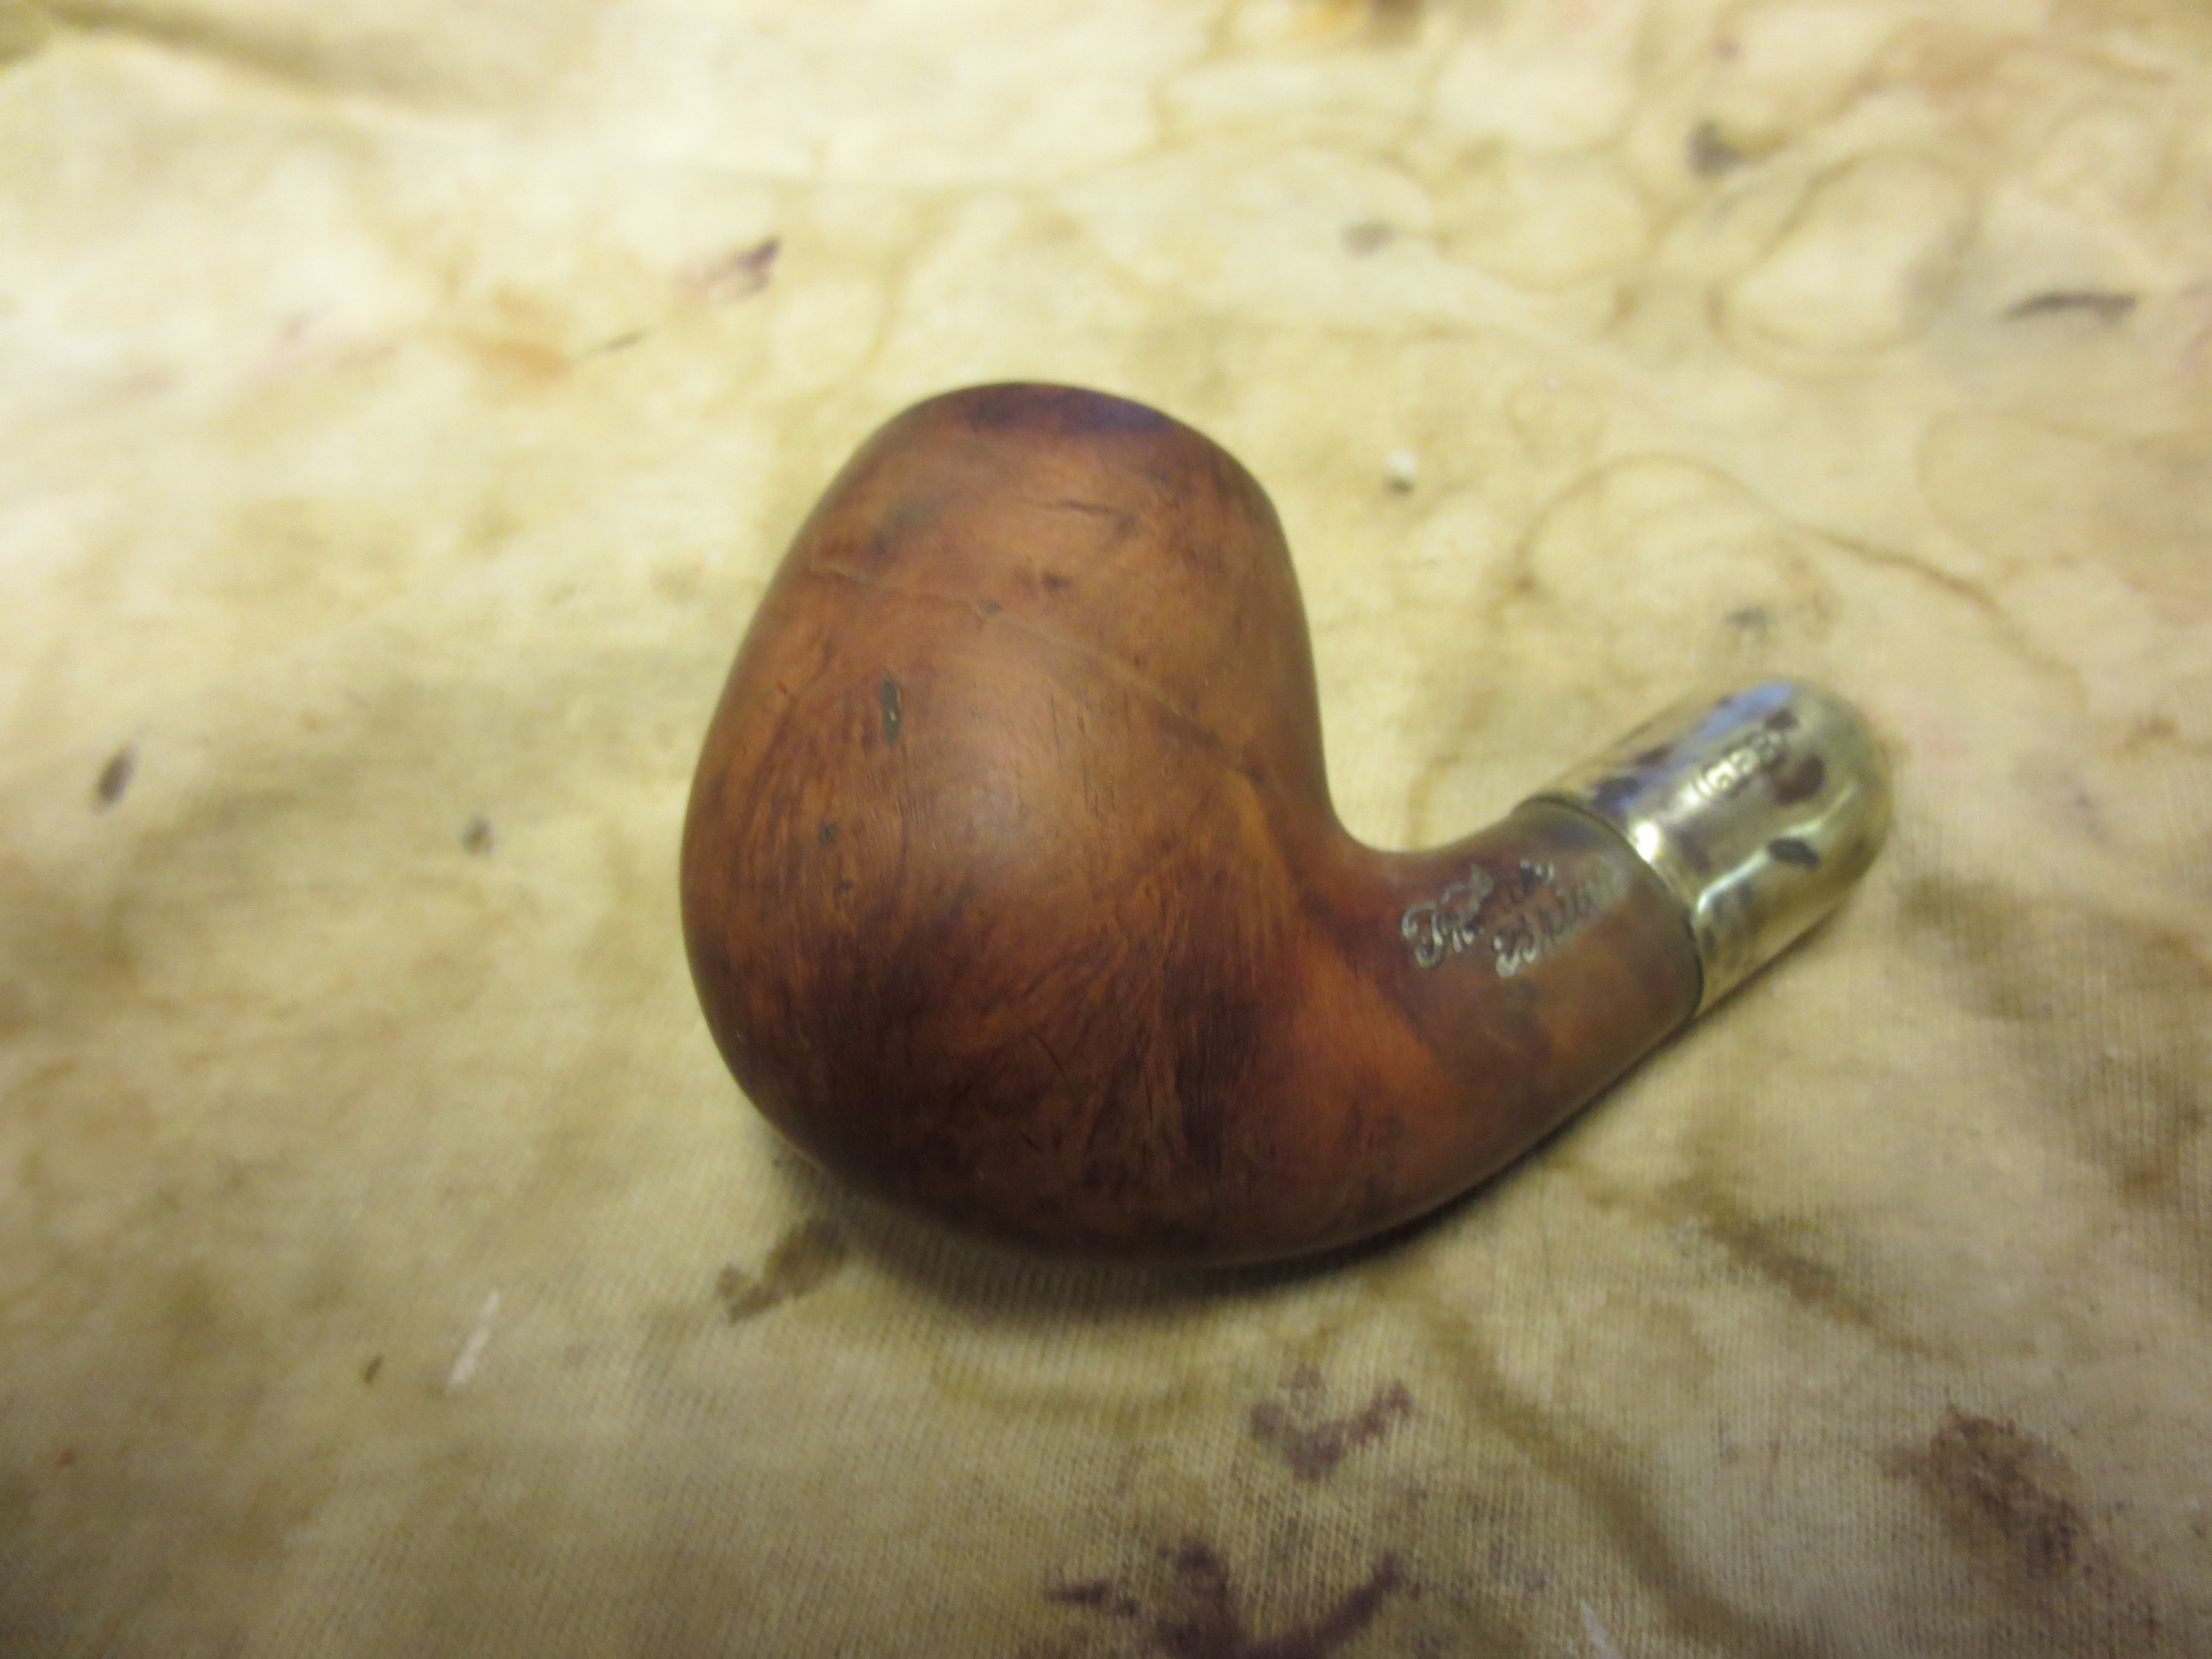
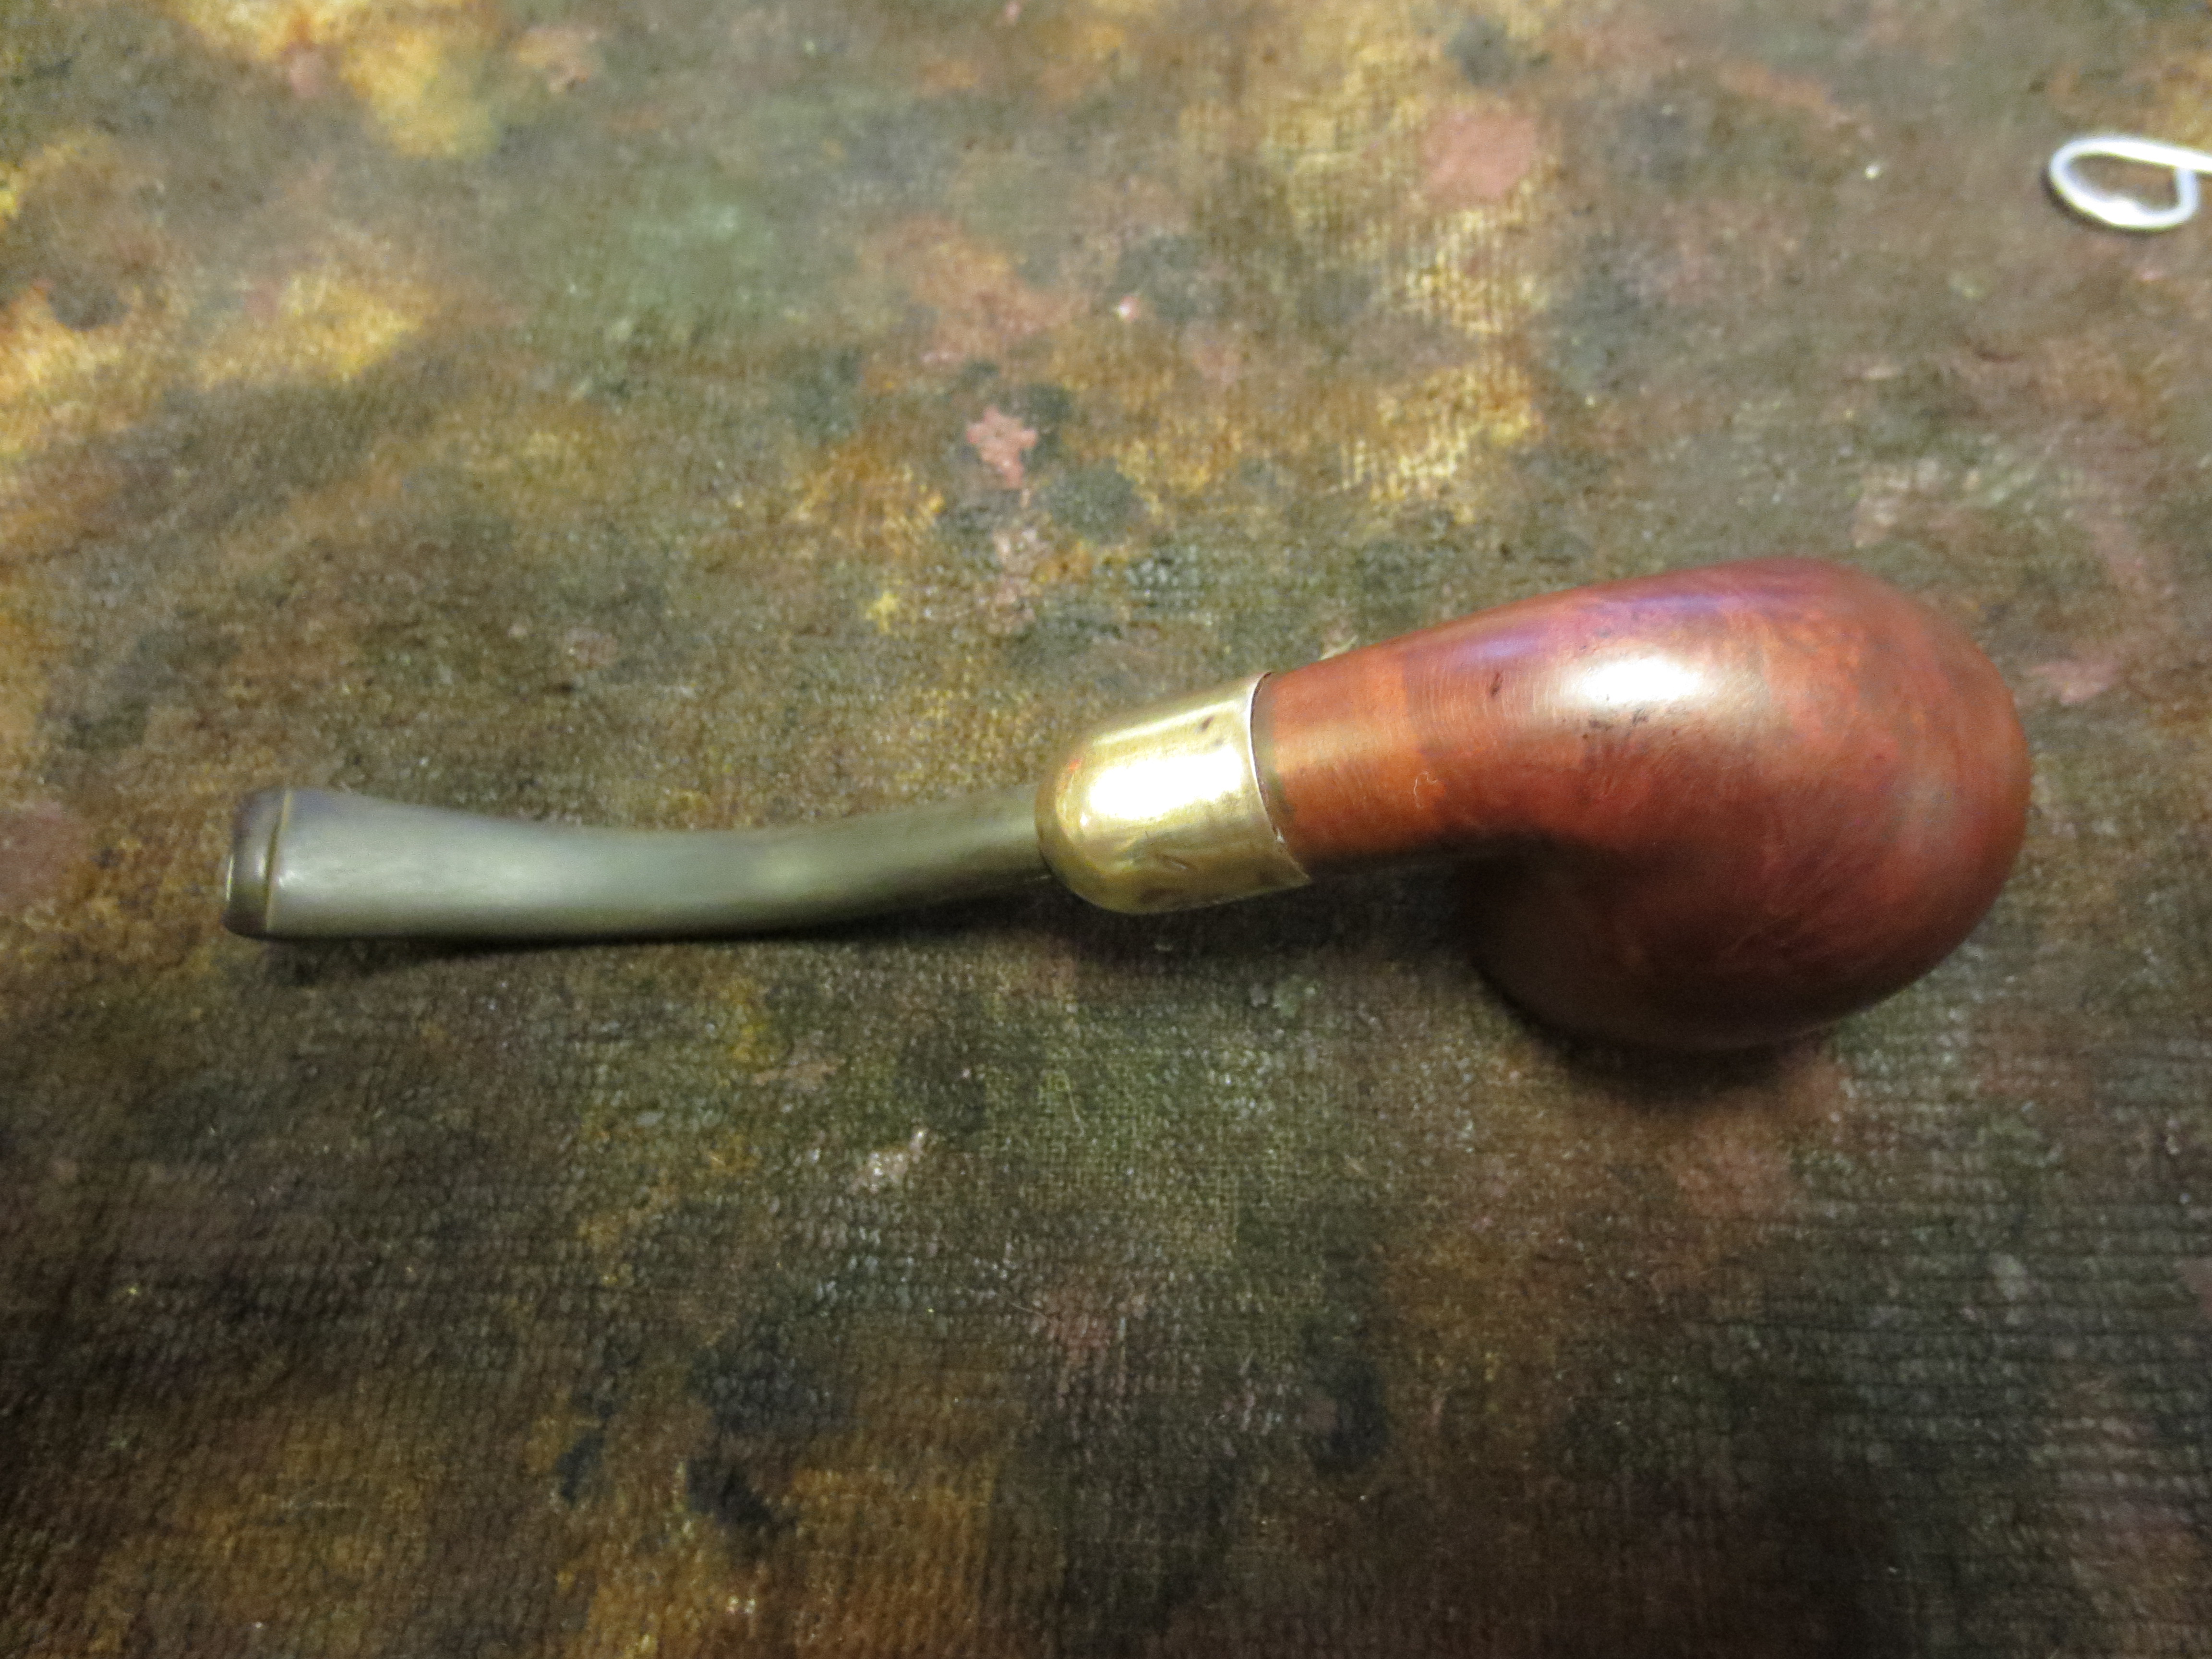
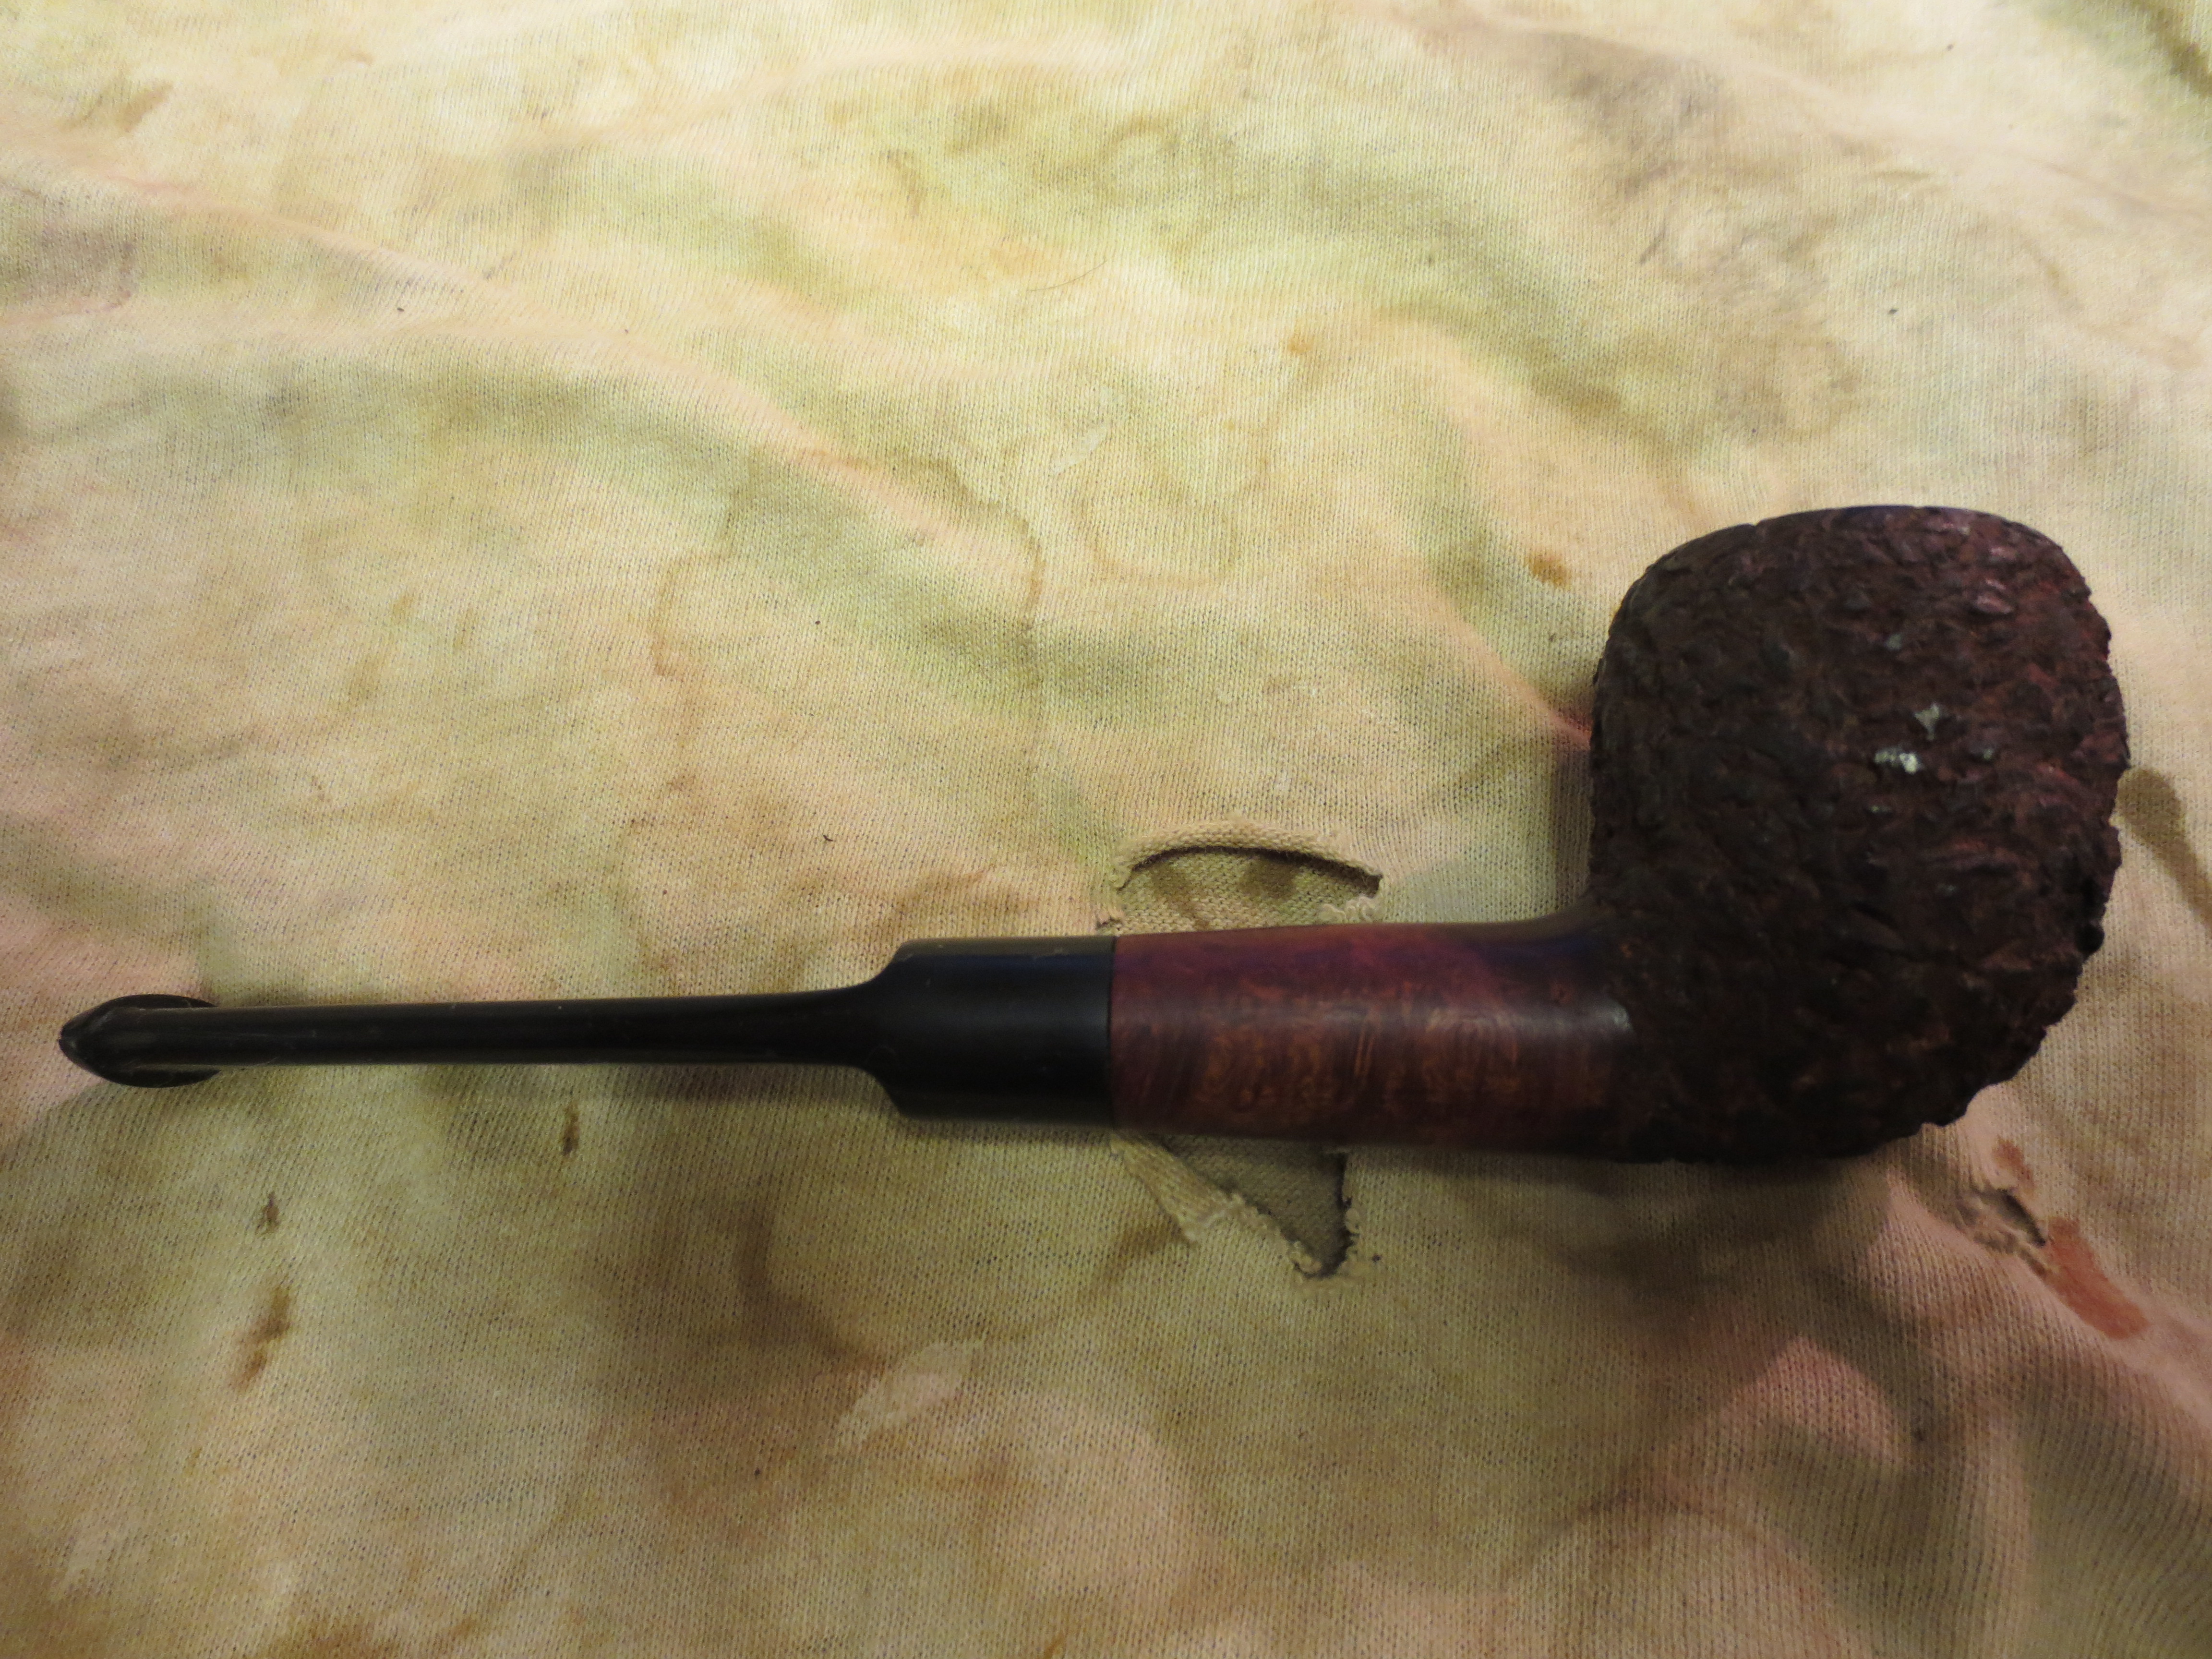
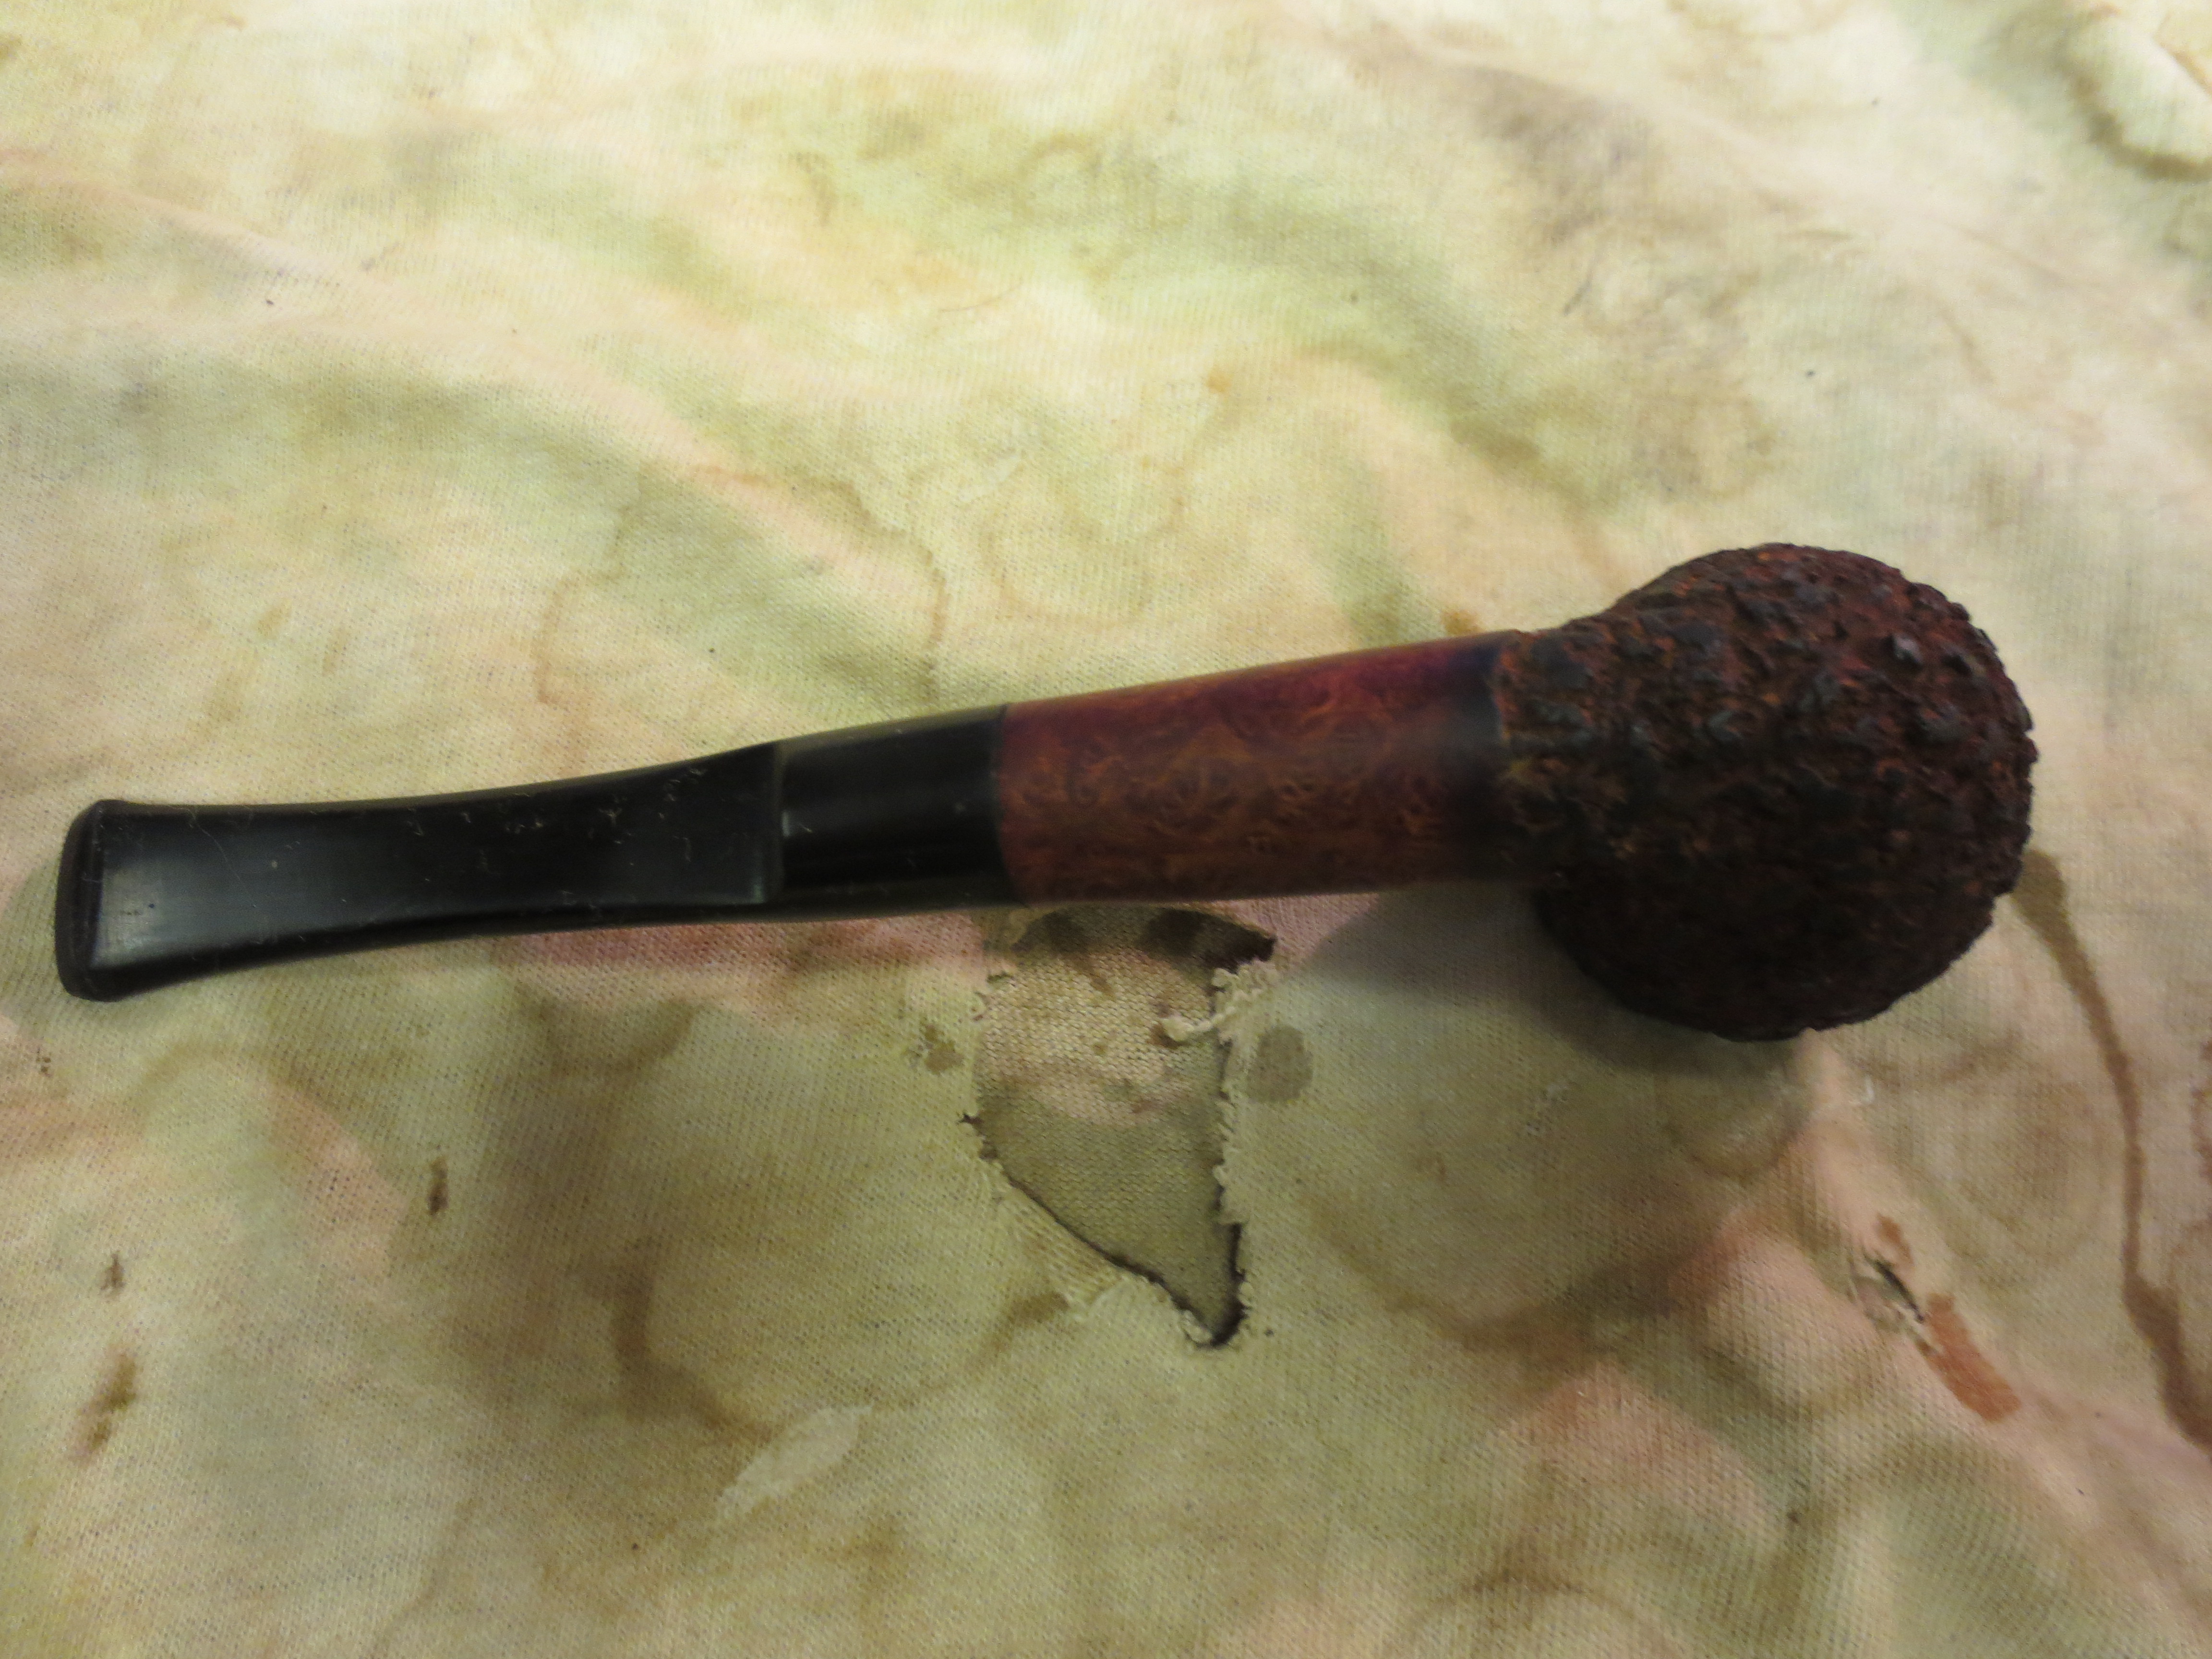
After reading Sid Stavros’ blog, http://pipe-smoke.blogspot.ca/ describing his process of converting older briars into meerschaum calabash pipes I decided on this rainy Saturday it was time for me to work on one. I had an old briar pipe bowl here that was a strangely shaped briar pot shaped sitter with a bit of a Rhodesian like top. It was in rough shape and was stemless so I restemmed it a while back. It has a pretty rough band on it so I am still undecided what to do with that. I also had a meerschaum bowl from an EBay group I picked up. It was without a gourd bowl so I just cleaned up the bowl and decided to set it aside until such a time I knew what I wanted to do with it. So on this rainy Vancouver Saturday afternoon I took the pipe bowl out and the meerschaum bowl out and put them side by side. I did some measurements in terms of the depth of both and the diameter of the inside of the briar and the outside of the meer cup to see if it would even be feasible. The measurements said it would work. So taking a deep breath I got out my Dremel and set up the parts for the “new” re-envisioned pipe.
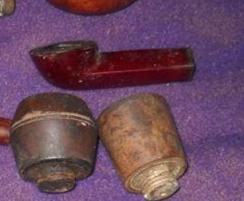
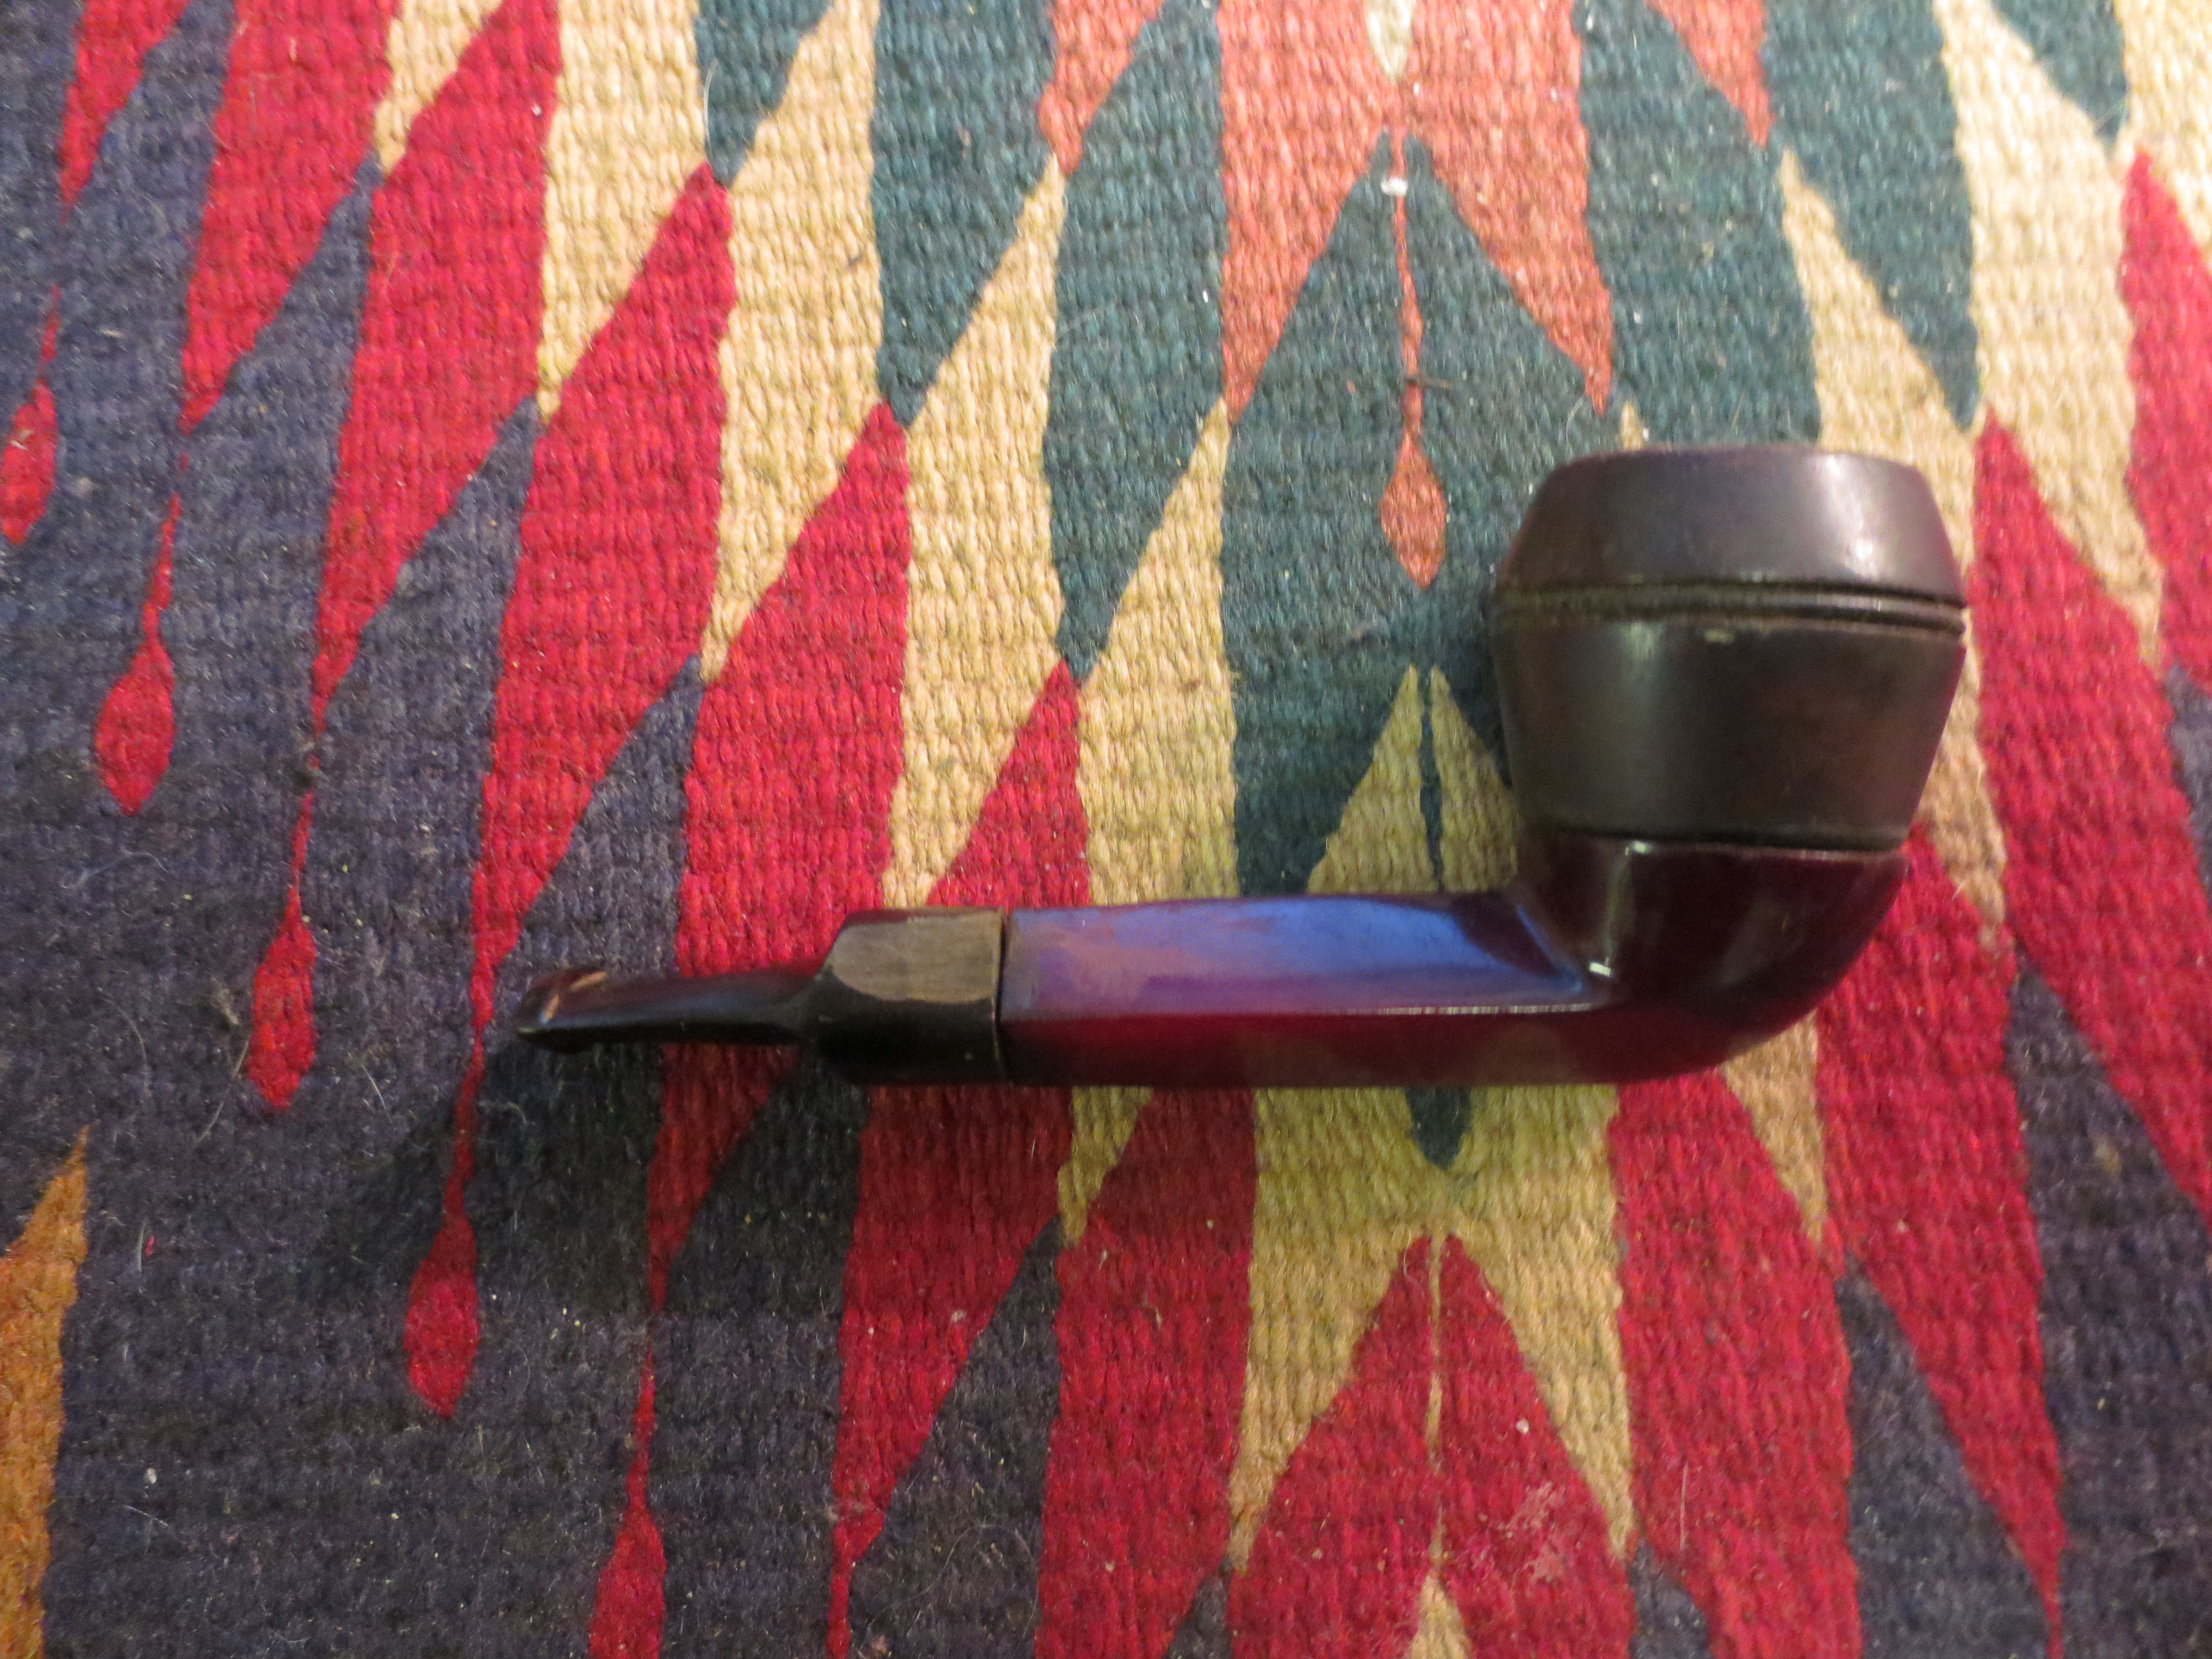
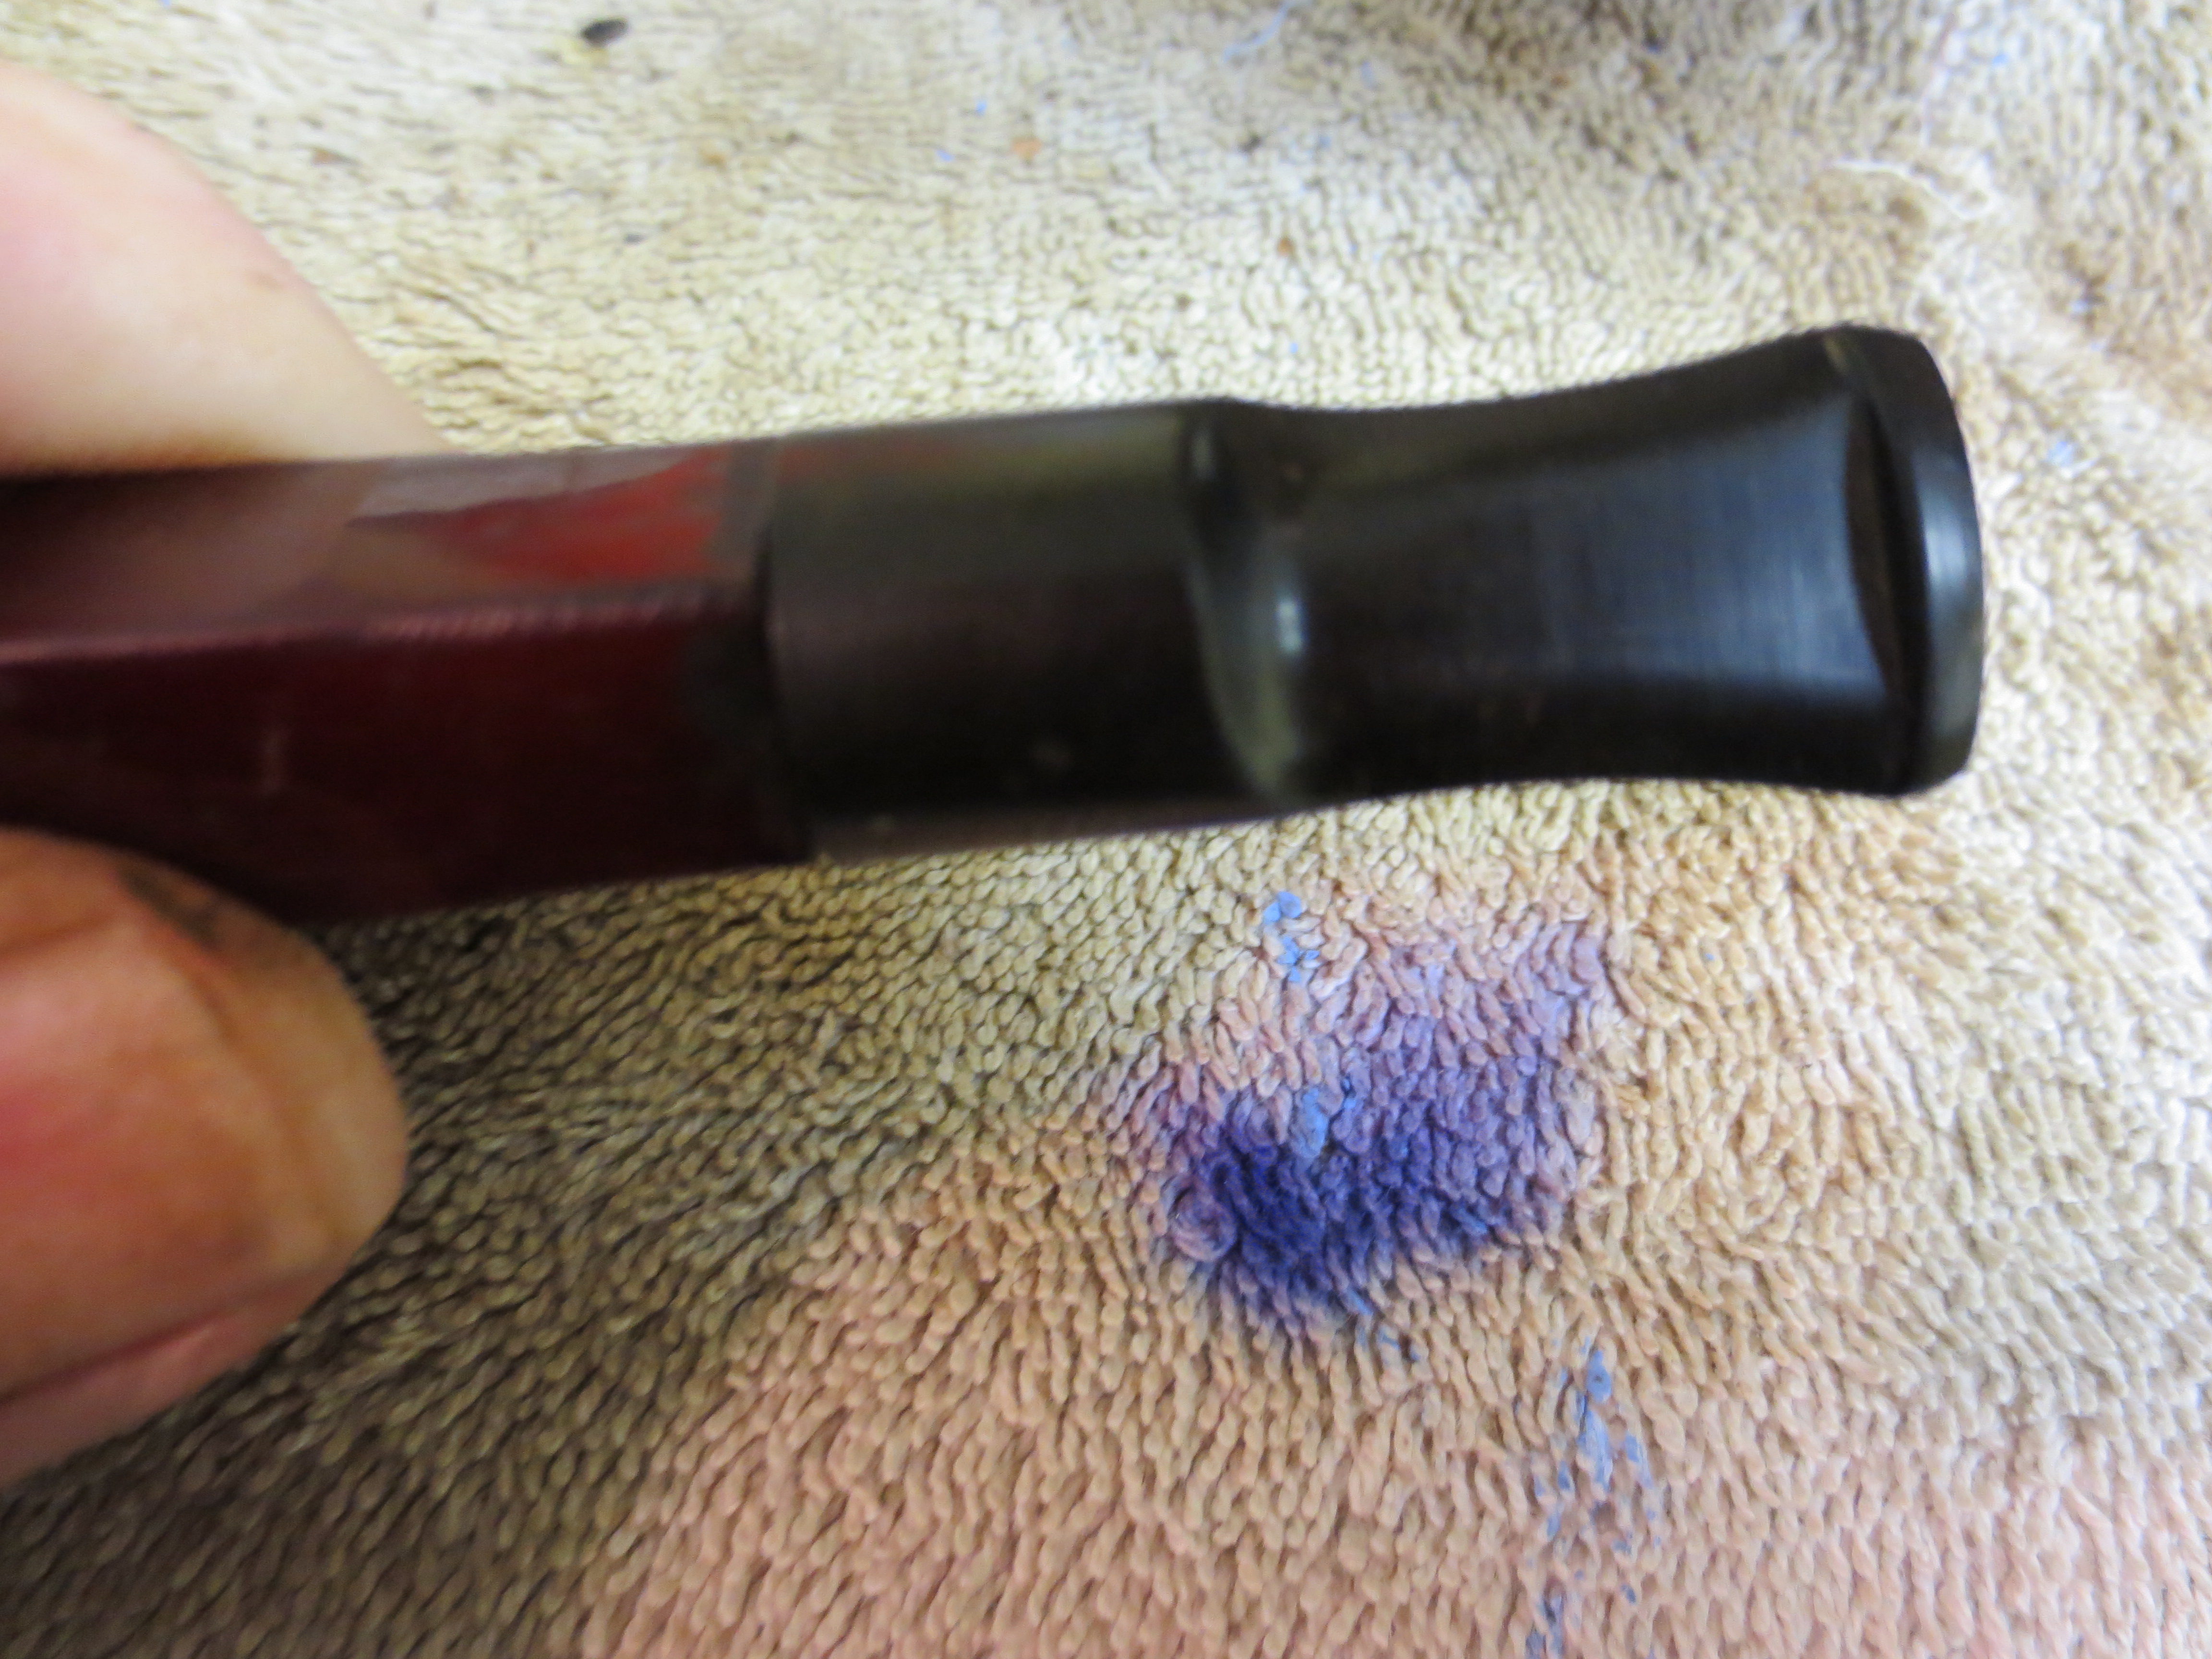
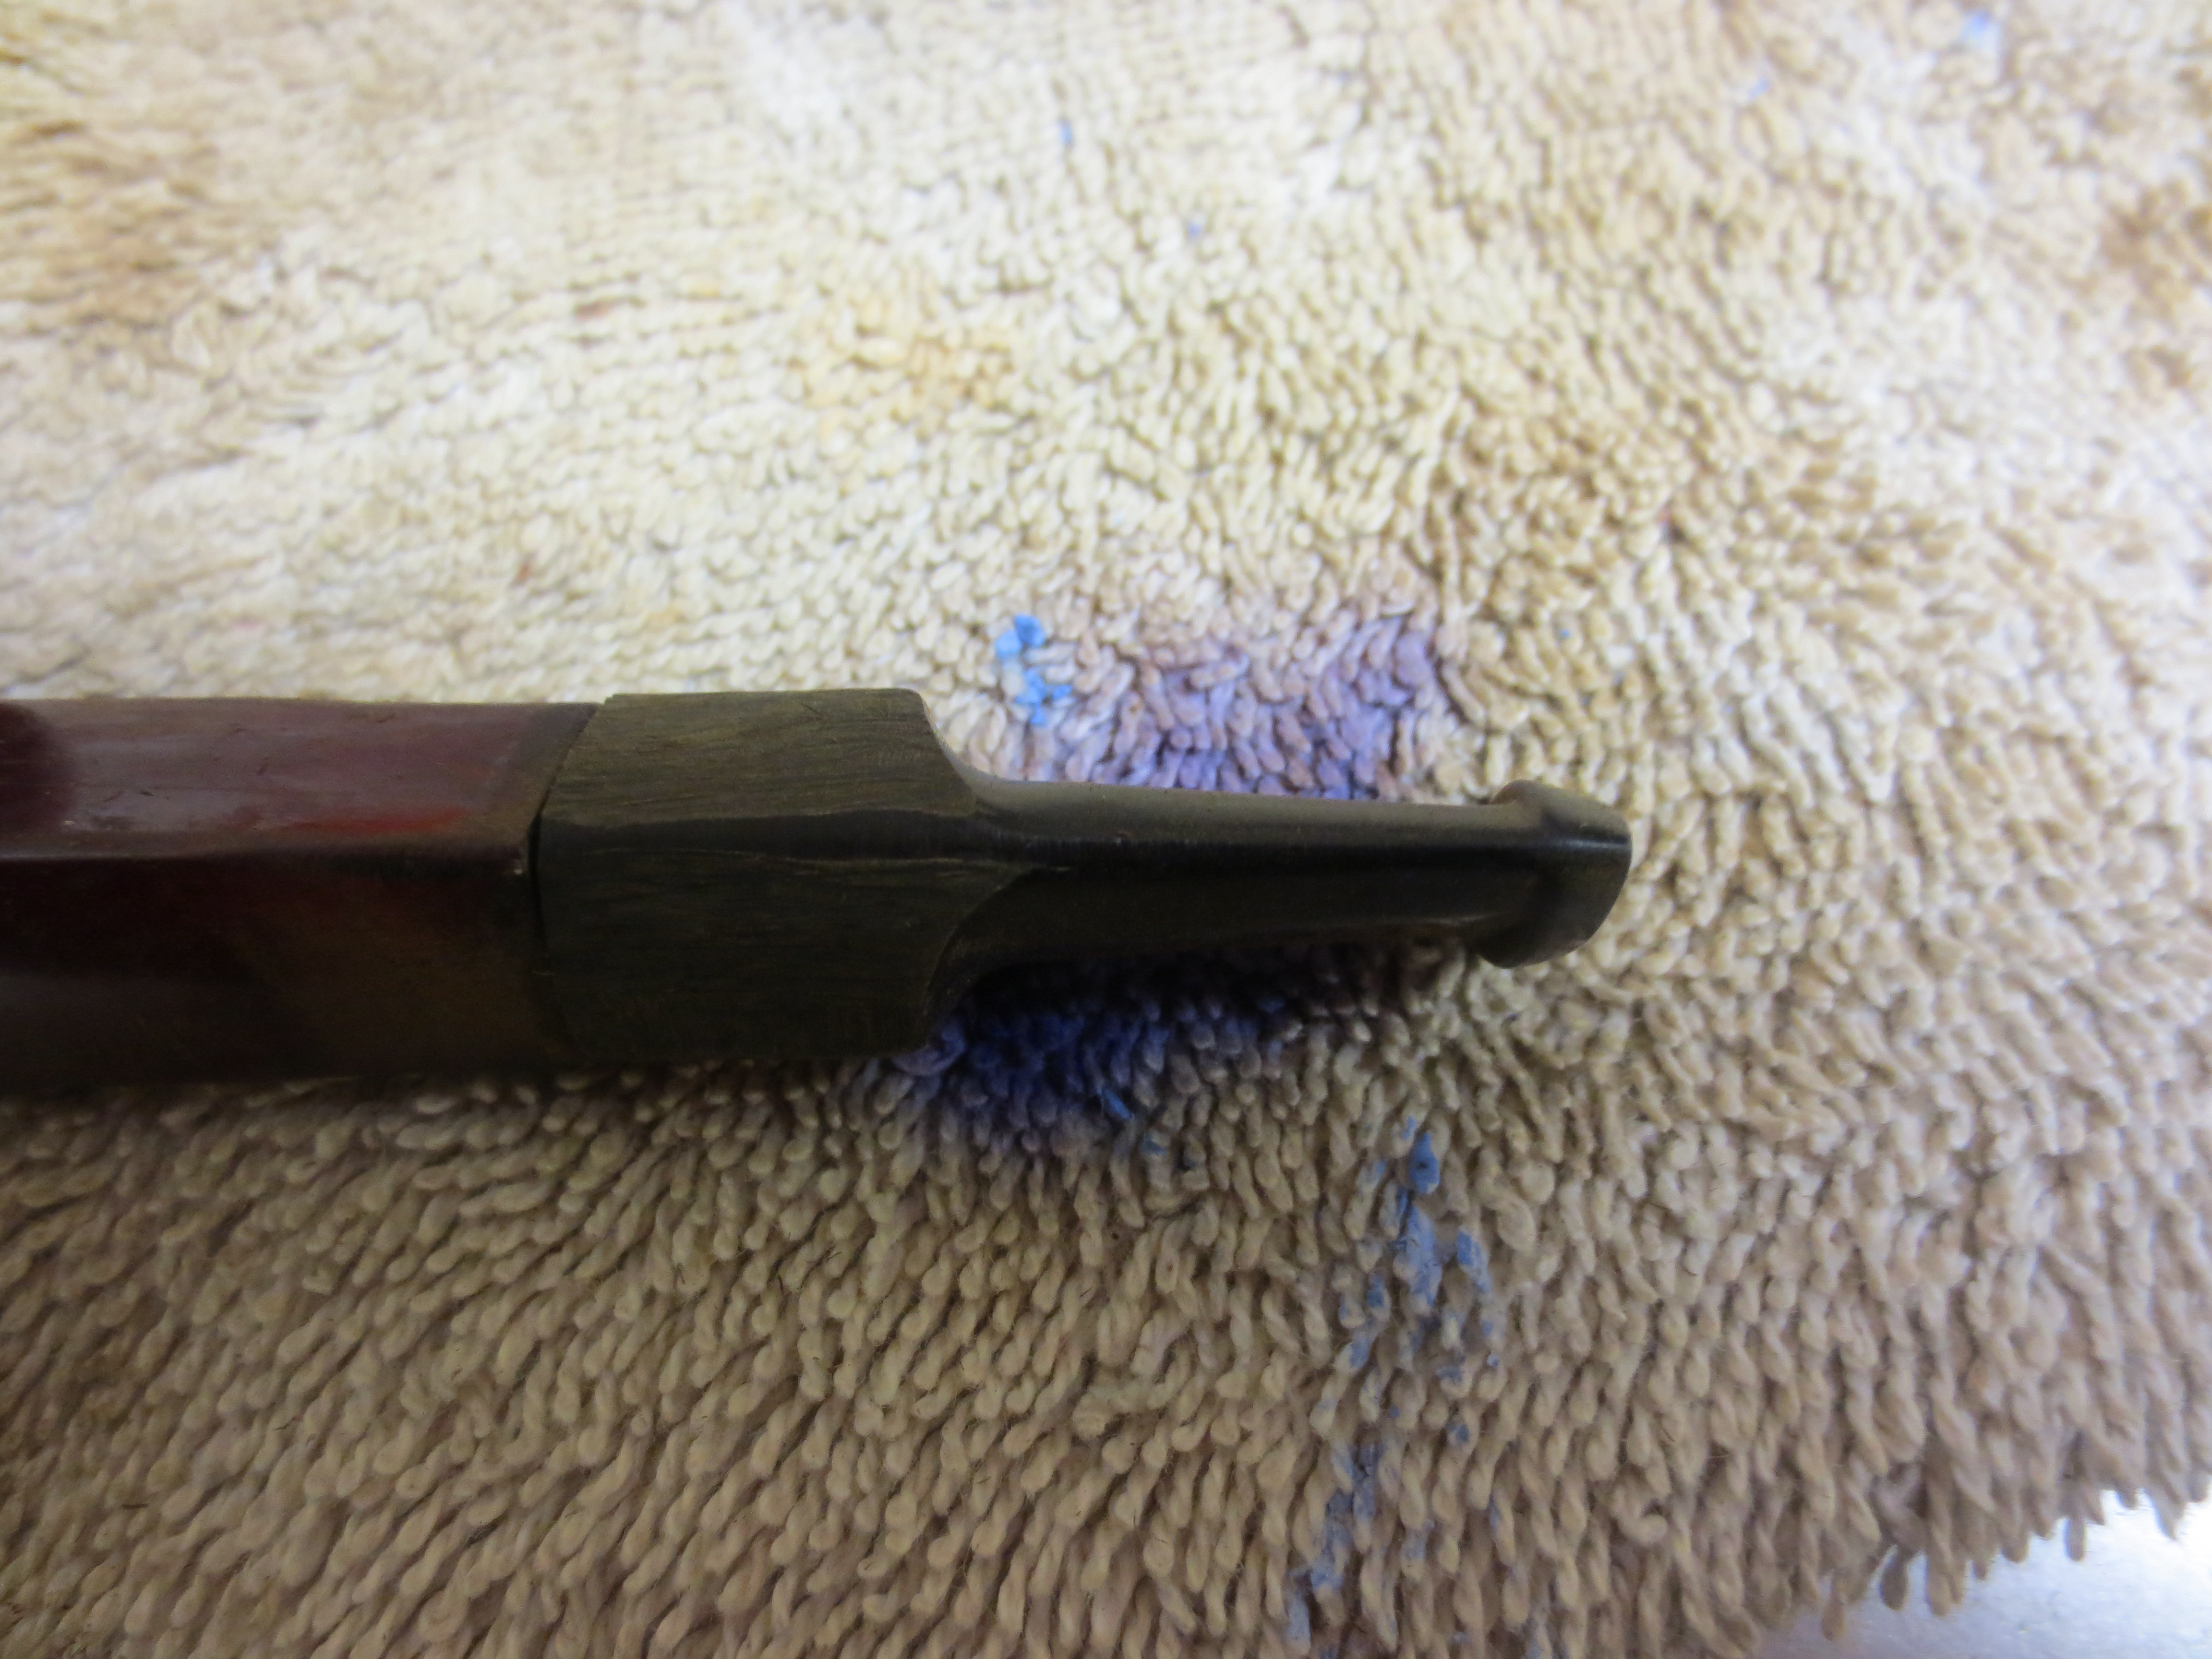
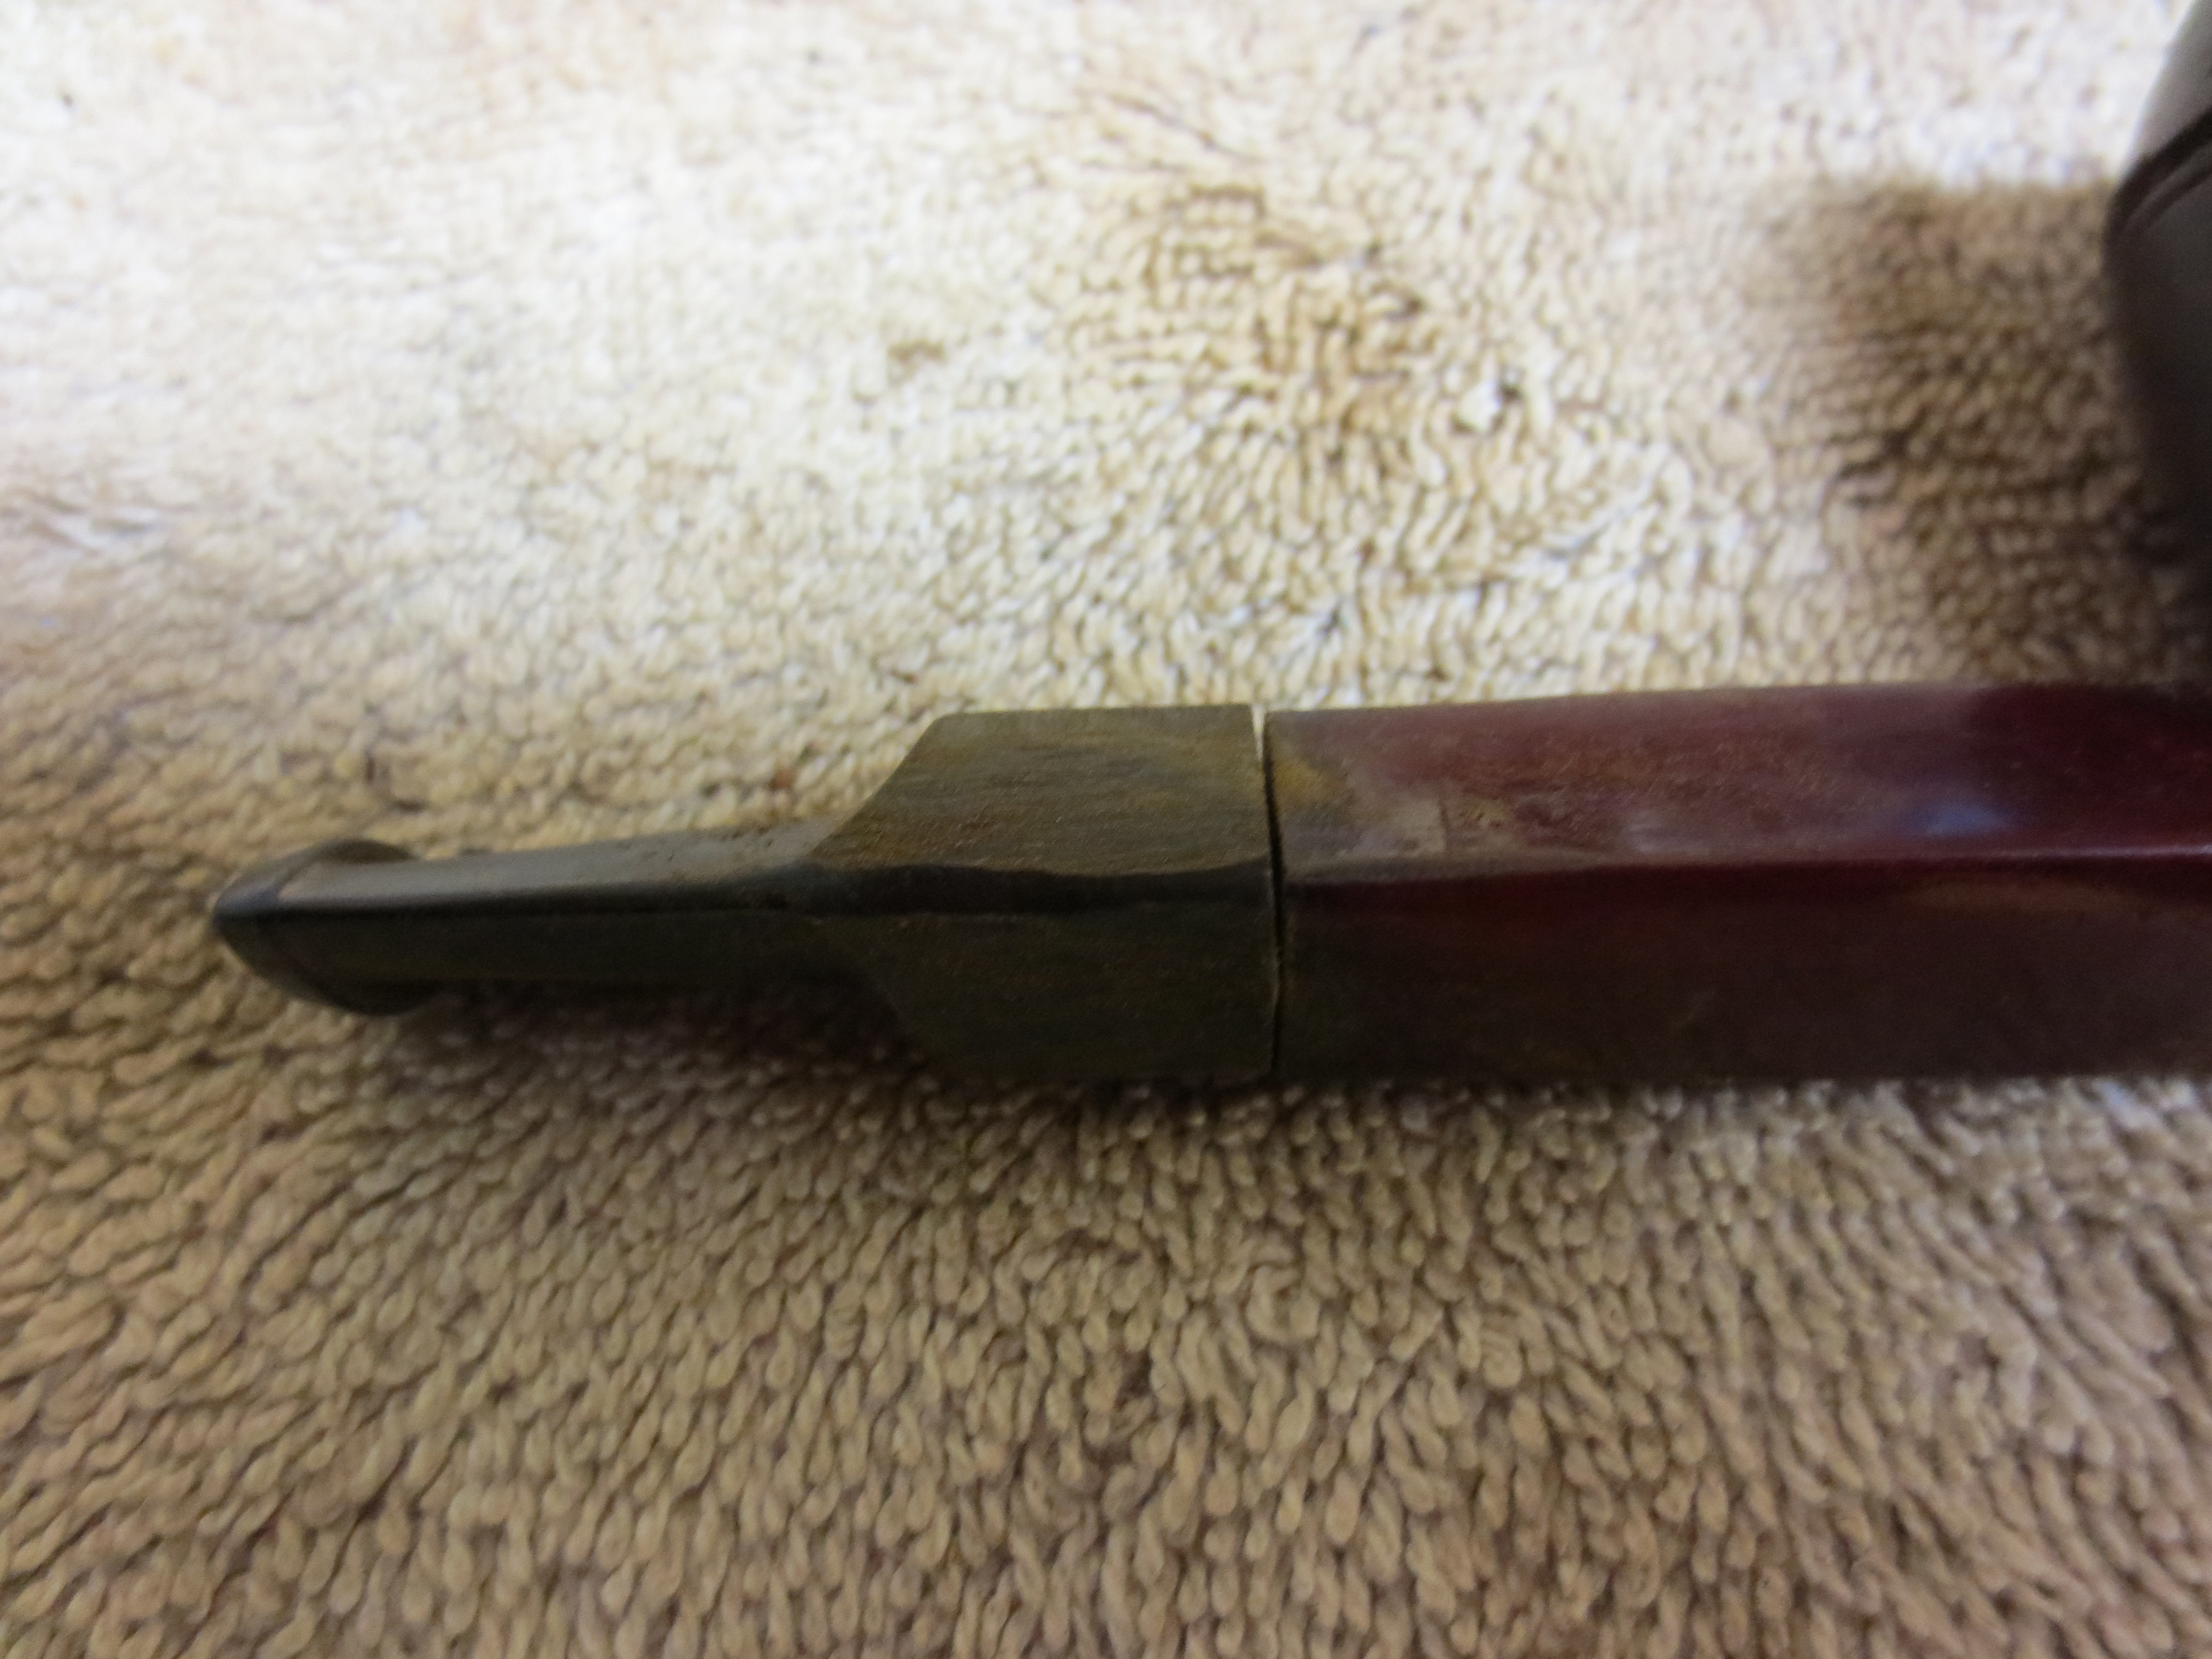
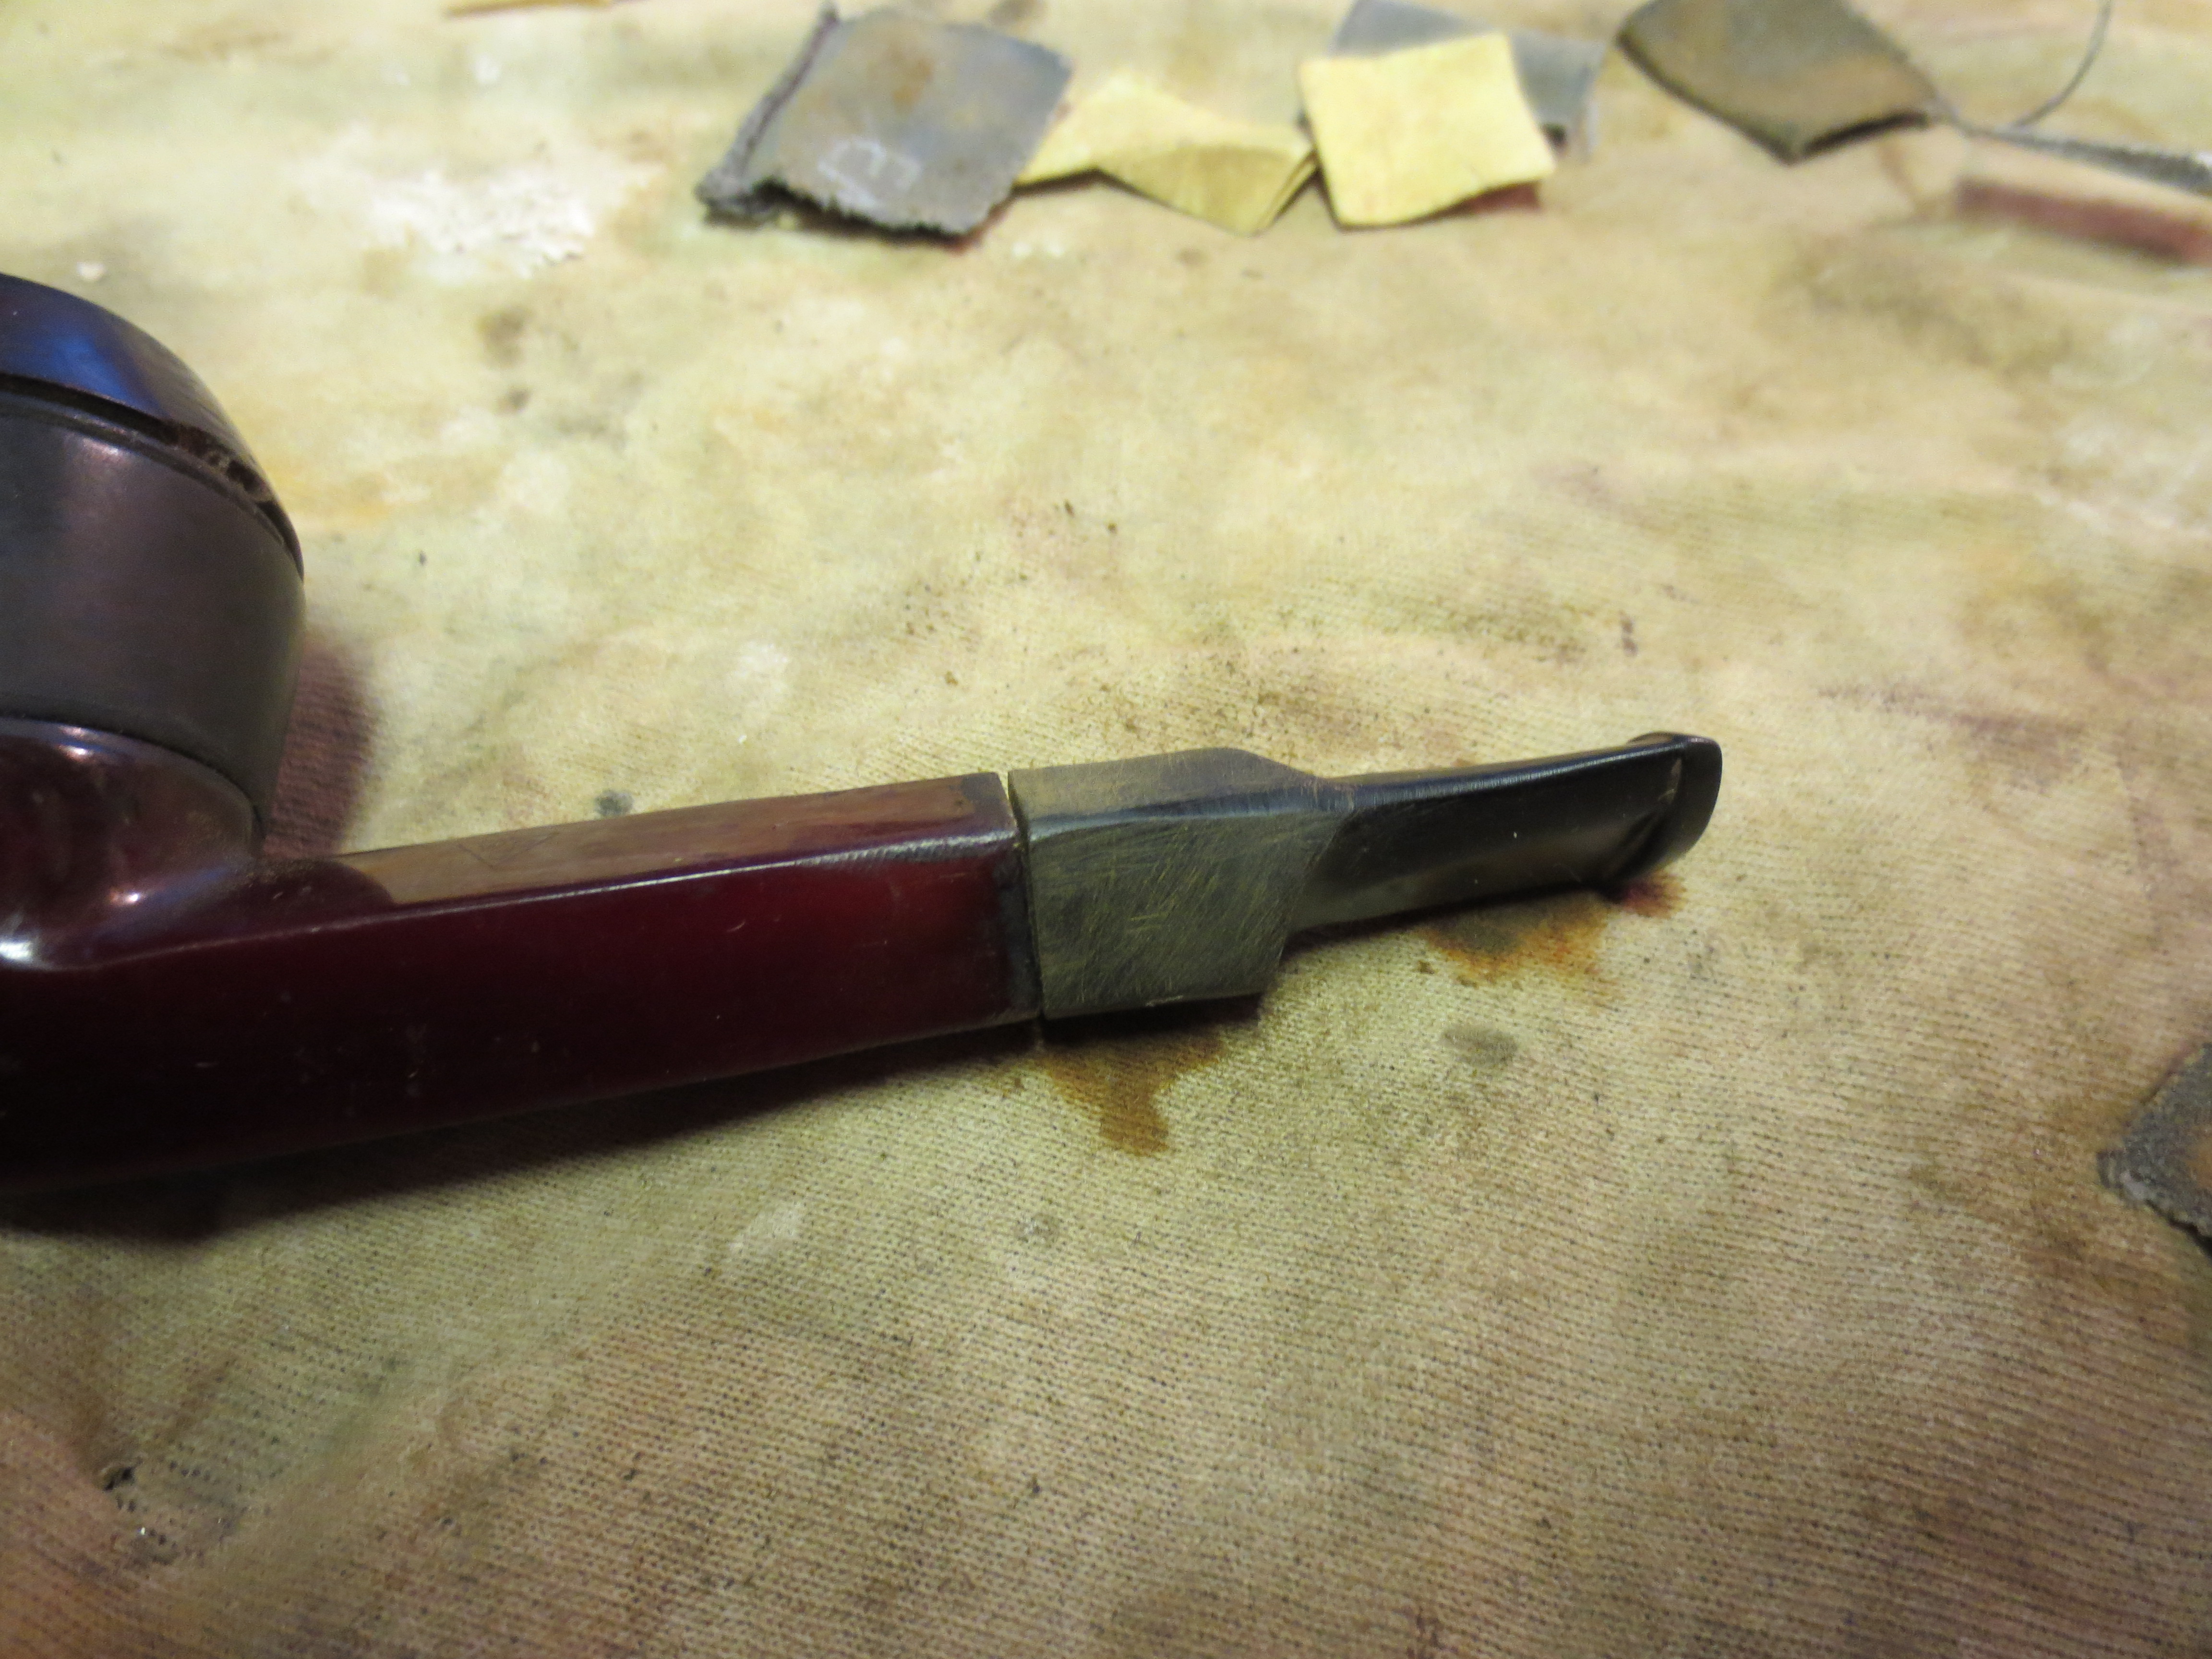
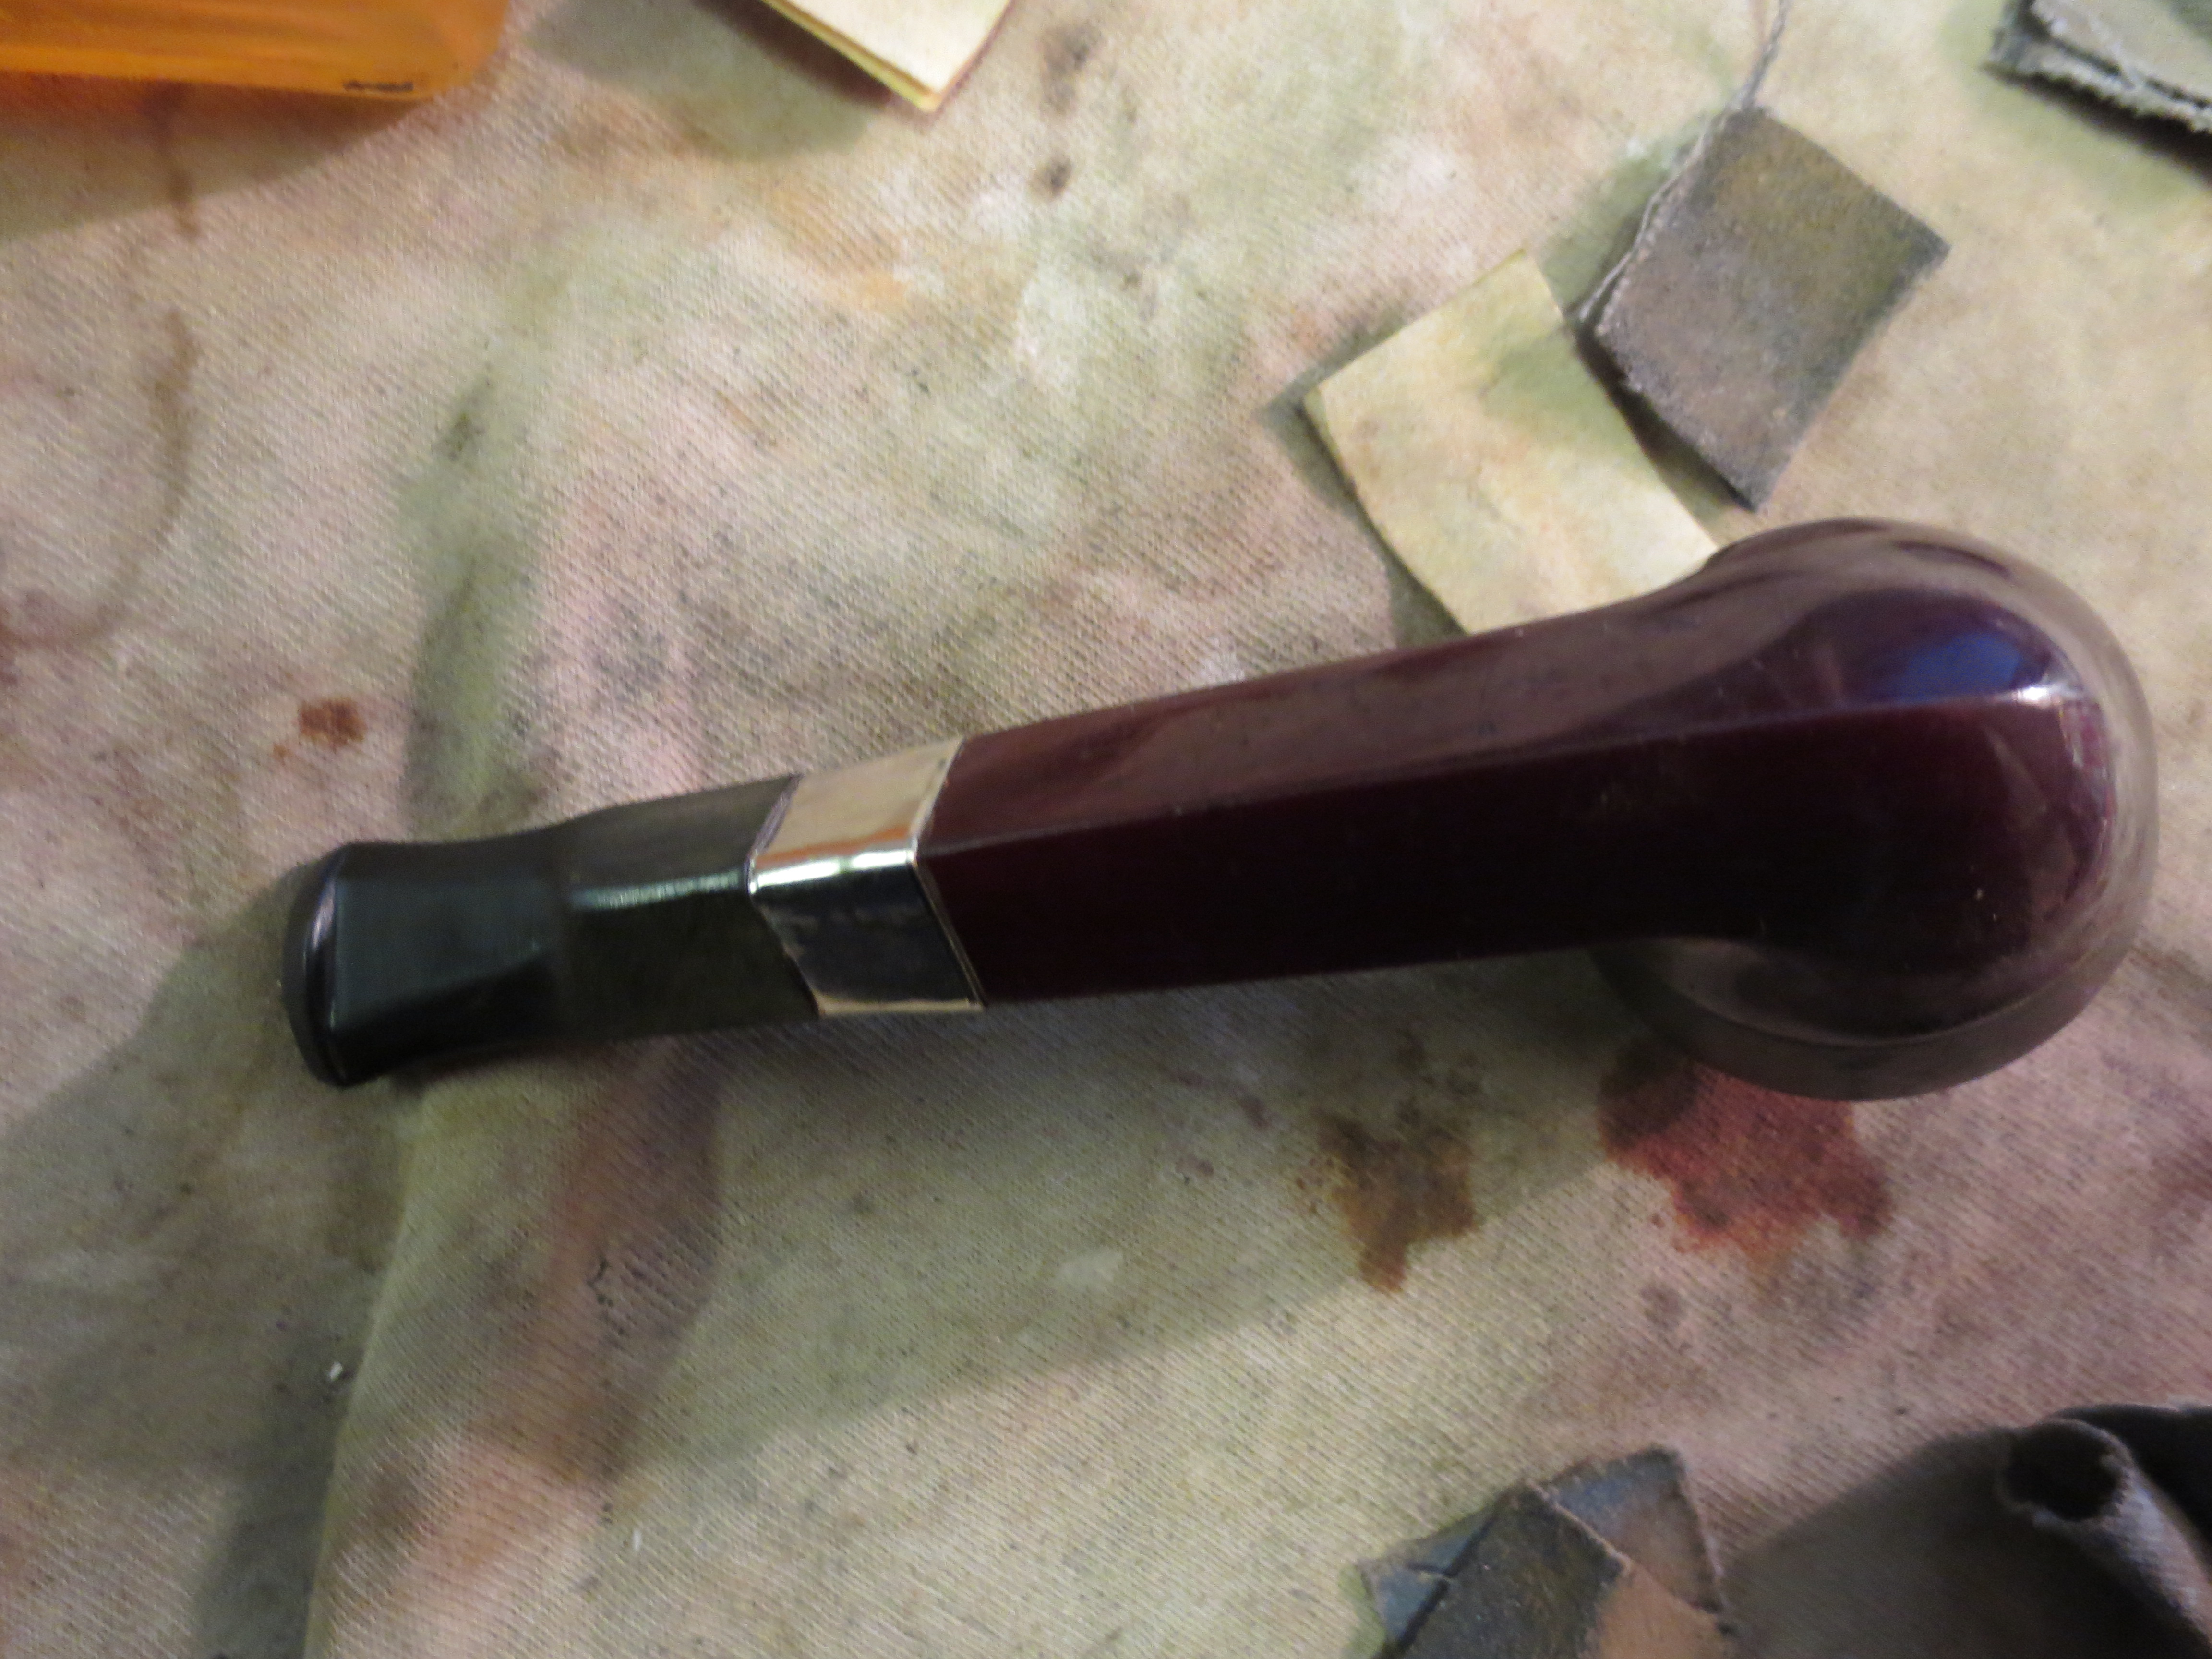
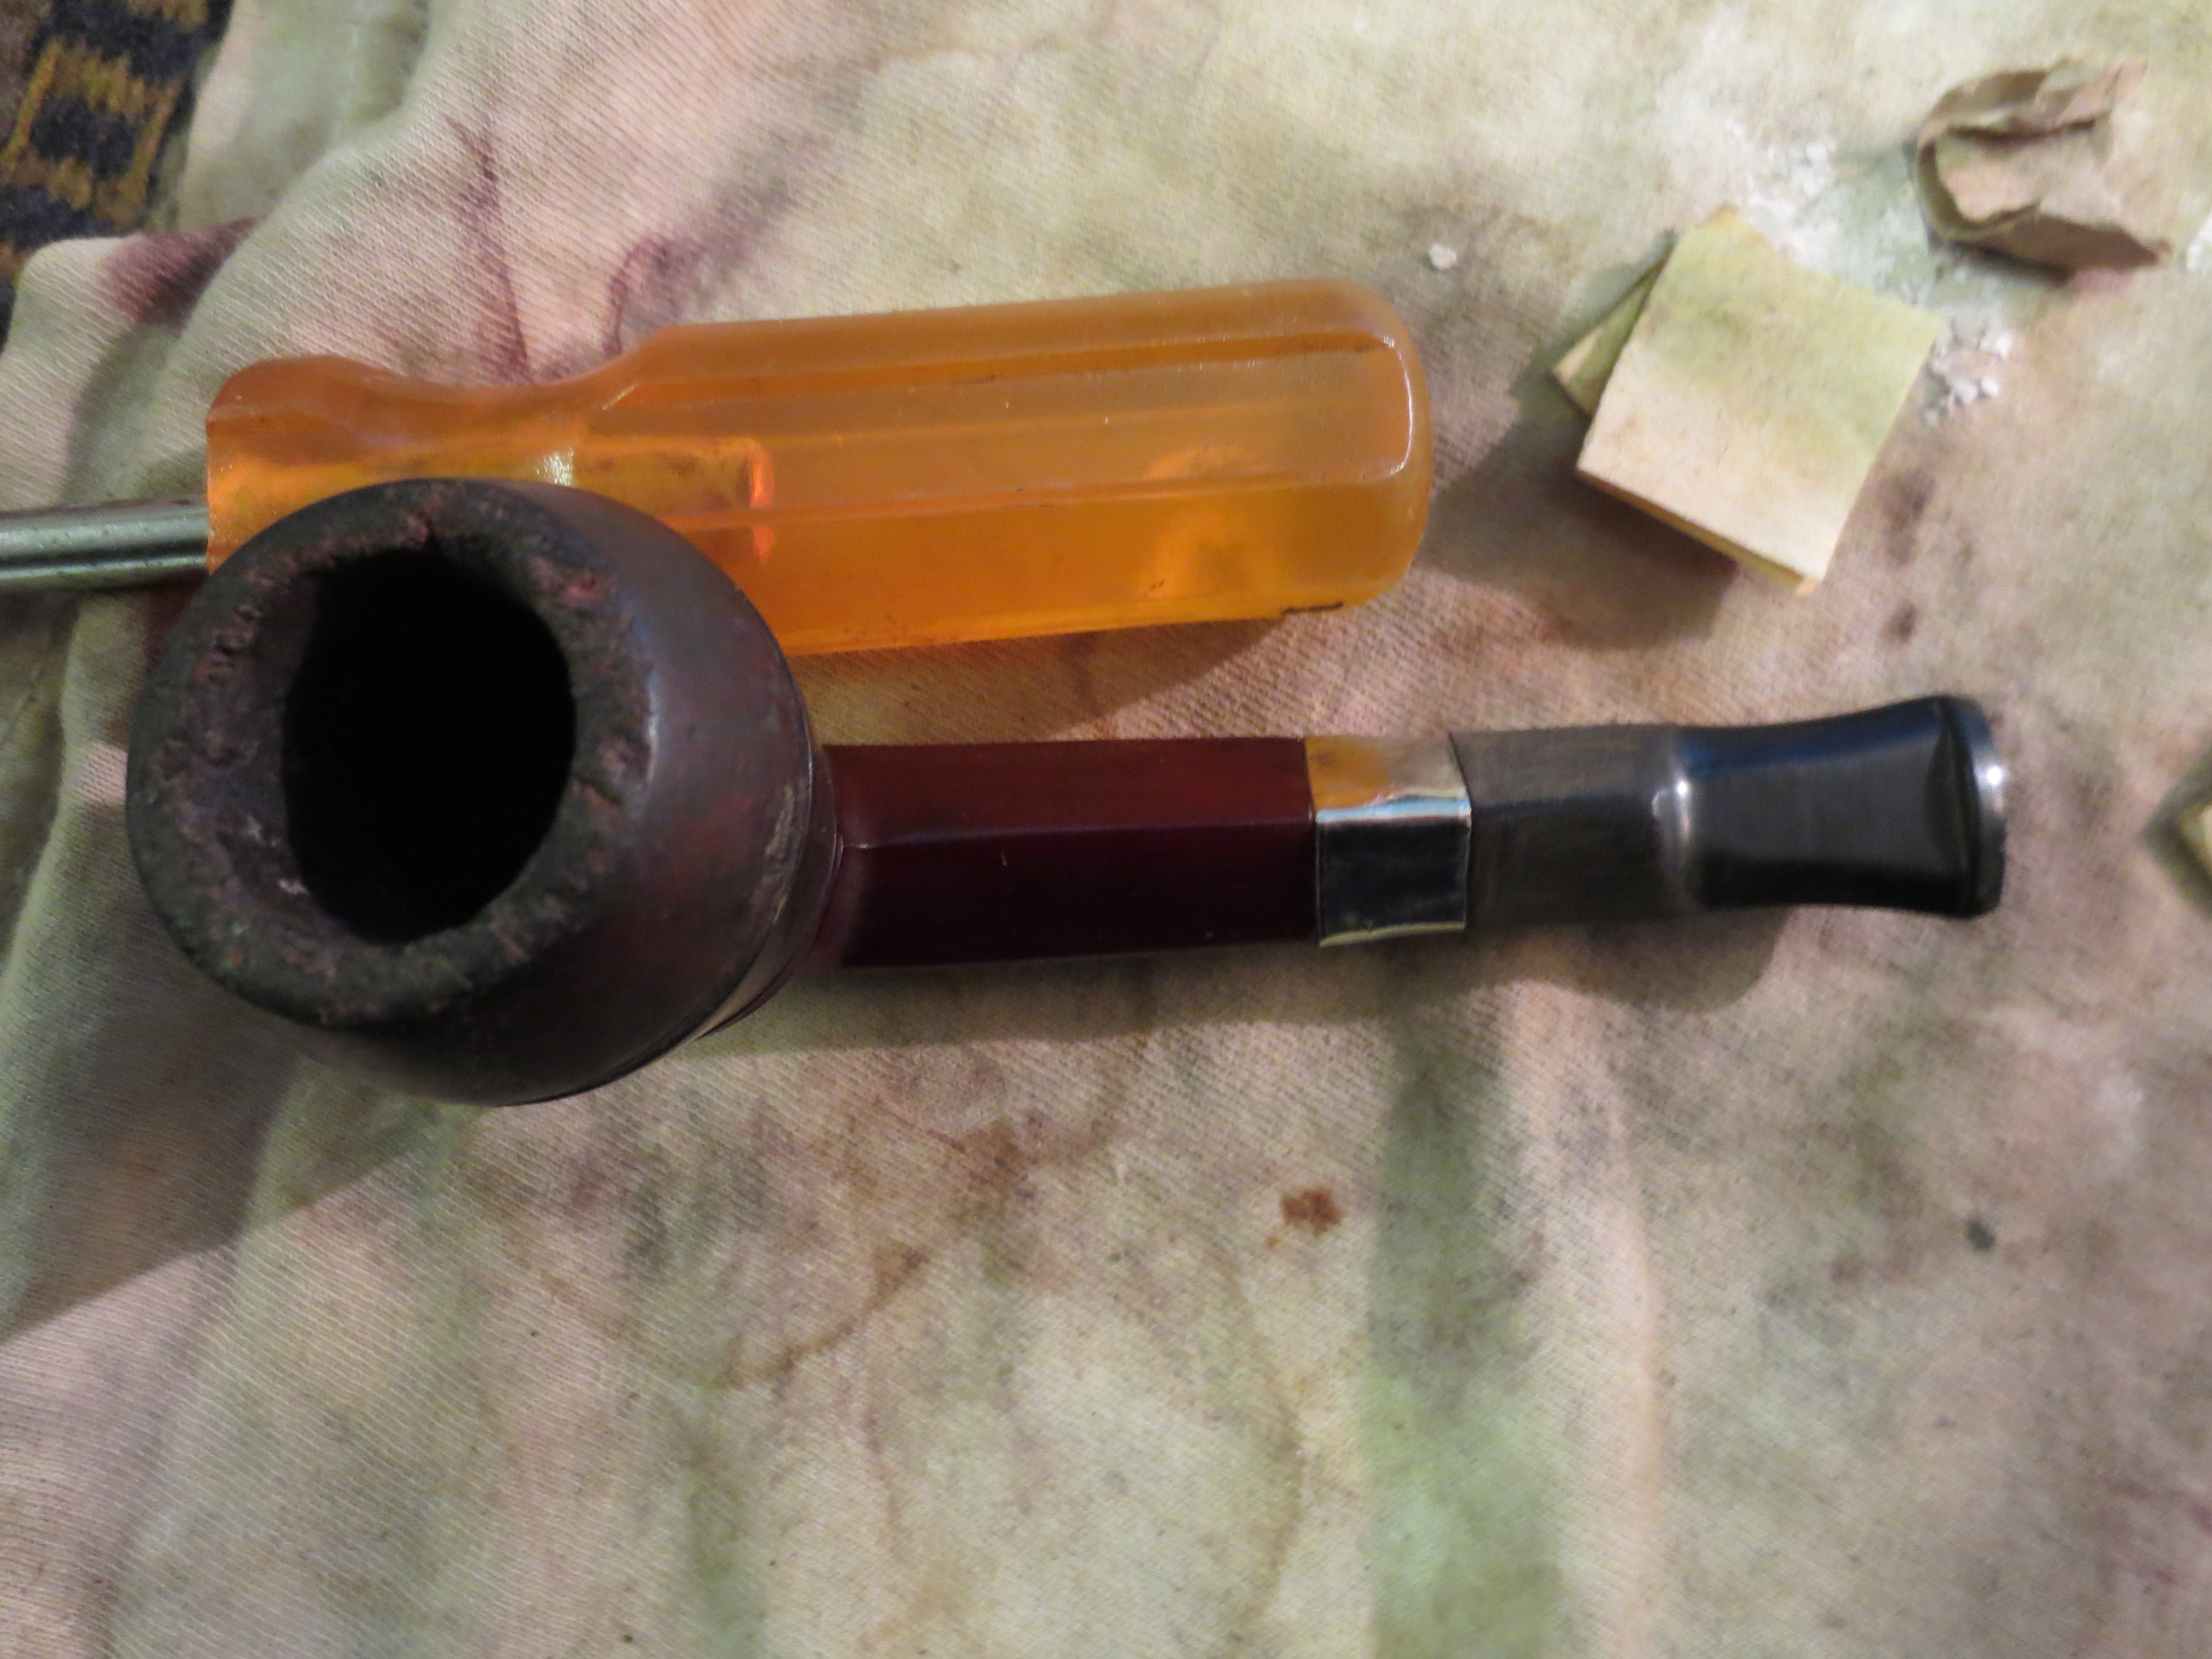
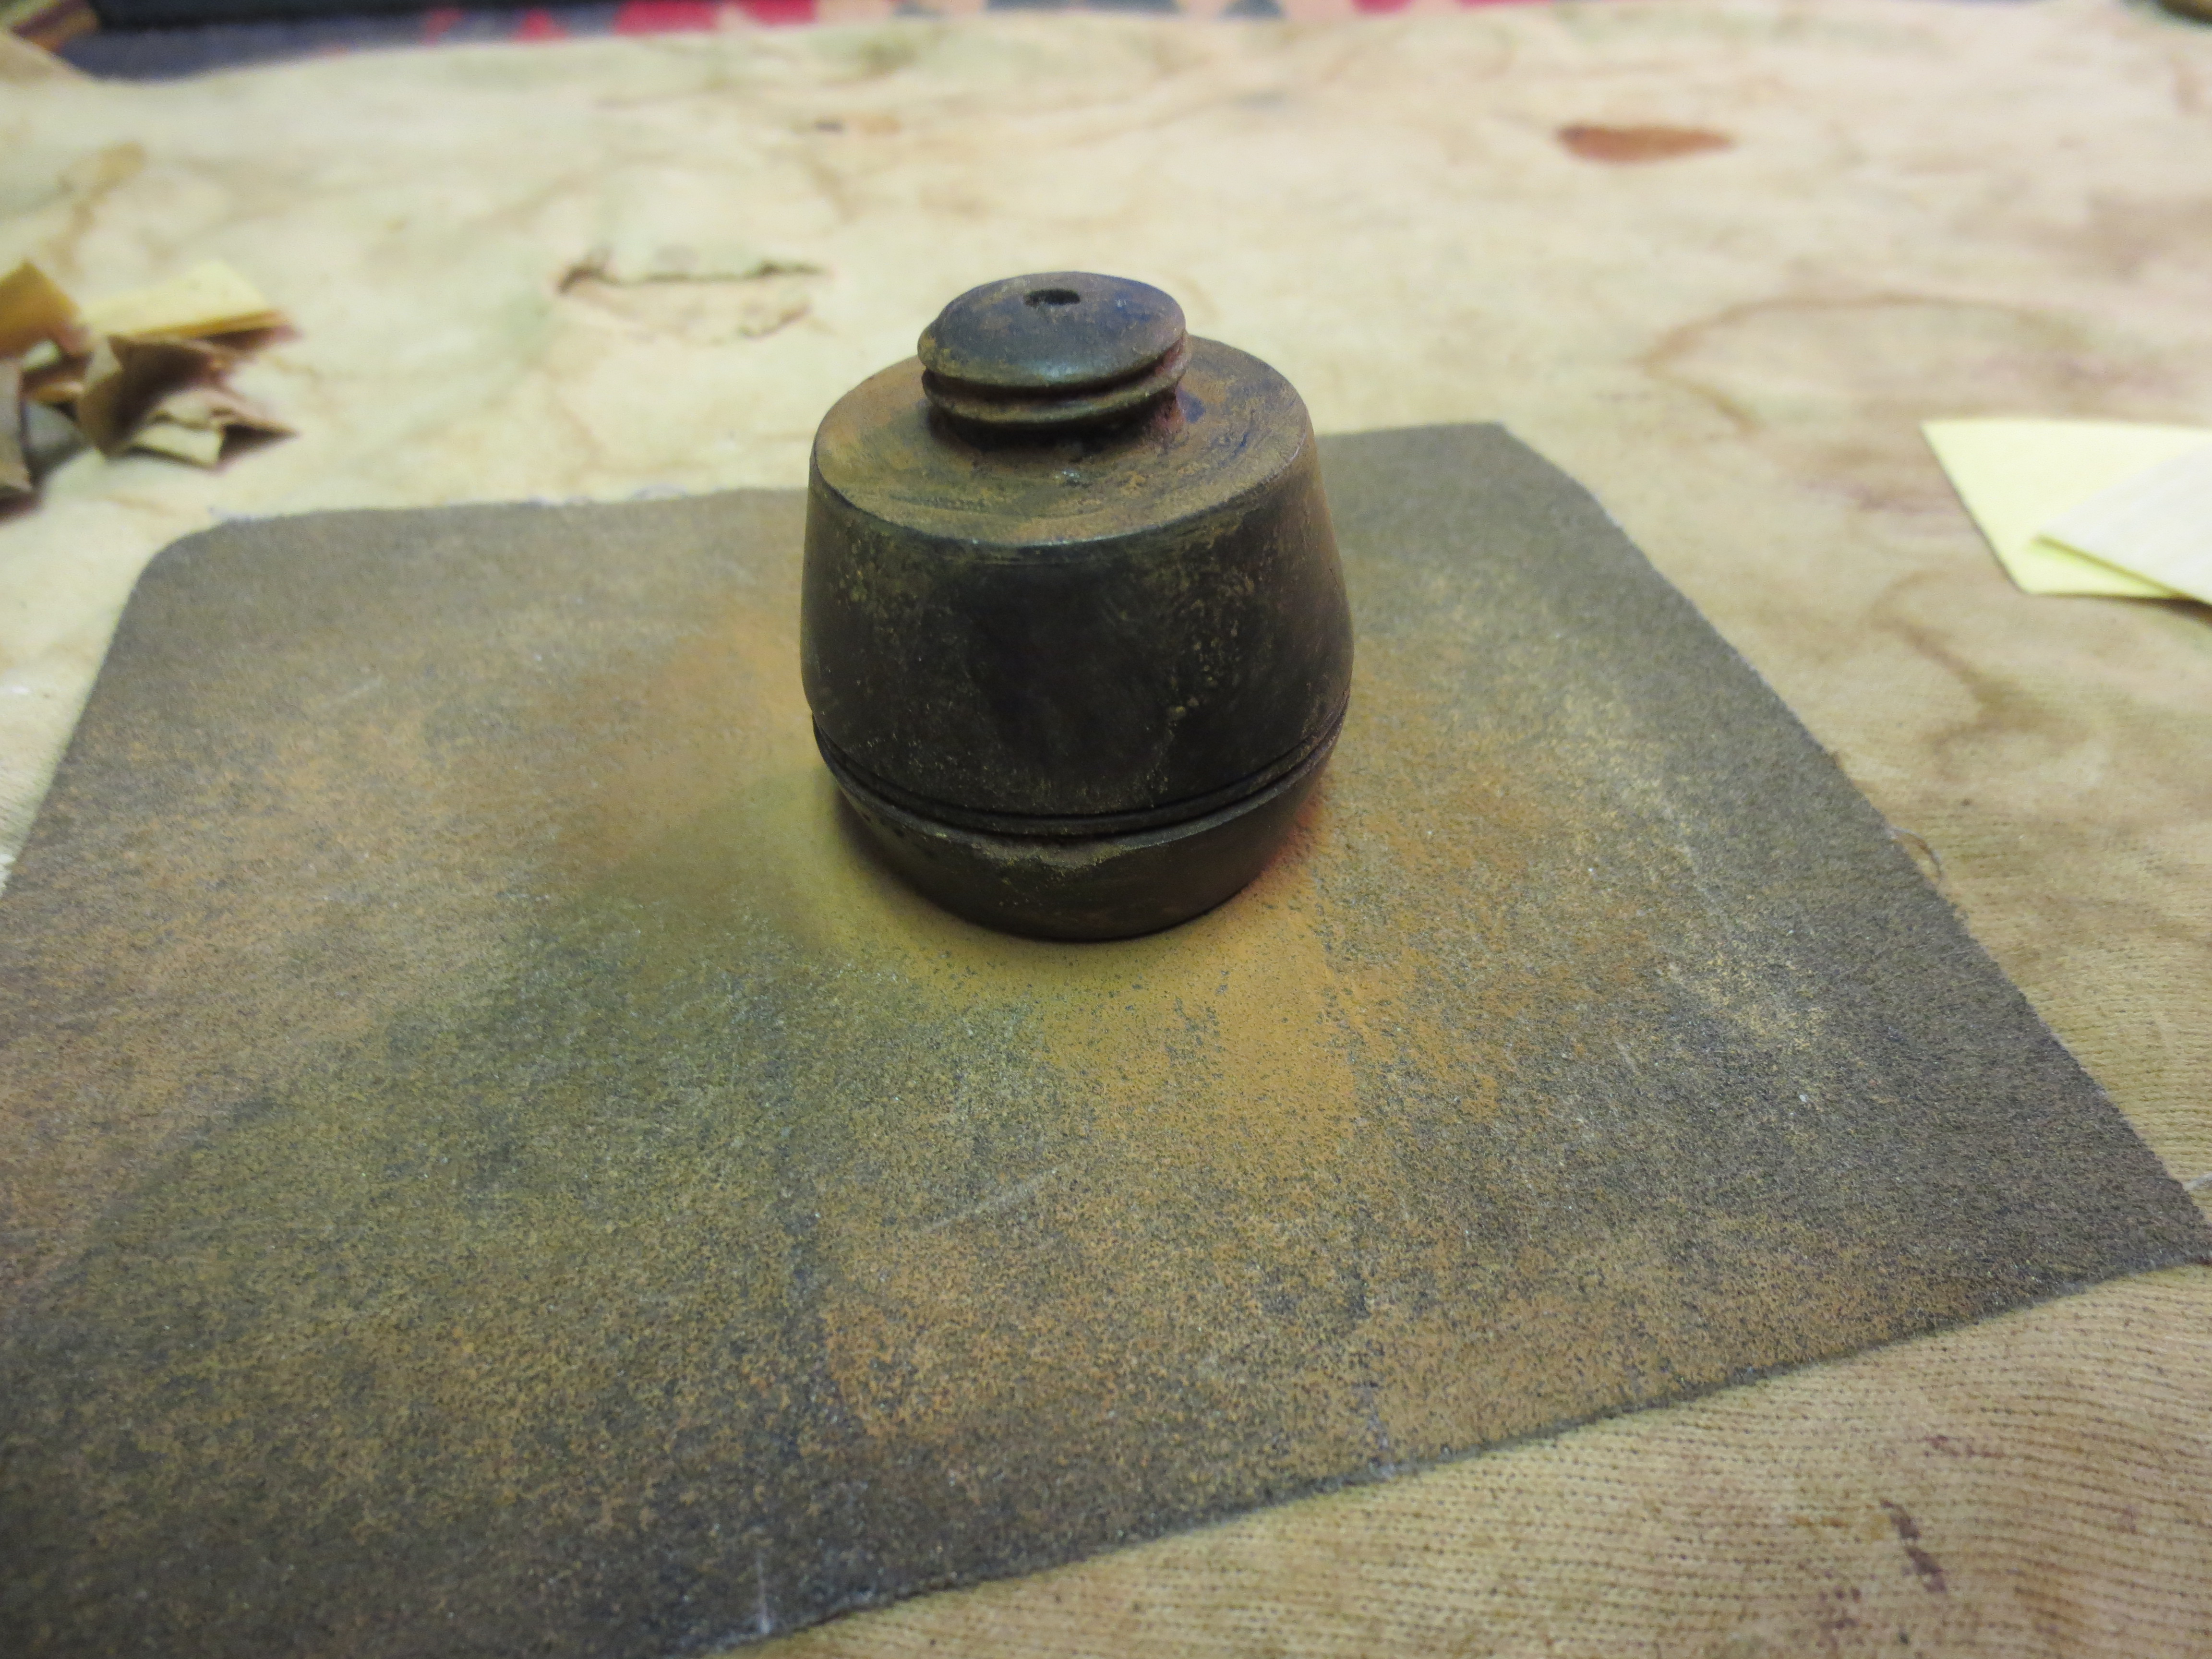
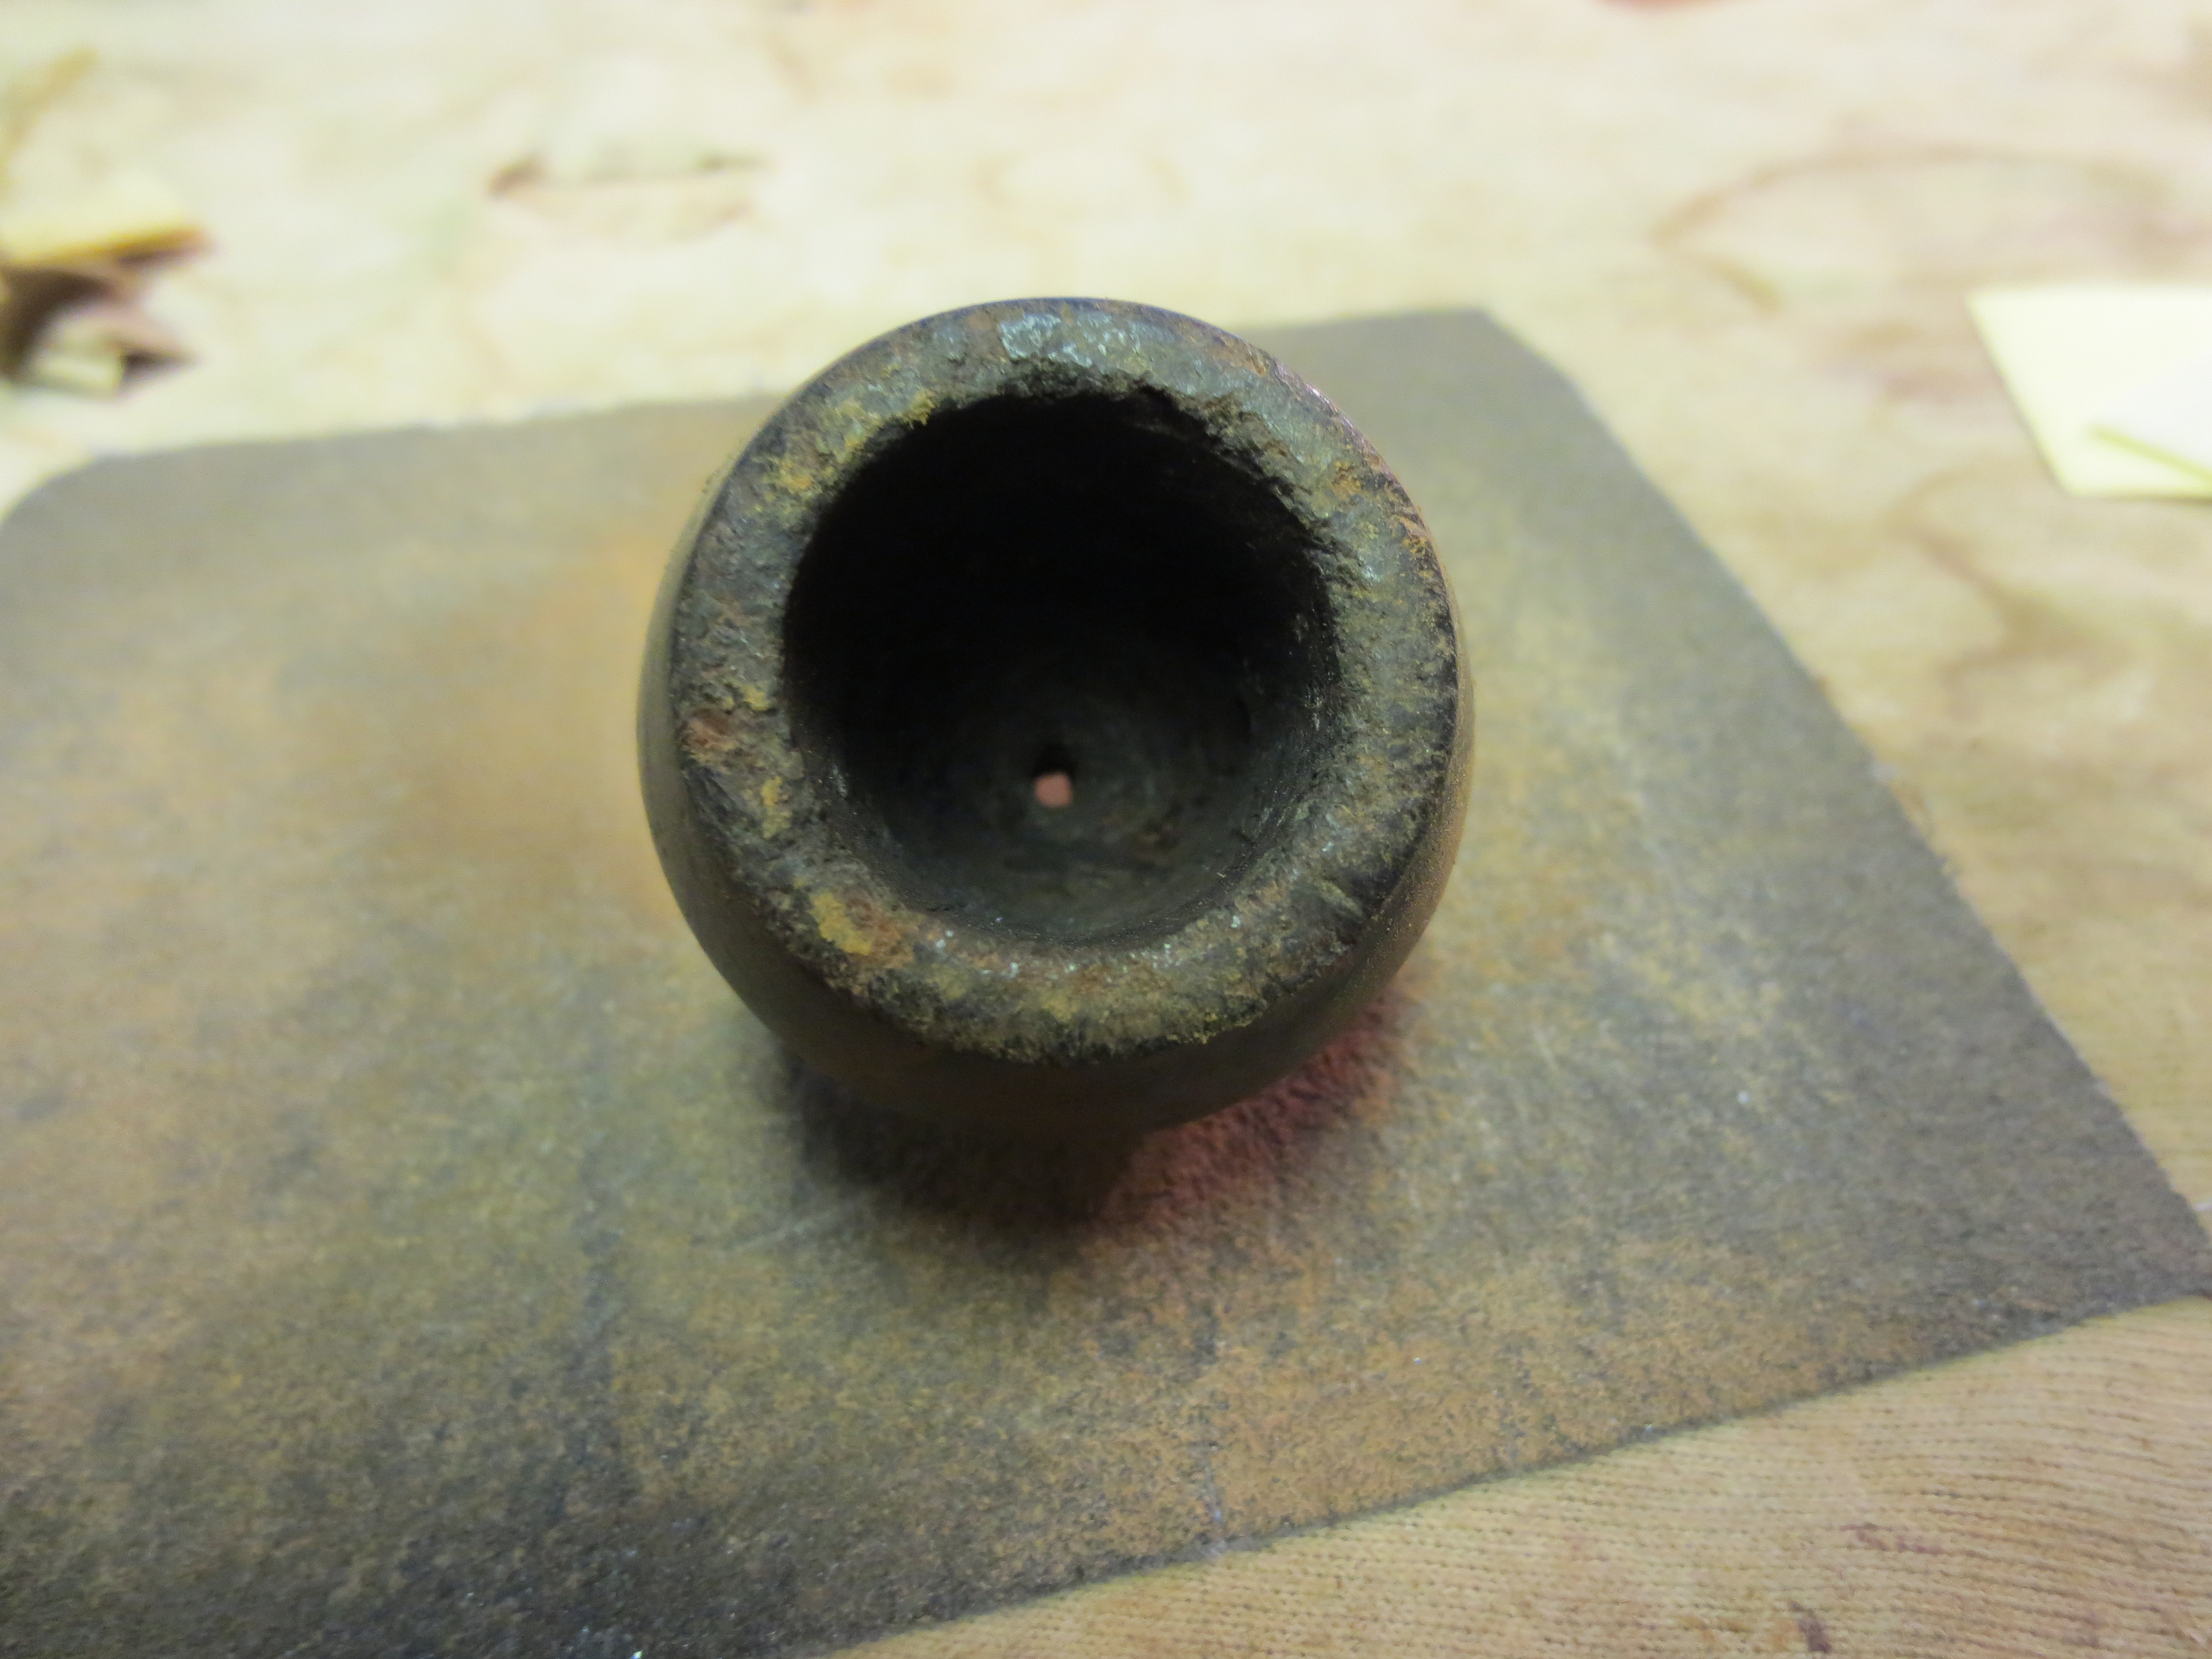
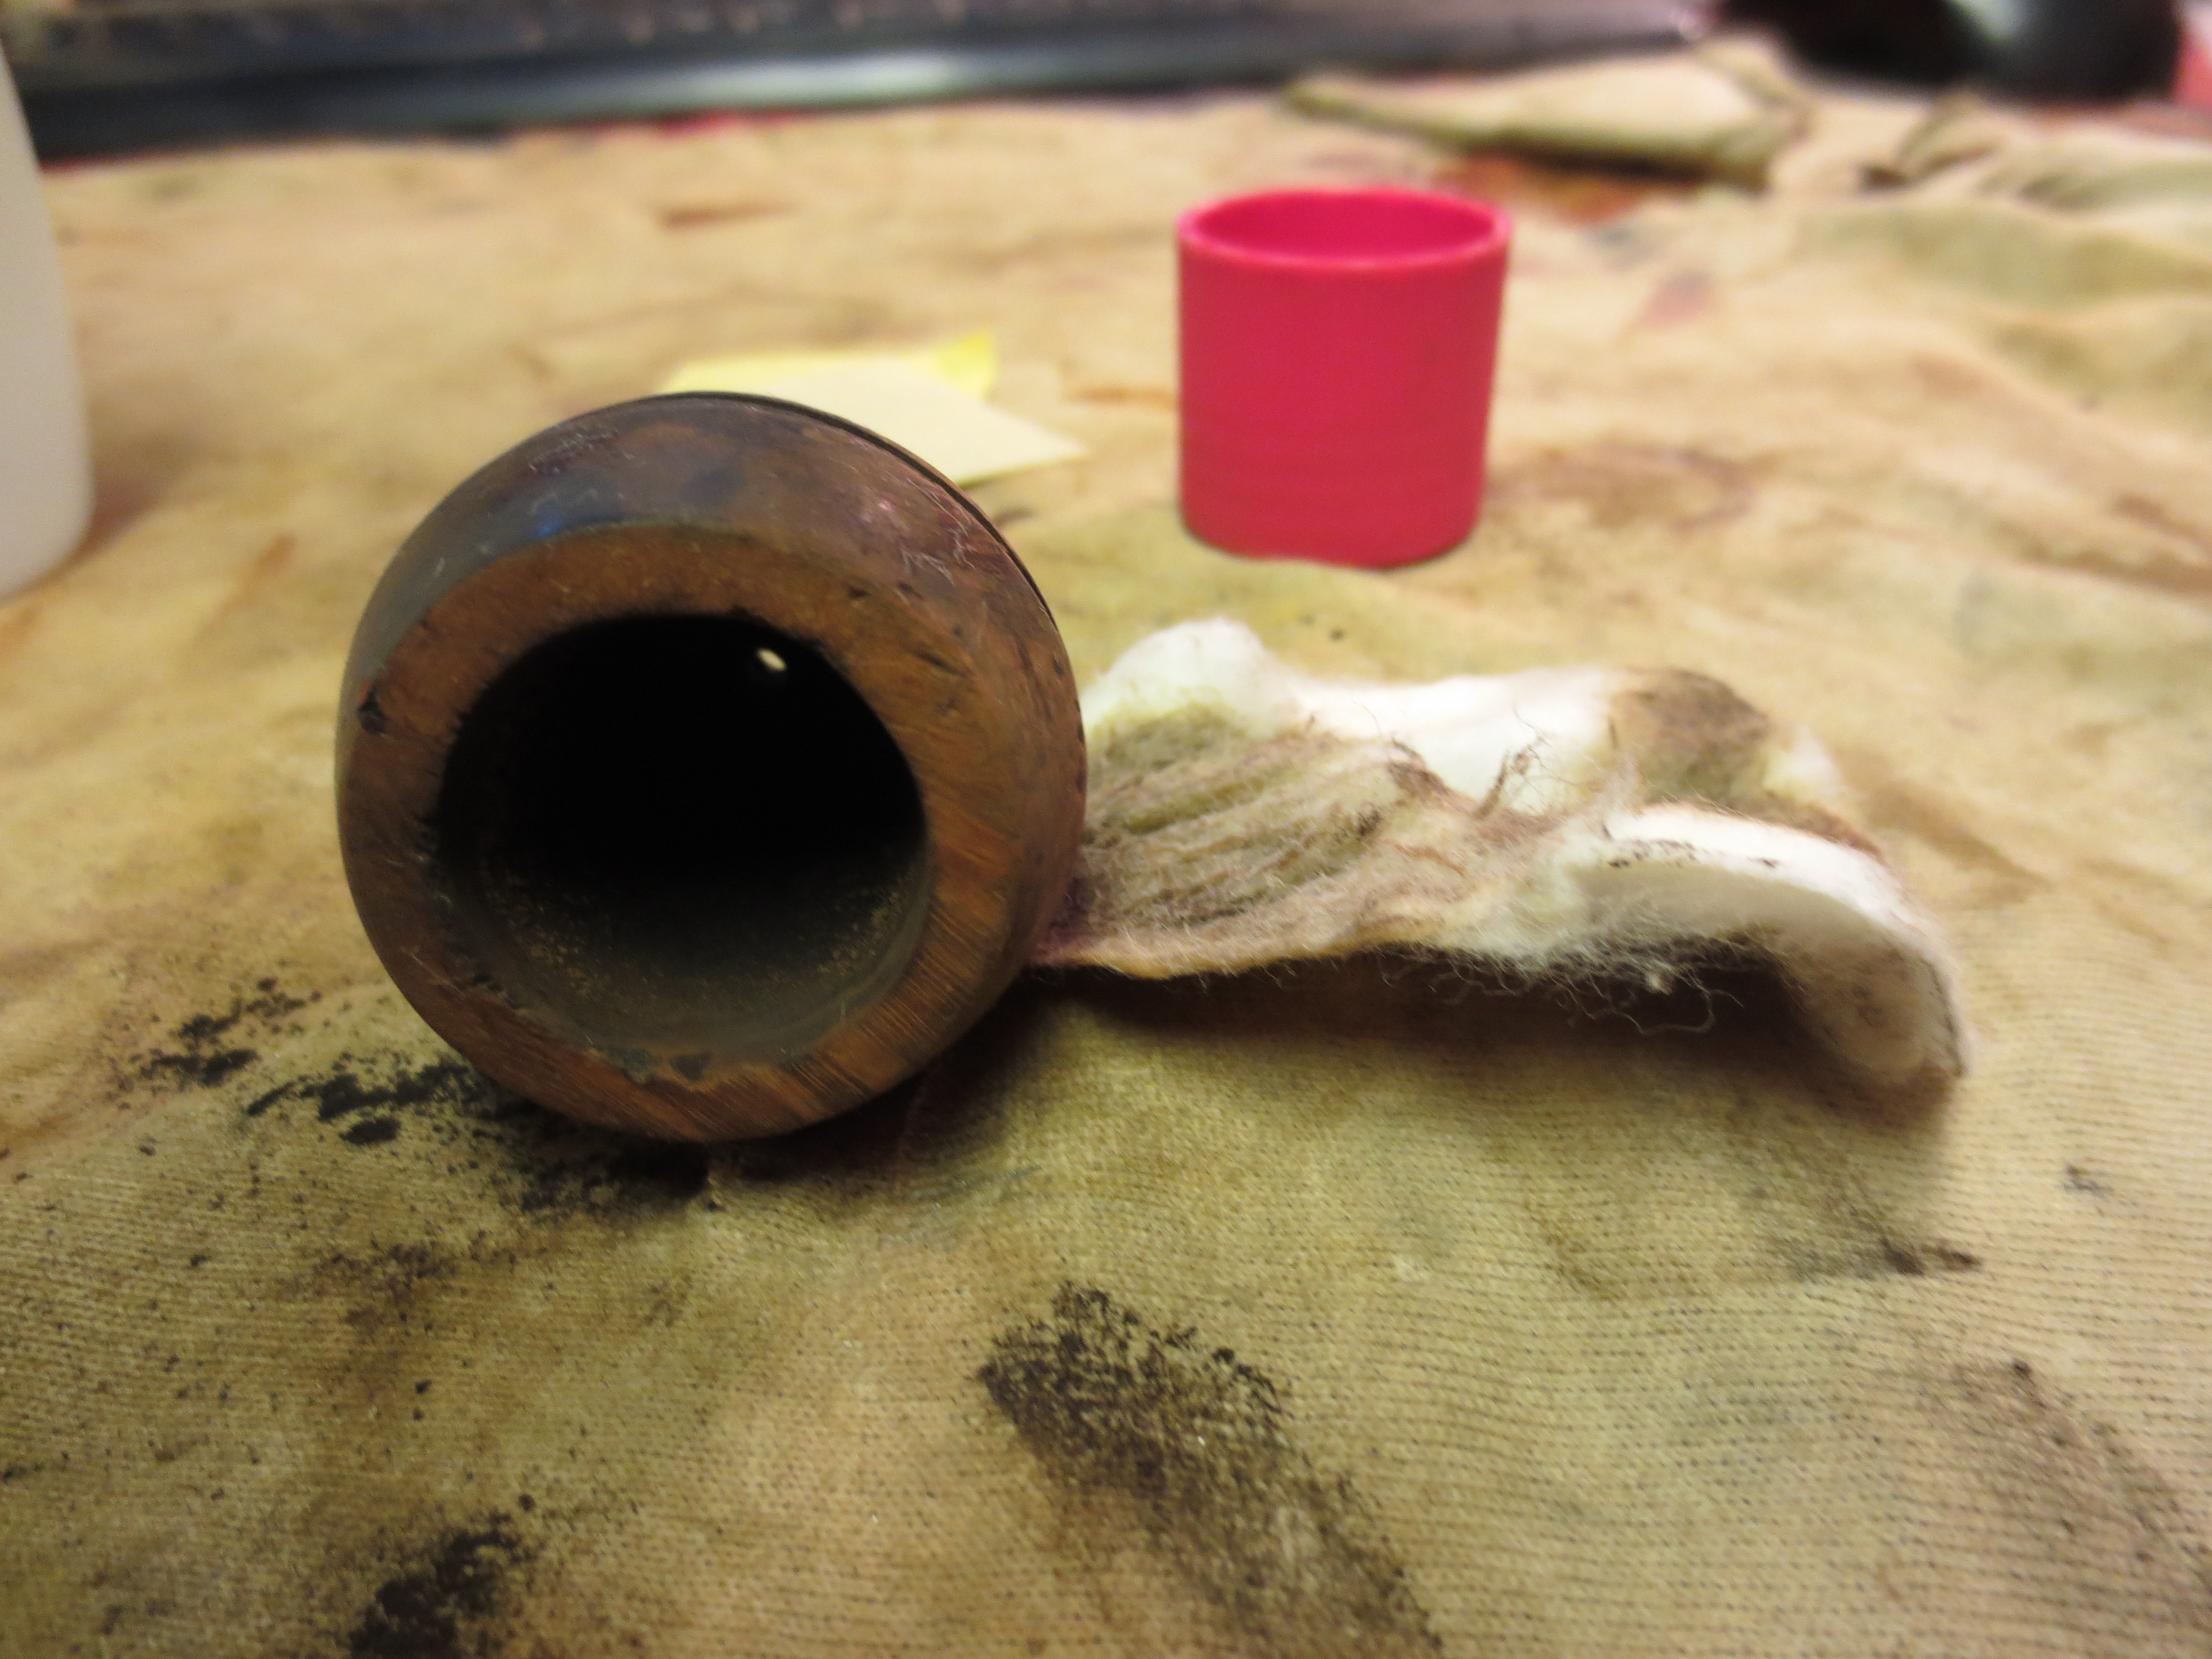
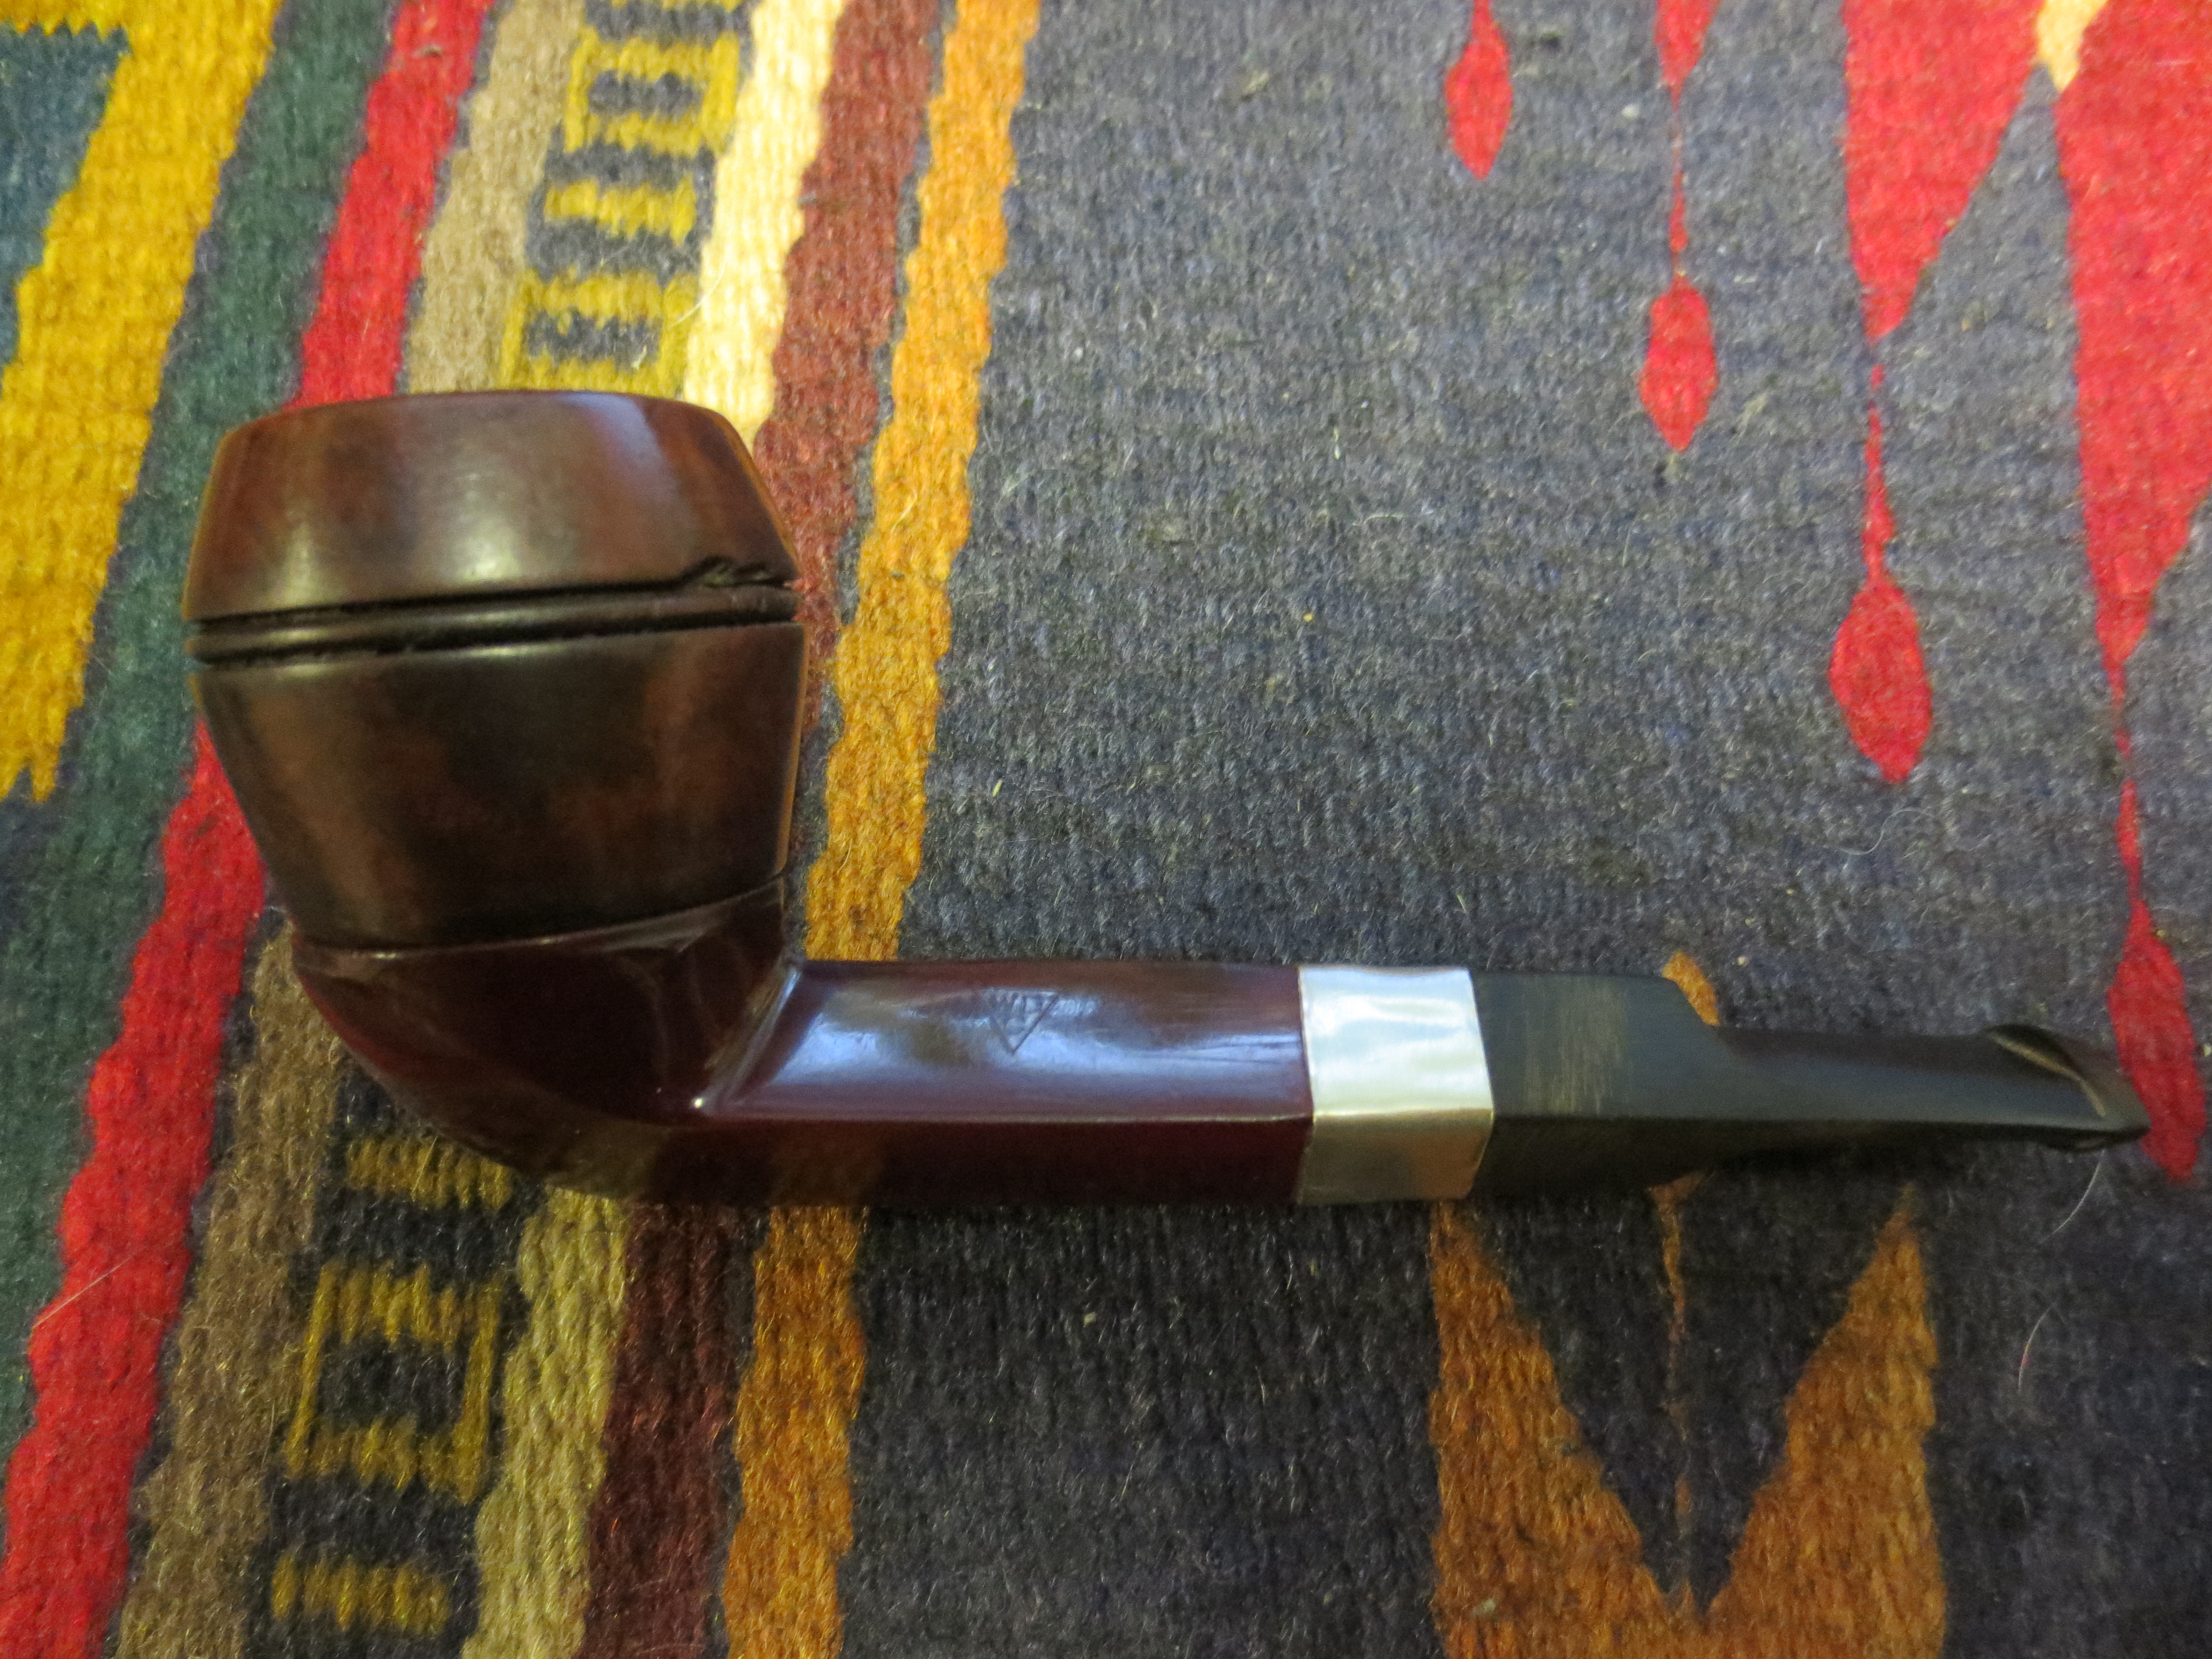
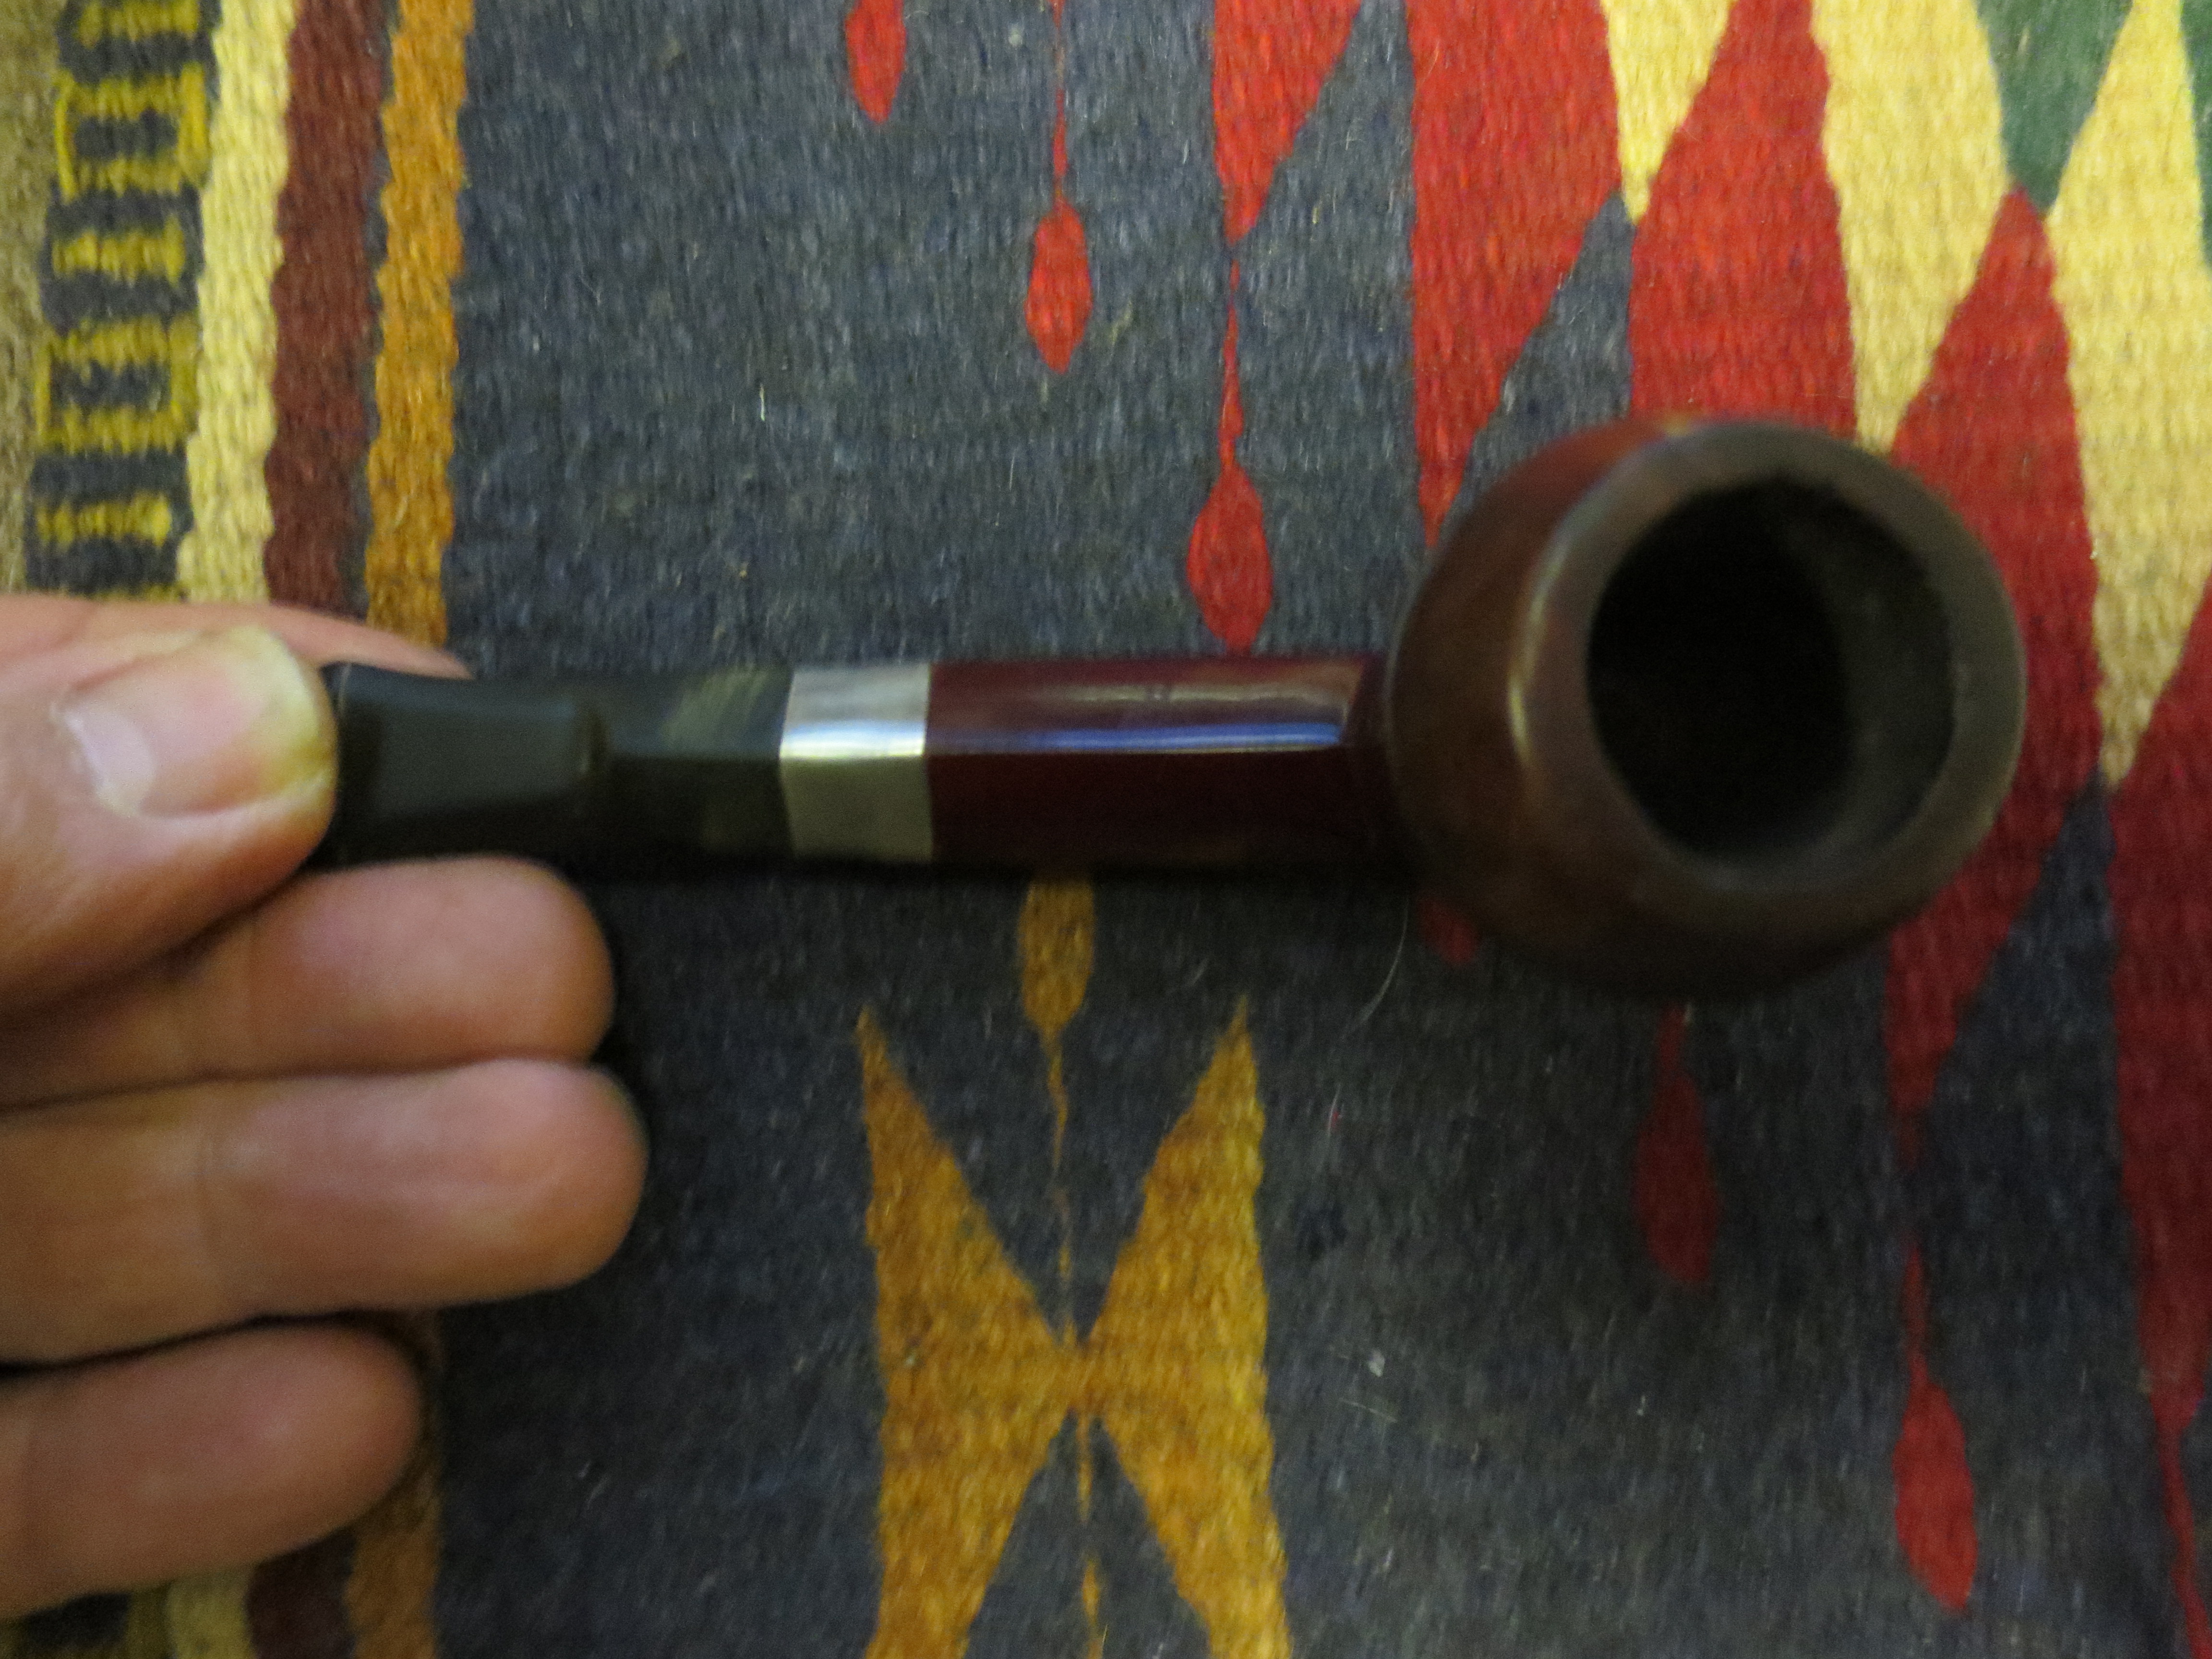
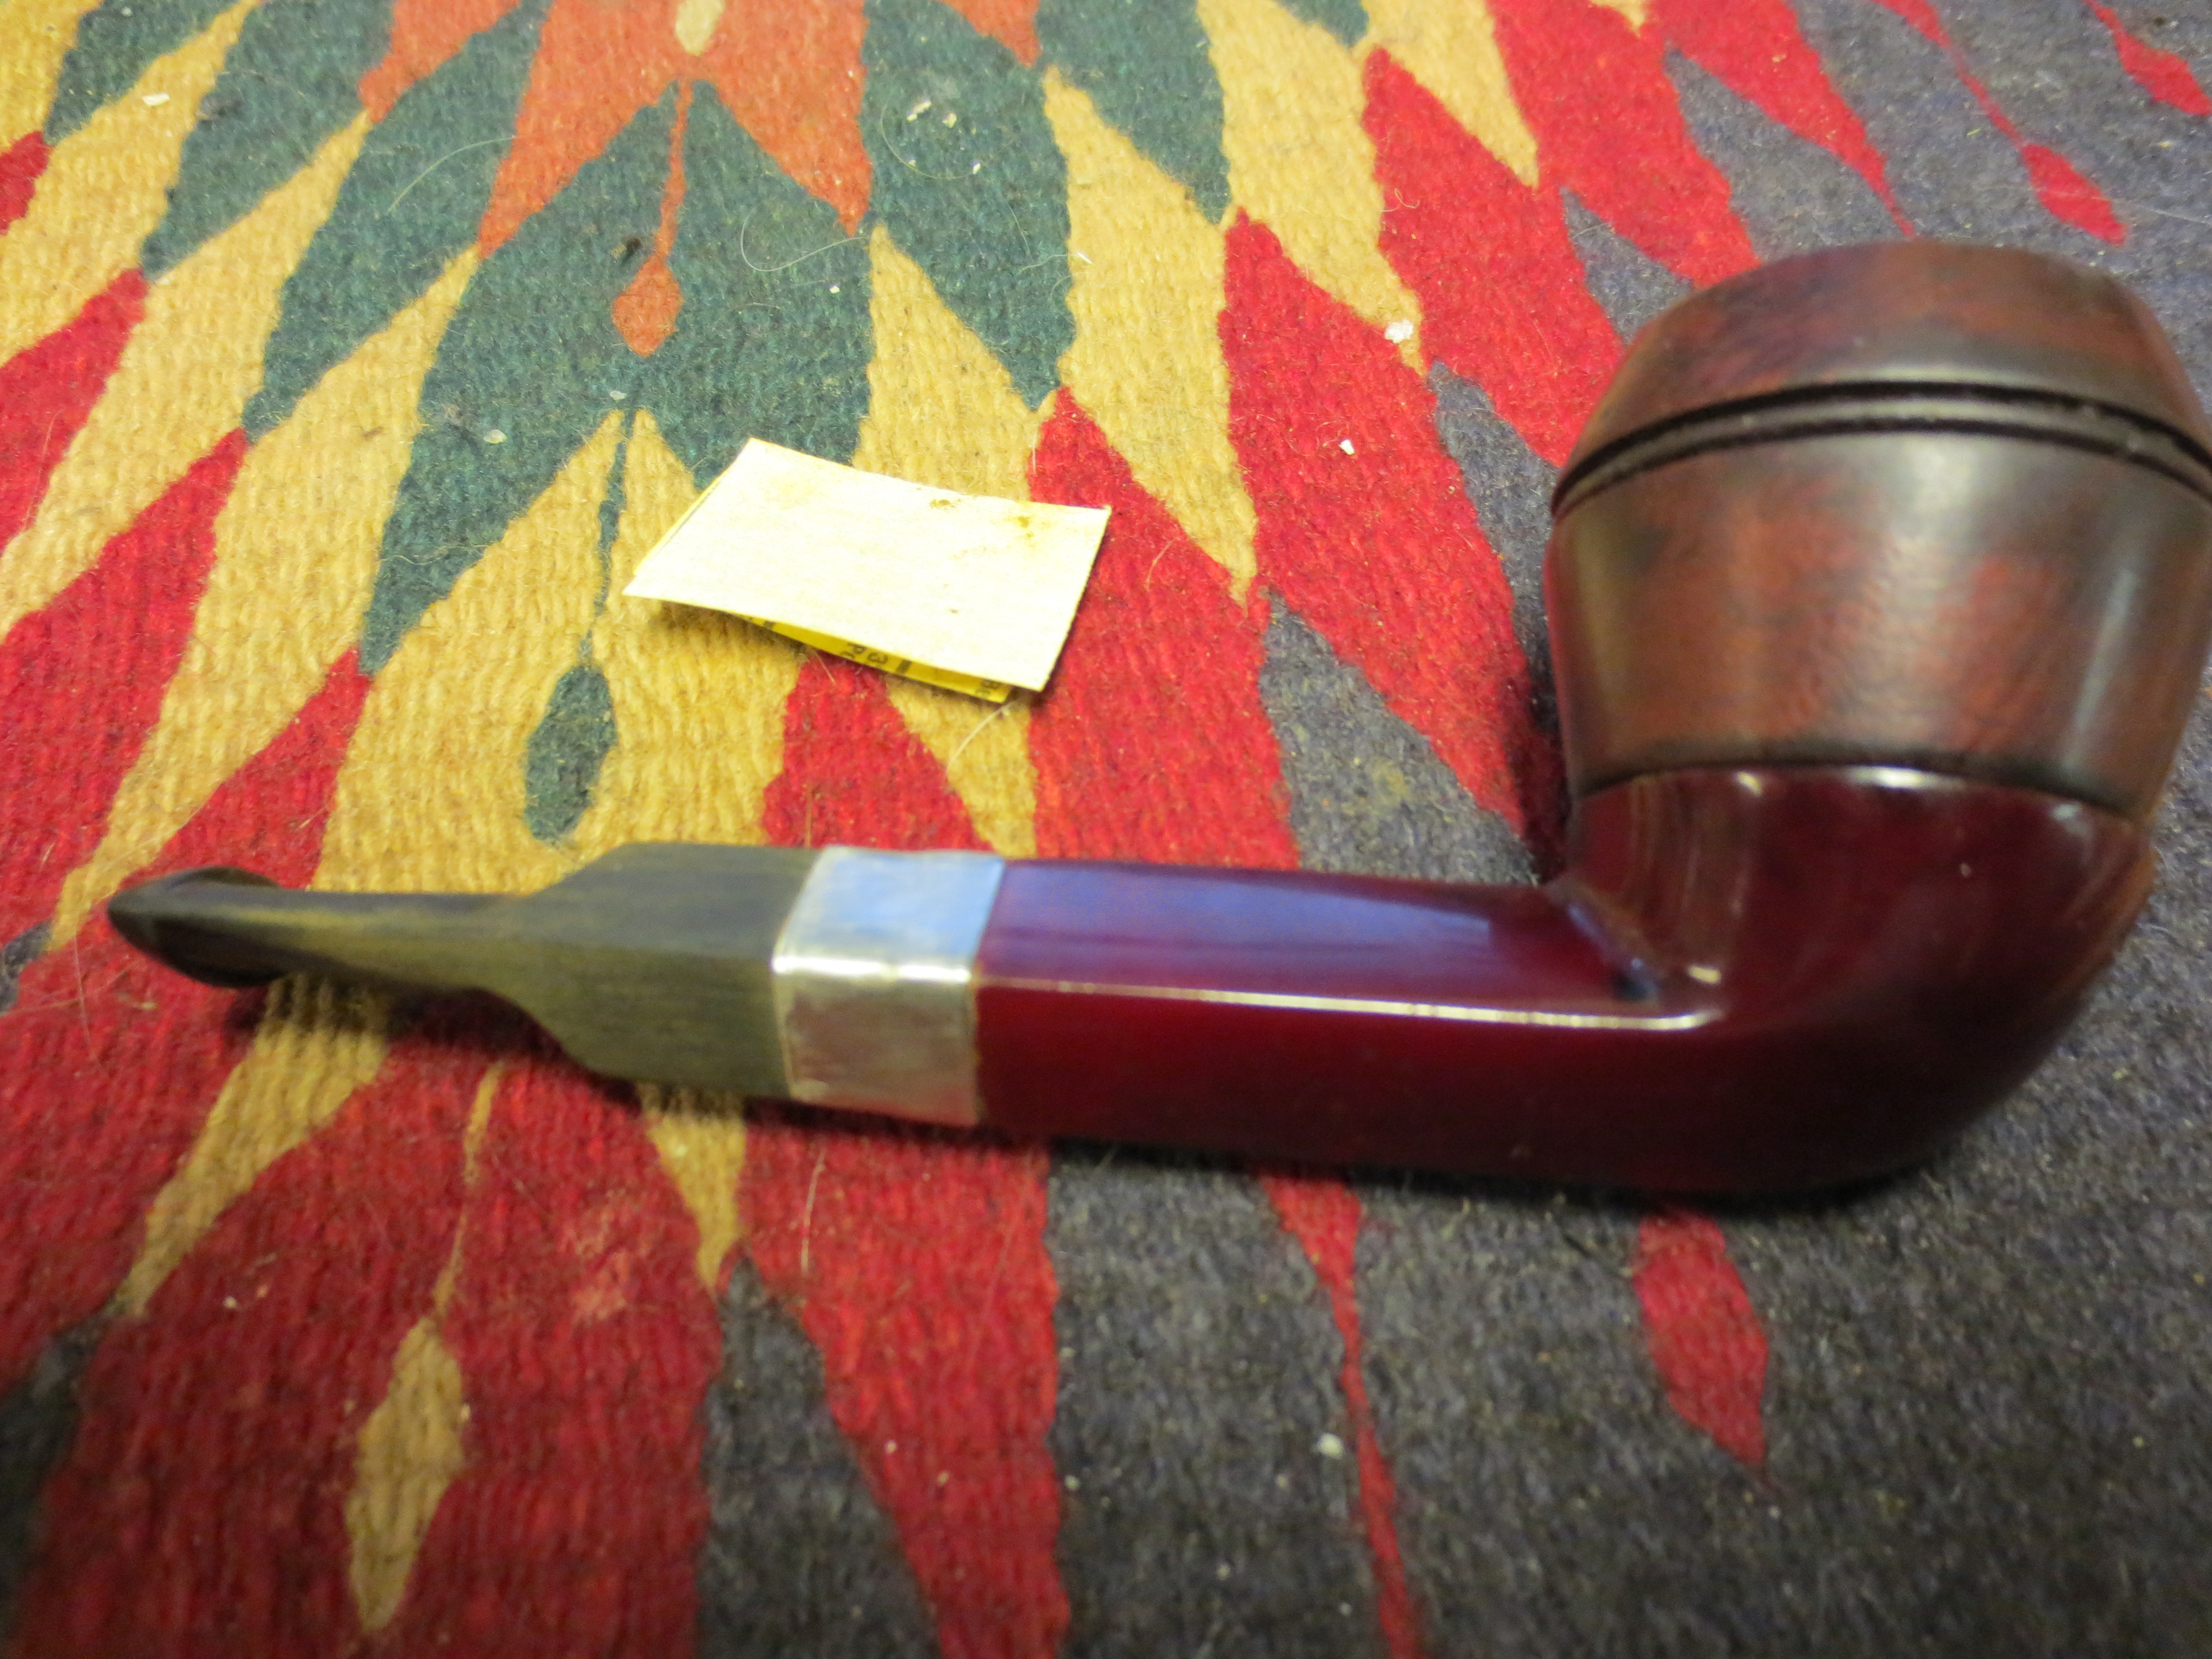
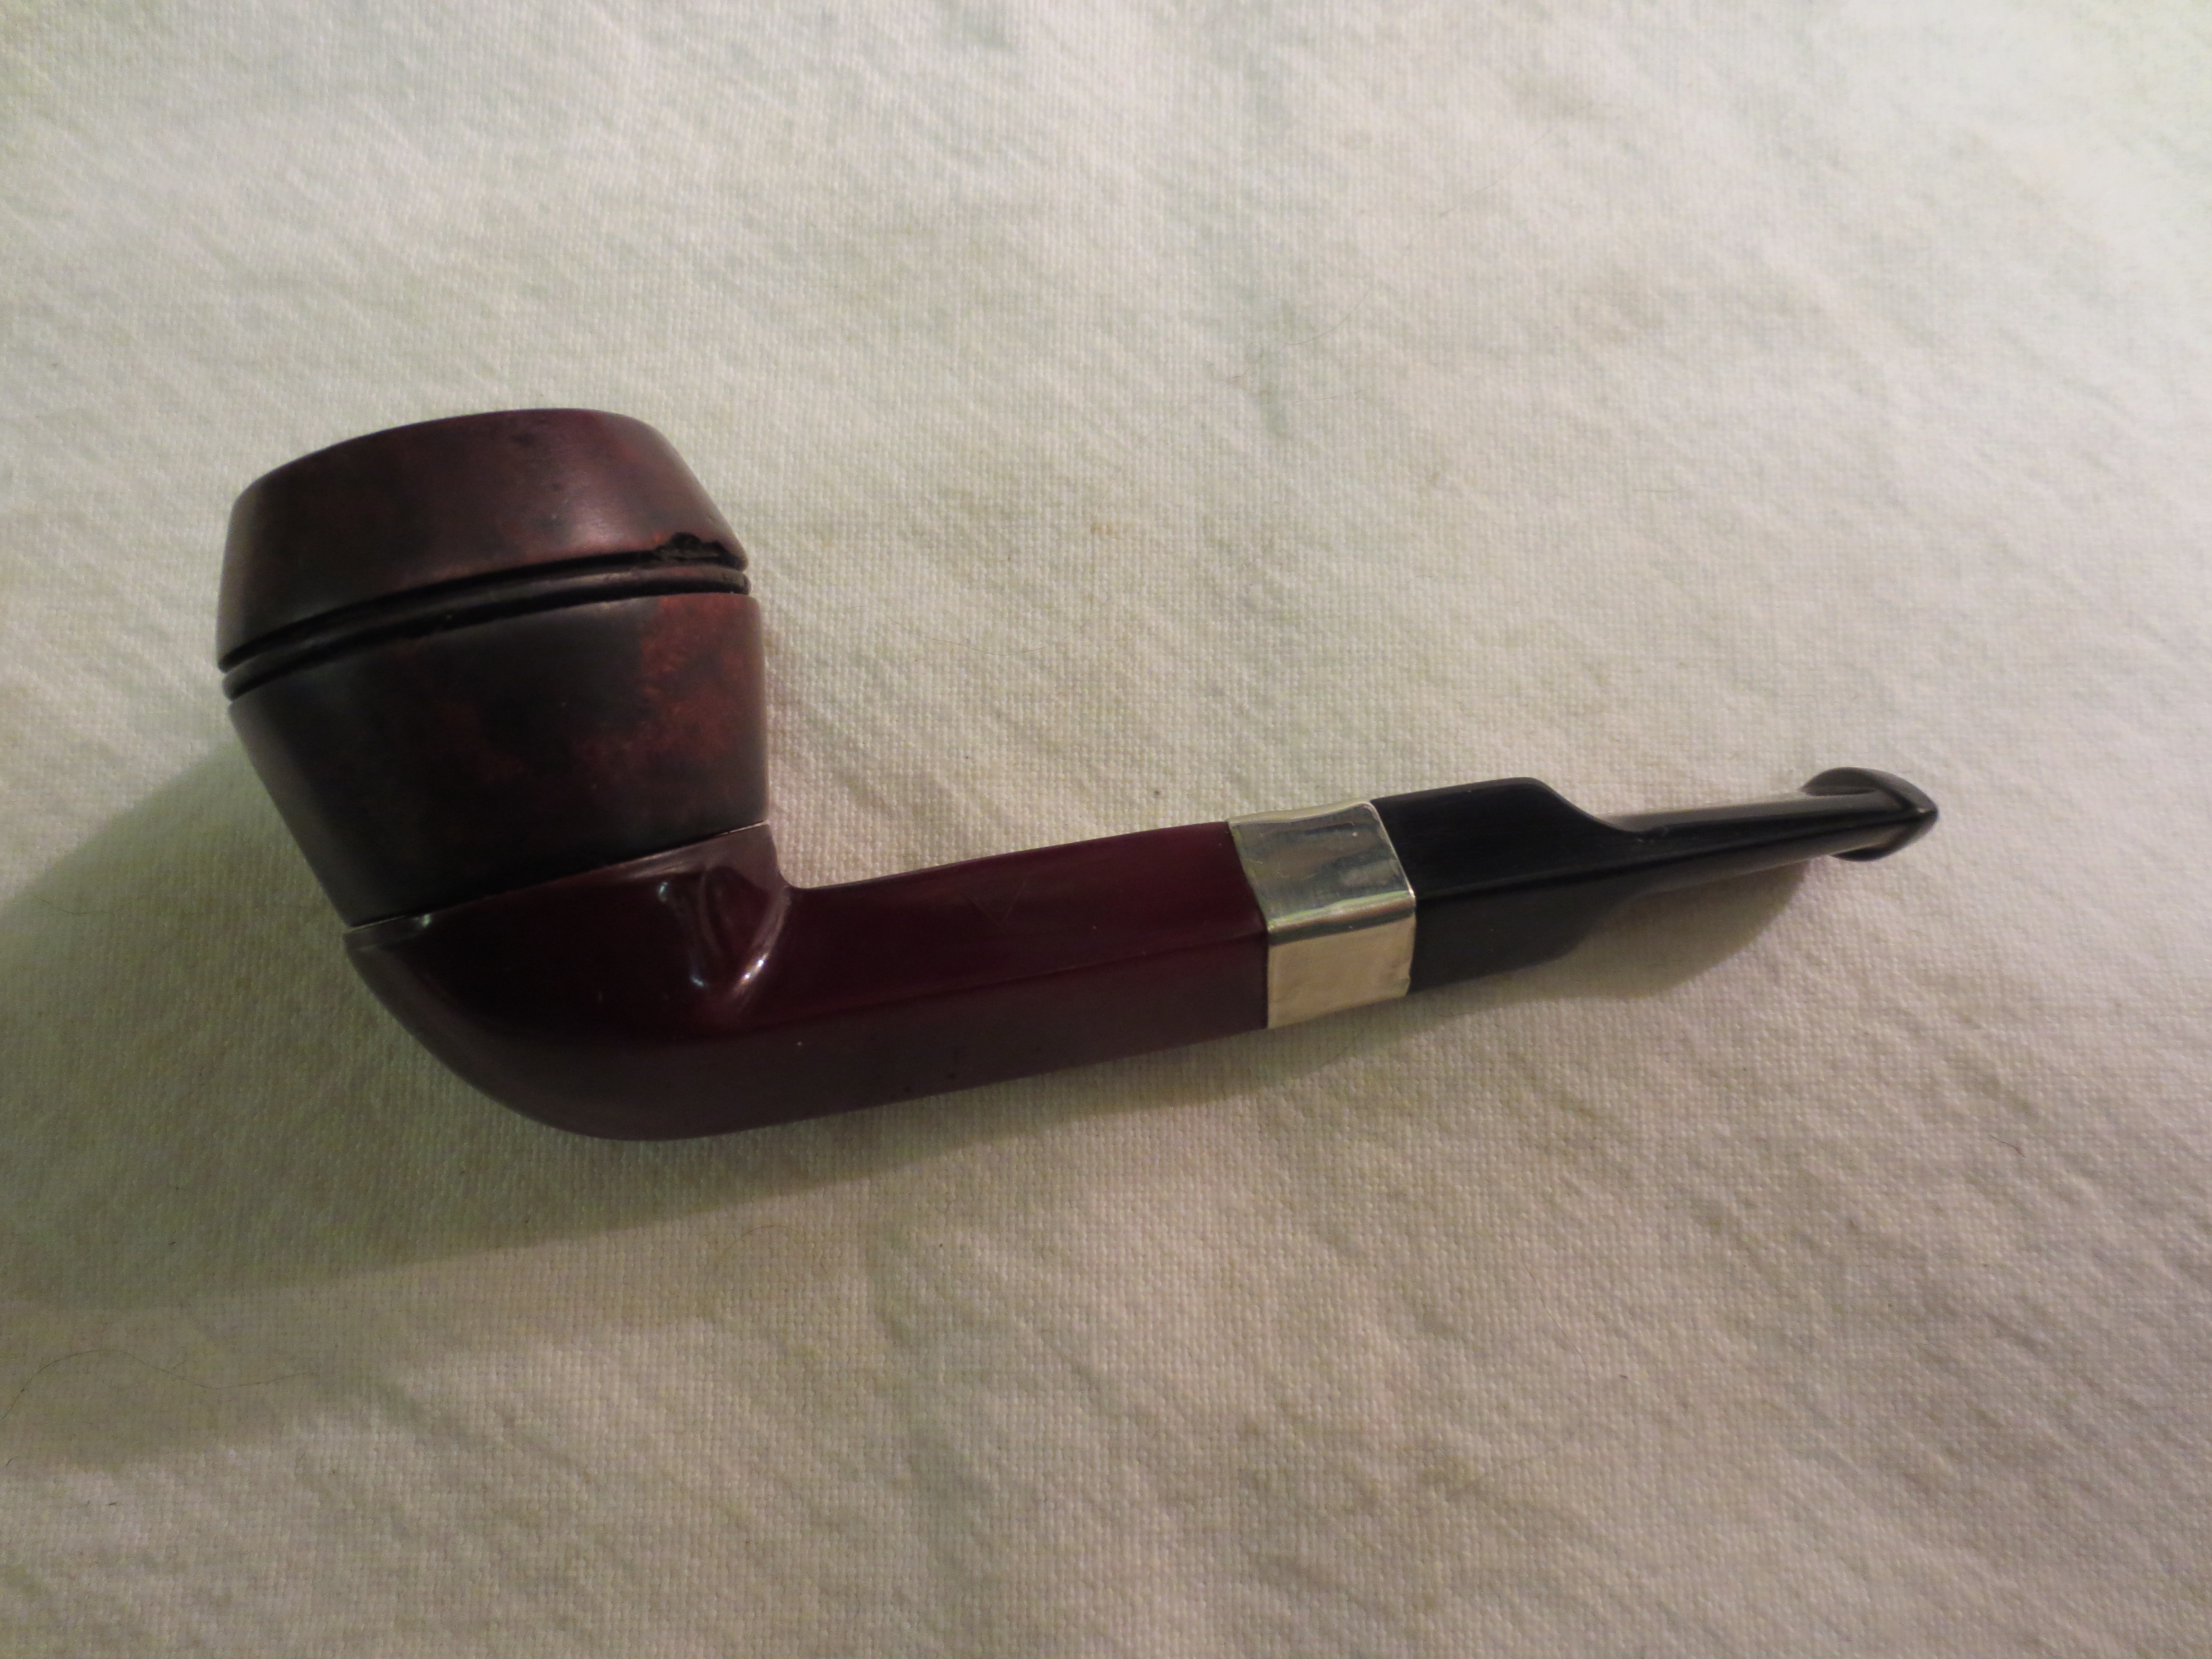
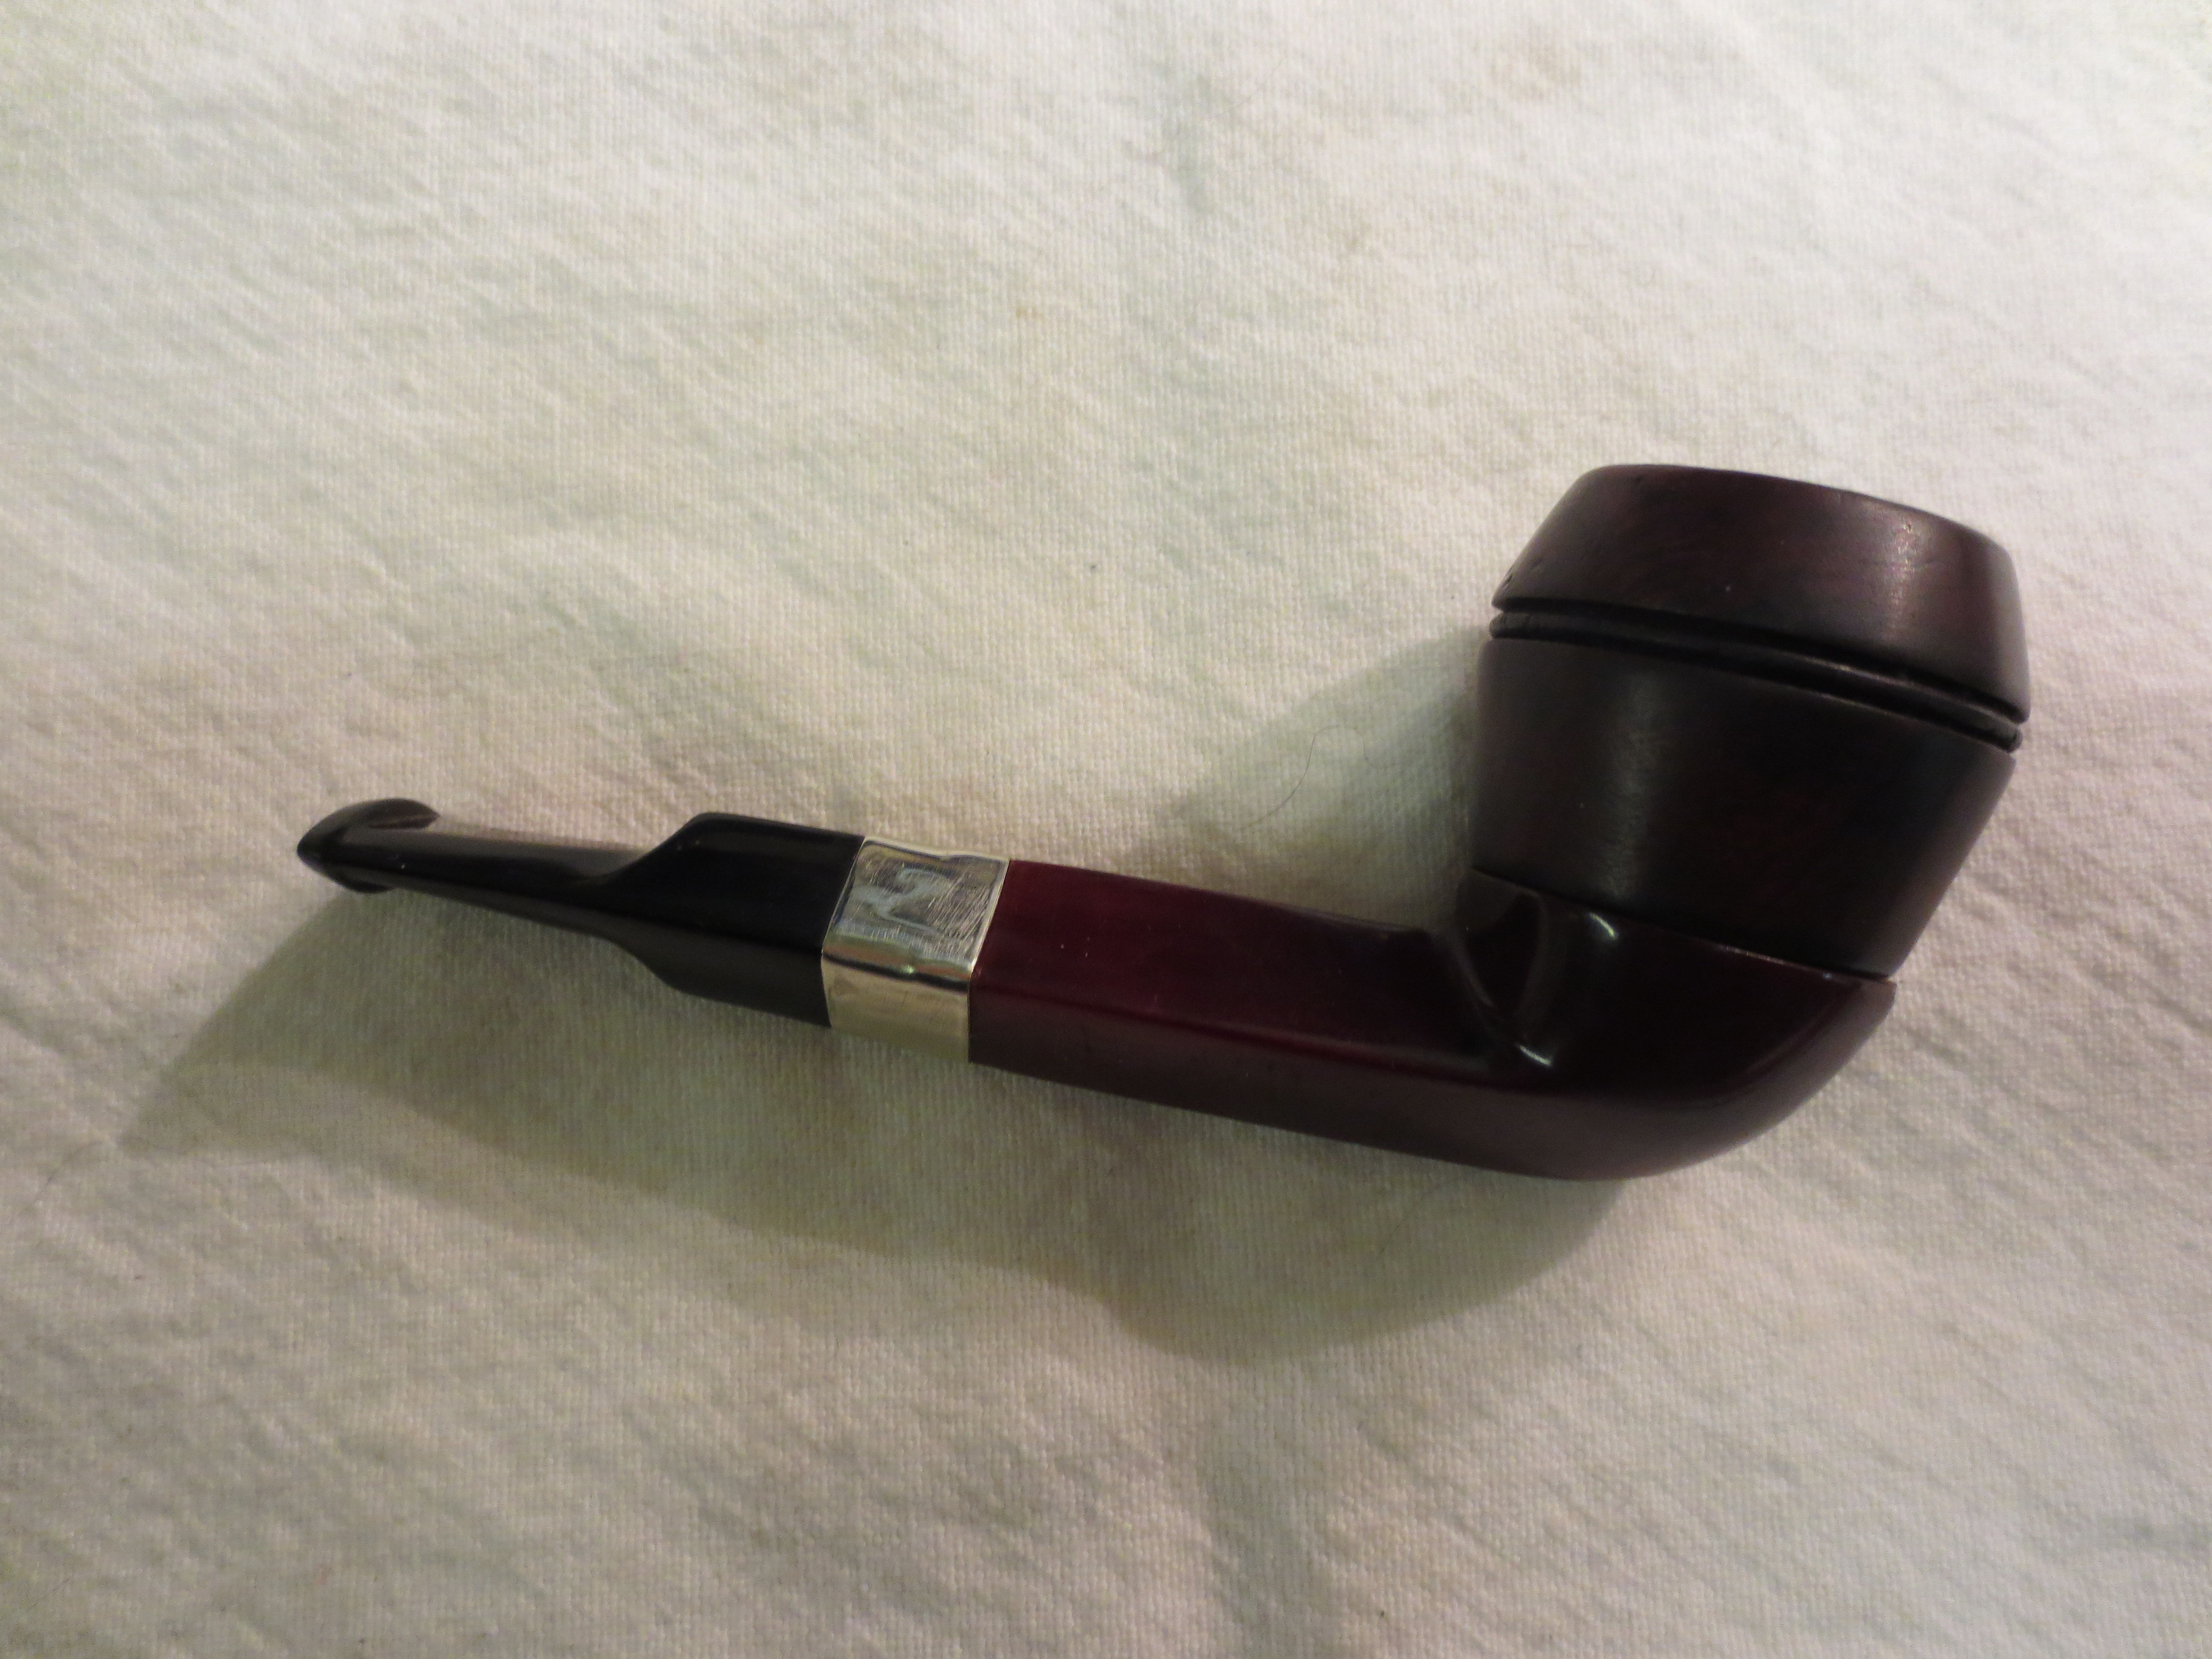
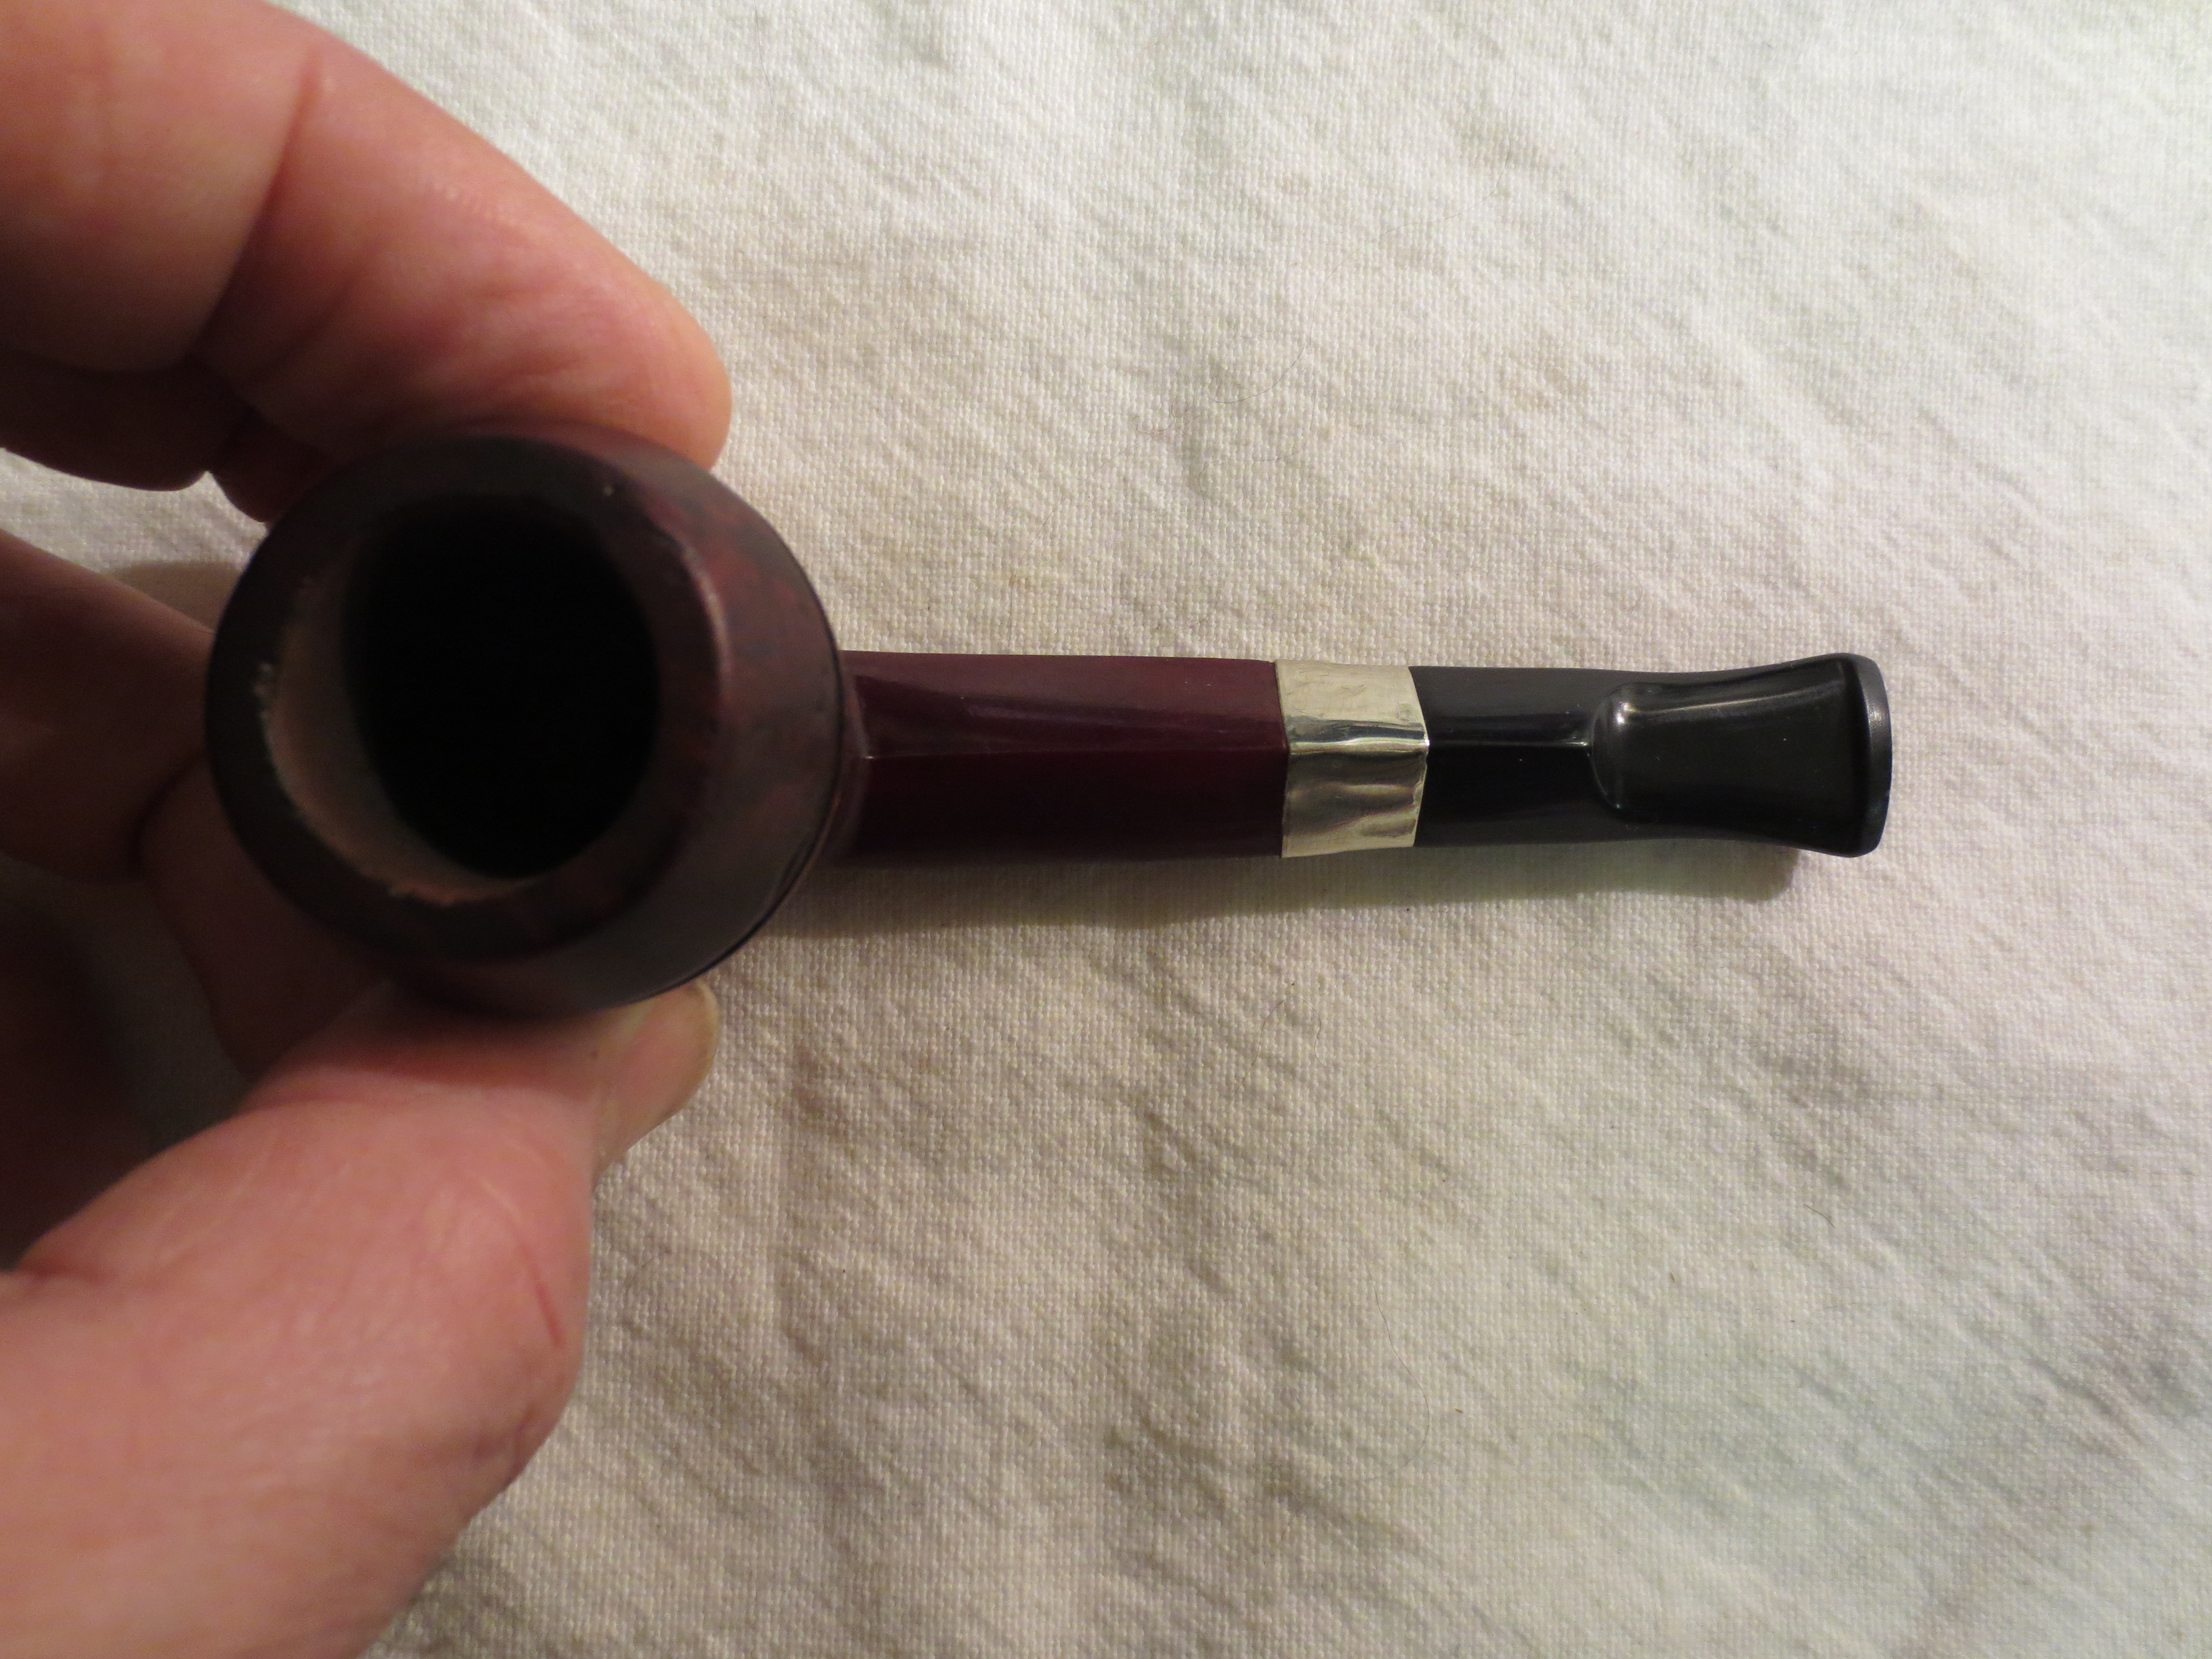
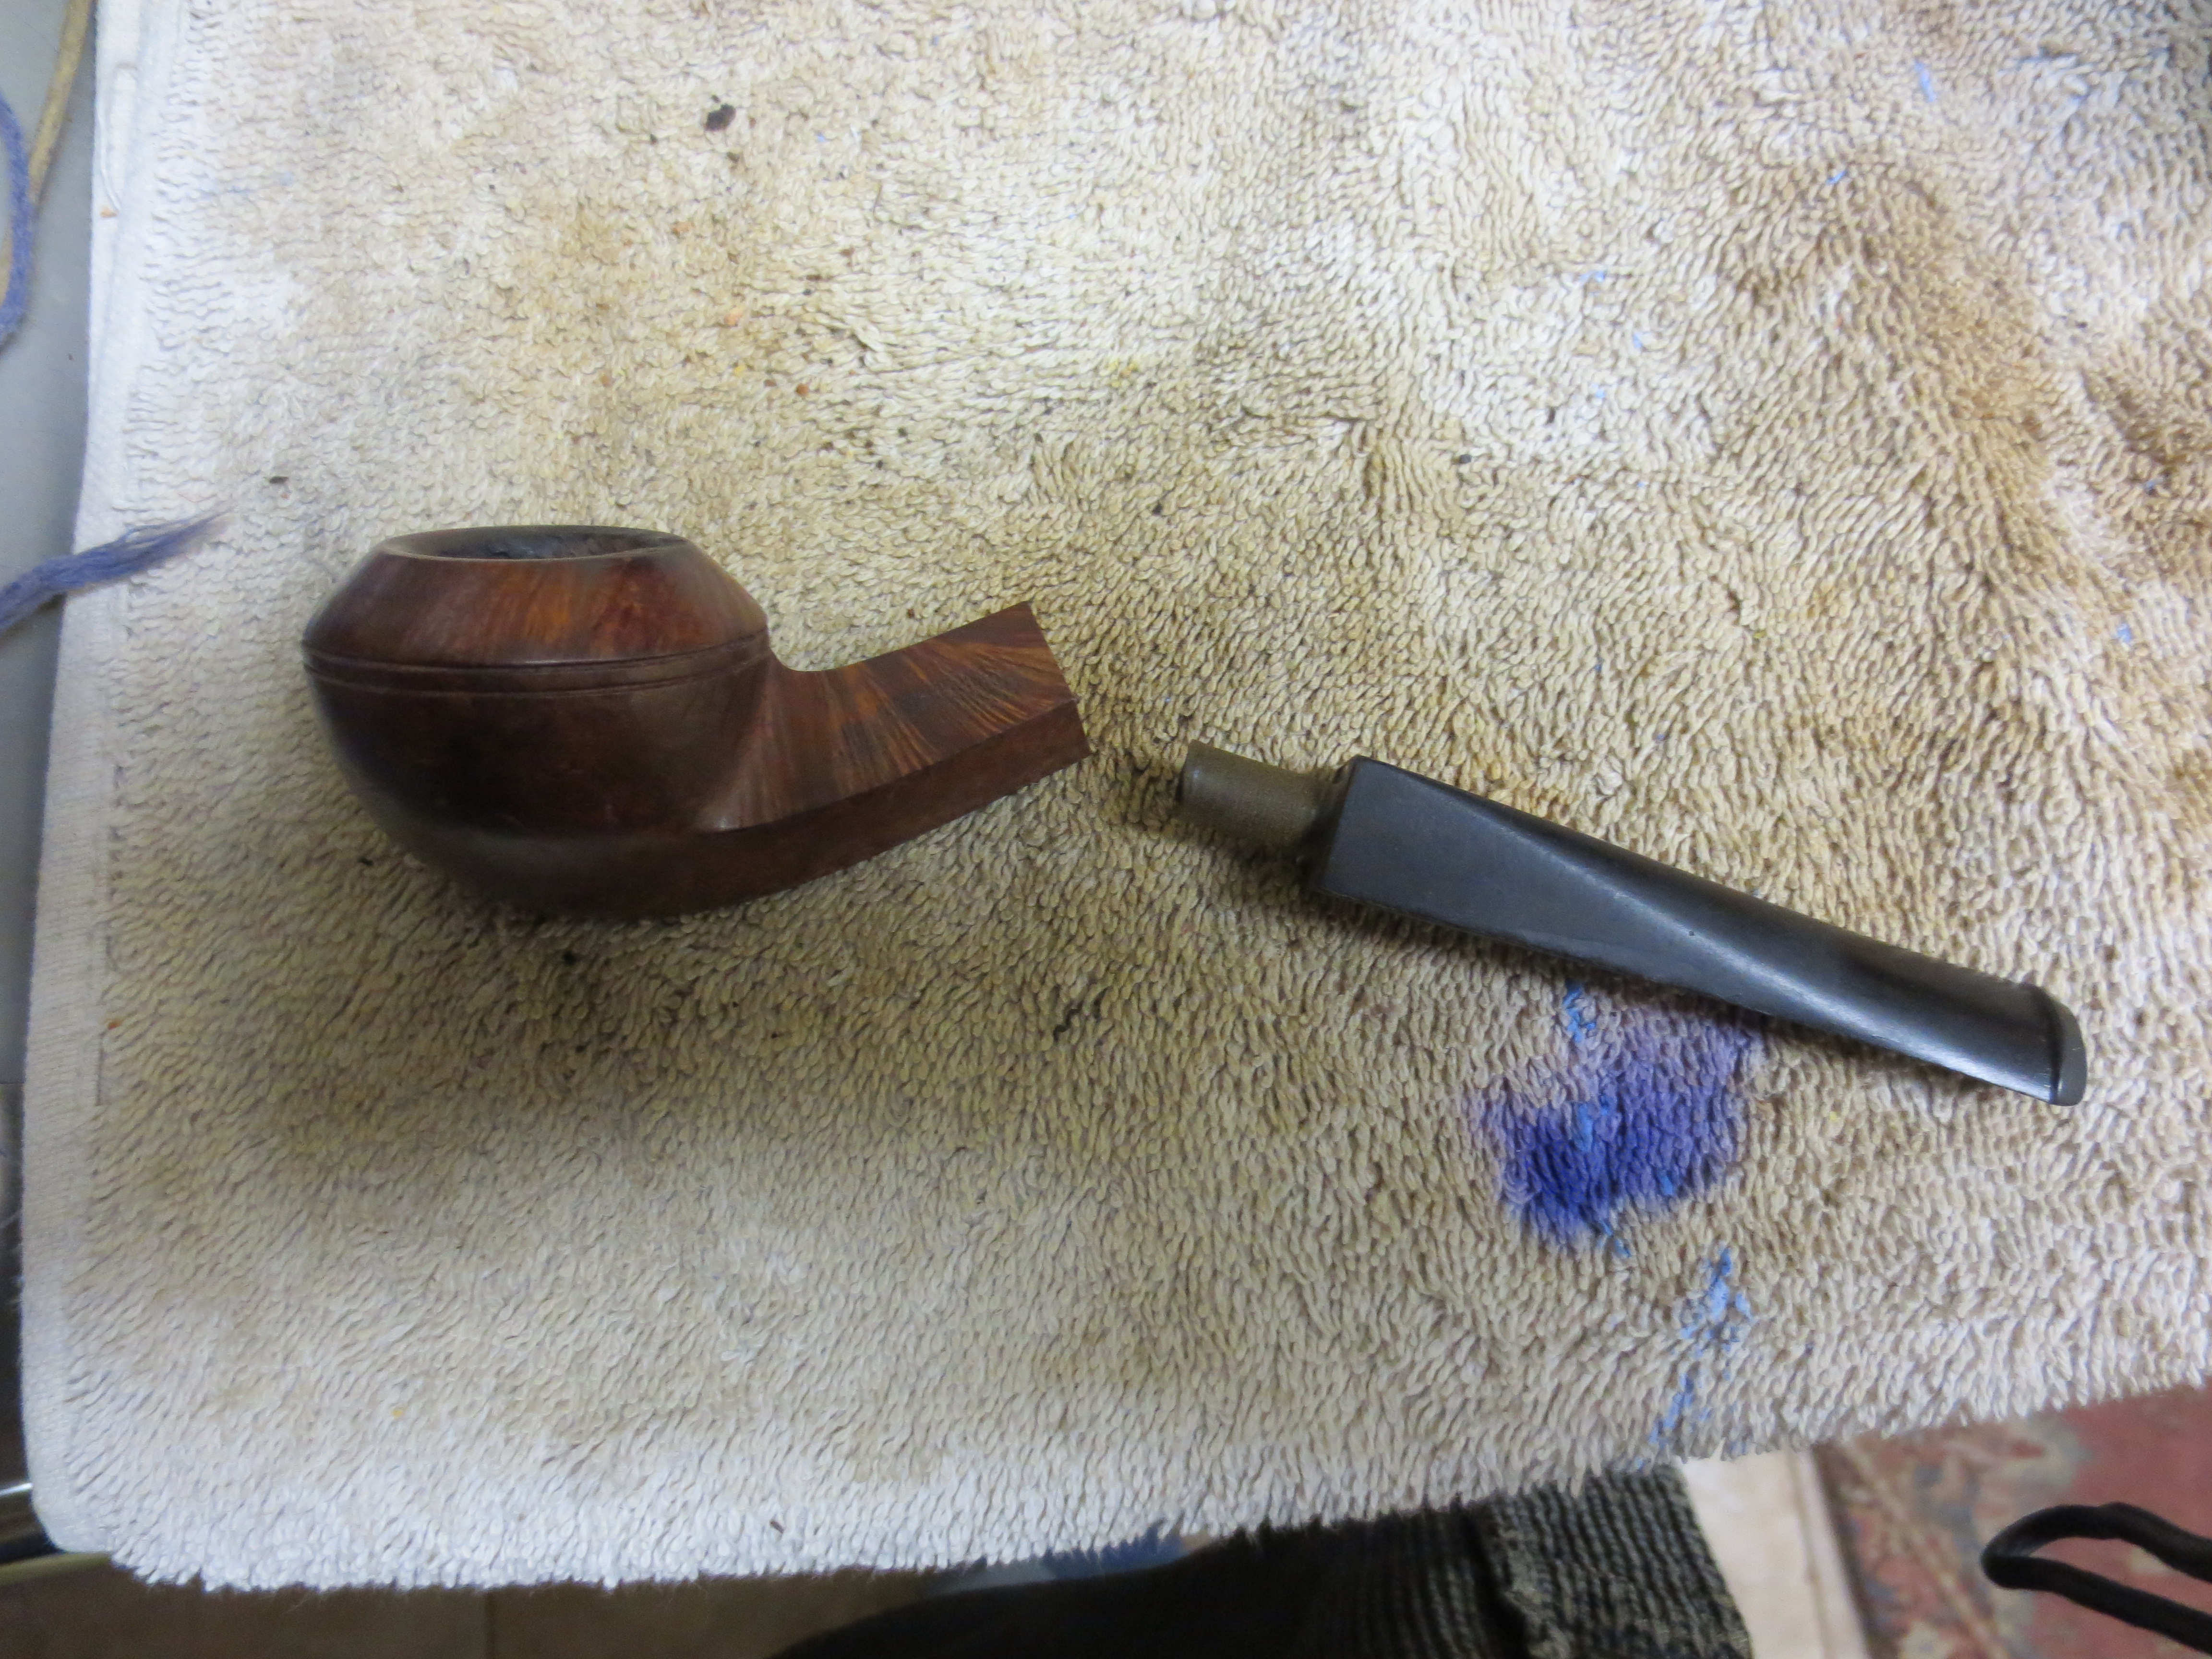
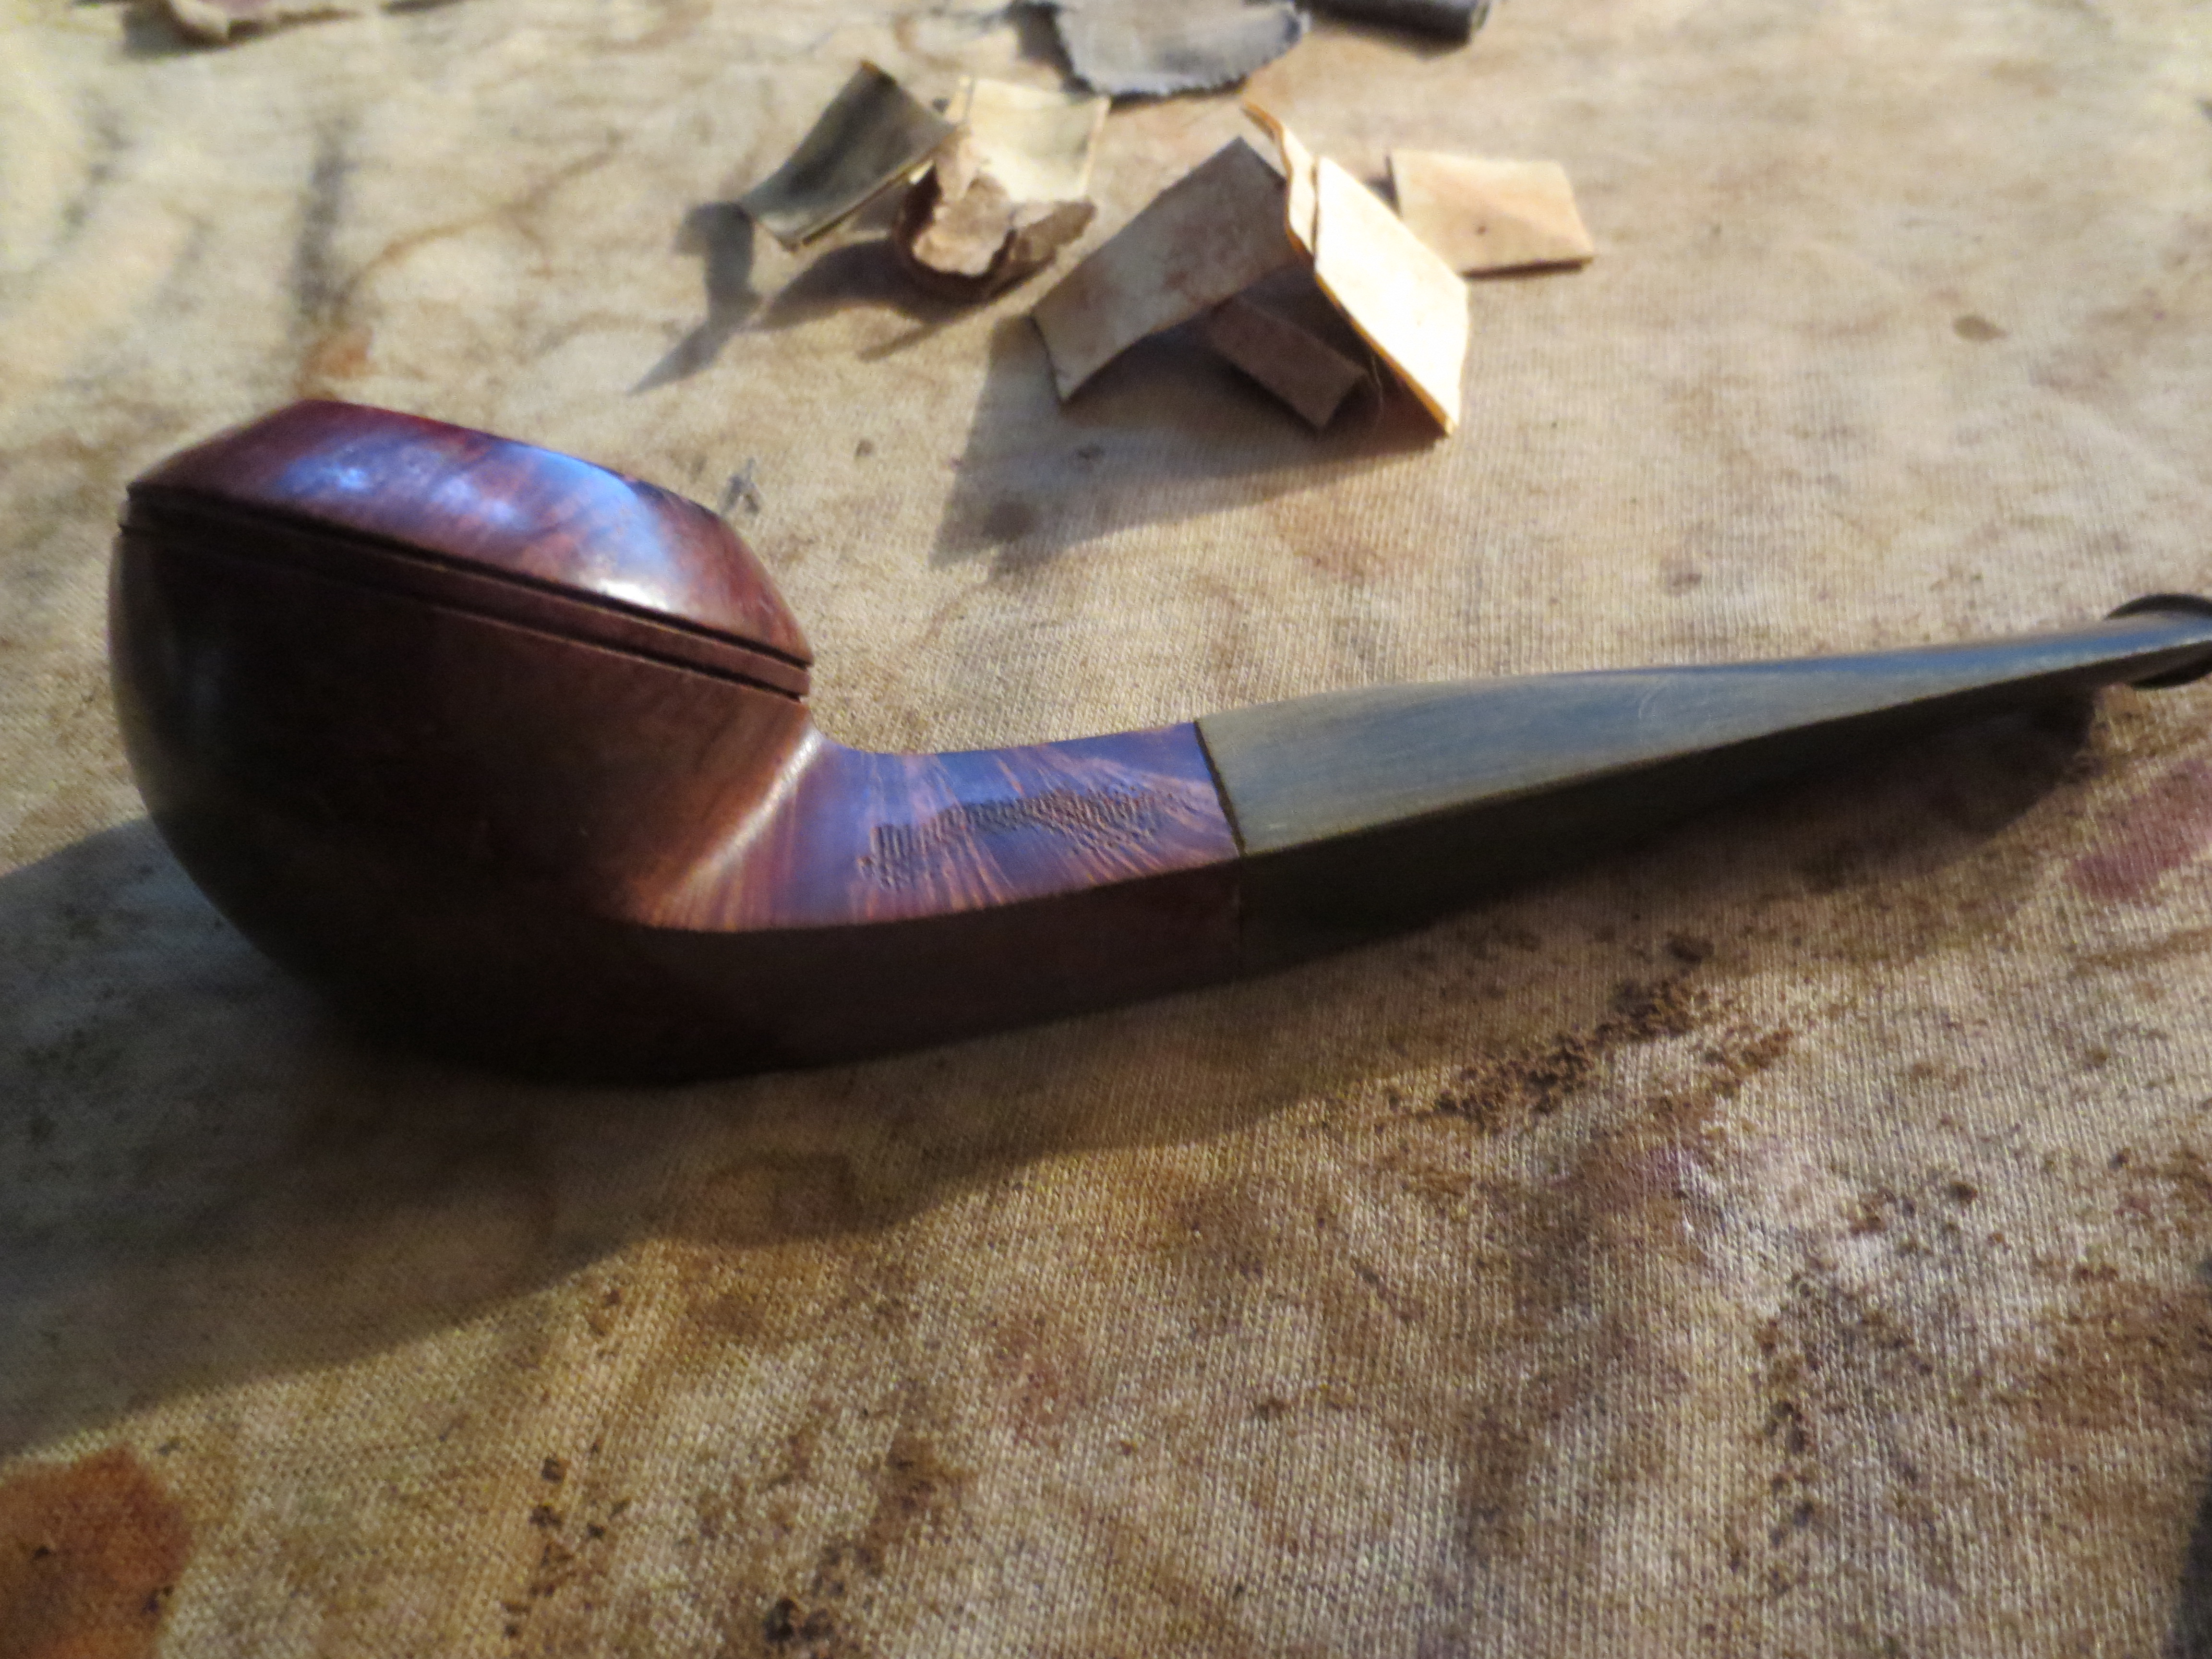
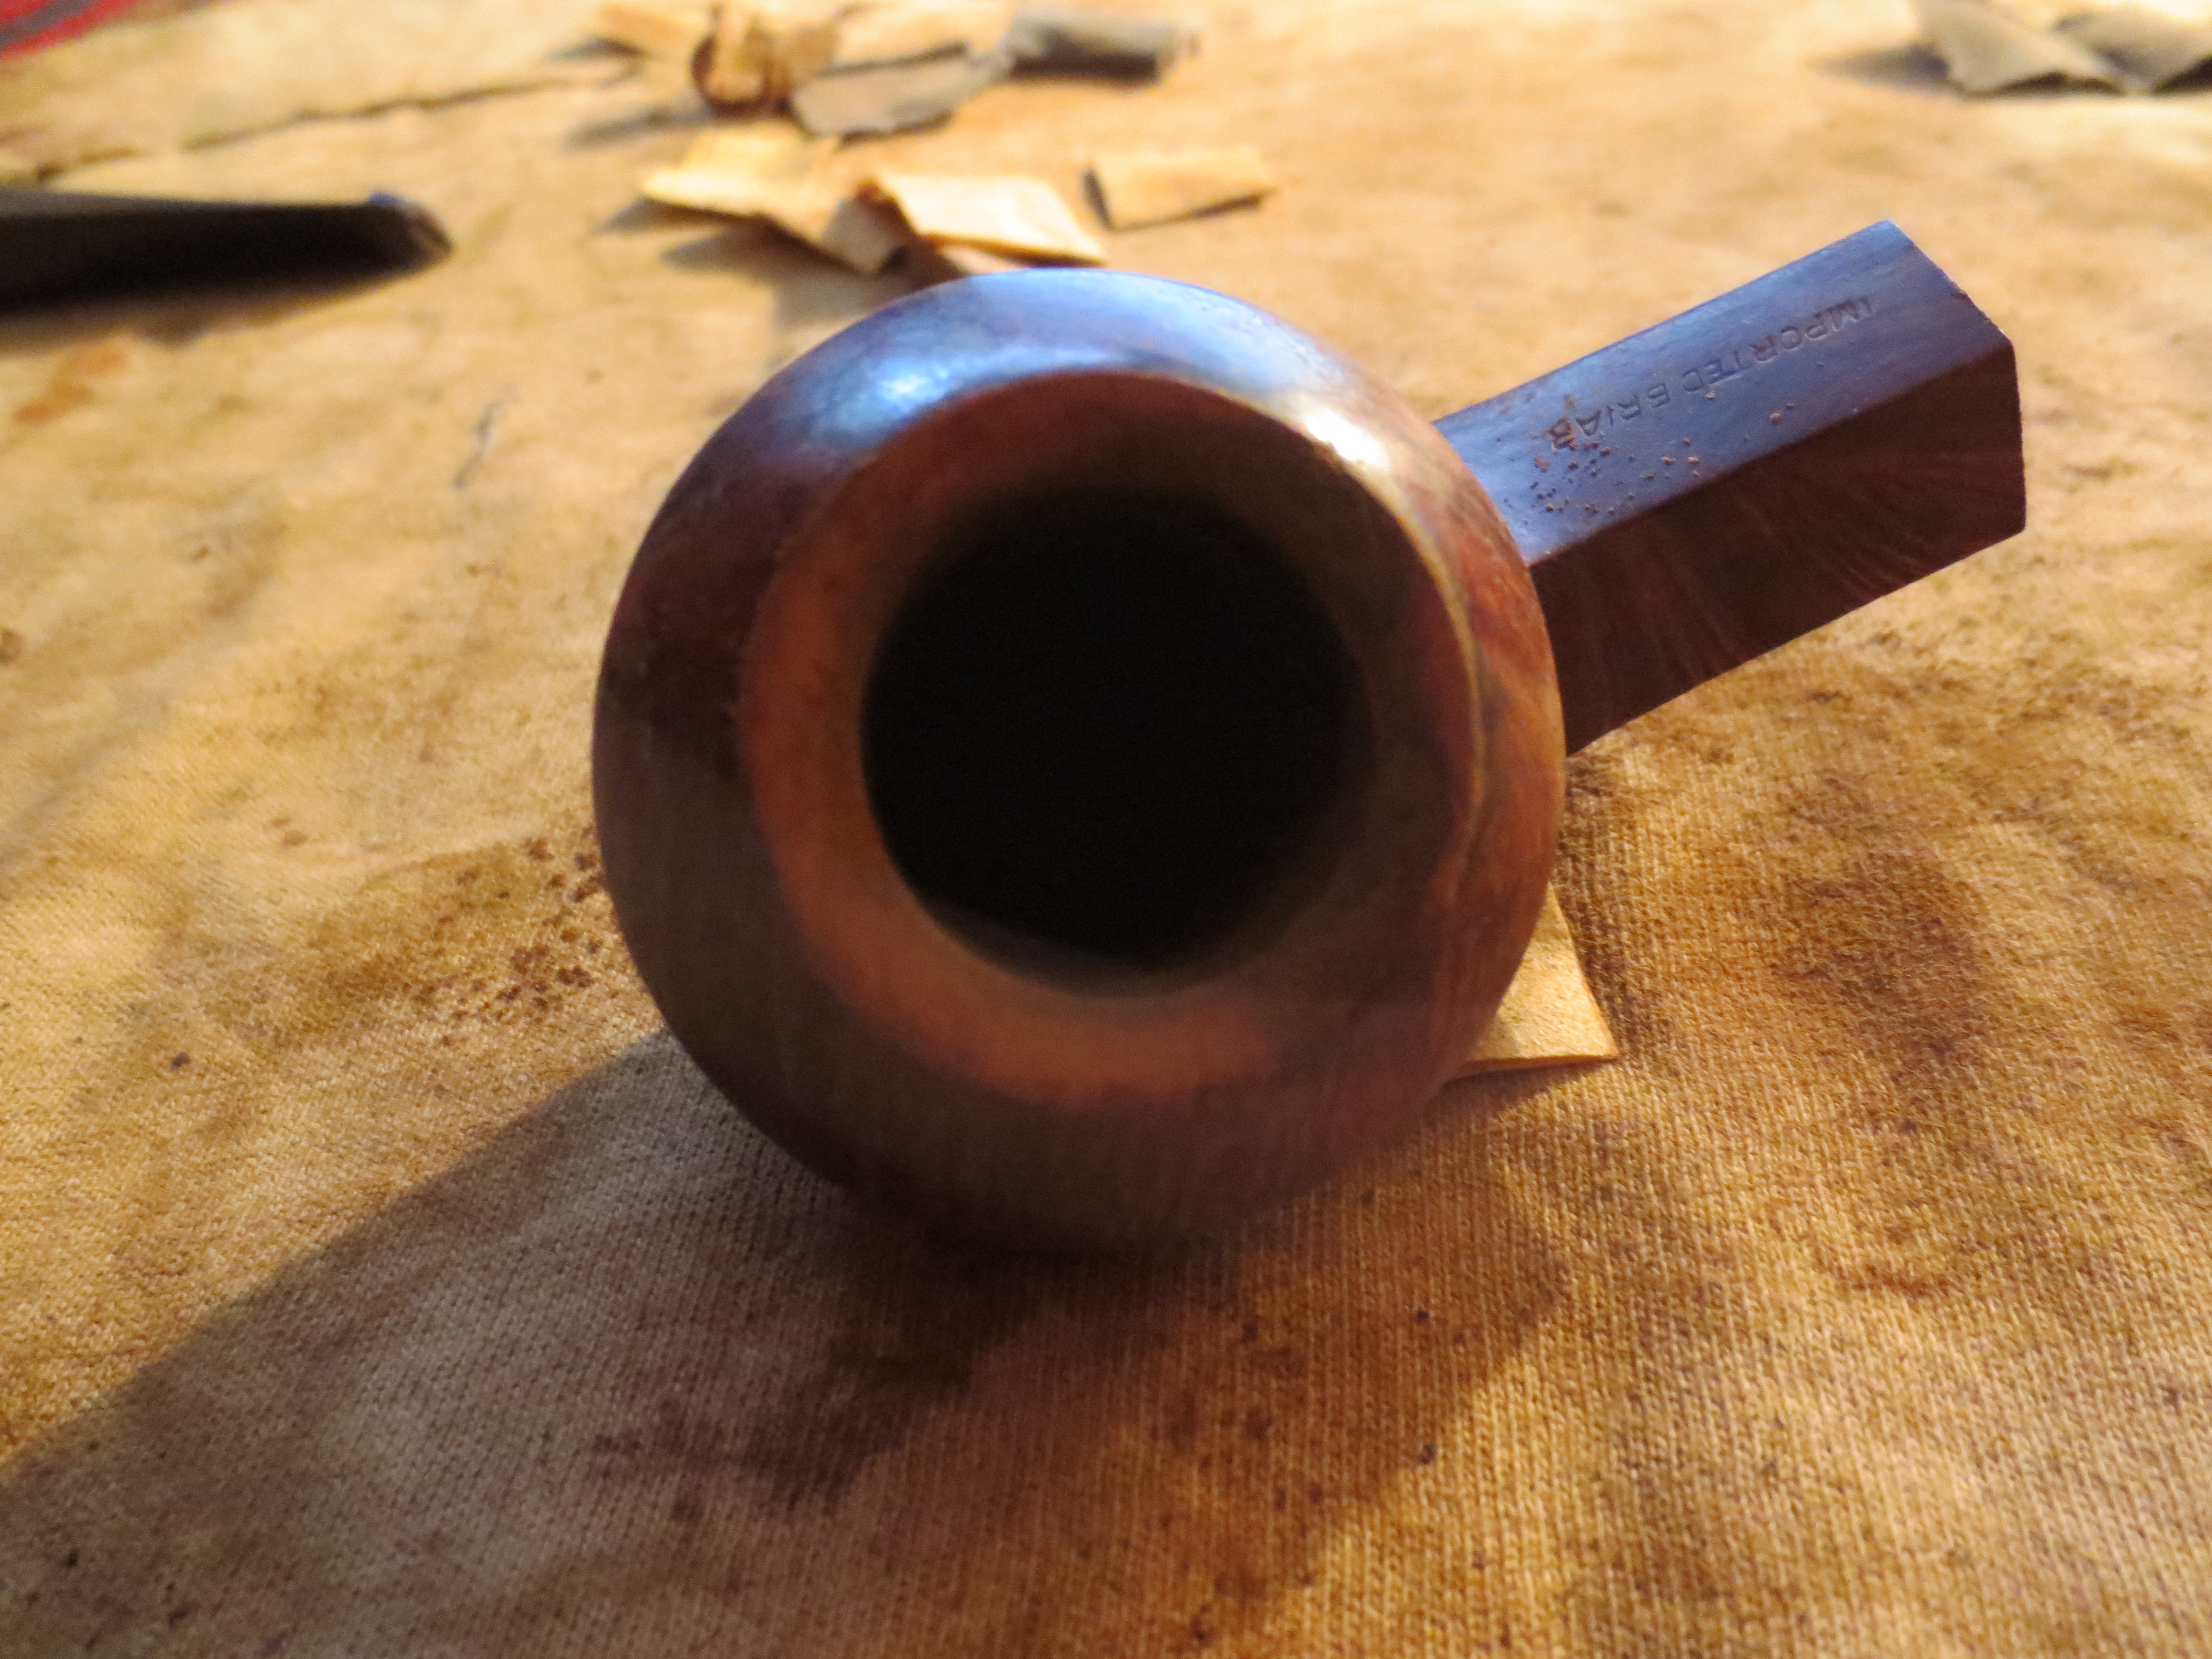
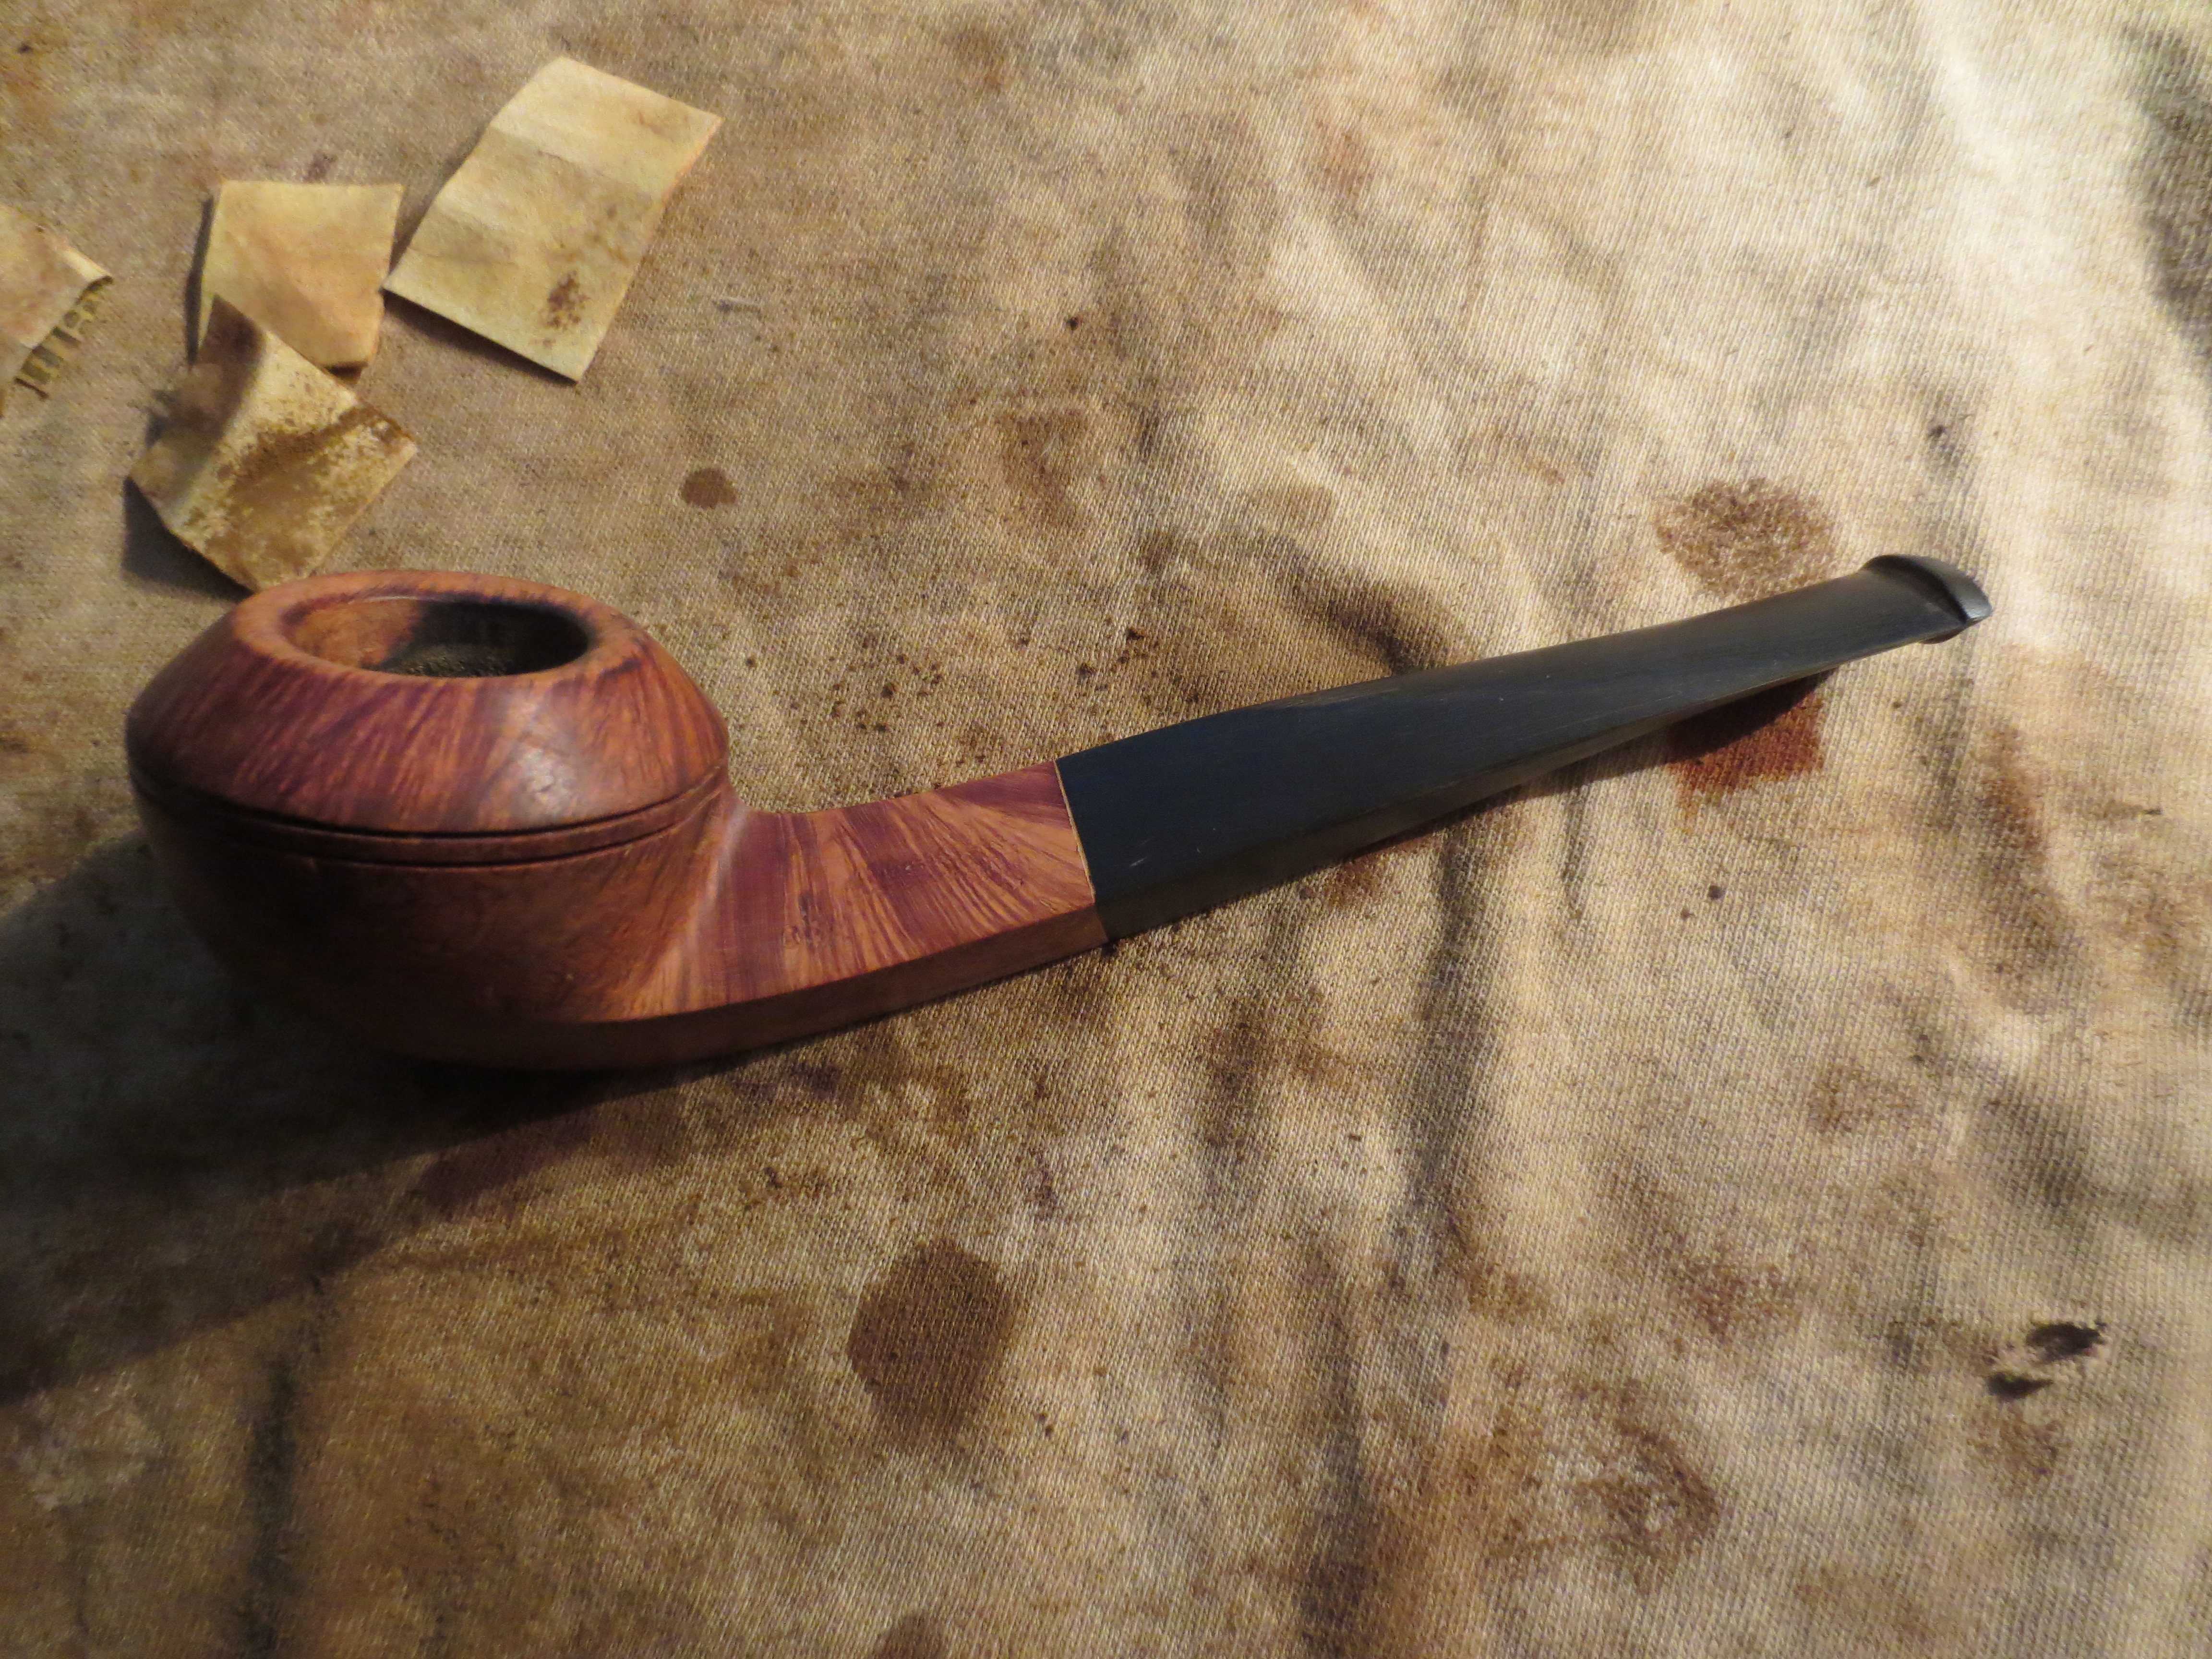
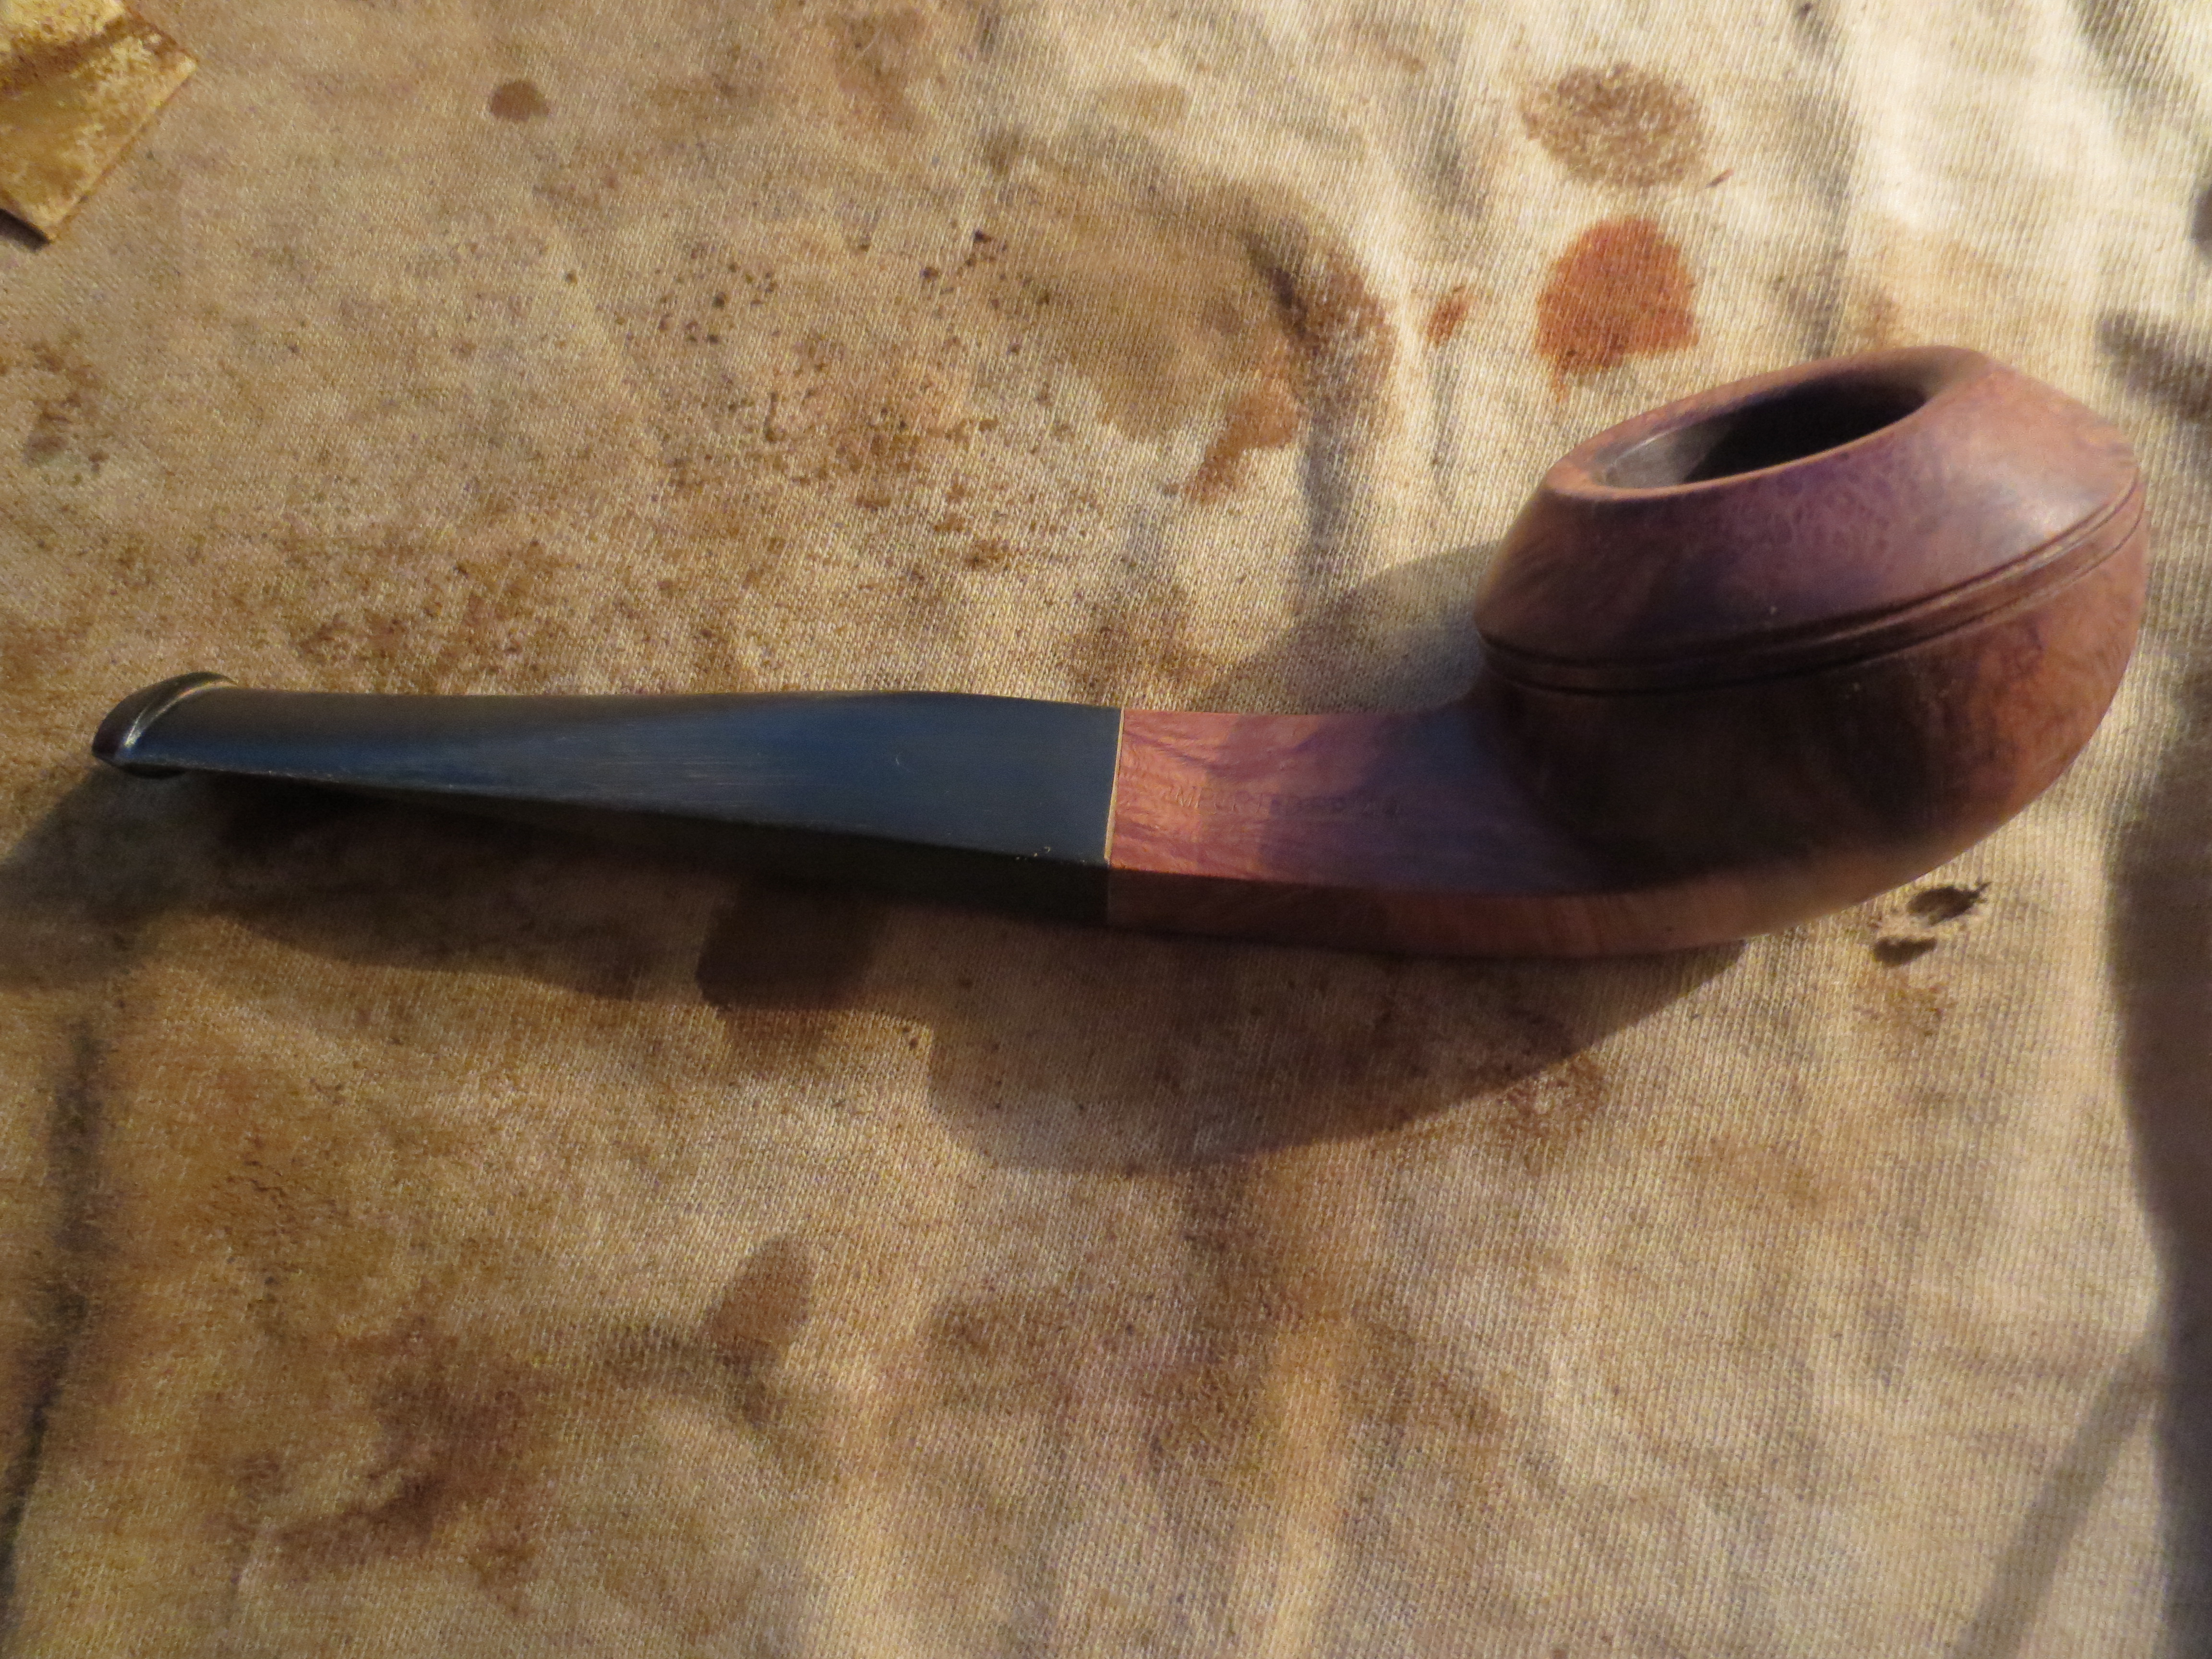
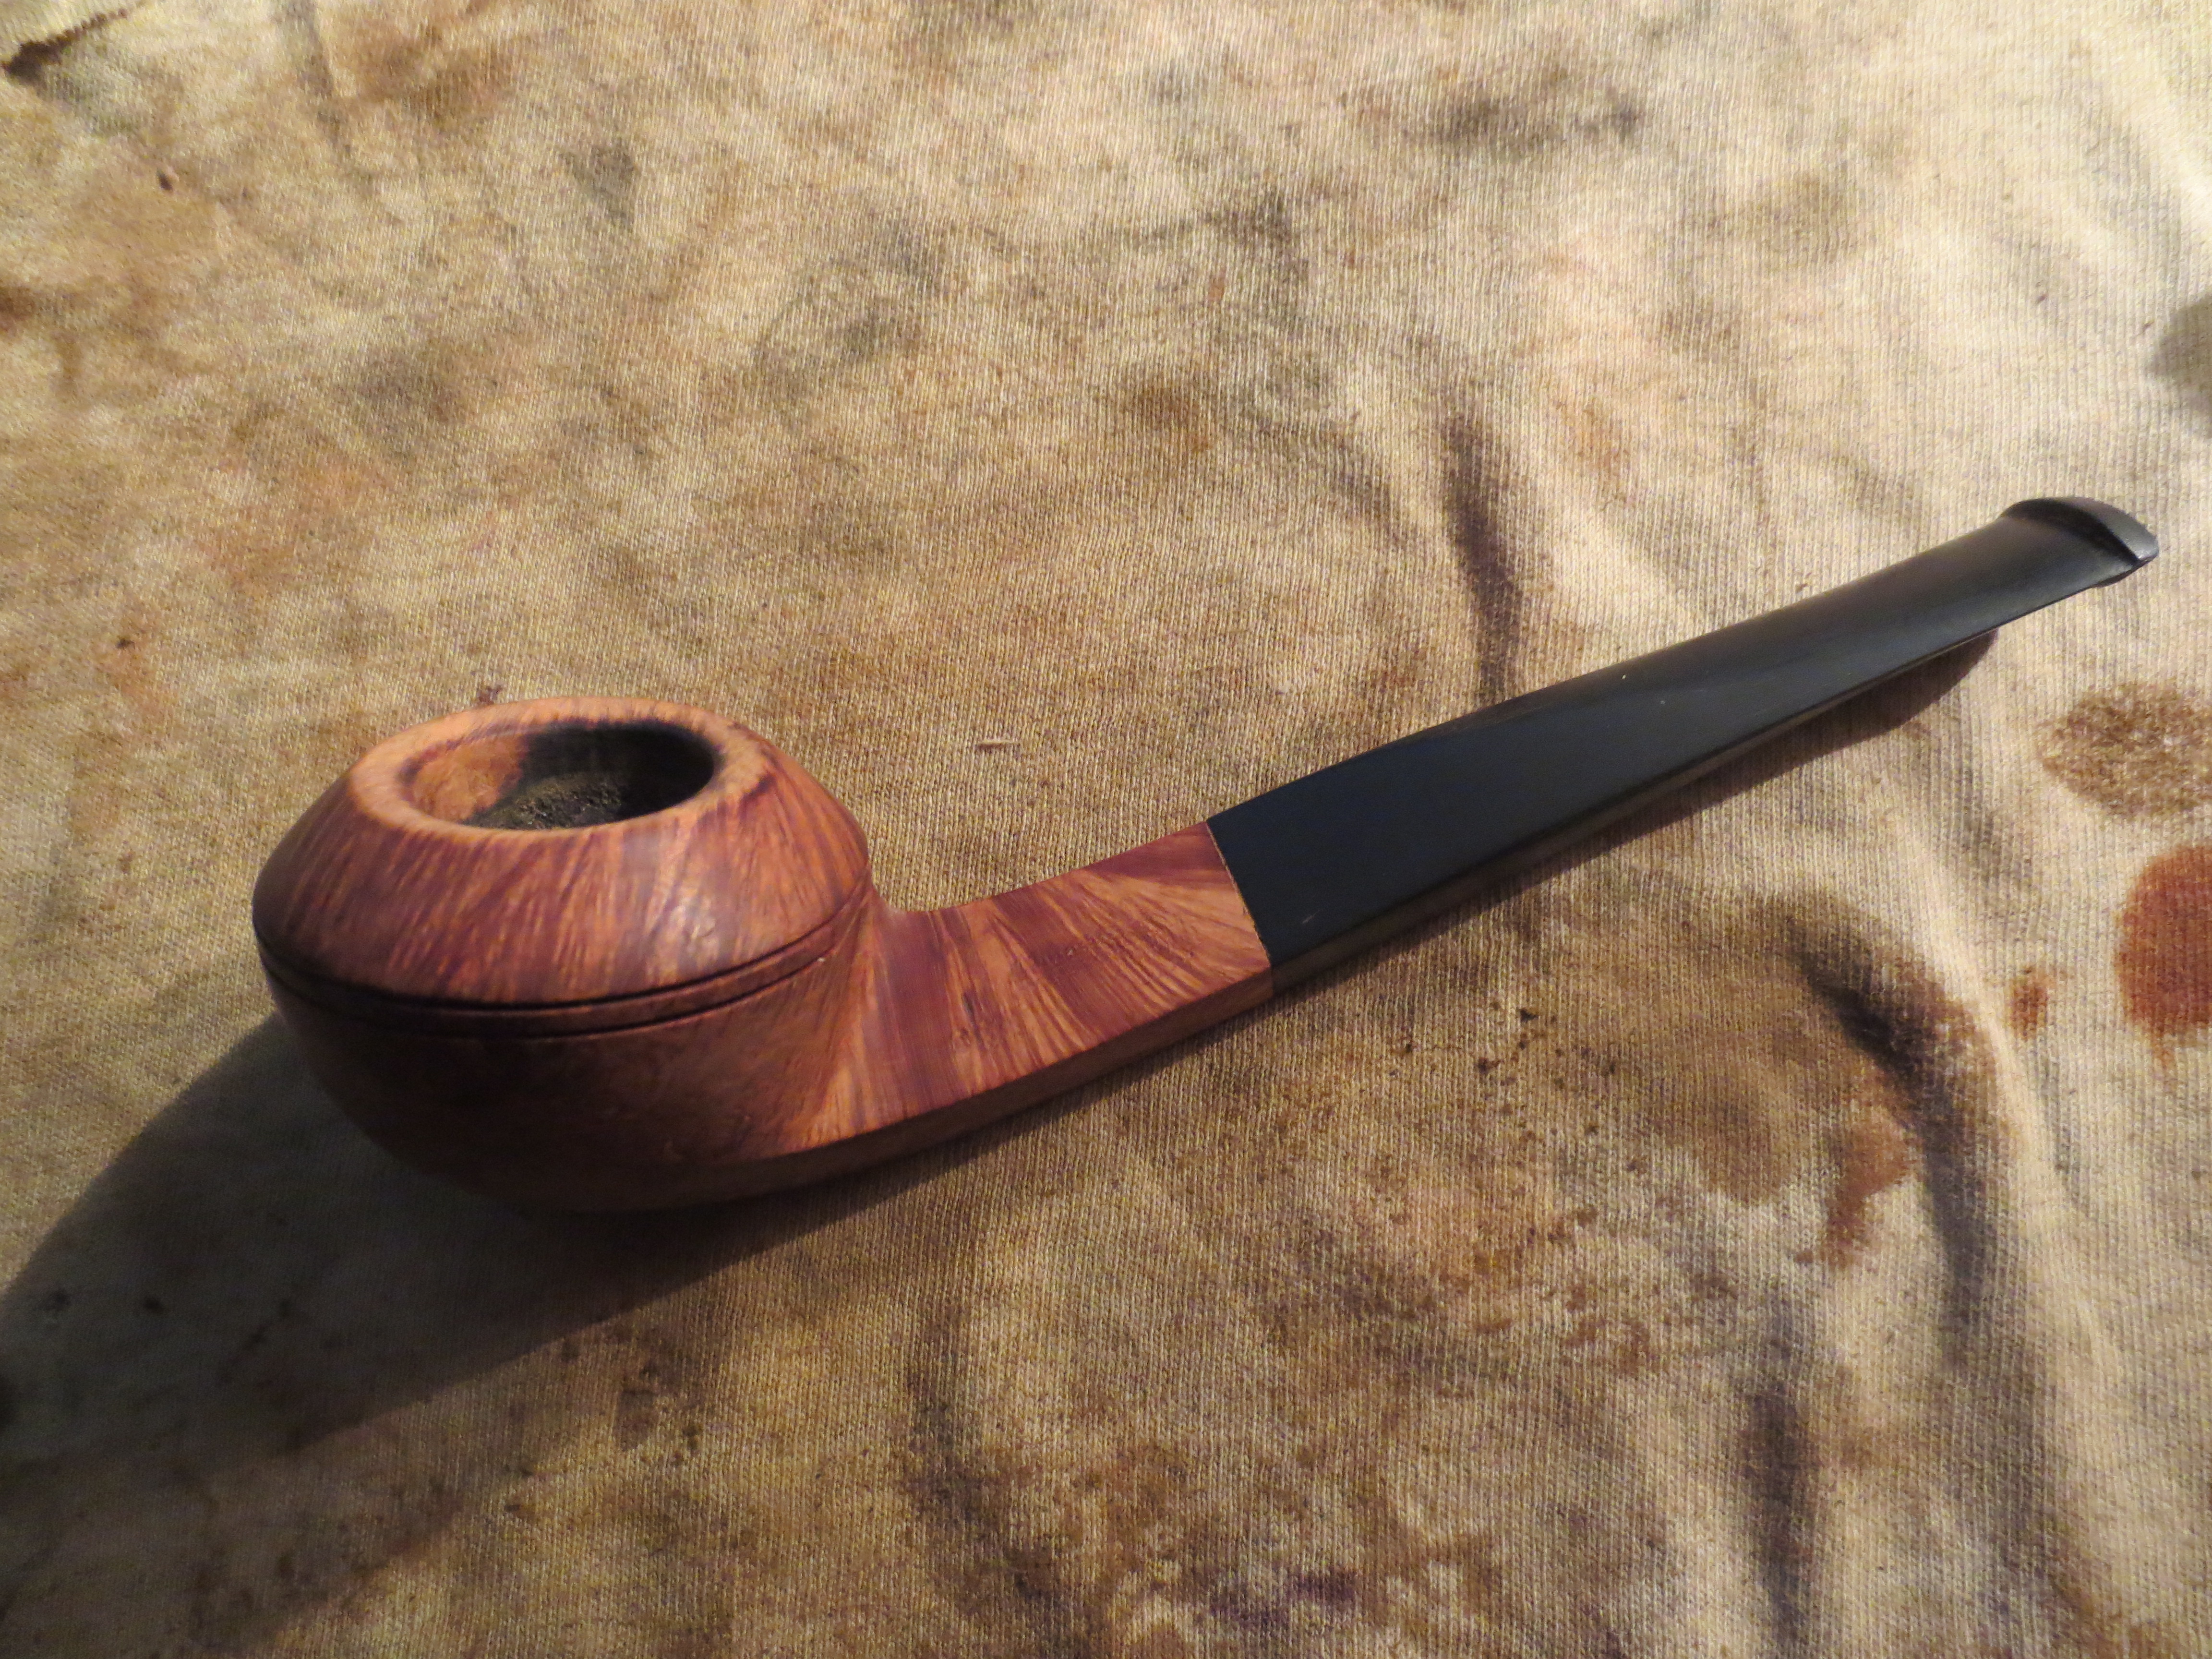
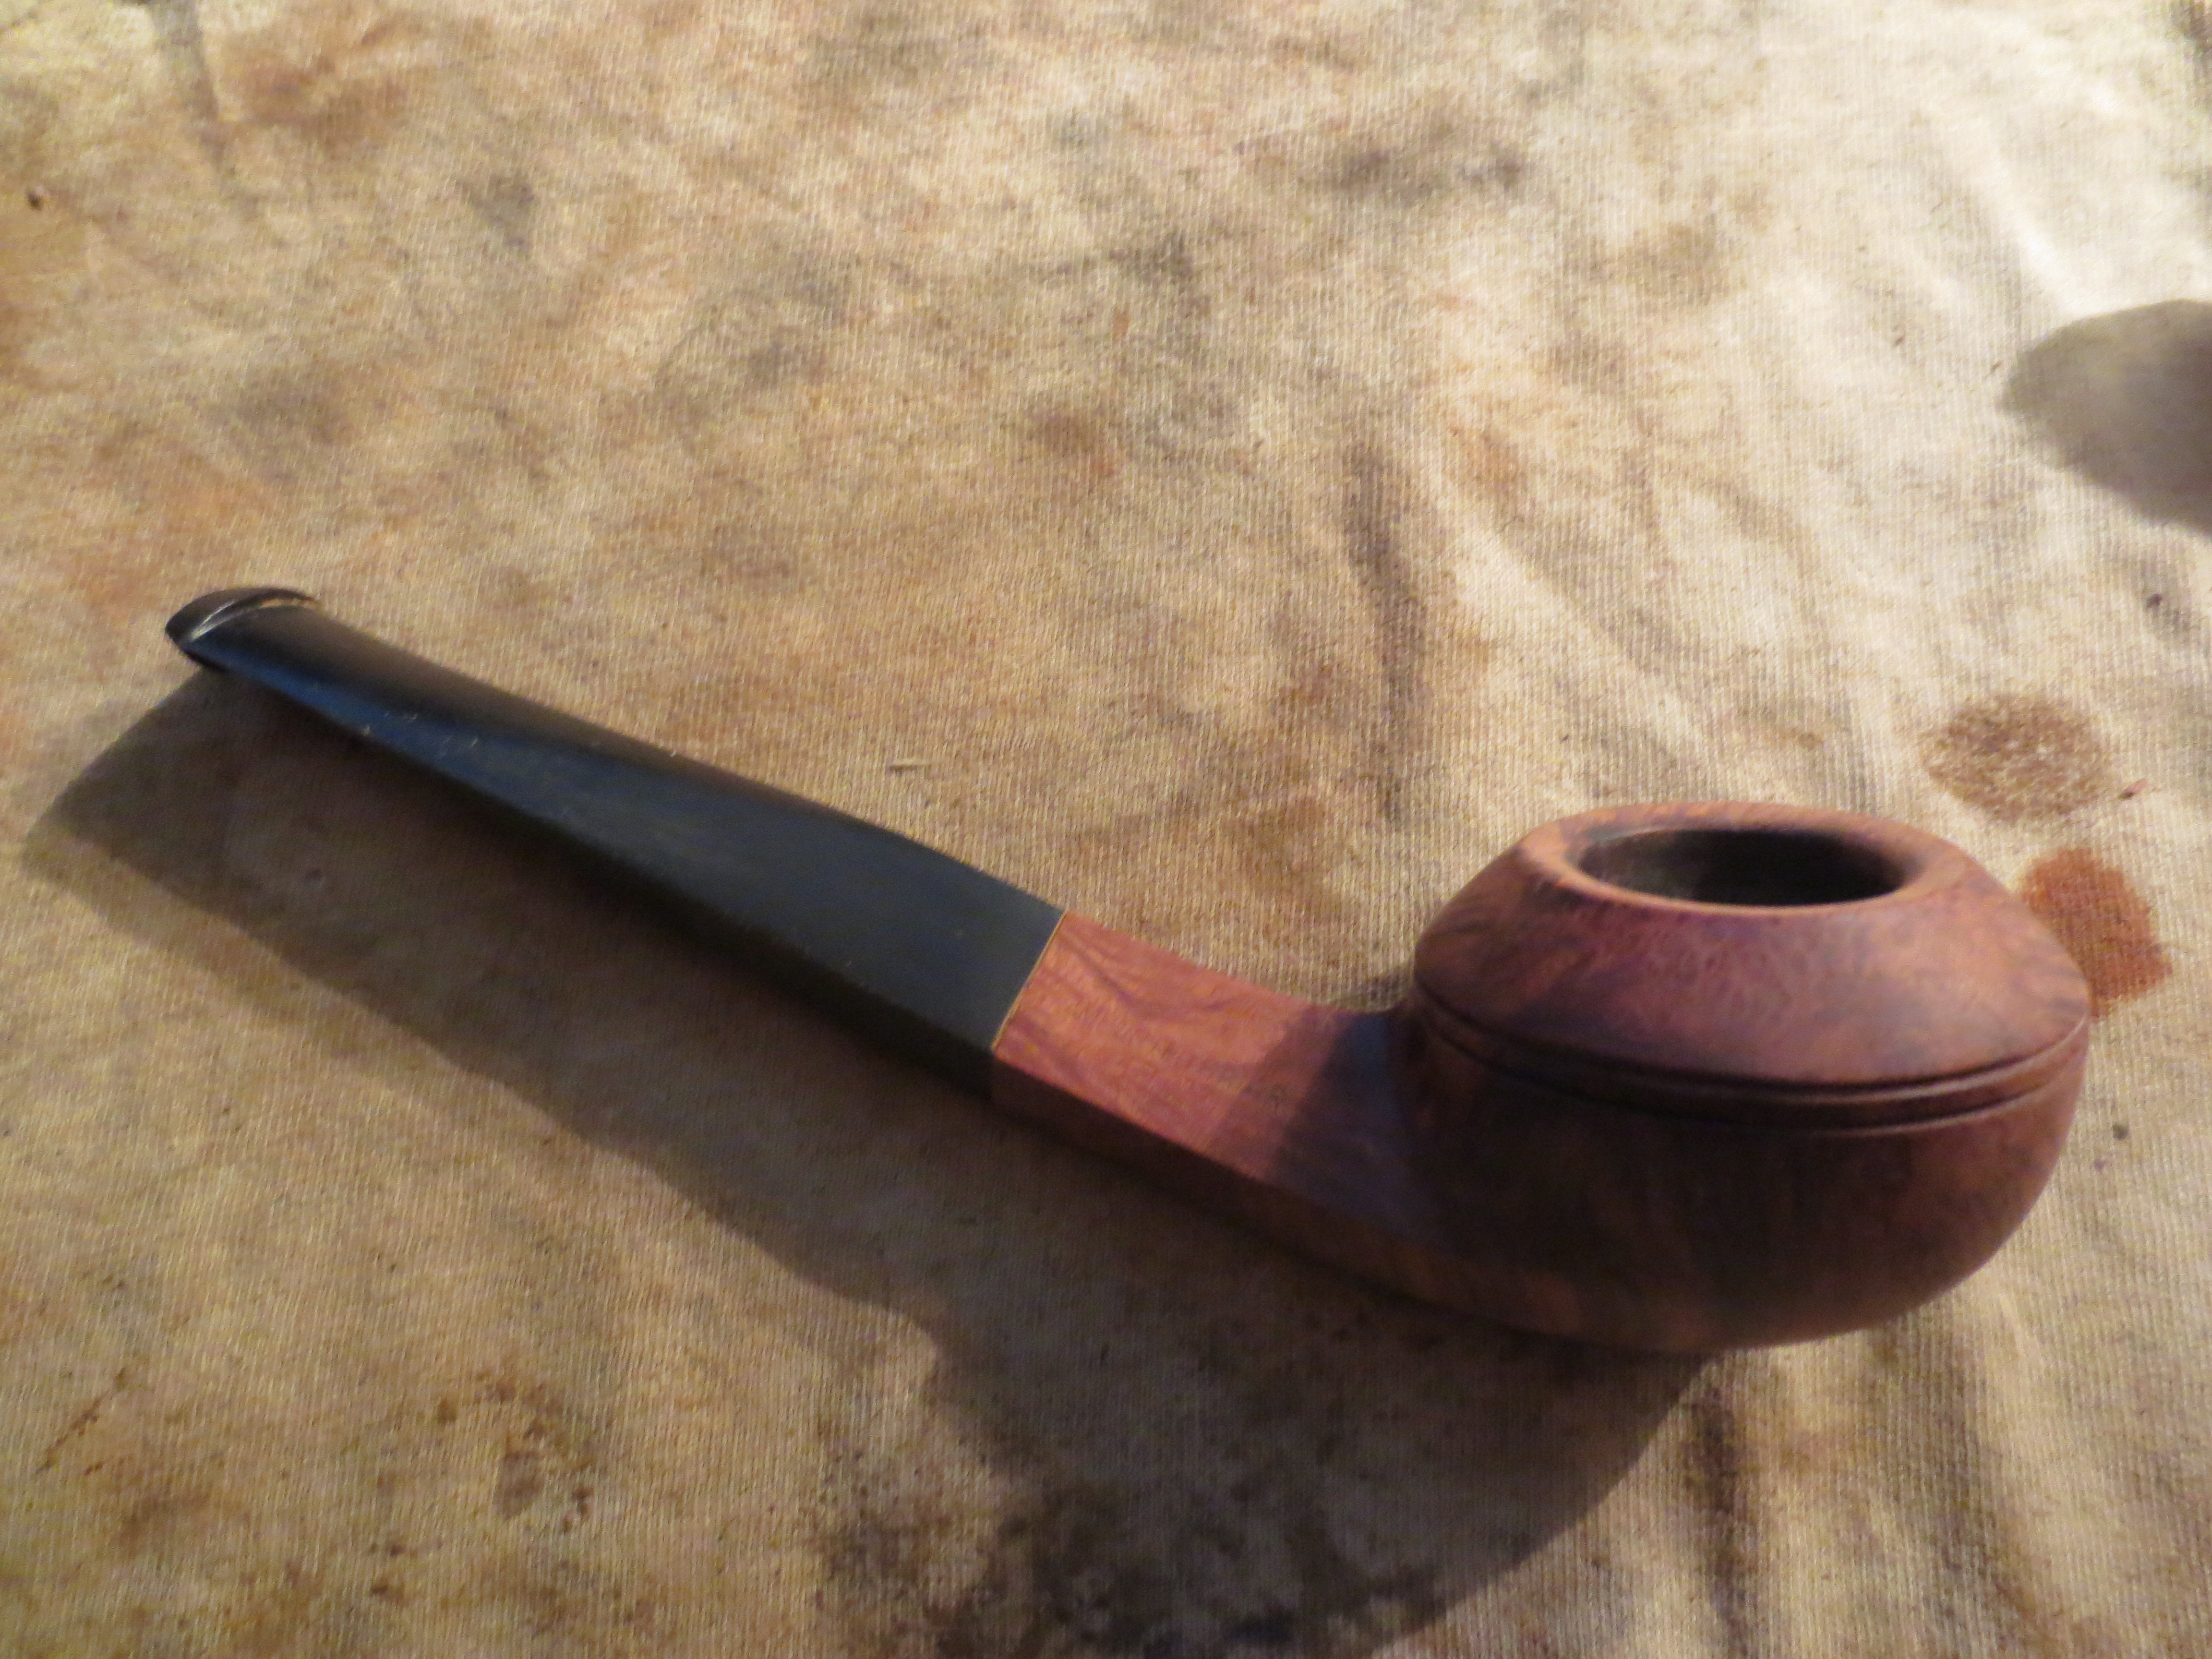
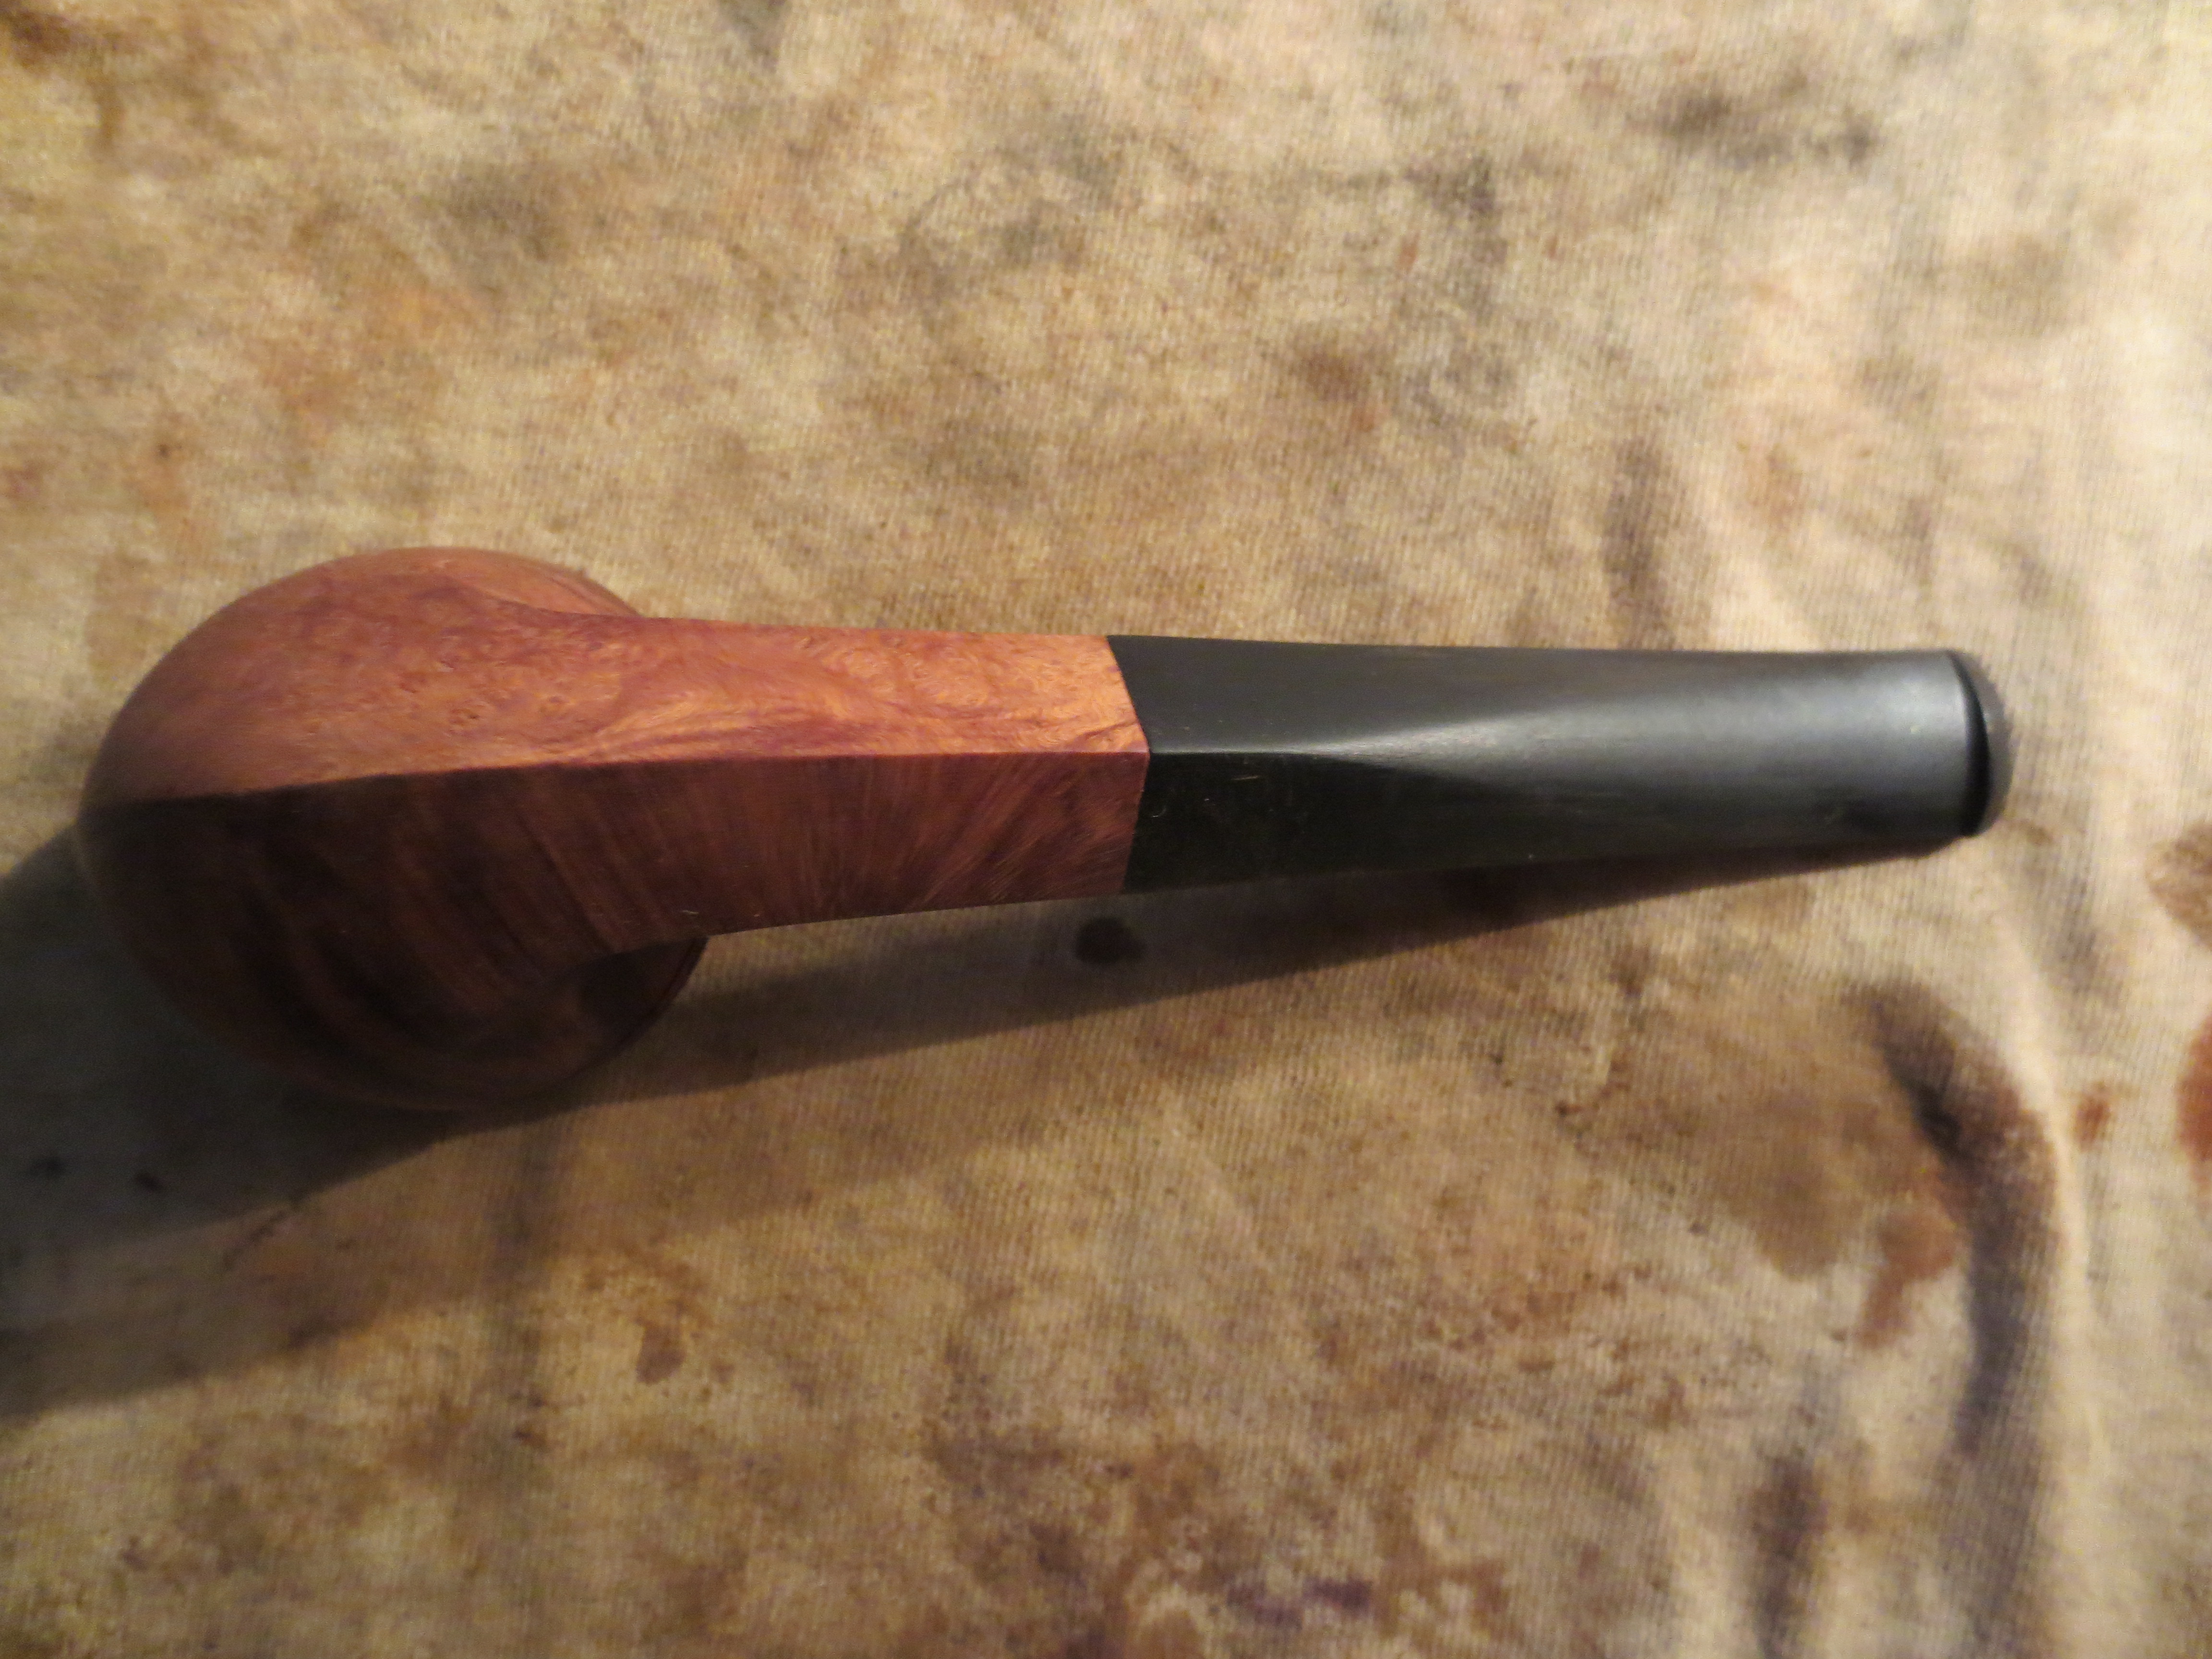
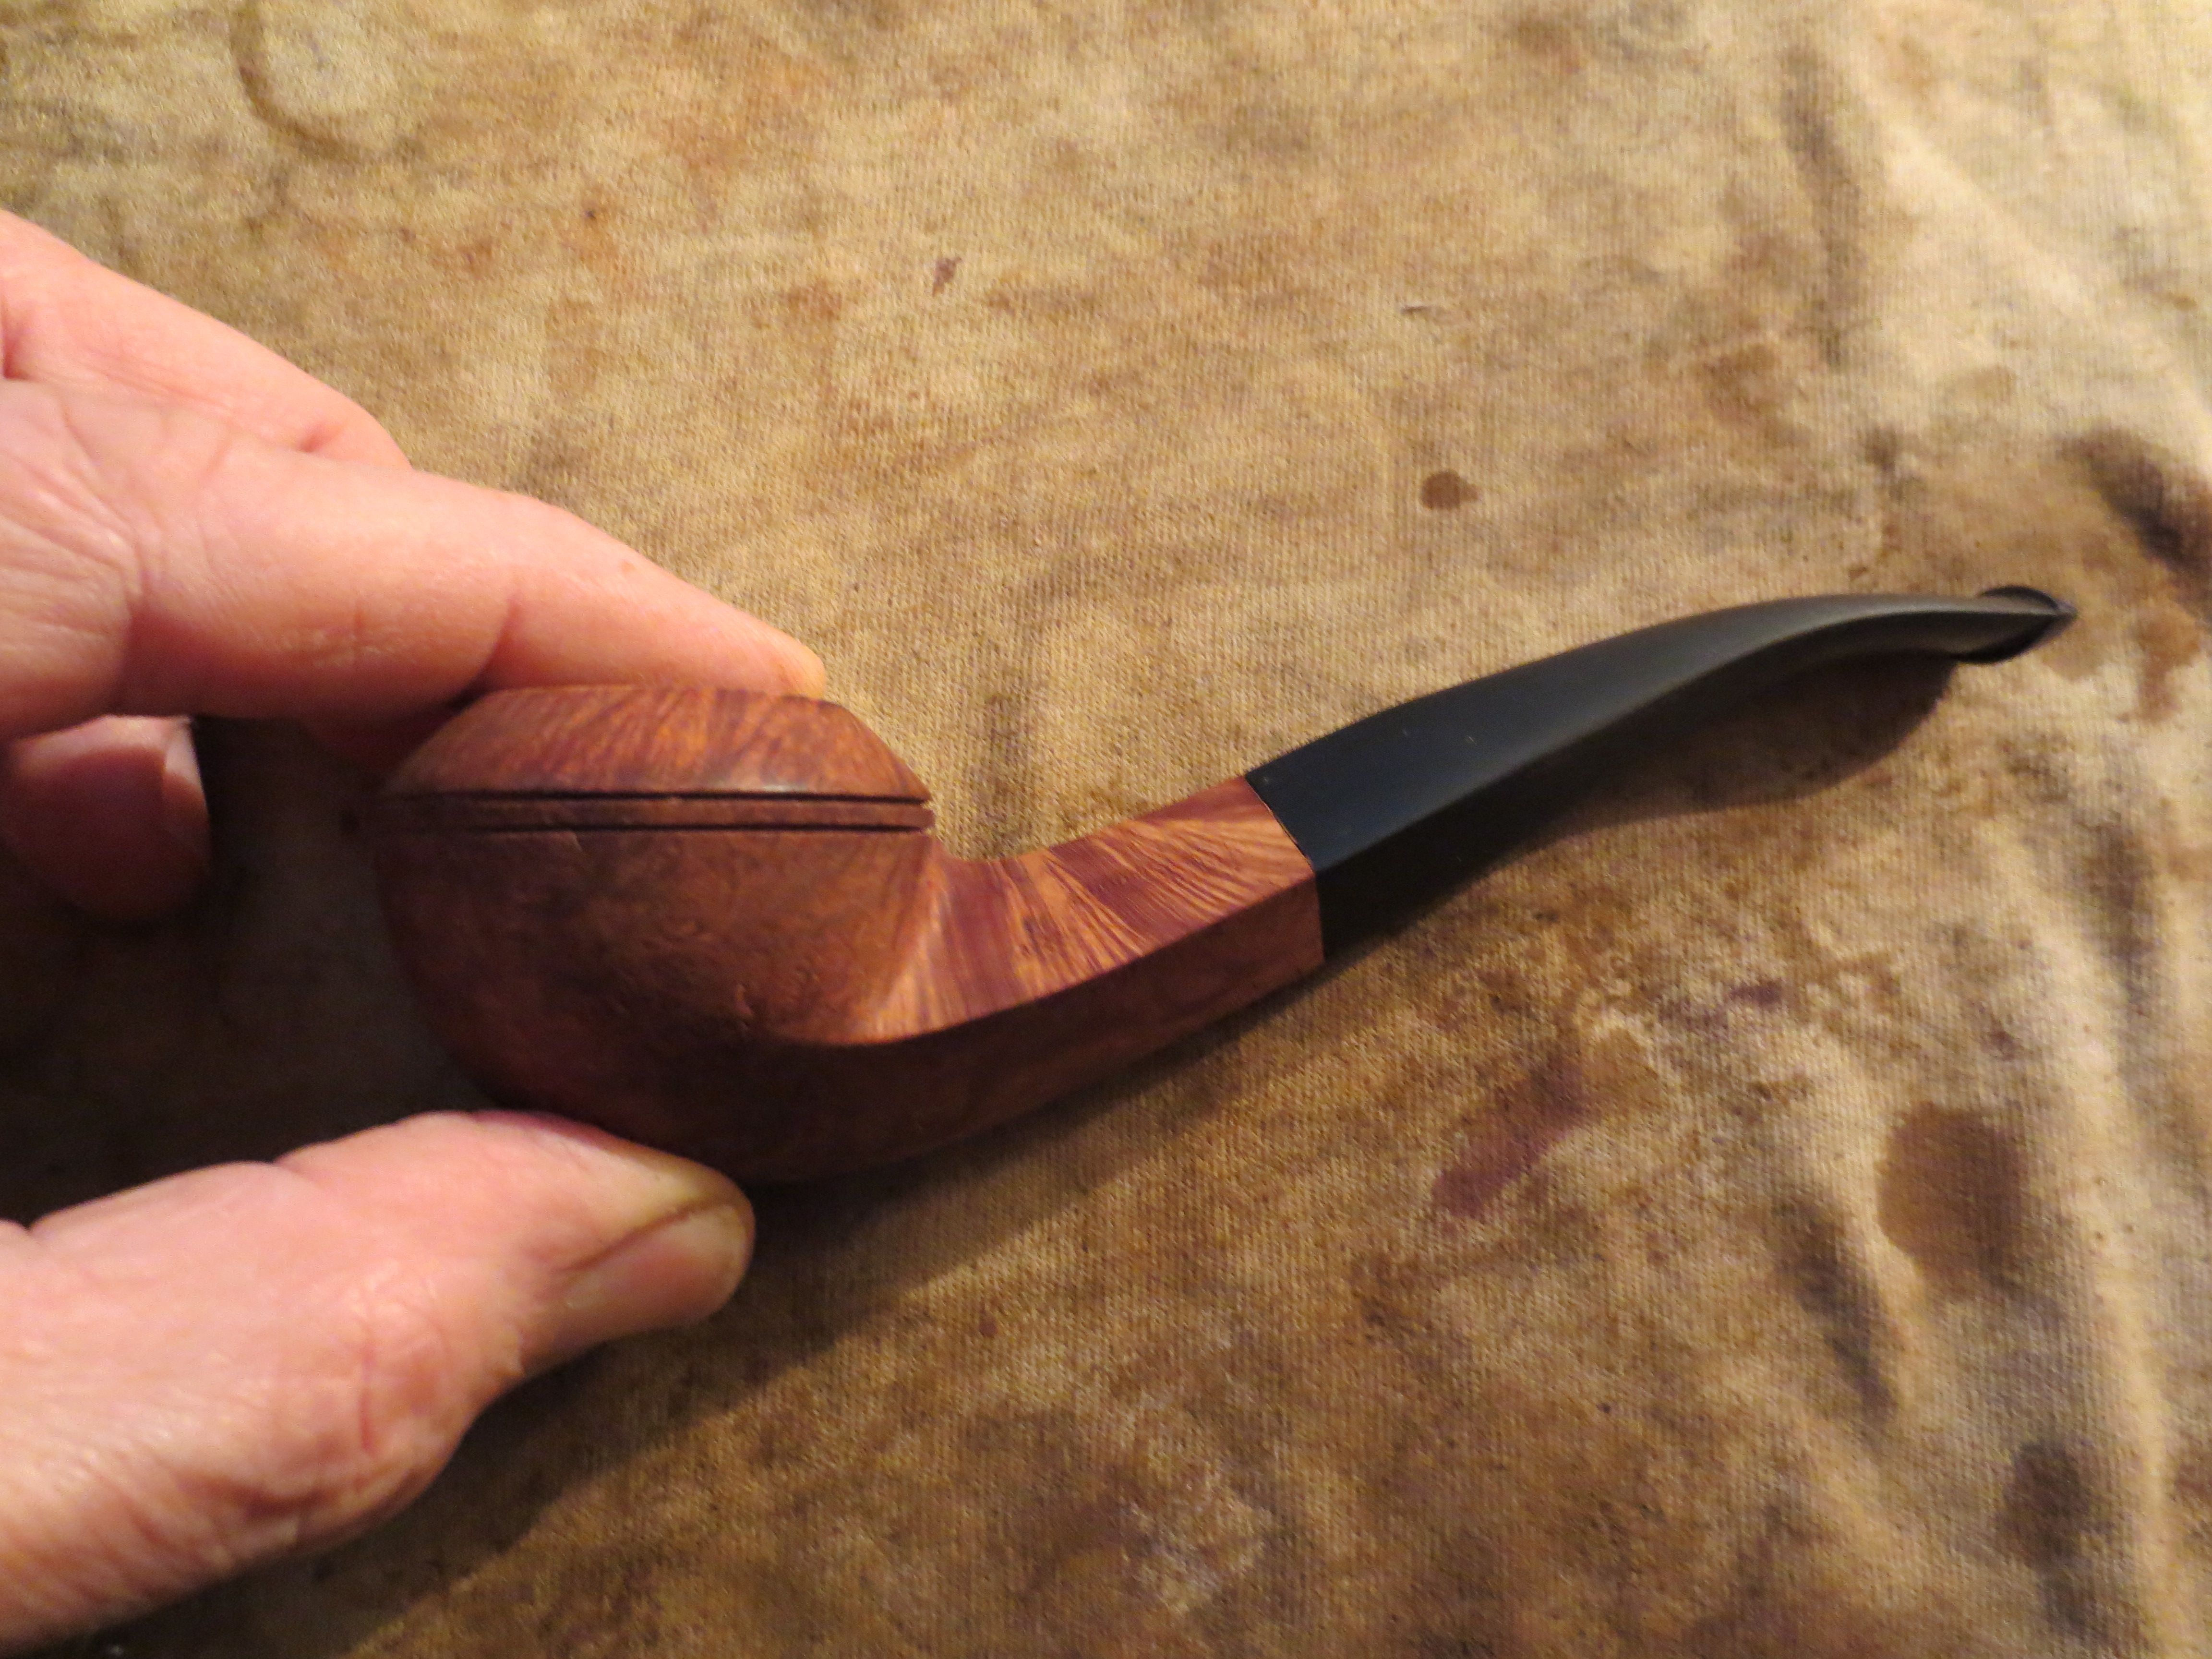
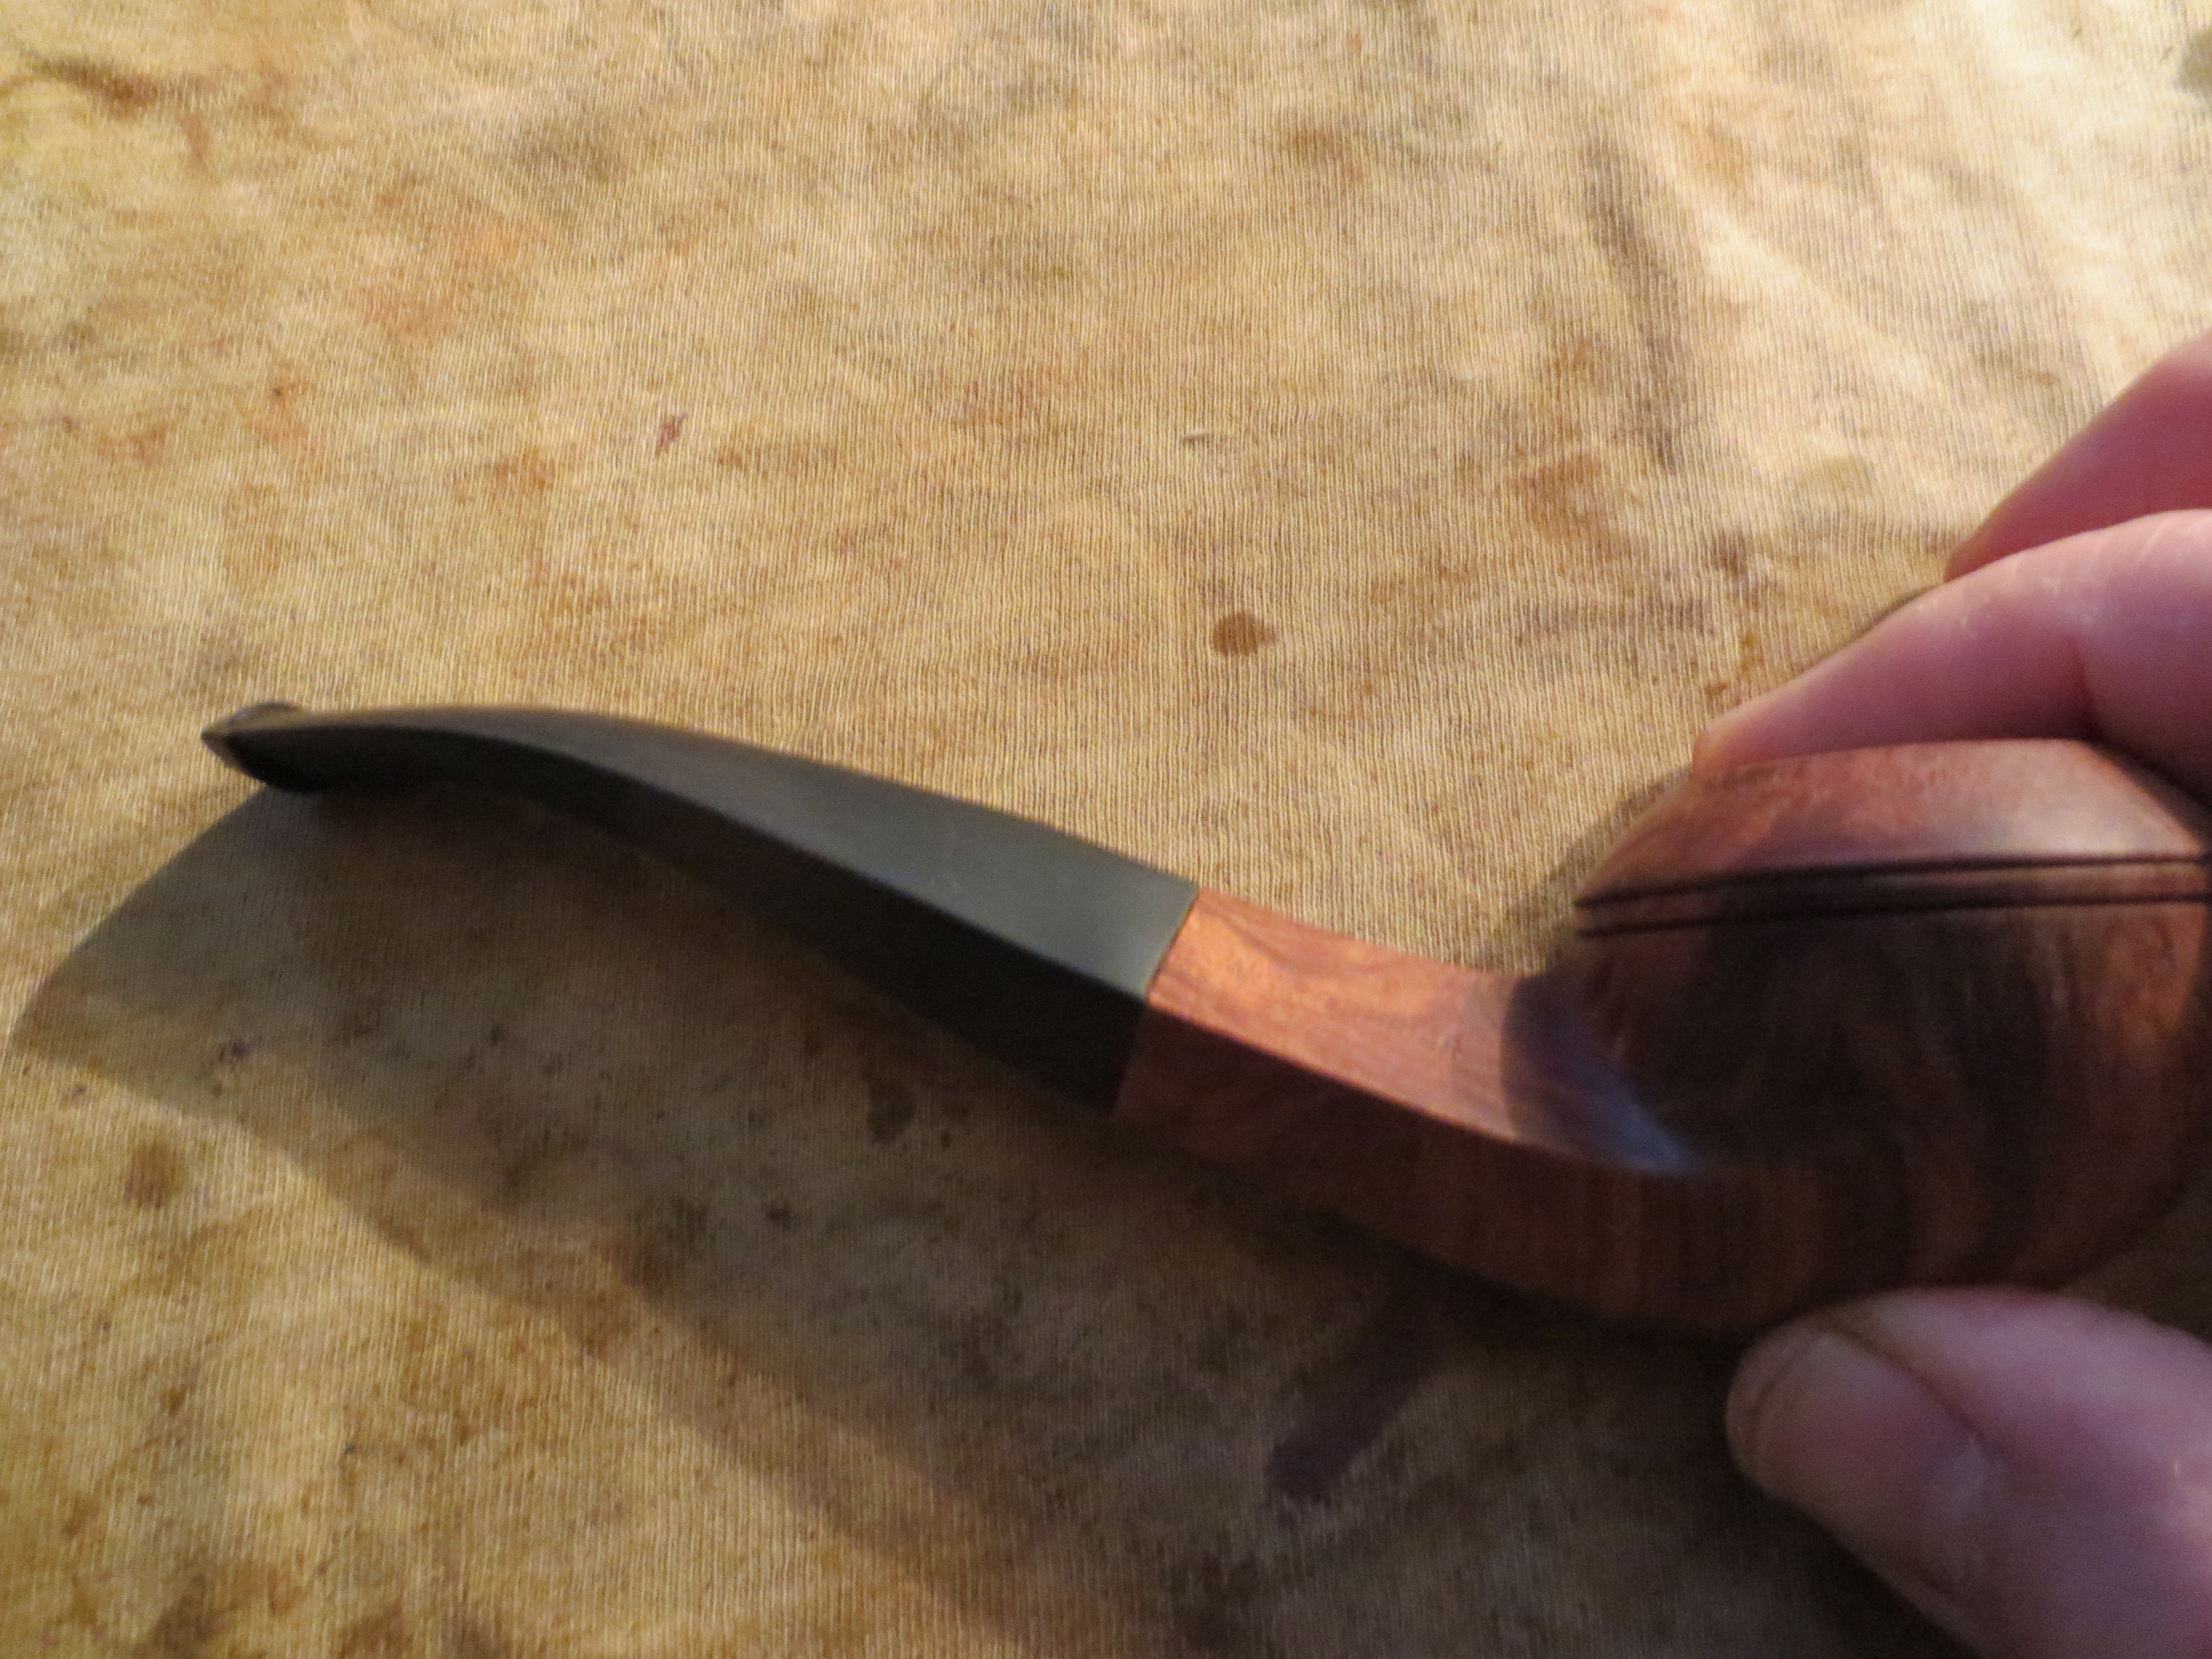
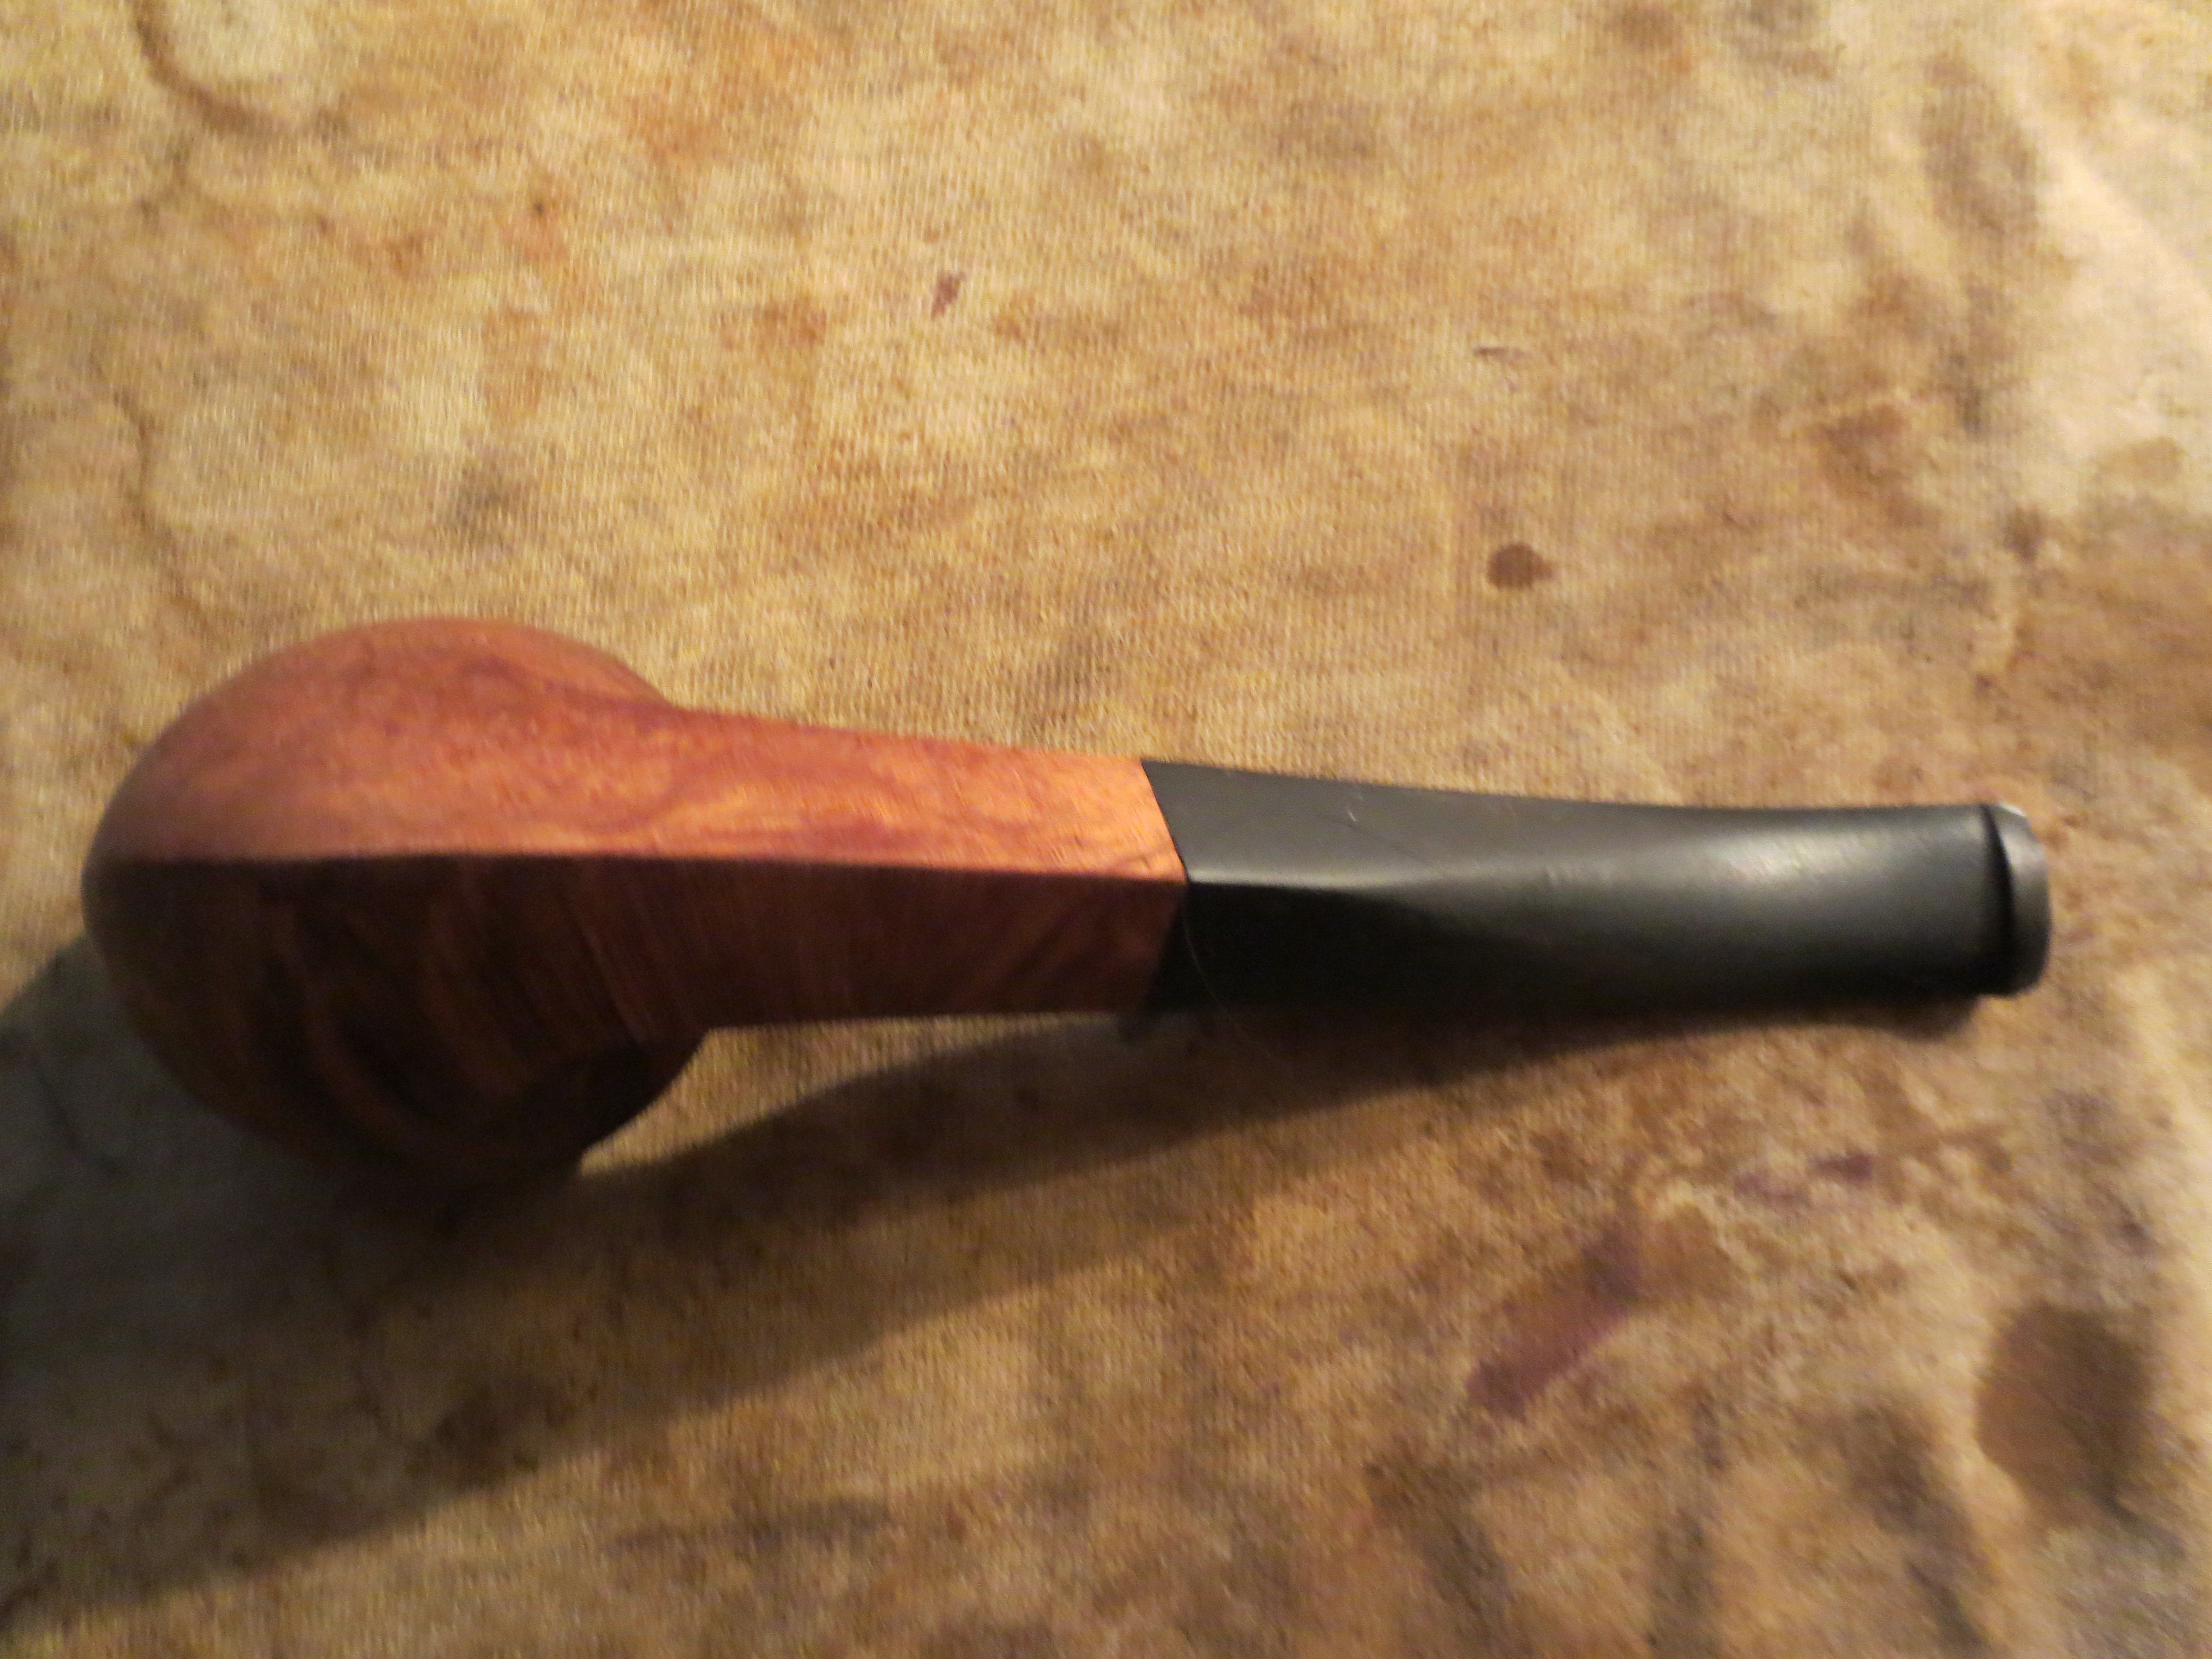
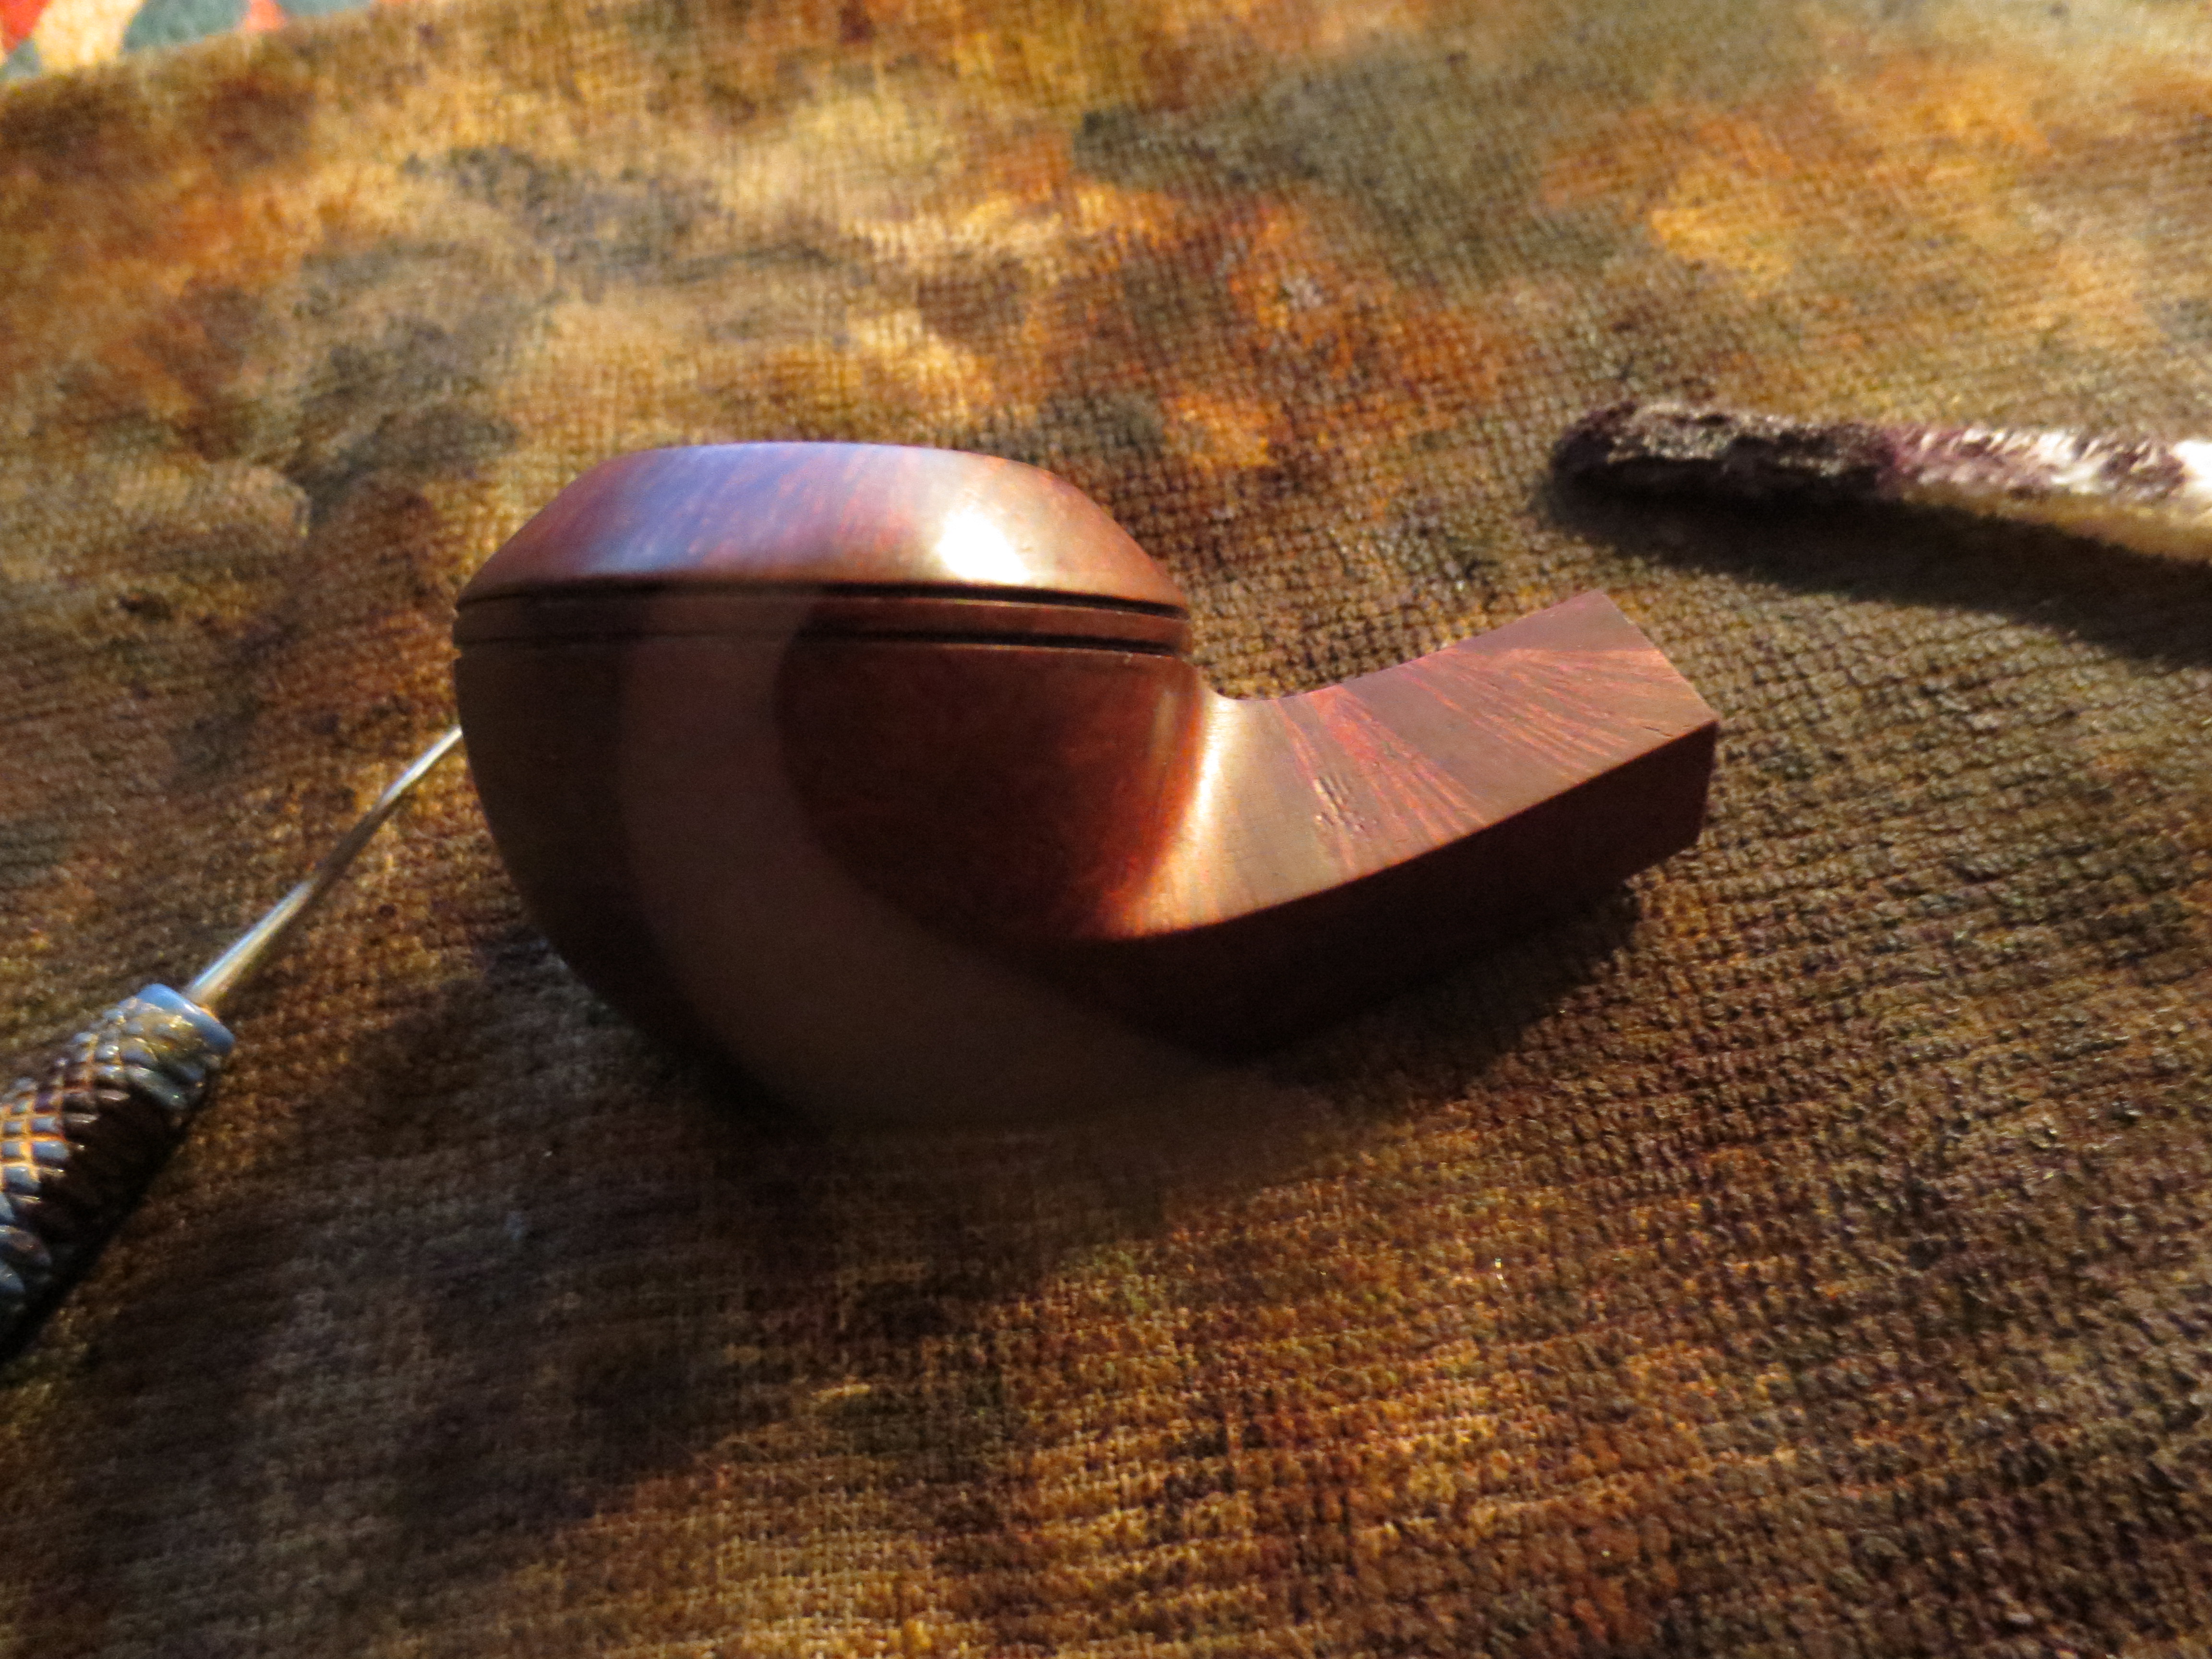
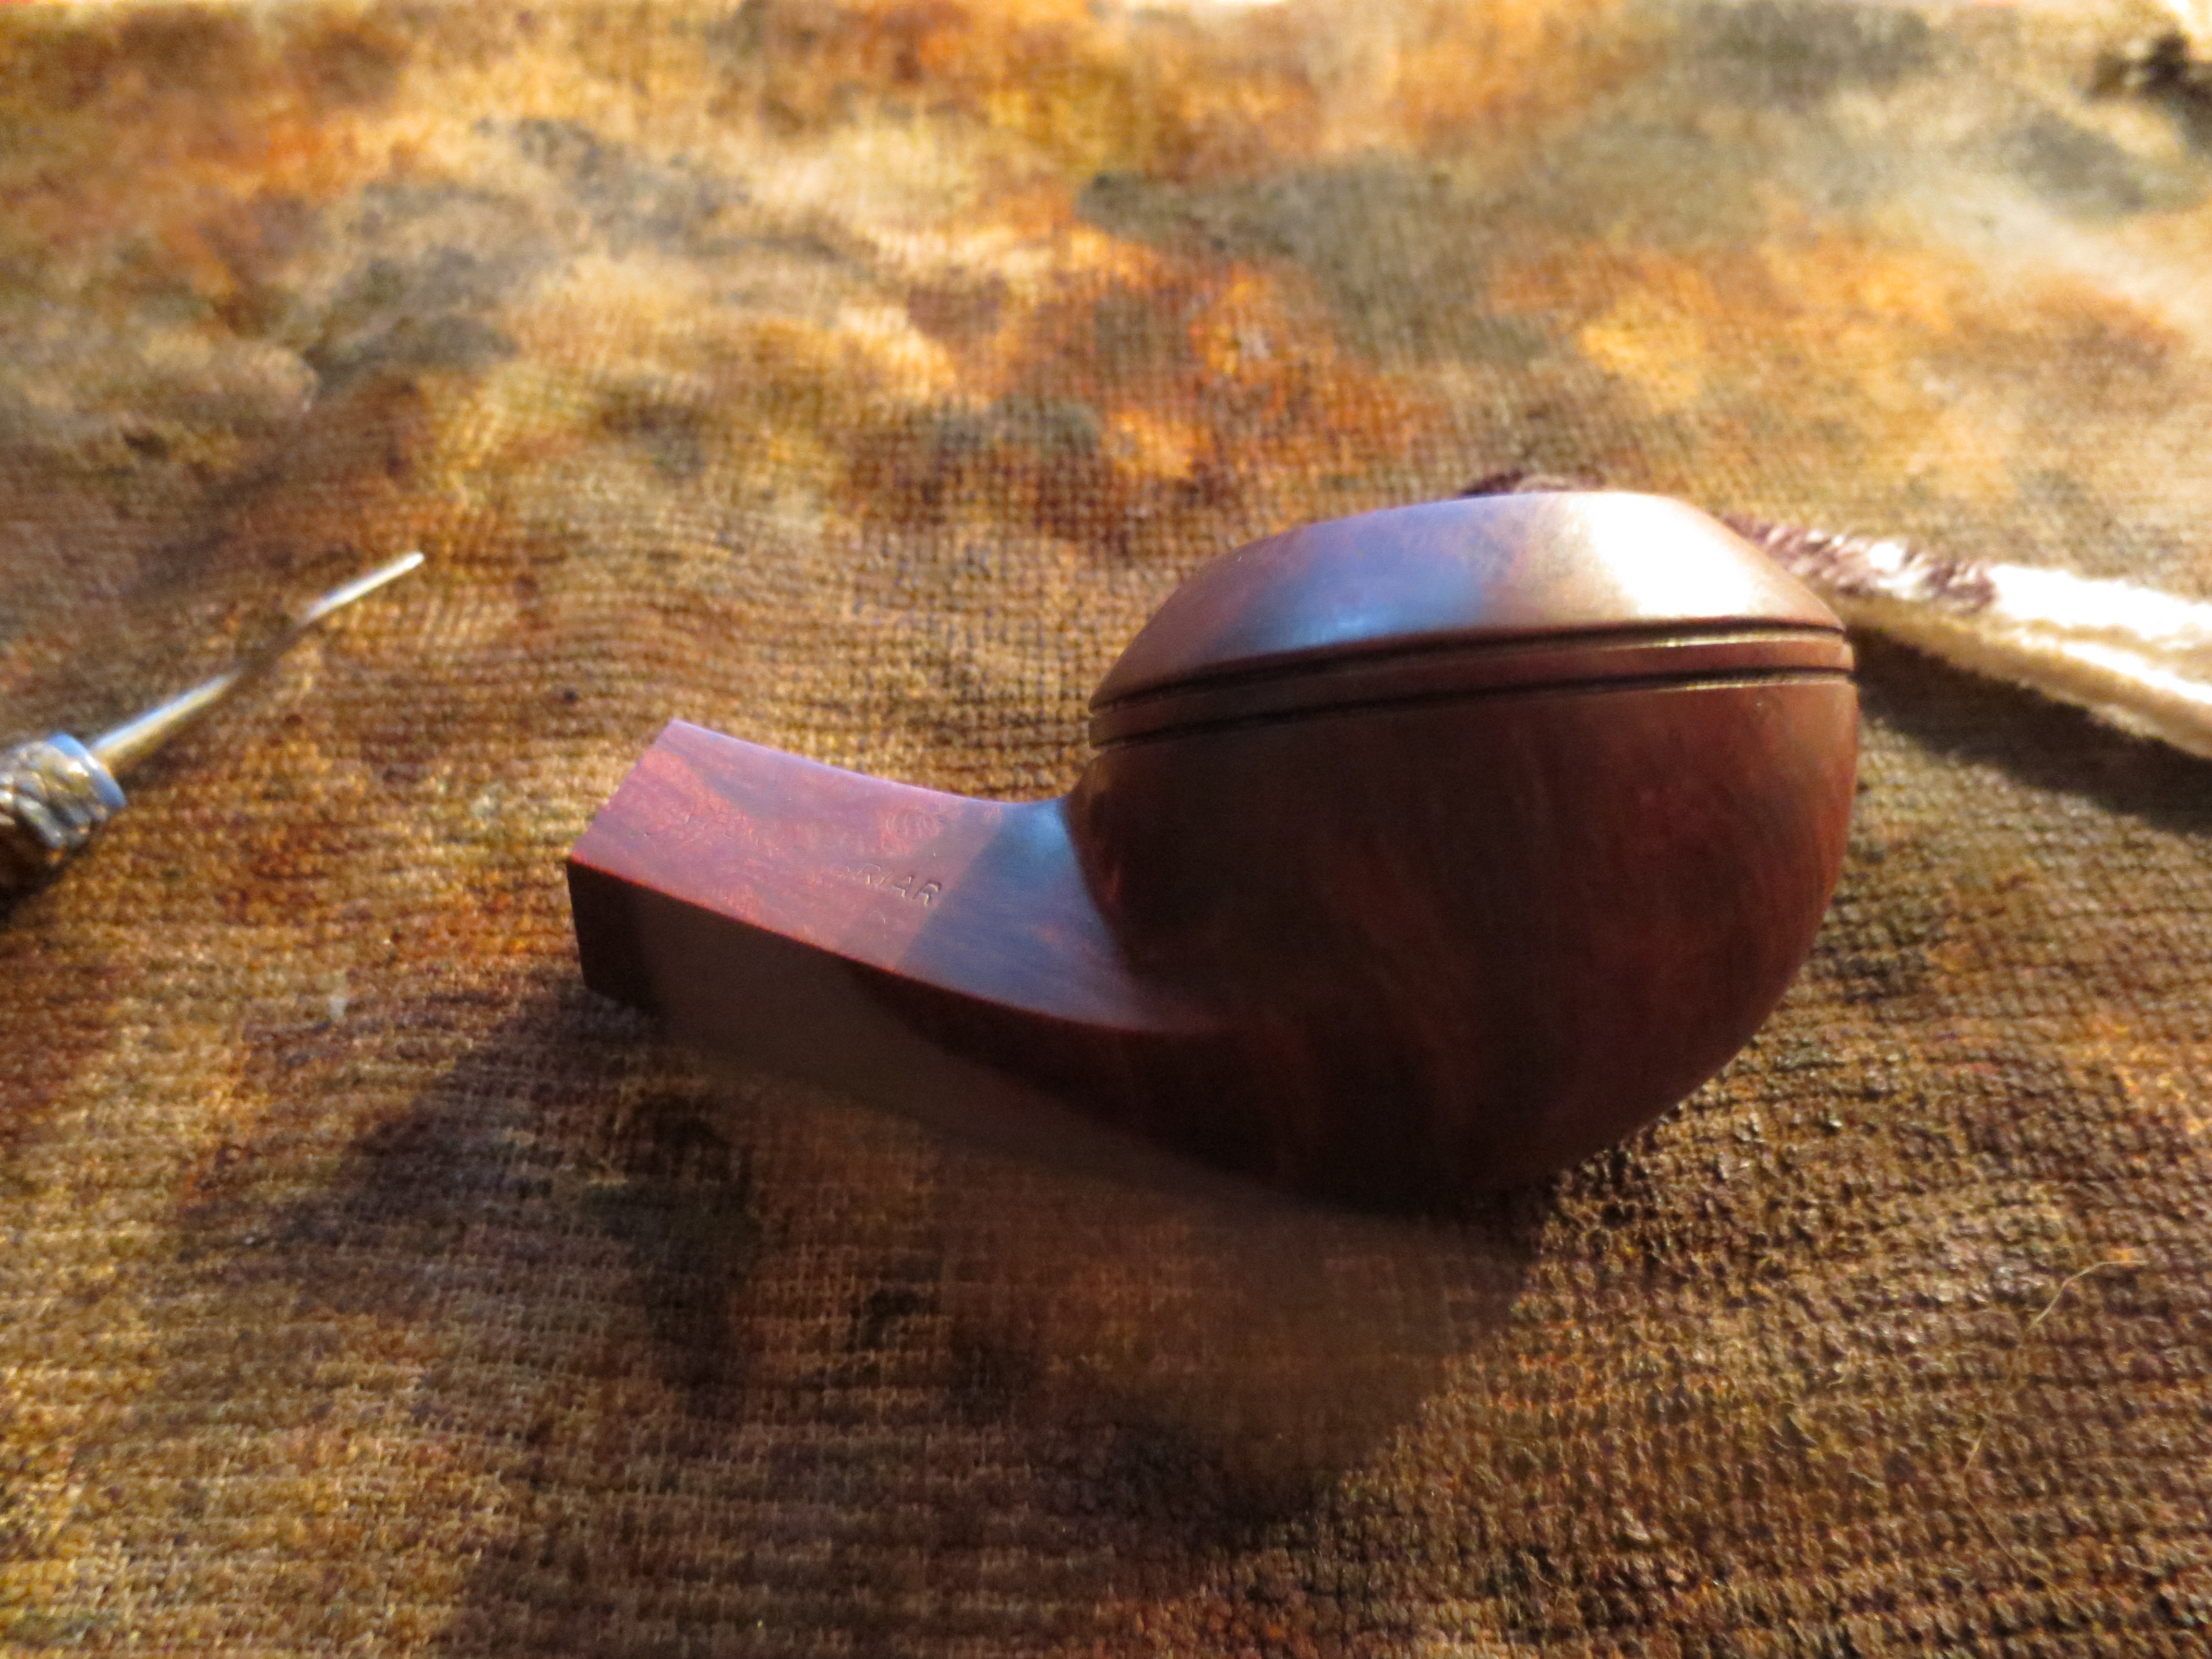
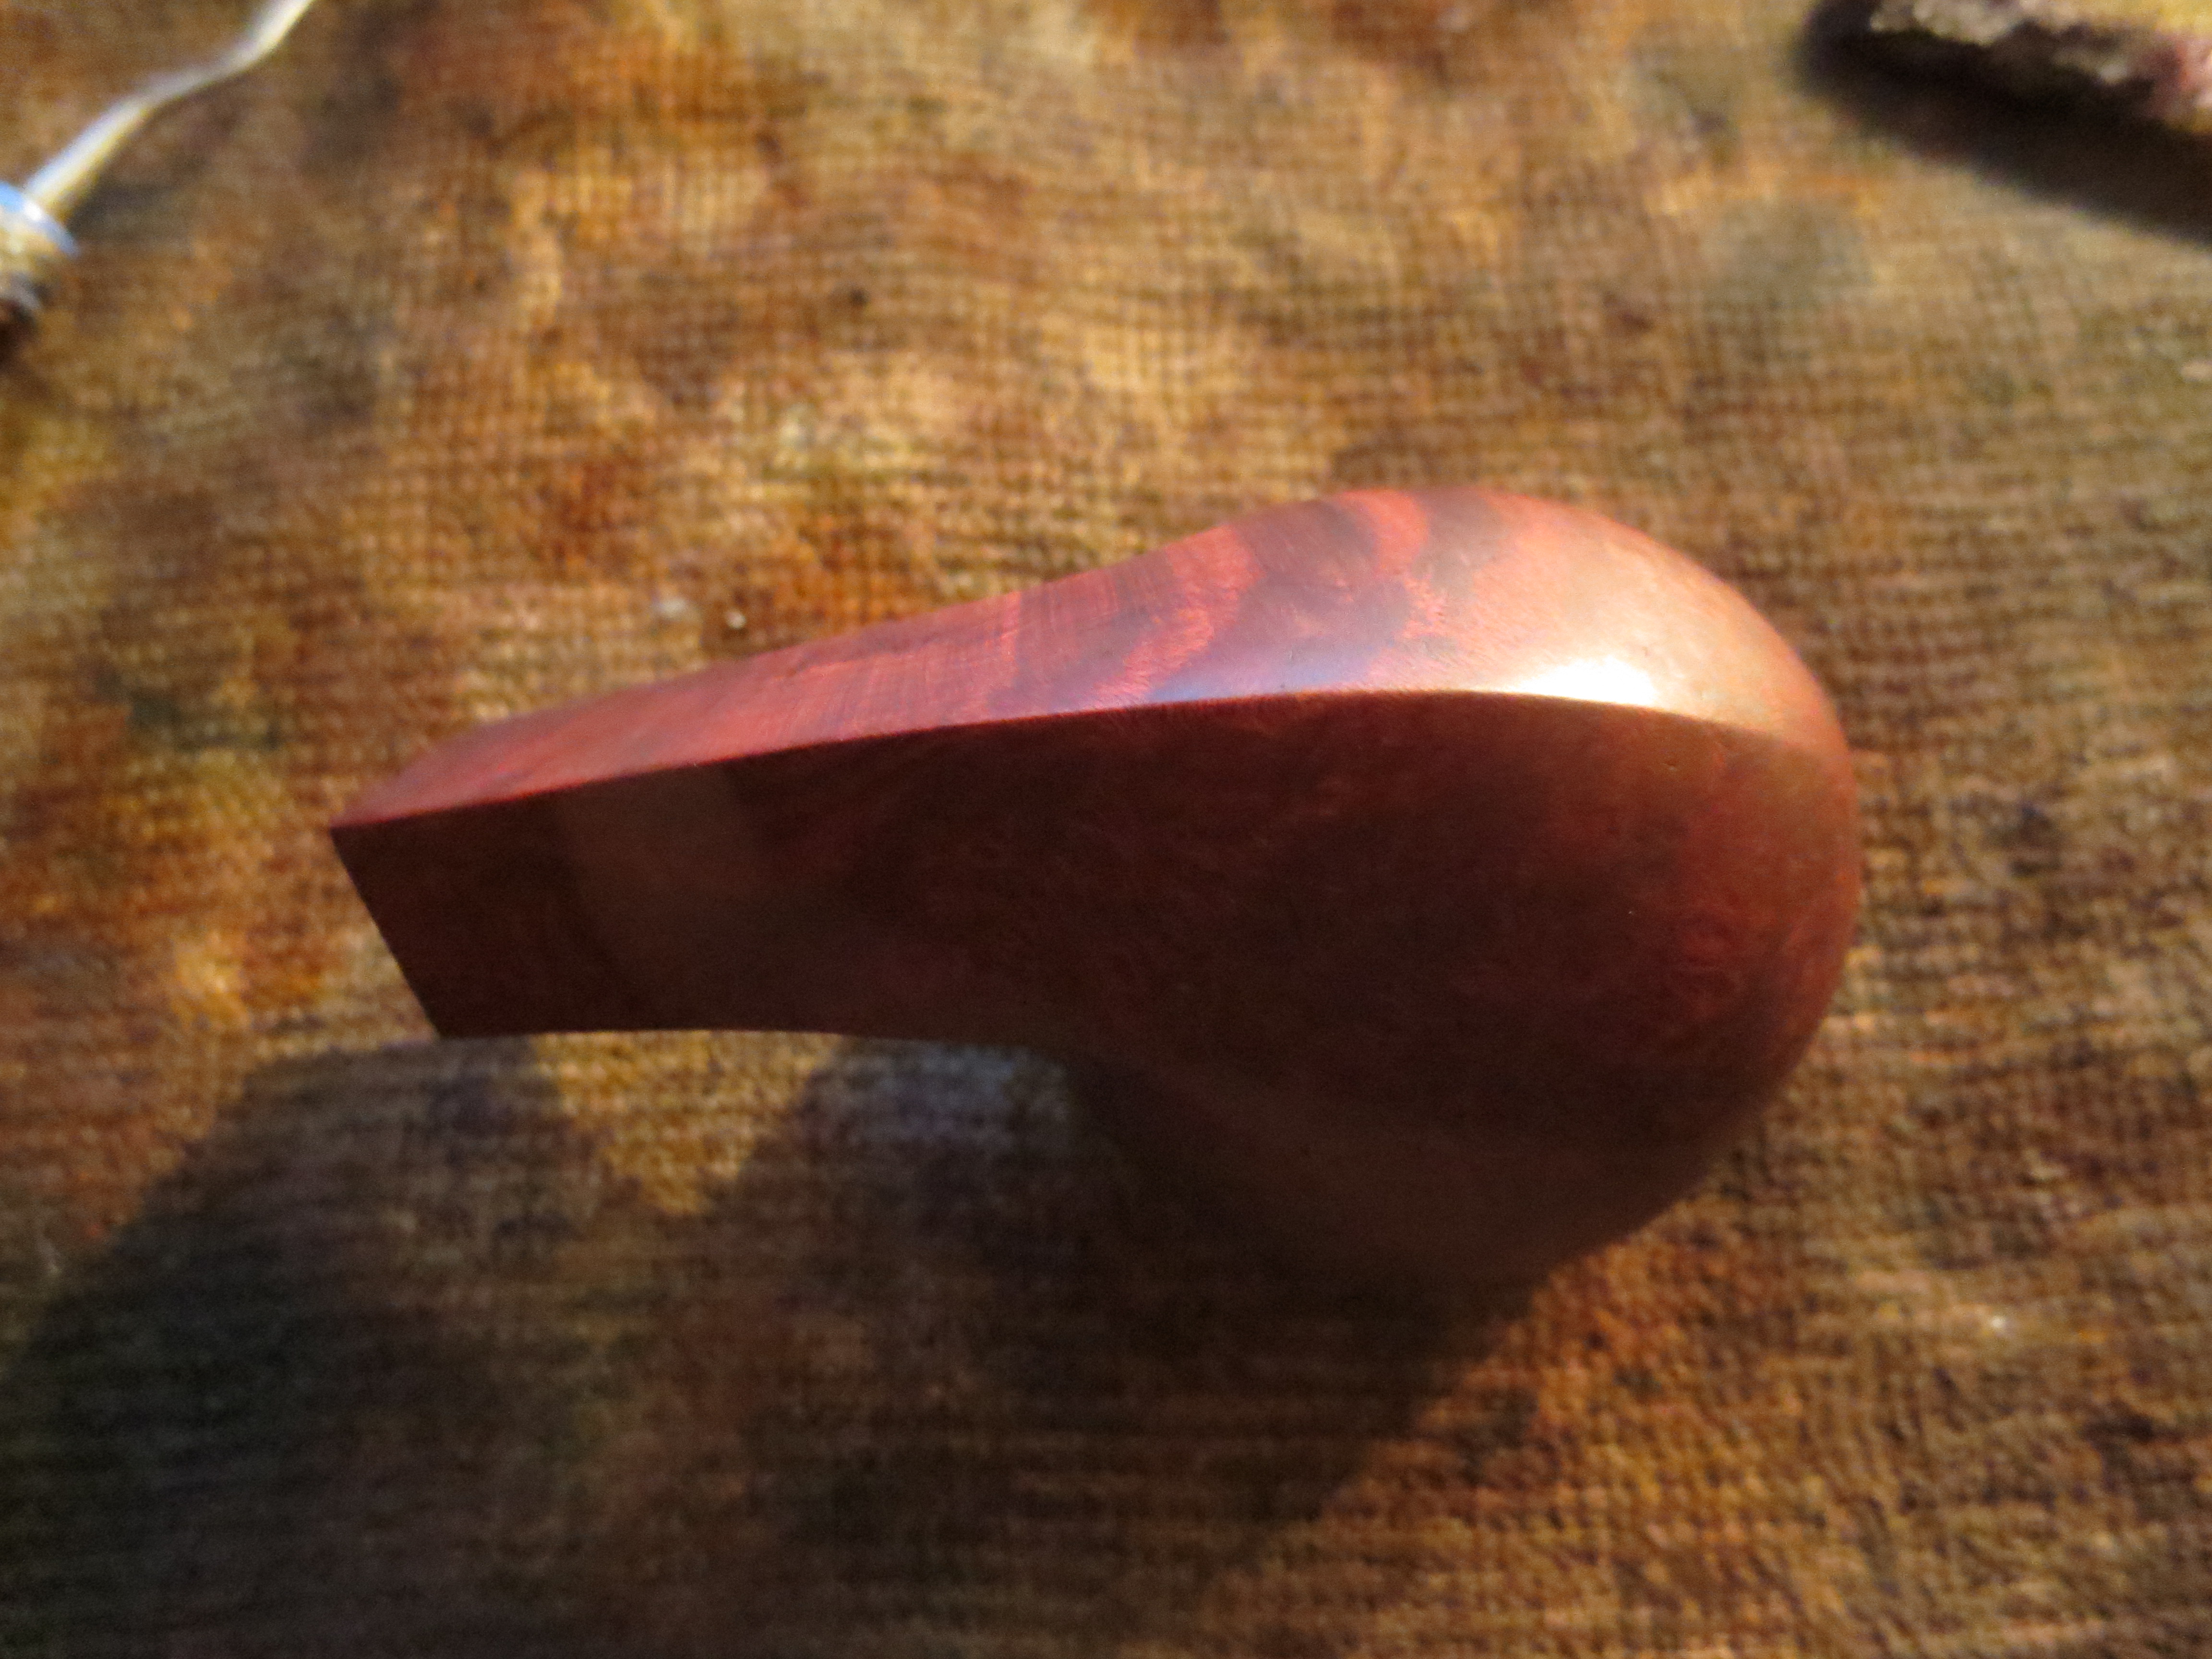
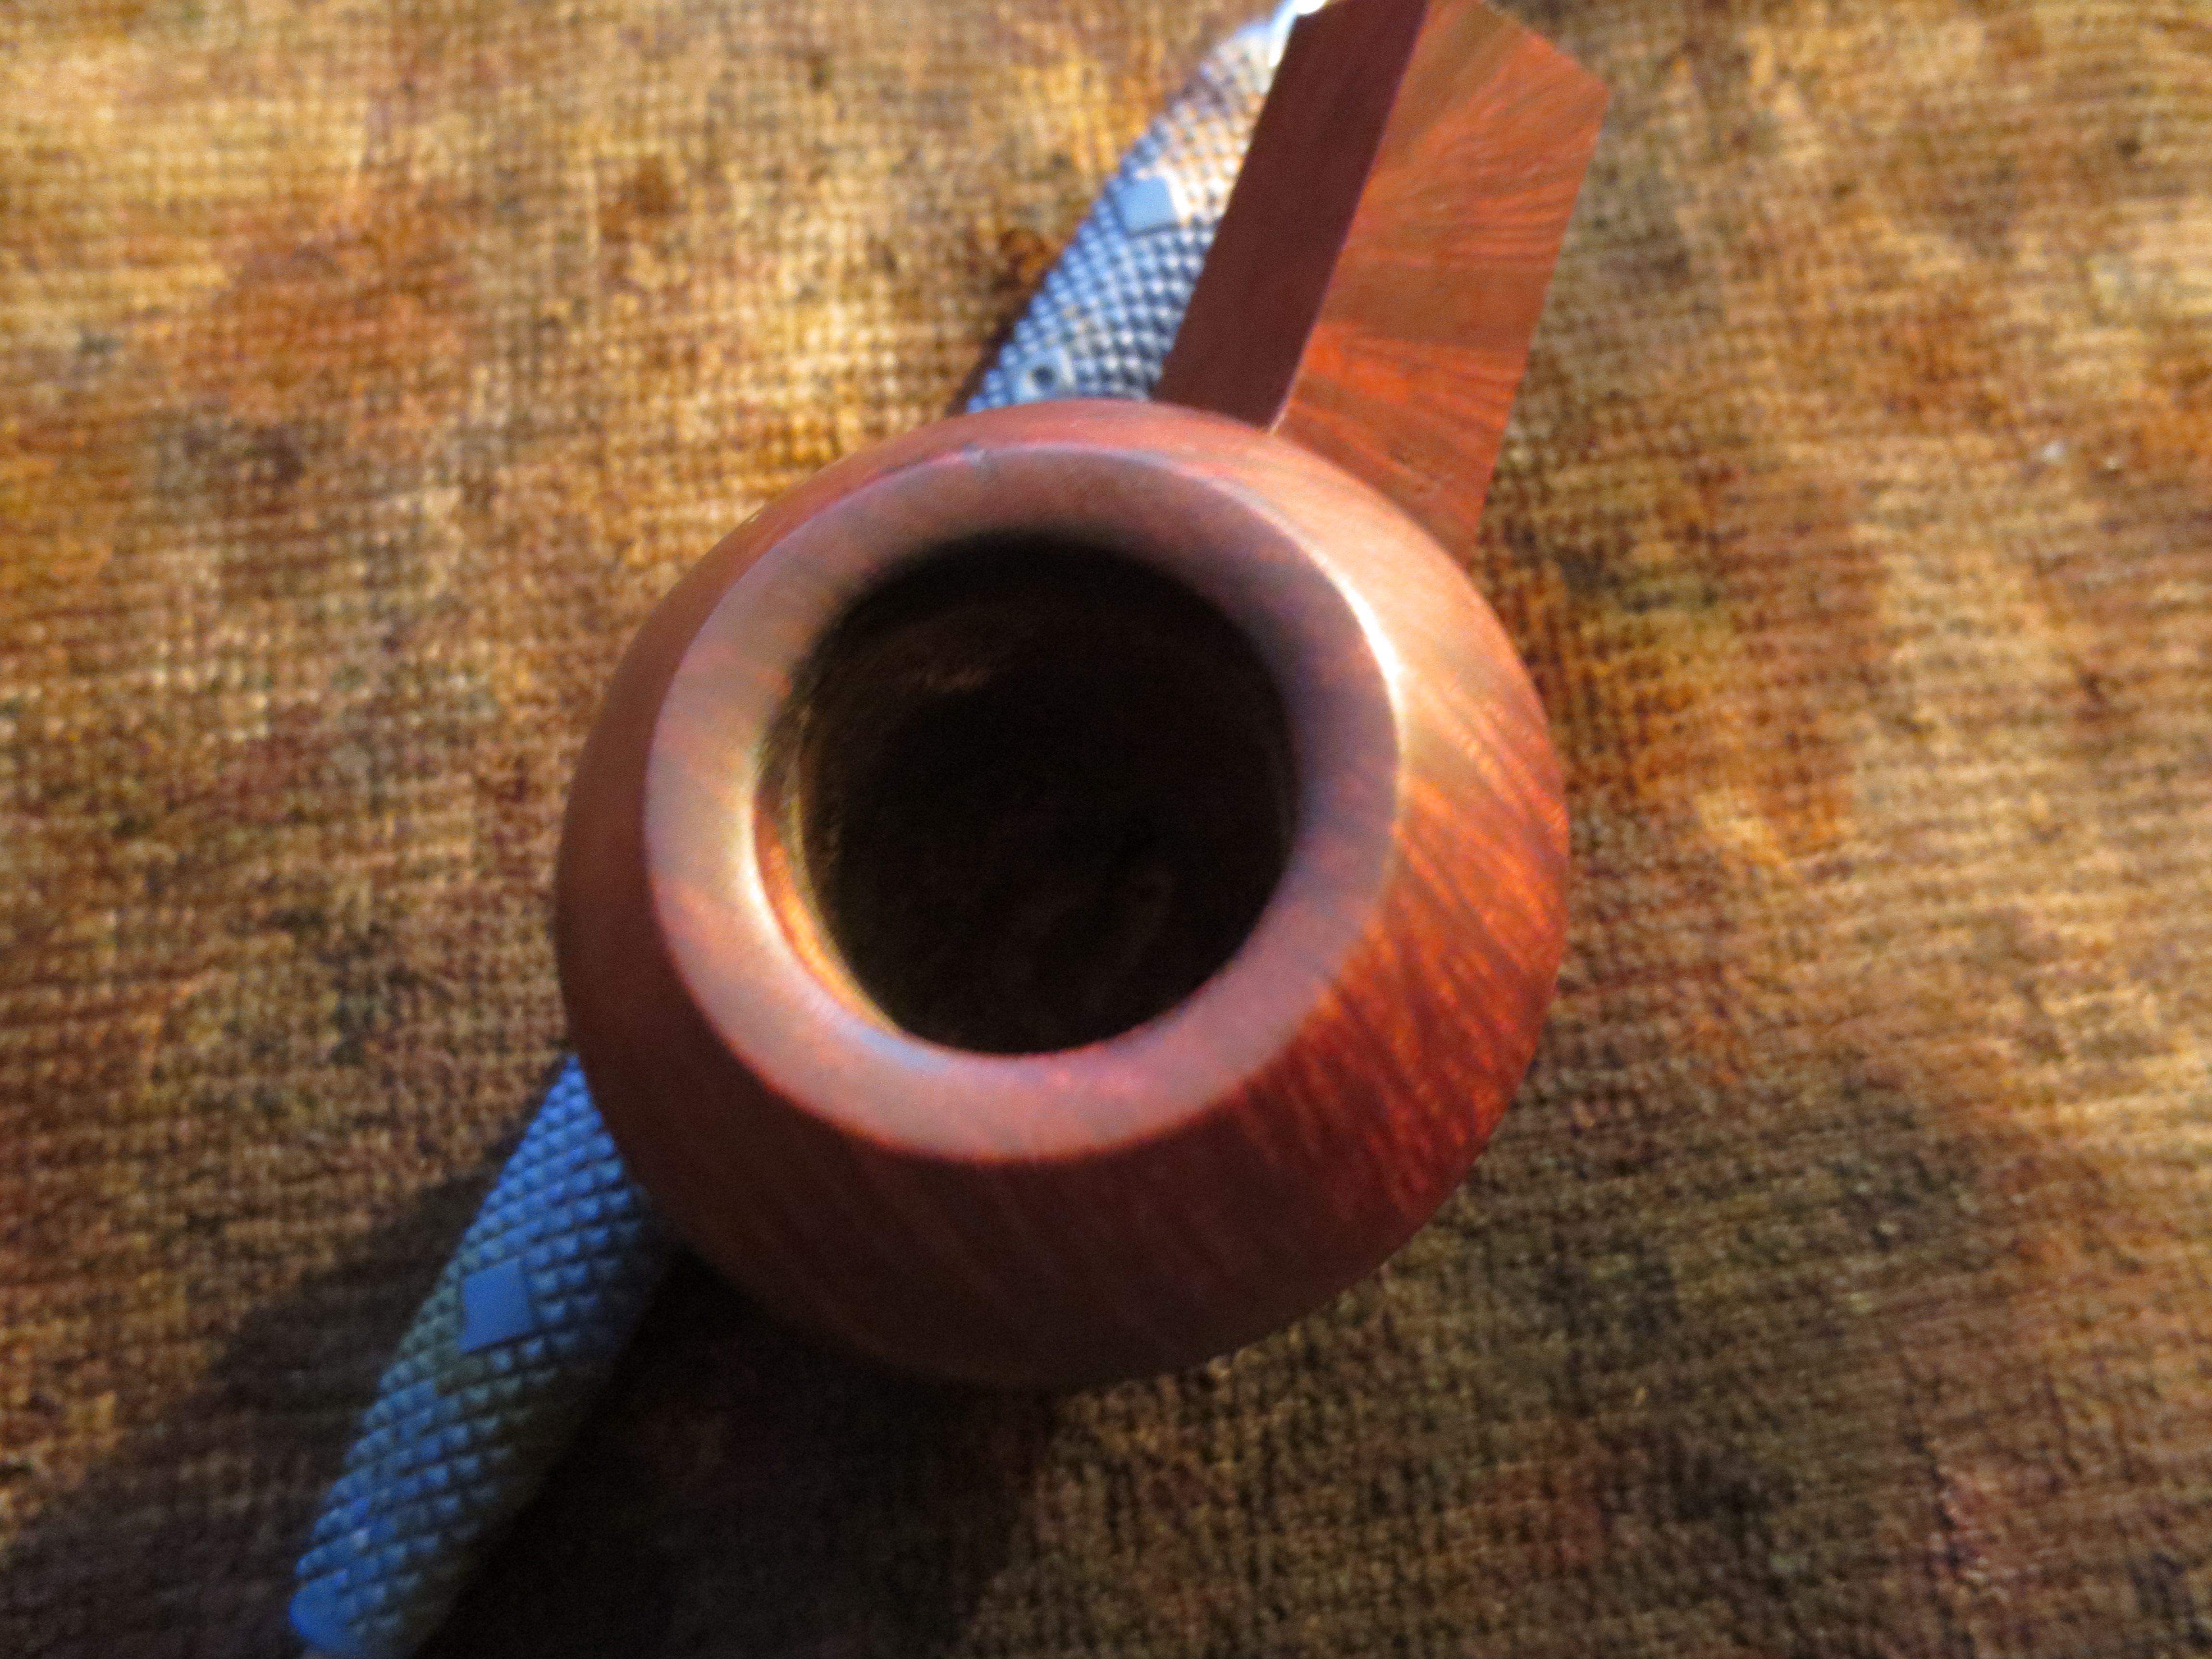
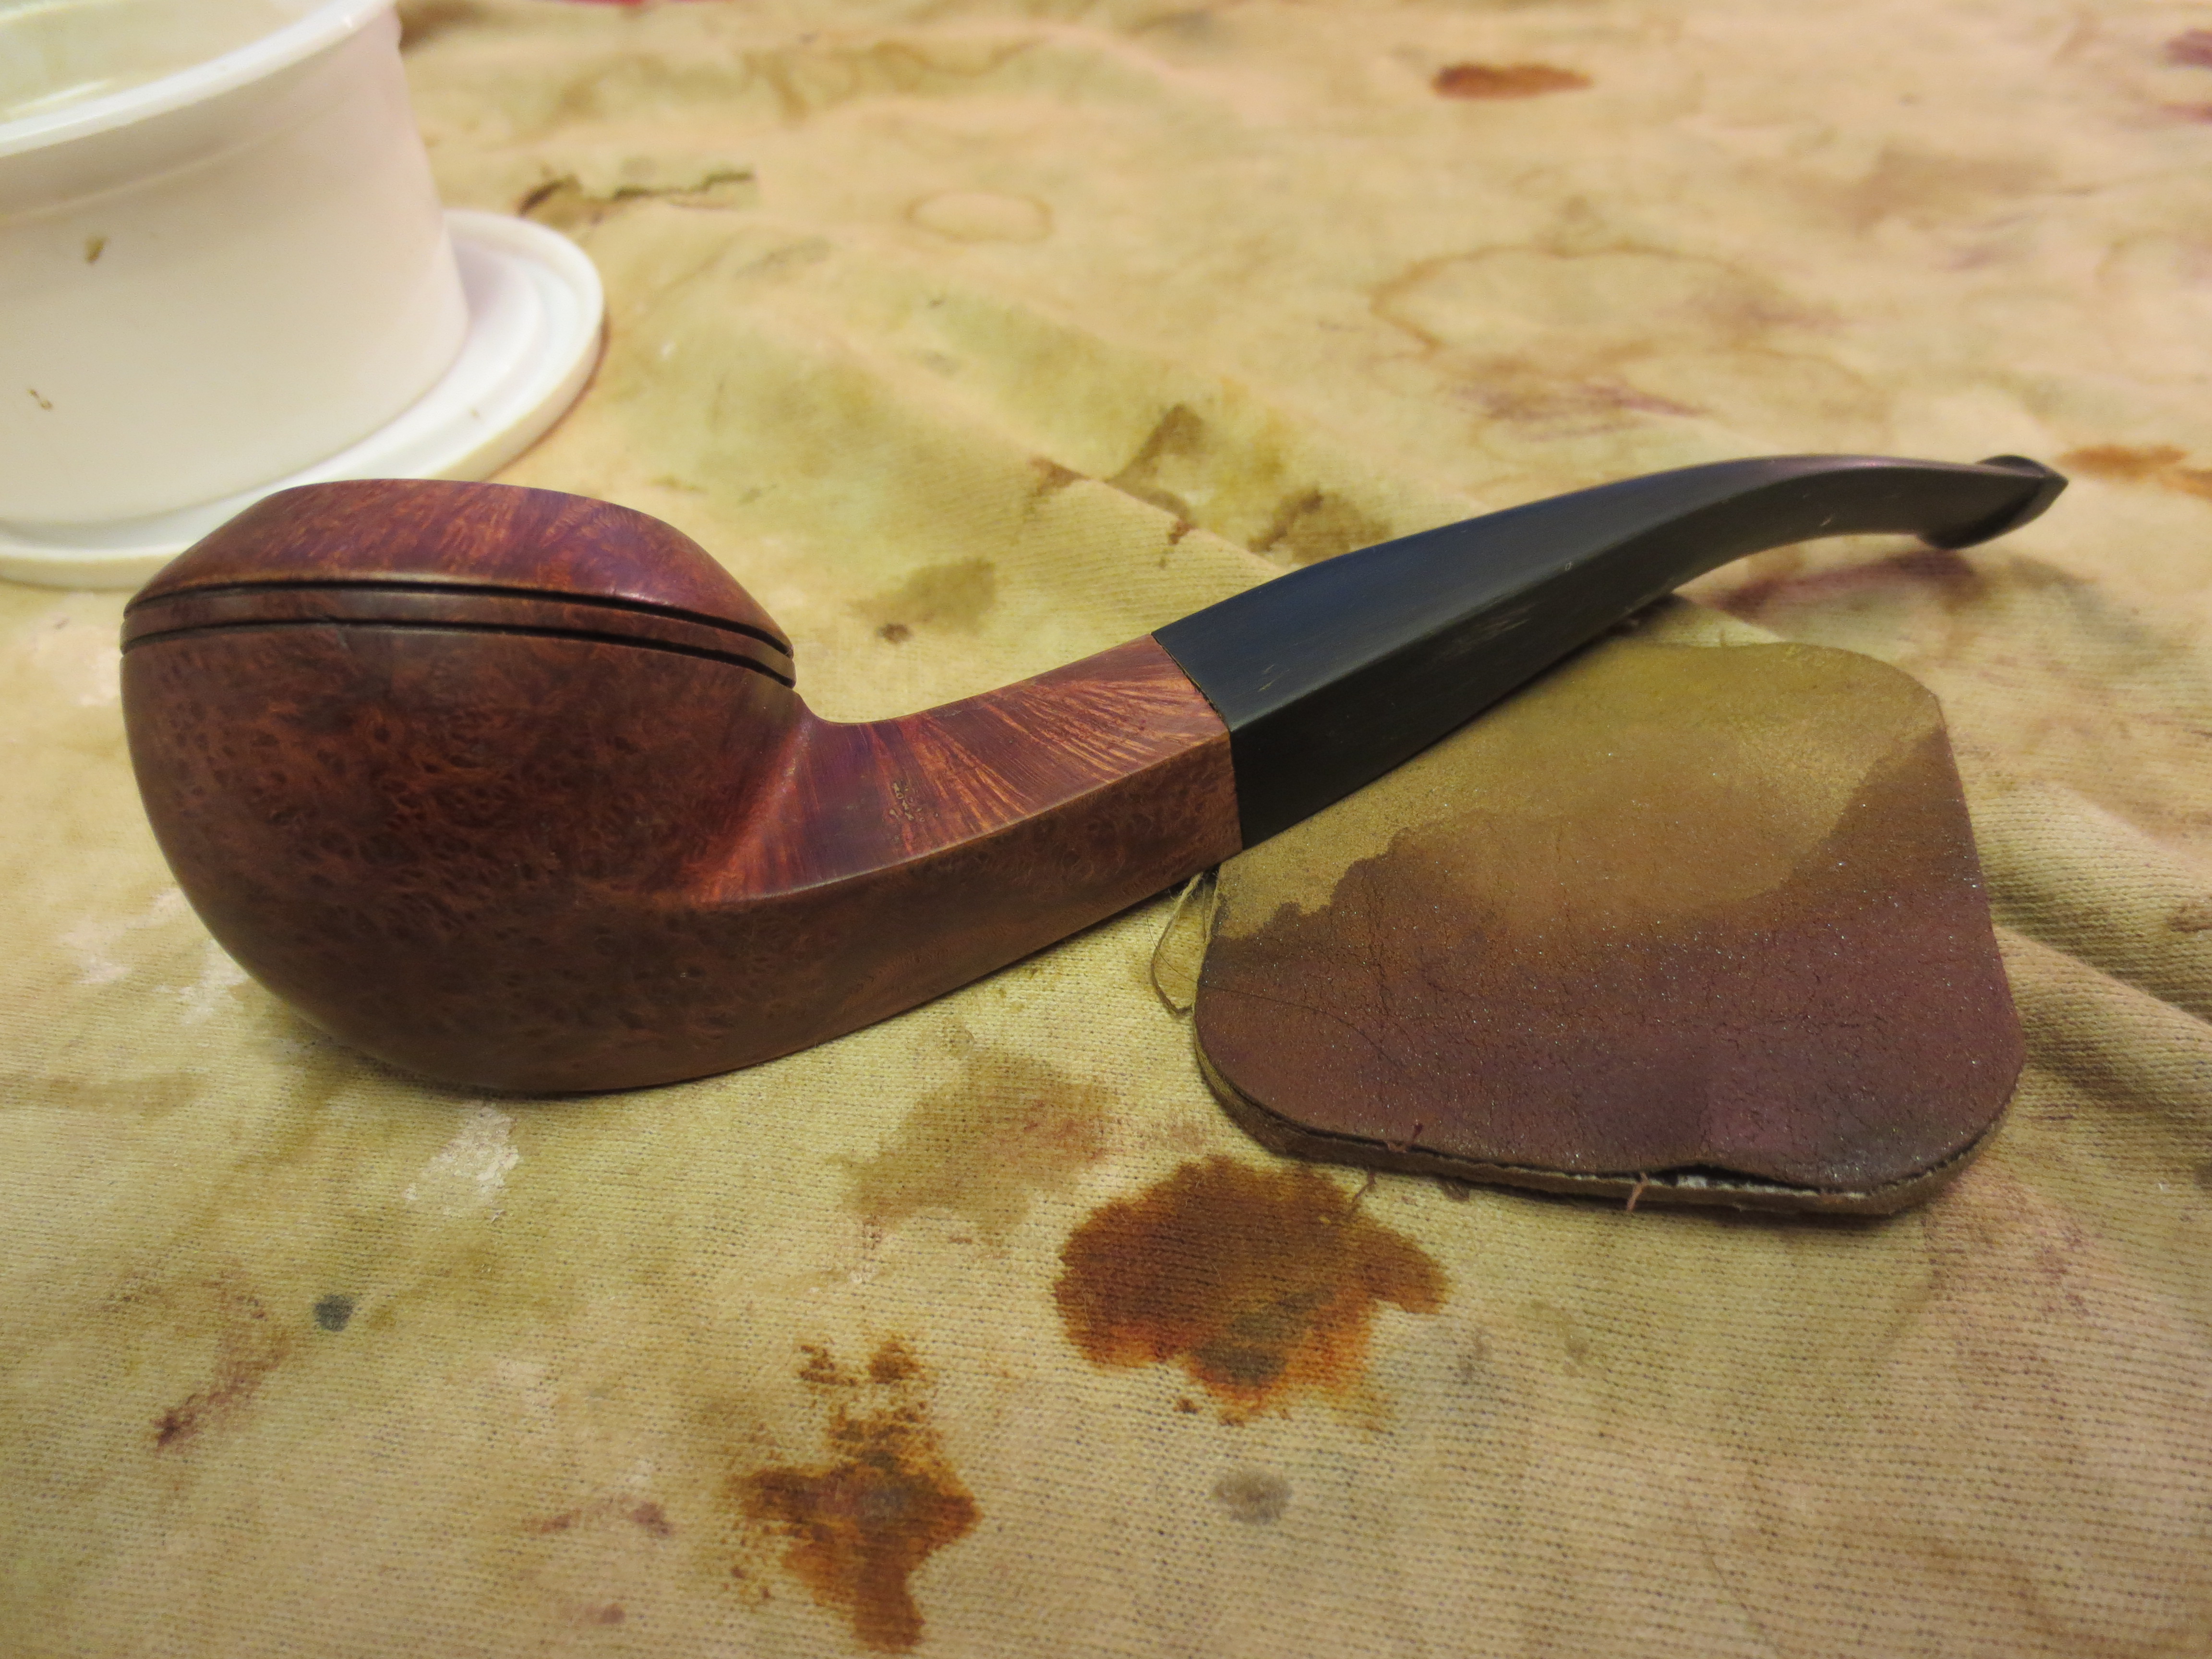
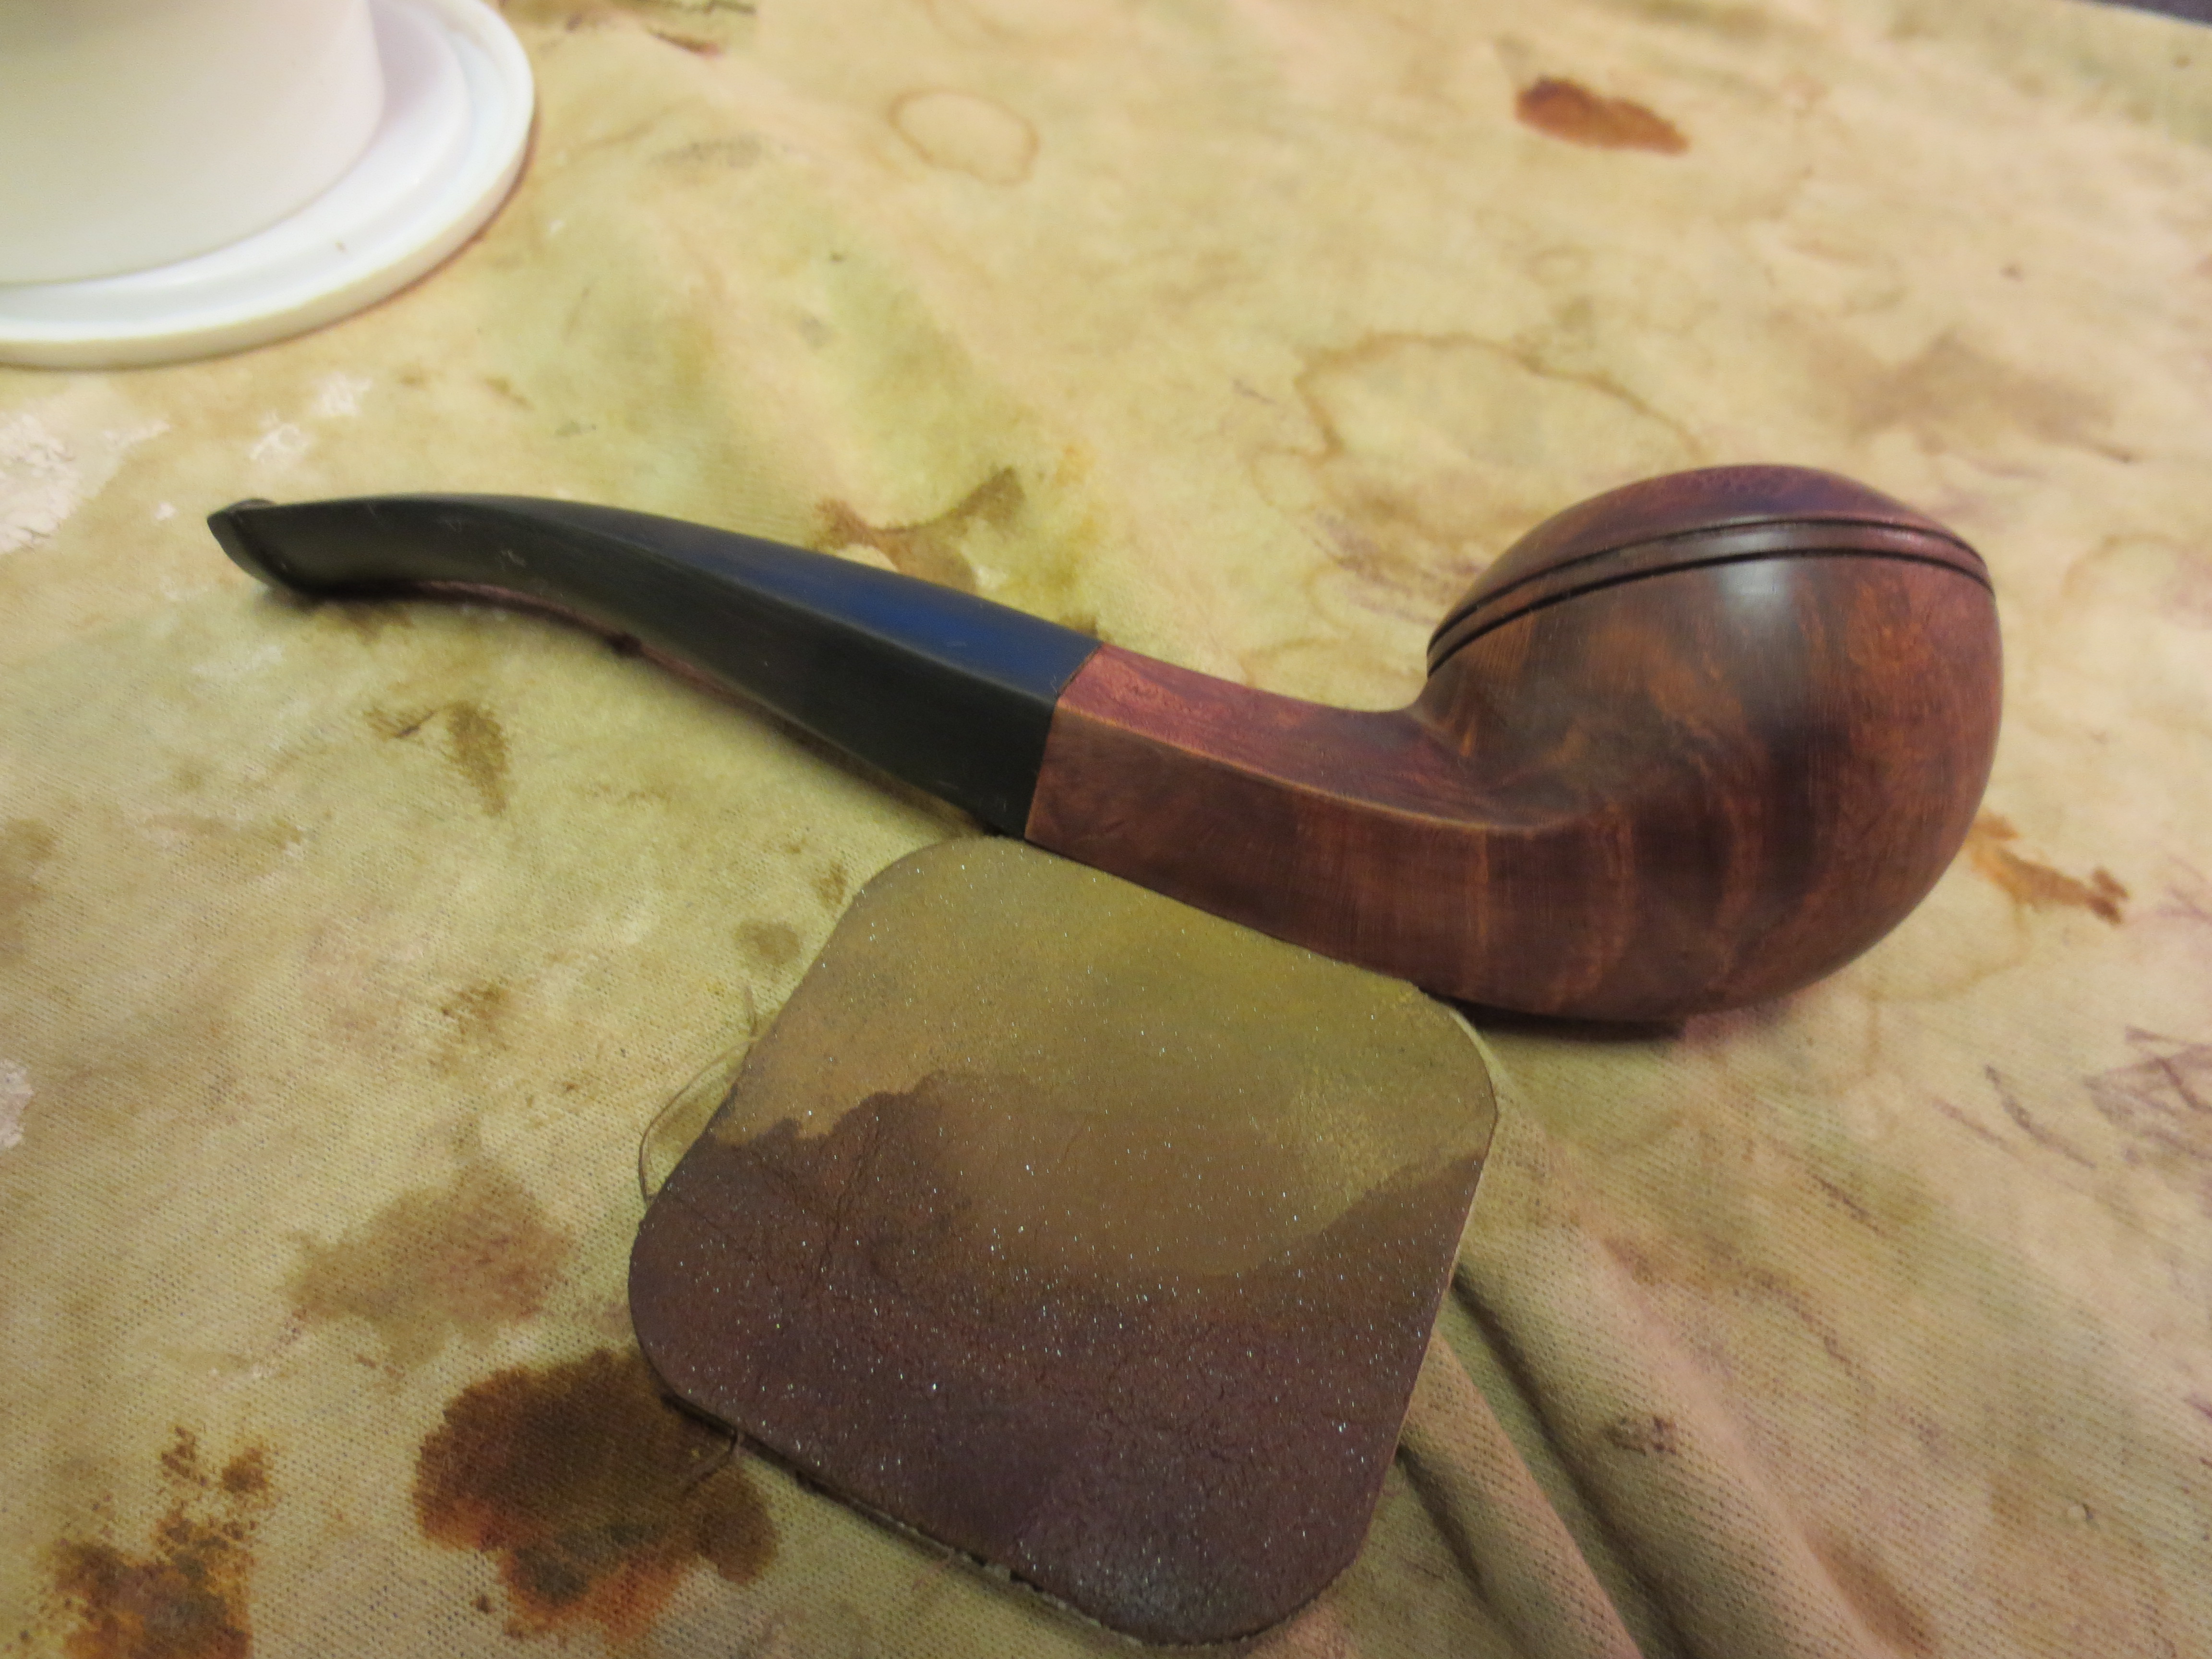
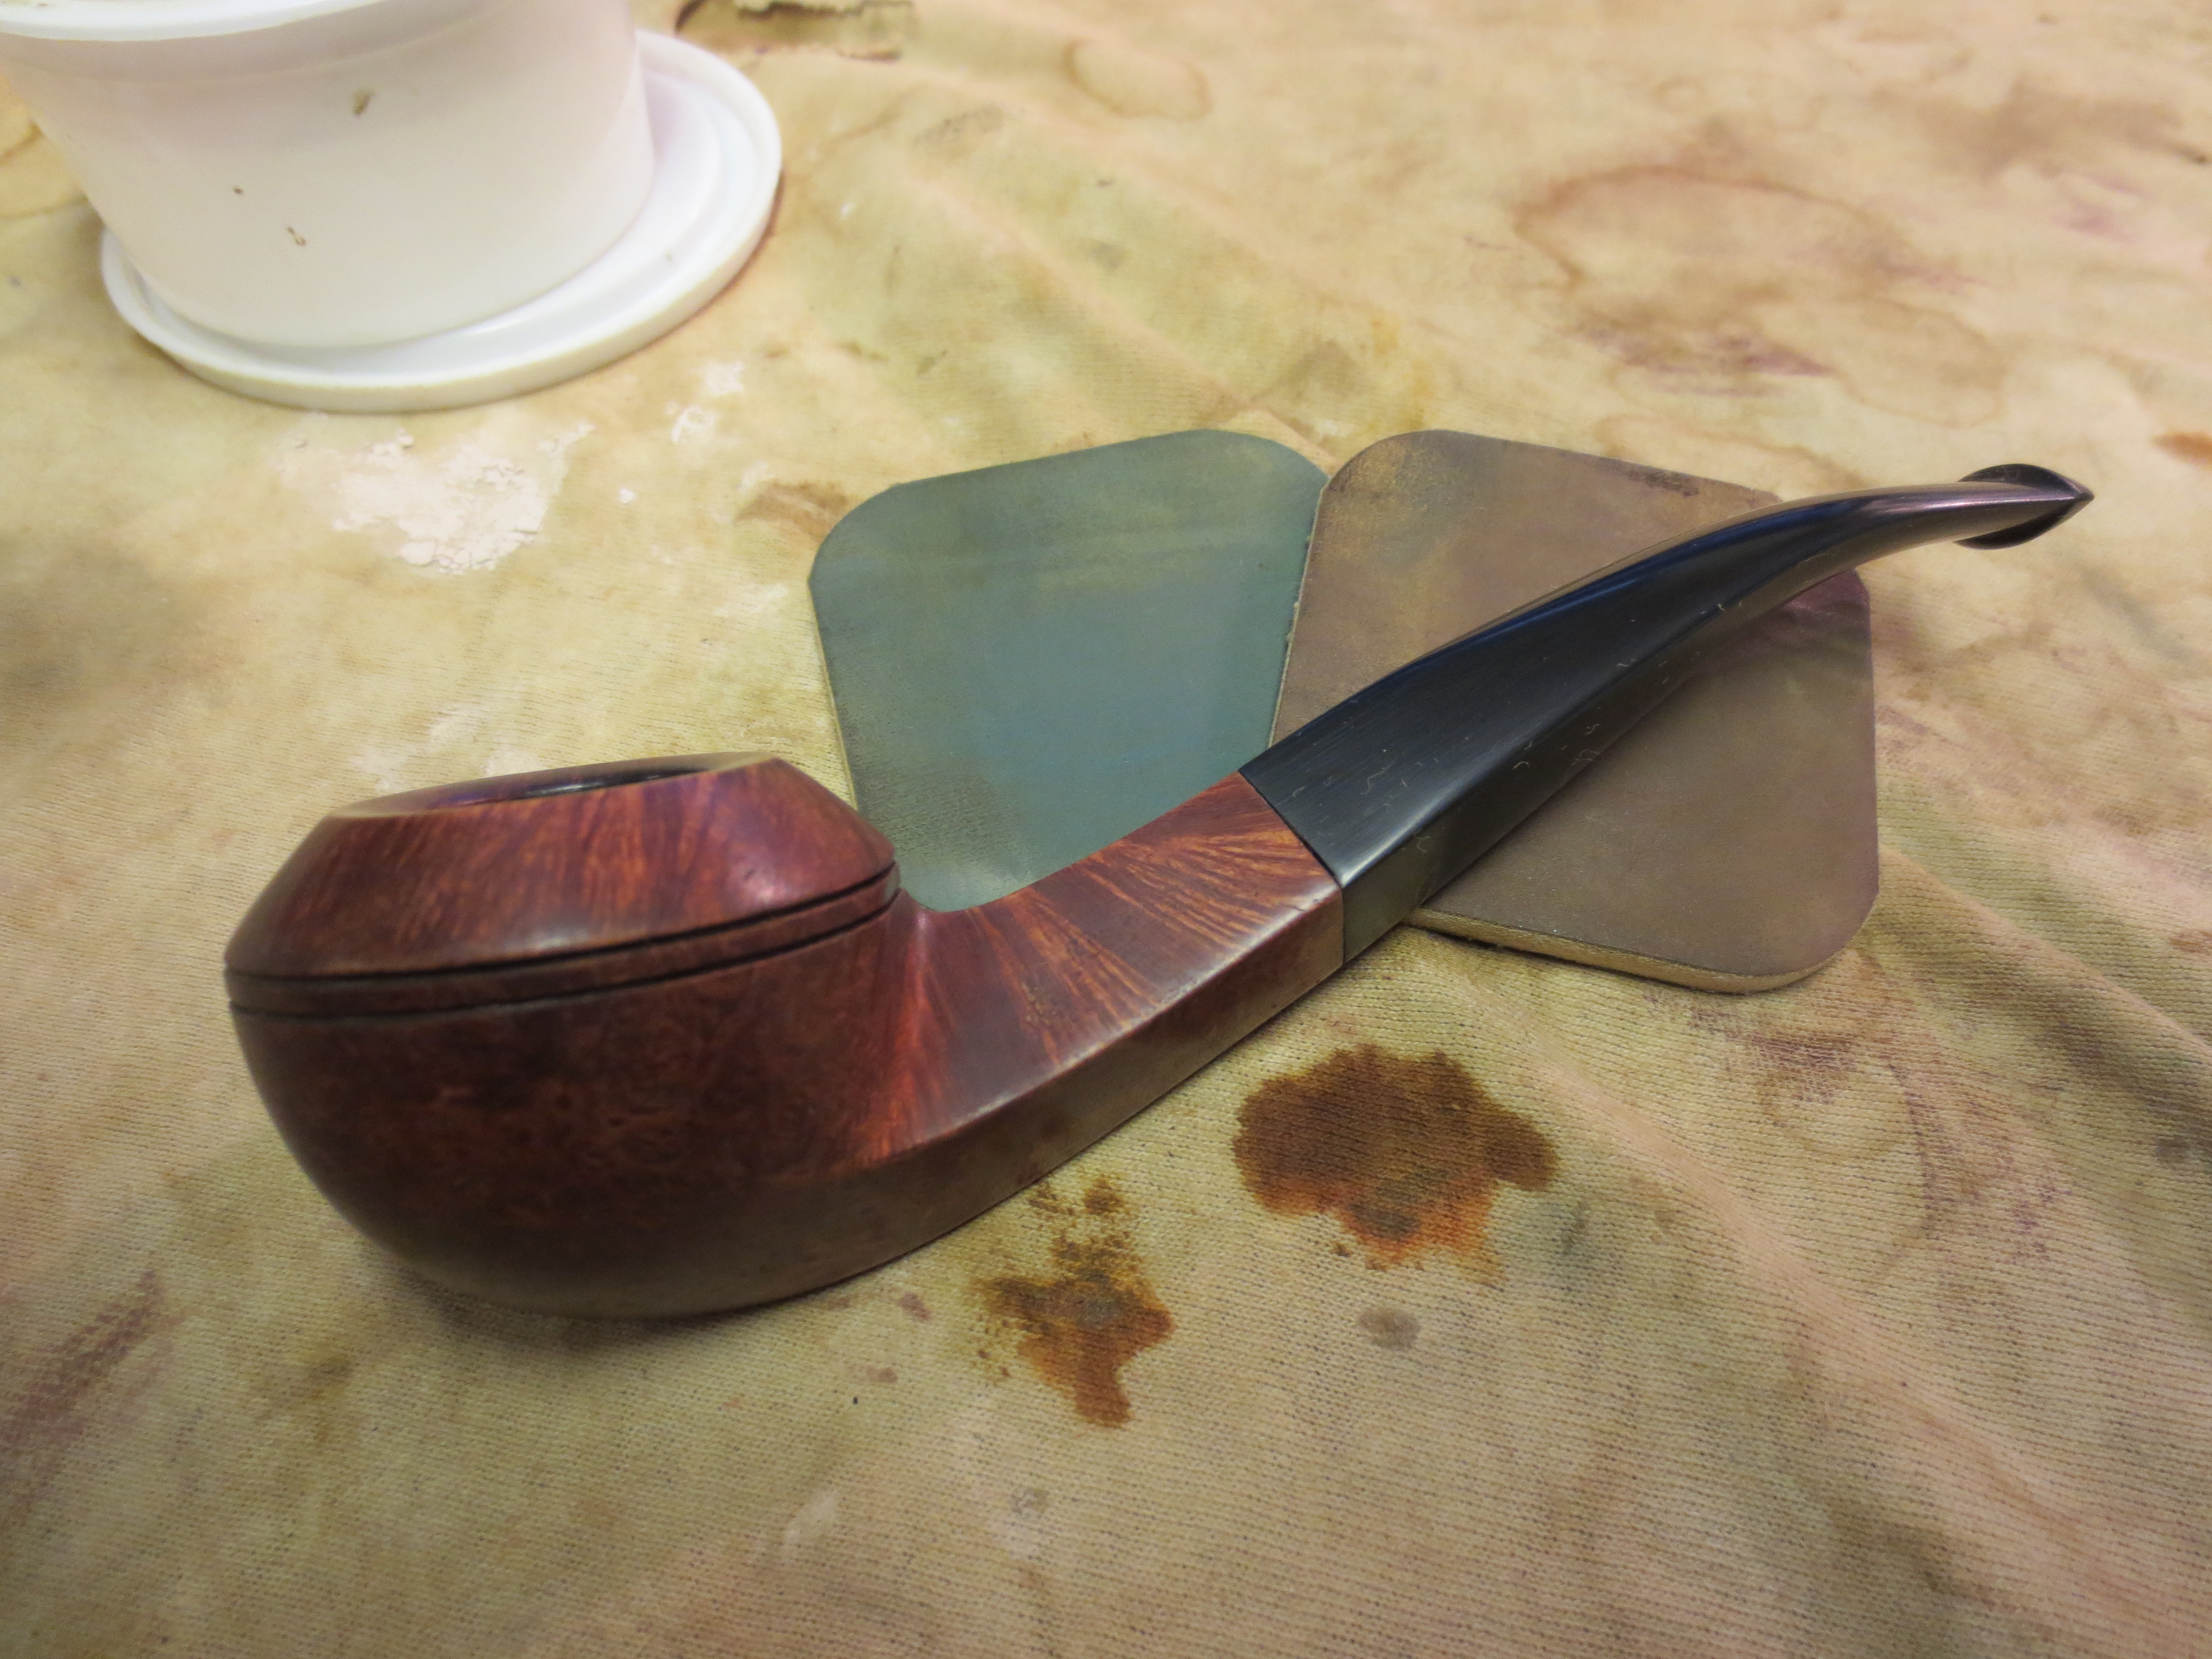
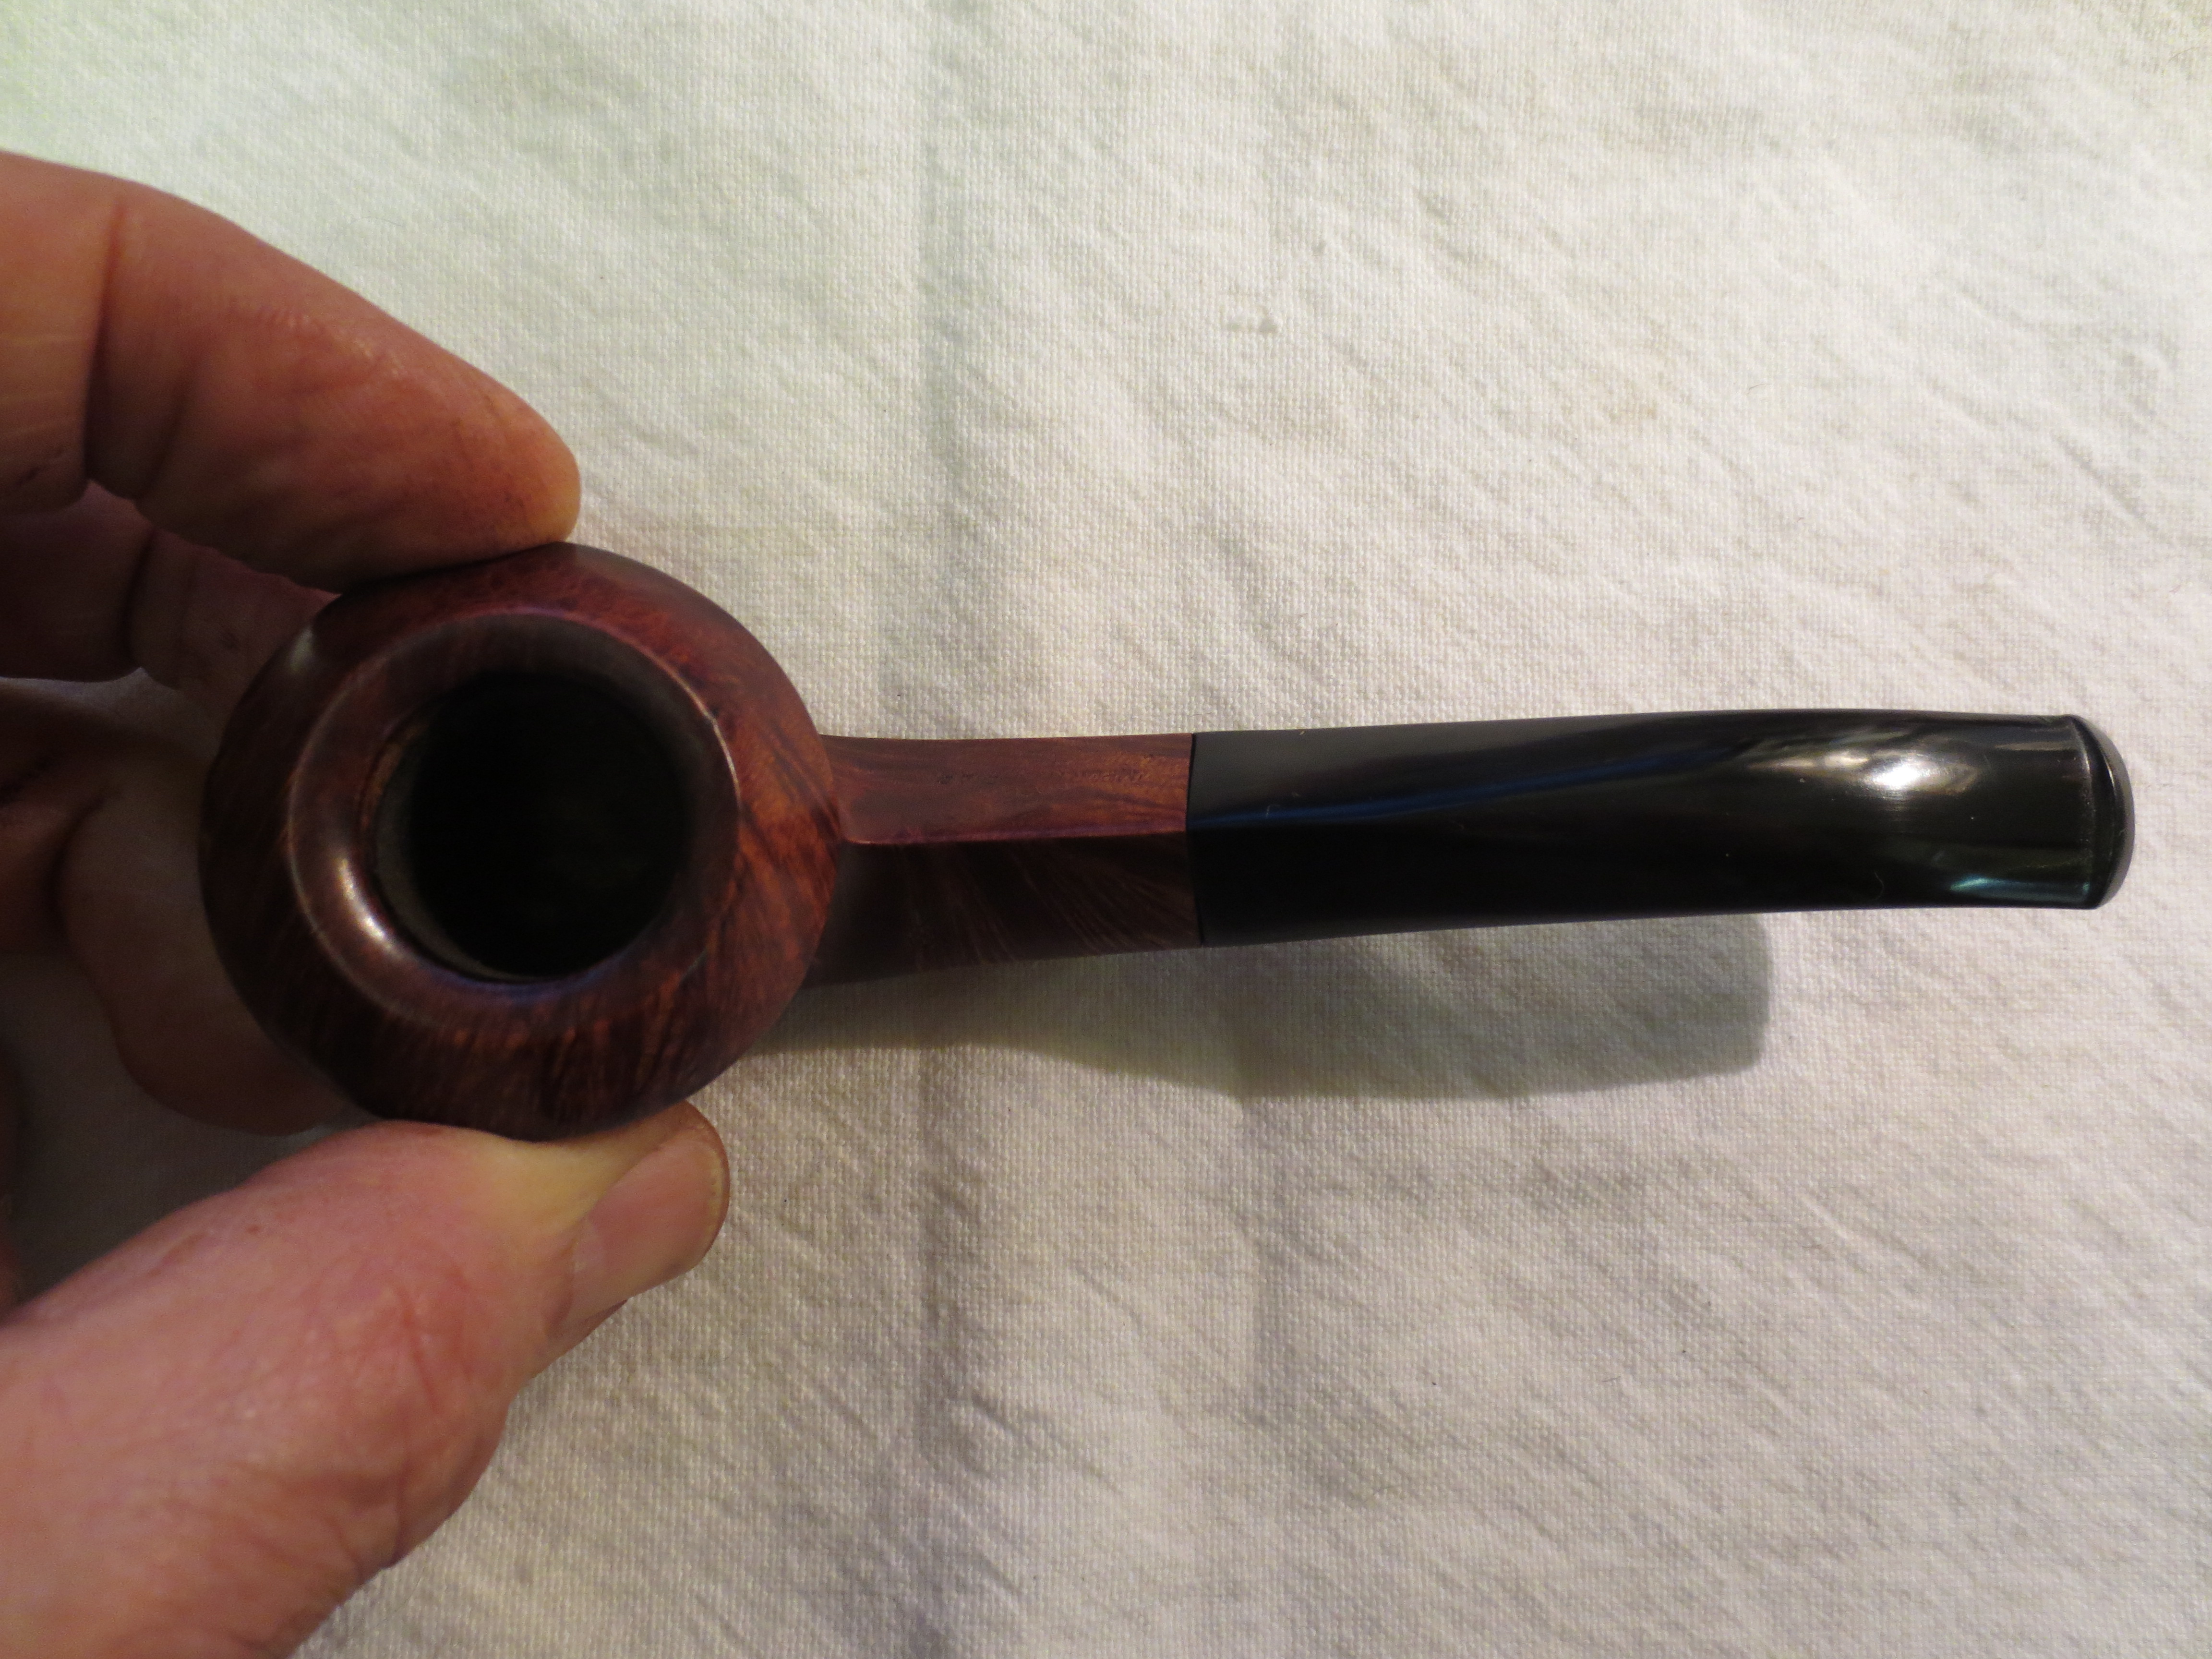
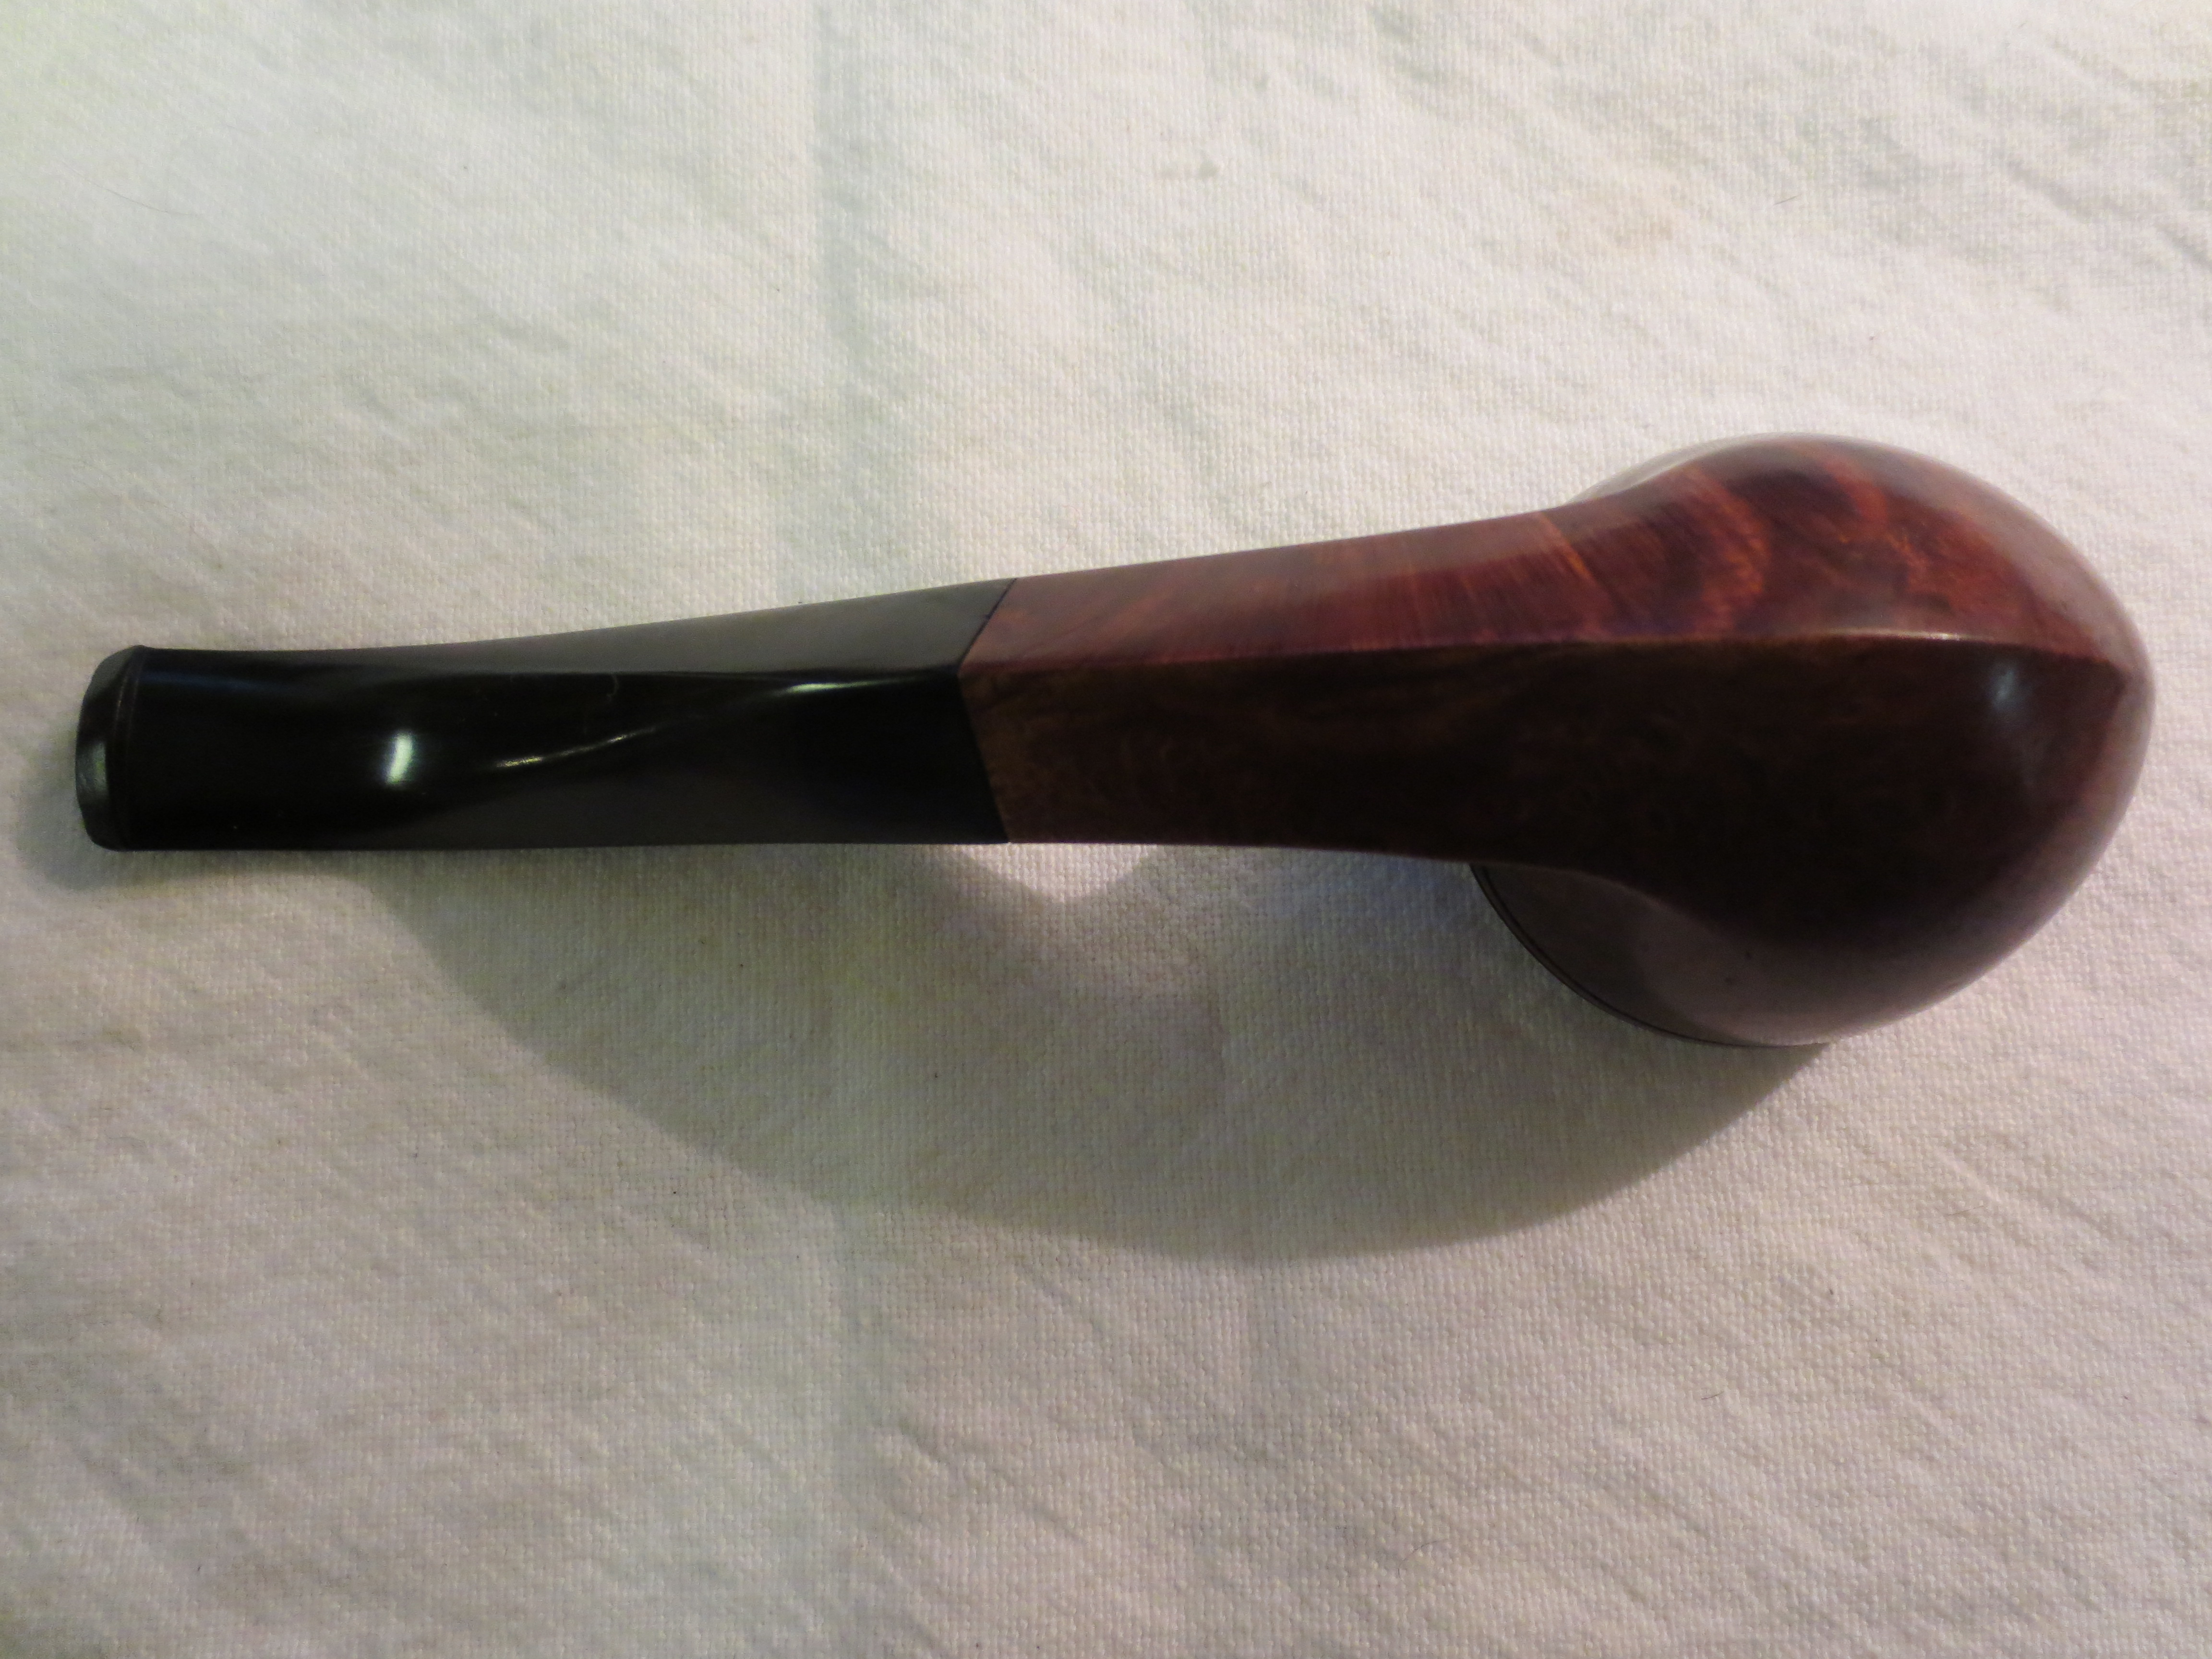
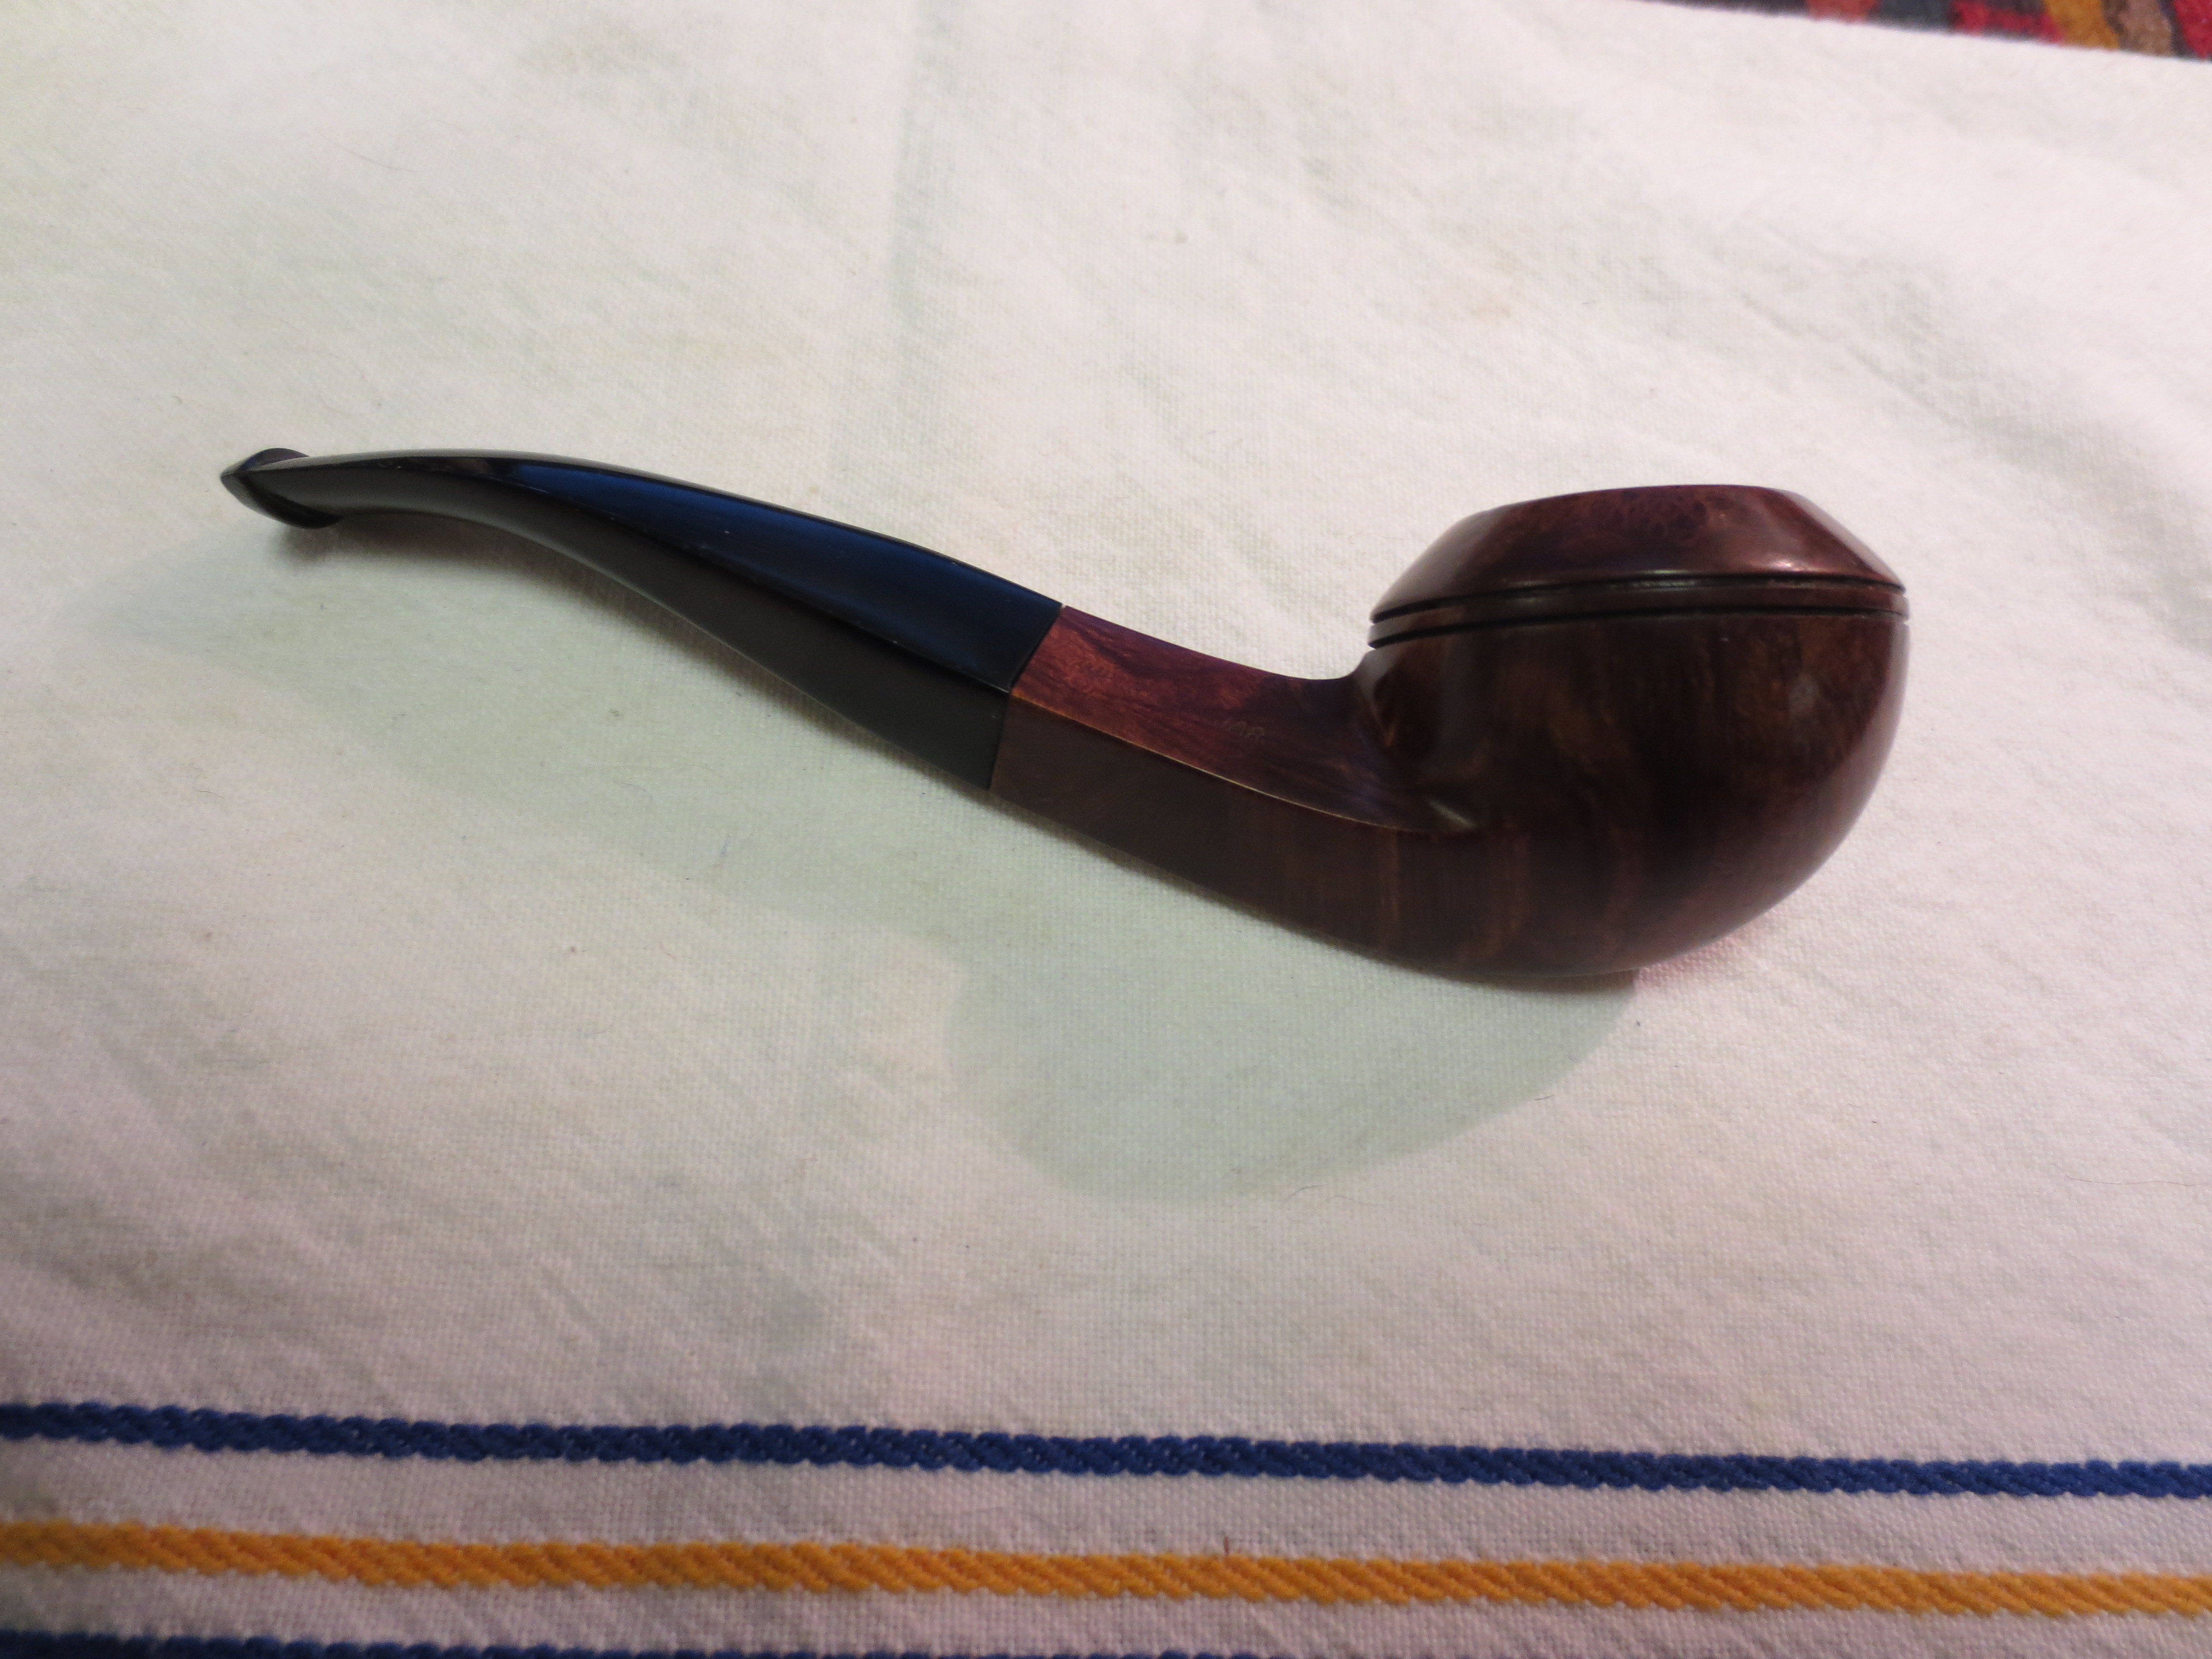
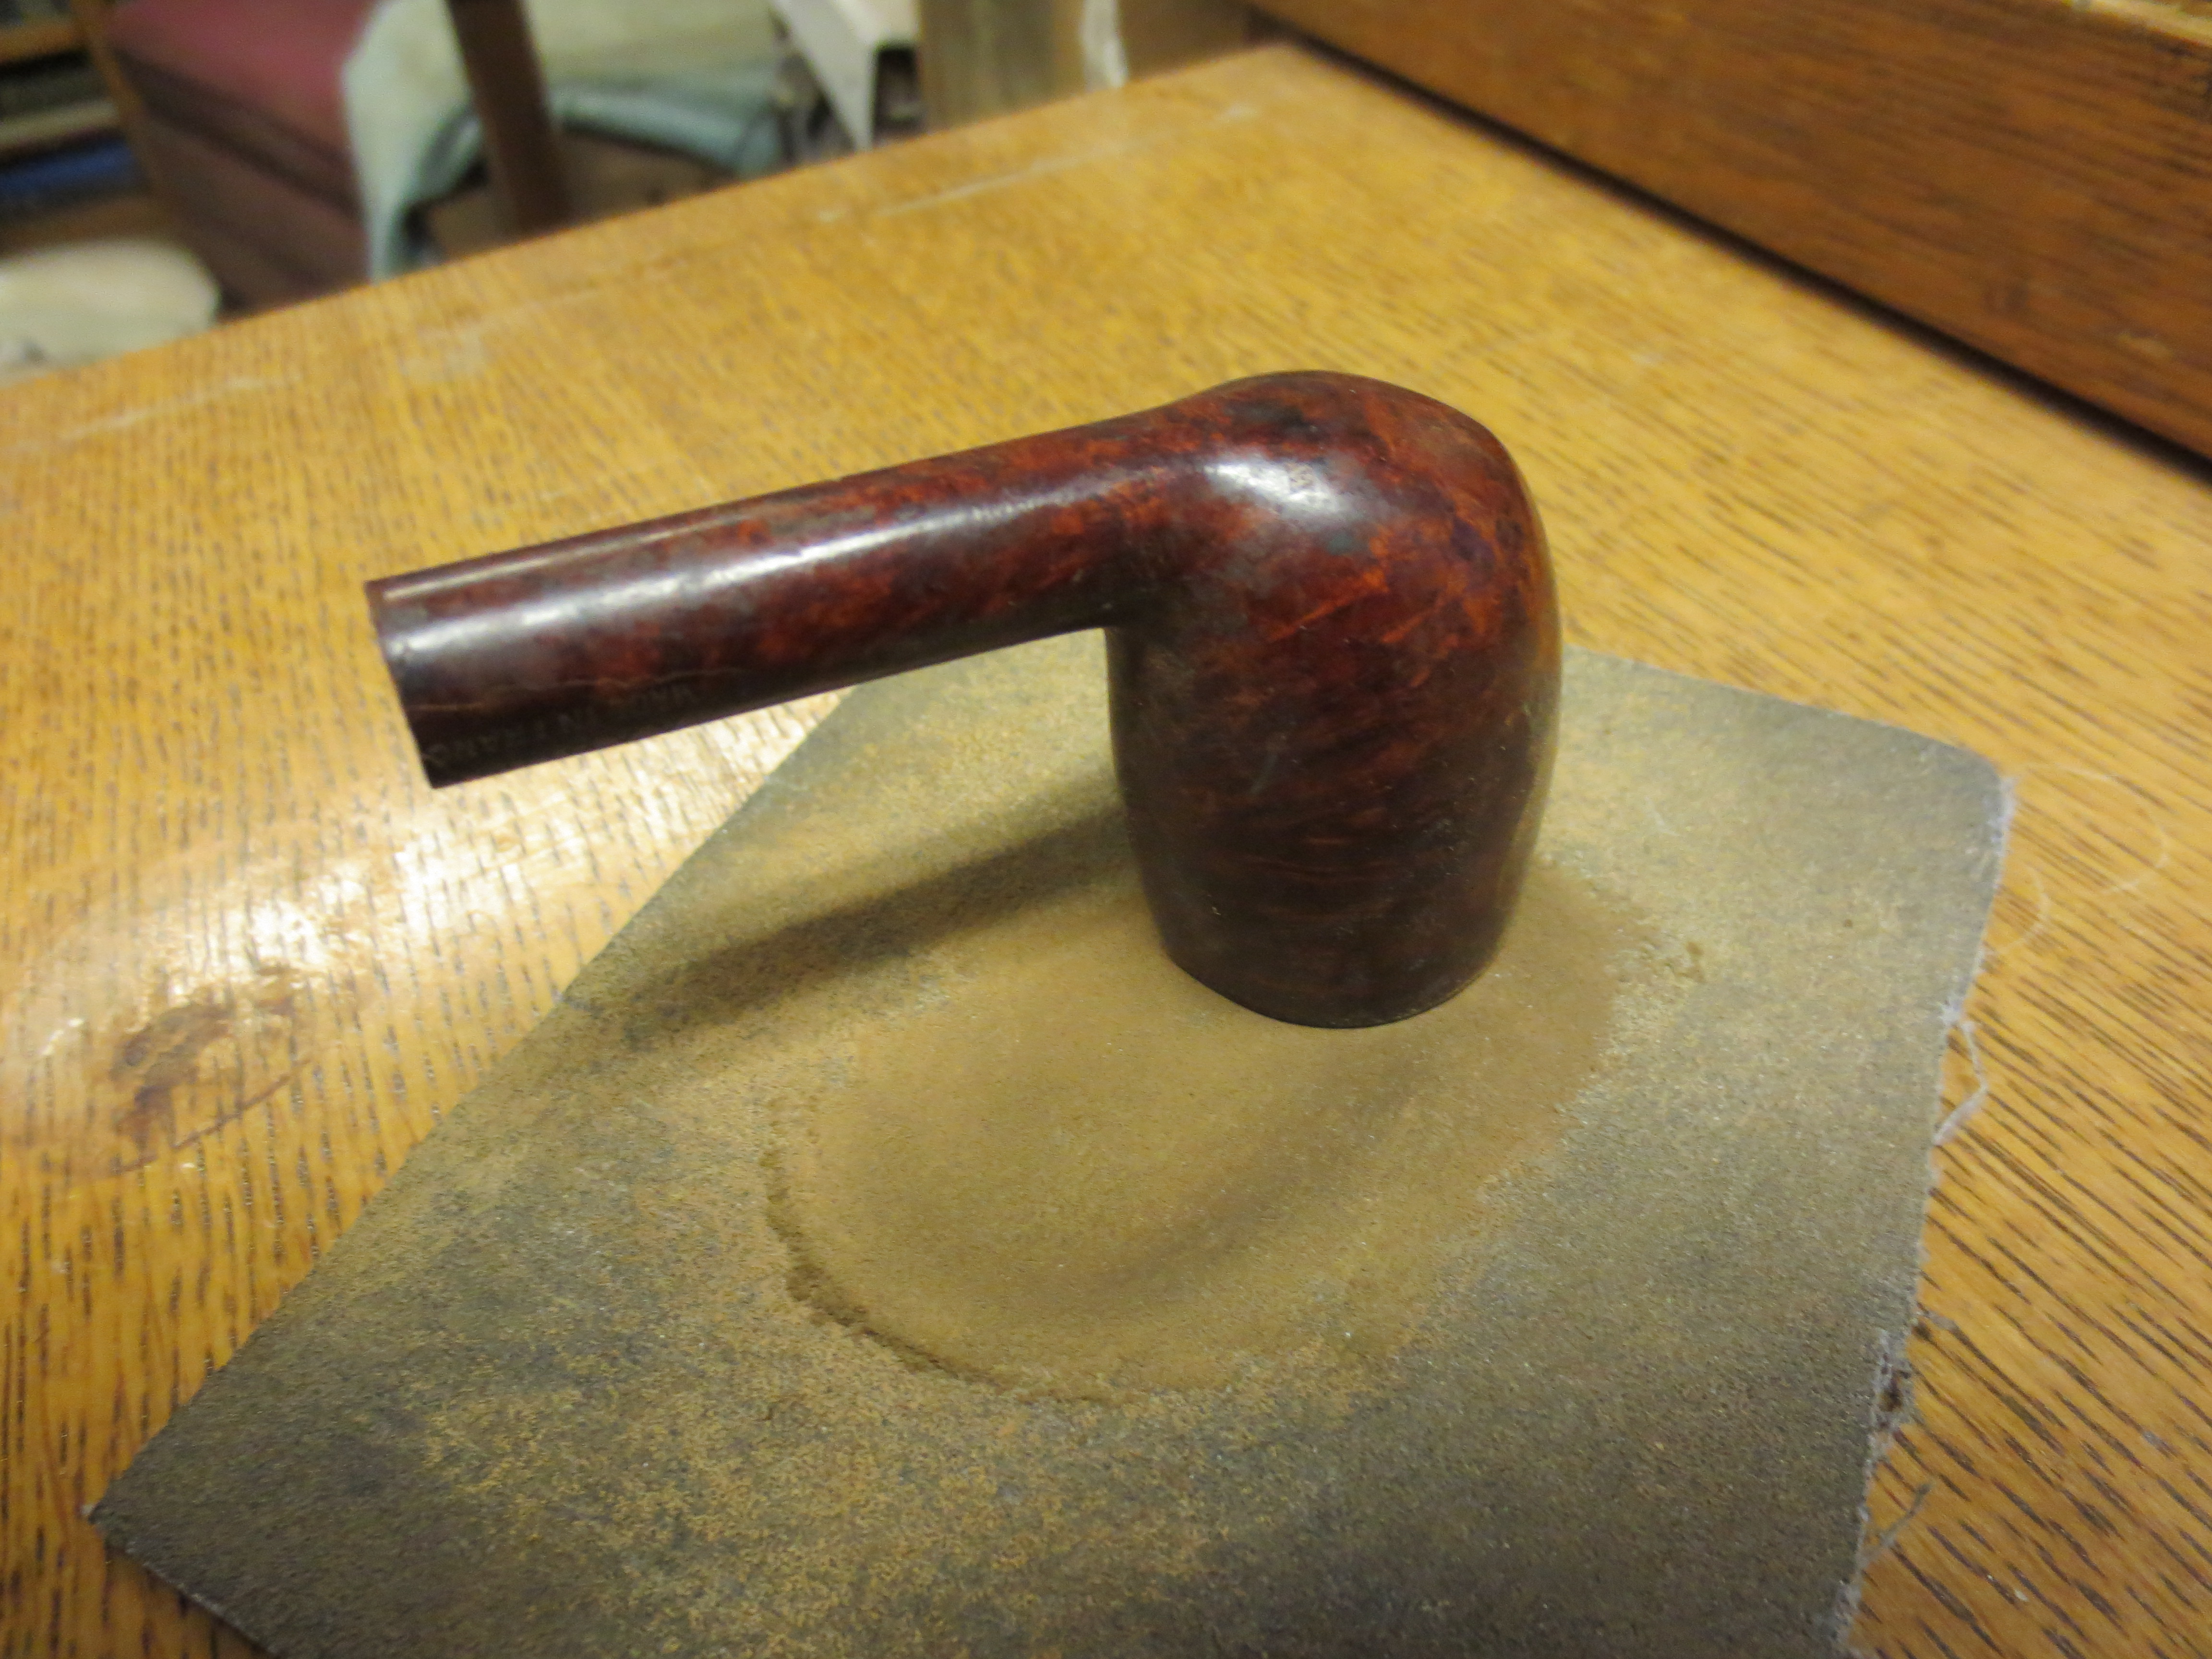
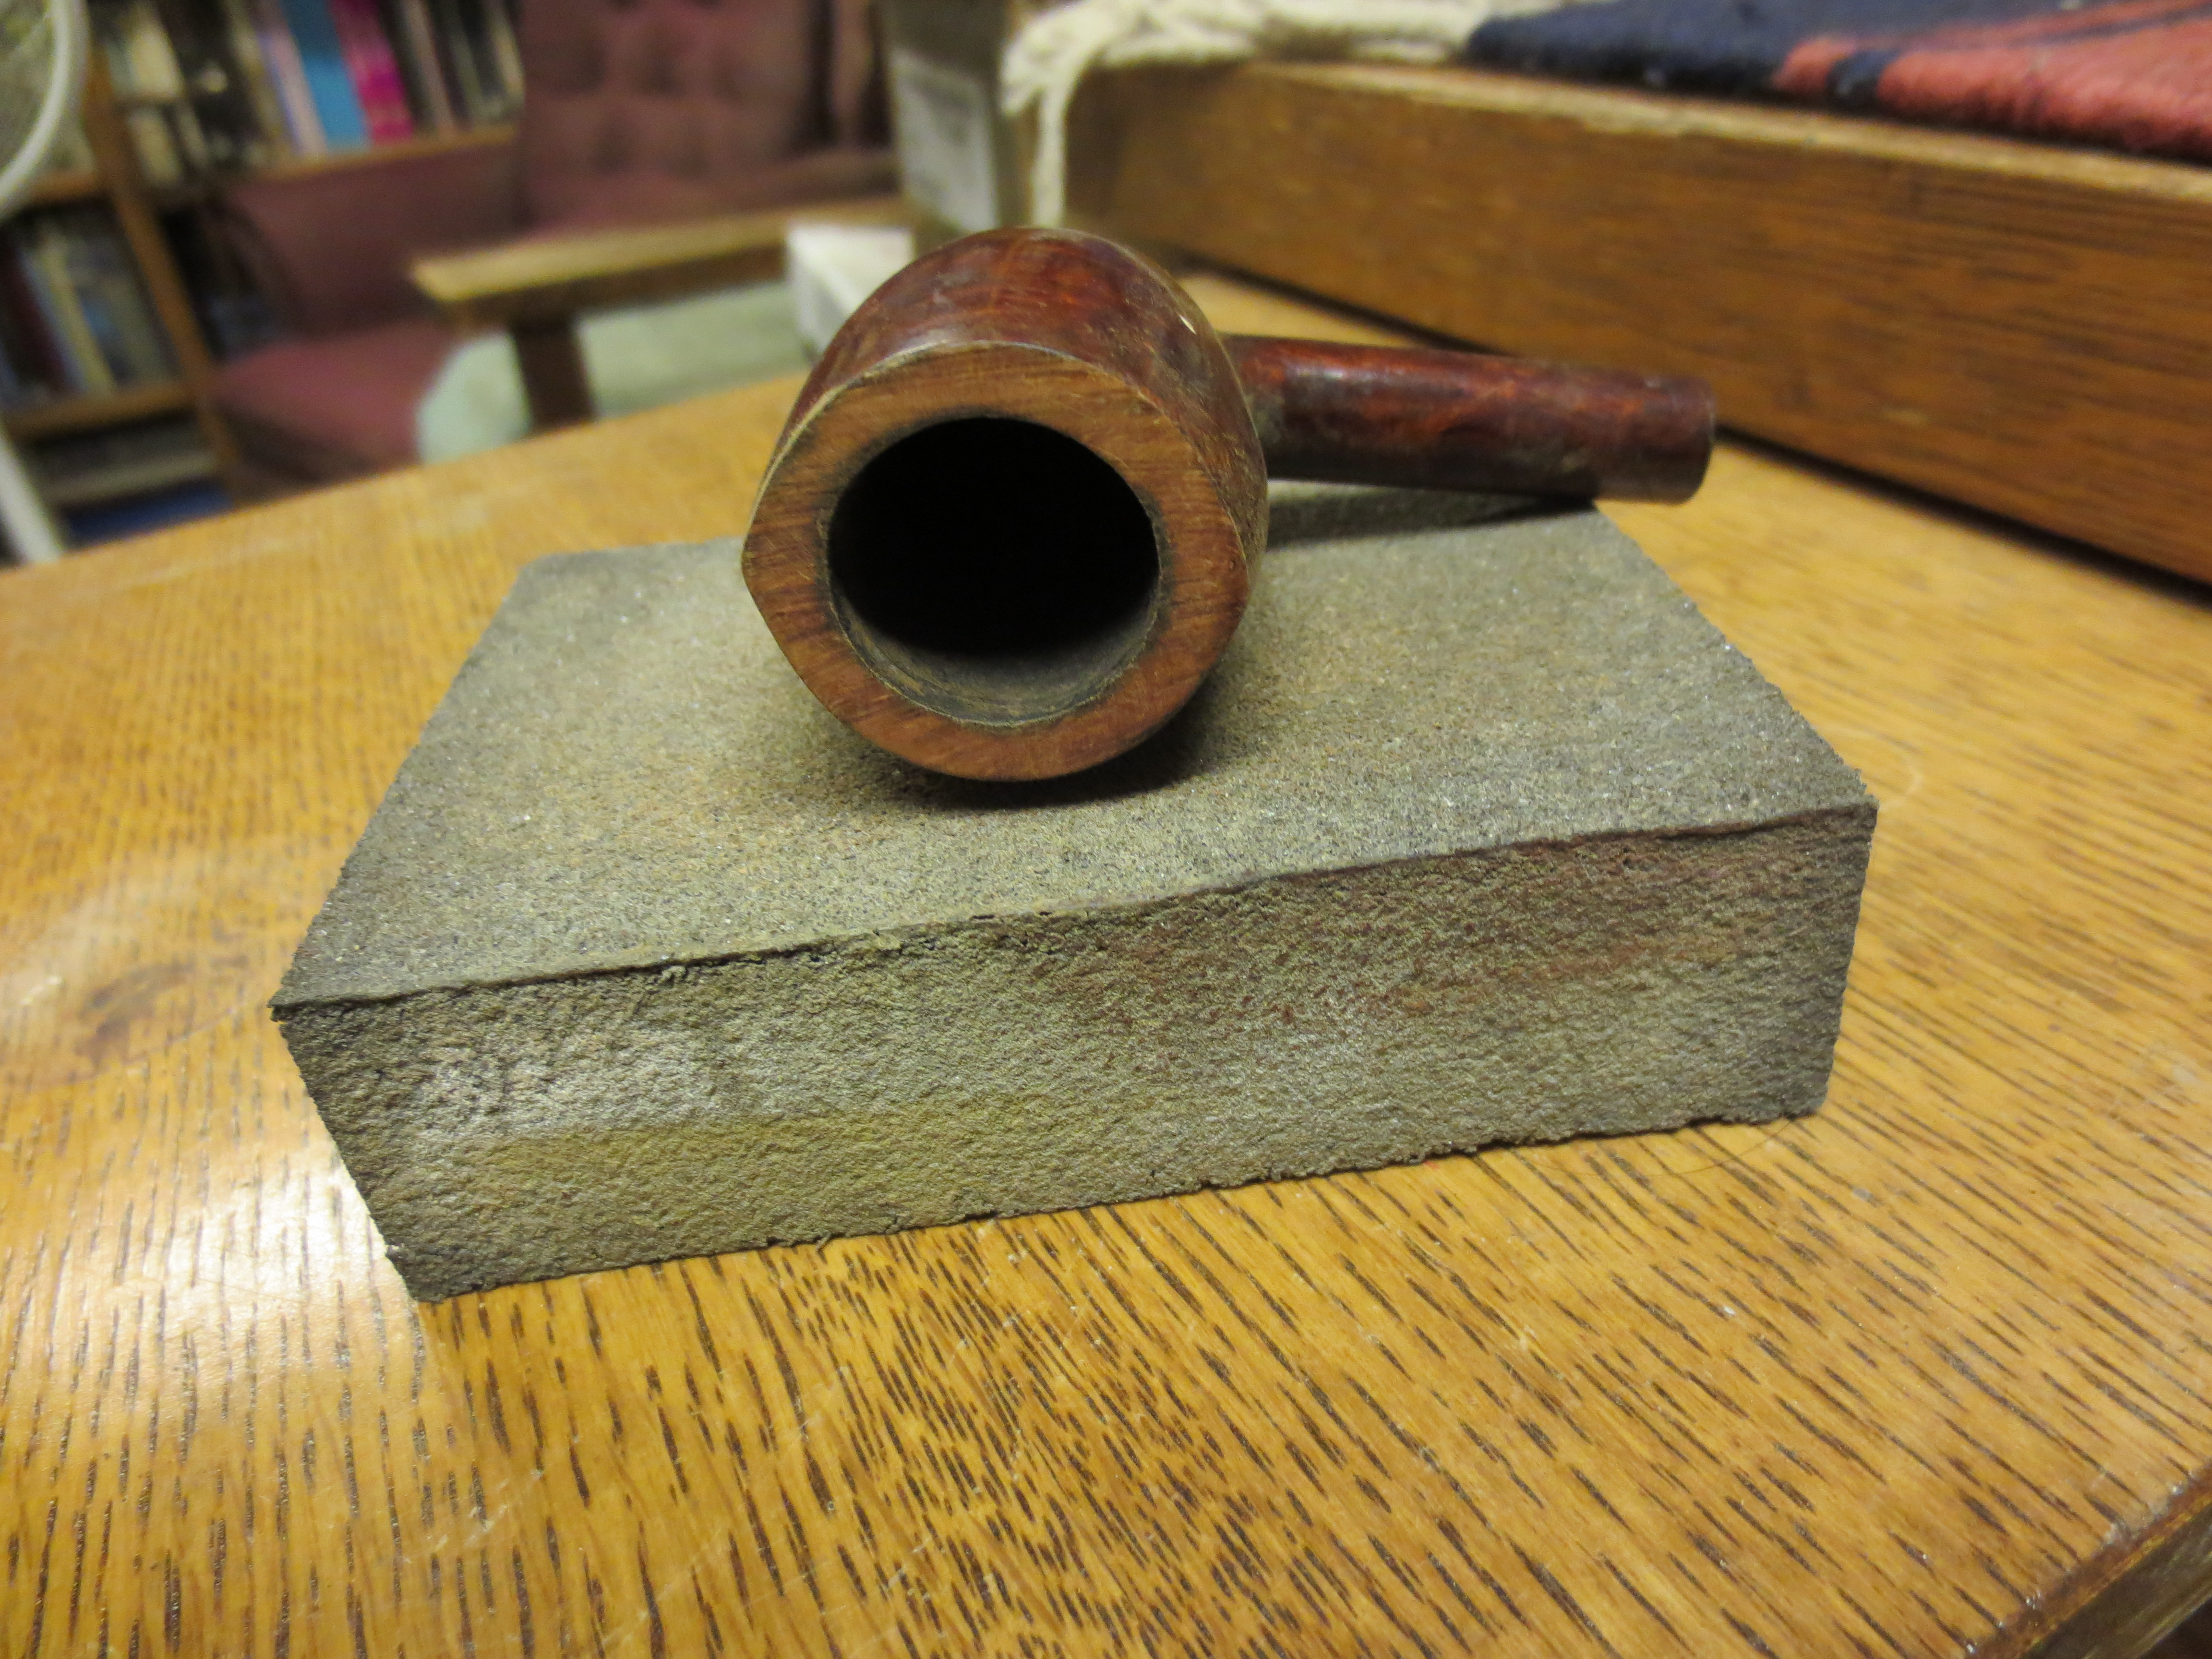
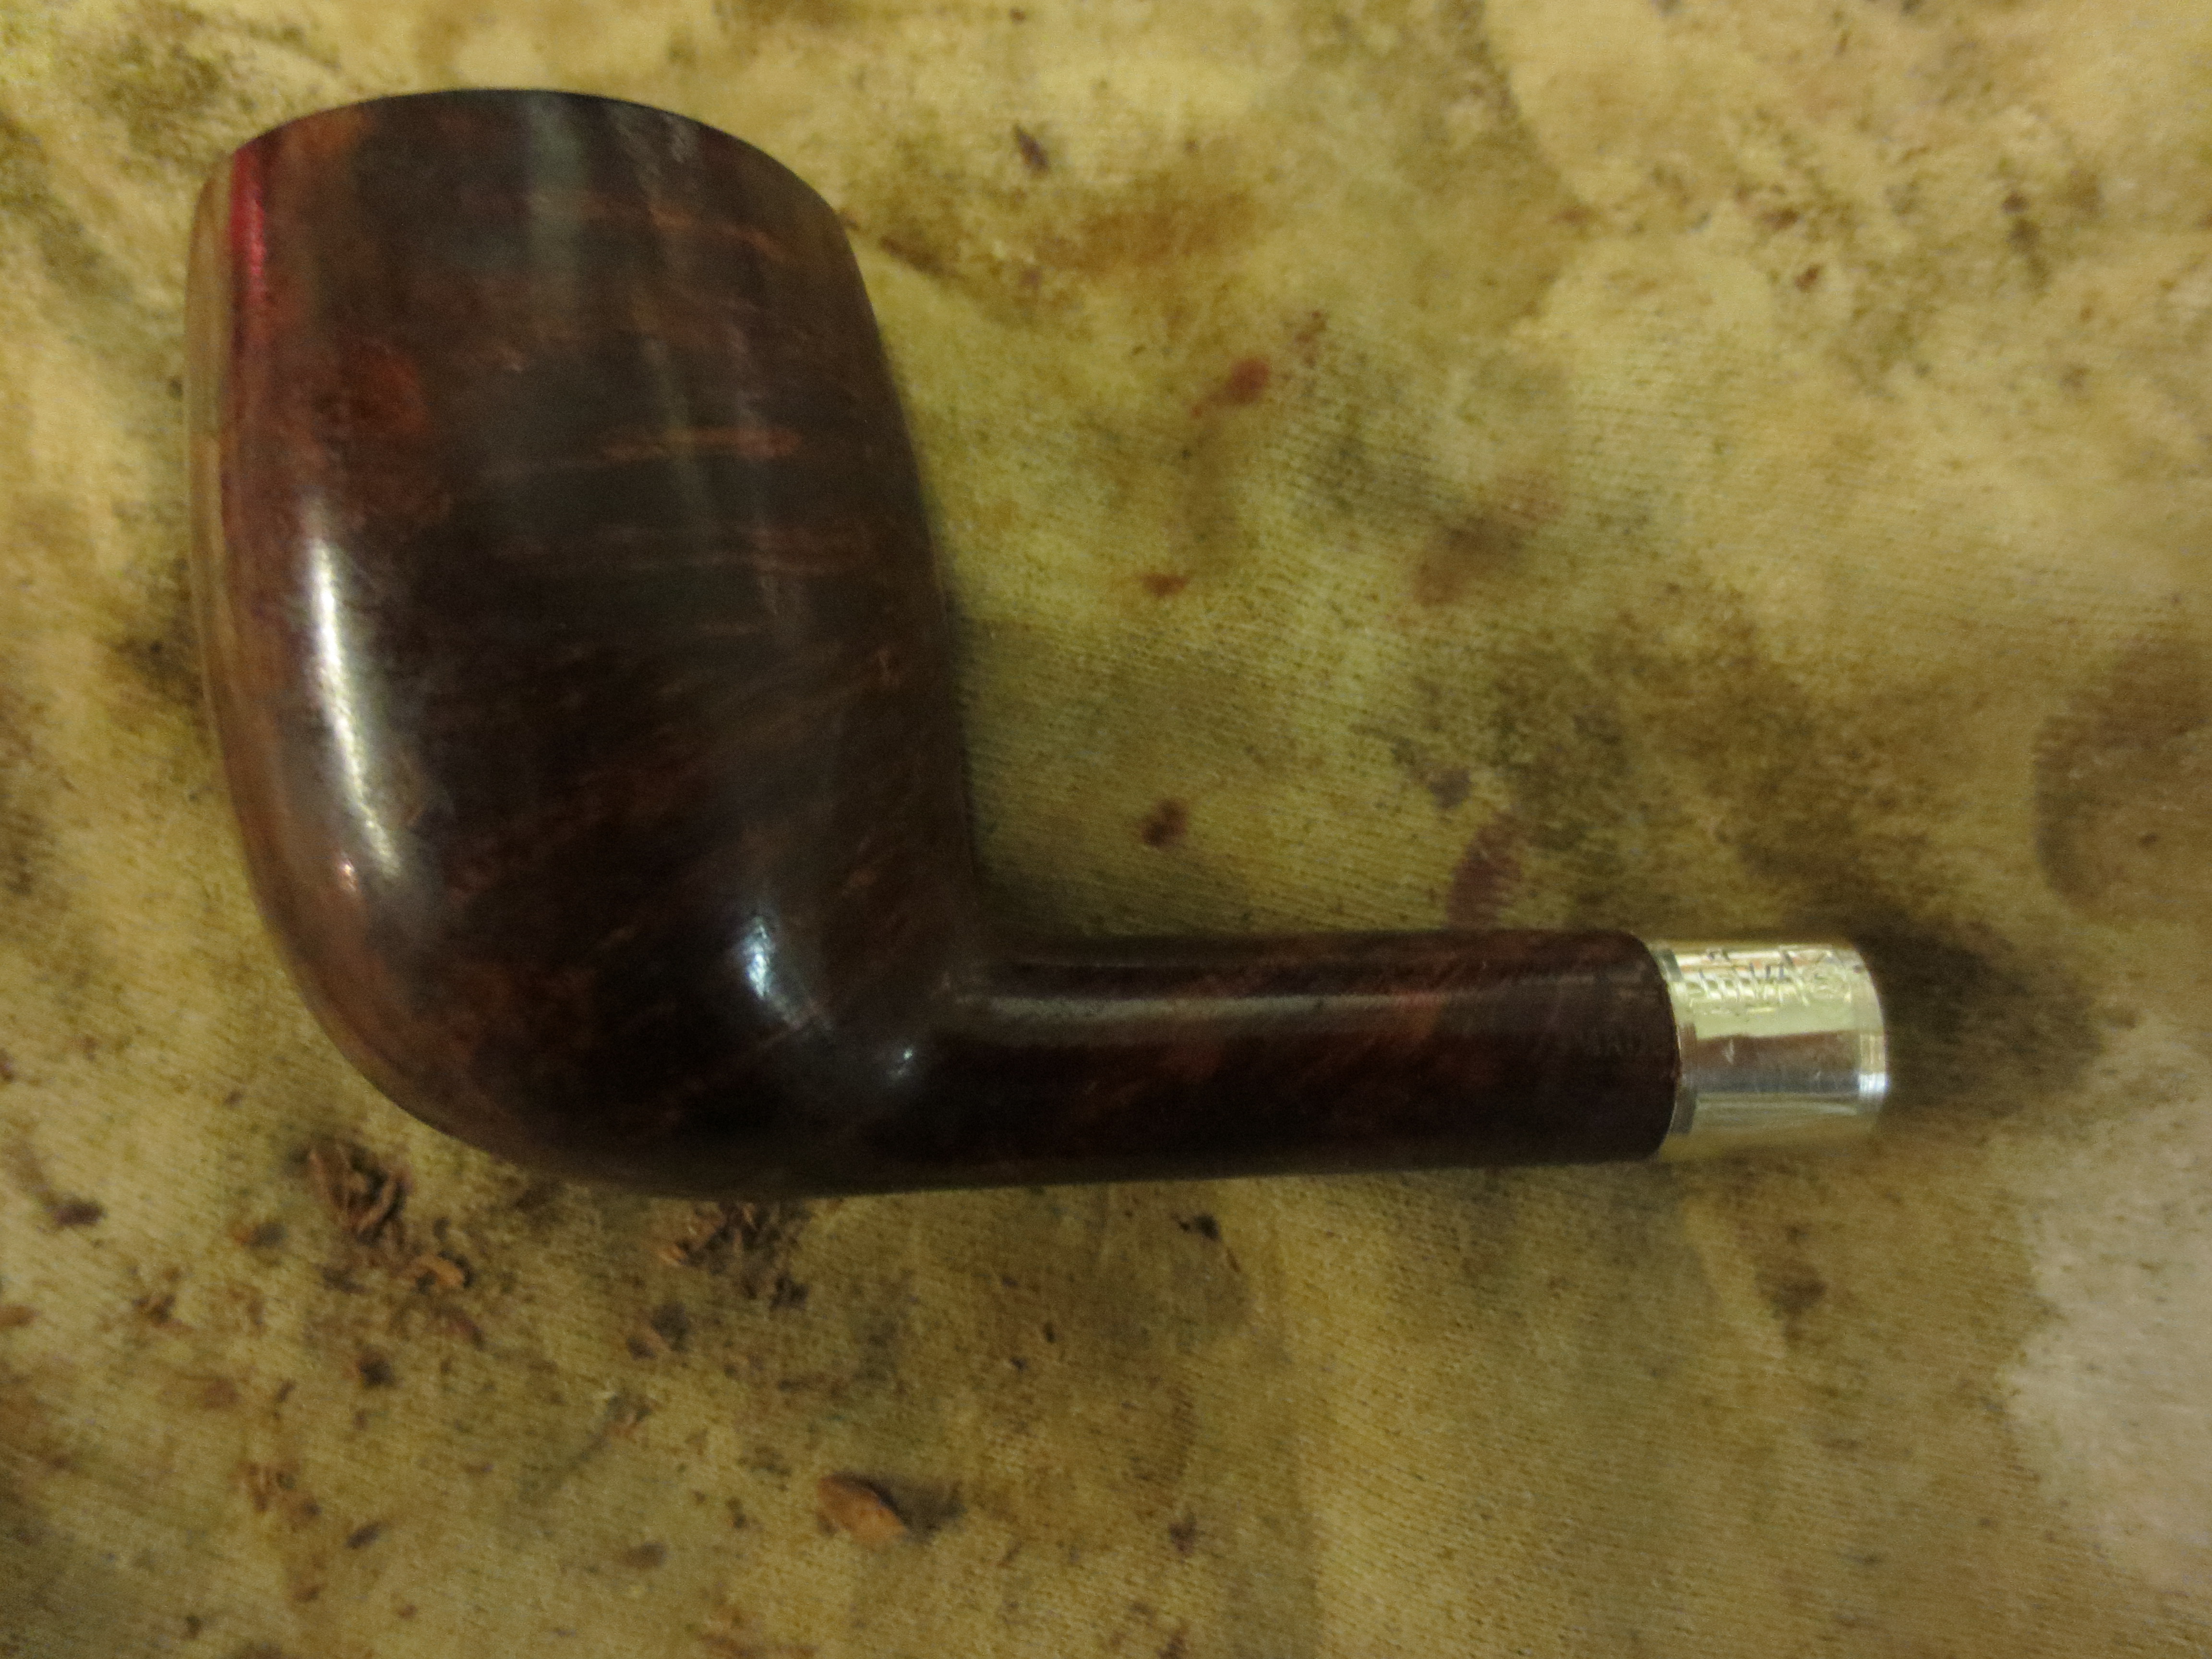
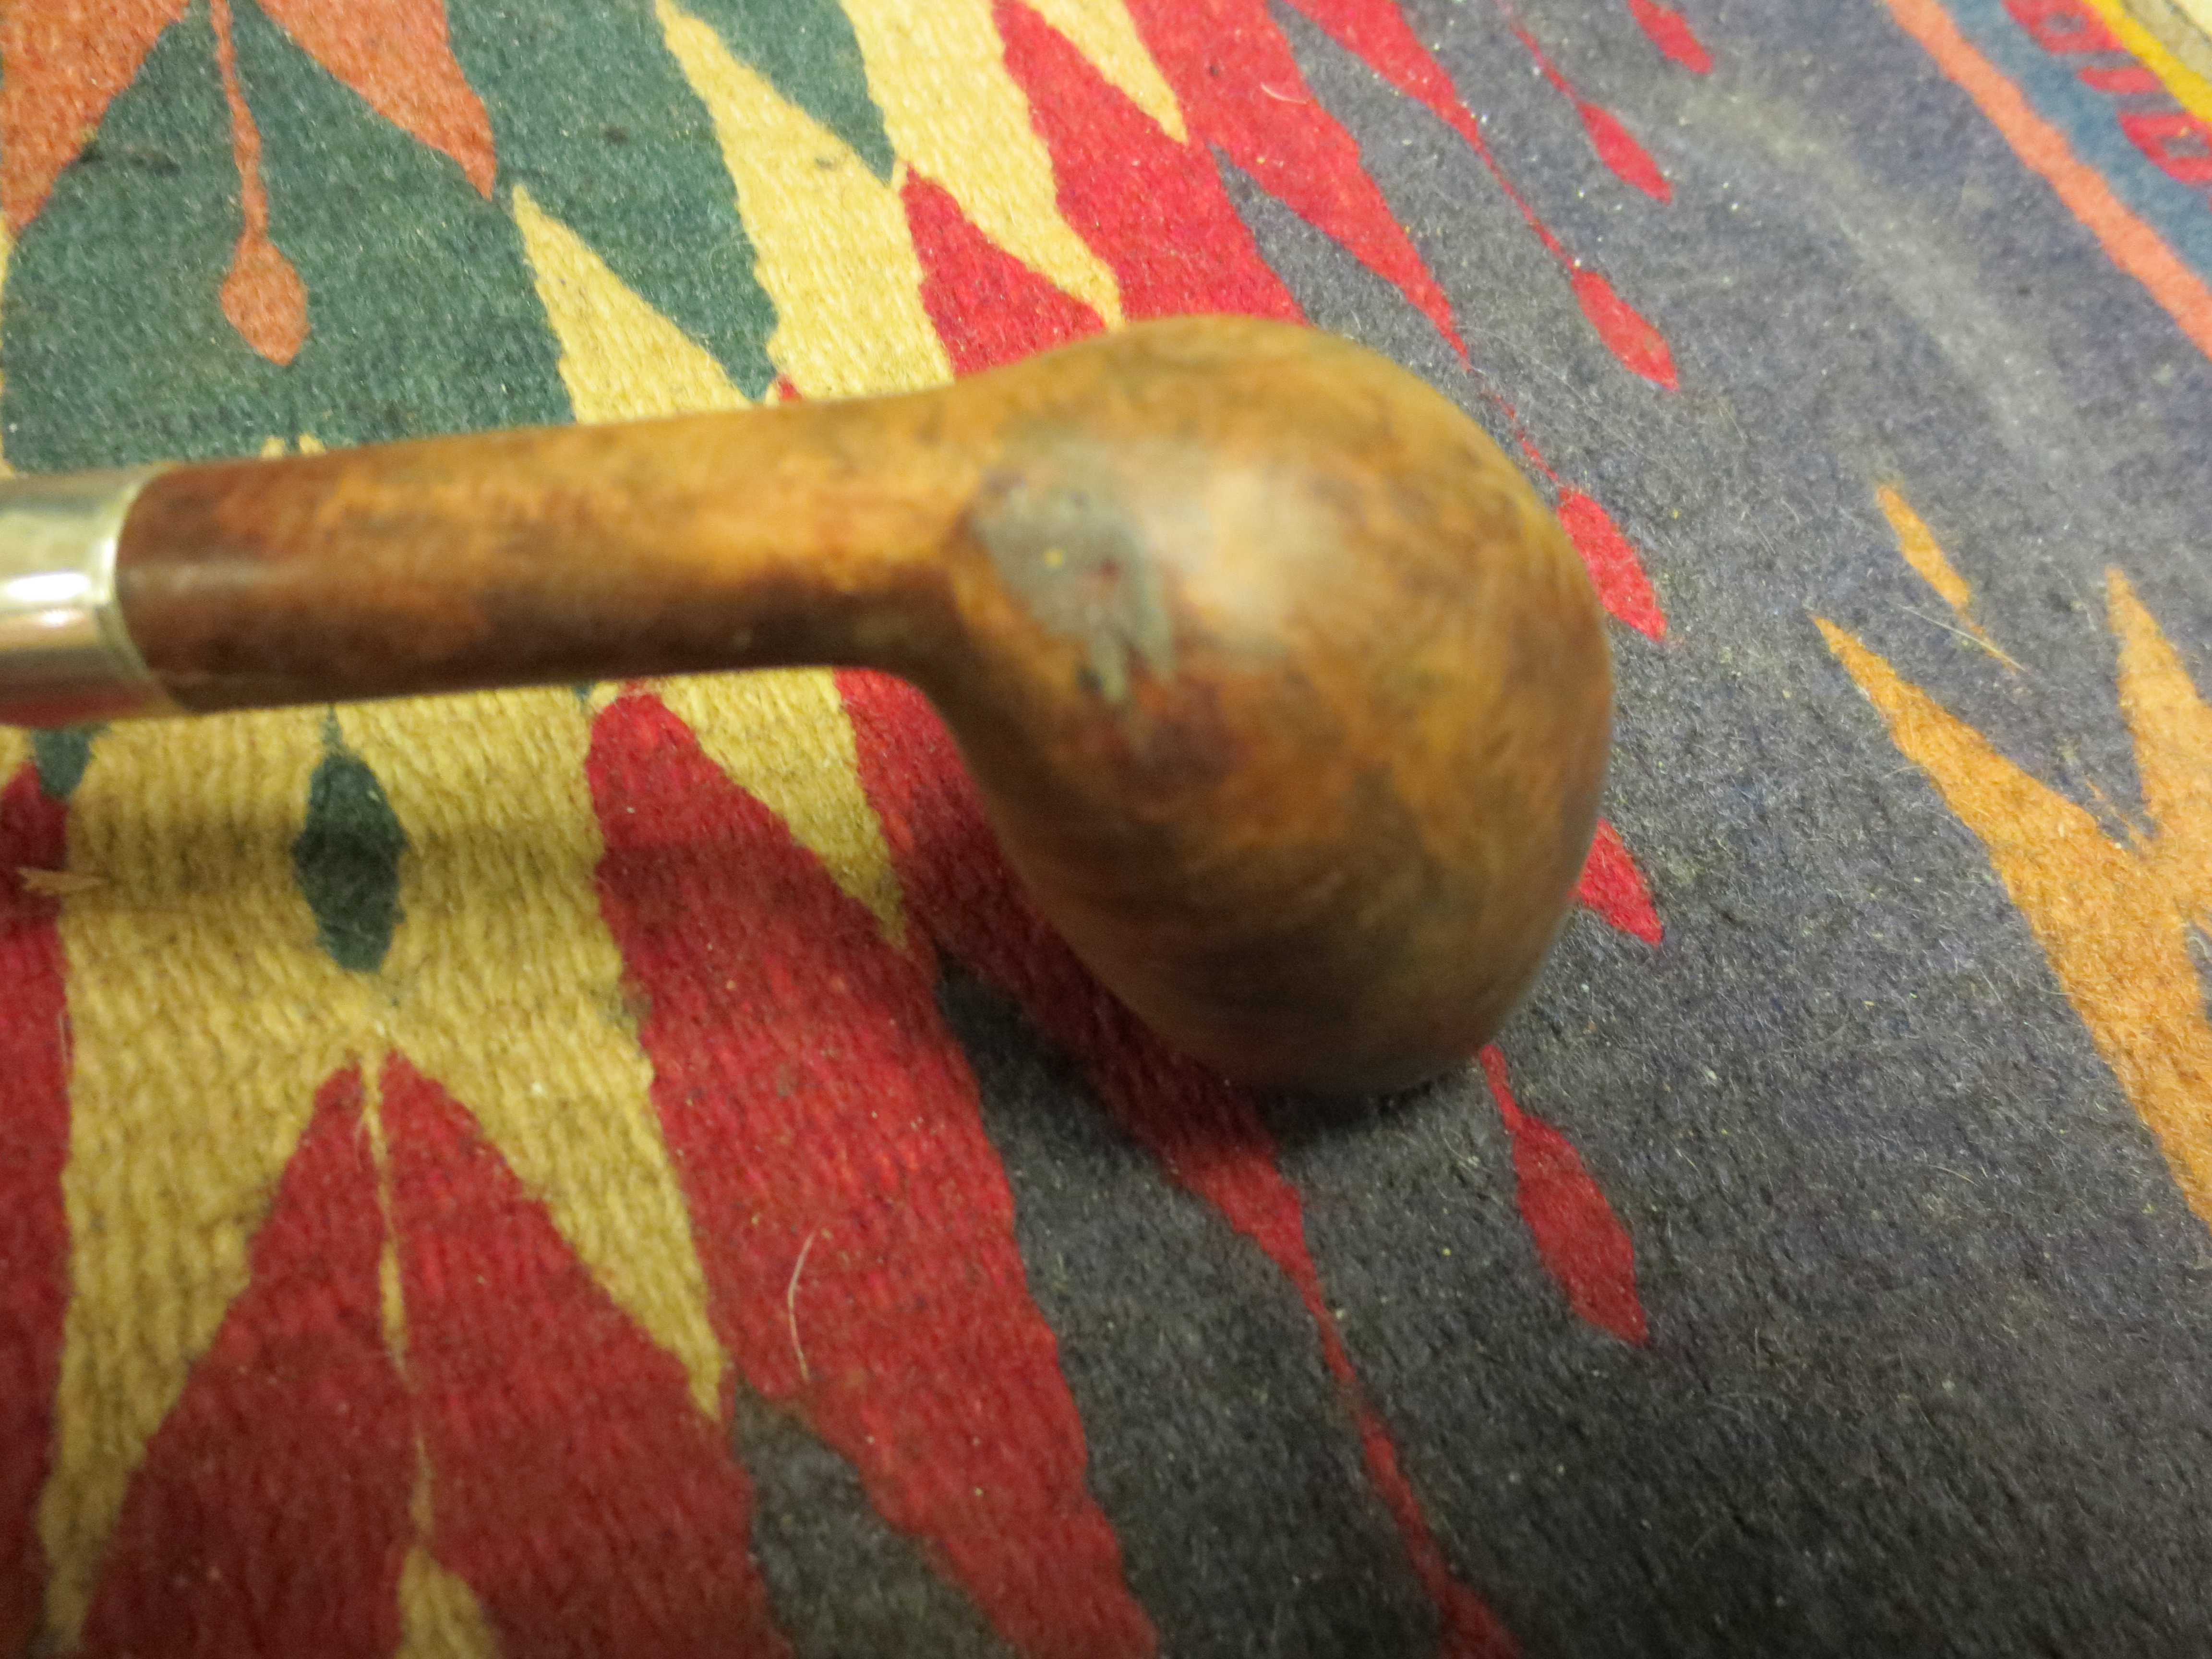
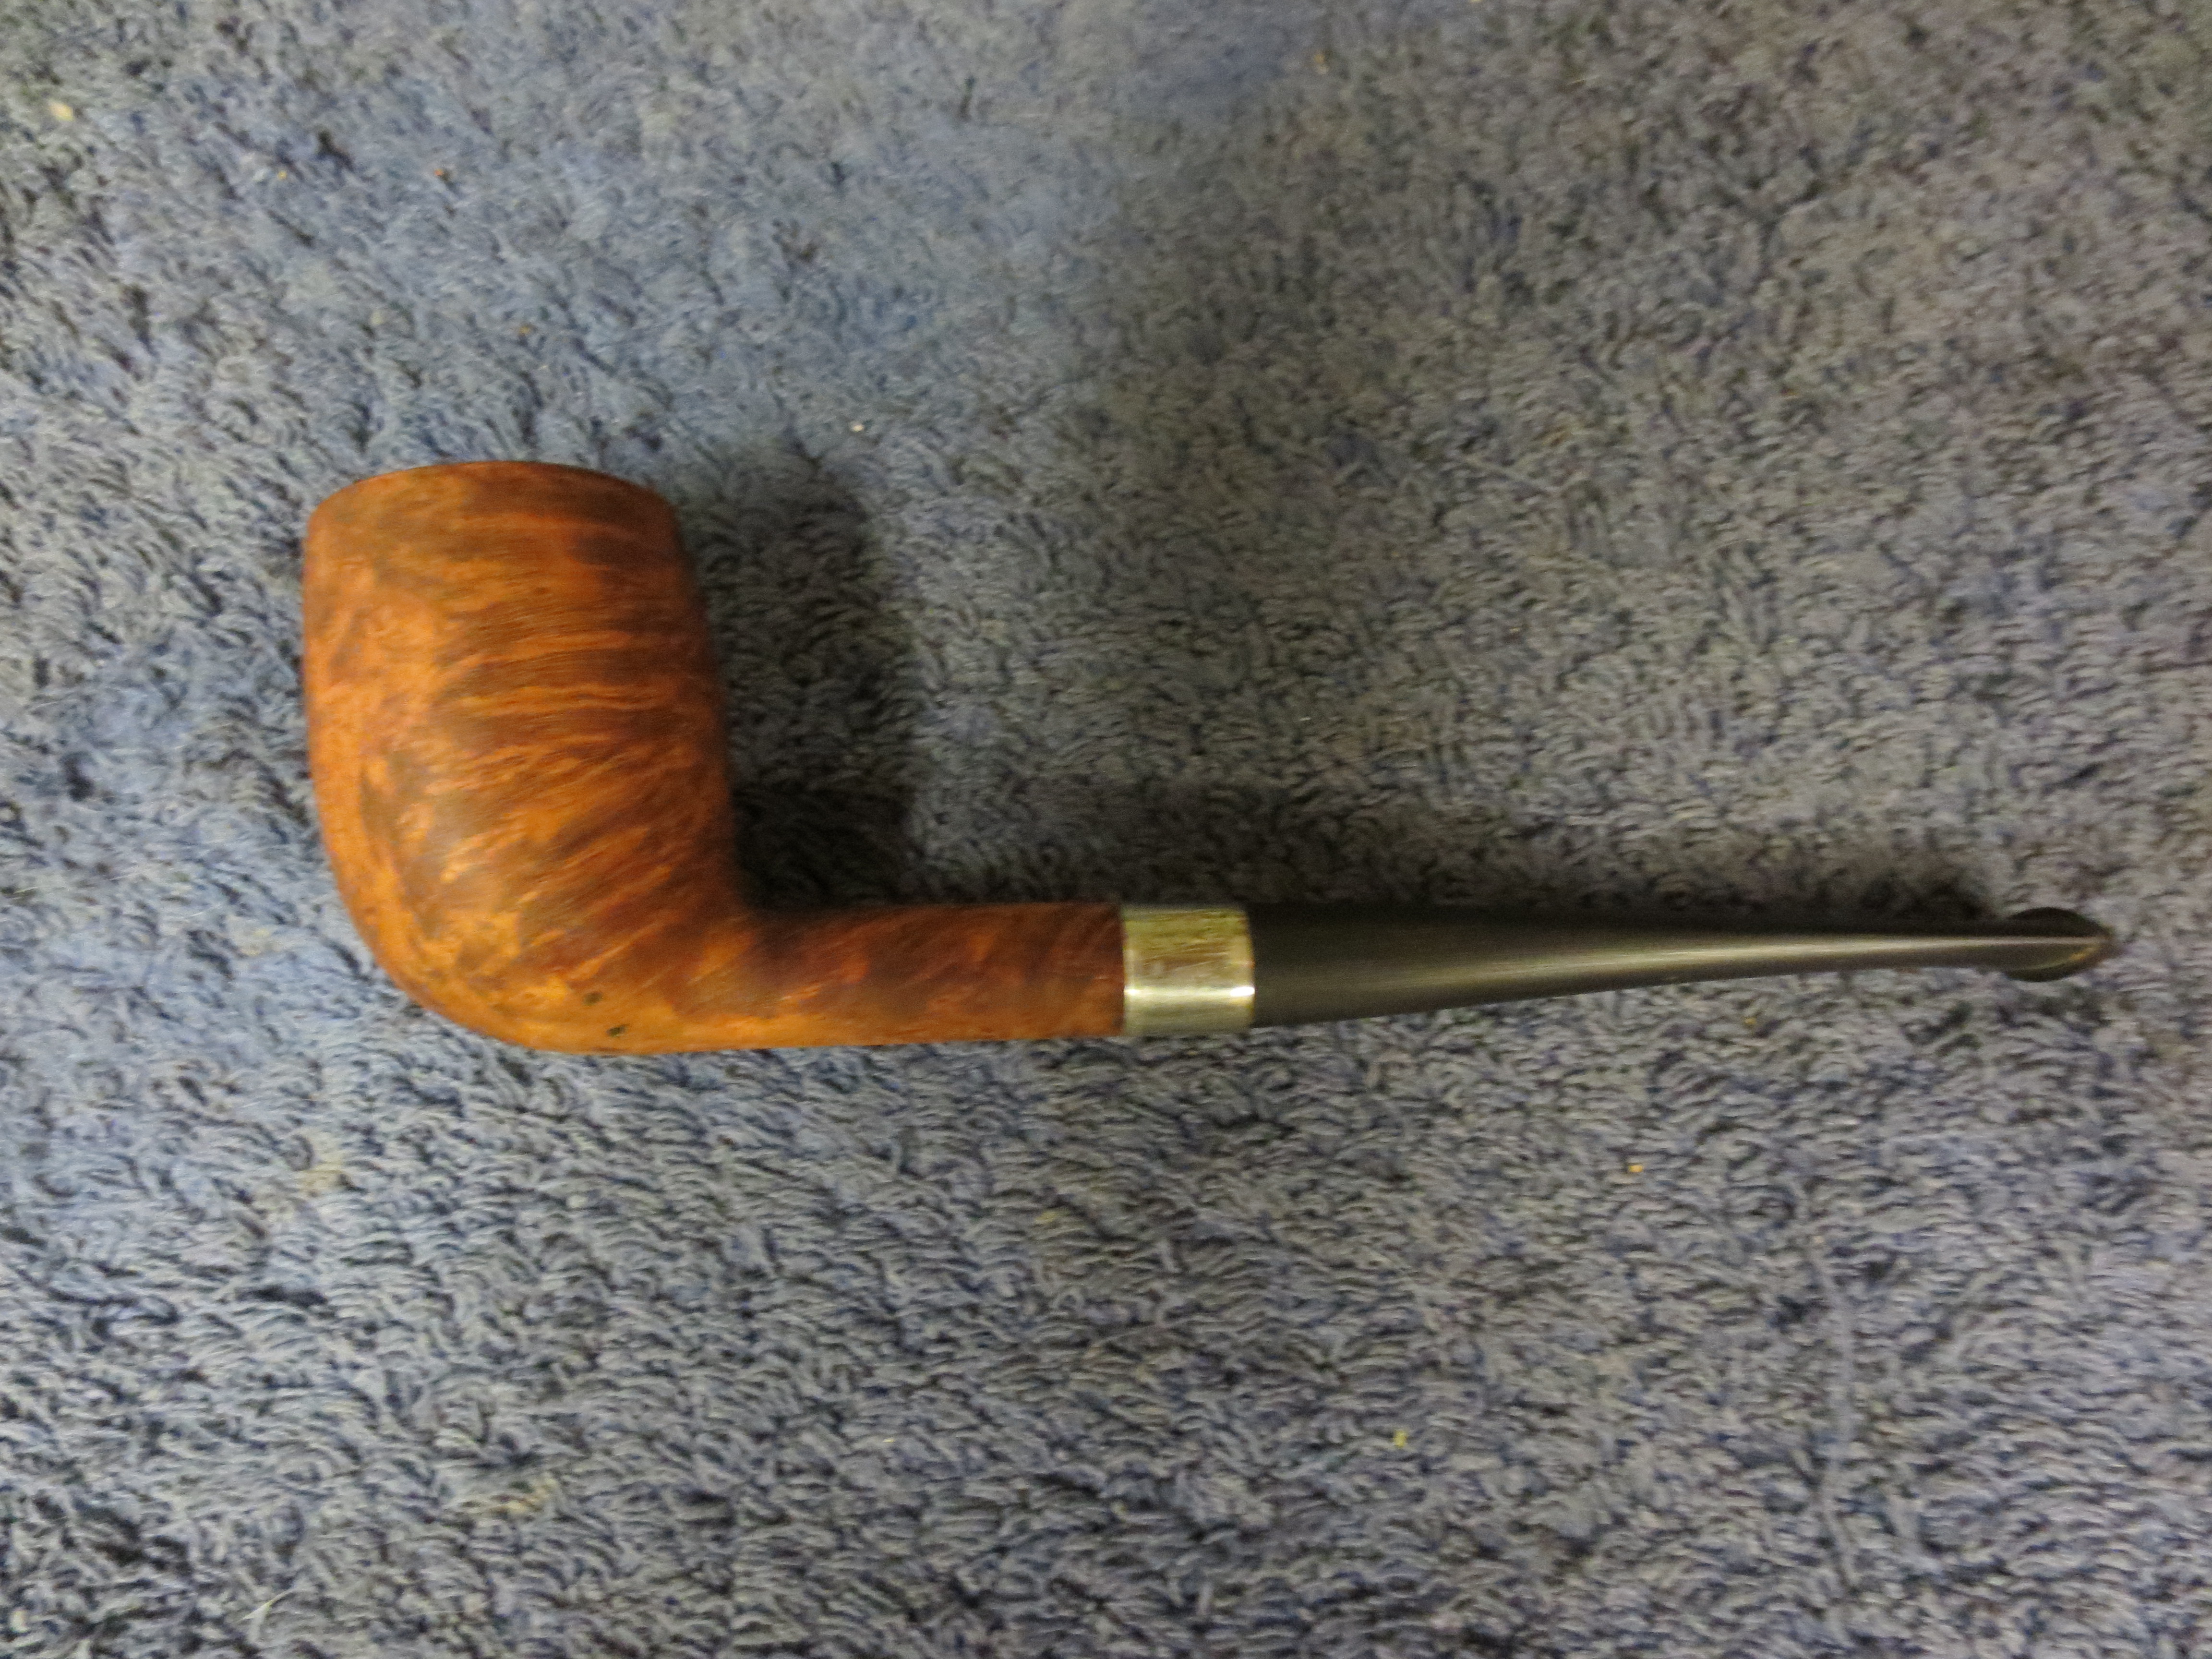
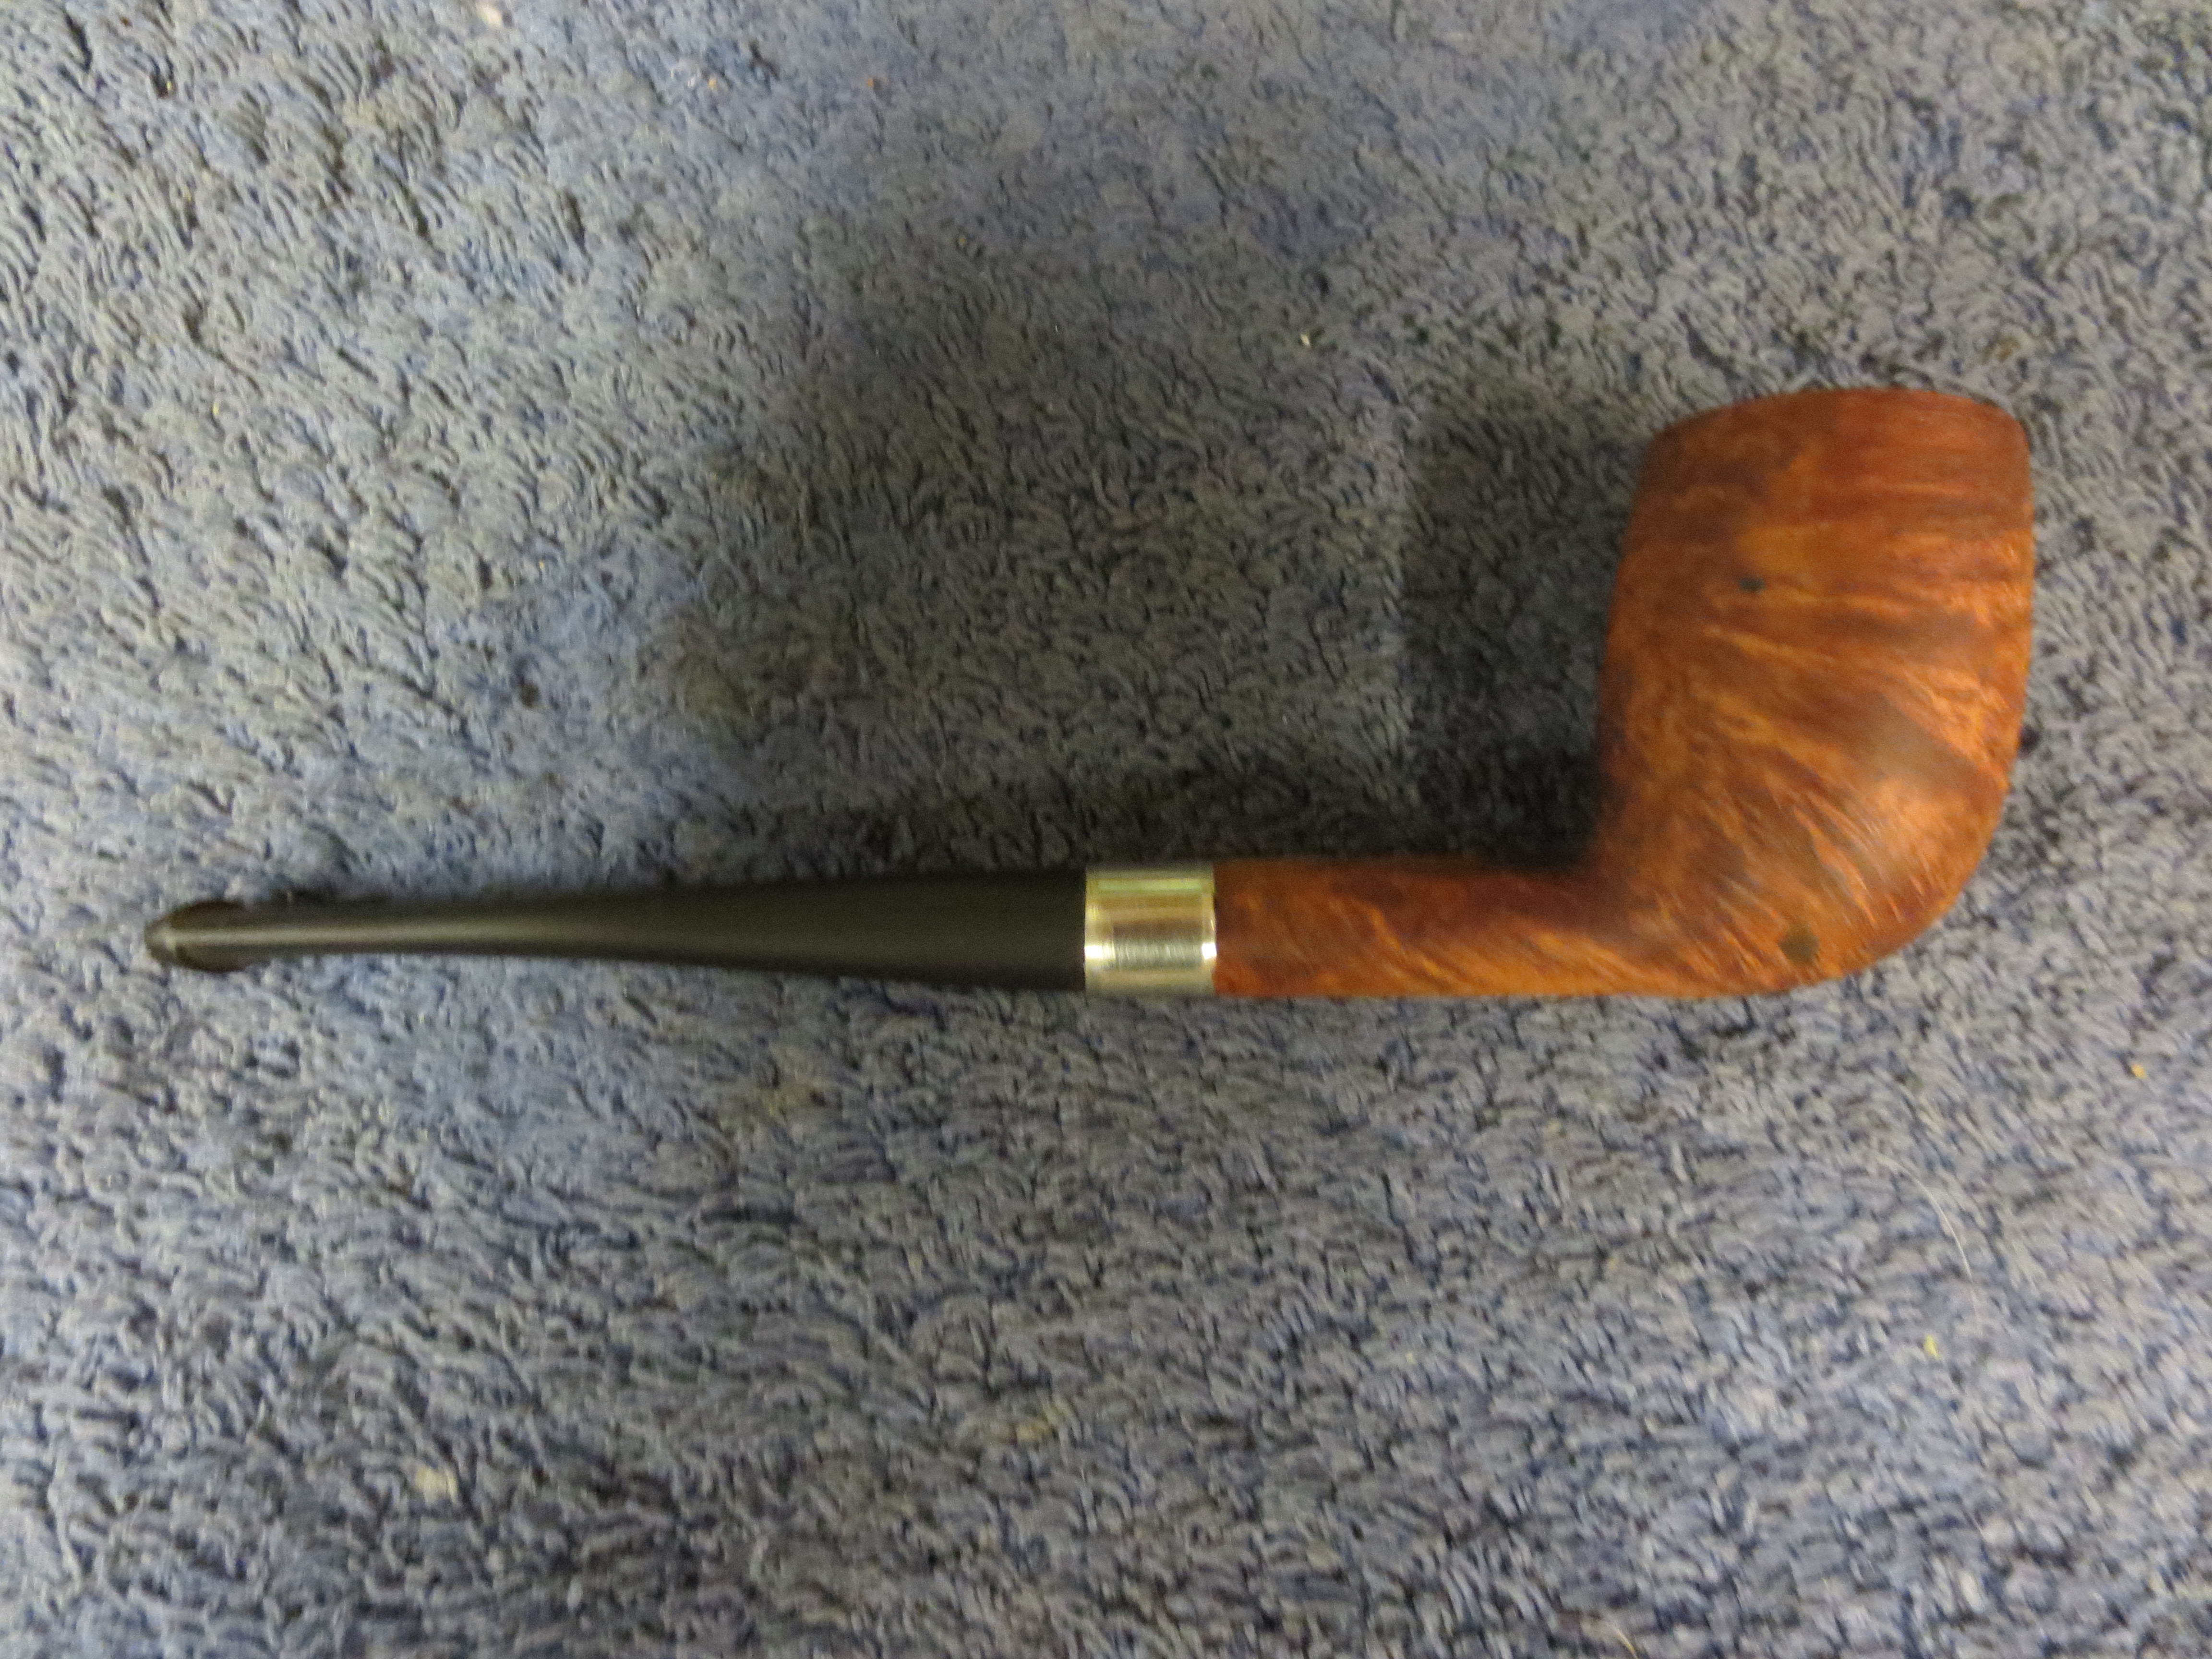
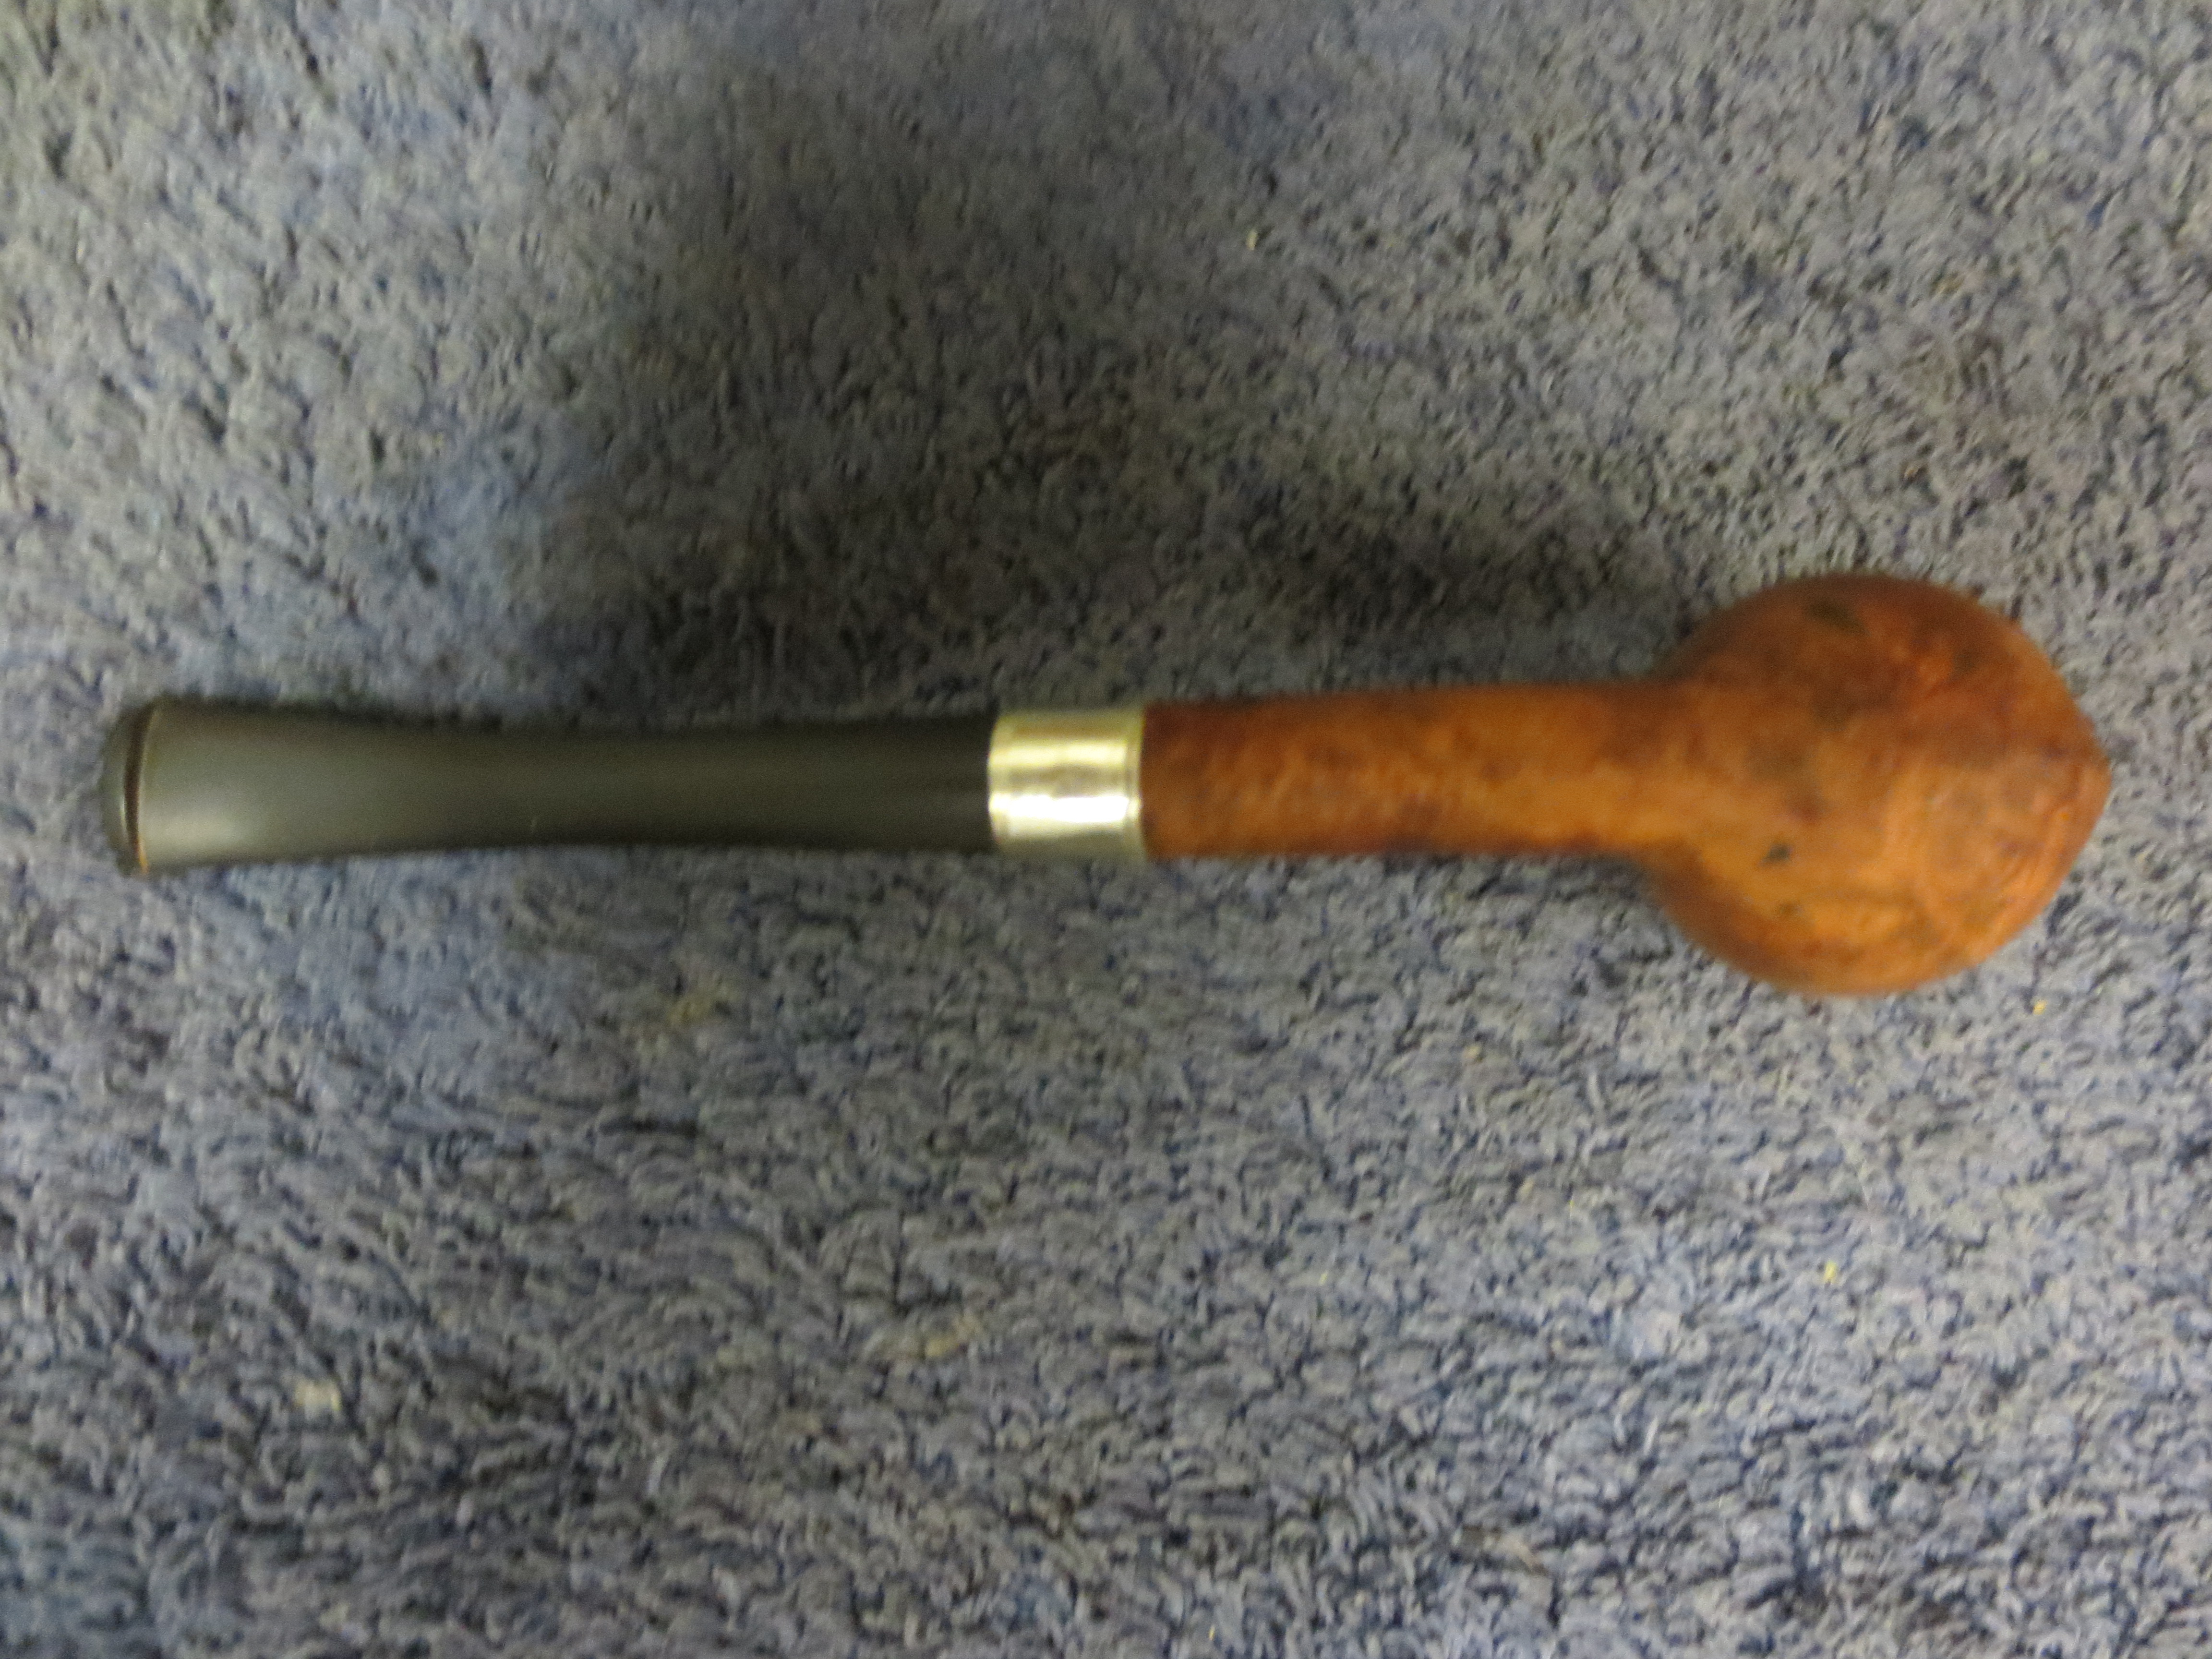
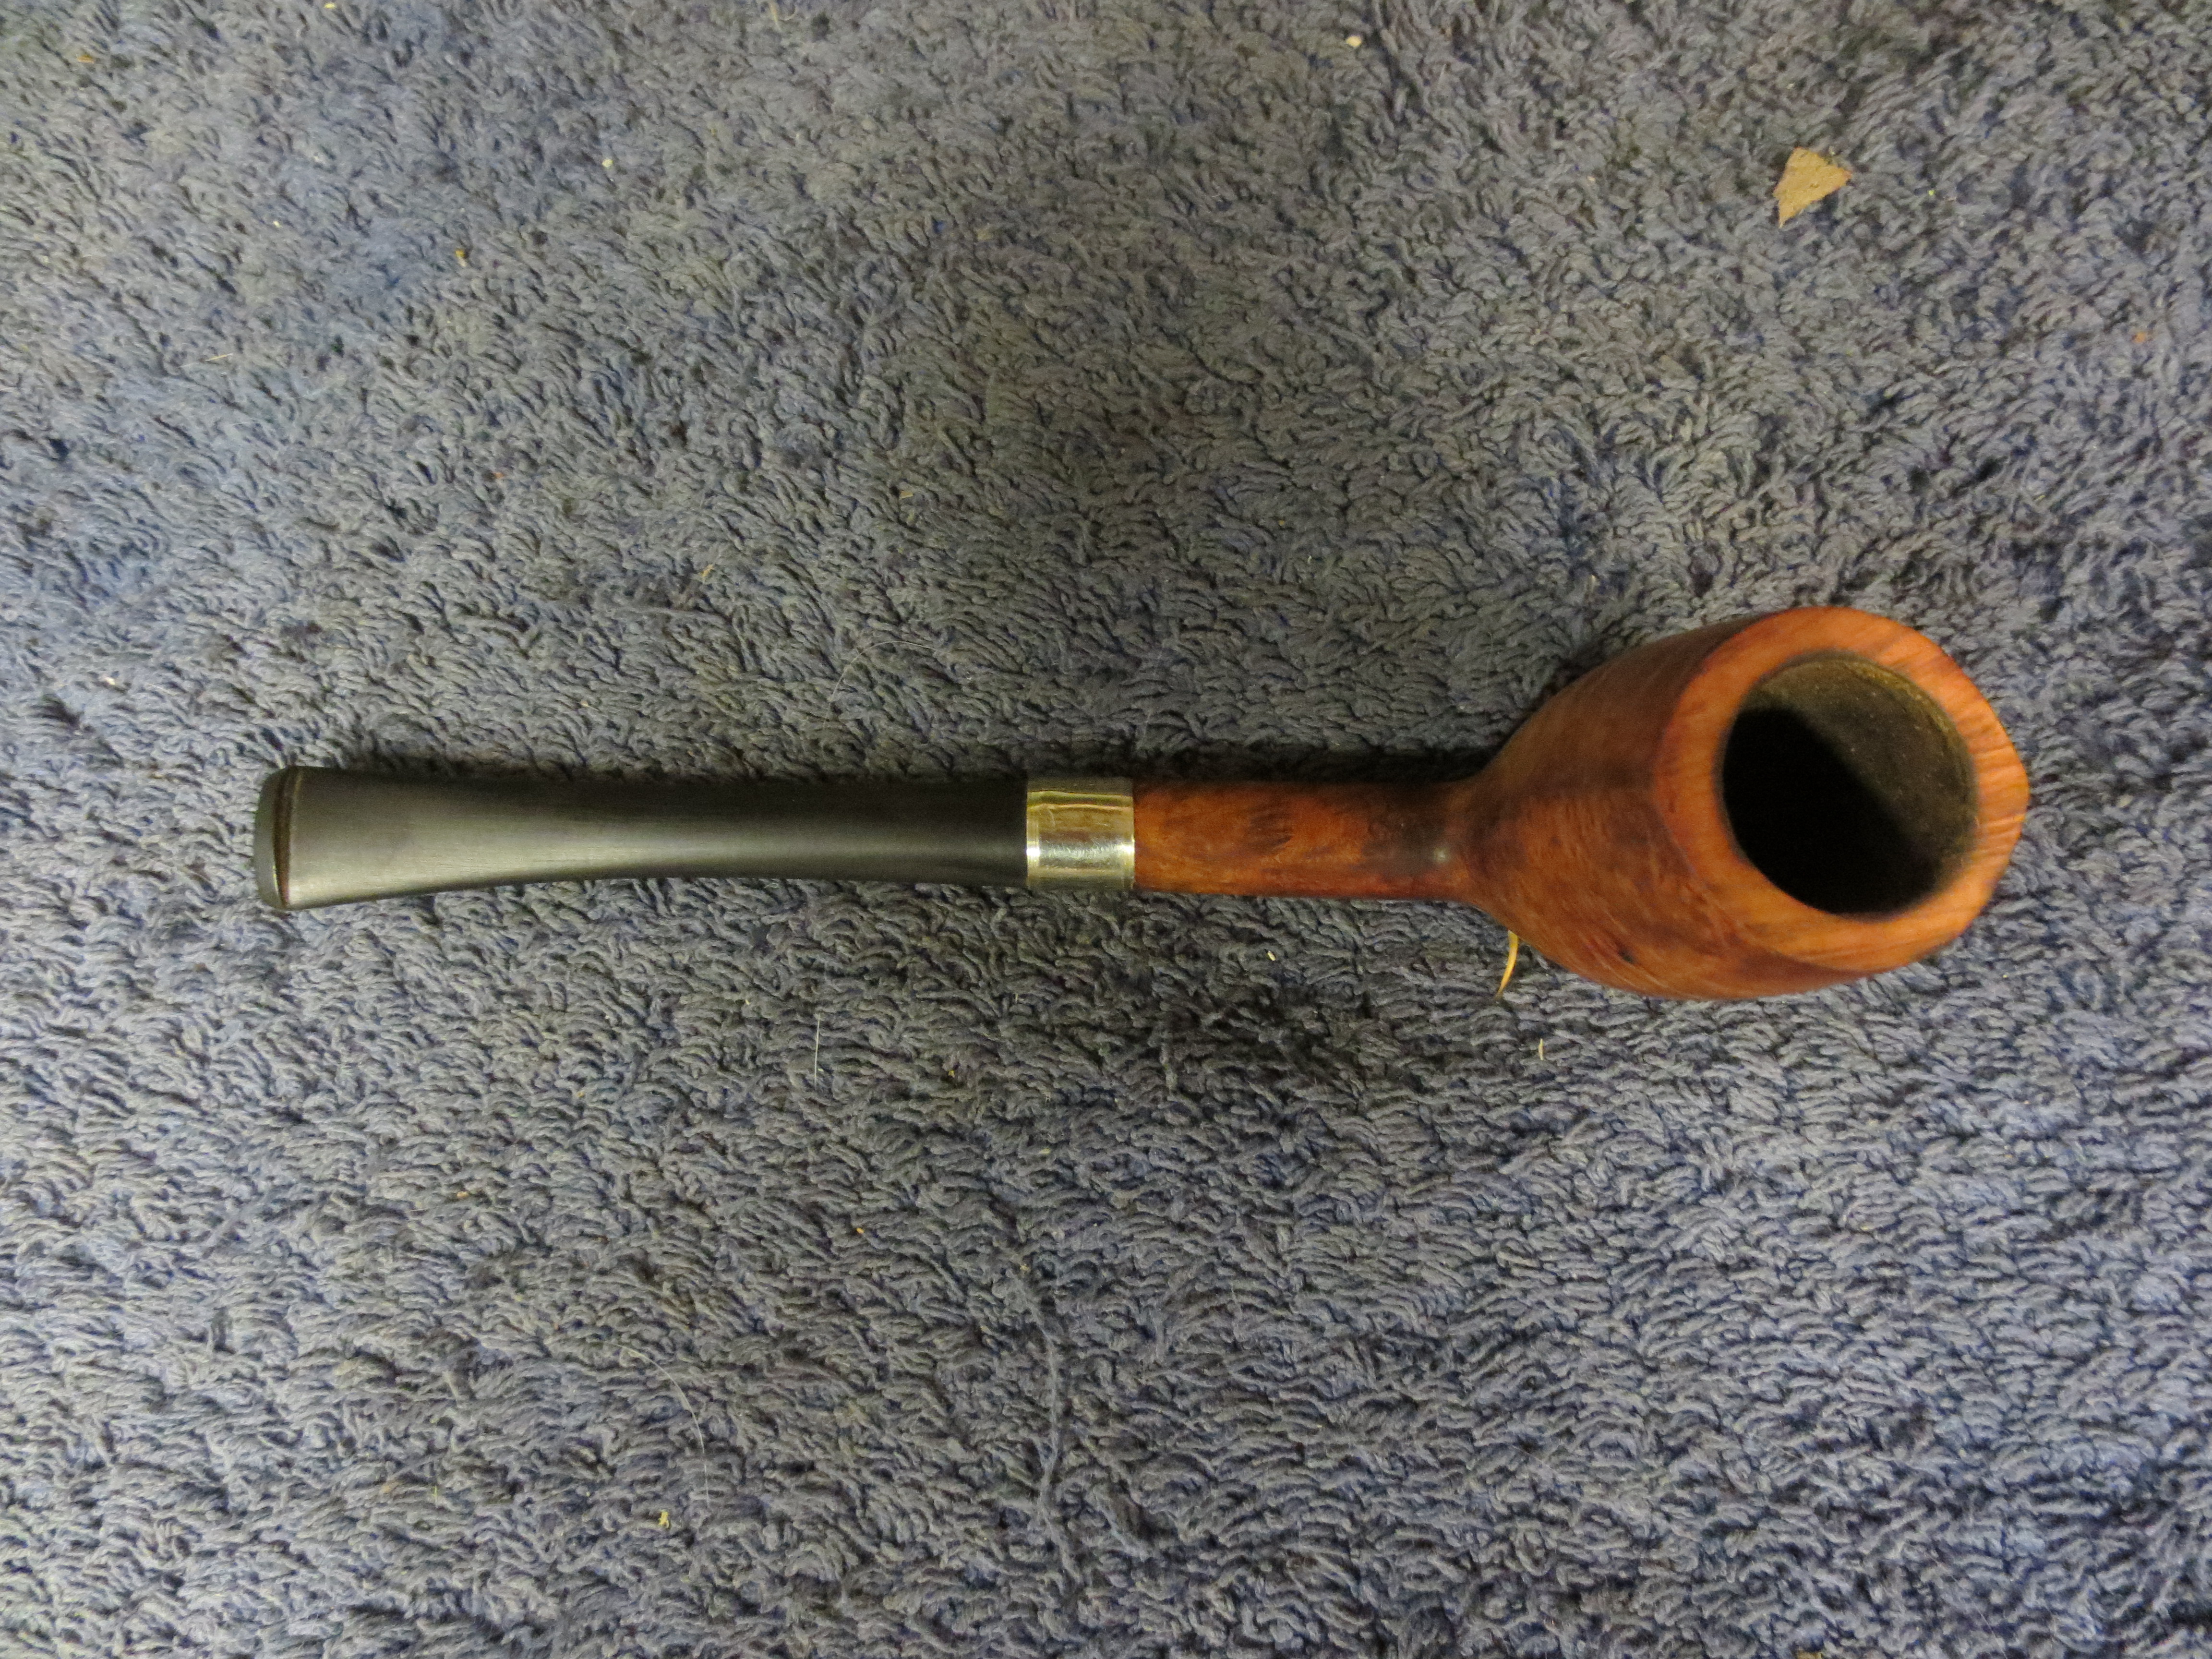
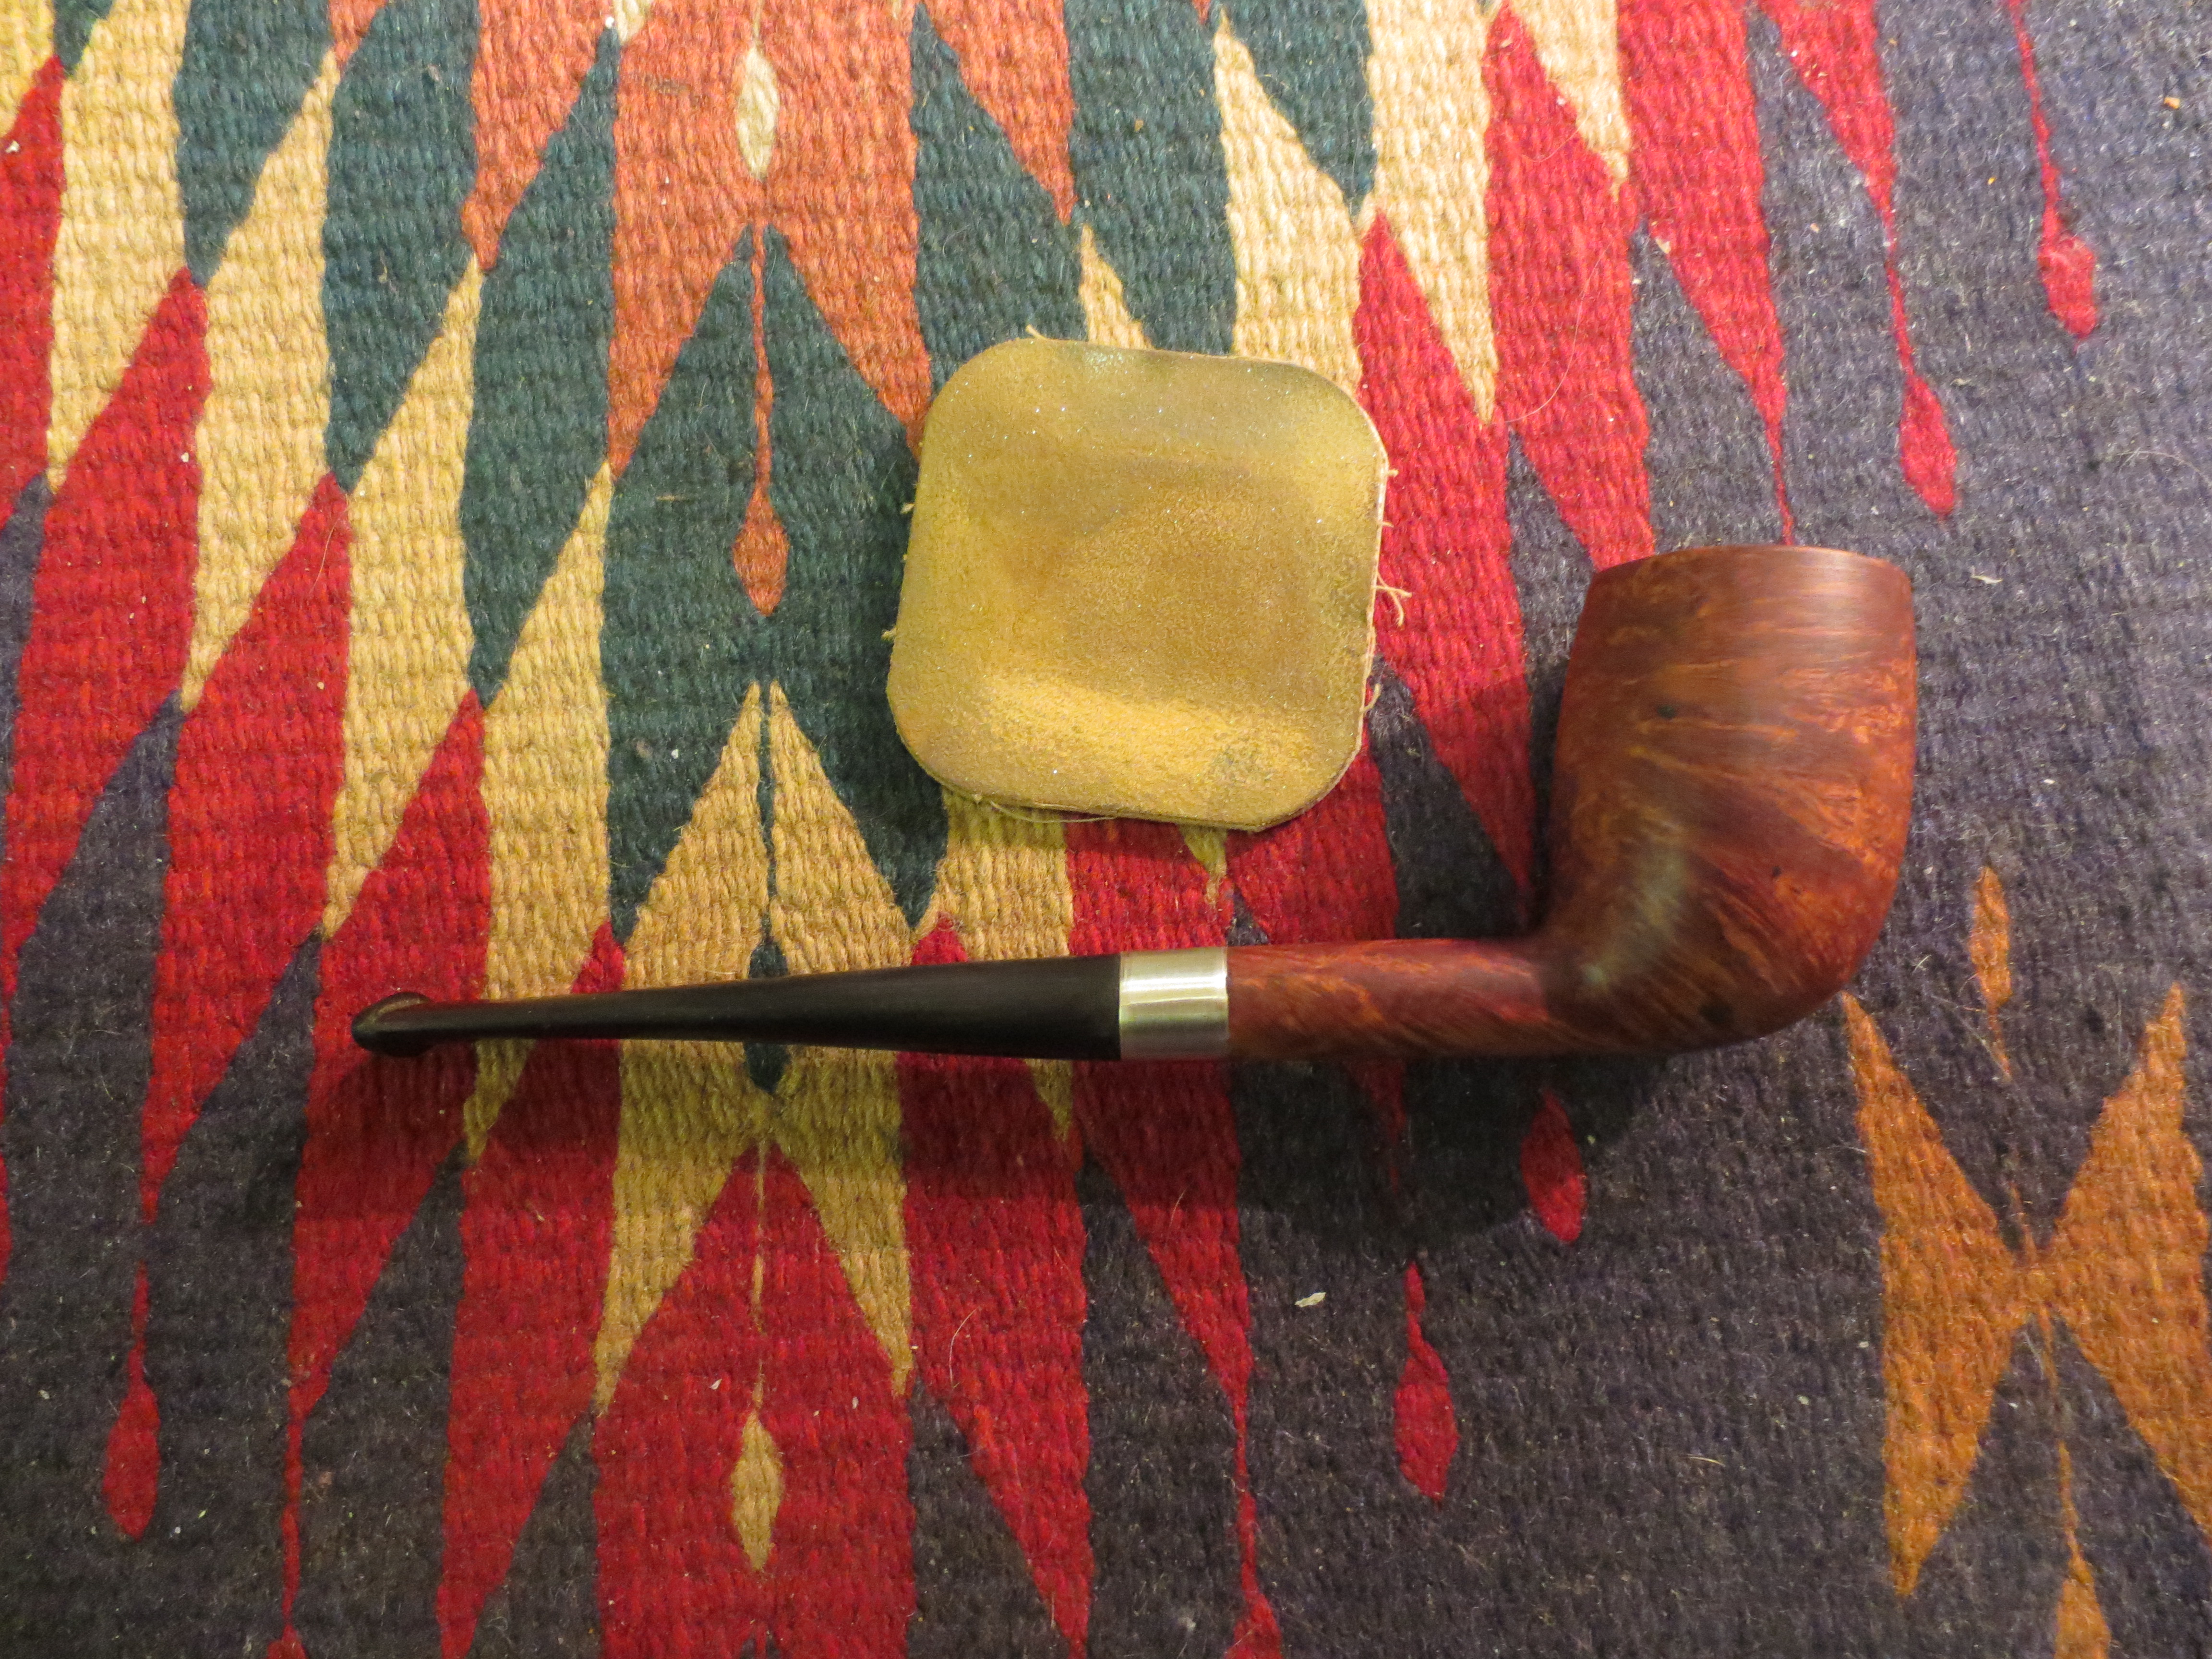
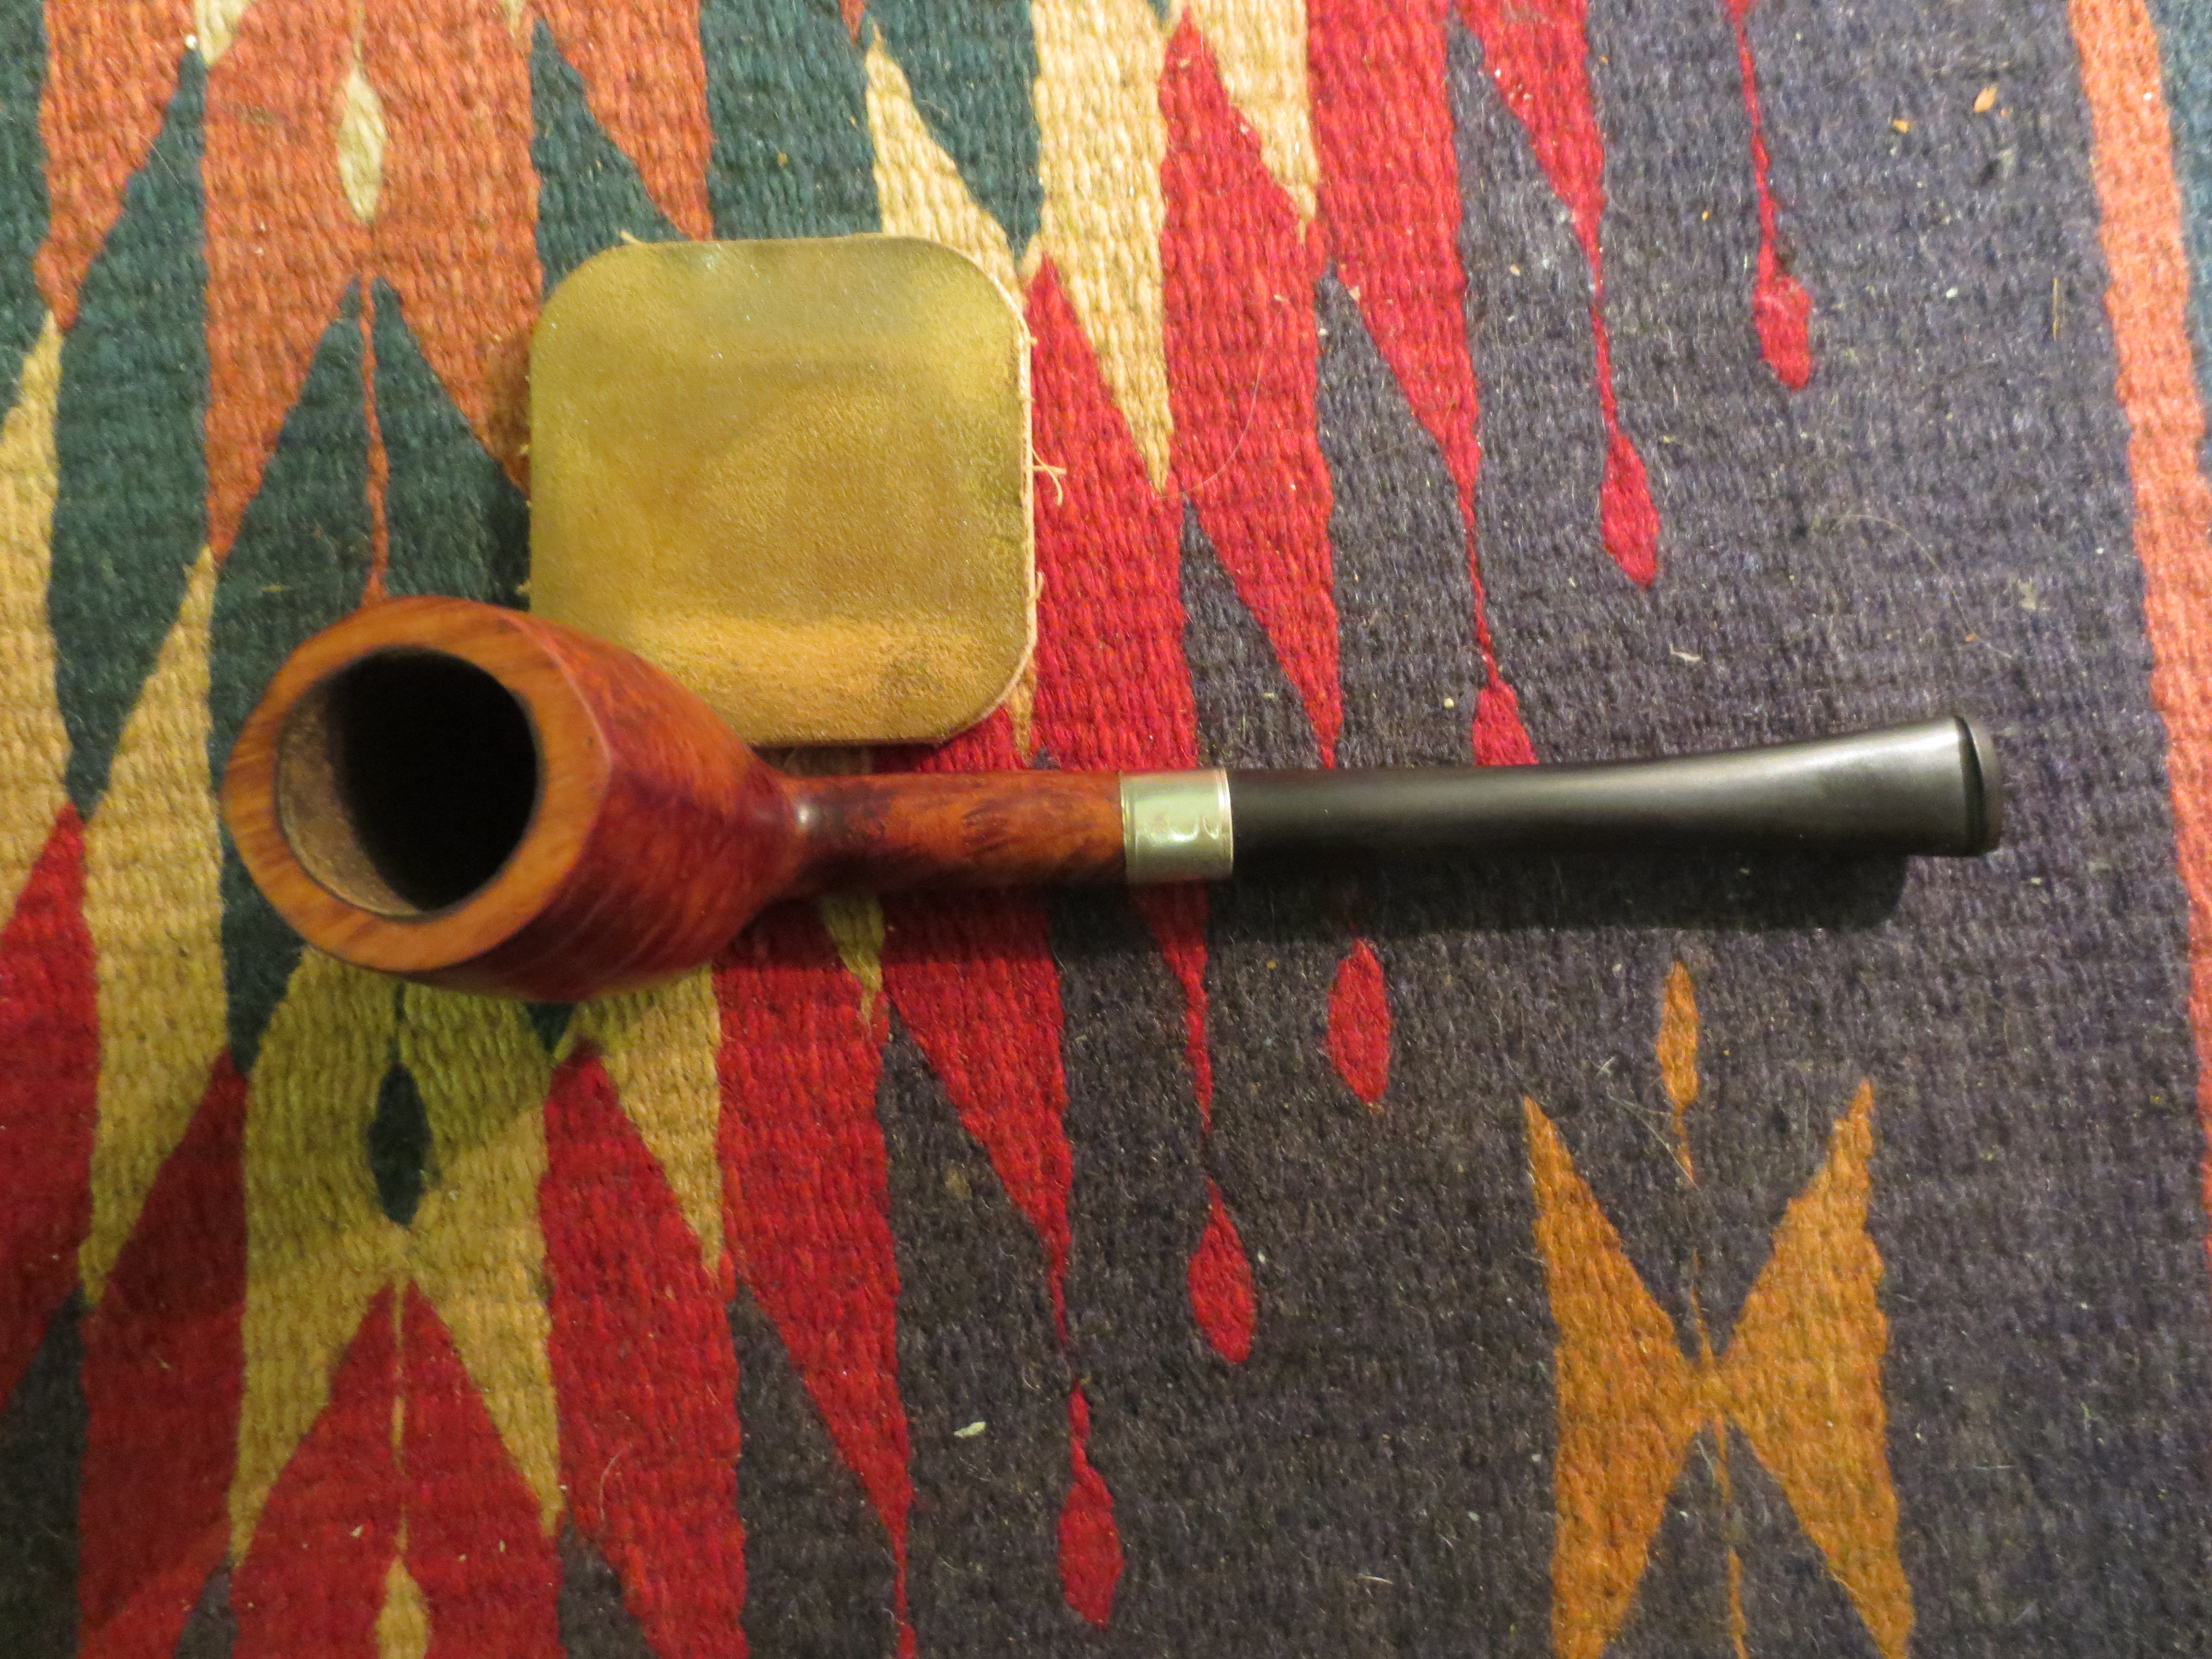
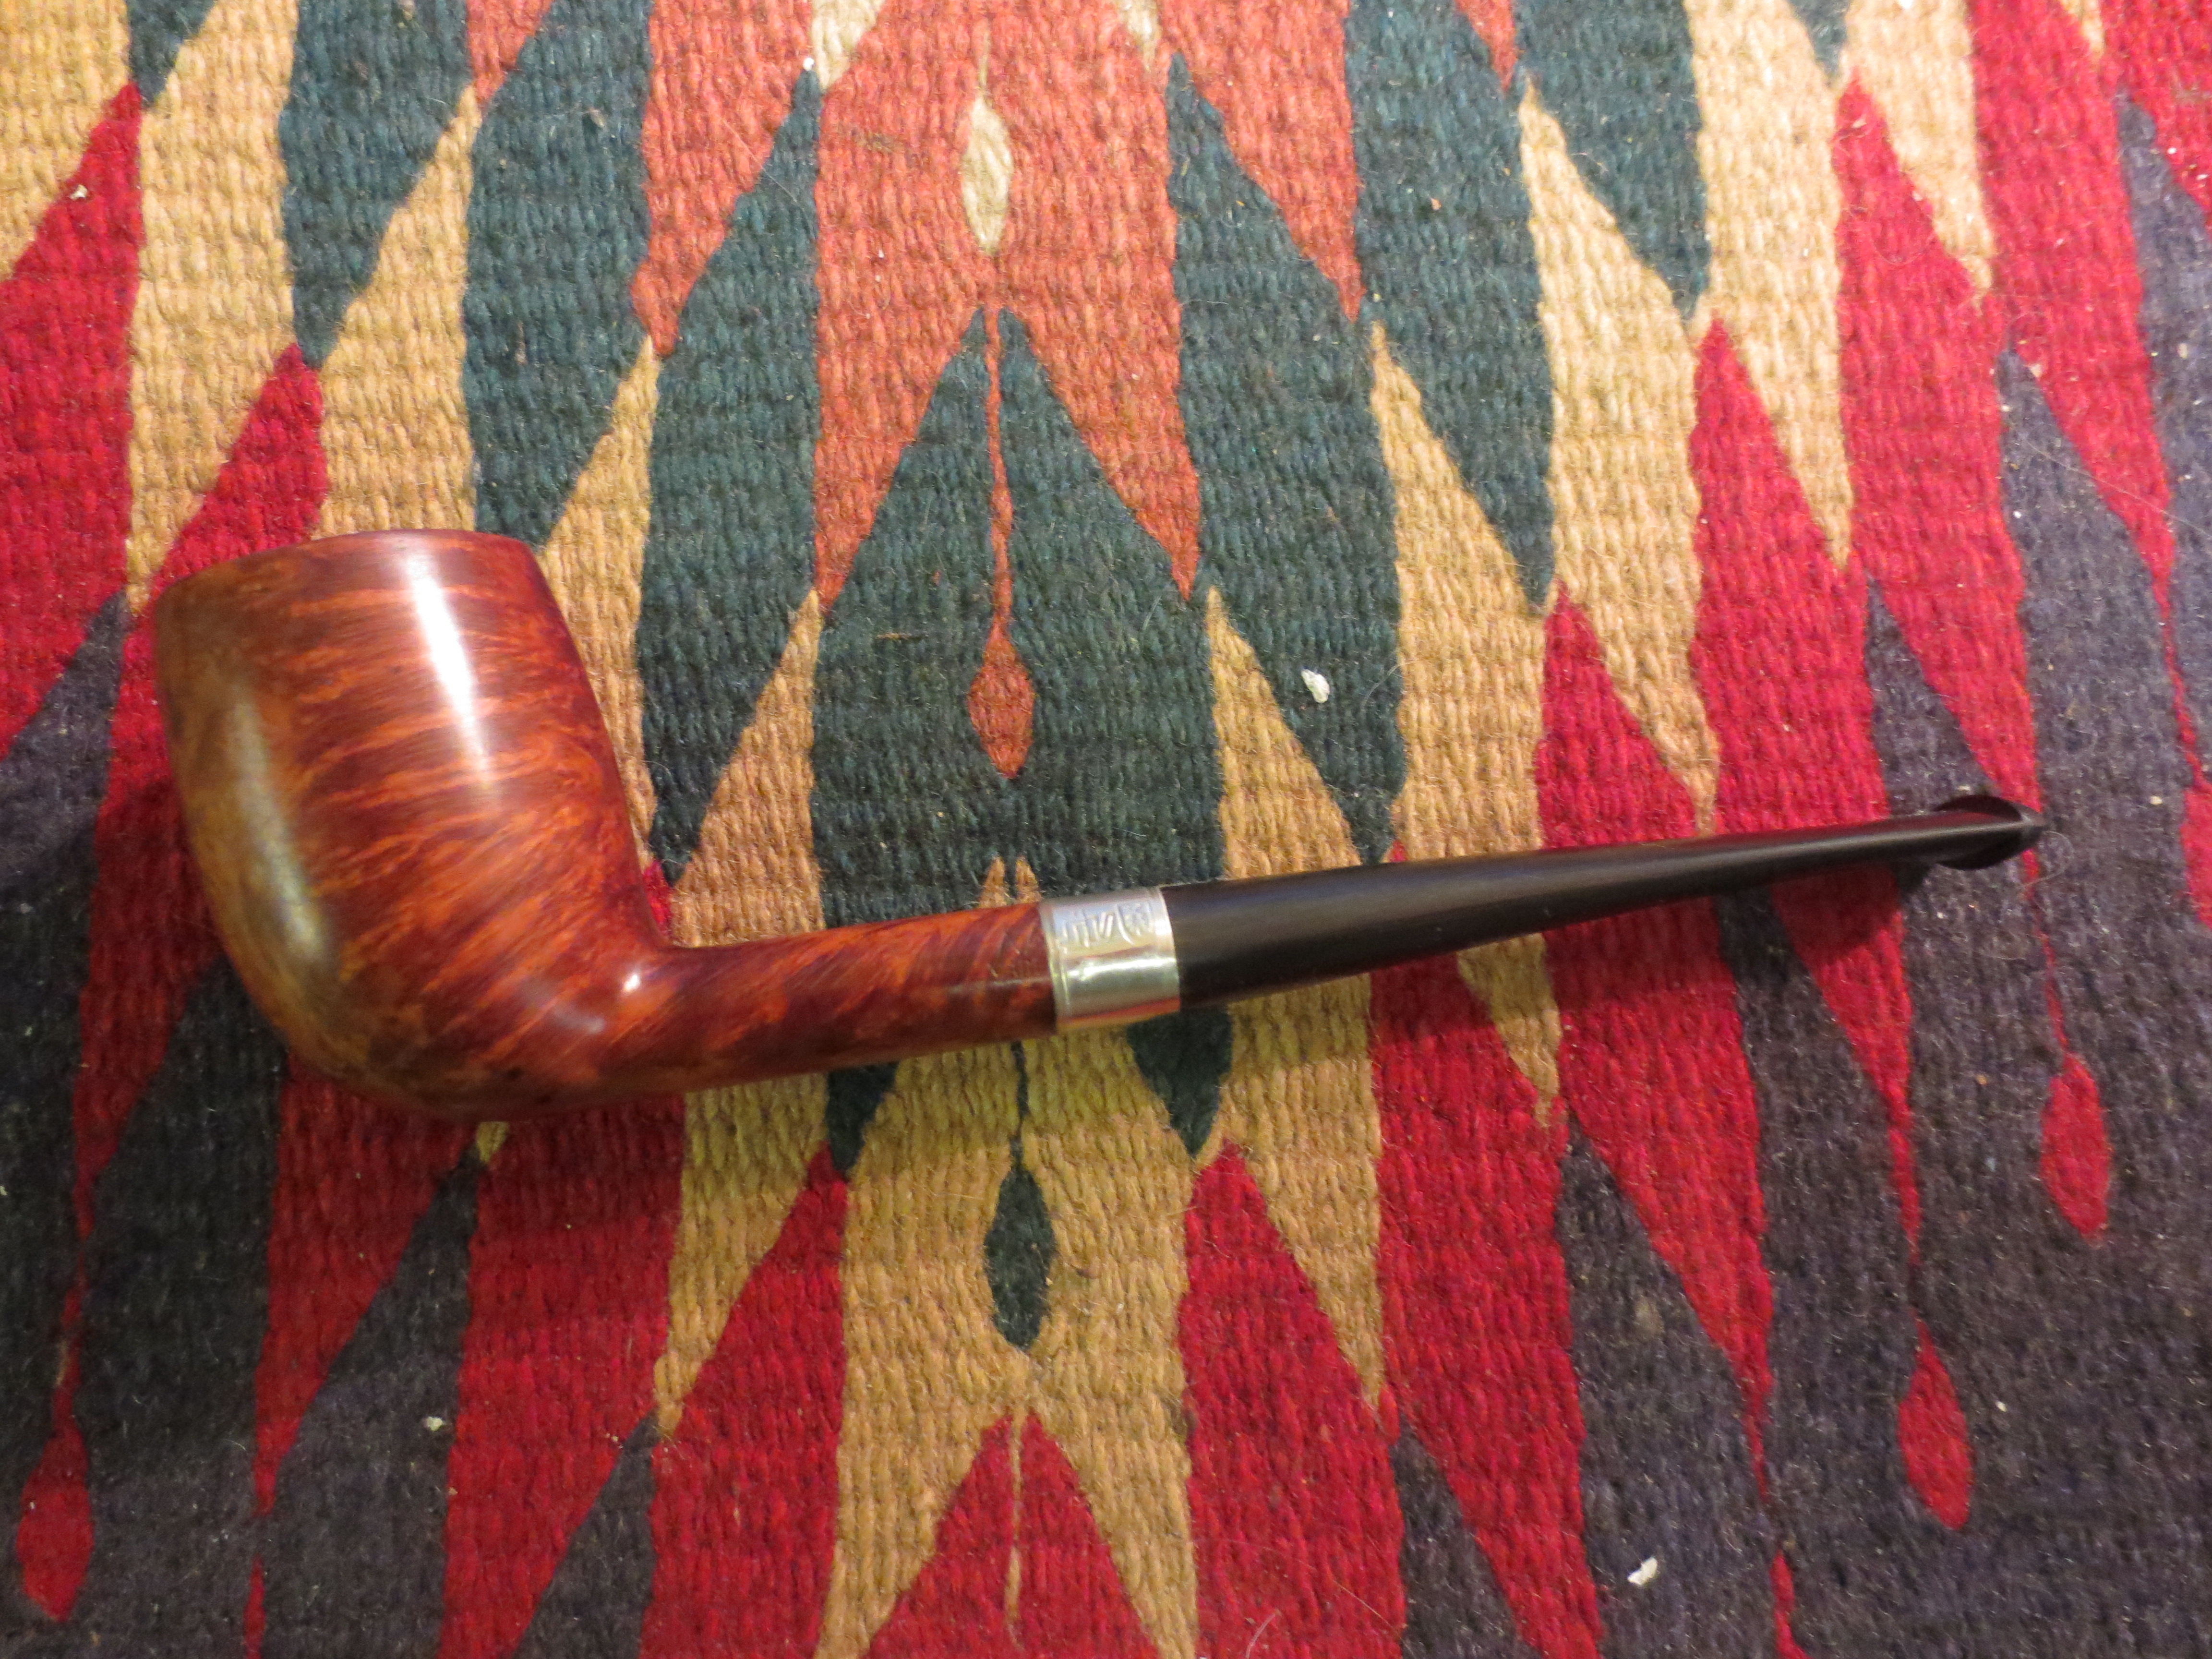
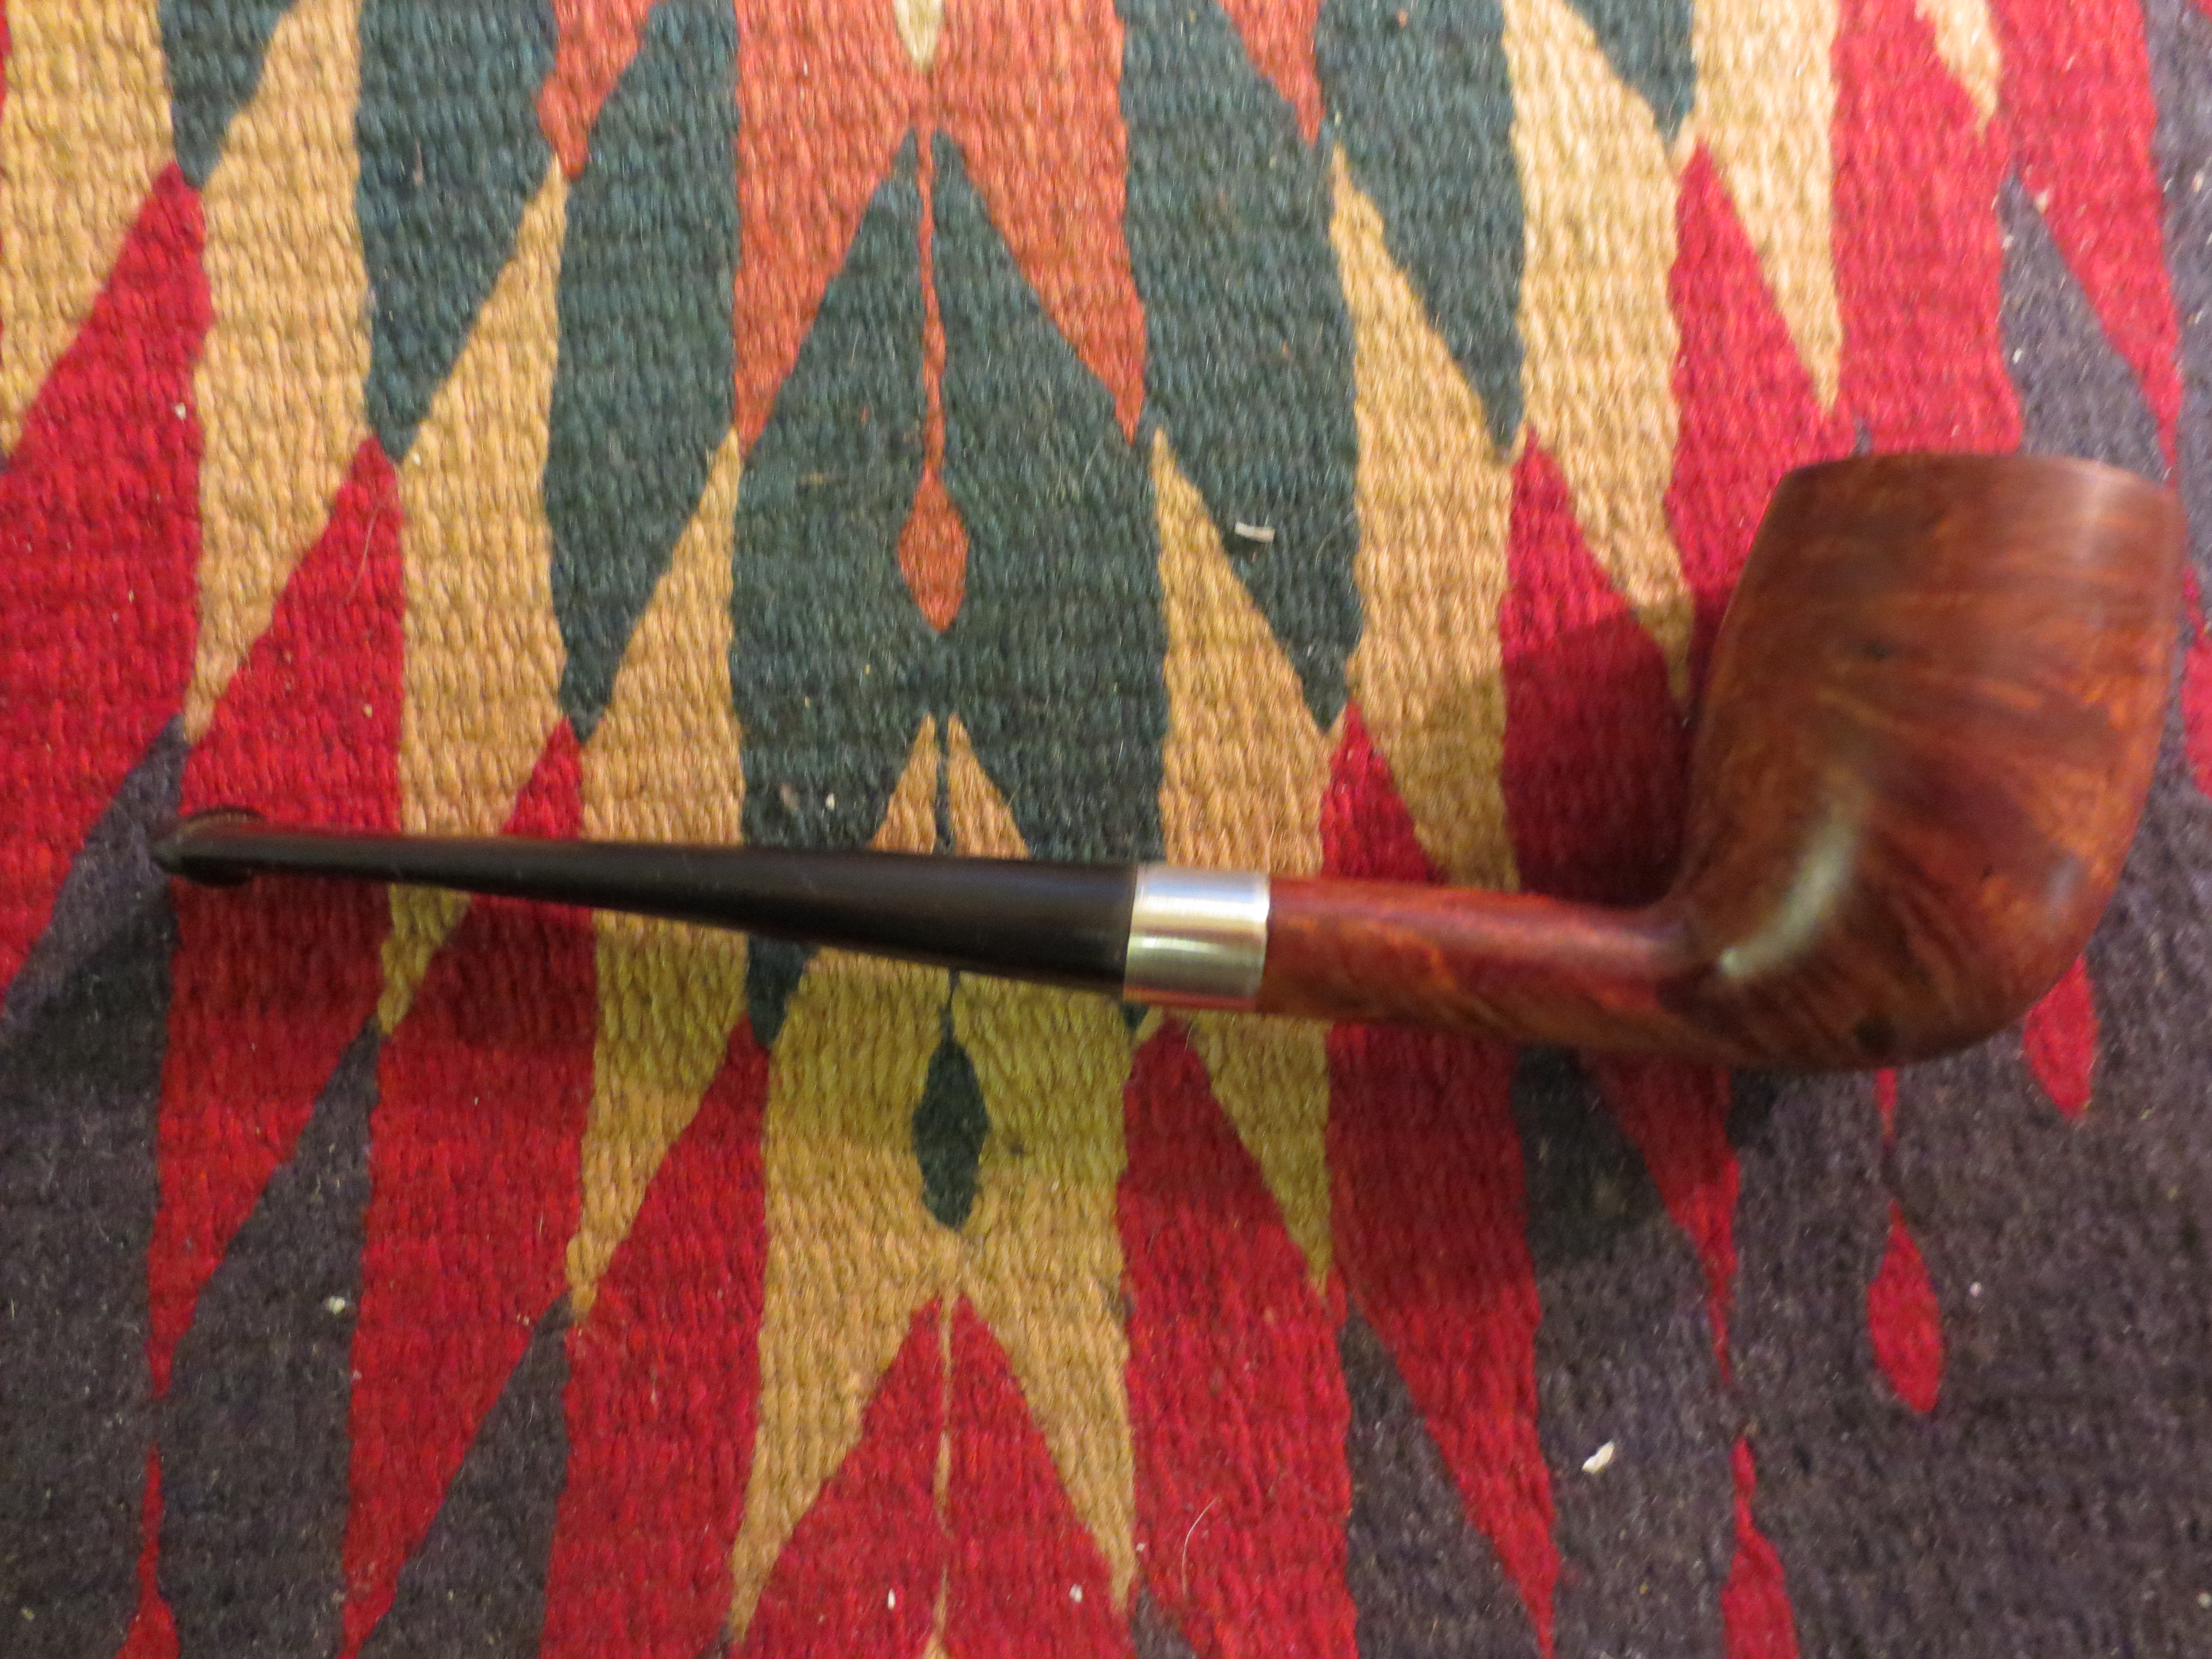
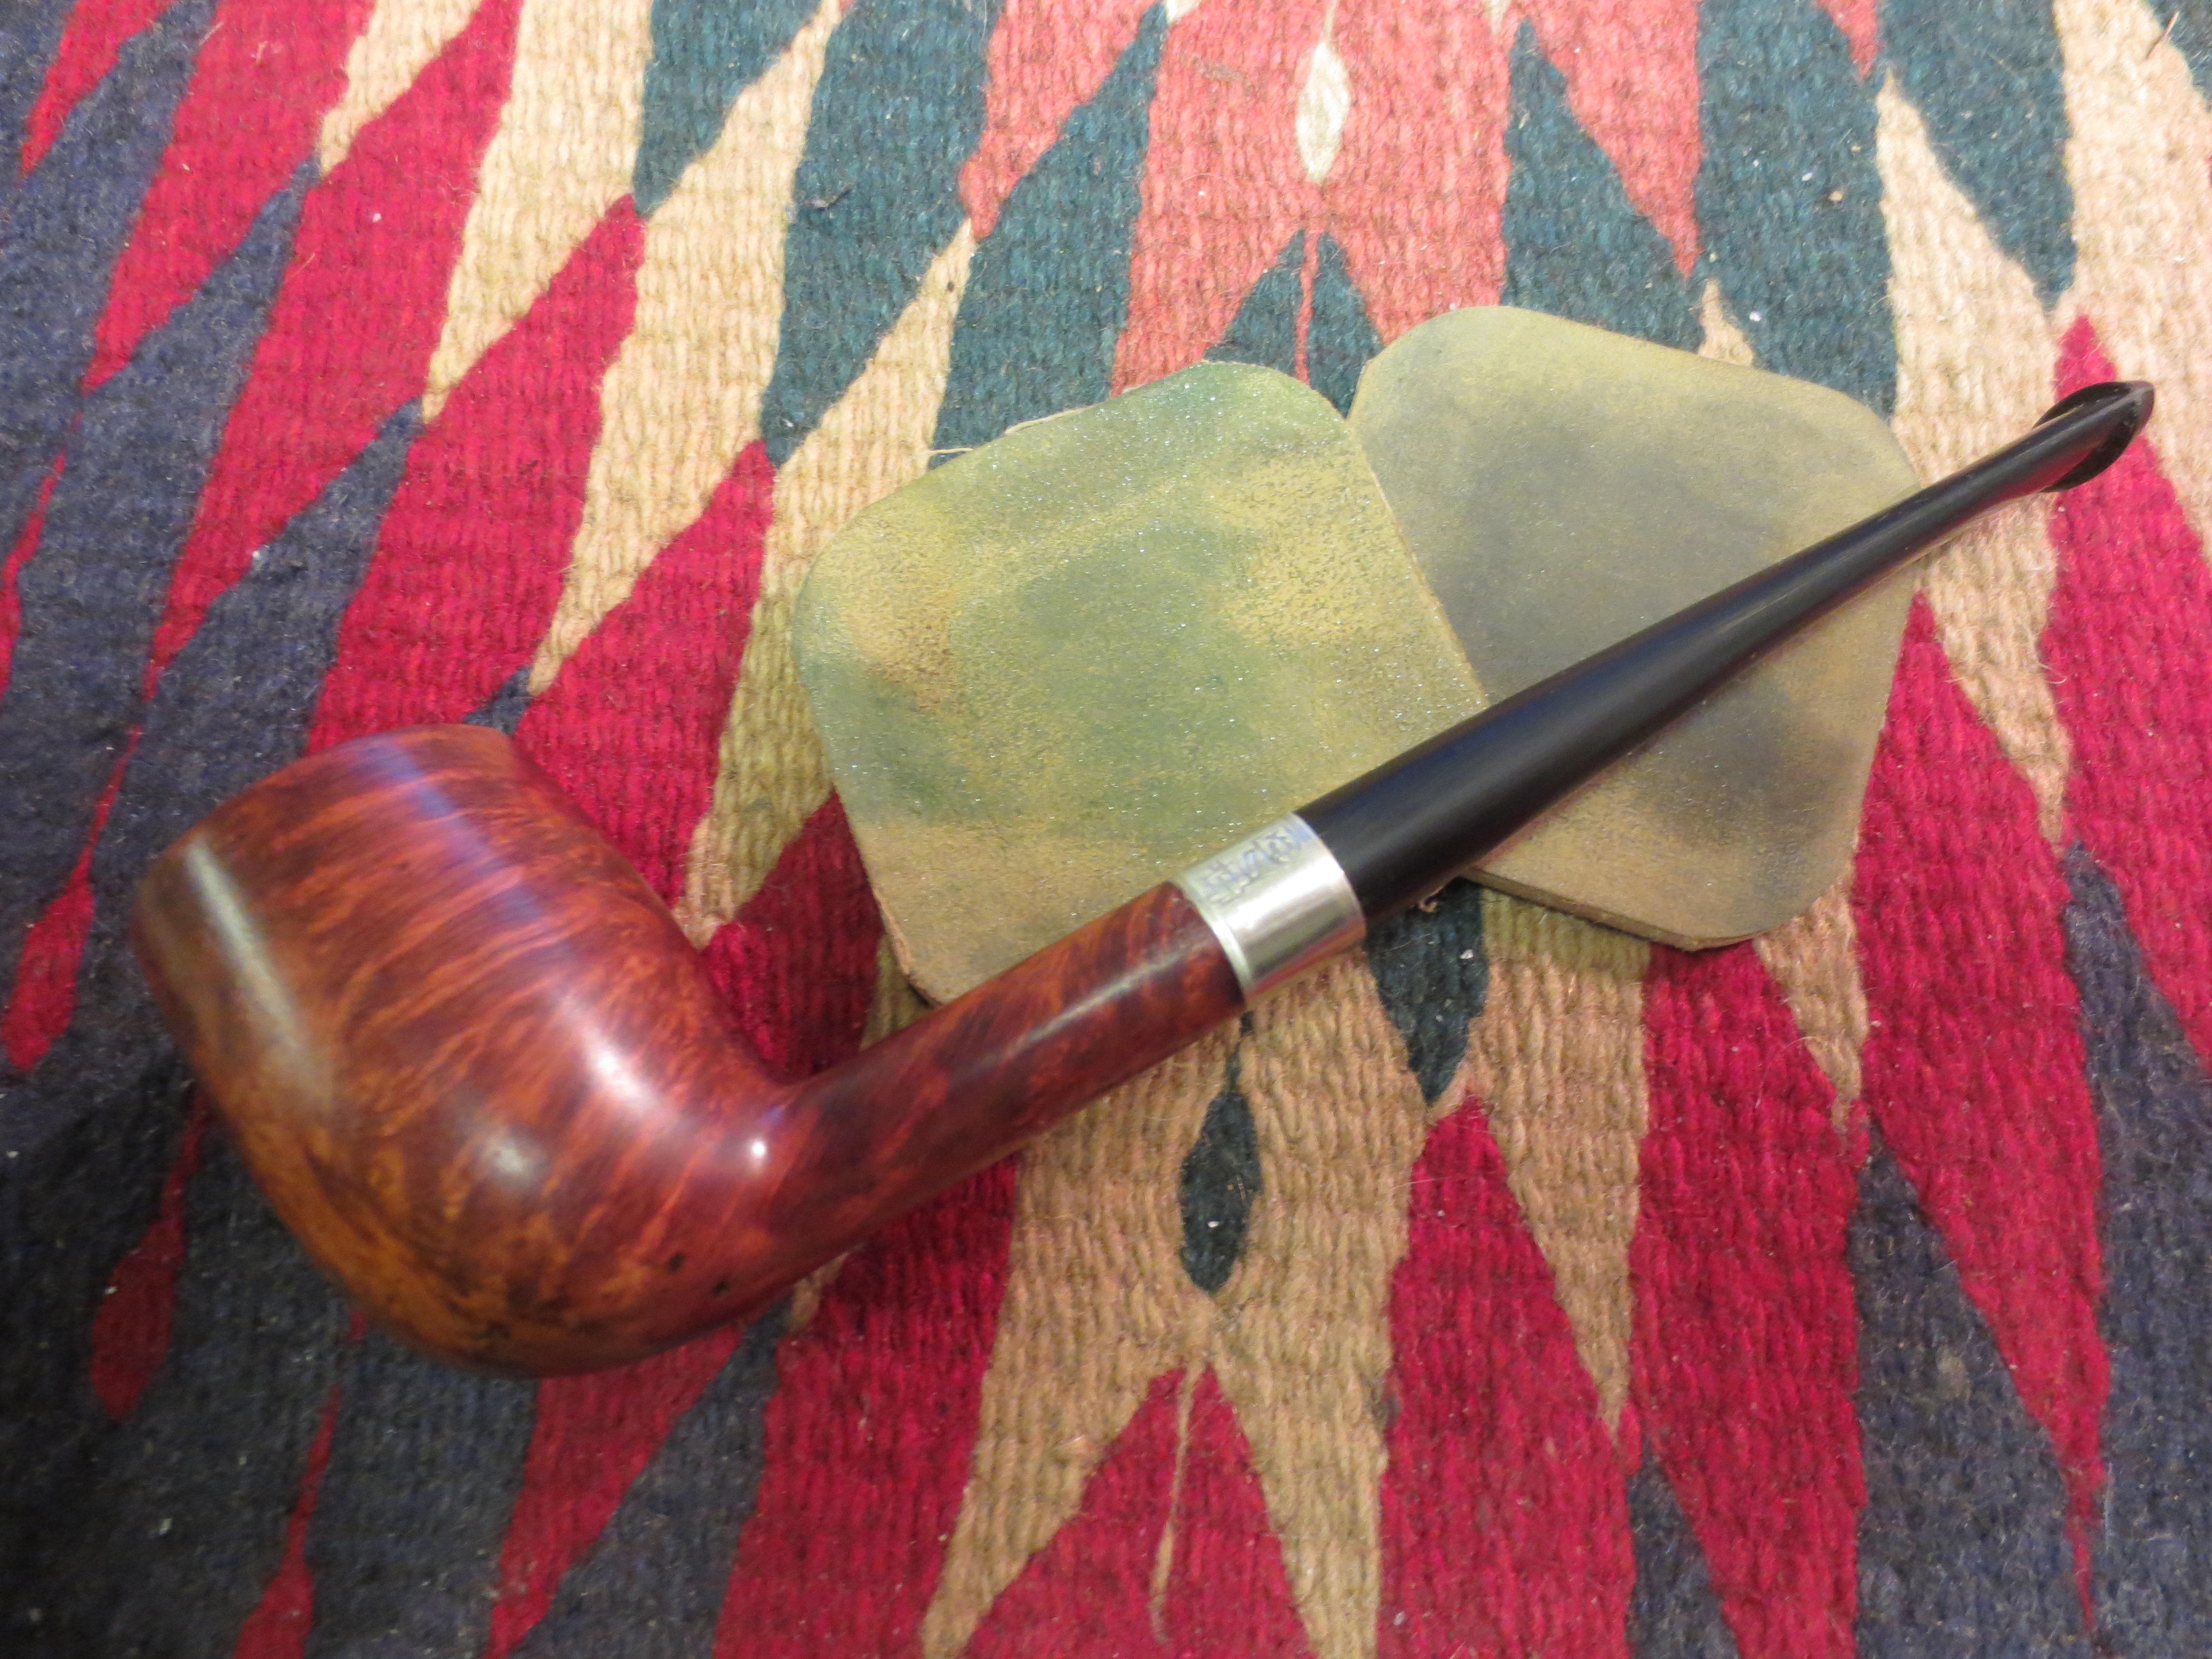
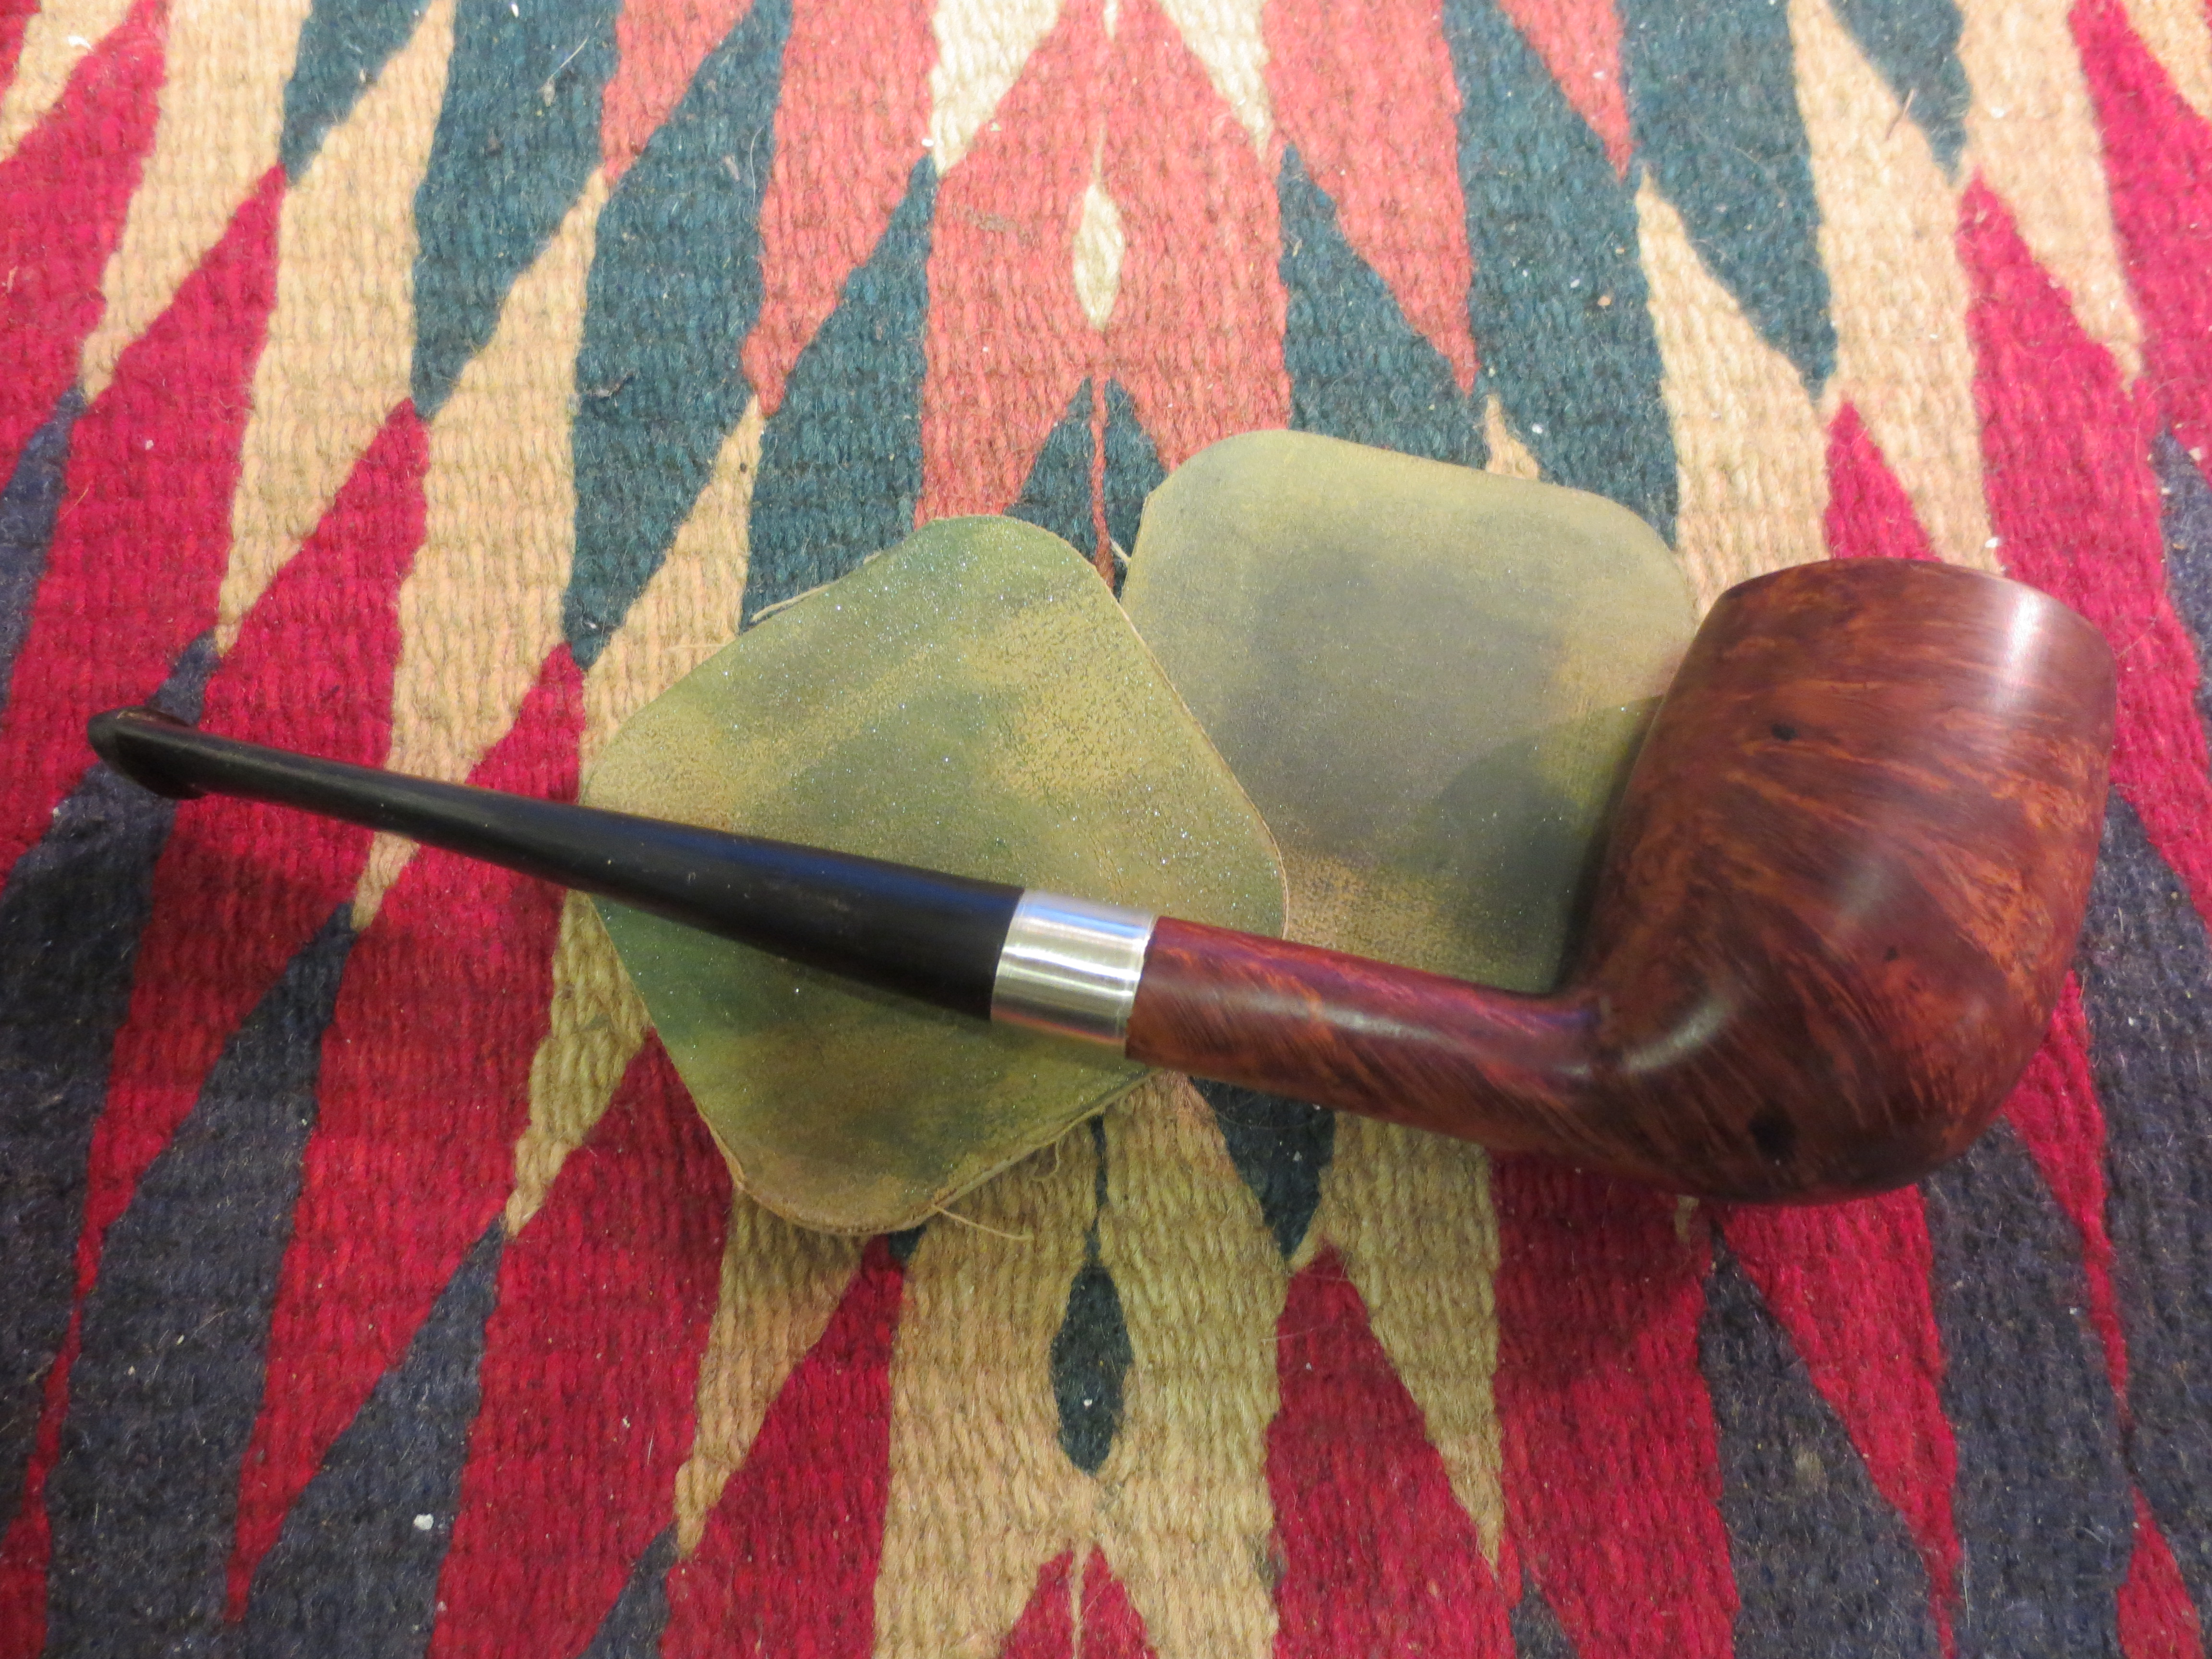
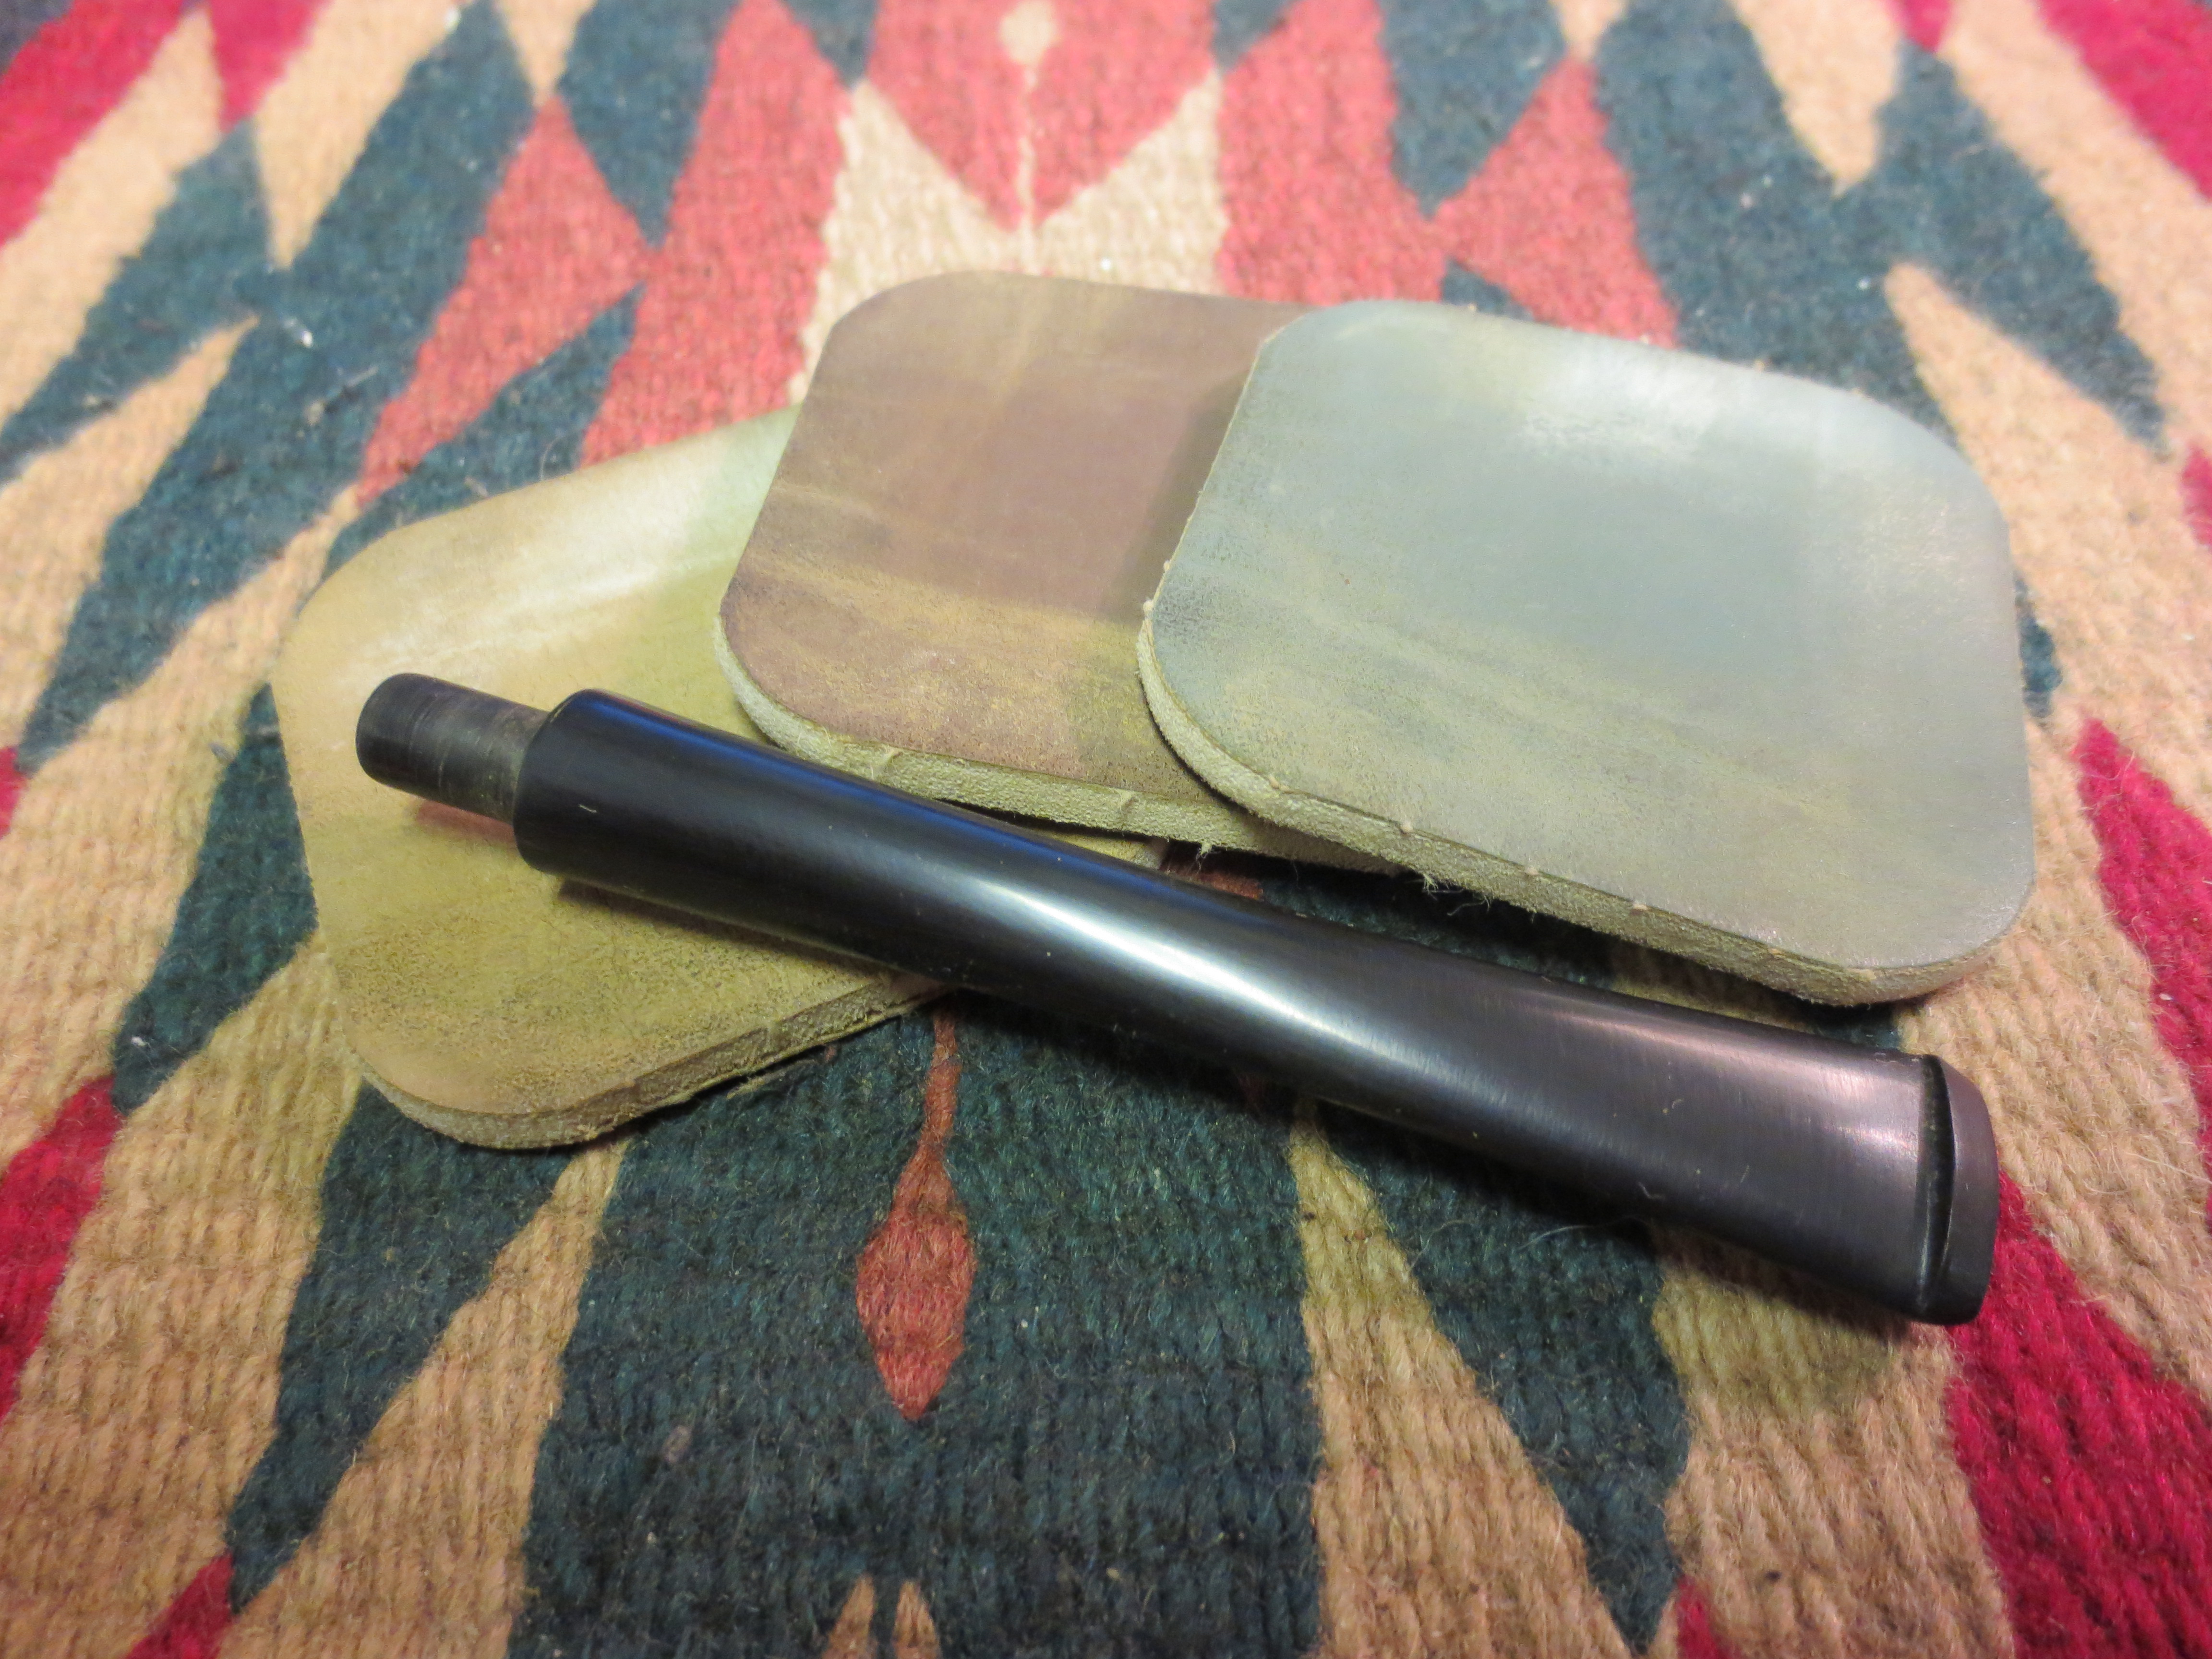
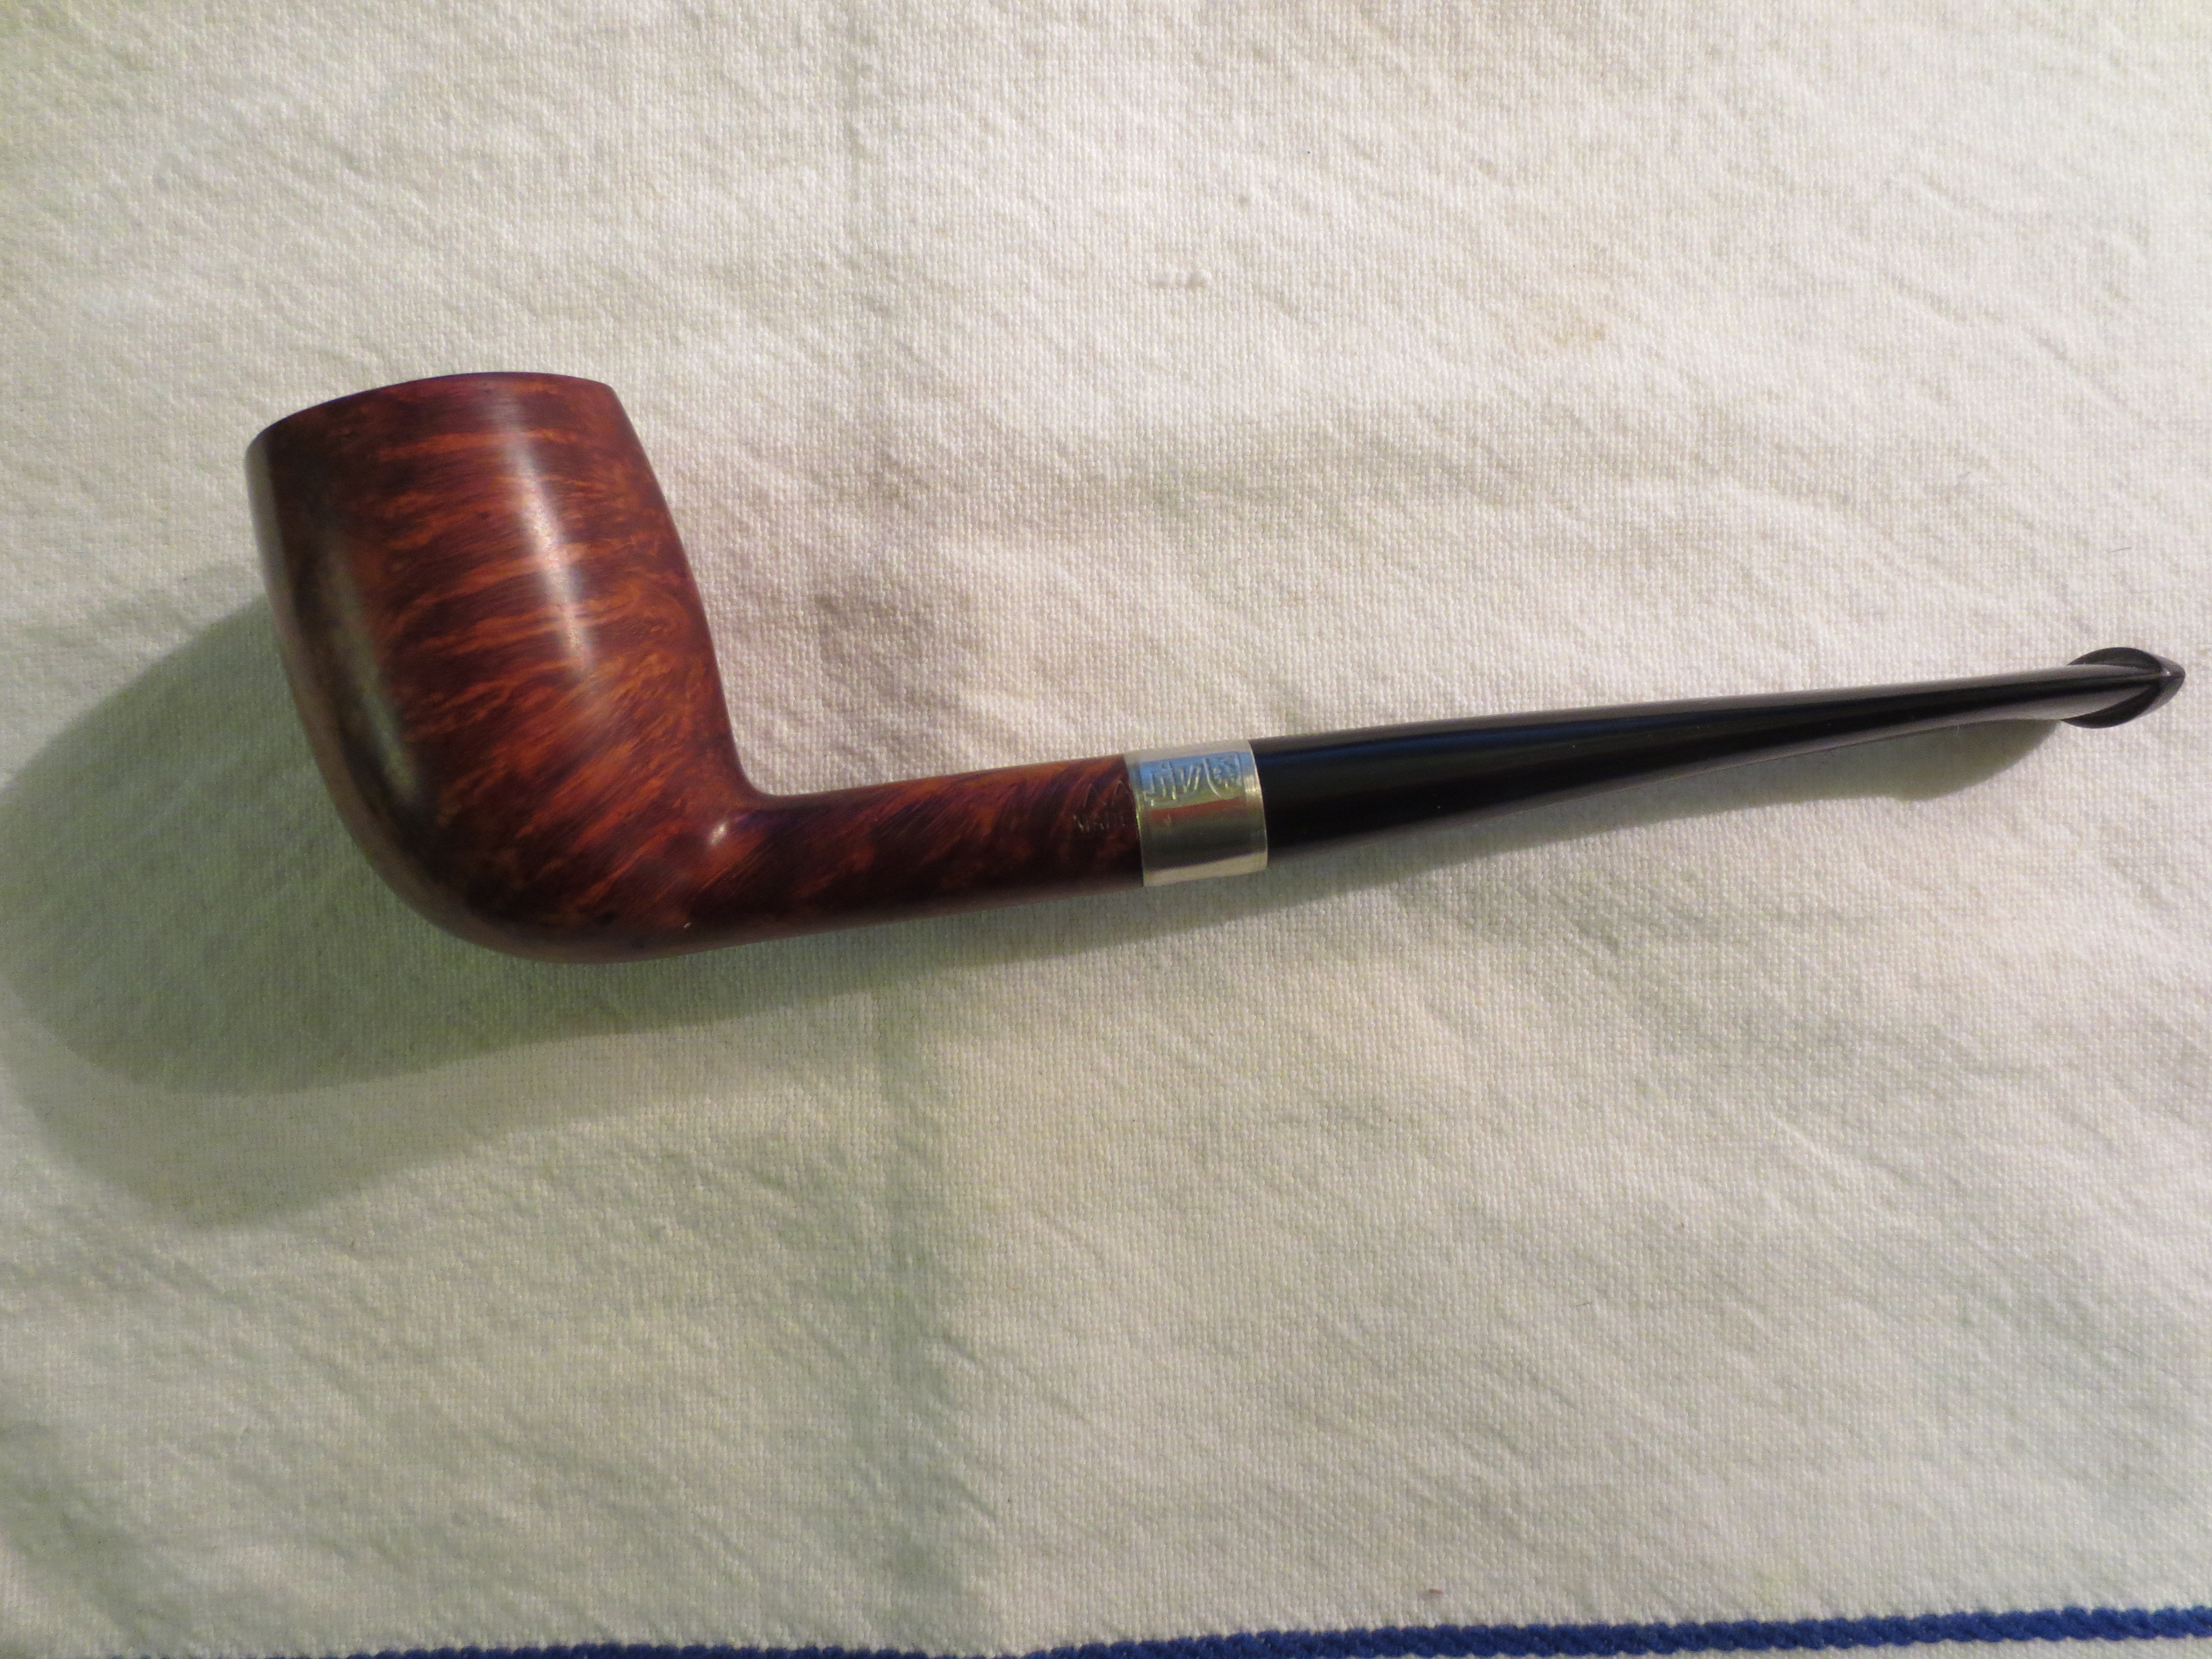
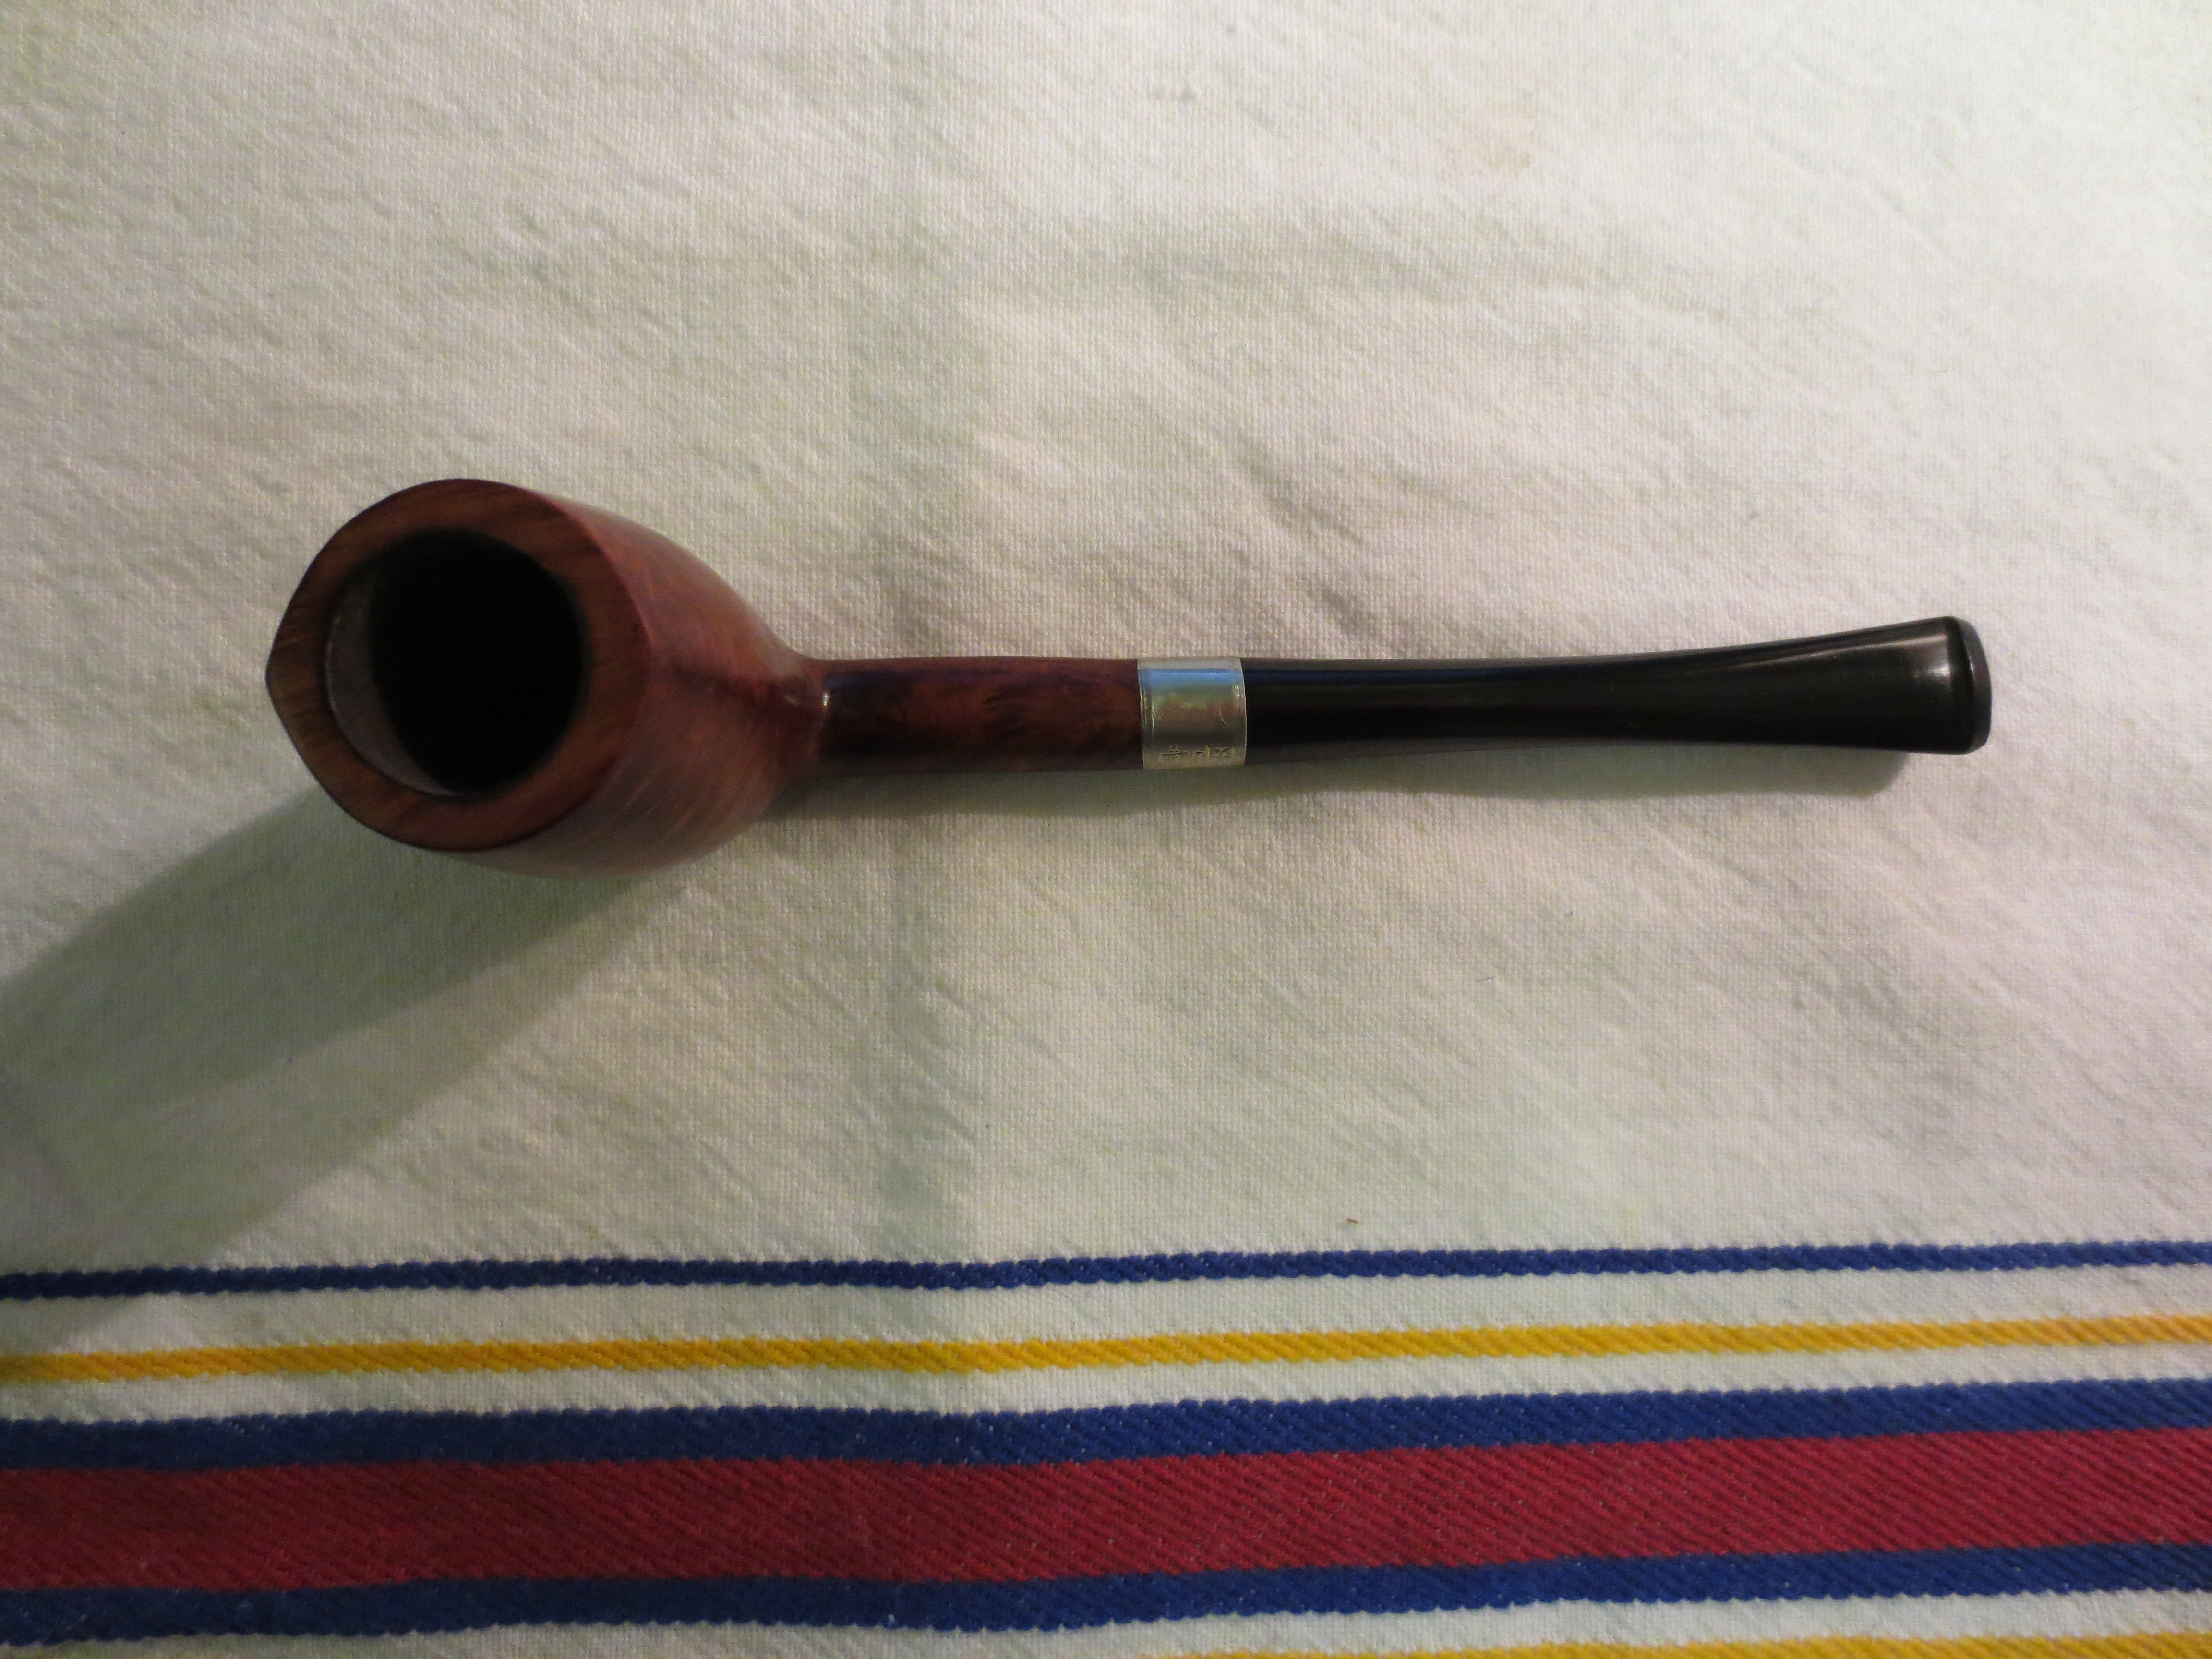
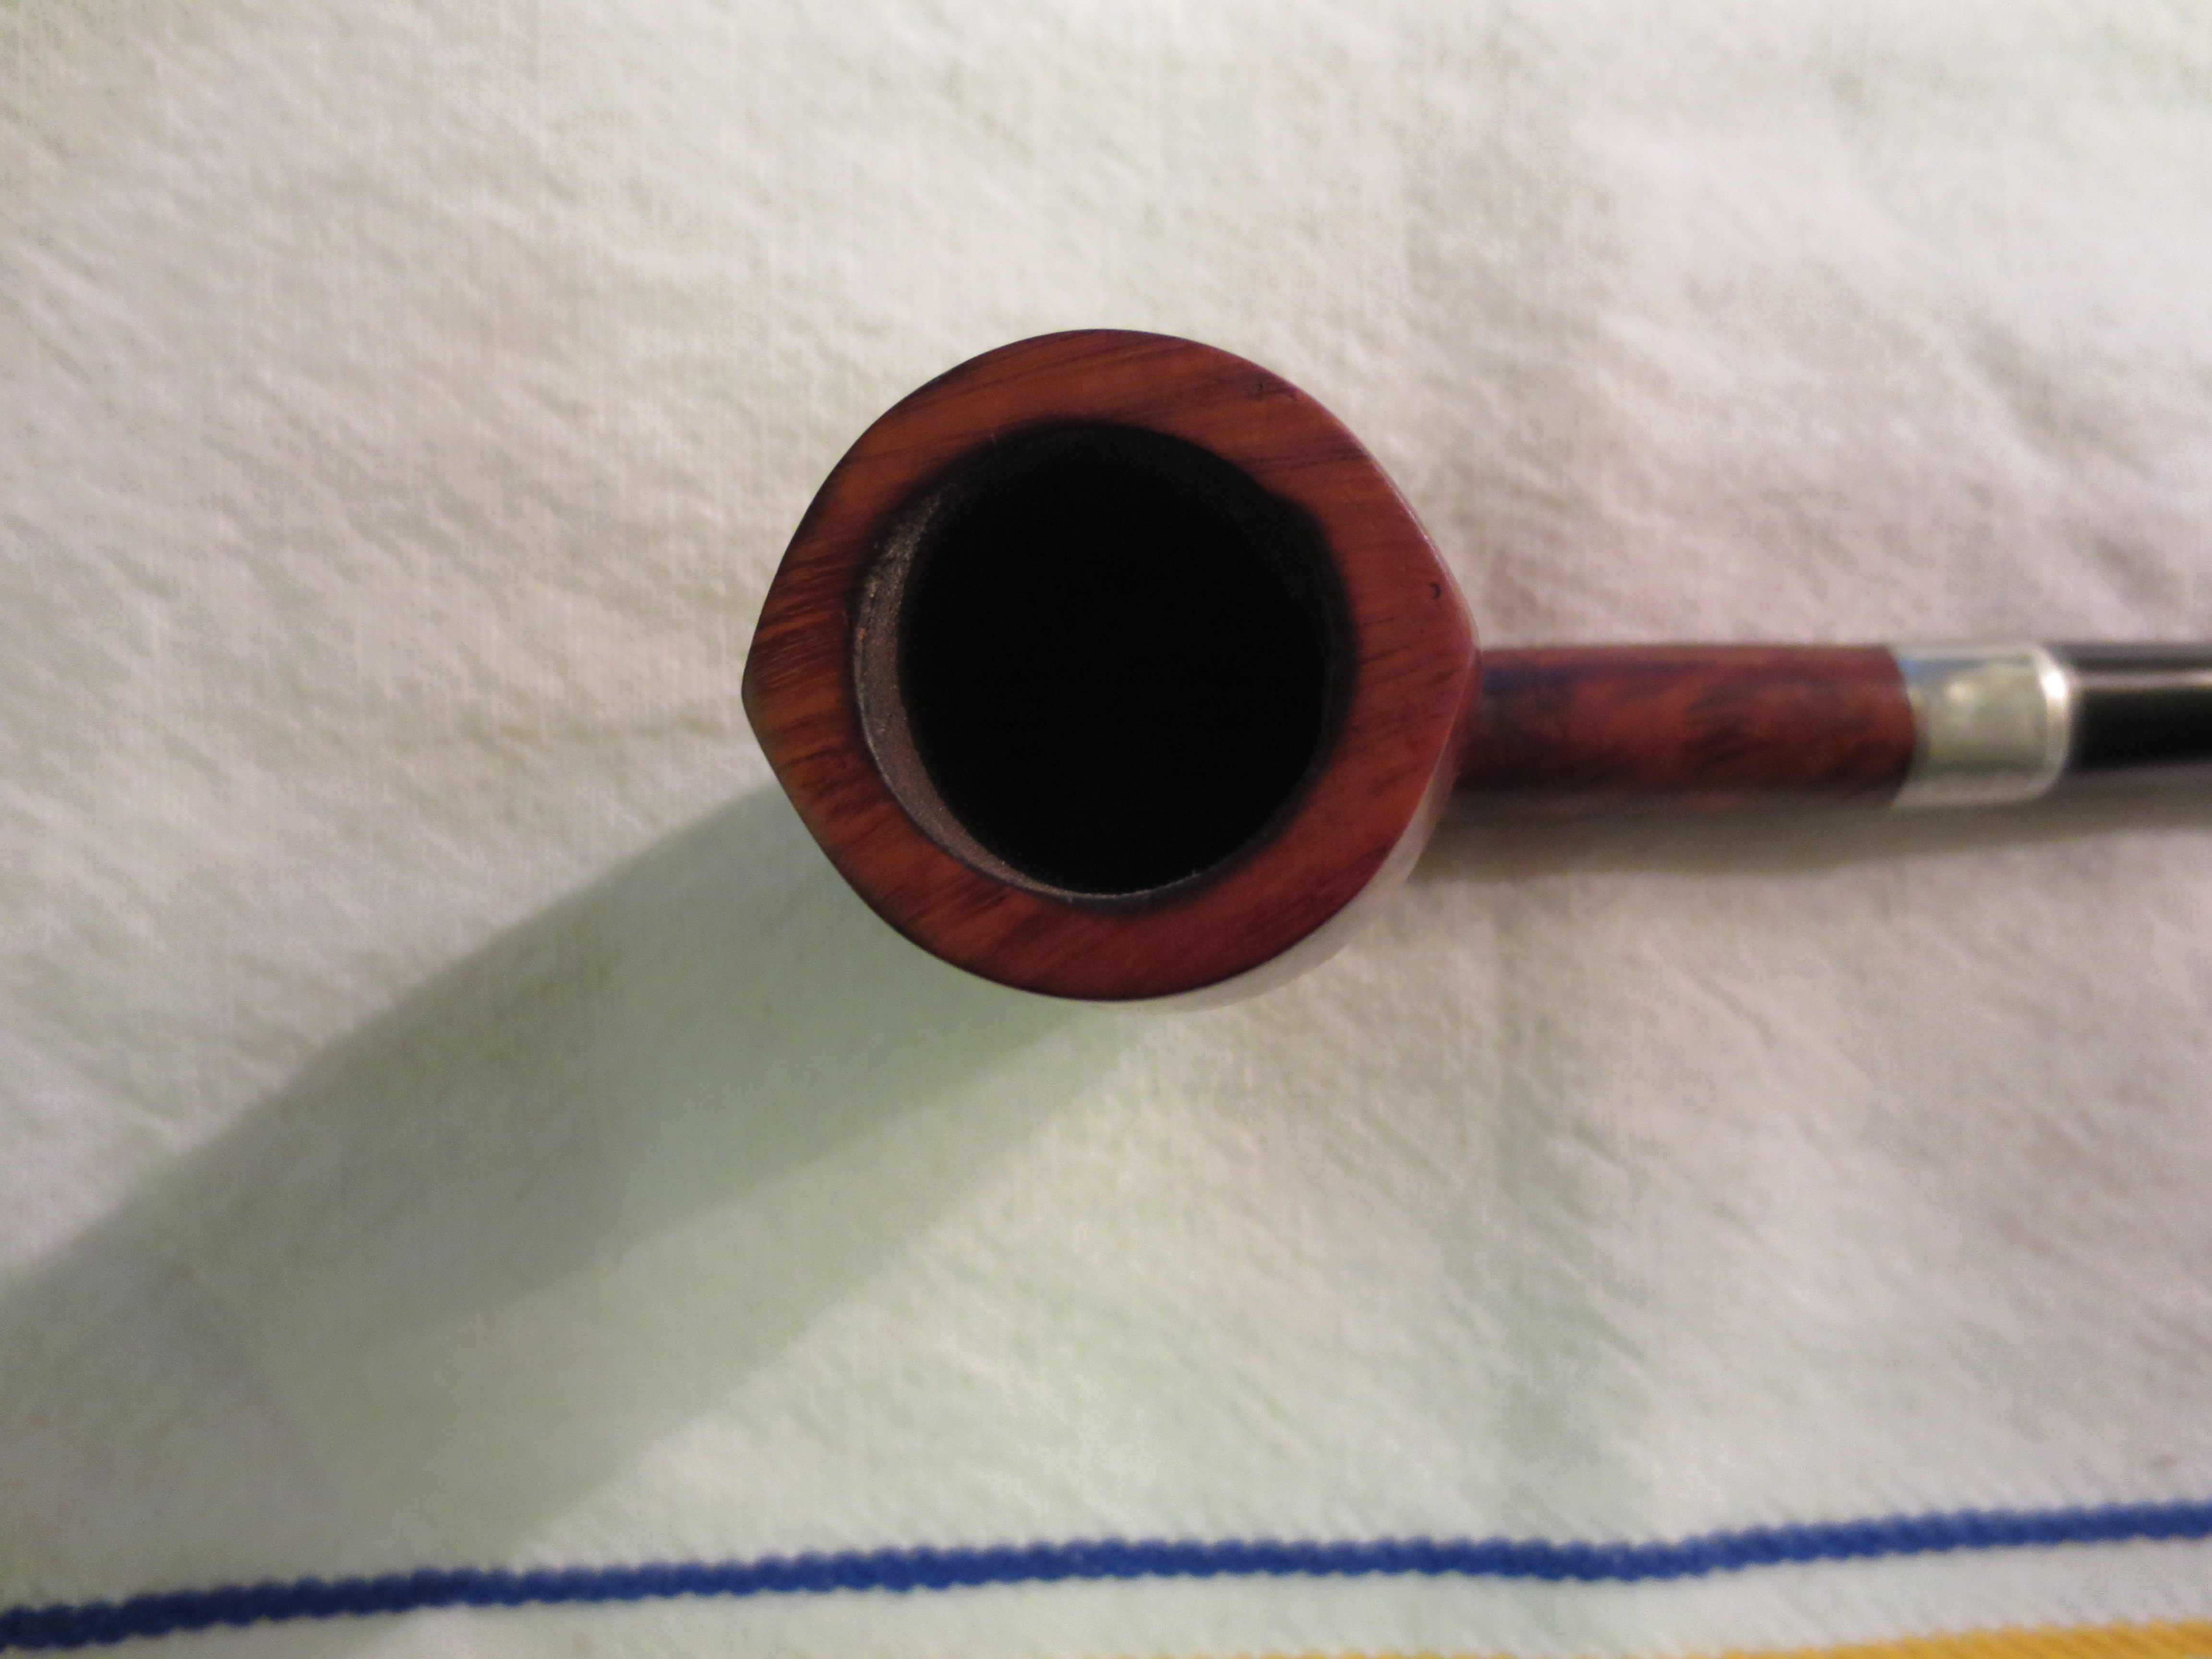
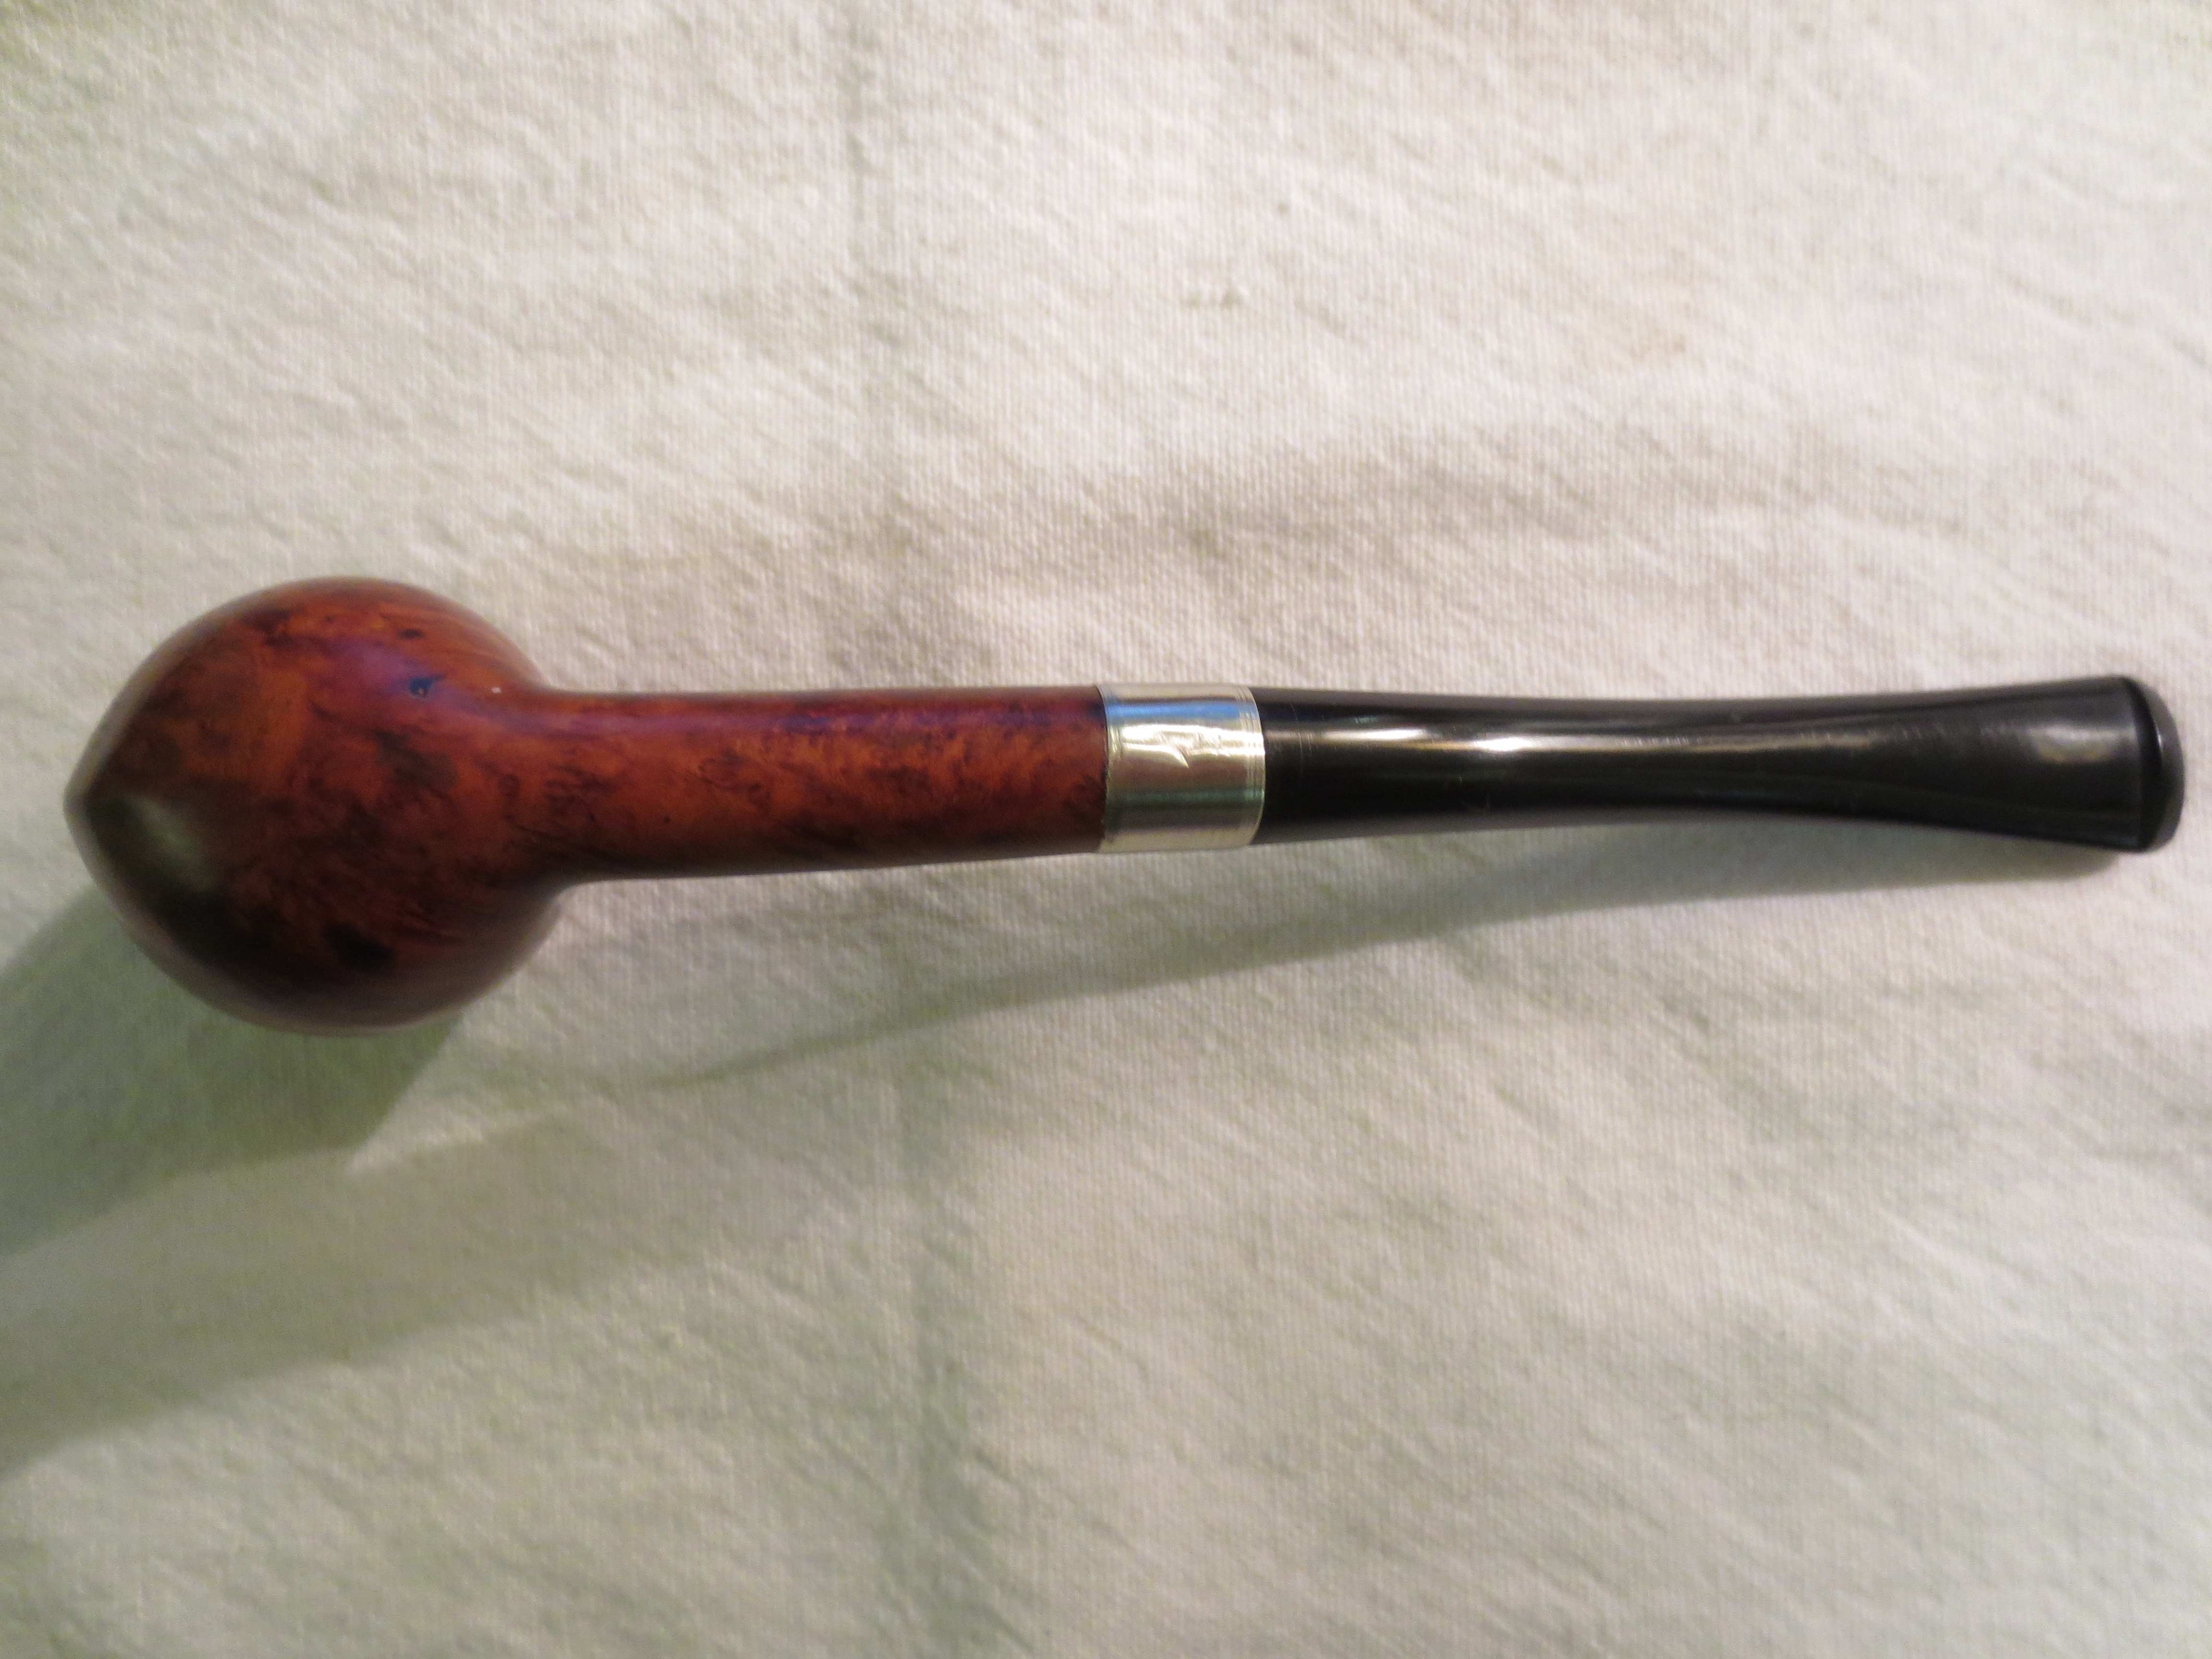
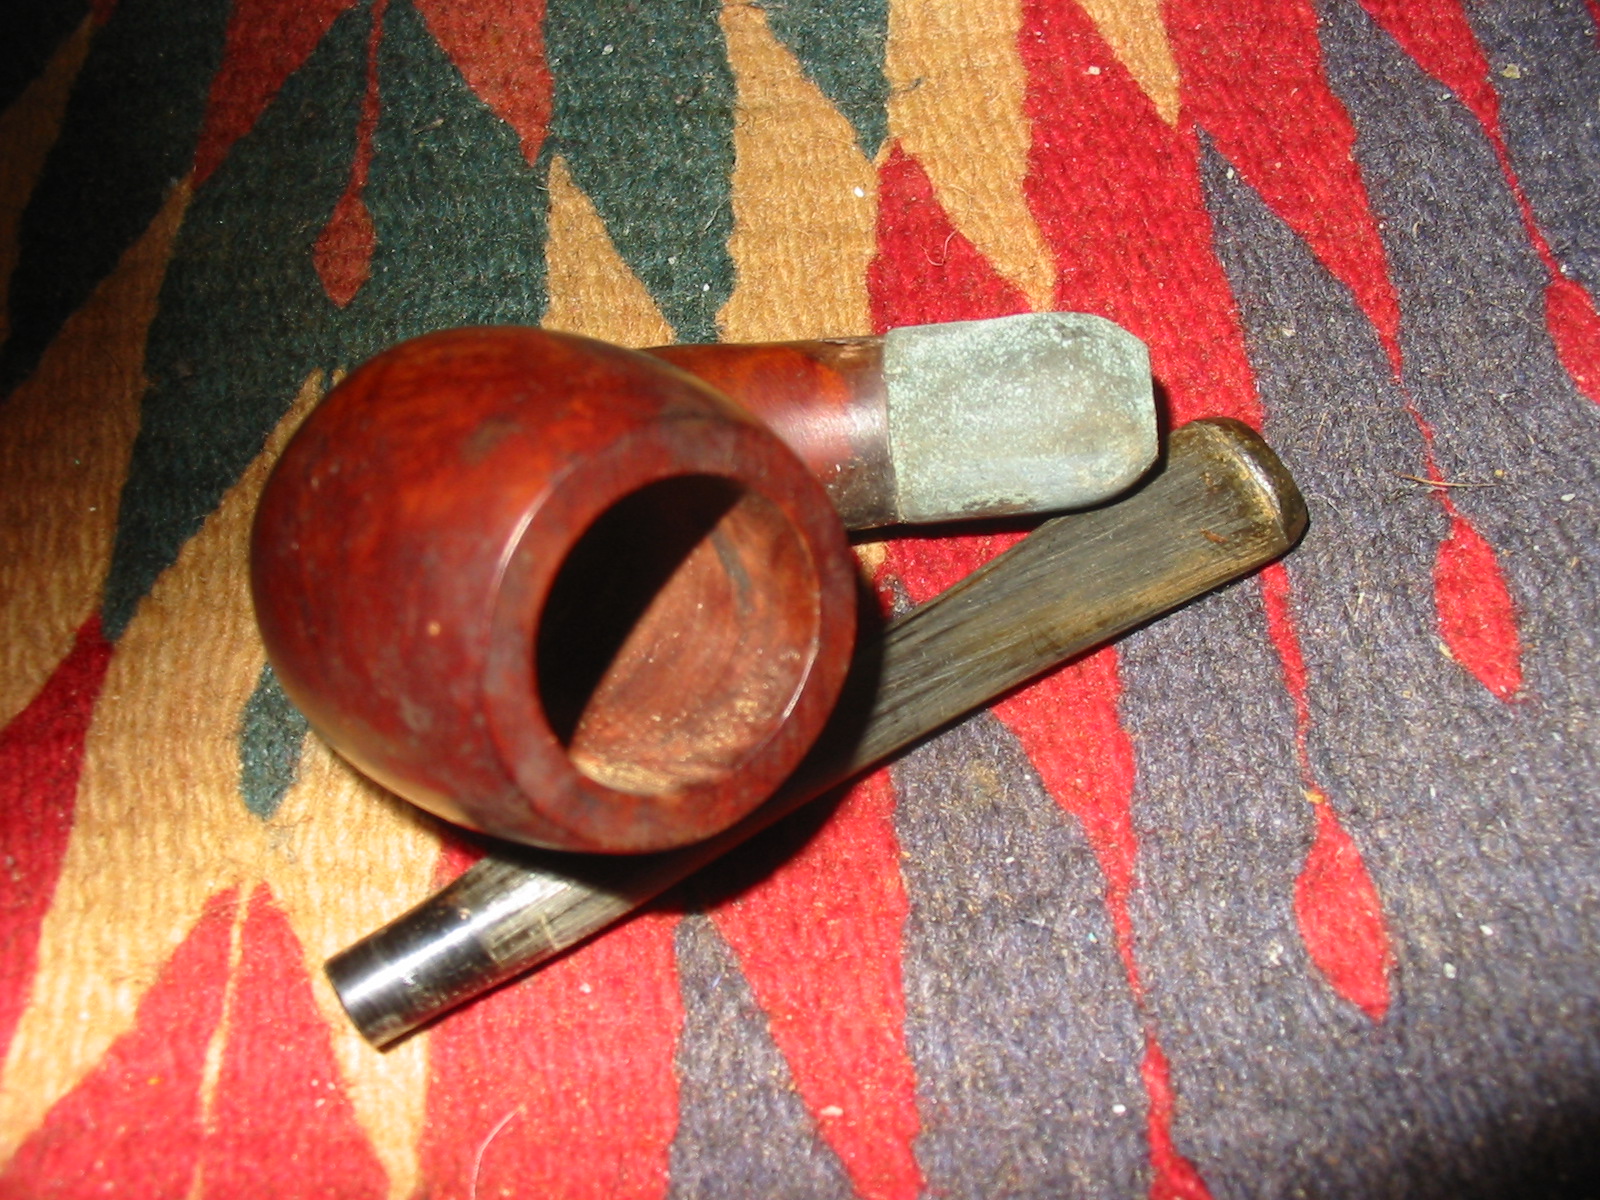
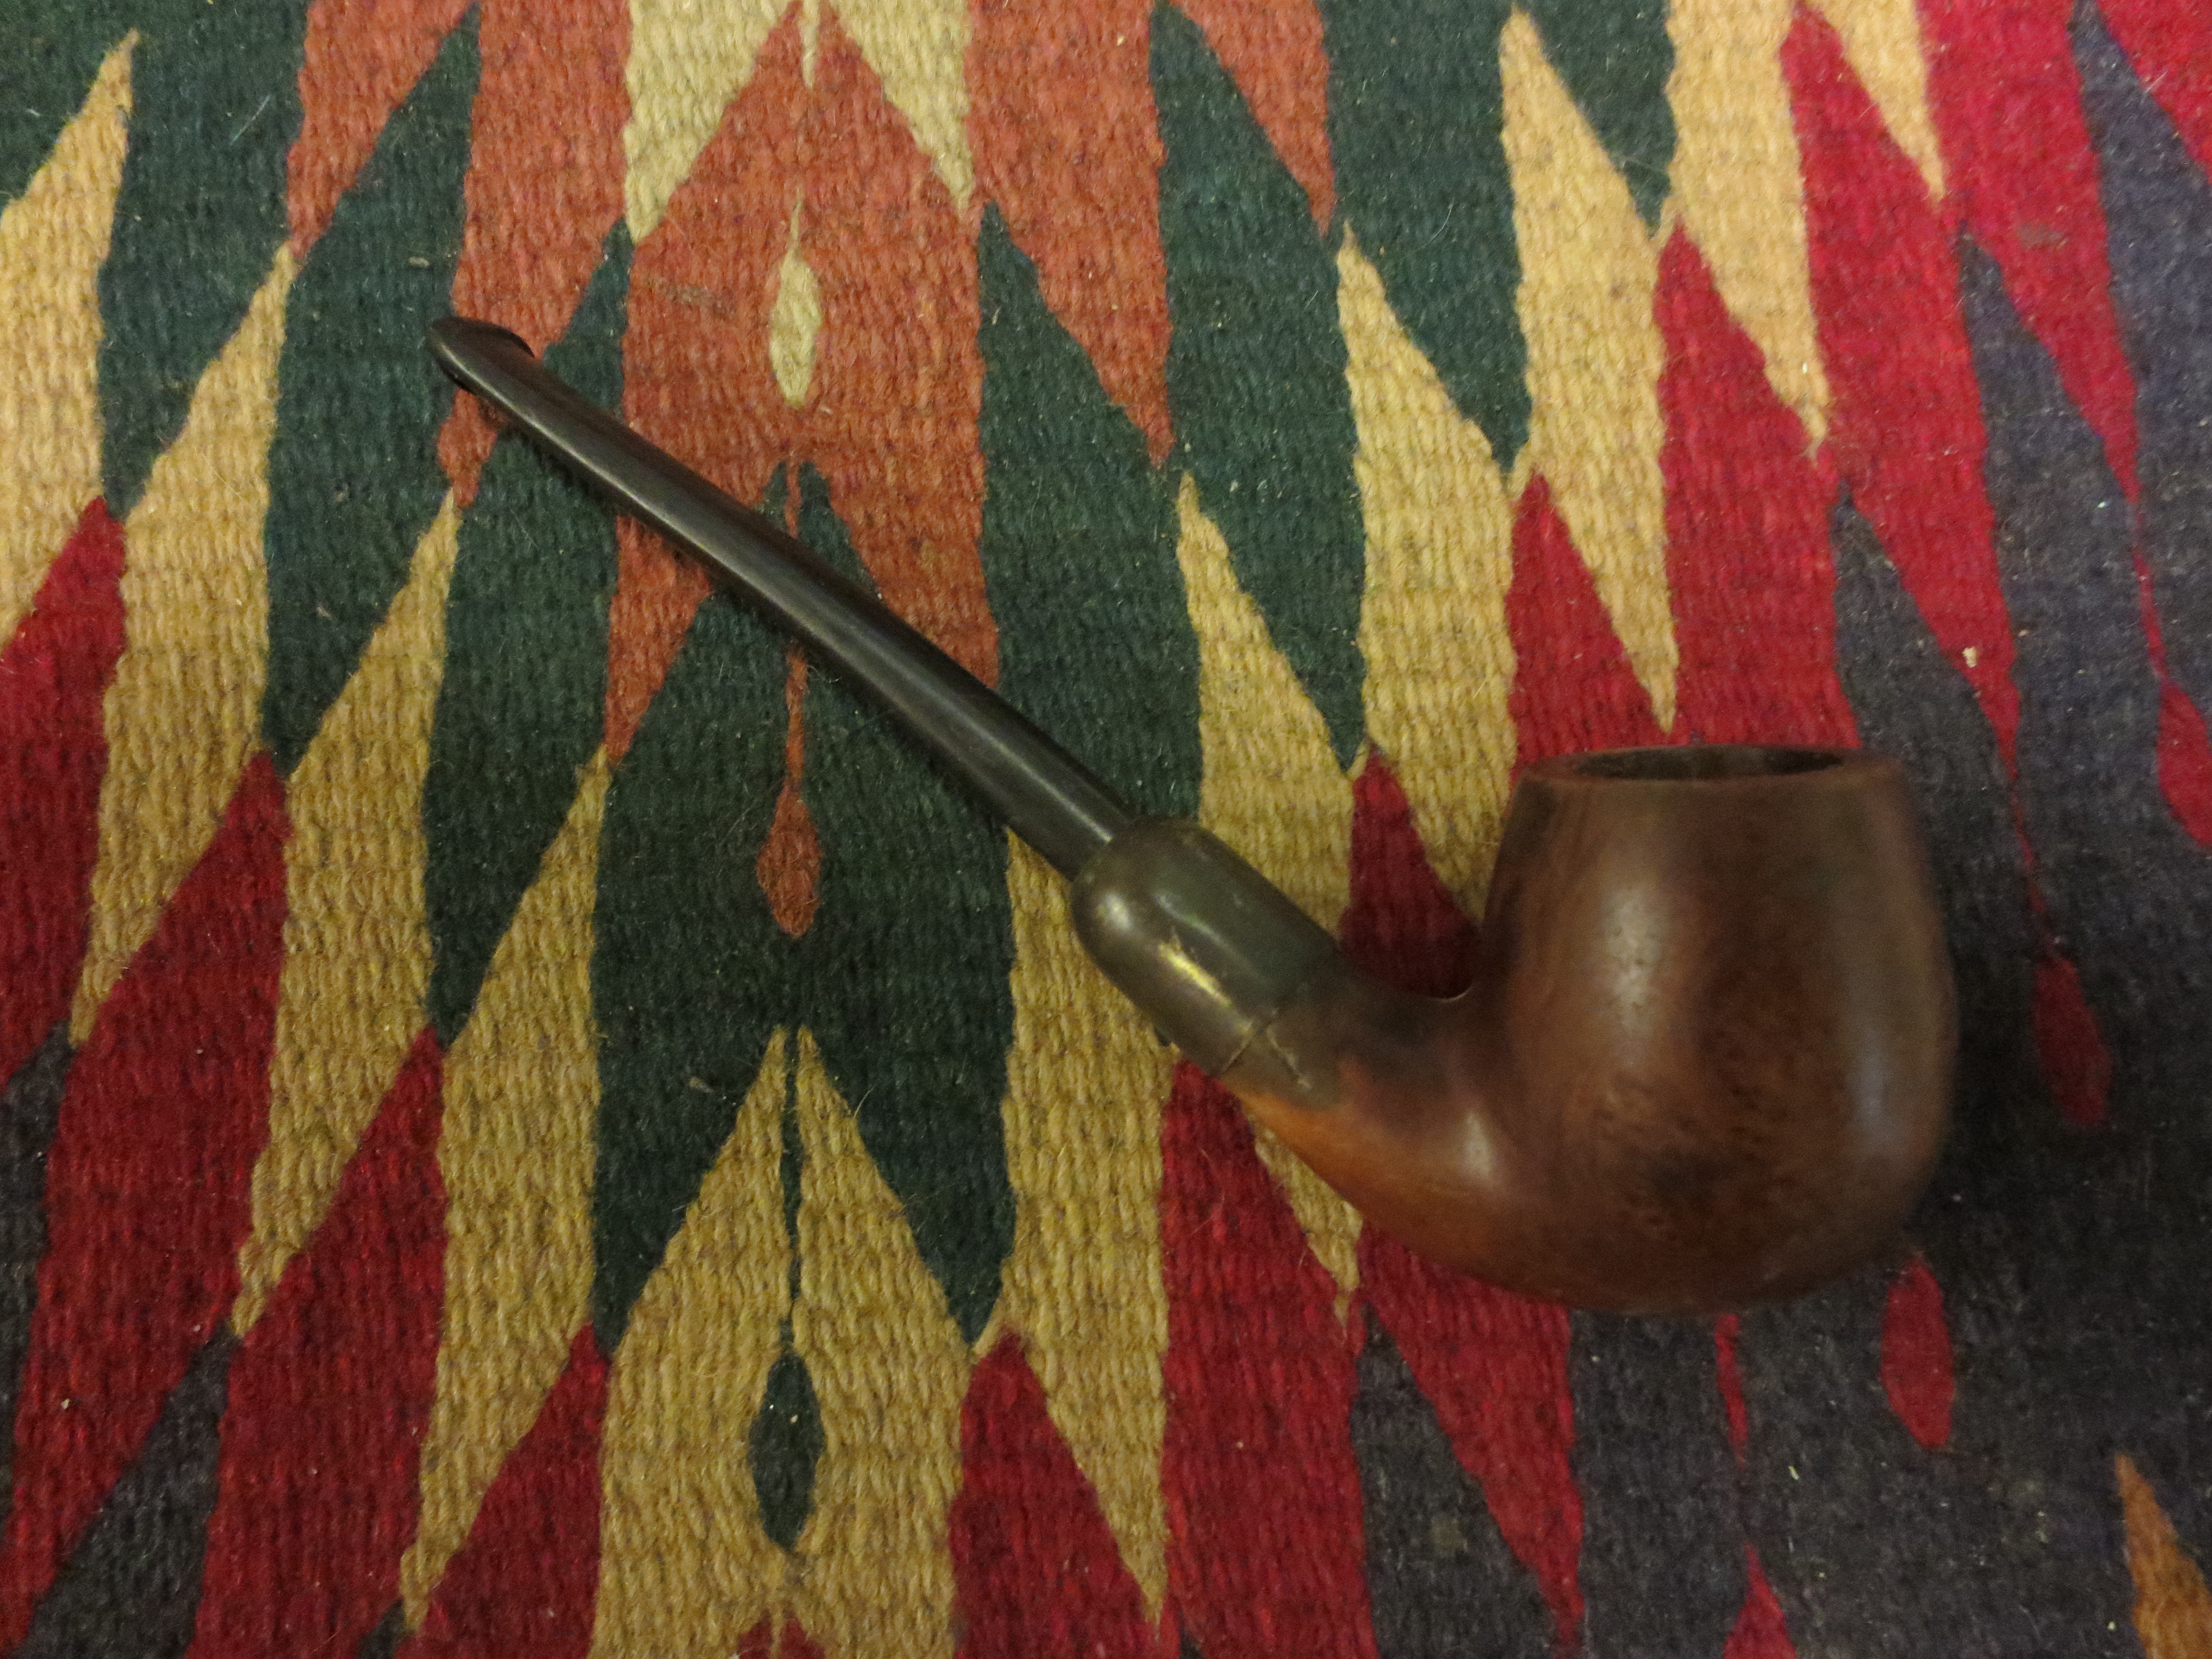
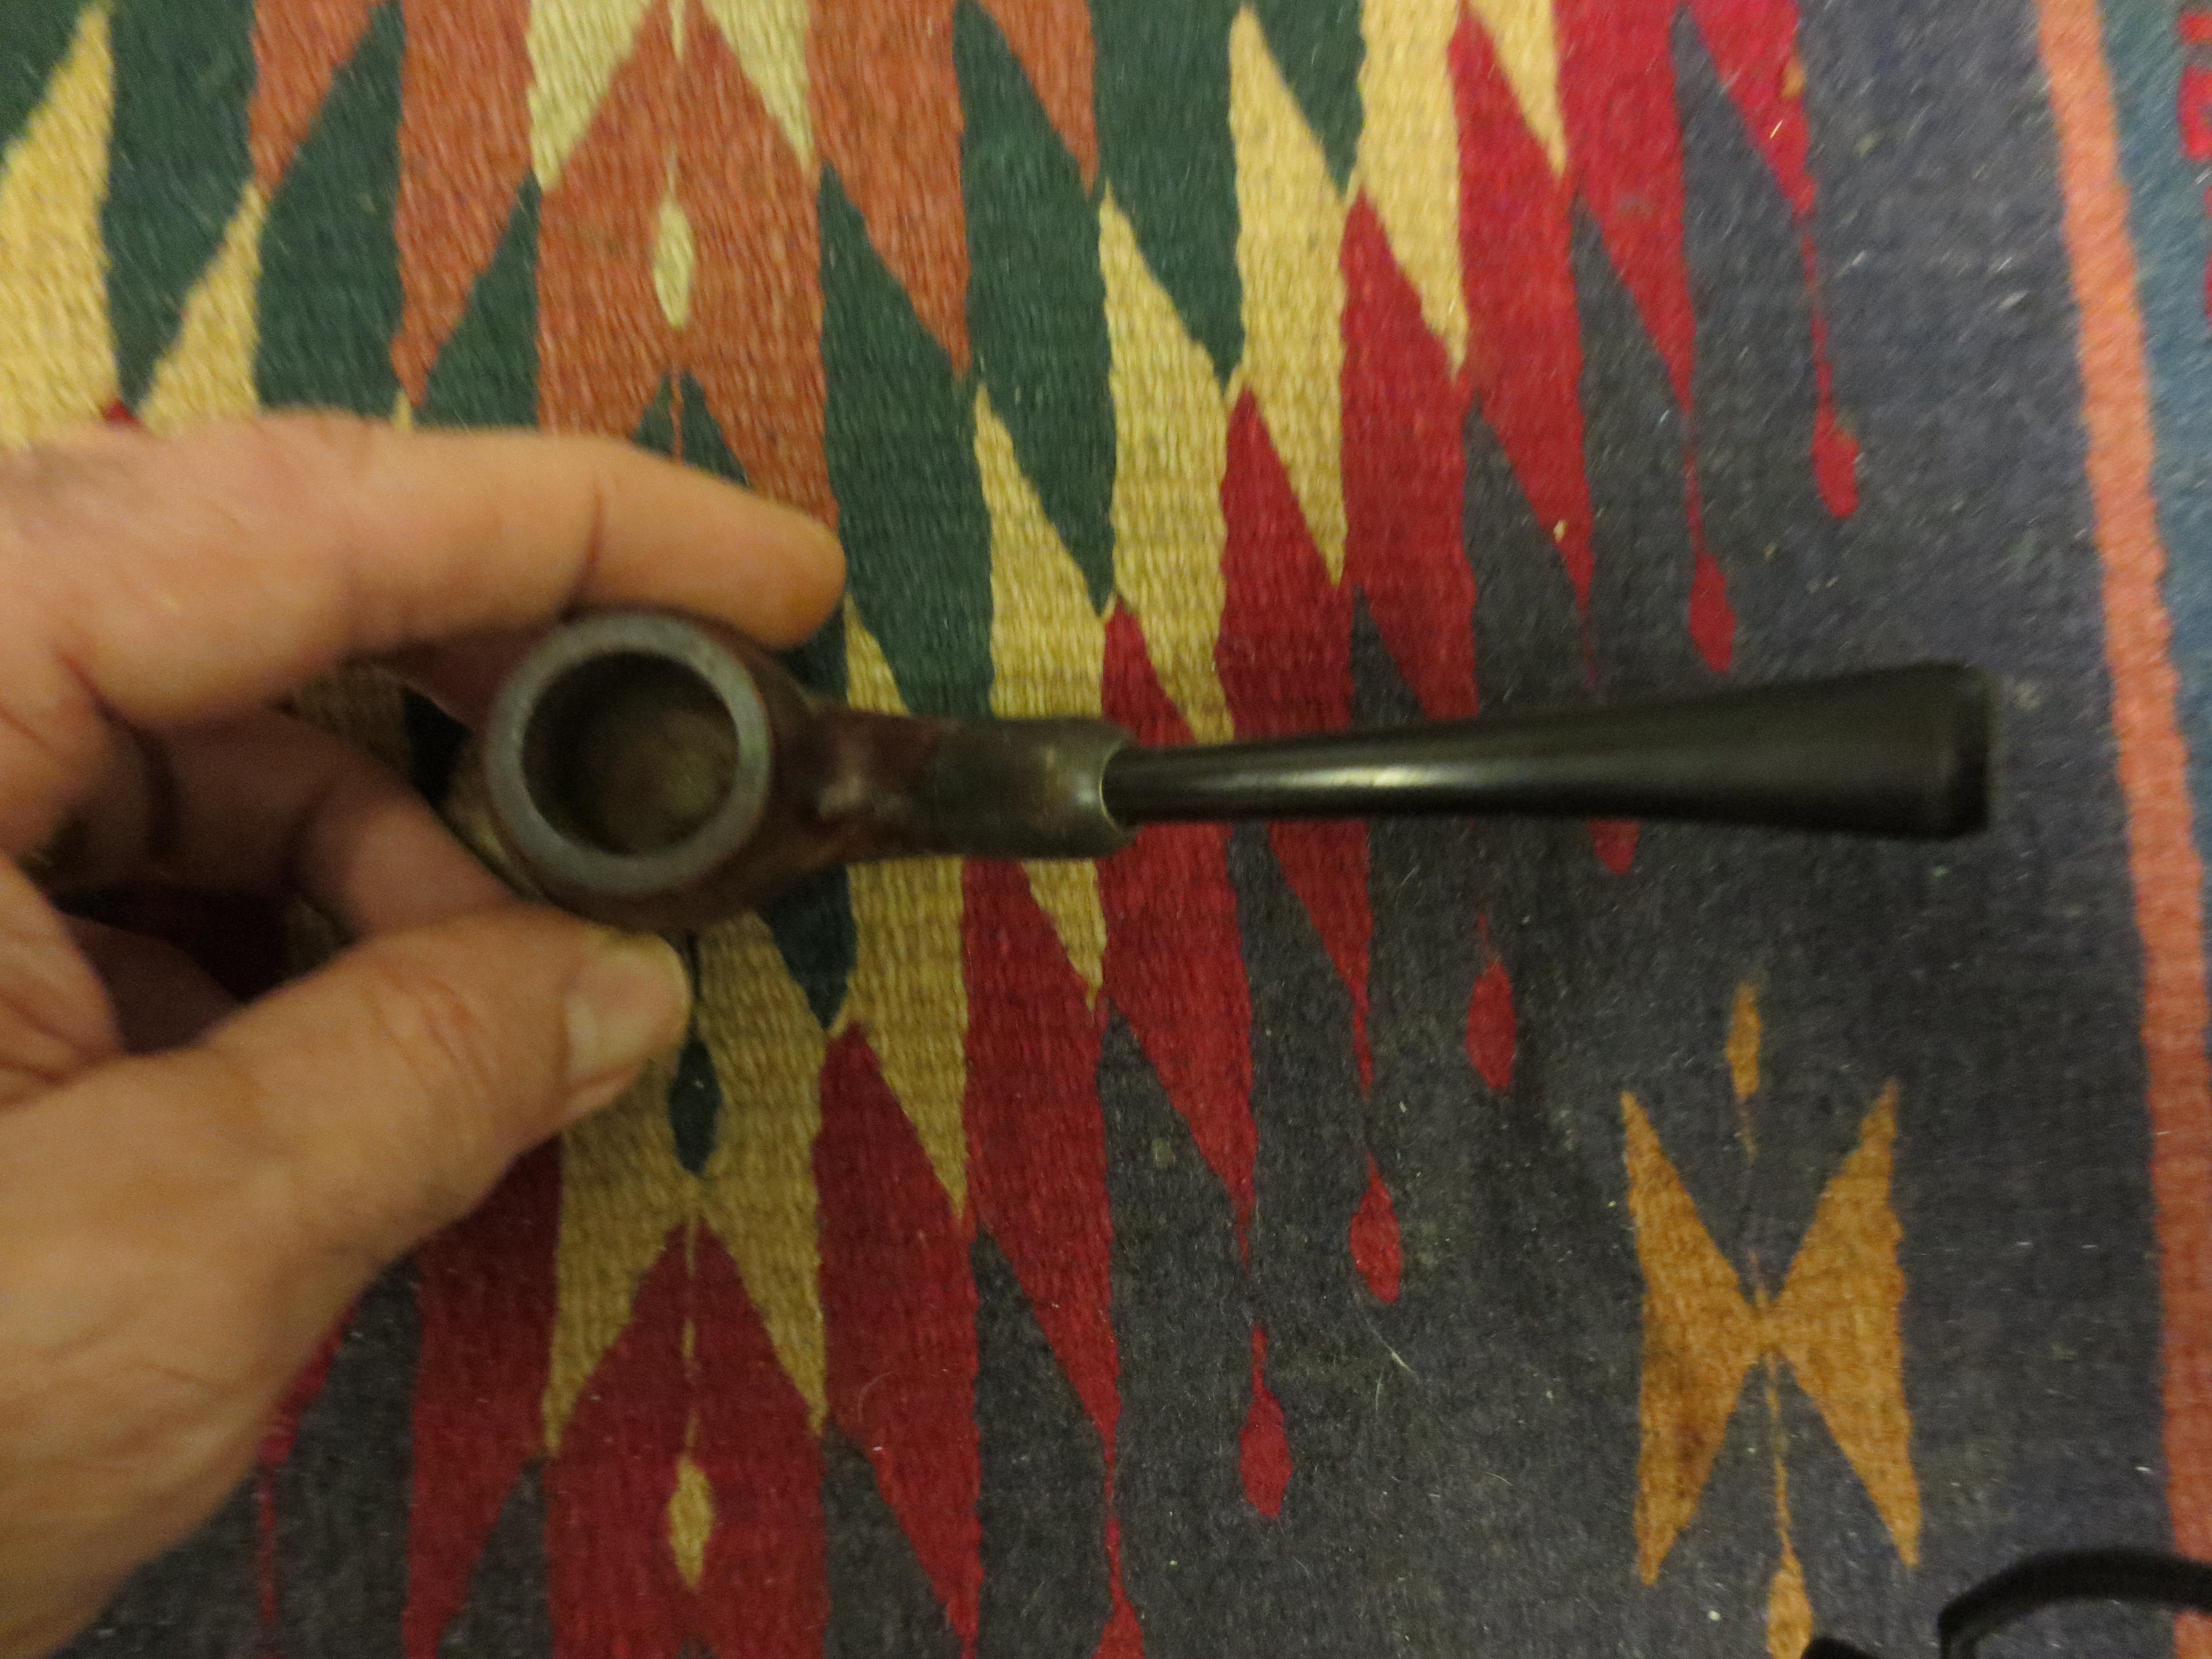
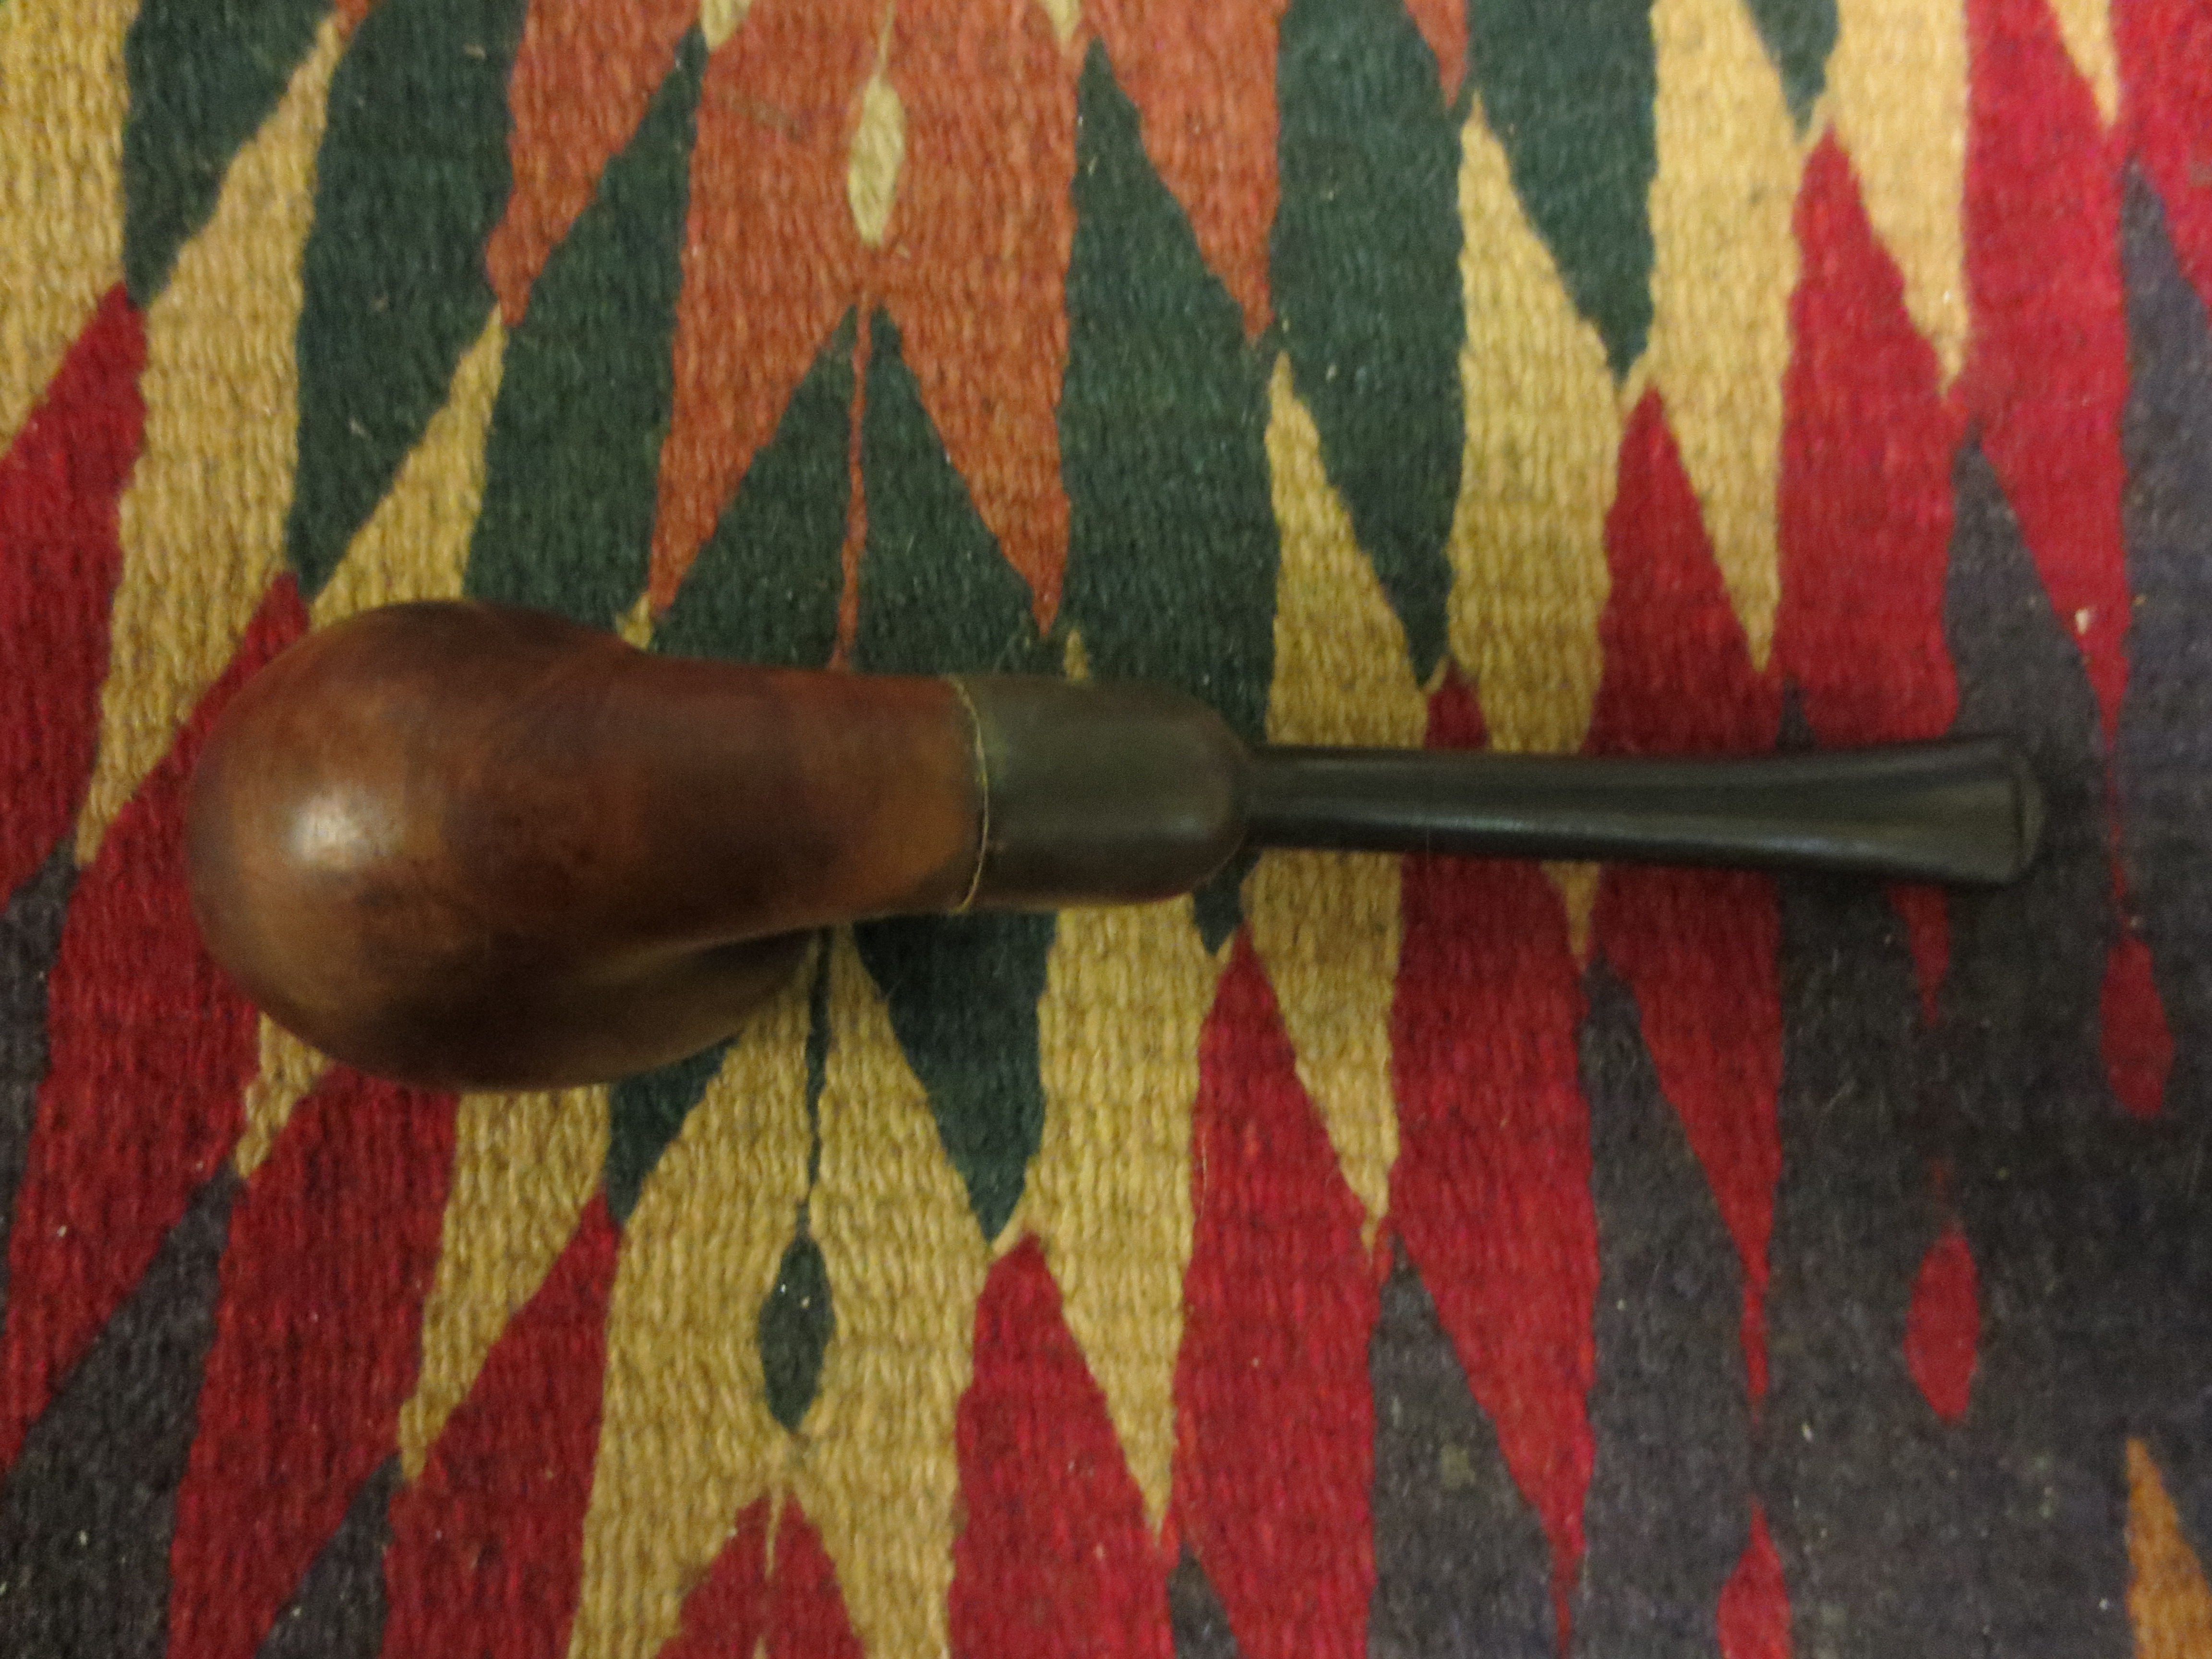
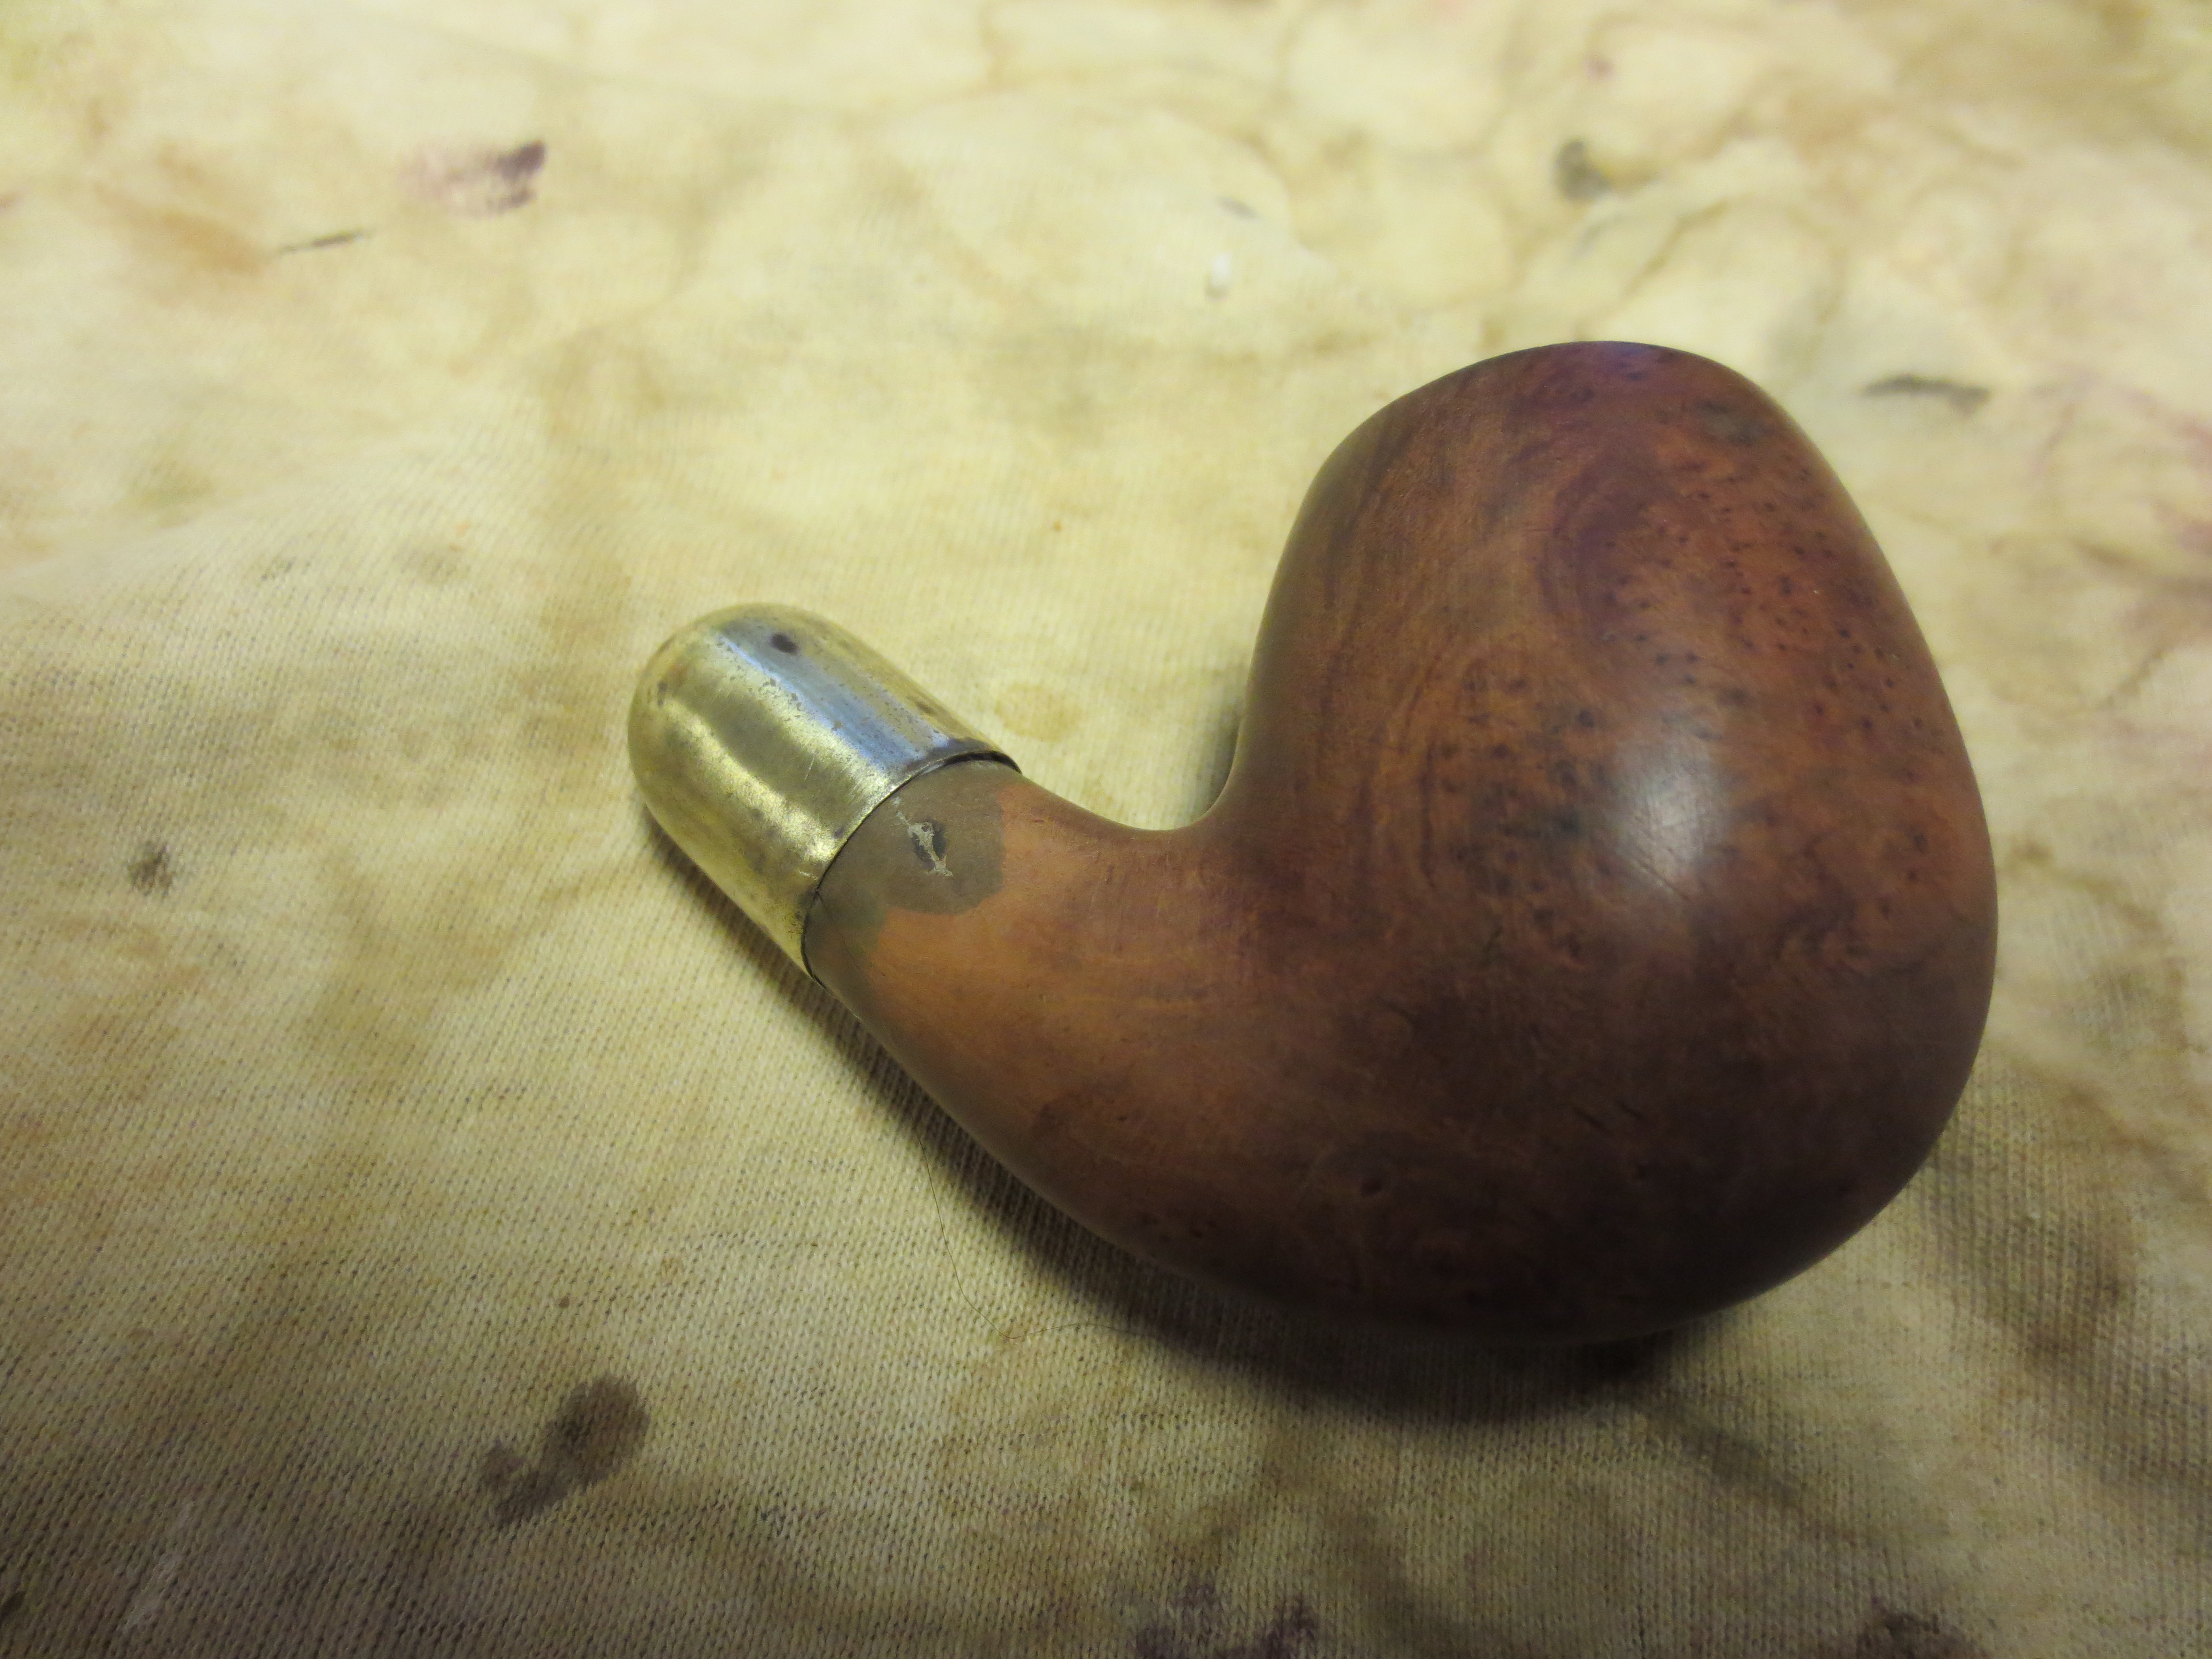
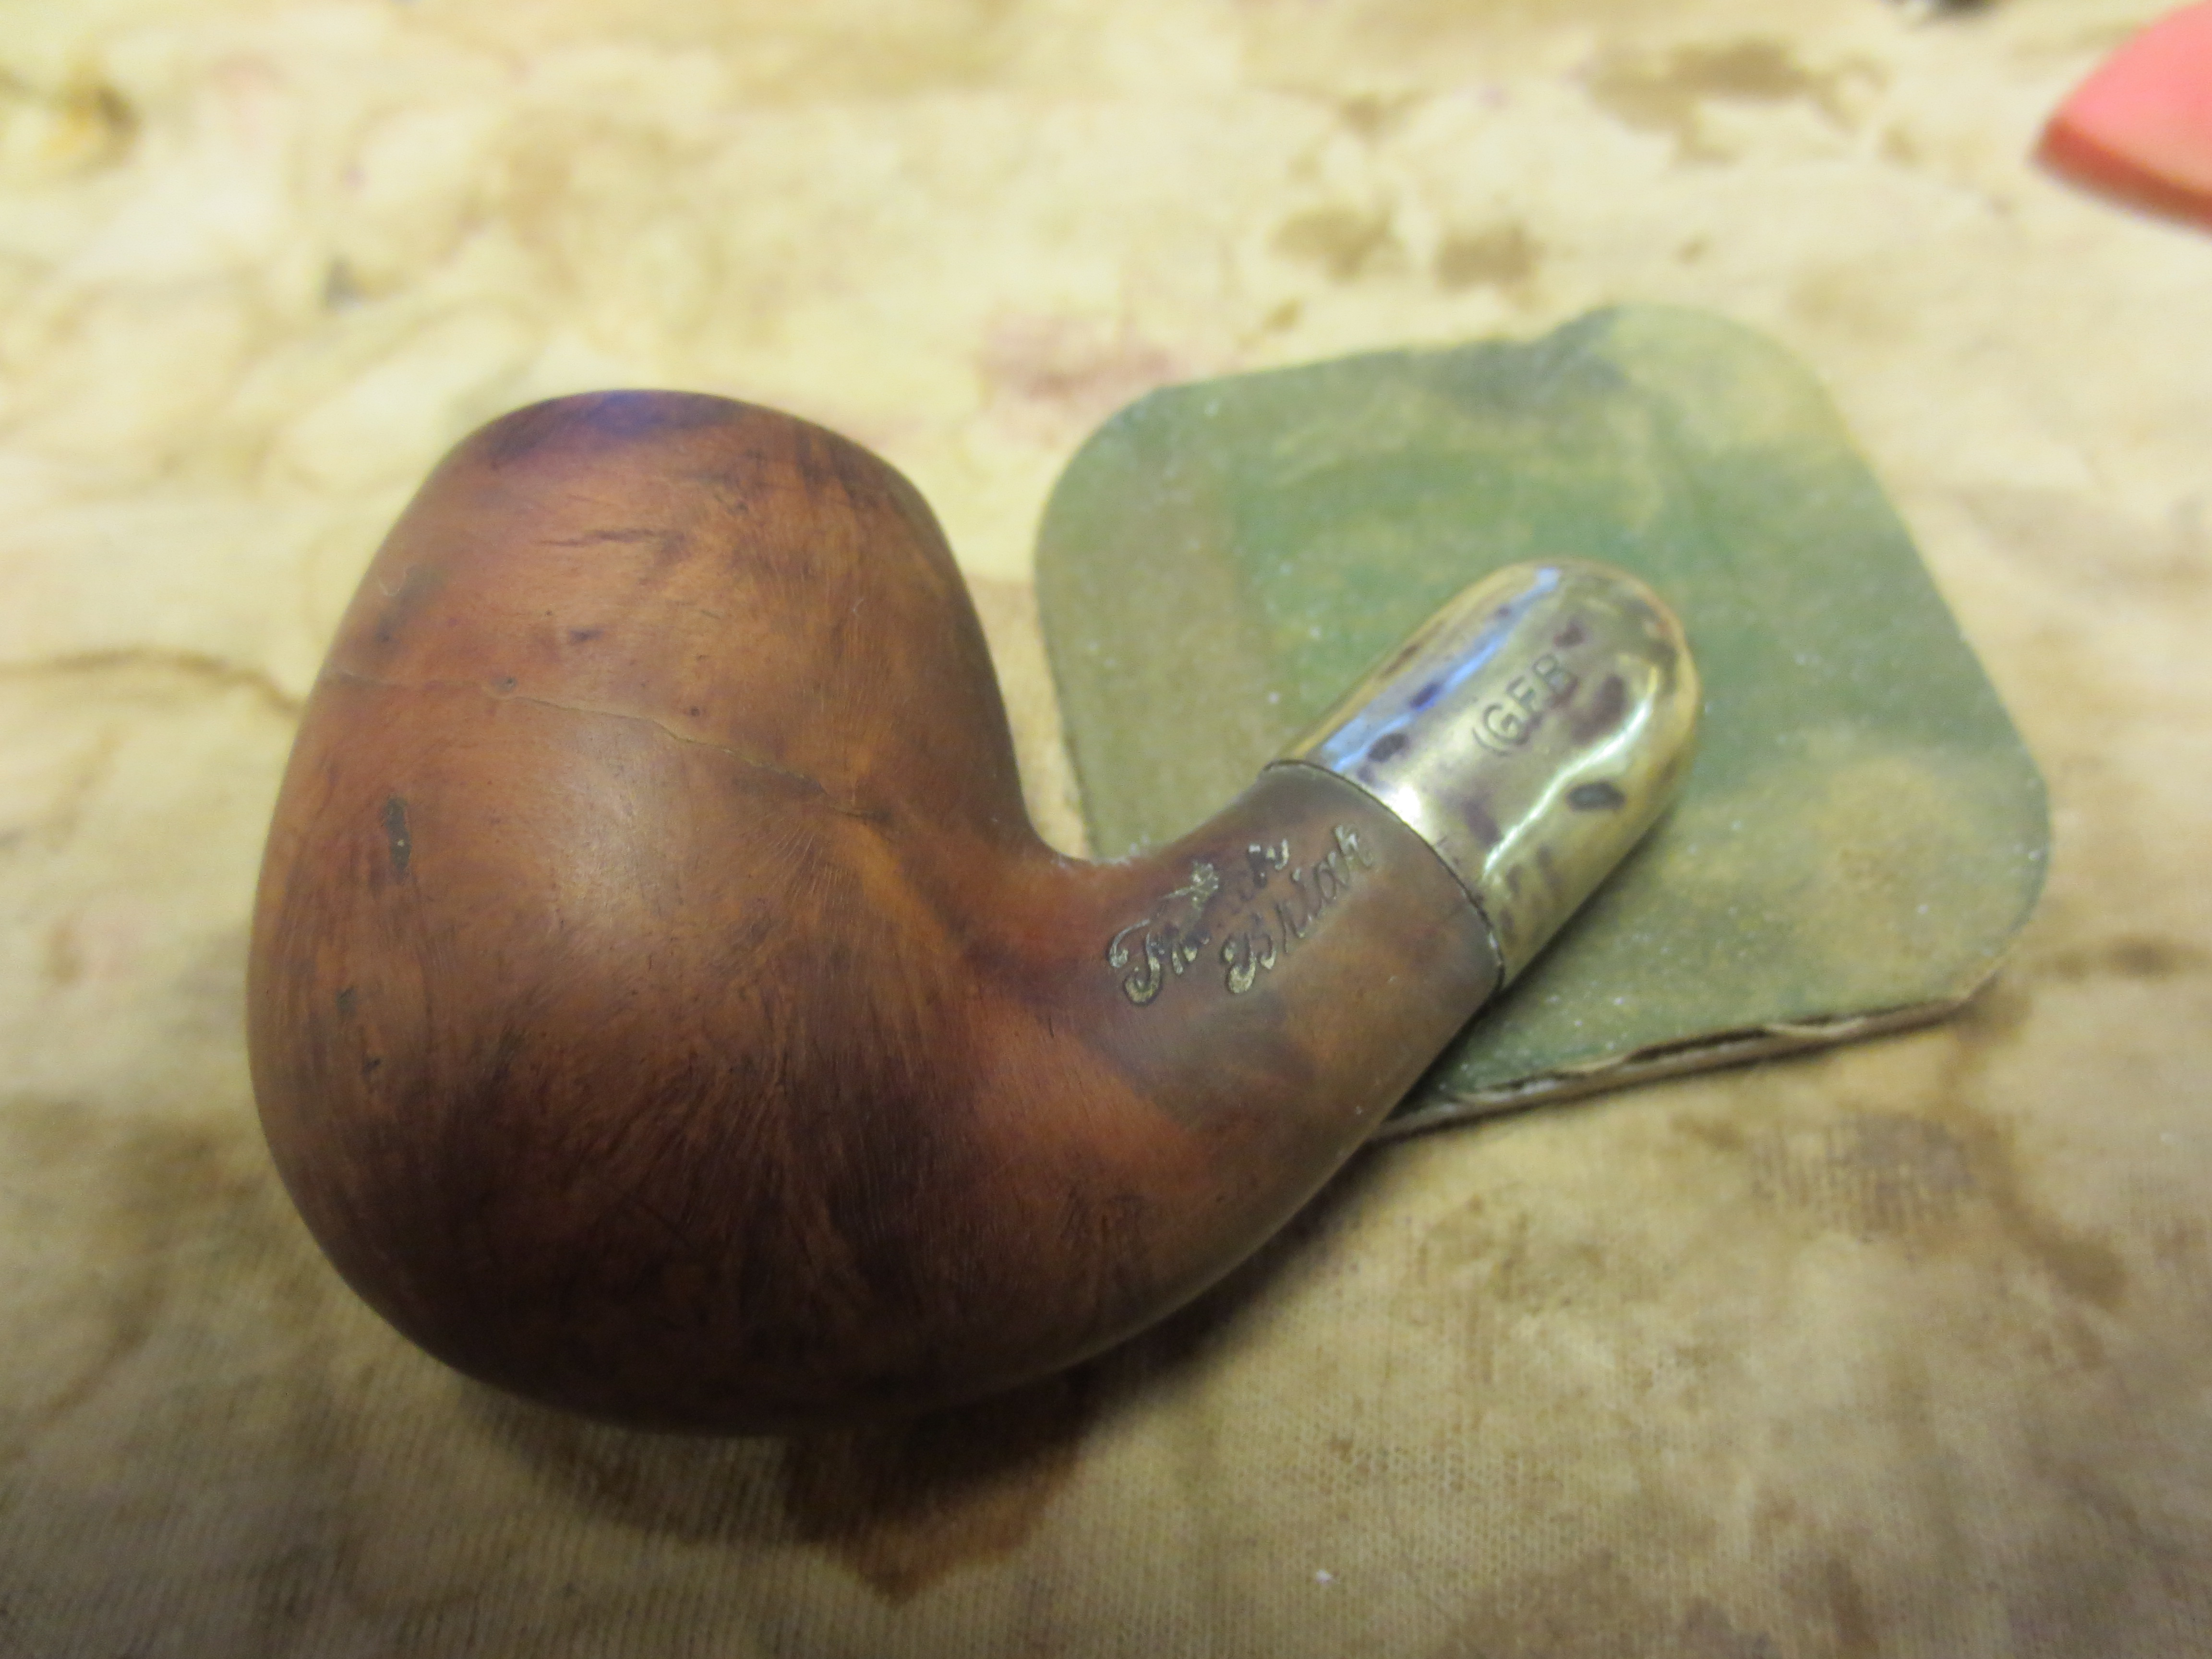
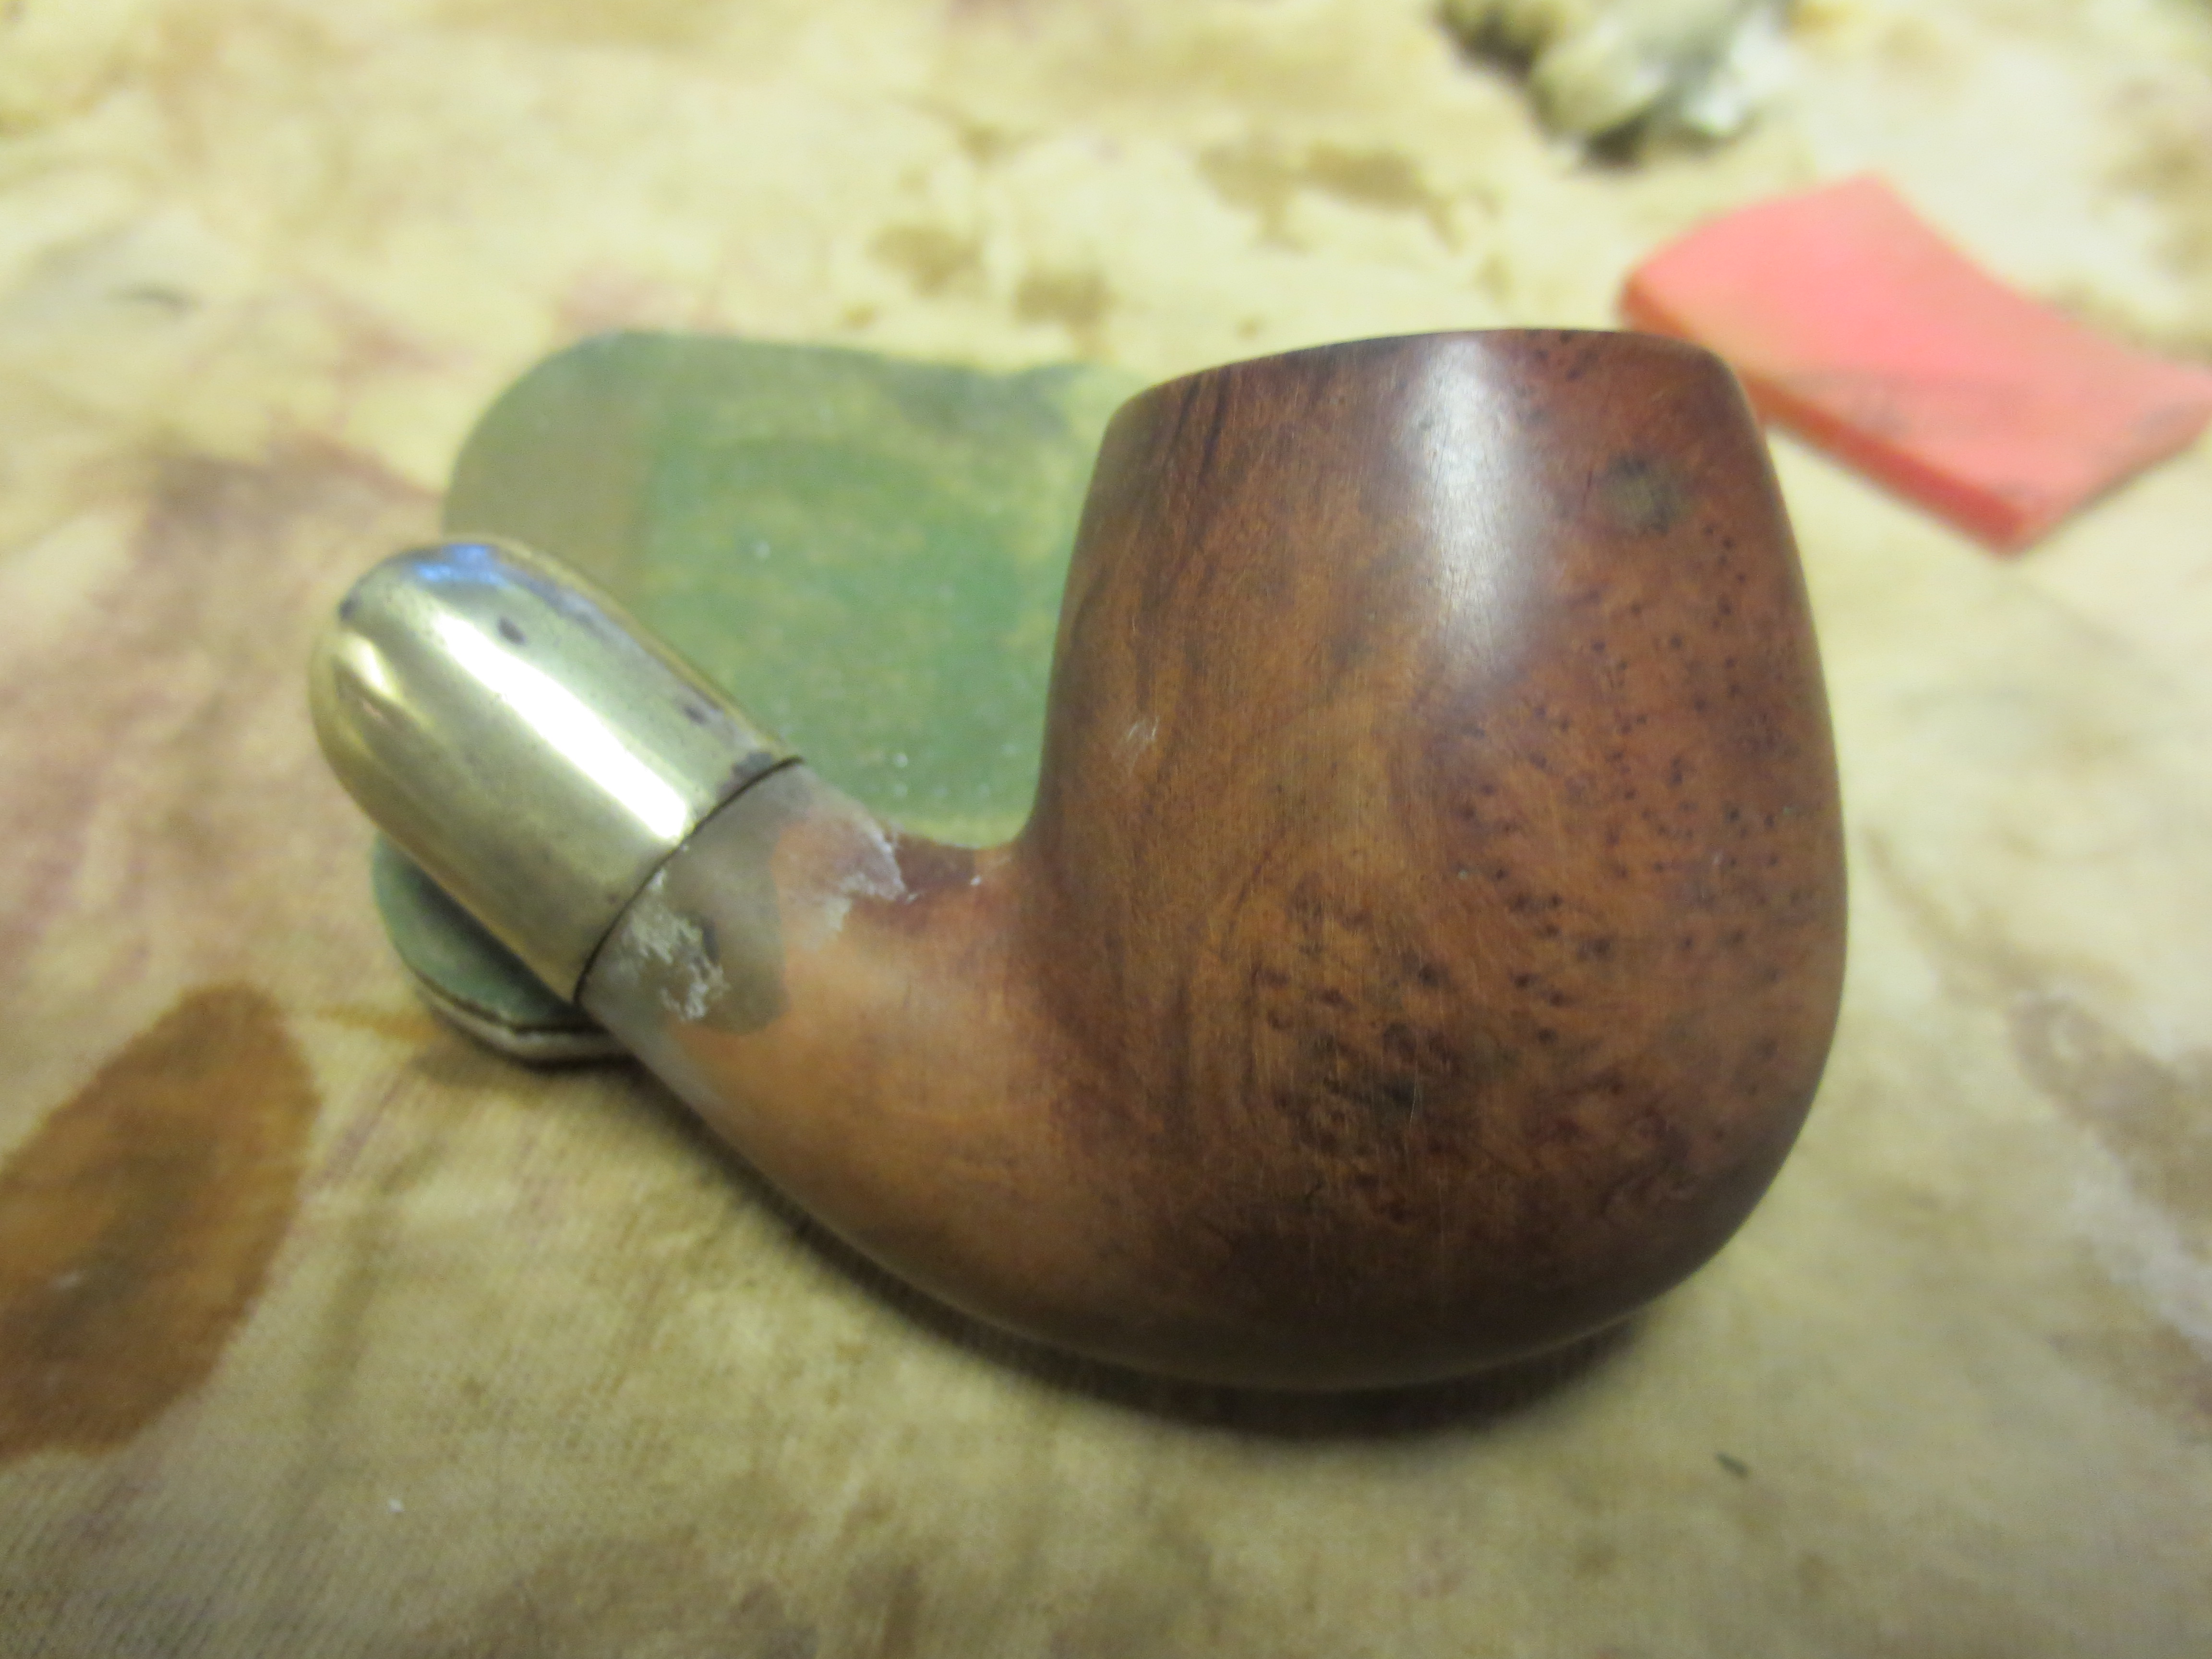
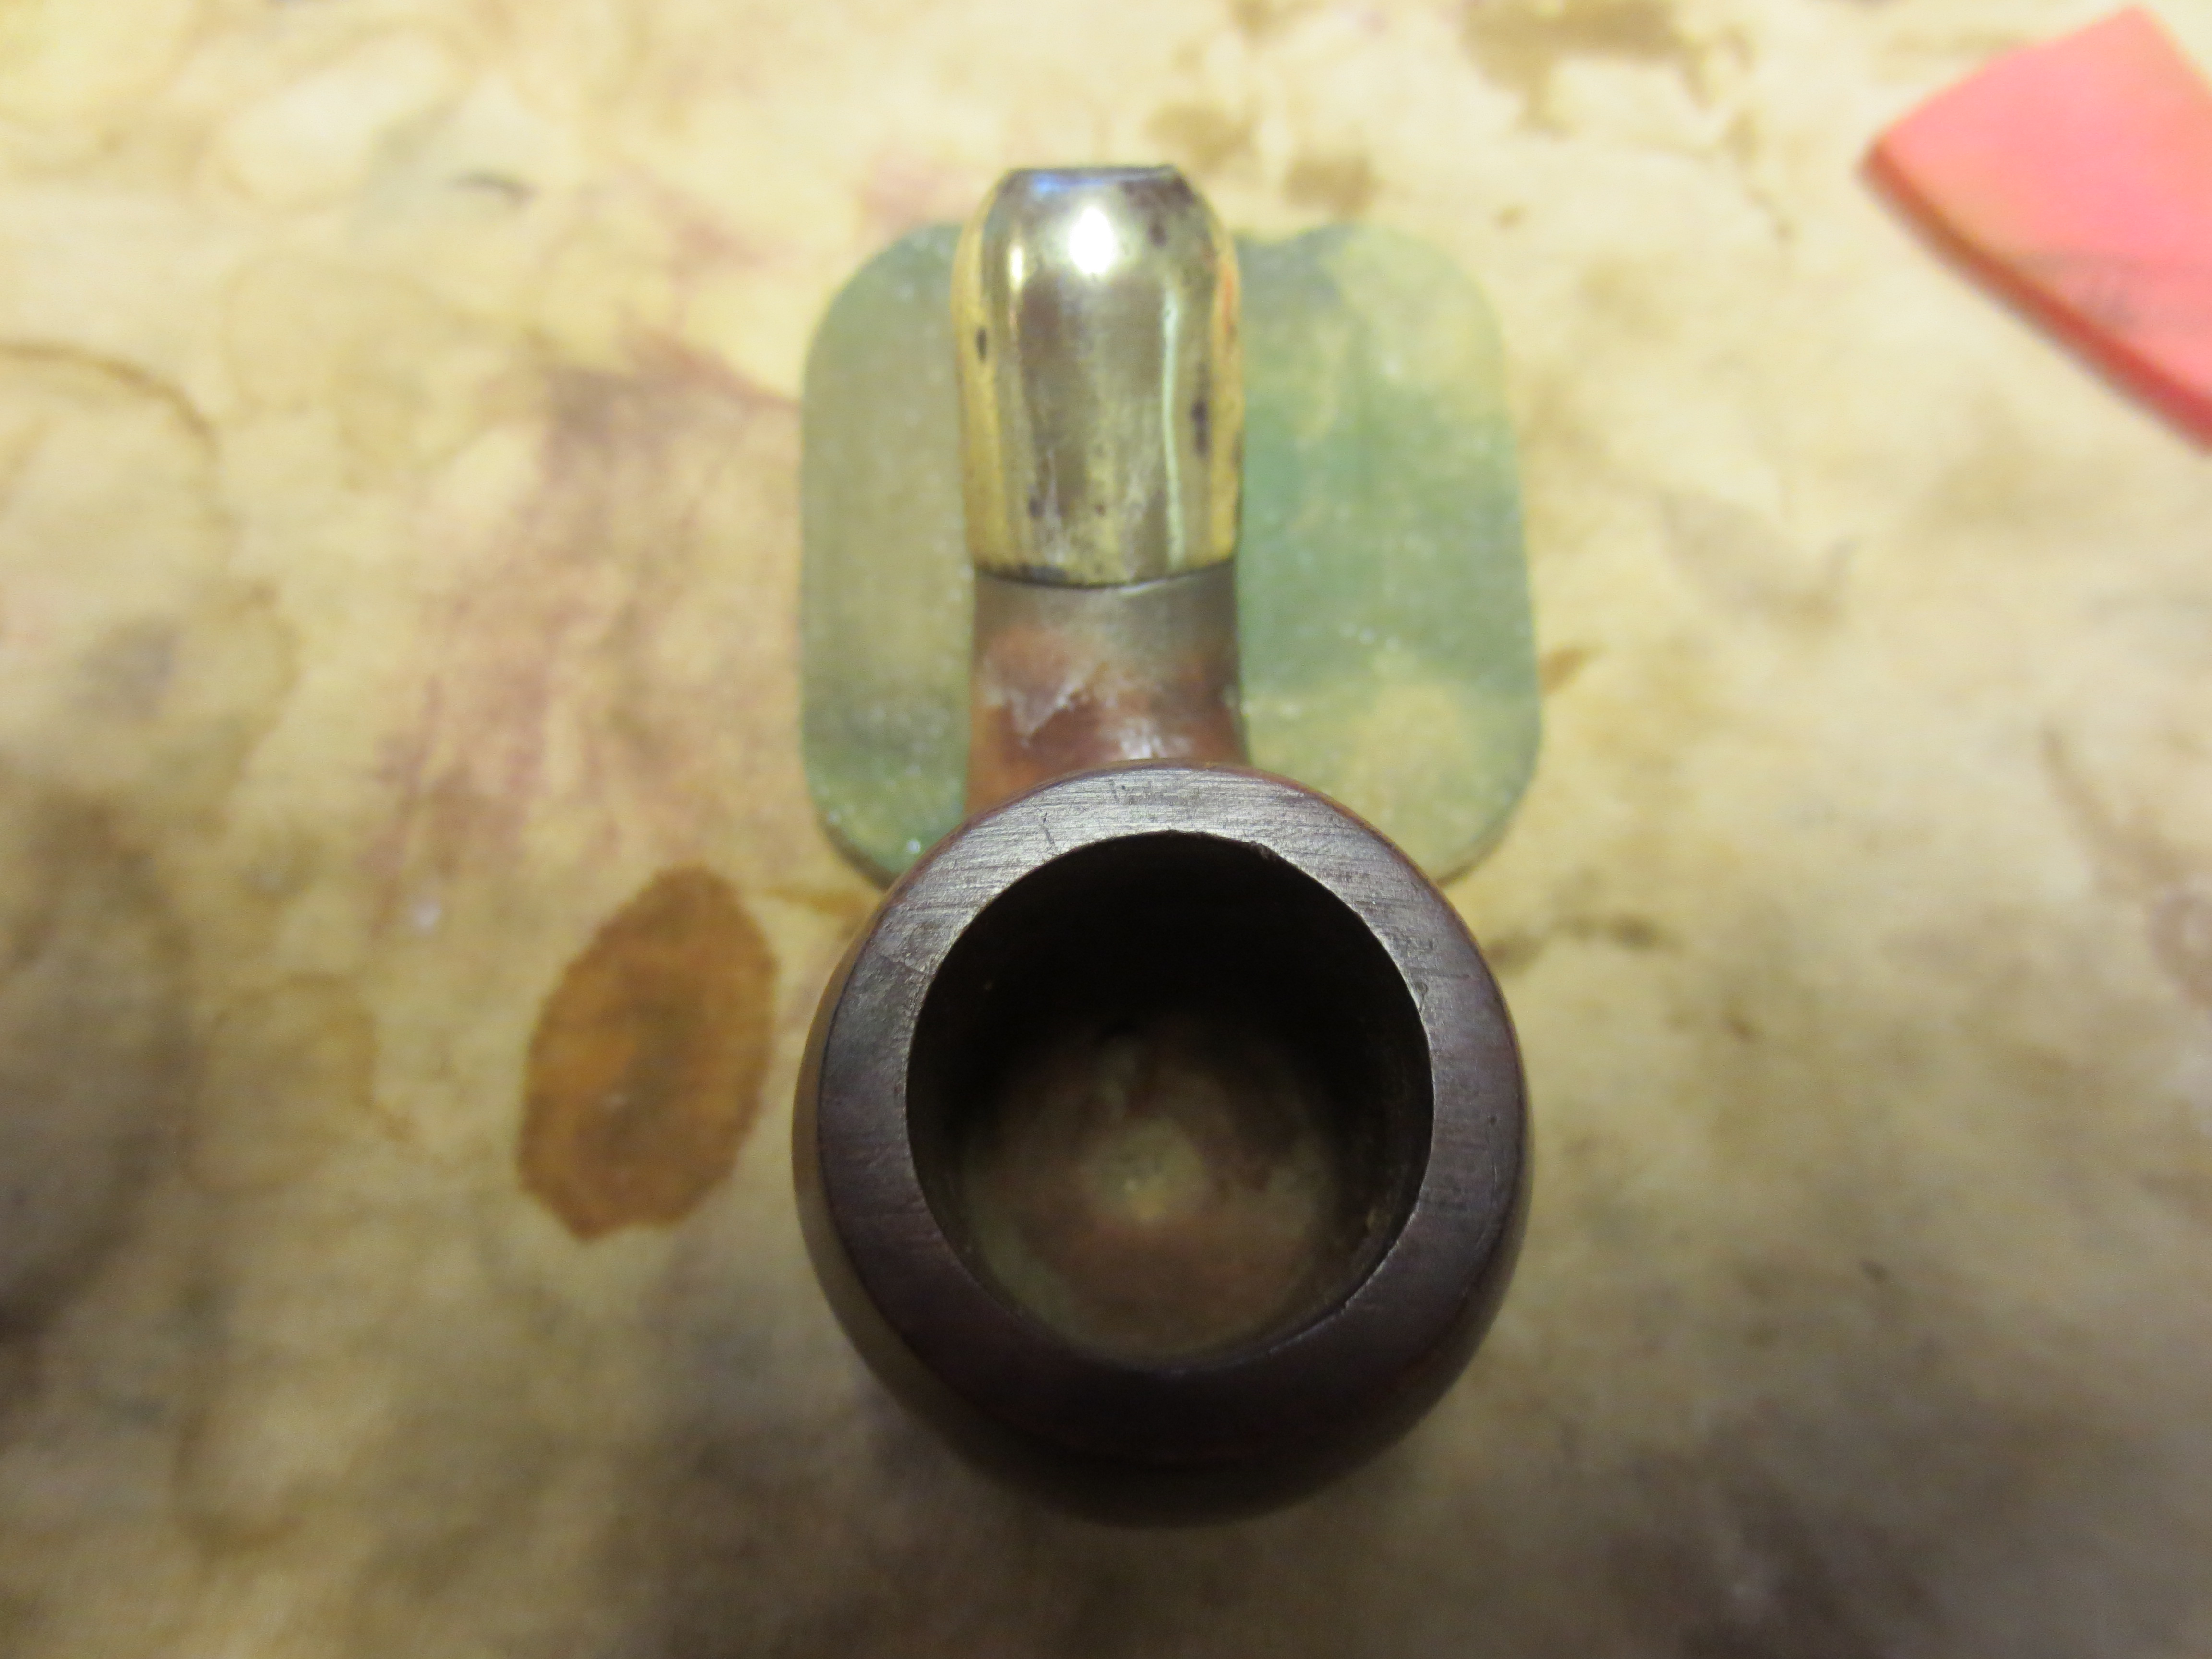
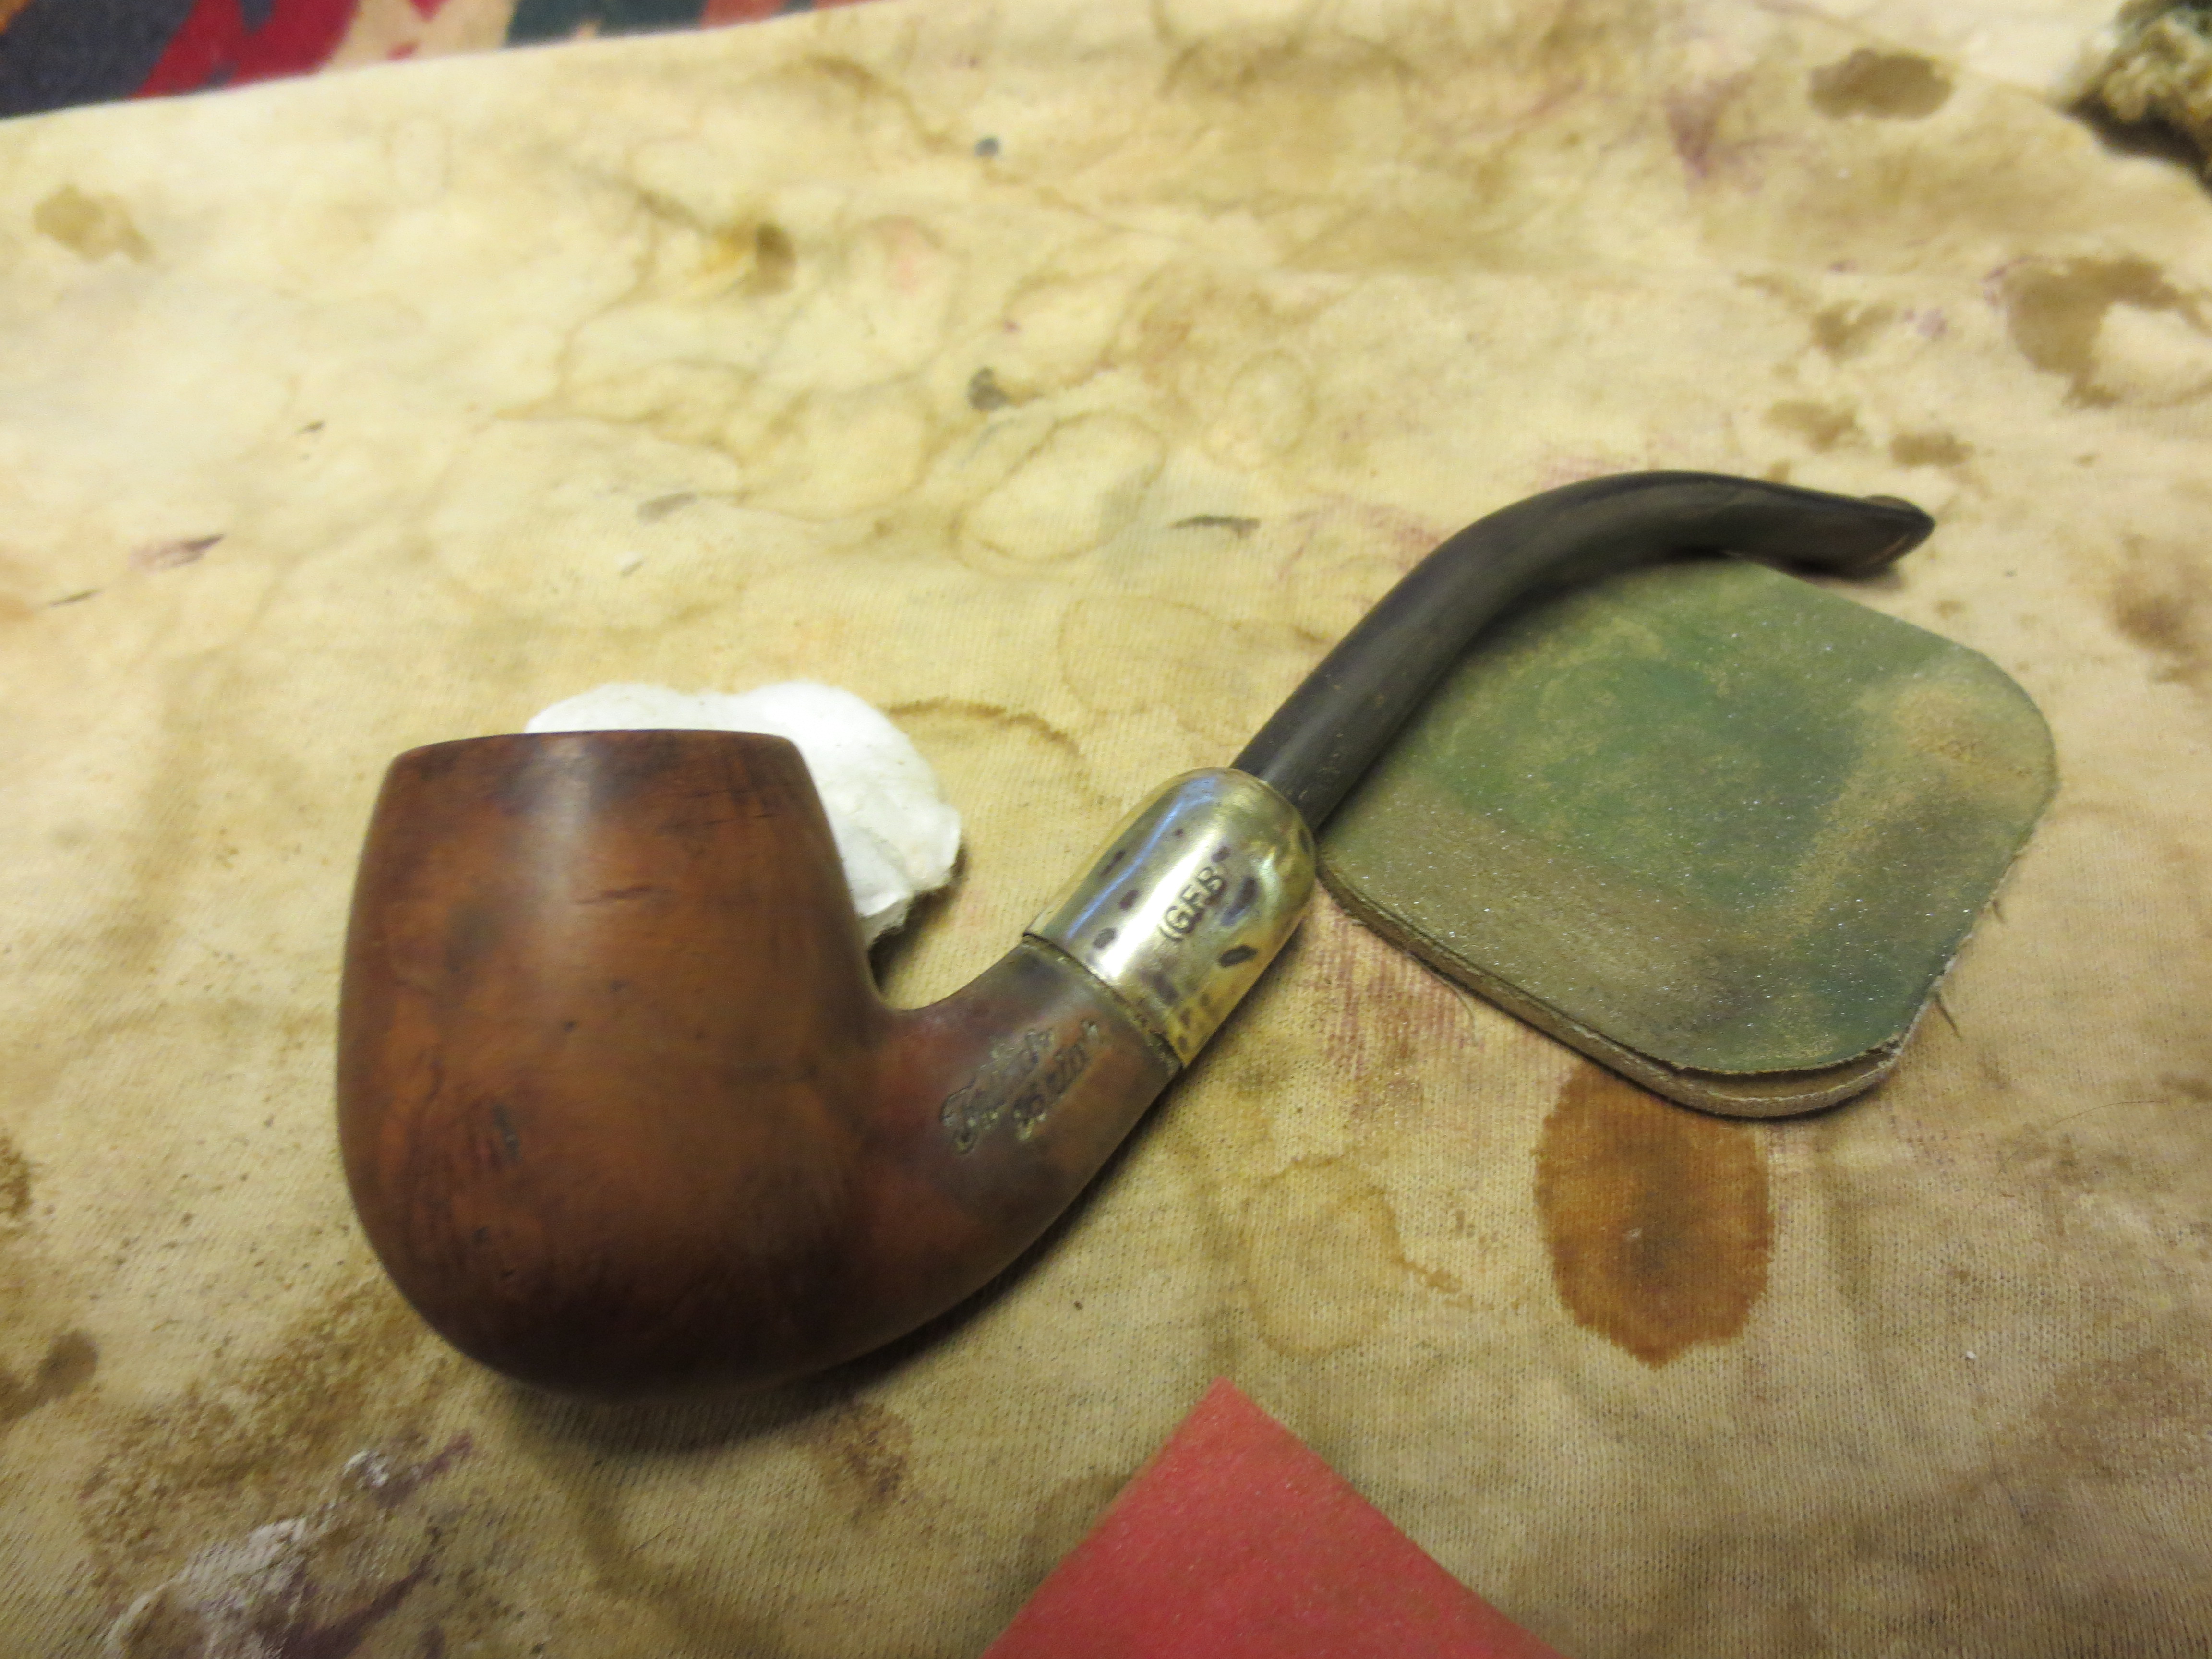
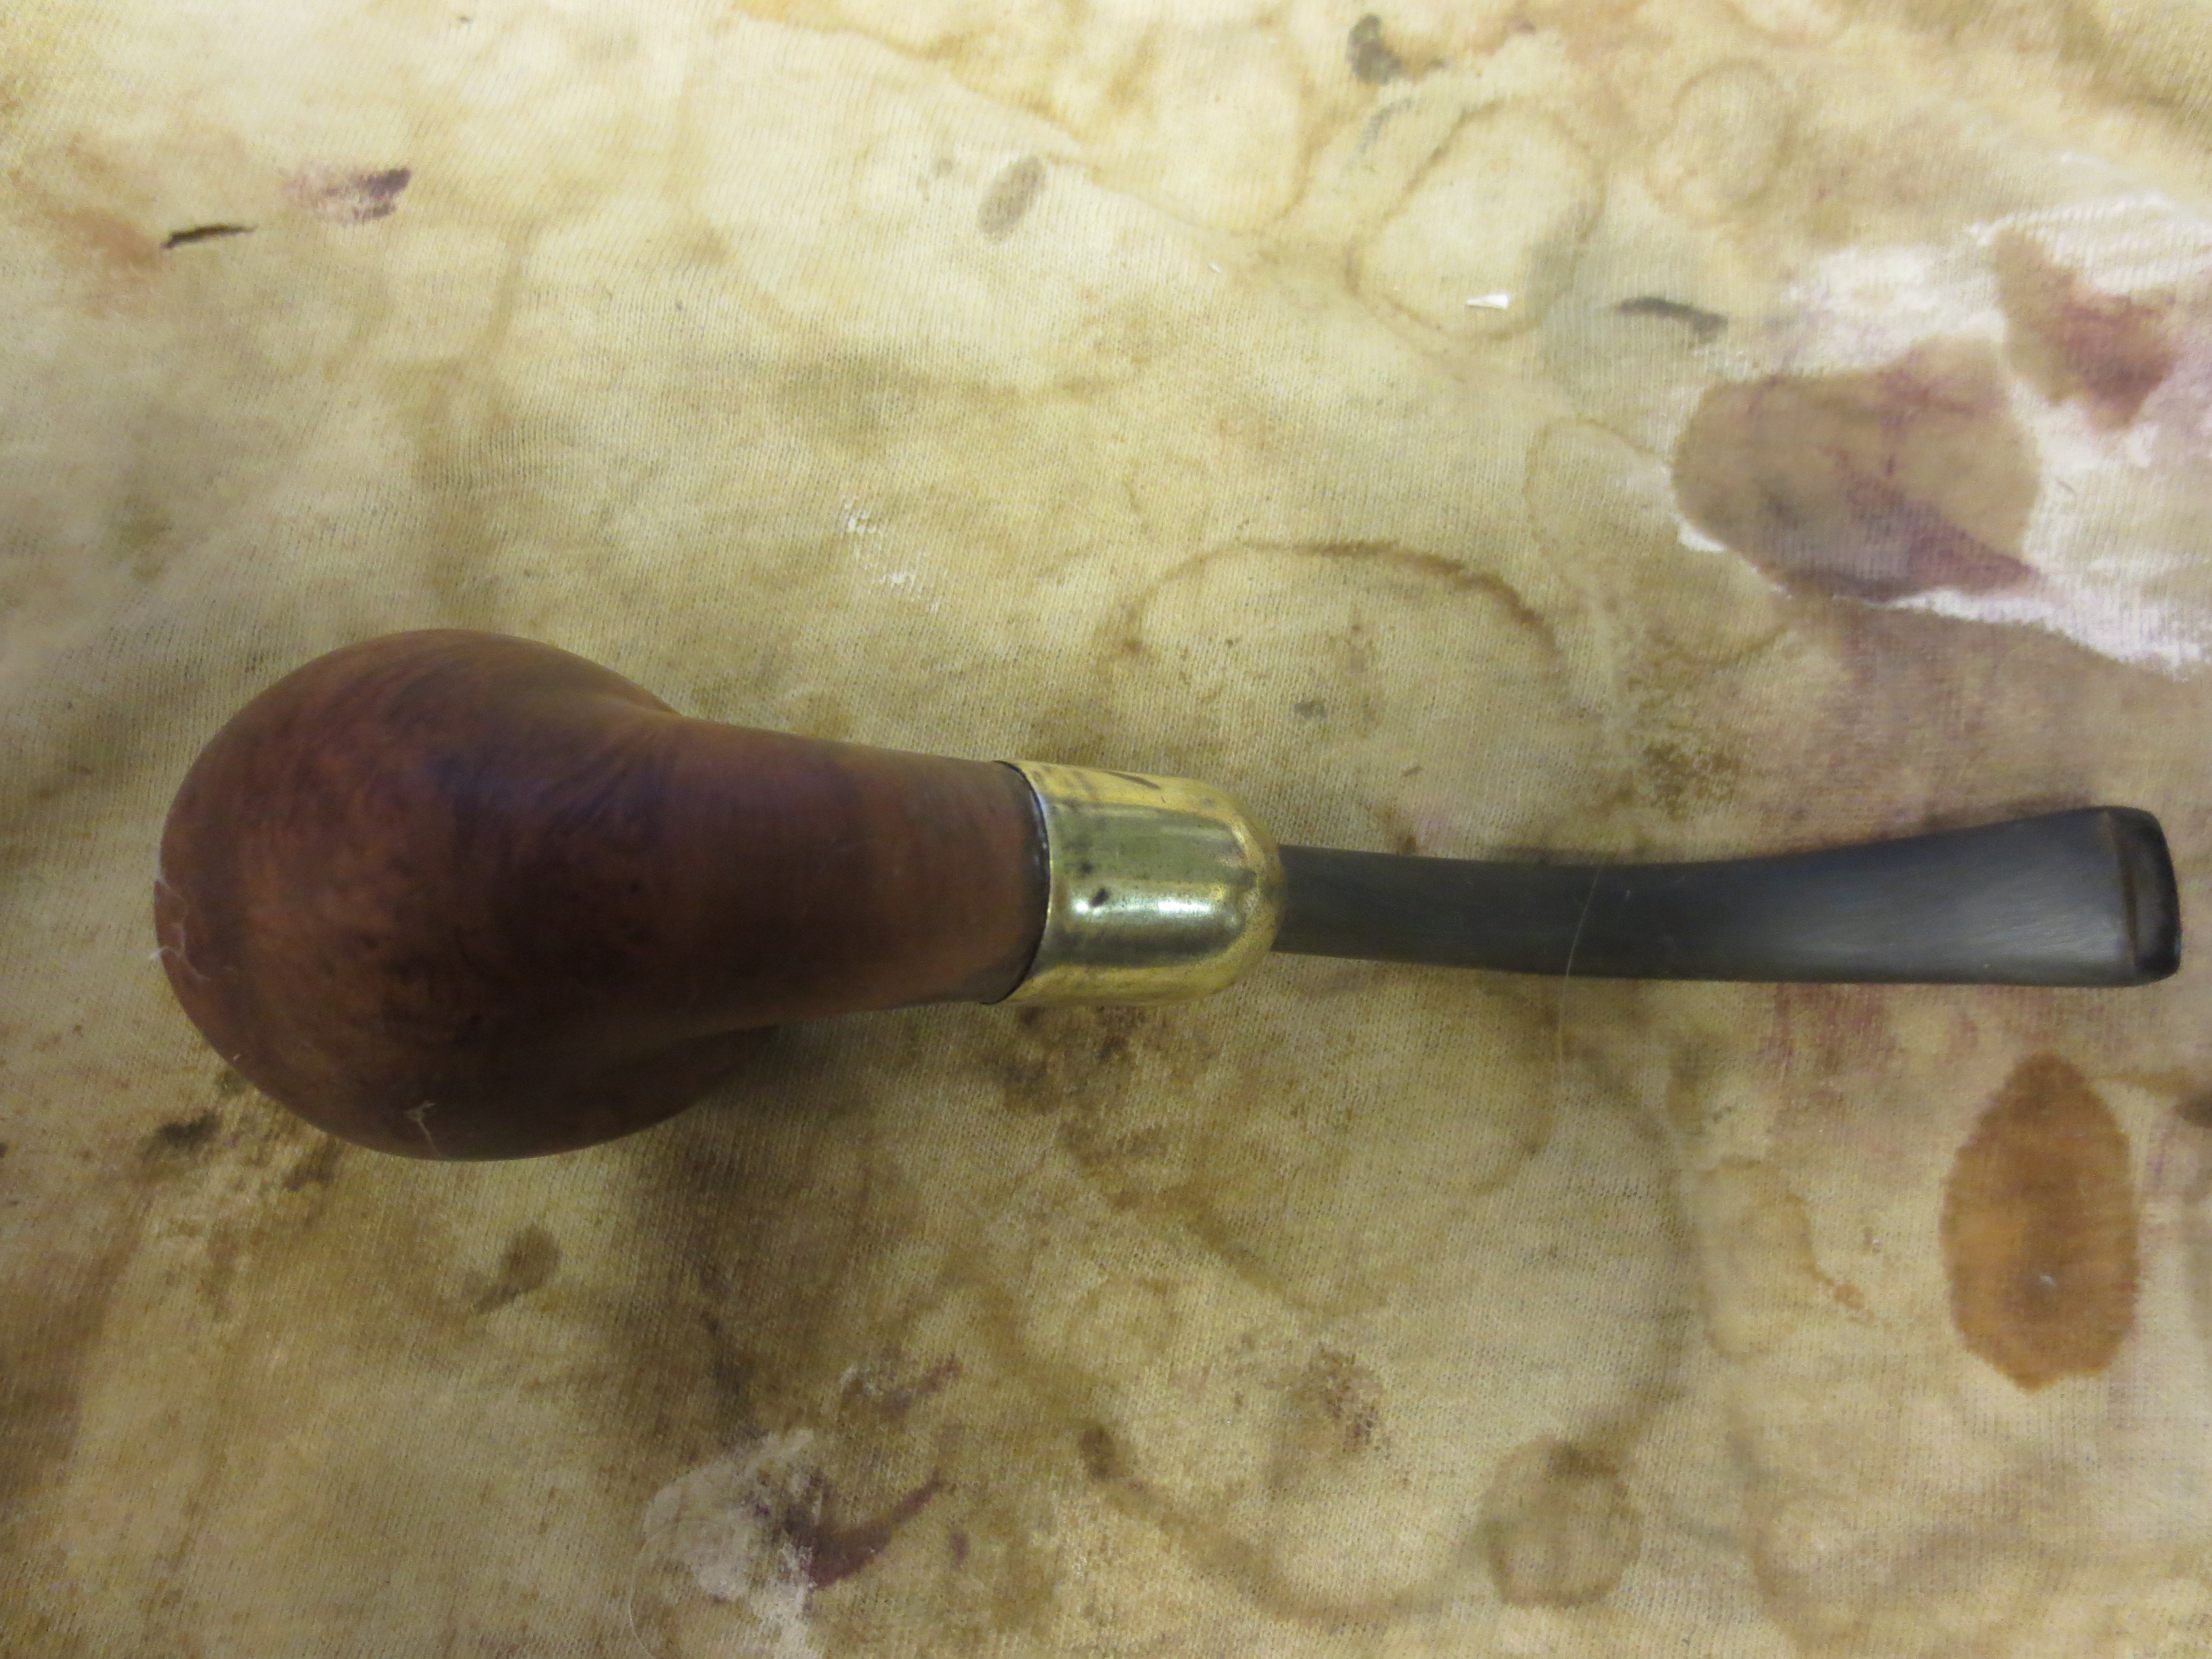
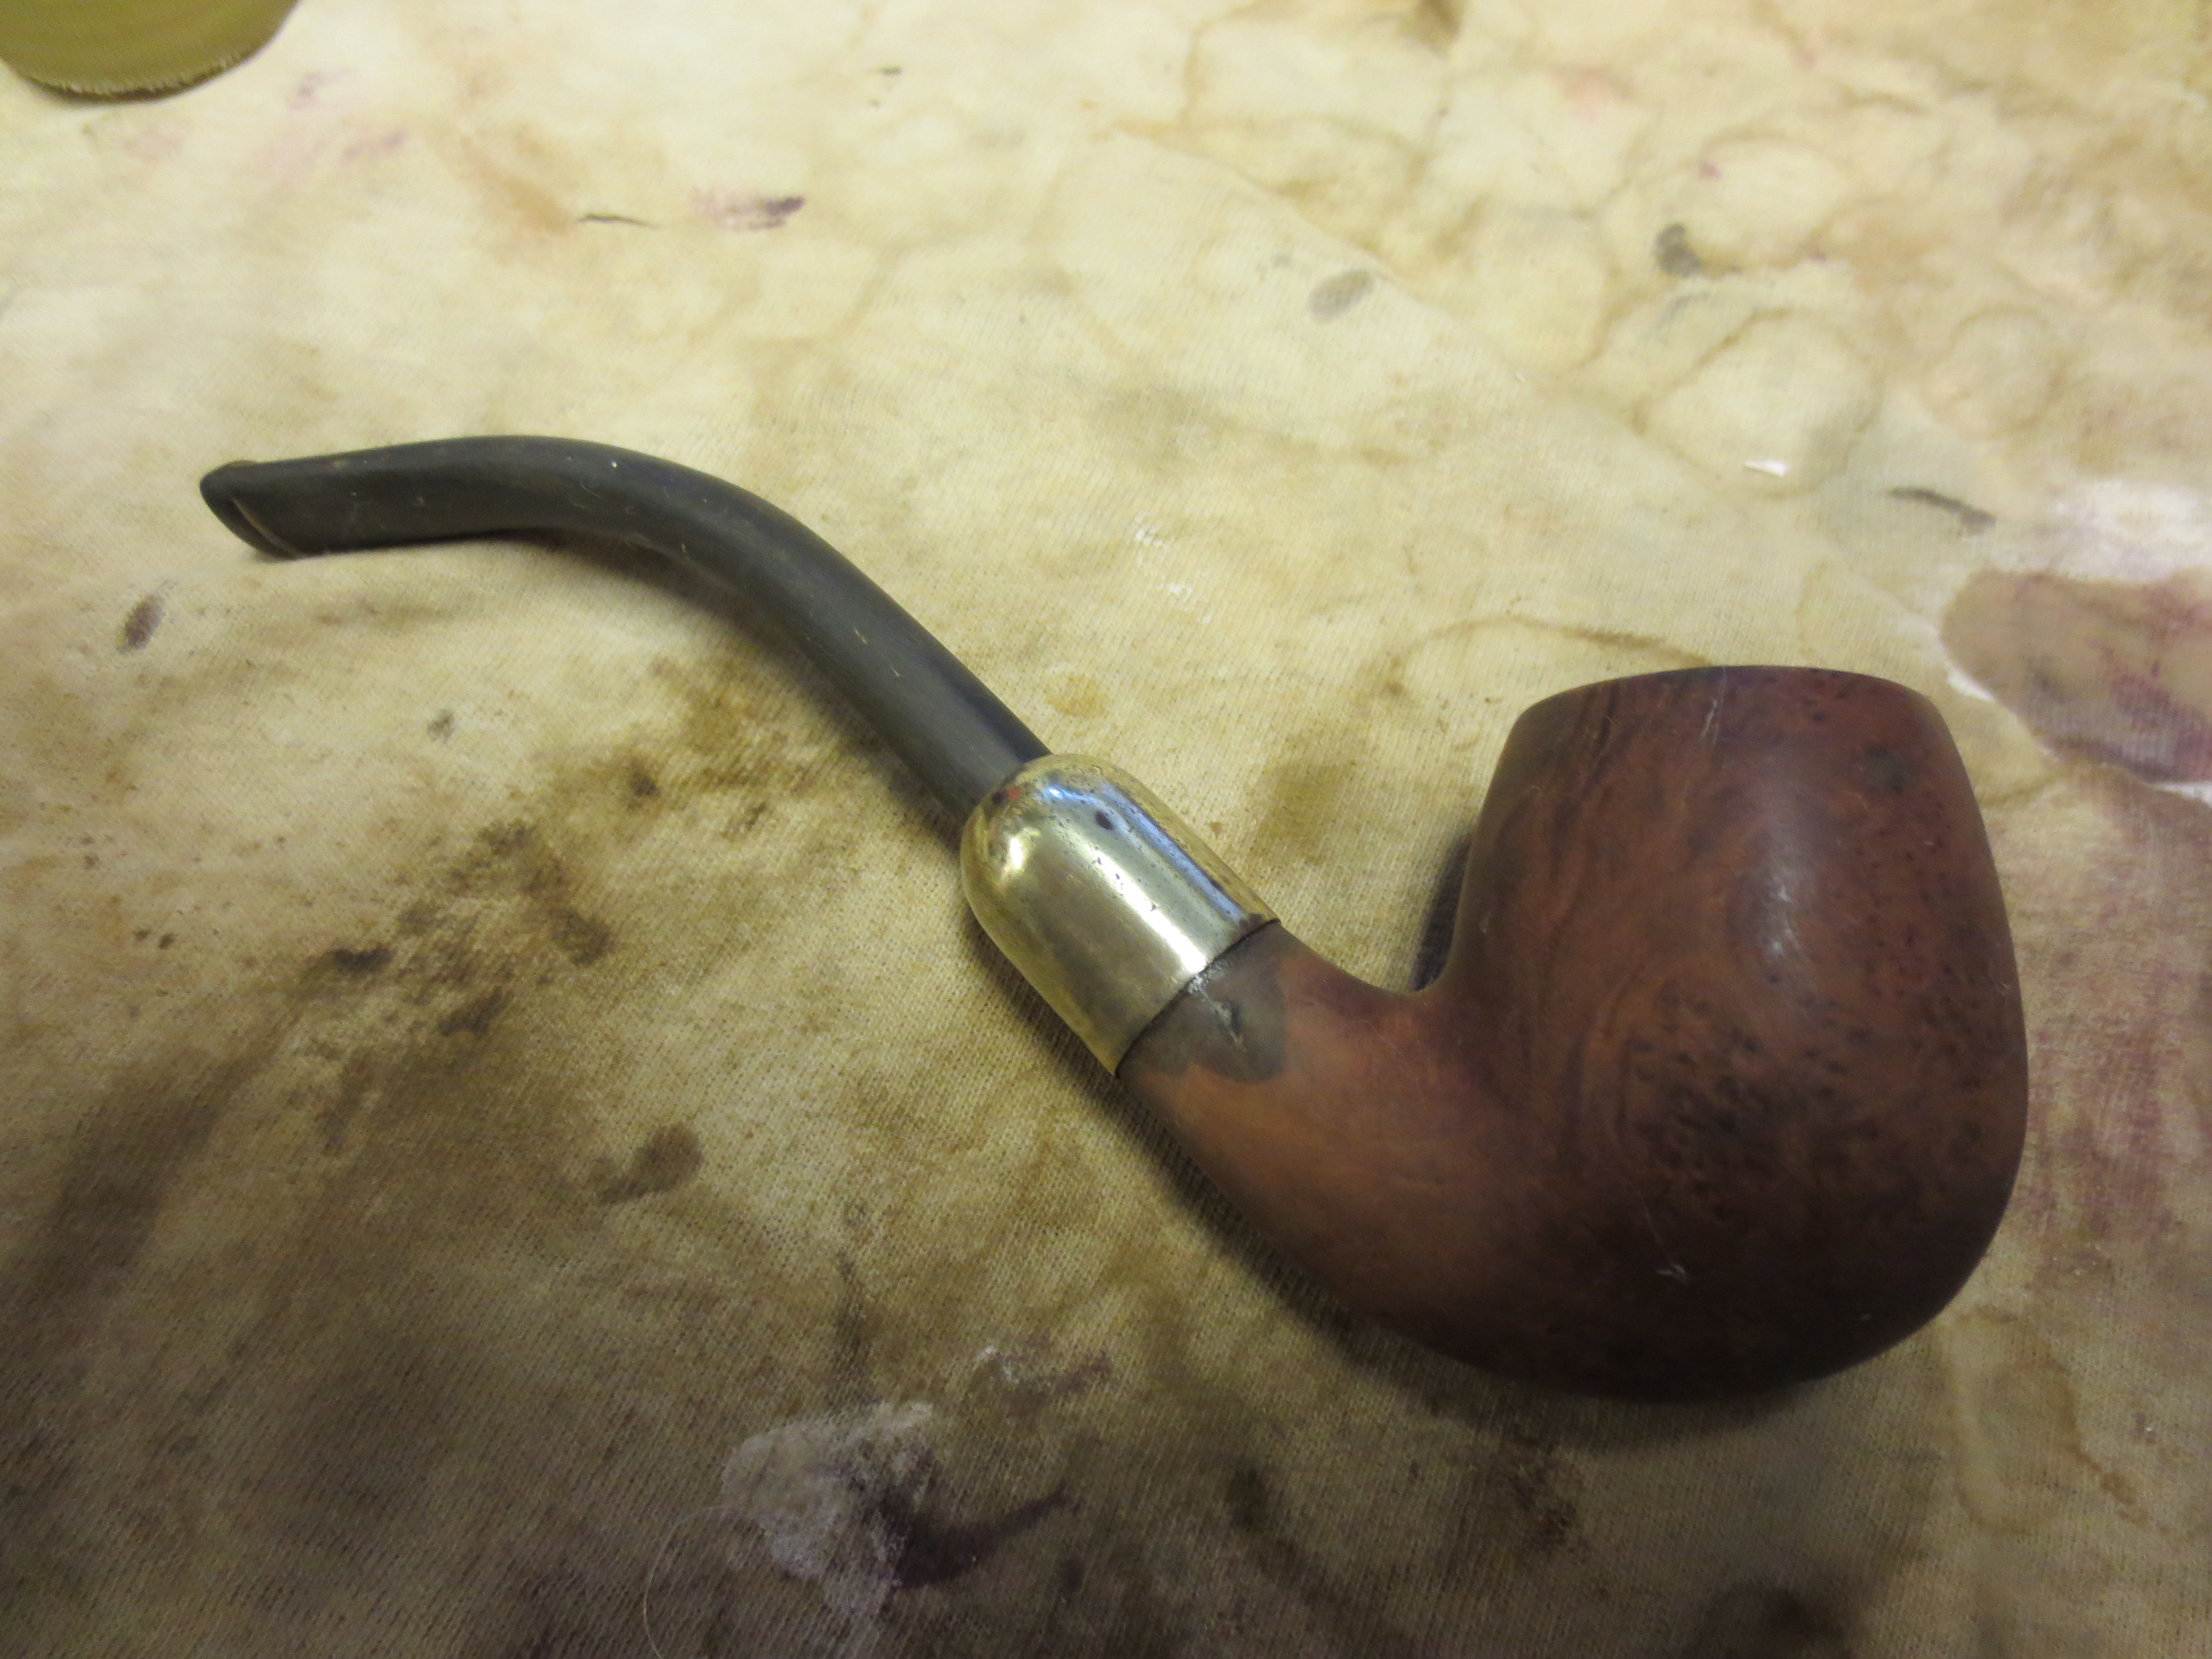
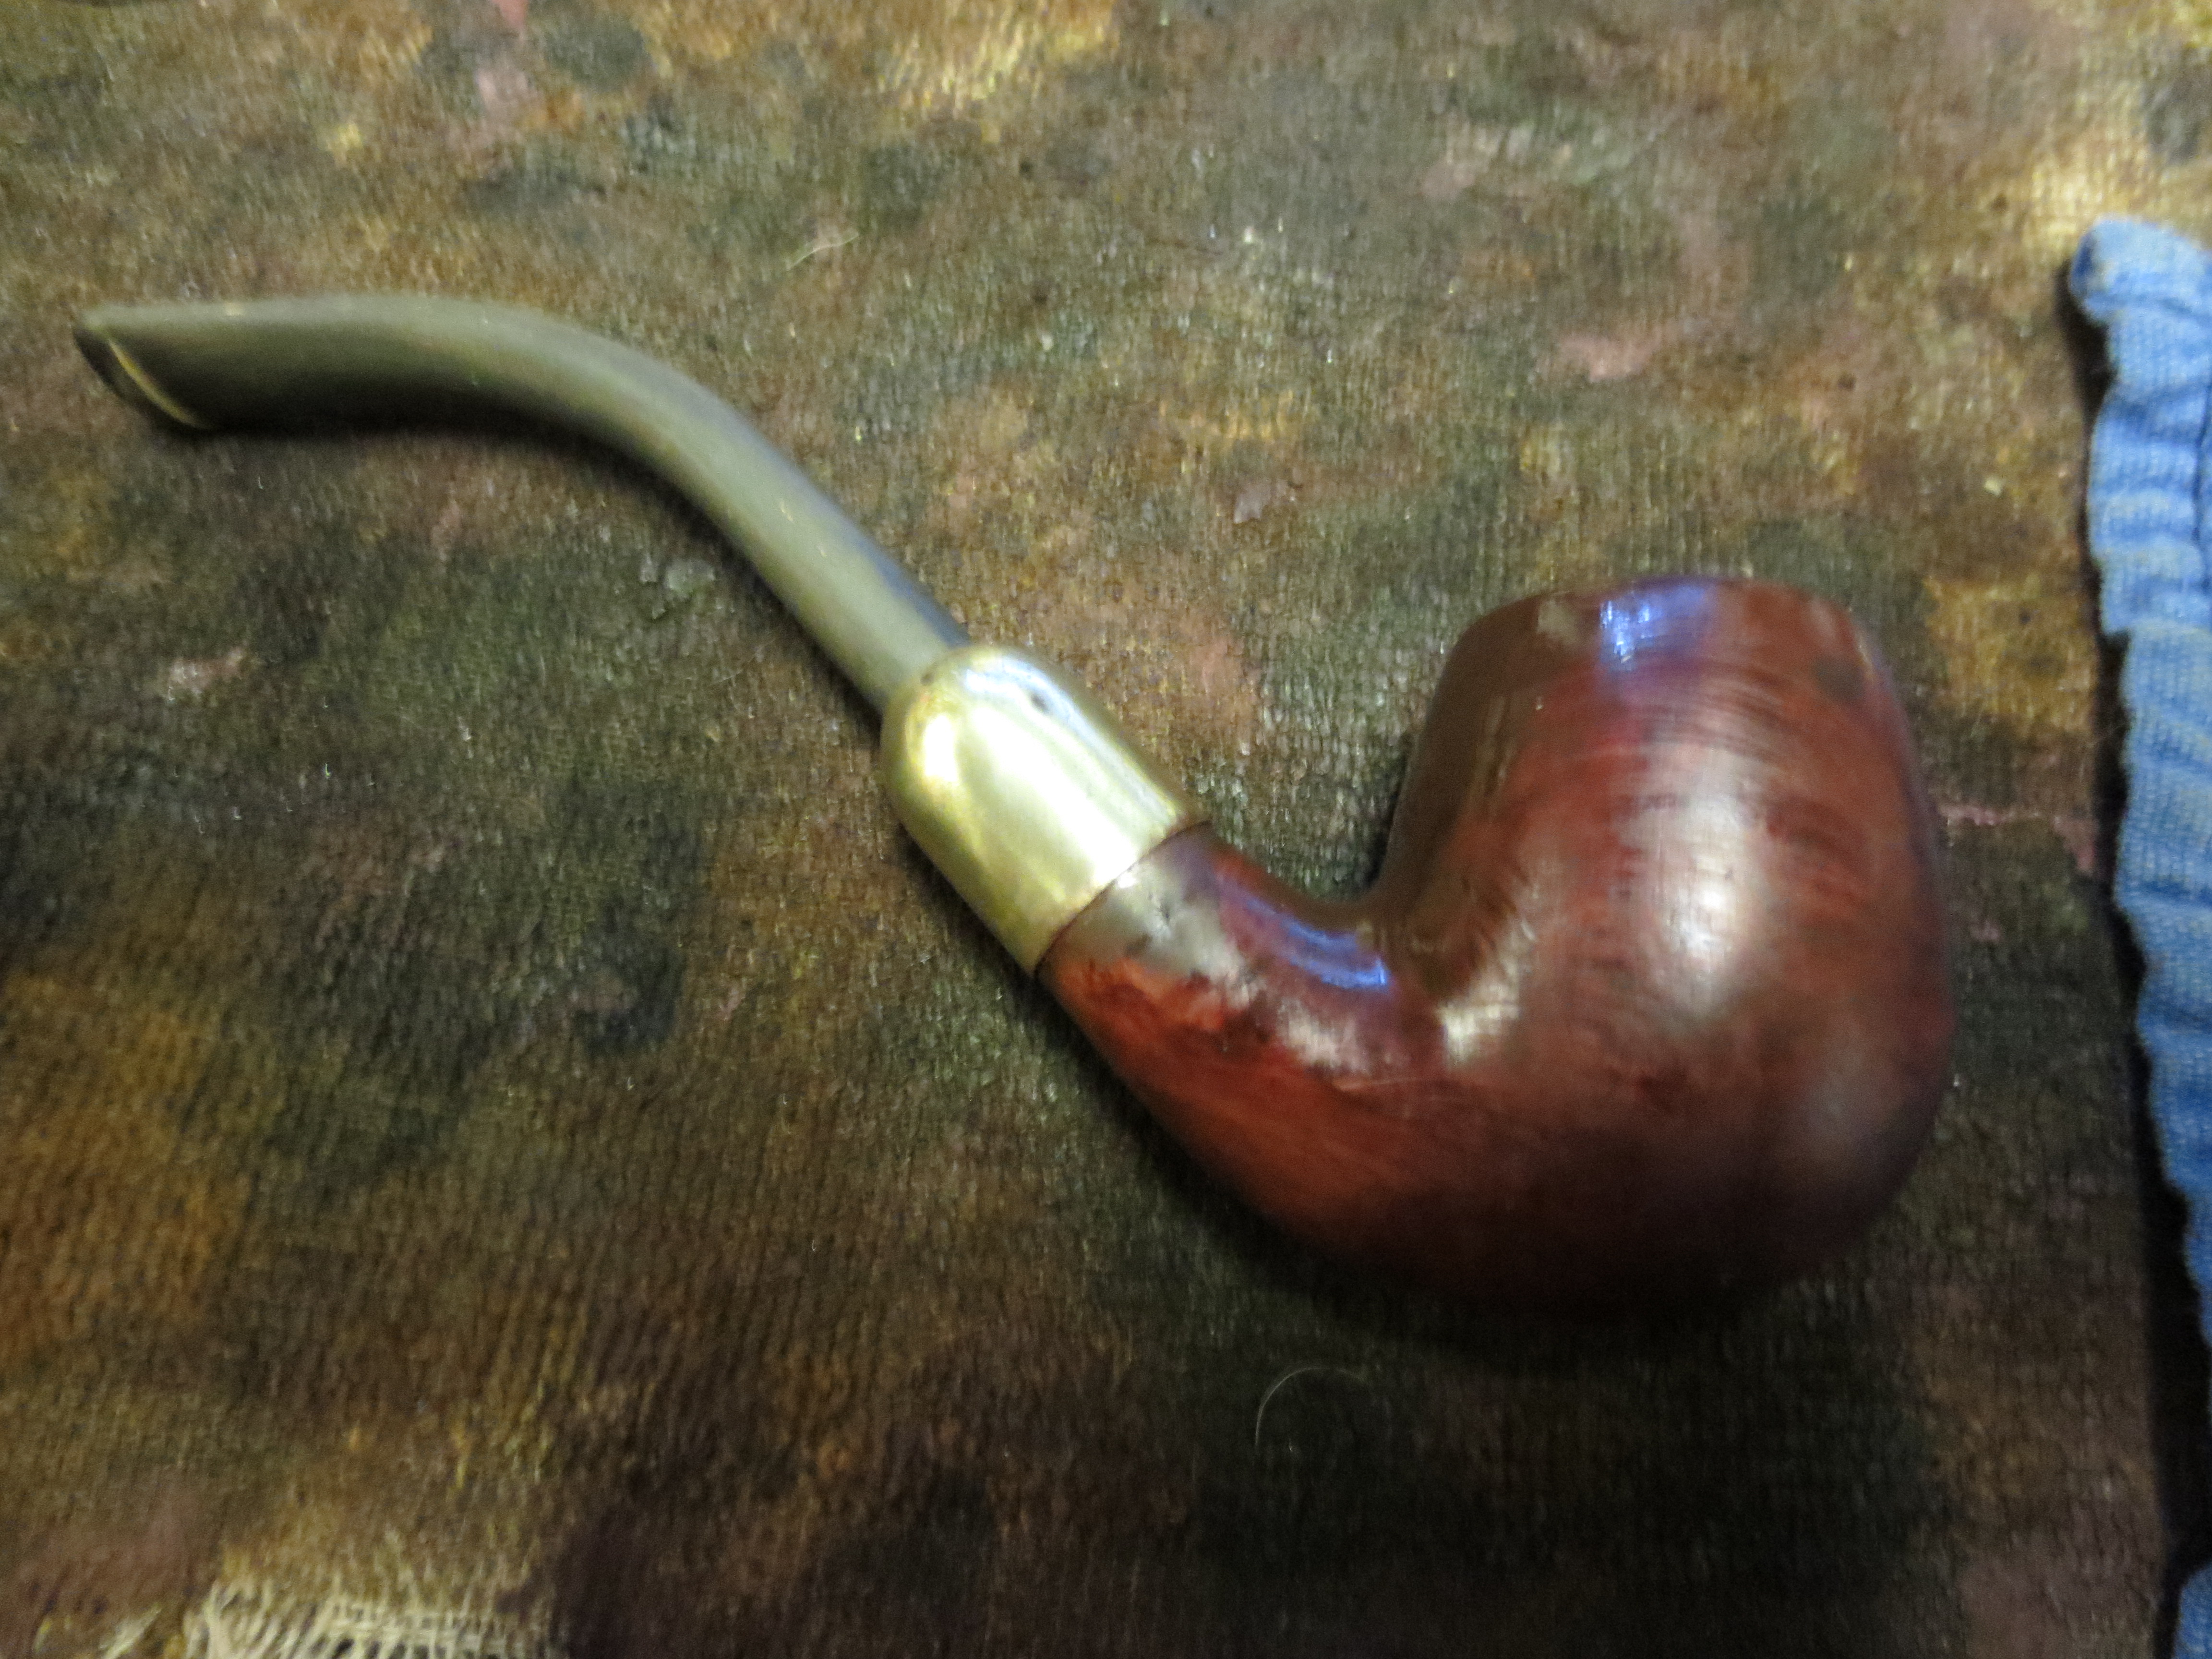
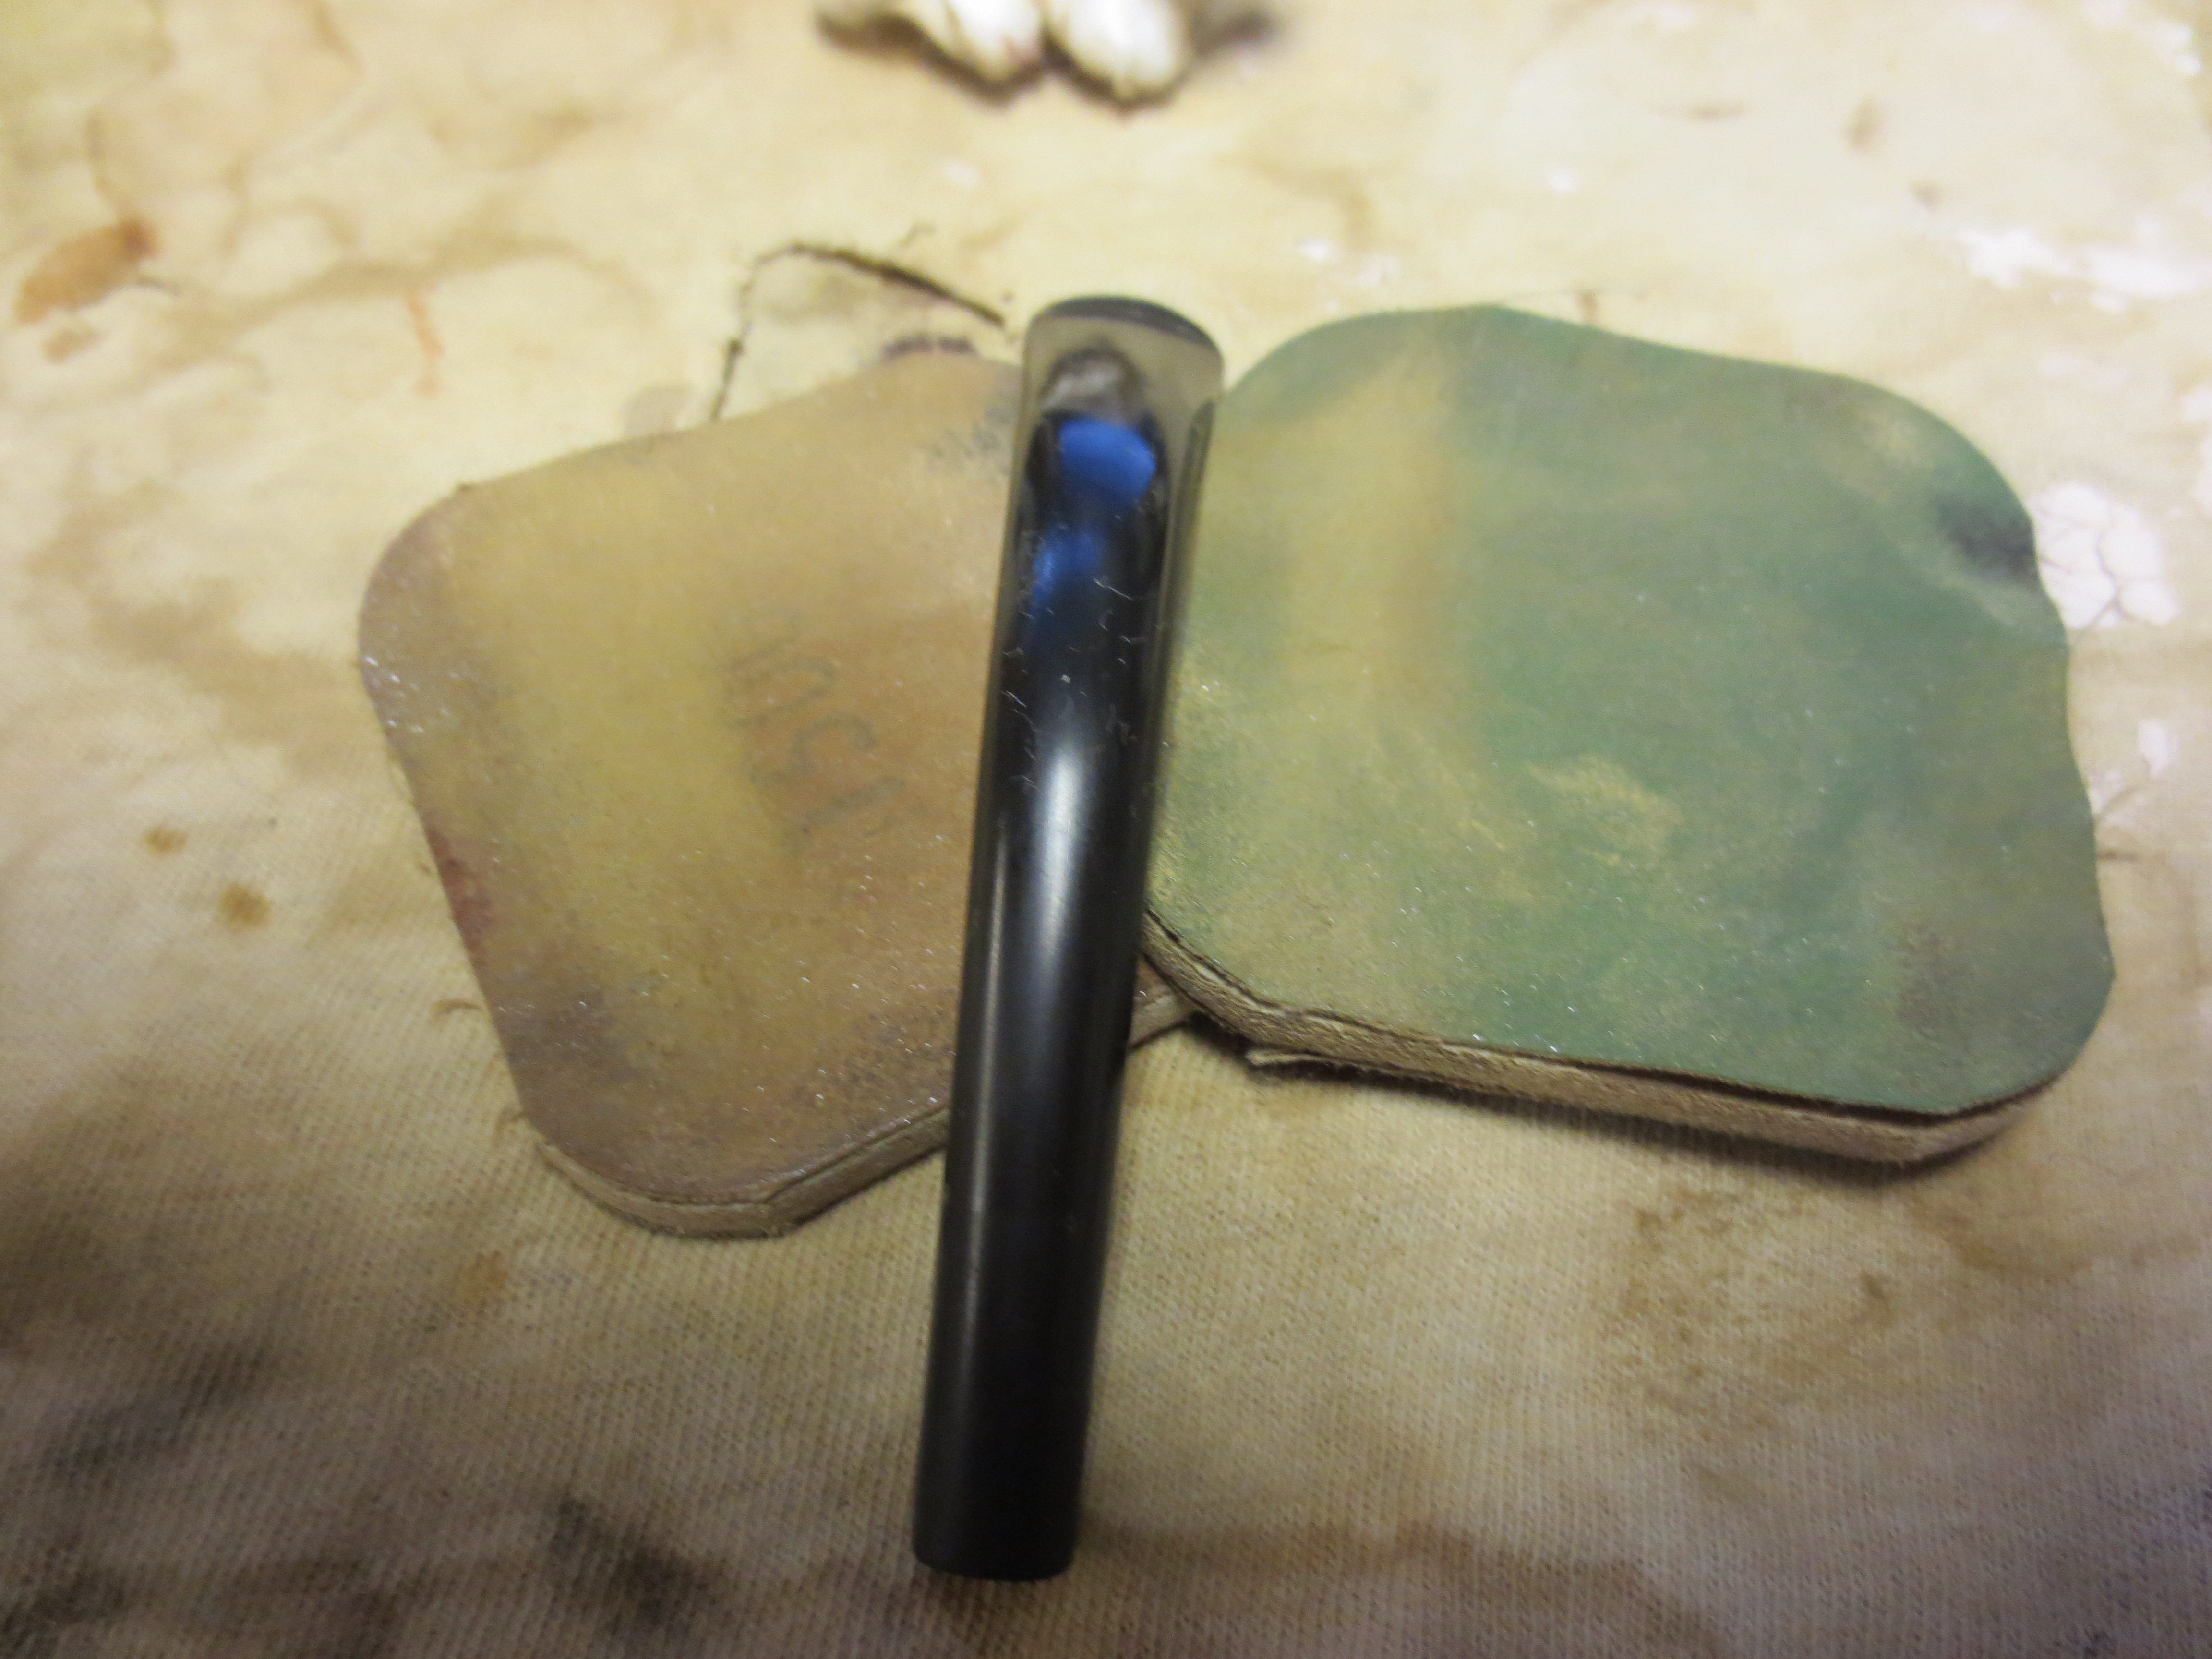
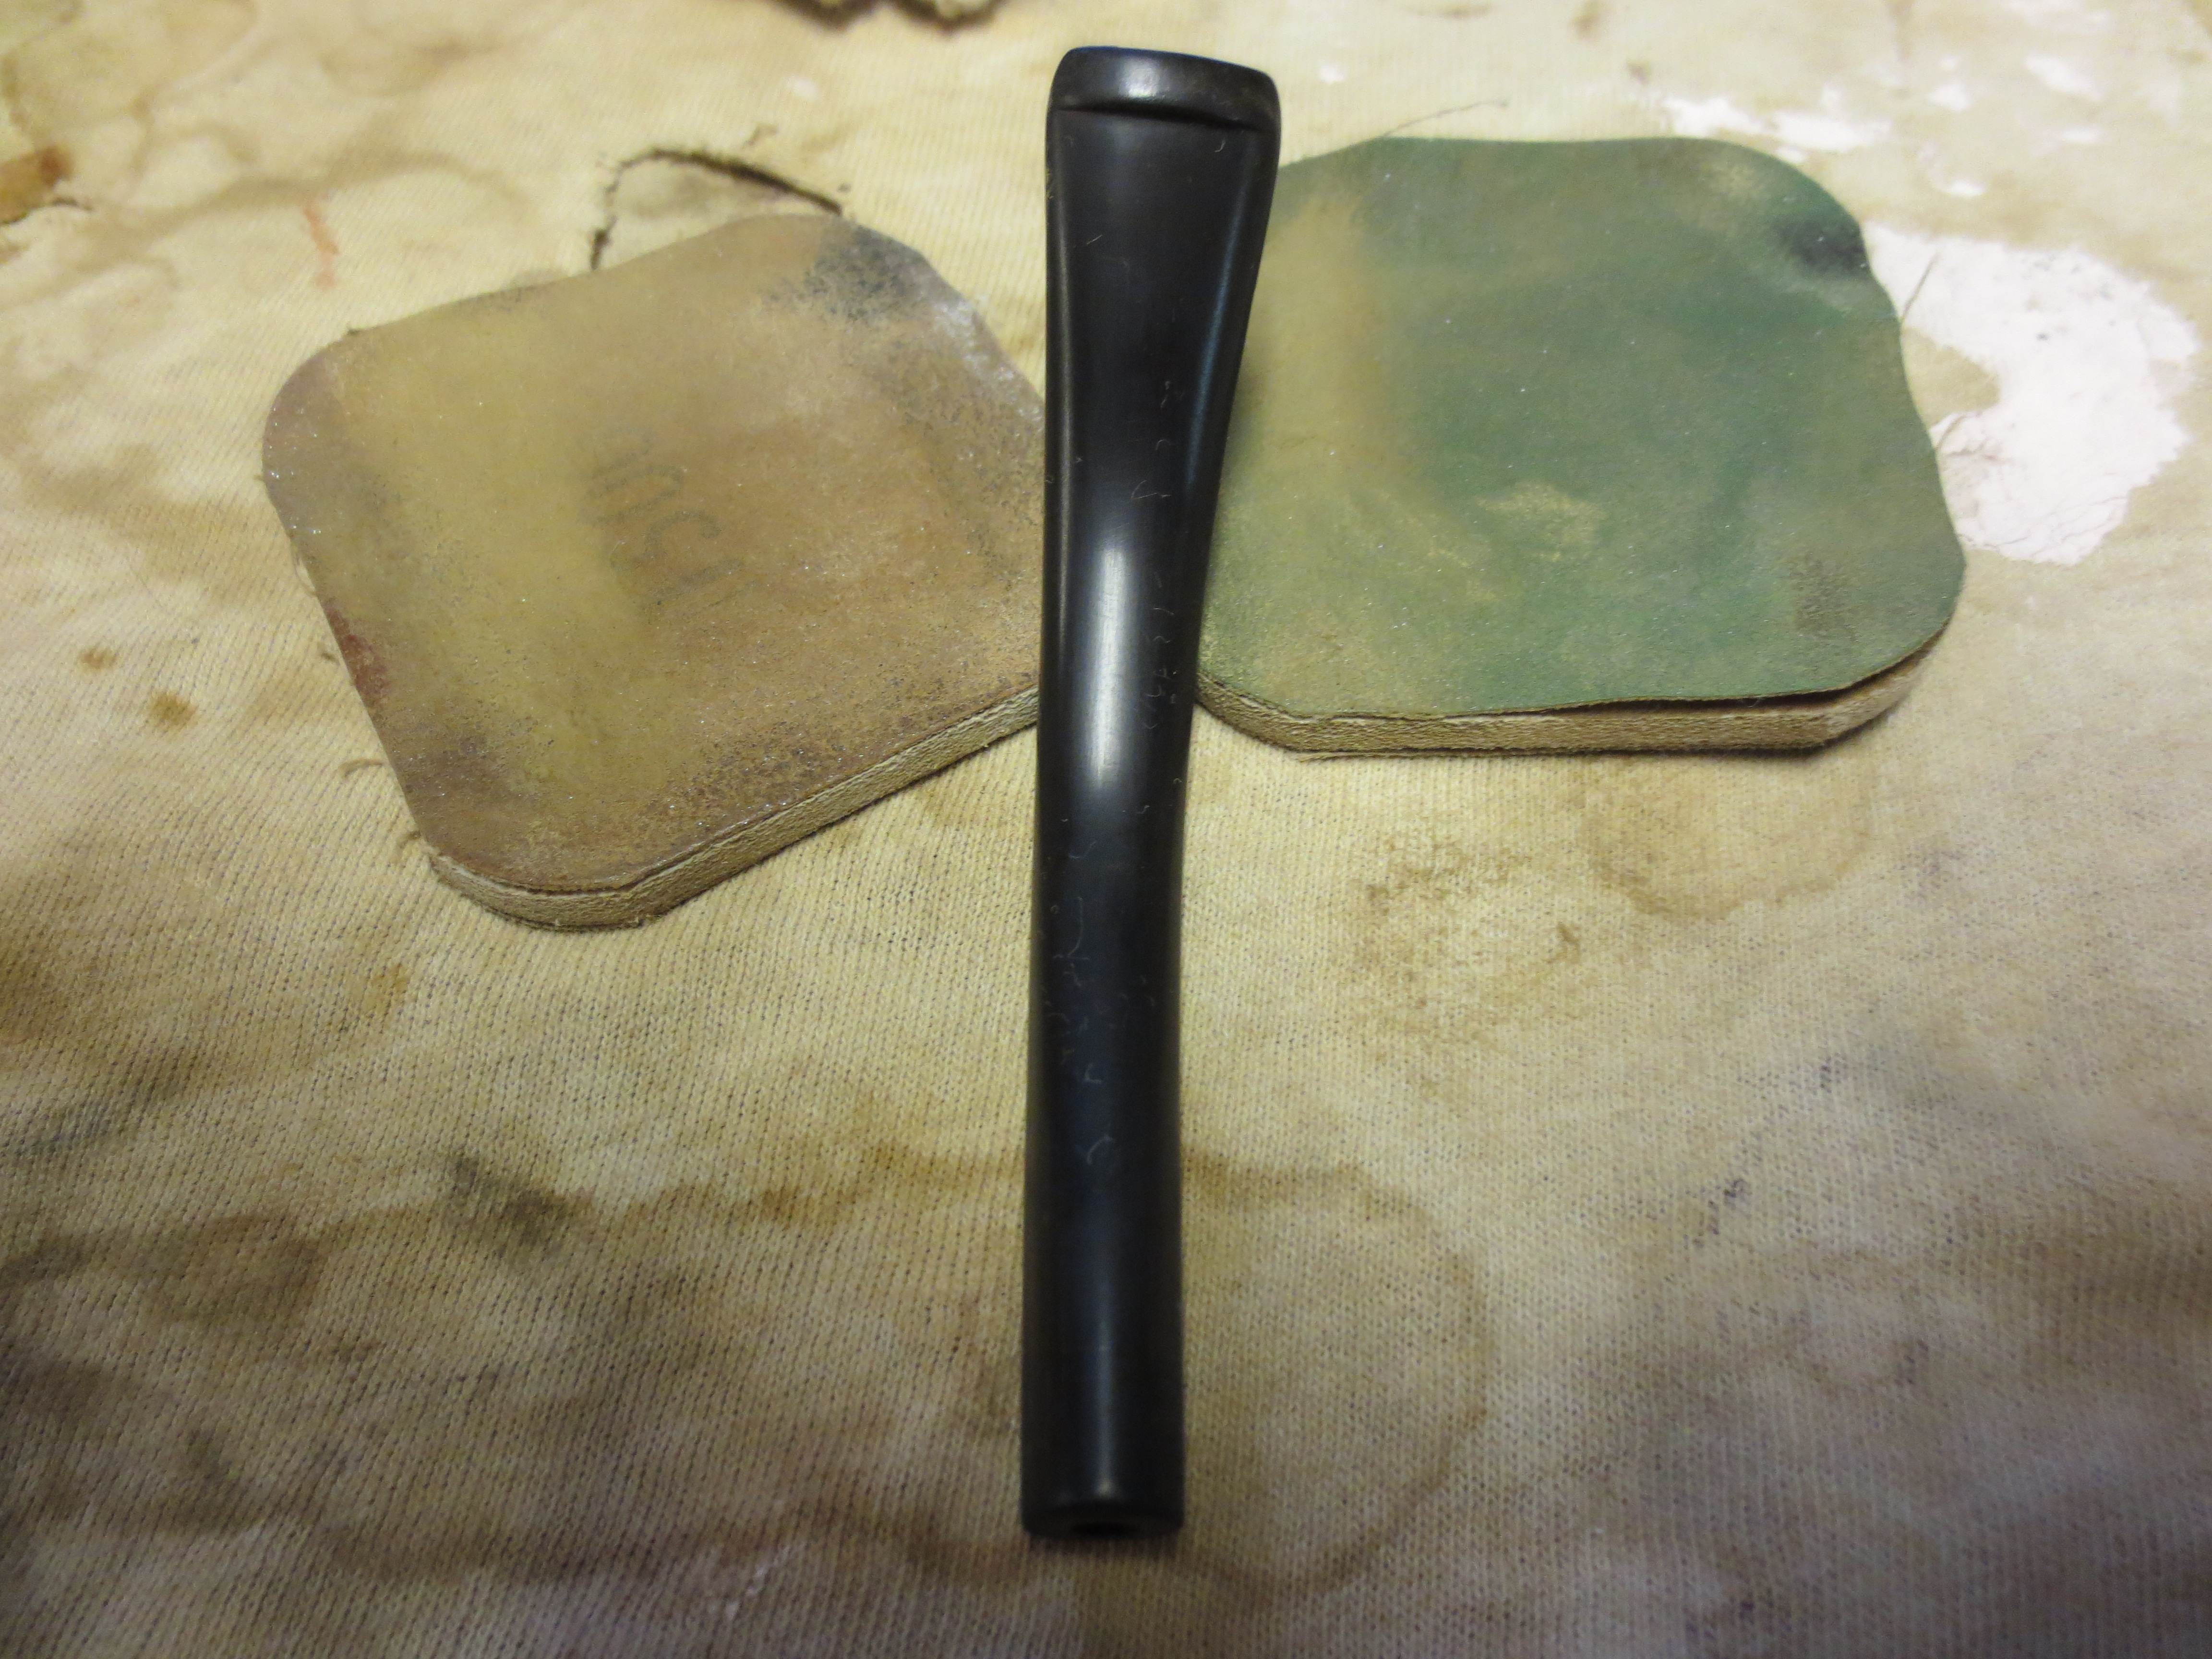
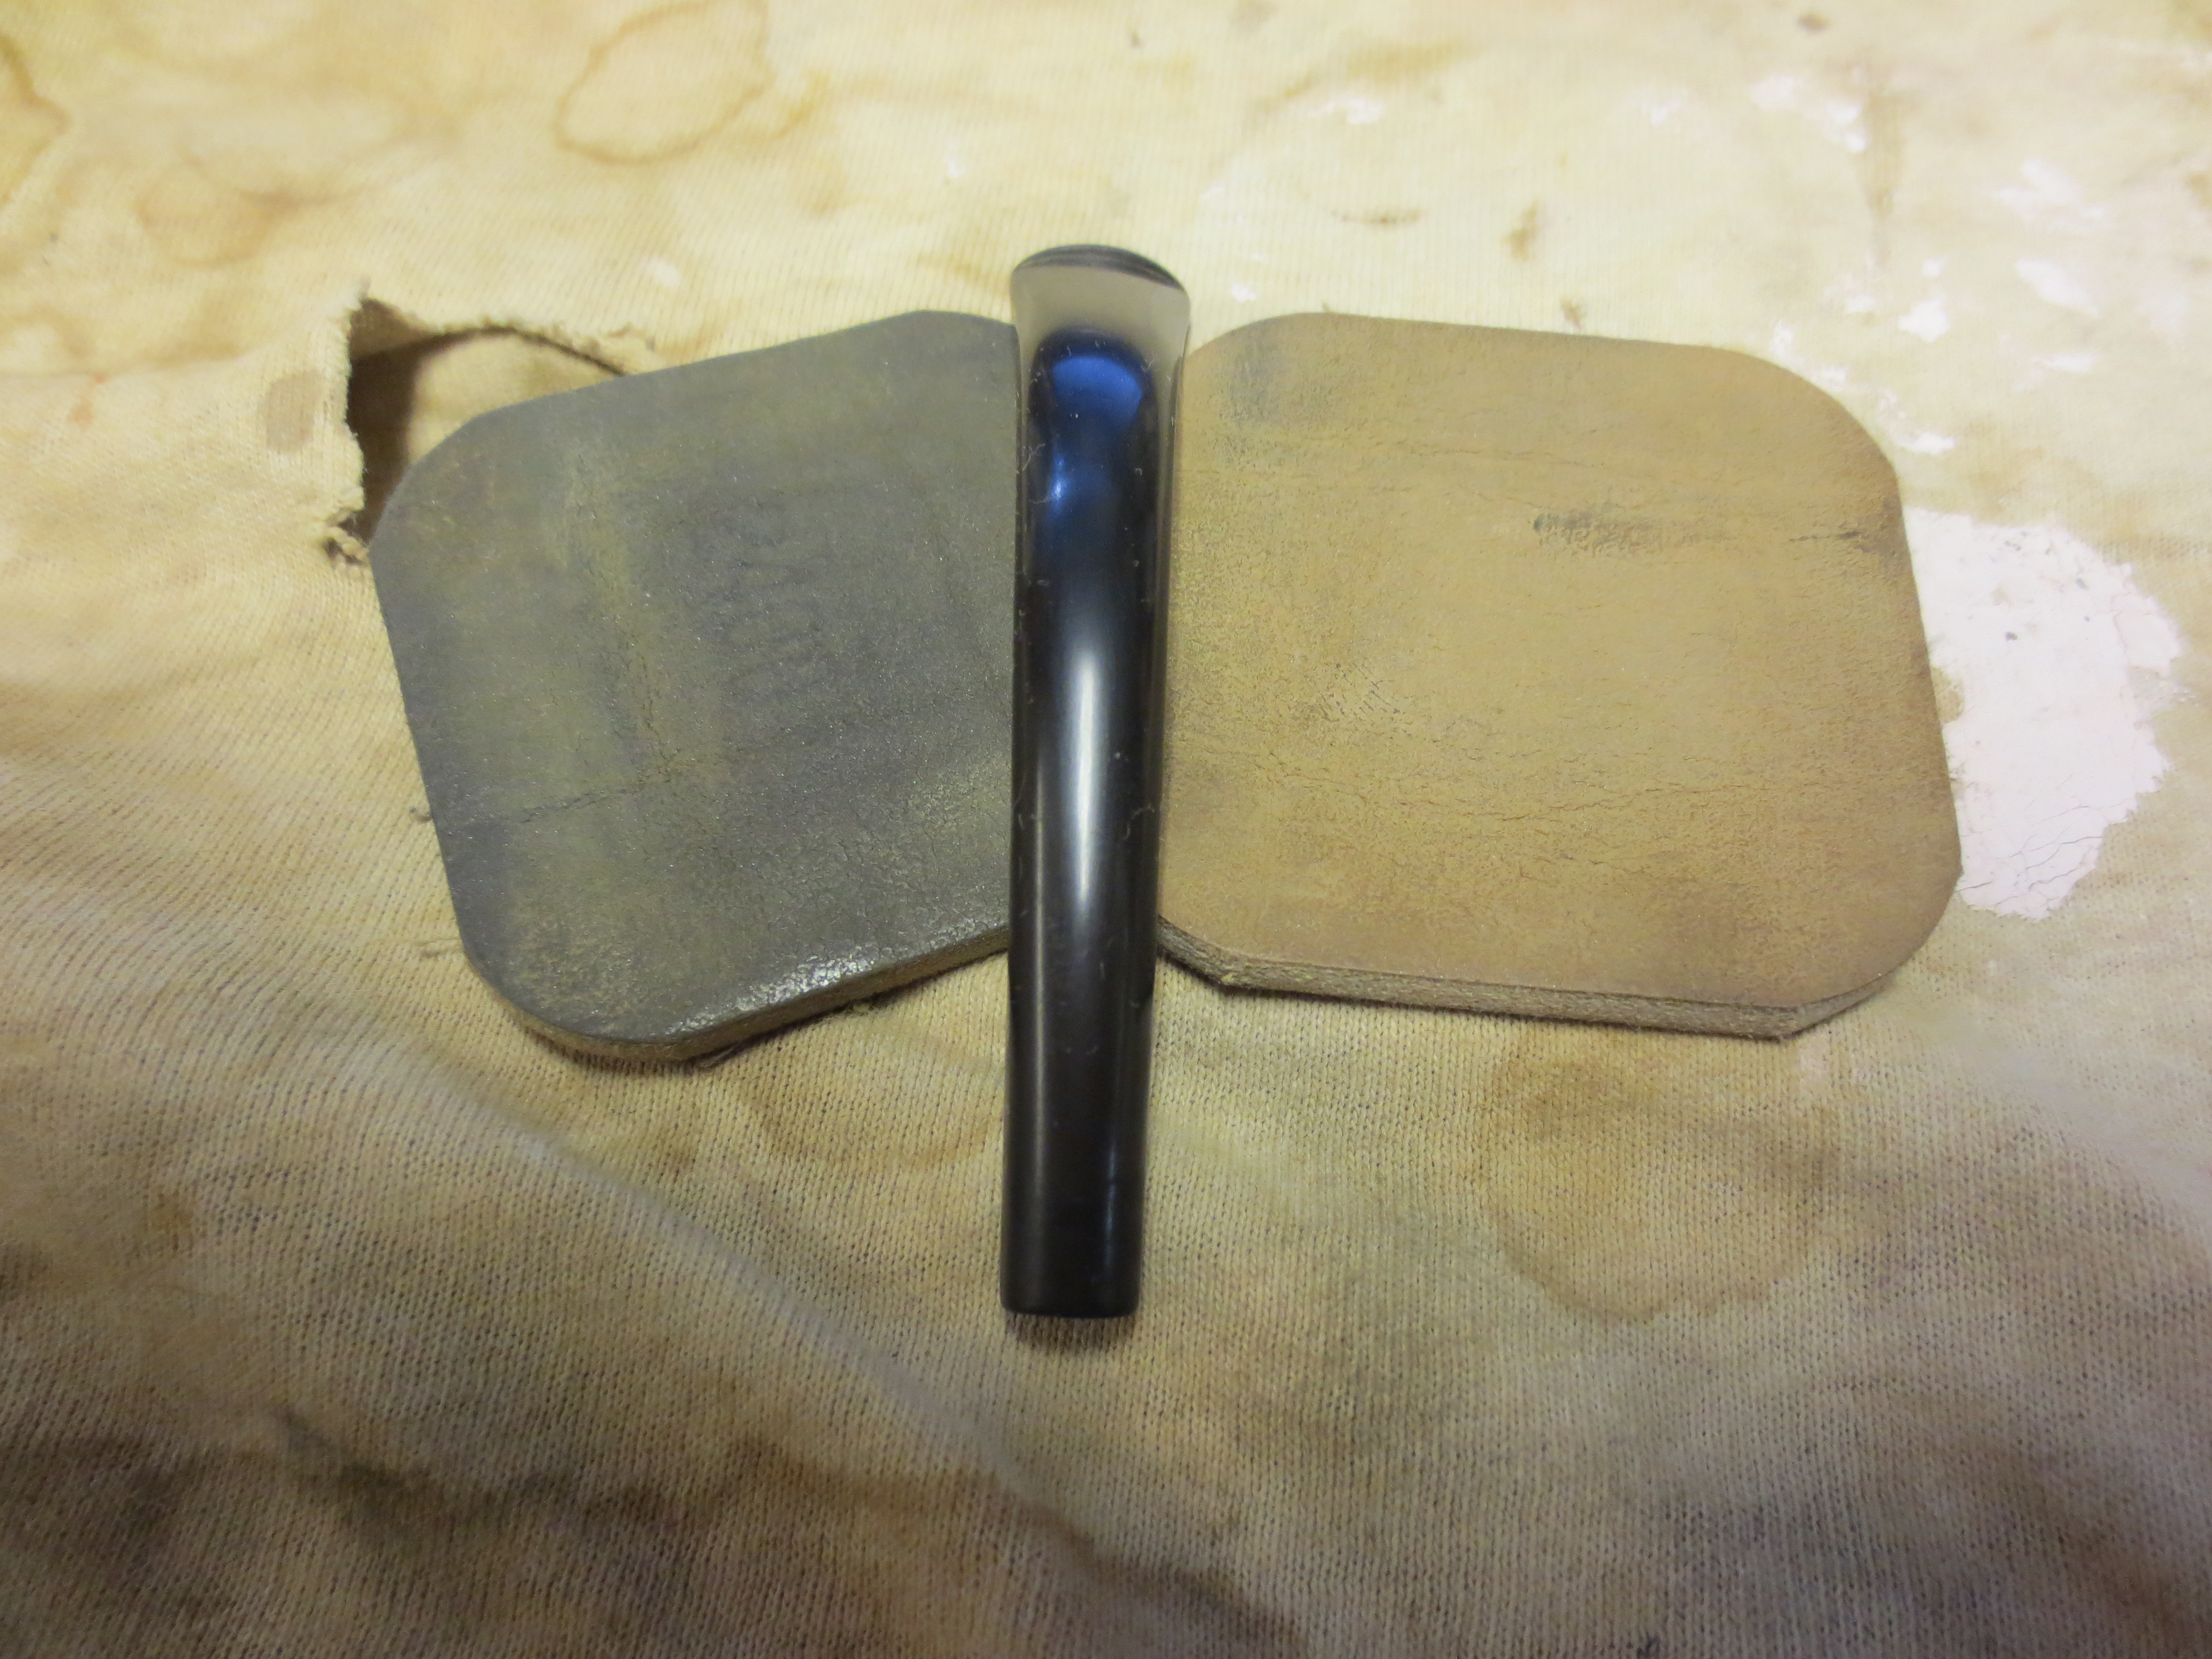
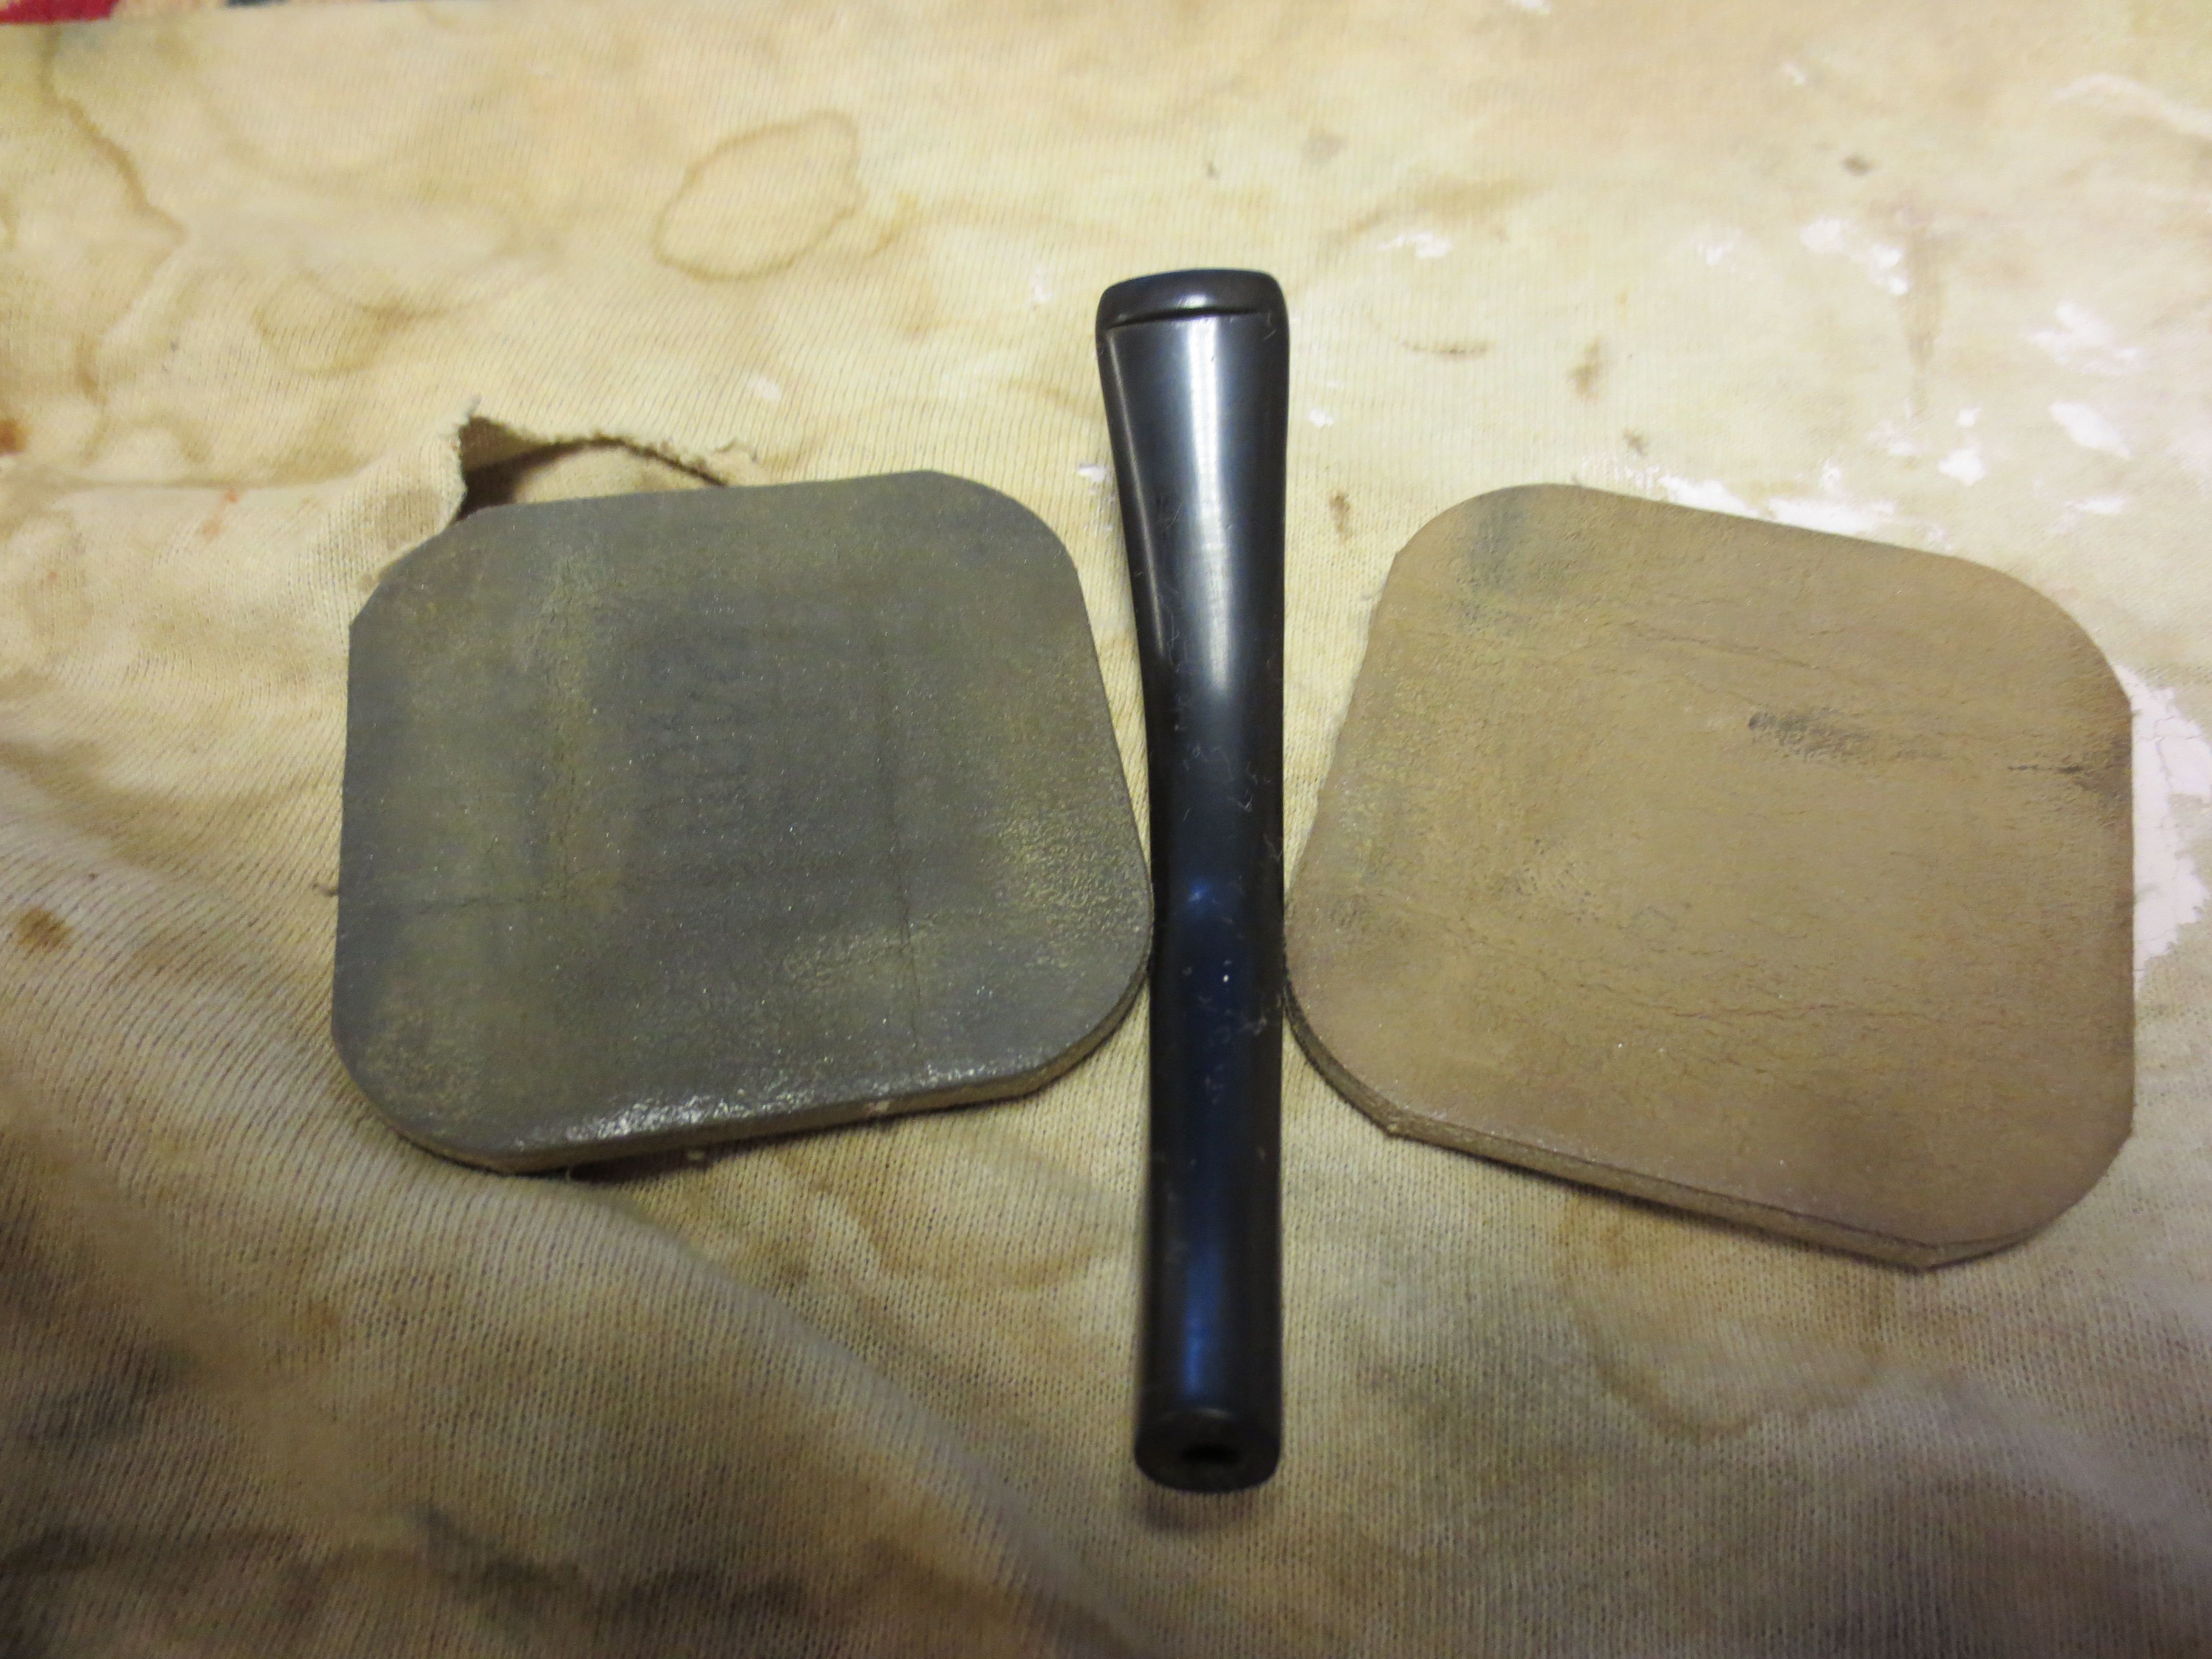
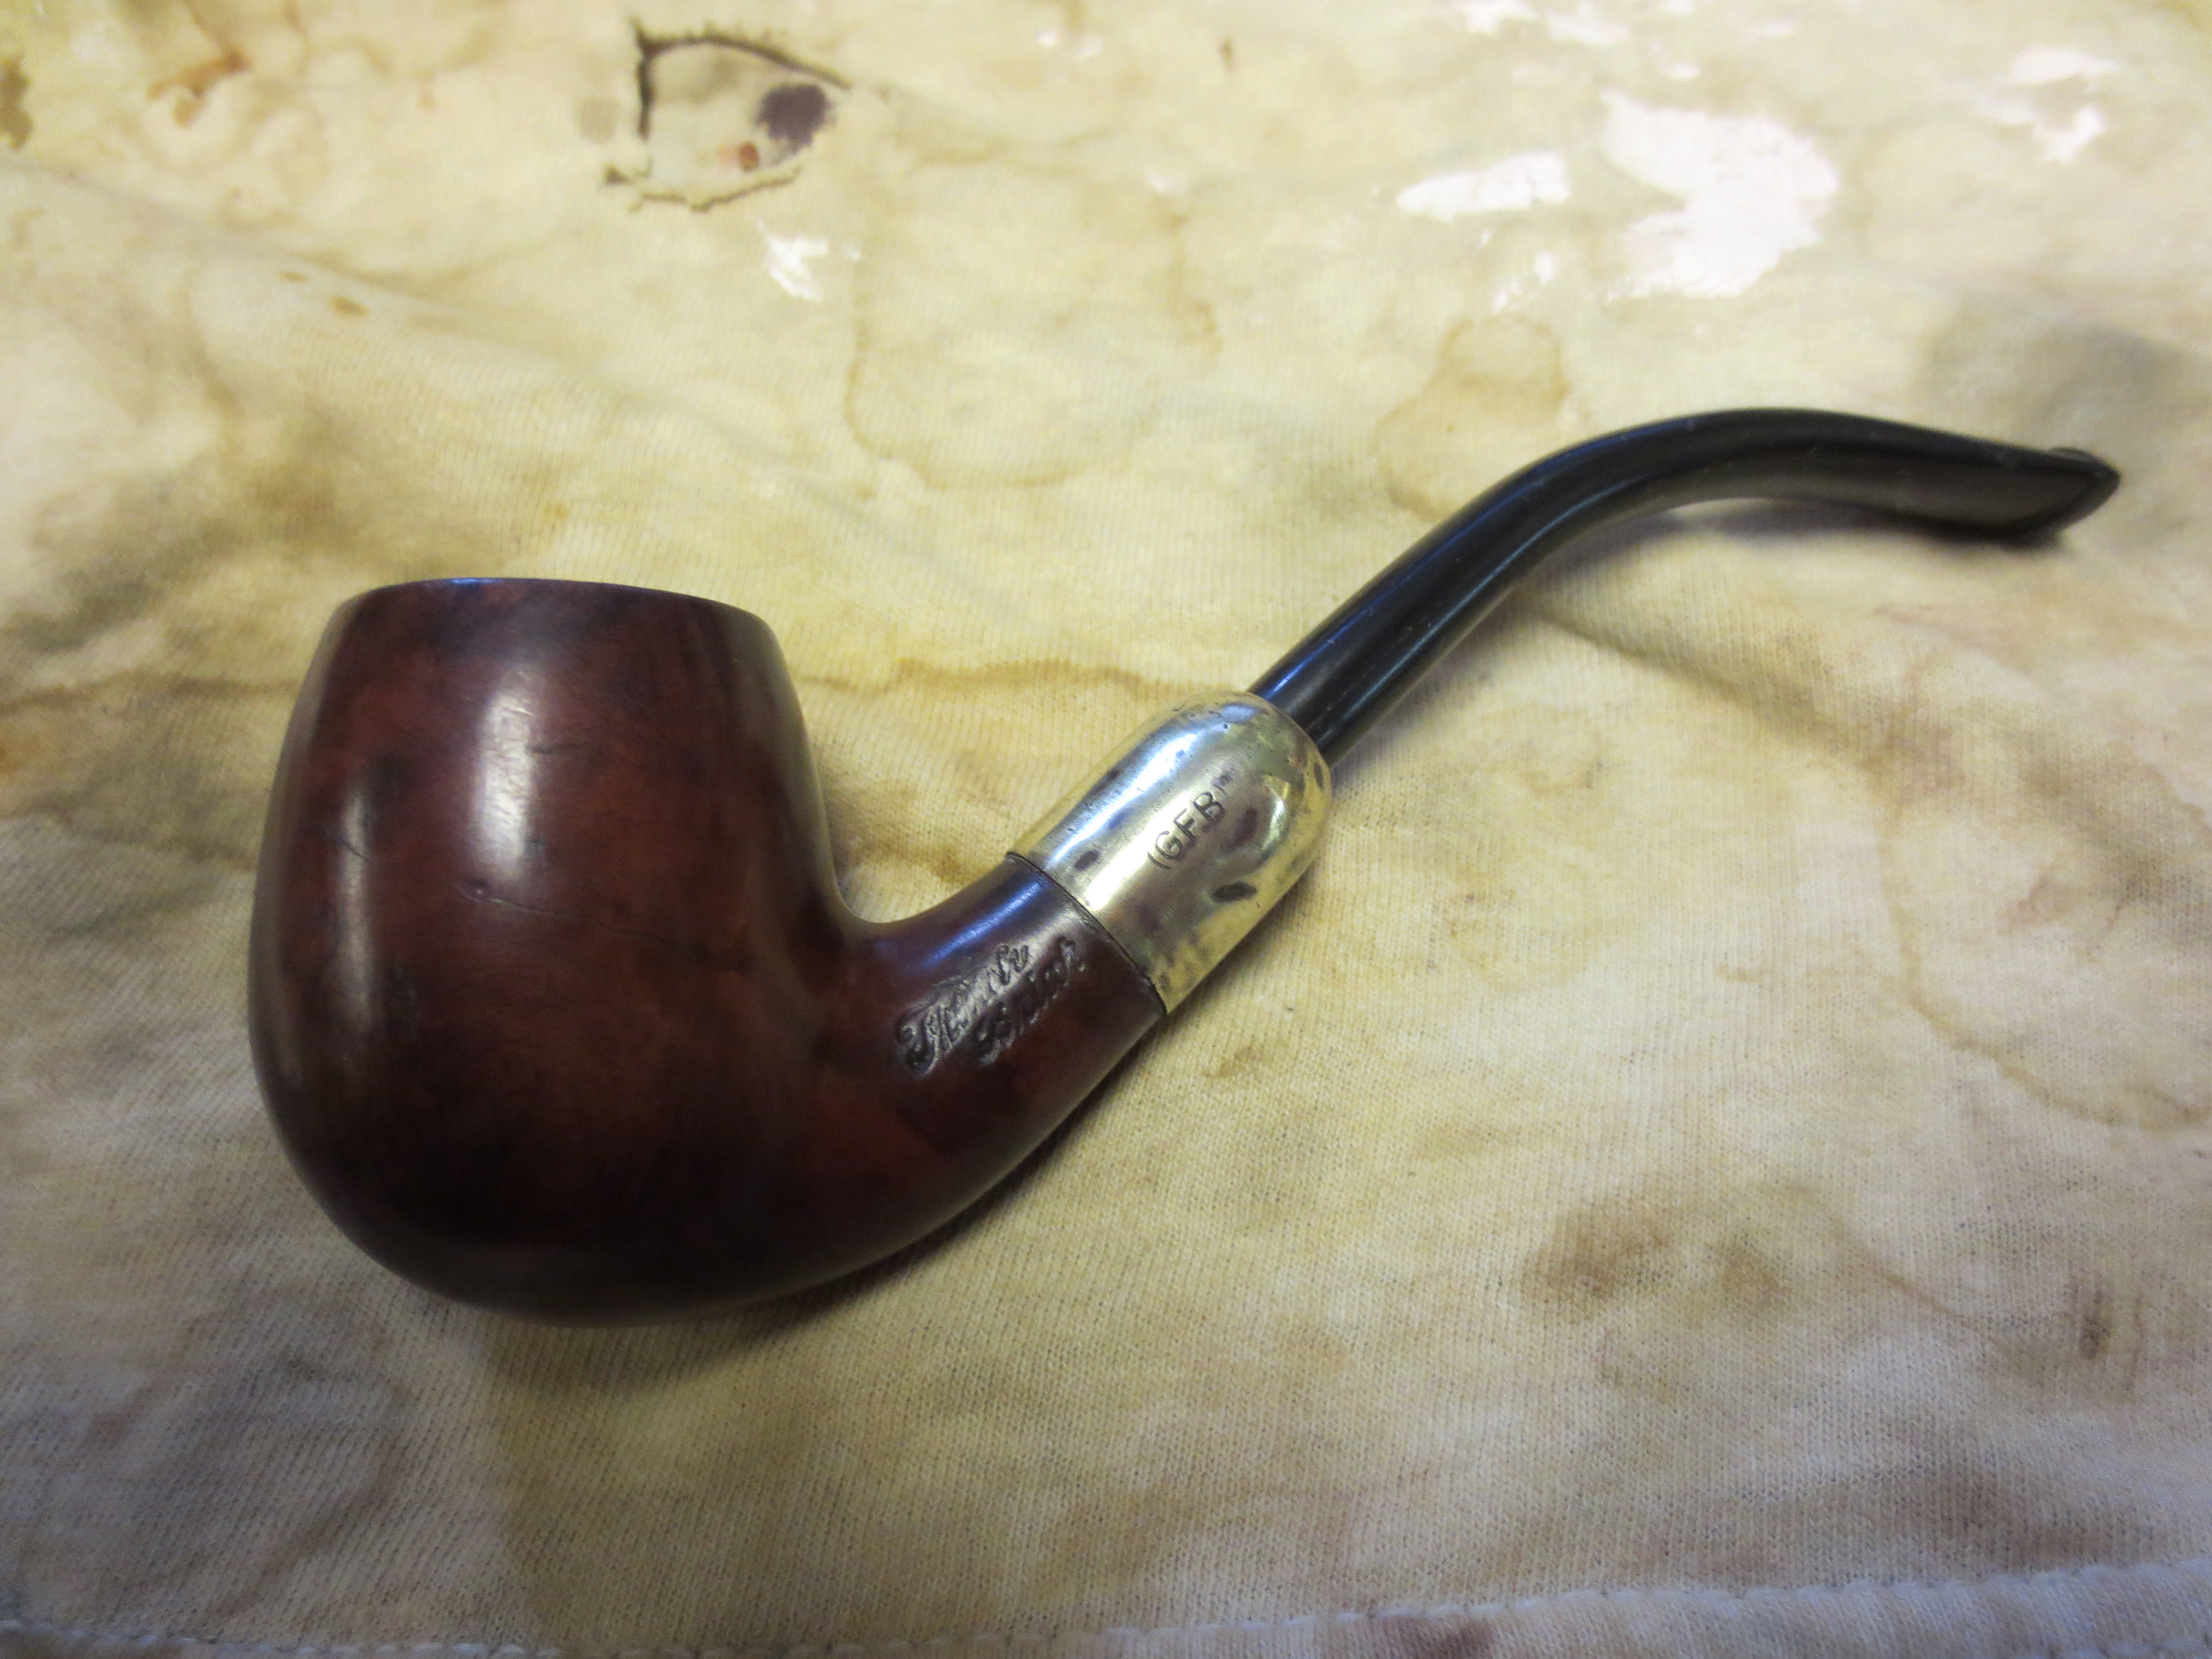
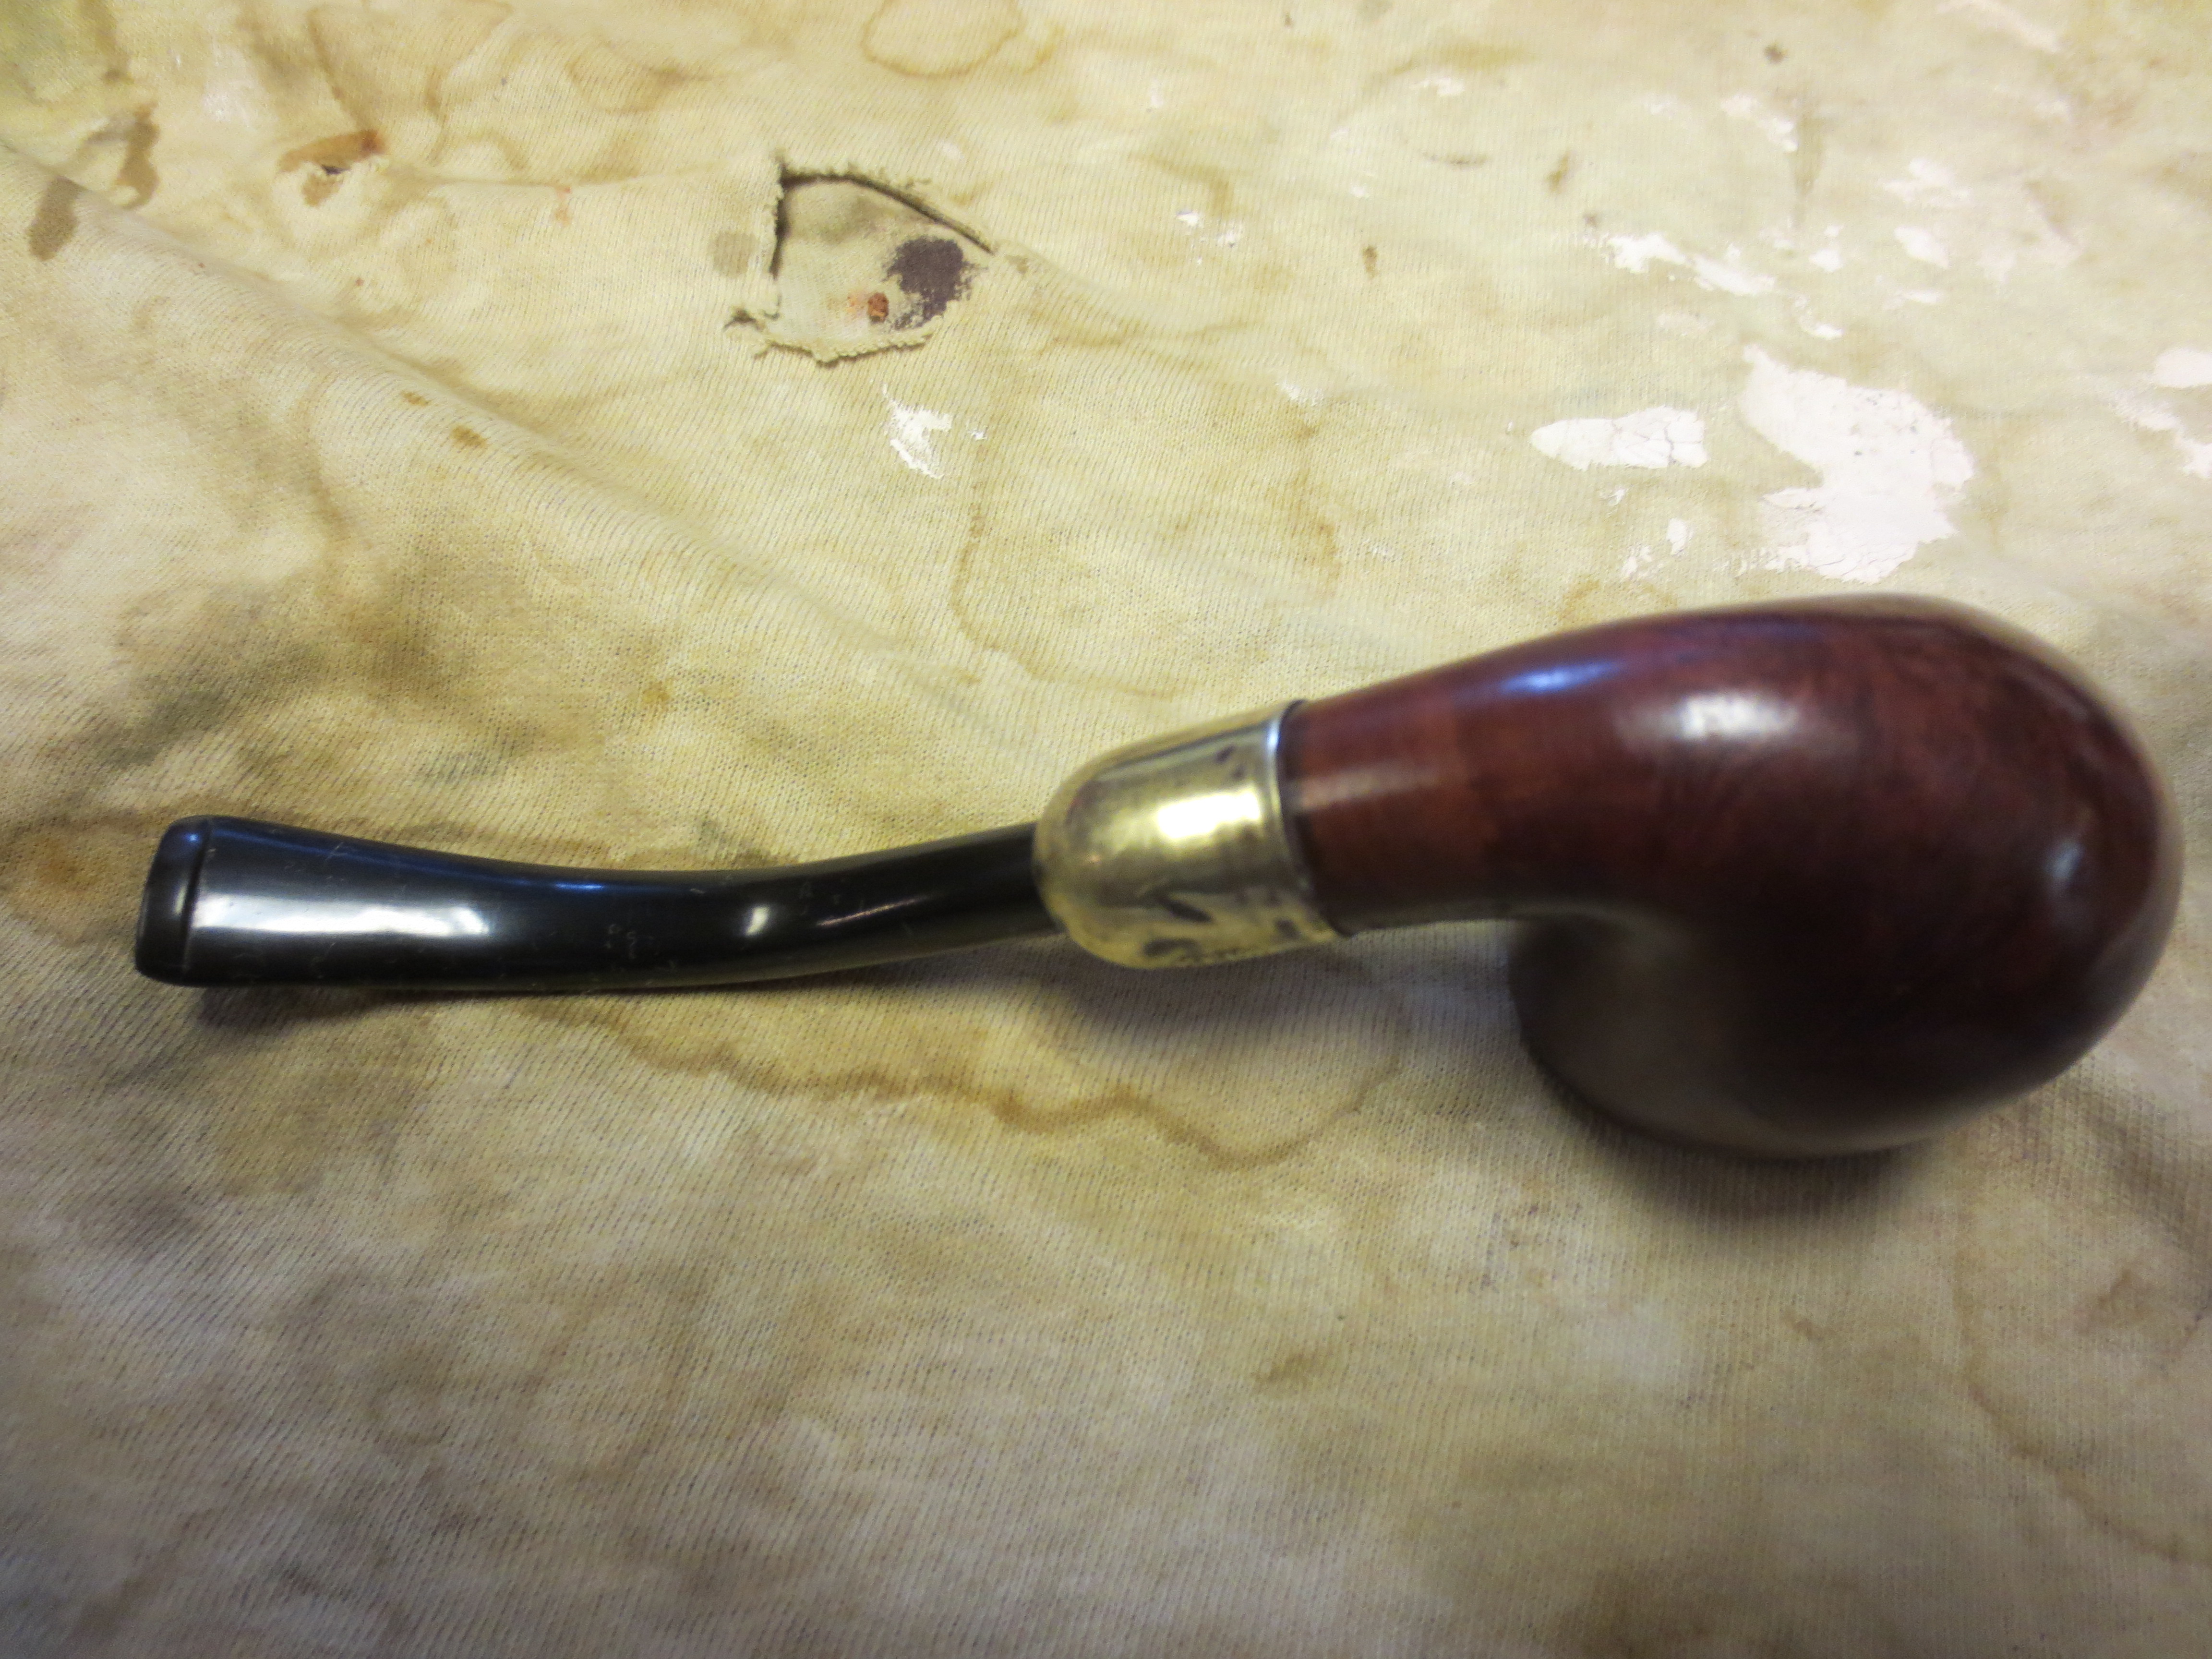
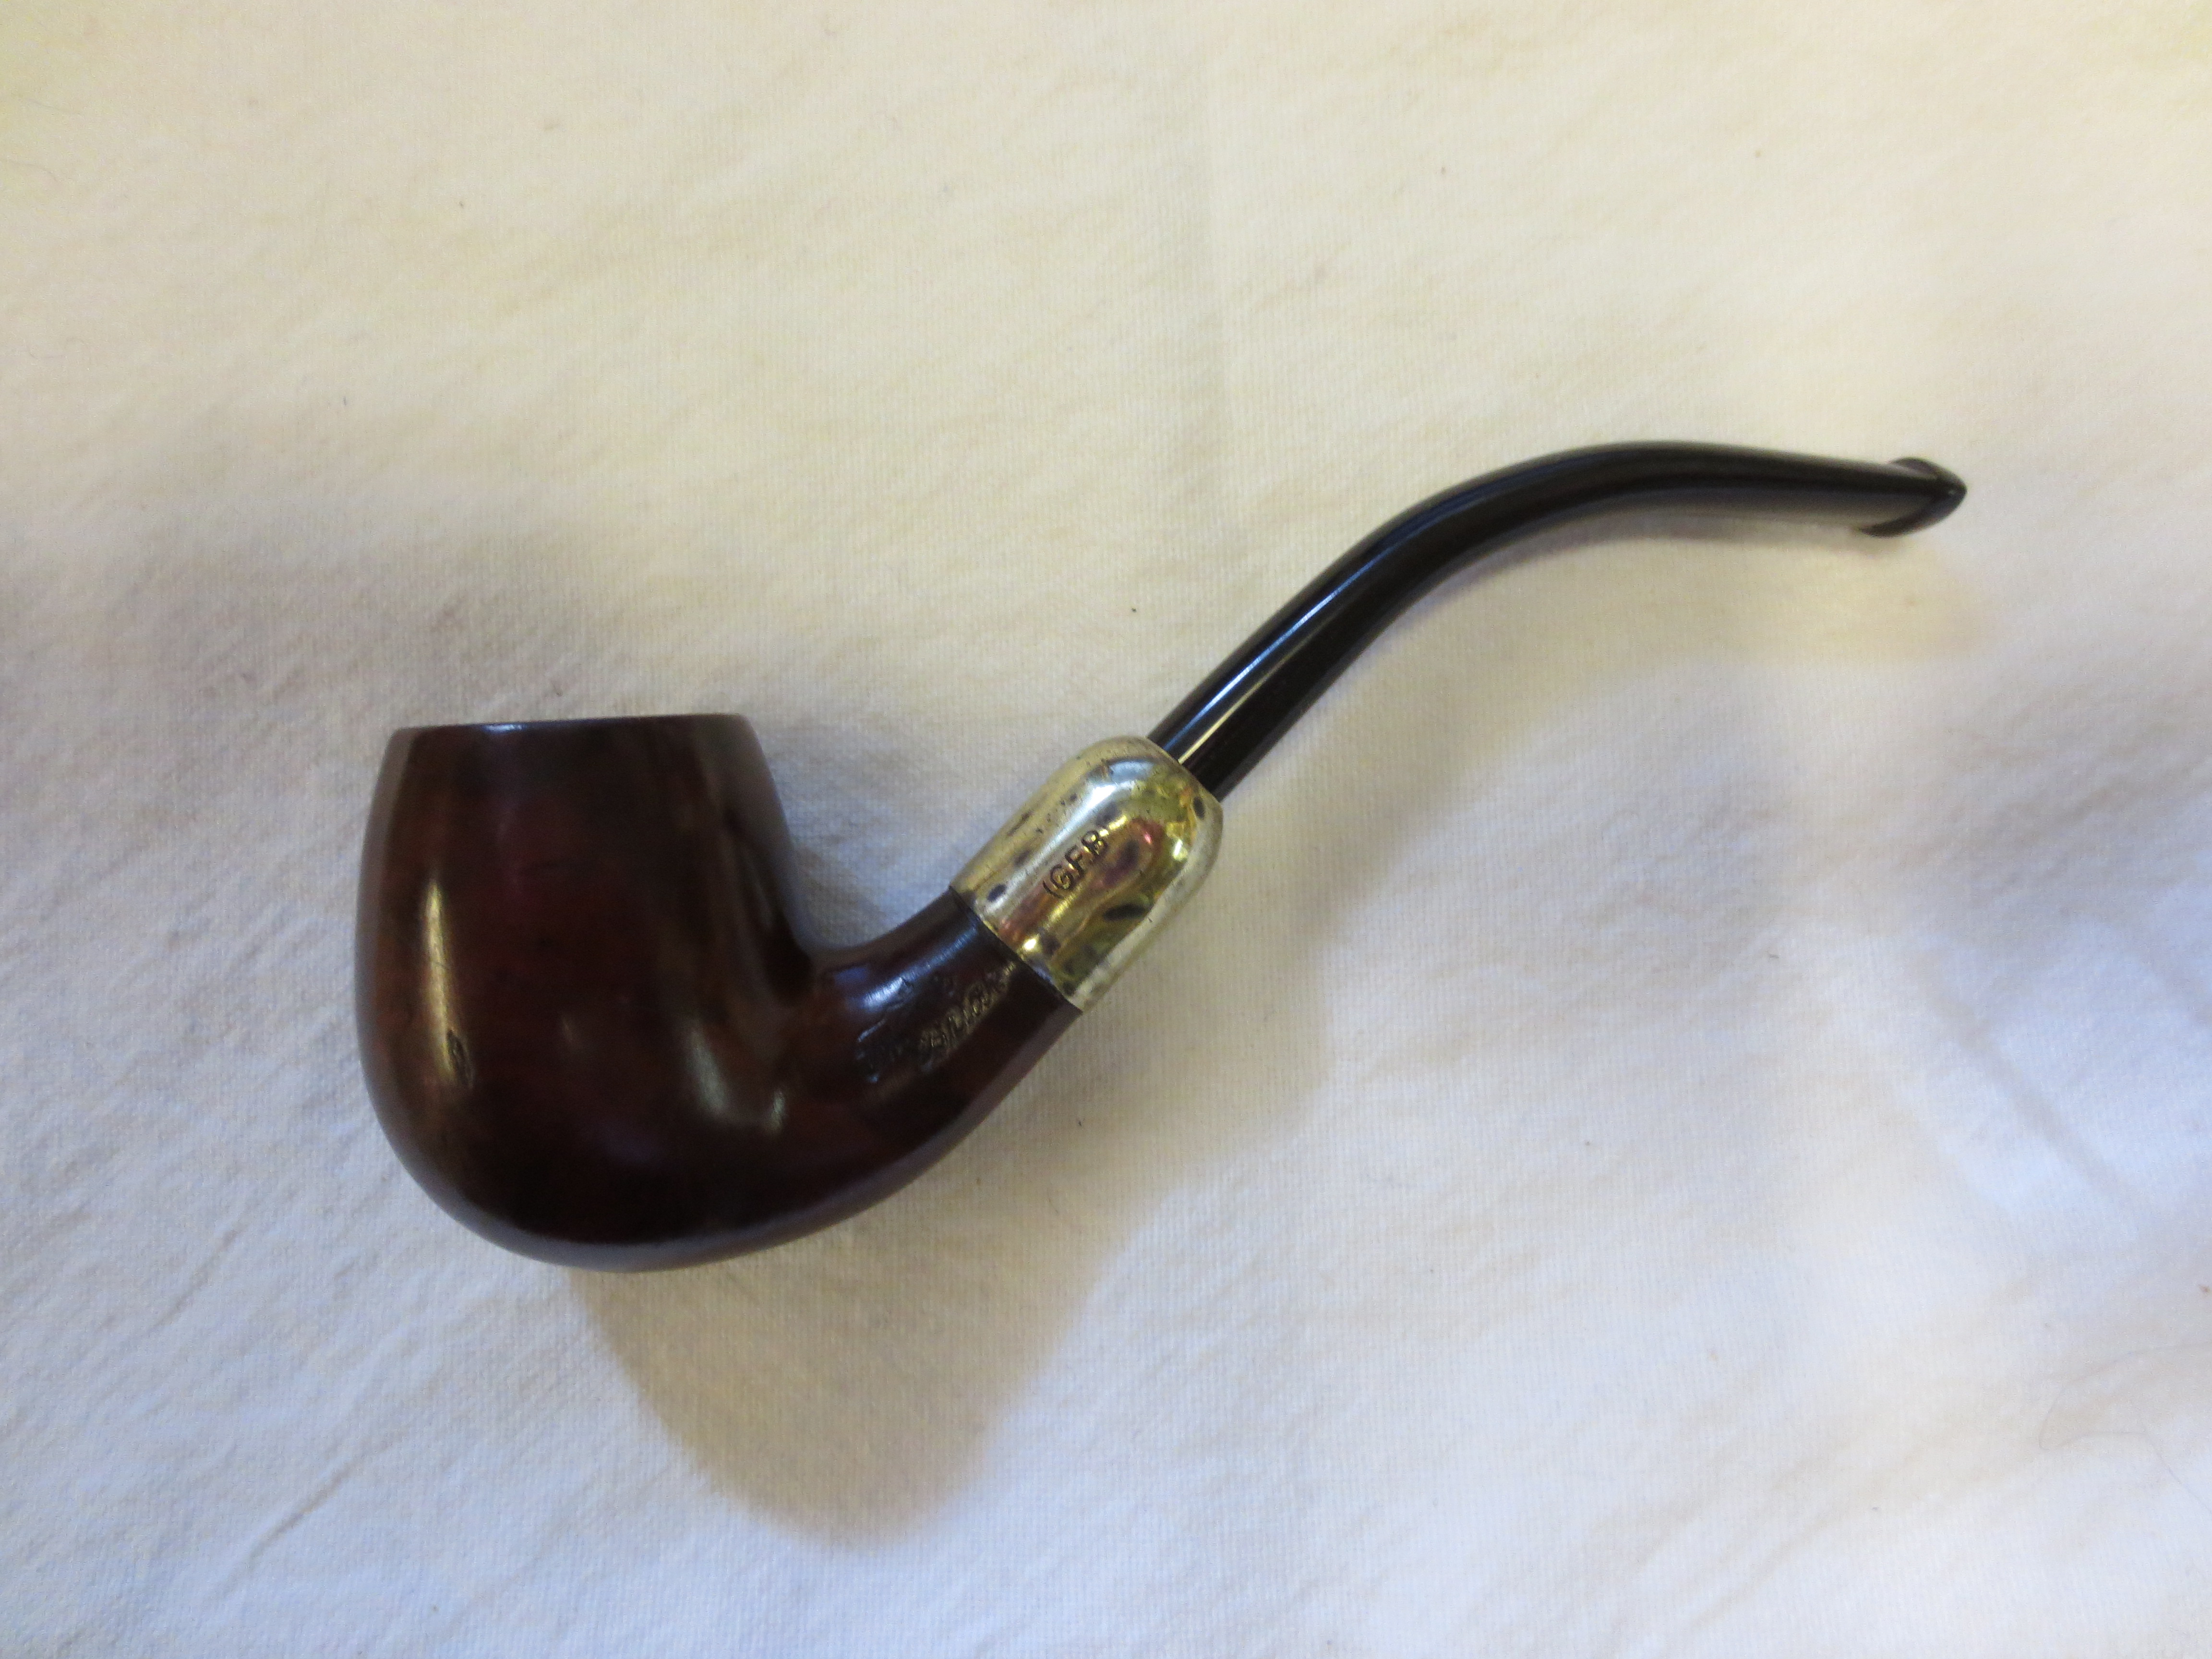
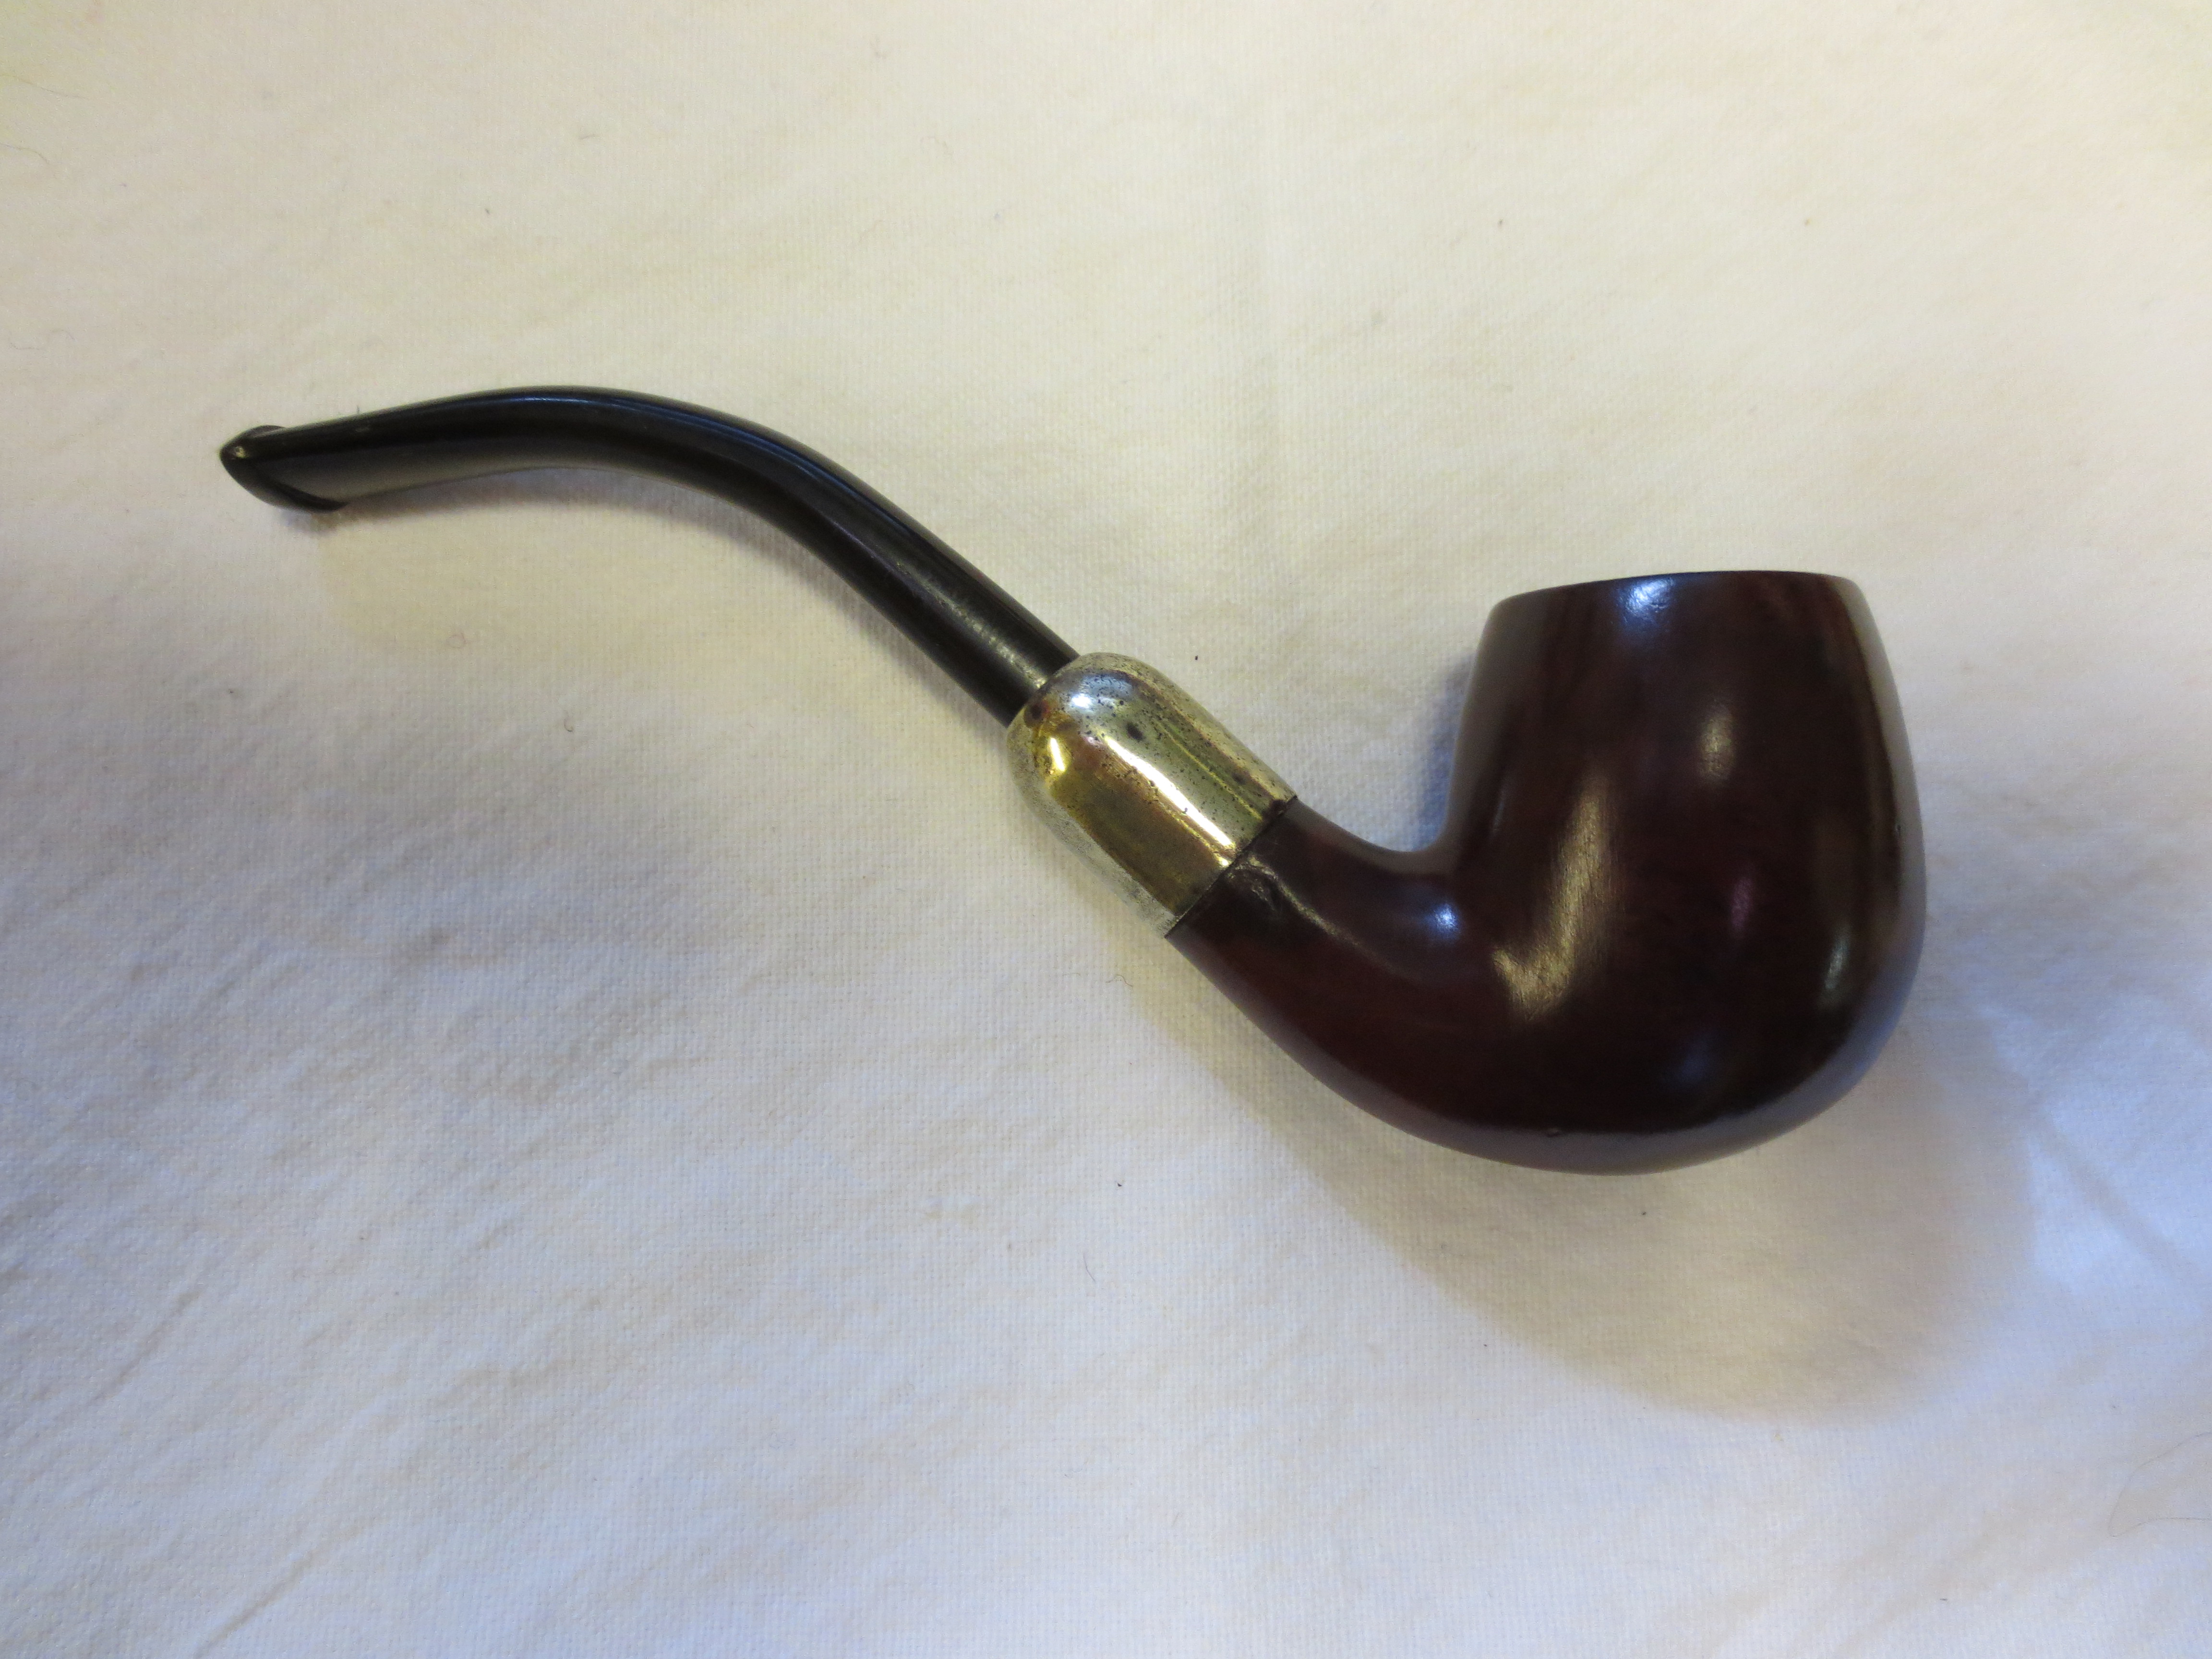
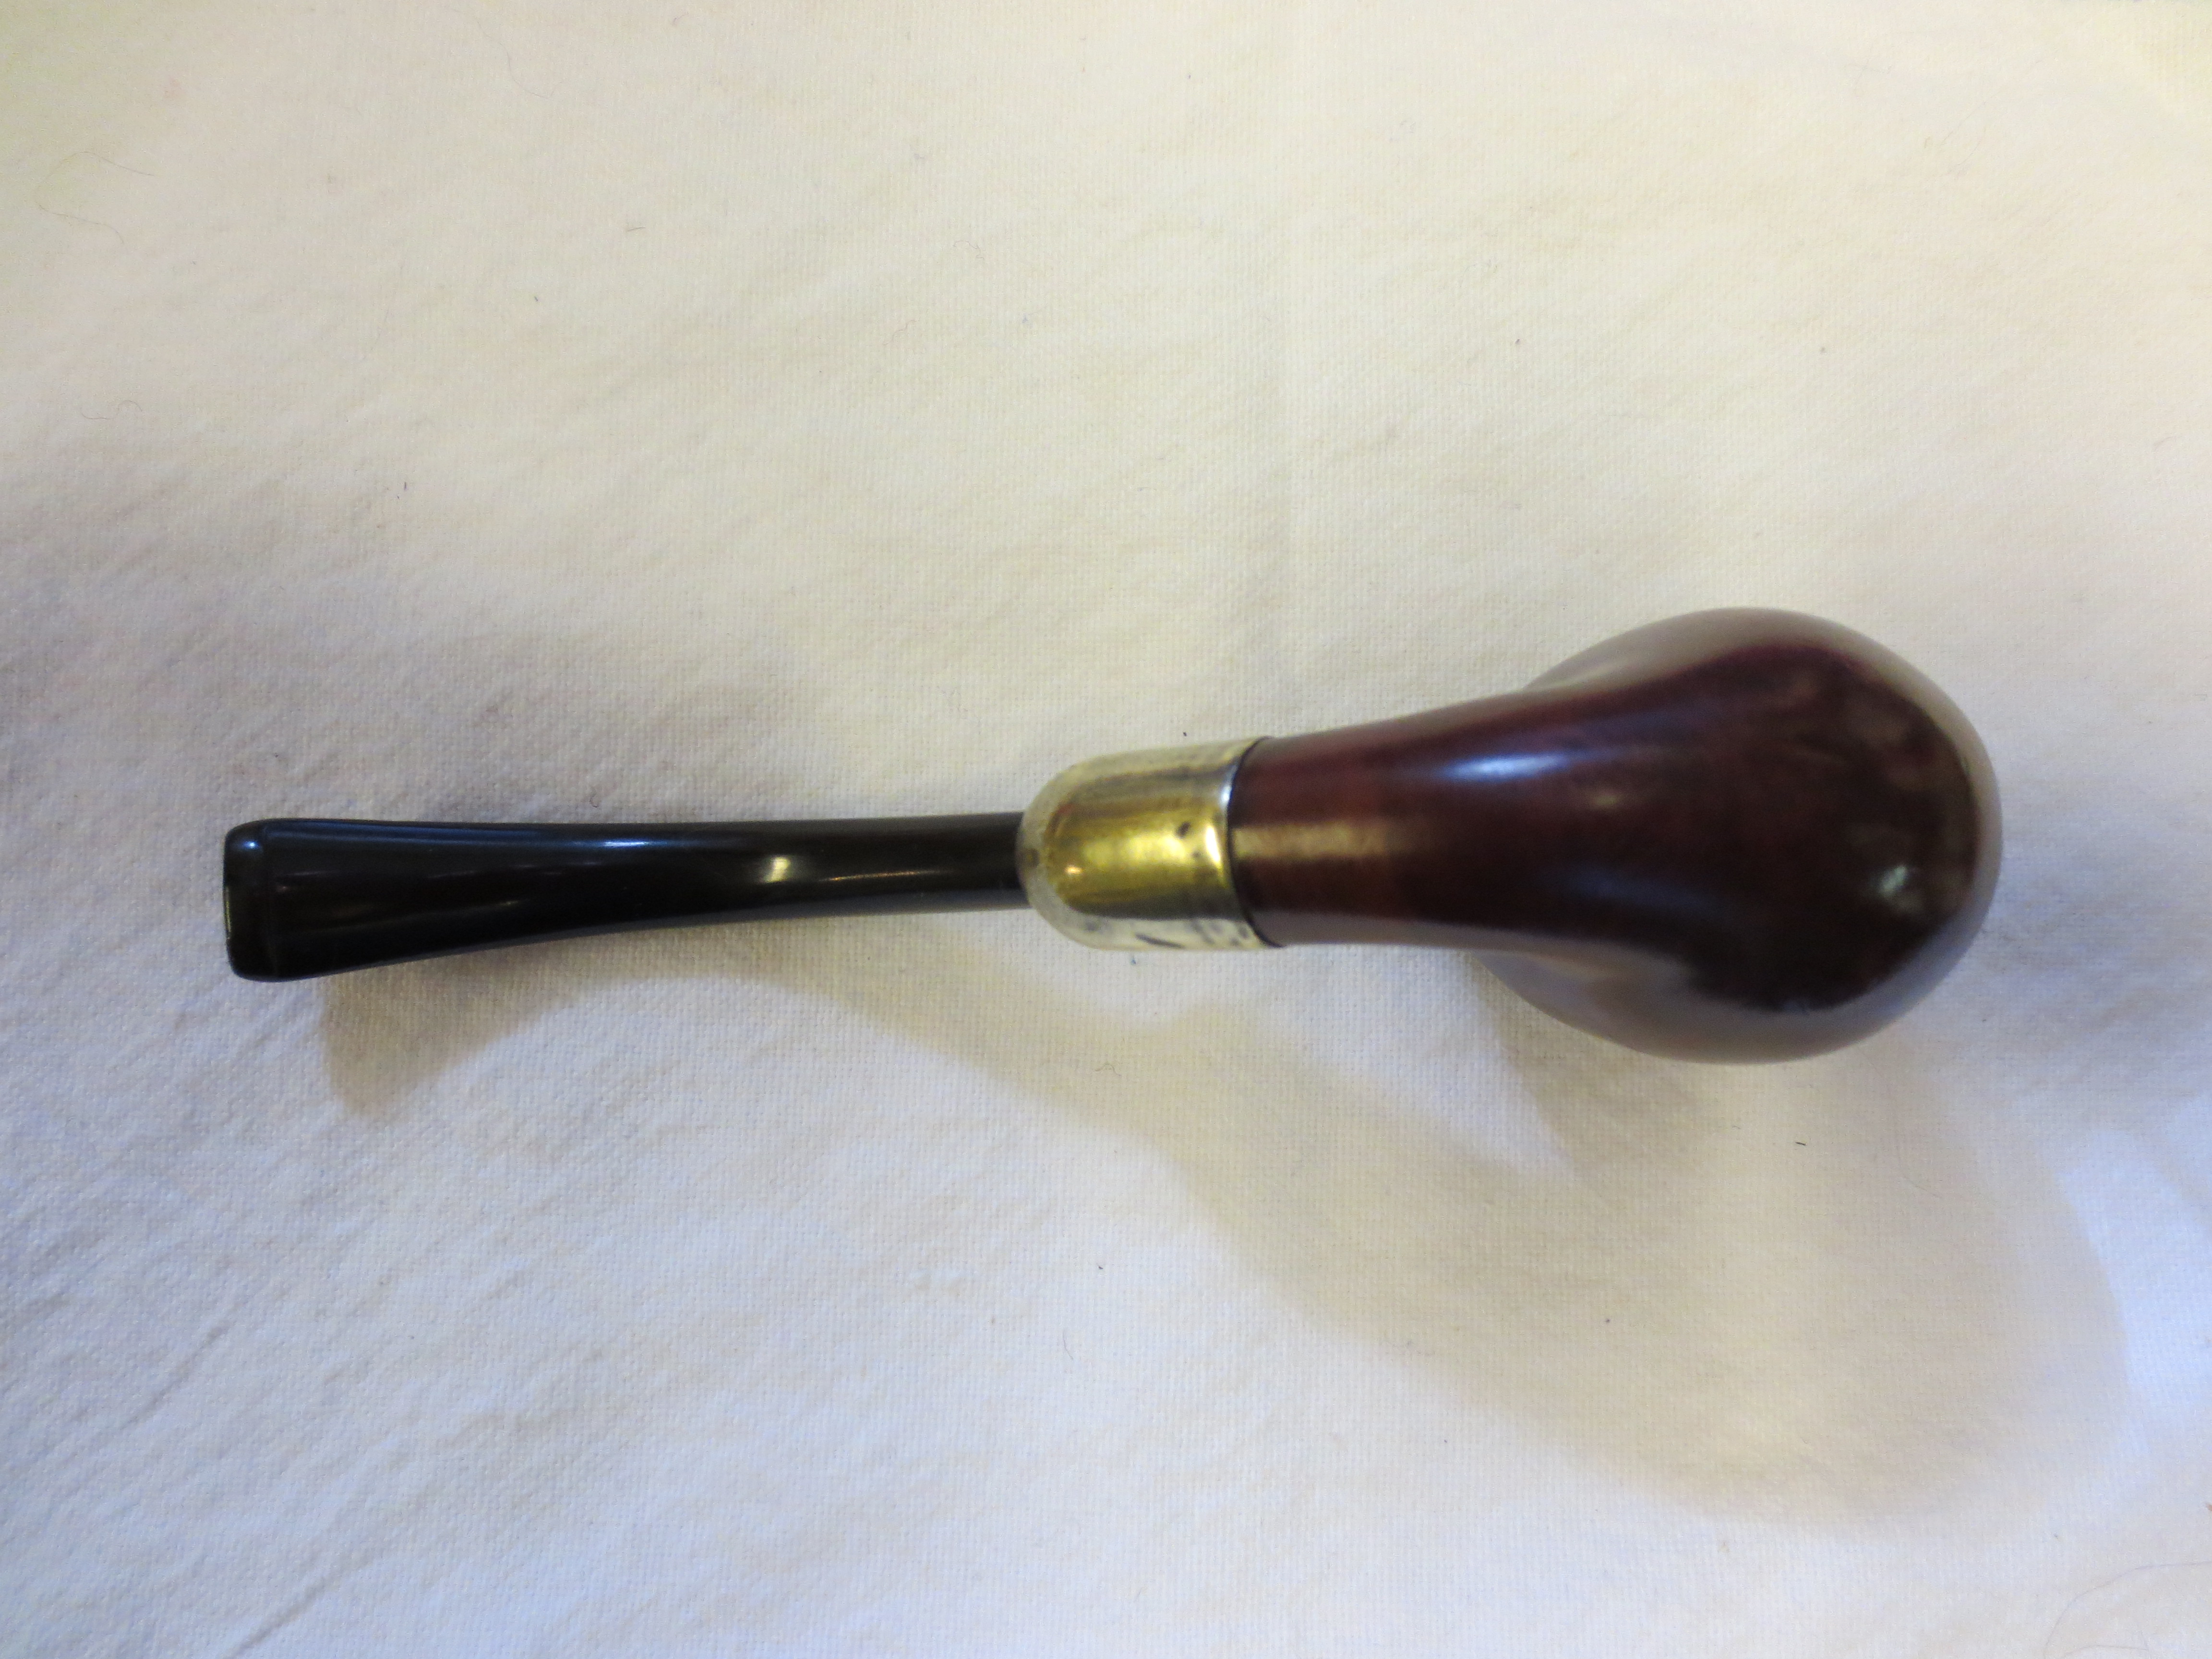
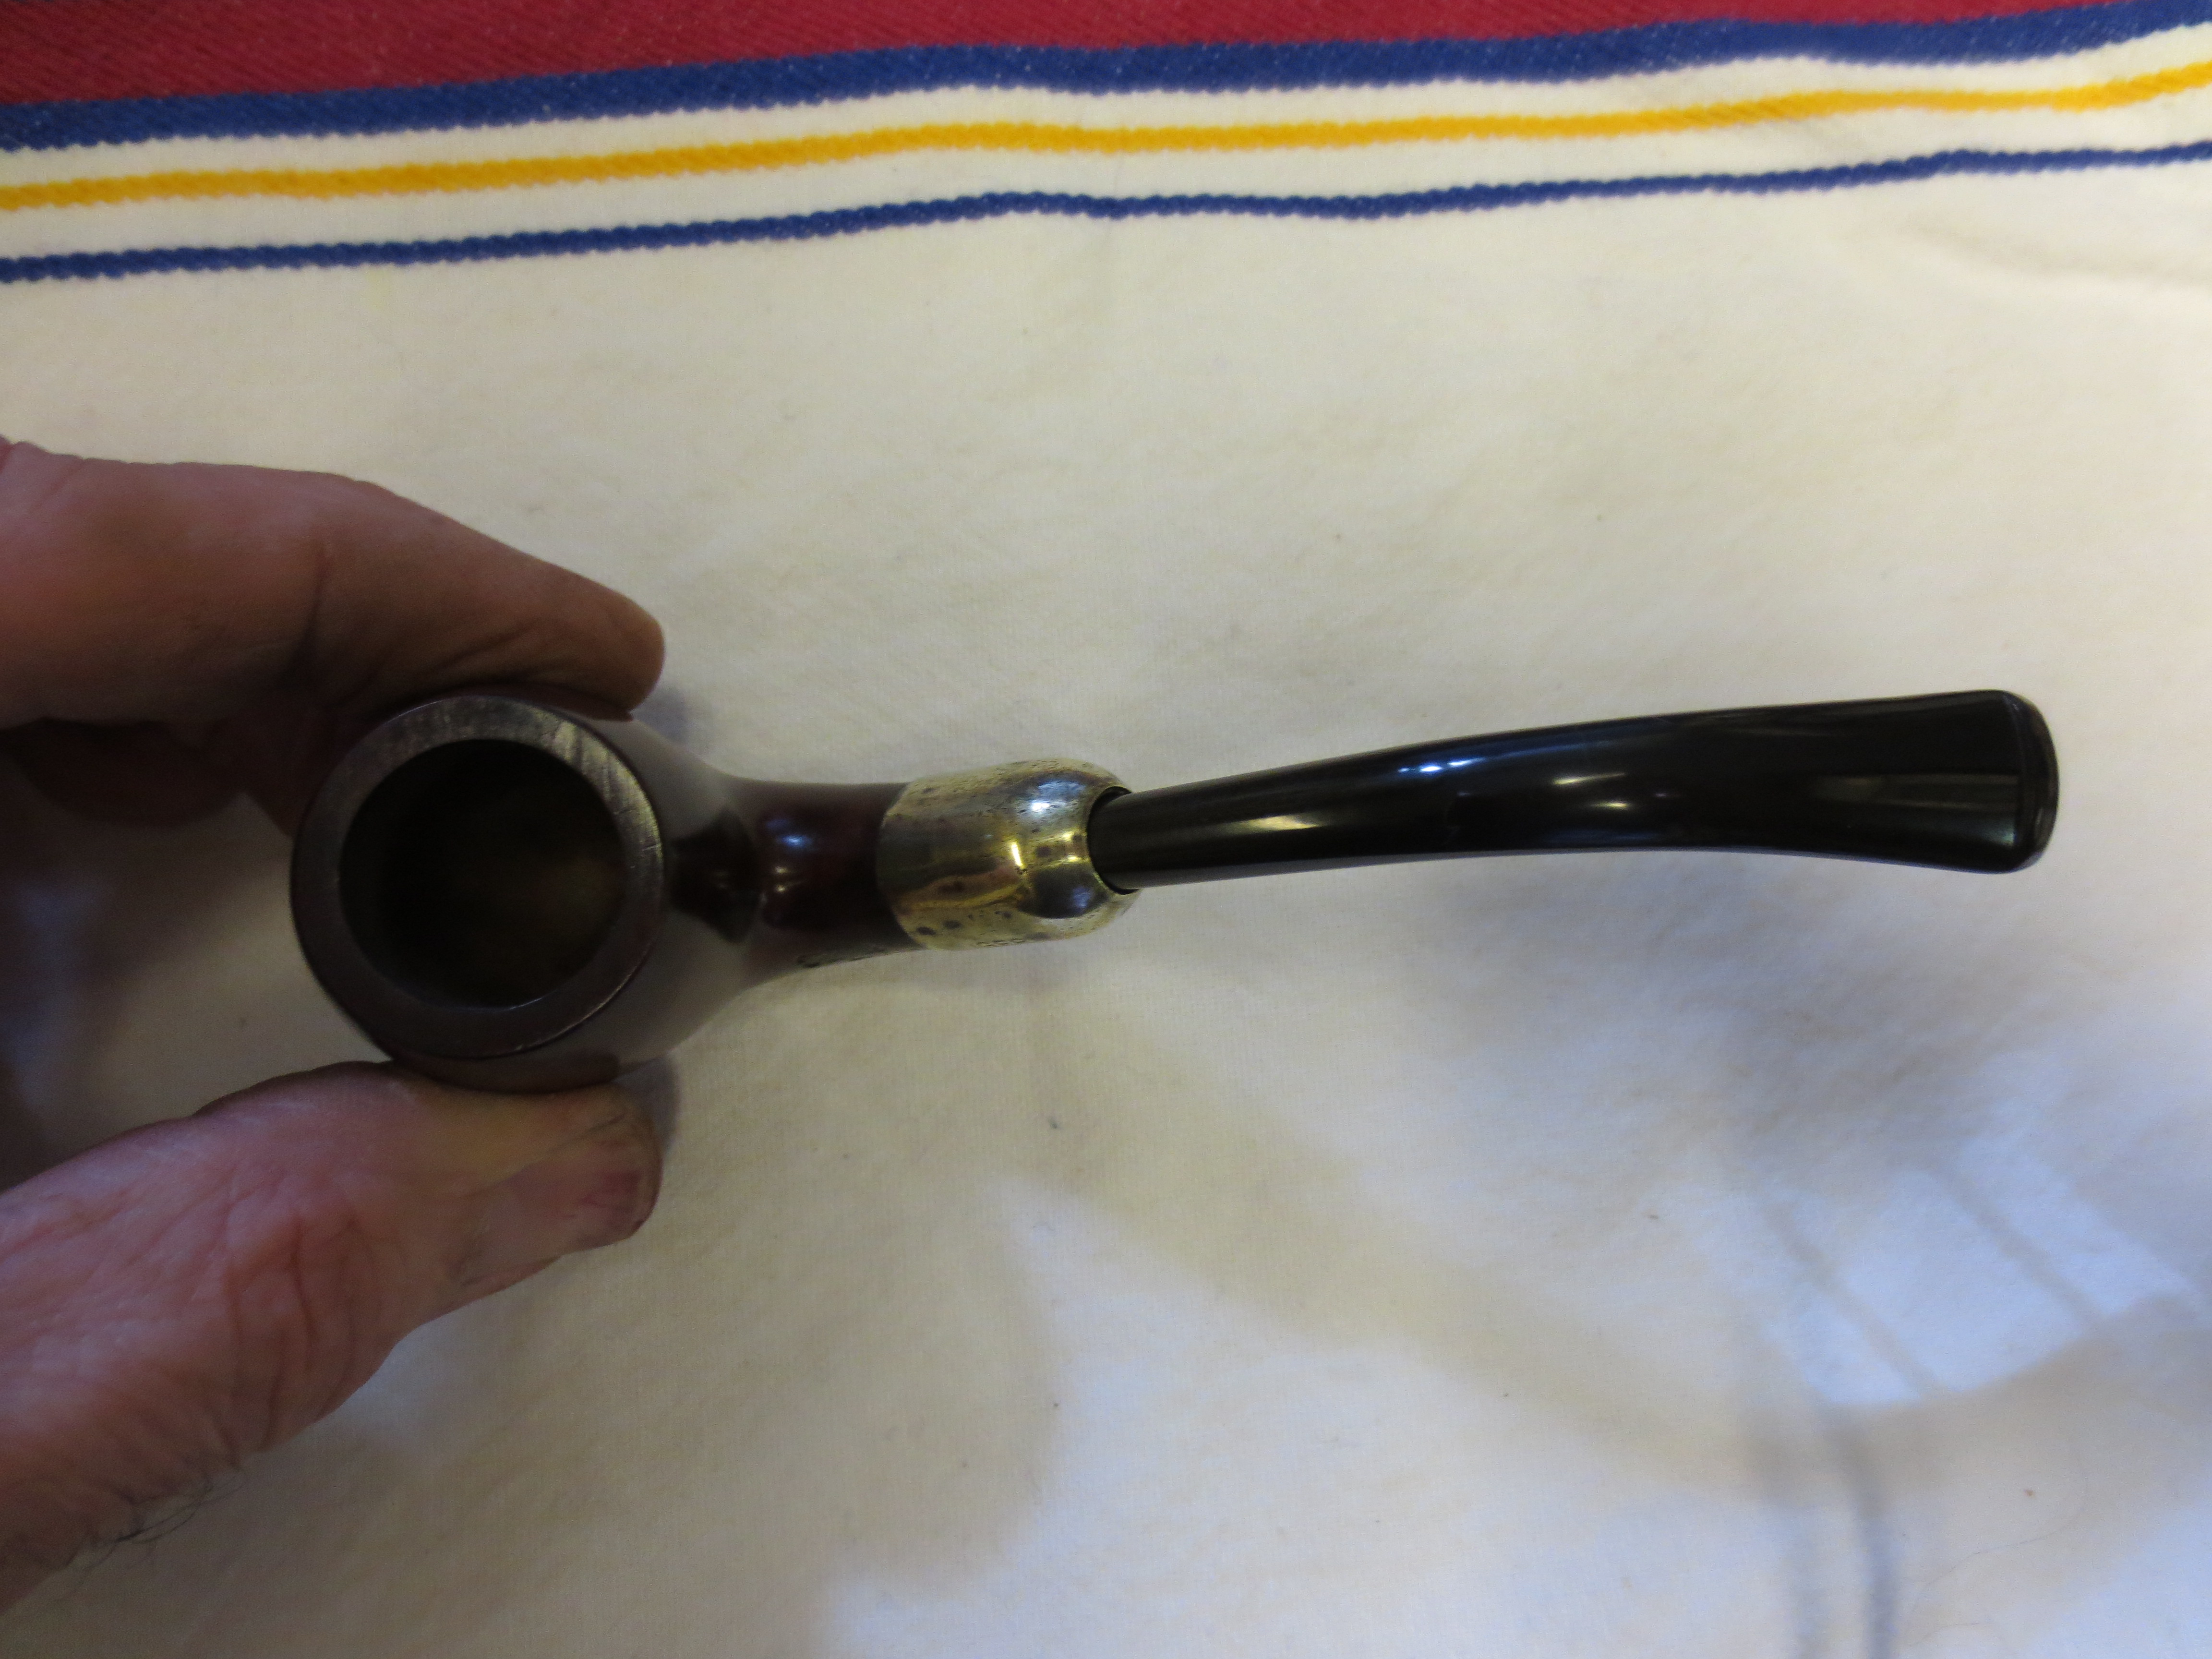
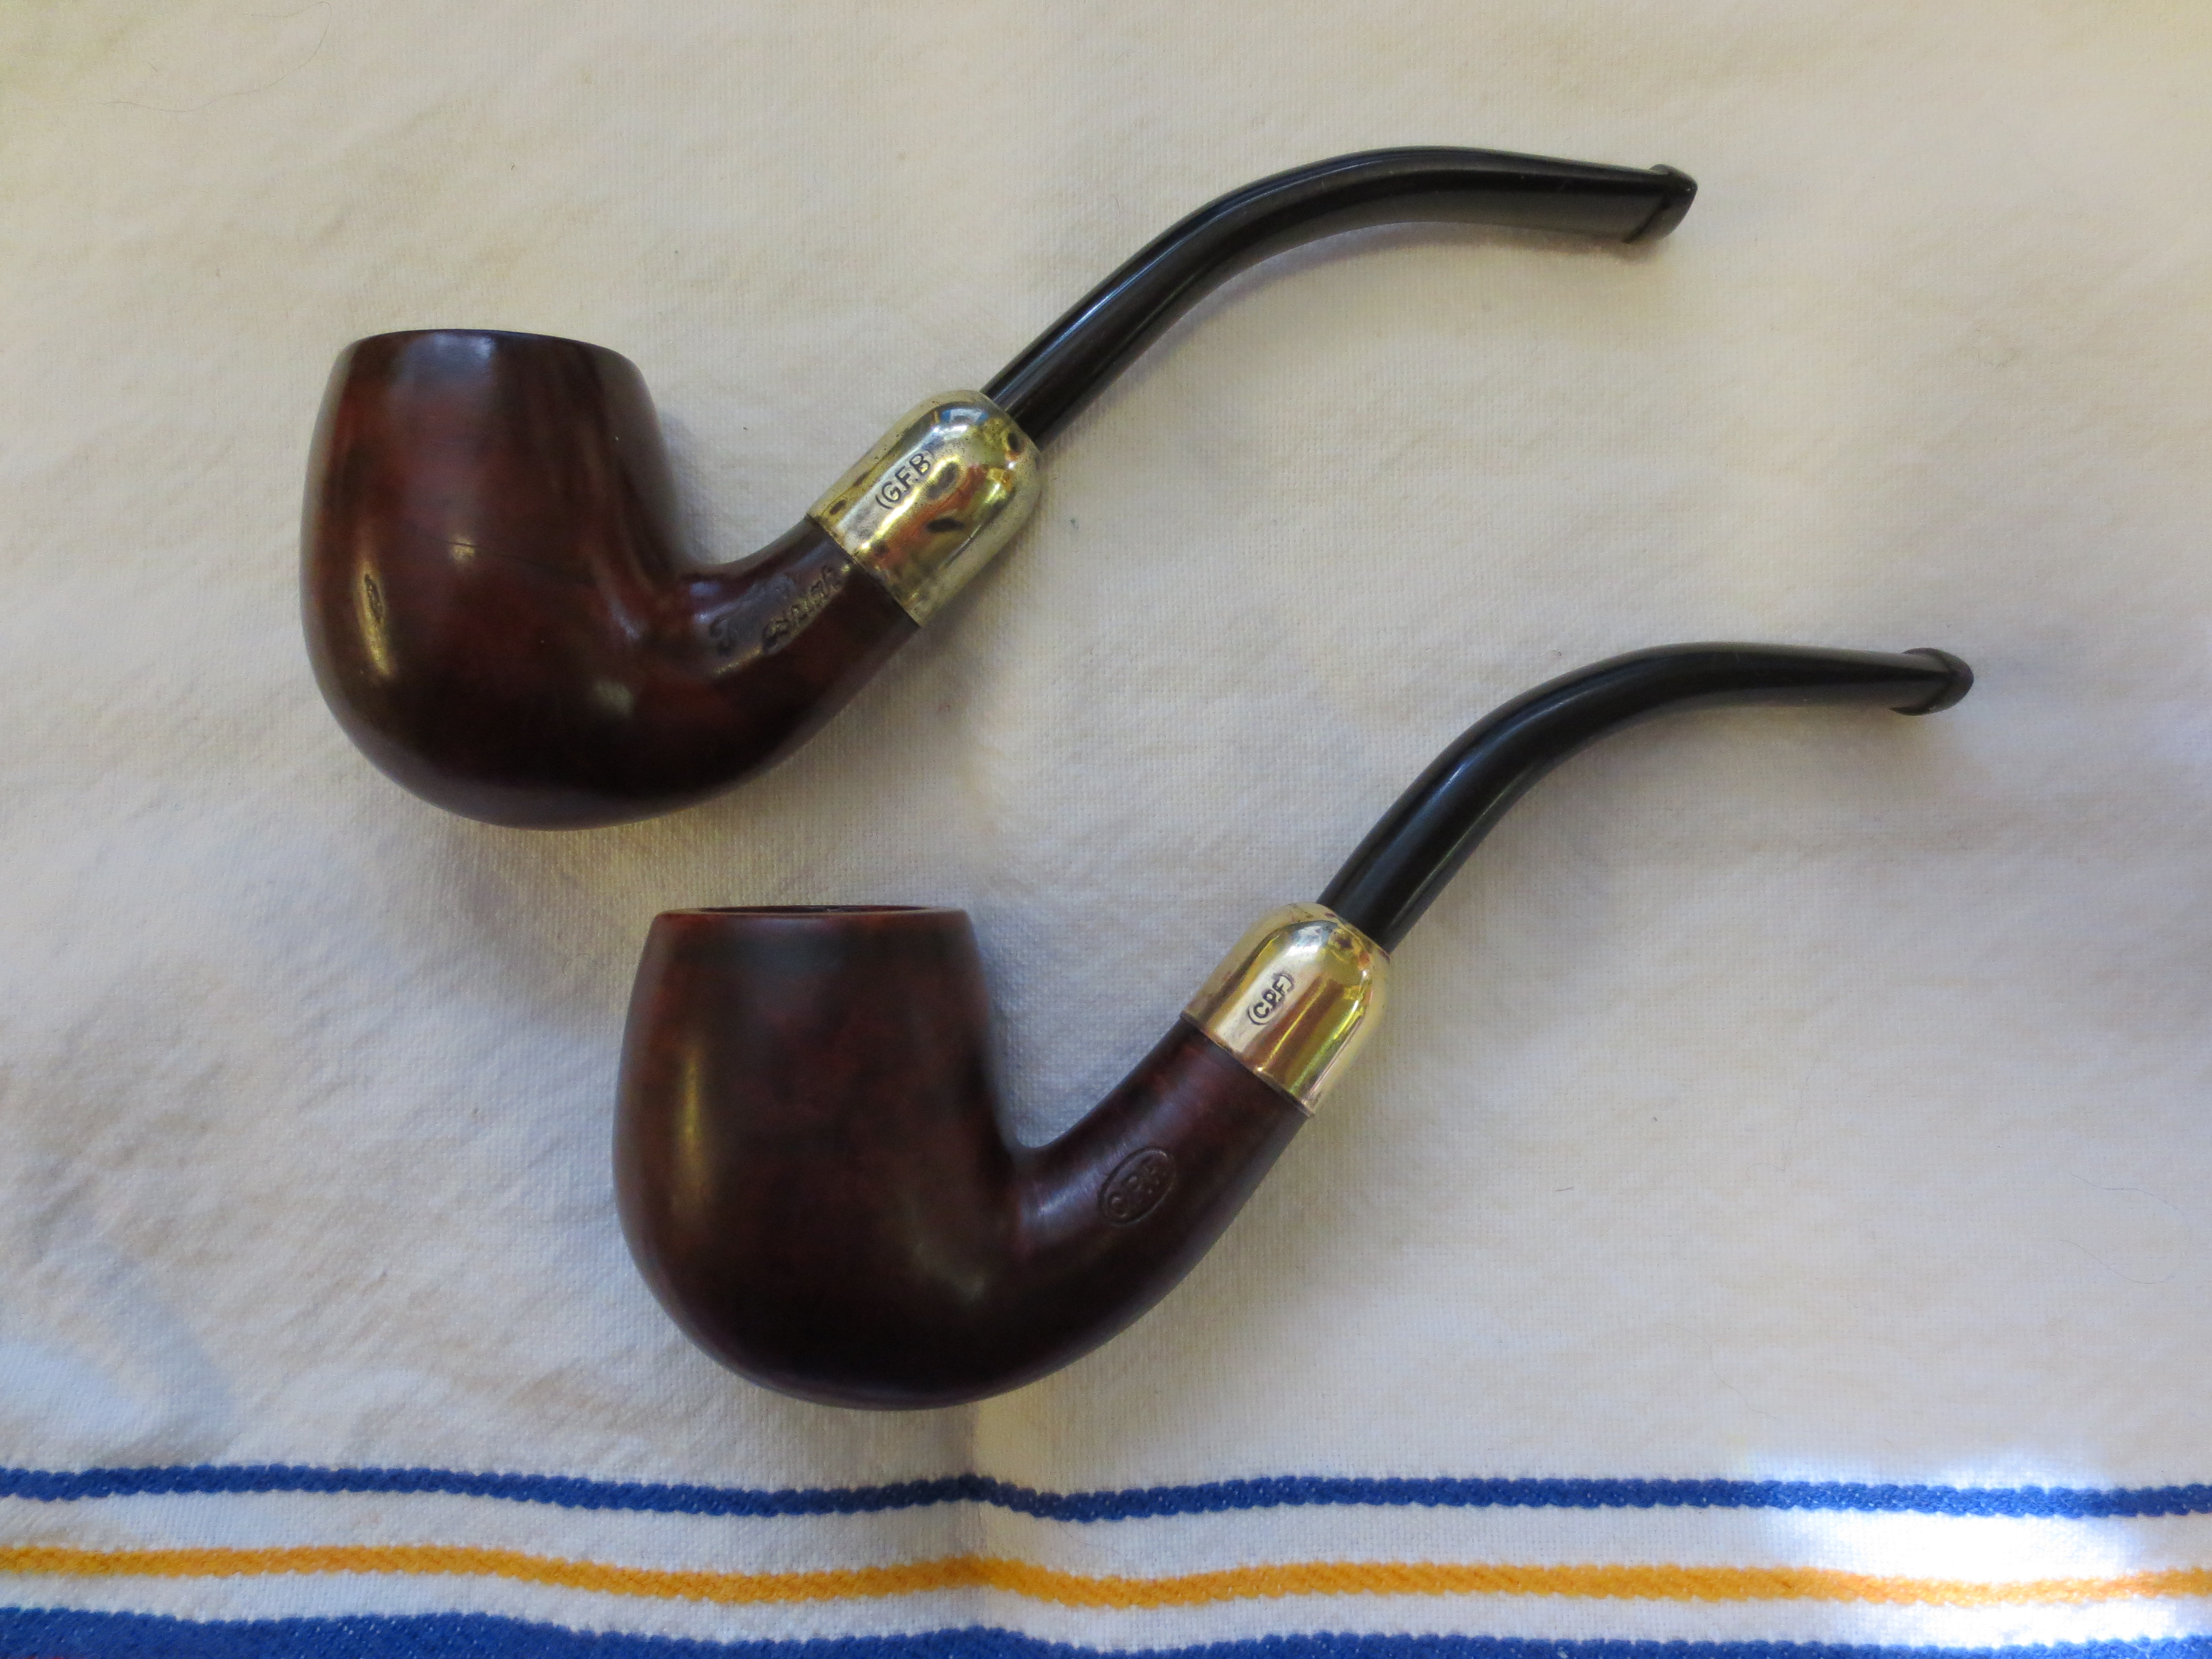
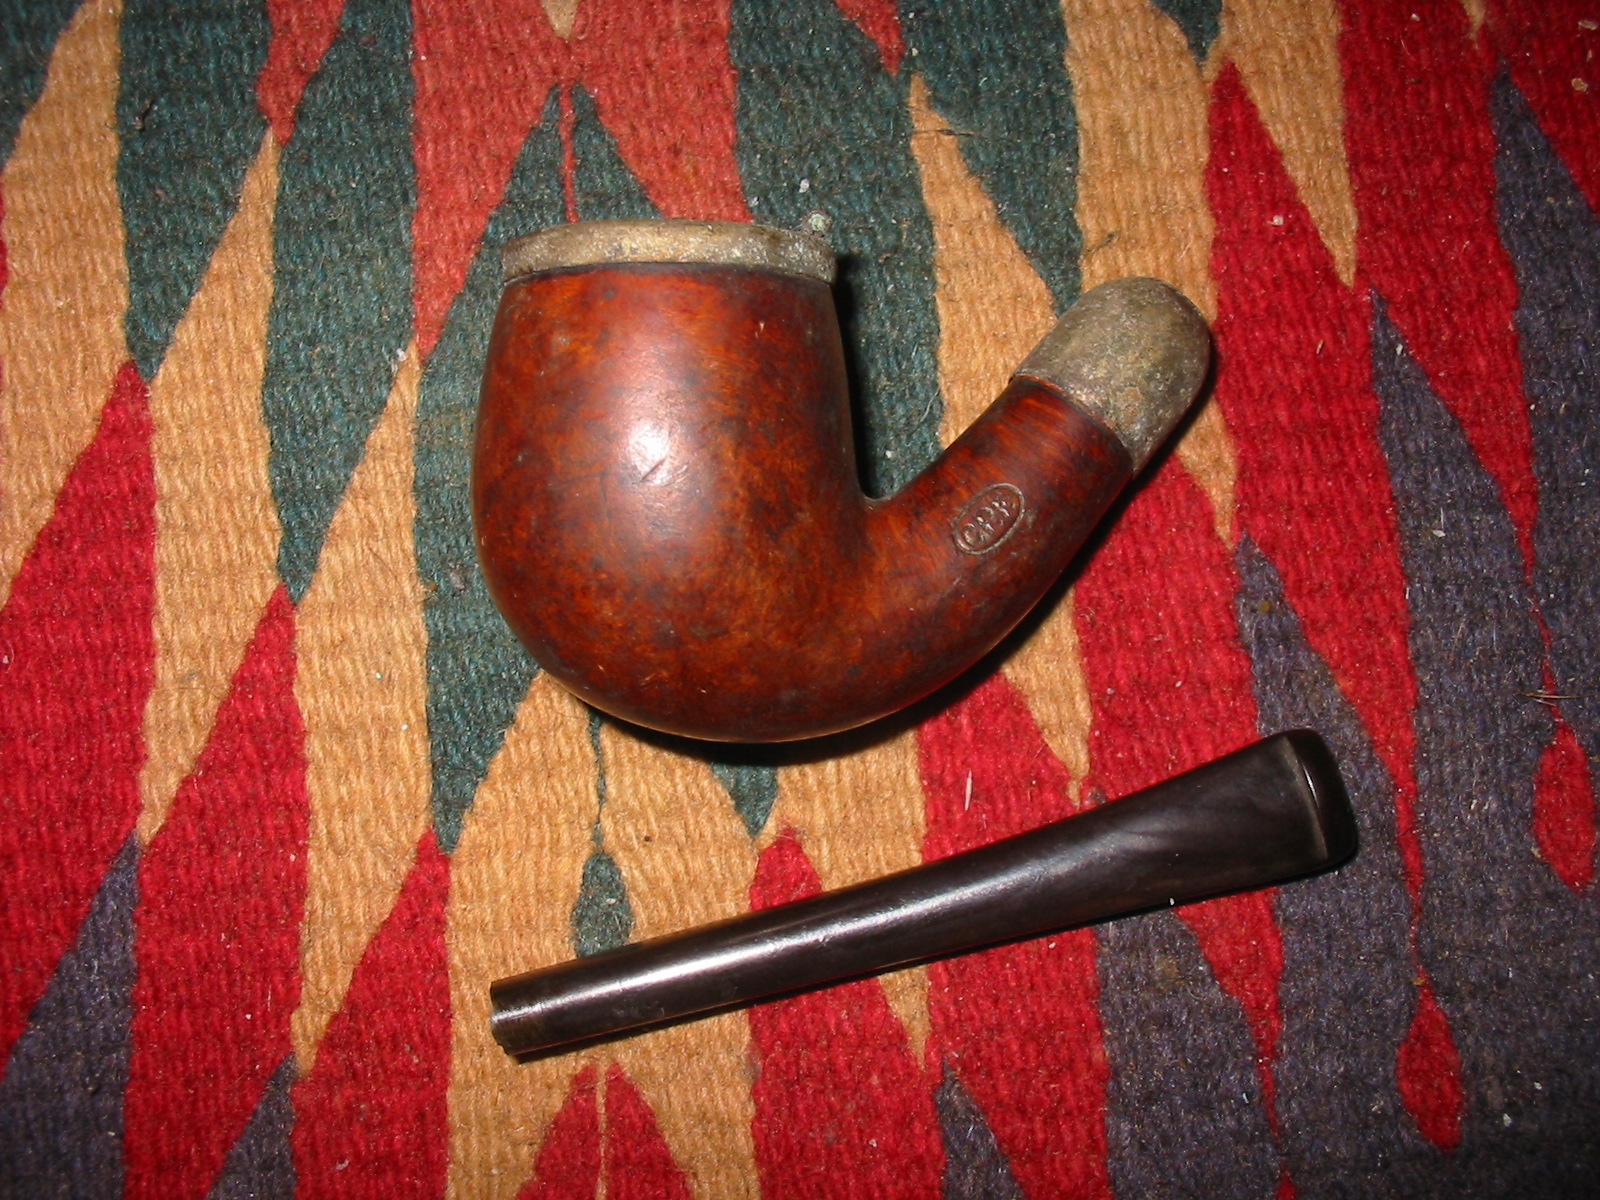
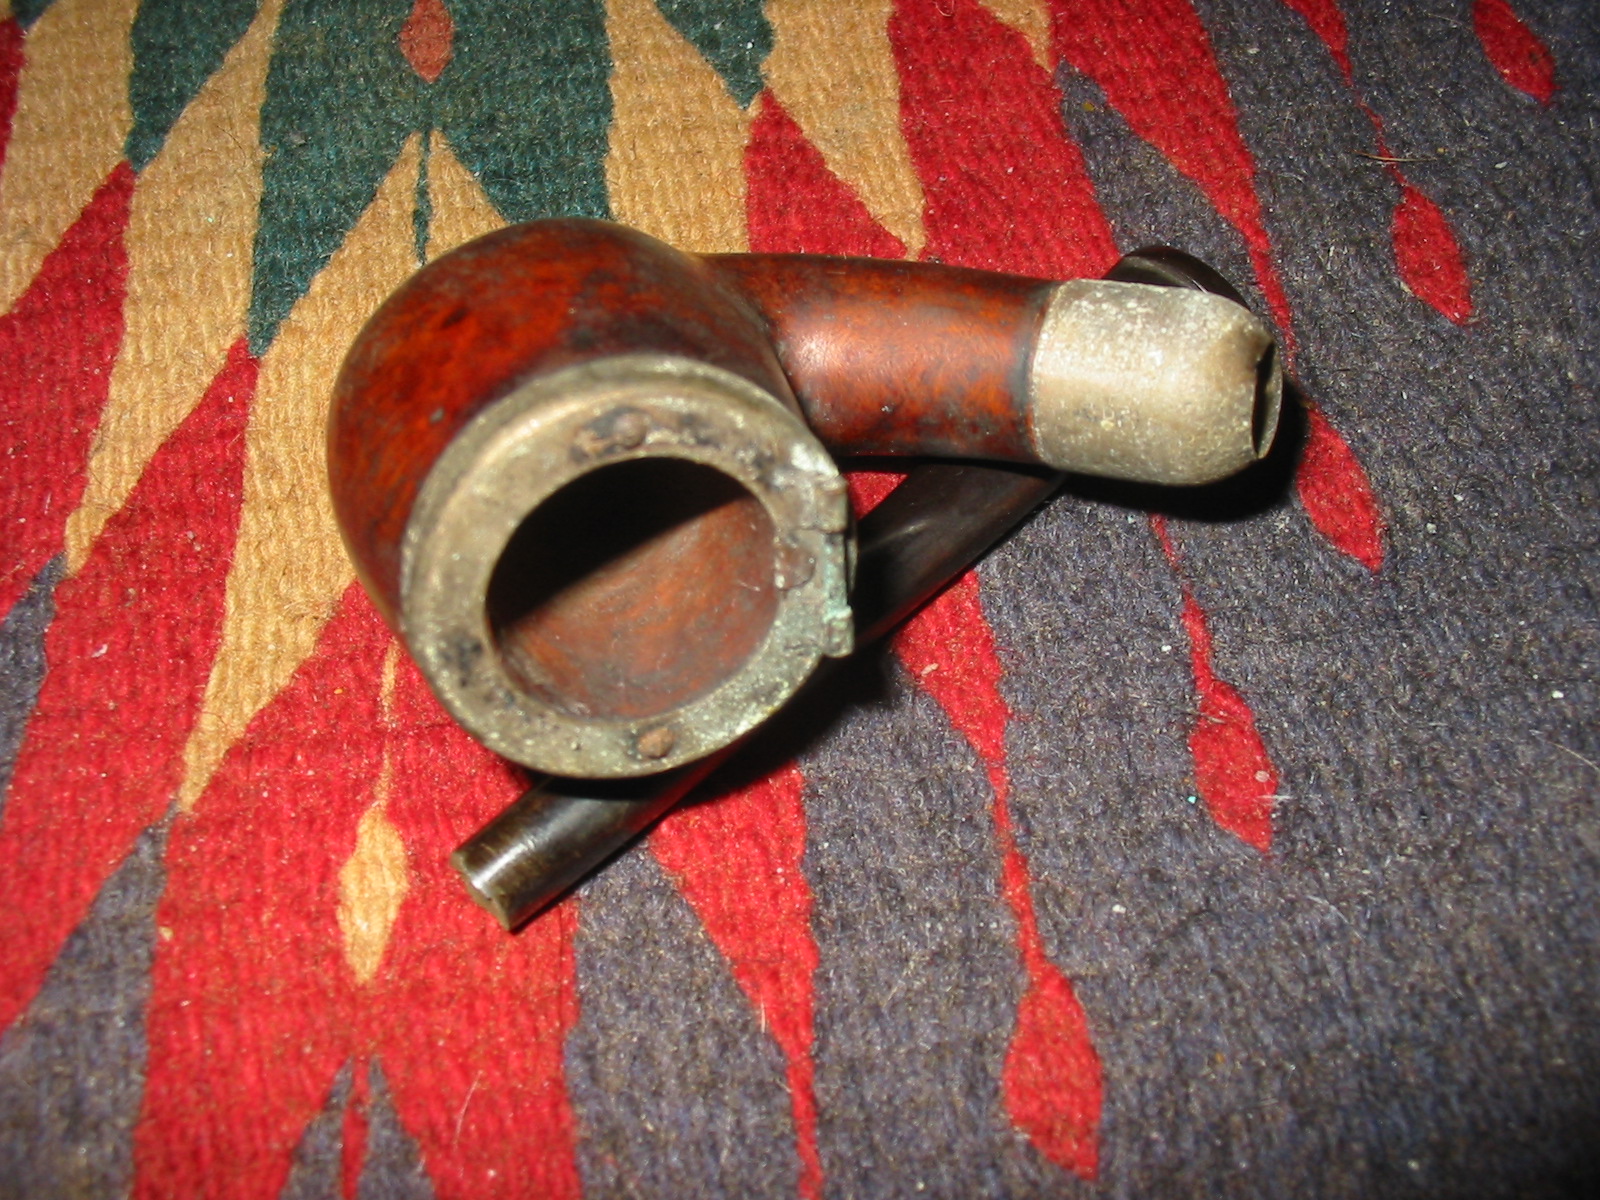
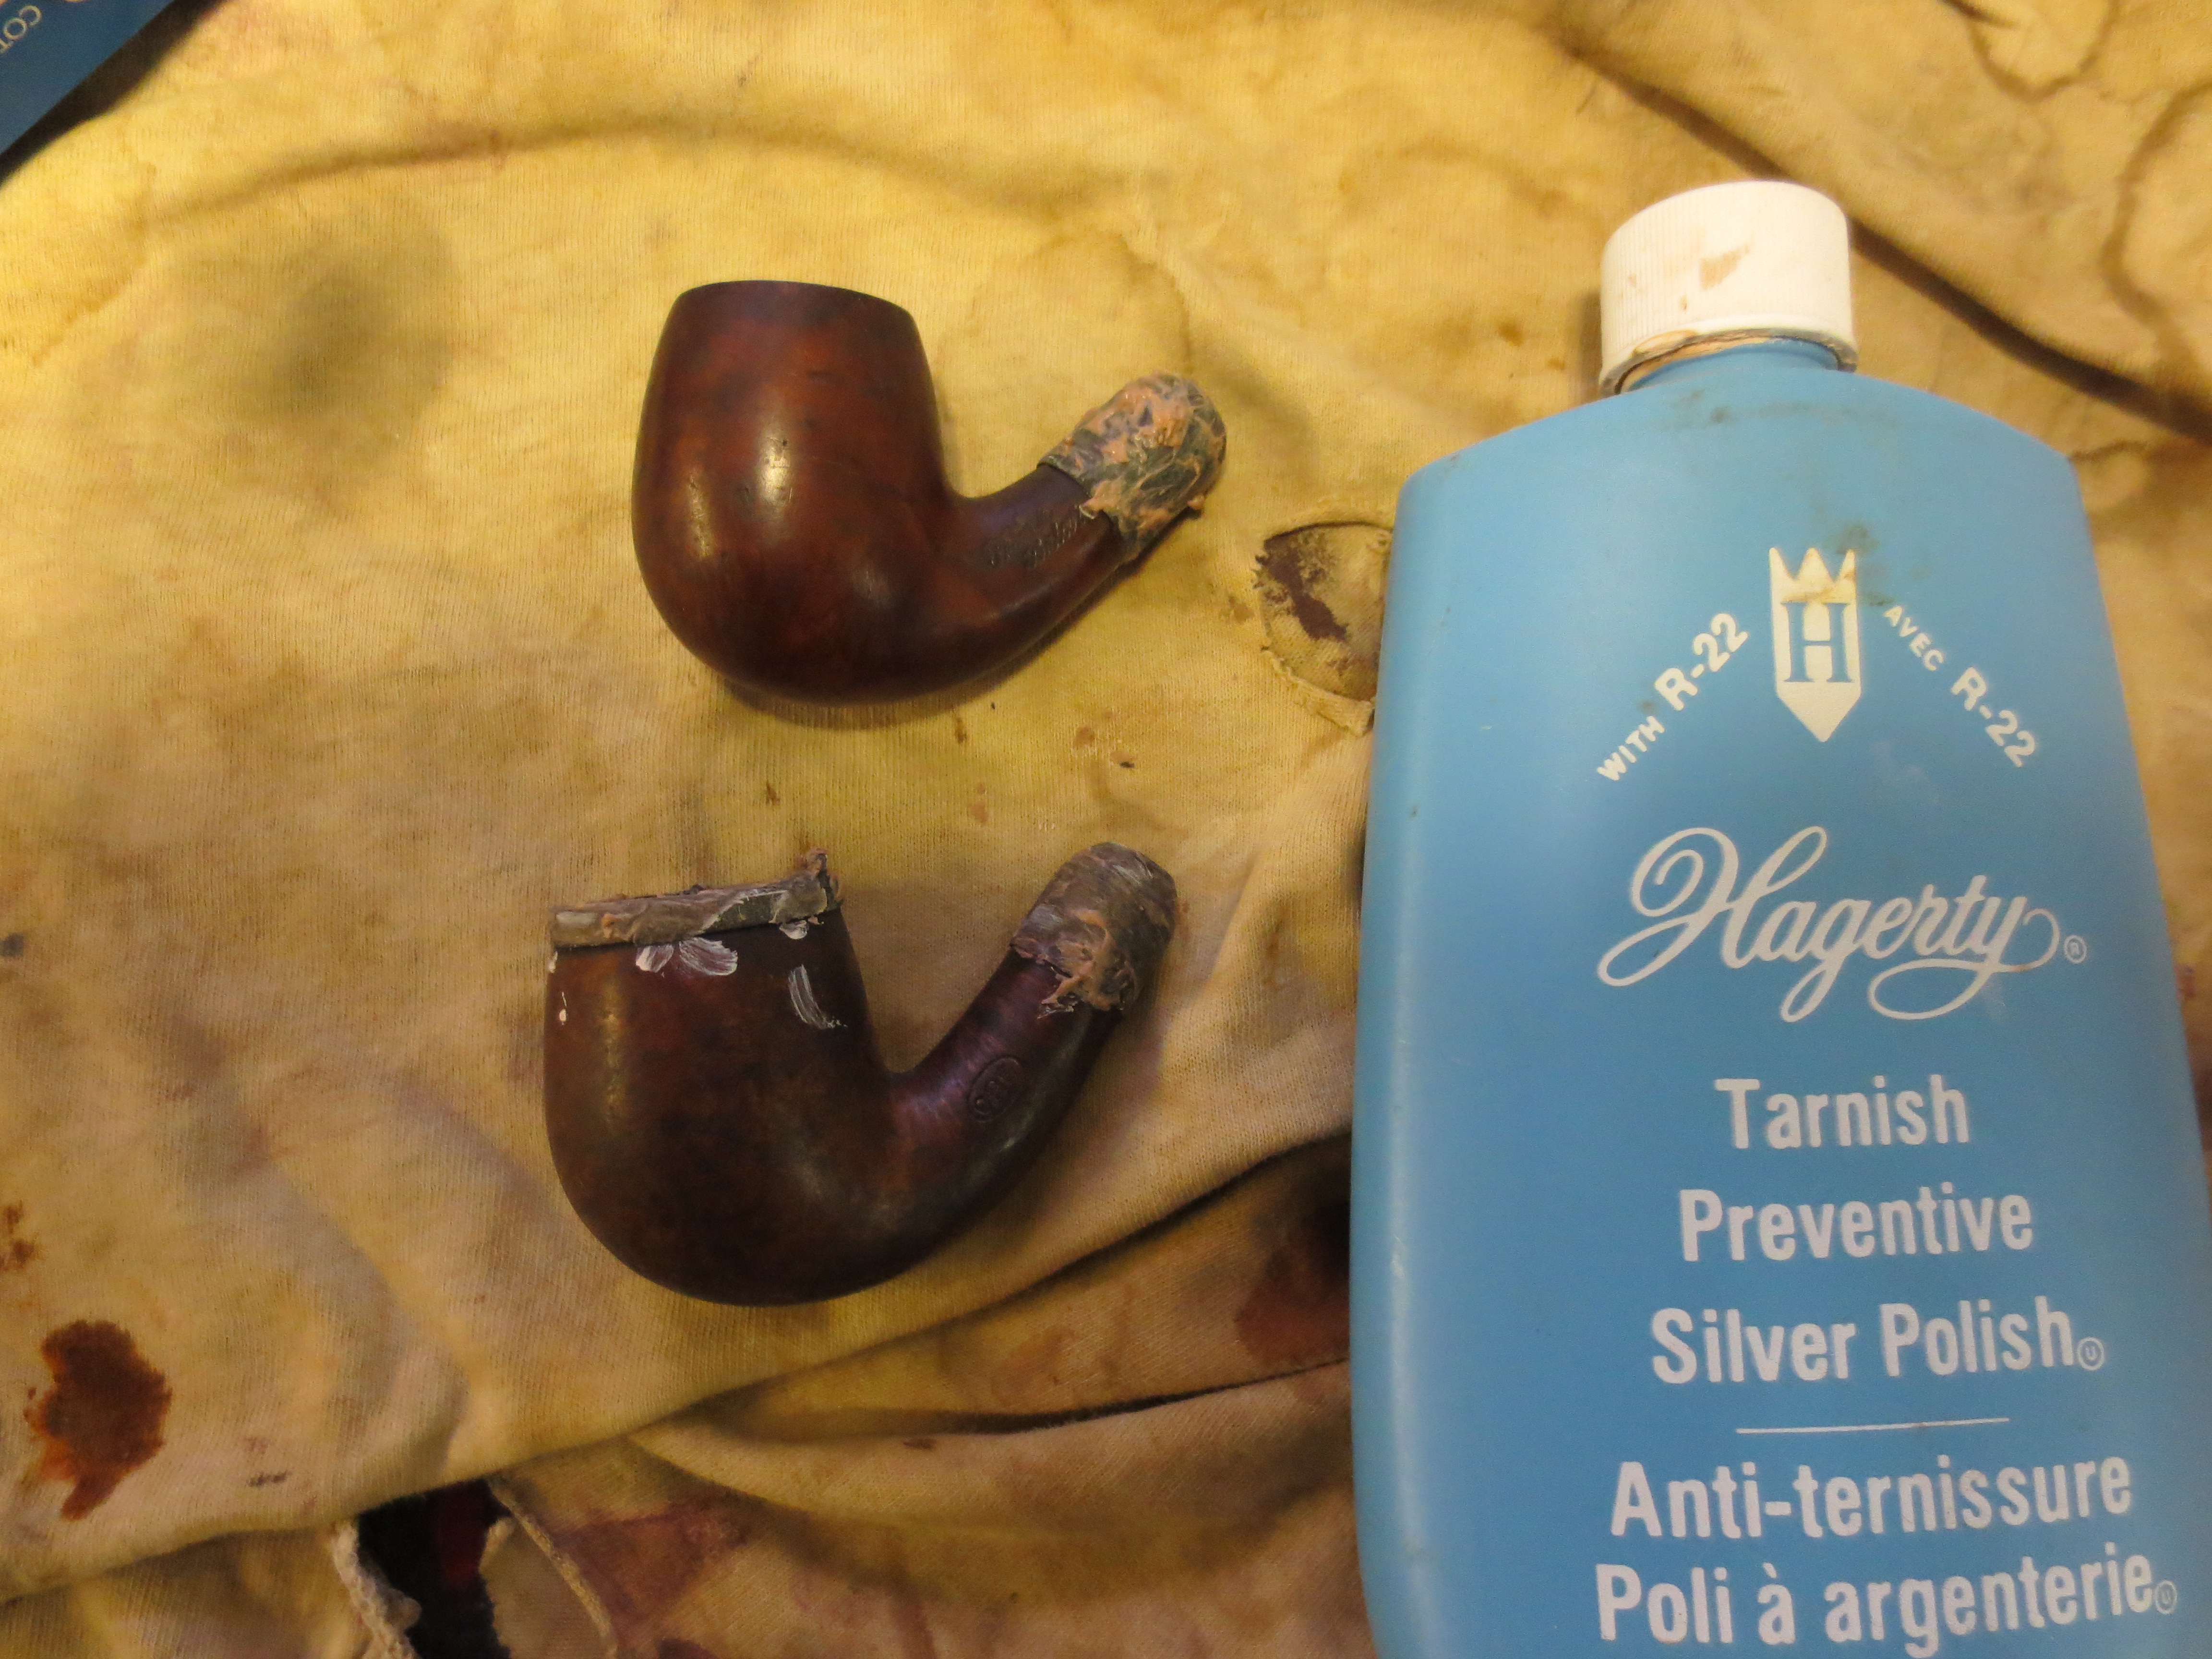
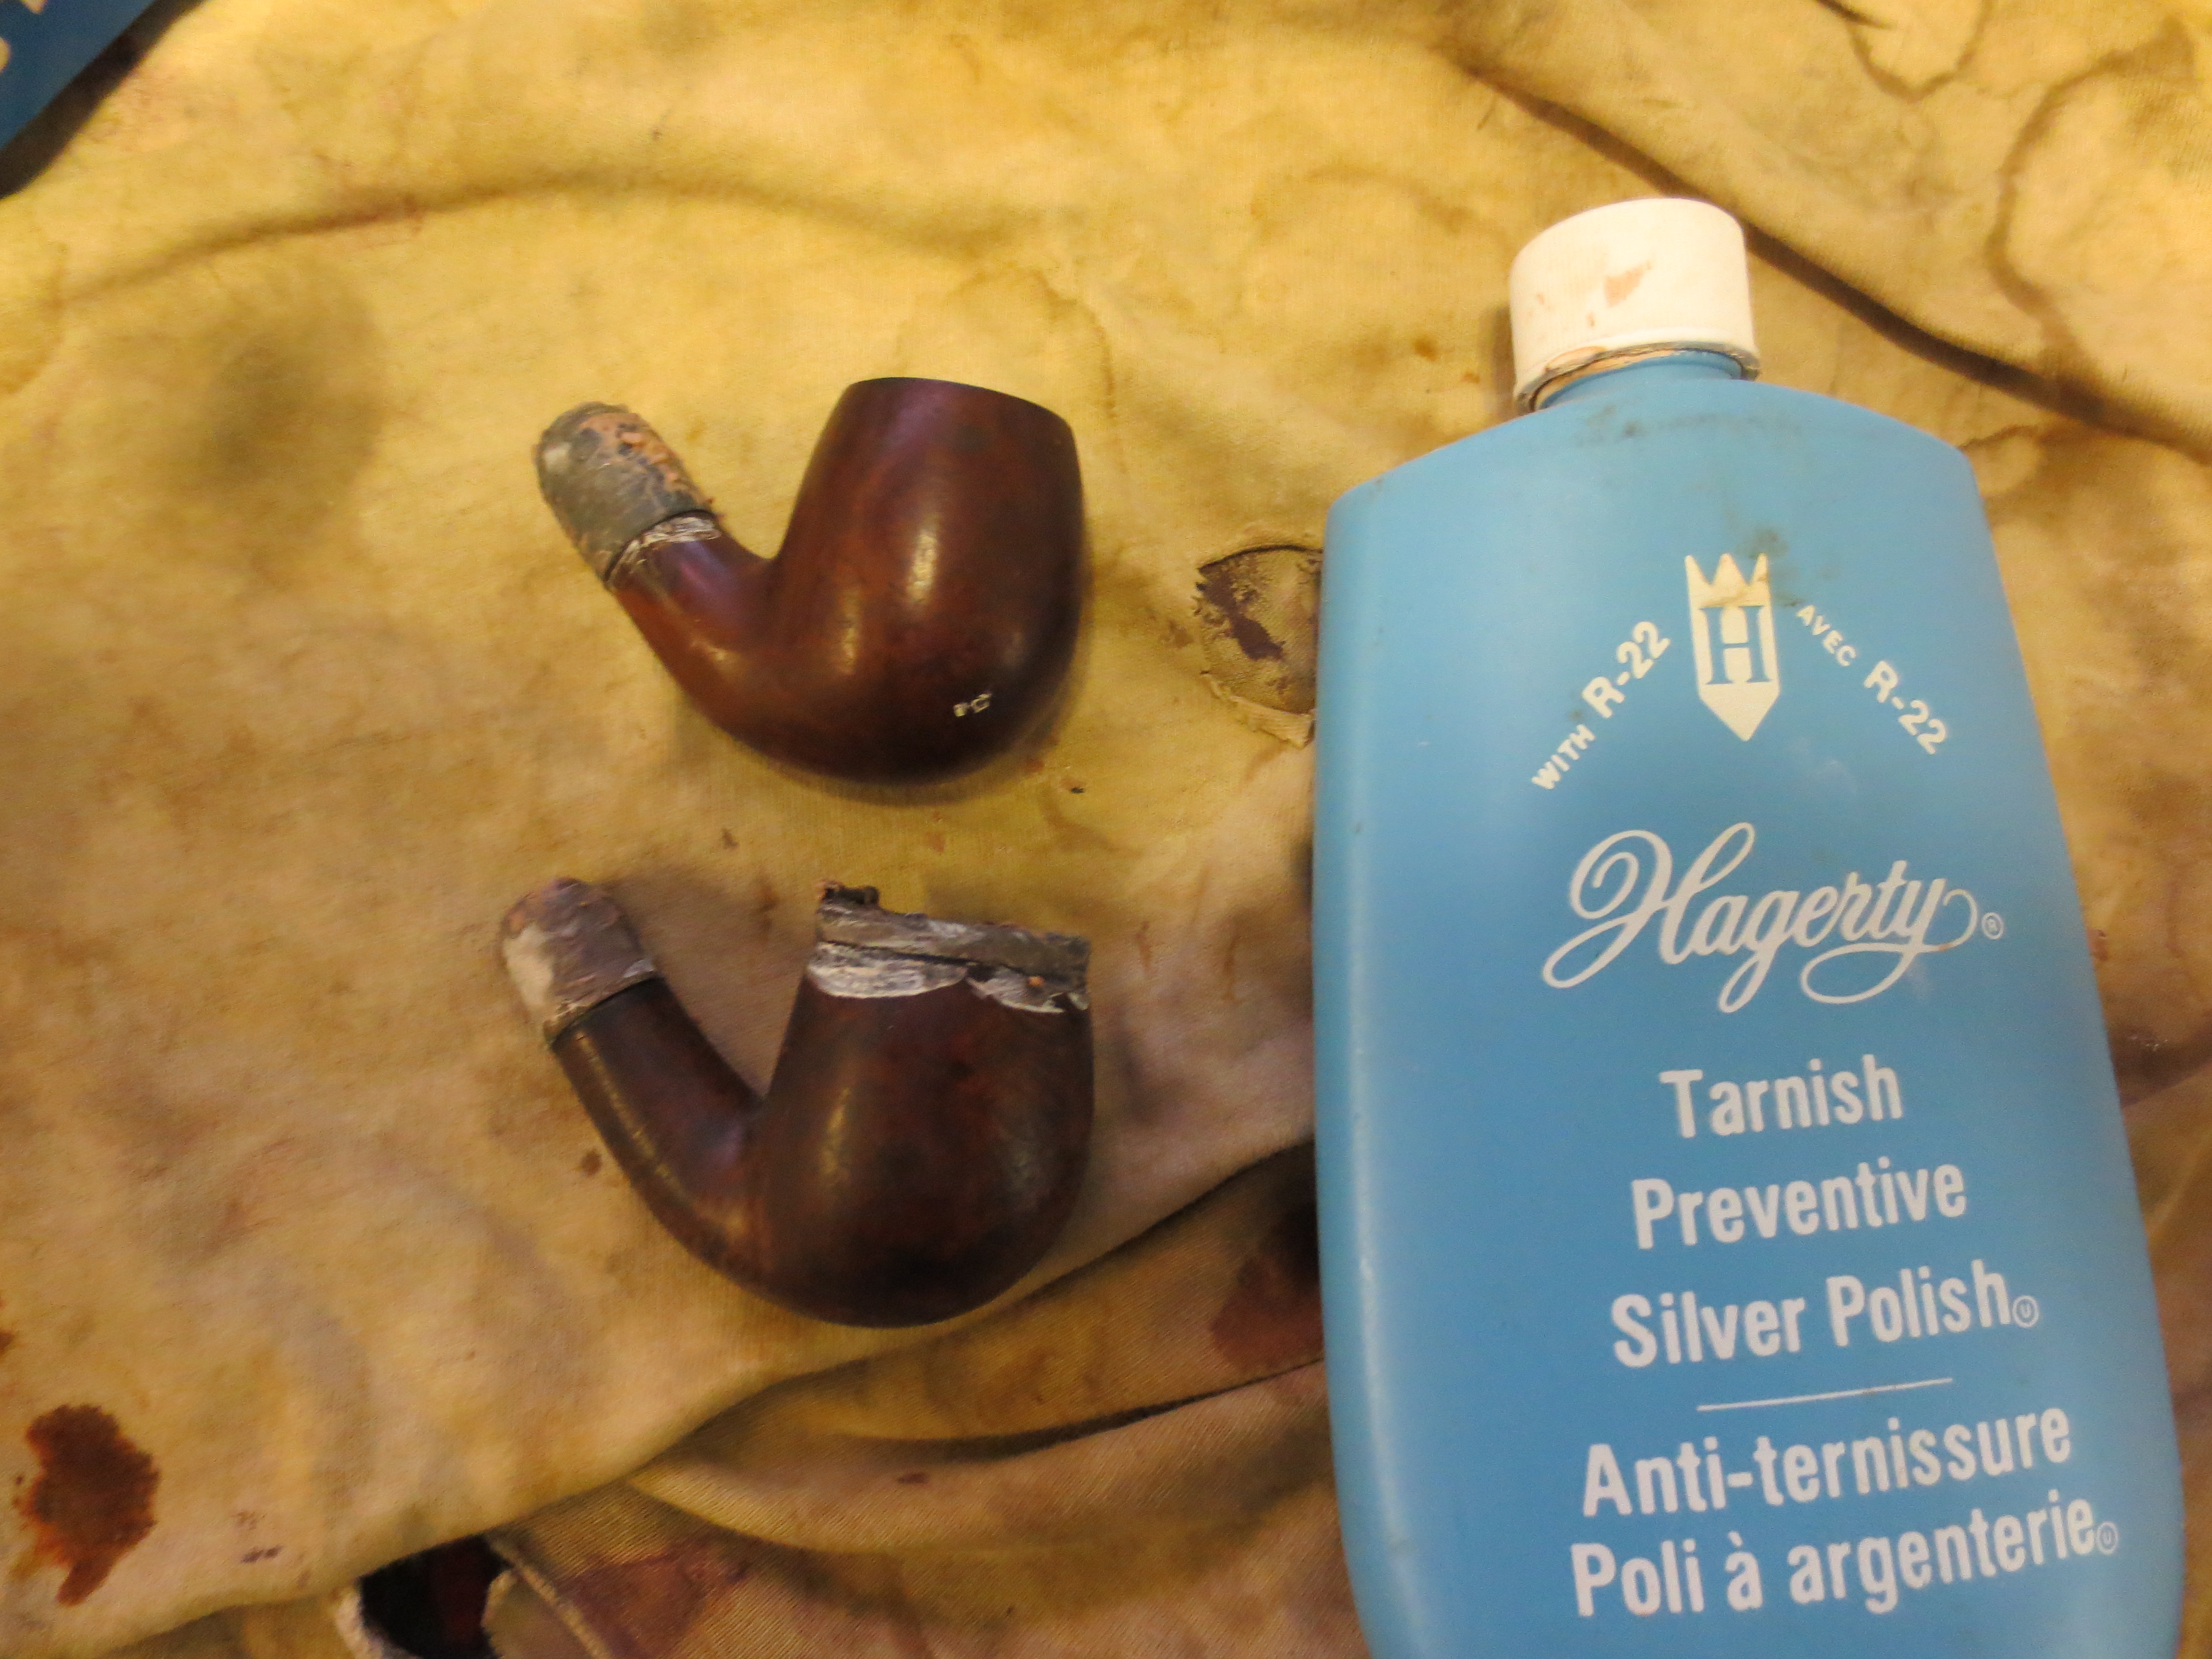
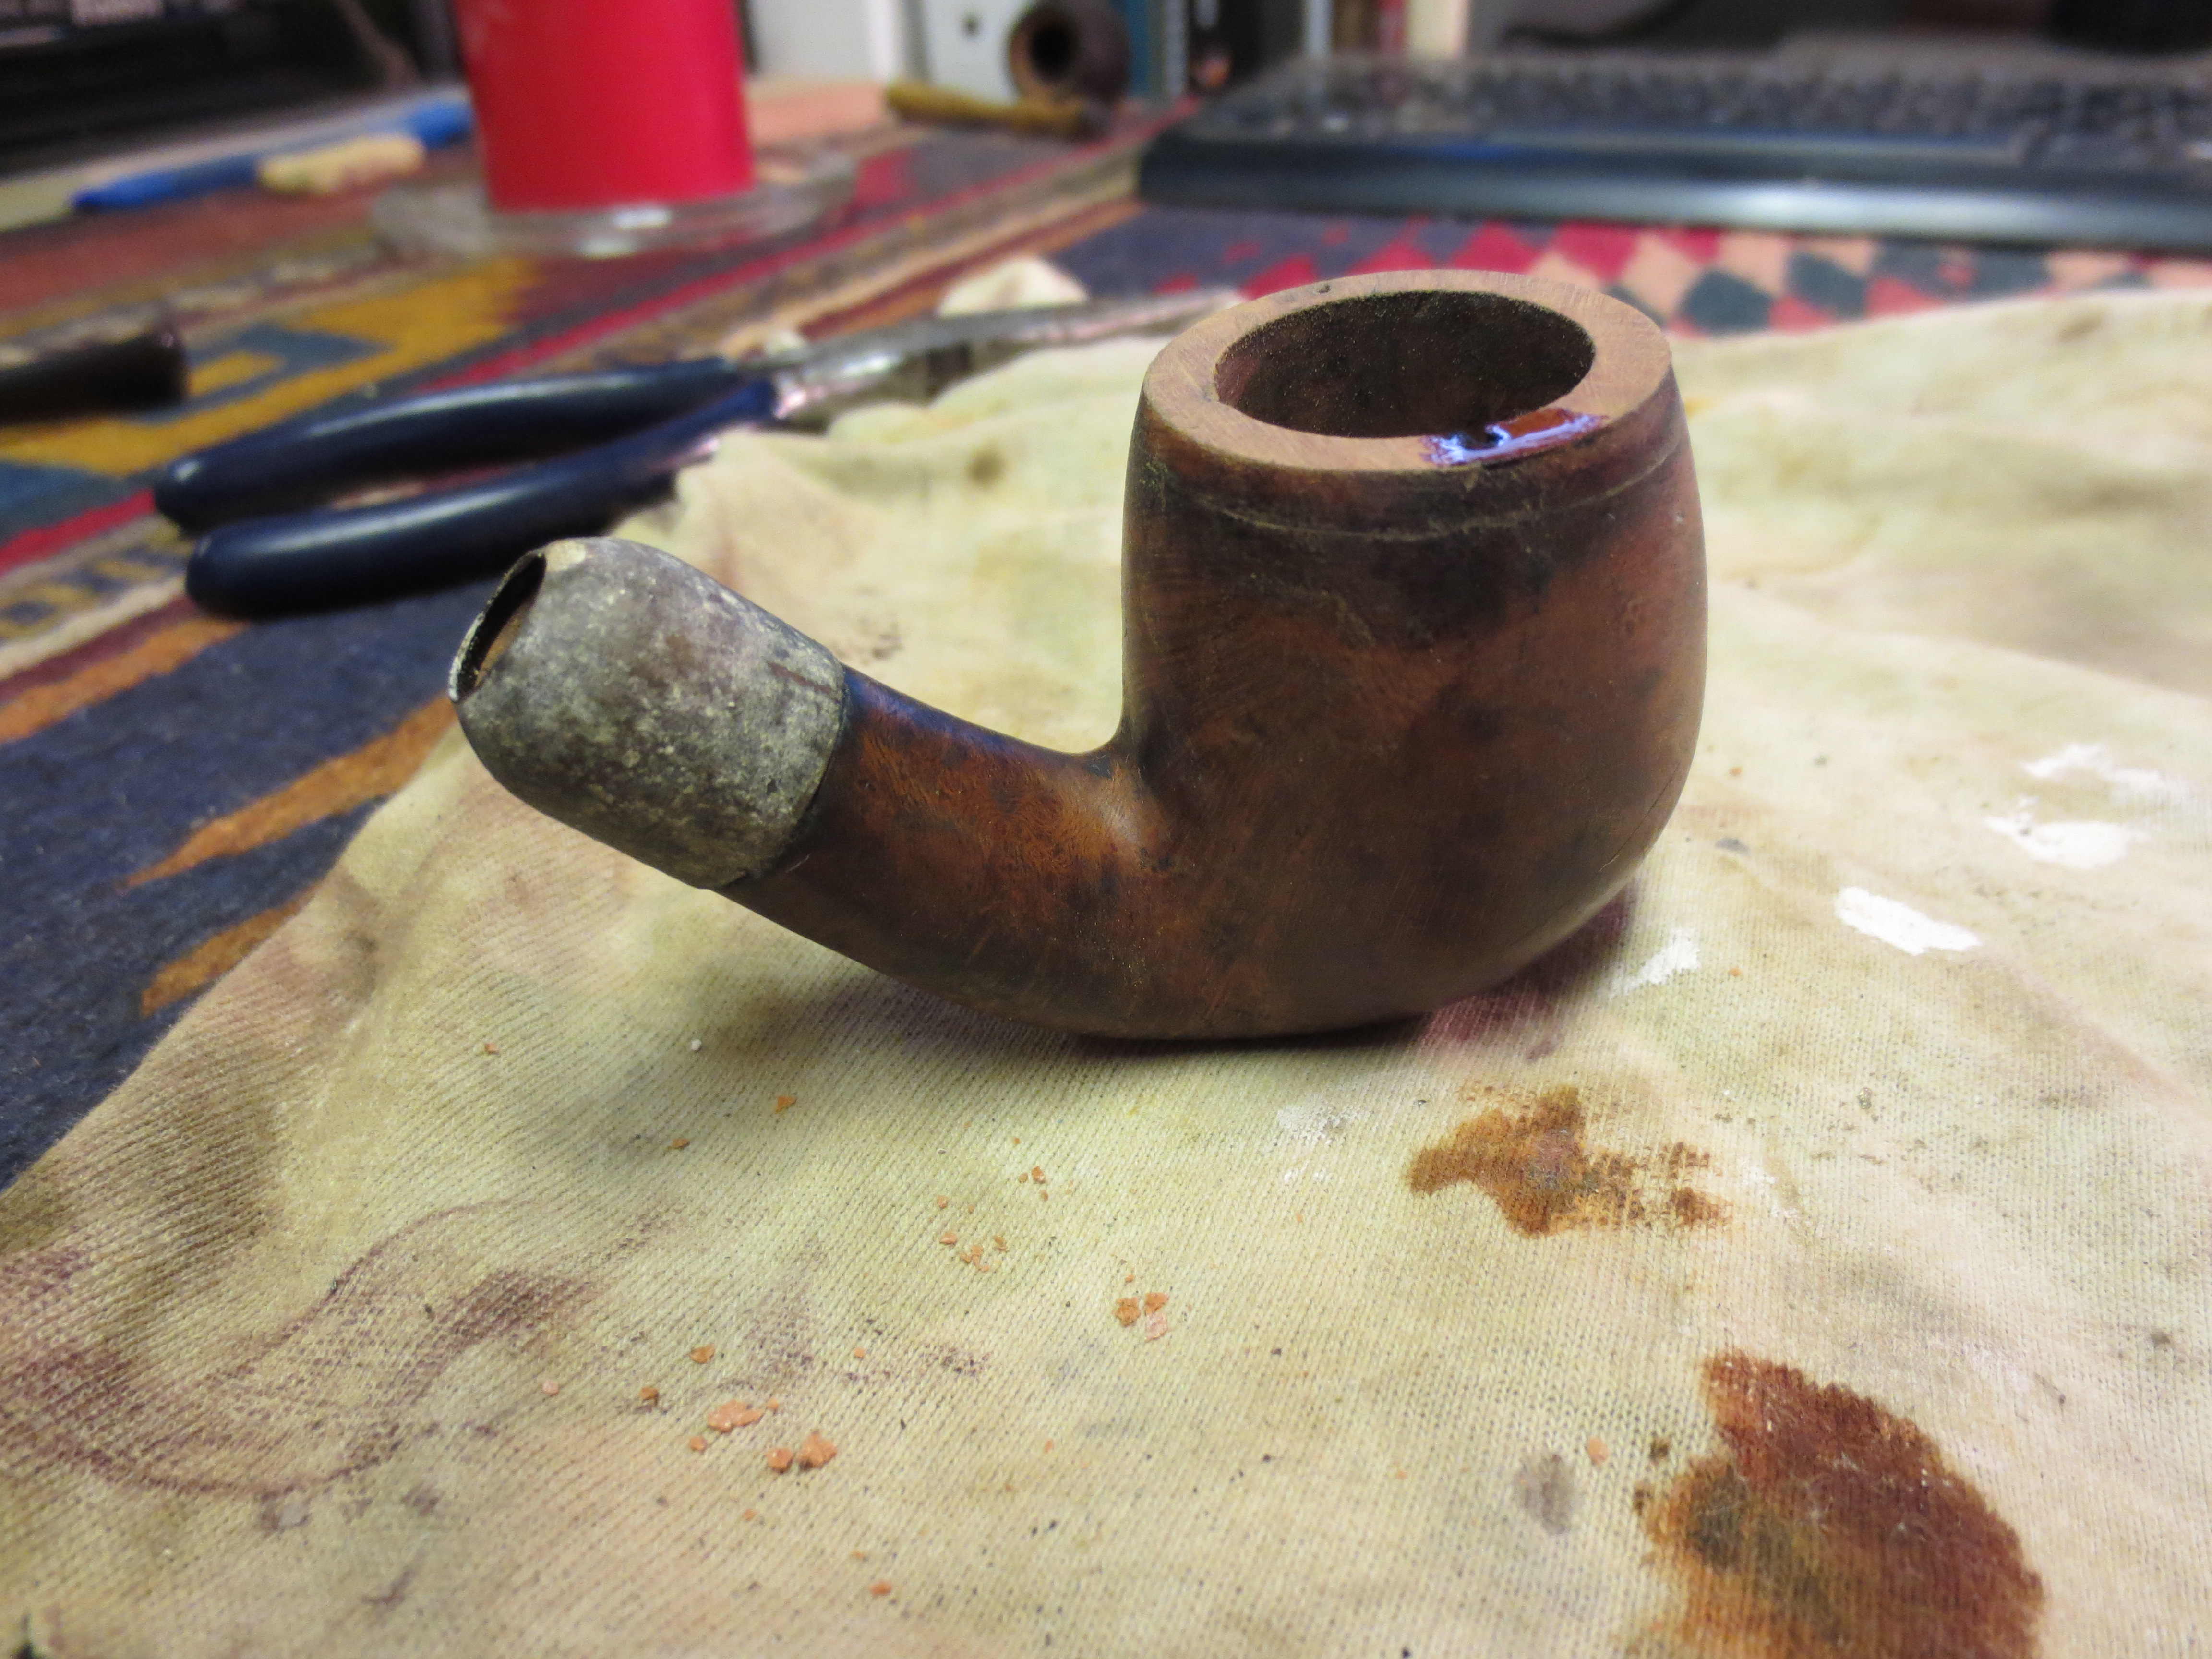
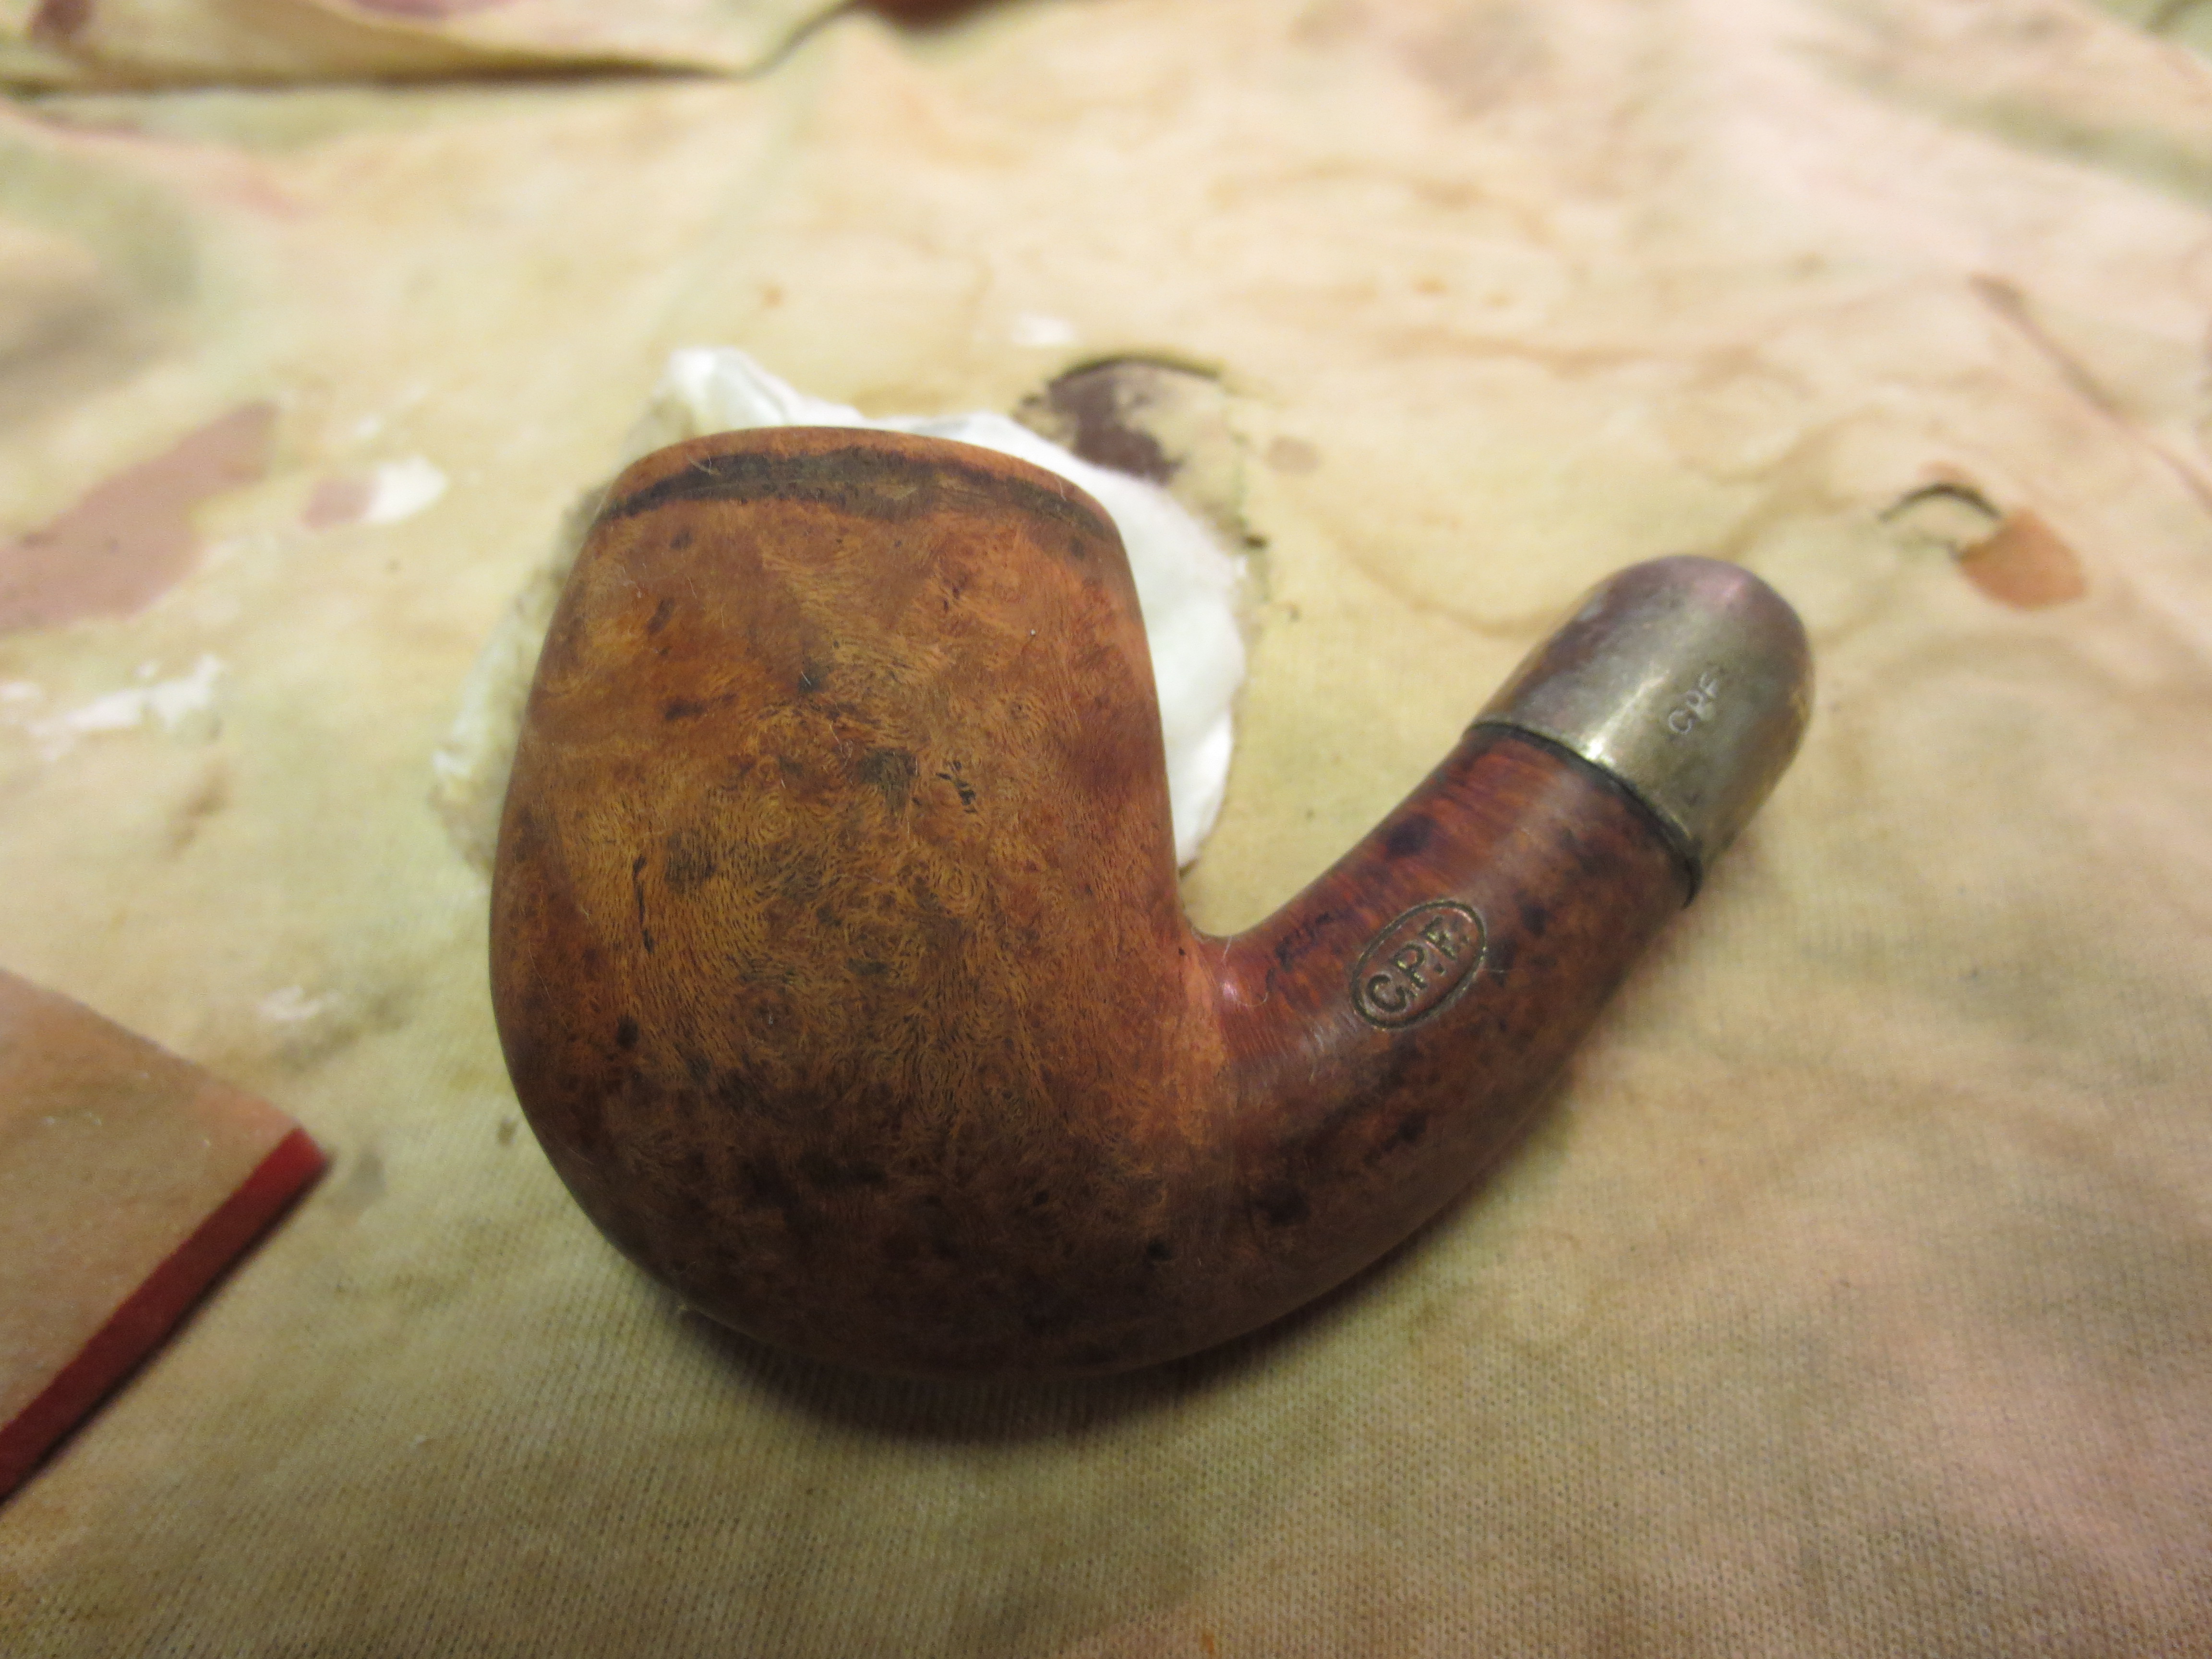
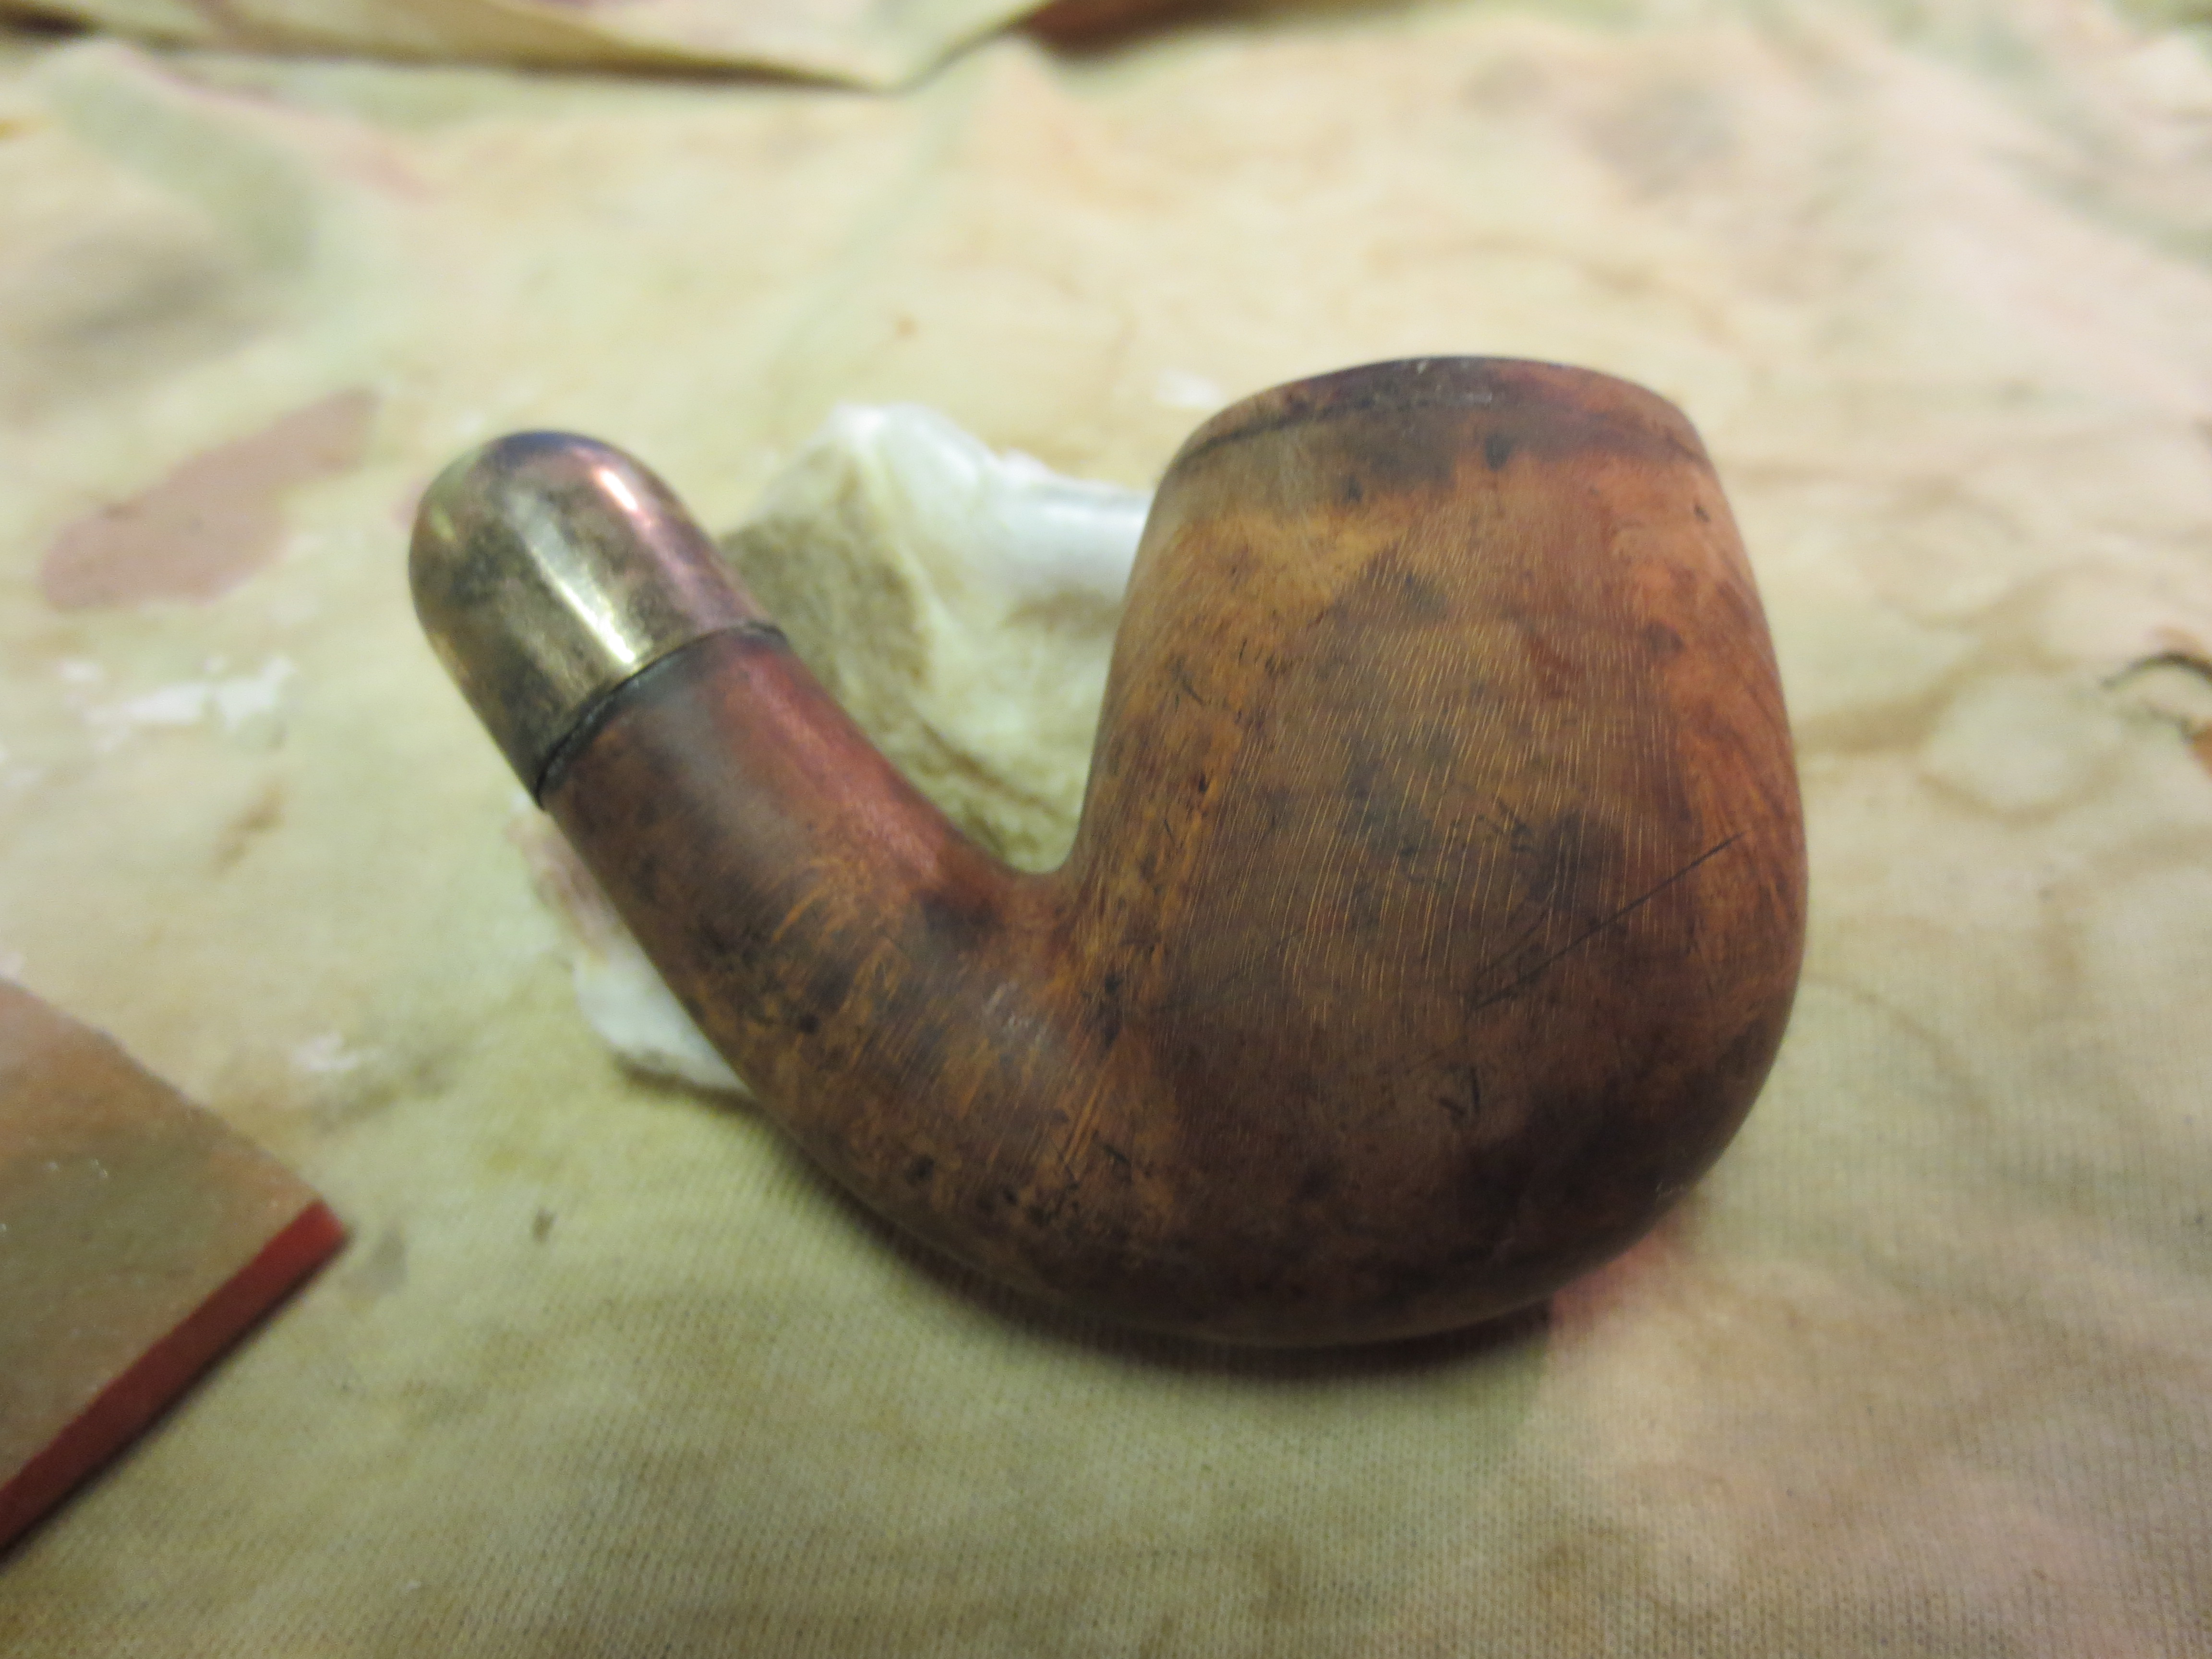
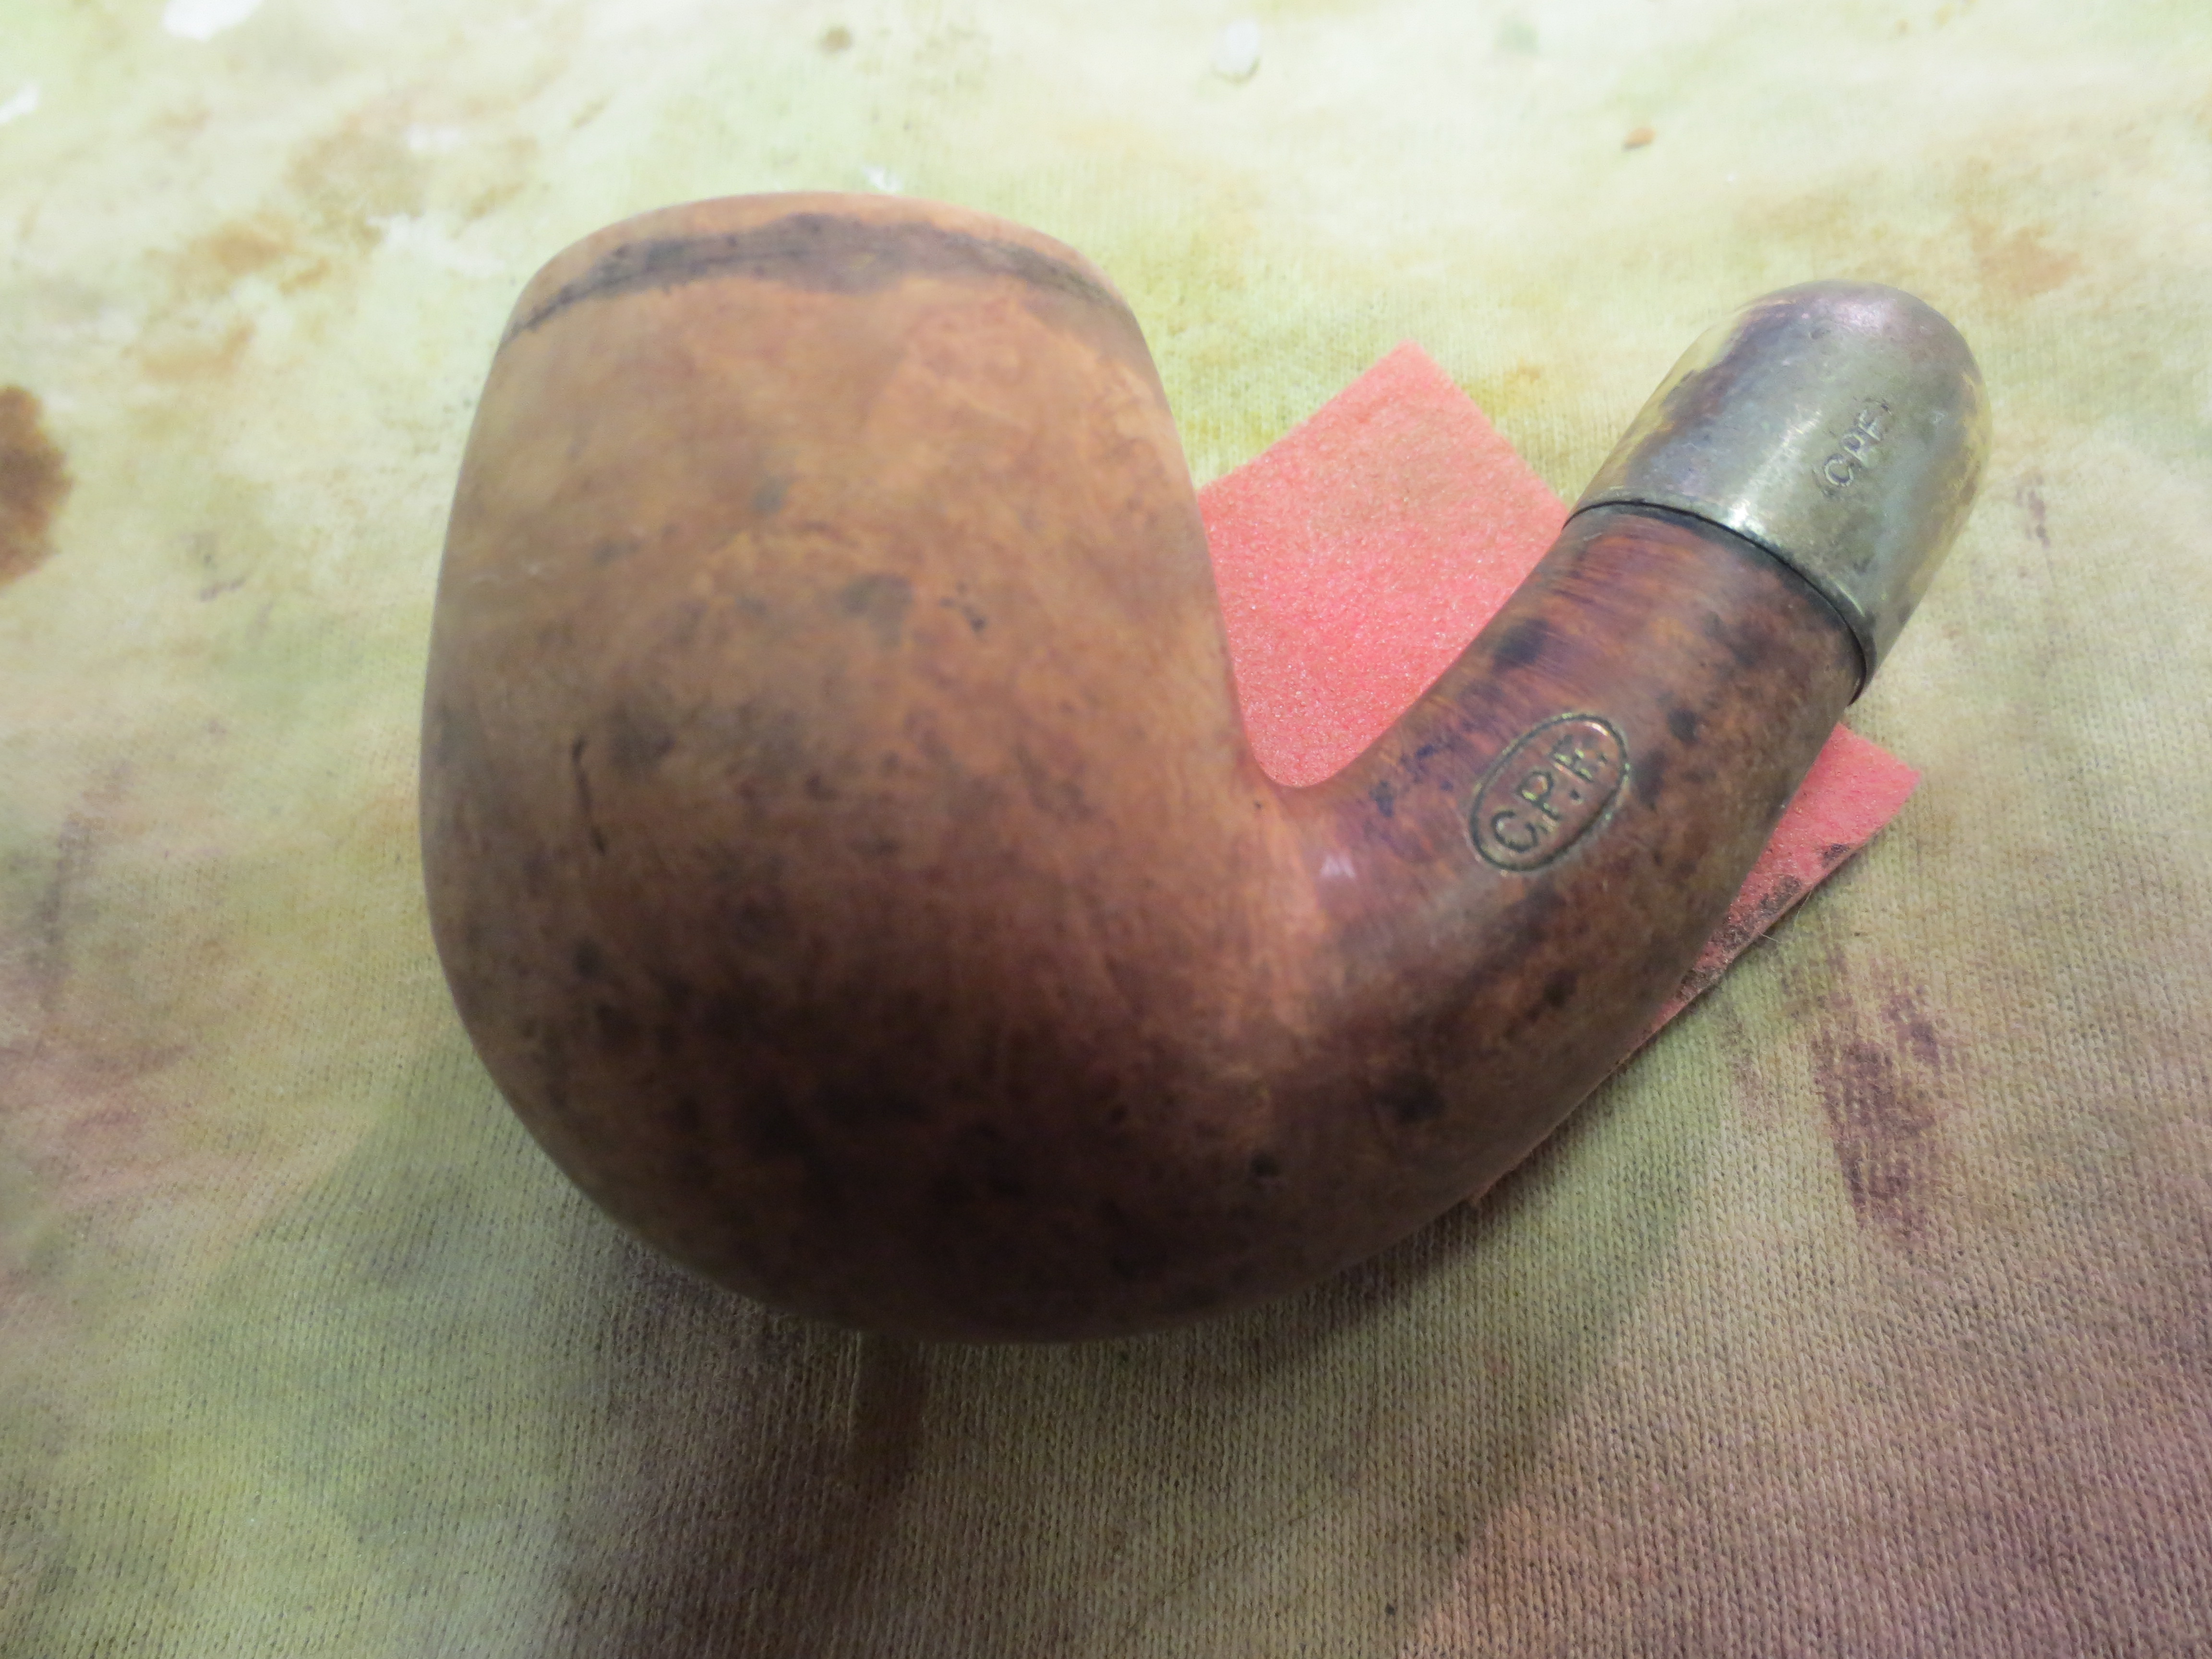
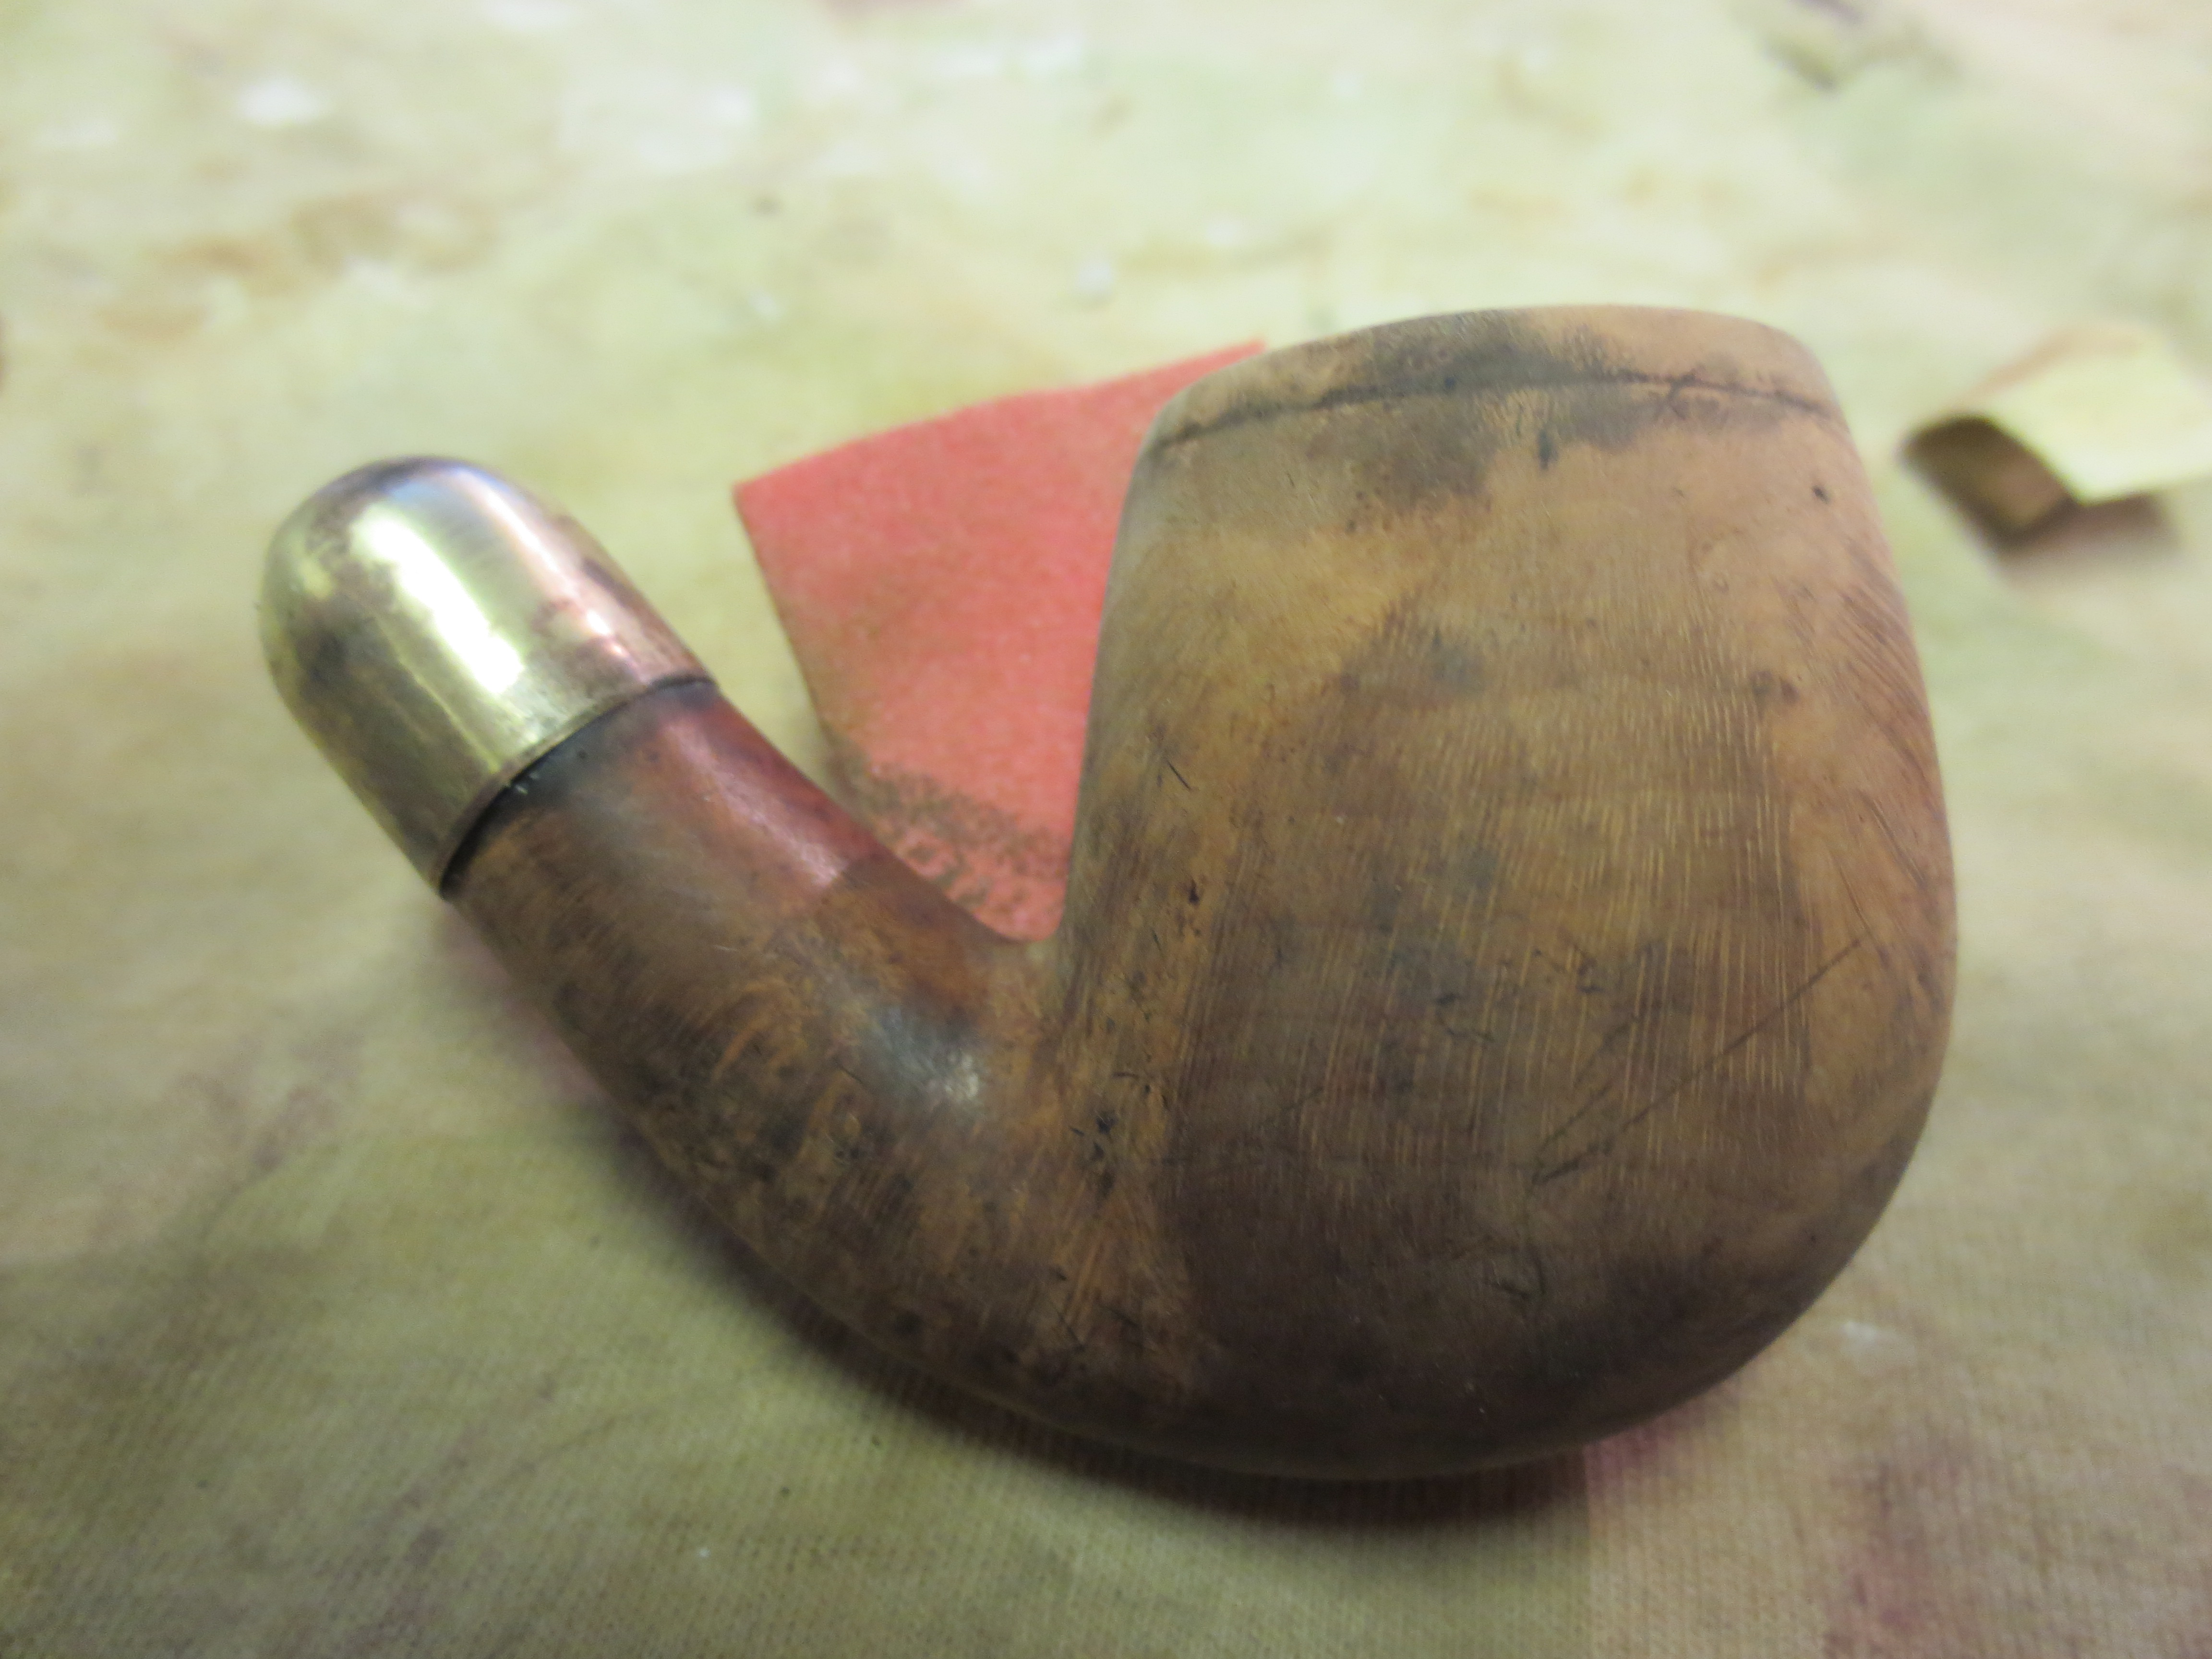
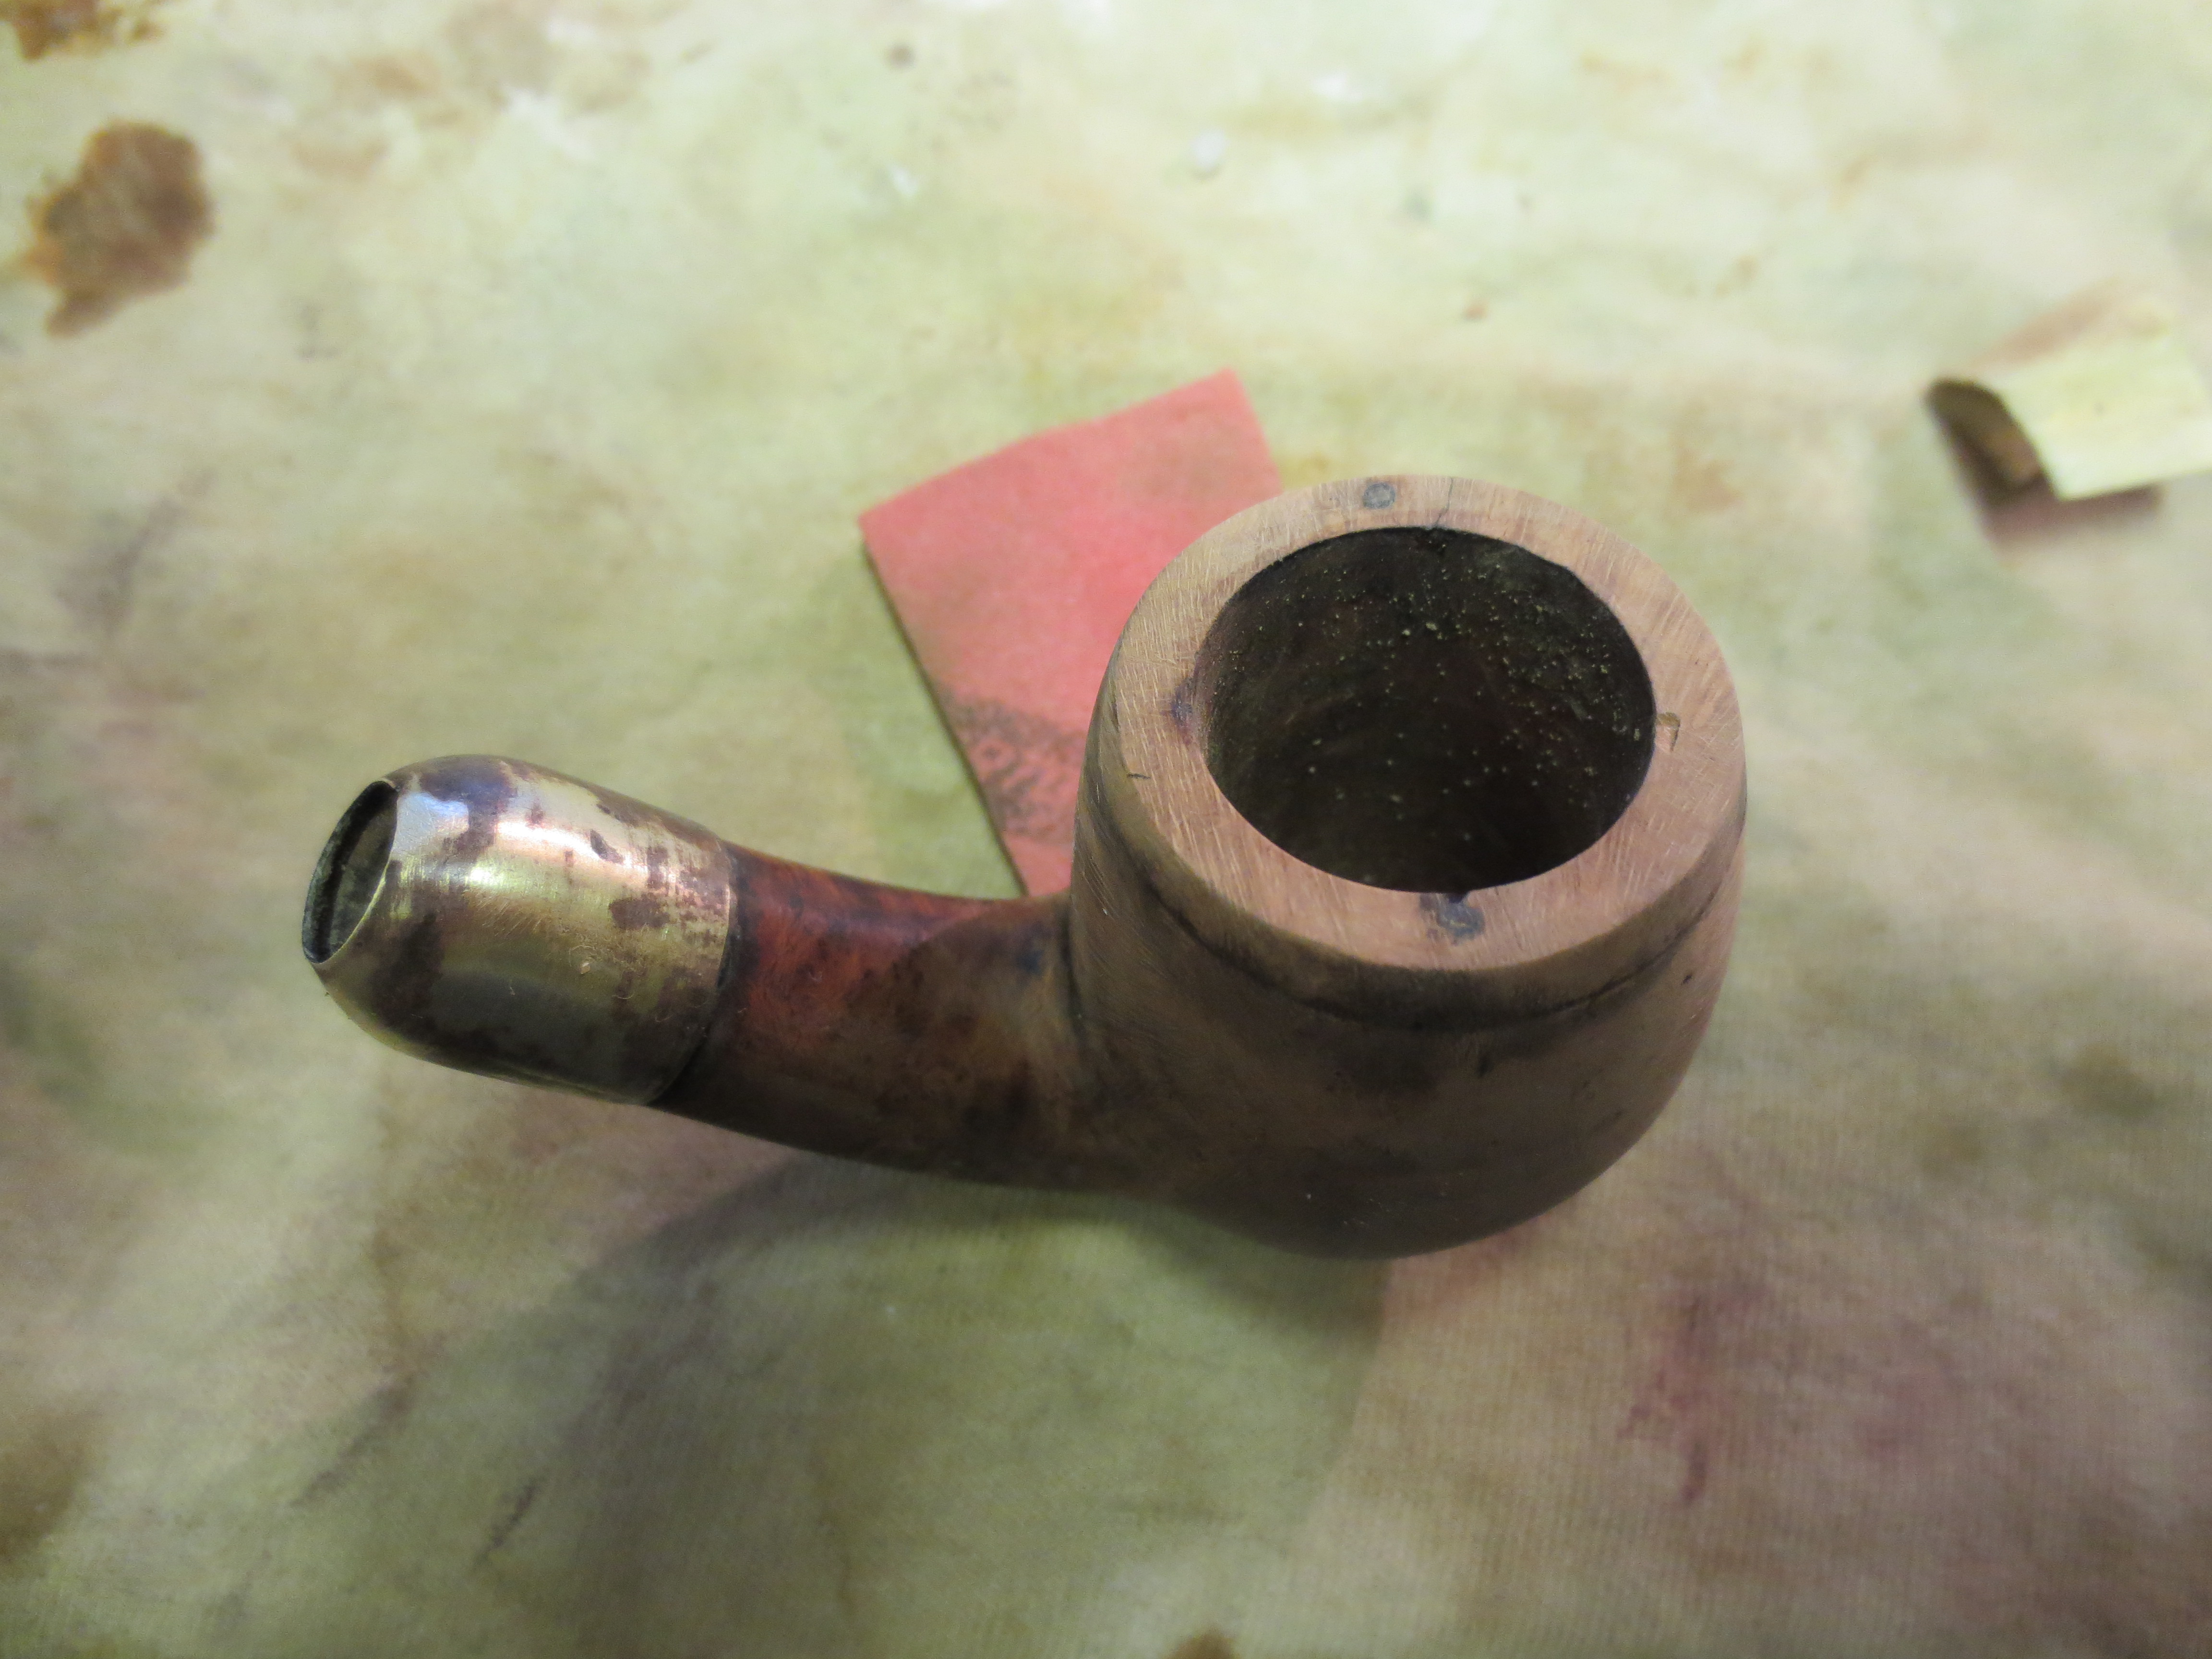
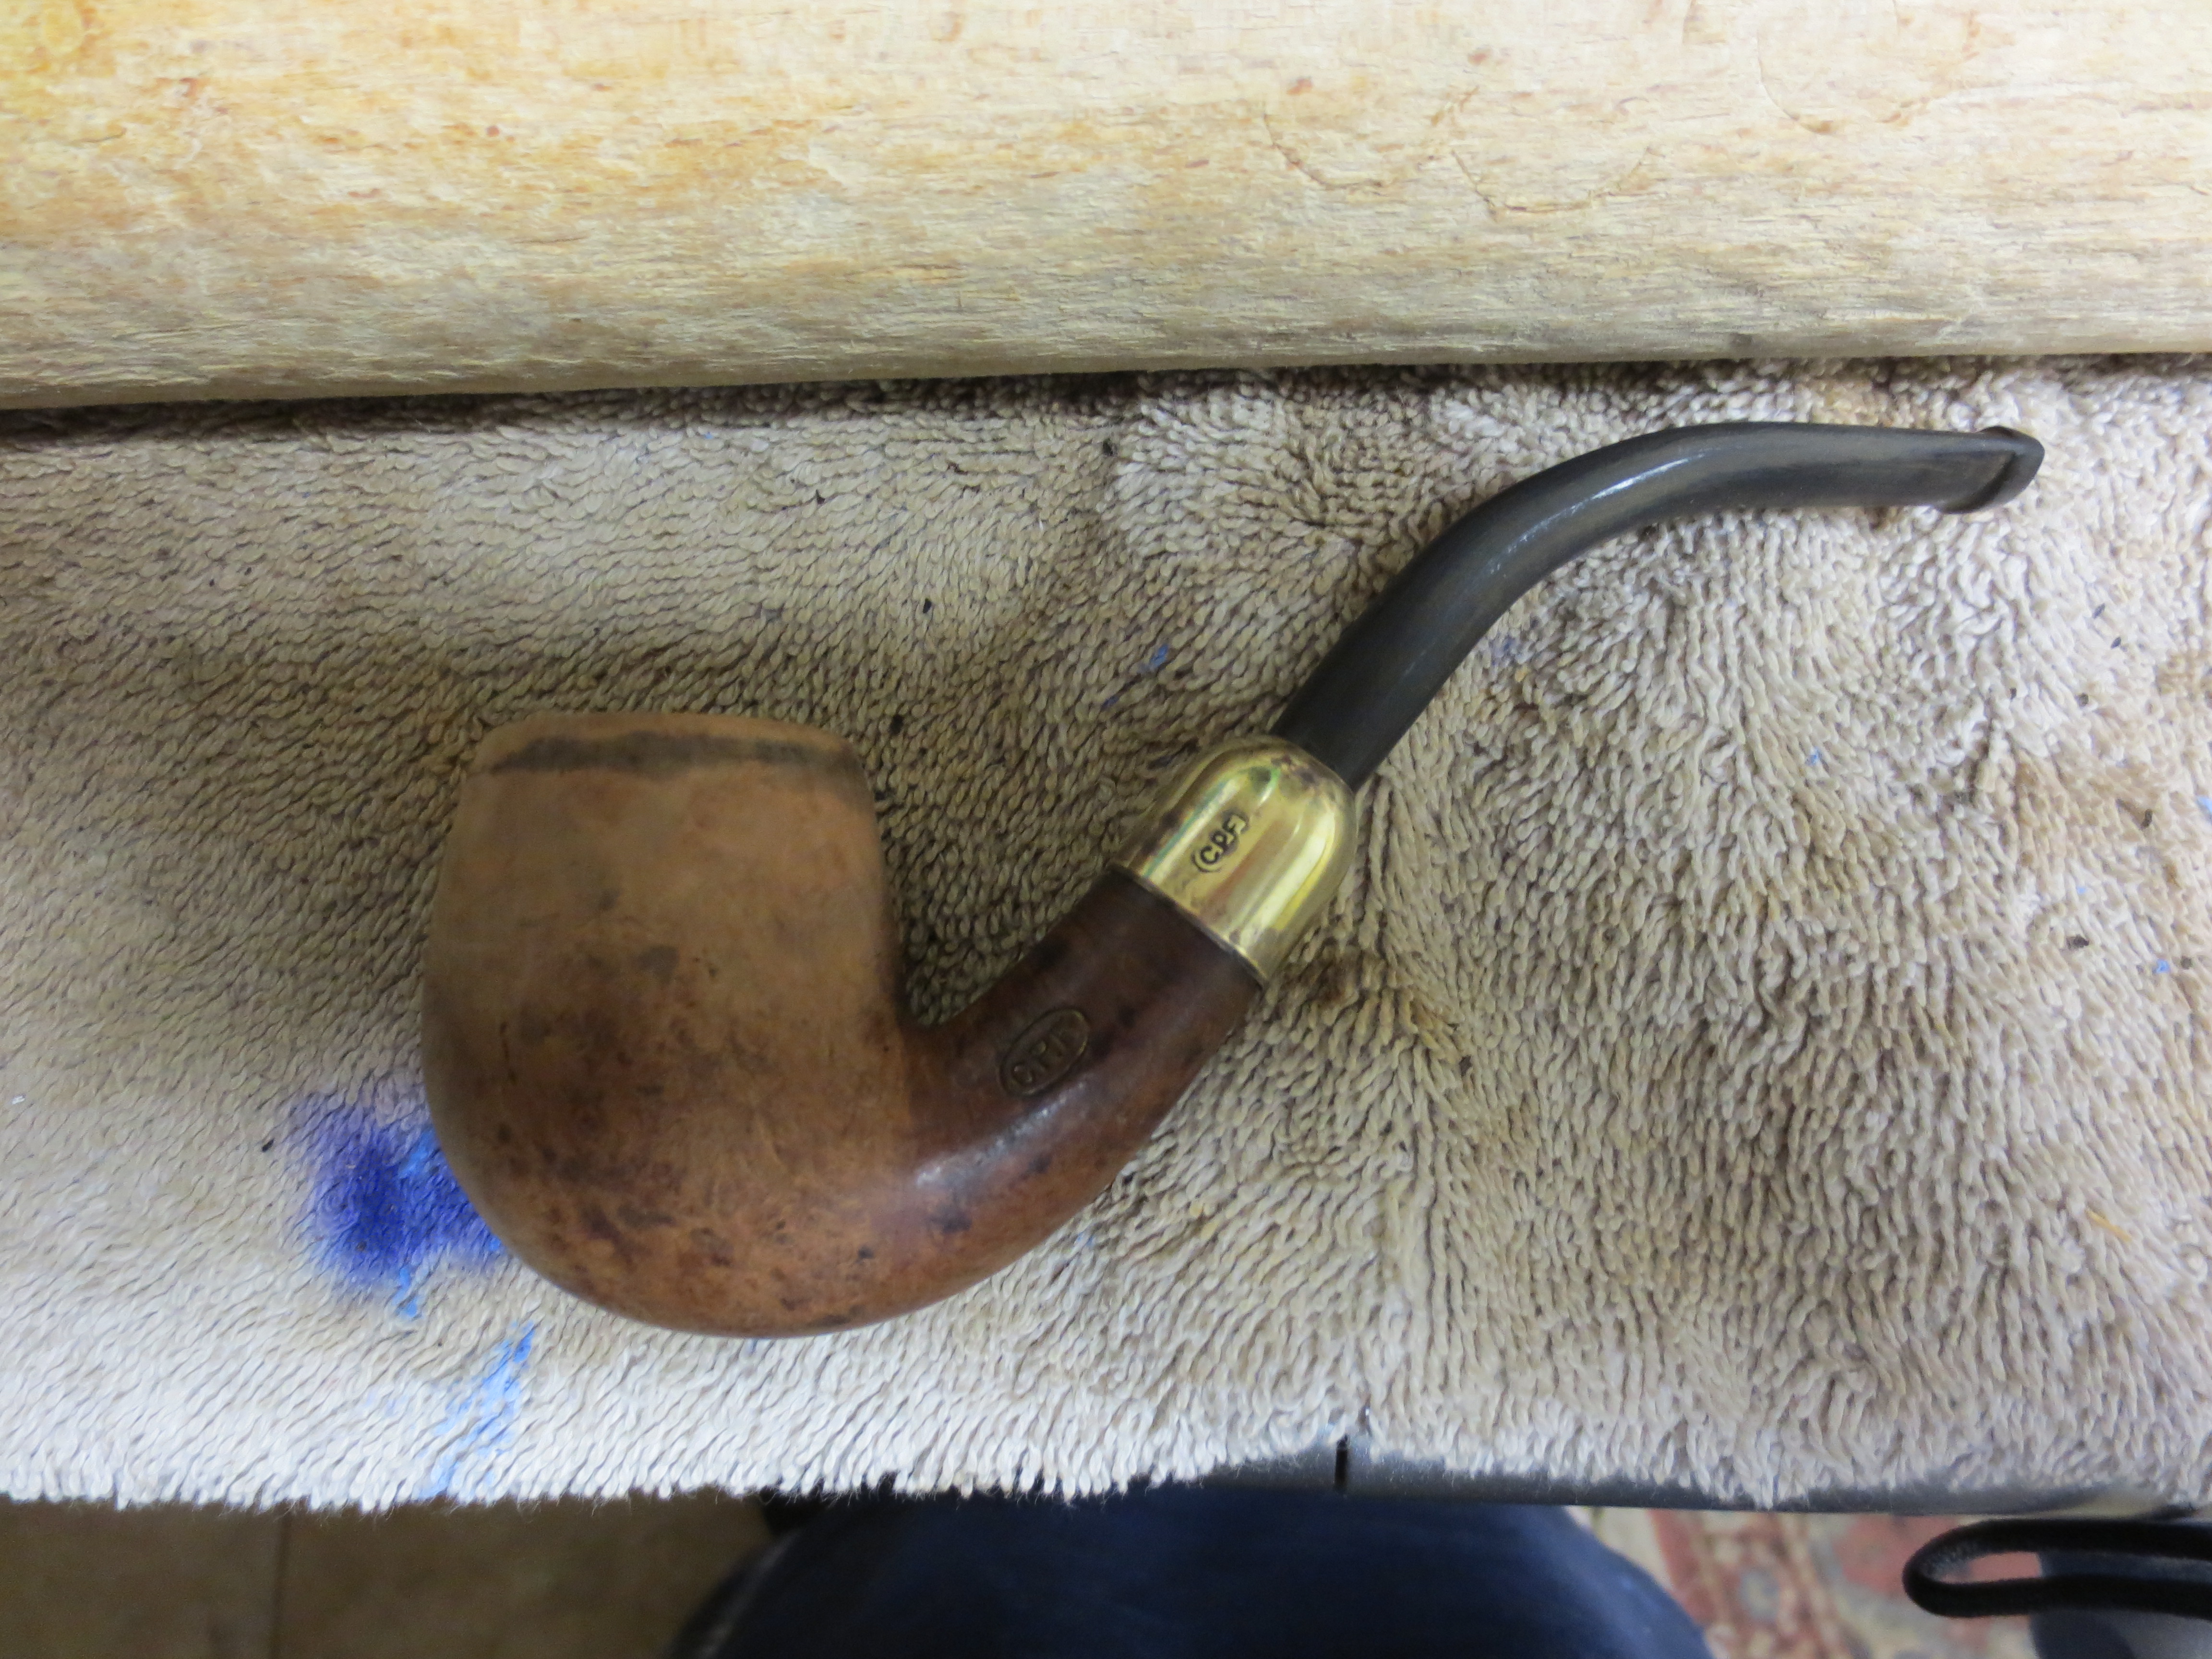
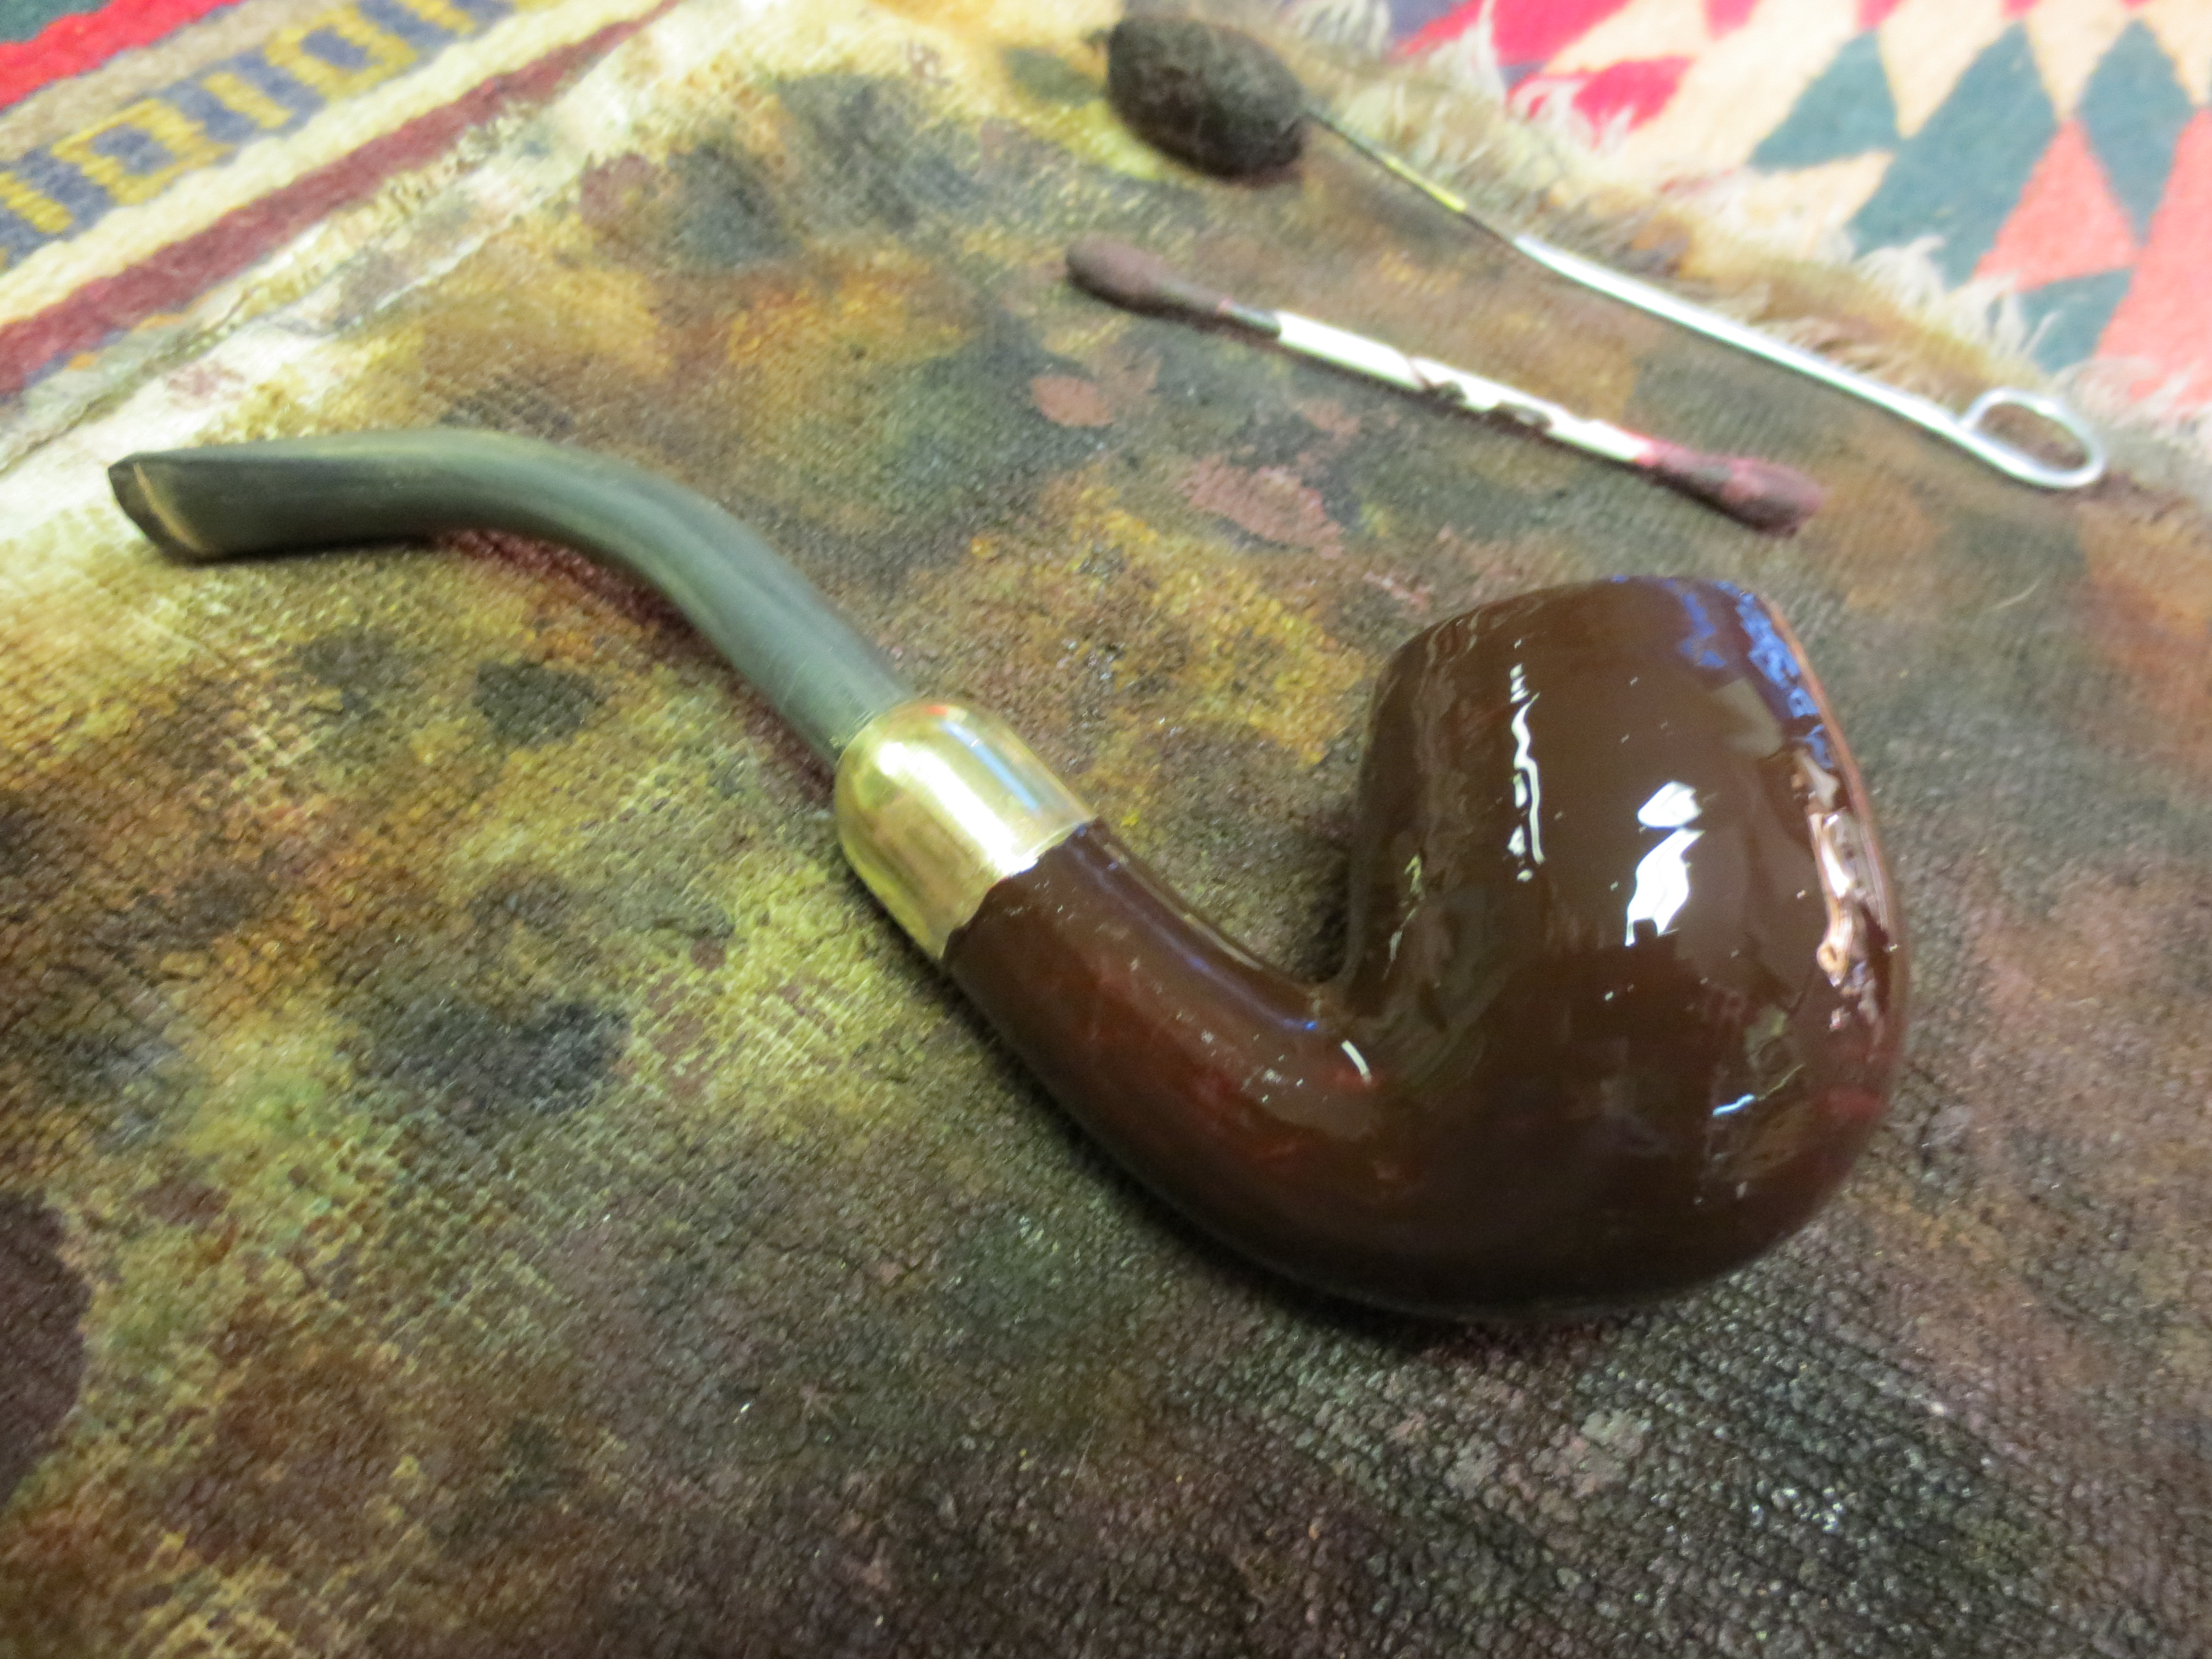
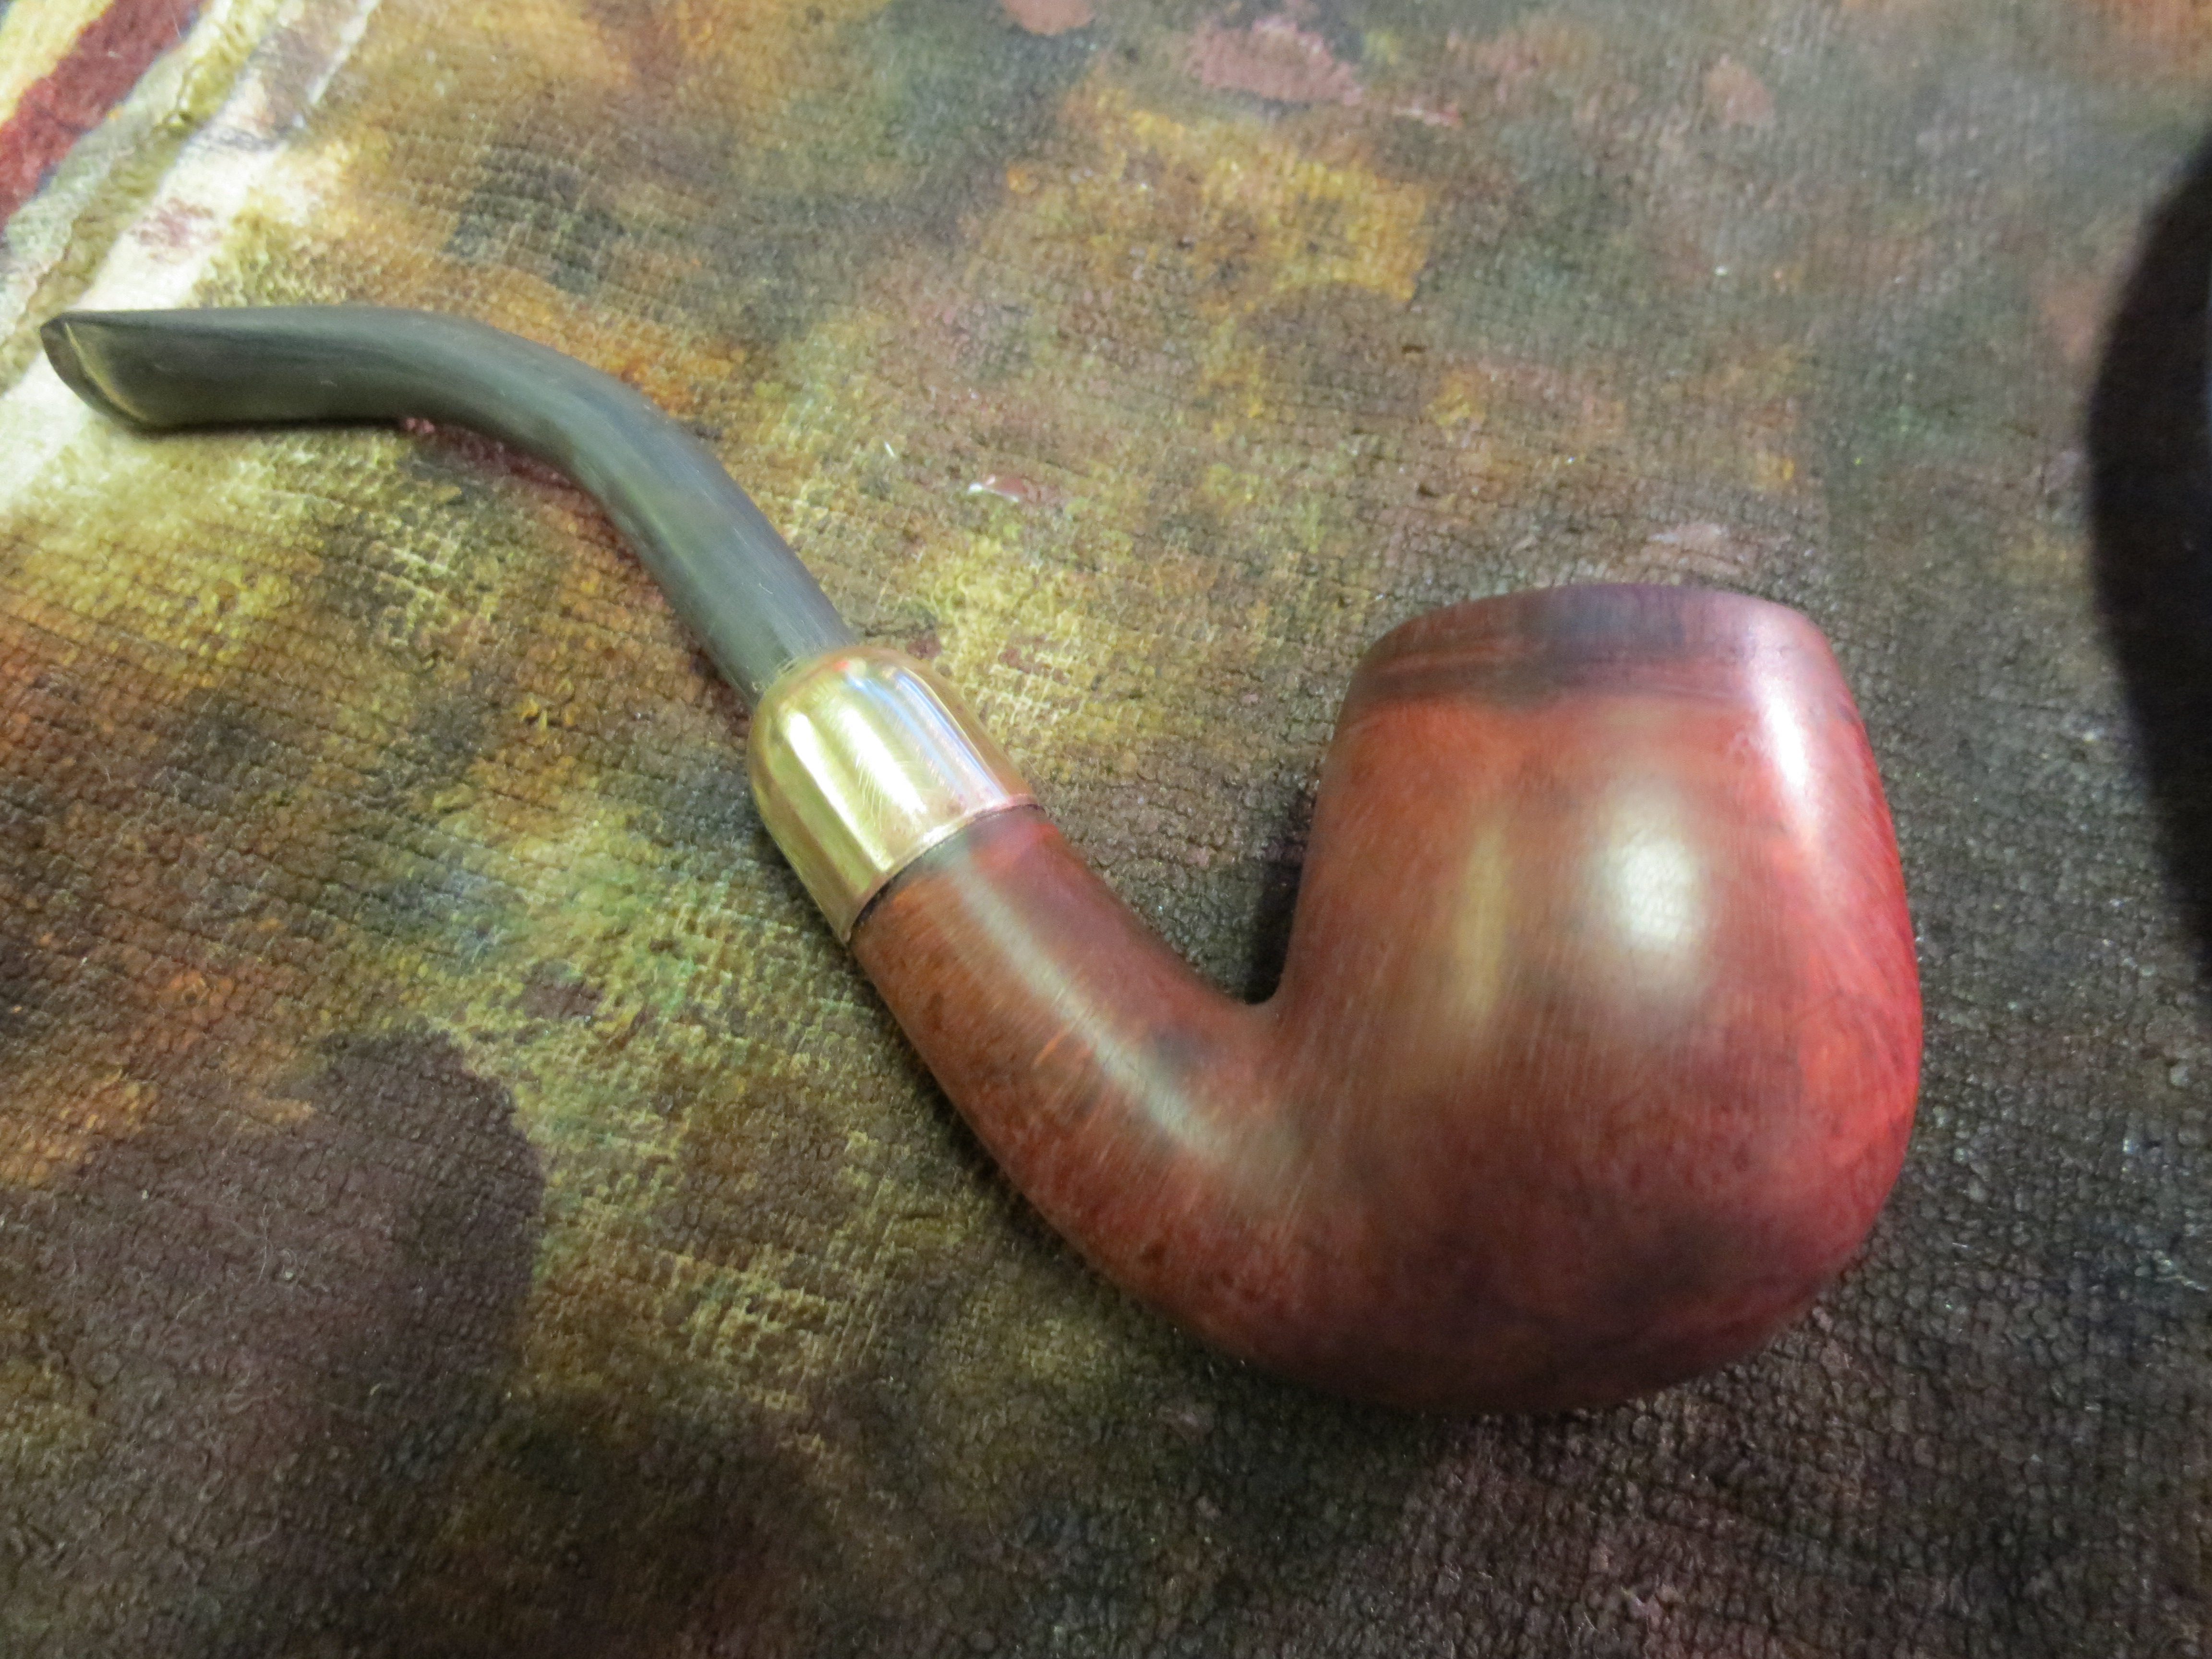
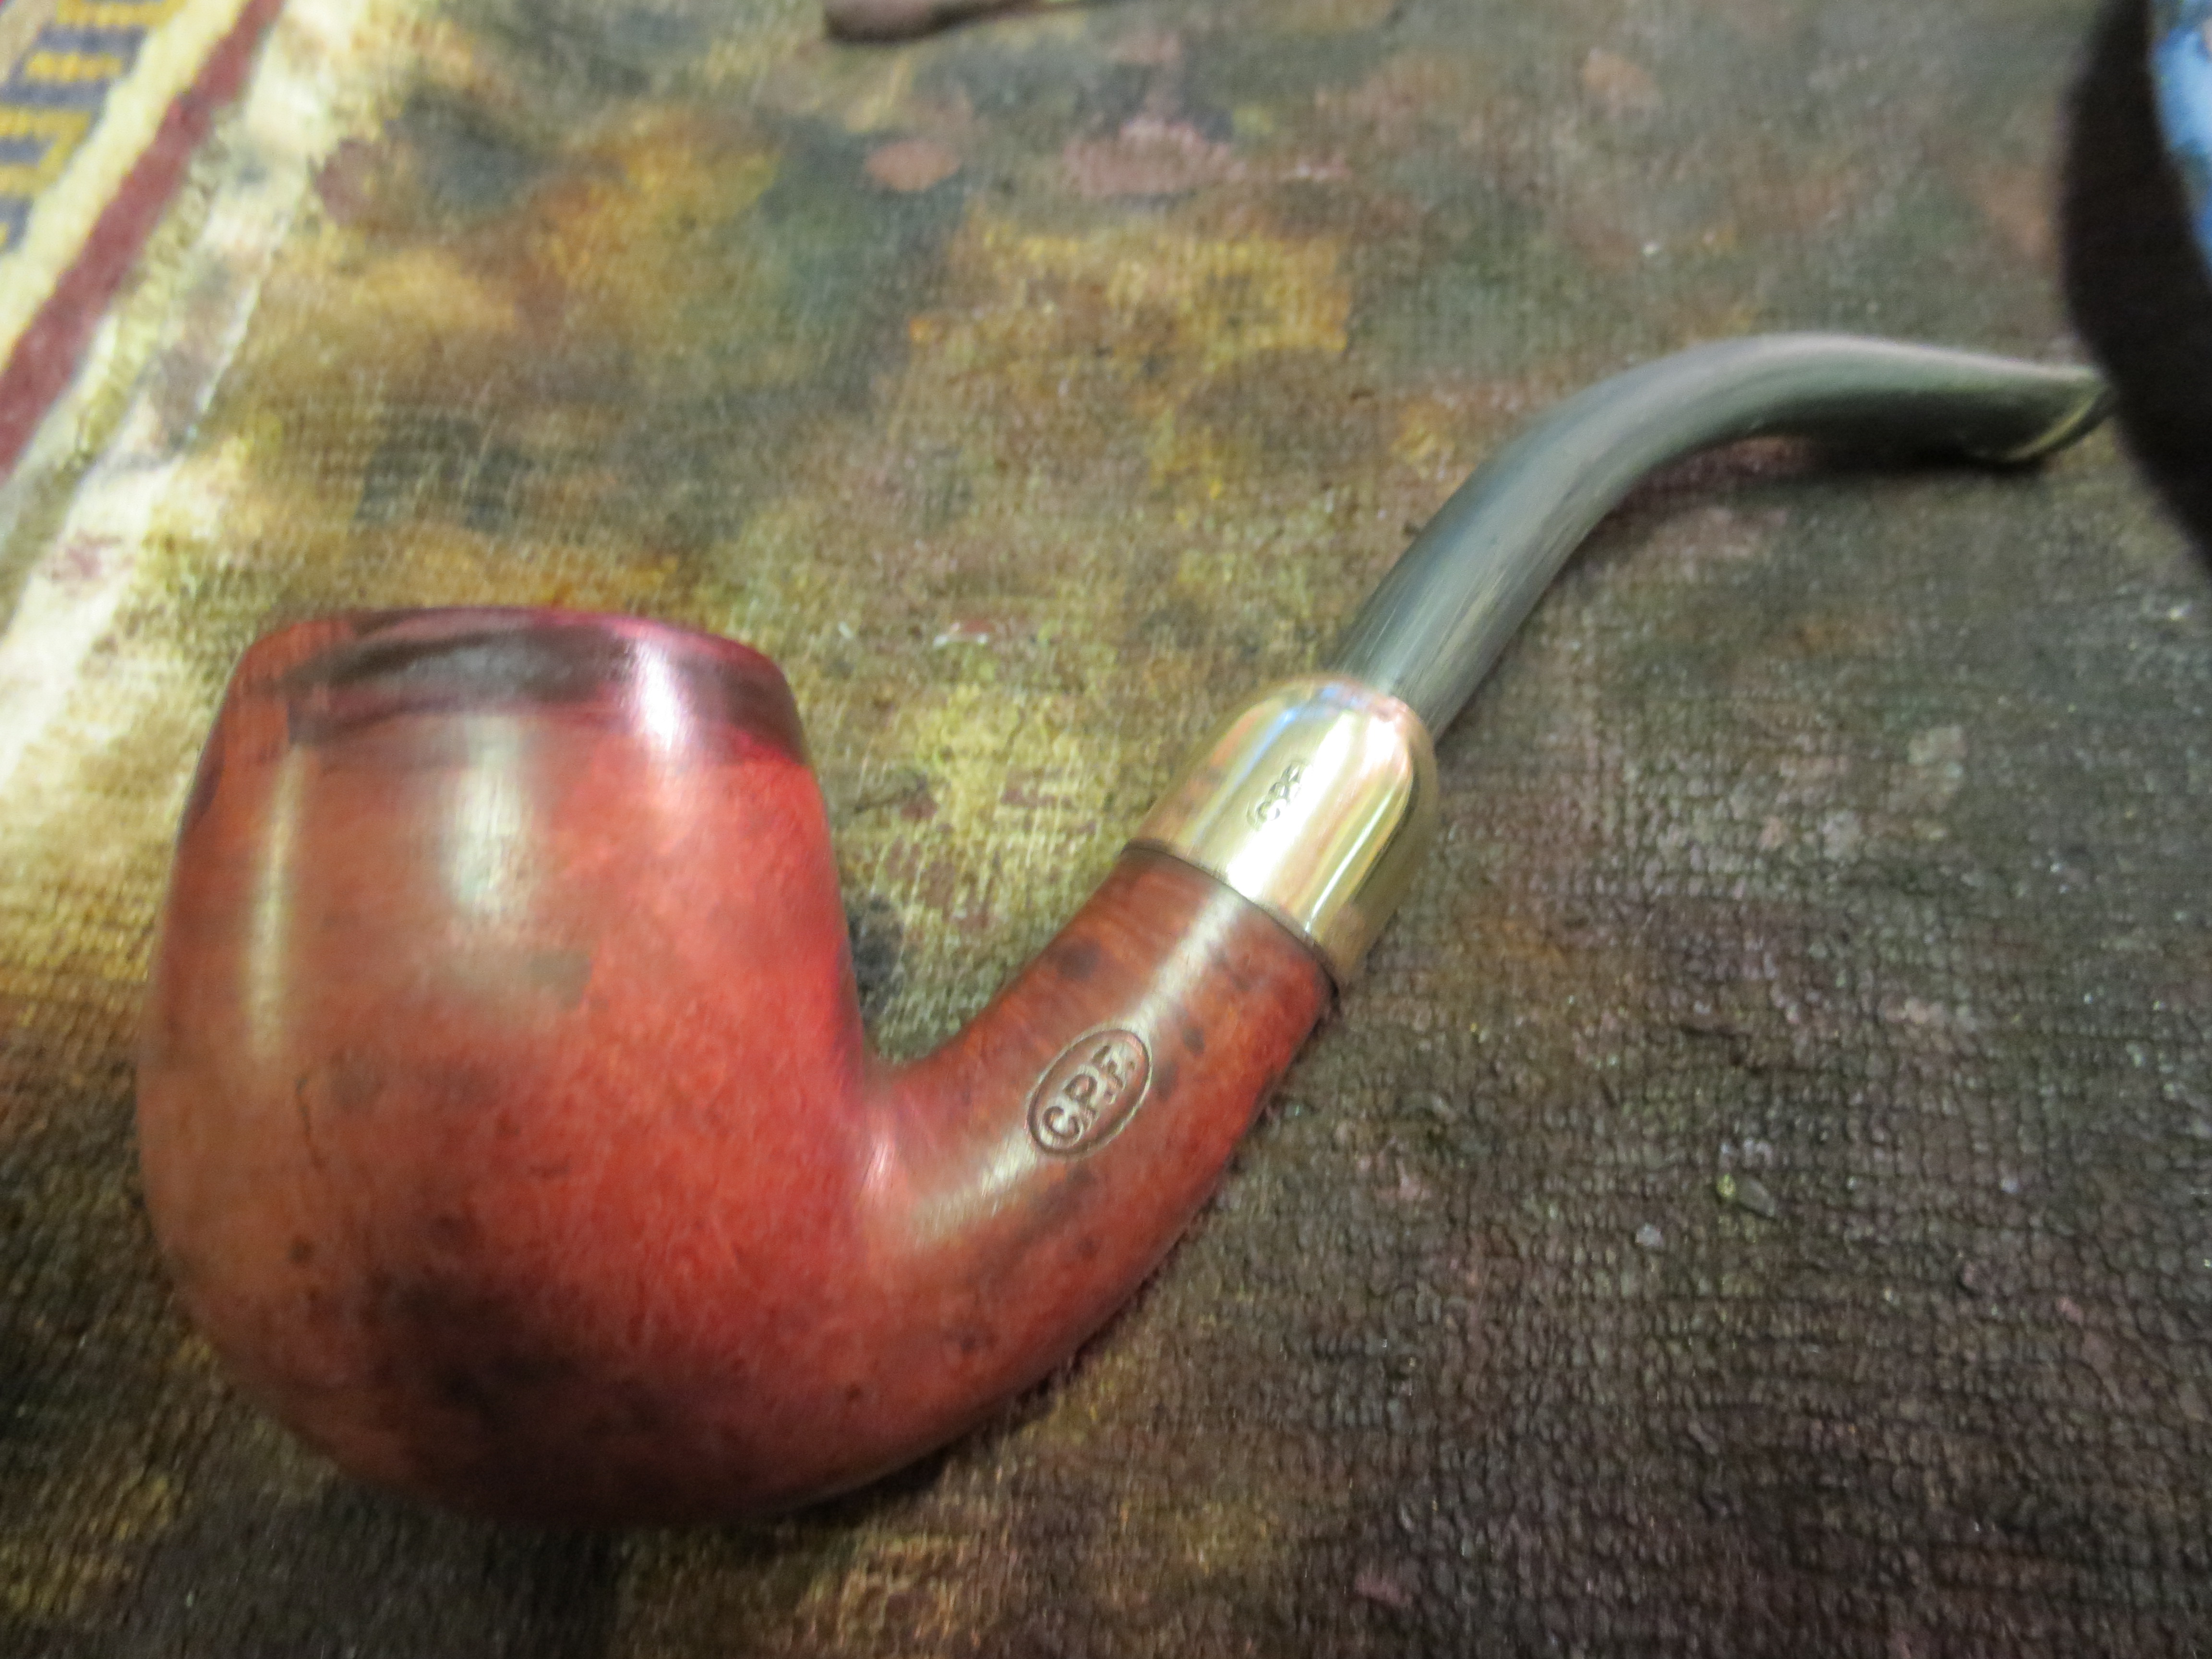
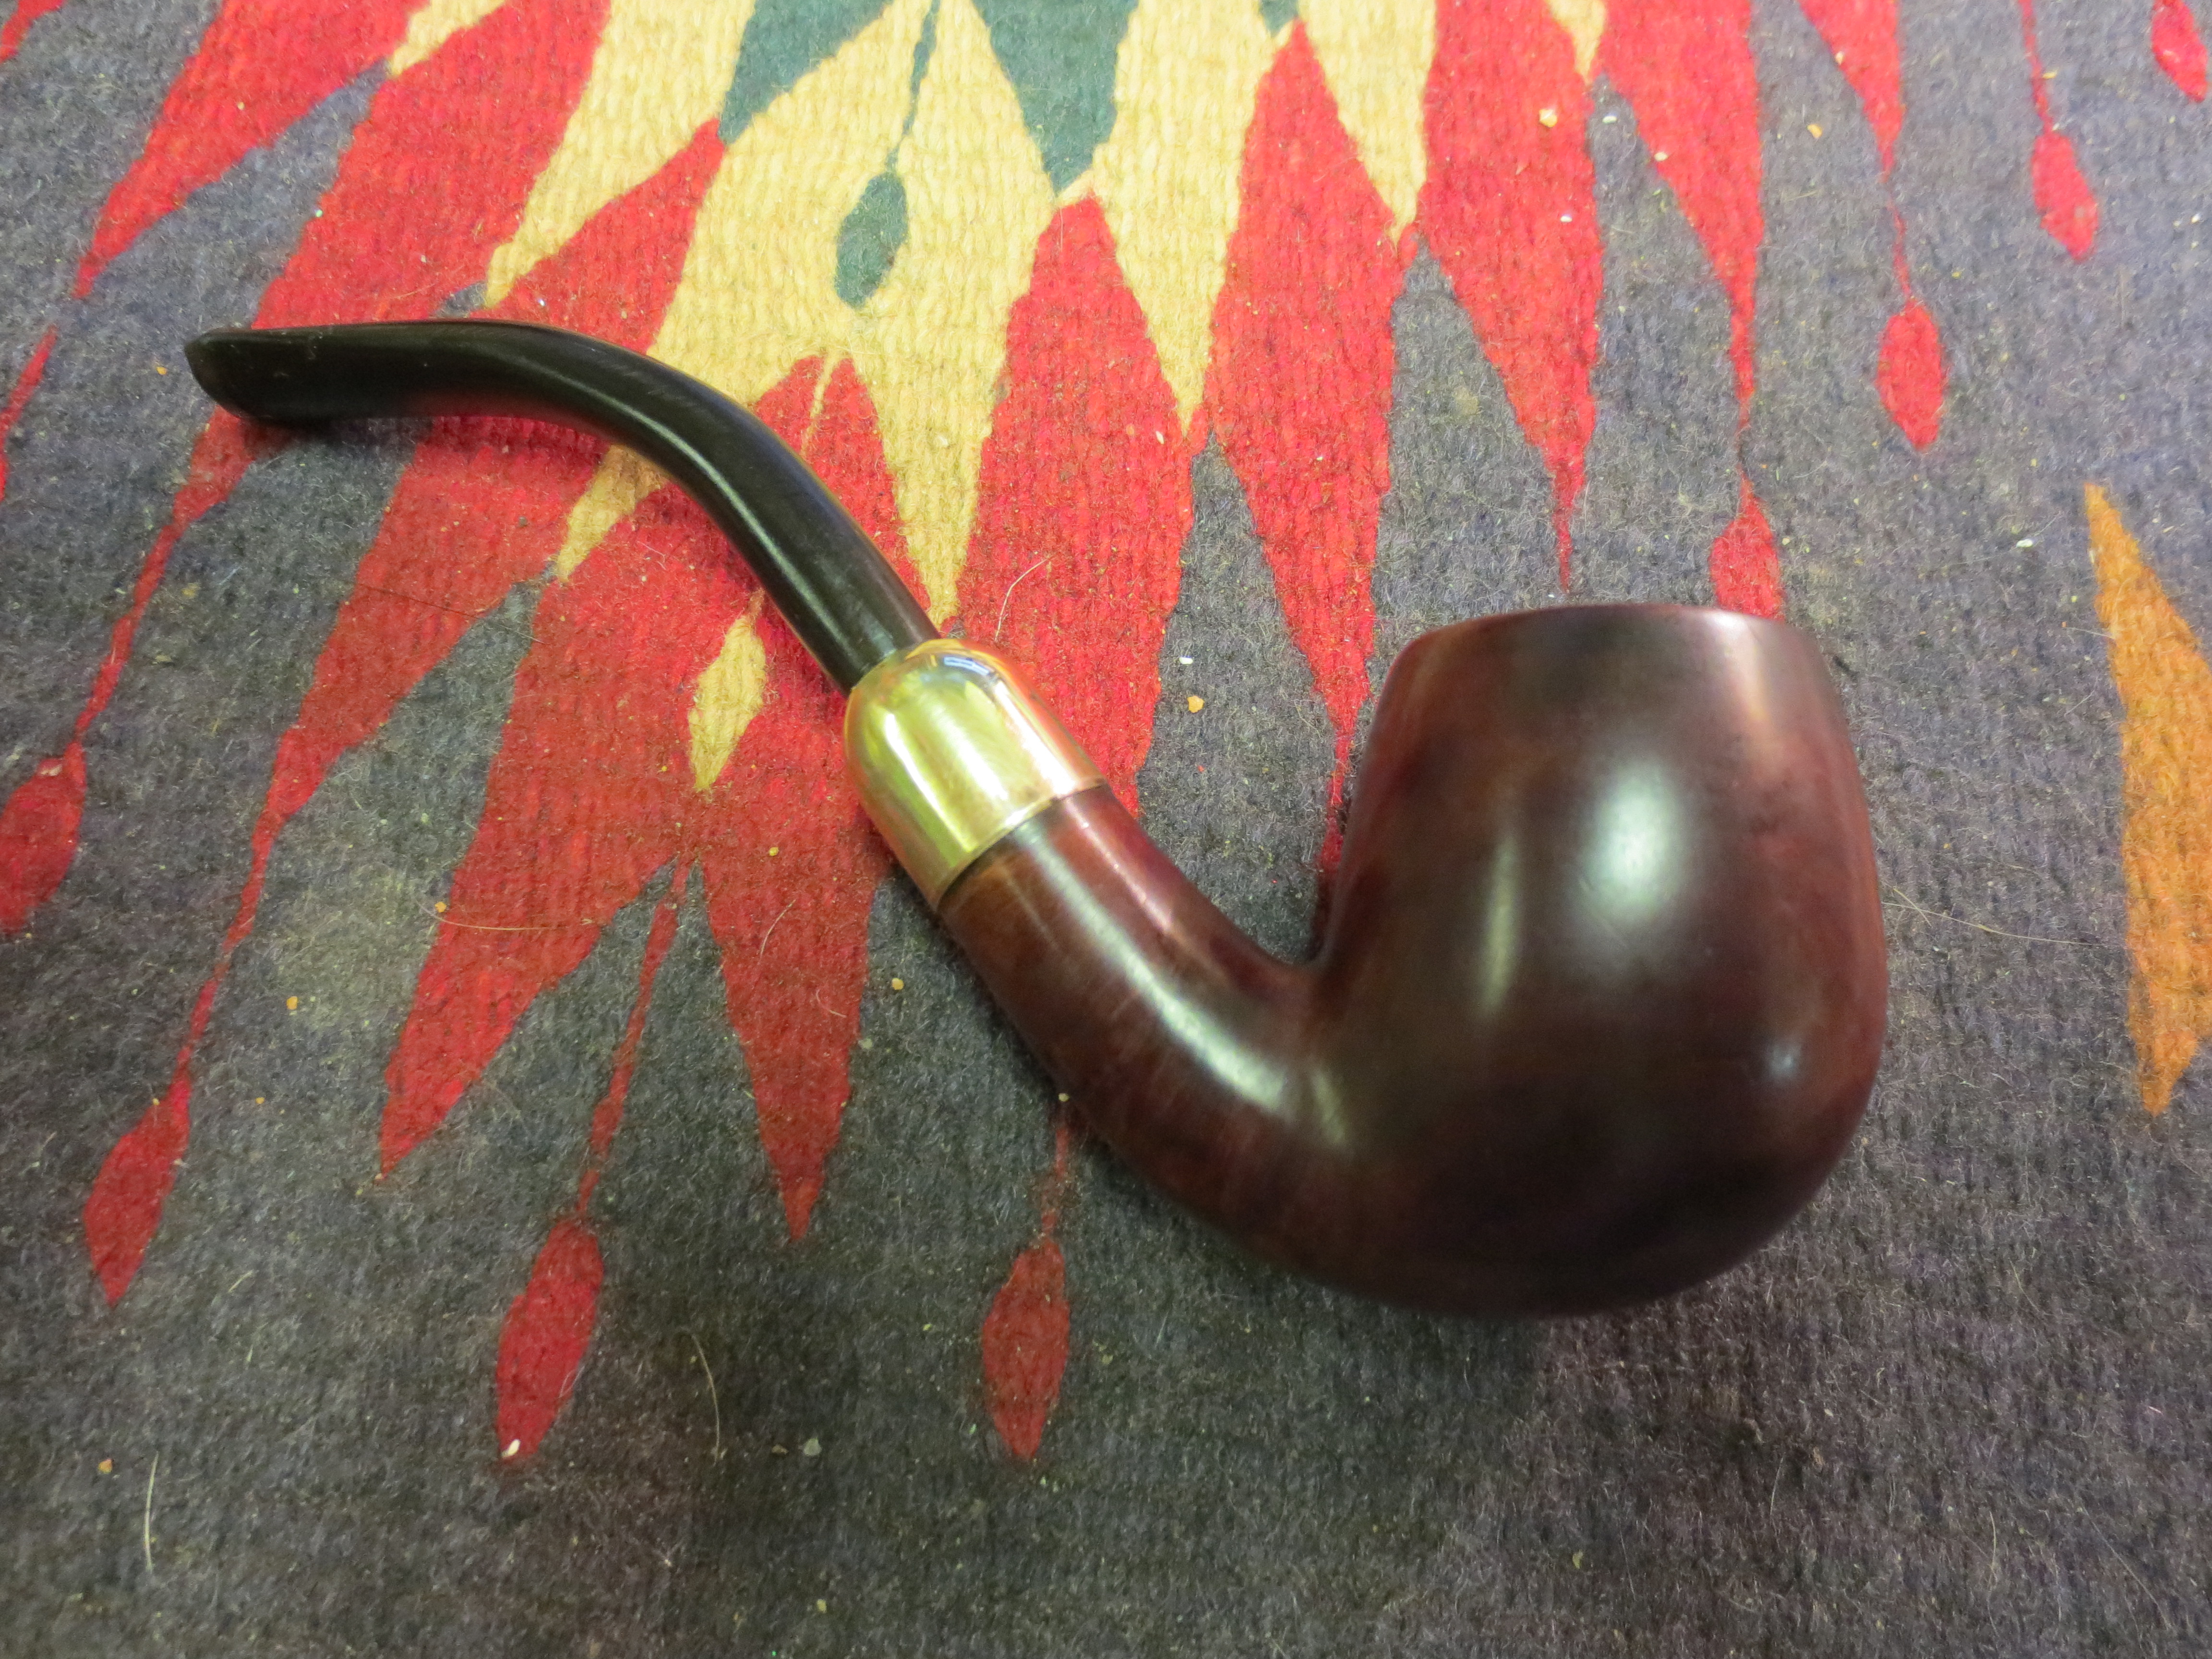
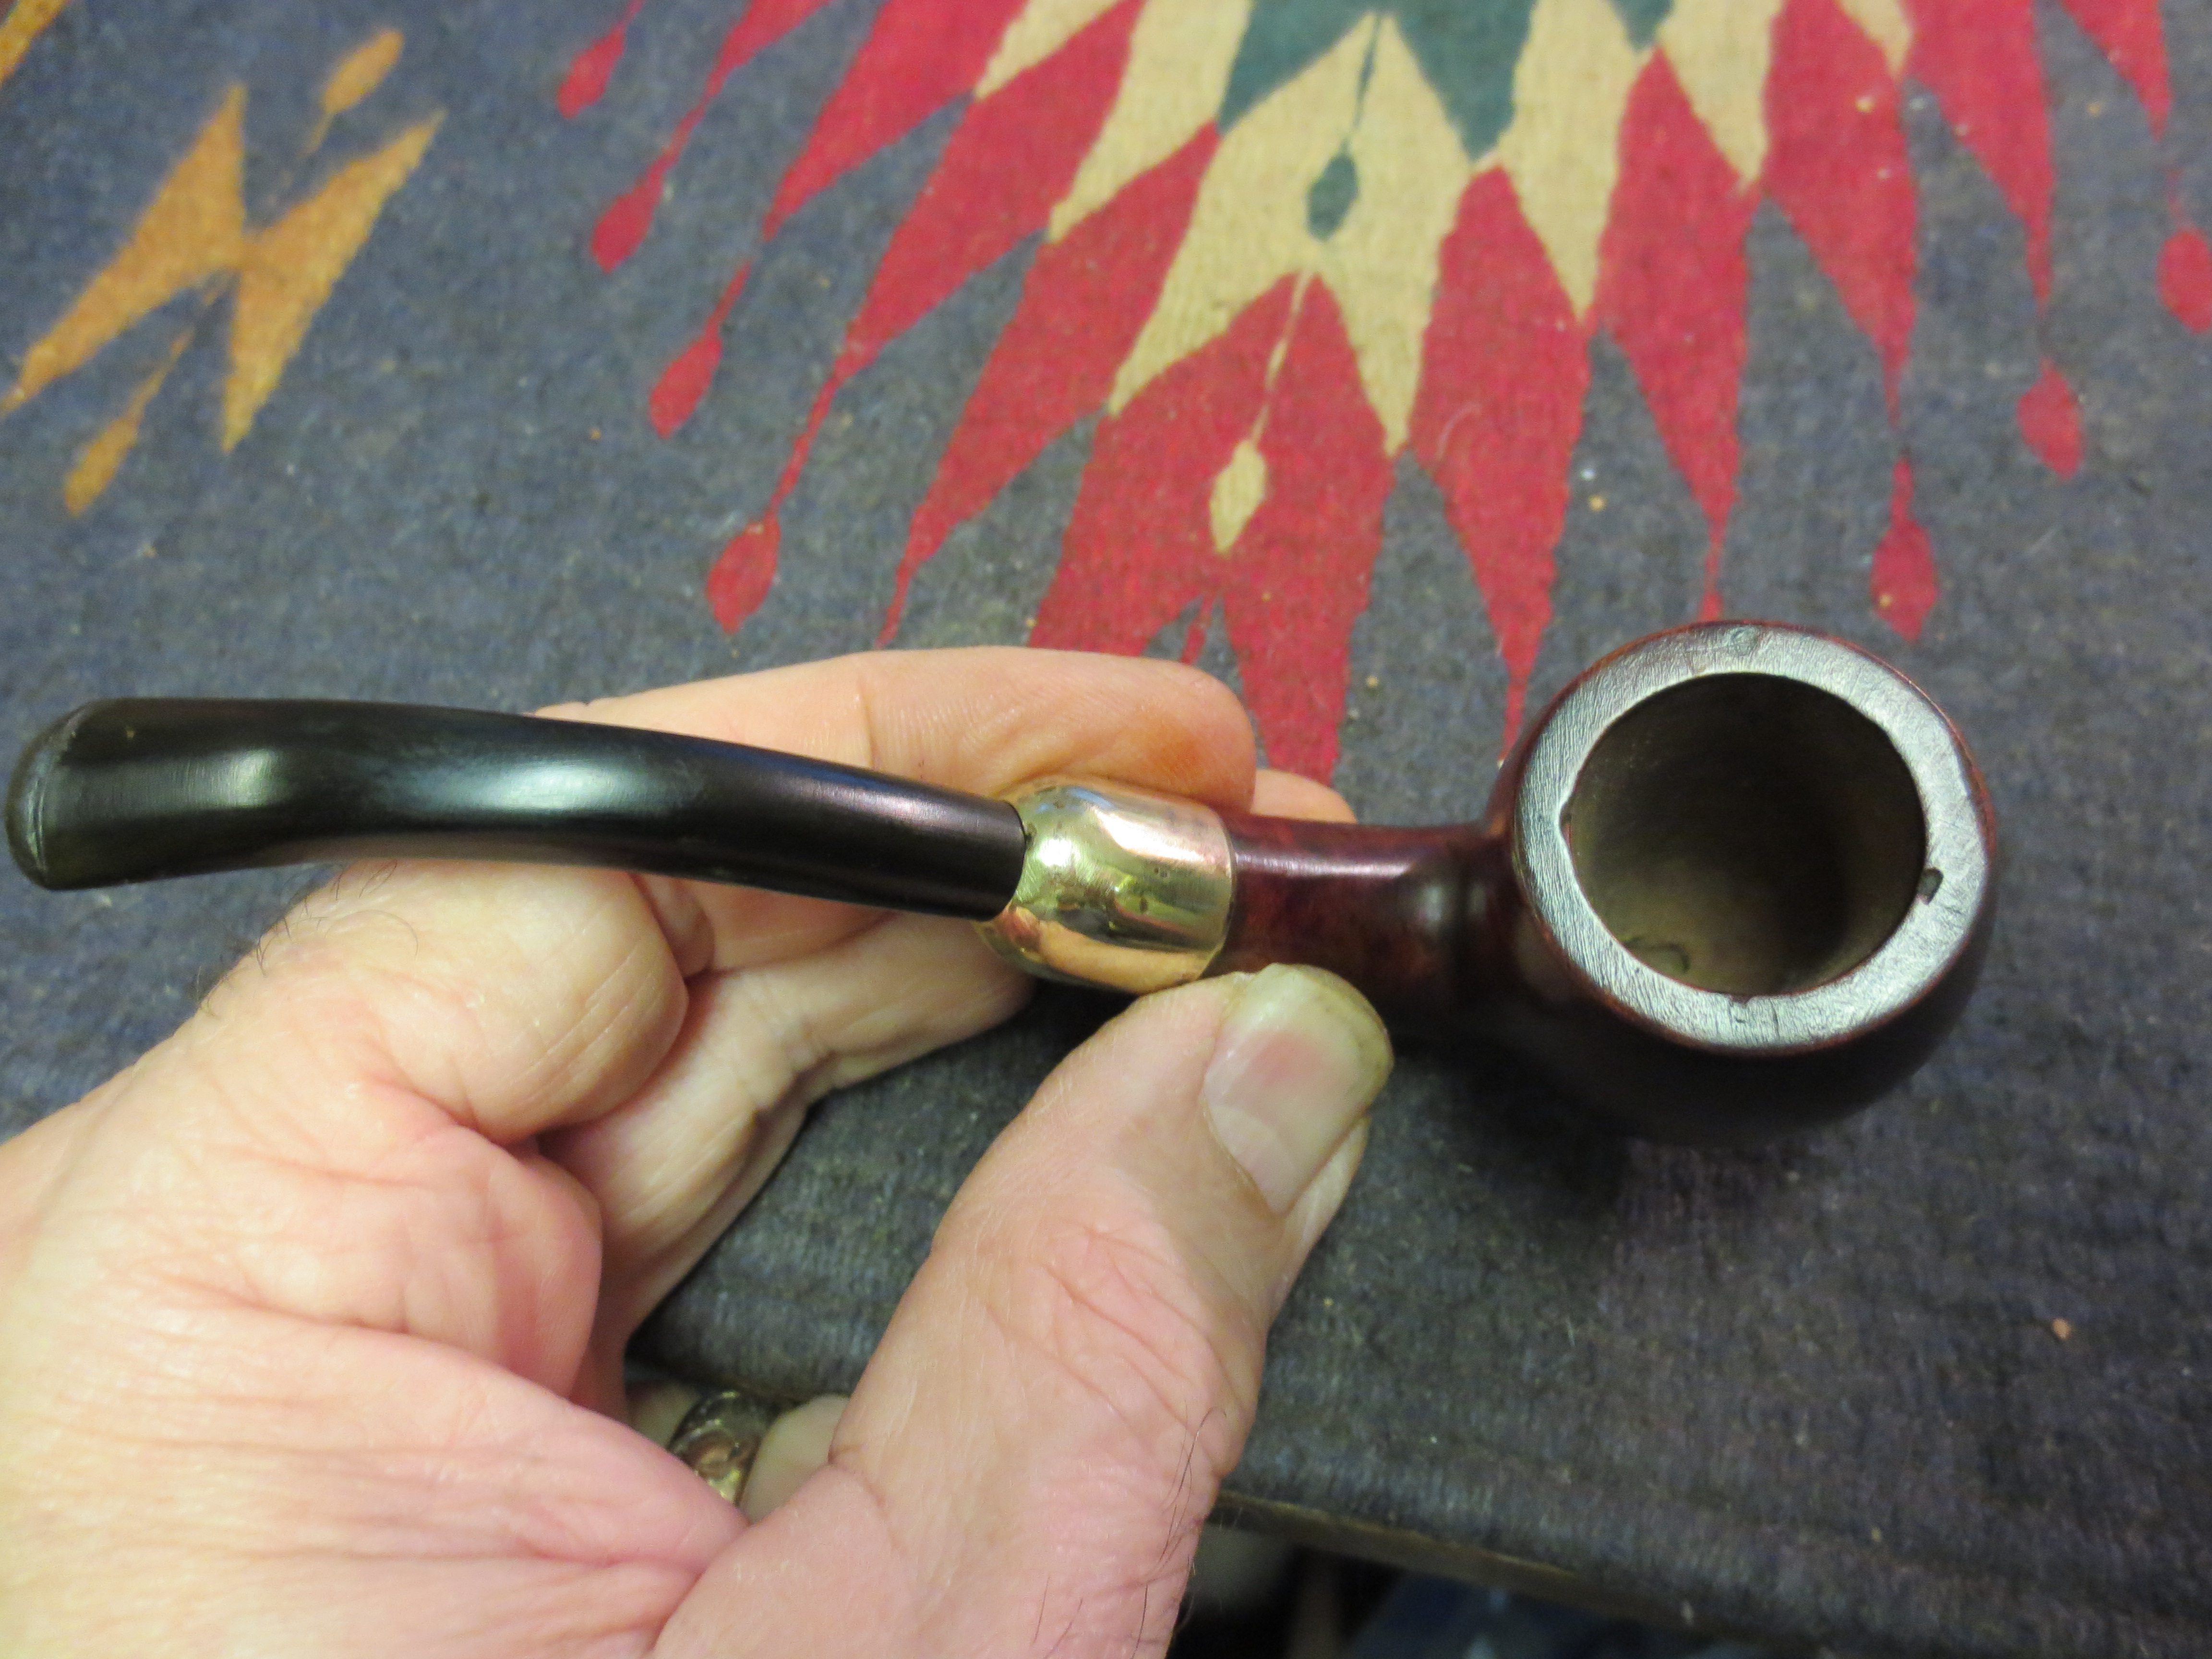
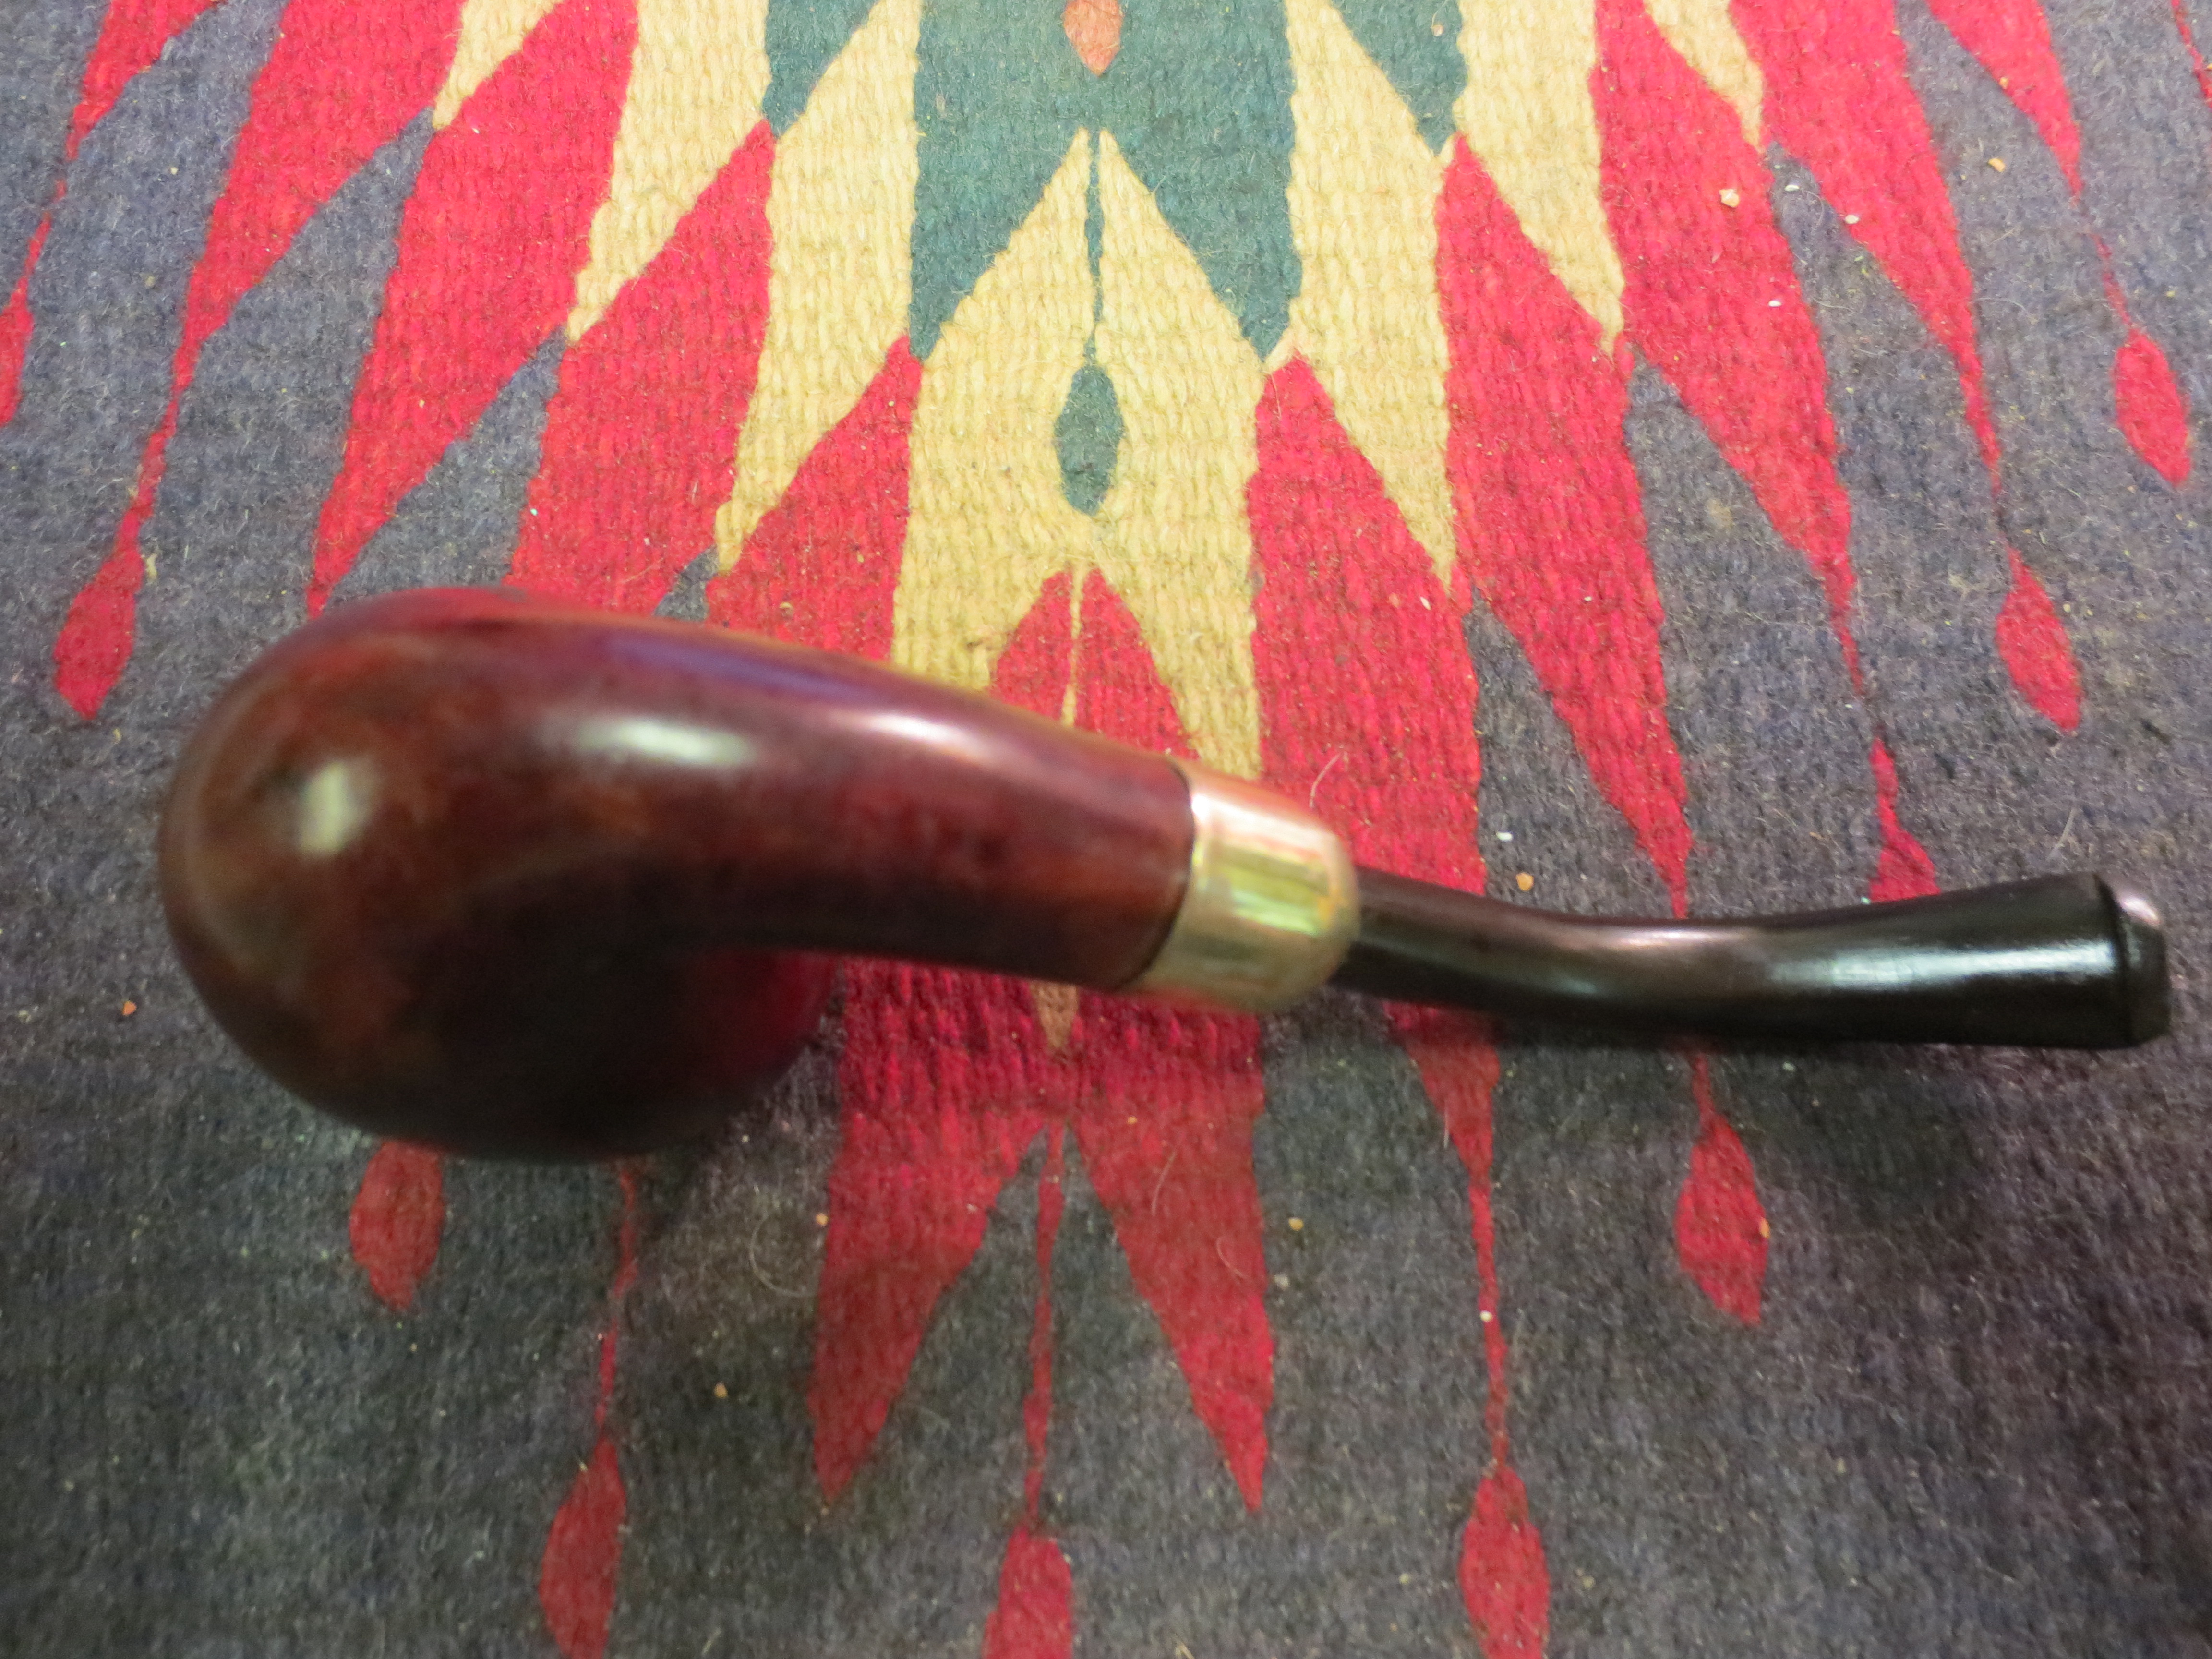
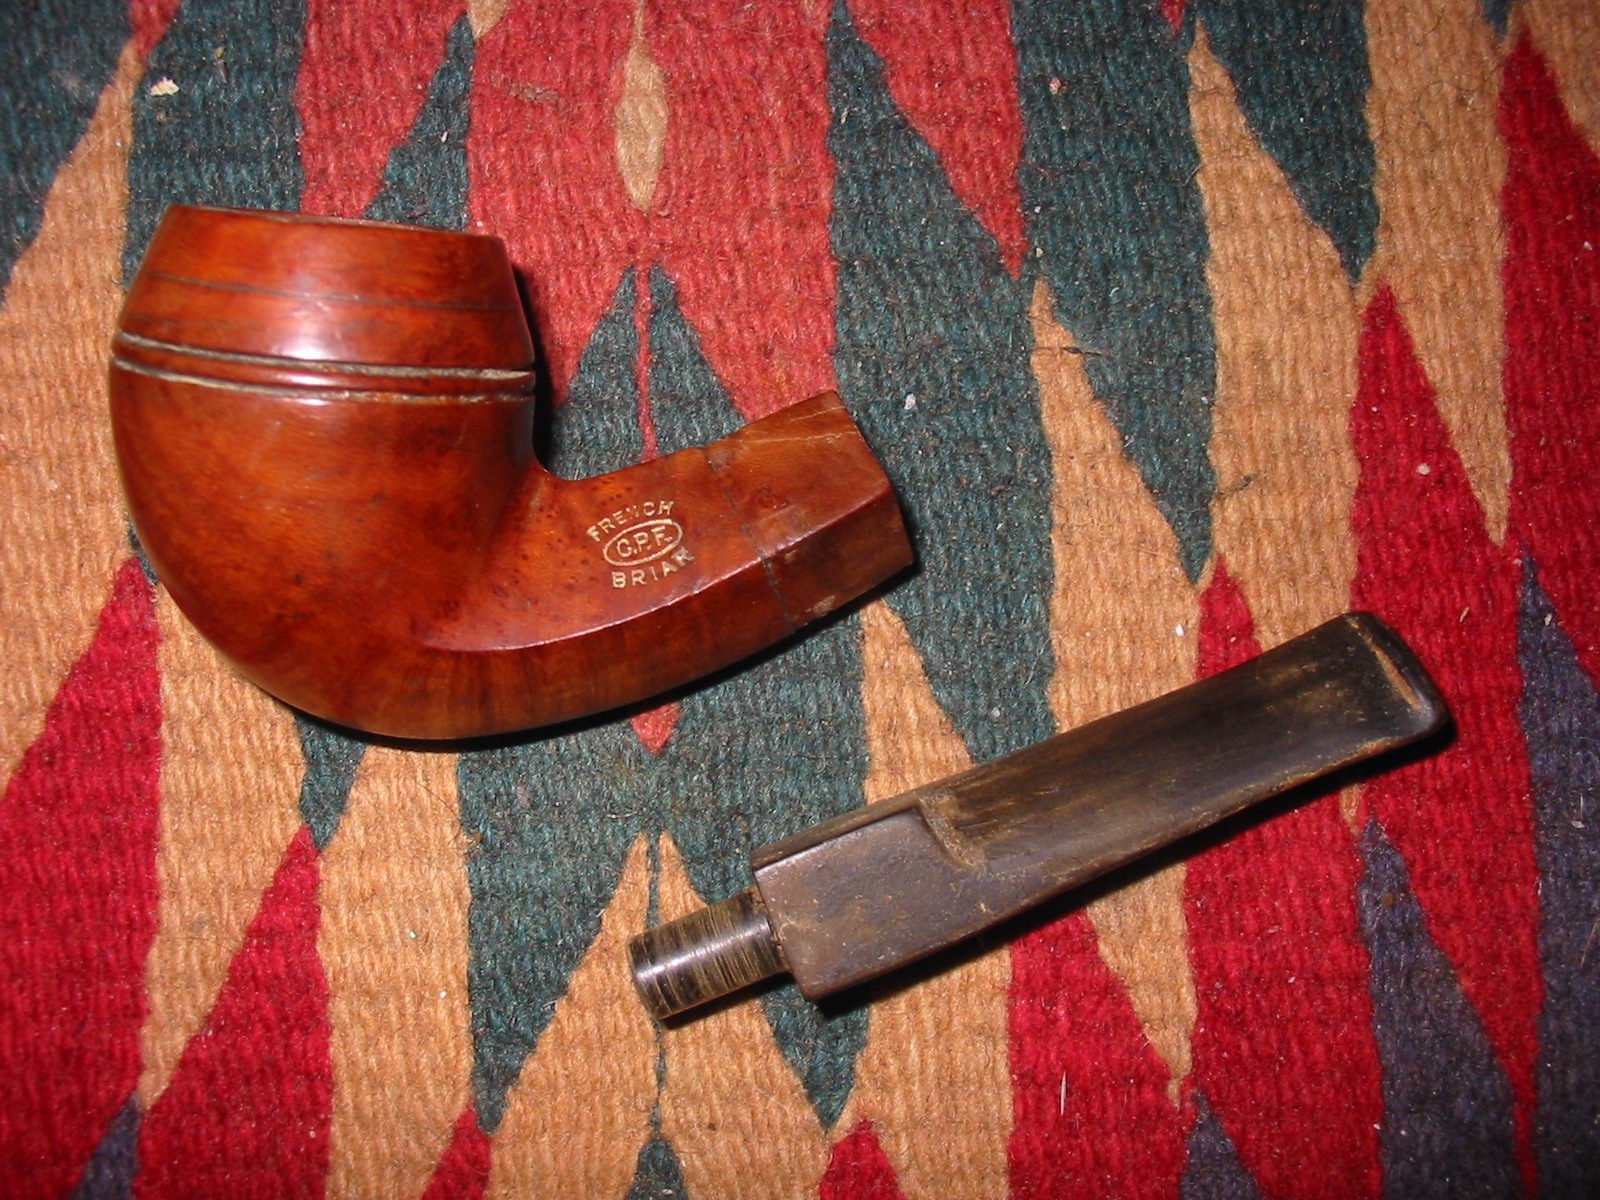
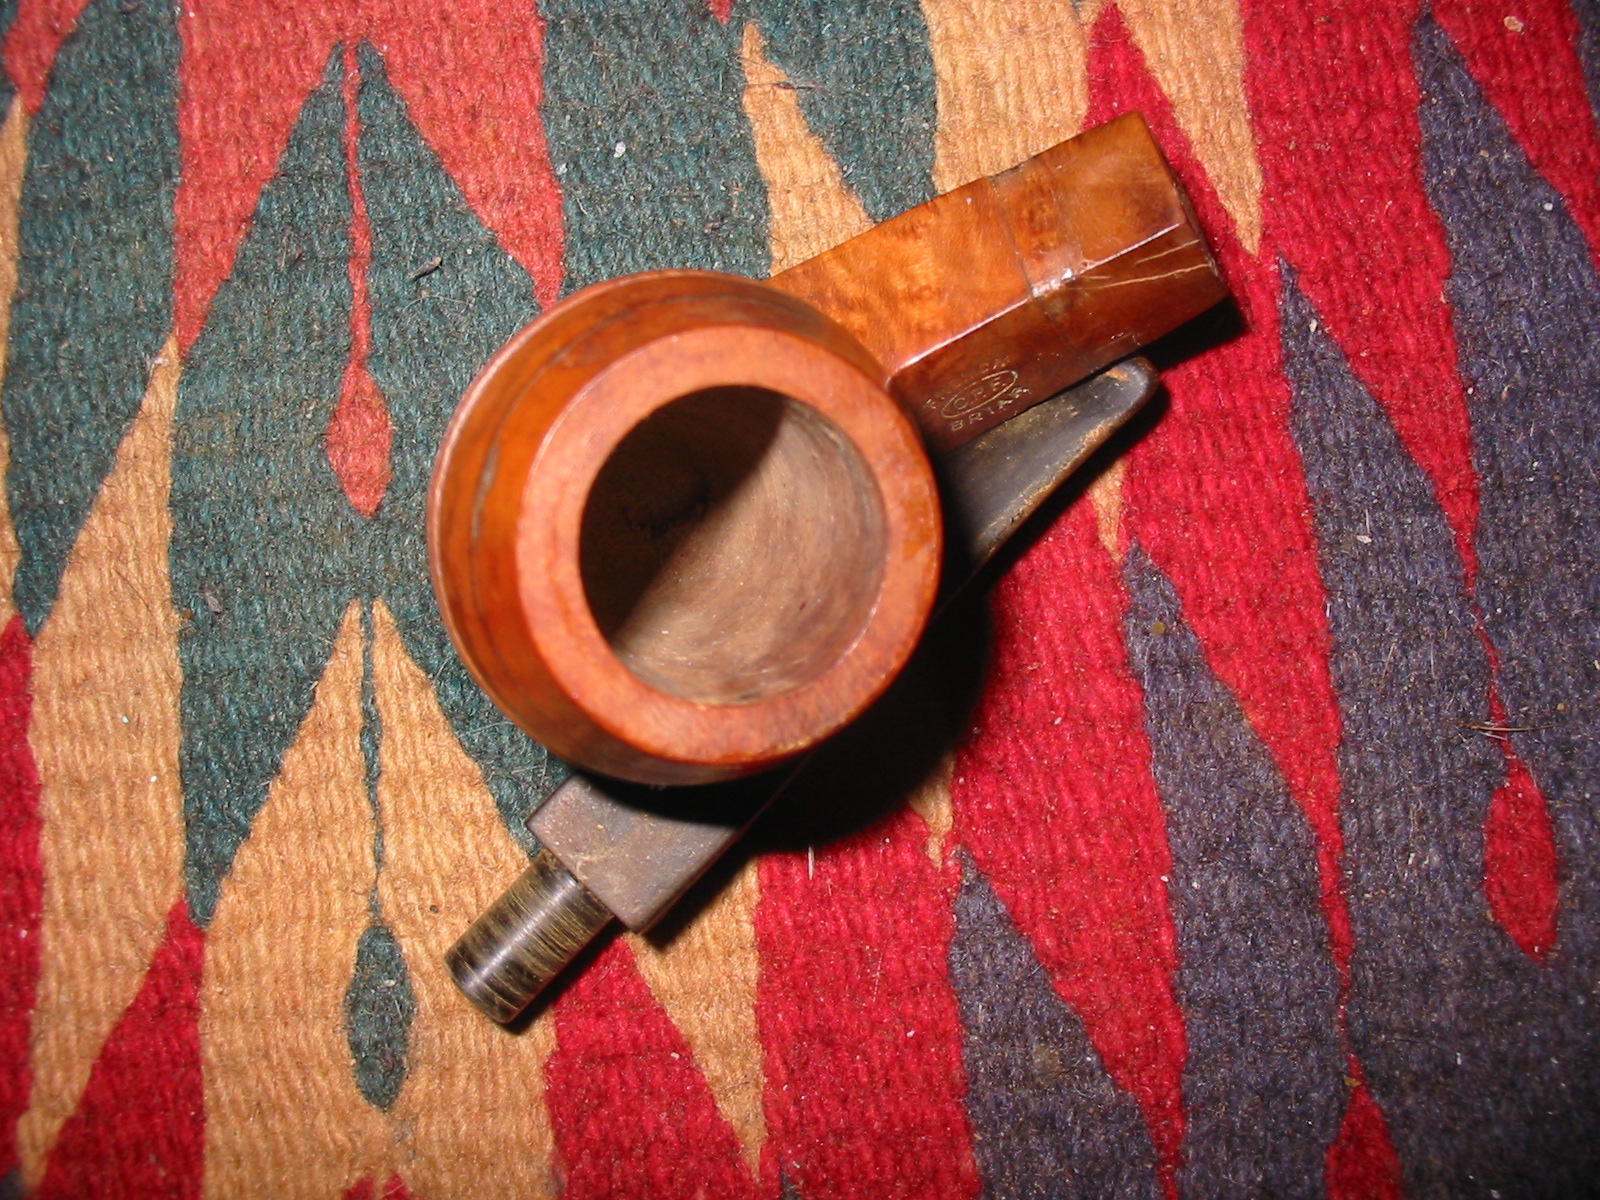
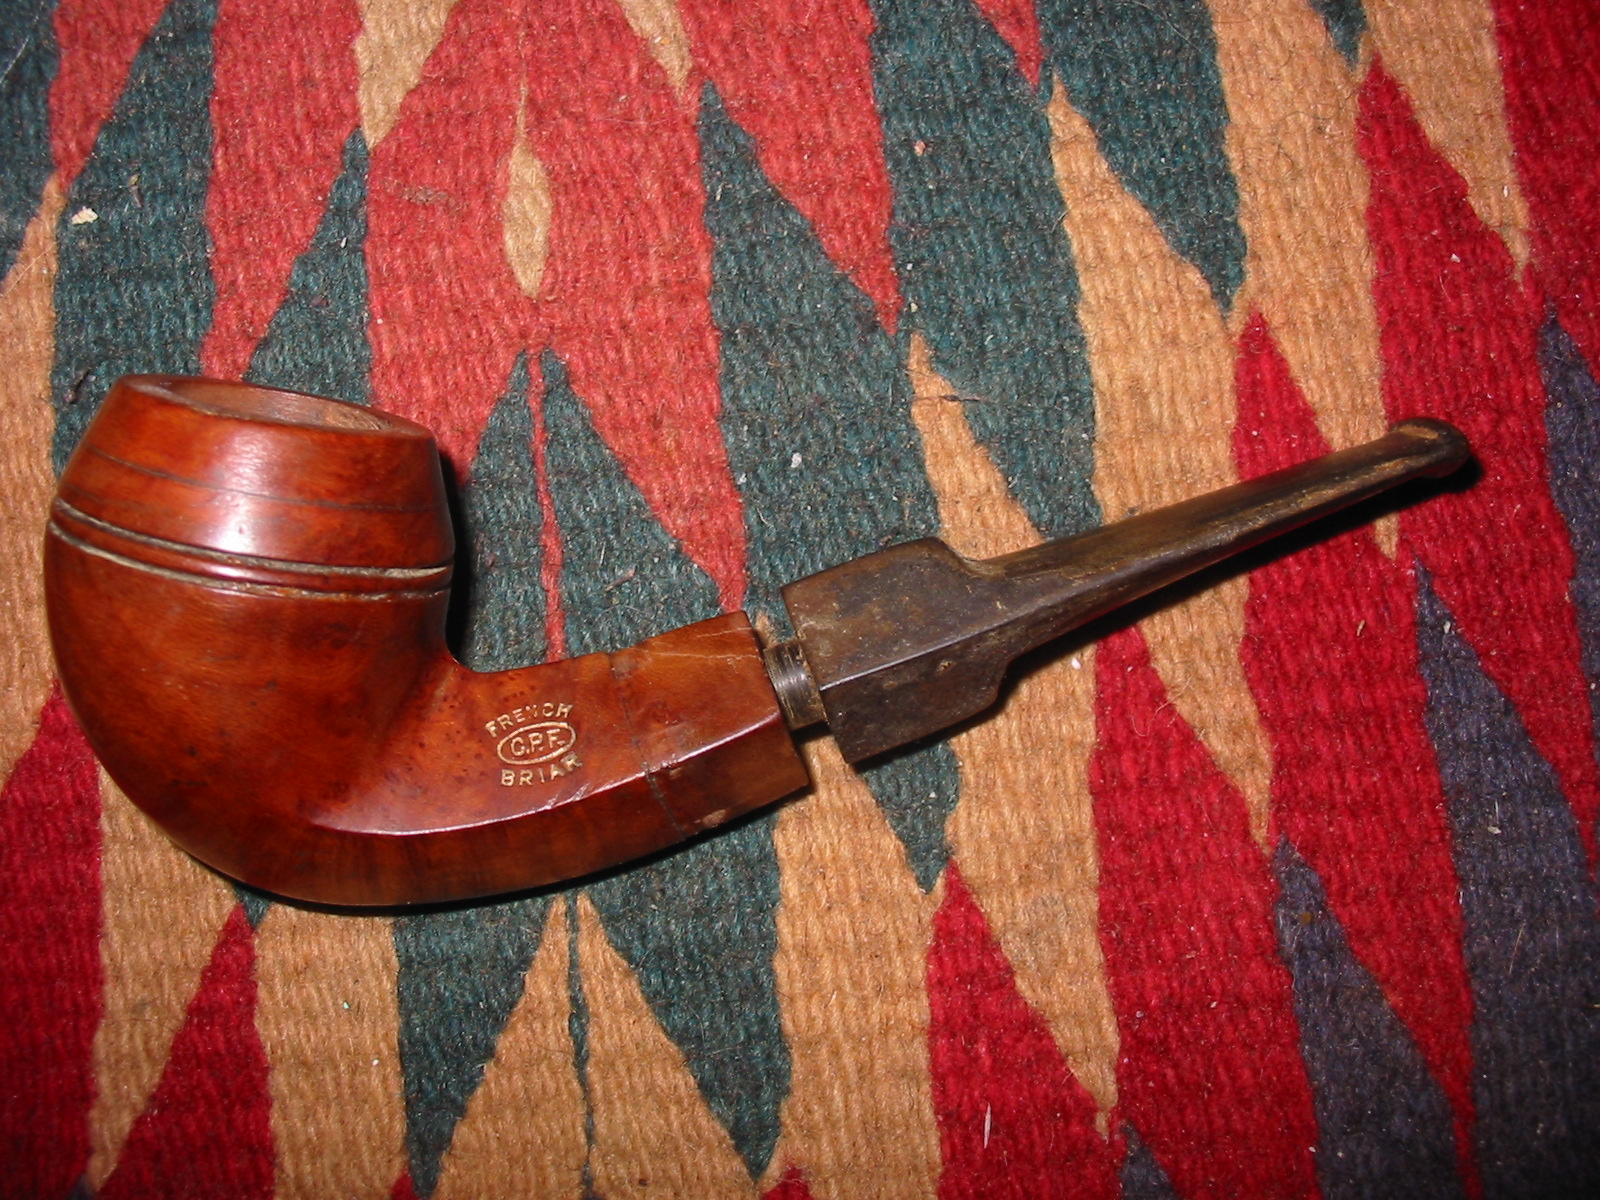
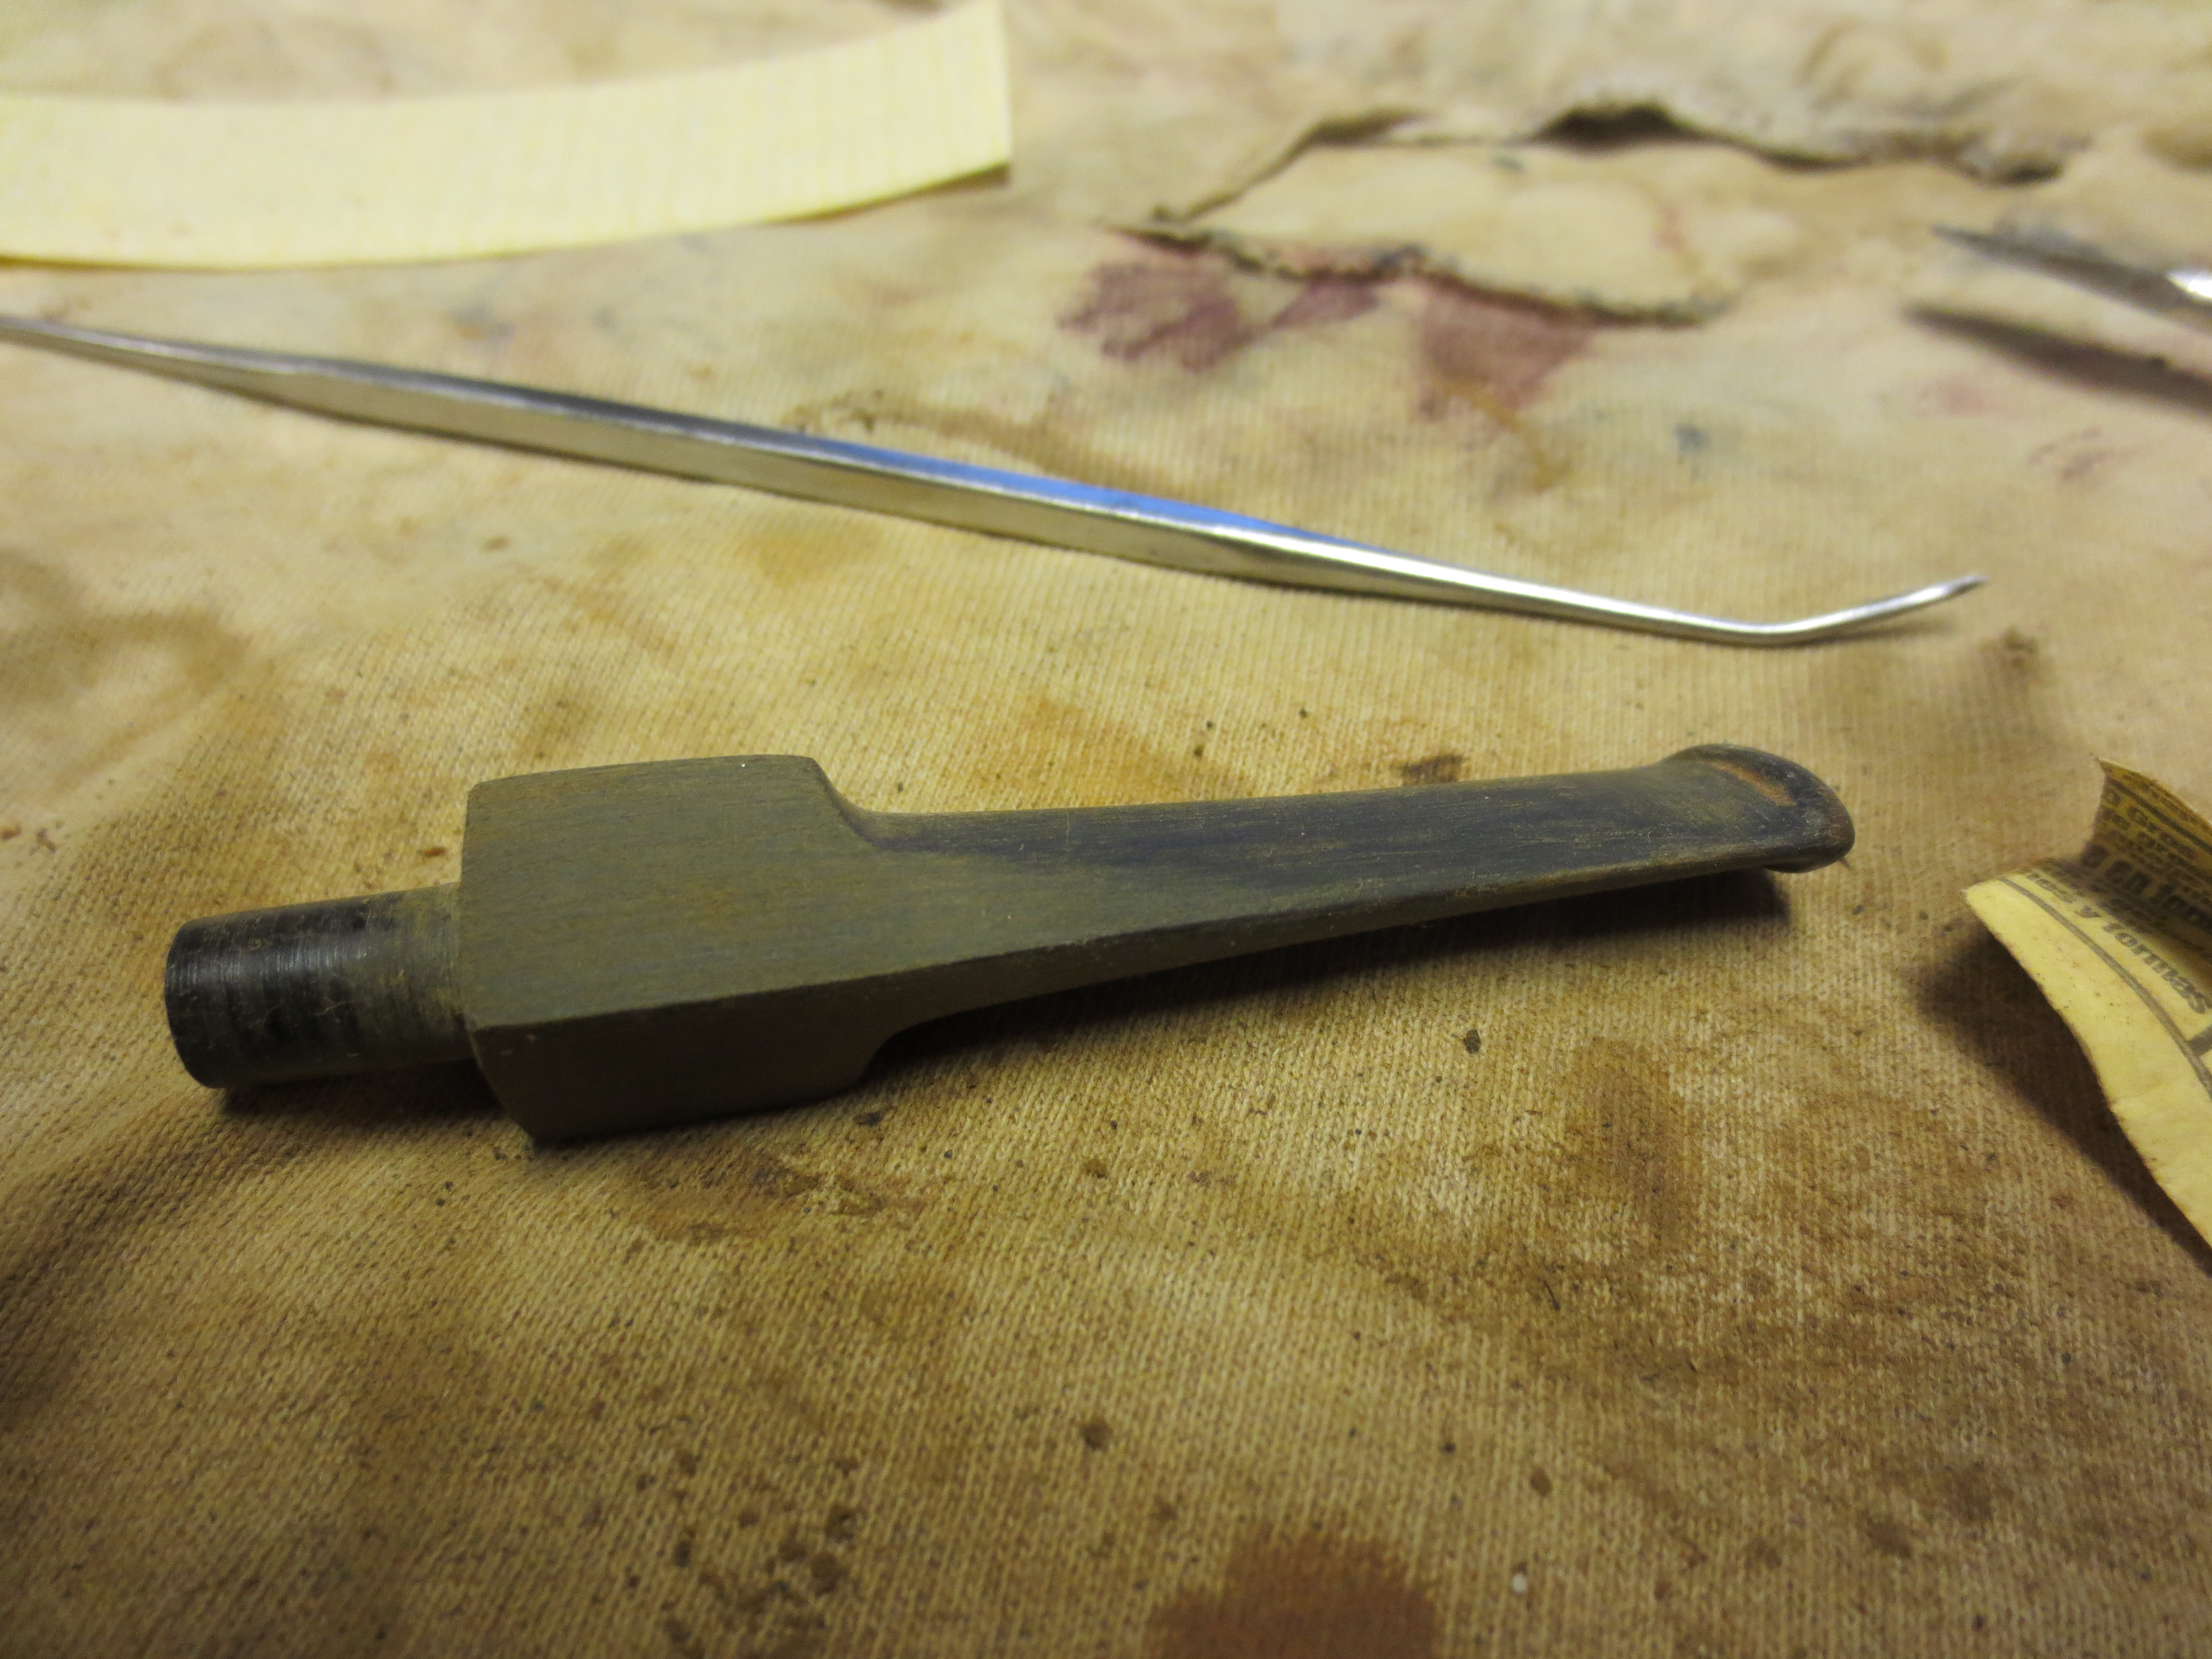
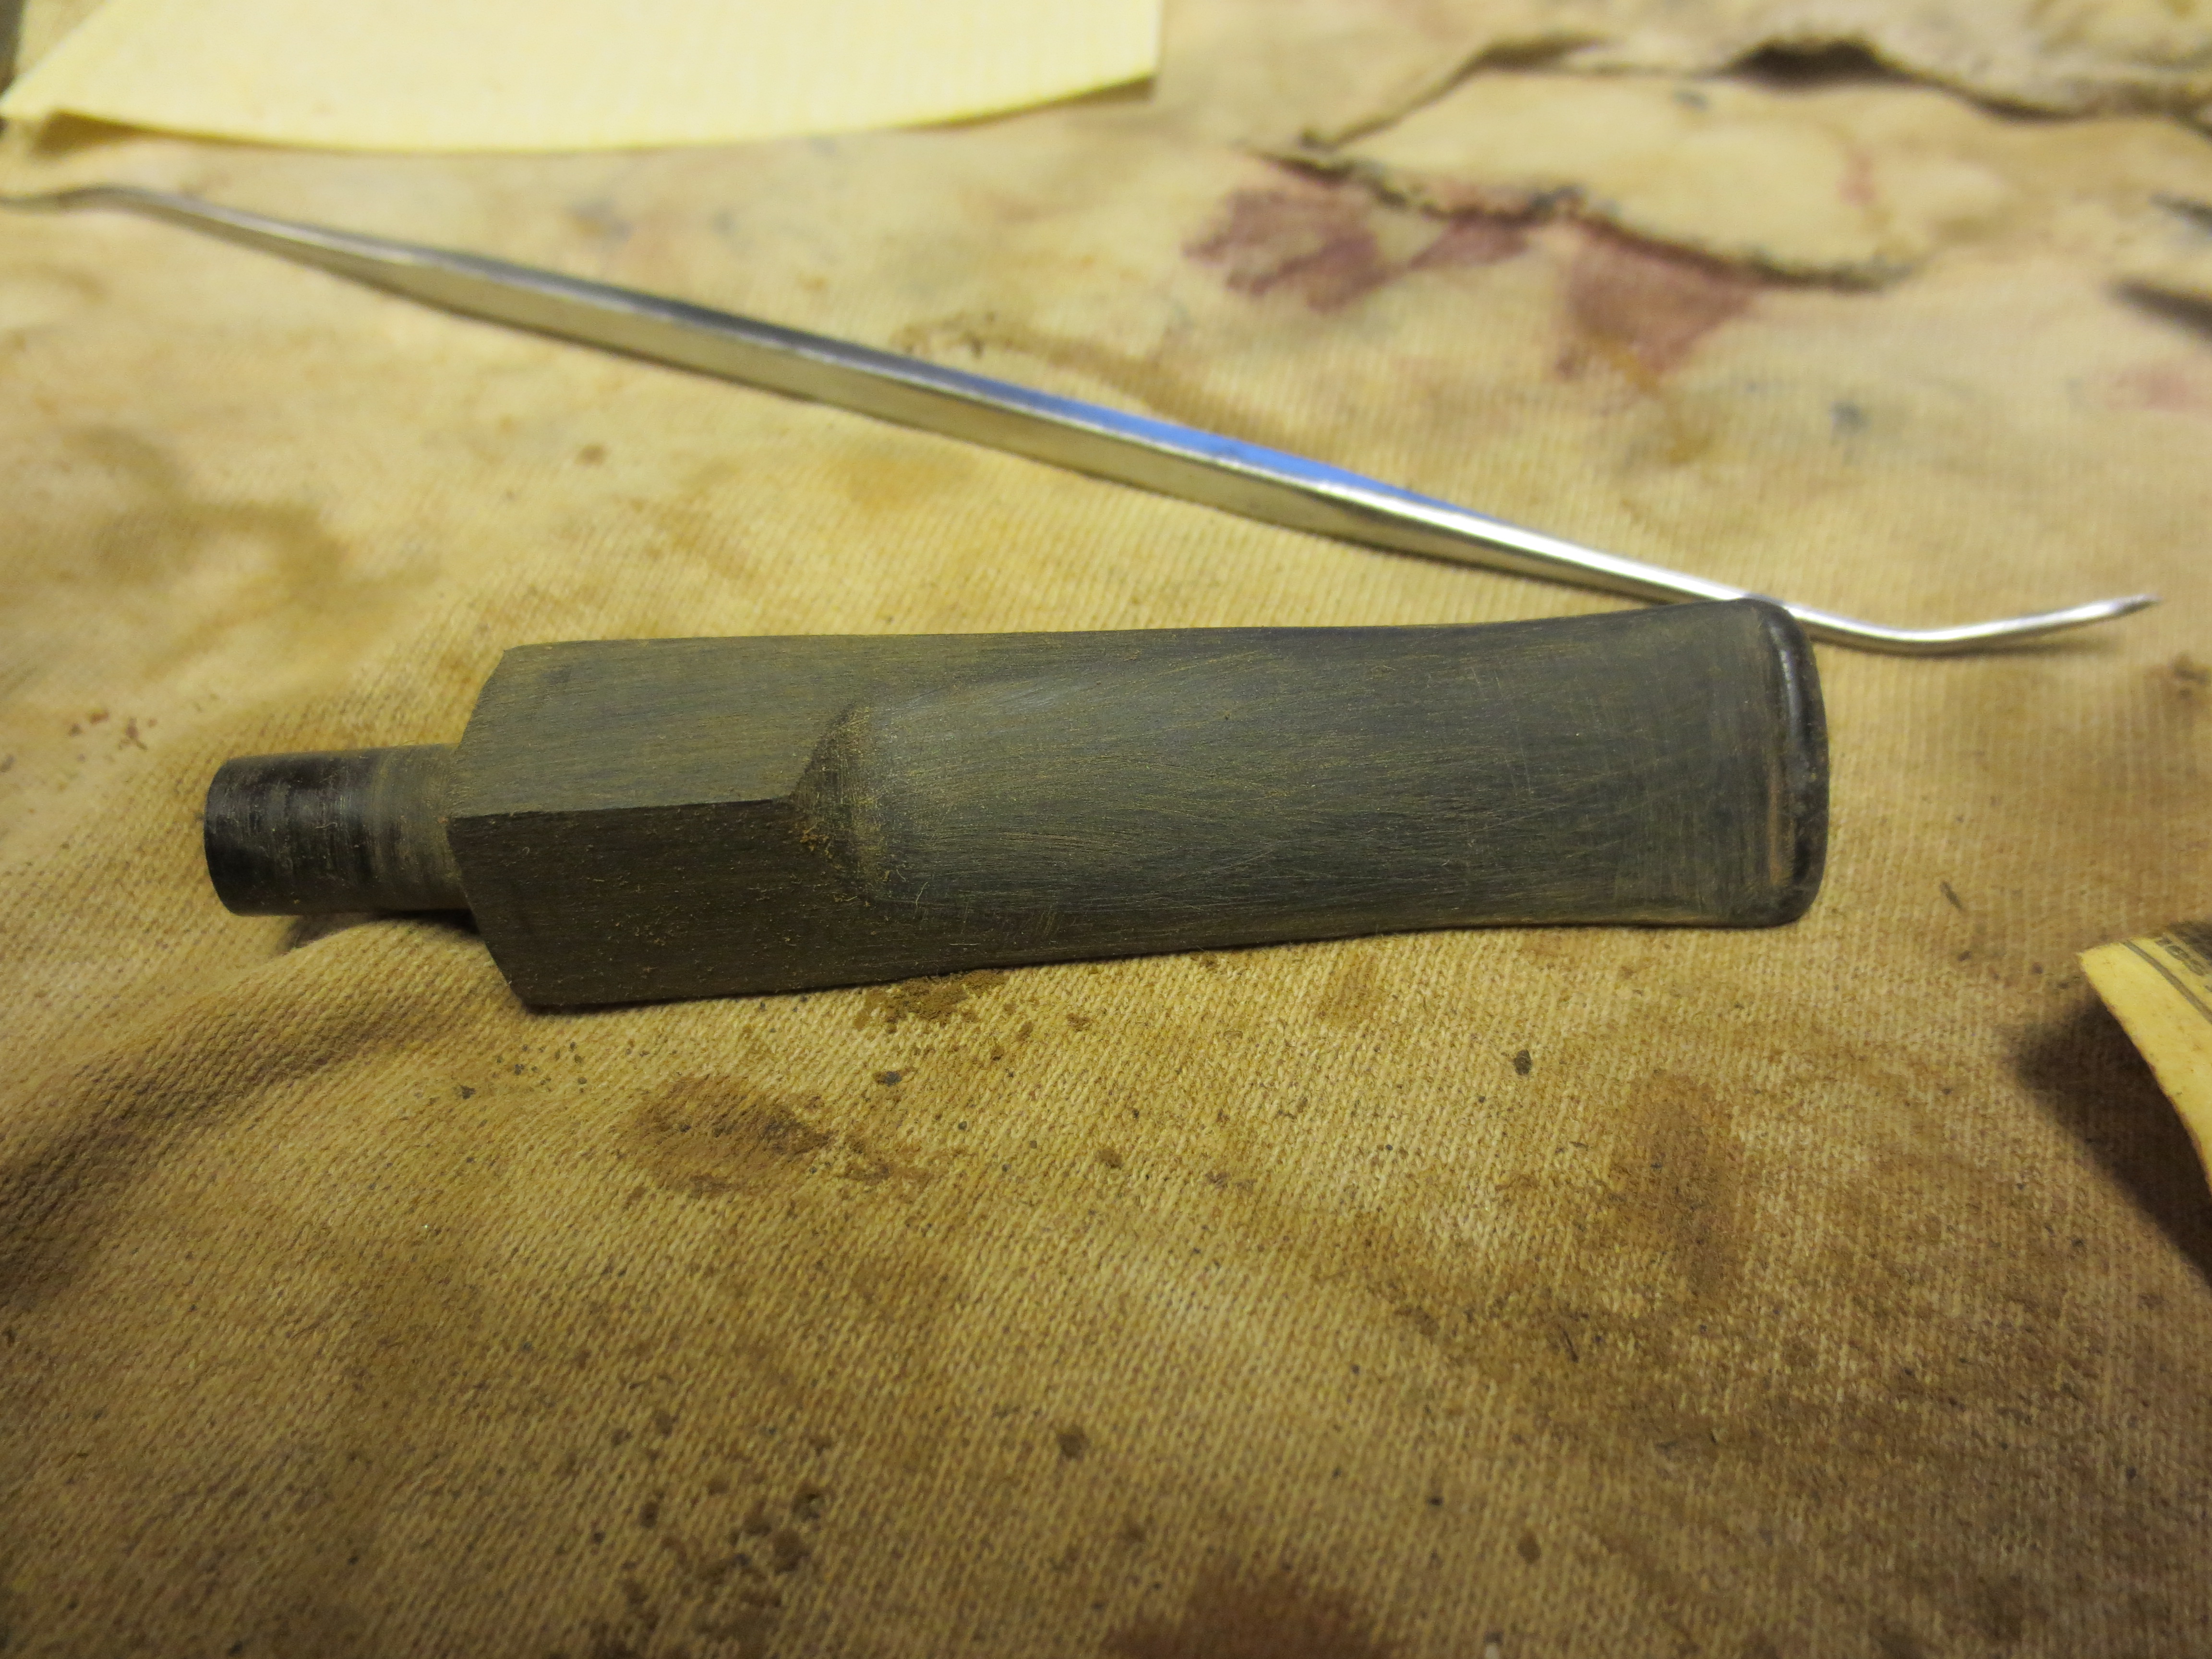
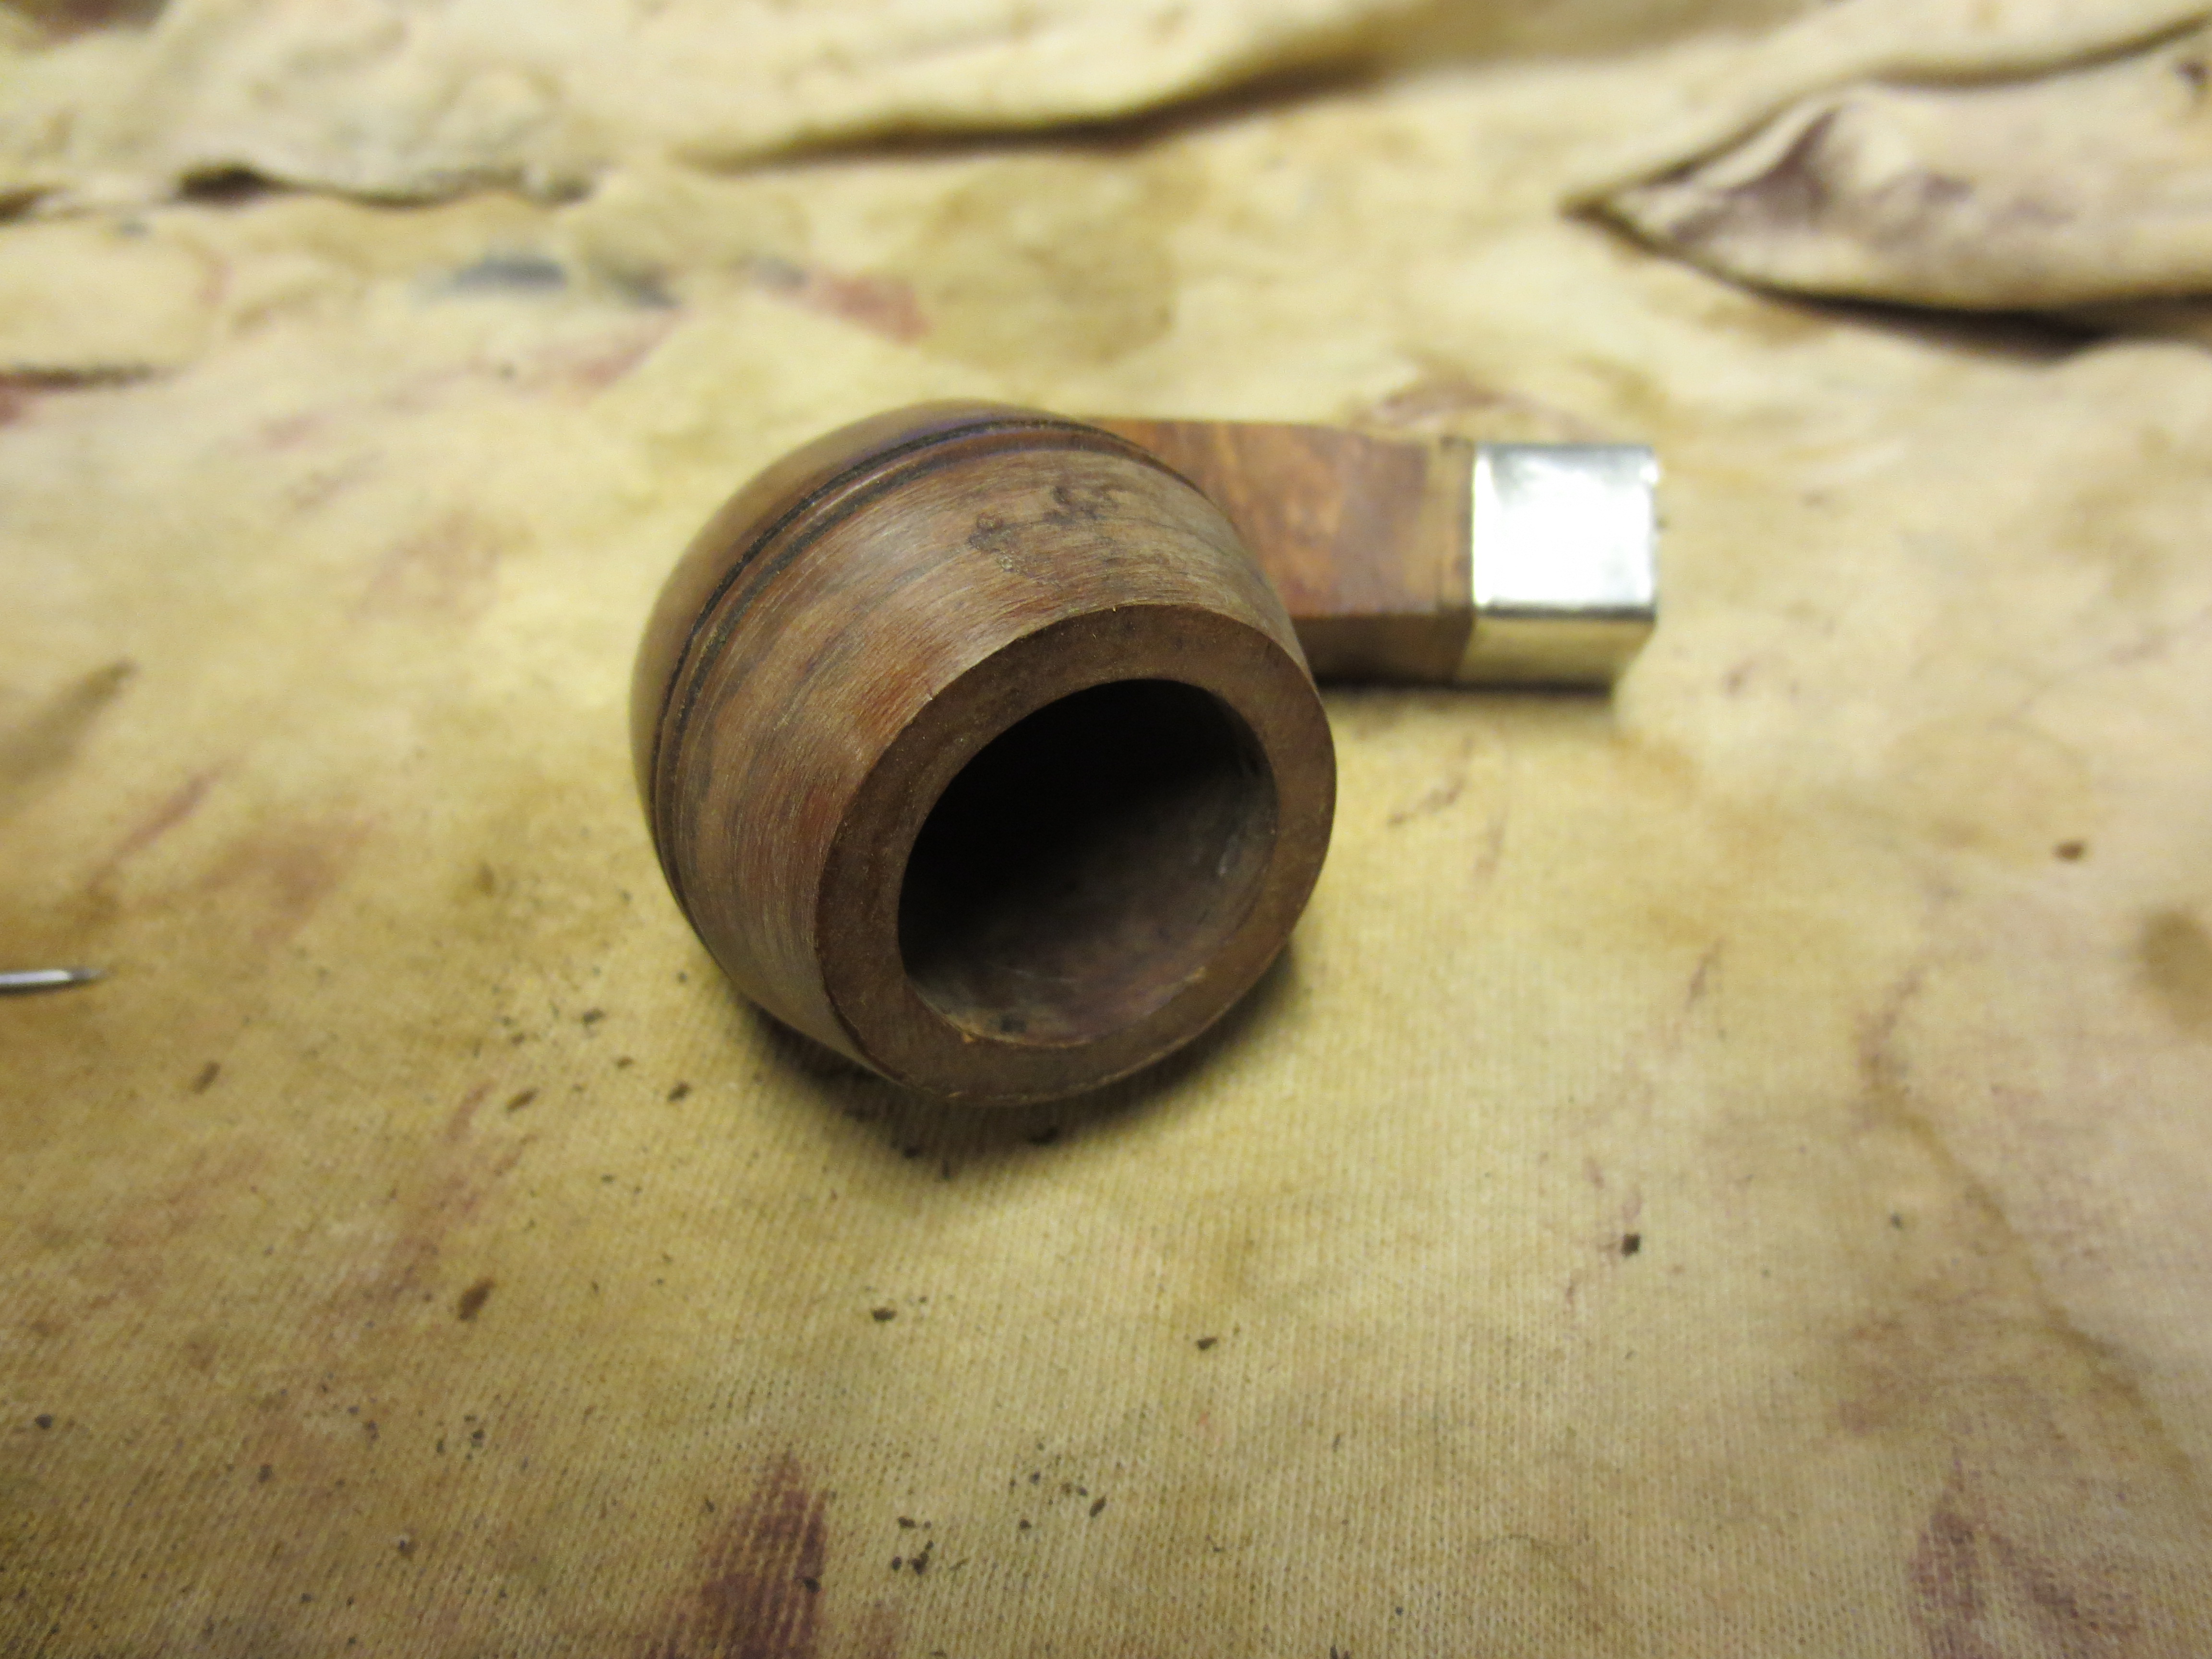
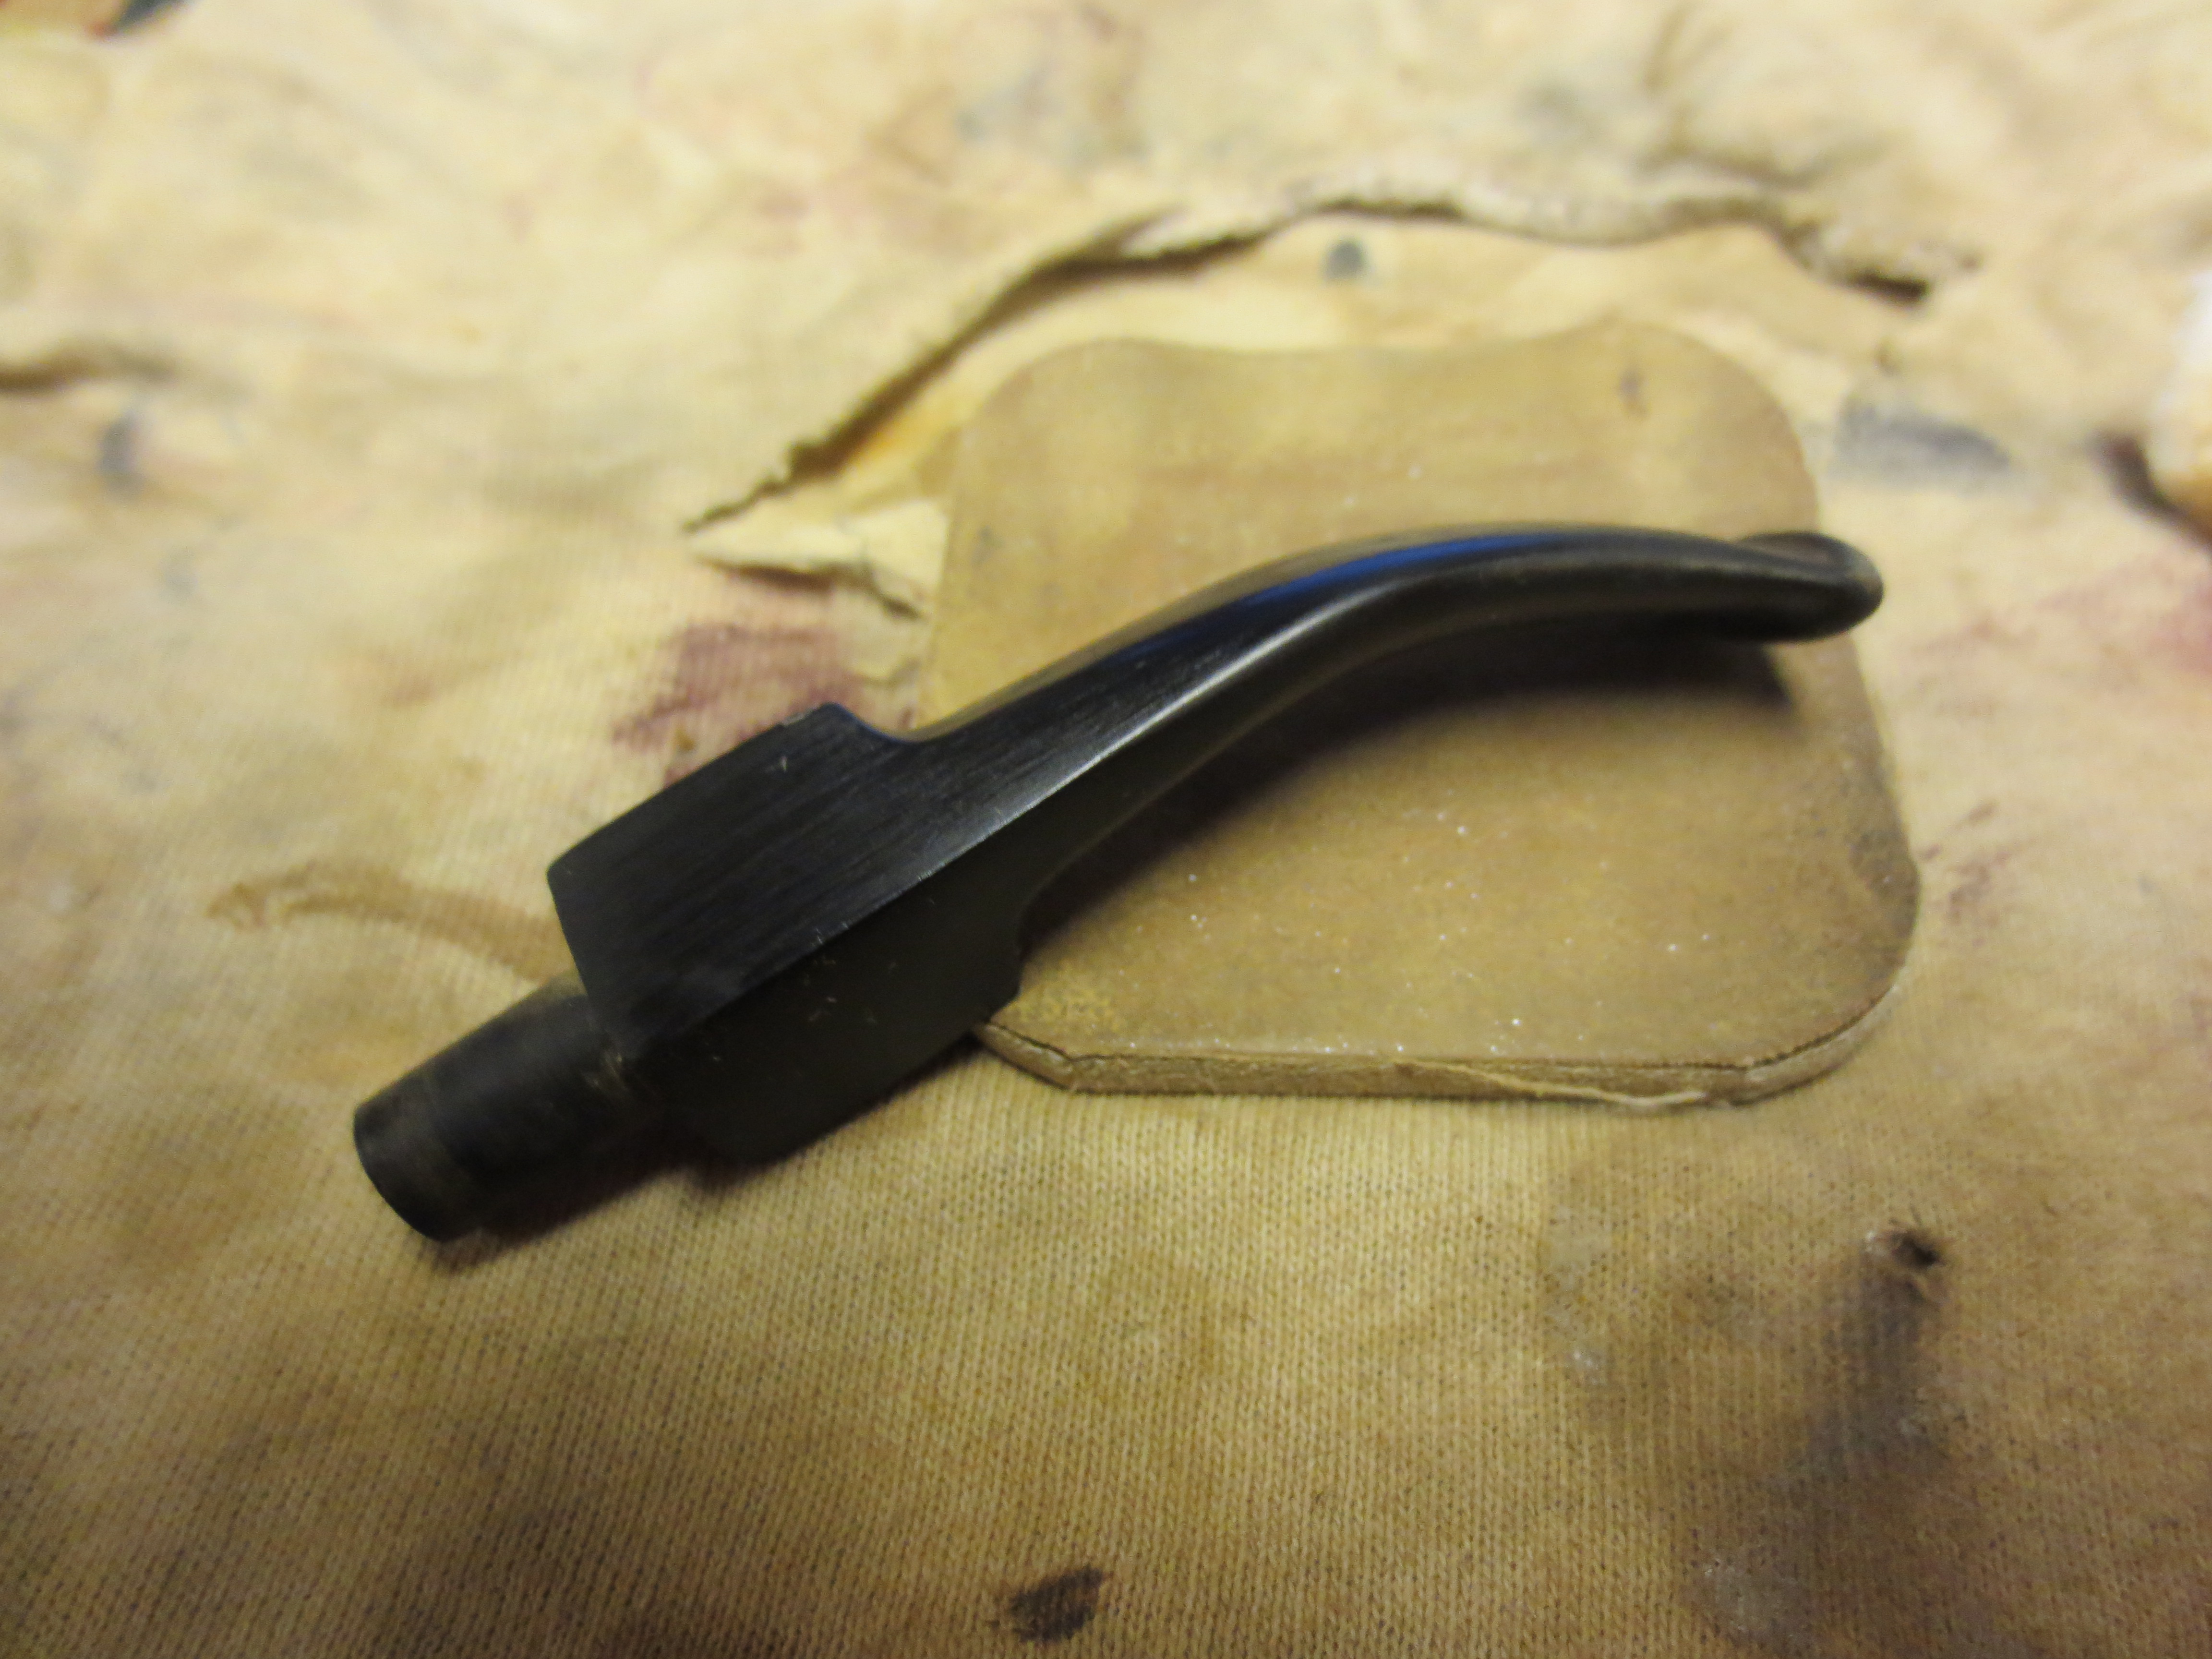
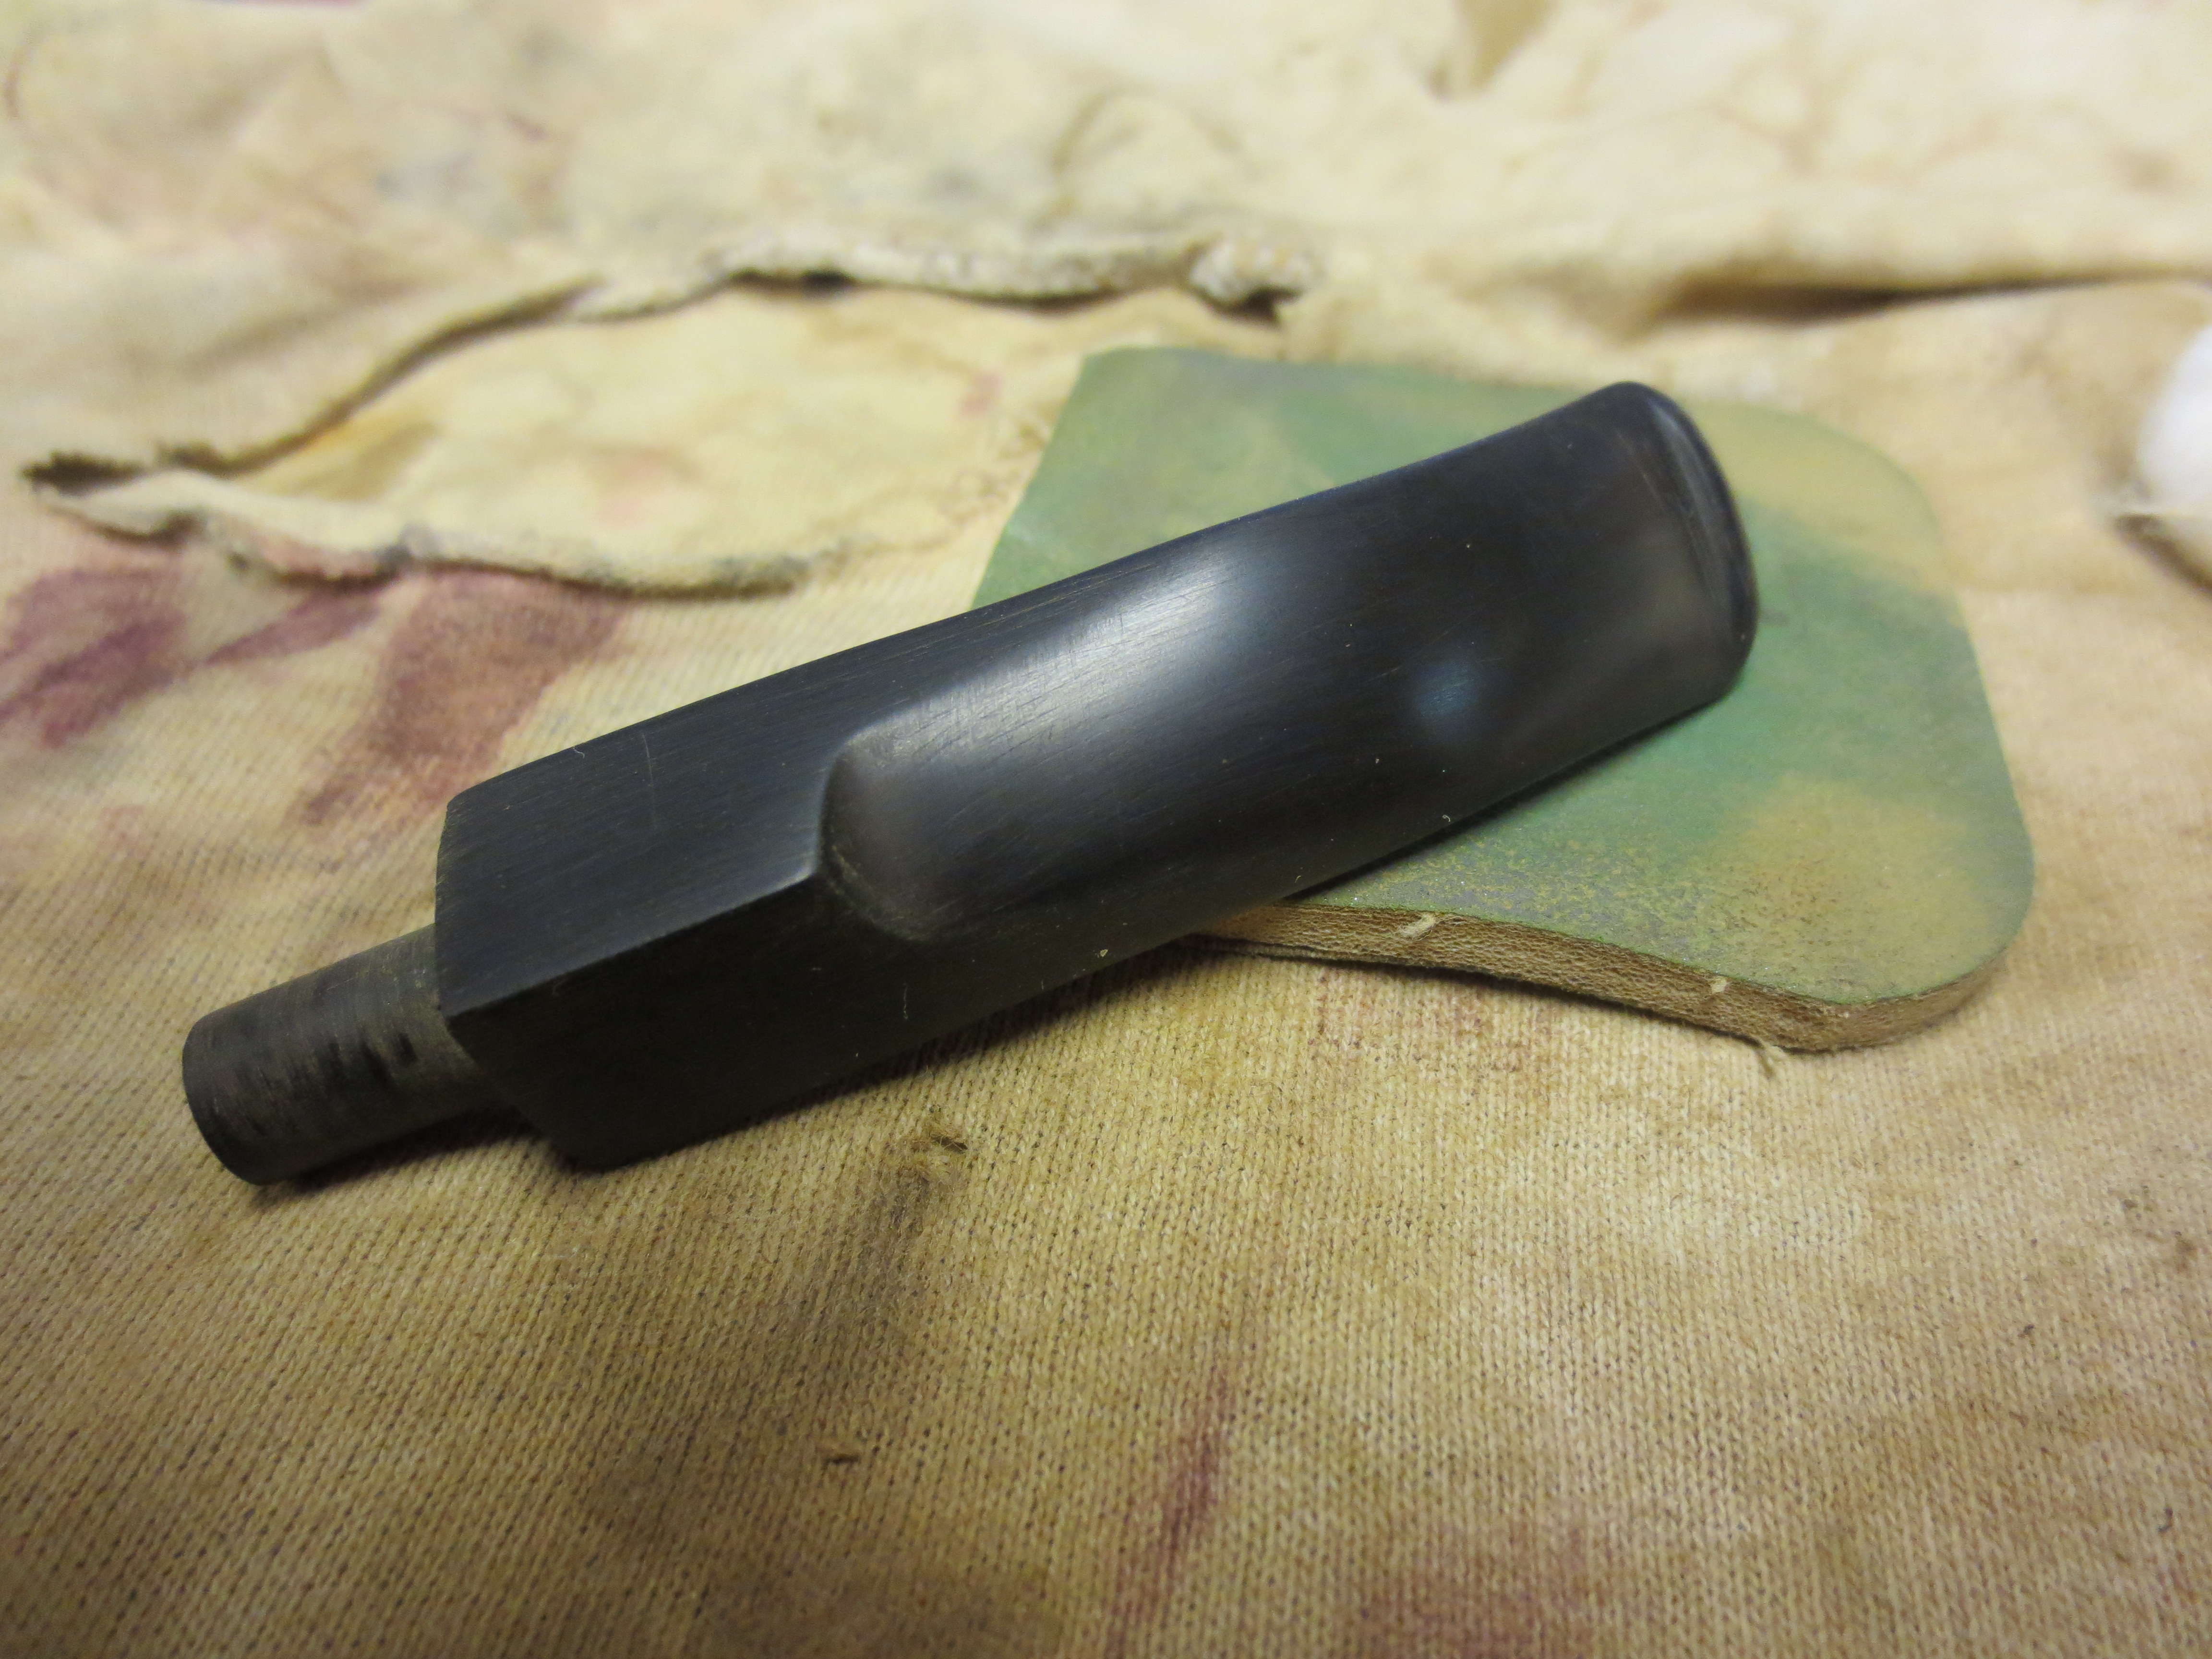
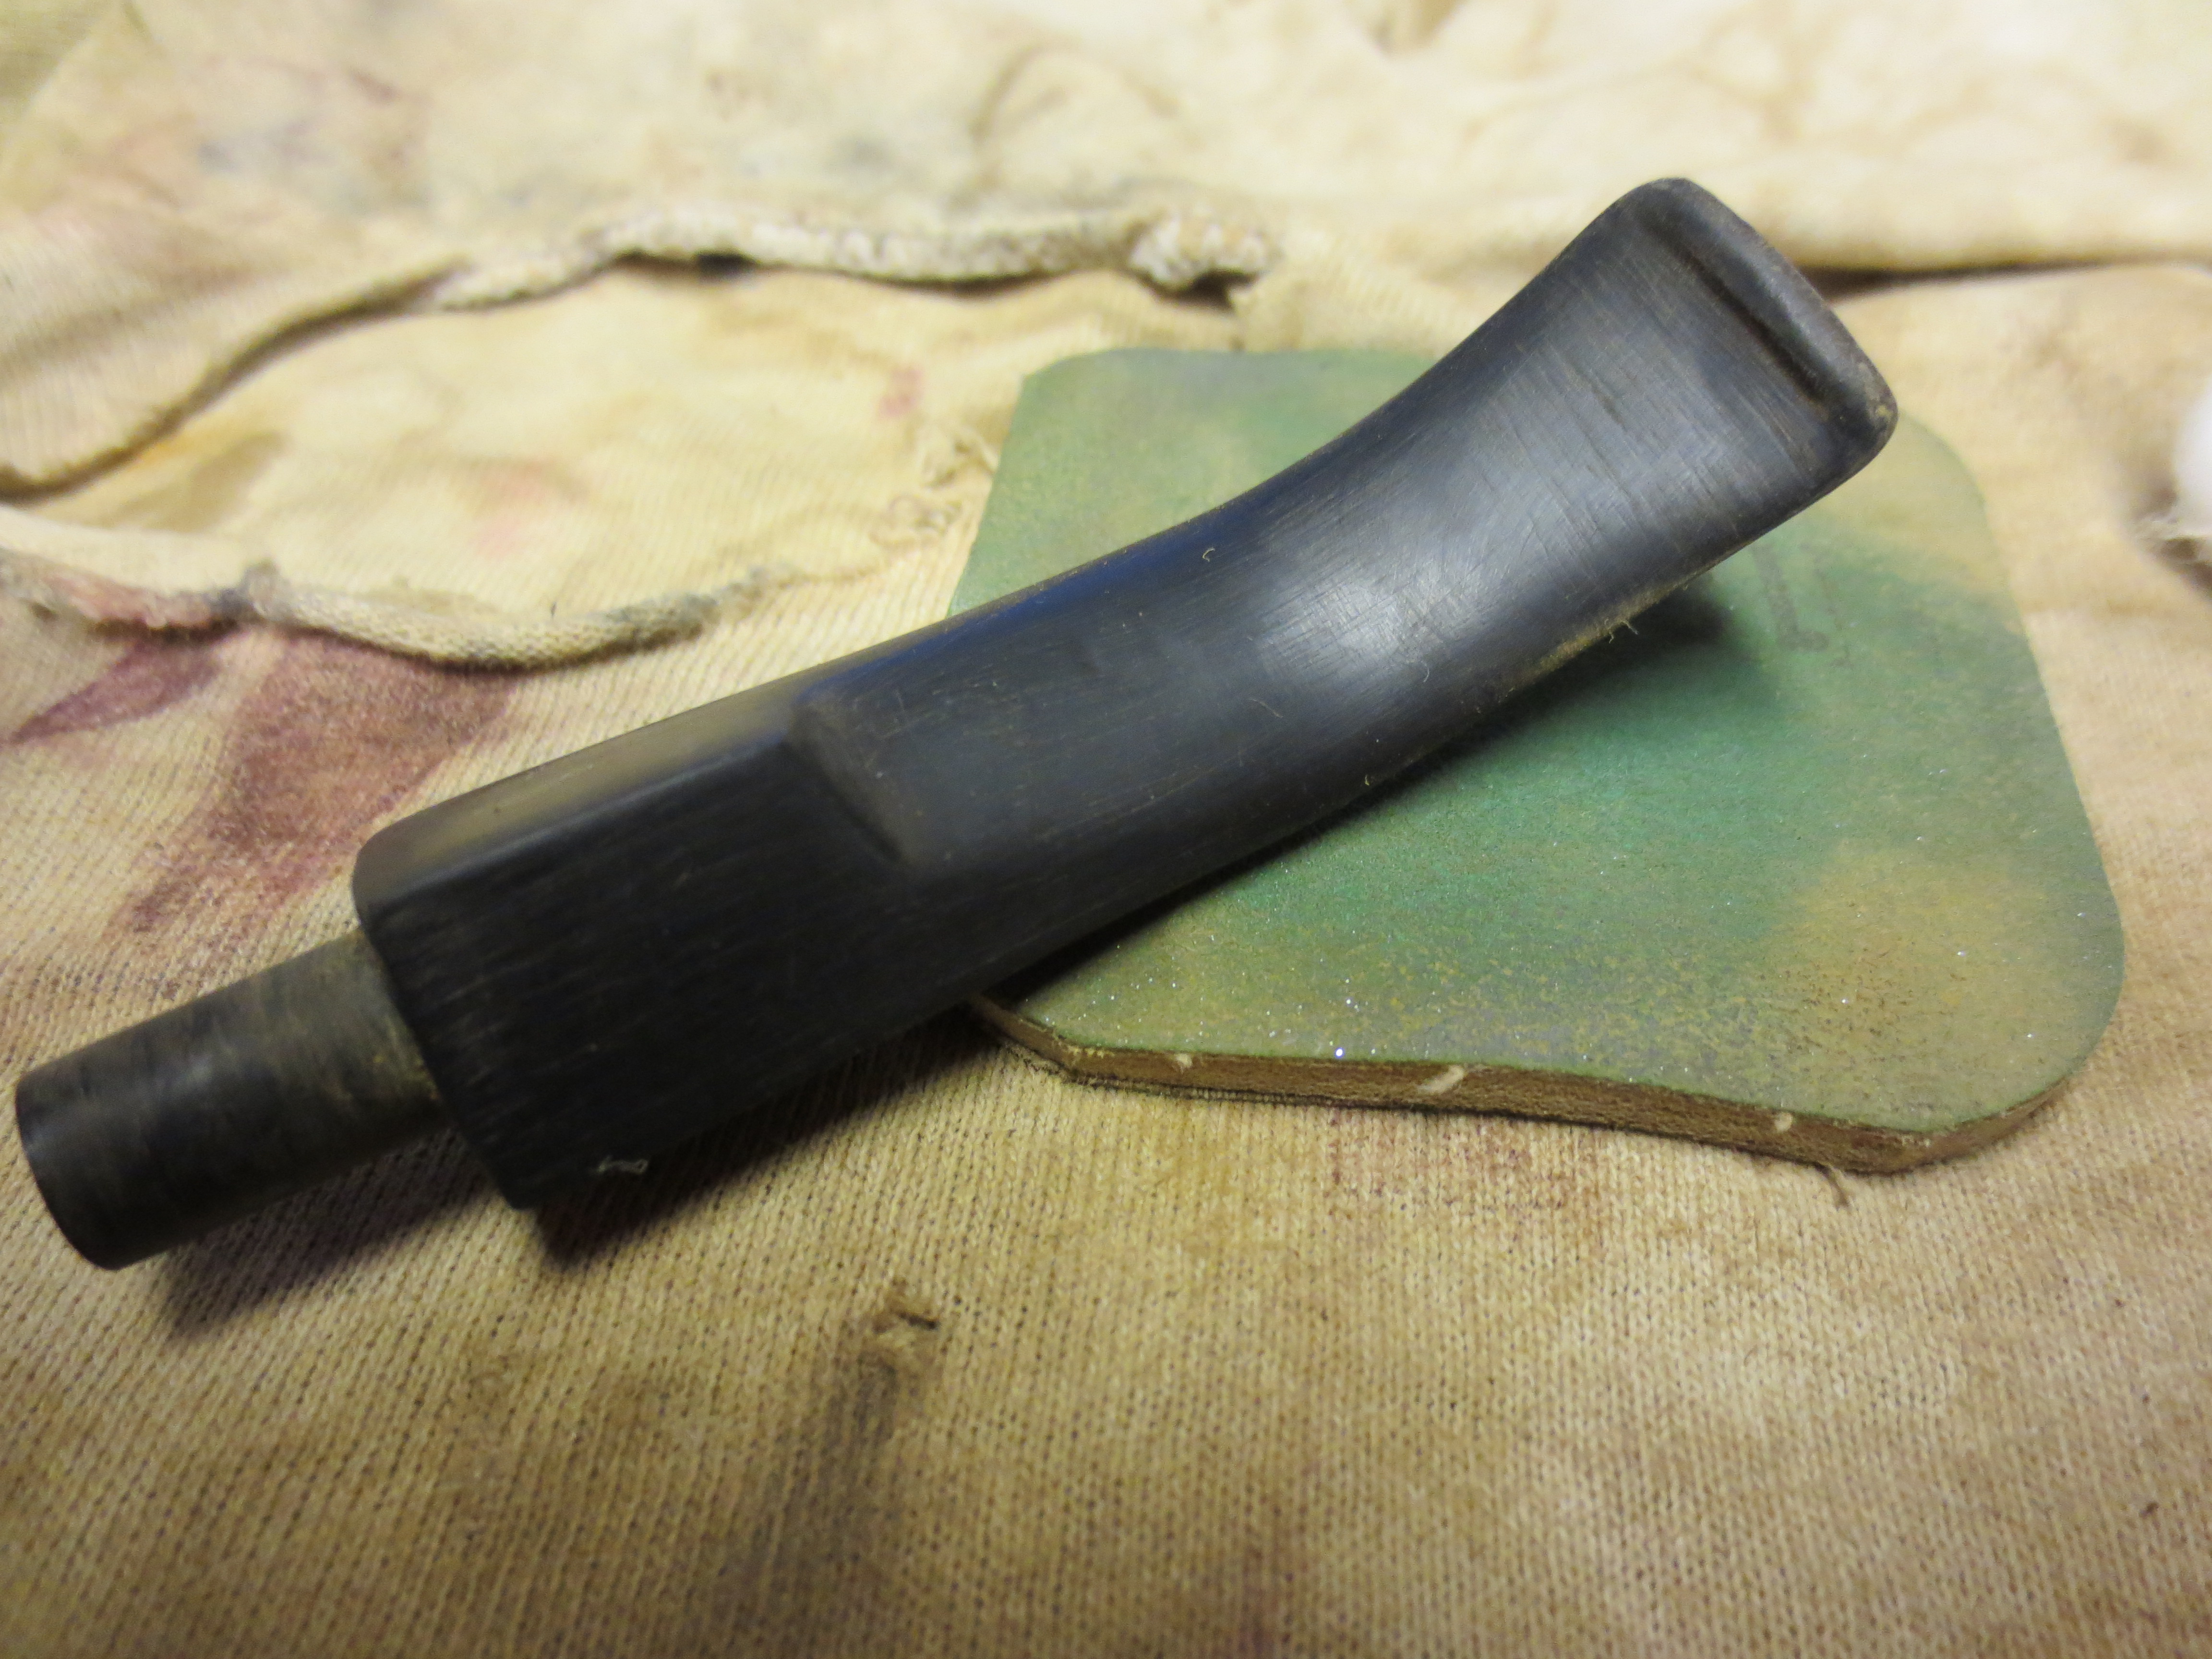
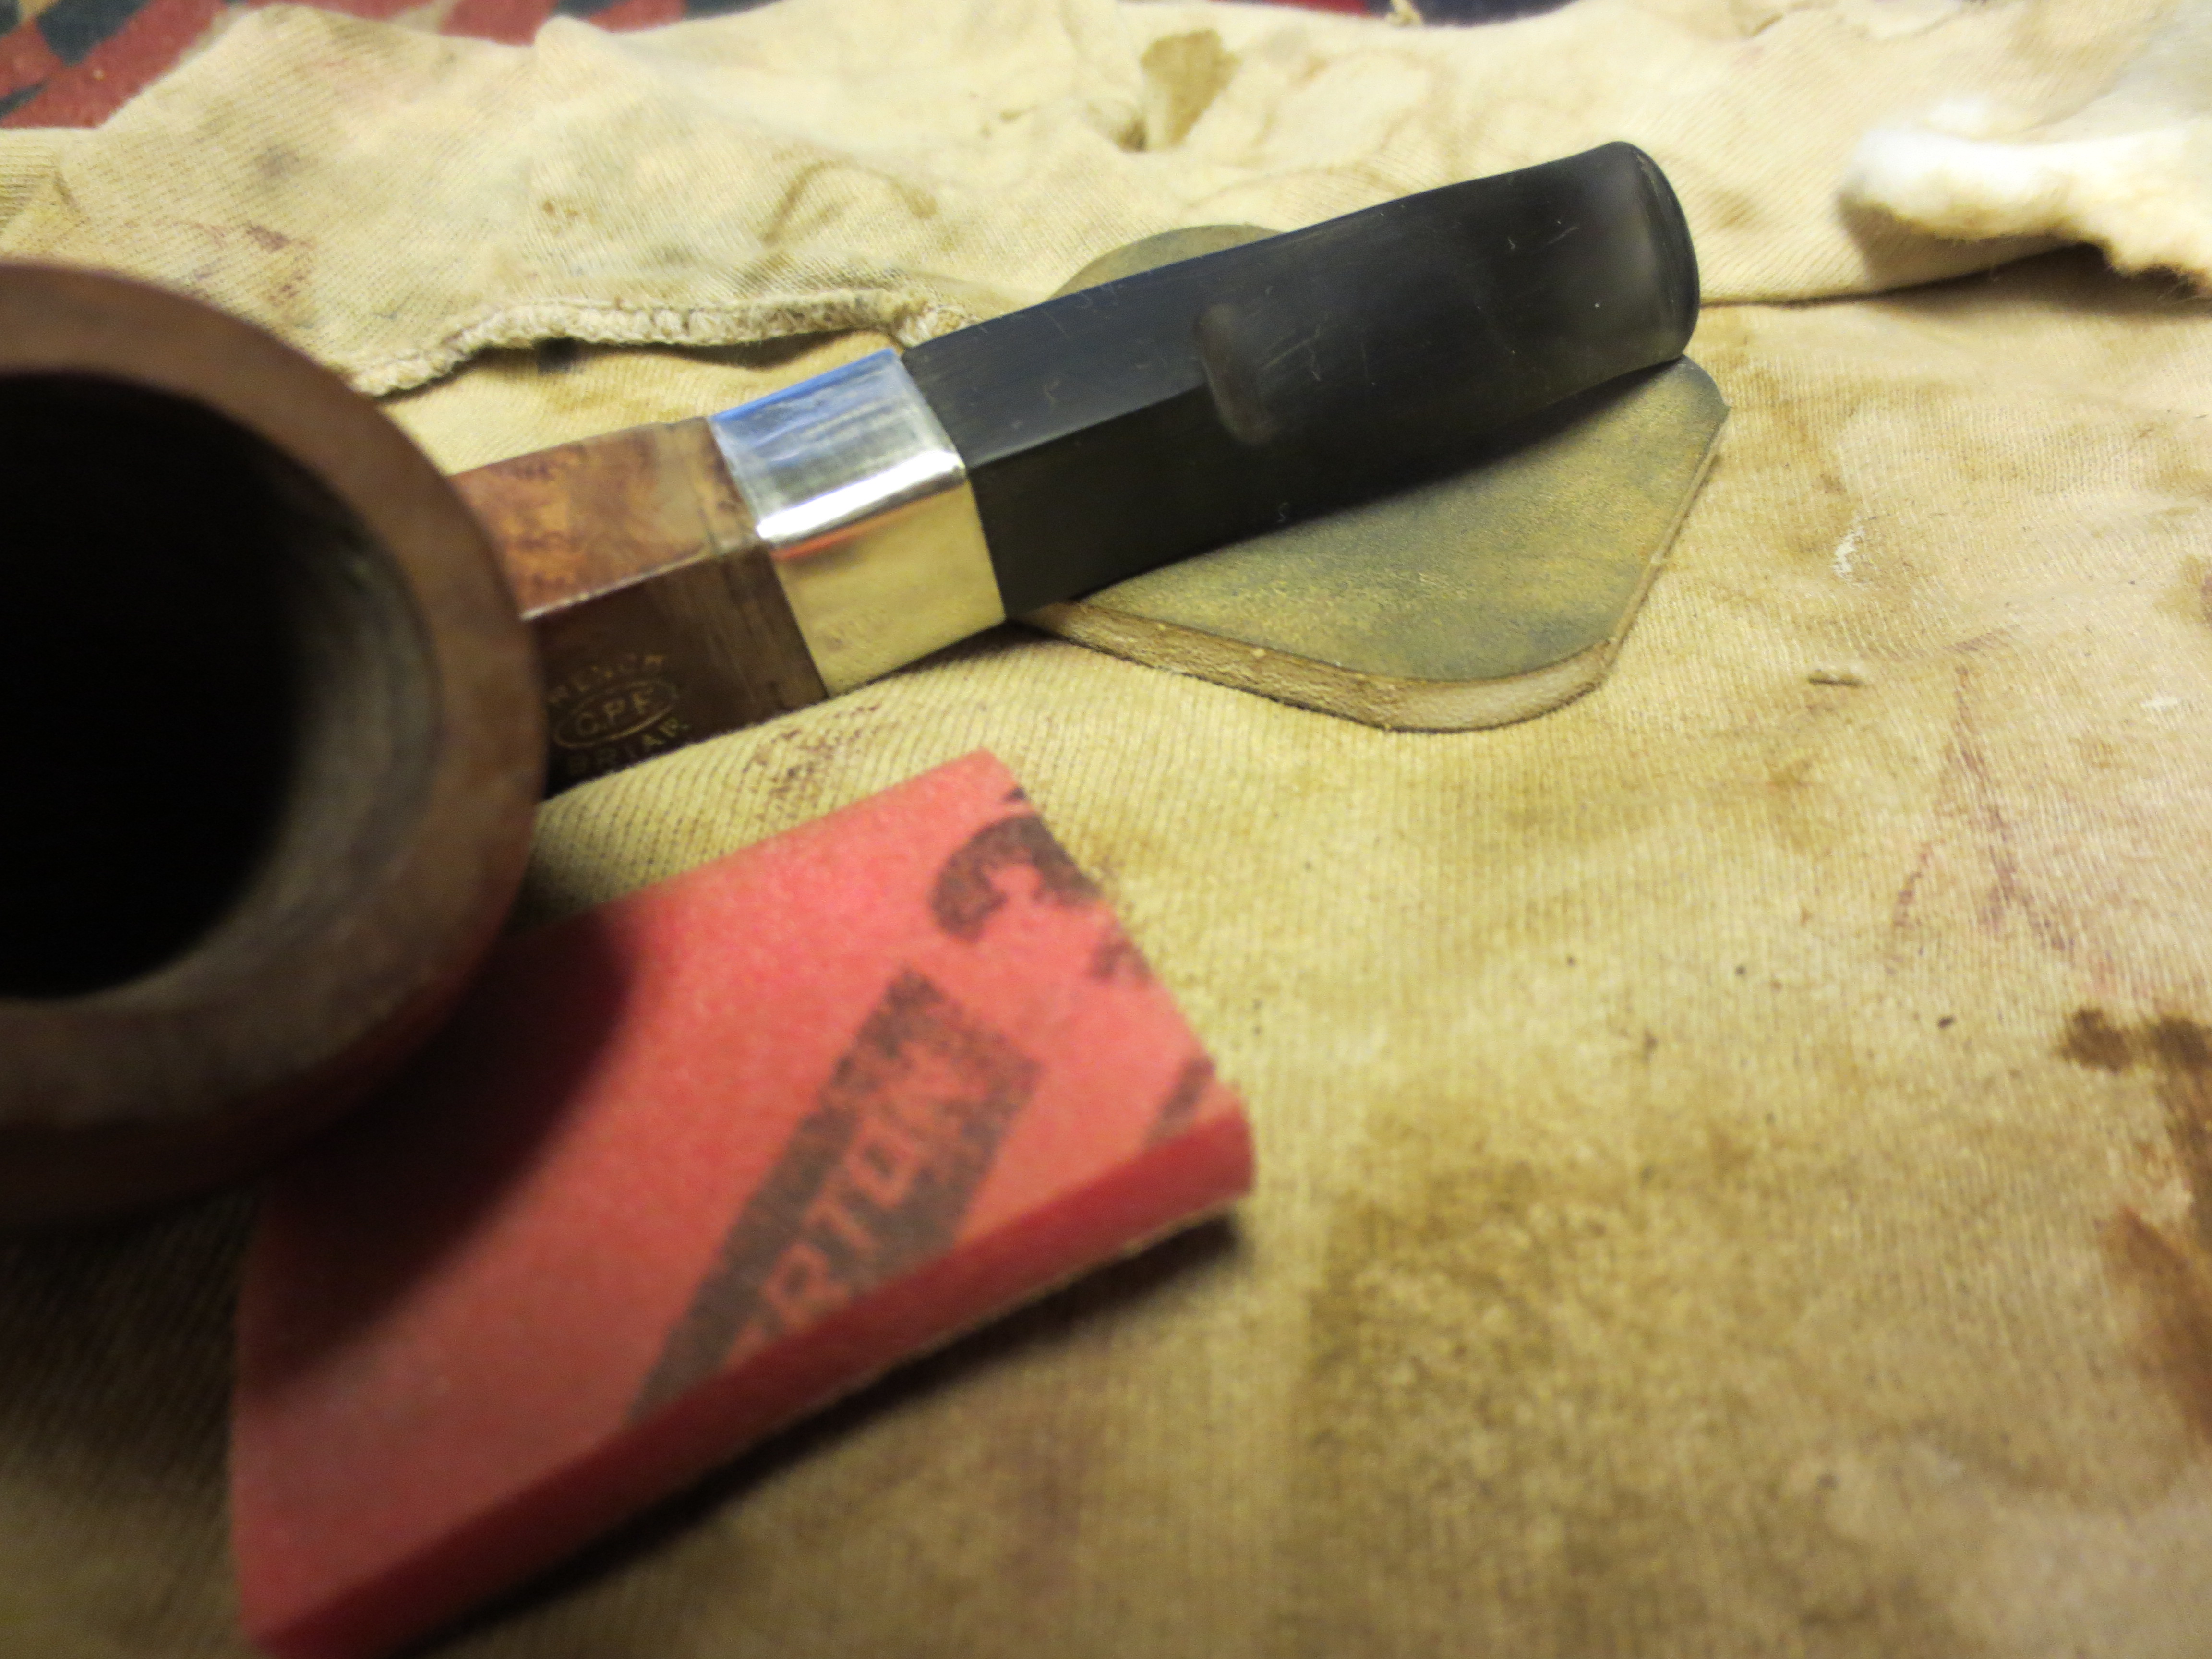
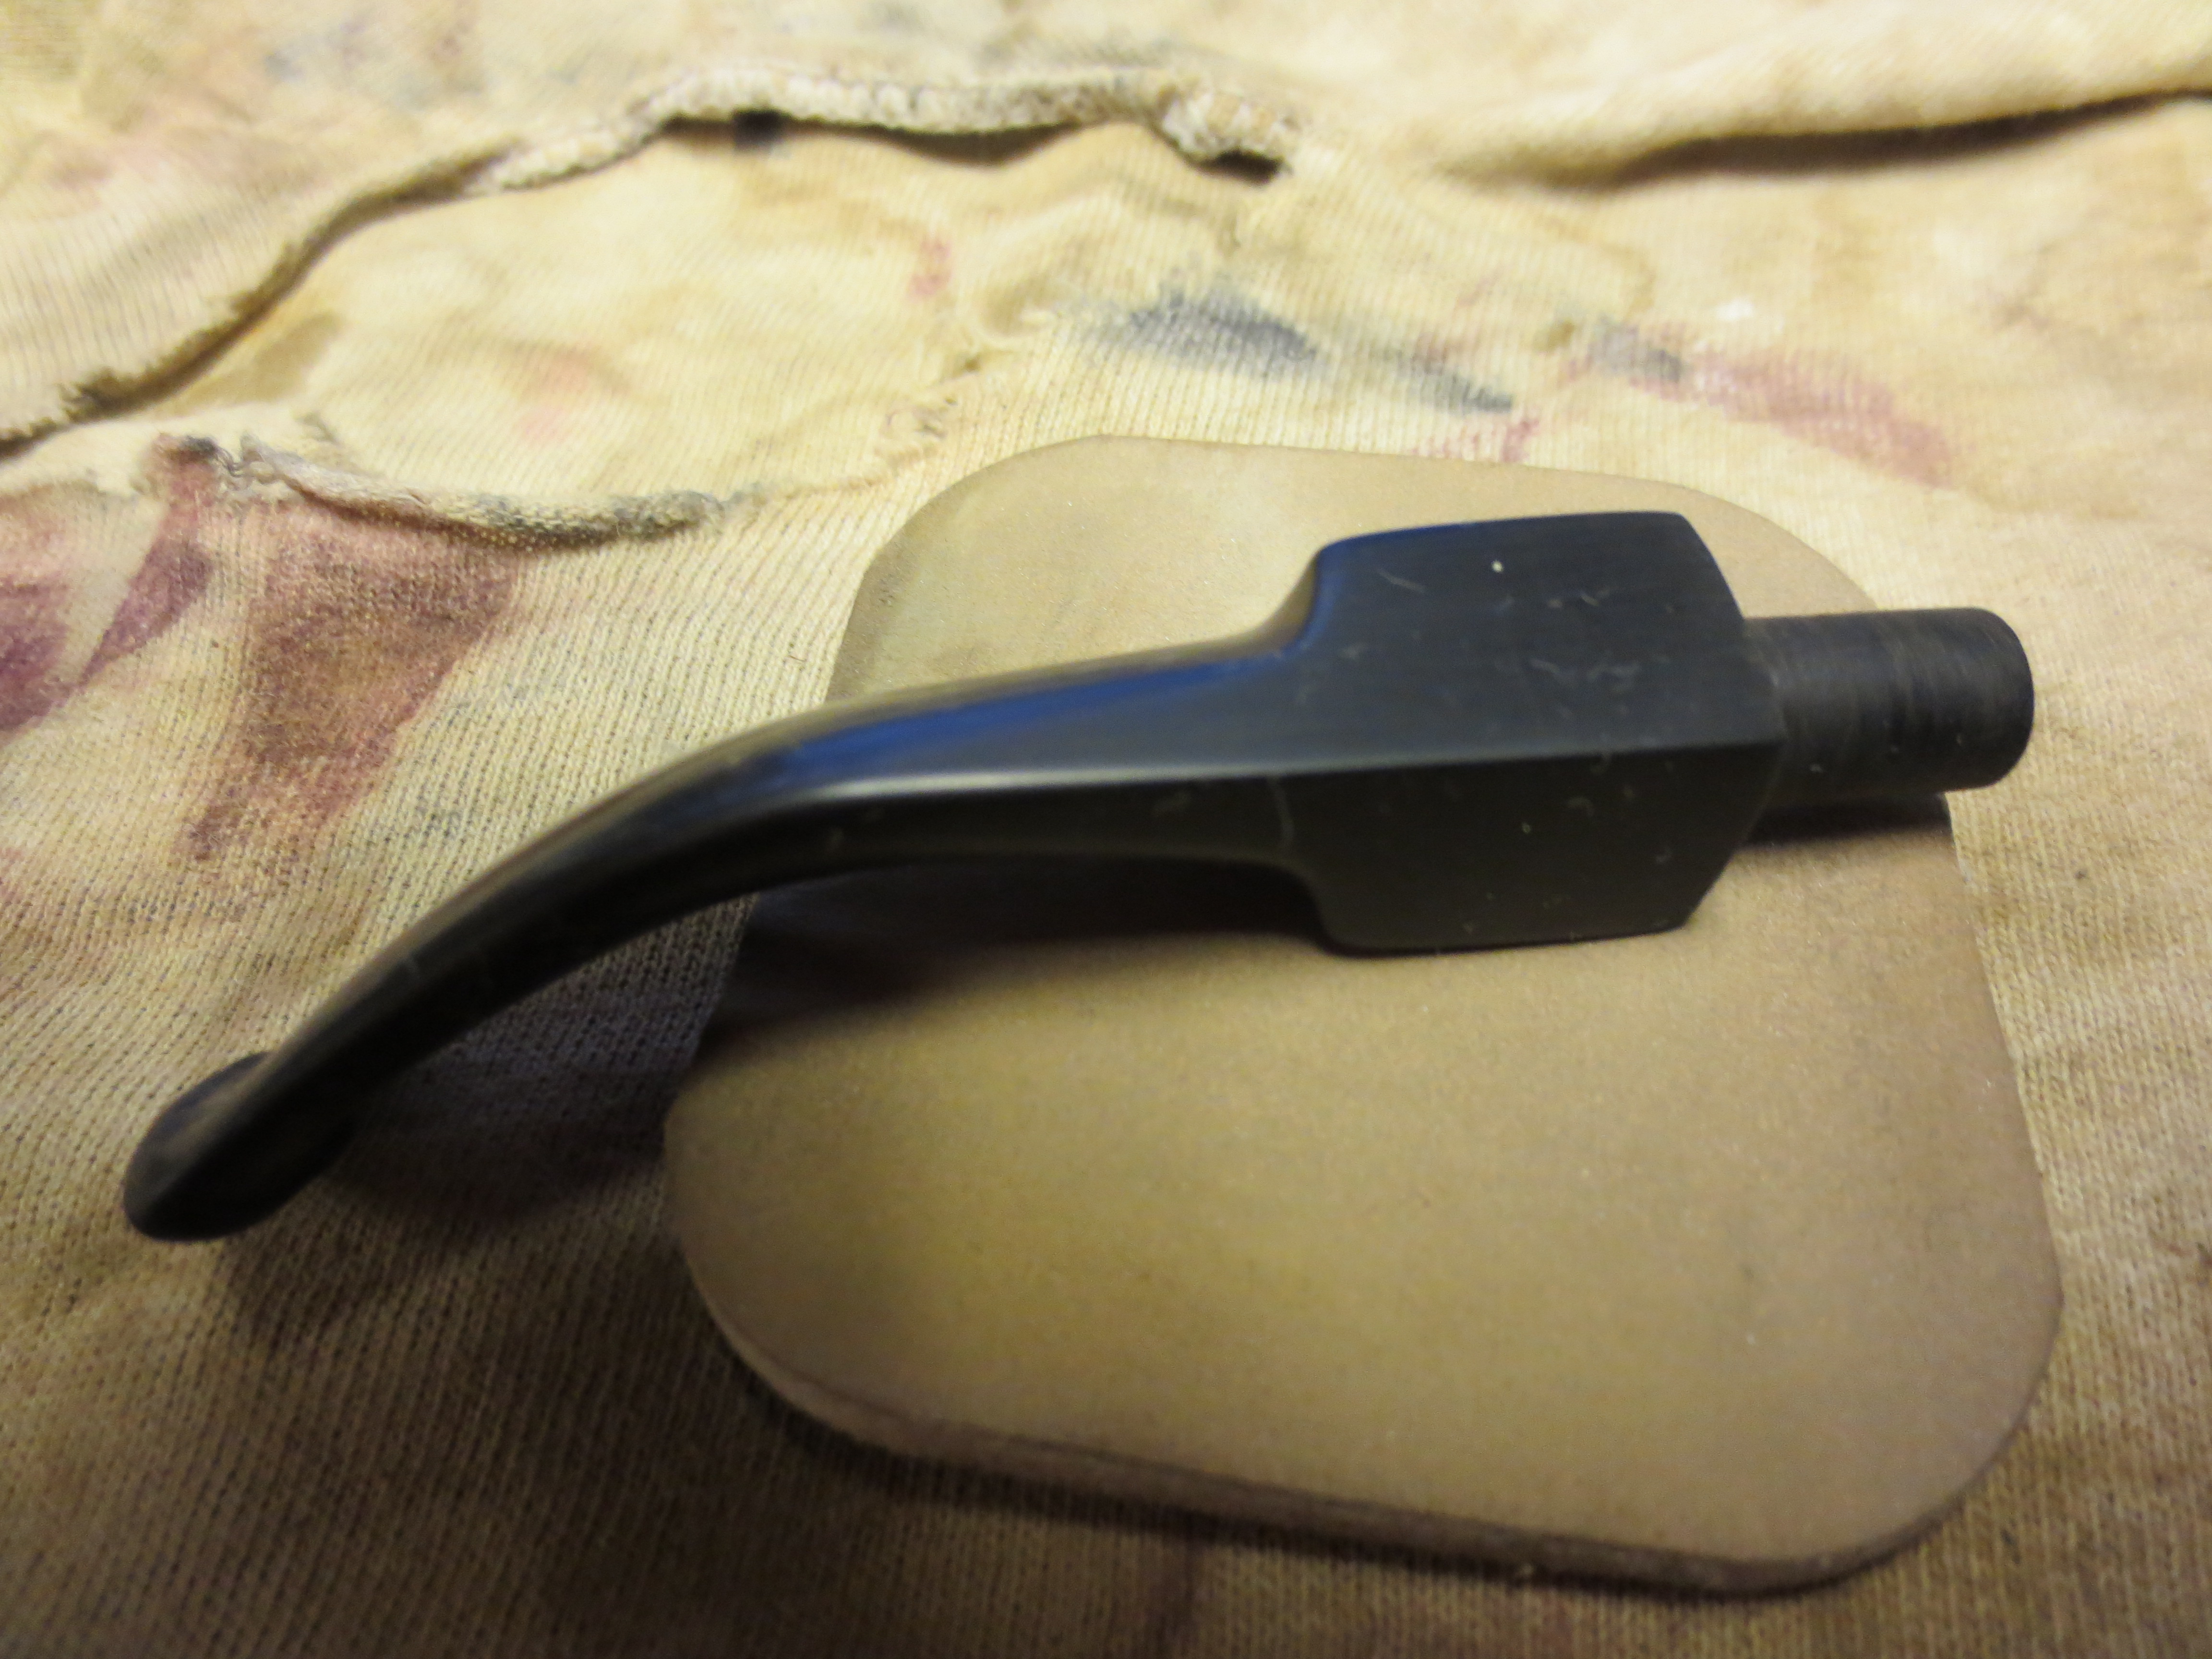
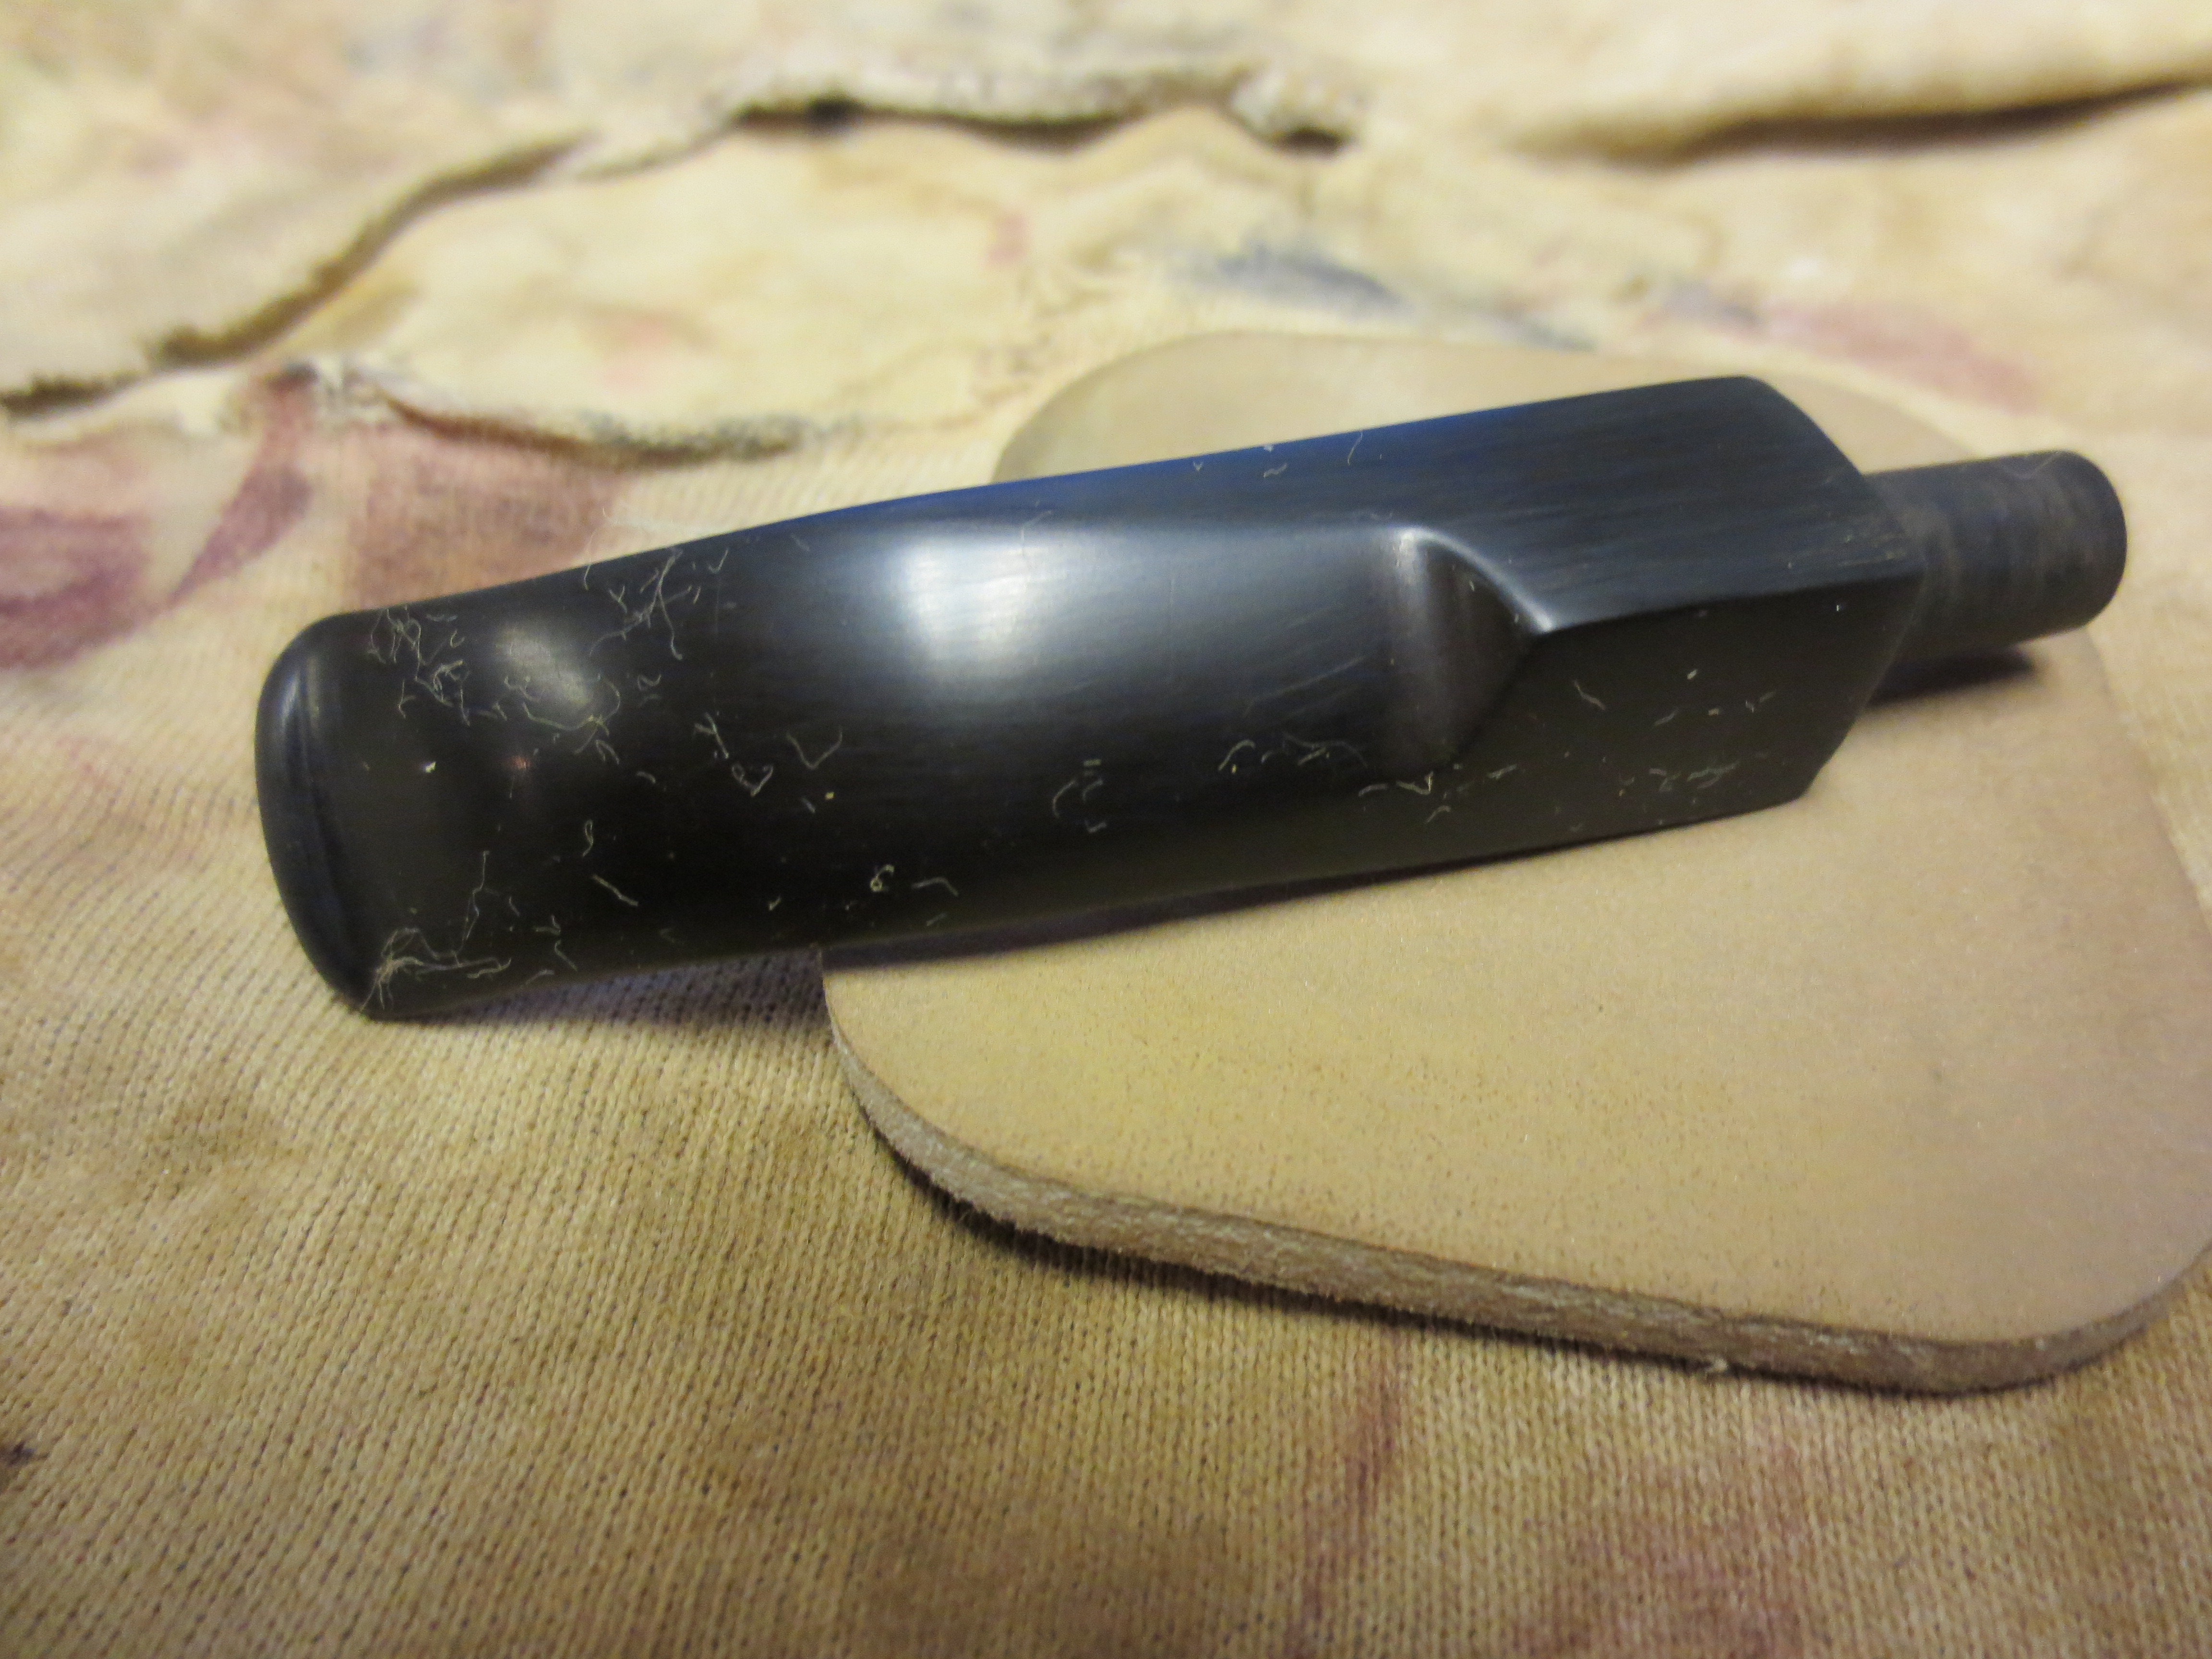
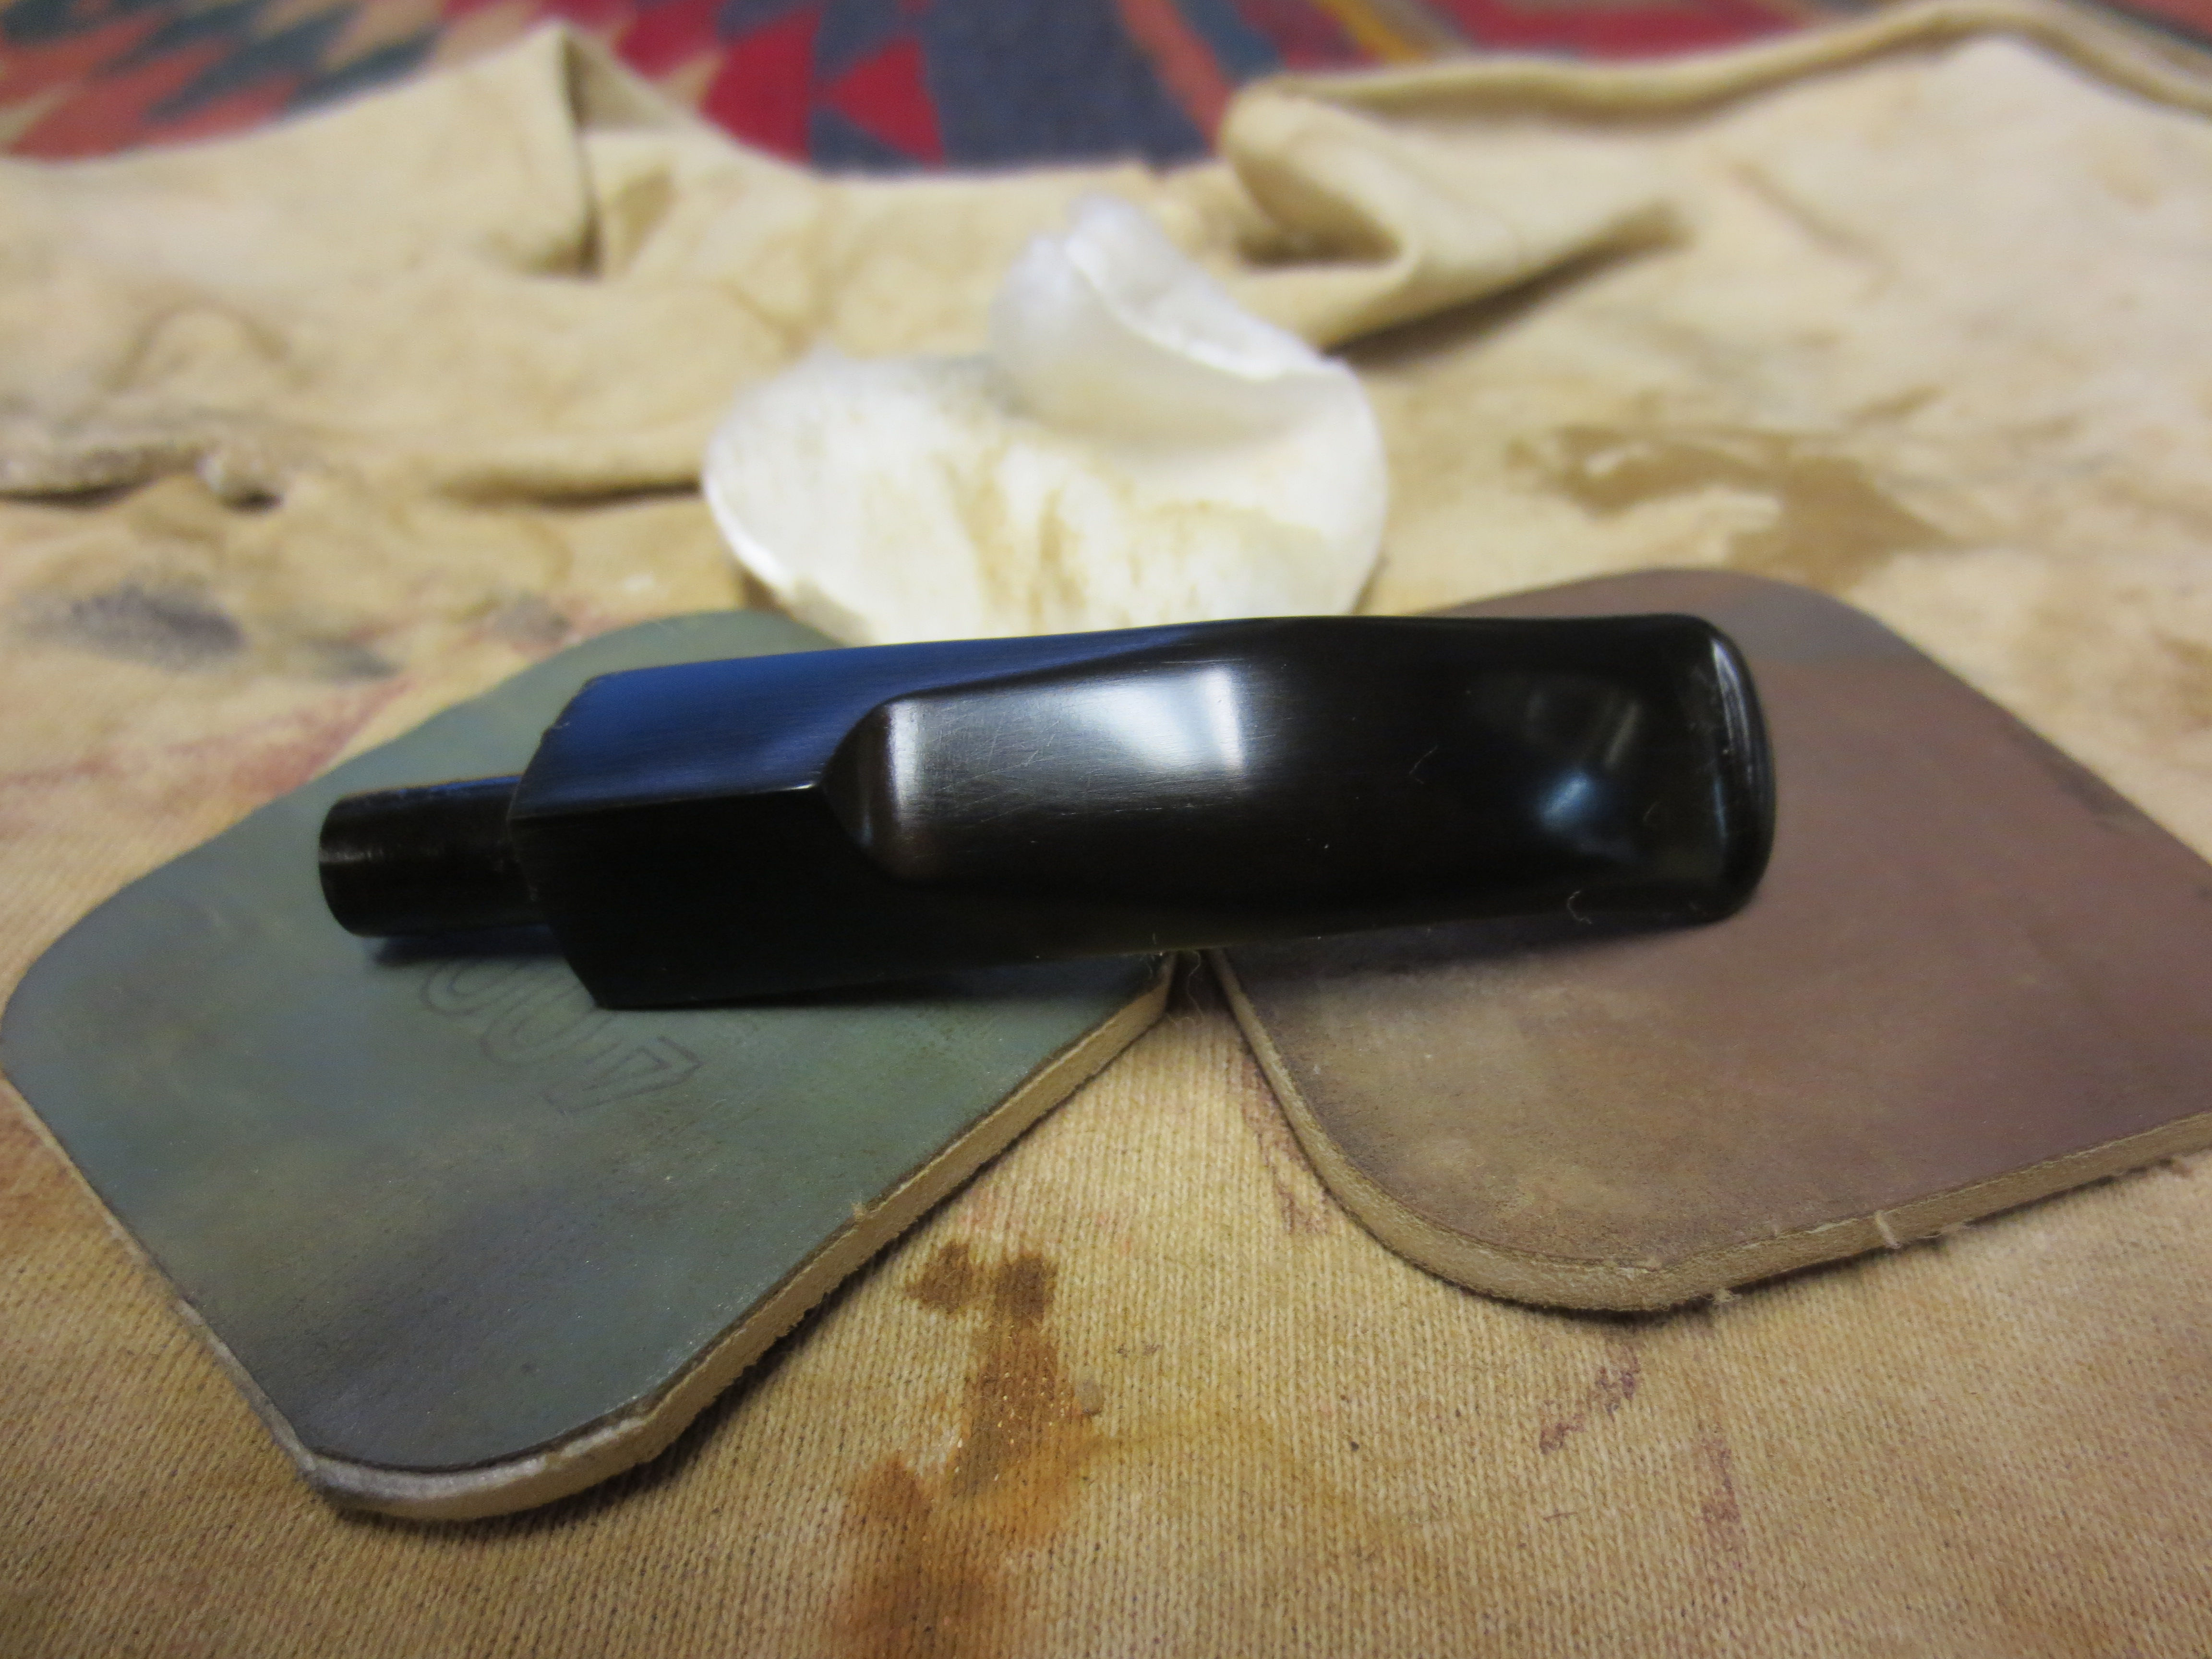
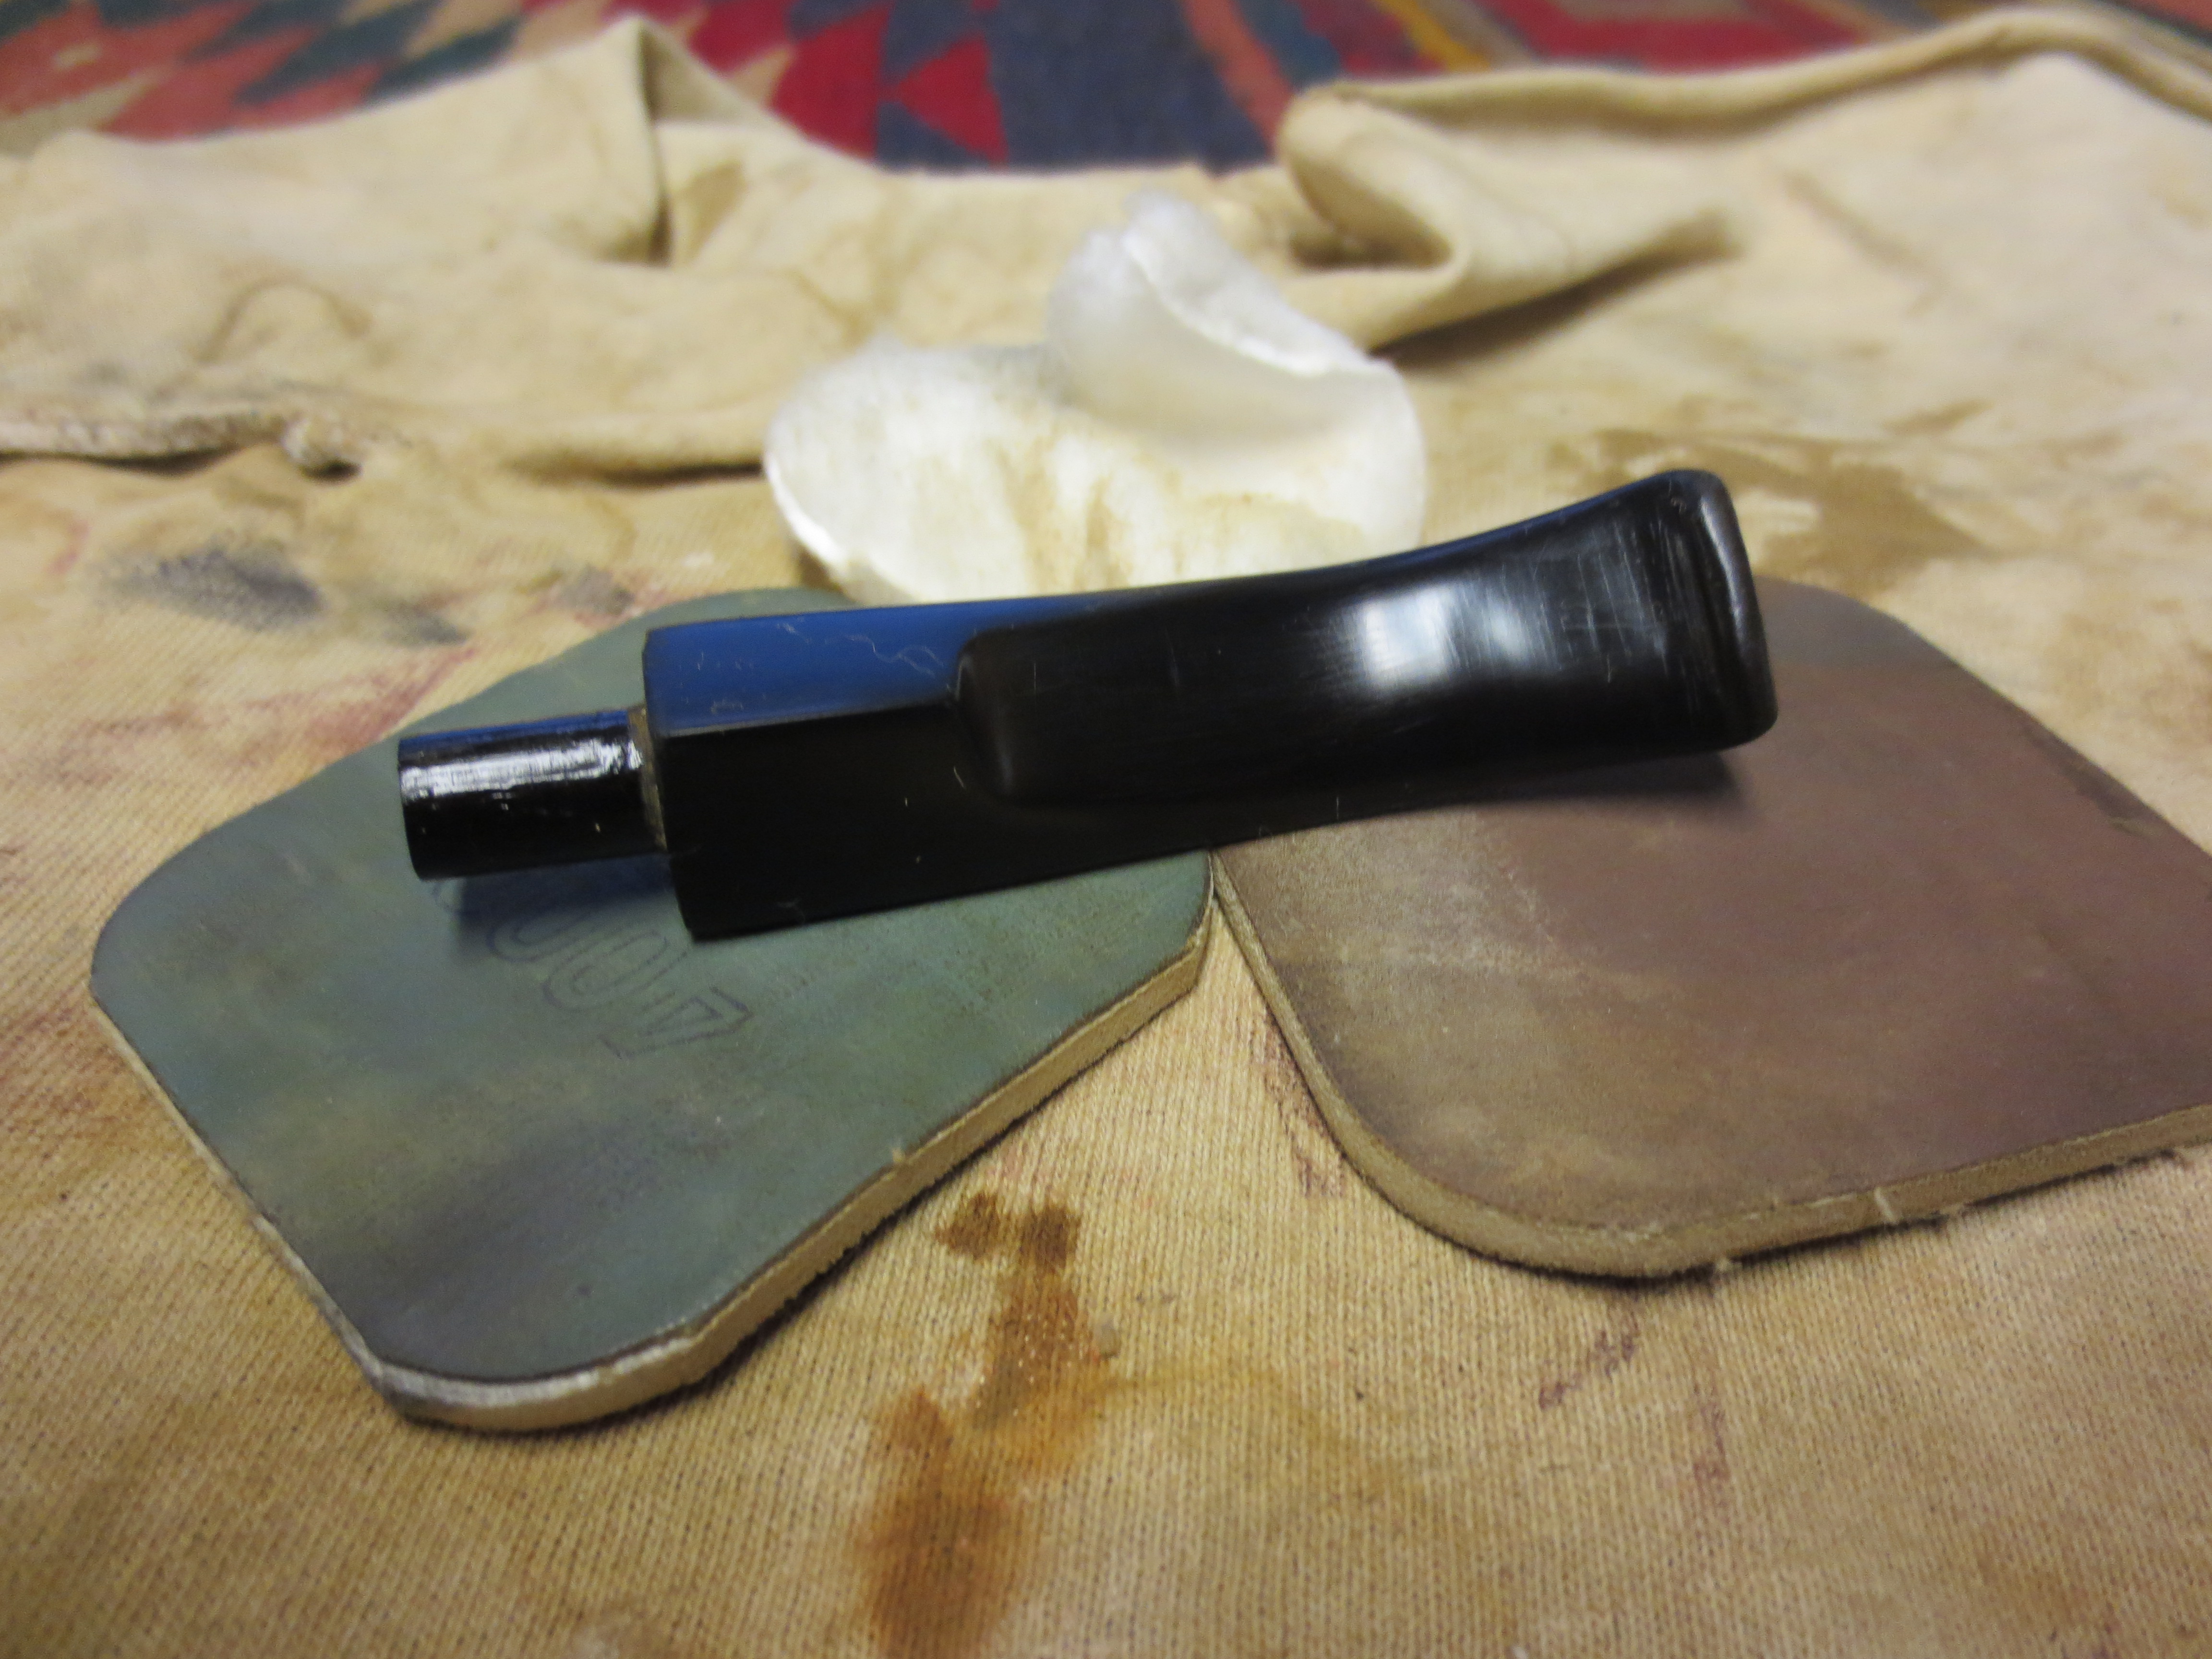
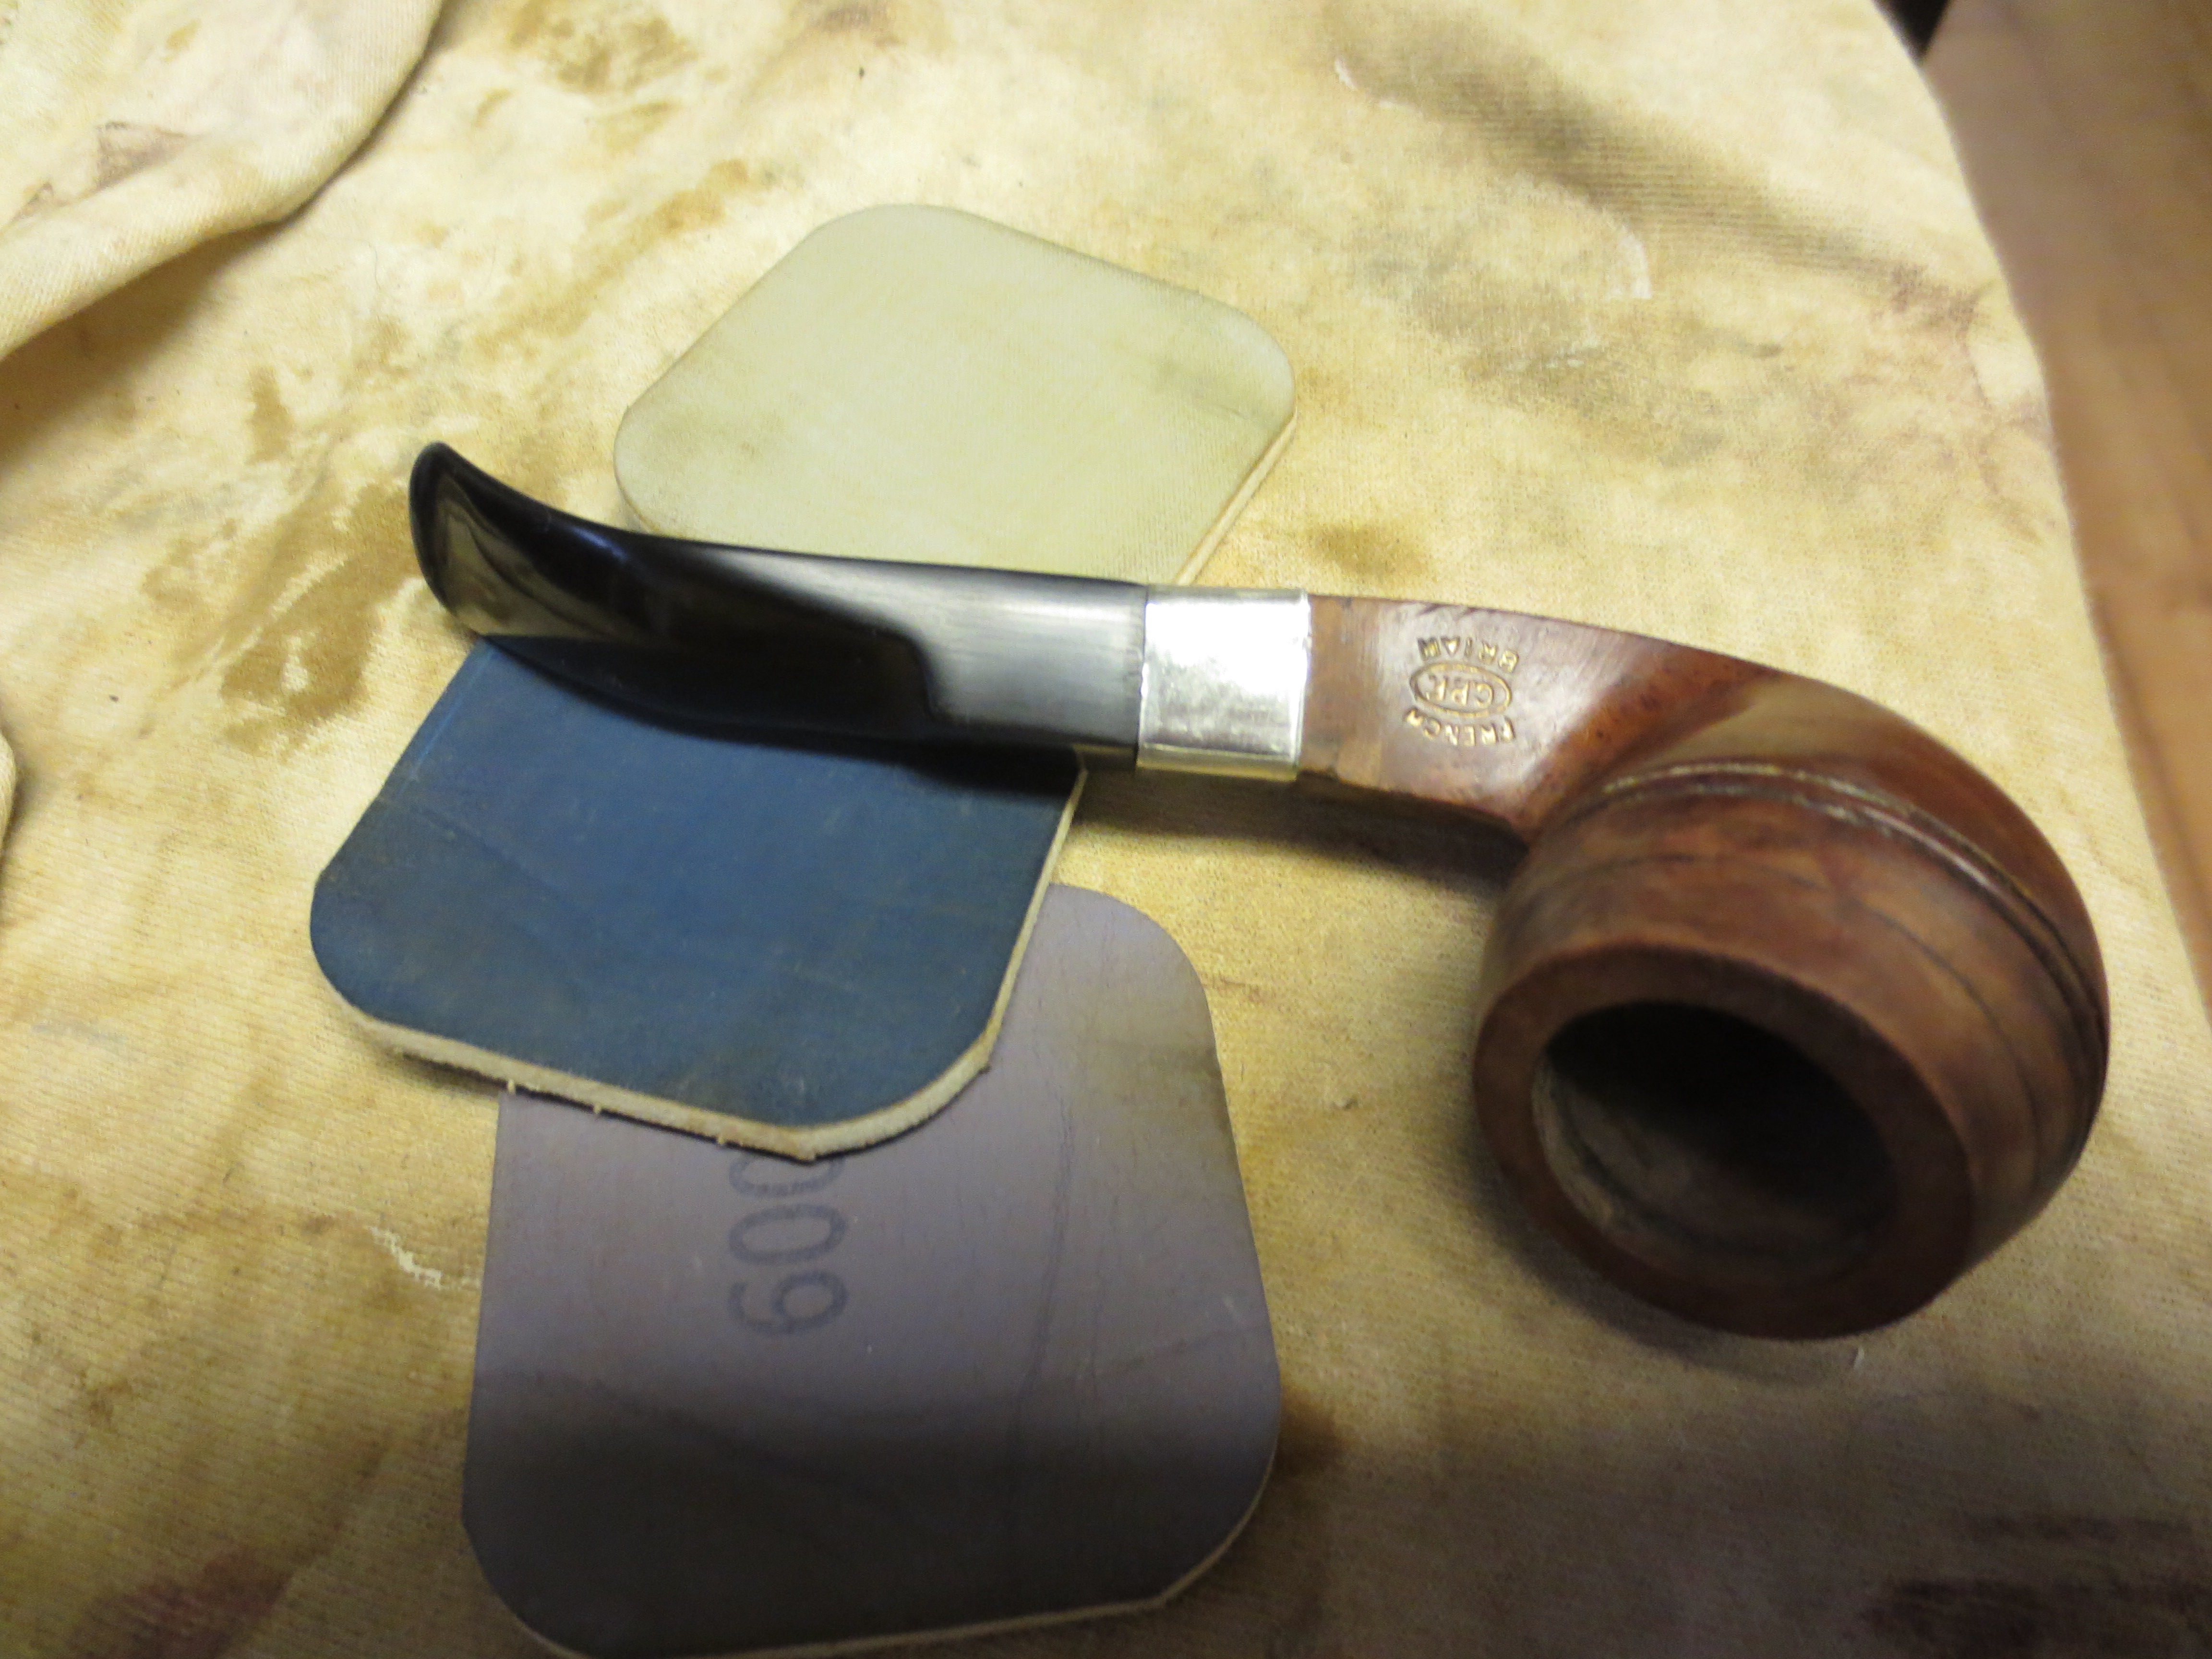
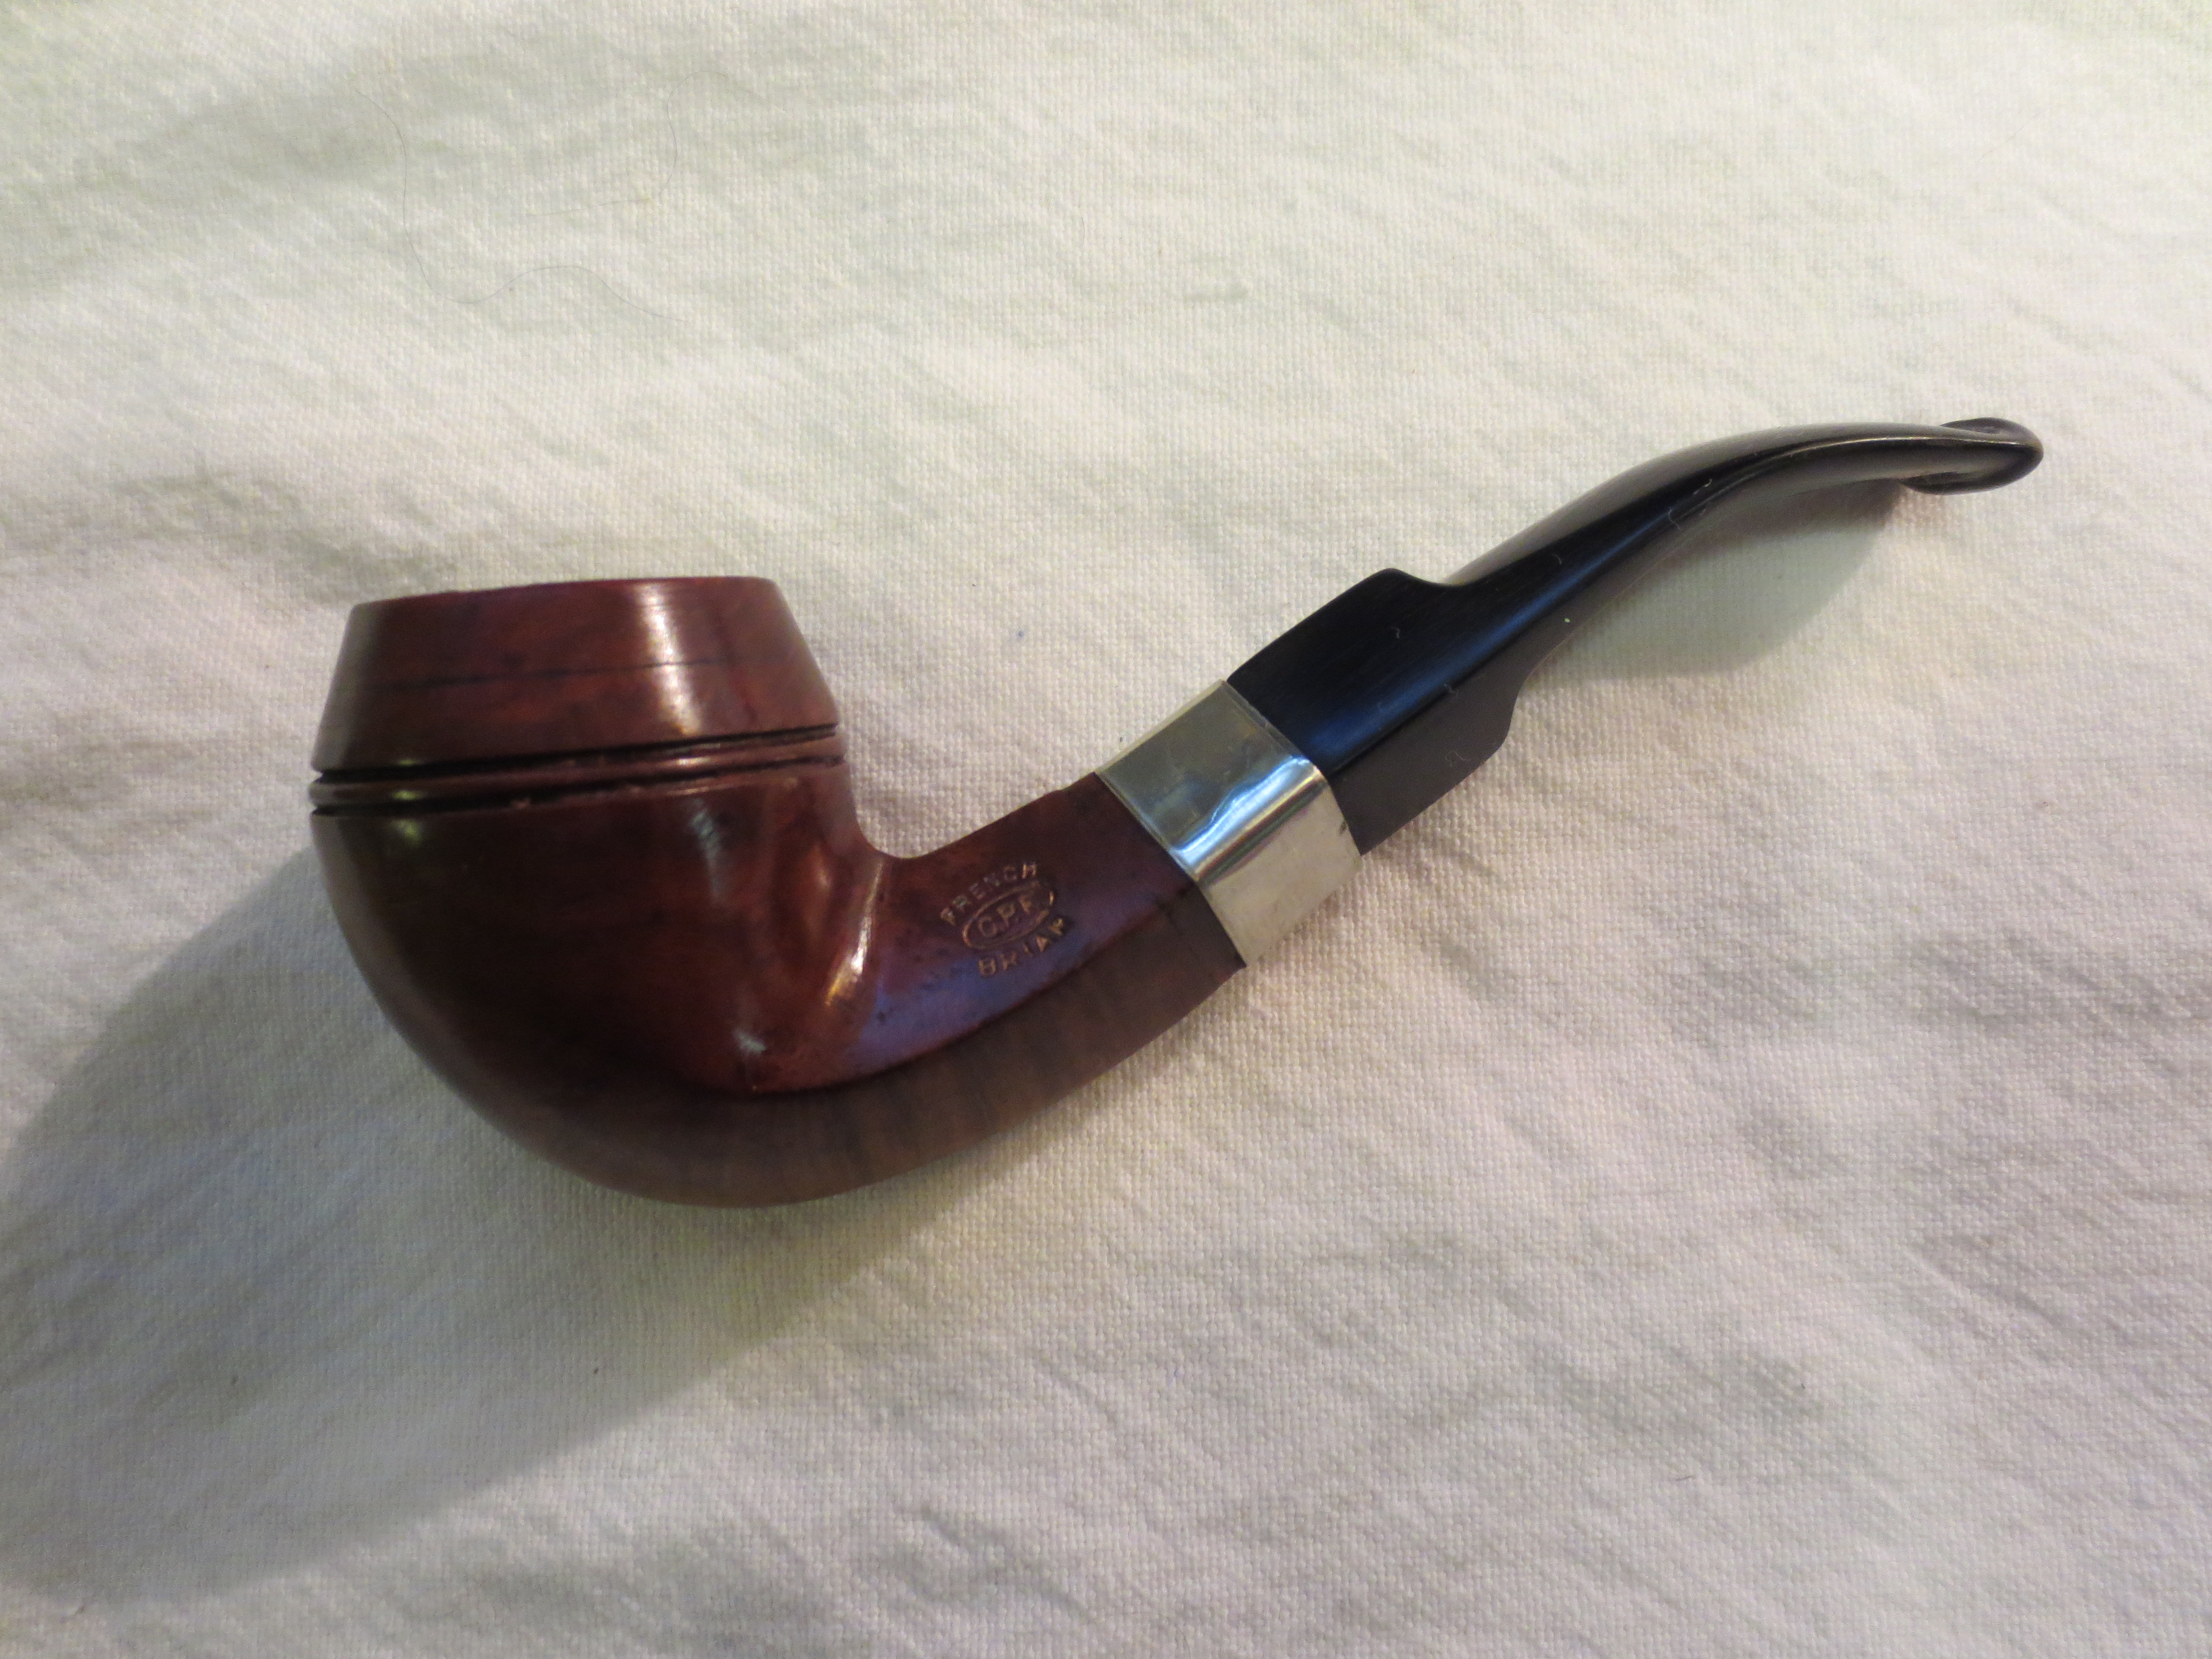
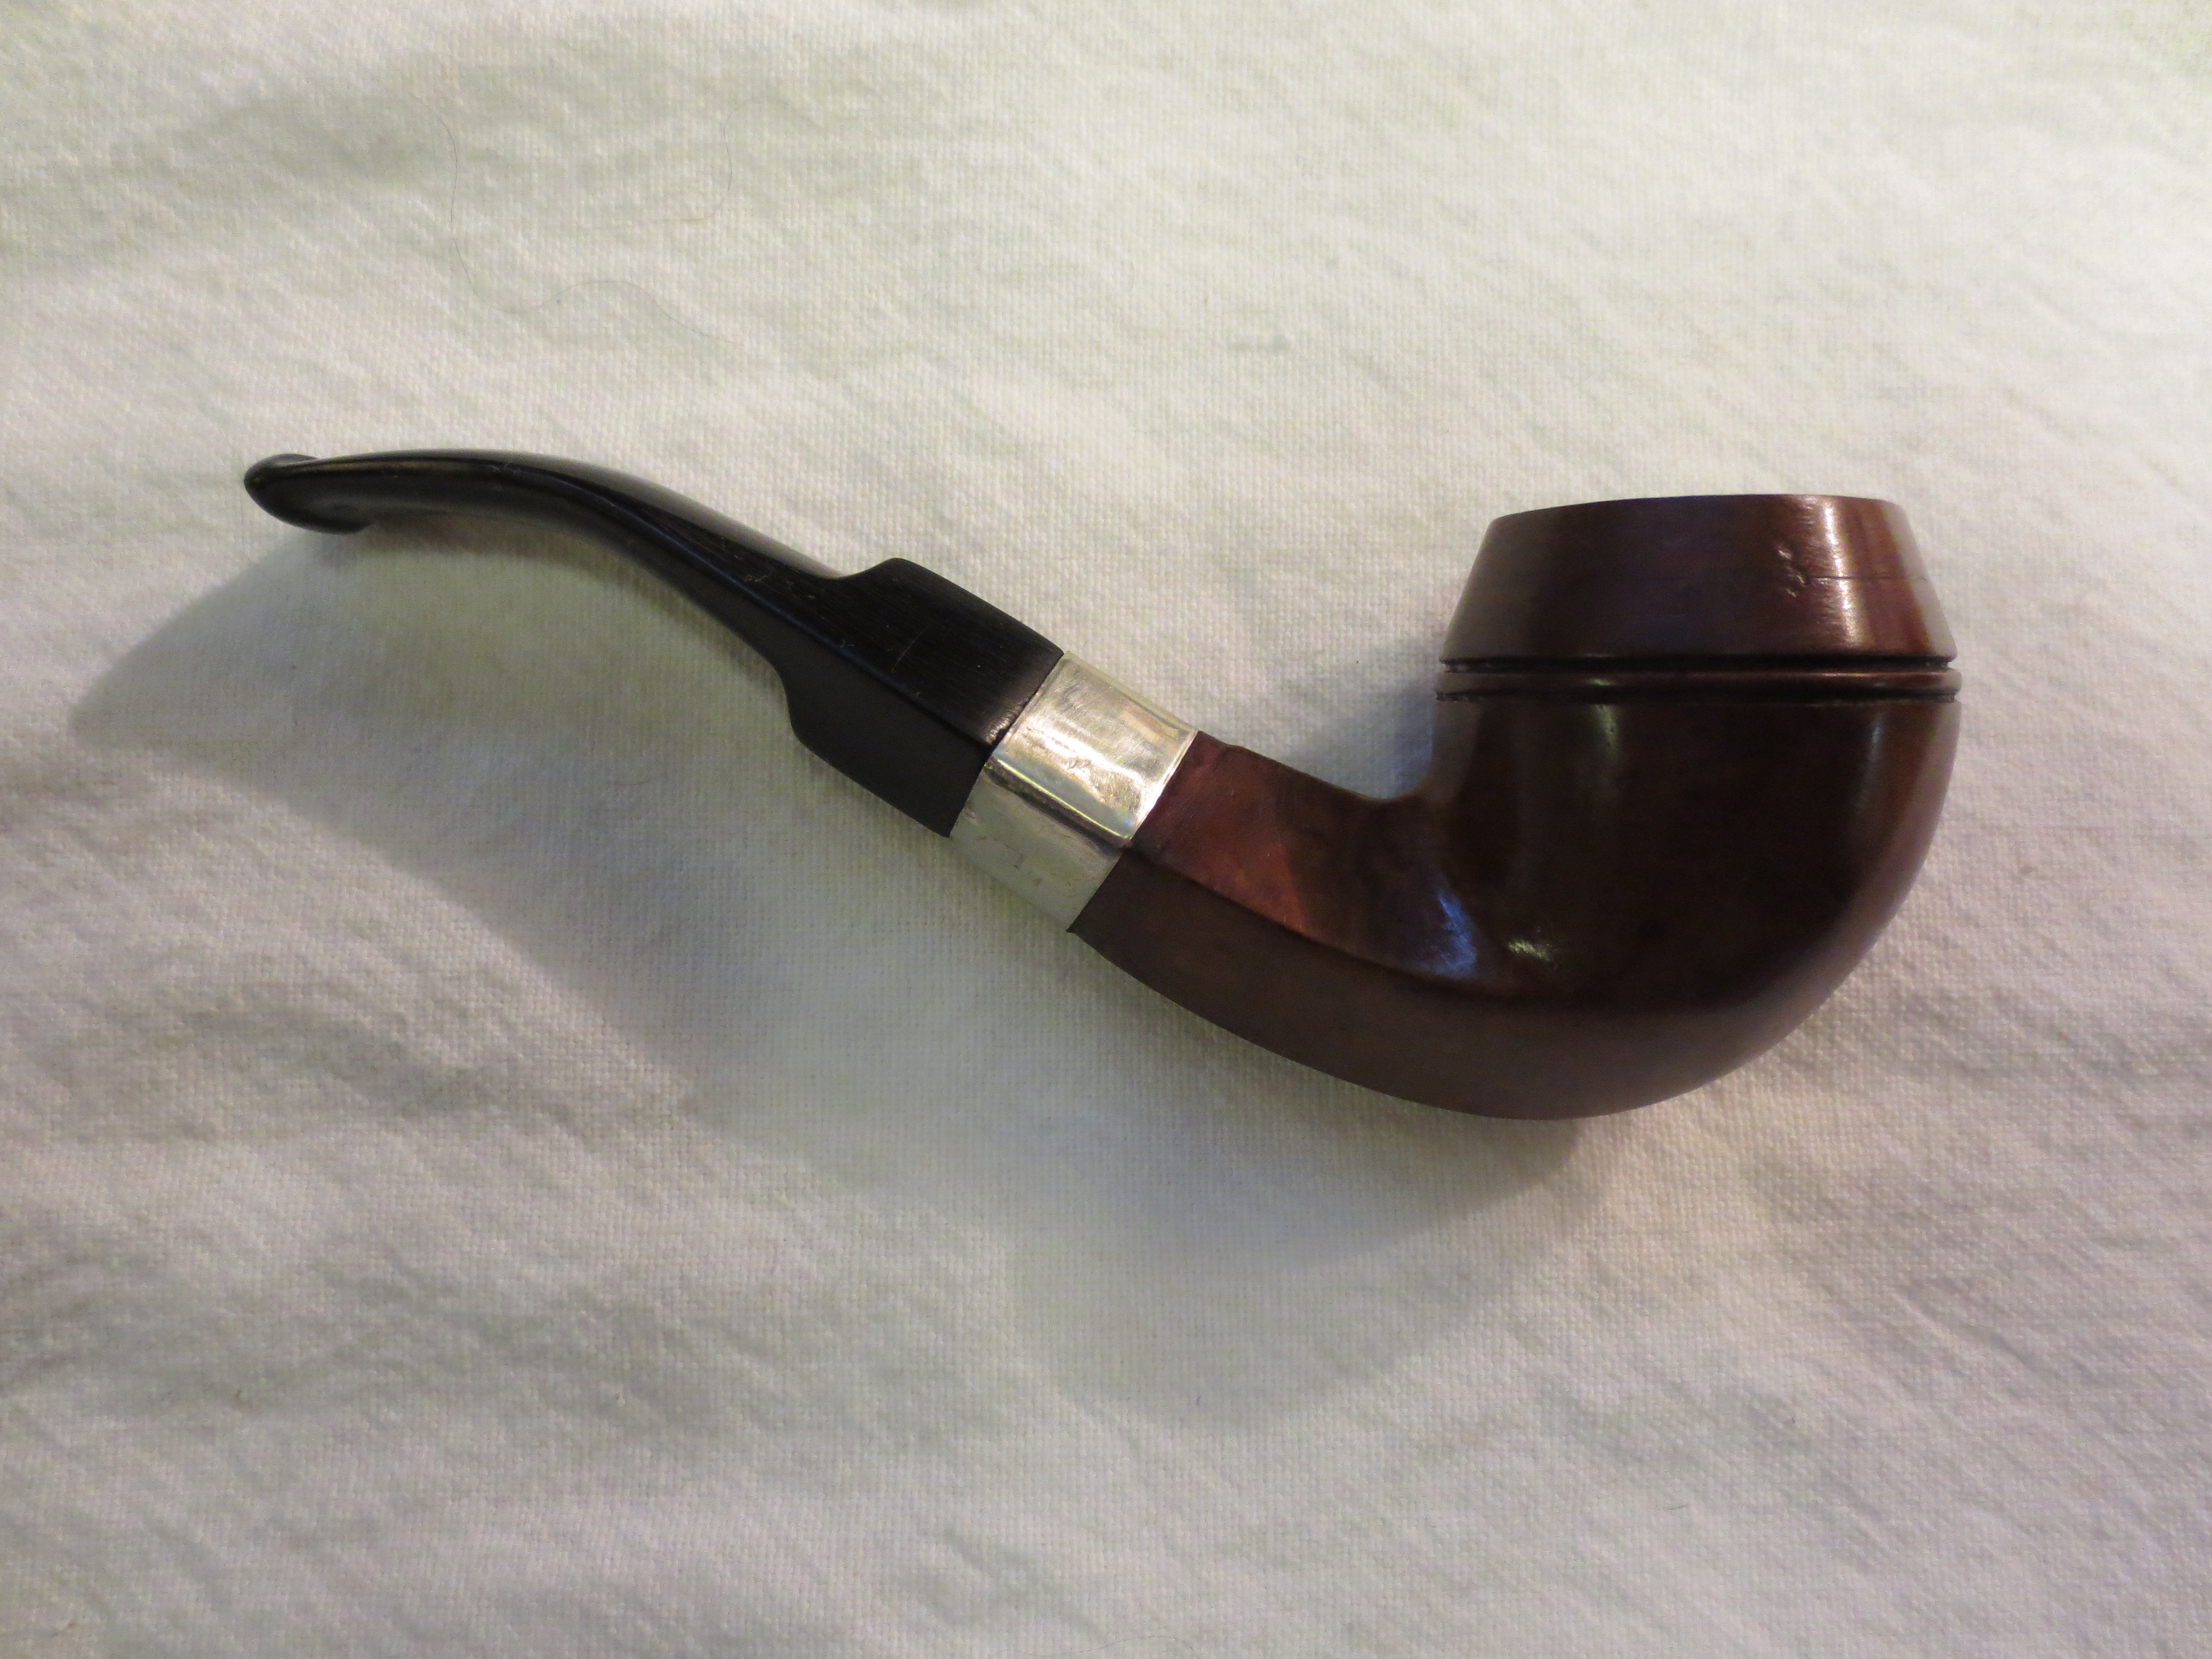
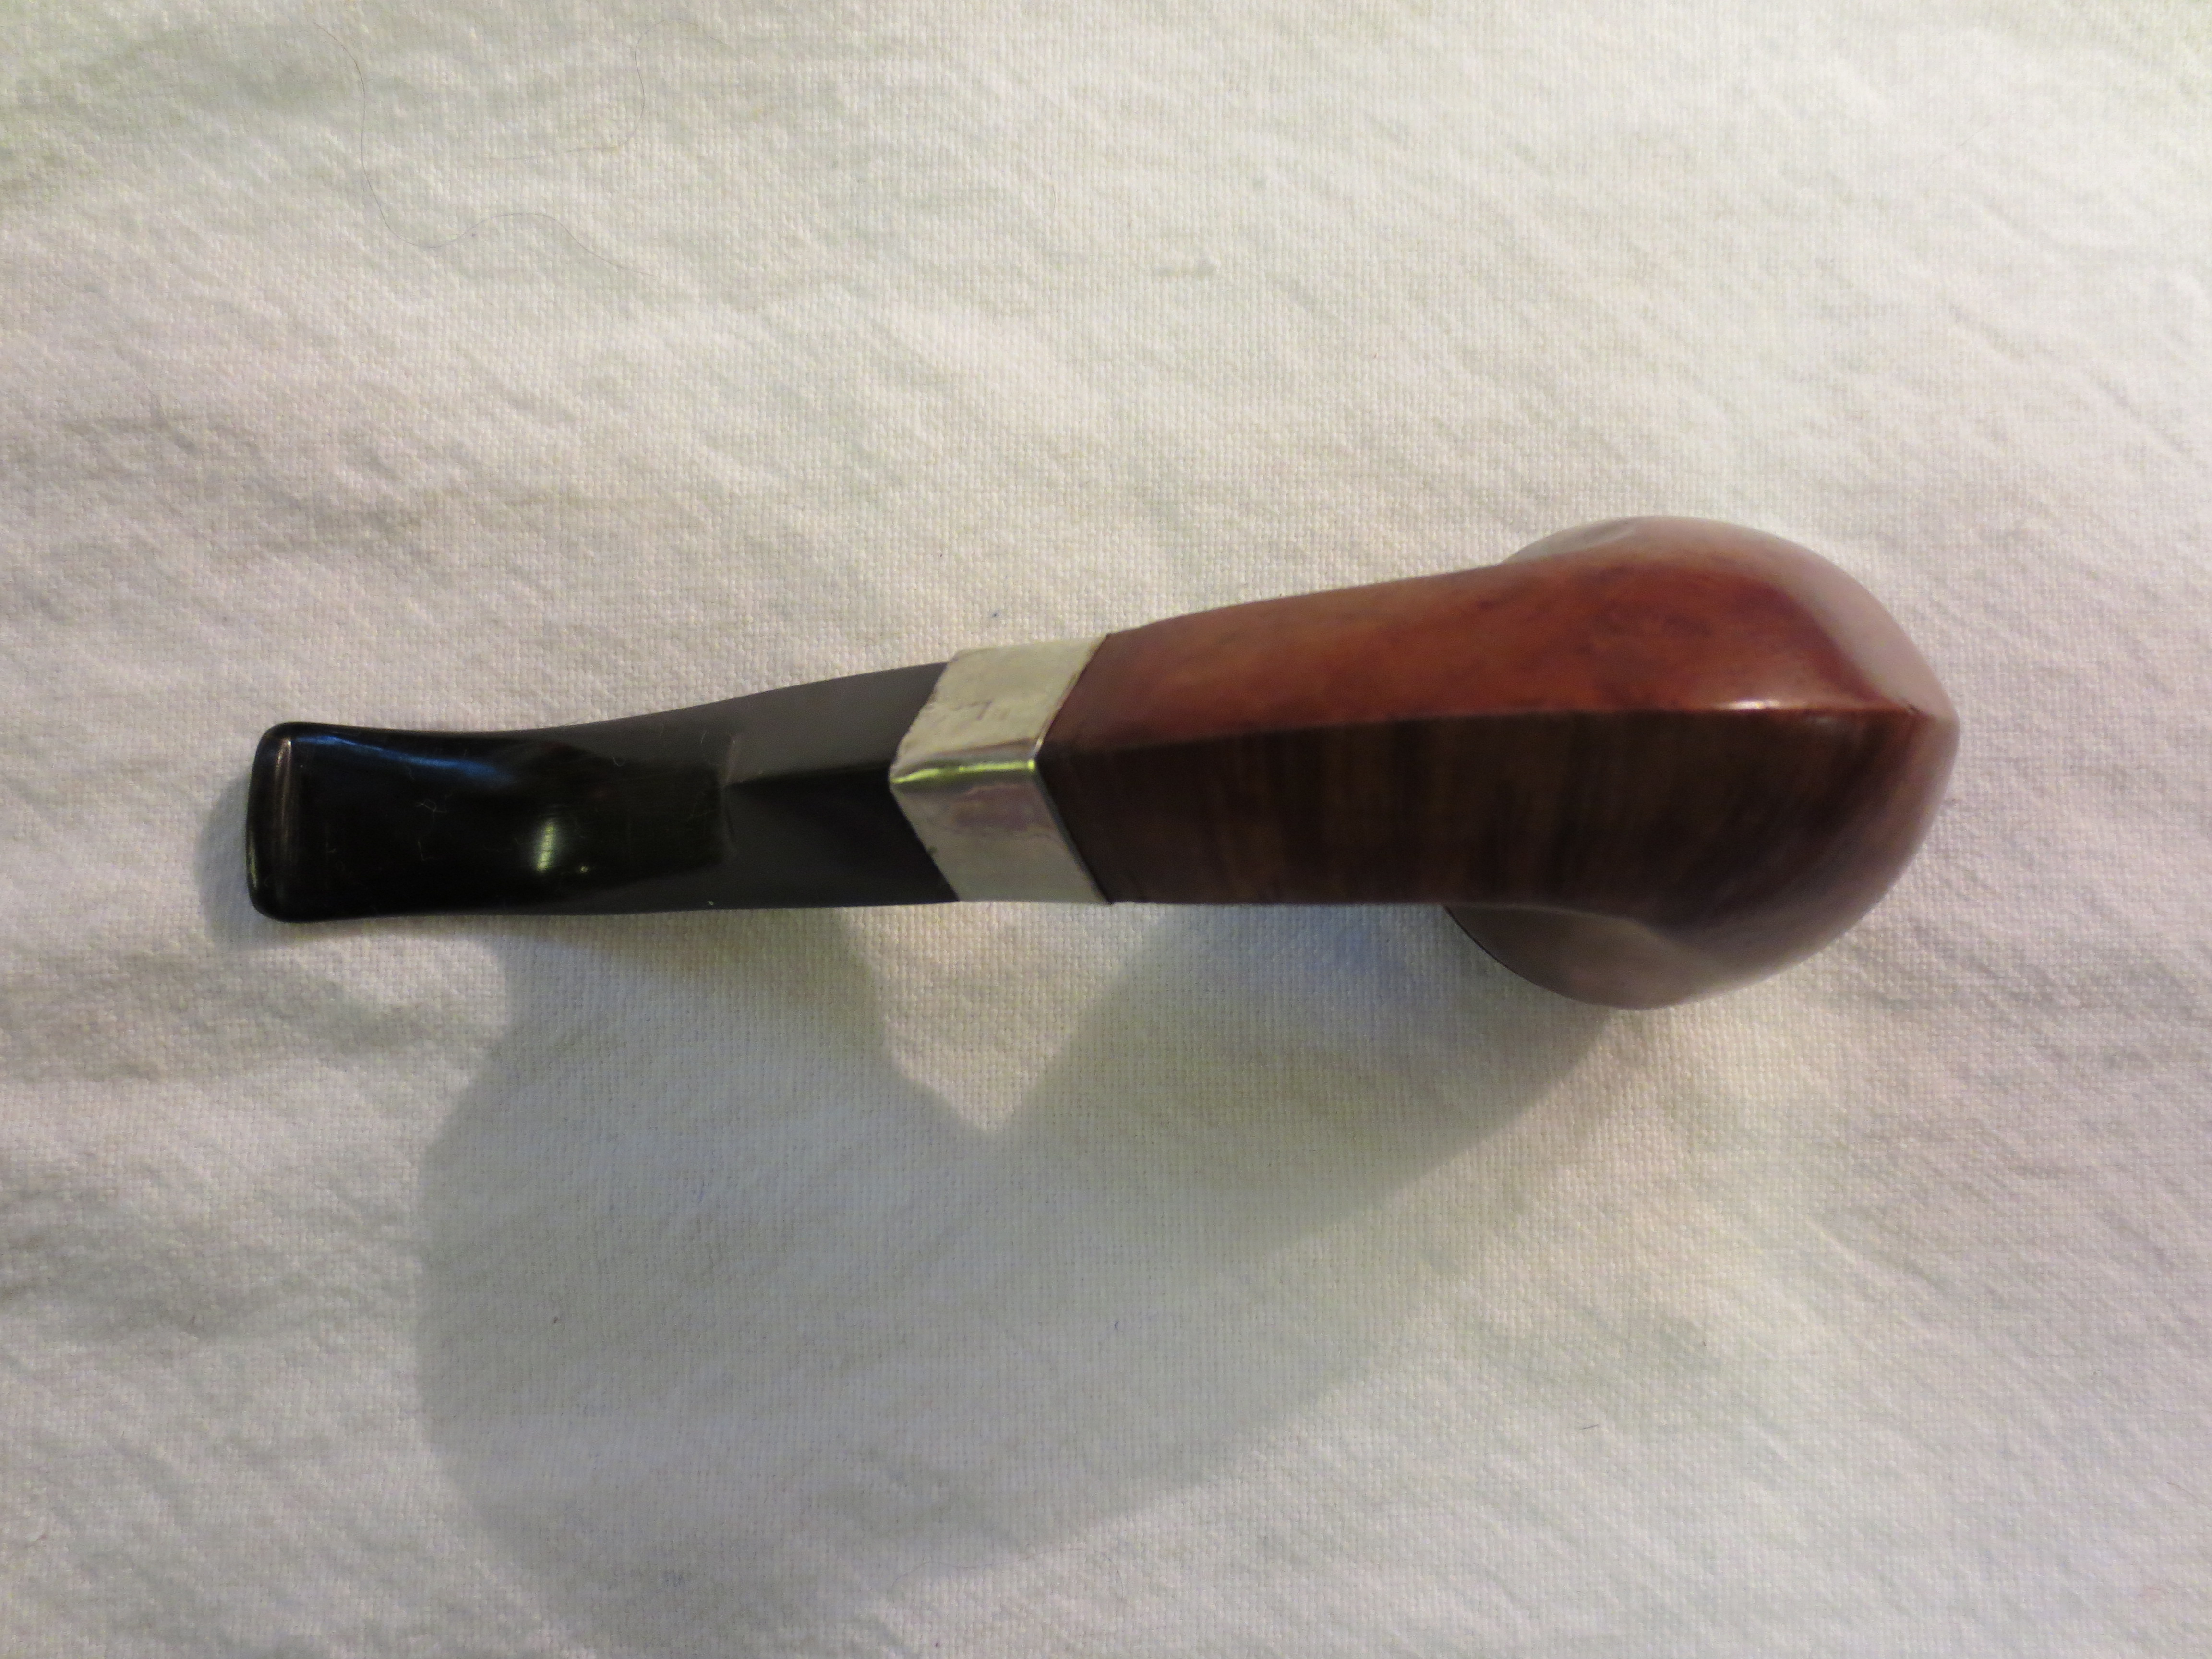
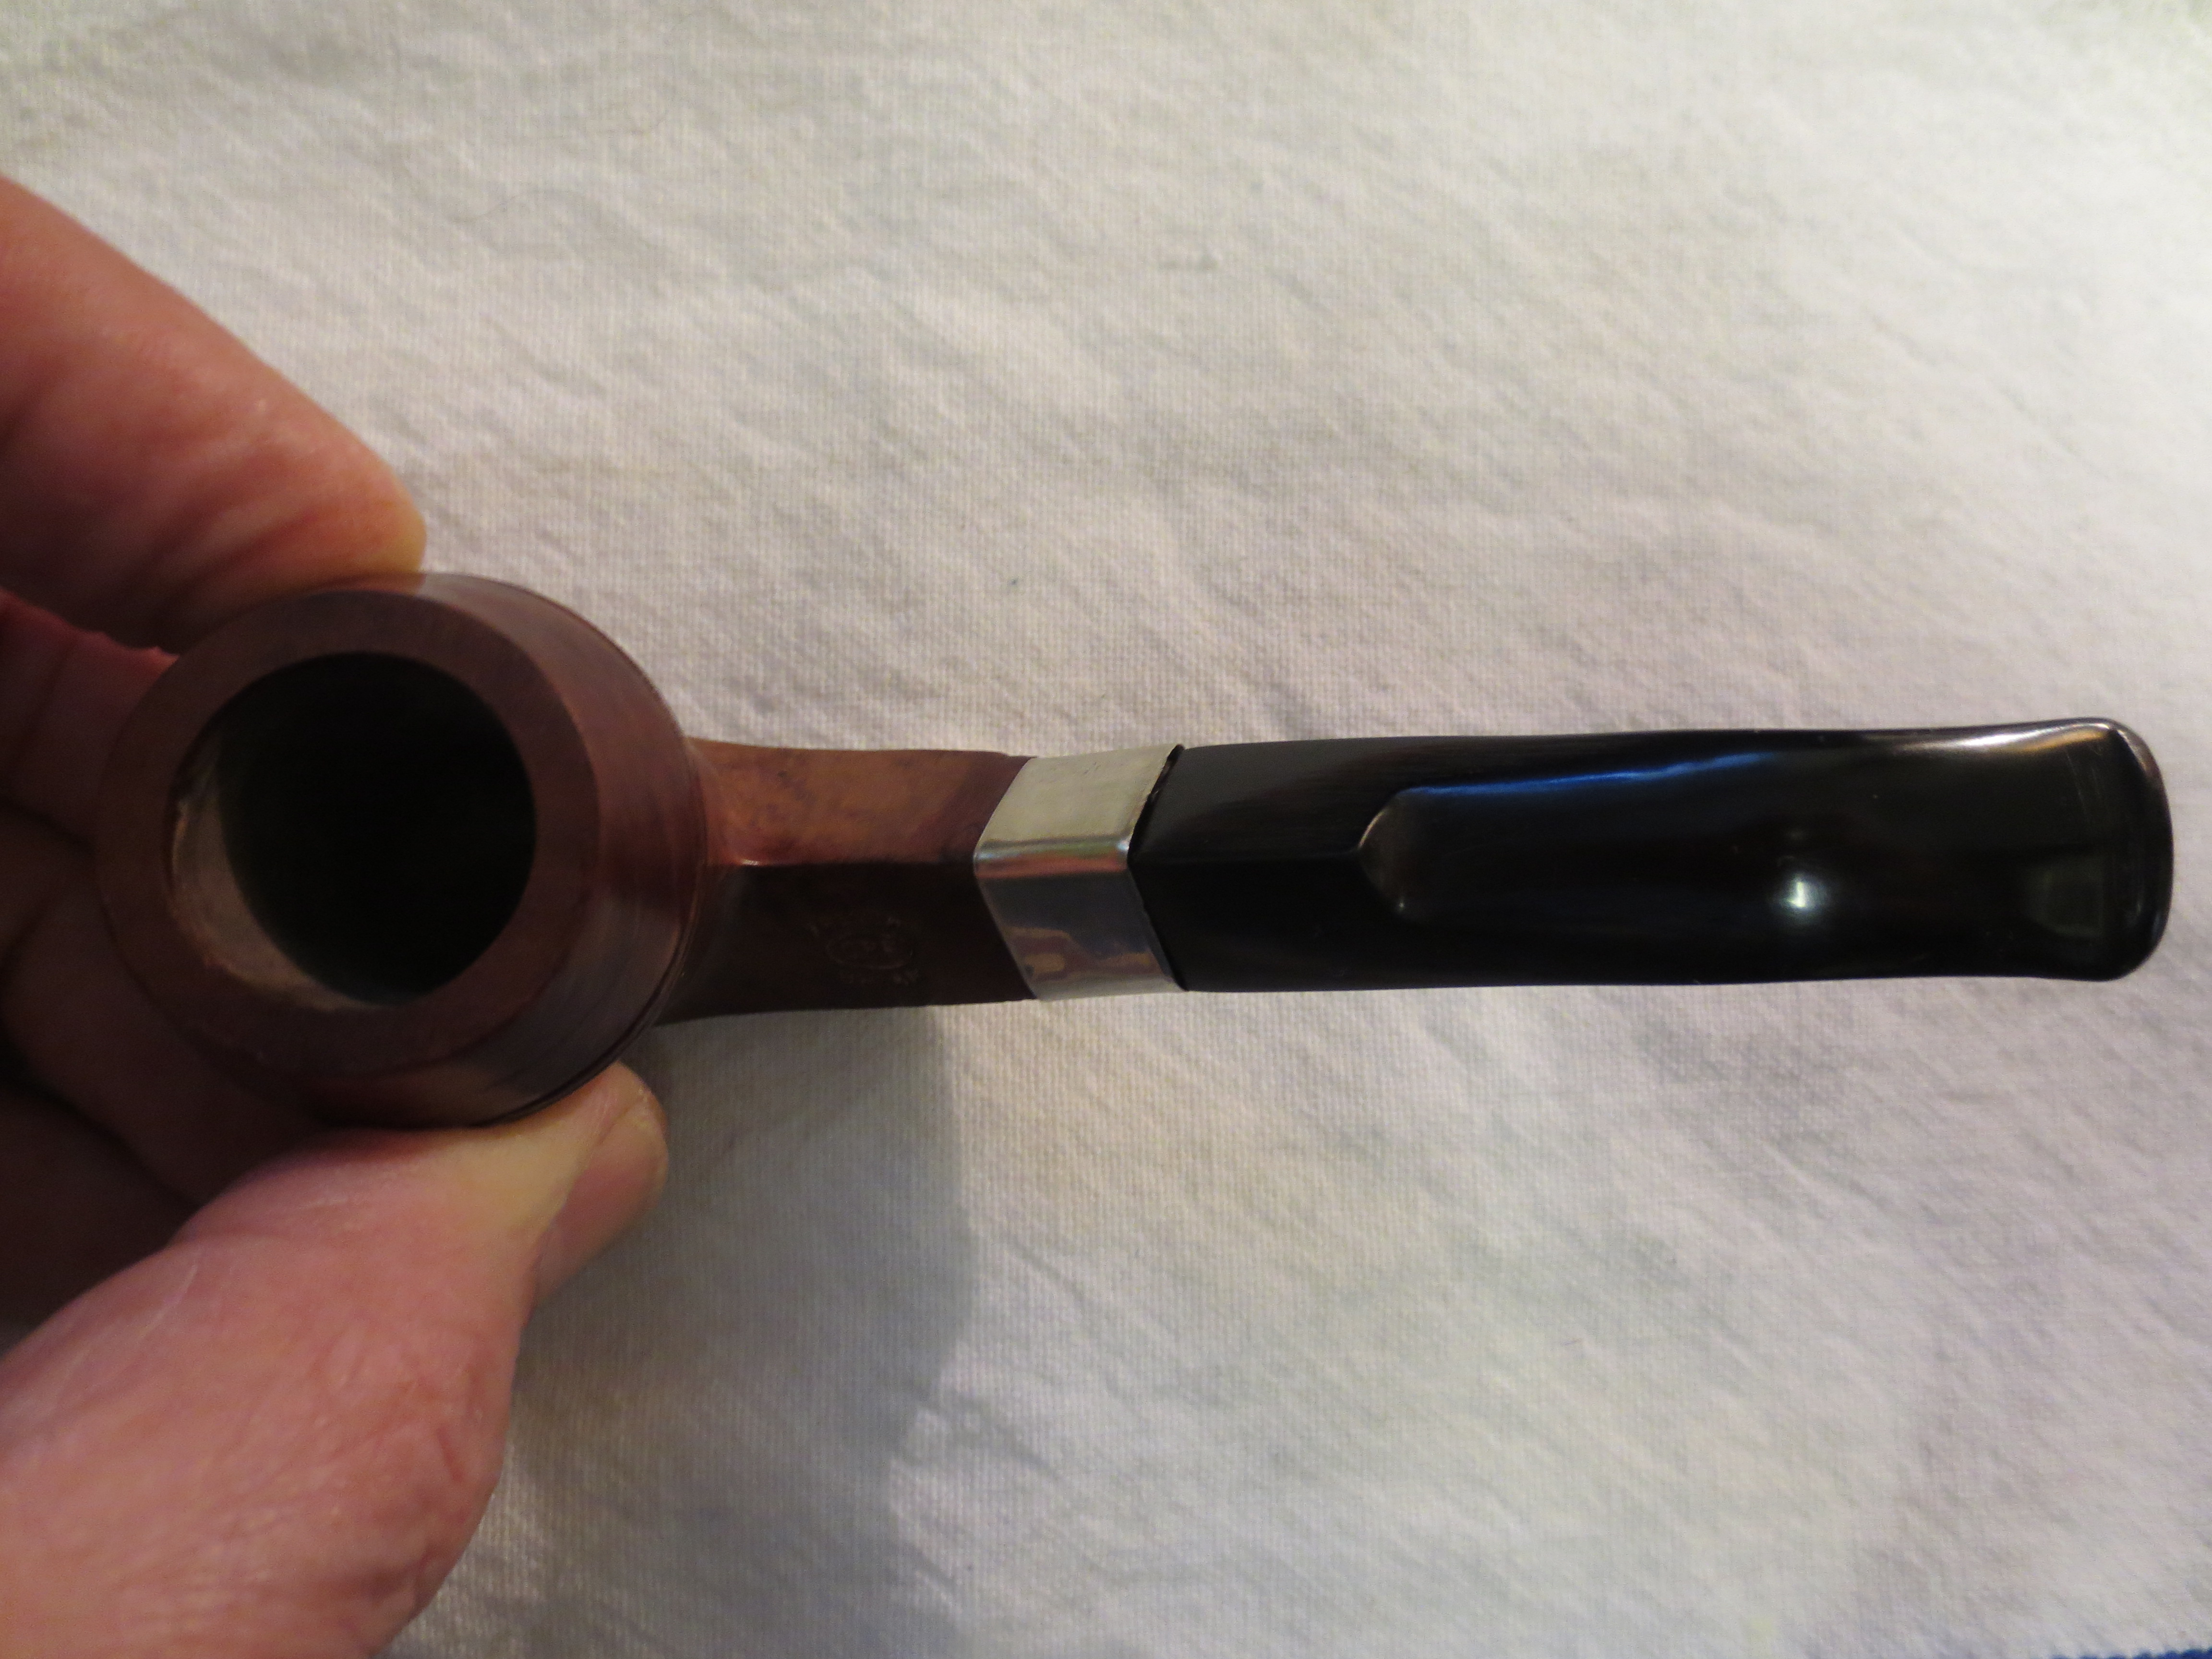
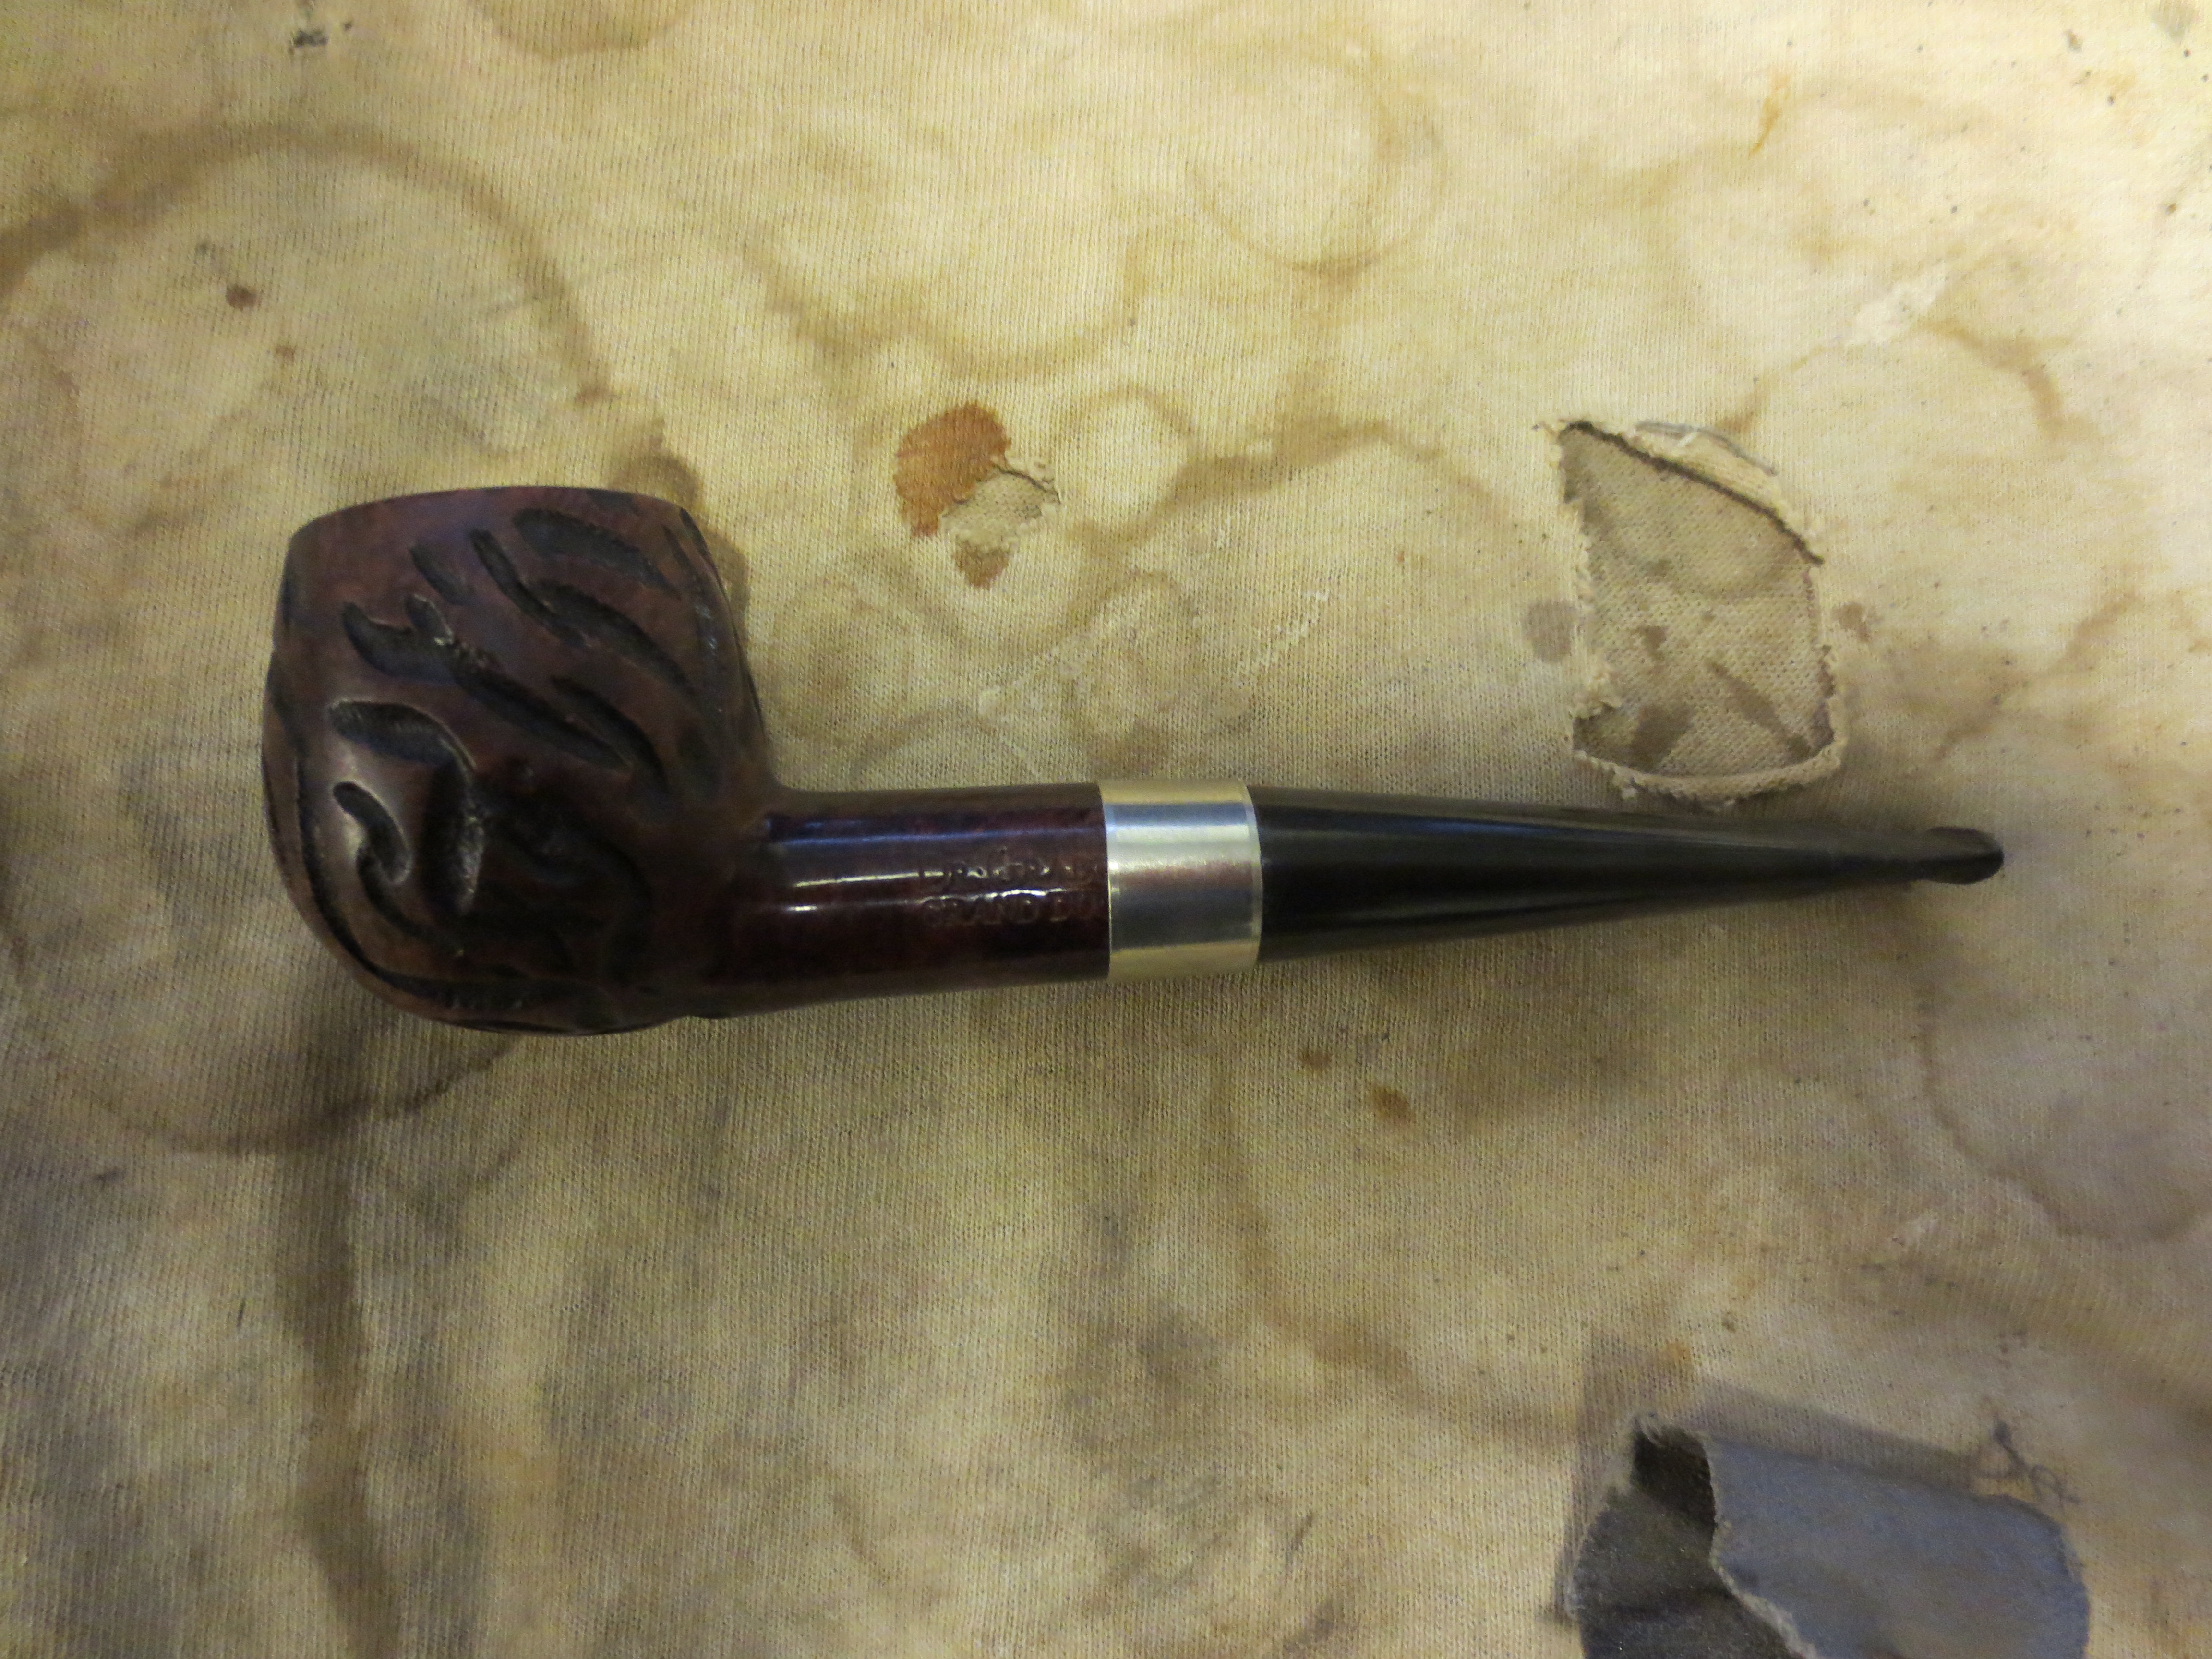
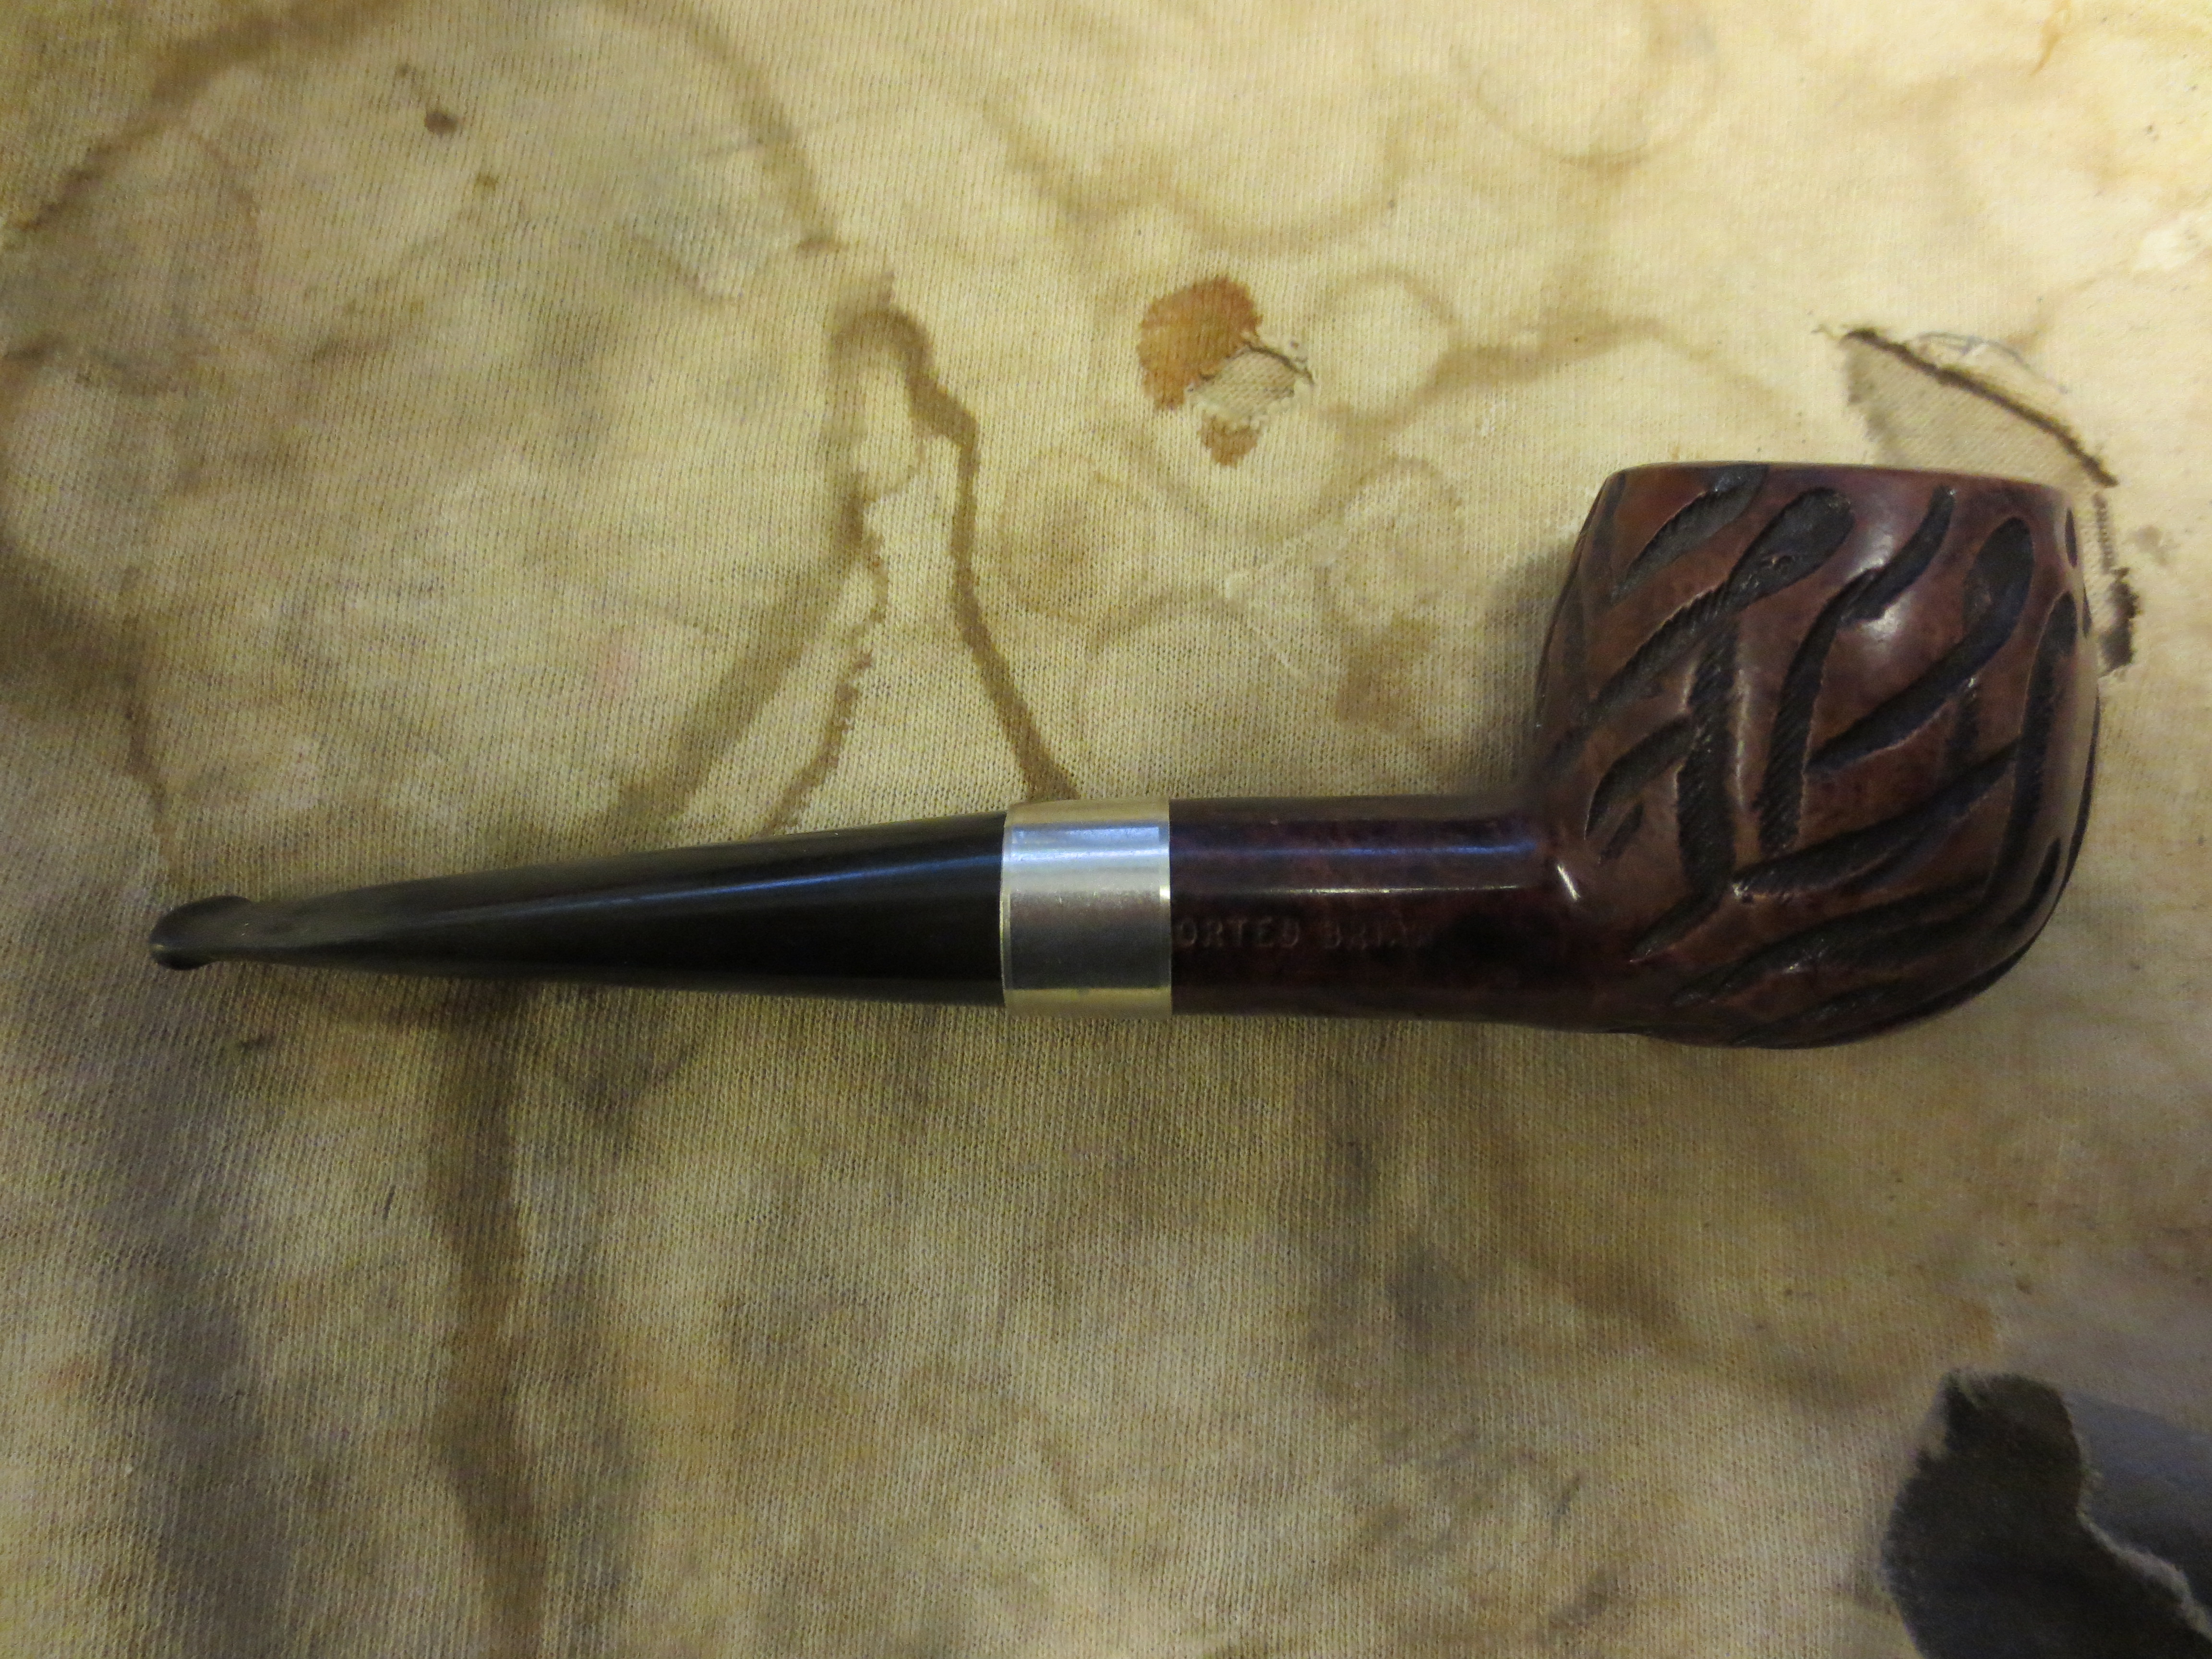
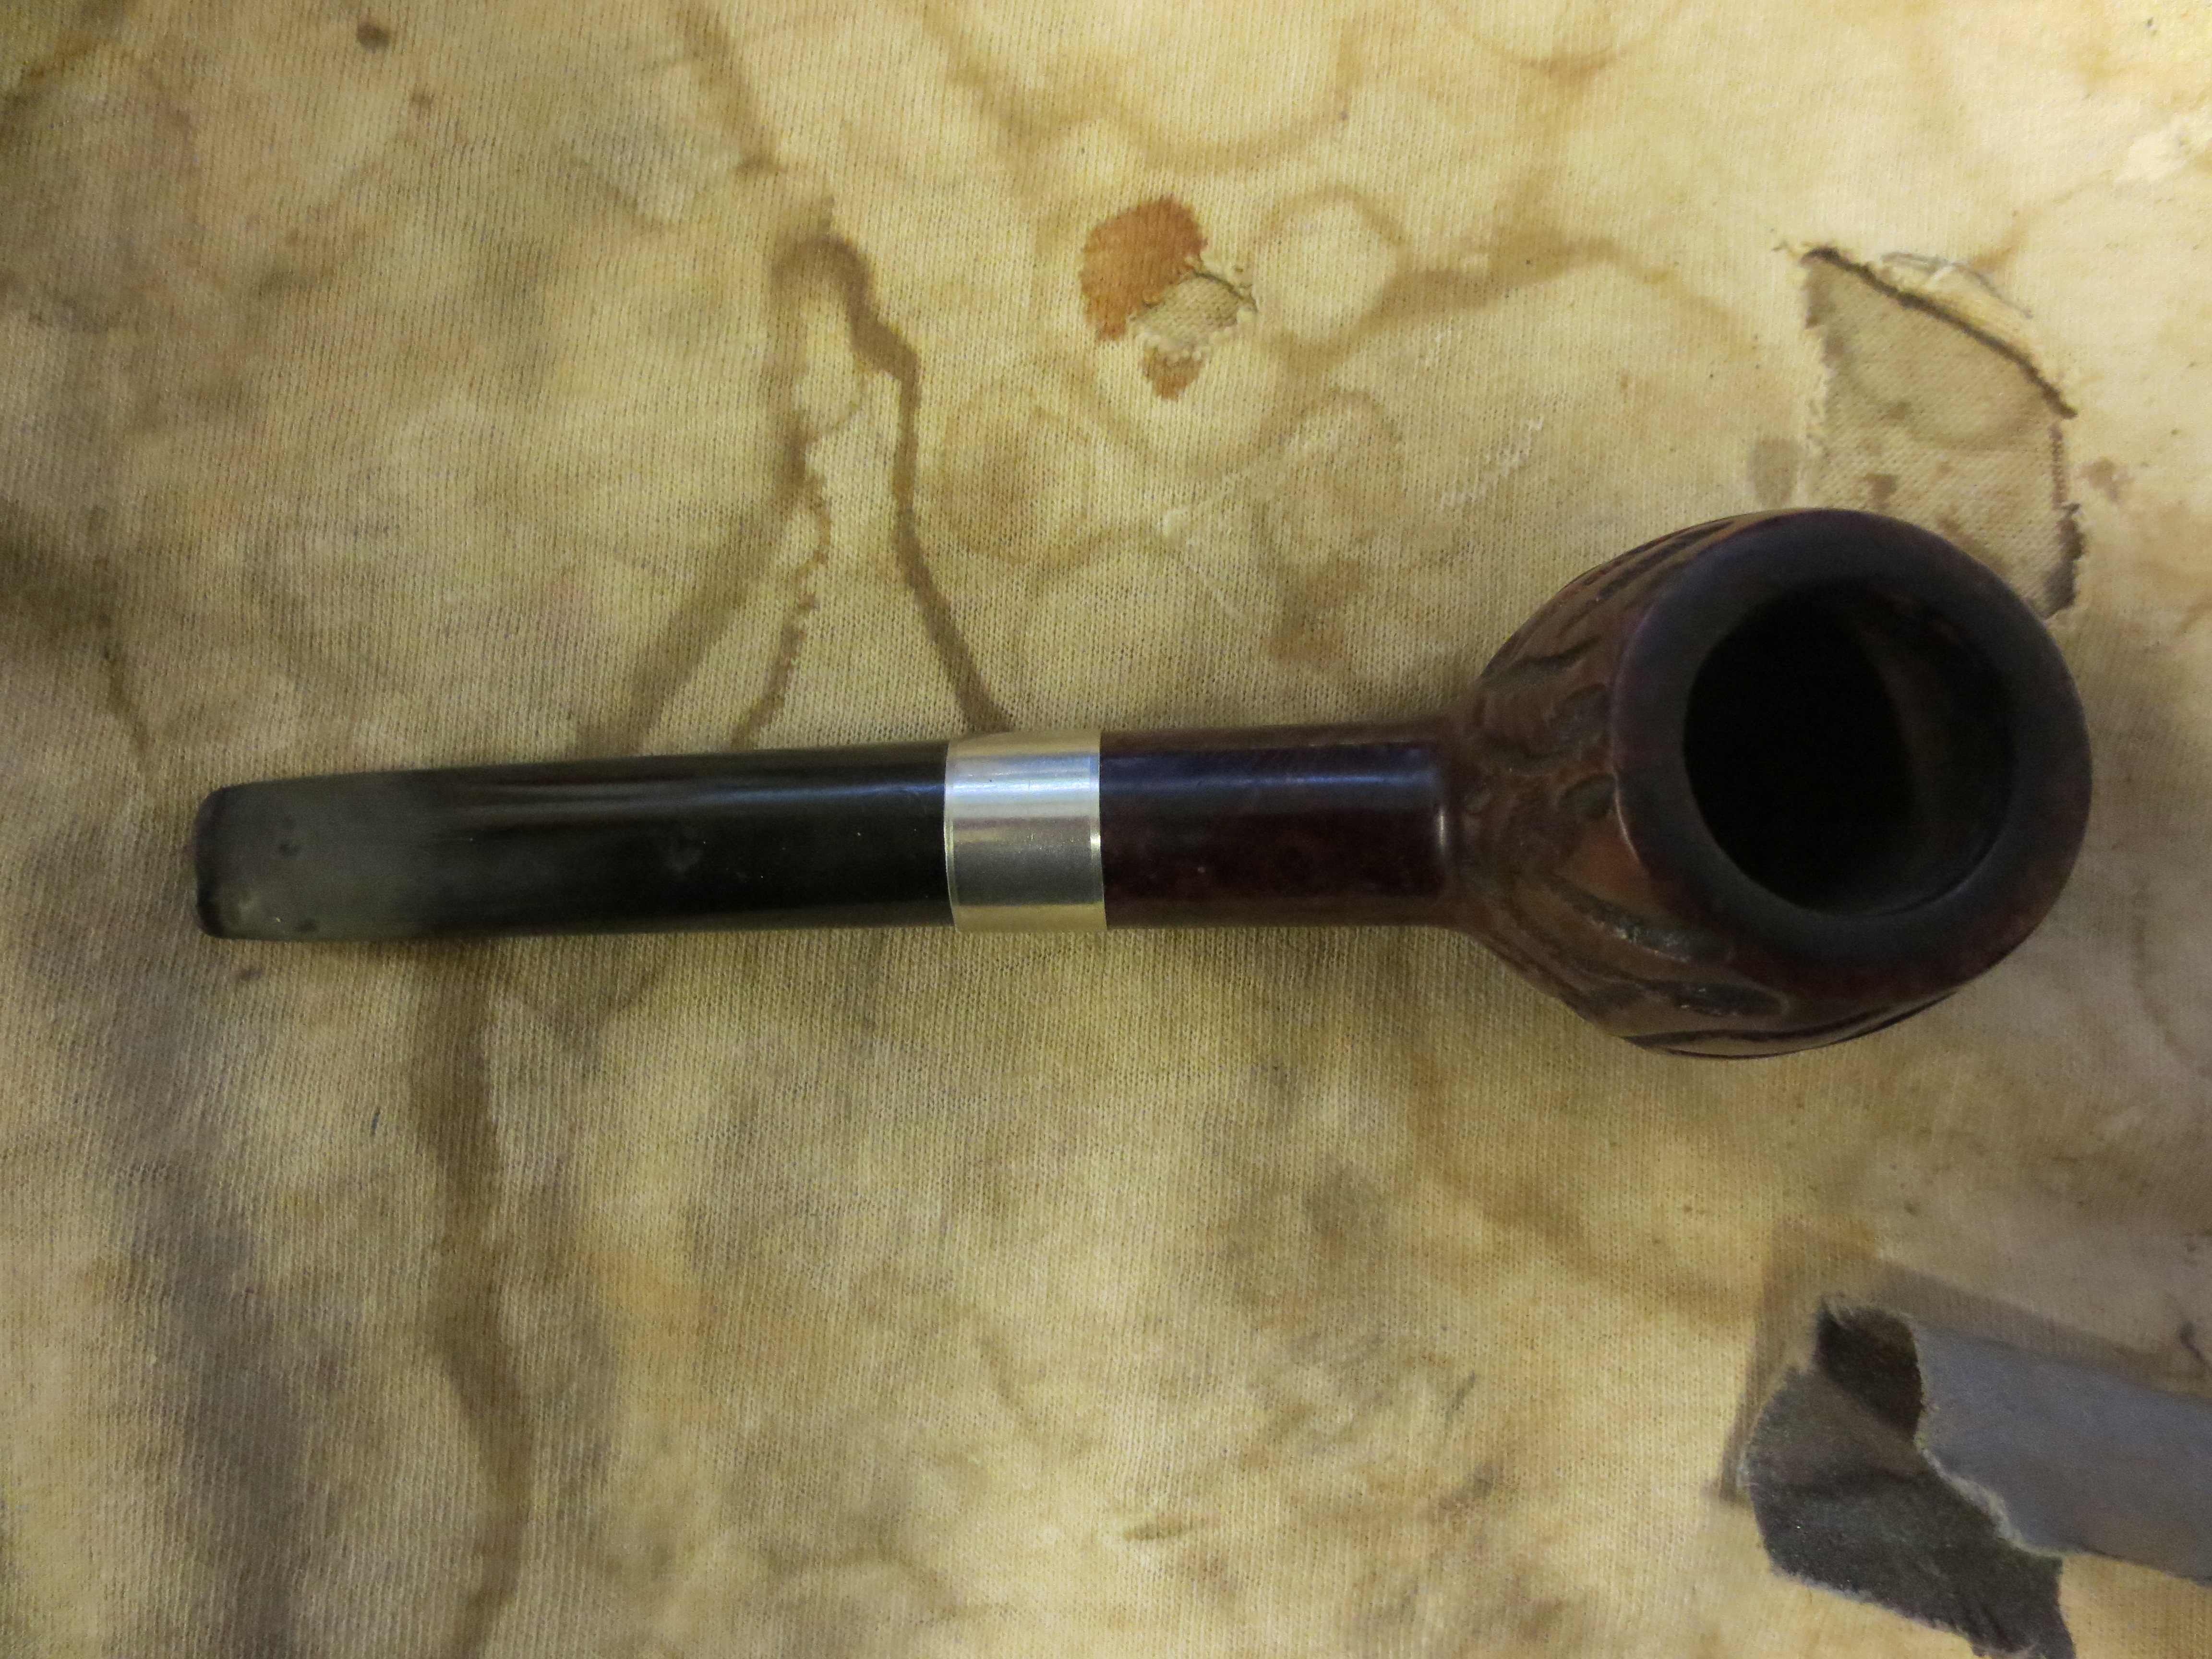
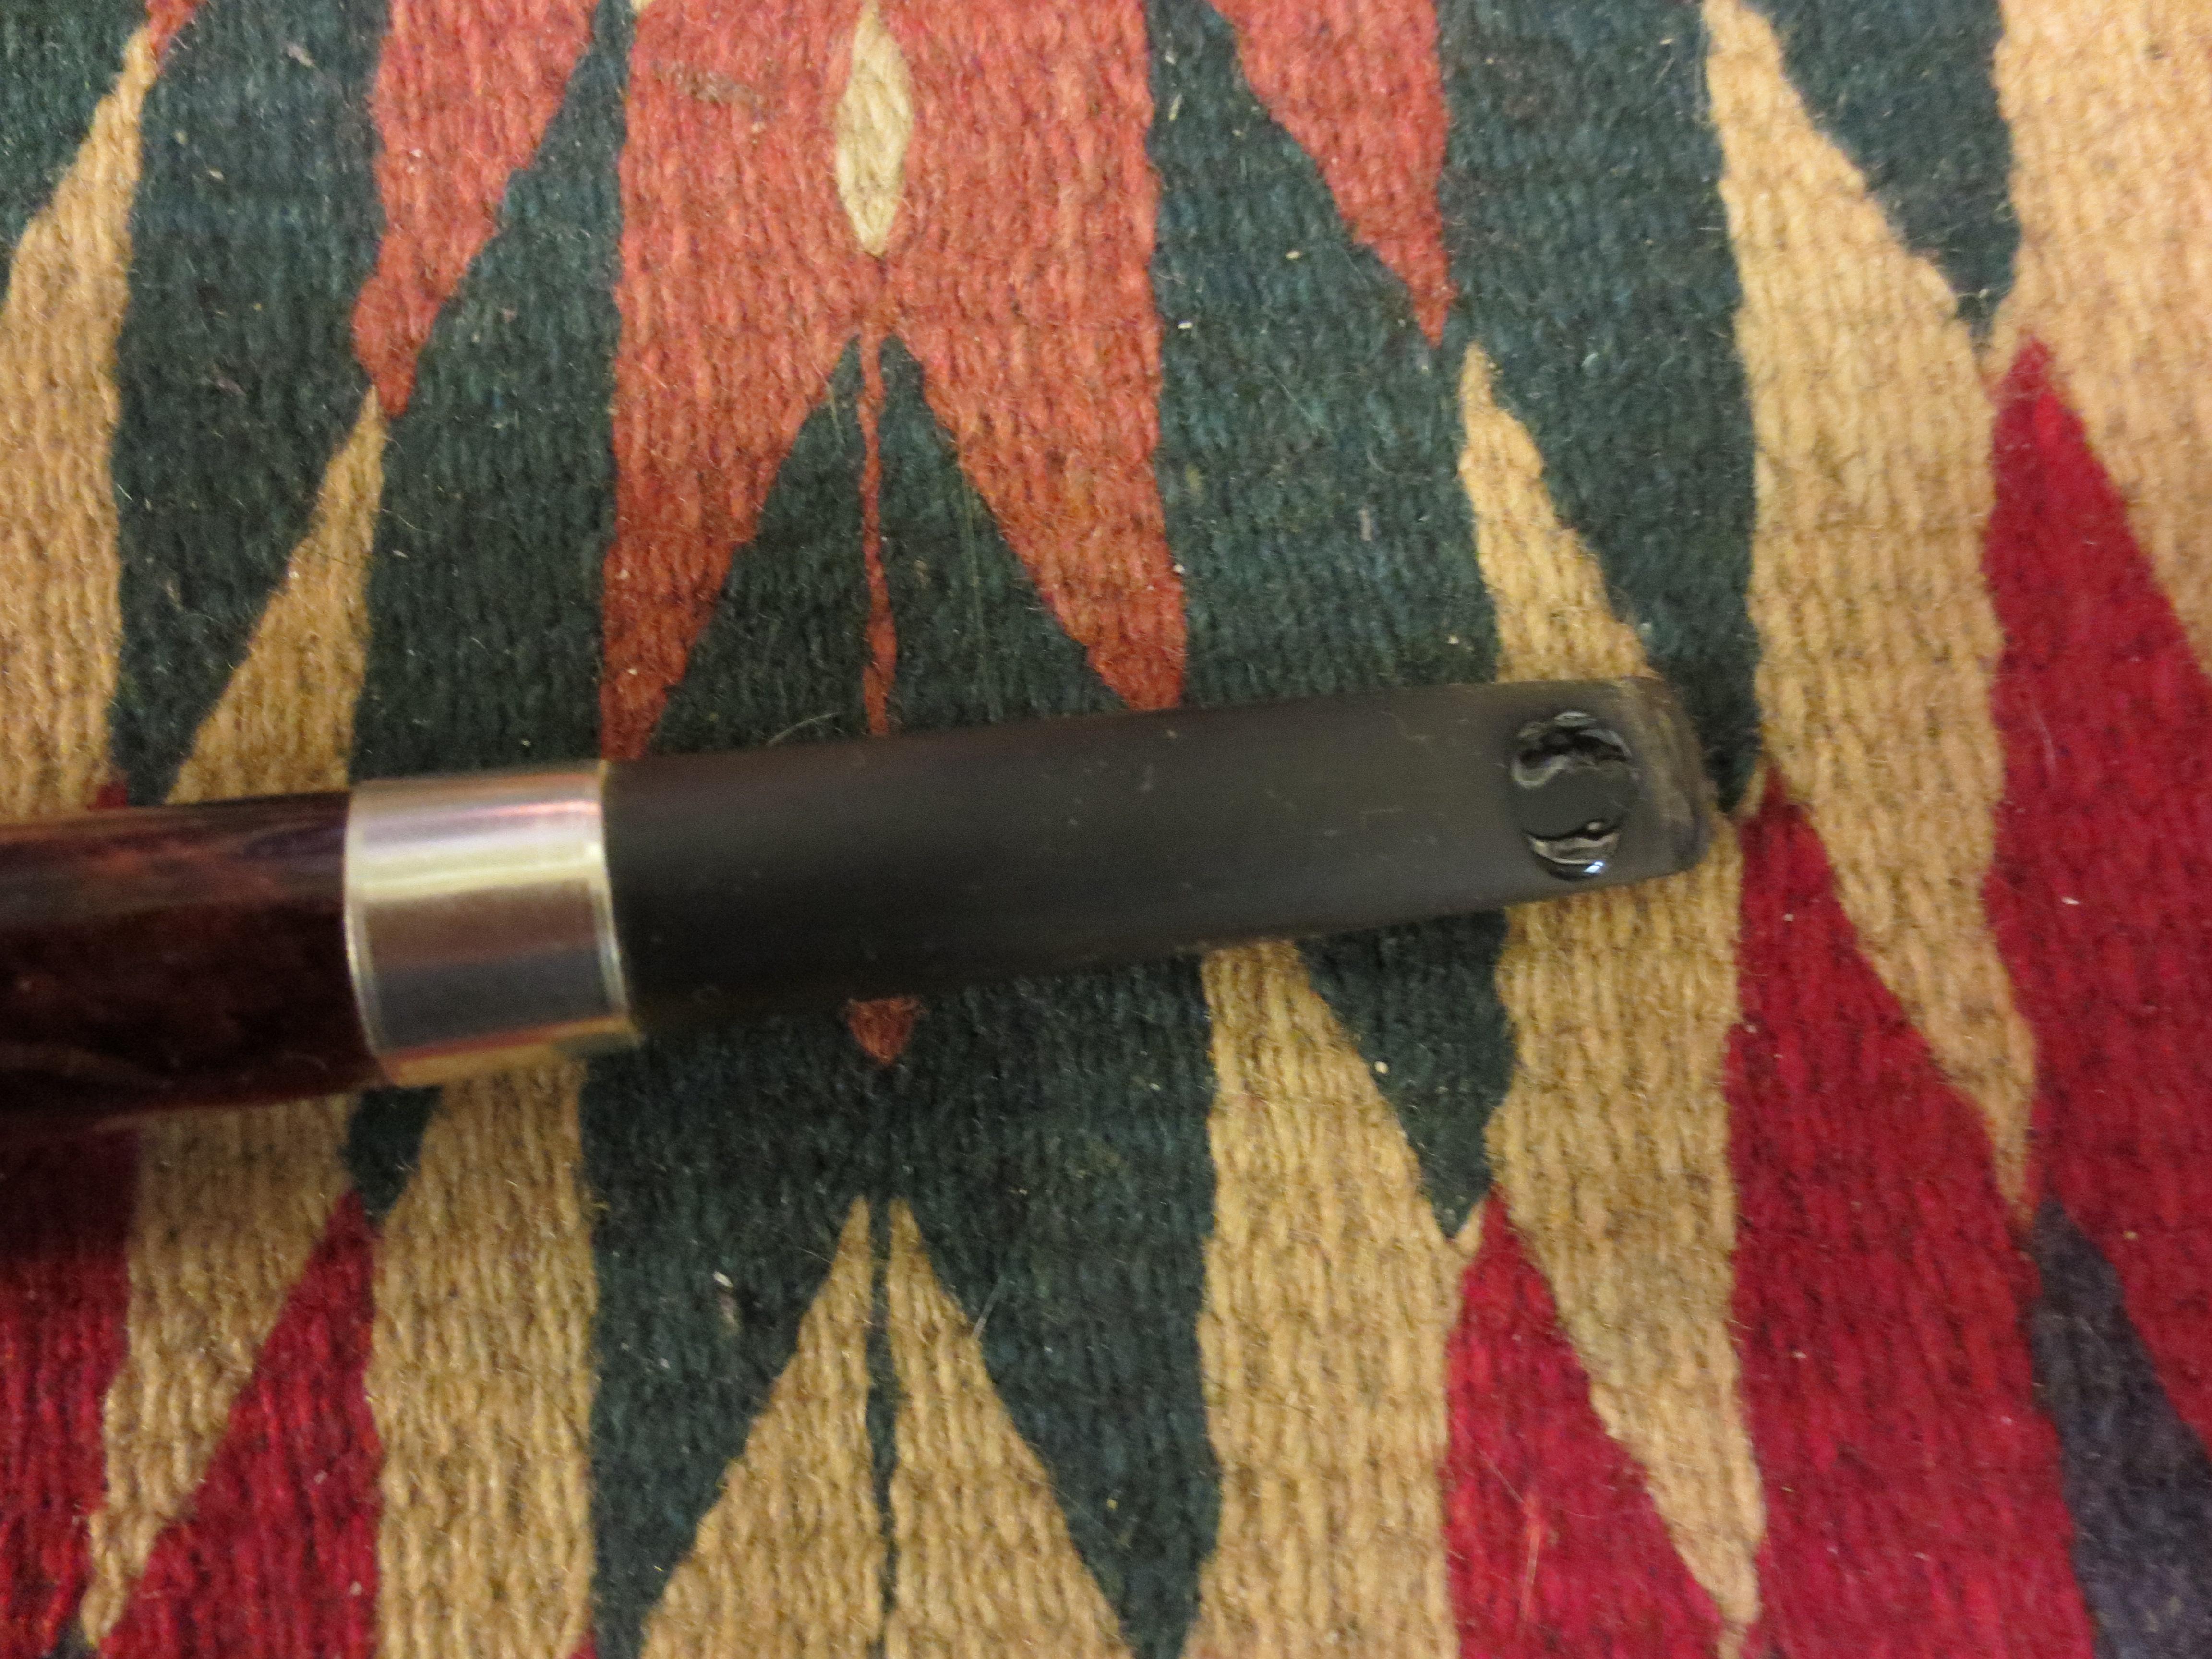
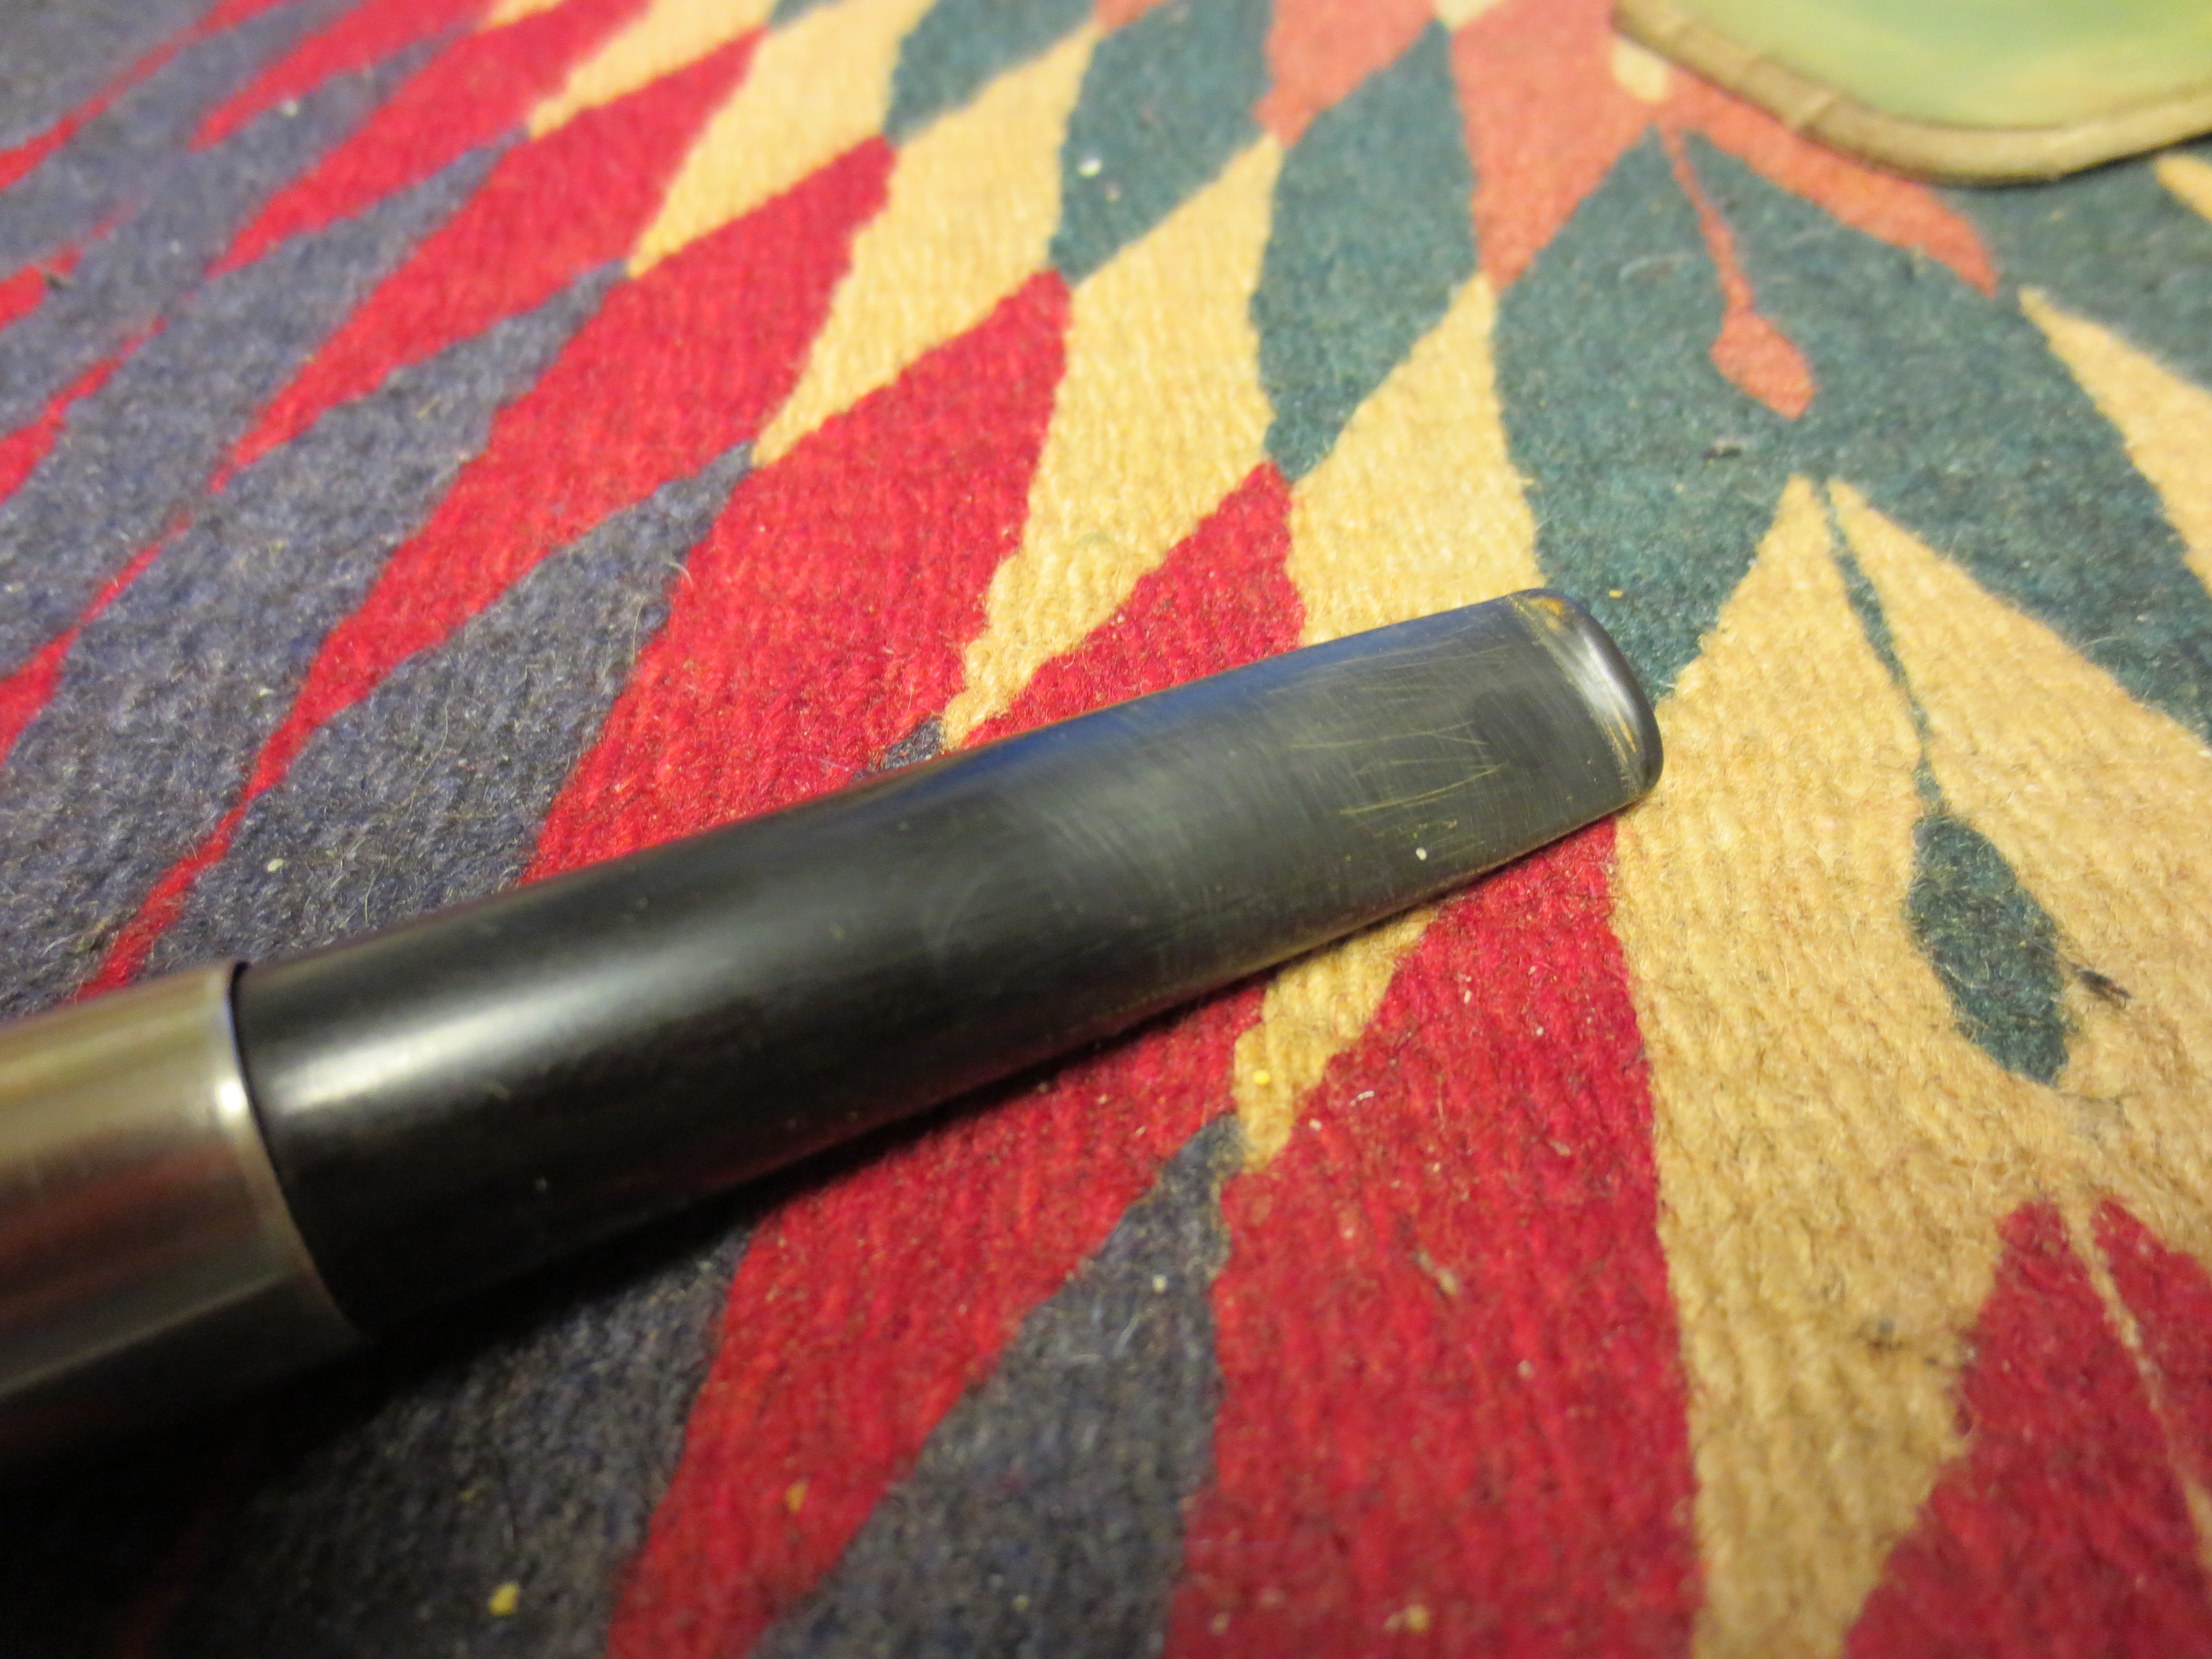
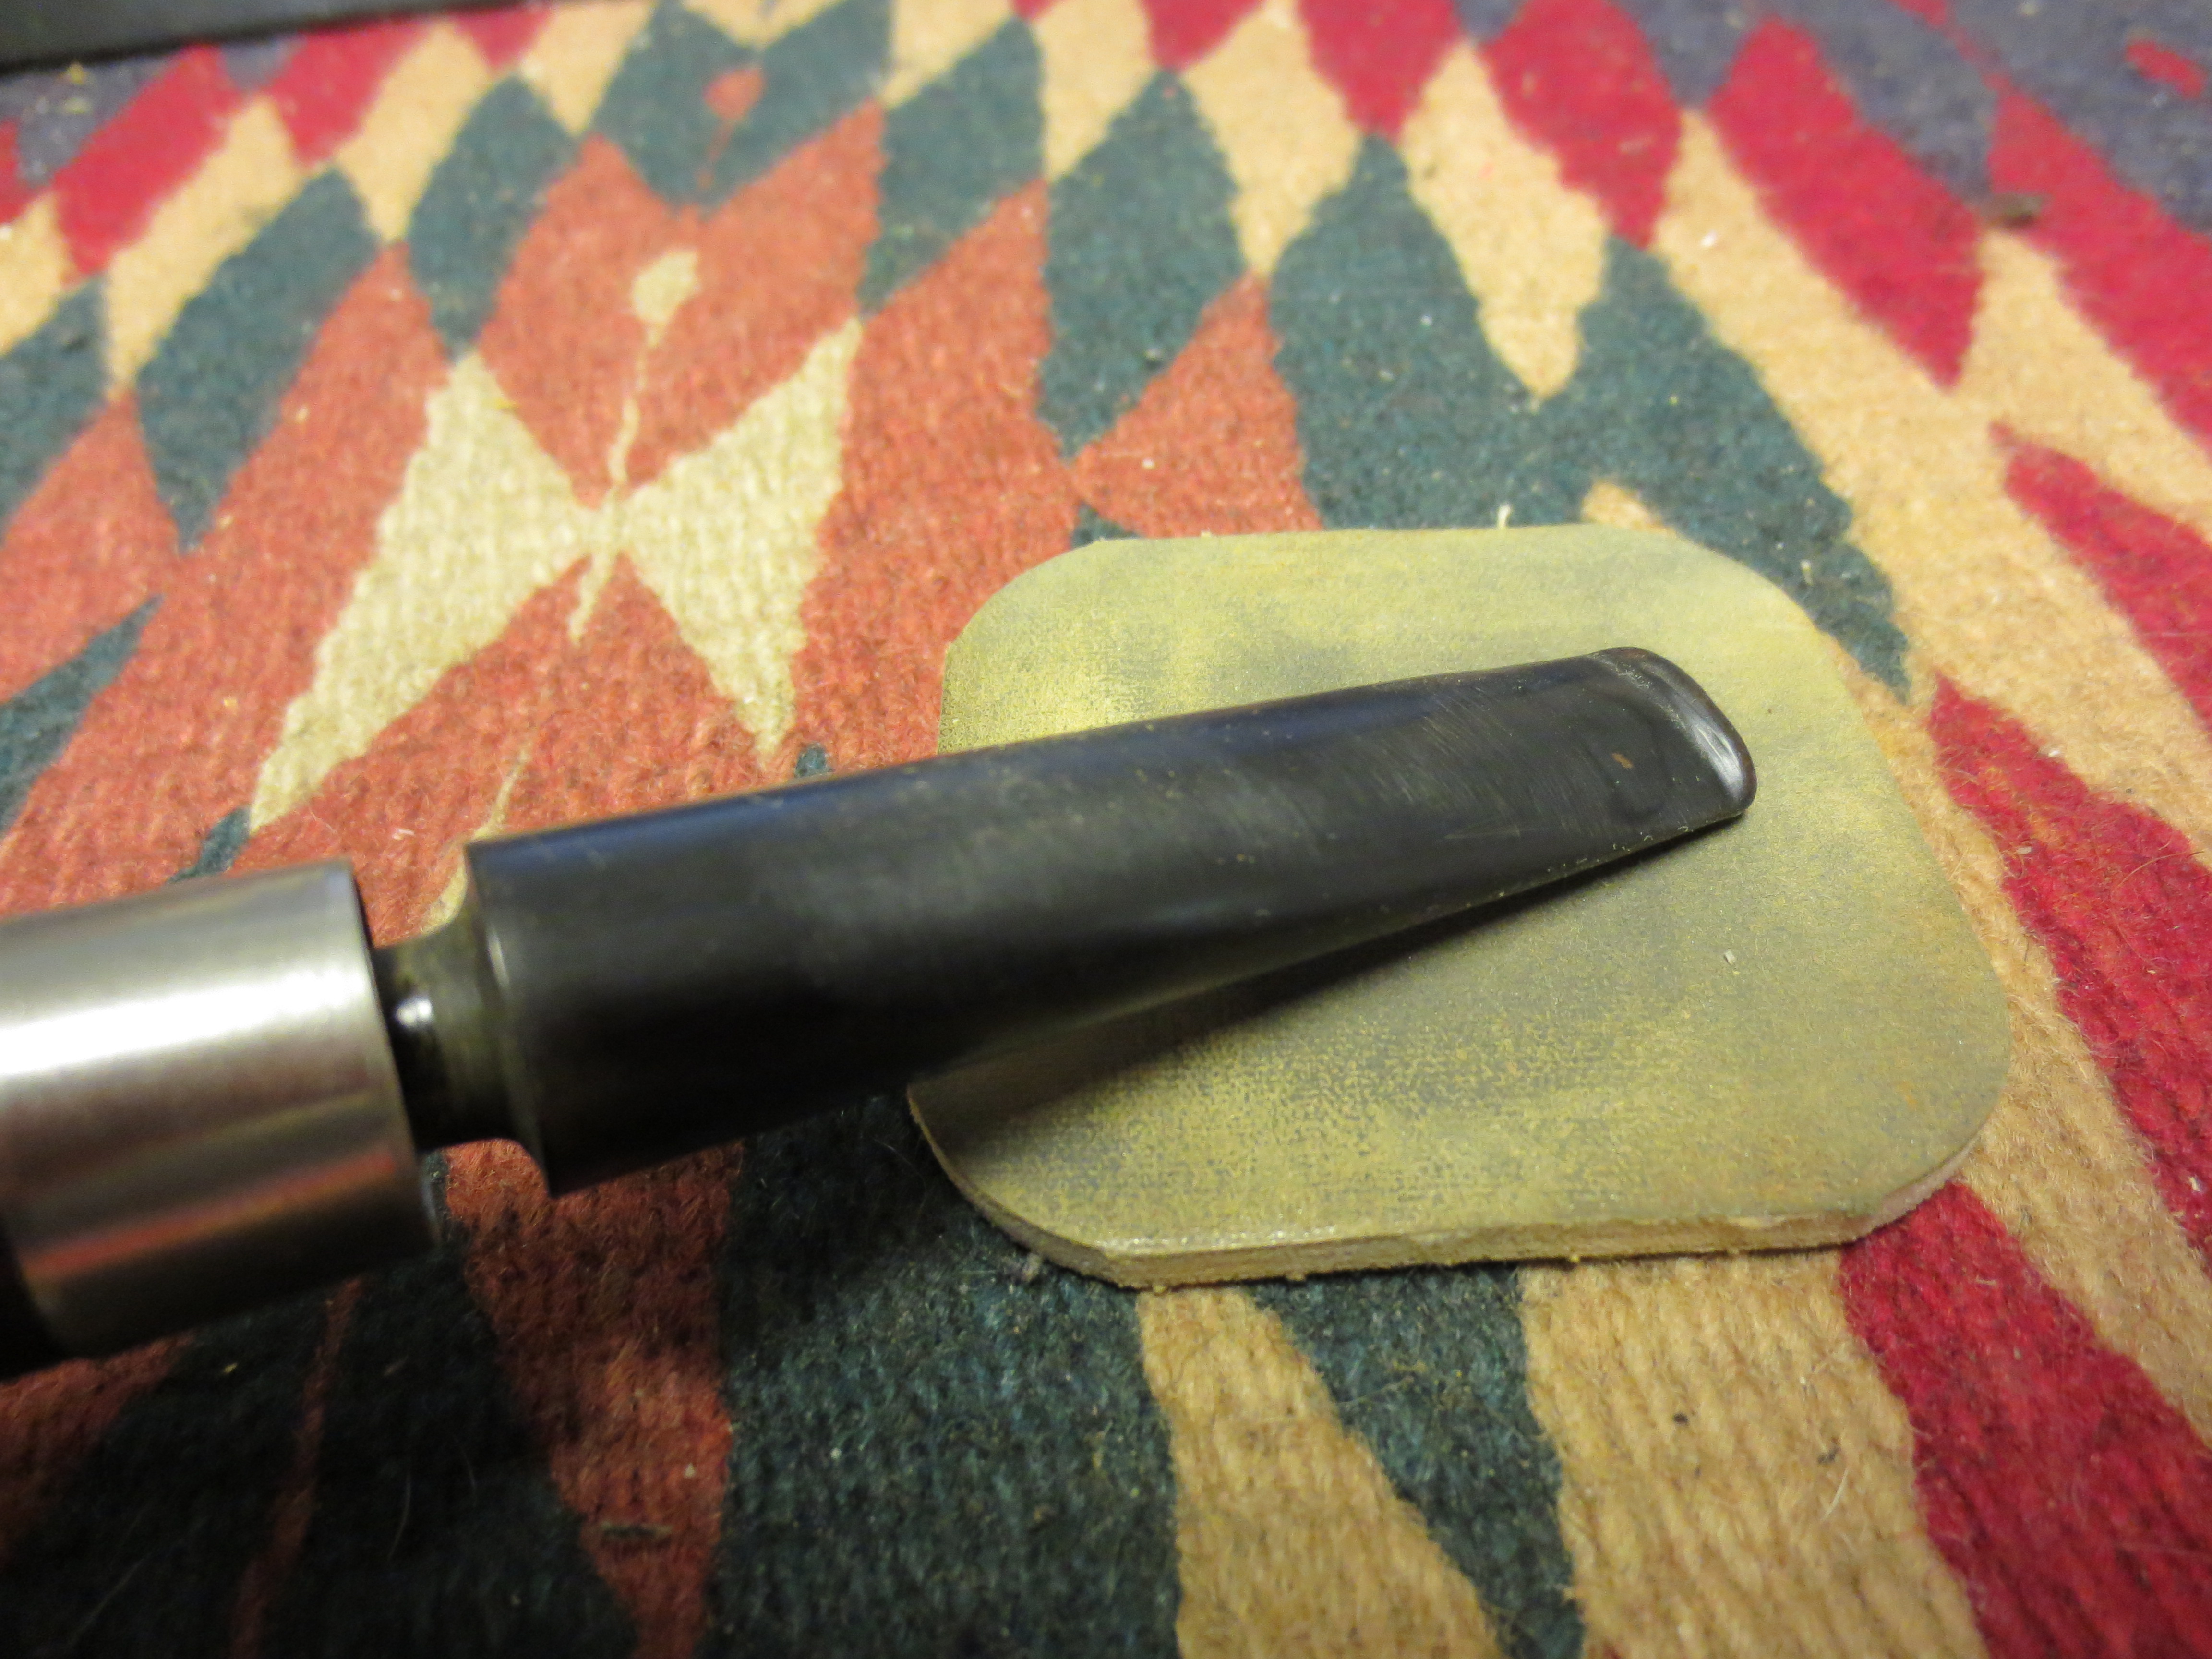
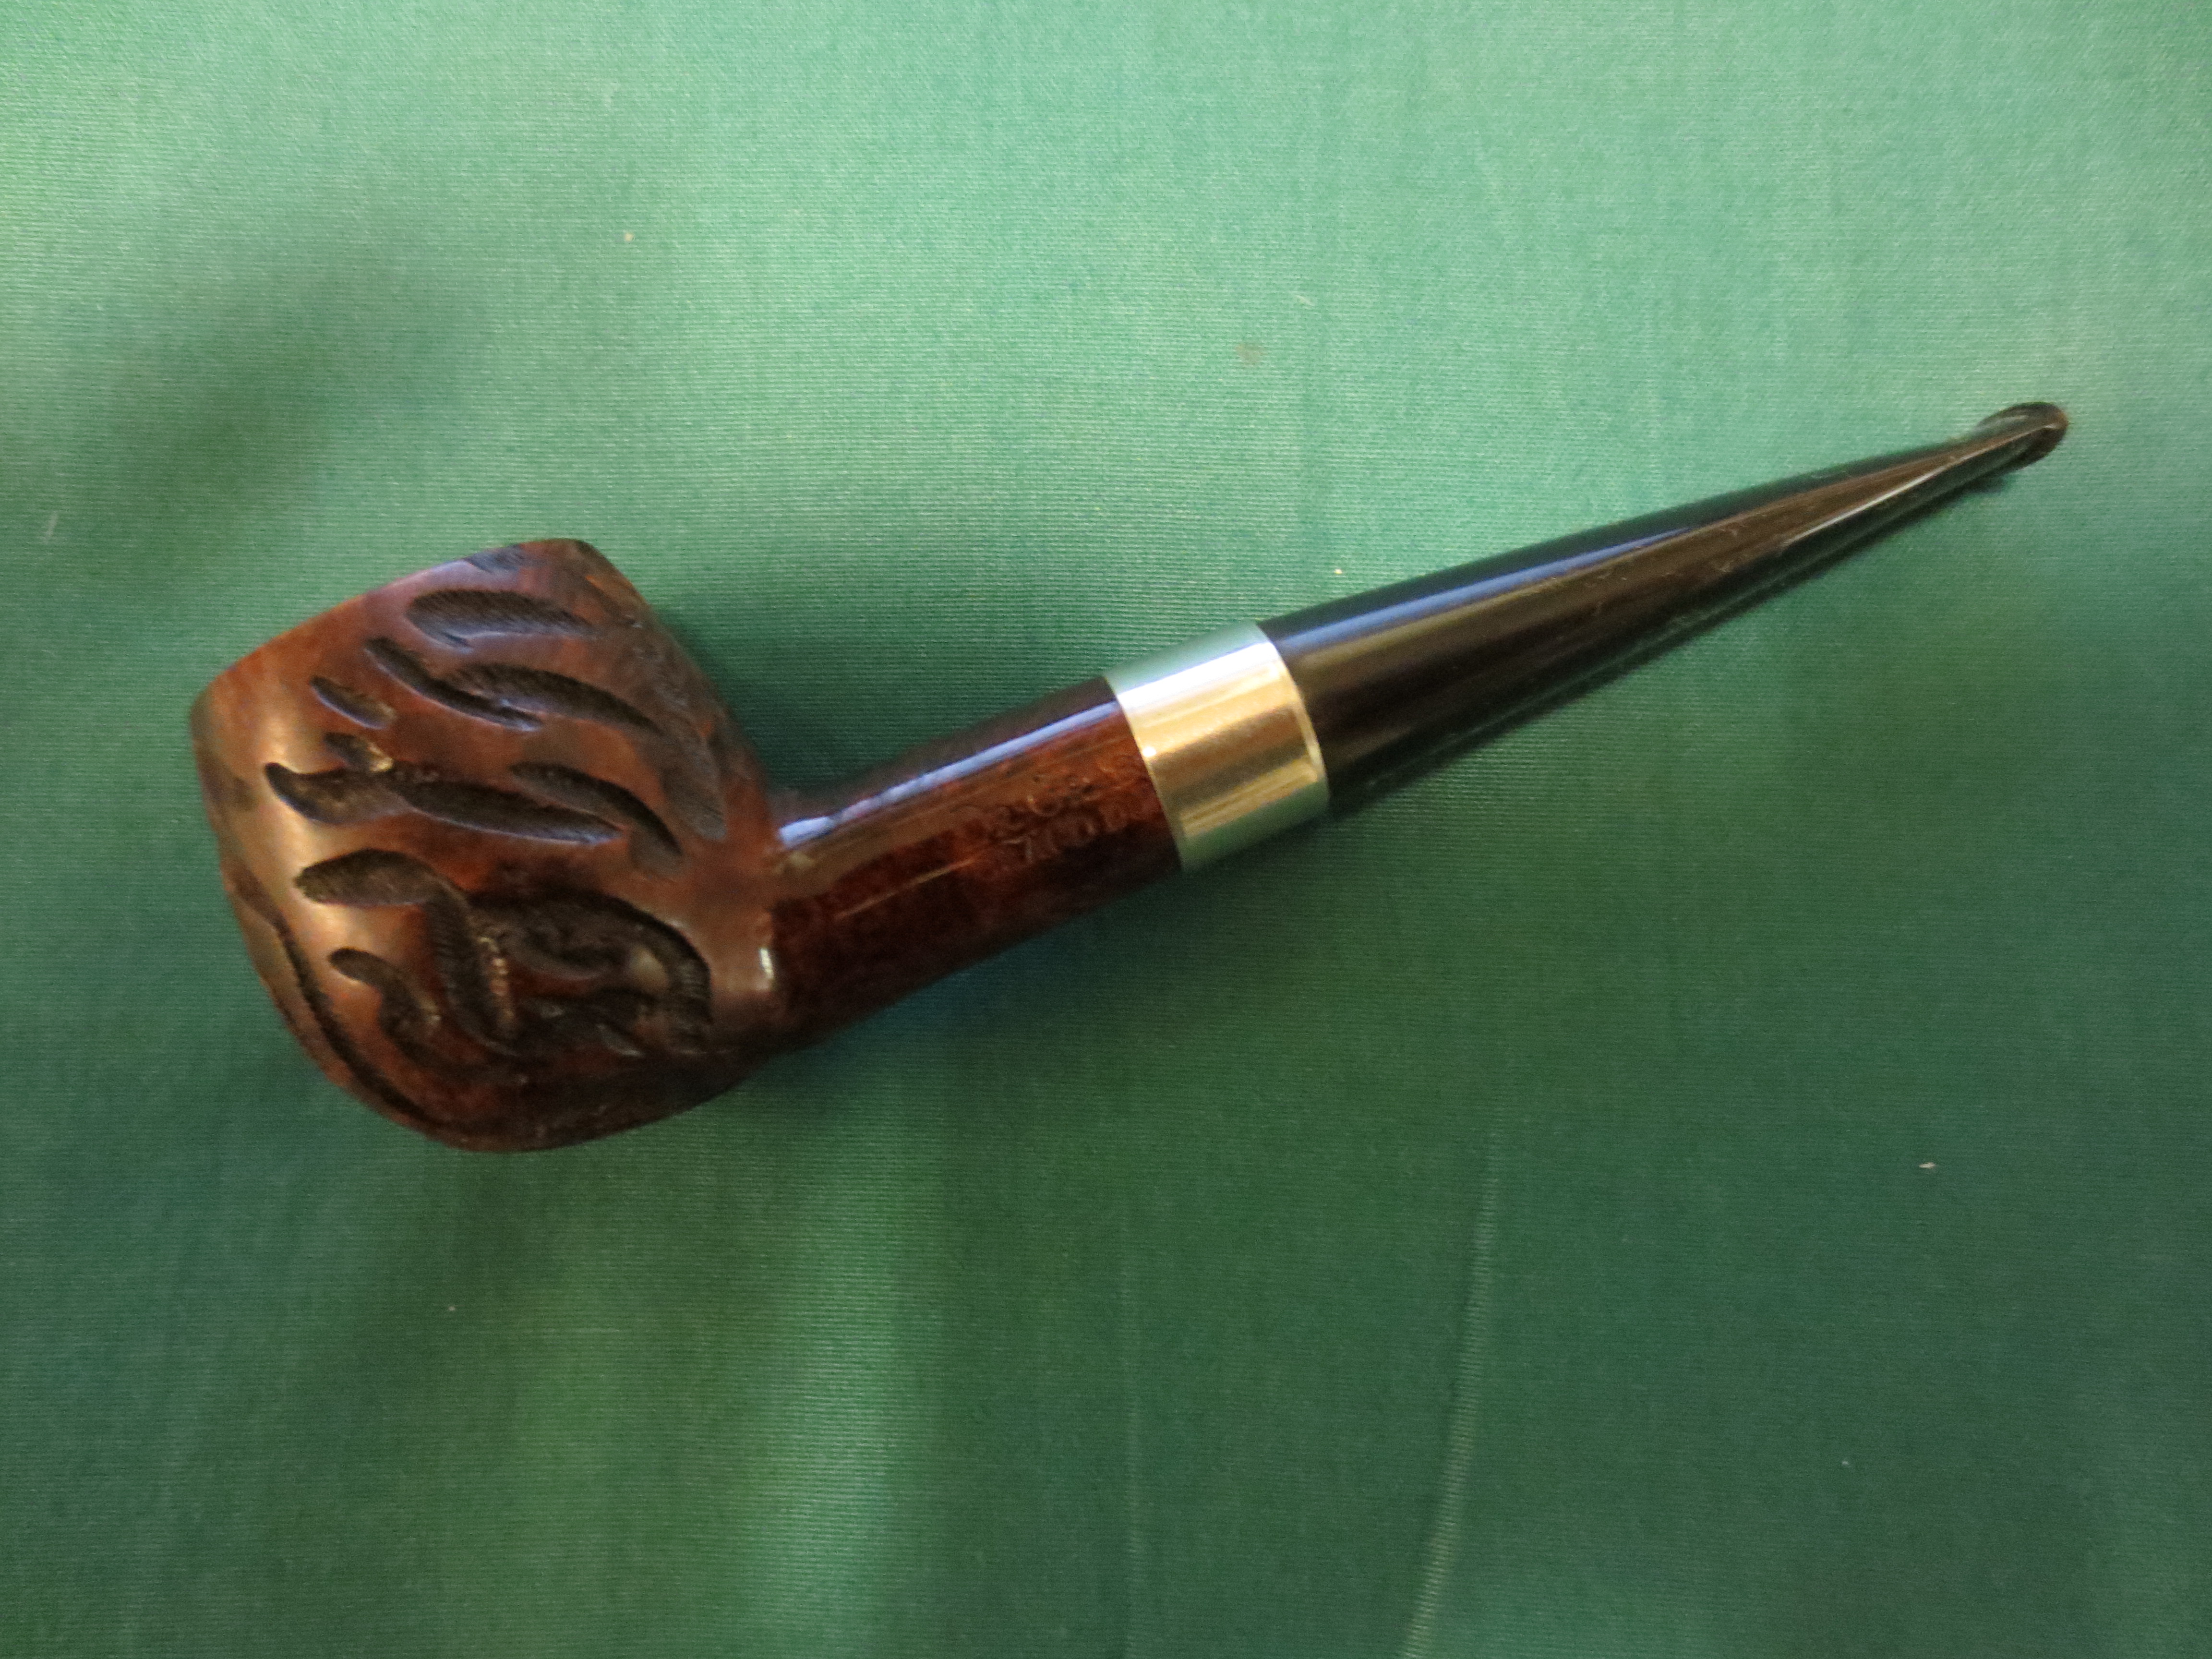
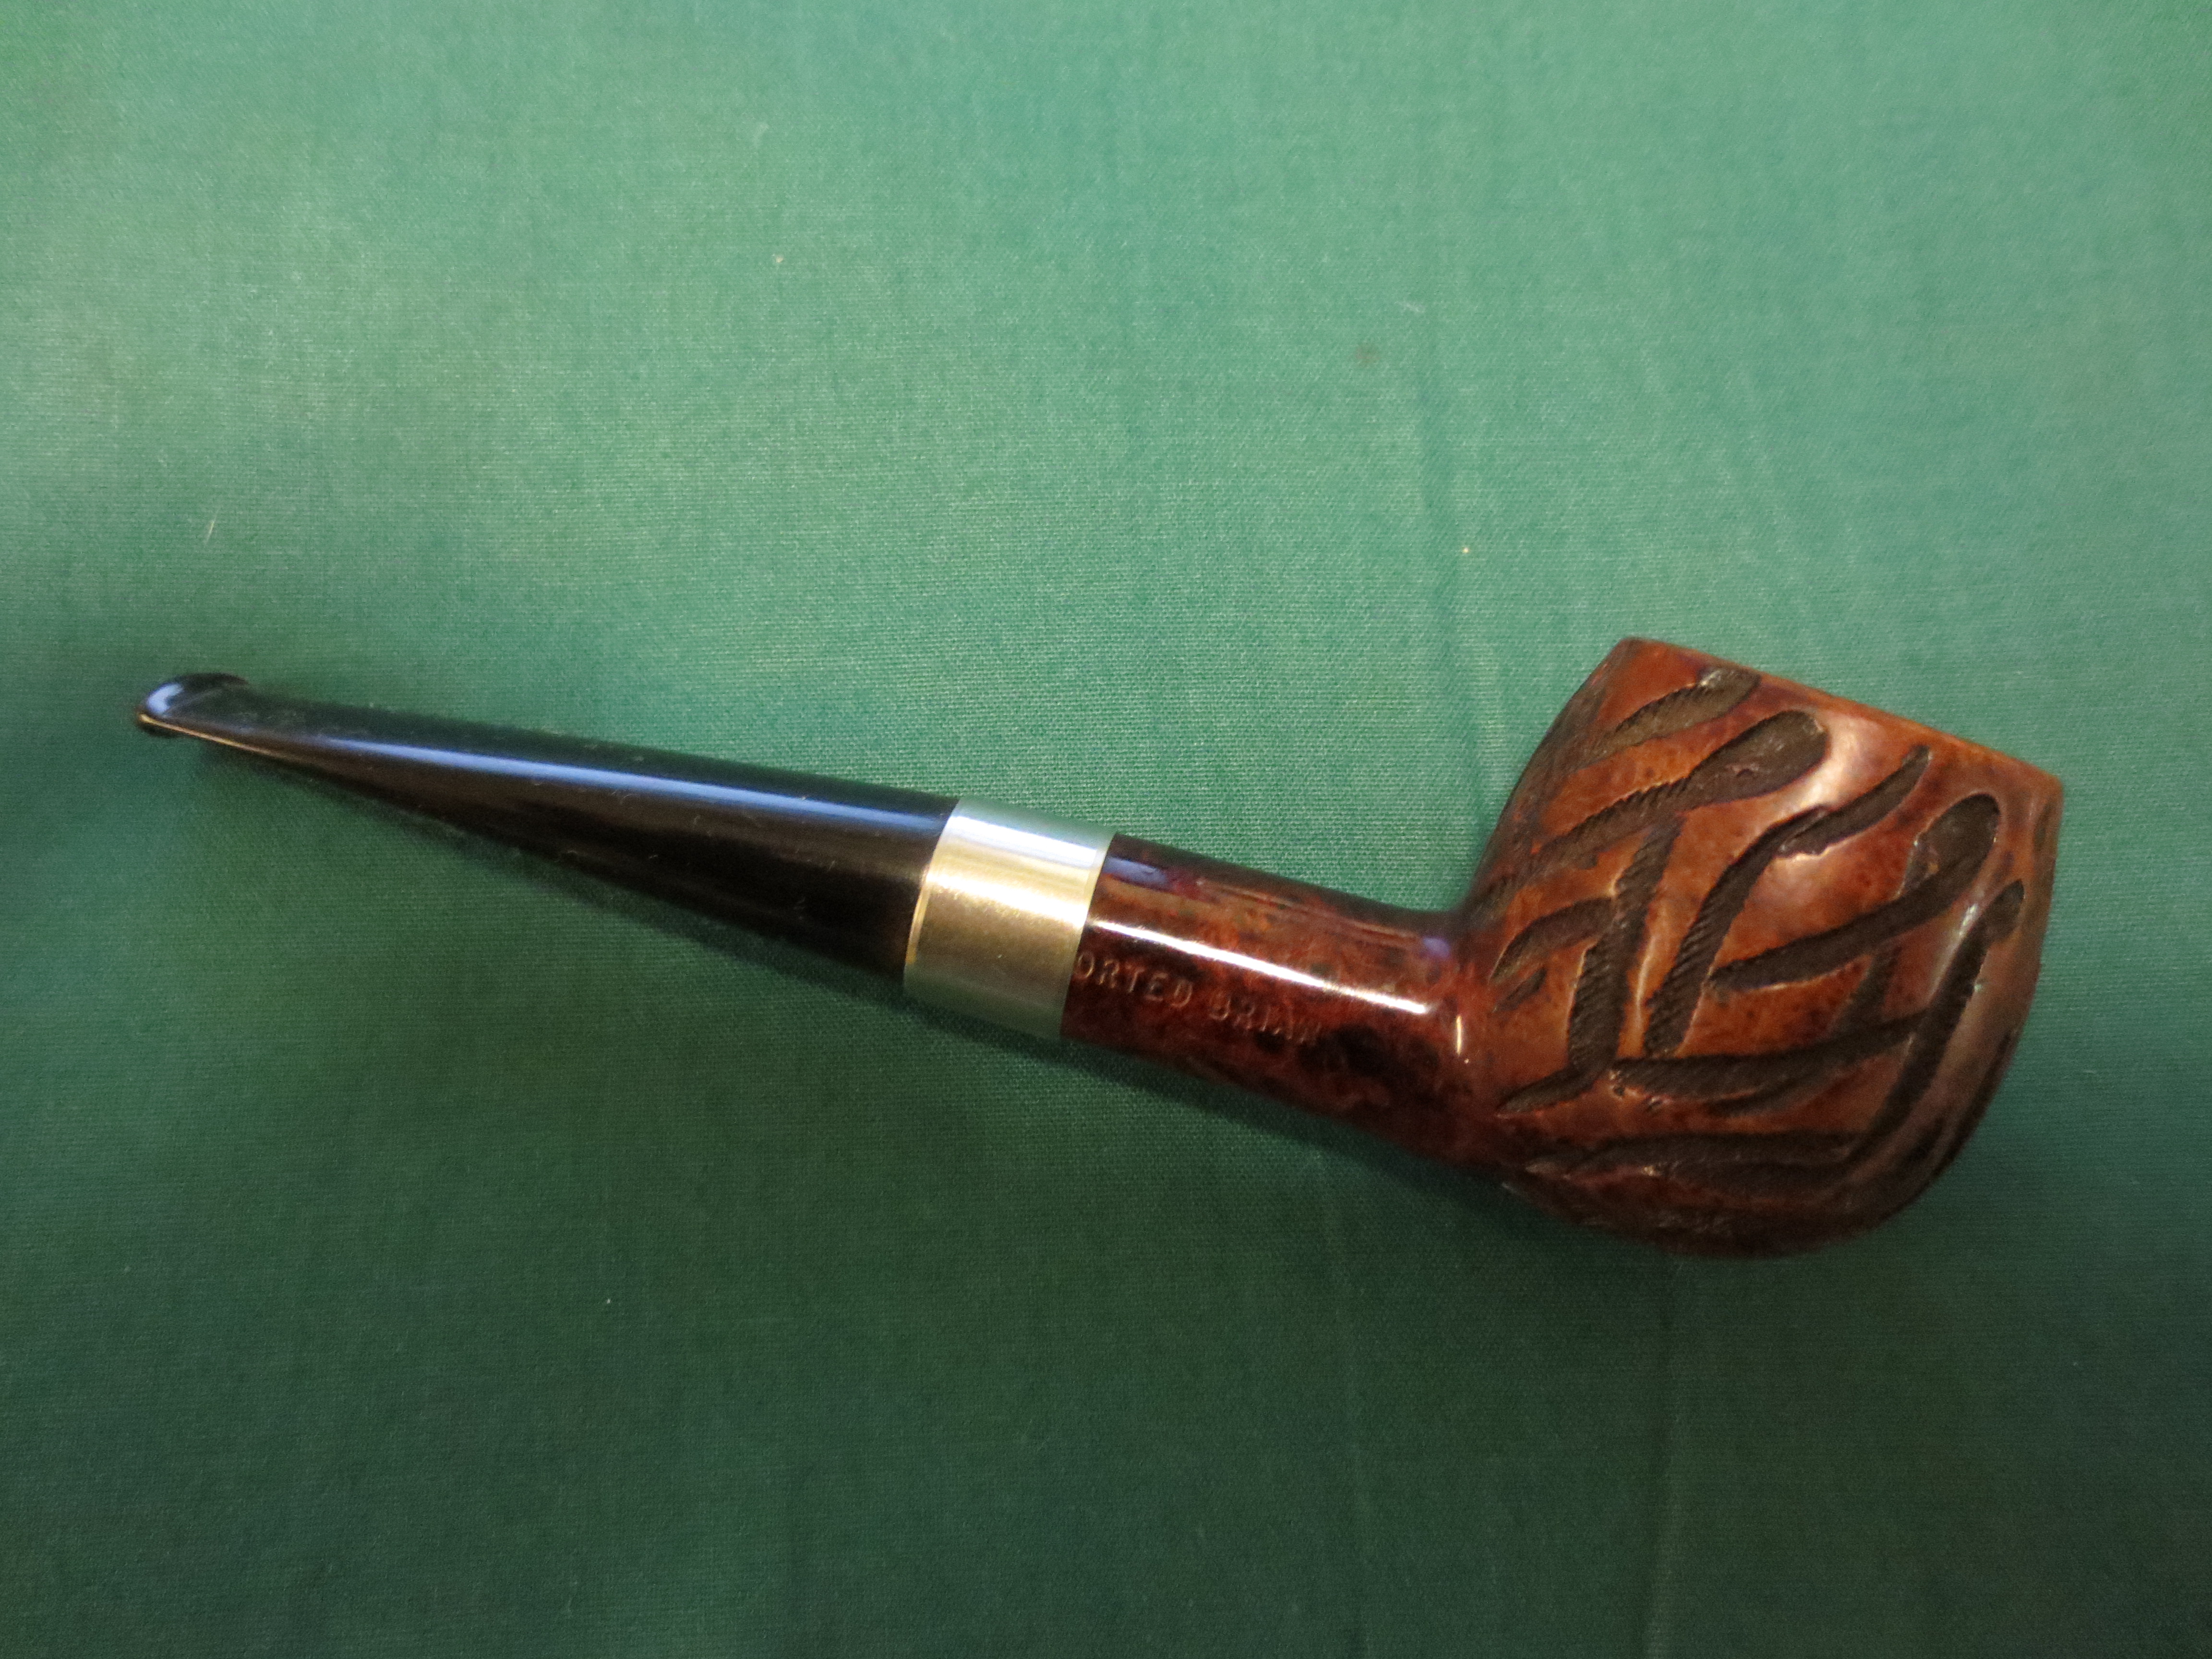
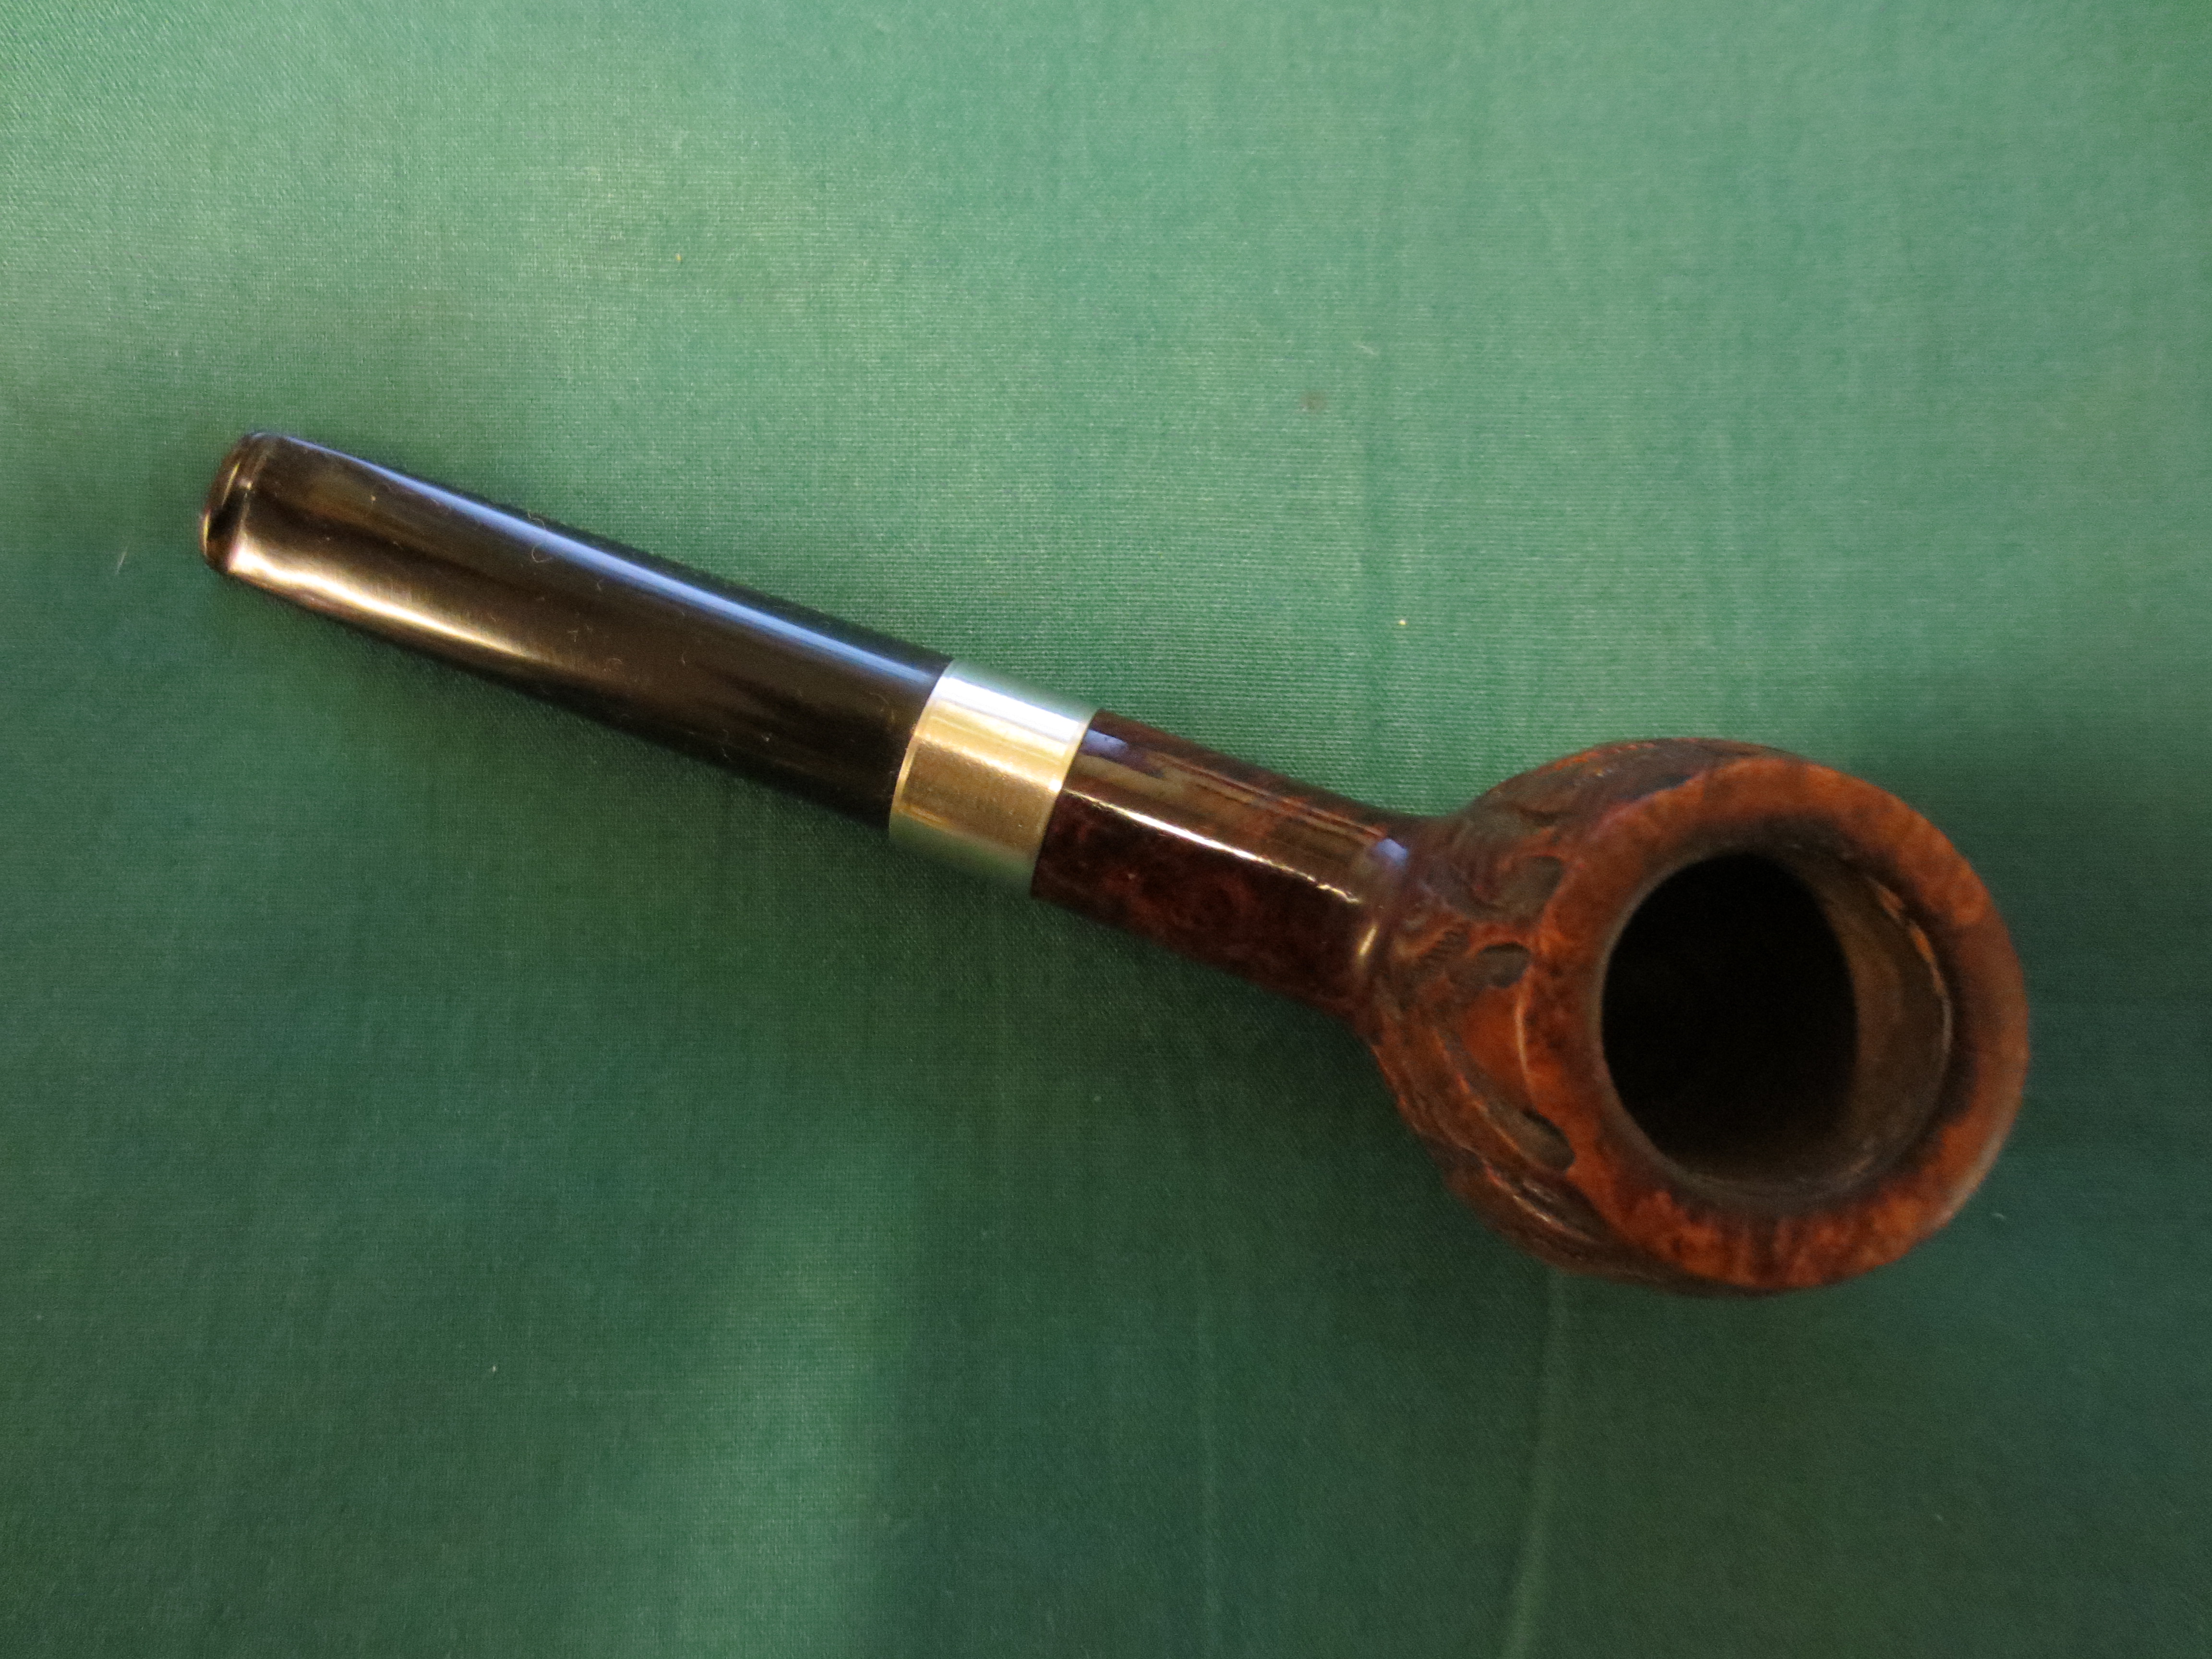
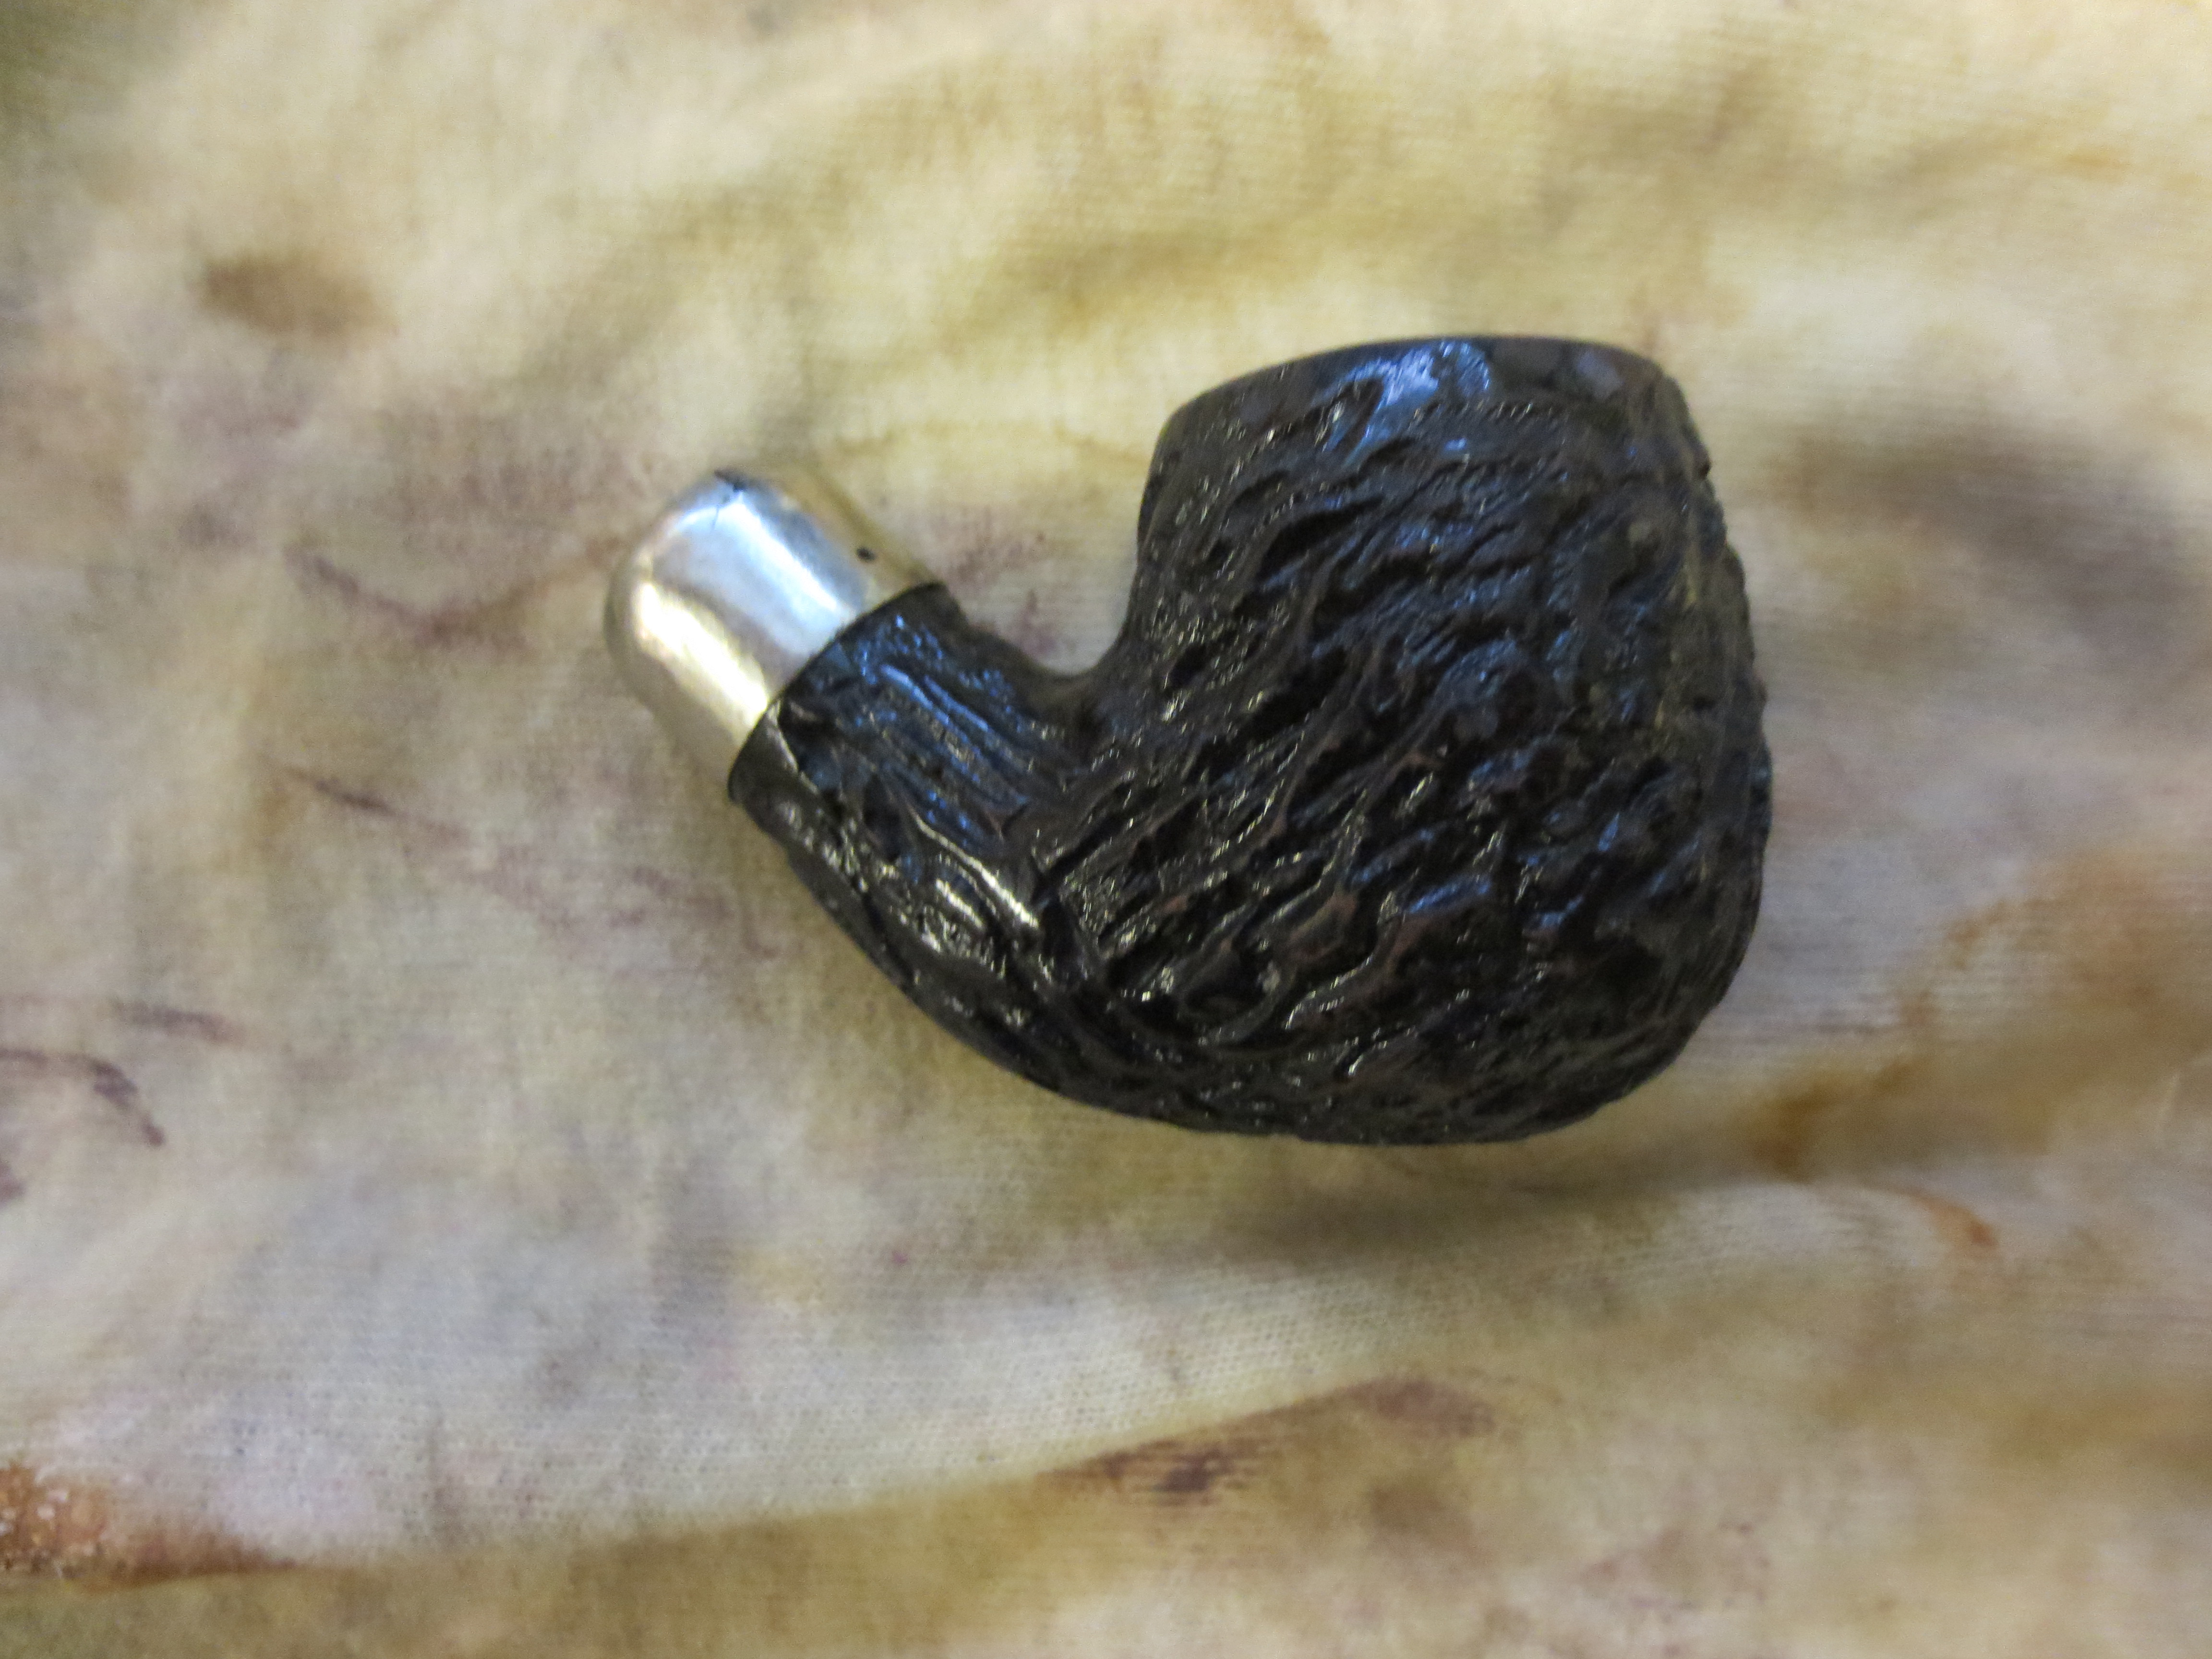
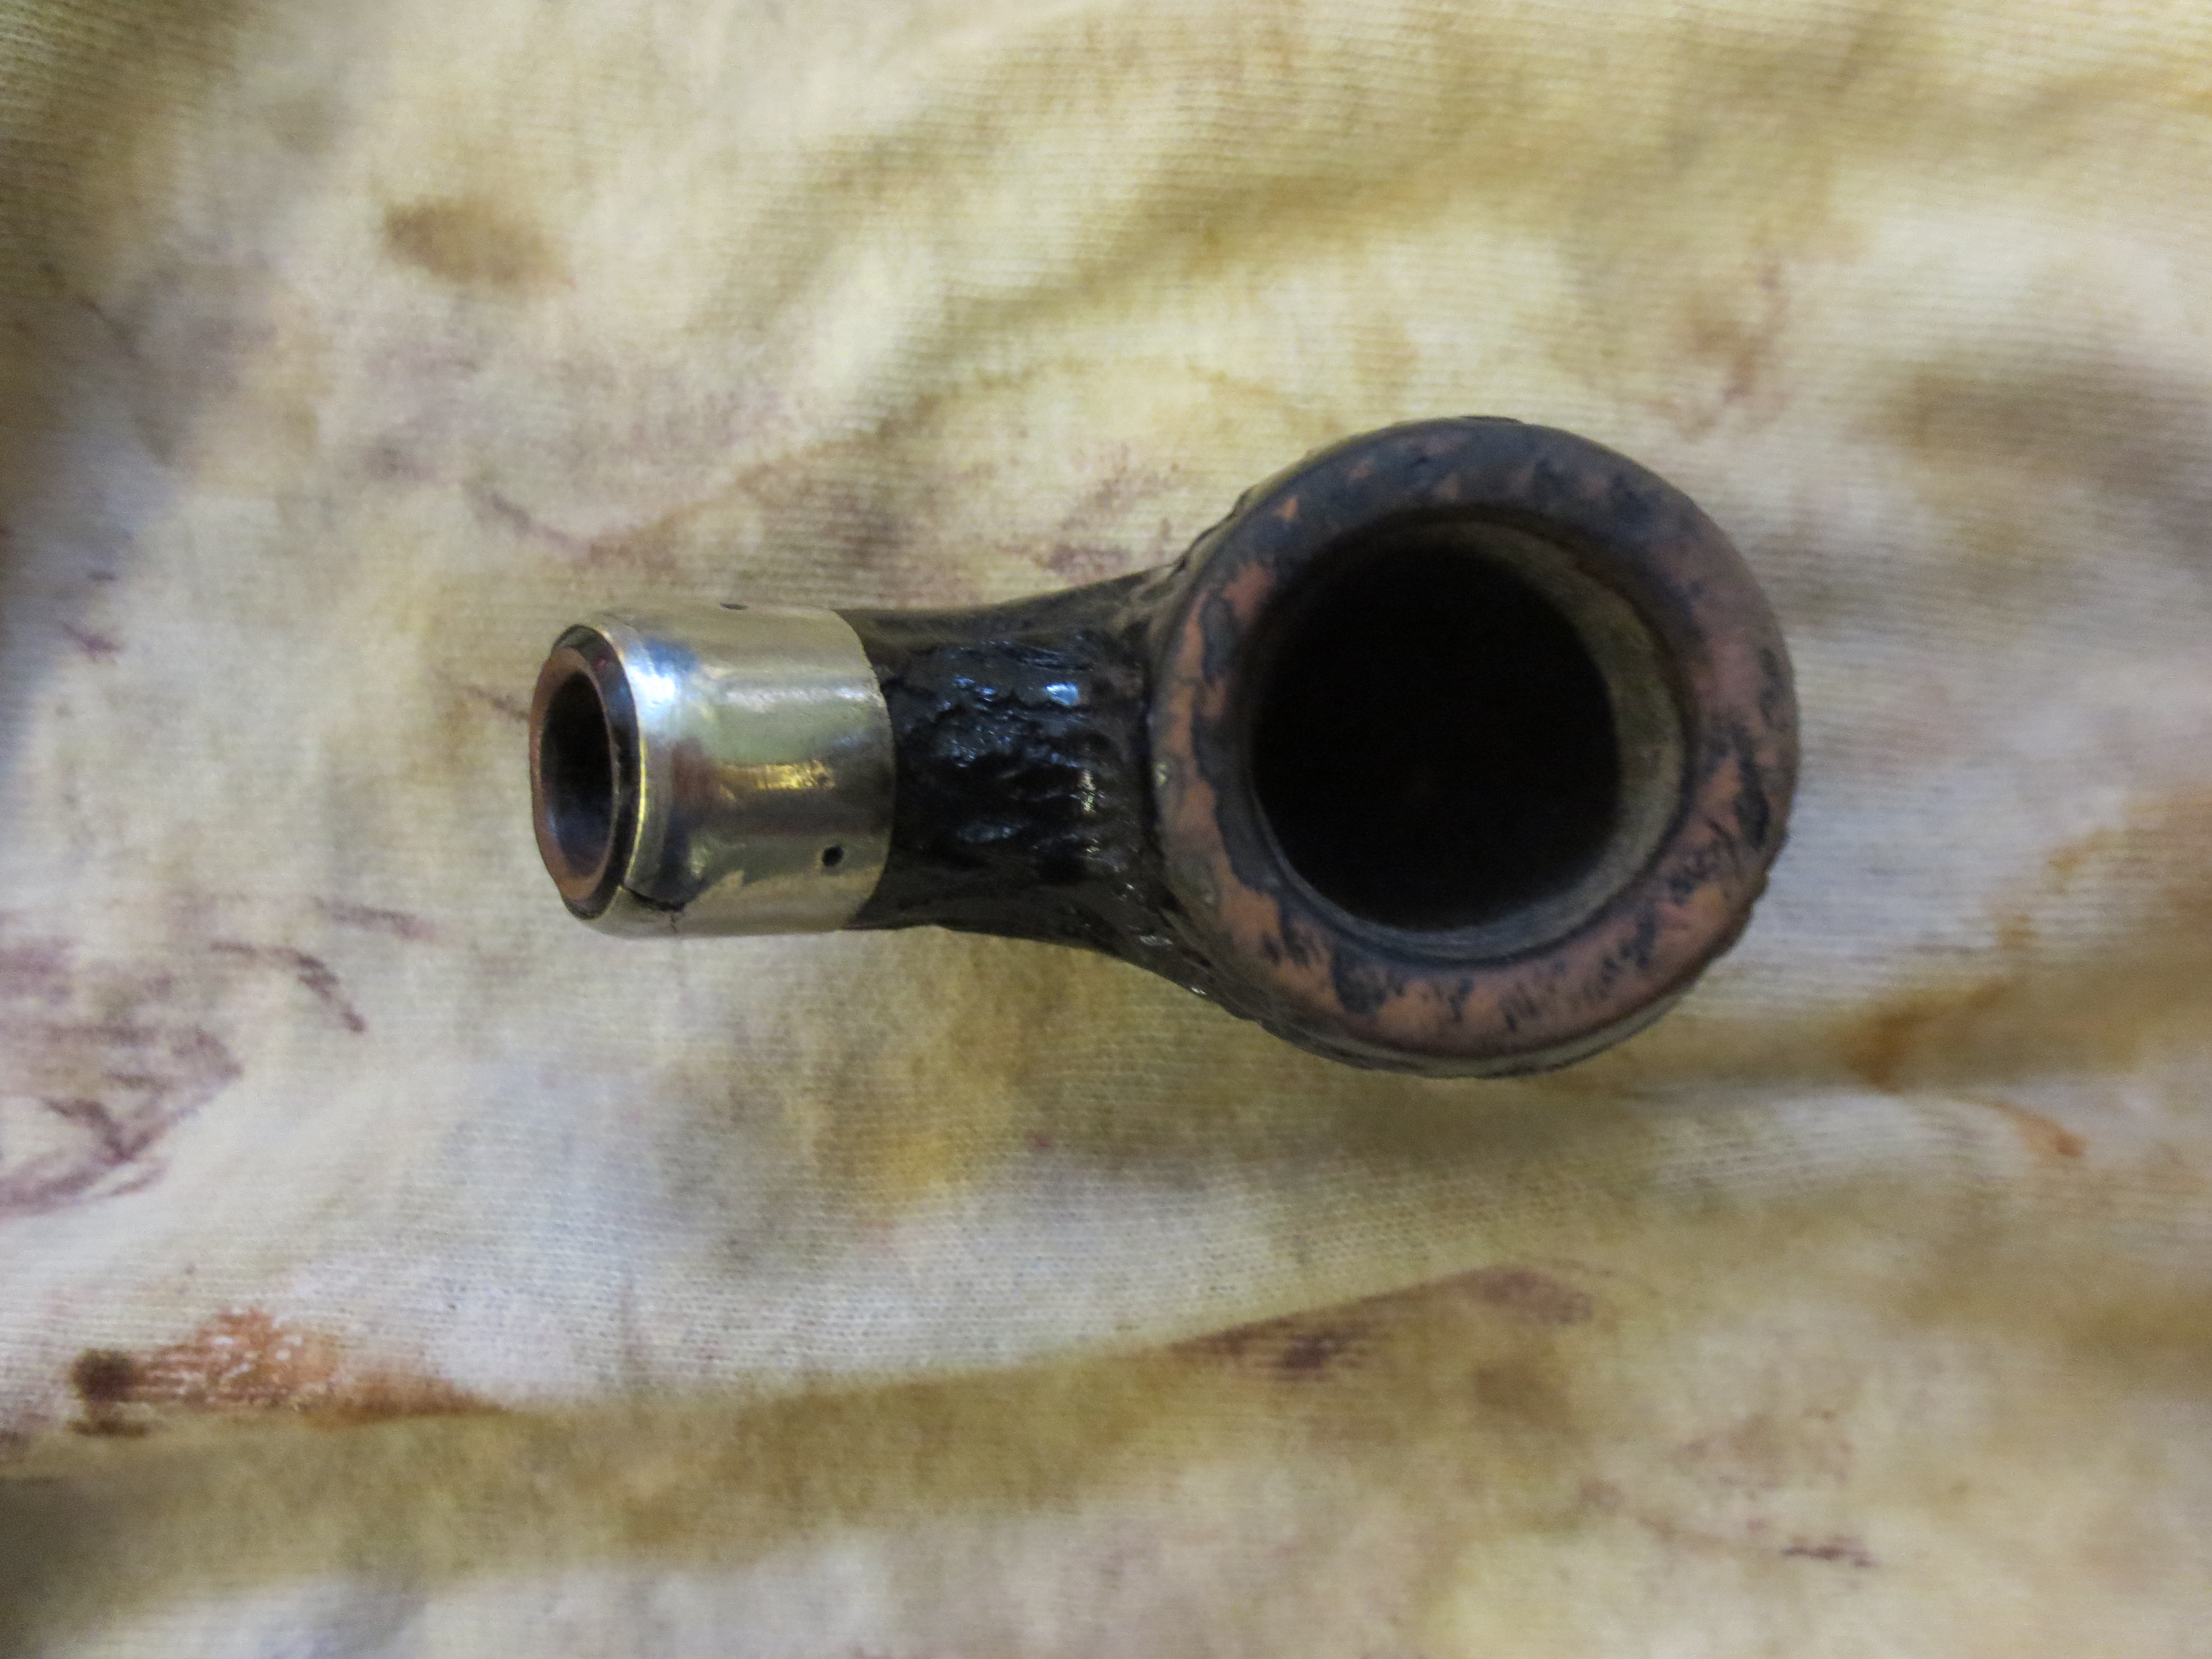
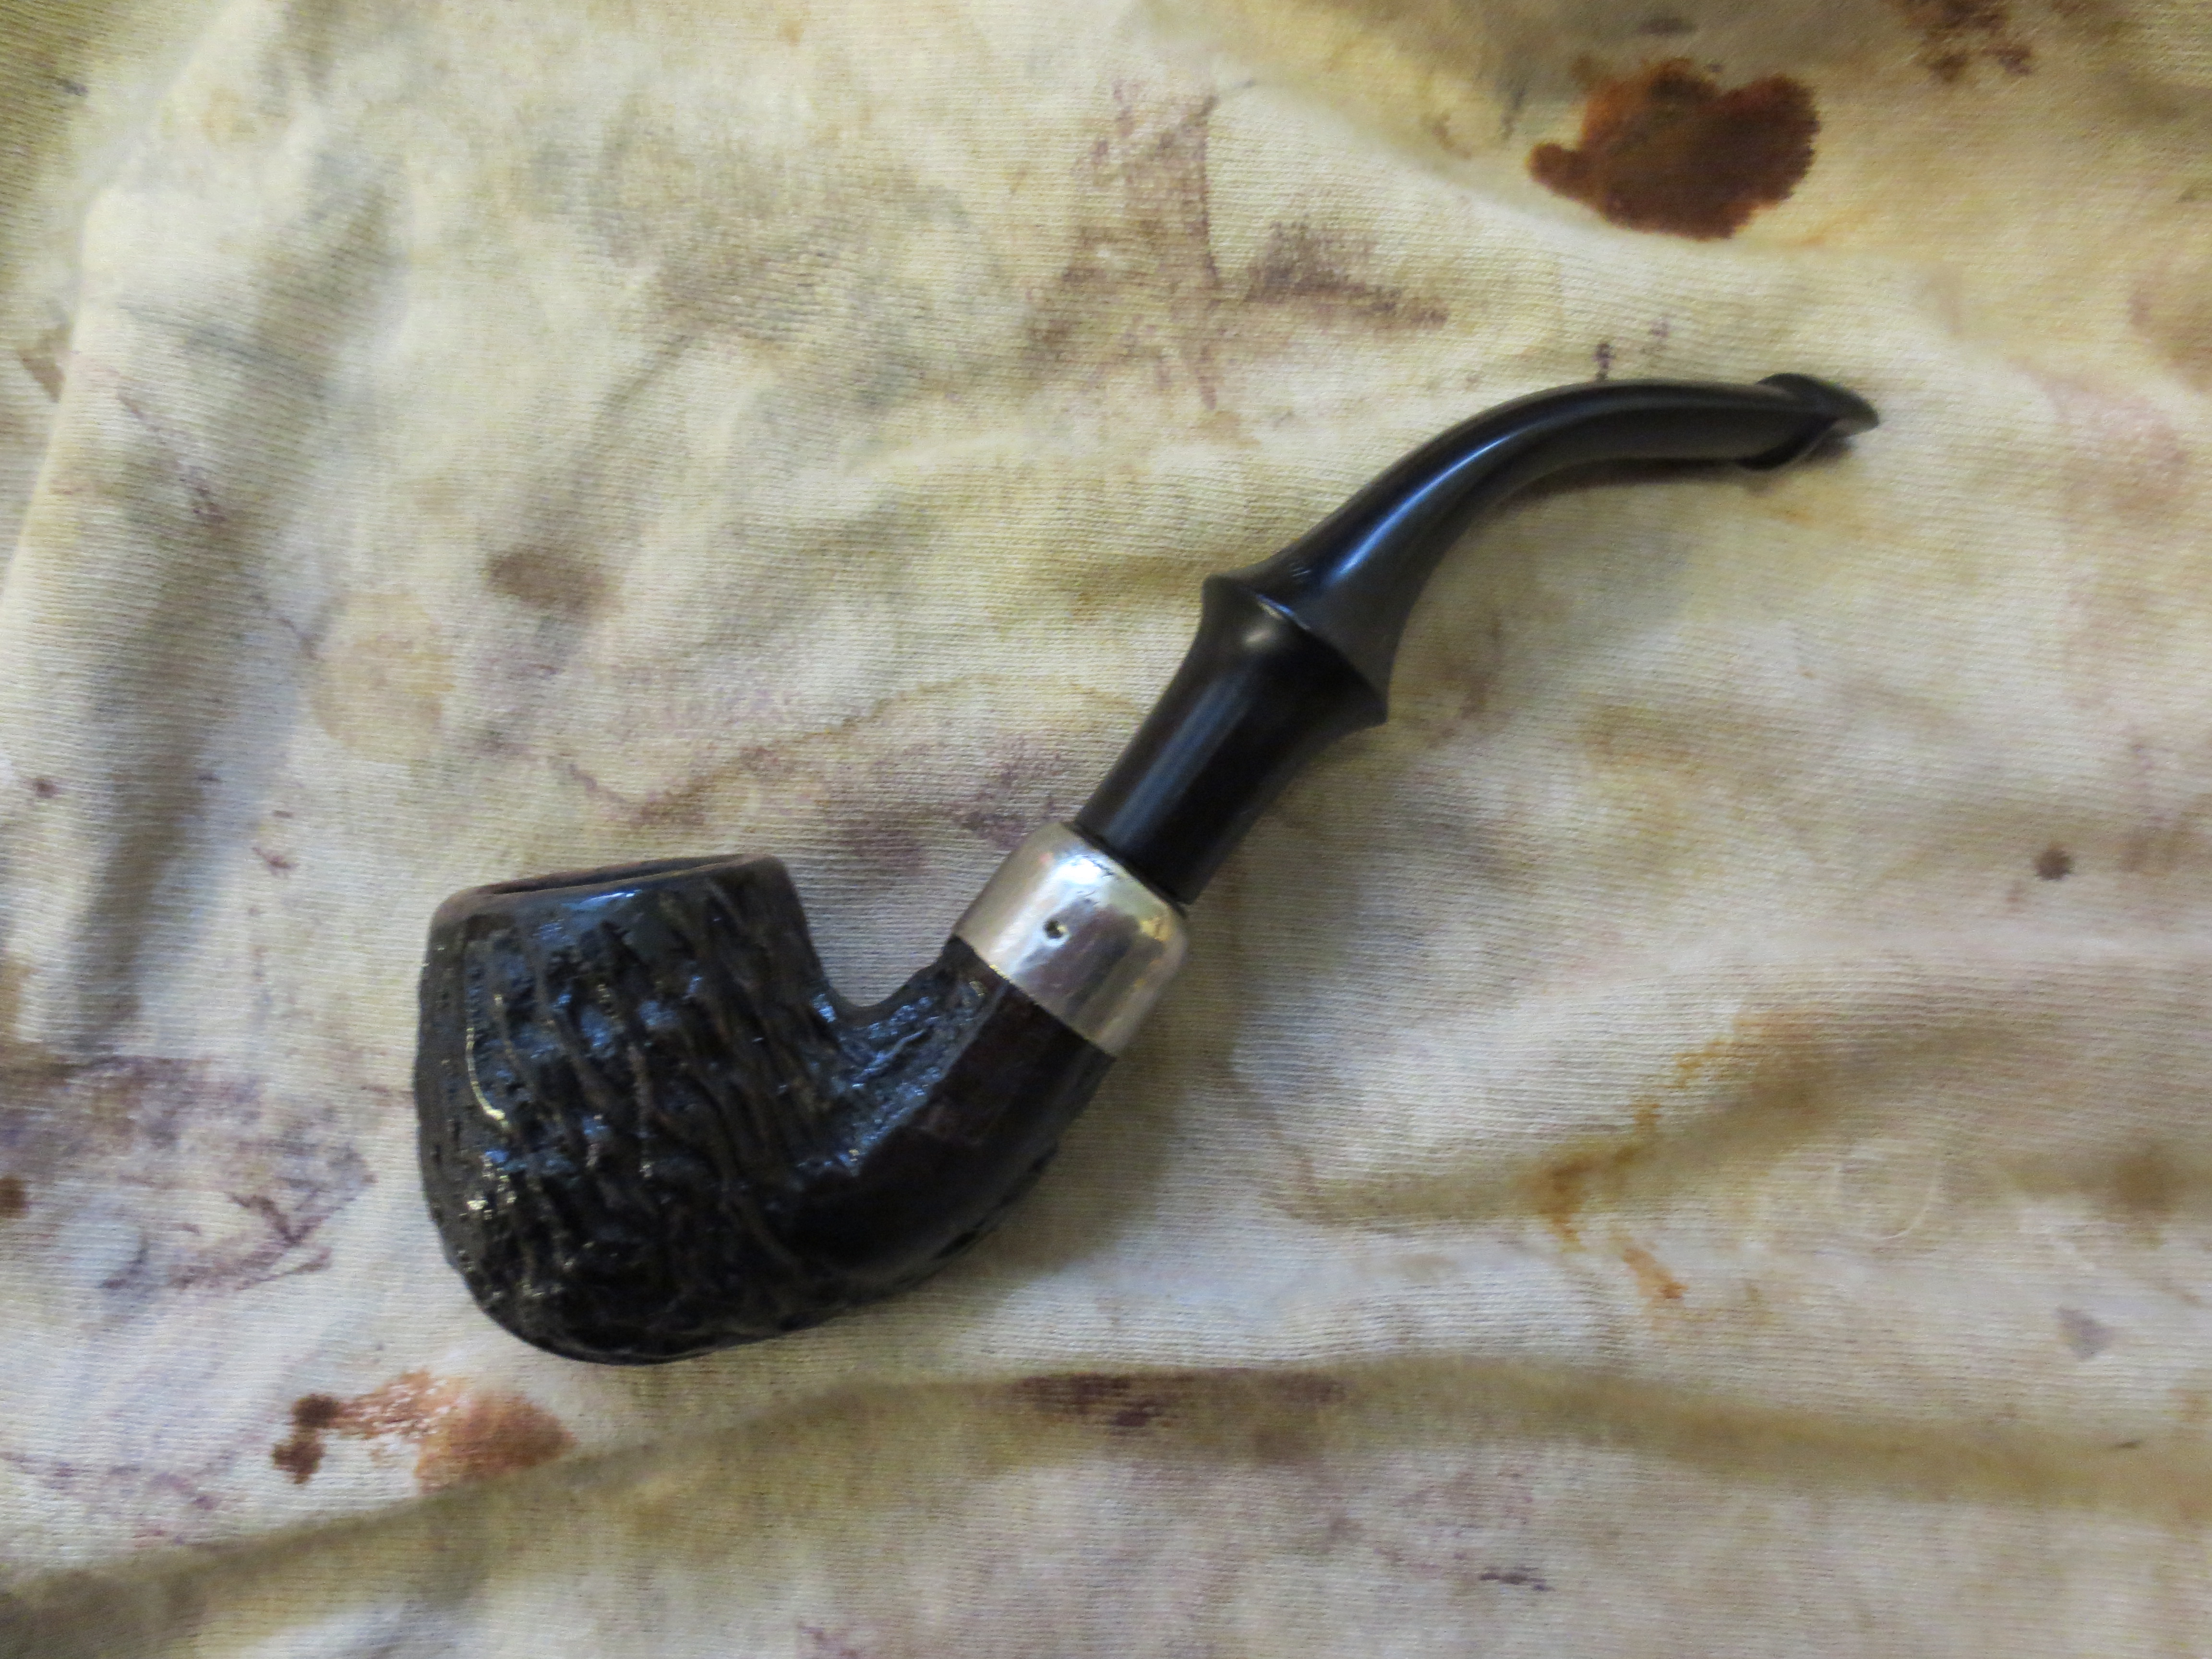
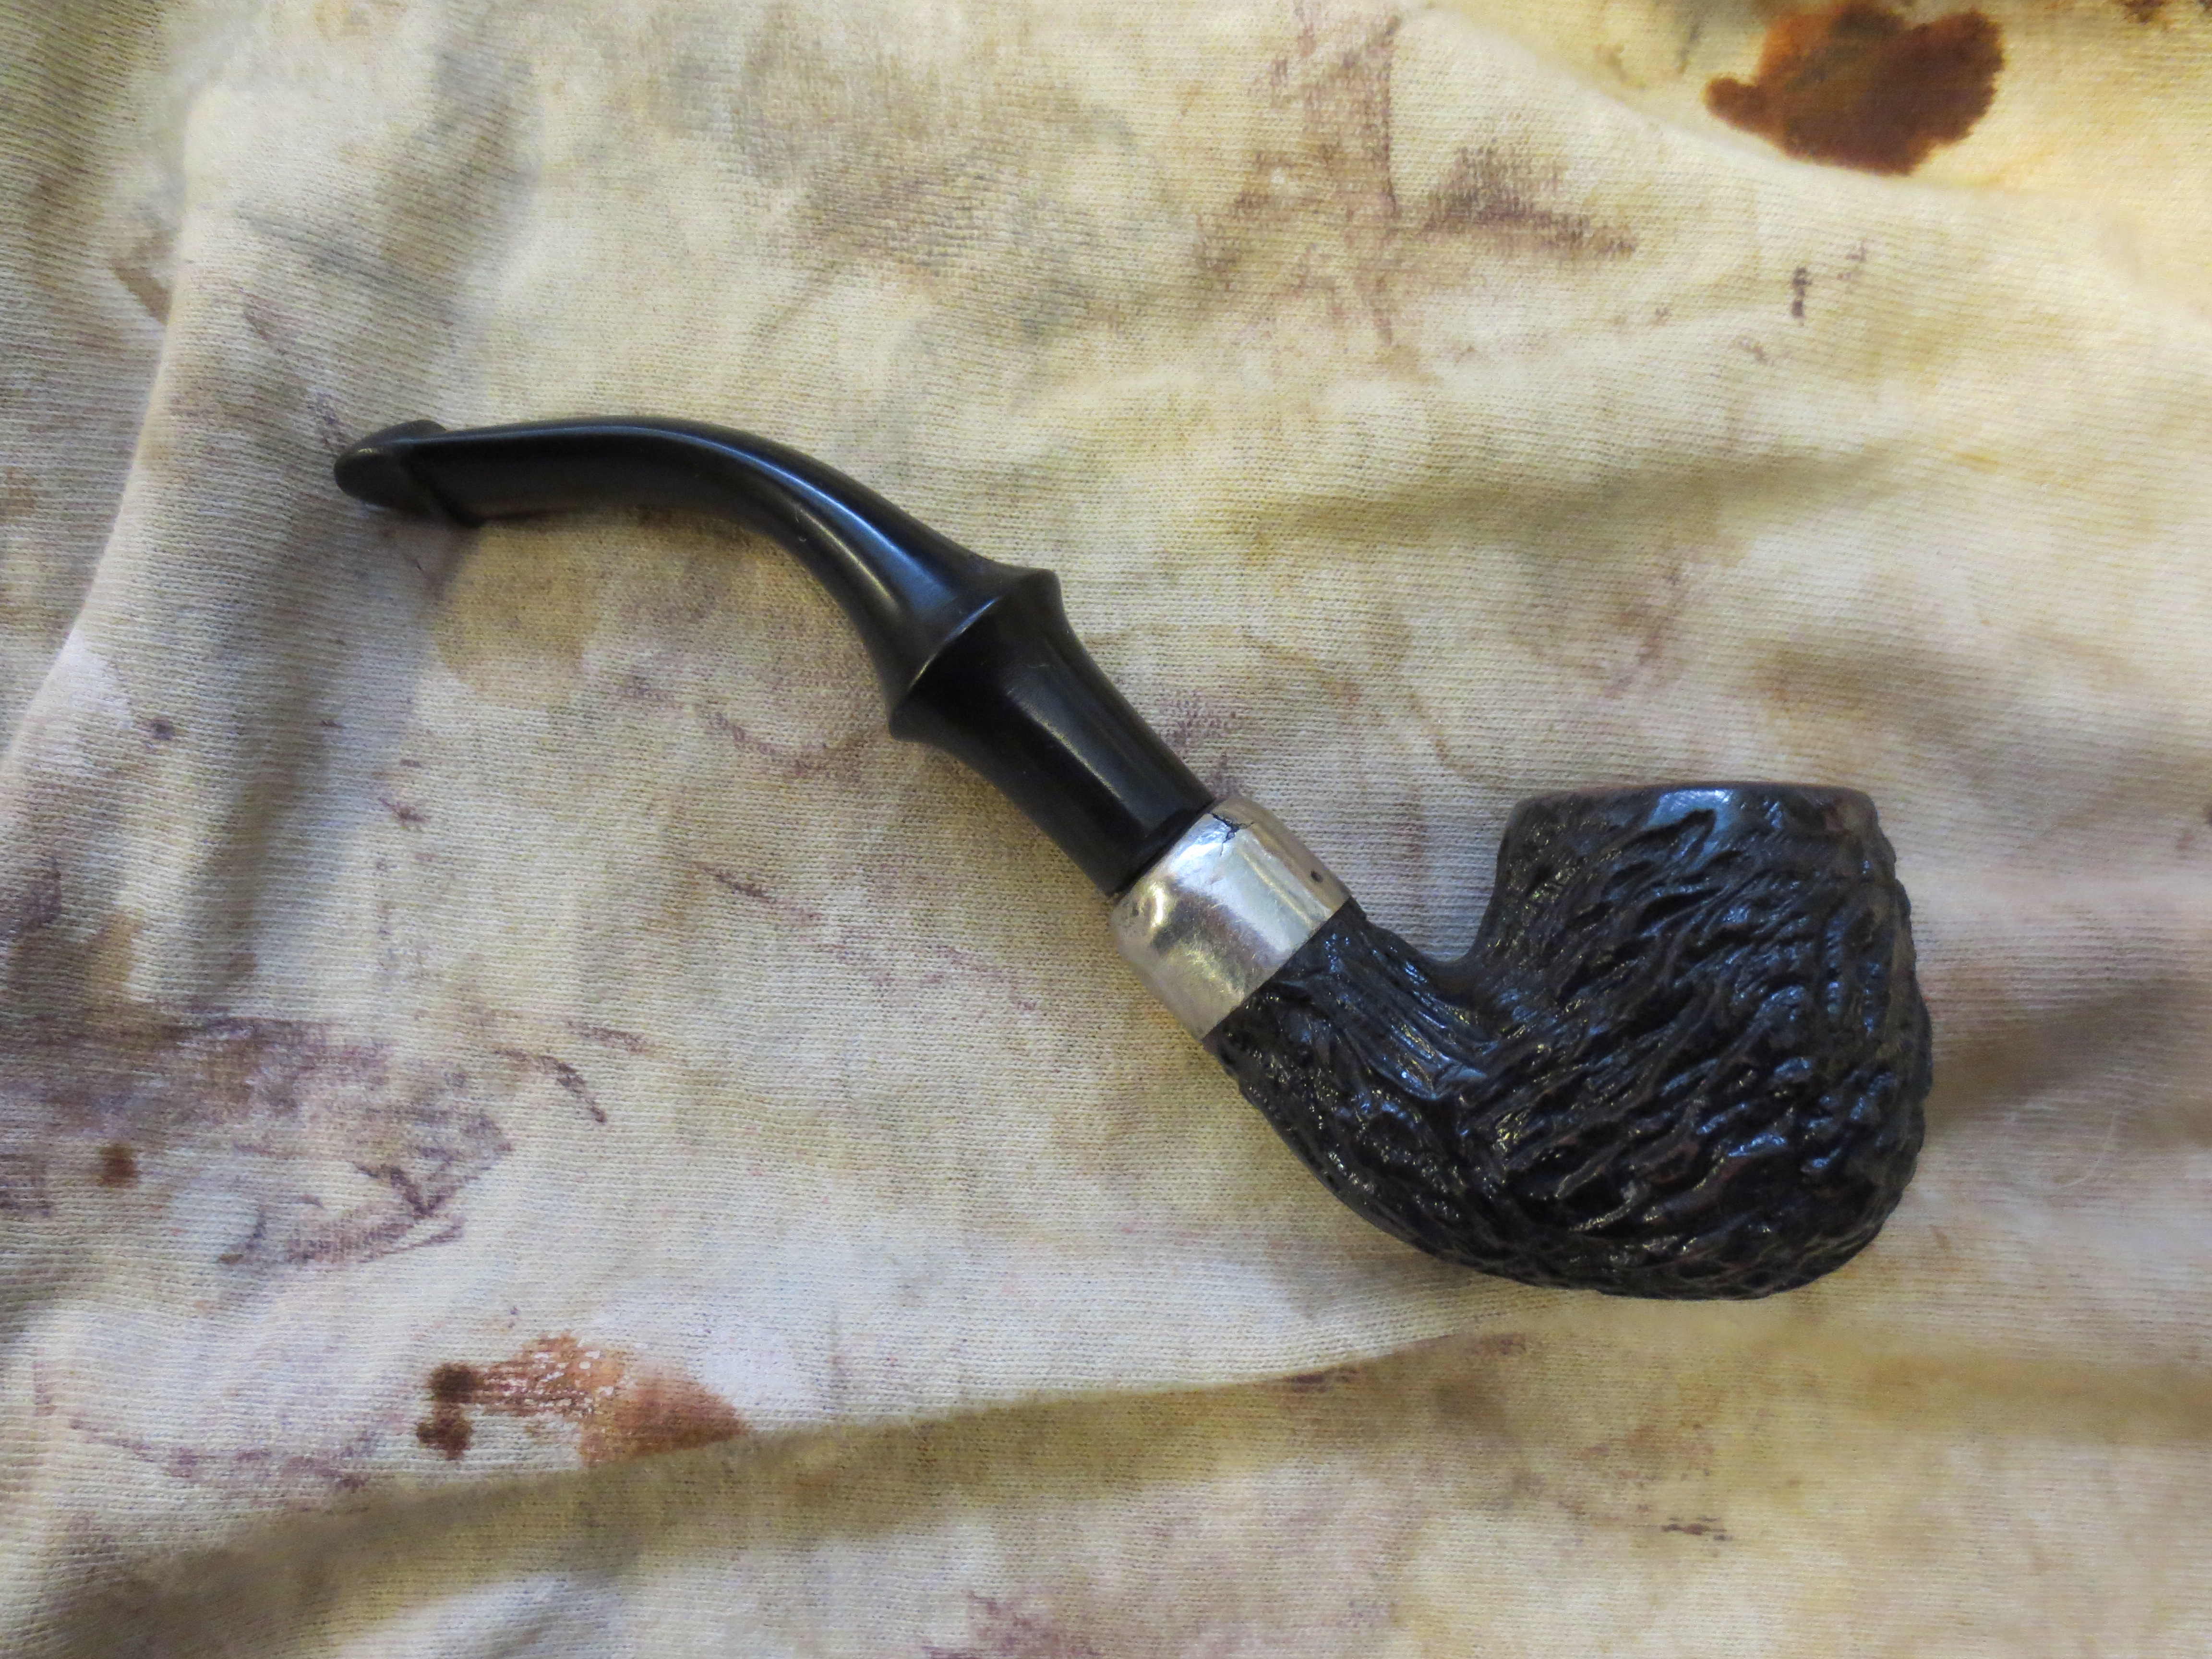
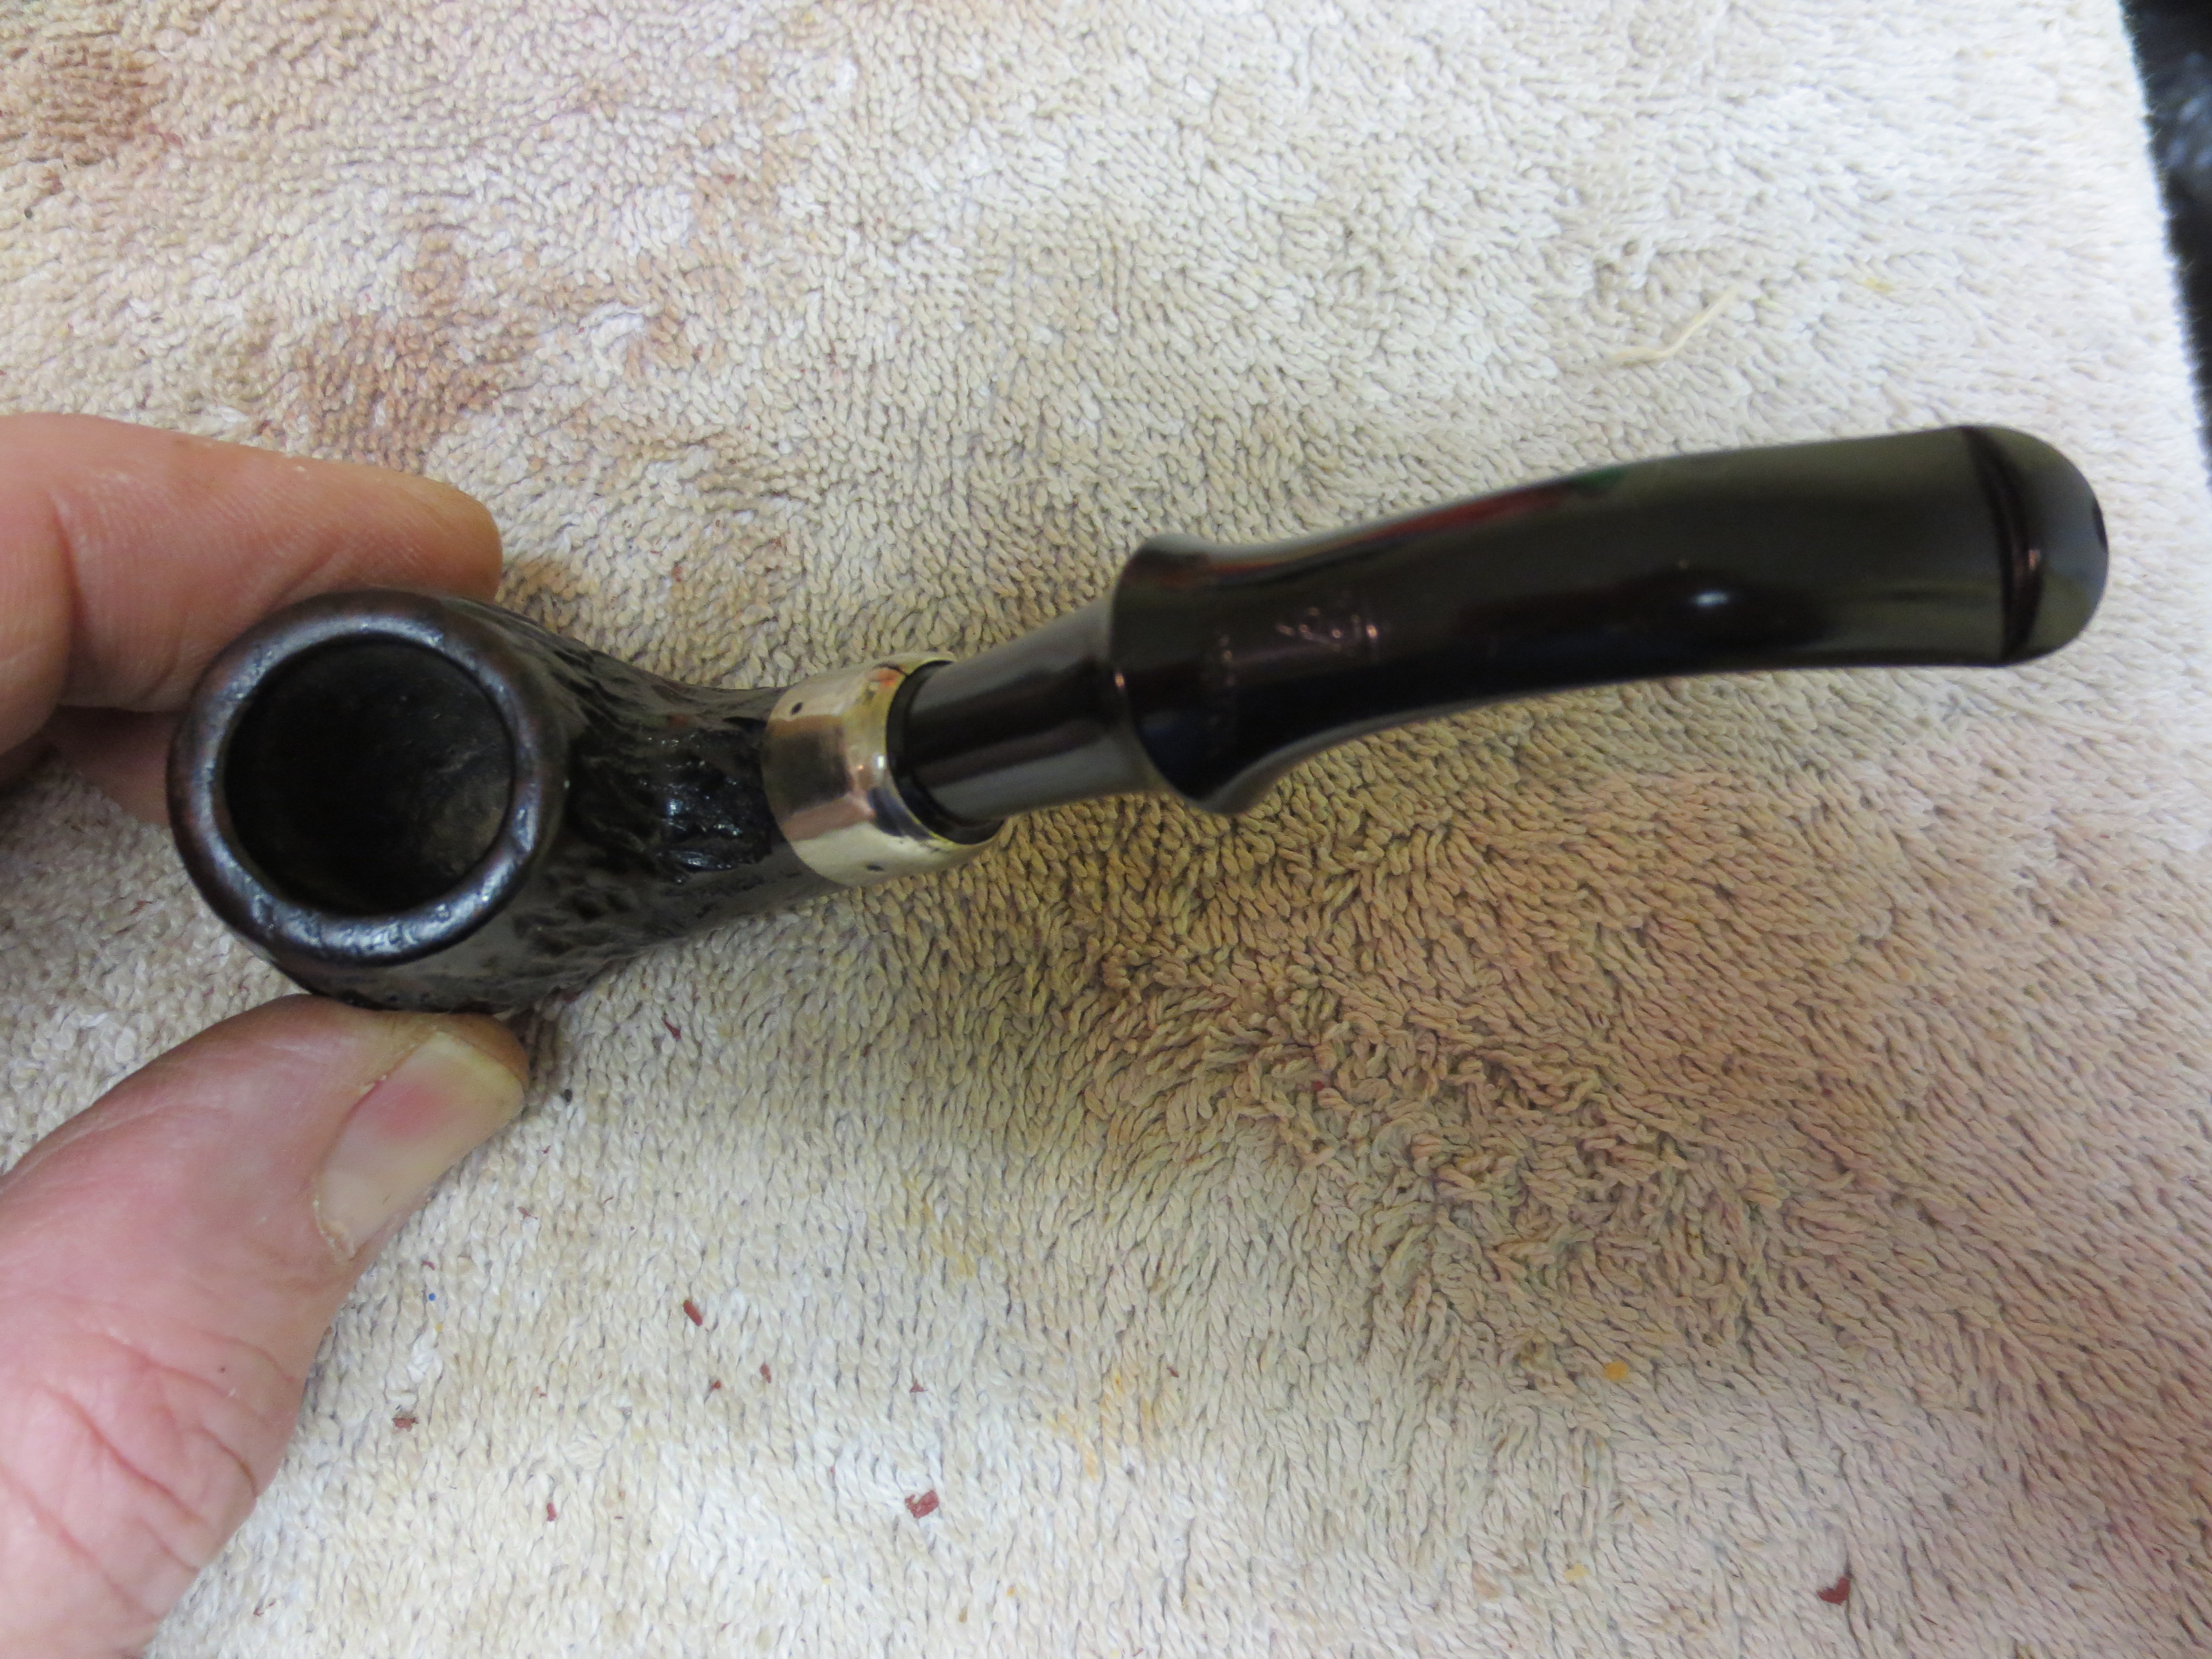
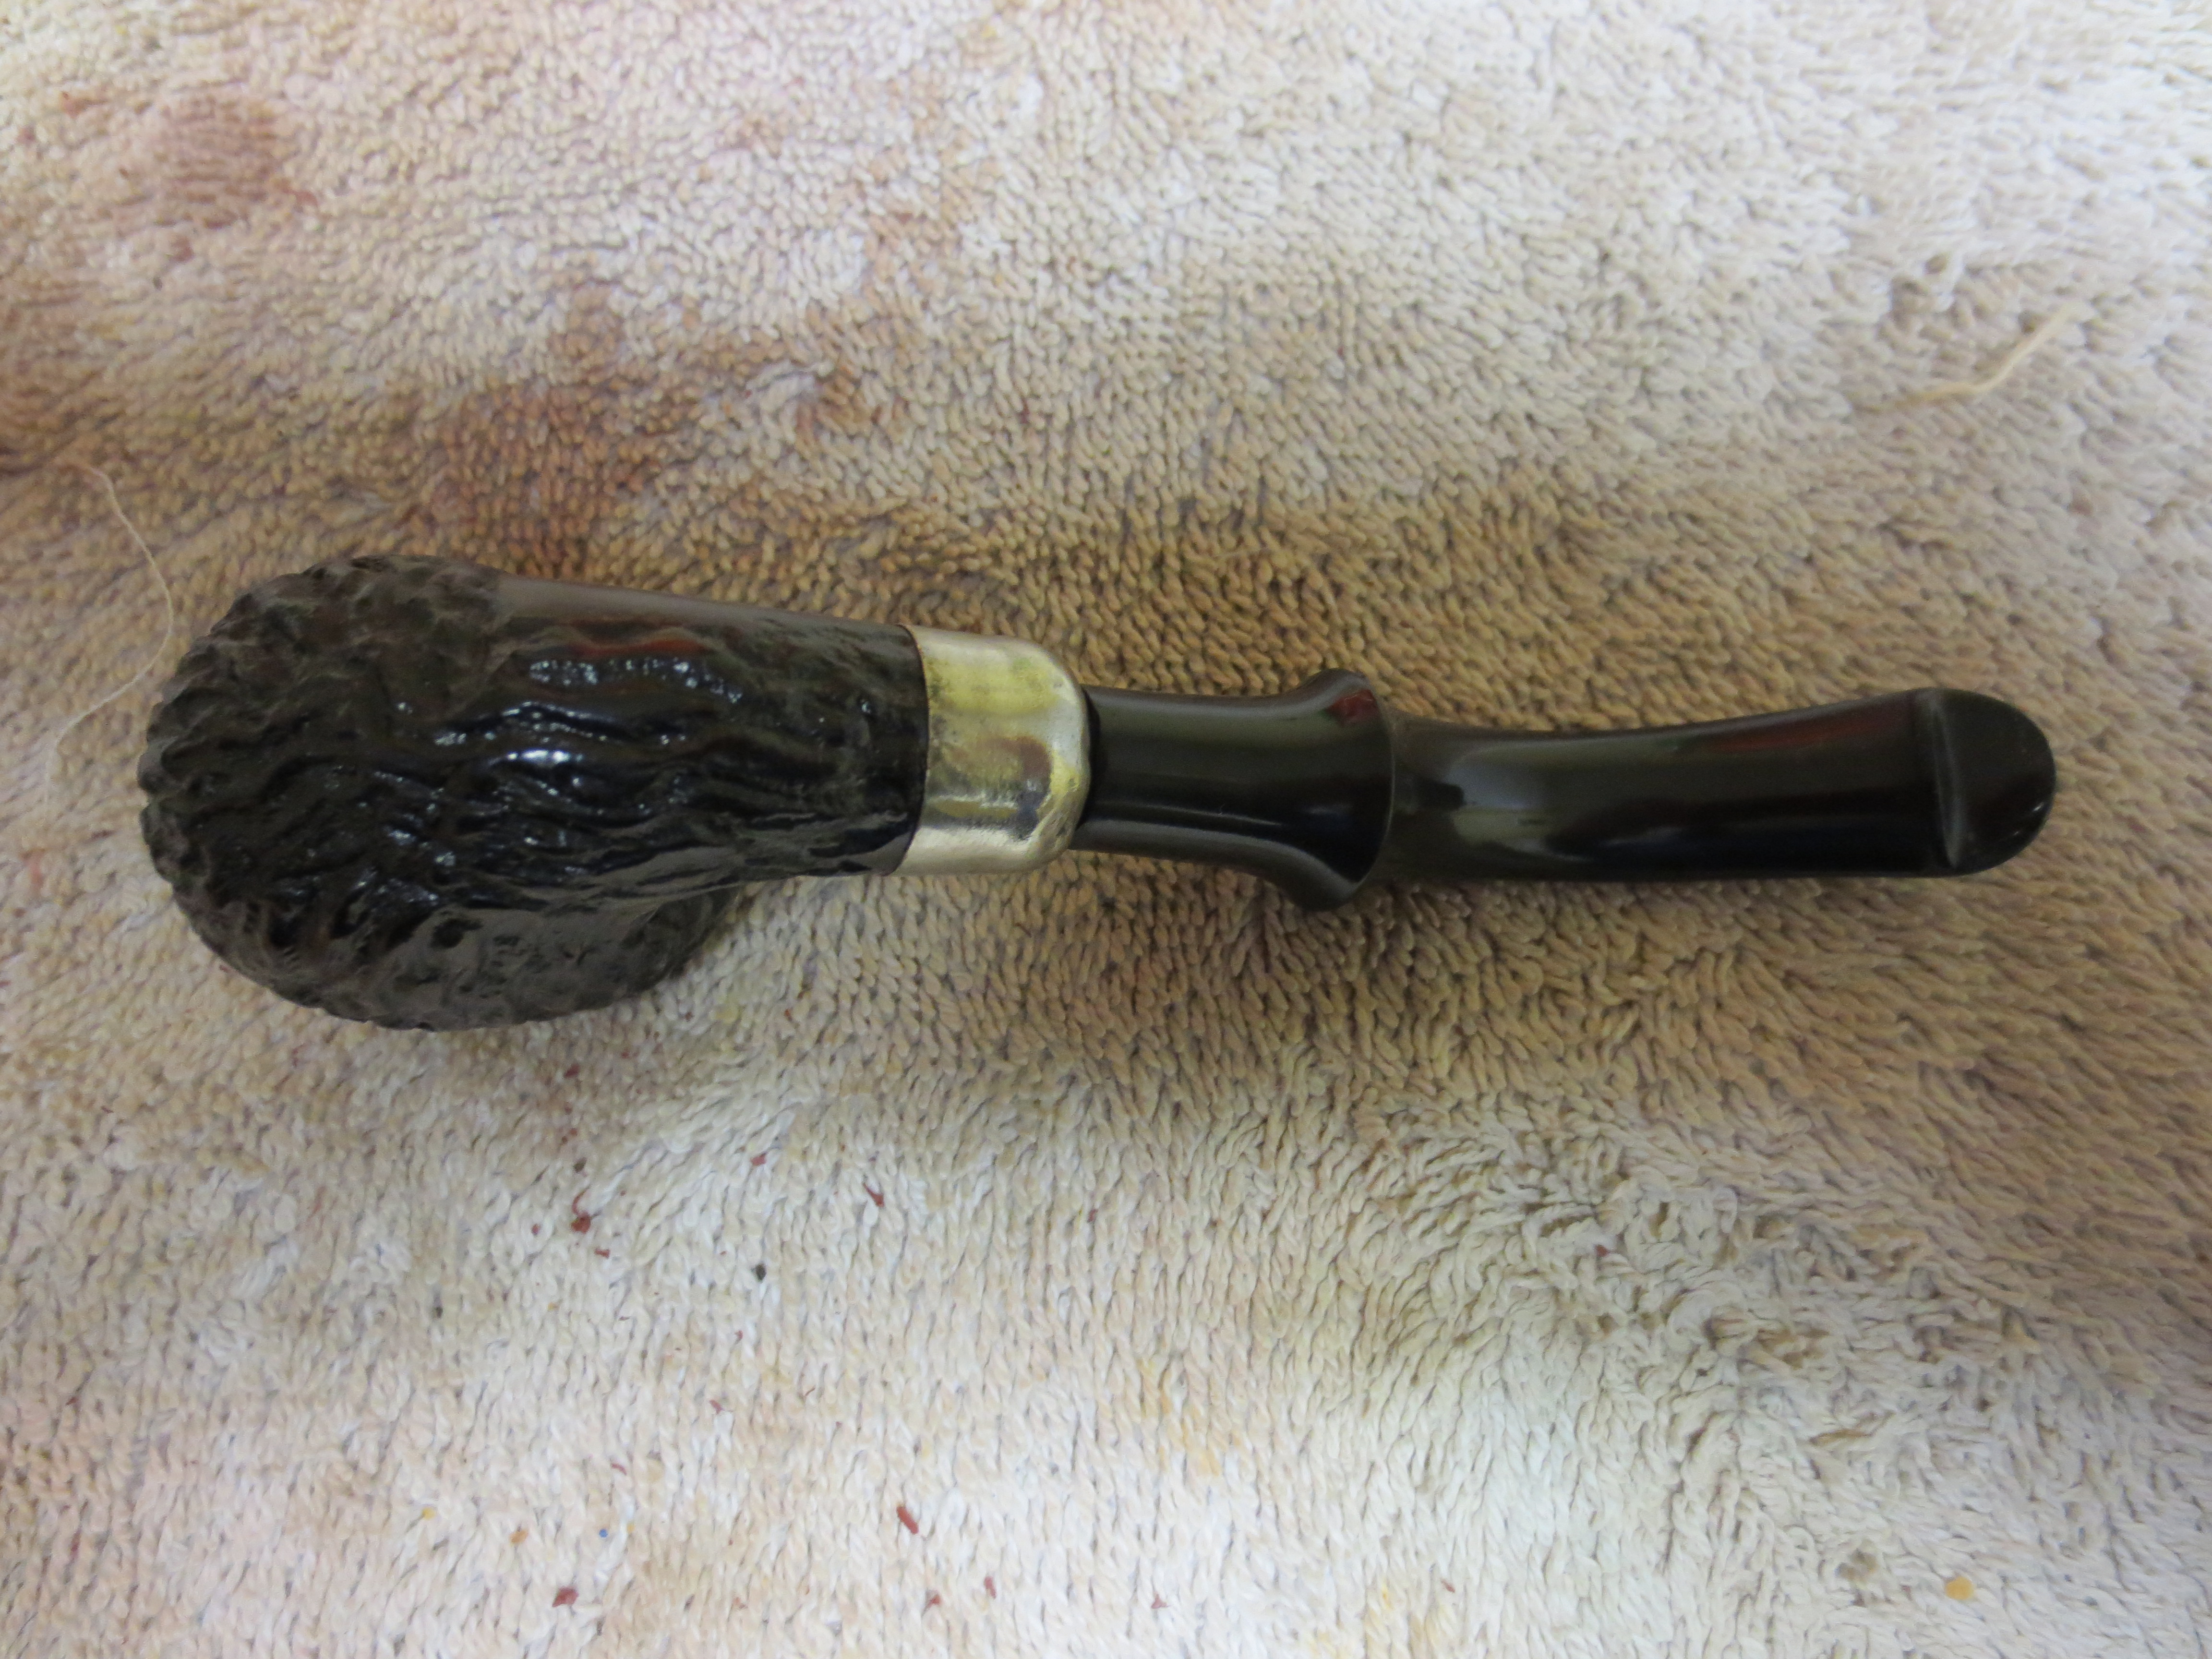
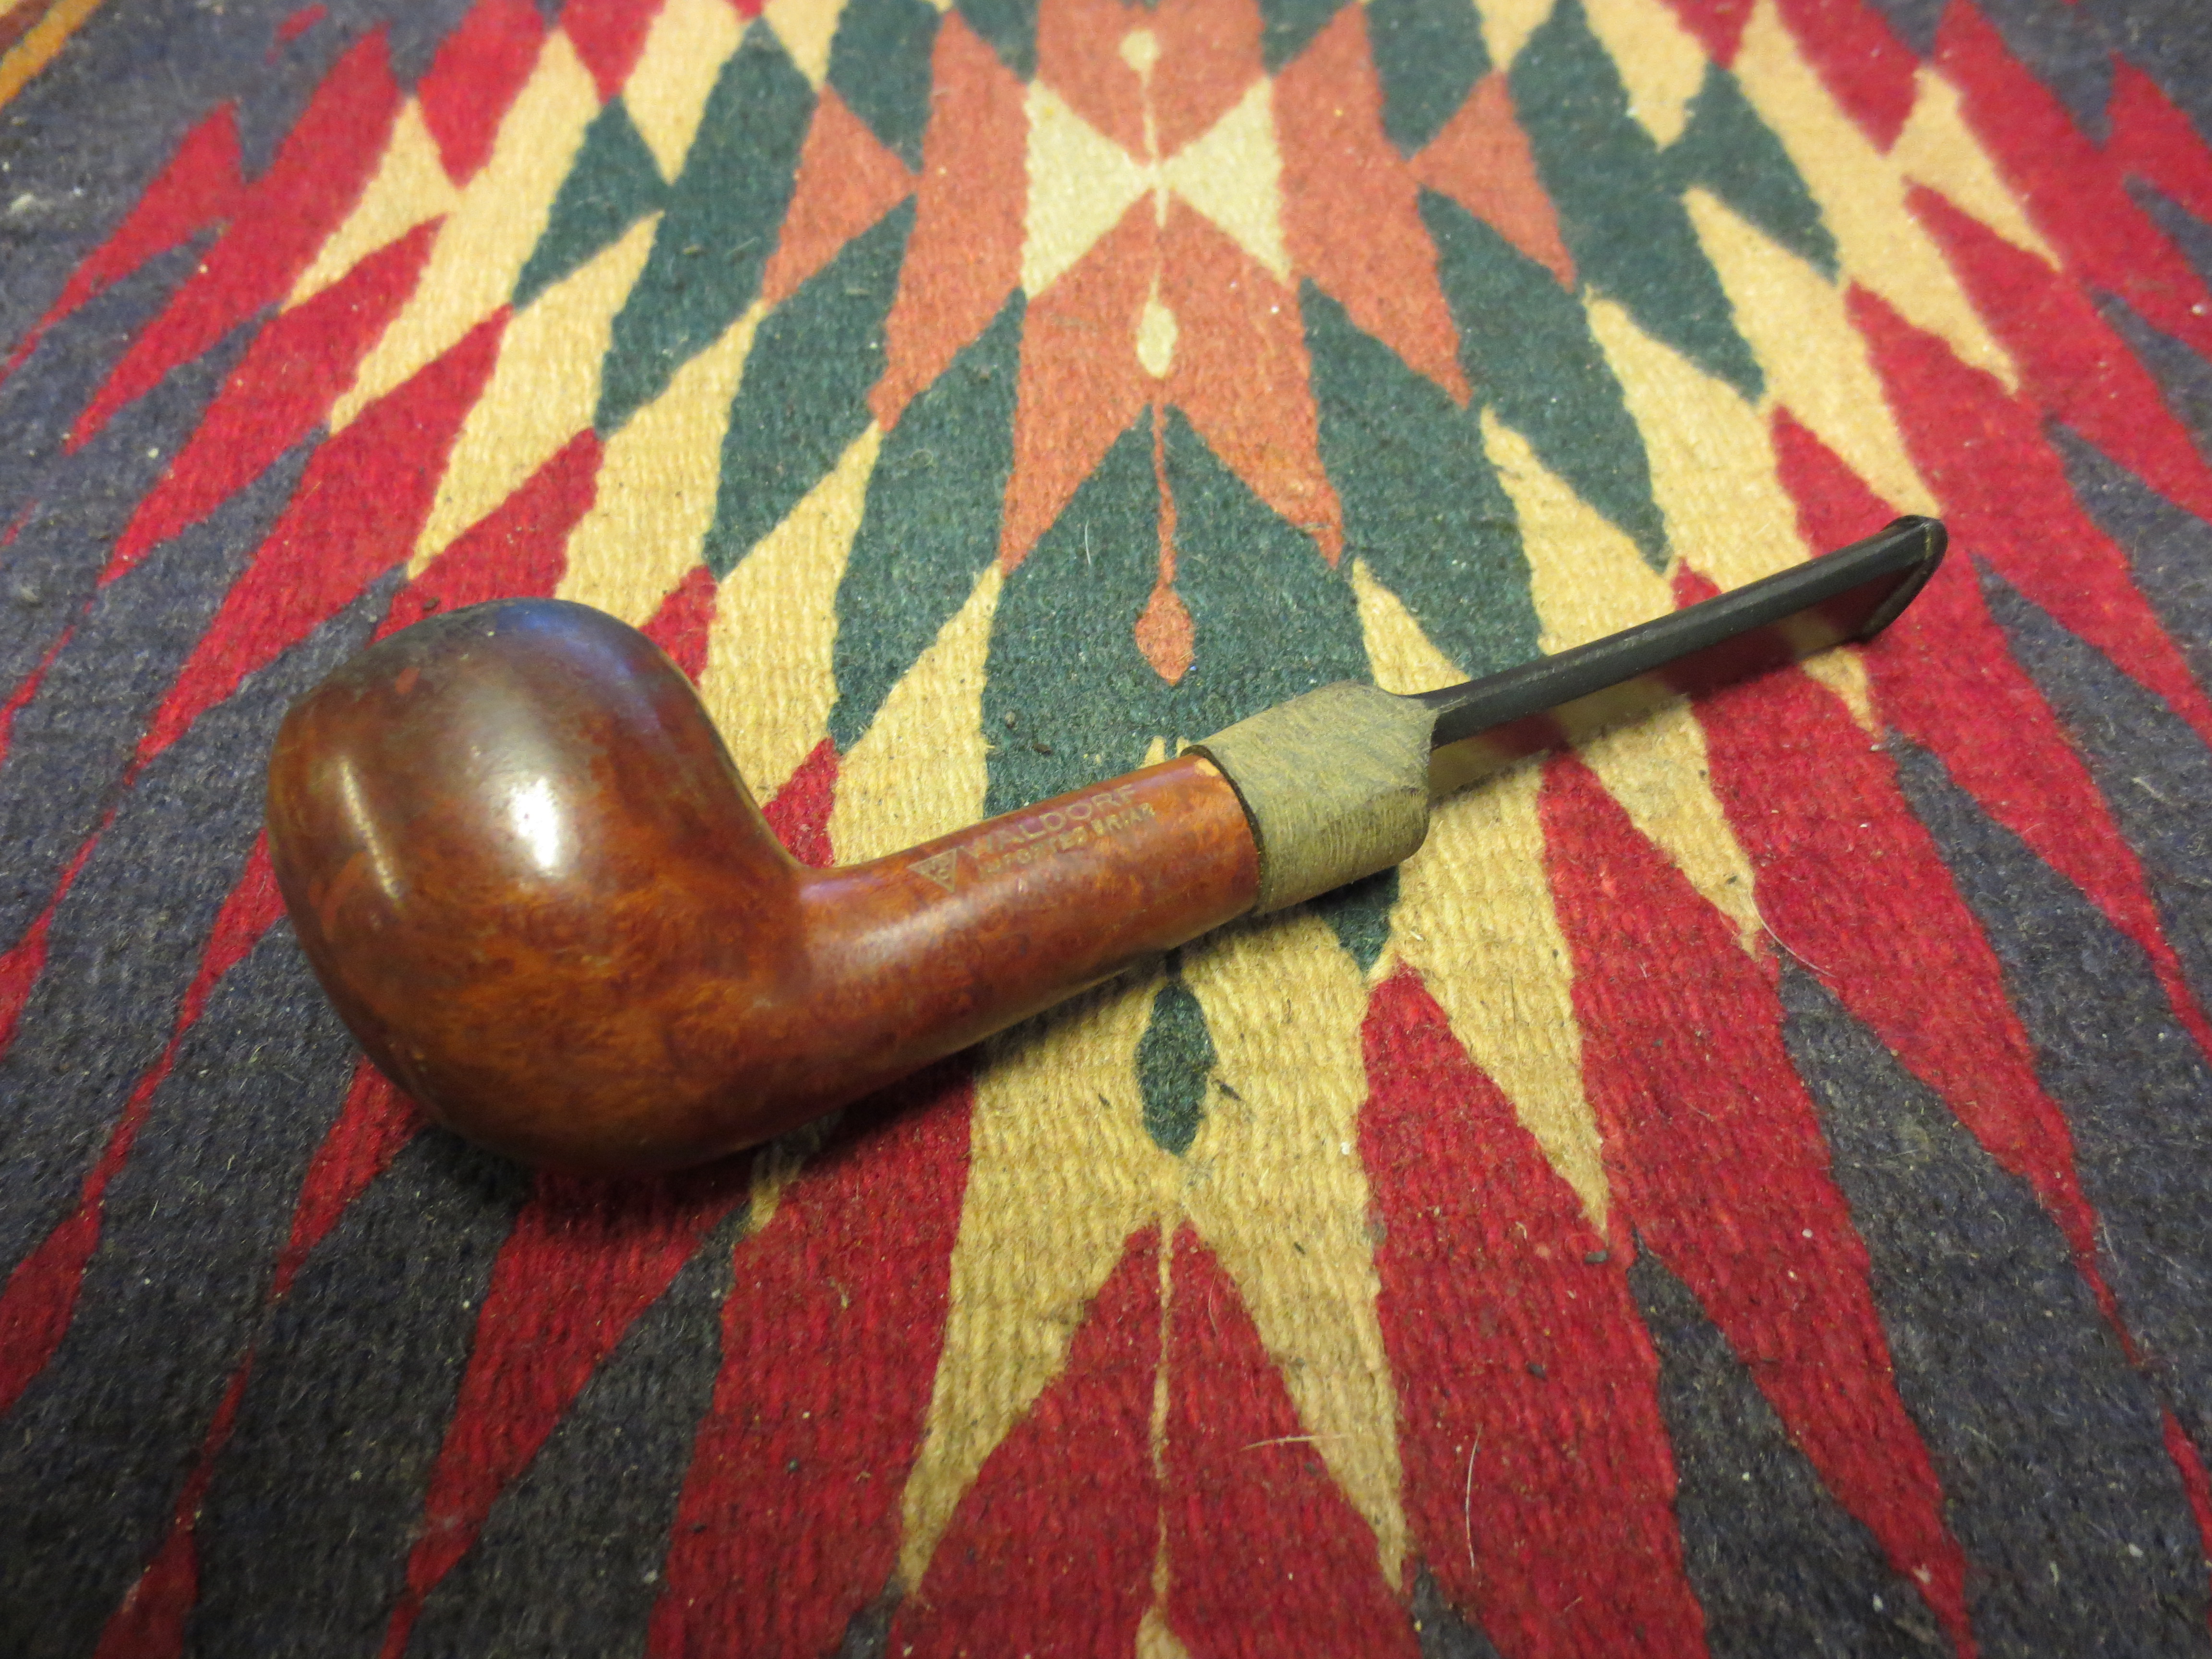
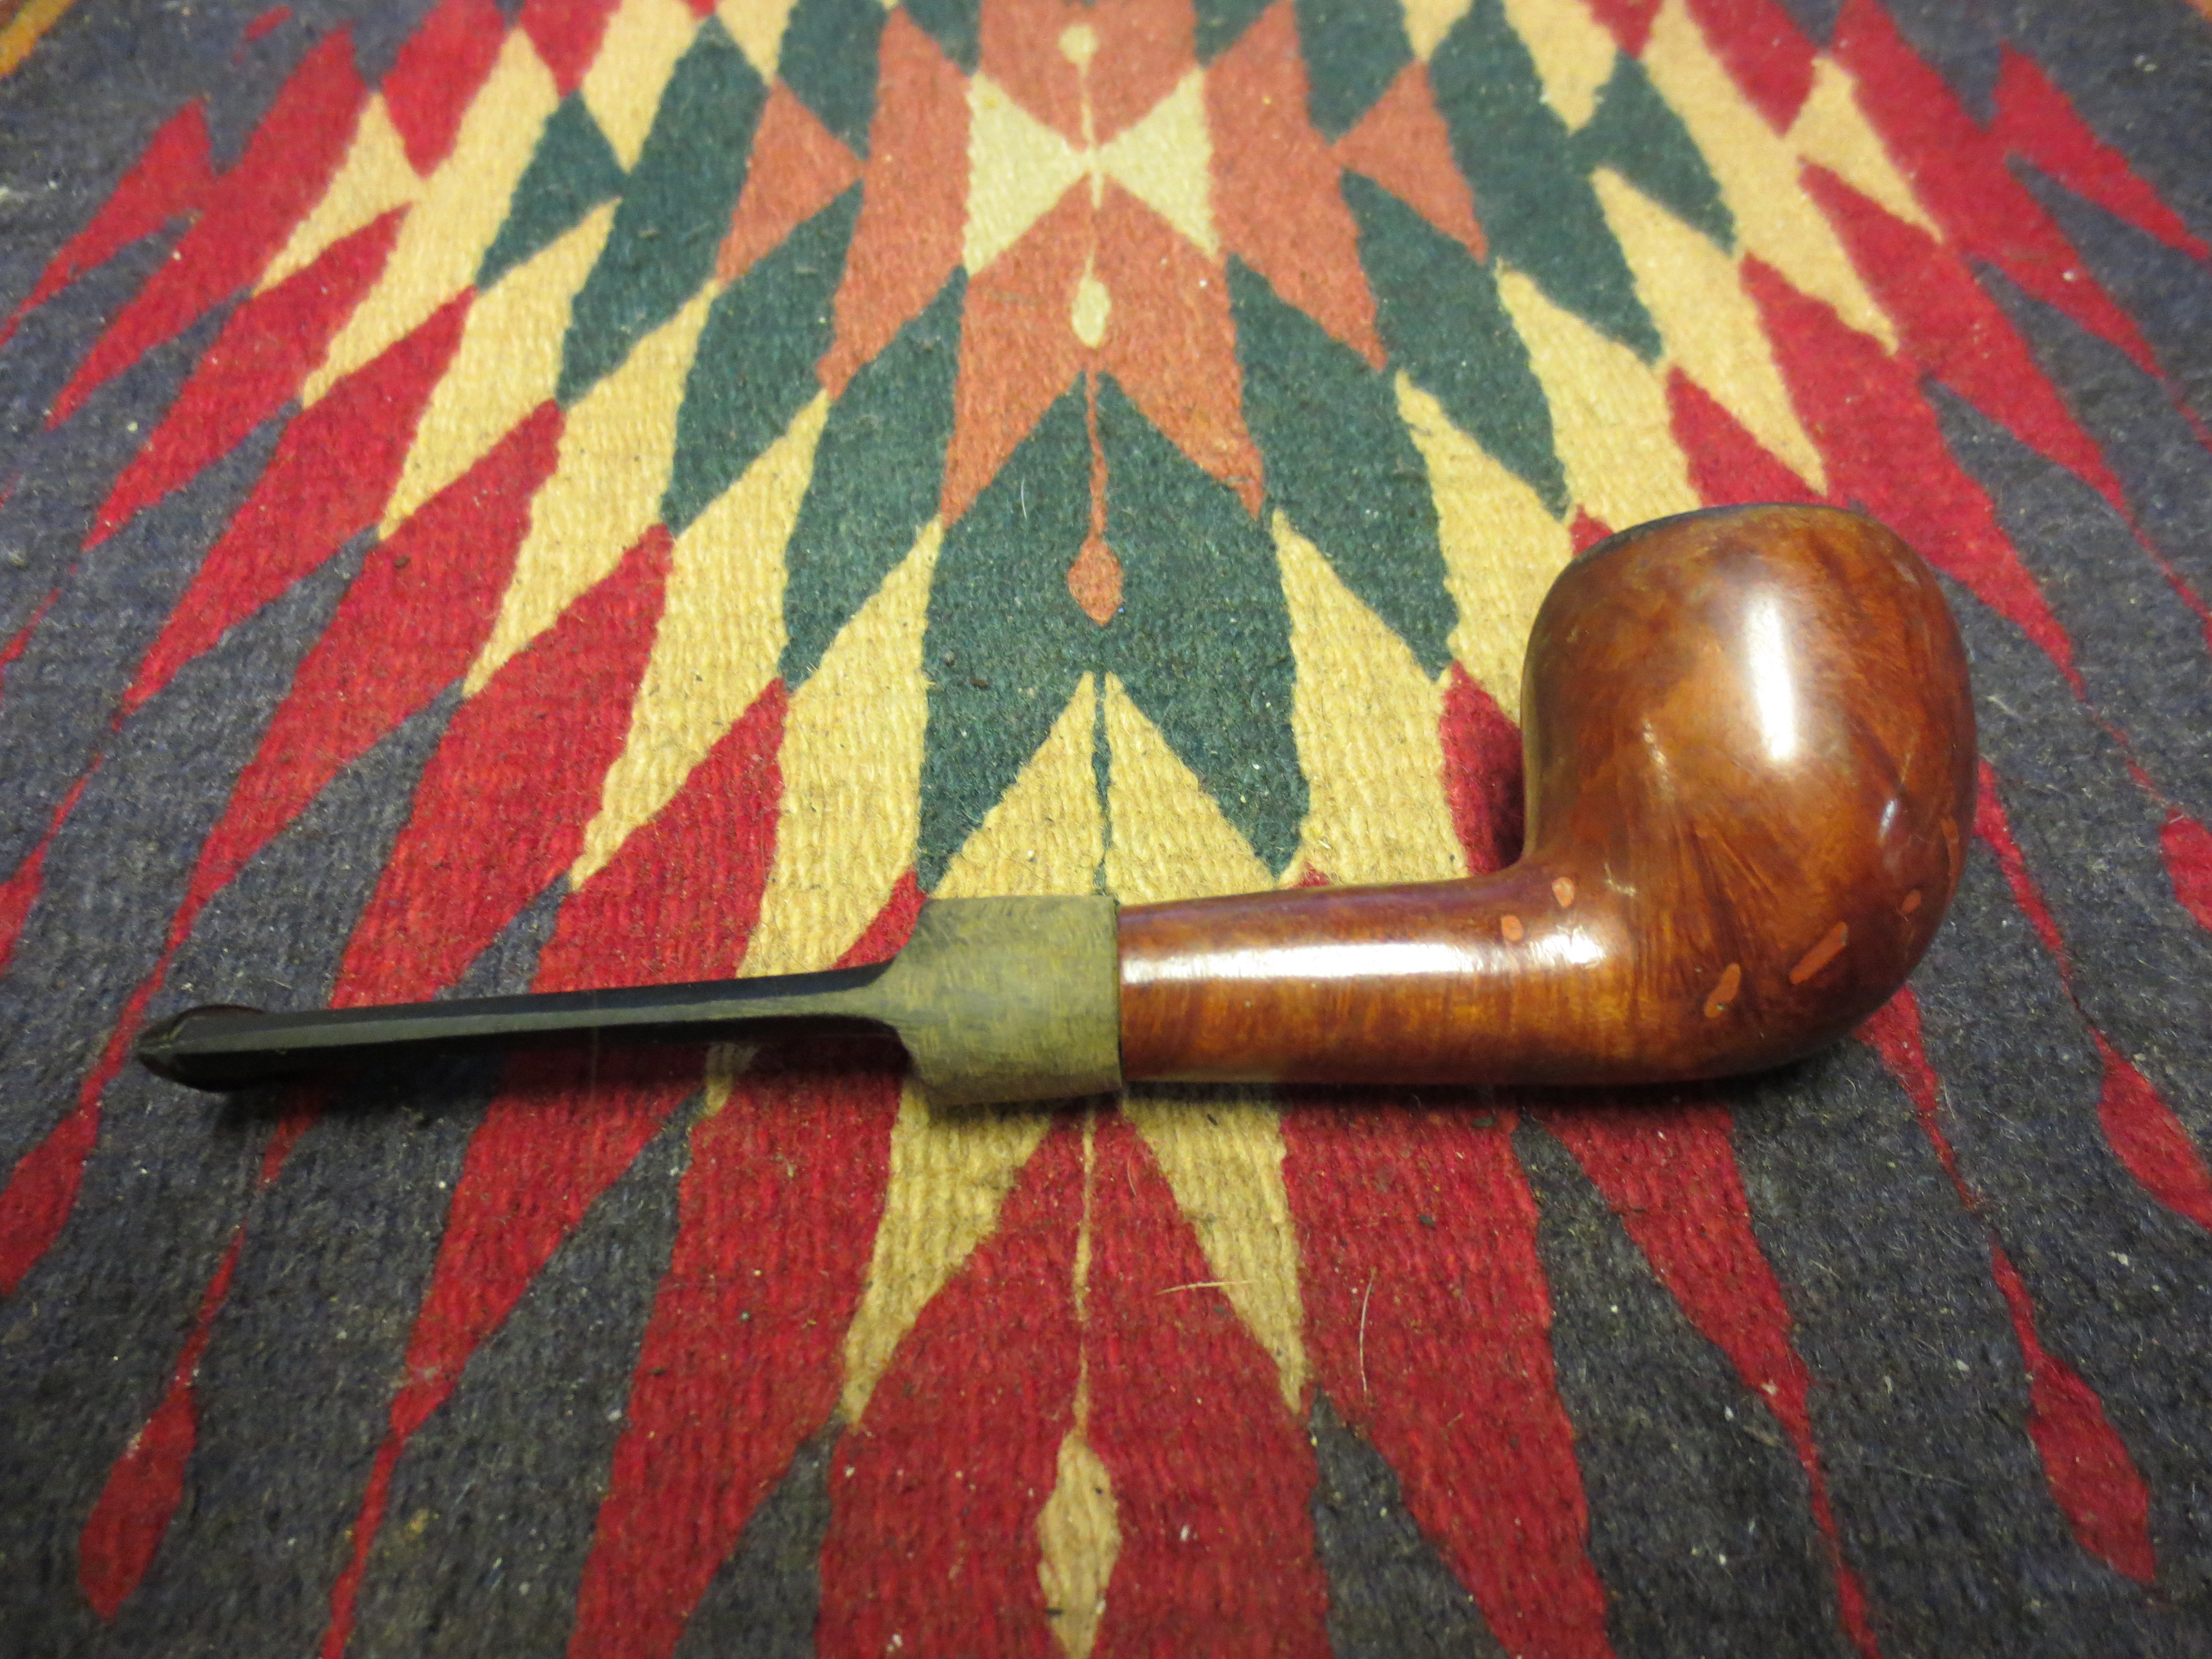
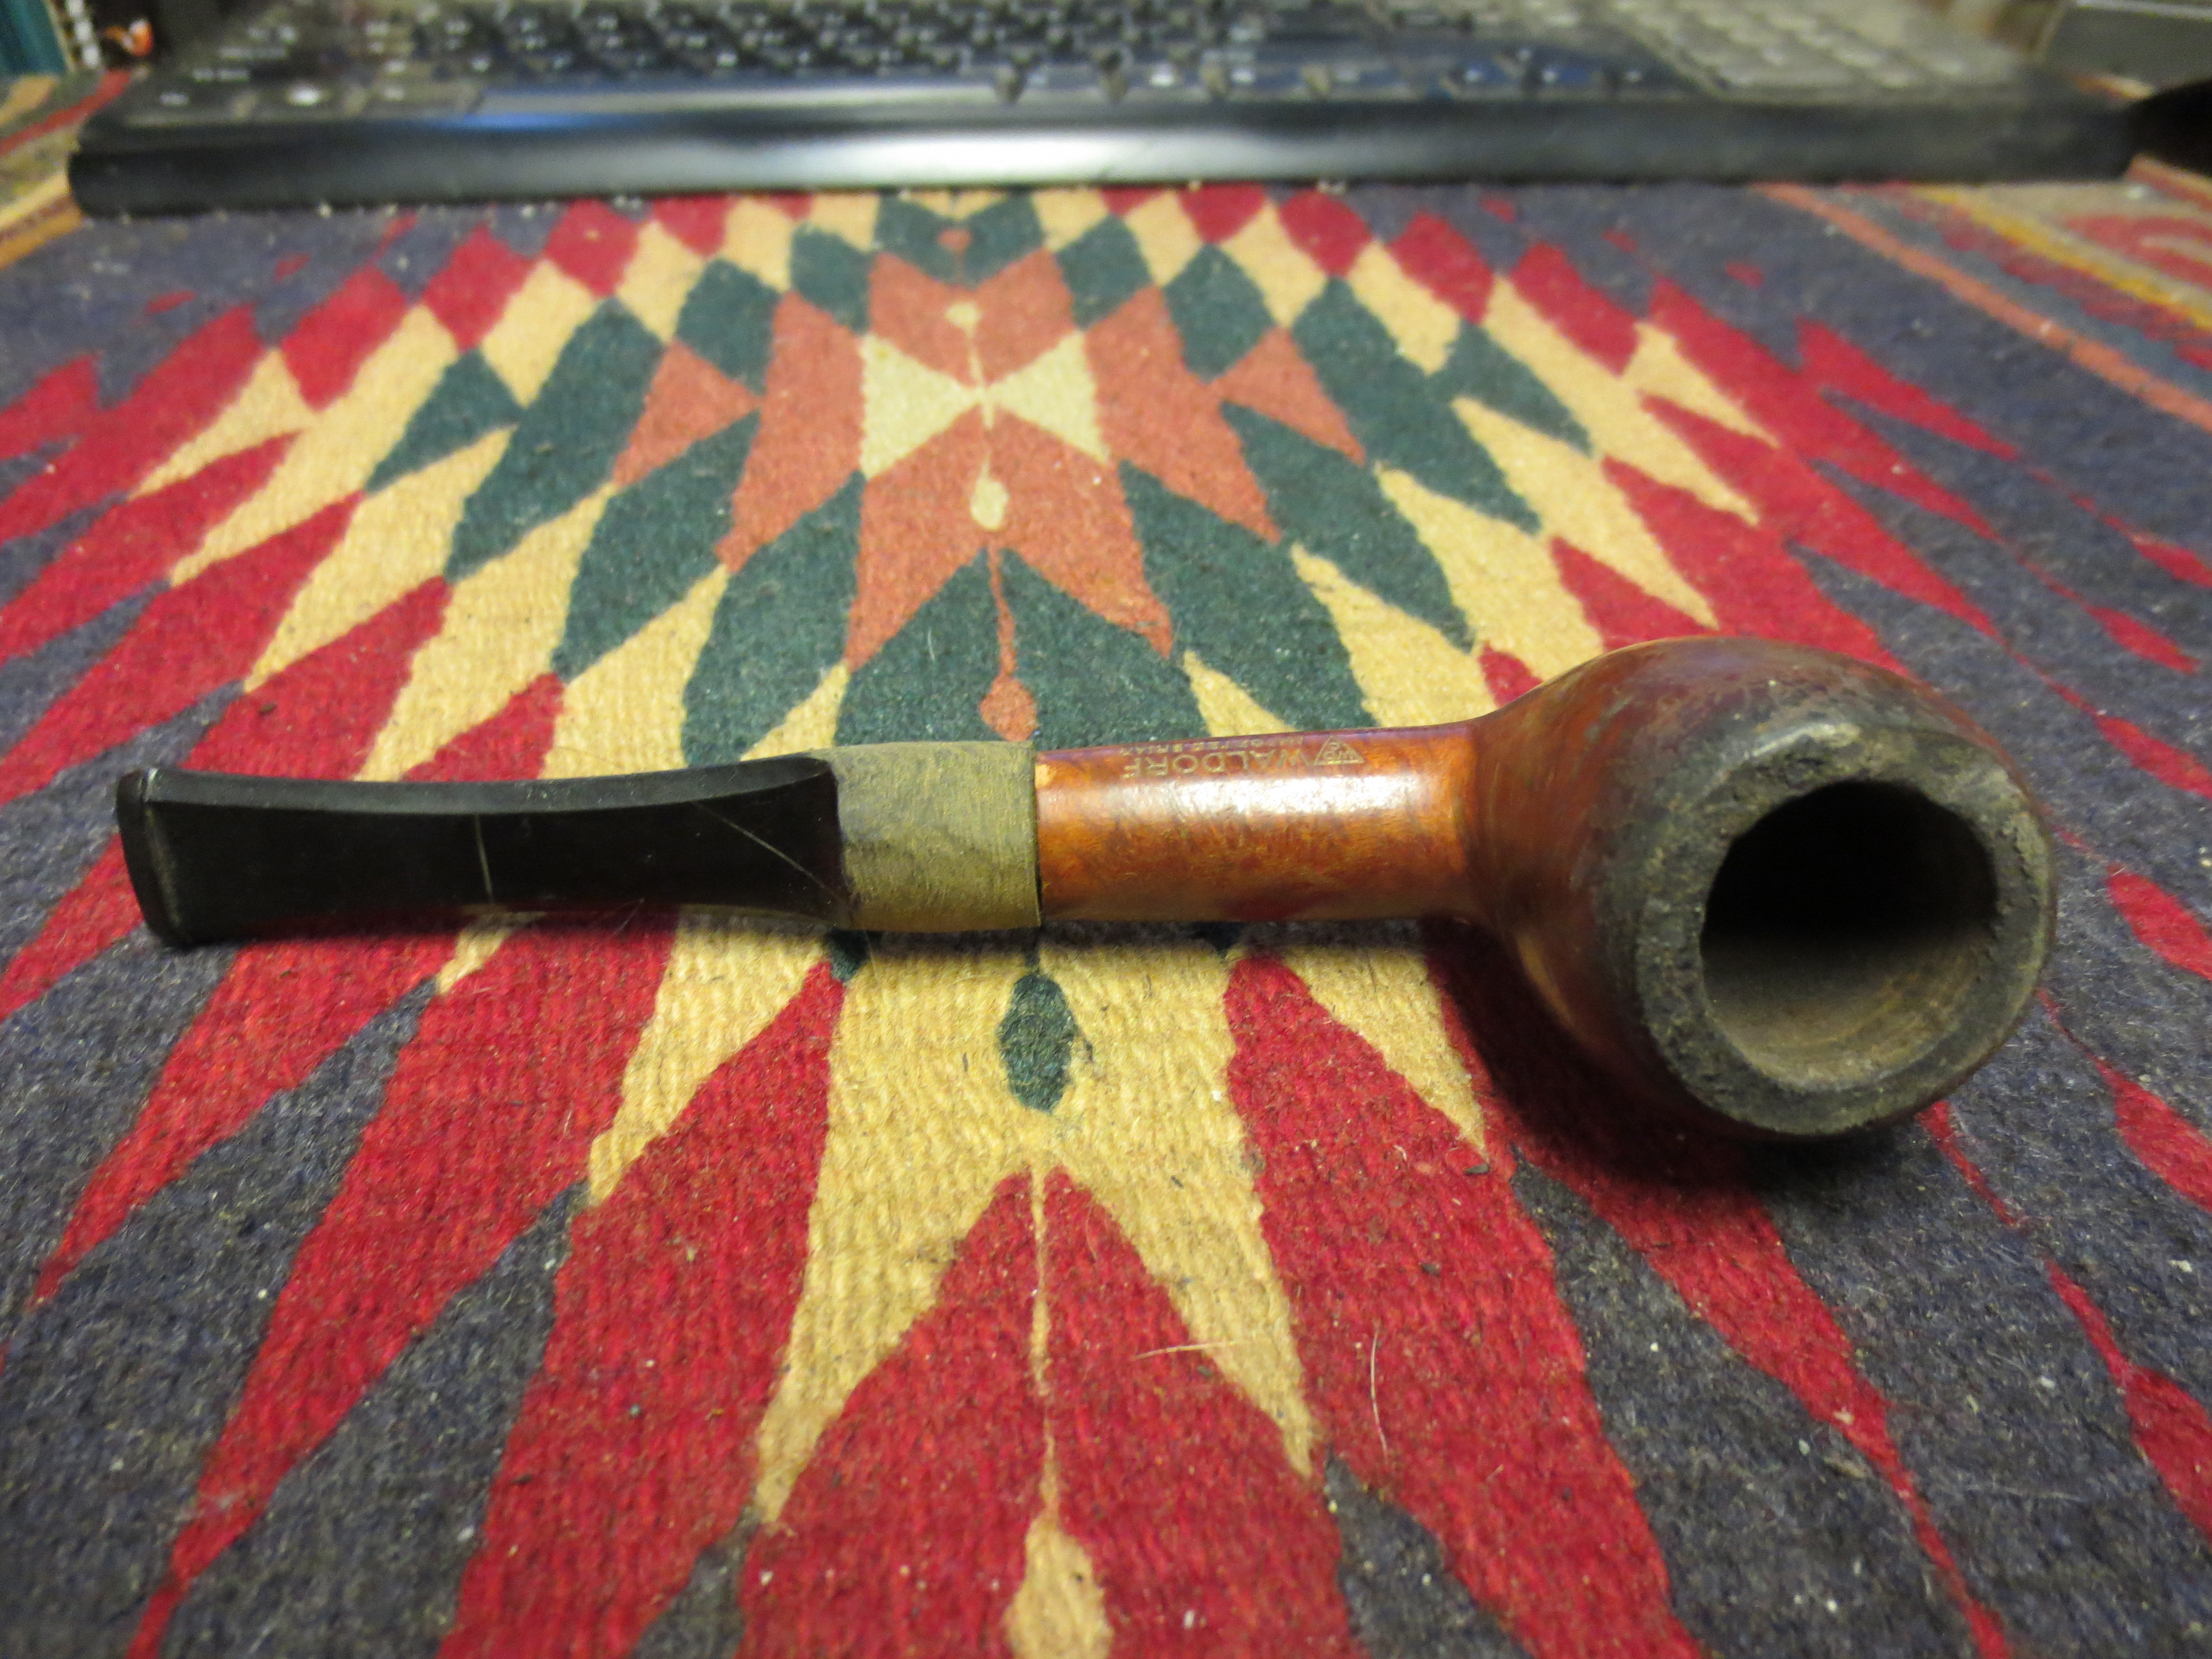
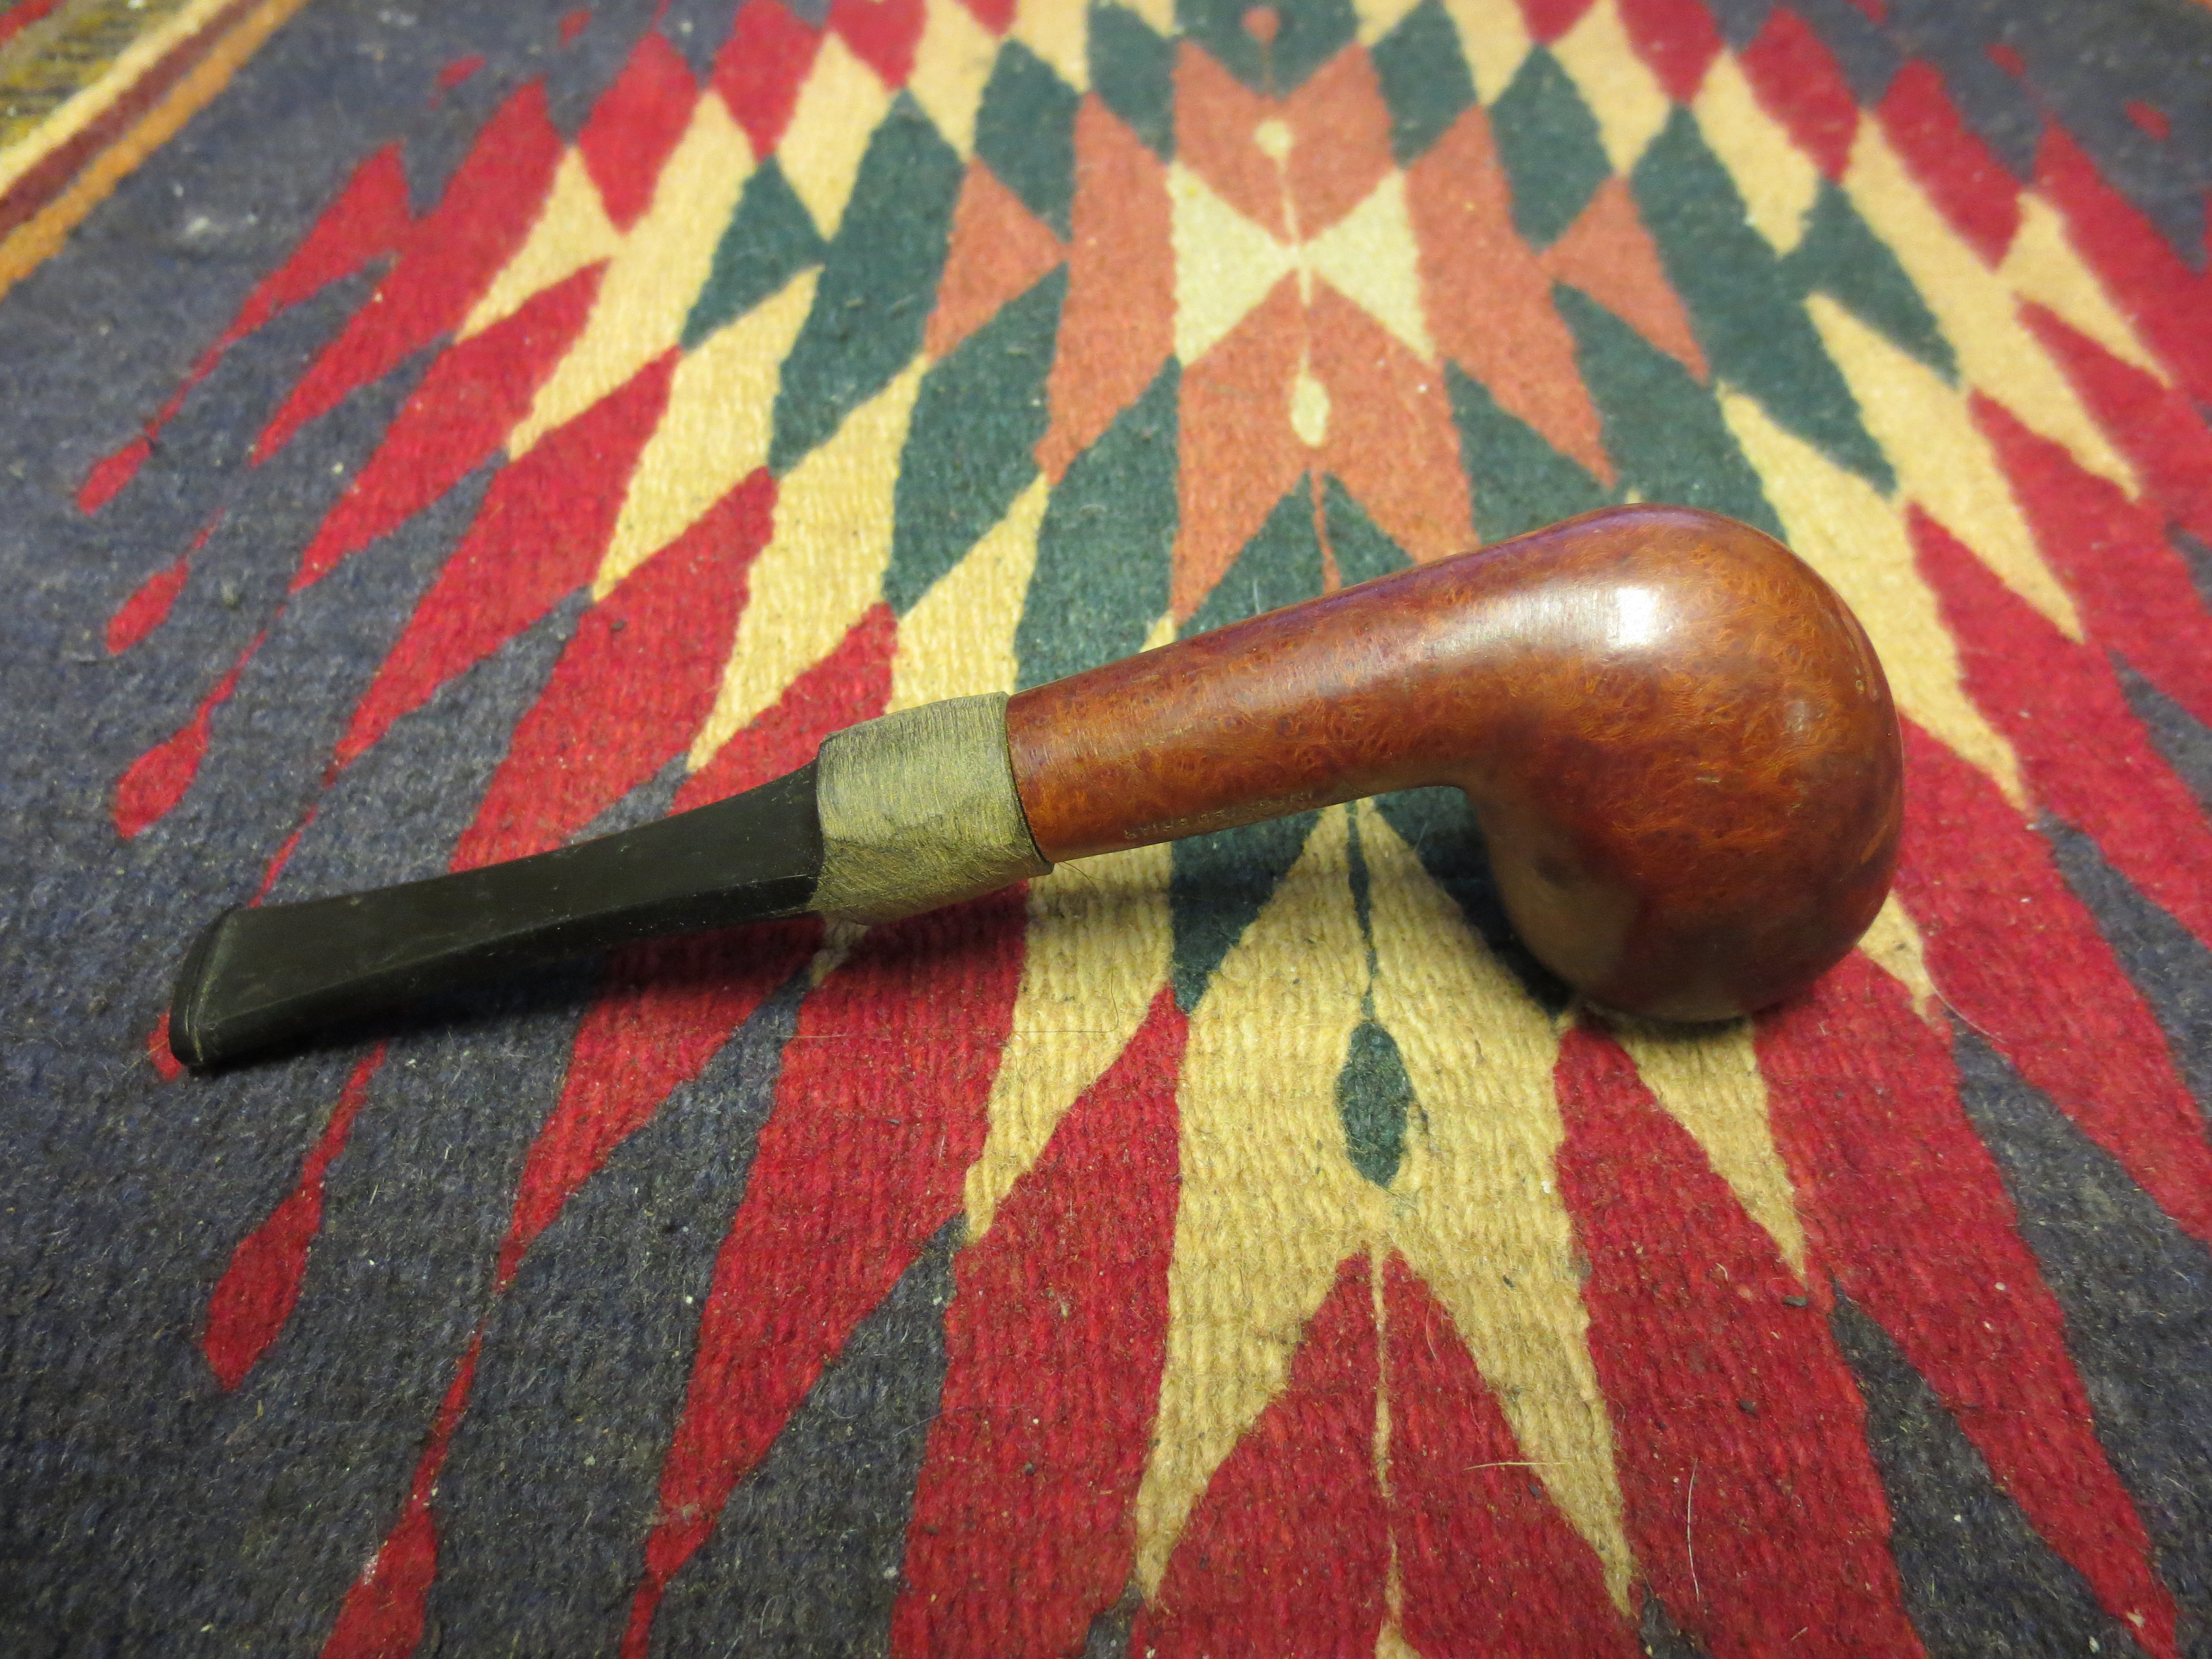
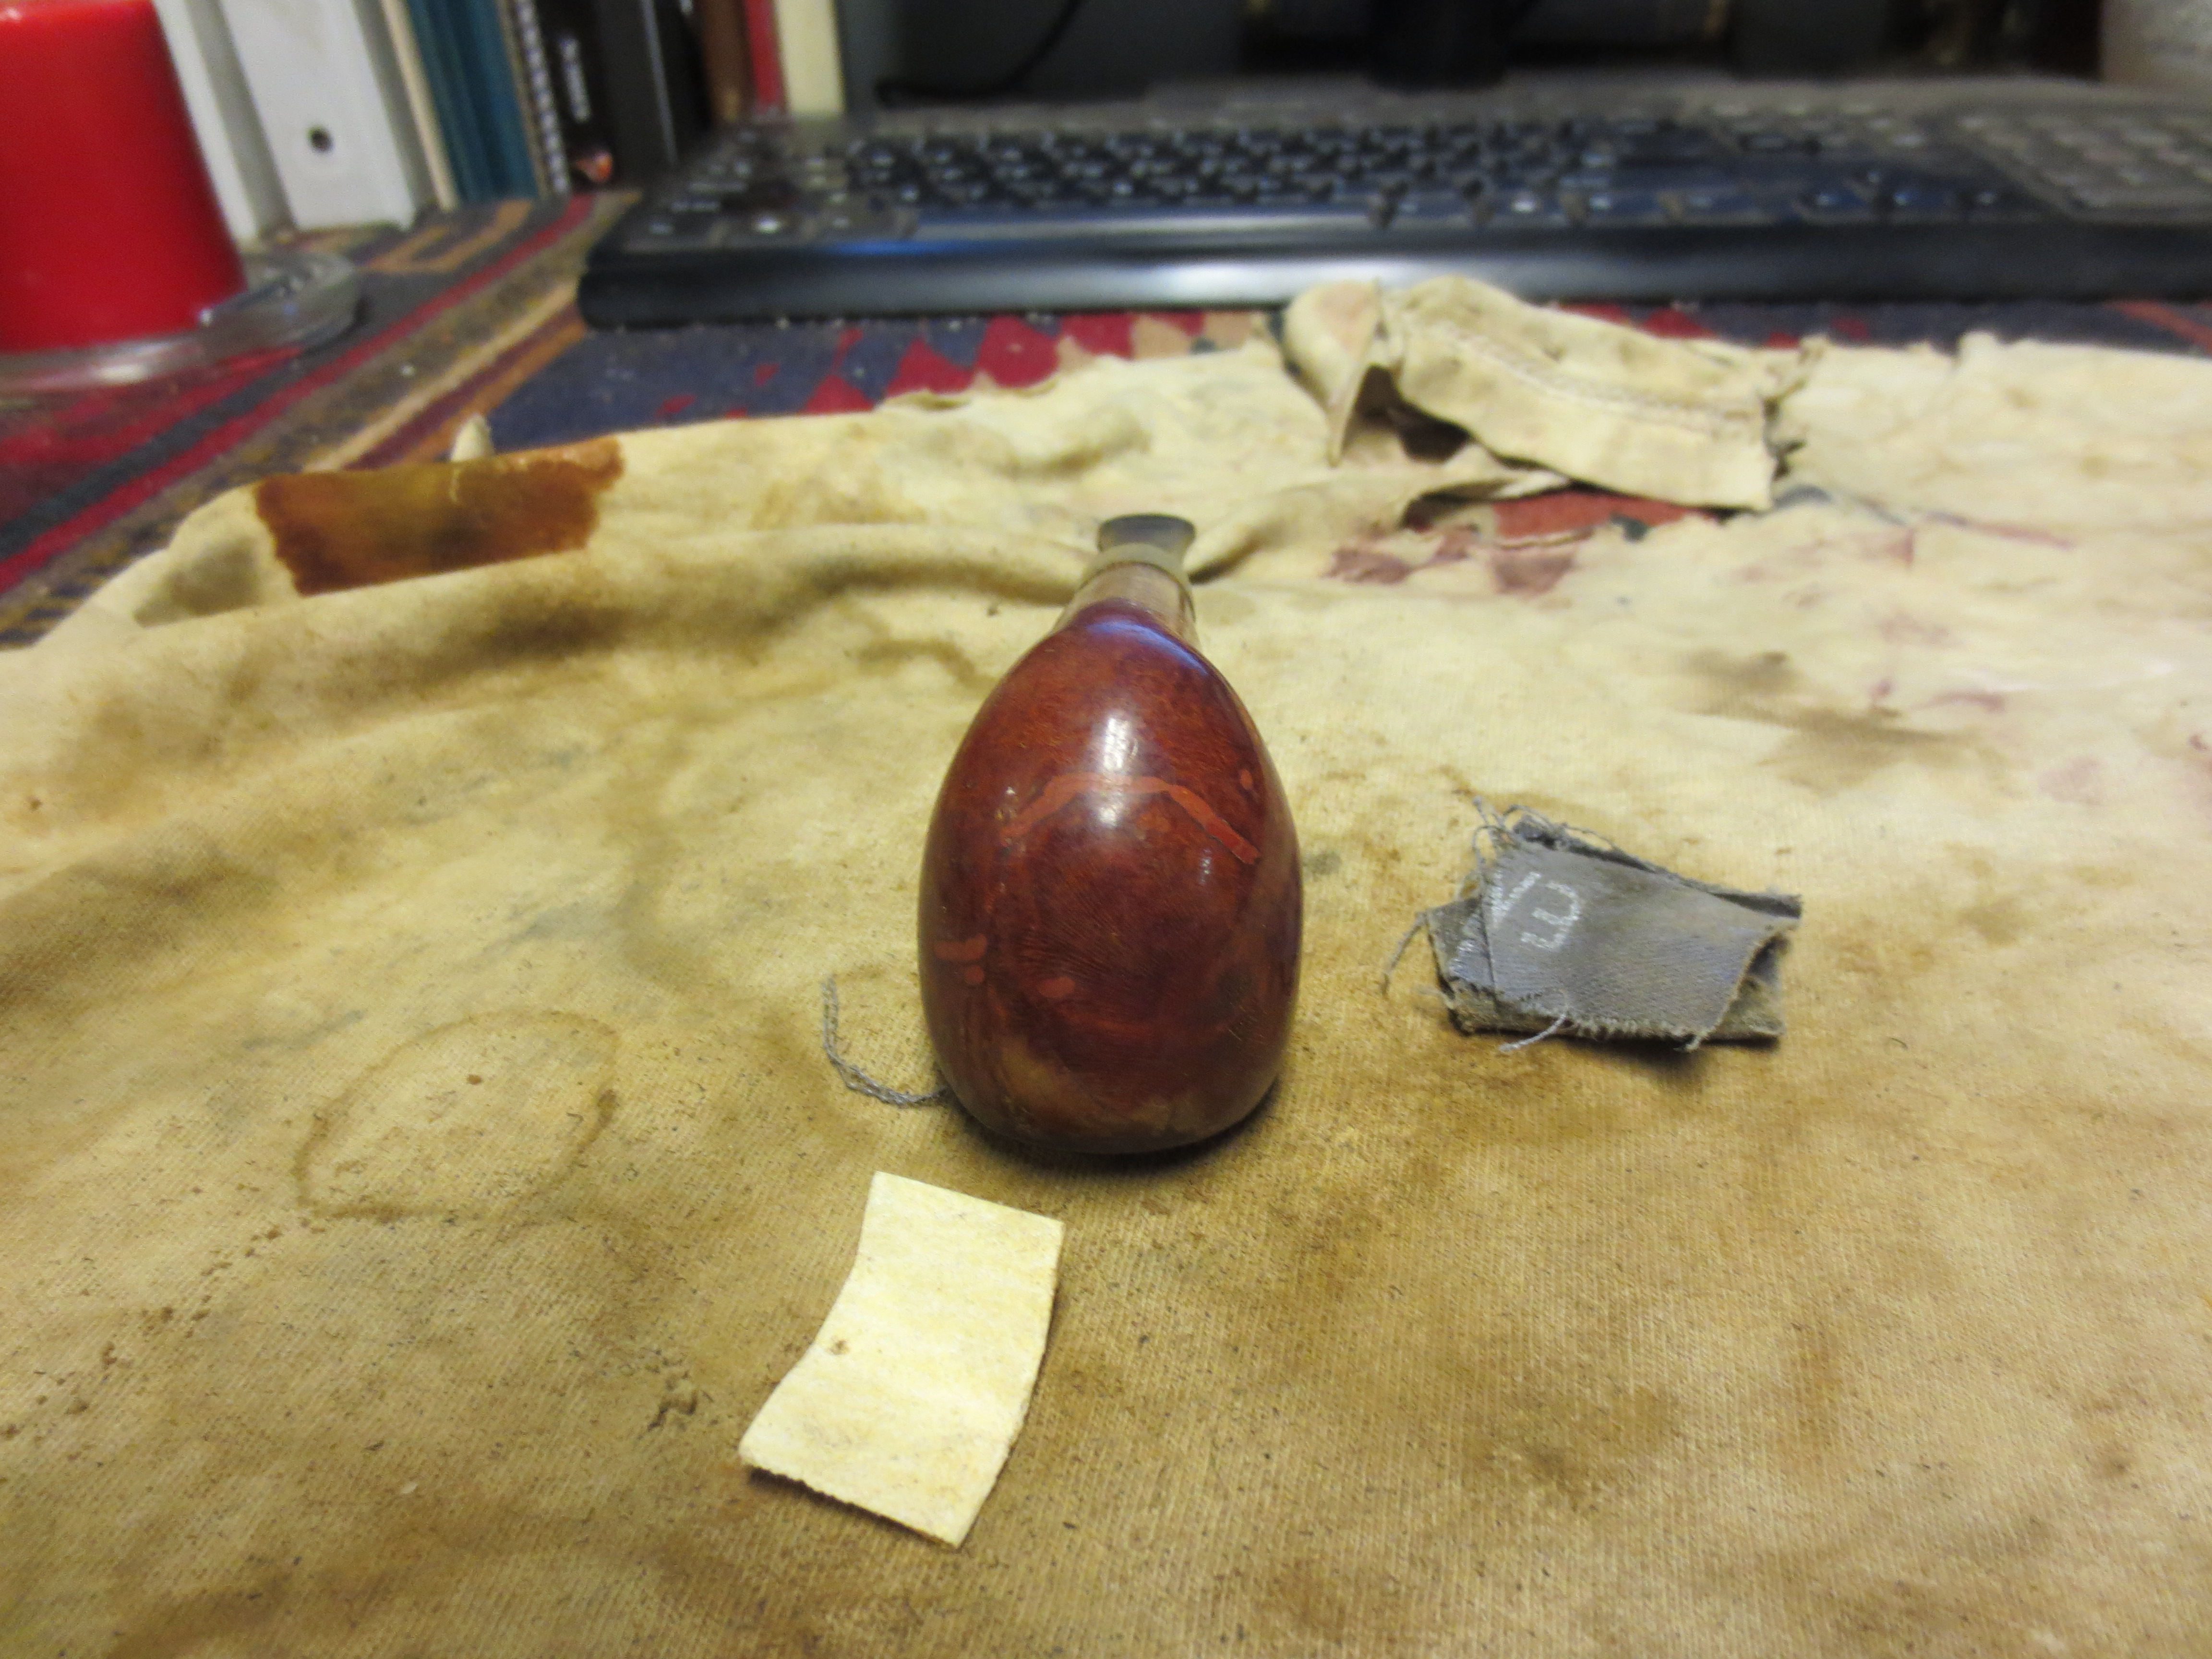
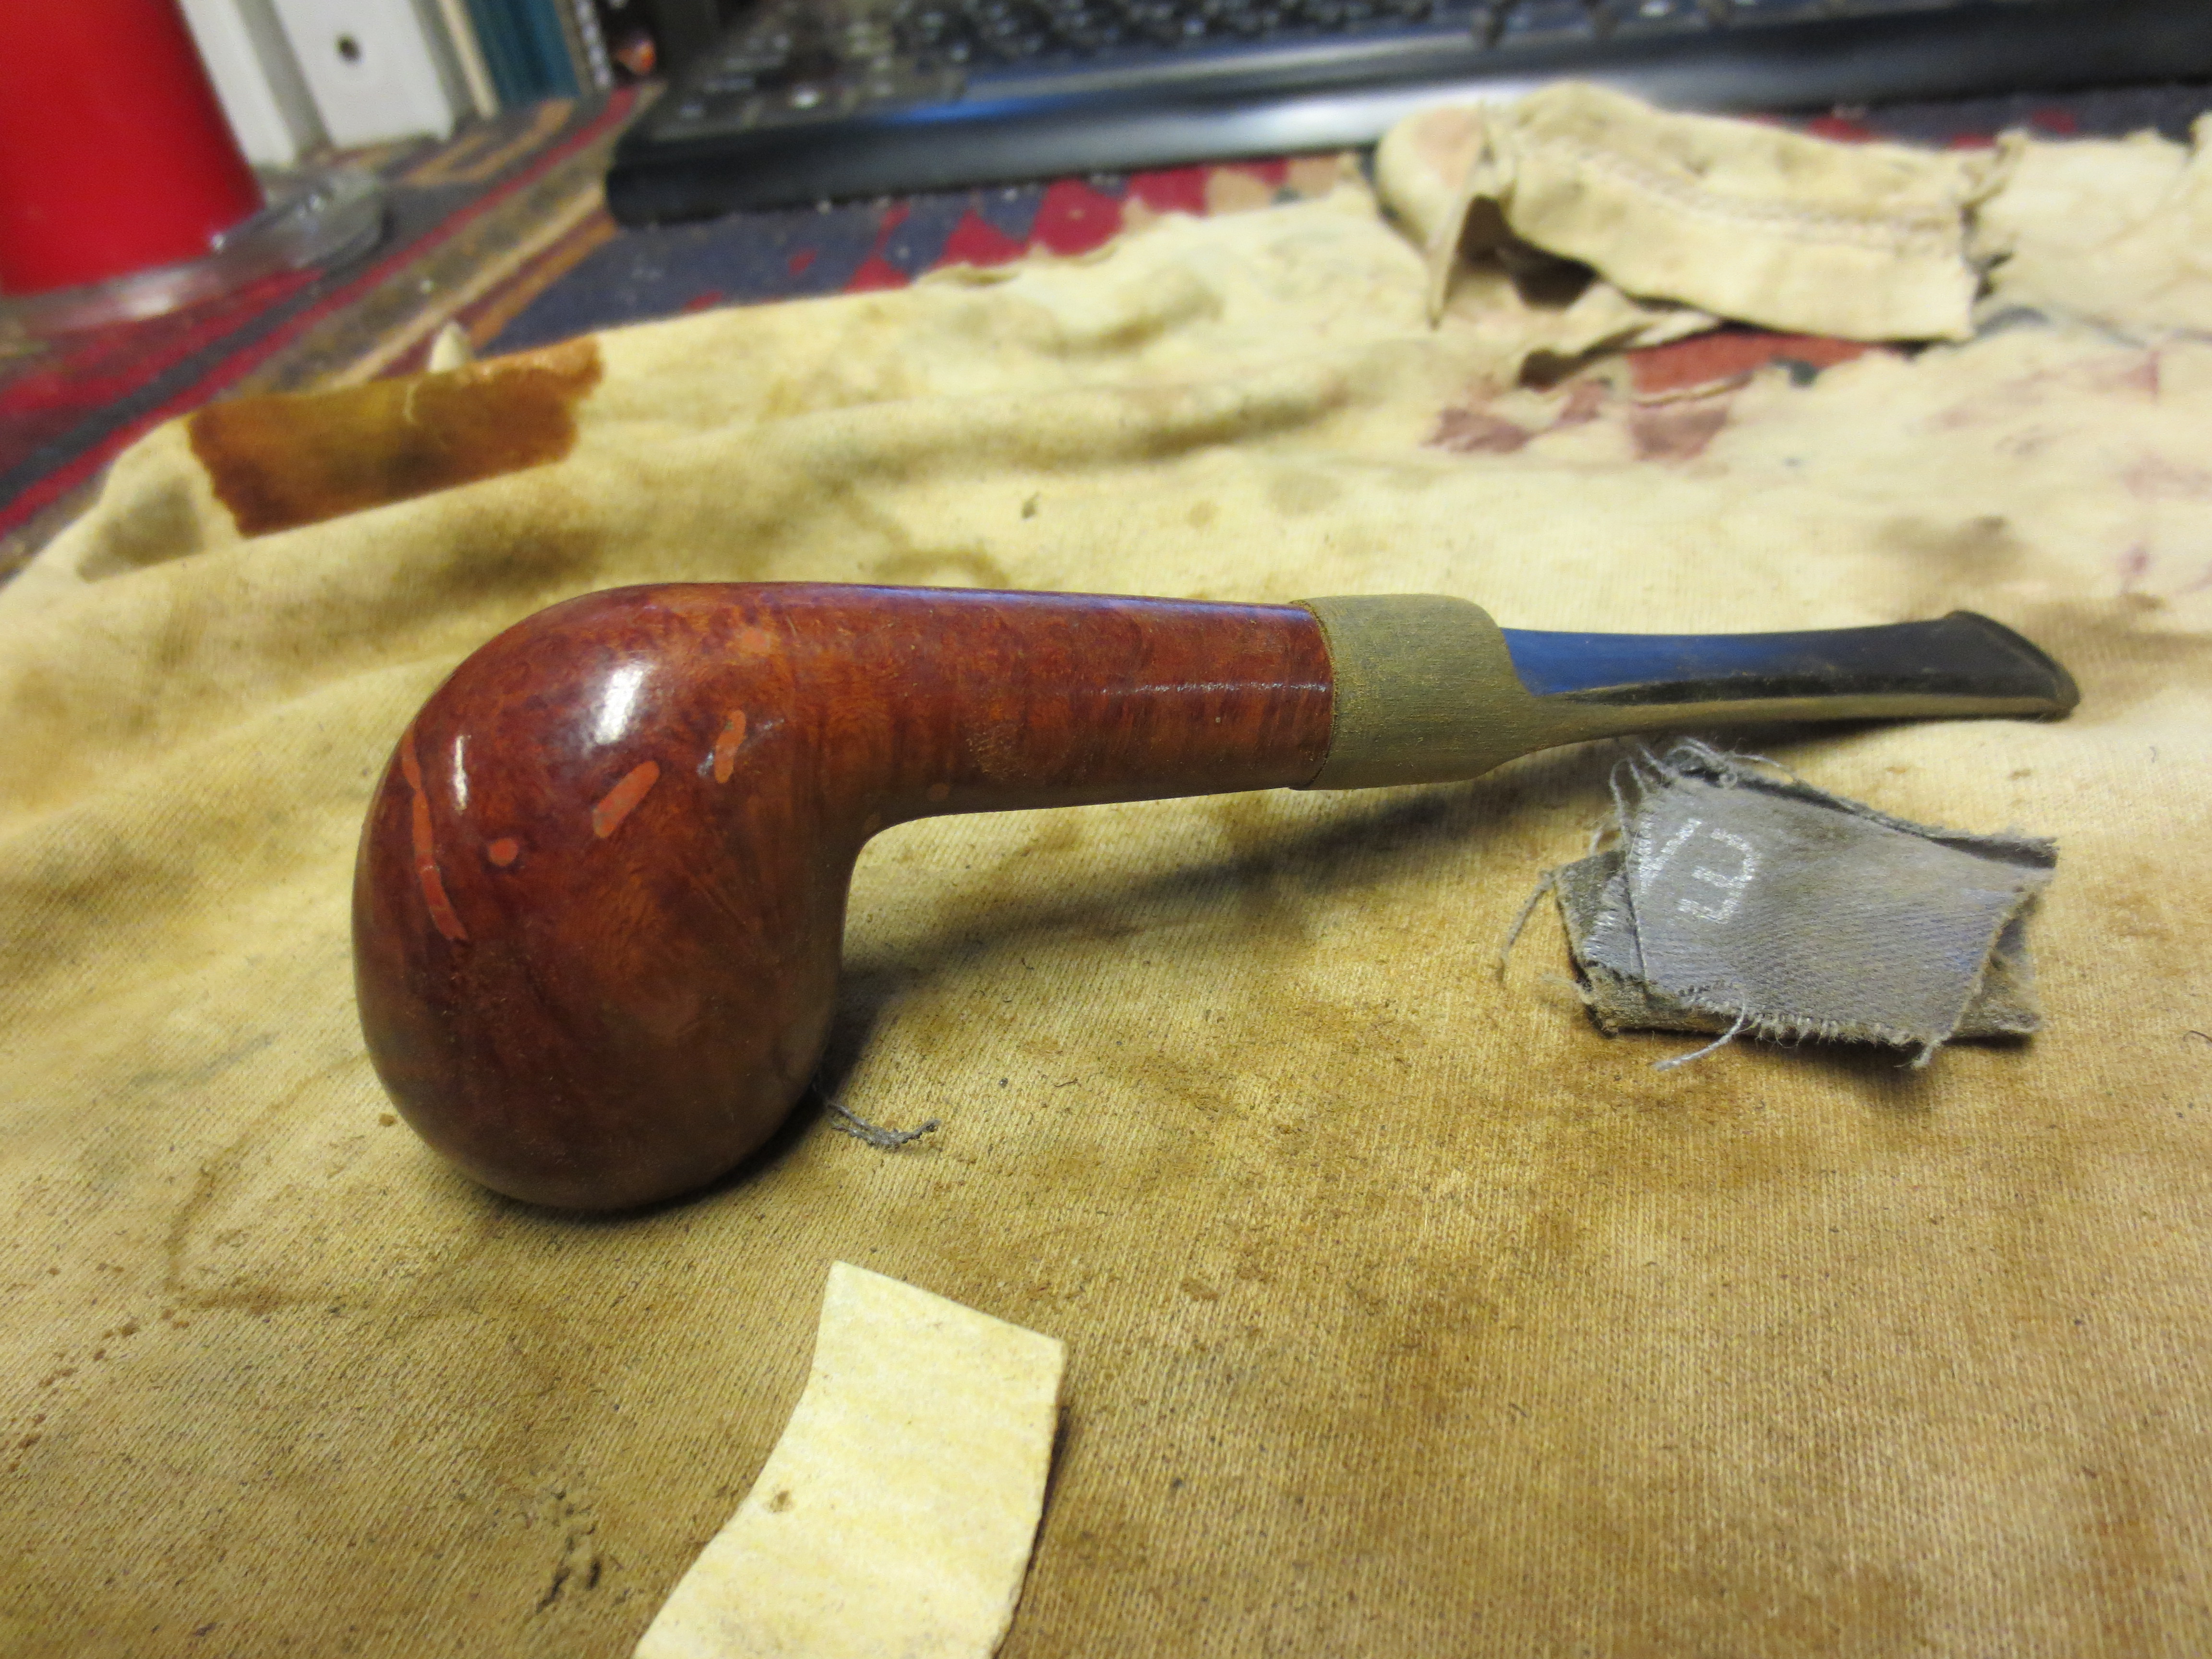
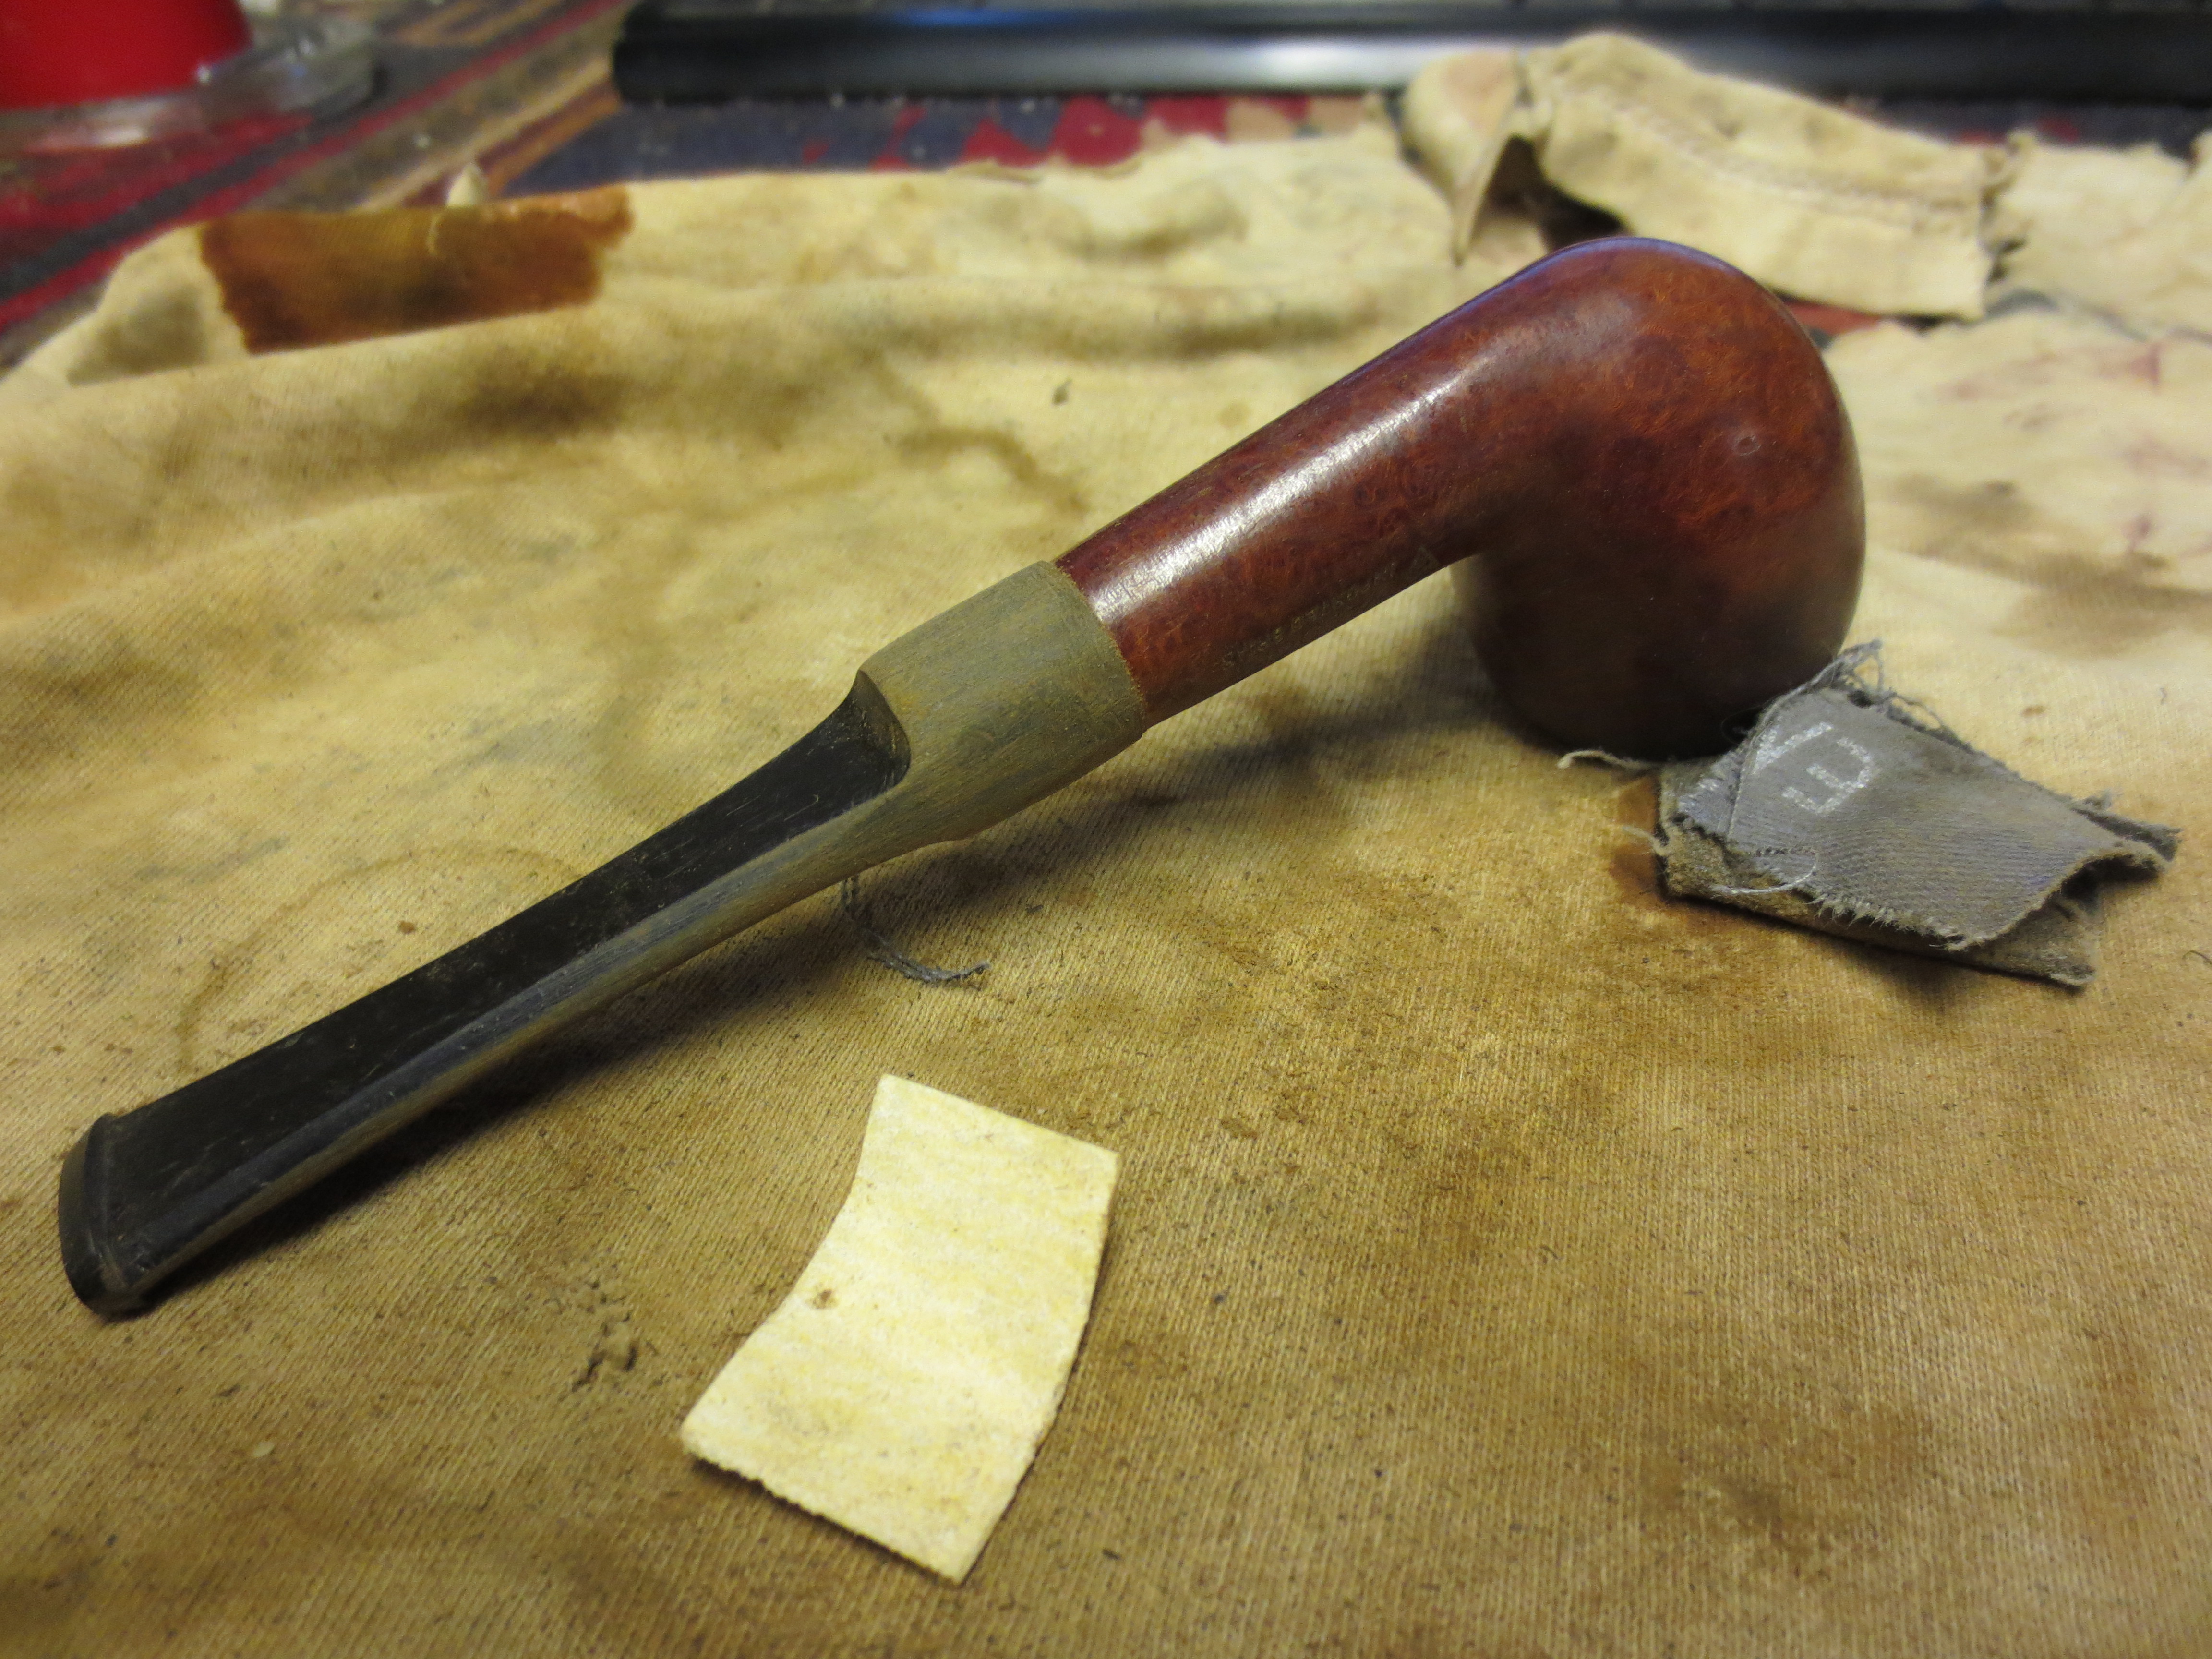
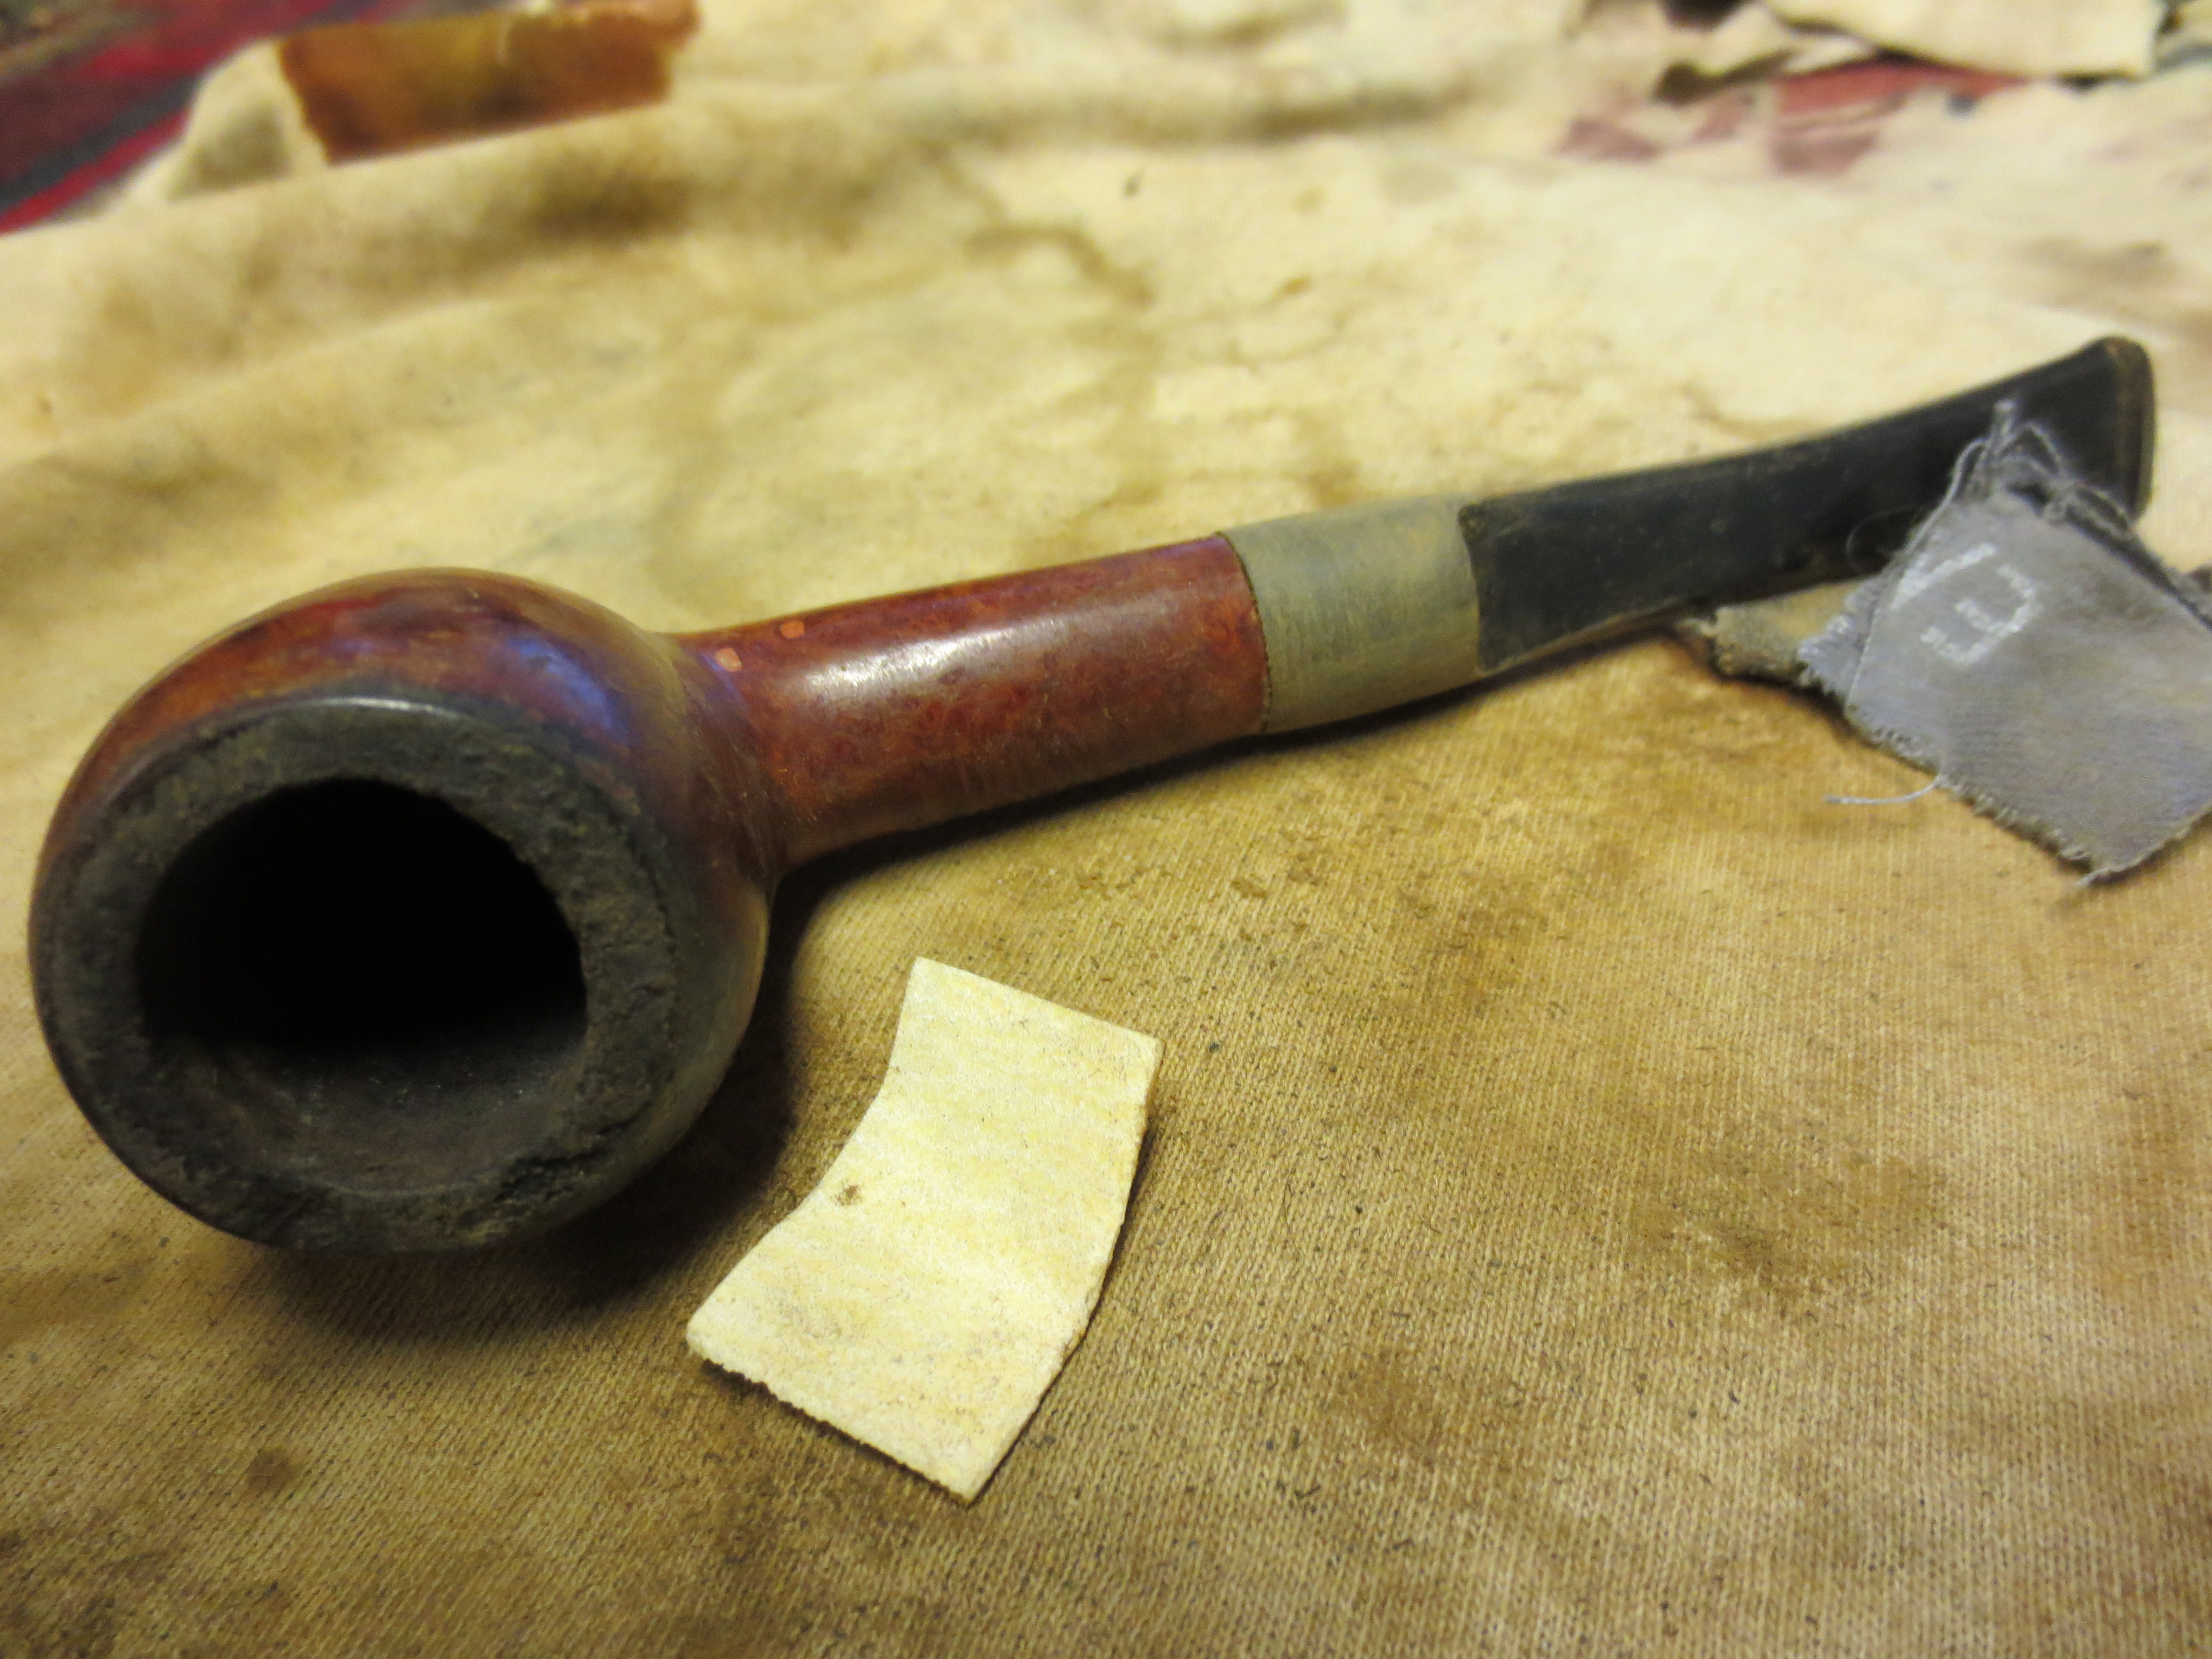
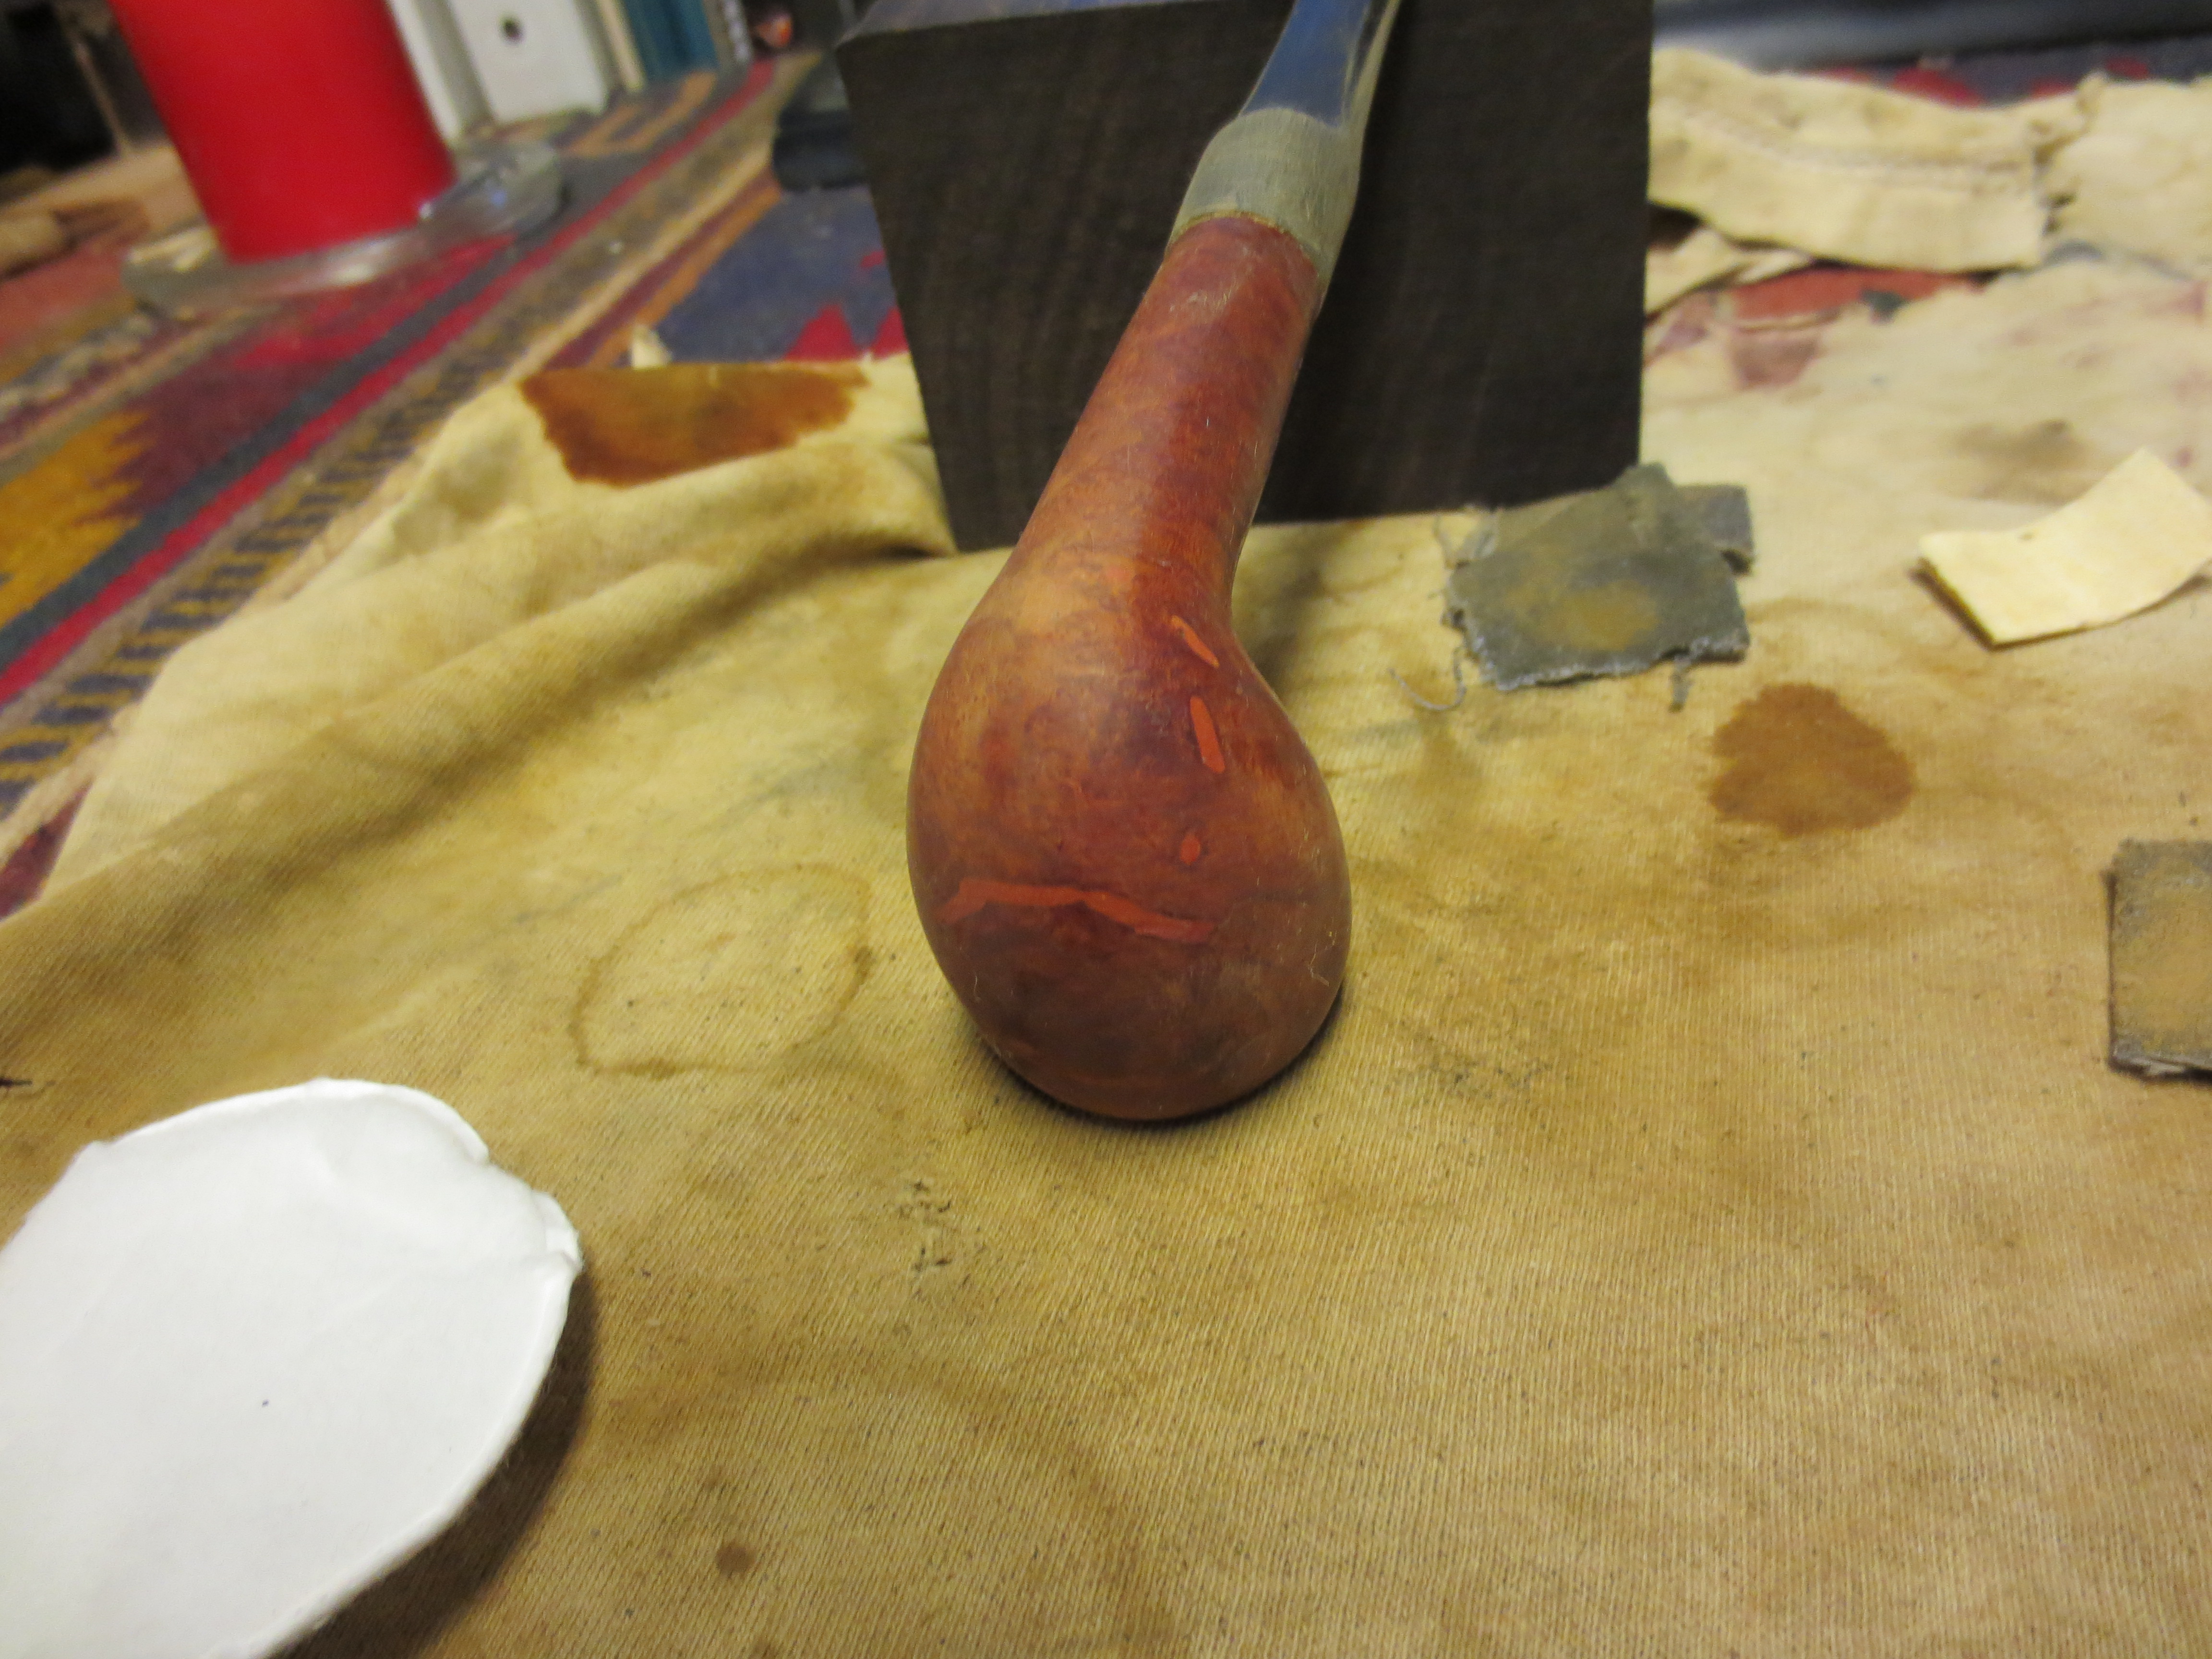
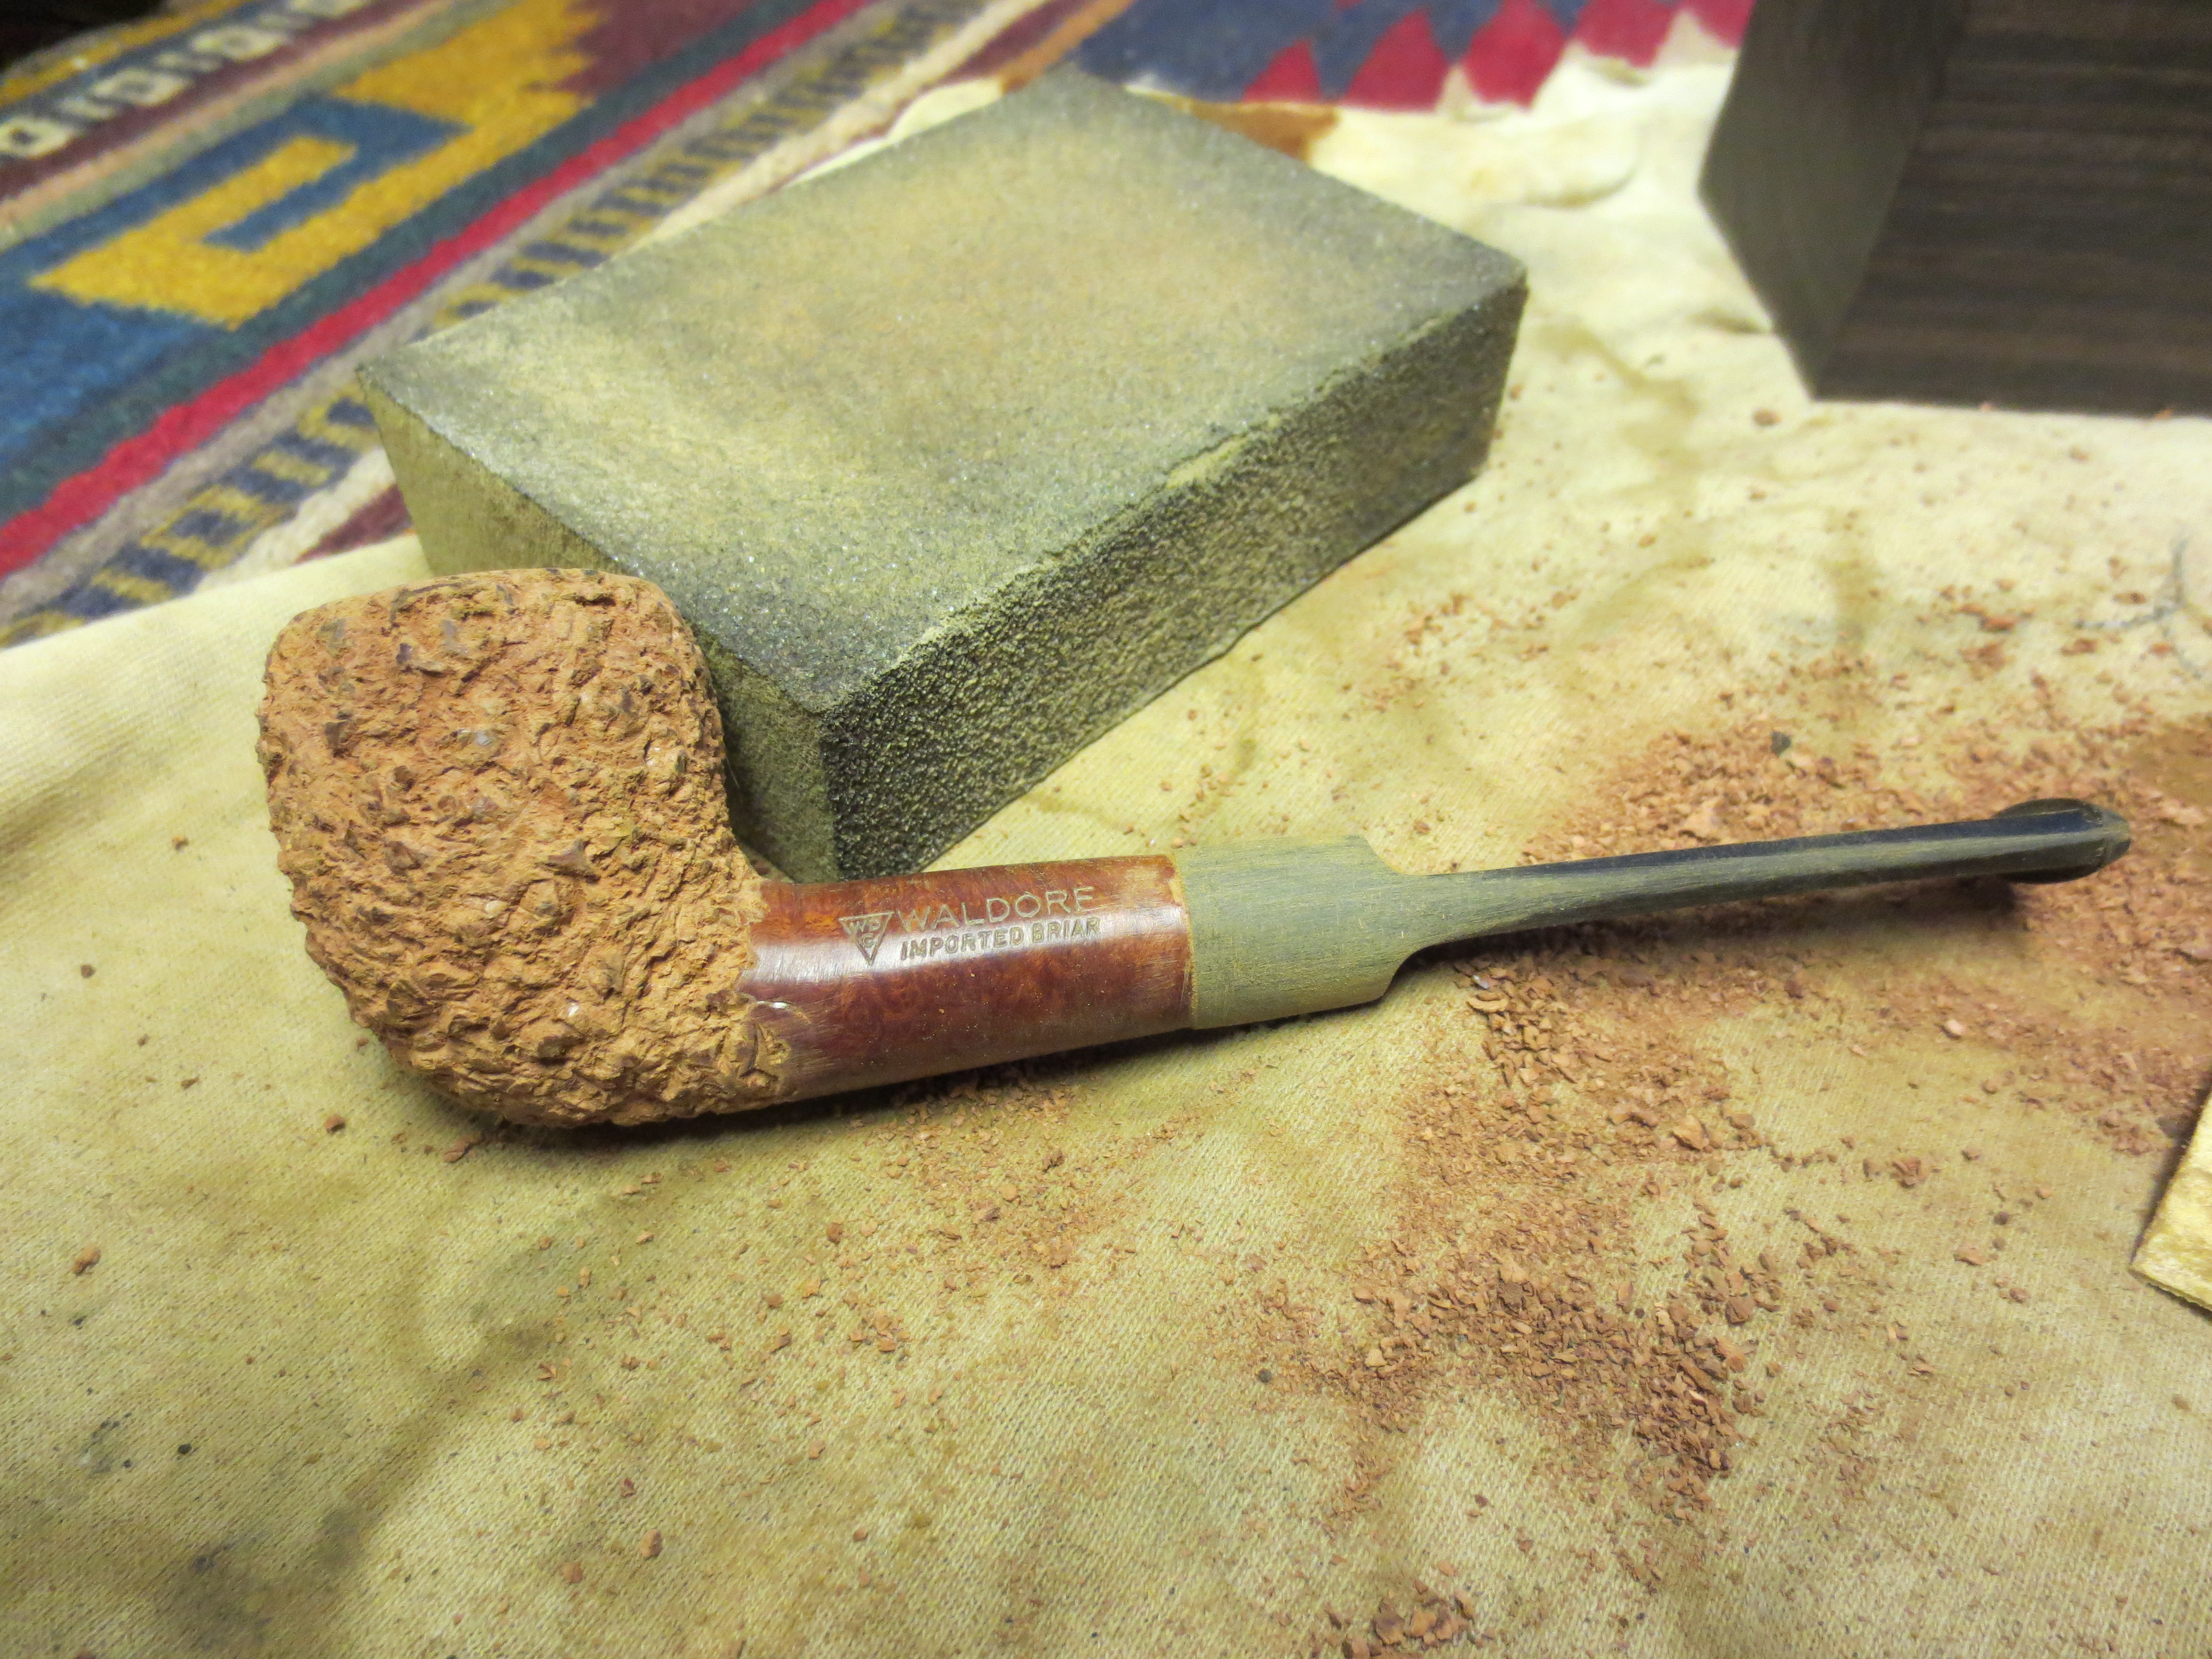
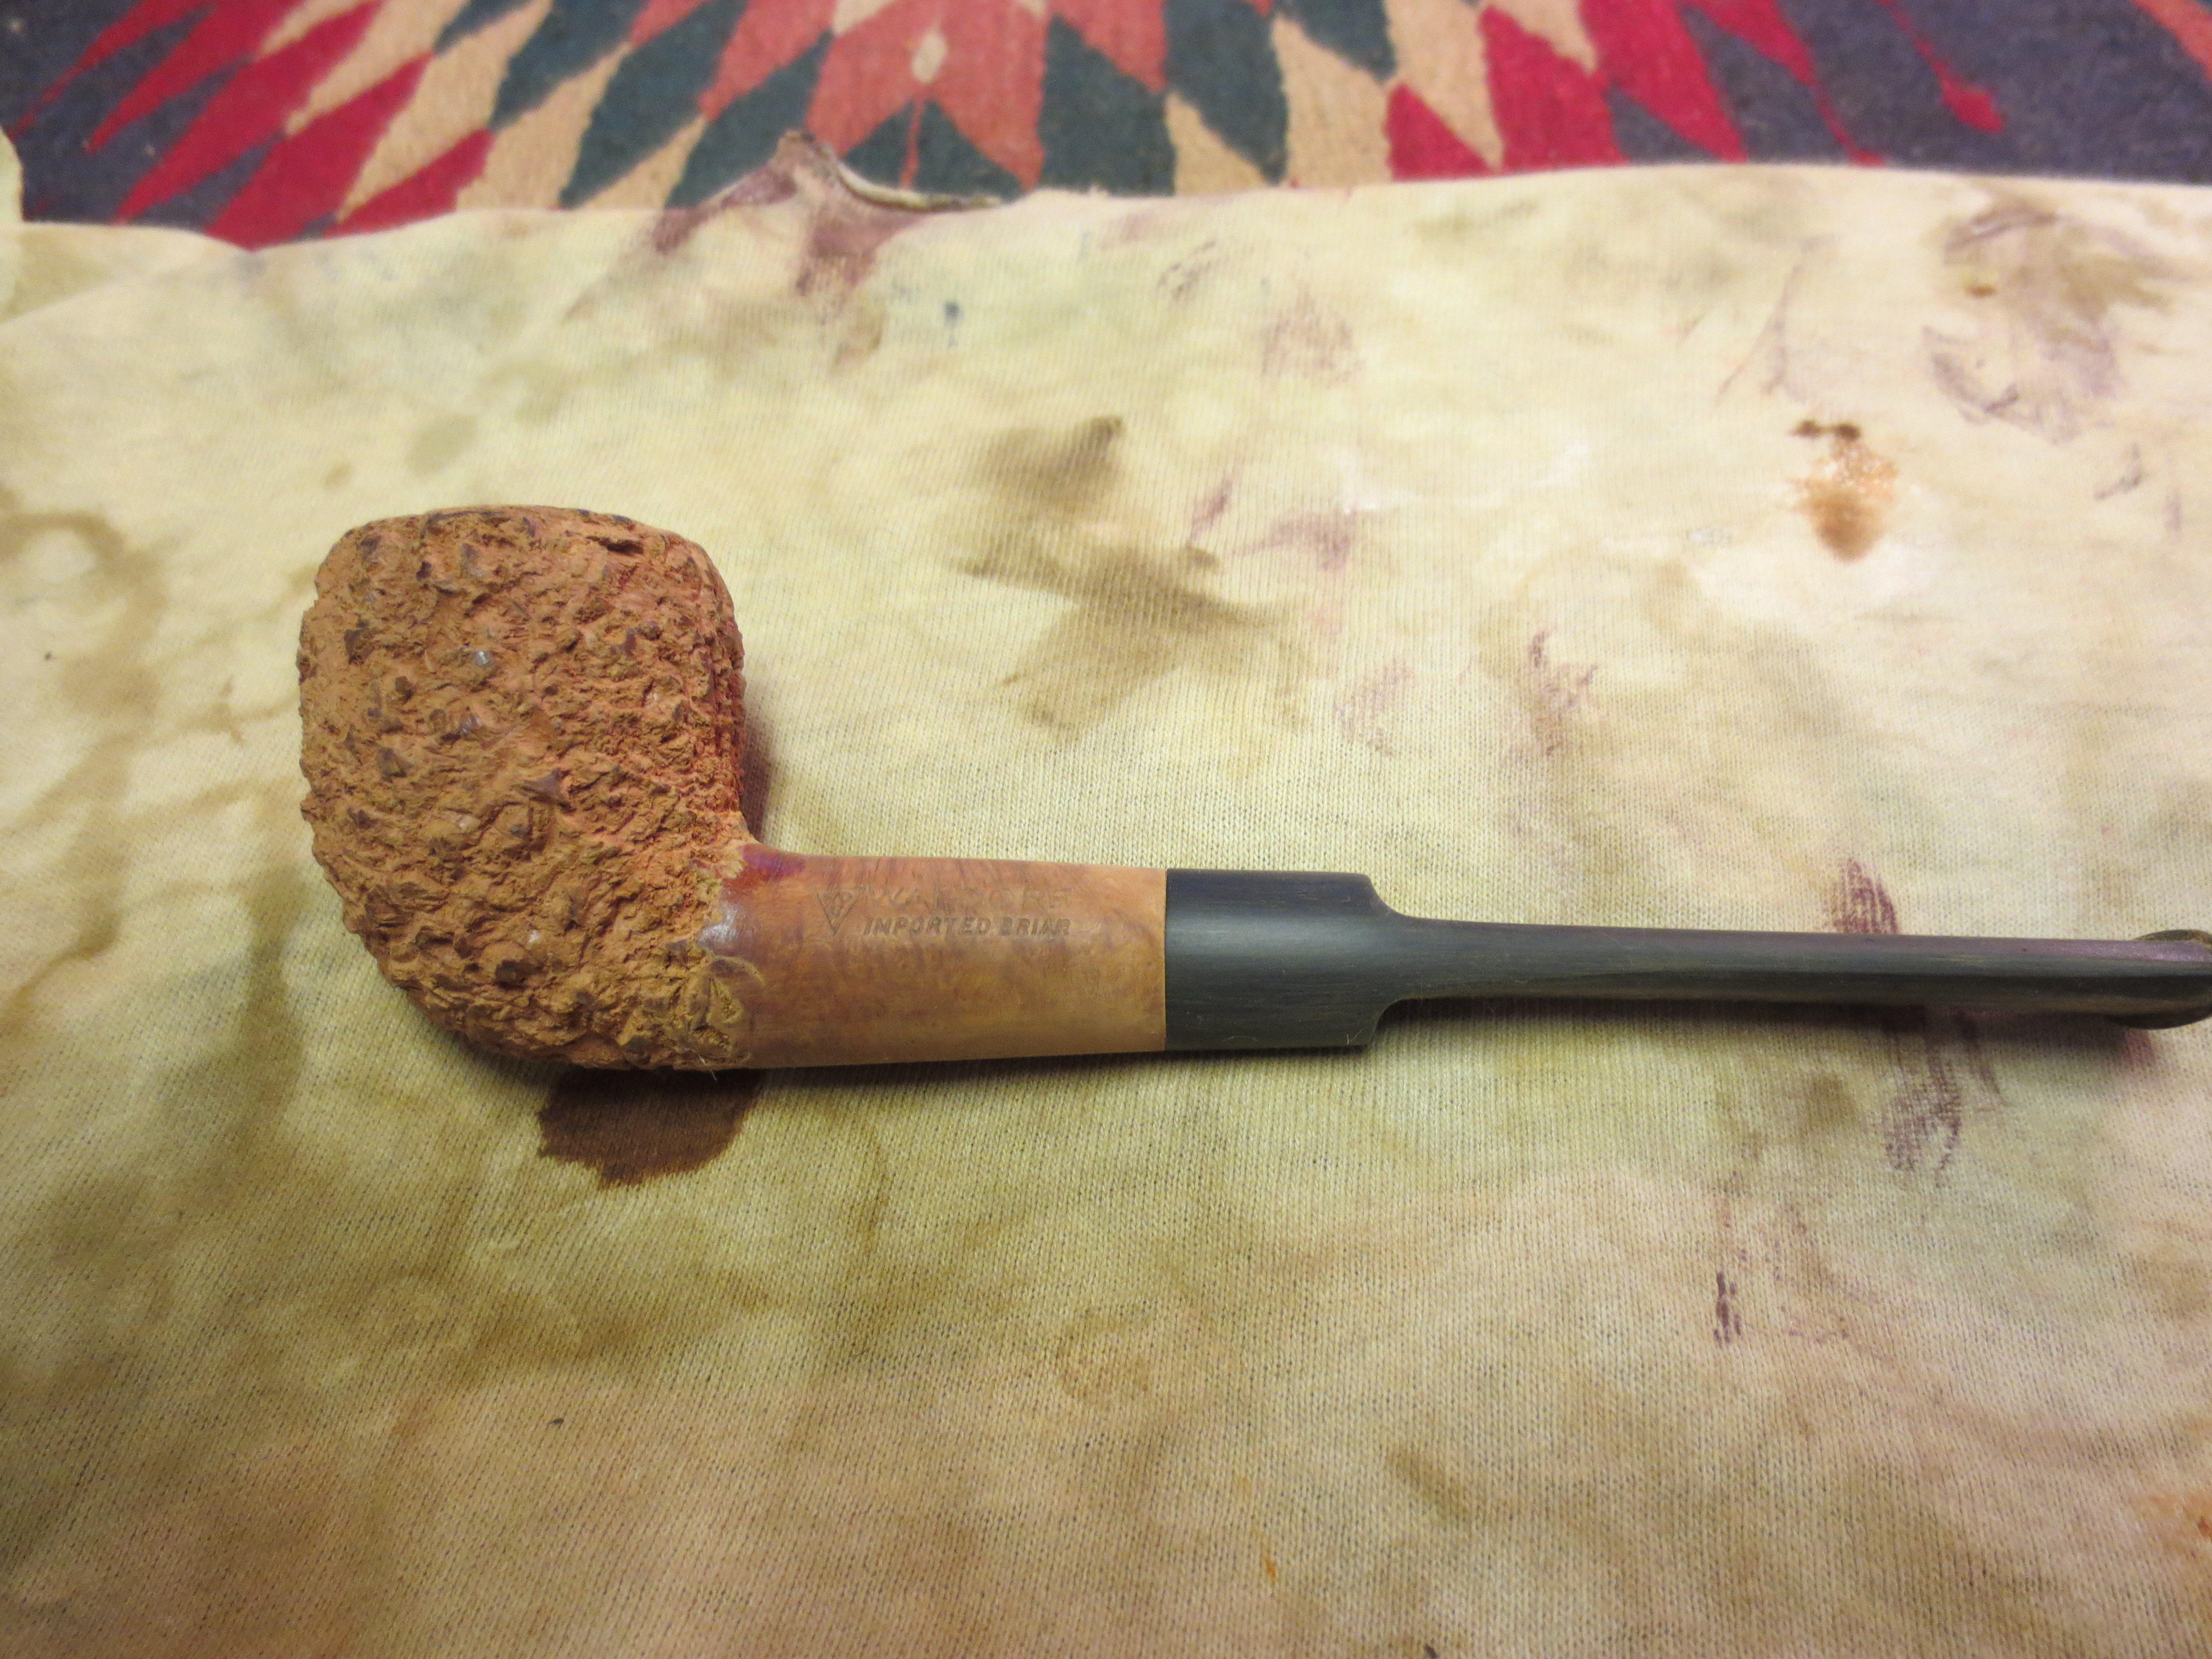
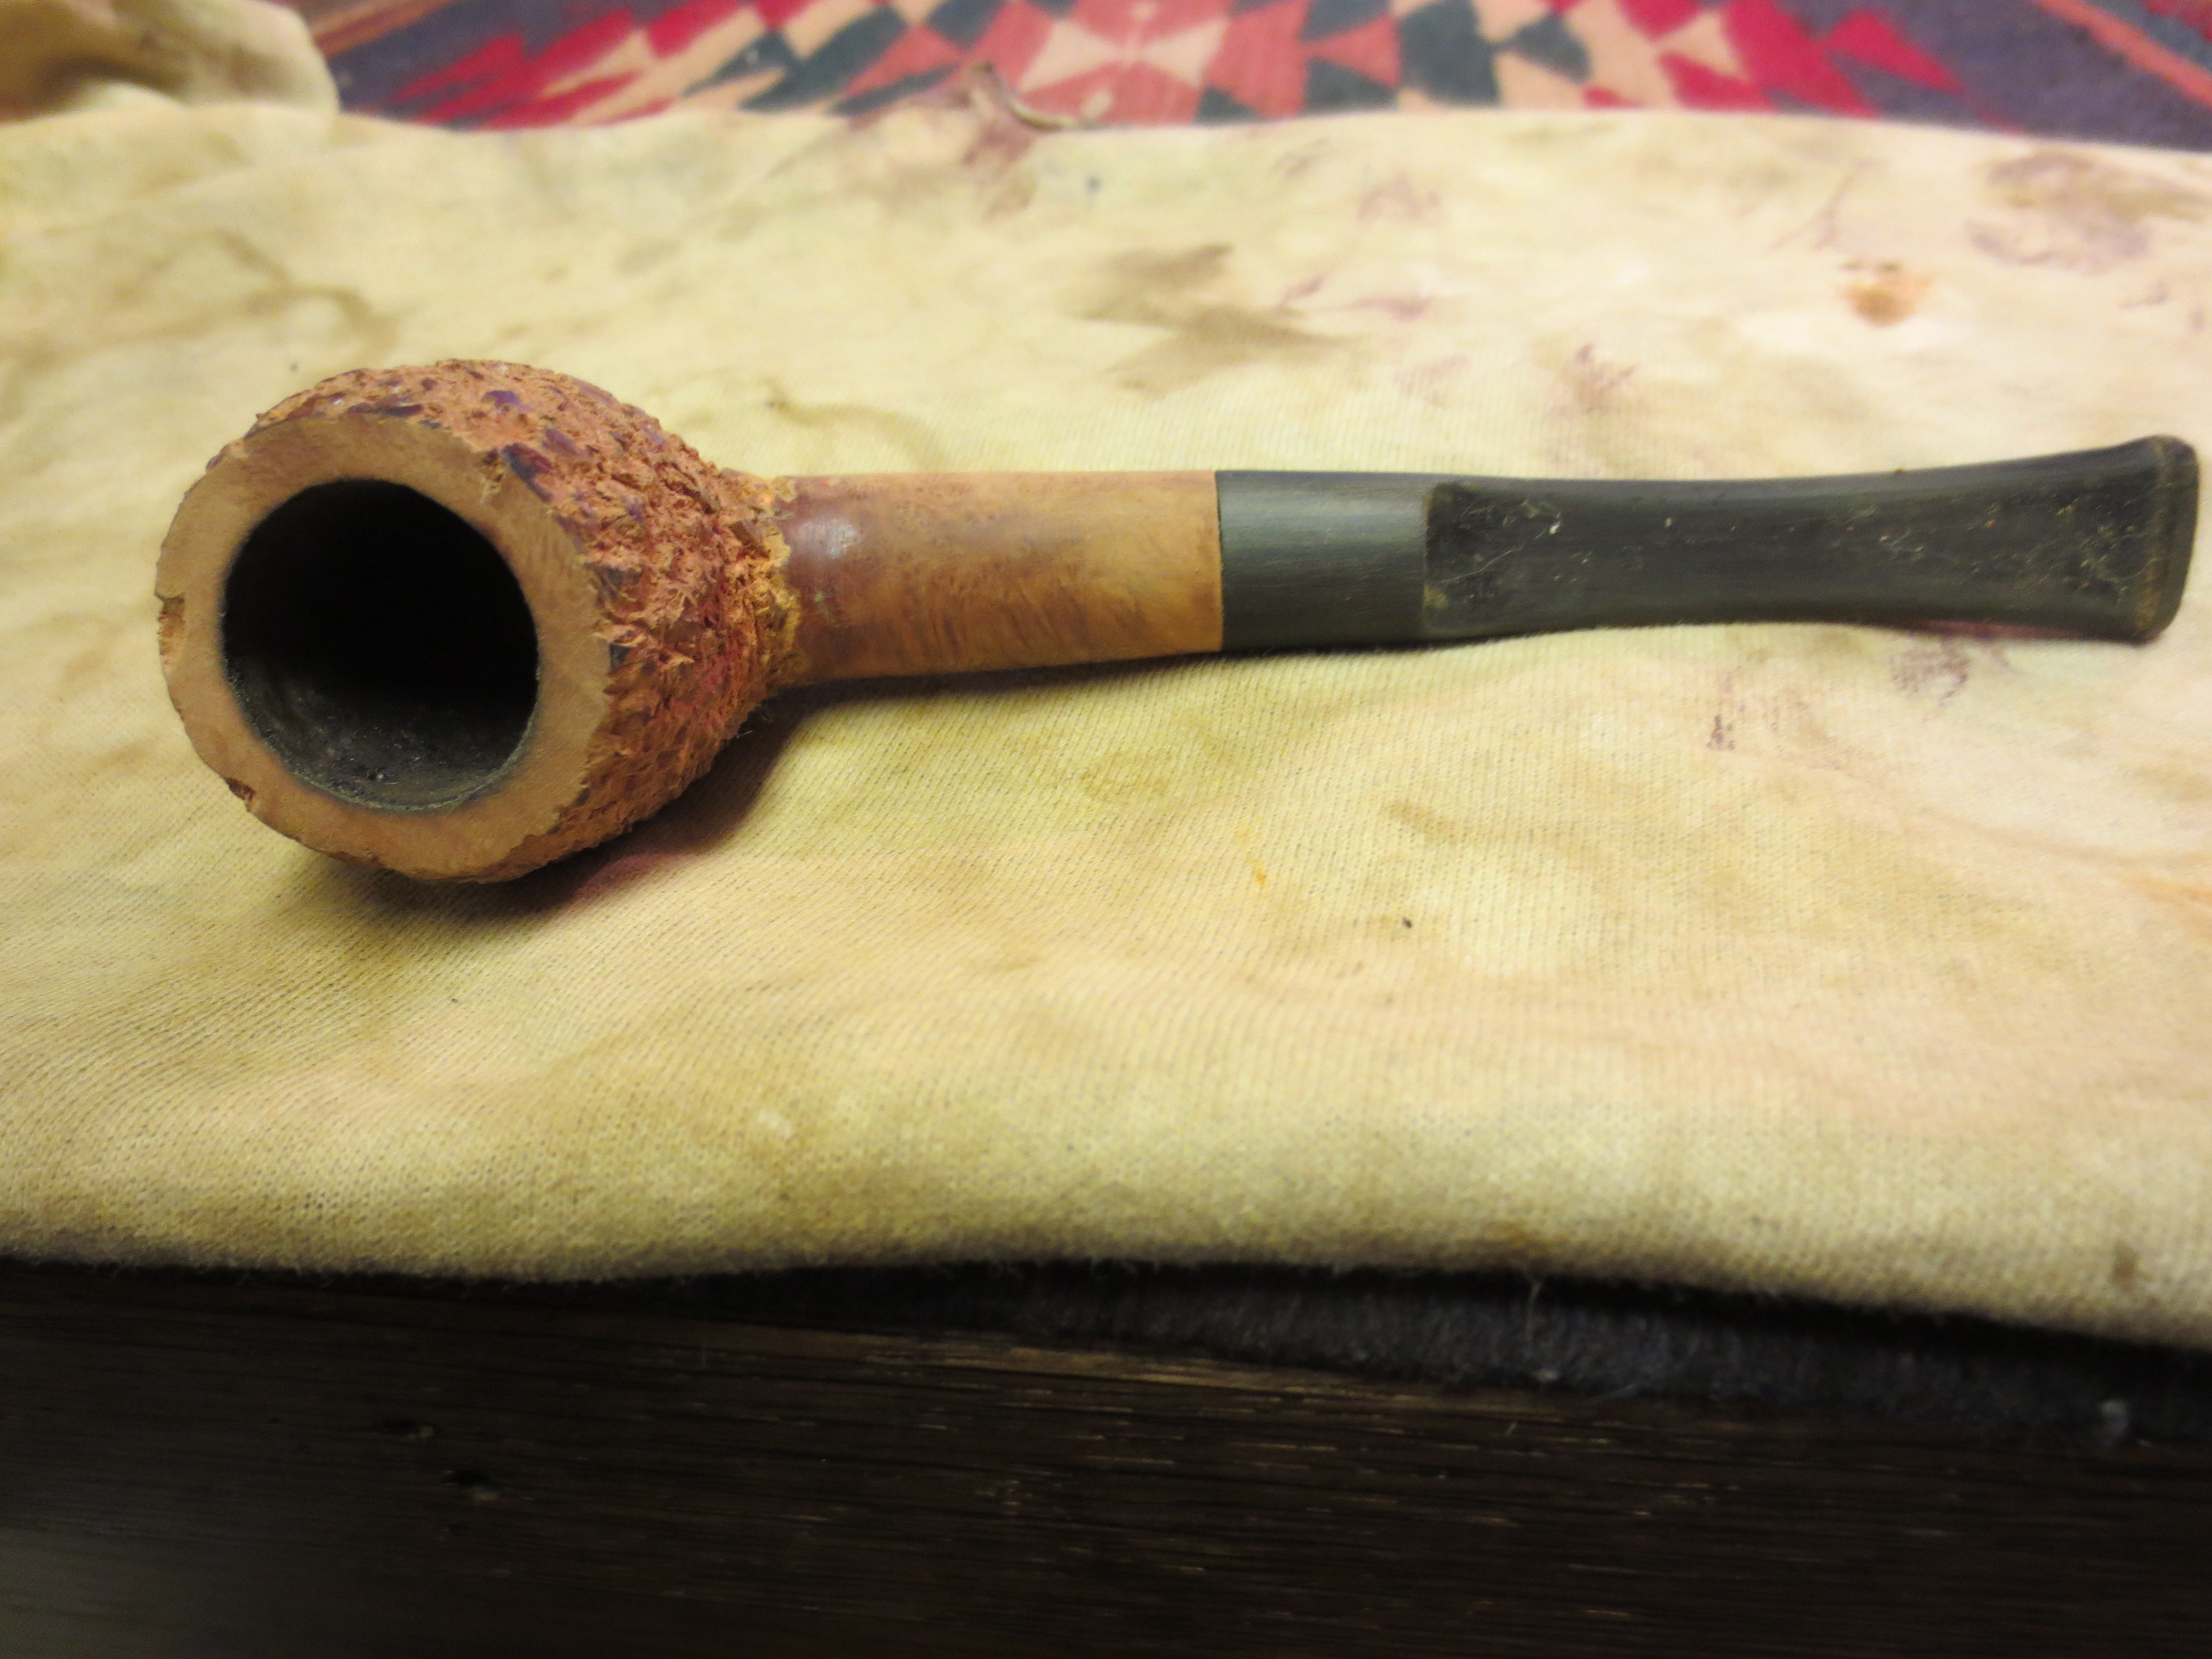
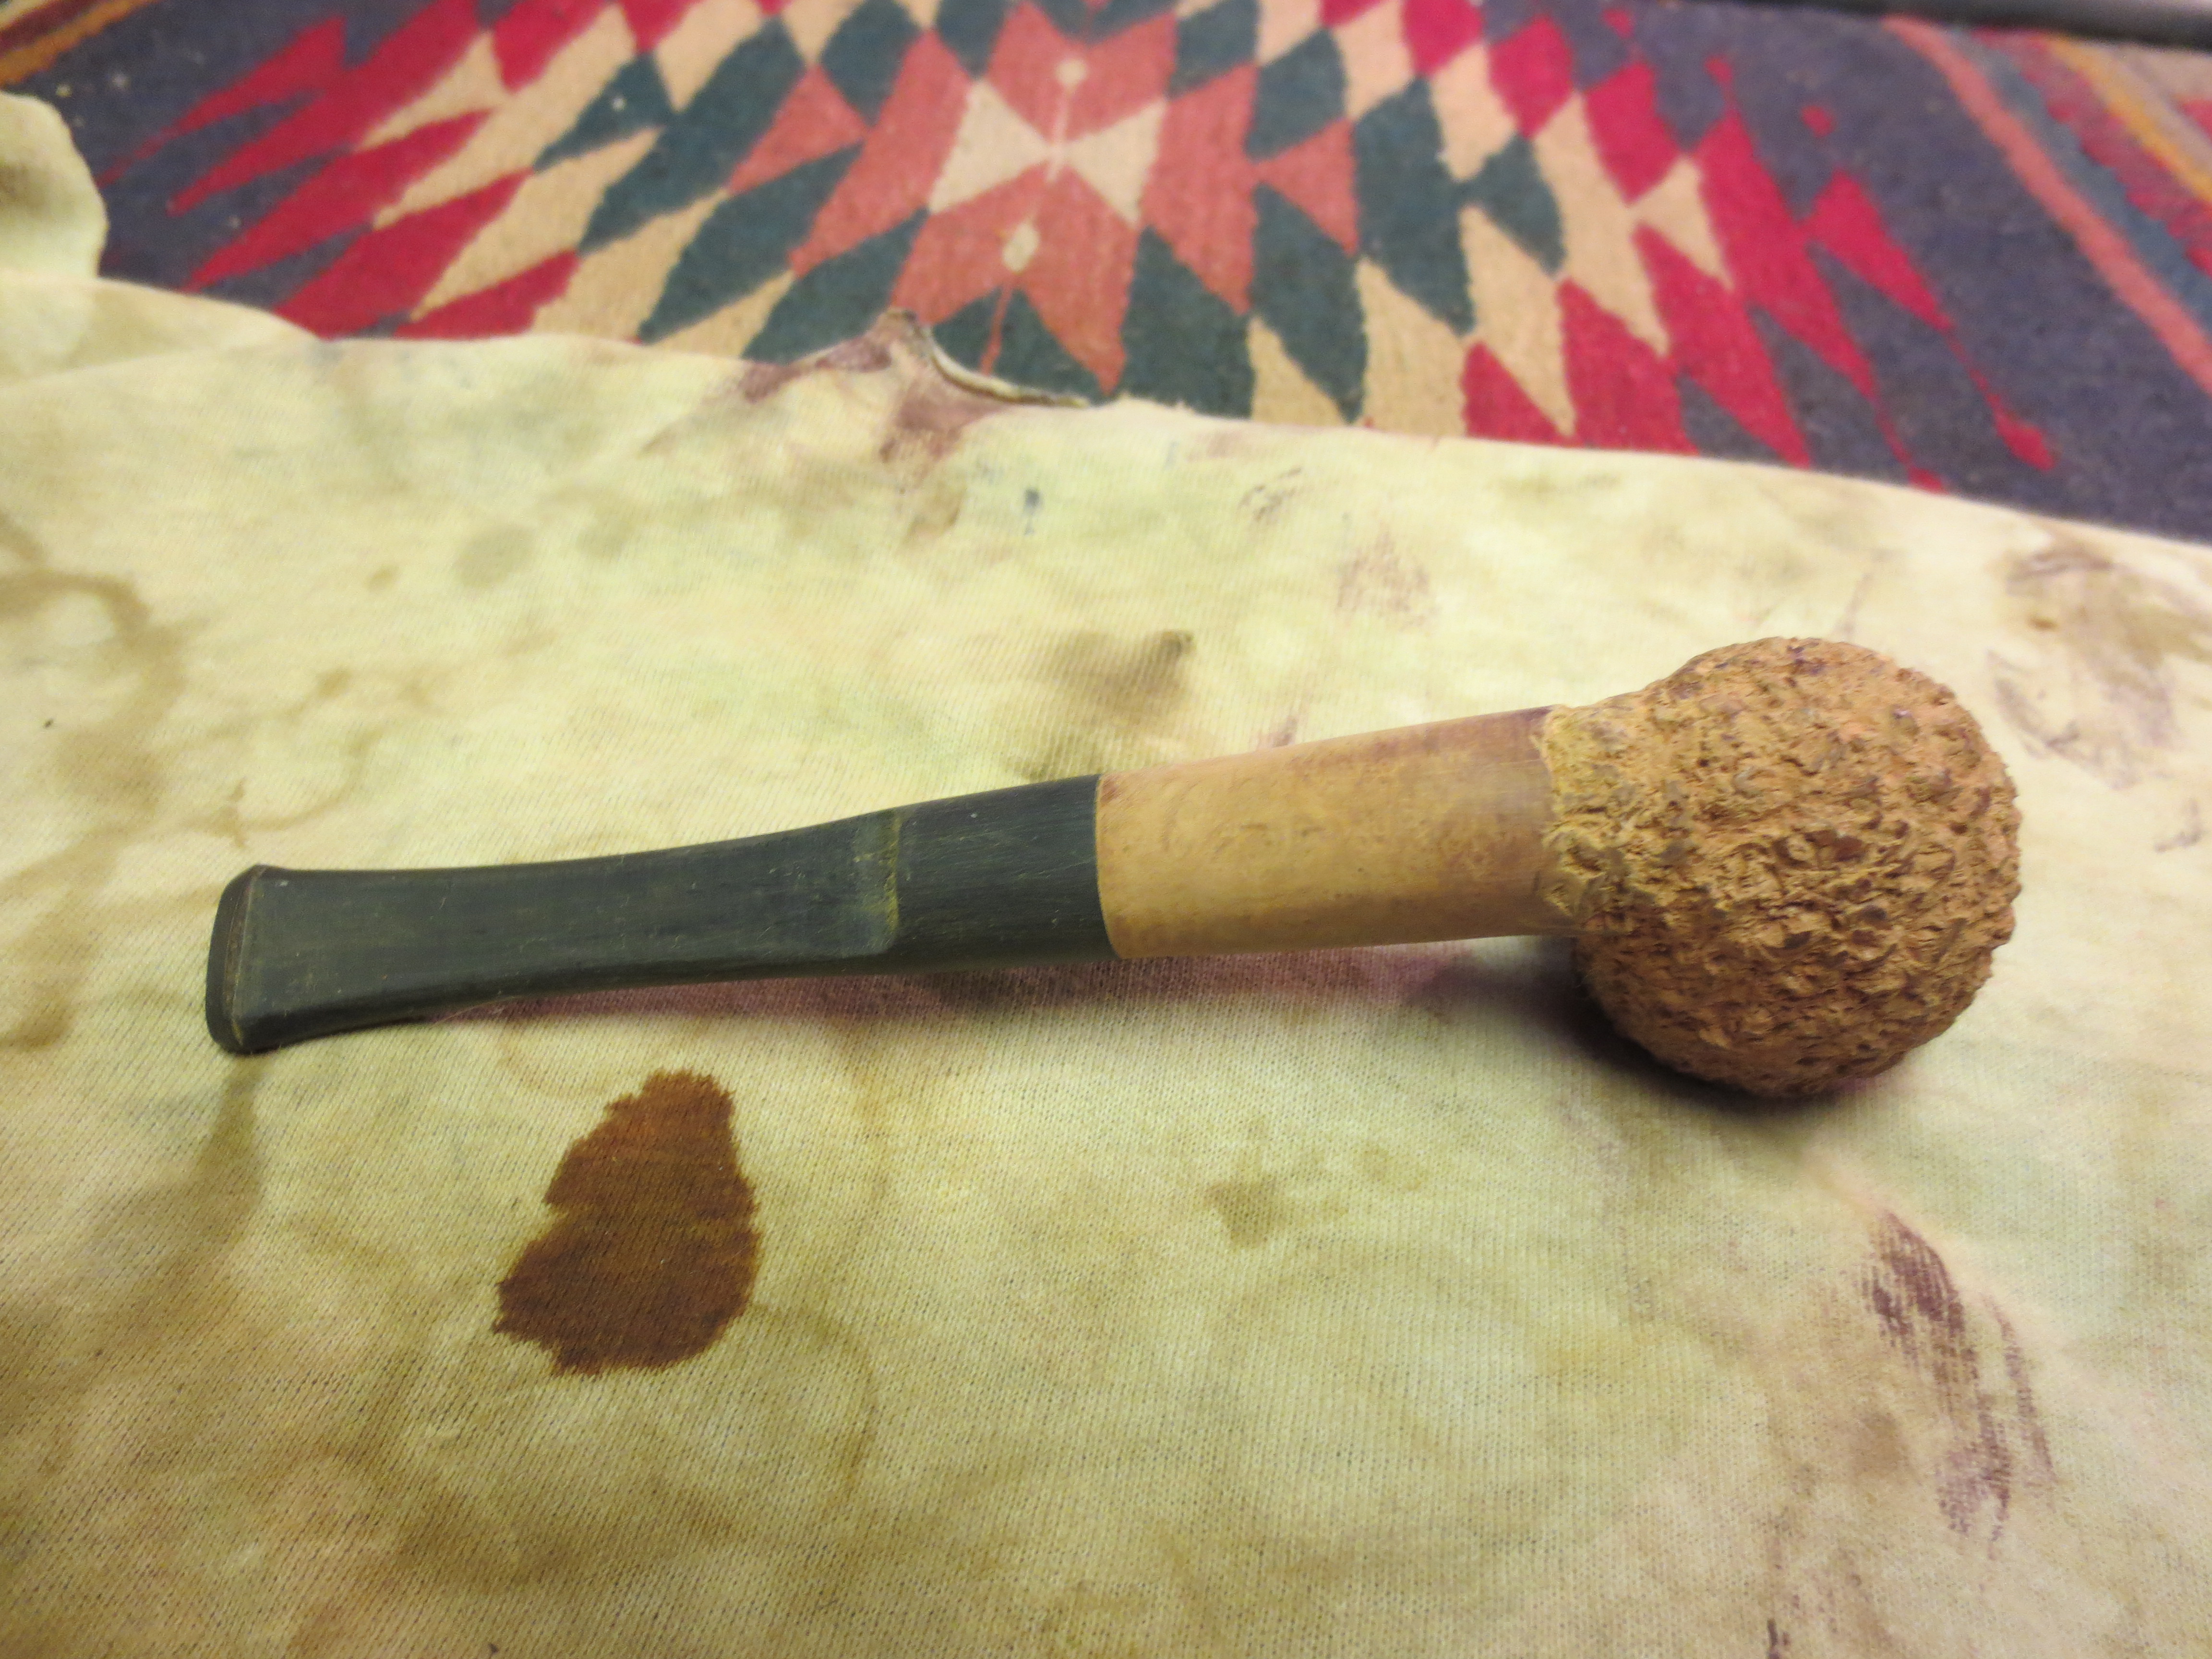
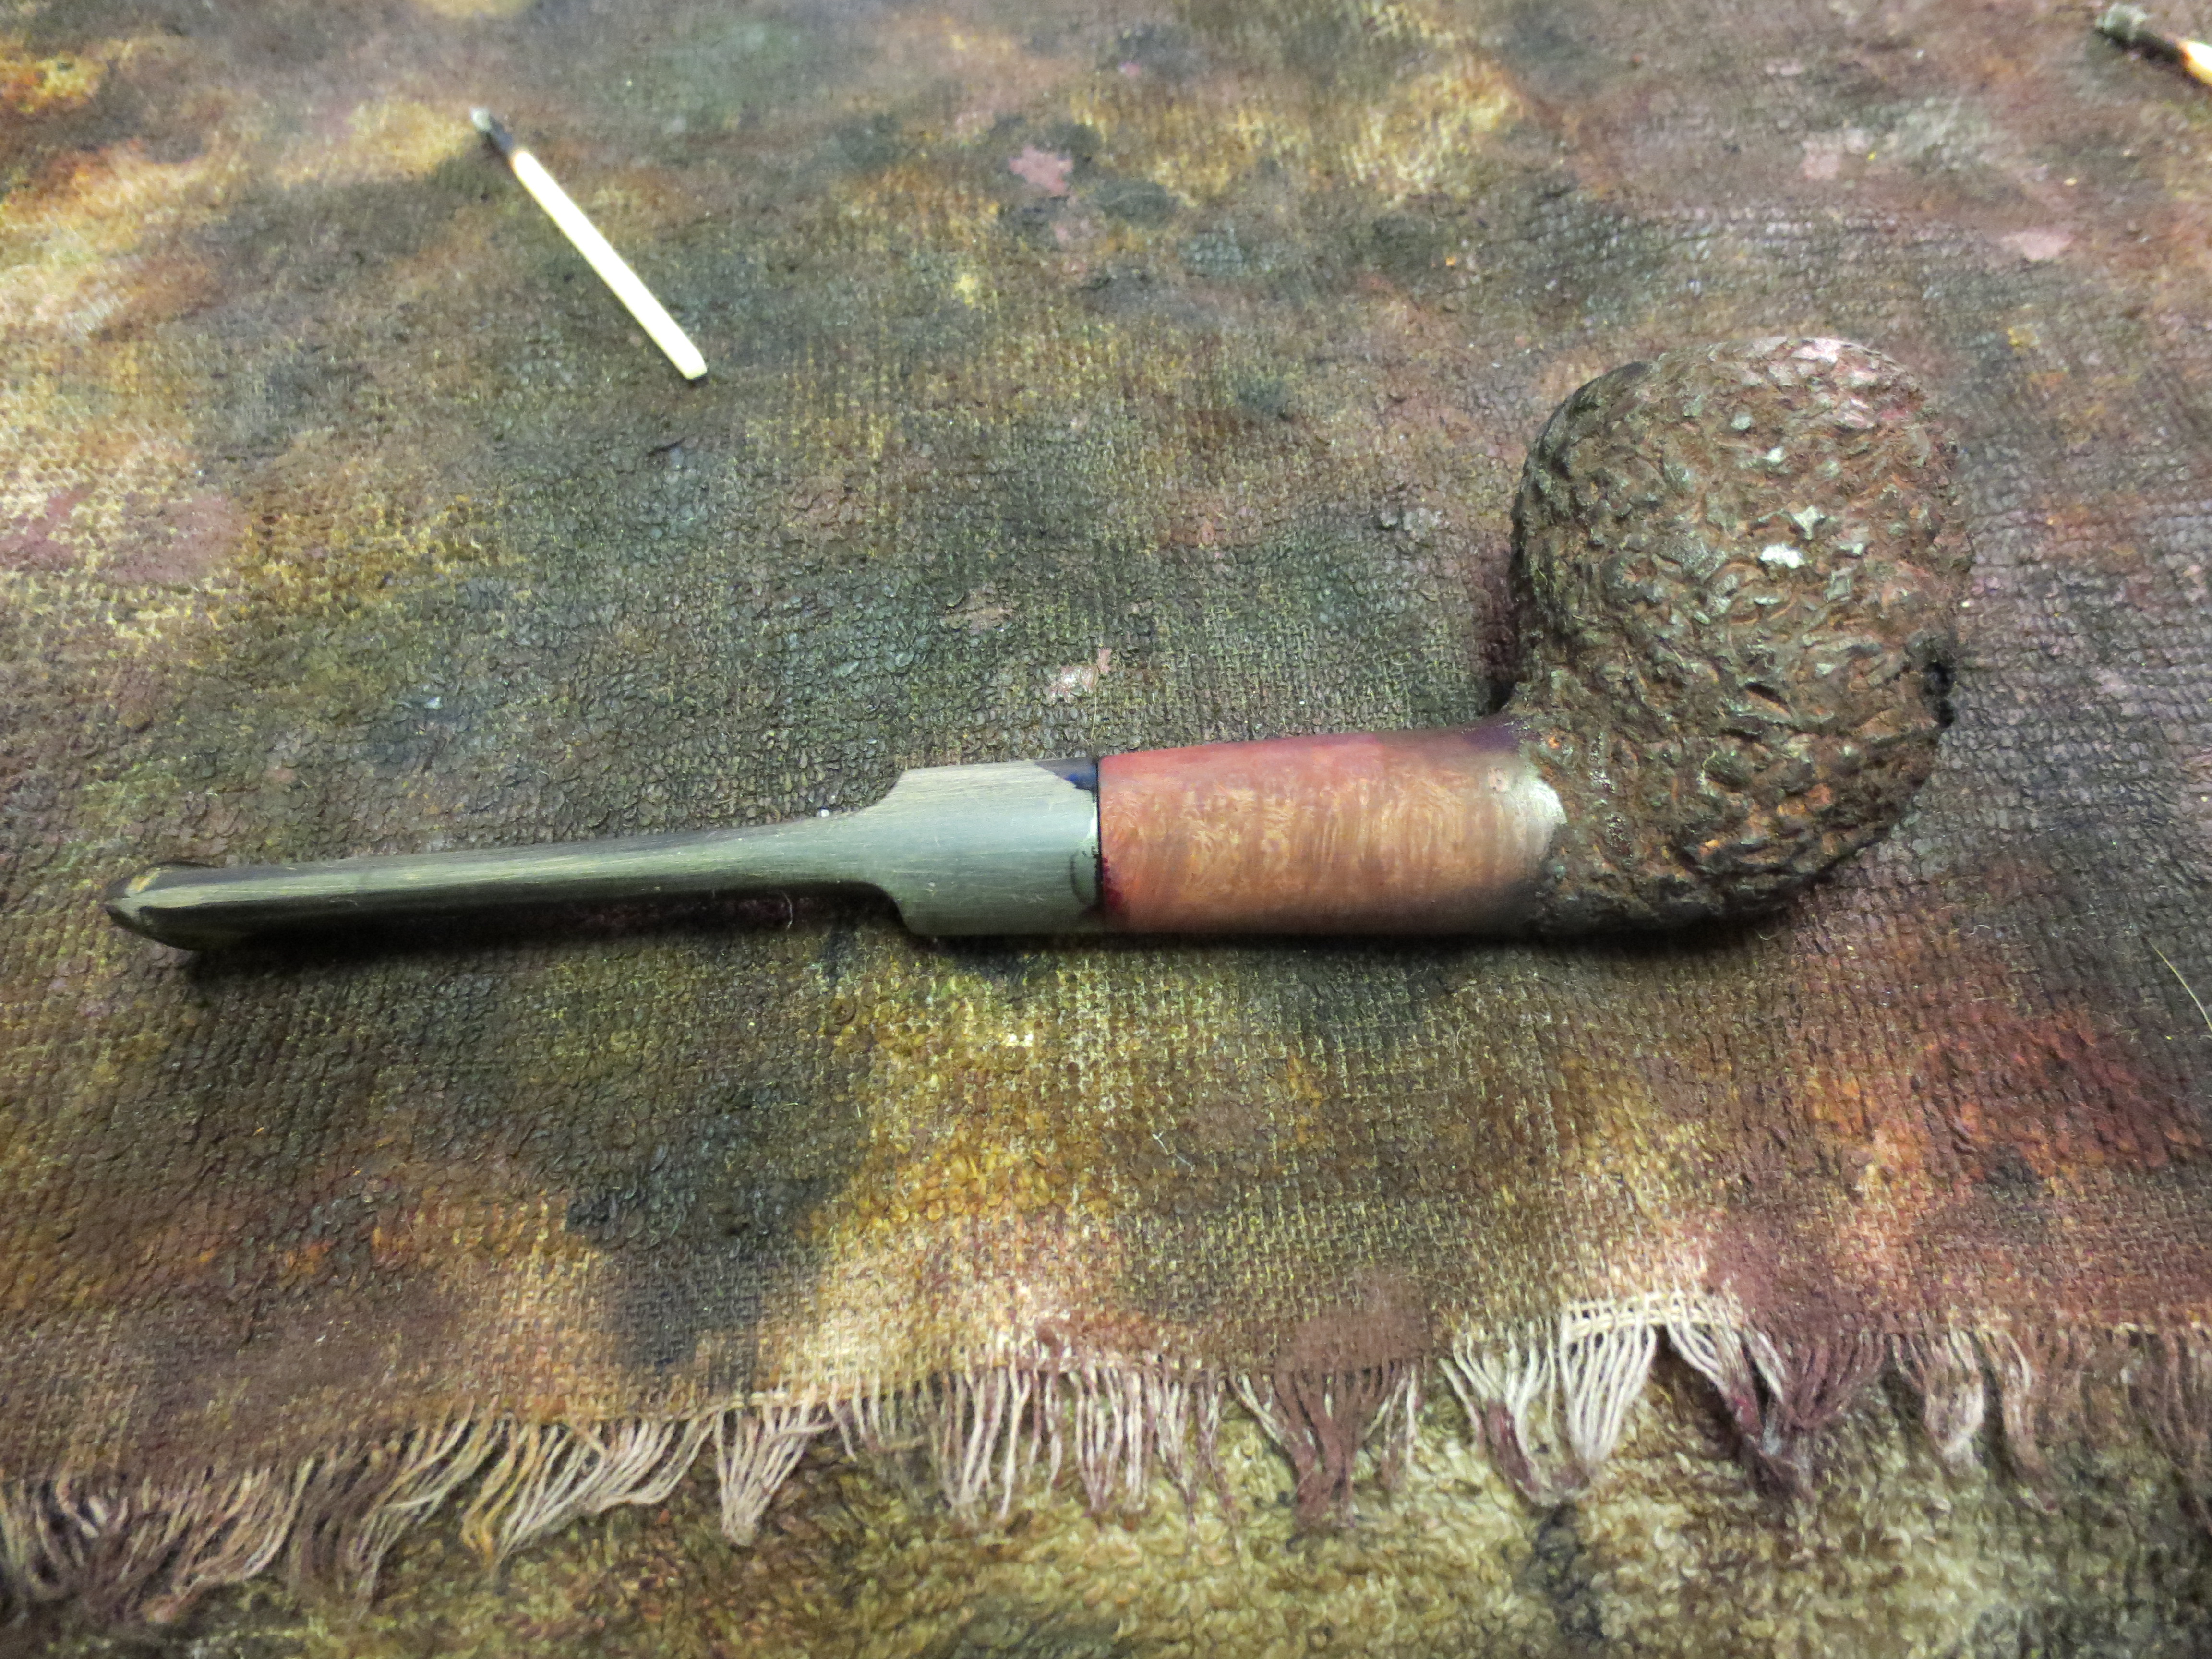
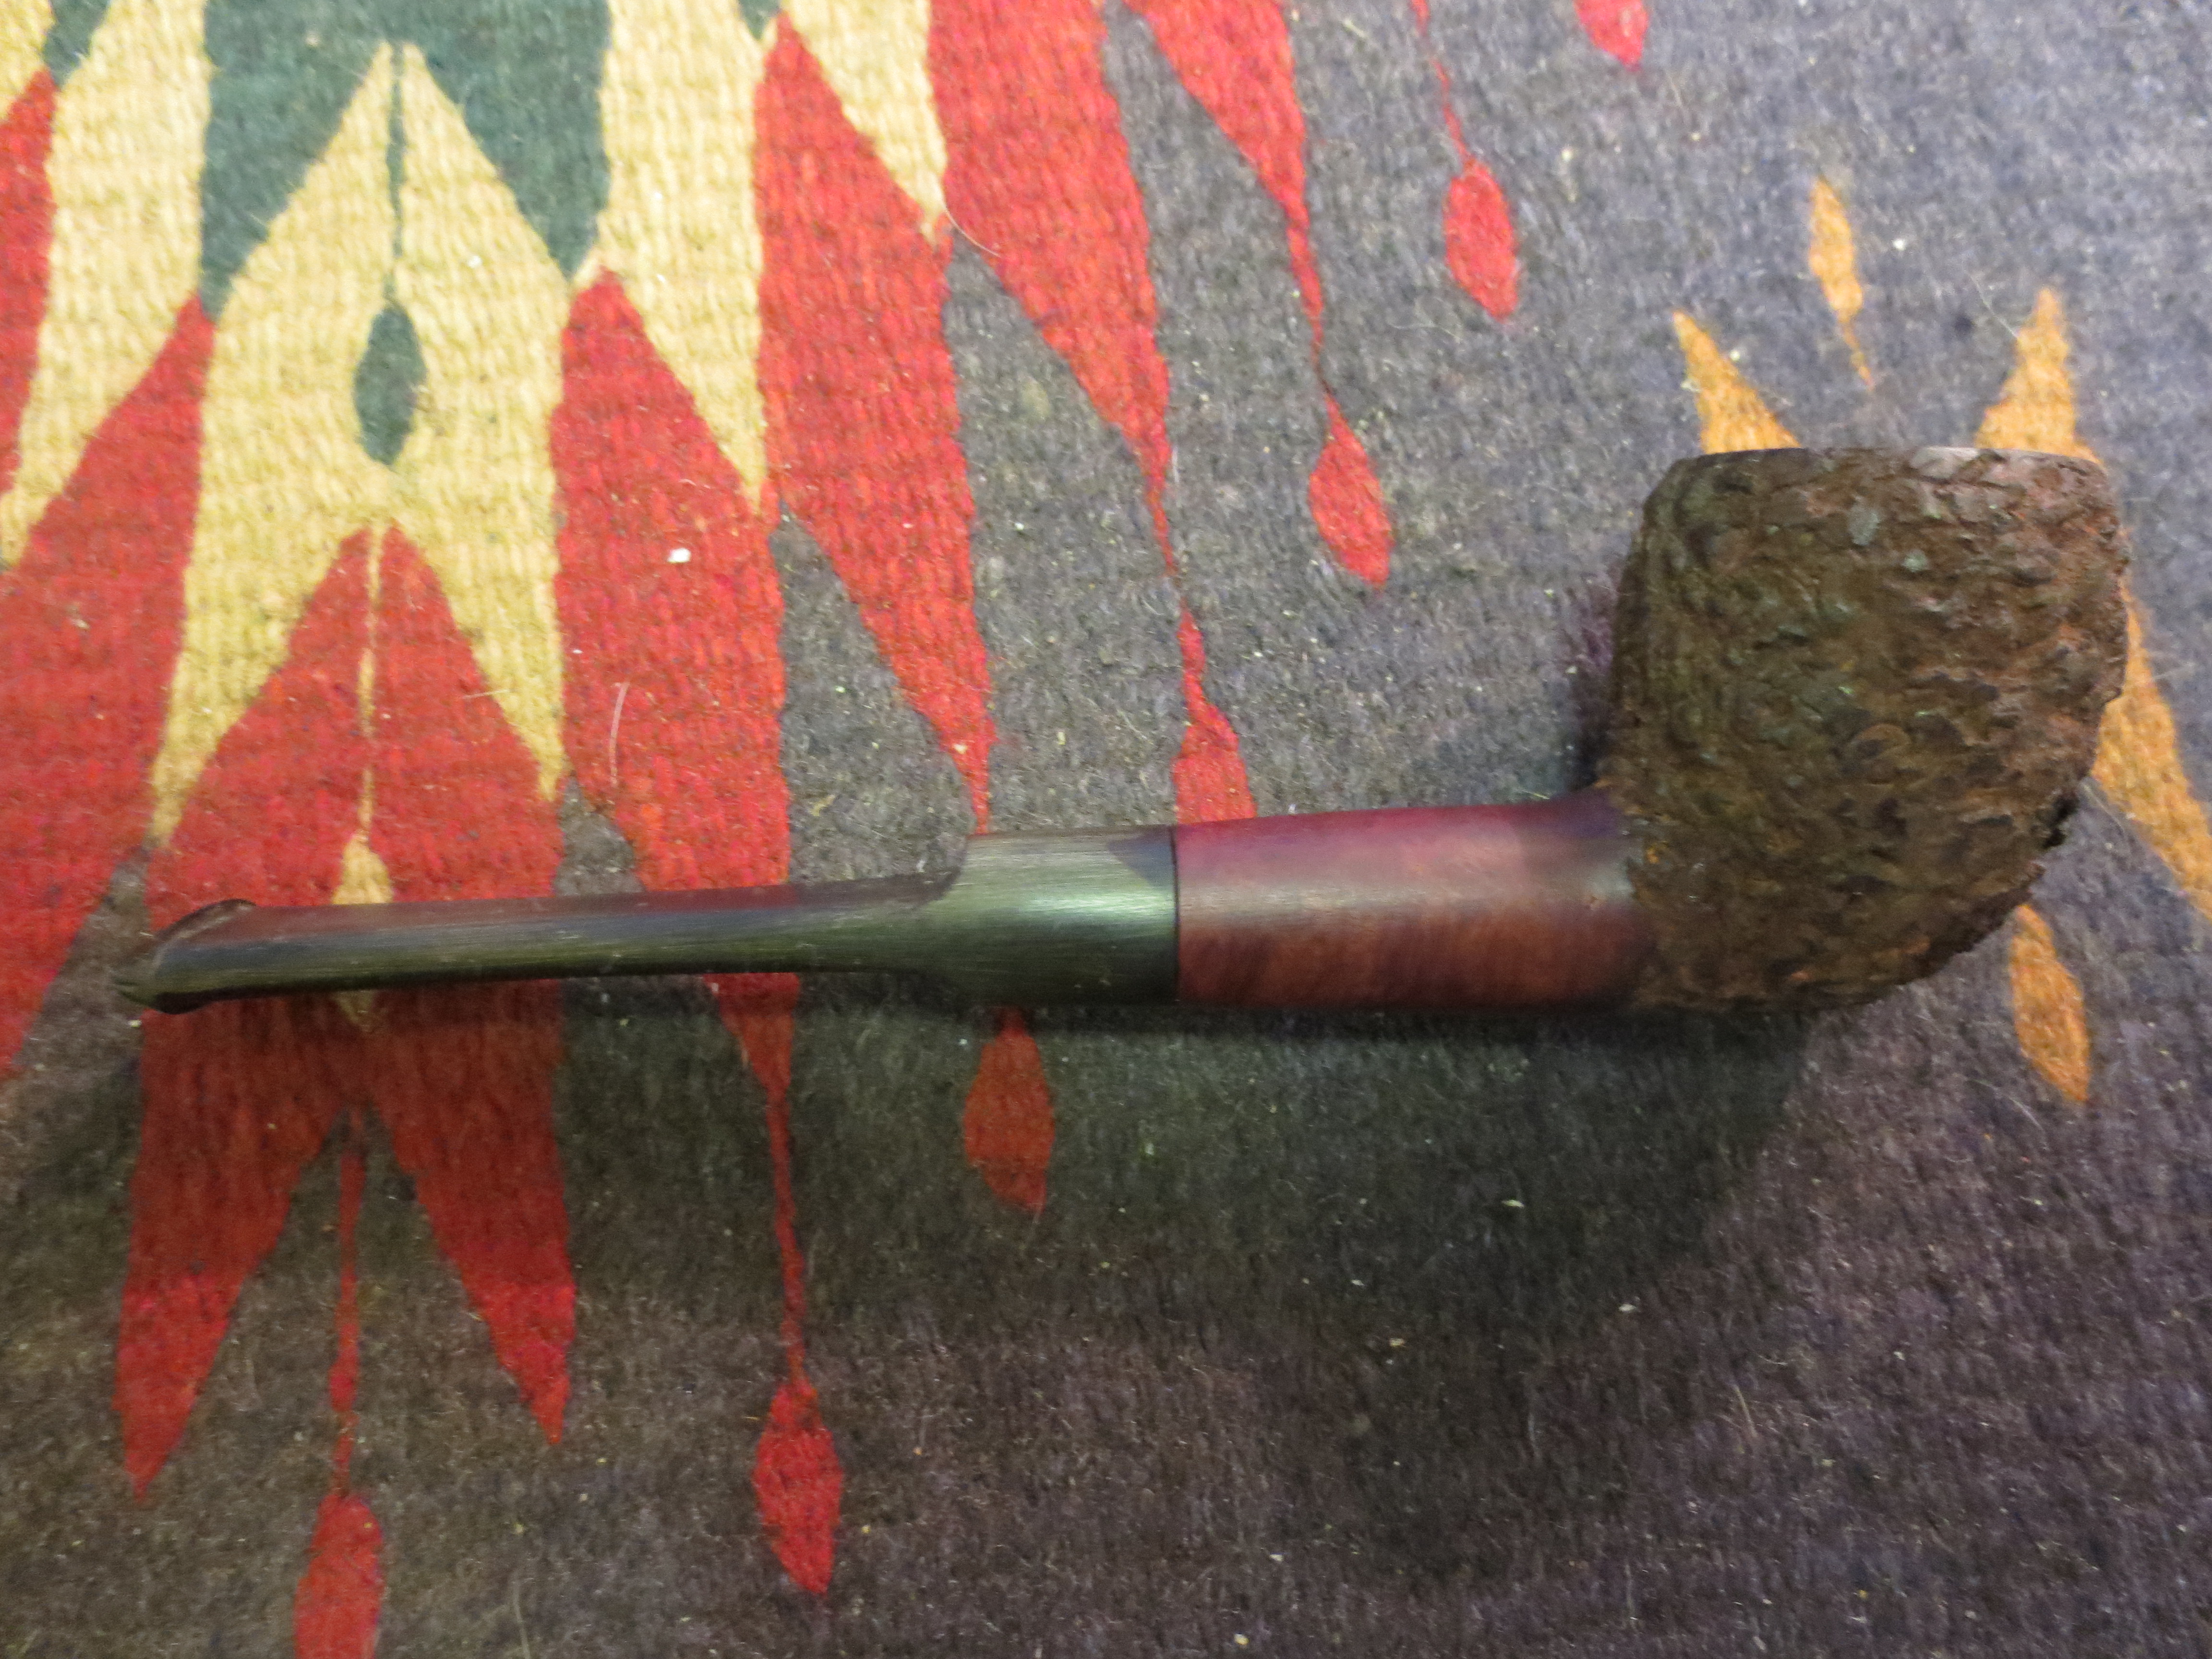
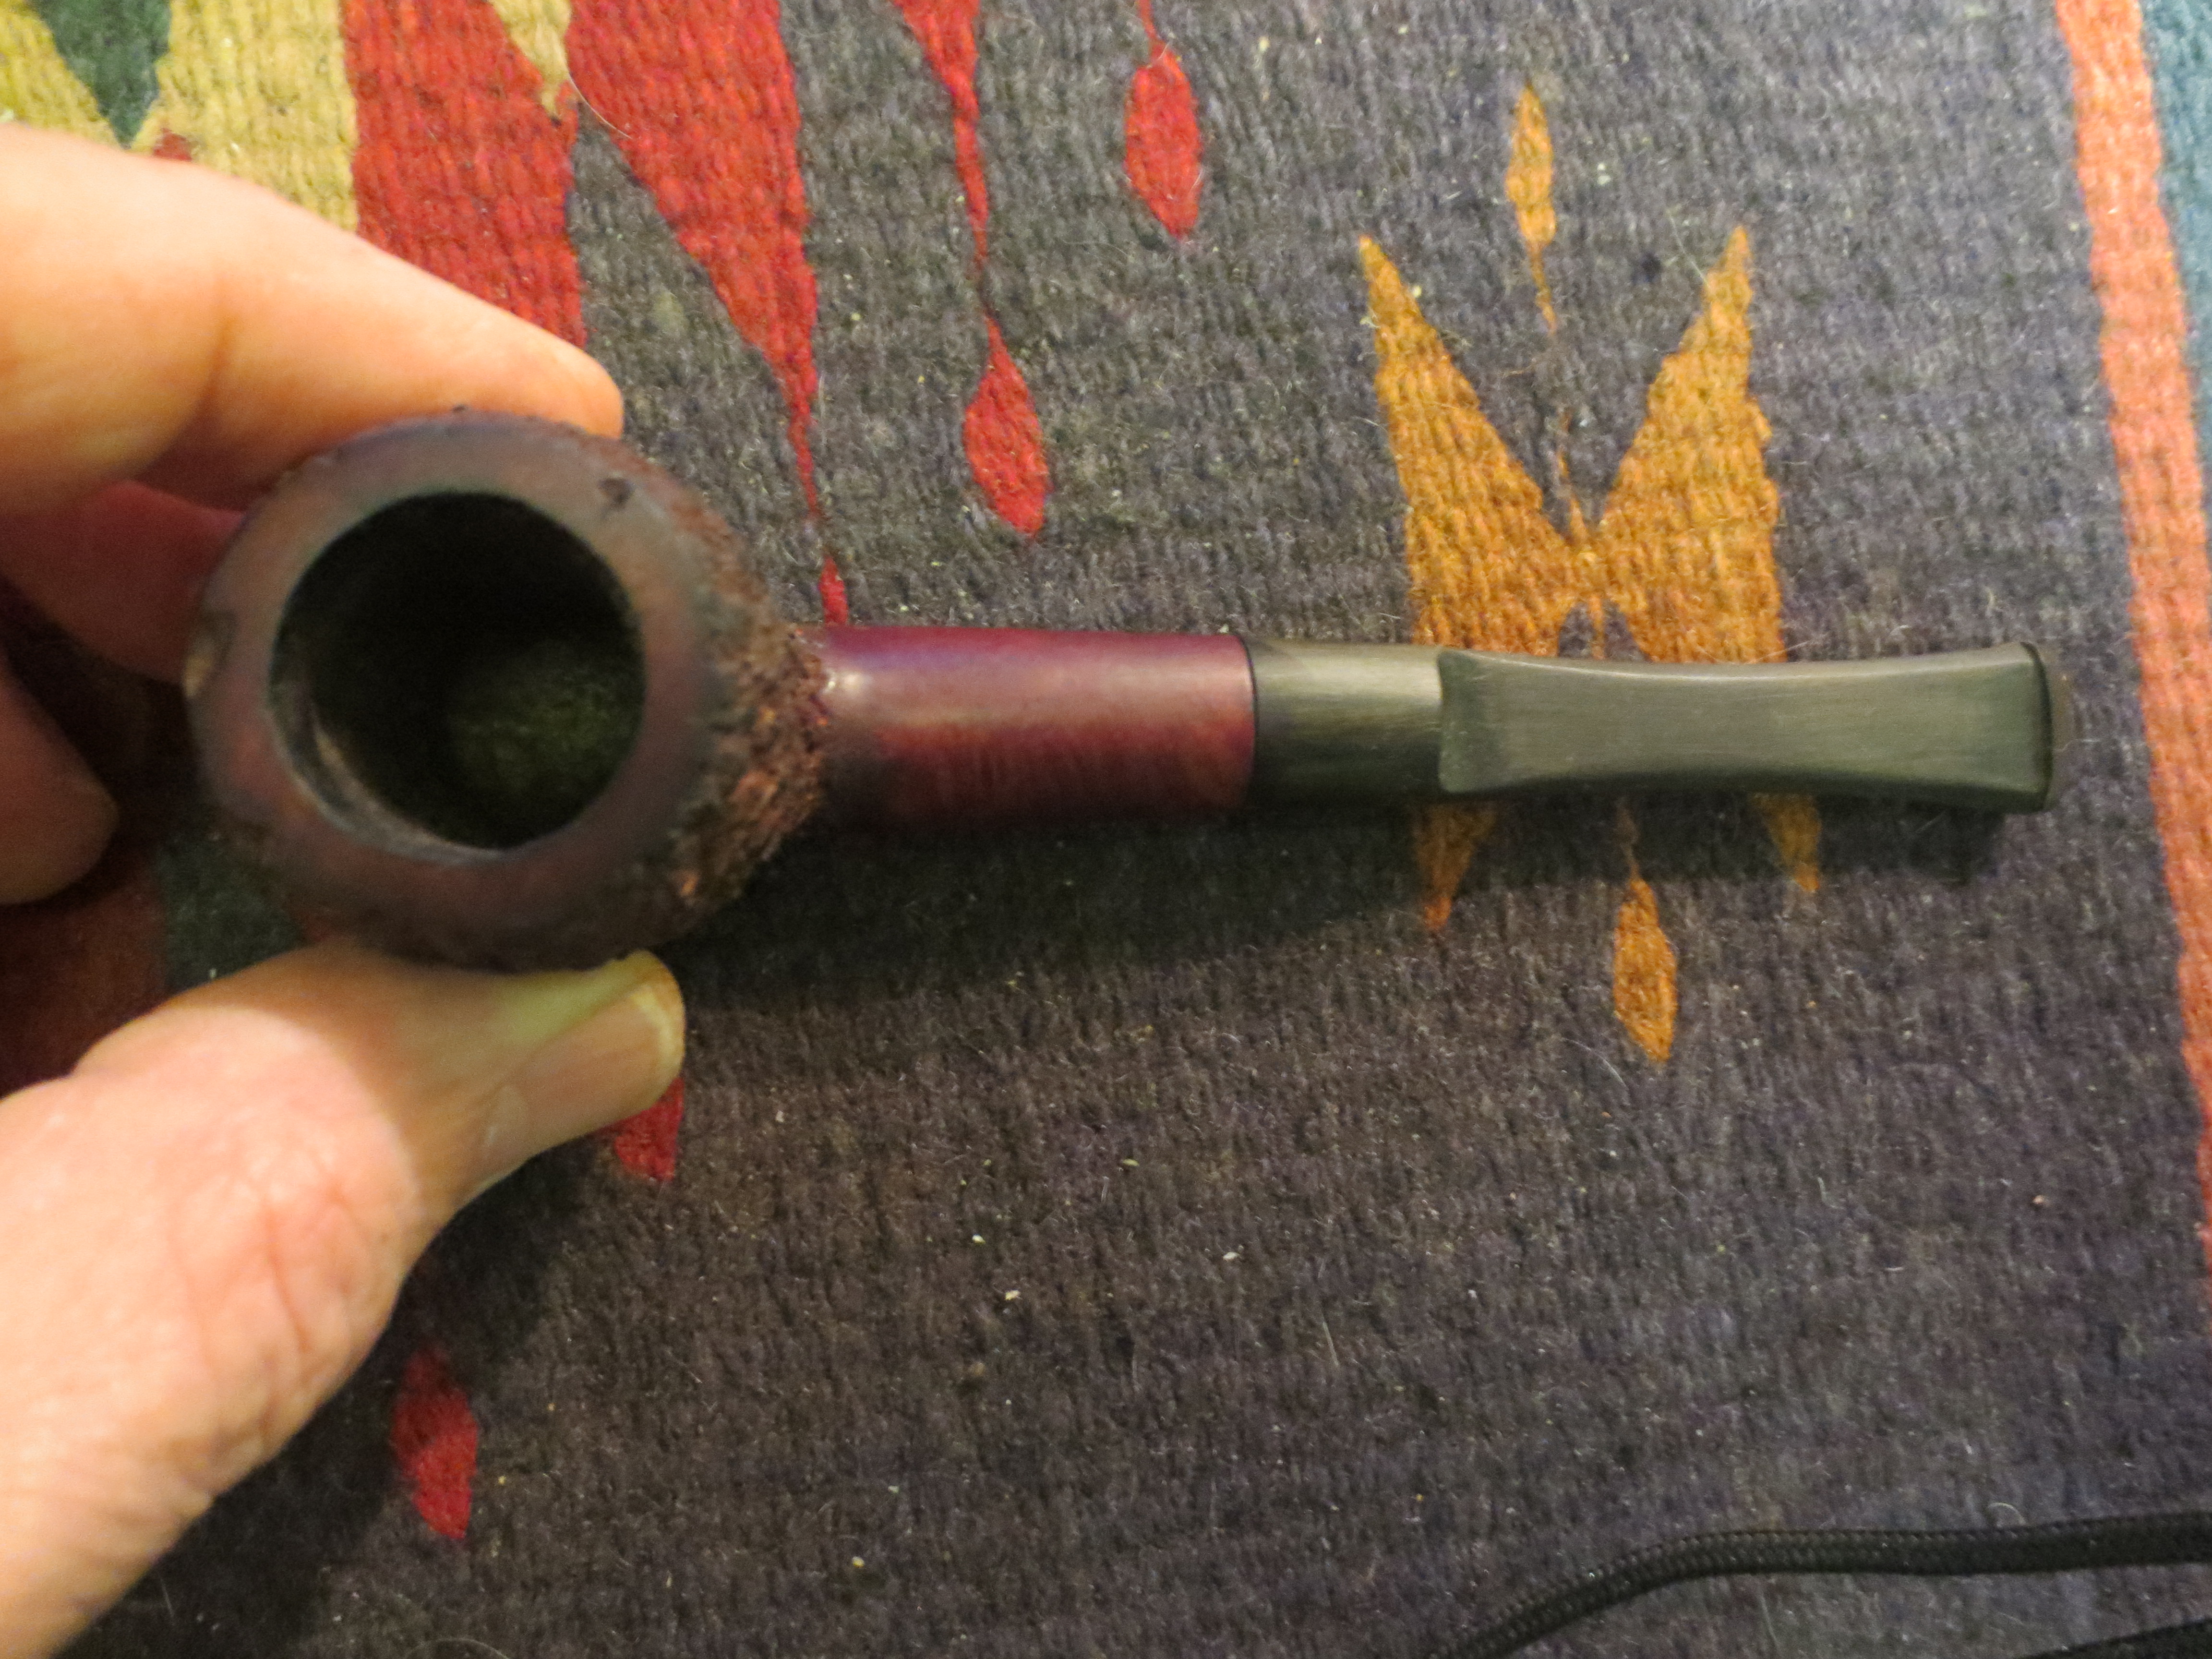
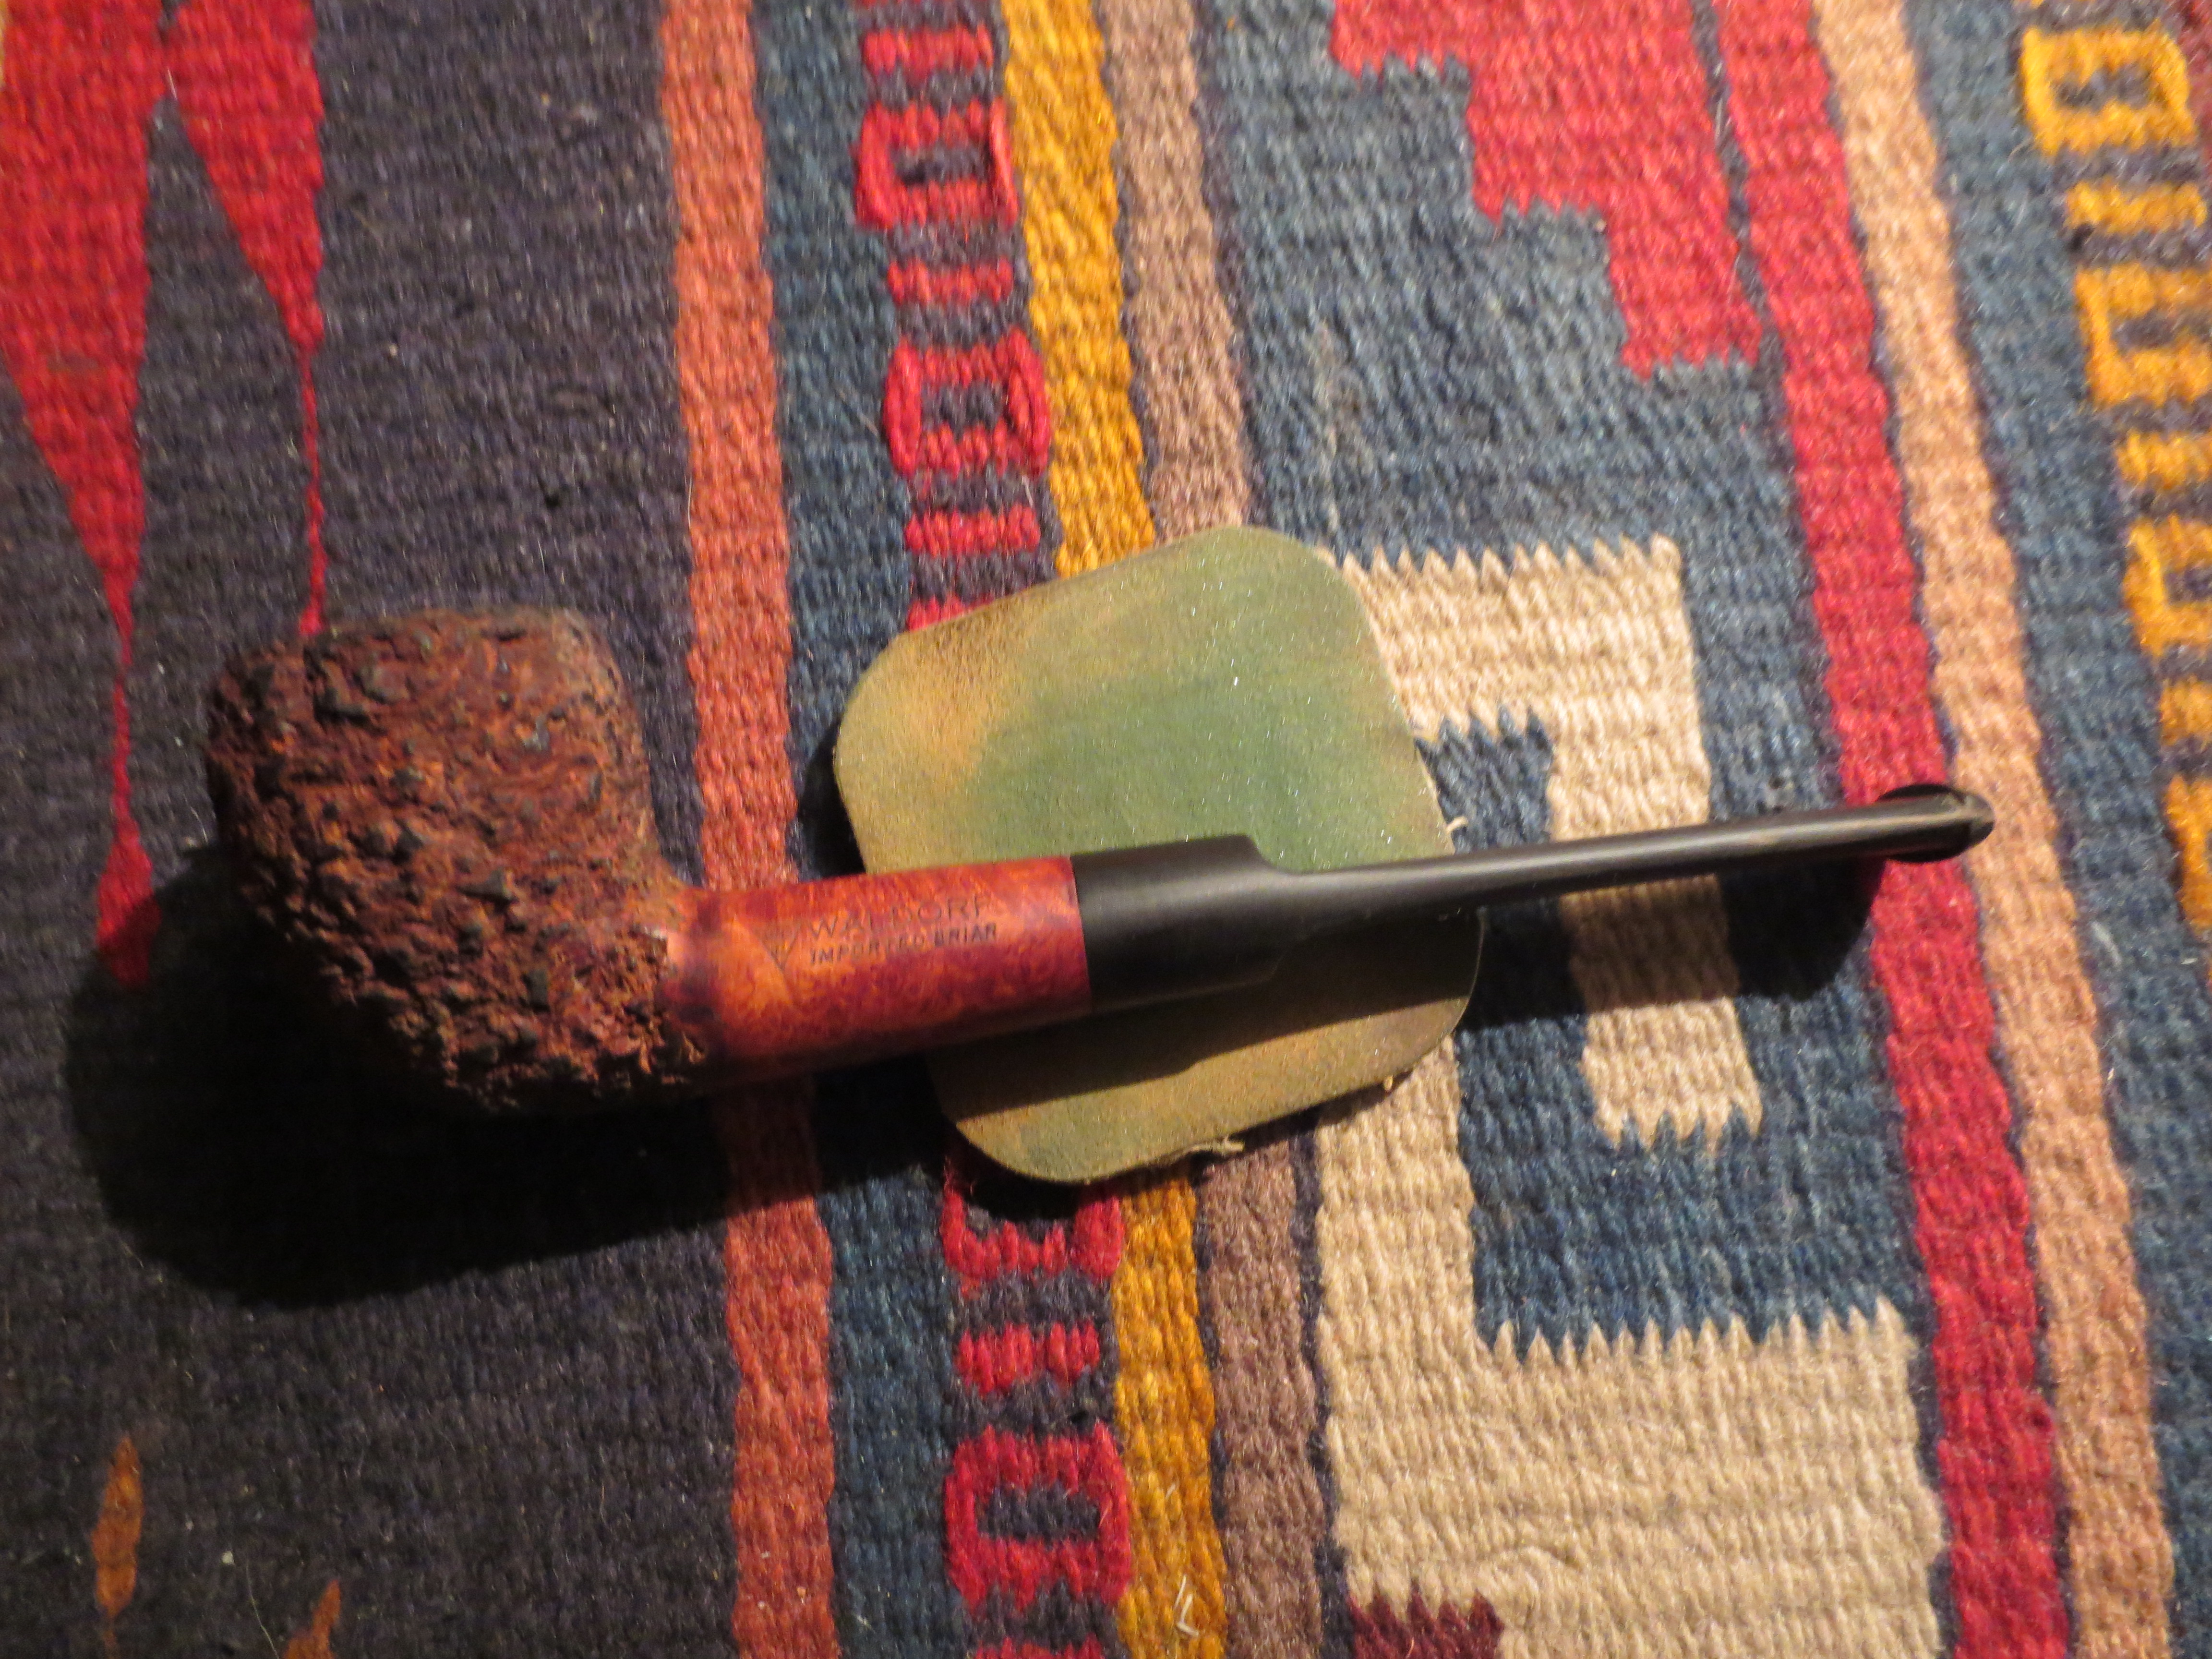
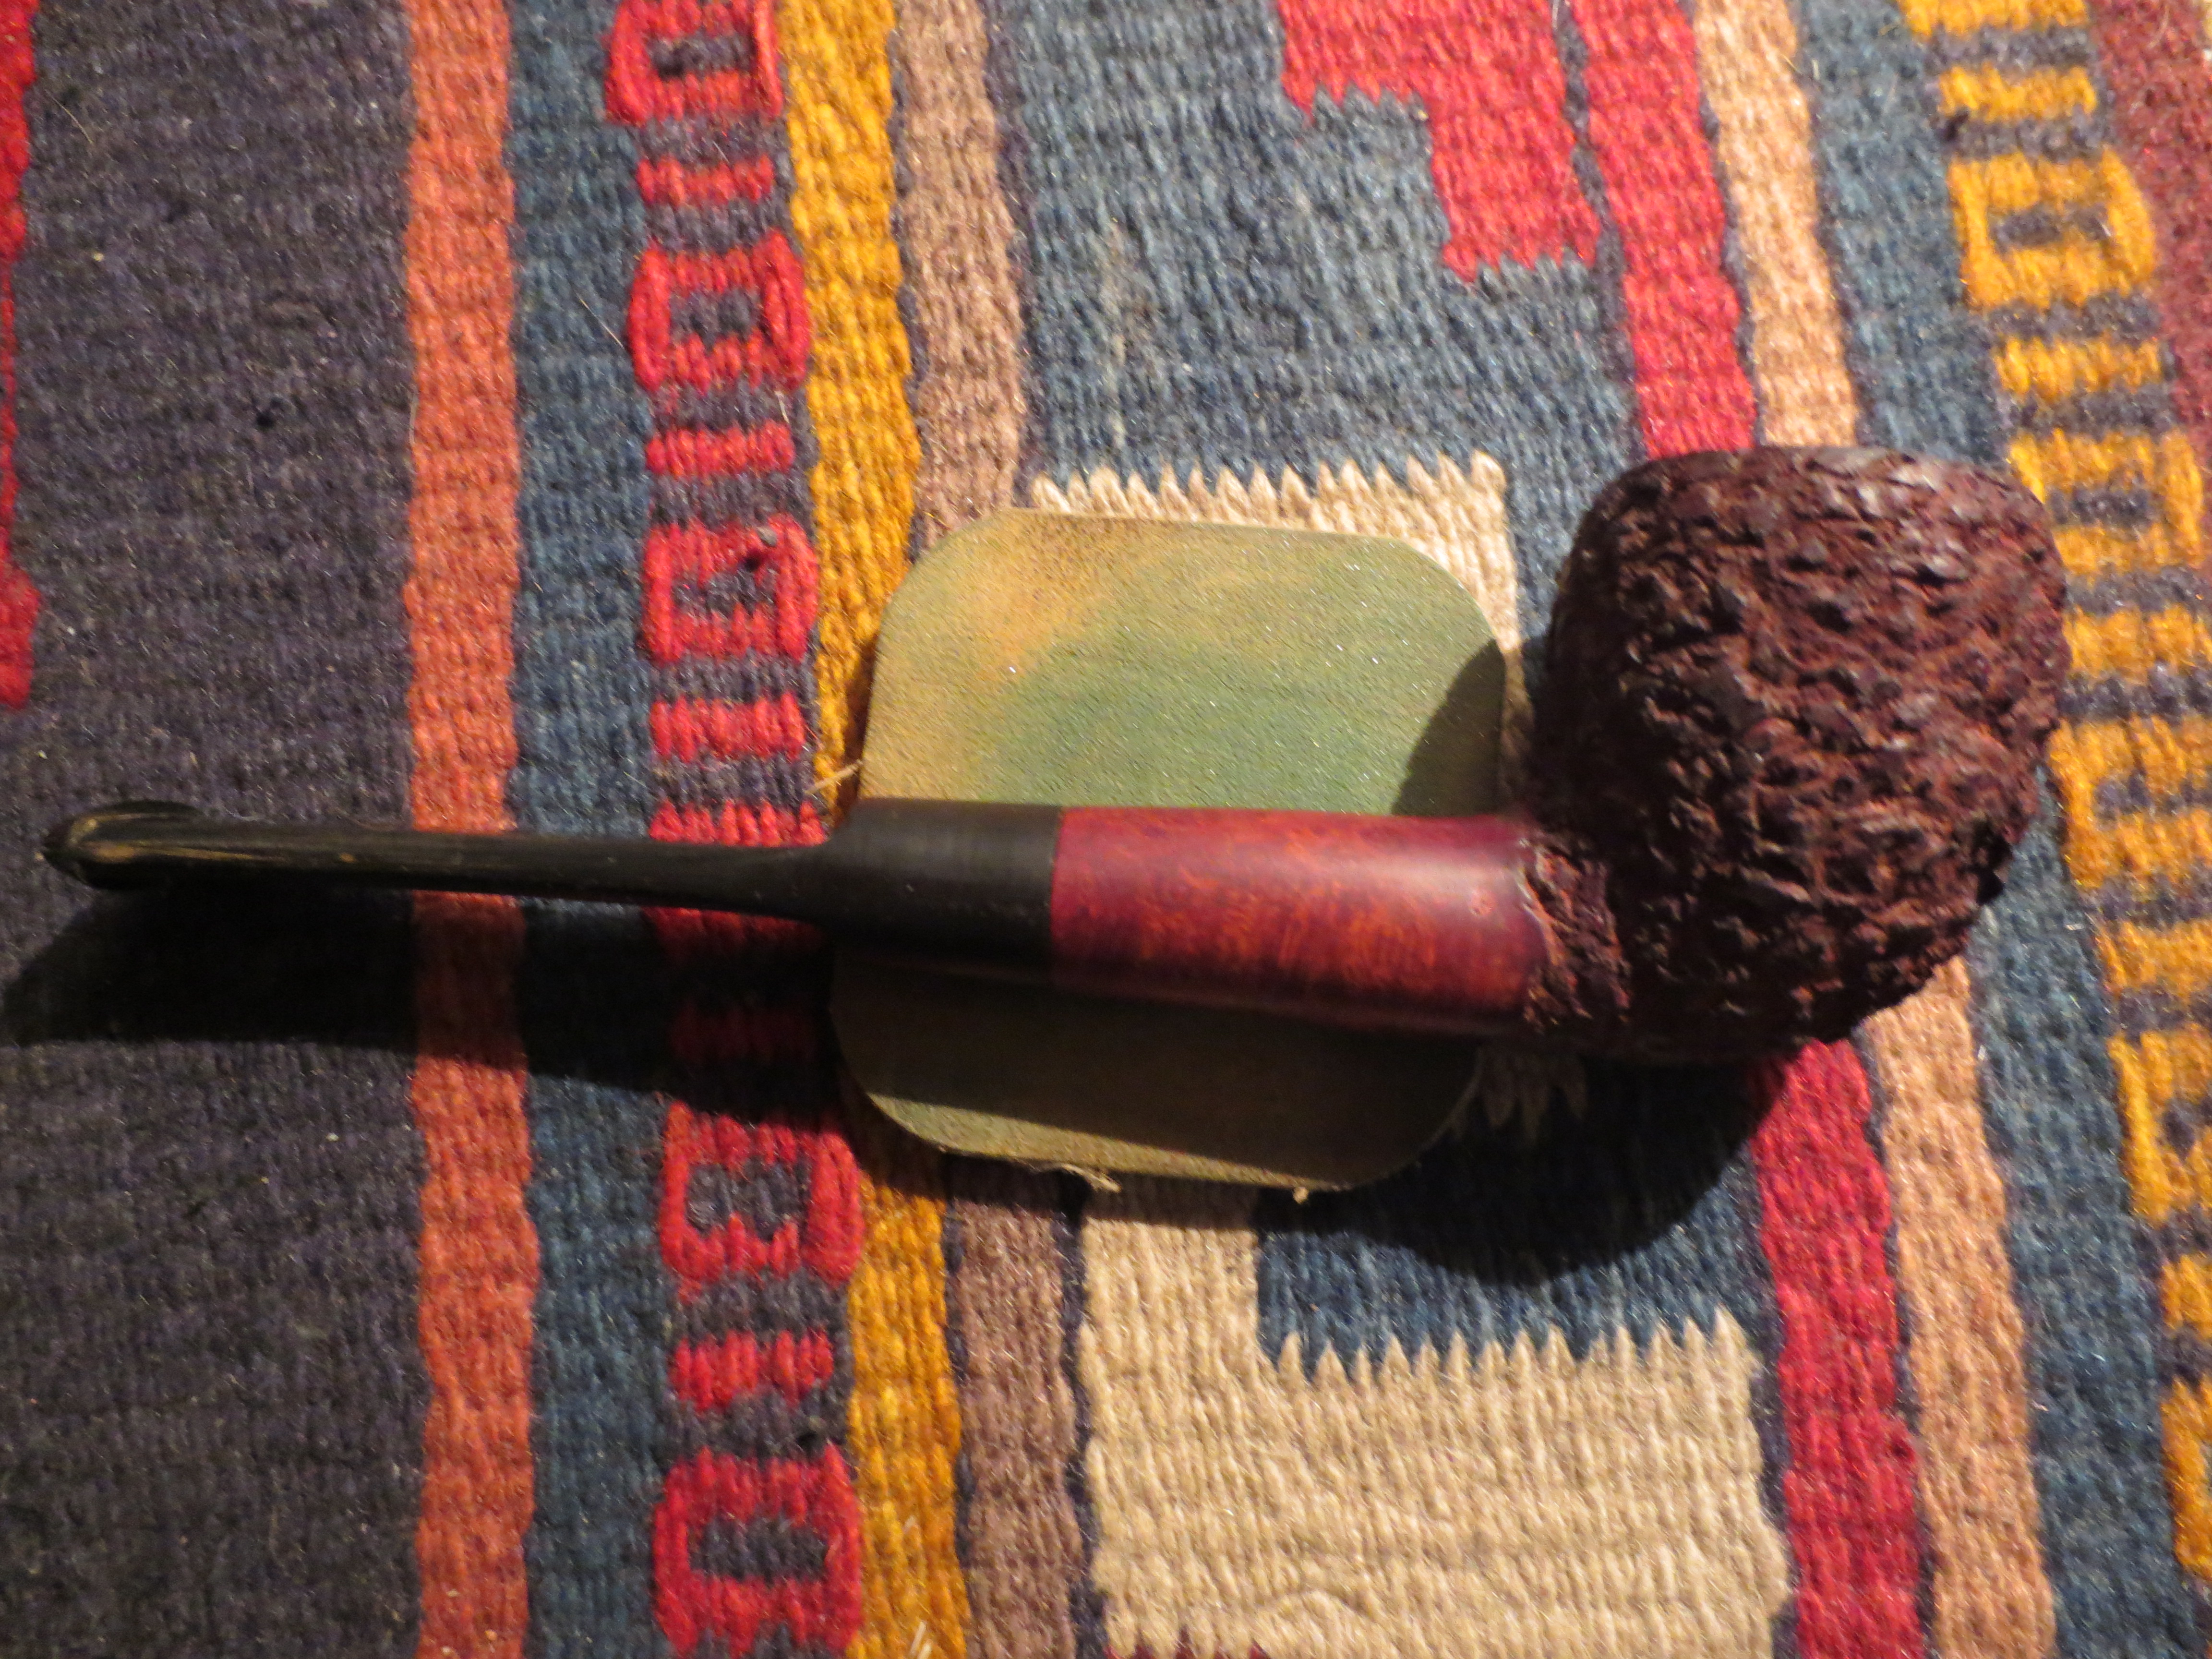
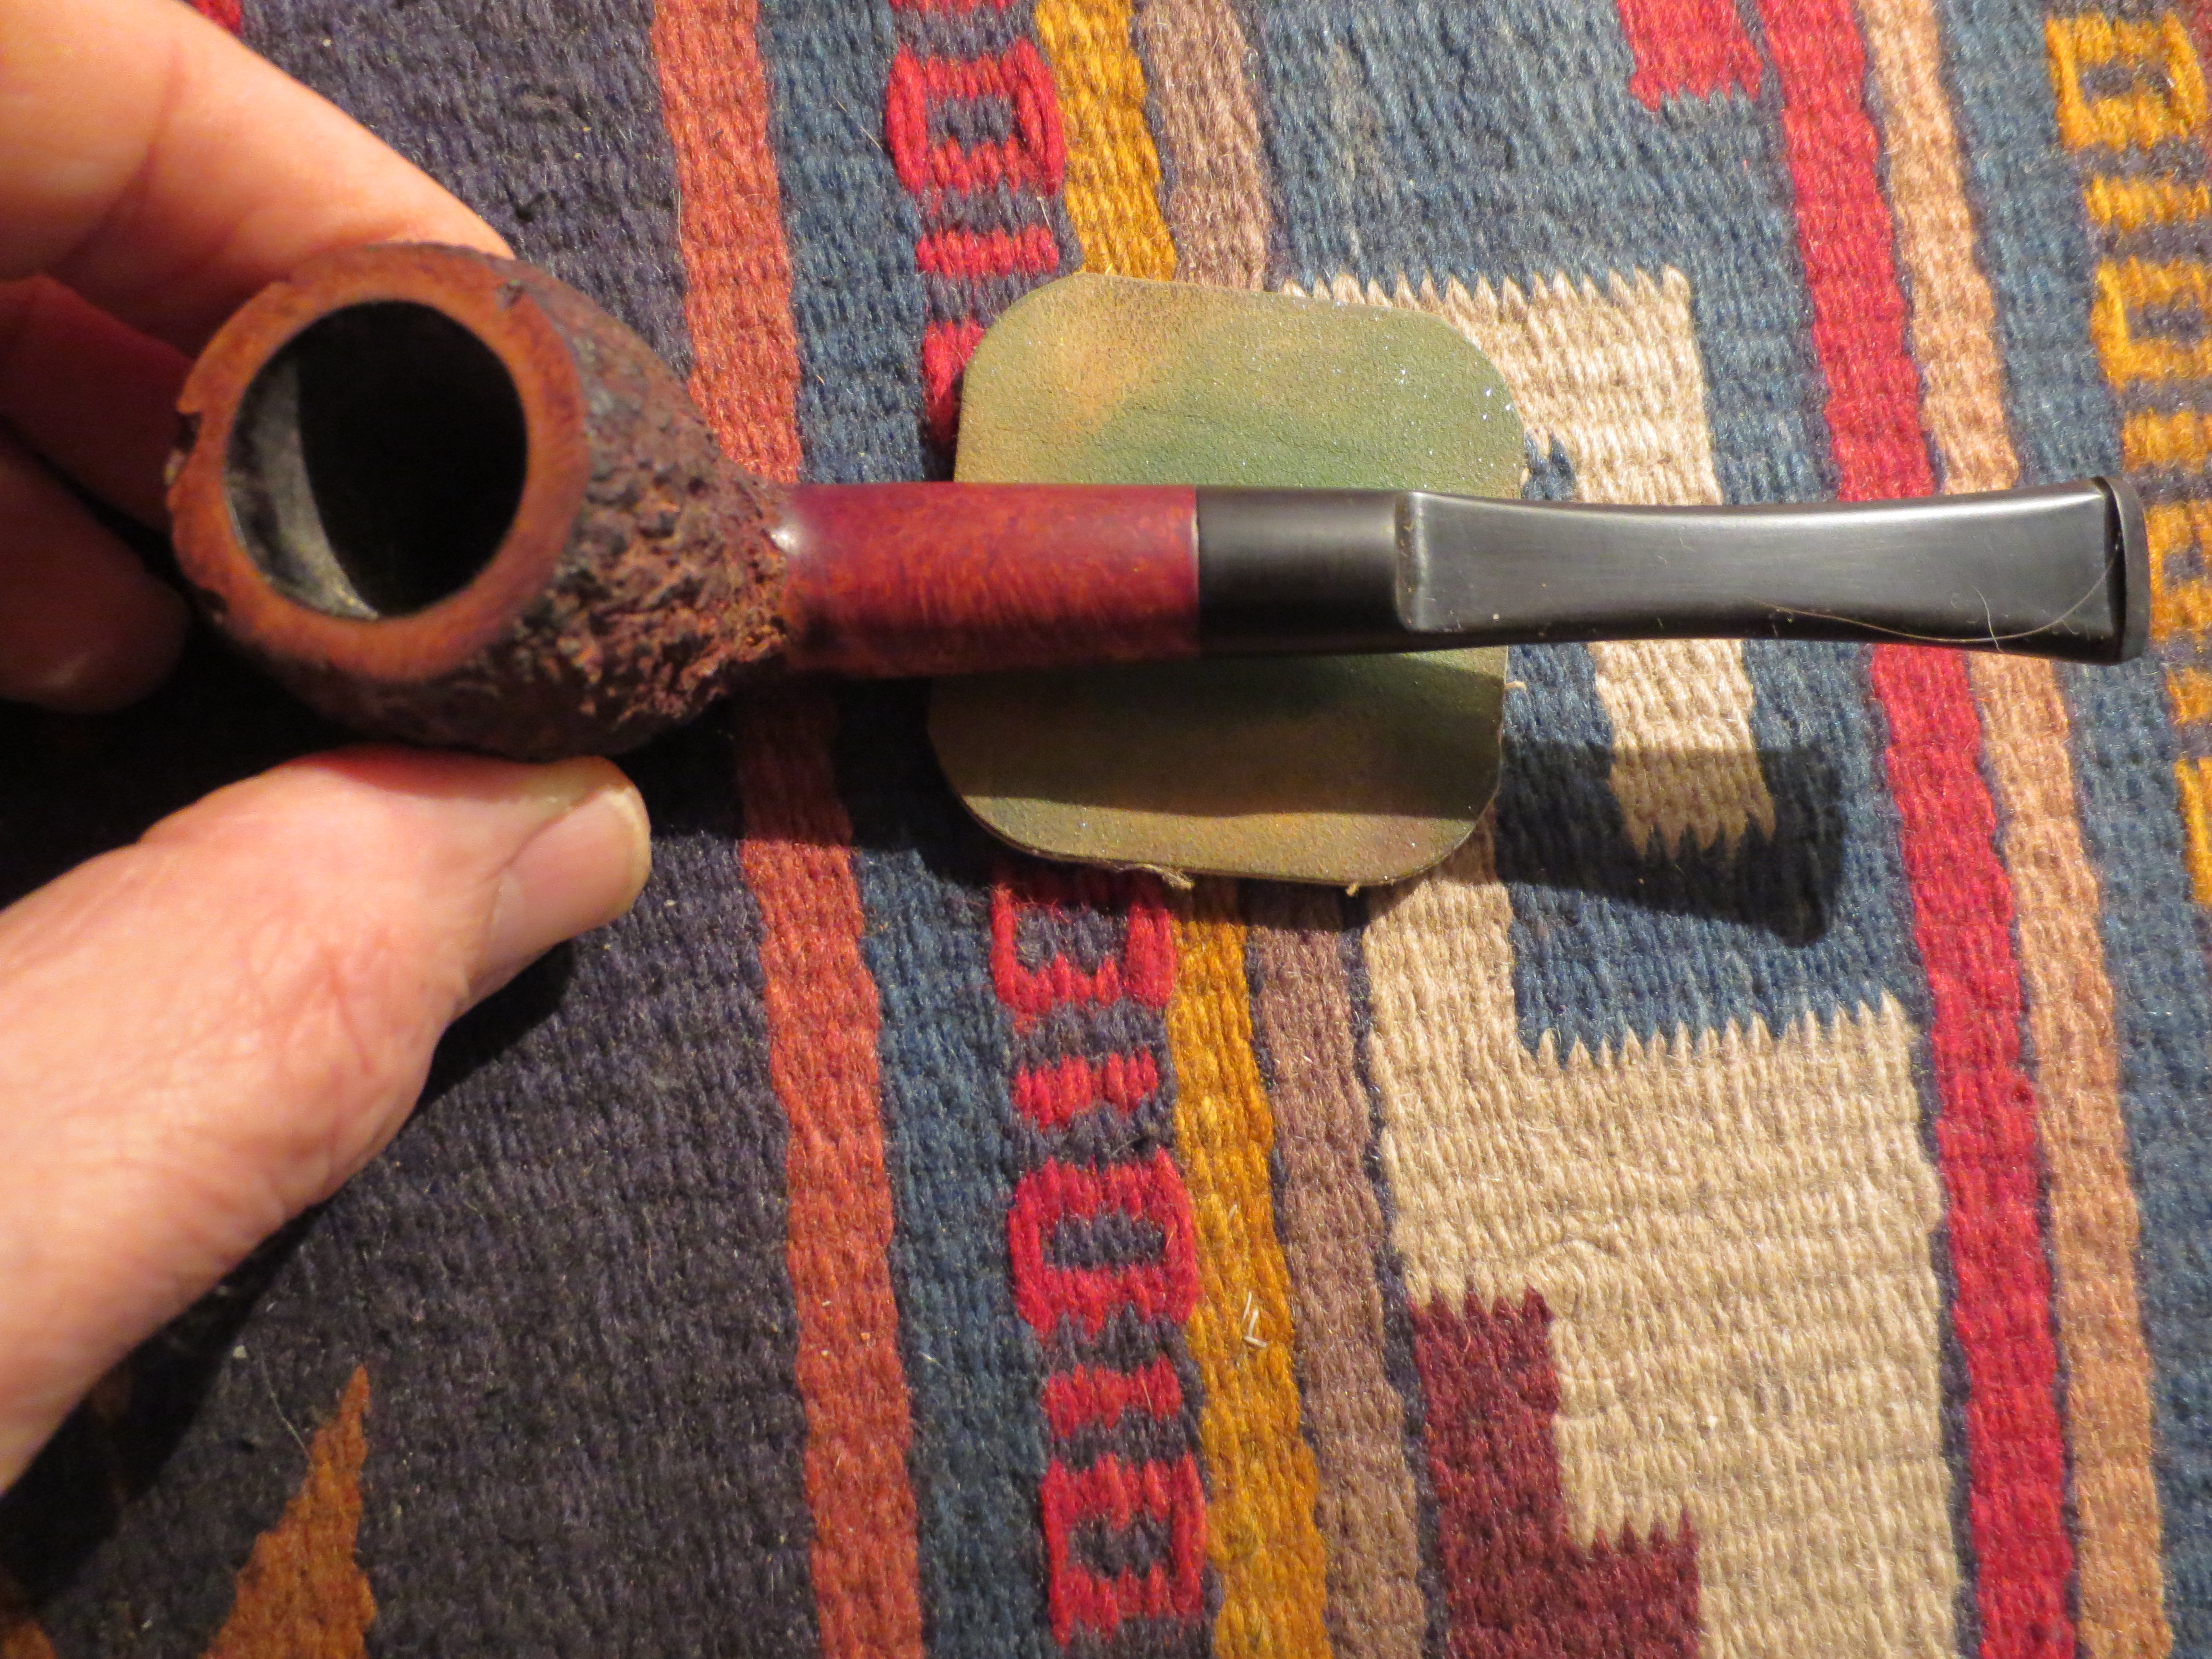
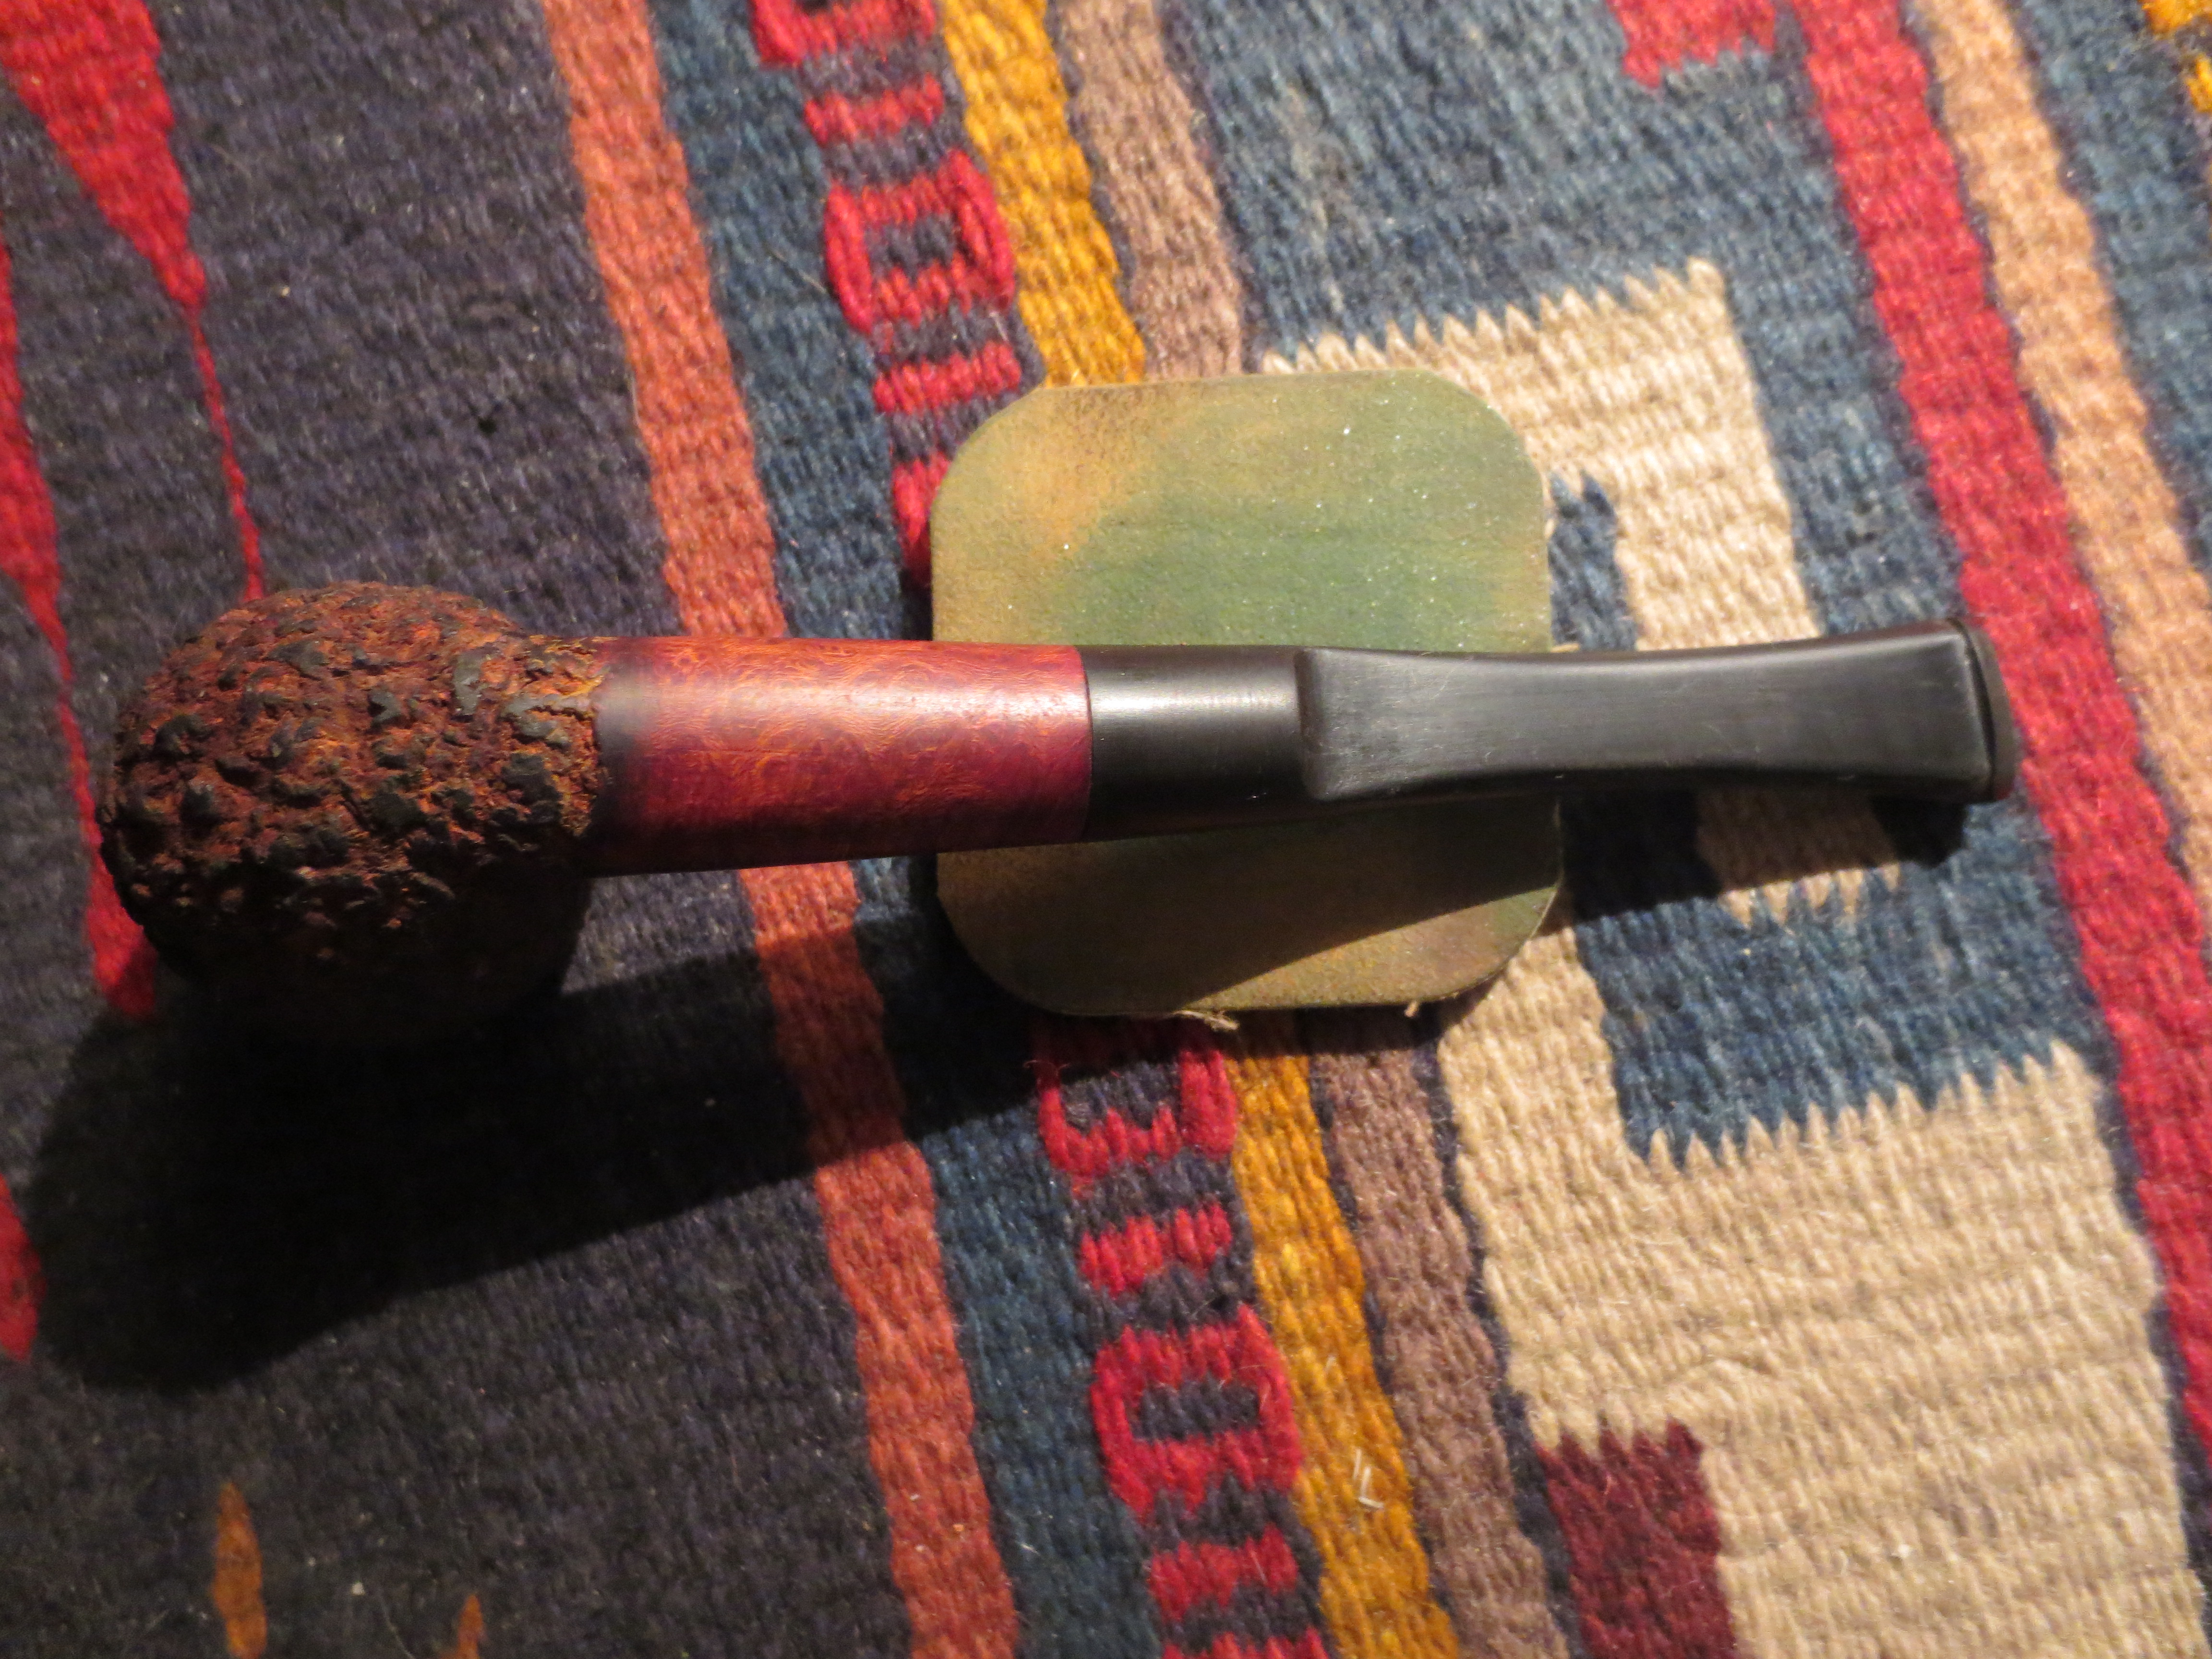
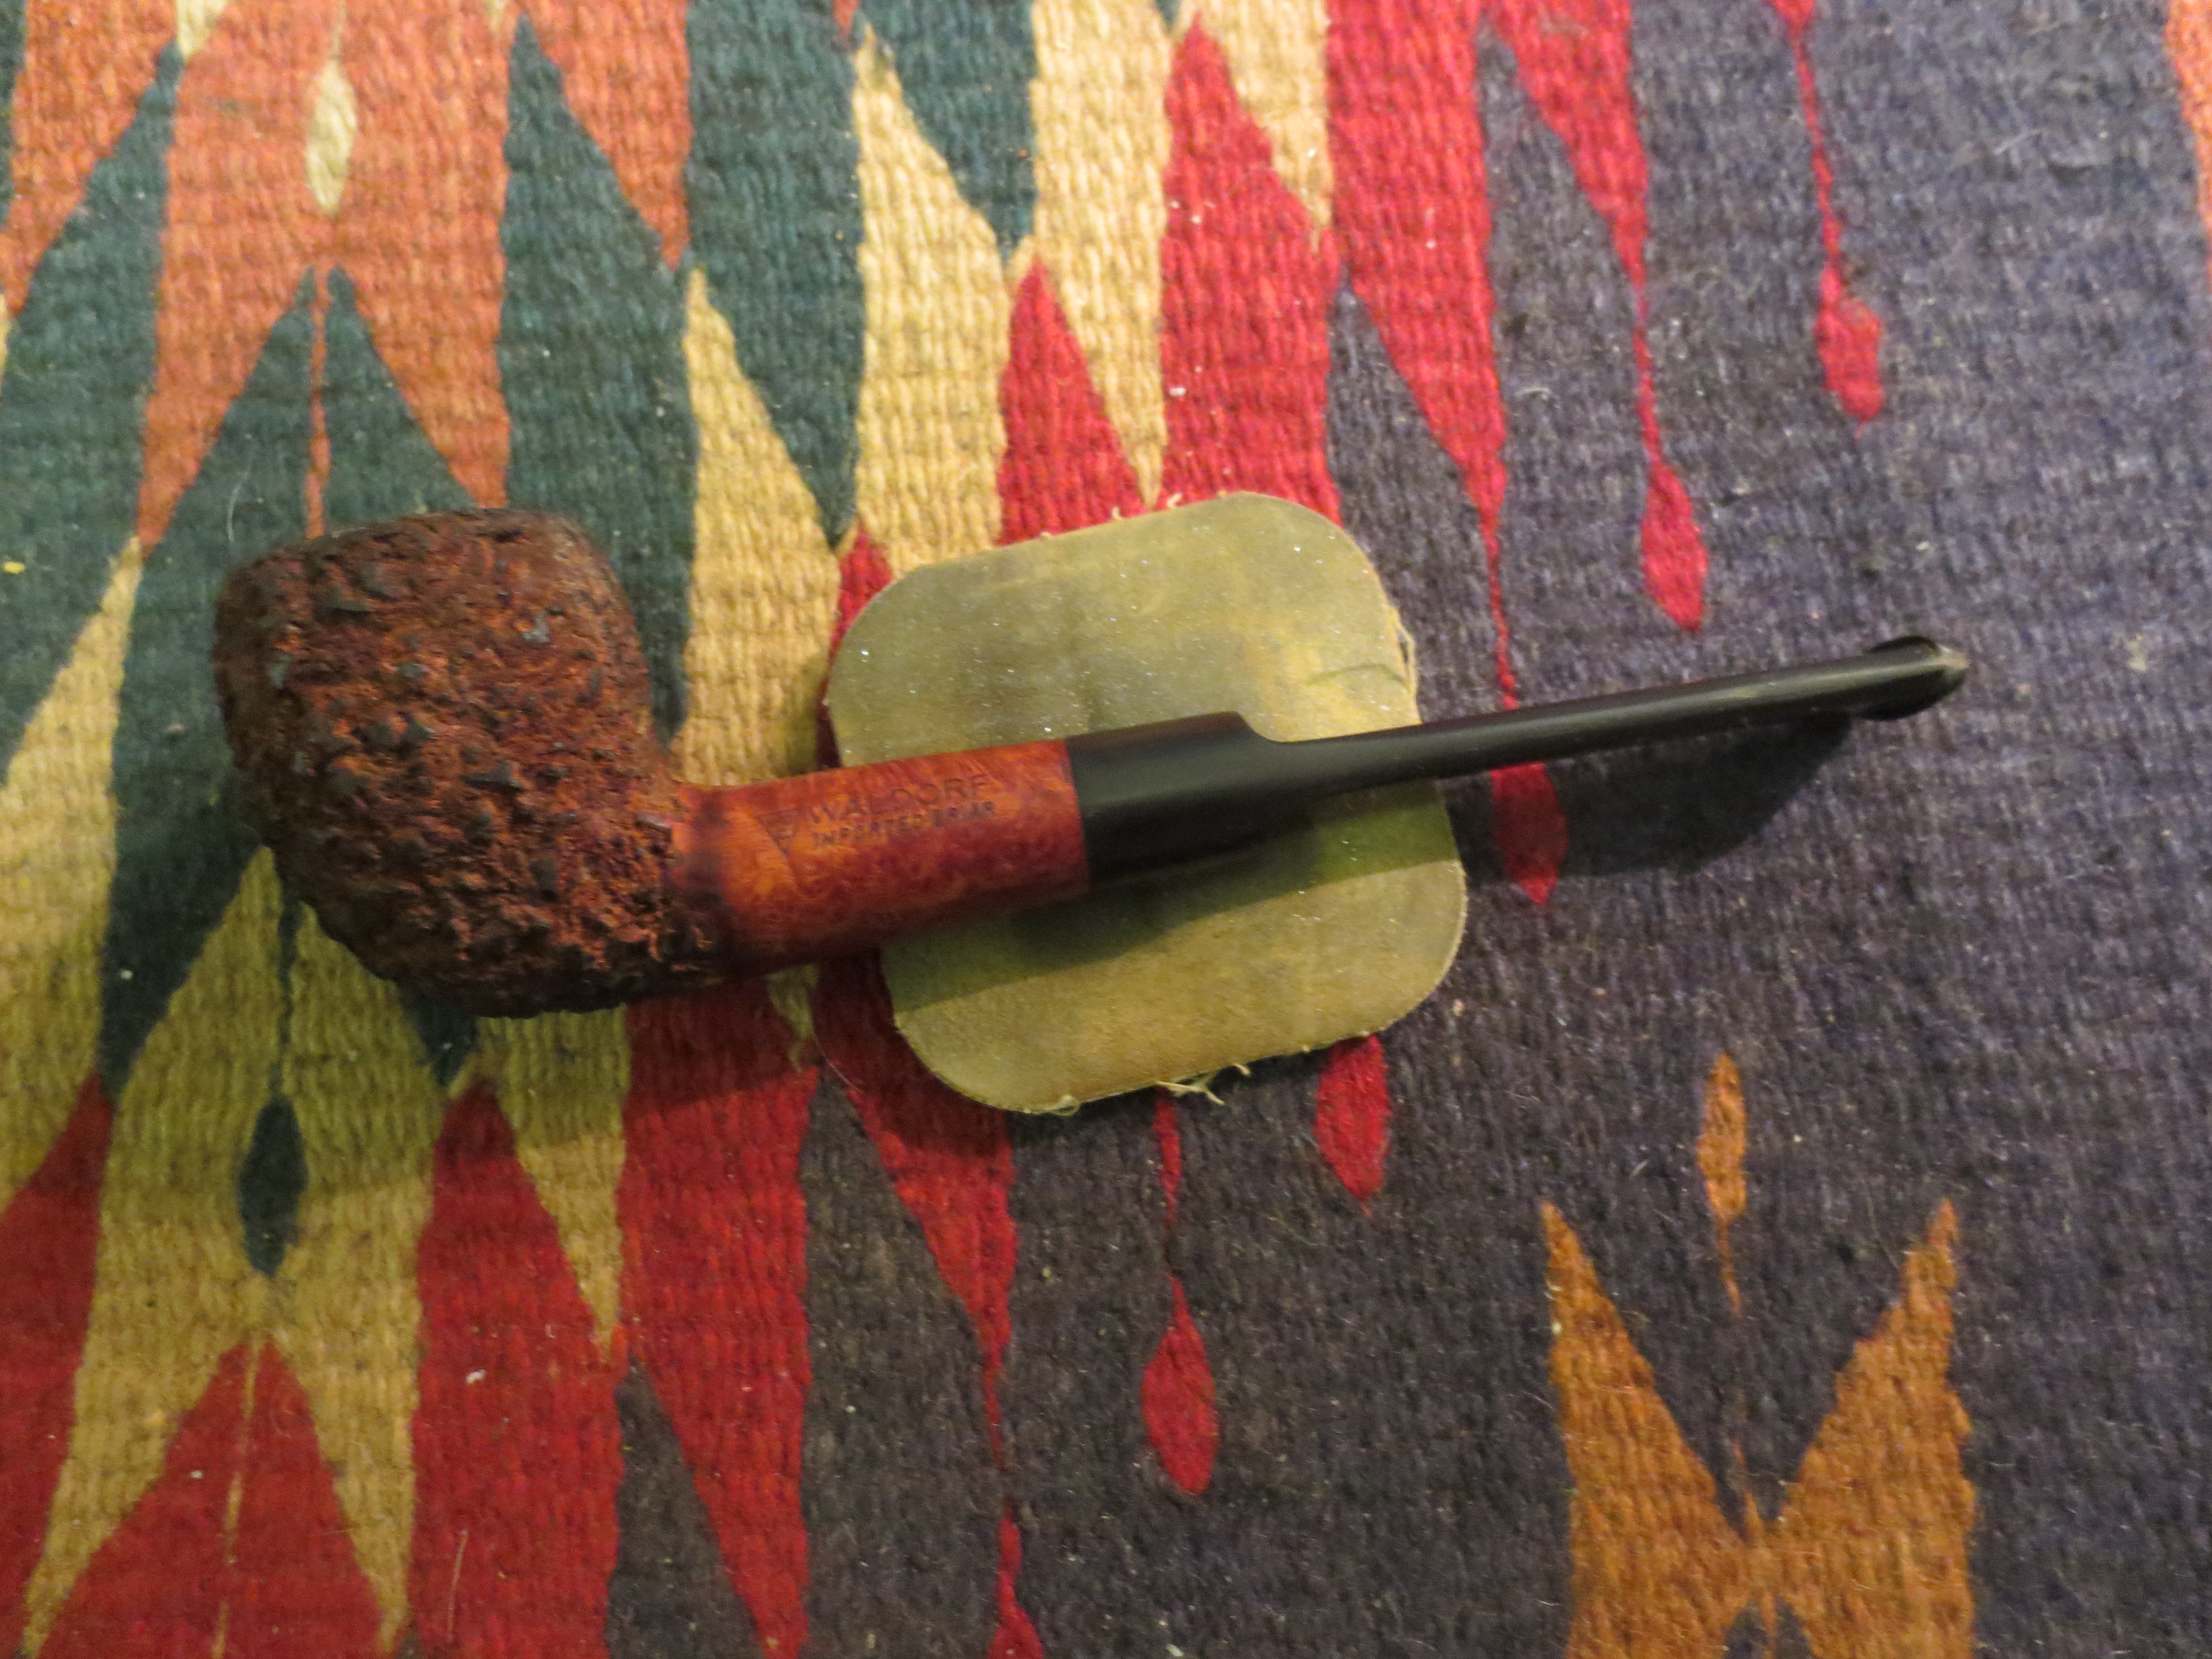
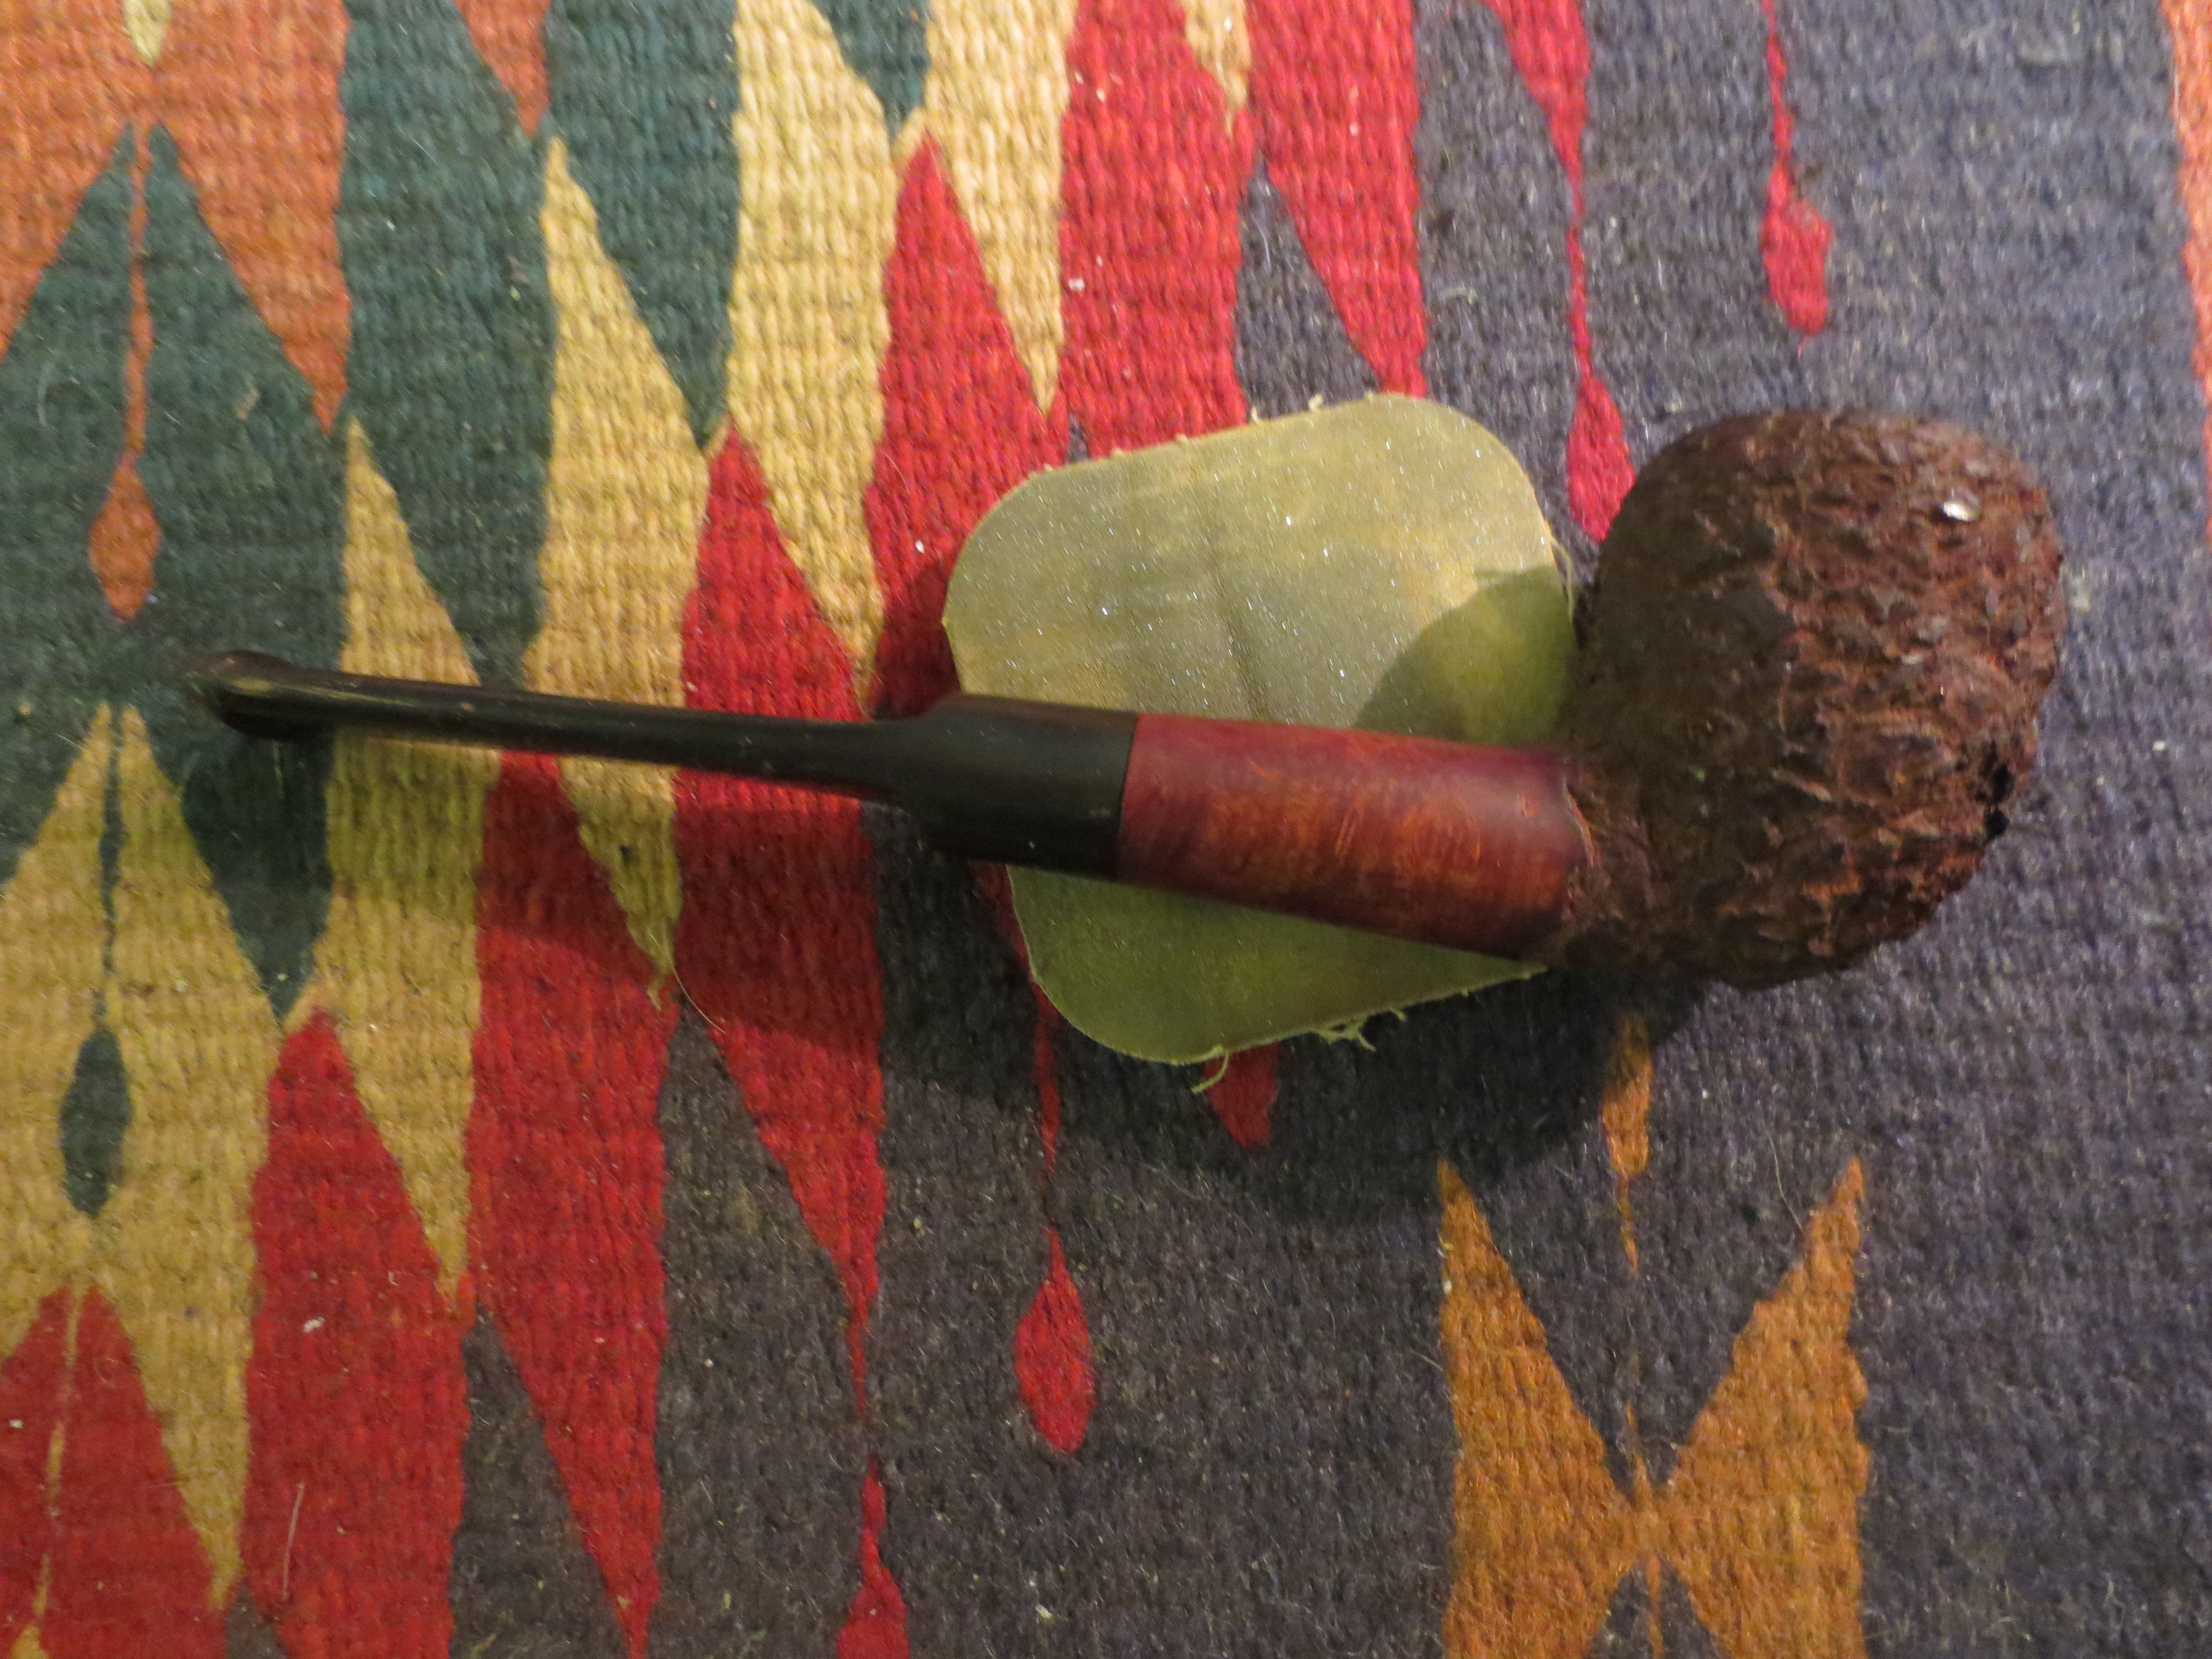
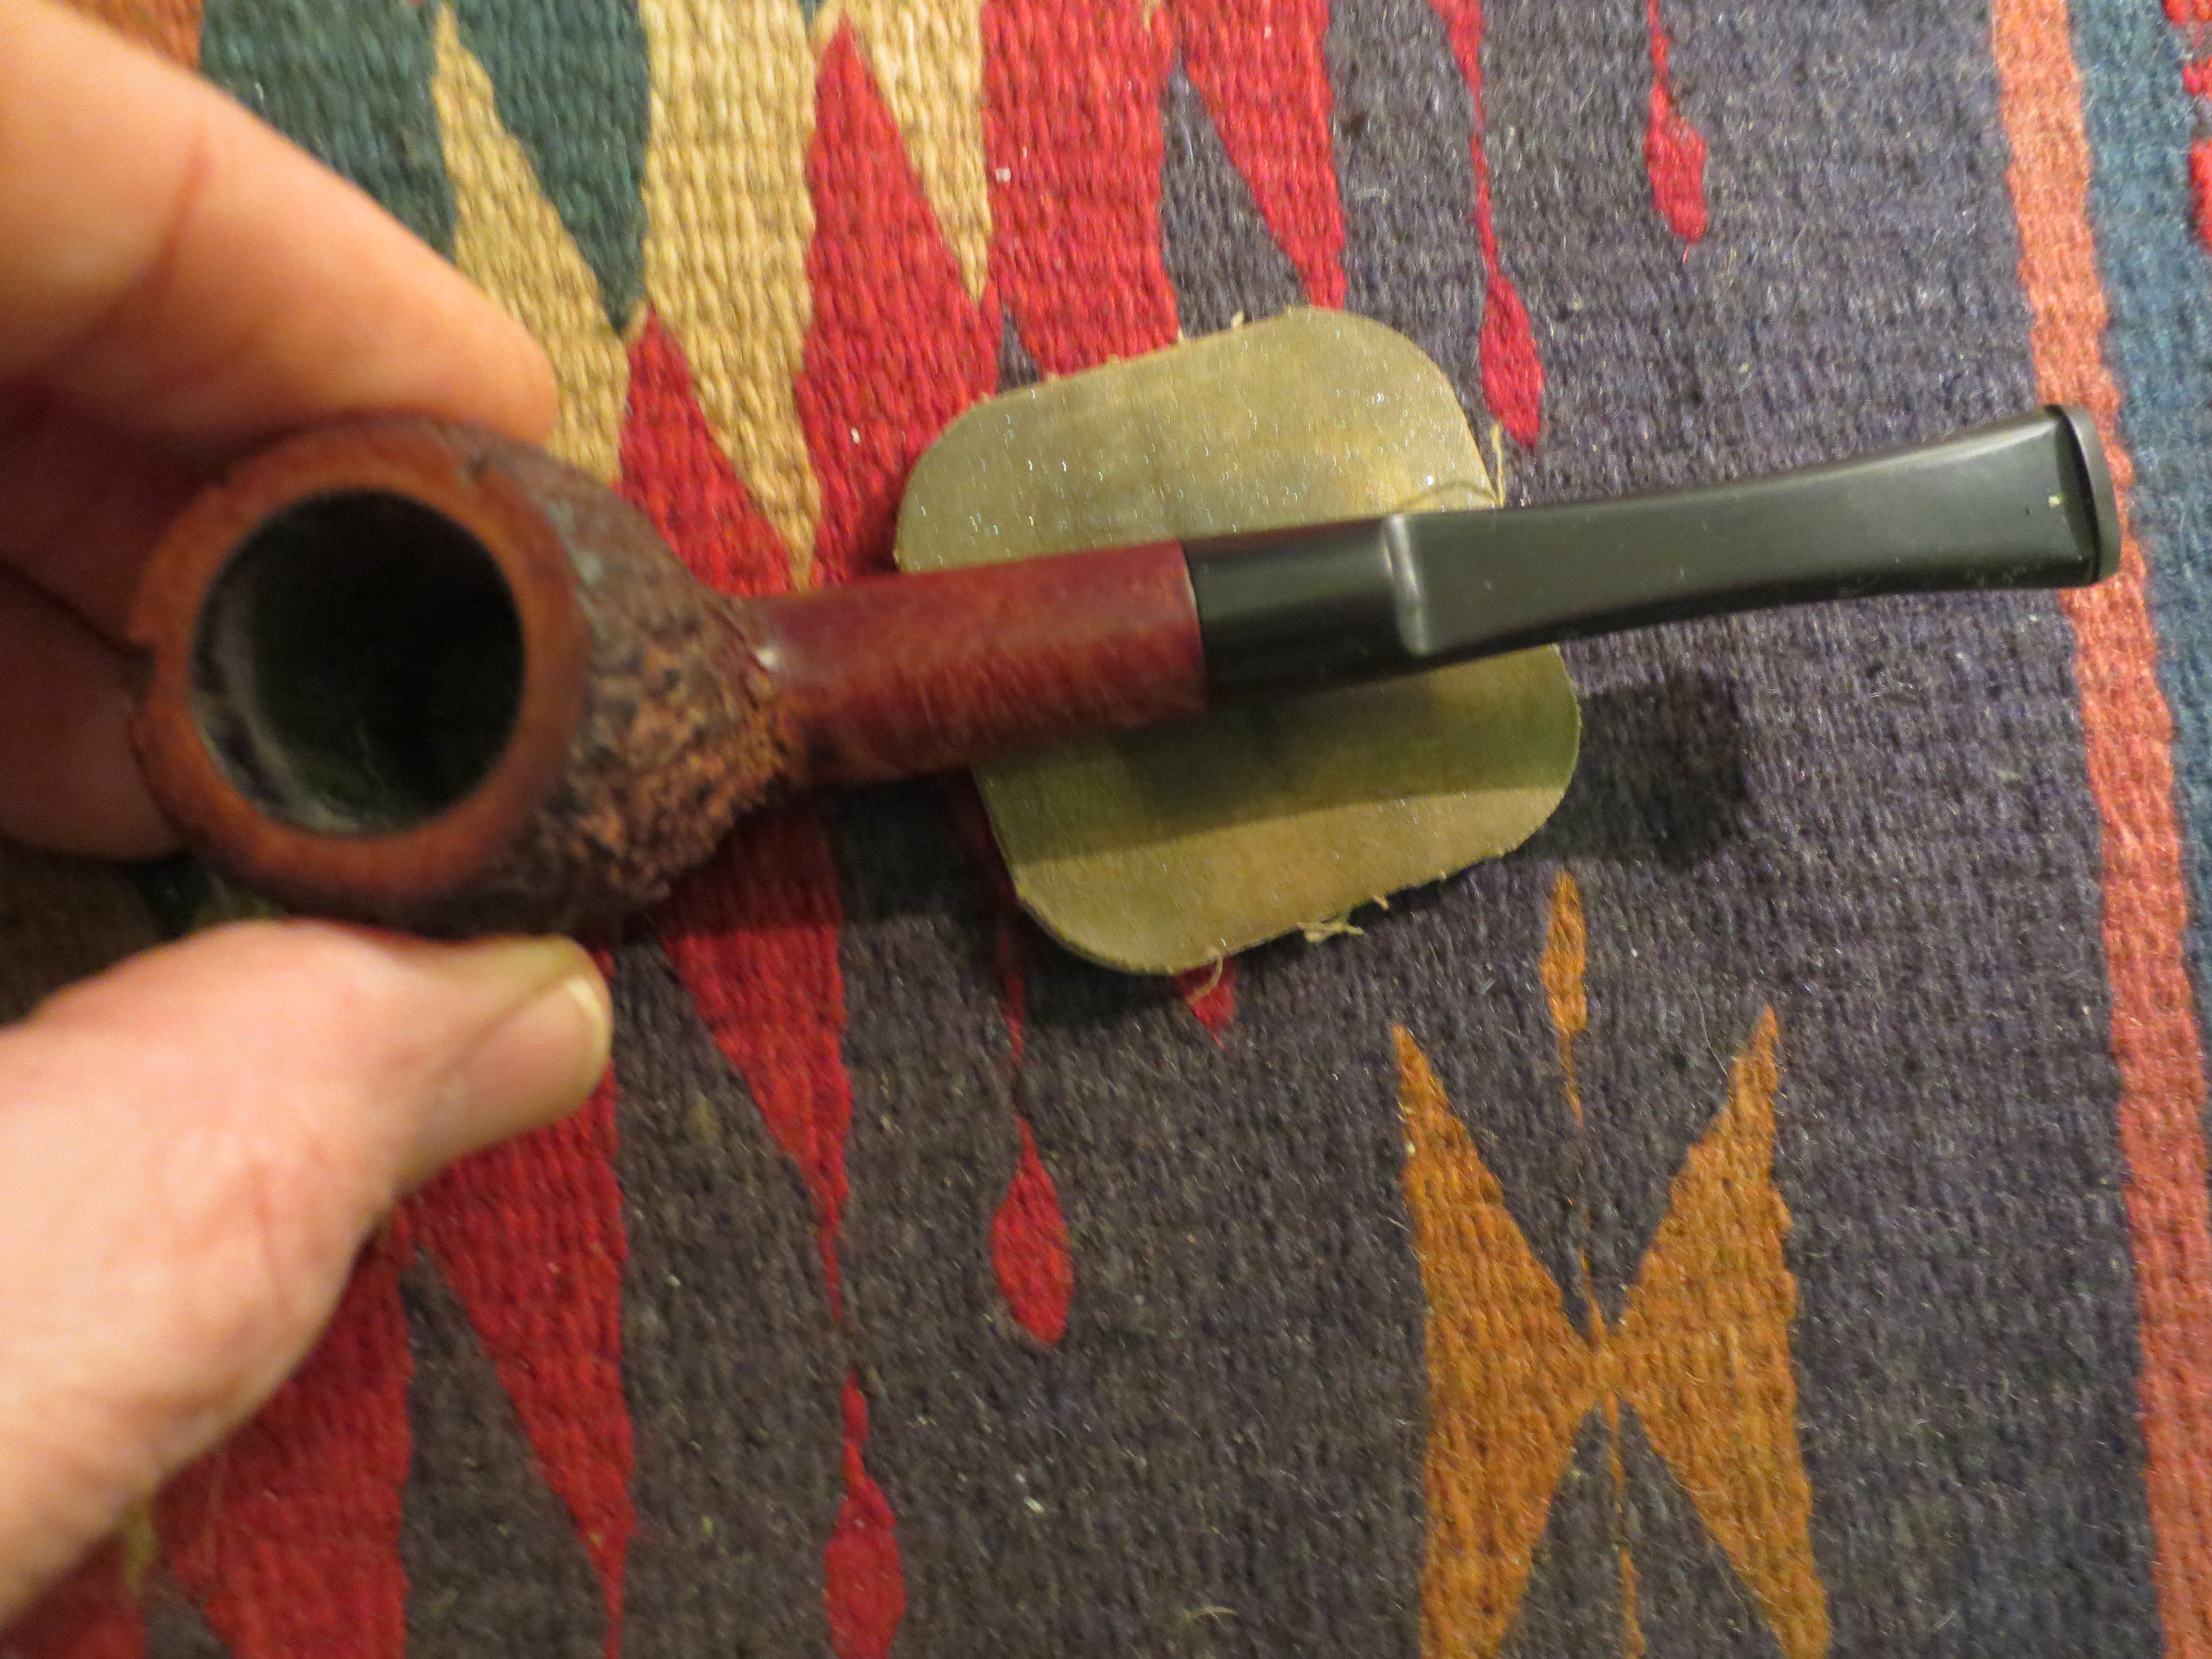
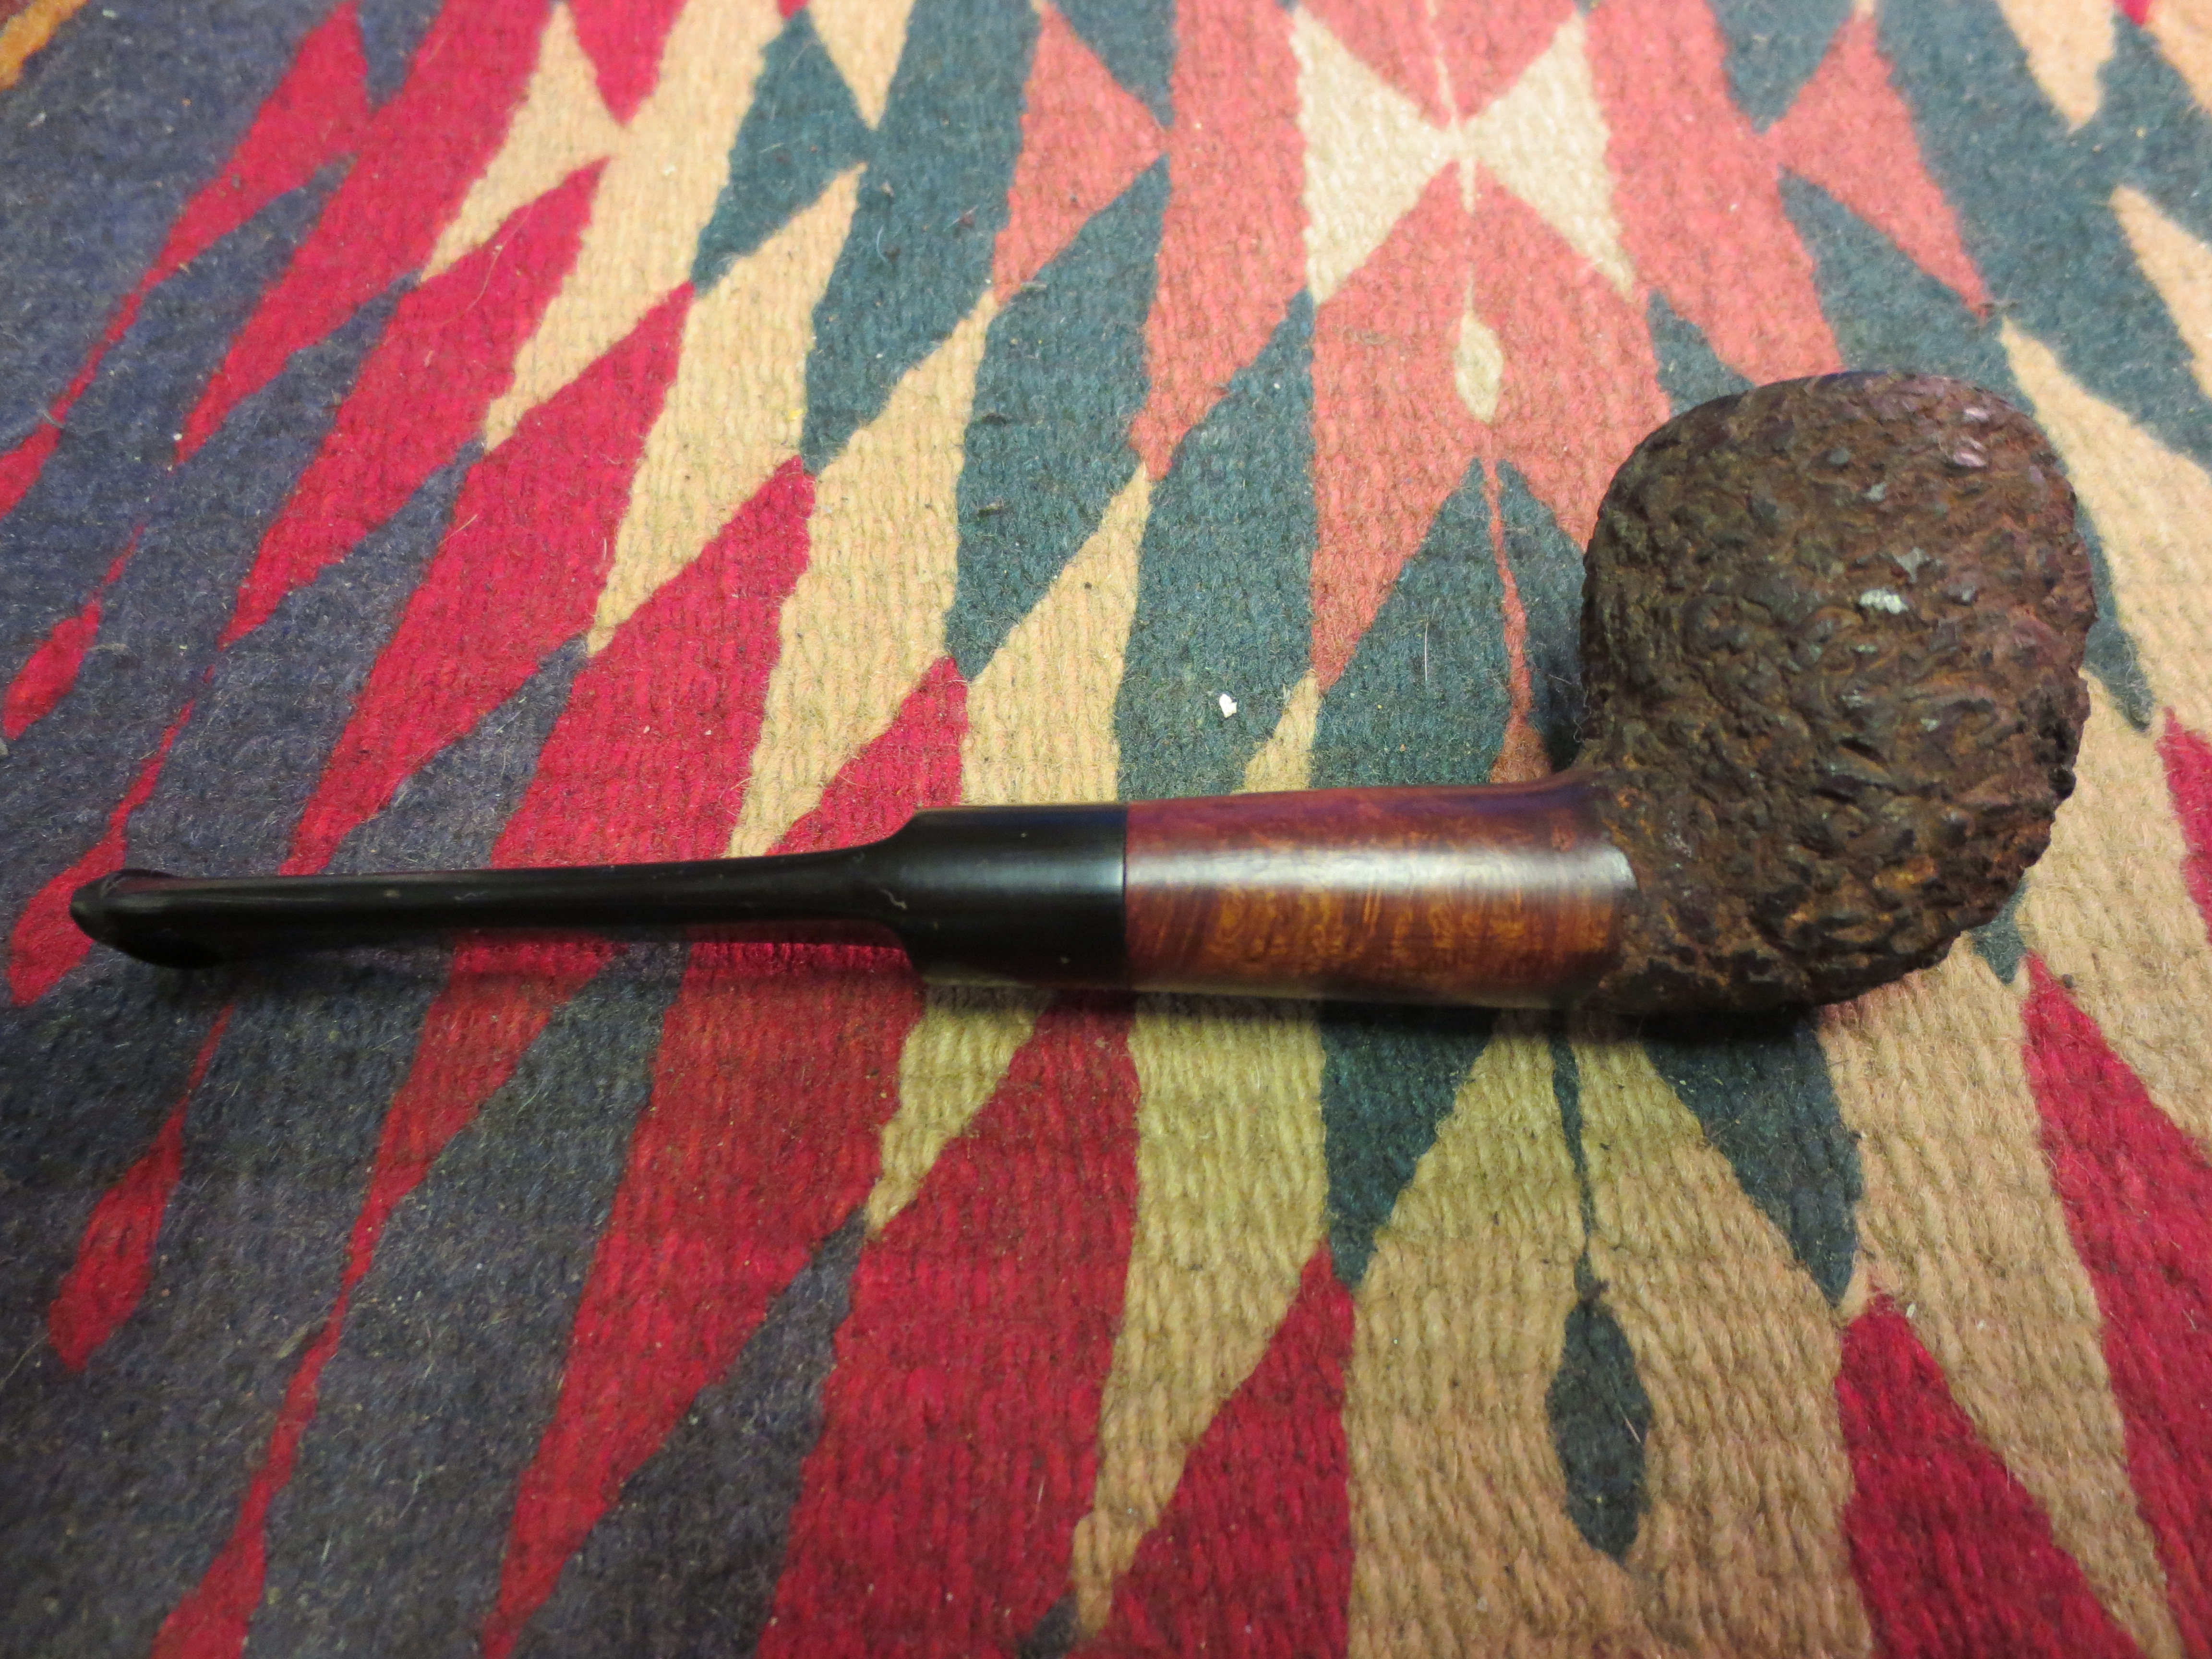
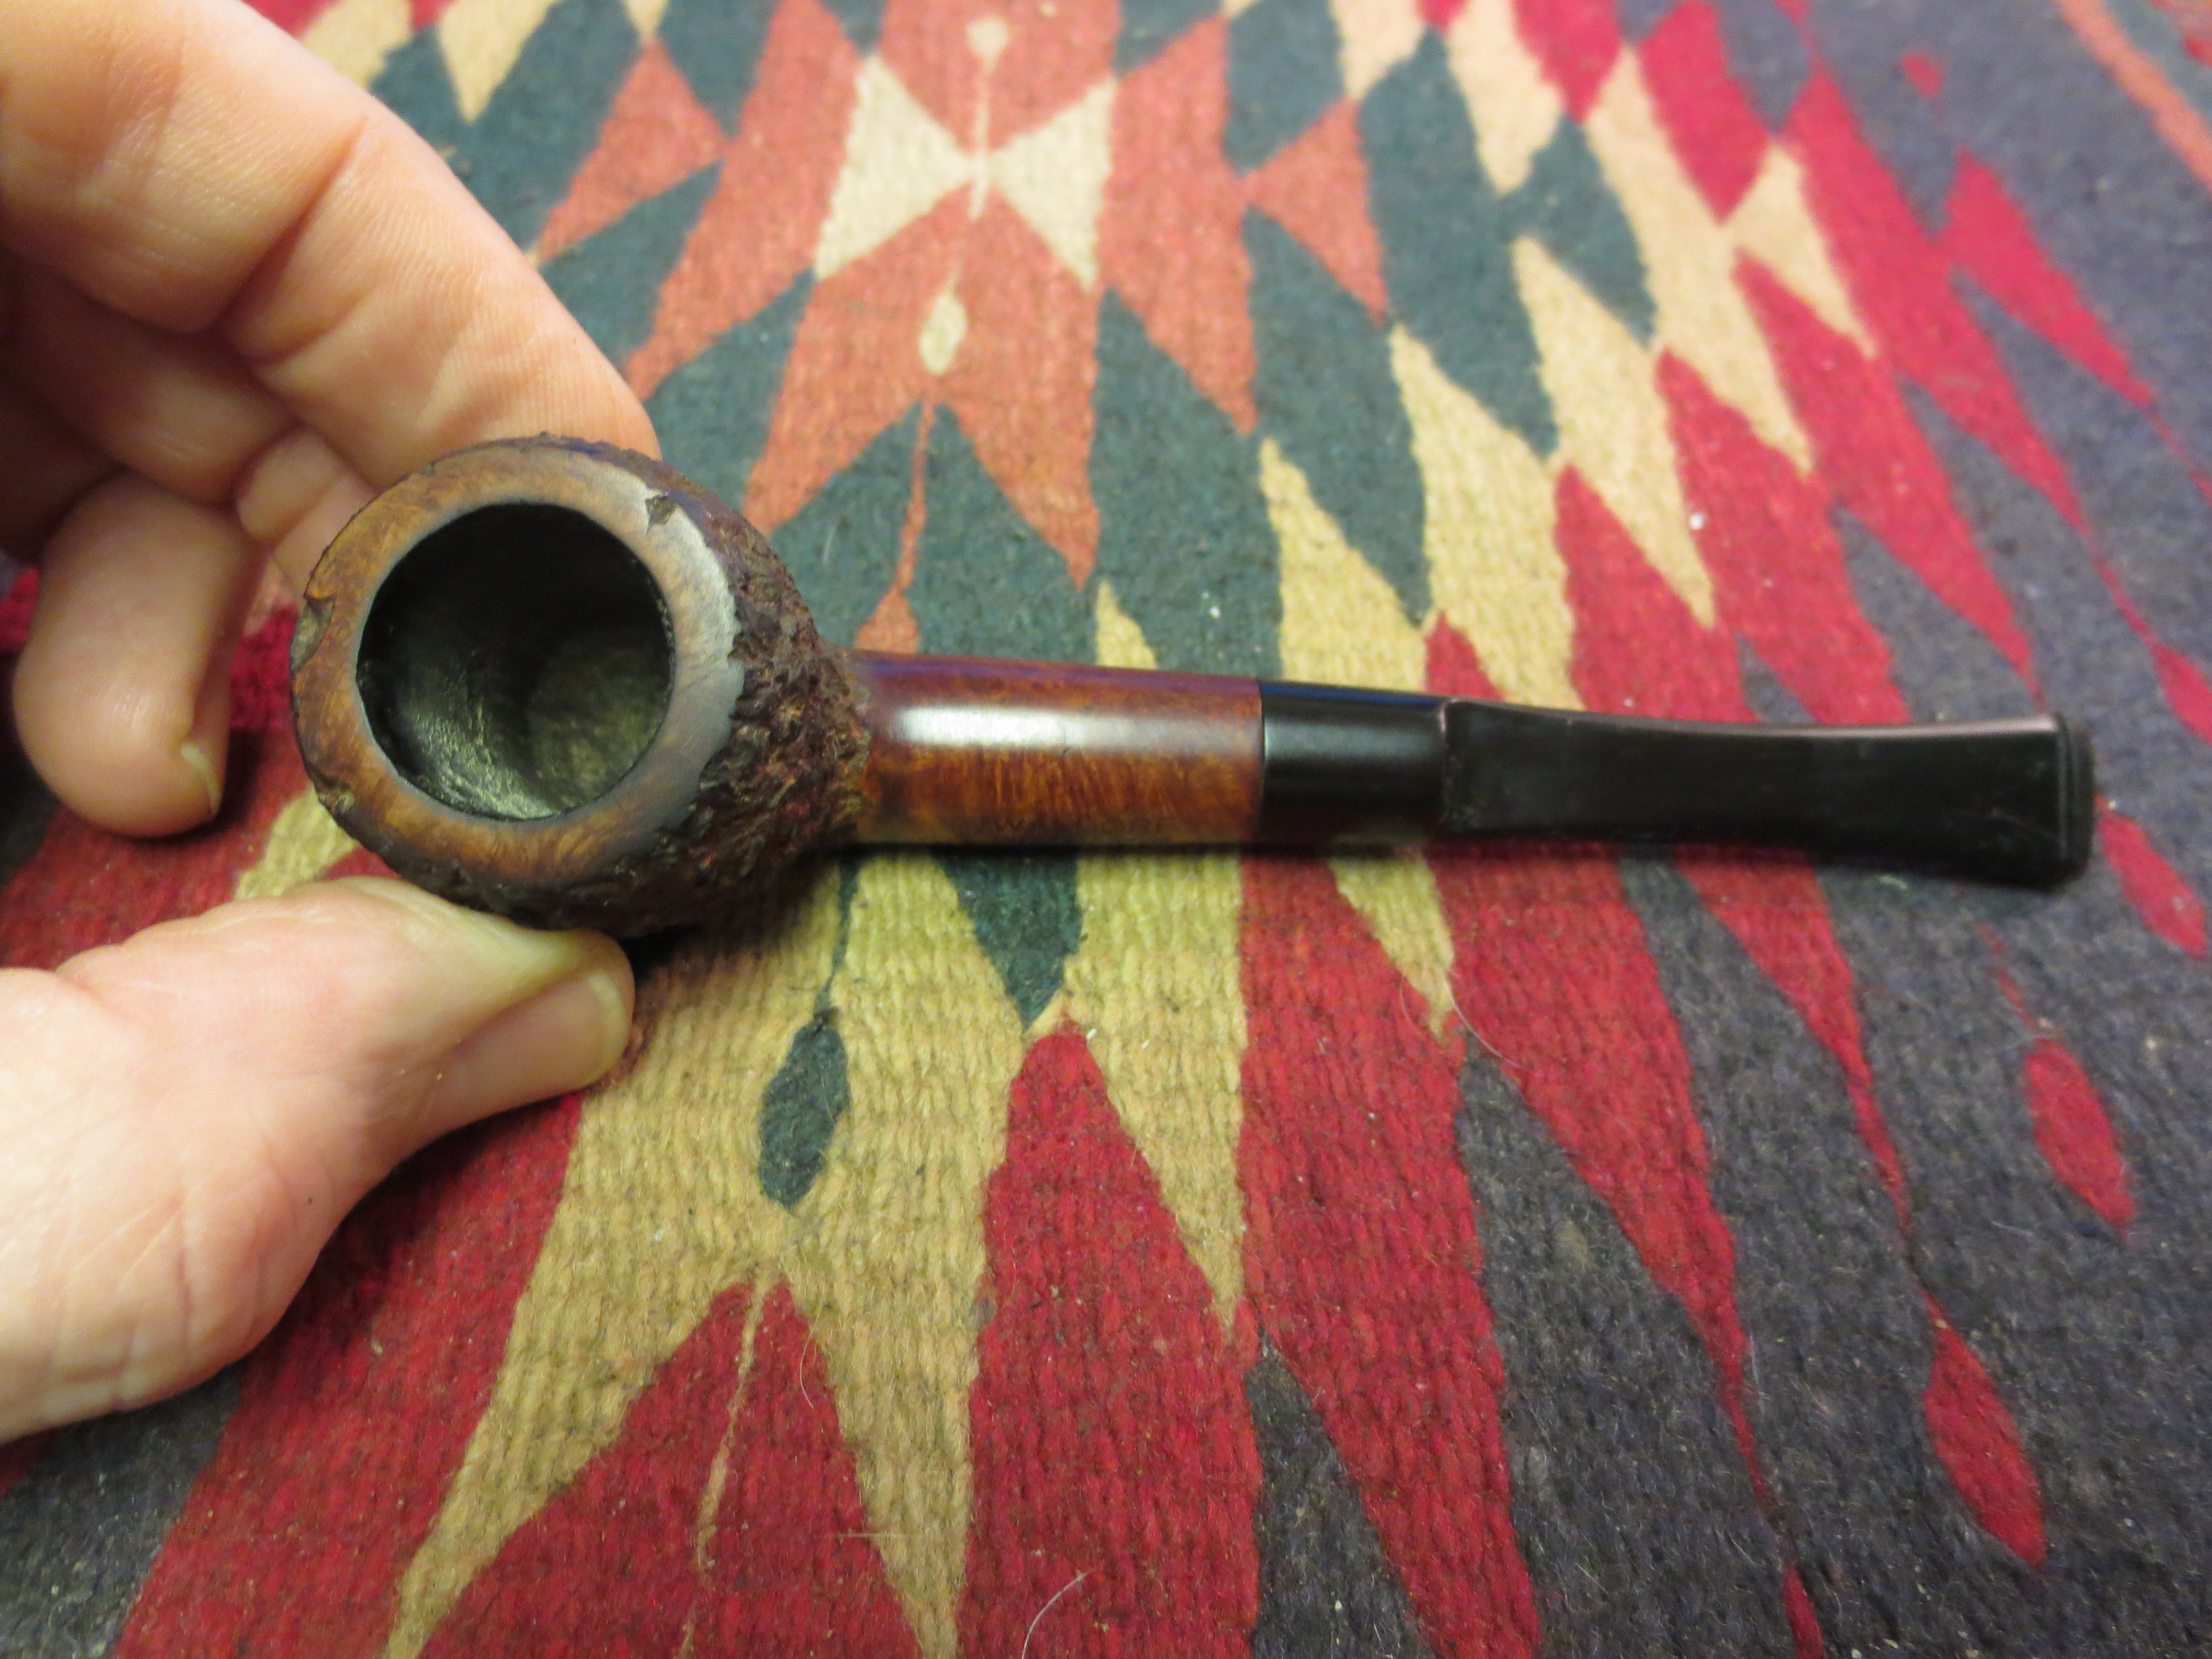
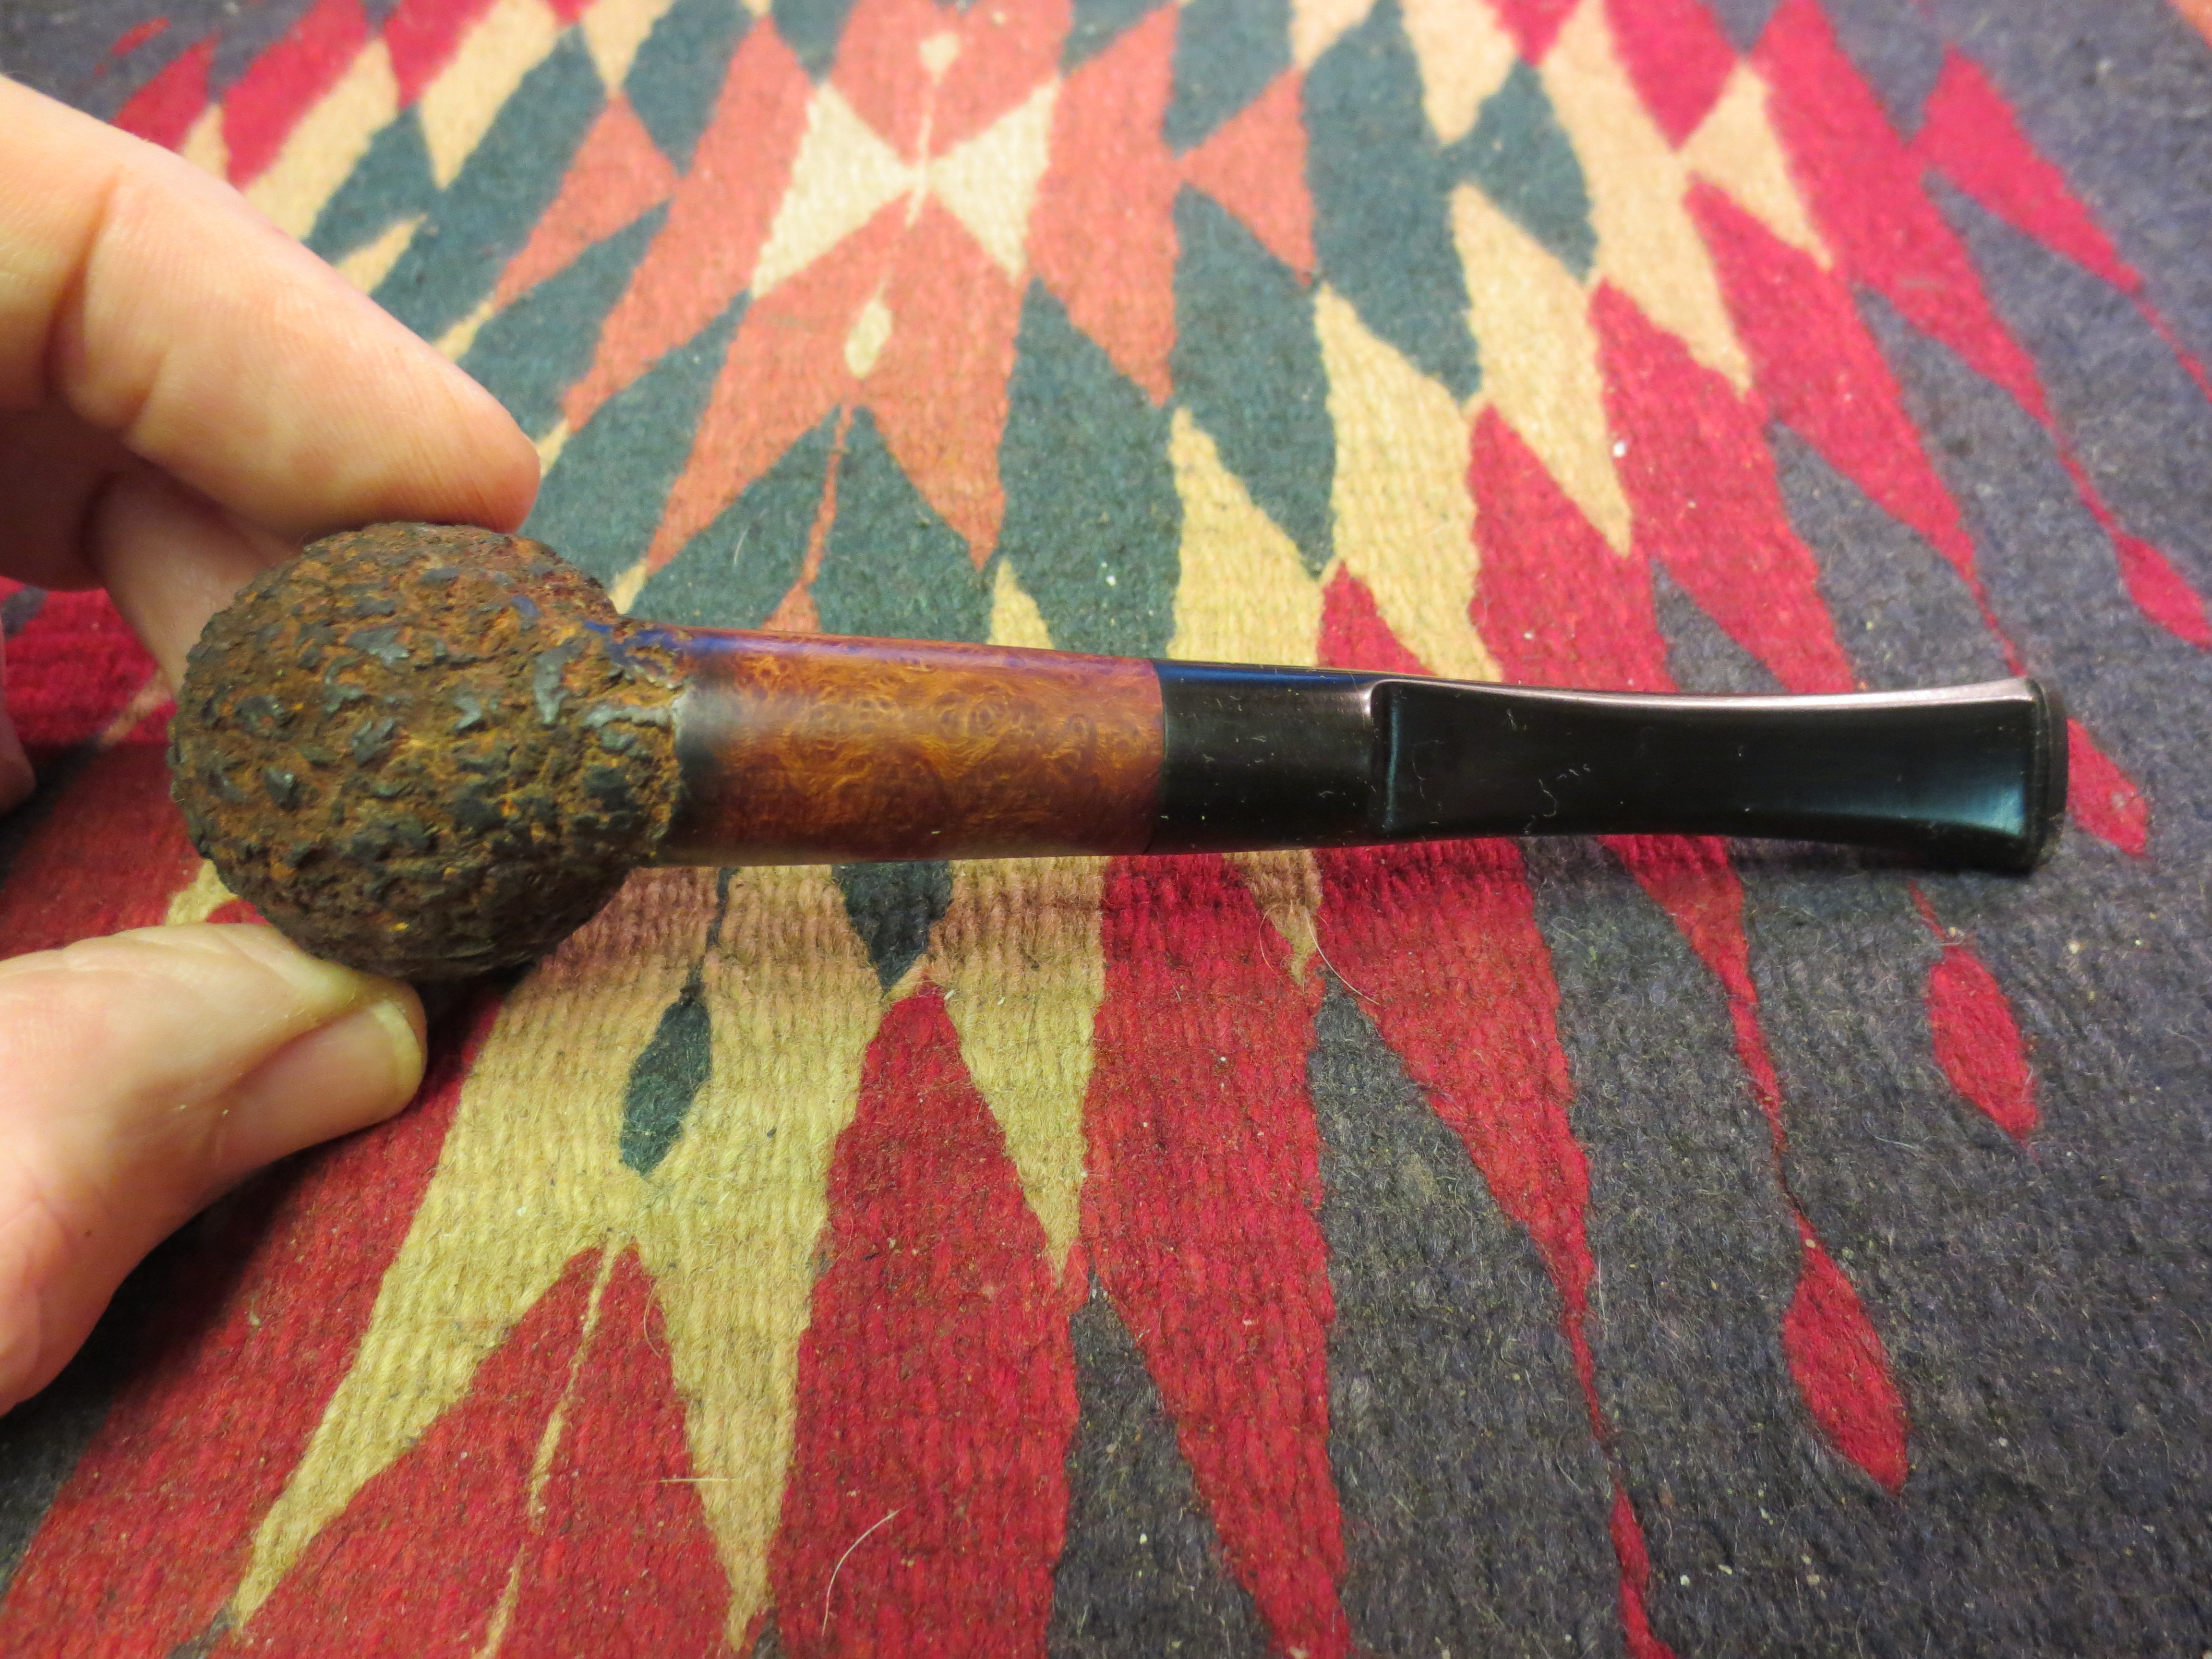
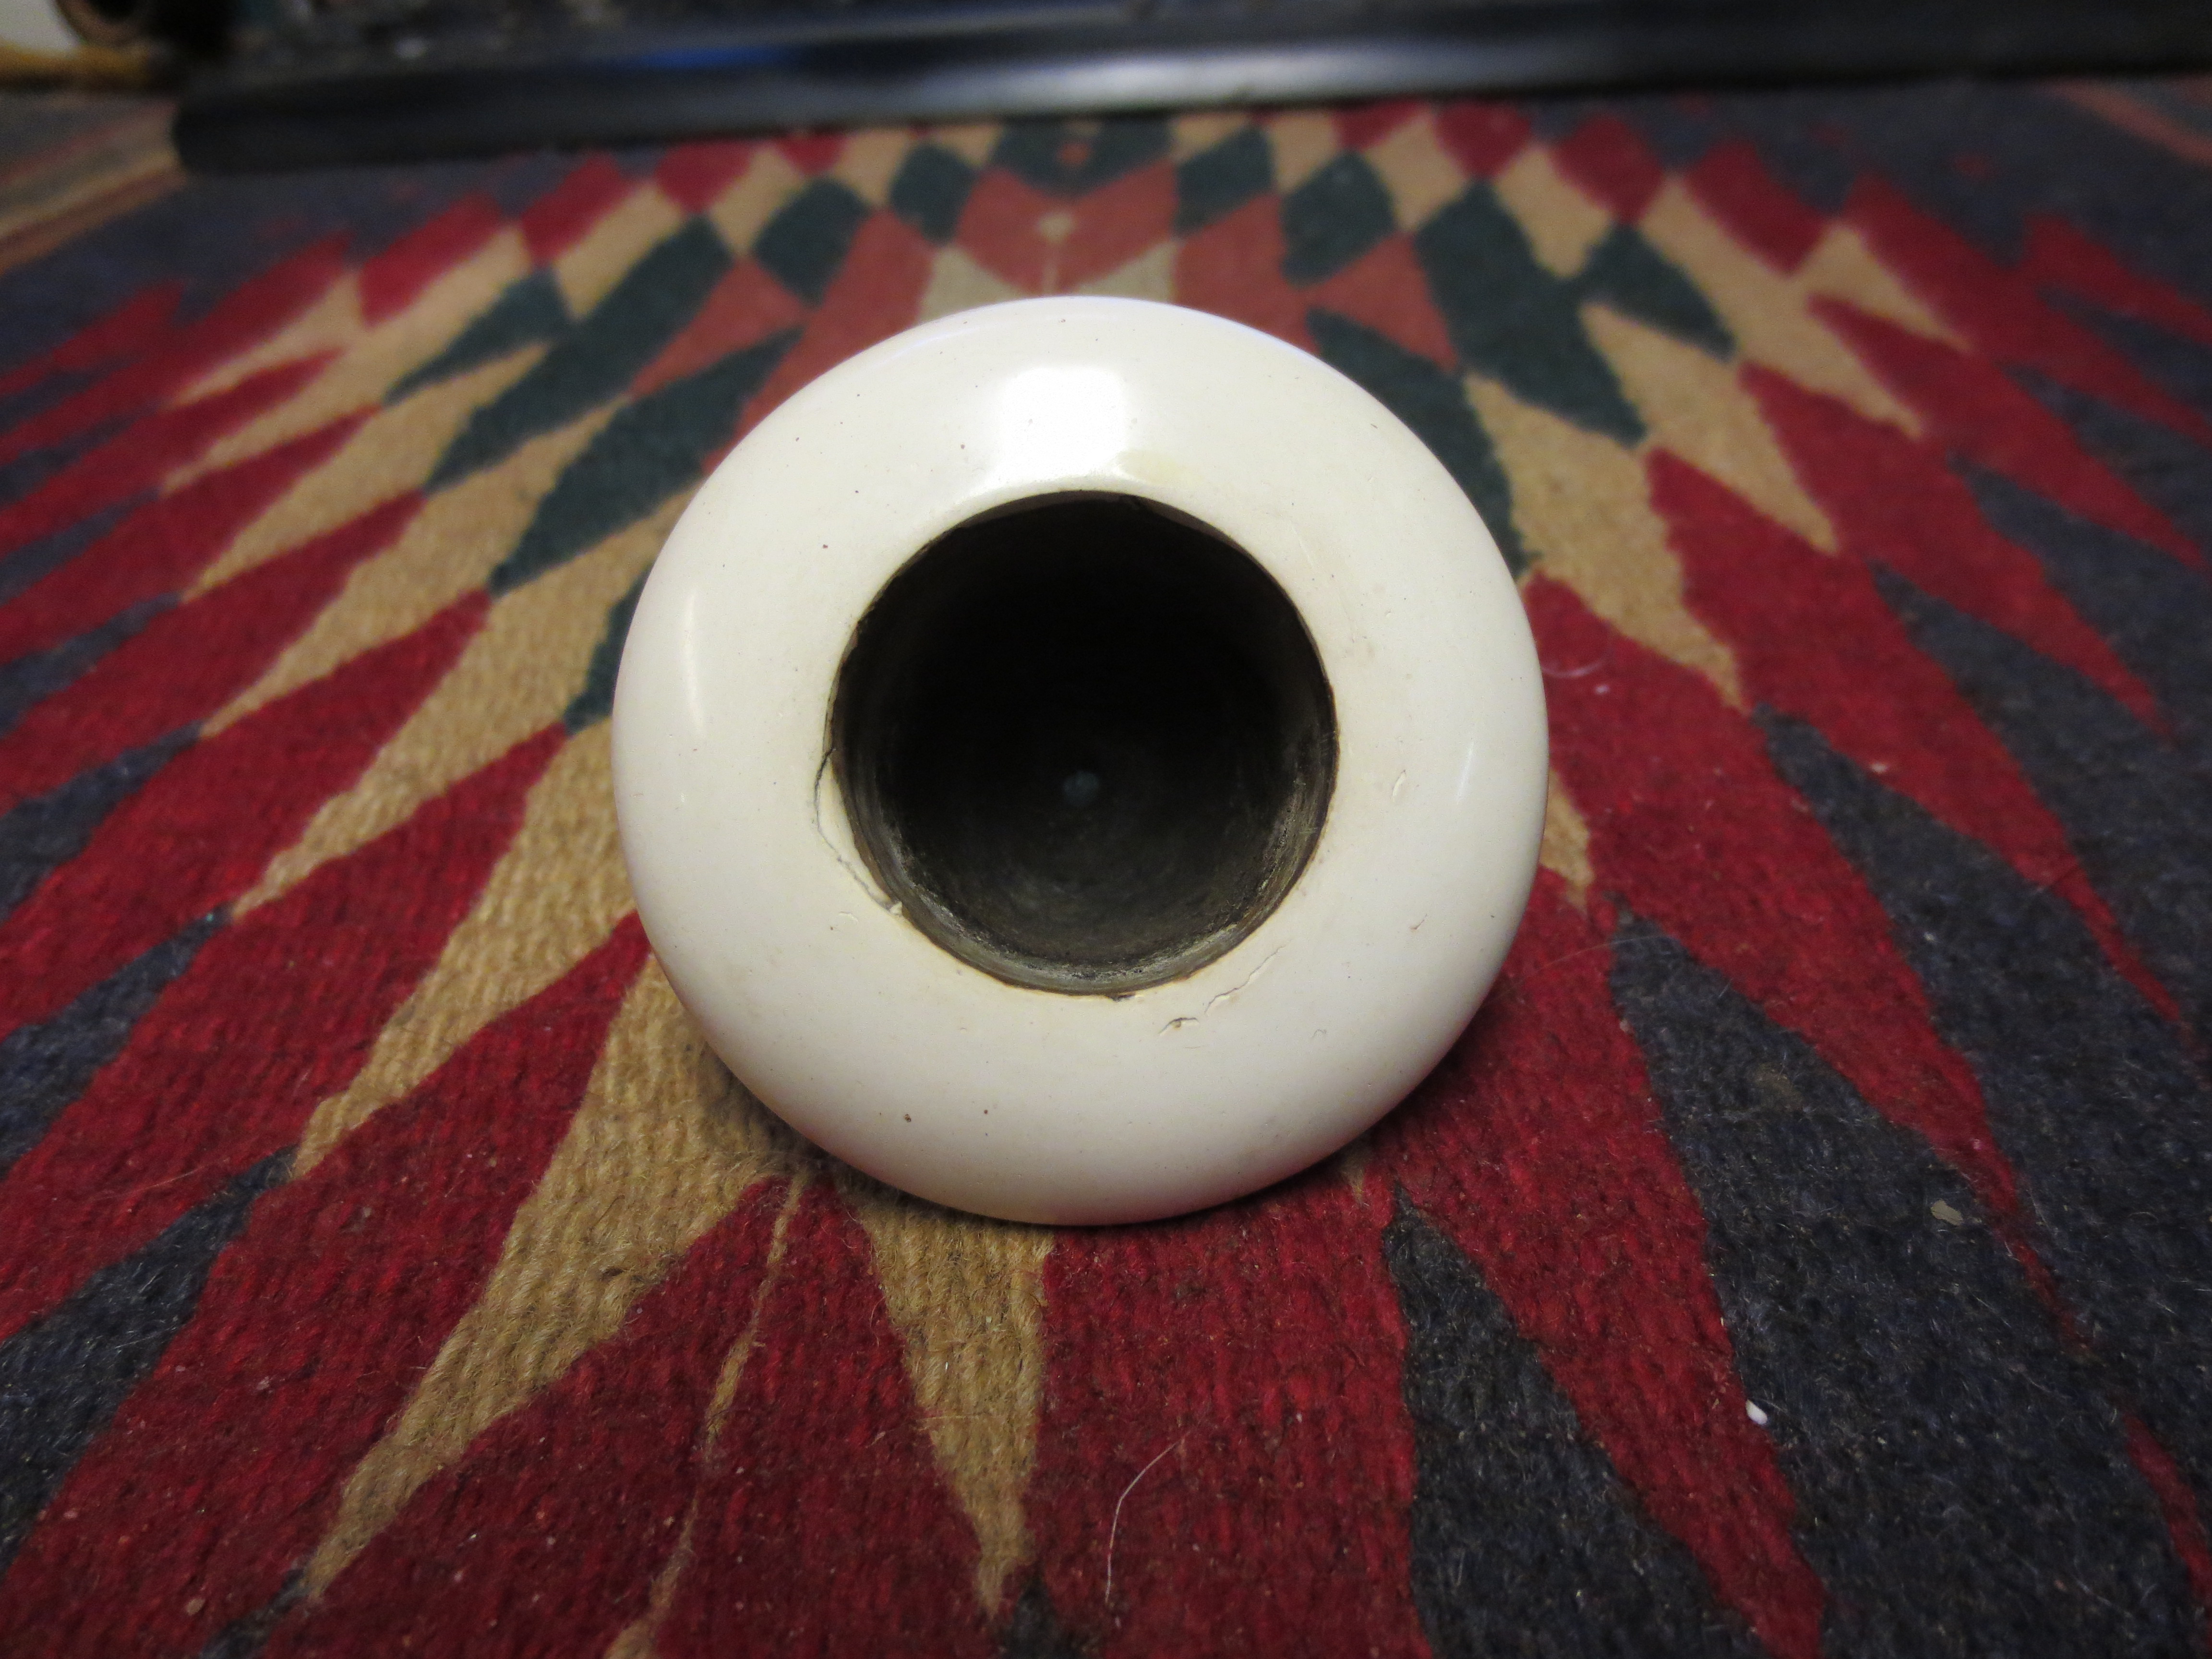
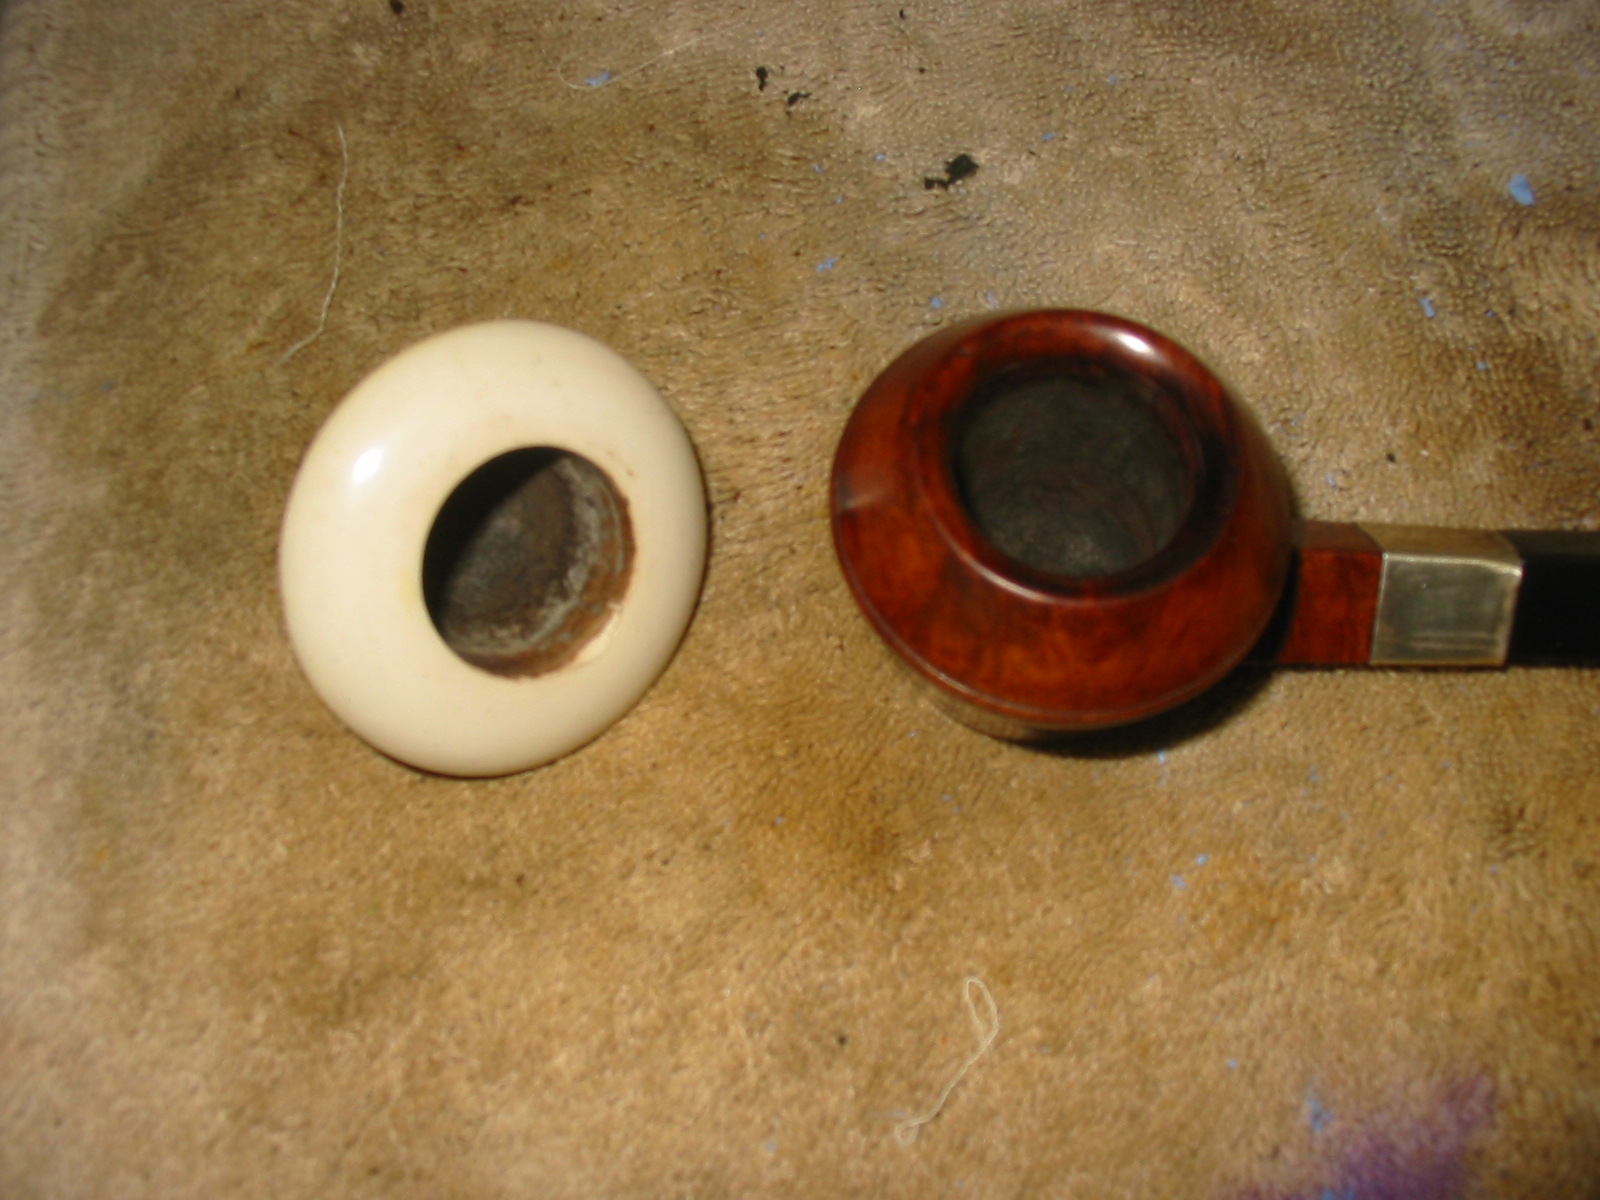
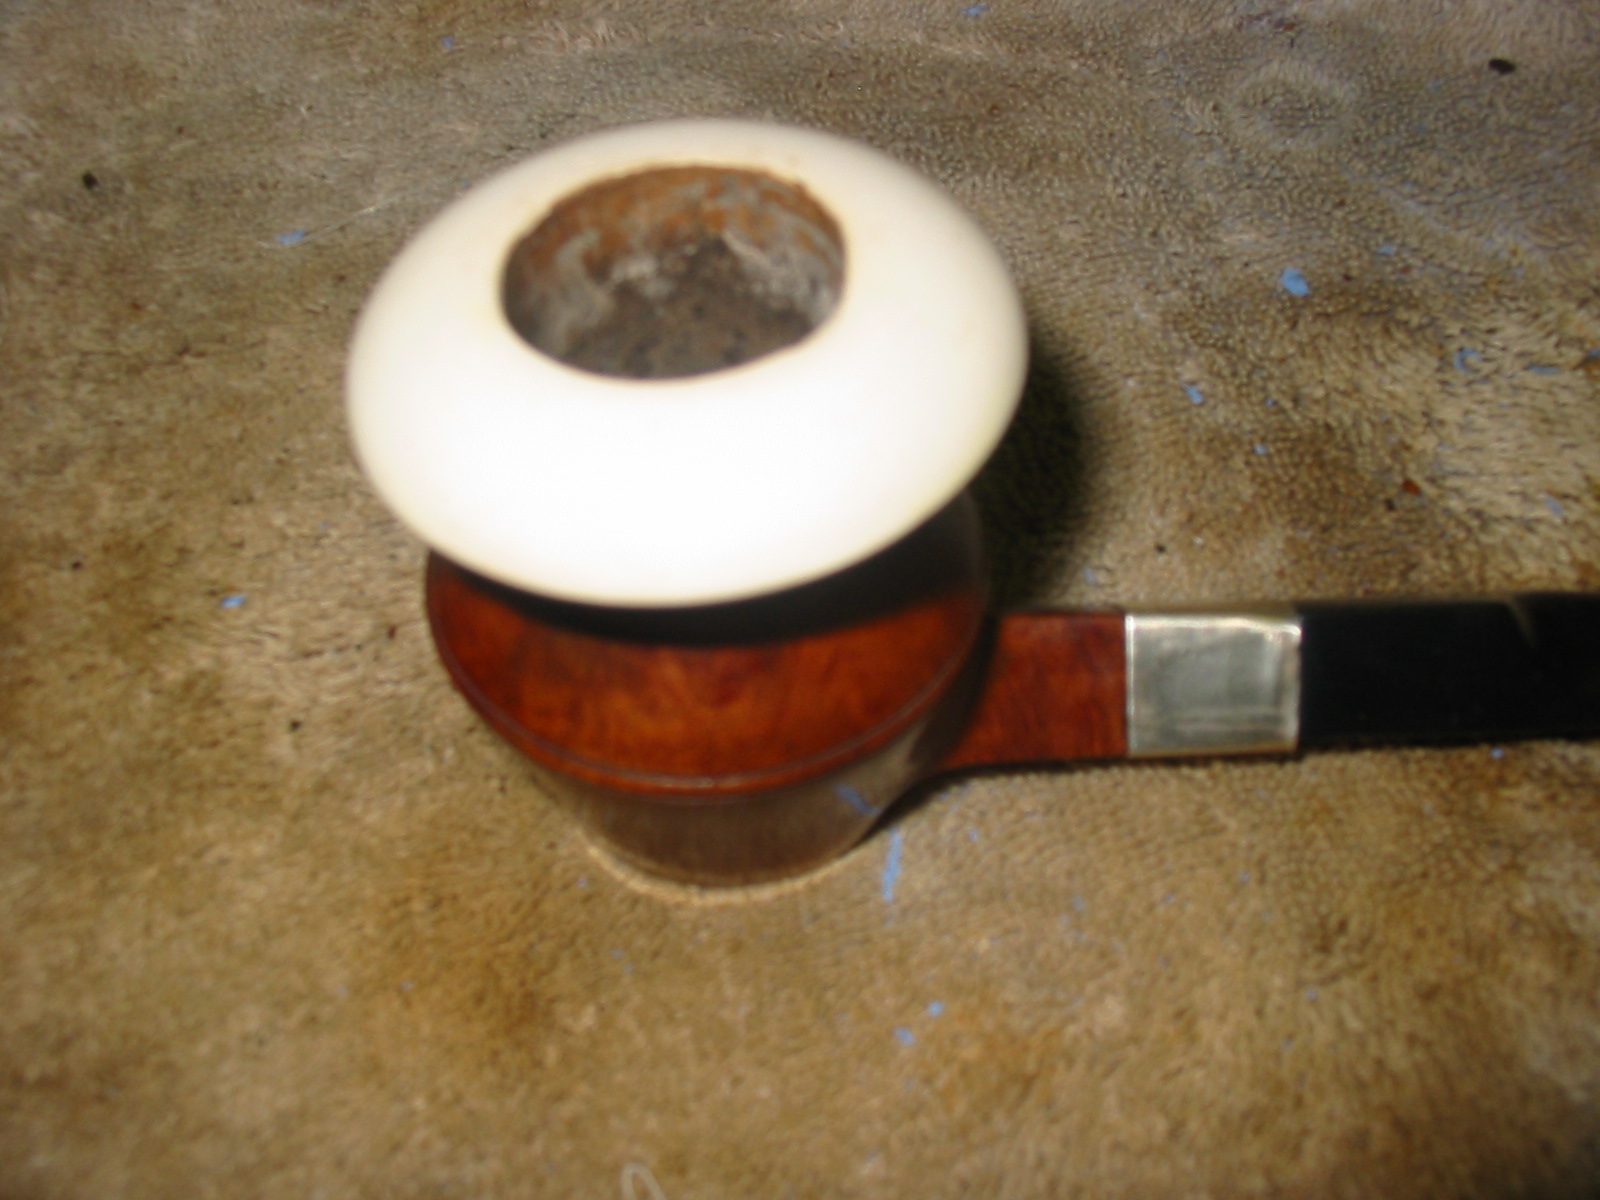
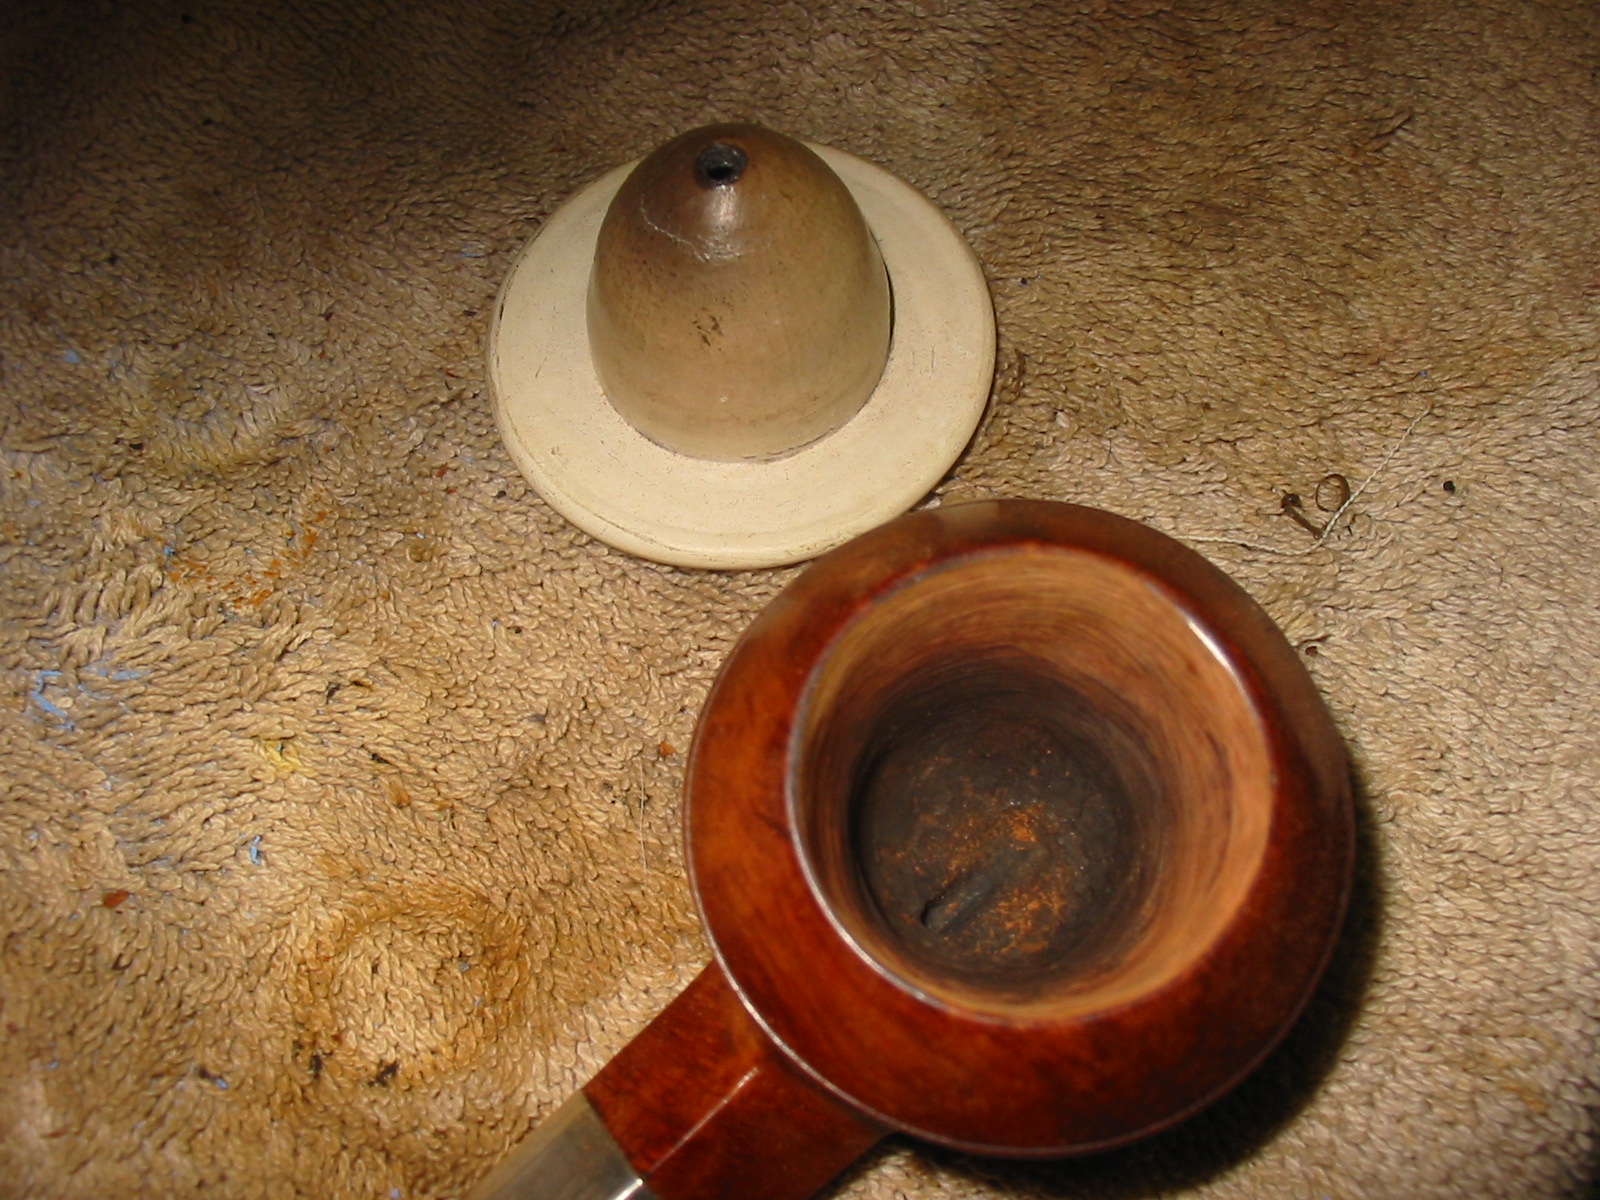
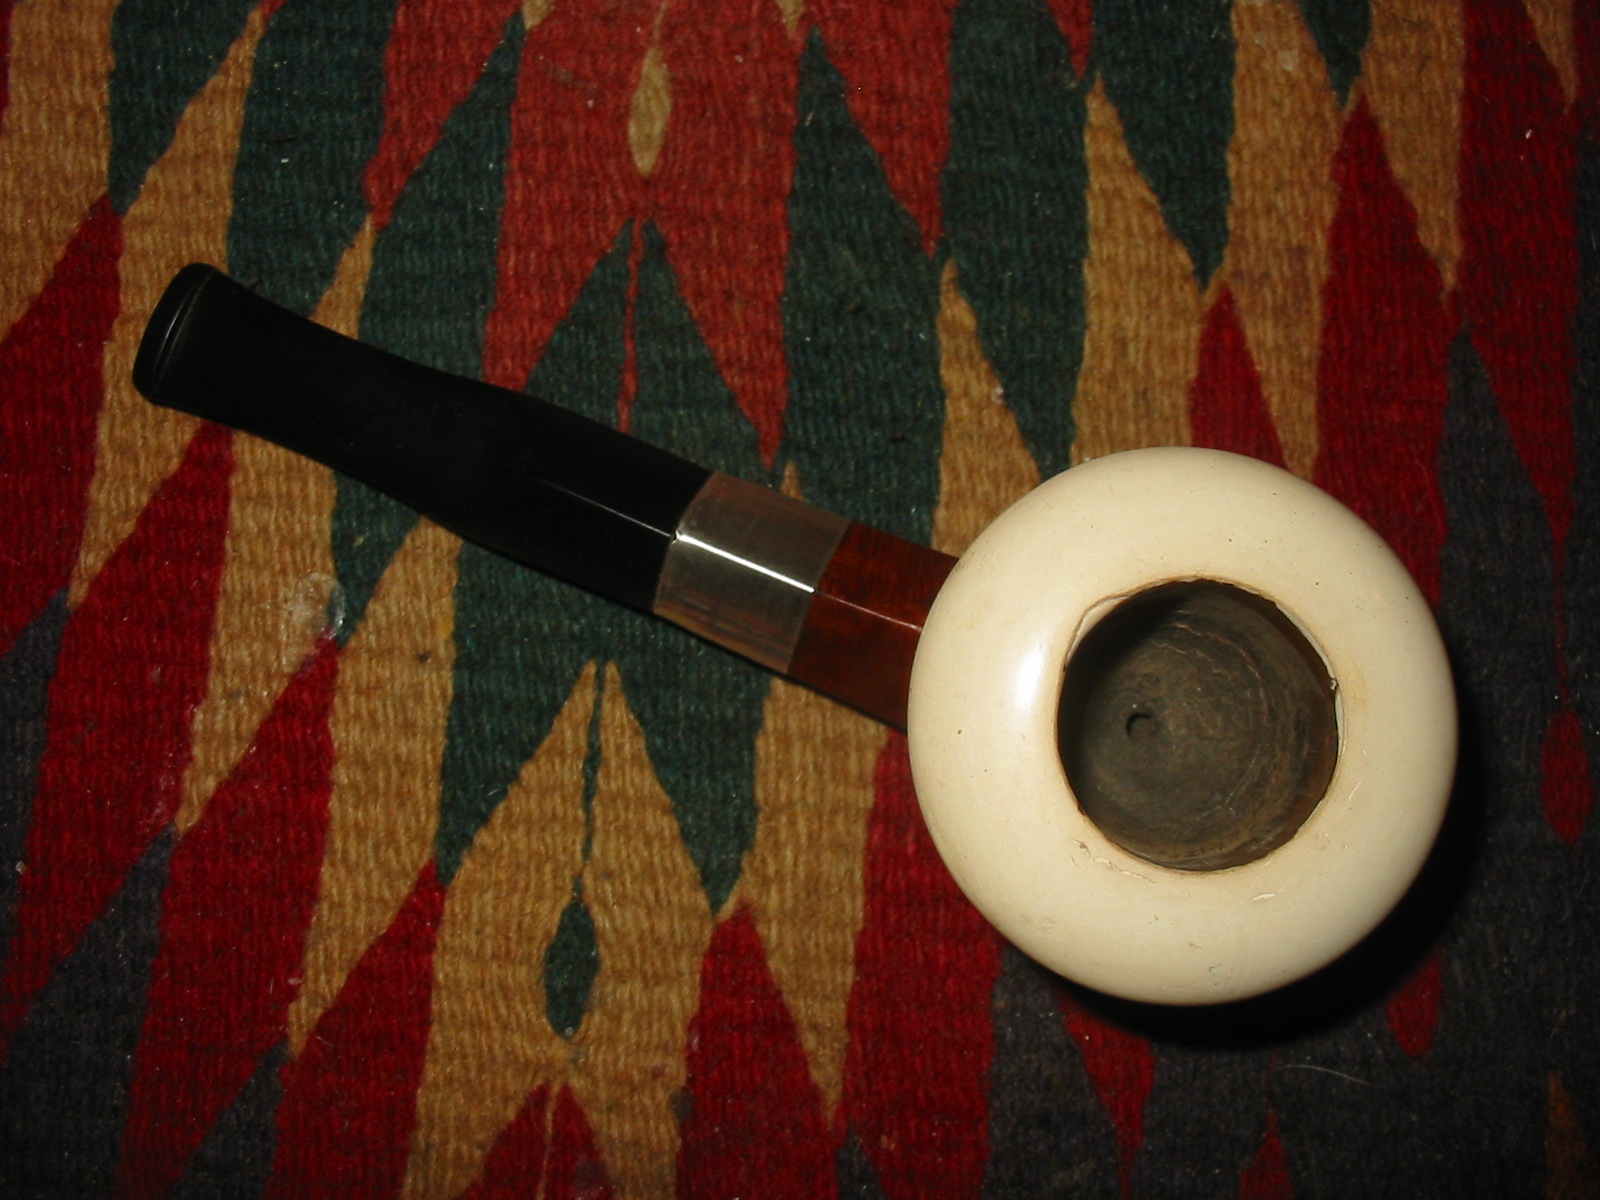
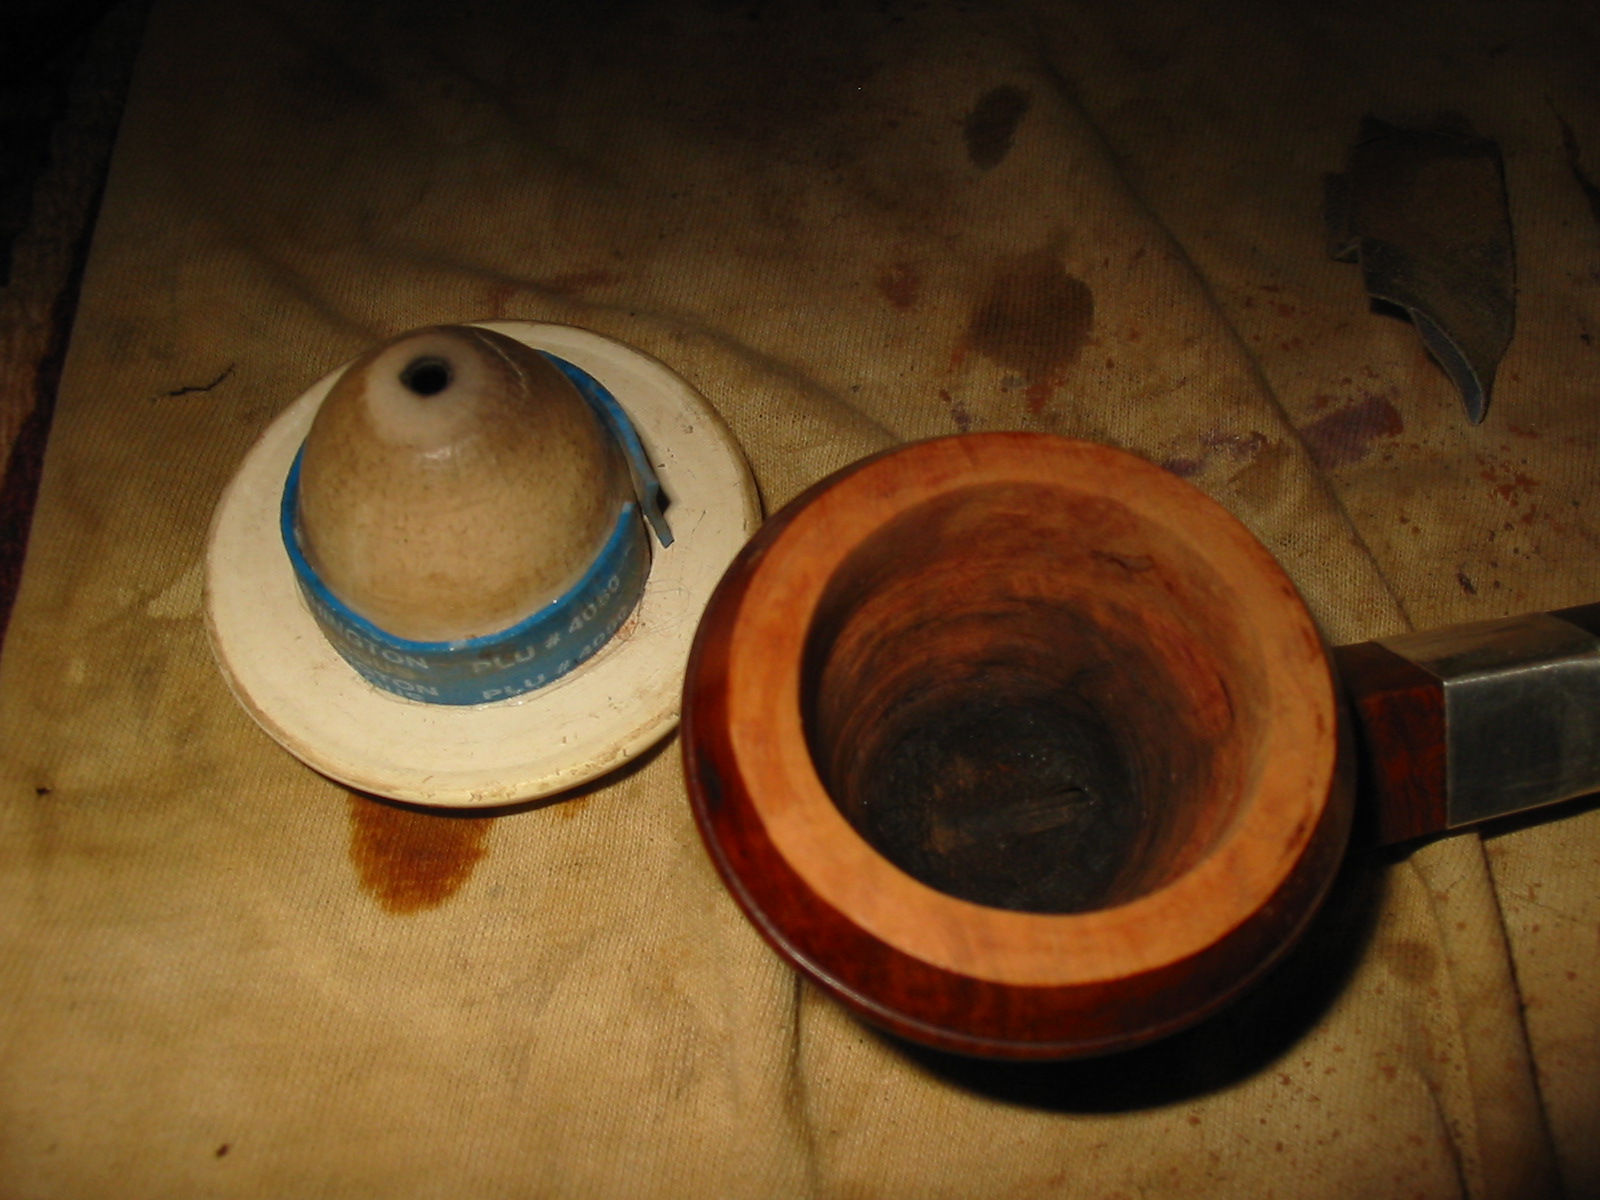
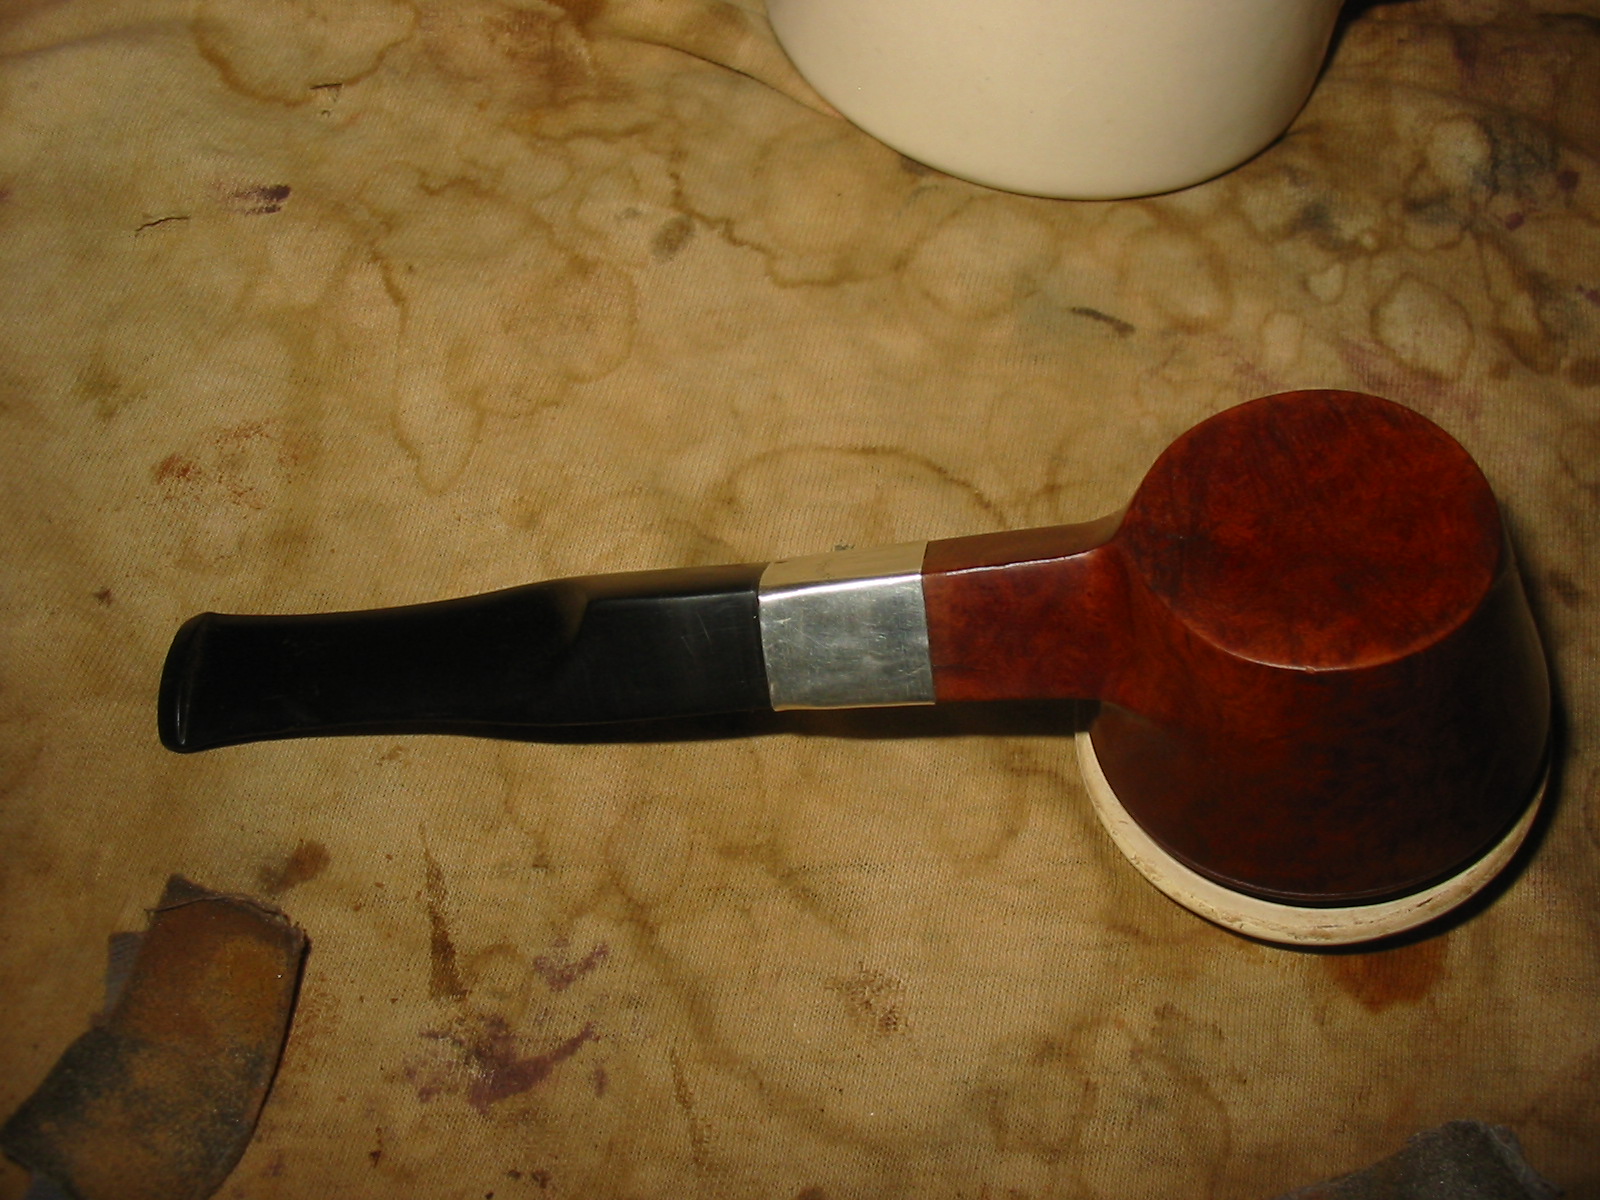
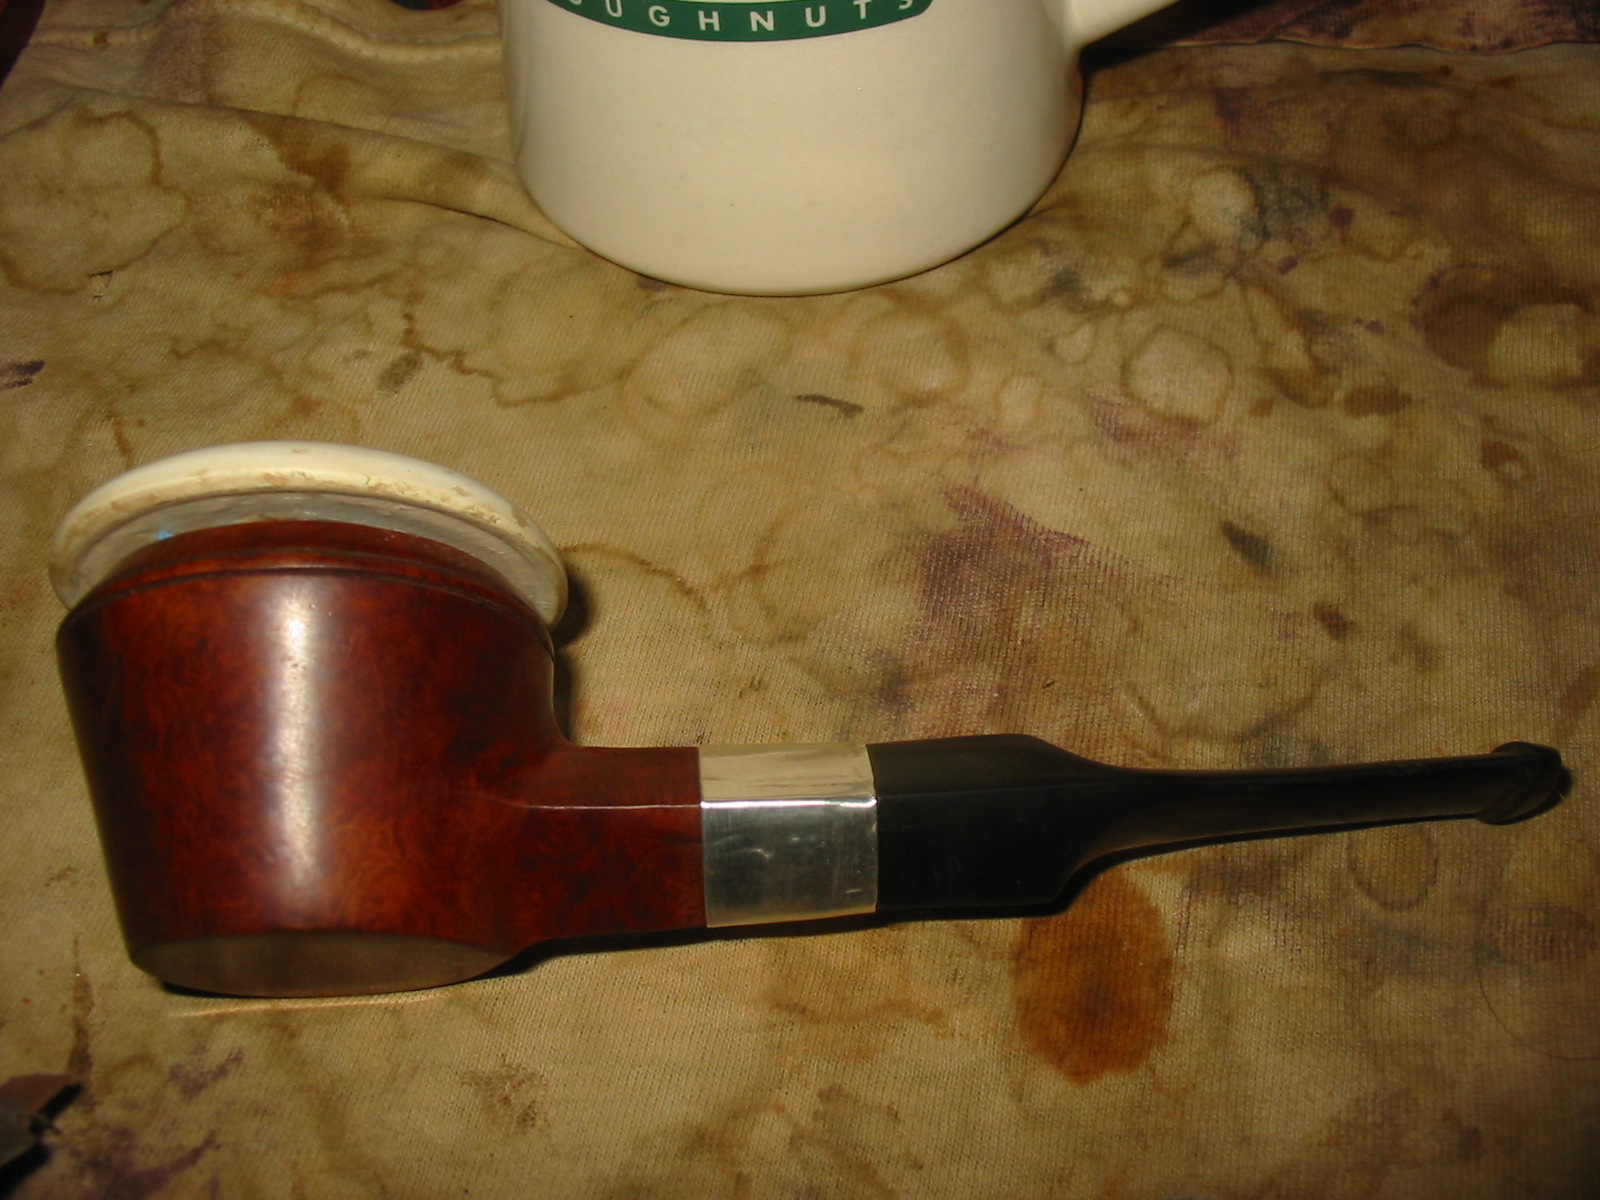
The first two photos show the meerschaum cup when I received it and after I had finished cleaning and polishing it. The third and fourth photos show the briar pipe that I chose to be the calabash for this cup. For the fourth photo I placed the cup on top of the bowl to give an idea of what I was aiming for.
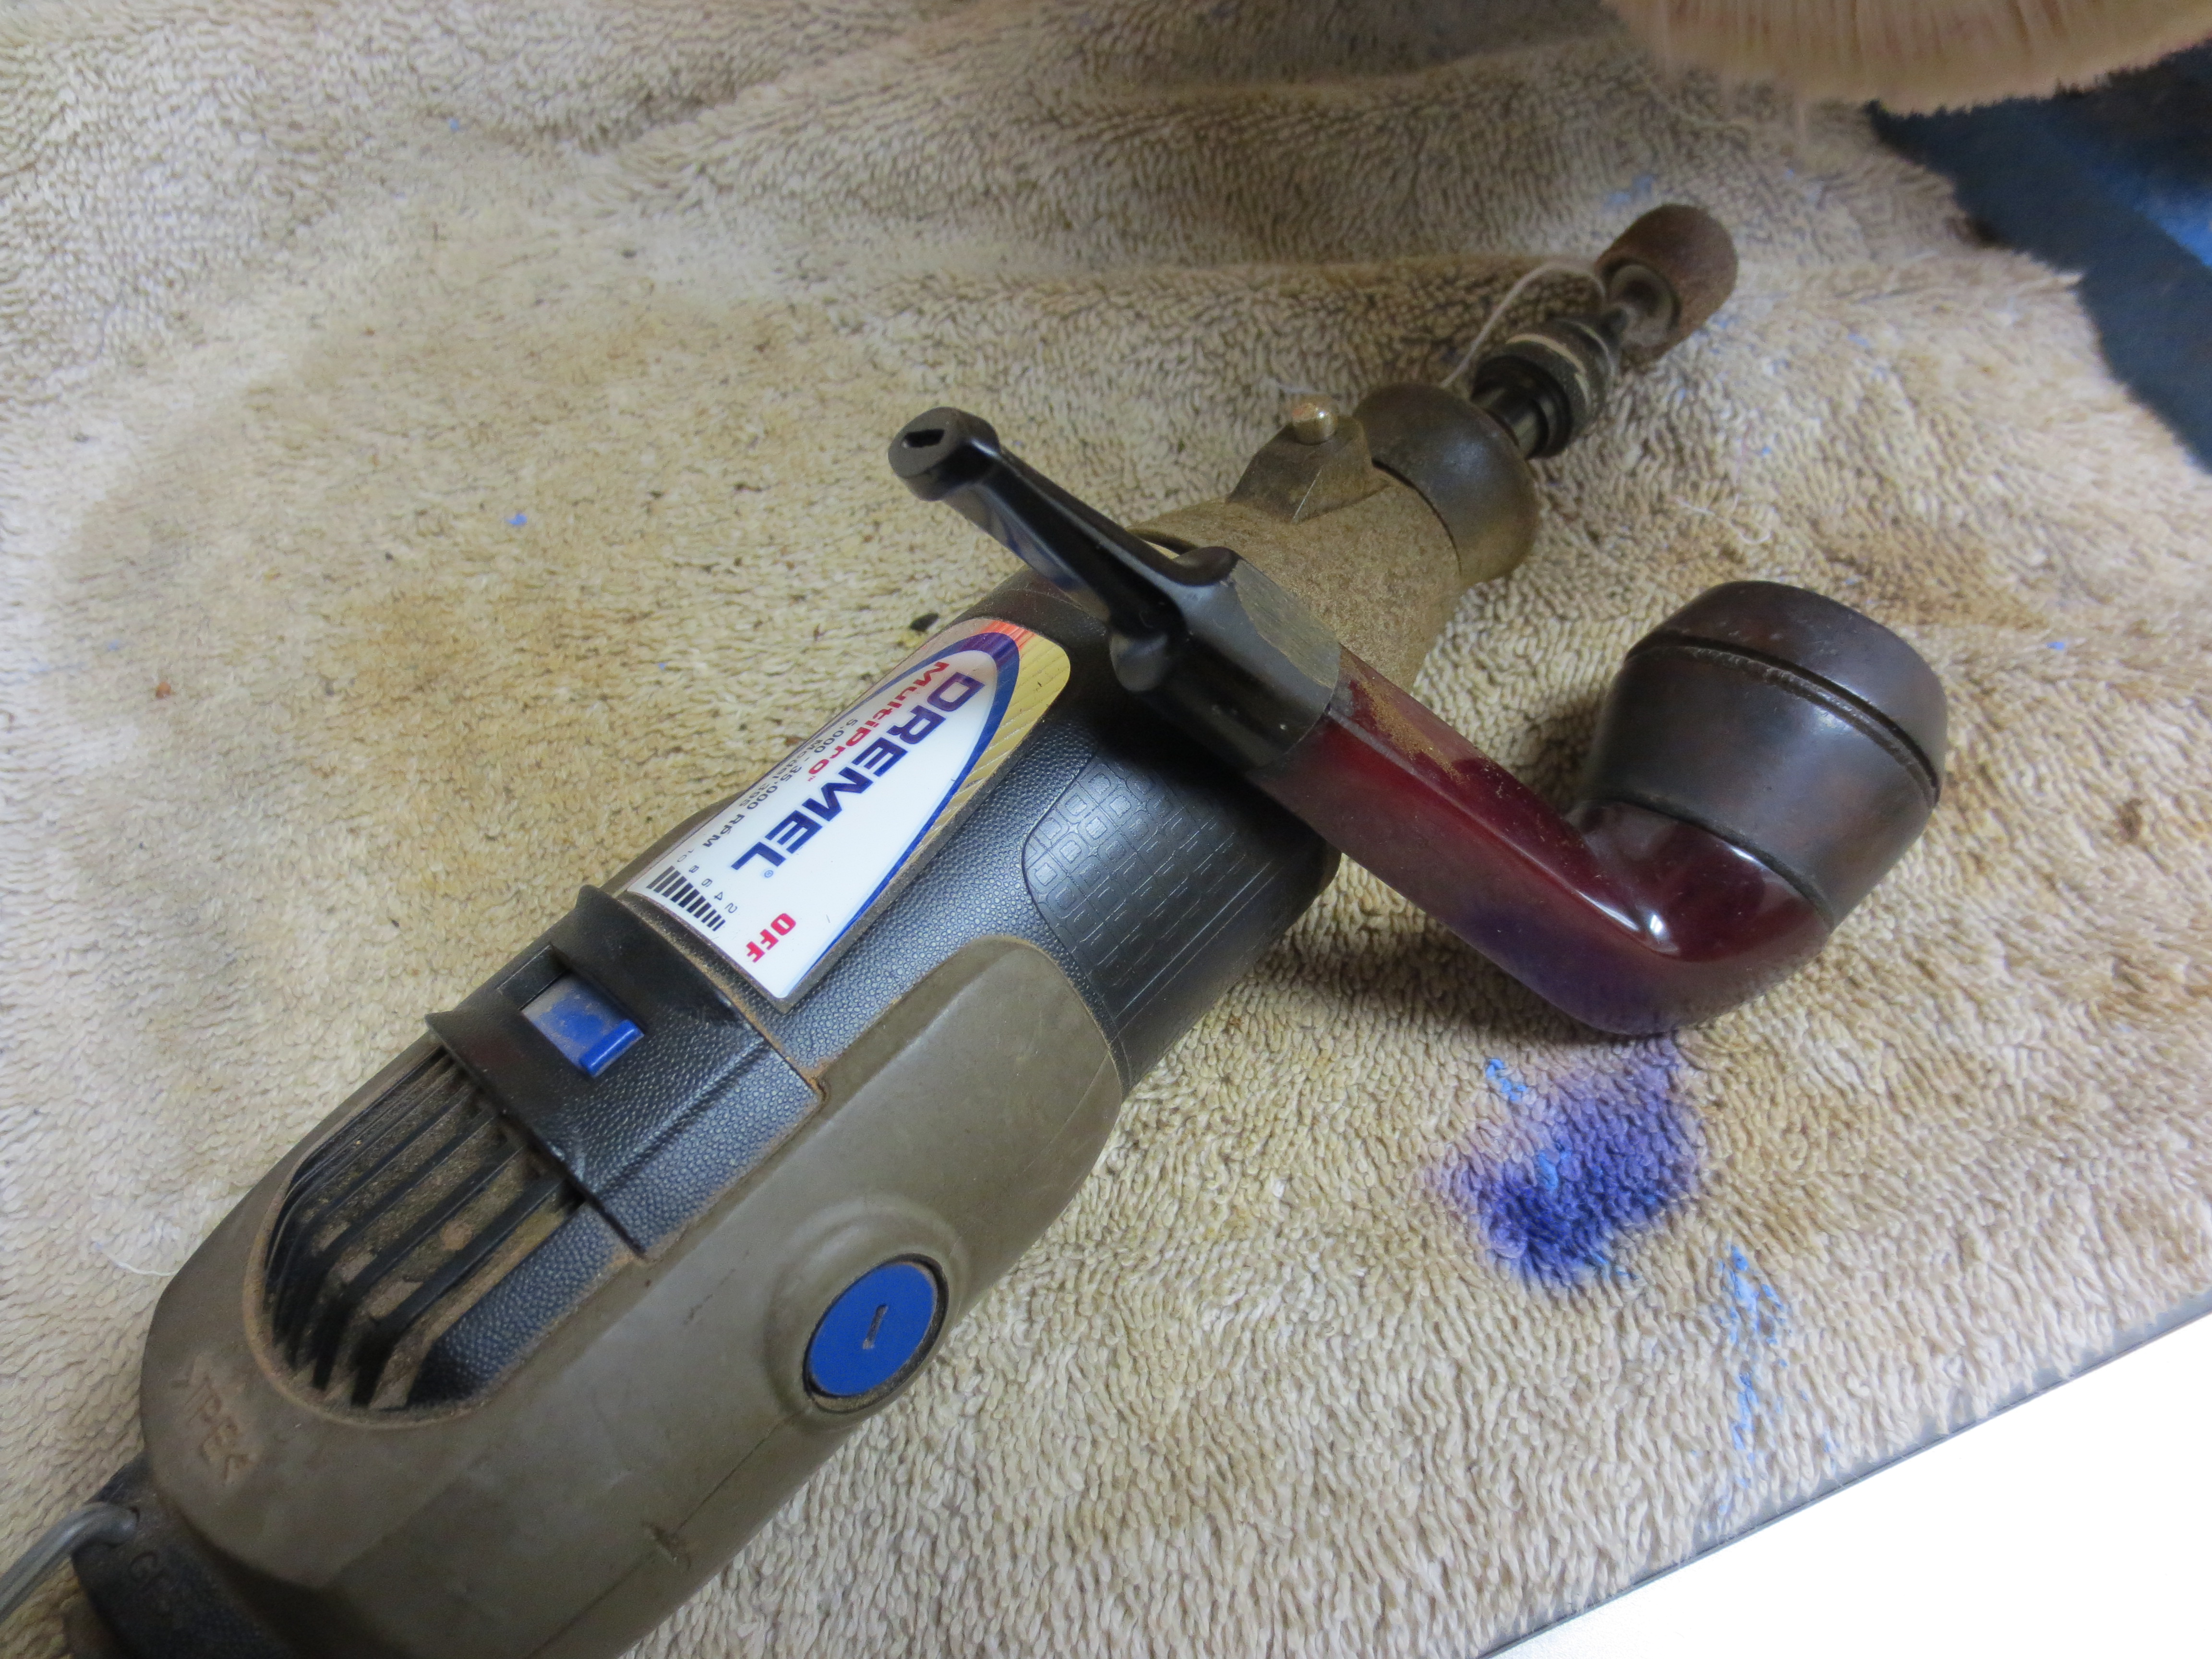
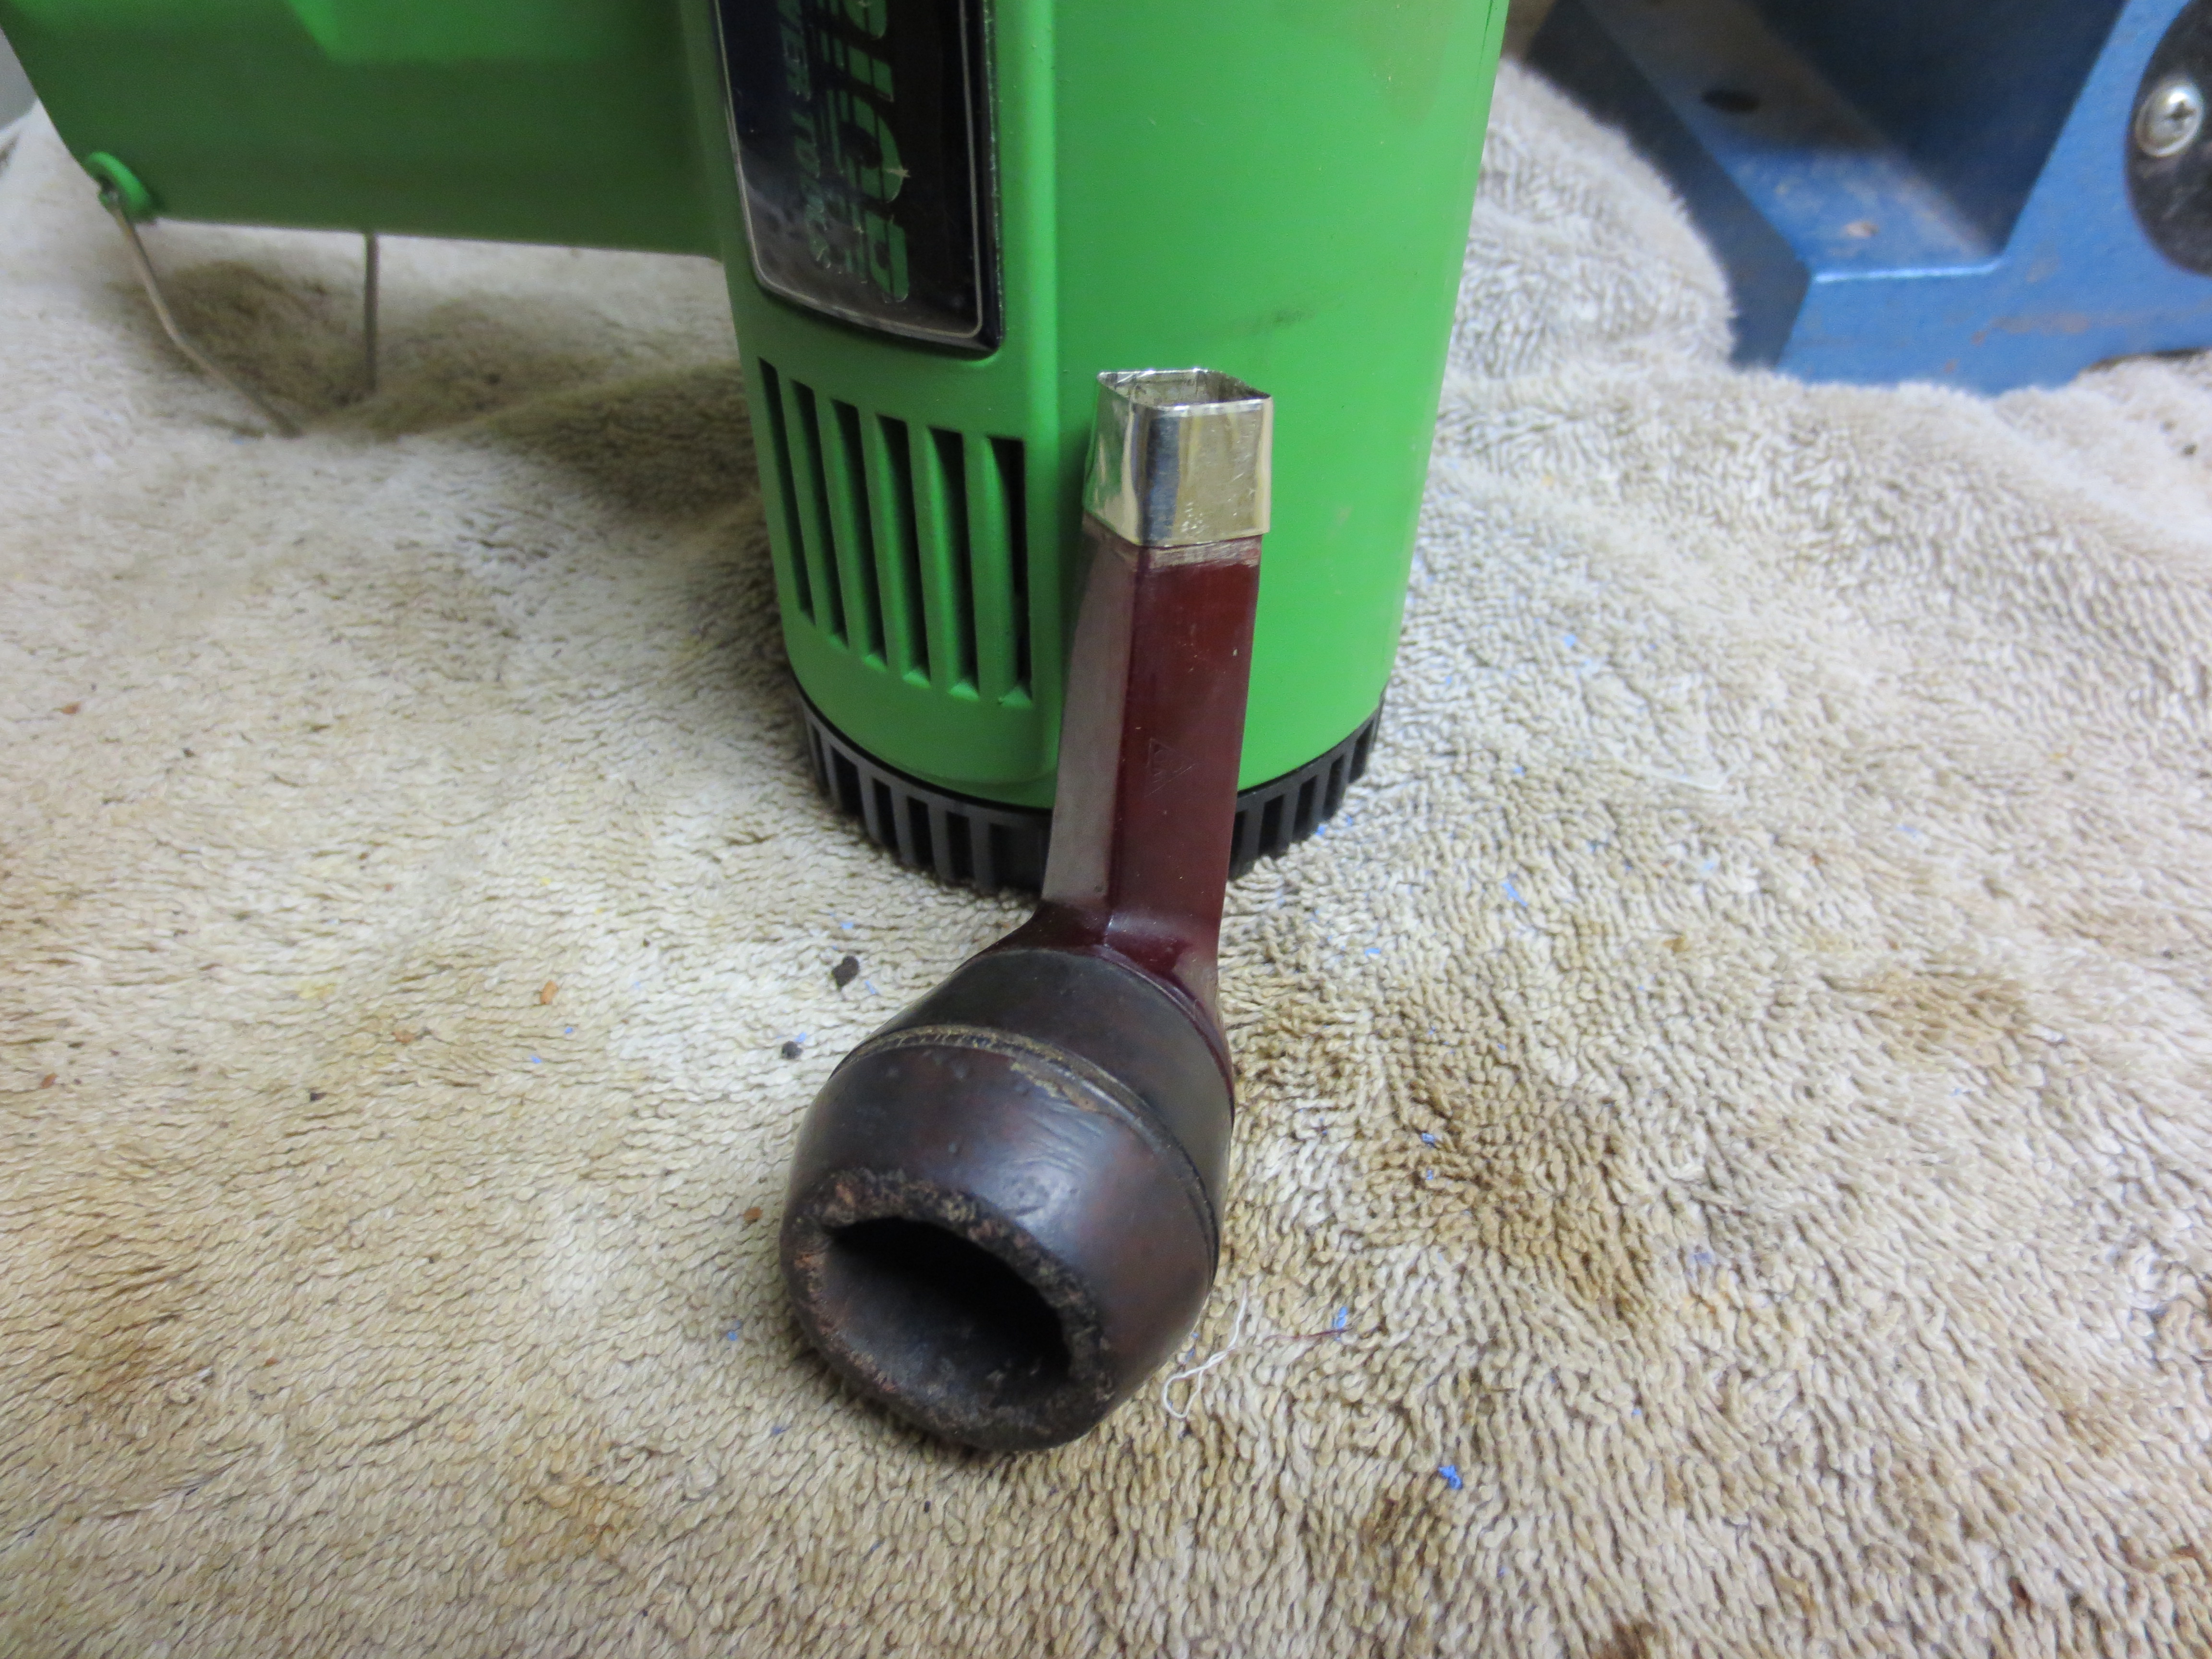
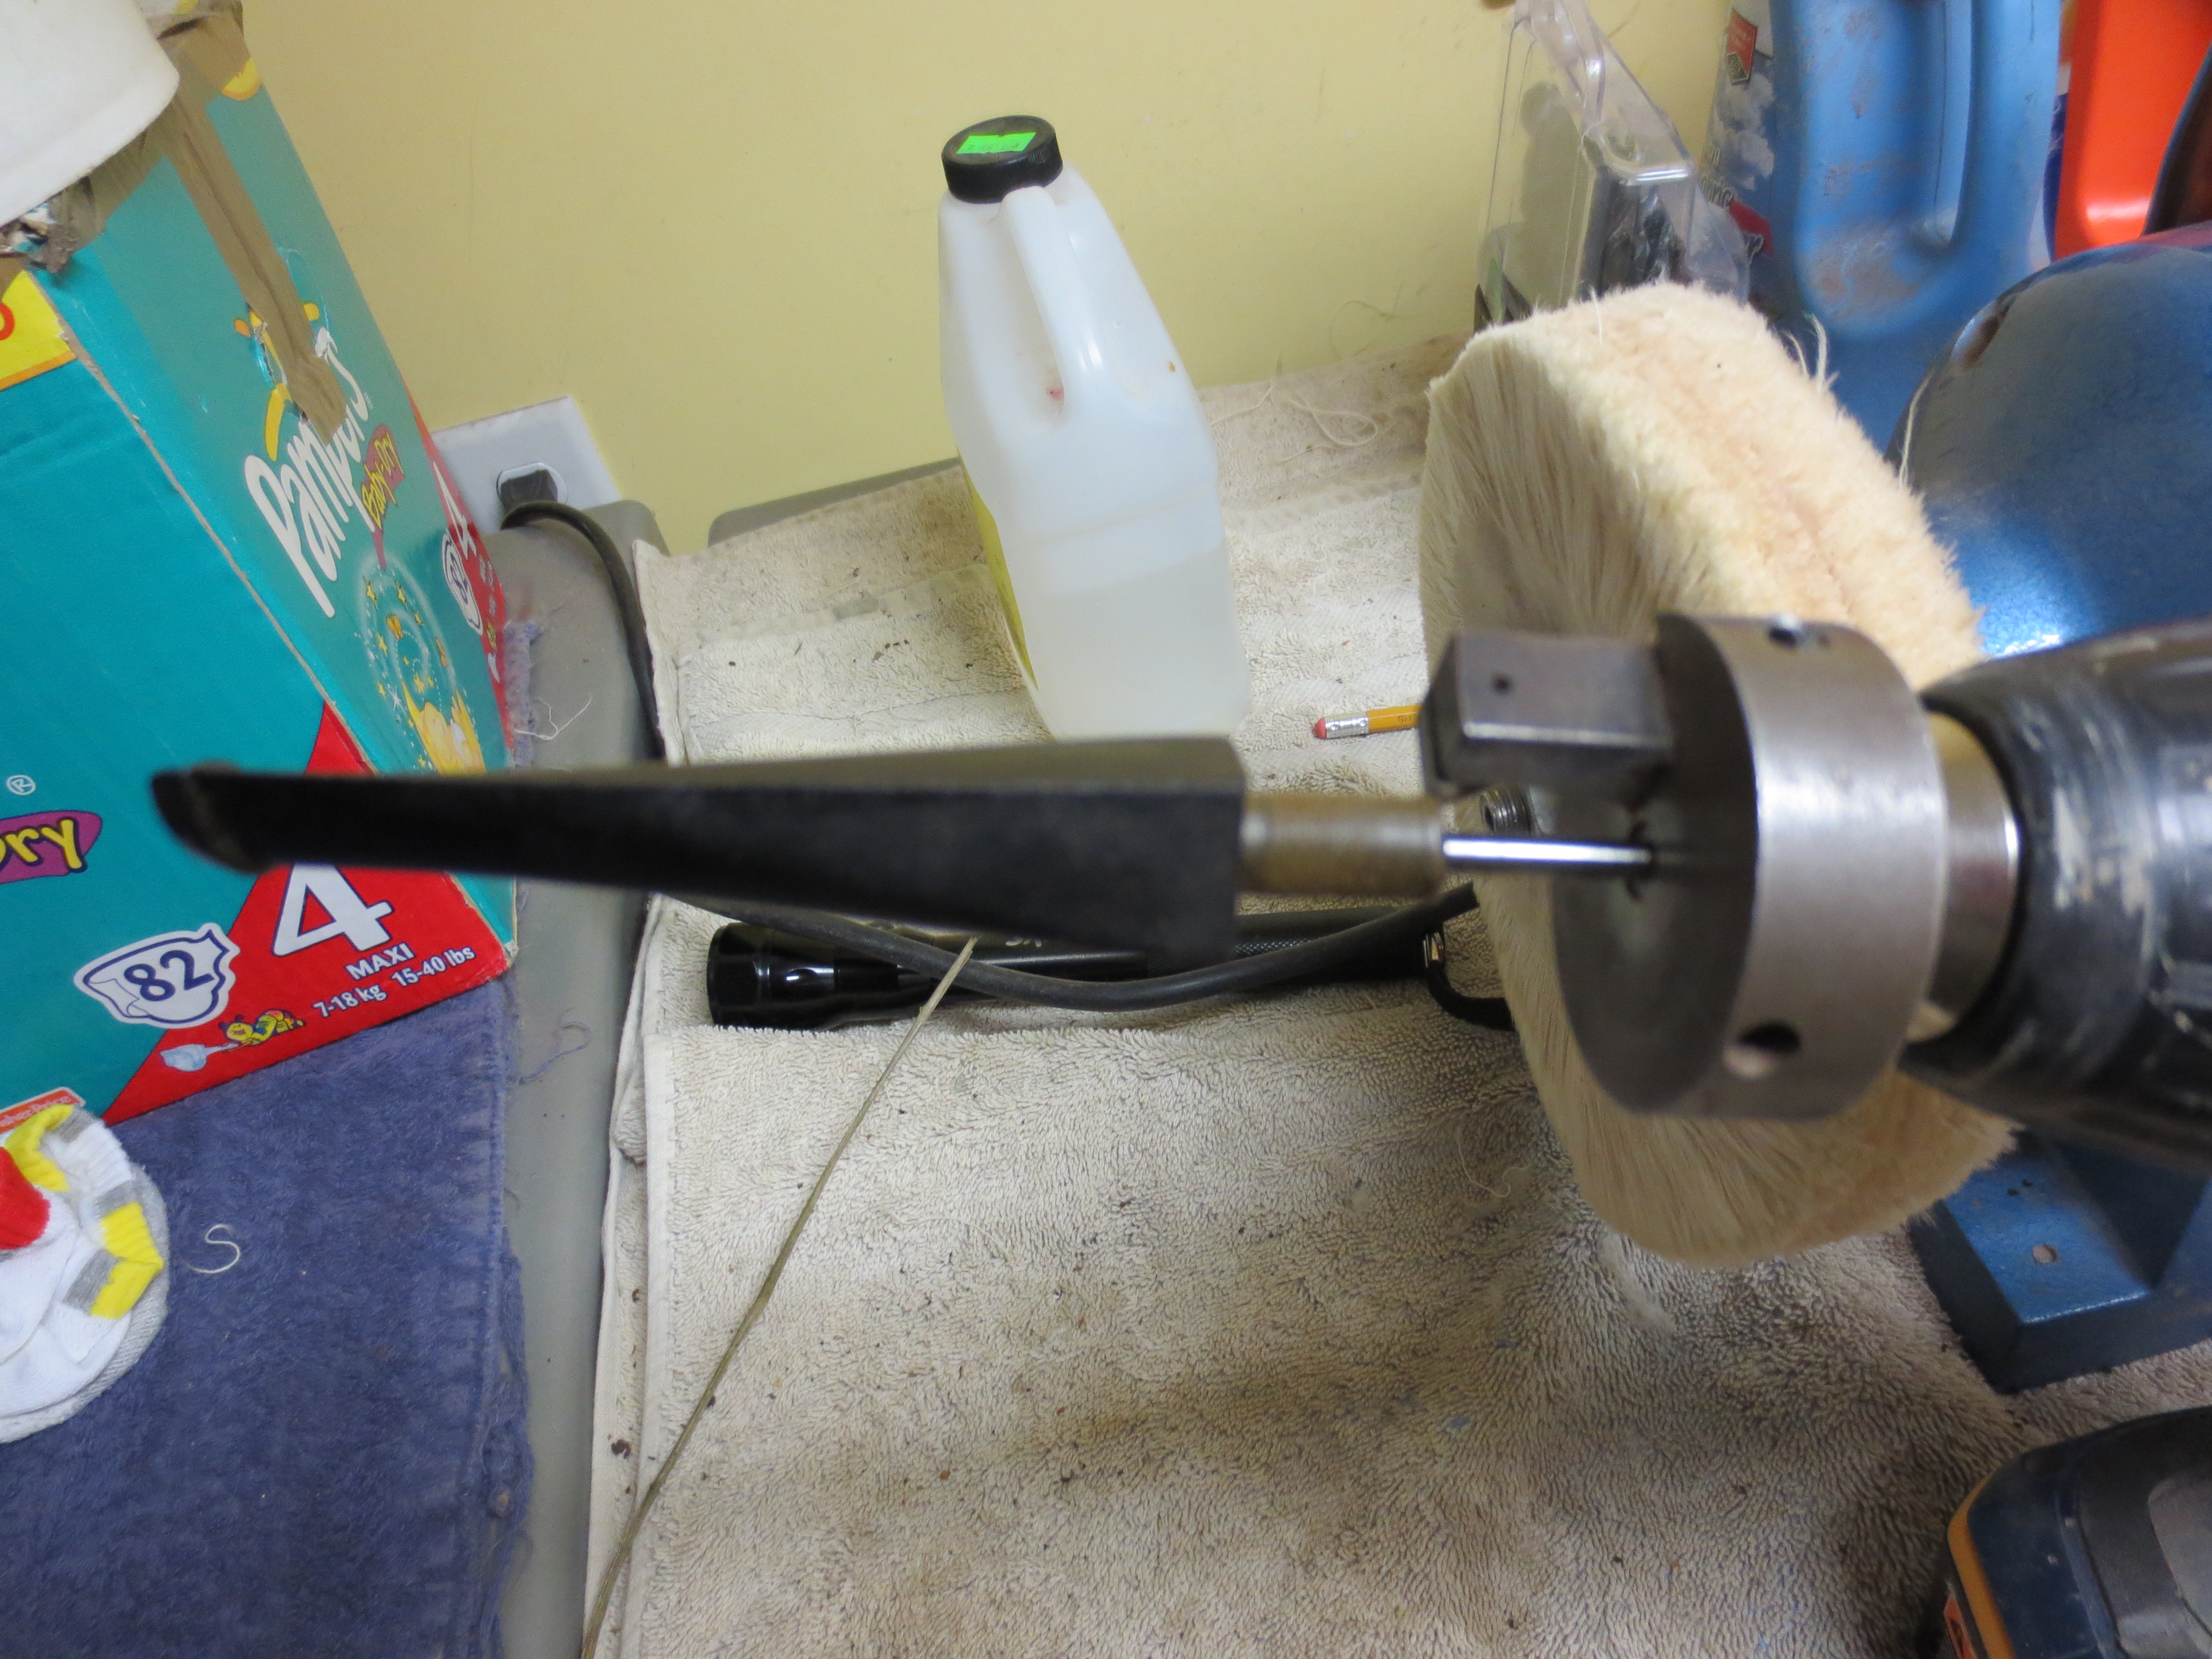
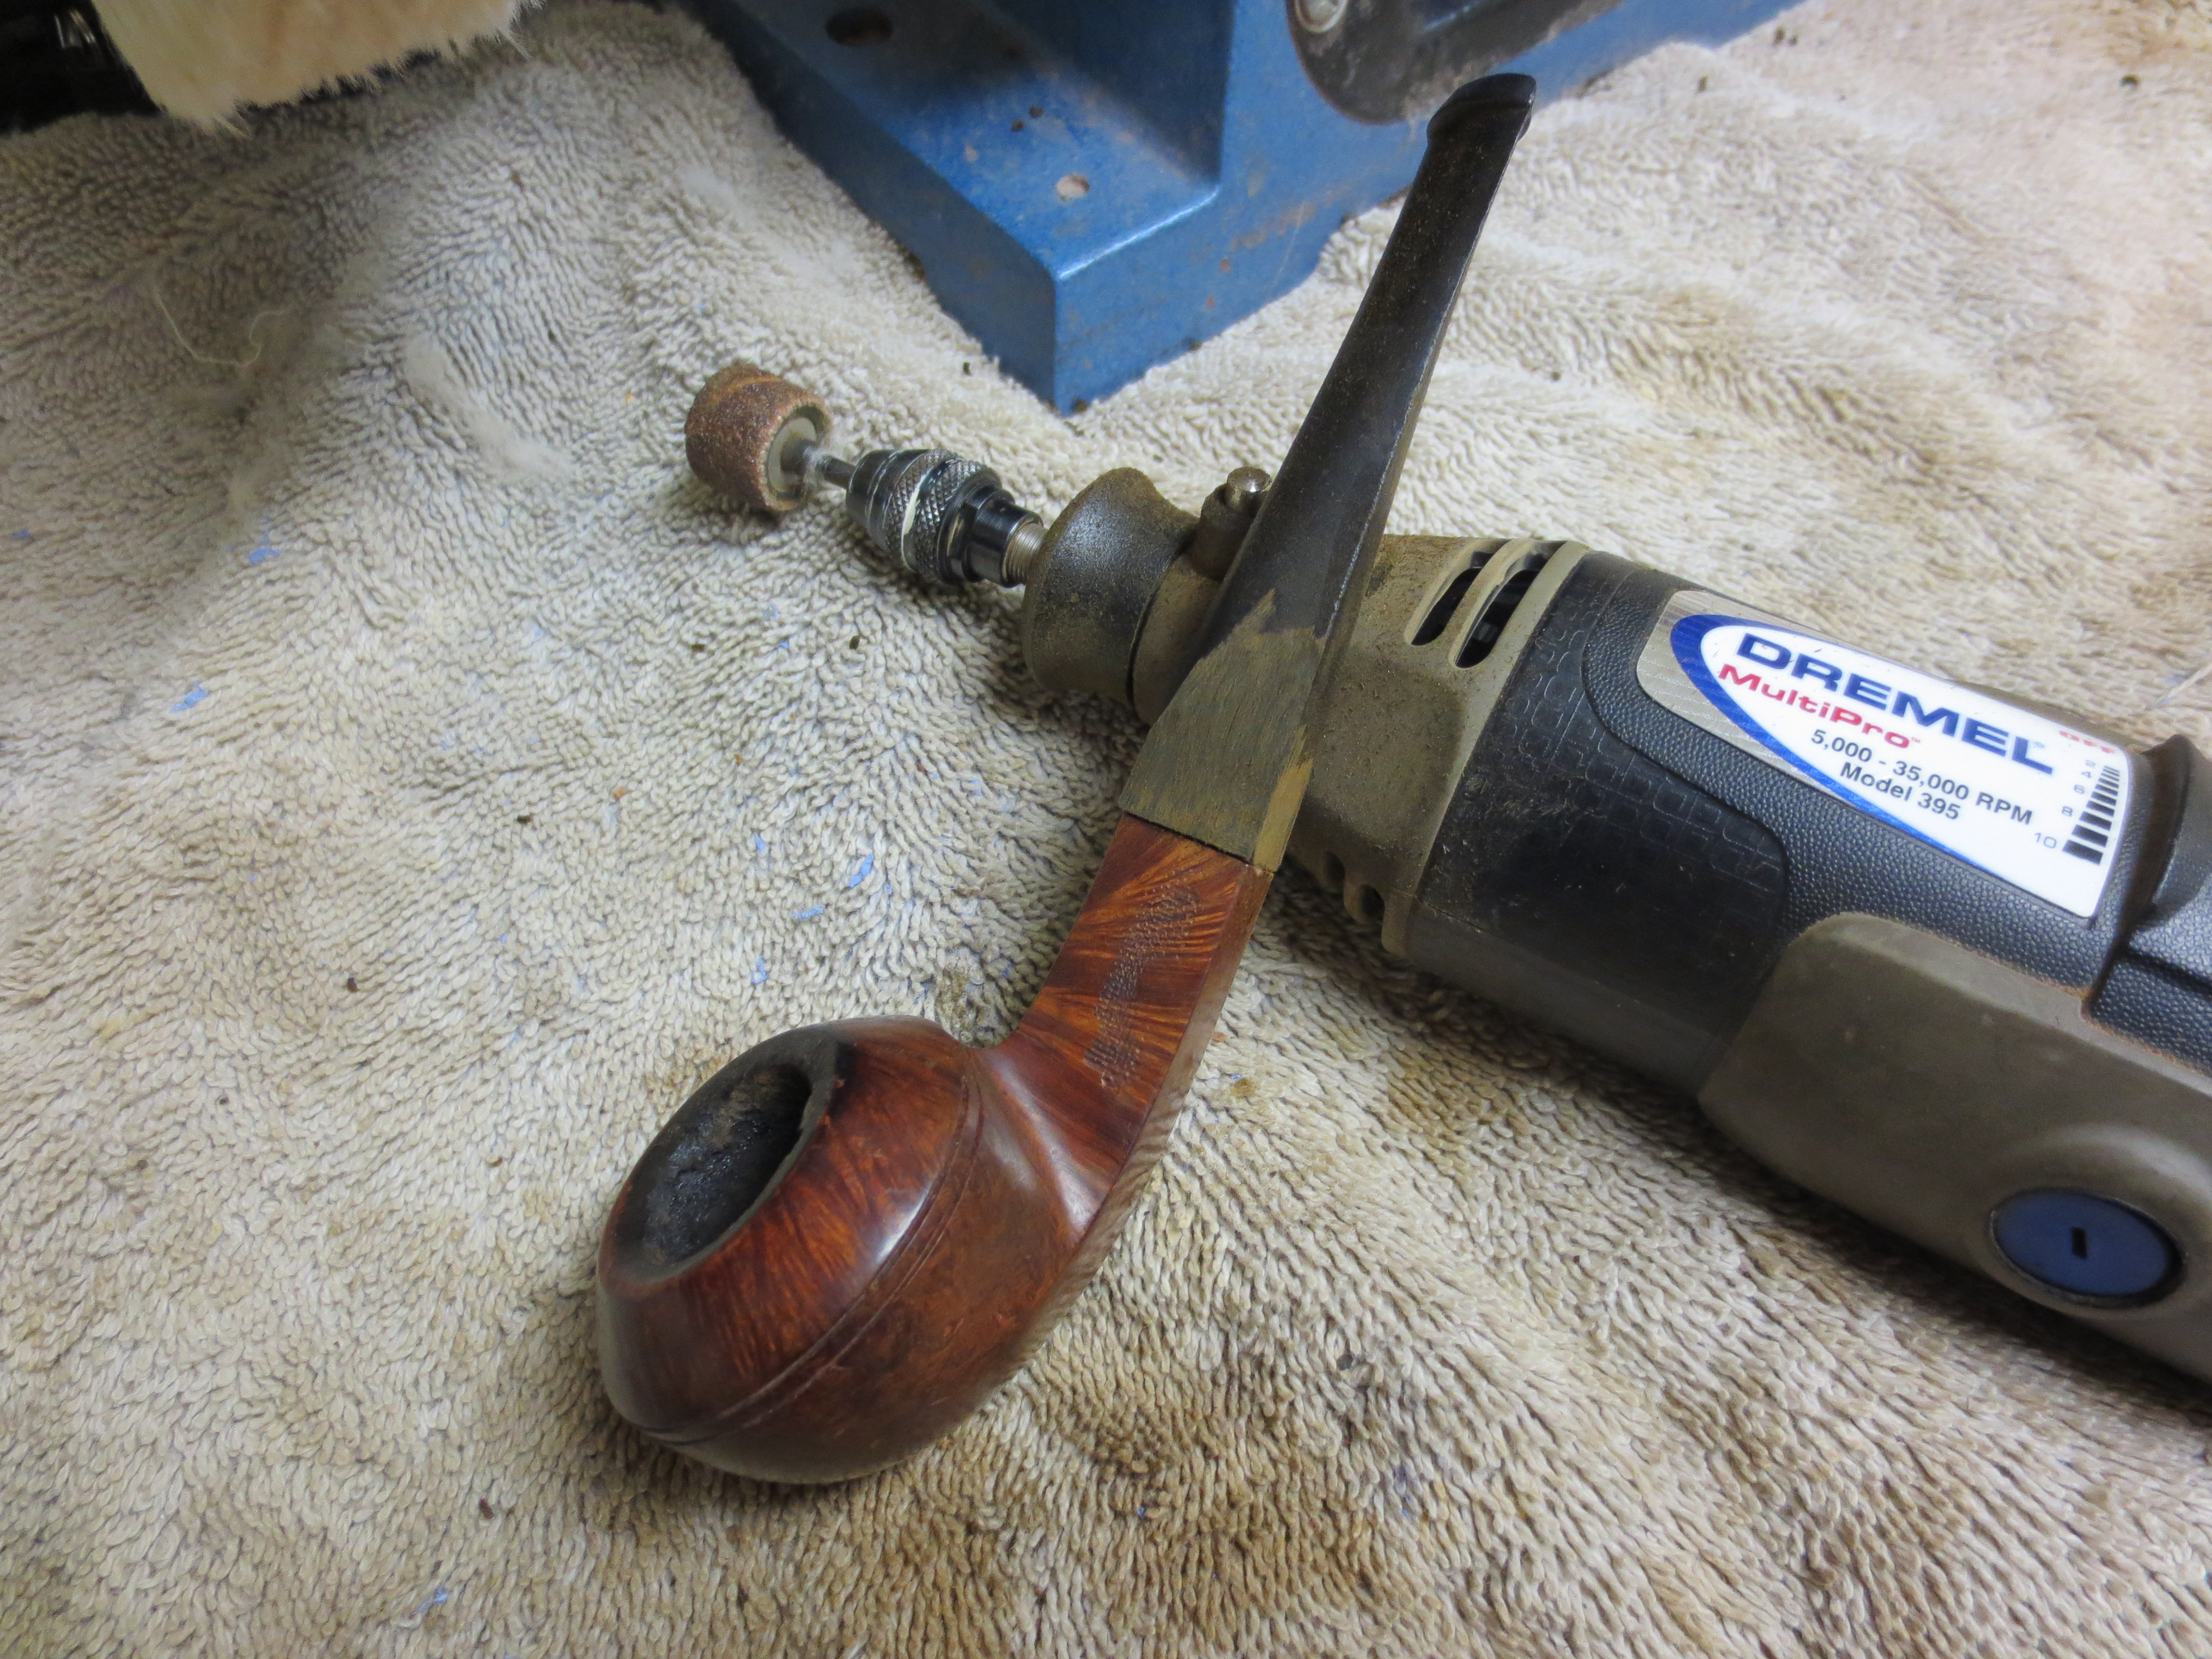
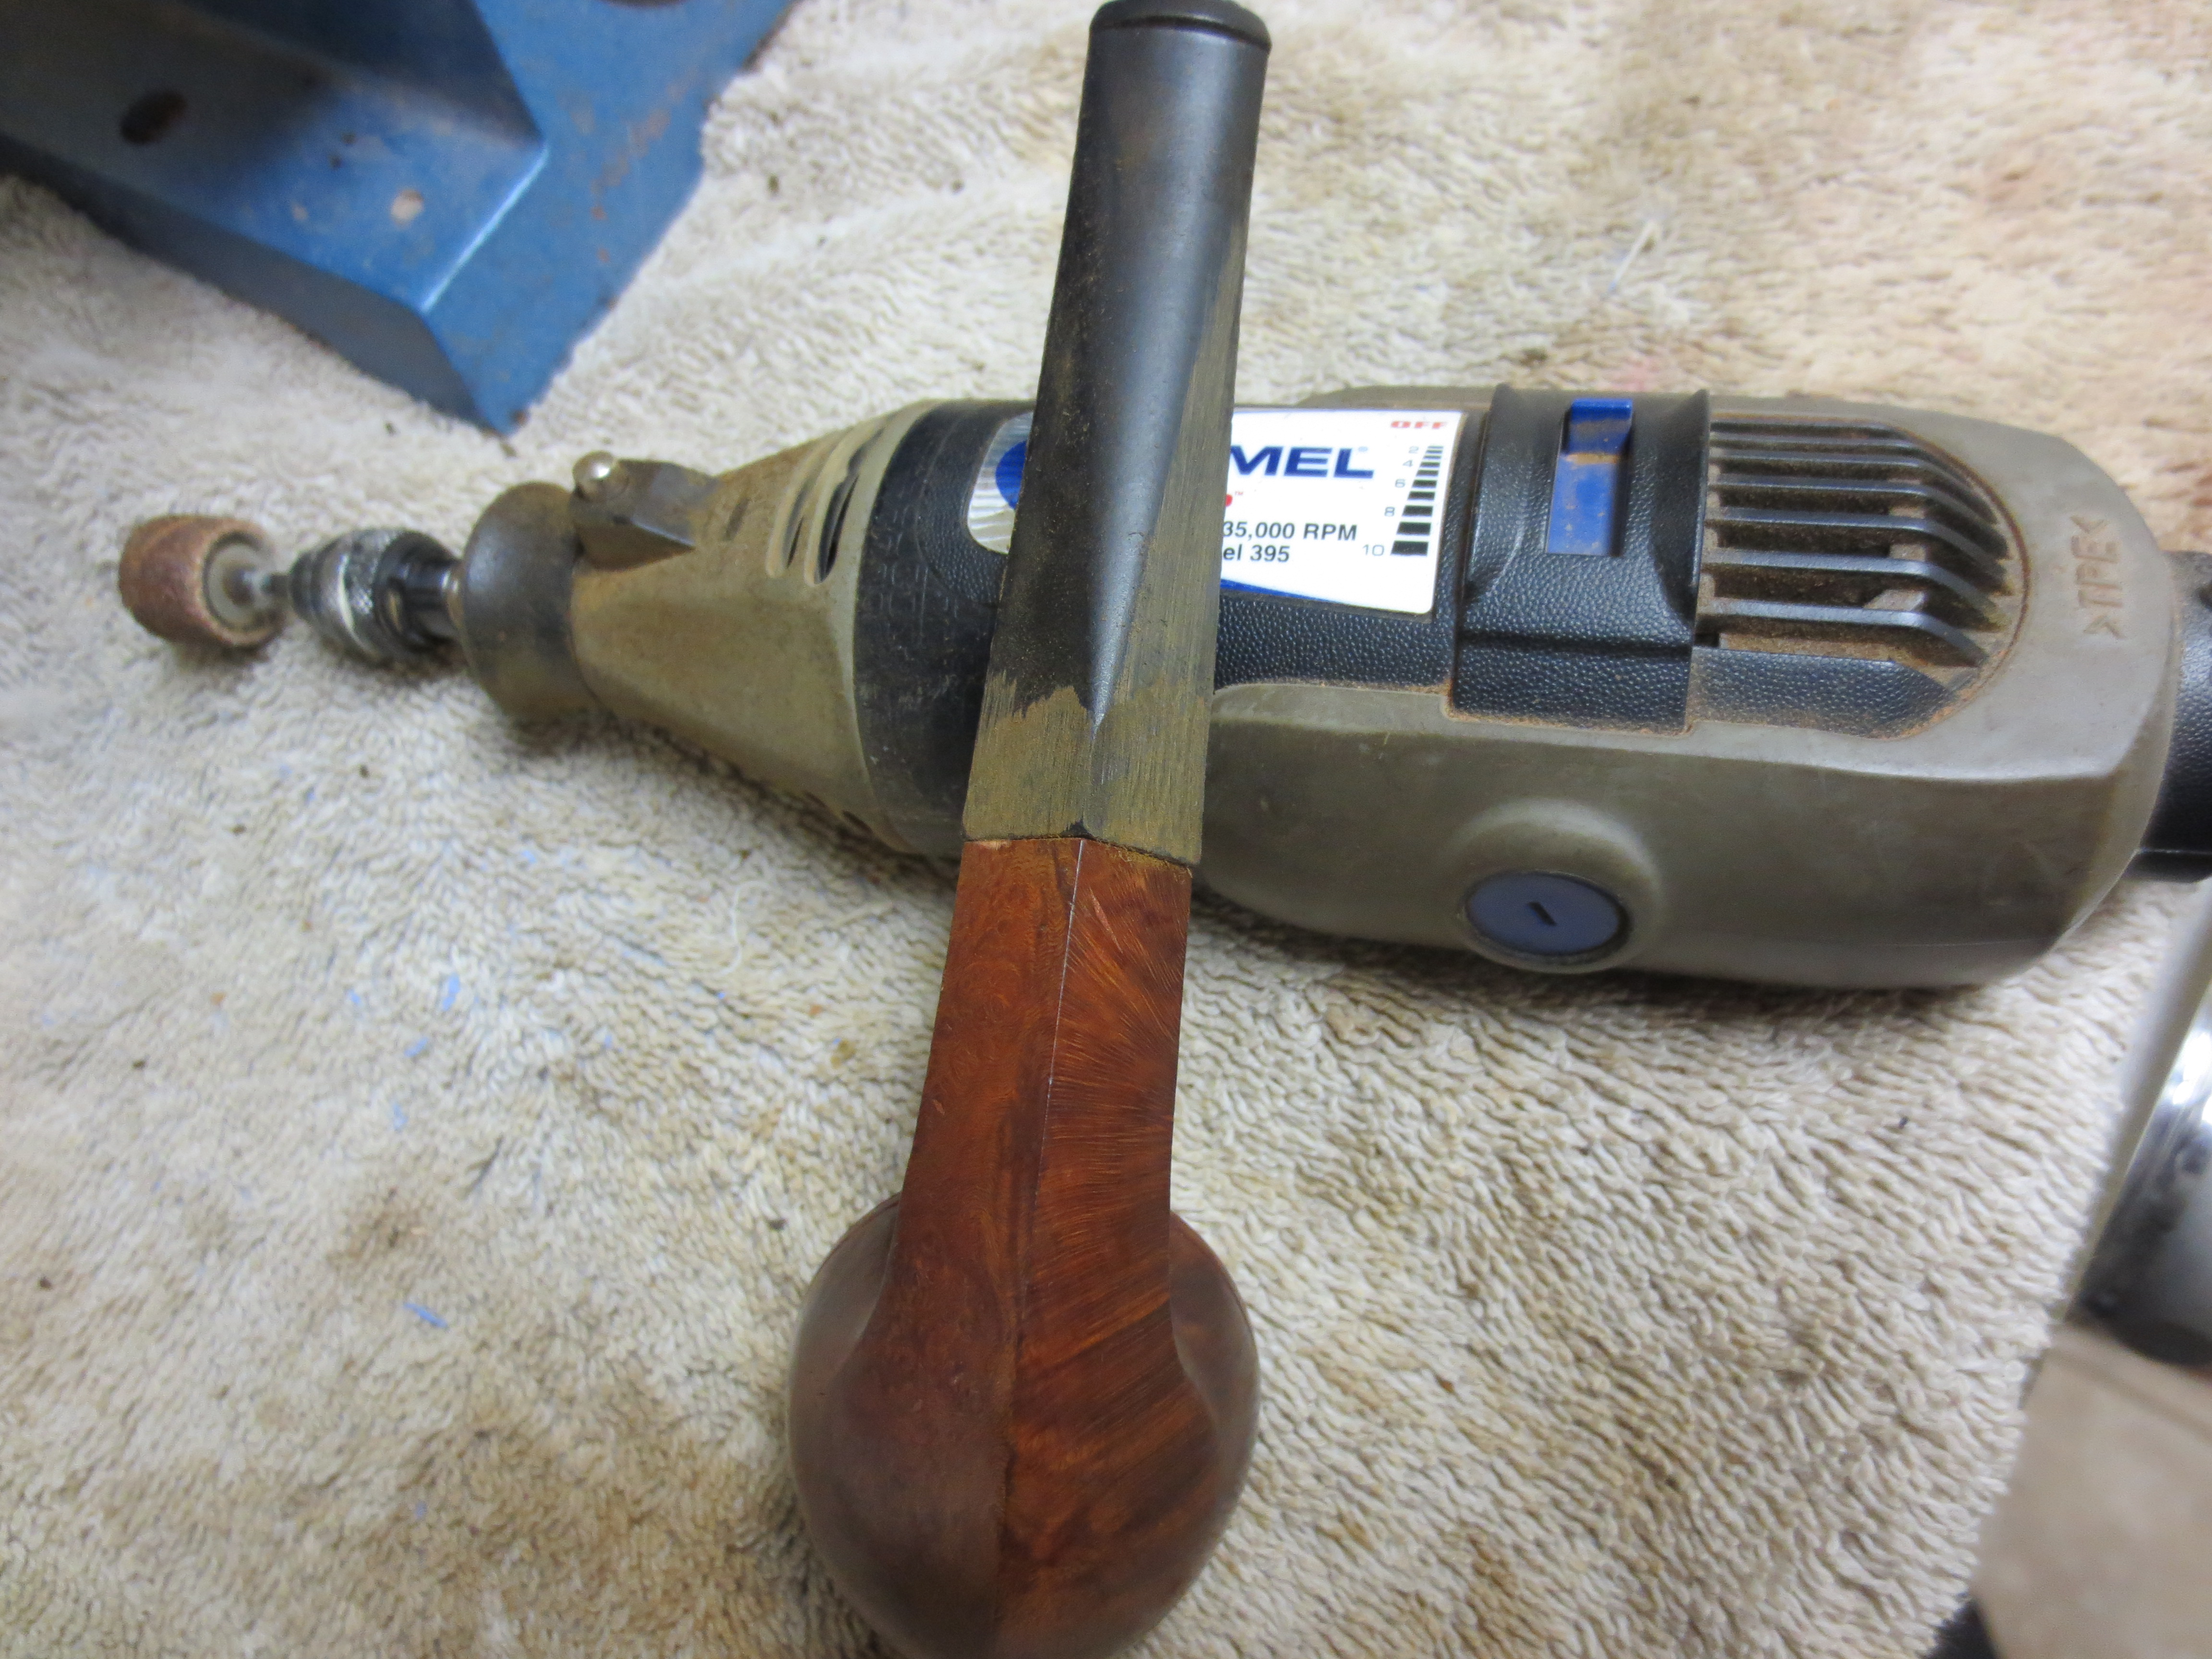
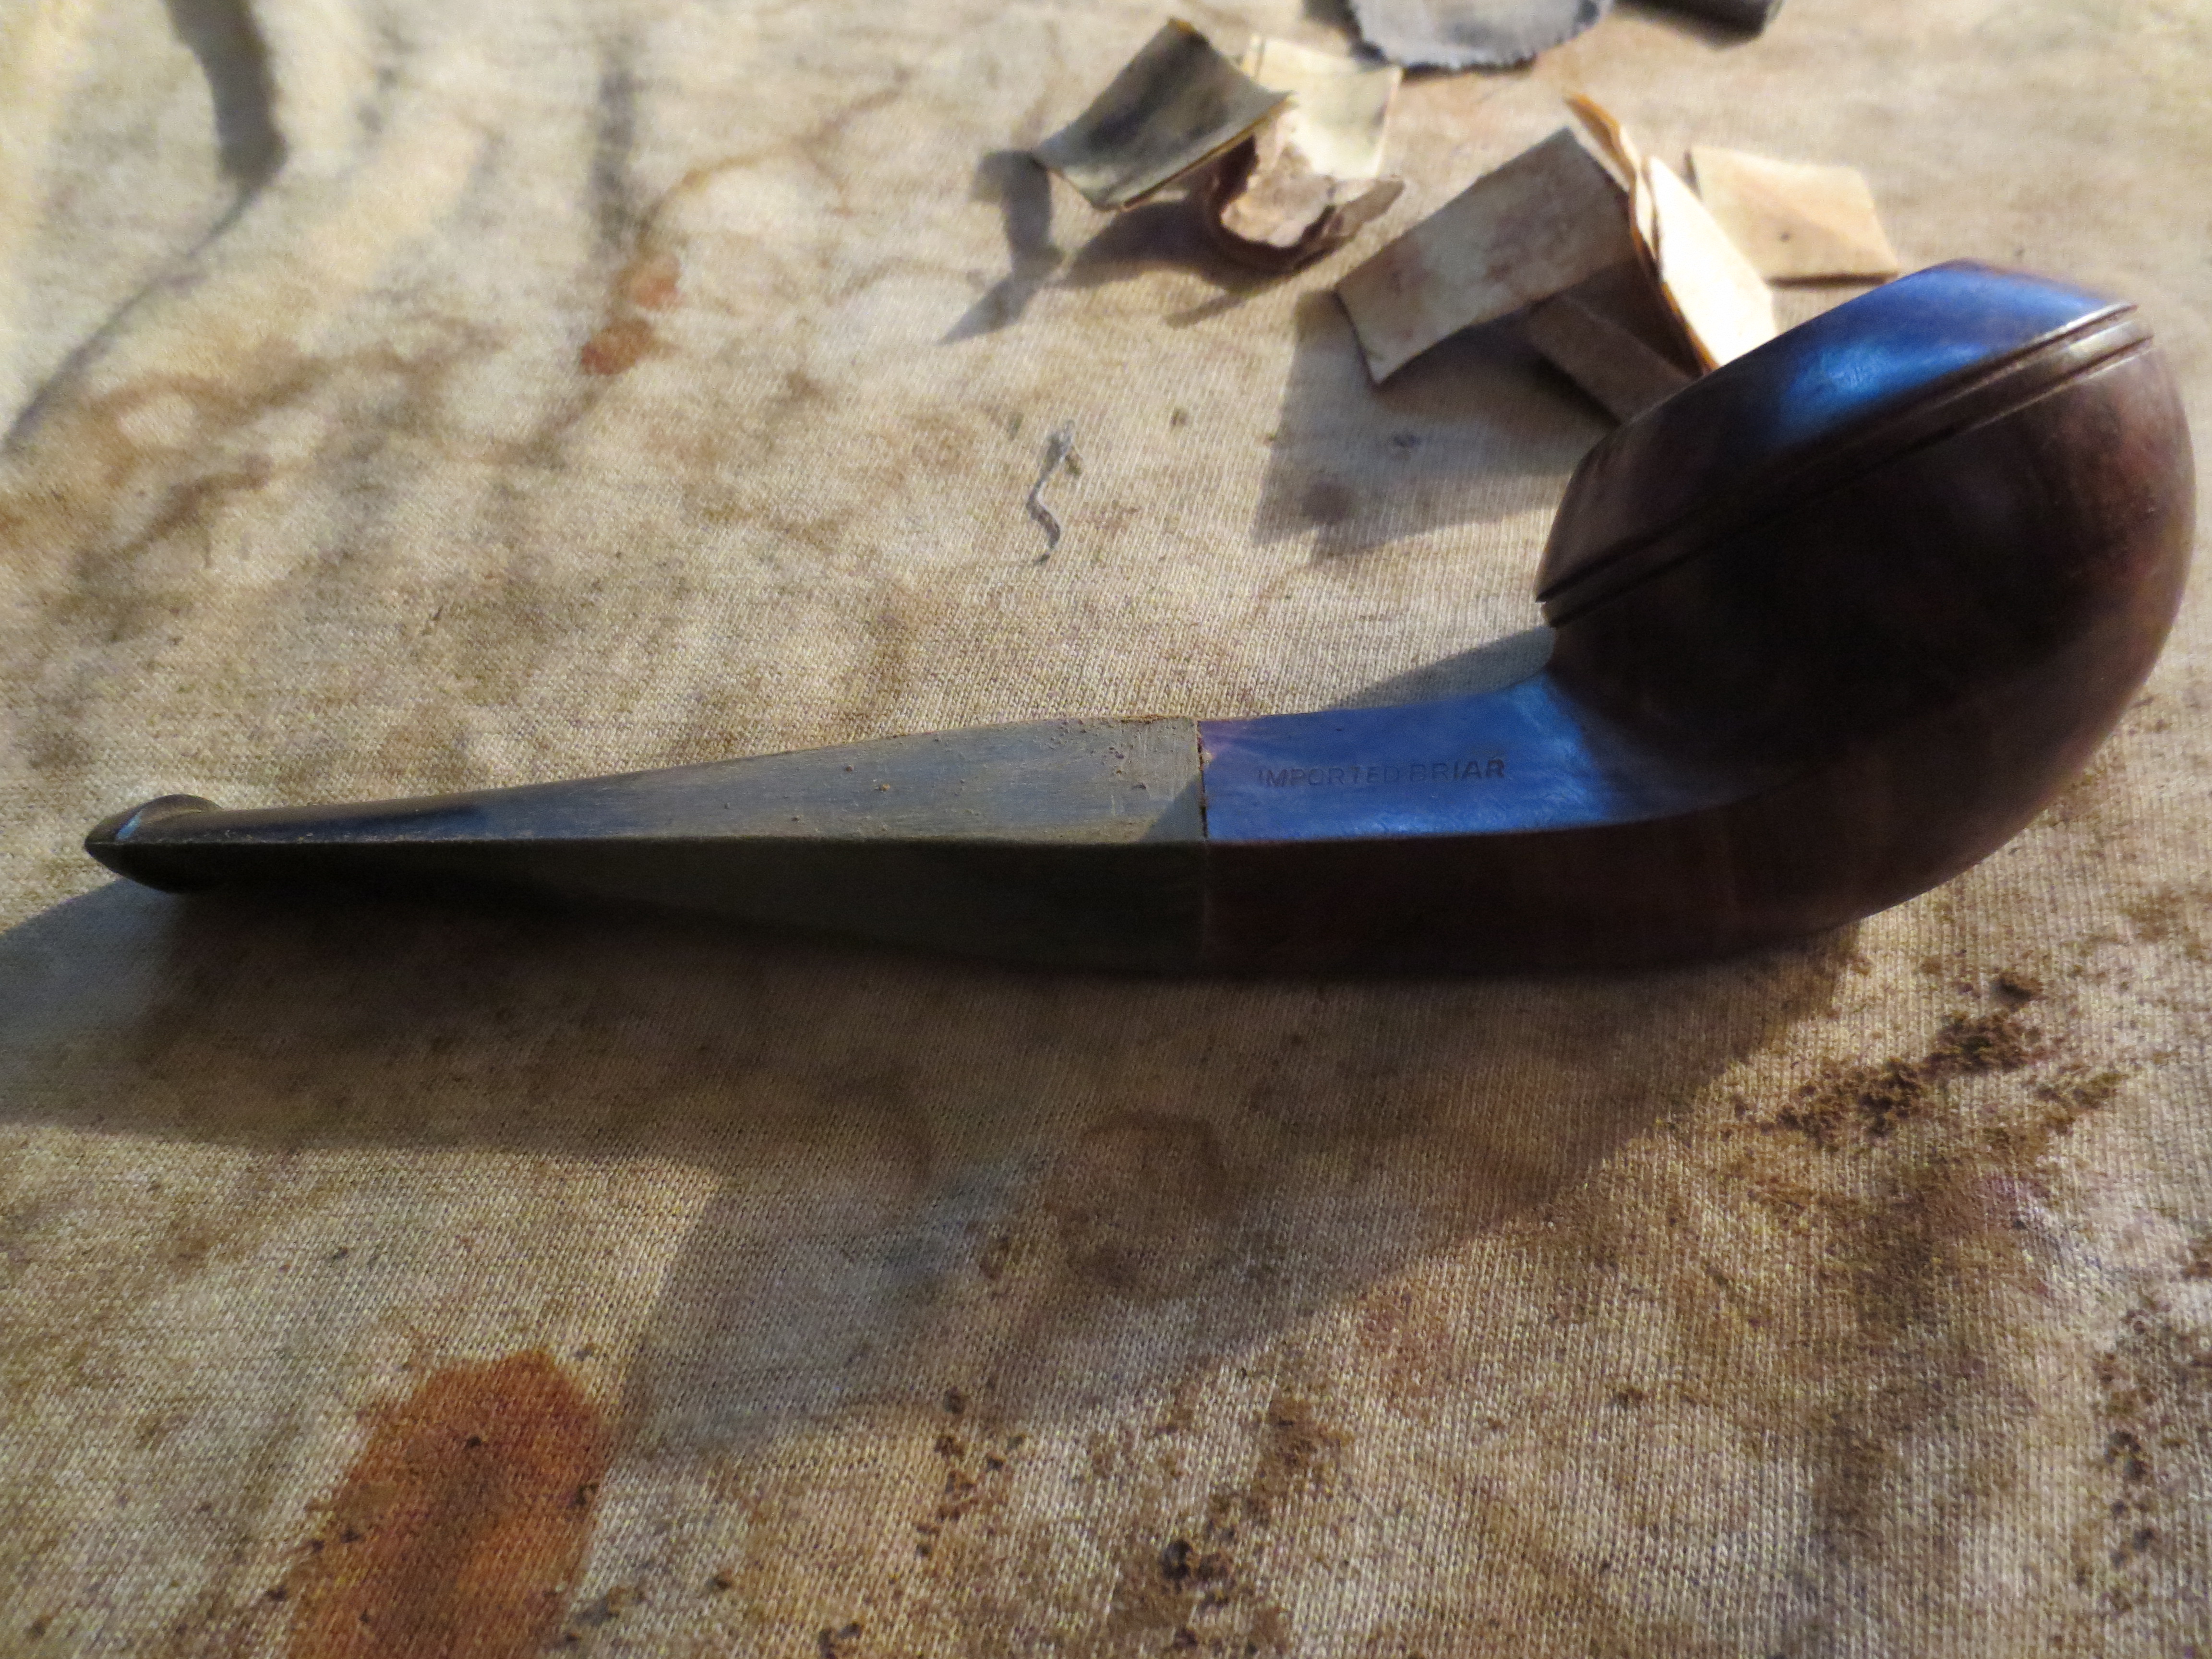
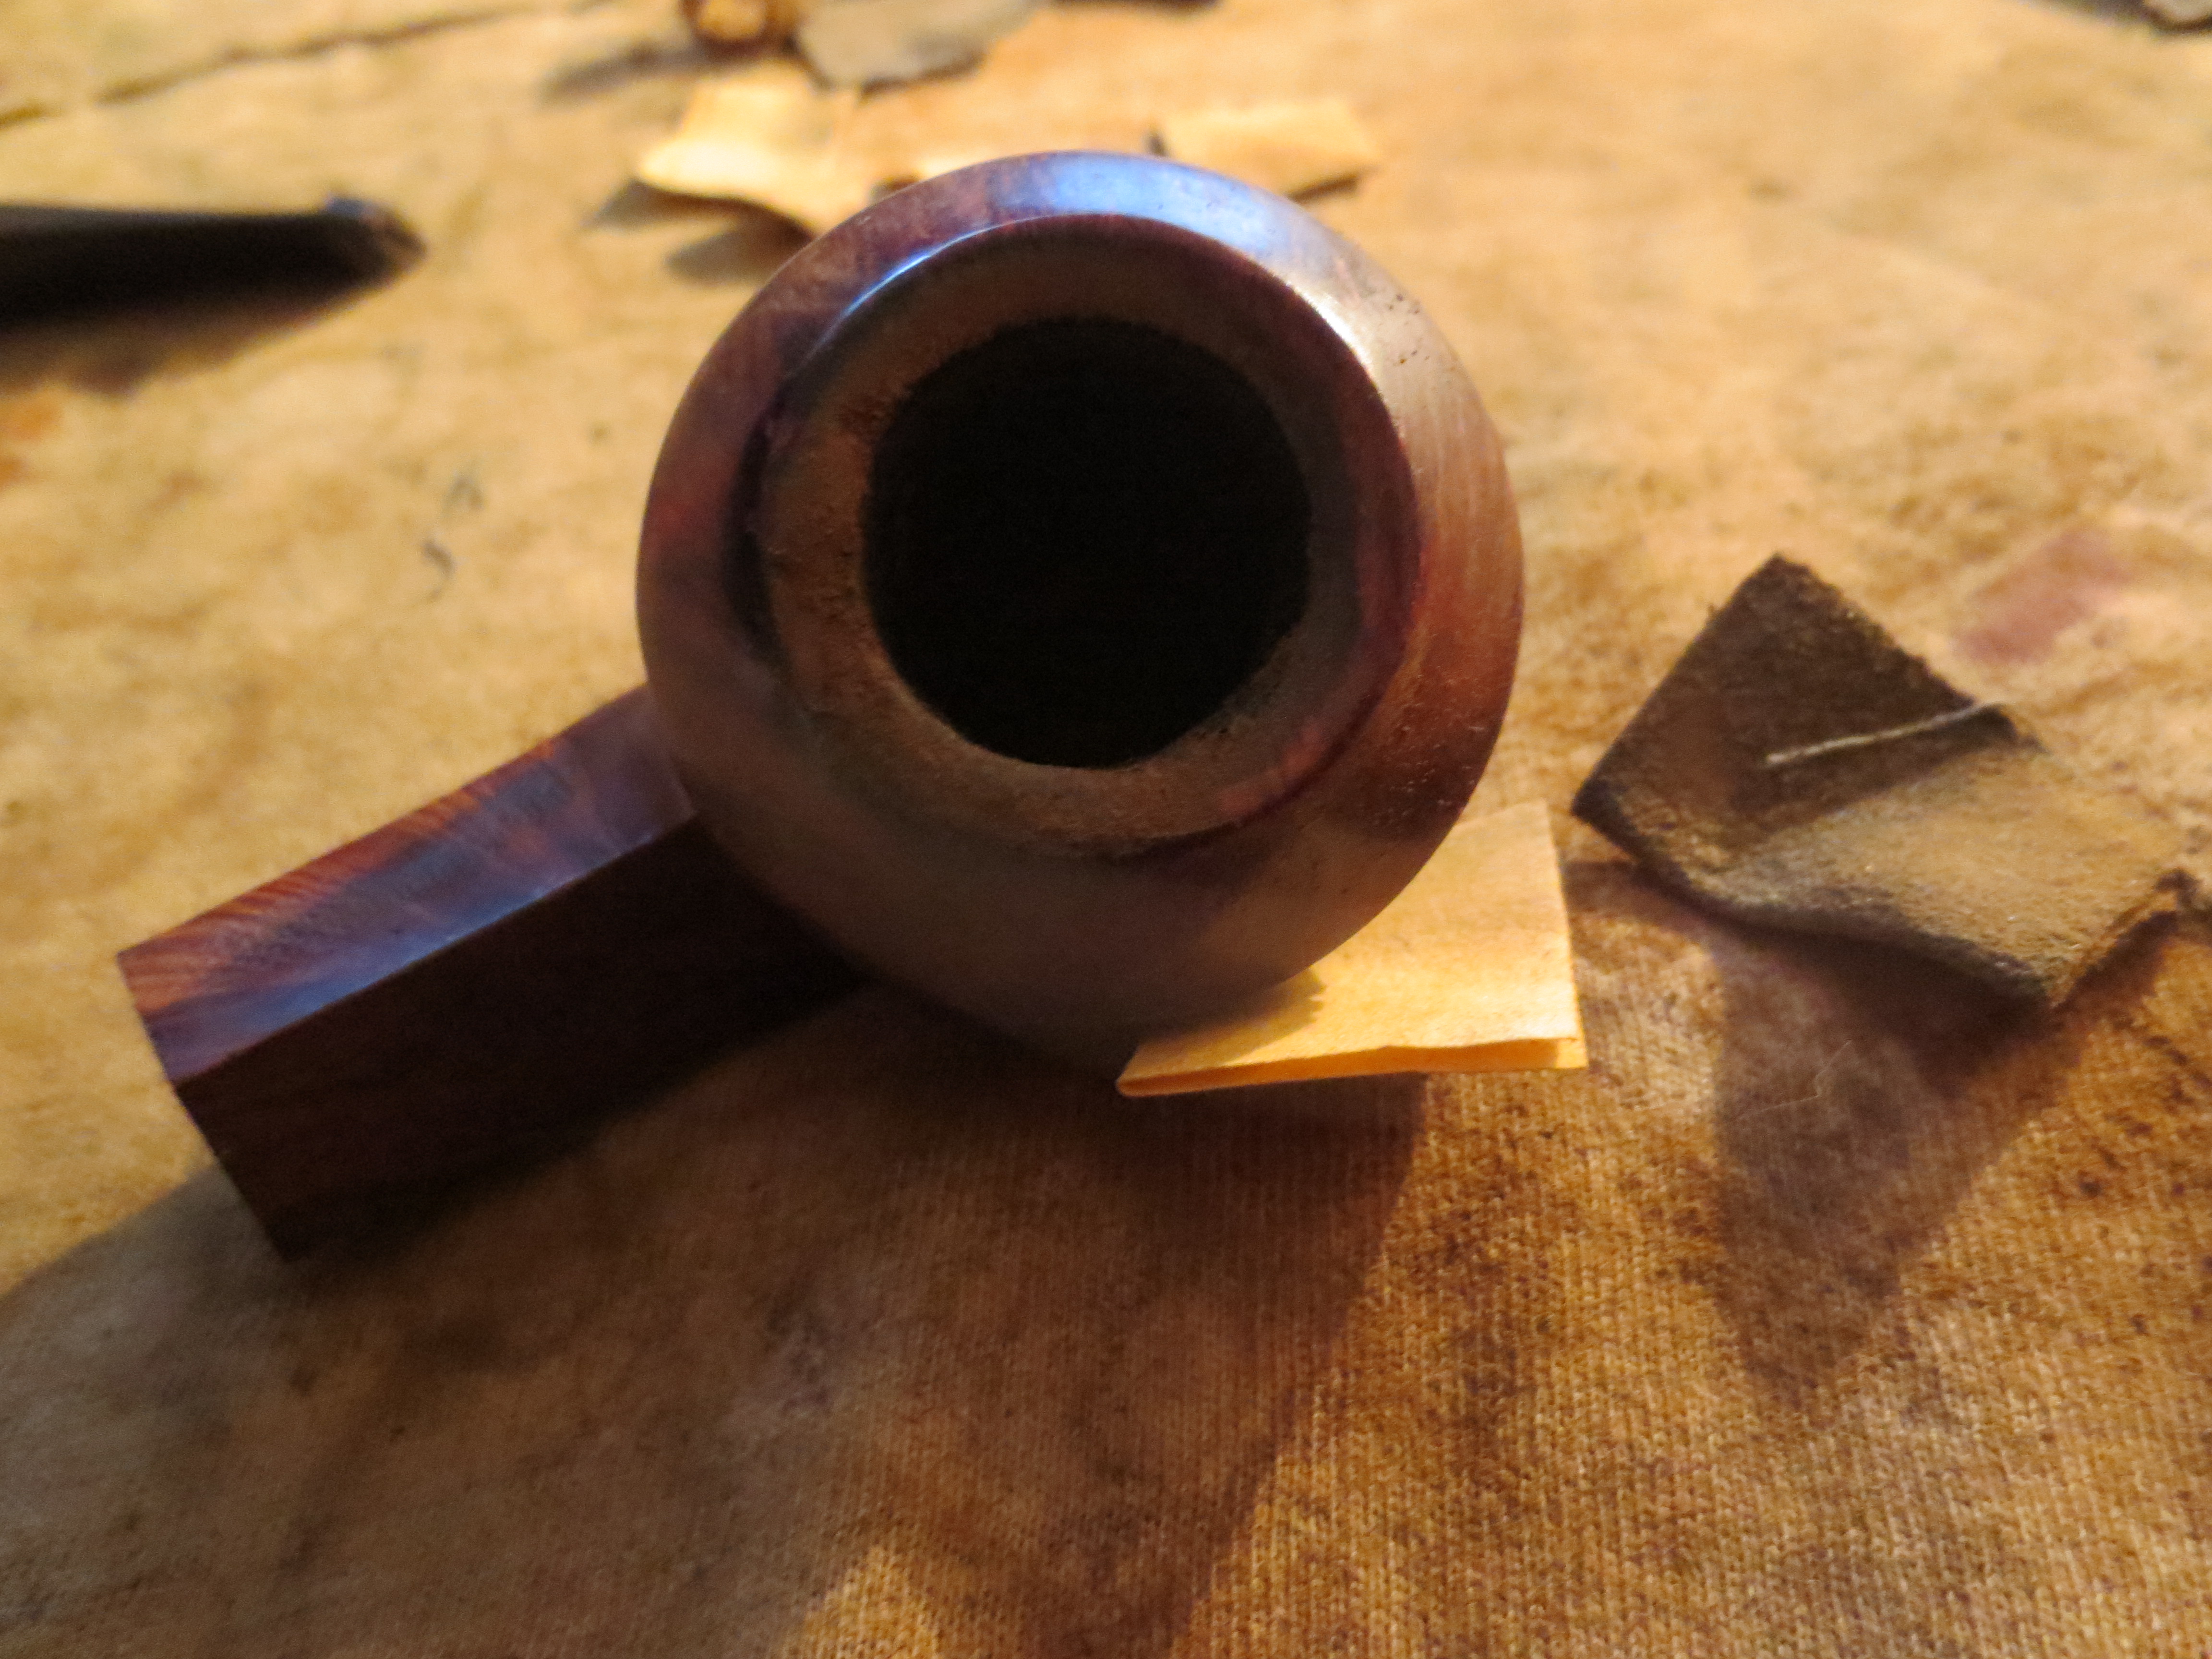
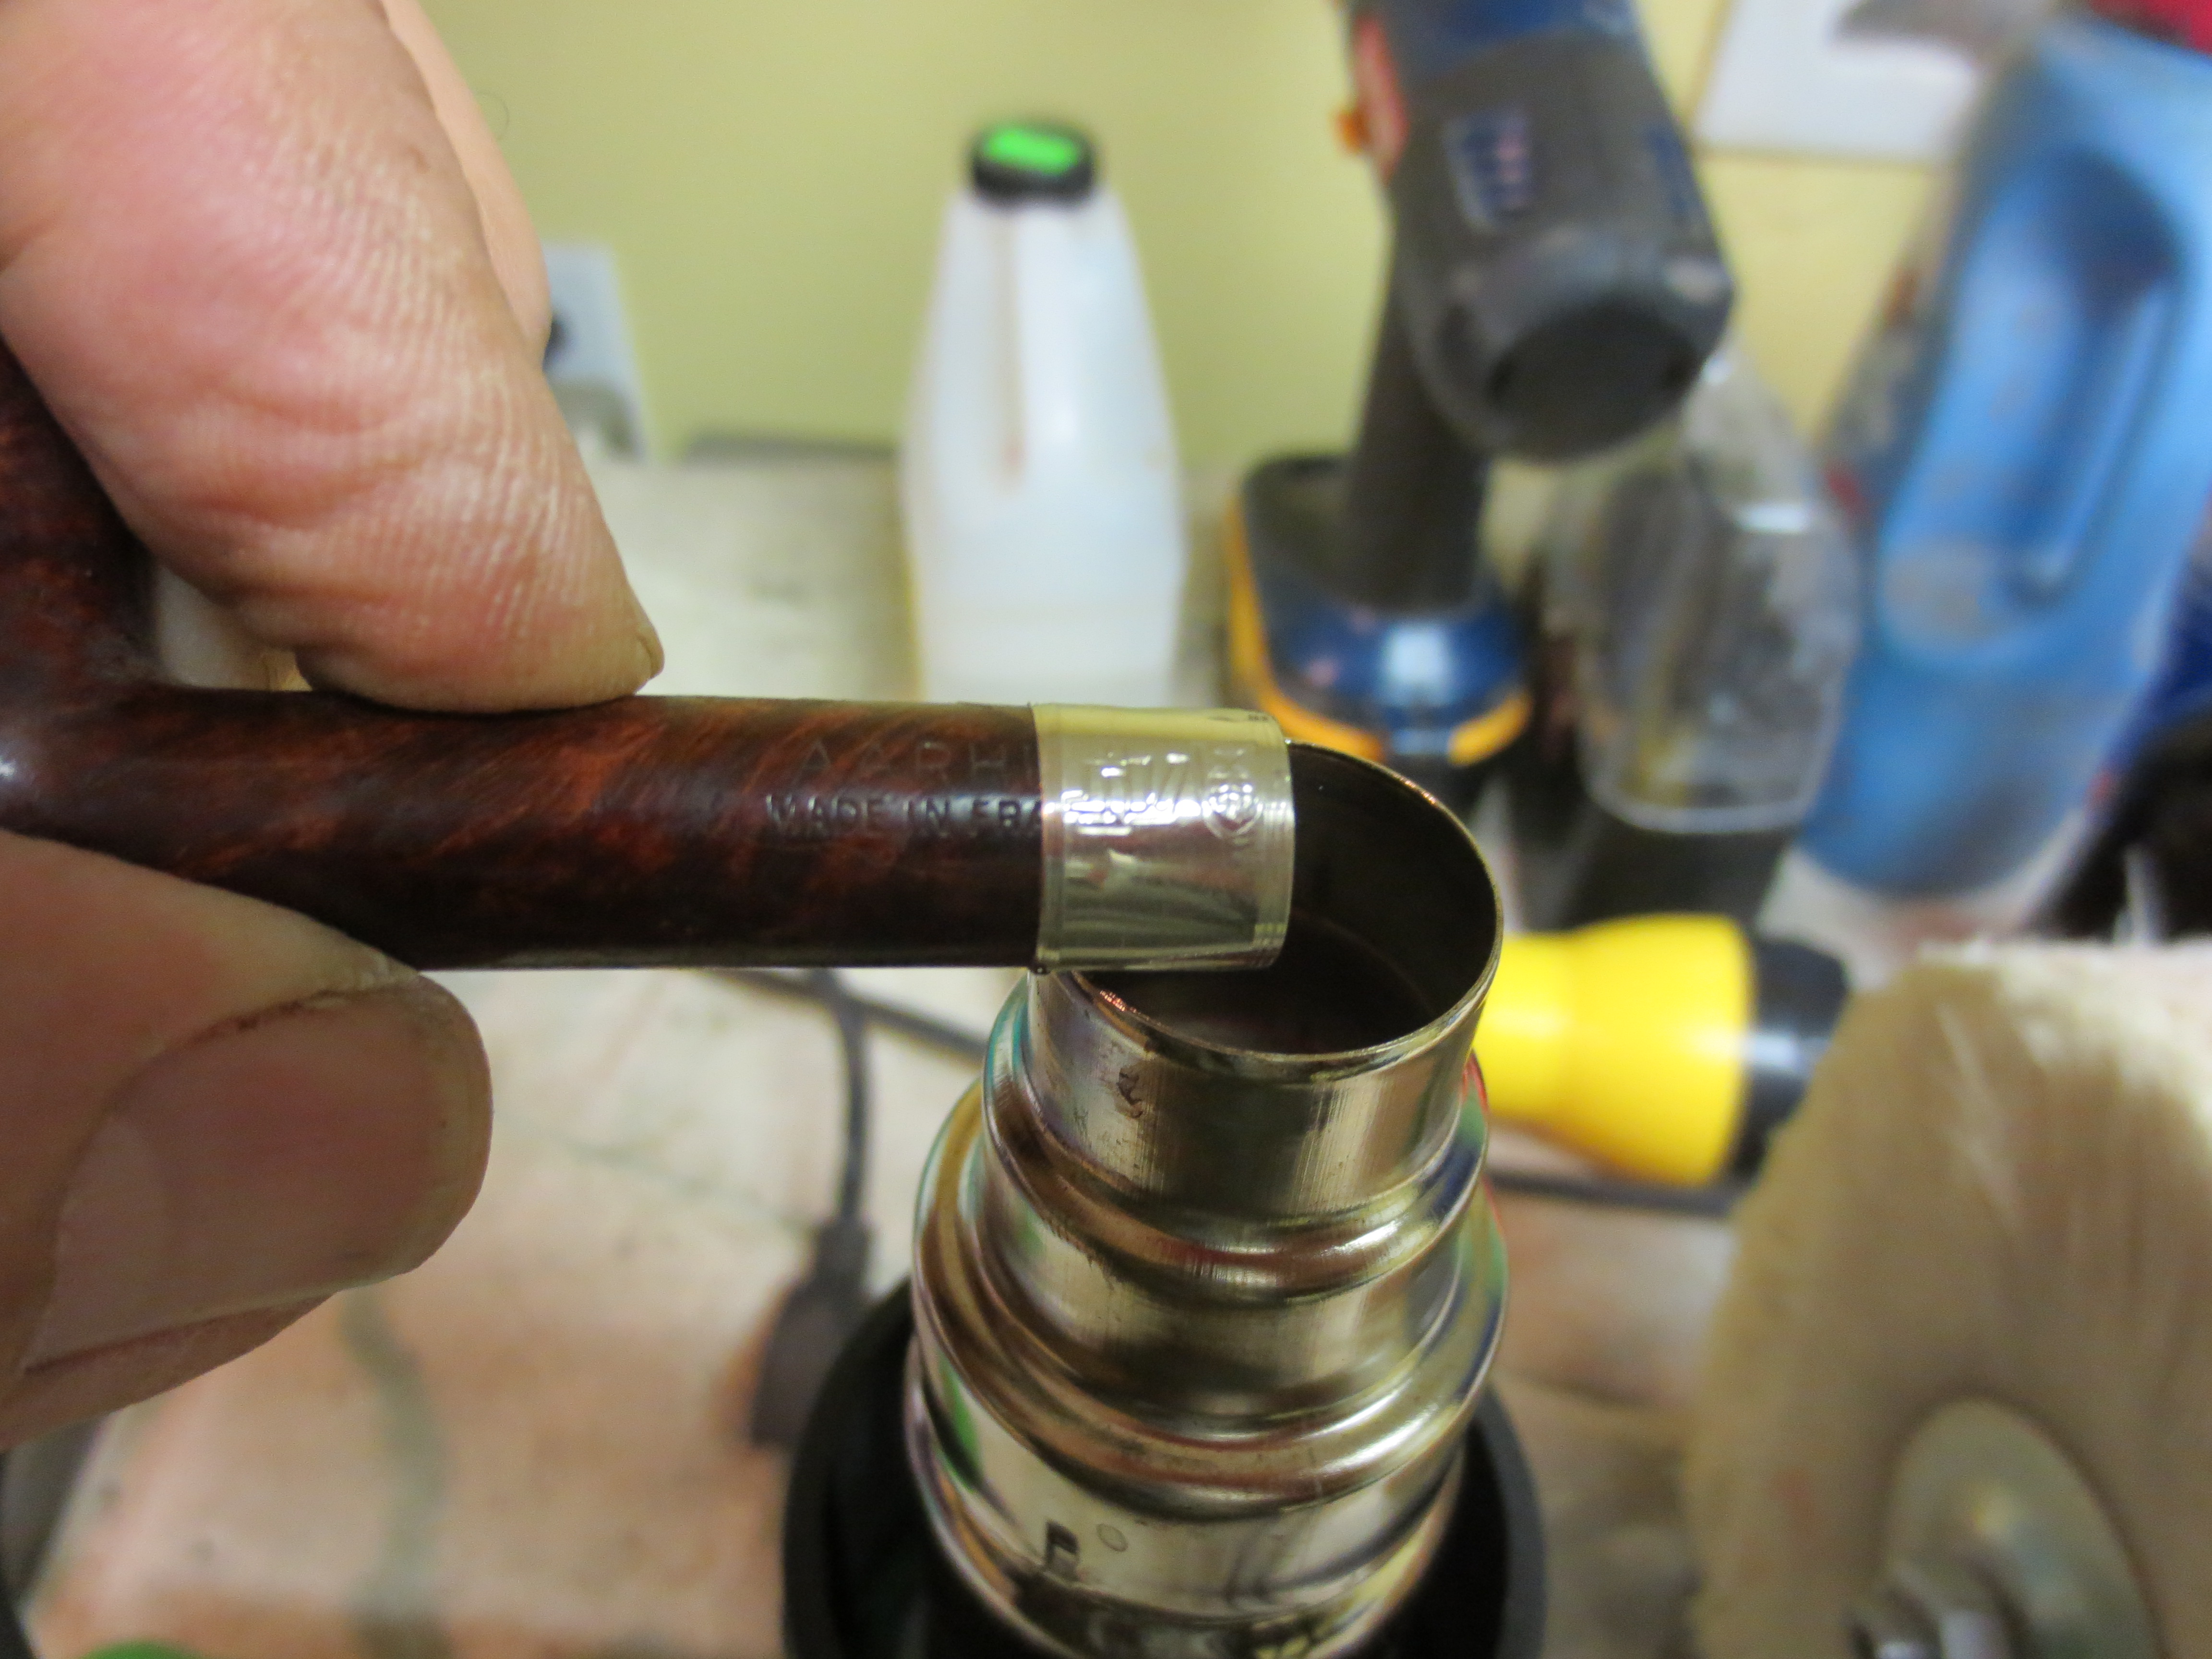
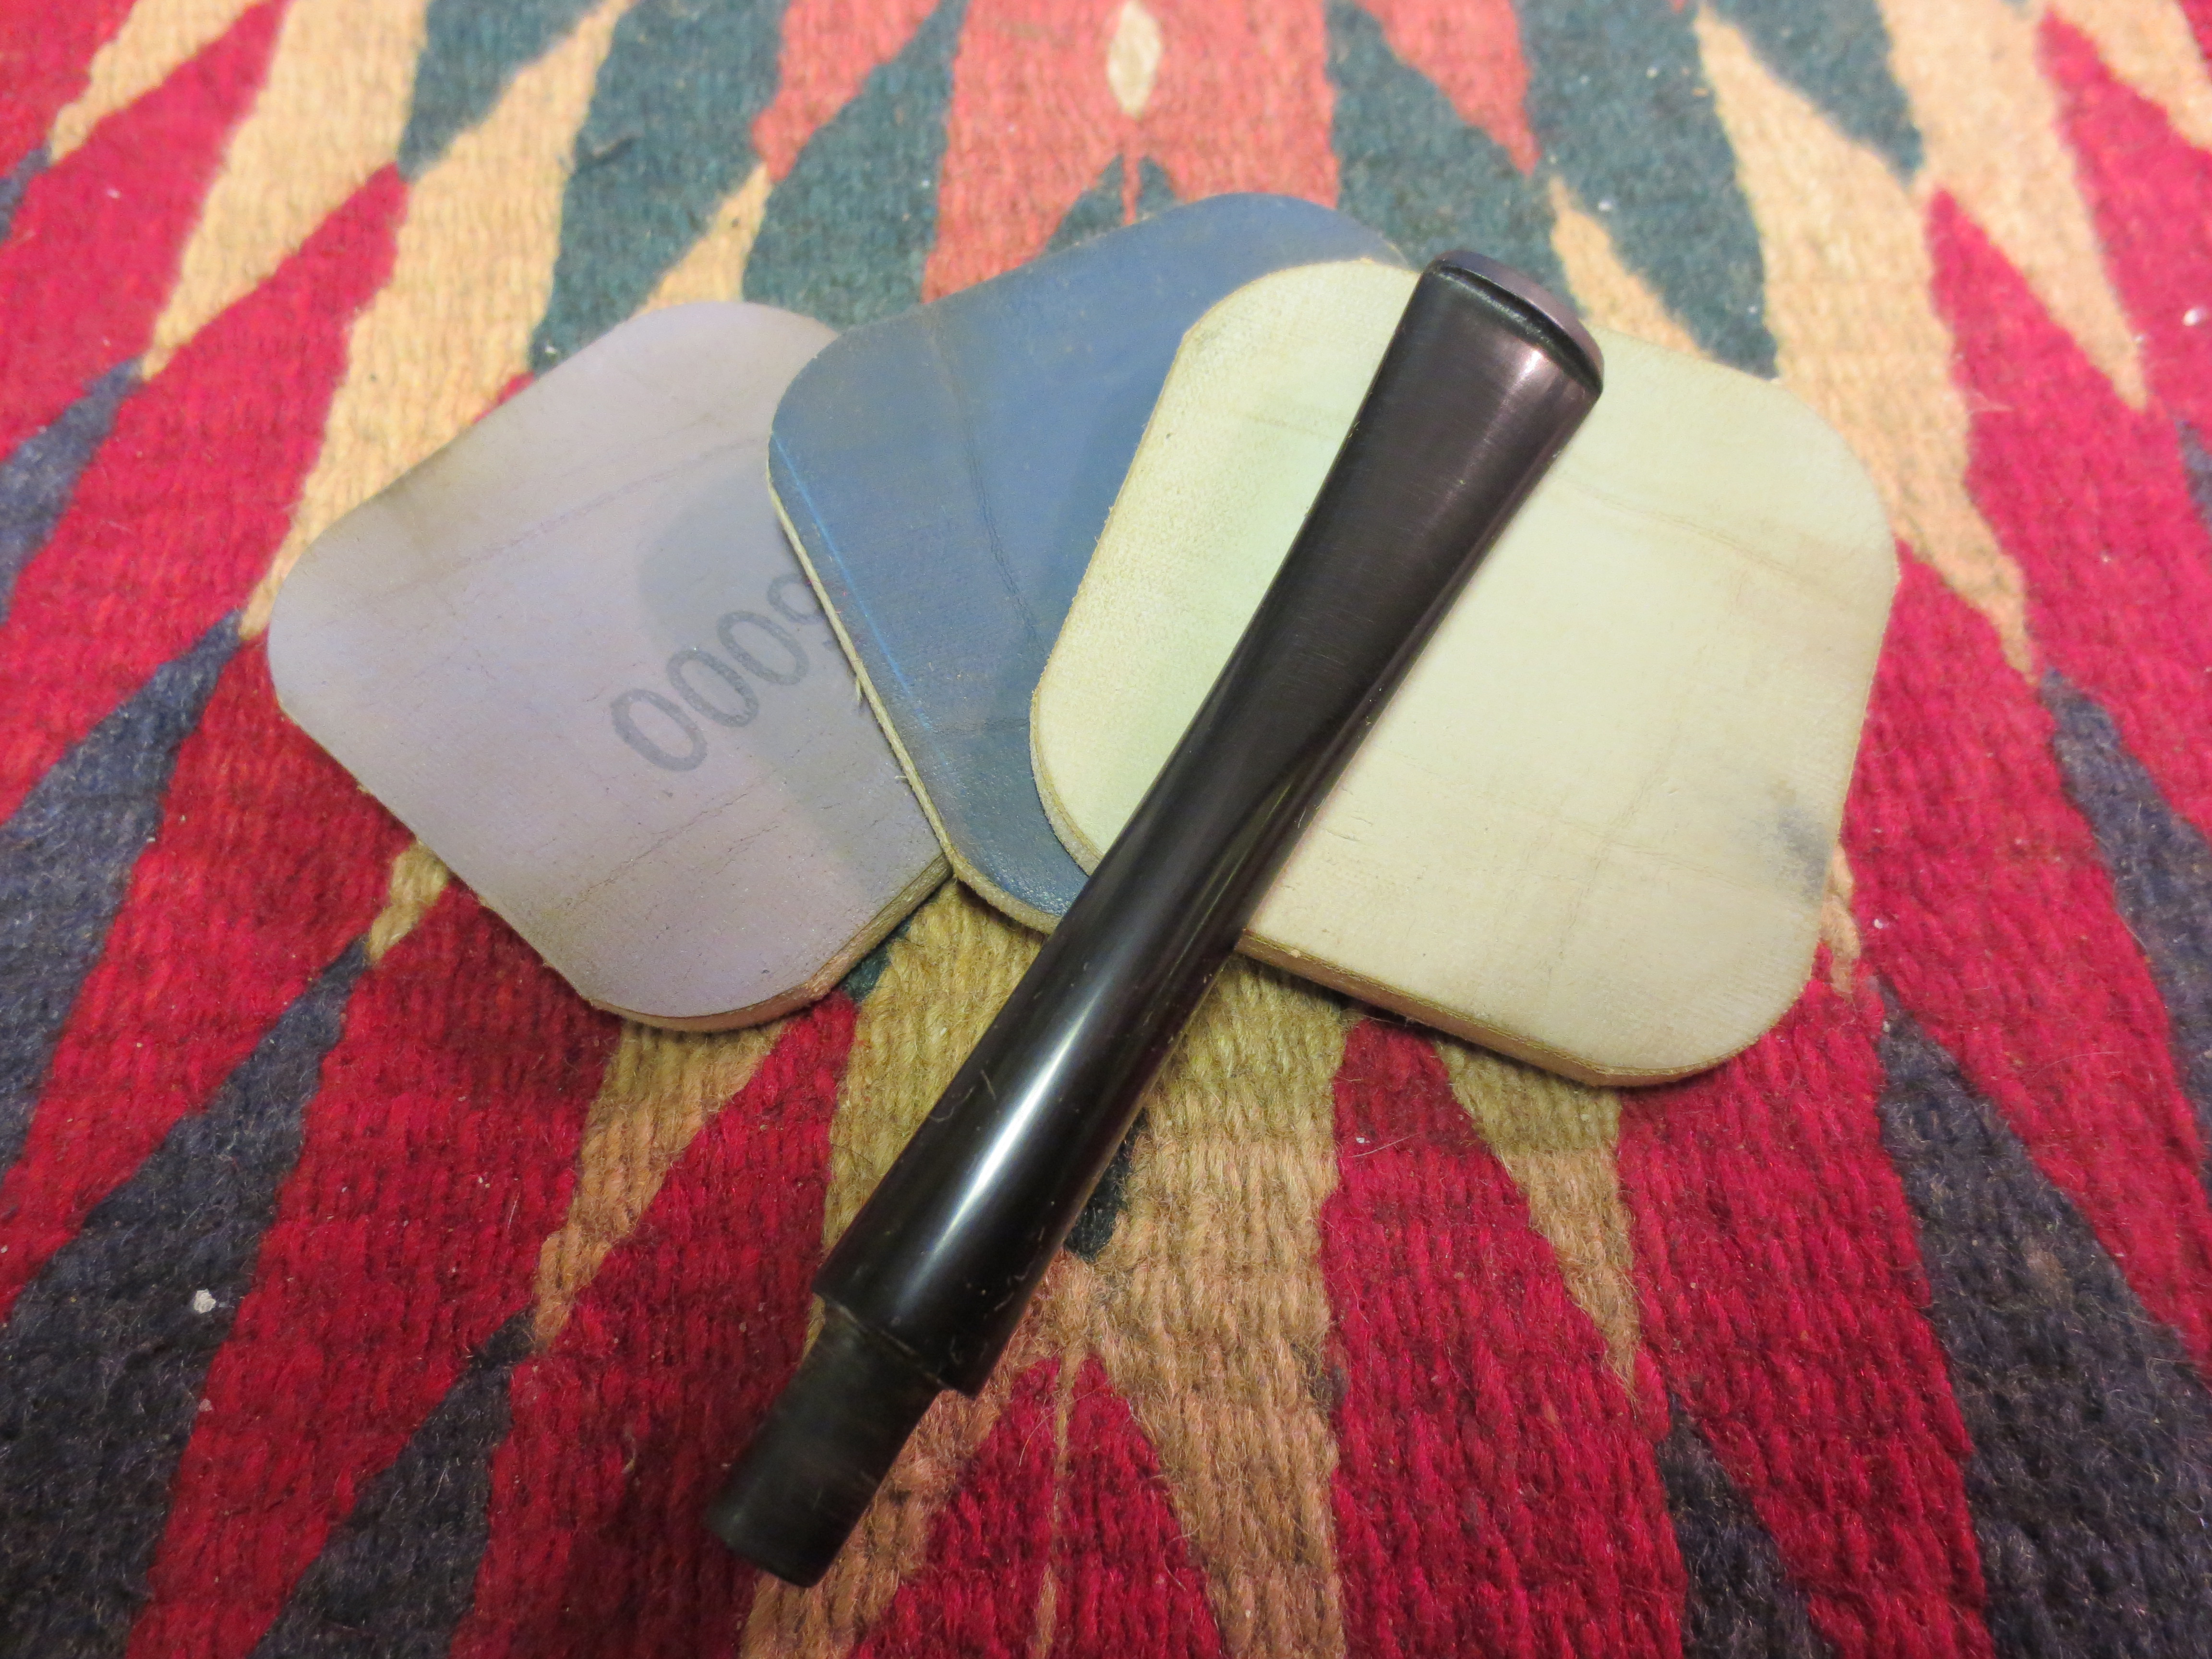
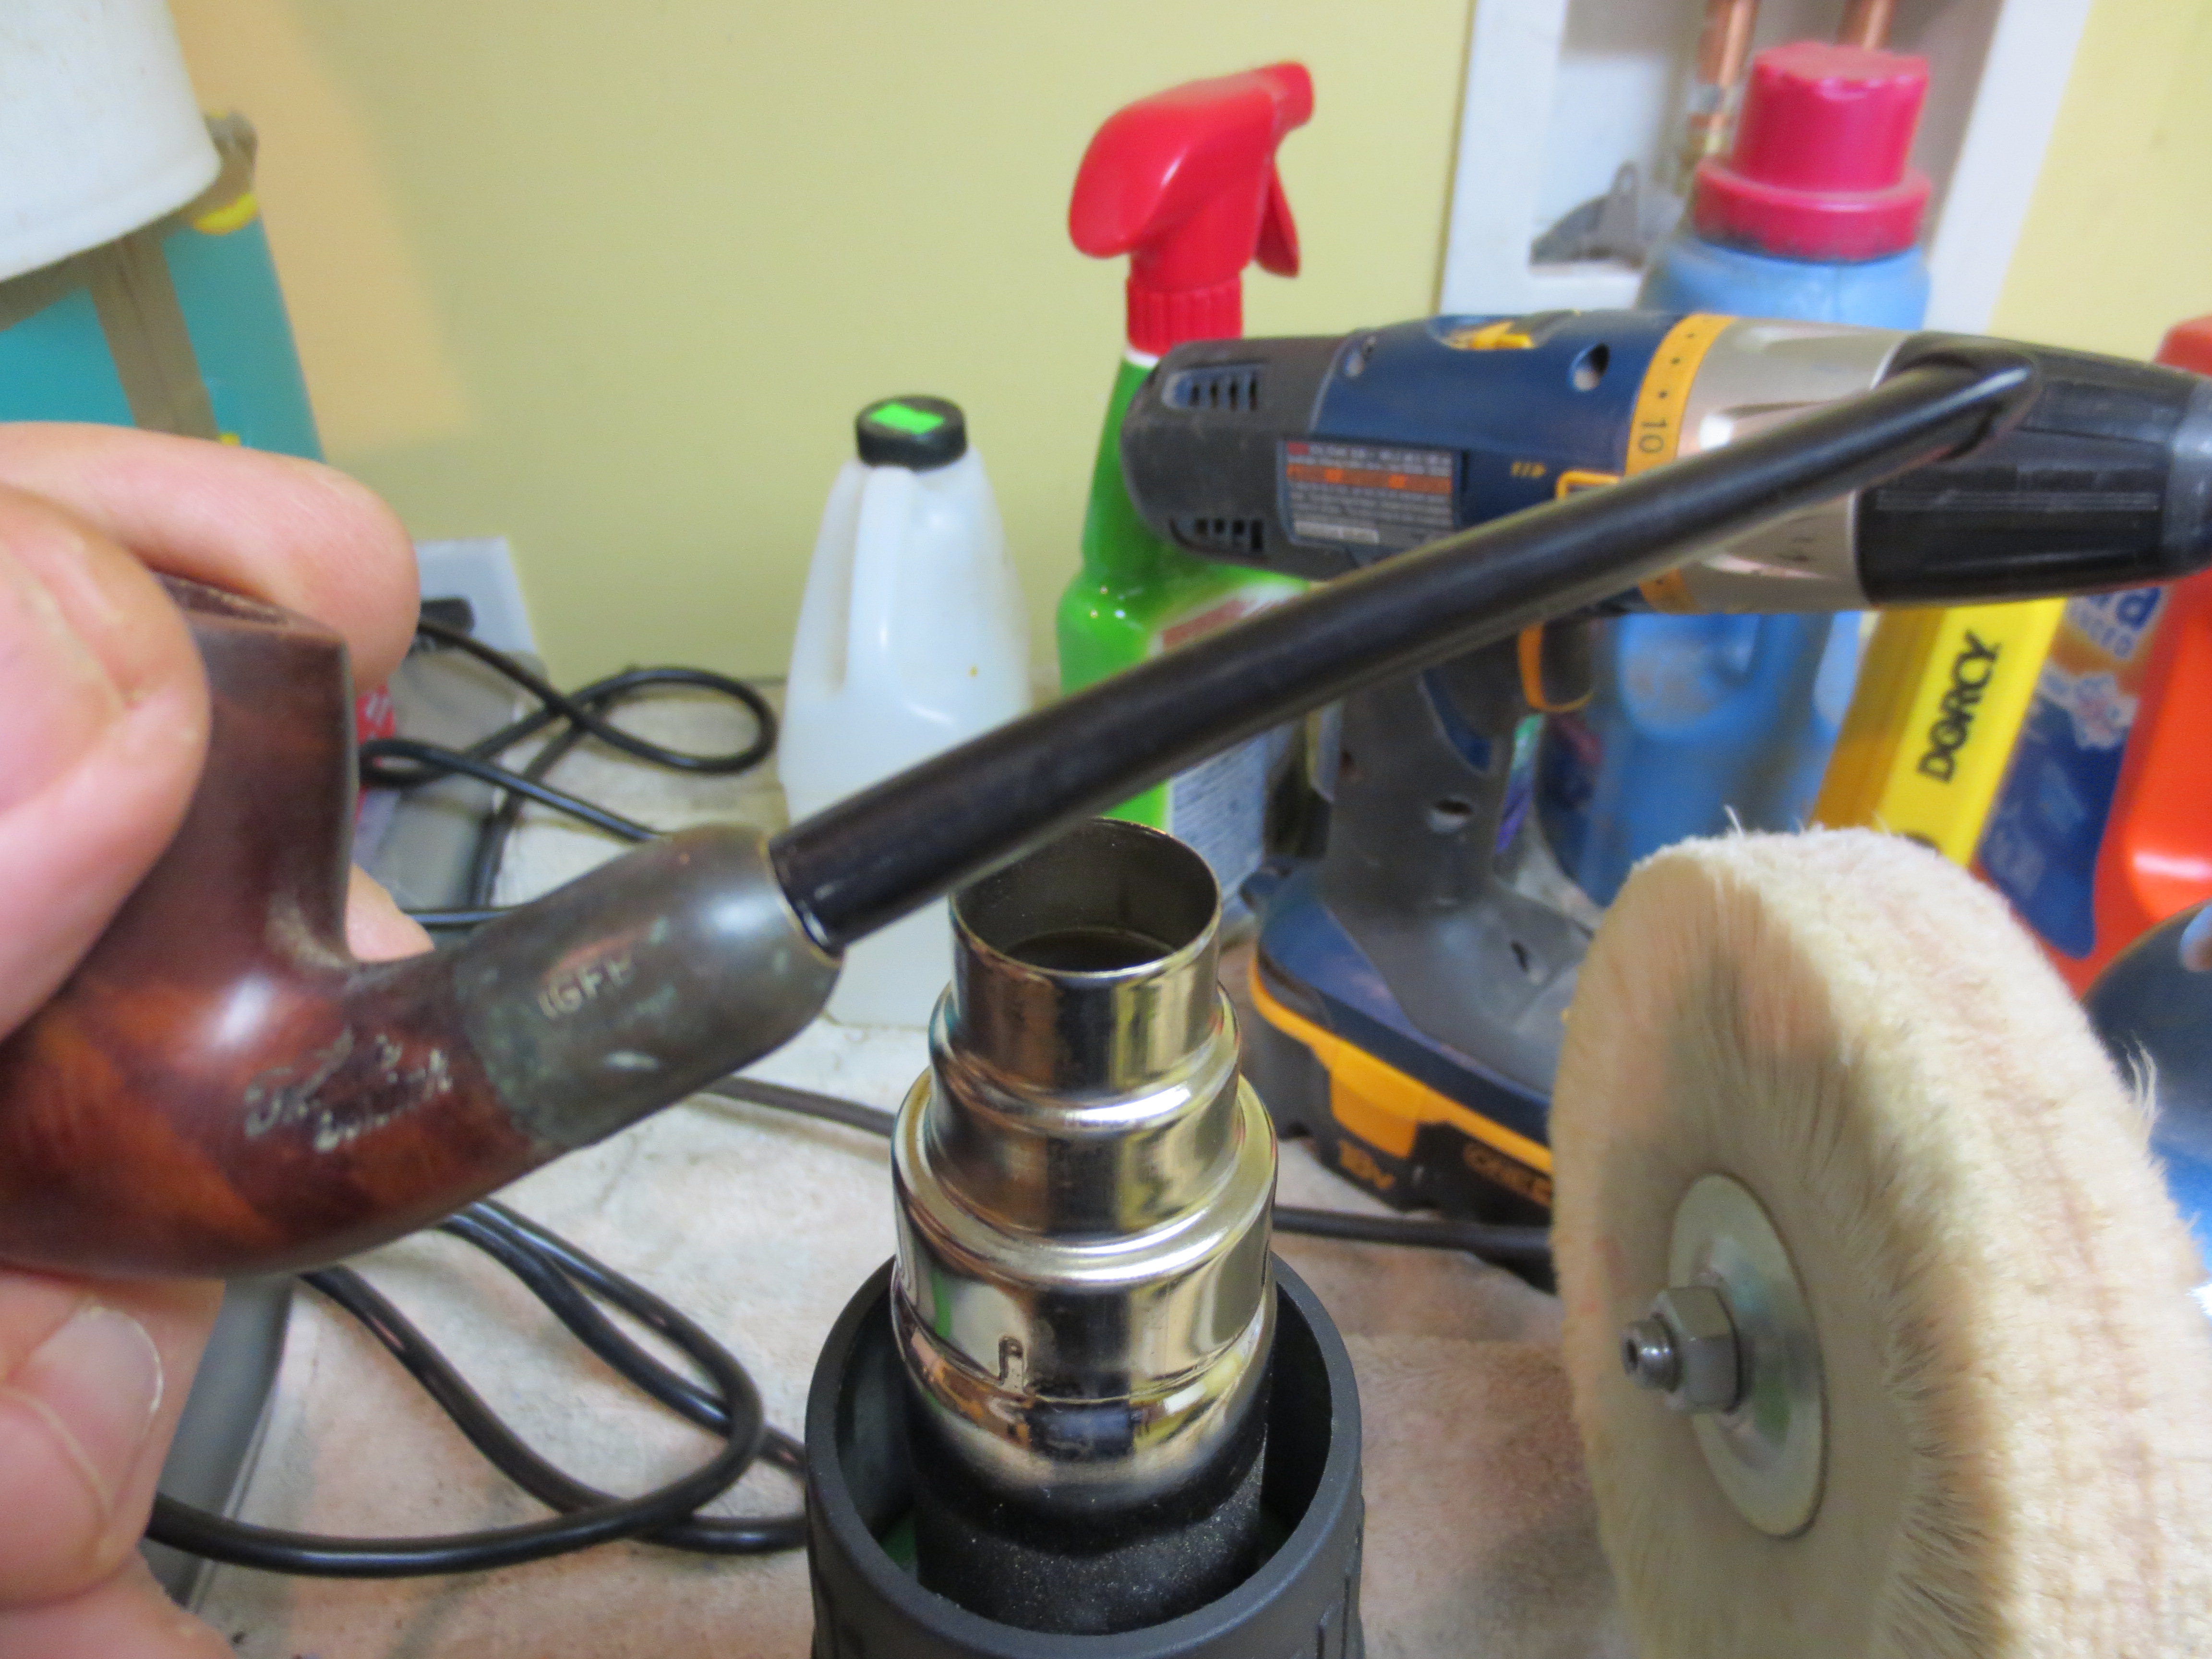
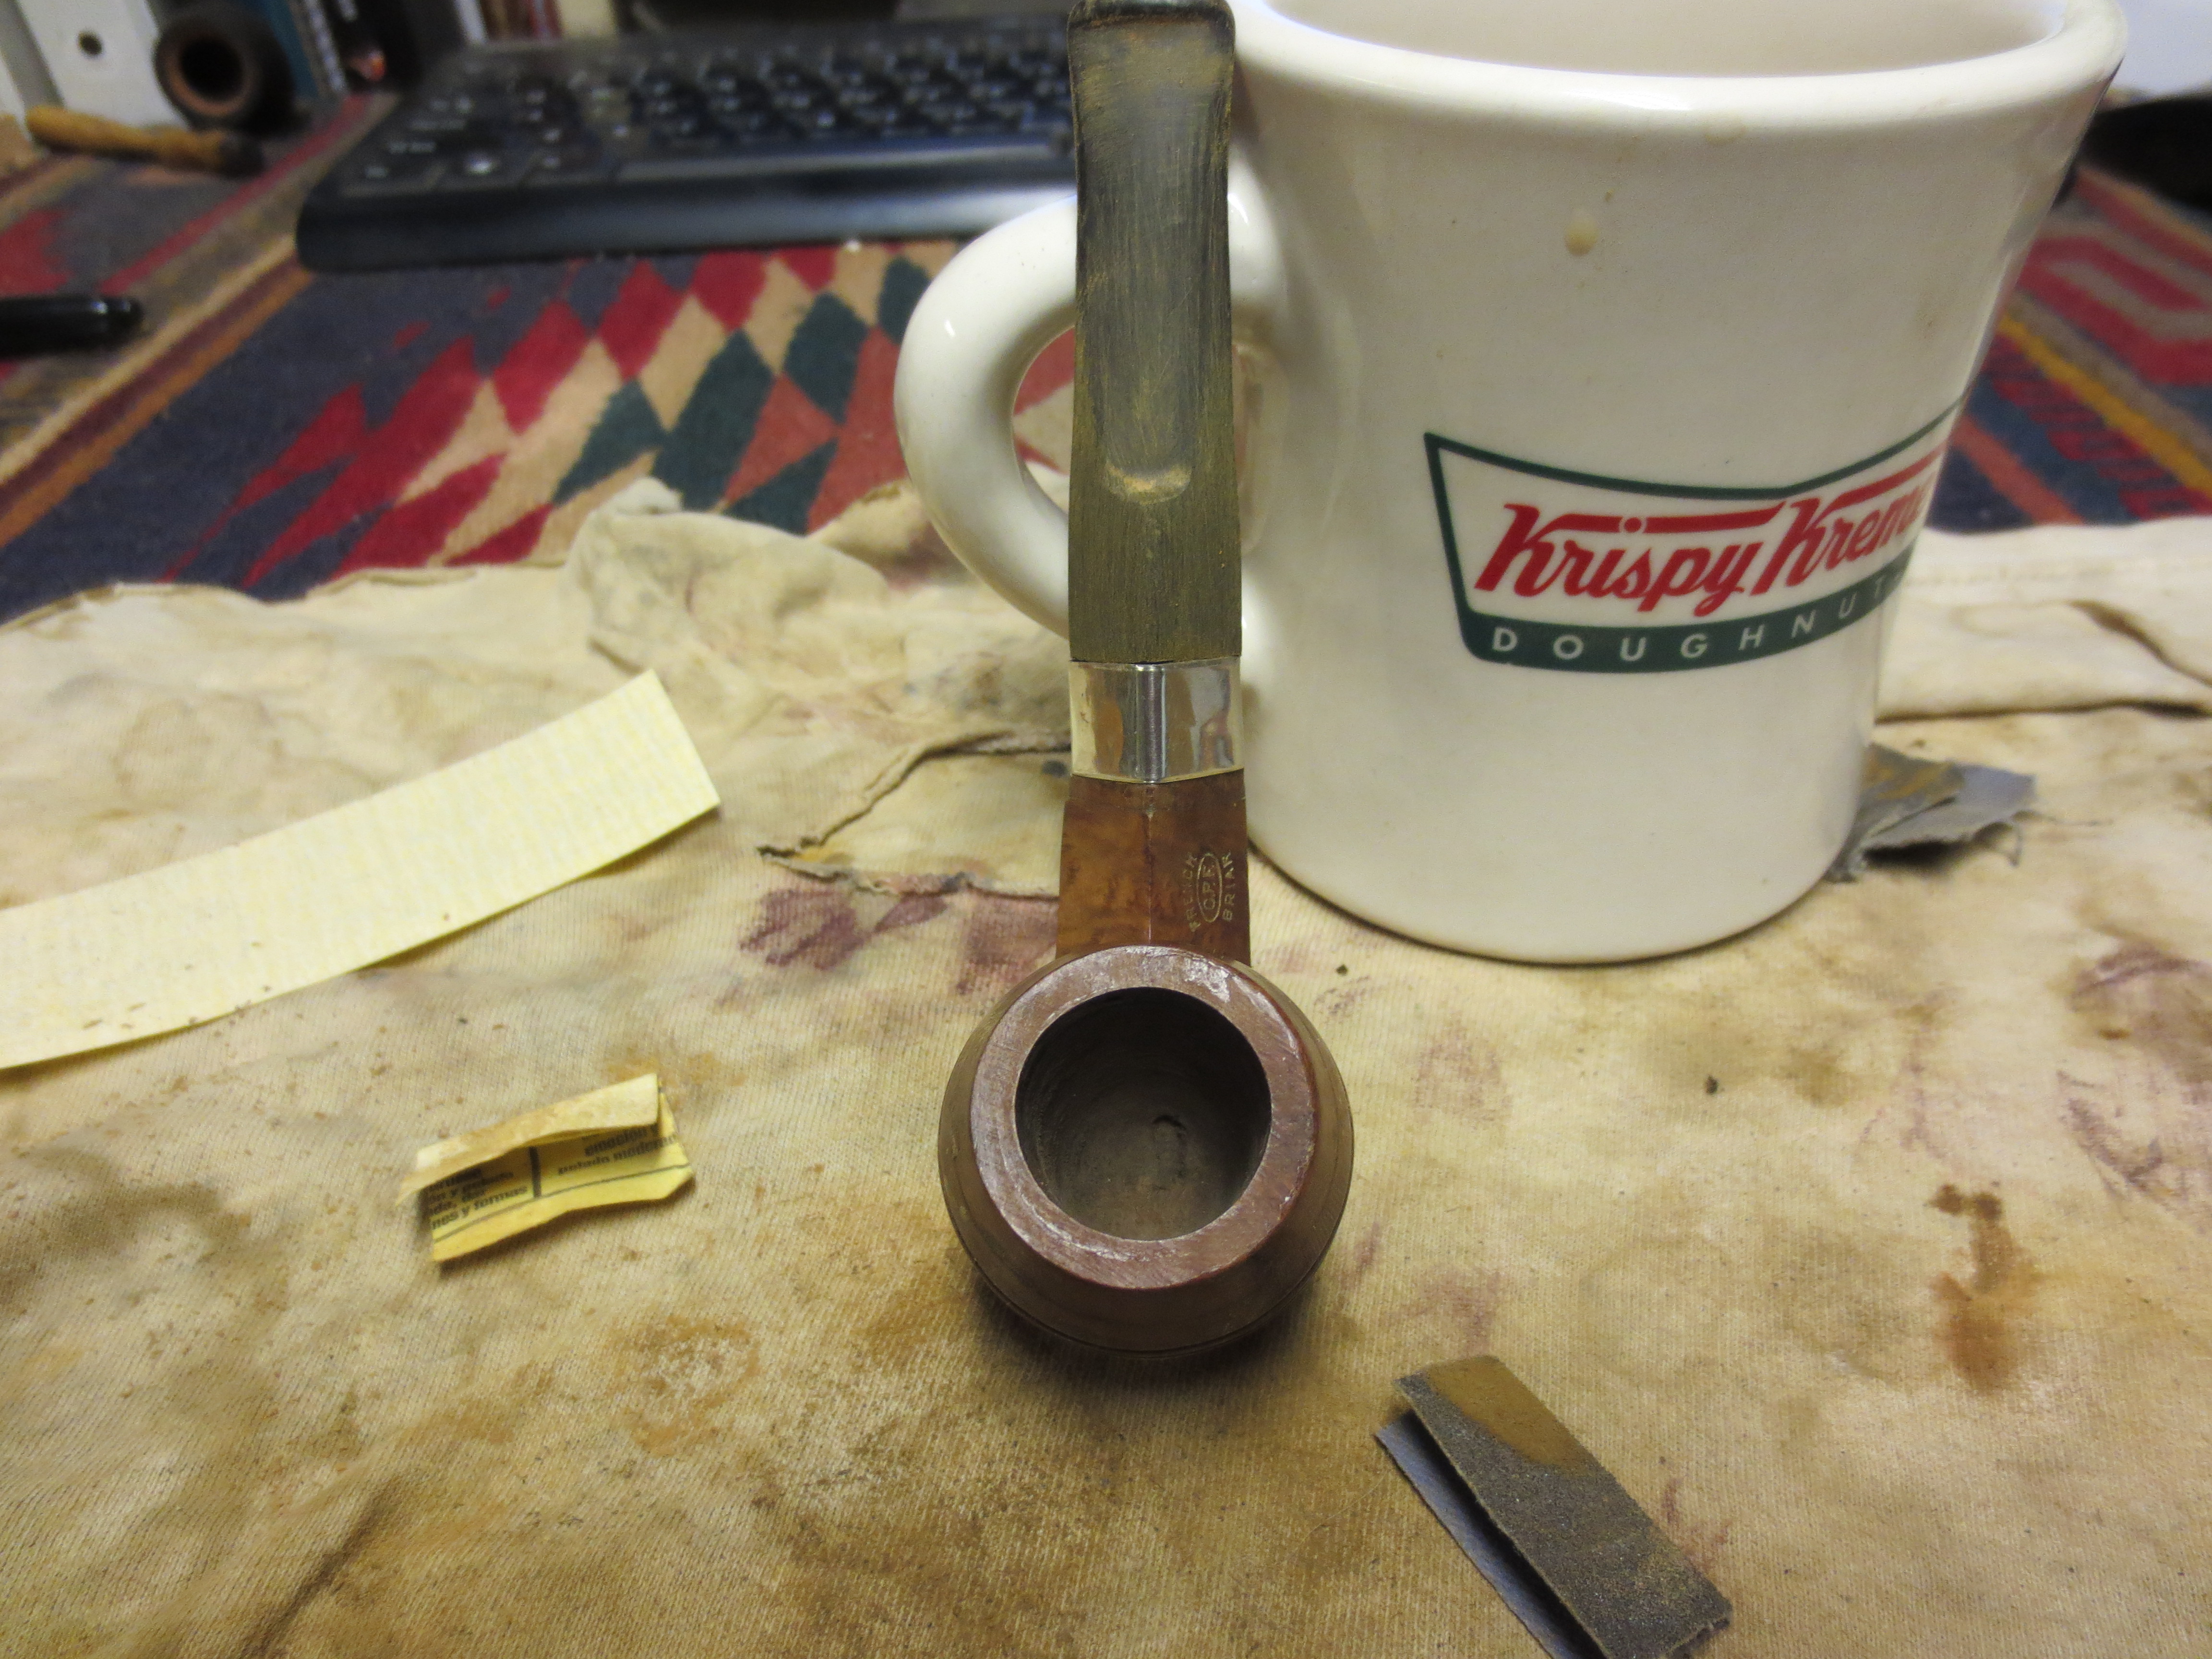
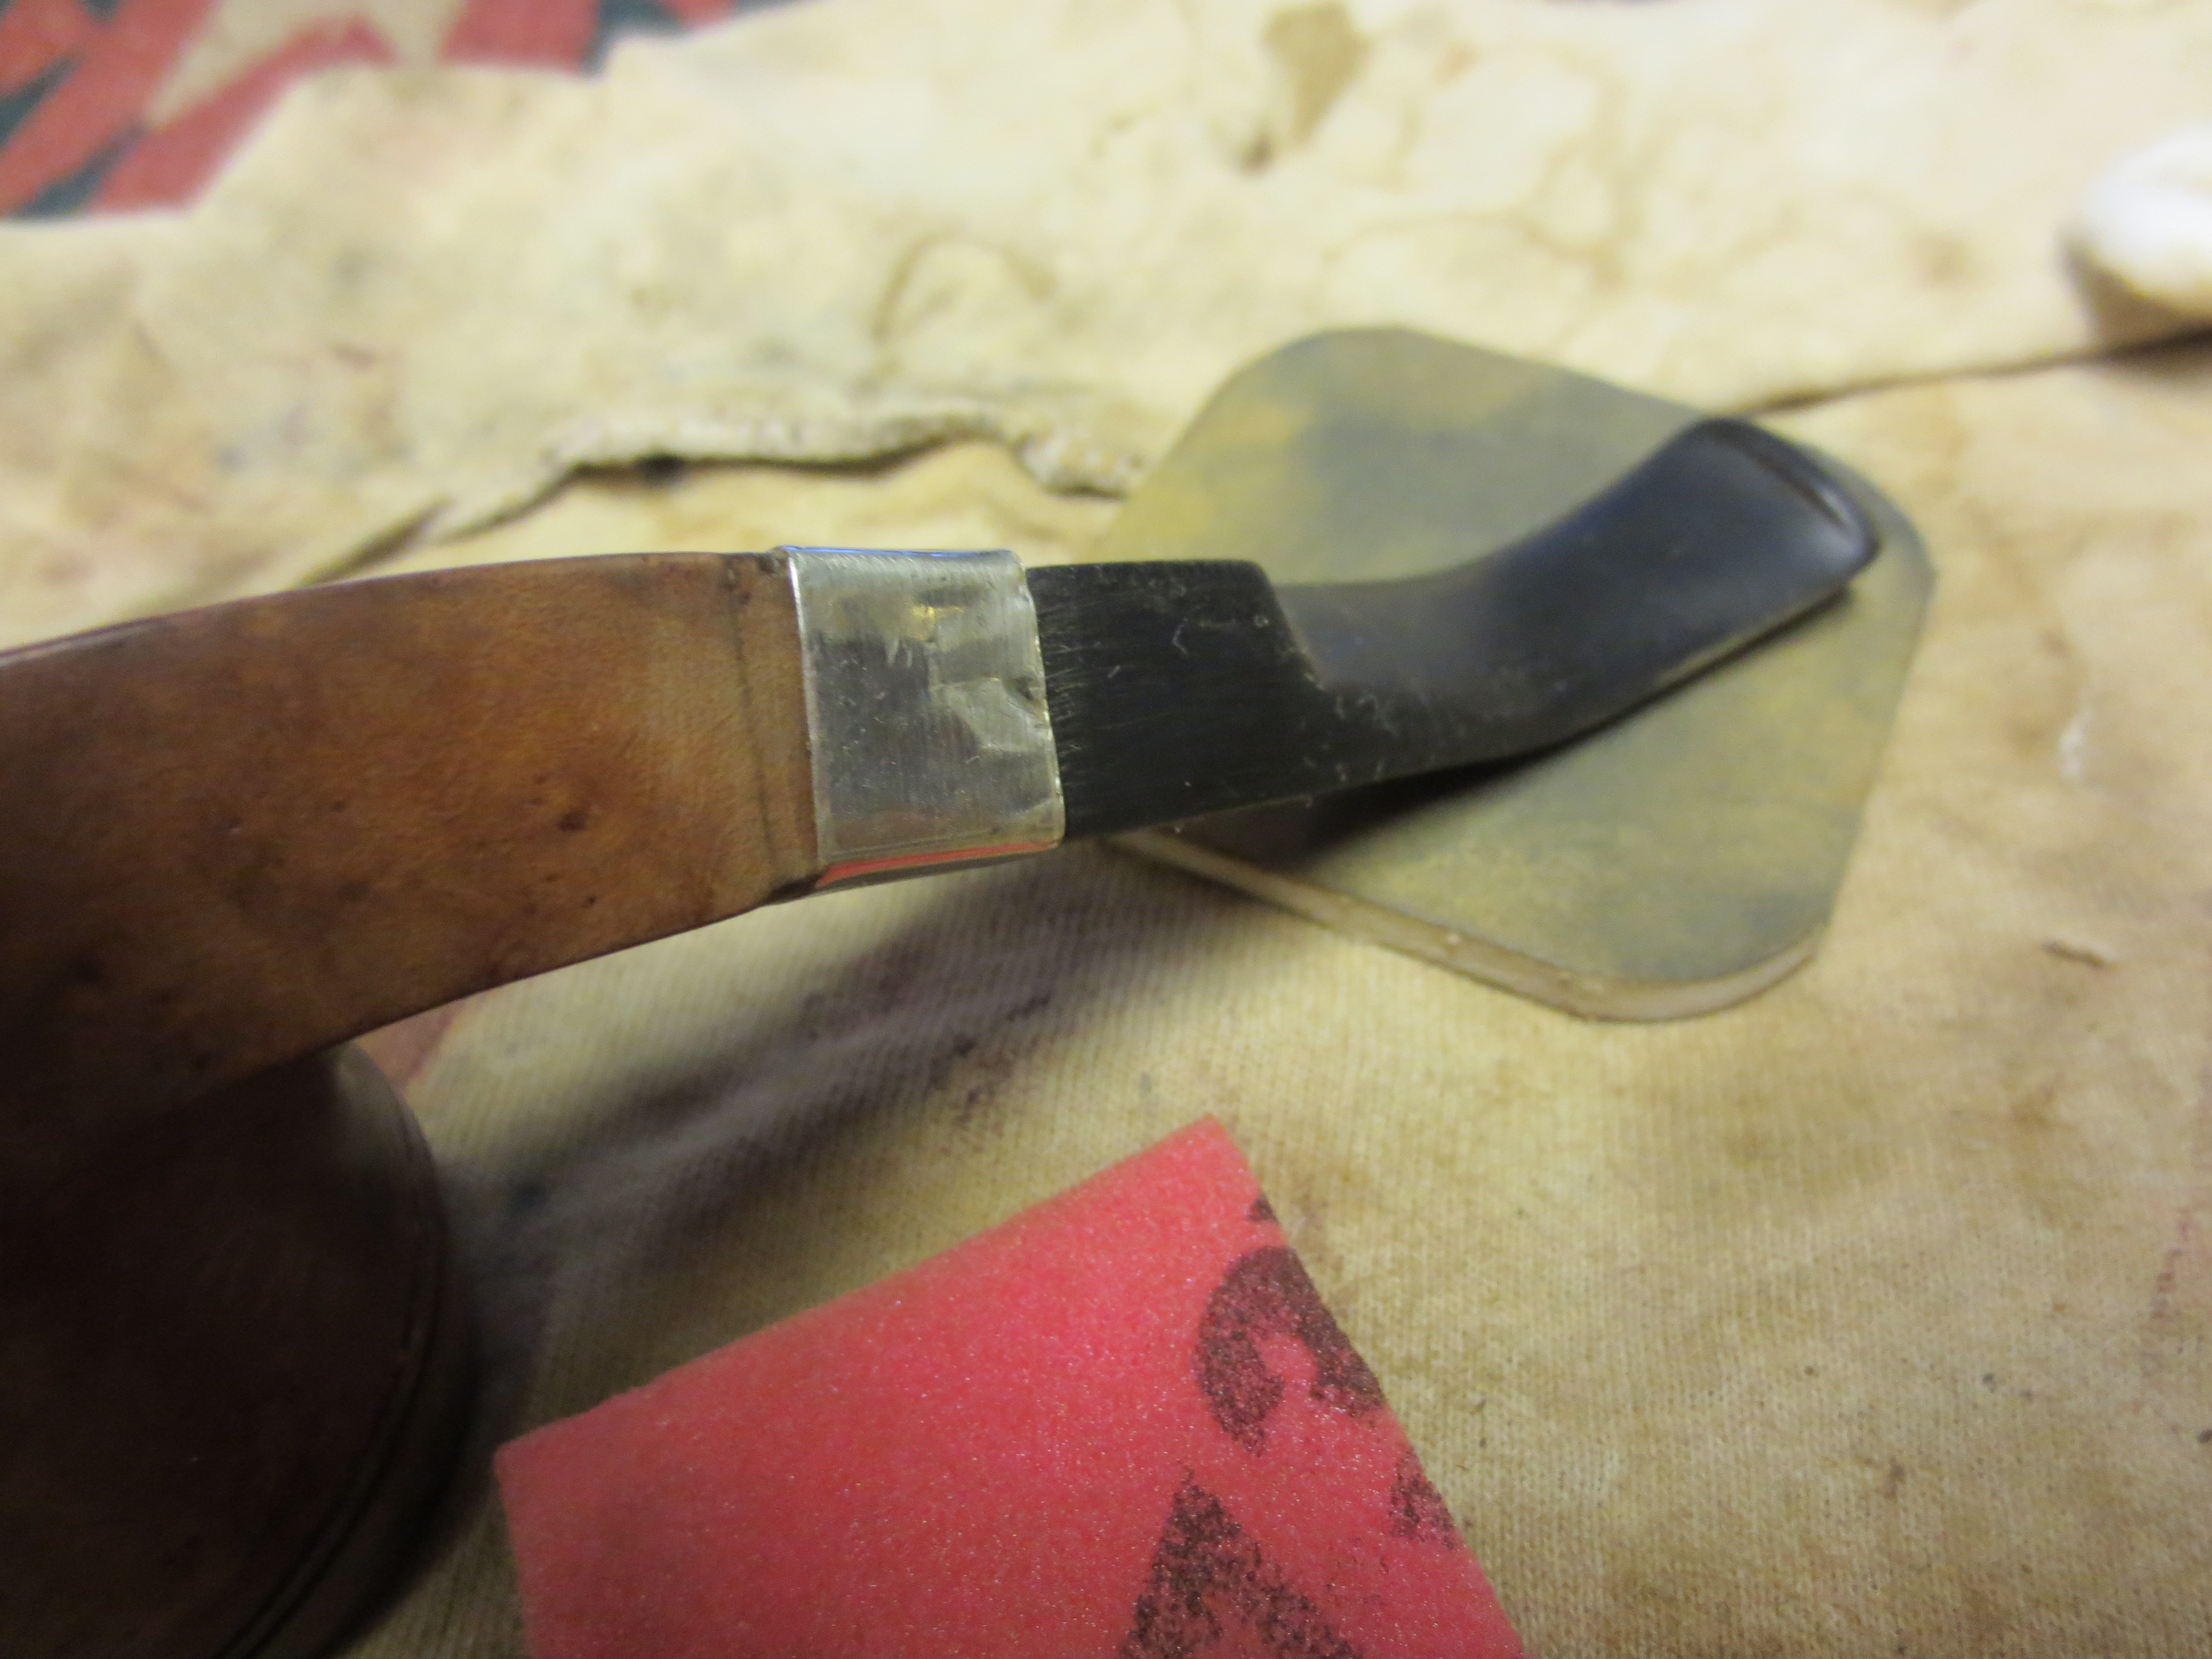
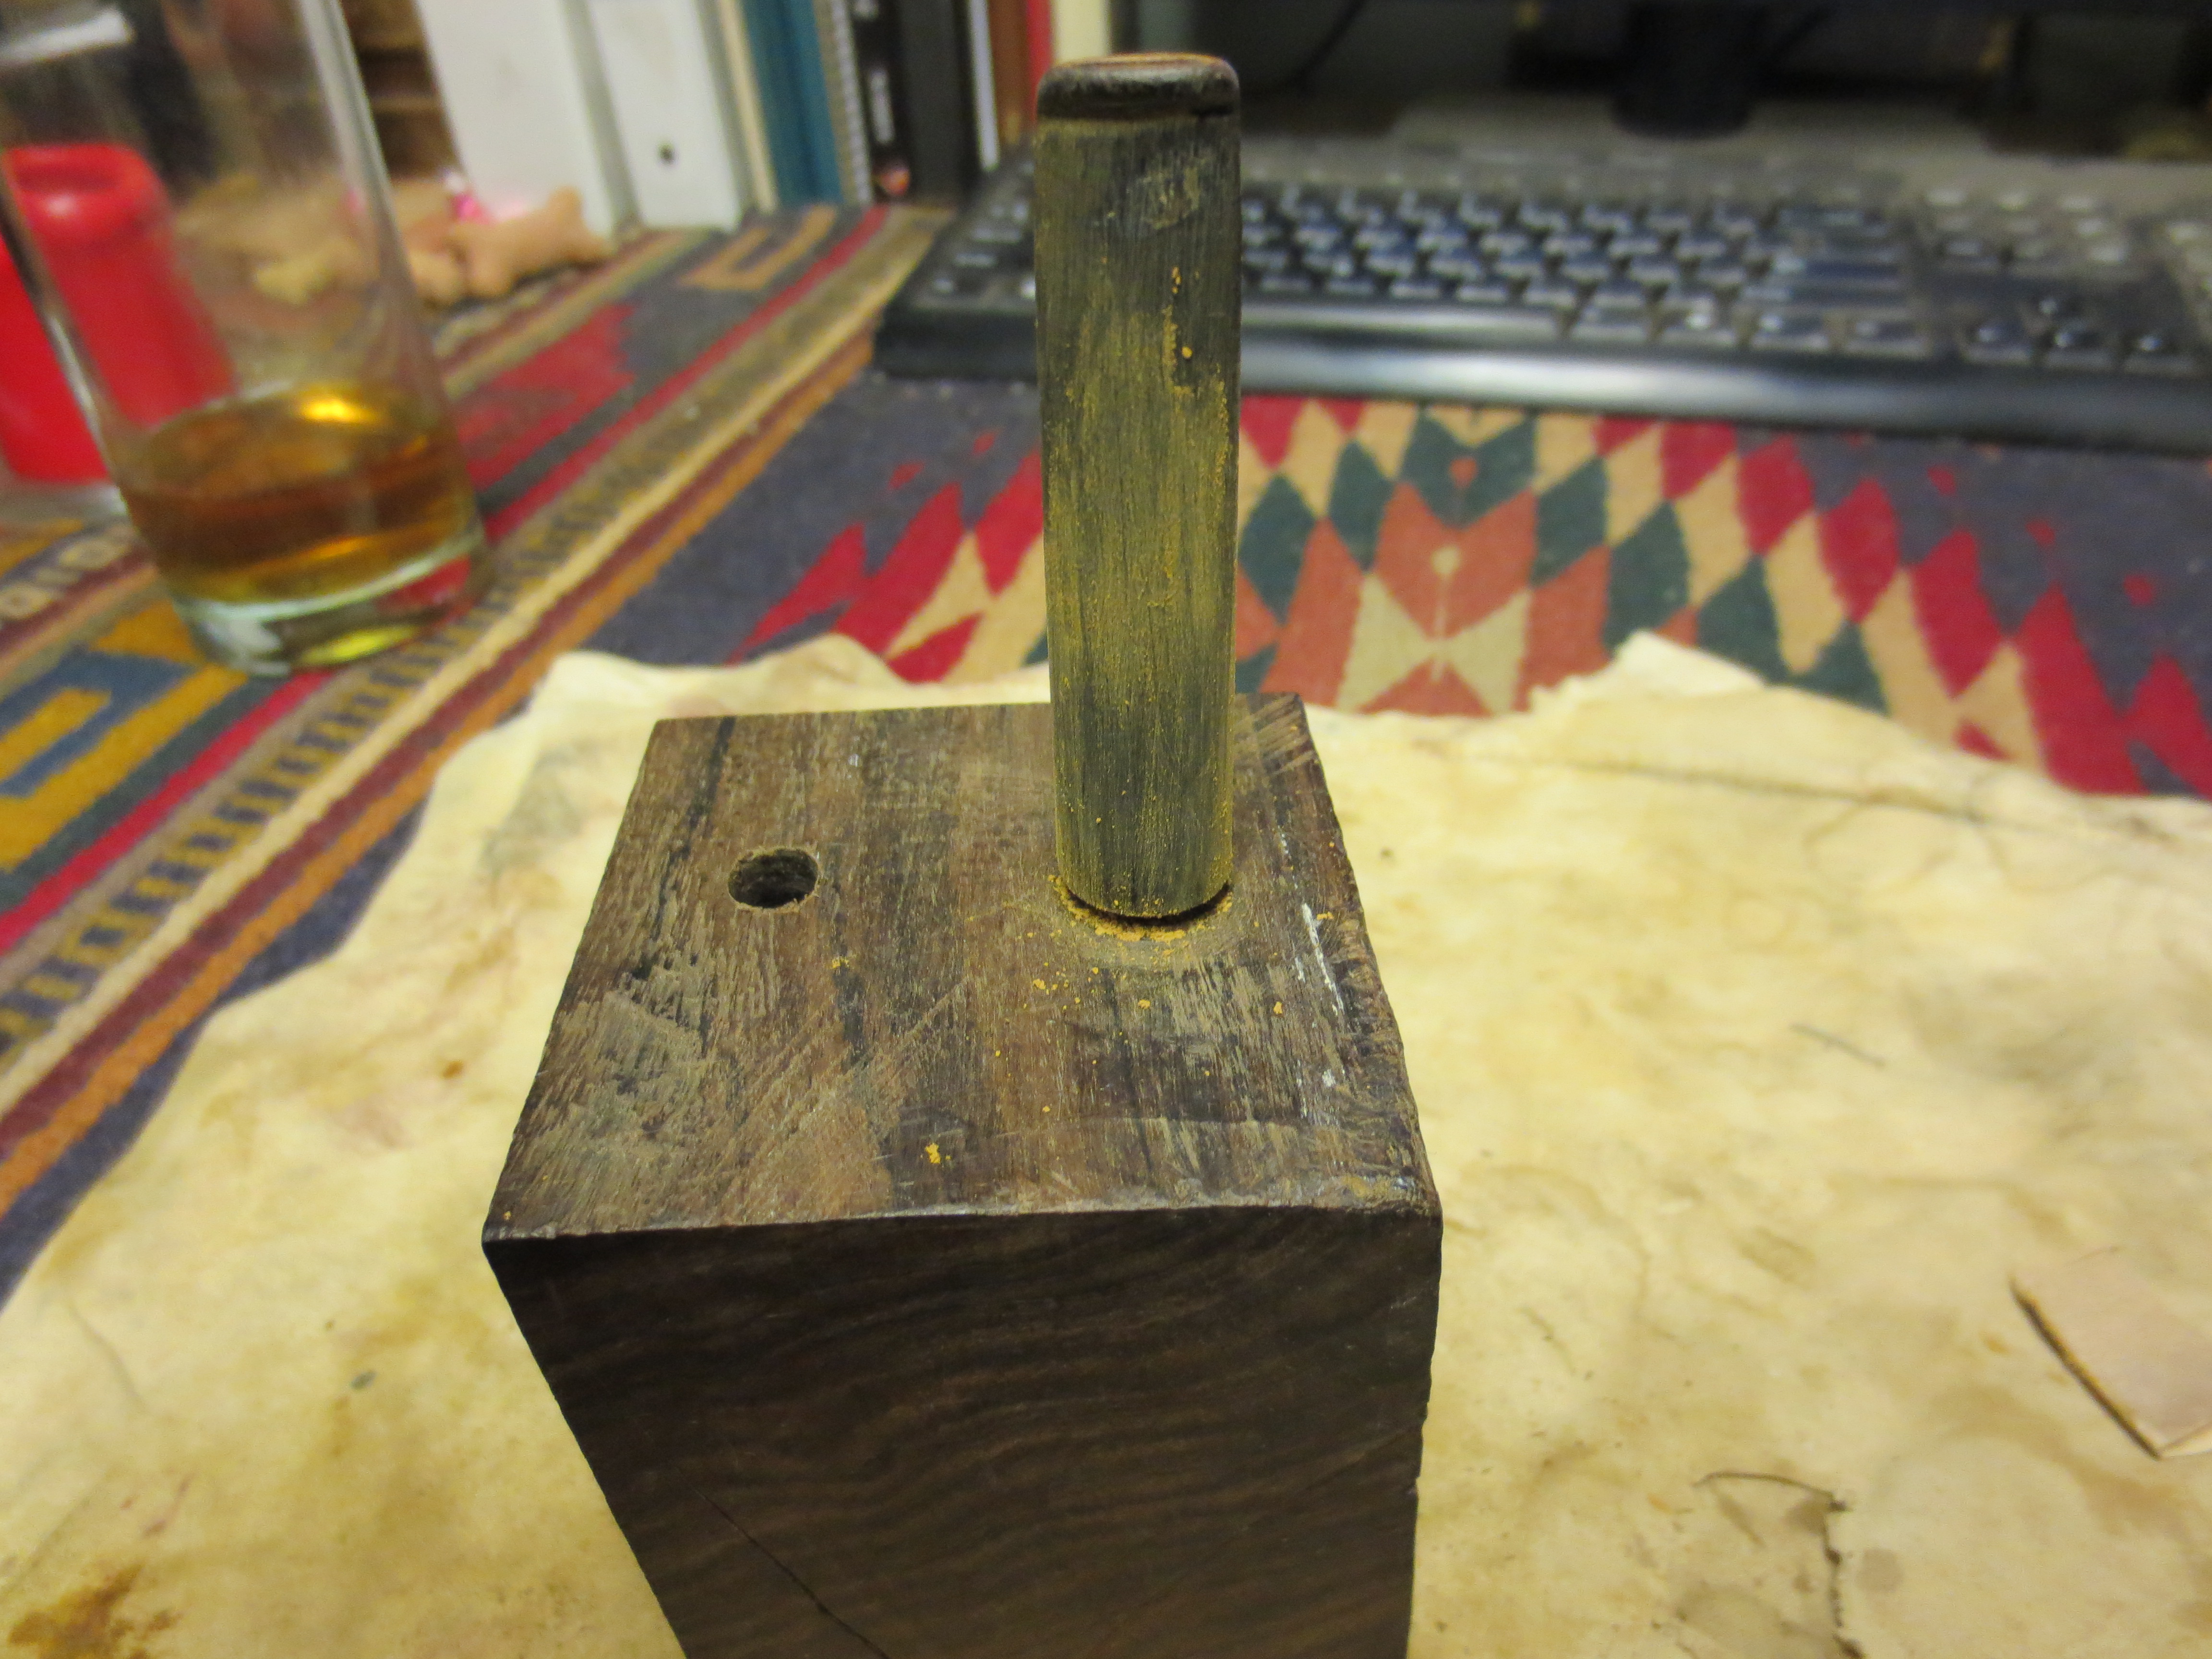
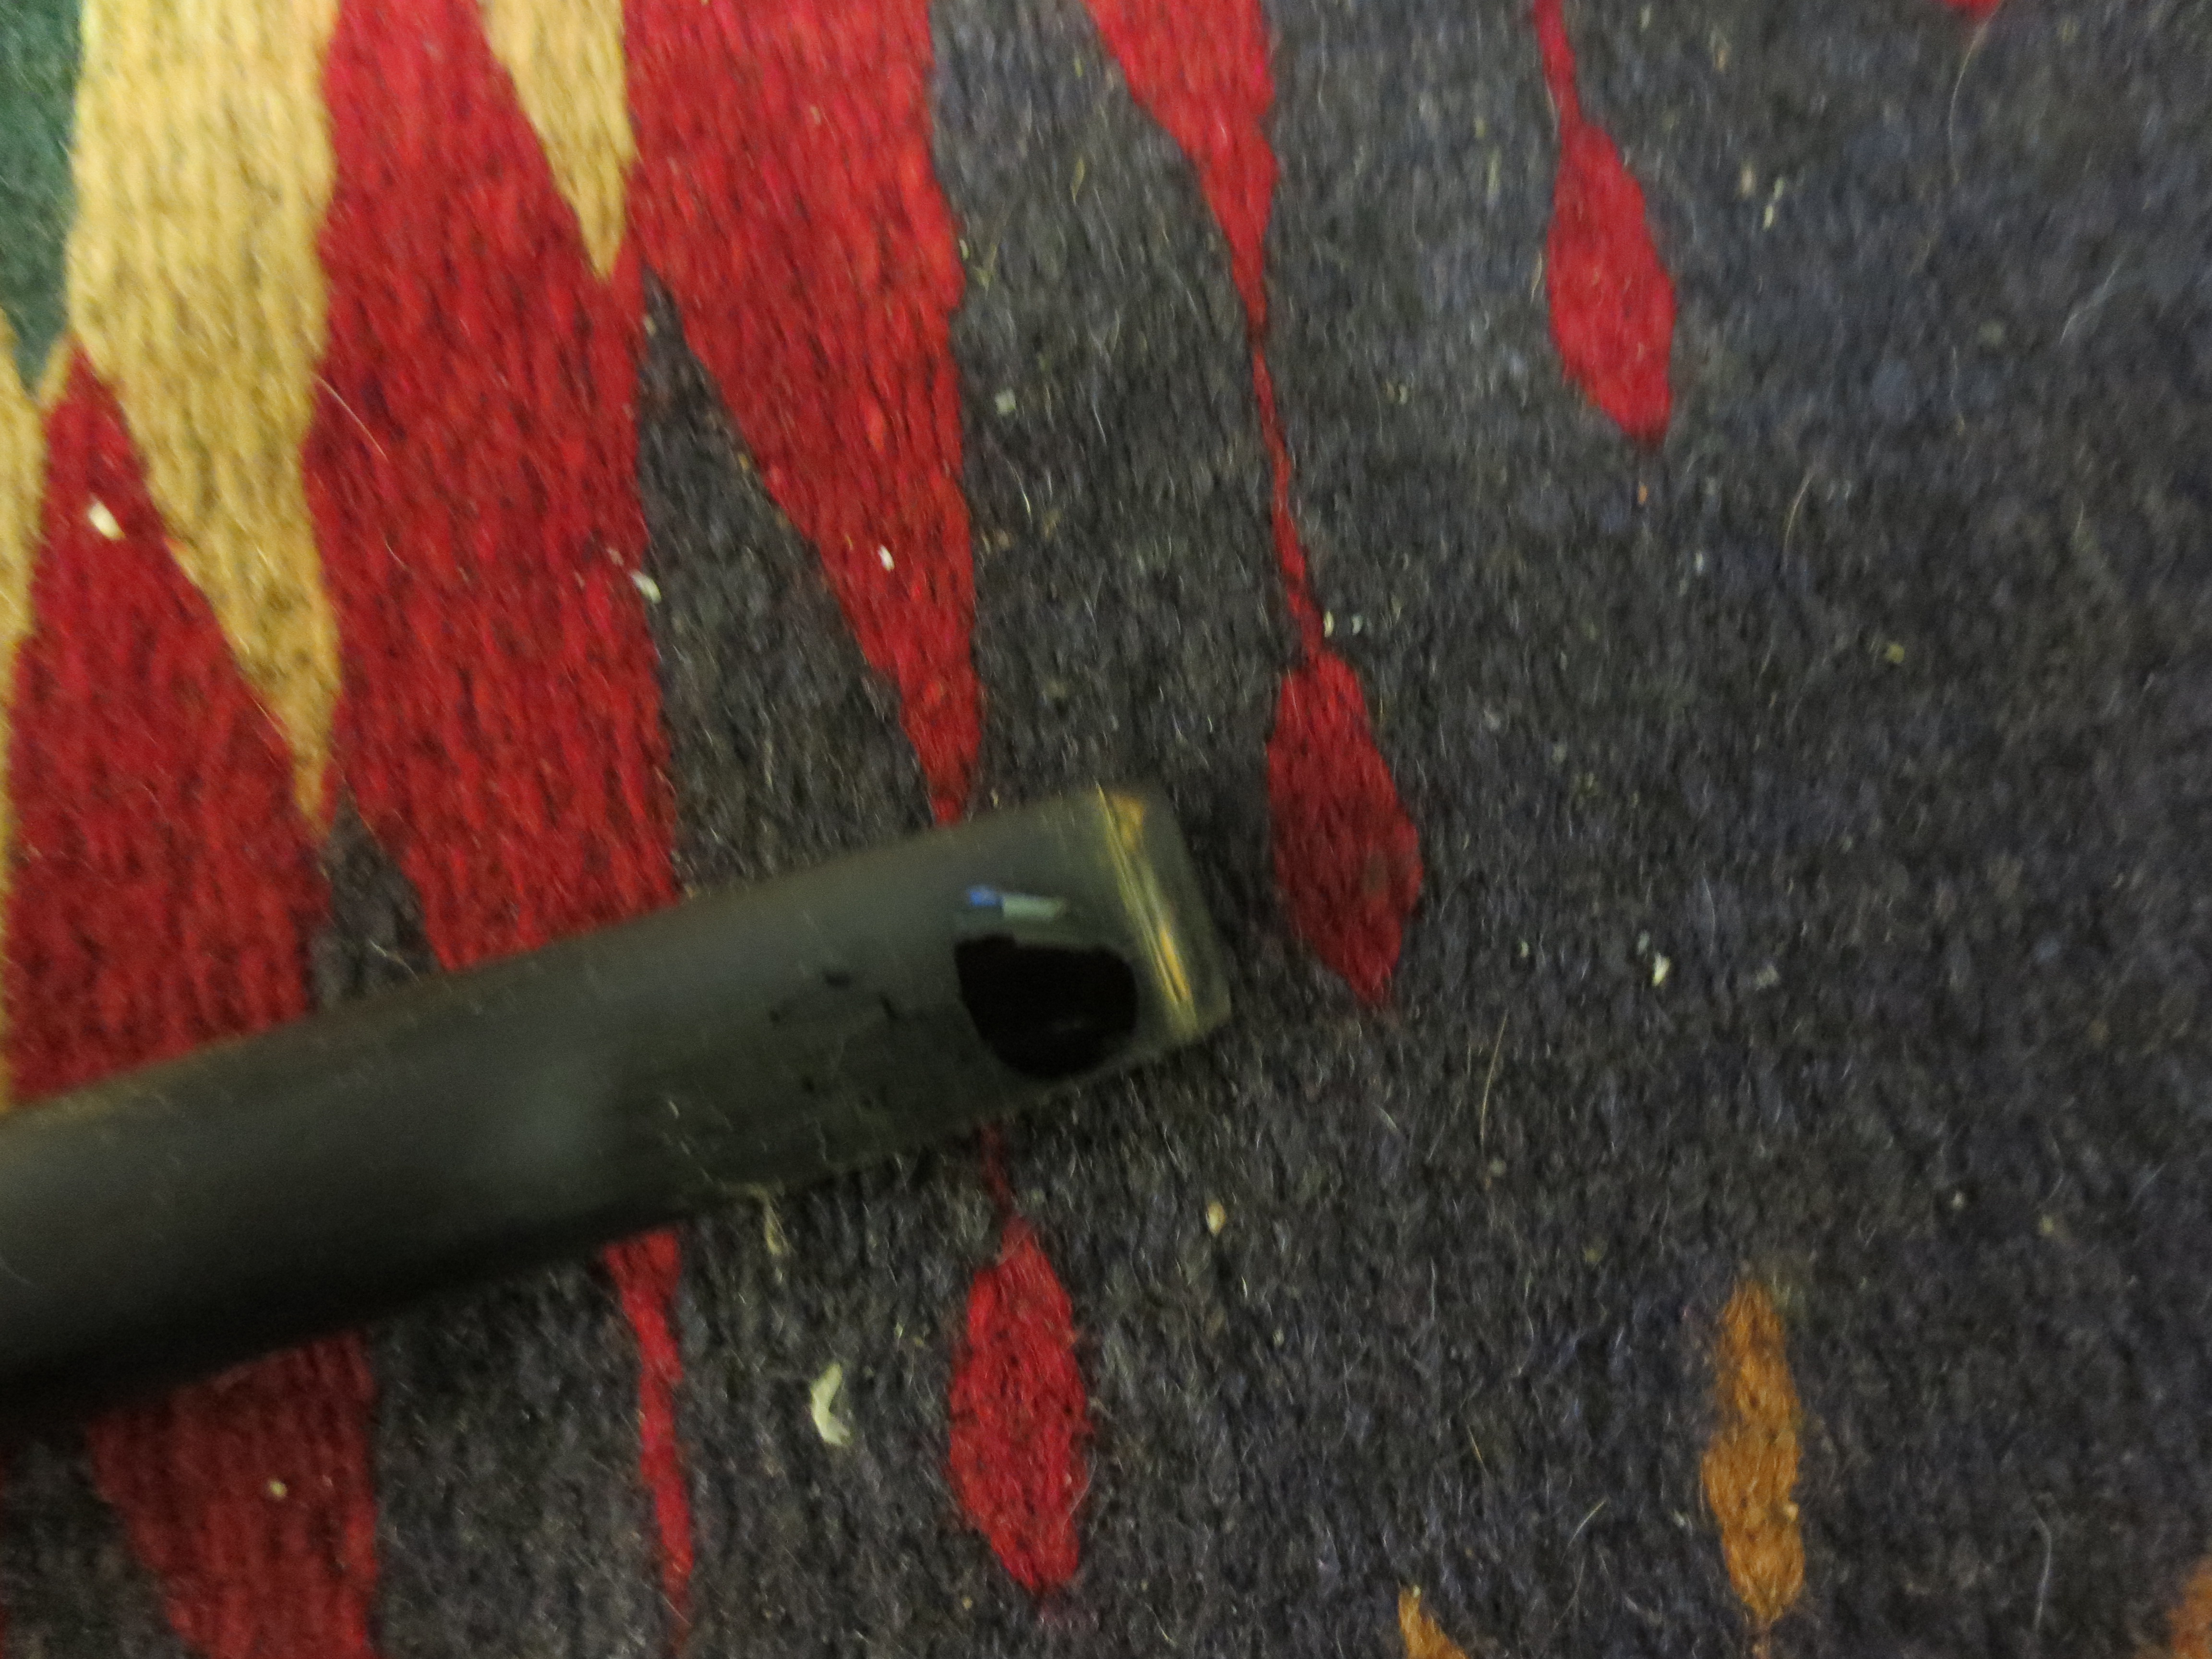
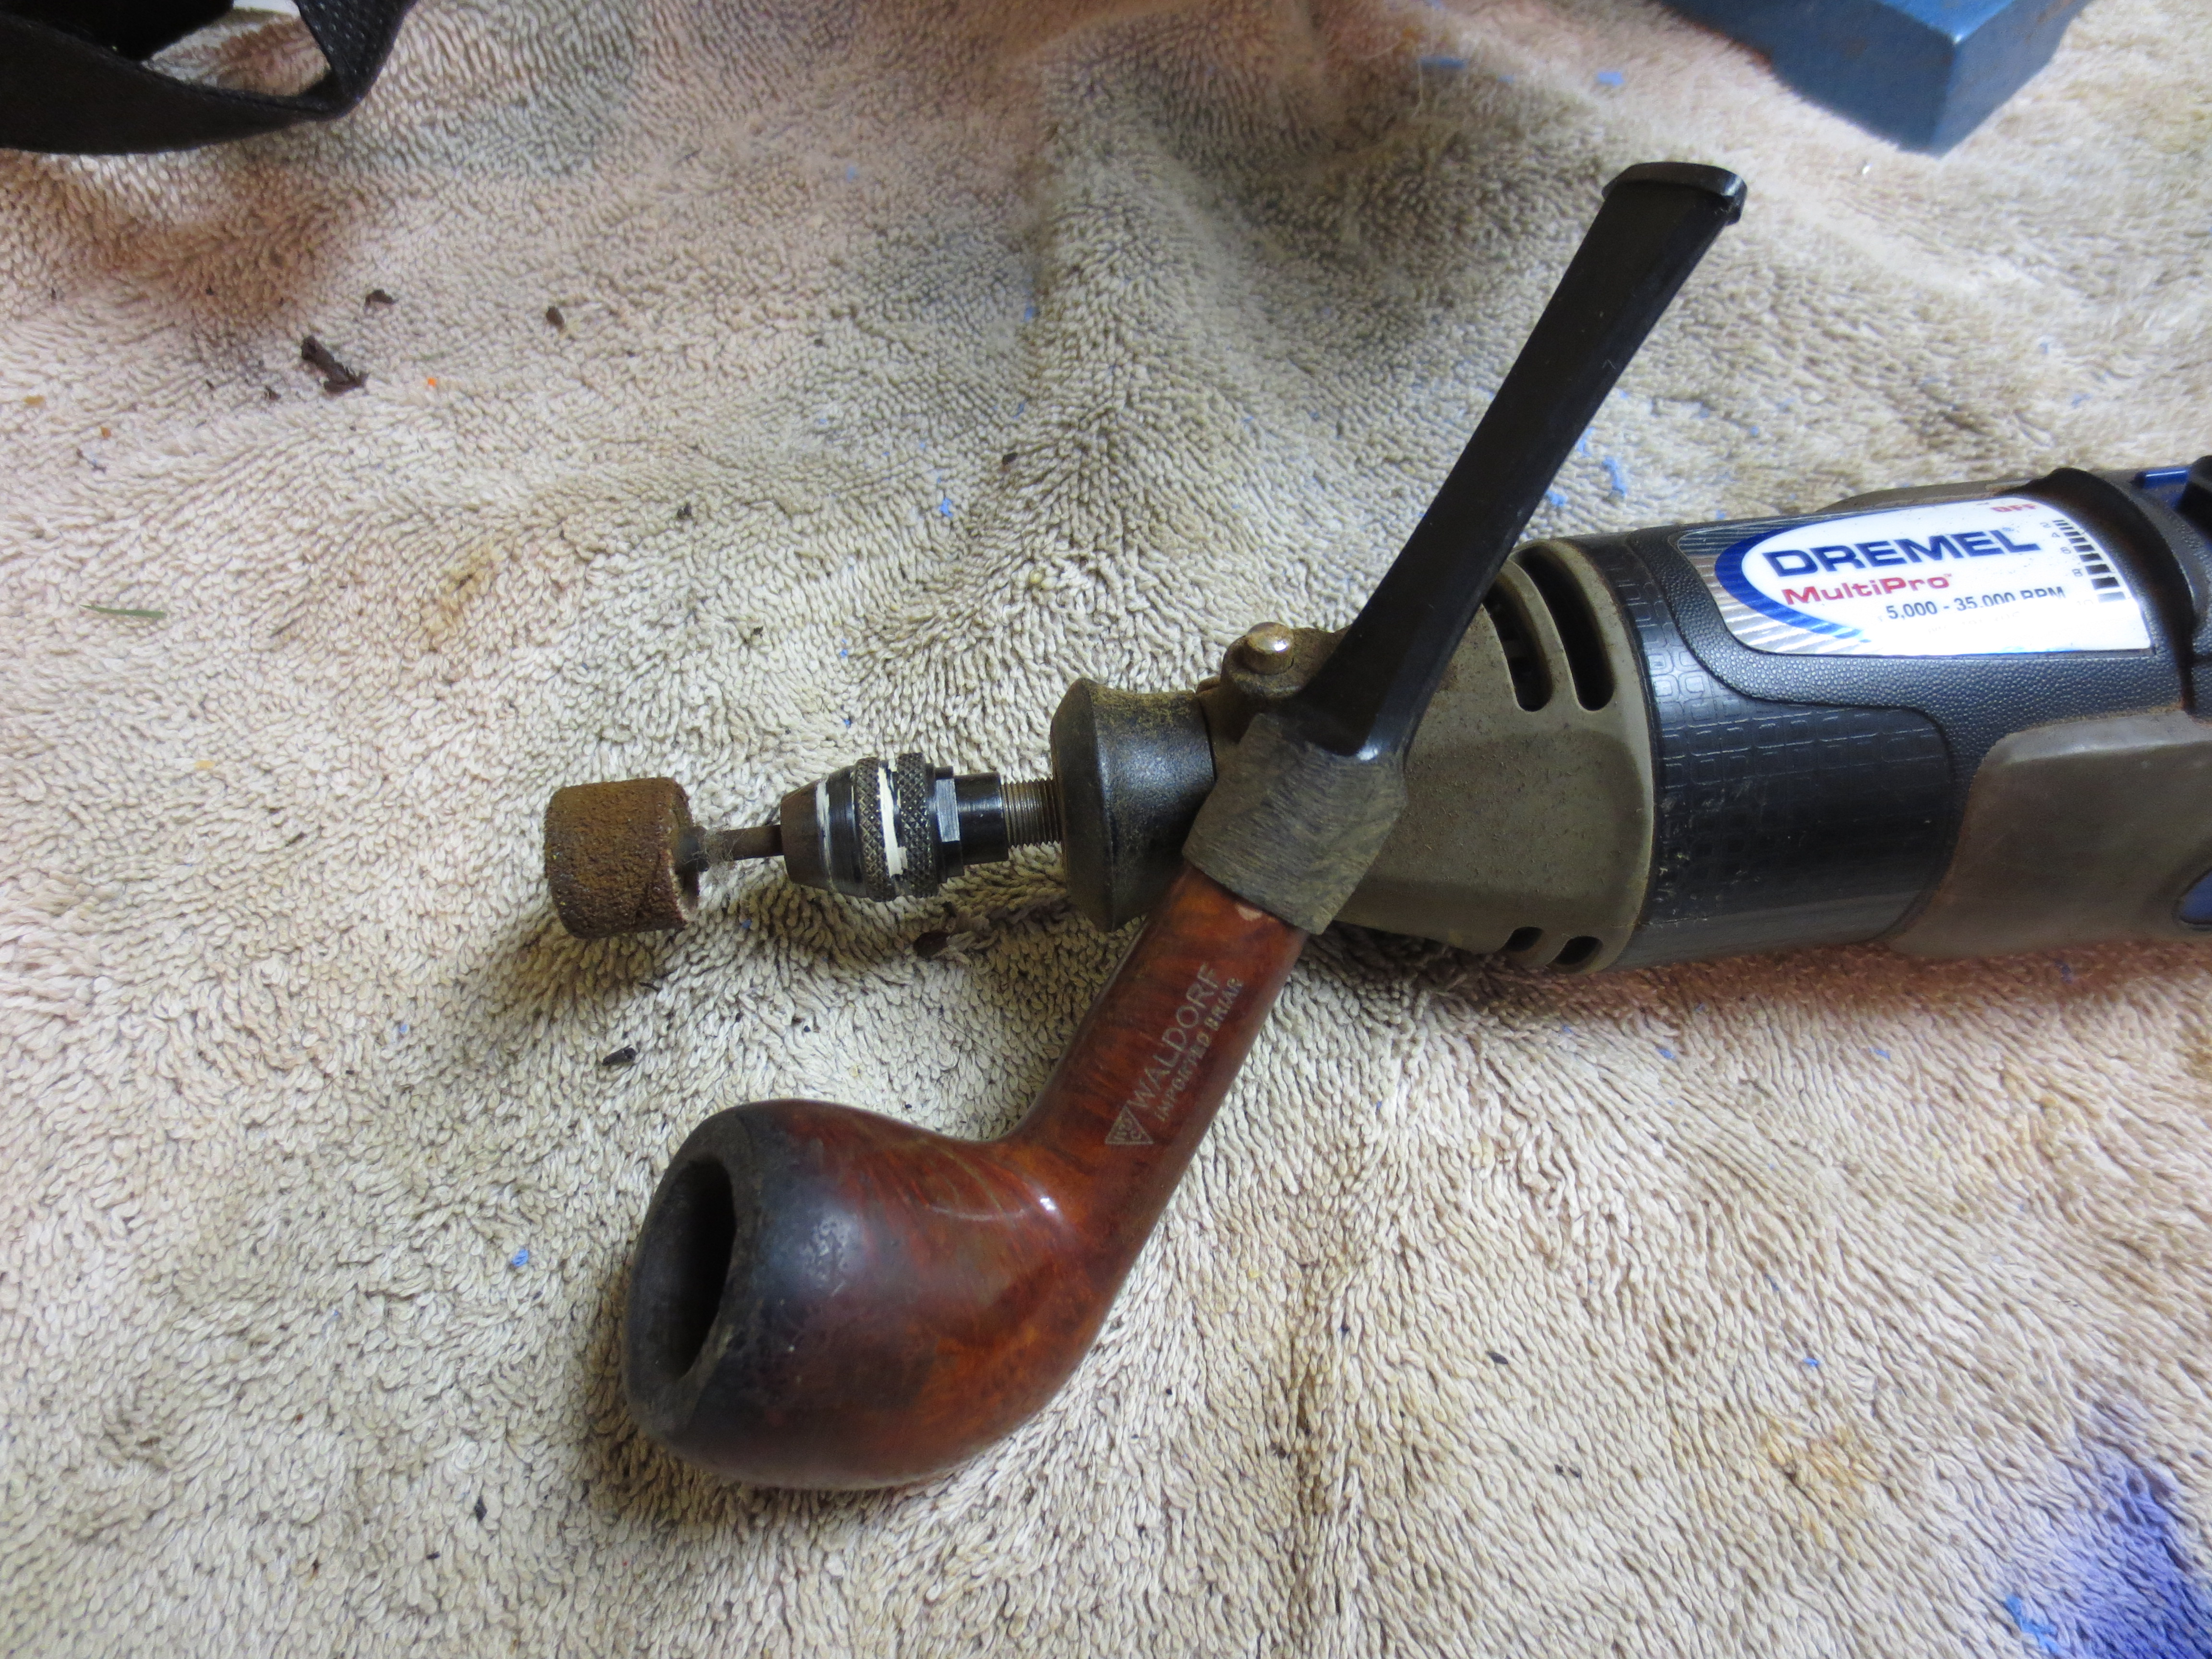
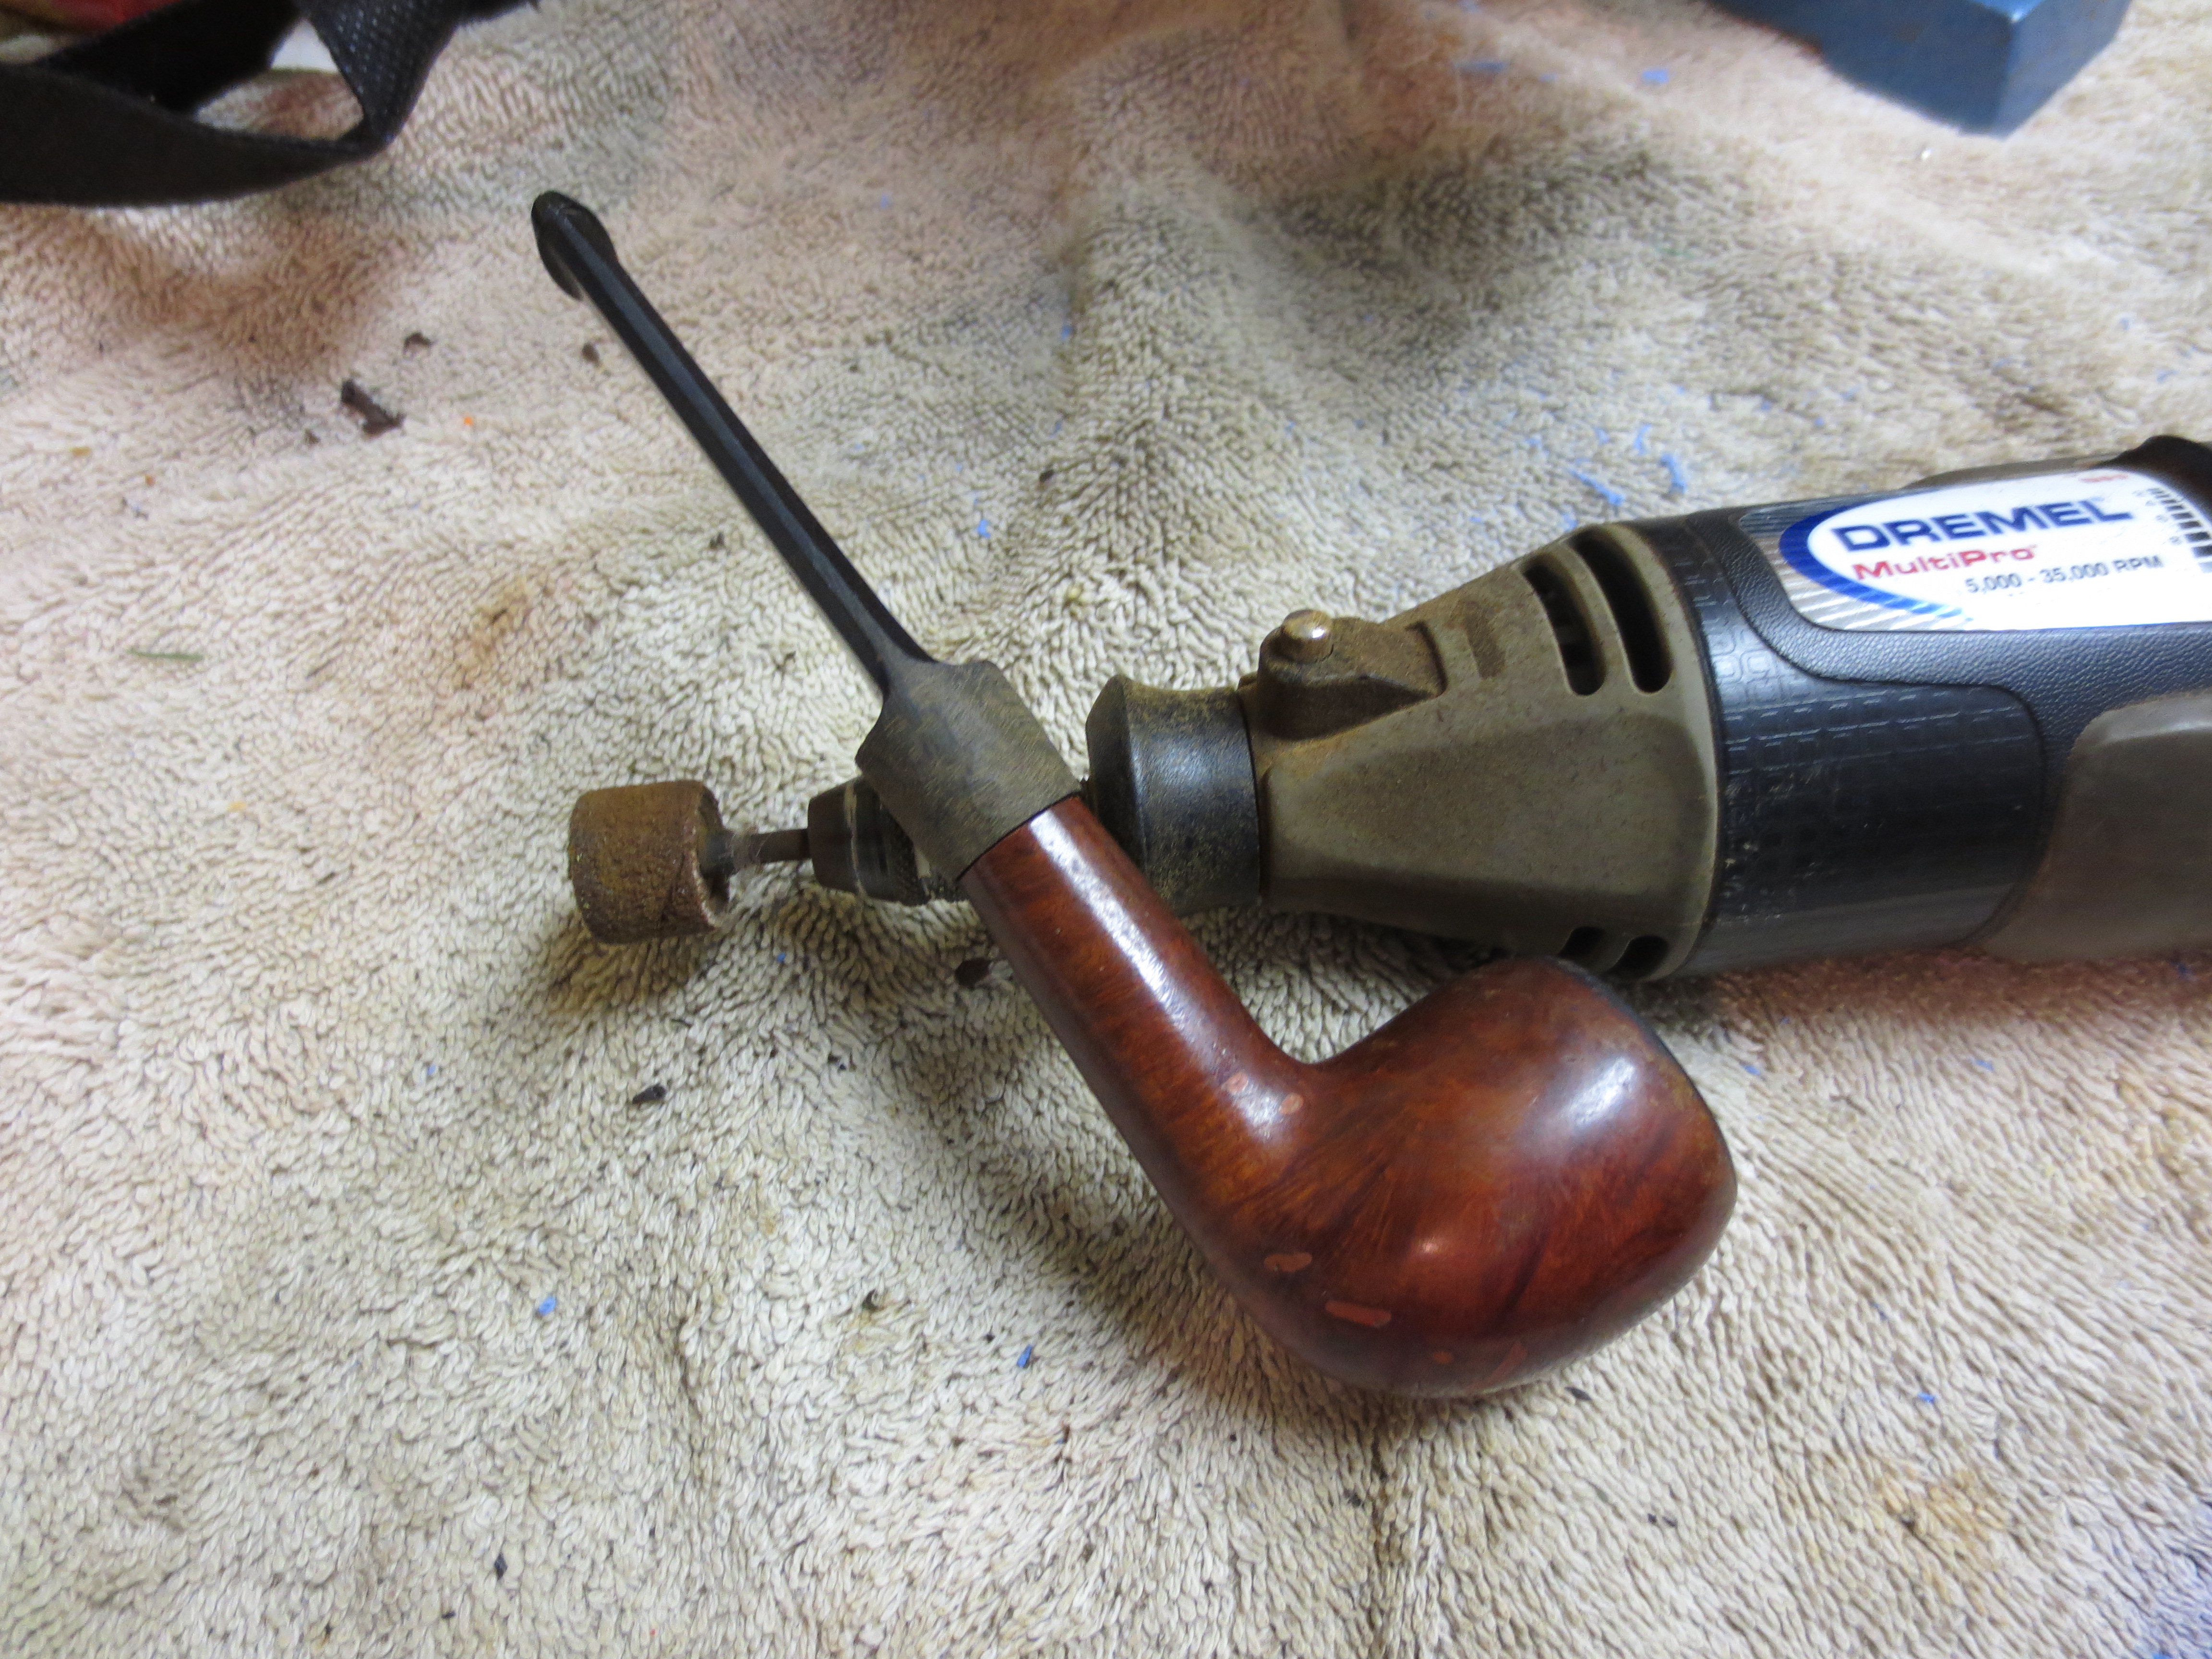
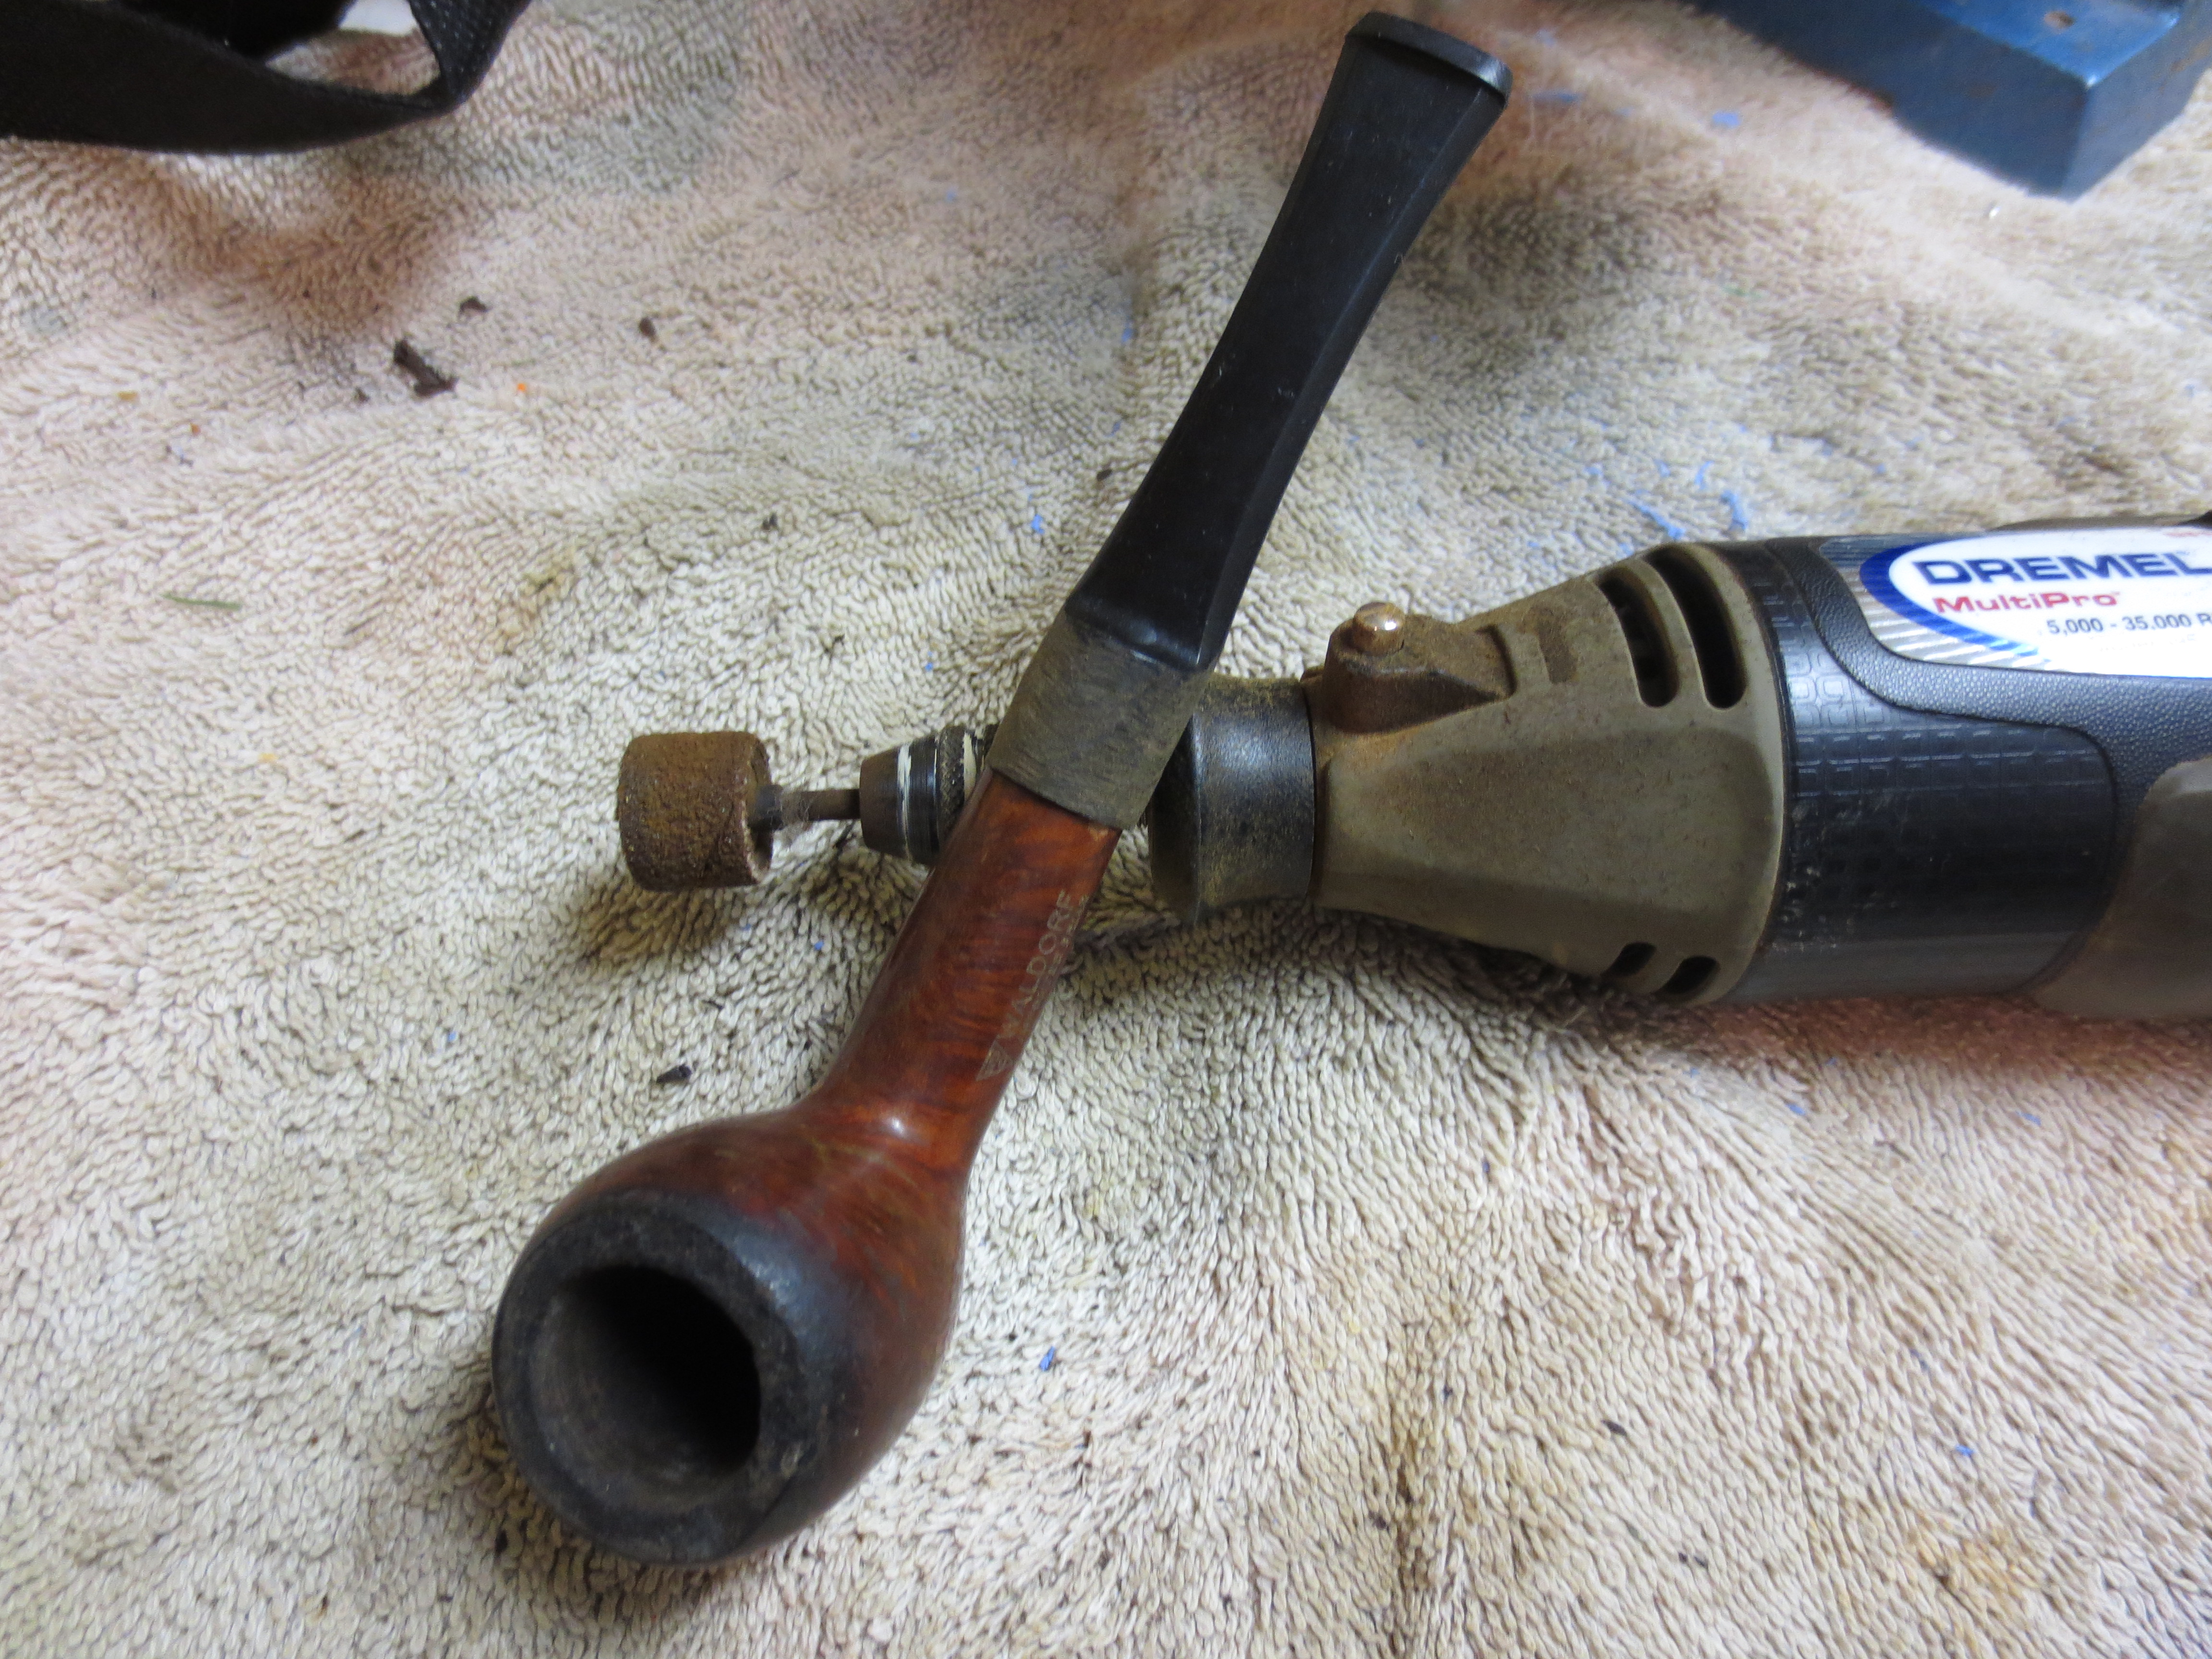
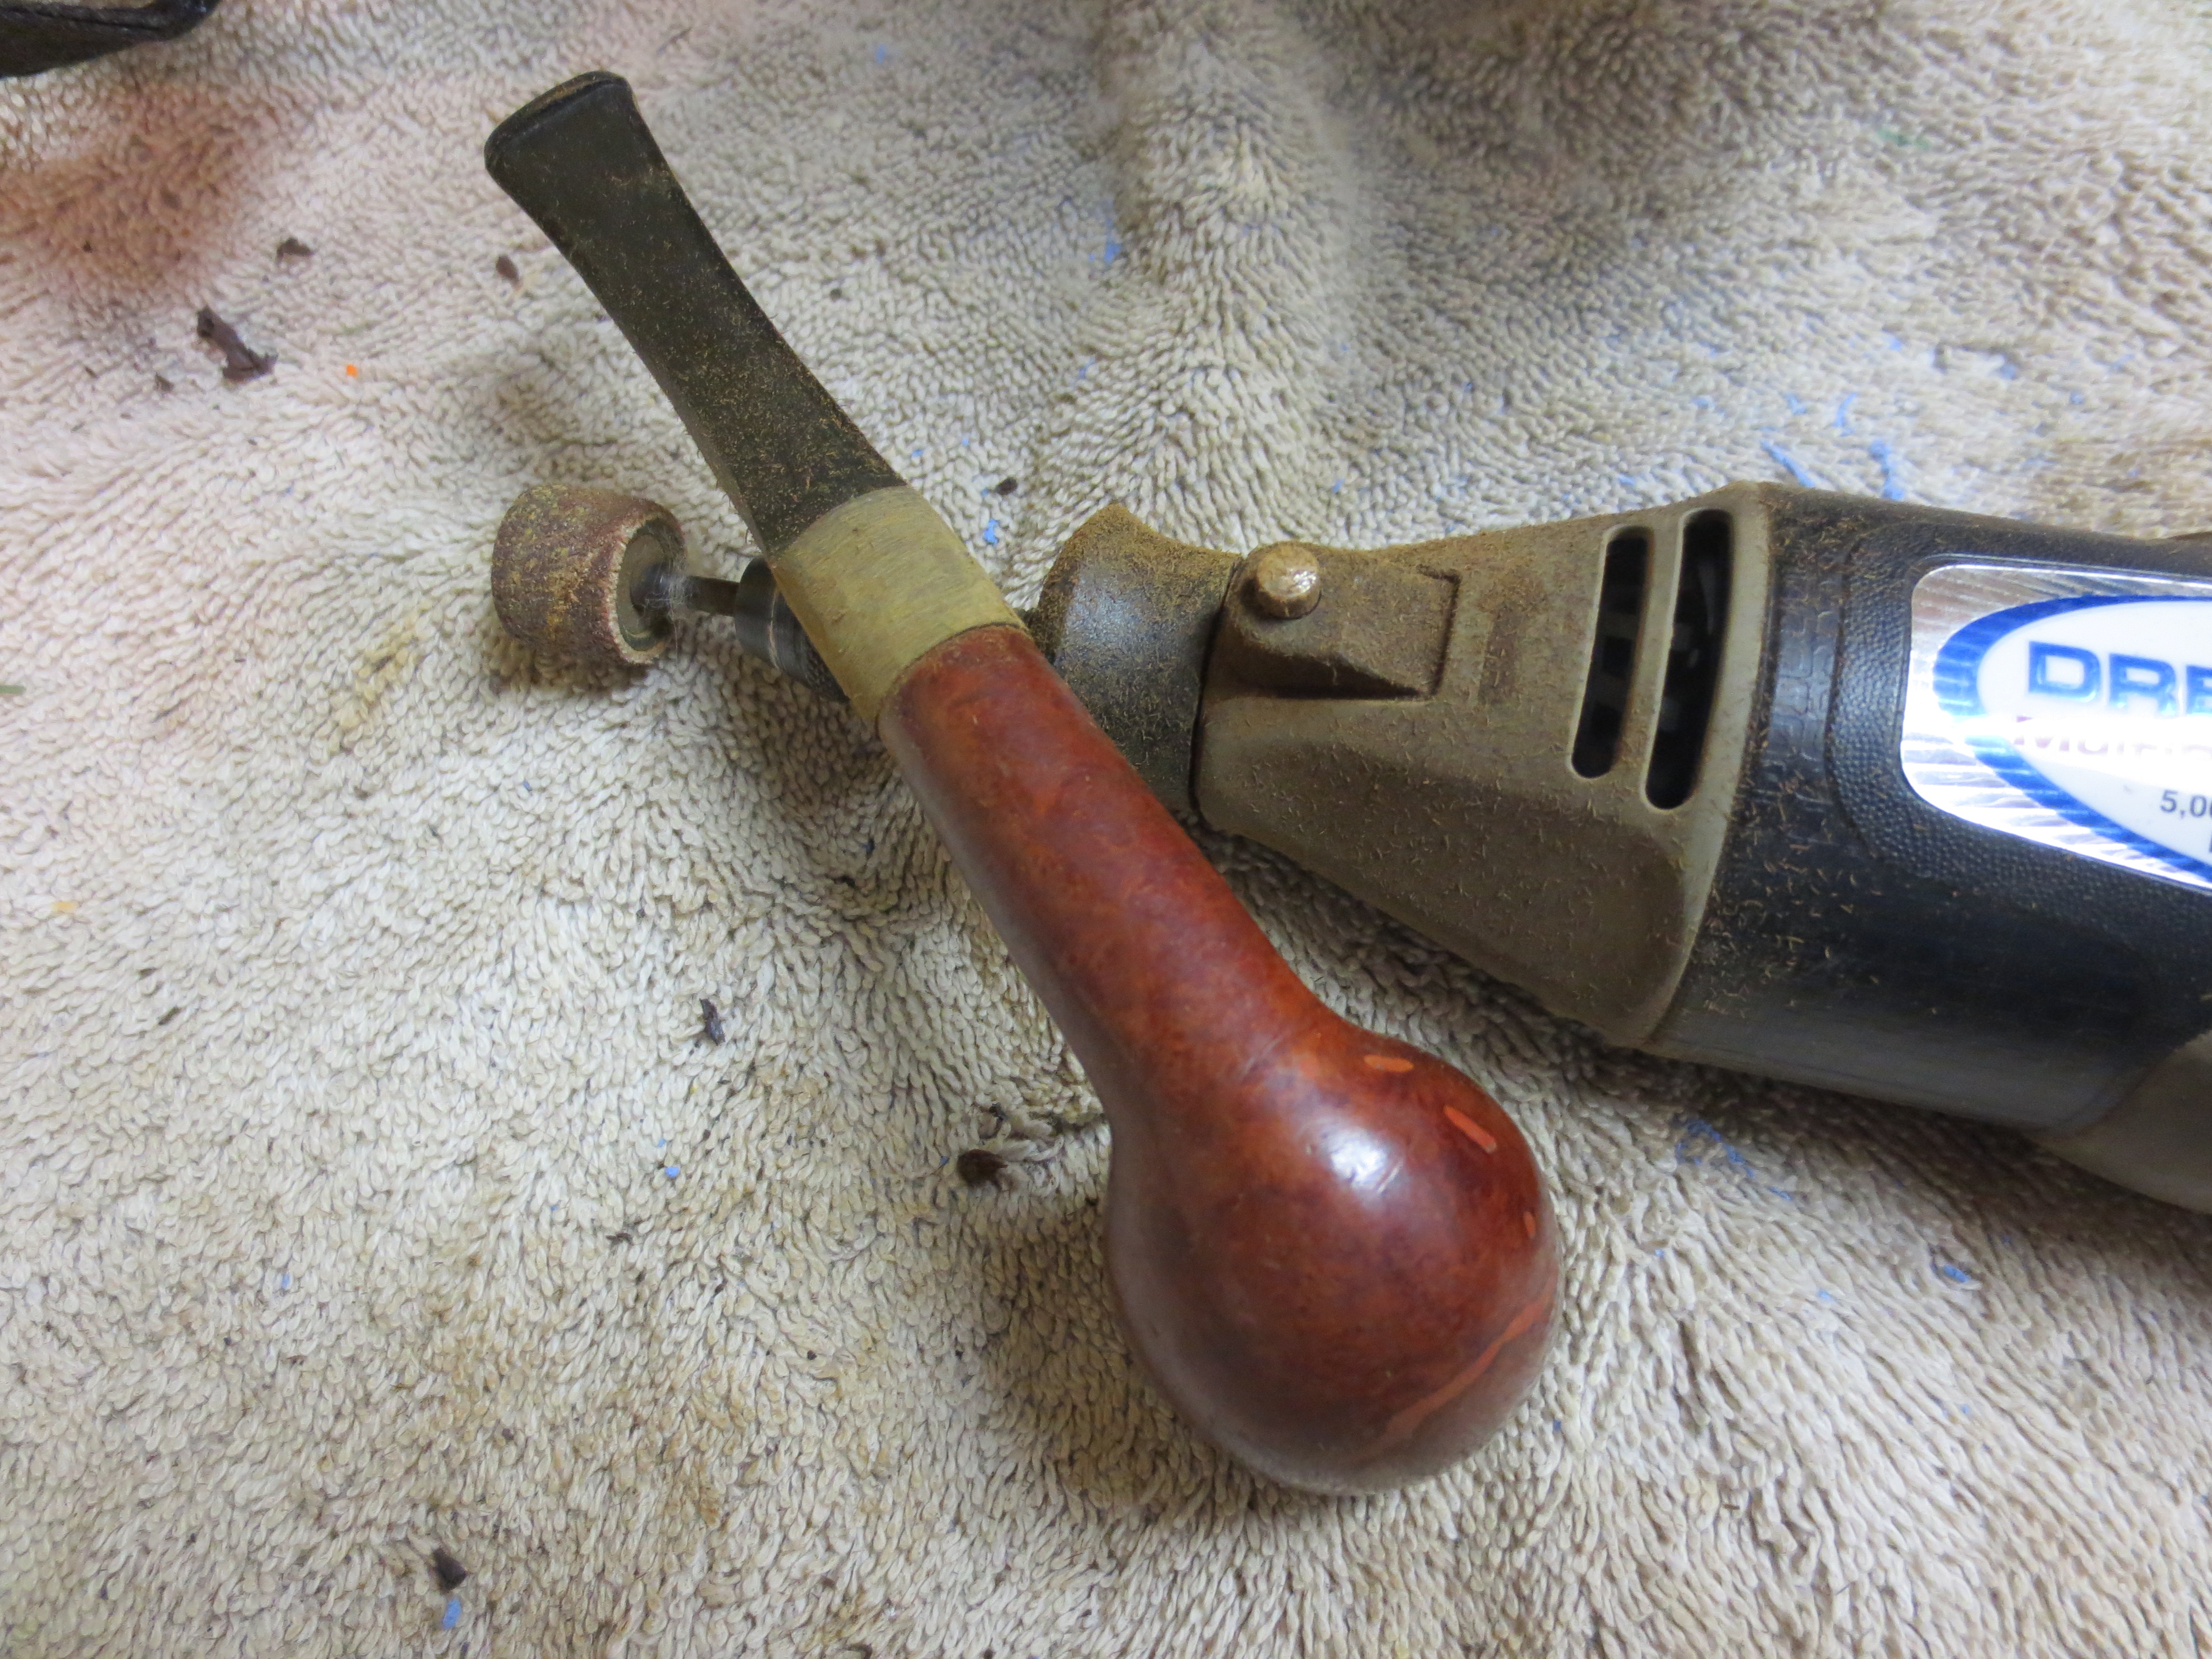
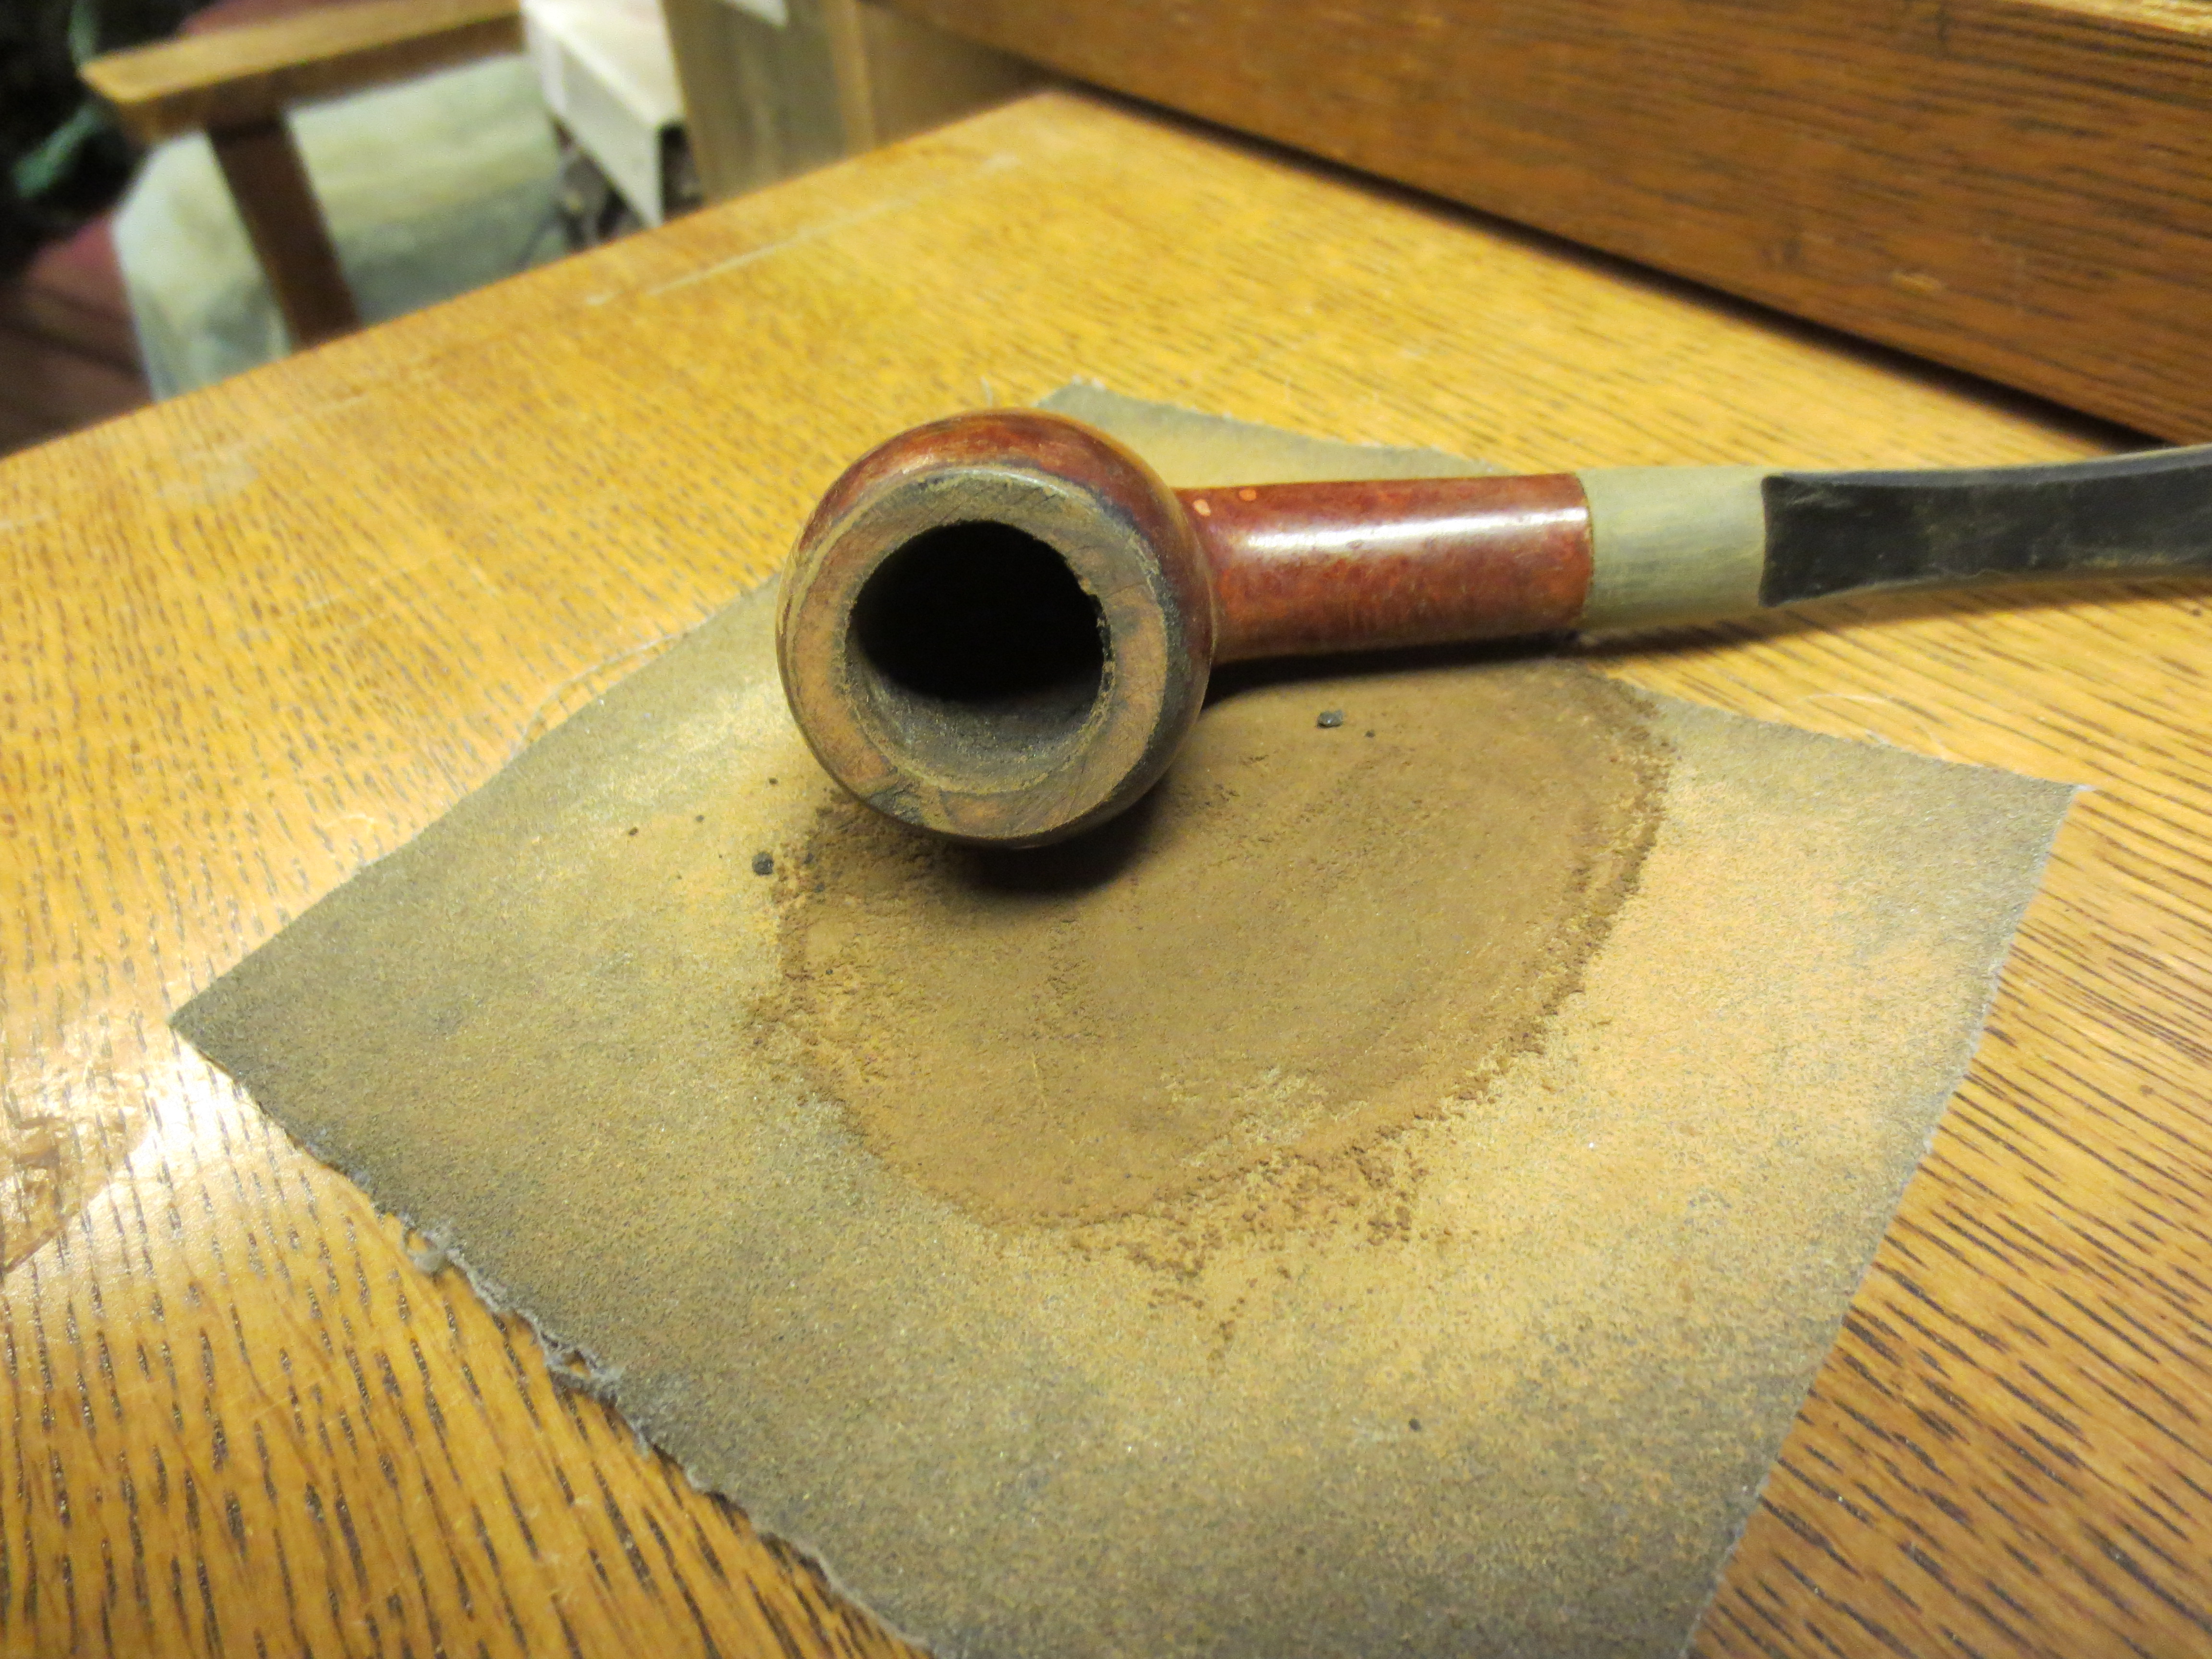
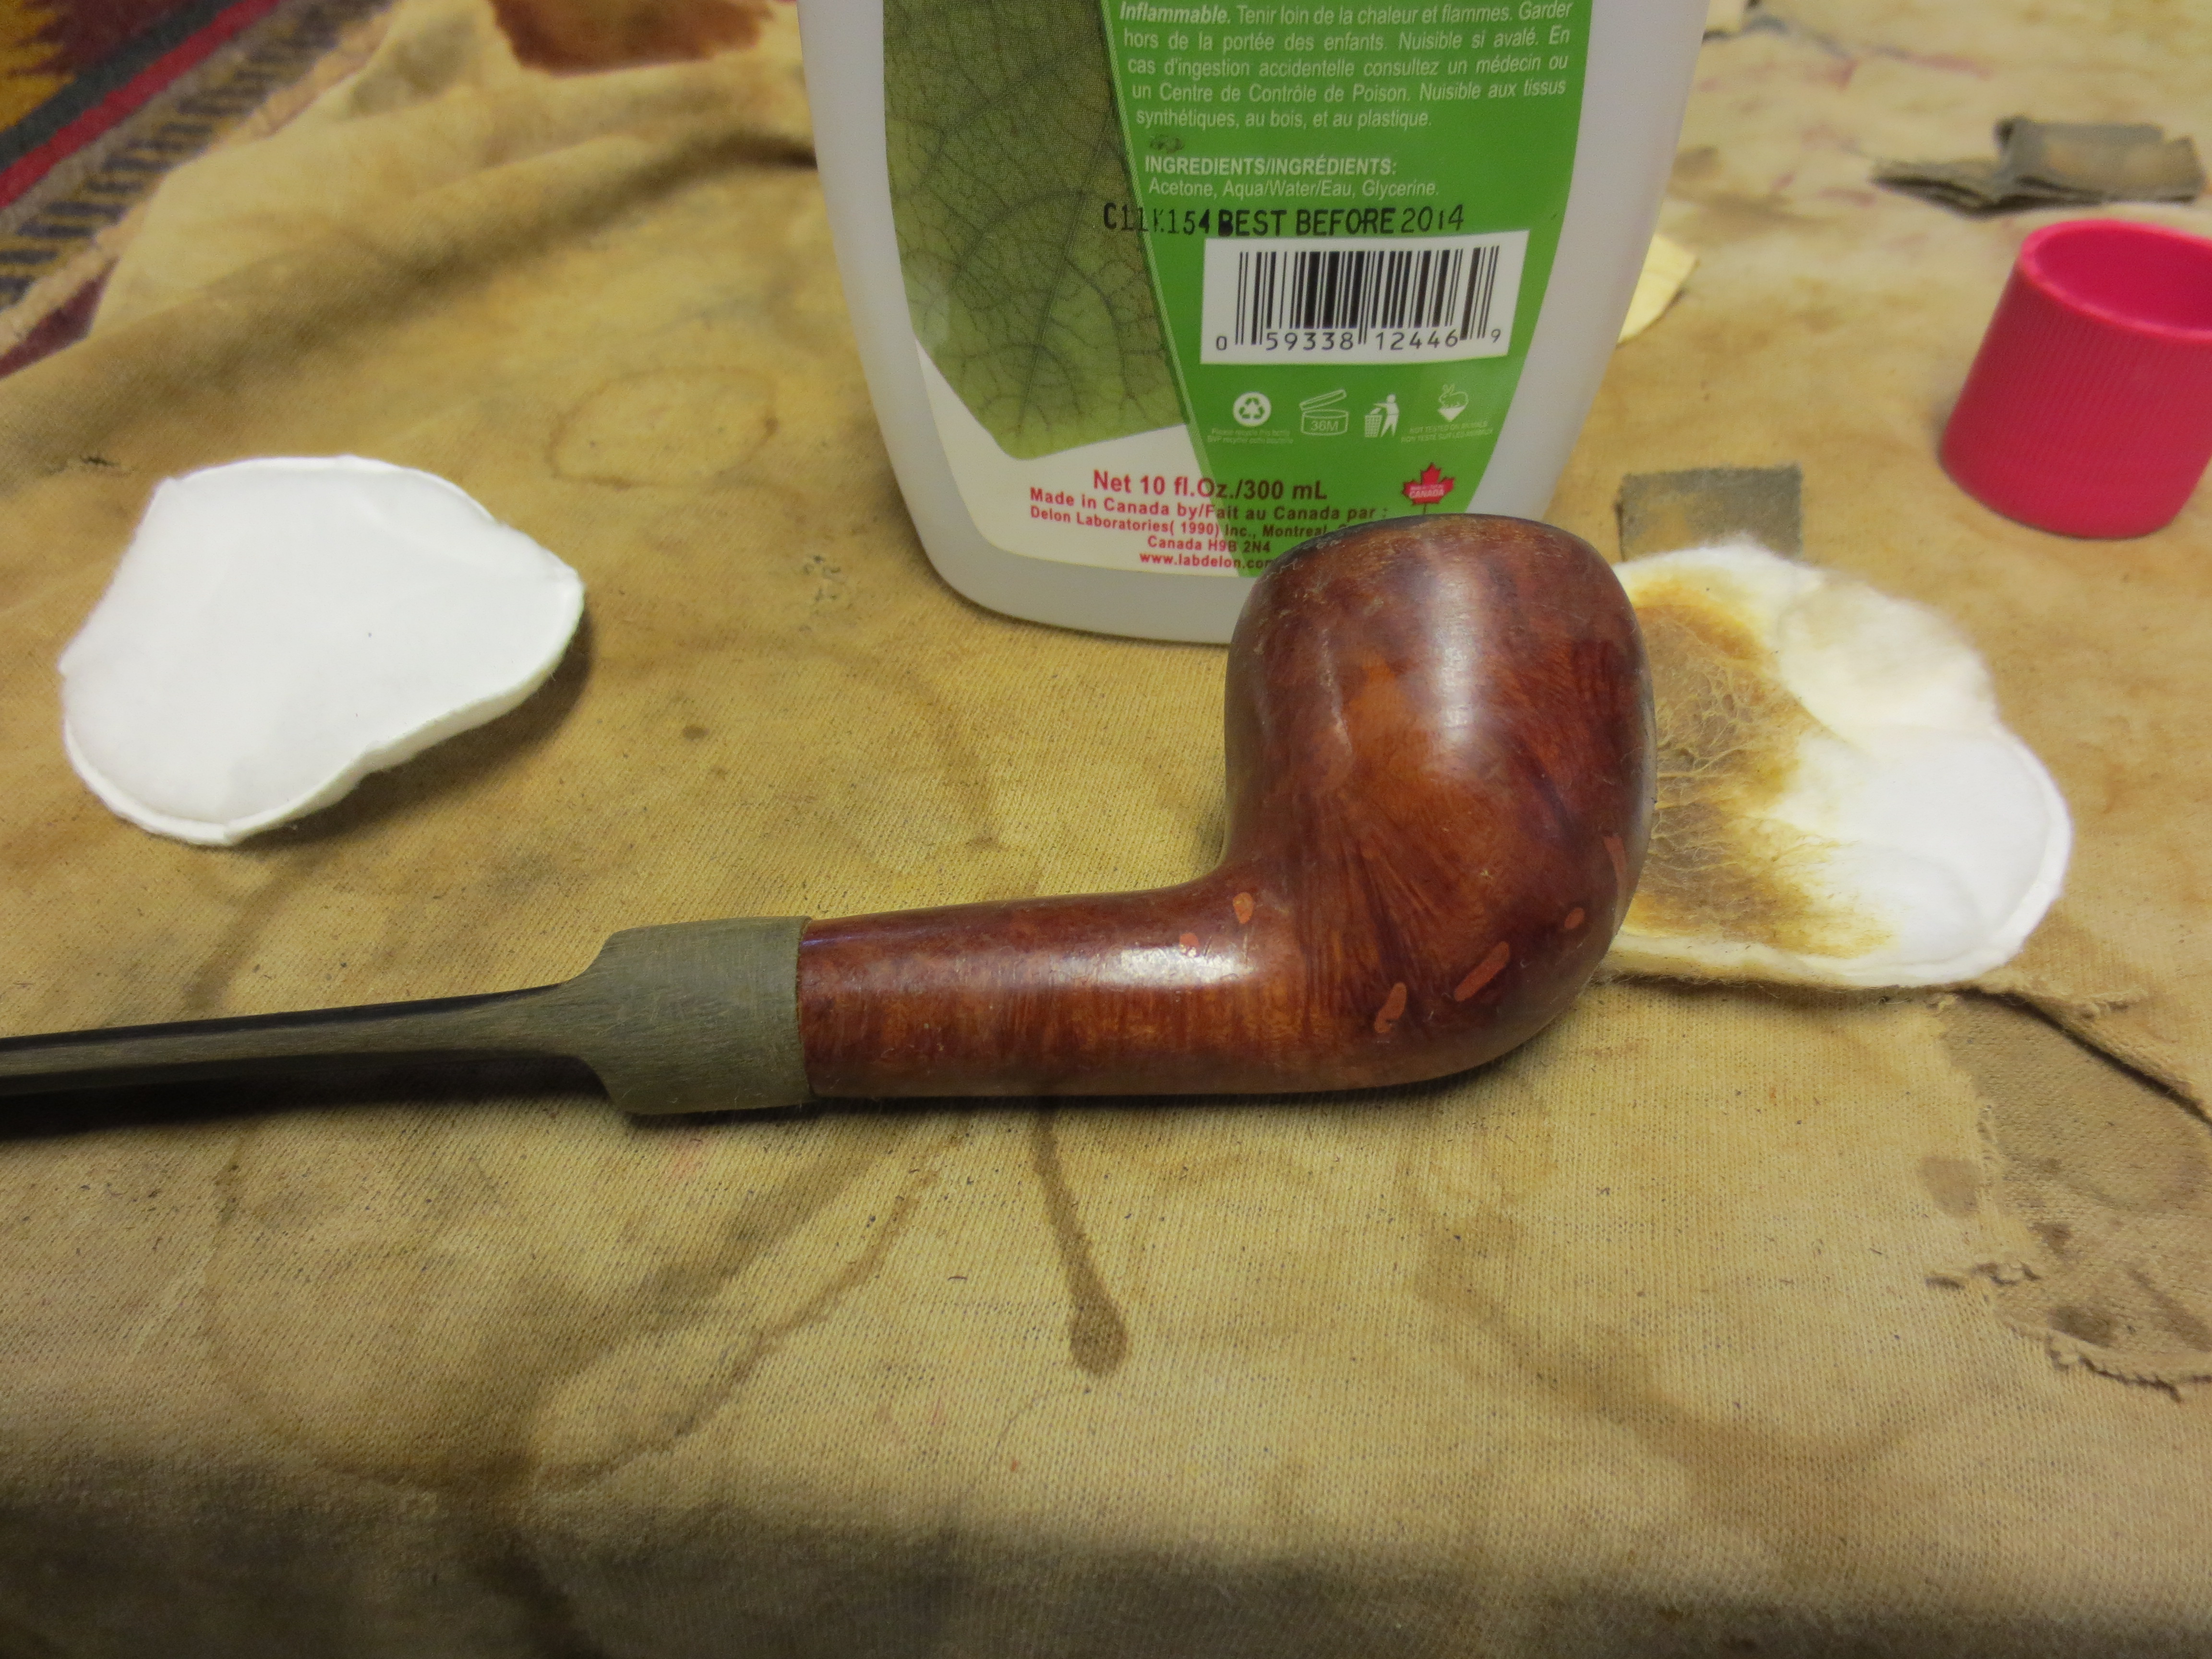
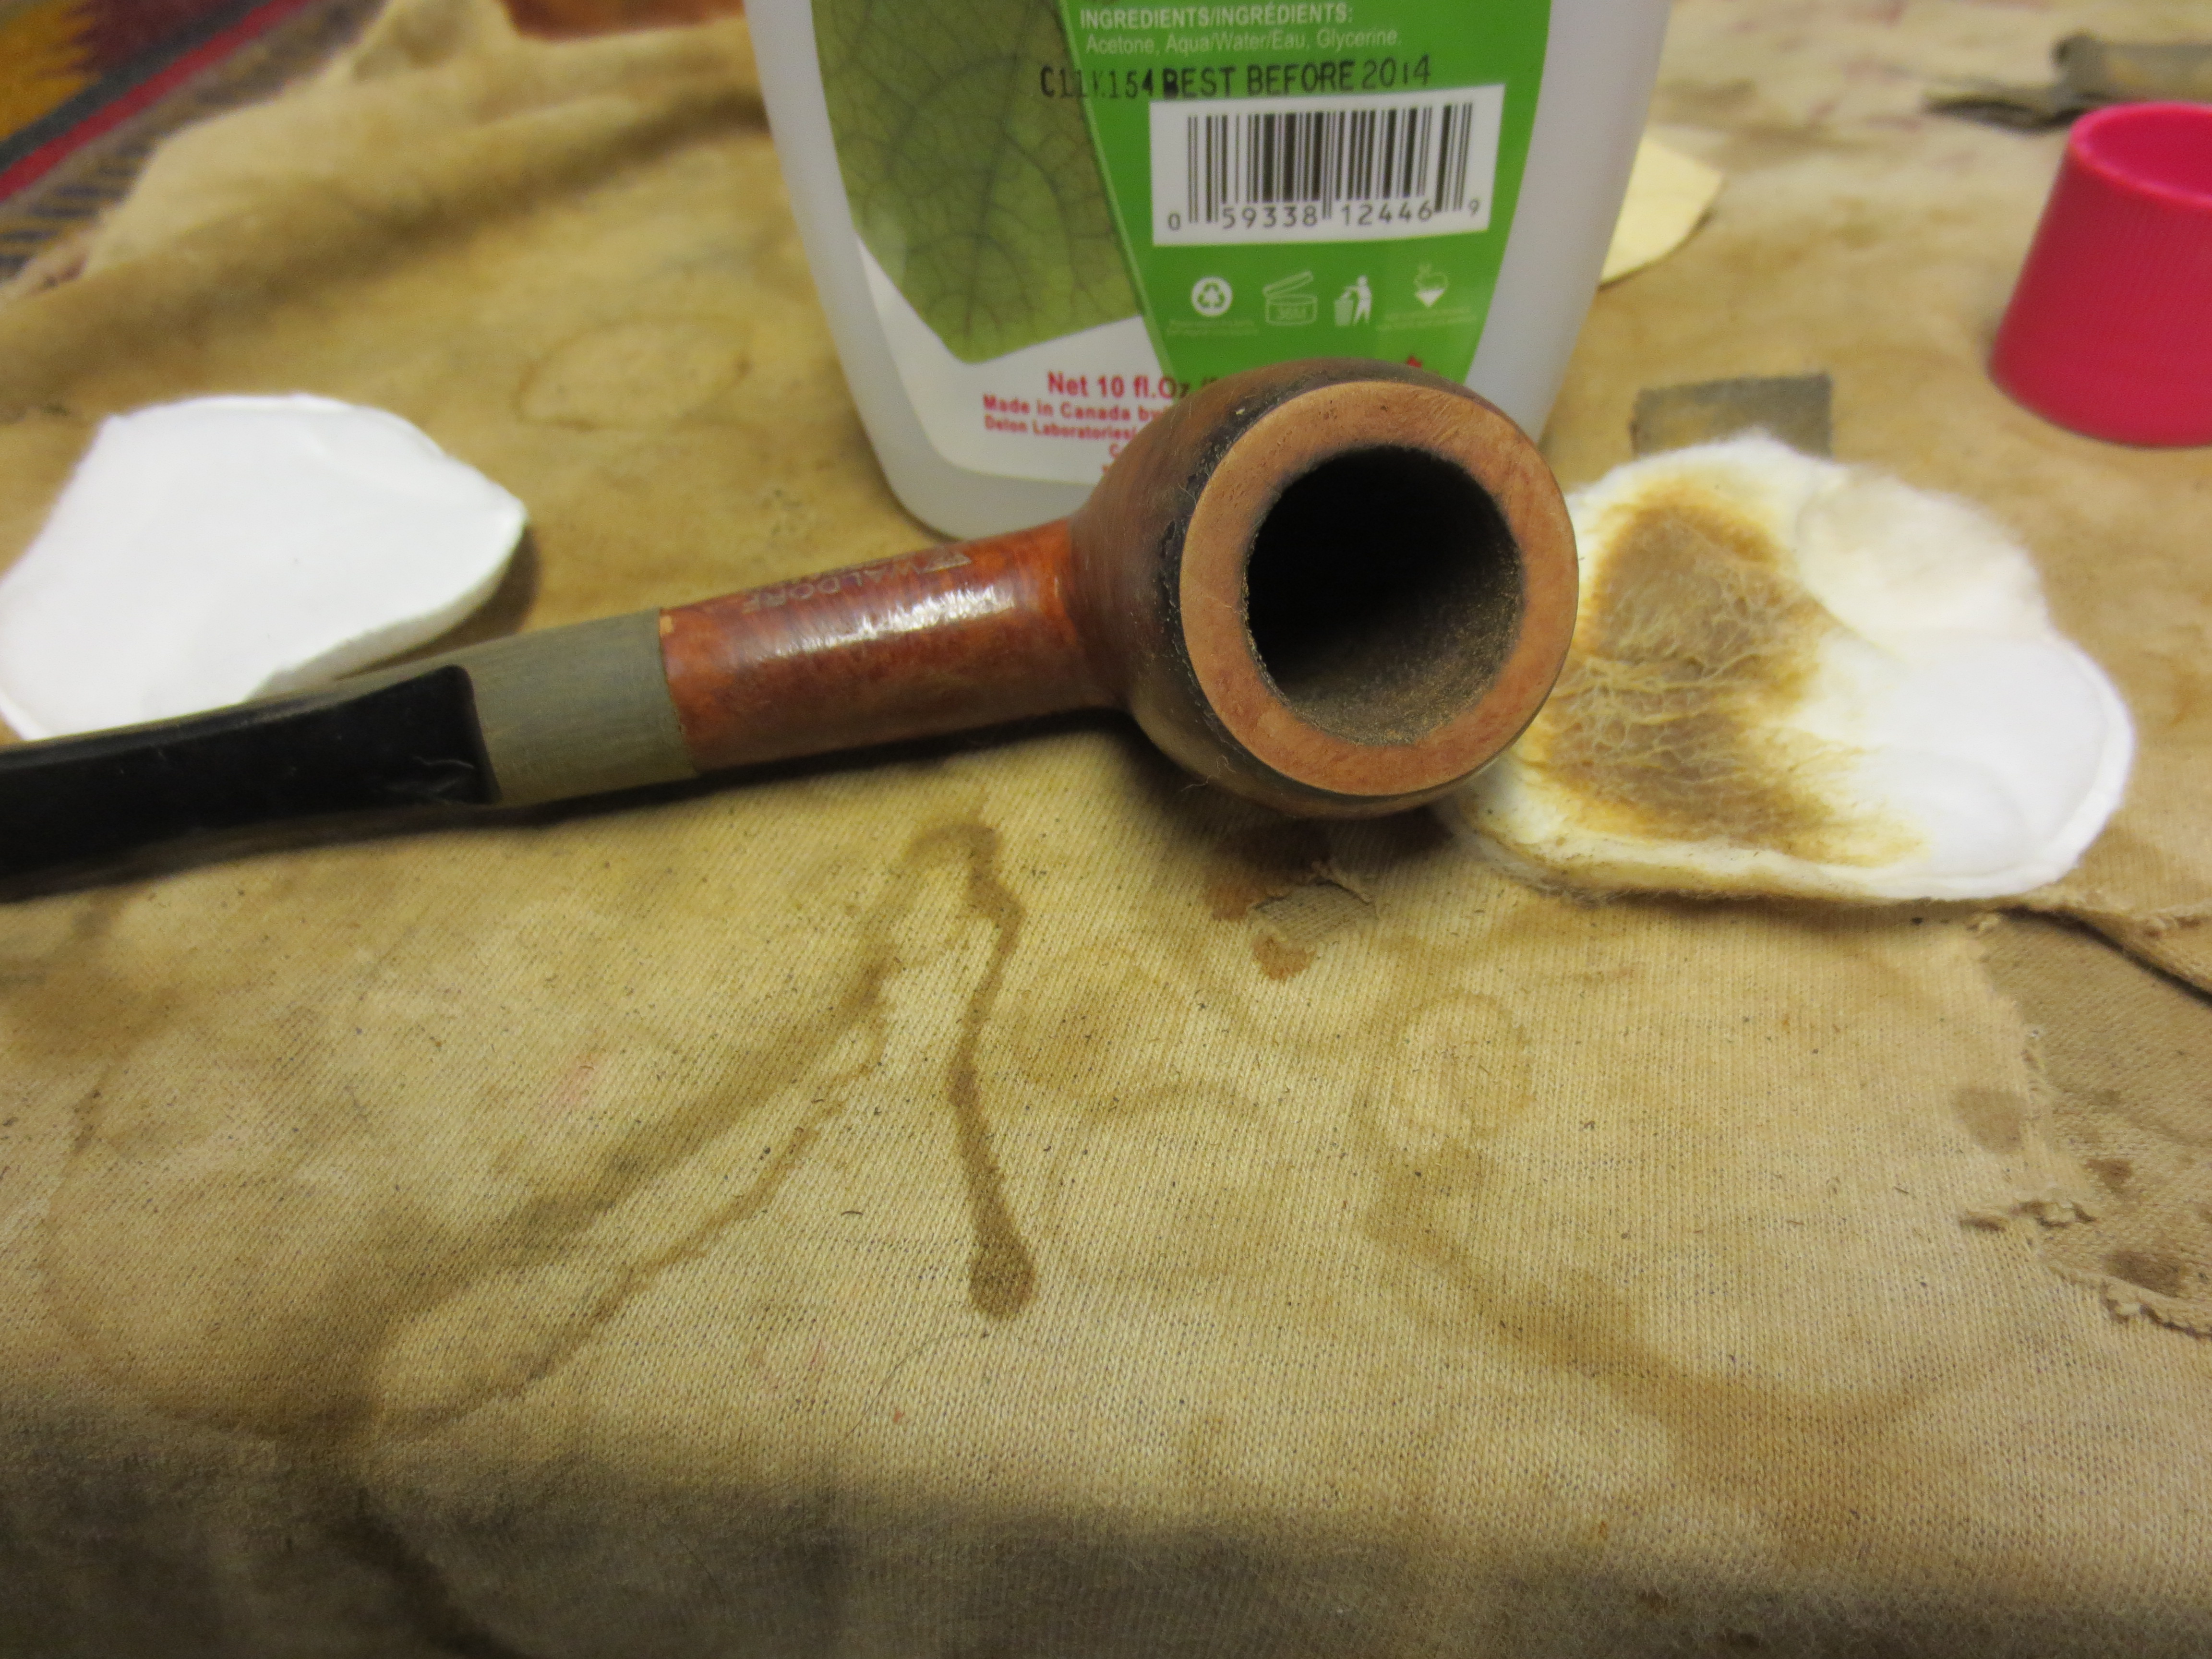
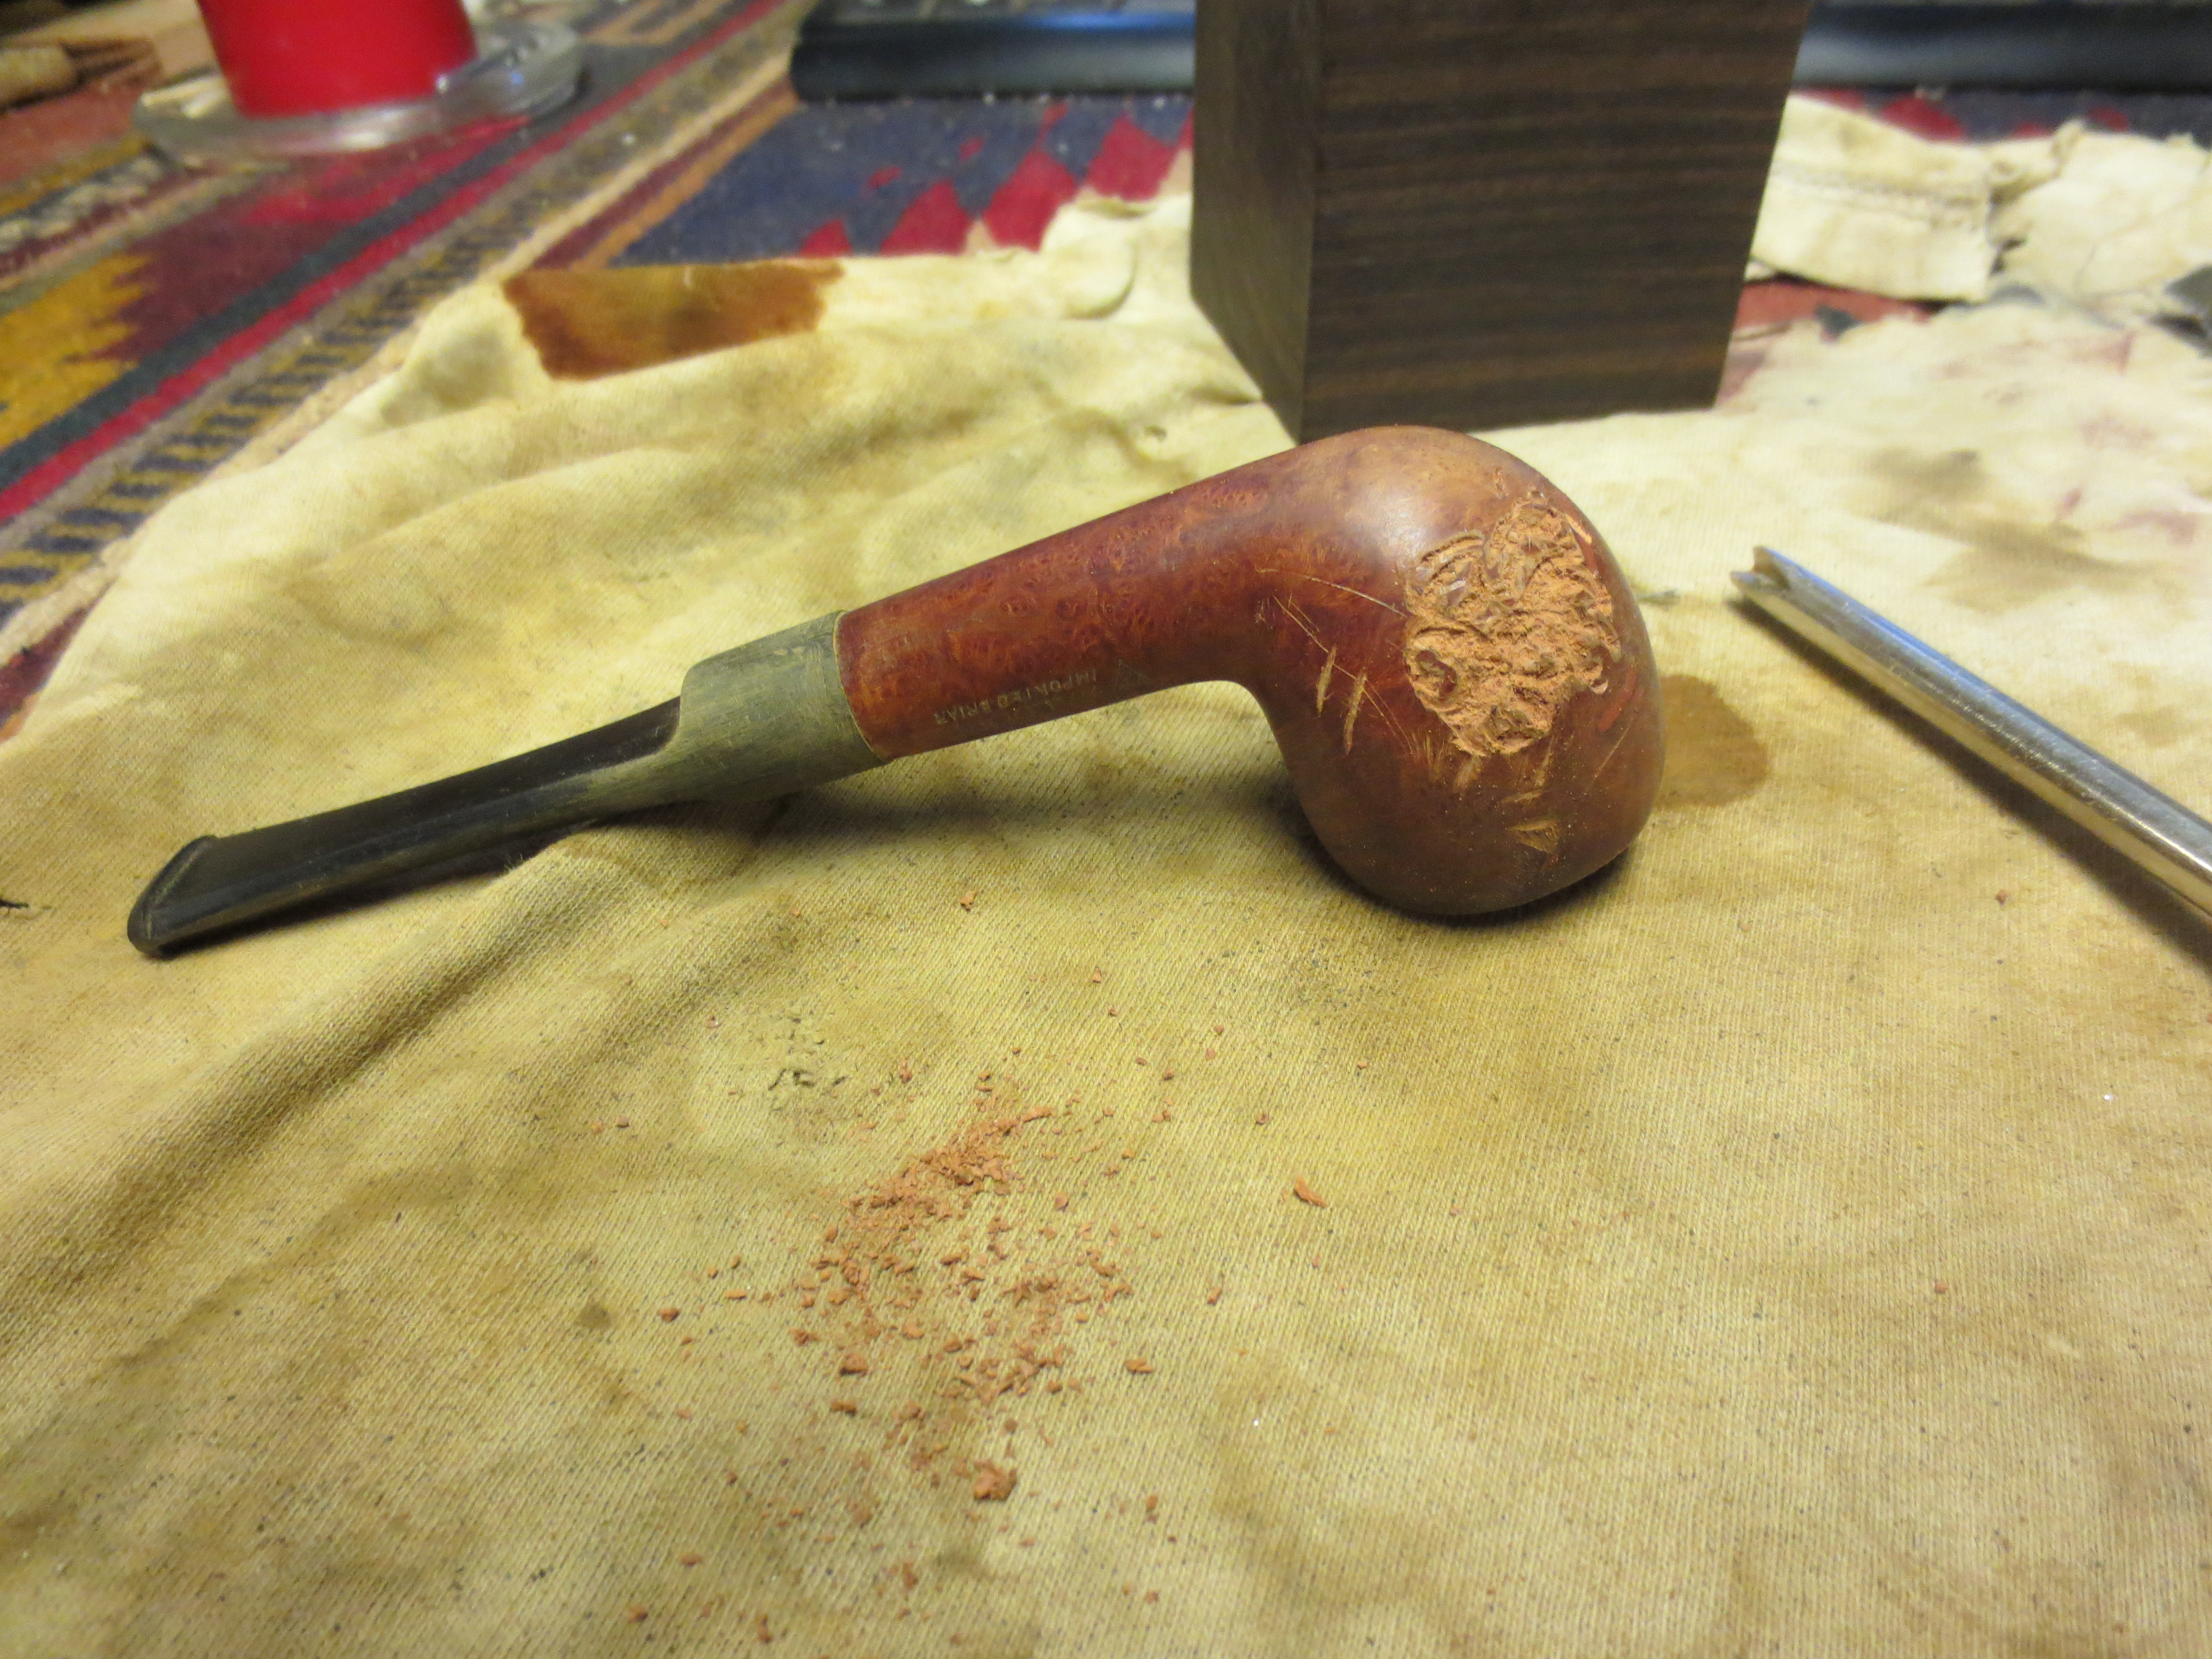
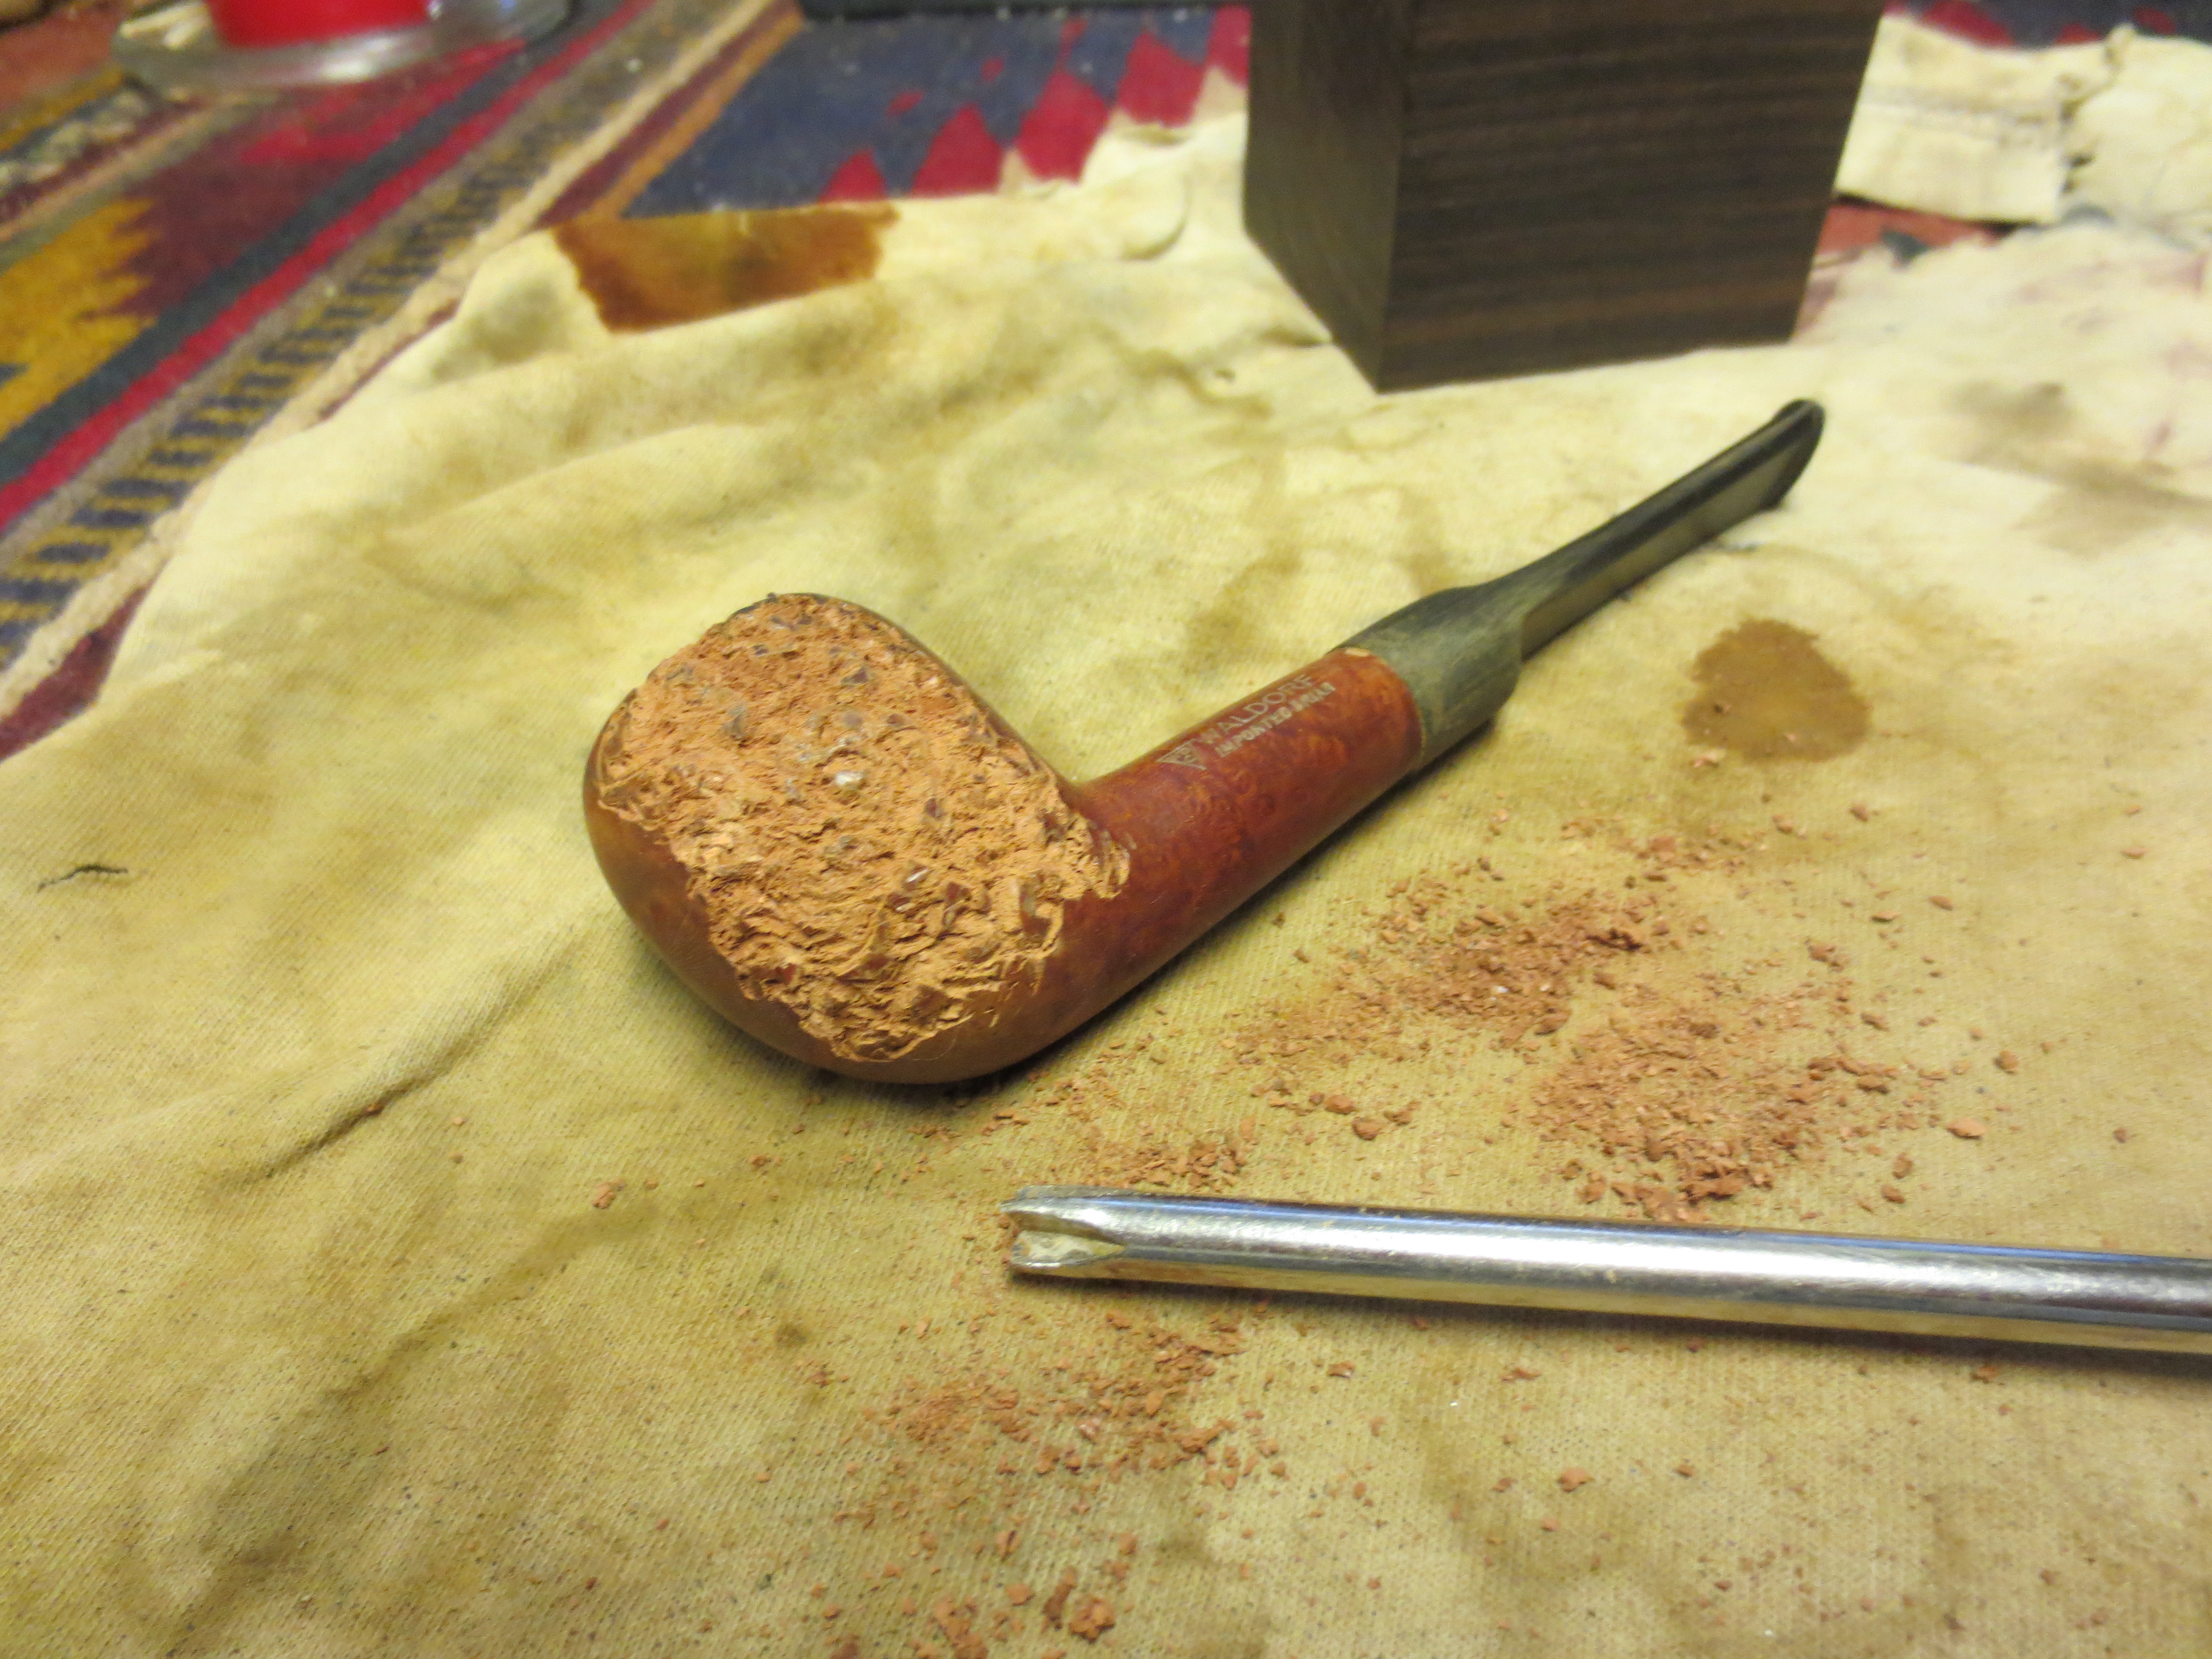
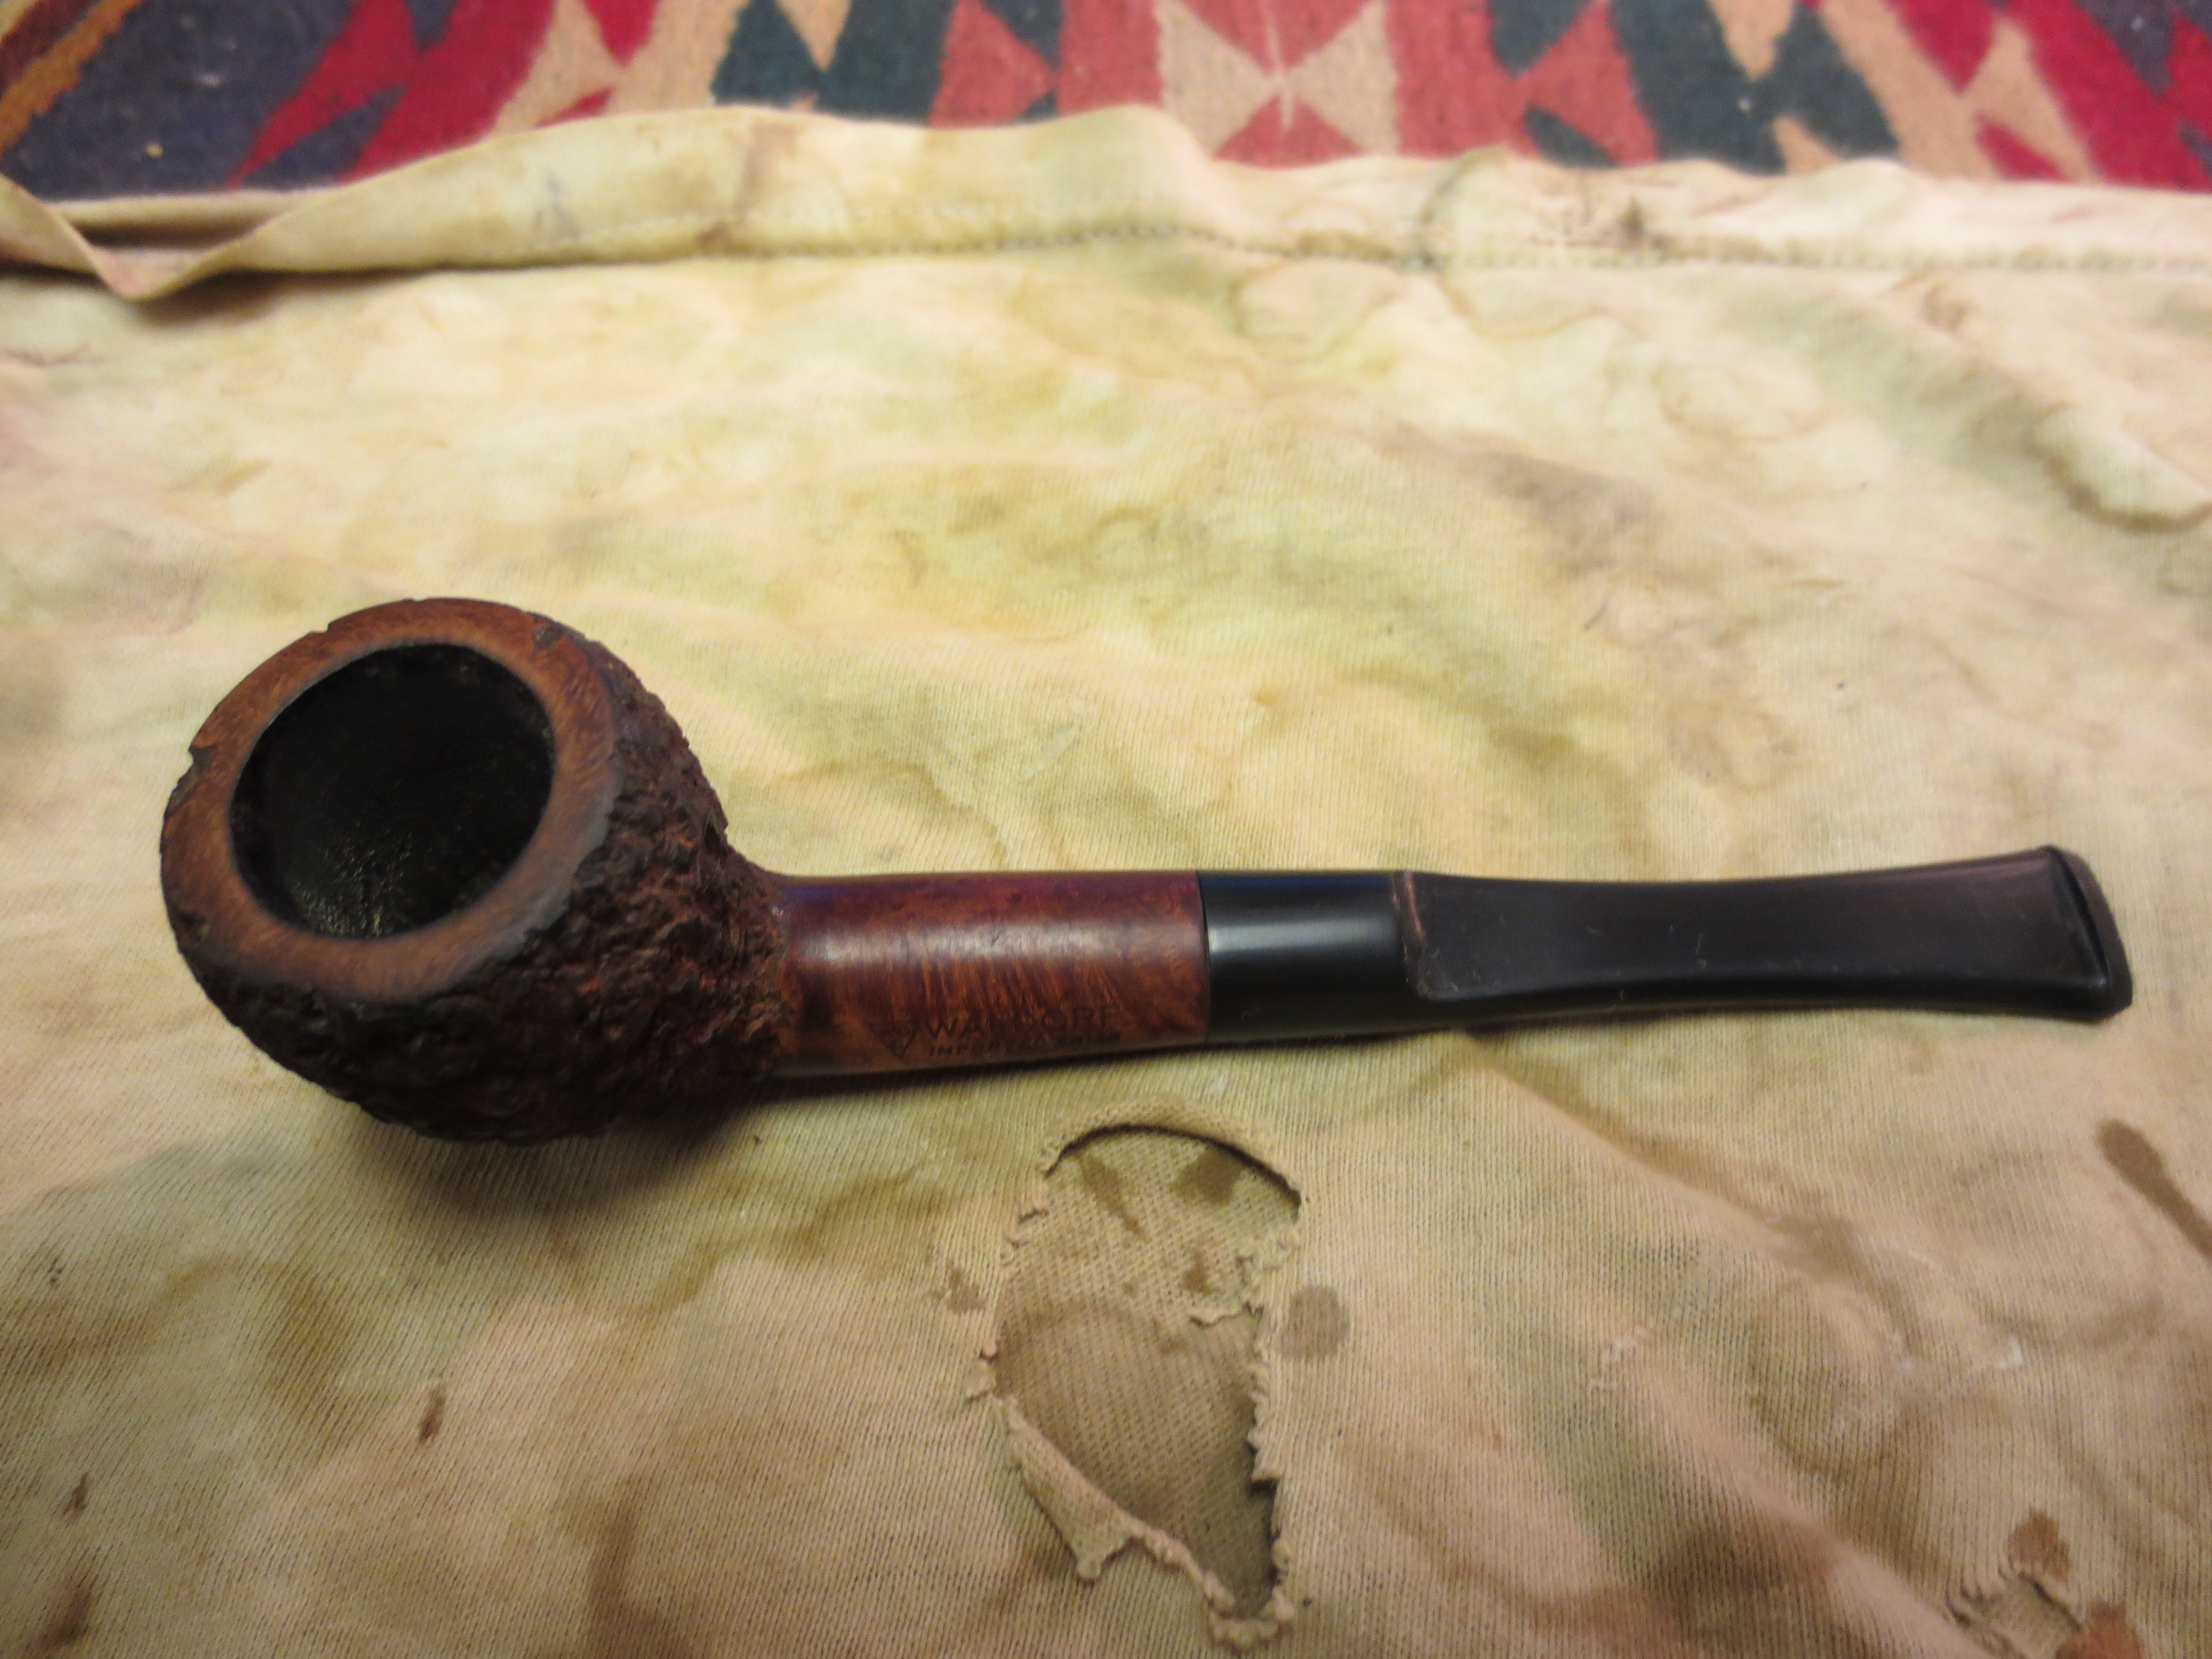
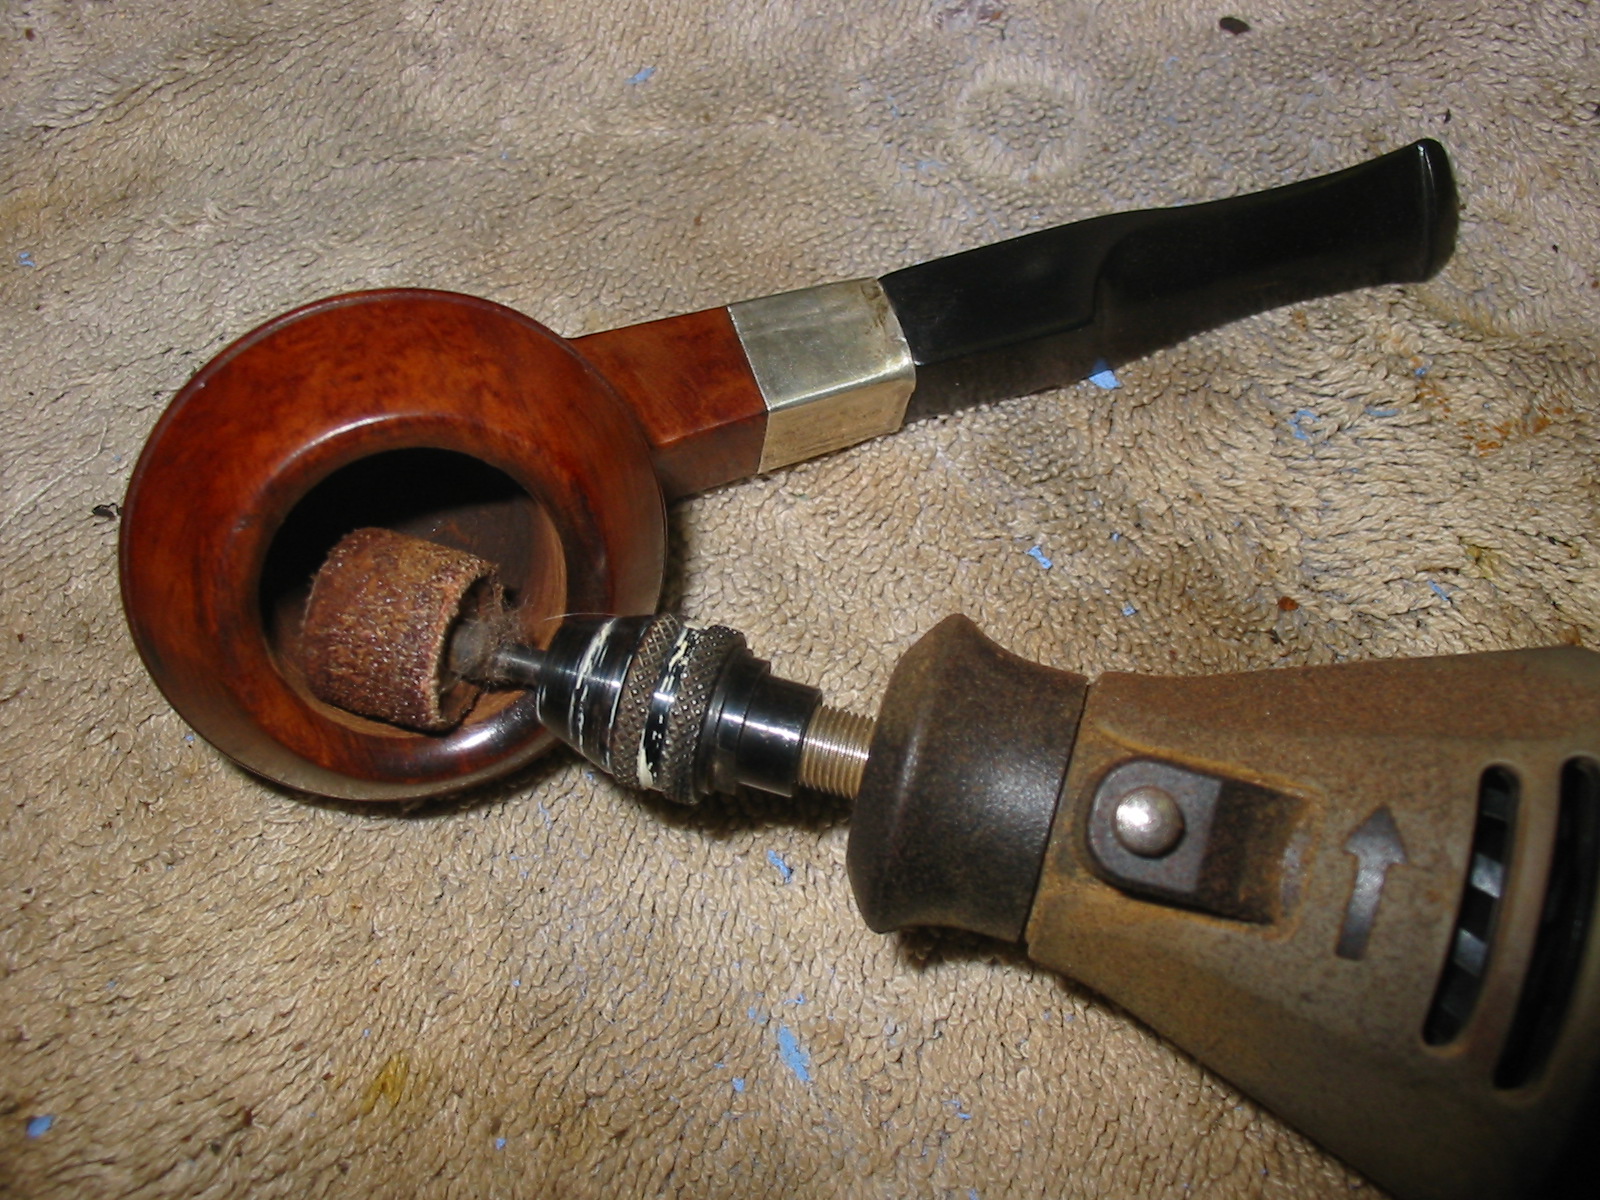
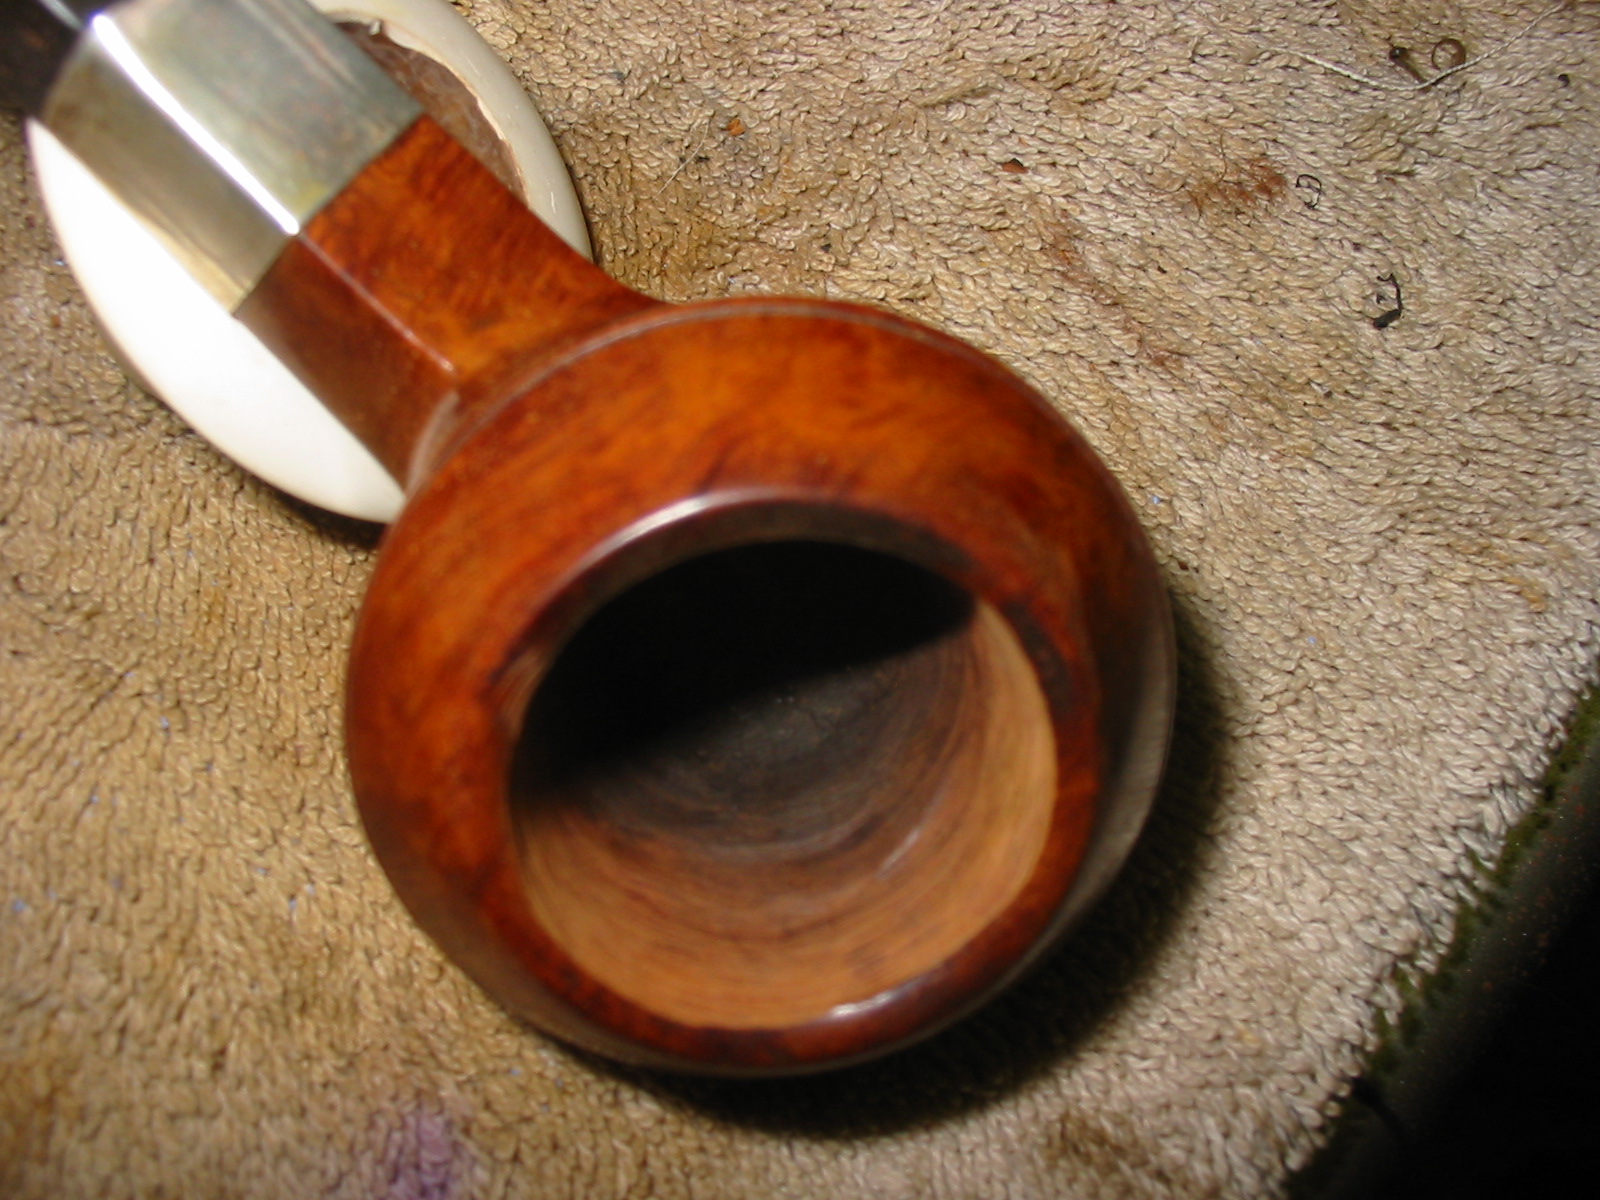
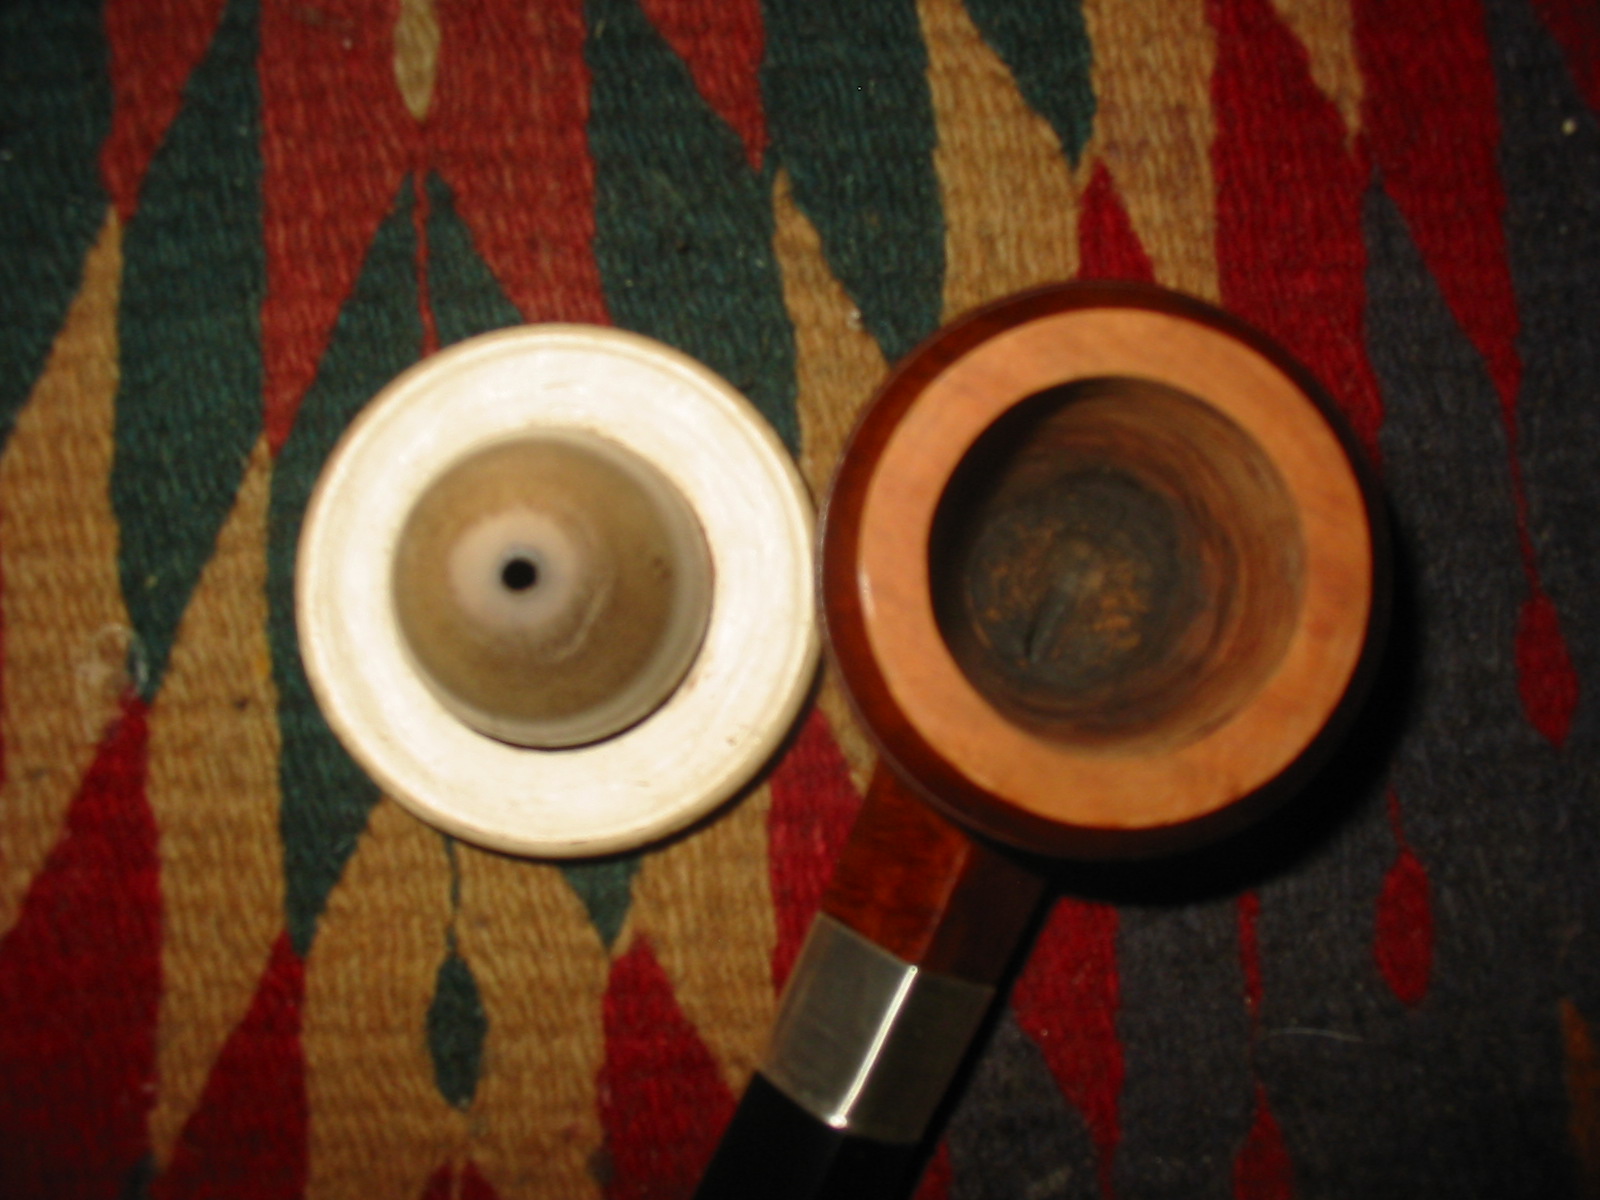
I used the Dremel with a sanding drum on it to open the bowl of the briar. I had to open the bowl quite a bit in order for the meer cup to fit in the bowl. I also had to top the bowl considerably to allow the bowl to sit properly. I sanded the inside of the bowl until the cup fit snuggly. I also had to reshape the bowl in order for a proper seat for the cup. Once I had the bowl opening fit to size with the Dremel I sanded it with 340 grit sandpaper to smooth out the inside walls of the bowl. I had sanded carefully with the sanding drum to maintain the roundness of the bowl. I did not want the cup to sit to one side or toward the front or back. I wanted it centered in the bowl. This took some careful and slow sanding with the sanding drum.

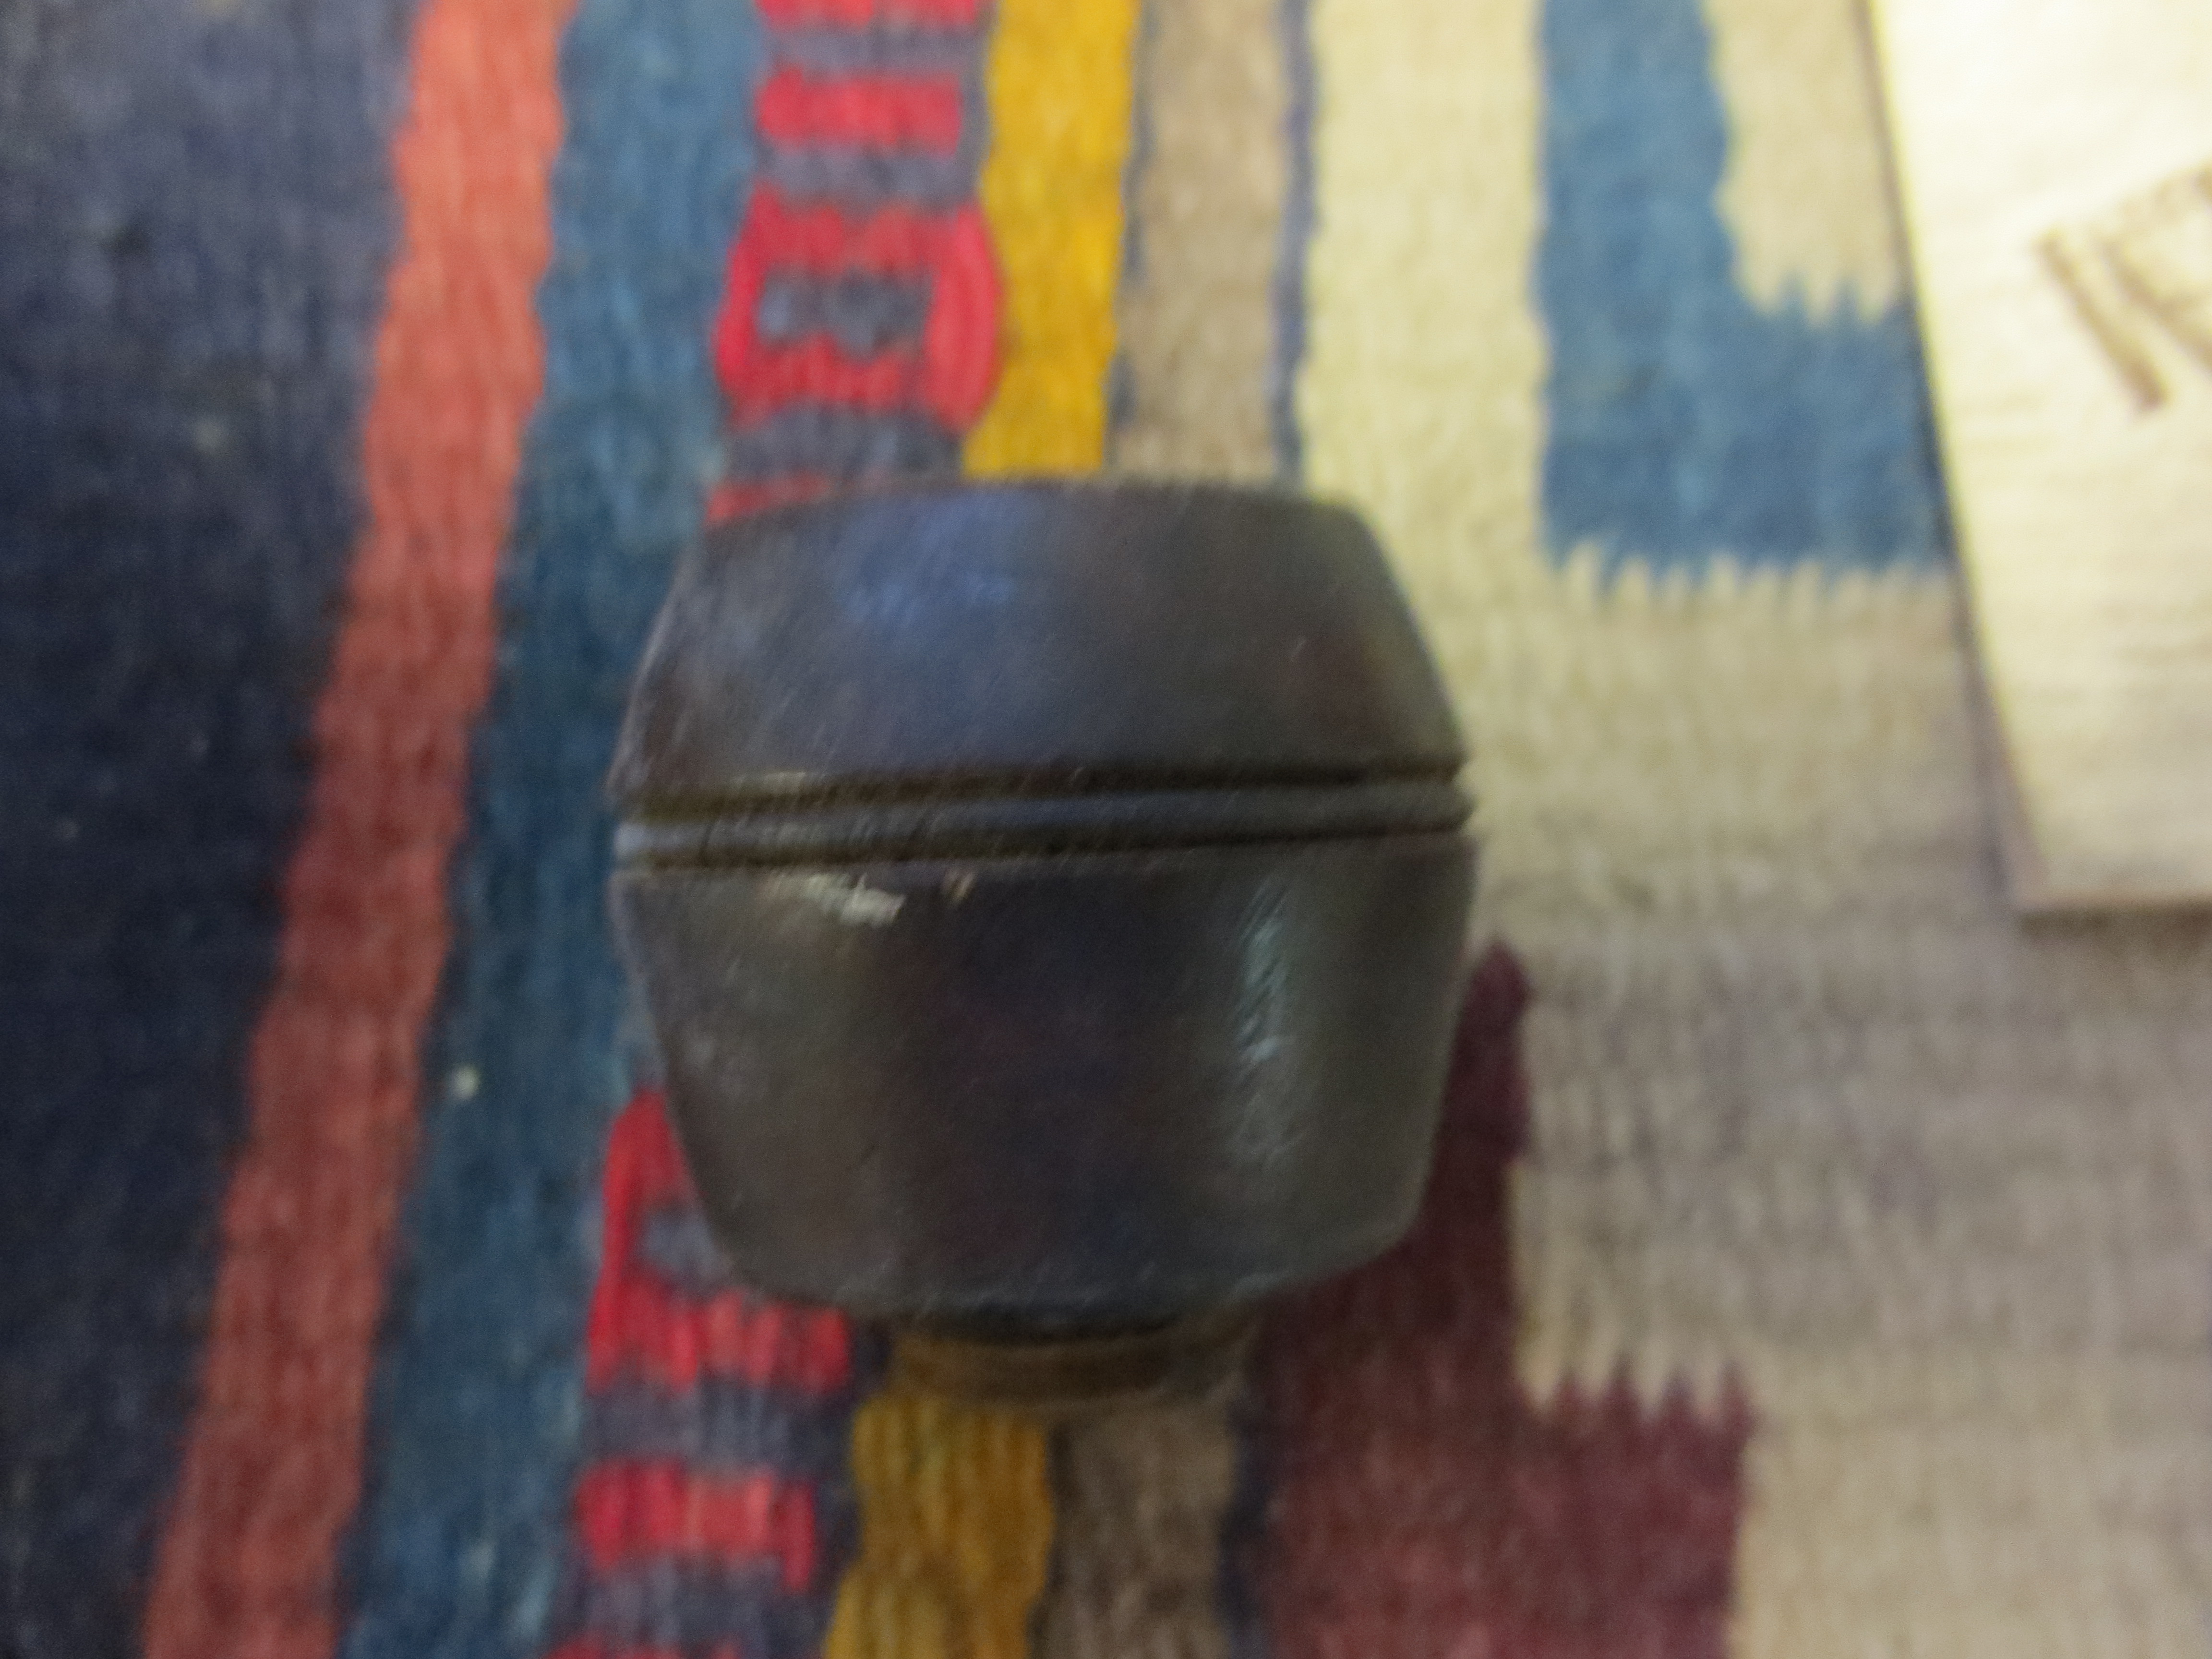
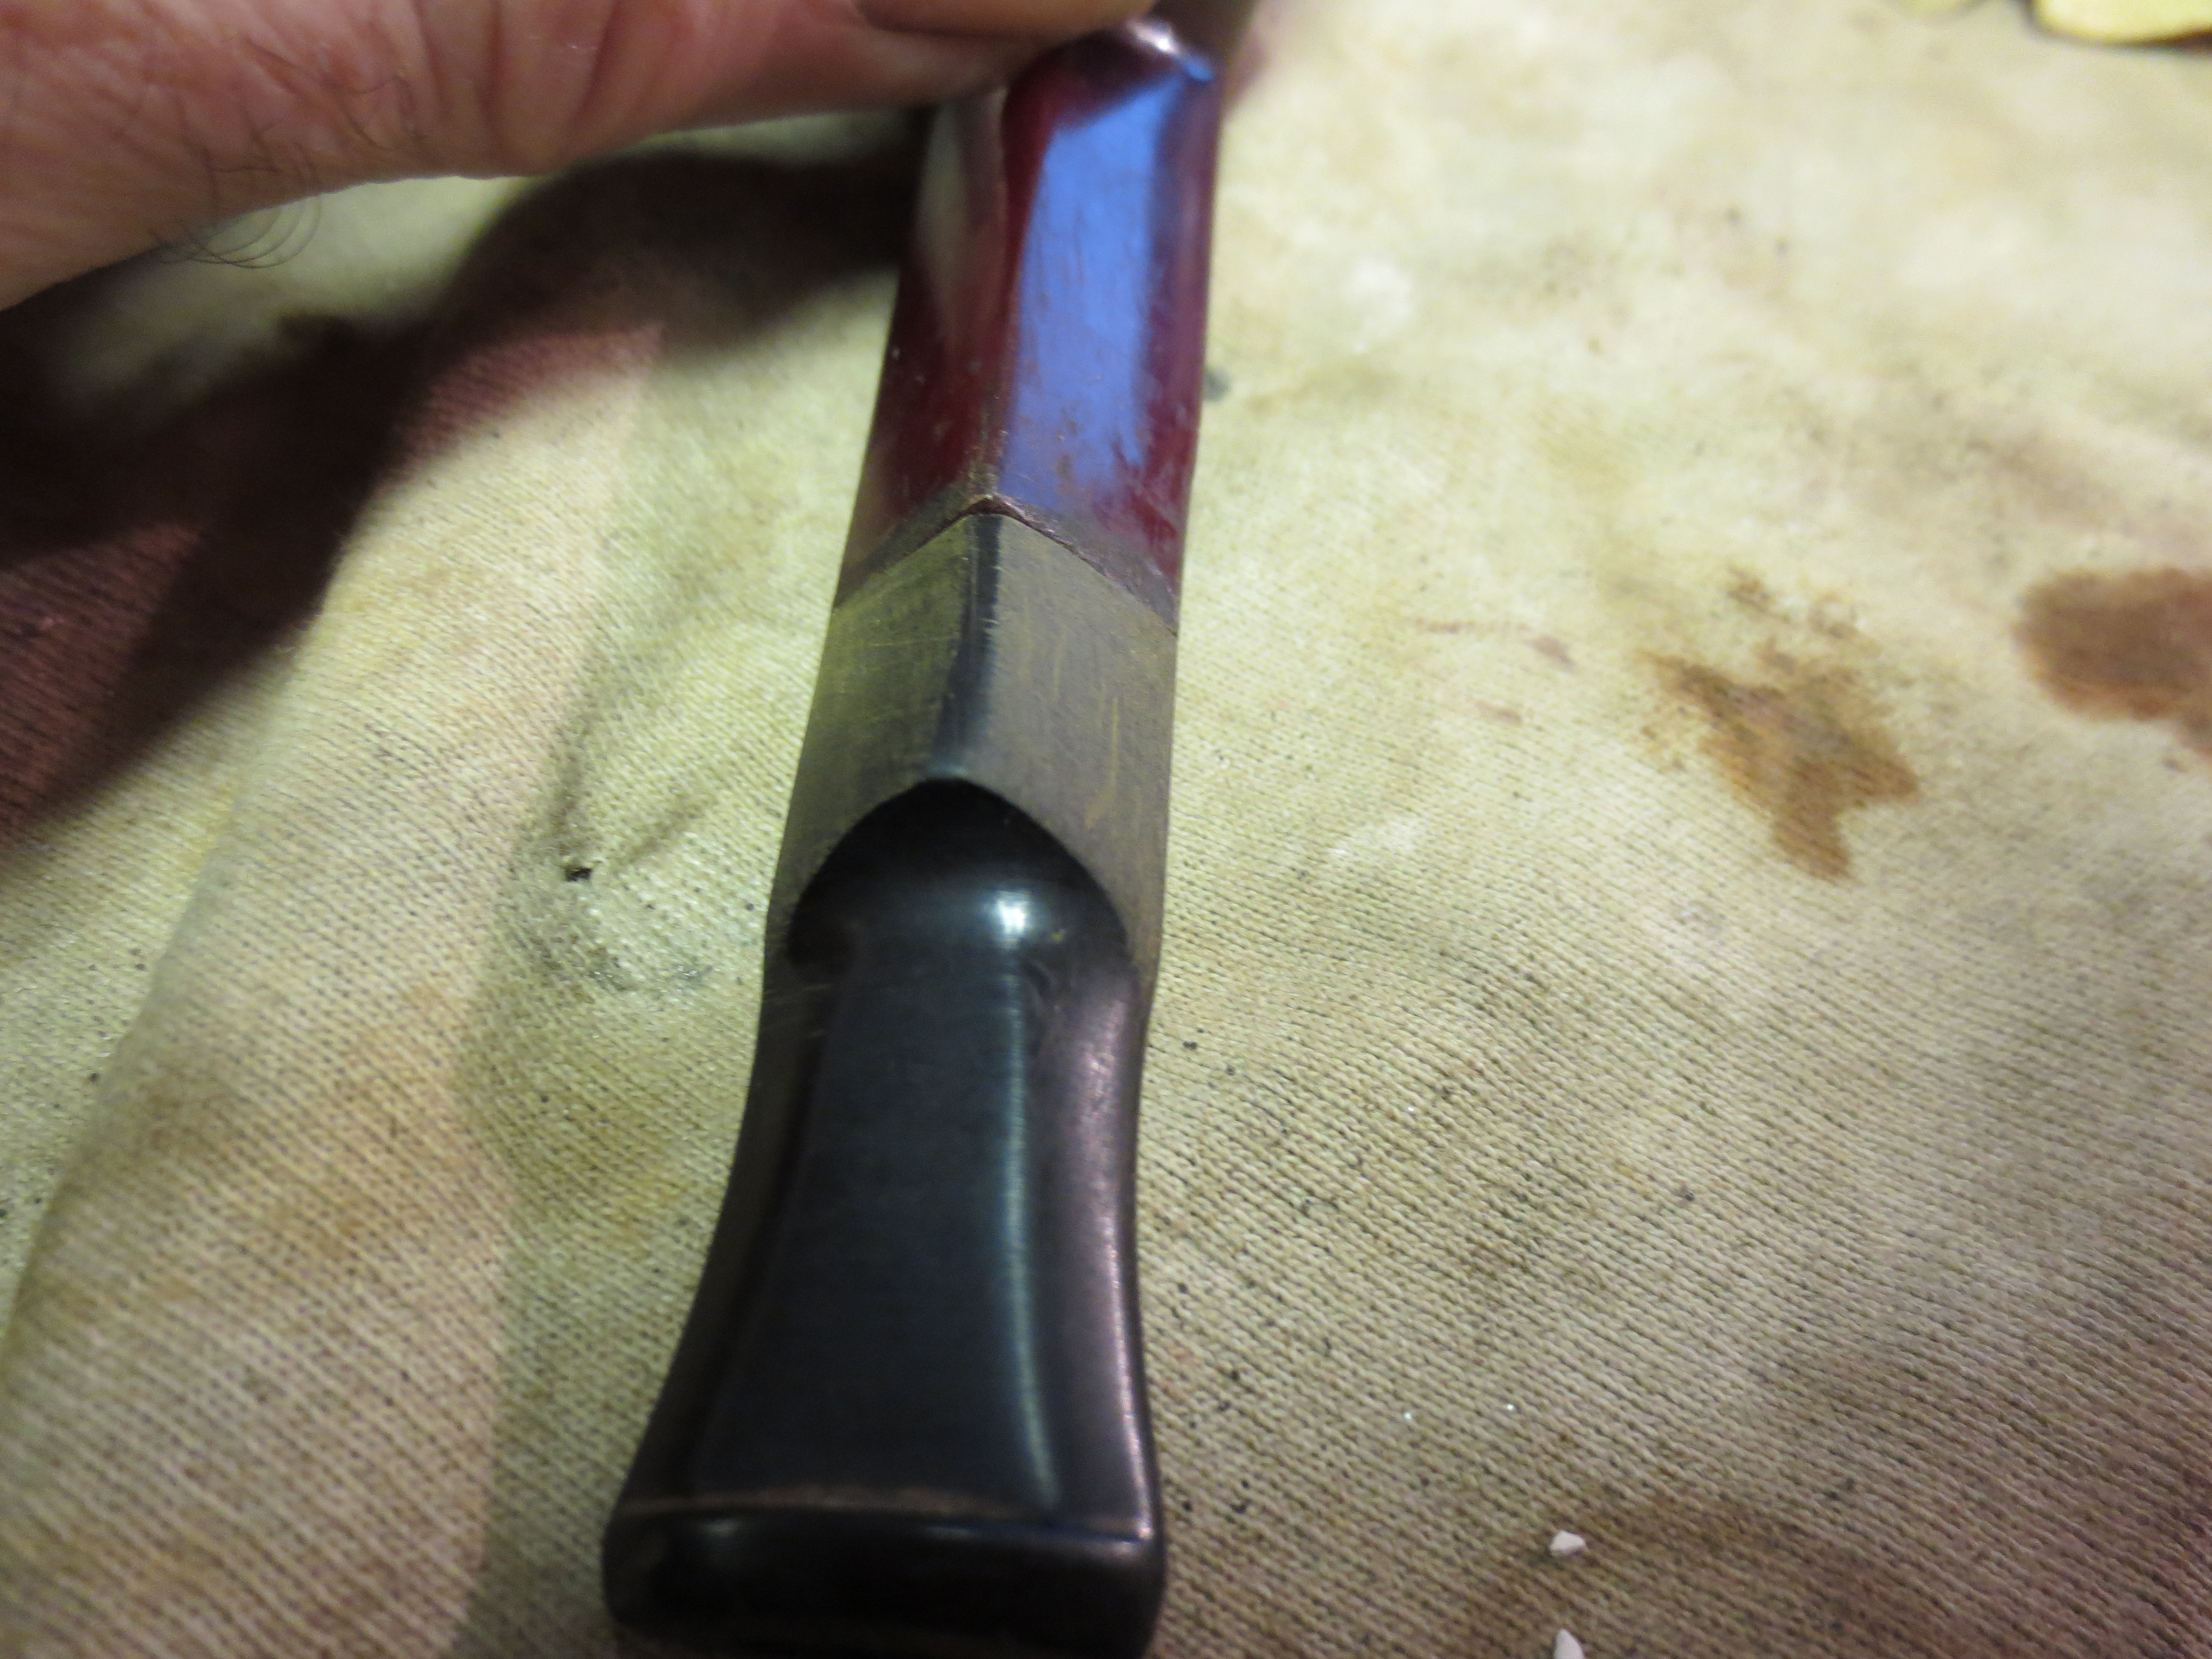
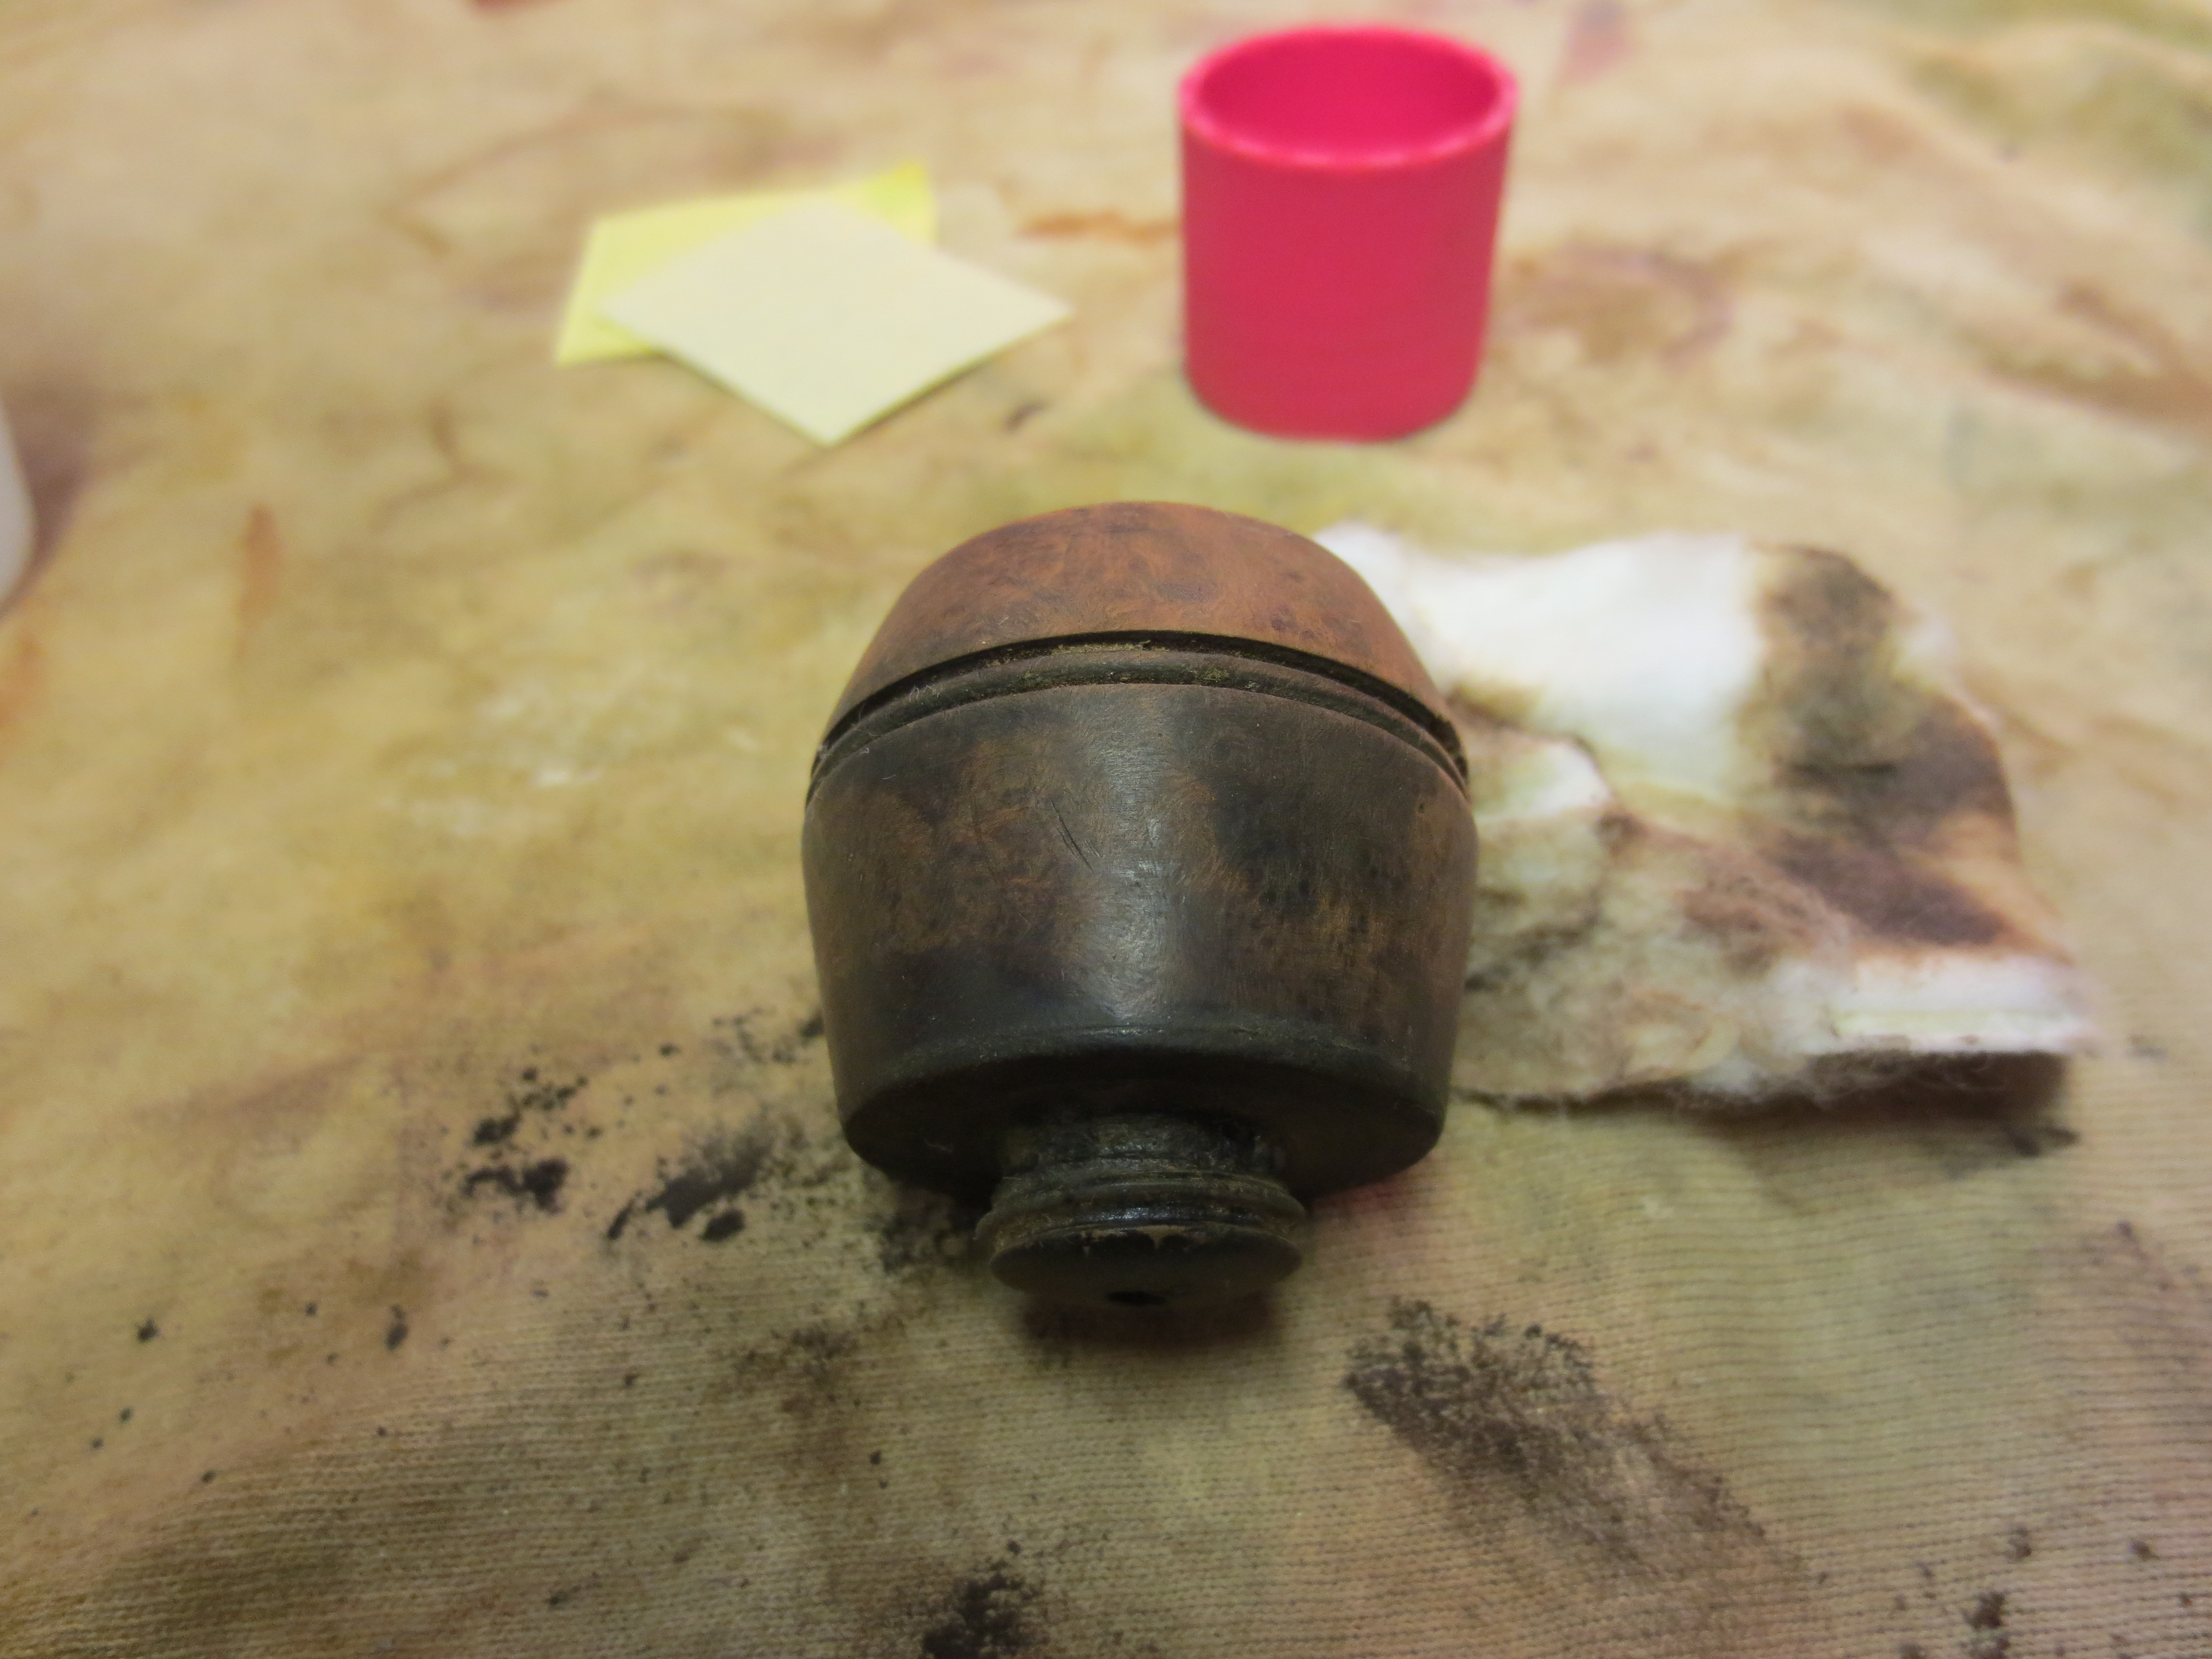
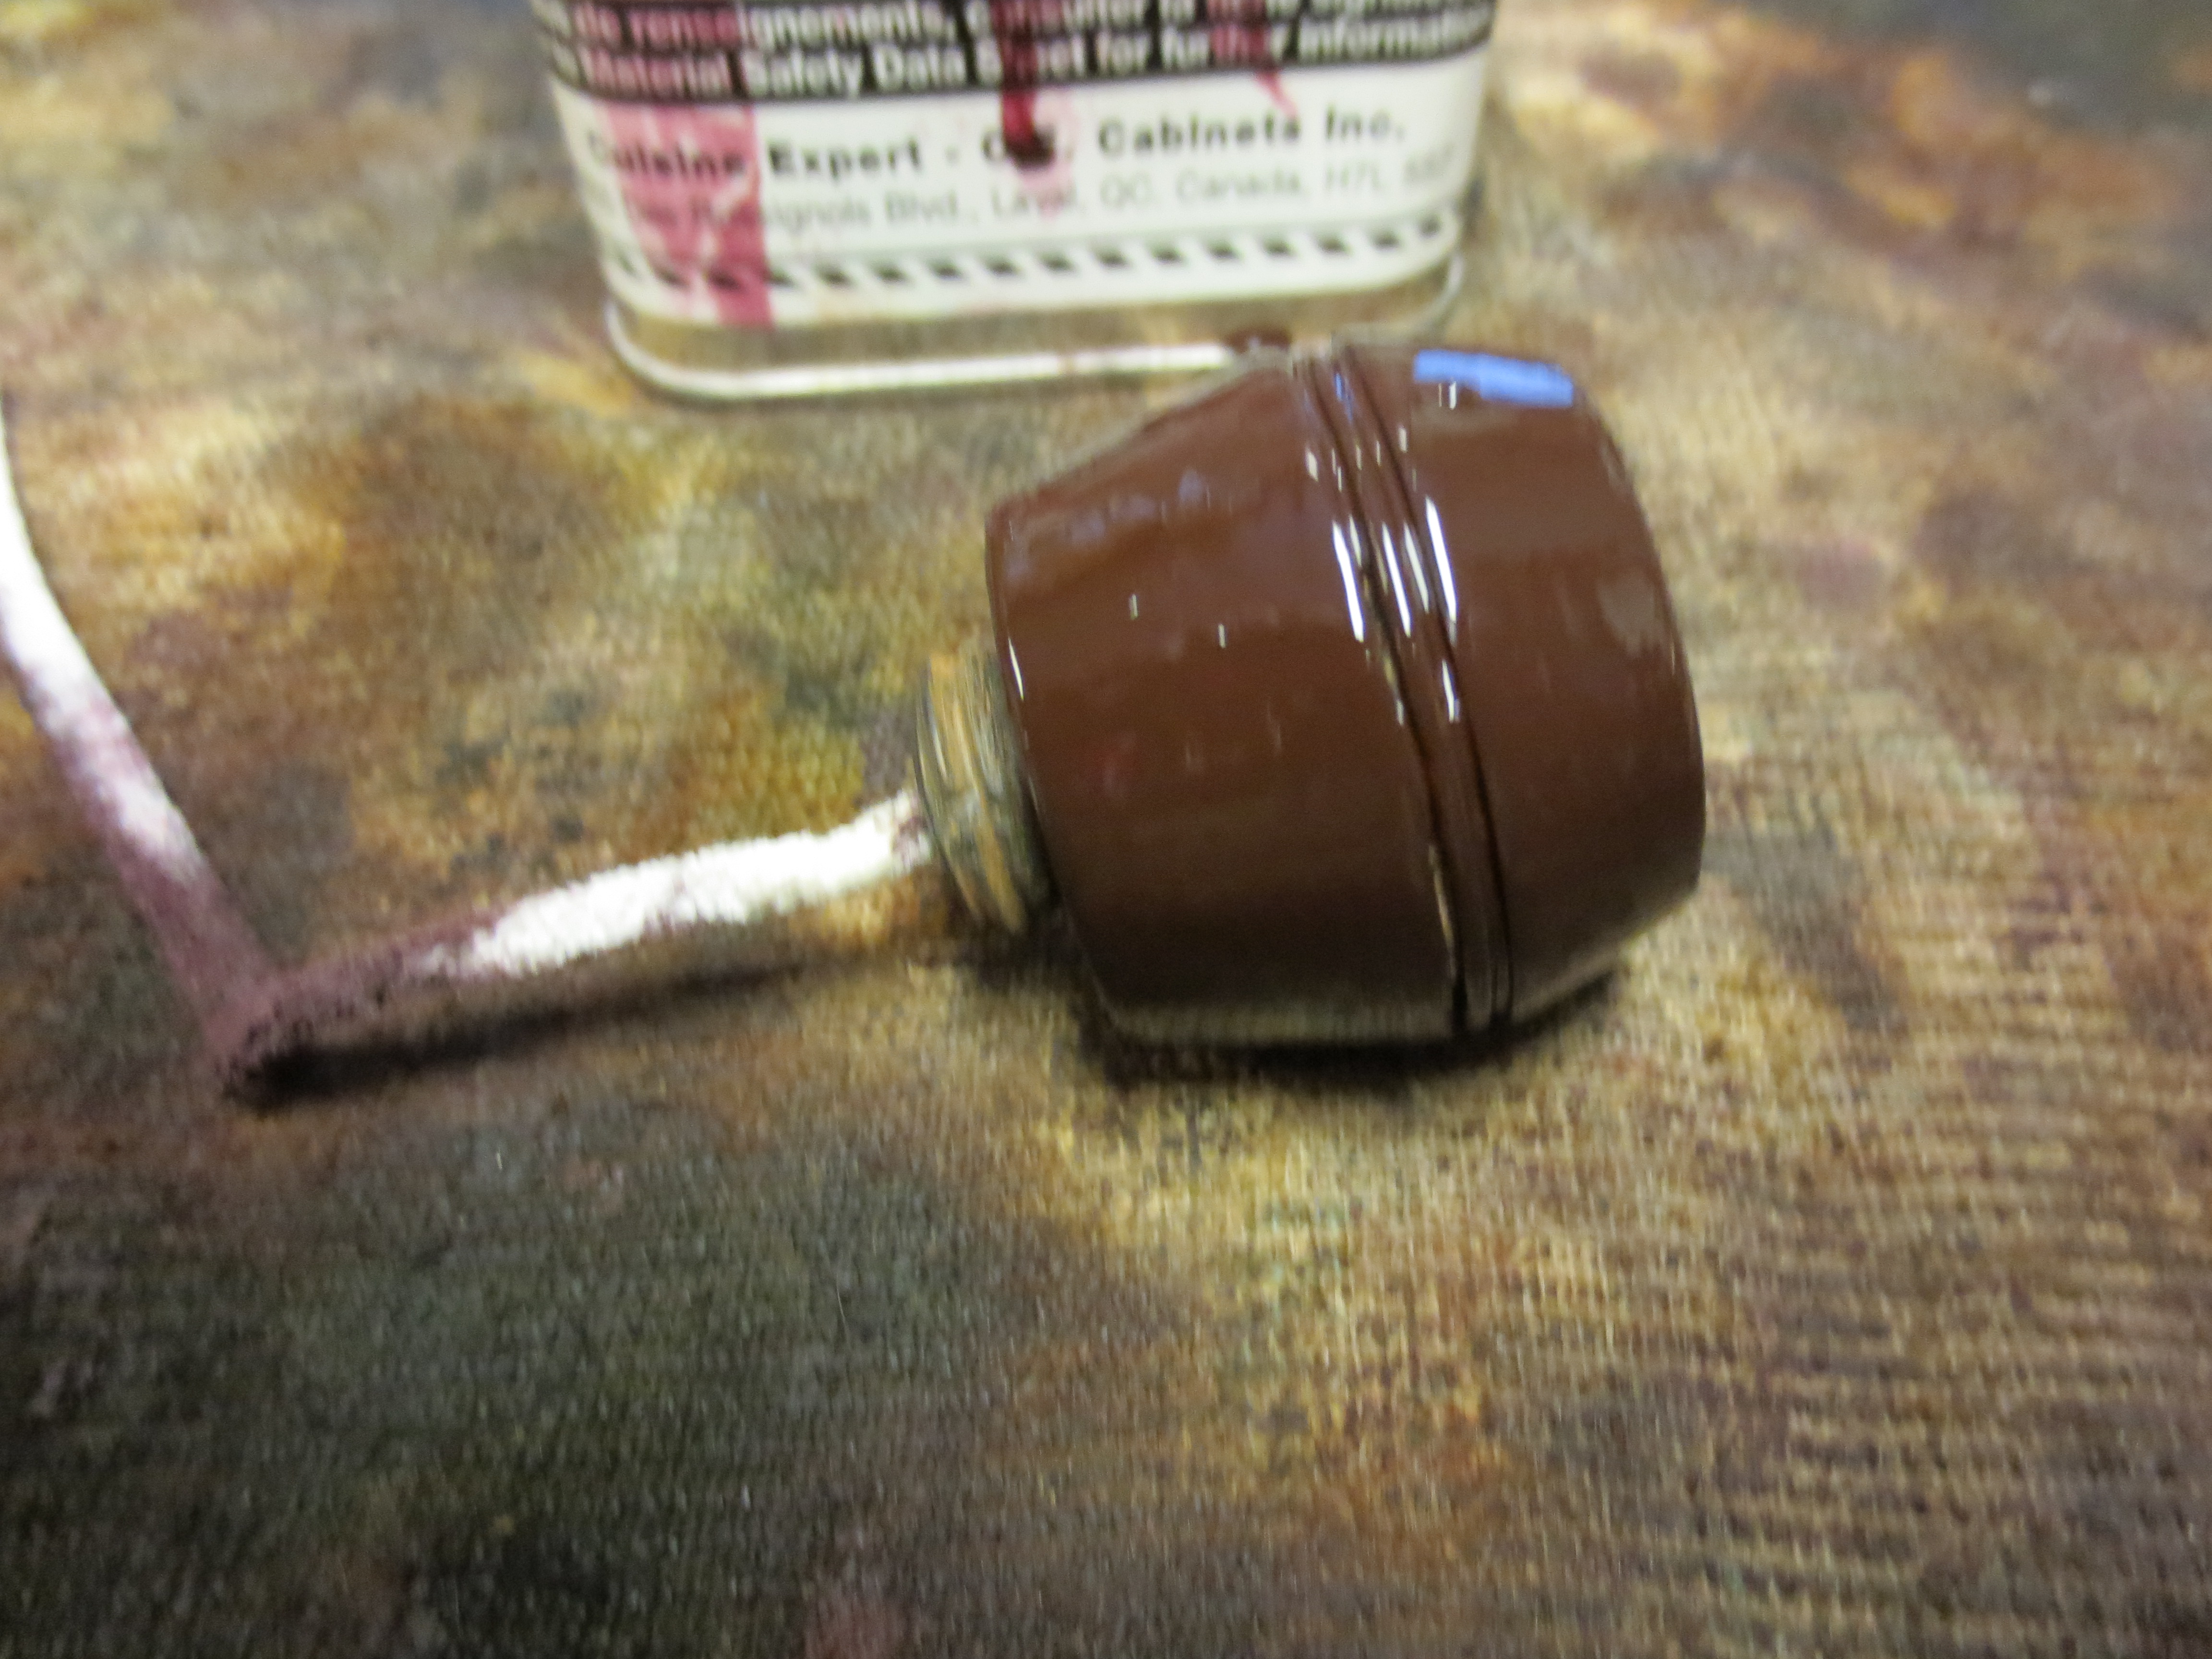
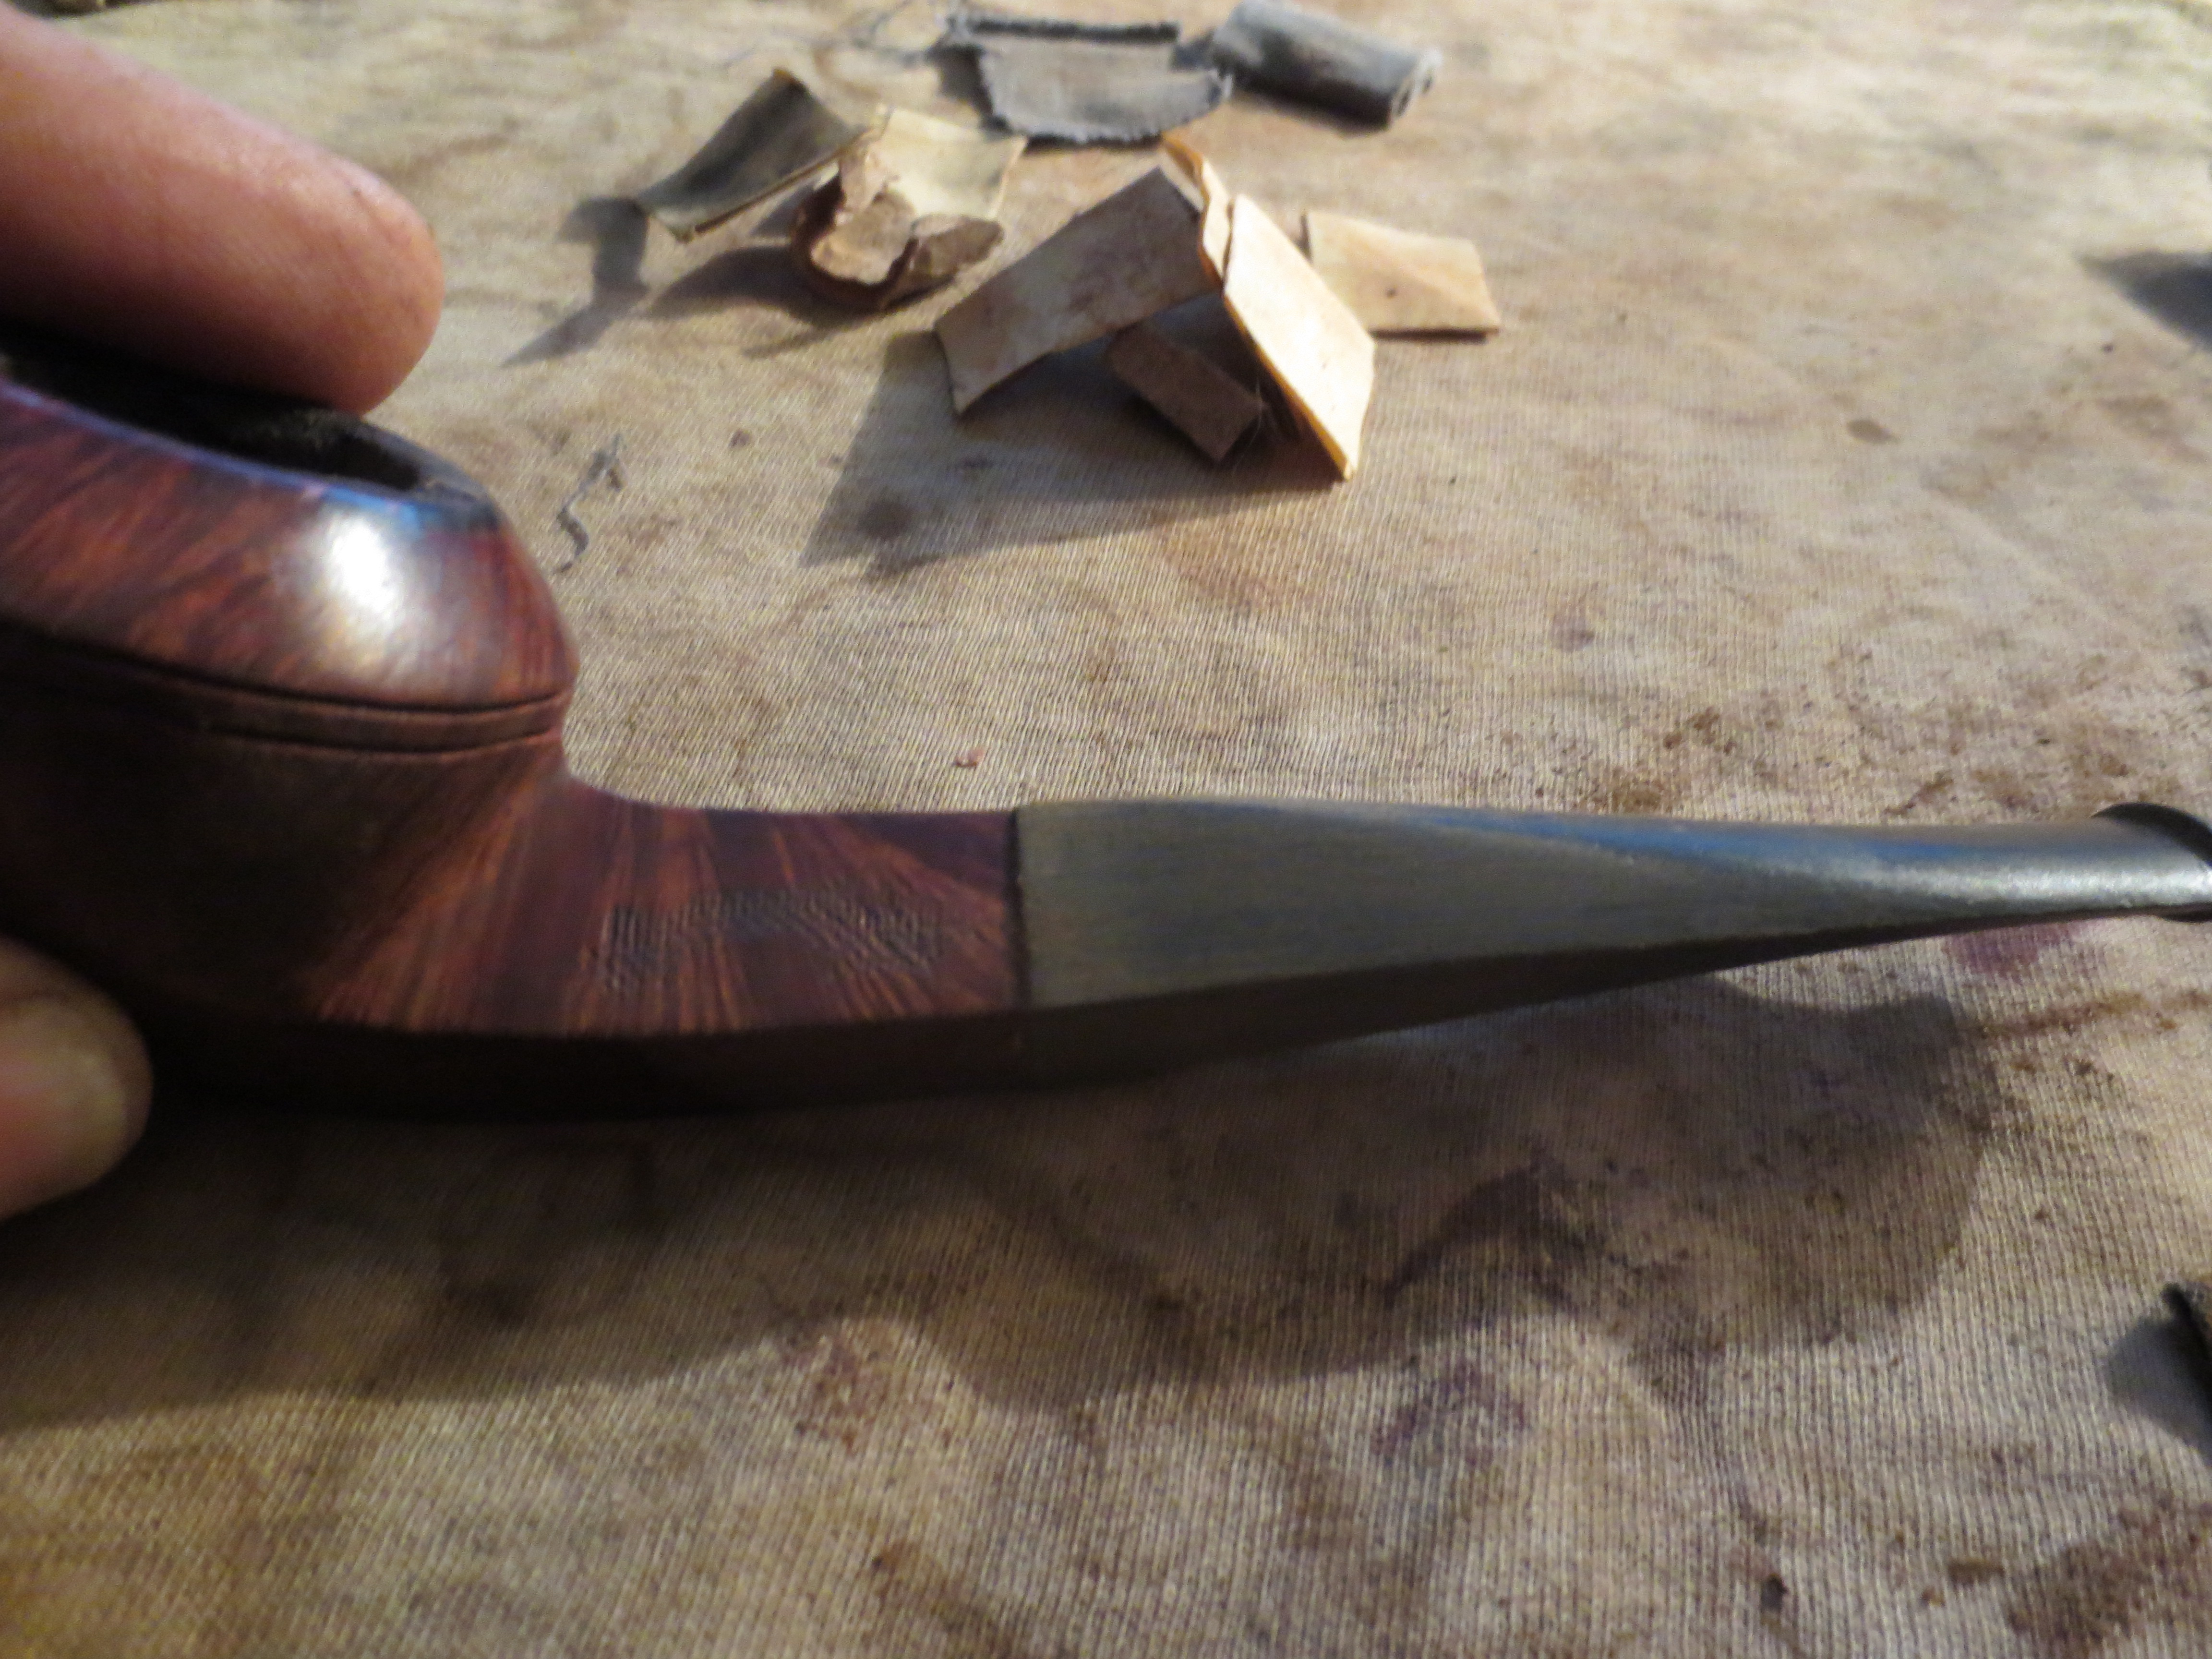
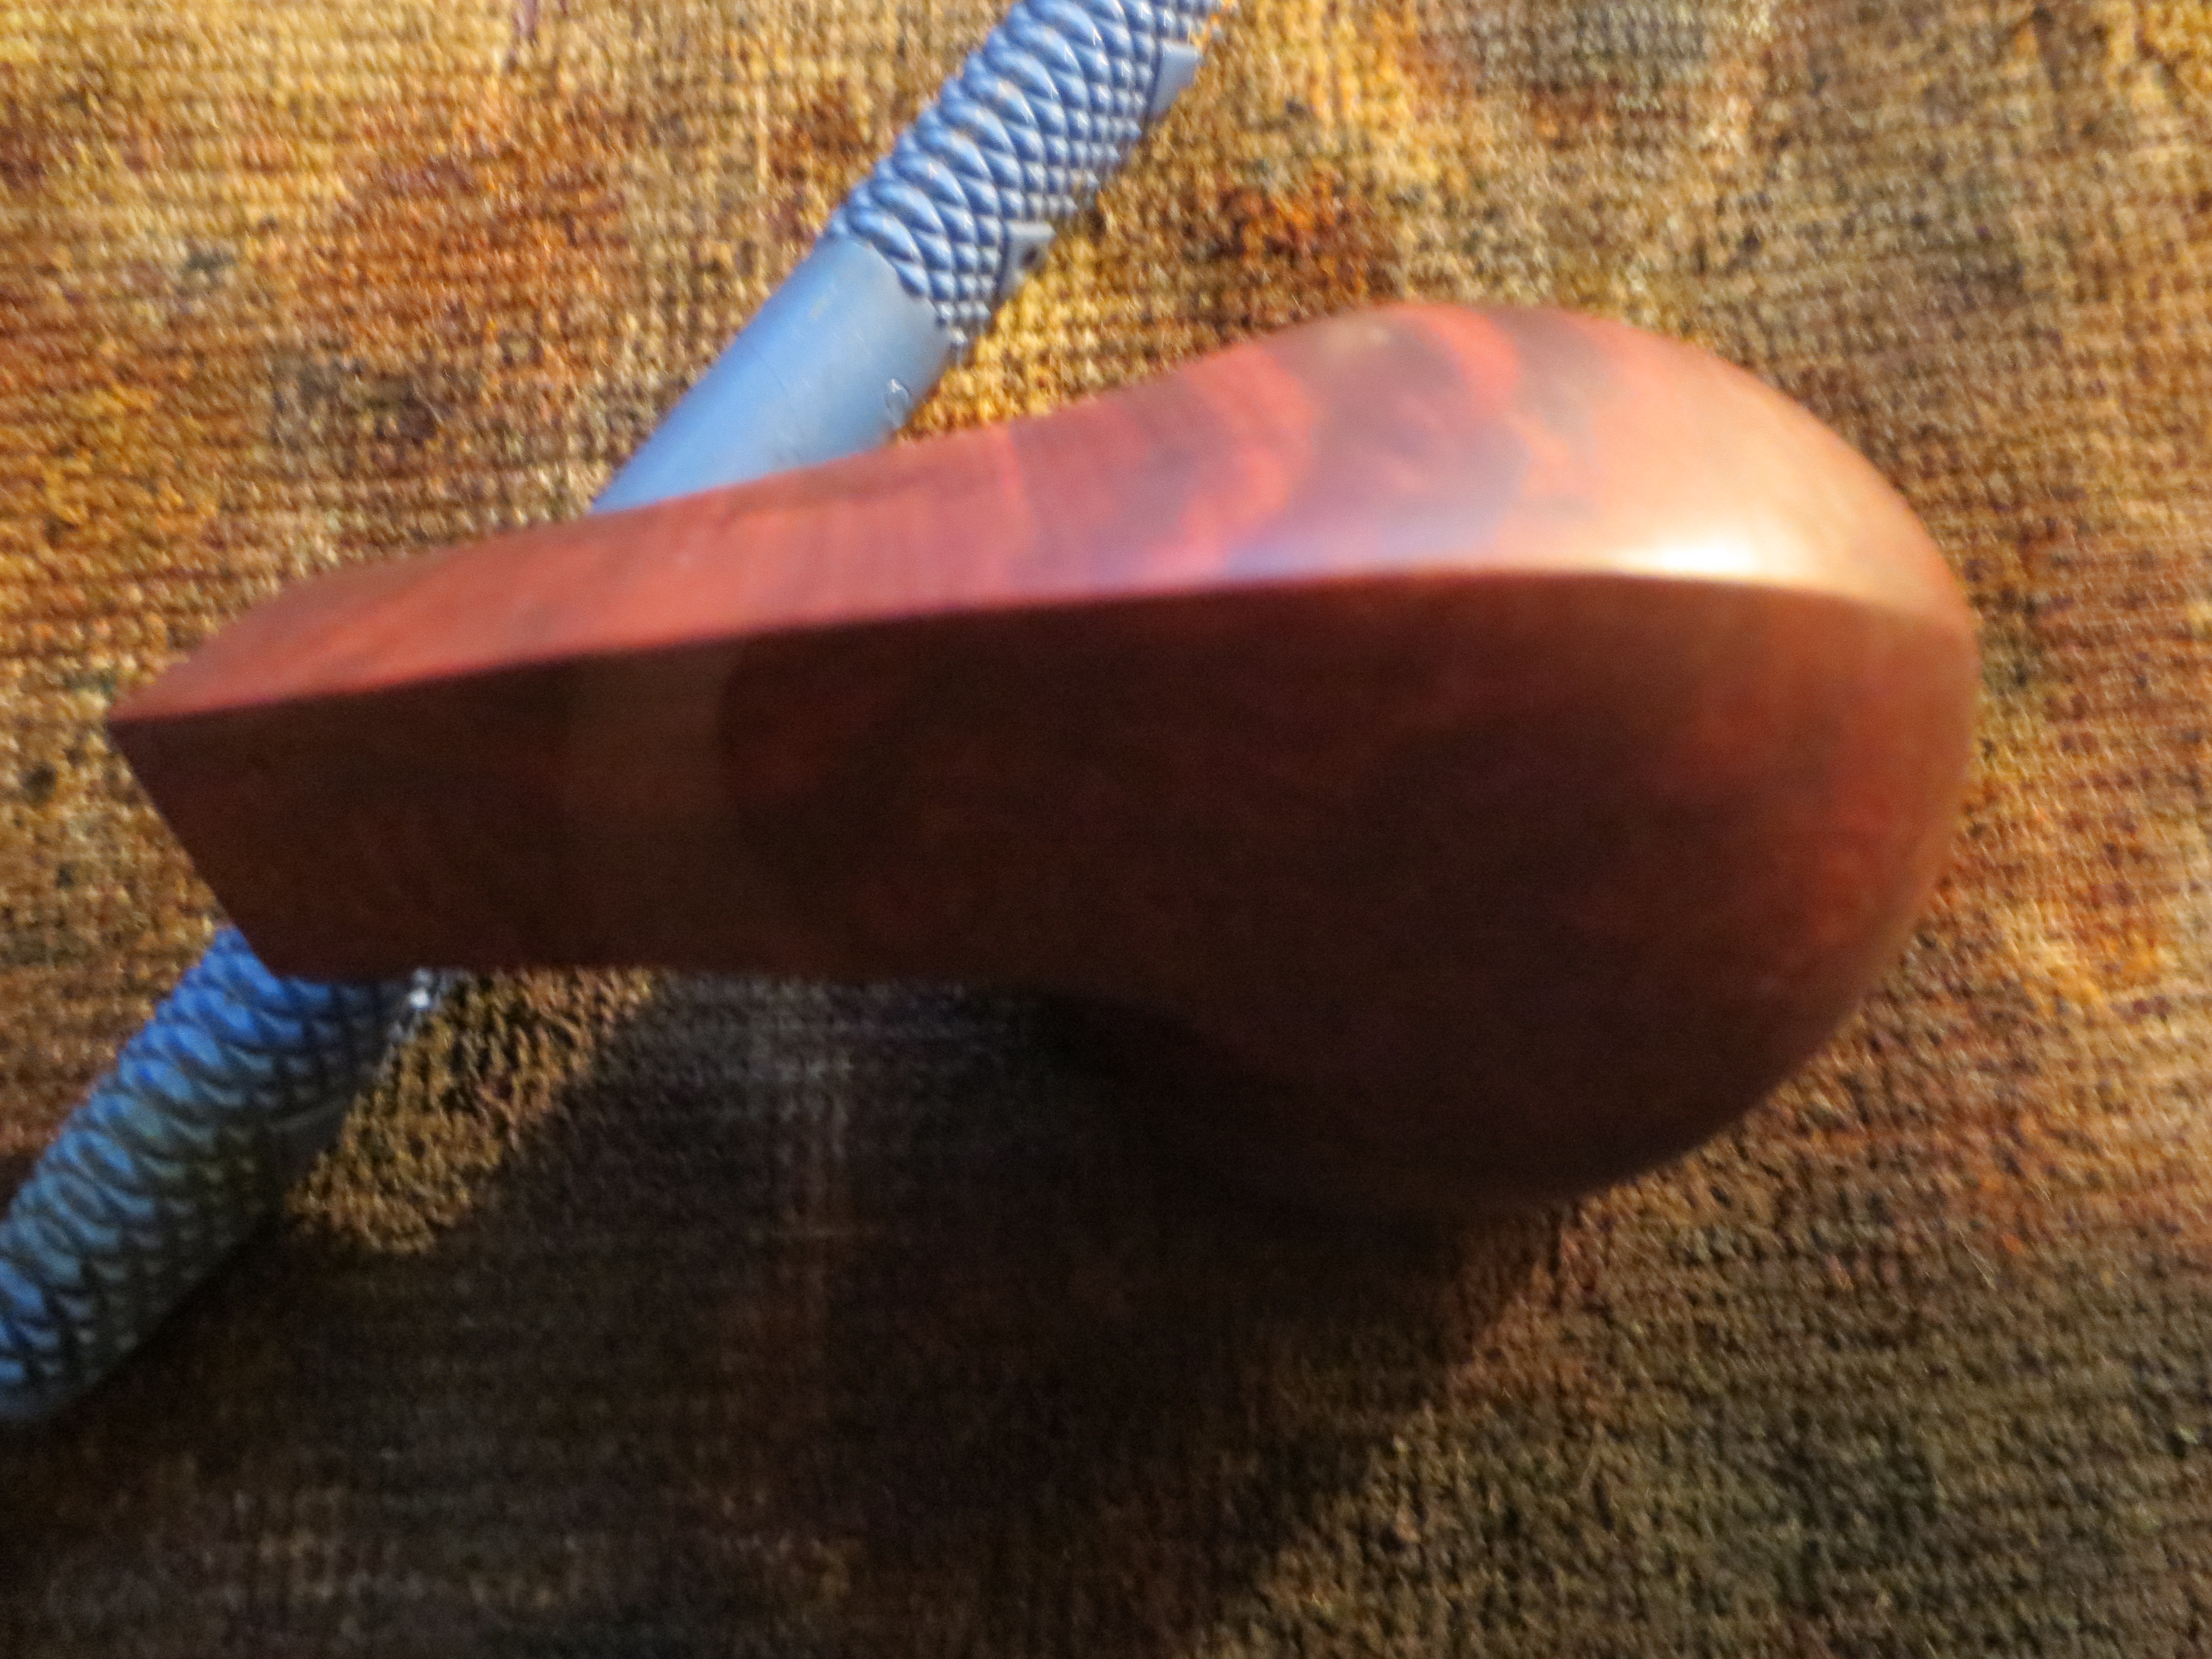
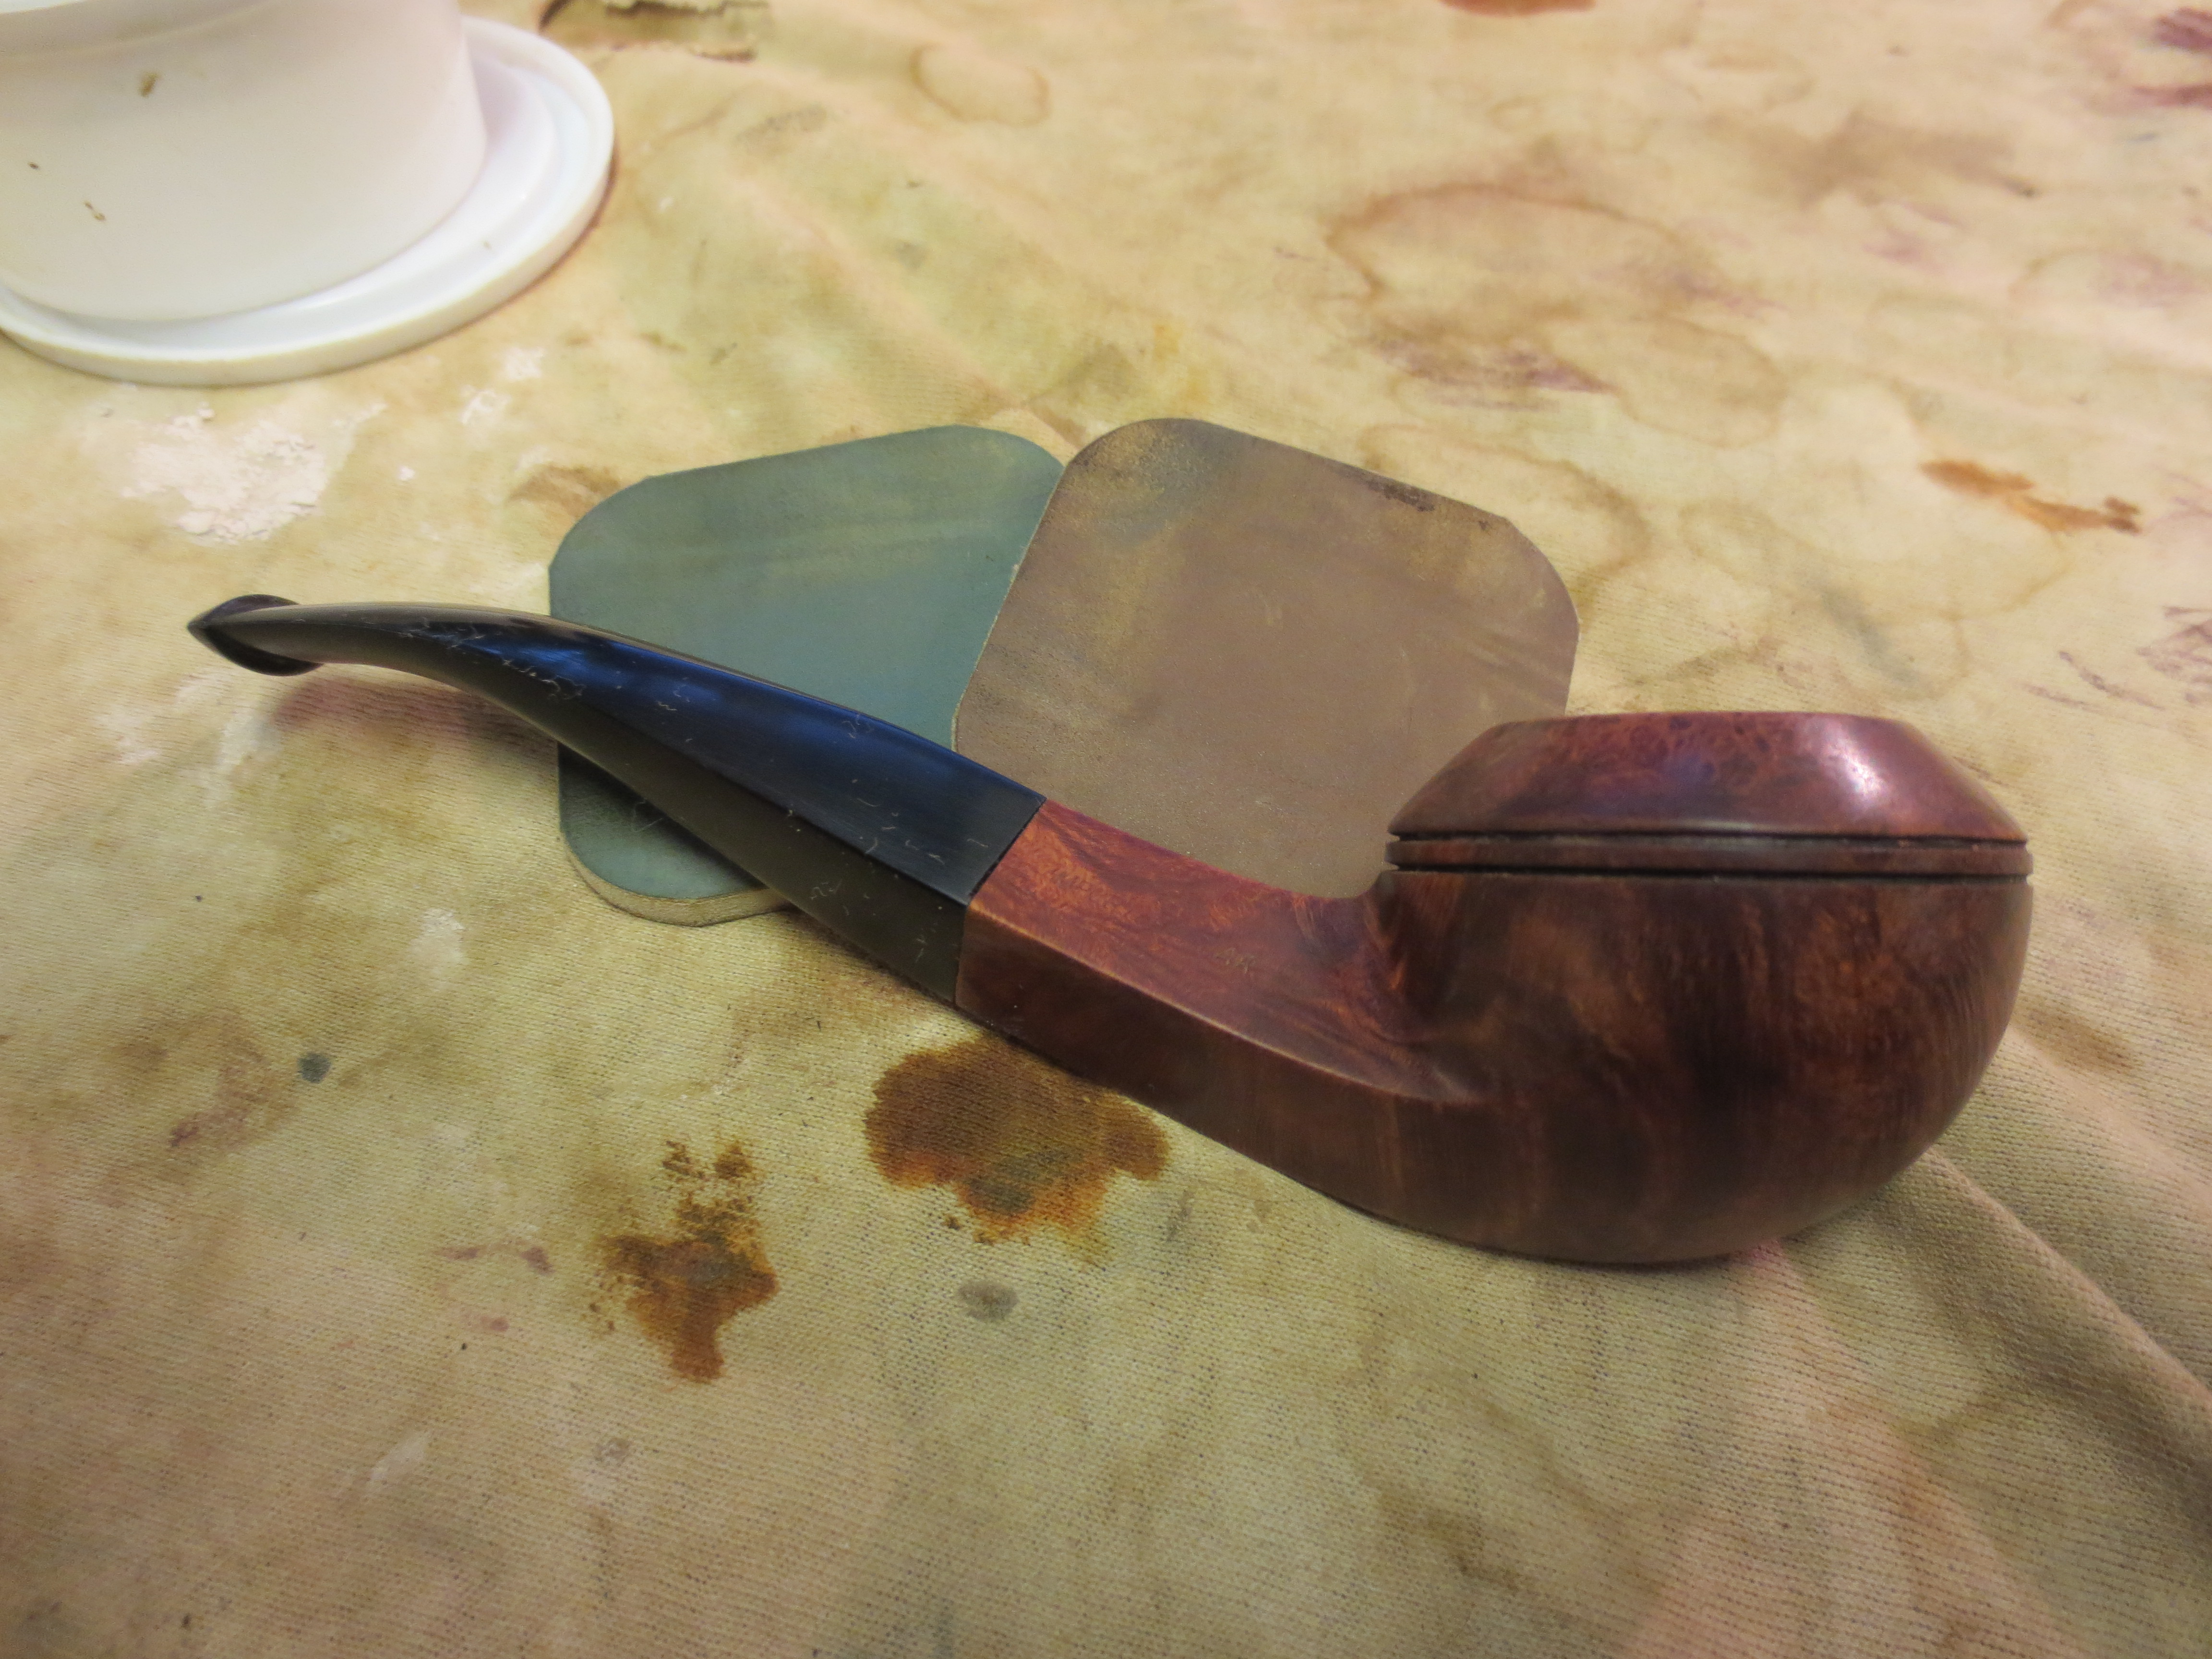
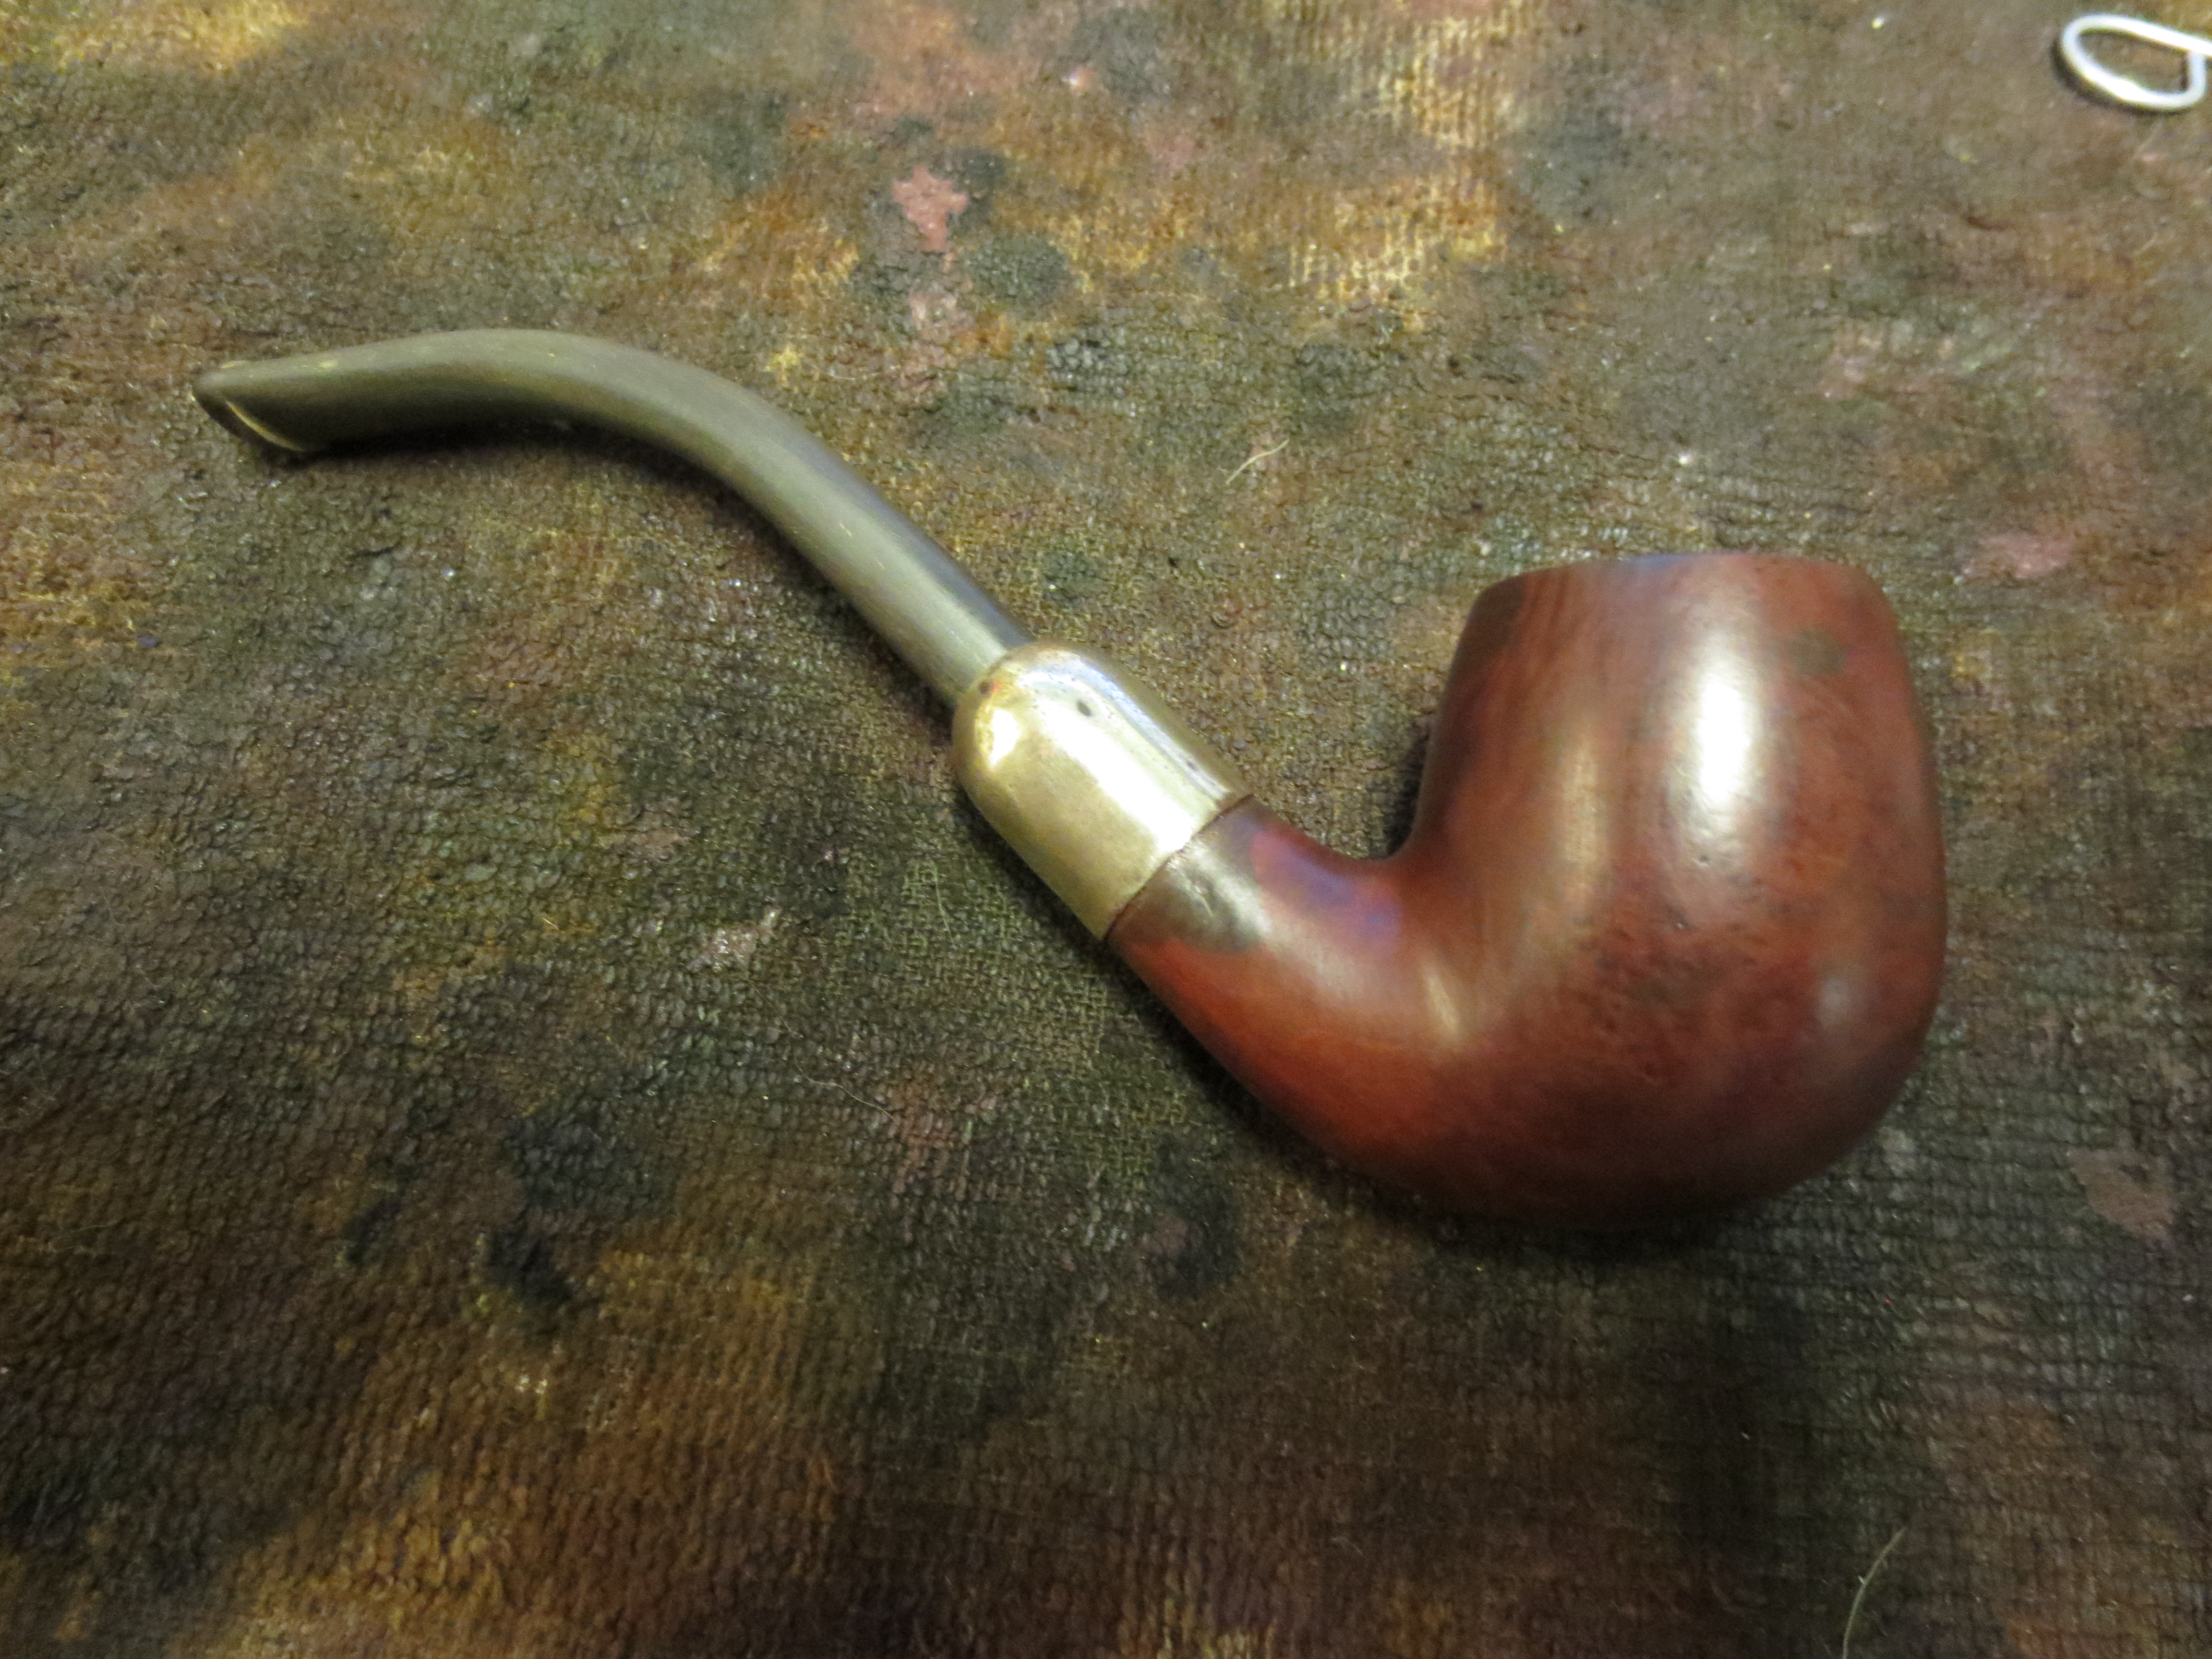
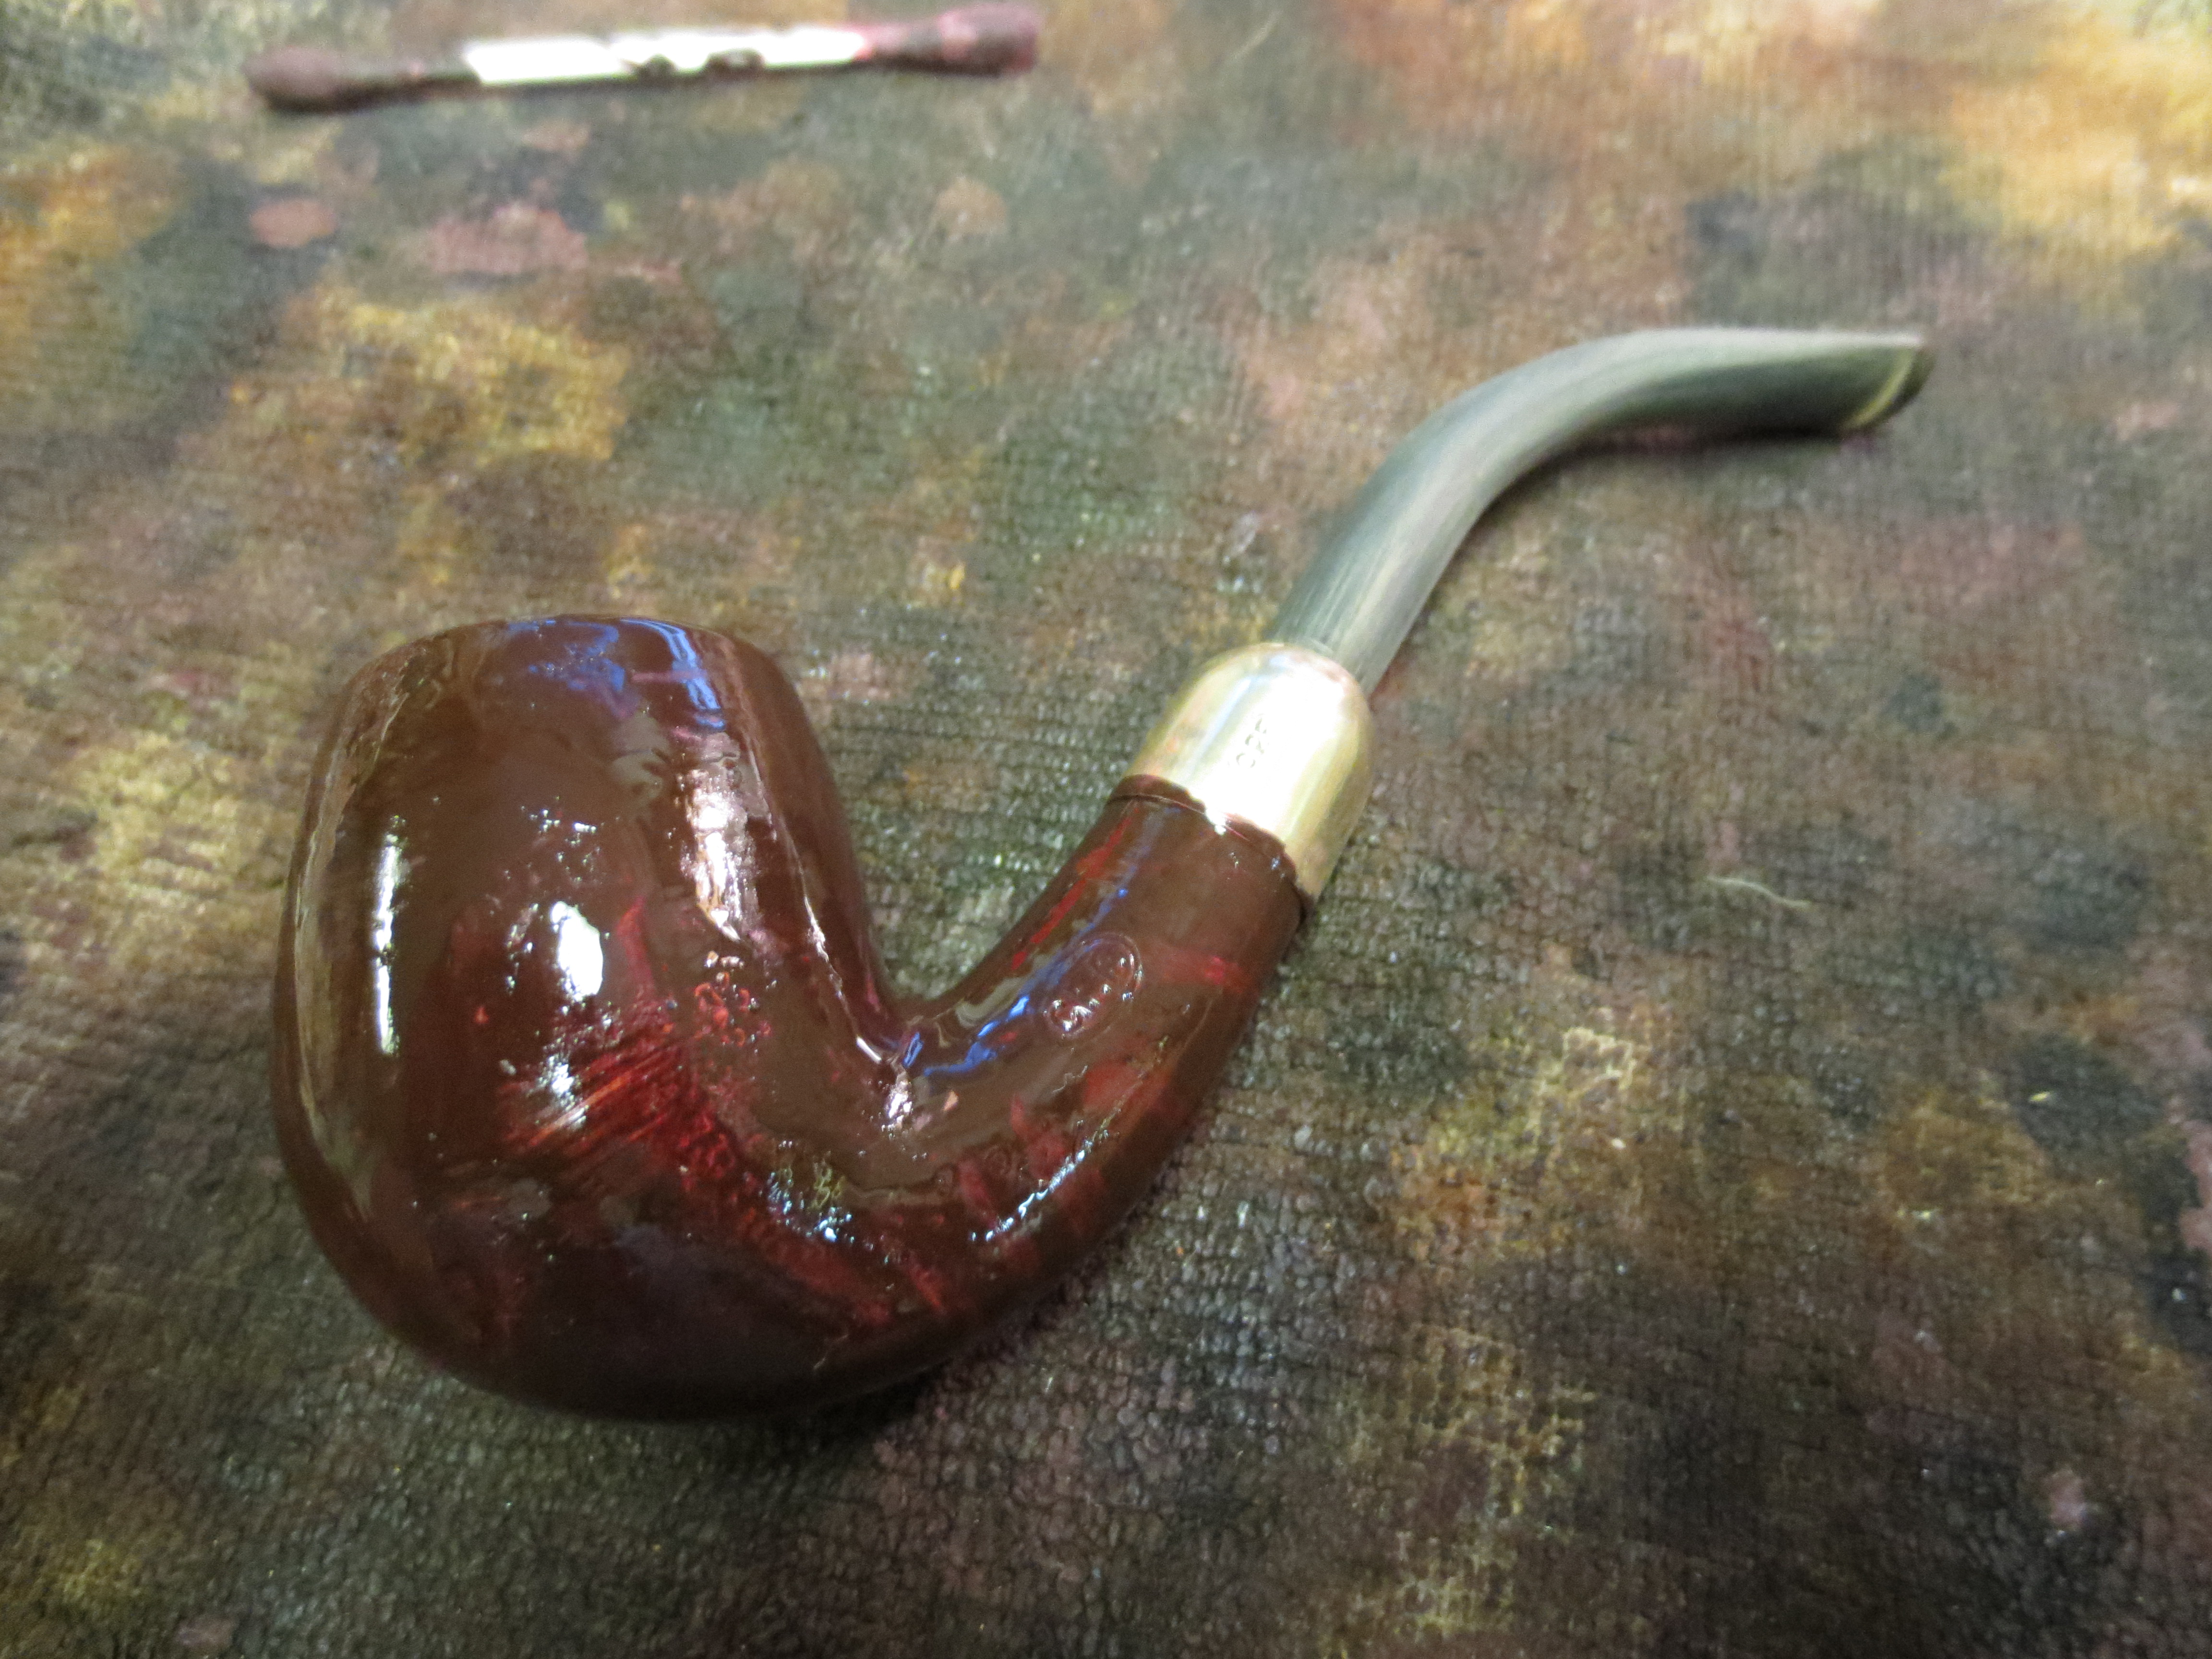
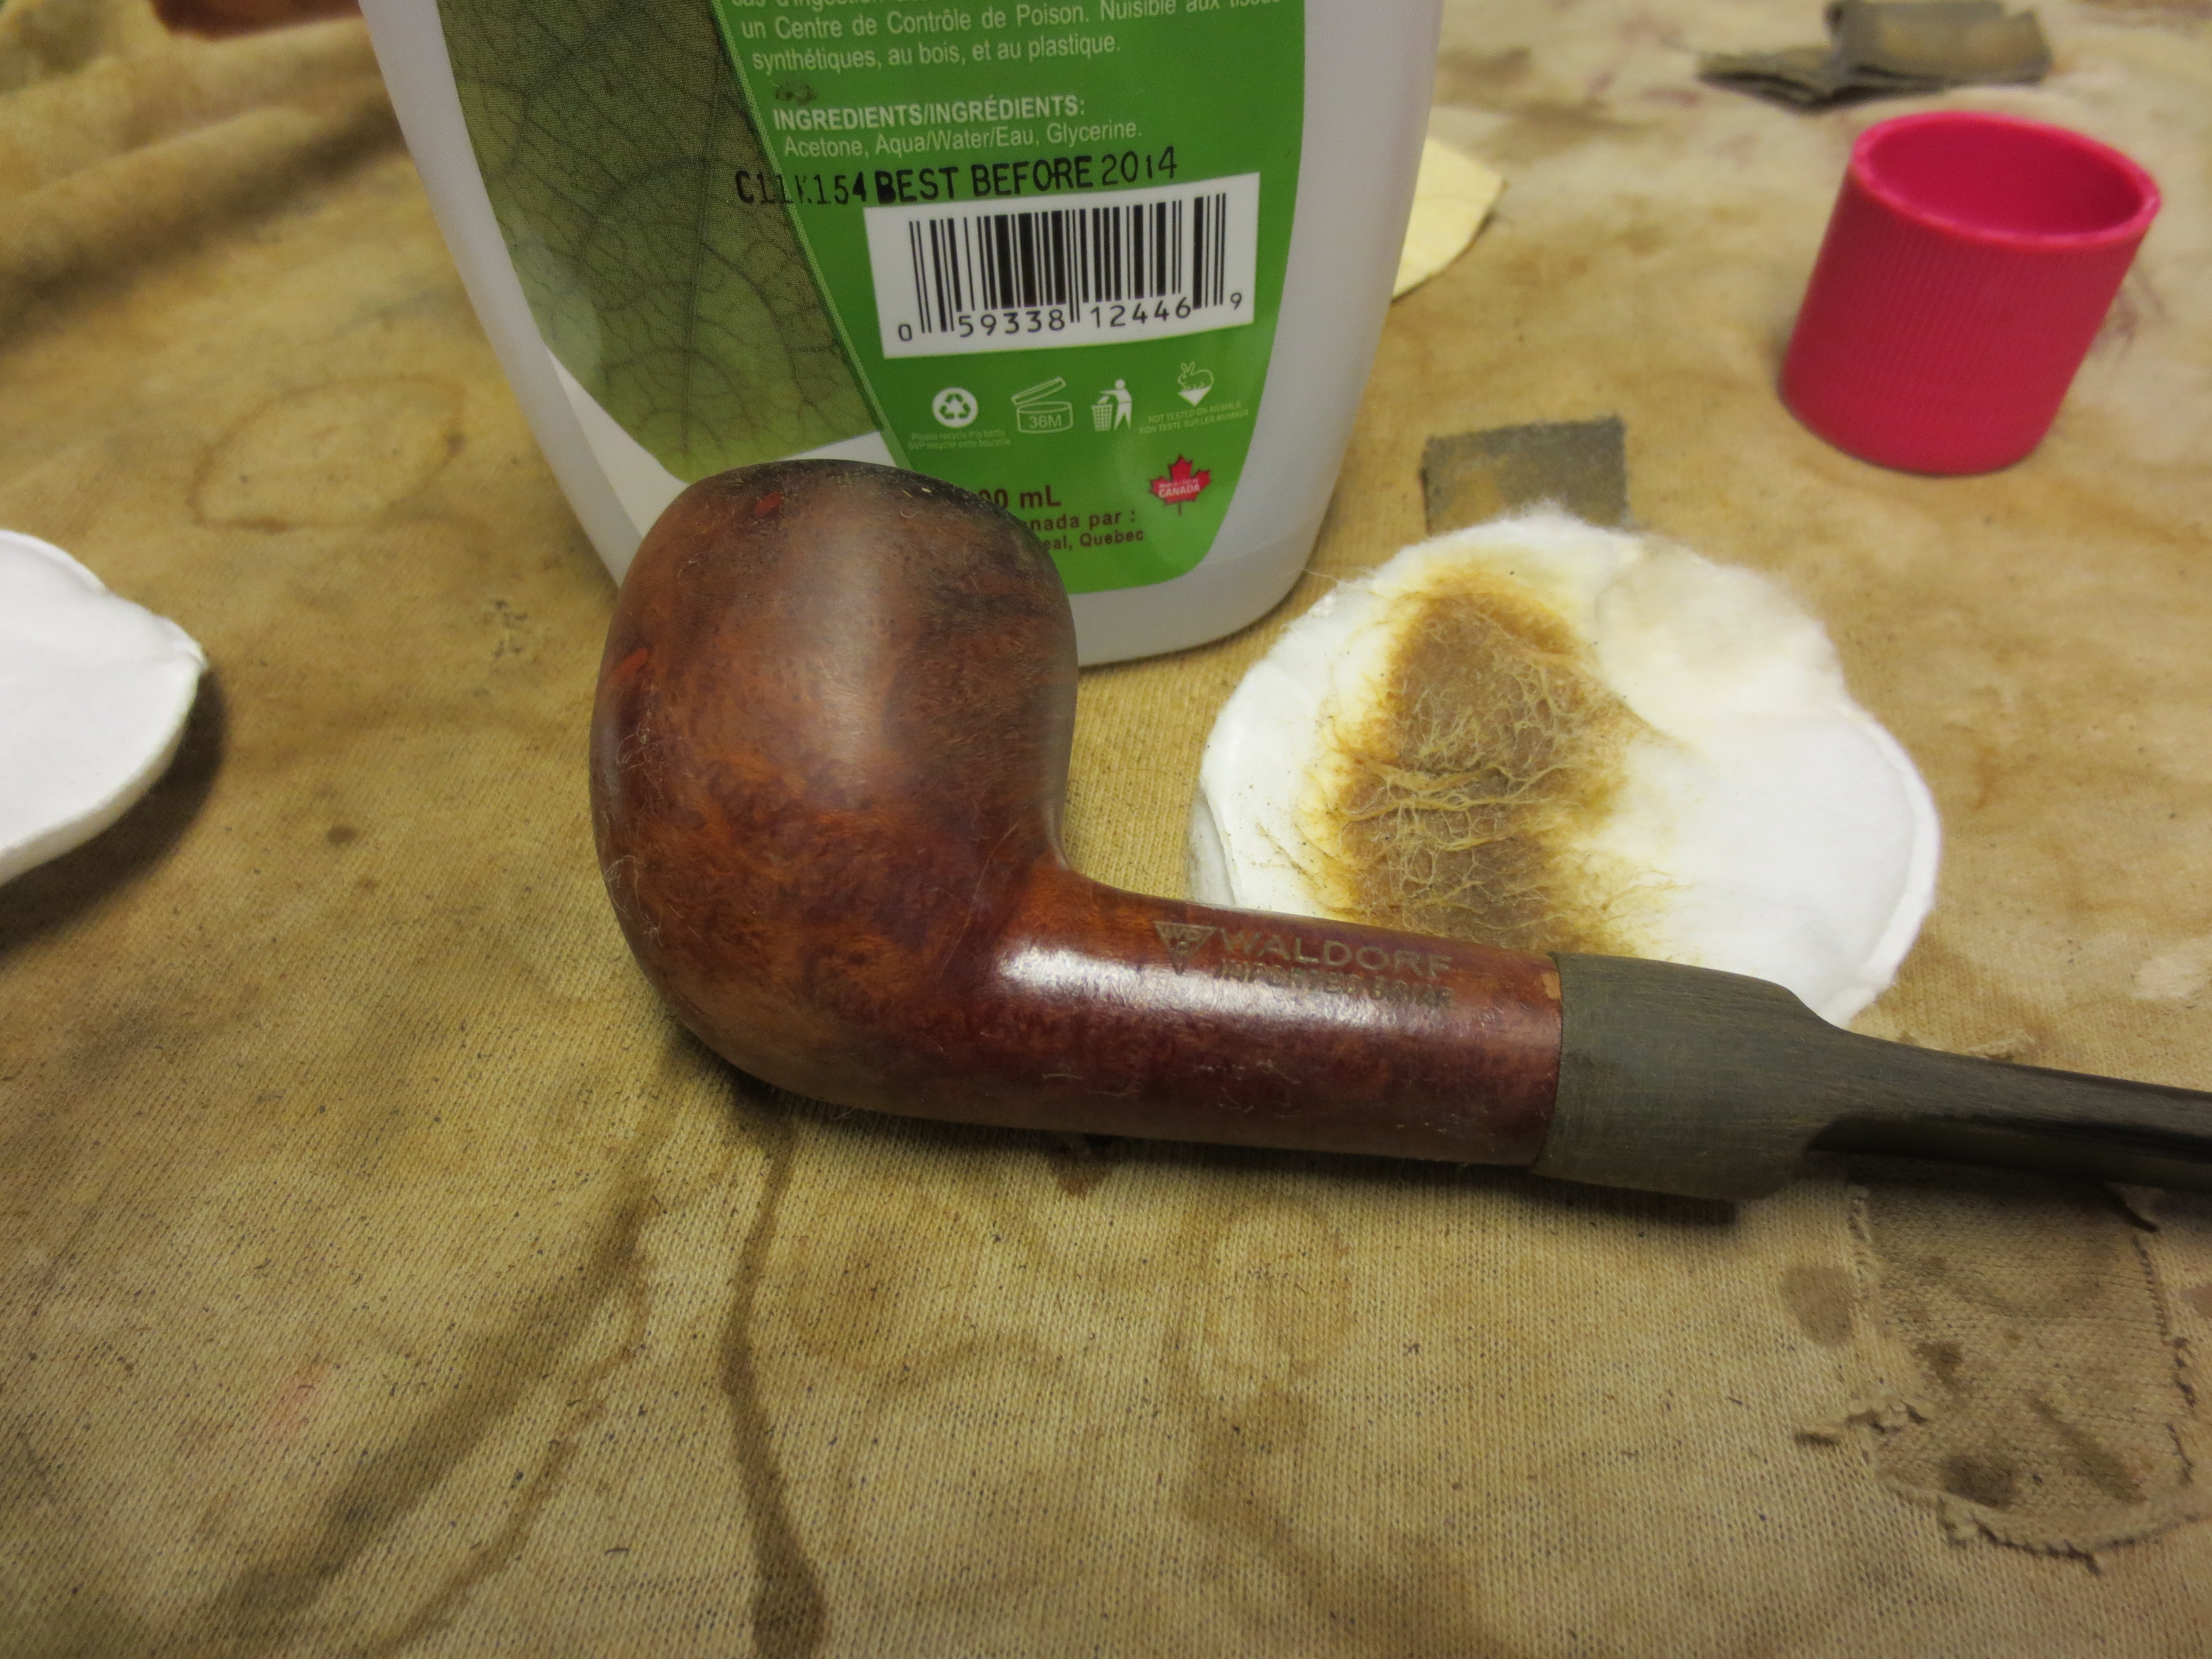
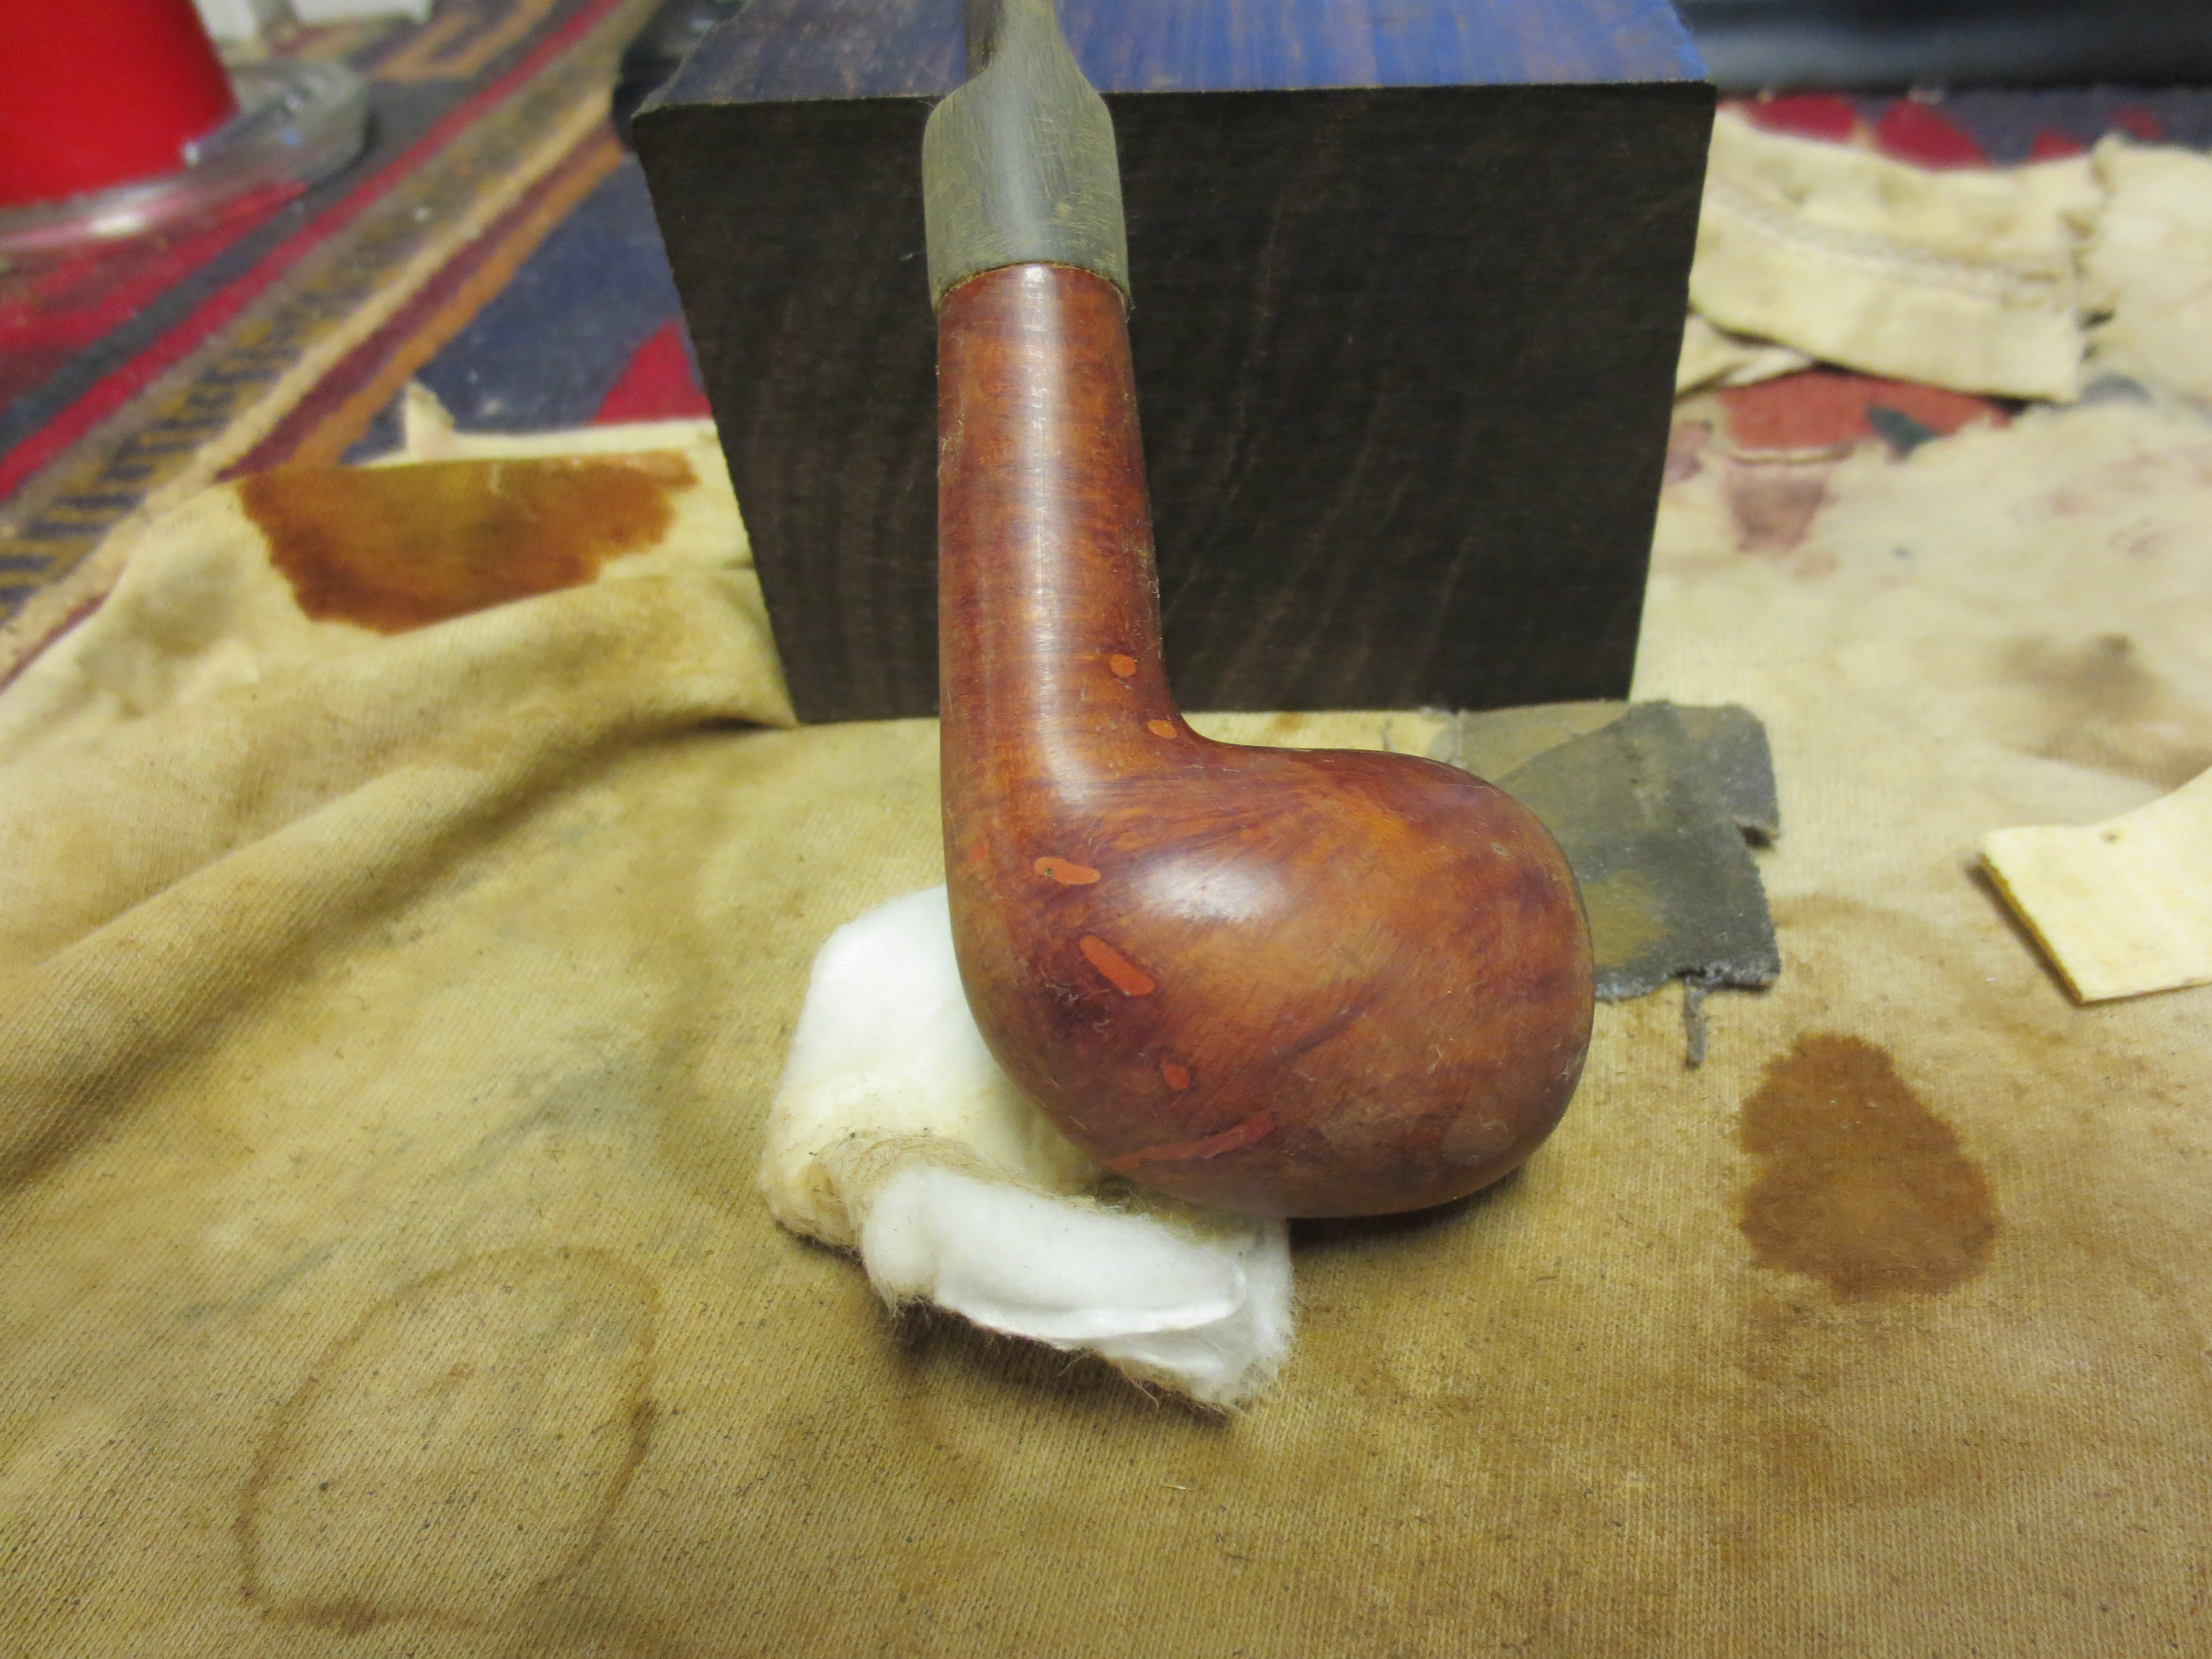
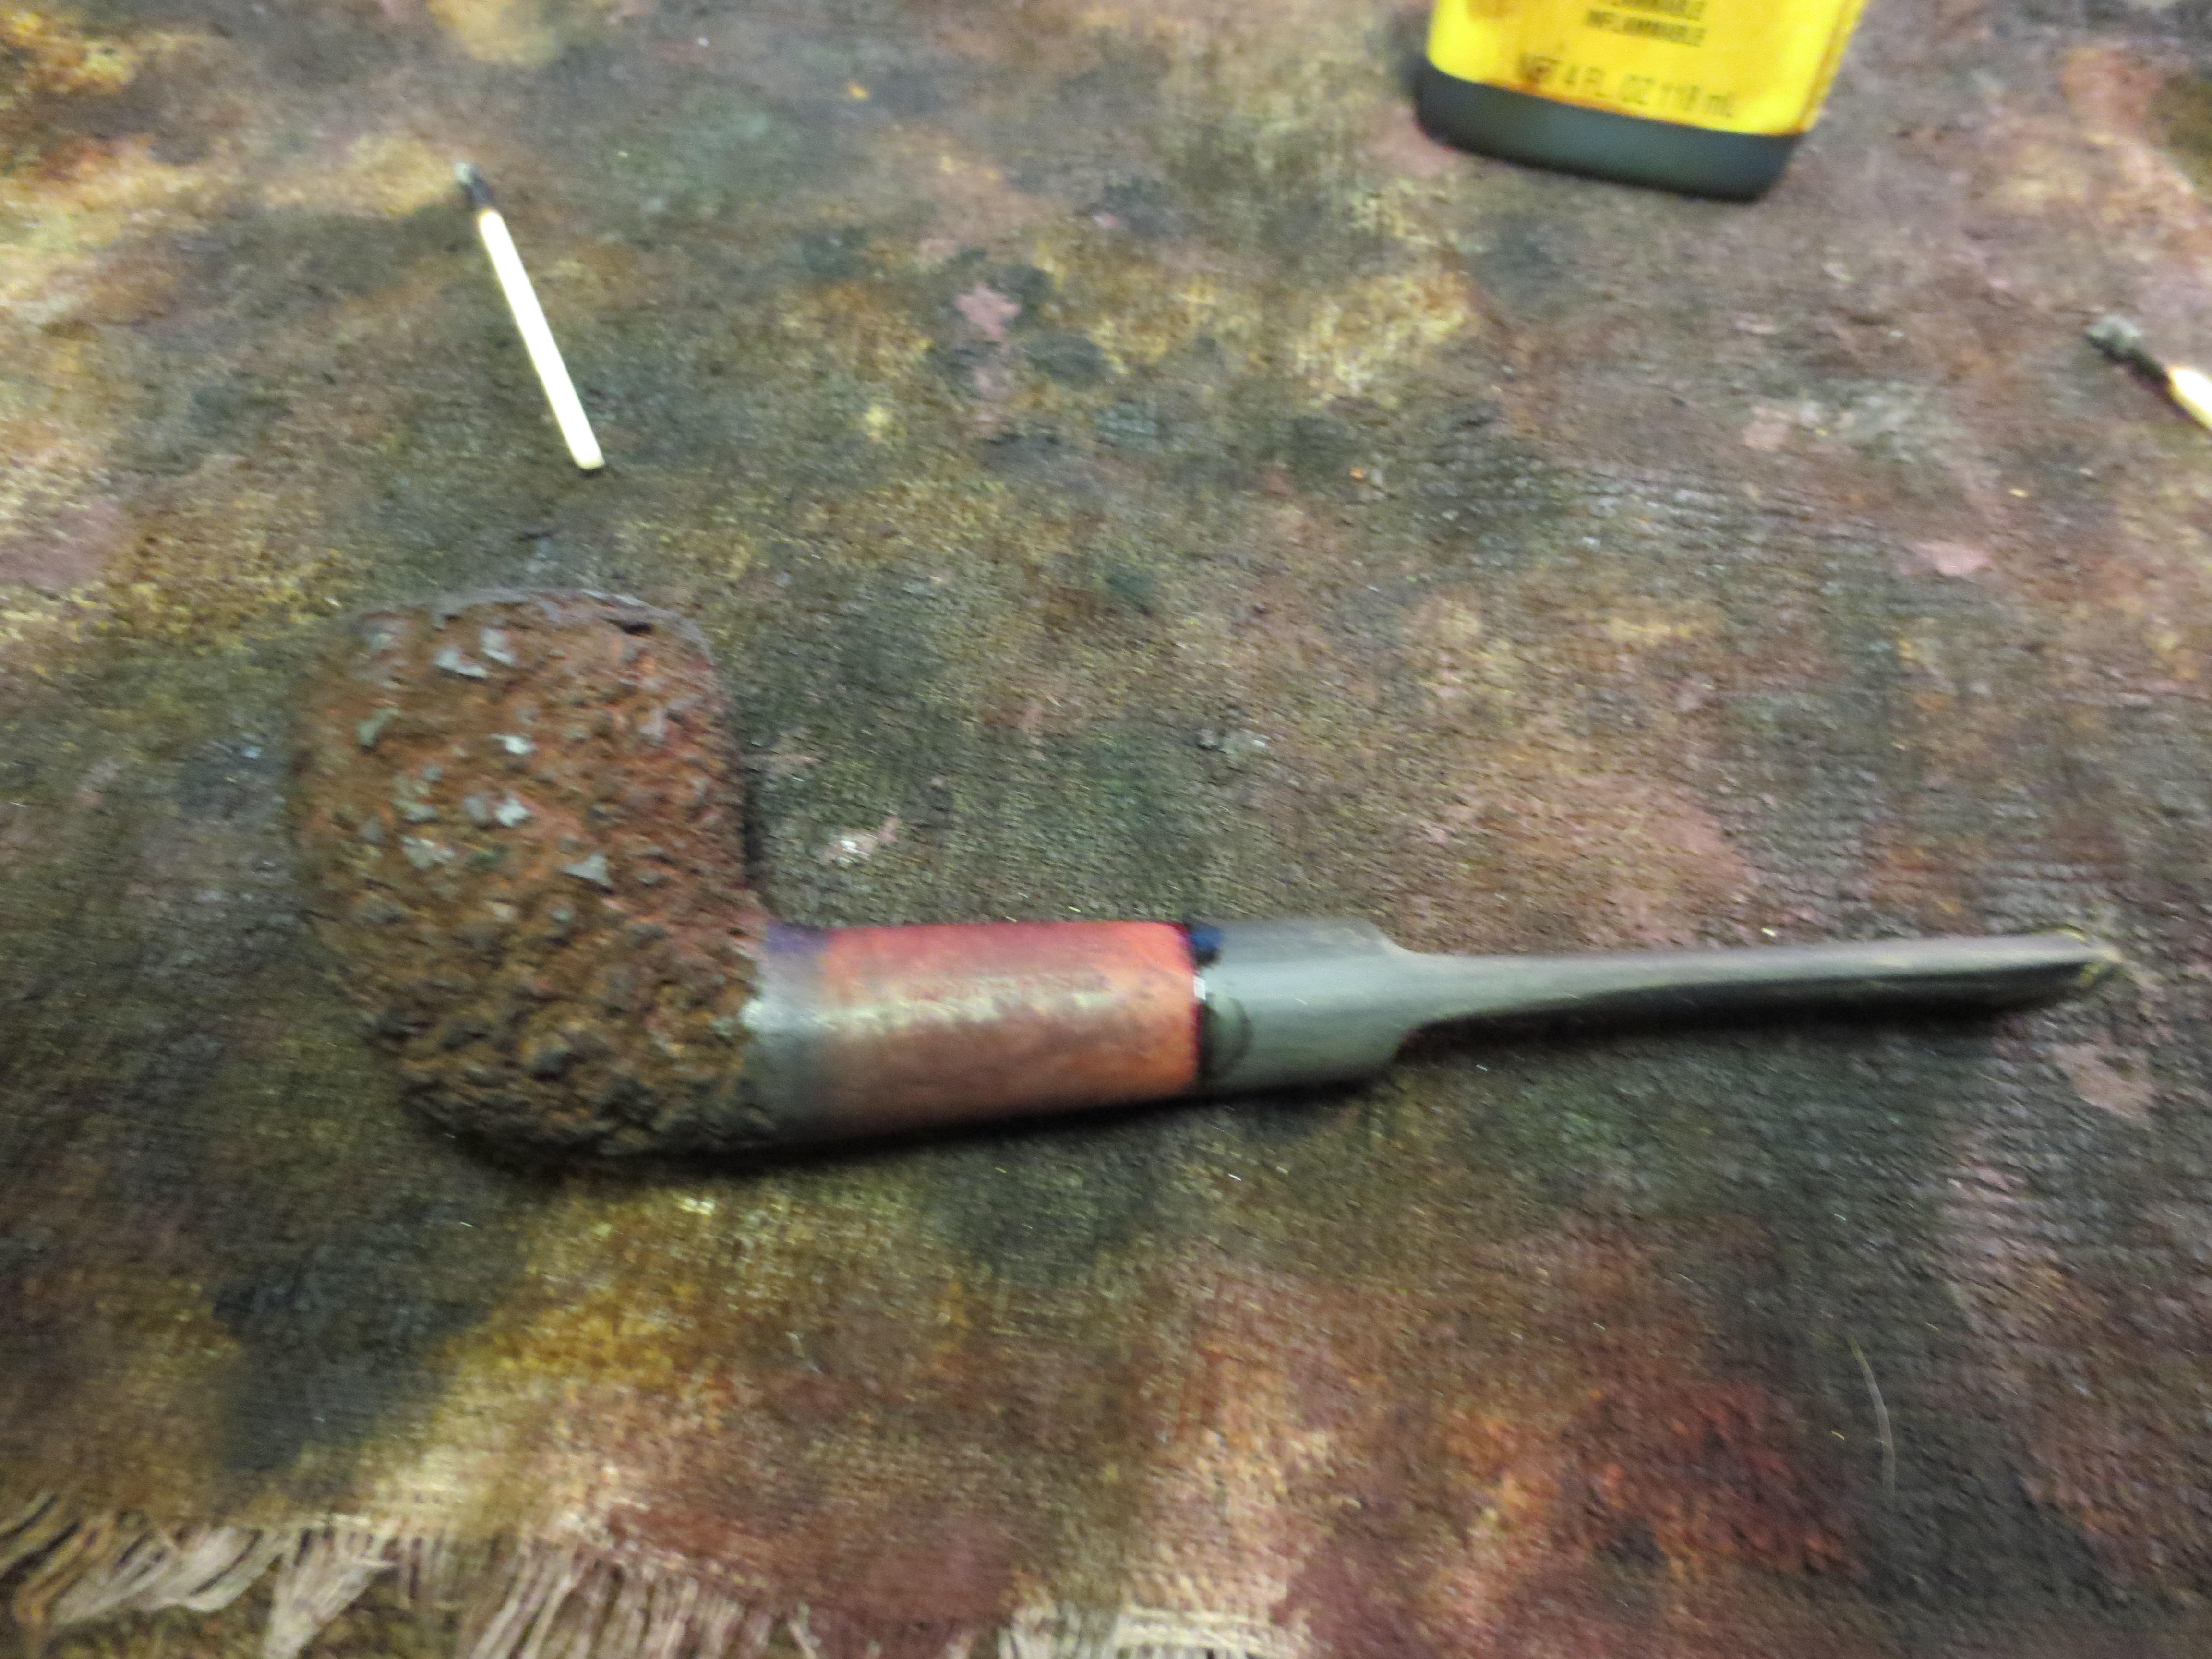
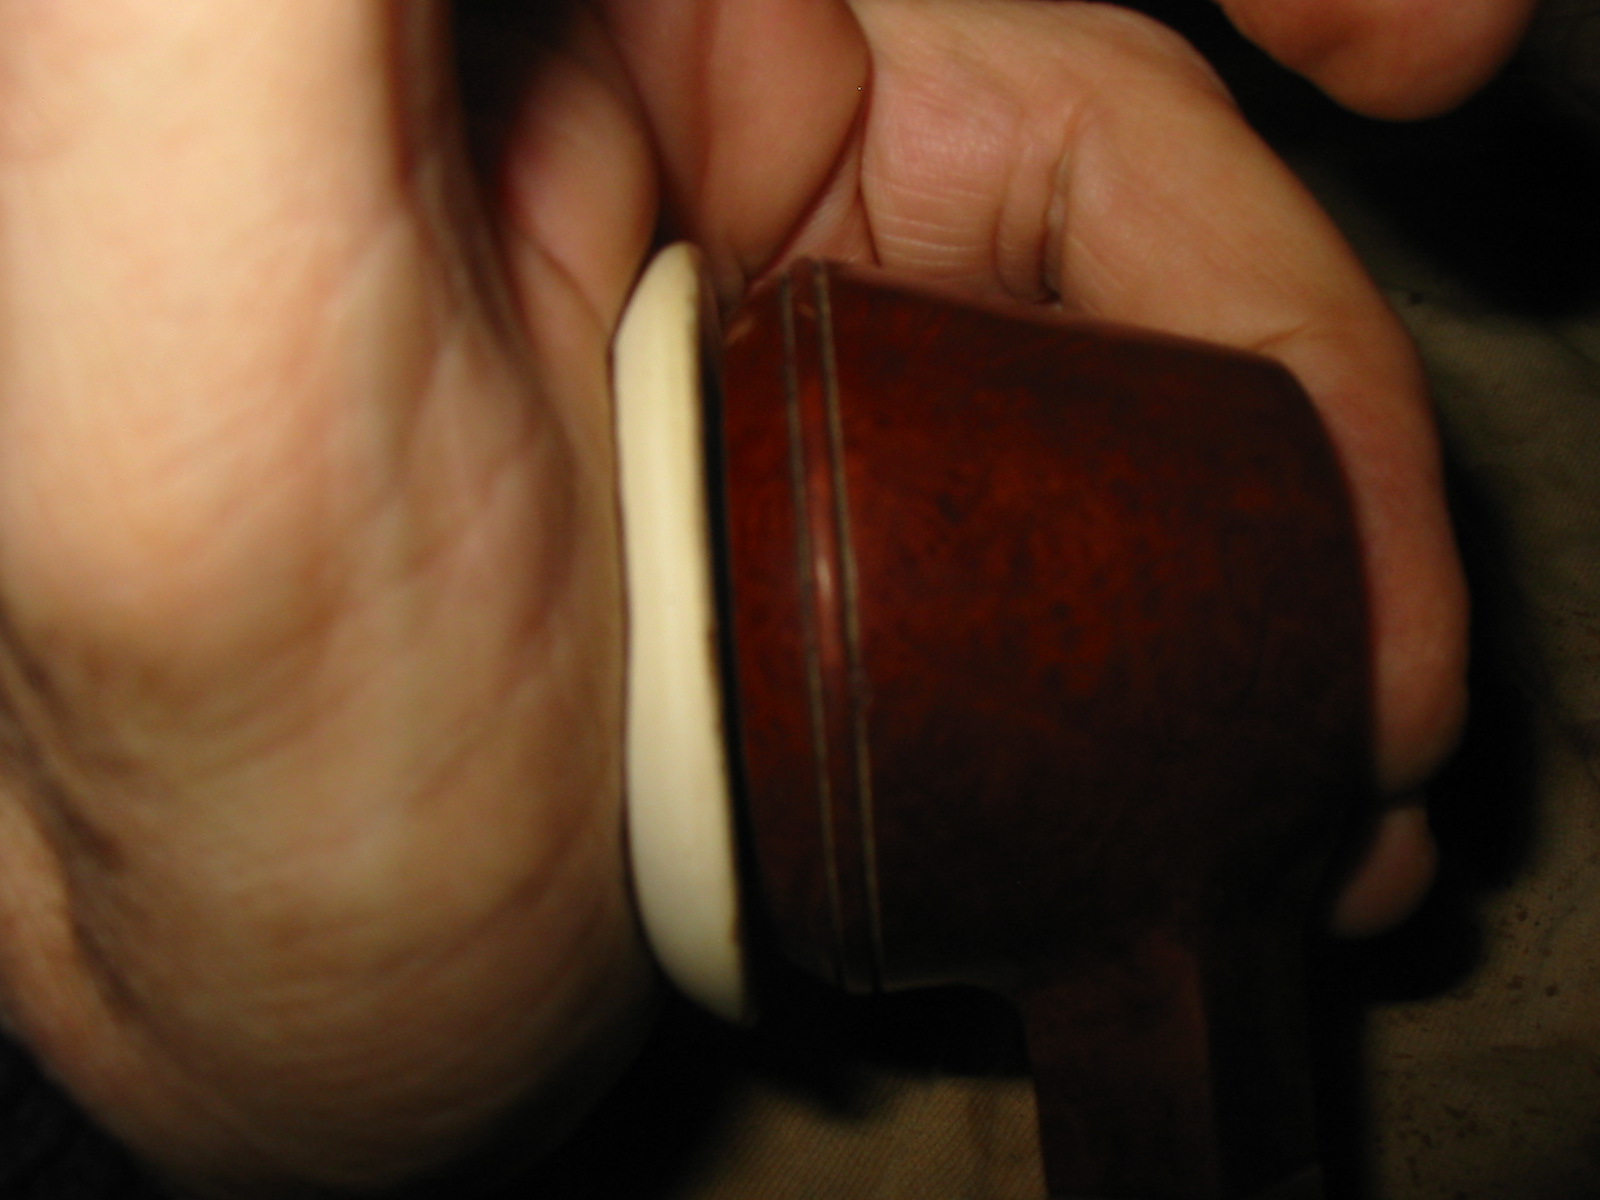
I sanded the bottom of the cup to flatten it rather than leave it in a point. This would also buy me some depth in the bowl and allow me to shorten the height of the bowl. I used the sanding drum to remove ¼ inch of the height of the bowl. I proceeded slowly to keep the top as flat as possible. Once I had removed the amount I wanted I topped it on with my normal topping procedure – sandpaper anchored on a flat board. I used the Dremel to remove a bit more of the height and then topped it a second time.
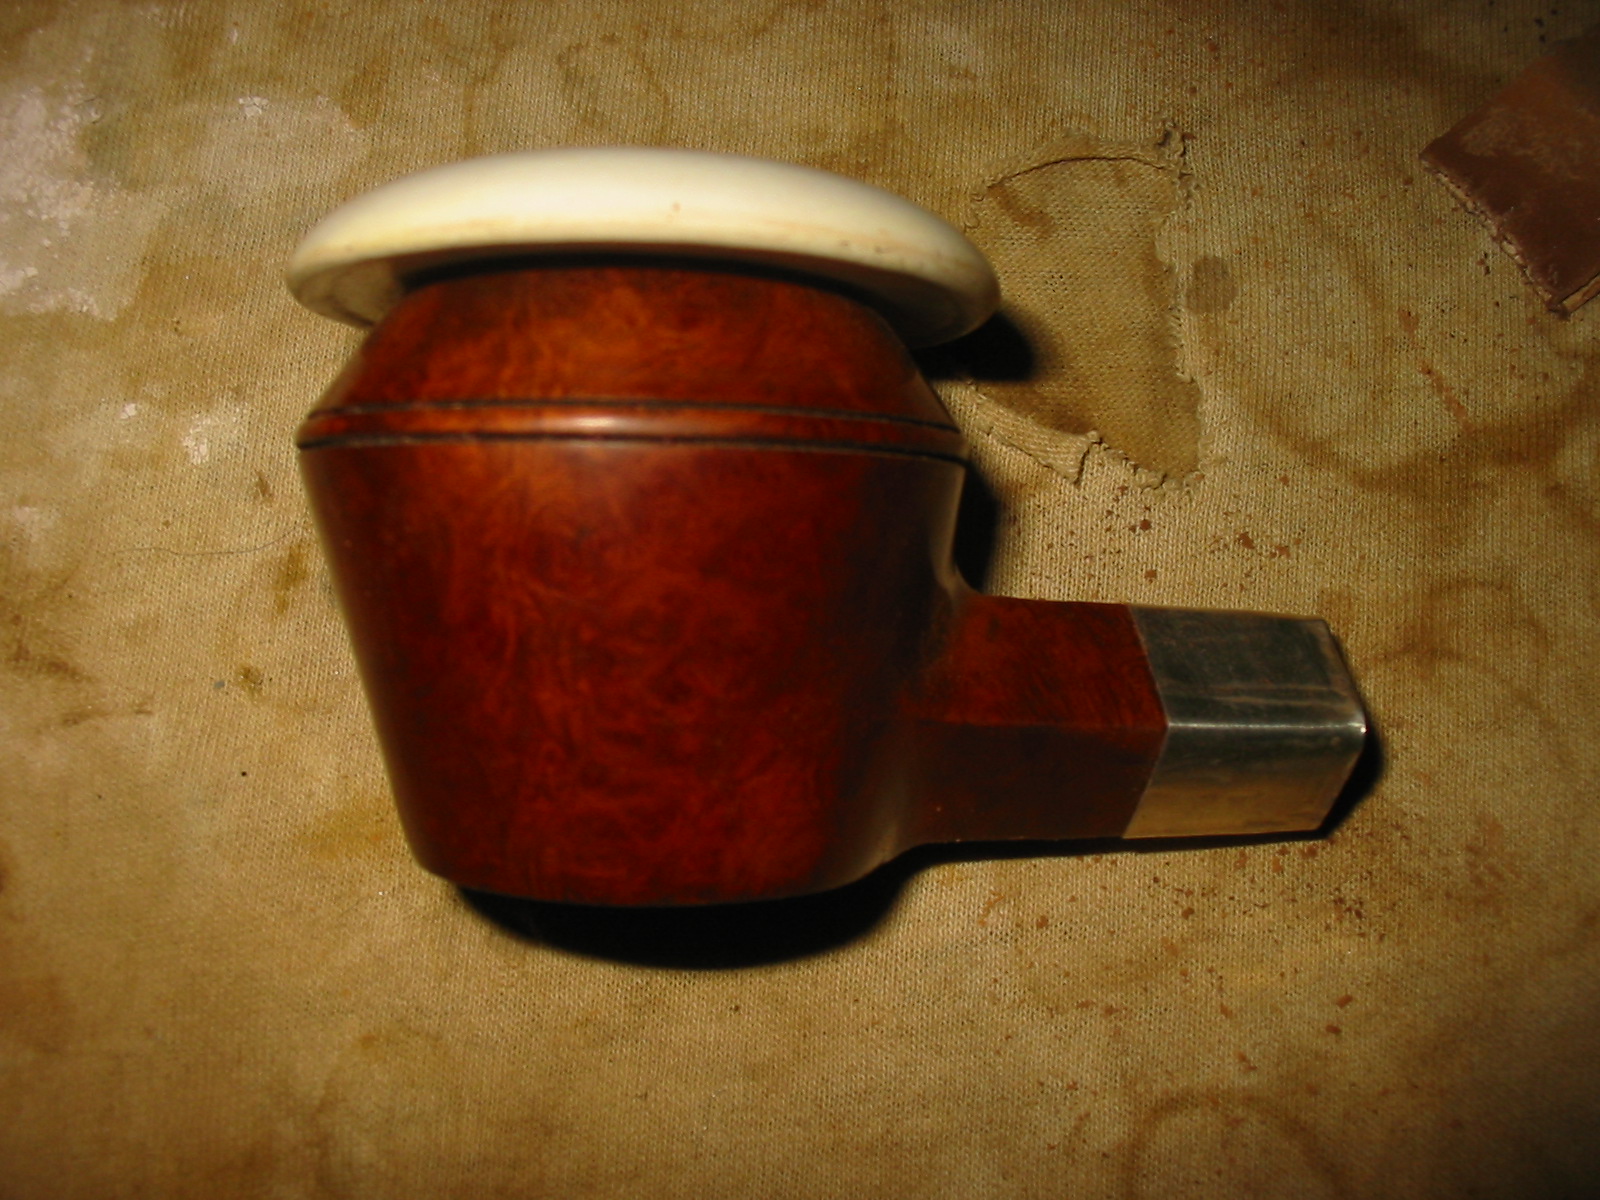


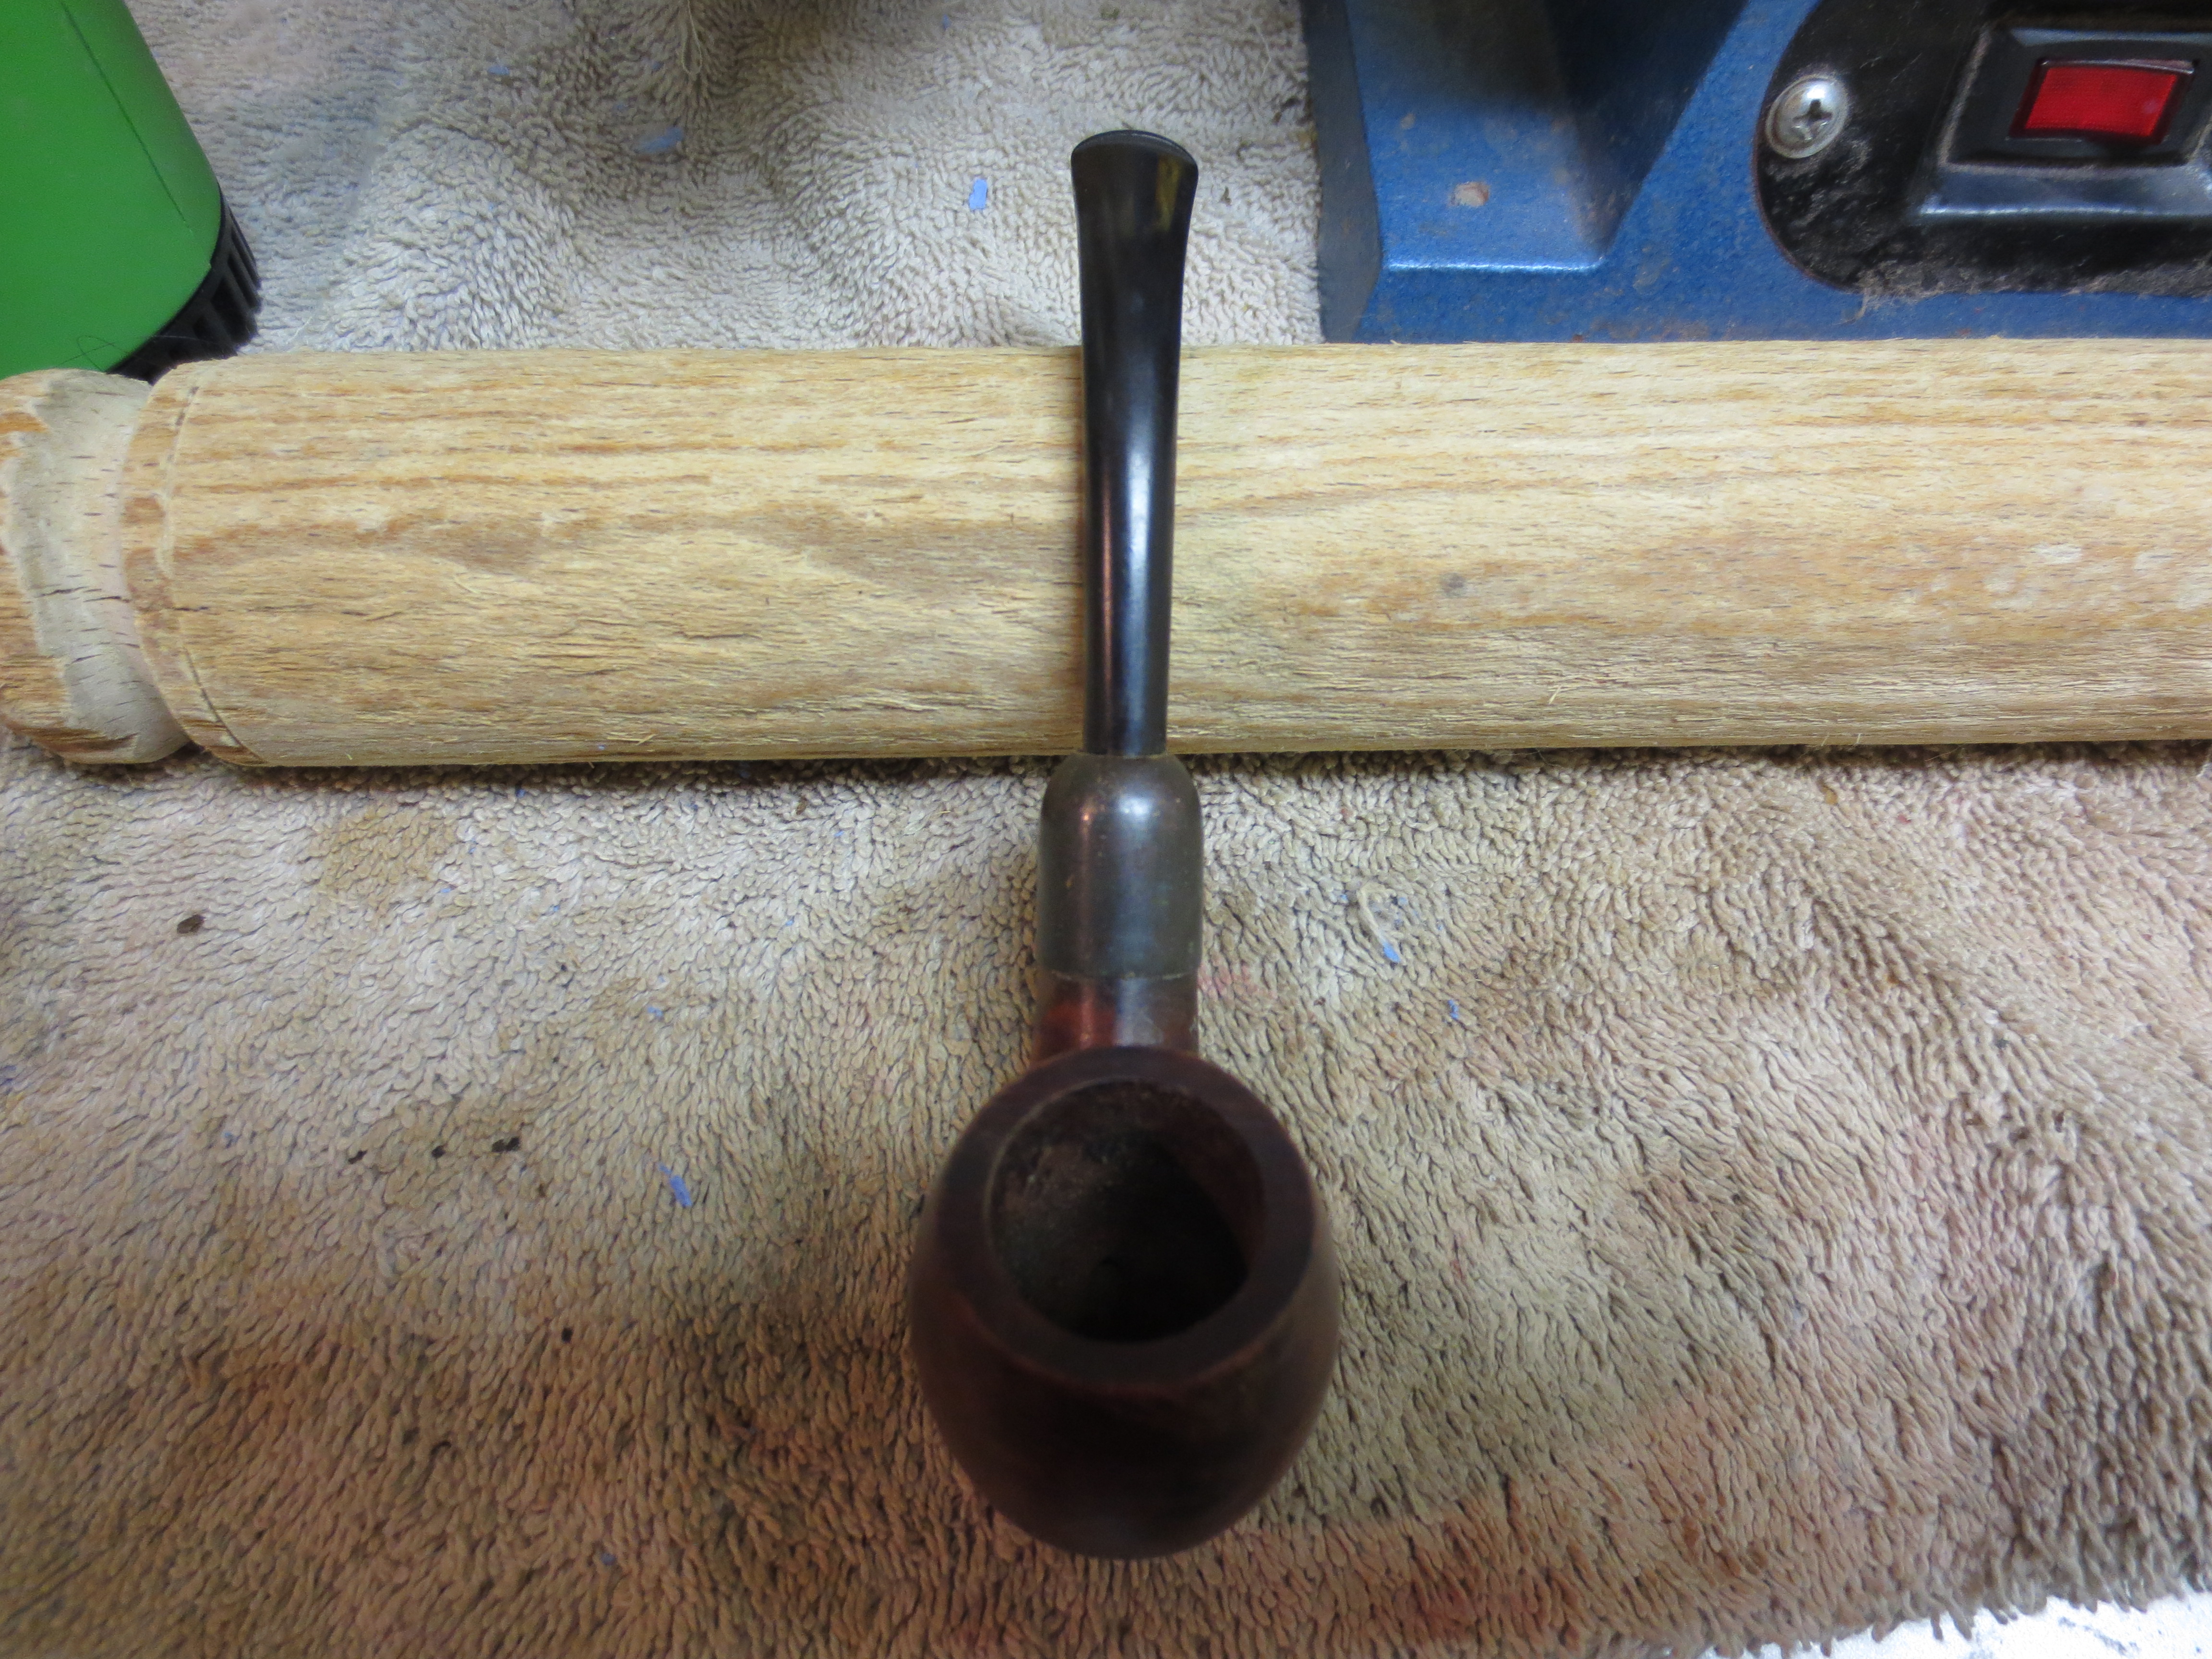
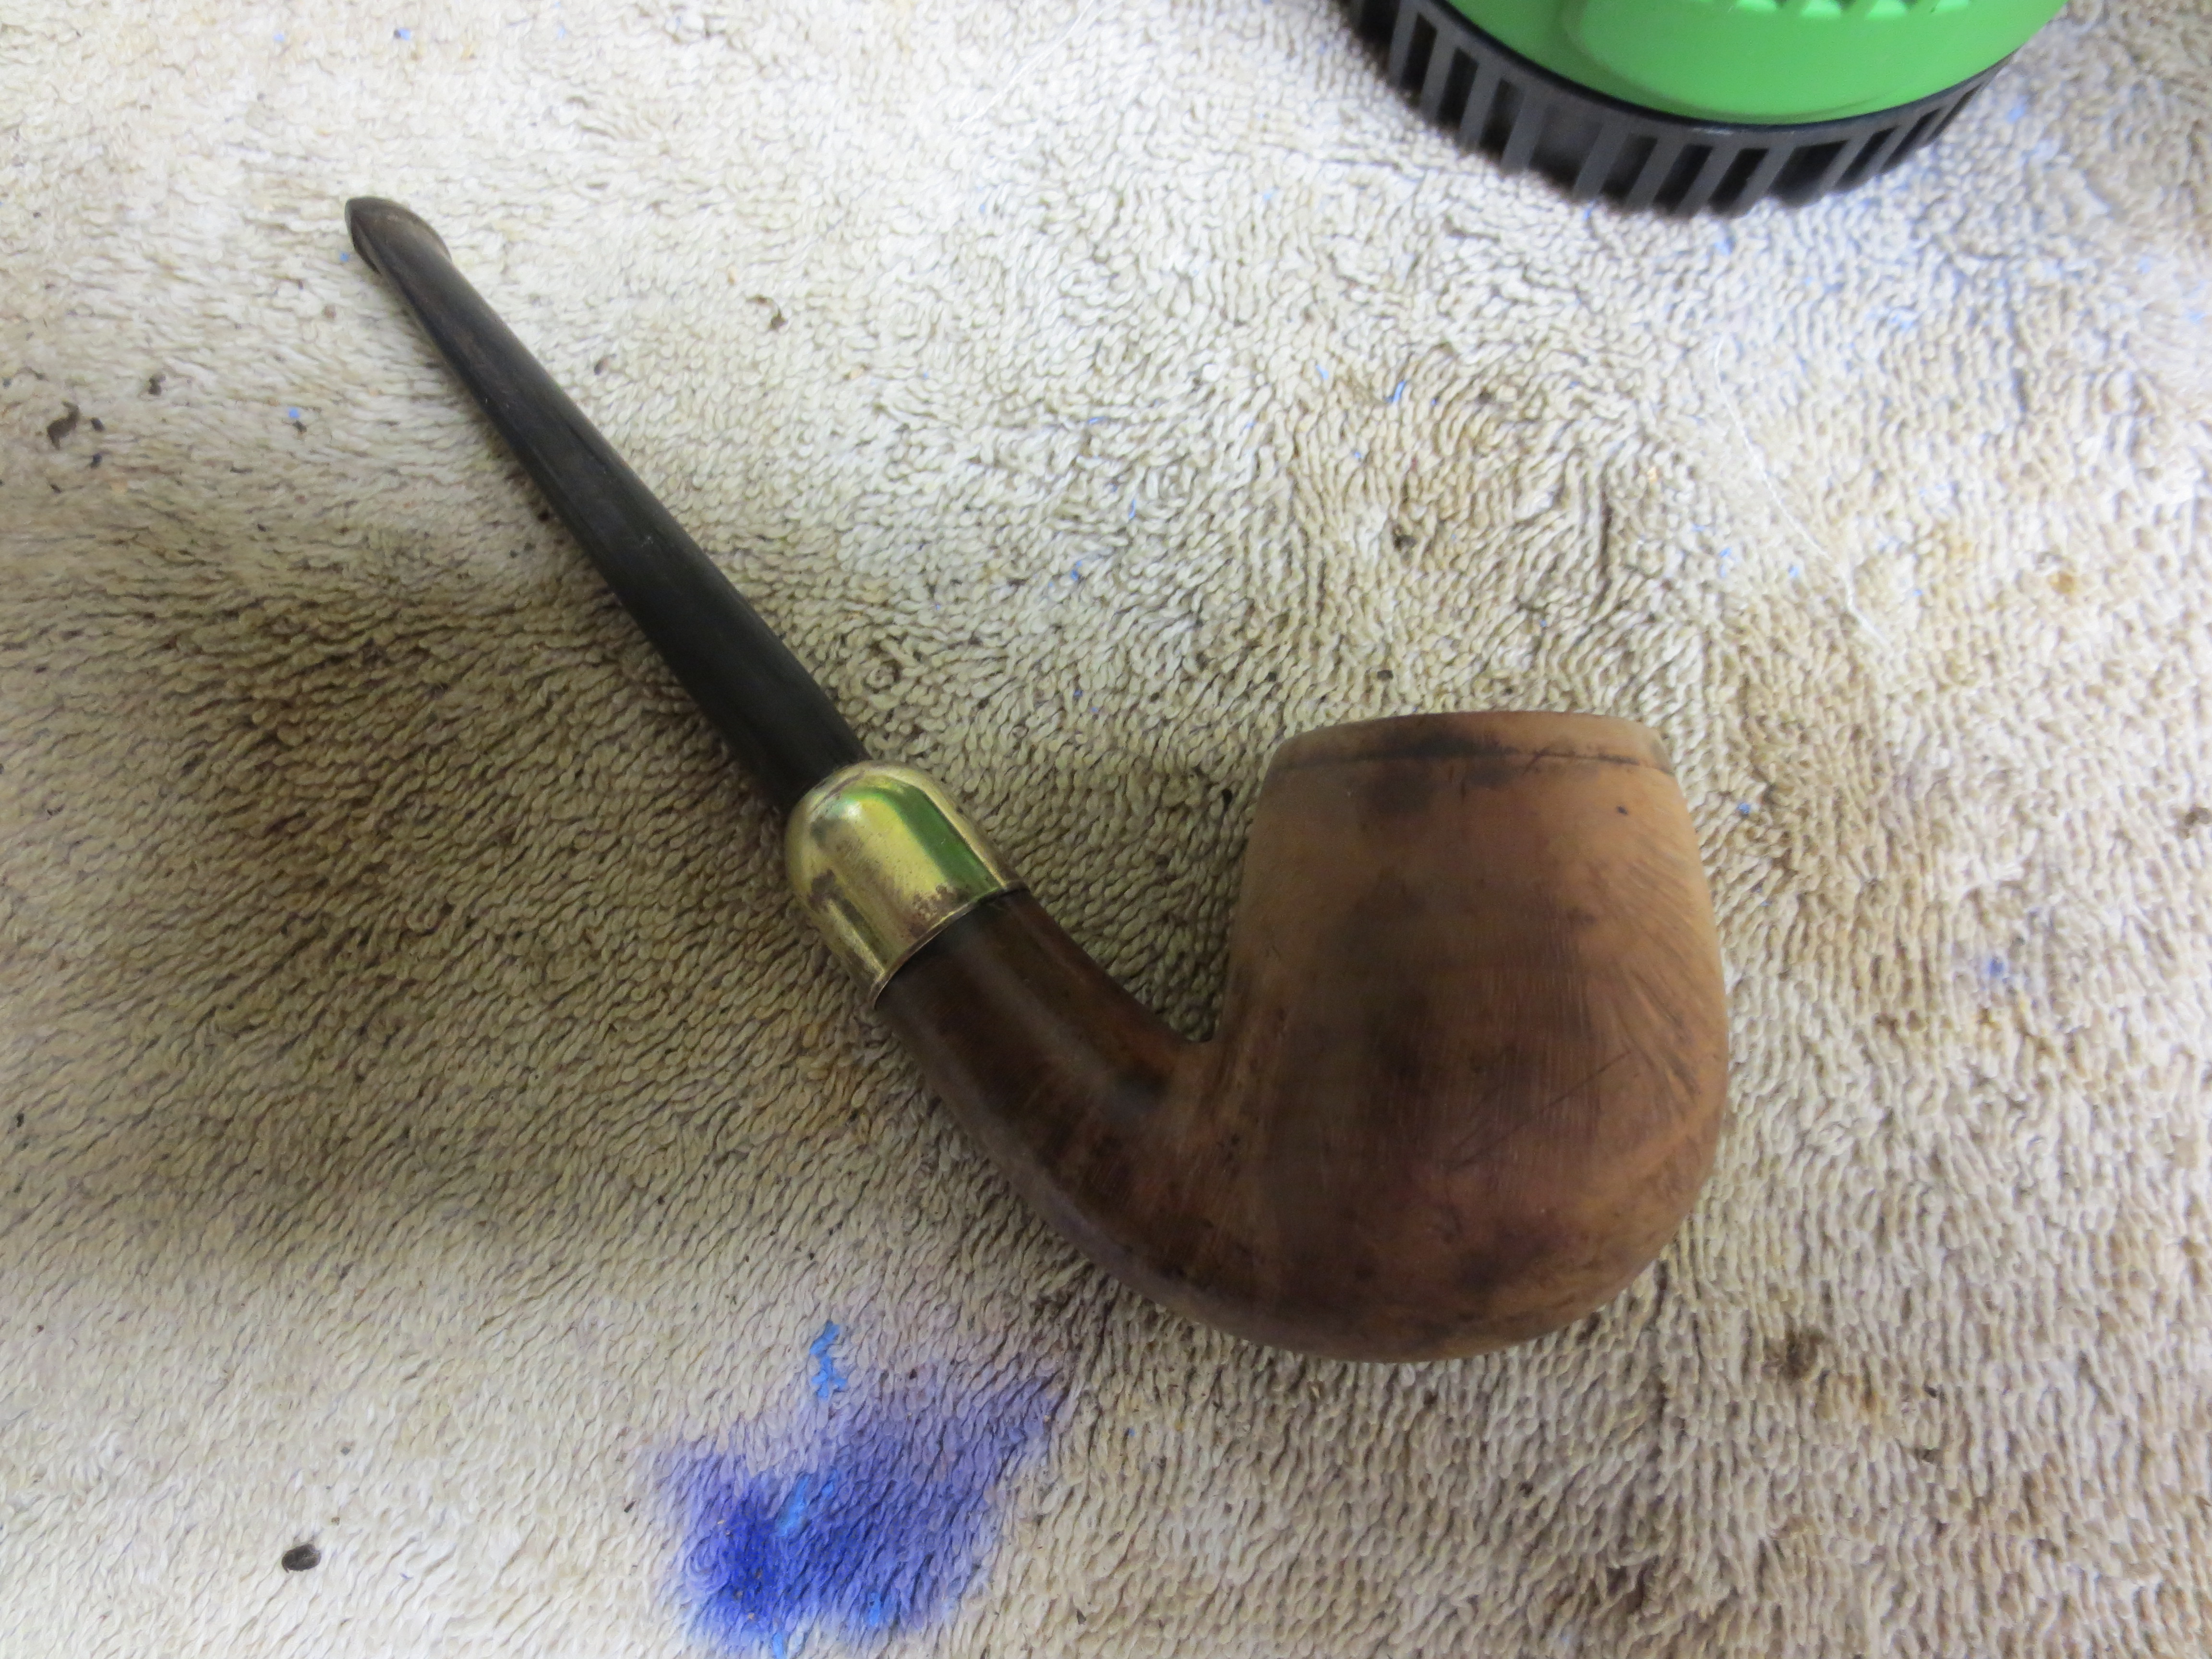
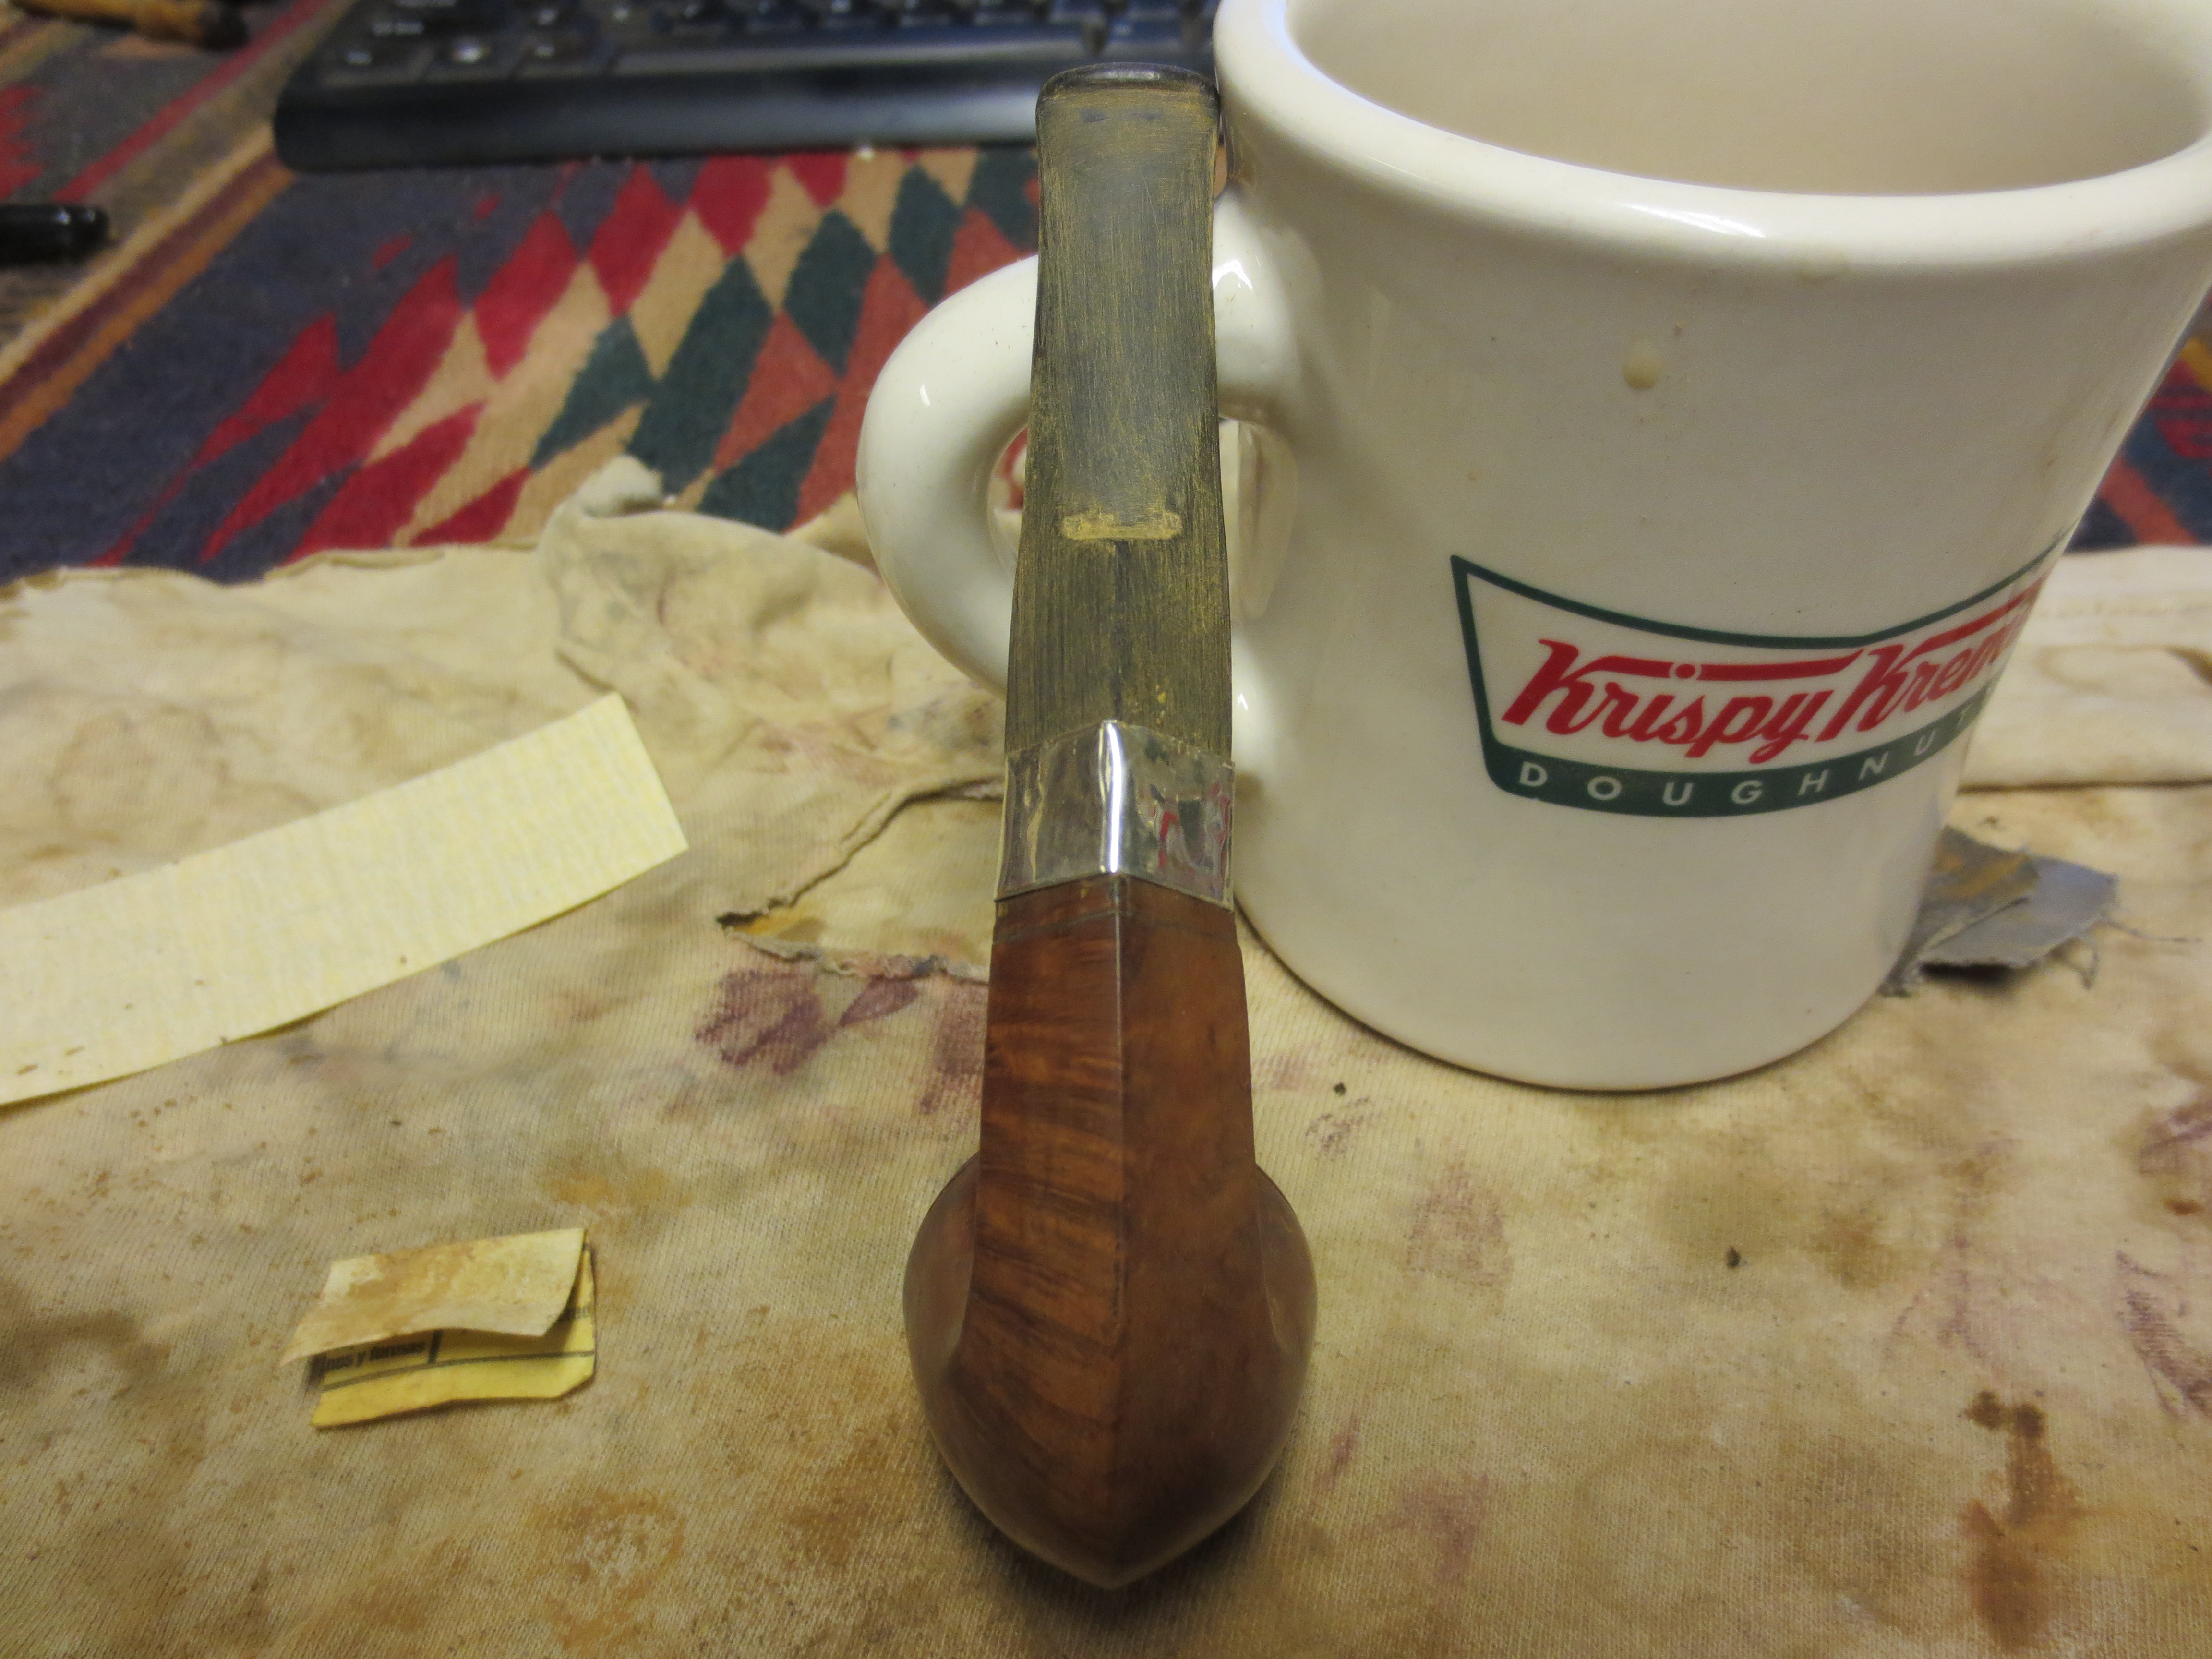
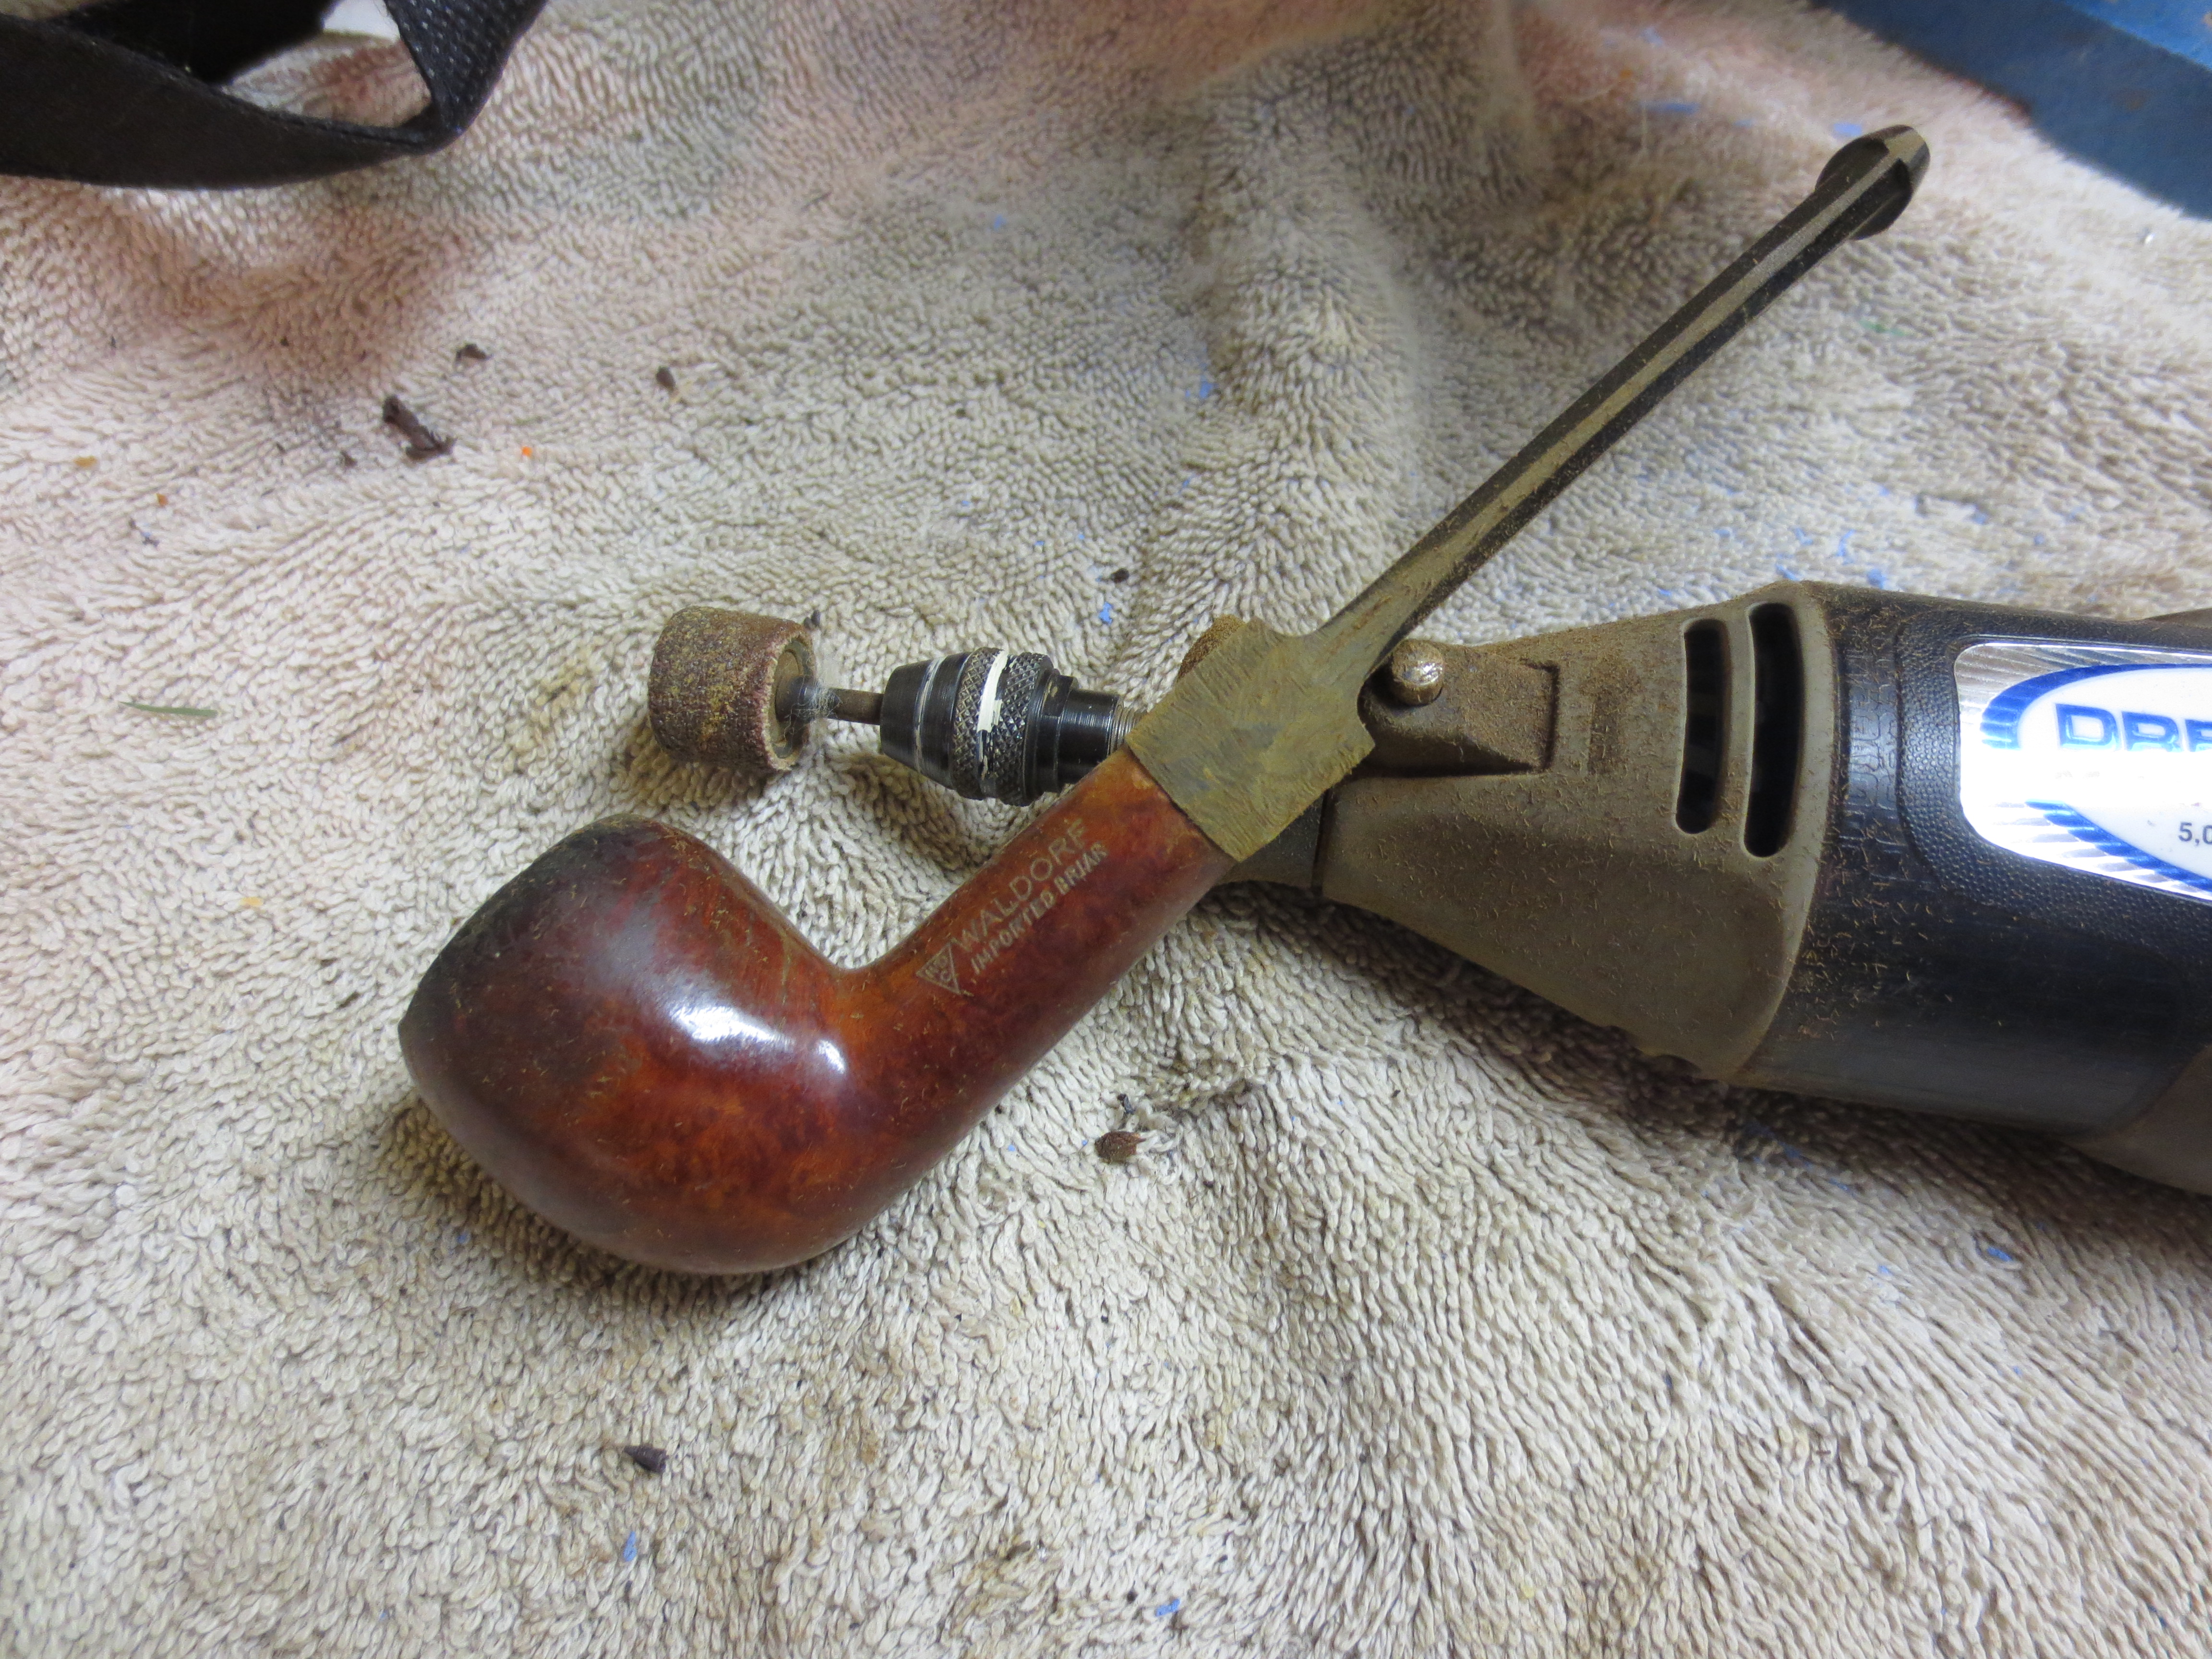
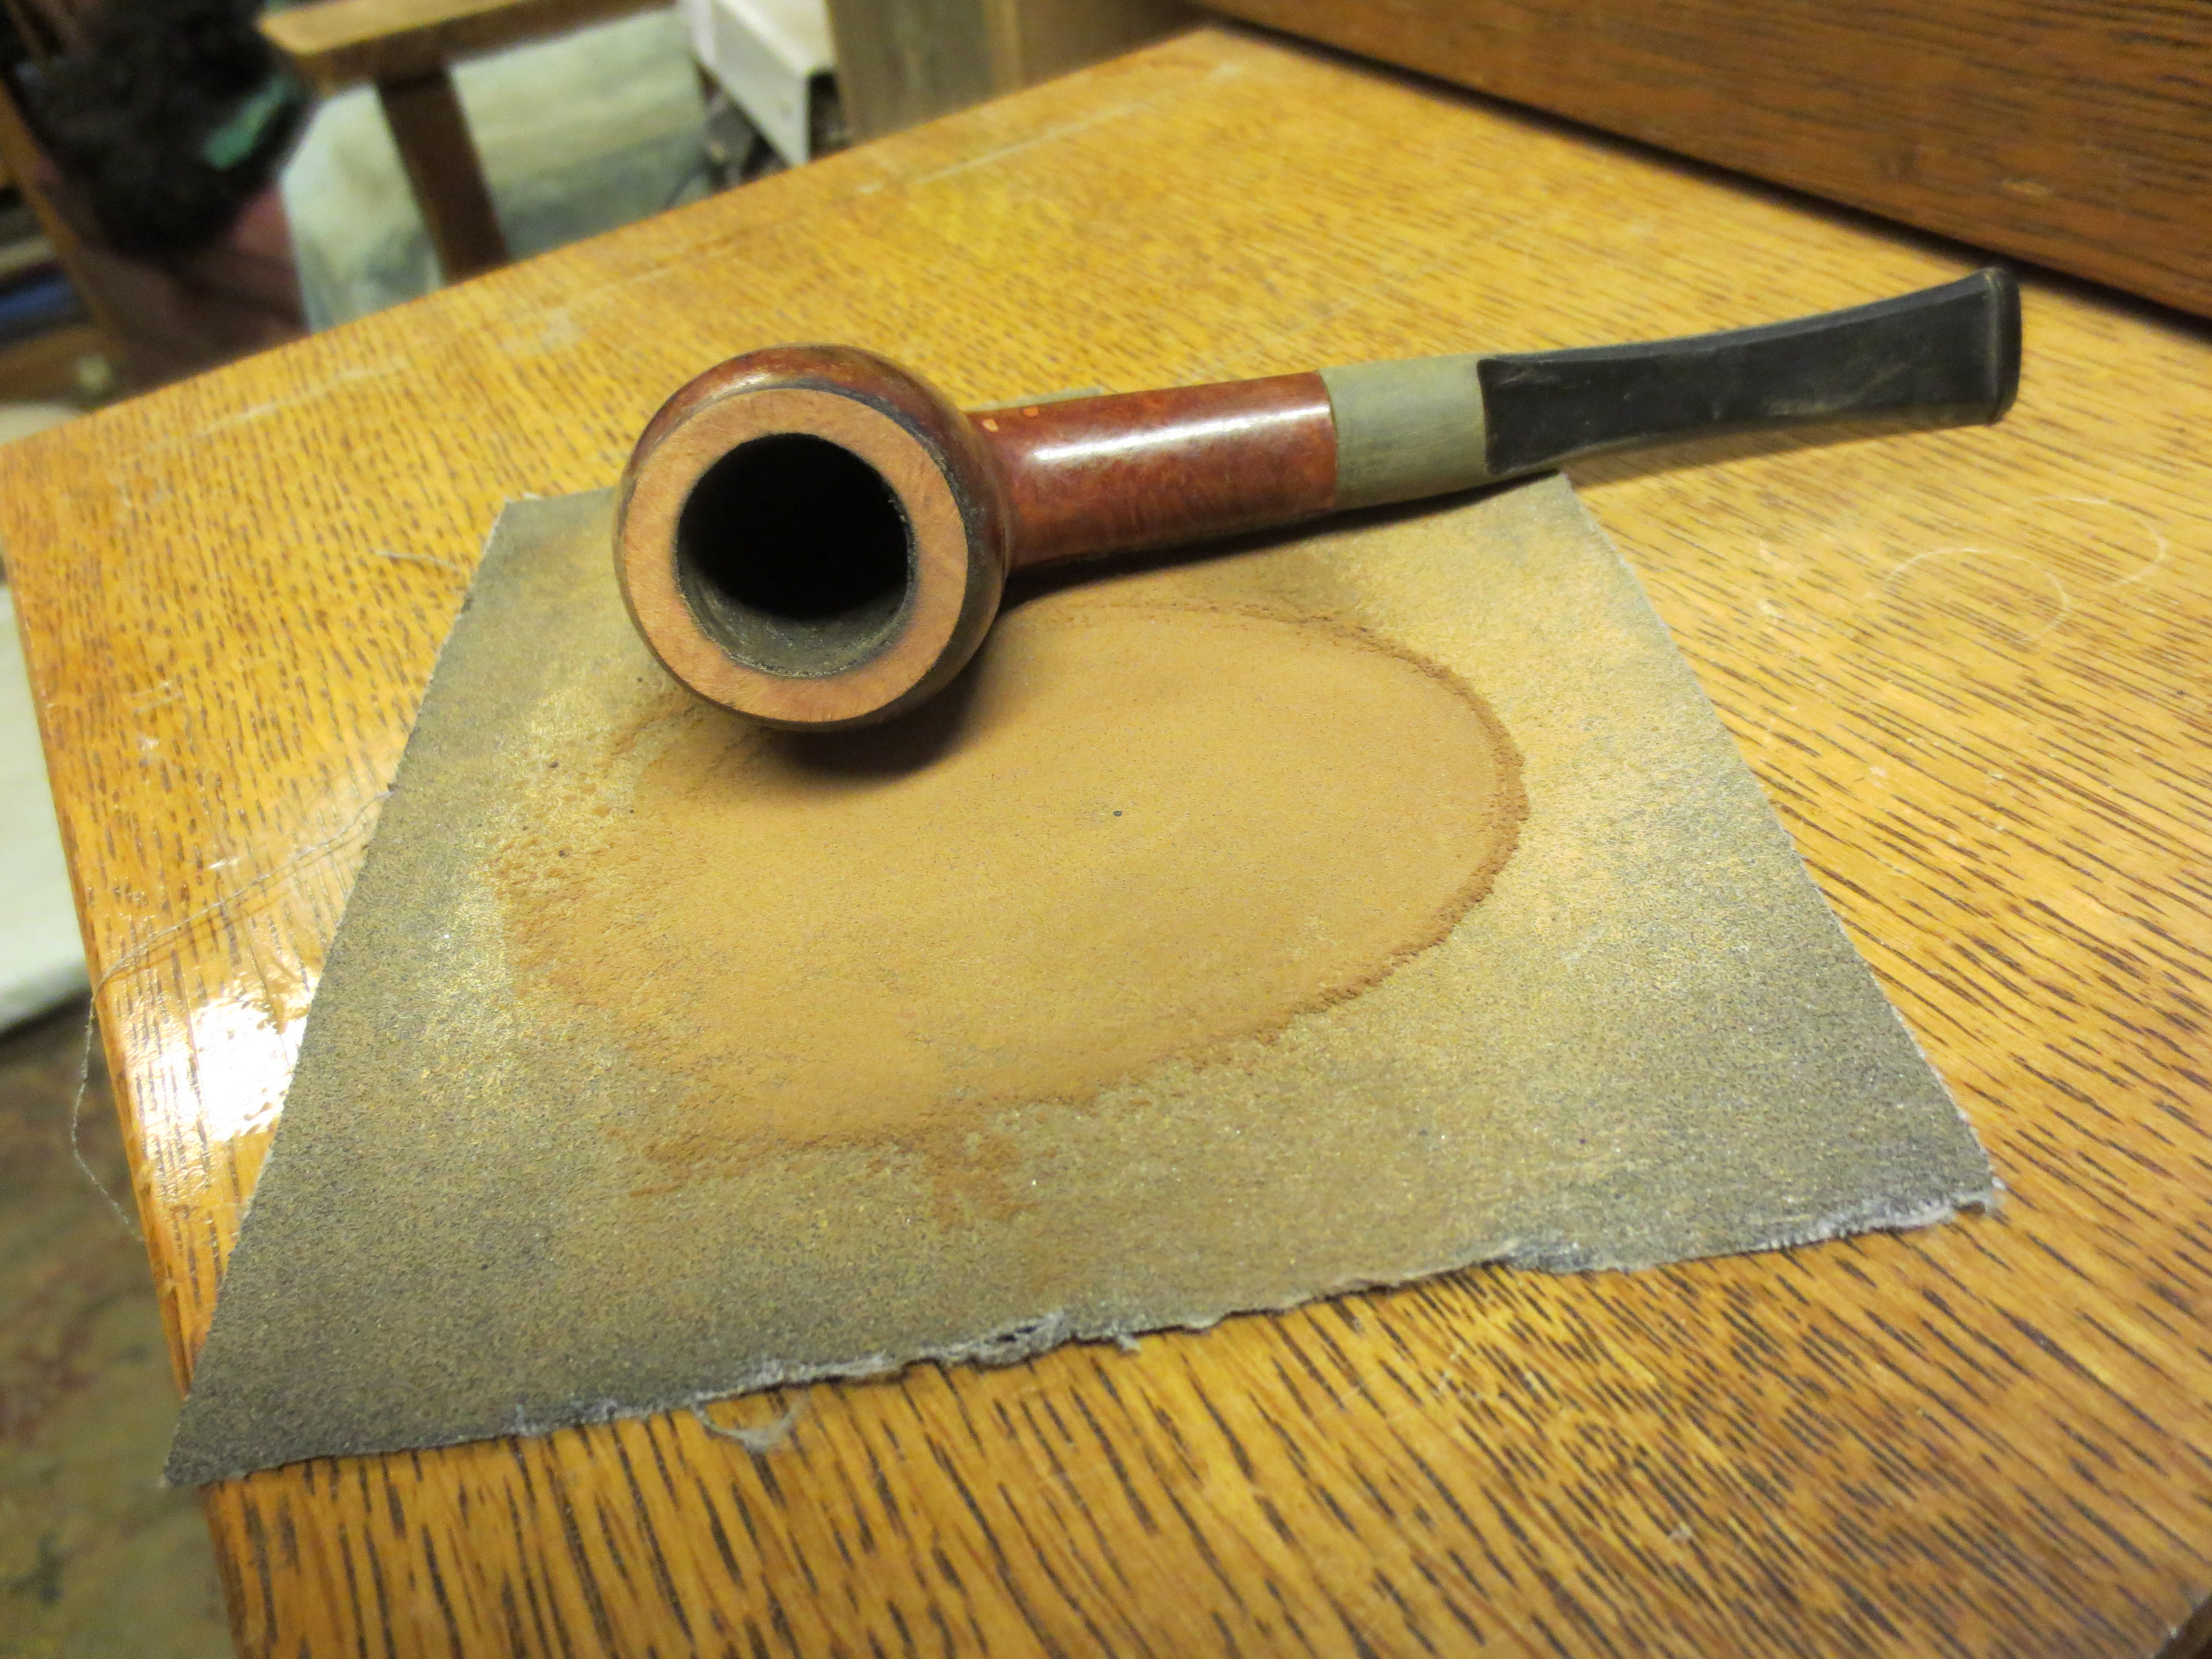
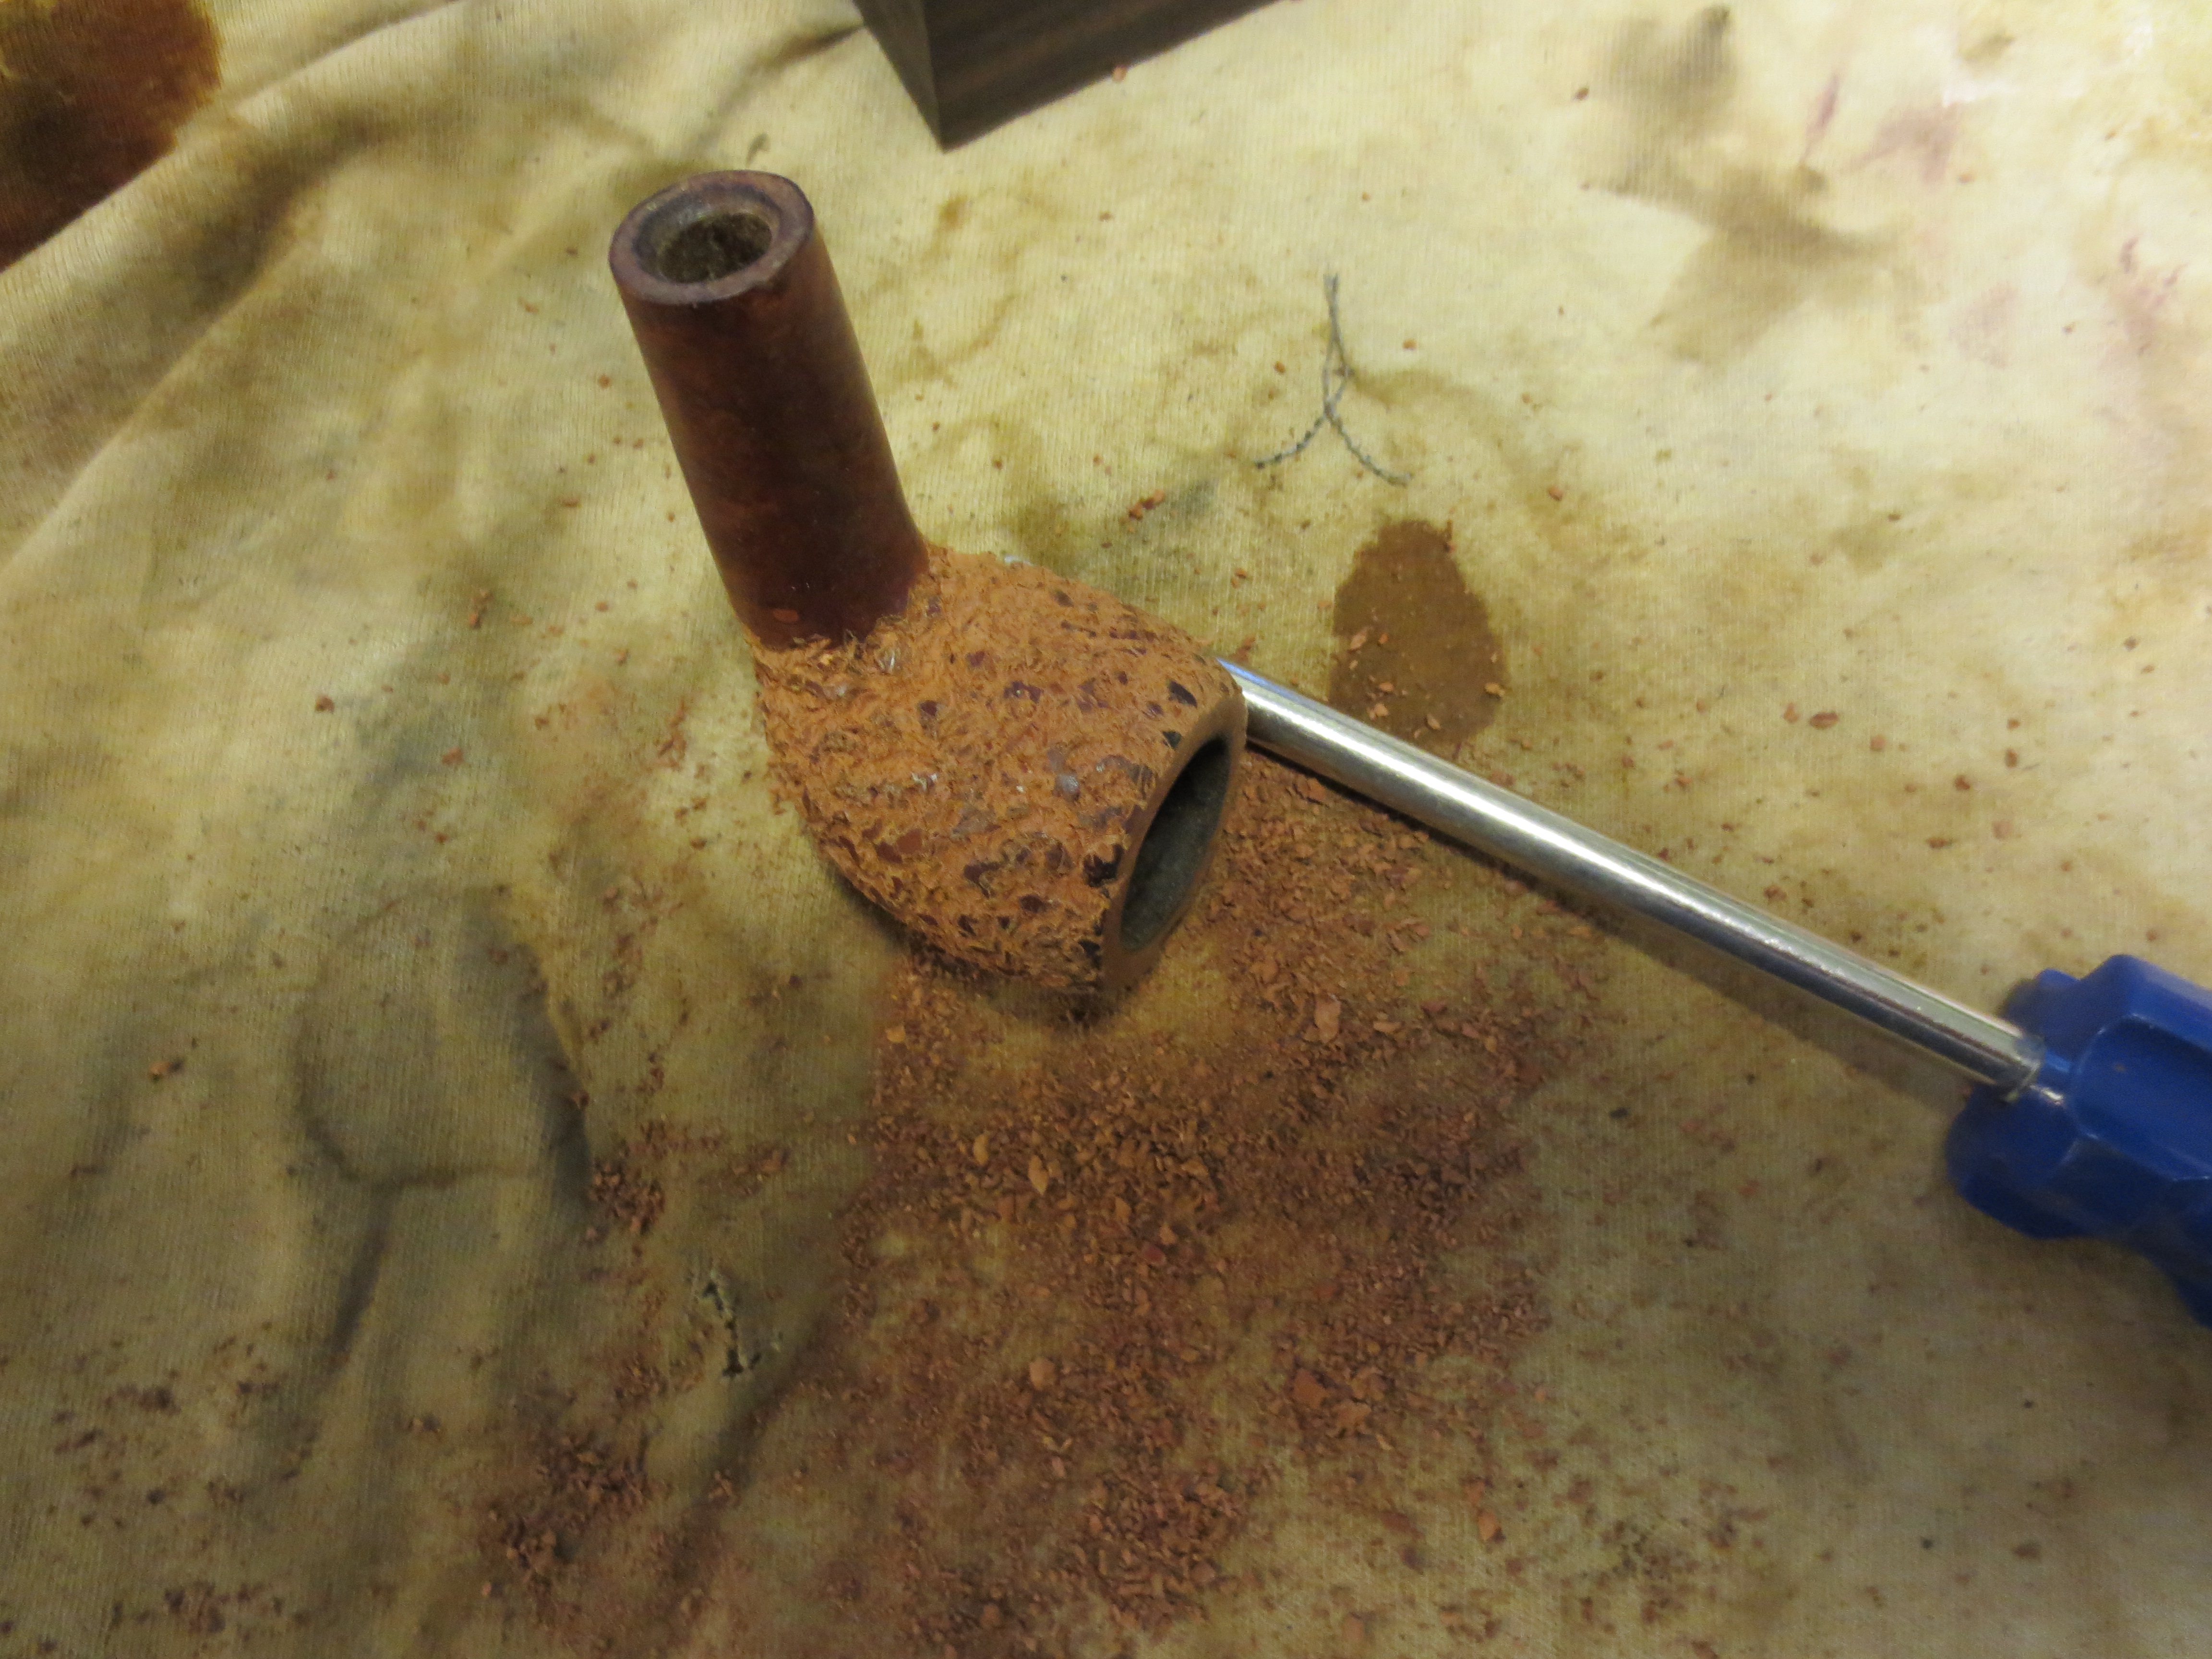
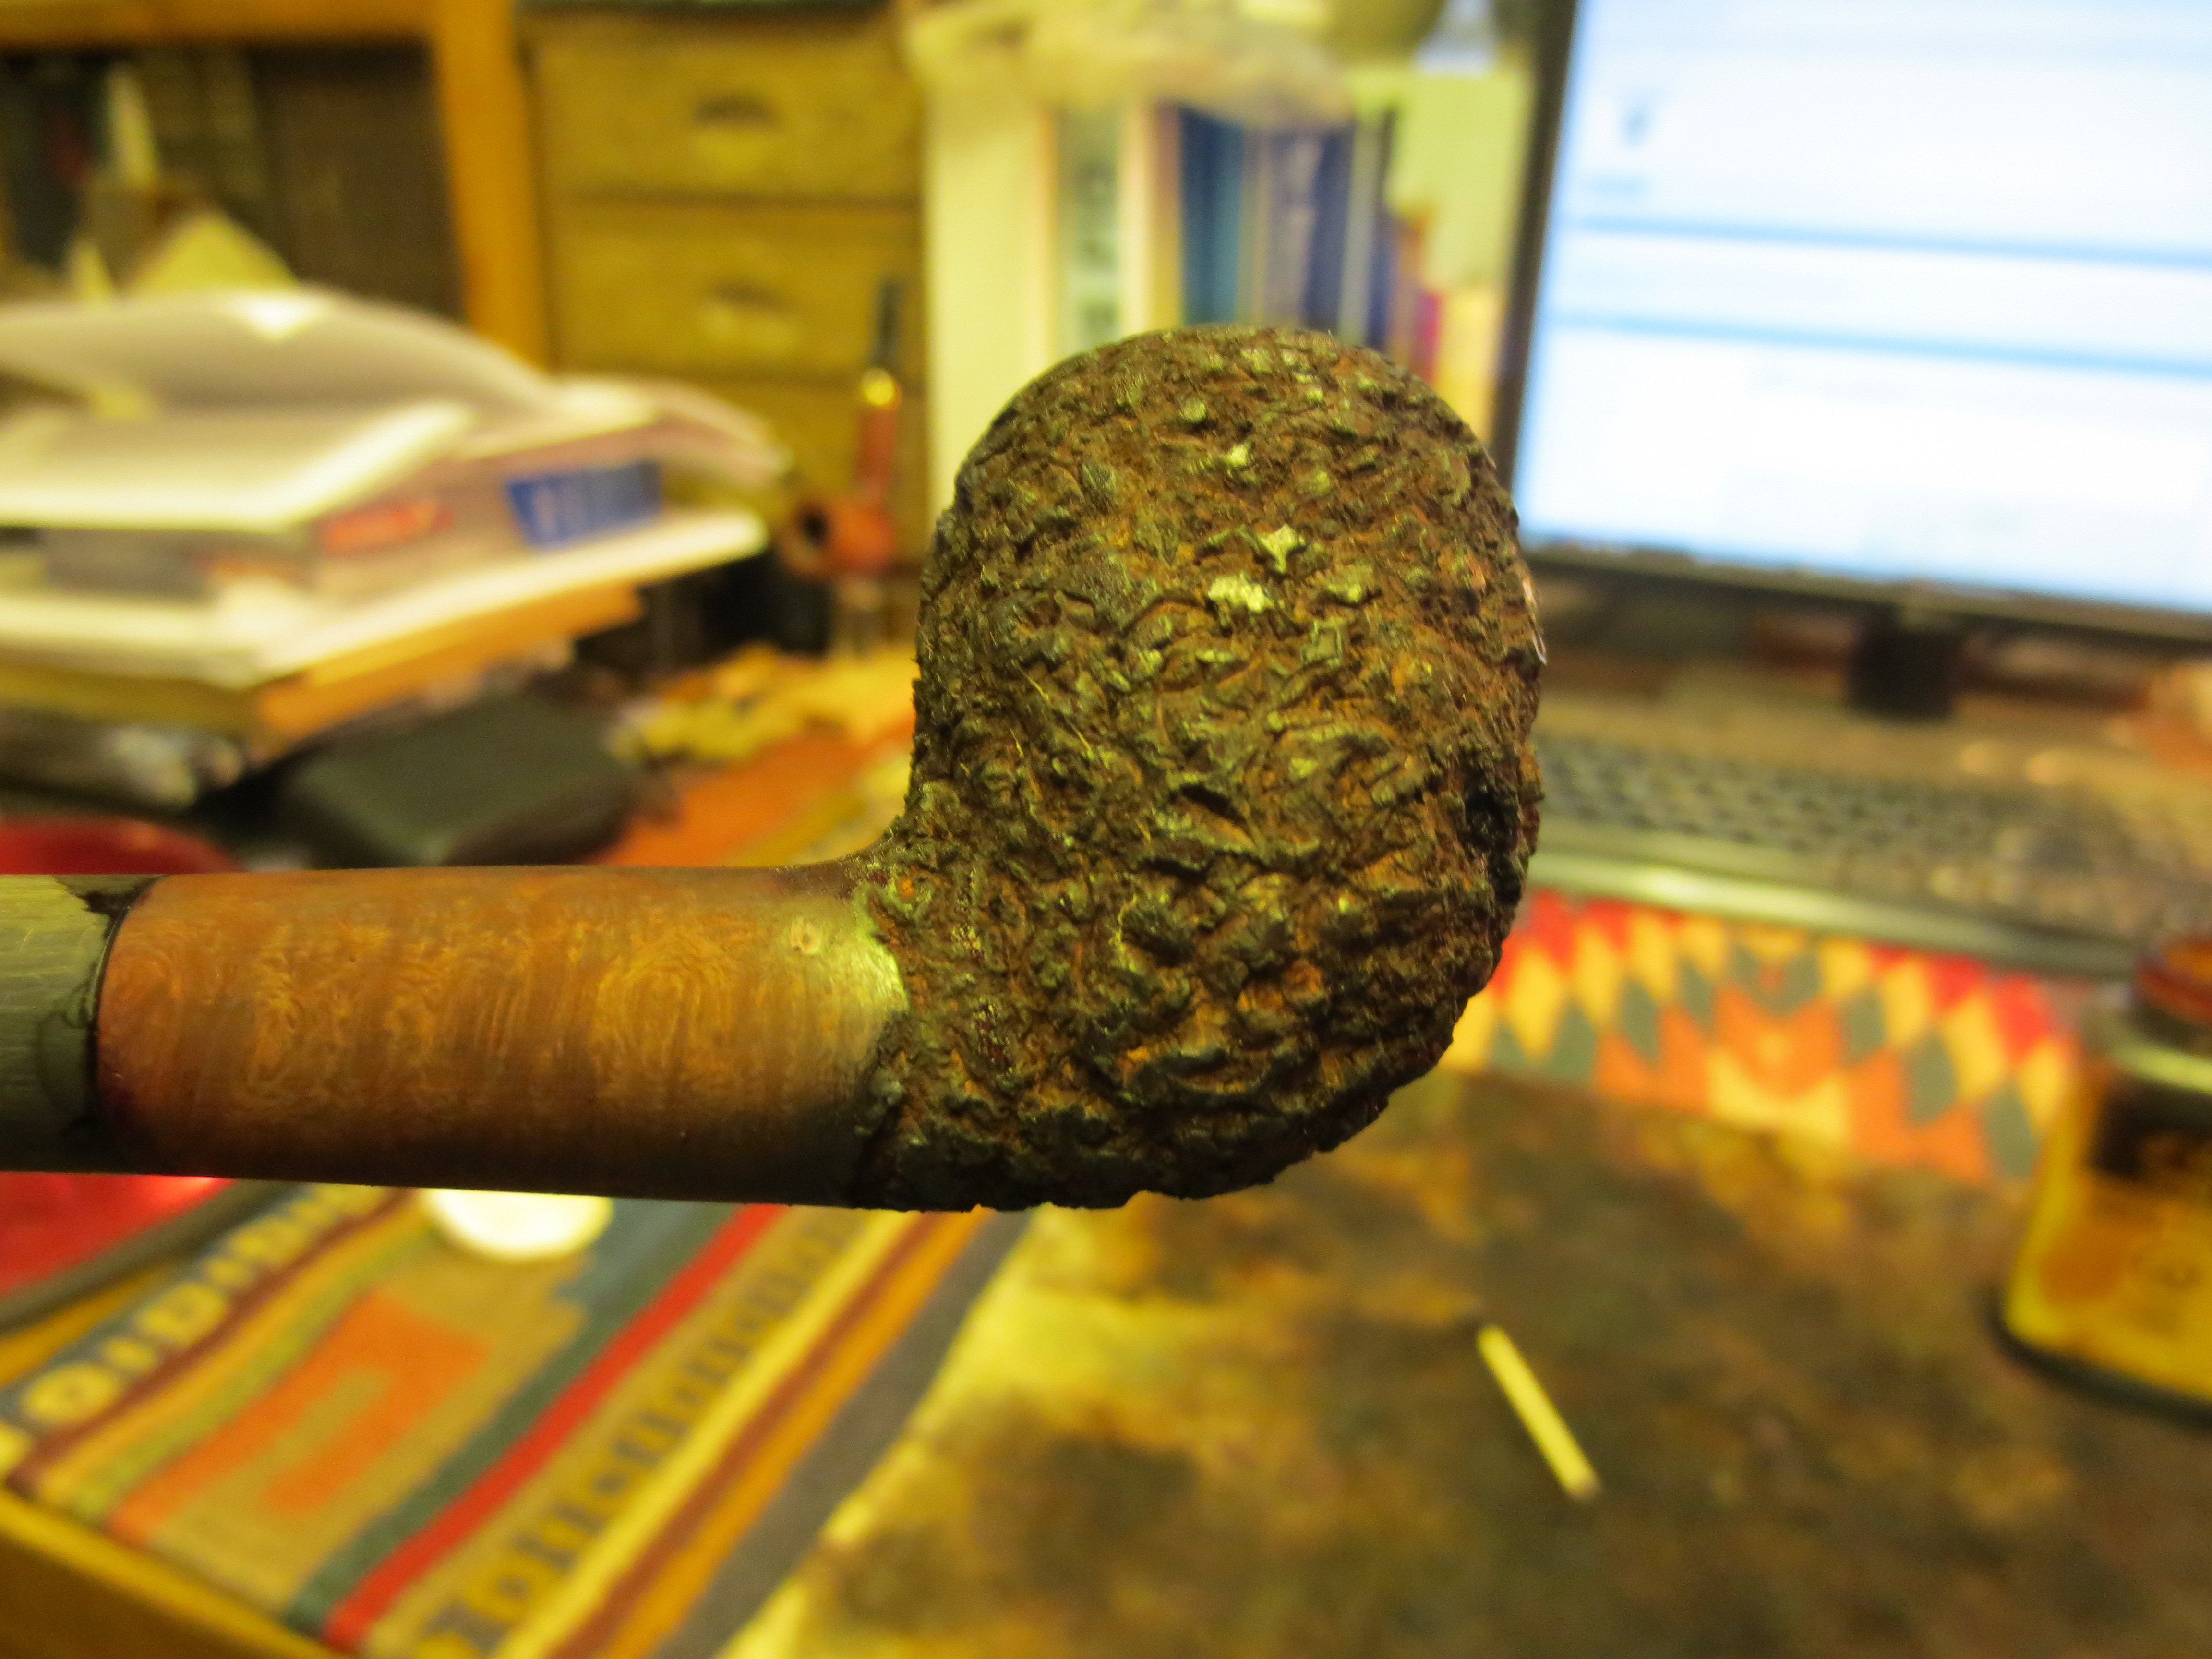
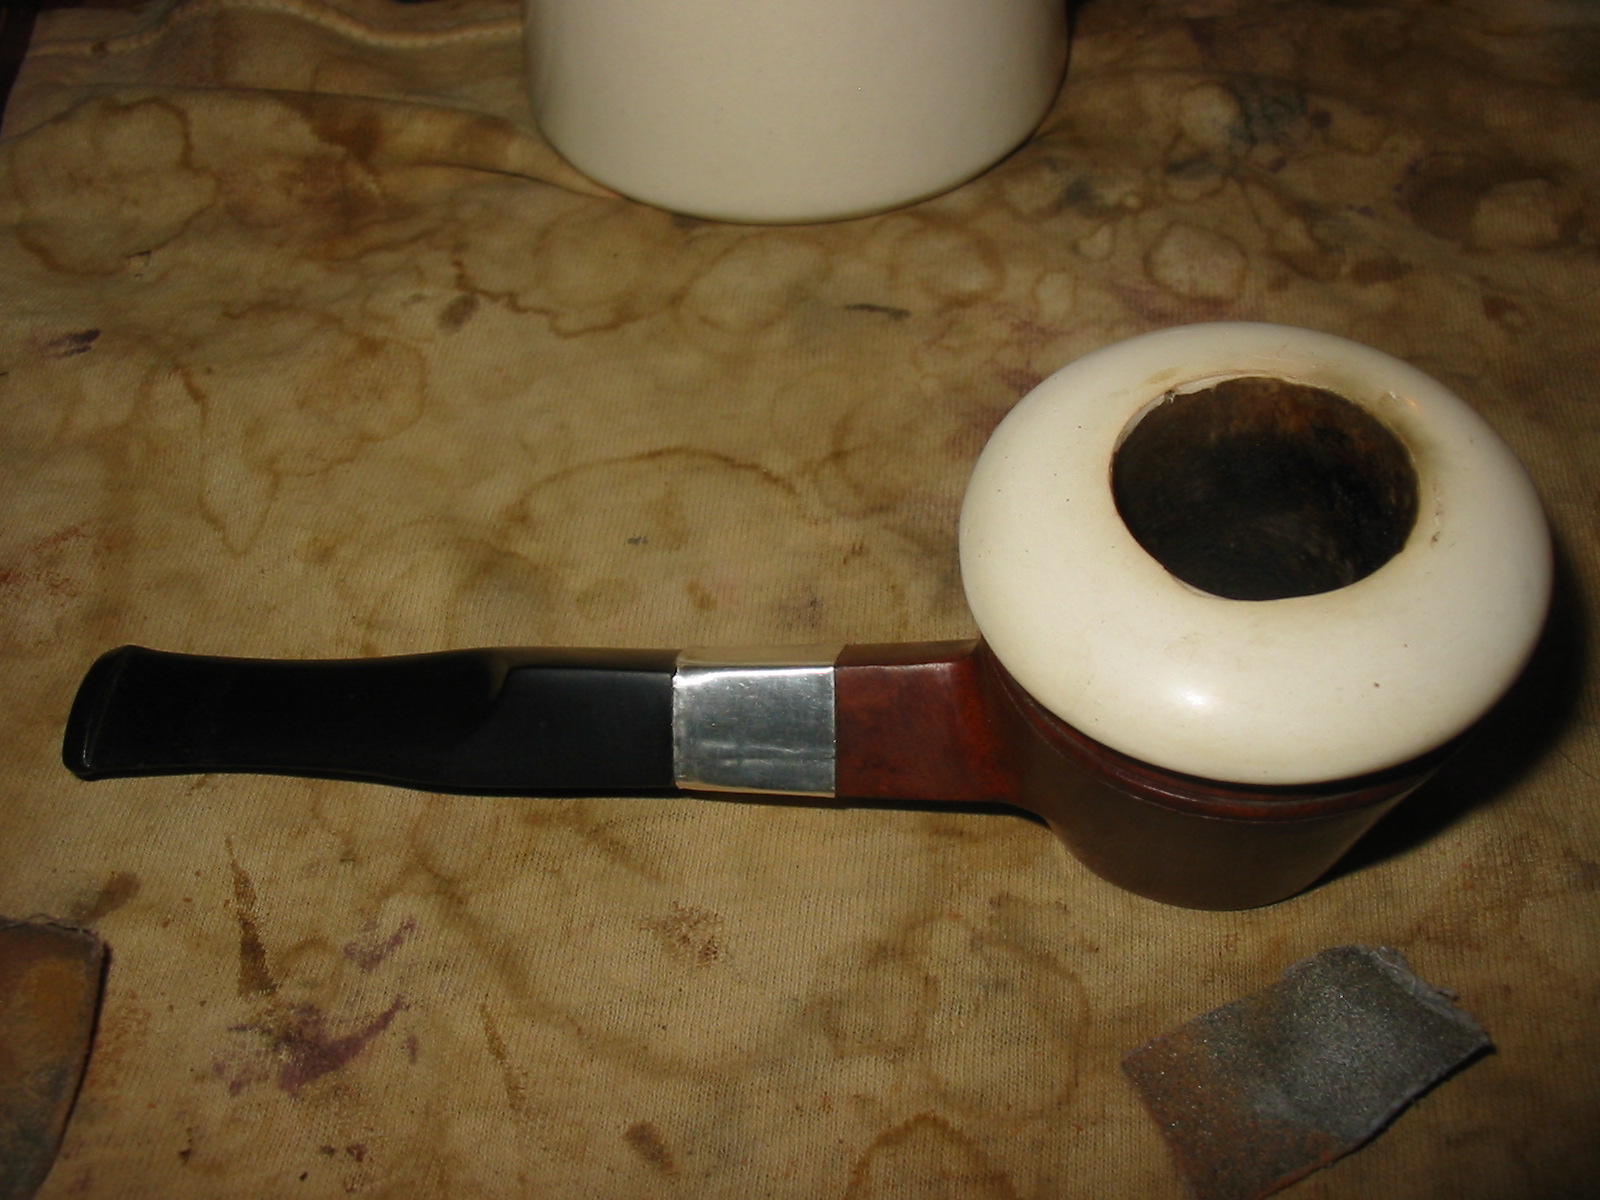
With the topping I also had to open the bowl a bit wider. I used the Dremel to open the bowl and resanded the inside. I measured the height of the cup and the depth of the bowl and determined I could take it down until there was a ¼ inch of briar between the top ring and the rim. I sanded it to meet that measurement with the Dremel and then topped it again to even out the rim surface. I sanded it with a fine grit sanding sponge. The cup fit nicely in the bowl. The angled crown of the Rhodesian style top actually looks good with the flat edge of the bottom of the cup.


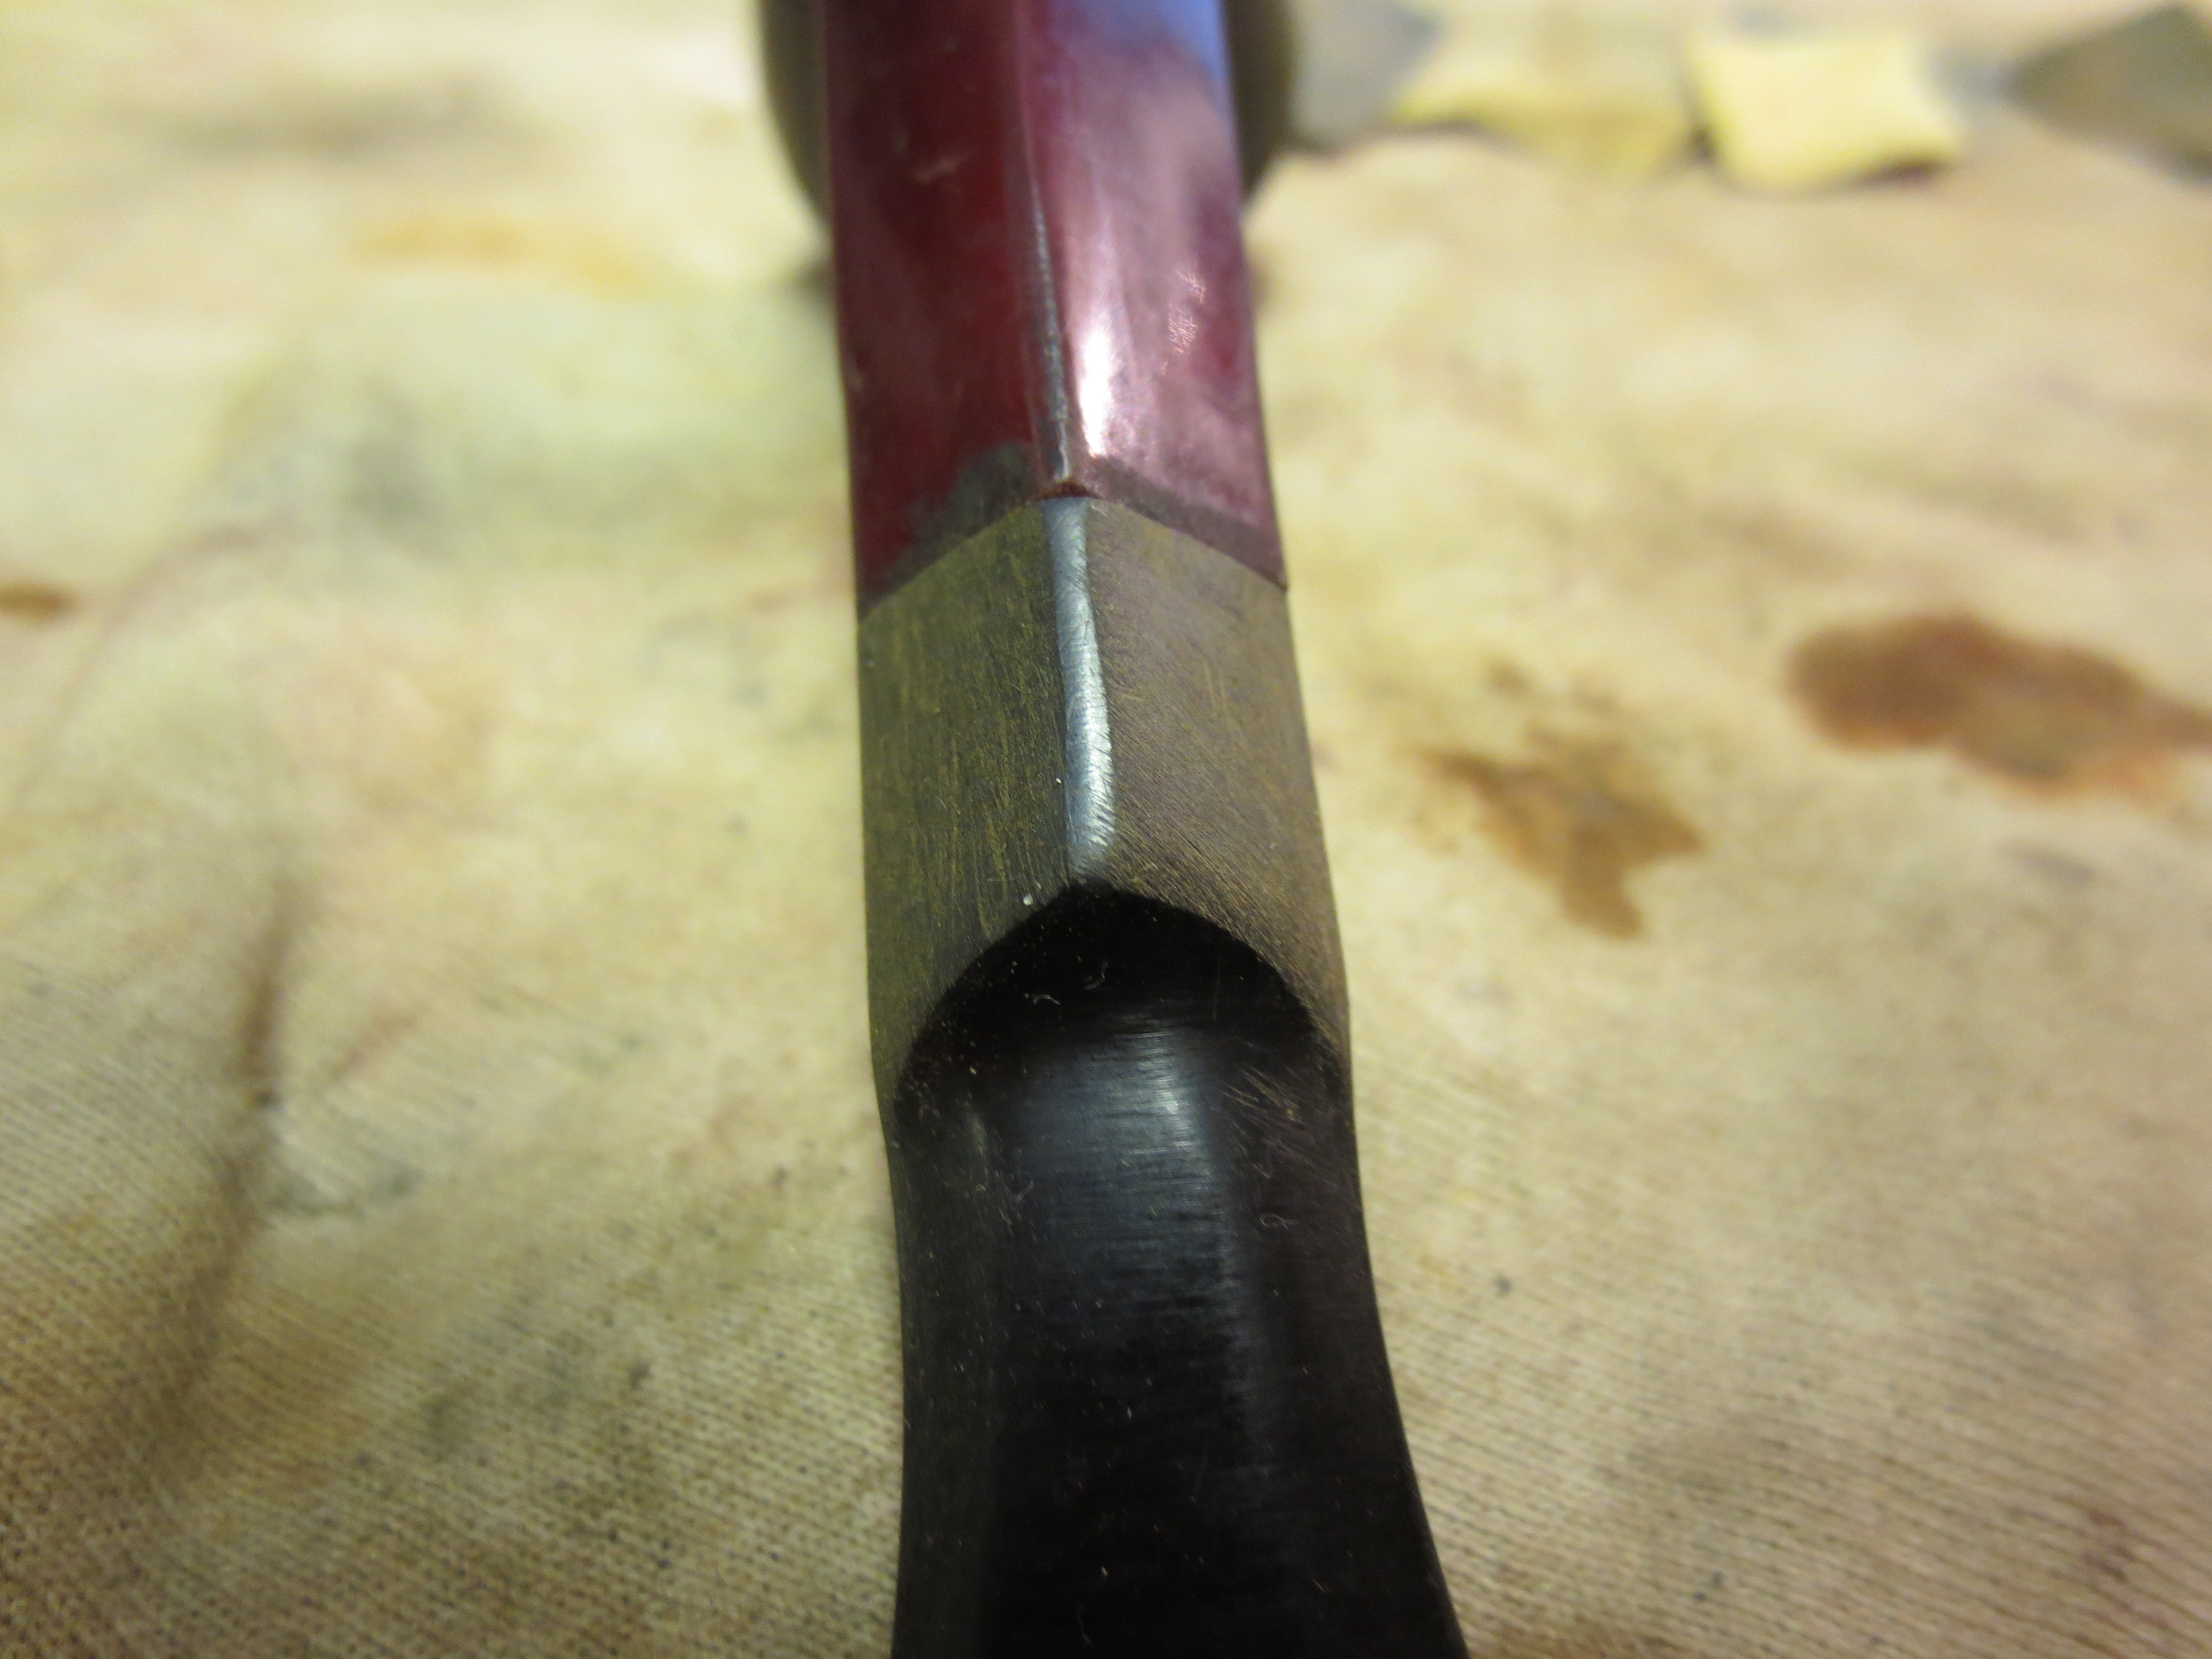
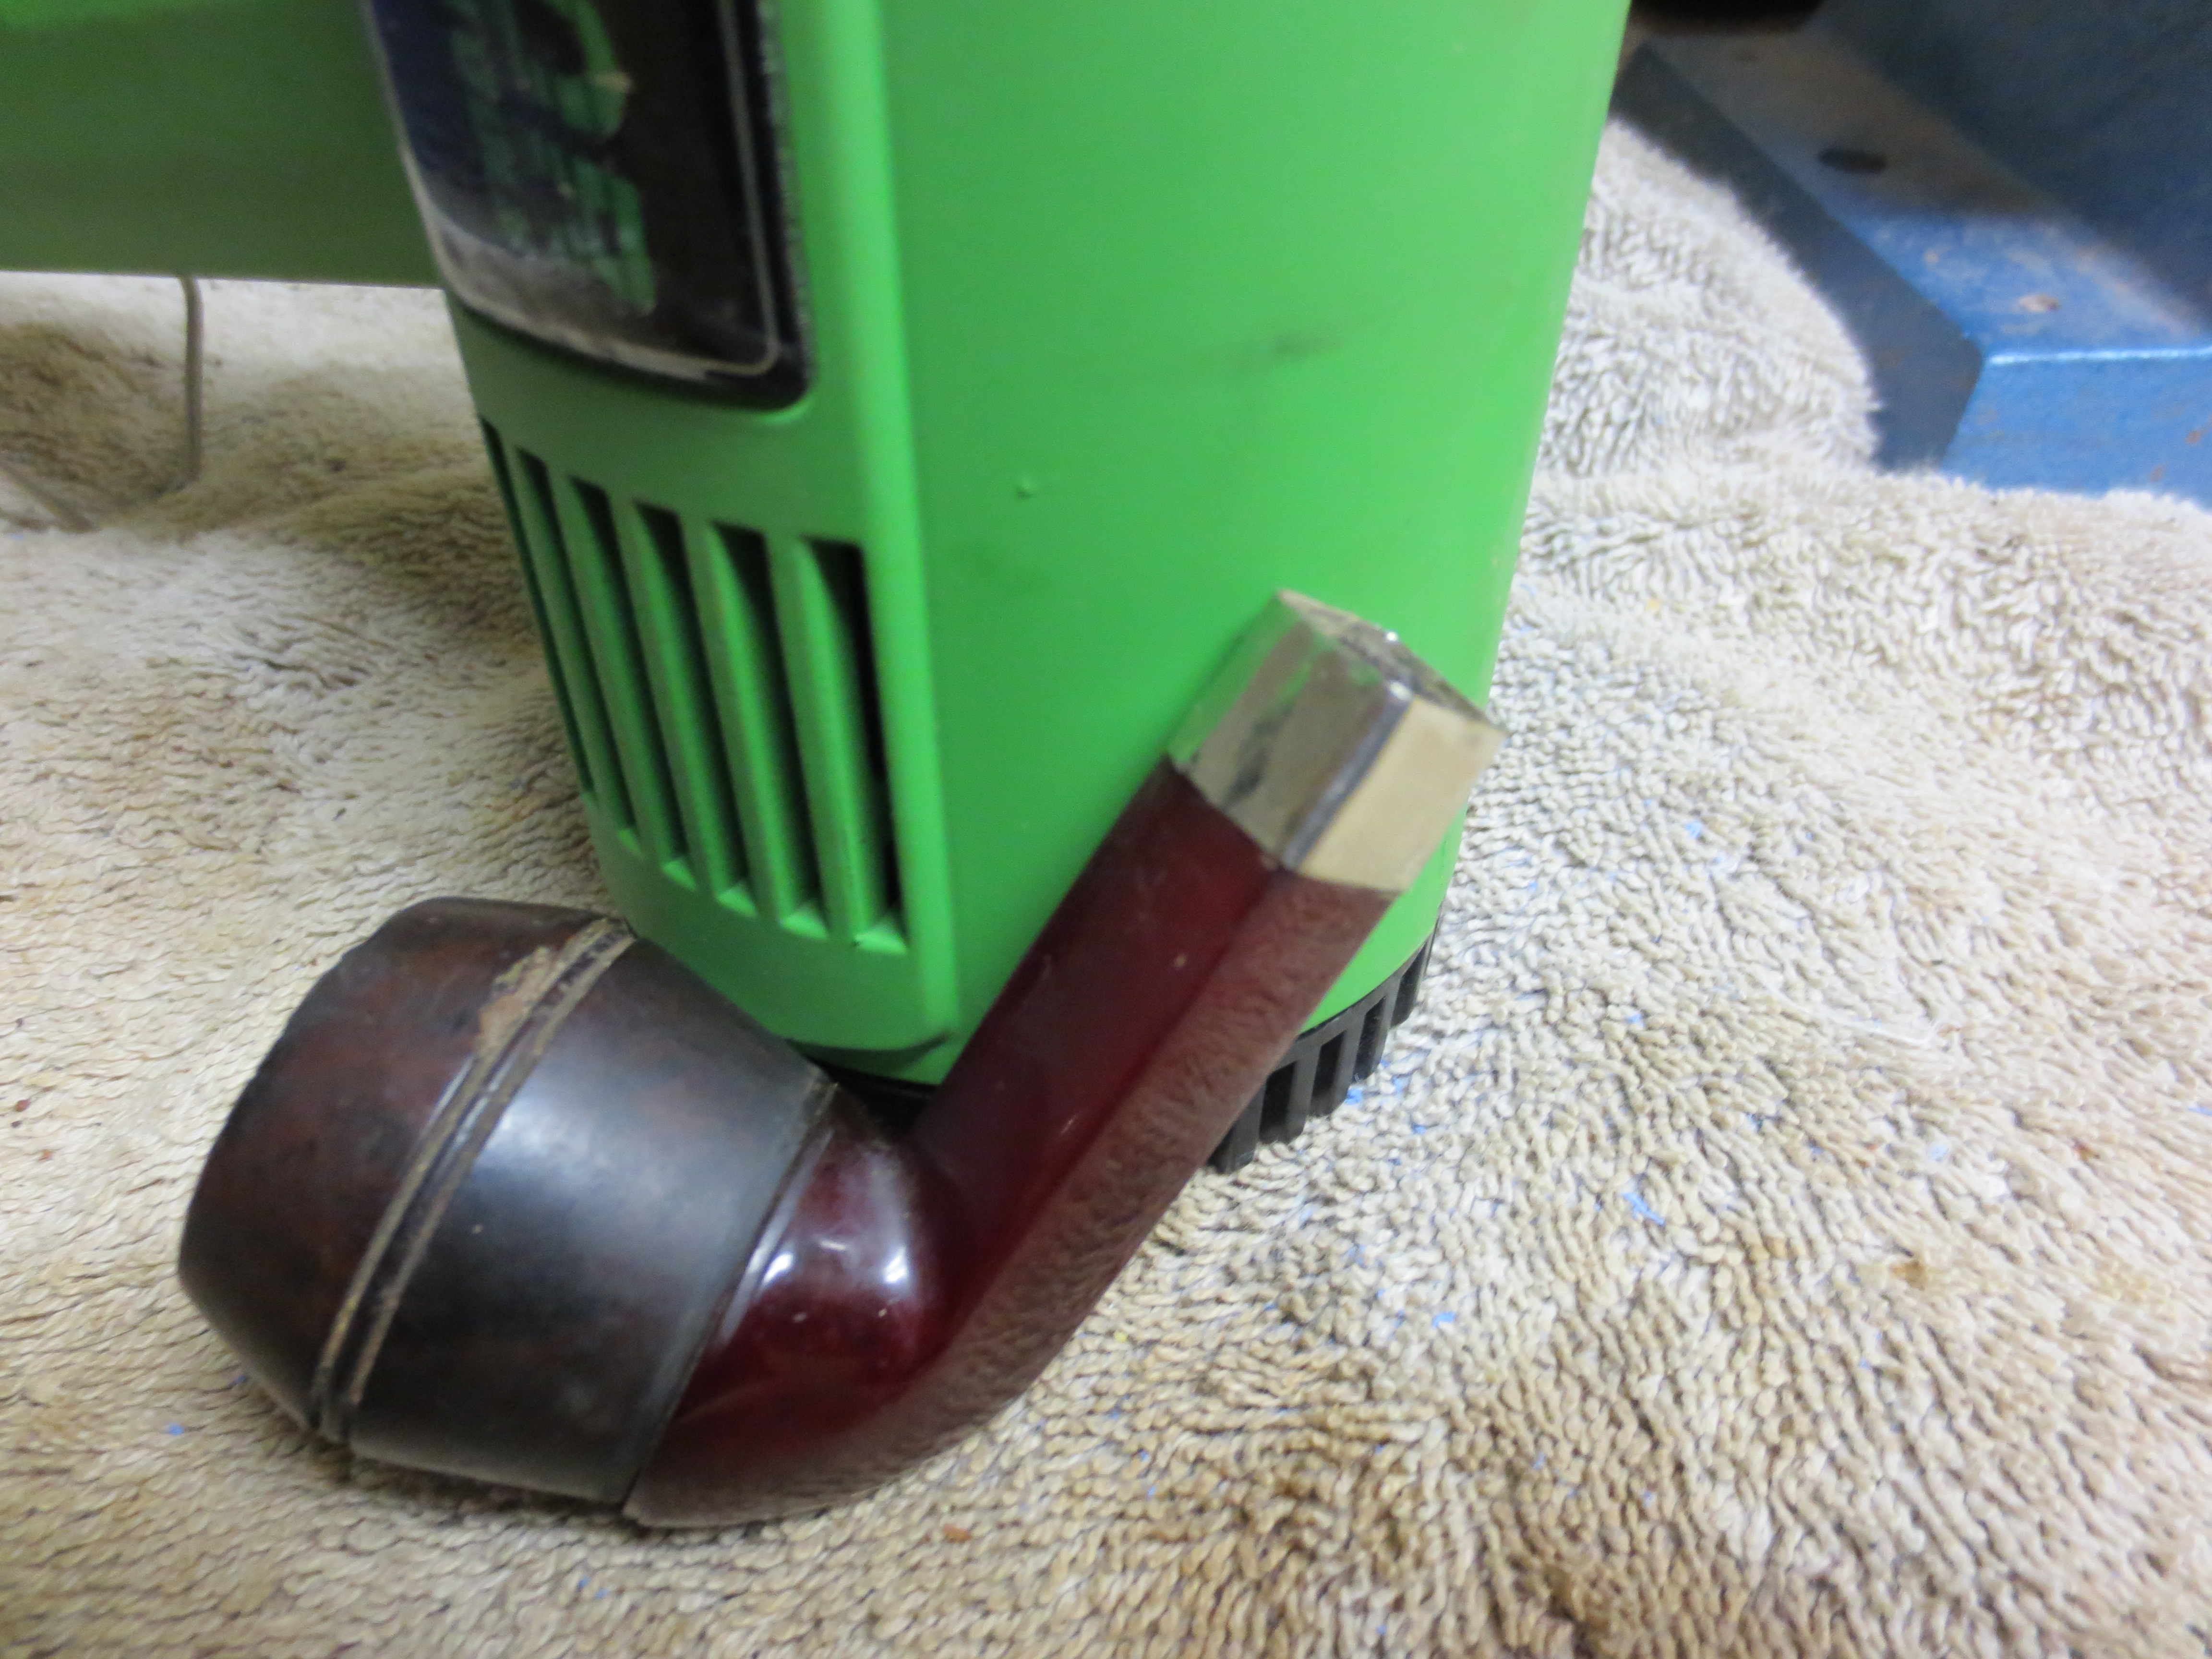
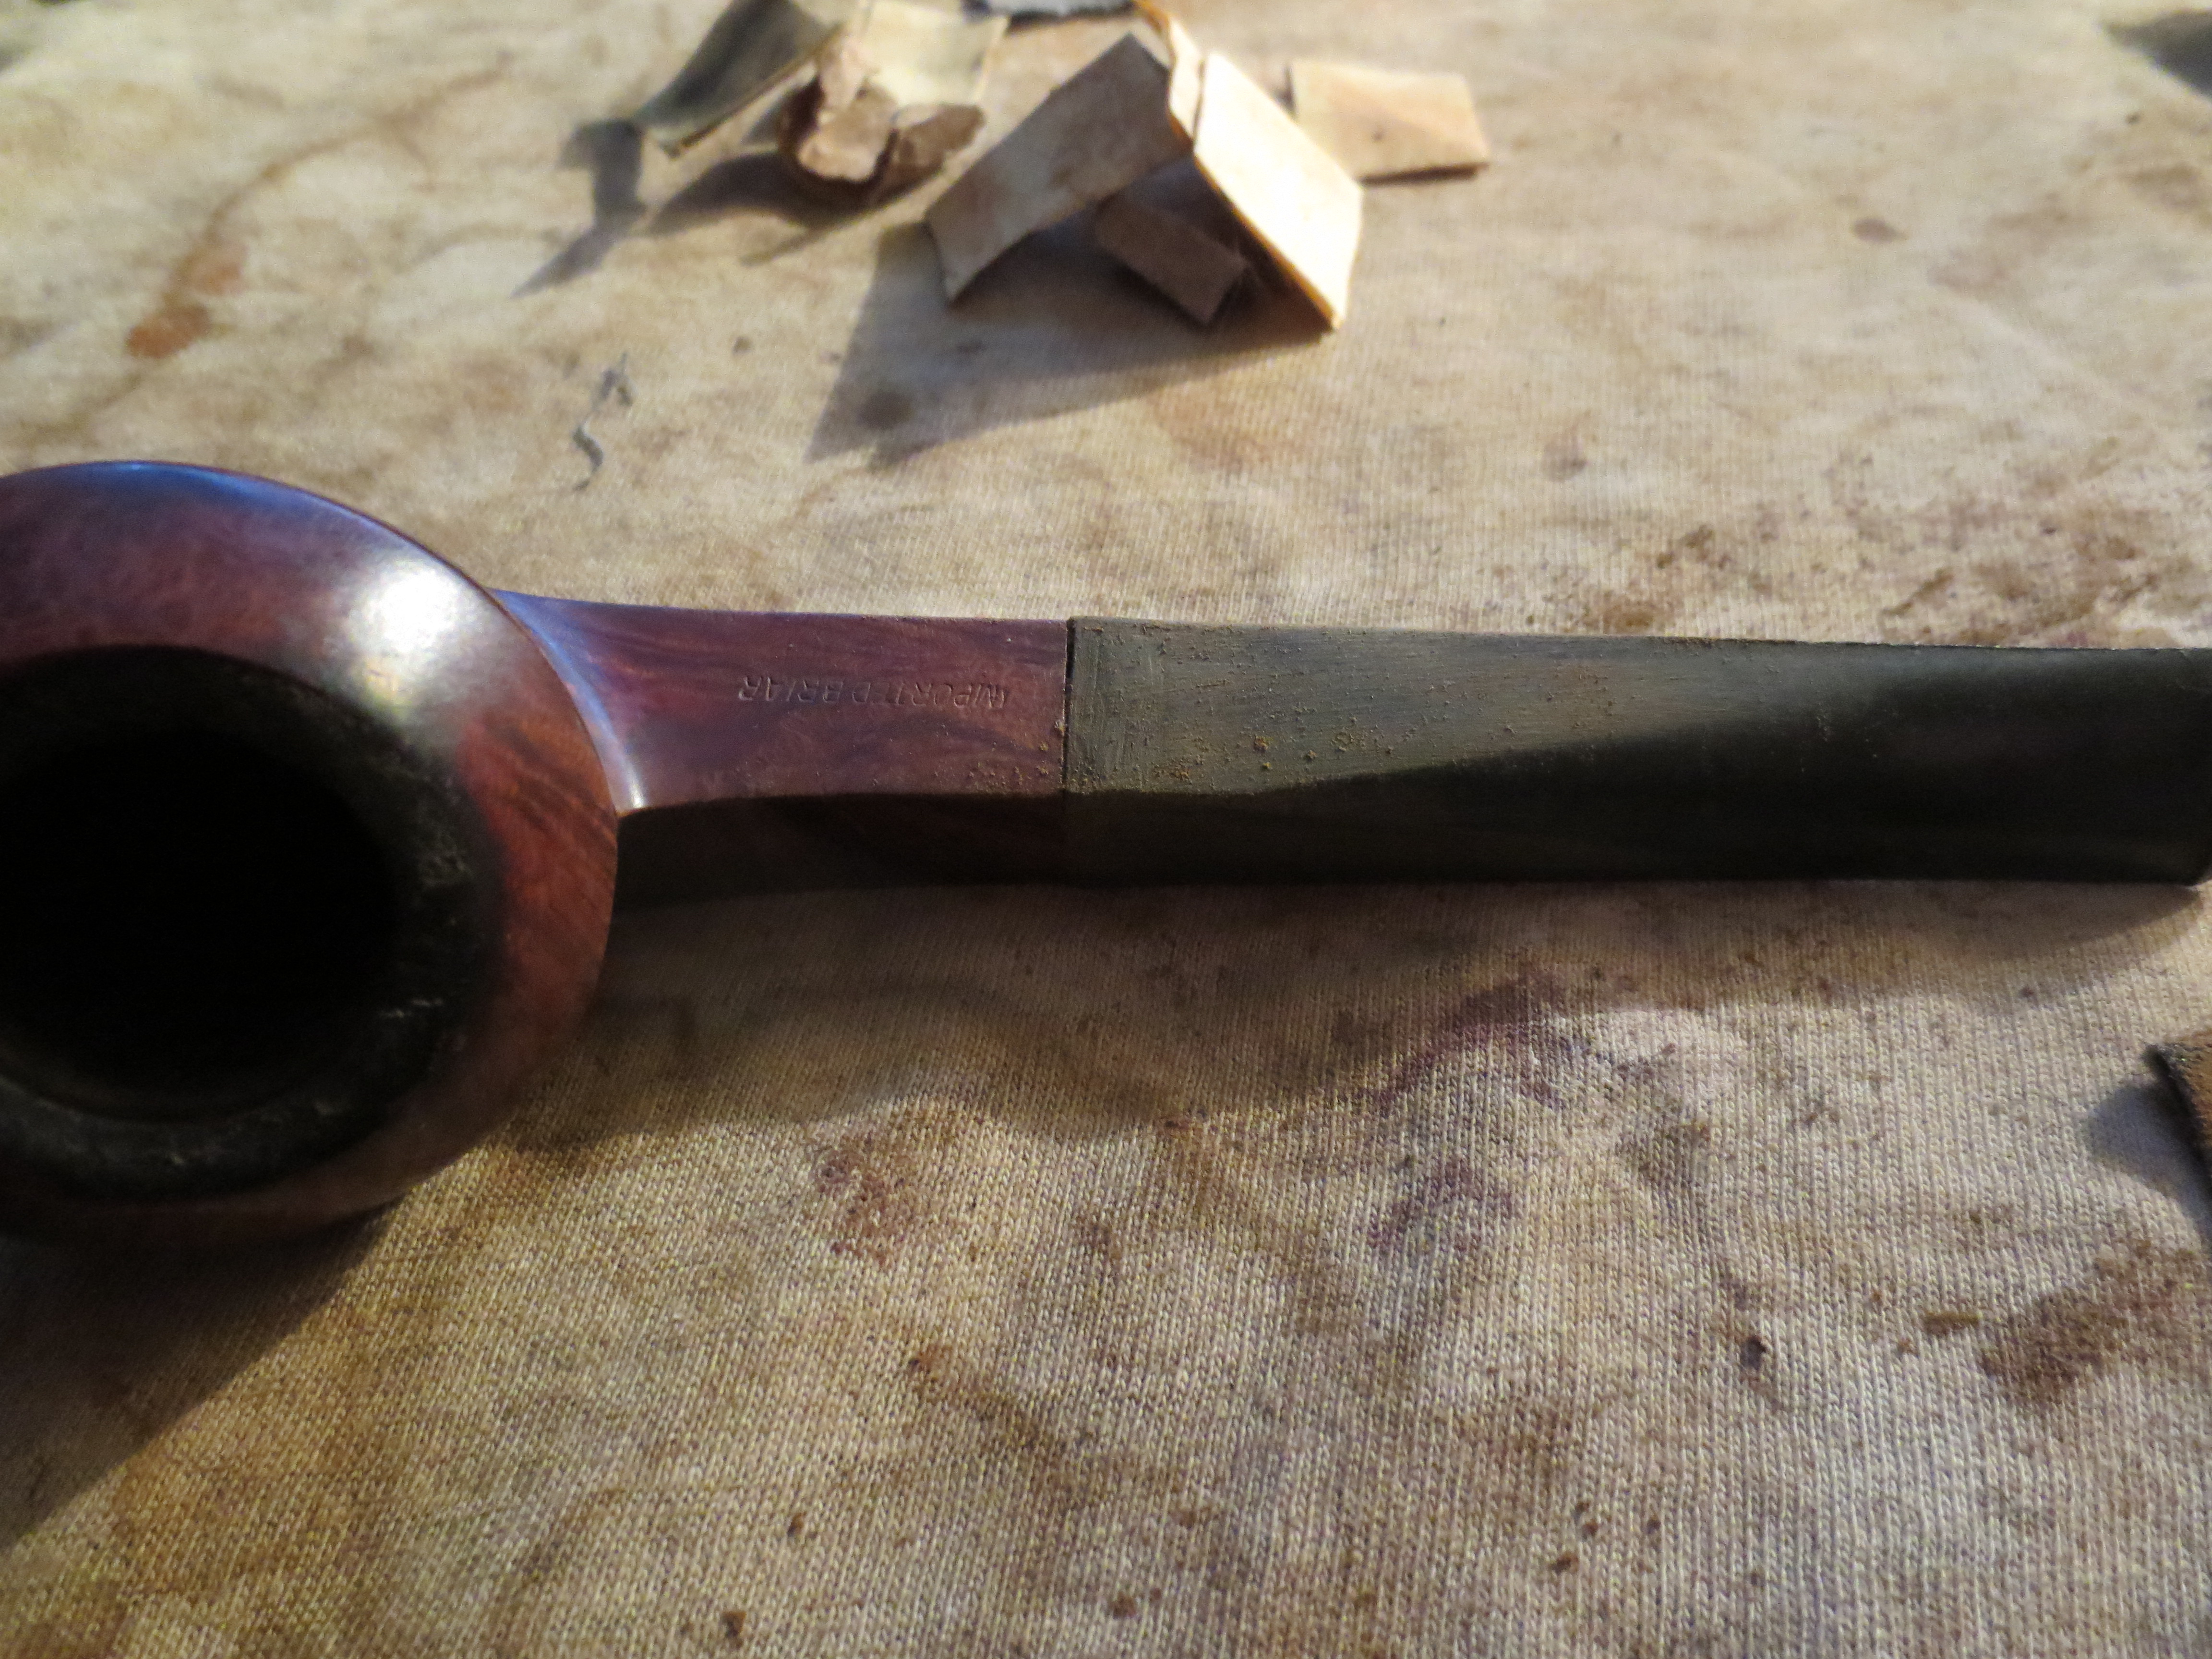
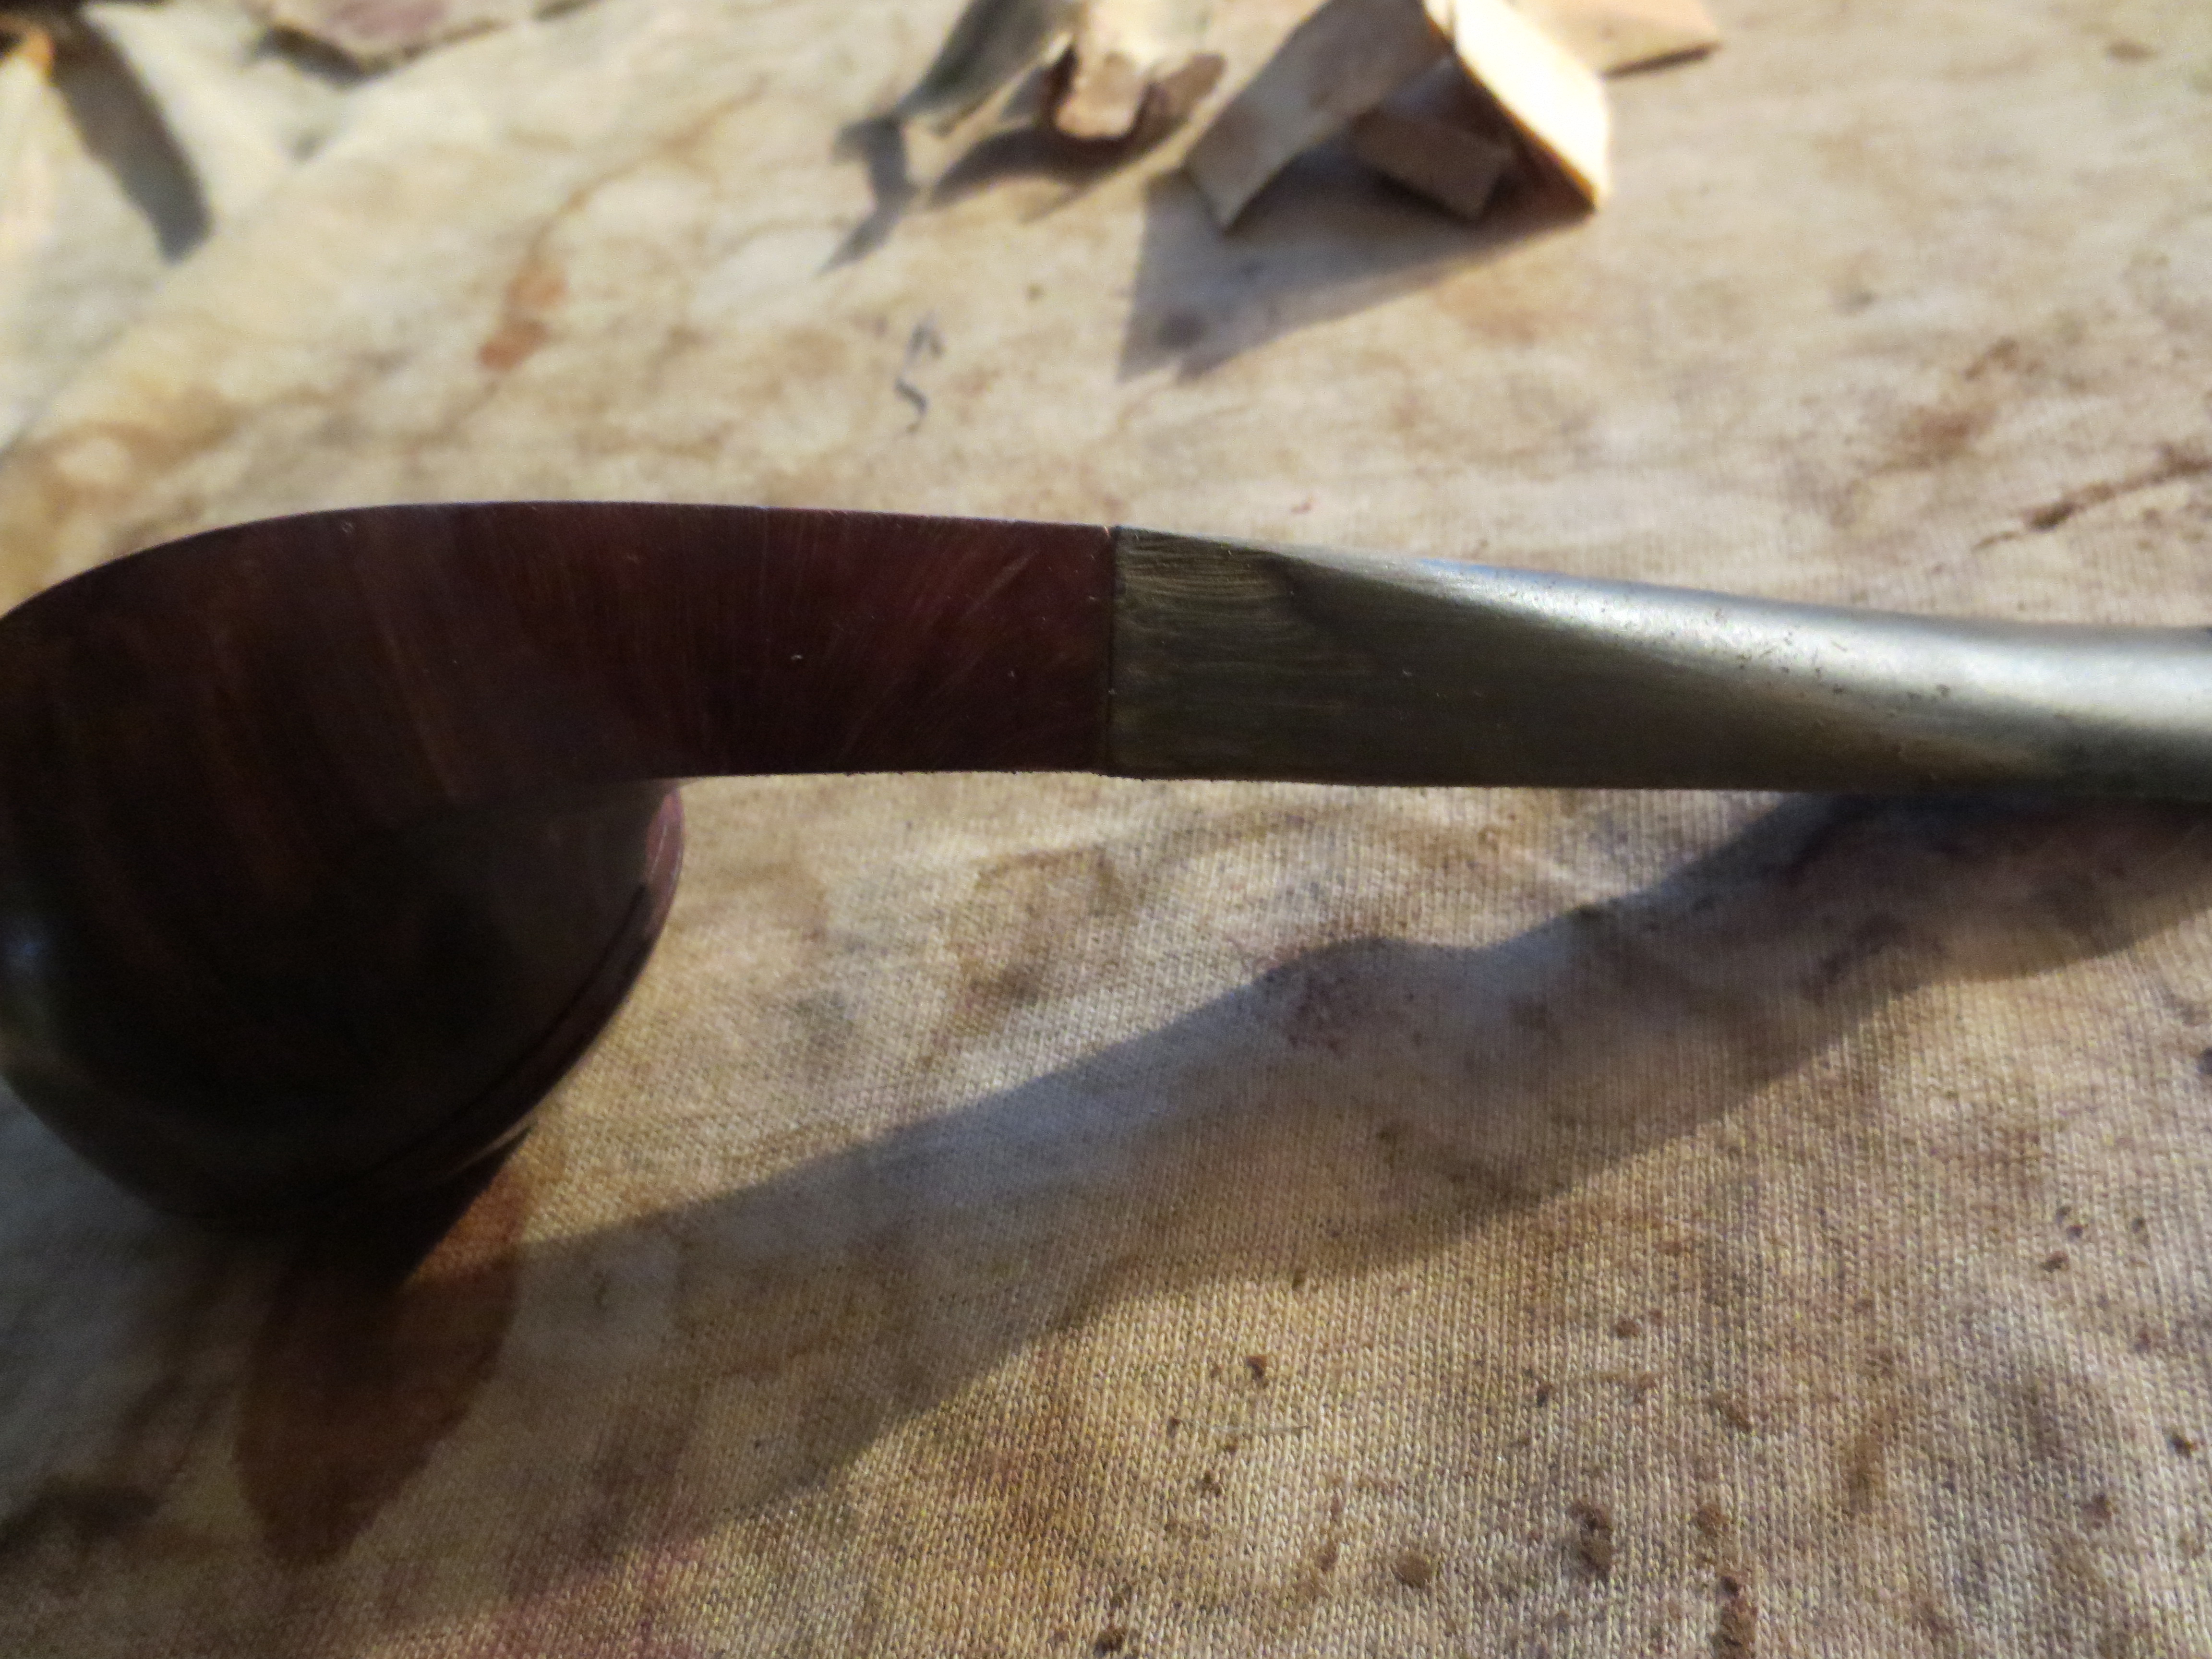
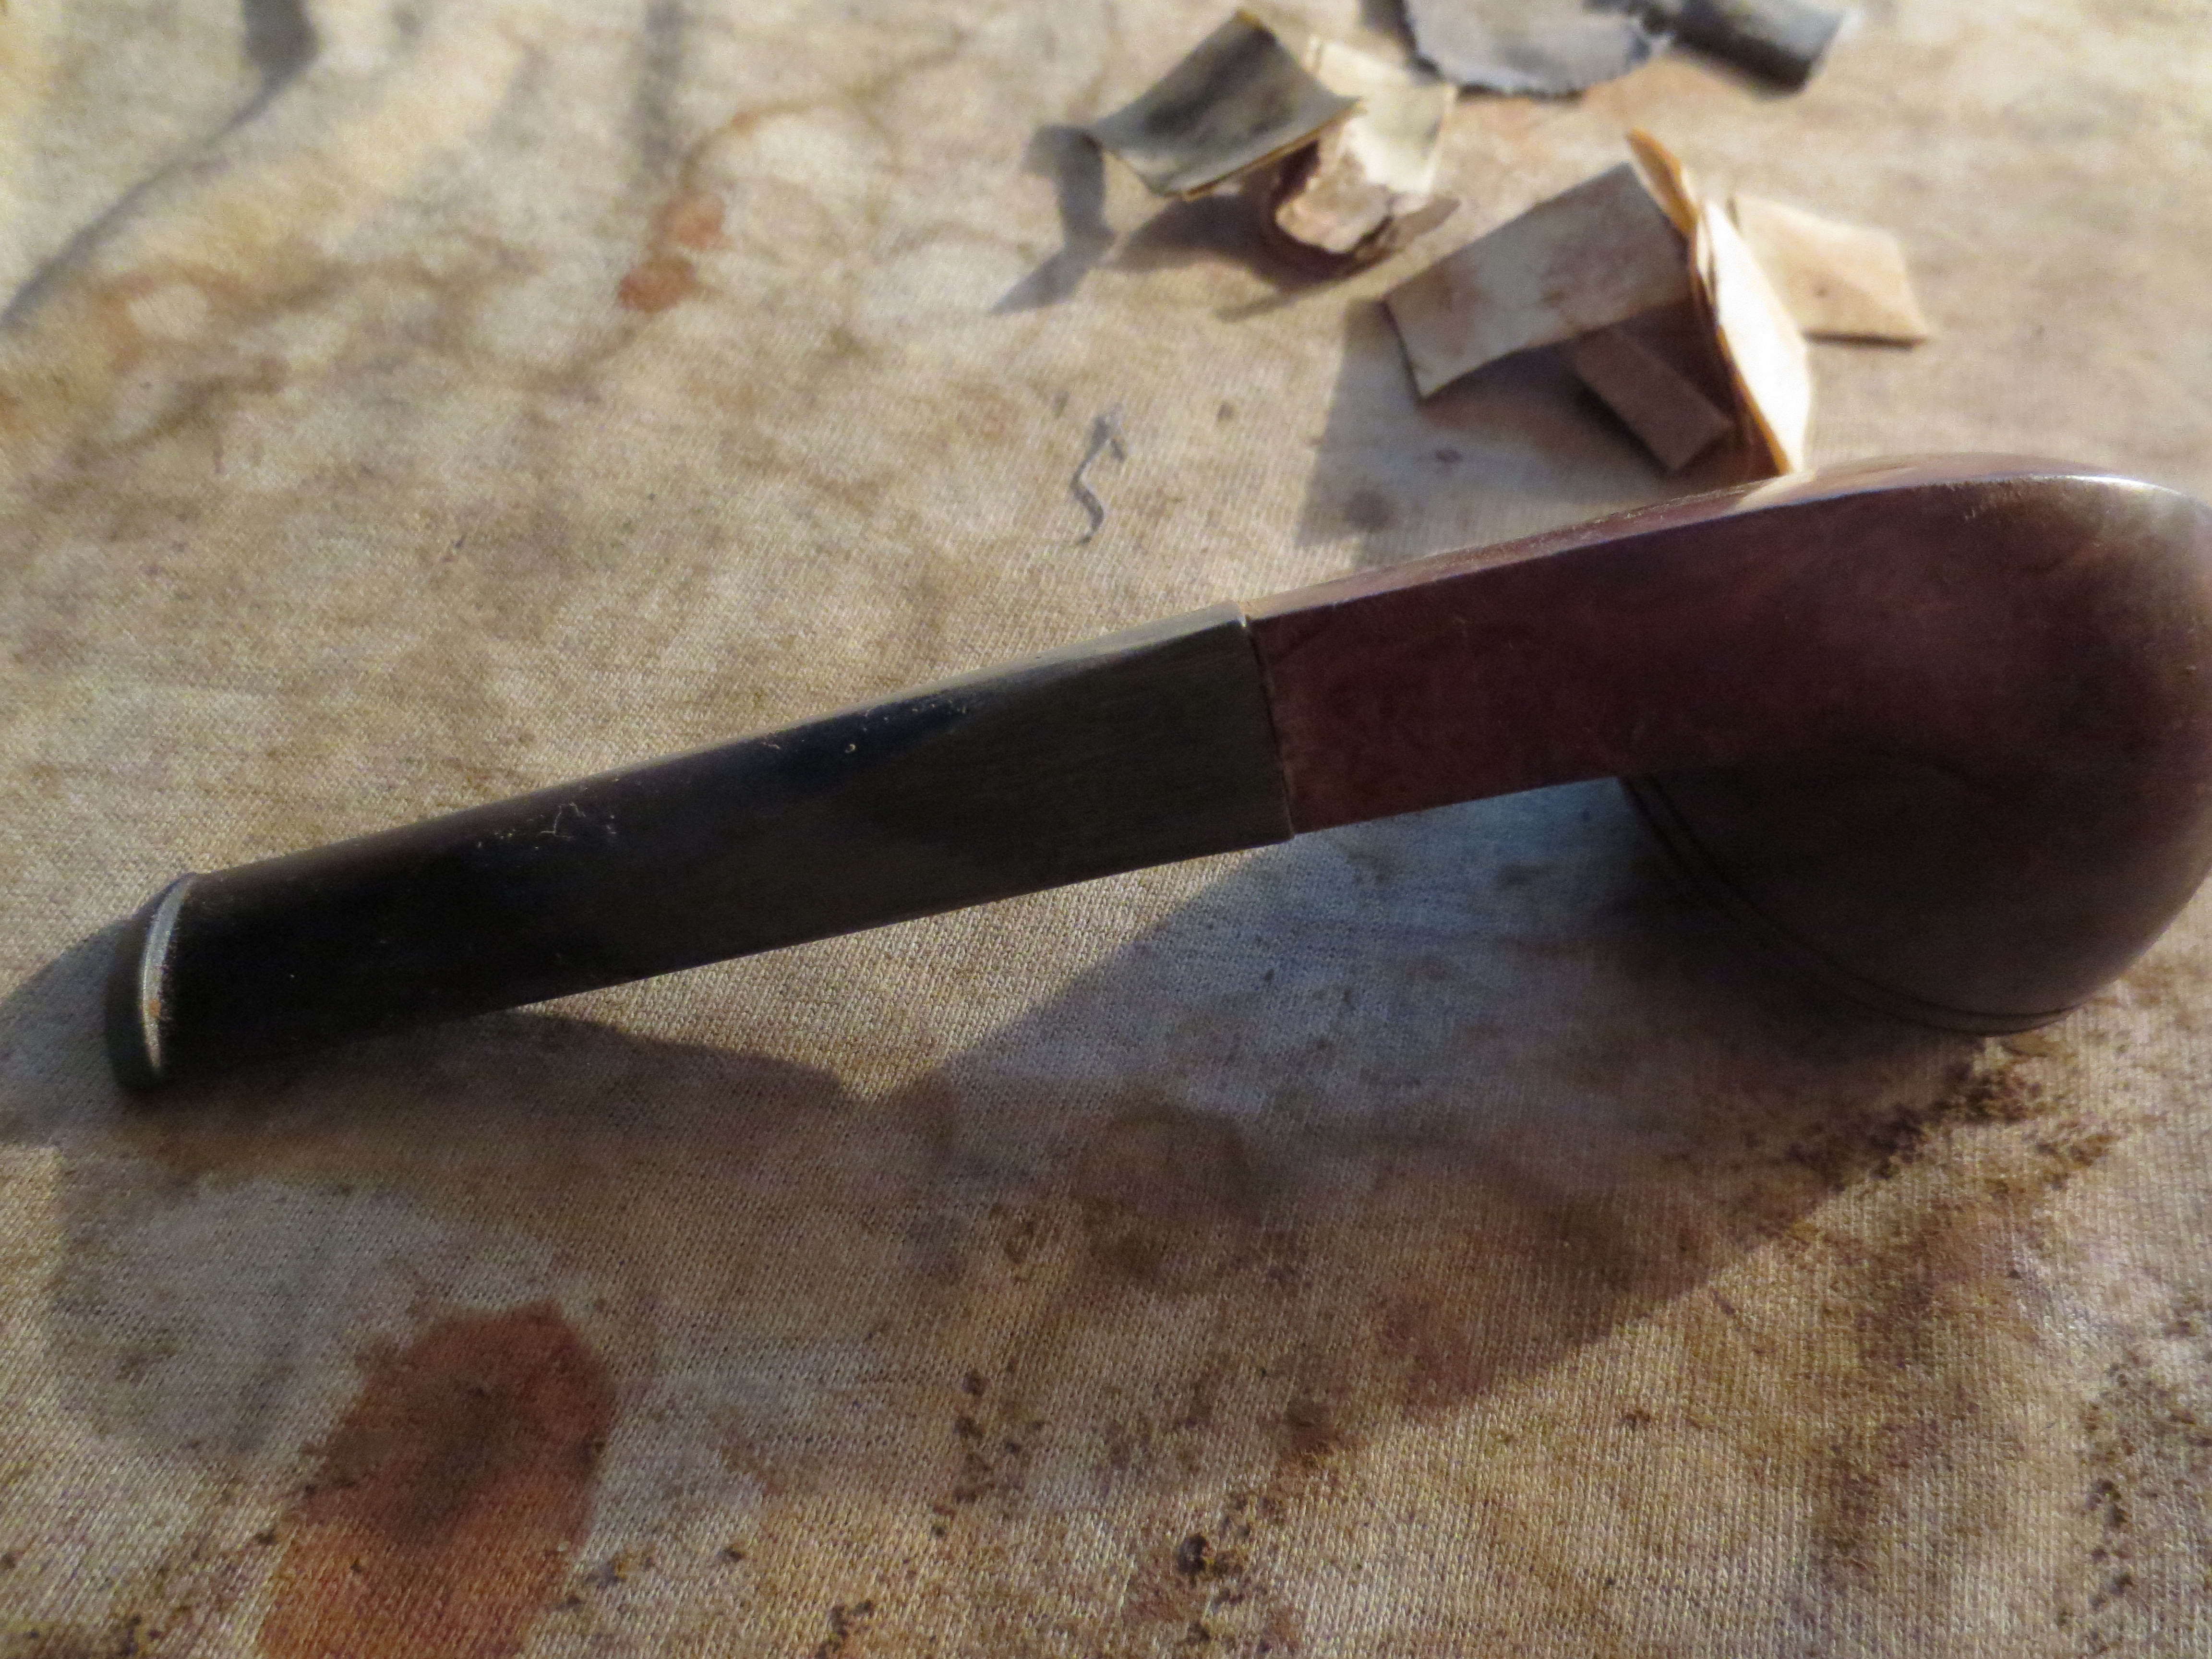
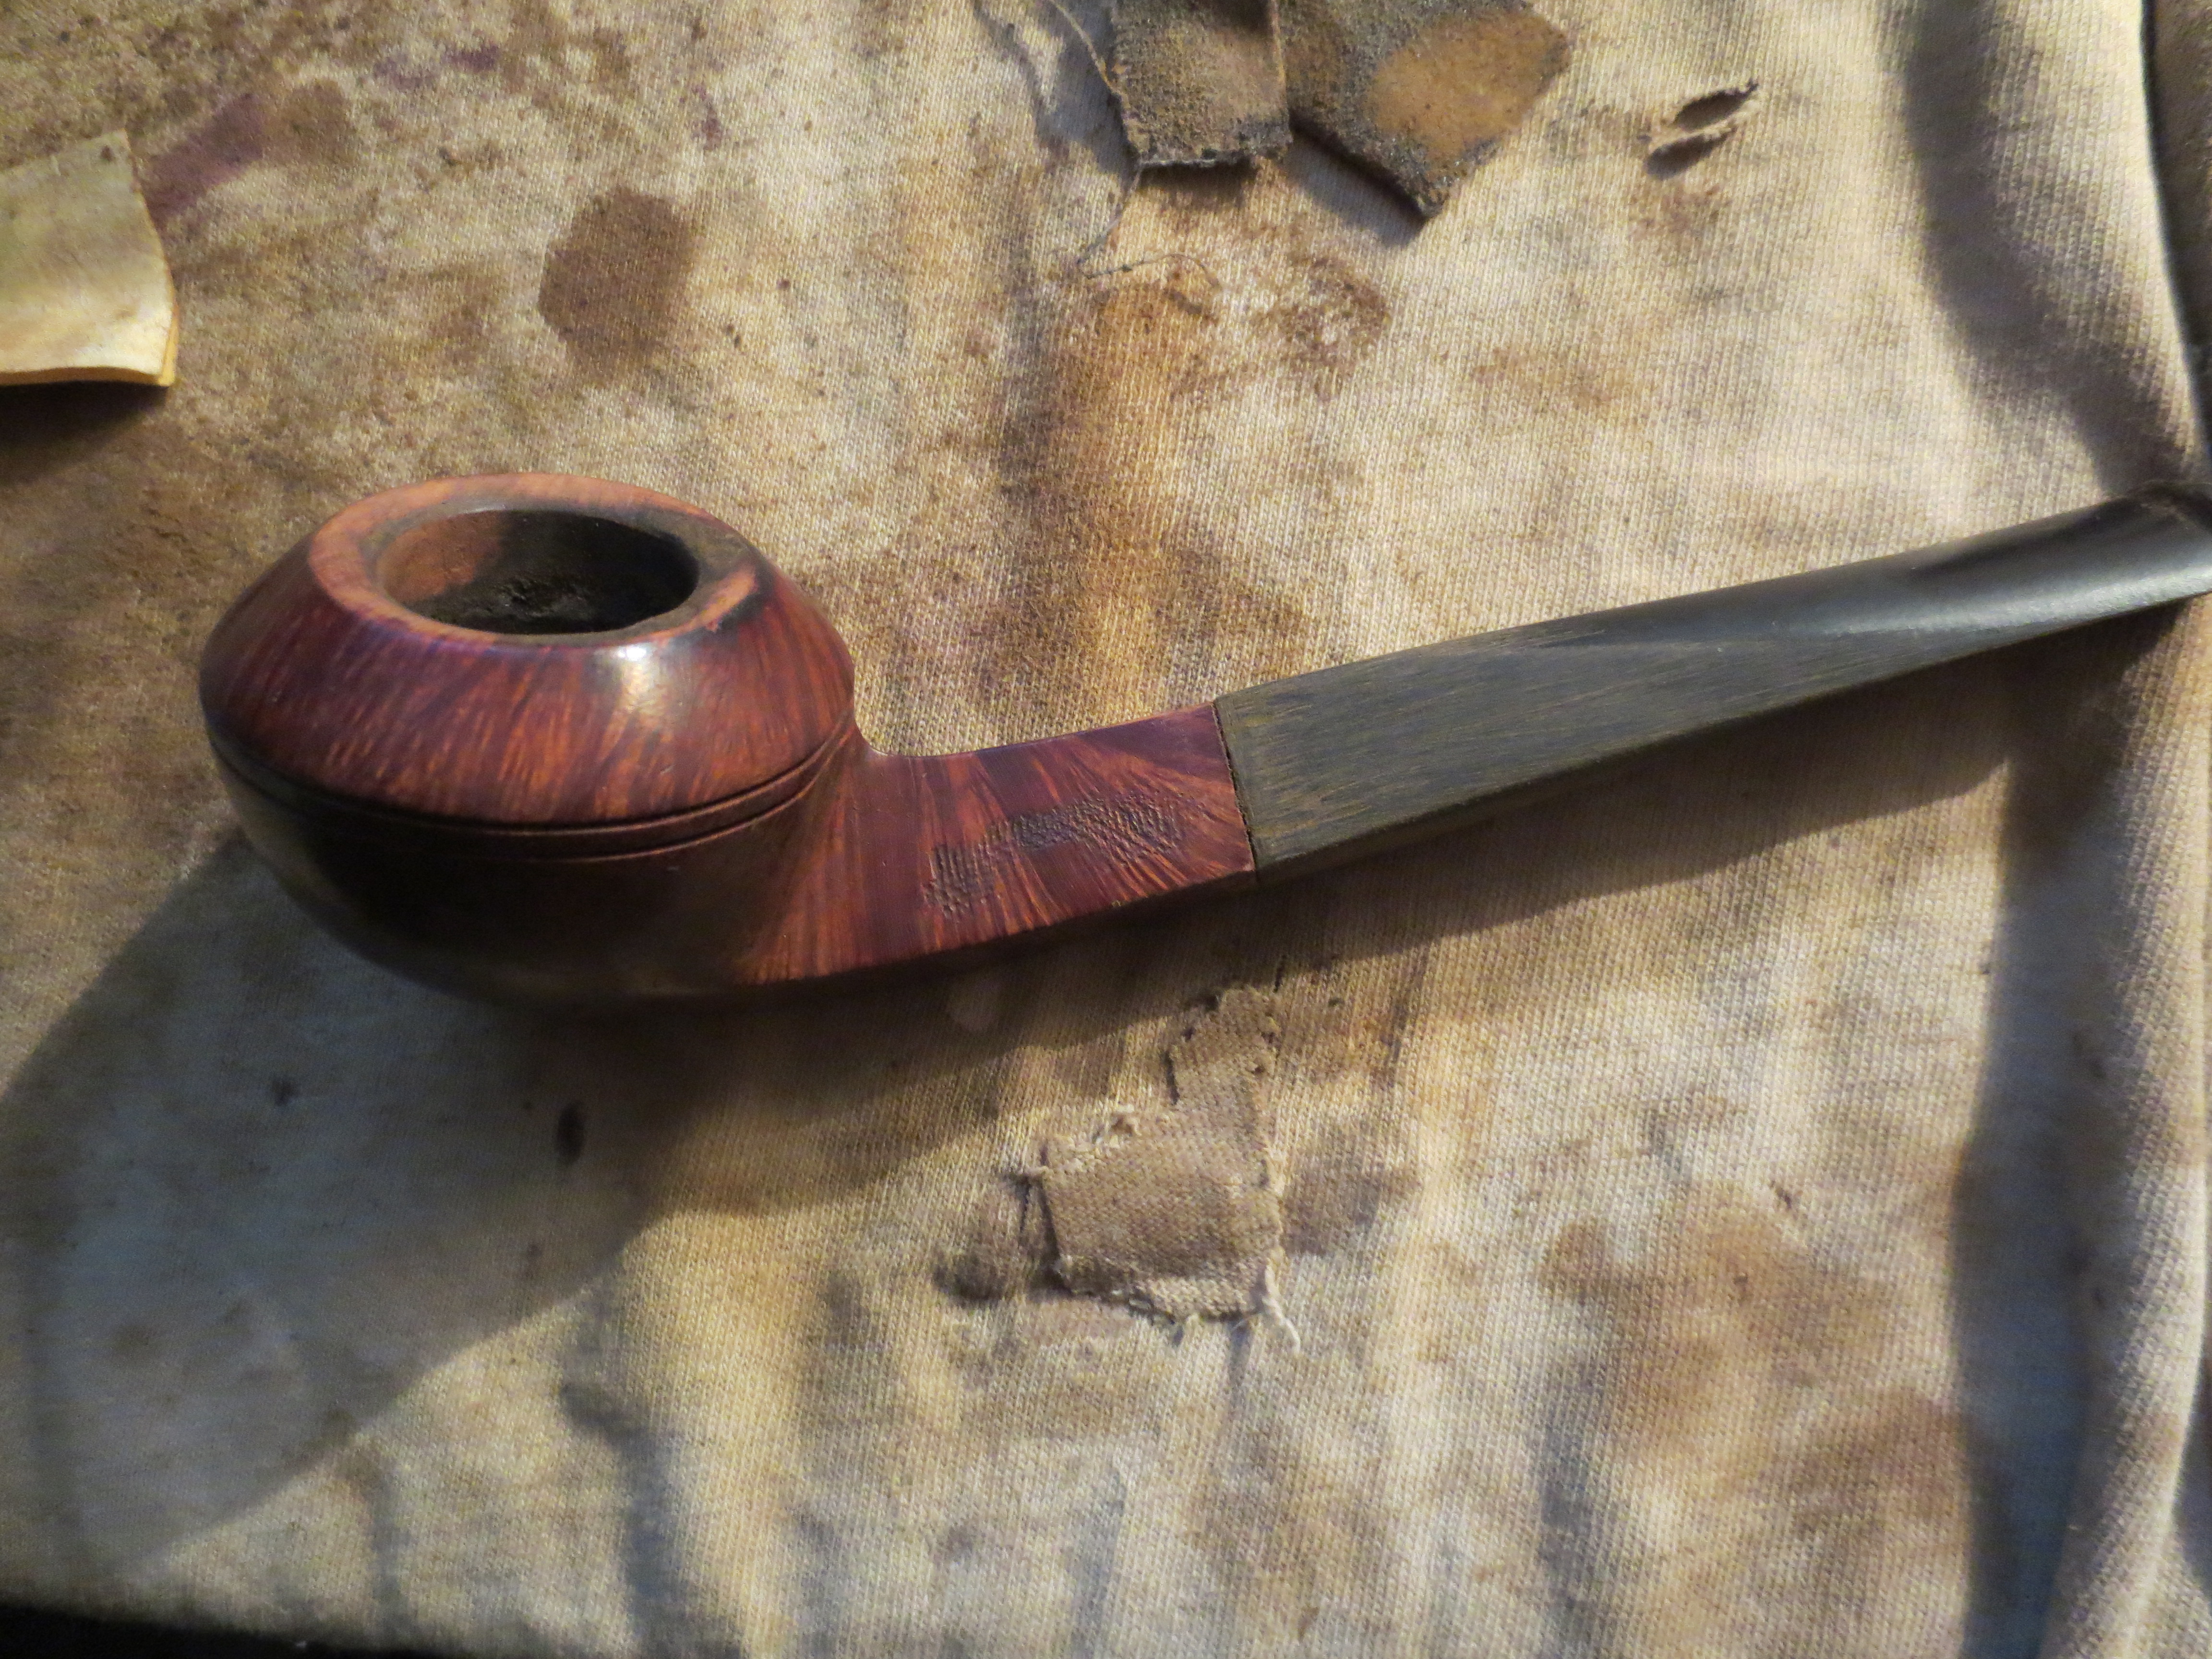
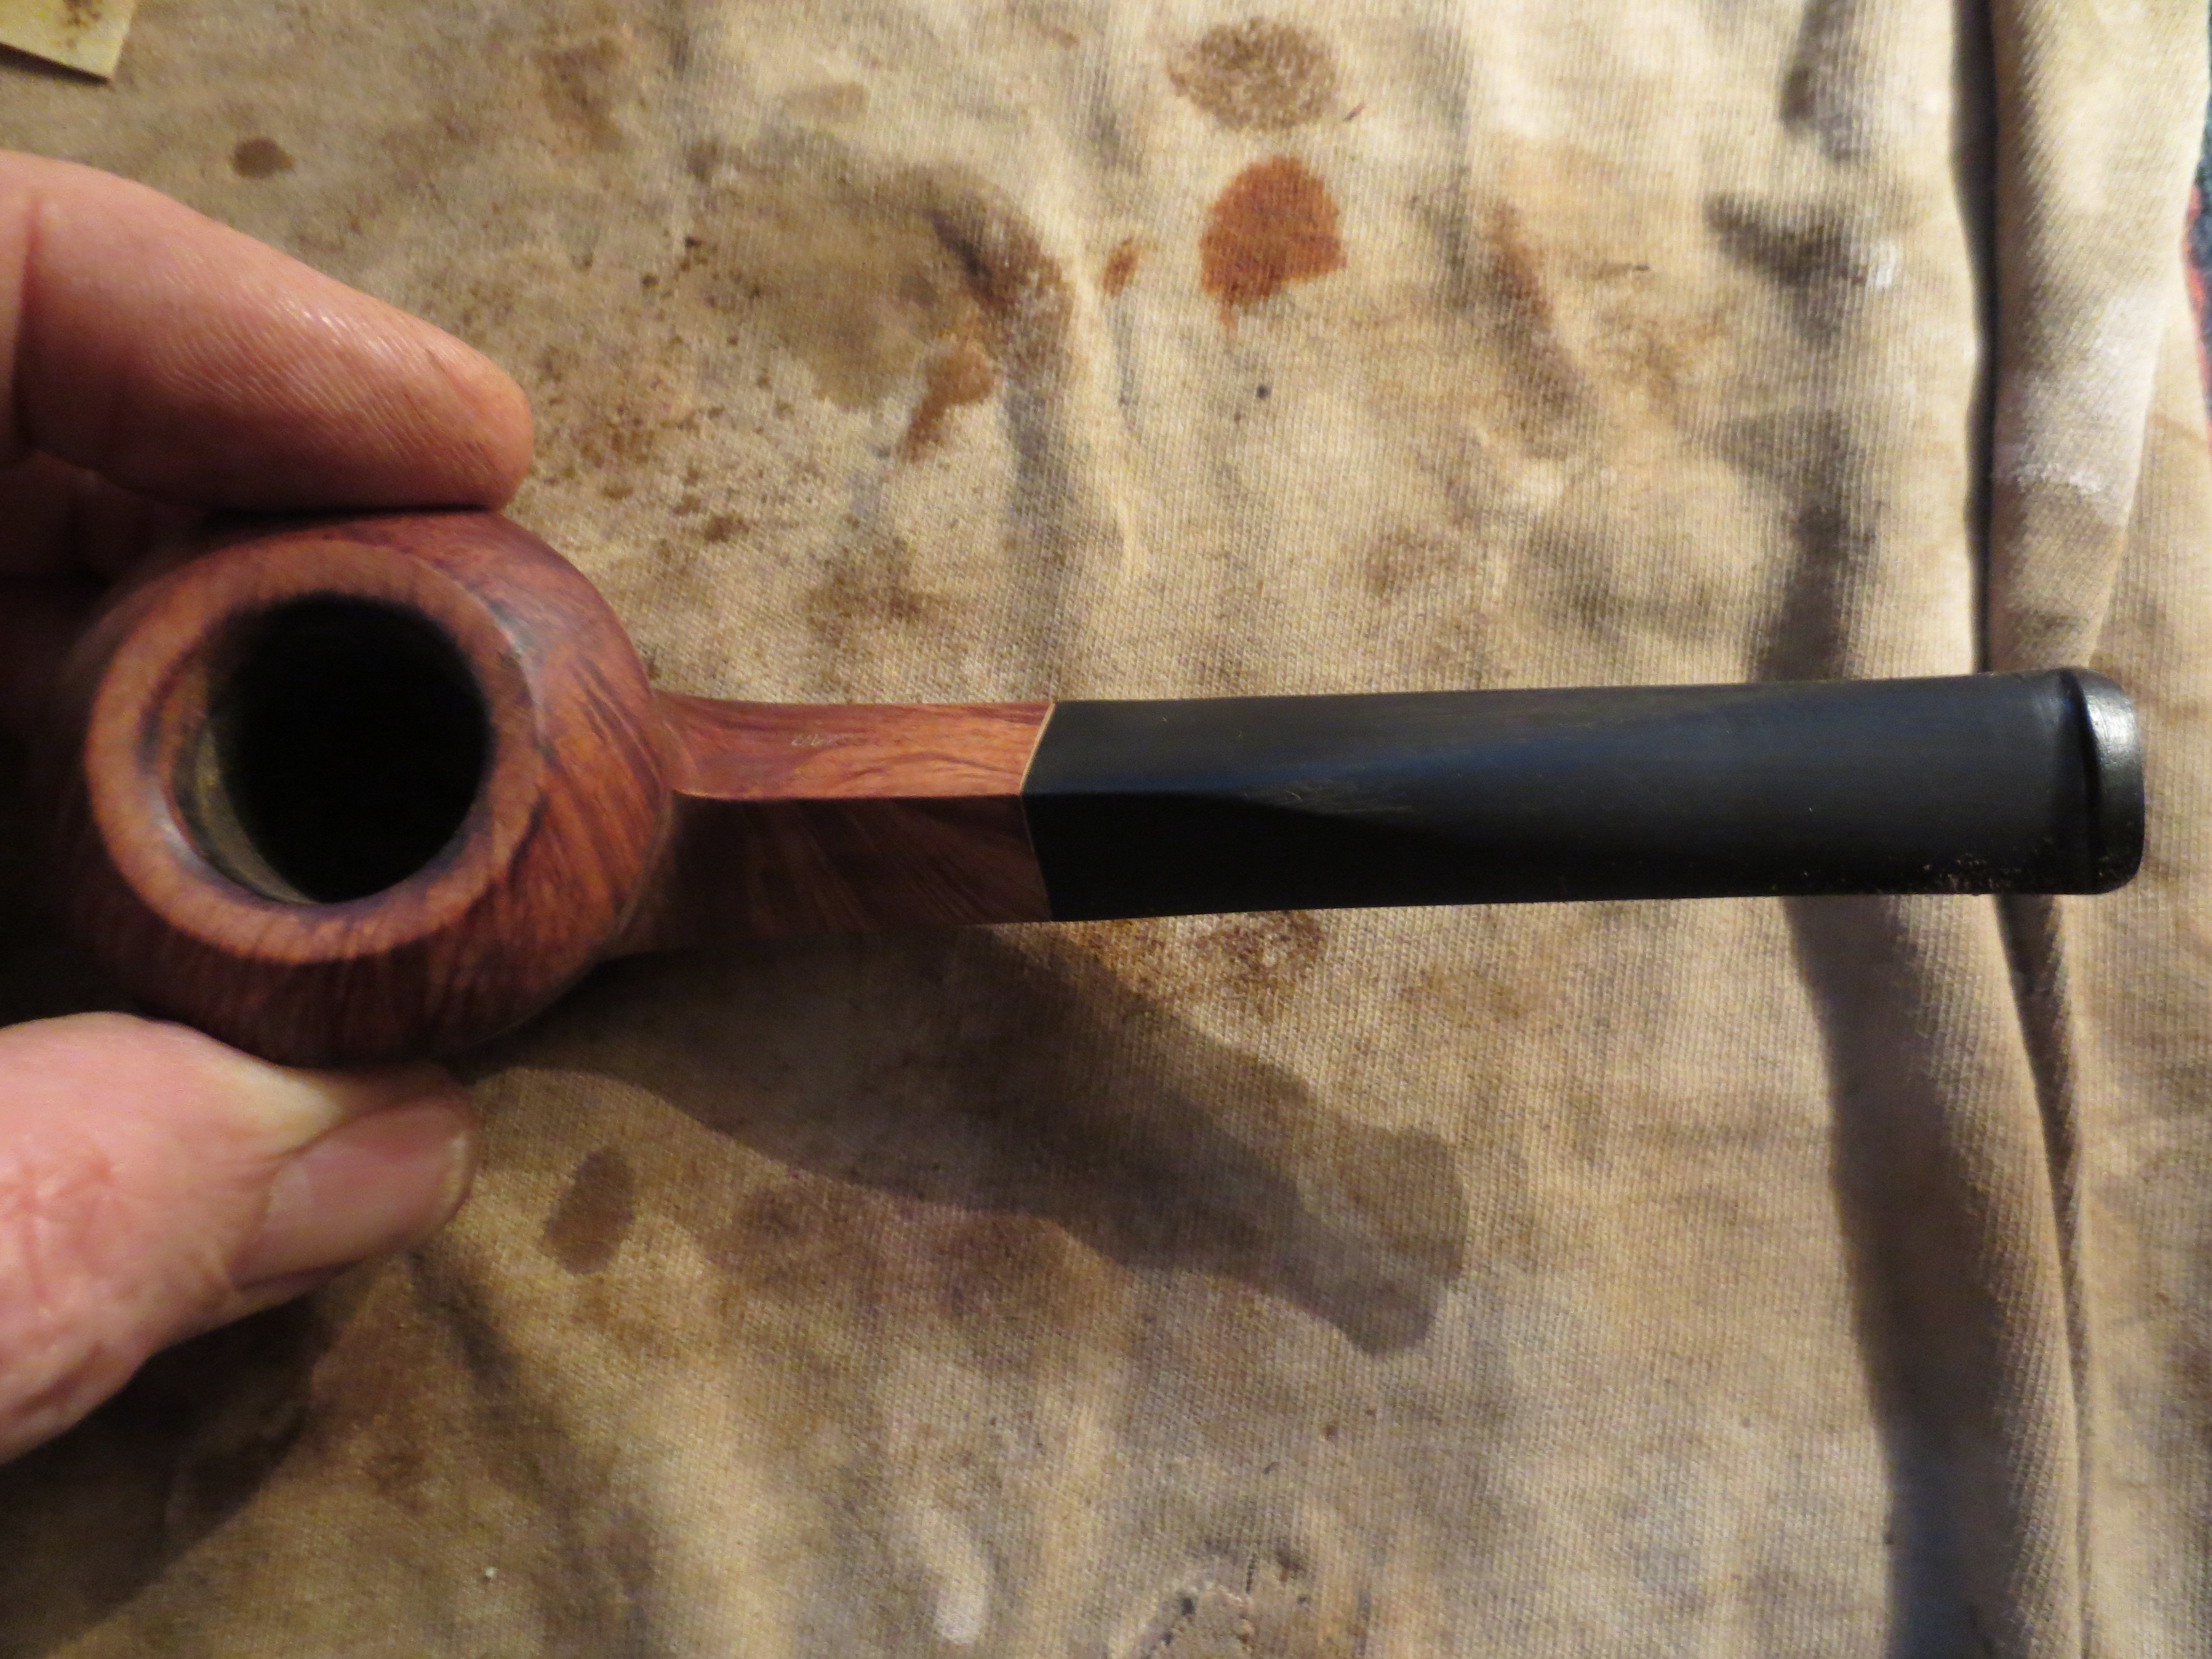
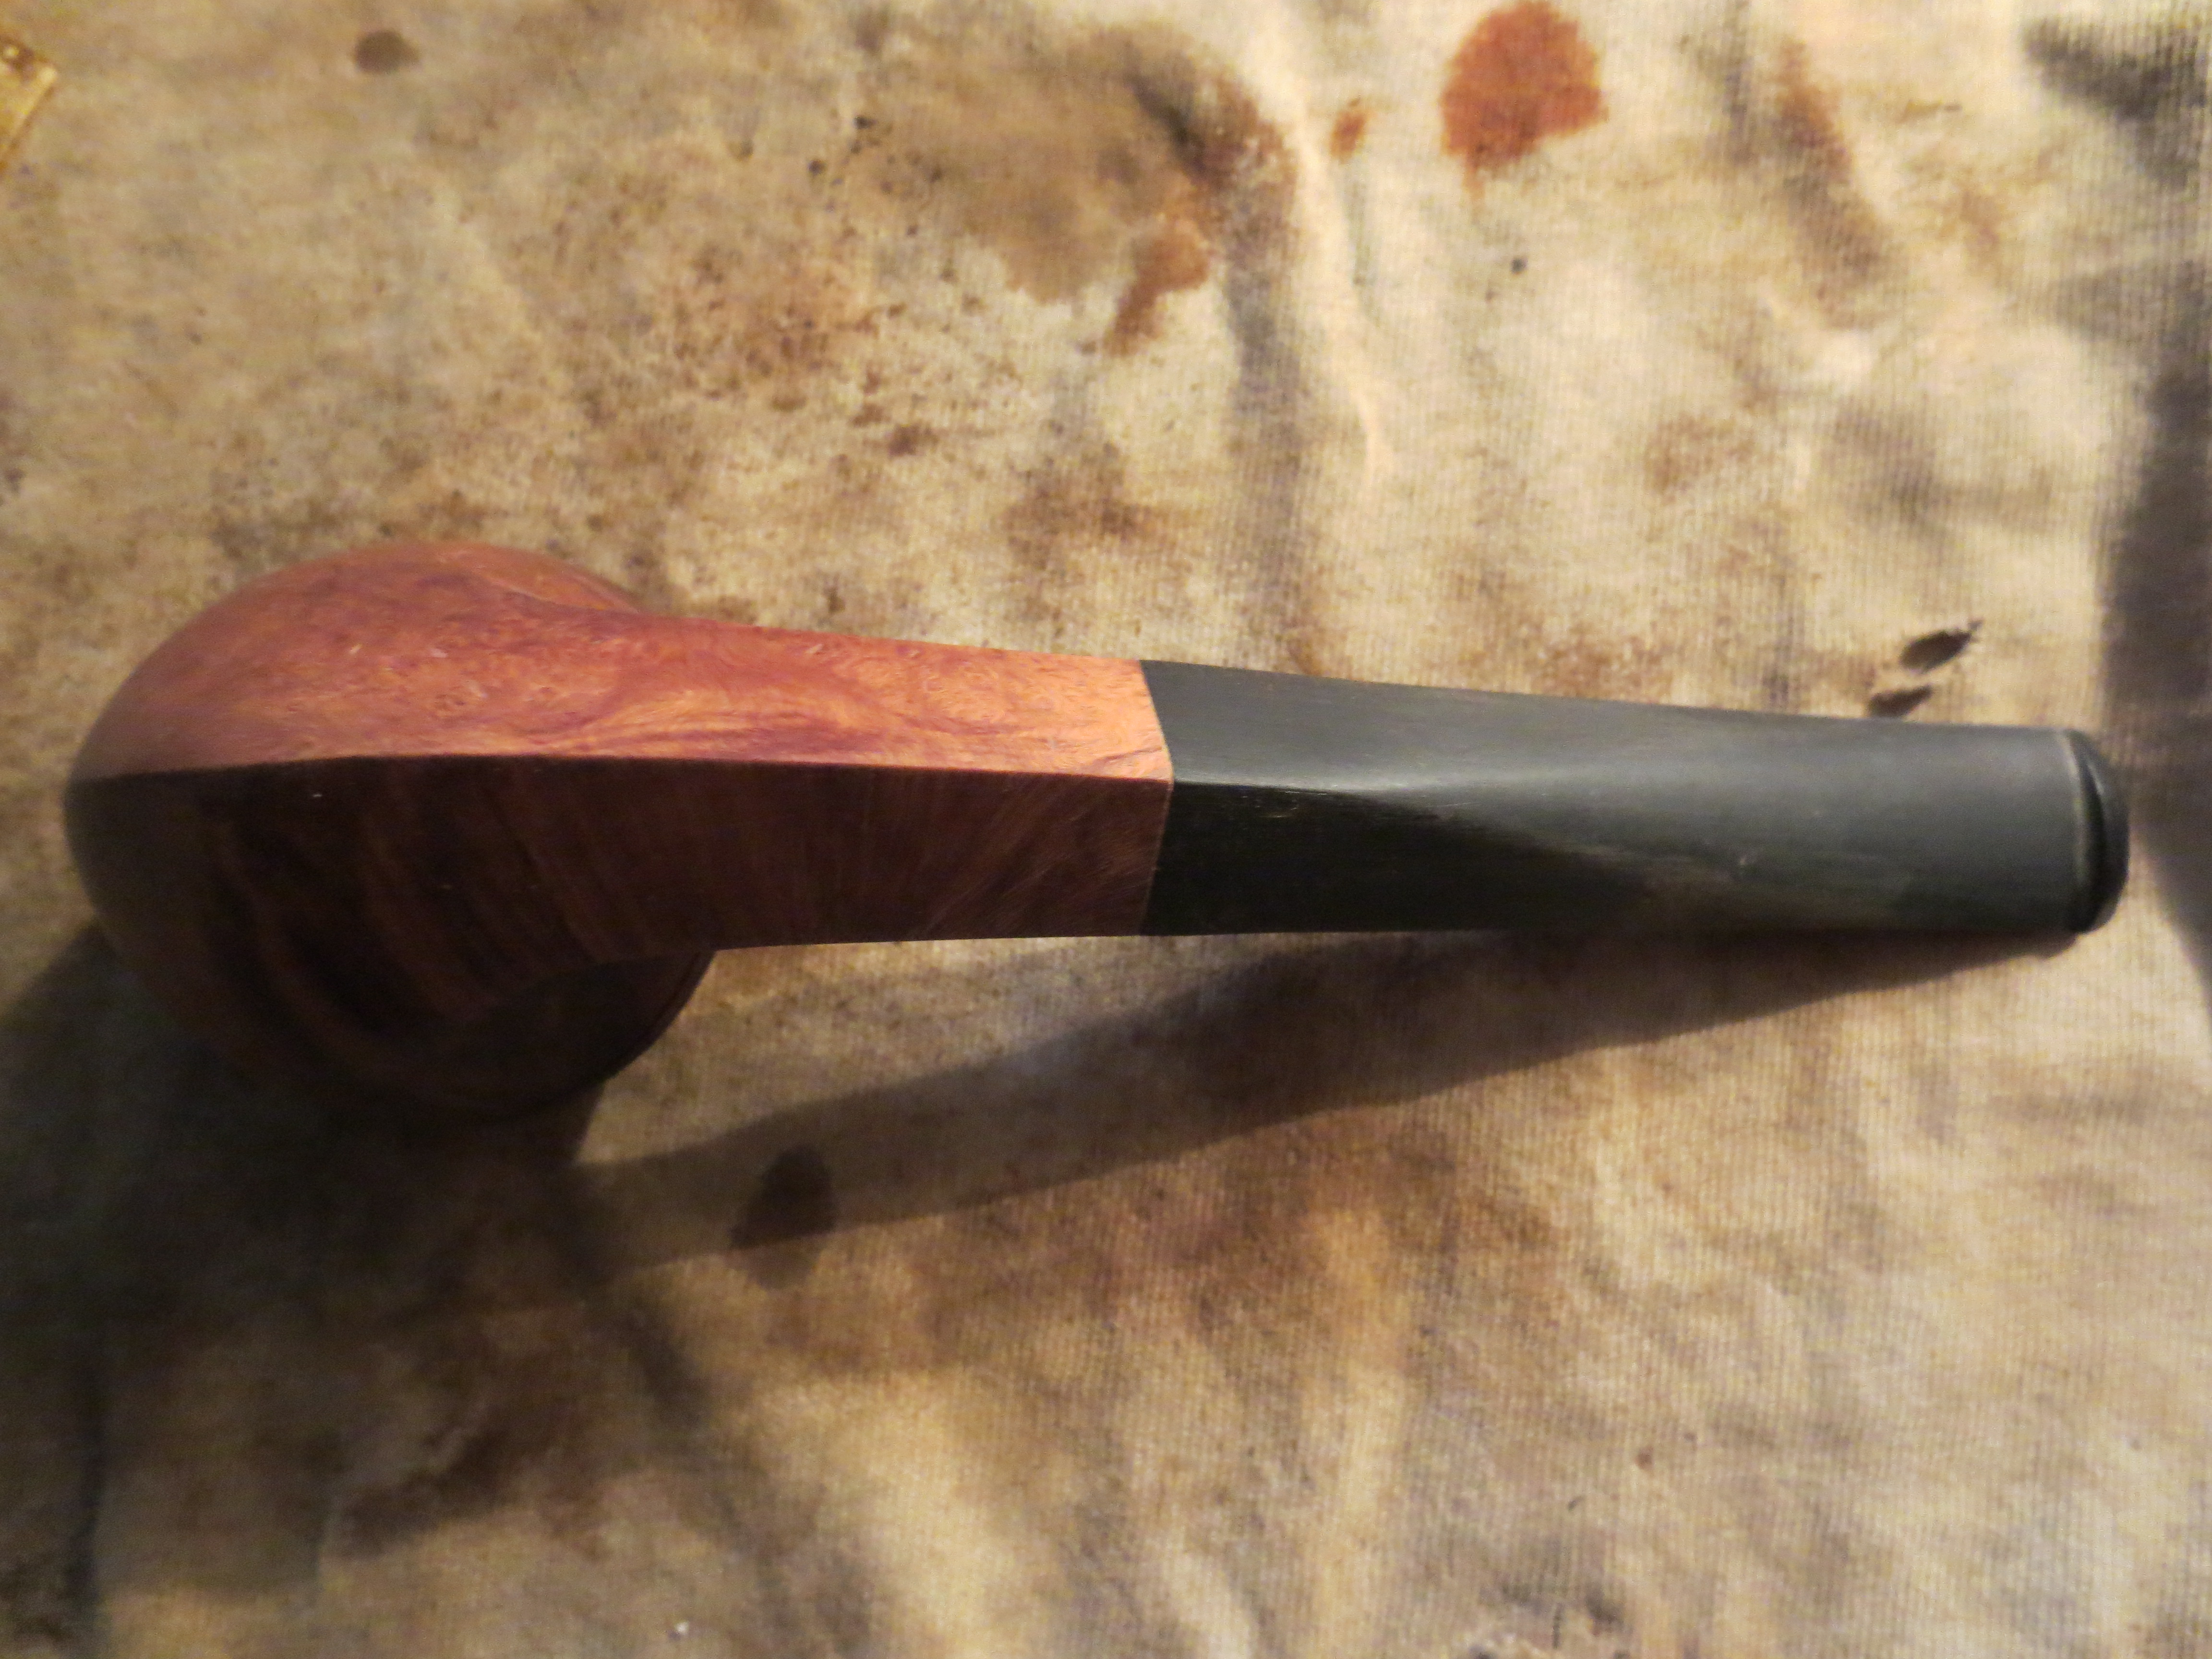
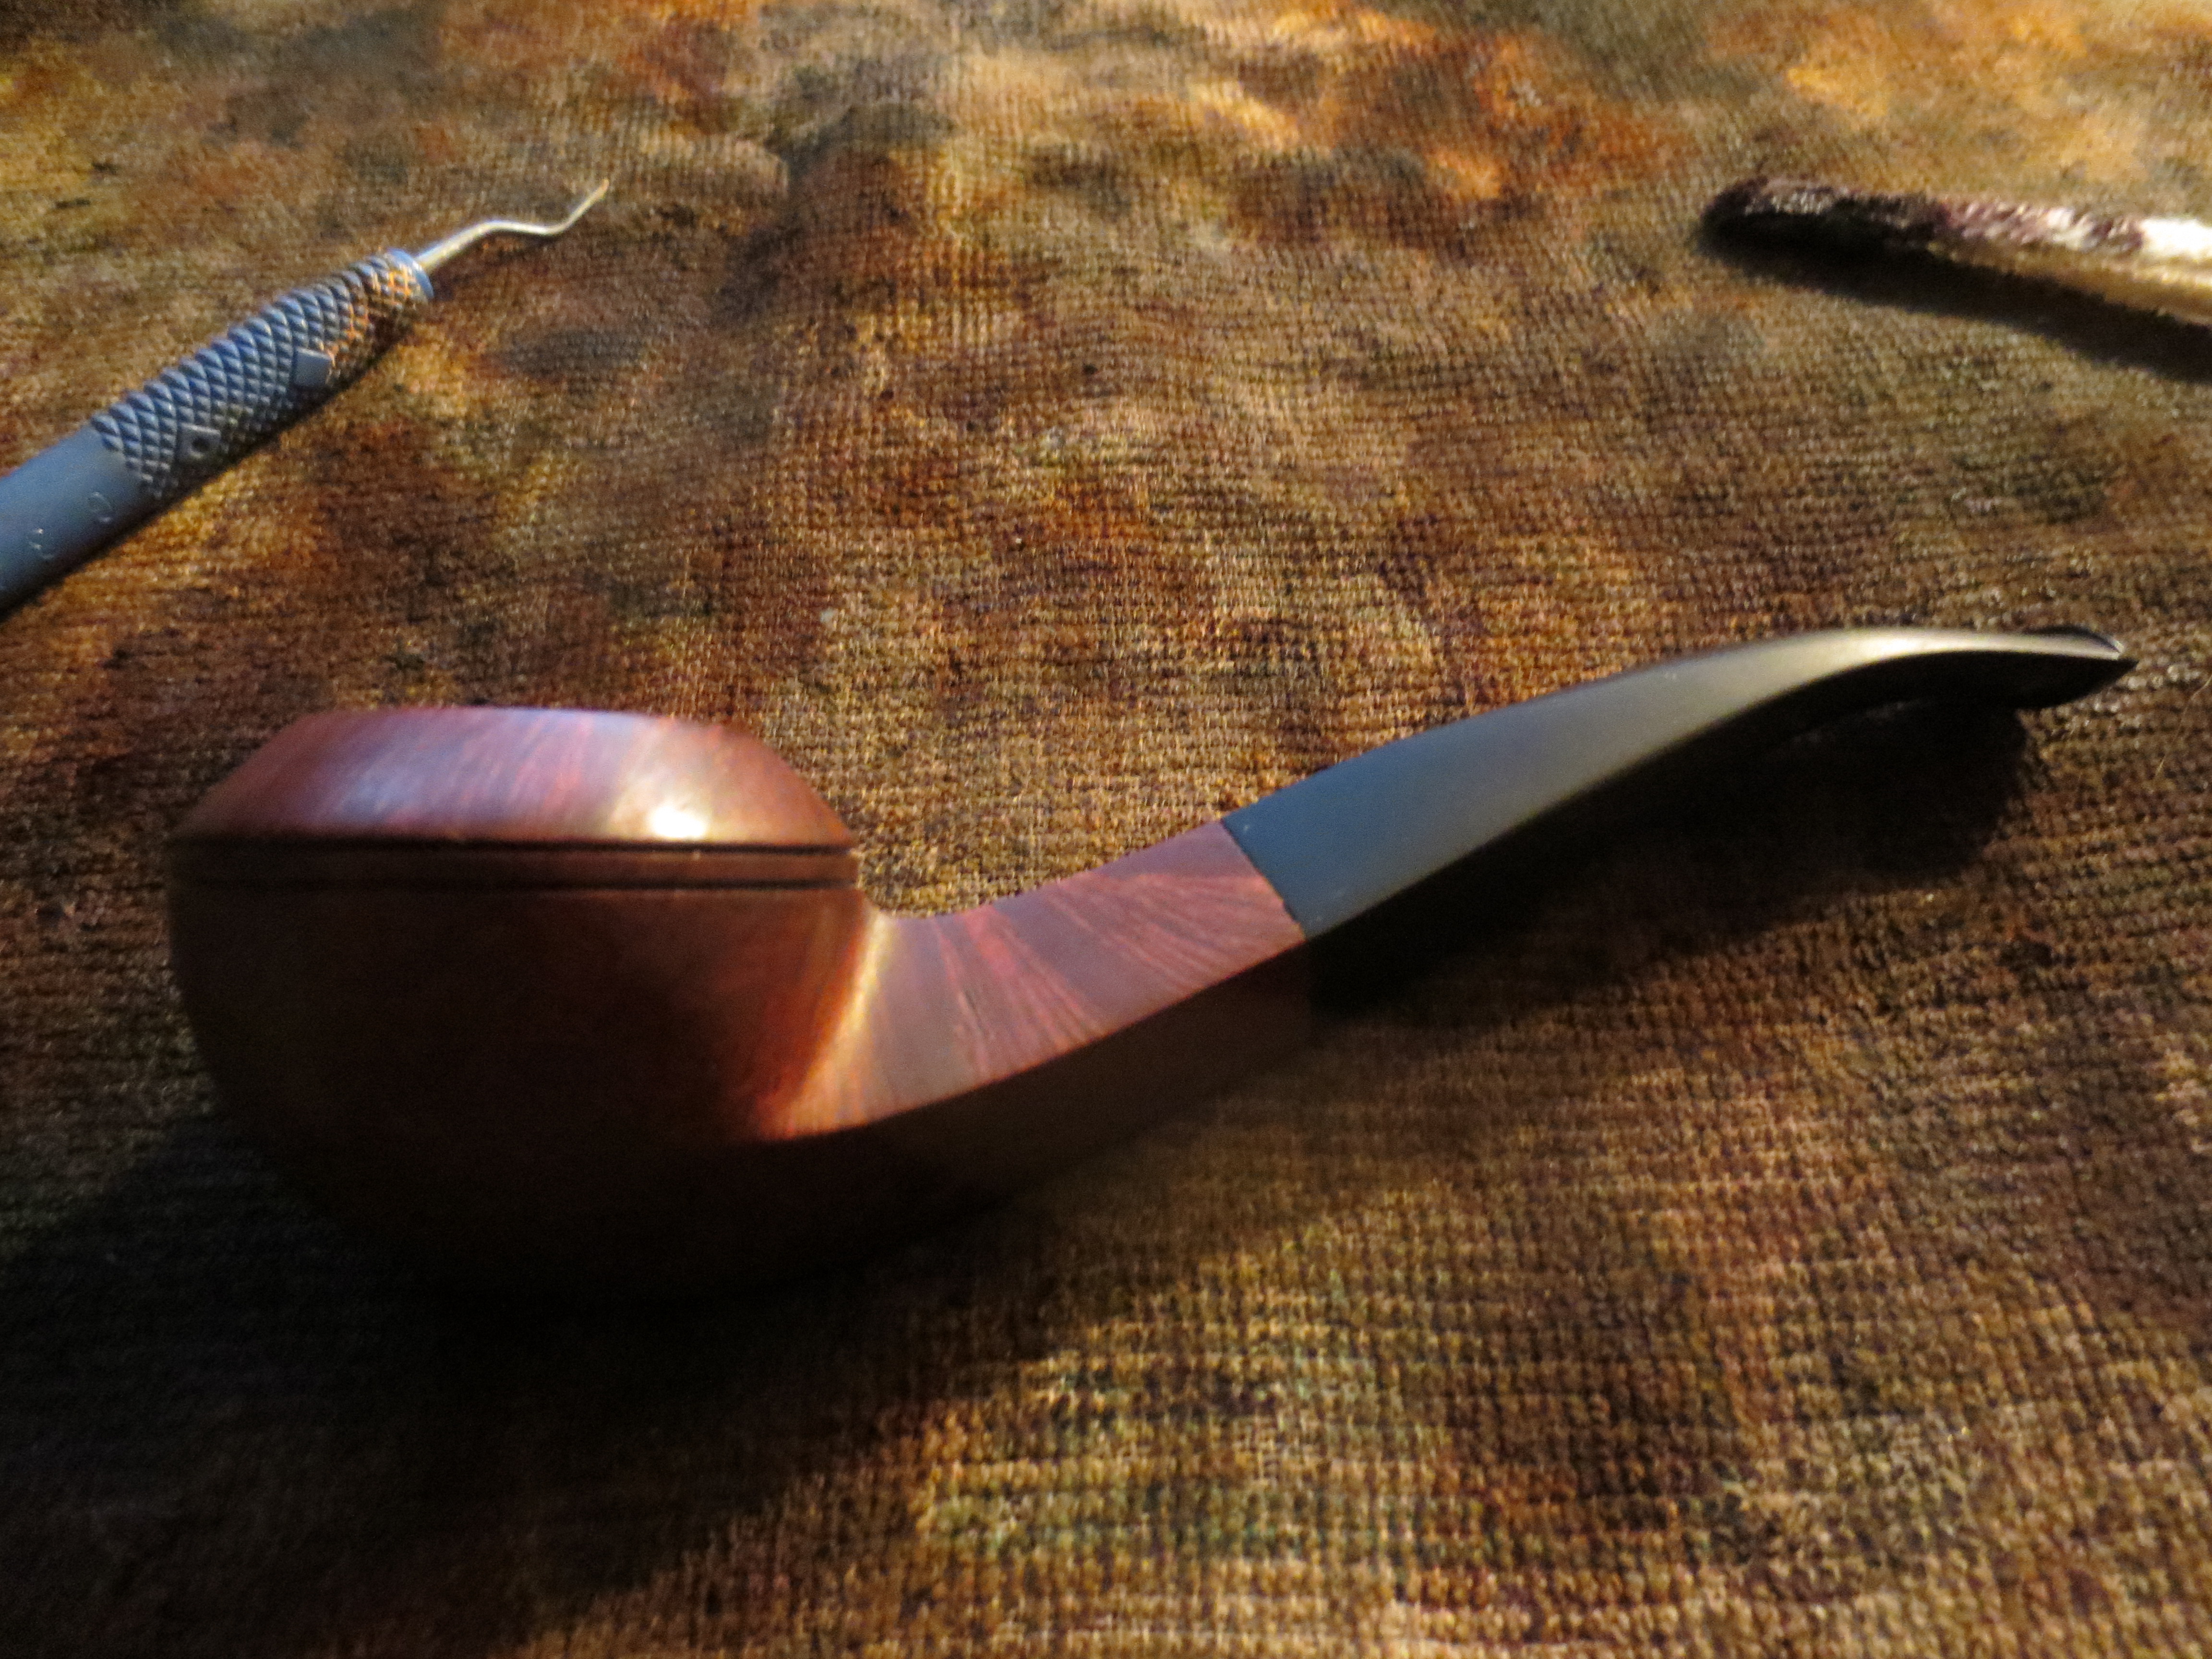
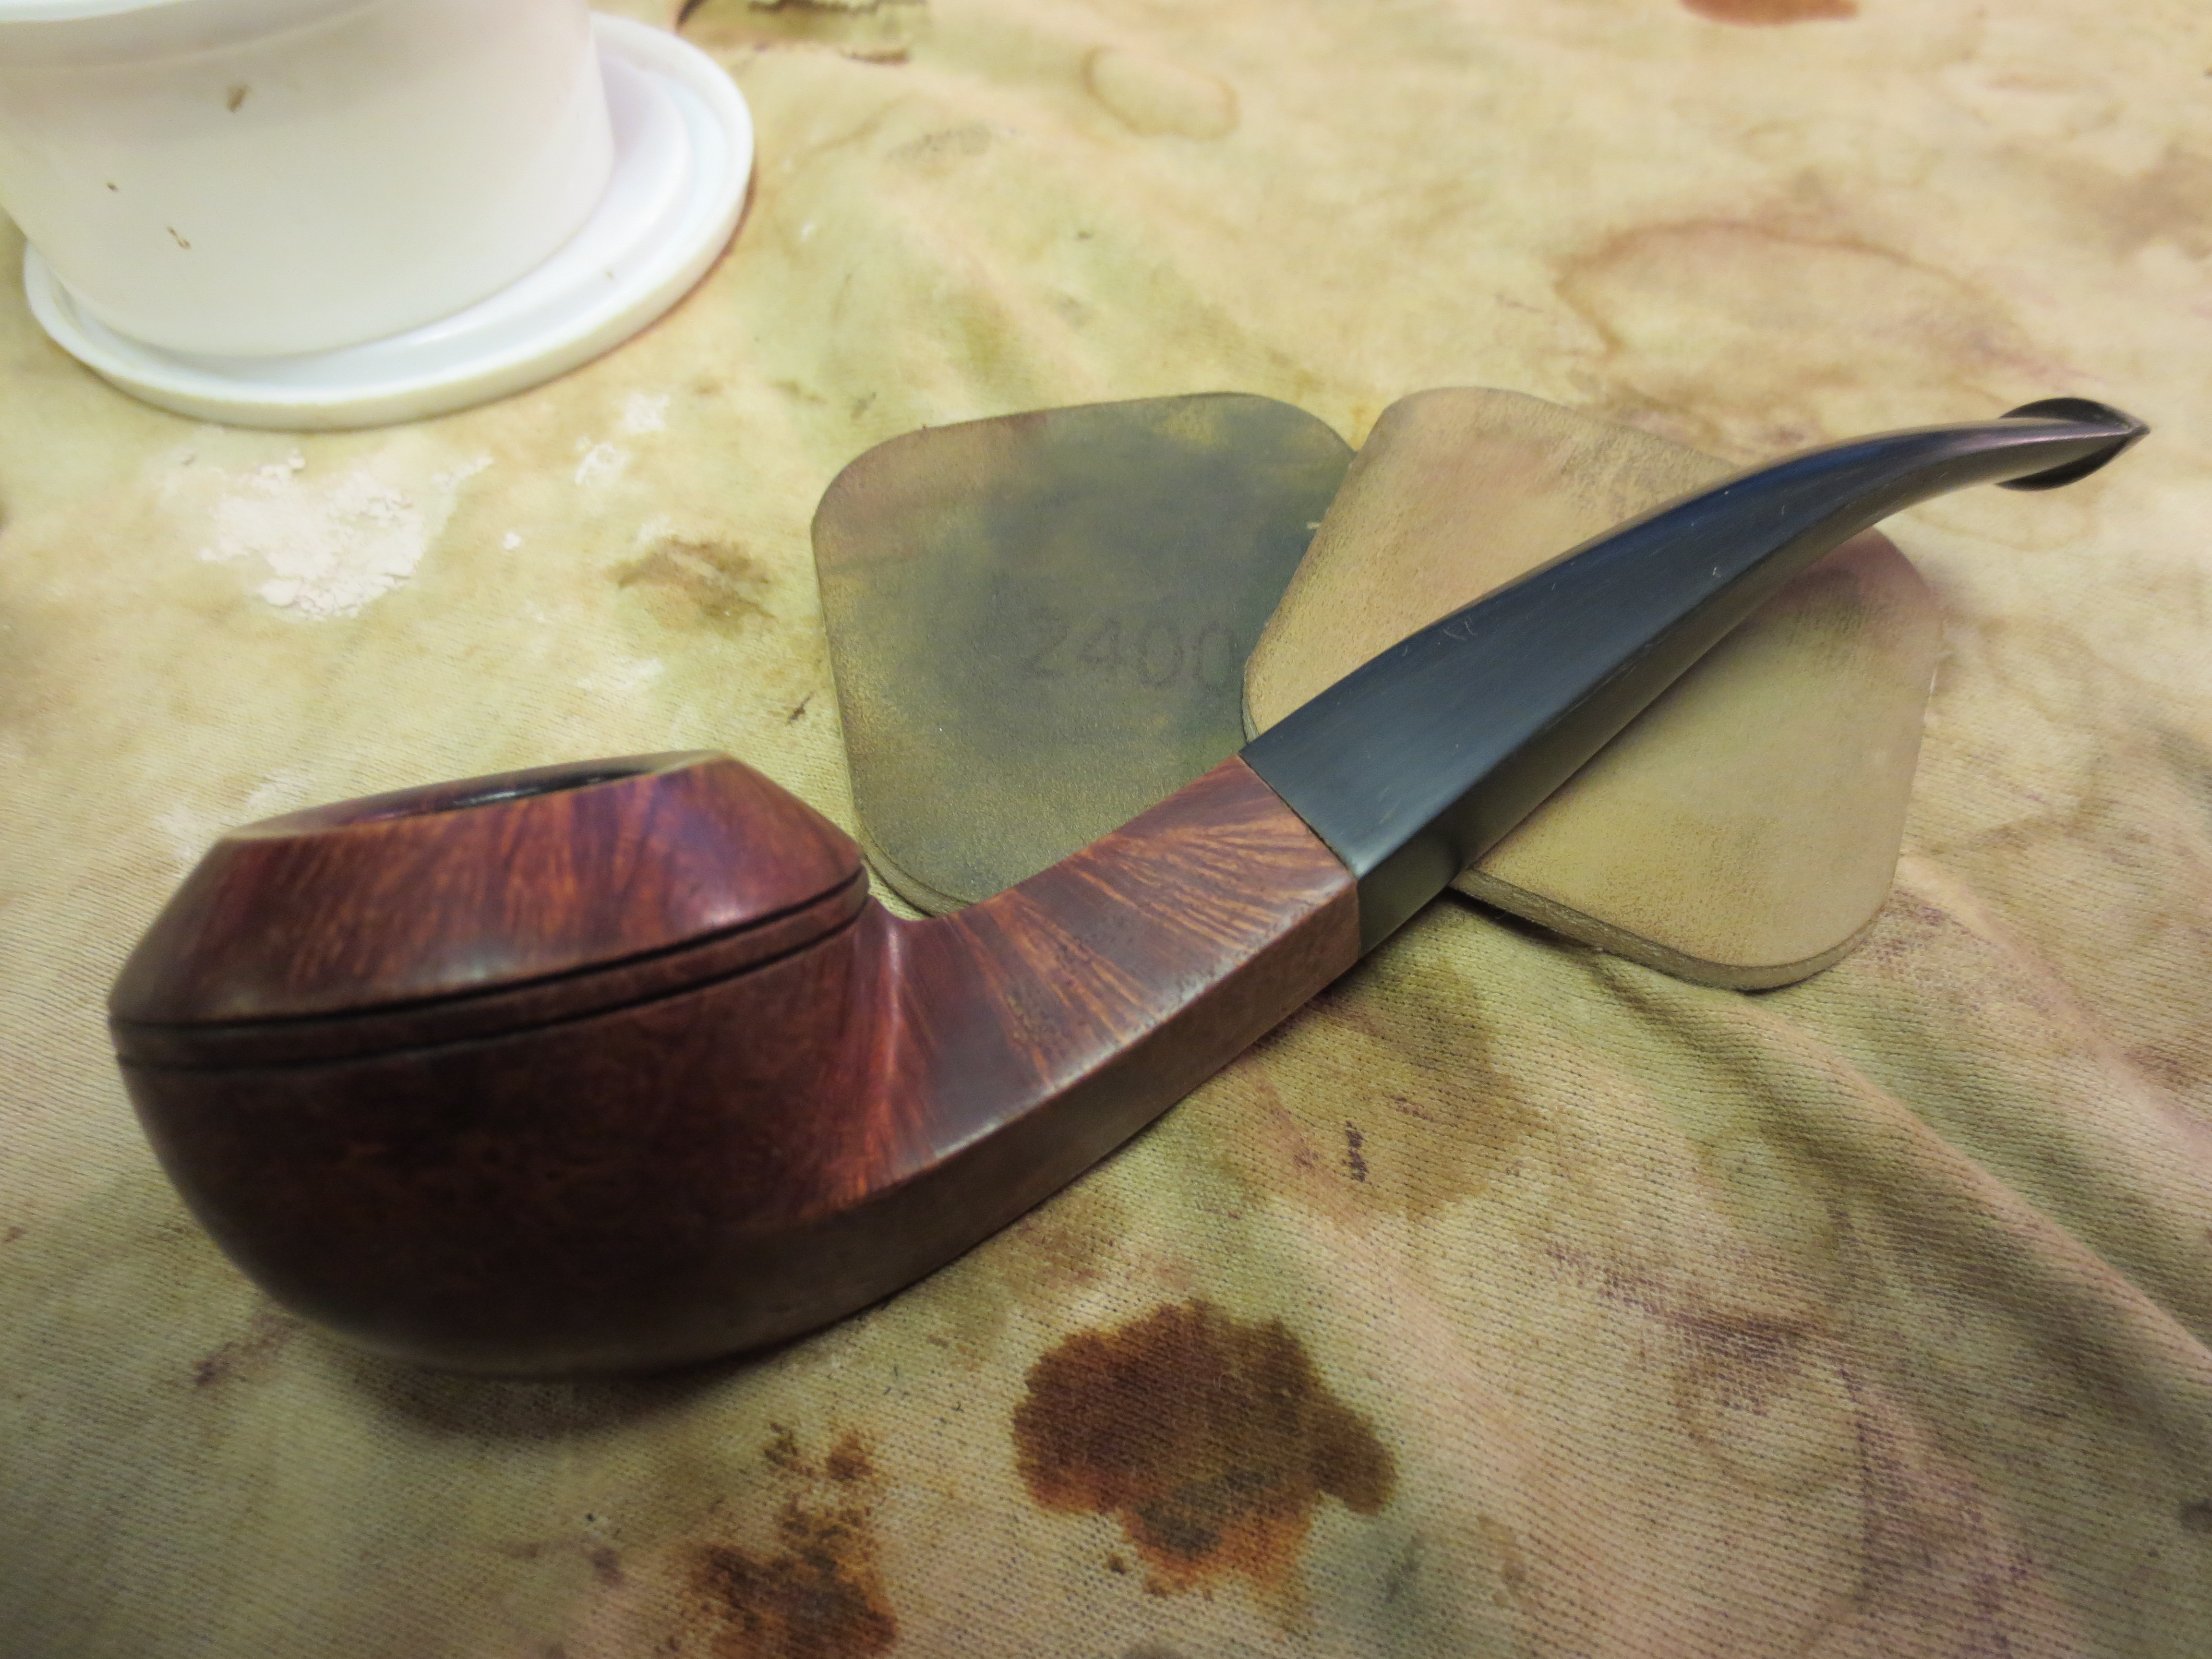
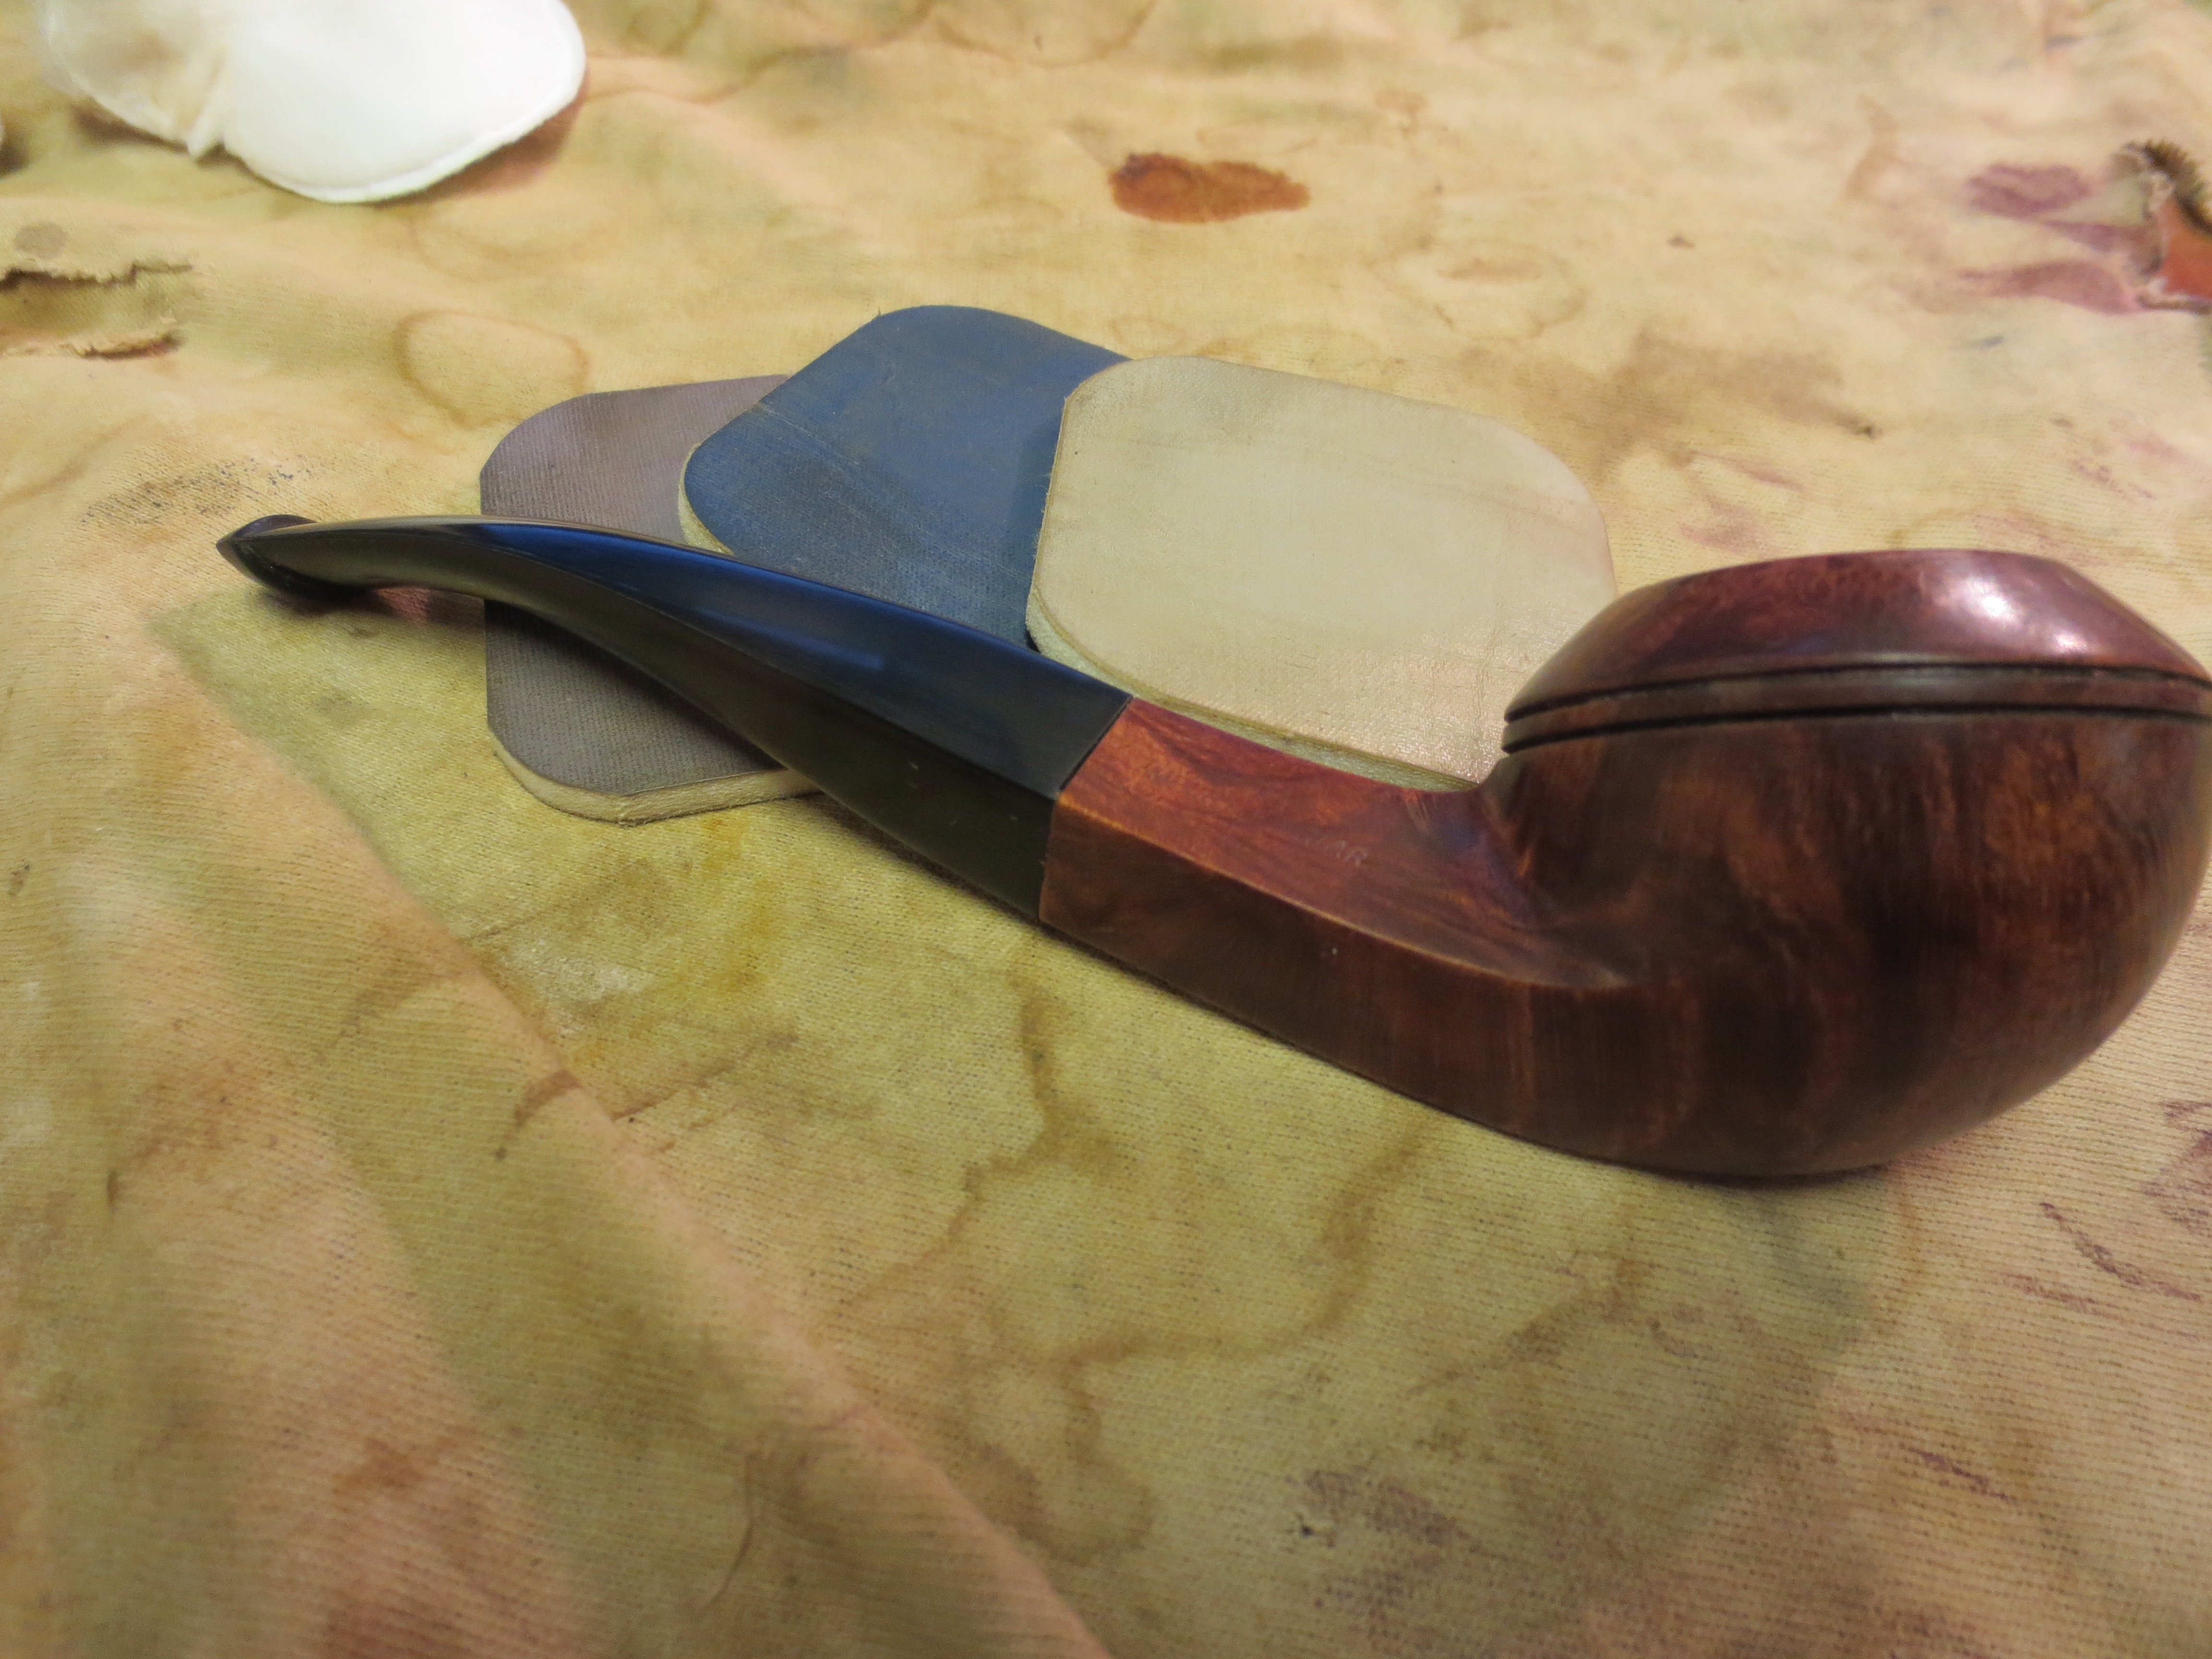
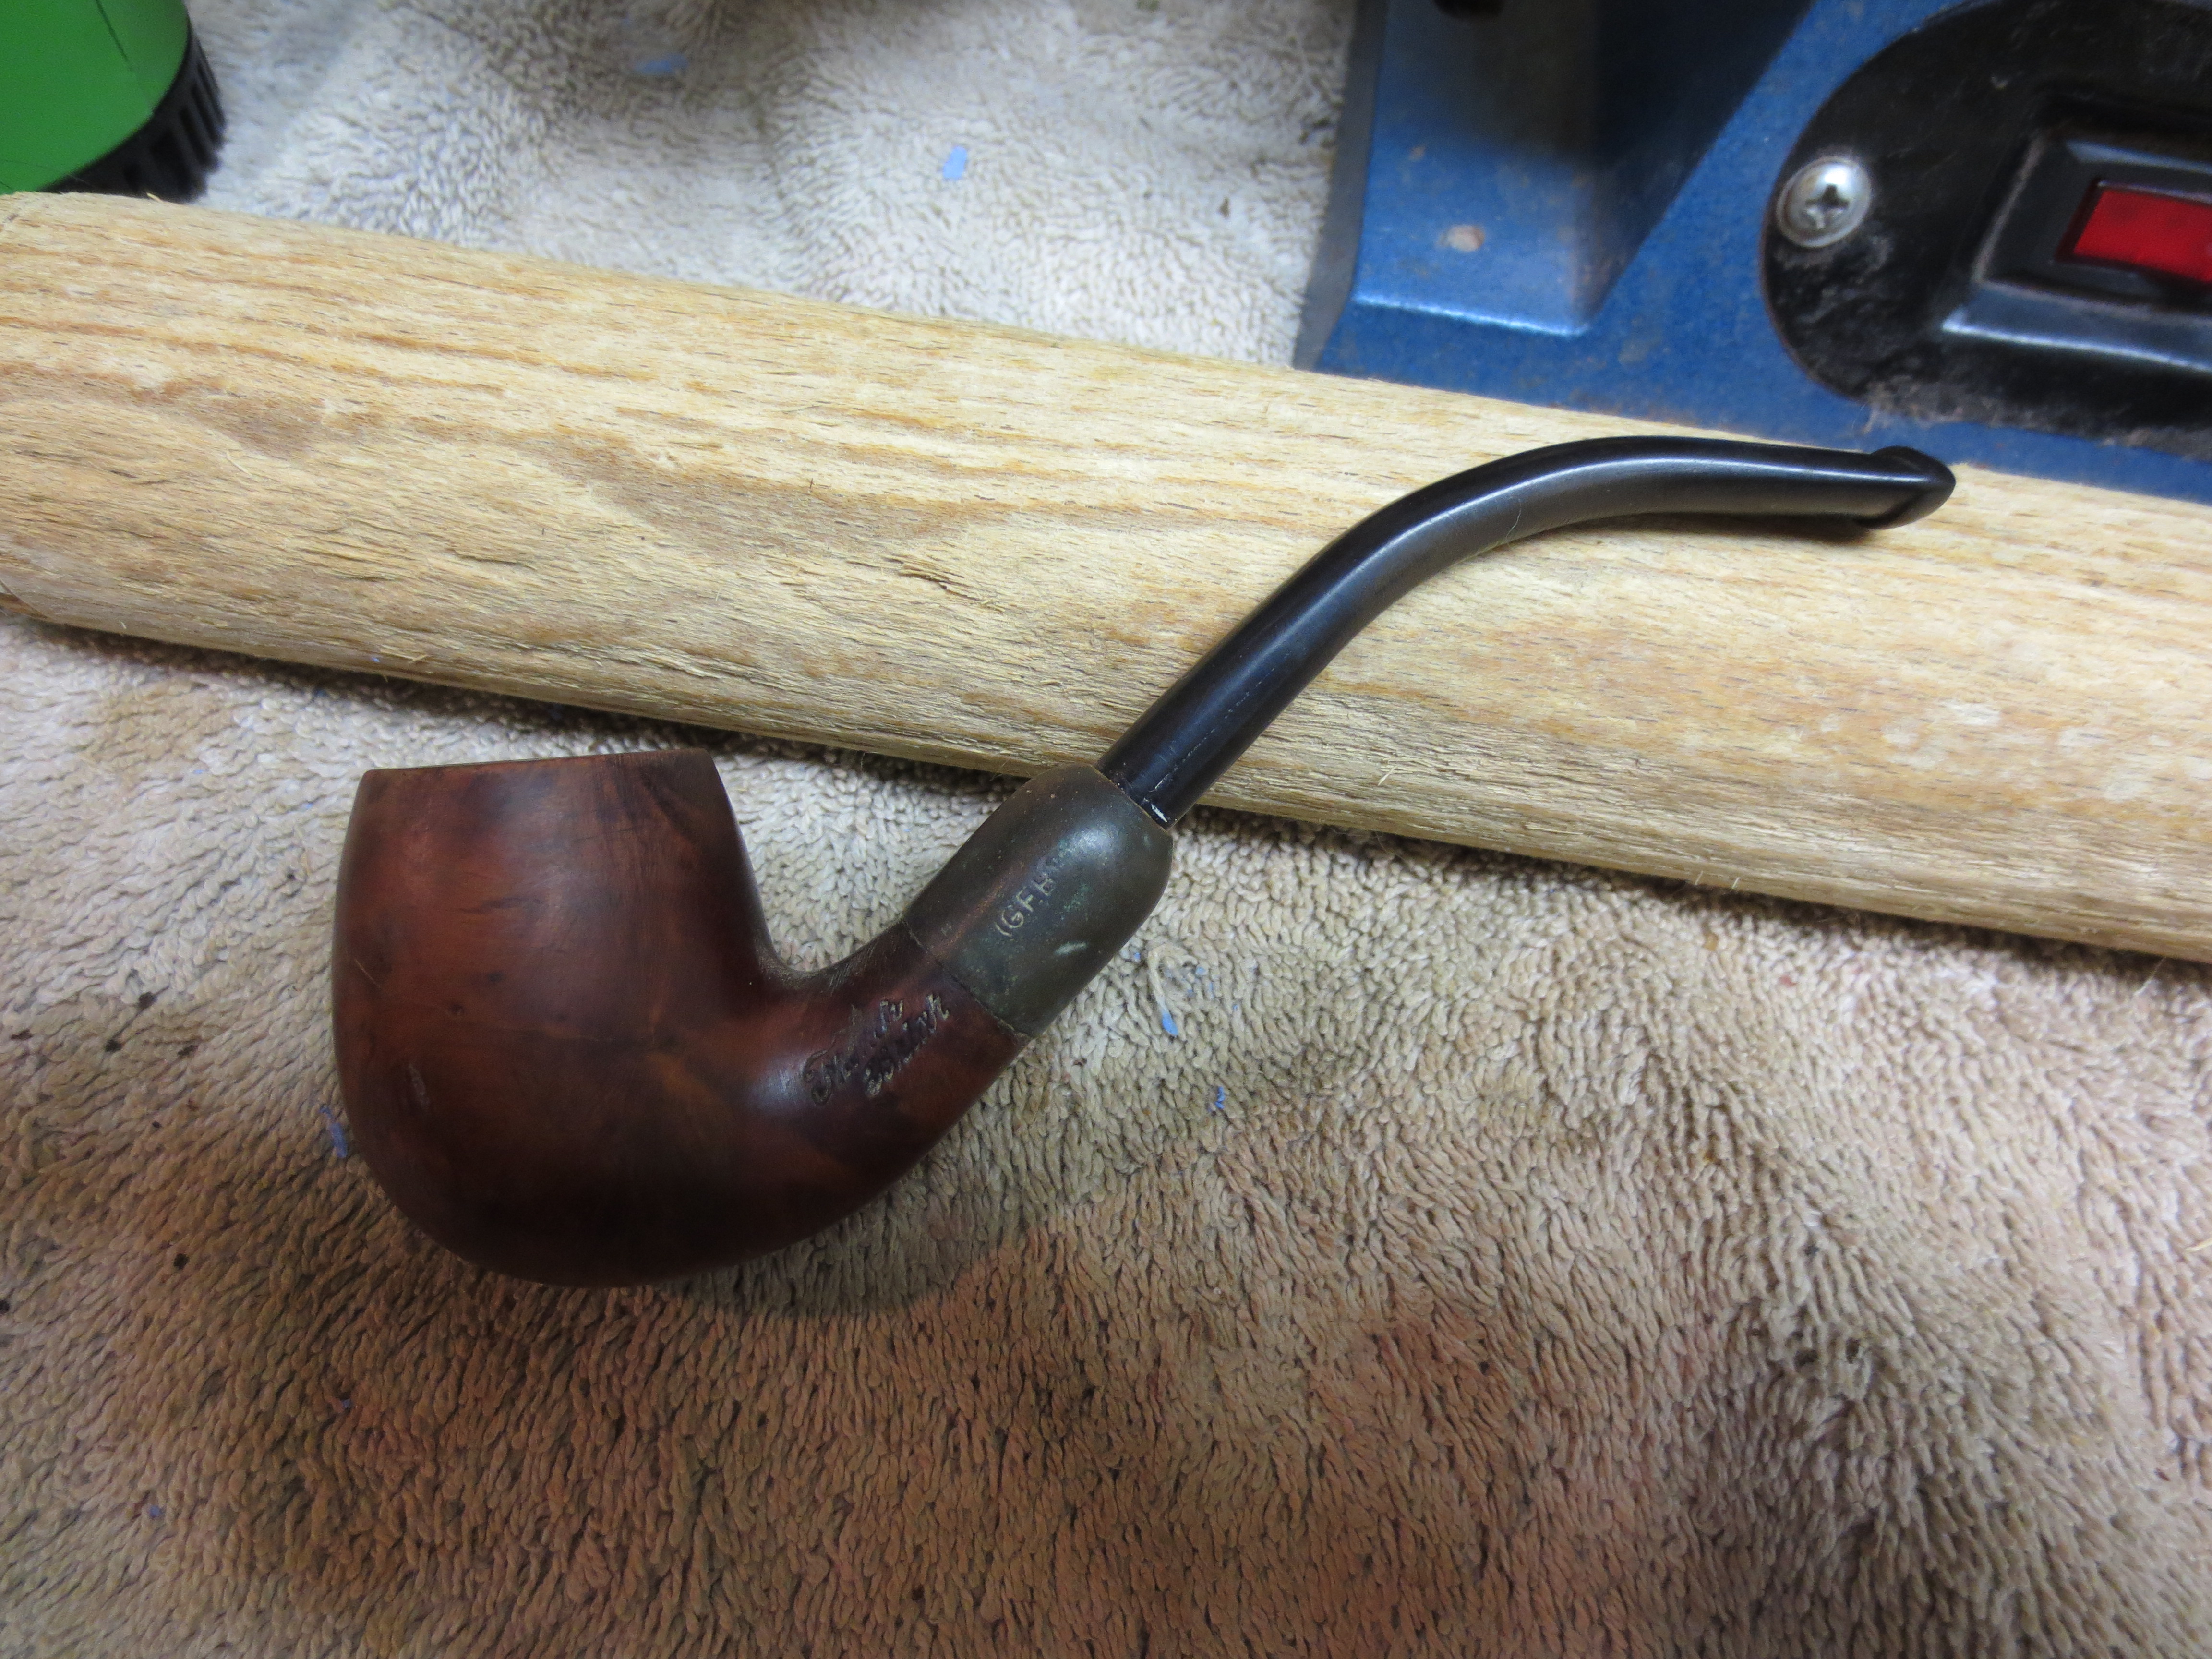
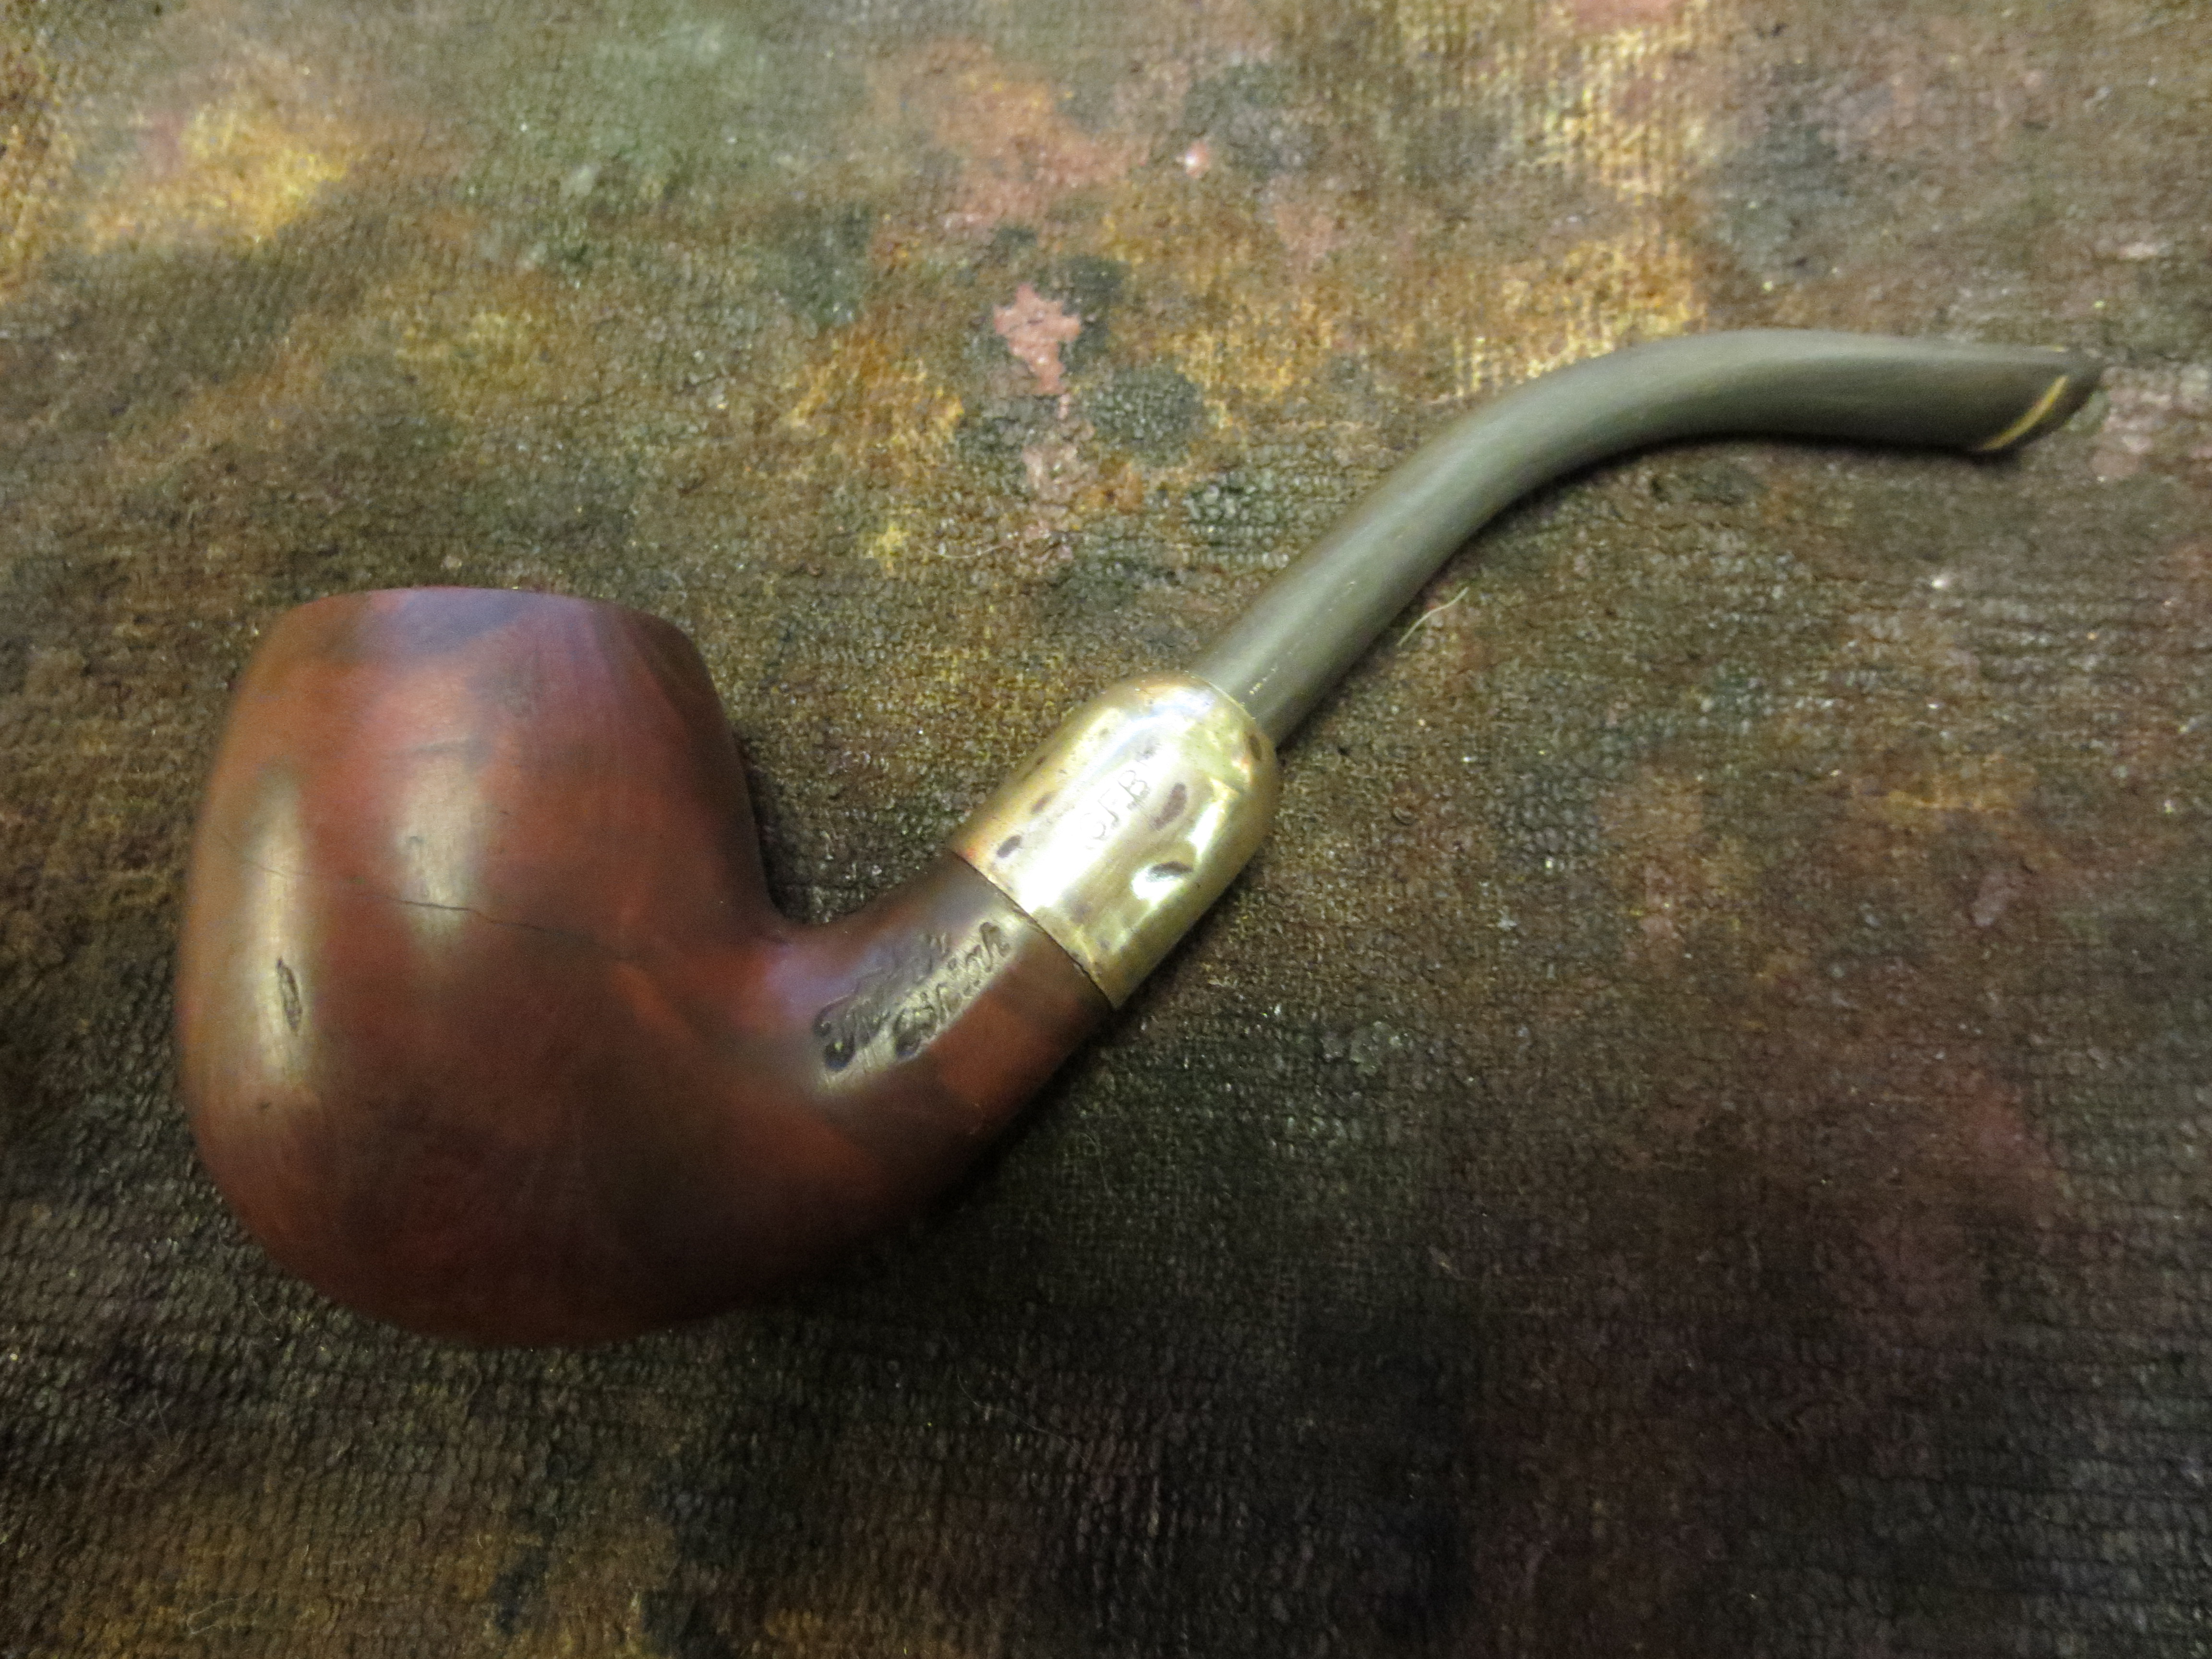
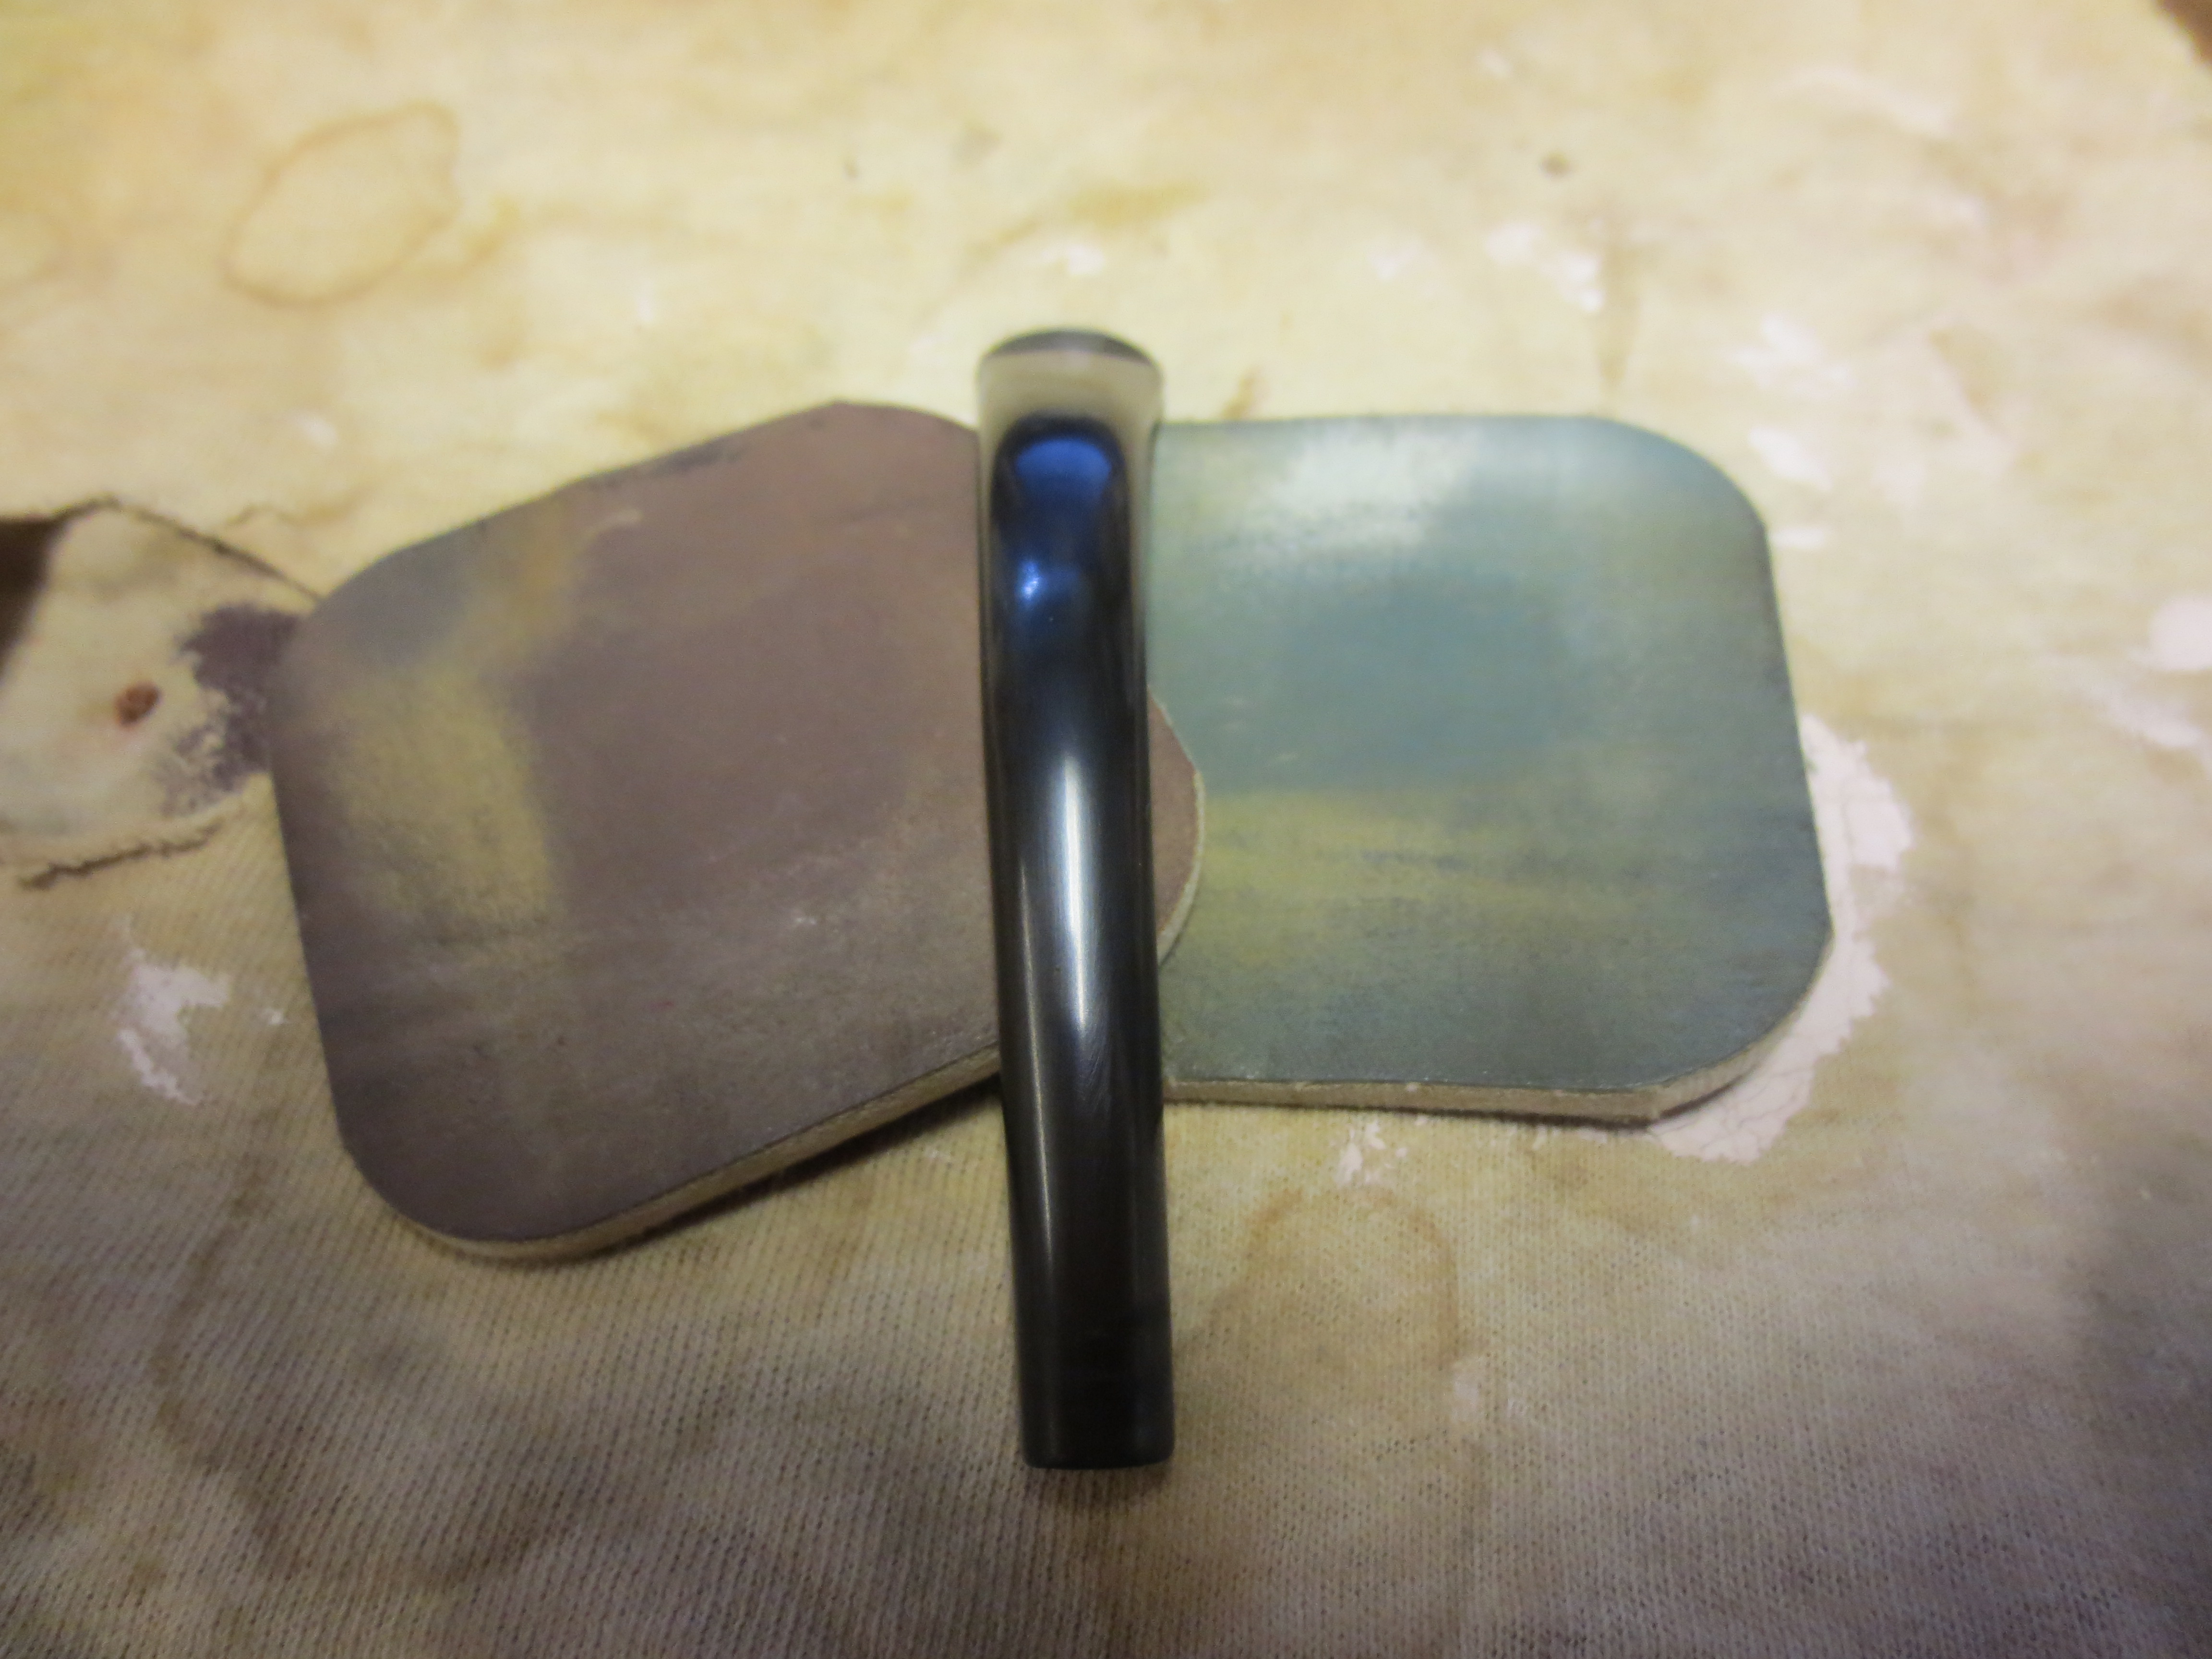
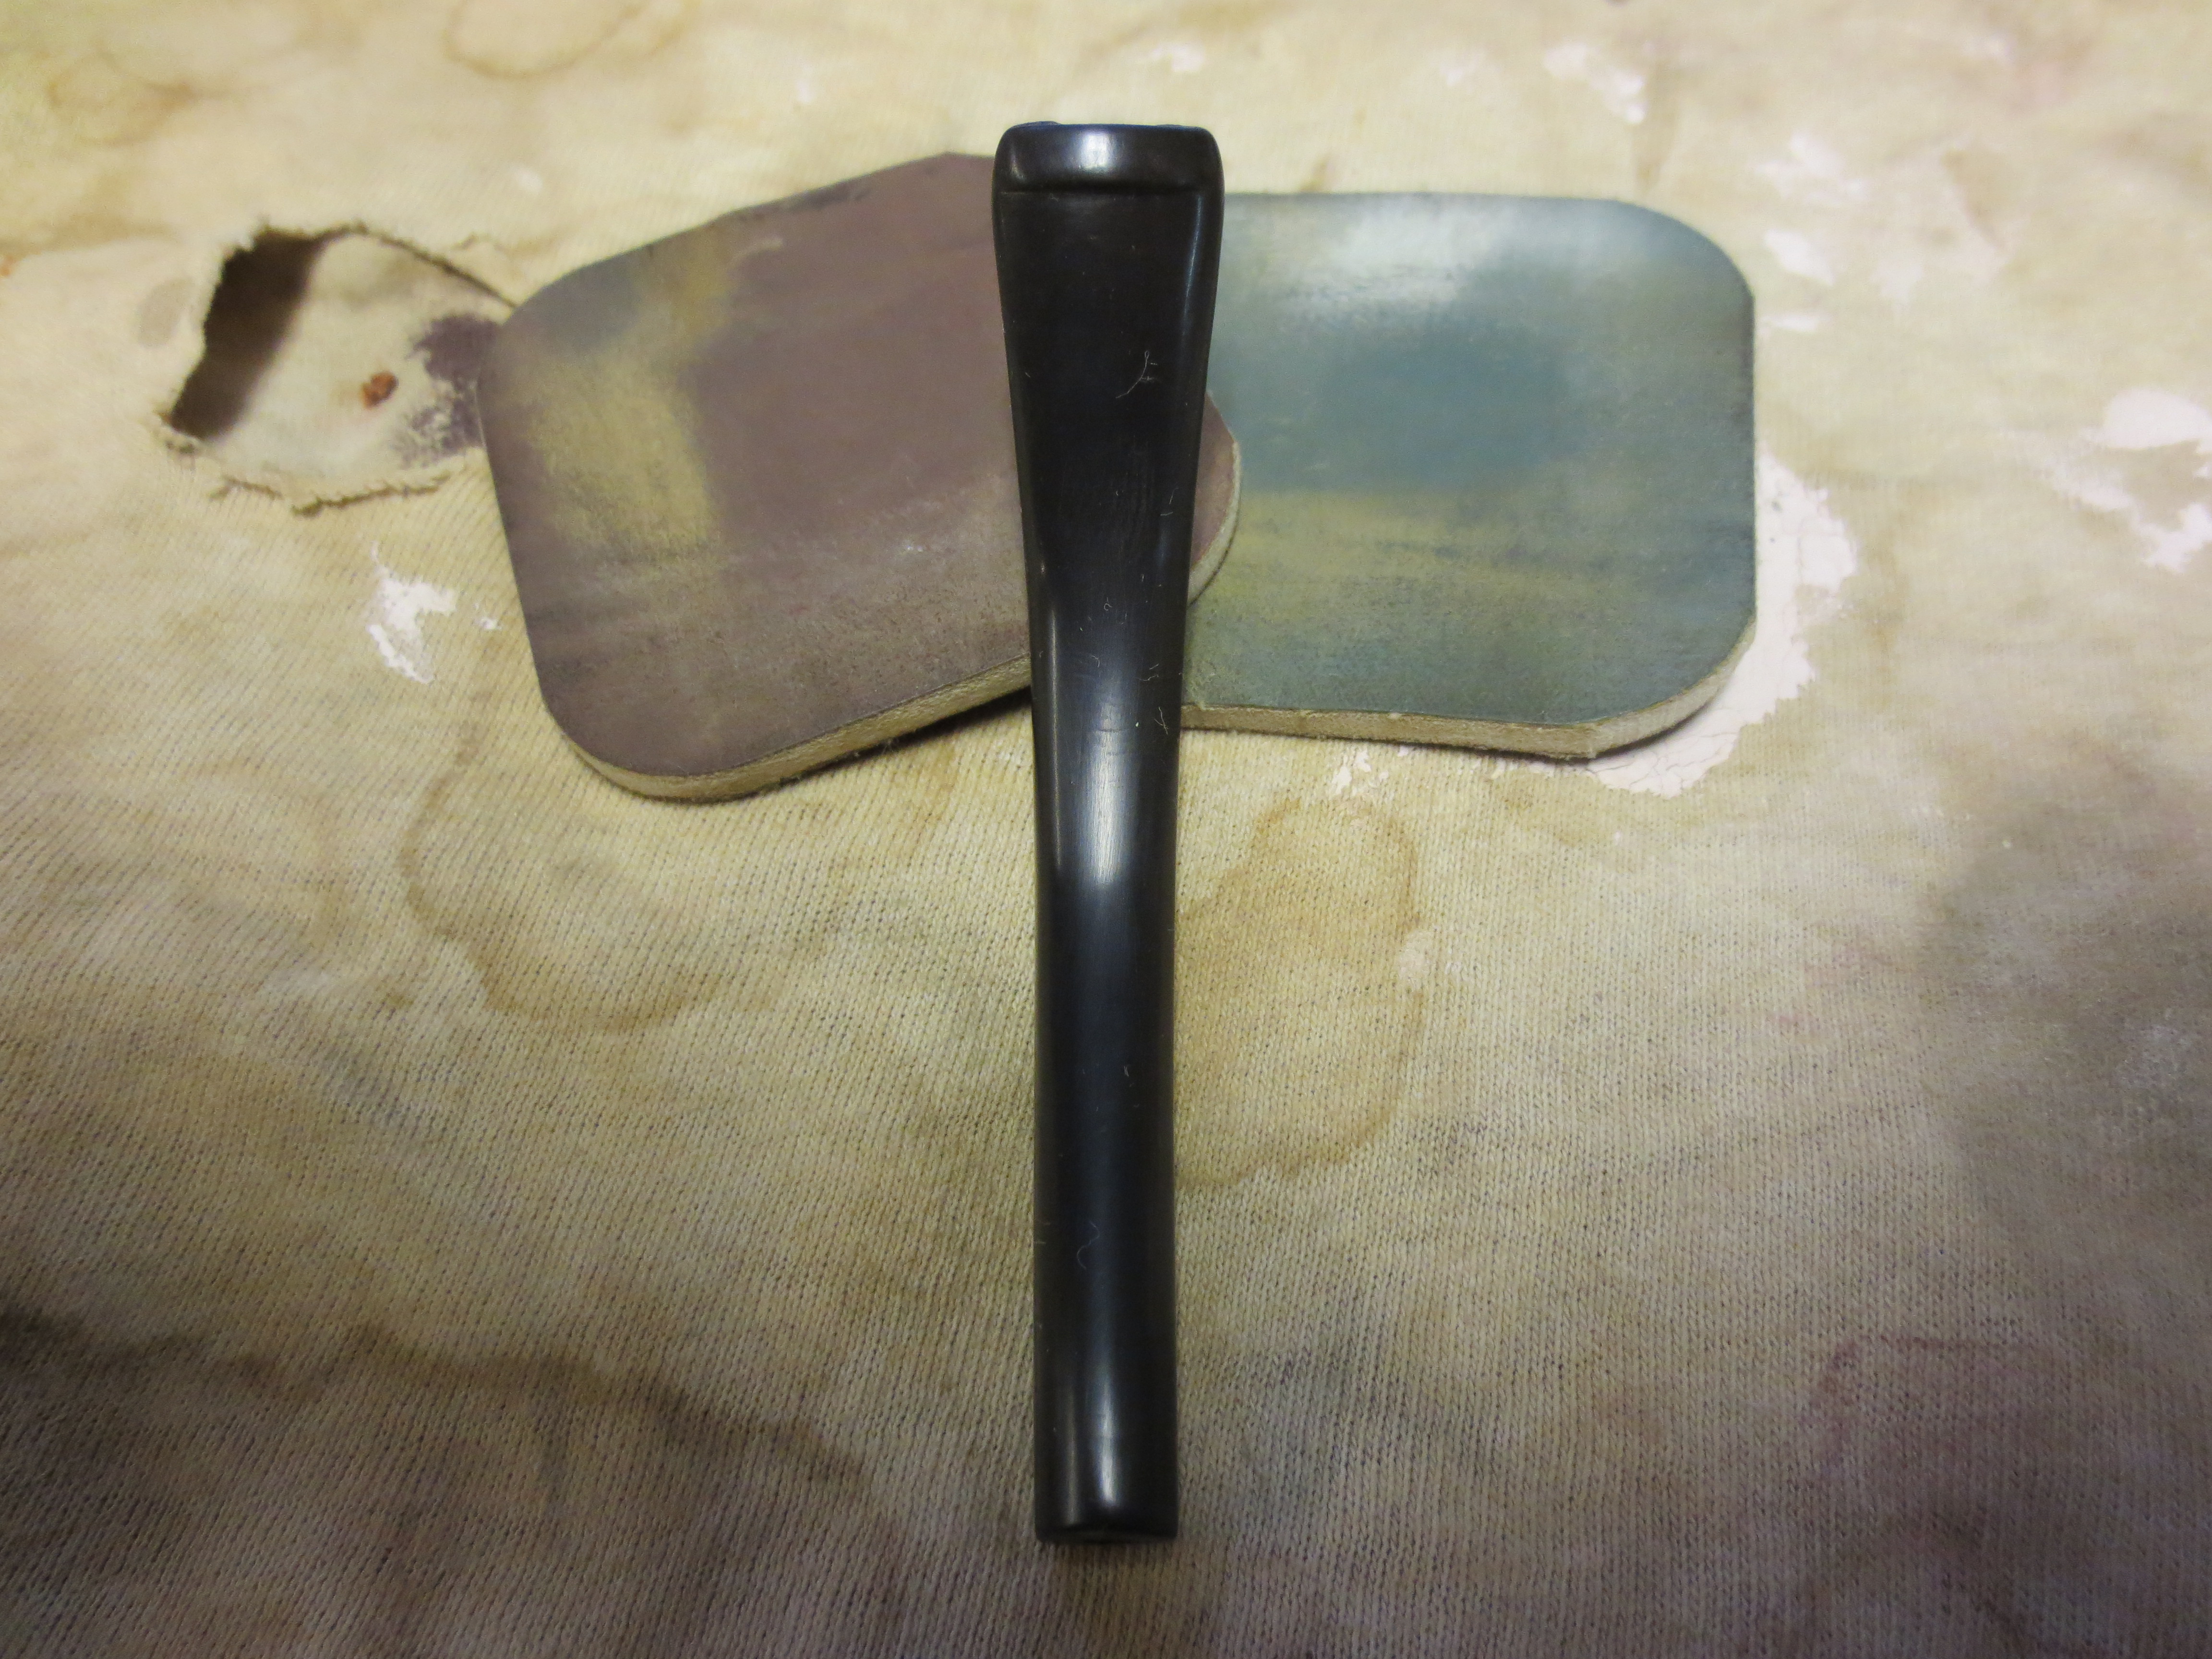
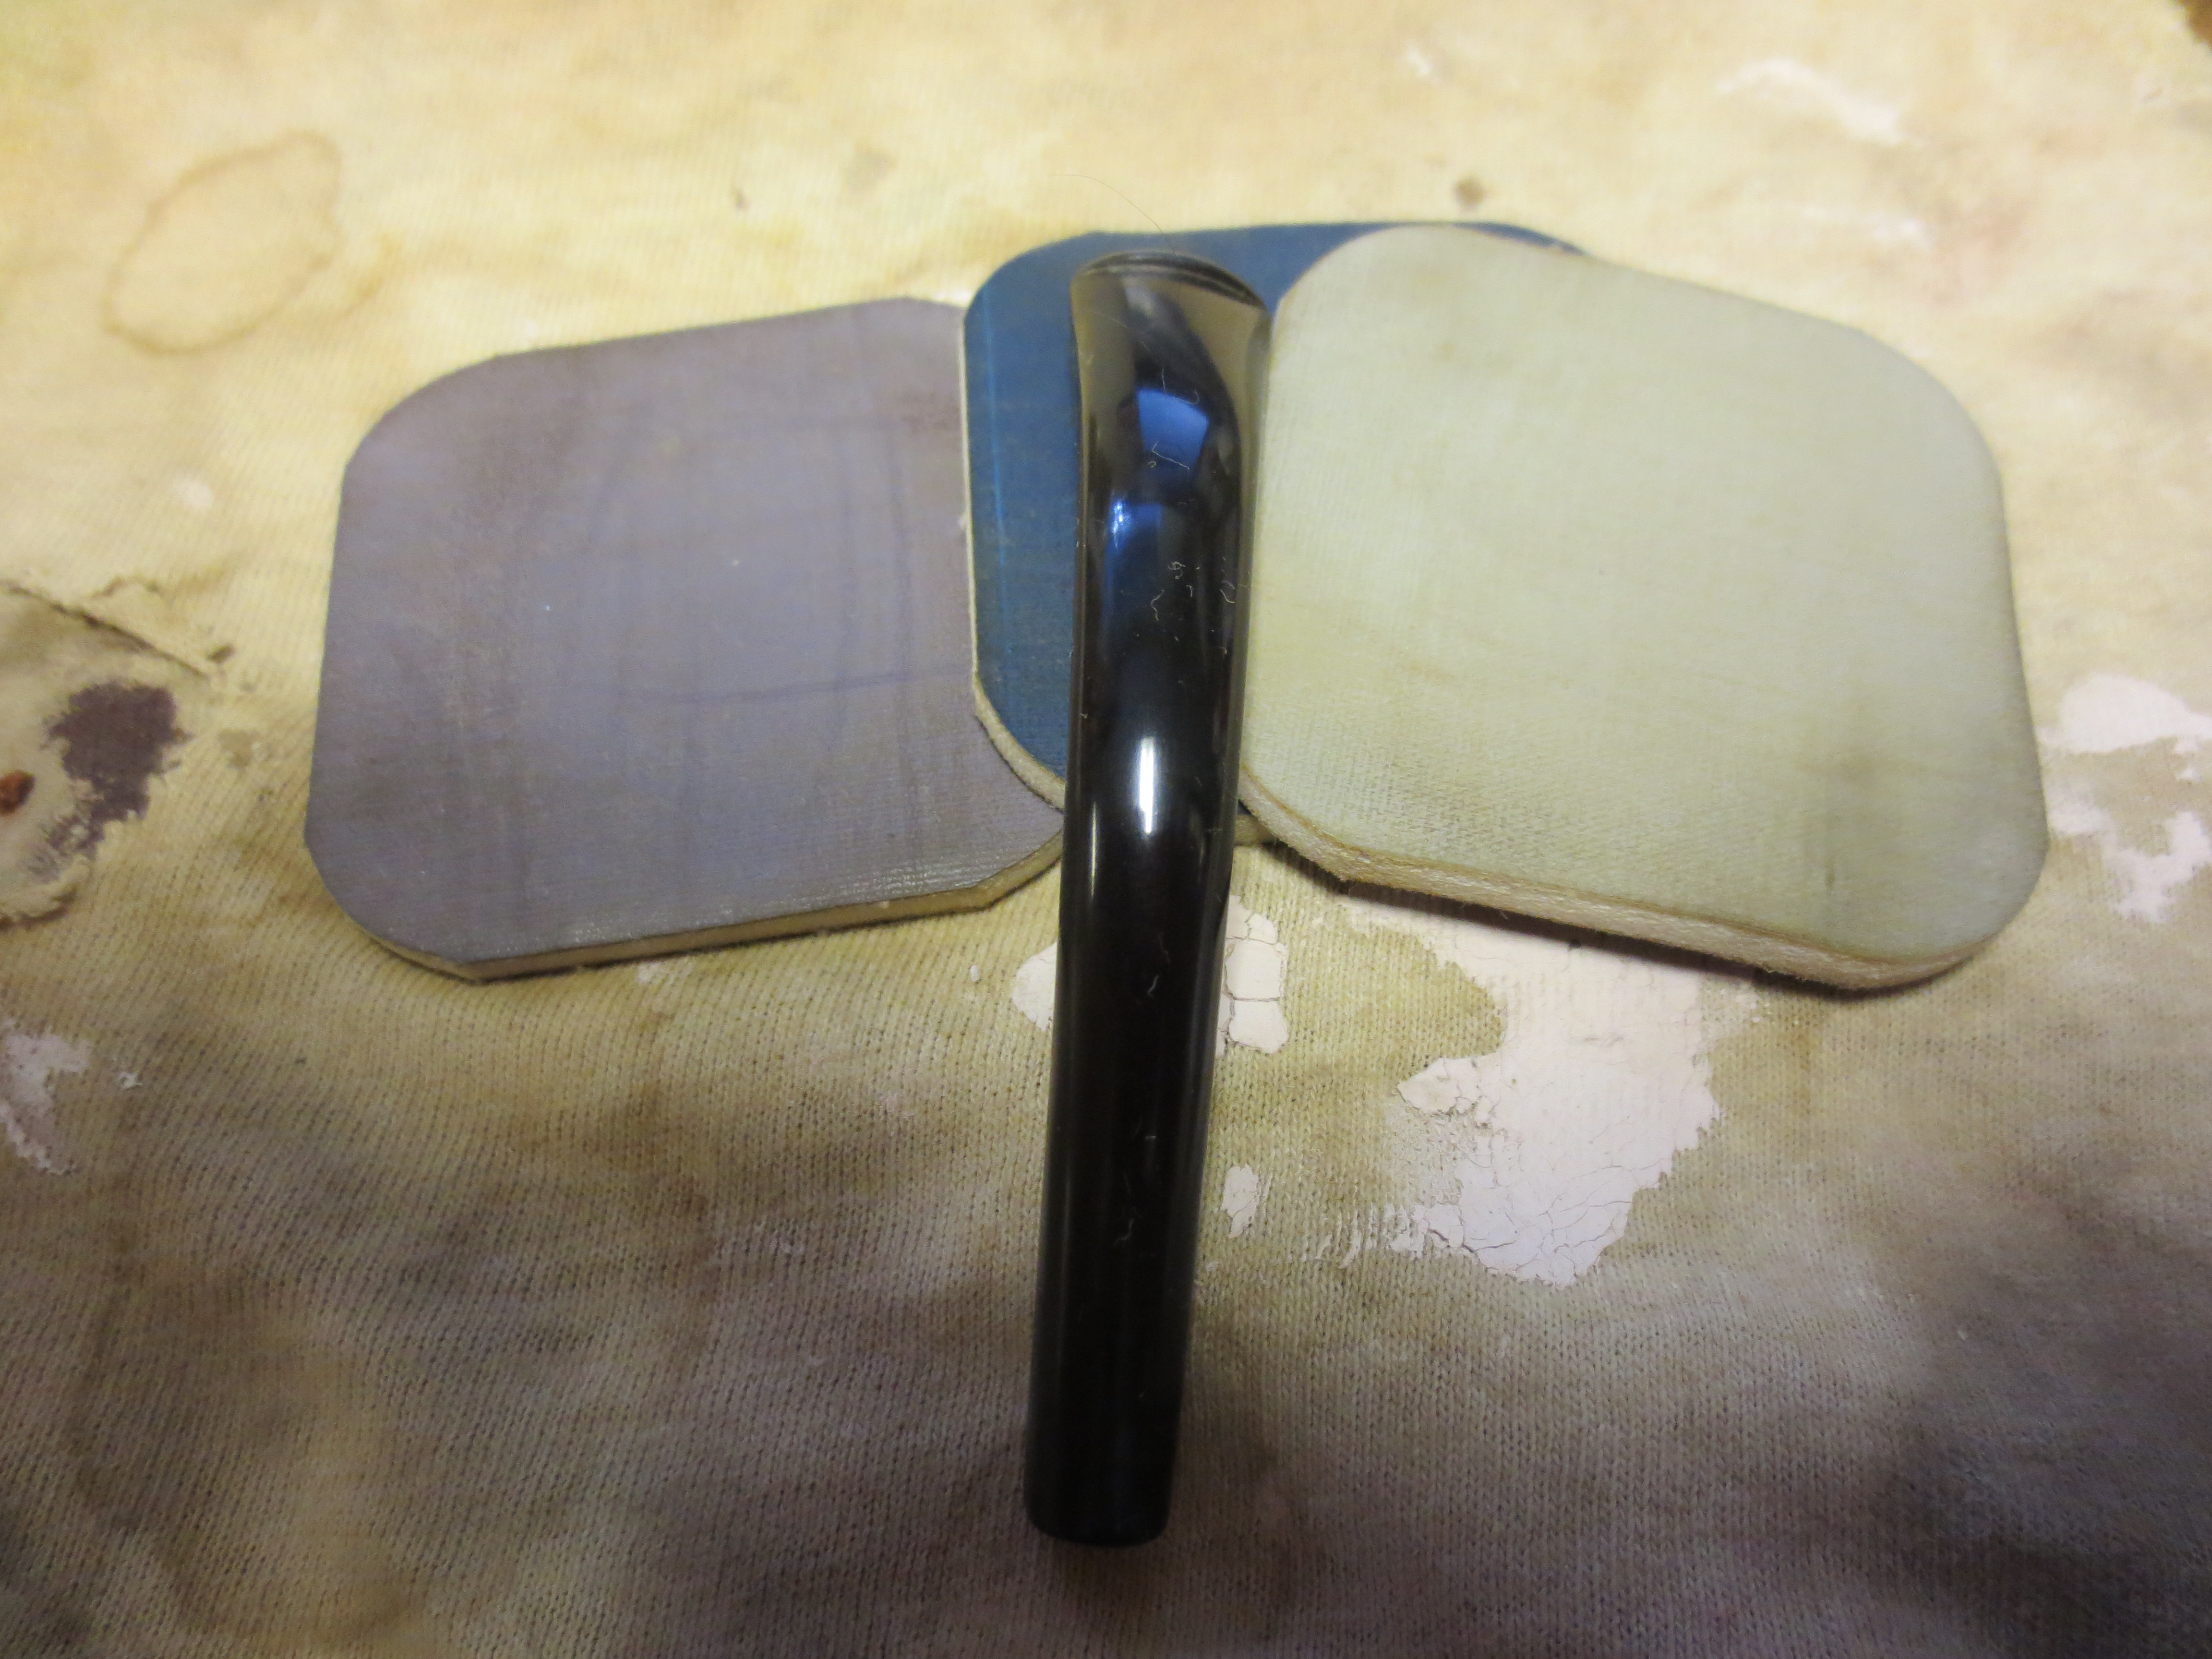
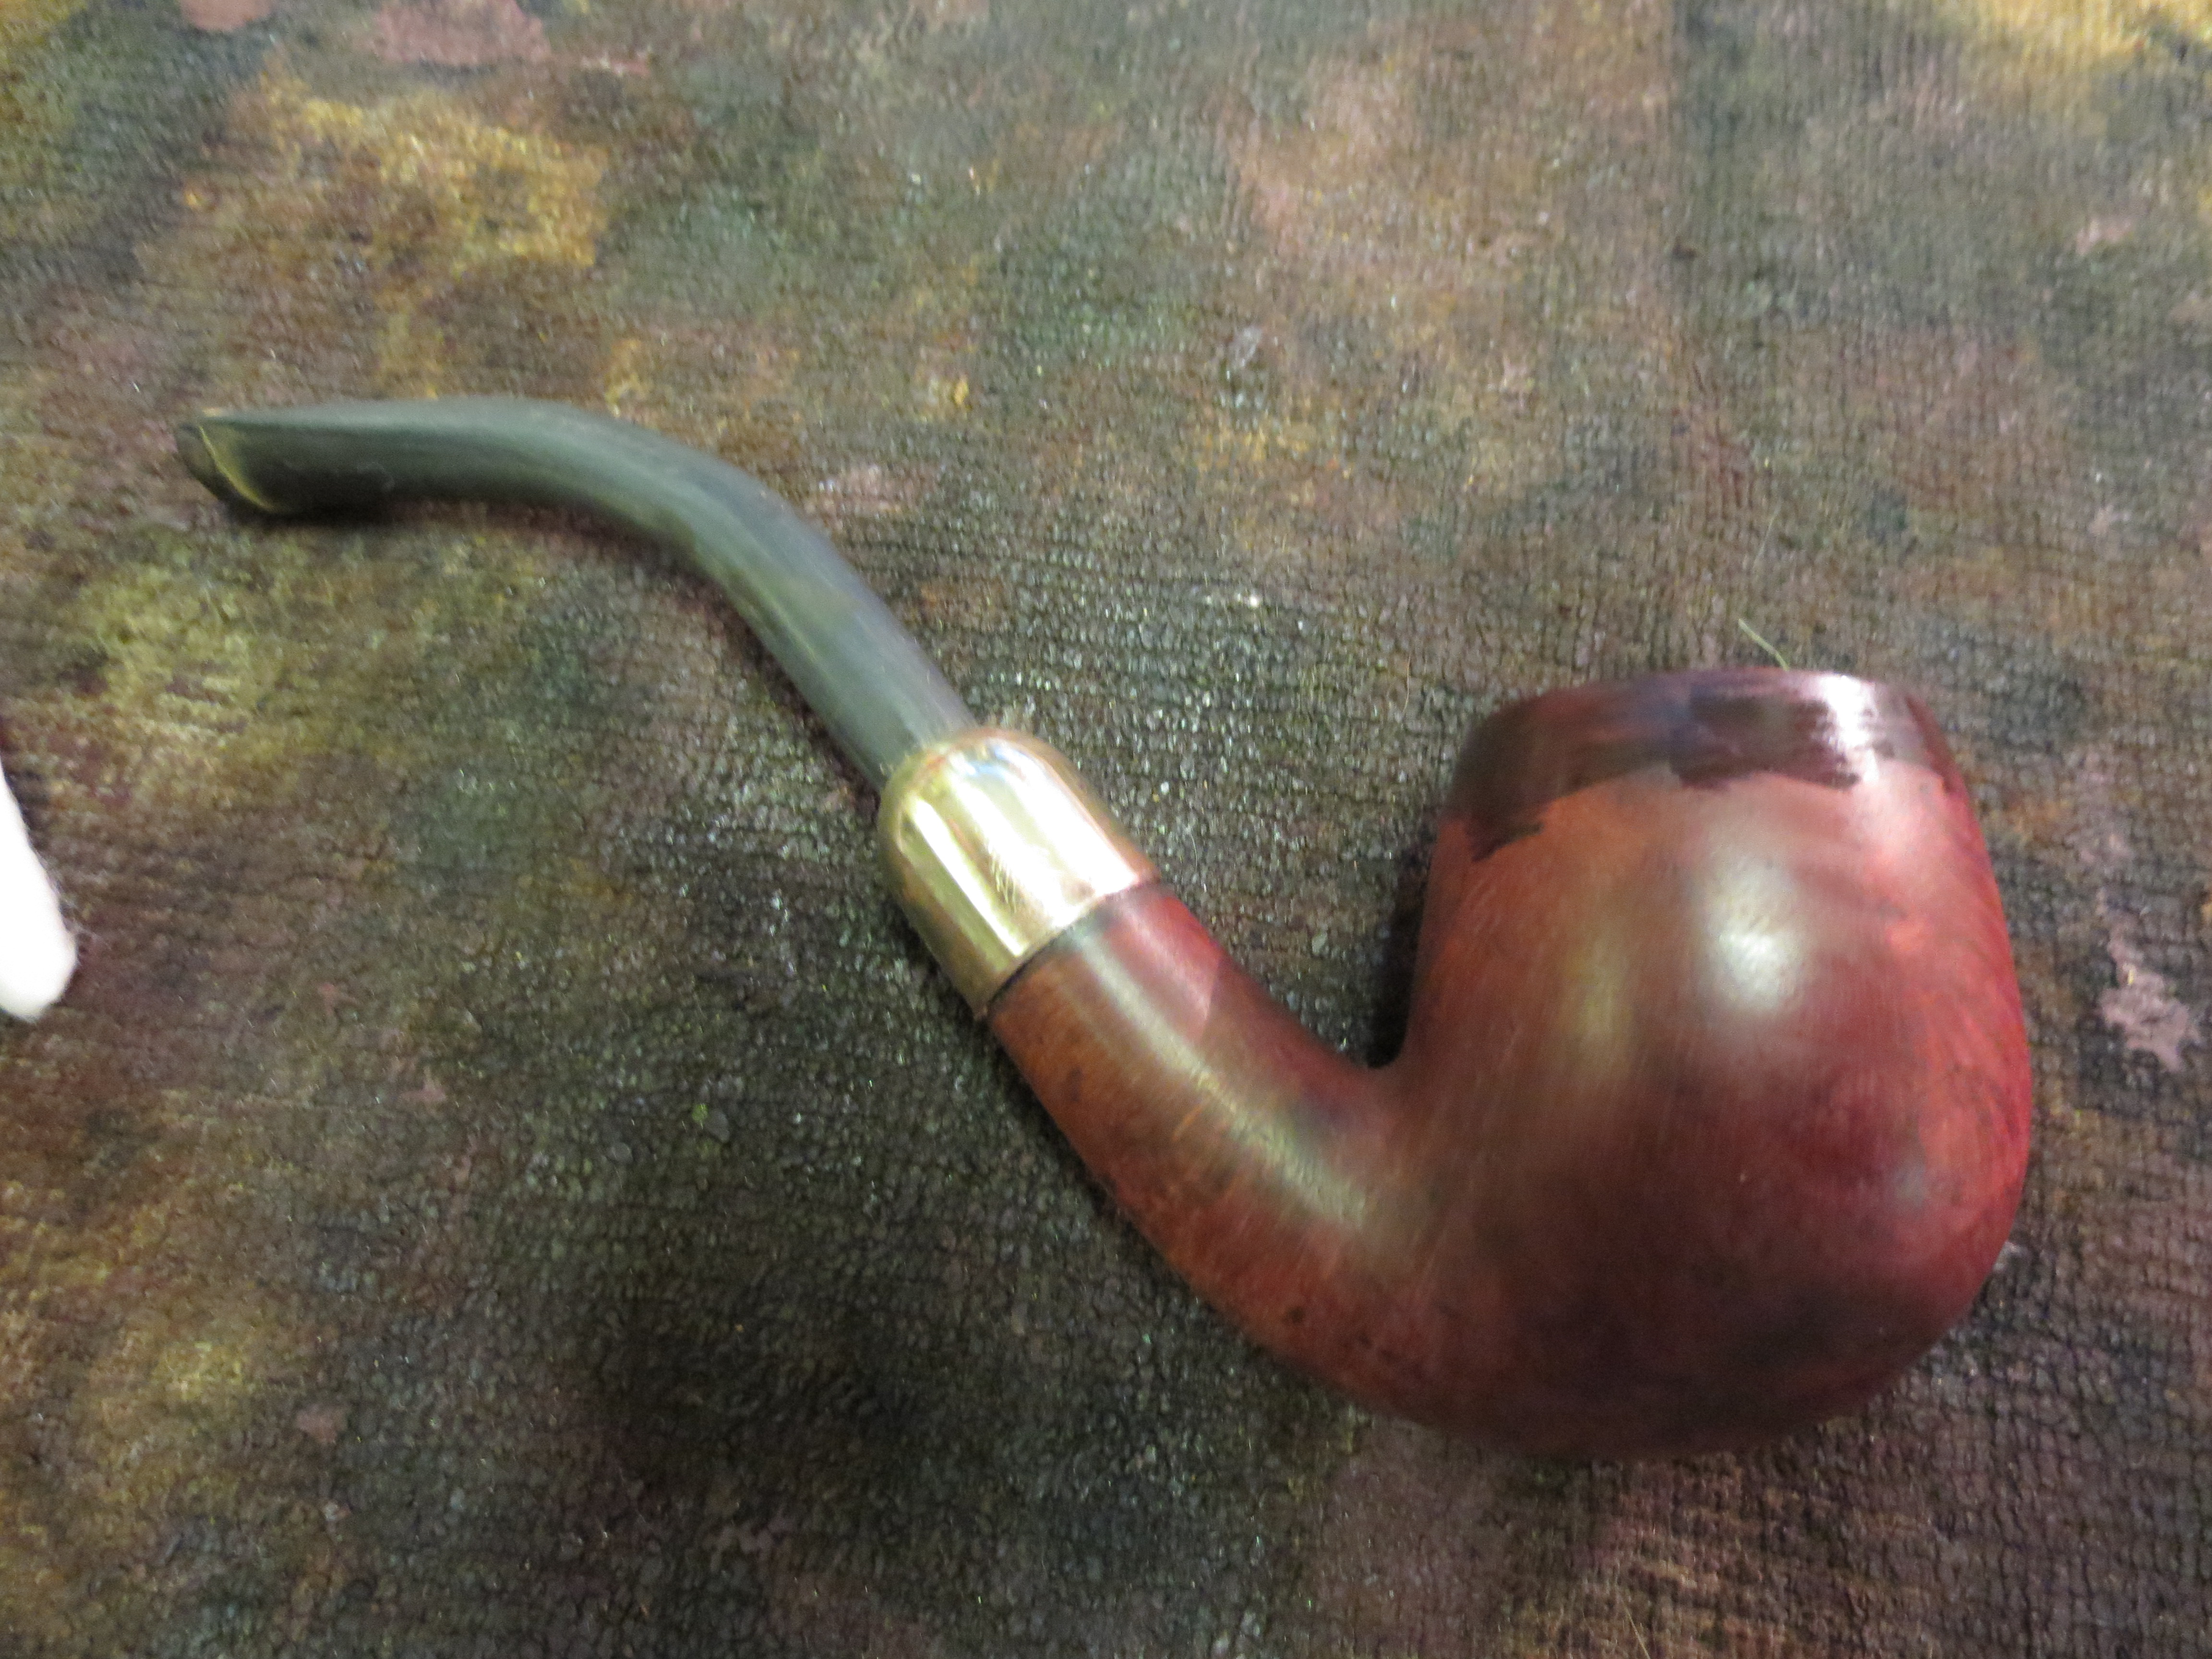
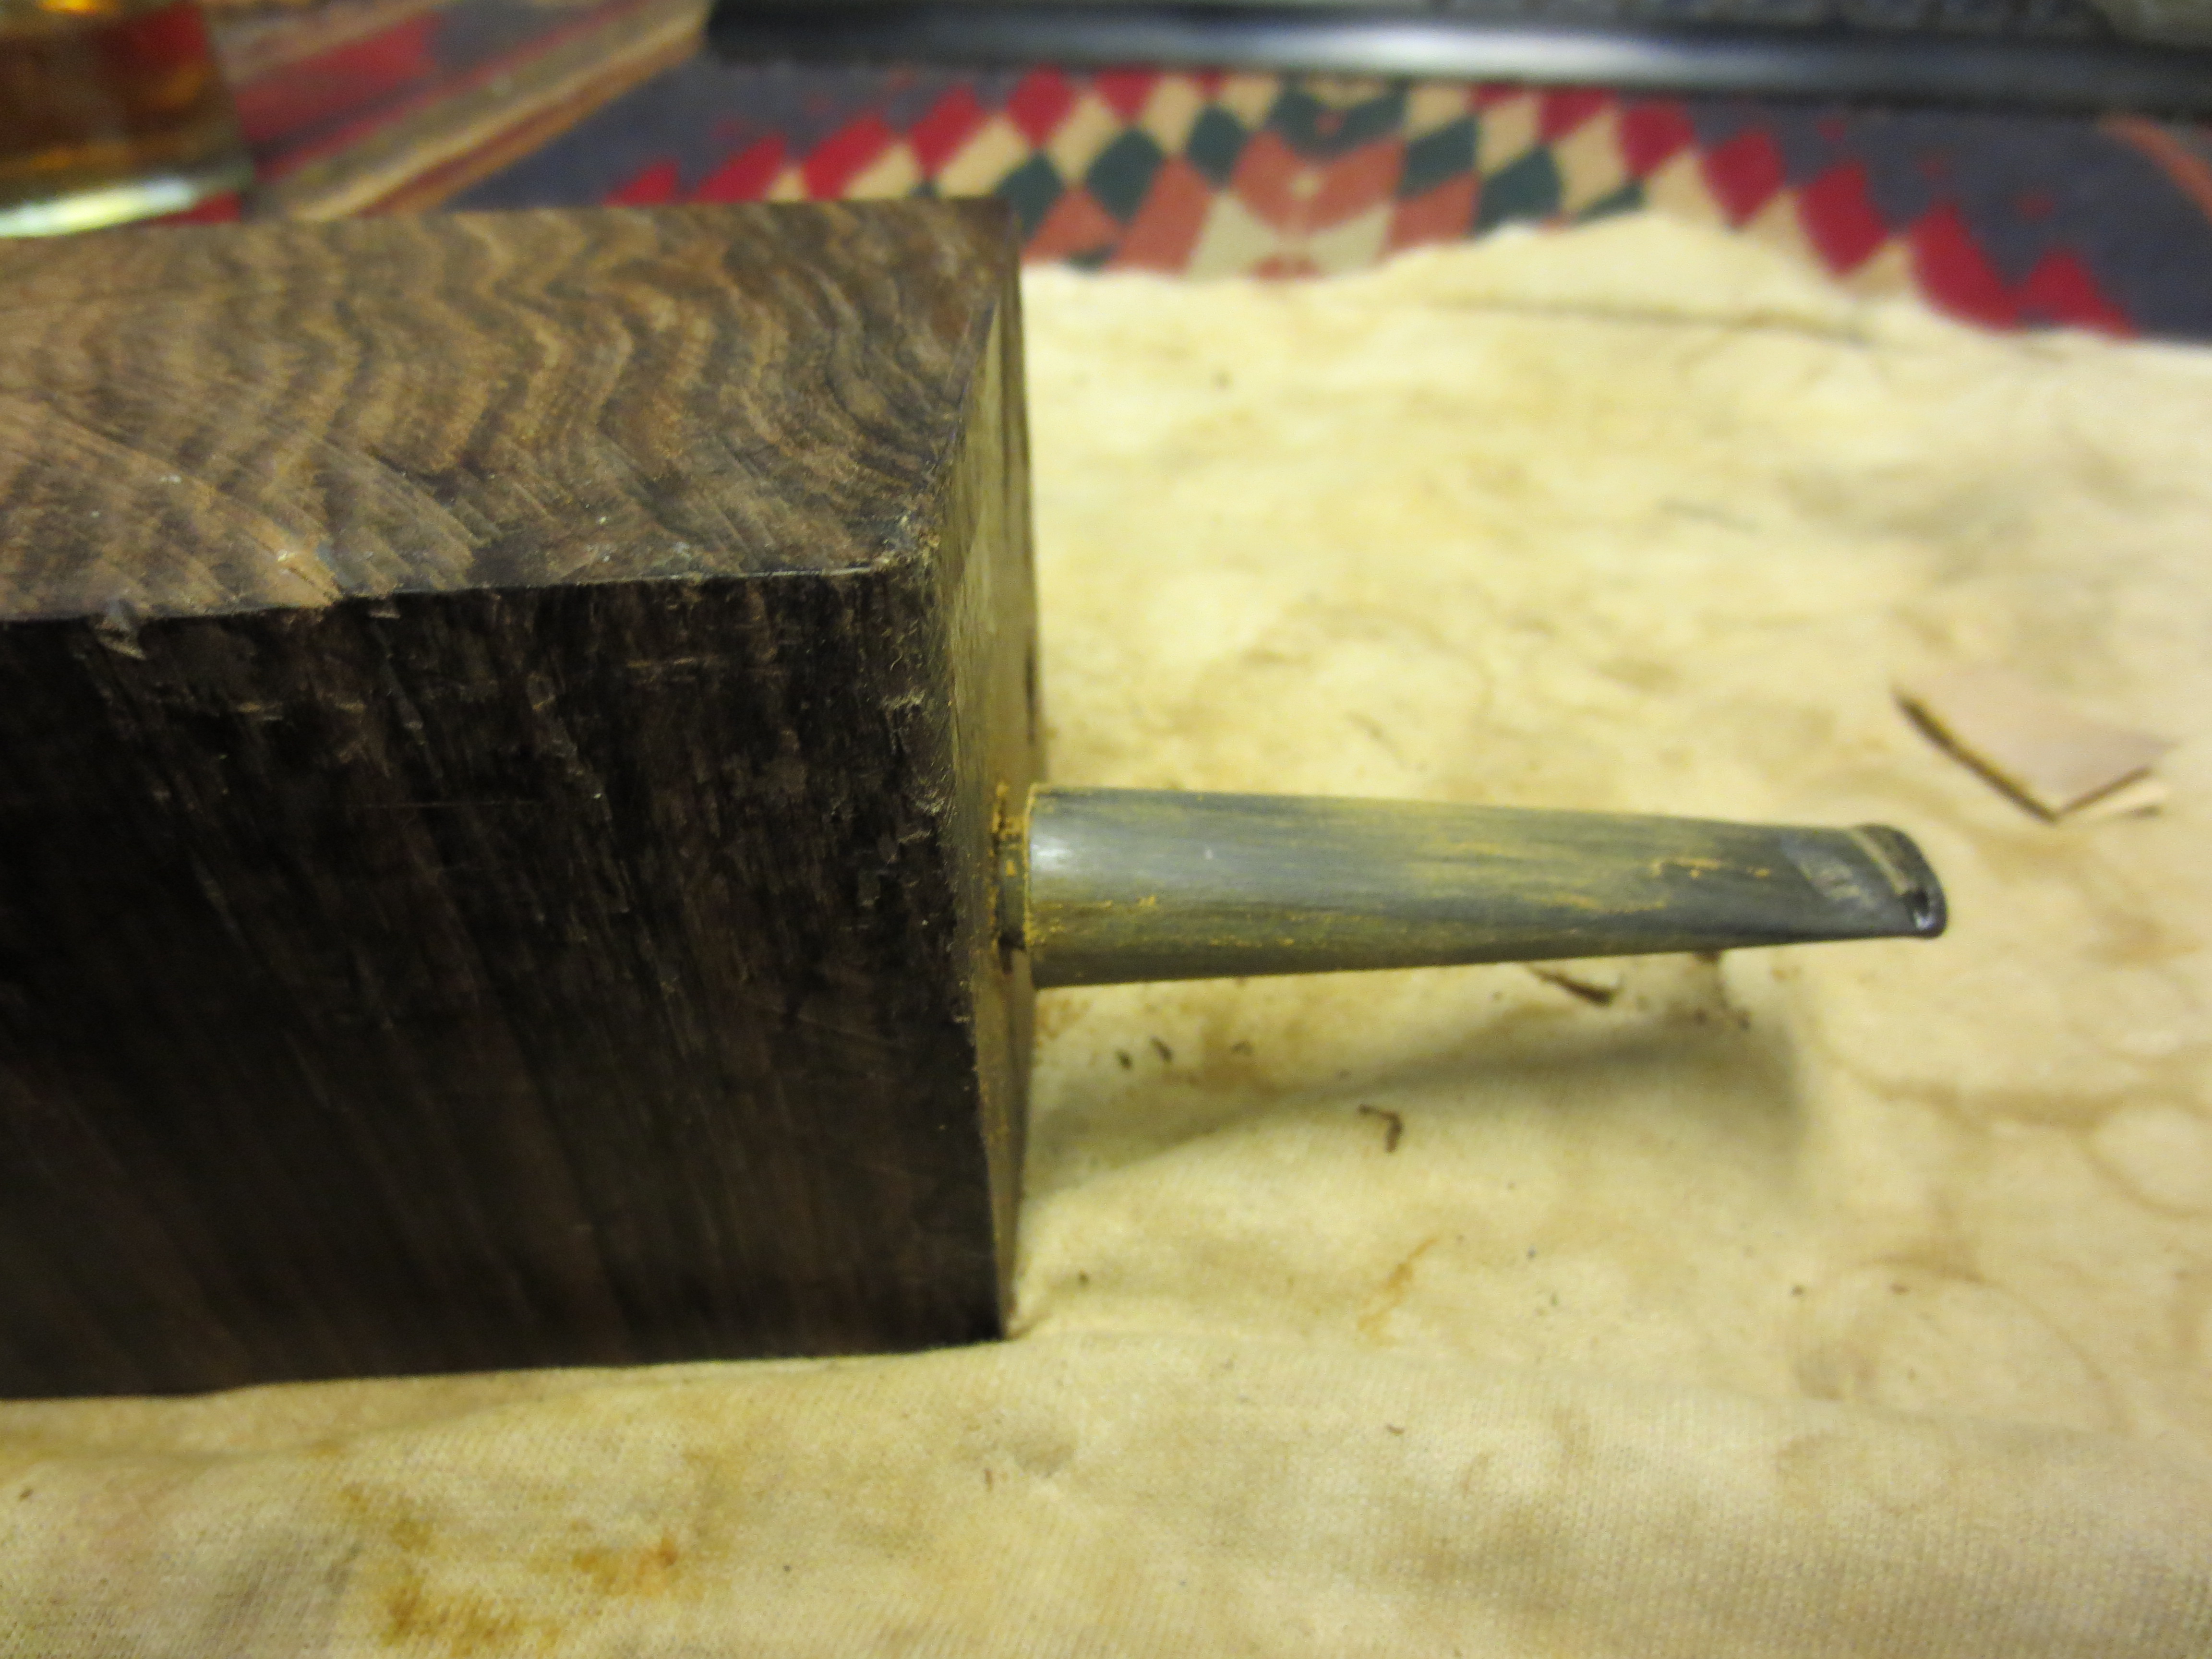
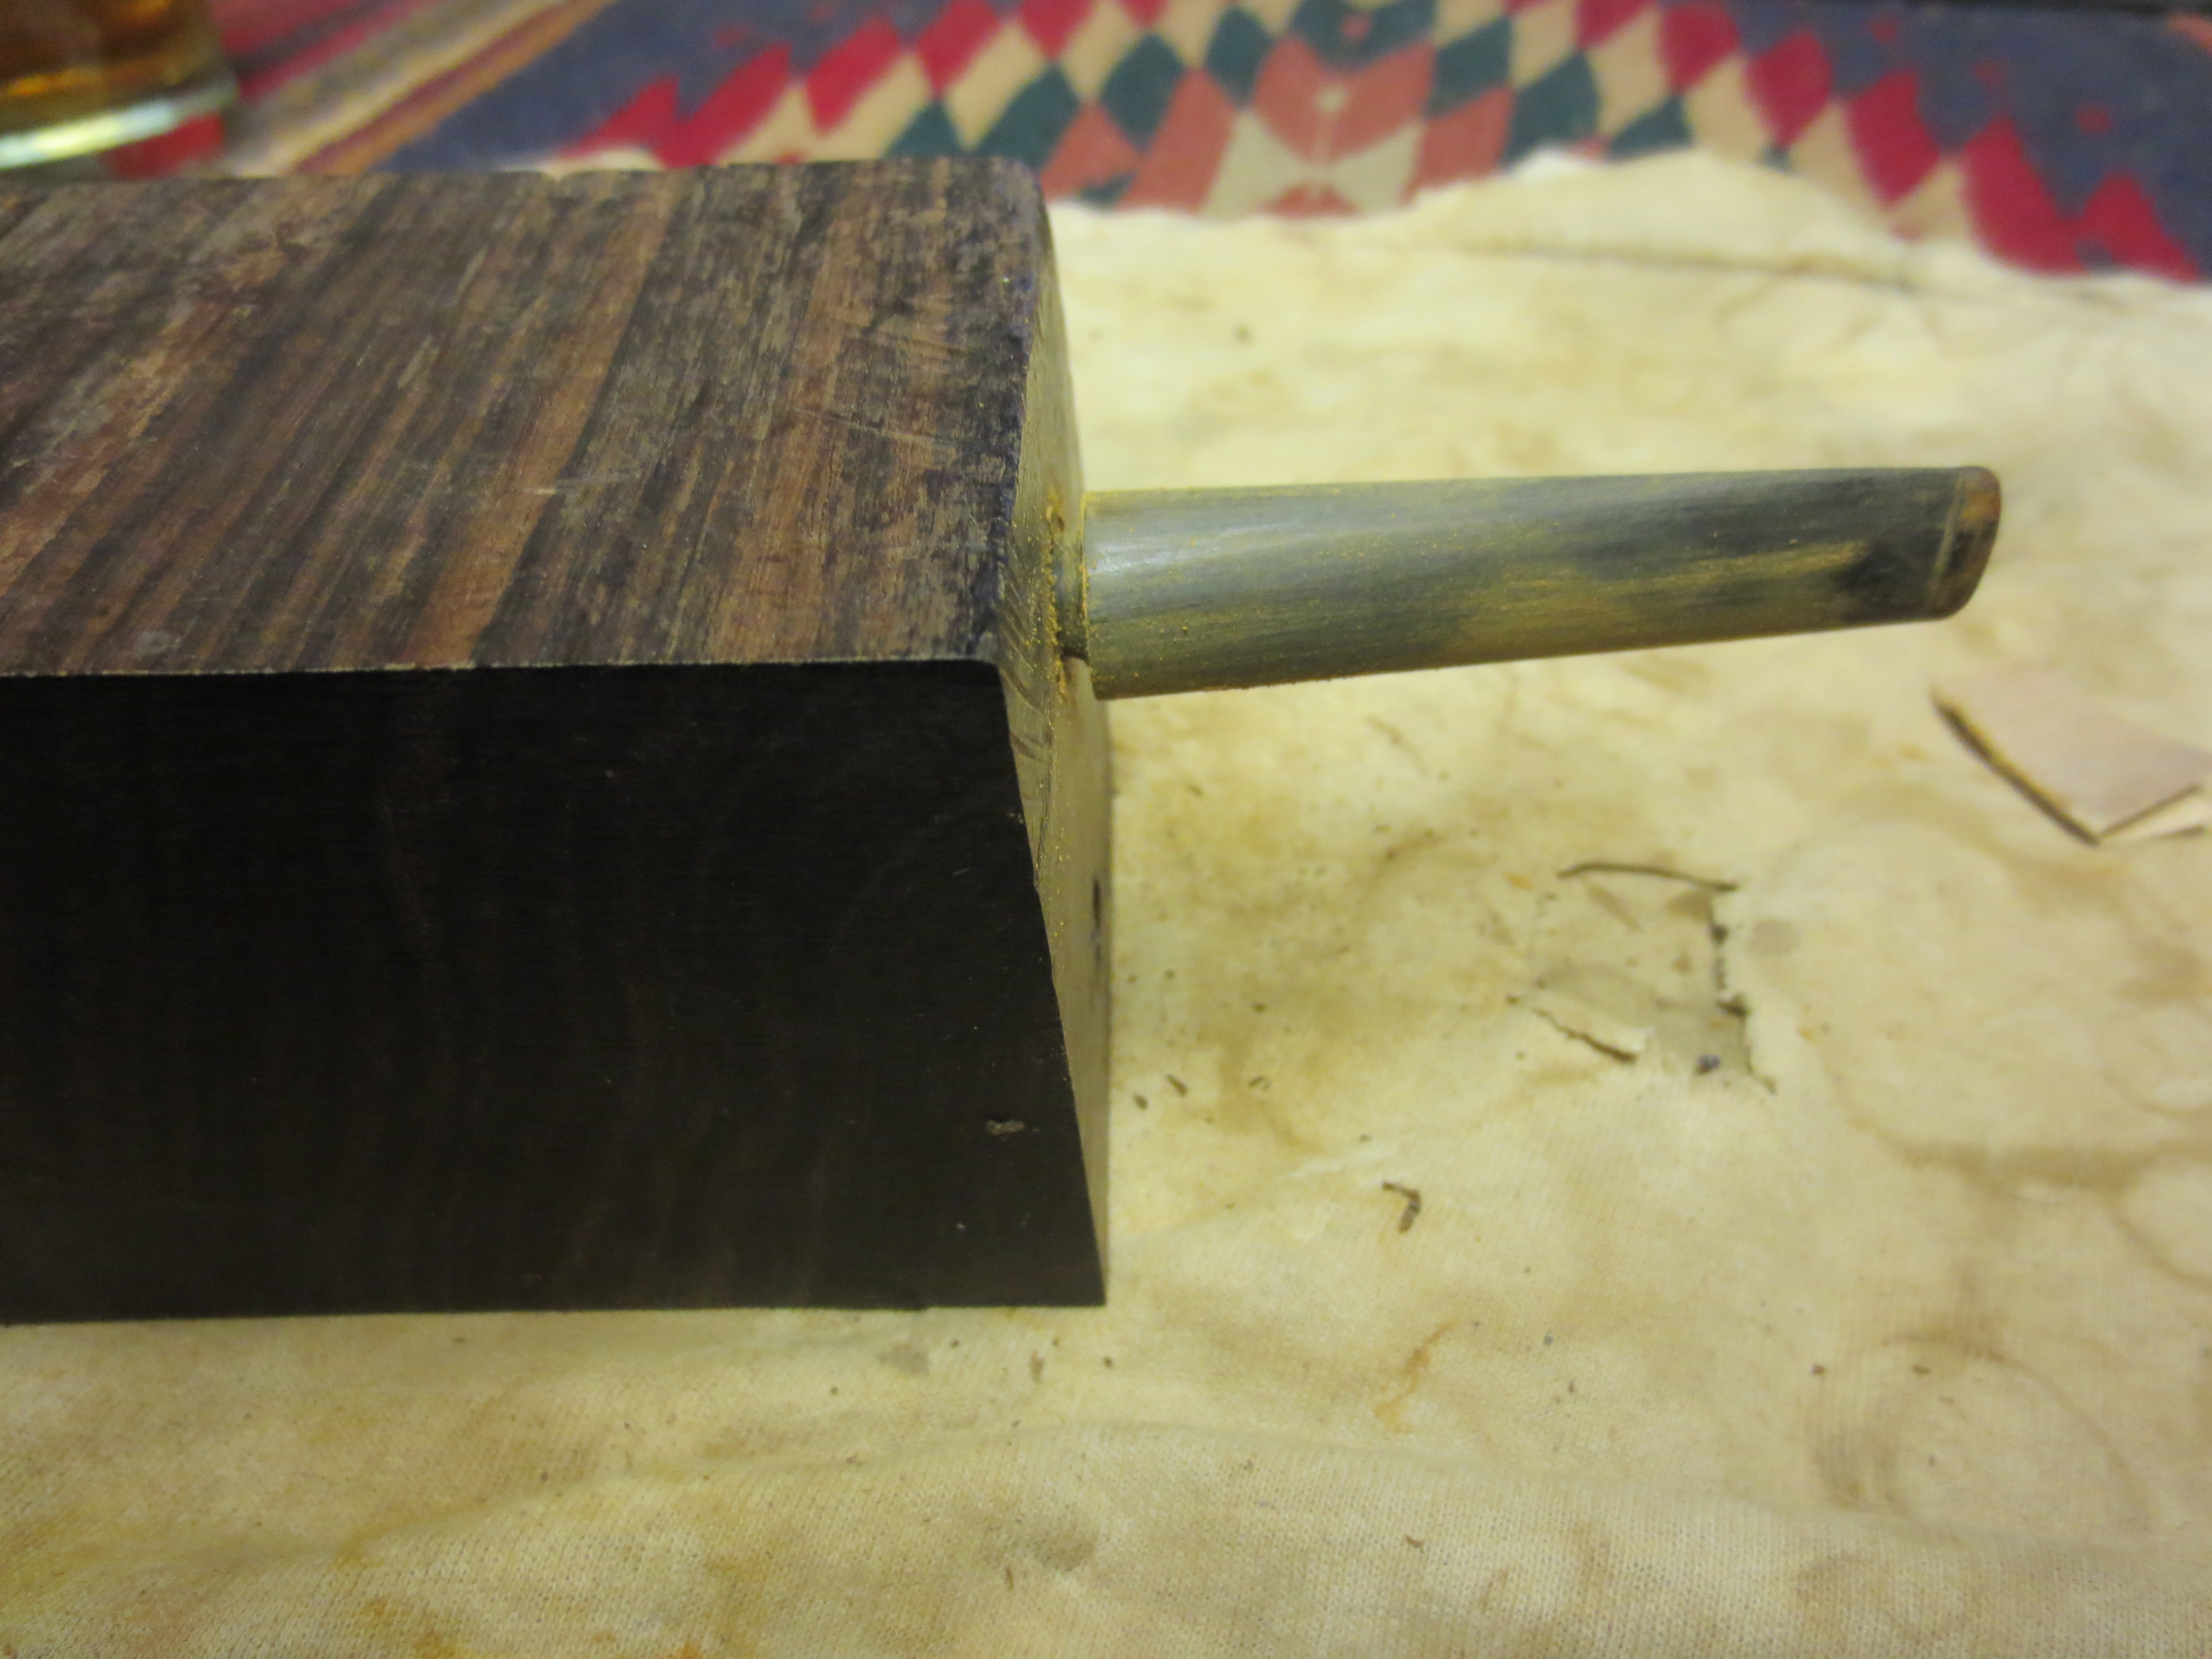
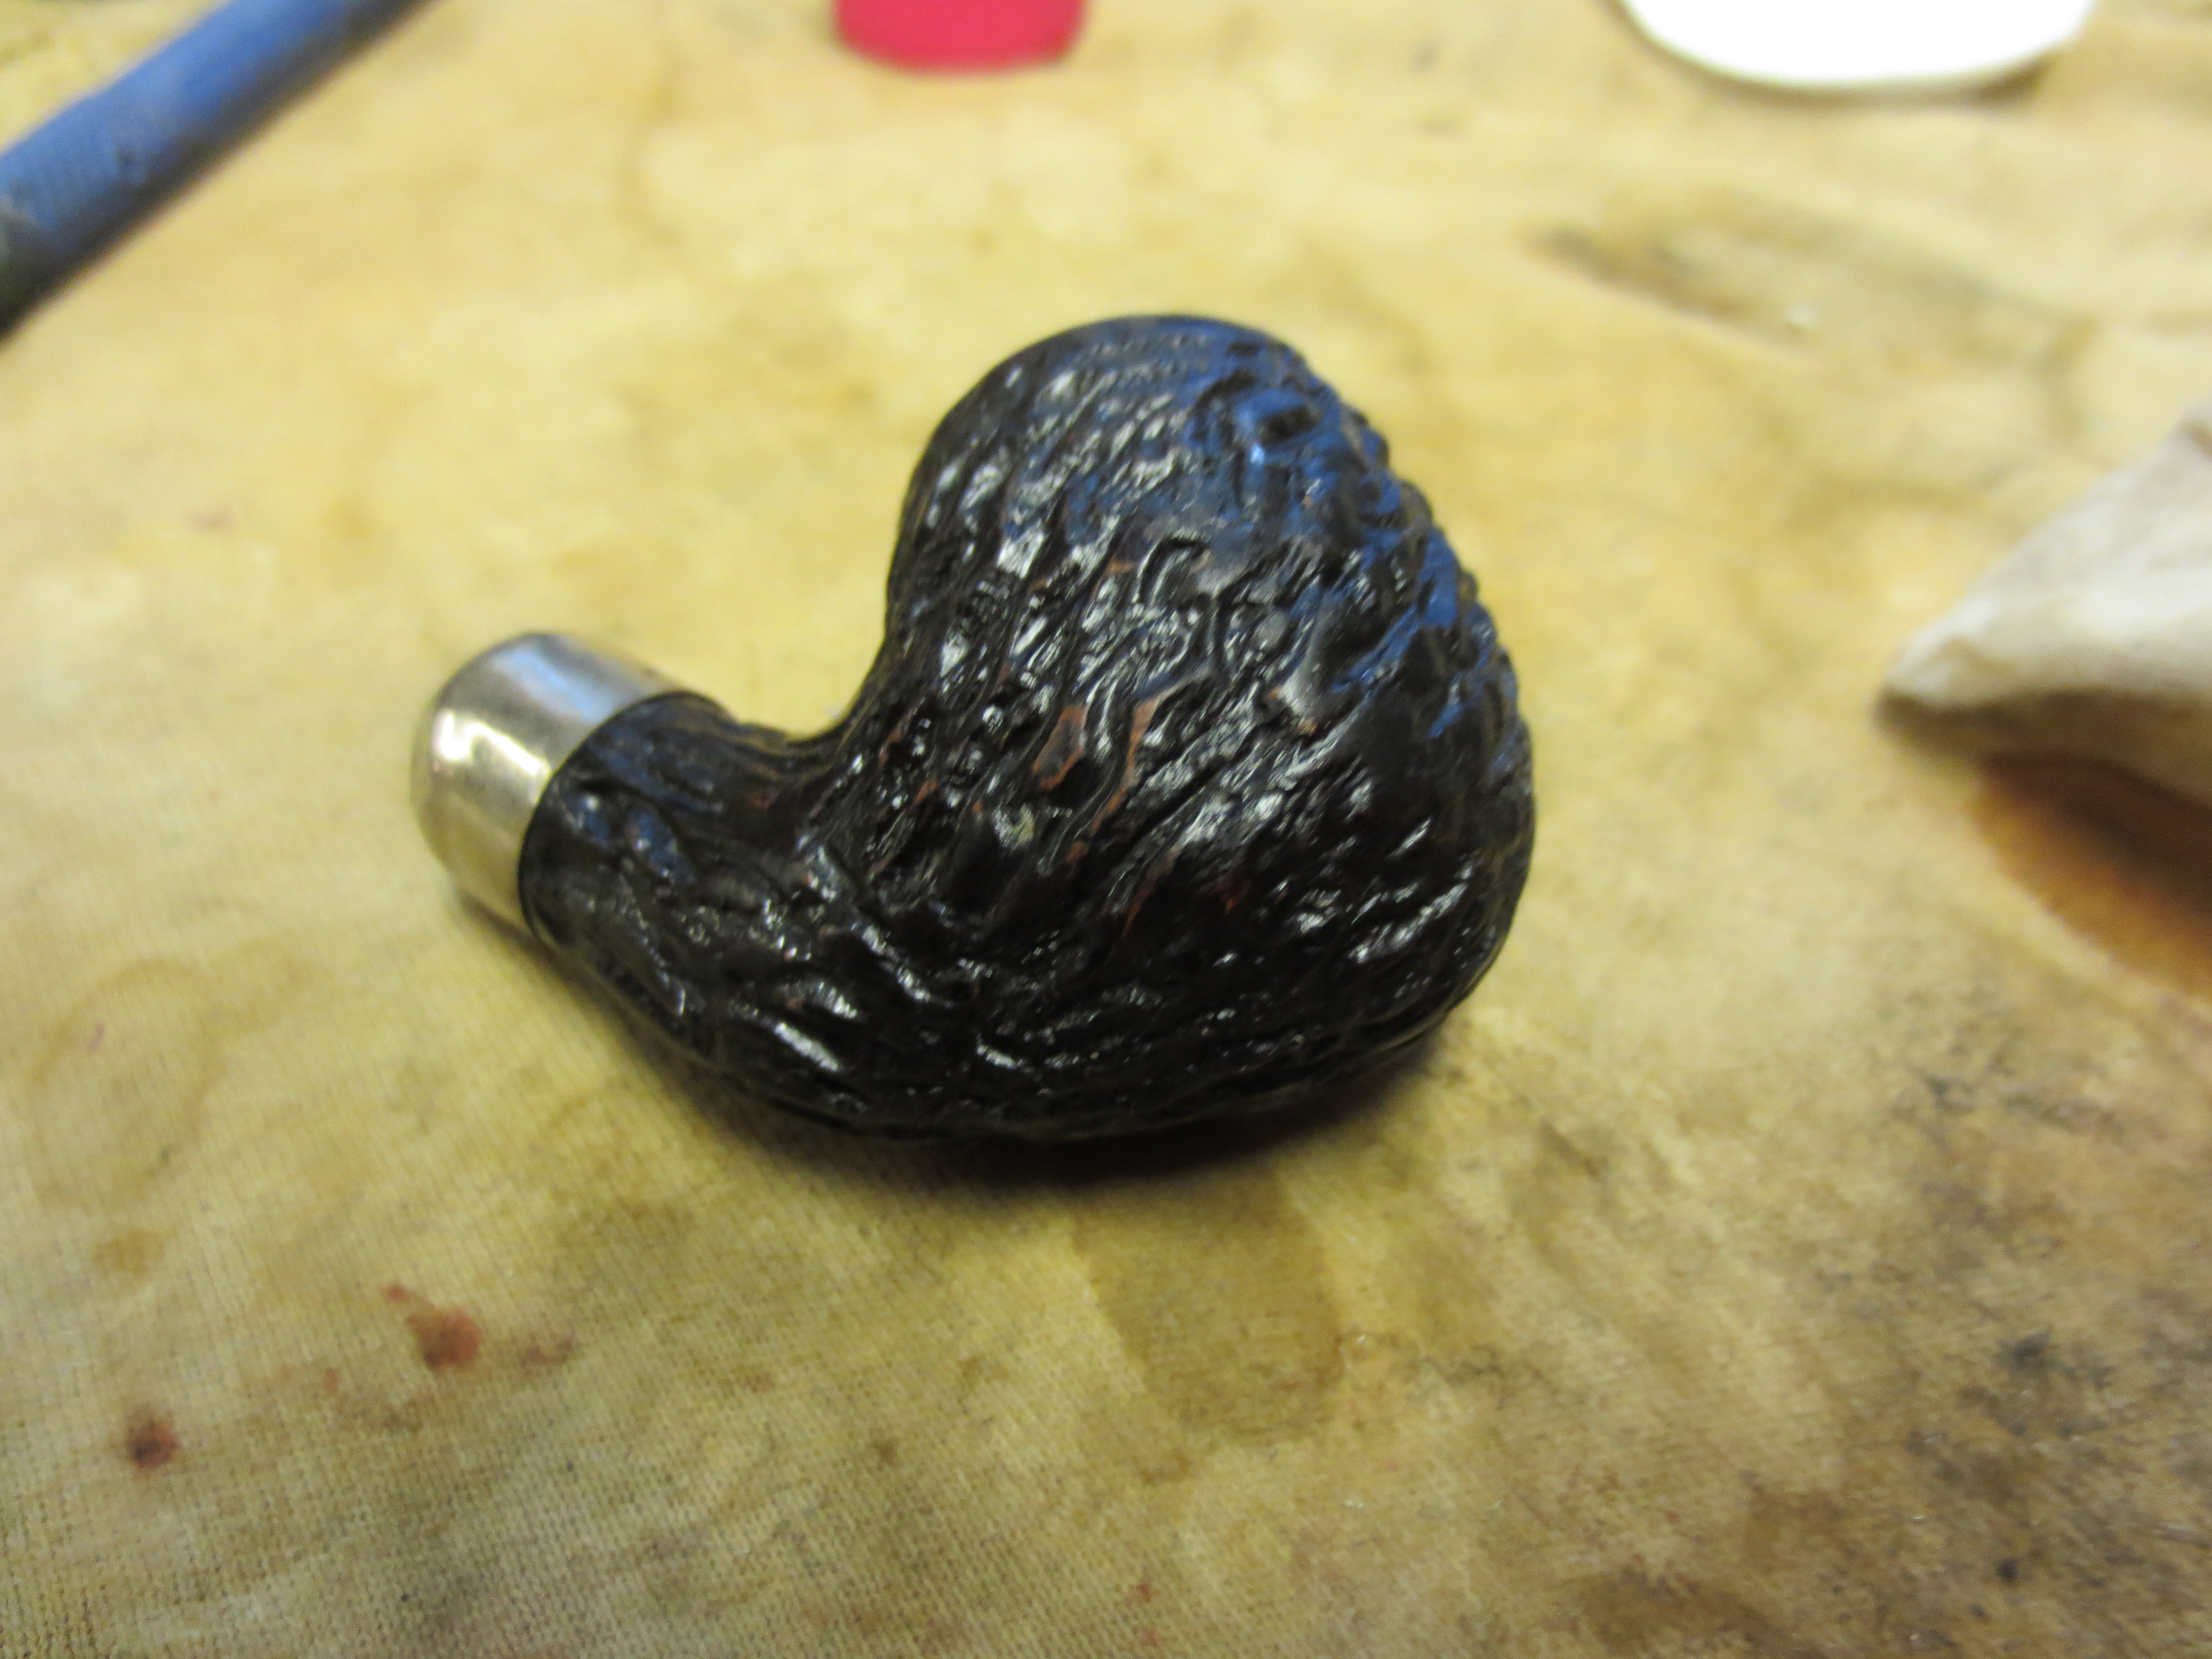
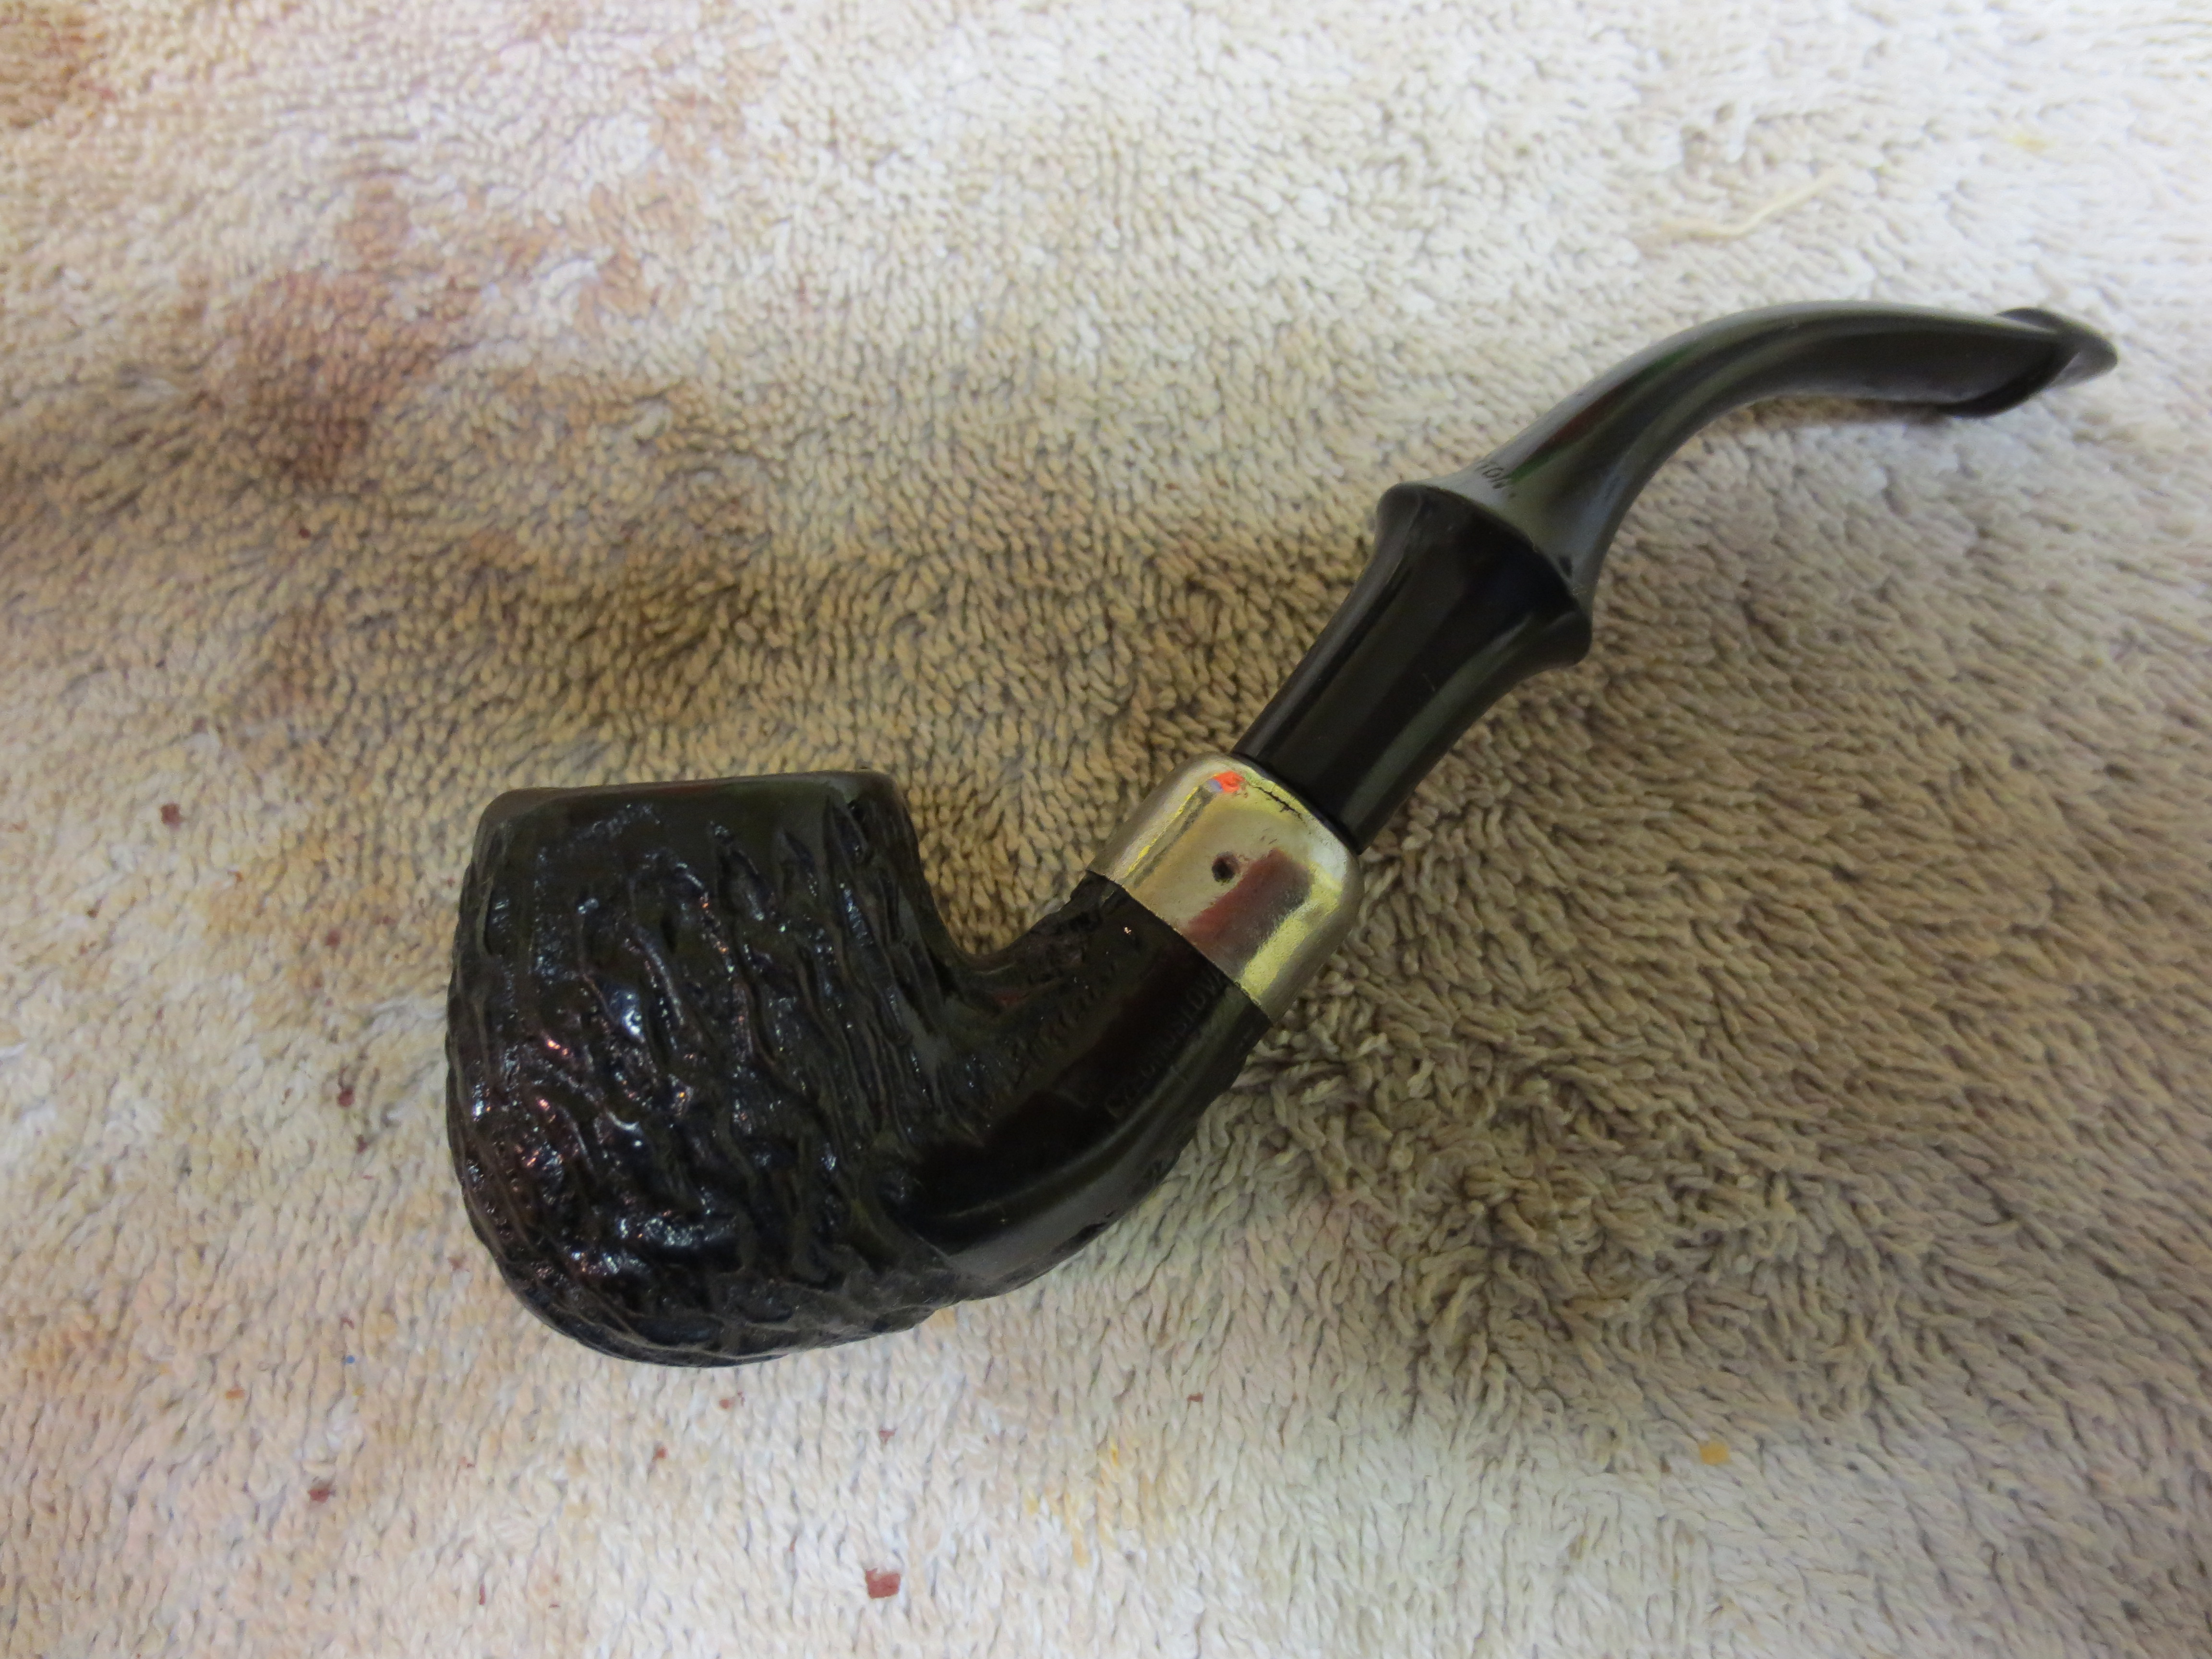
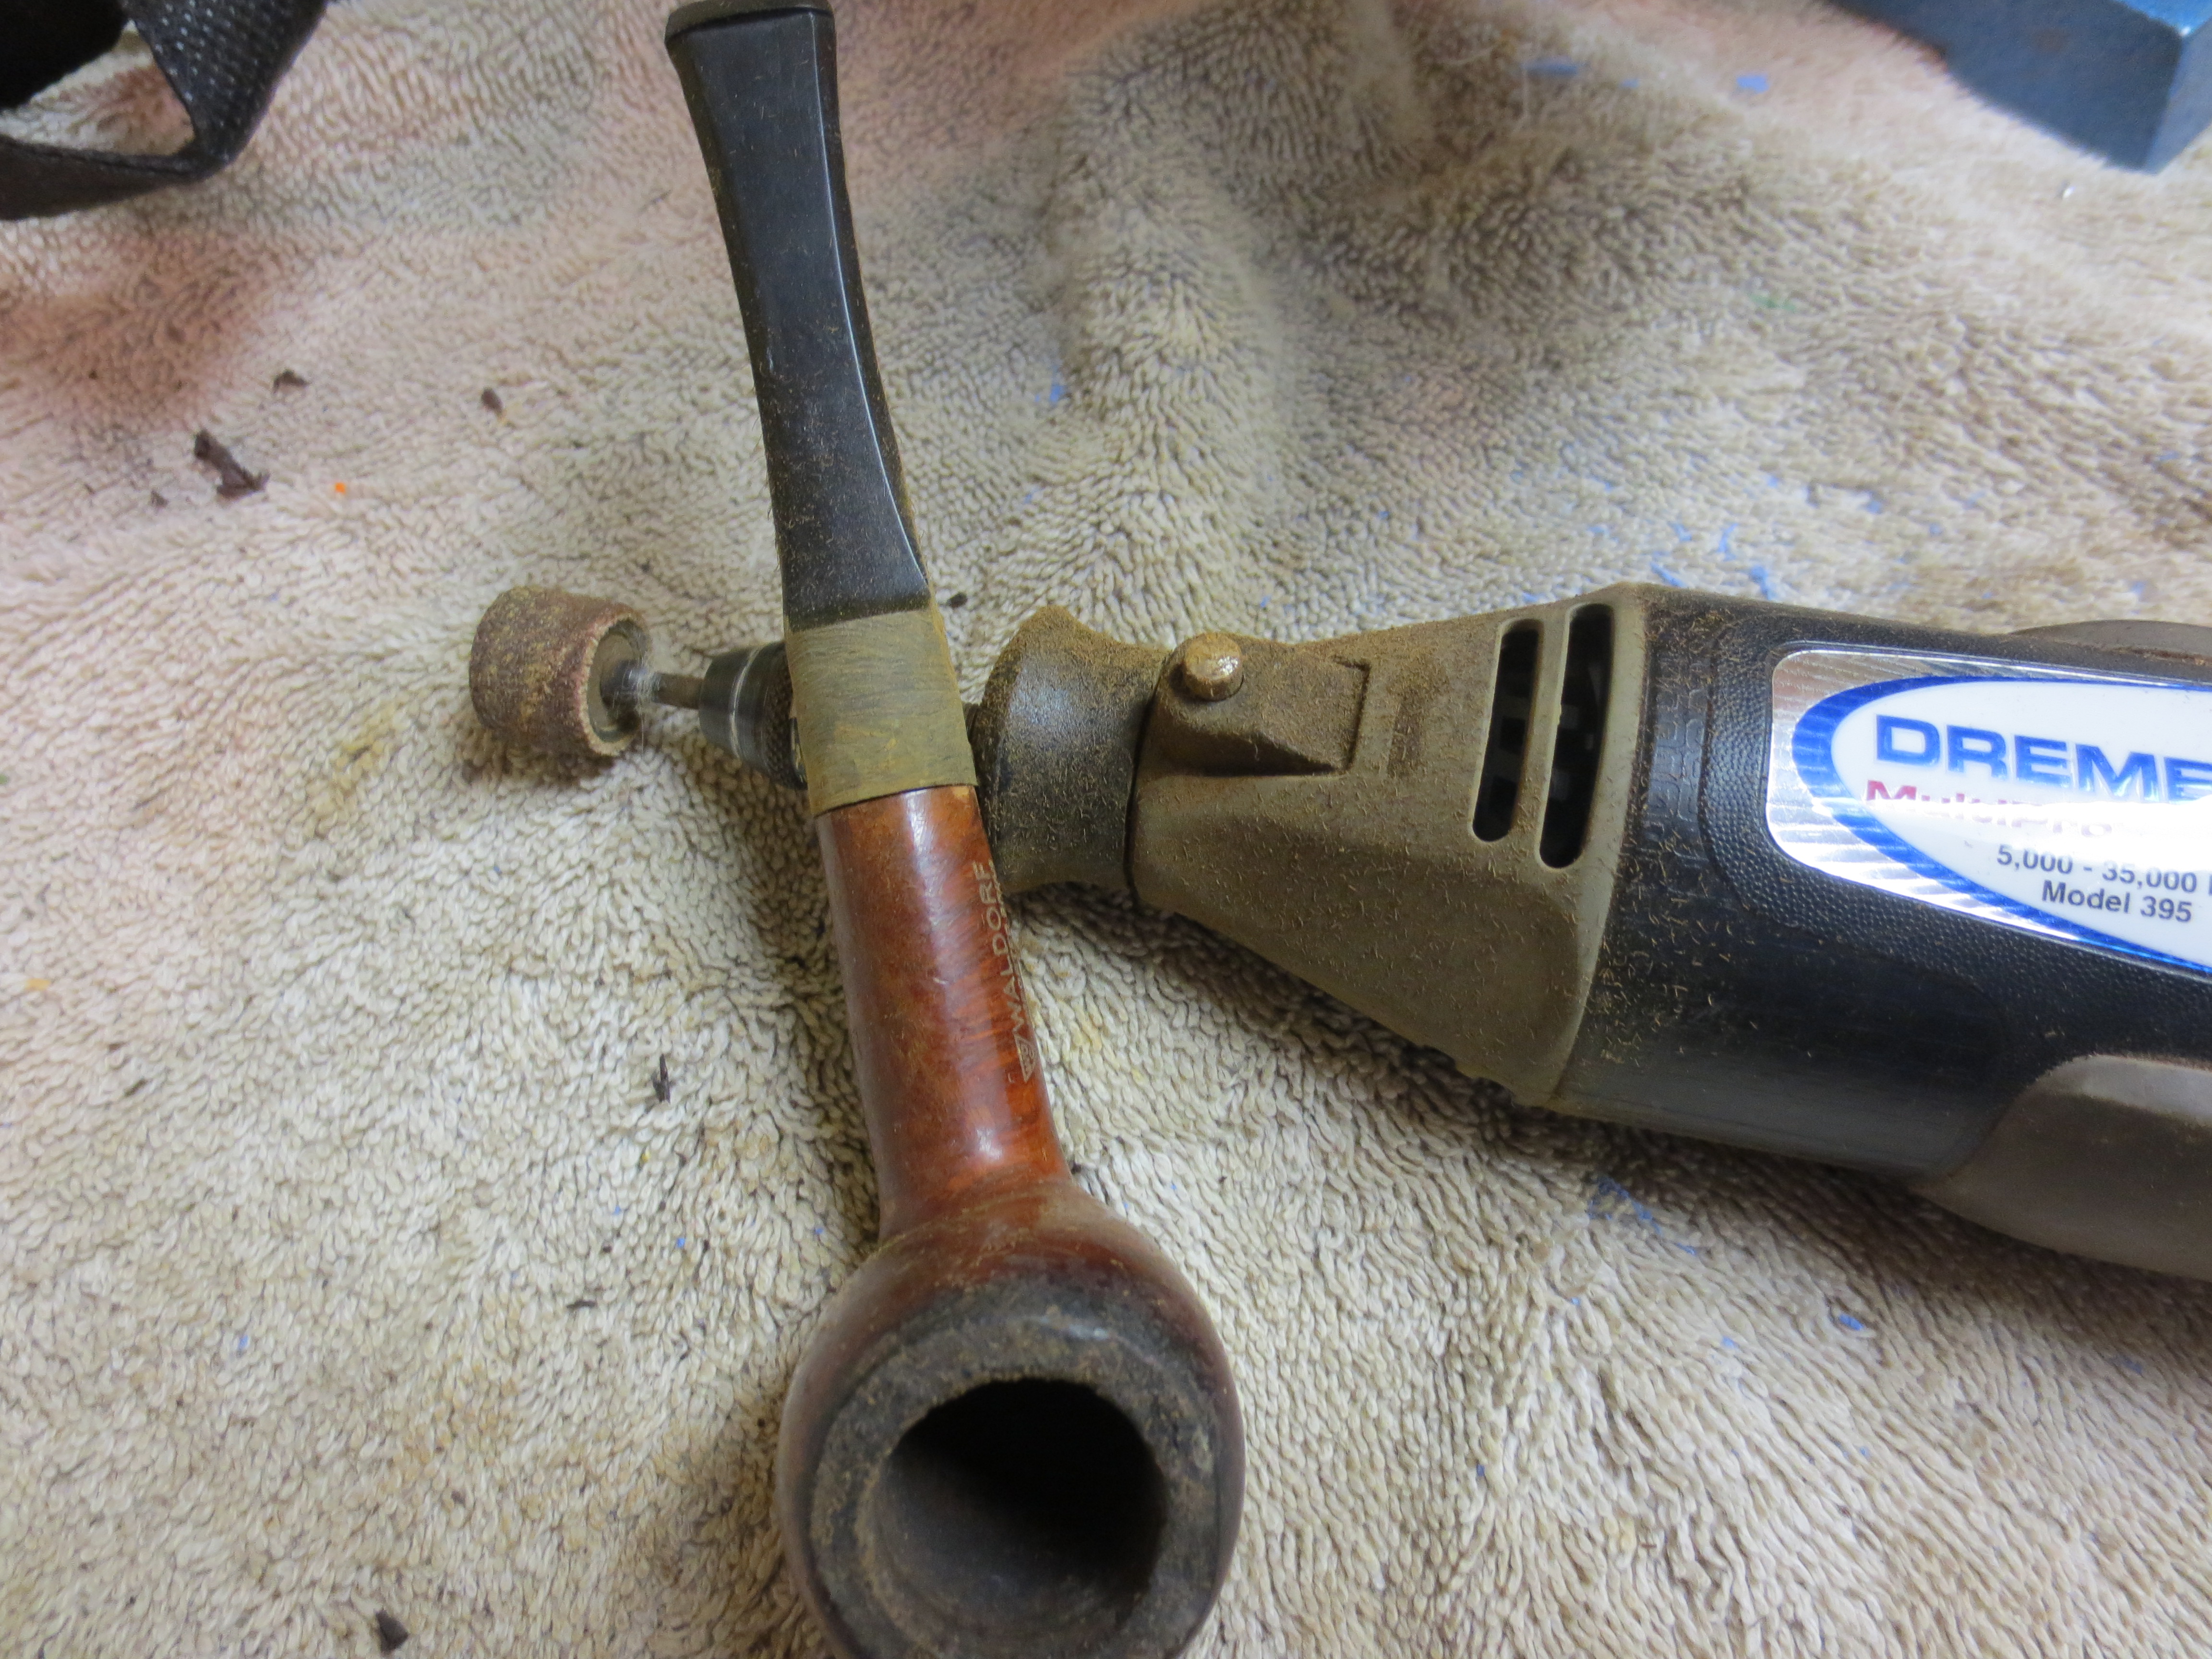
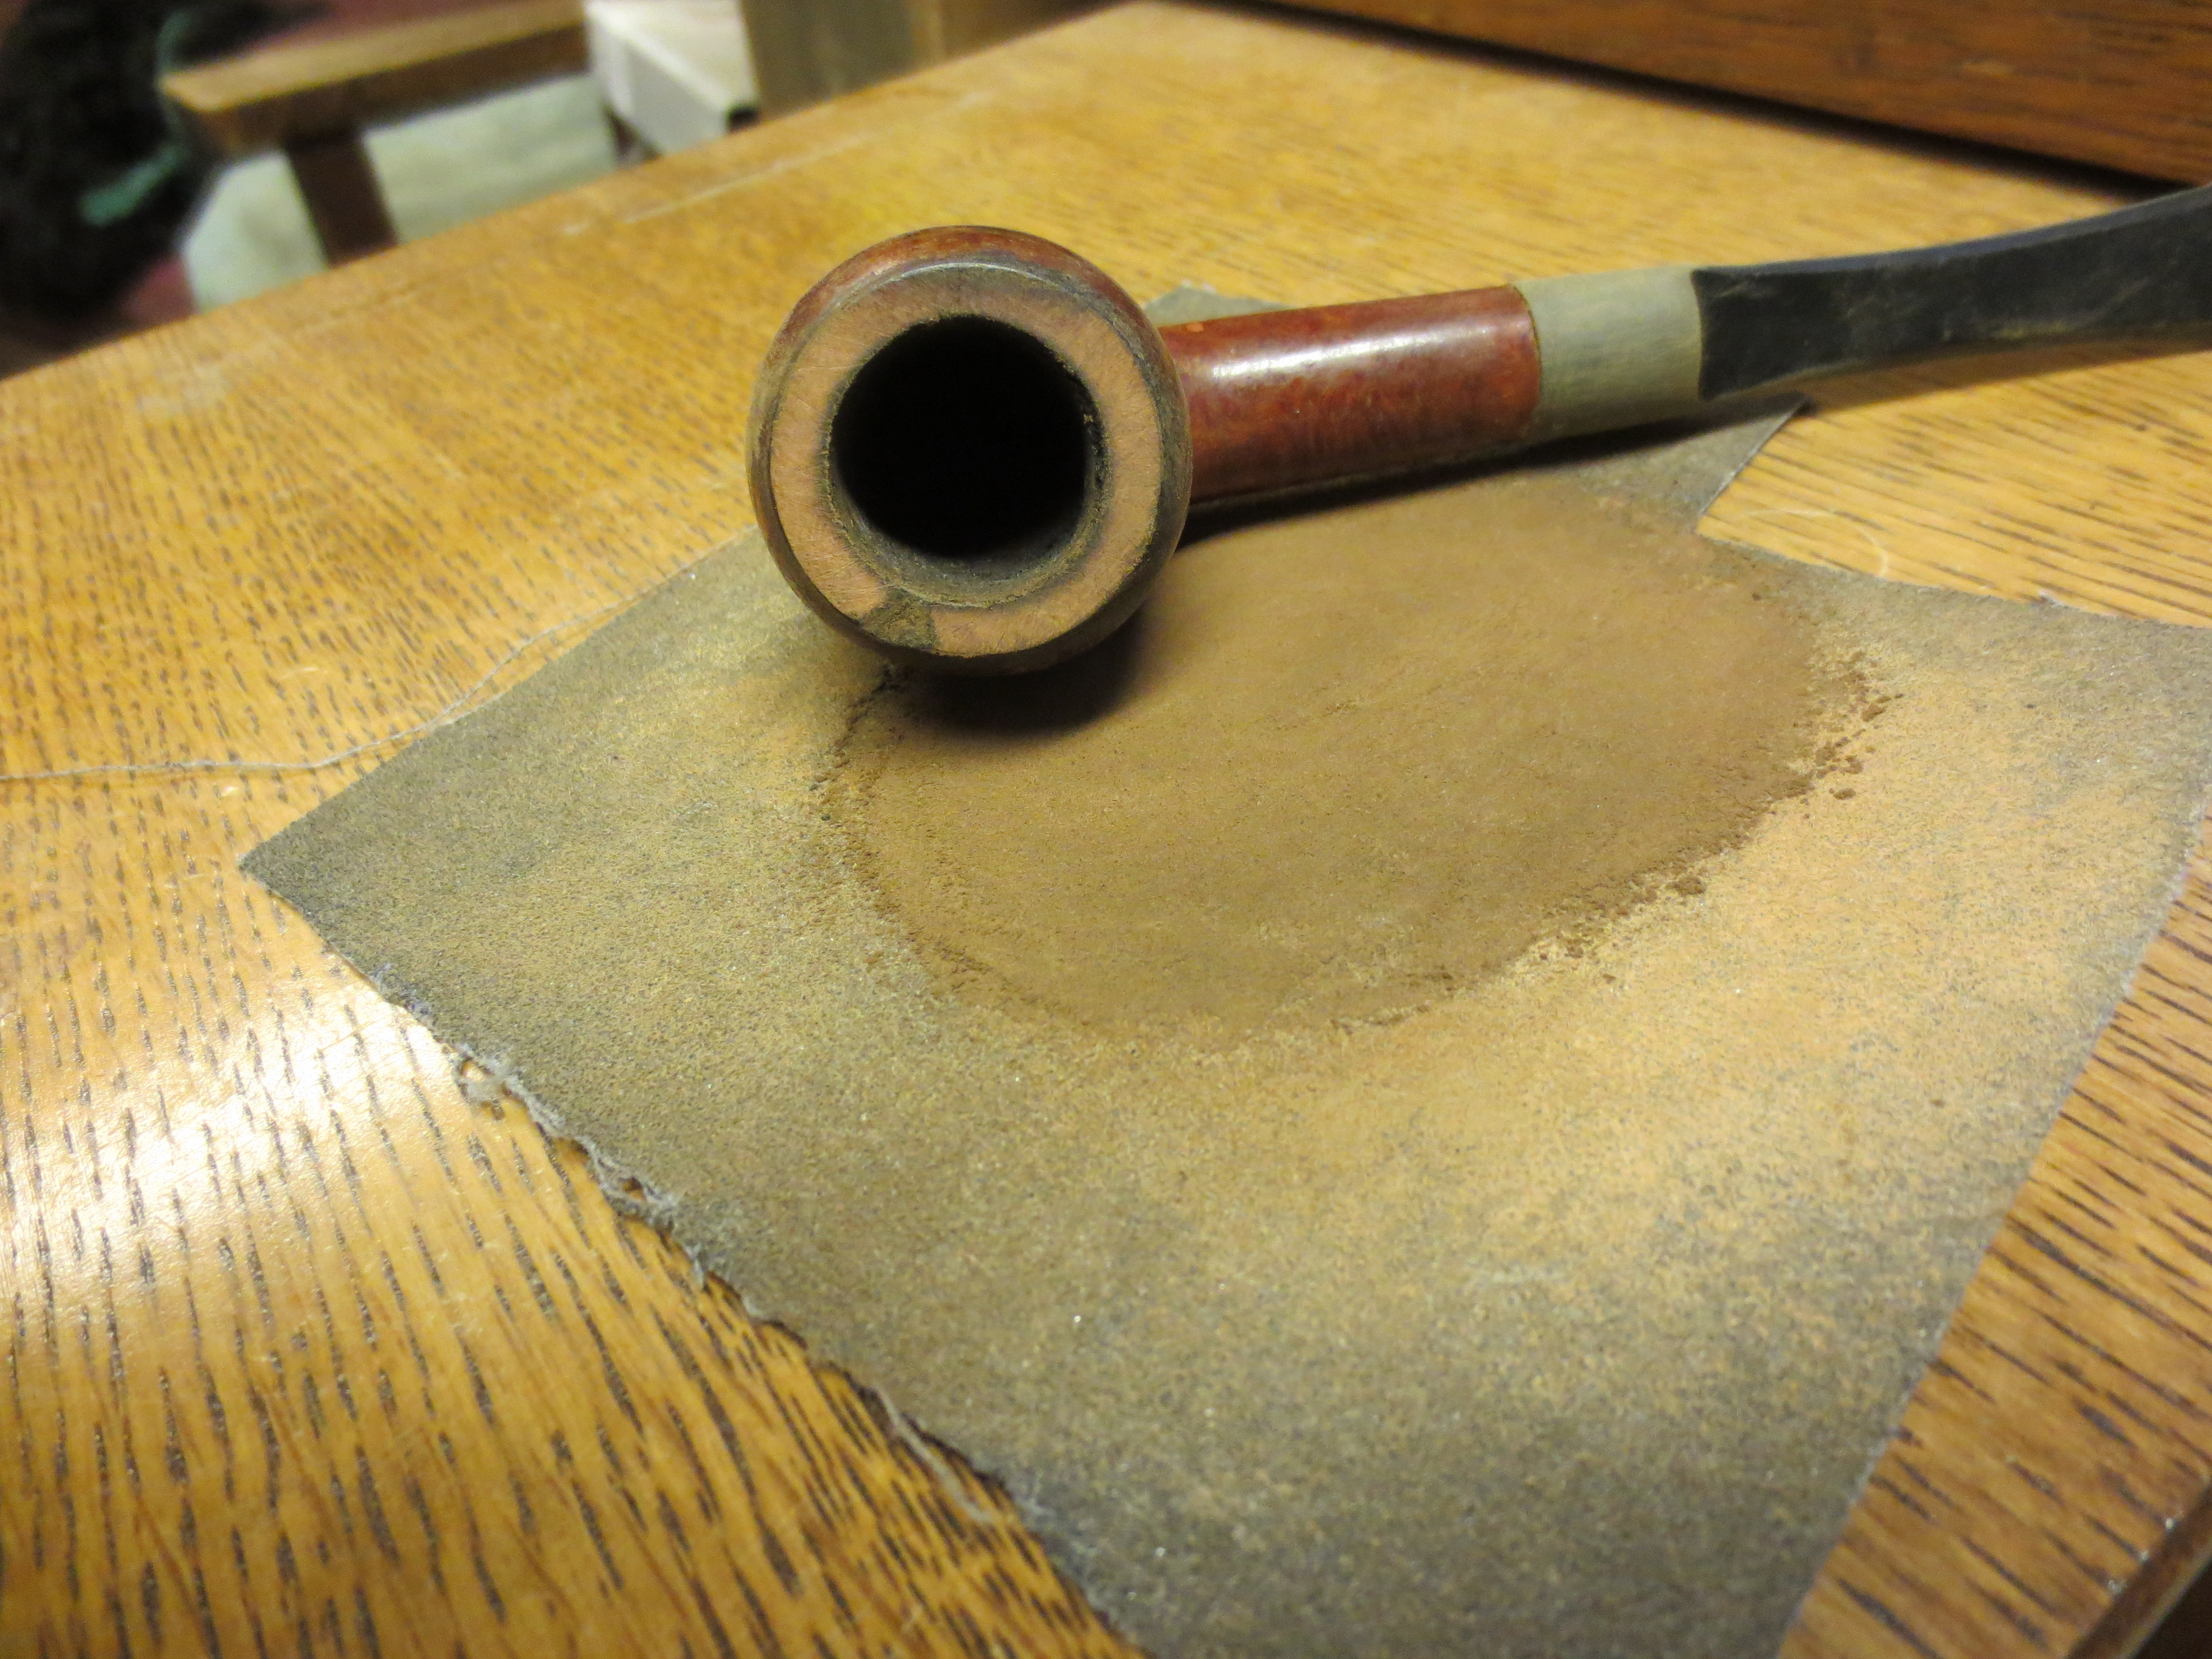
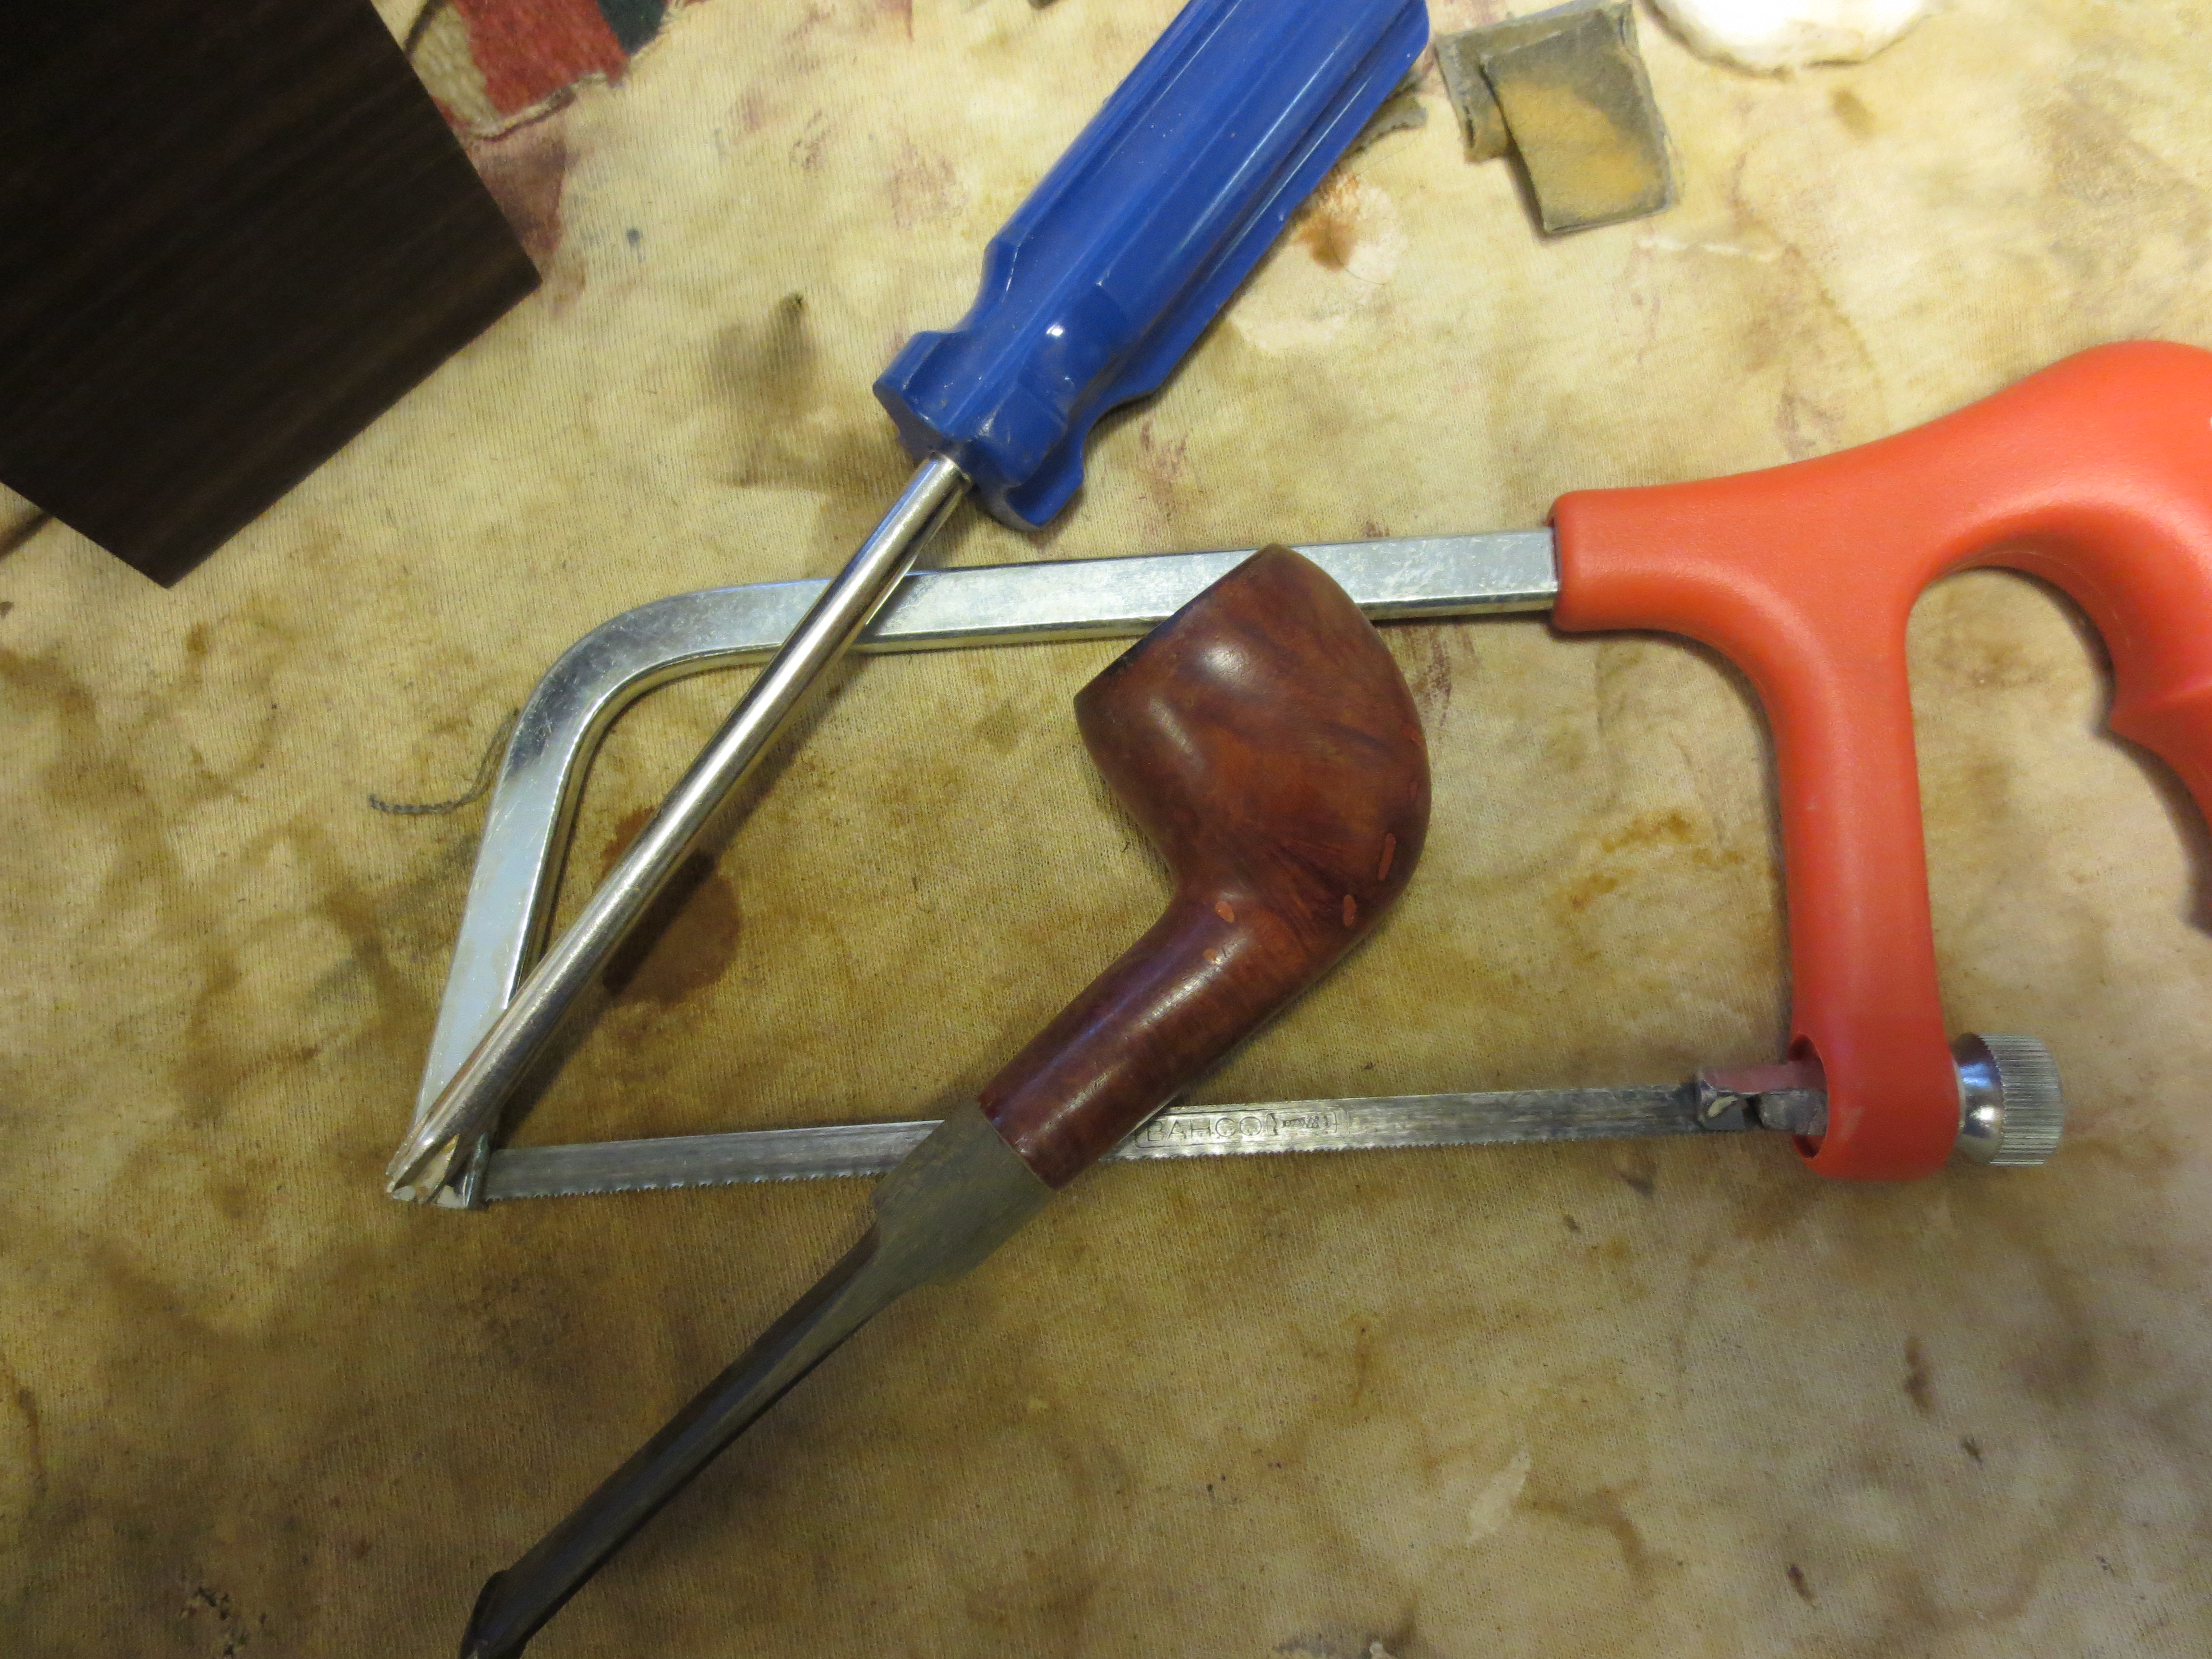
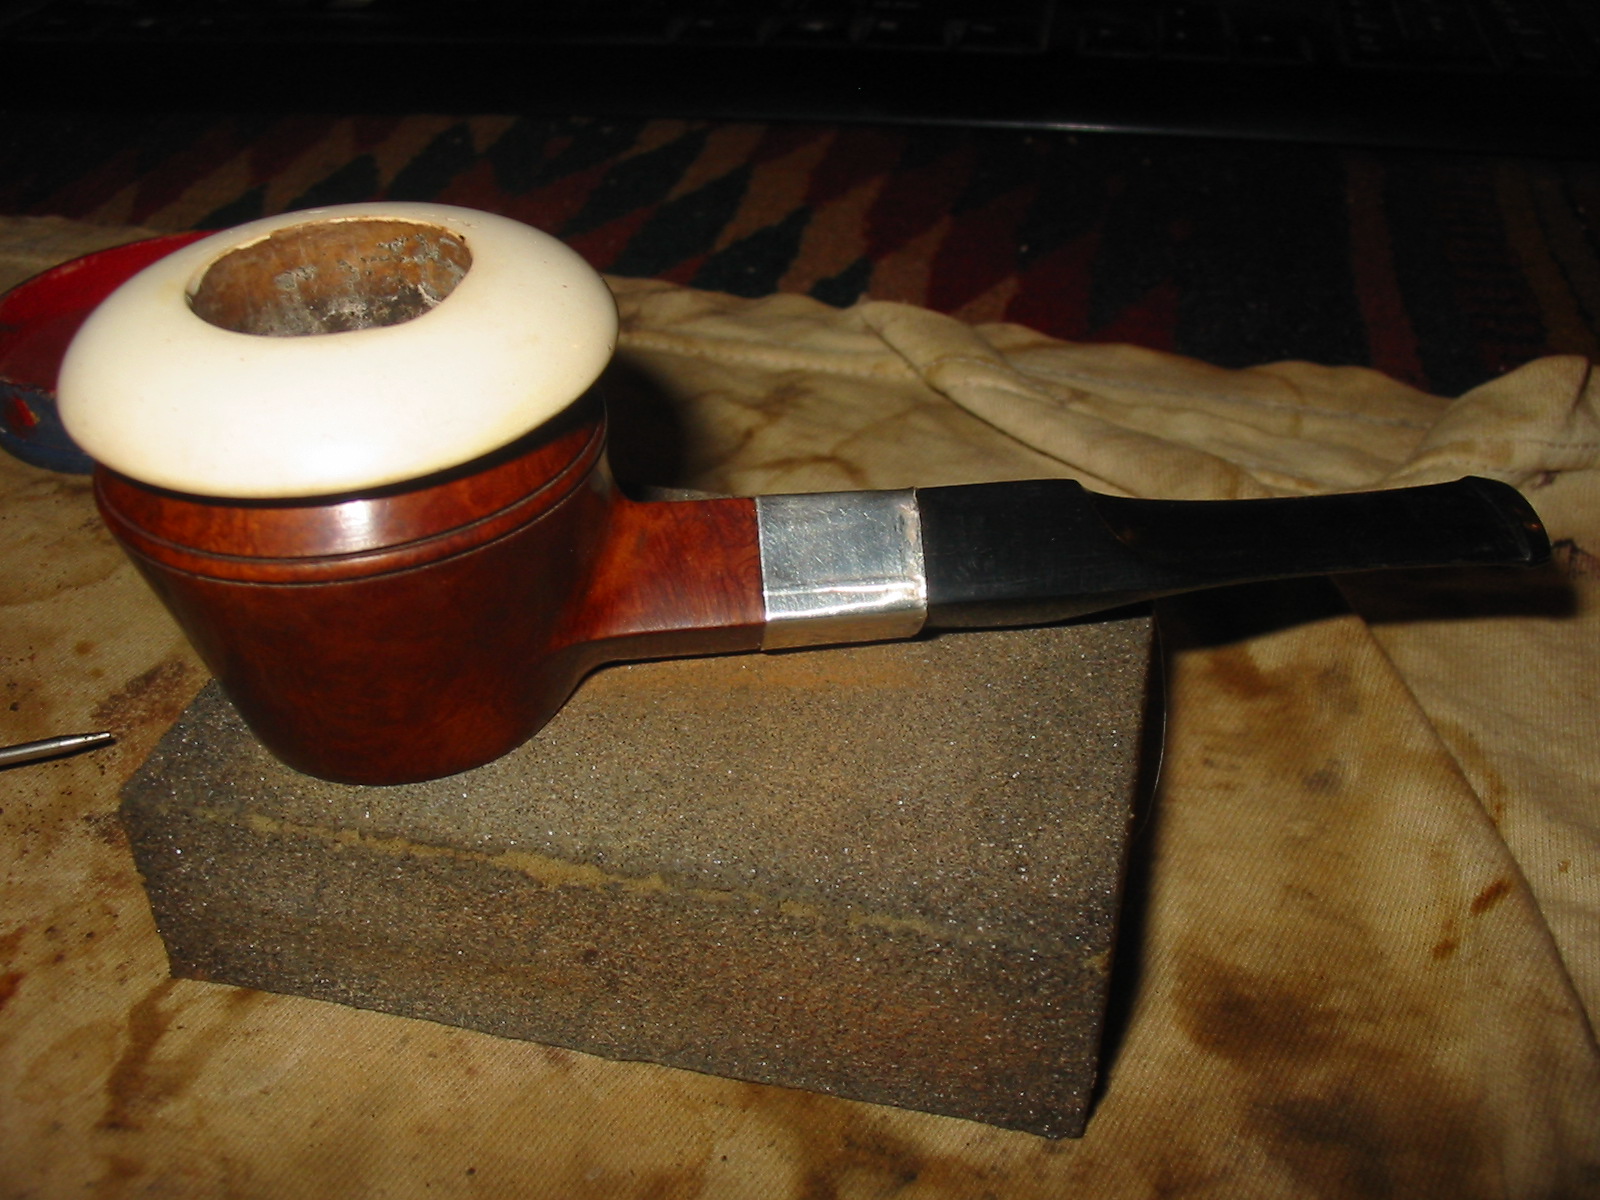
I still had room at the bottom of the bowl so I took some more of the briar off of the top of the bowl to bring the flat bottom edge of the meer bowl closer to the rings on the briar. I used the Dremel to remove the briar and then topped it on the board. I also opened the bowl a bit more as each time I remove from the top of the briar I had to open the diameter of the bowl to accommodate the change. The next series of photos show the pipe as it stands at the moment.

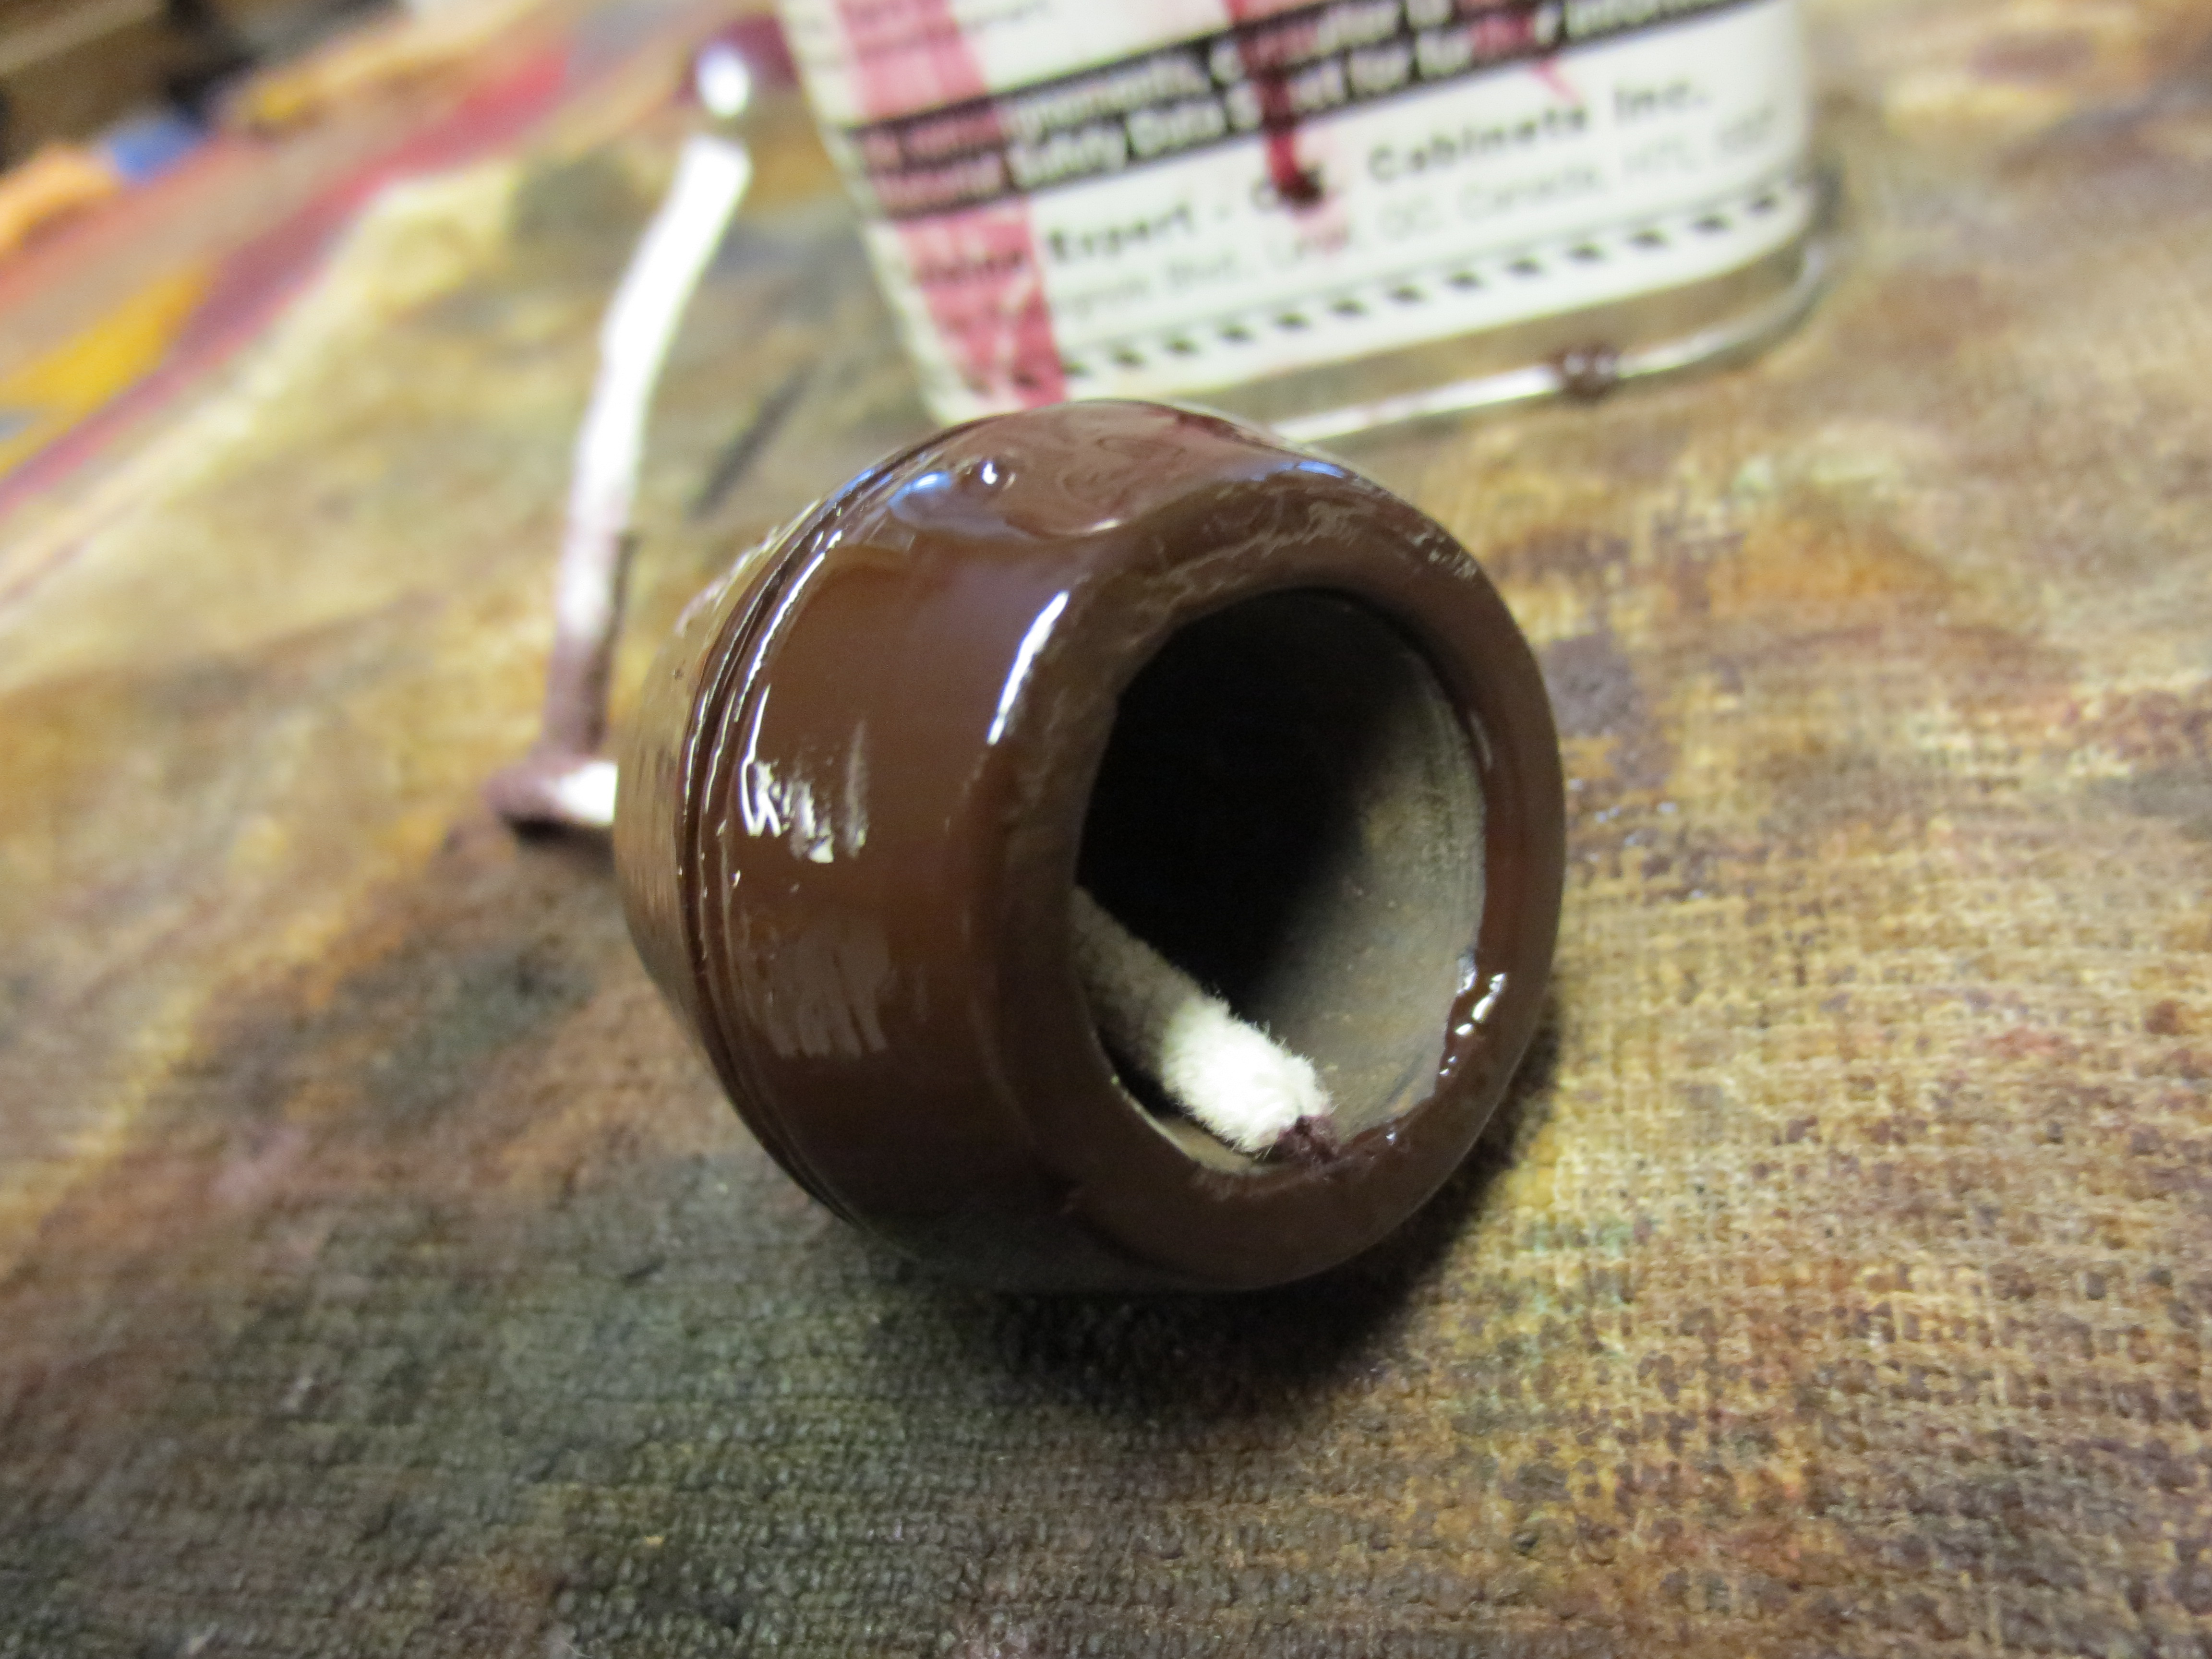
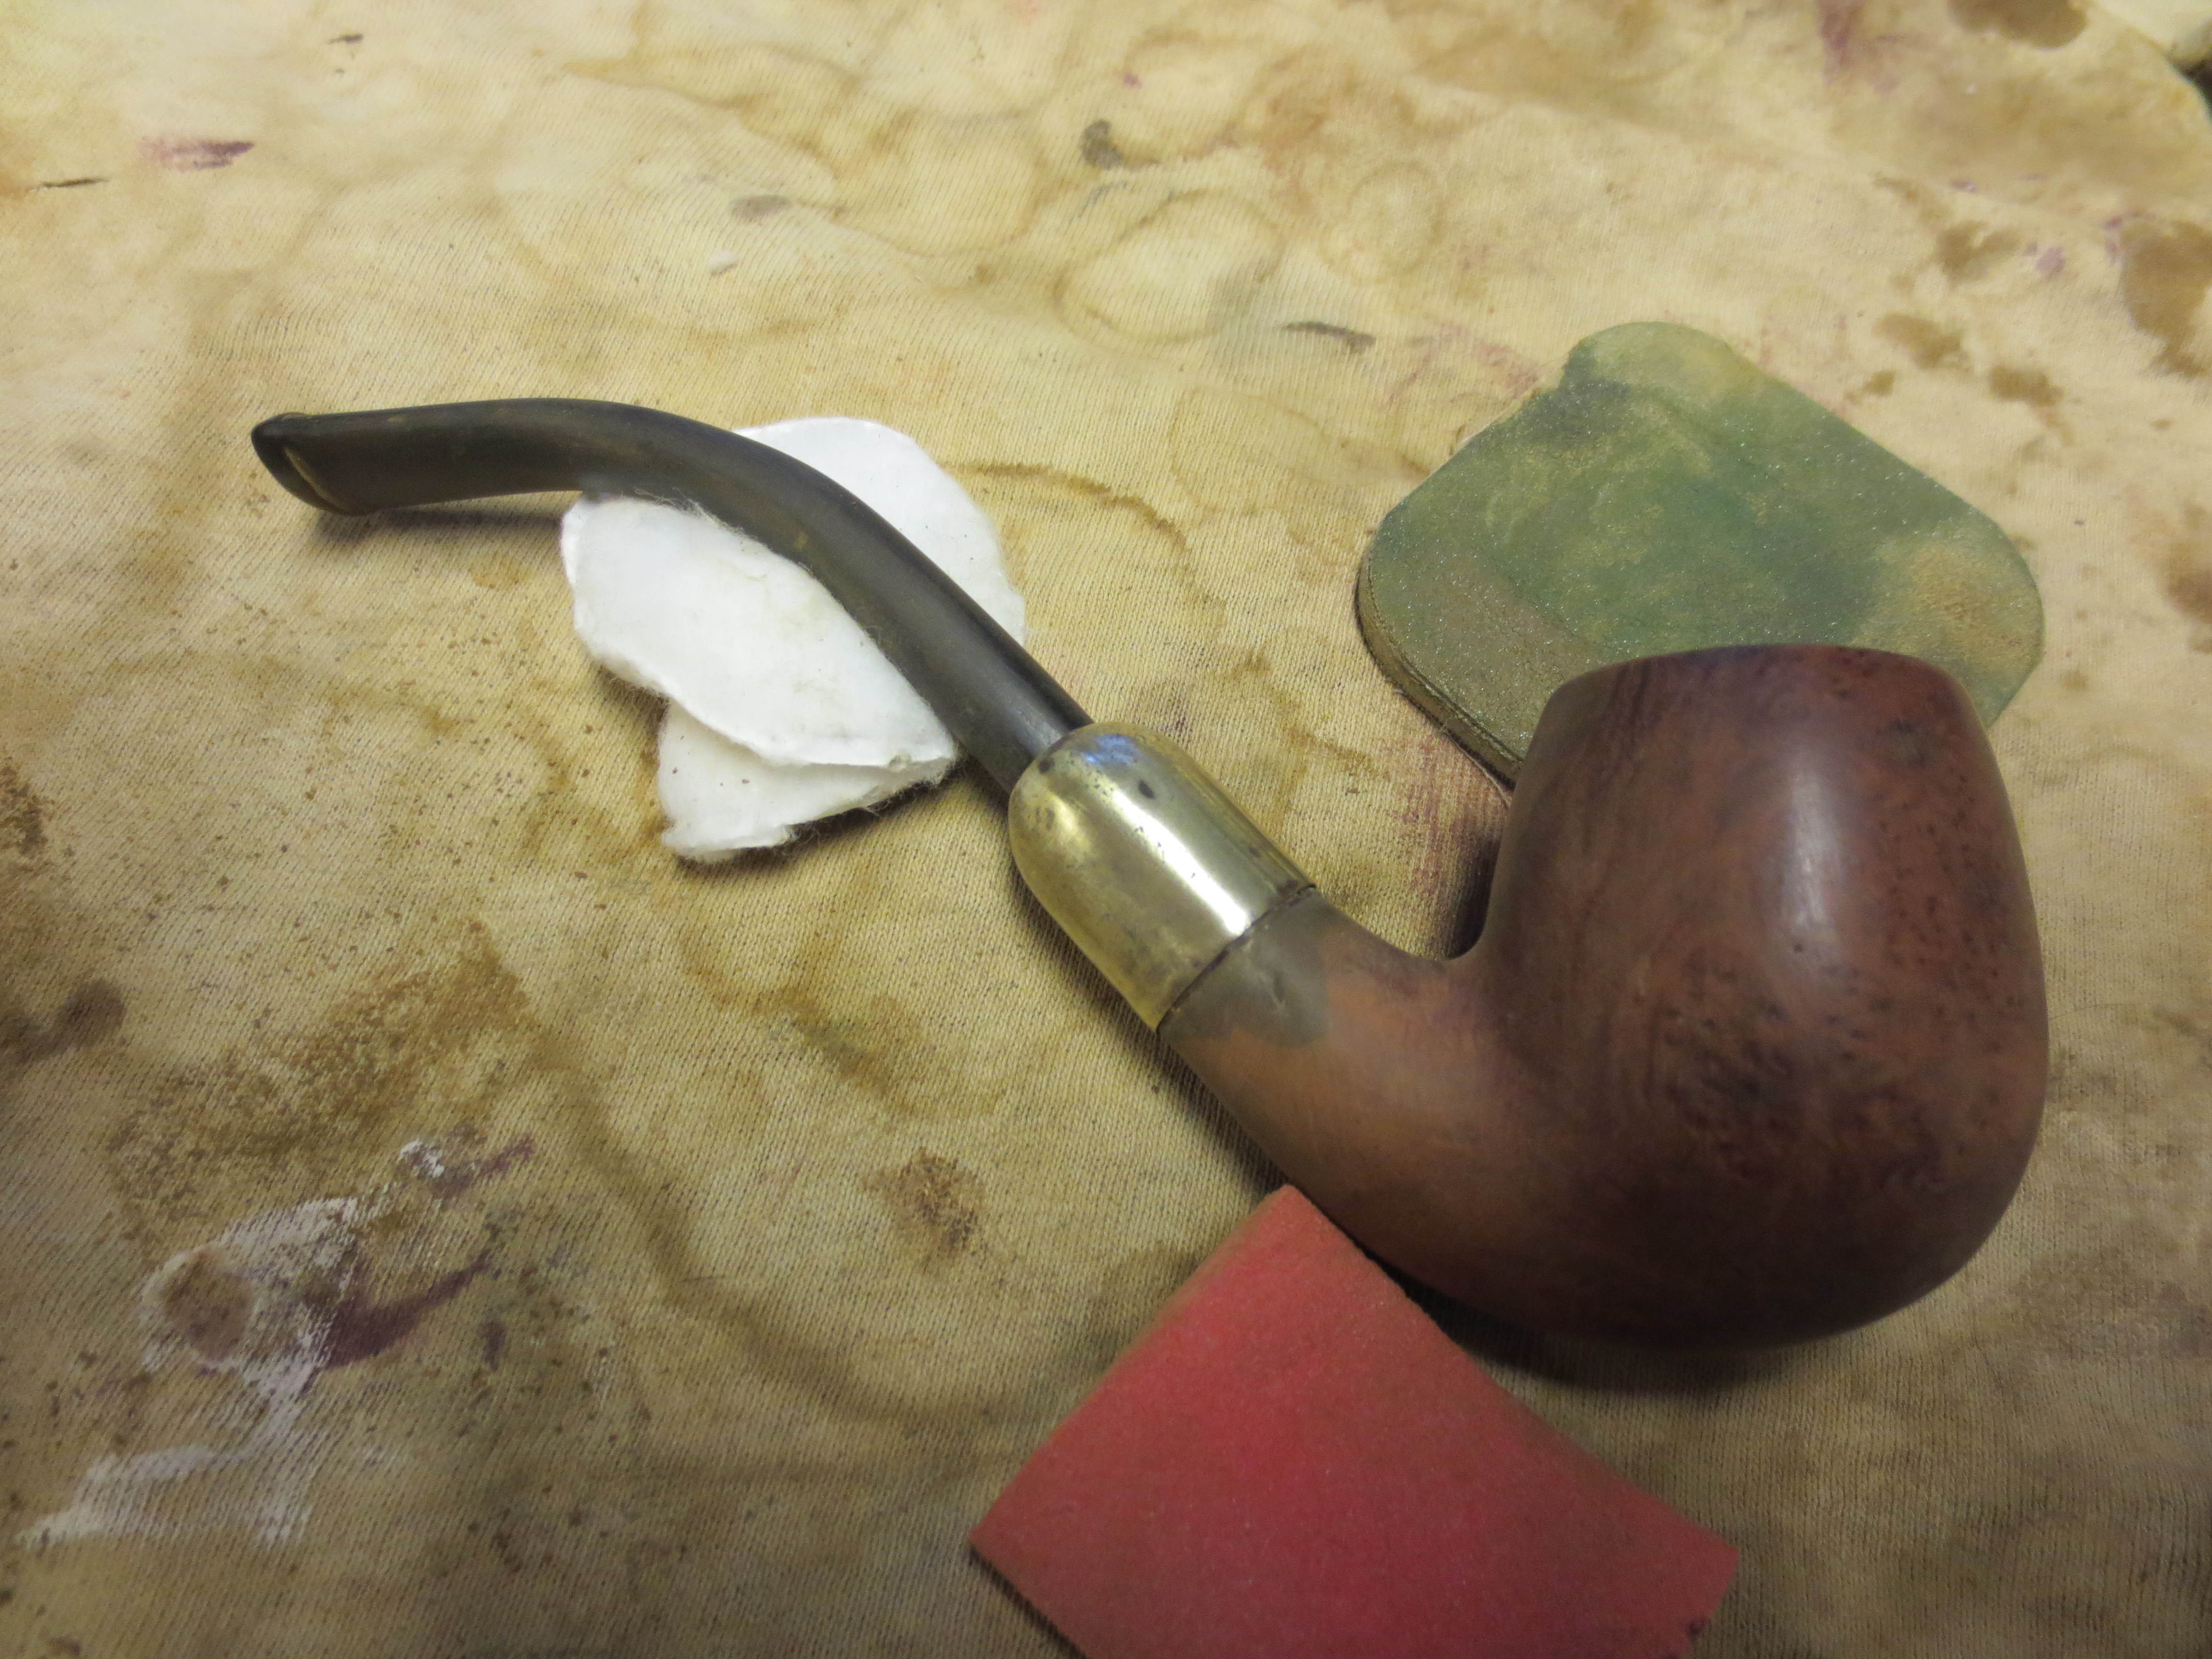
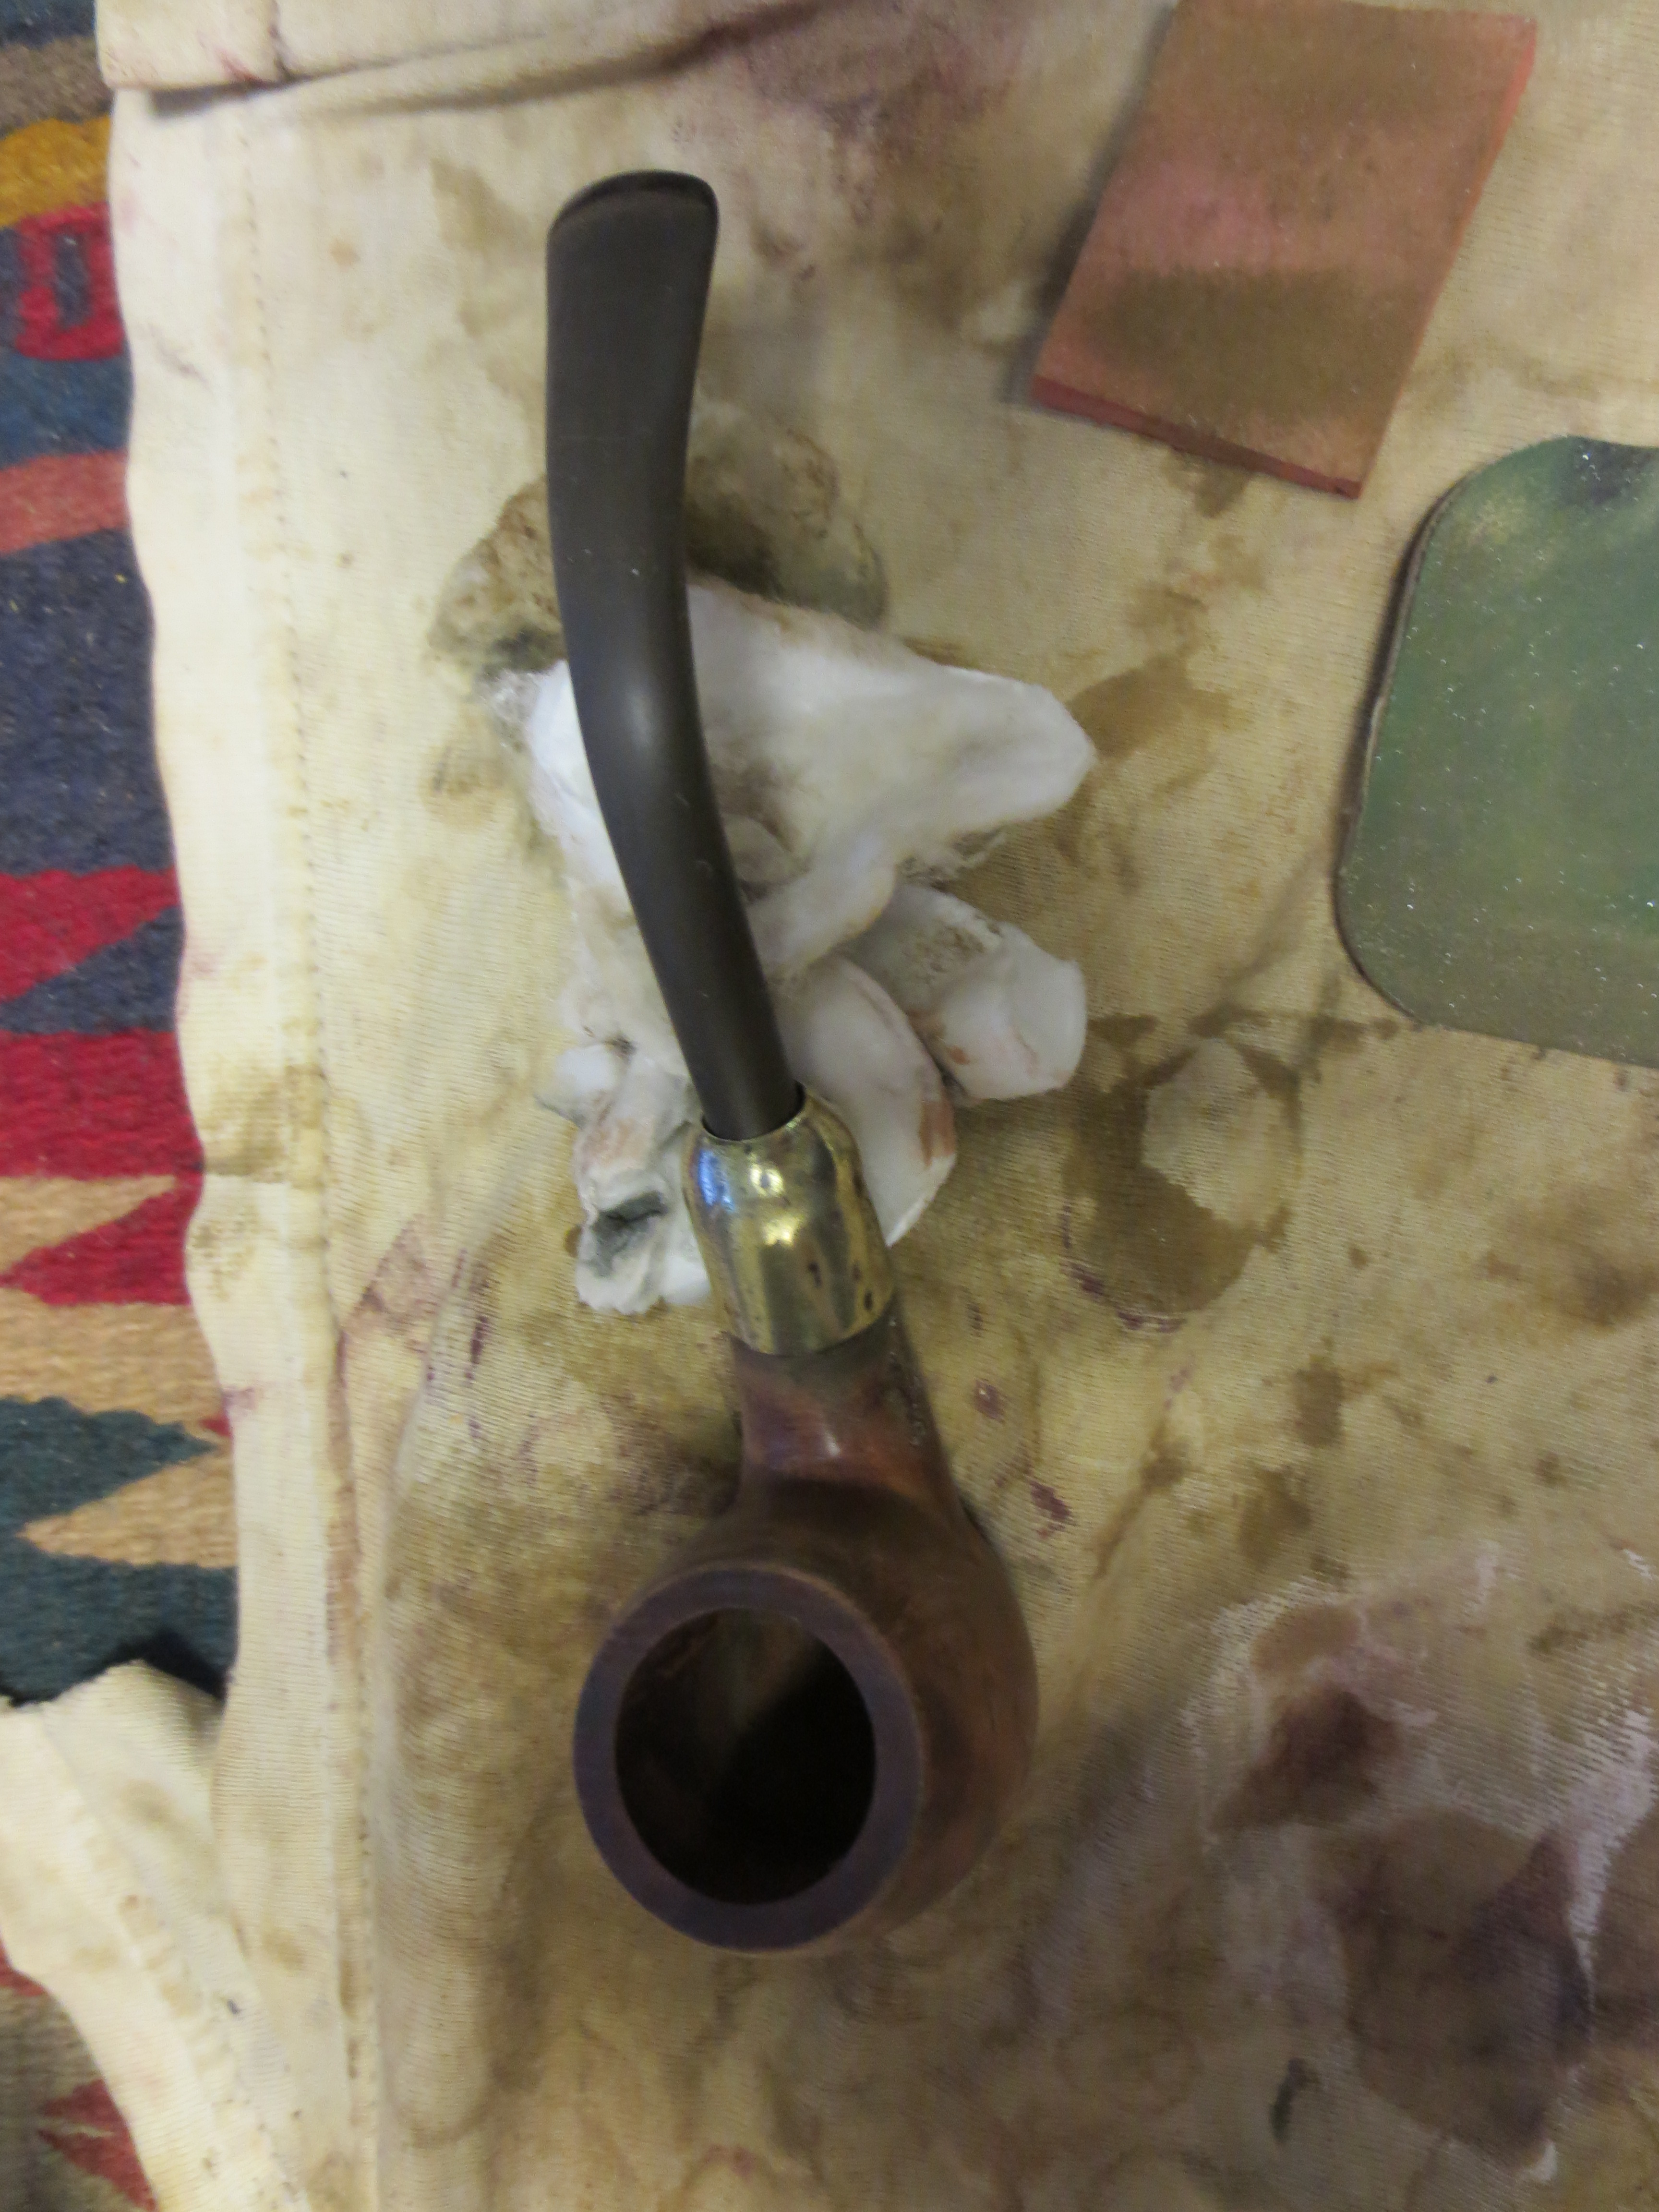
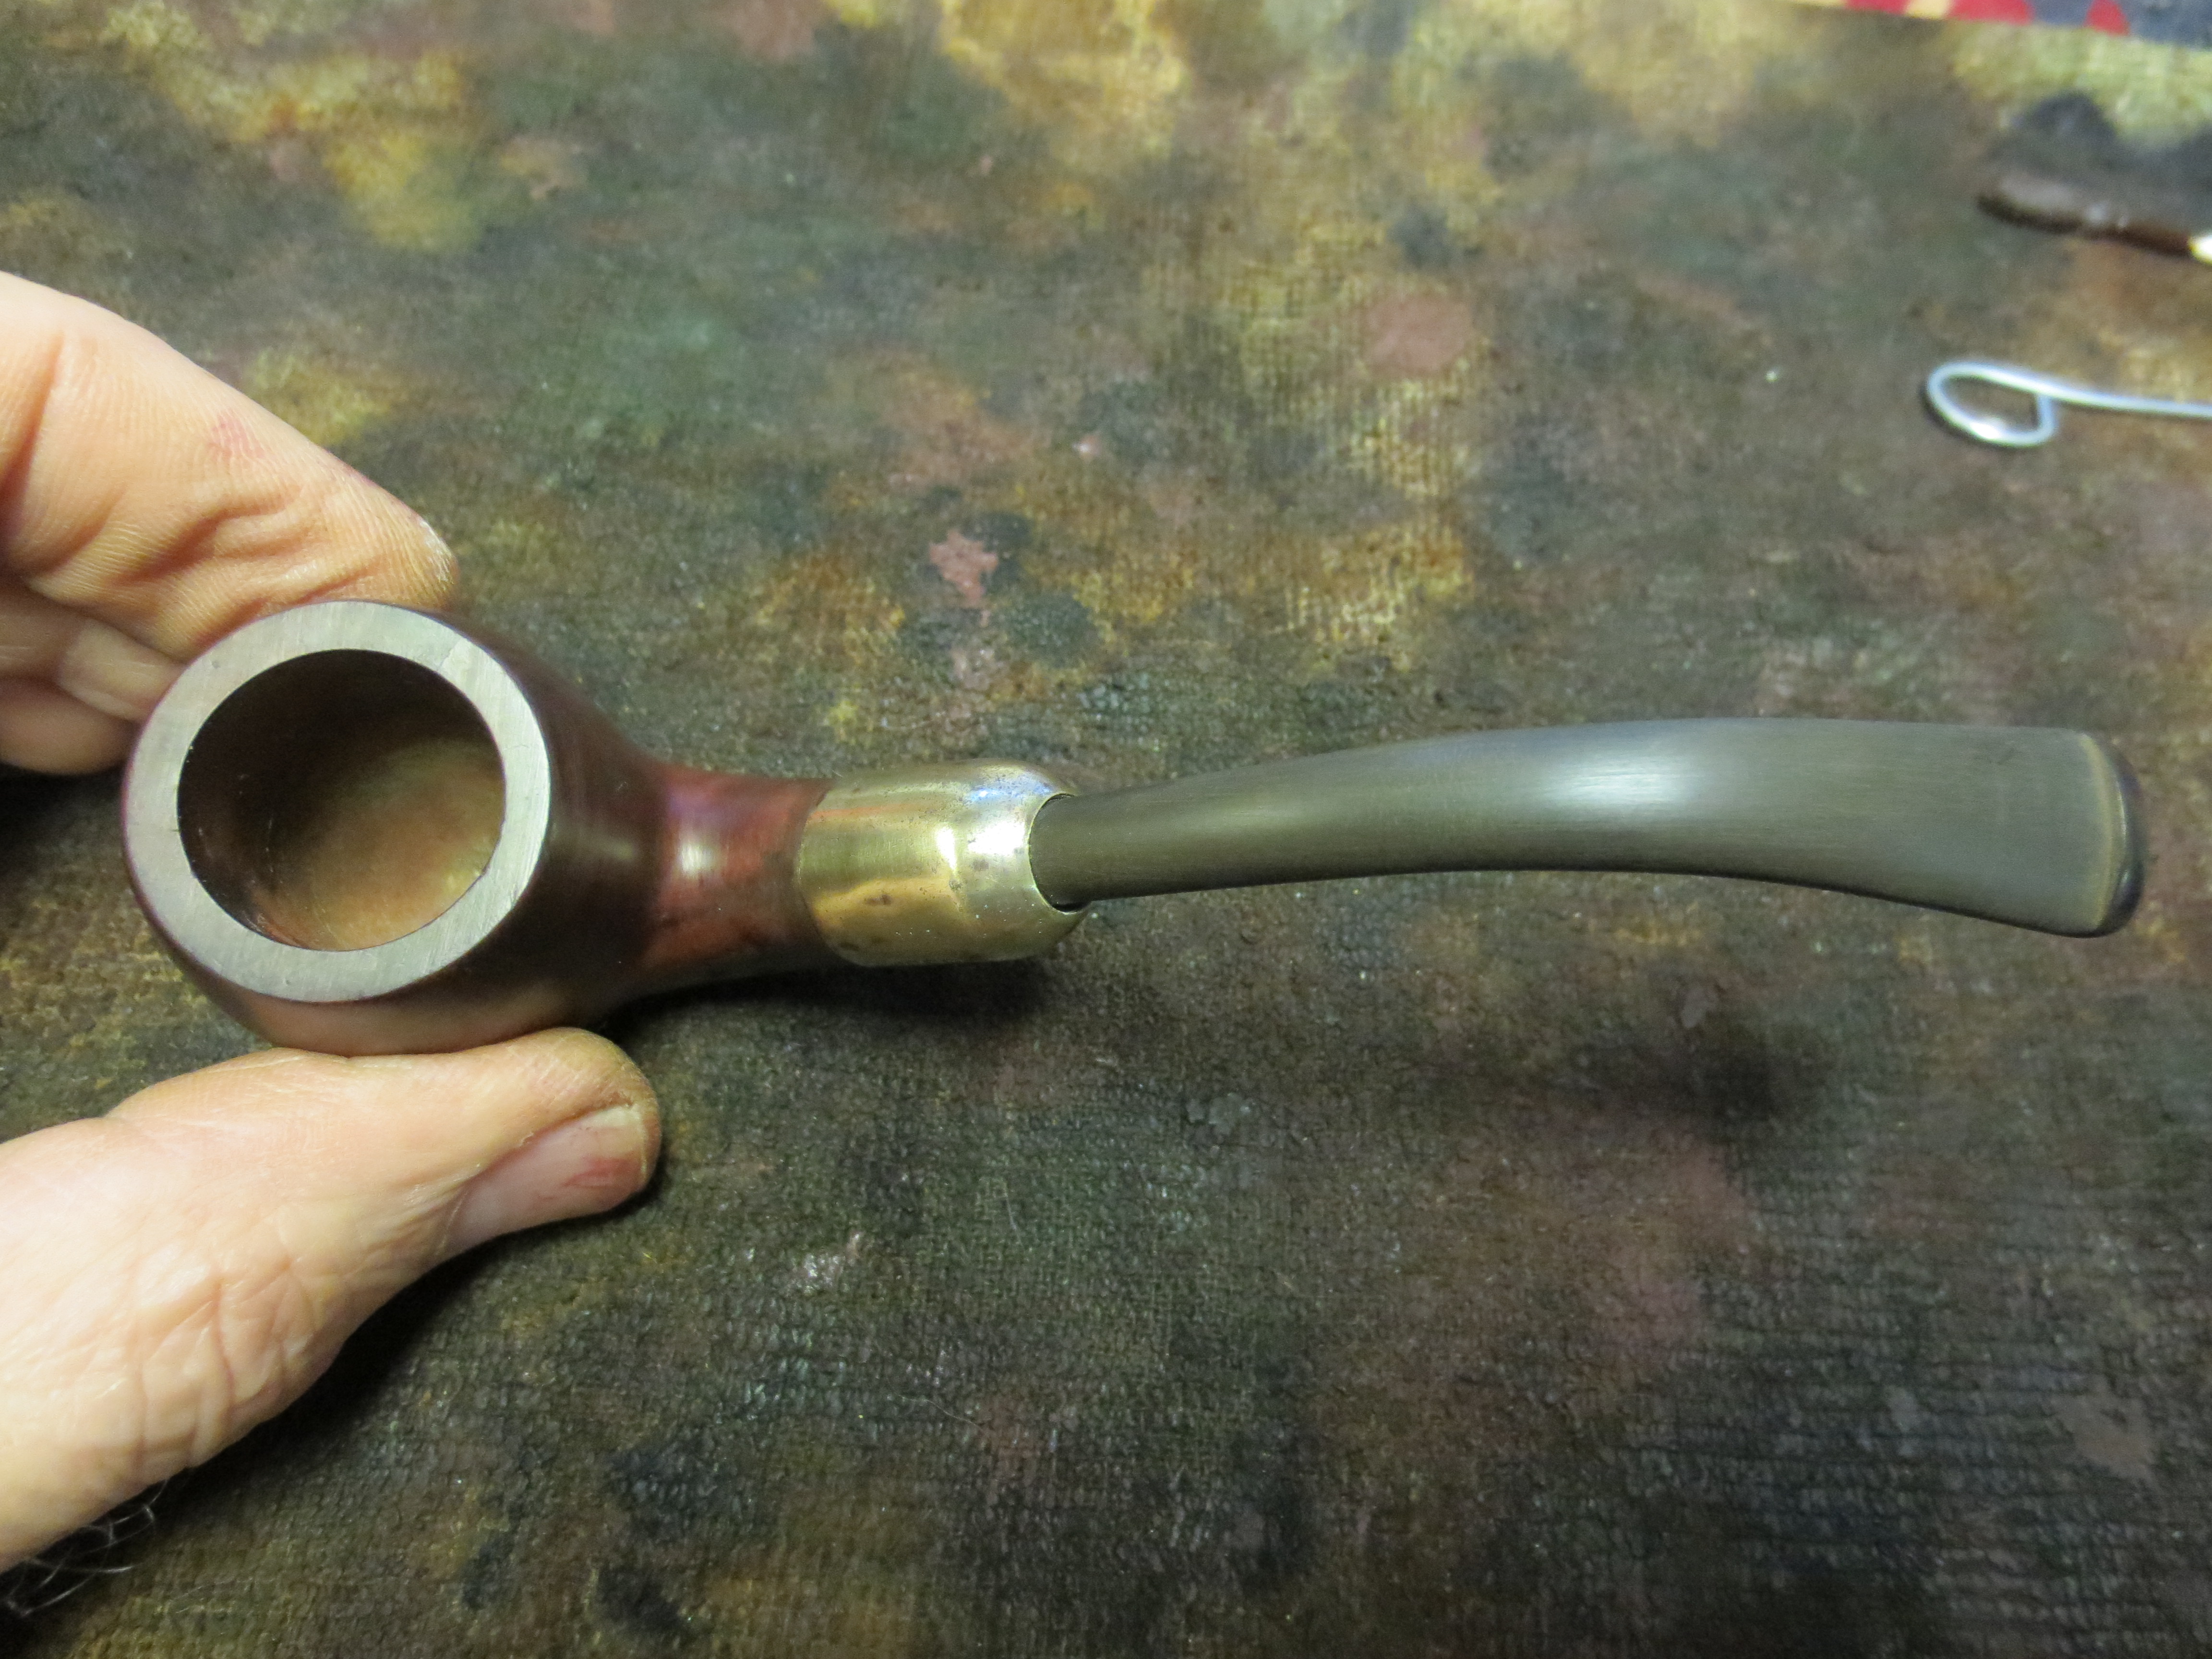
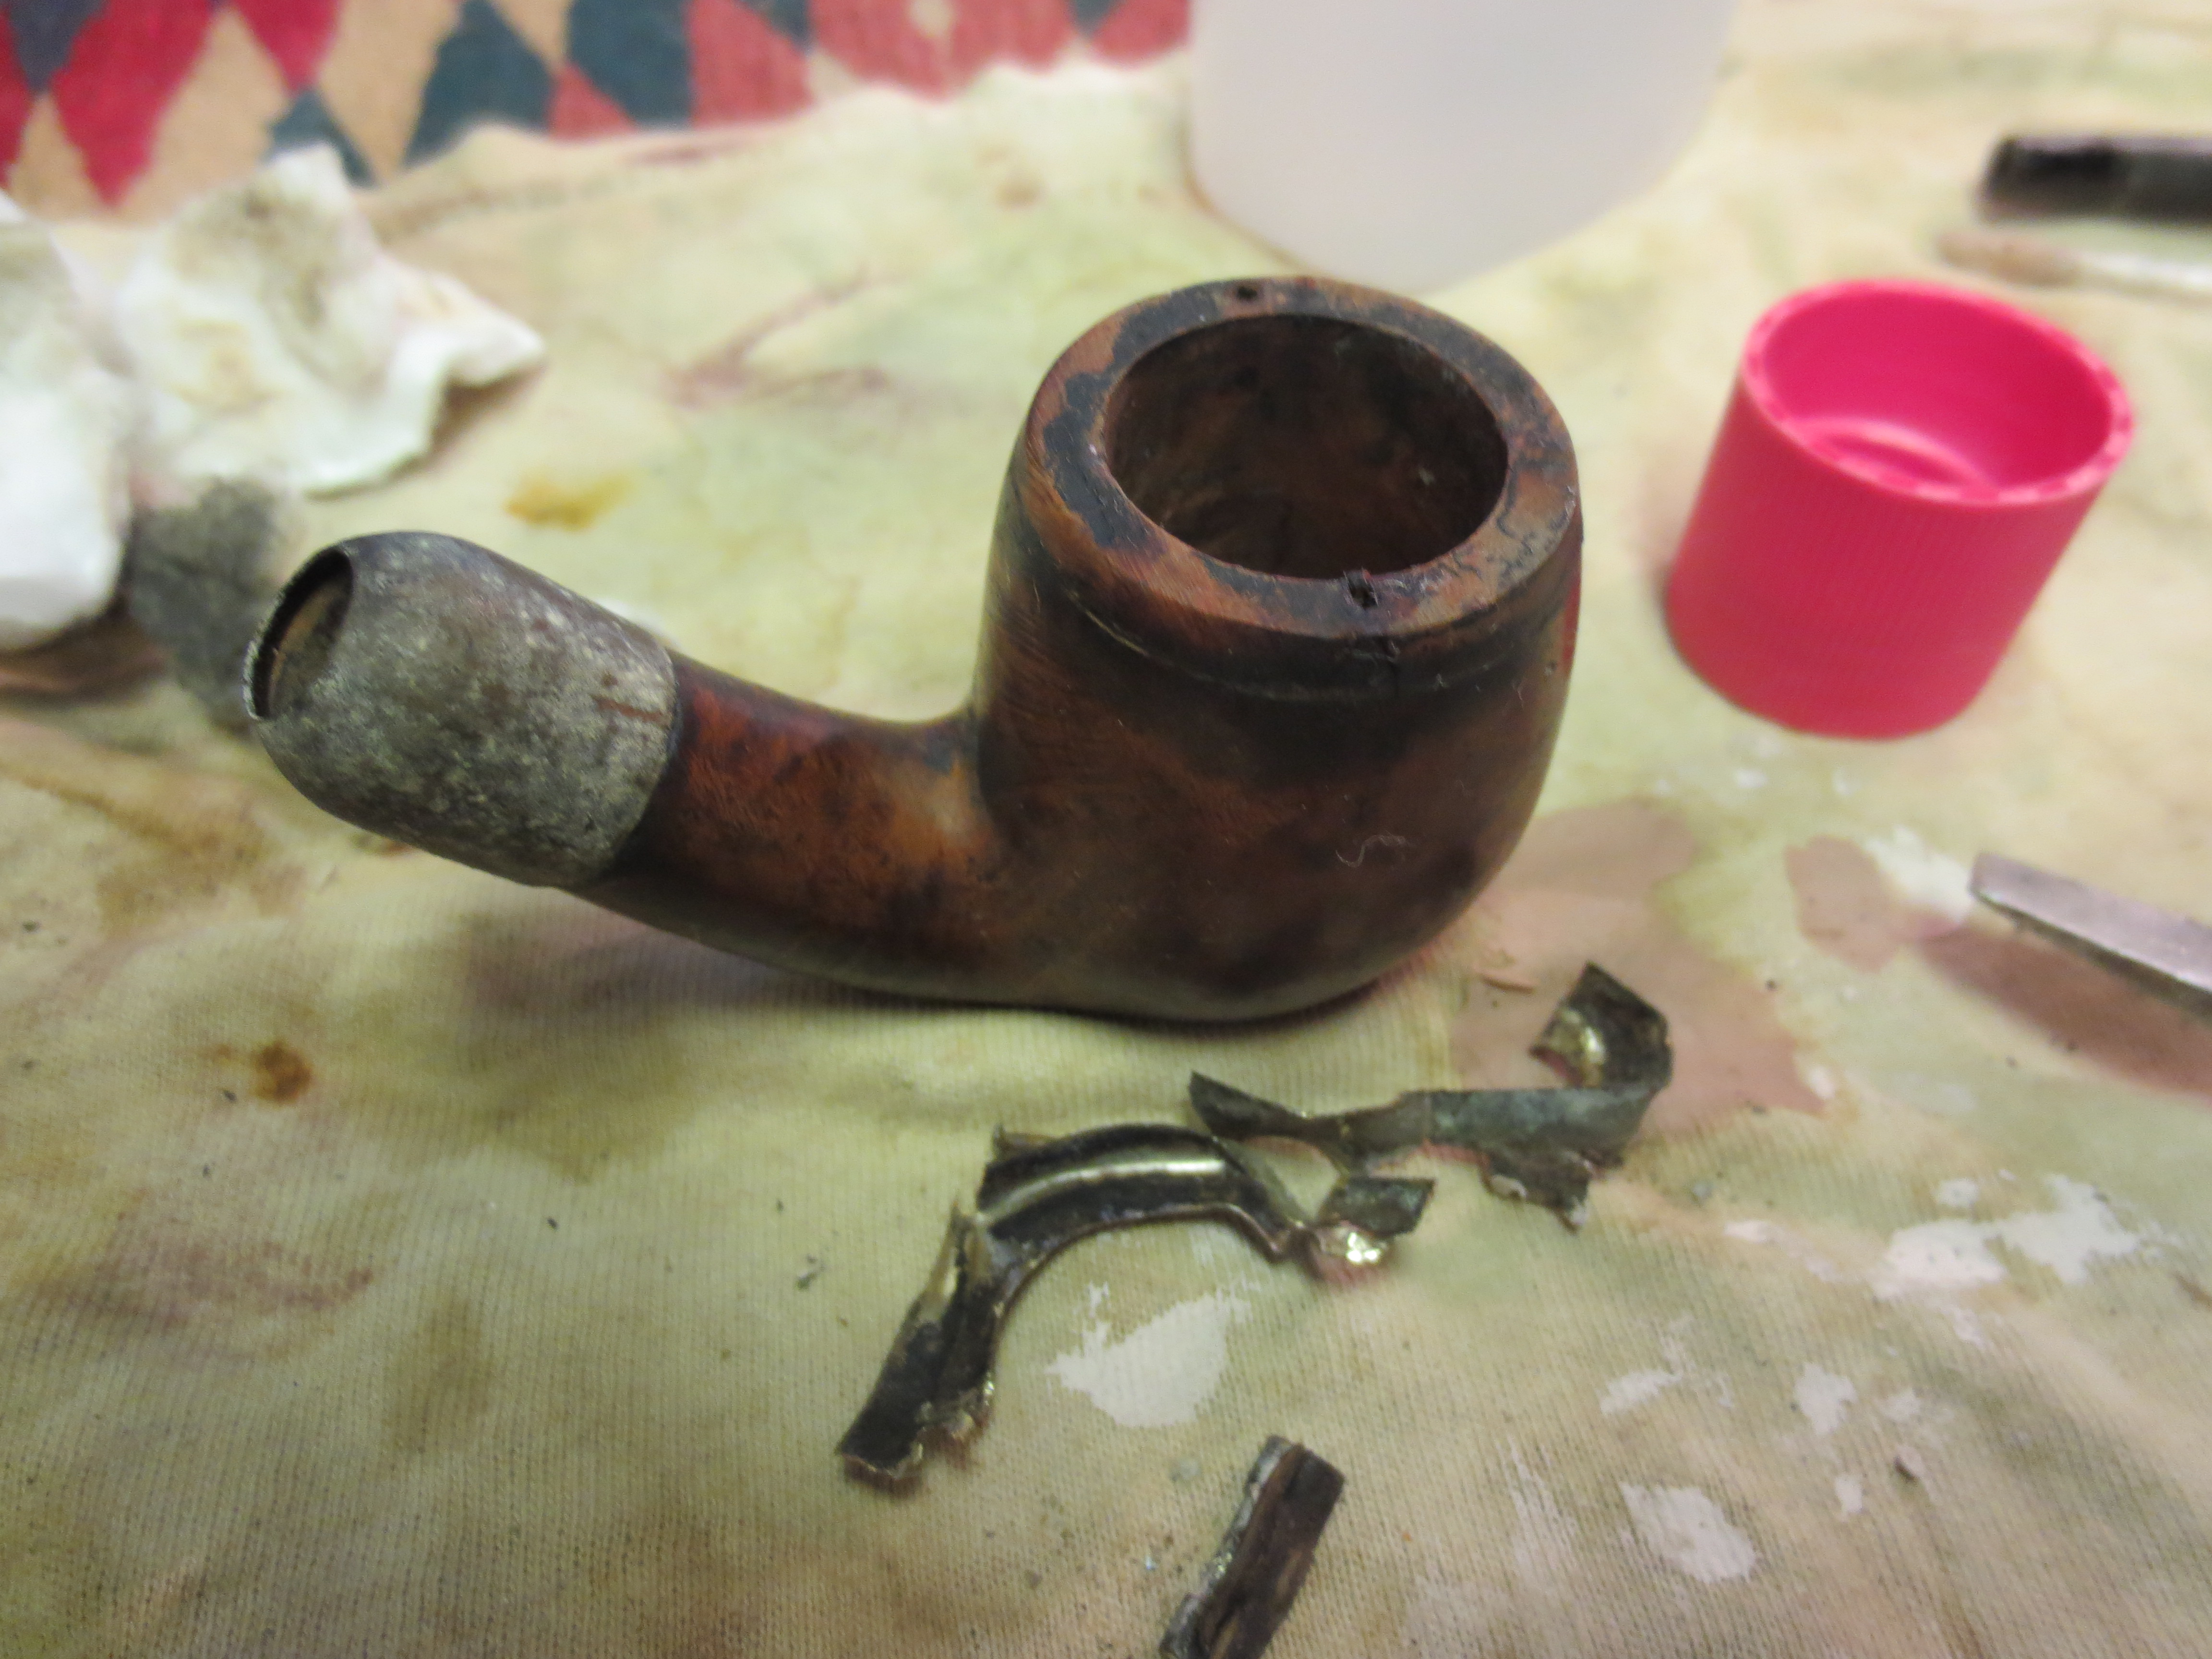
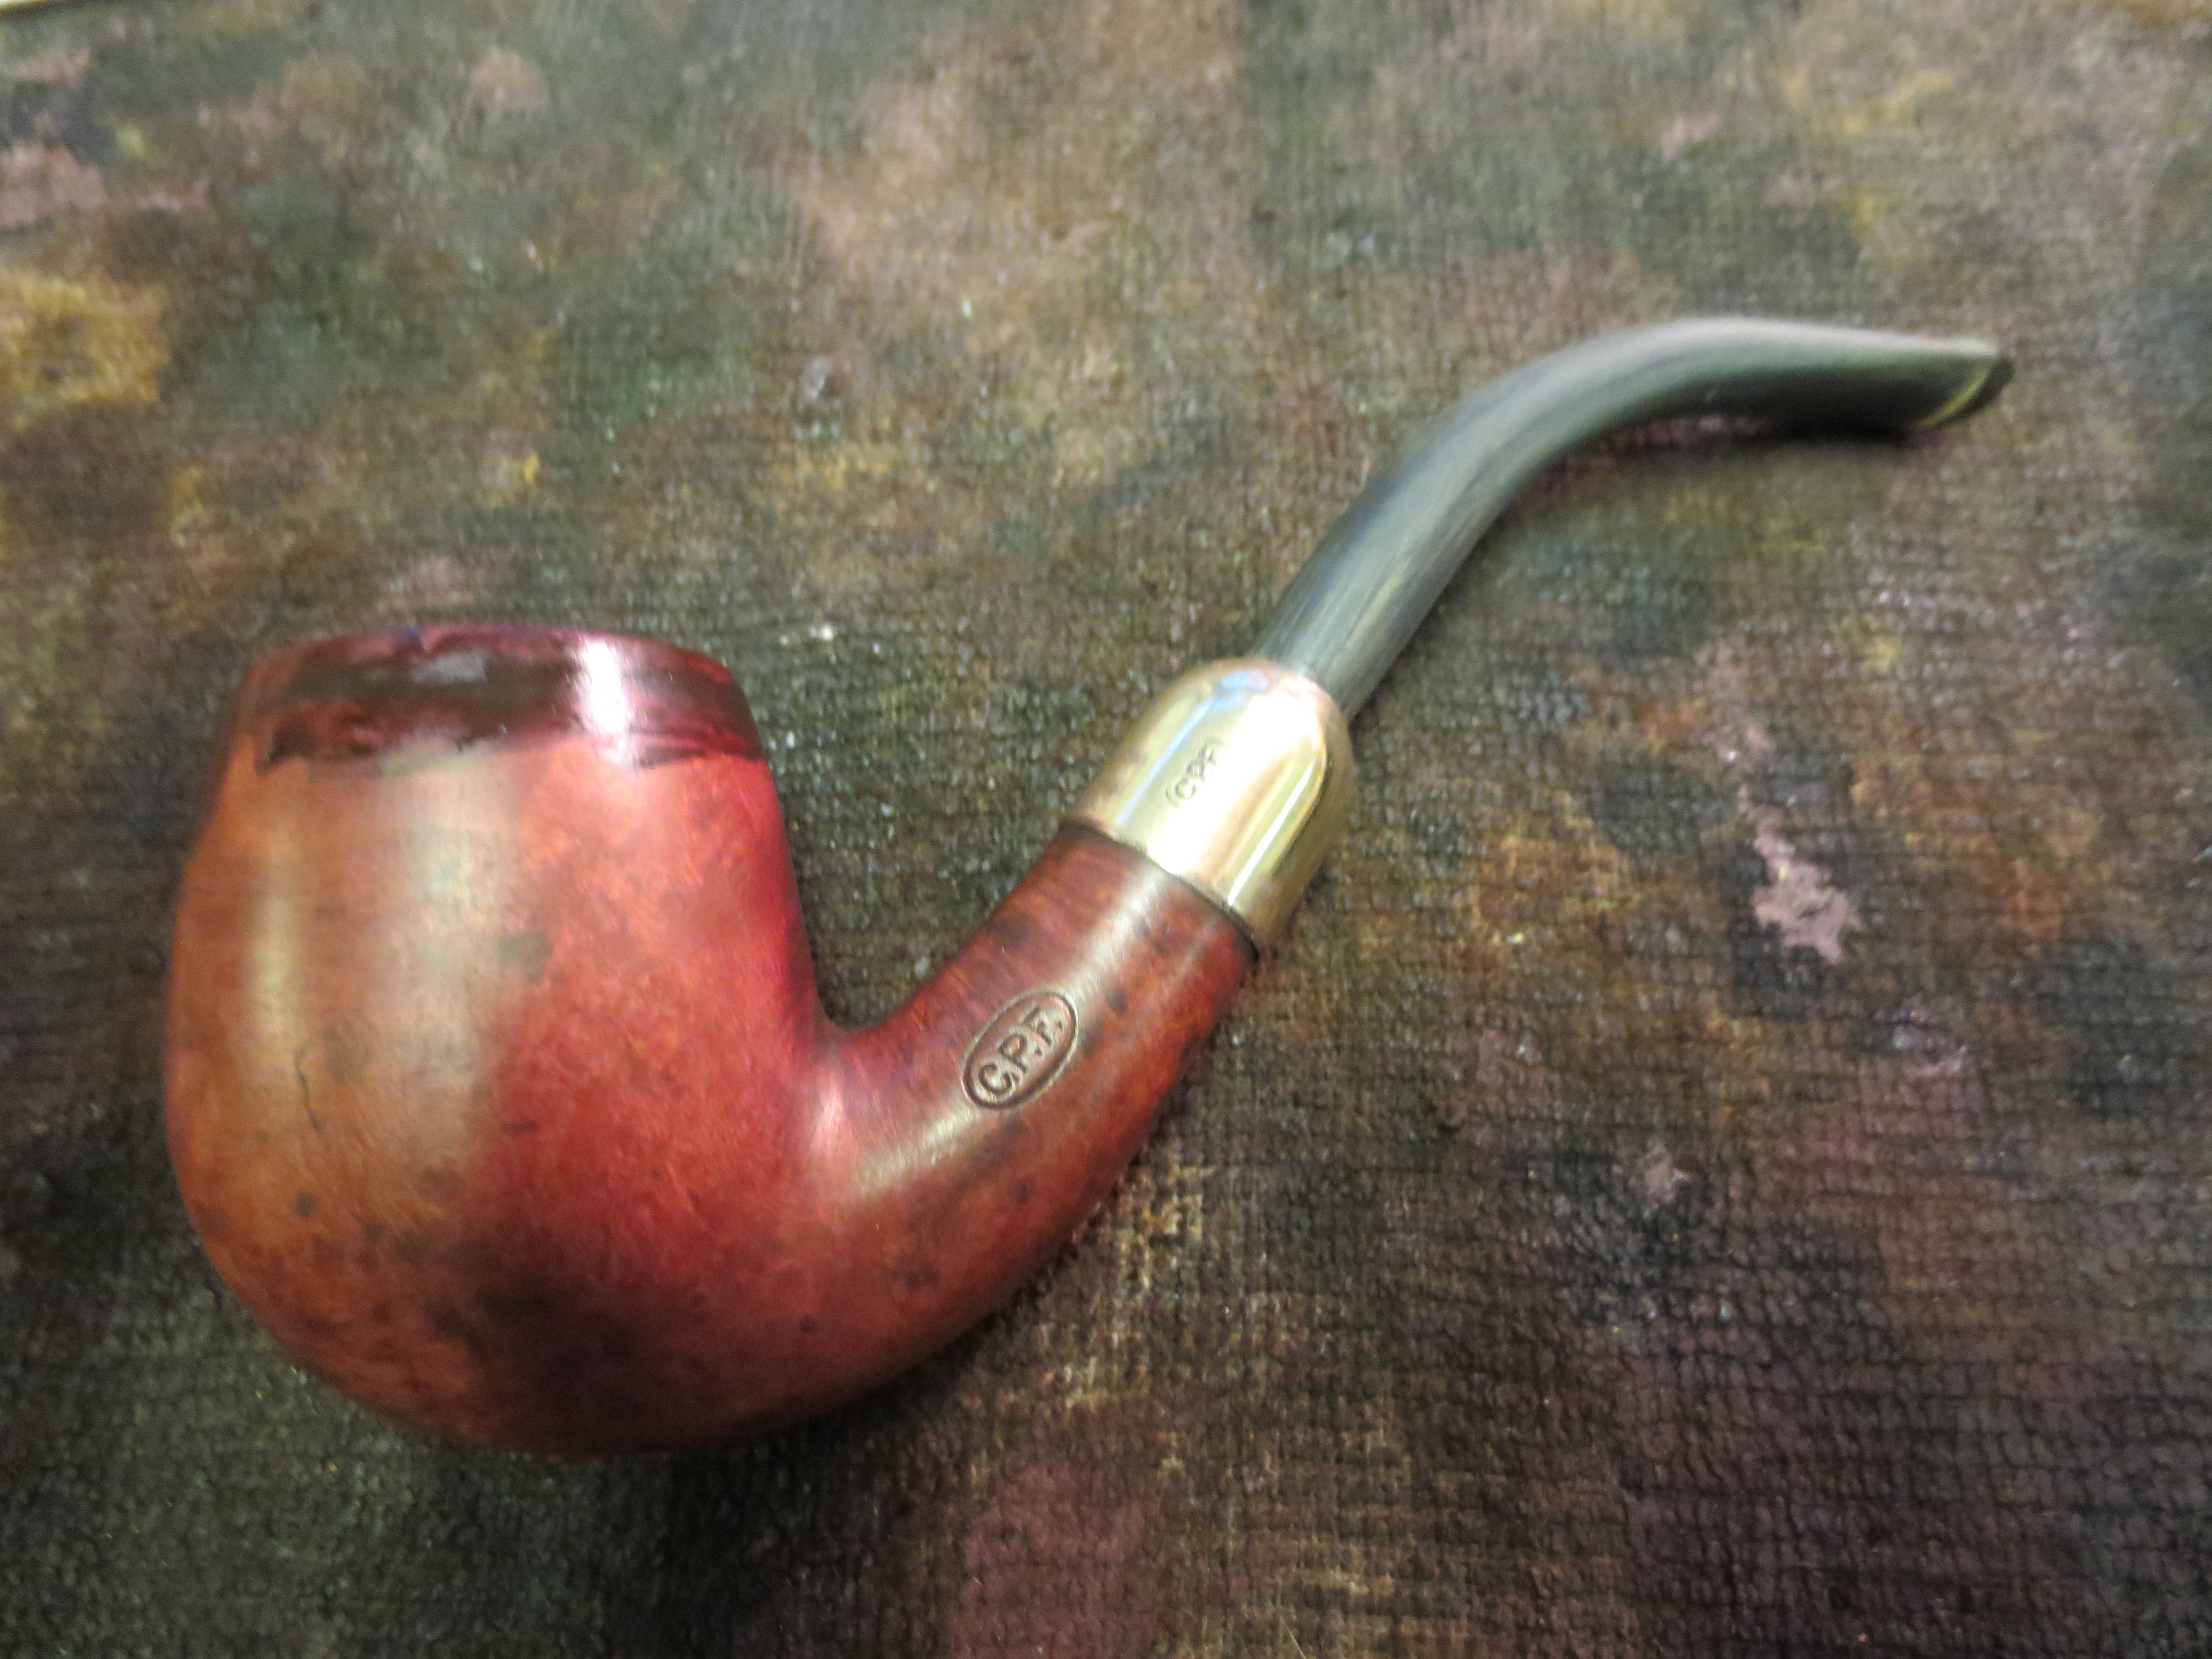
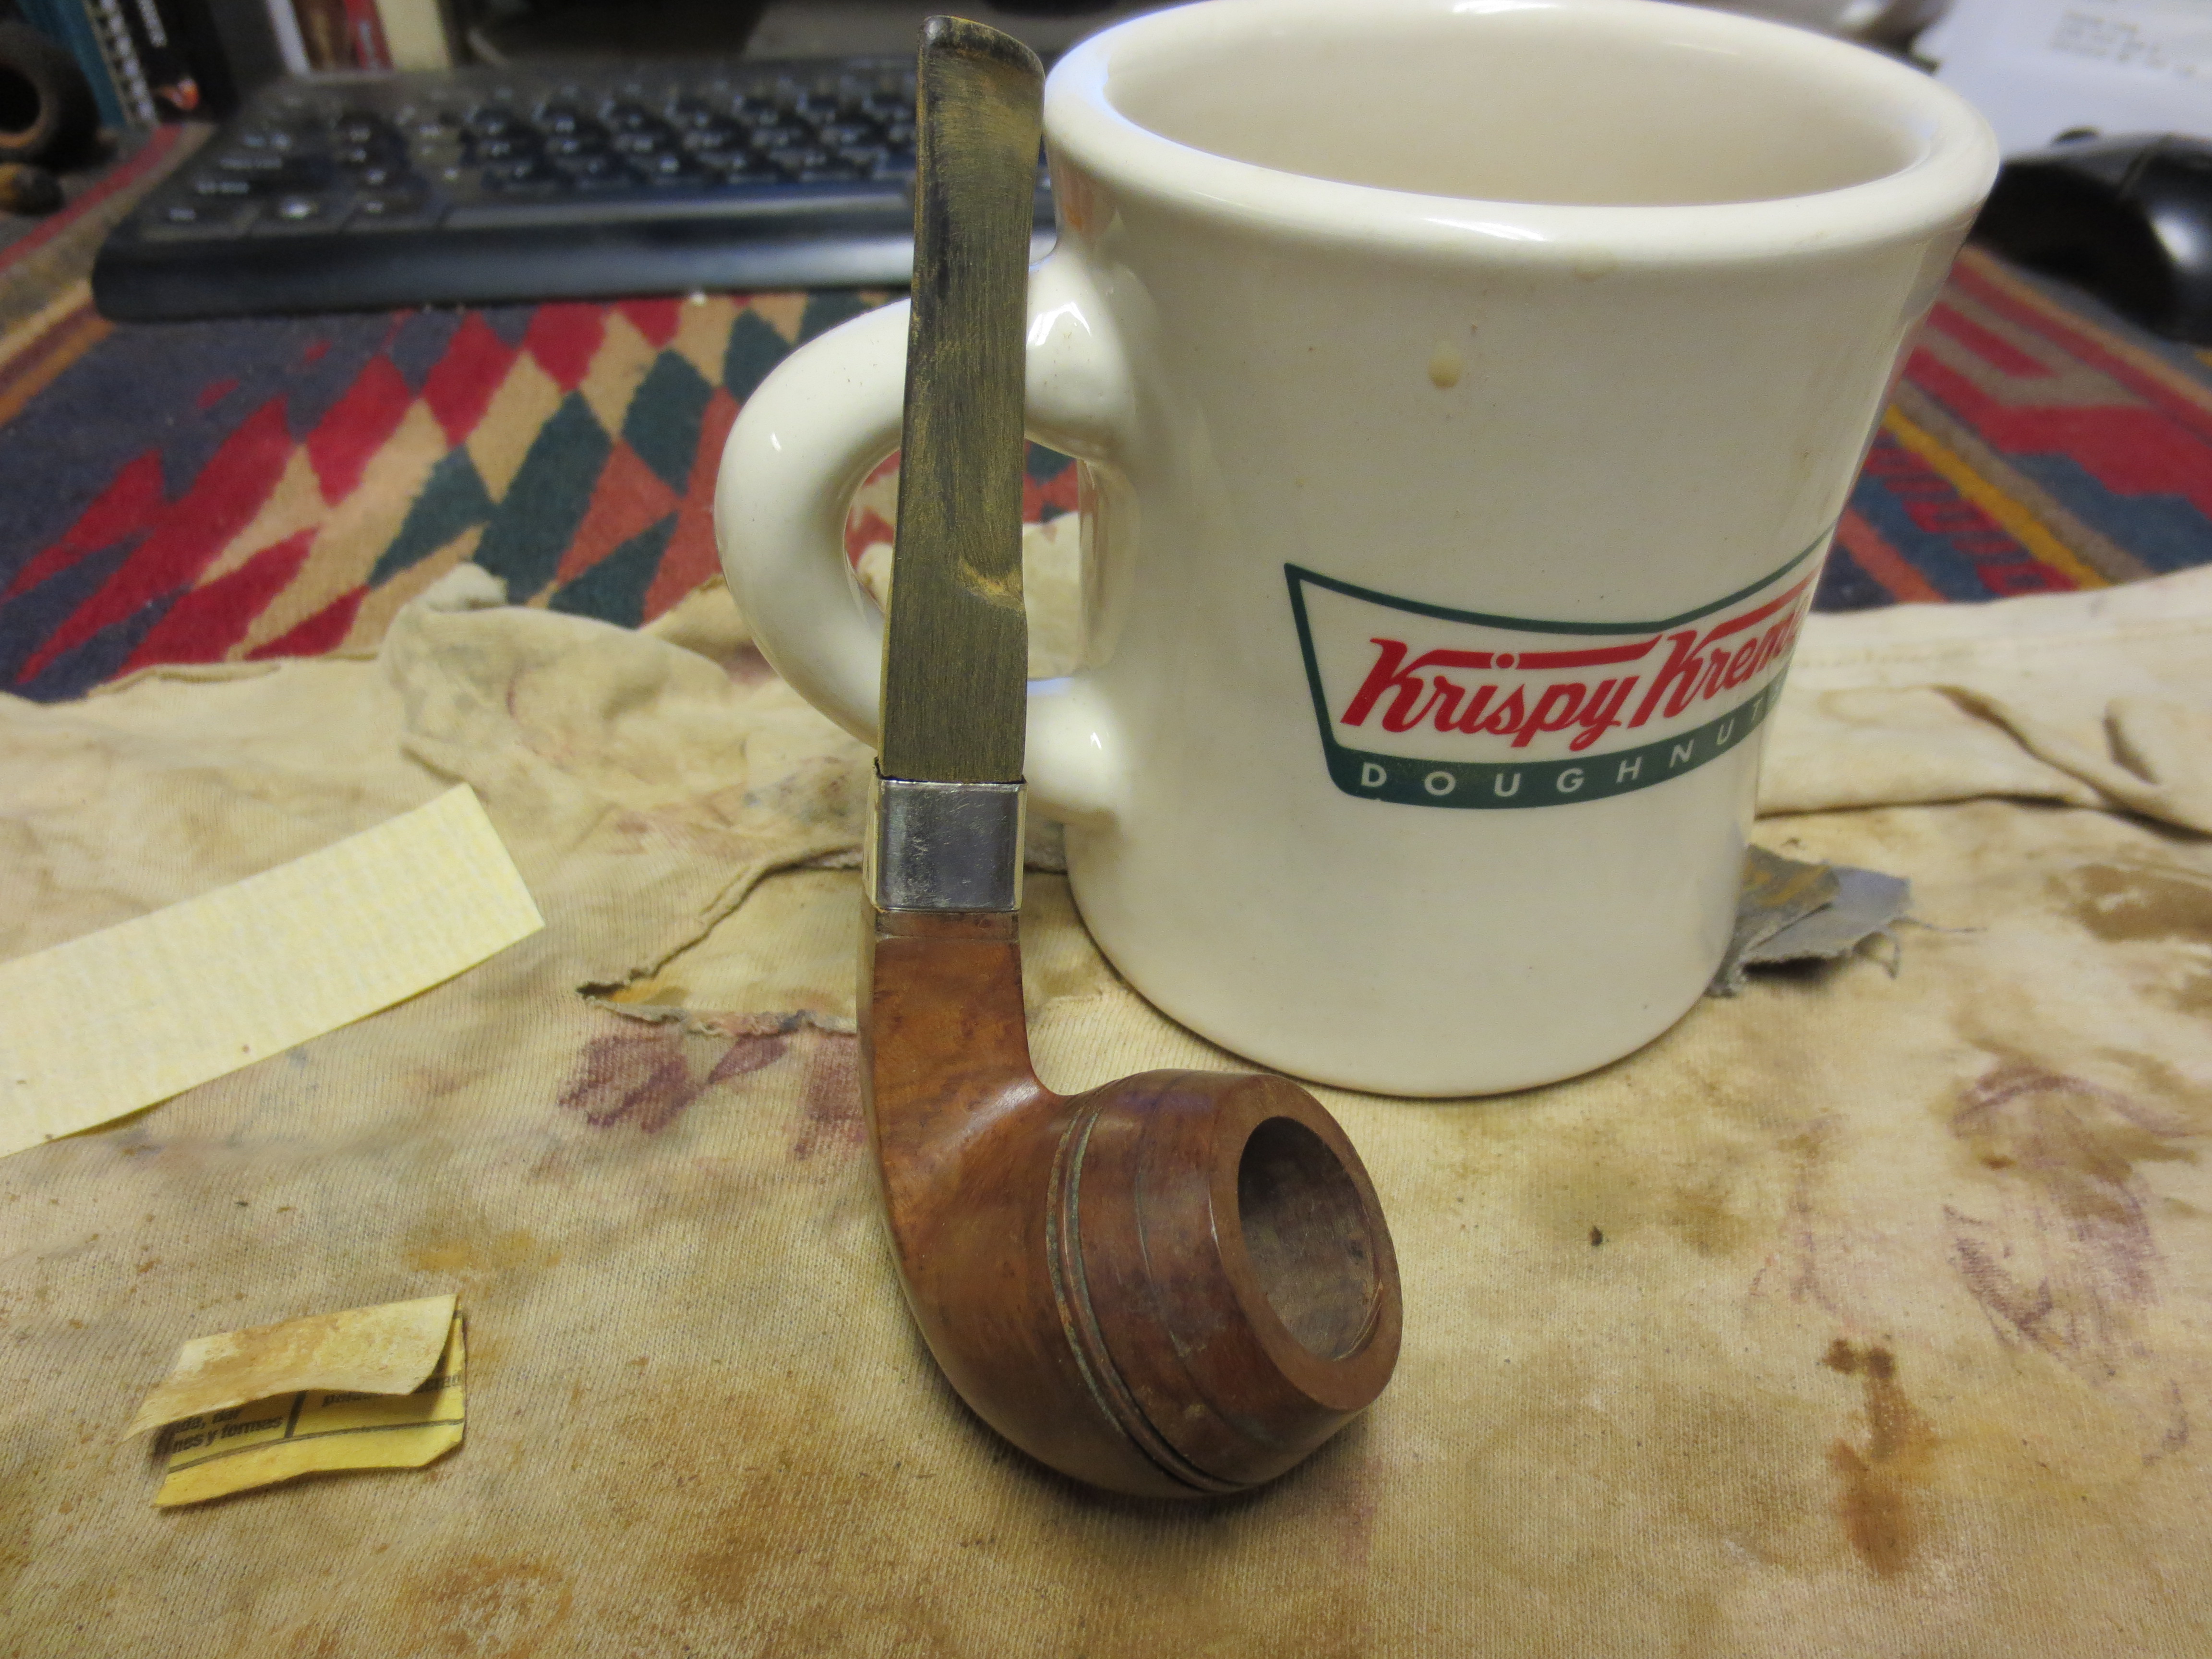
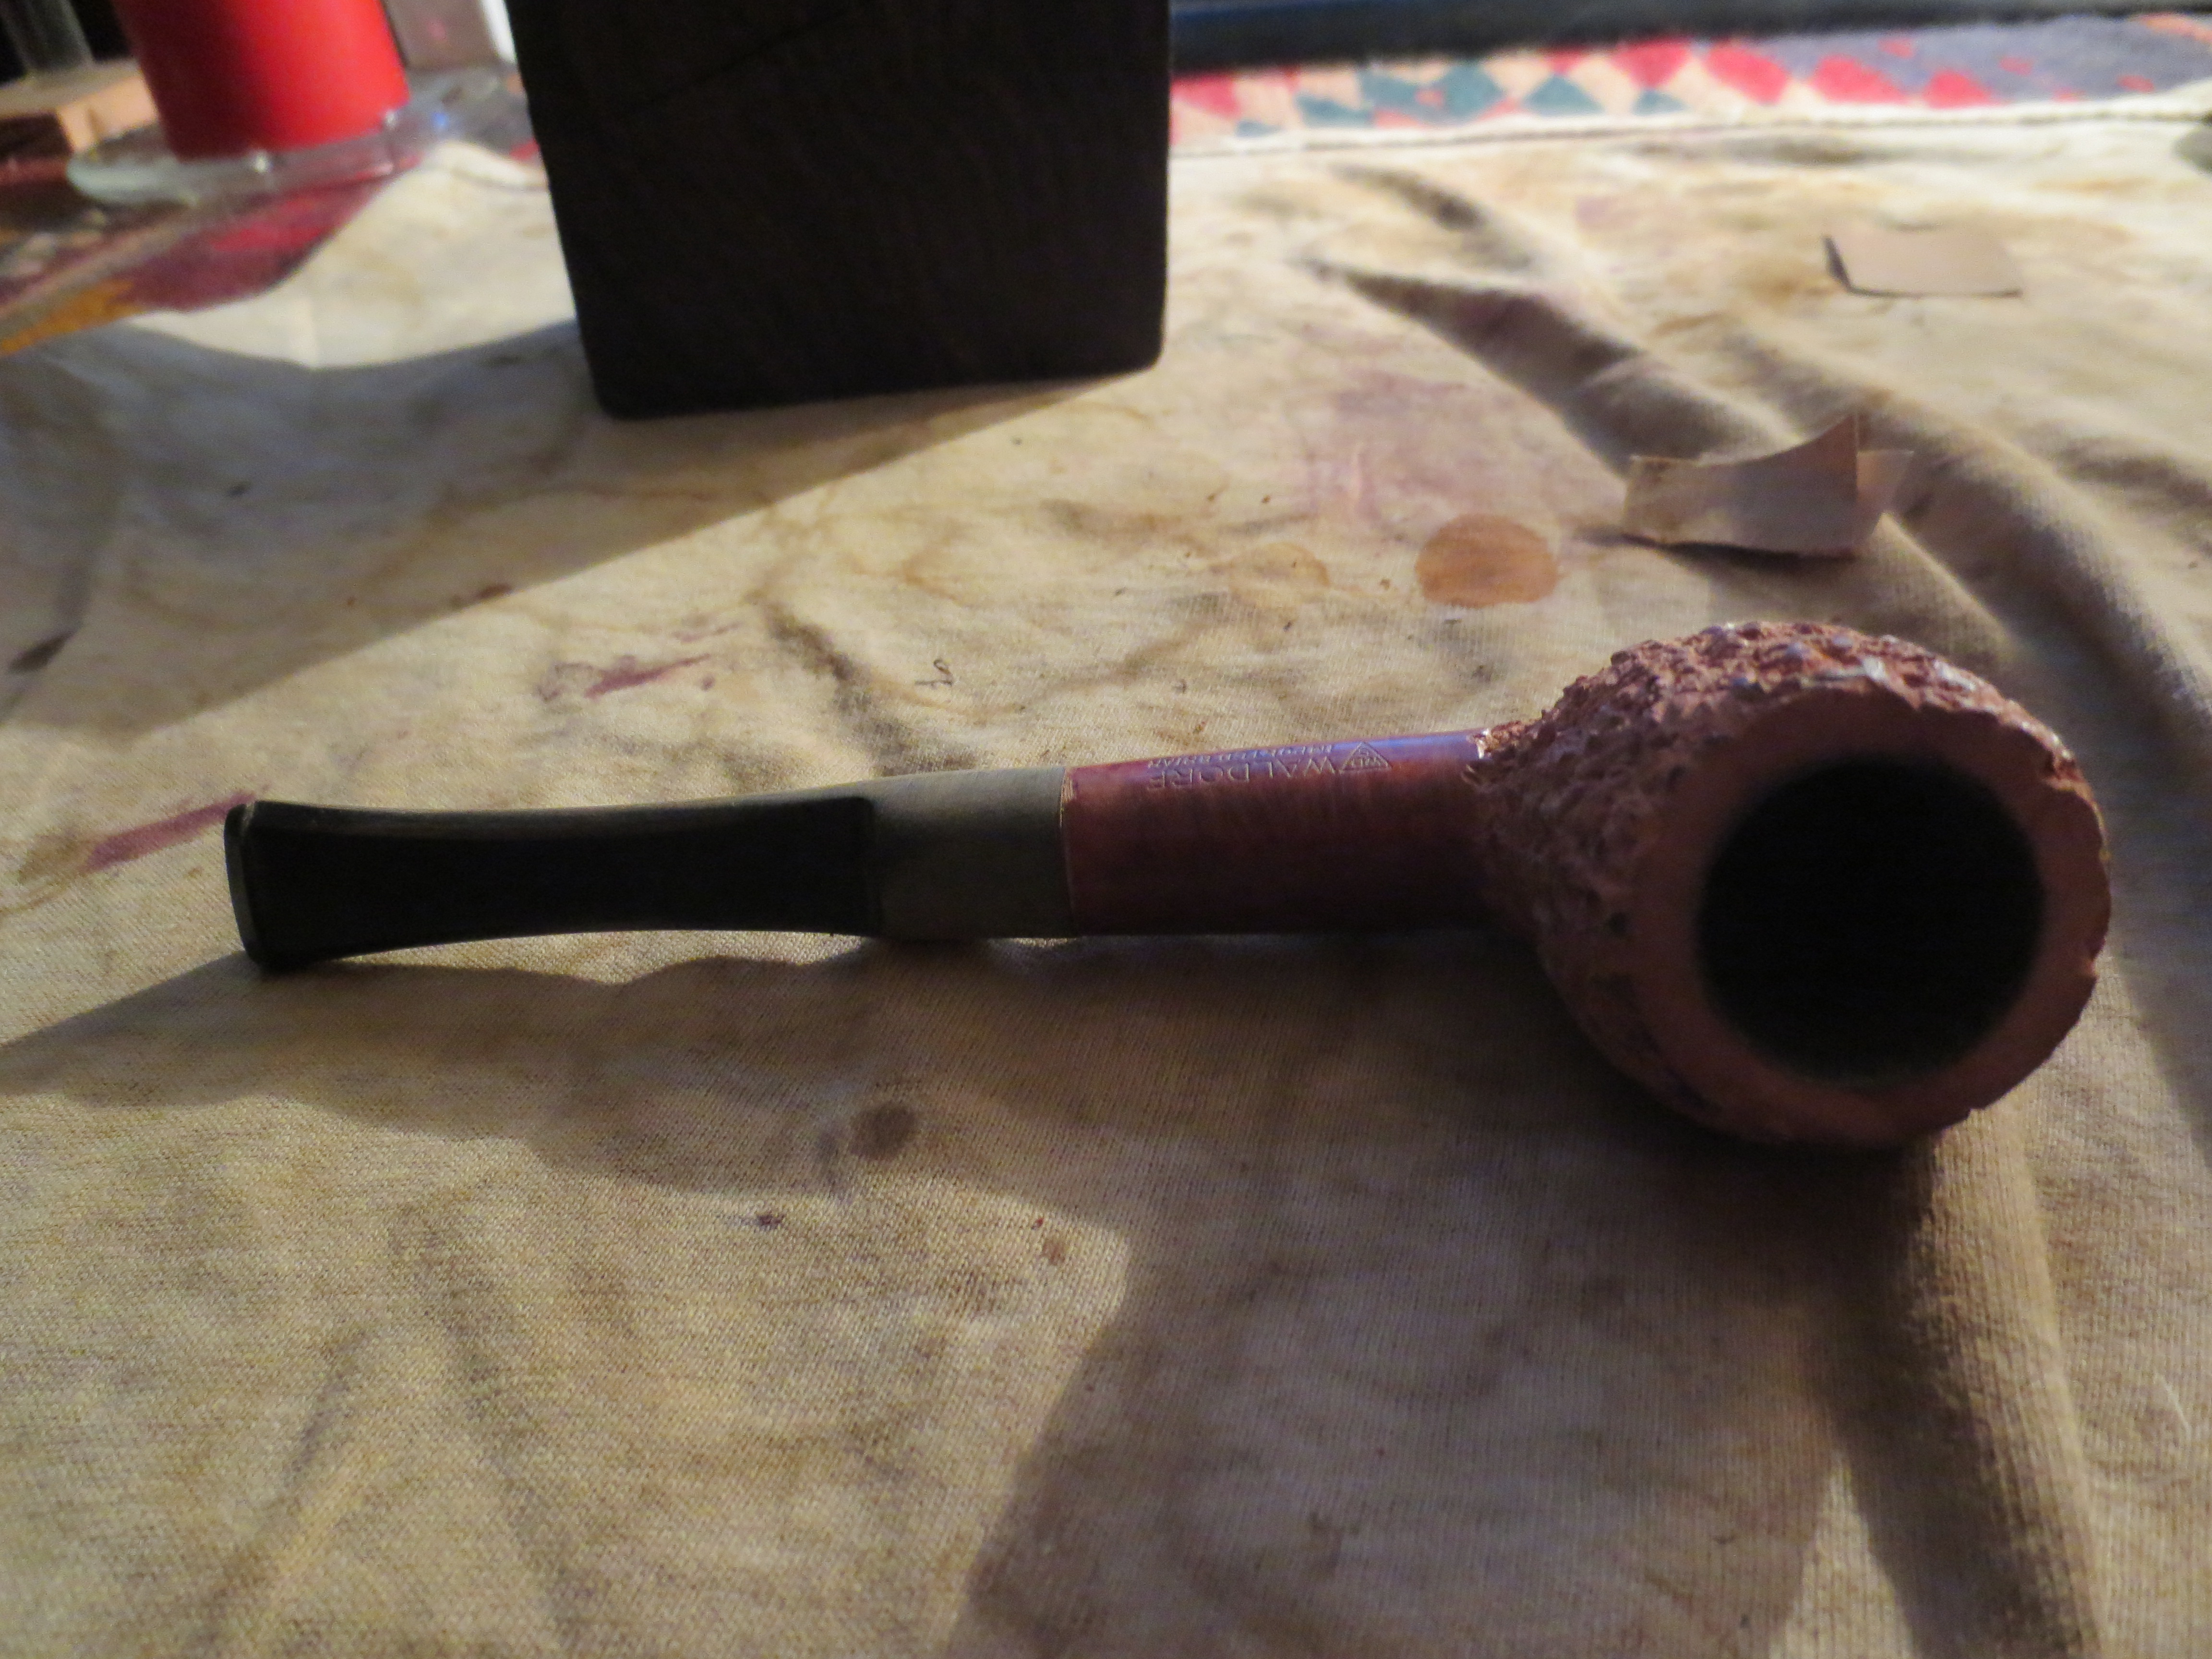
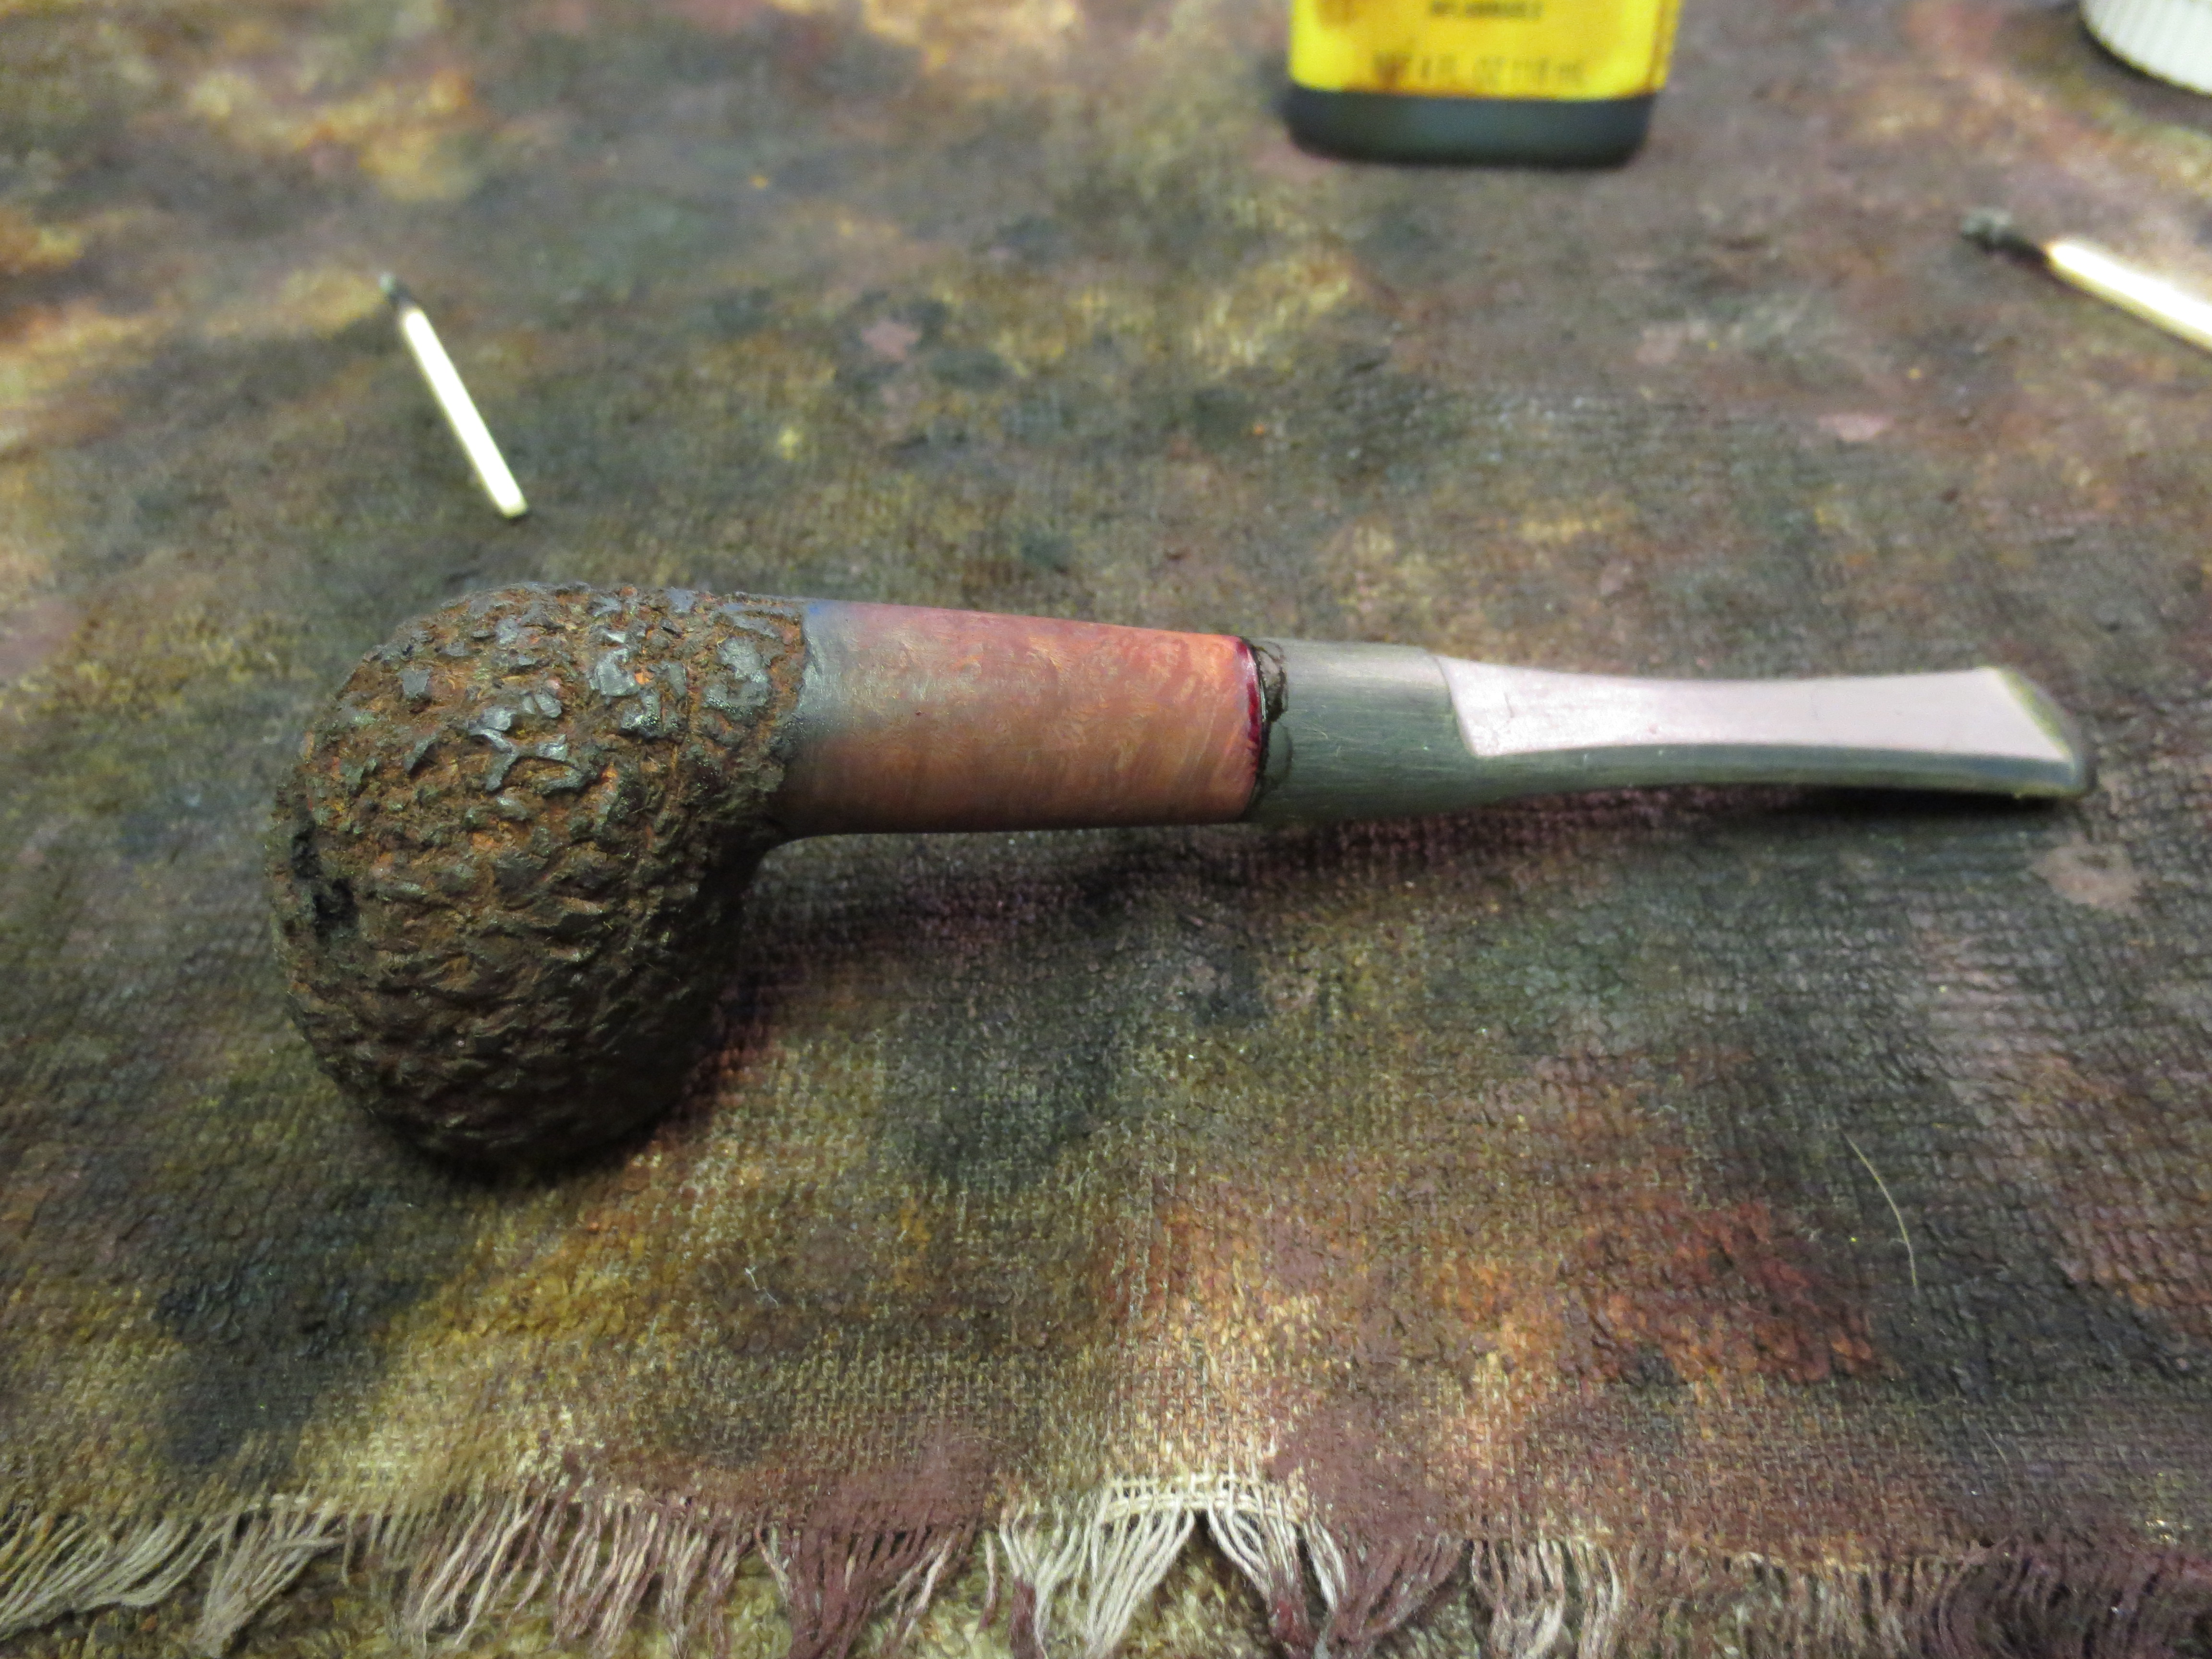
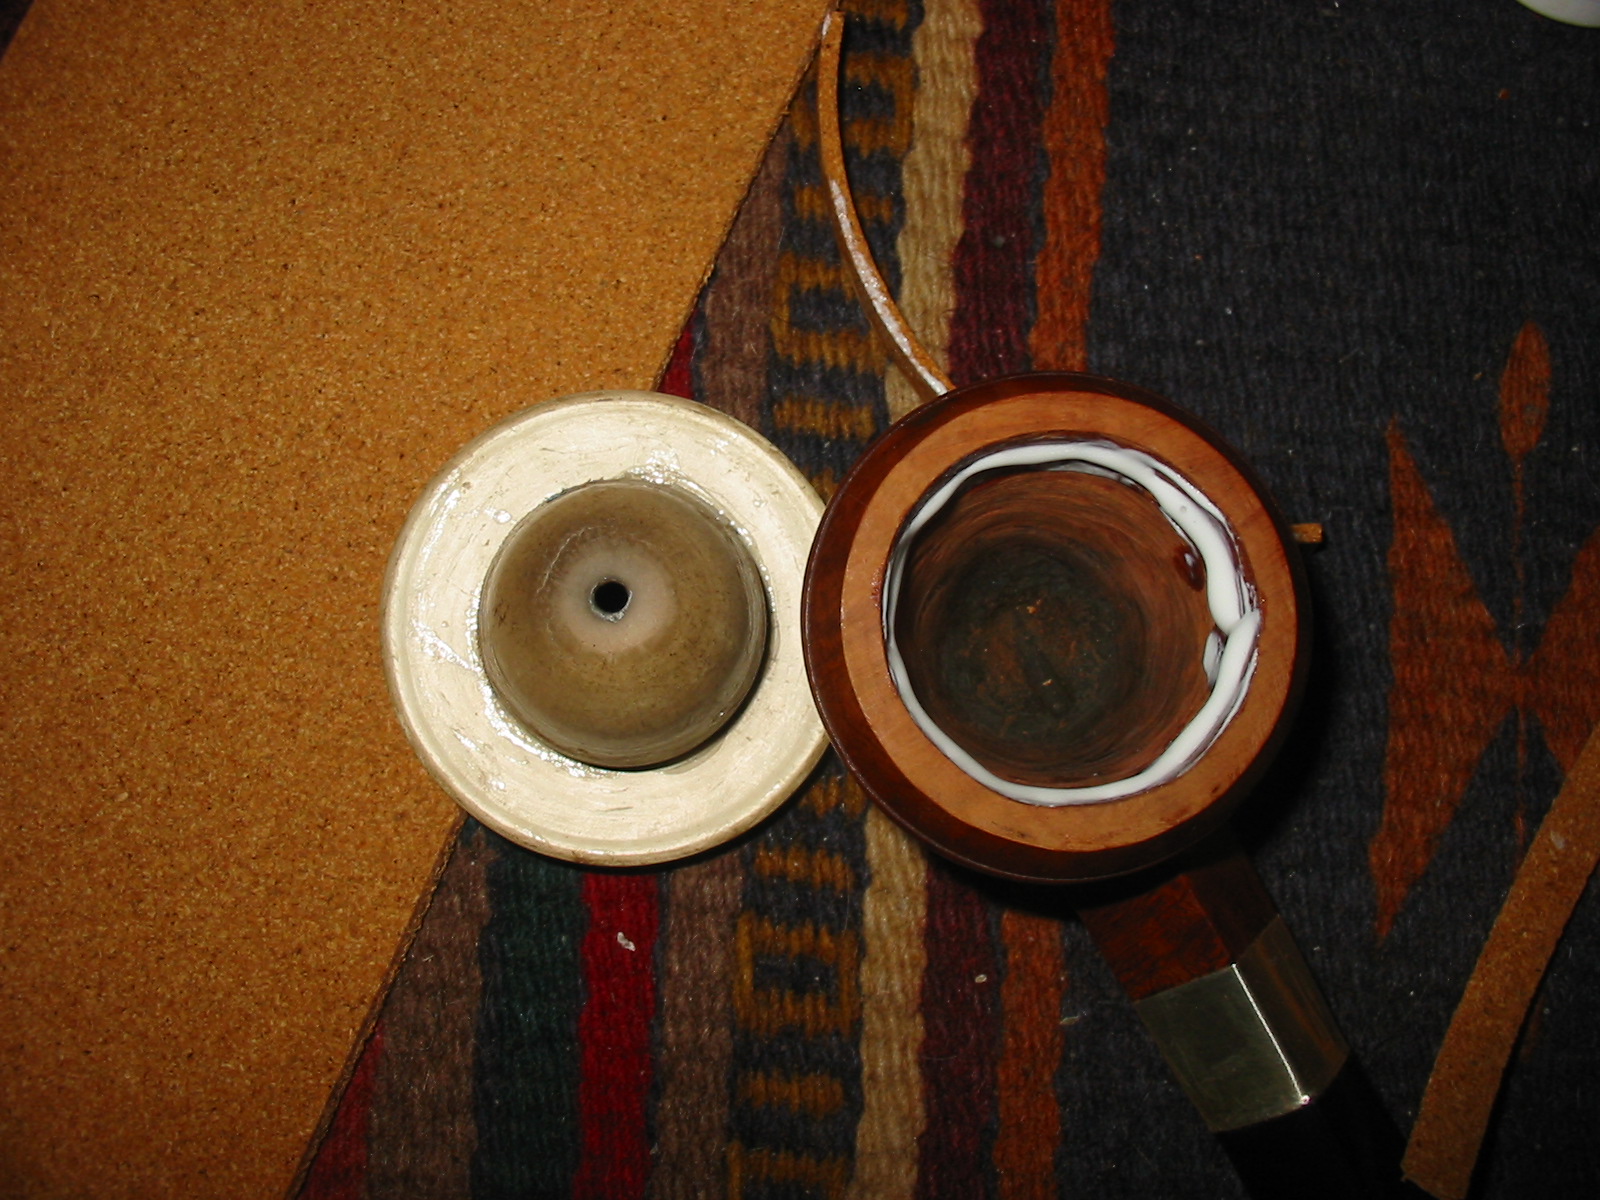
Once the bowl of the briar was clean and smooth I pressed the meerschaum cup into the briar. It was a perfect pressure fit. In talking with Sid via email, he suggested that I add rubber gasket between the meerschaum and the briar to separate the two materials. I removed it from the bowl and cut a rubber gasket from a piece of large/thick rubber band that I bought for the purpose. I glued it to the meerschaum bowl and set it aside to dry.
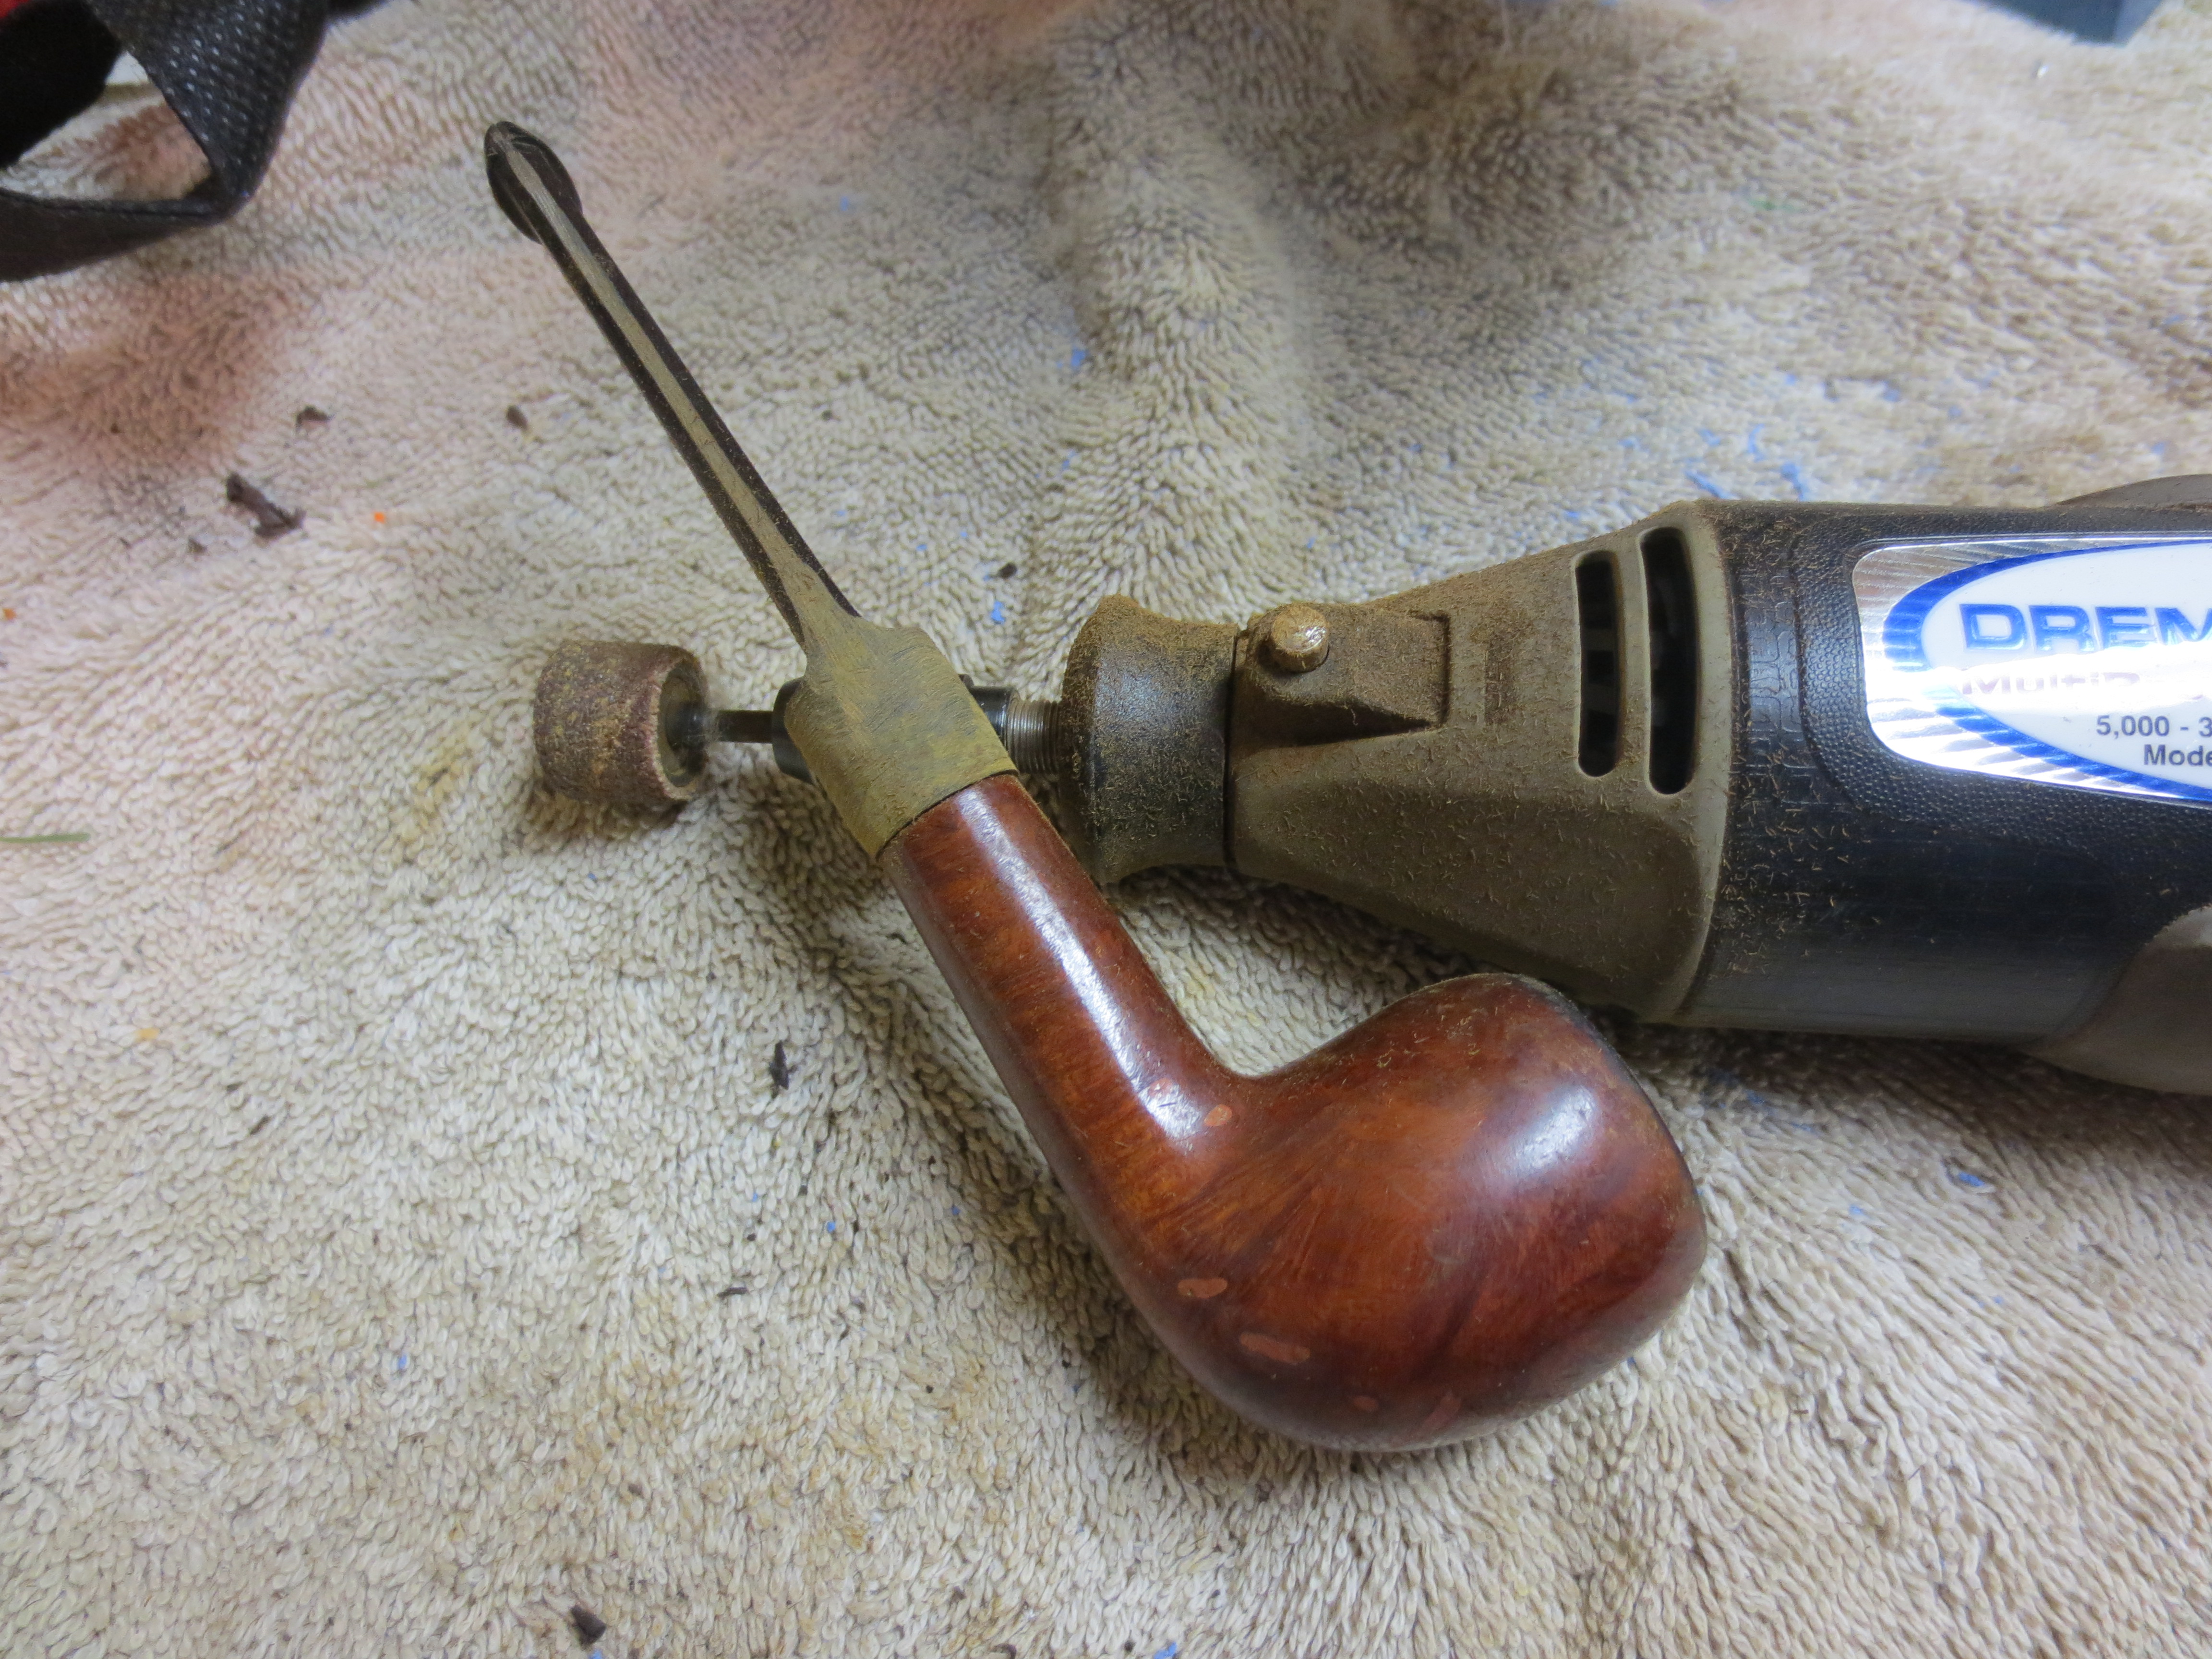
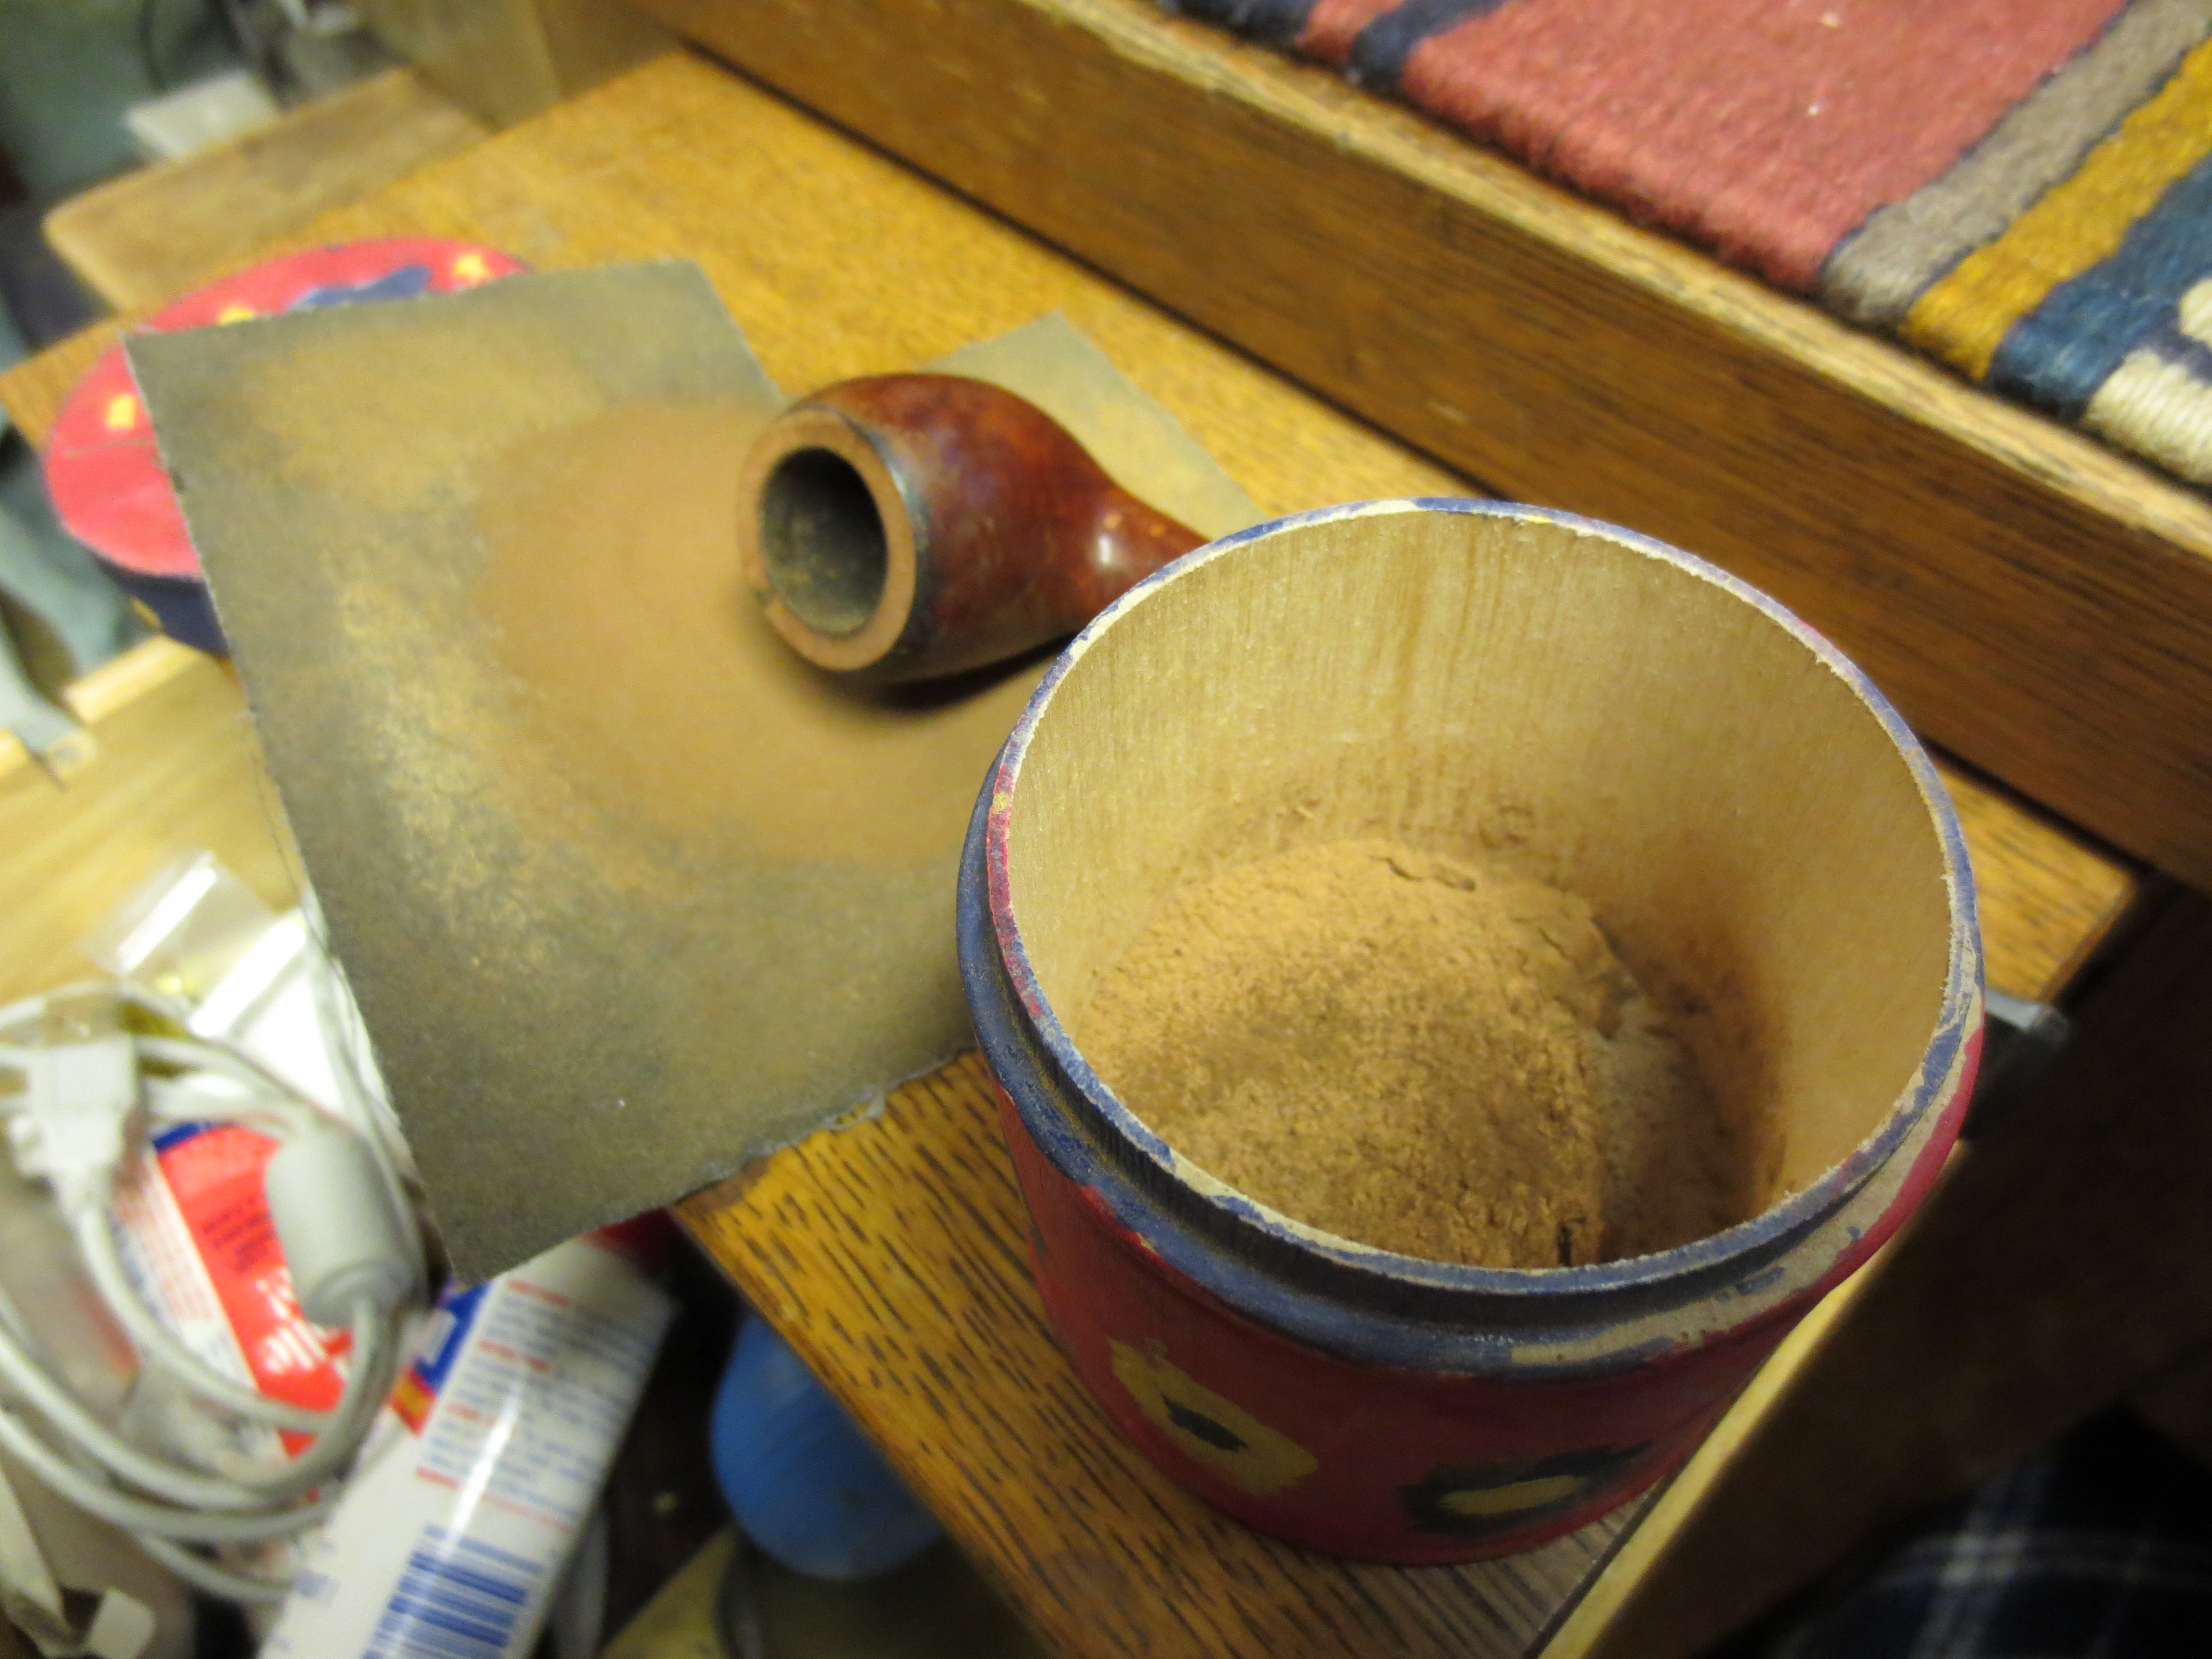
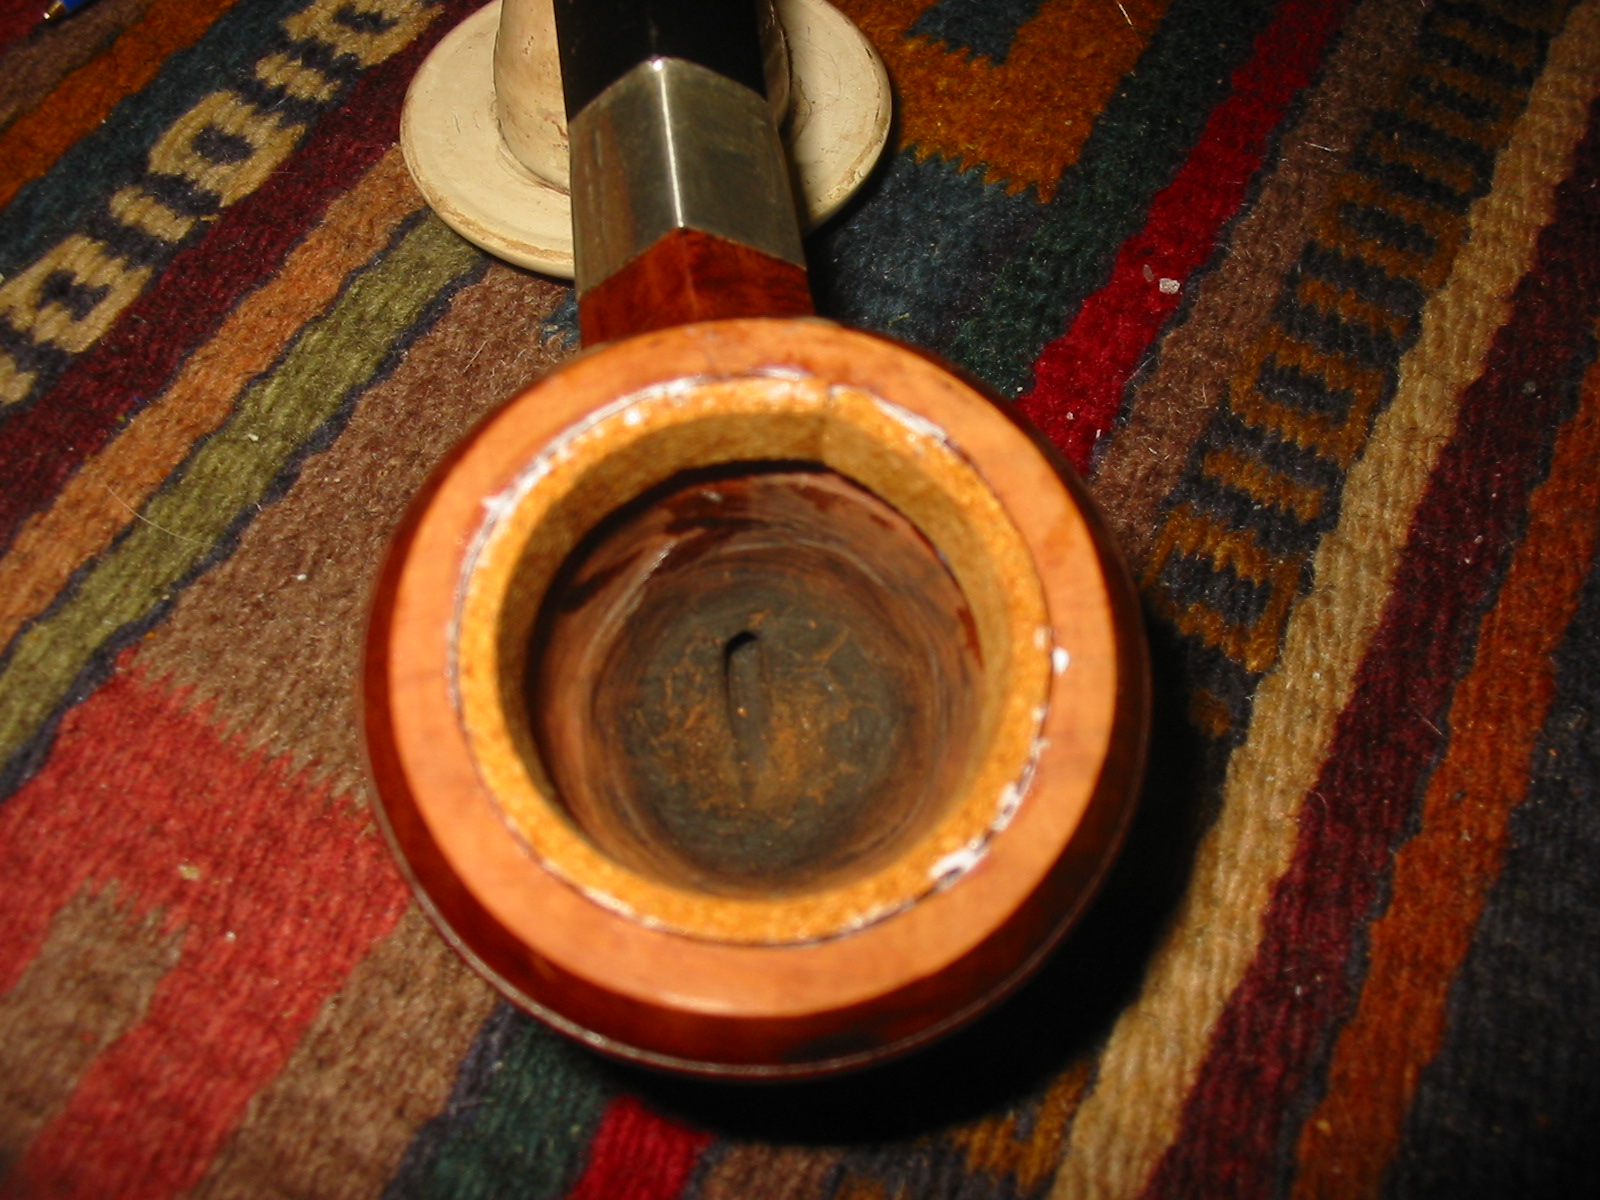
I measured the new diameter of the meerschaum bowl with the gasket and used my Dremel with a sanding drum to sand the briar bowl to match that new diameter. I sanded with the Dremel, checked the fit, sanded some more and check until I had removed enough of the diameter of the briar to make a good snug fit.

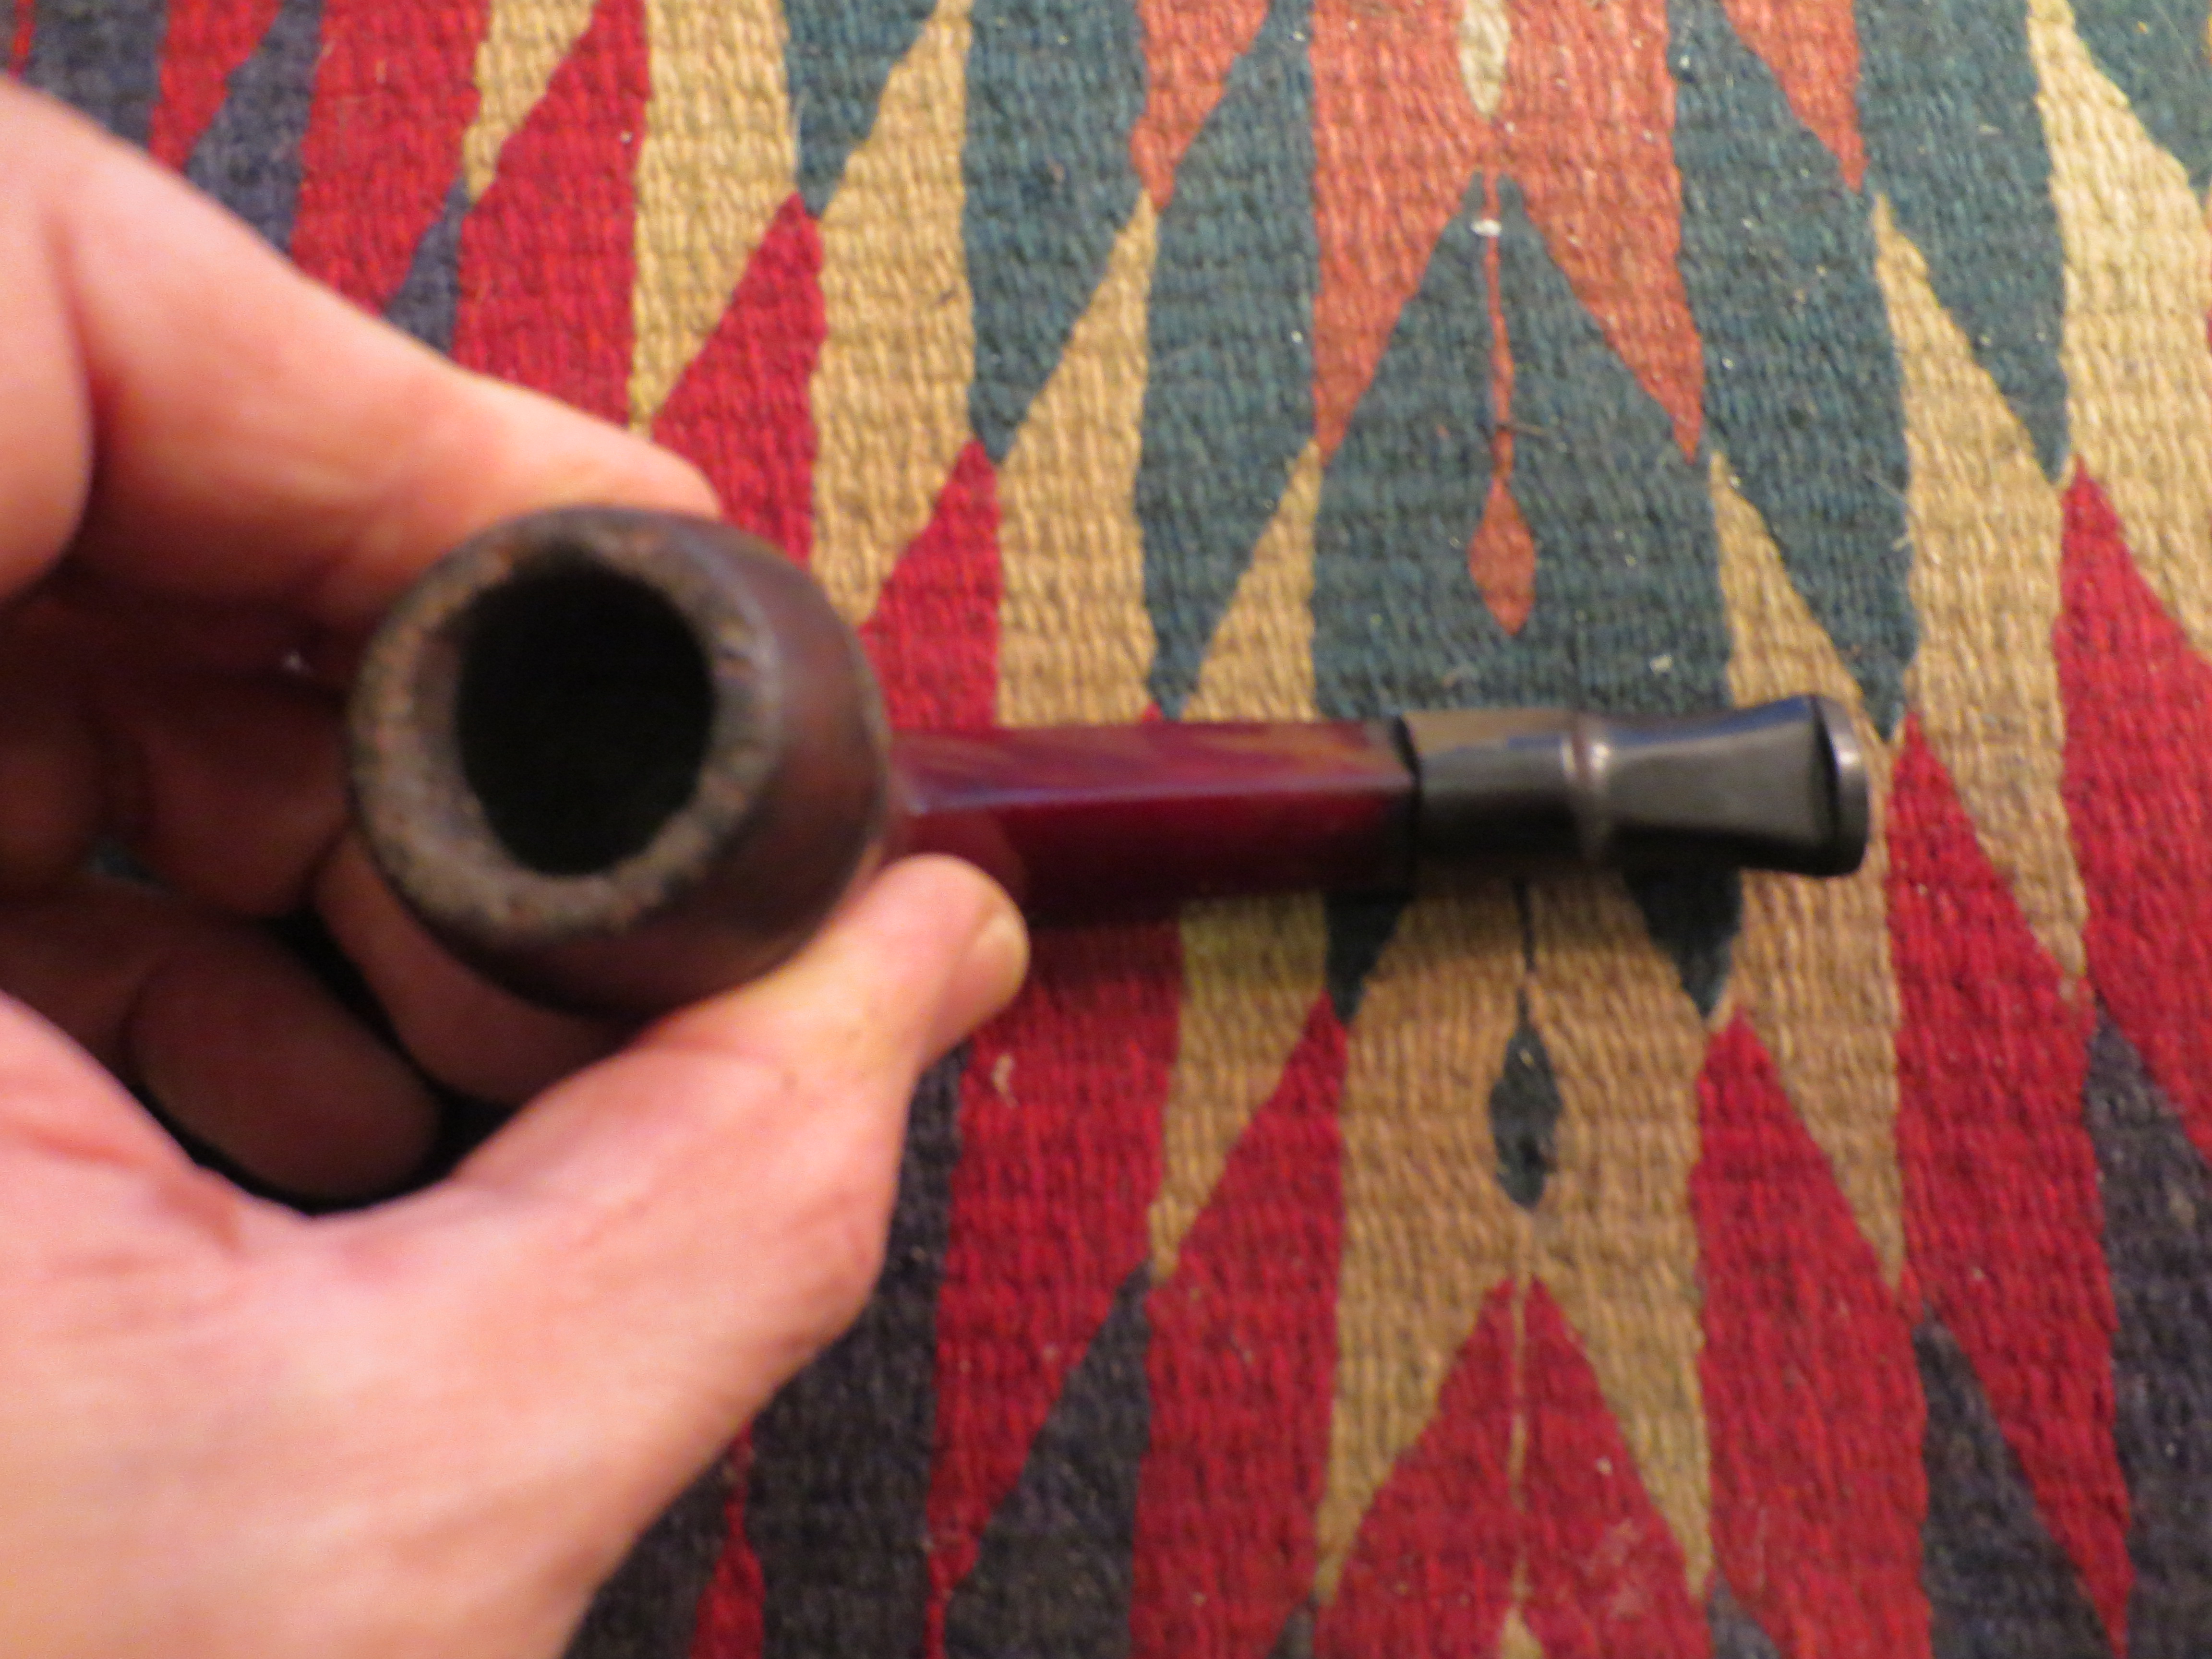
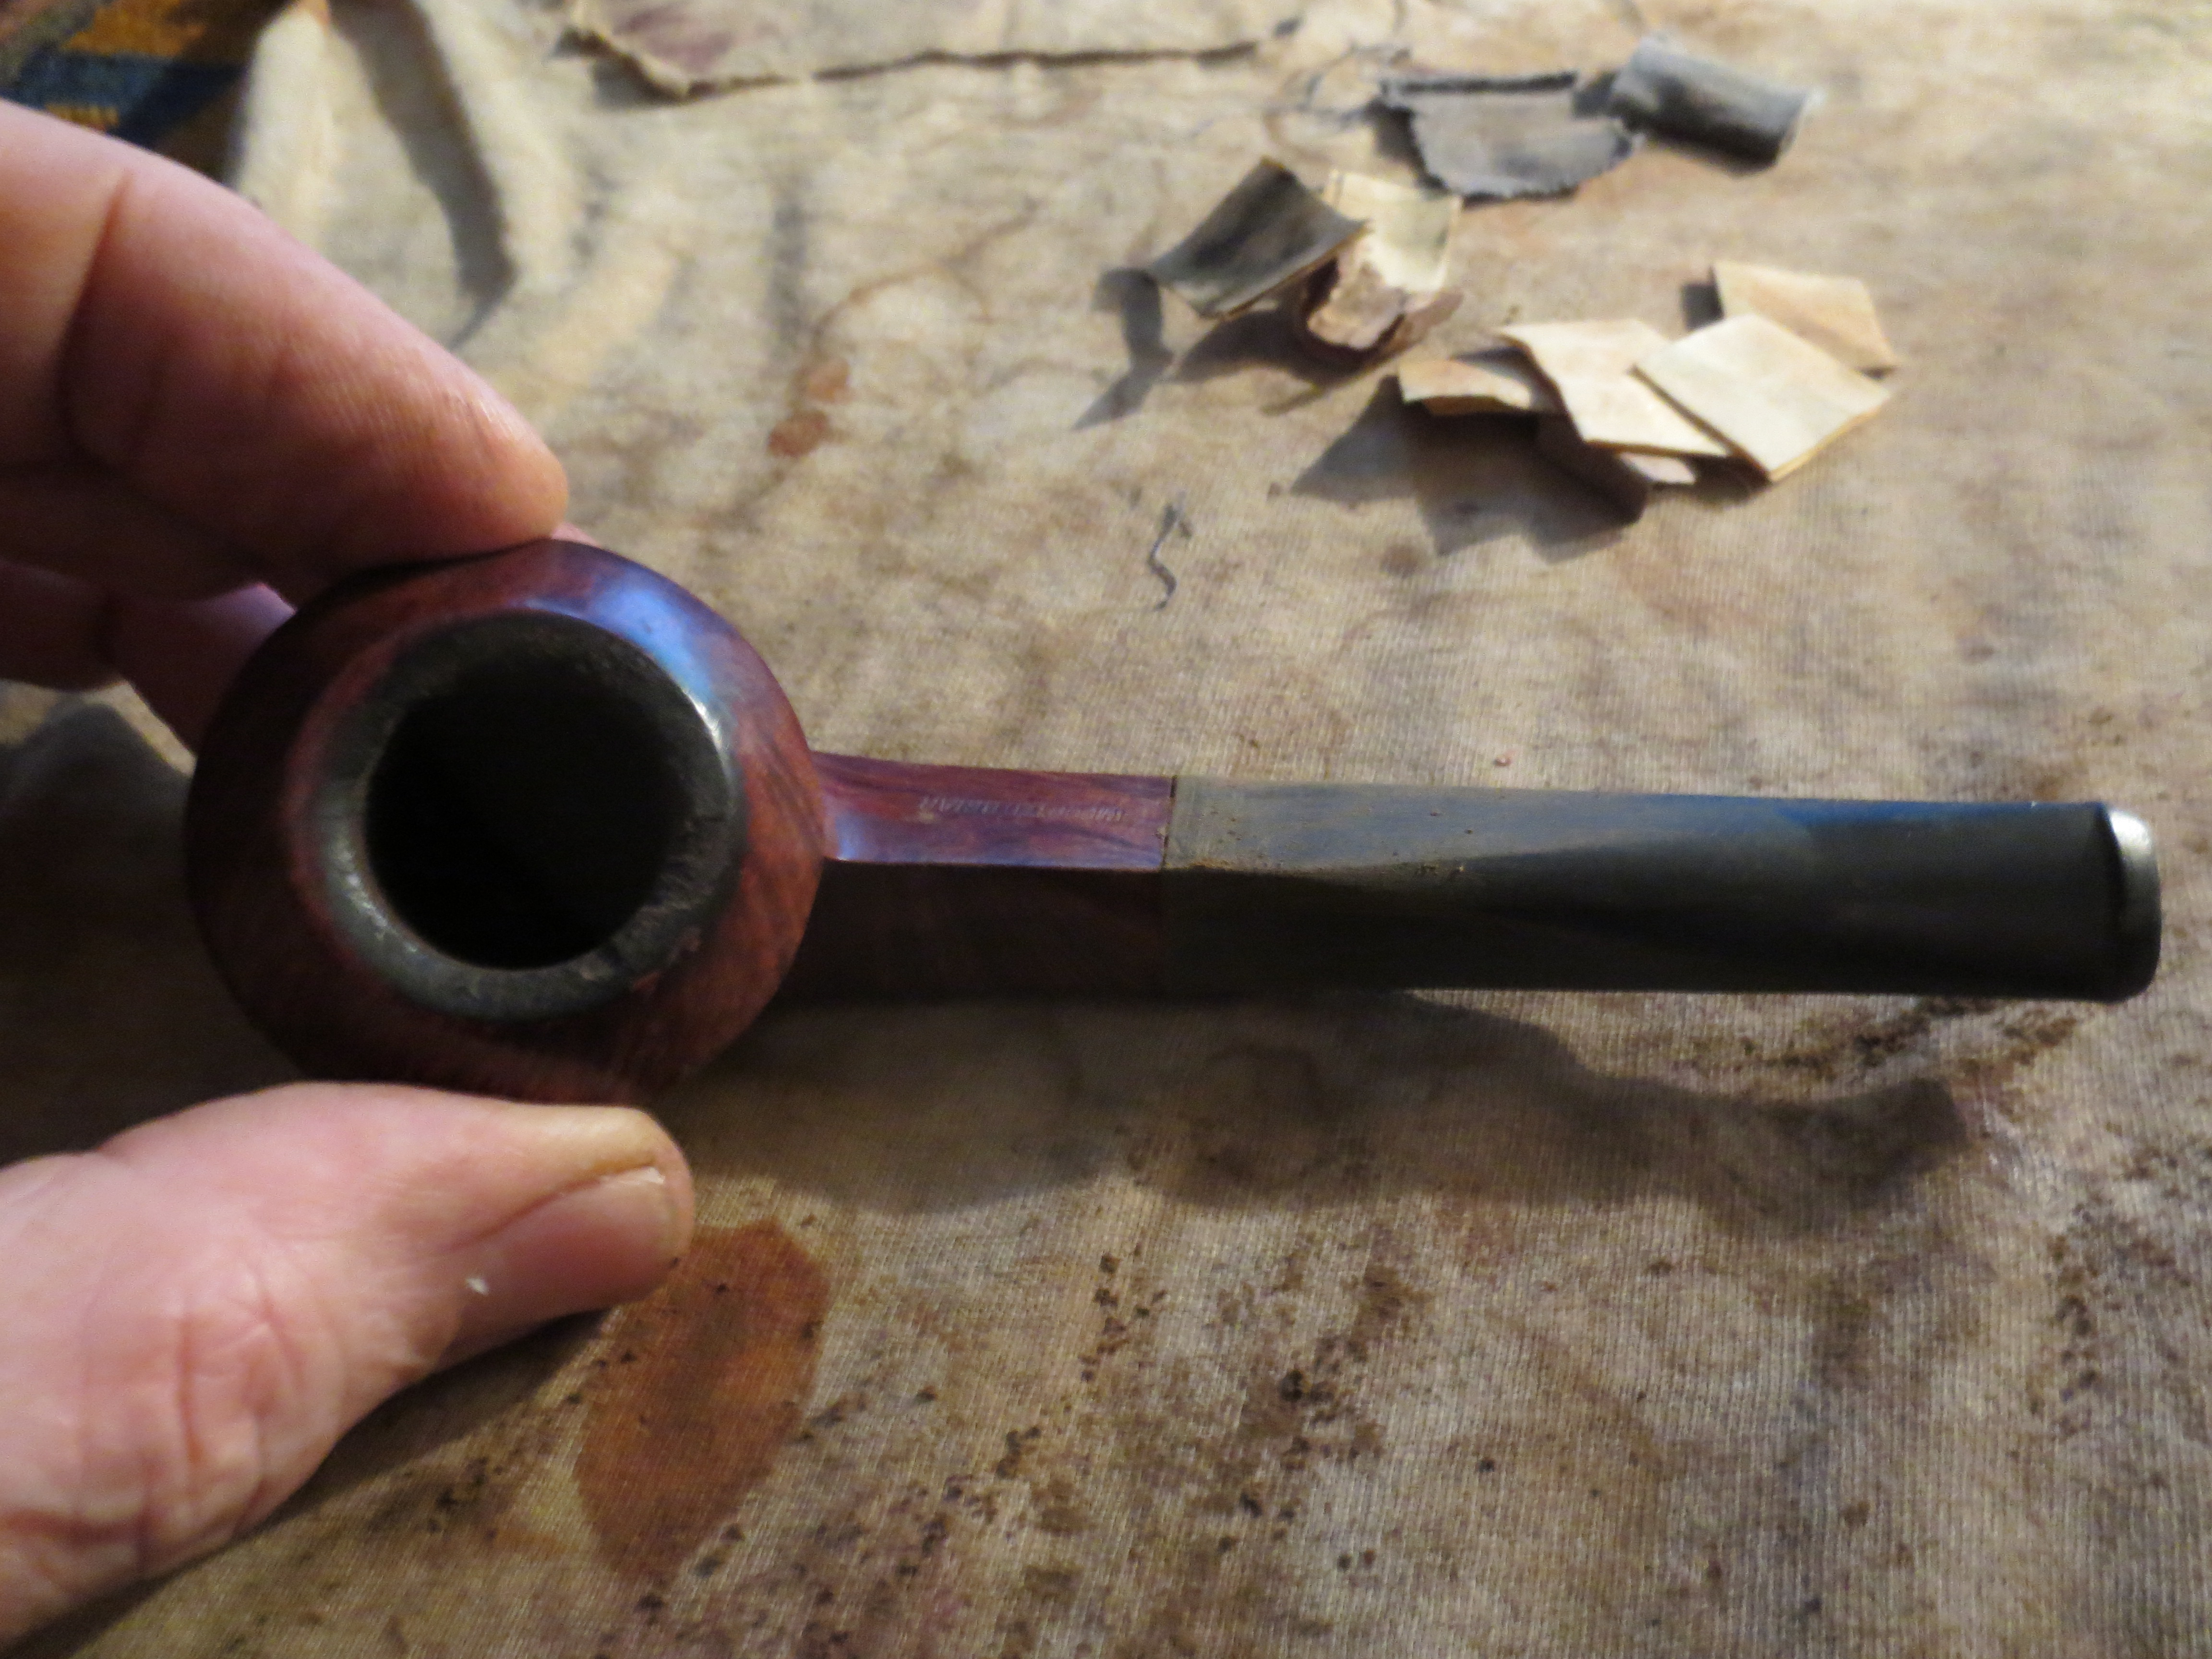
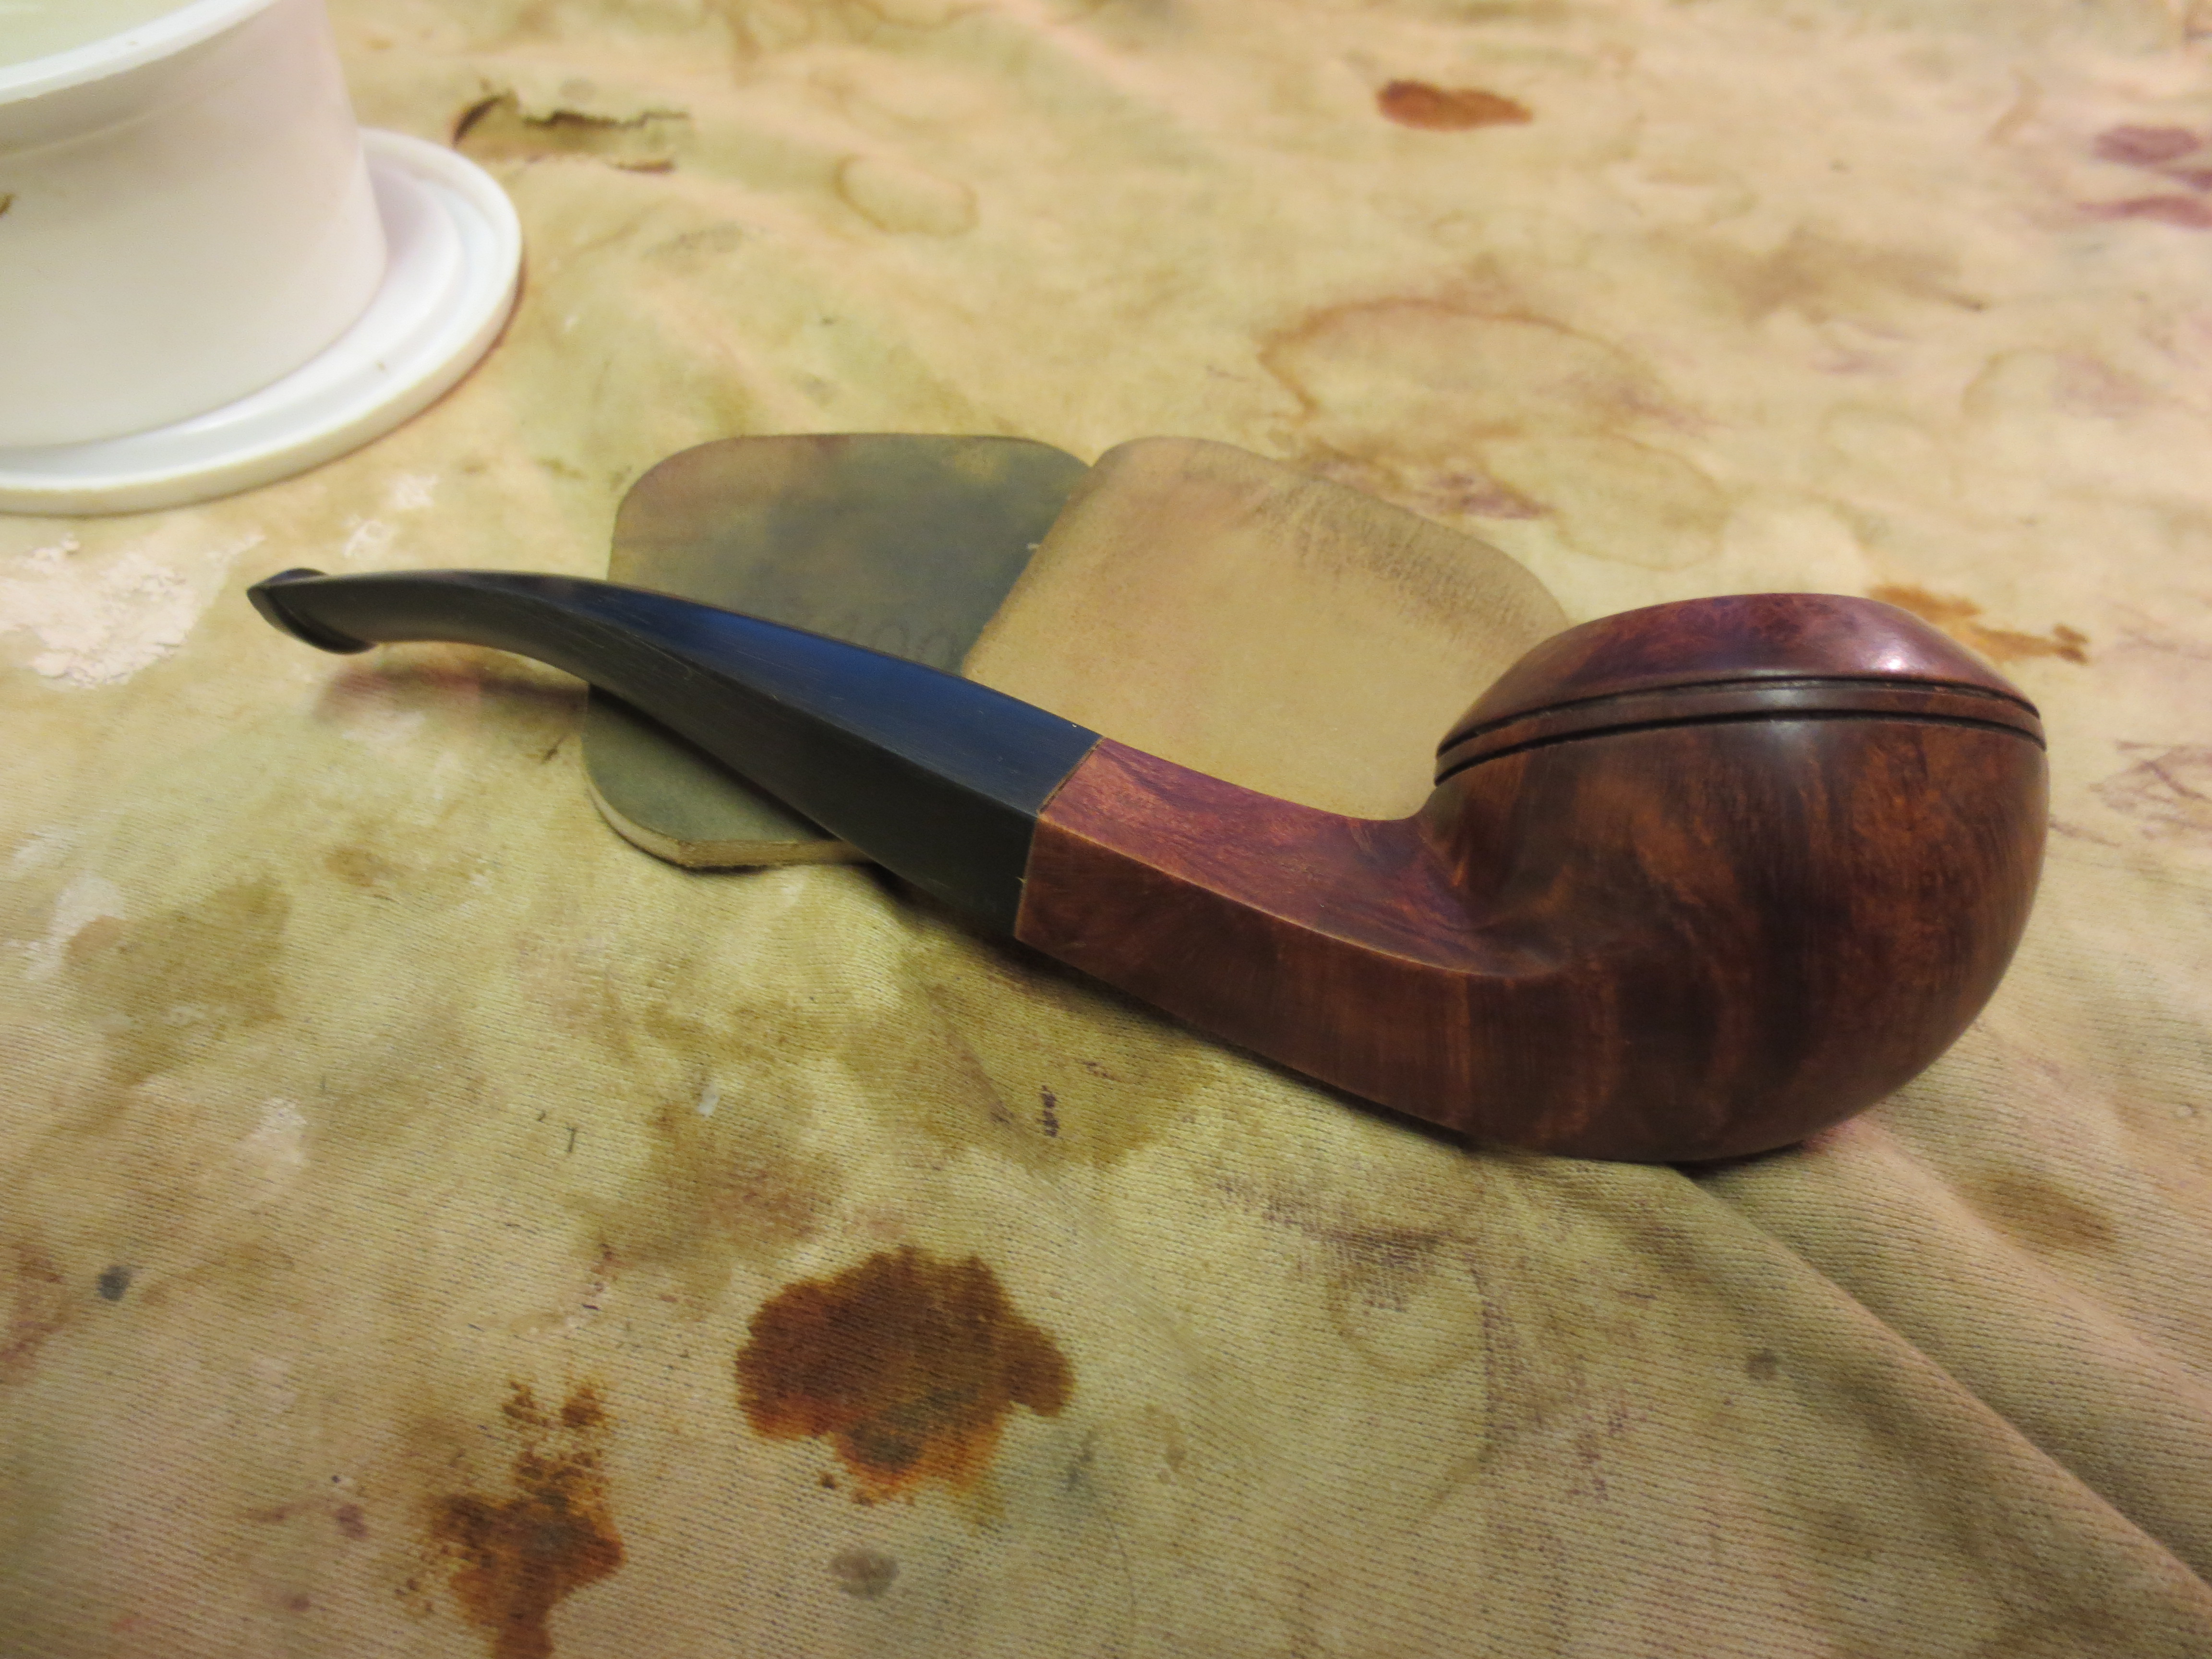
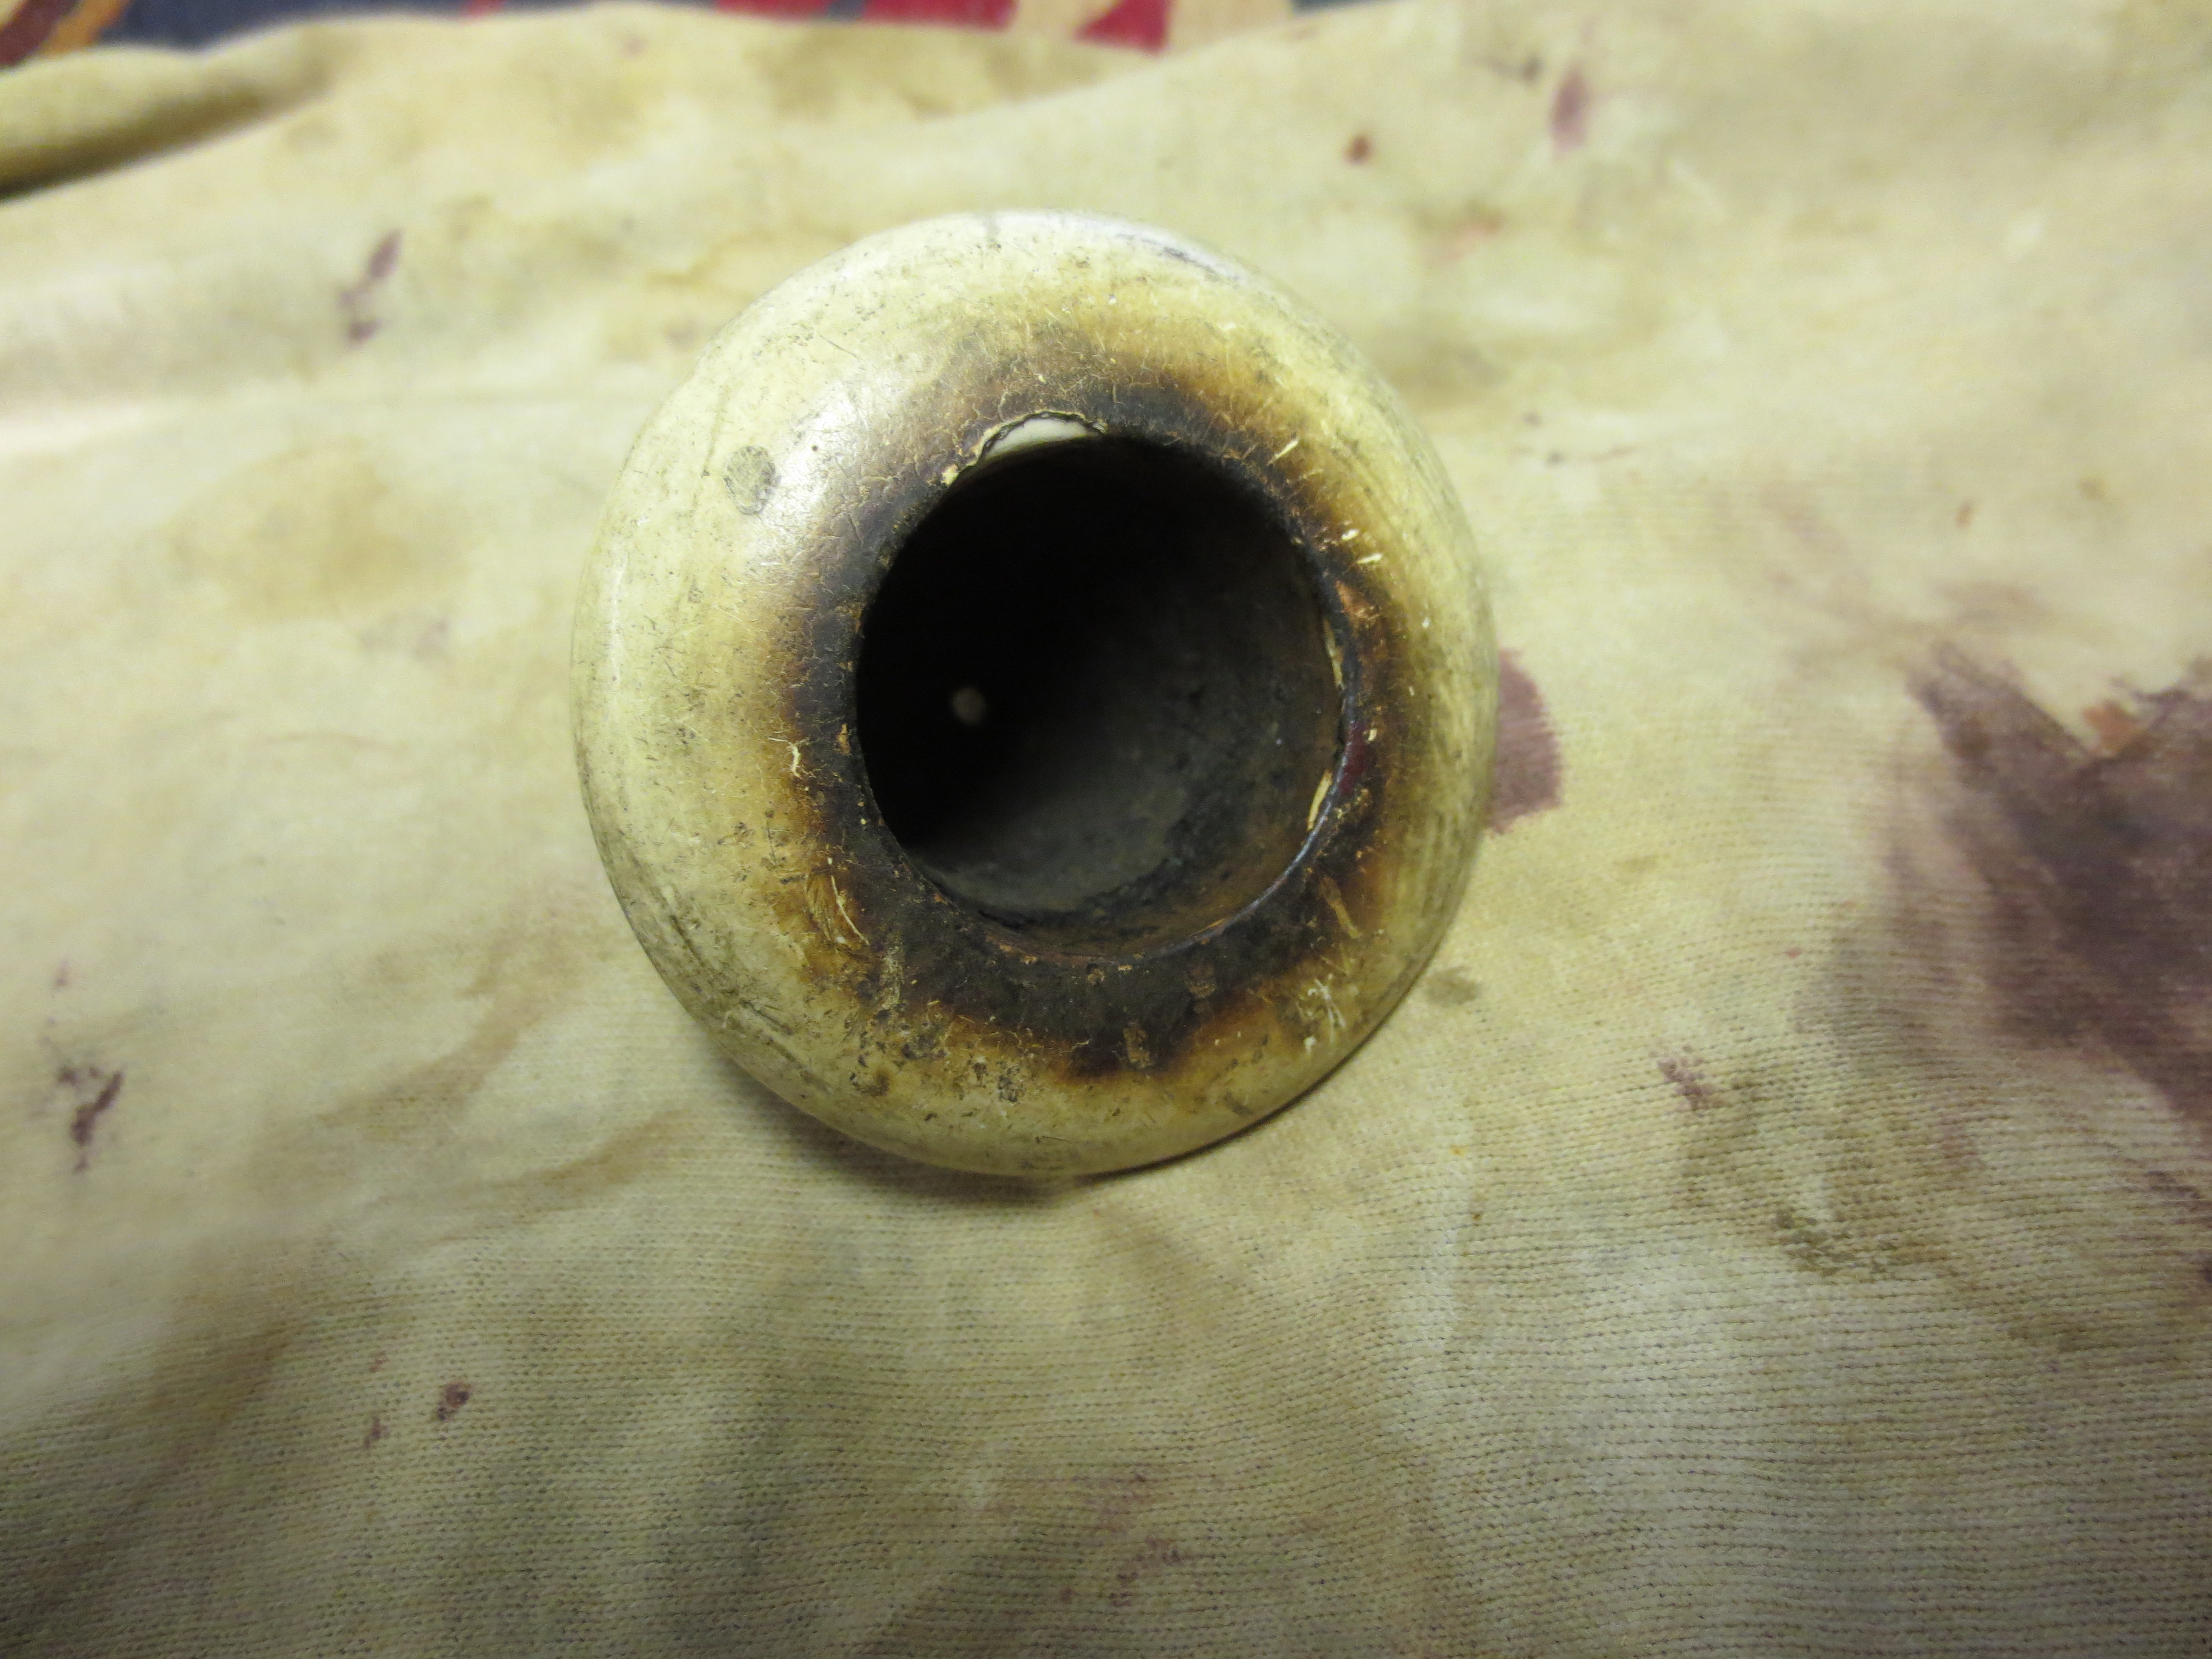
Once the bowl fit well, I took the pipe back to my work table and sanded the inside of the bowl to smooth out the ridges left by the sanding drum. I wiped down the inside of the bowl with Everclear to remove the sanding dust from and make sure the fit of the gasket against the briar was smooth and unimpaired.
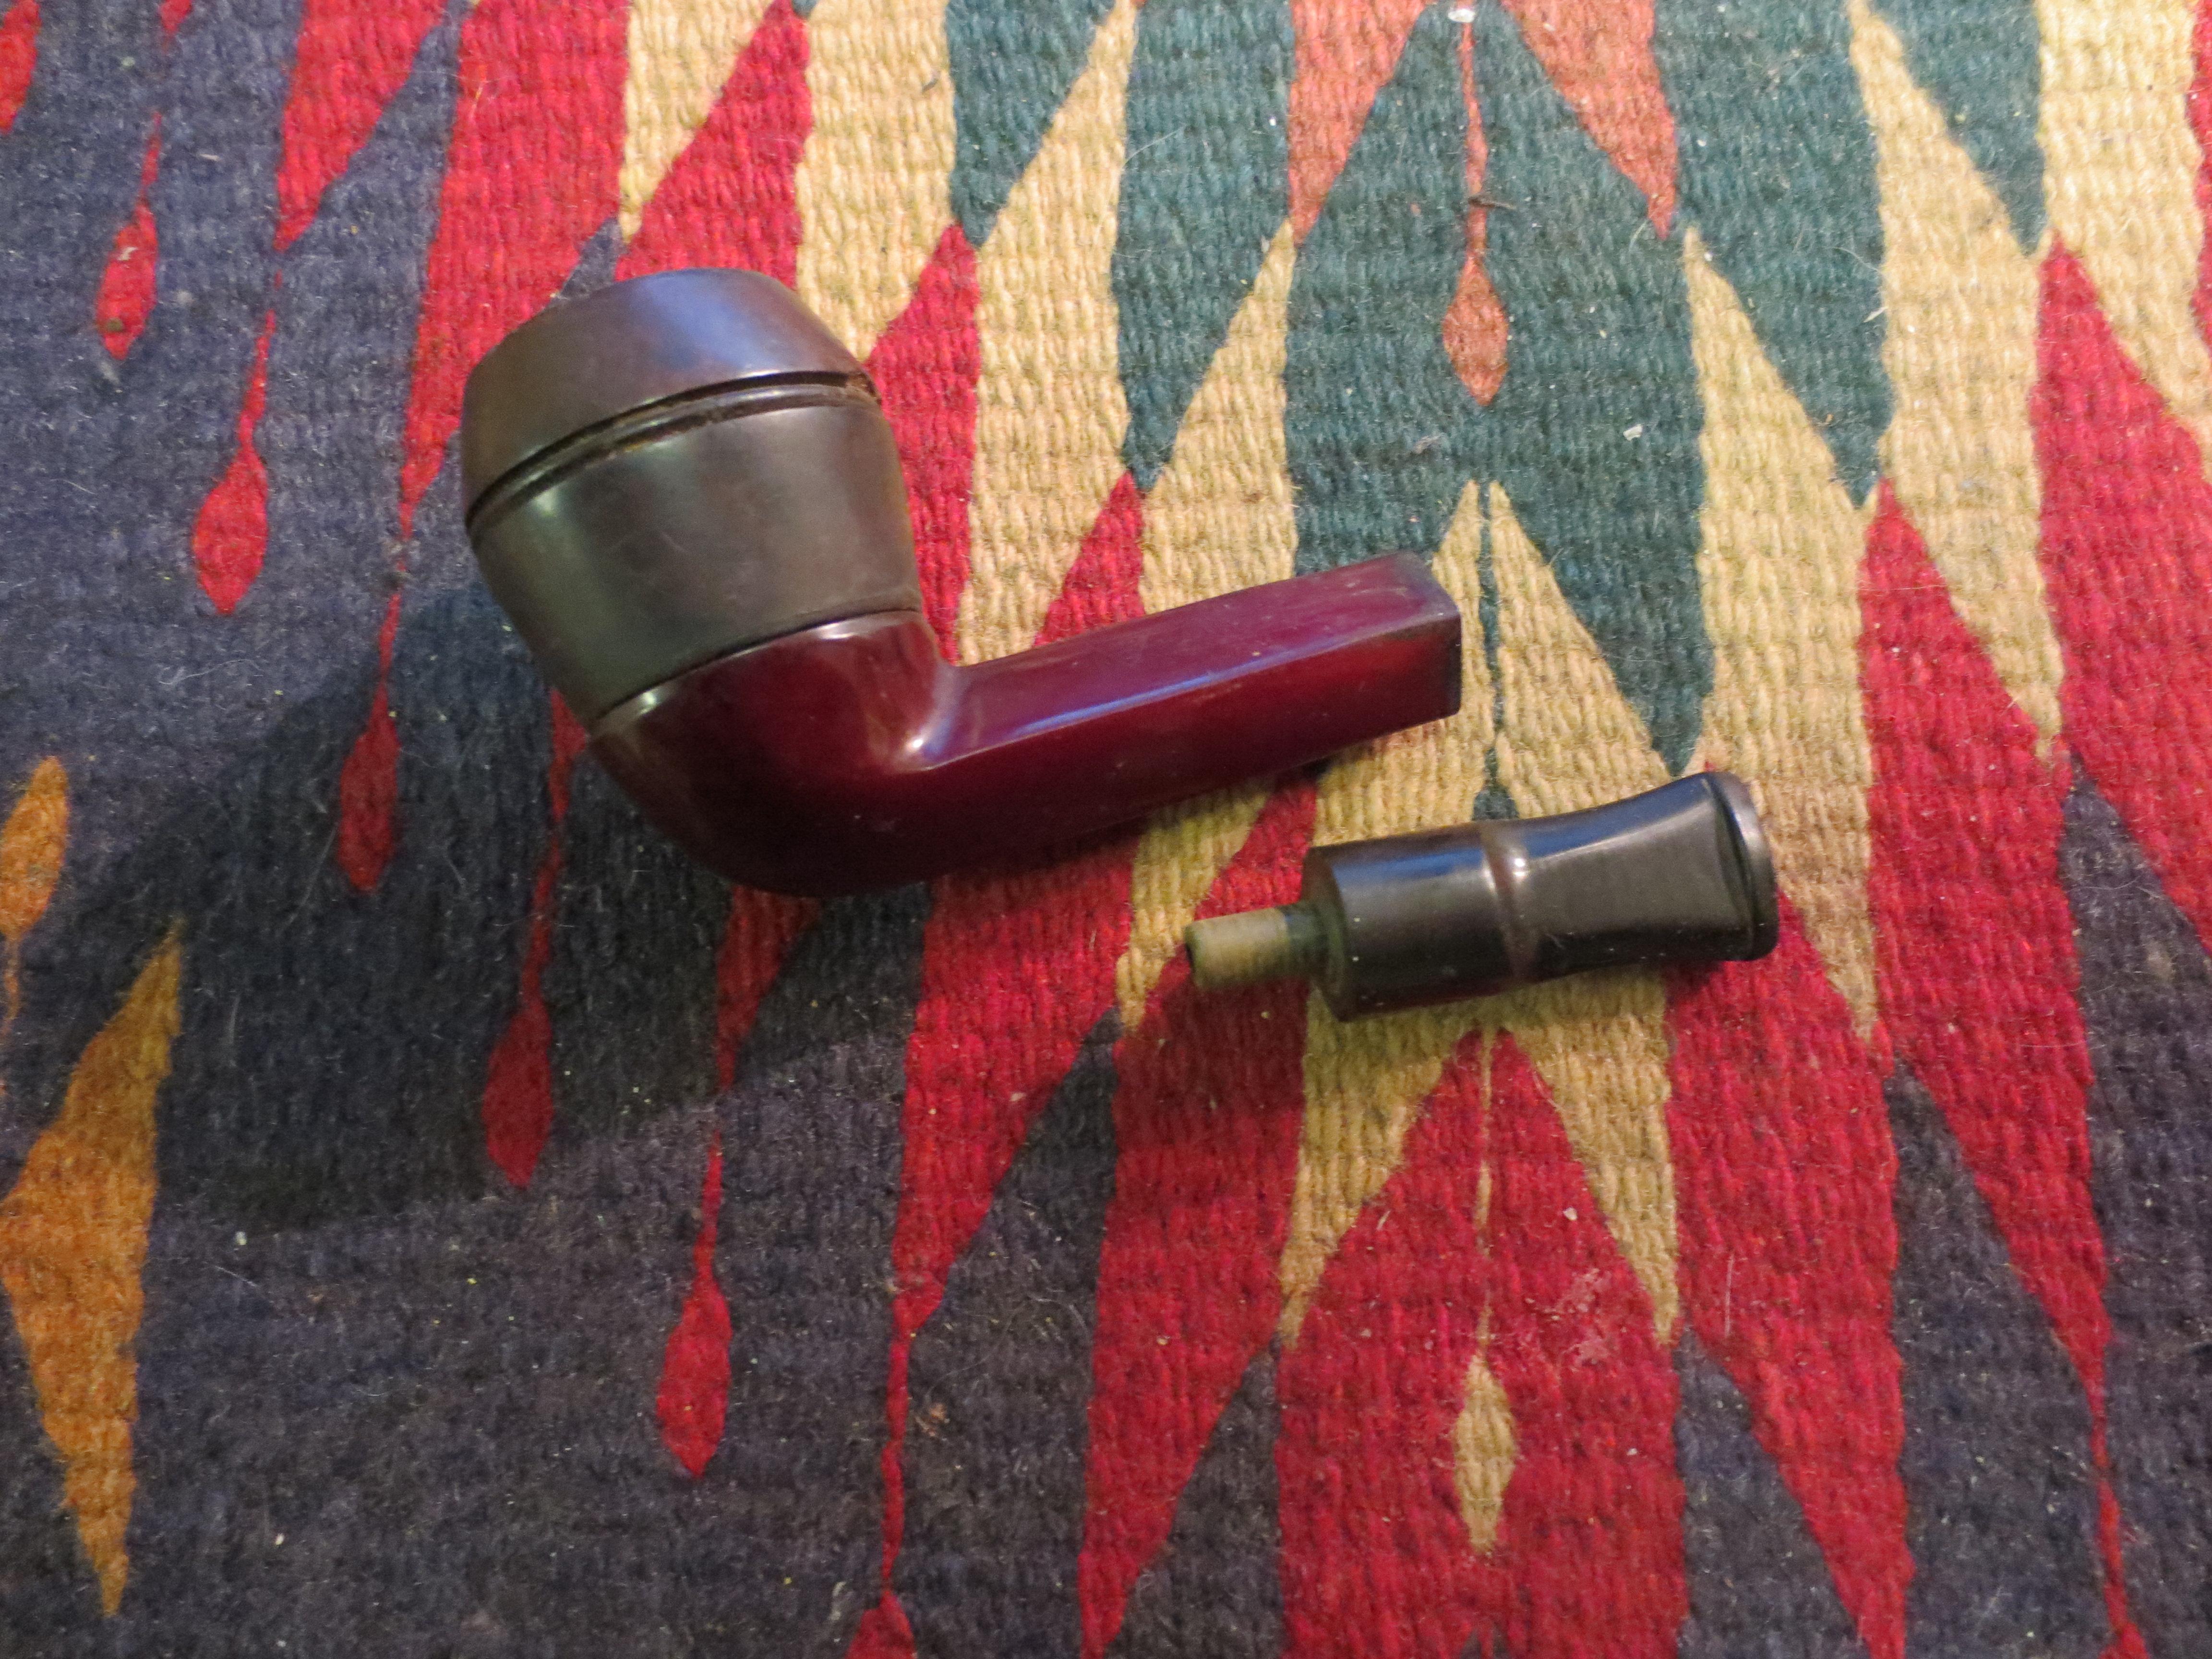
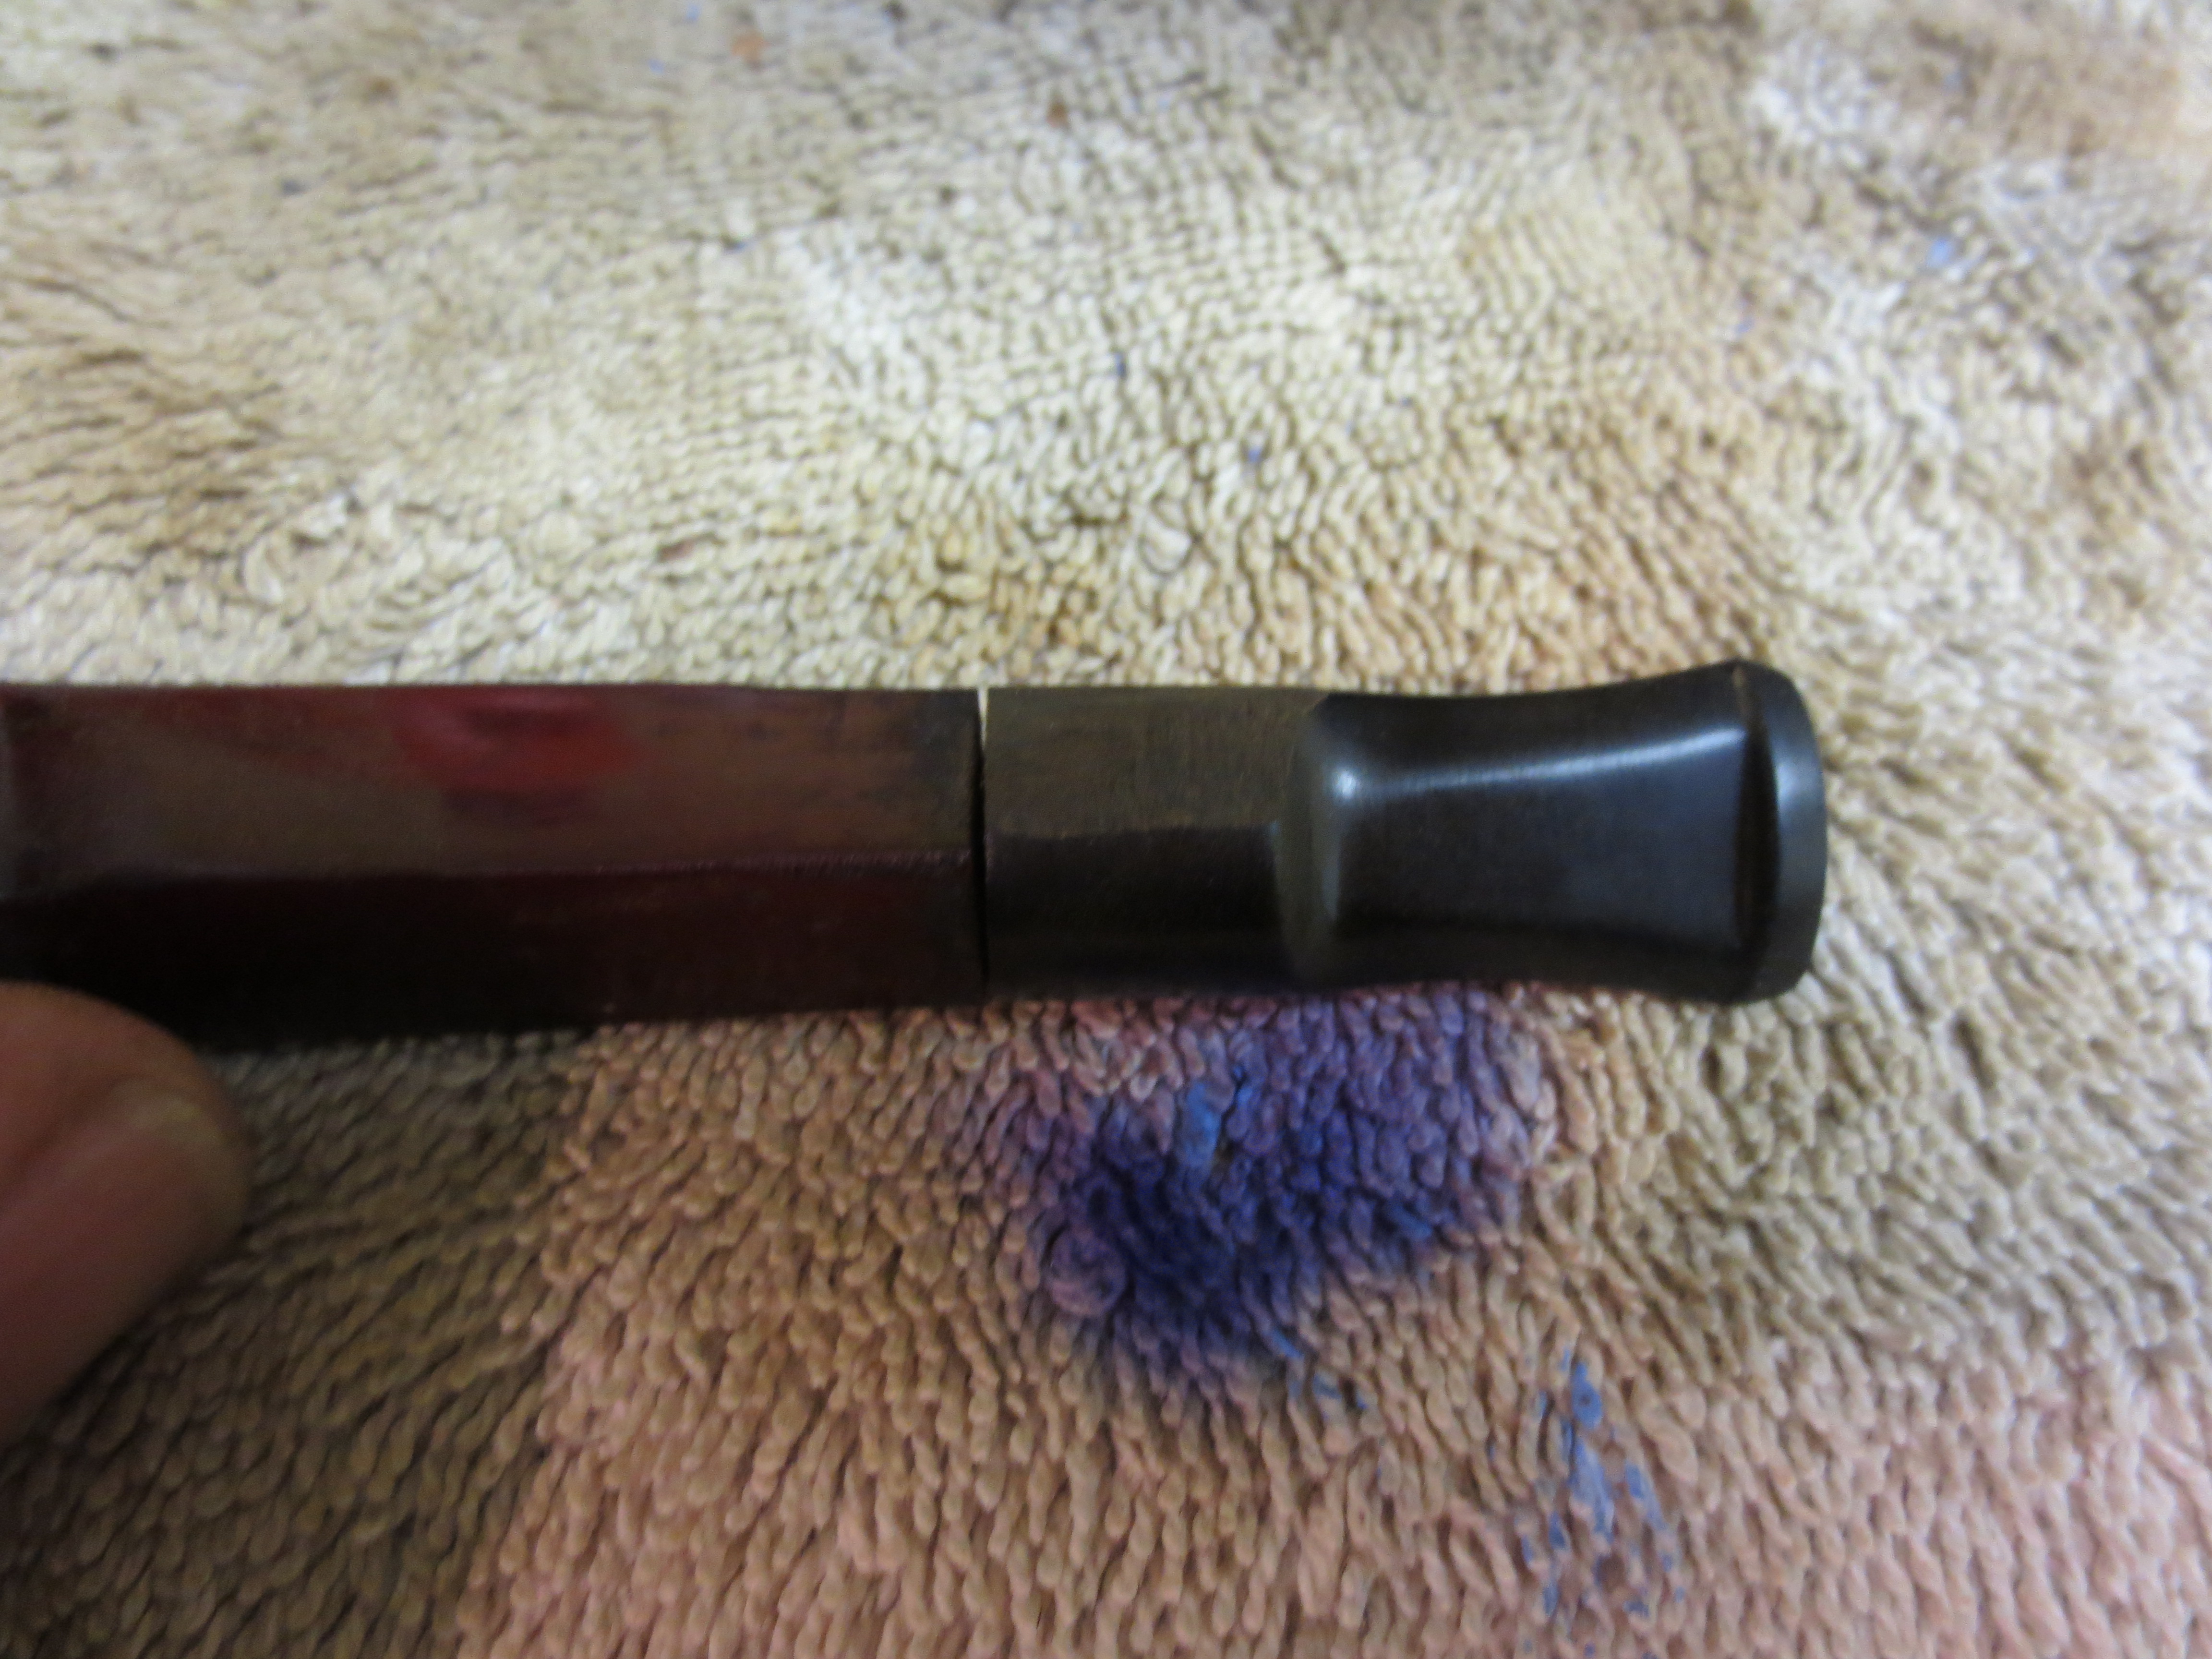
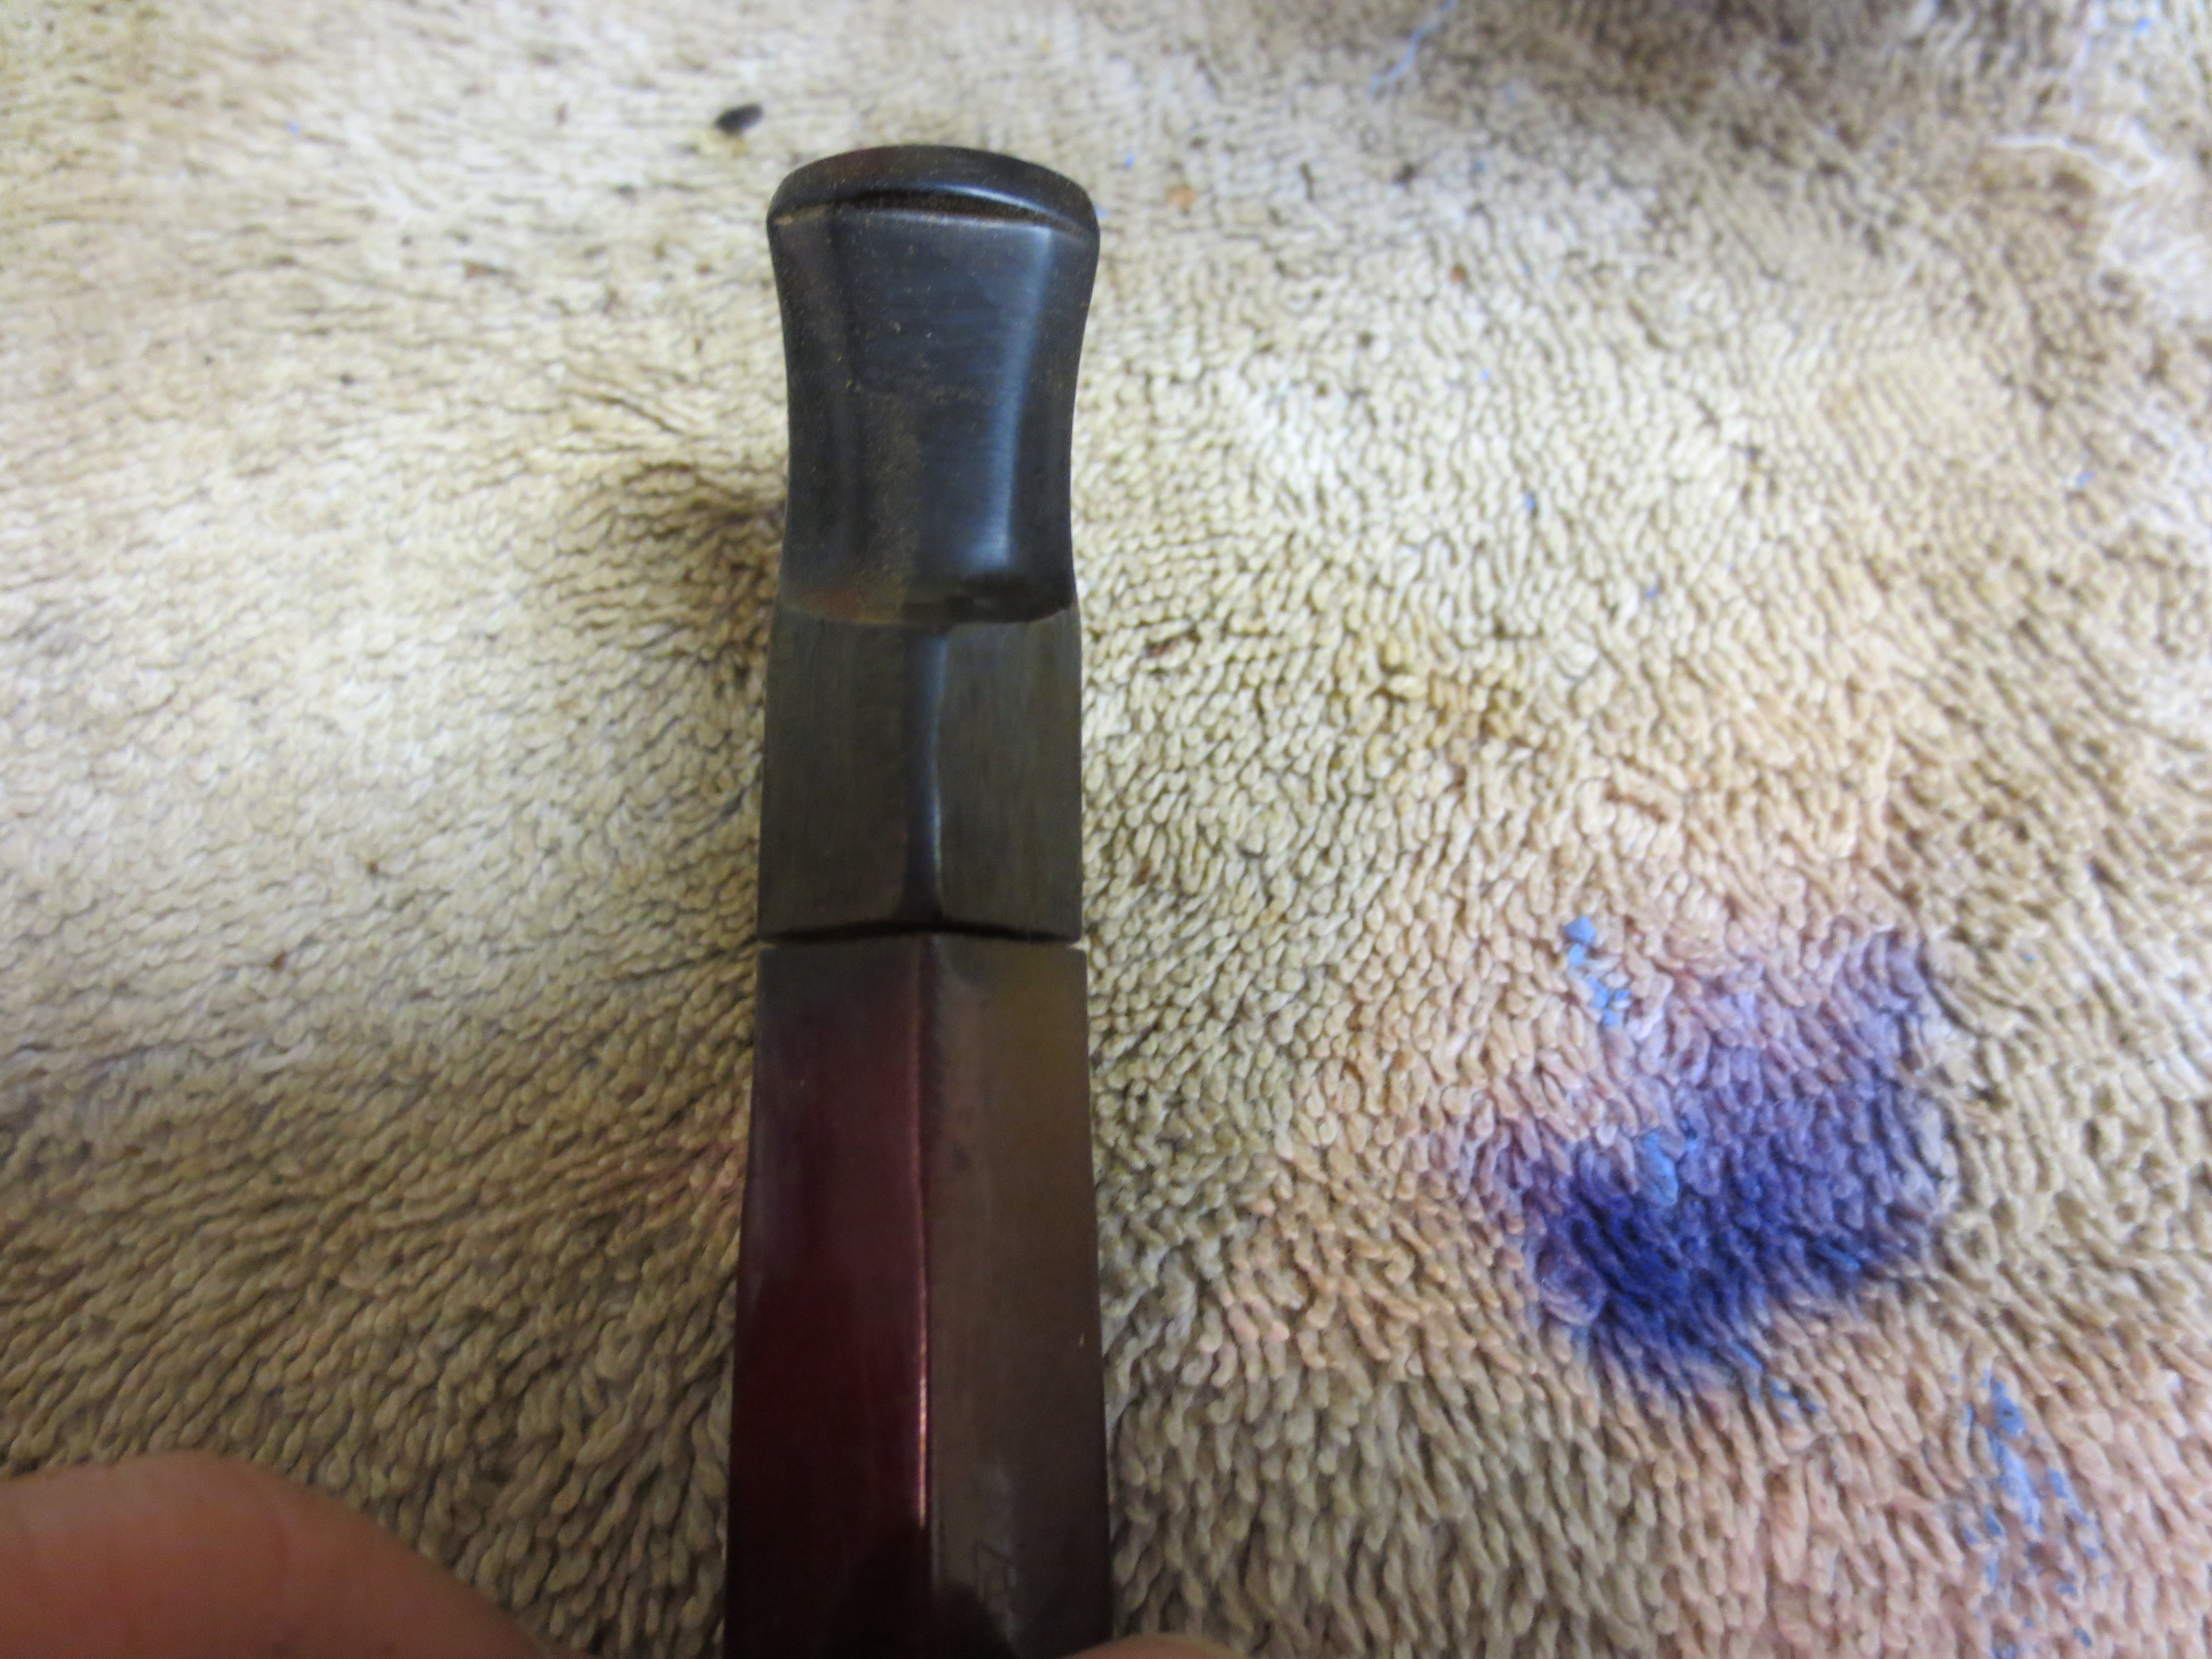
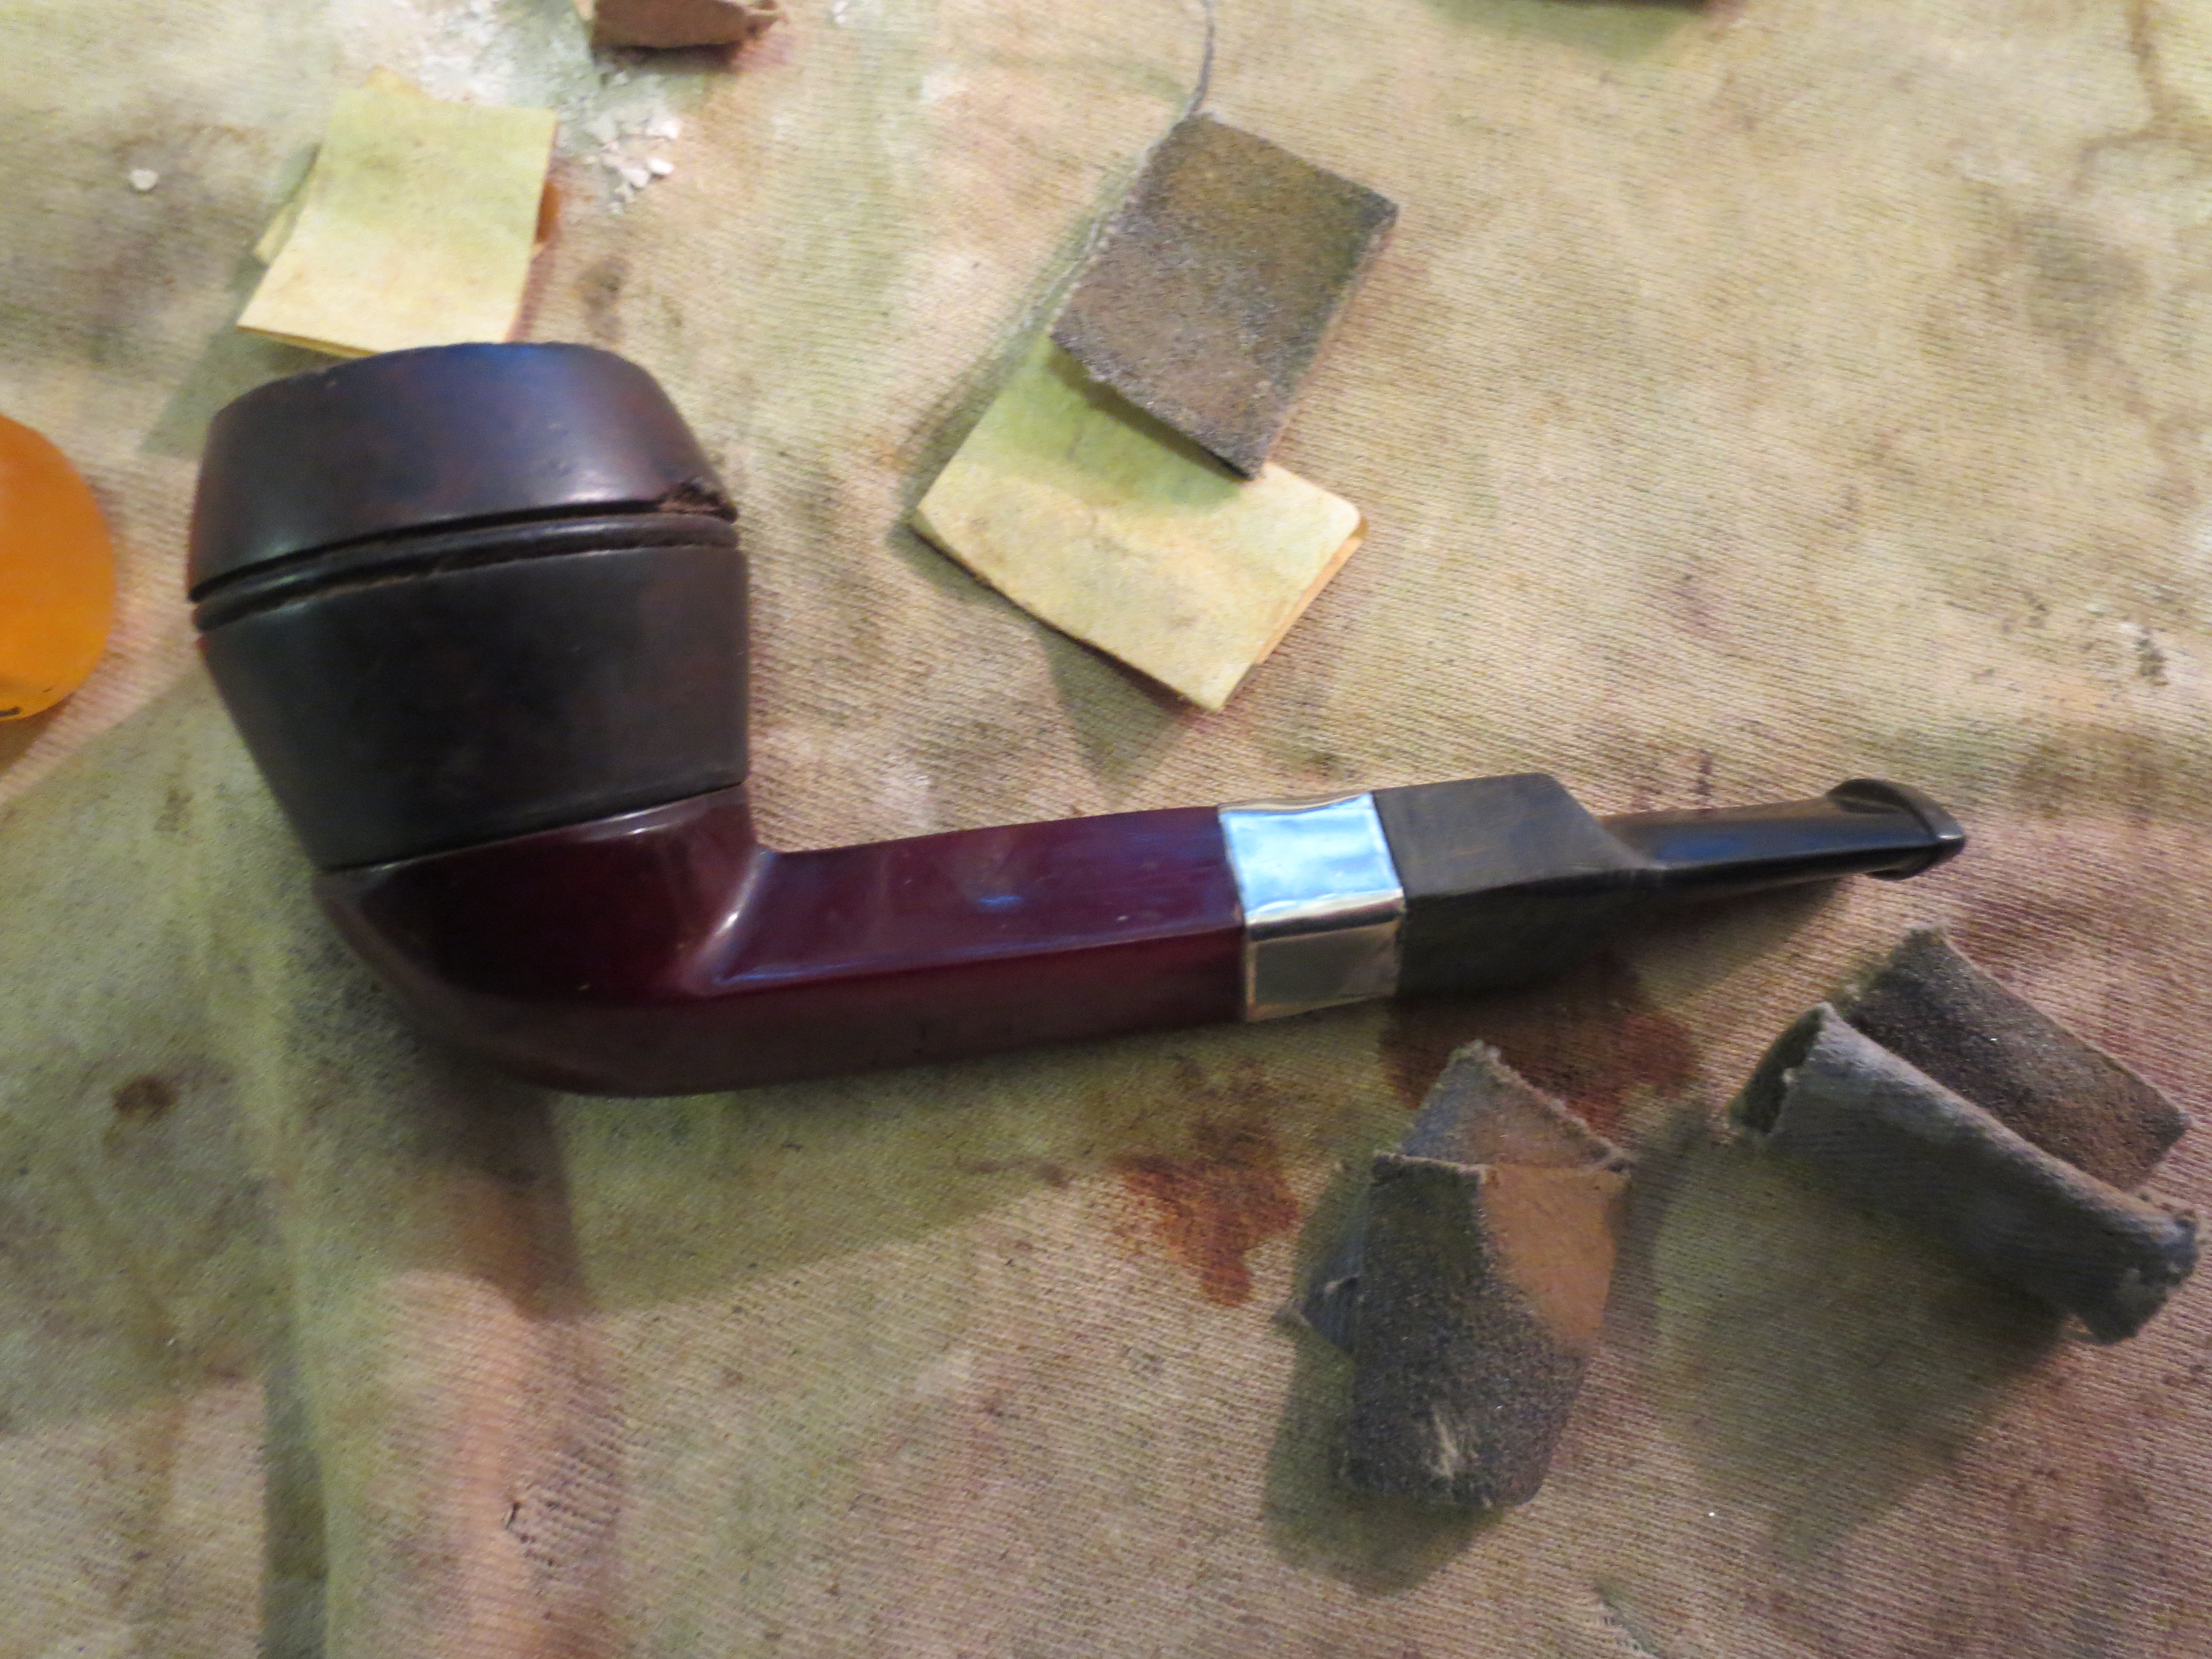
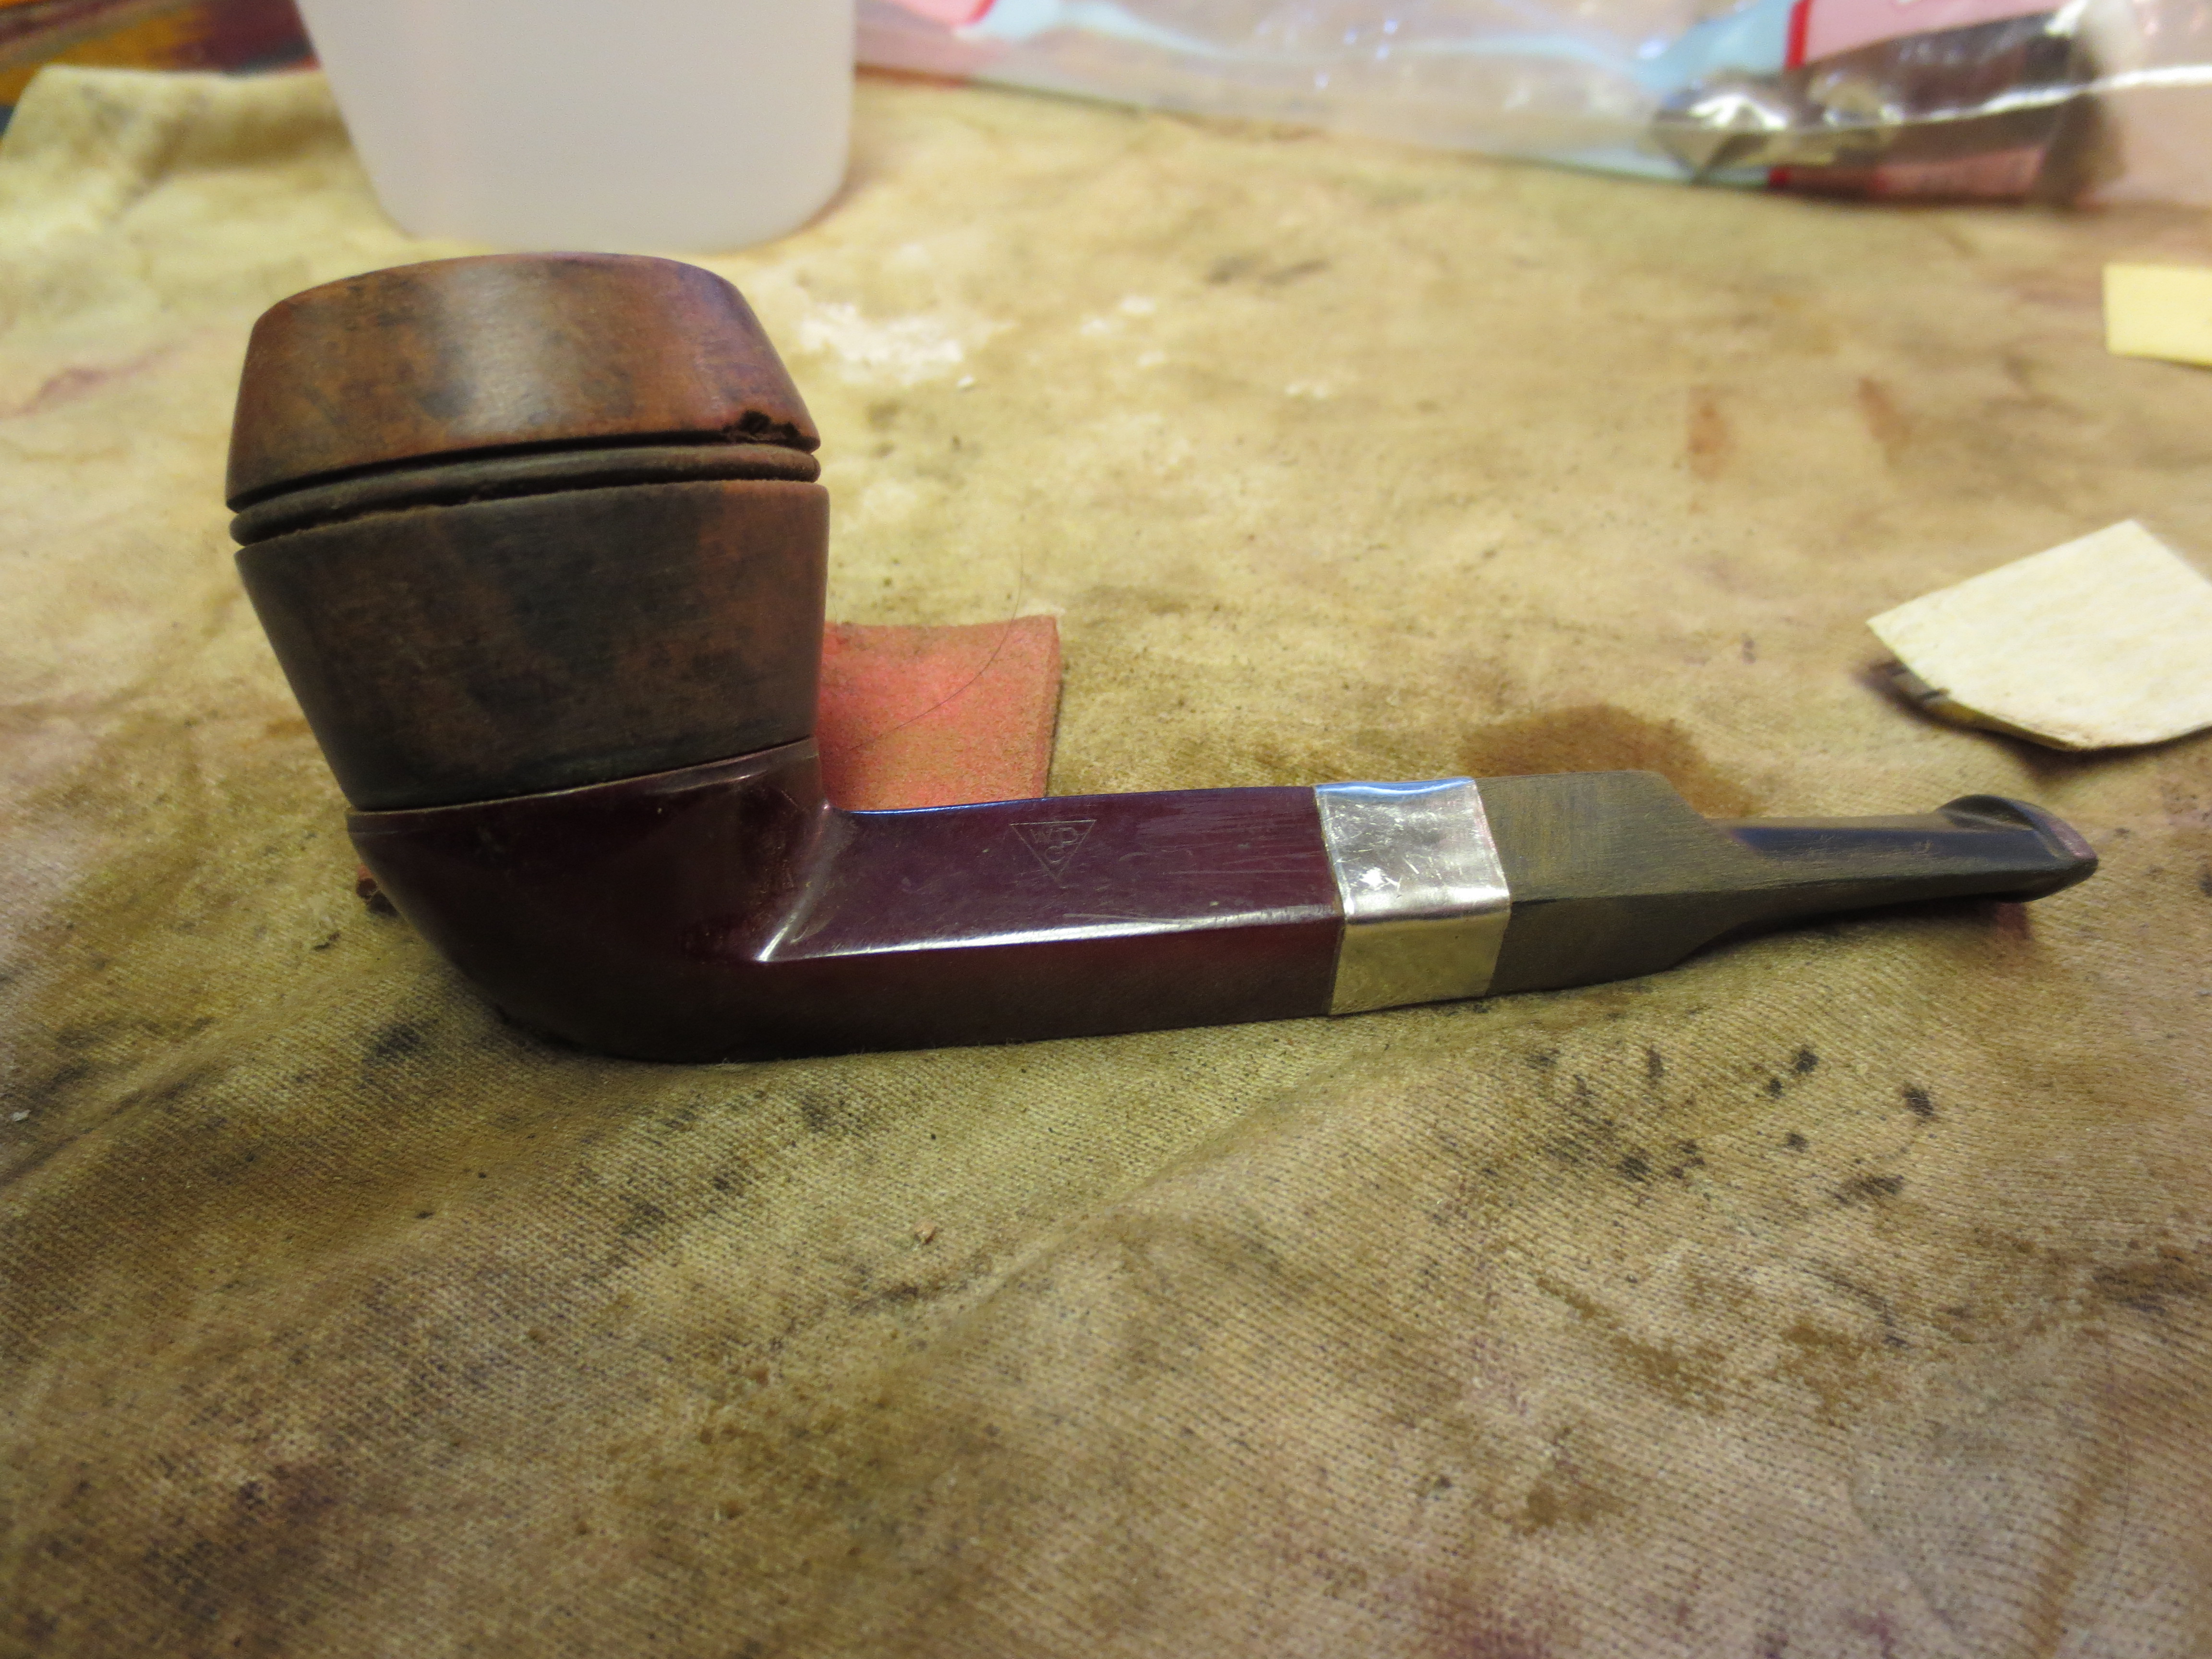
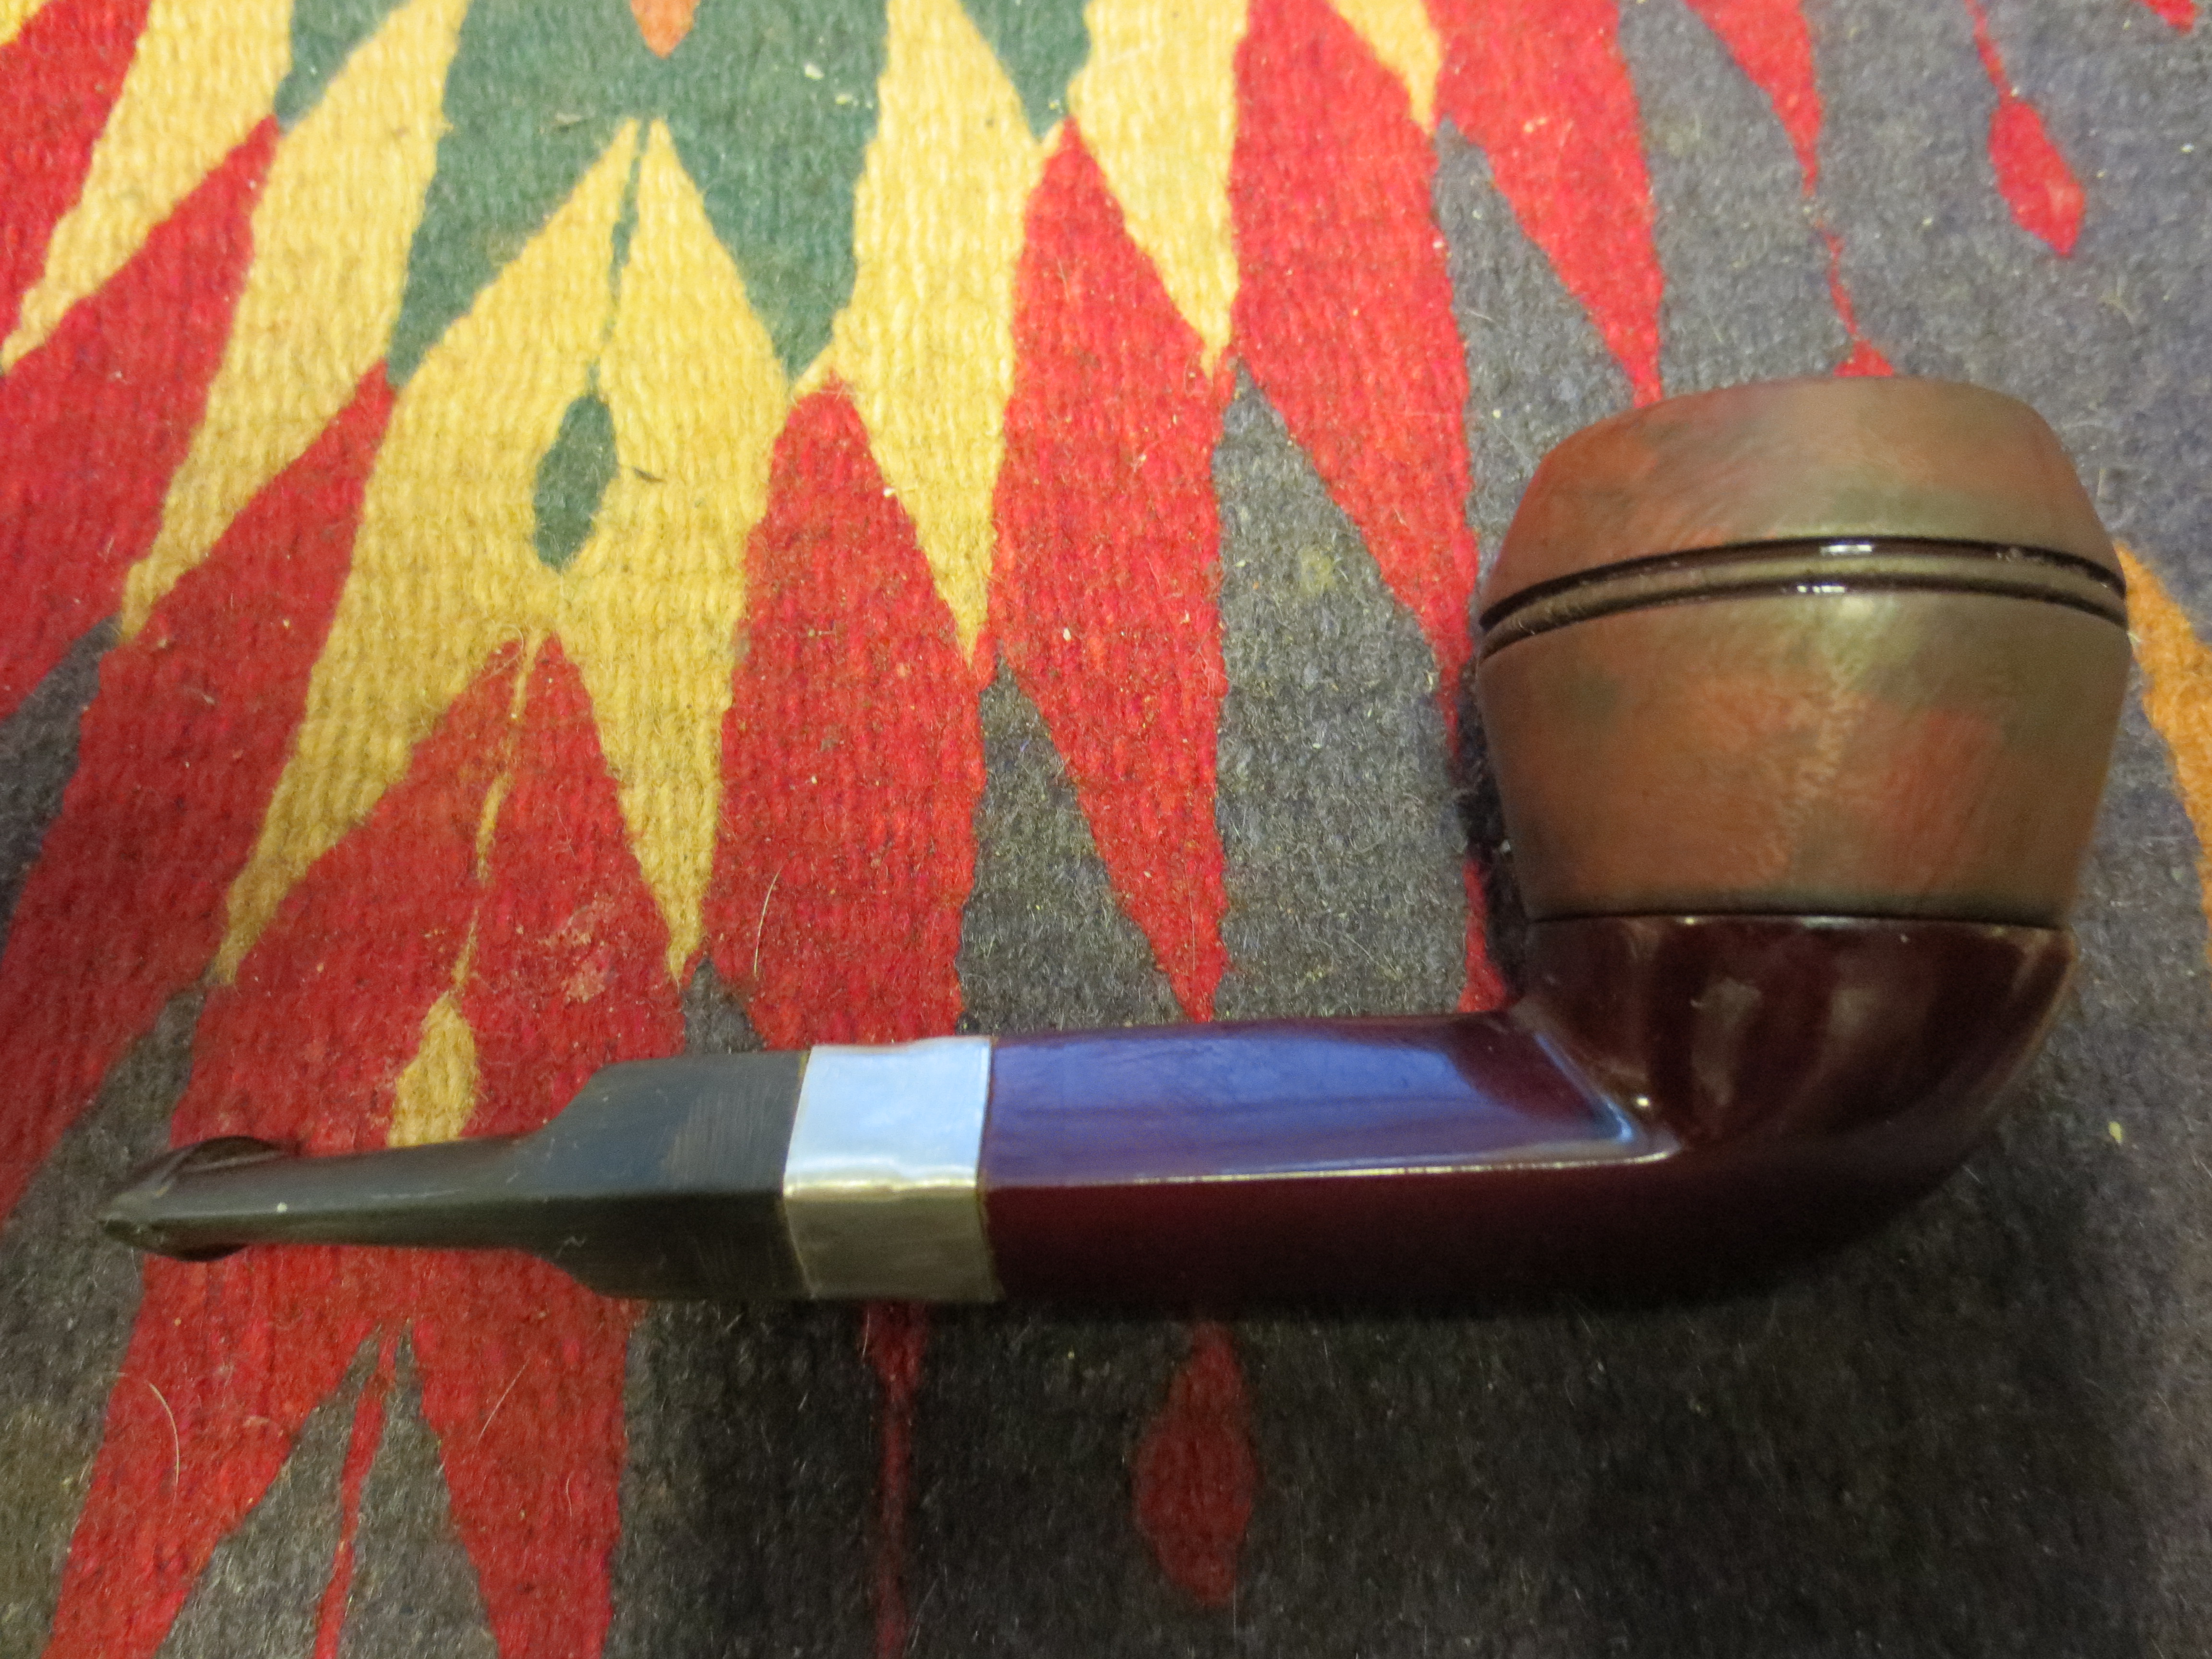
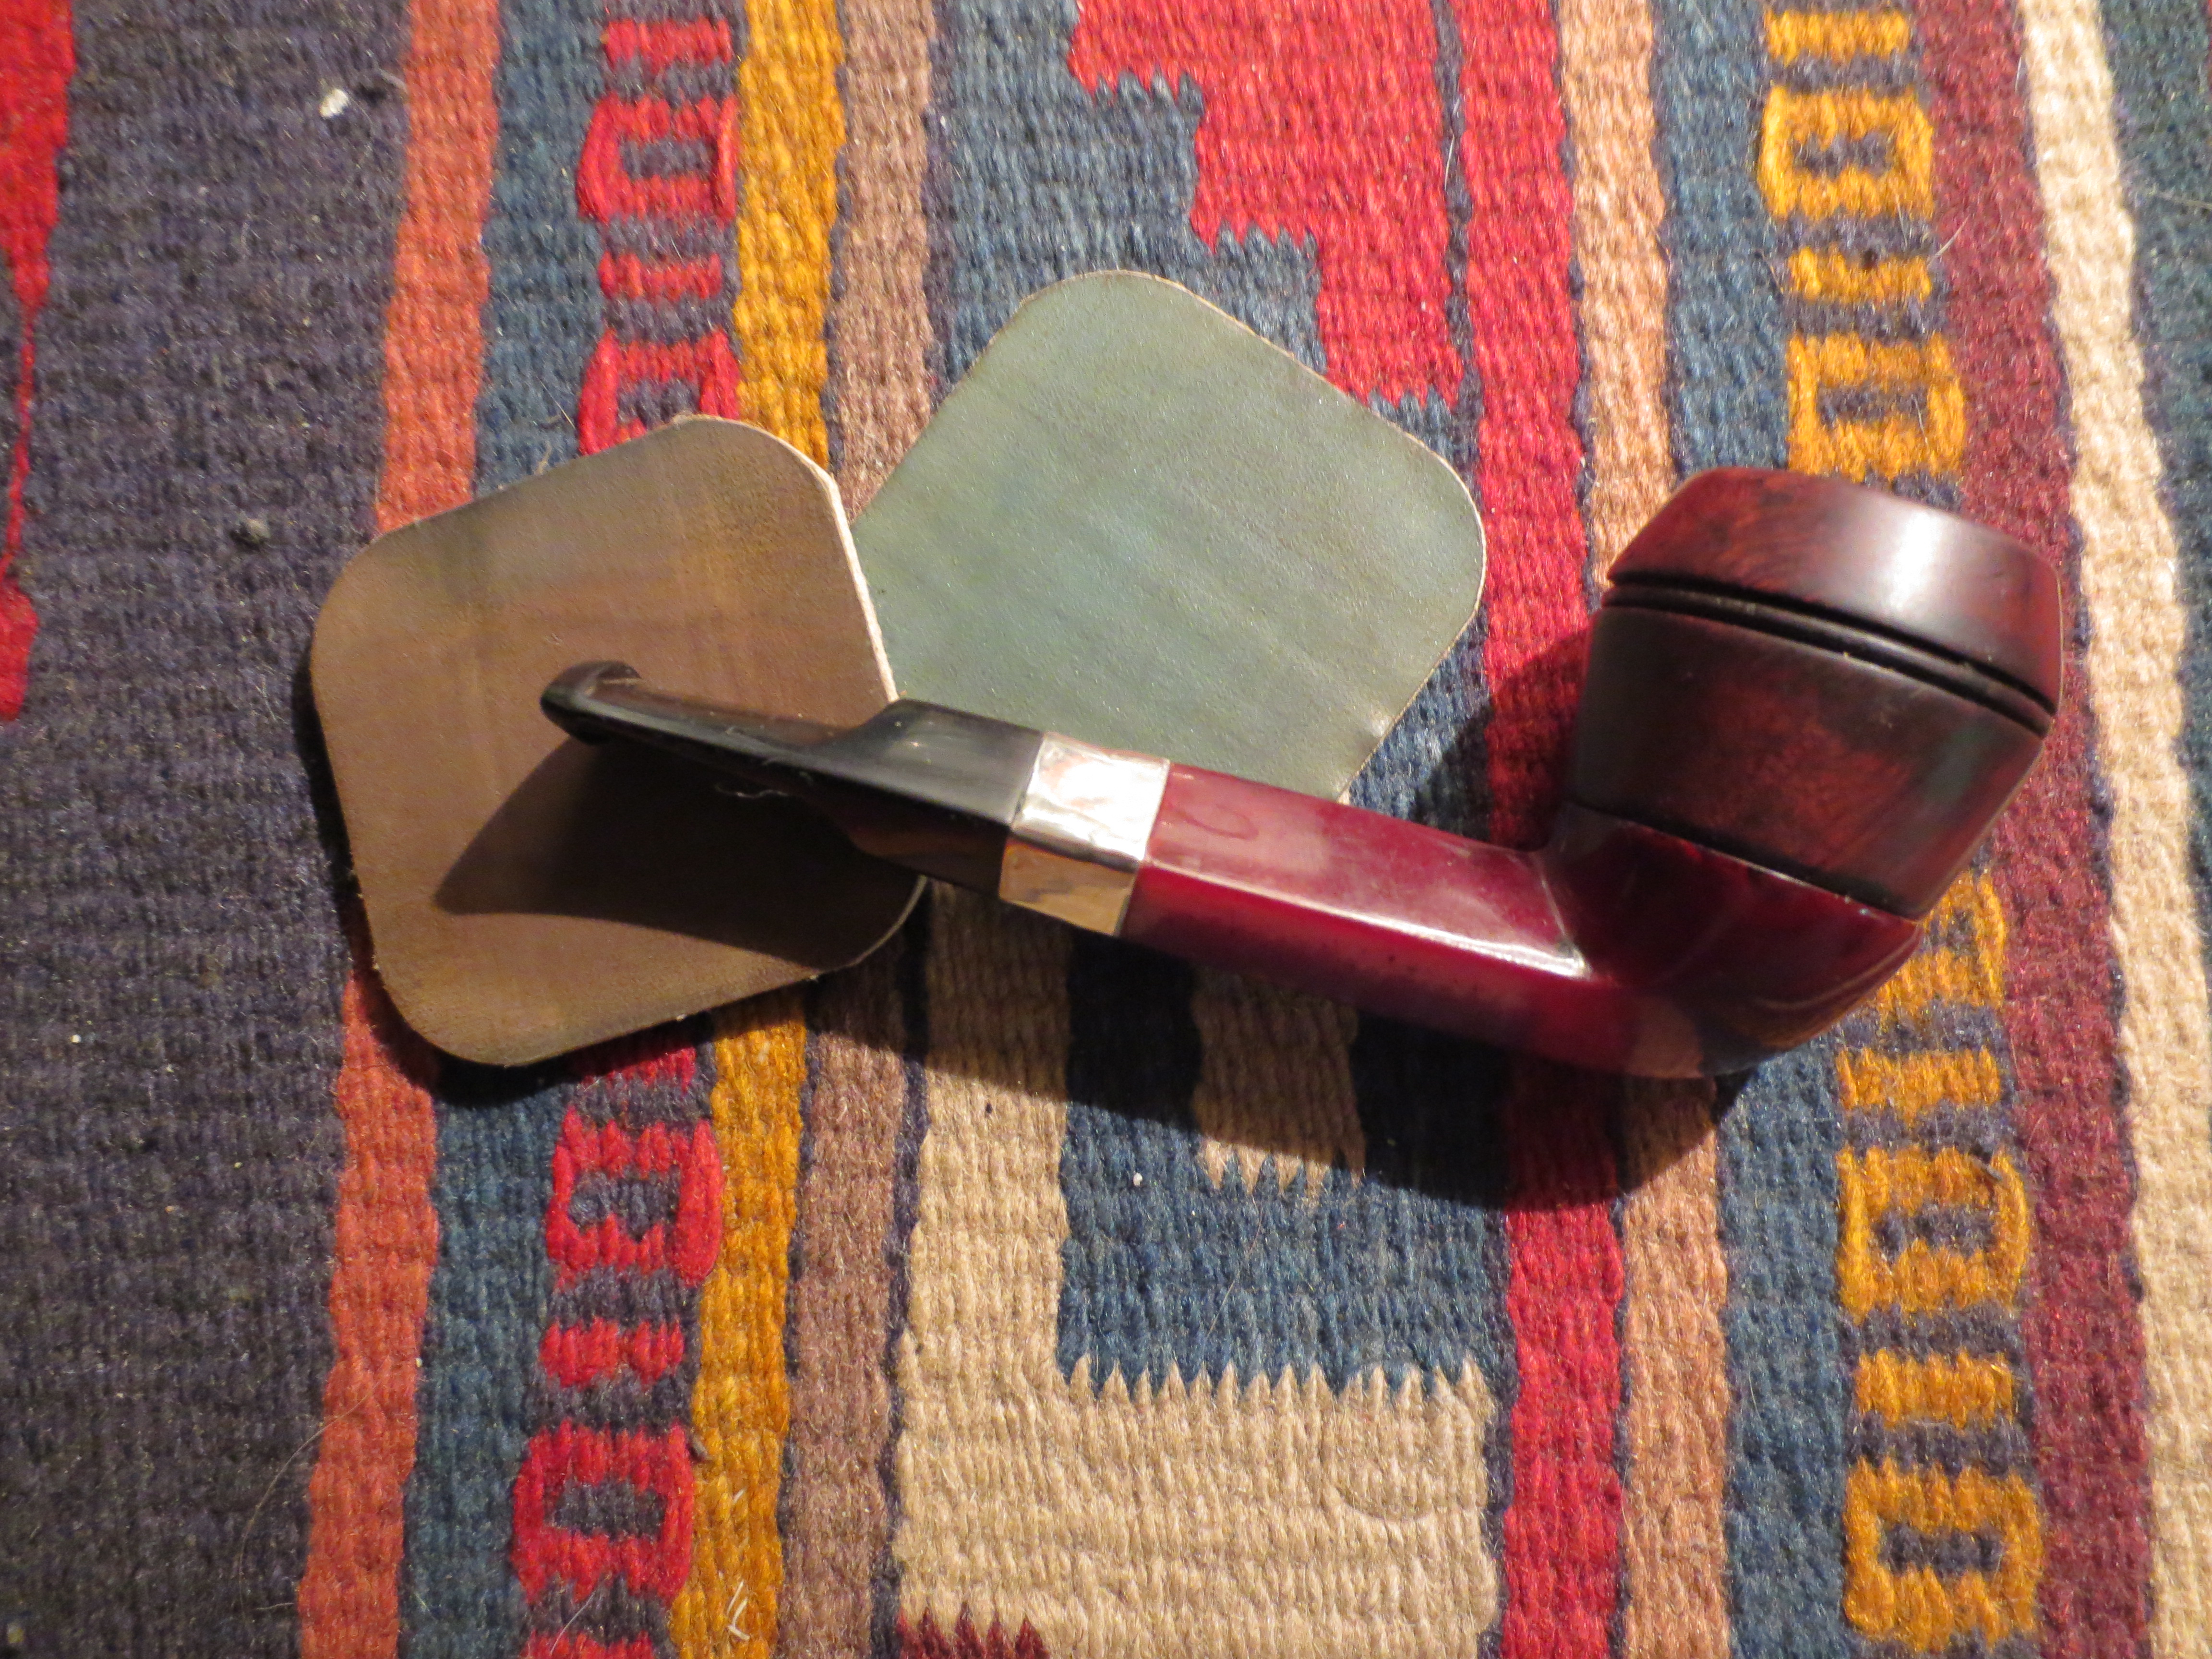
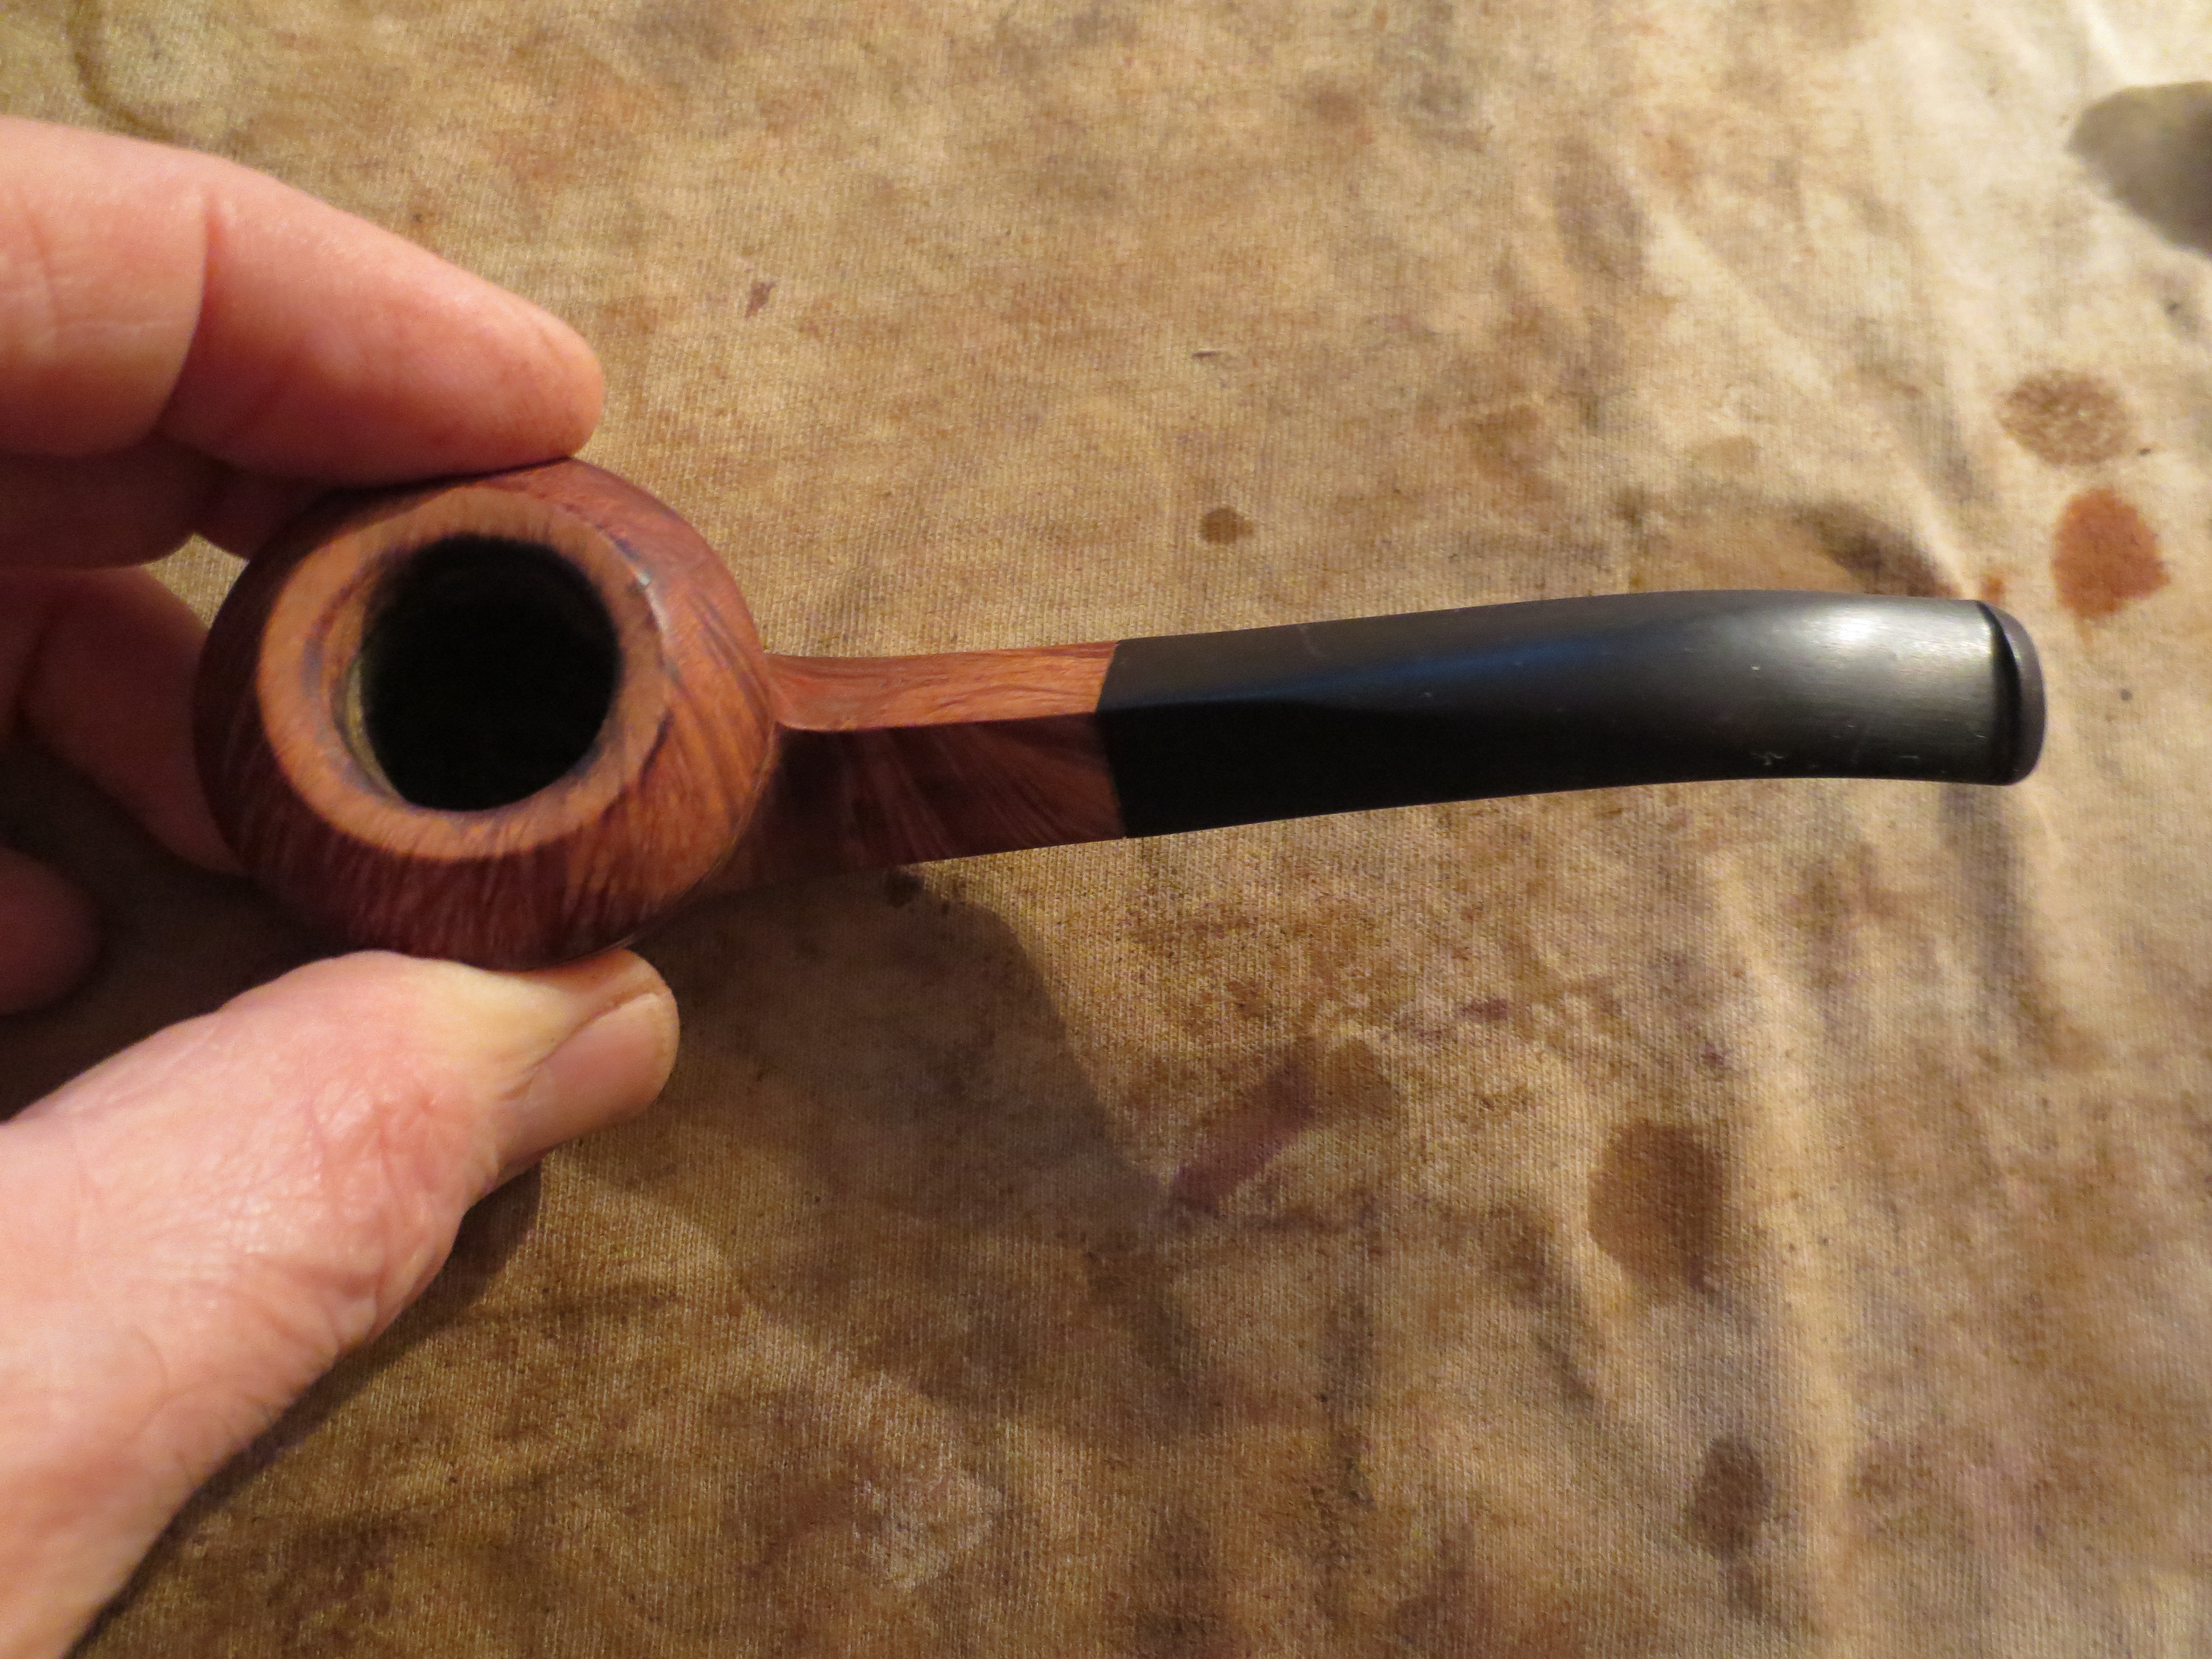
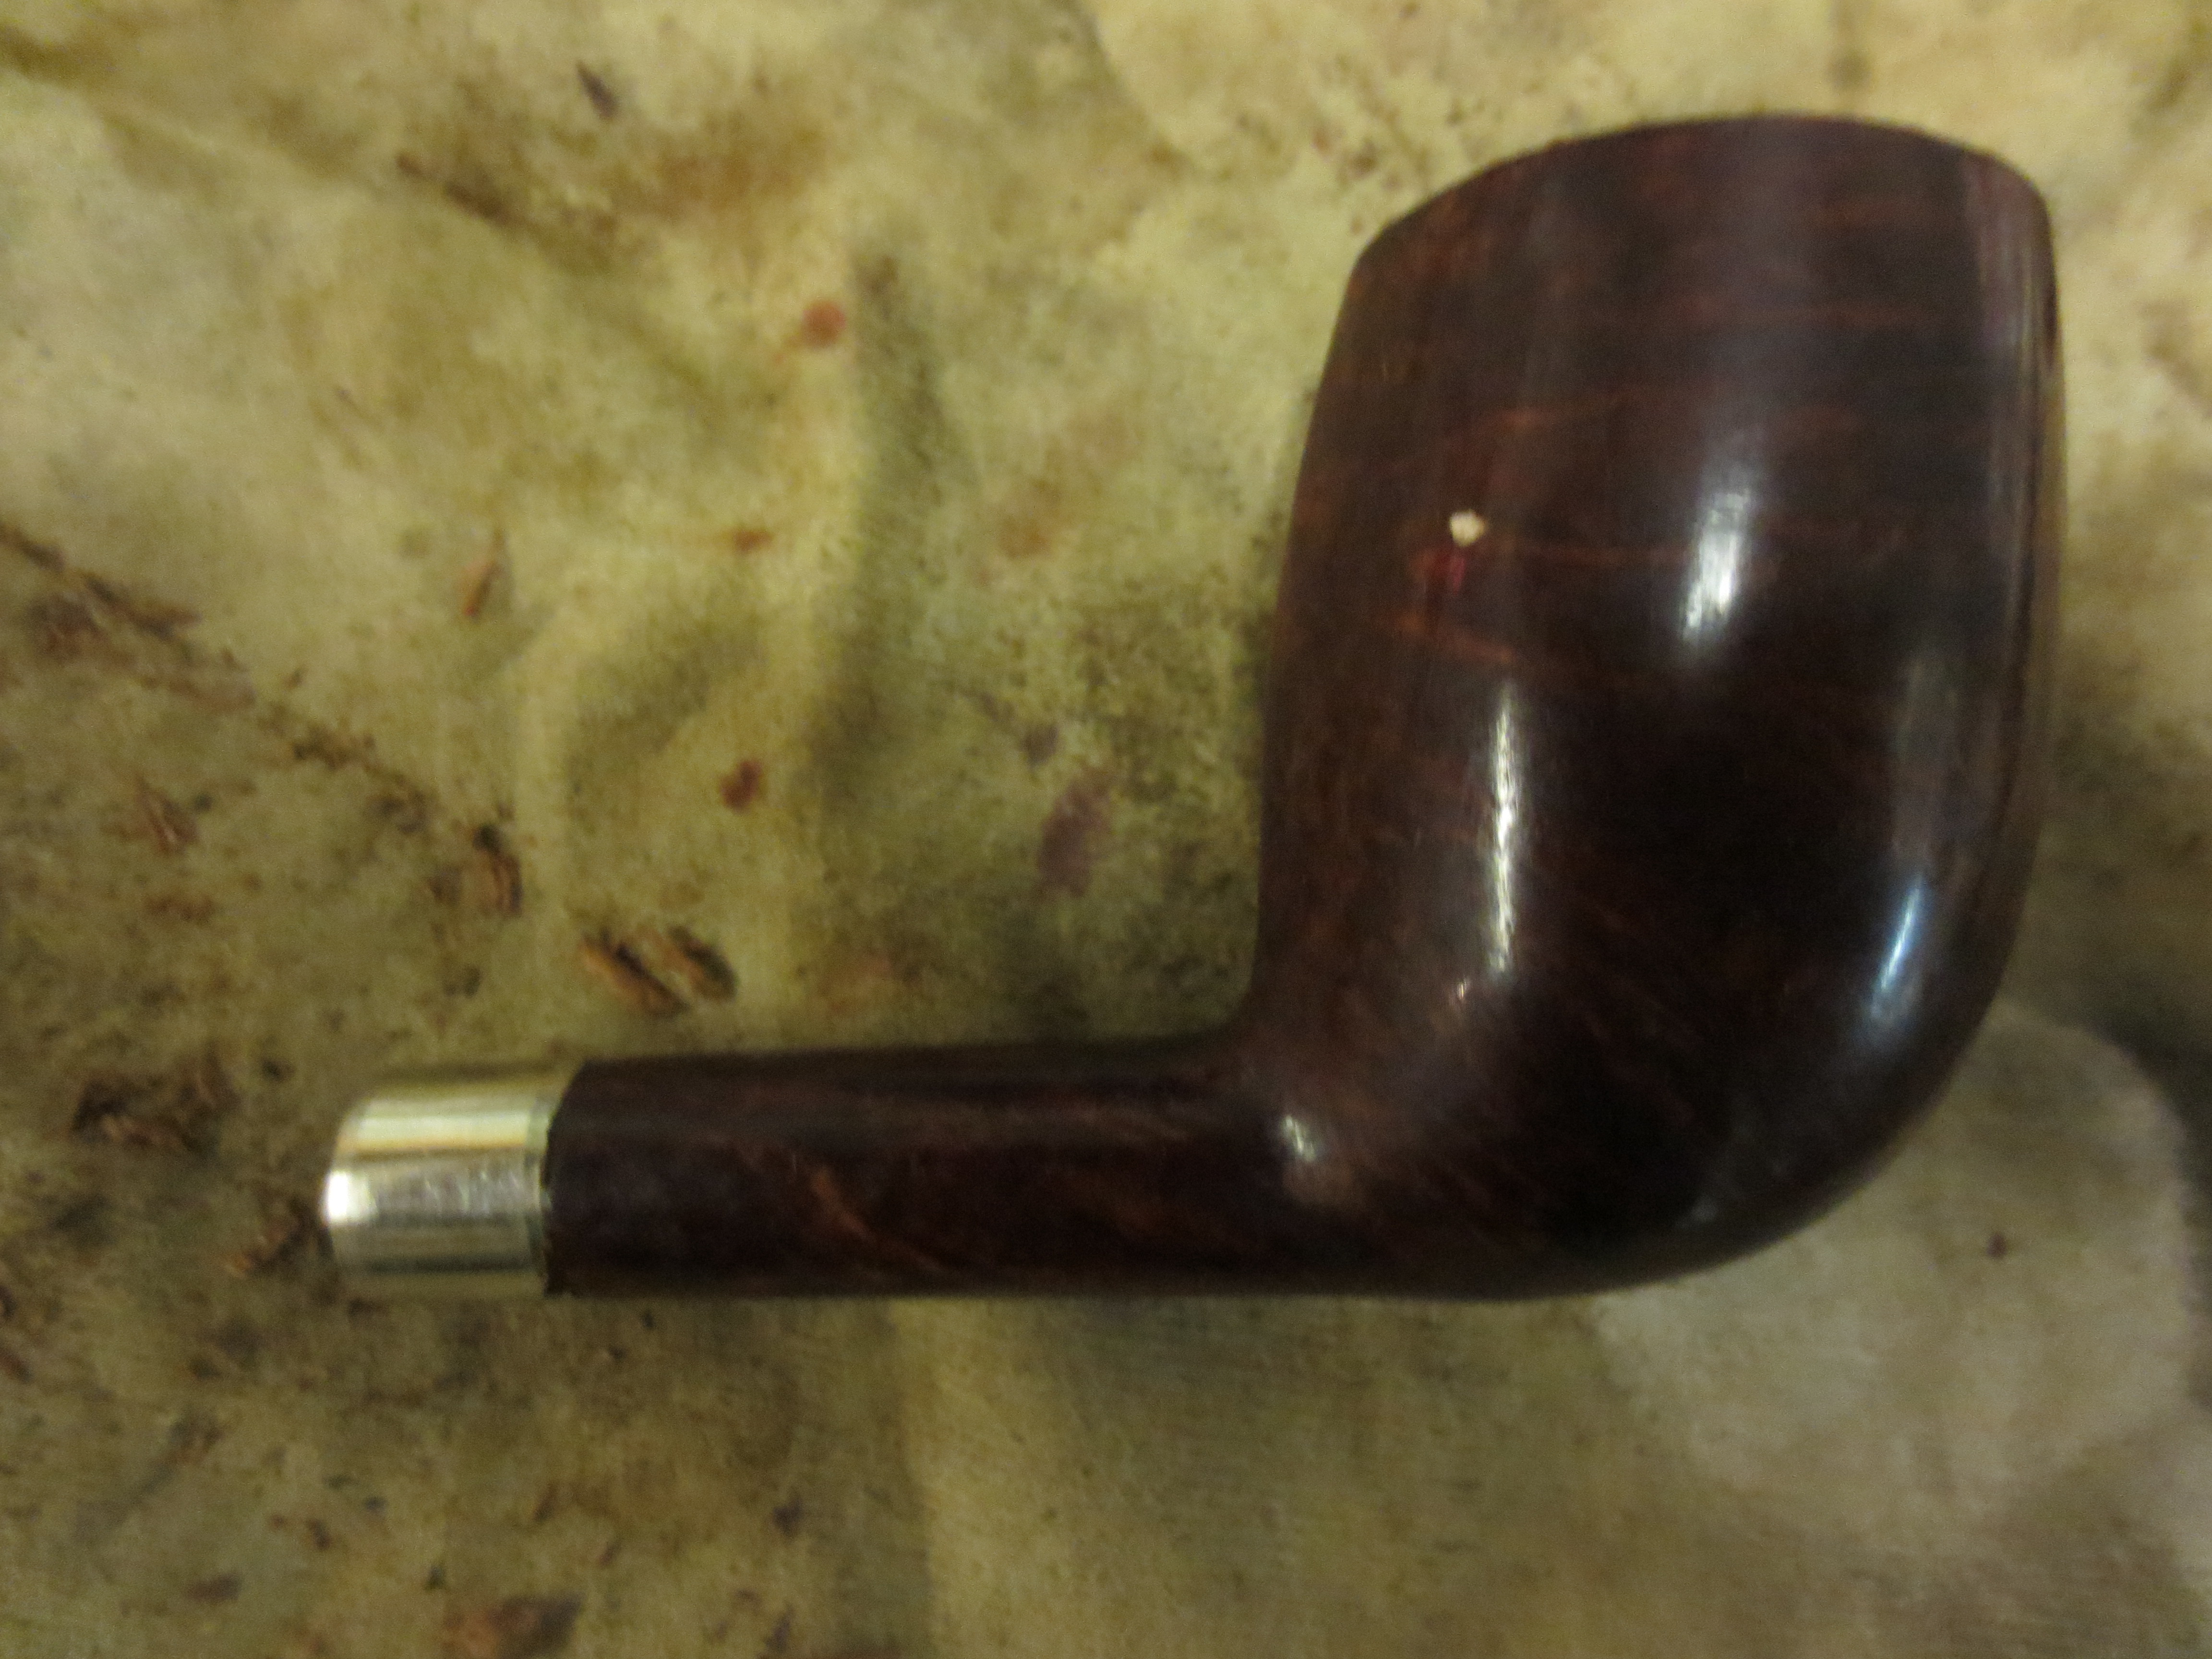
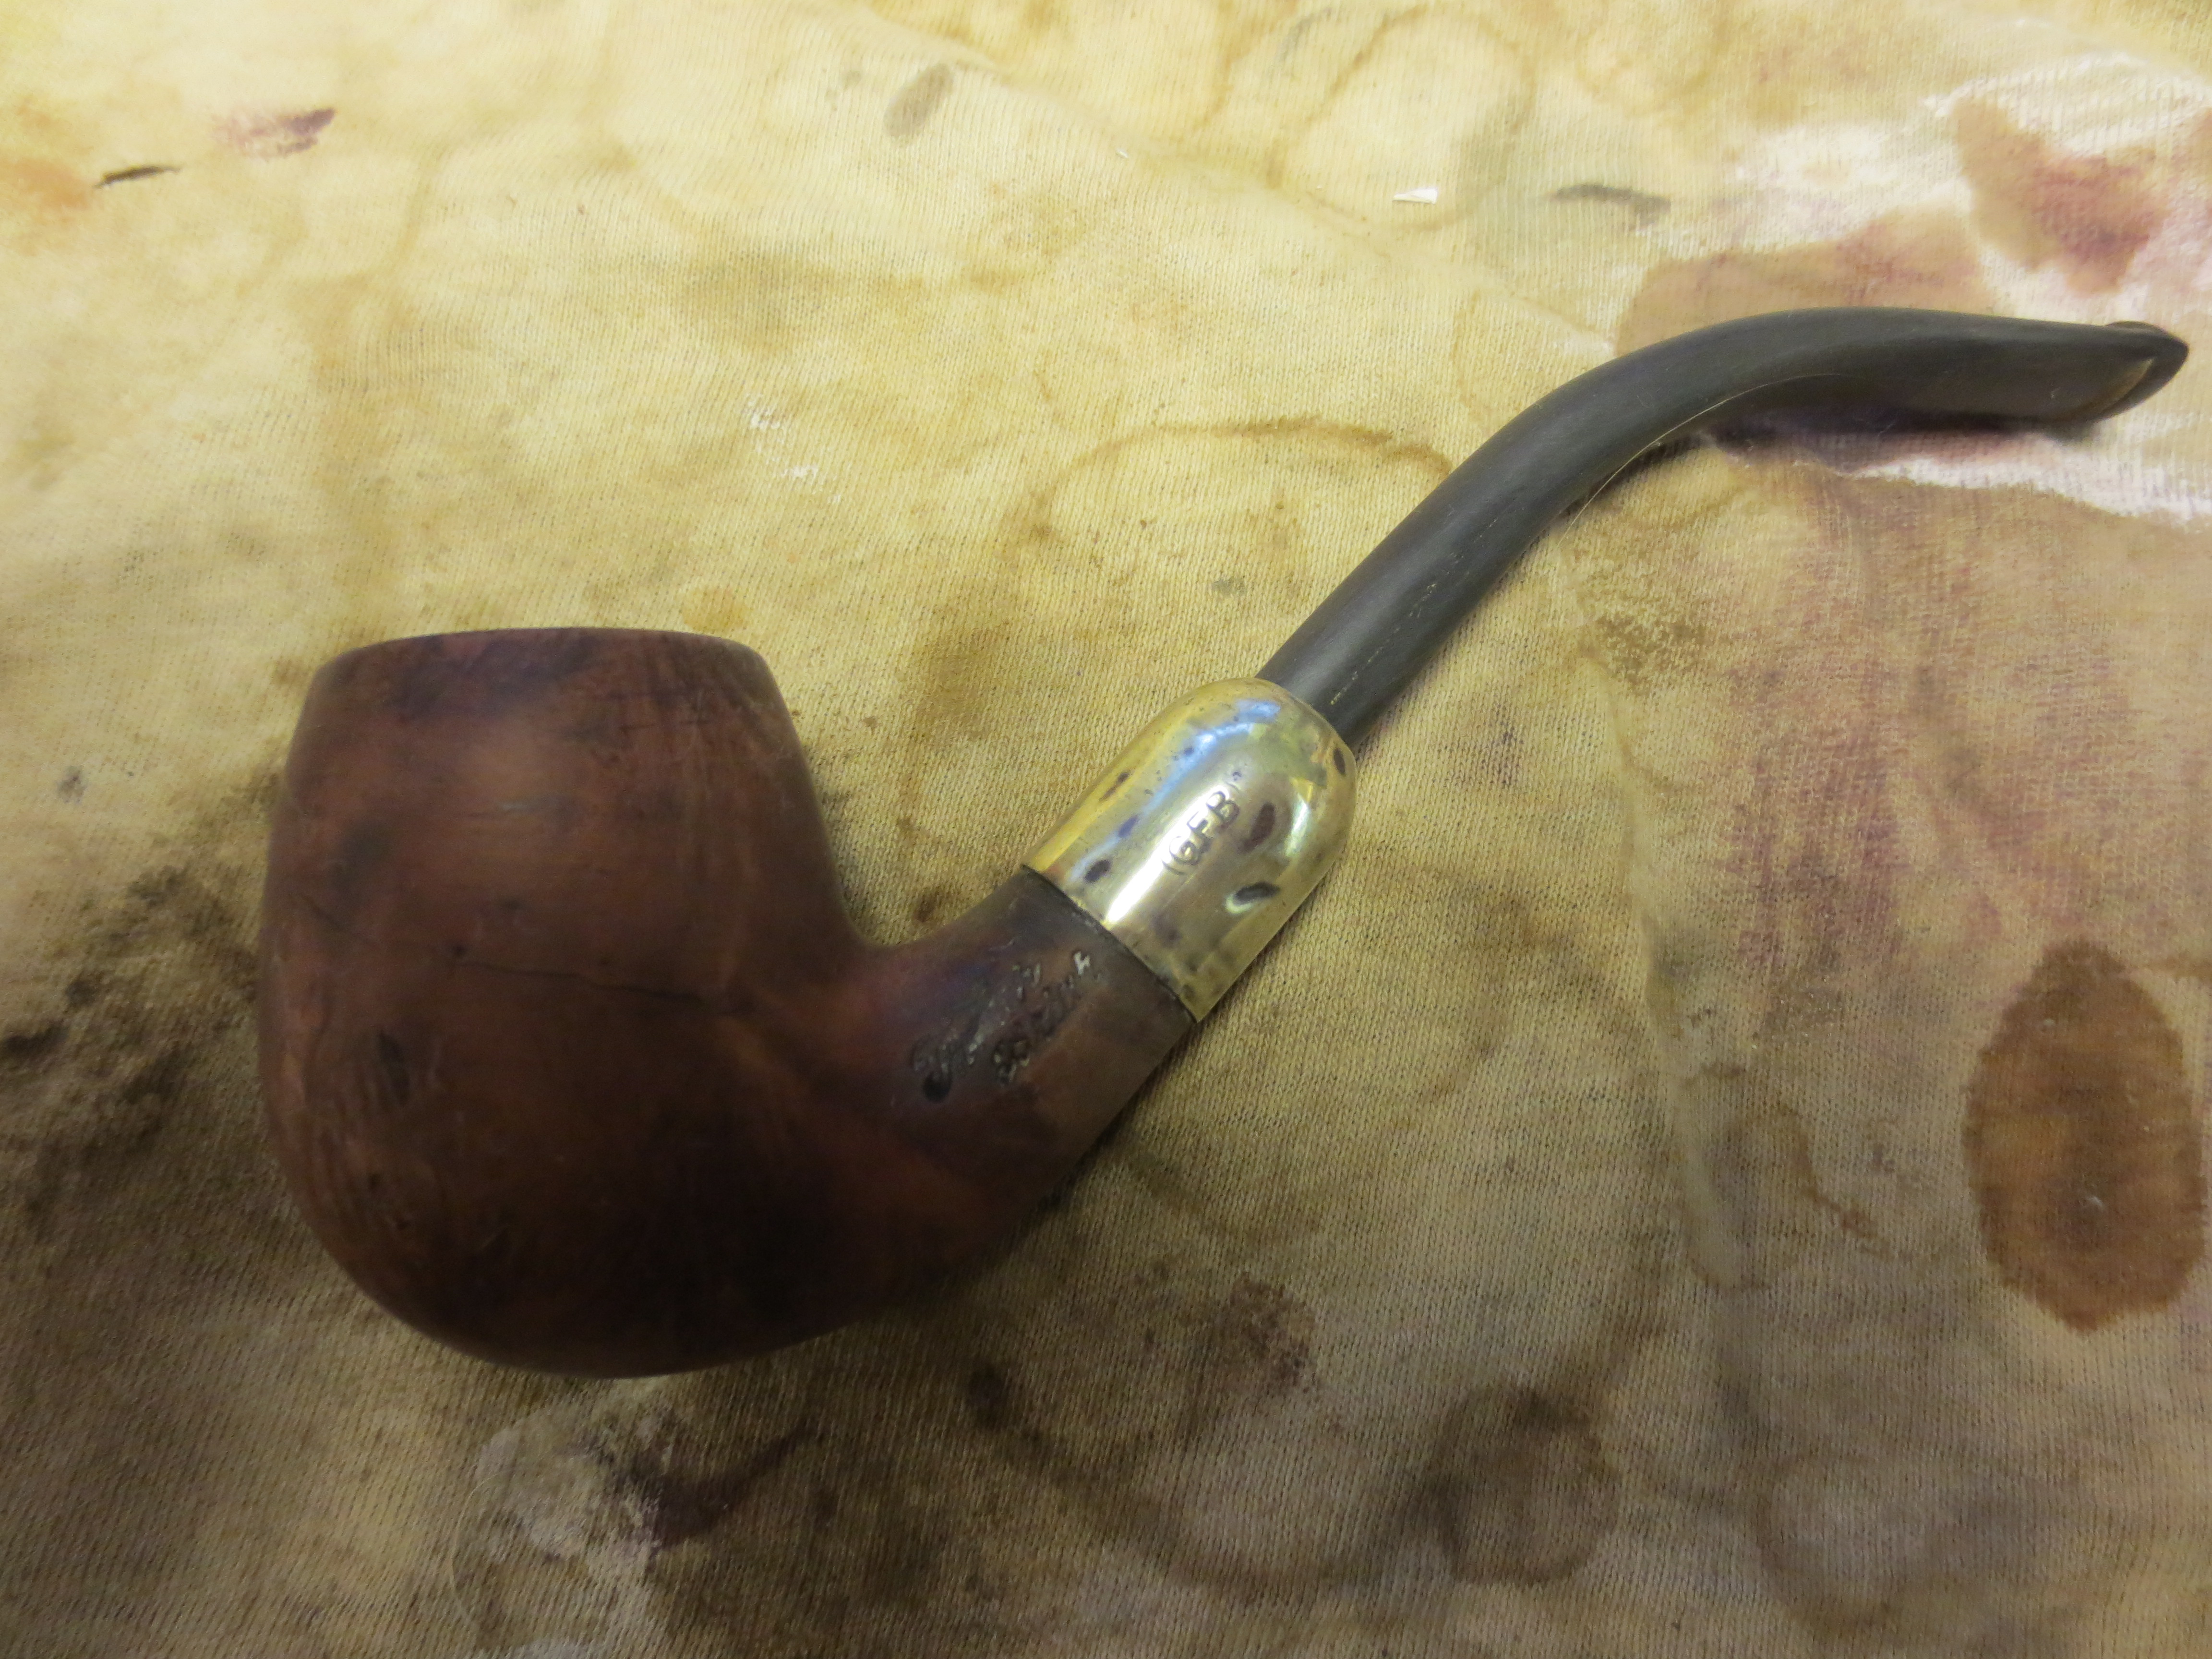
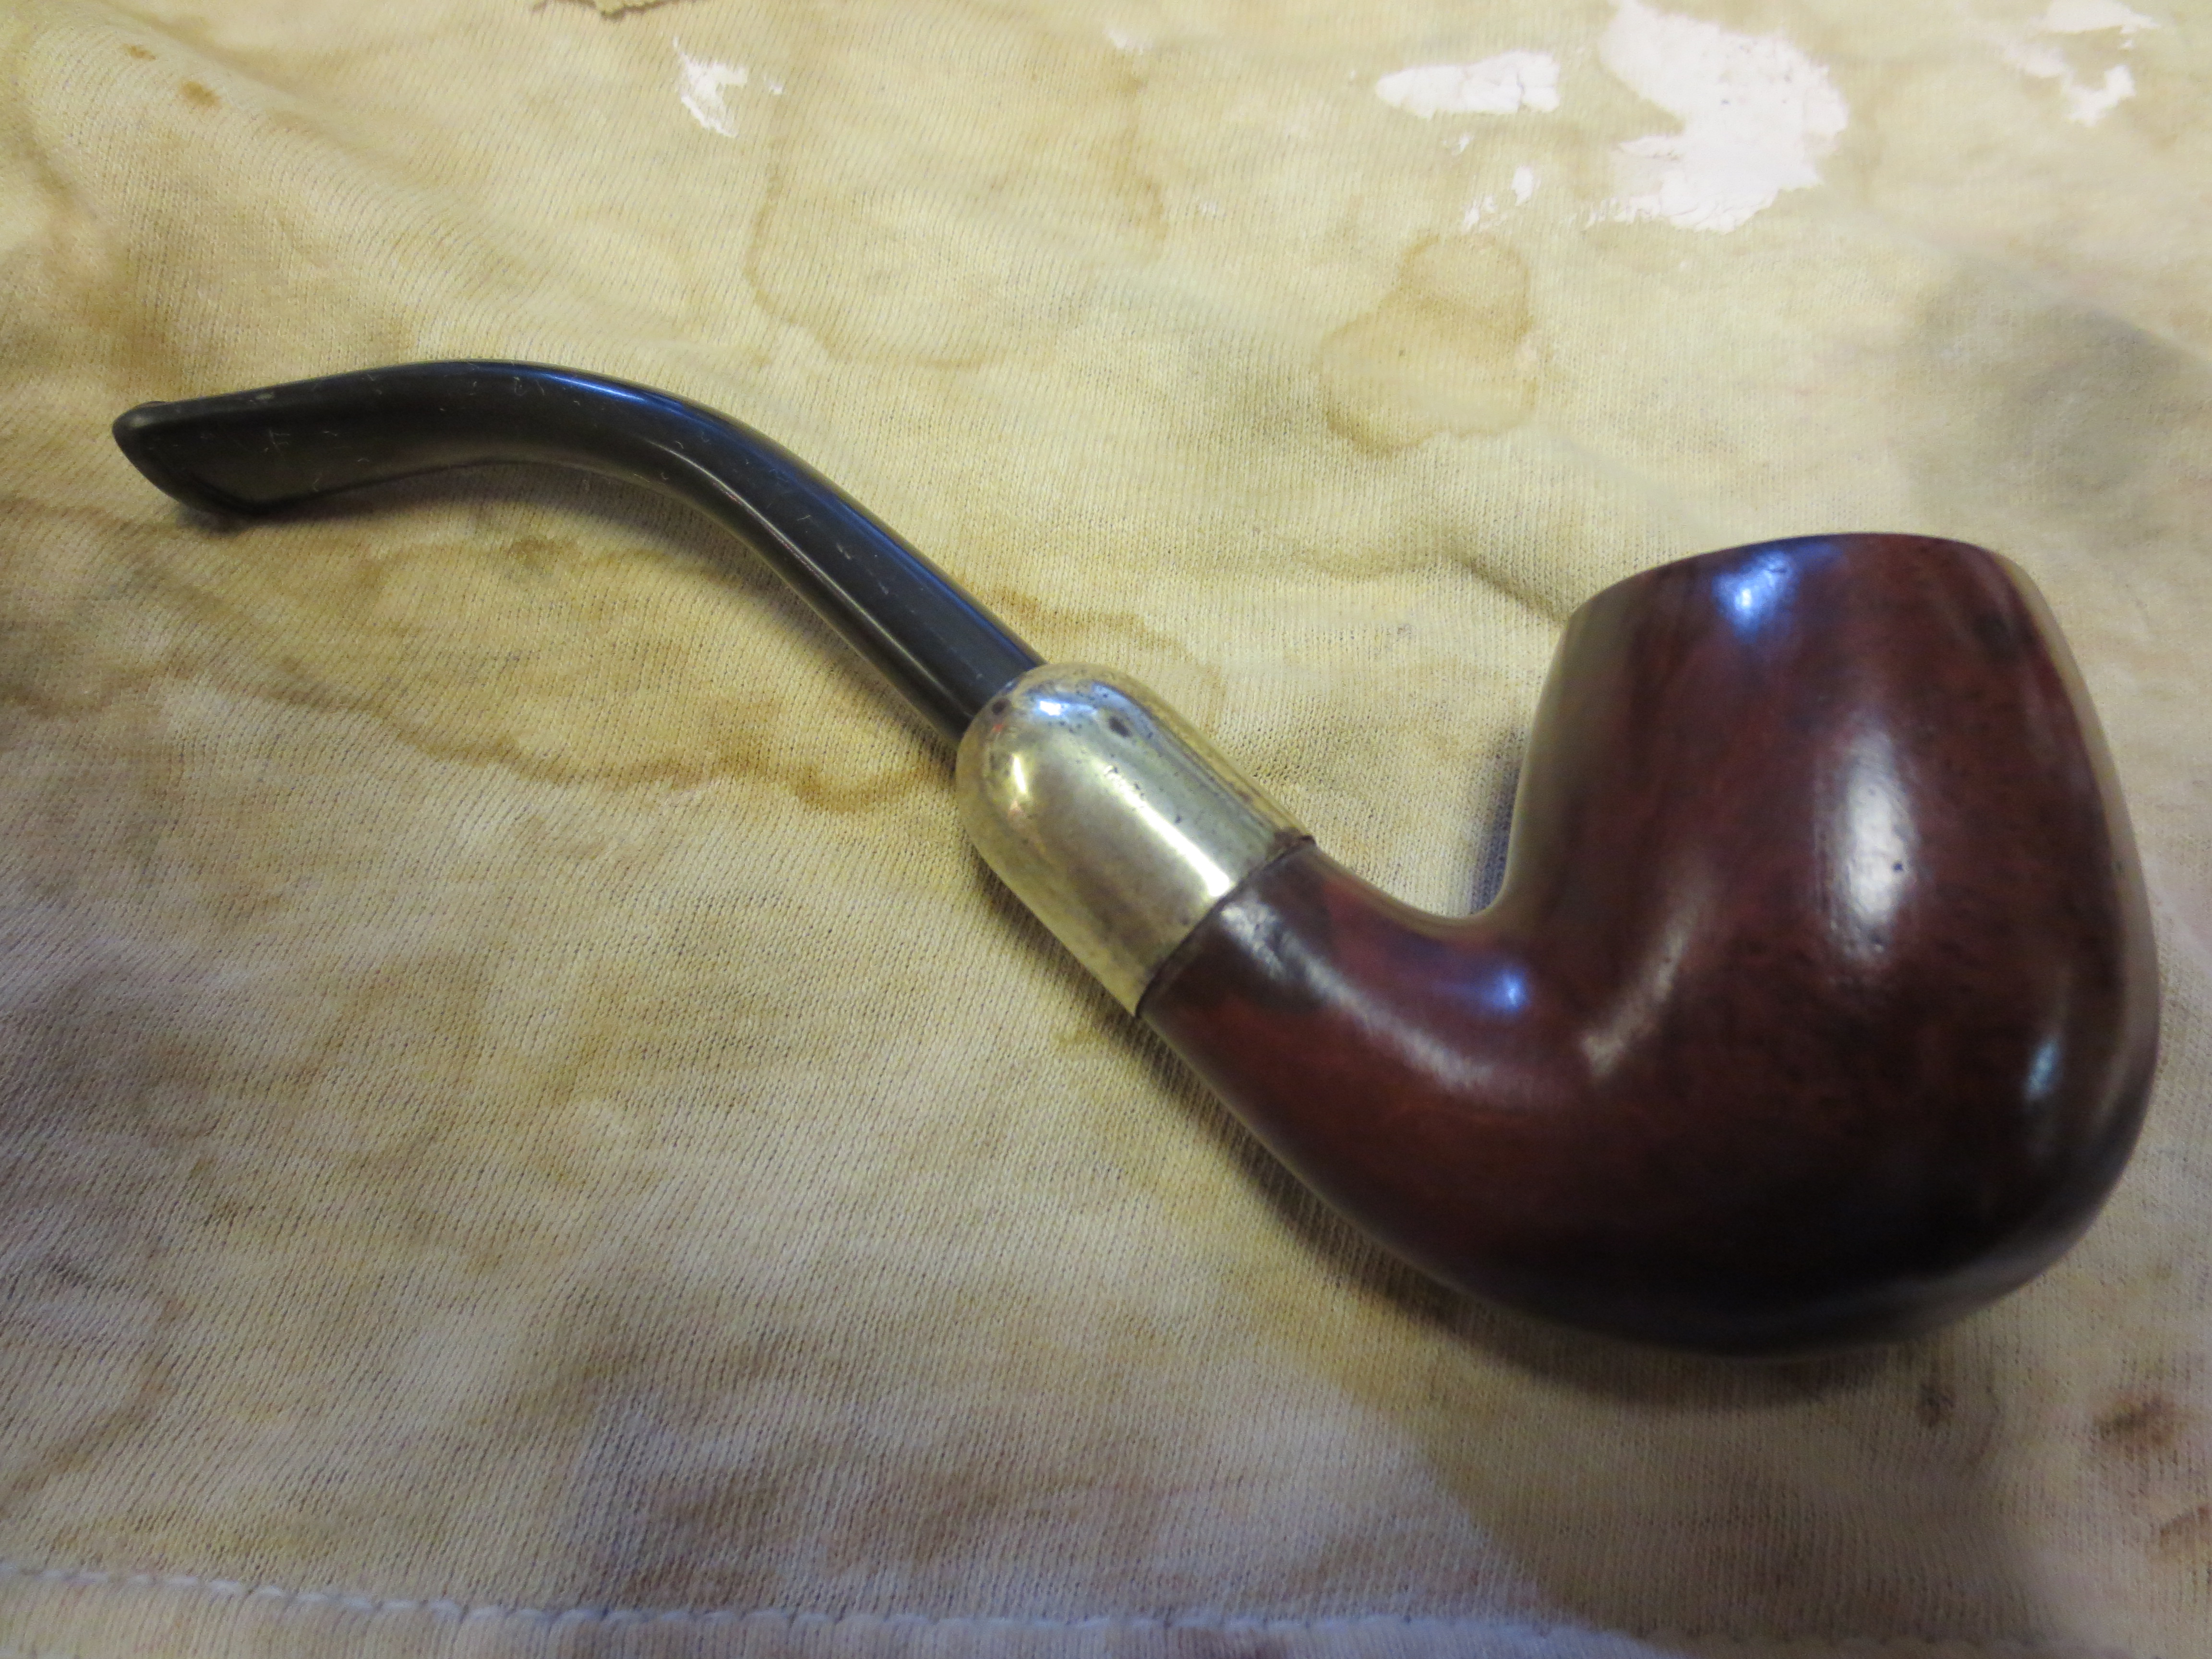
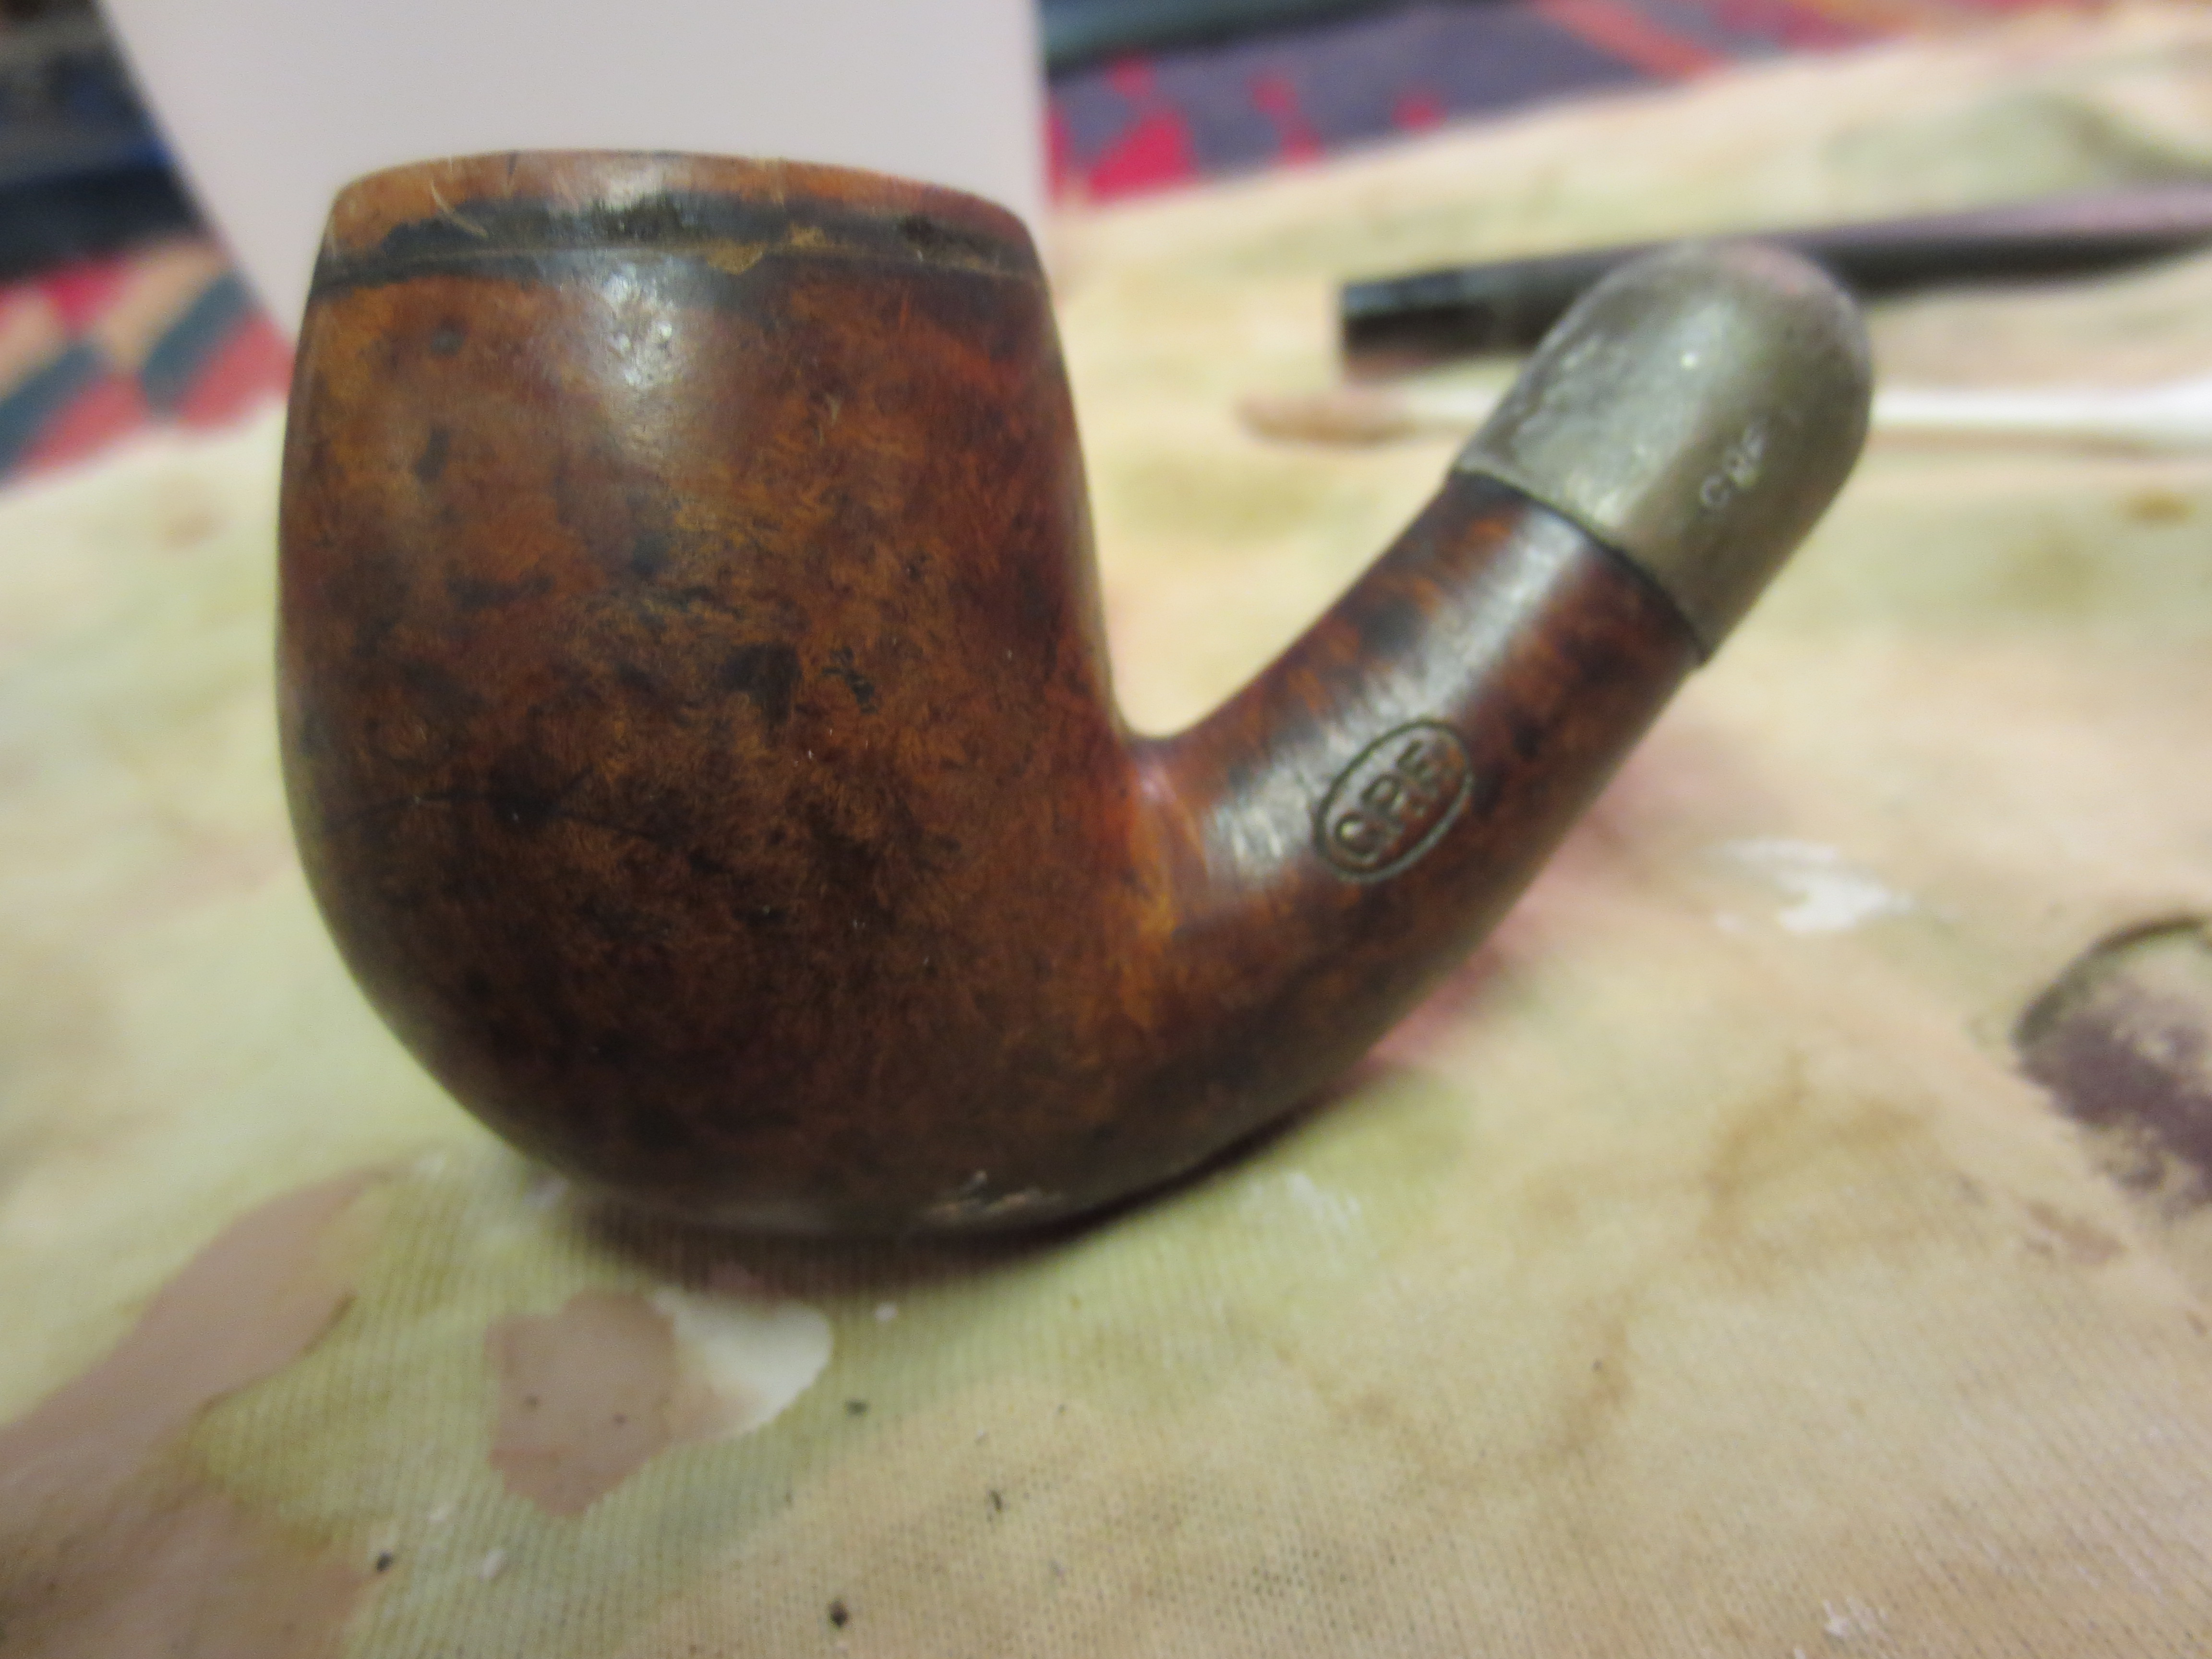
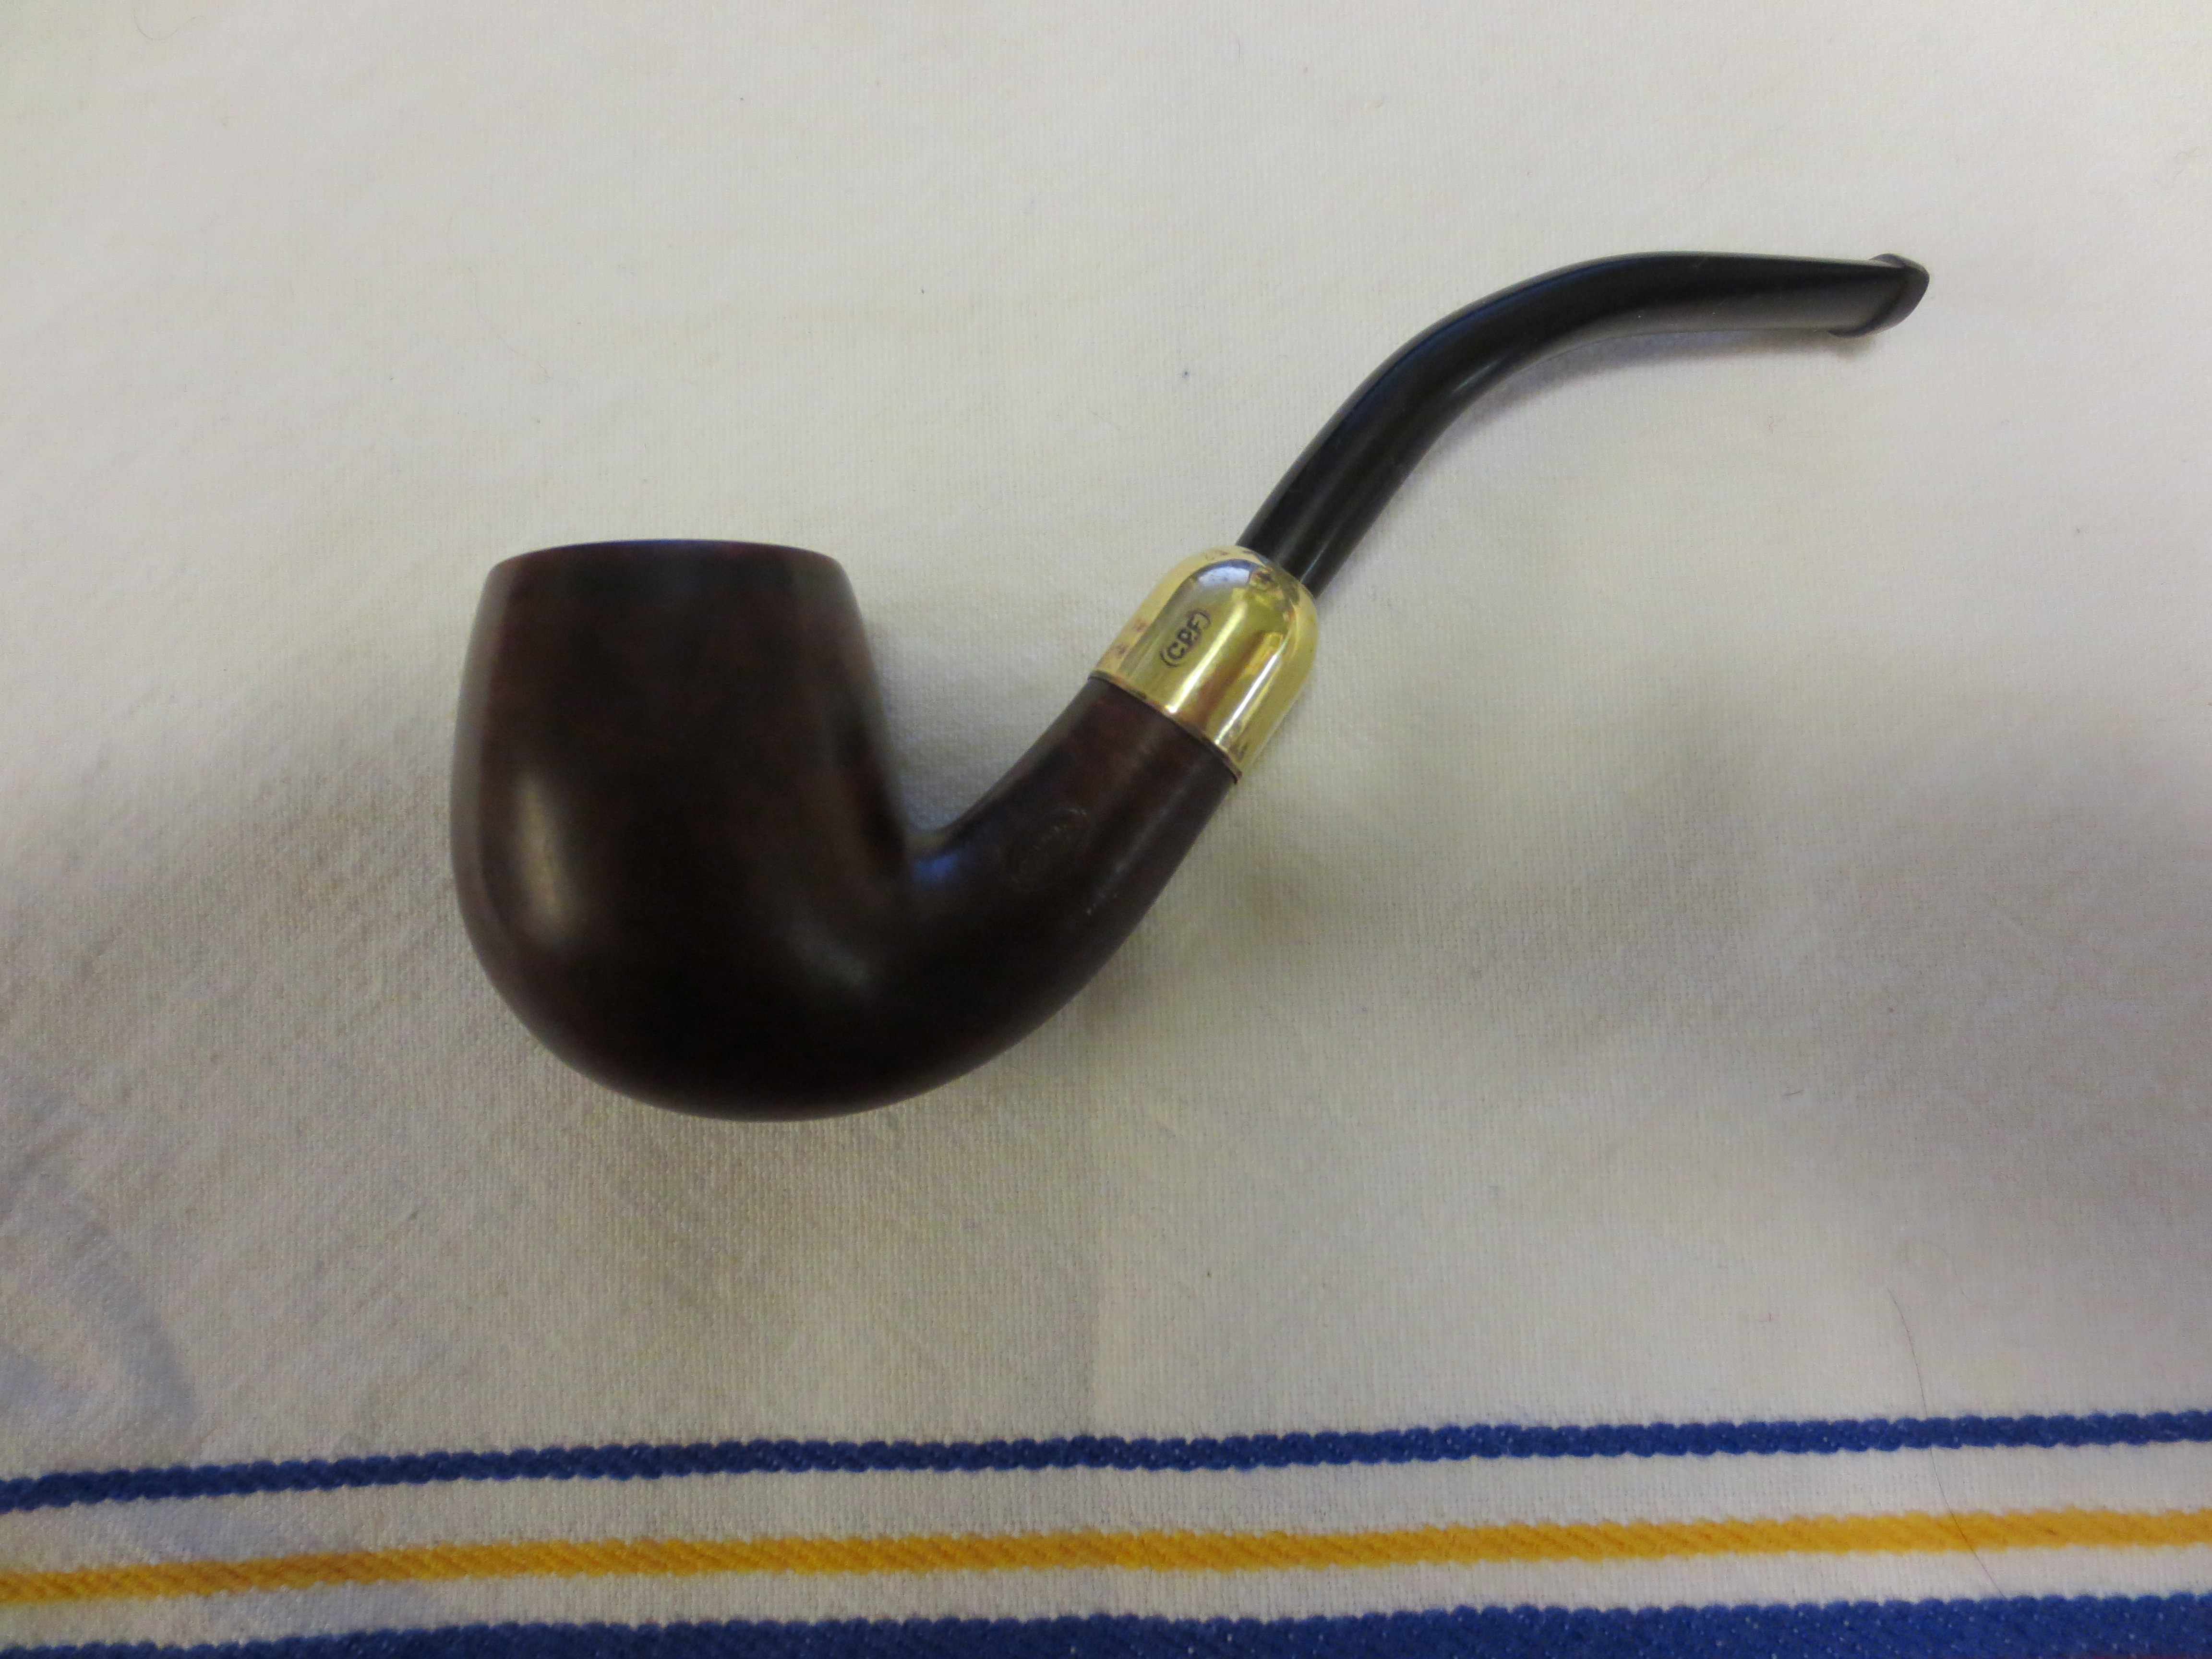
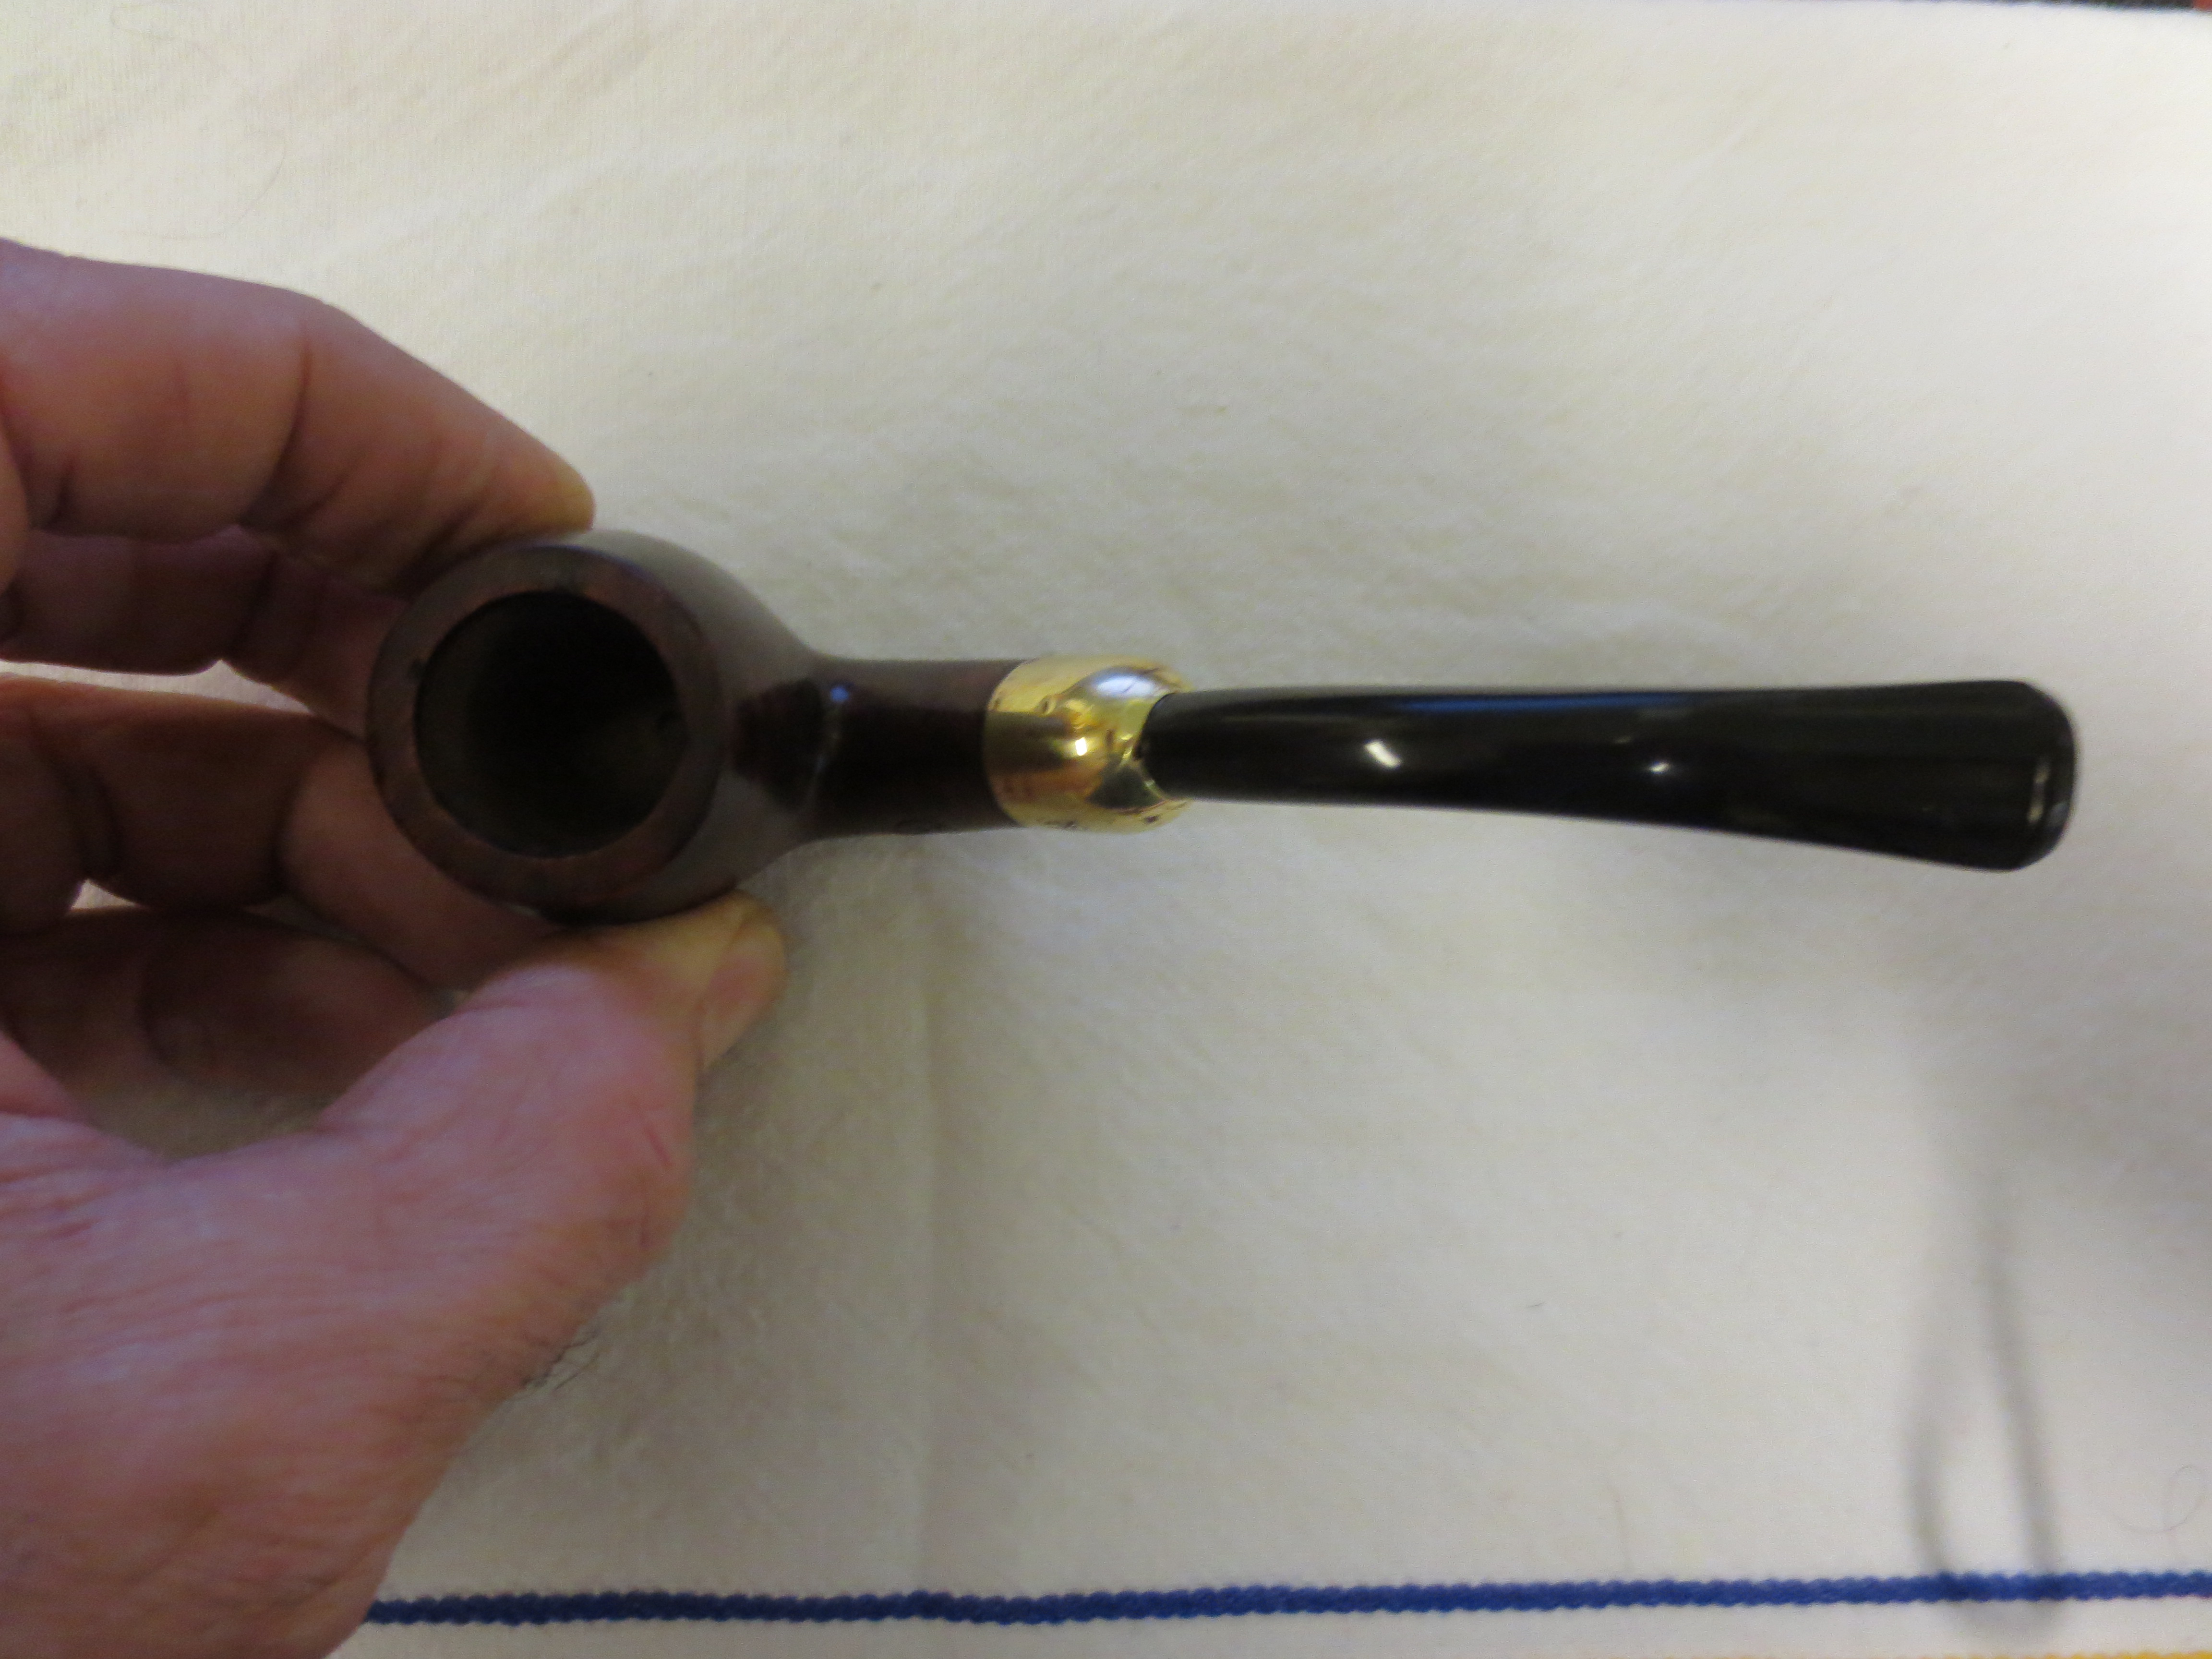
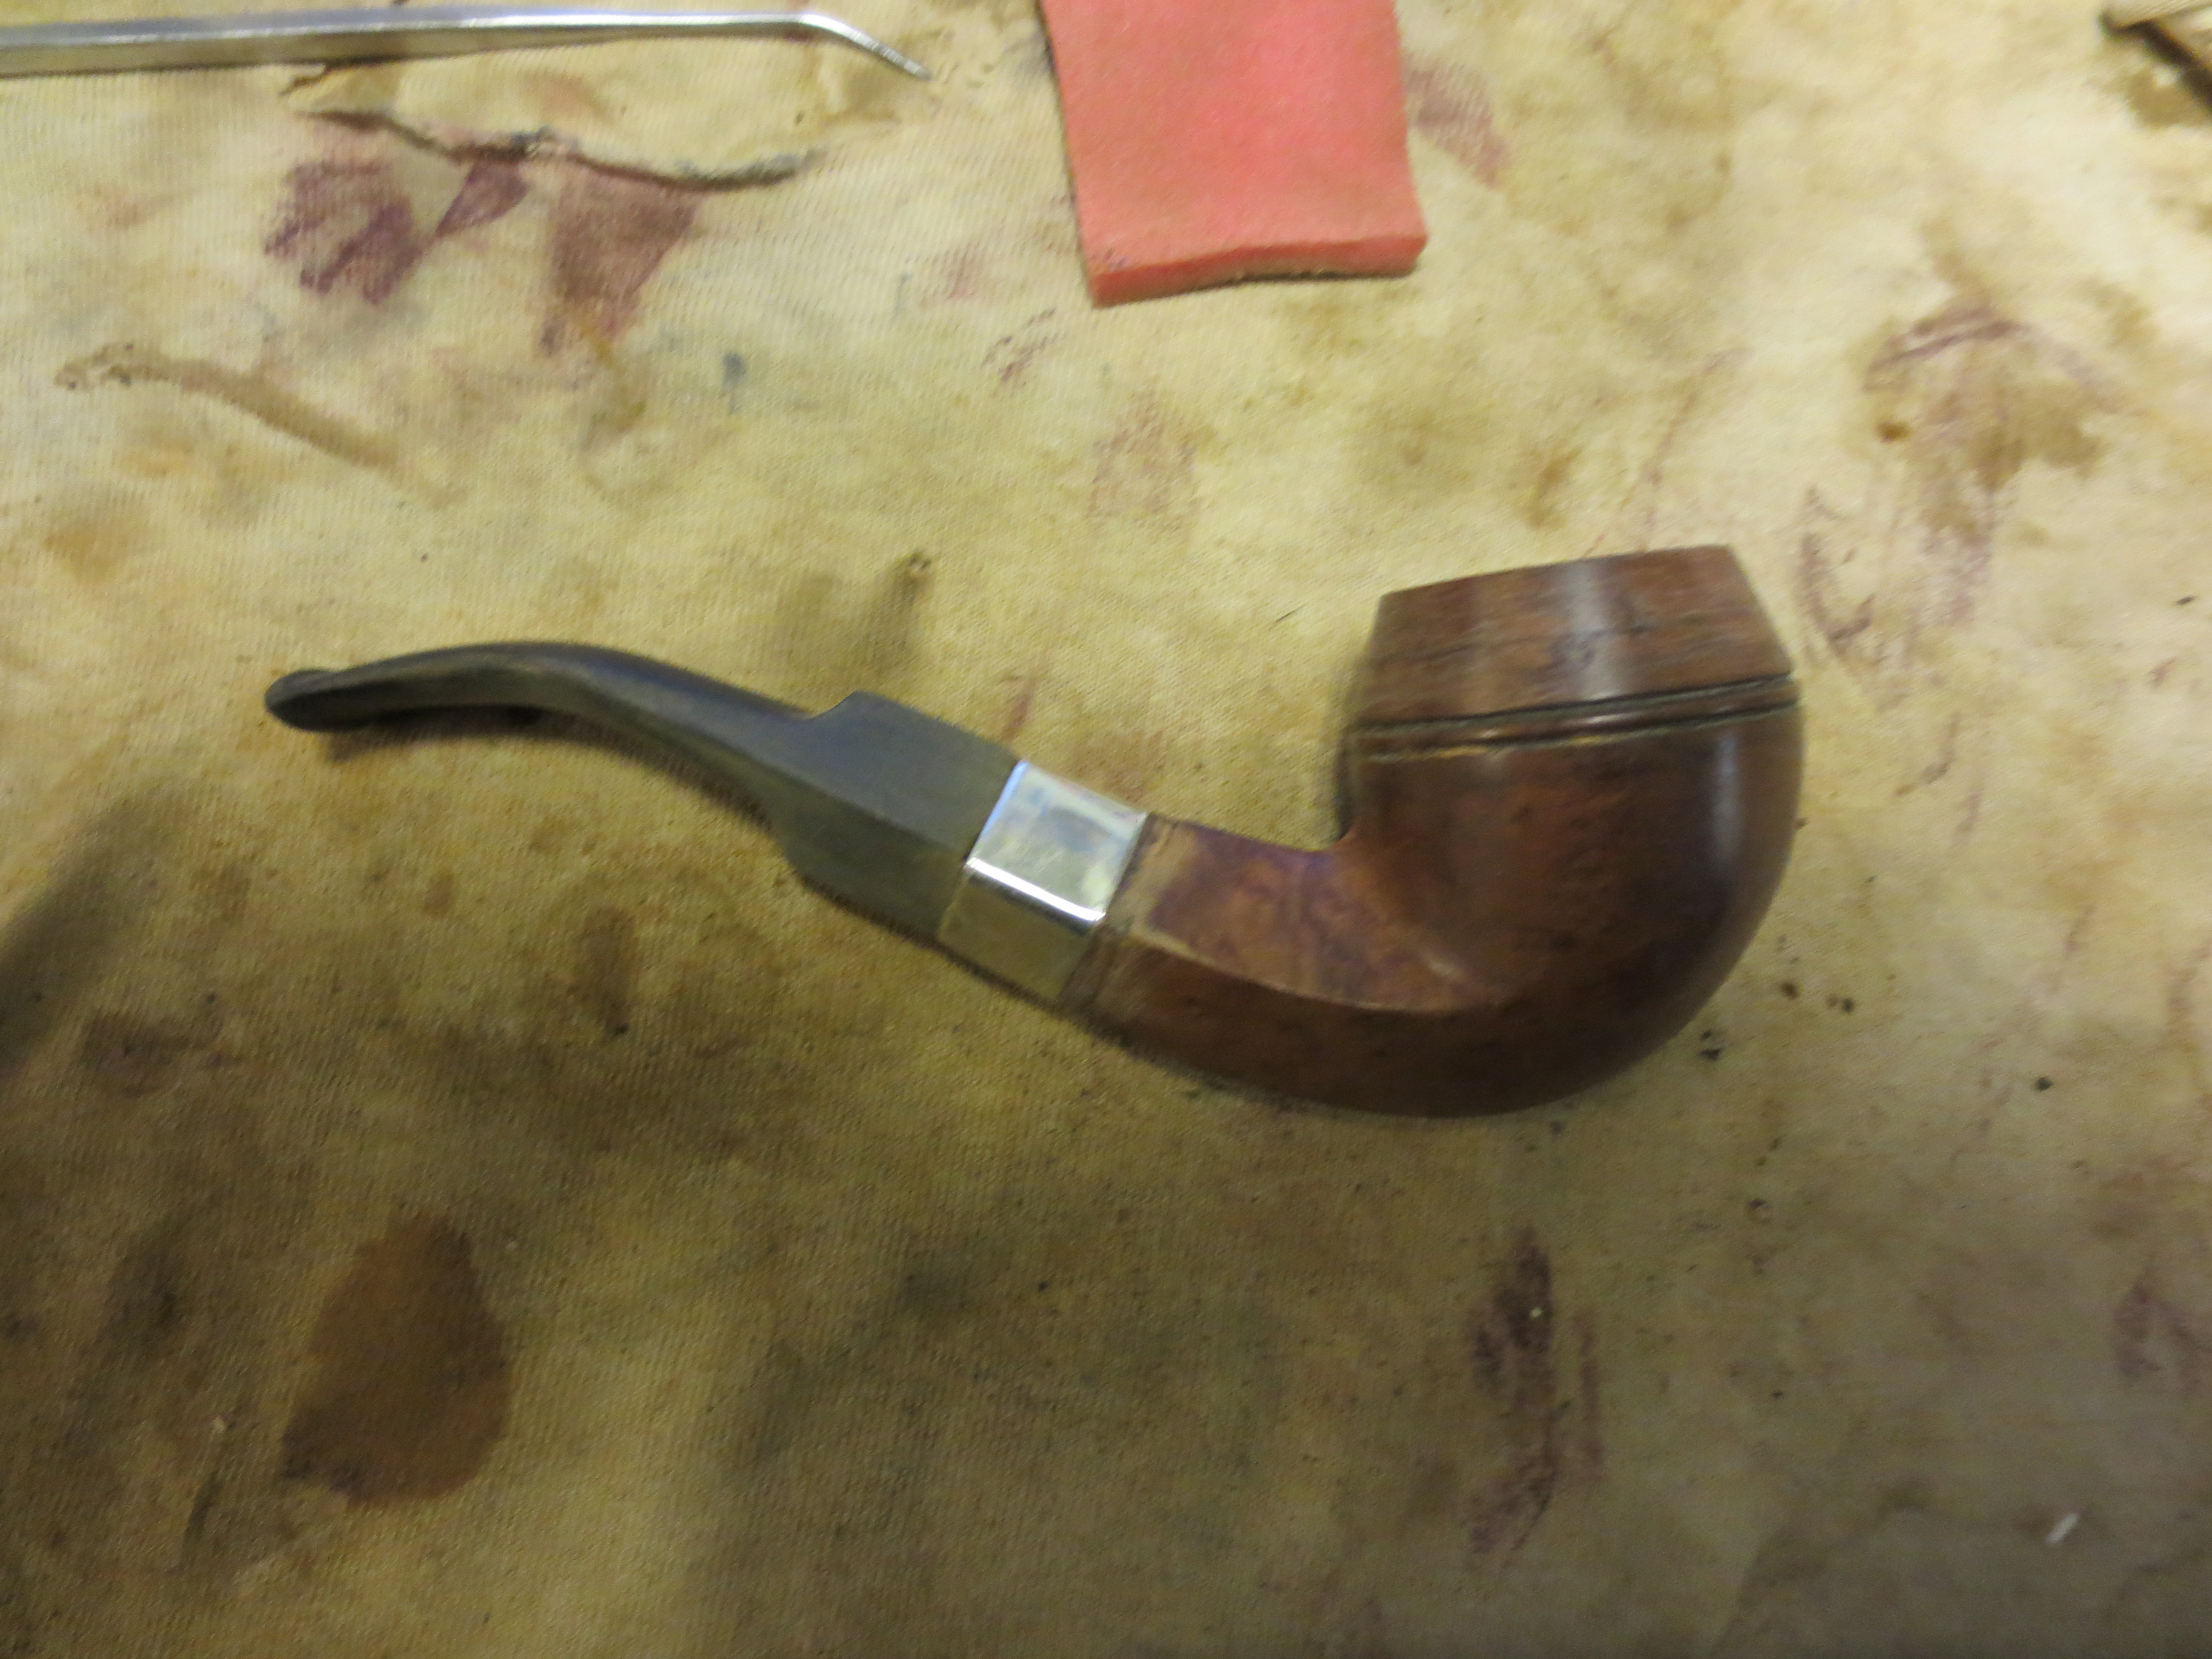
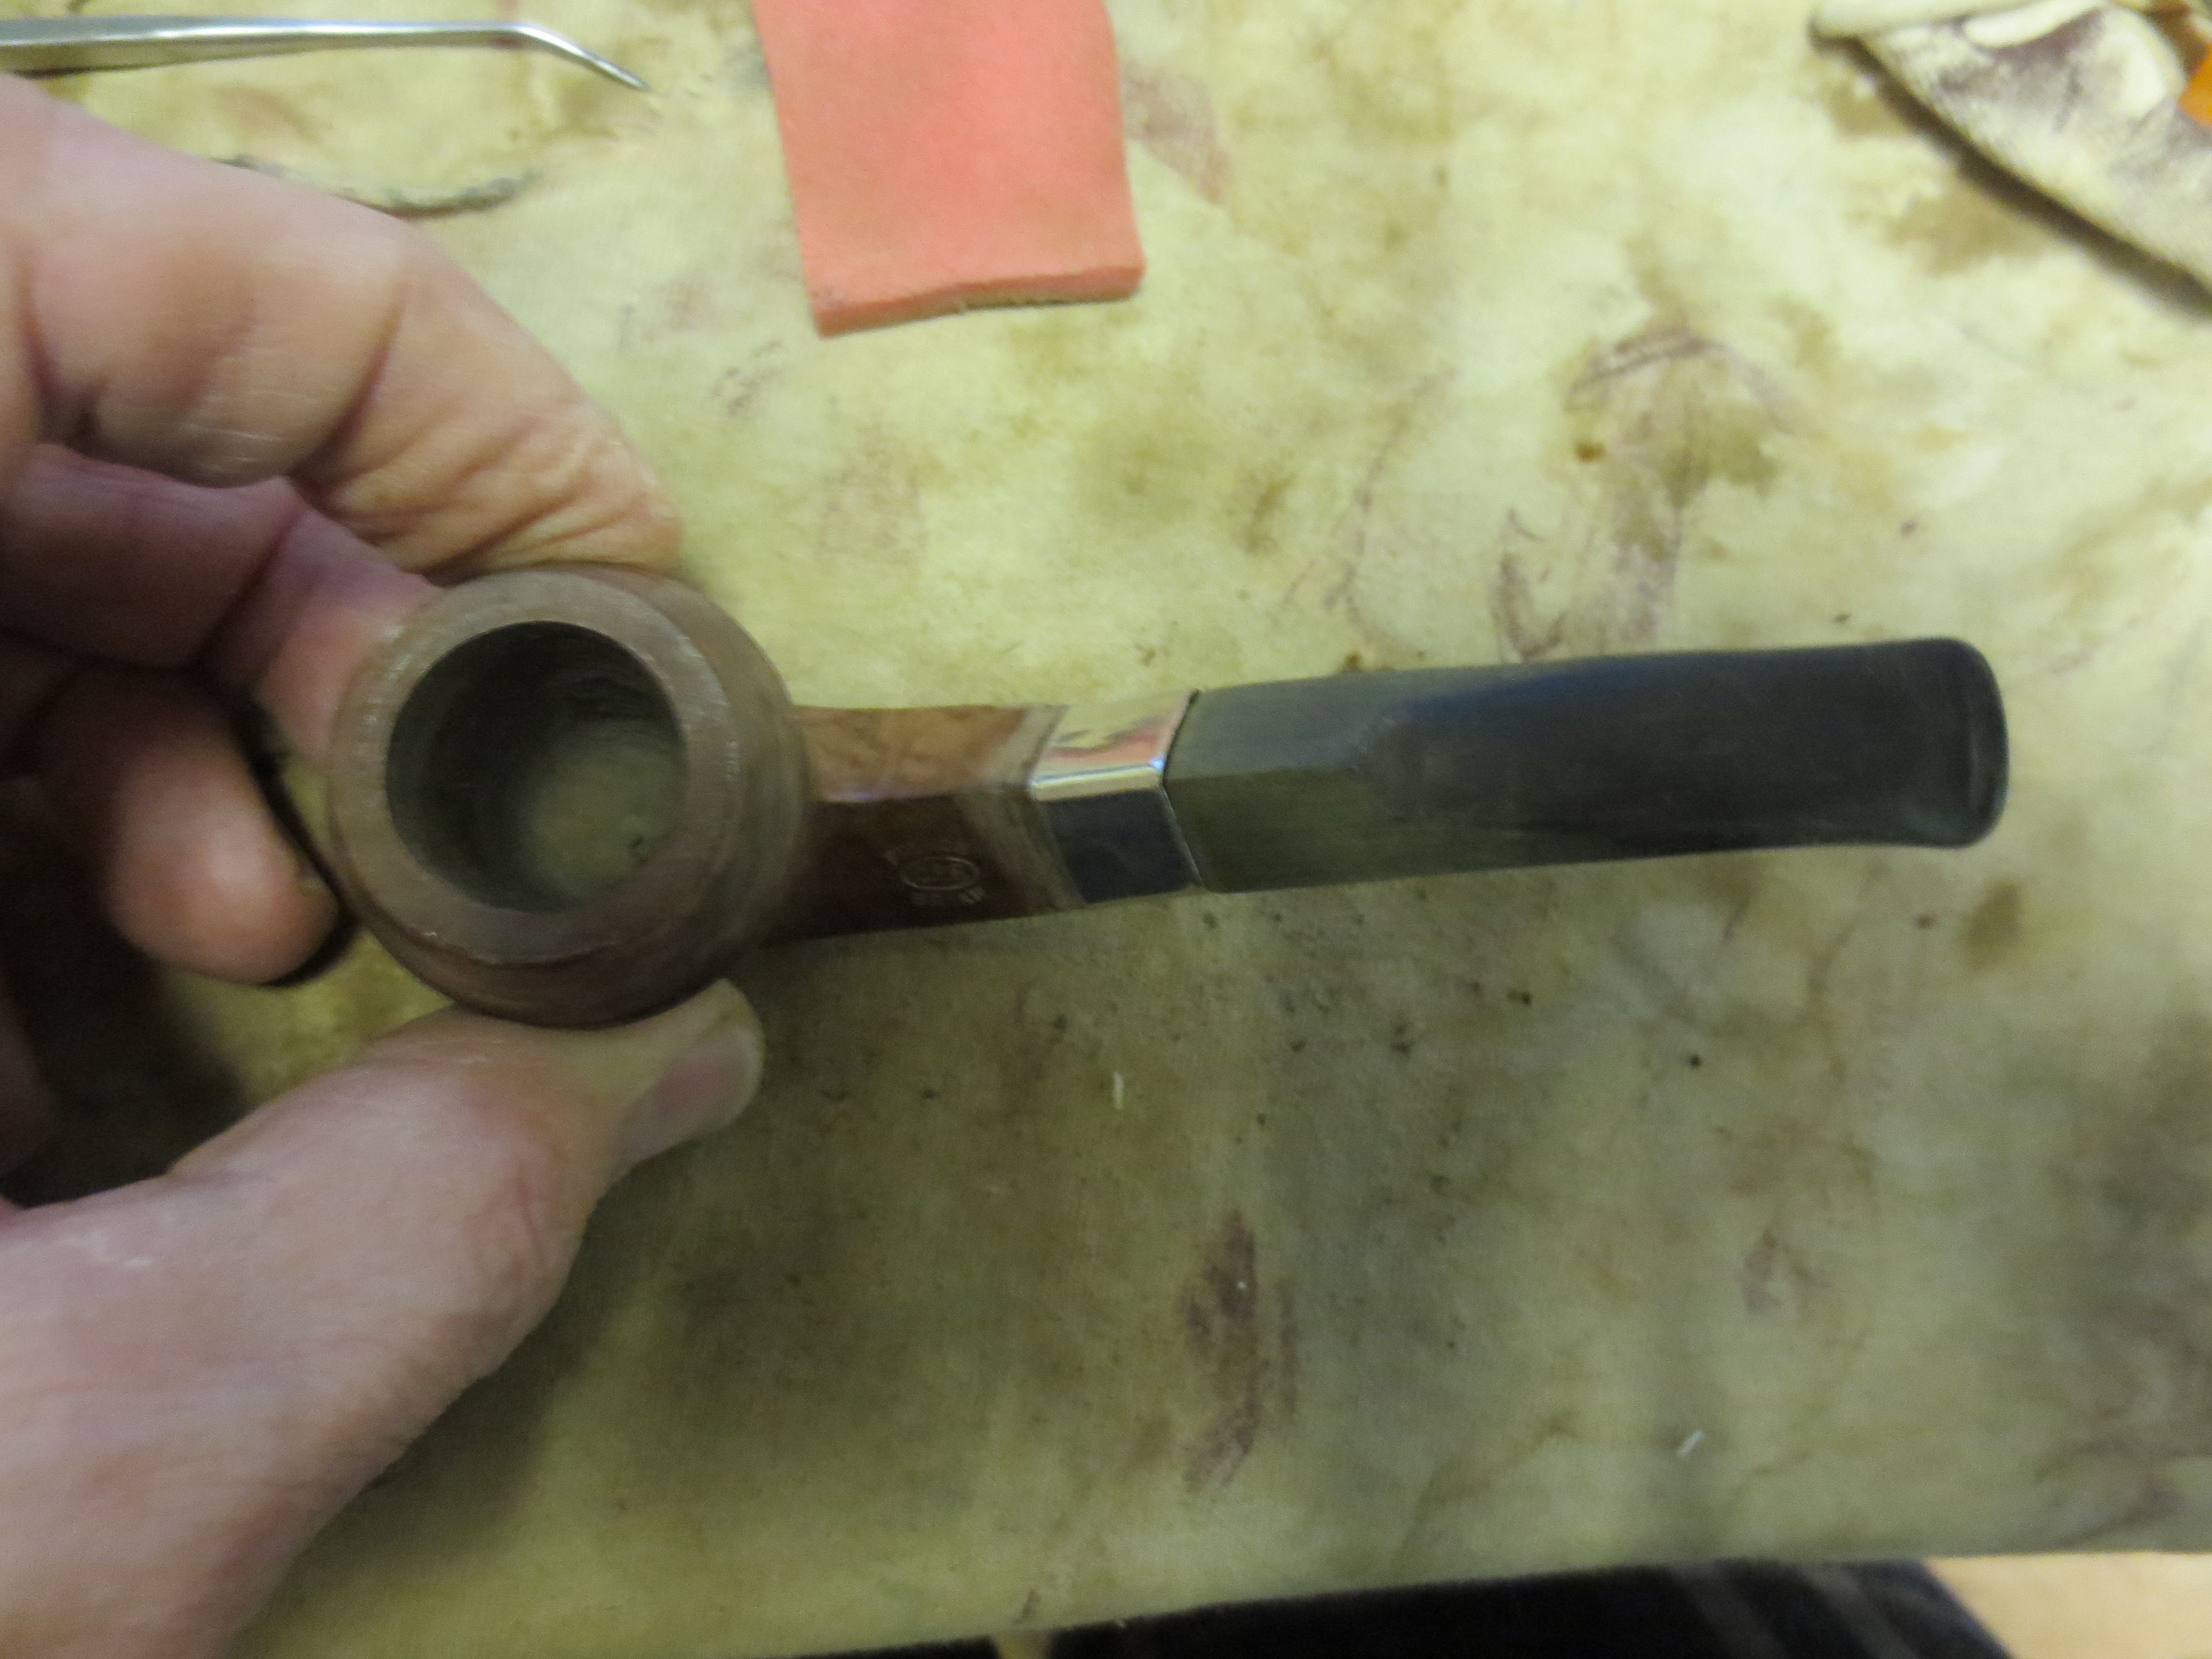
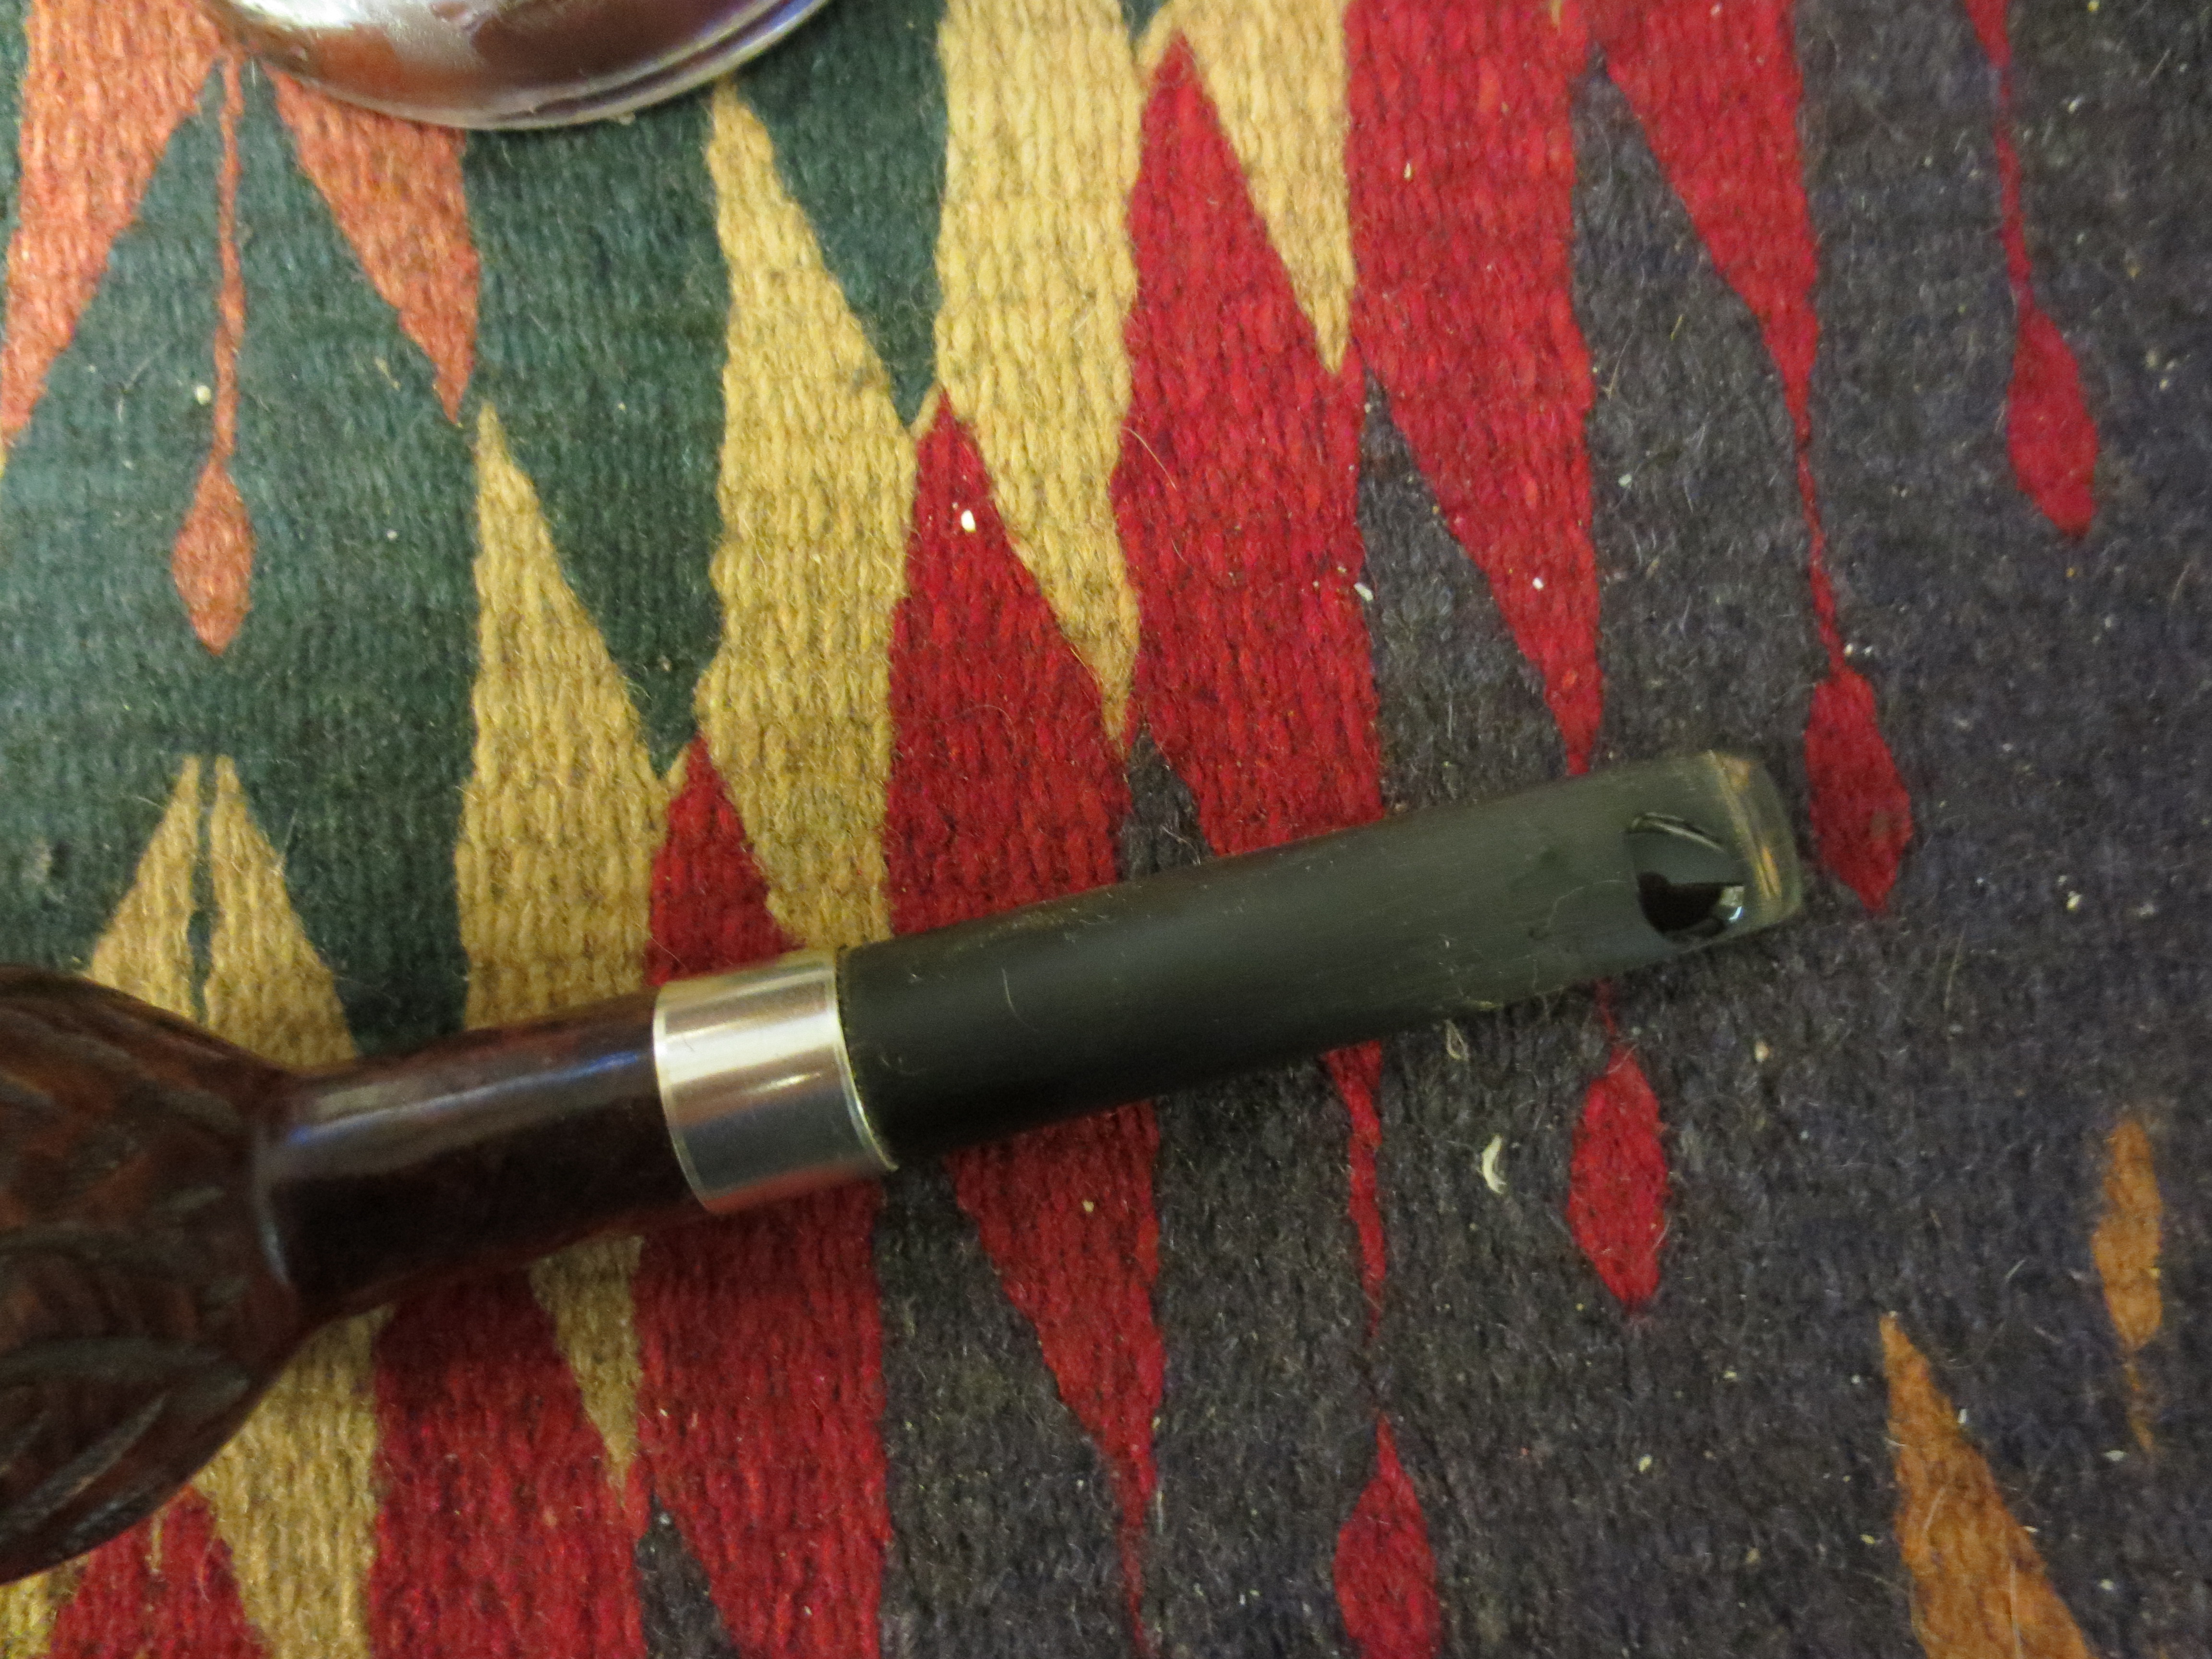
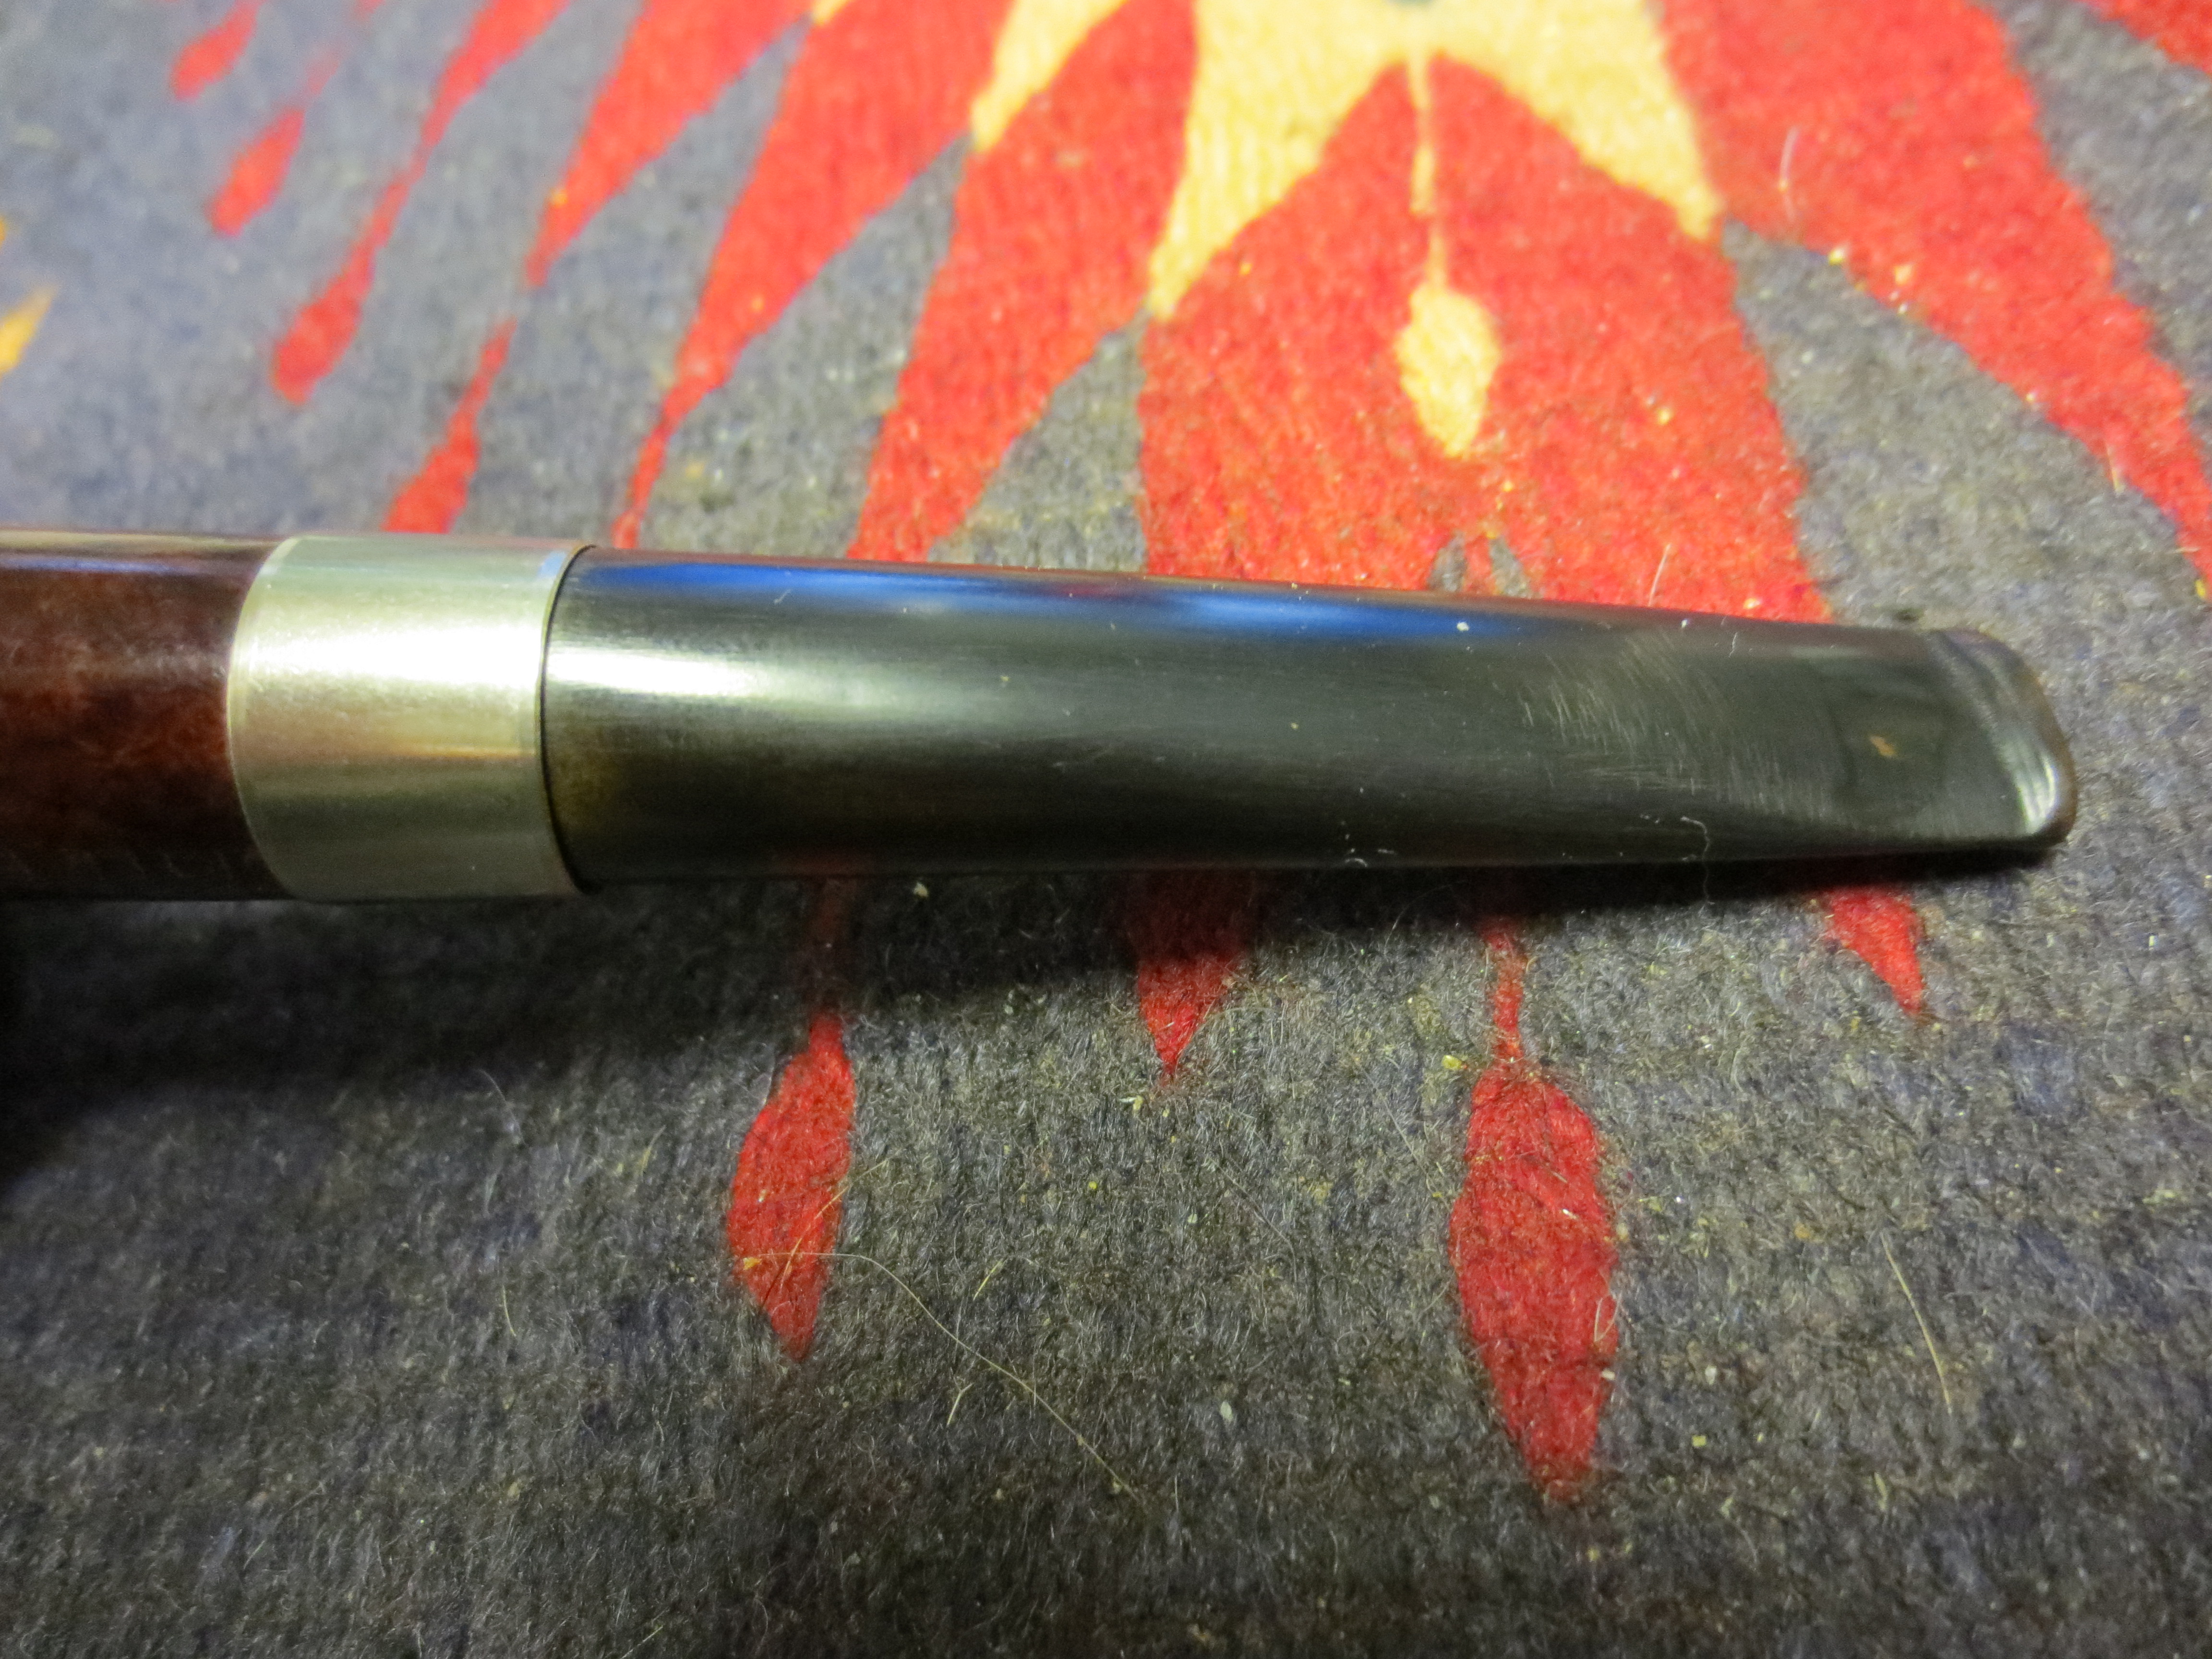
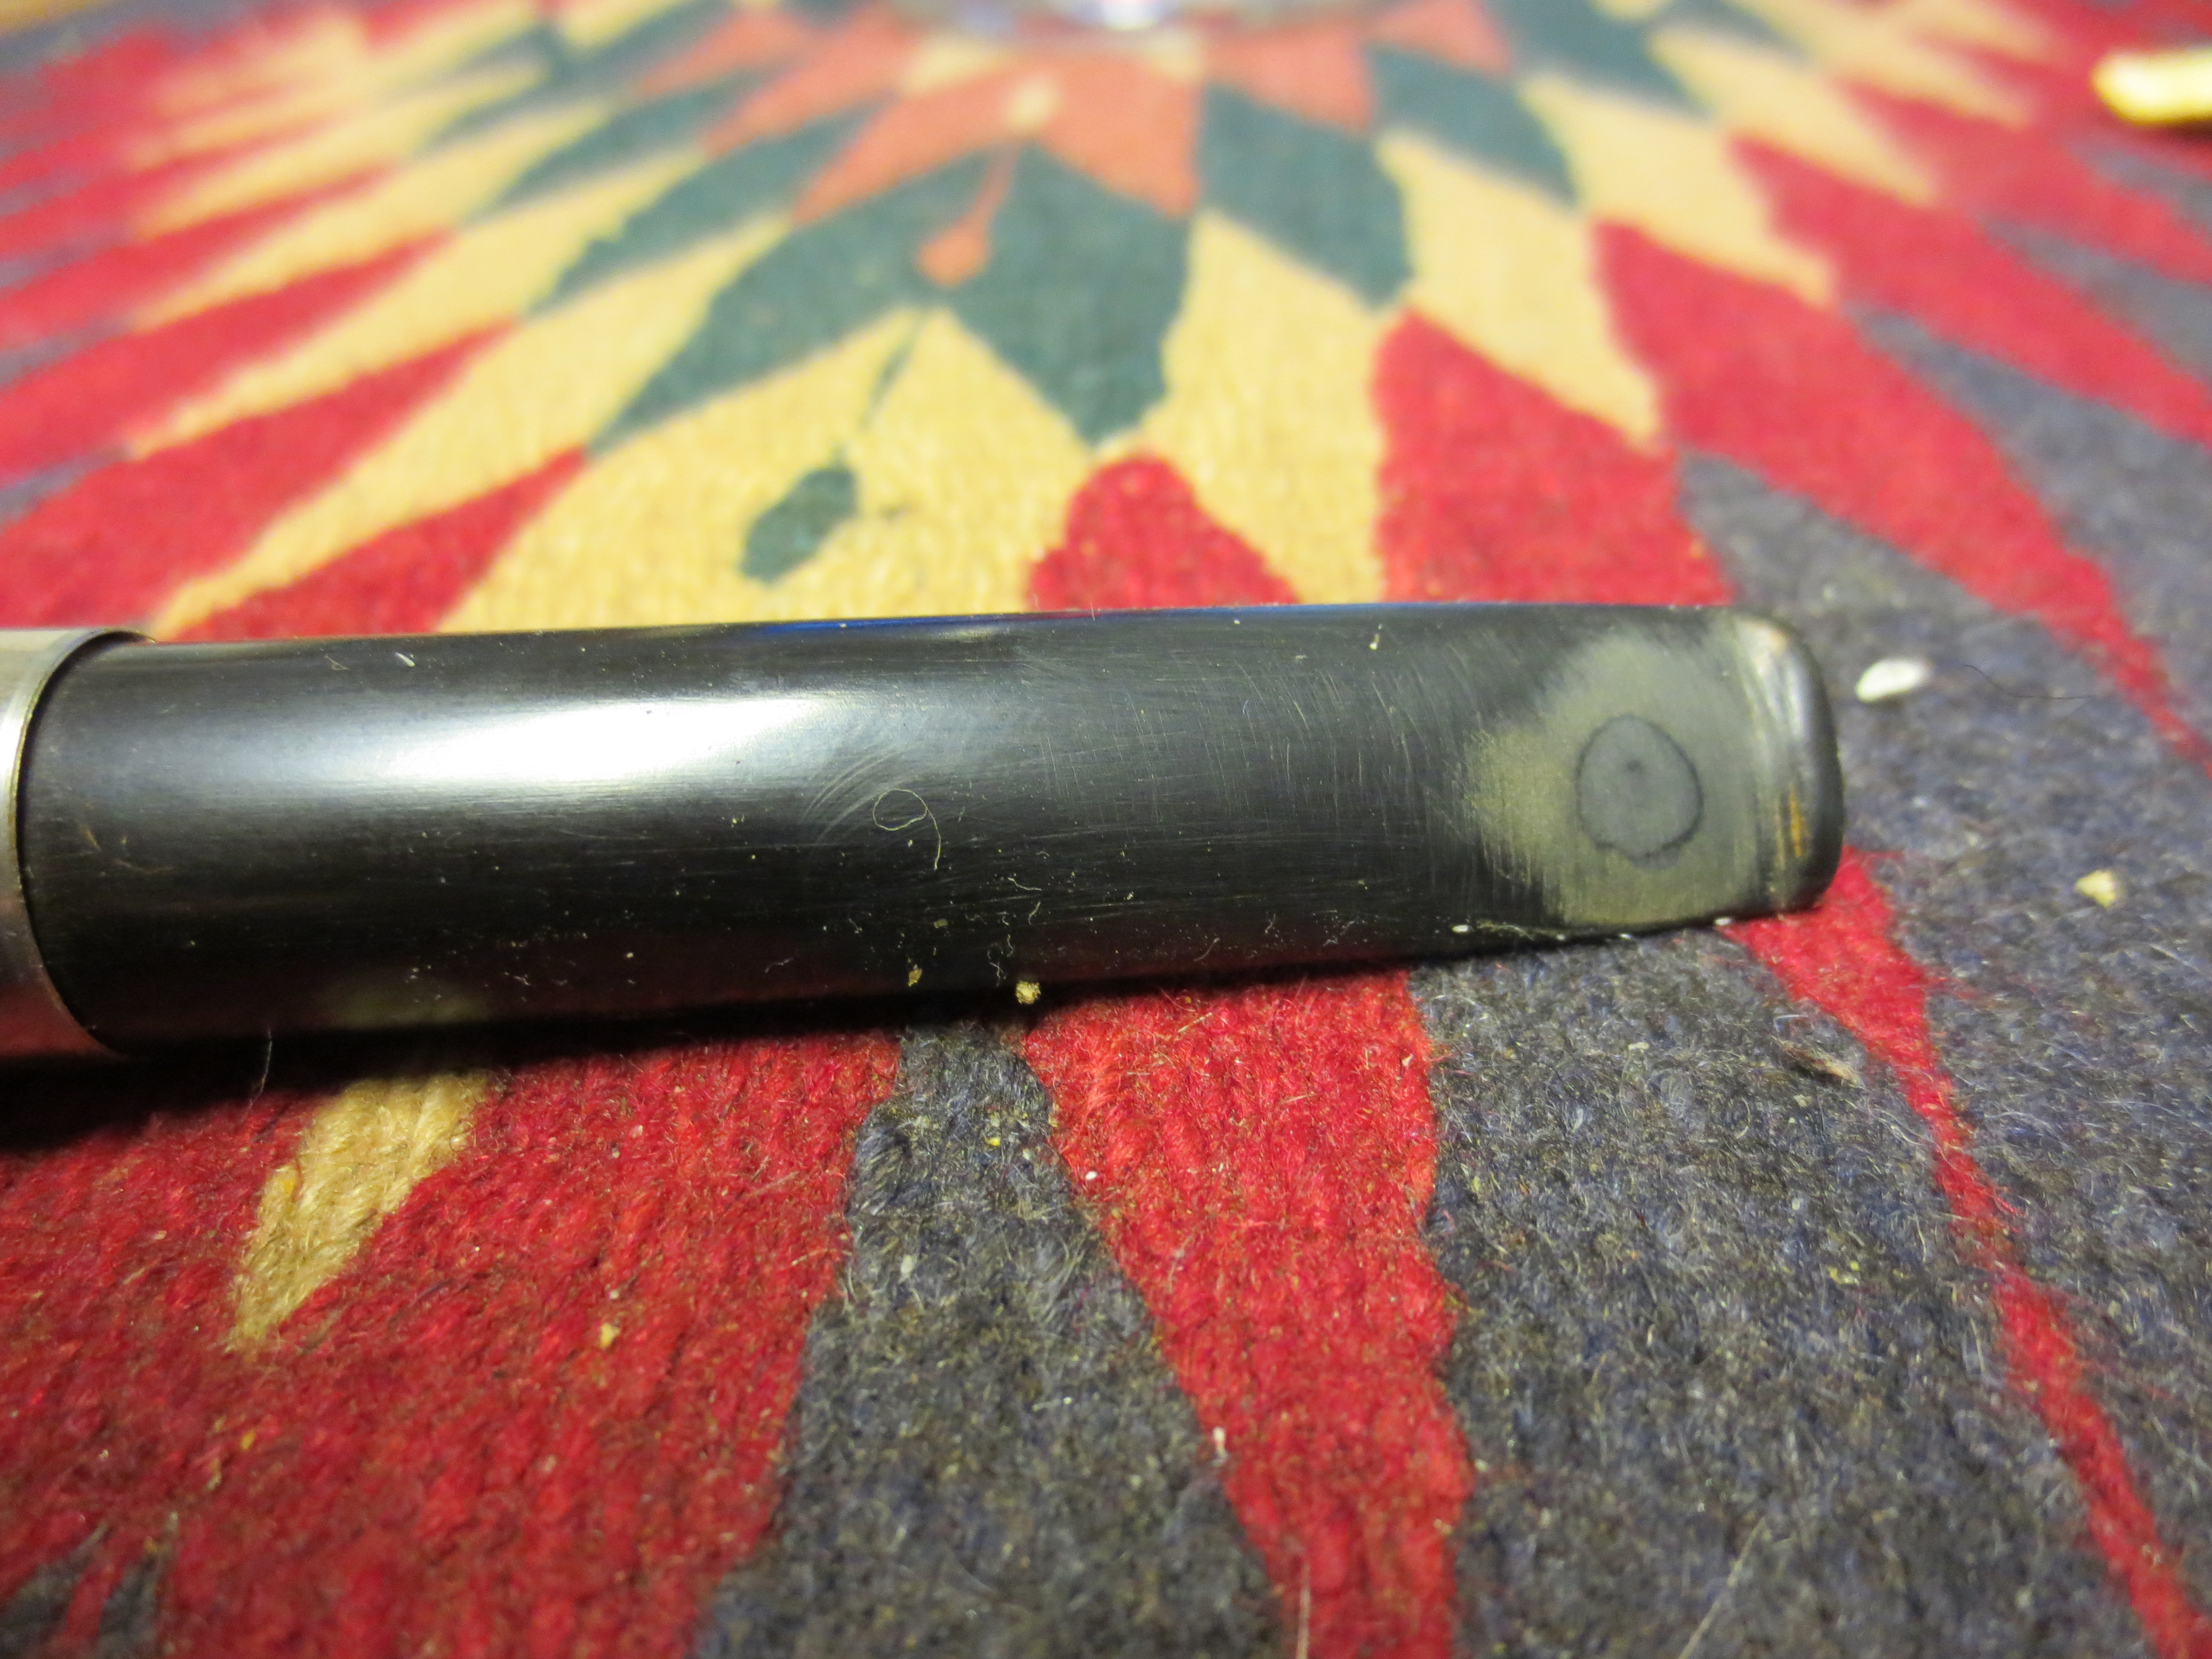
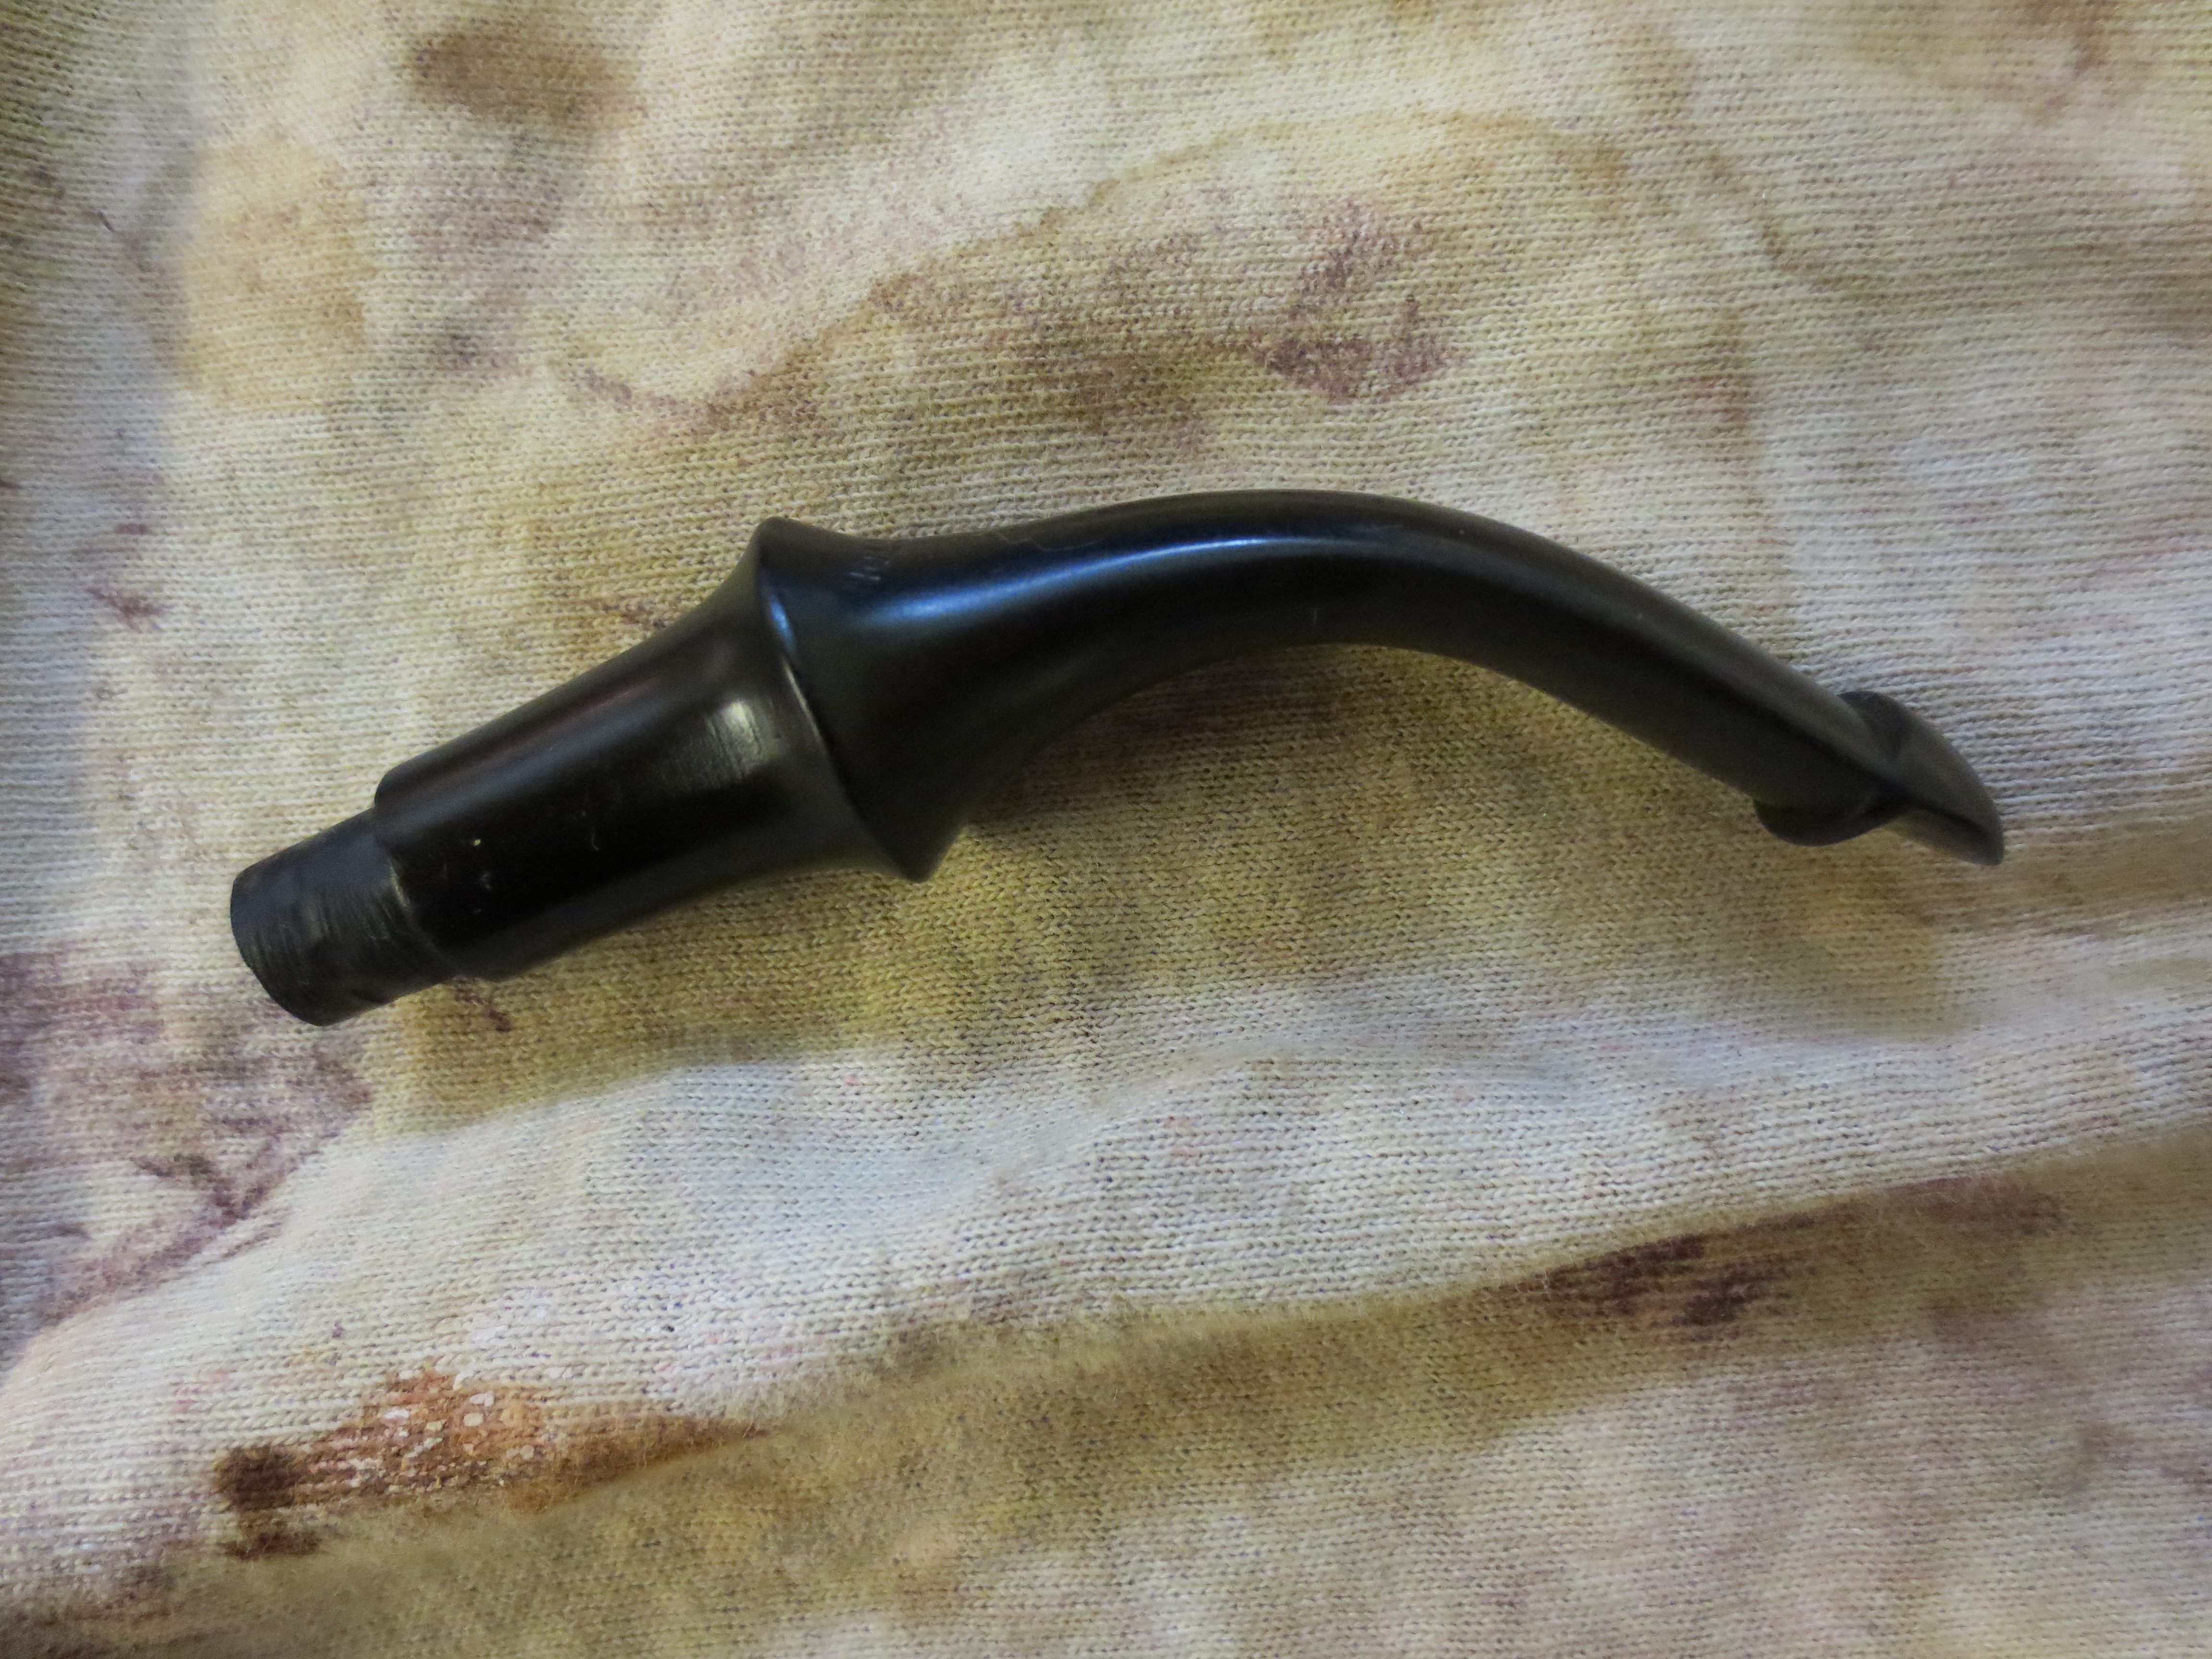
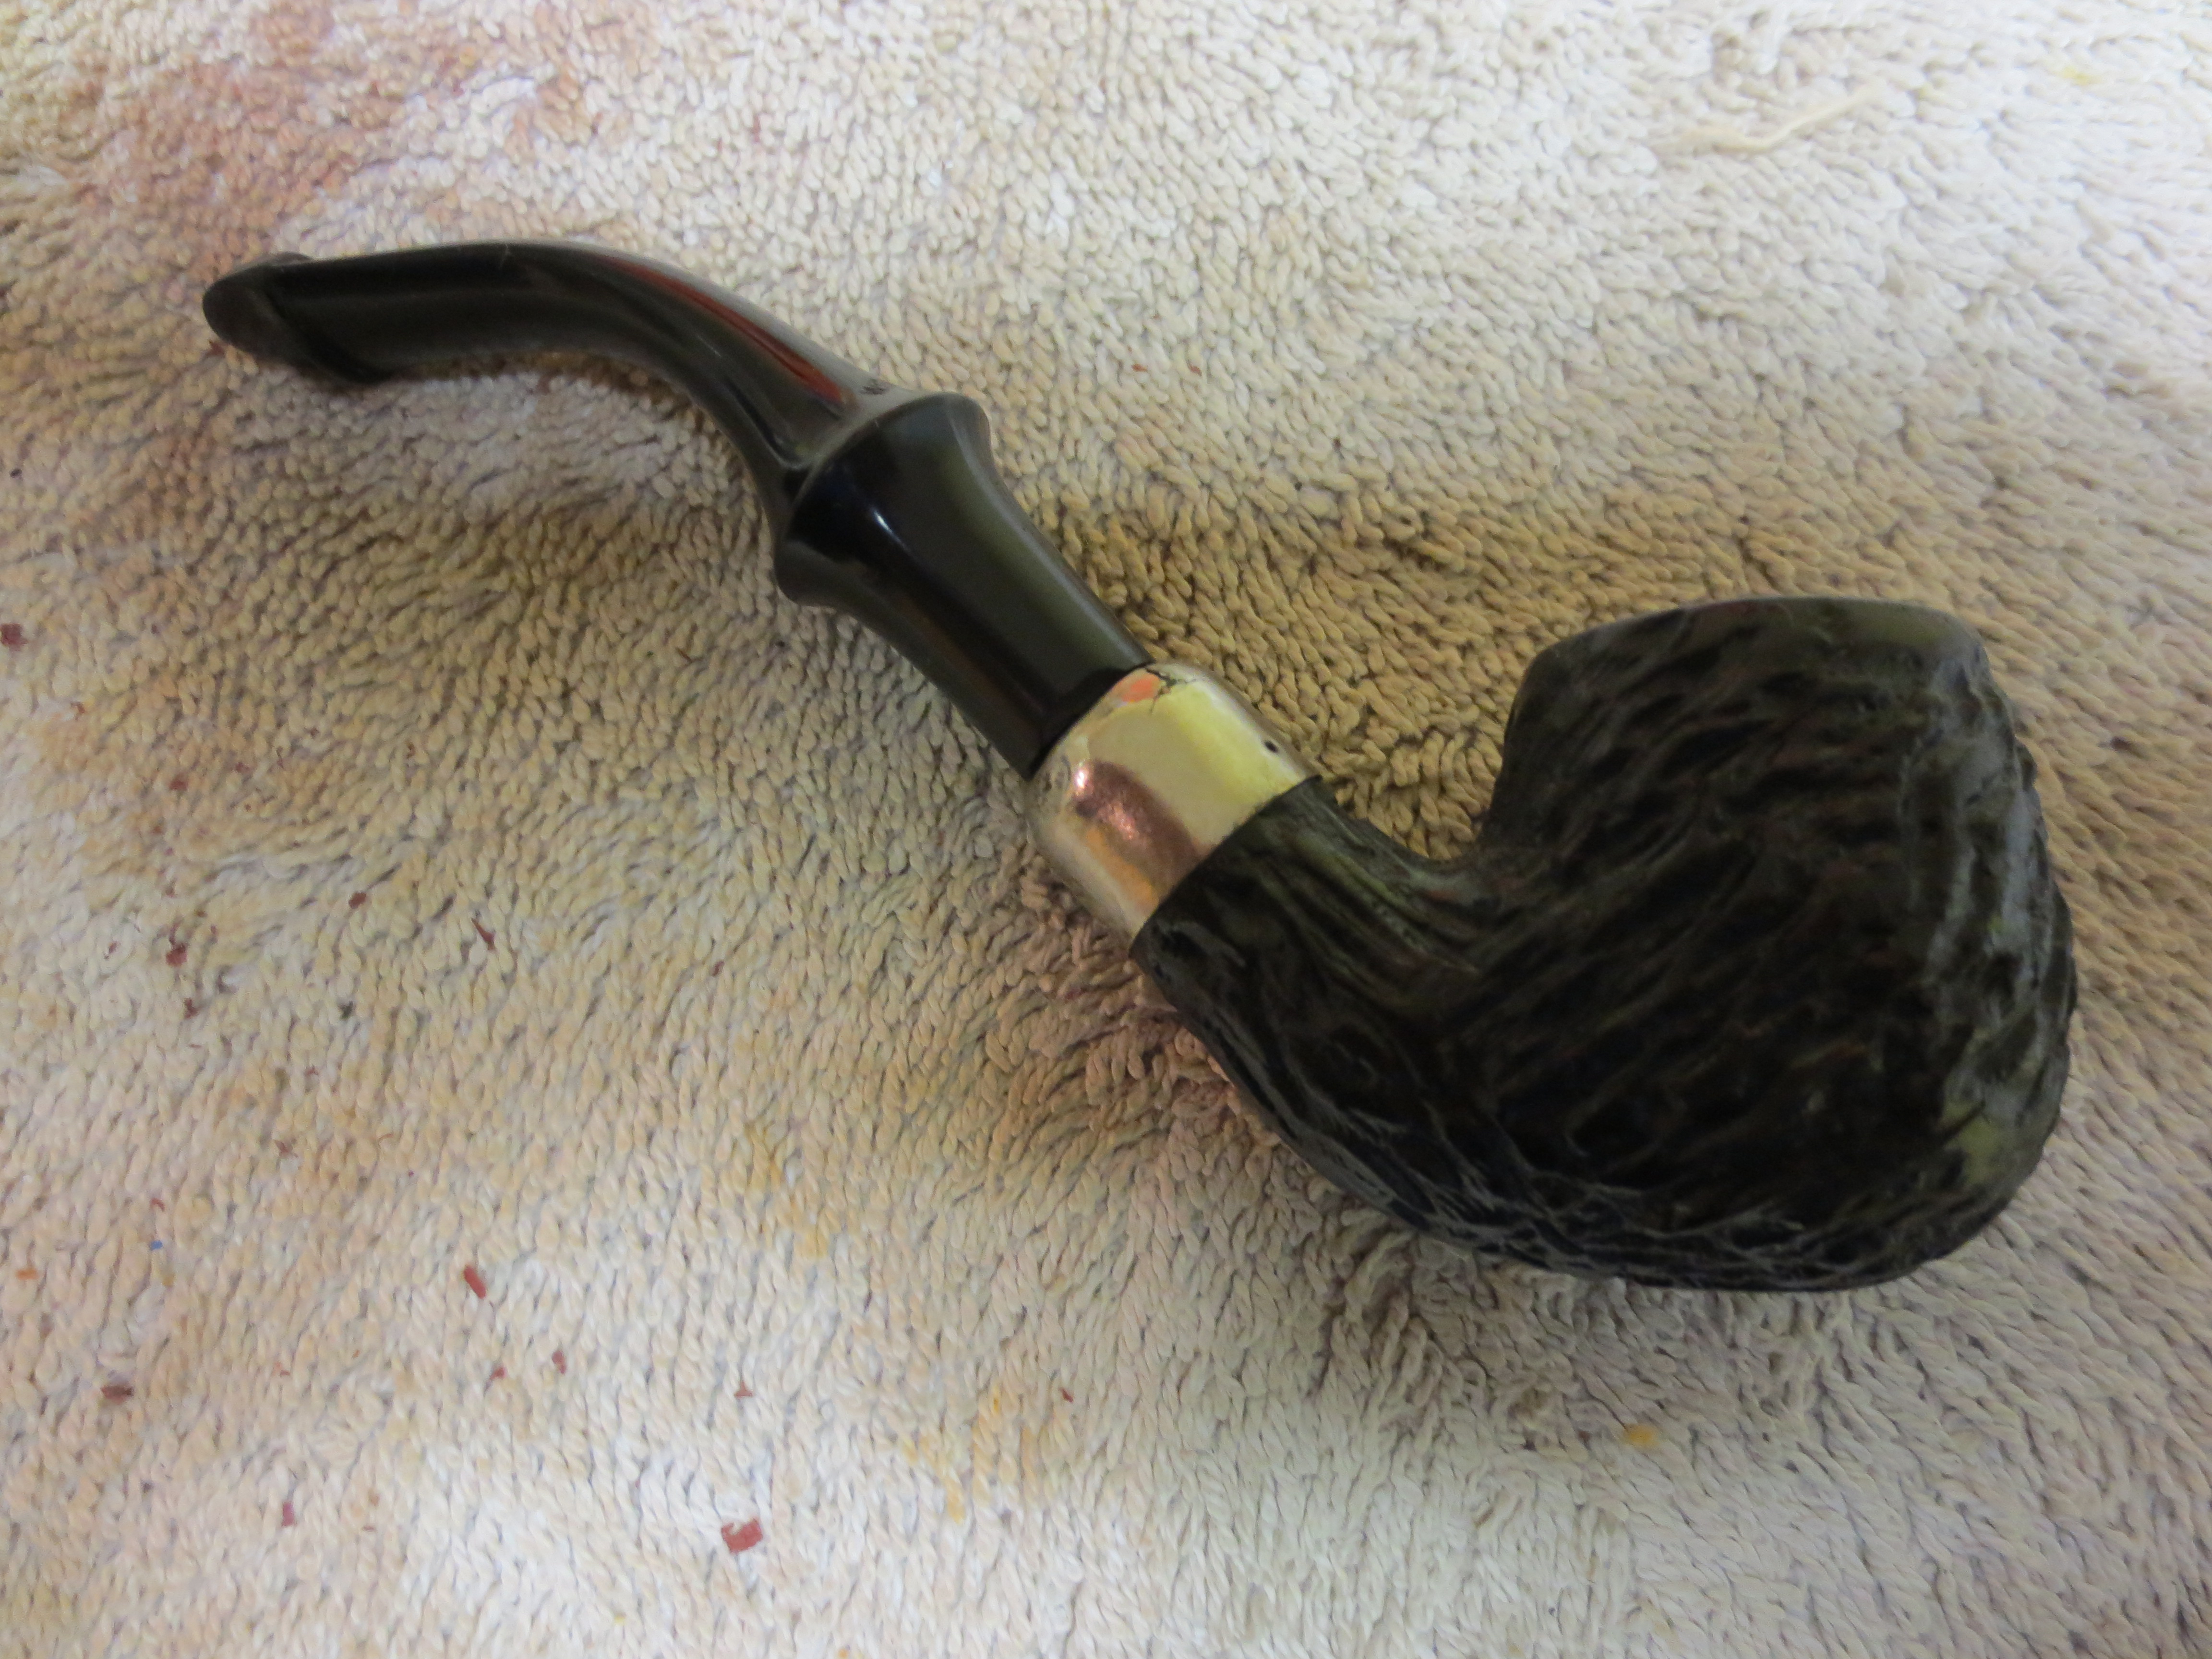
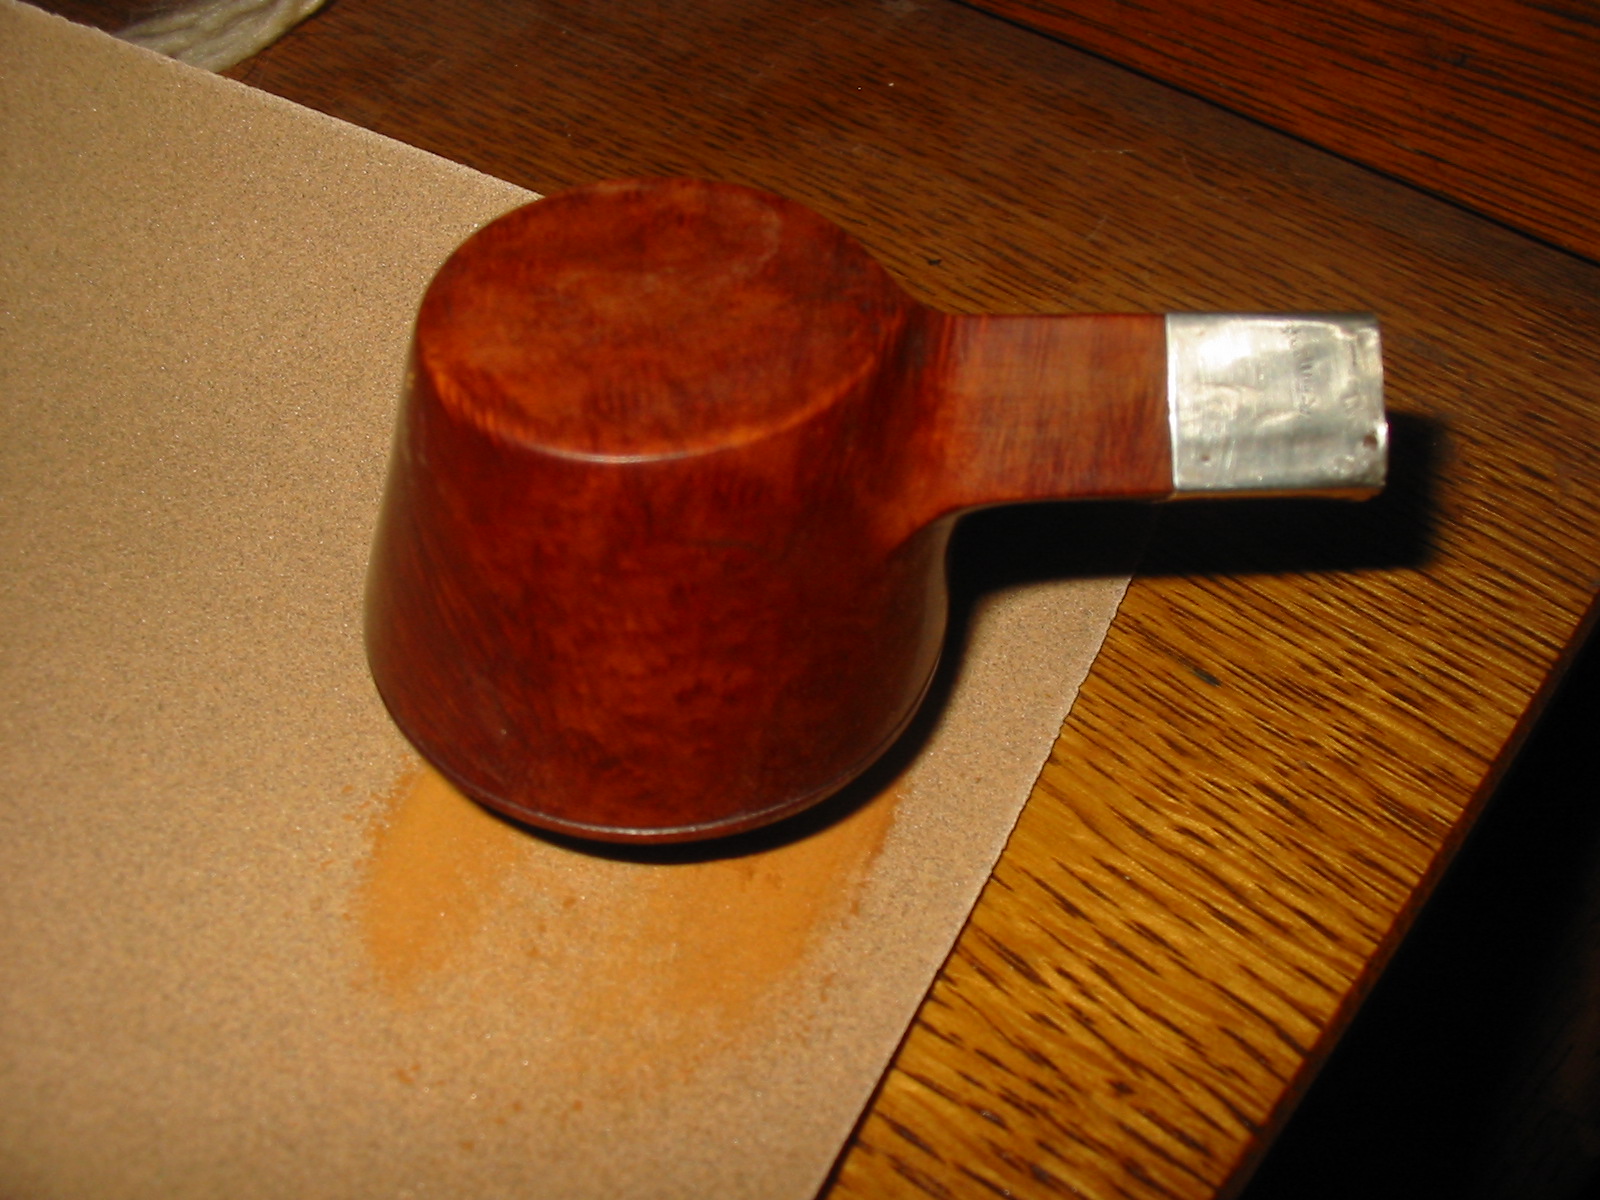
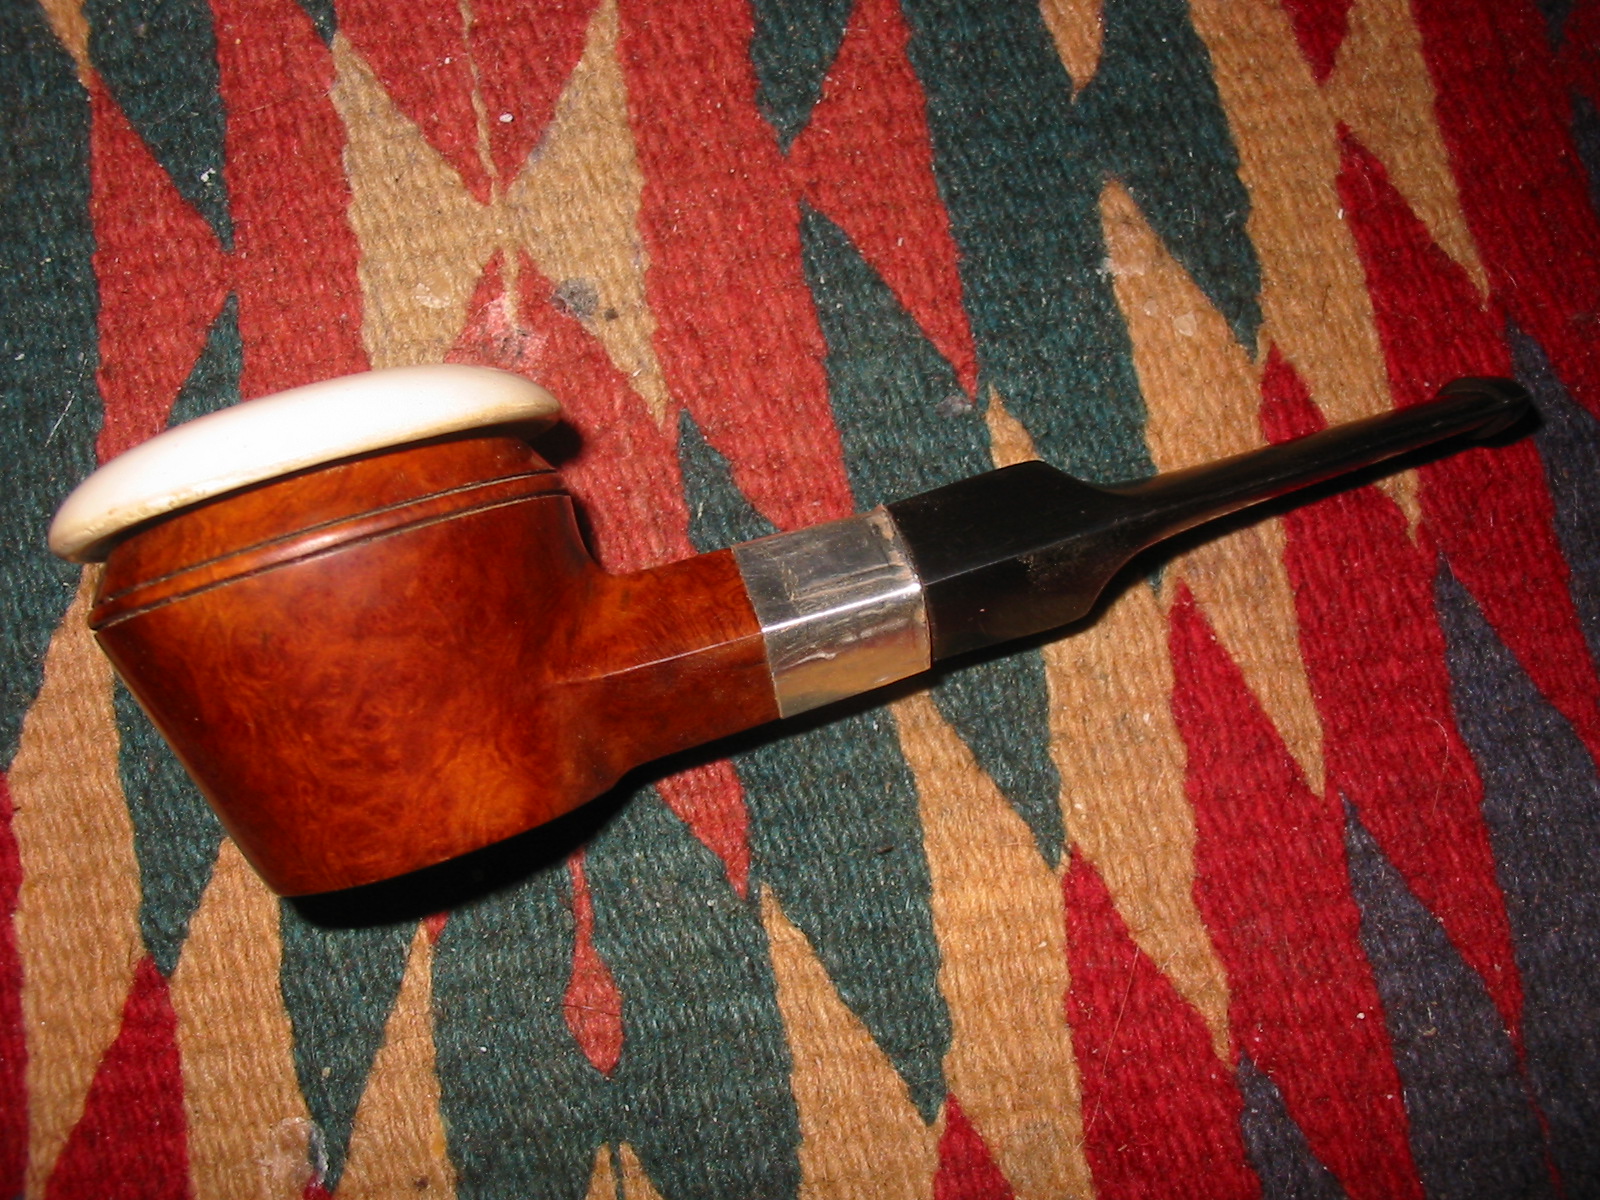
A part of the gasket came loose from the work so I reglued it and once it was dry pressed it into the briar bowl. The next five photos show the fitted meerschaum bowl in place in the briar cup. The pipe is now ready to smoke. The draught is good and open. The newly fit stem works well with the combination. I polished the briar and the meerschaum bowl and loaded a bowl and fired it up. It is a great smoking machine delivering a cool and dry smoke with a clean tobacco taste.
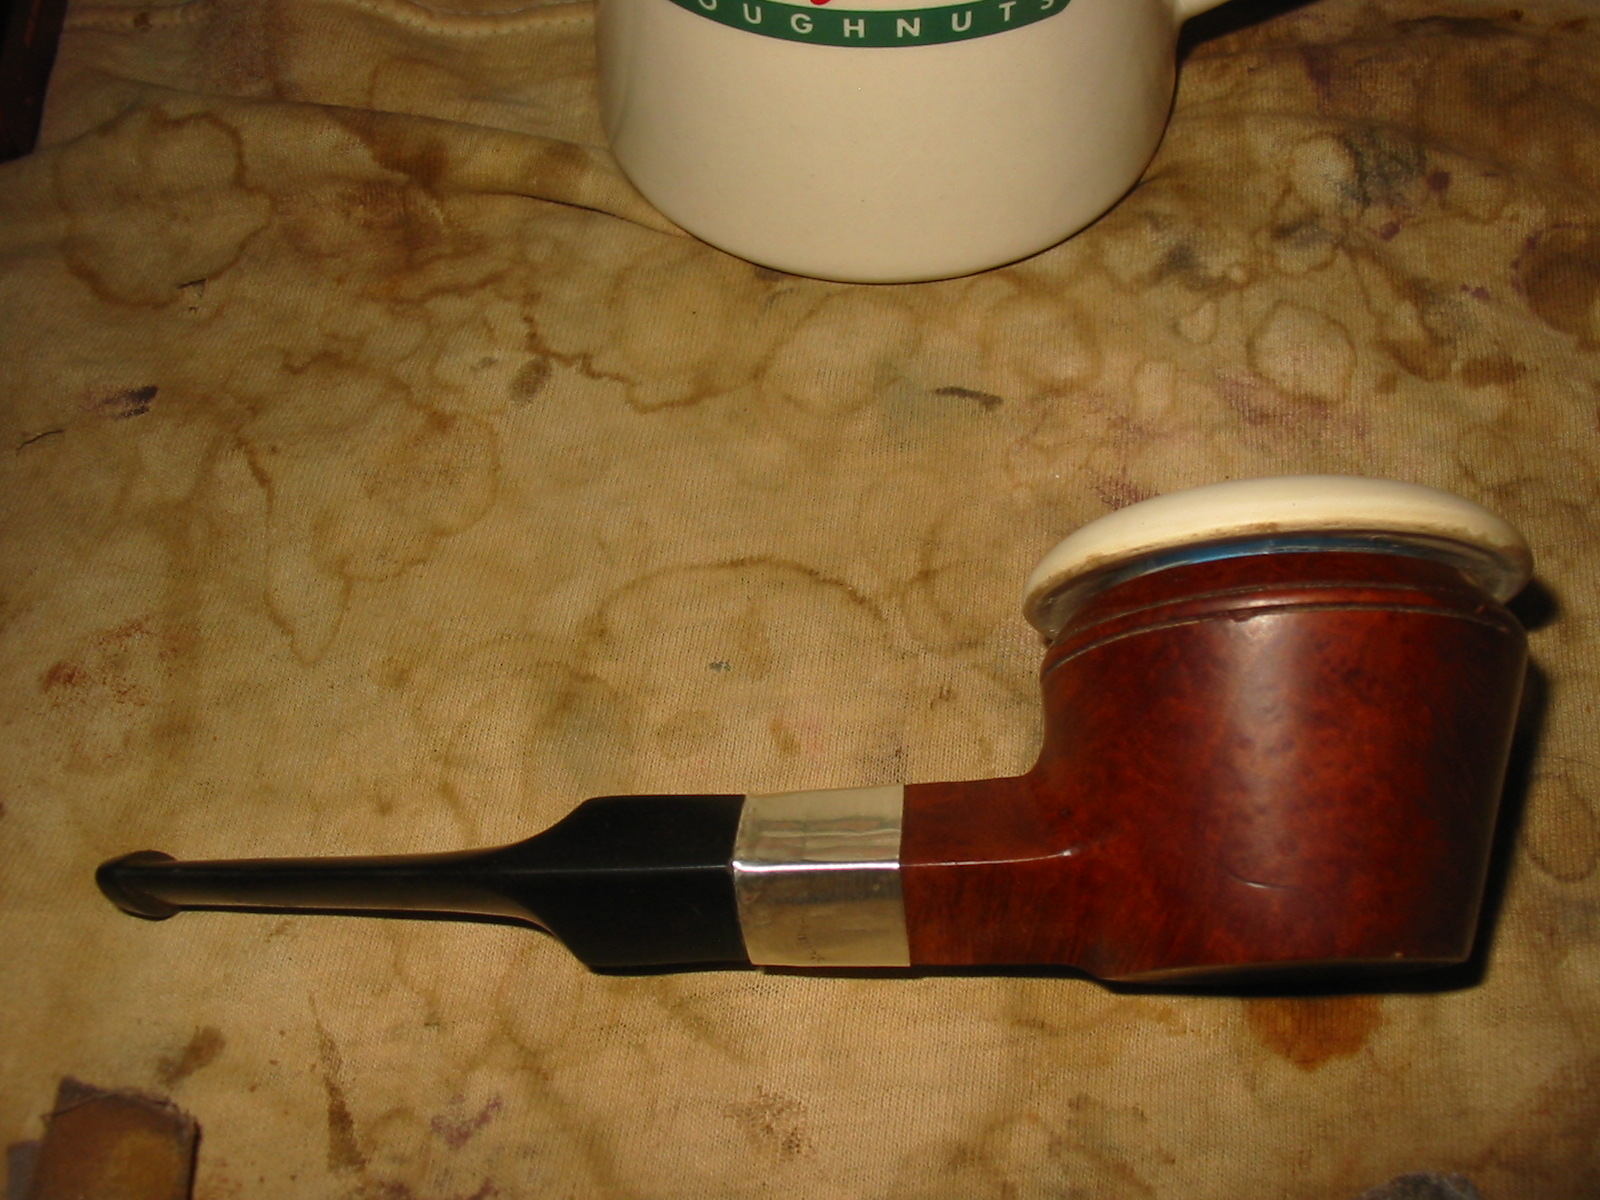
Still a little work to do polish the meerschaum bowl but the idea is clear in the photos. I will polish it with micromesh sanding pads and then use beeswax to wax the bowl for enhancing the colouration of the bowl.
ADDENDUM:
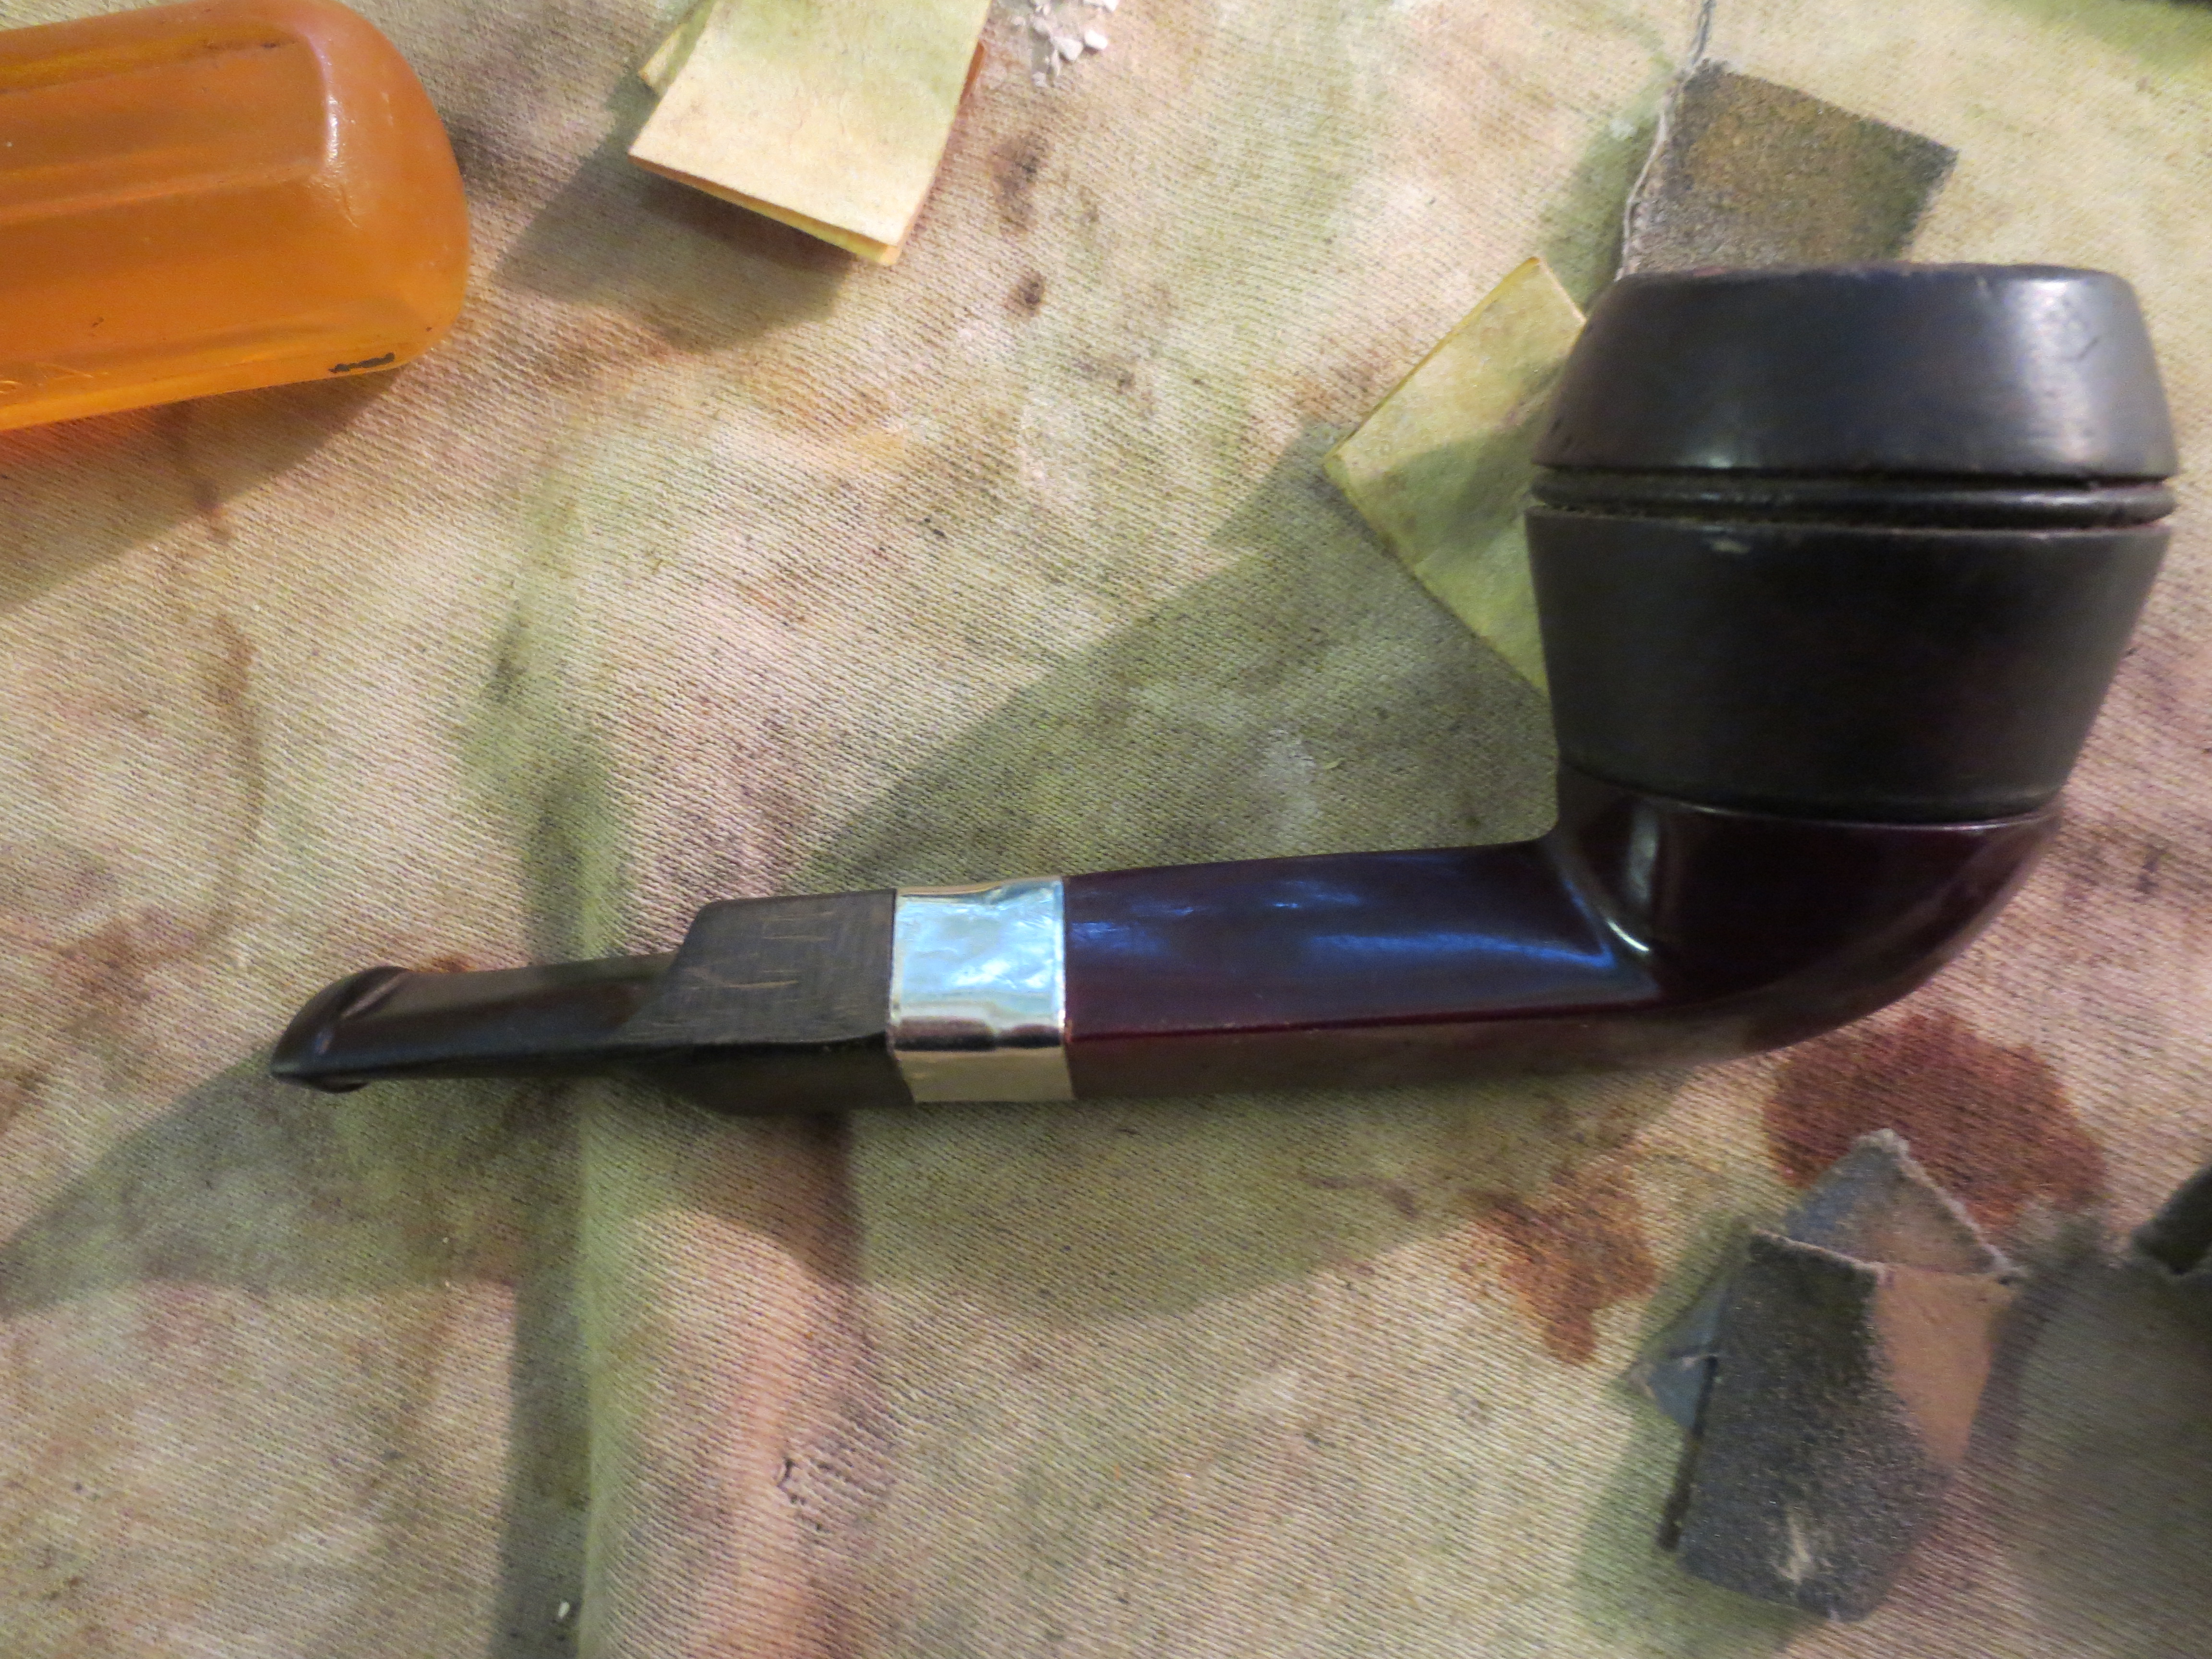
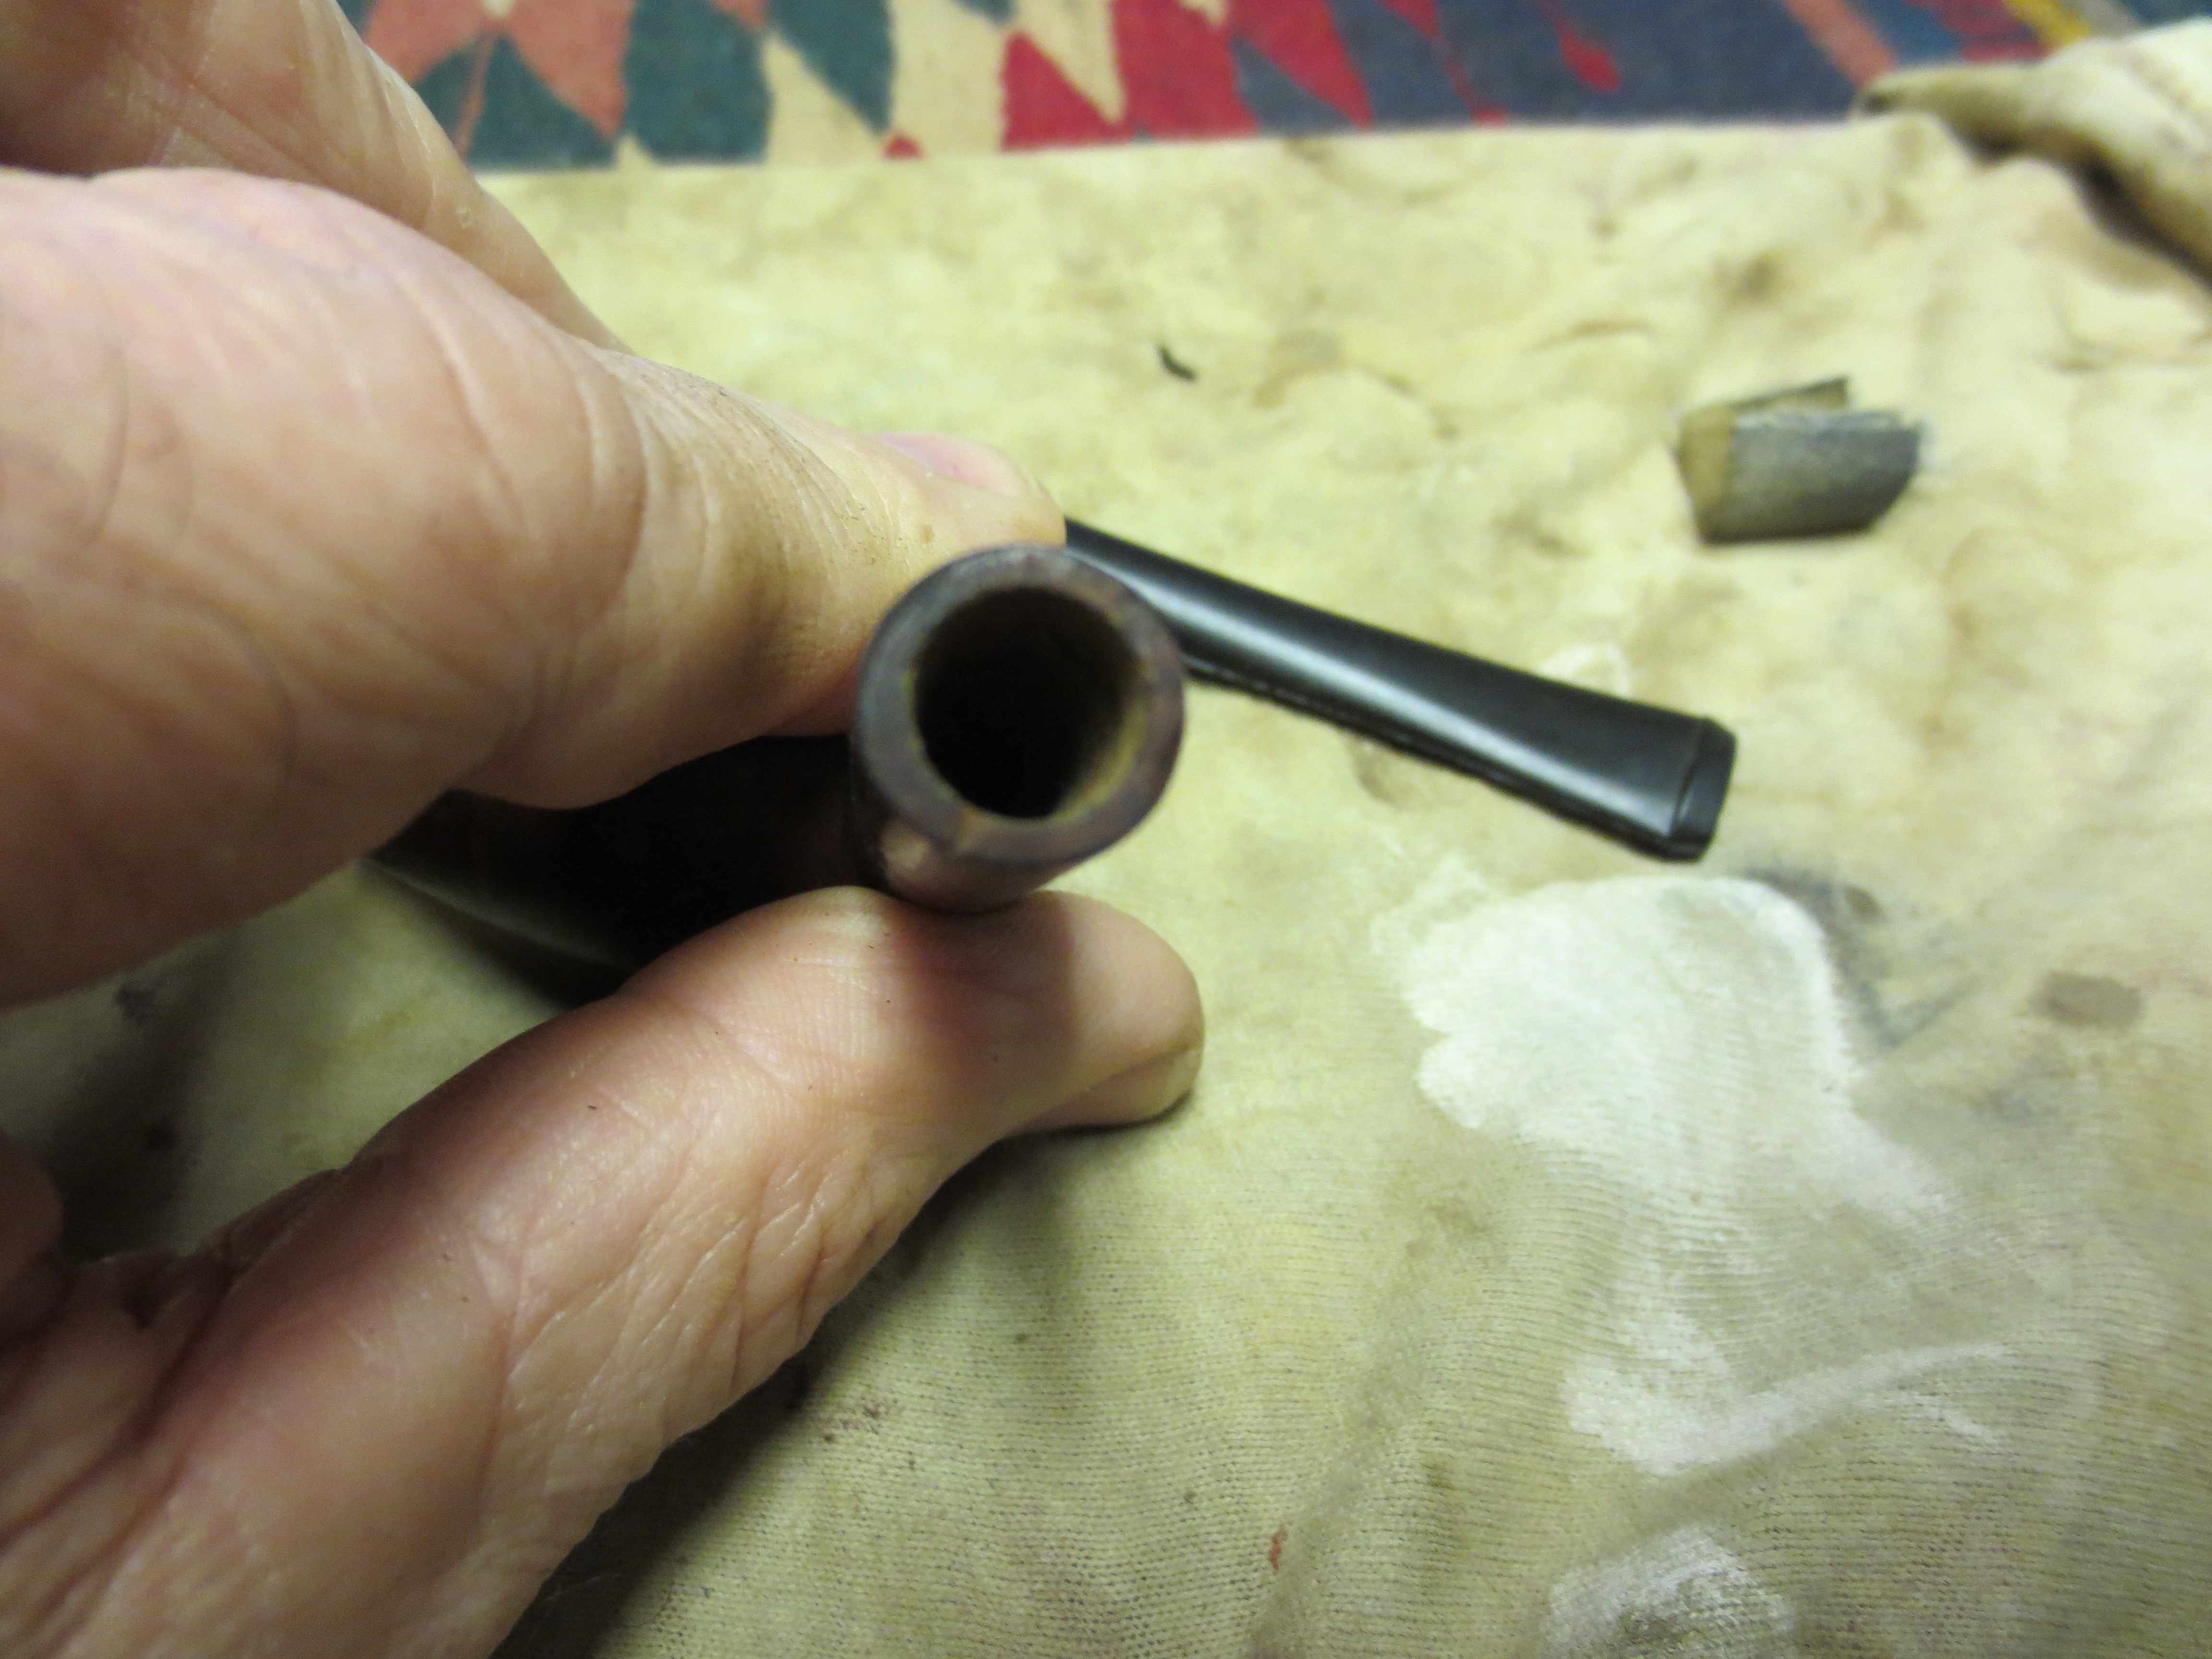
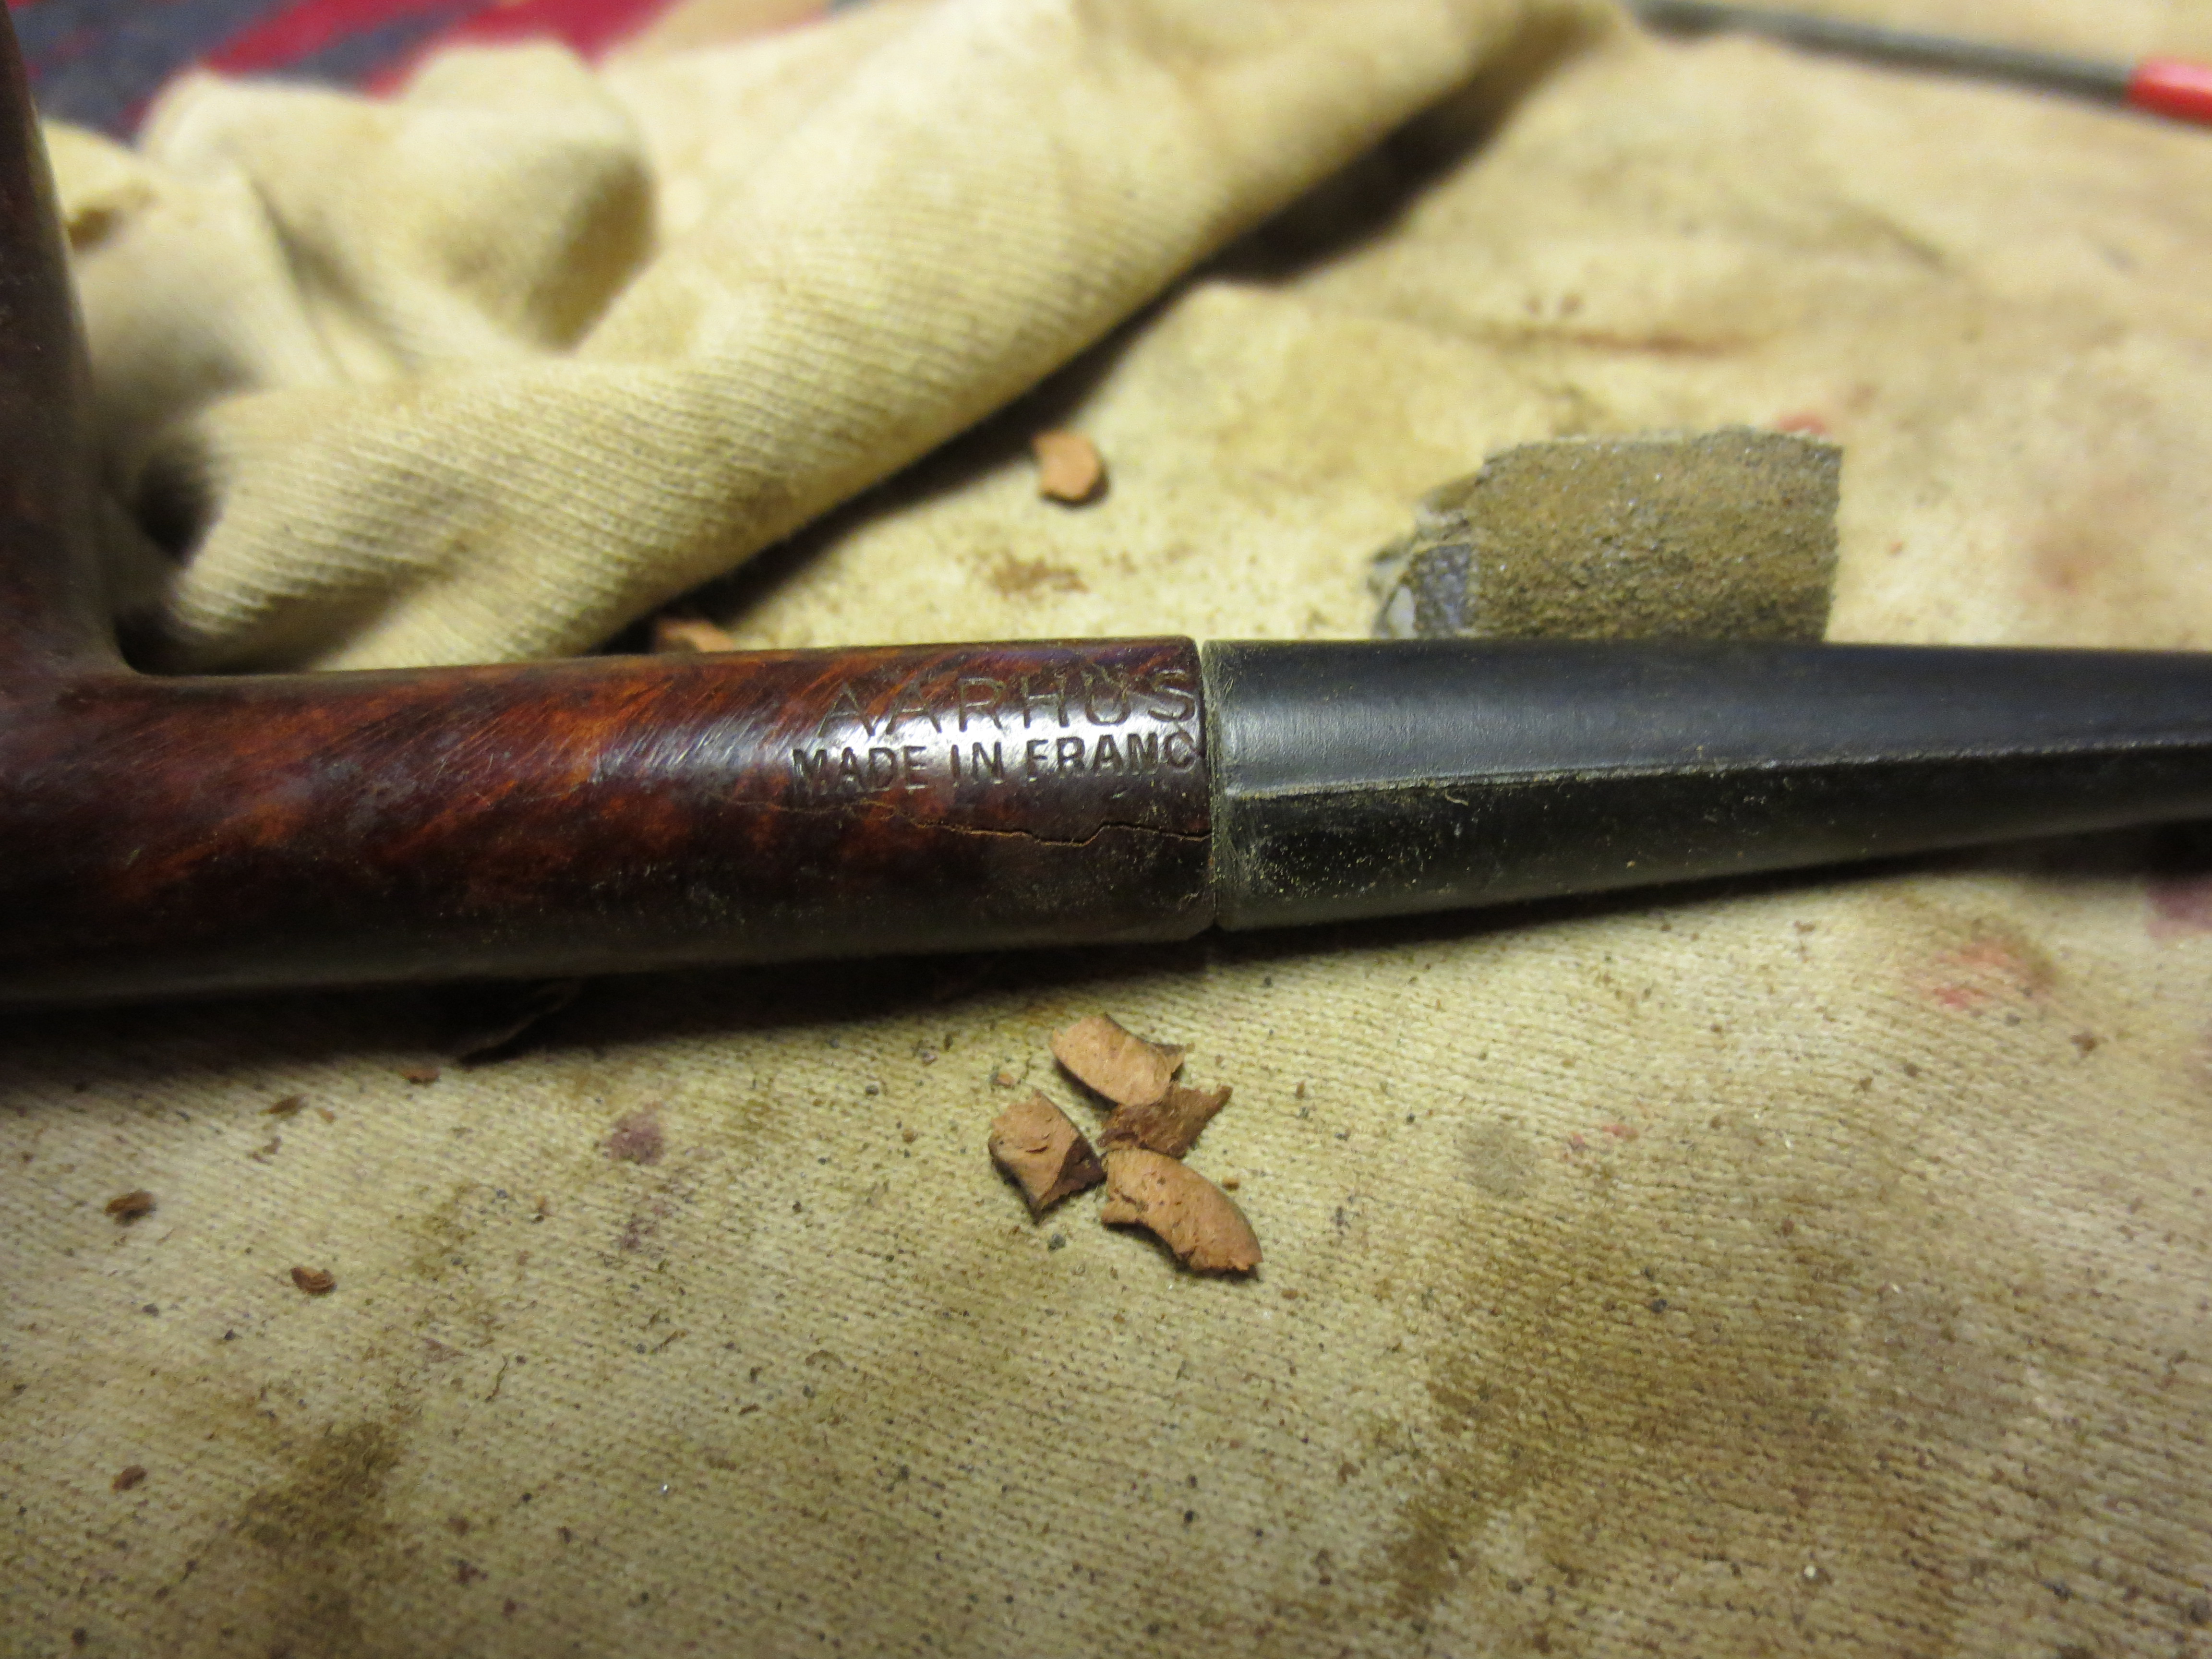
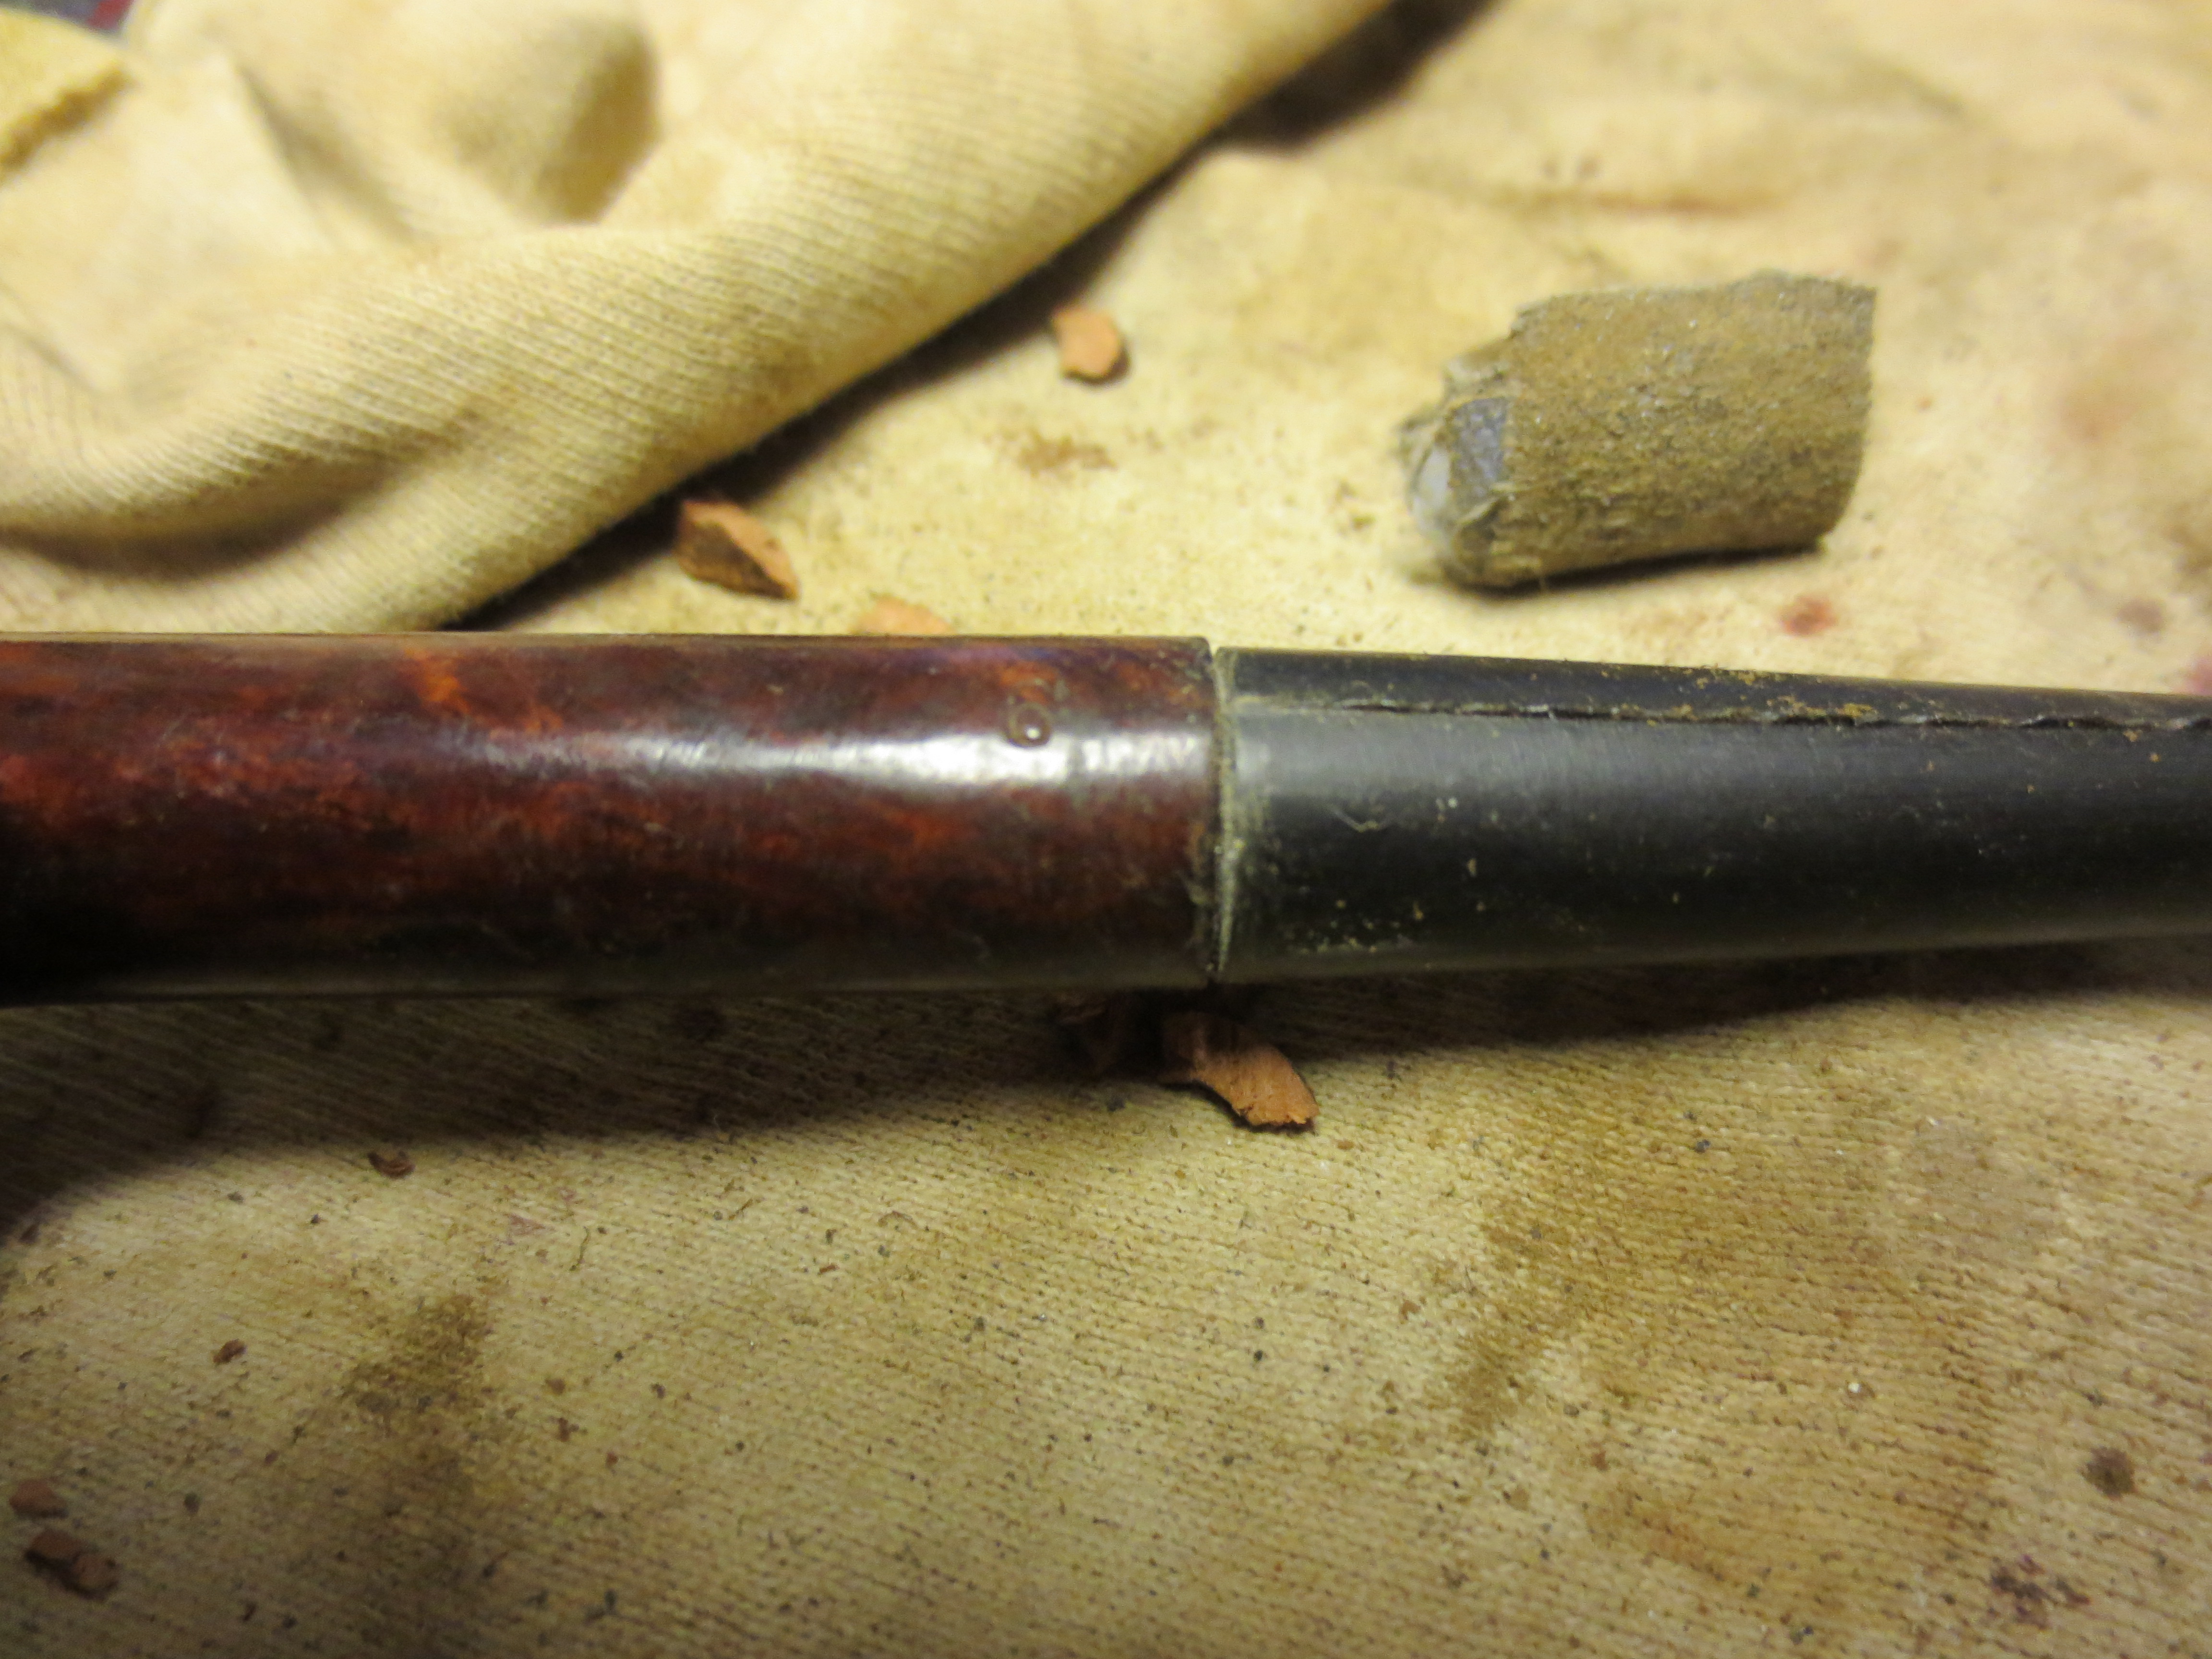
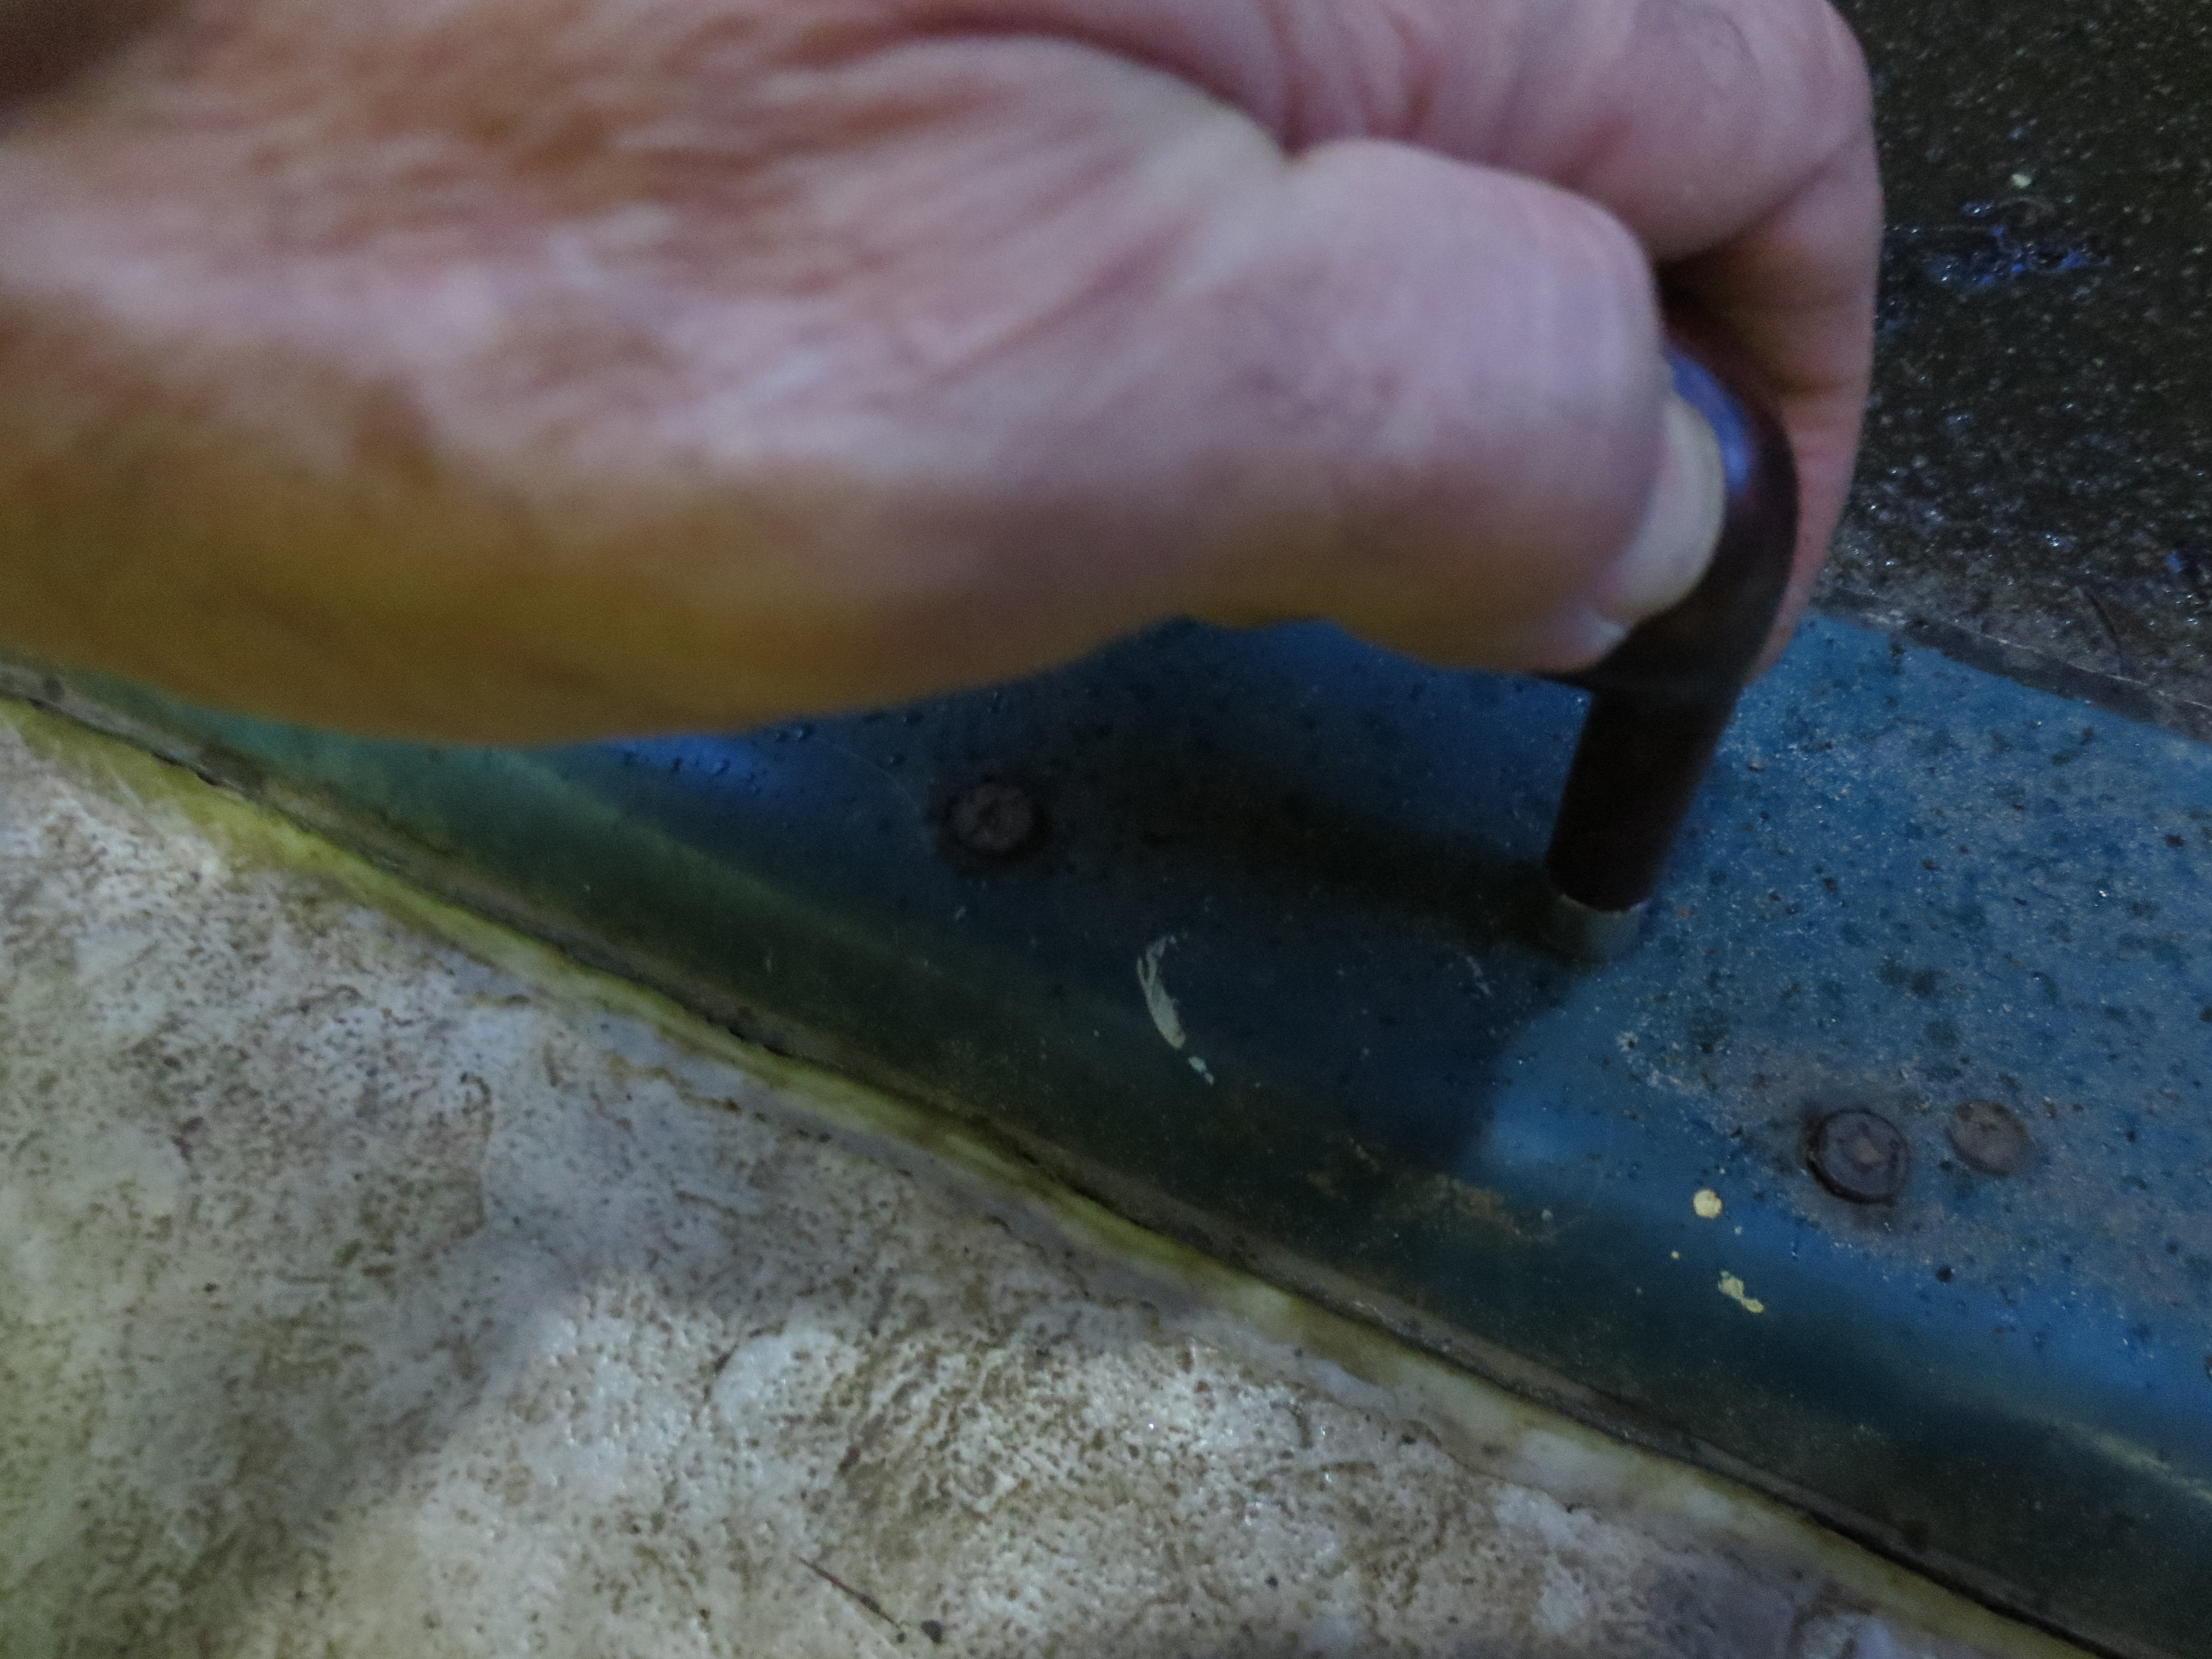
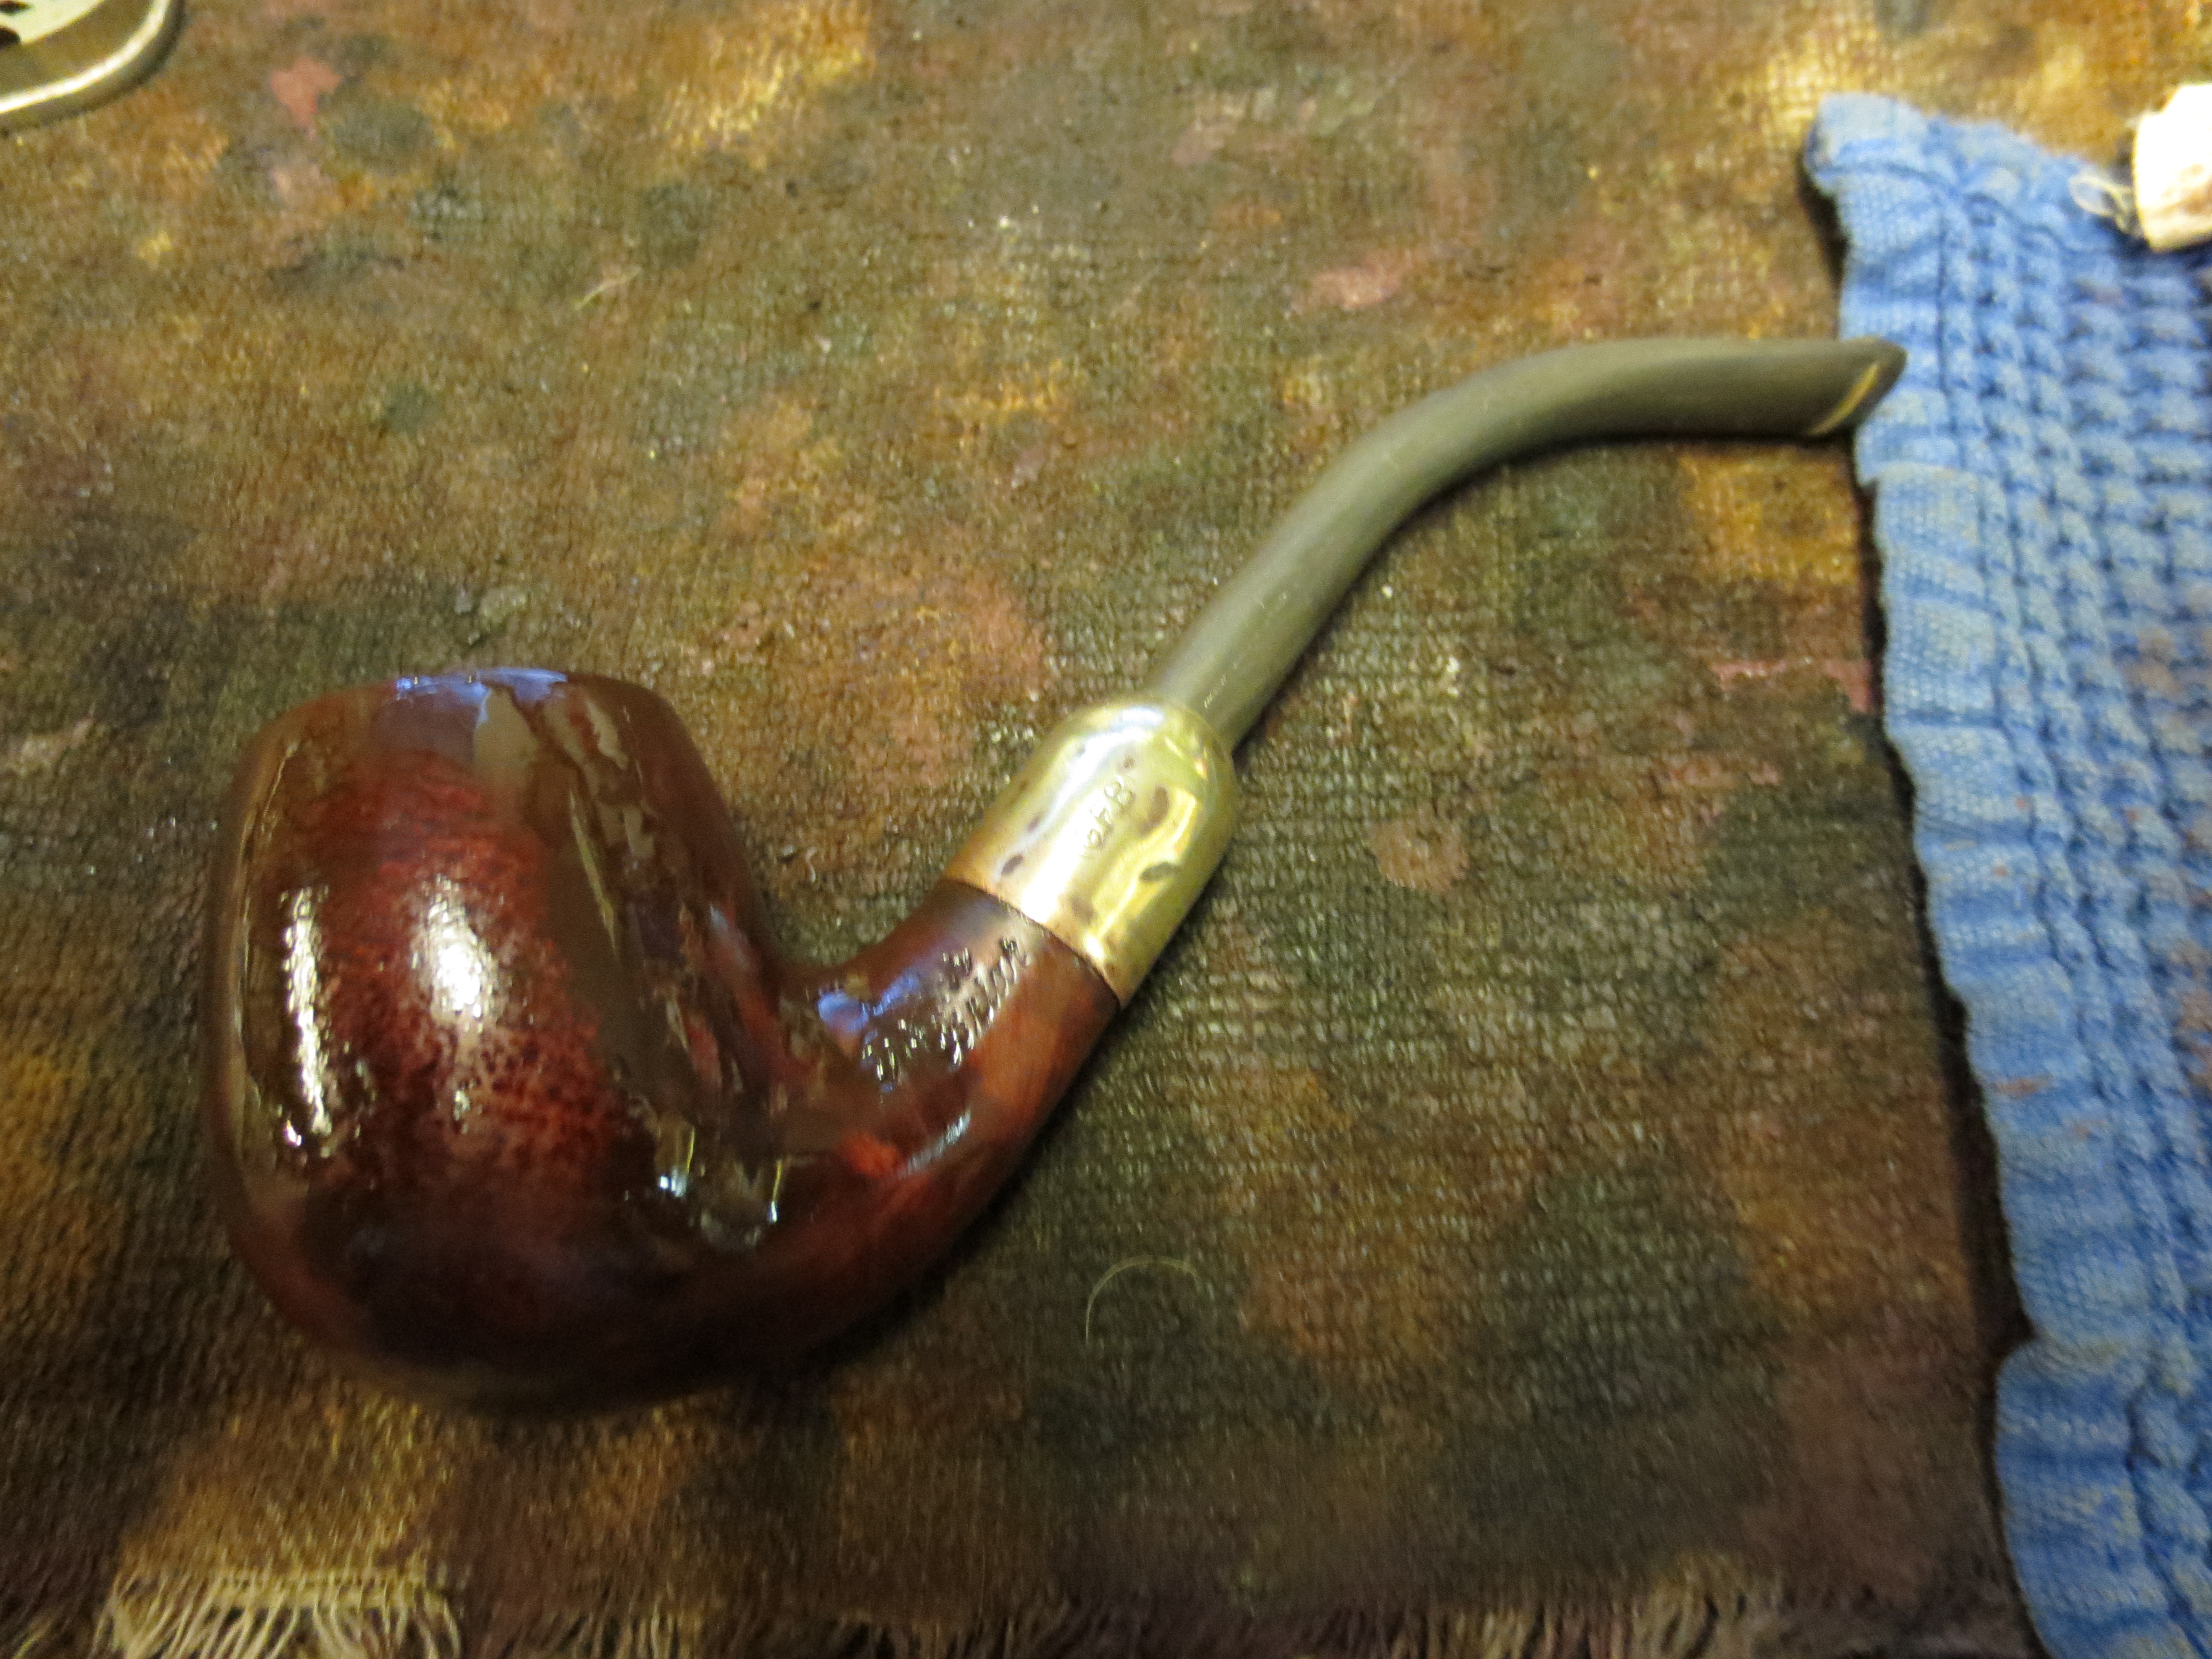
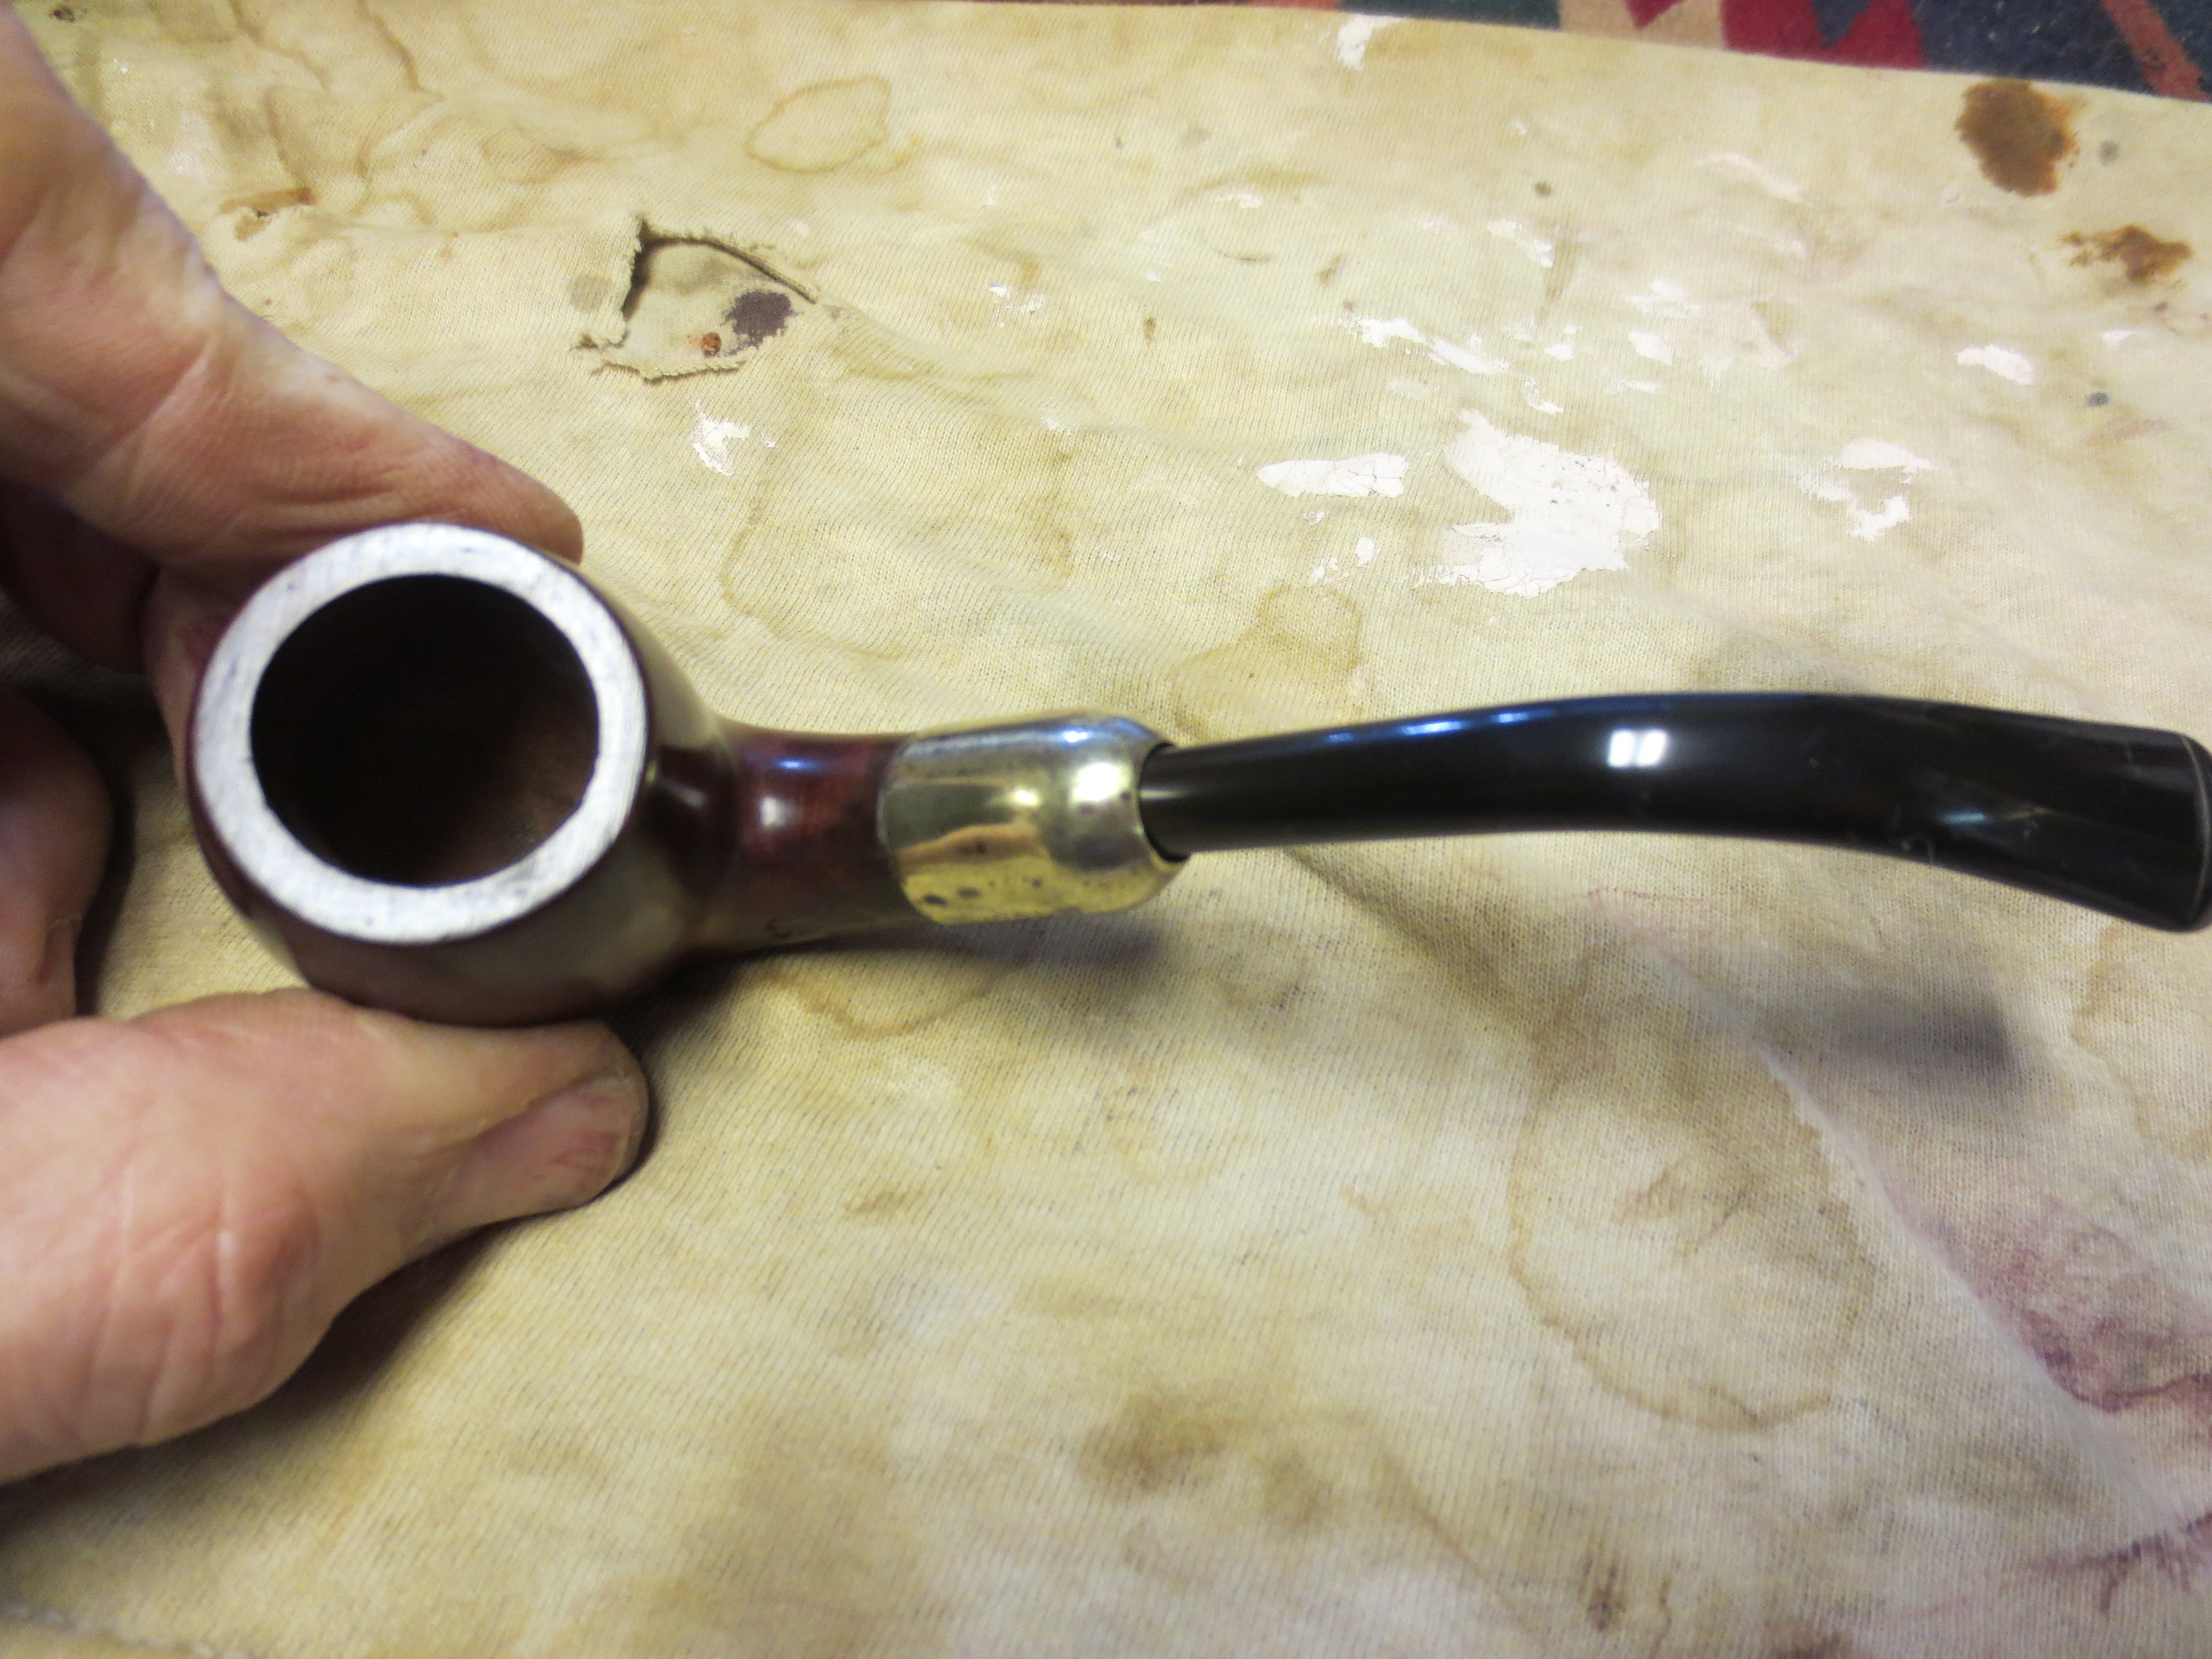
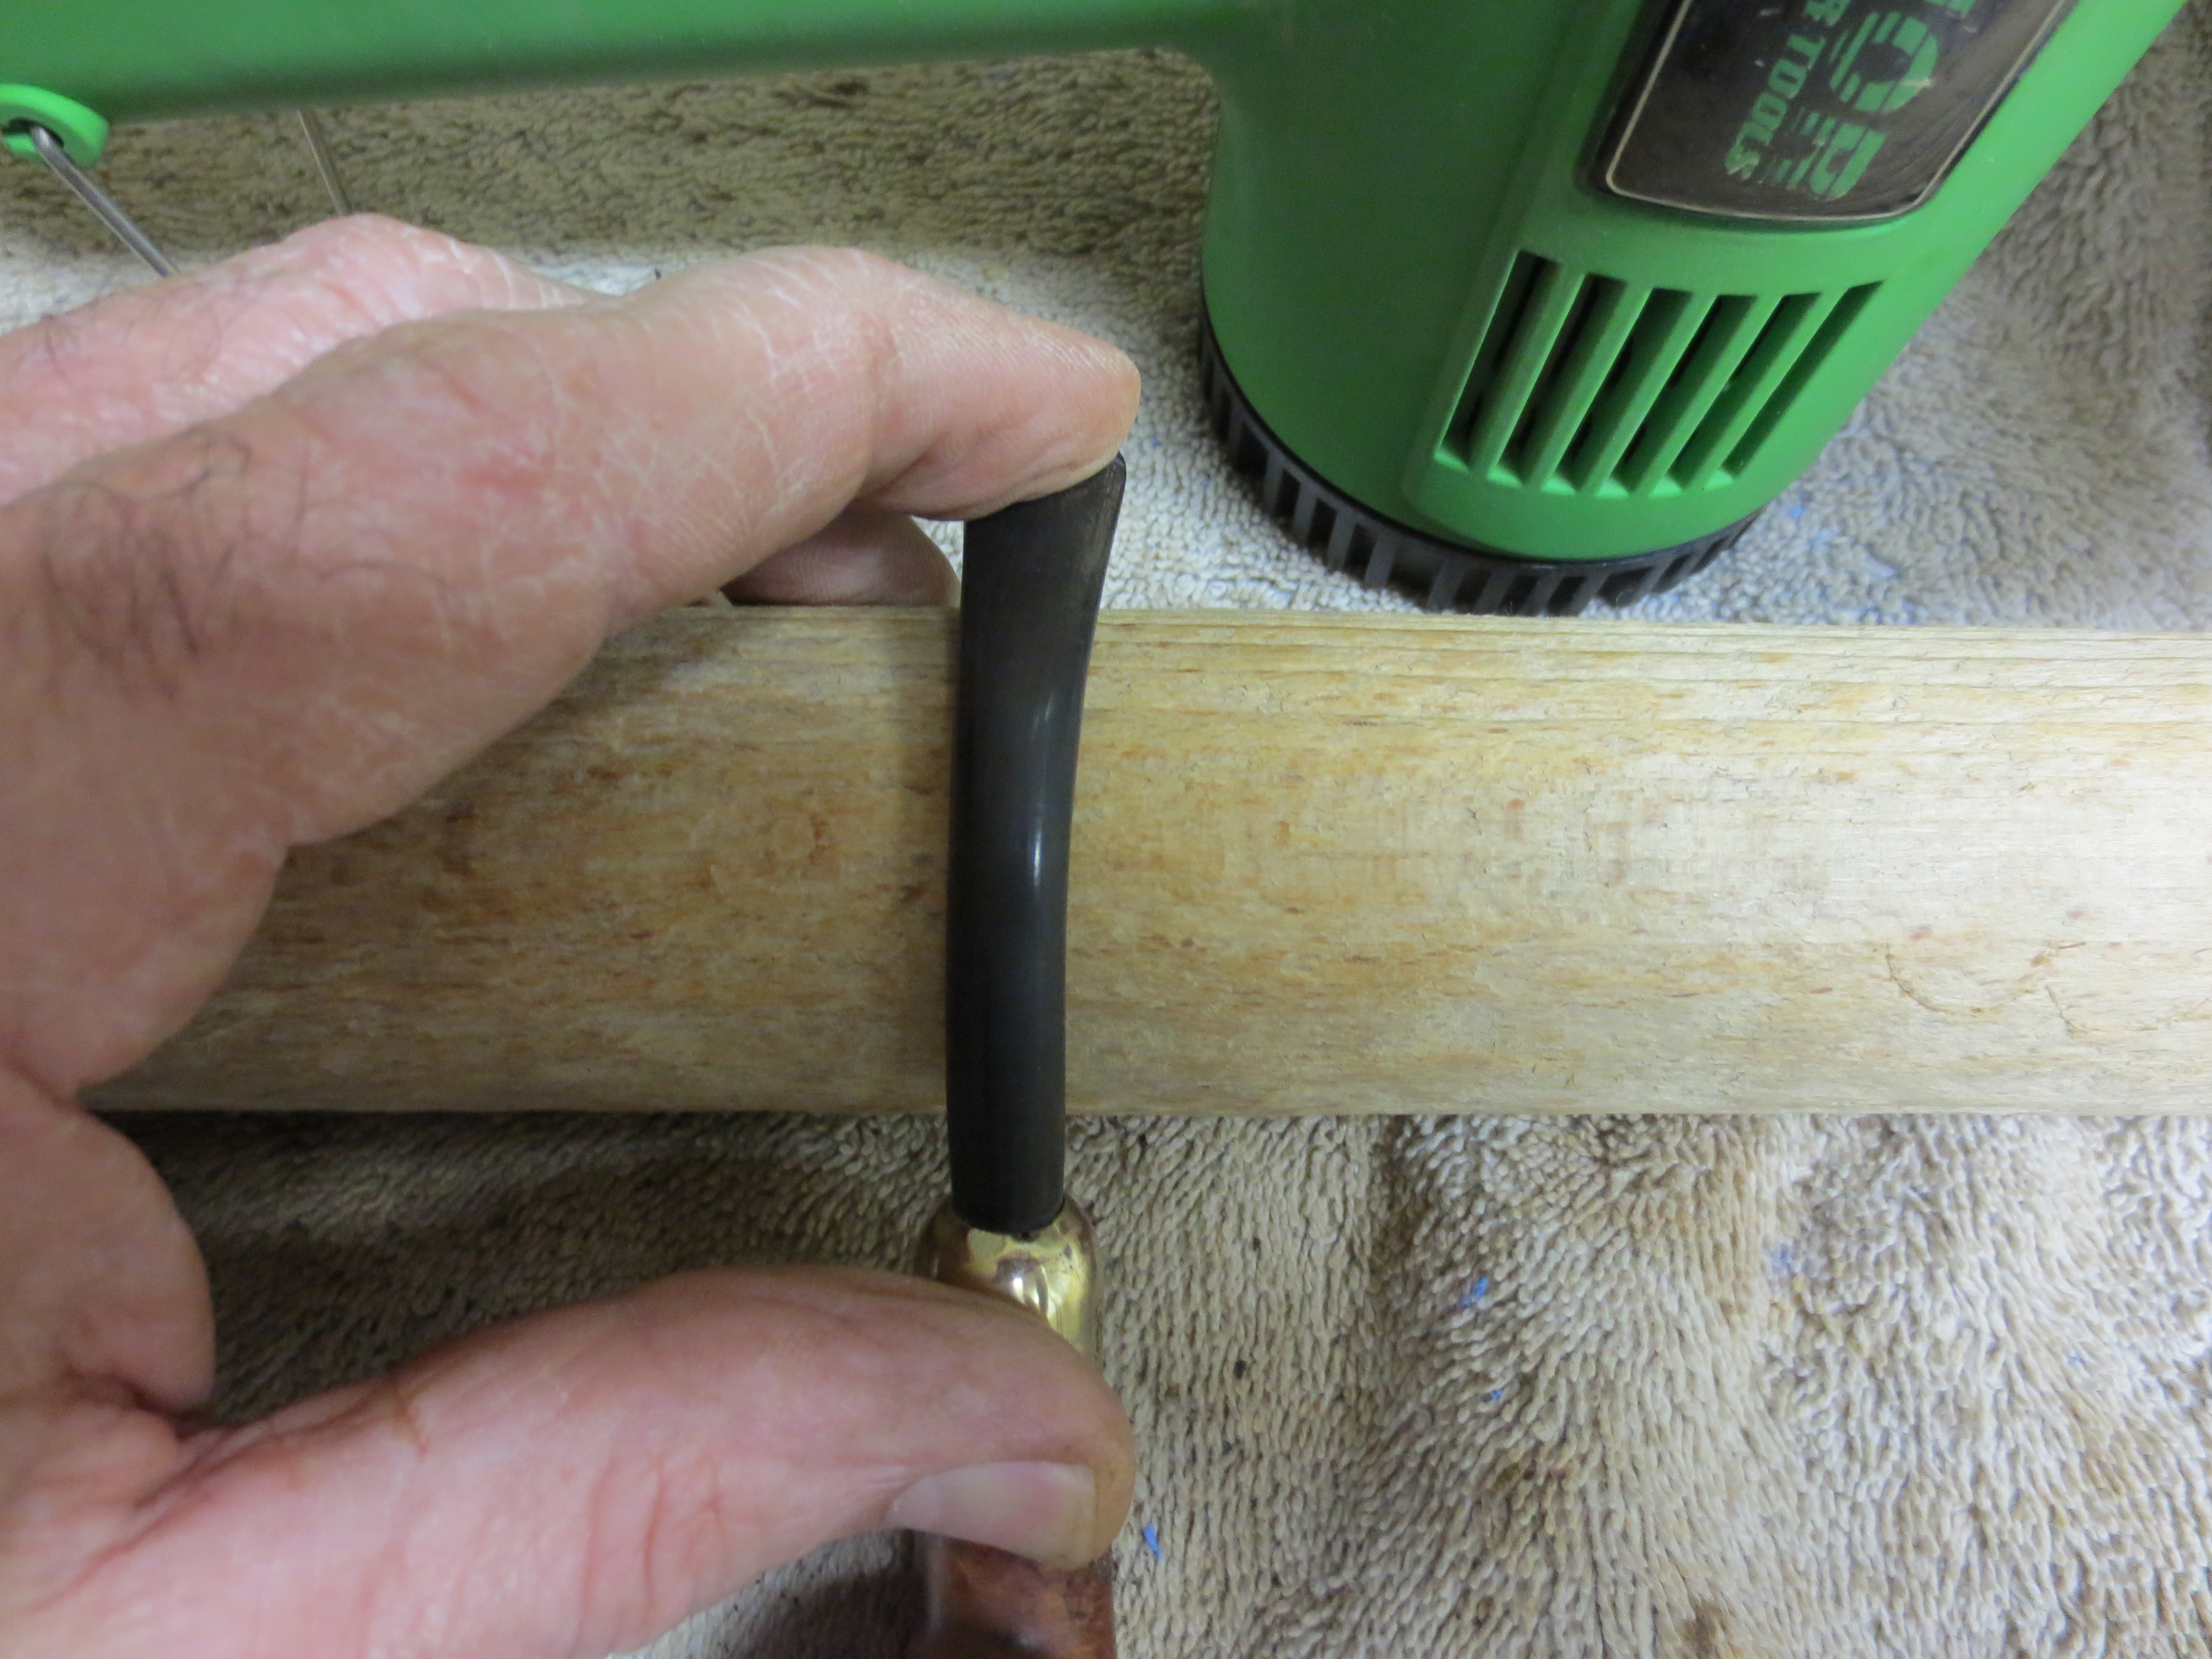
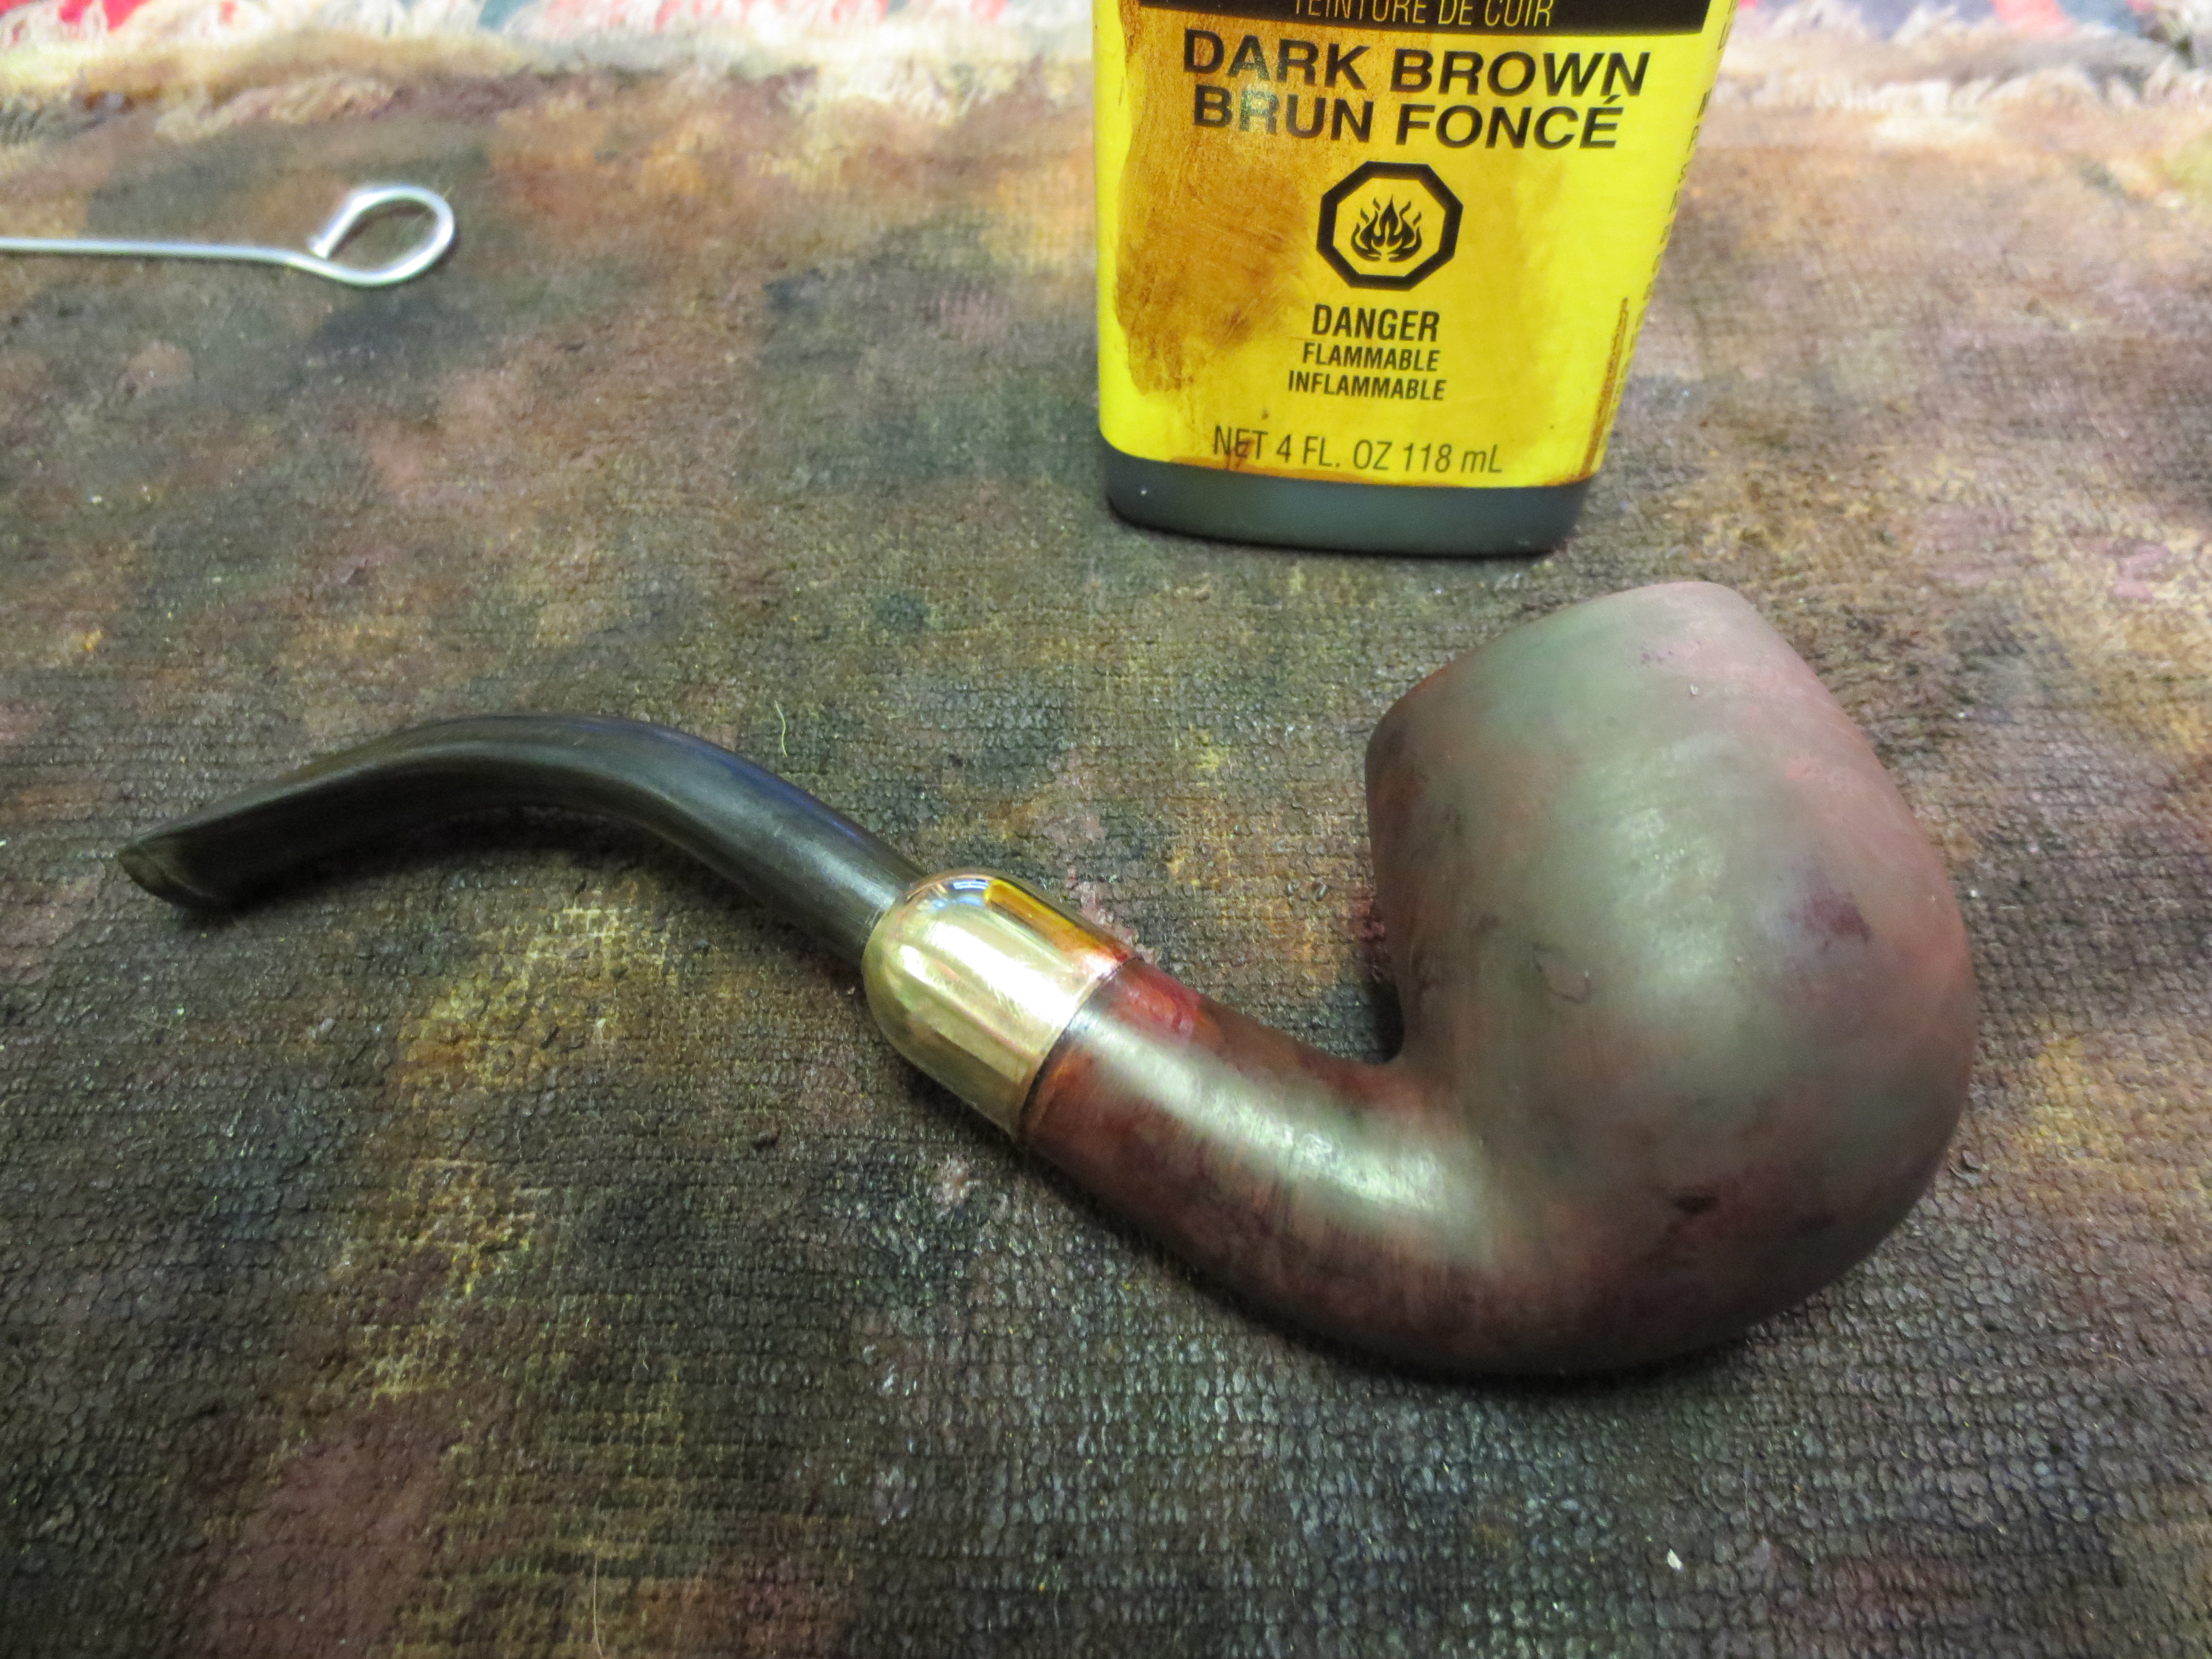
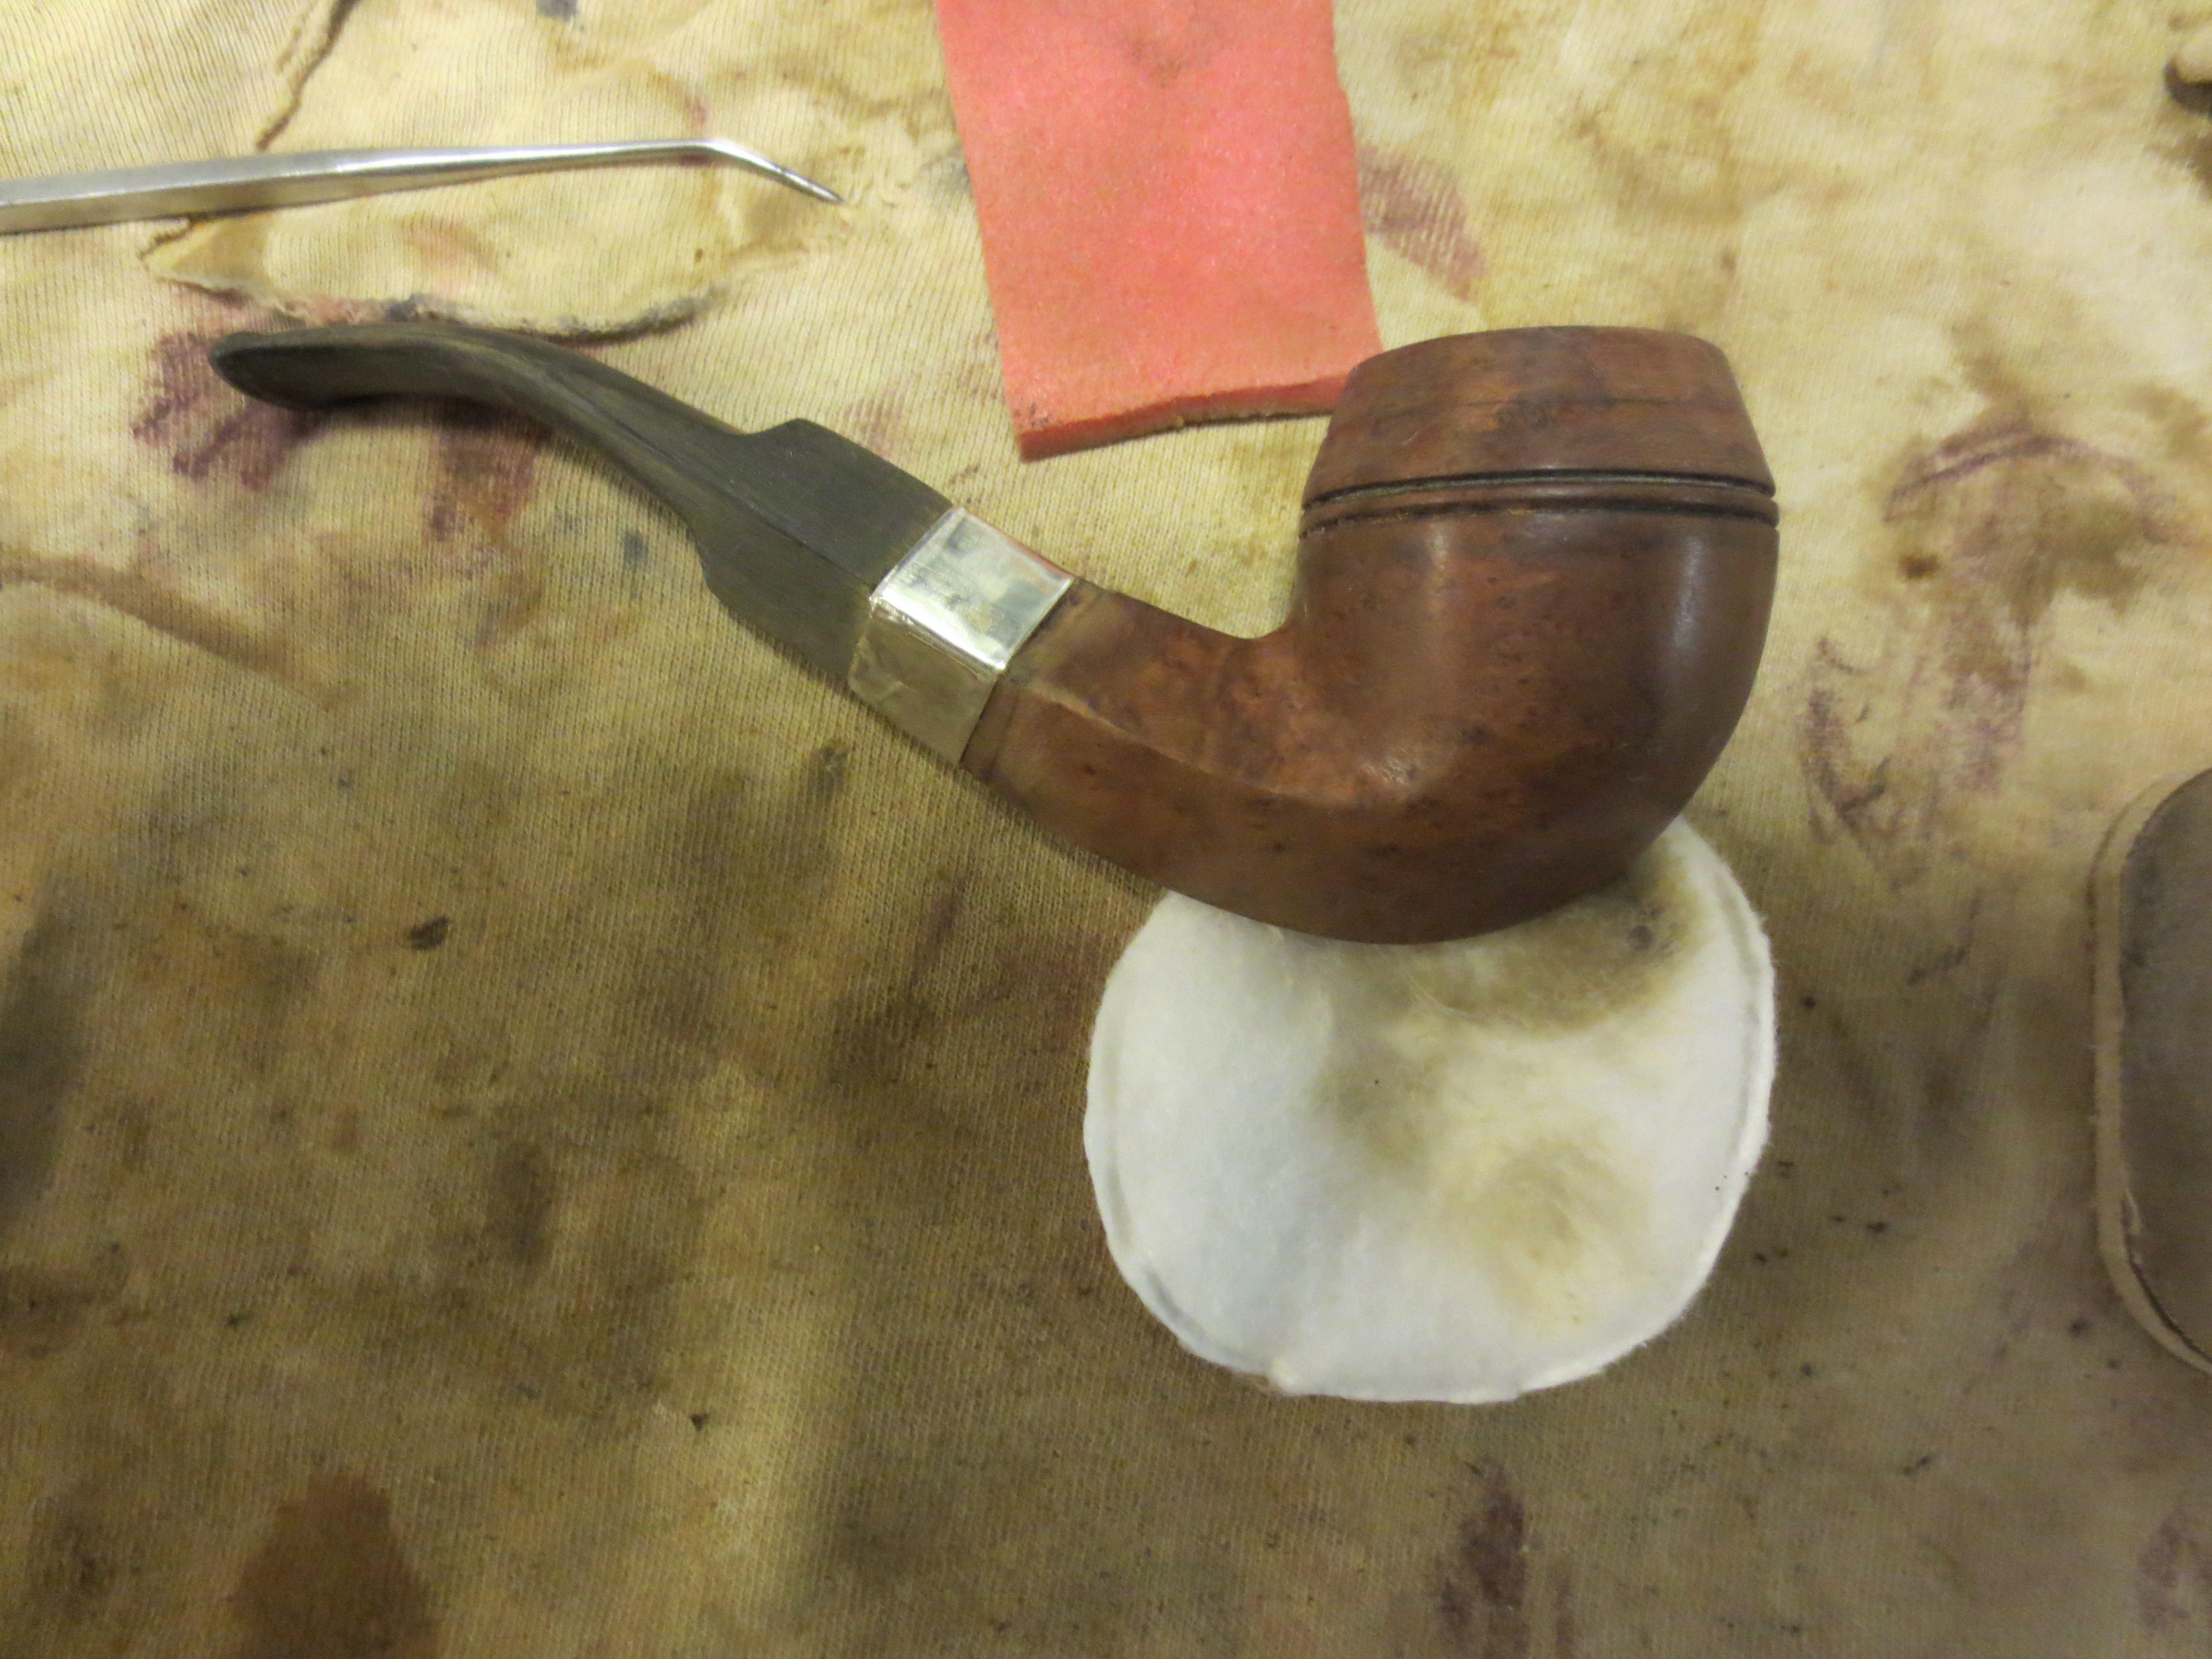
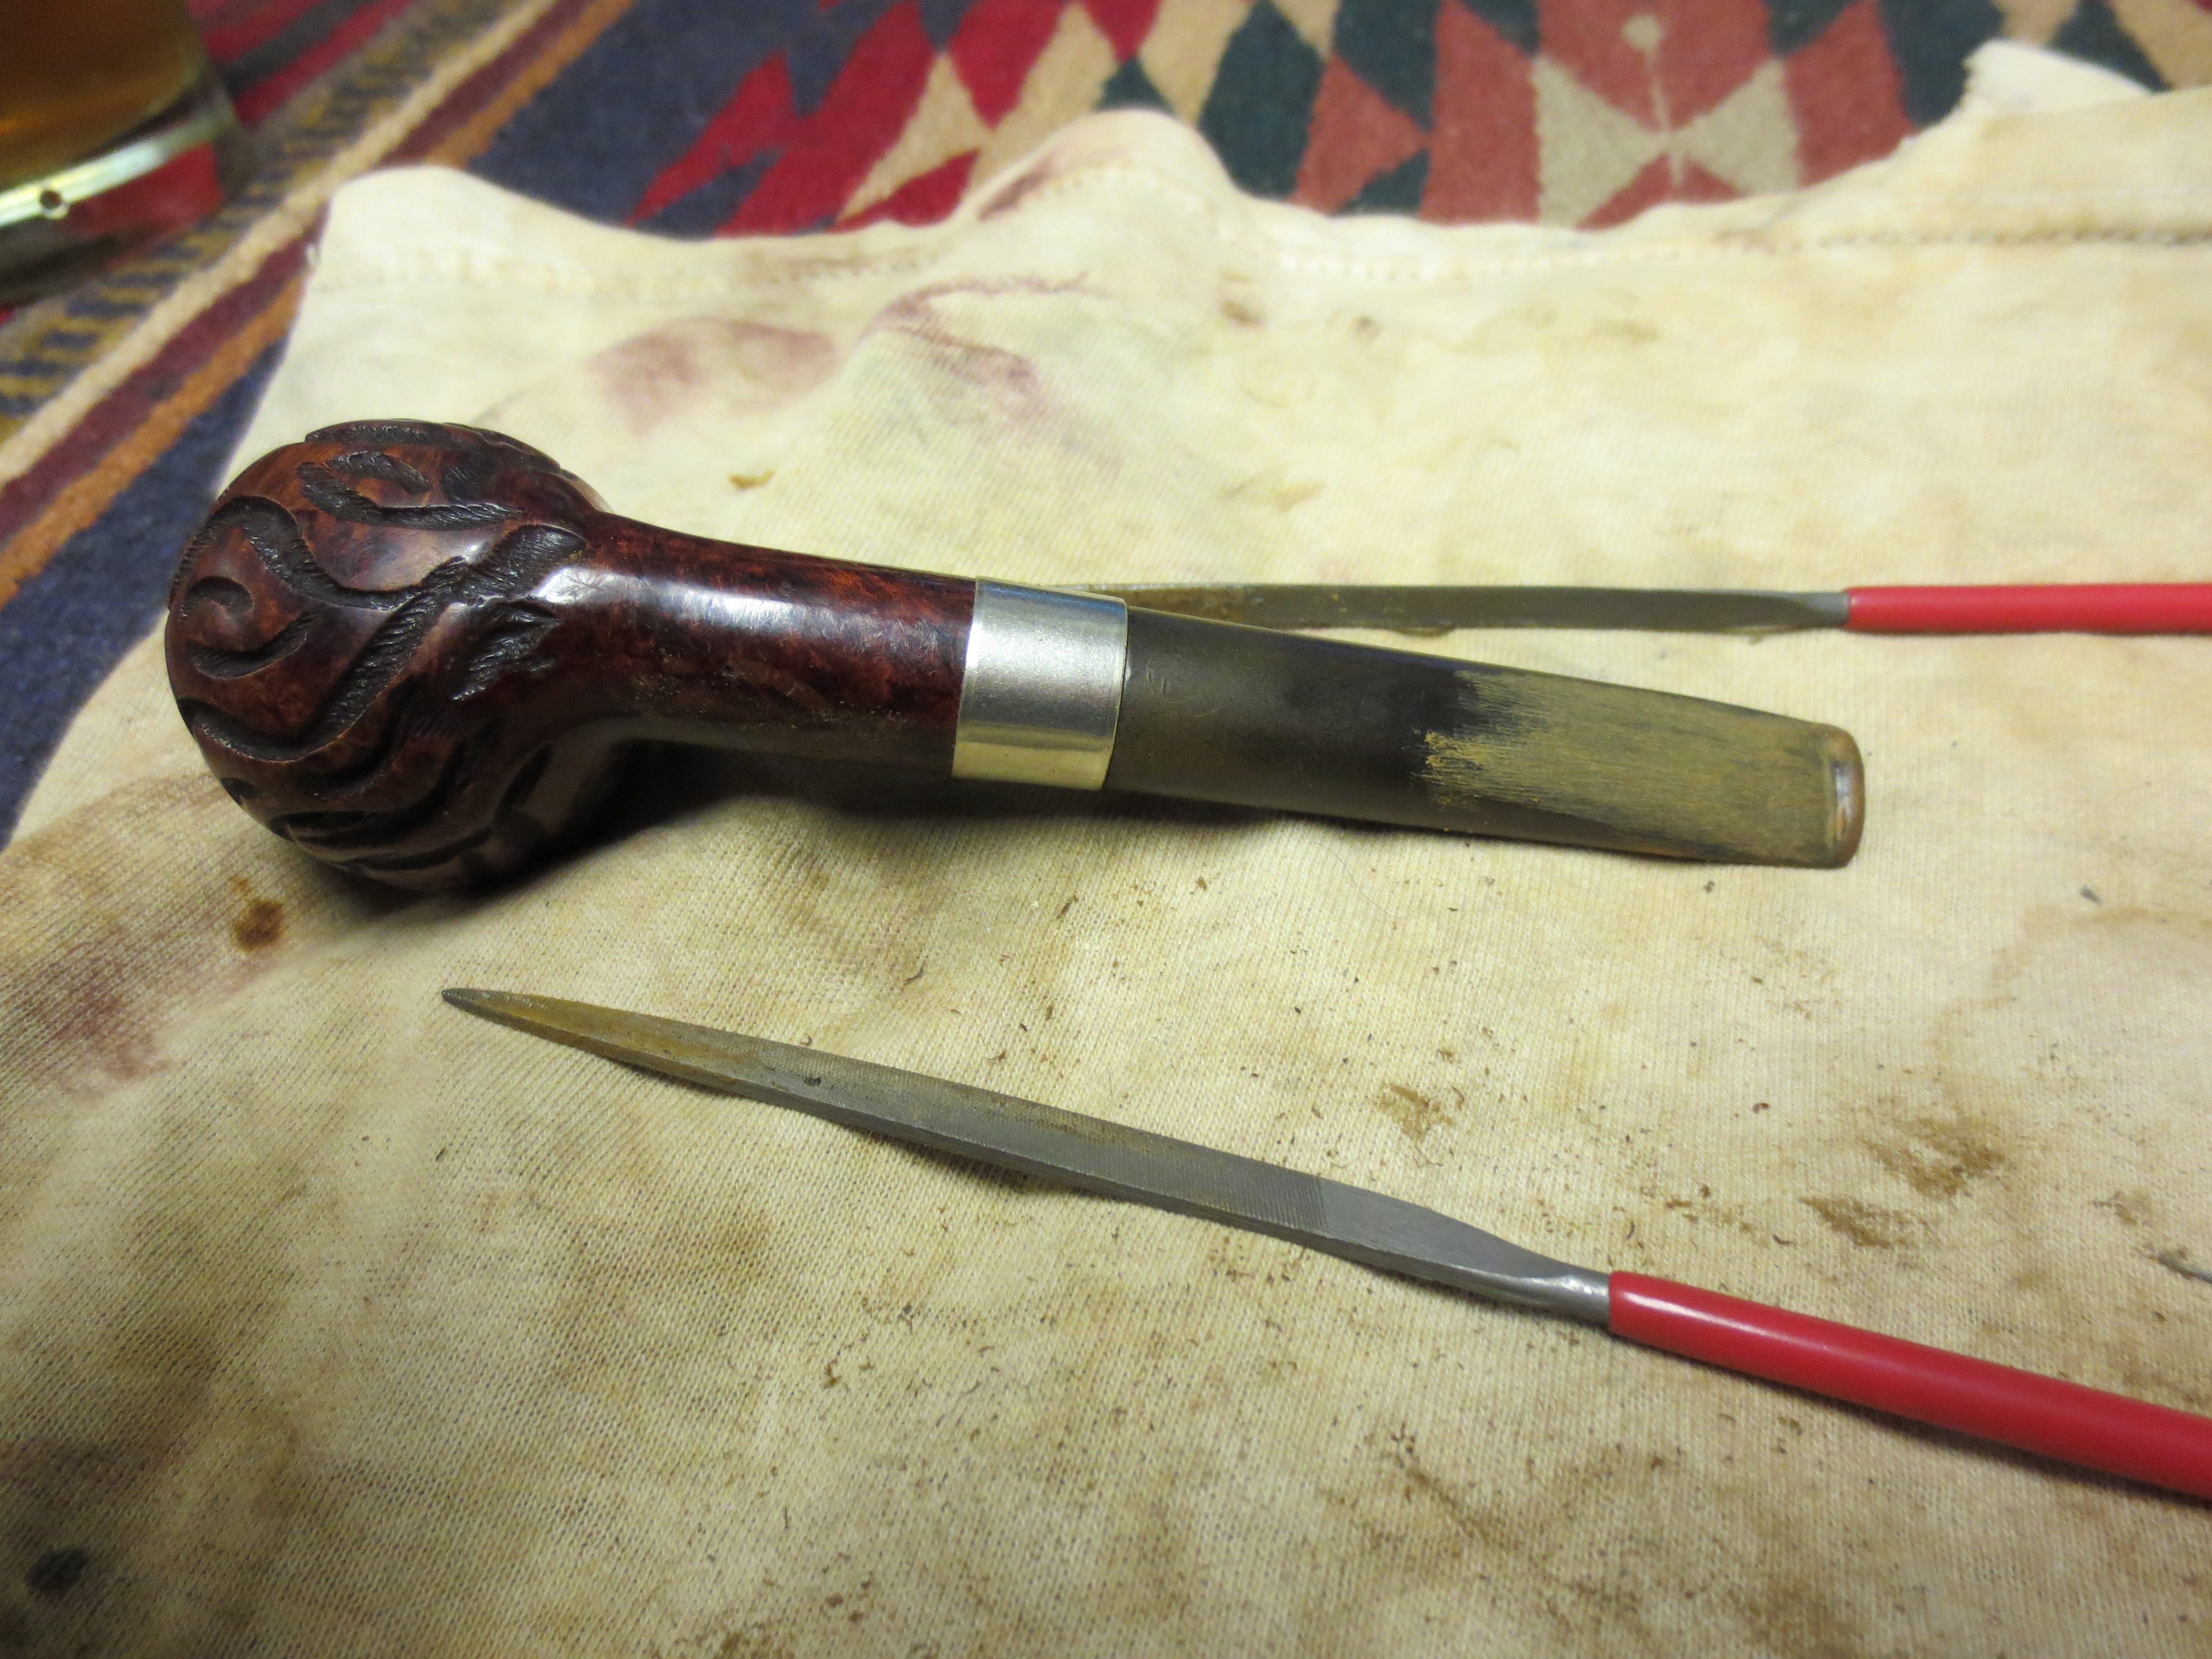
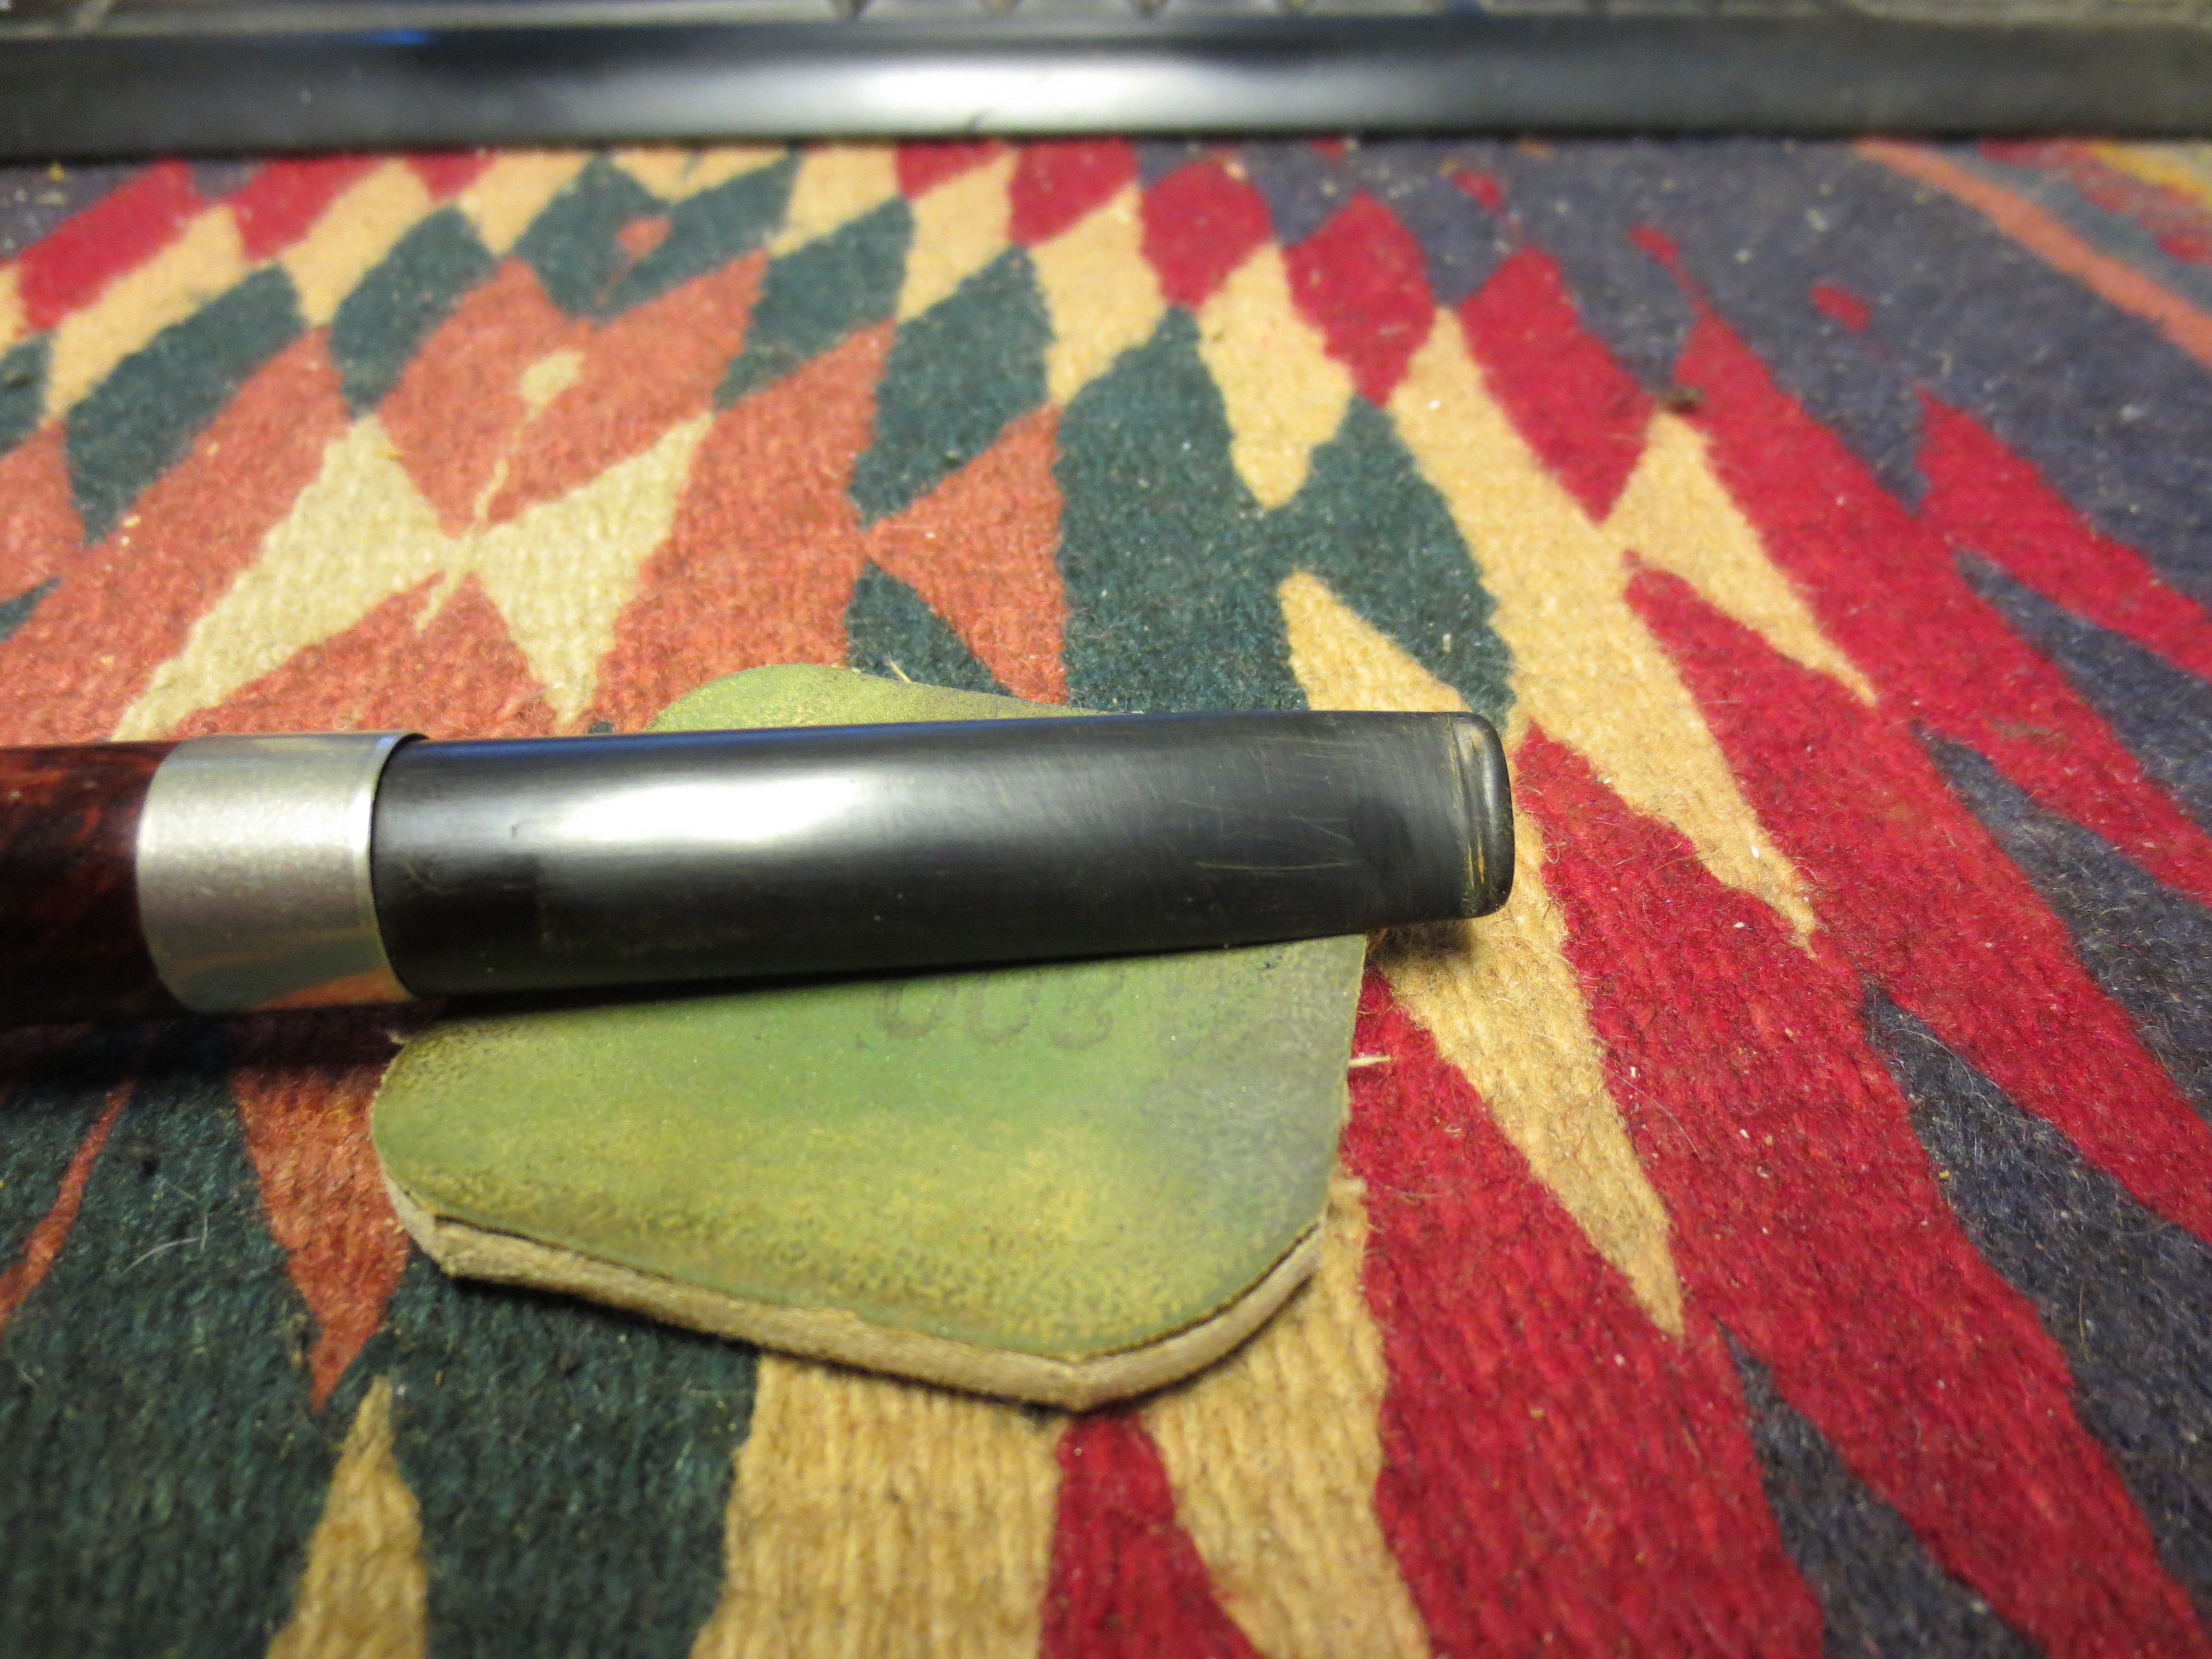
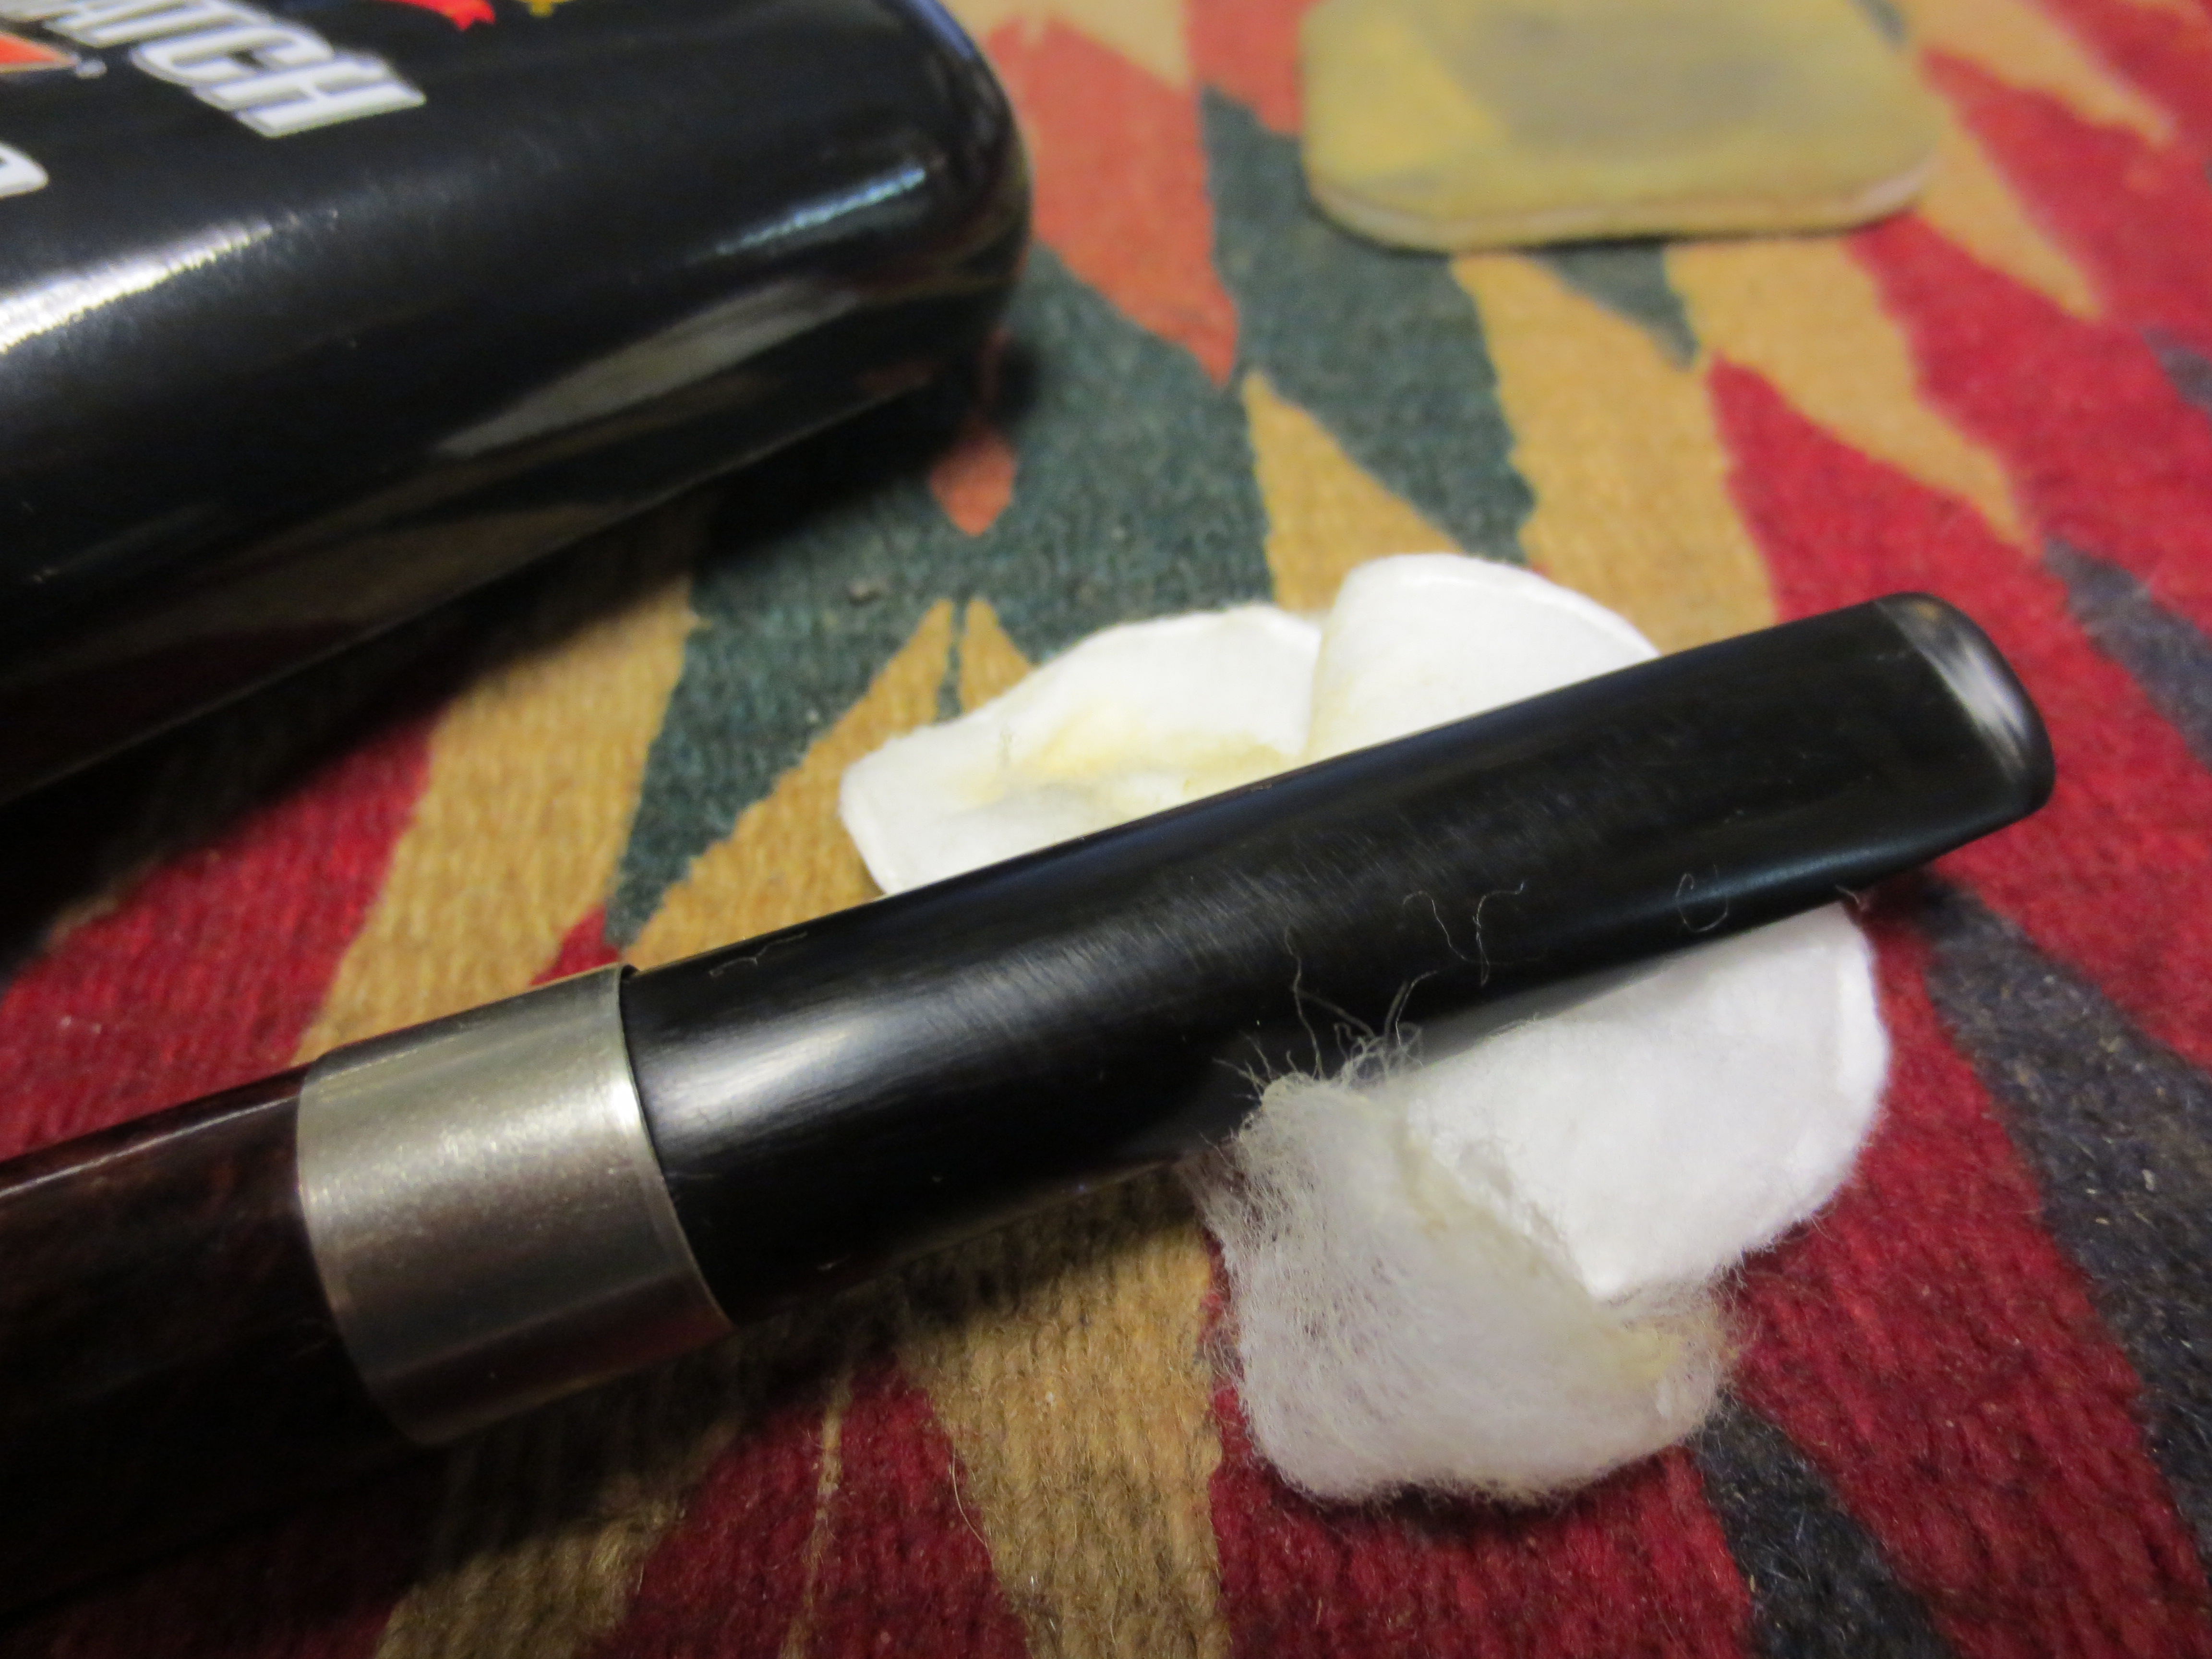
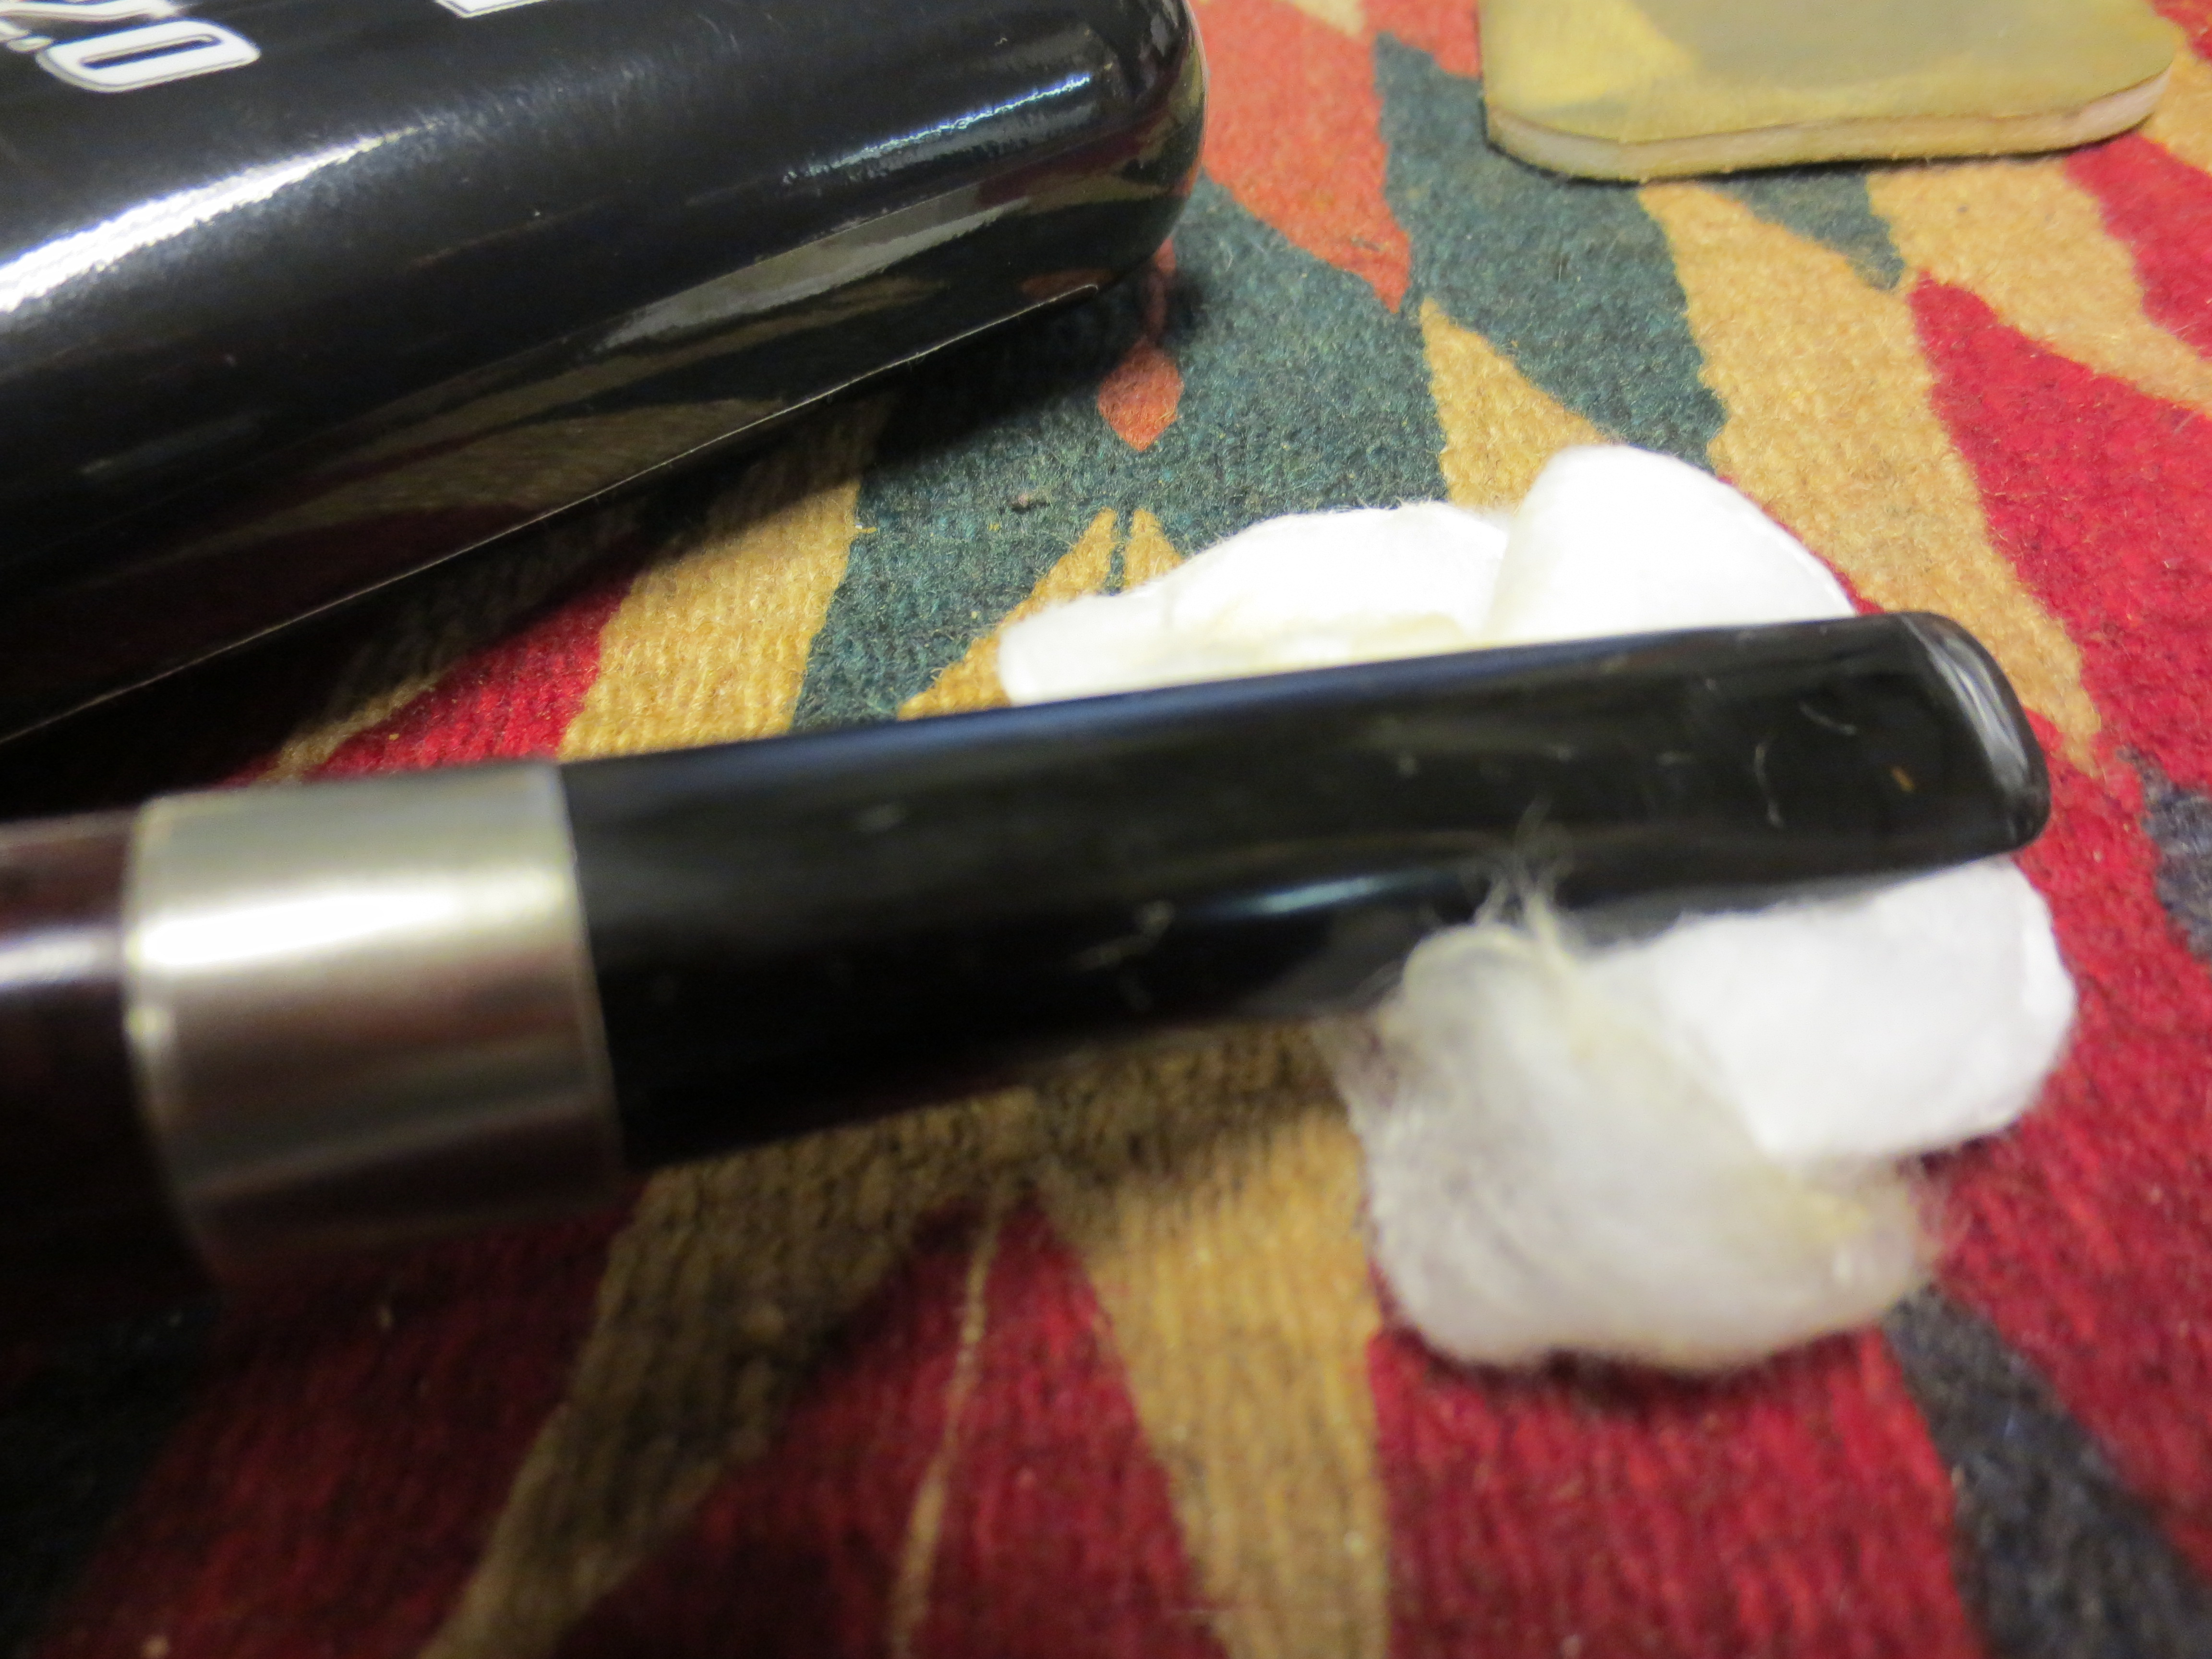
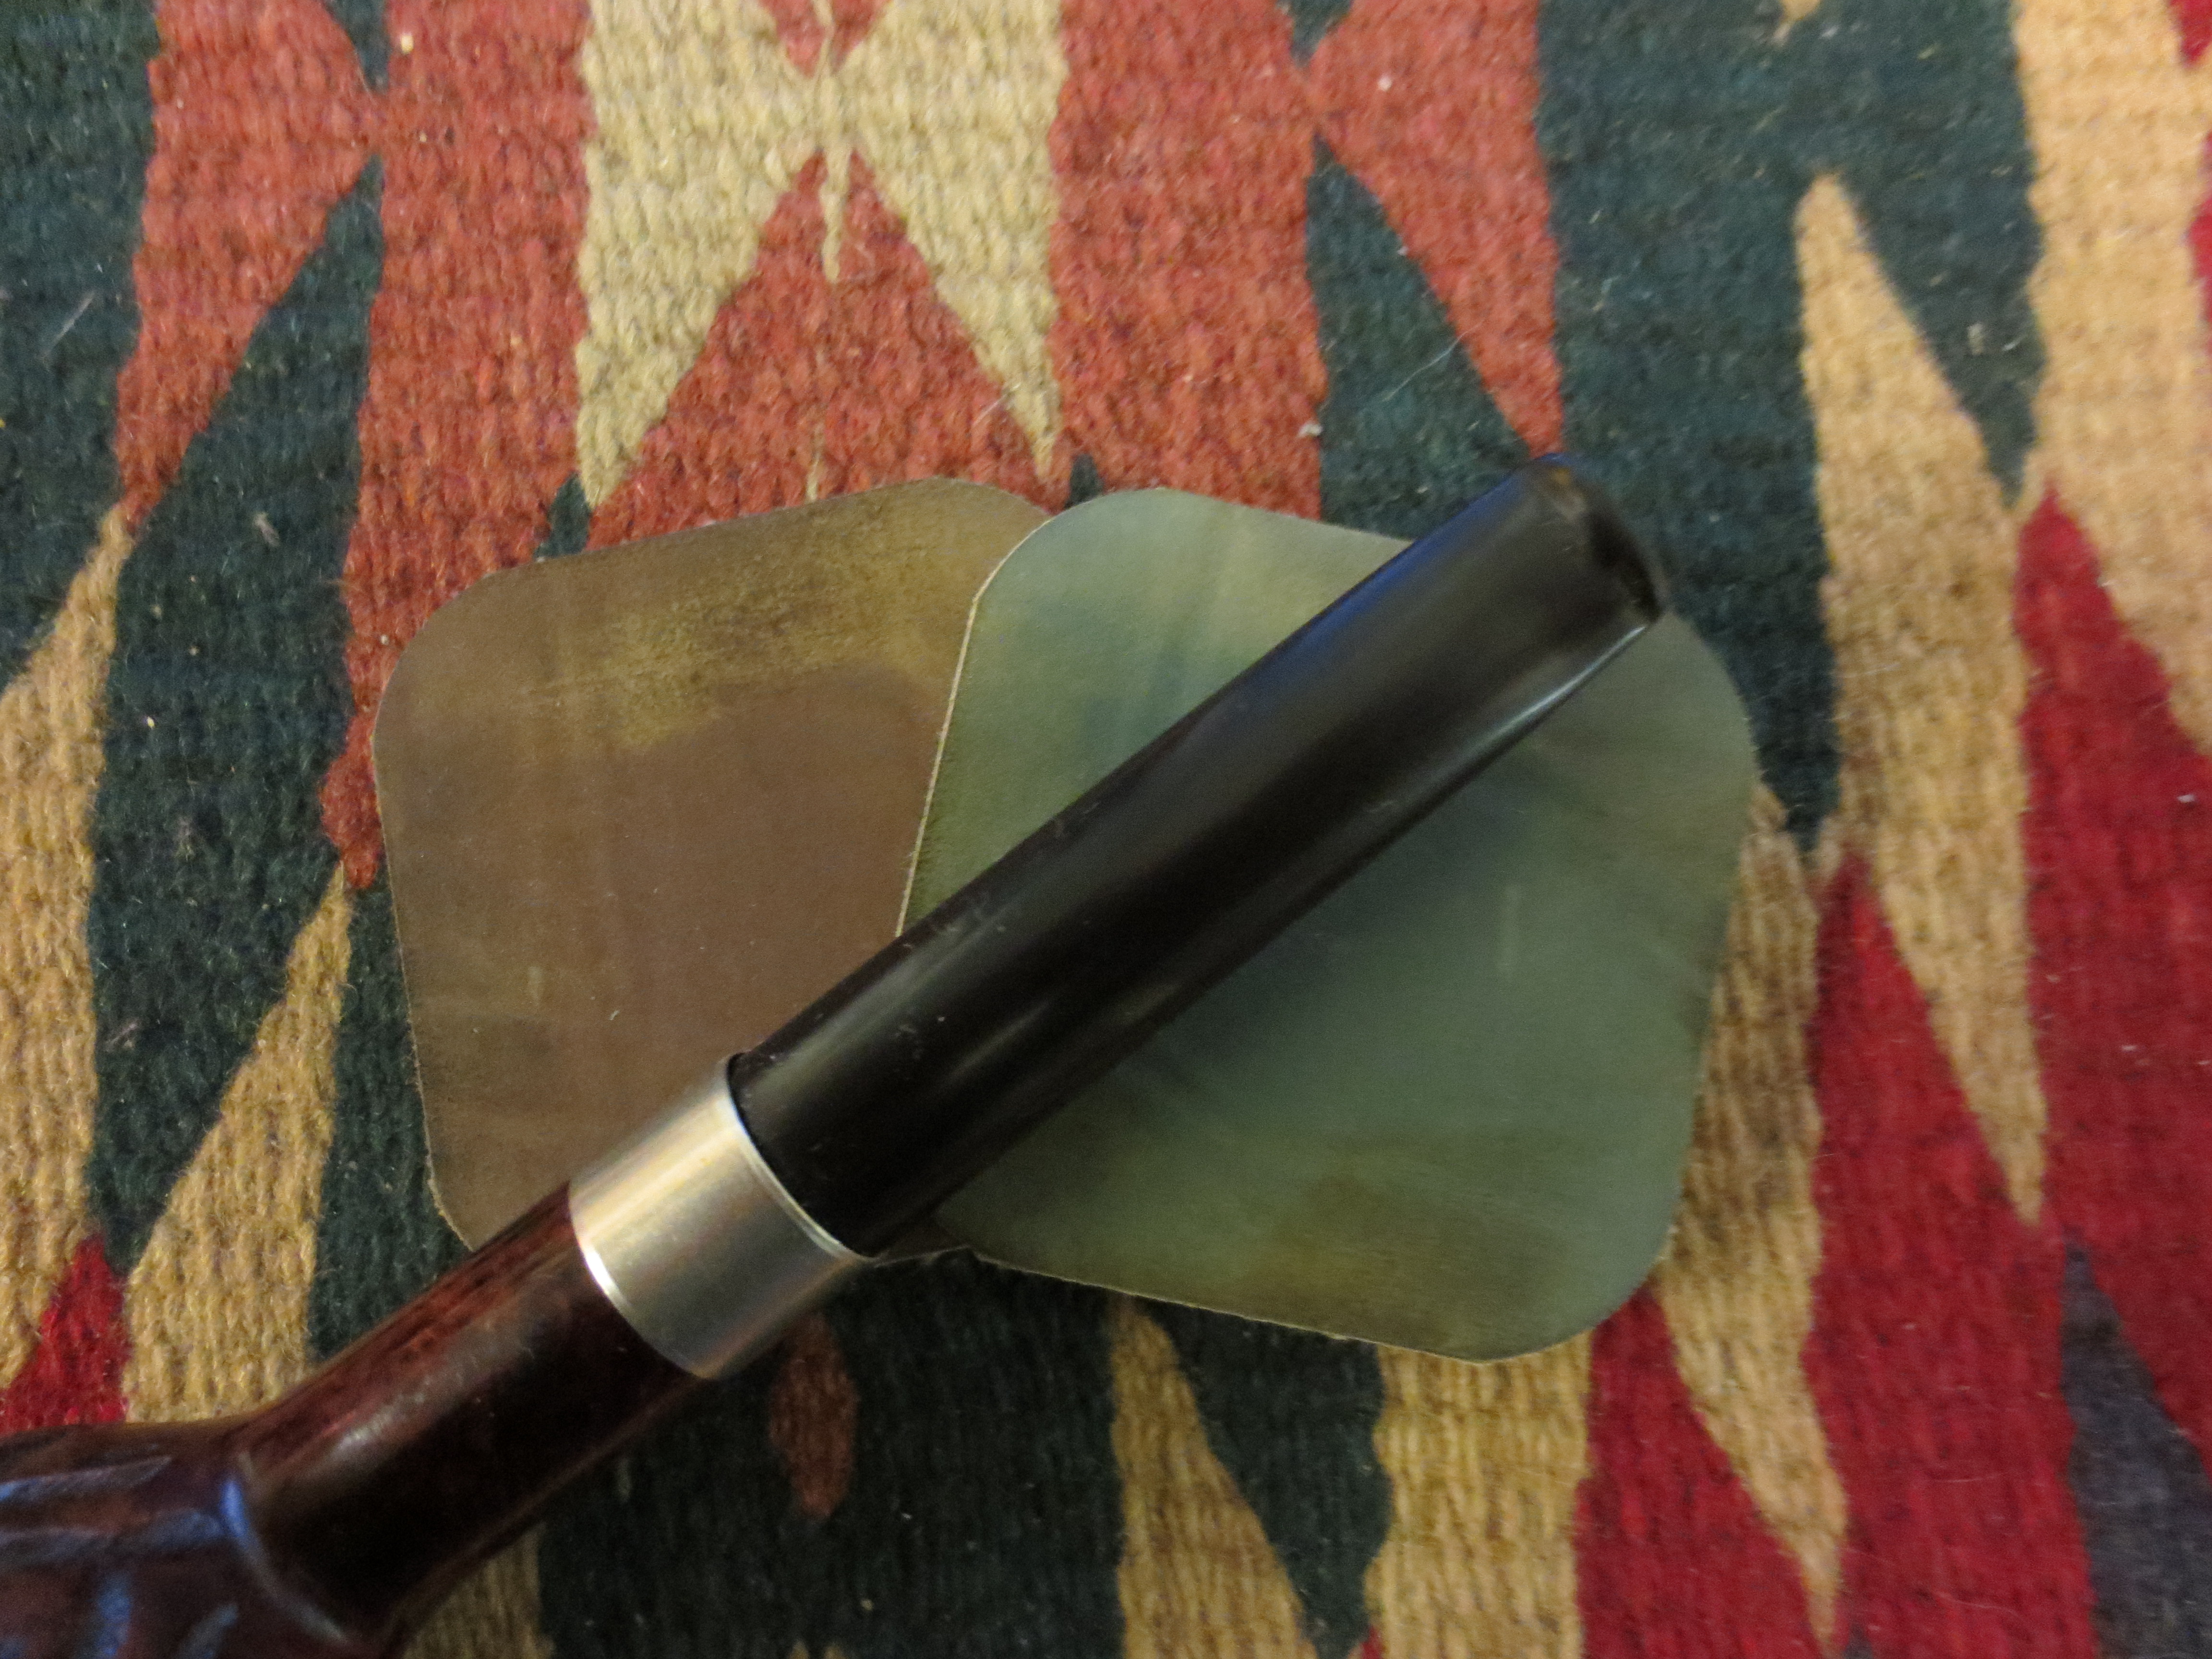
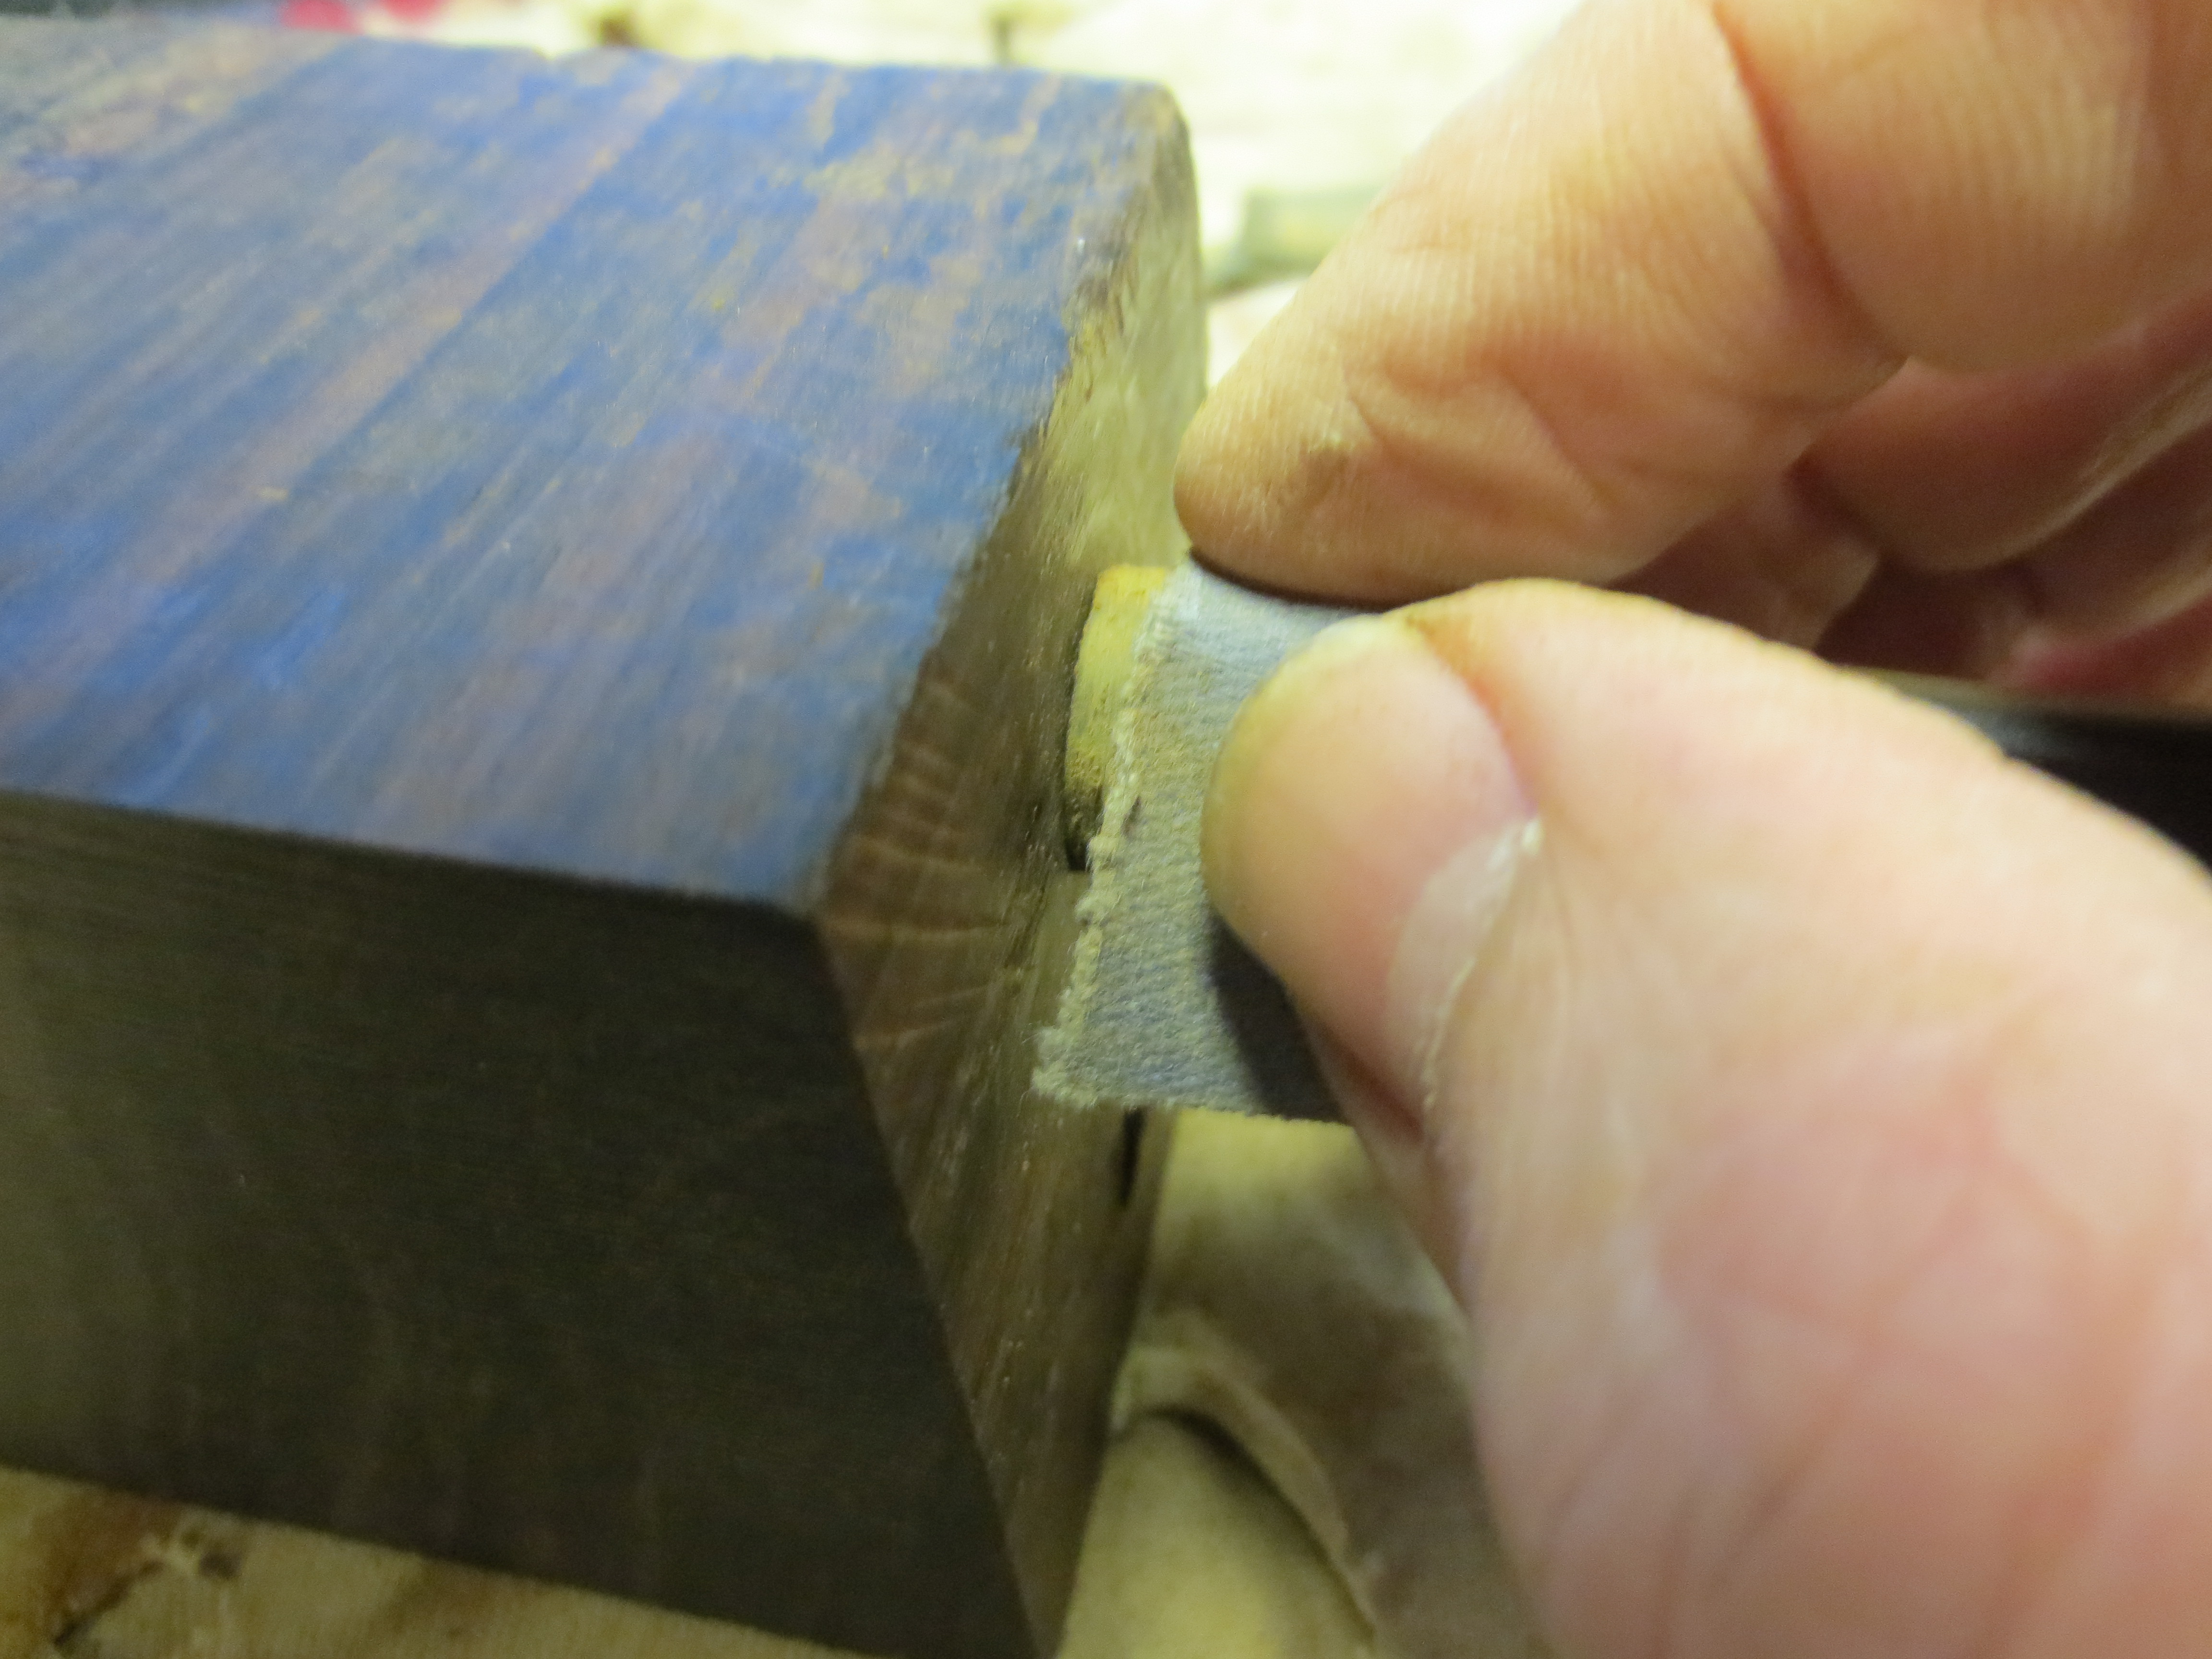
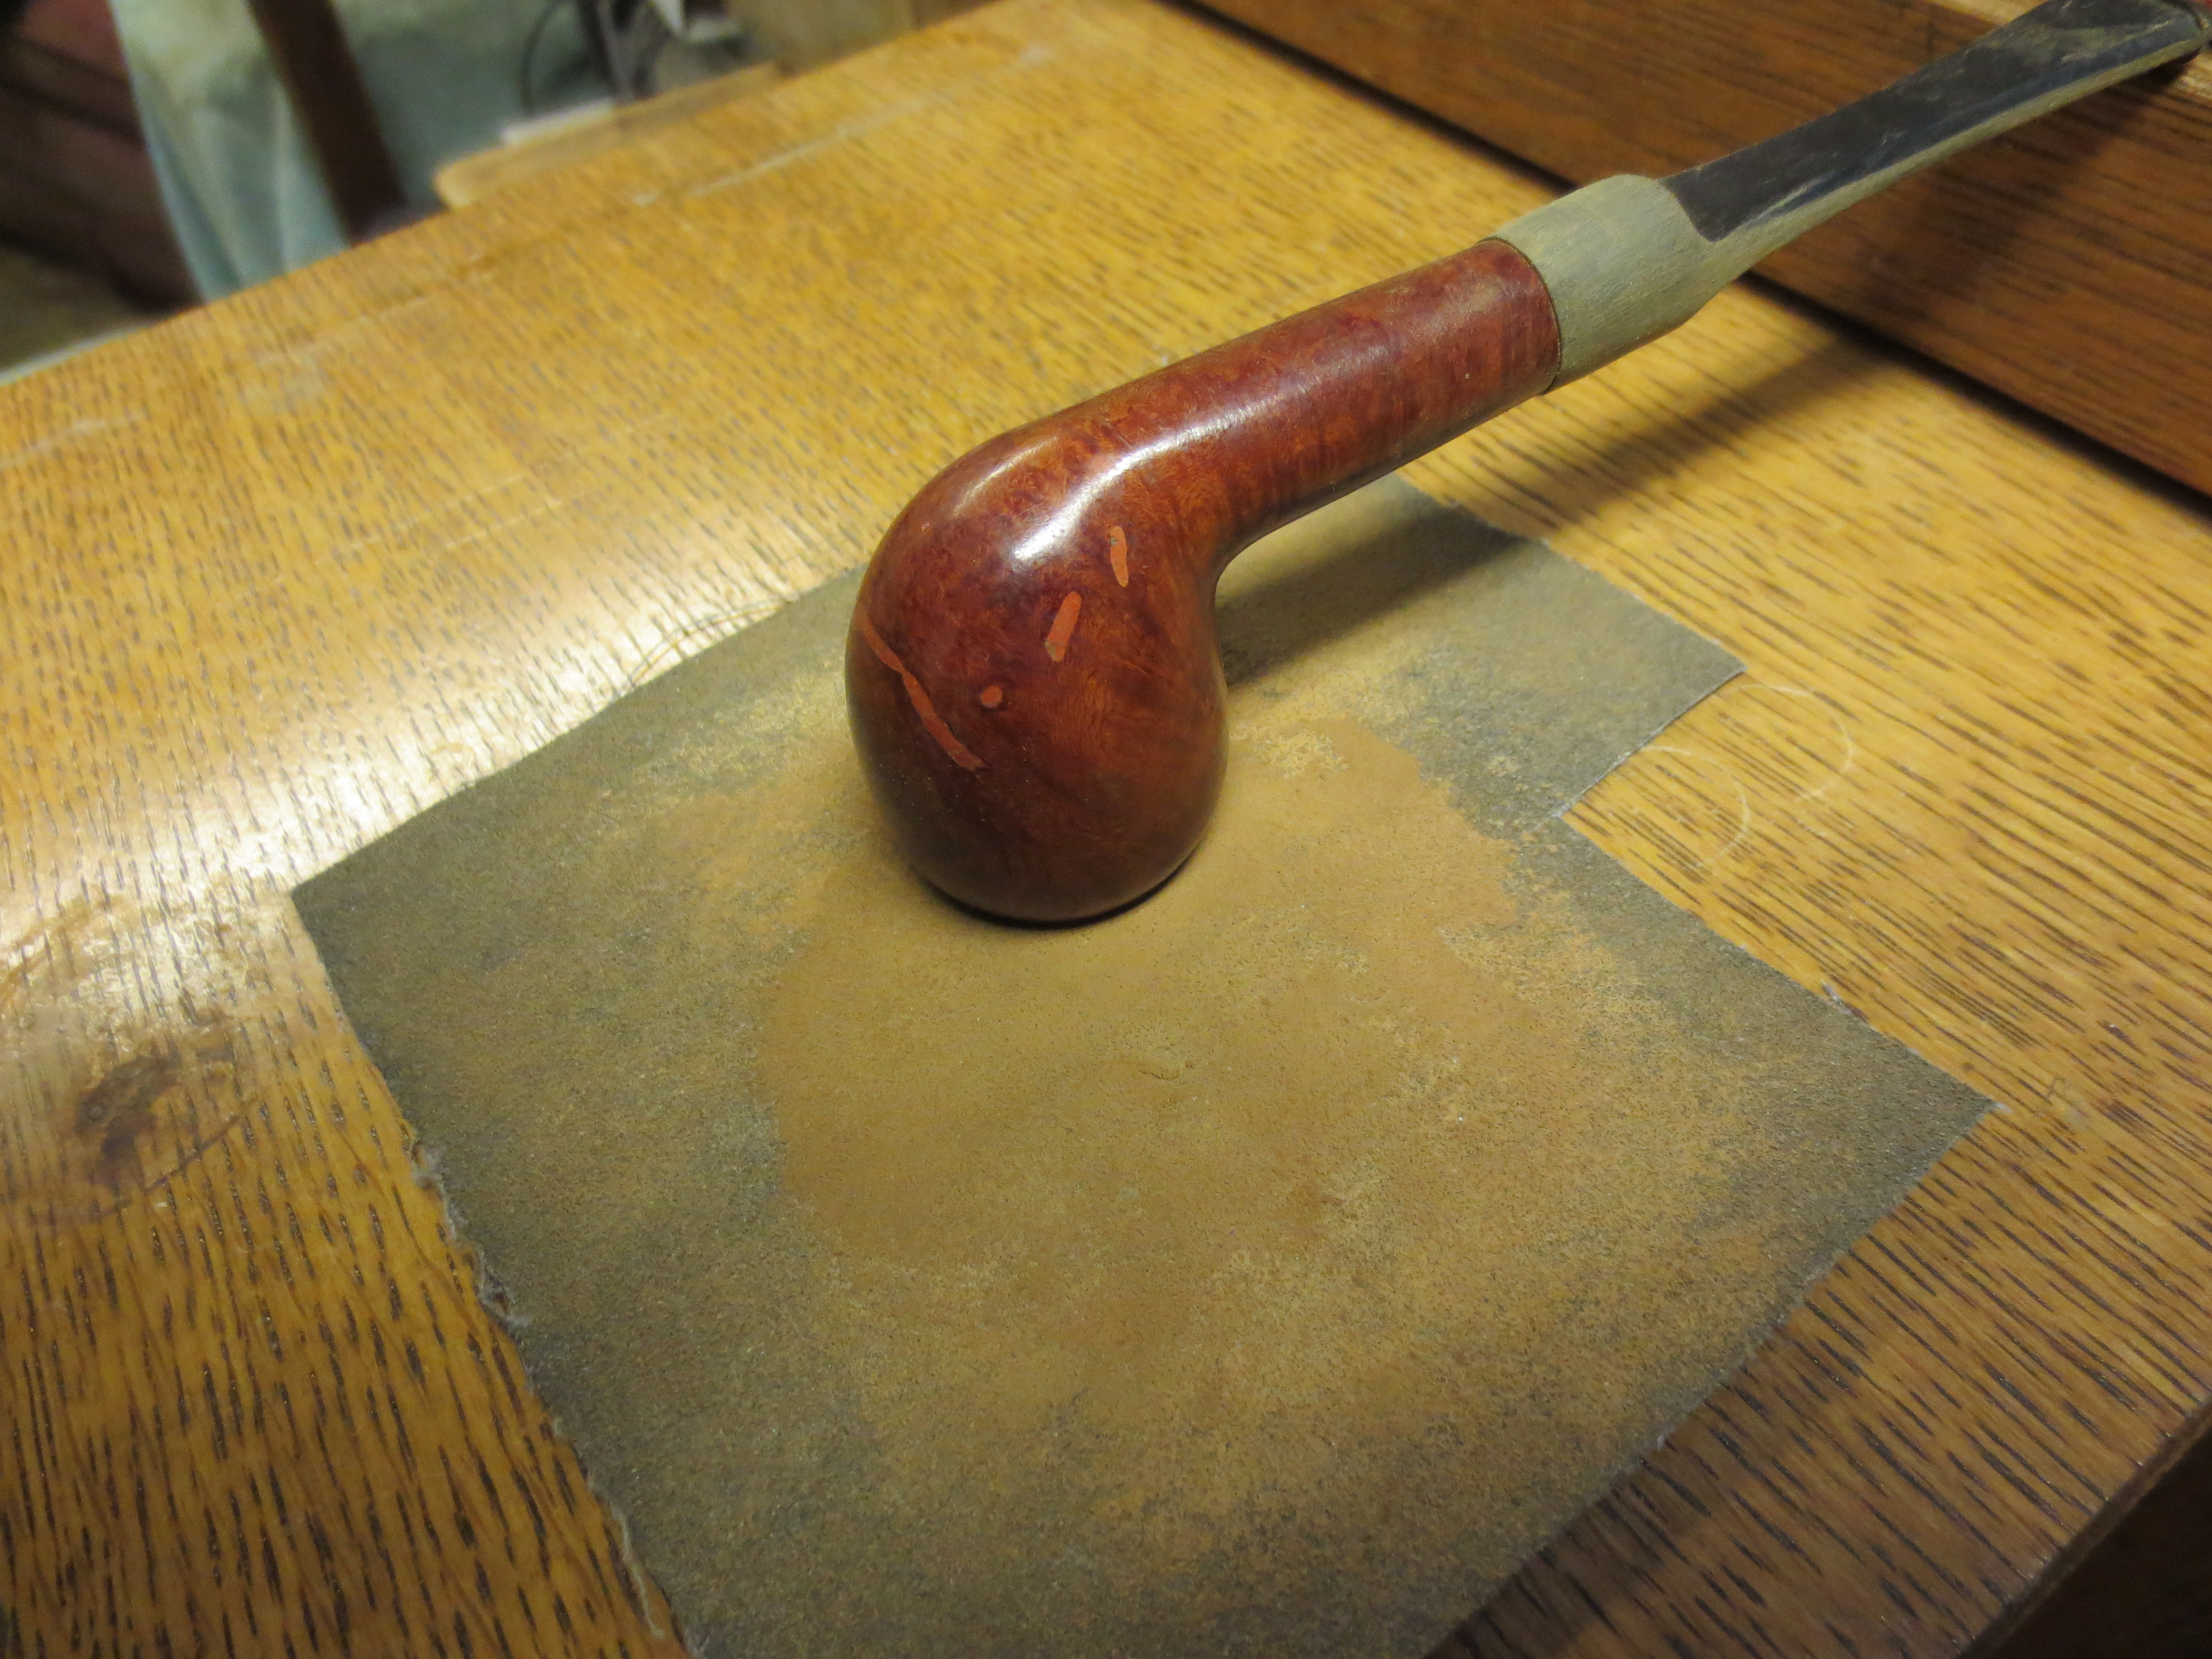
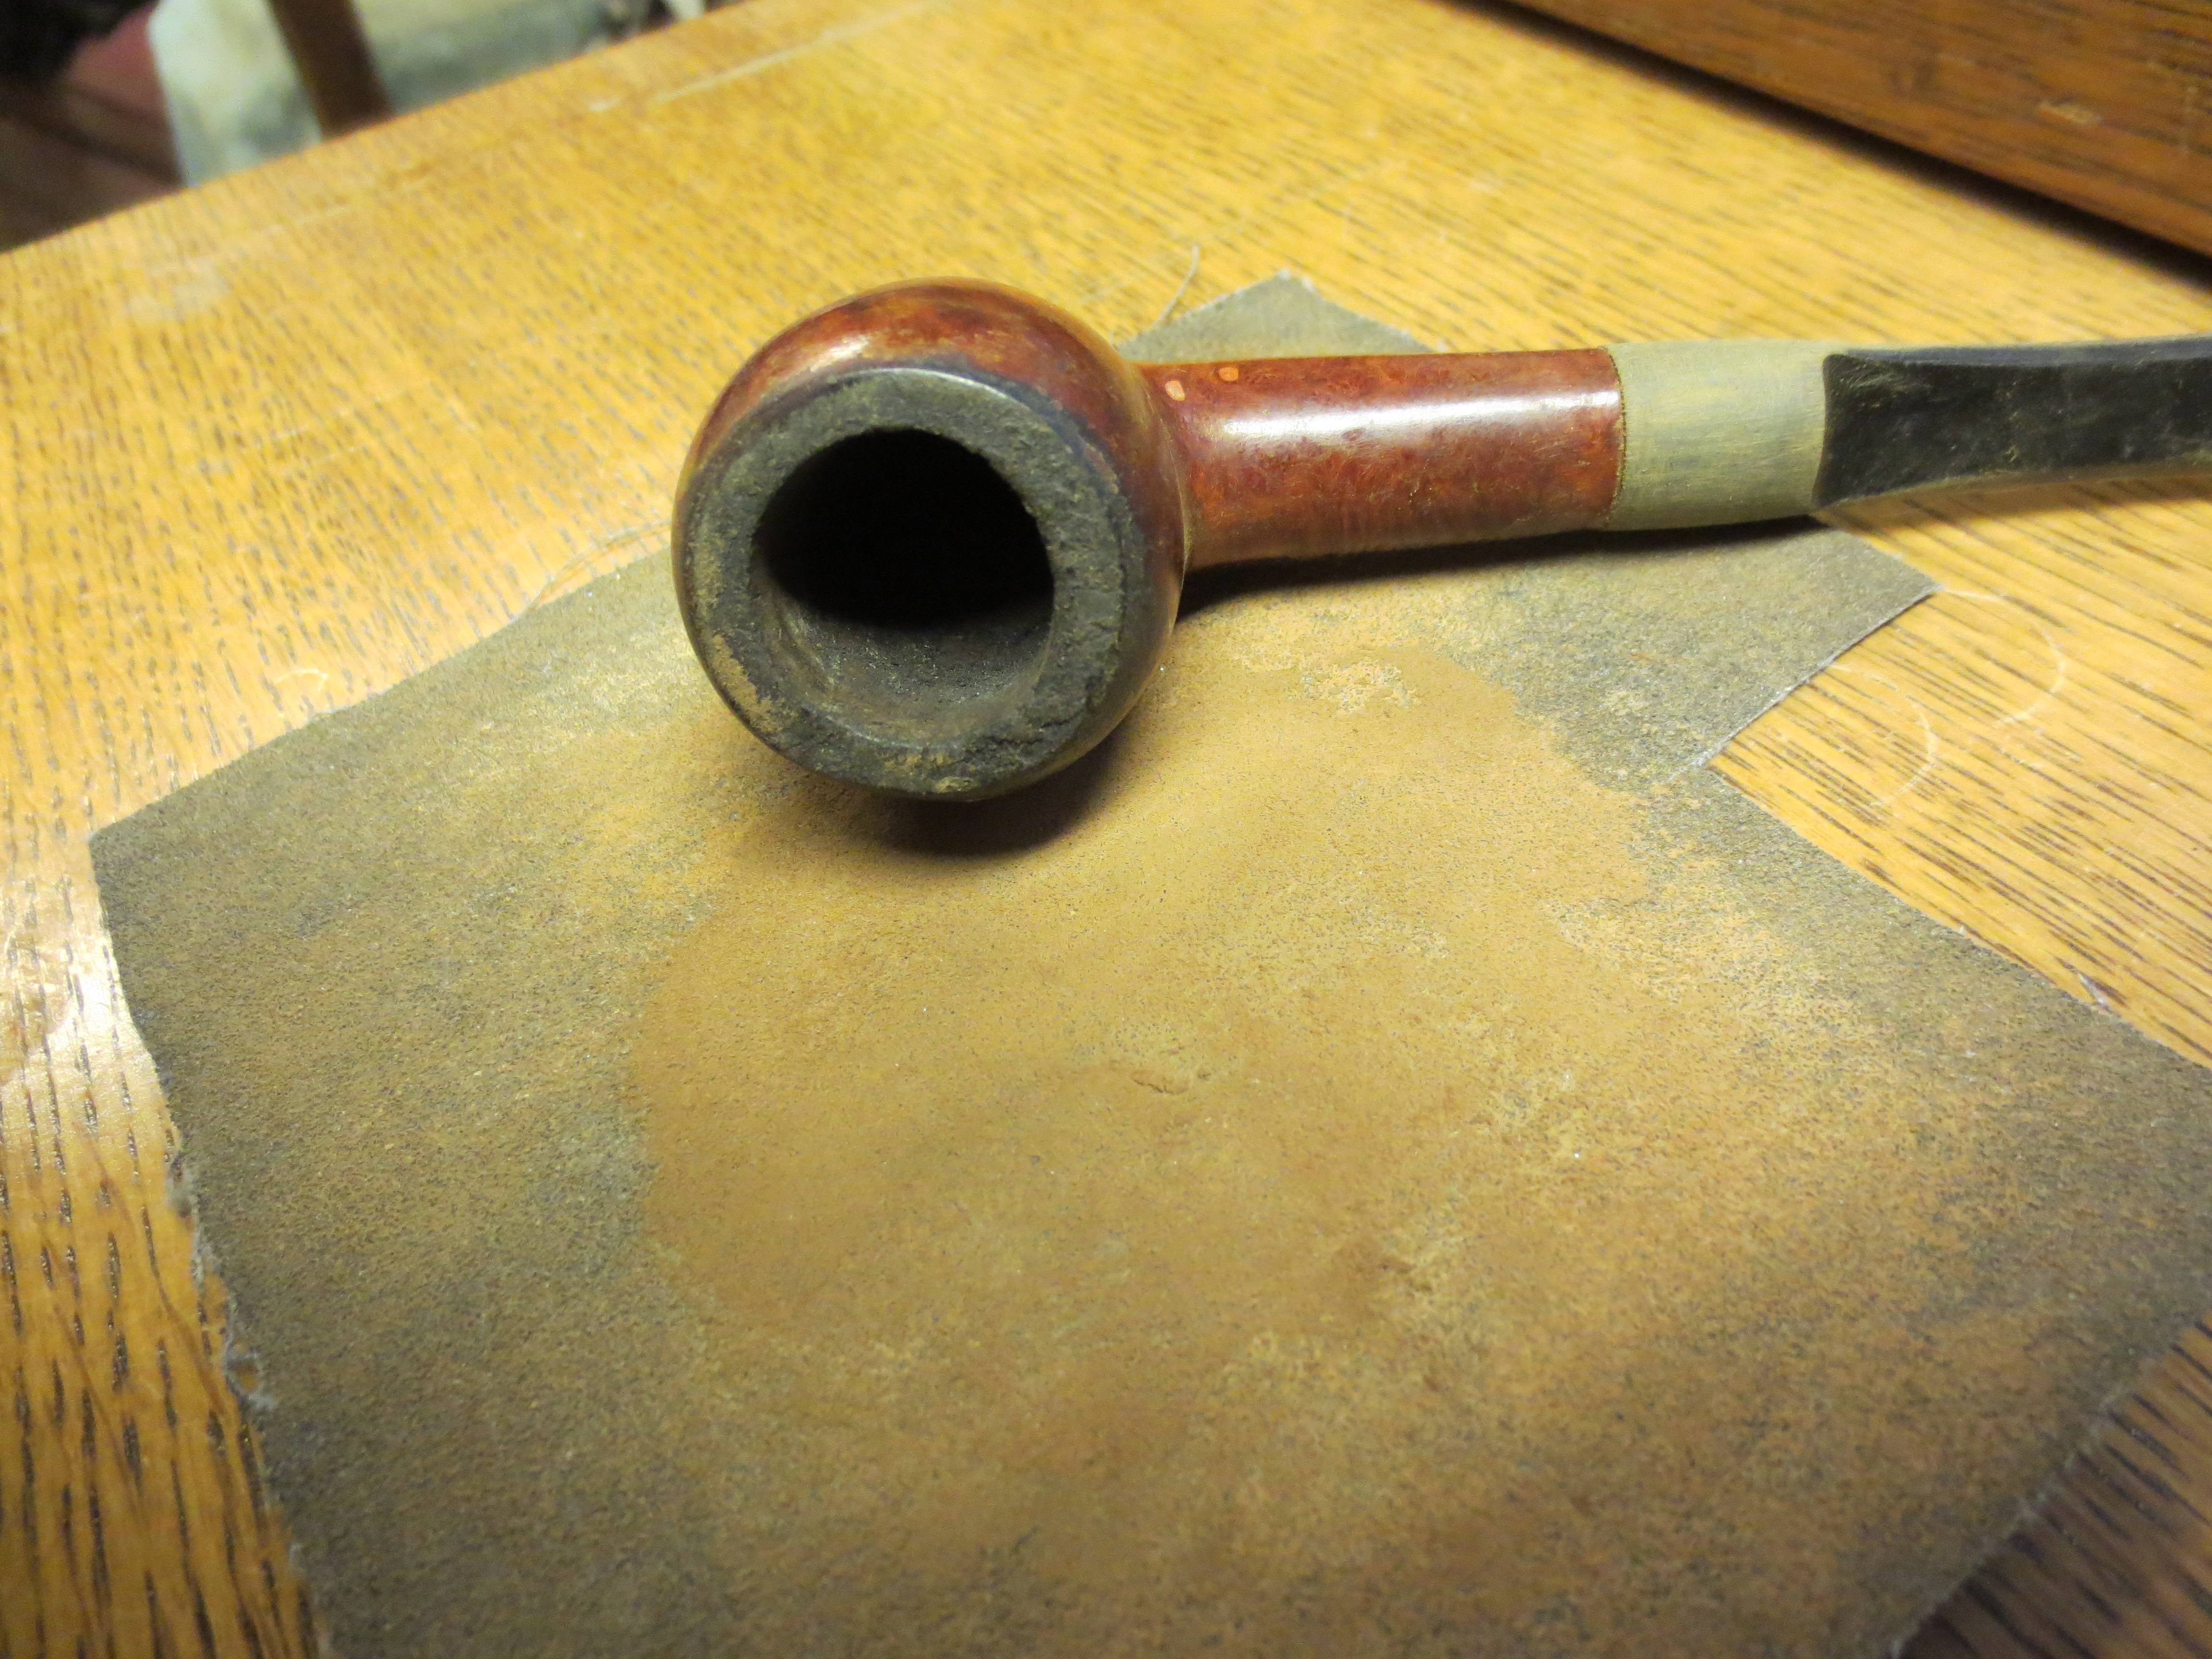
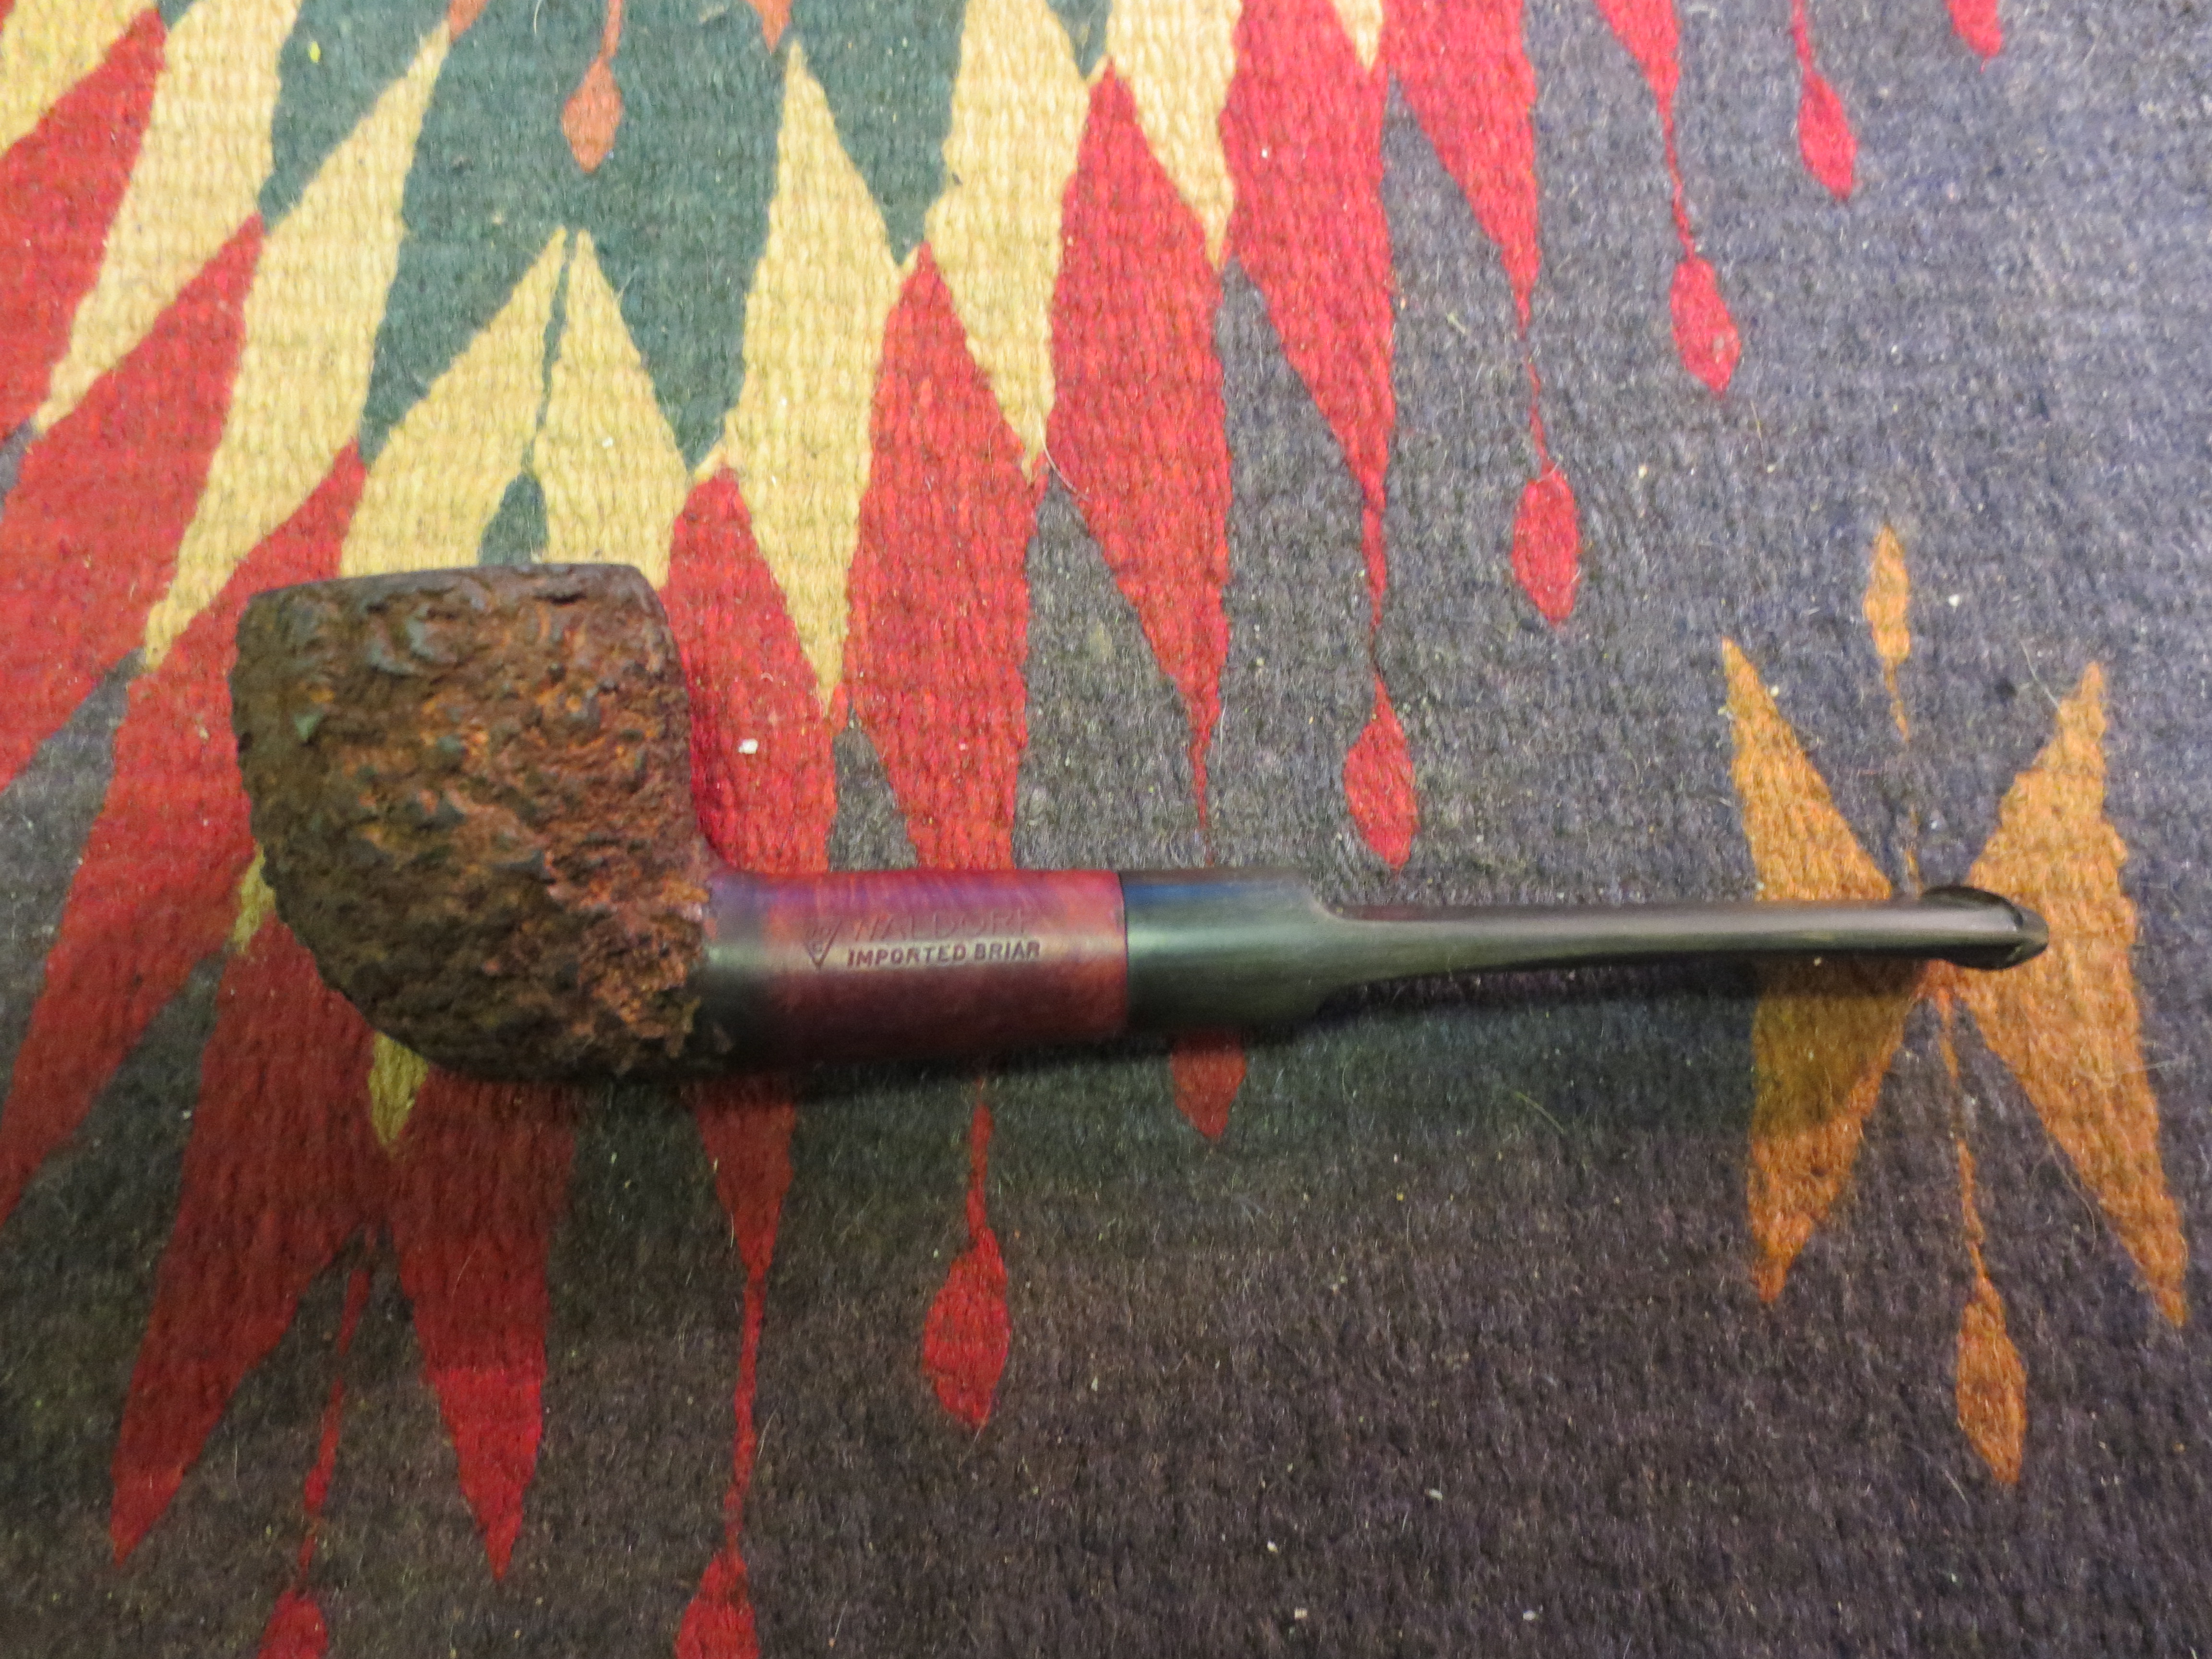
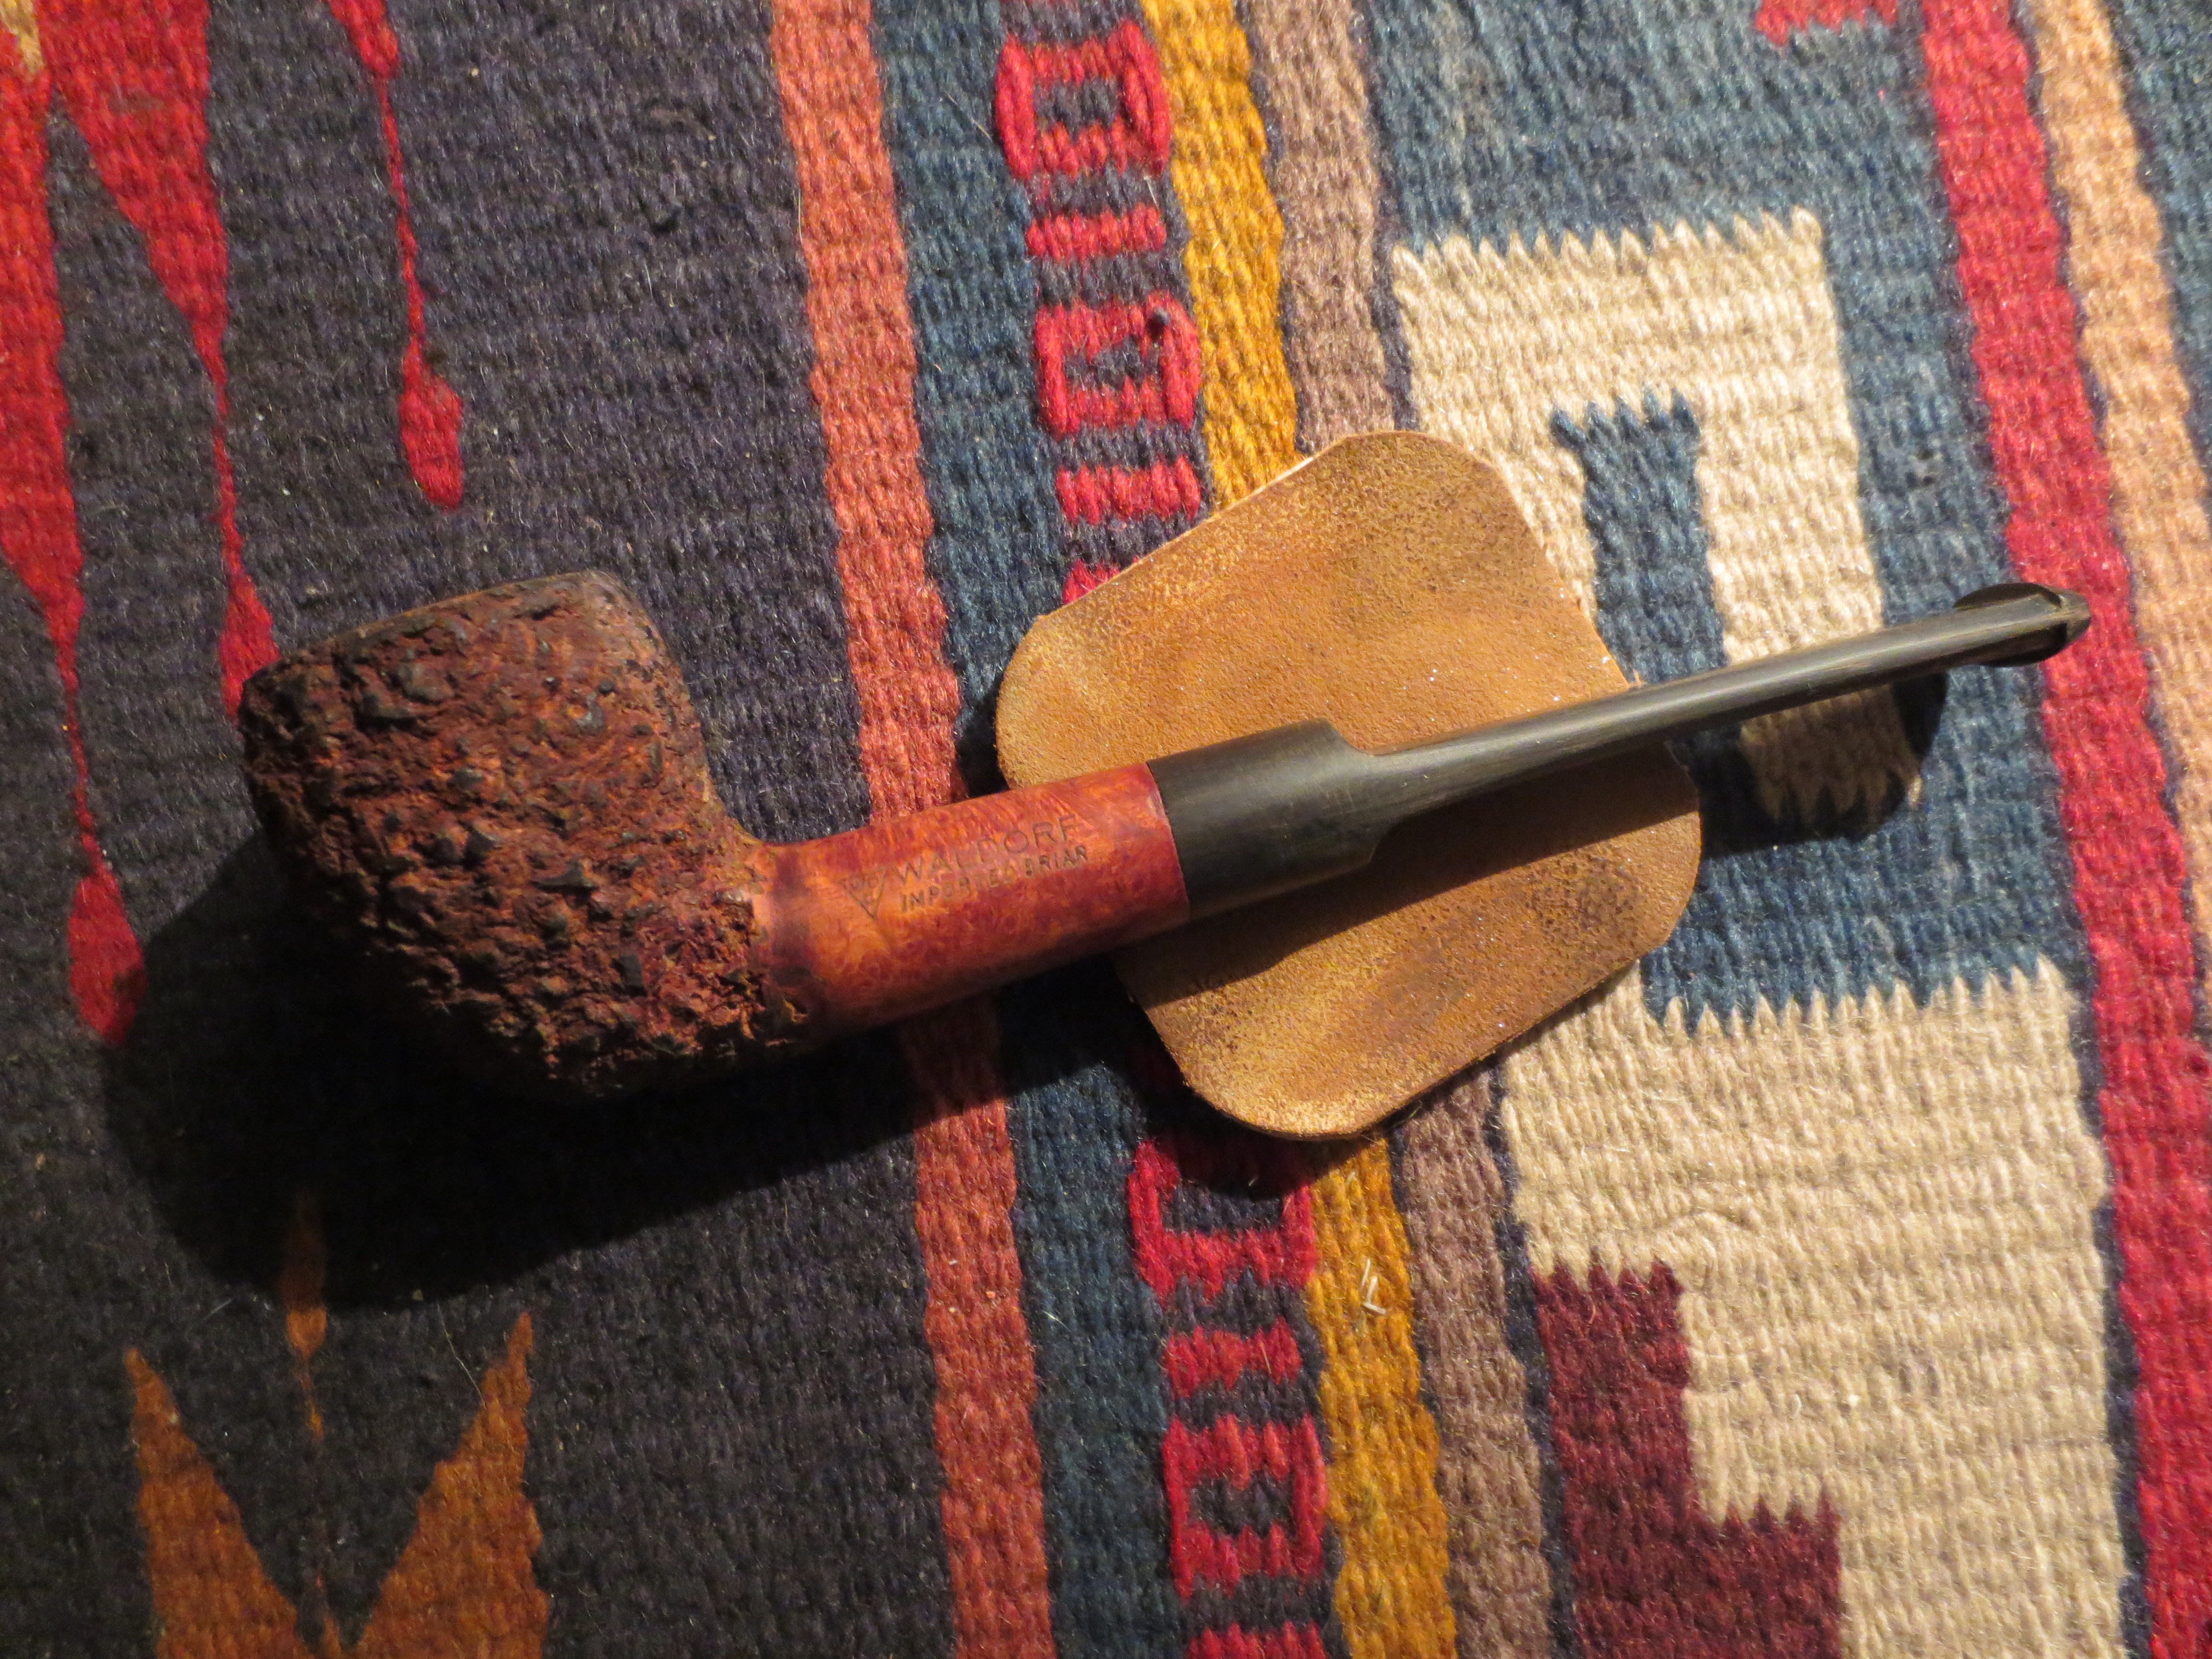
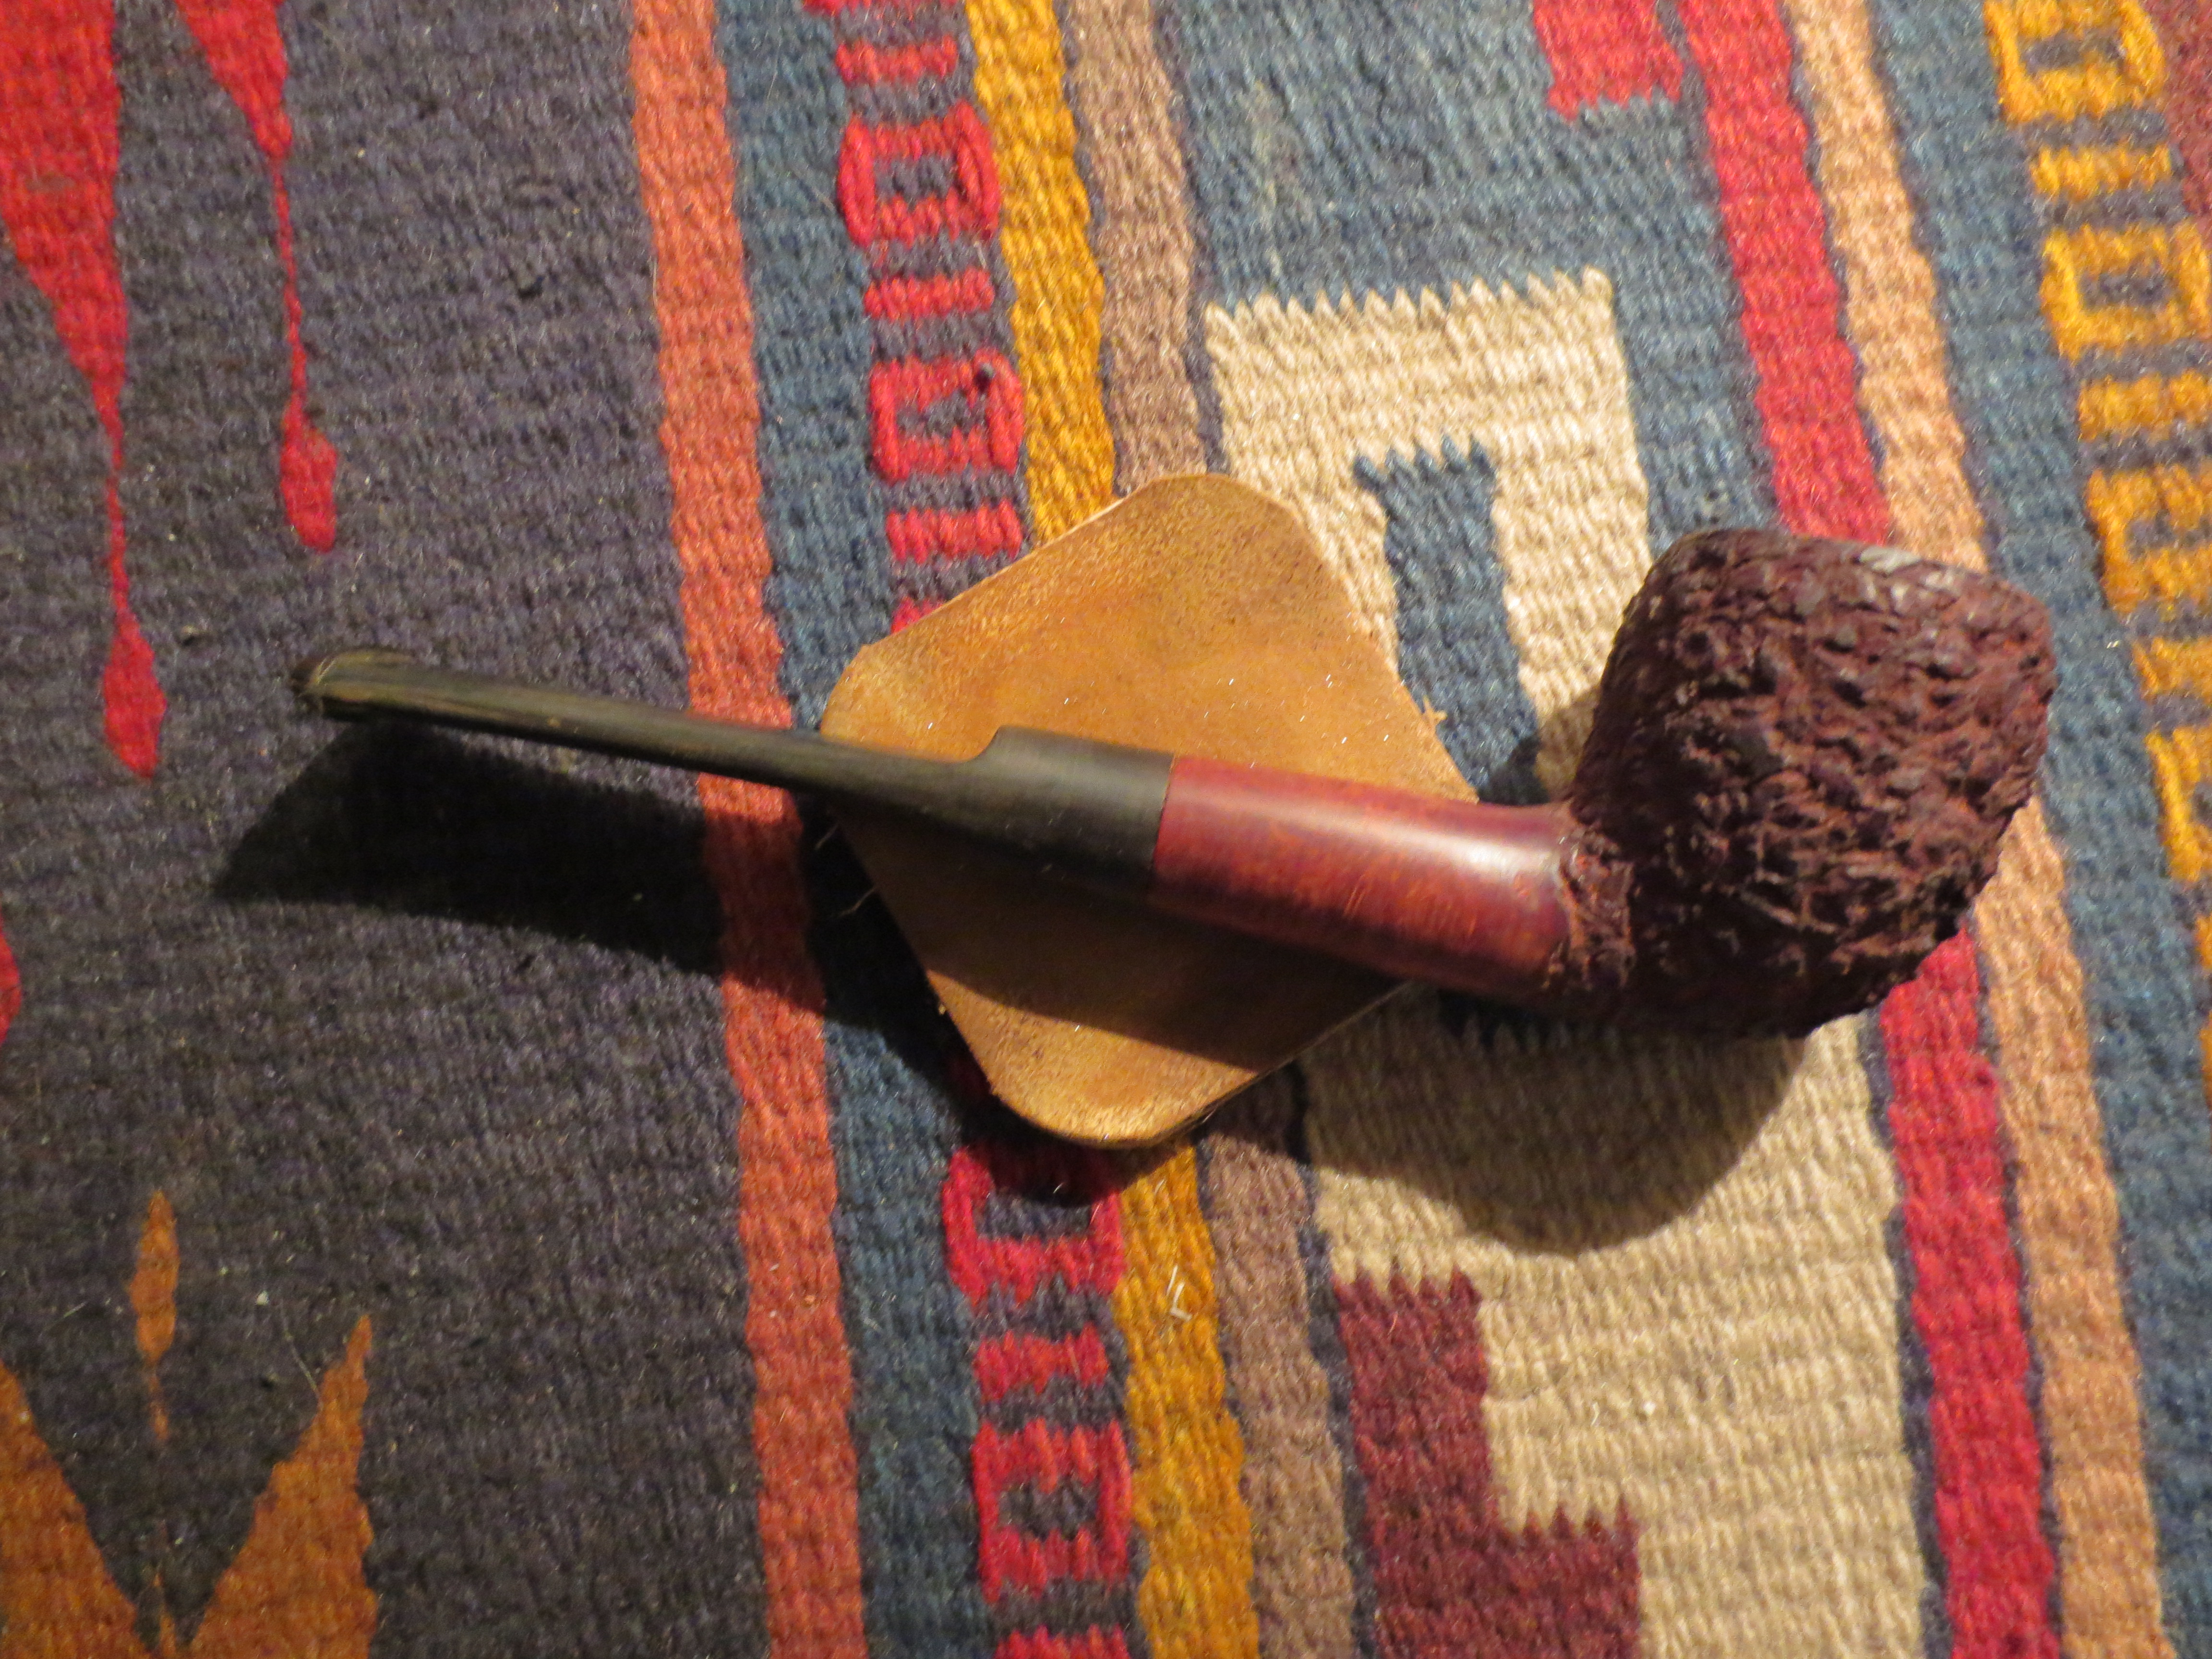
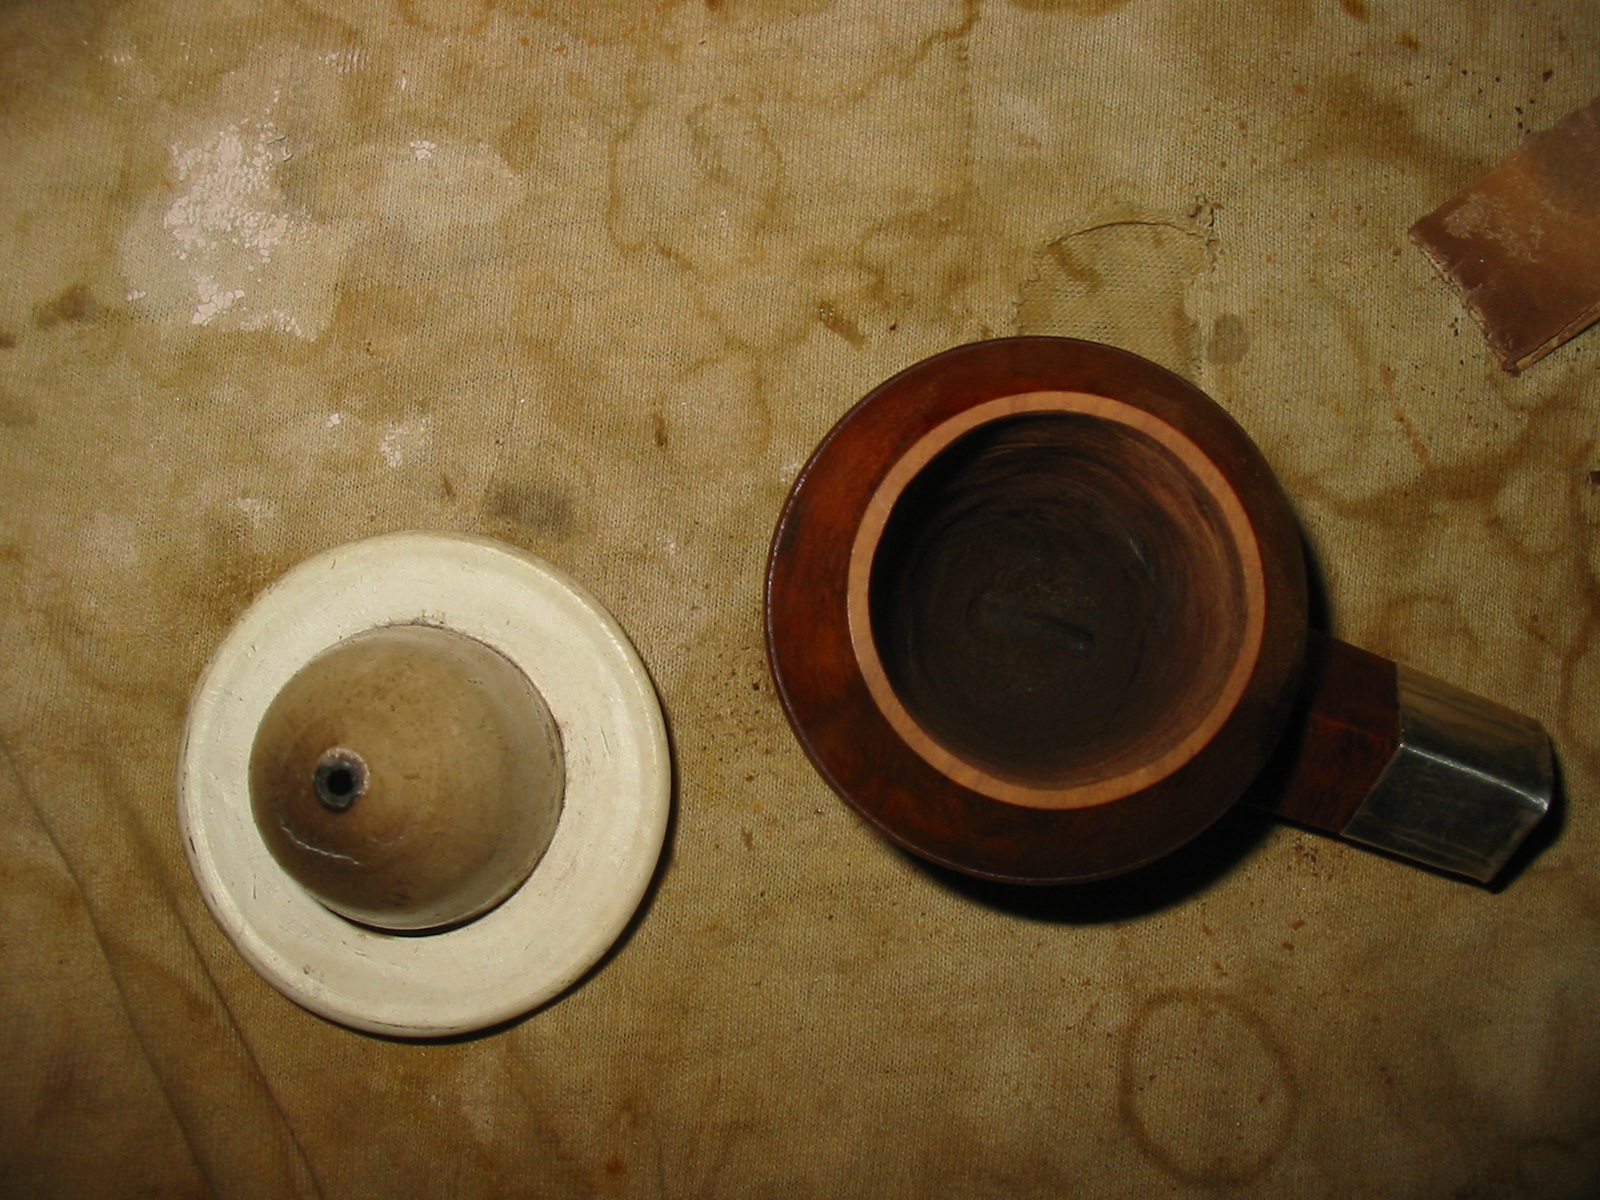
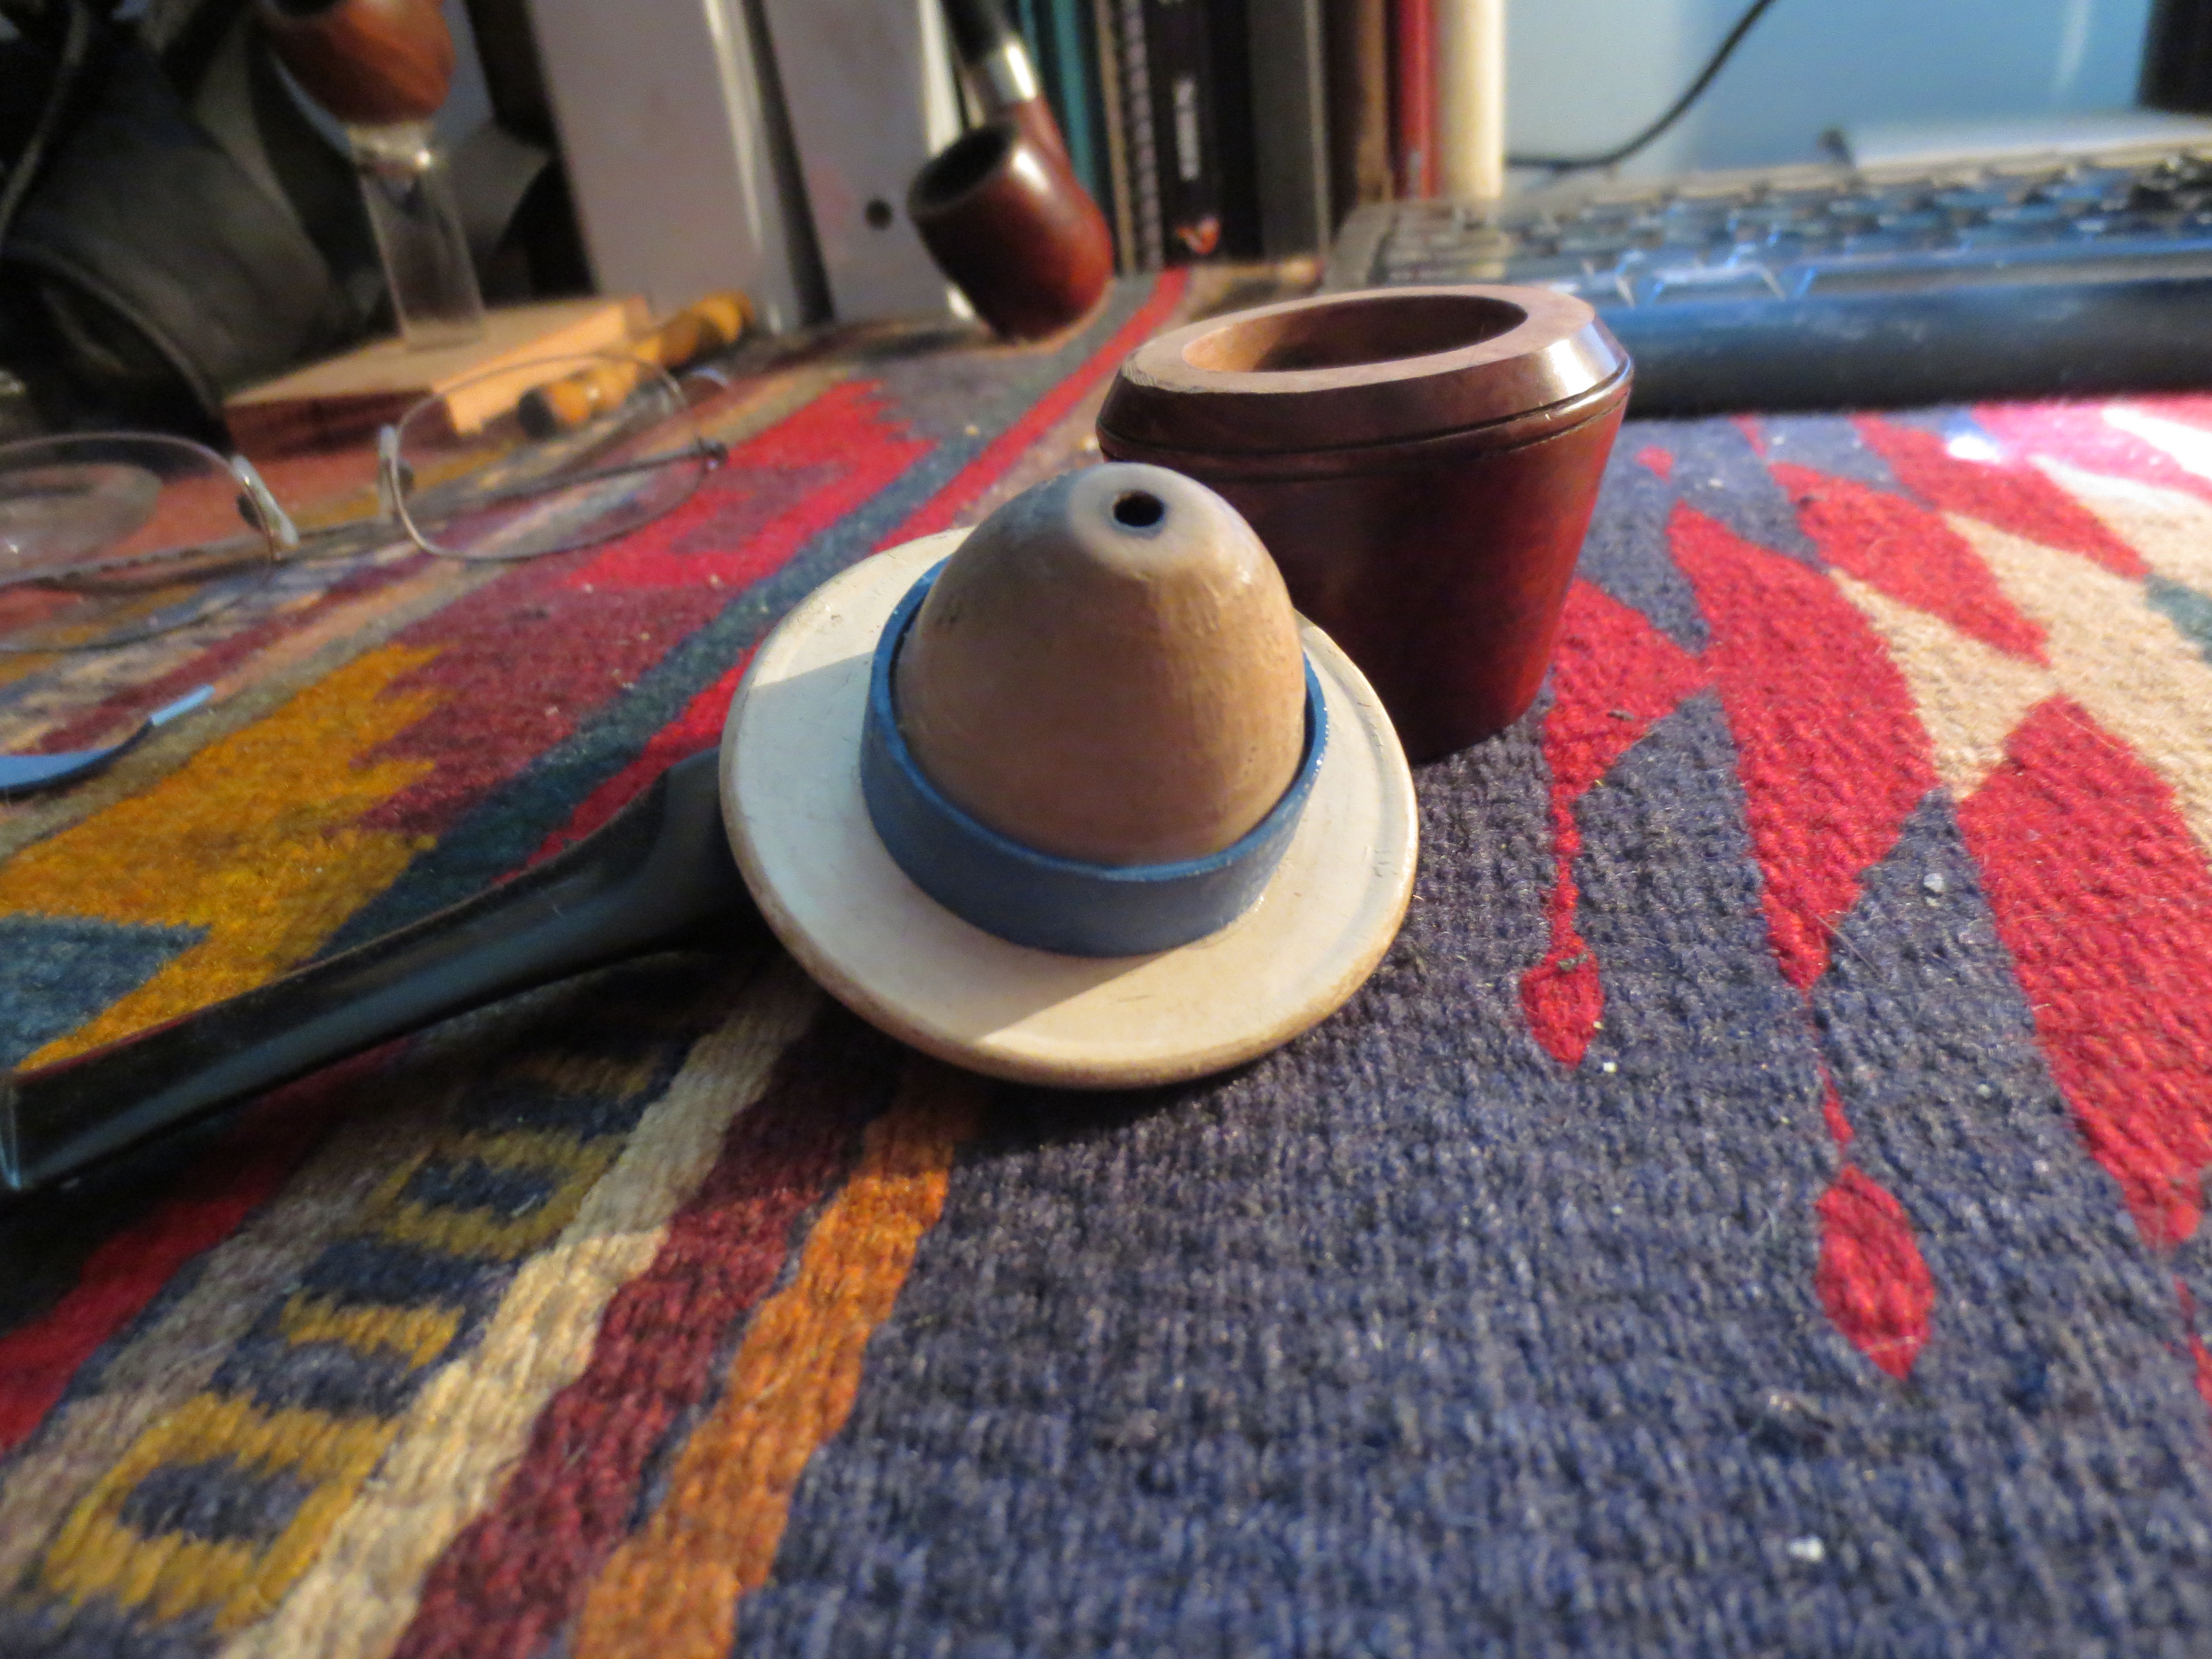
The look of this one still bugged me and I was not happy with the bowl fit. I also did not like the rubber gasket I formed as it did not really give a snug fit. A friend gave me a sheet of thin cork so I cut a piece of cork to use as a gasket. To accommodate the cork and still give the bowl a fit I needed to remove more of the briar in the bowl of the pipe. I used a Dremel with the sanding drum and took the bowl down enough to accommodate the cork and the pressed in meerschaum bowl. I glued the band of cork around the inner edge of the briar bowl and when it had dried I pressed the bowl into place. Here are a few photos of the renovation.
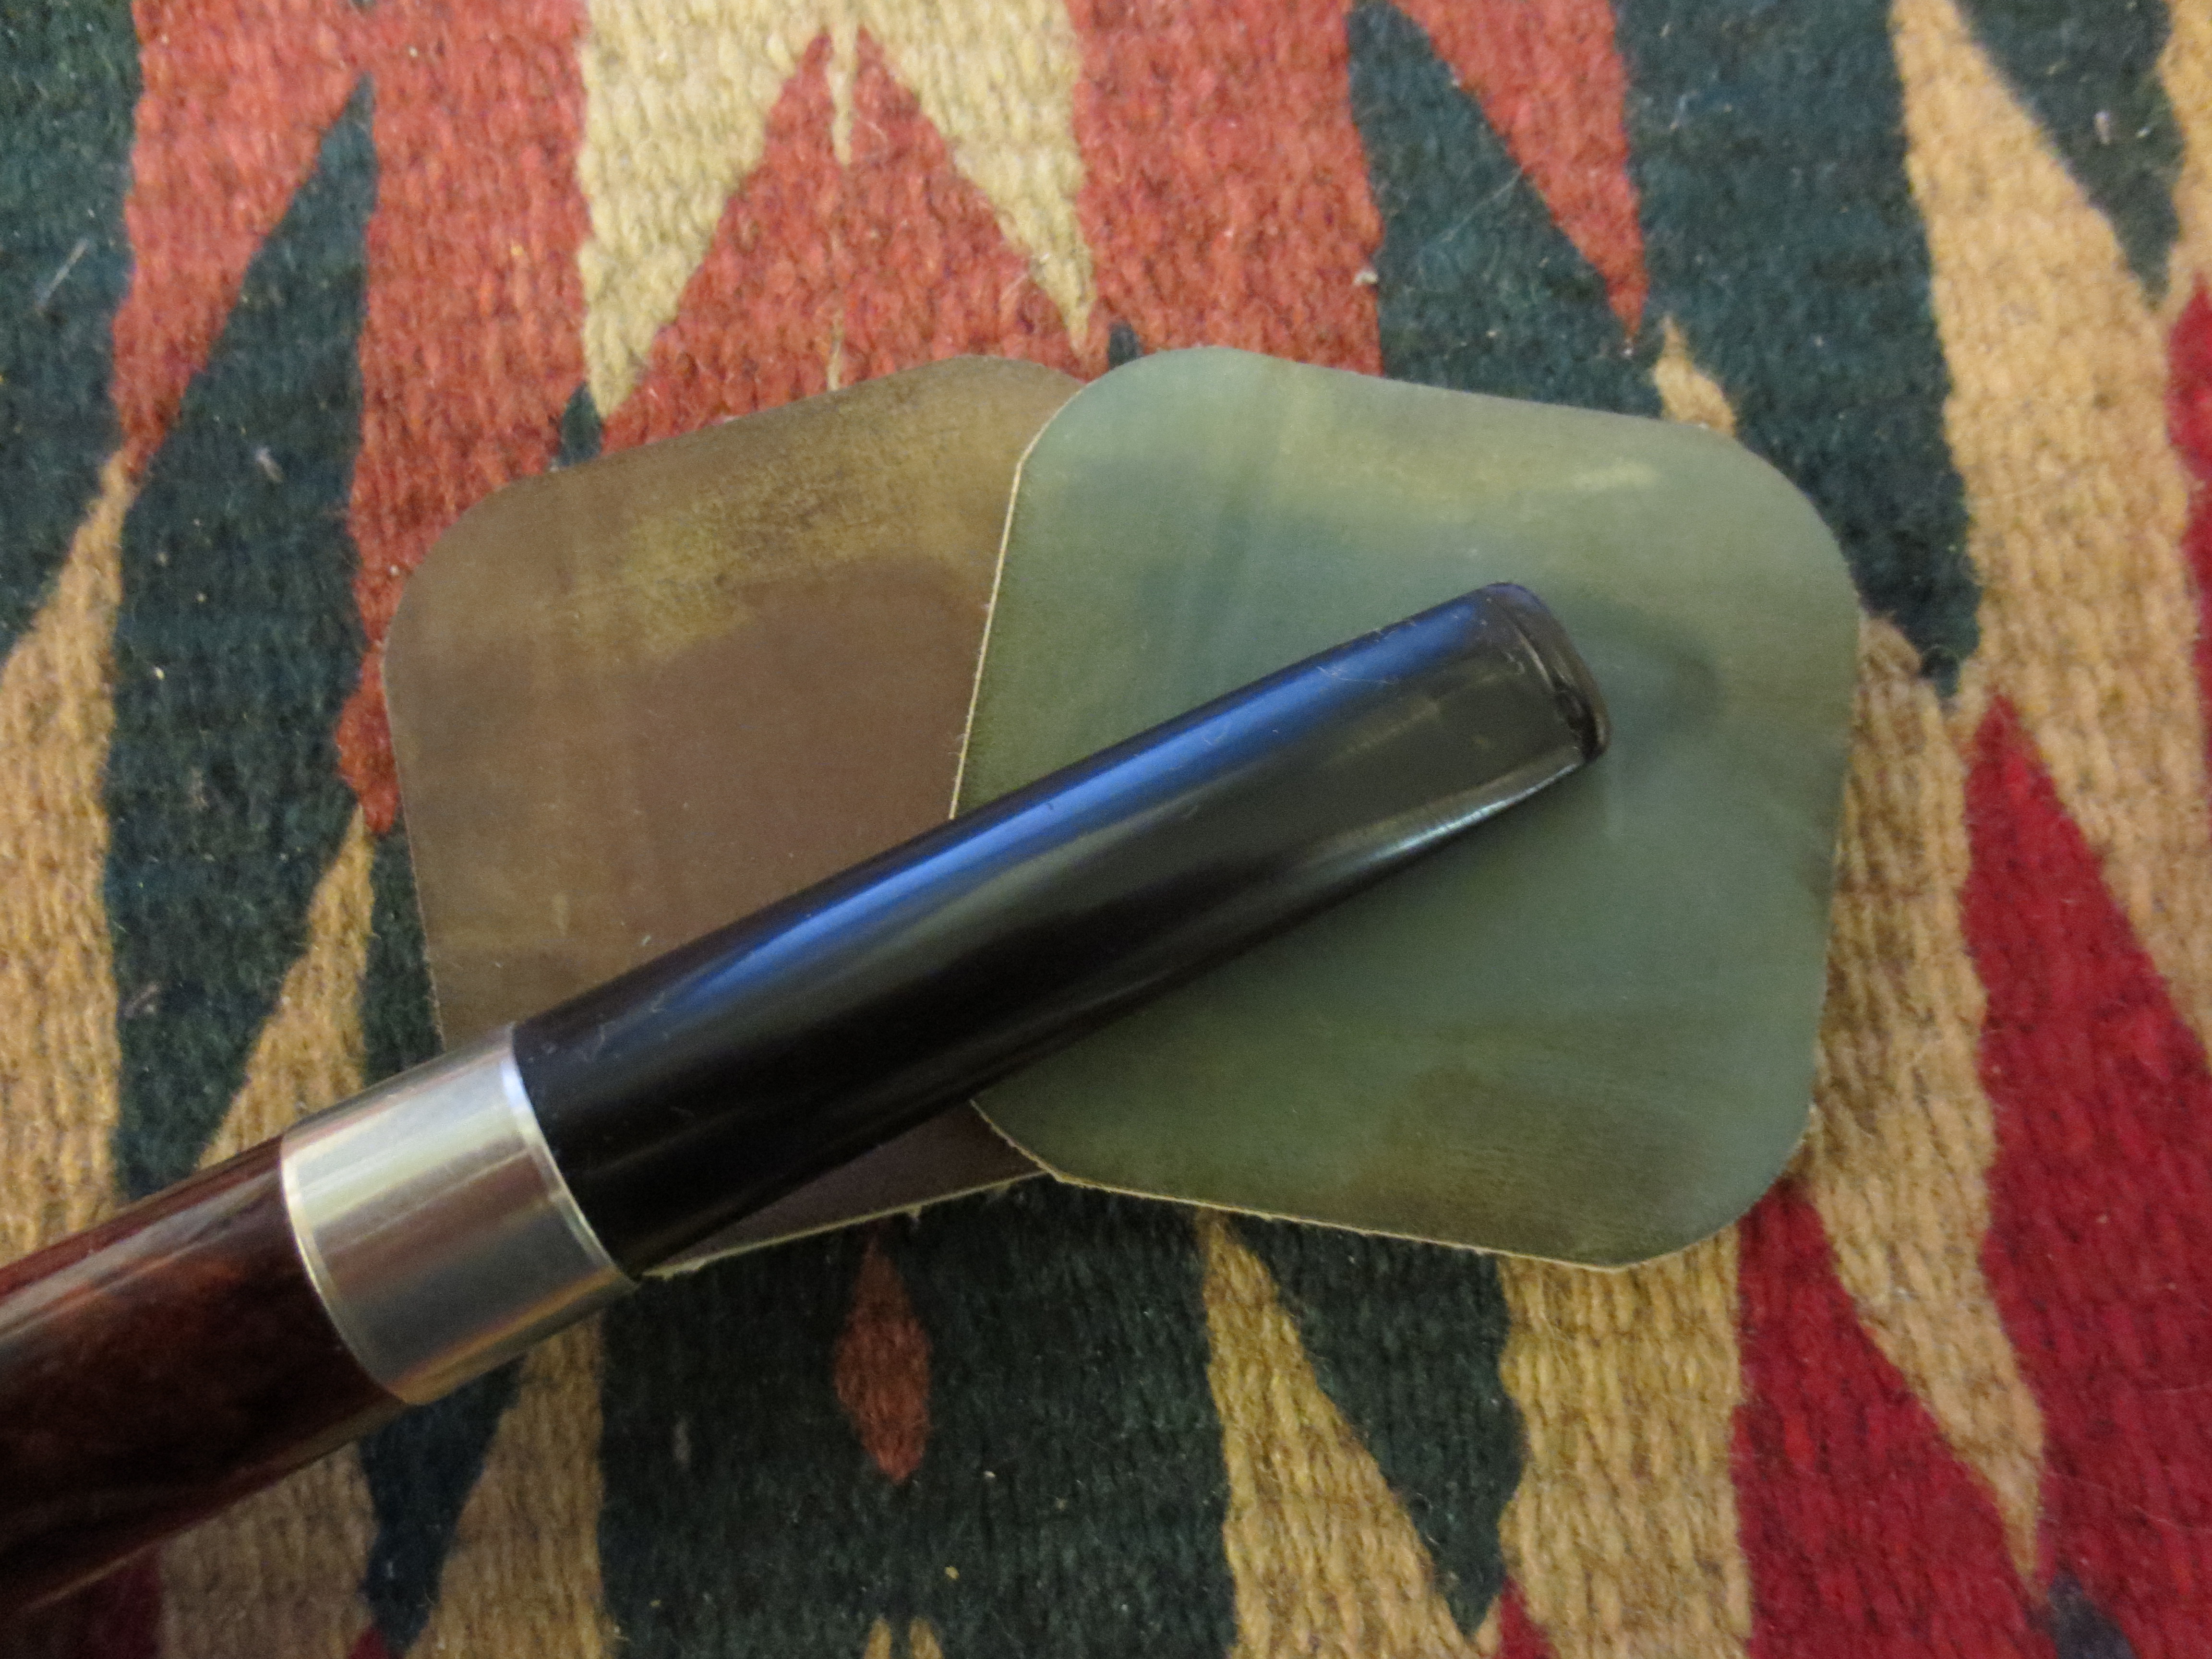
The cork gasket glued into the bowl with carpenters white glue
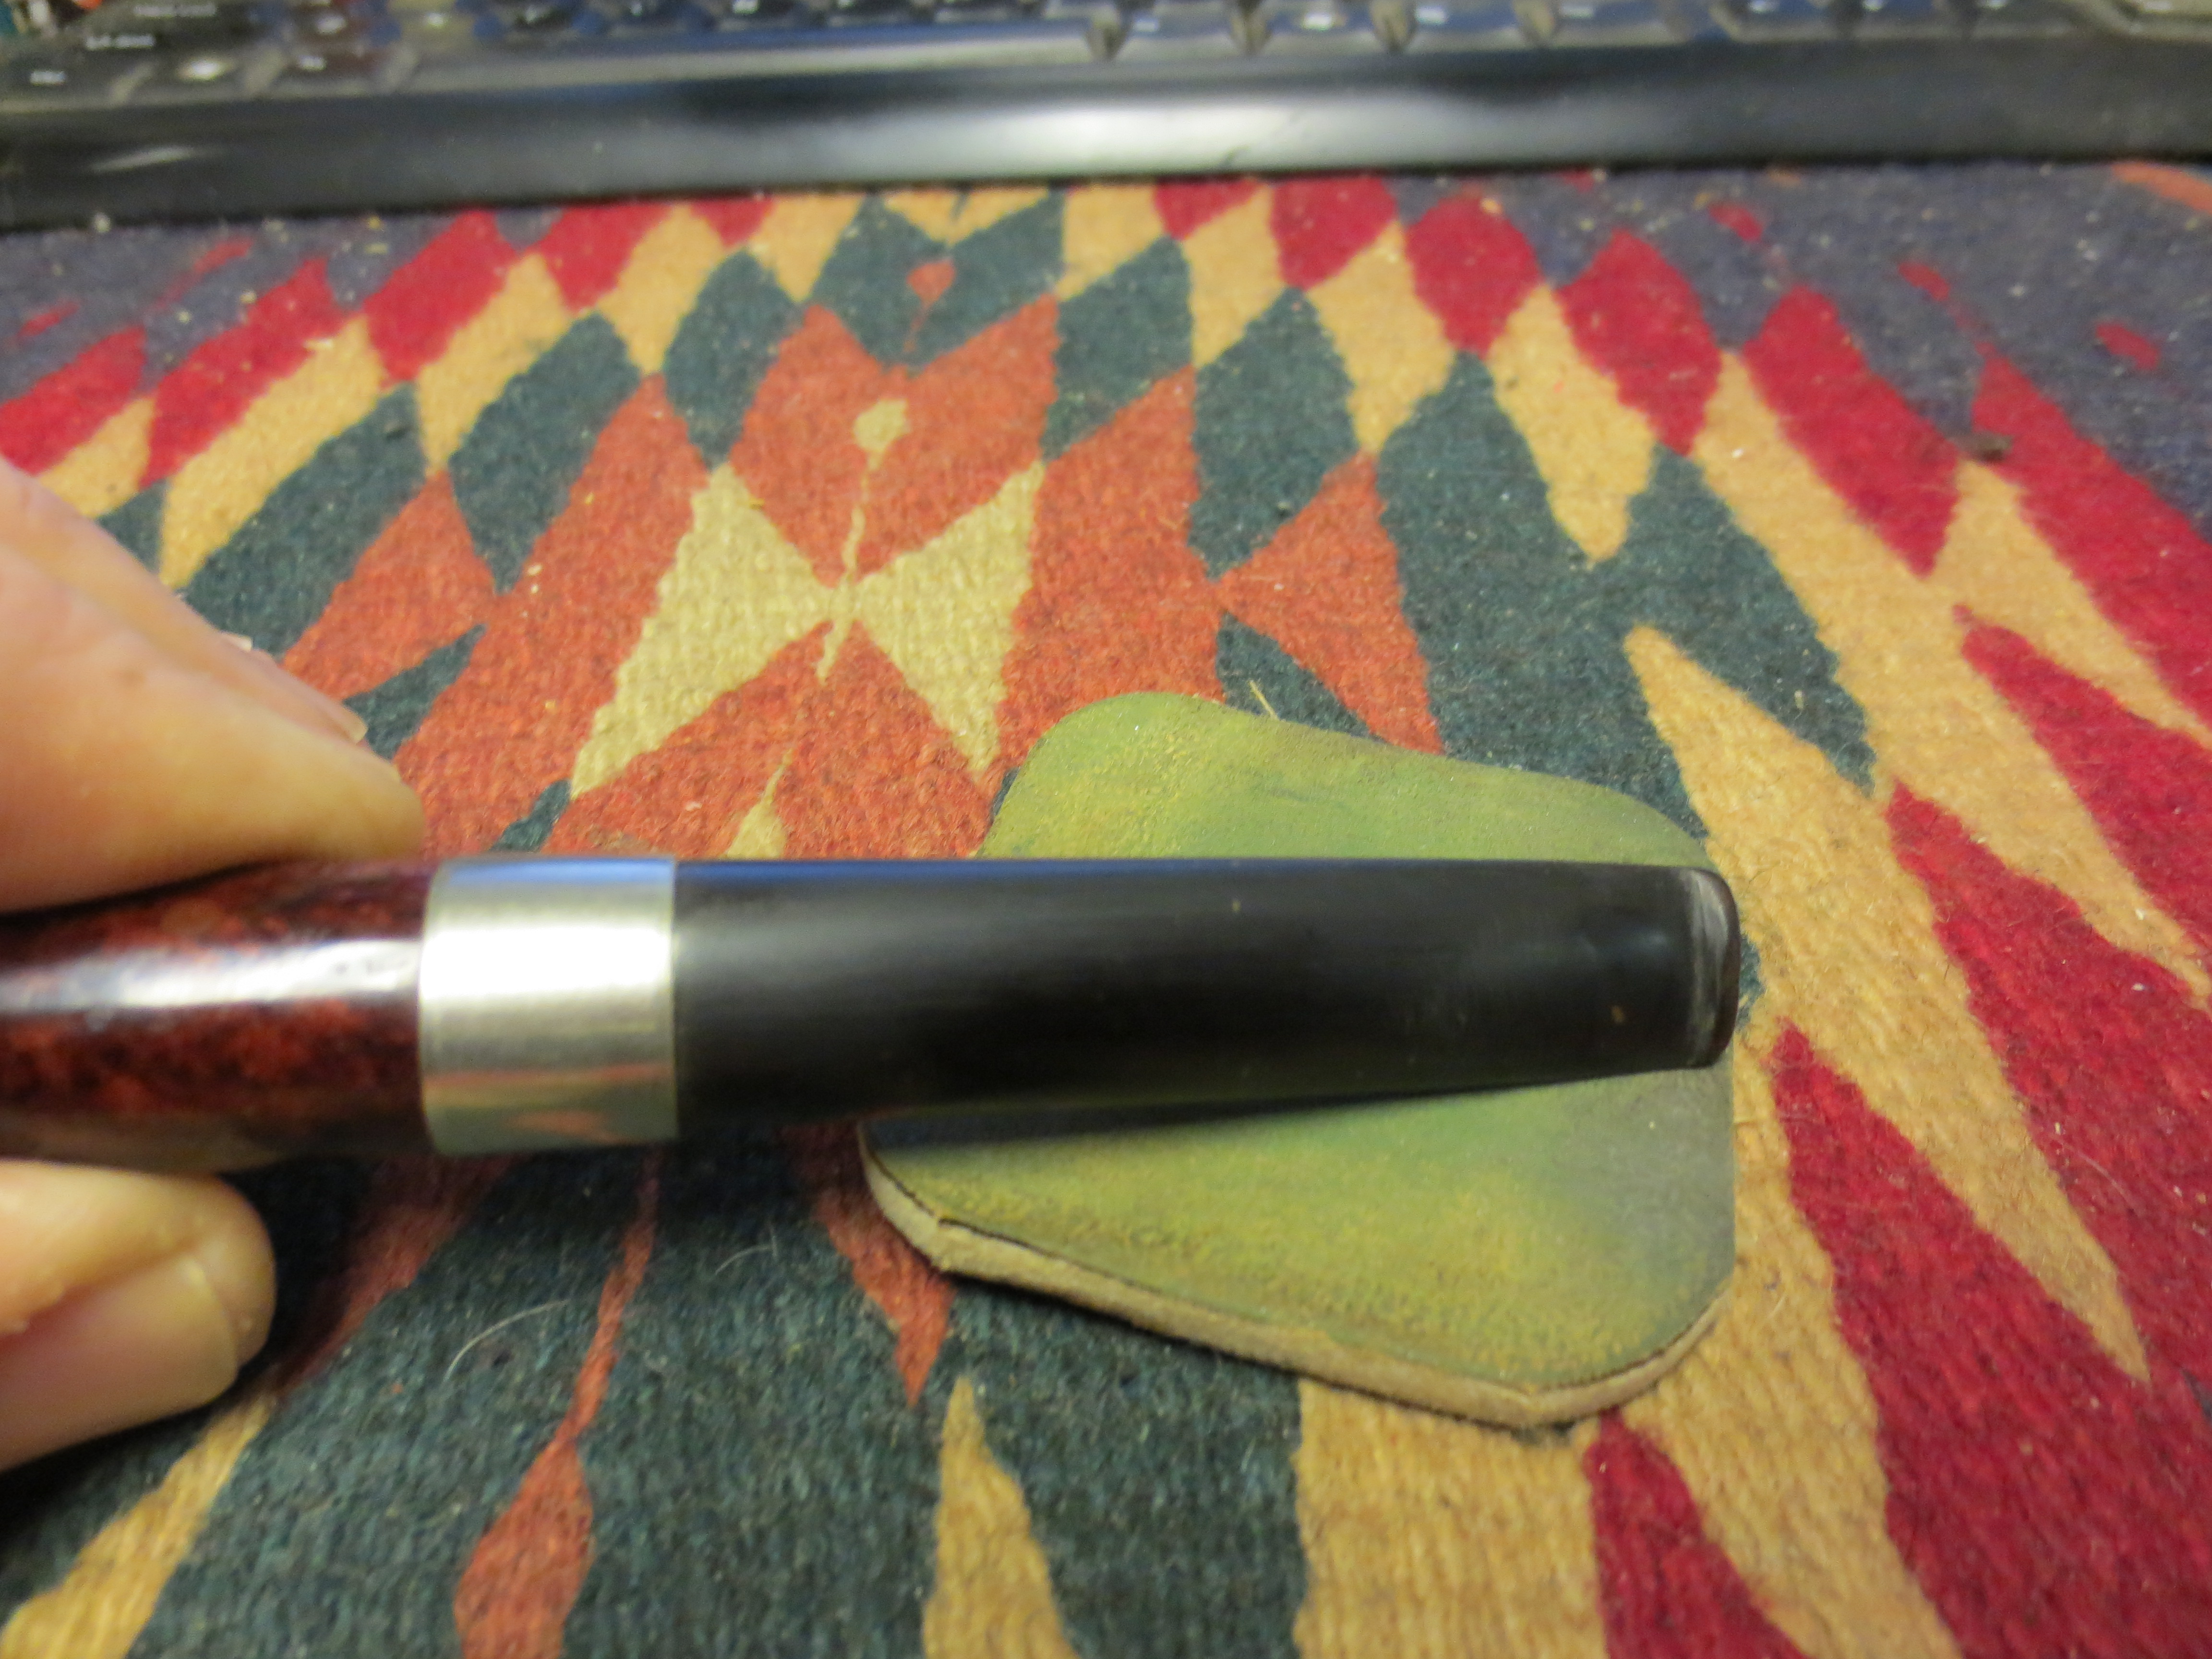
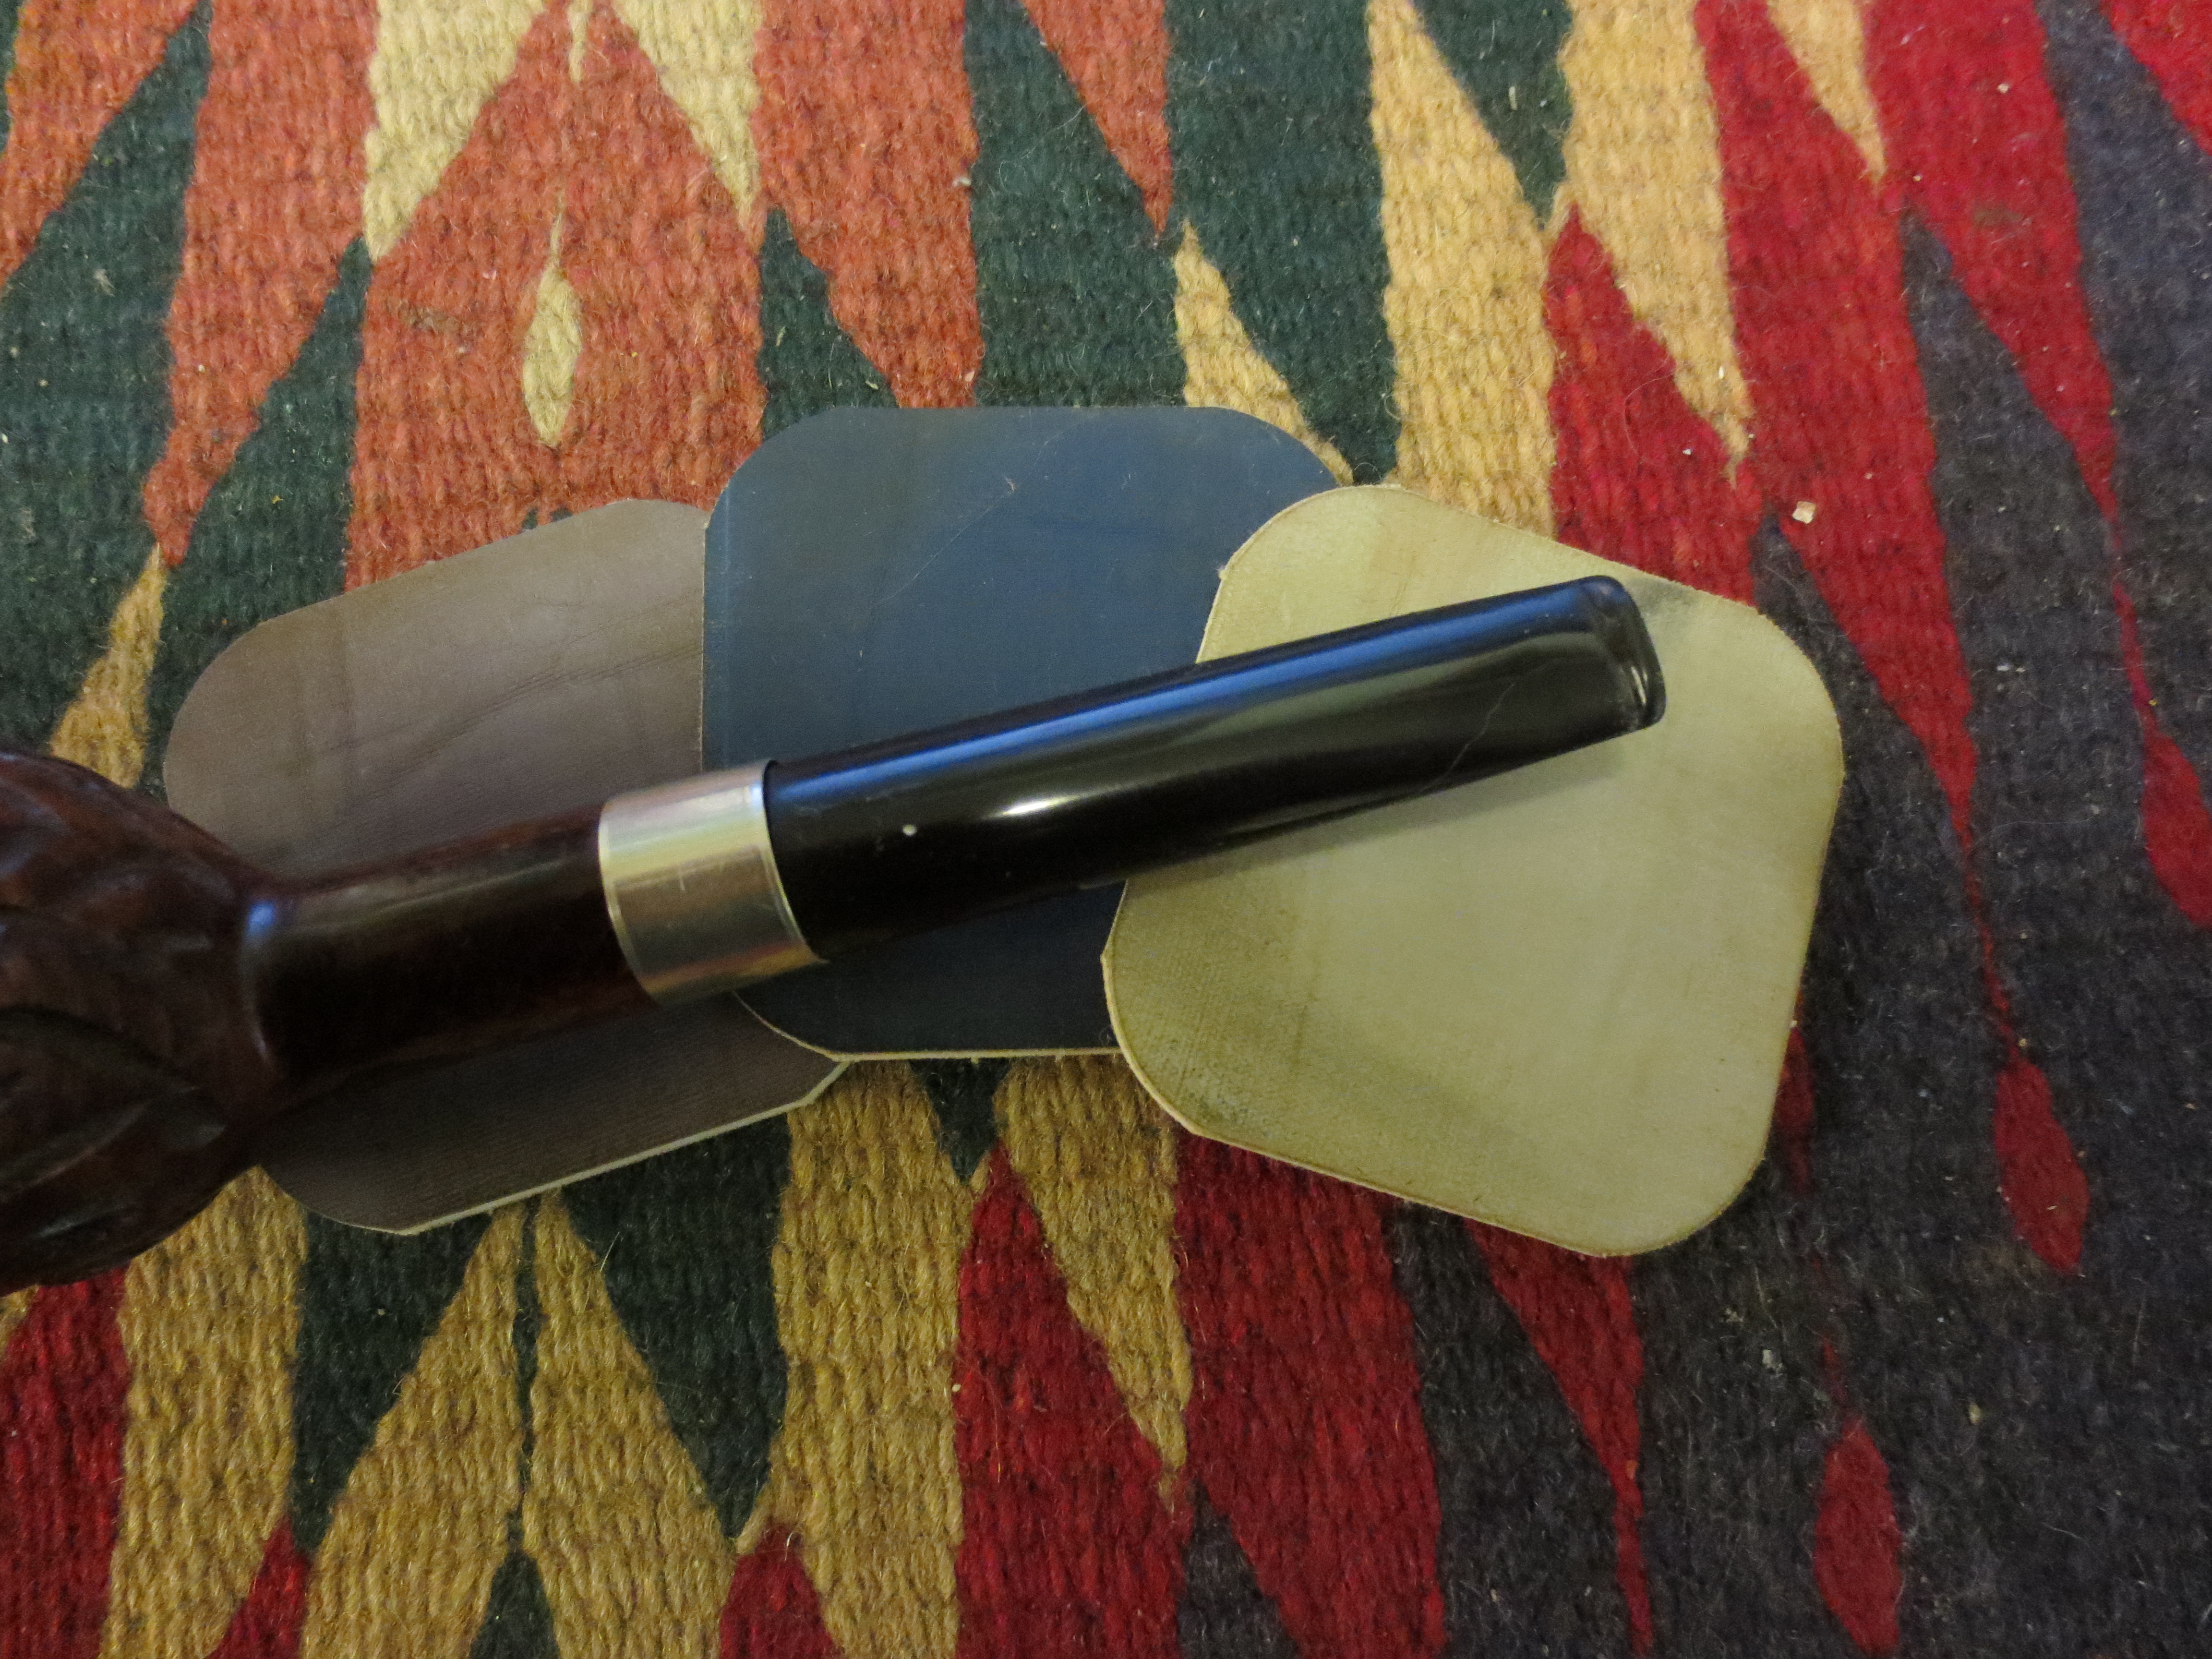
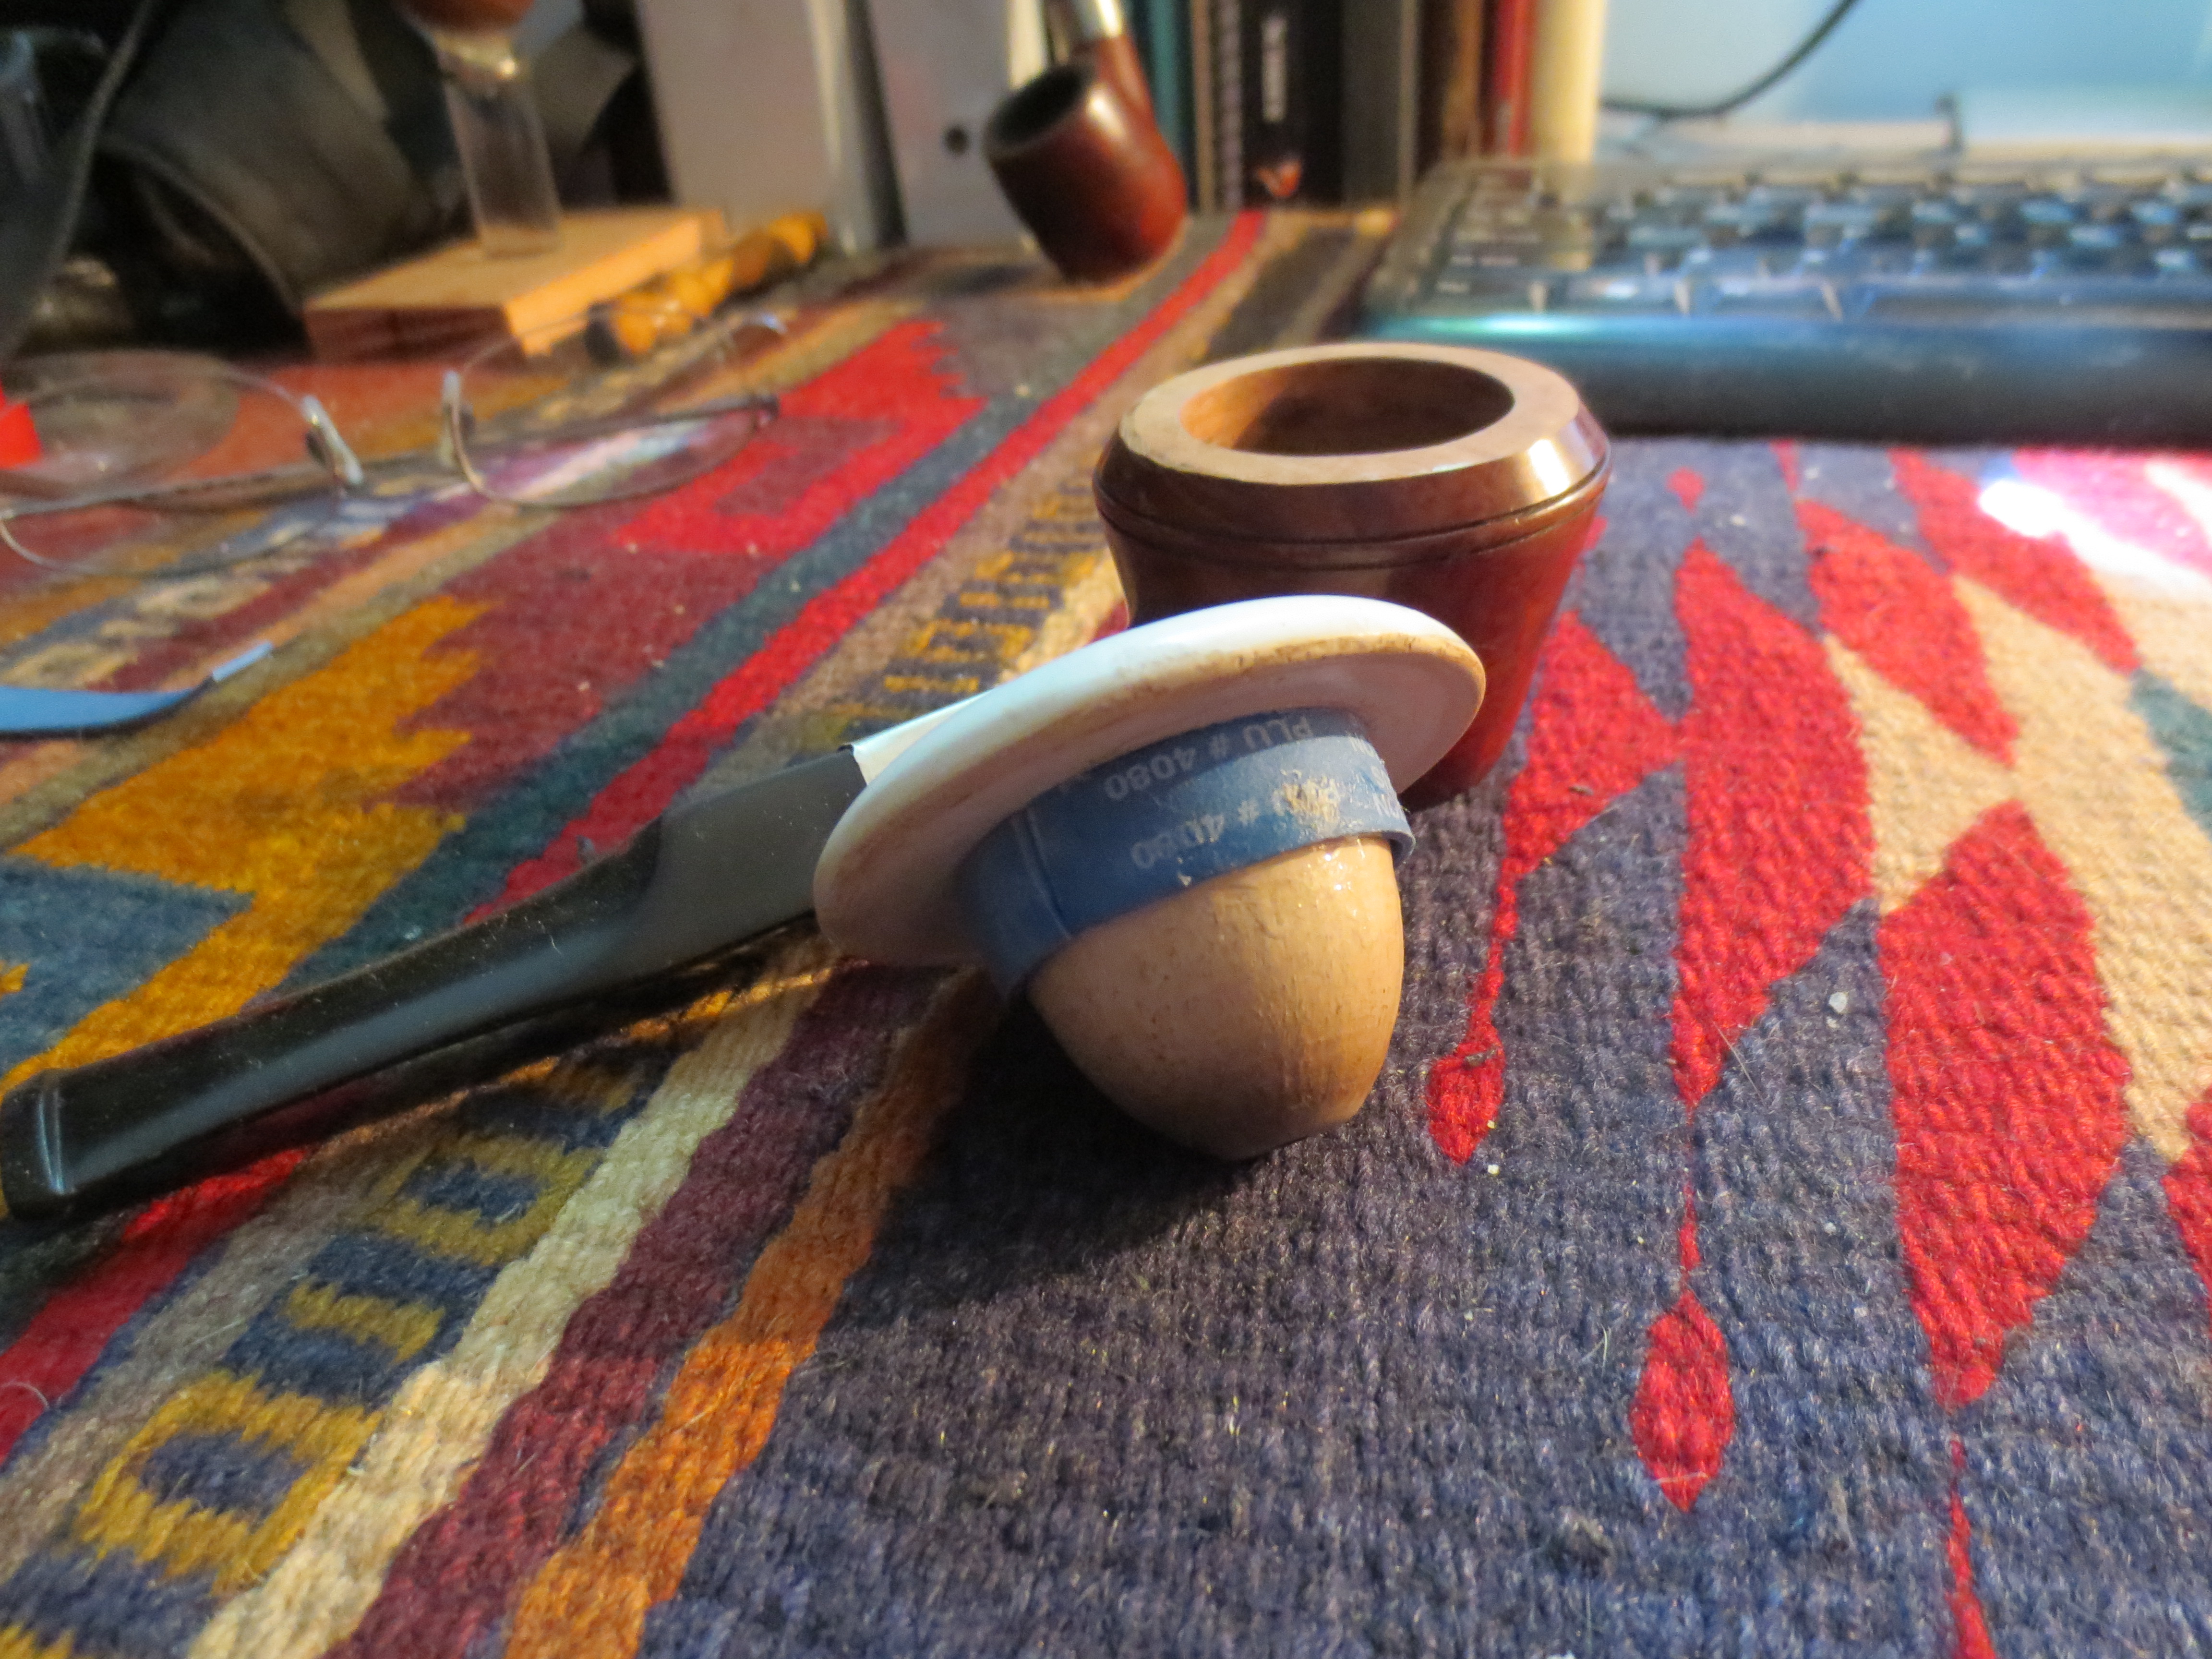
The gasket in place with the glue drying
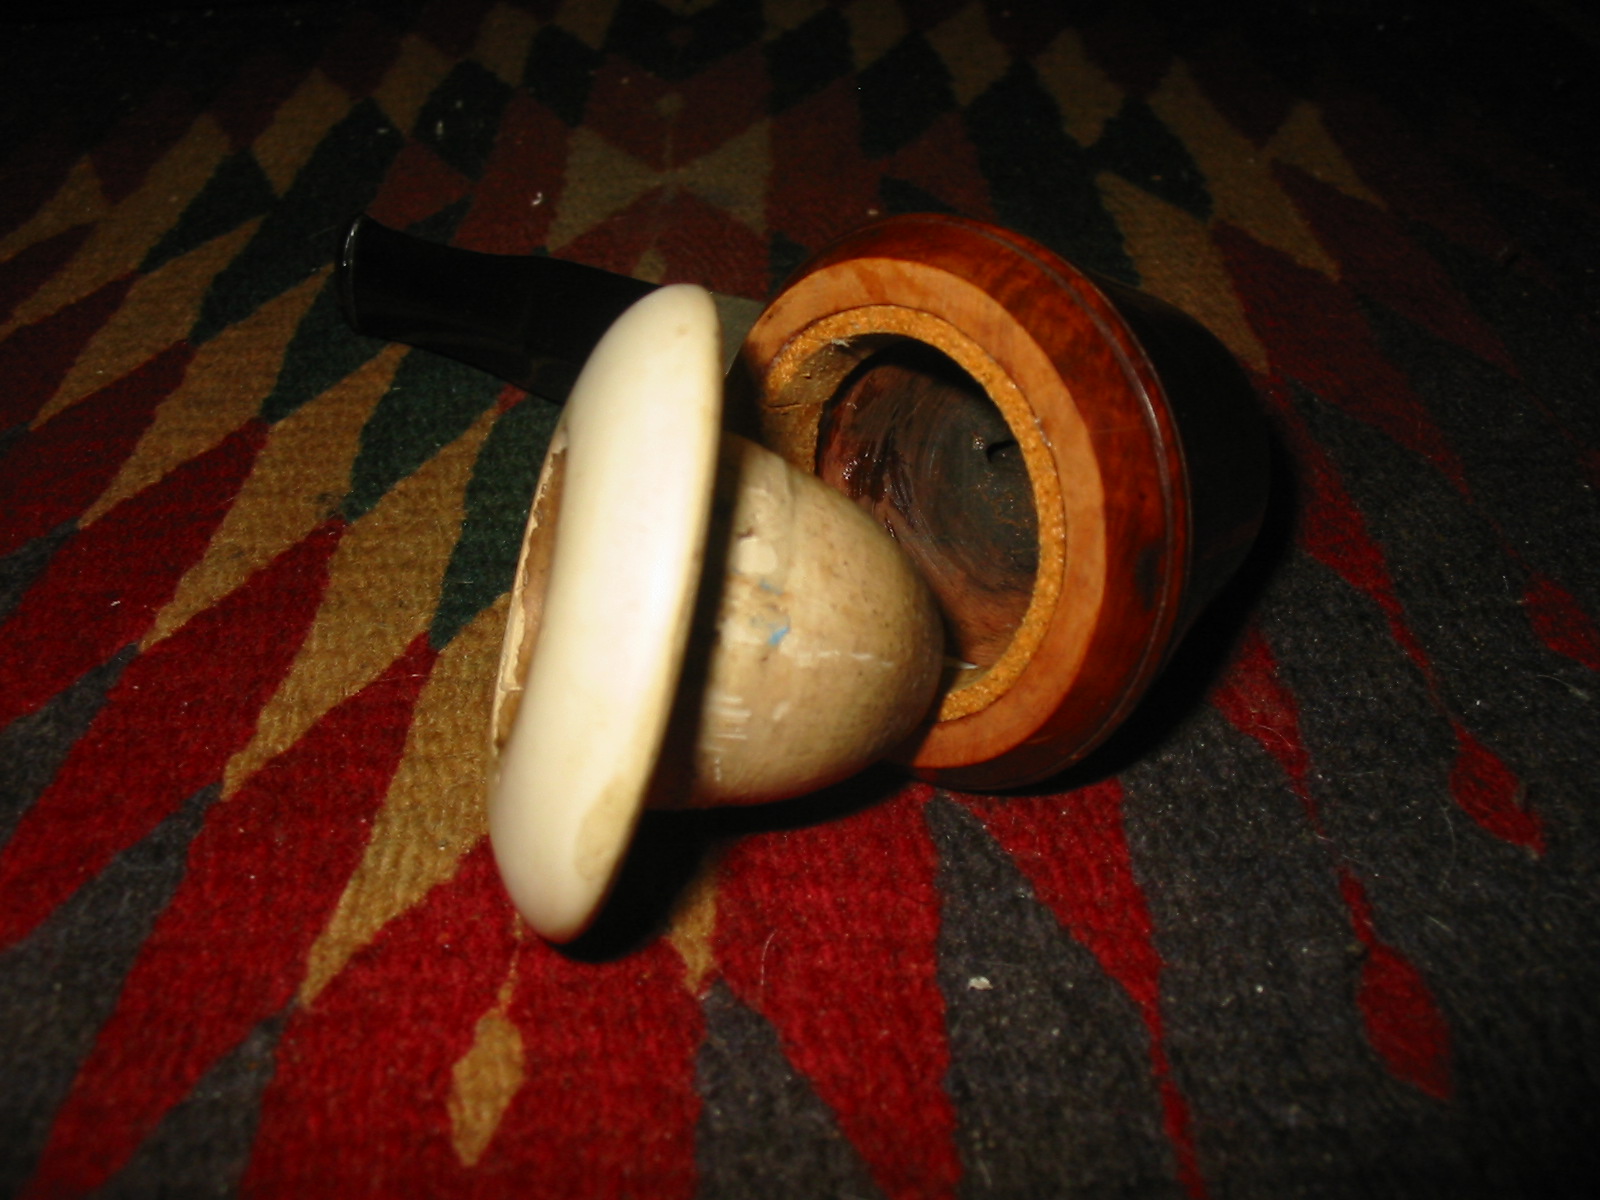
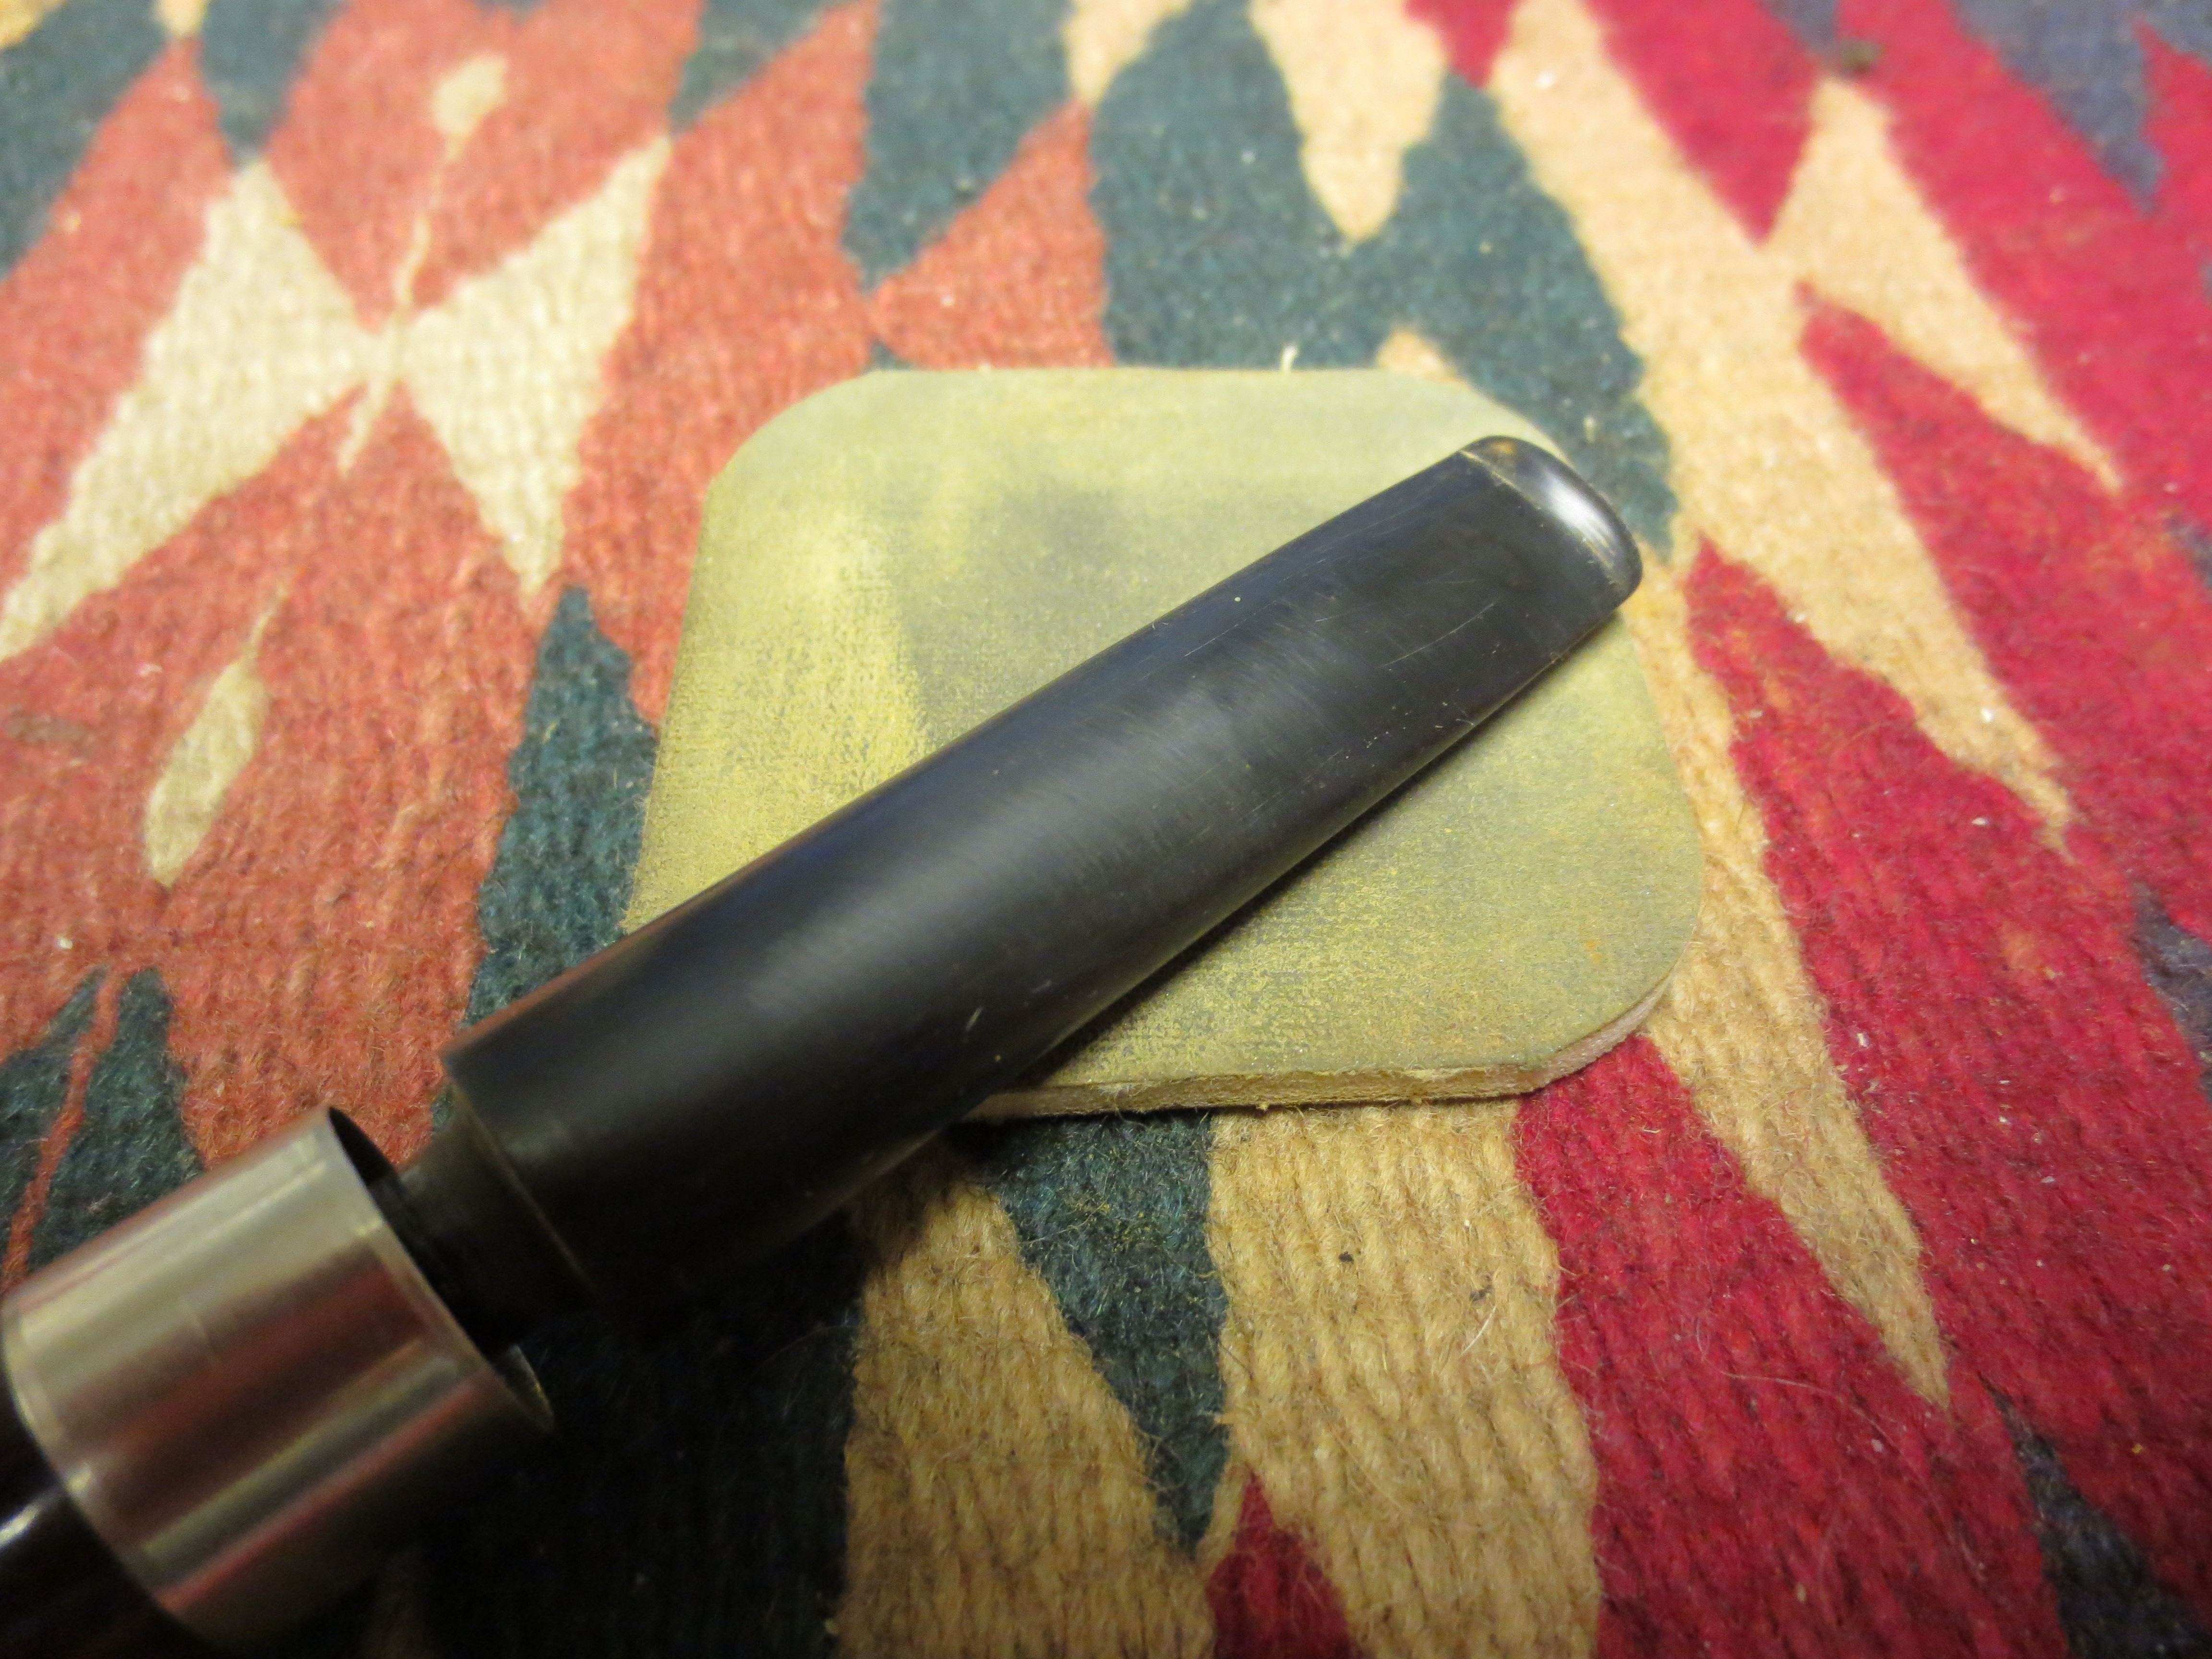
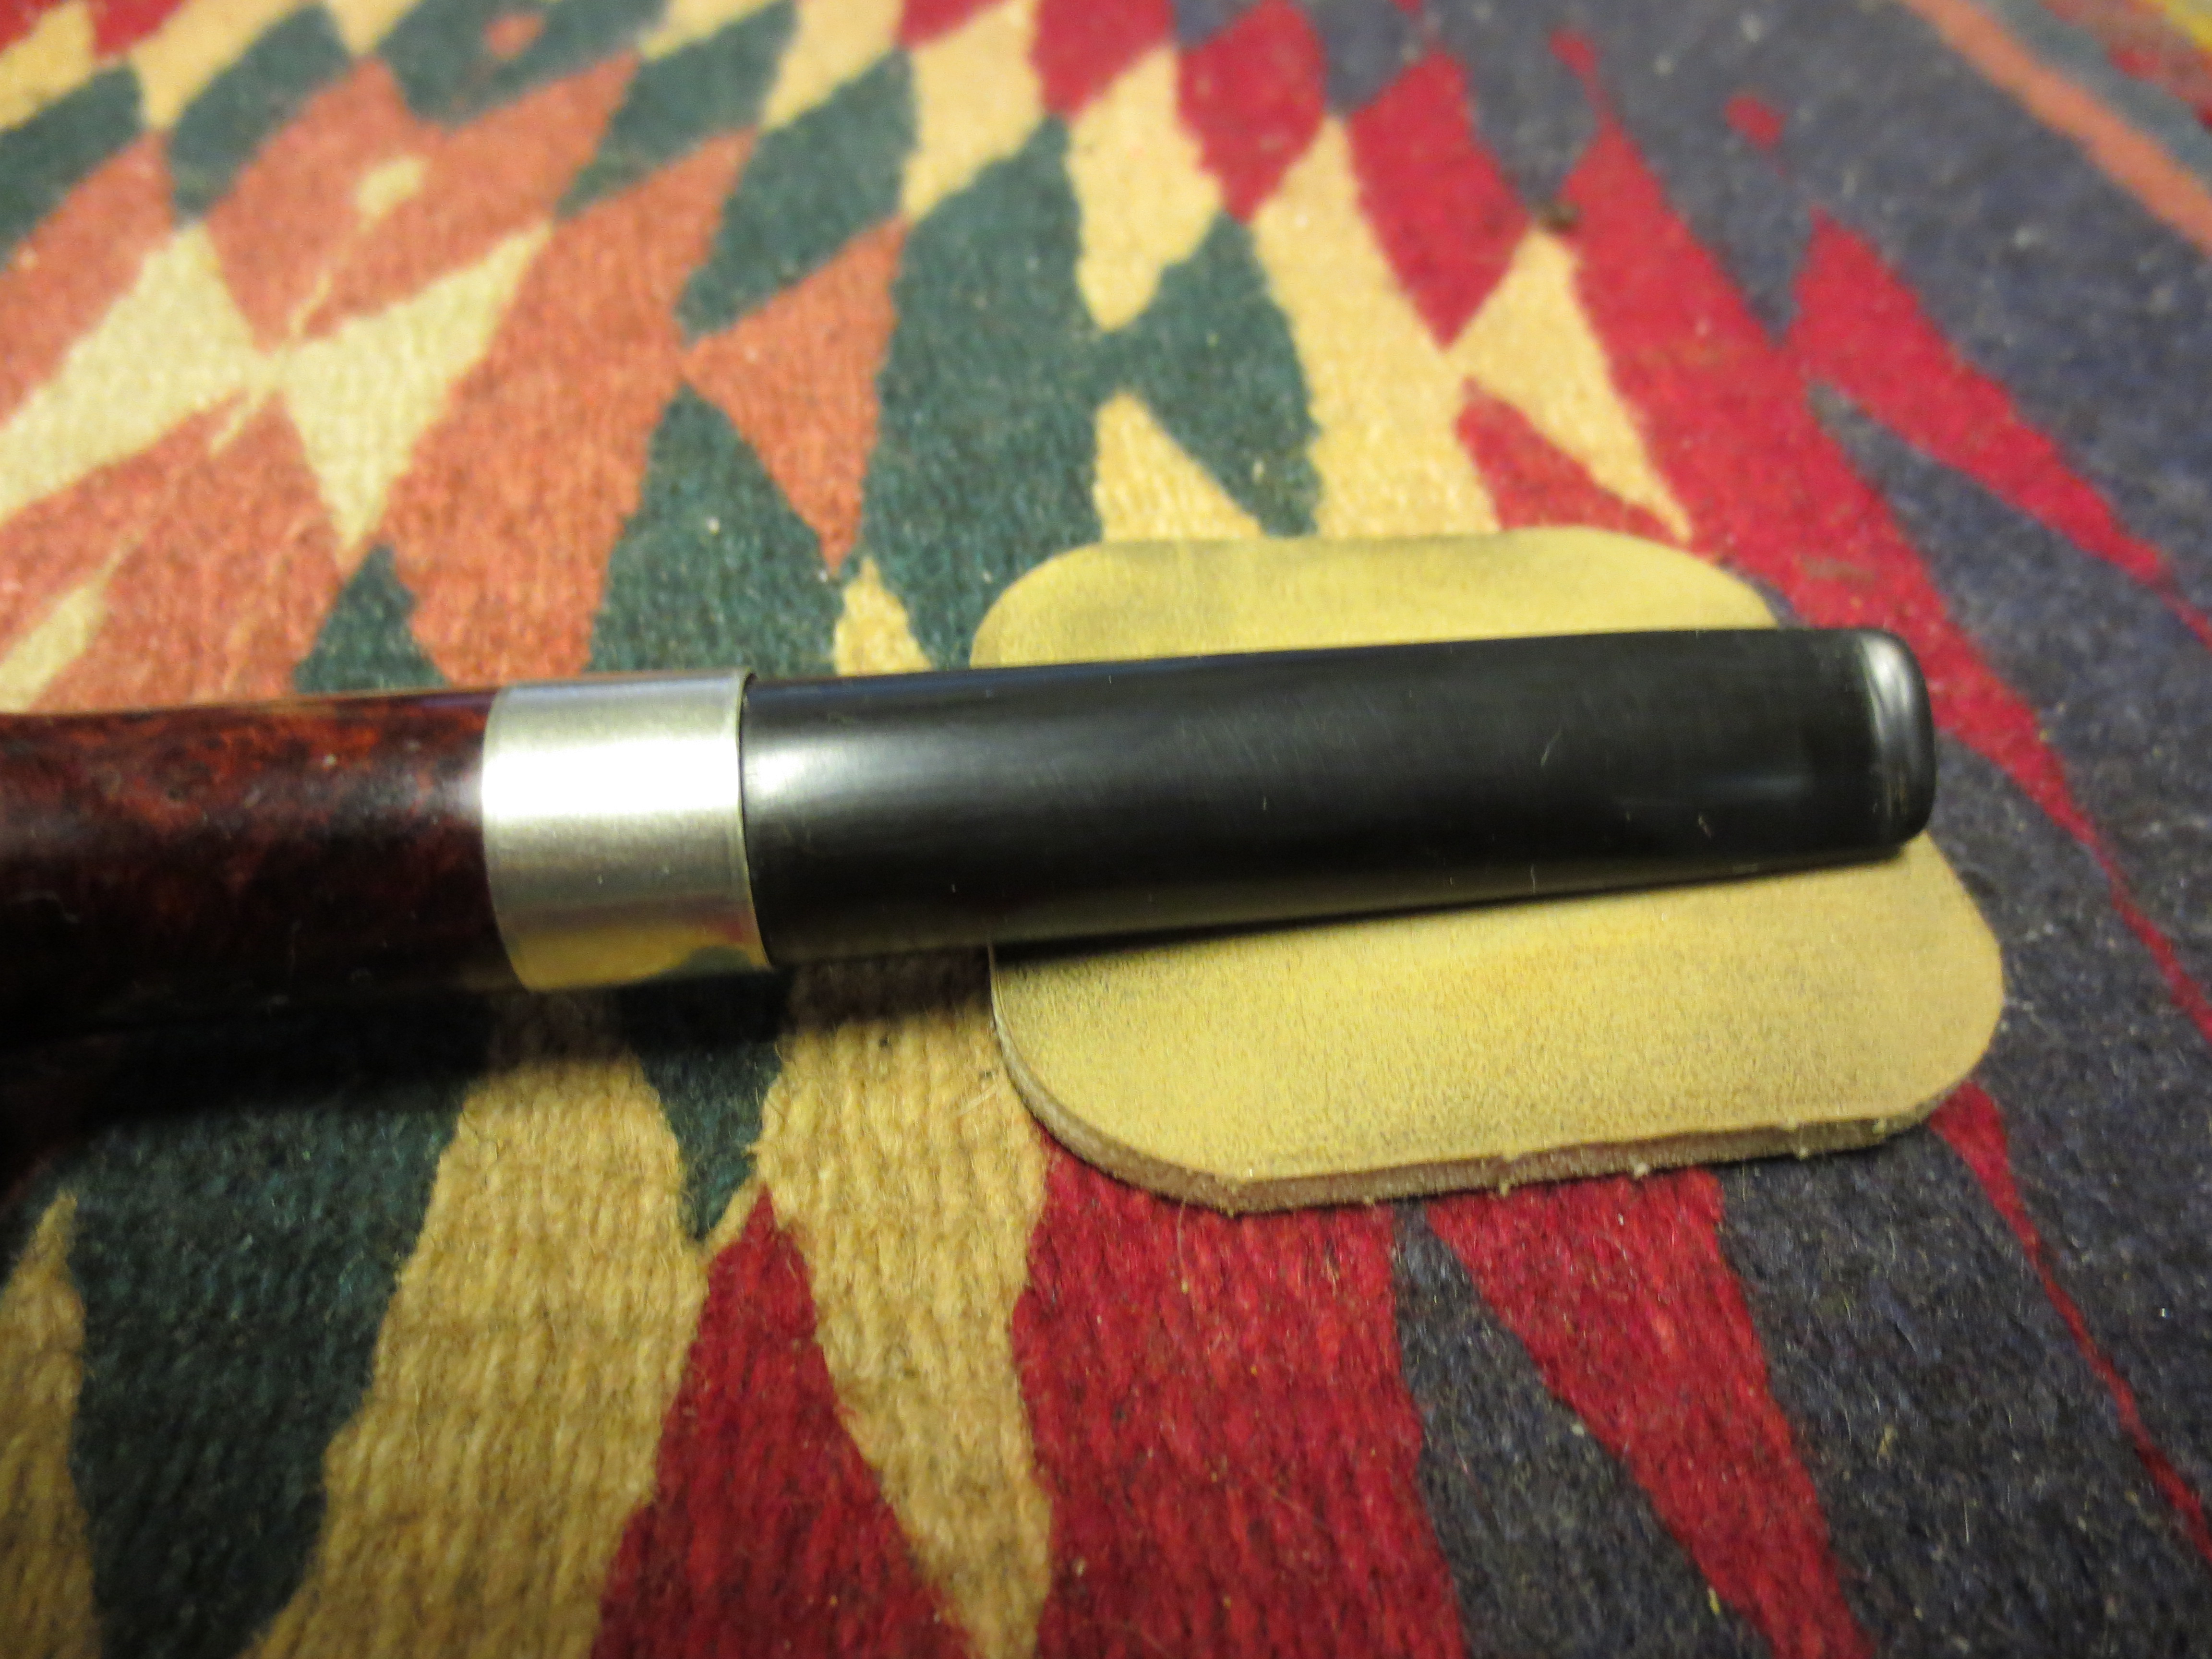
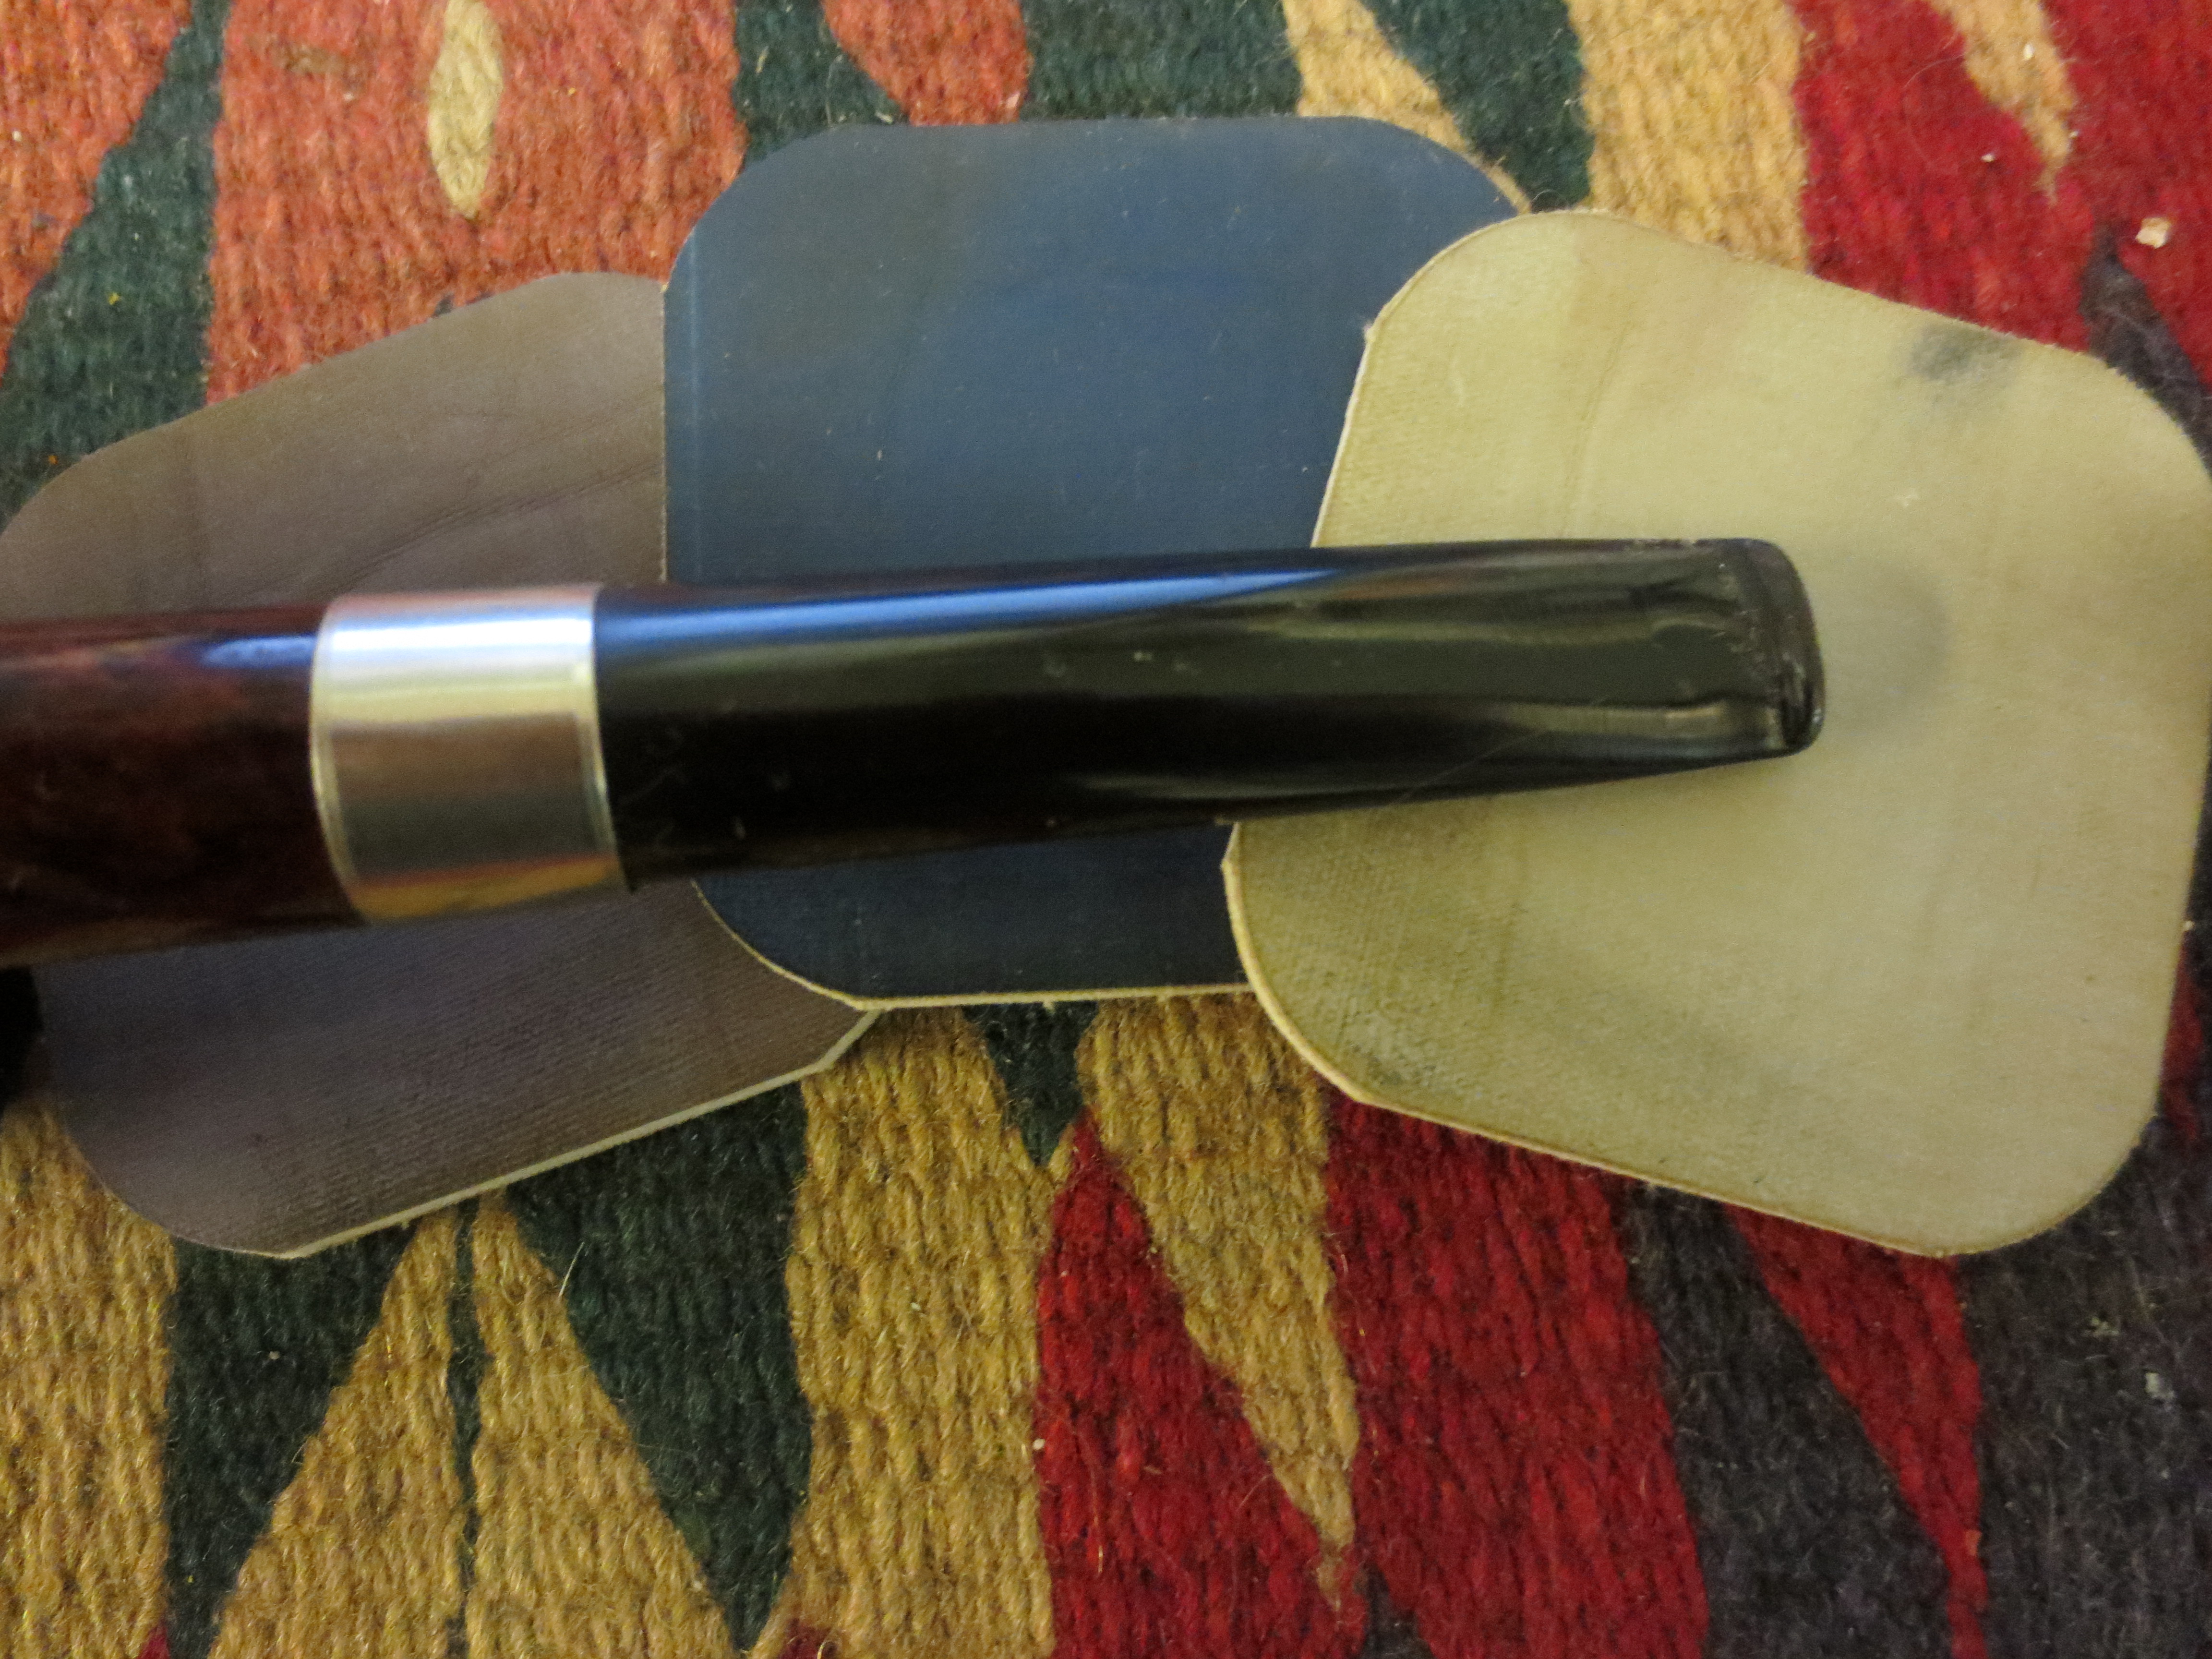
The gasket it dry and the bowl is ready to press in place
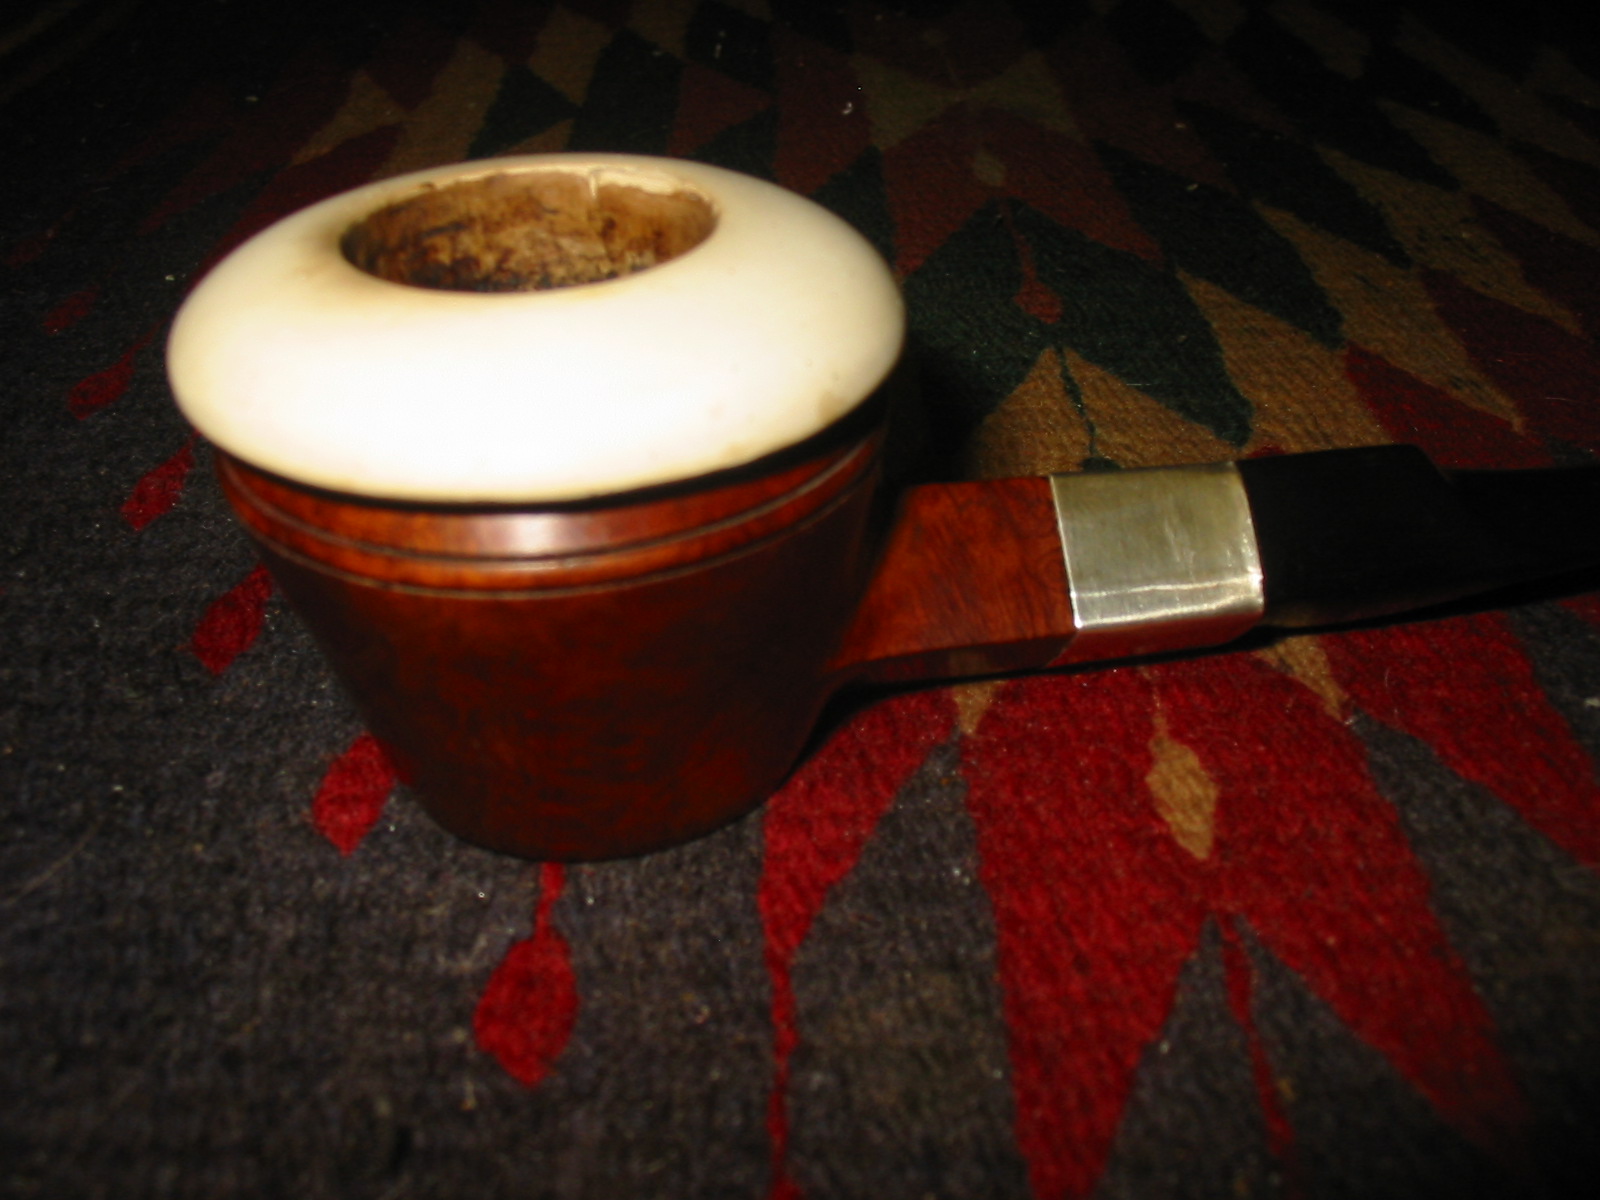
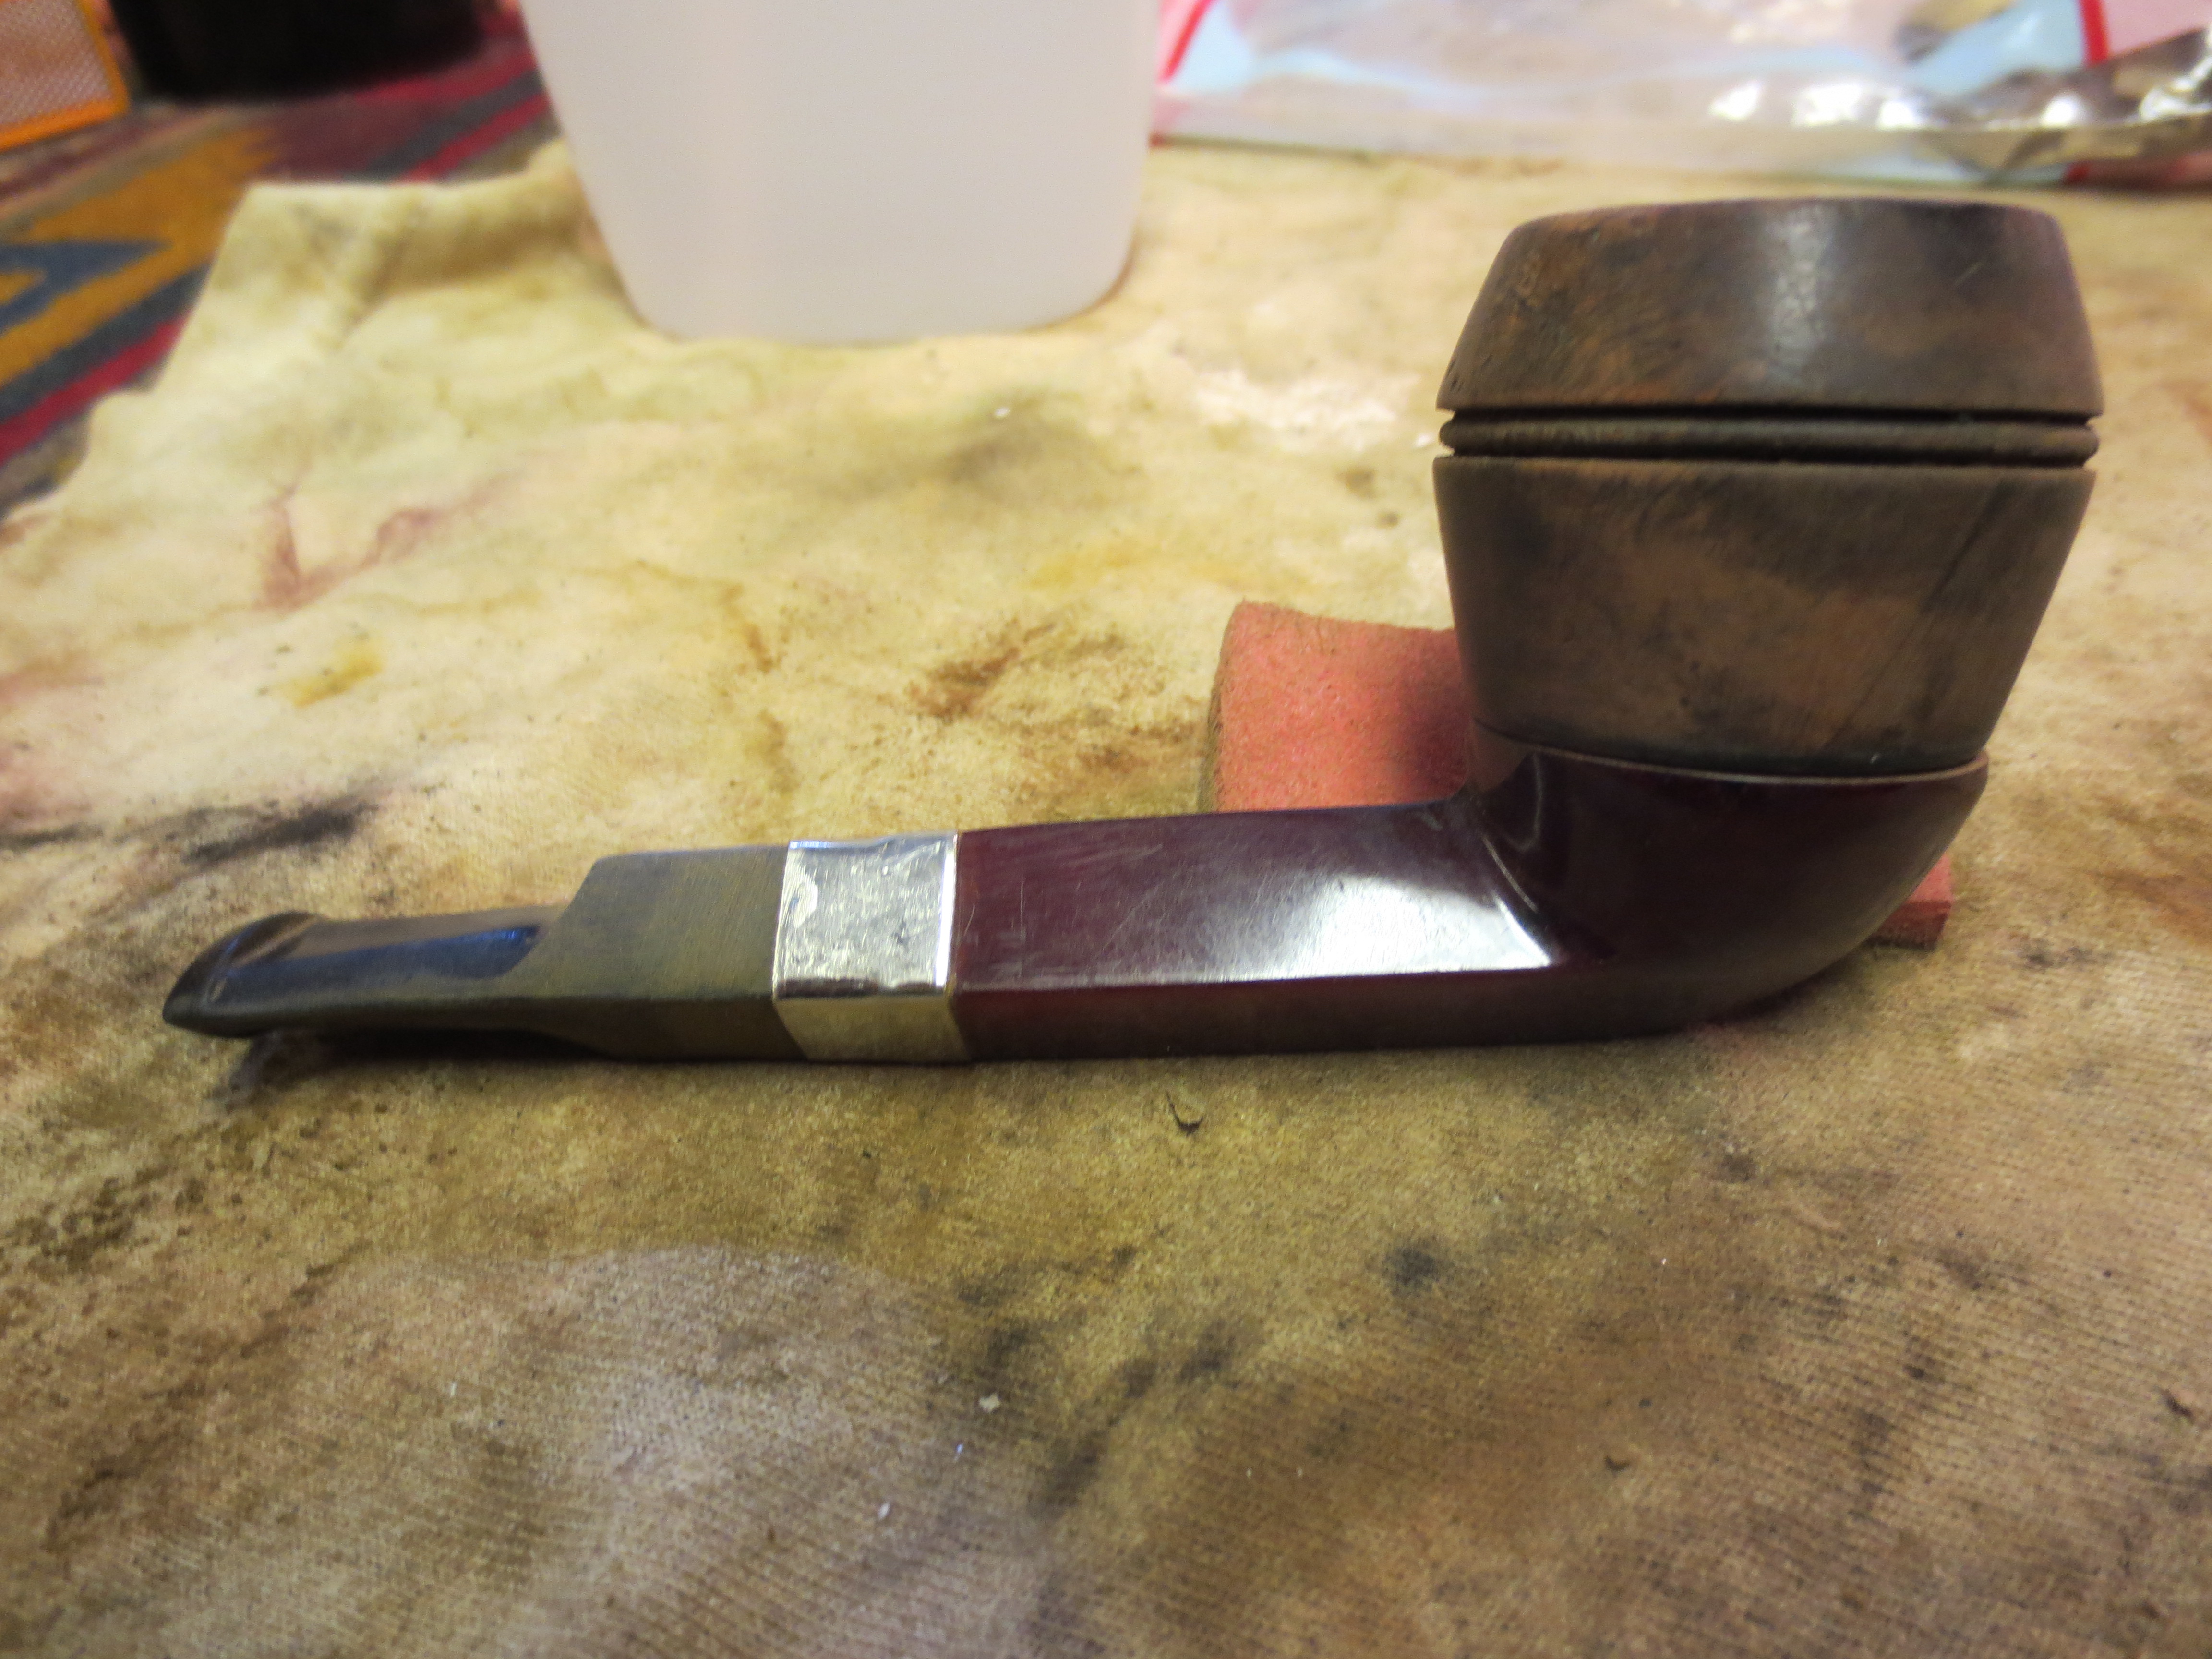
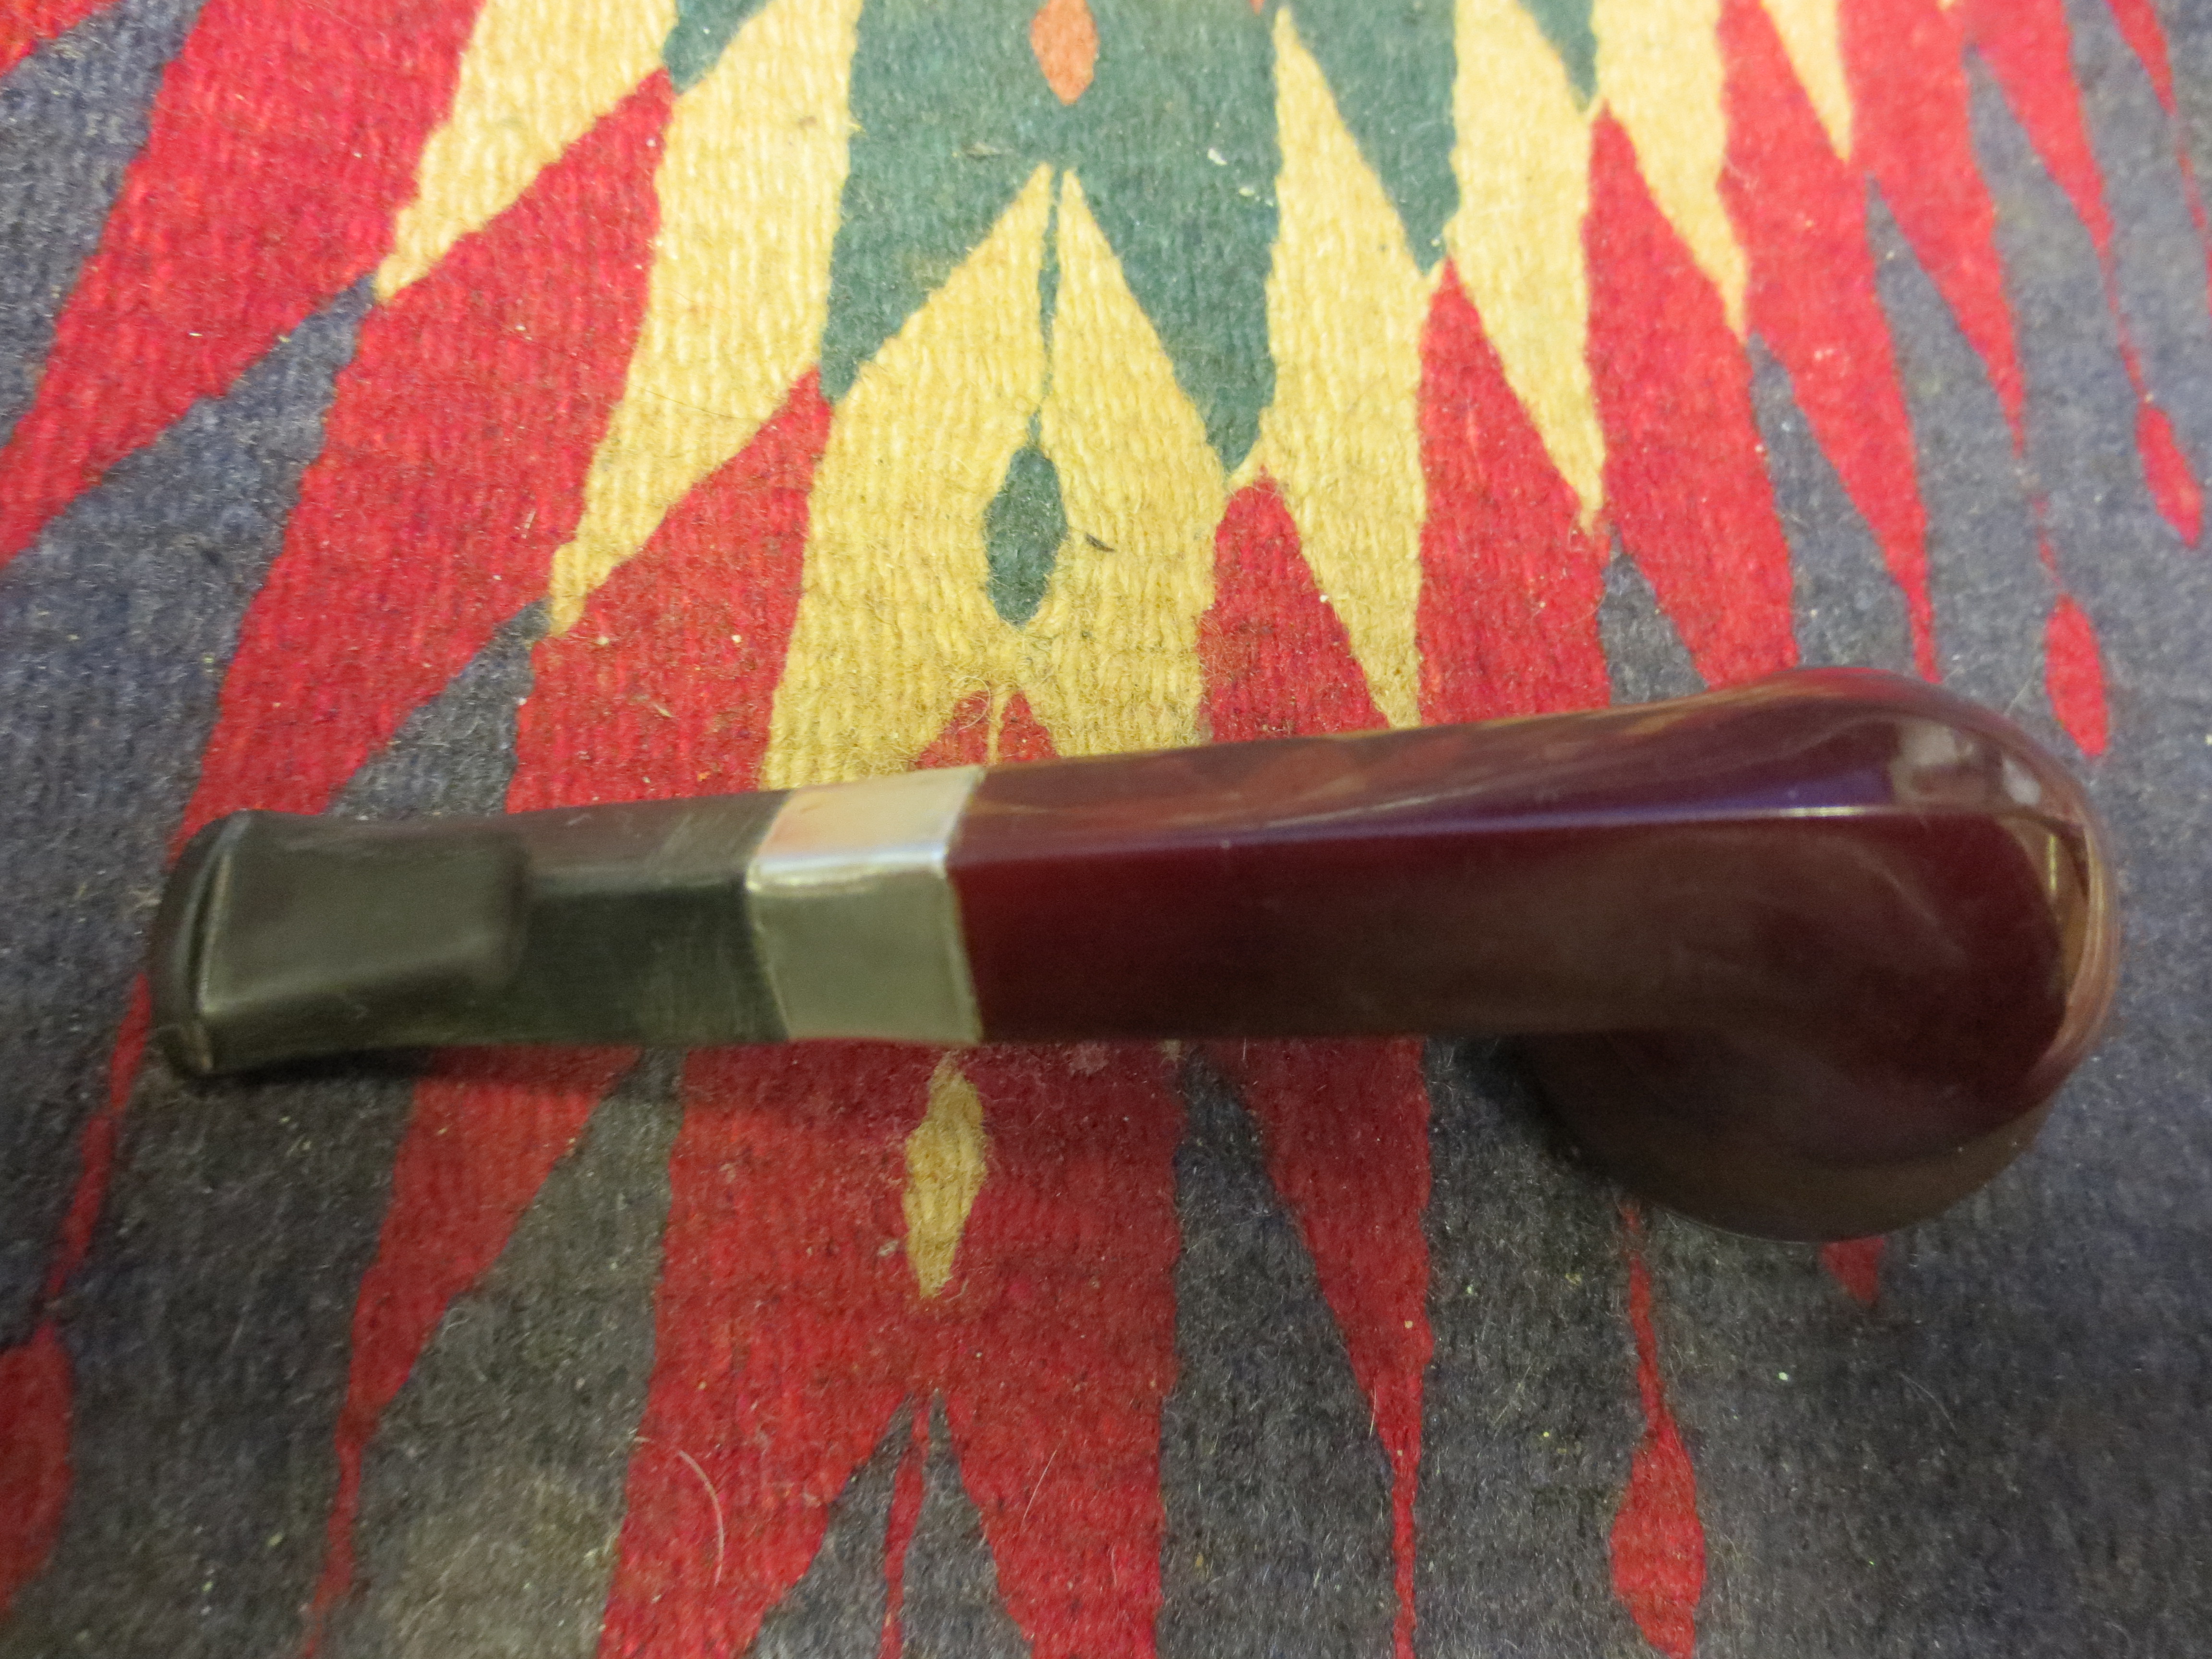
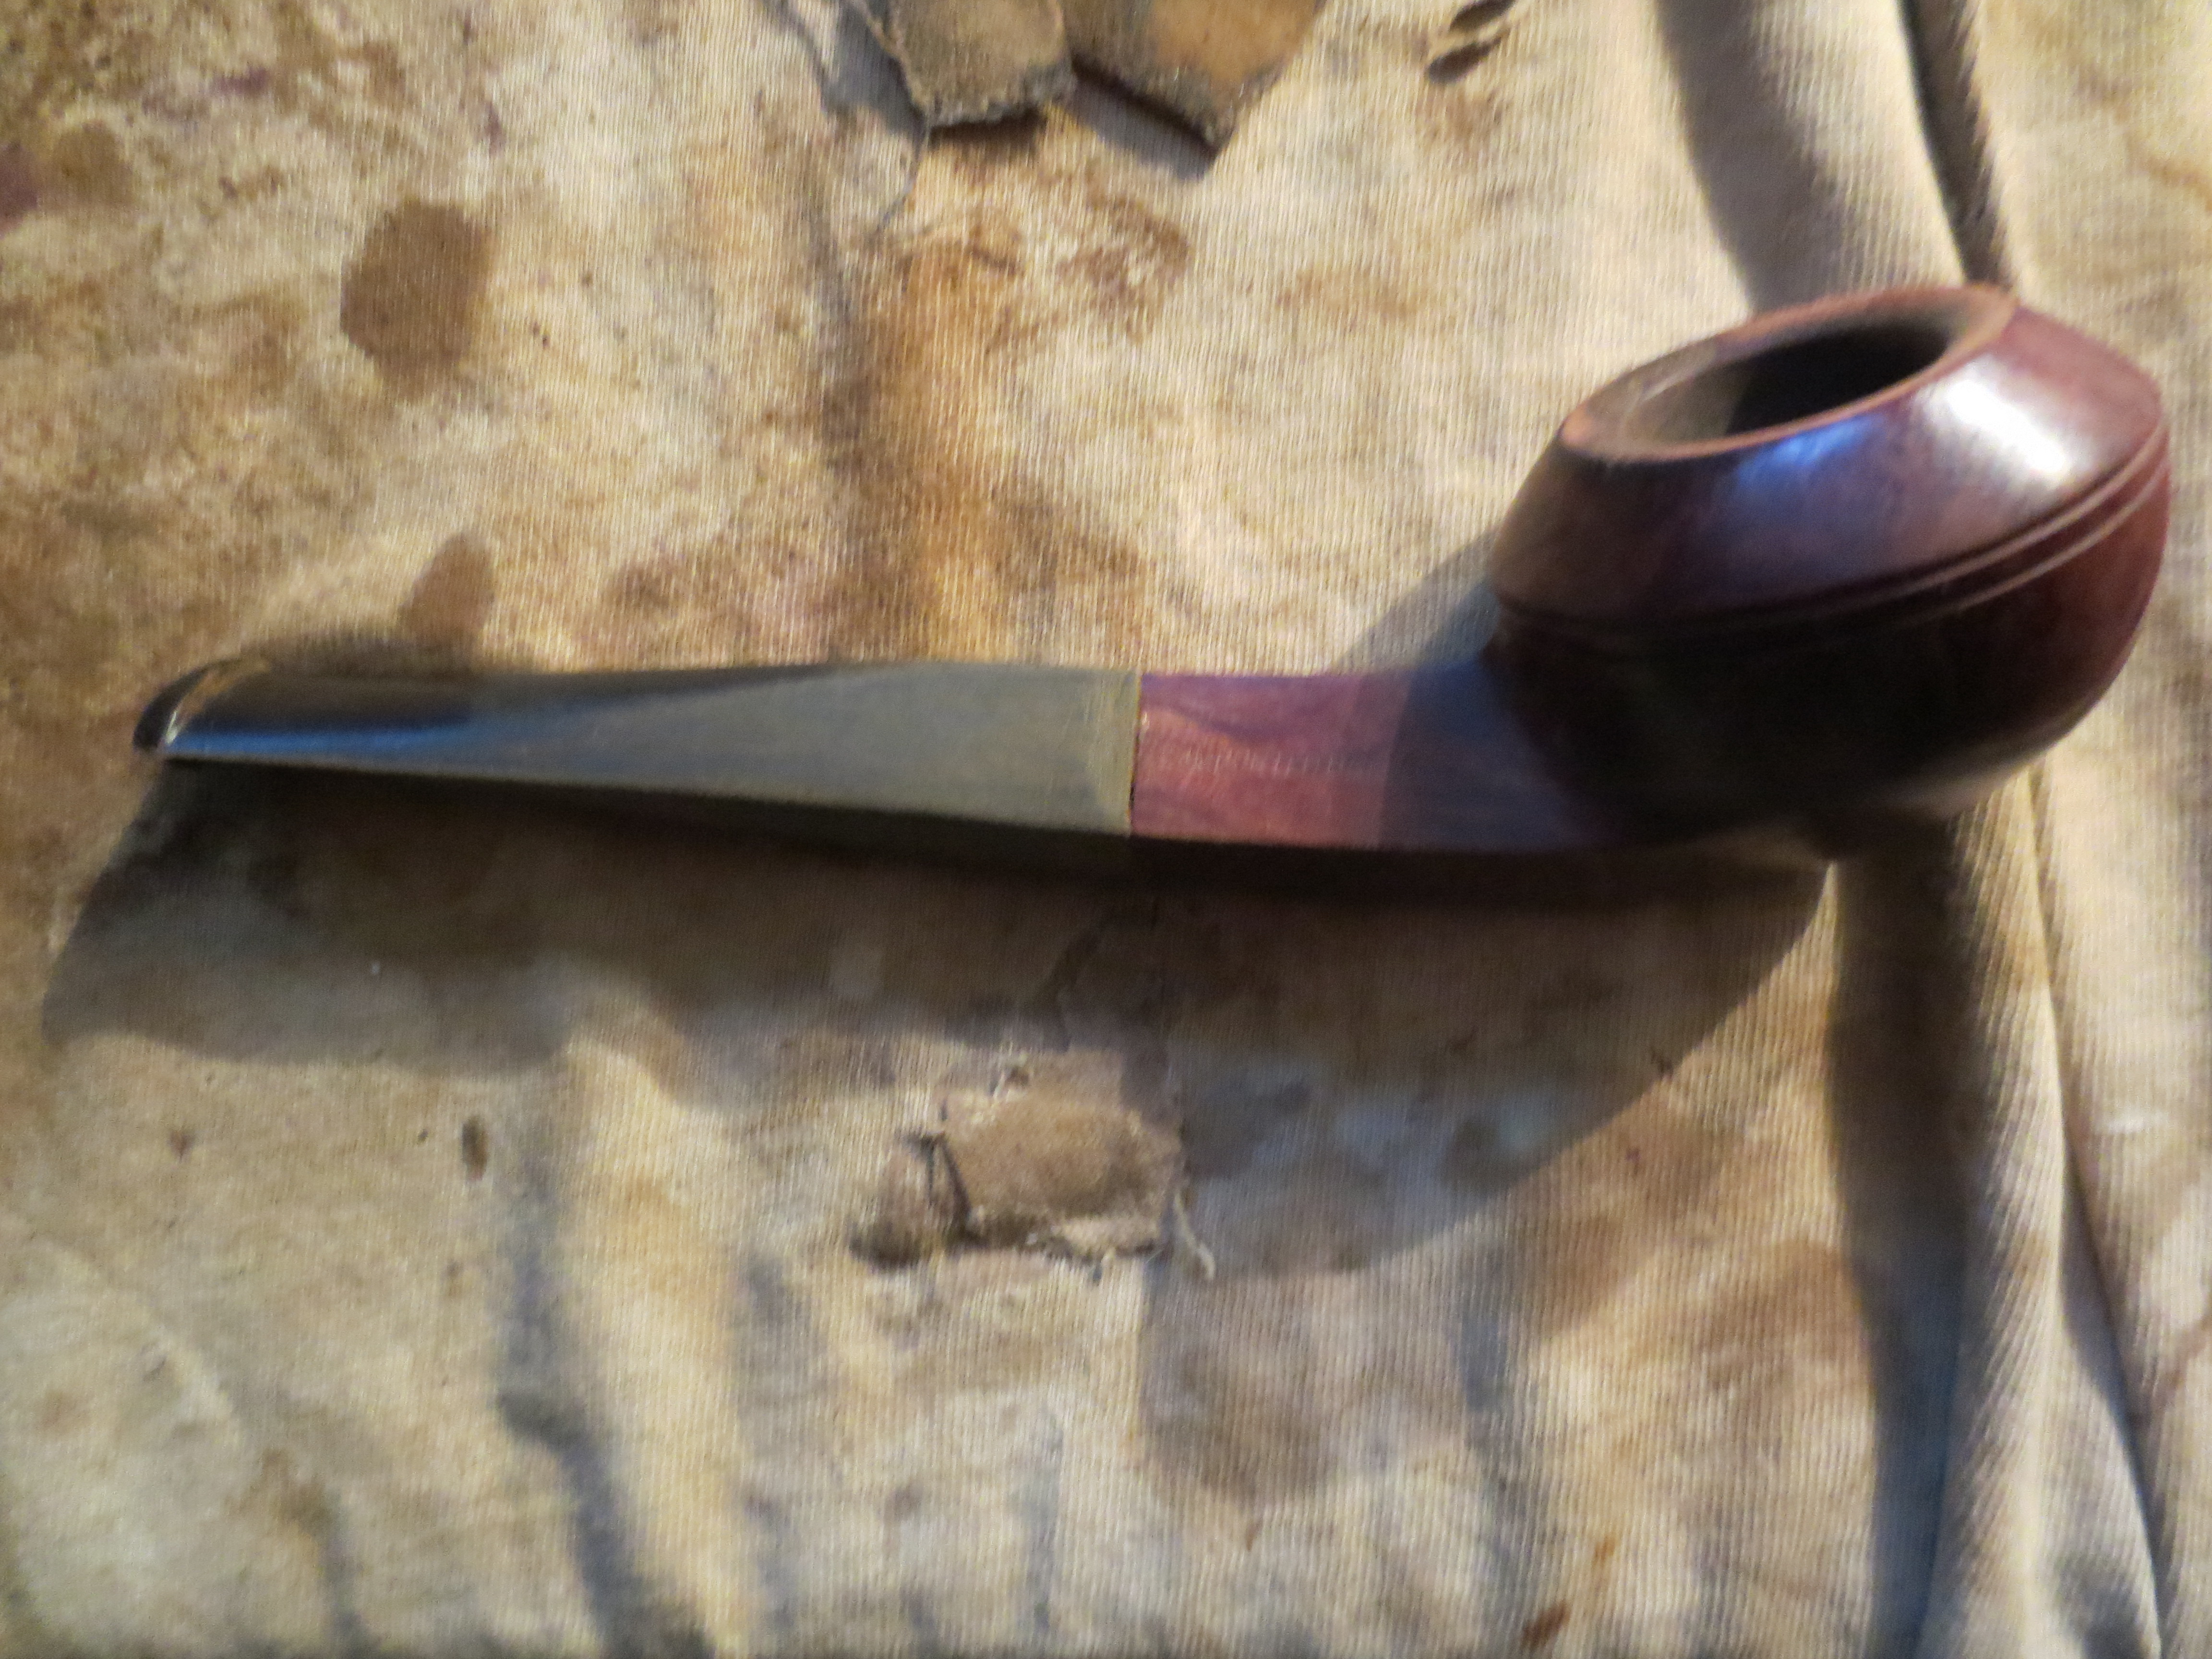
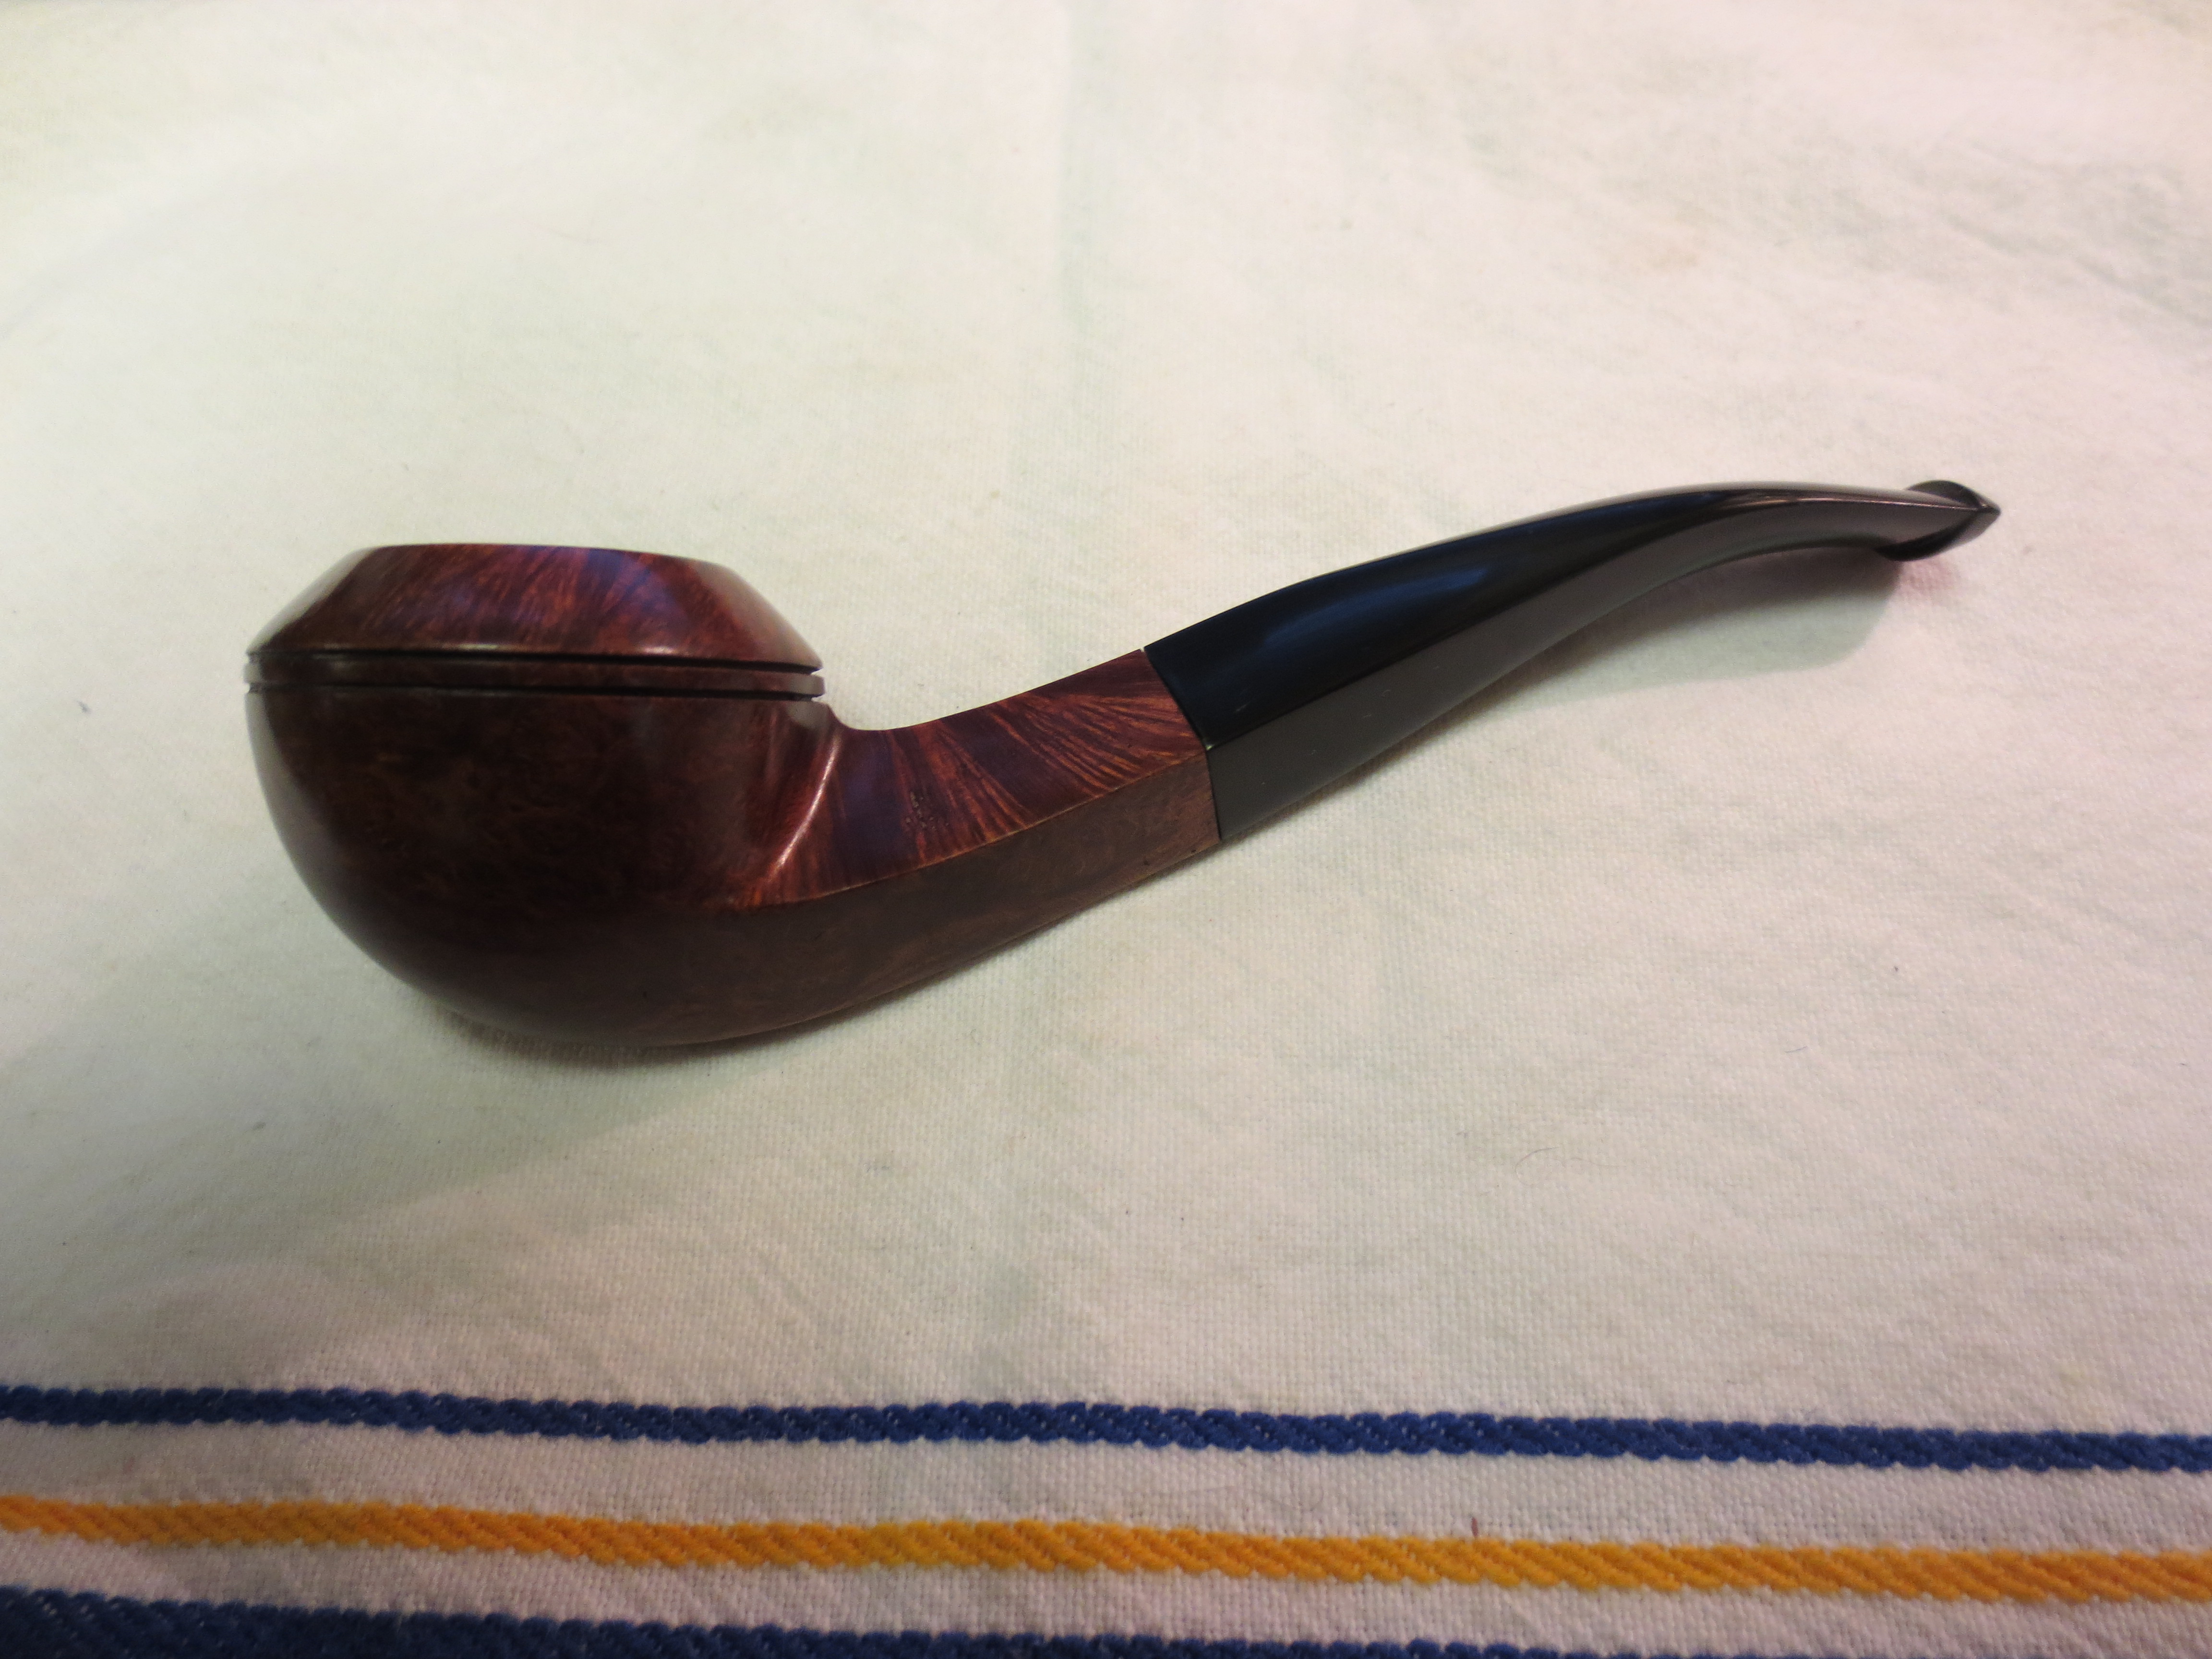
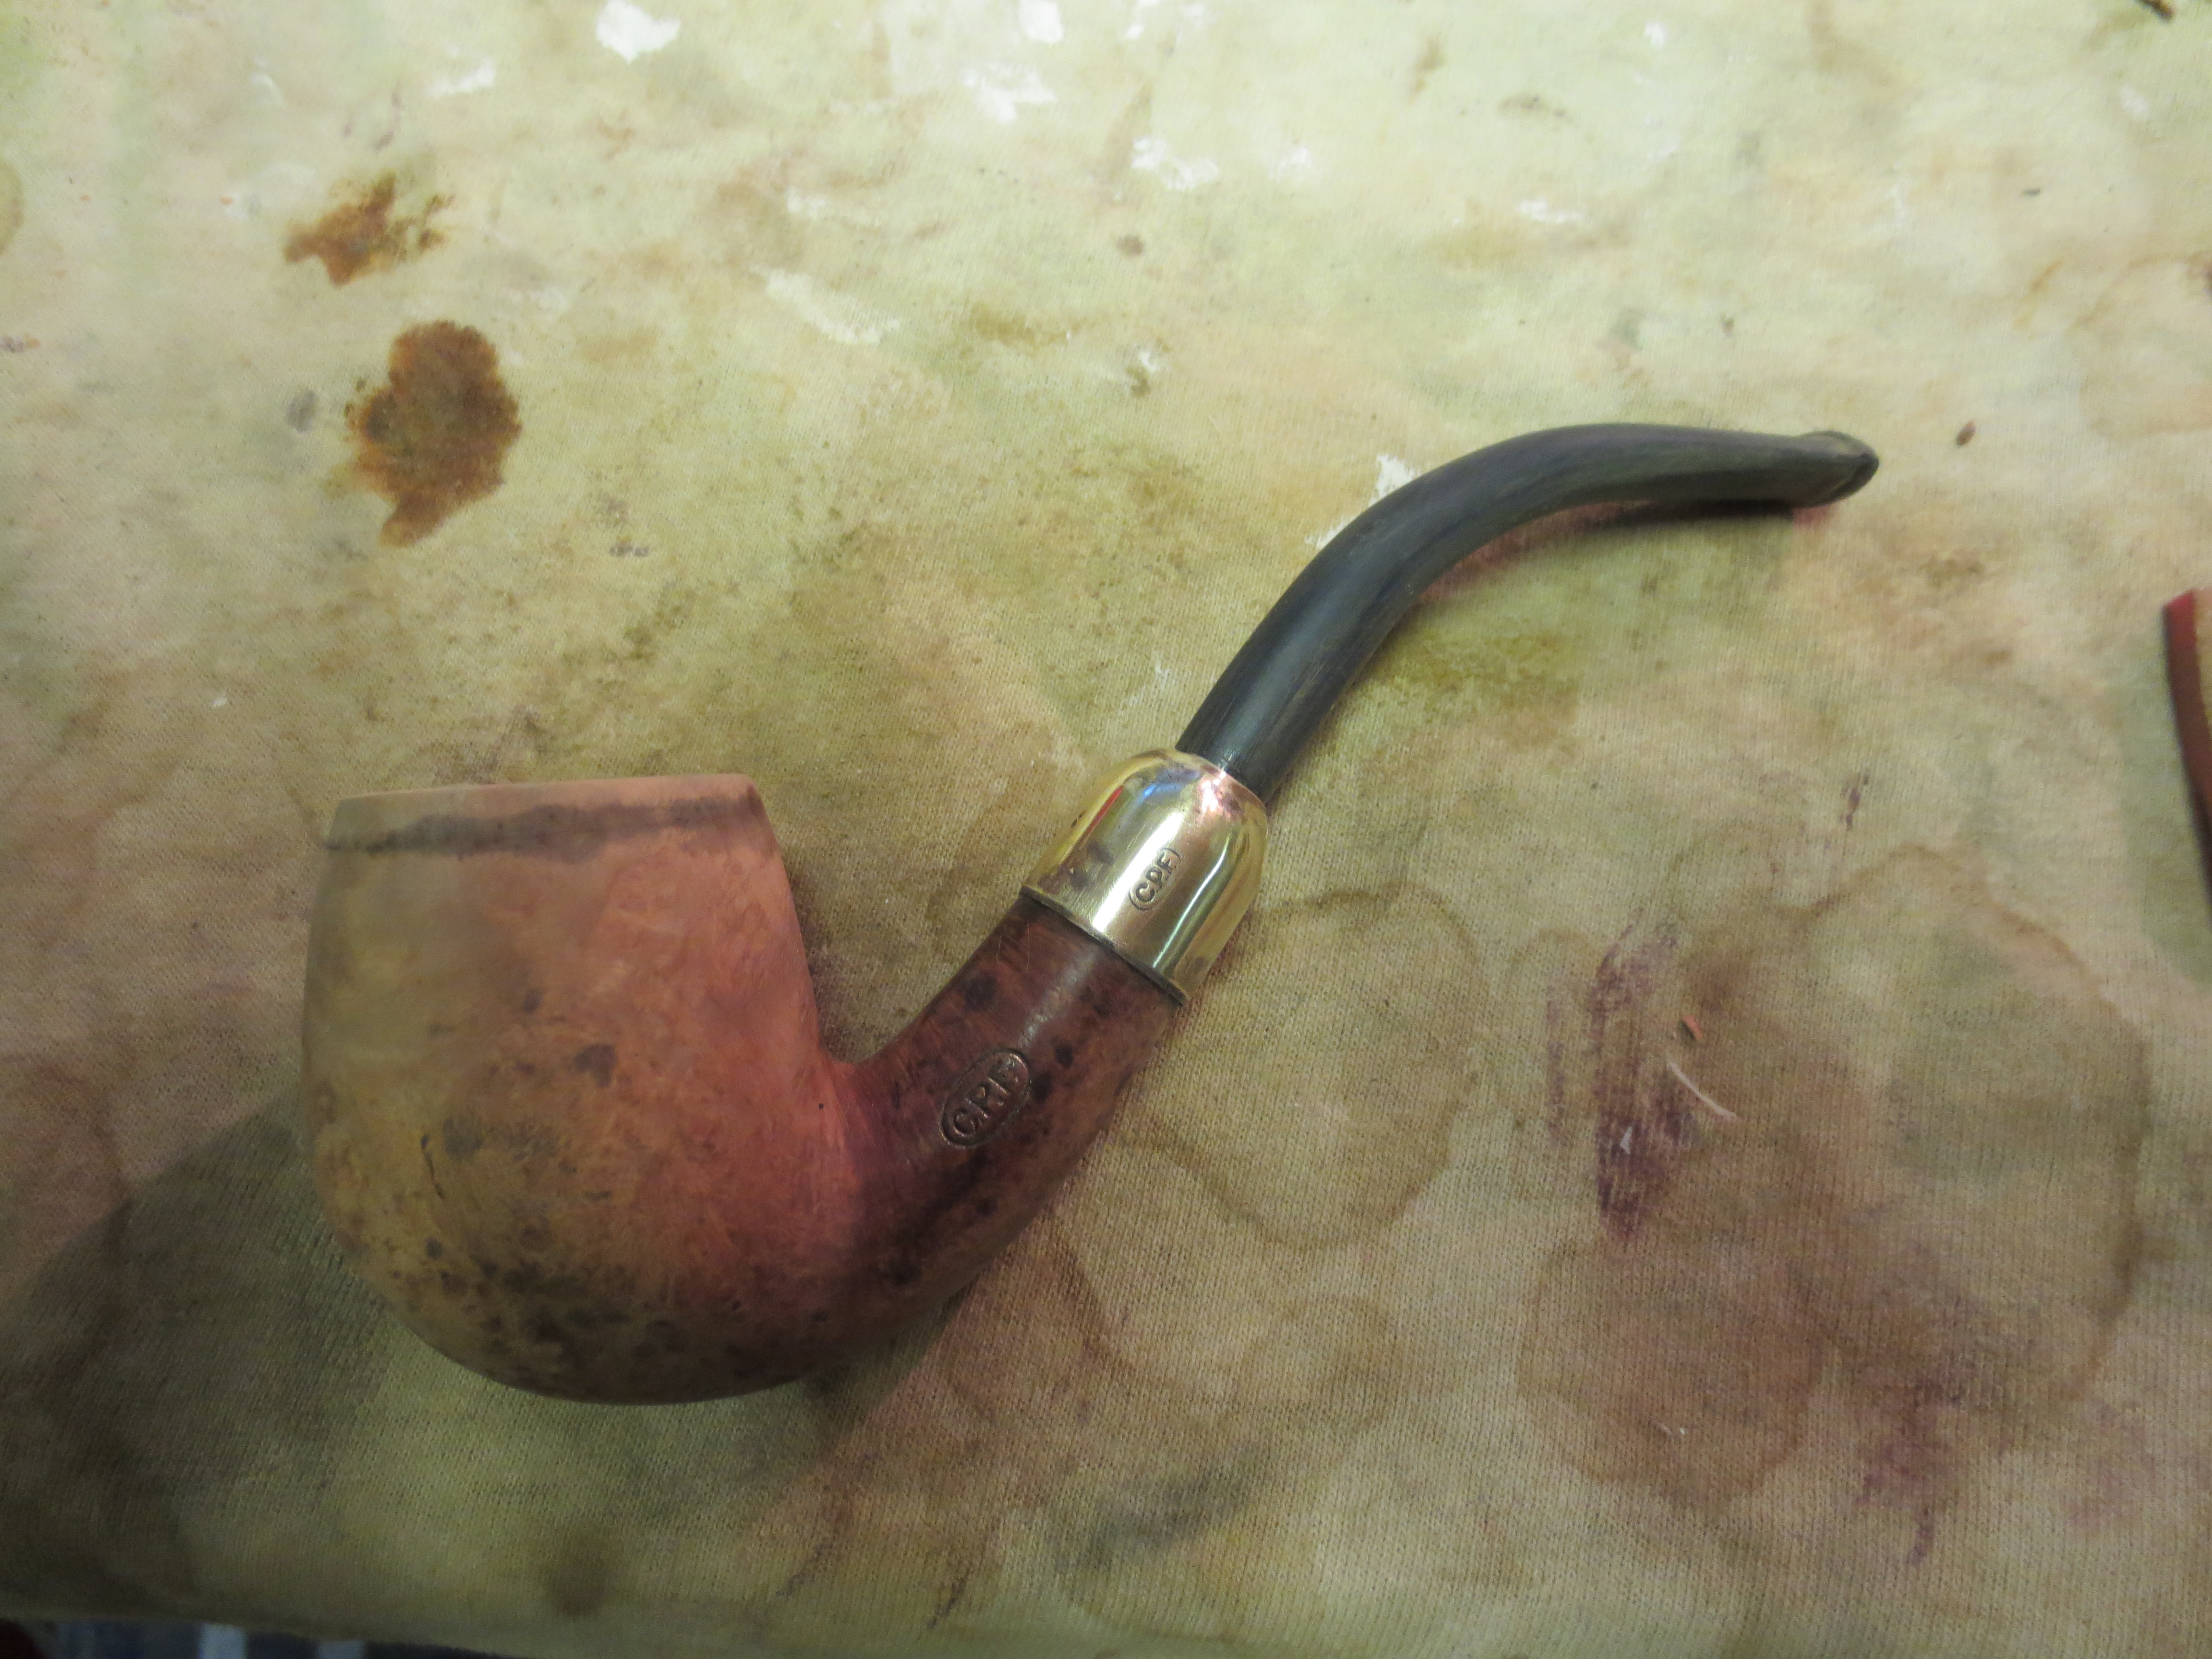
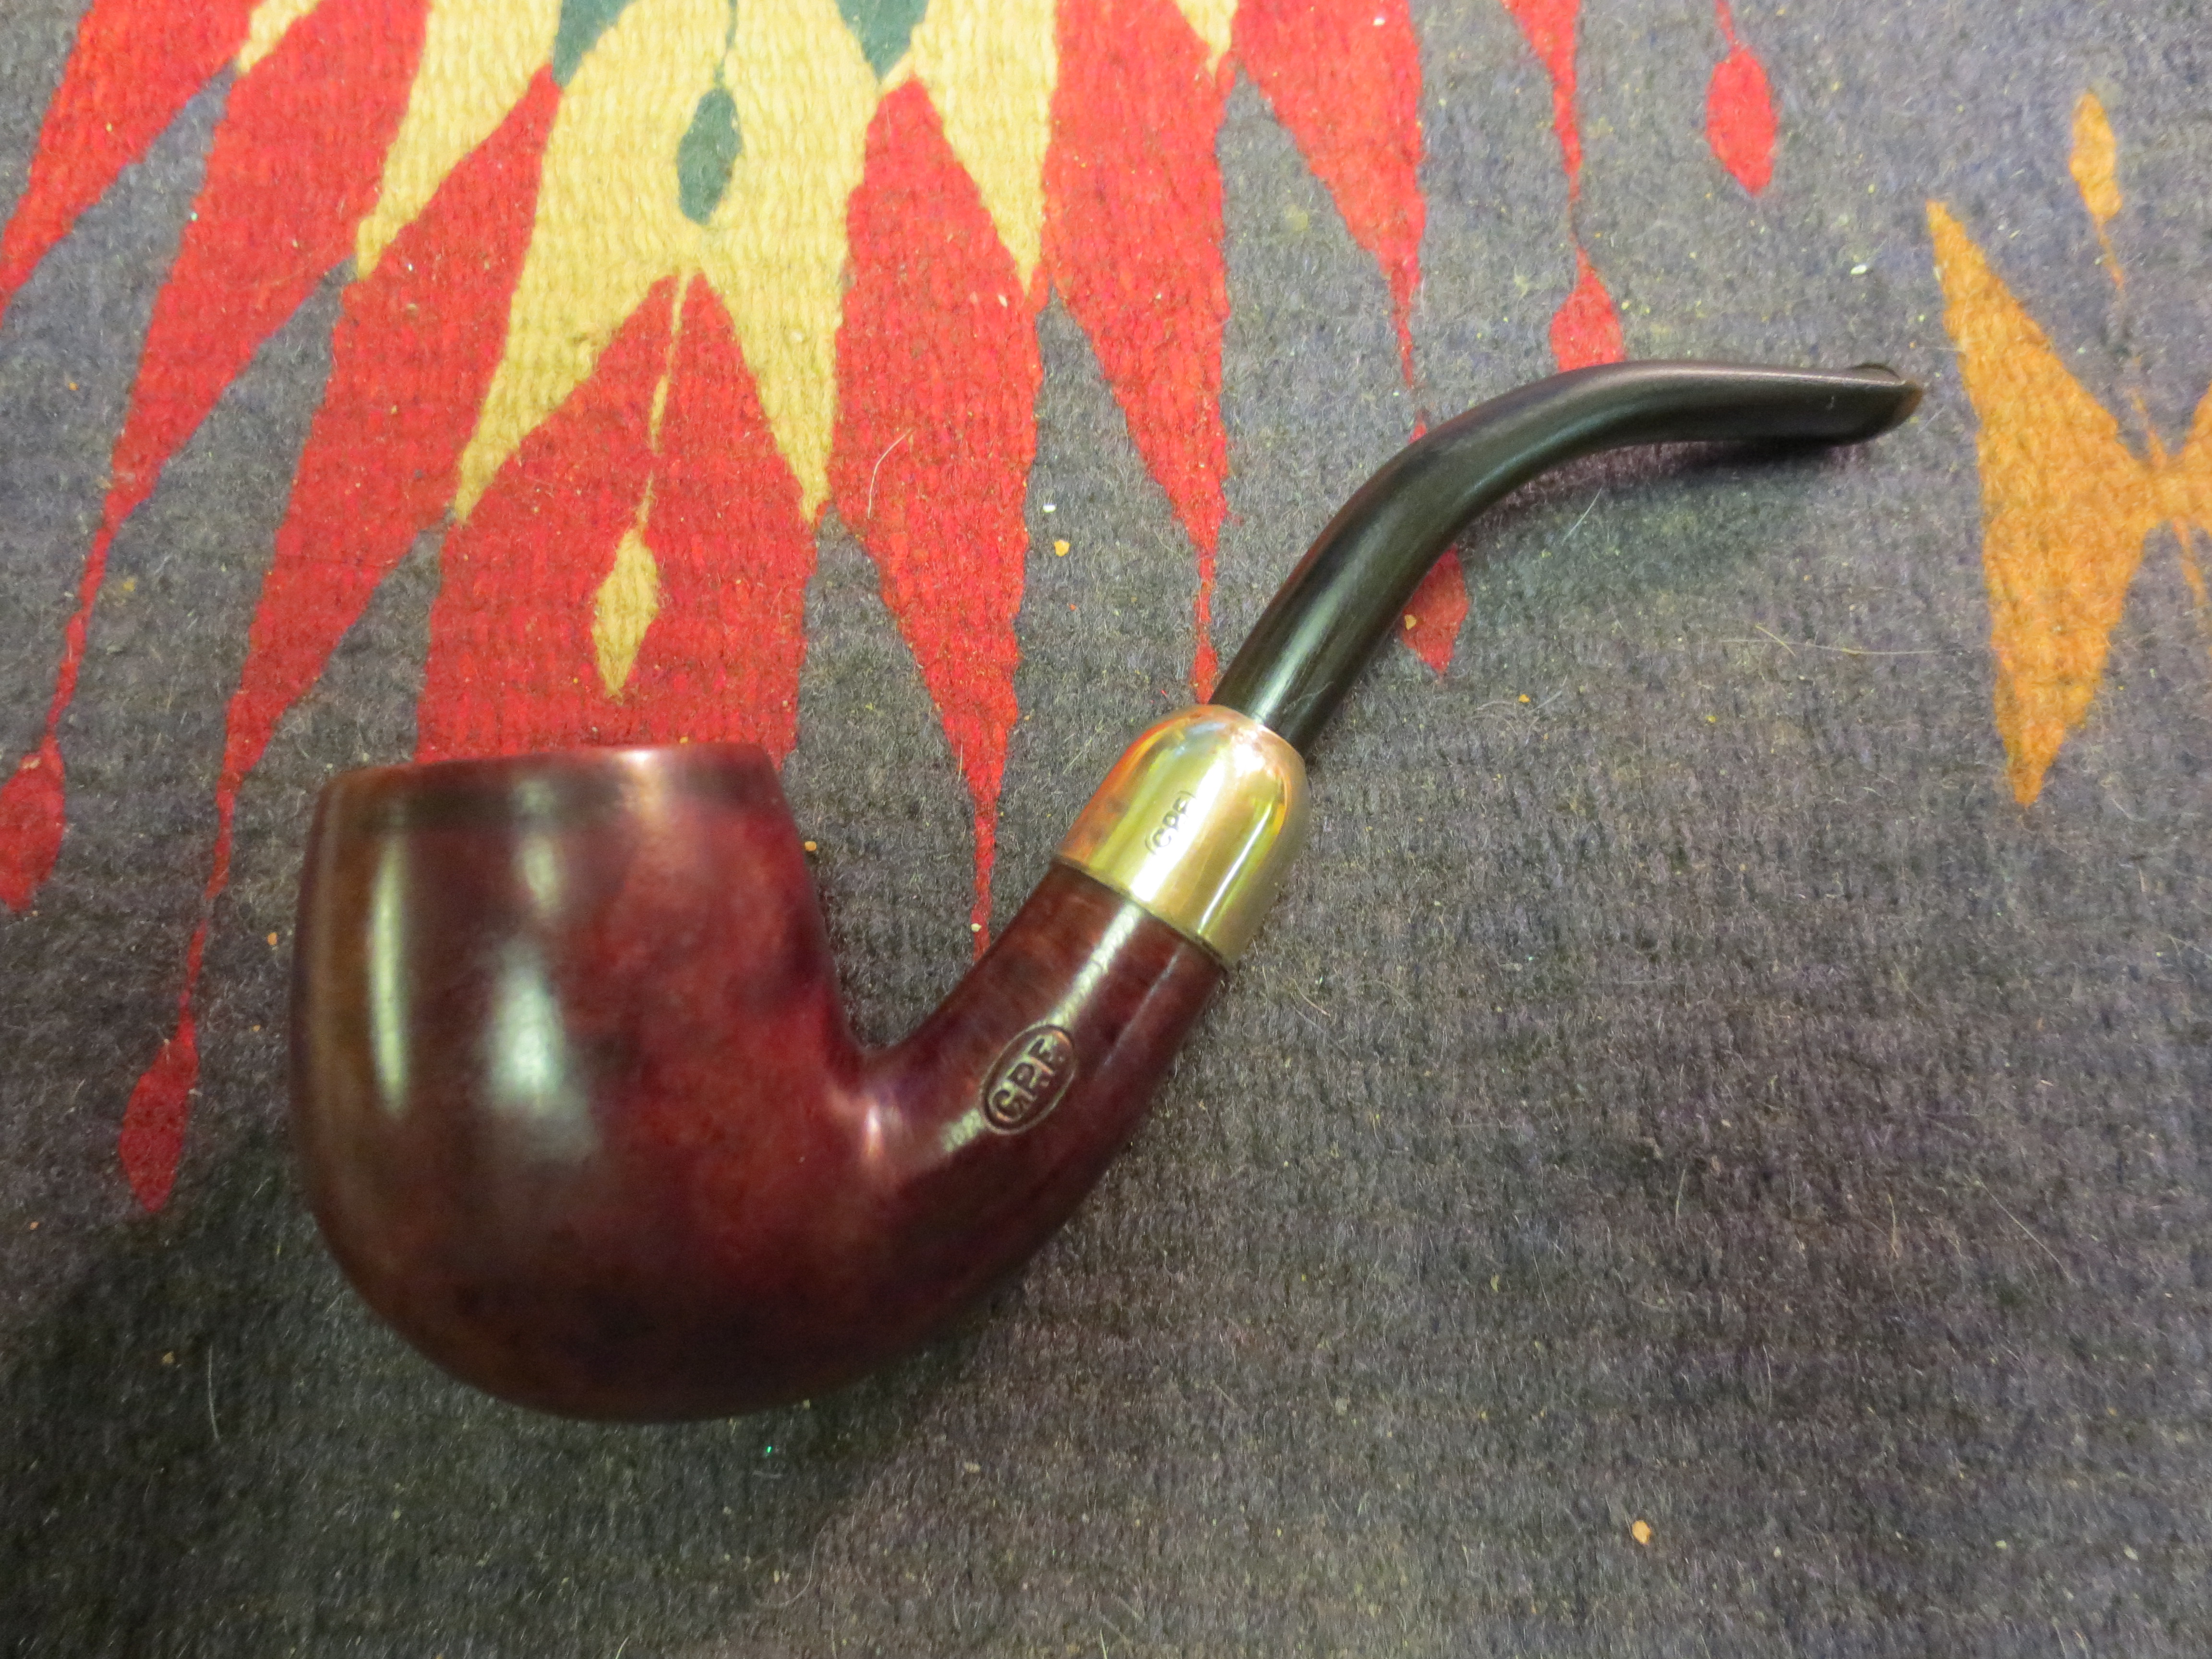
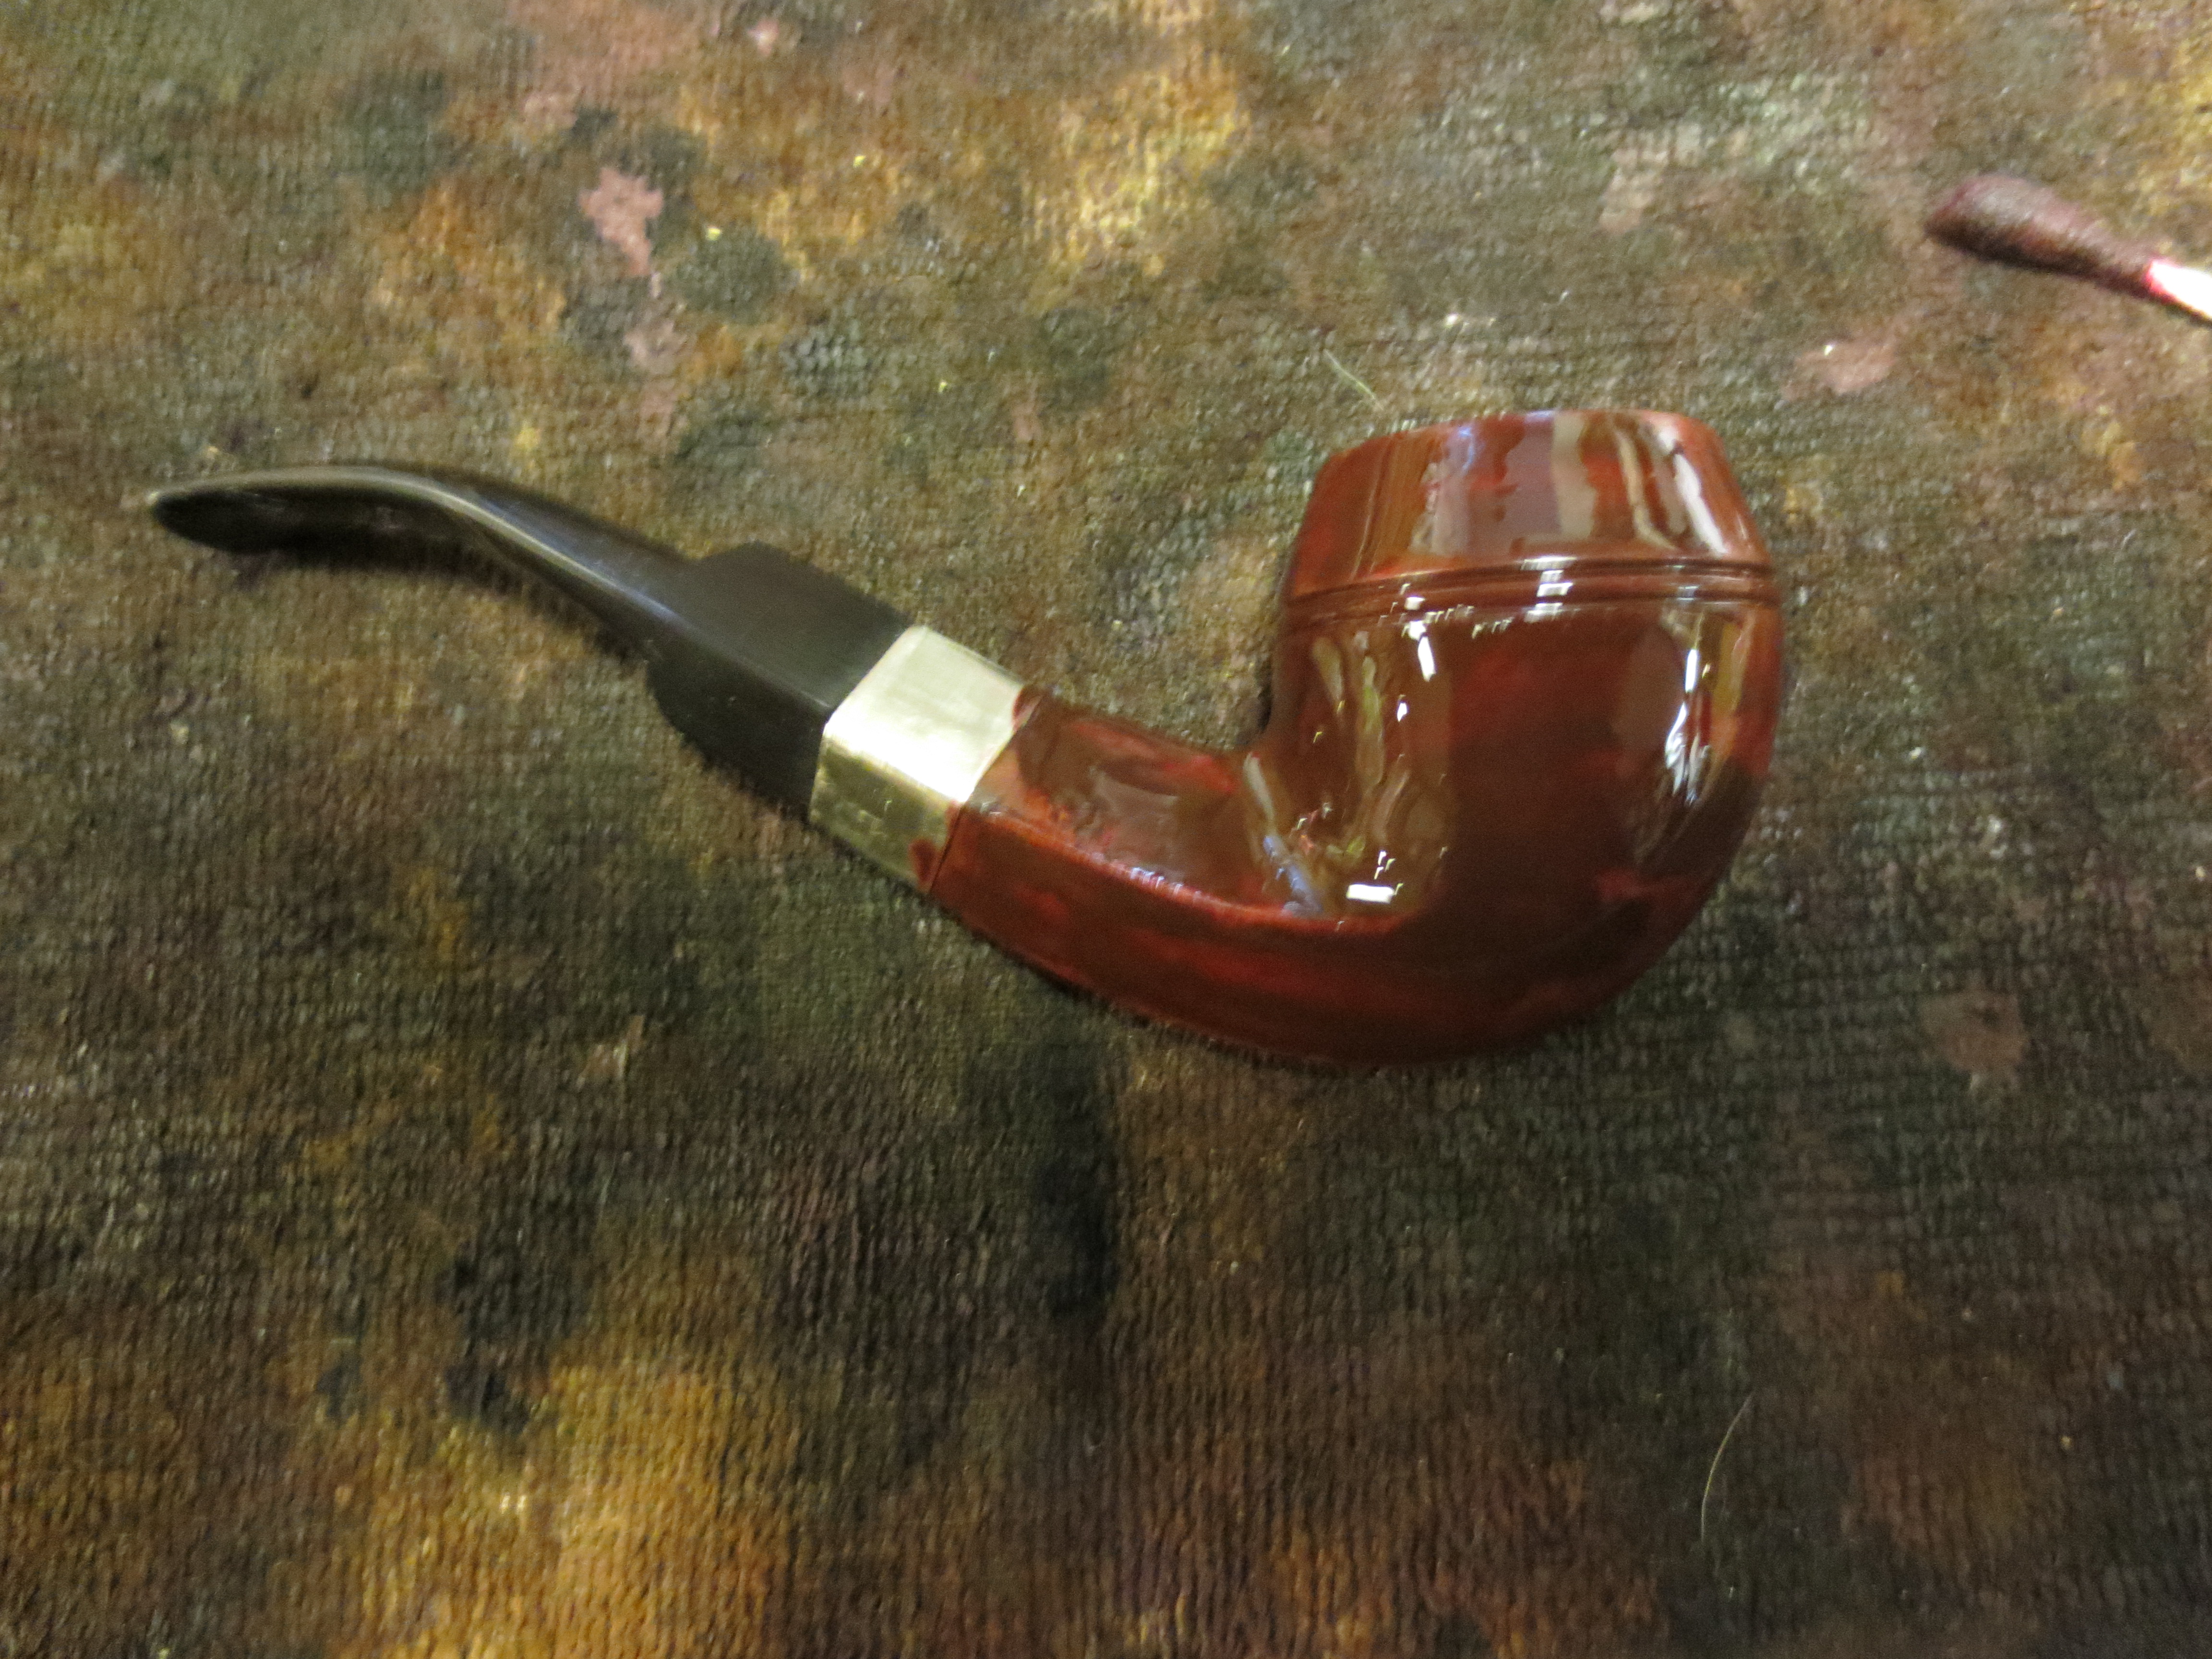
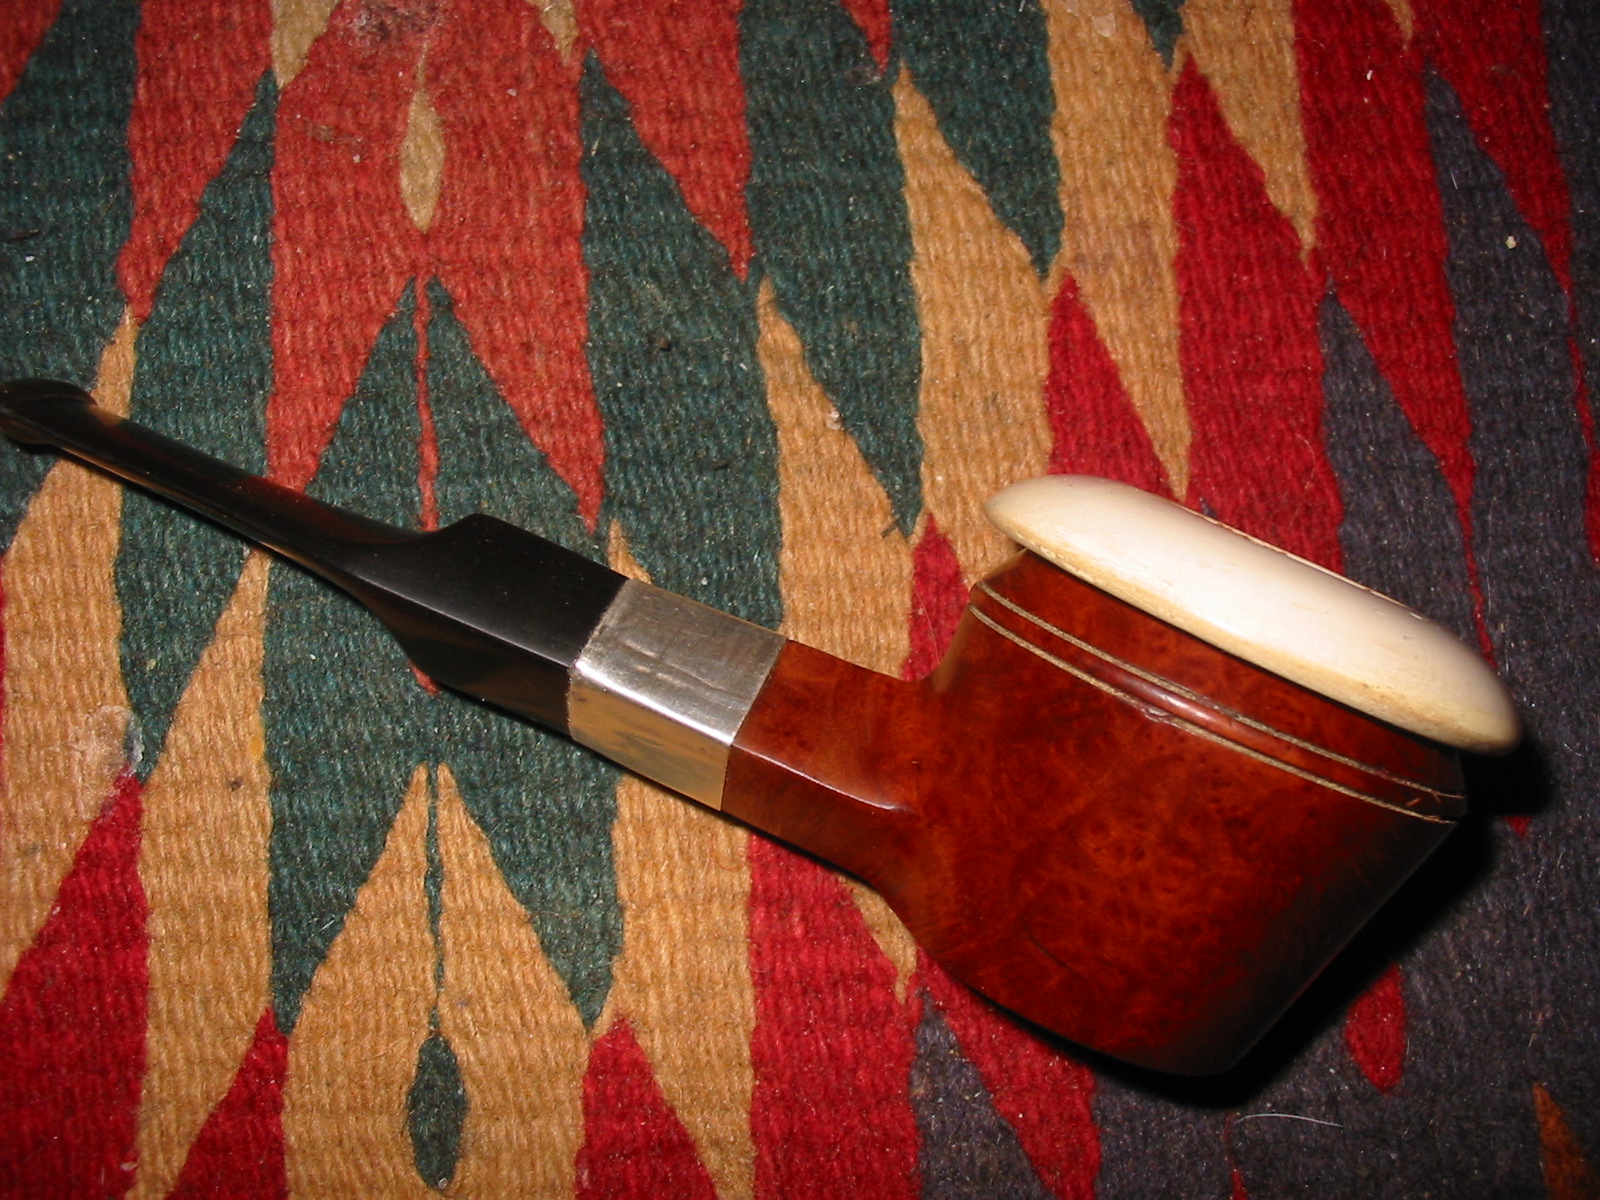
The bowl is in place and the pipe is much more fit looking to me!