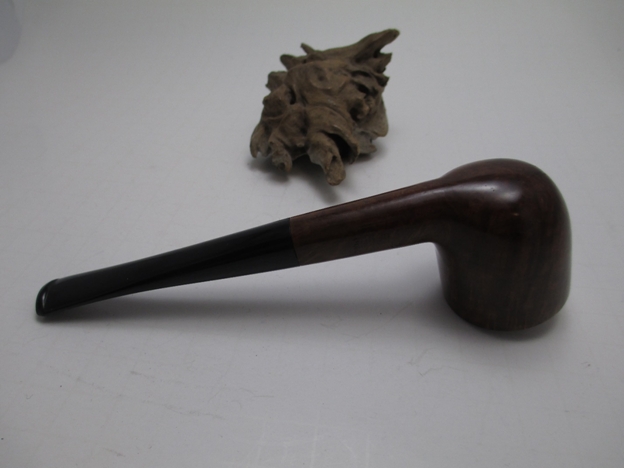
Patient in Operating Room for 14 Days
by ROBERT M. BOUGHTON
RP Blogger
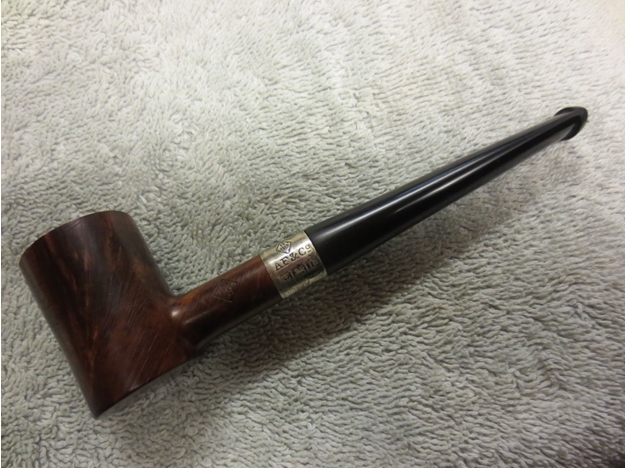
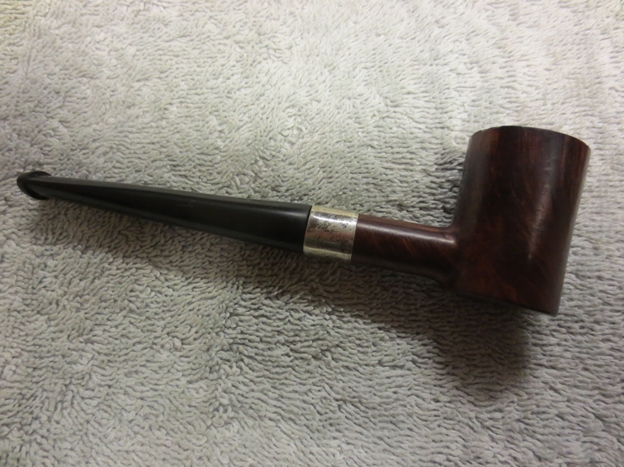
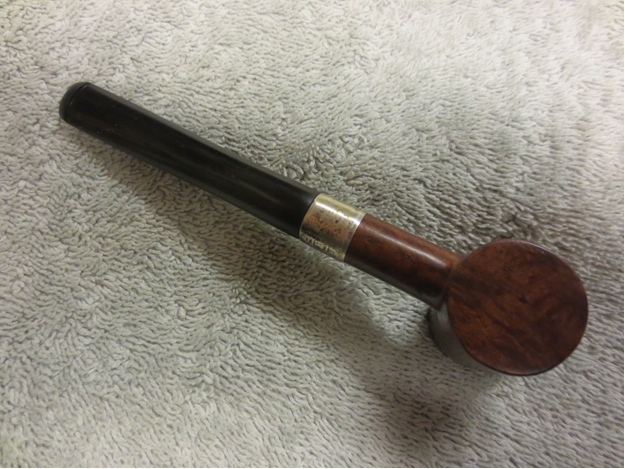
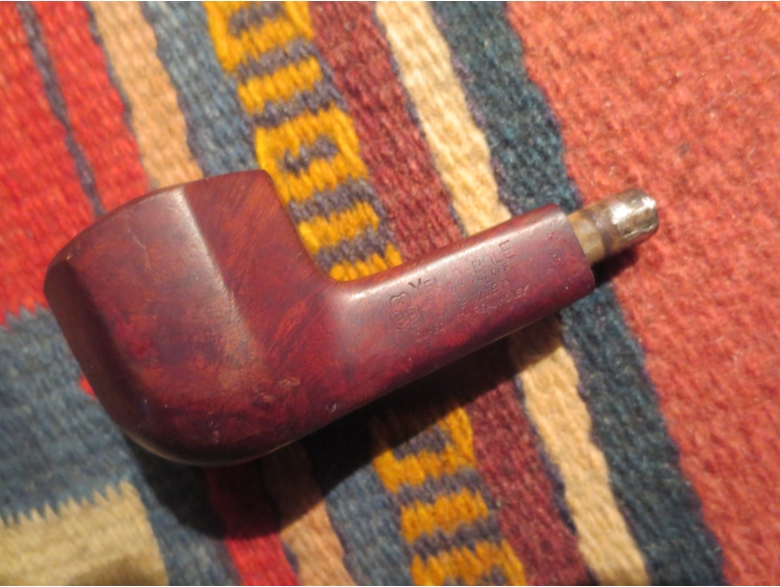
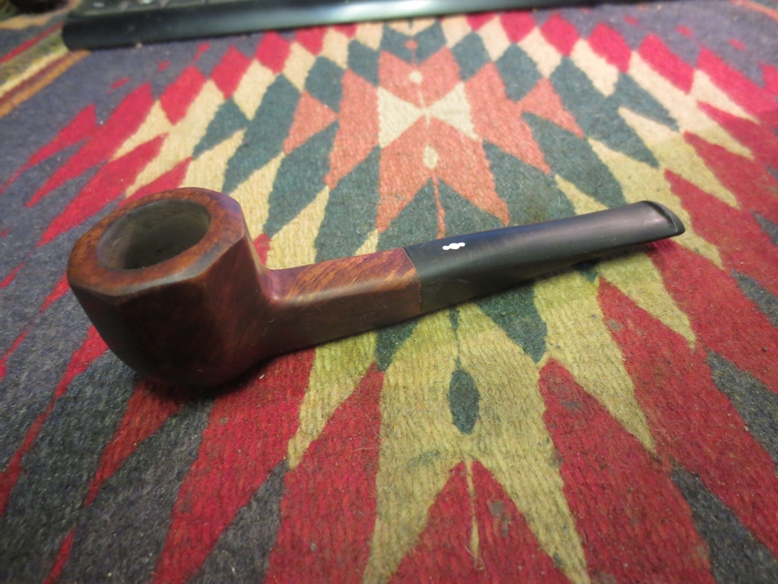
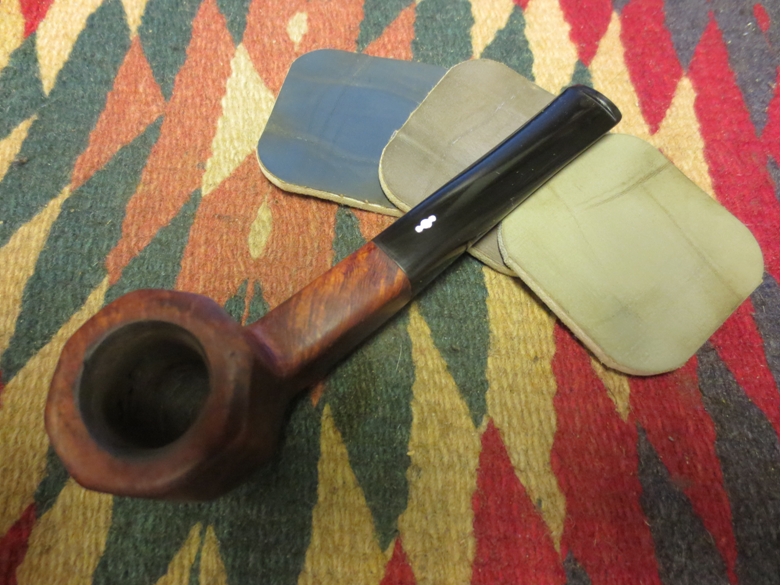
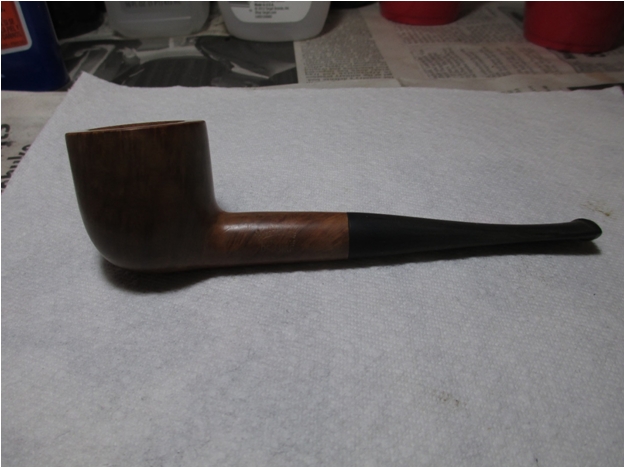
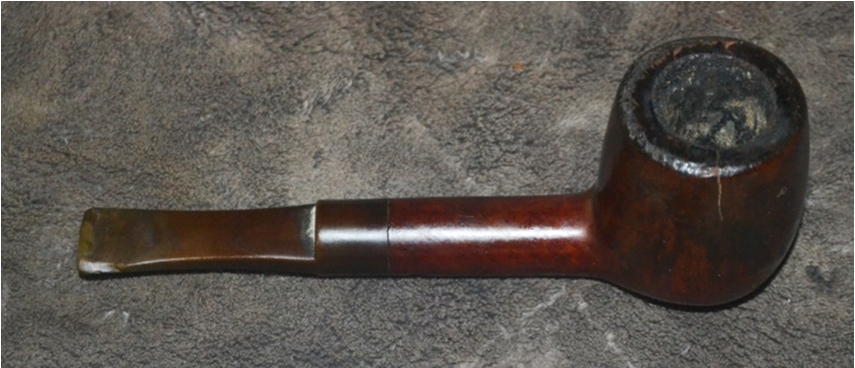
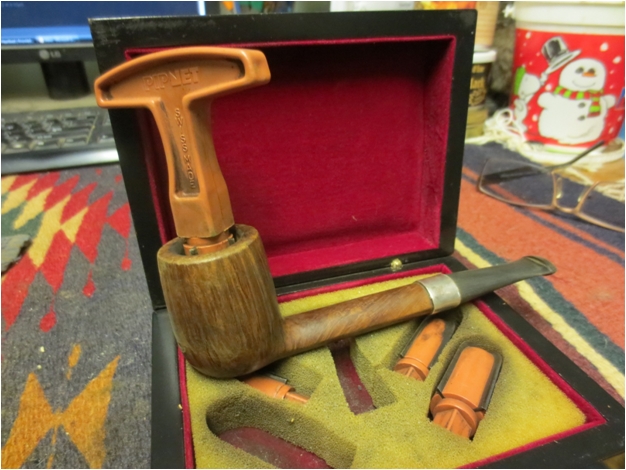
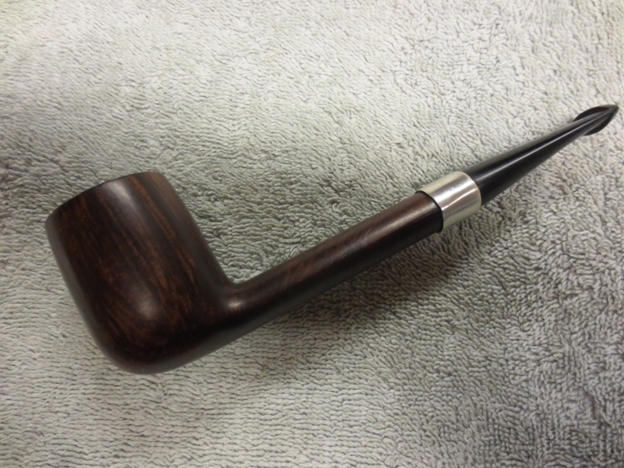
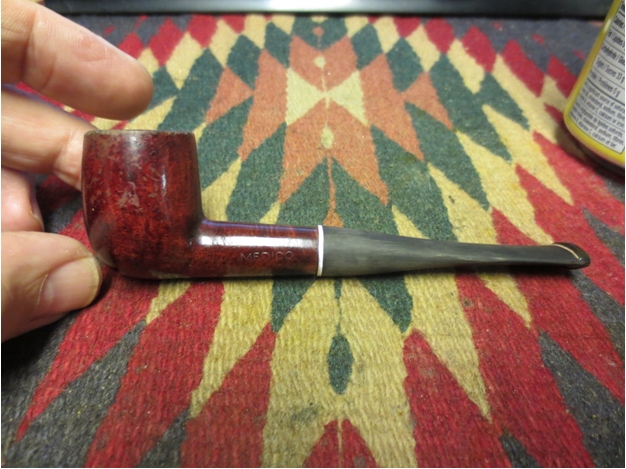
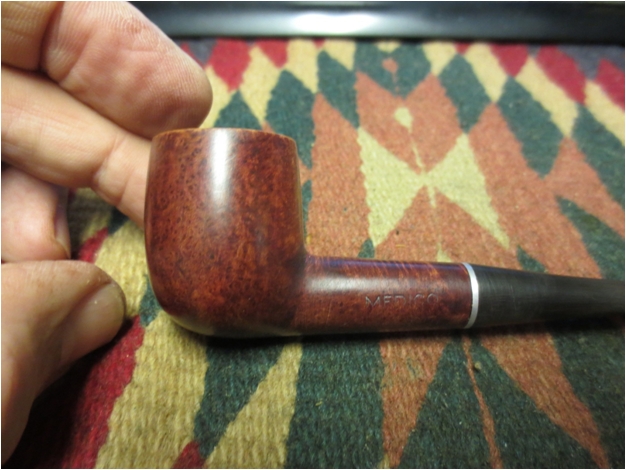
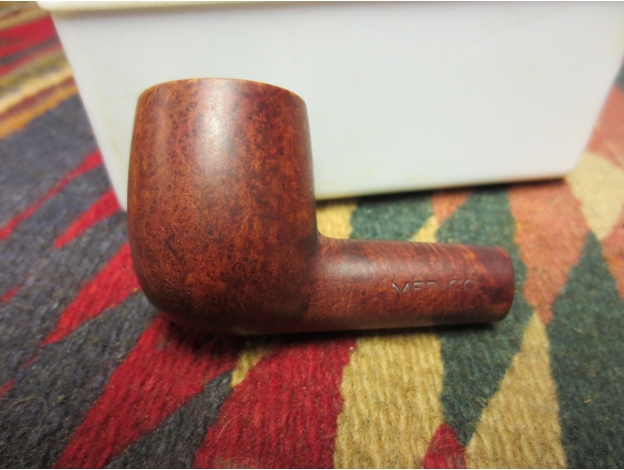
(Albuquerque, NM, USA) Two weeks after entering a restorer’s shop for a routine checkup, a tall billiard was released following emergency surgery to amputate more than half of its upper bowl and perform cosmetic adjustments, the restorer announced Wednesday.
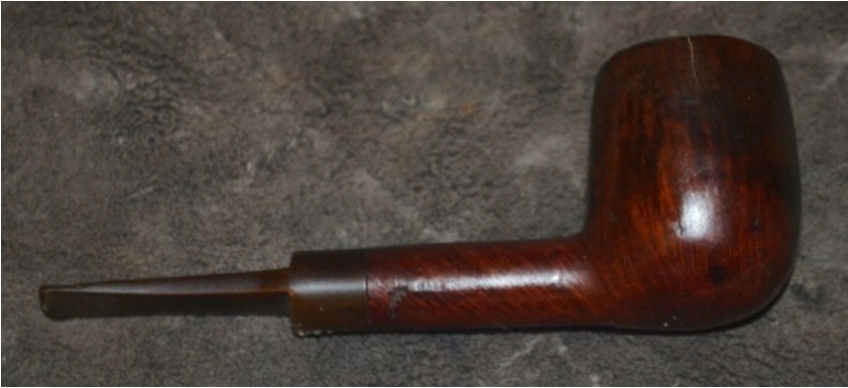
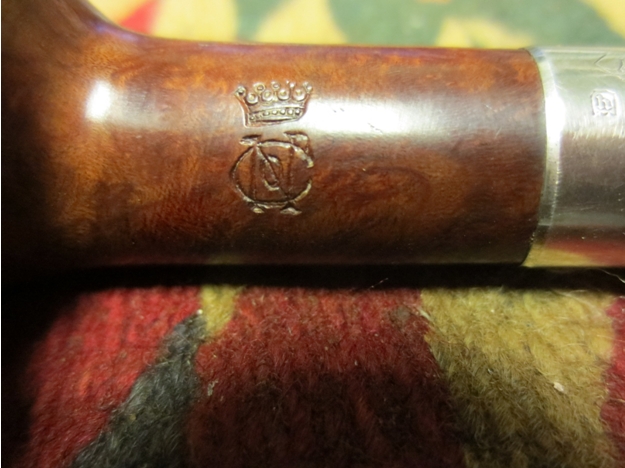
Claiming the likely sole previous owner of the victim, a Ben Wade Standard, was suspected of chronic abuse of the English-born pipe for an unspecified number of years, the restorer, who wished to remain anonymous, said the identity of the perpetrator remained unknown.
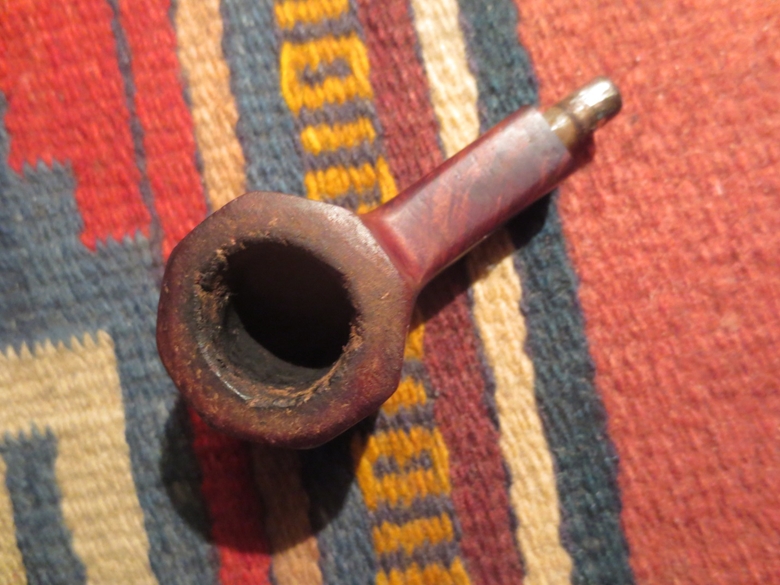
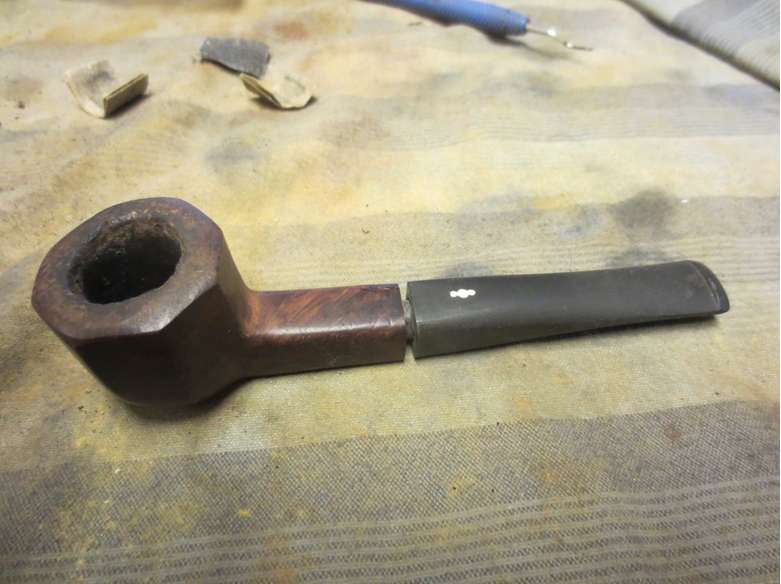
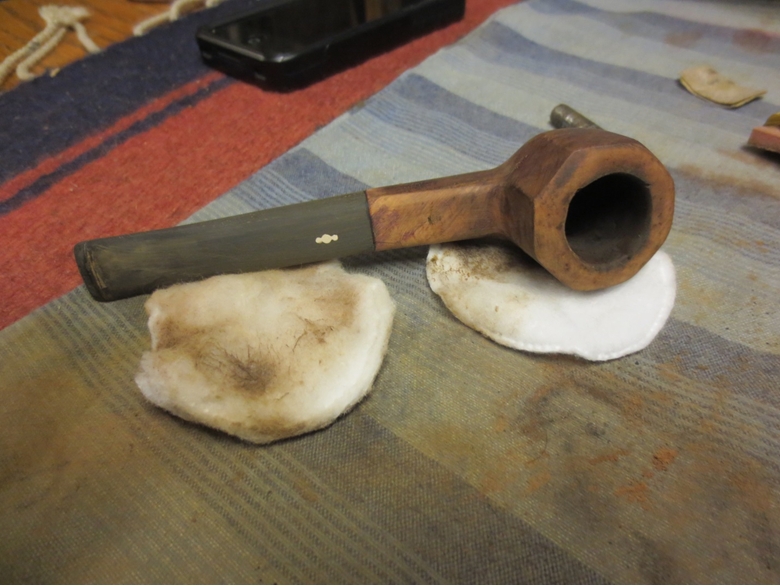
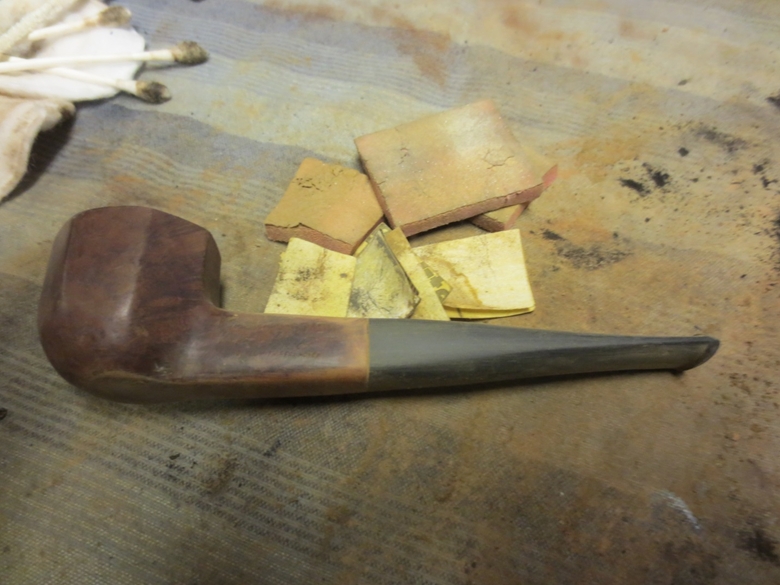
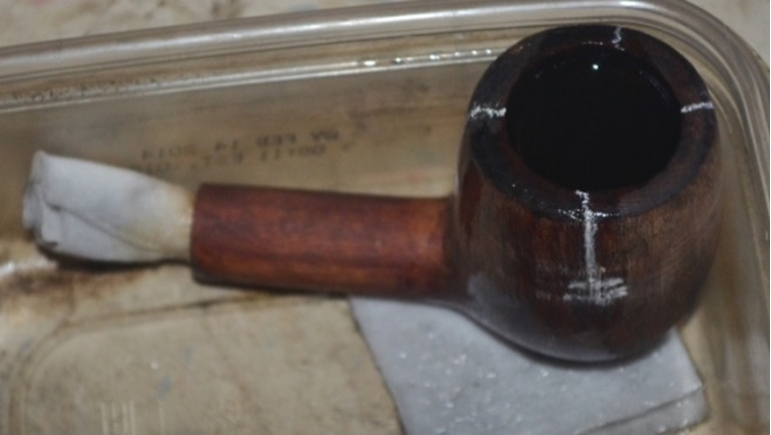
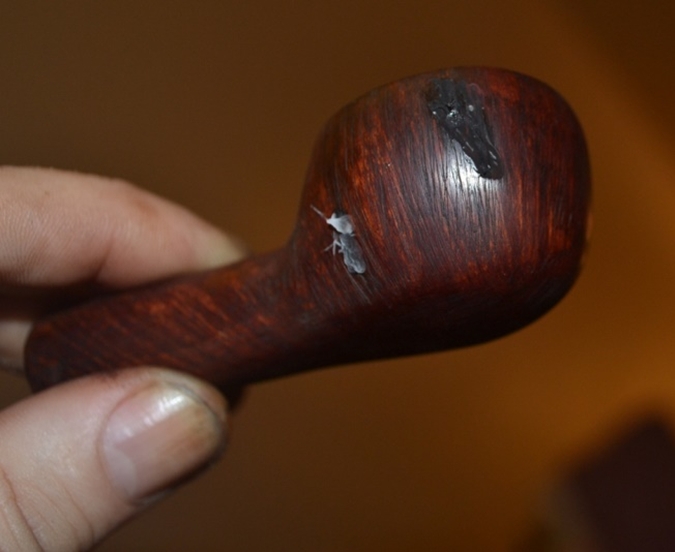
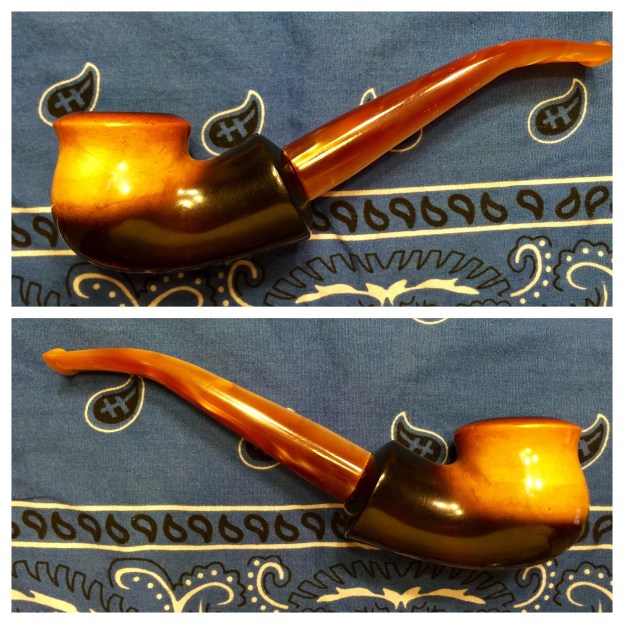
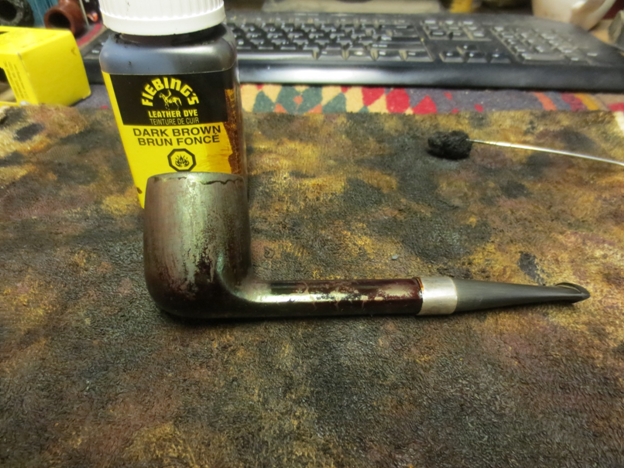
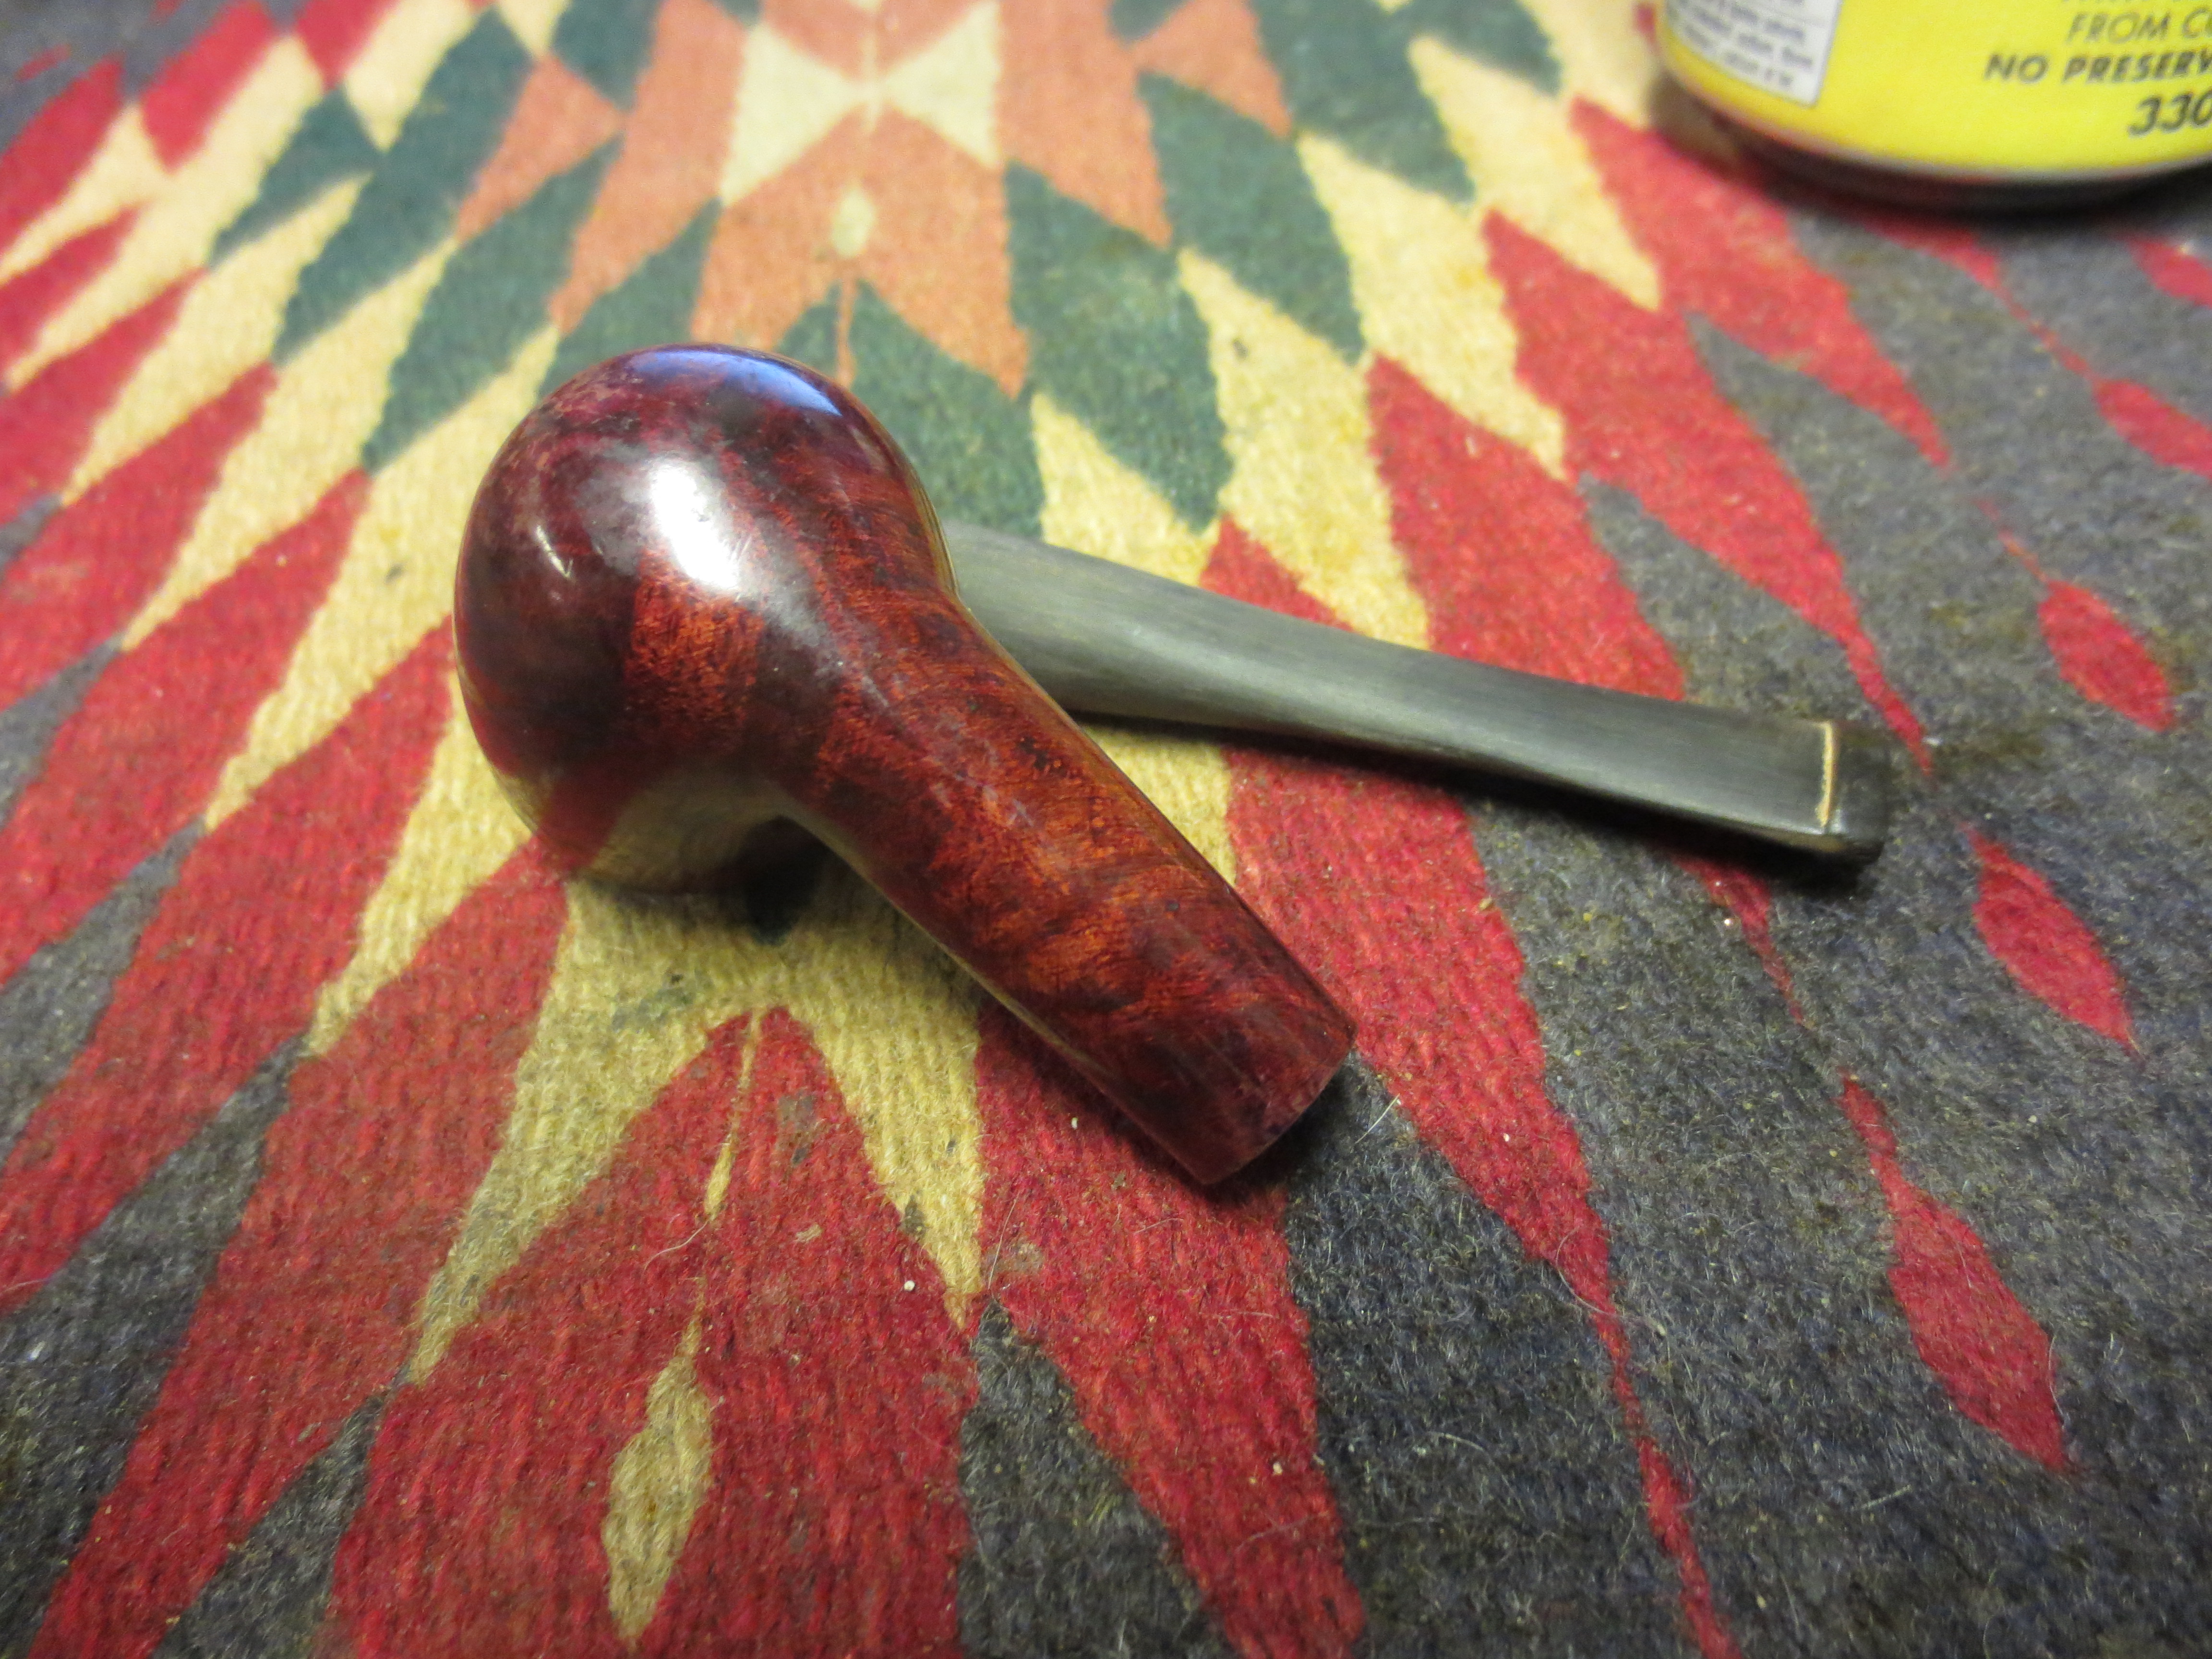
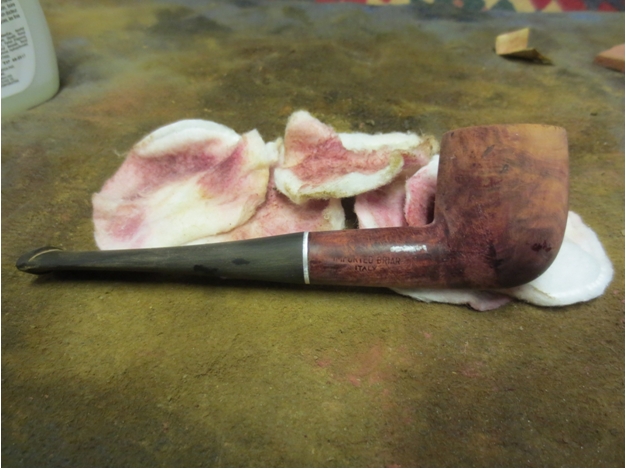
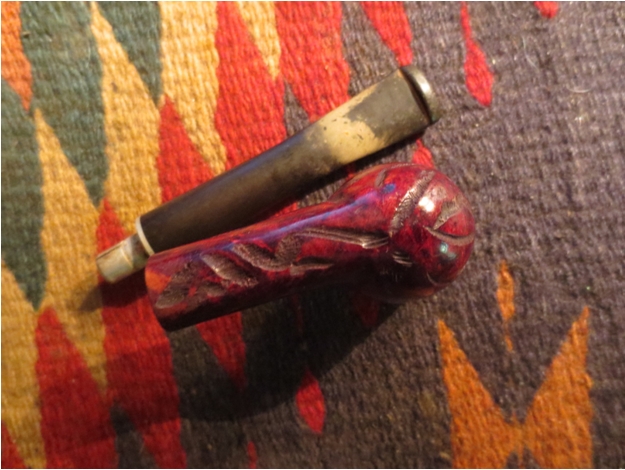
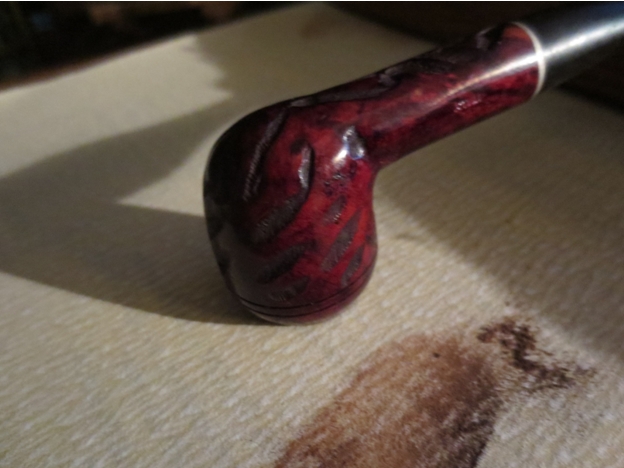
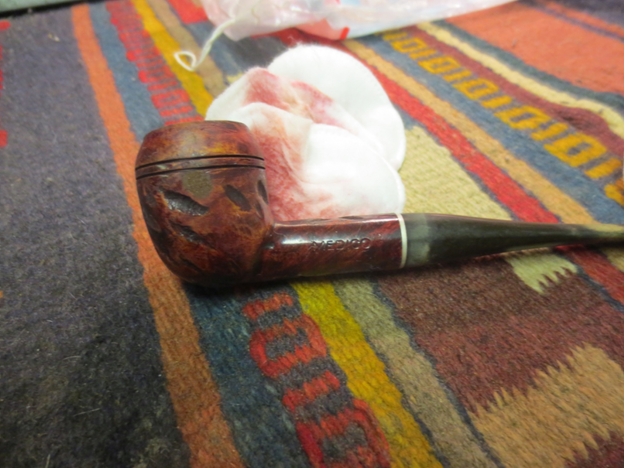
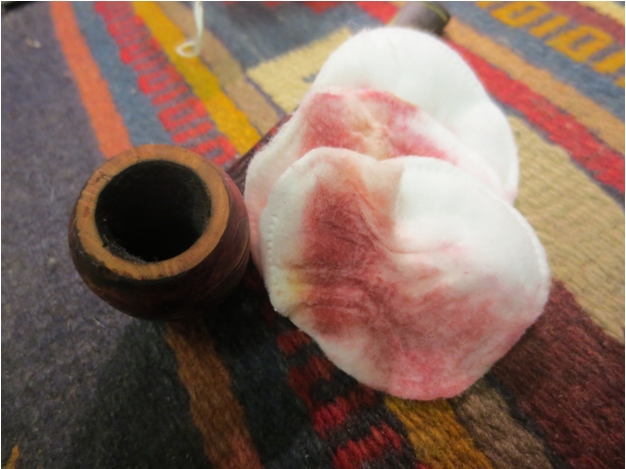
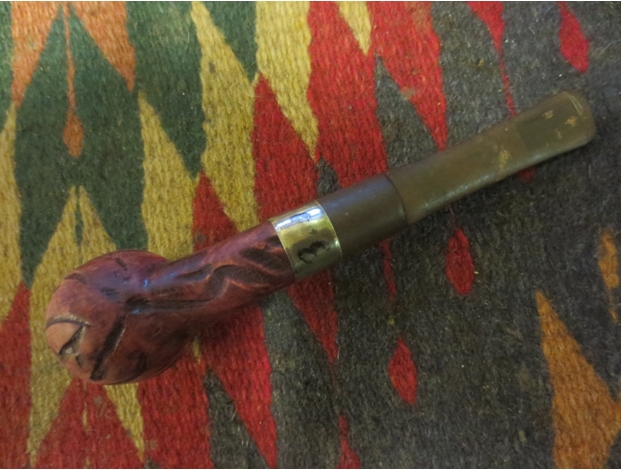
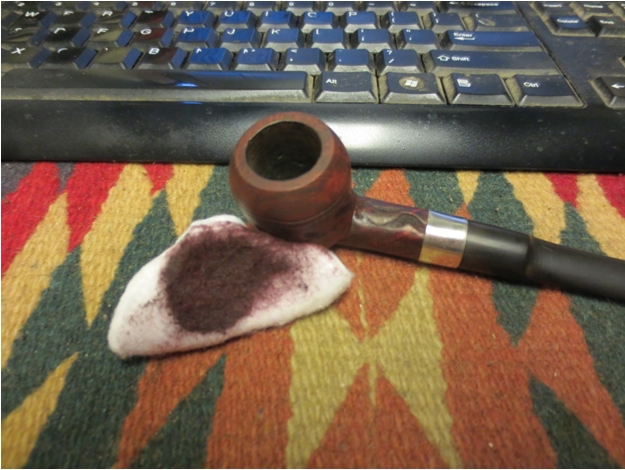
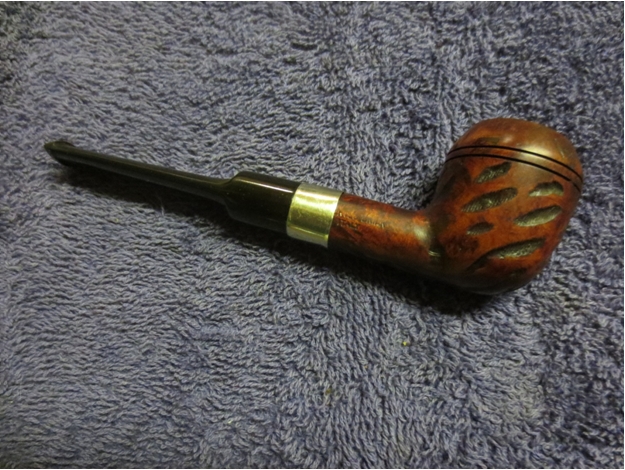
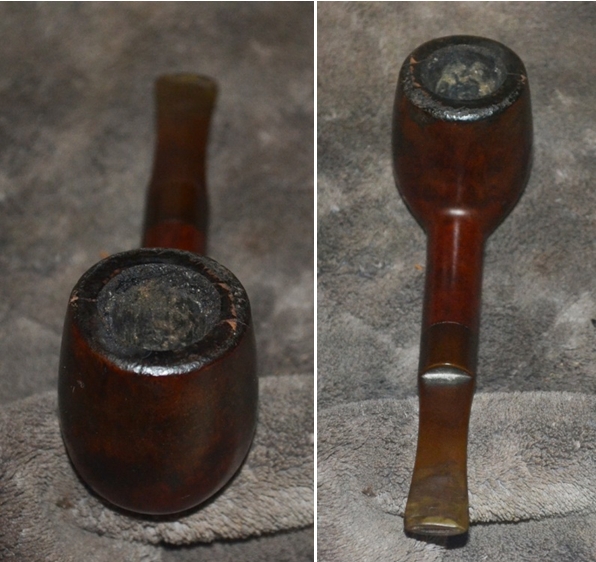
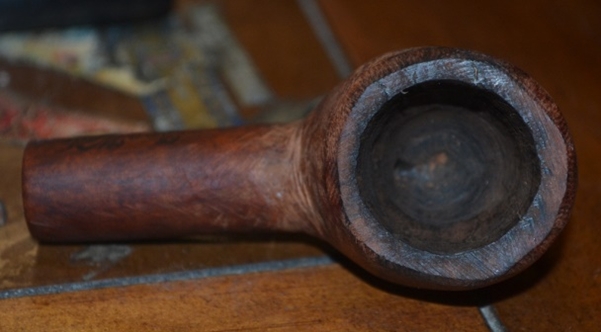
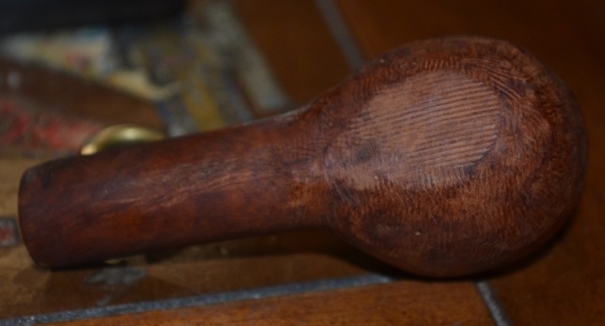
“This is the worst, most depraved example of tobacco pipe abuse I have ever encountered,” the restorer said. “The briar pipe presented with first-degree burns on the rim and a chamber stuffed with carbon cake as well as acute scratches, pits, gouges and grime covering the outside of its body, and other mayhem of the stem.”
New Mexico law defines mayhem as the “malicious intent to maim or disfigure” any part of a body by means including cutting, mutilating or otherwise disabling.
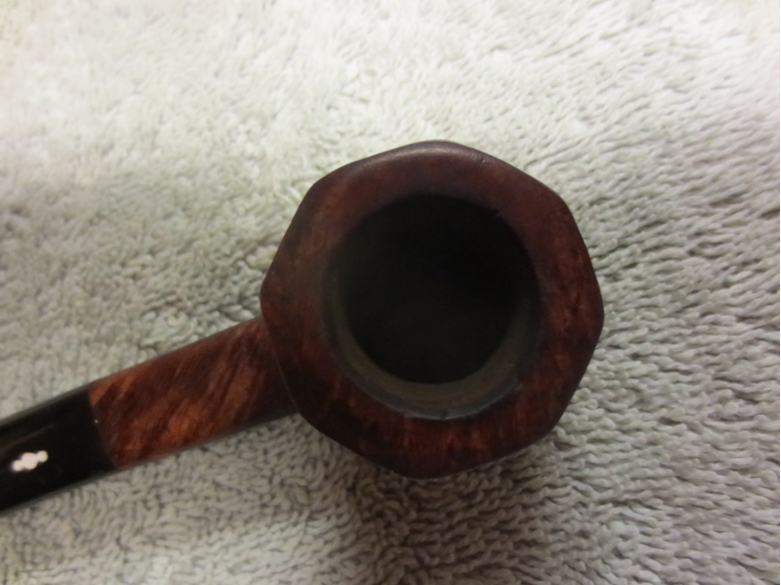
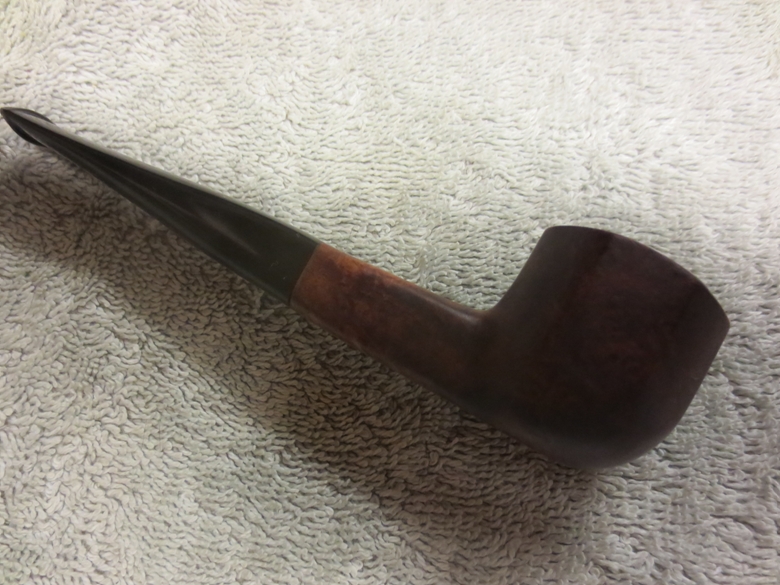
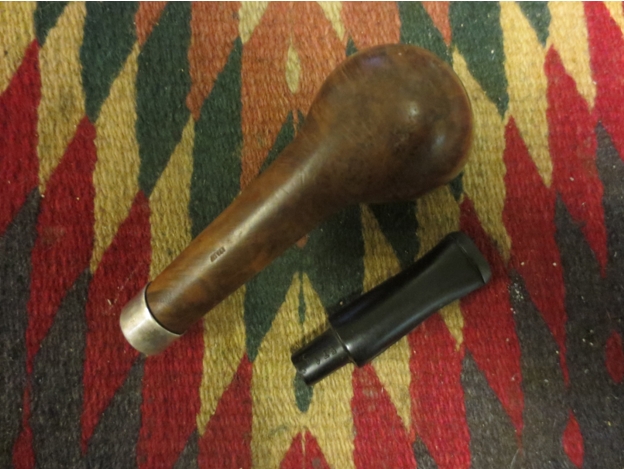
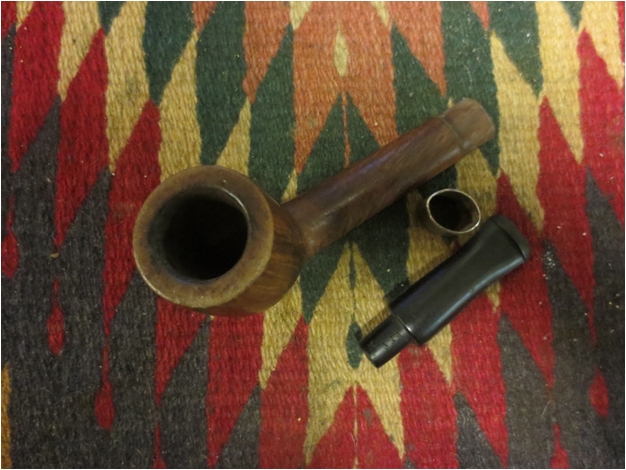
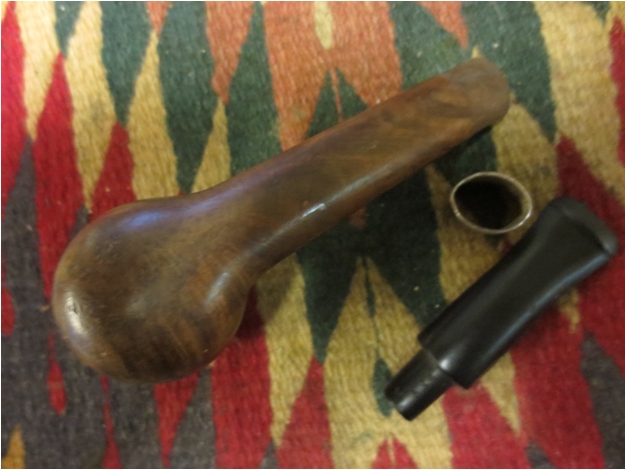
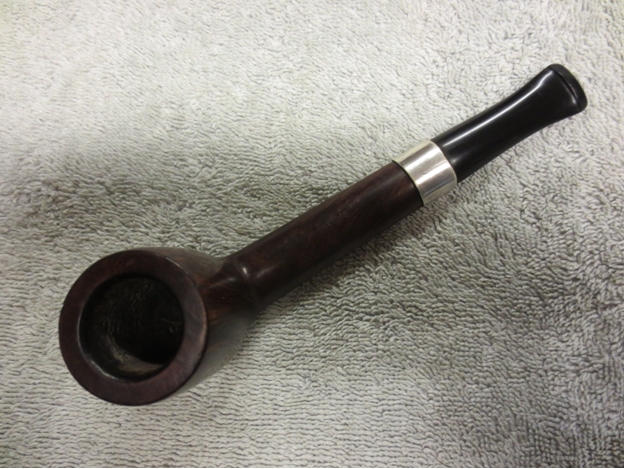
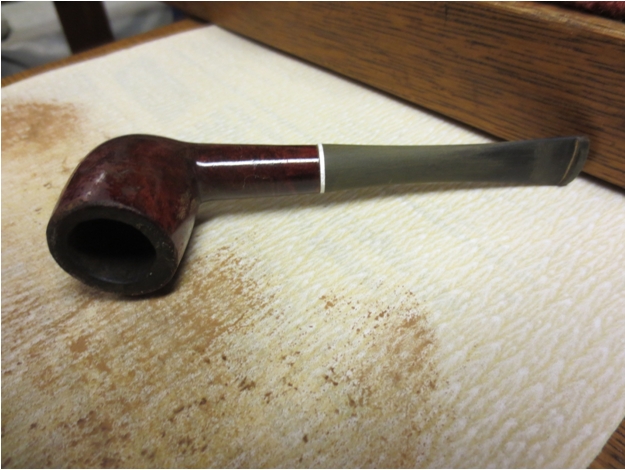
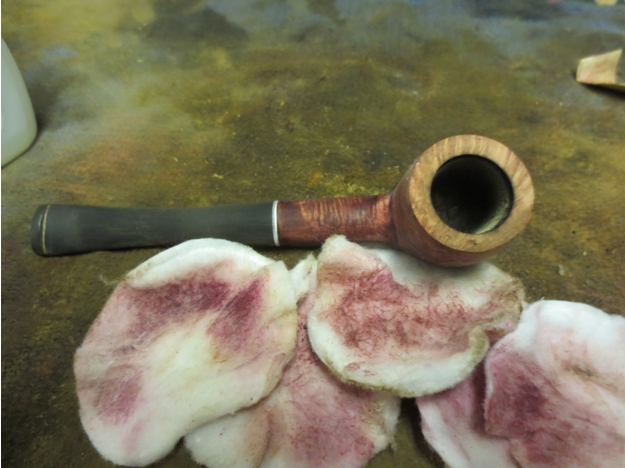
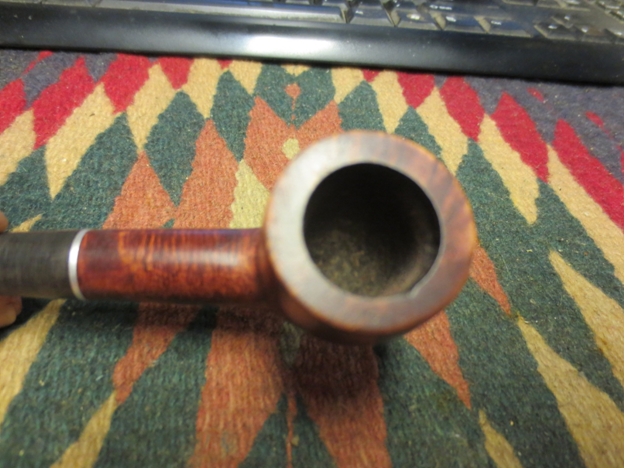
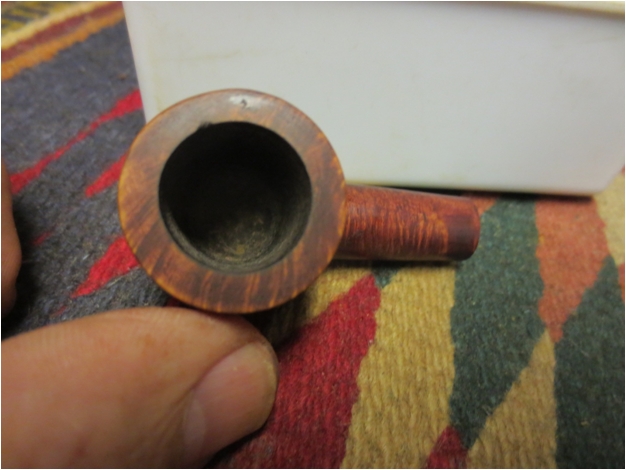
Further examination revealed an almost fatal crack through the chamber to the outside of the bowl extending almost an inch downward from the right side of the rim, the restorer said, and added that was the wound requiring amputation of about half of the victim’s main body.
“Never before have I seen such a horrific case of compound commutated fracture,” the restorer said, showing photographs taken at the time of the initial examination.


 “After the first look, the prognosis for this unfortunate former billiard was terminal,” the restorer said.“However, upon consulting some of my colleagues, we agreed that a combination of amputation, which was unavoidable if the pipe’s vital functions were to continue at all, and radical reconstructive surgery was the only viable course of action.”
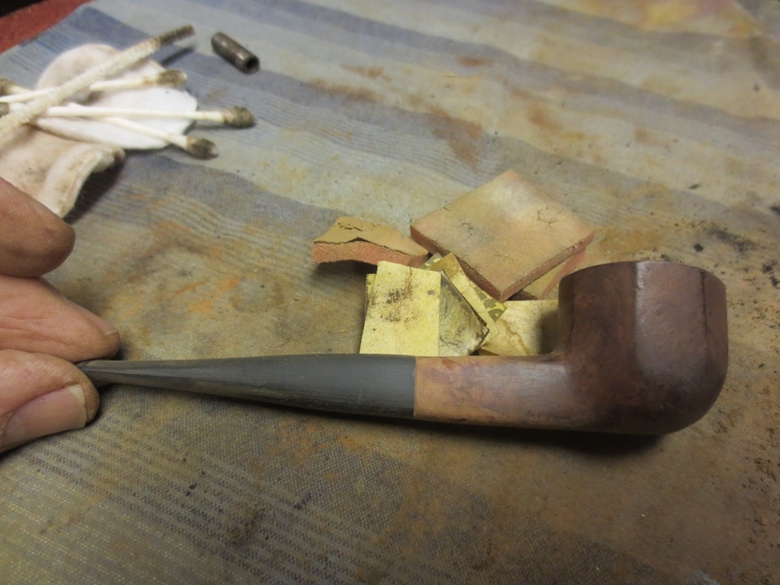
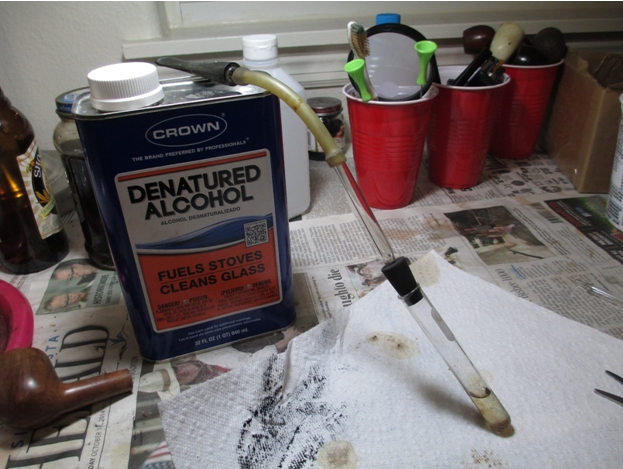
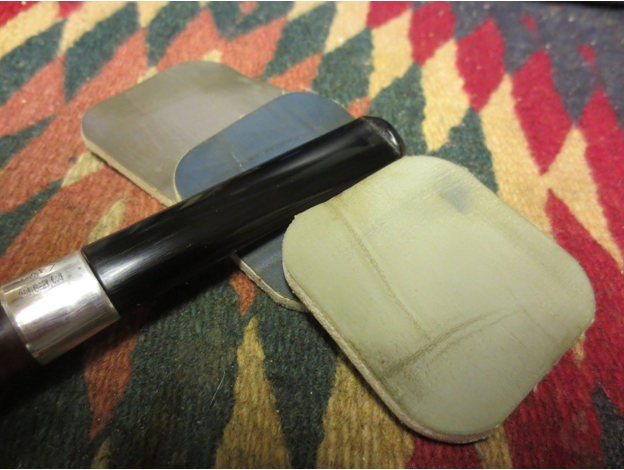
Calling the complex work involved “a Hail Mary toss,” the restorer described the plan to remove half of the bowl and reshape the stump into a “squat pot.” Preliminary measures to determine the pipe’s structural ability to survive this highly invasive operation – including a thorough cleansing, soaking the chamber and shank with 190-proof alcohol and the beginning of a rigorous course of sanding the outside and the “mangled guts” – began immediately.

 According to the restorer, the possibility that the pipe would reject the amputation and reconstruction was serious.
“Imagine if one day you awoke to find your head flattened to less than half its original size, but the rest of your body proportional to the way you had been,” the restorer said.“The shock of it could be devastating, dare I say catastrophic, not to mention the way you would stand out in public and the resulting open pointing, name-calling and general ridicule.”
The restorer said the ultimate decision to proceed with the surgery was his alone and based on a desire to save the pipe’s life if possible.
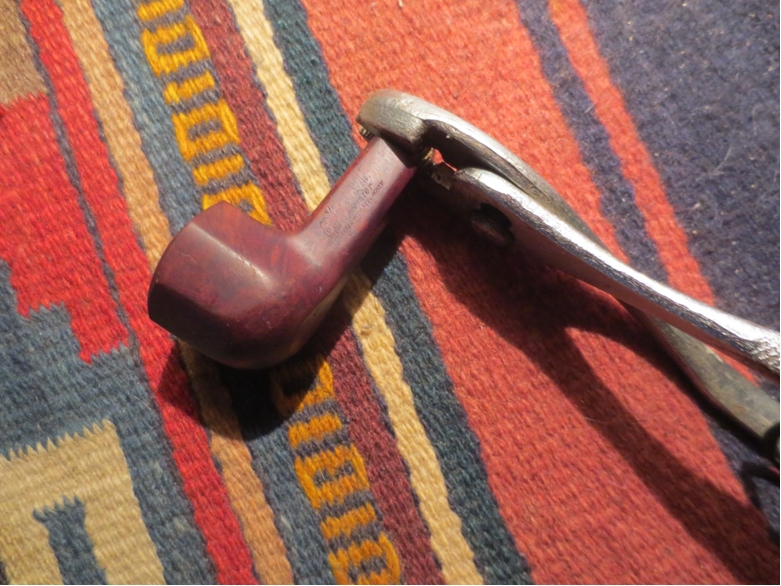
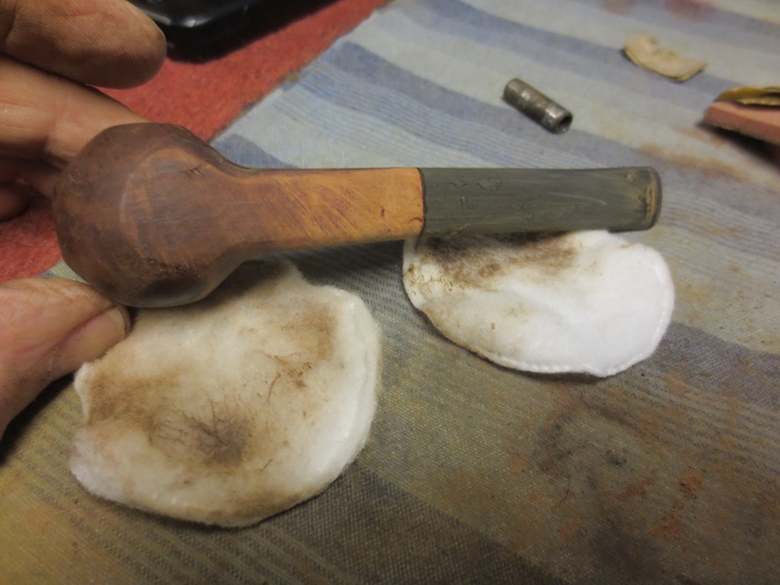
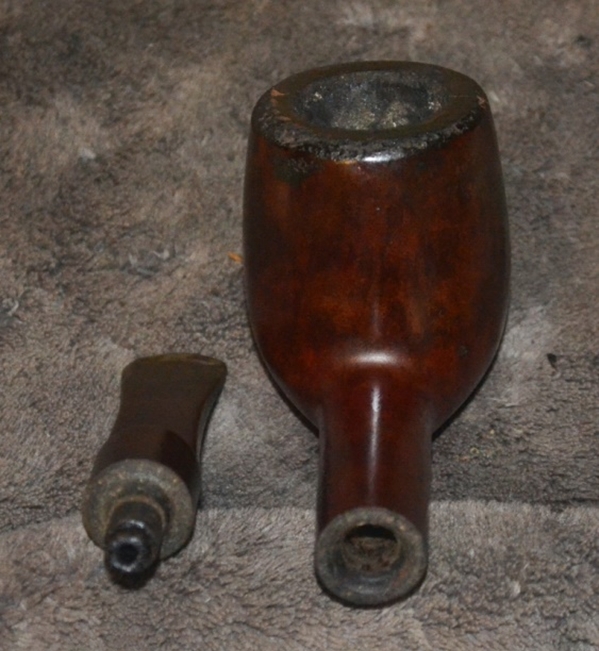
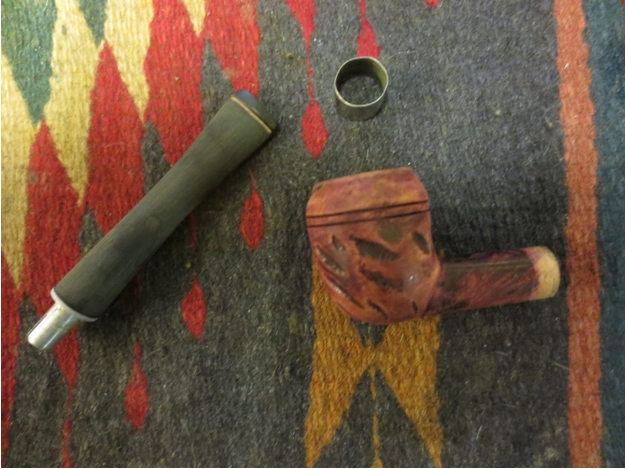
“Before I soaked the chamber and shank with alcohol, I drew incision lines downward at intervals around the rim, to the highest point of the bowl possible and yet still clear of the long scar of the crack, to guide me,” the restorer said. Choosing a hacksaw for the amputation phase, the restorer said no anæsthesia was used as the pipe was unconscious.

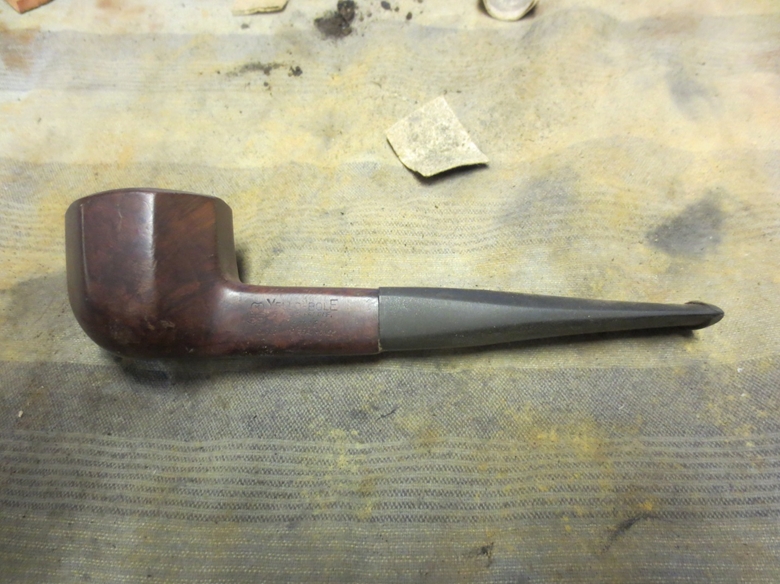
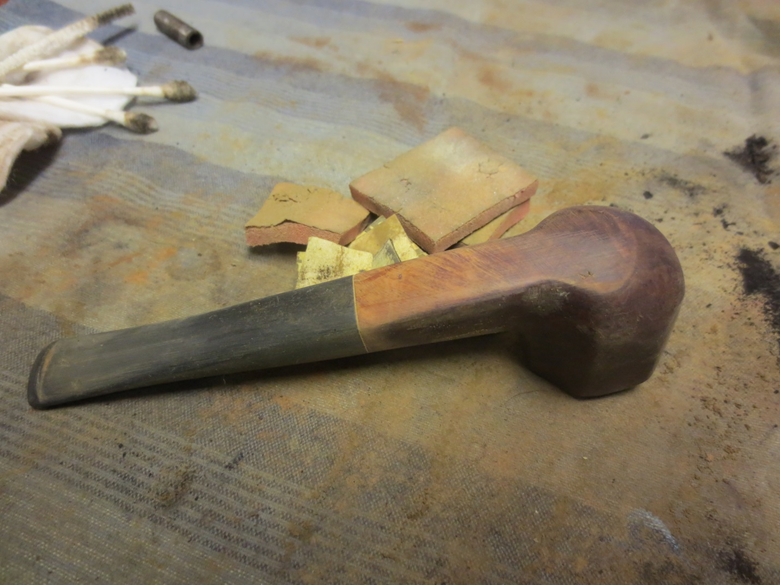
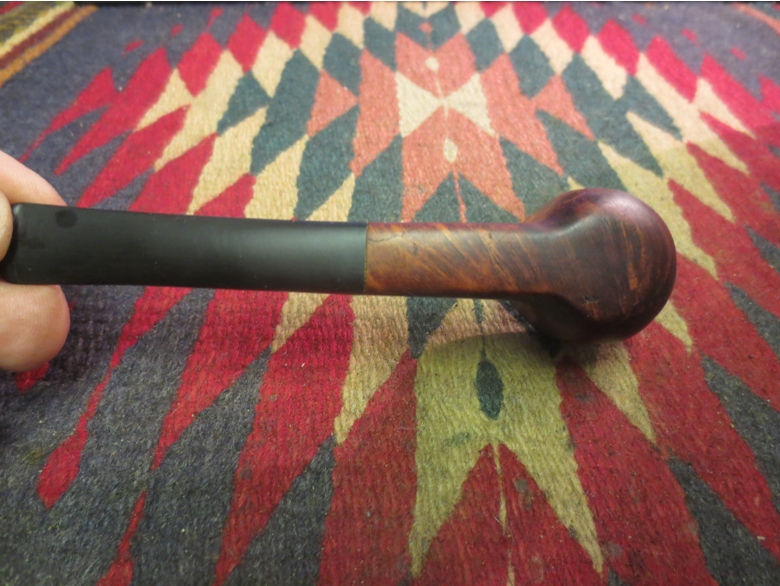
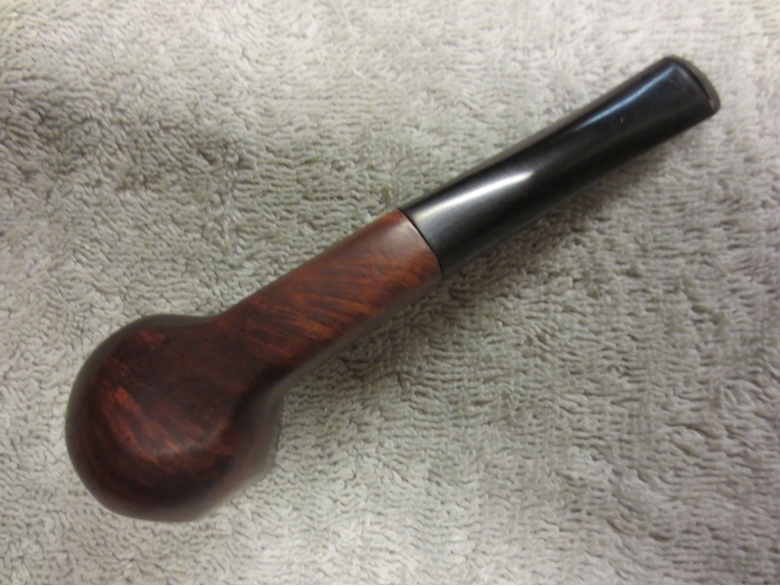
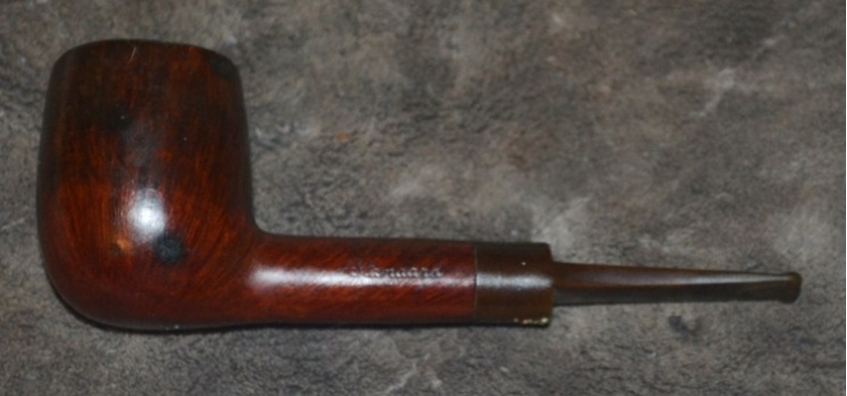
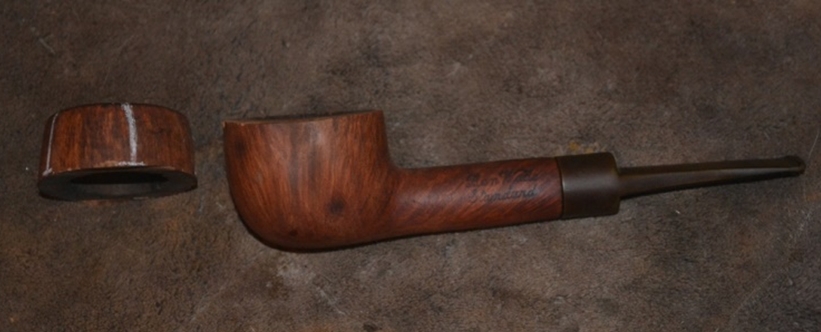
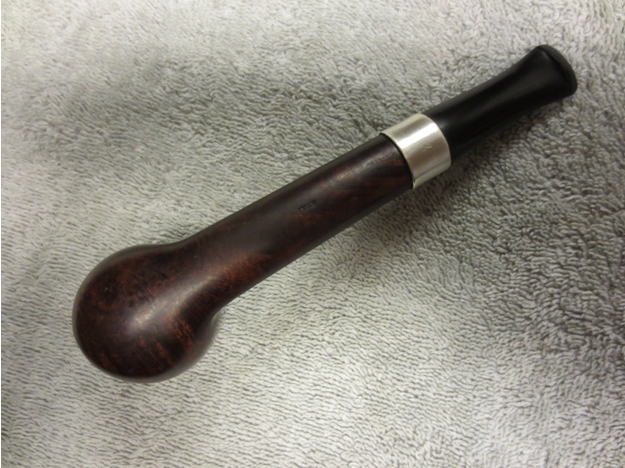
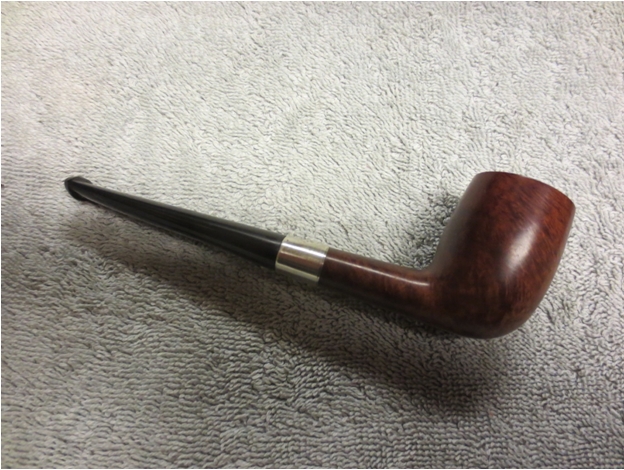
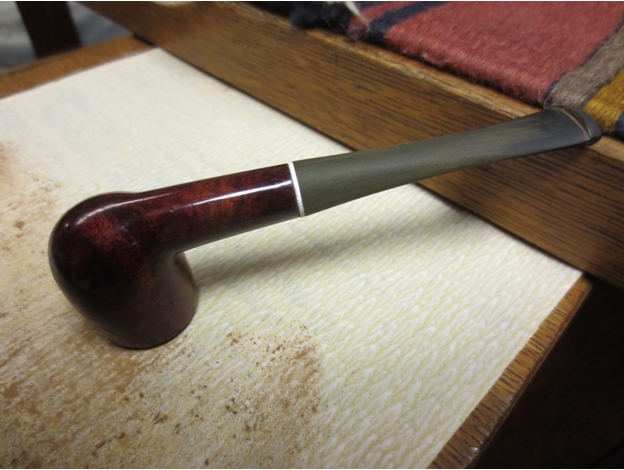
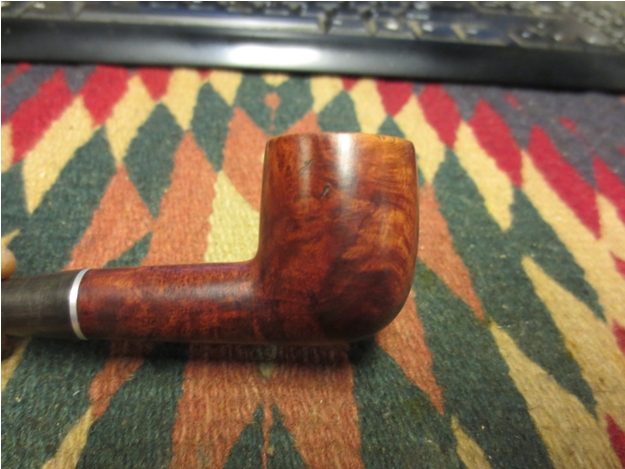
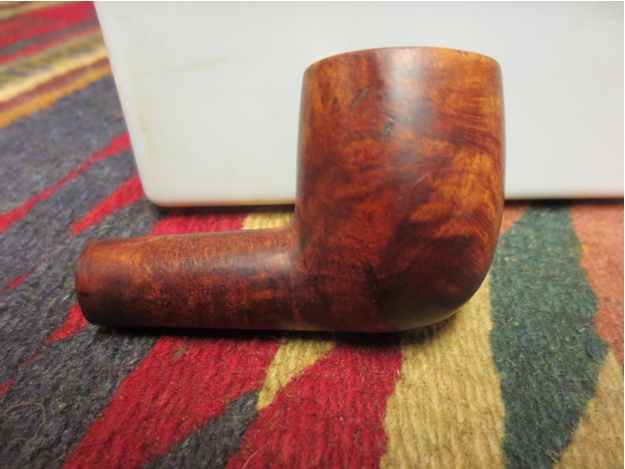
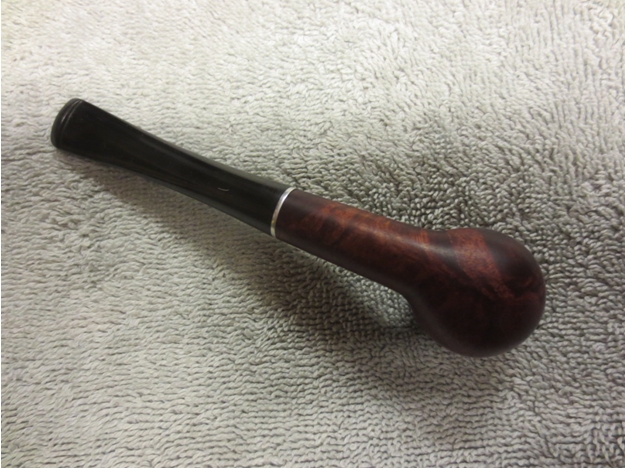
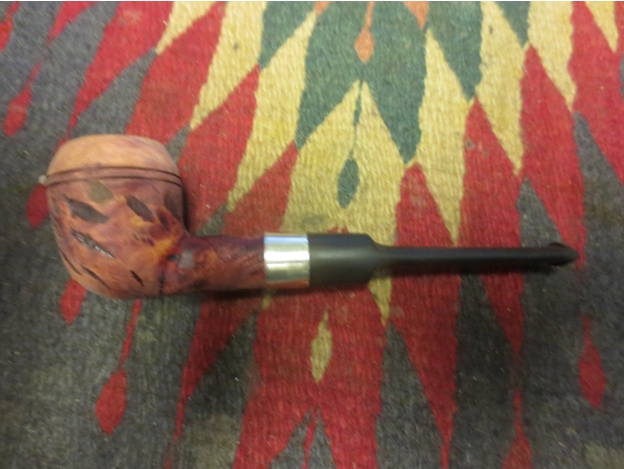
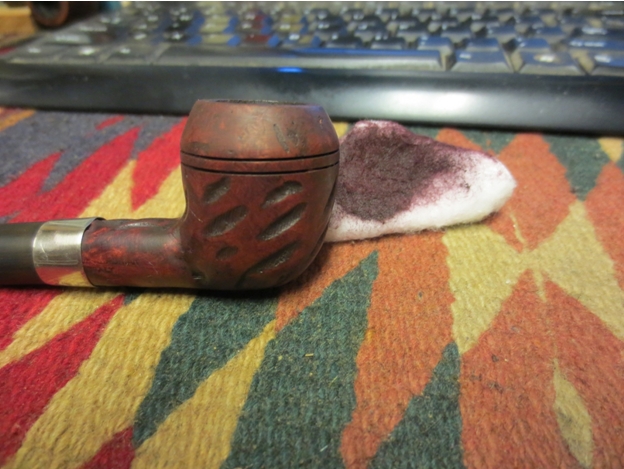
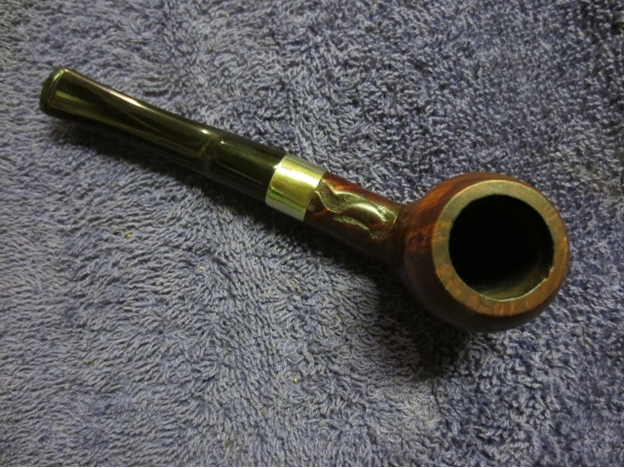
 “Lopping off the dome of that tall, proud billiard was the most extreme measure I hope I ever have to take in the name of restoration,” the restorer said. “But the removal was clean, and the deed done, it was easy to see the problems I still faced to reshape the resulting bowl, from something that could not even be called a short billiard, into at least a passable pot.”
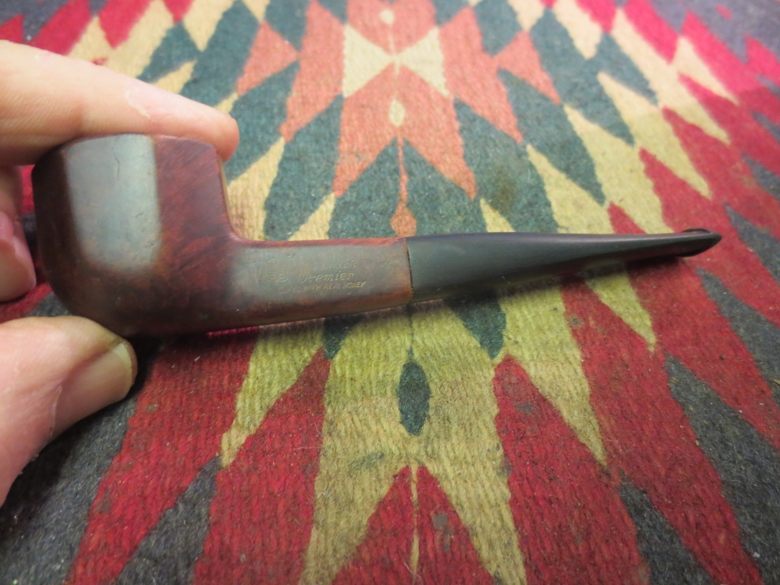
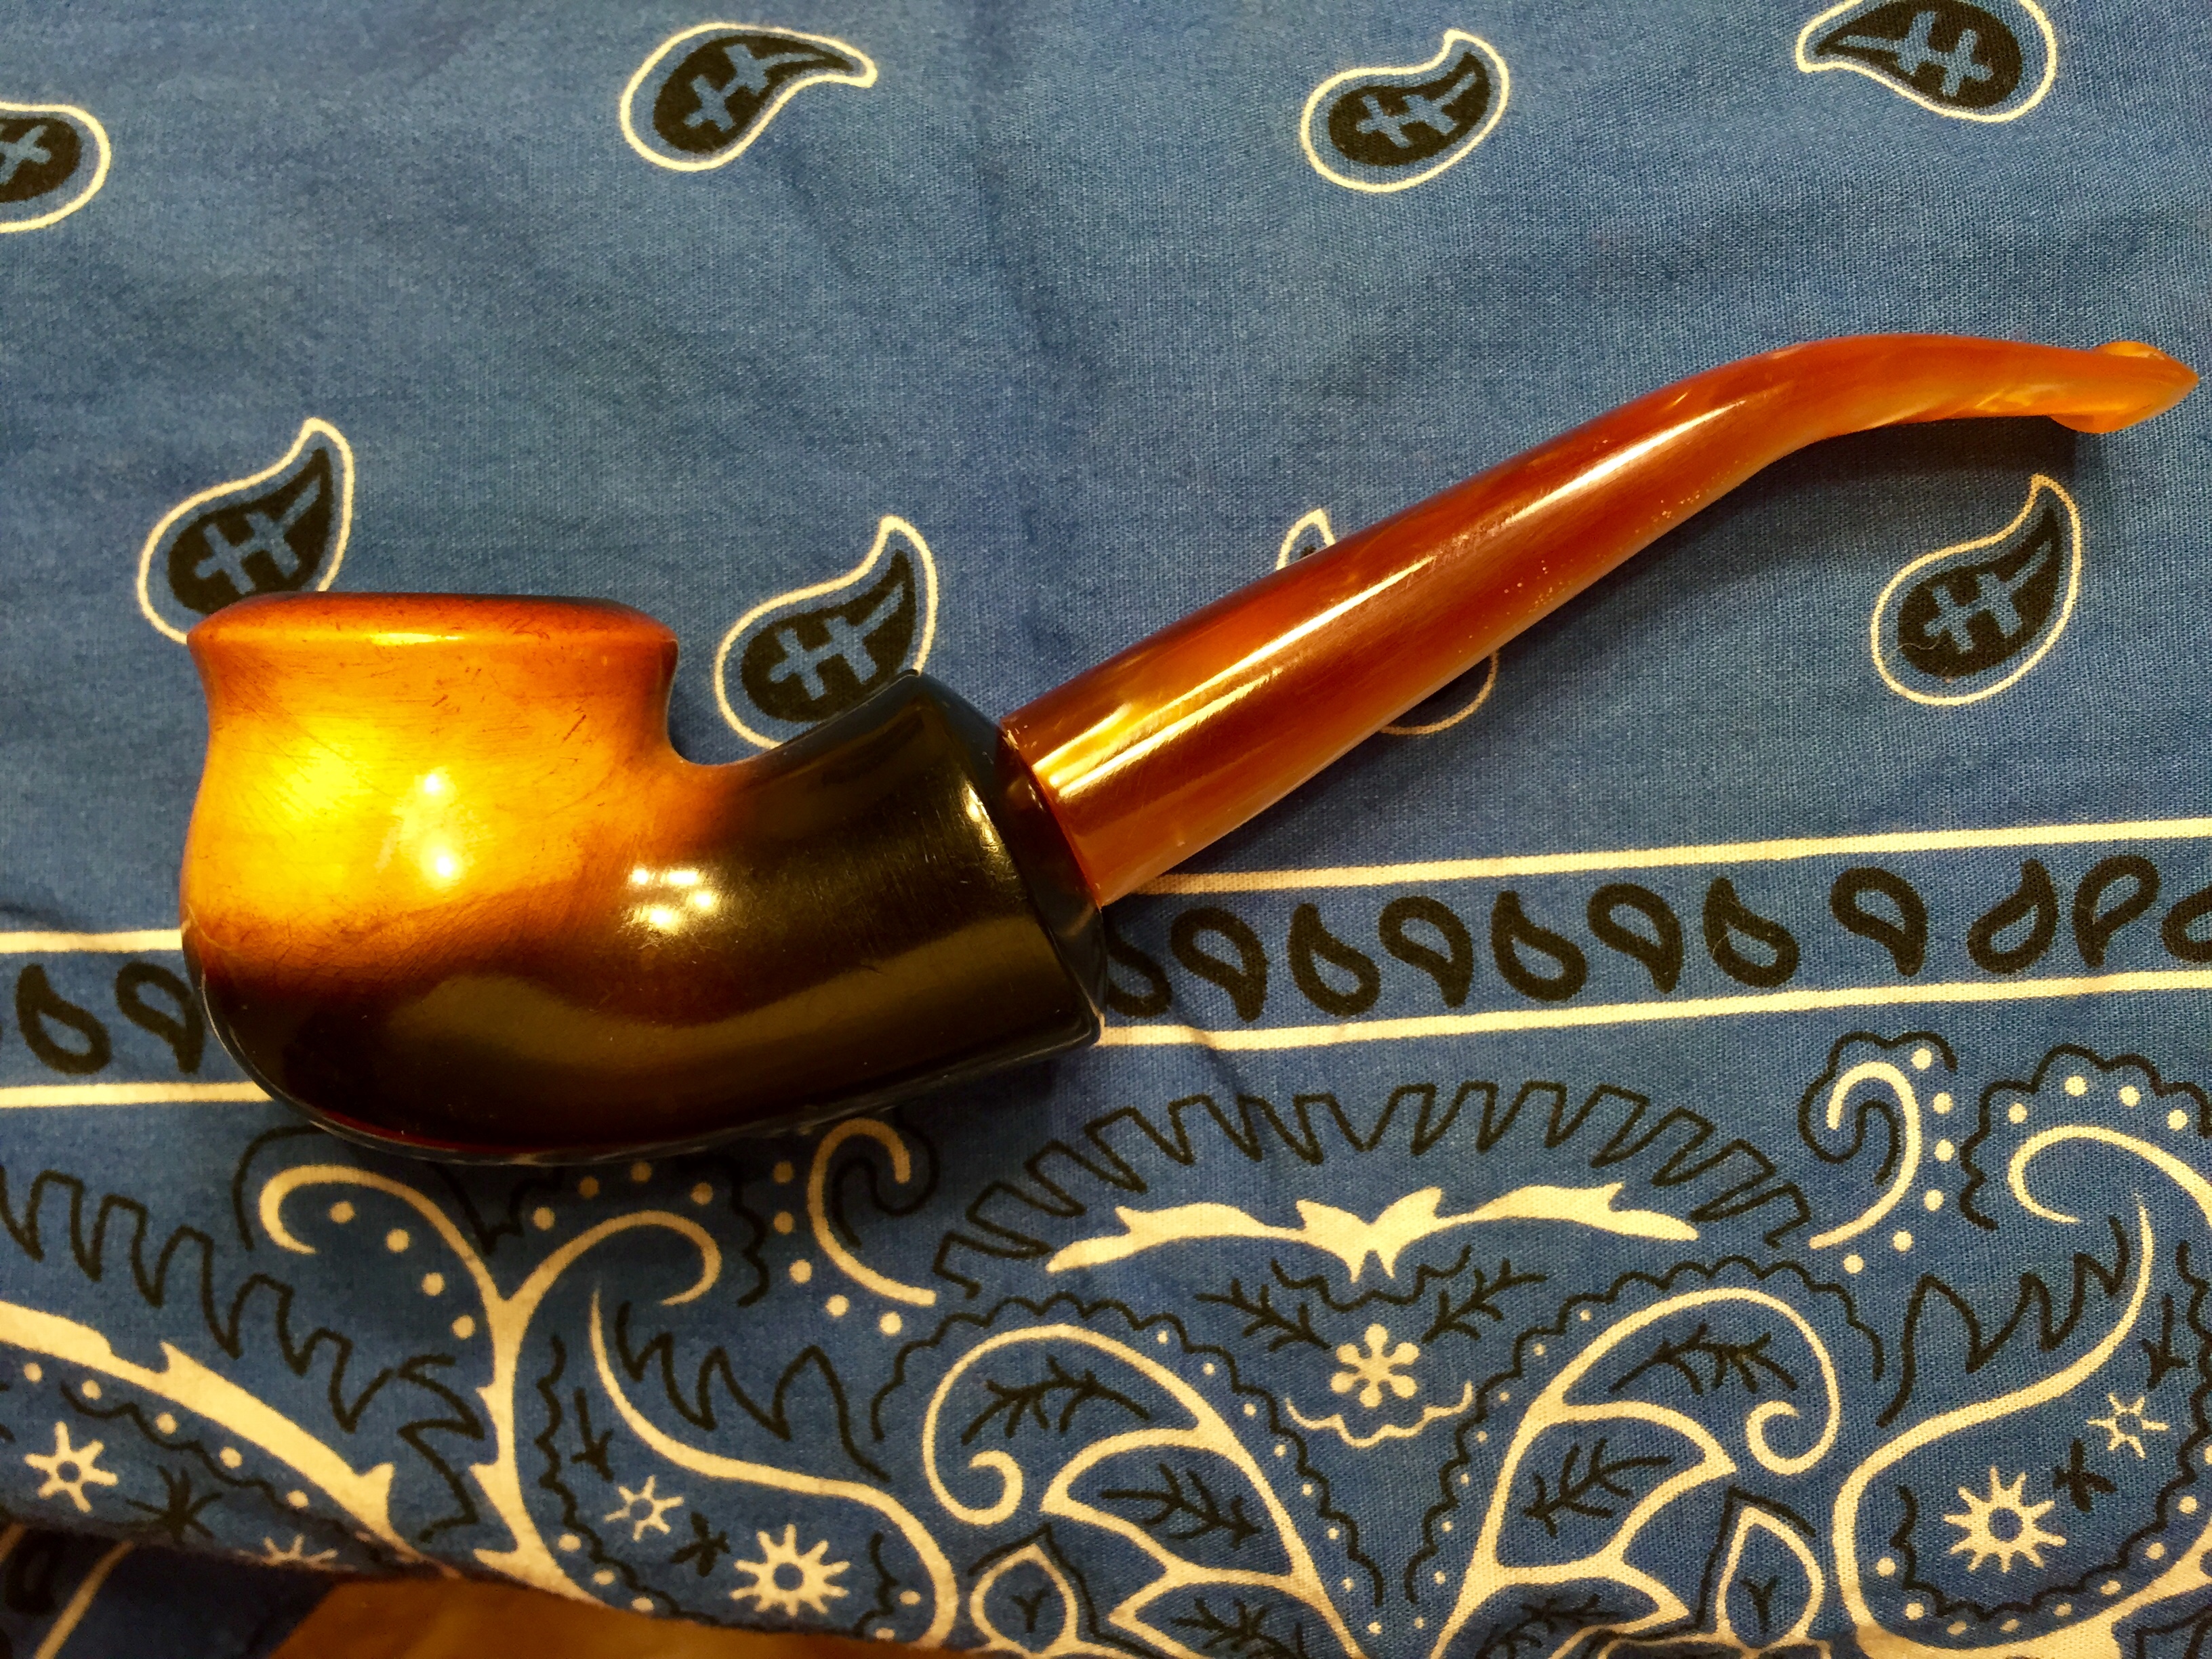
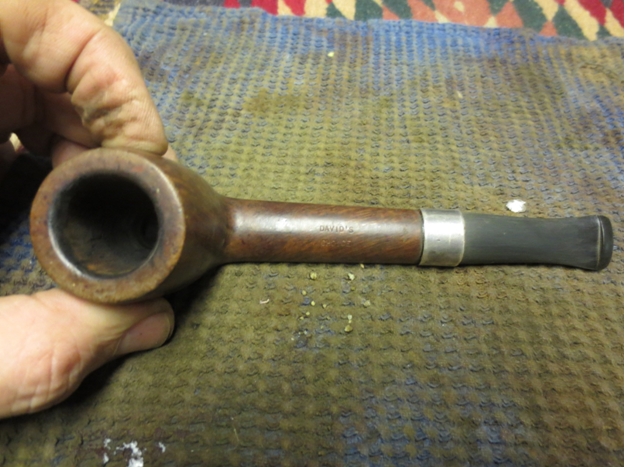
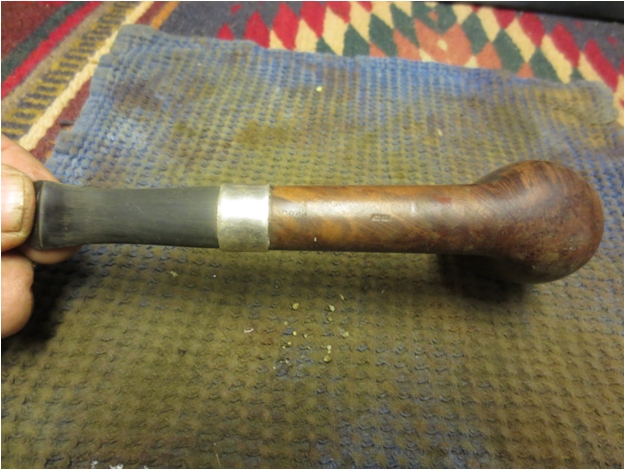
The restorer added that sanding down the shank until it was proportionate to the bowl was possible only by erasing Ben Wade’s identity, and therefore was never seriously considered.
“No, our friend Ben Wade will just have to learn to adjust to his new body,” the restorer, who was drenched in sweat and appeared haggard, said. “I have done everything possible, although there were complications.”
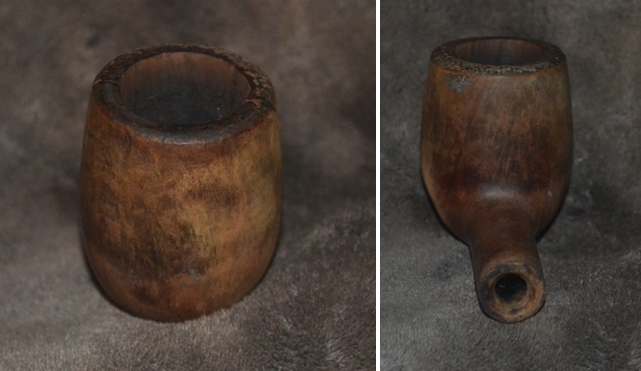
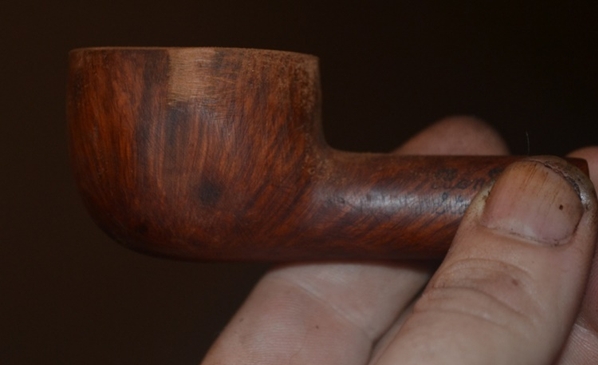
Using an electric Dremel for the first time, with a smooth sander bit and set at the lowest speed, the restorer began the process of increasing the curve of the bowl. He said he applied the least pressure possible to the wood but still noticed the tendency of the tool to remove uneven layers of briar.
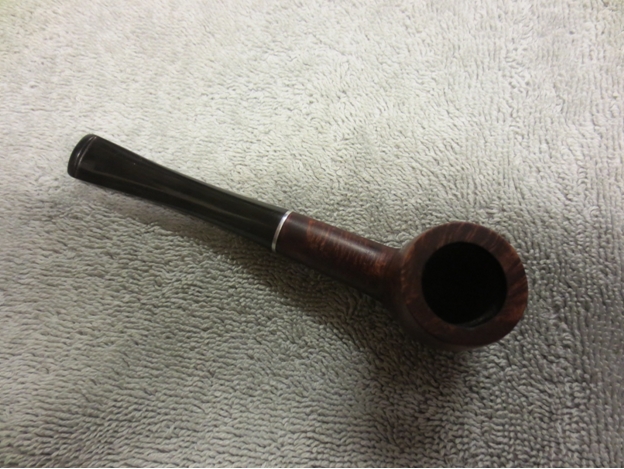
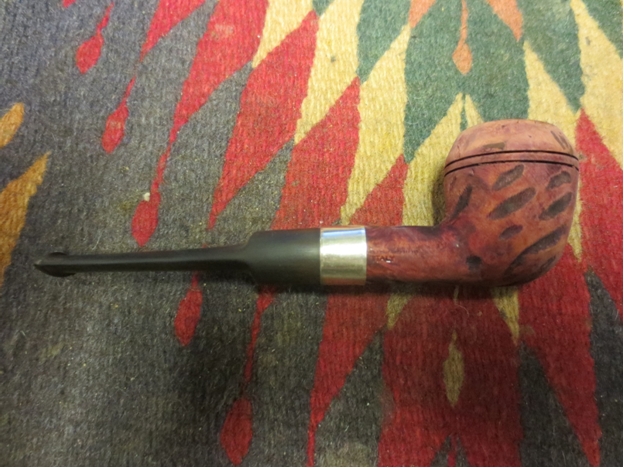
When the restorer had made his first full circle of the bowl and observed the jagged beginning of the reshaping into what would become a very short pot due to the amount of wood on which he could work, he said he switched to a rasp for a fast initial leveling of the bowl’s underside to make it a “sitter.” 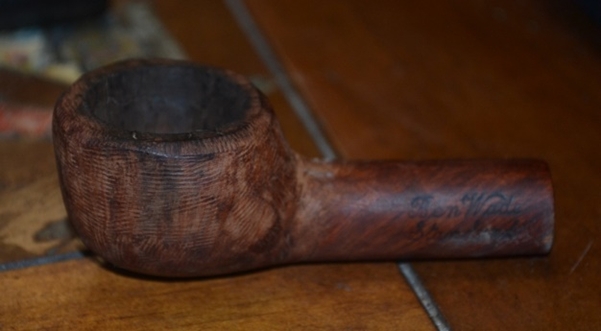
 To finish the basic reshaping, the restorer said, he returned to the Dremel for a “touch-up of the rougher spots” before taking the rasp and using it with smooth, upward strokes from the bottom of the bowl to the top to make the shape still more curved.
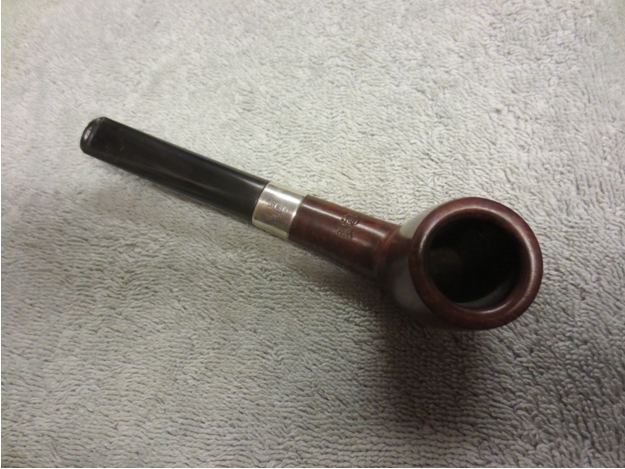
“At the end of this phase, I was left with a very rough surface that I knew could be smoothed with sandpaper and micromesh pads,” the restorer said. “But the rim was uneven and required careful leveling. The hardest aspect of this part of the cosmetic work was moving the rasp in the correct direction to make the thickness of the rim uniform all around.”
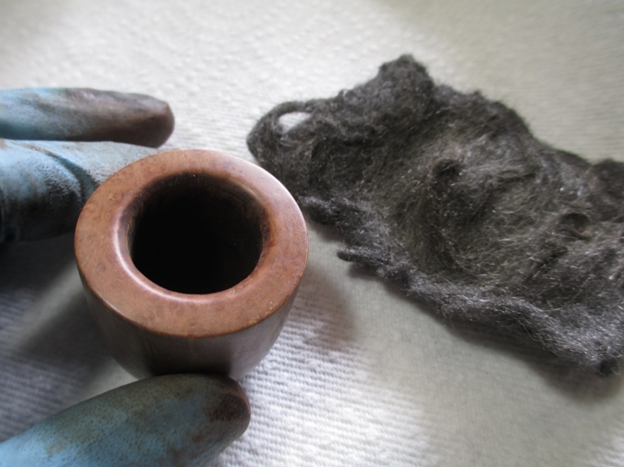
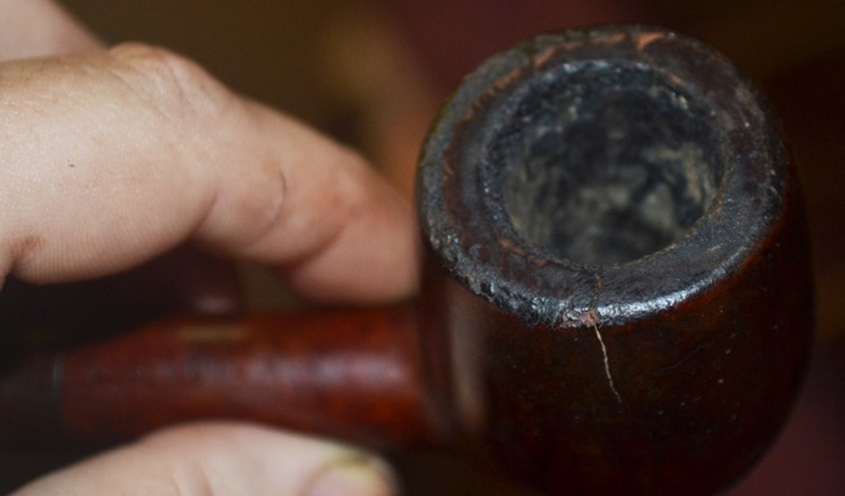
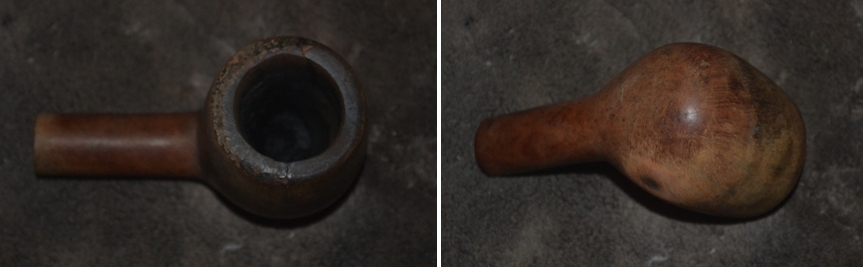
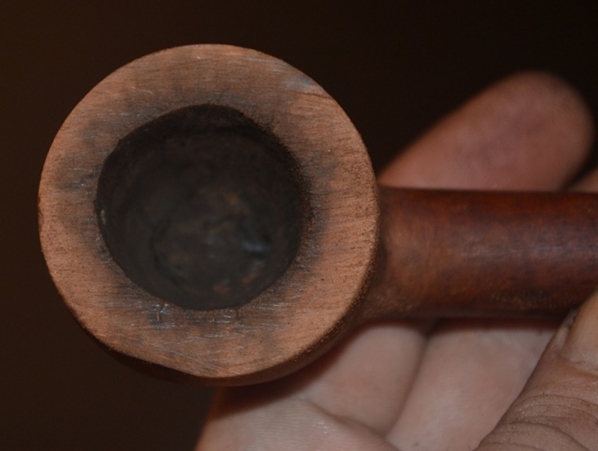
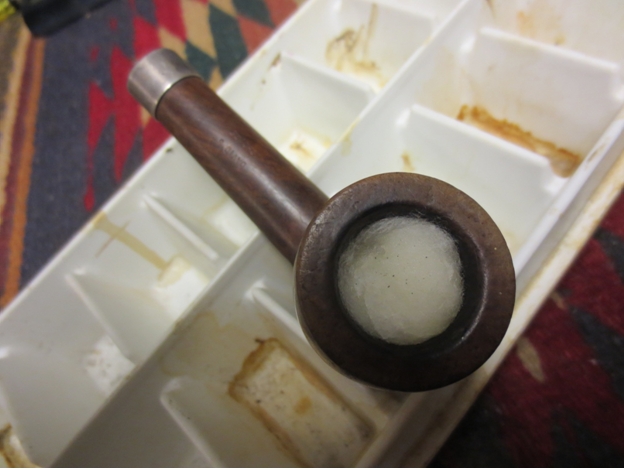
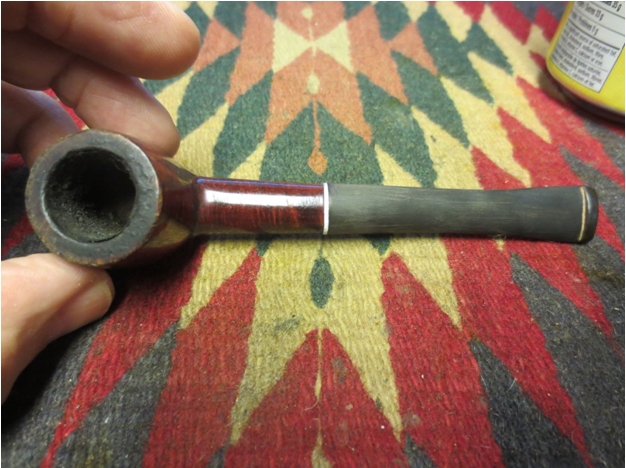
The chamber was still coated with what the restorer called “never-ending cake.” He said he took a chance with the Dremel again and used it to loosen some of the carbon buildup.
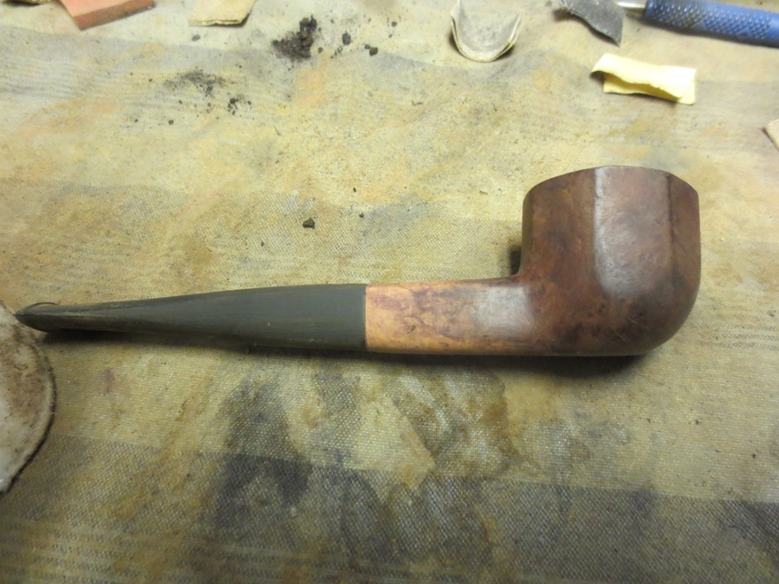
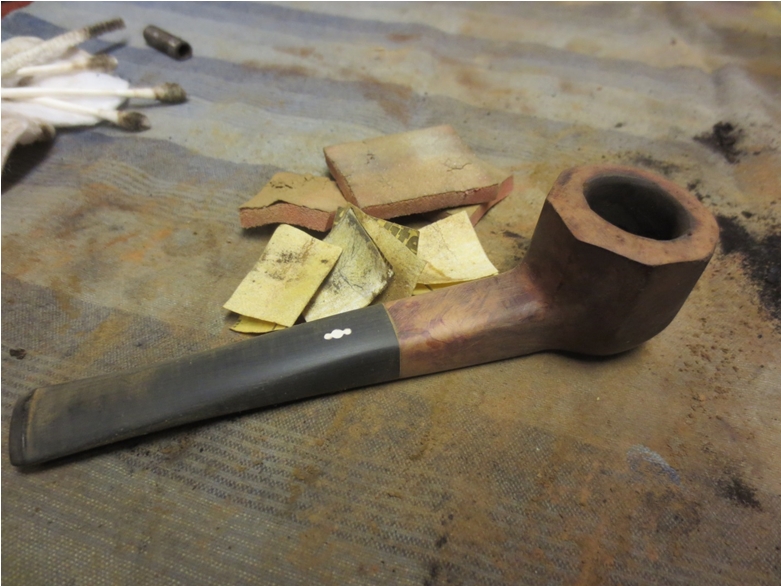
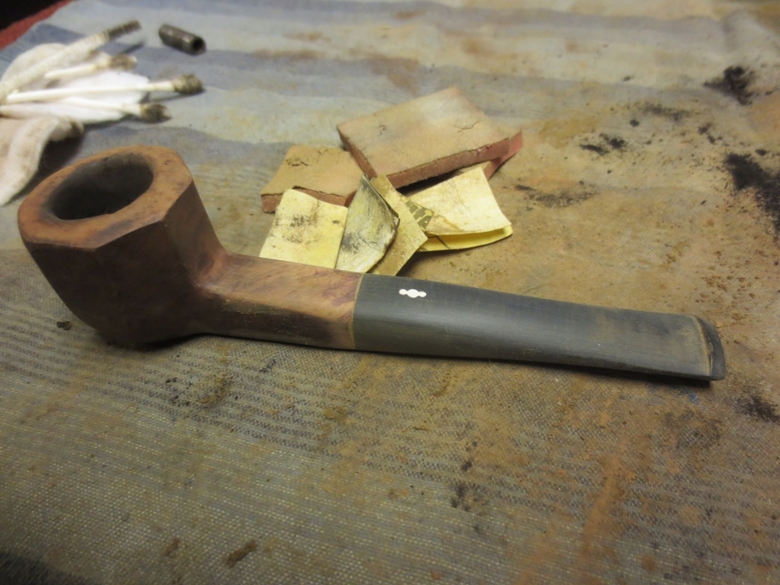
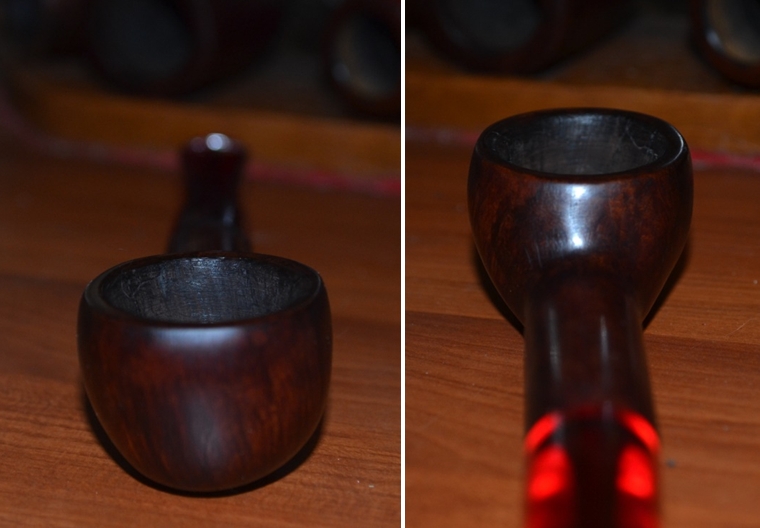
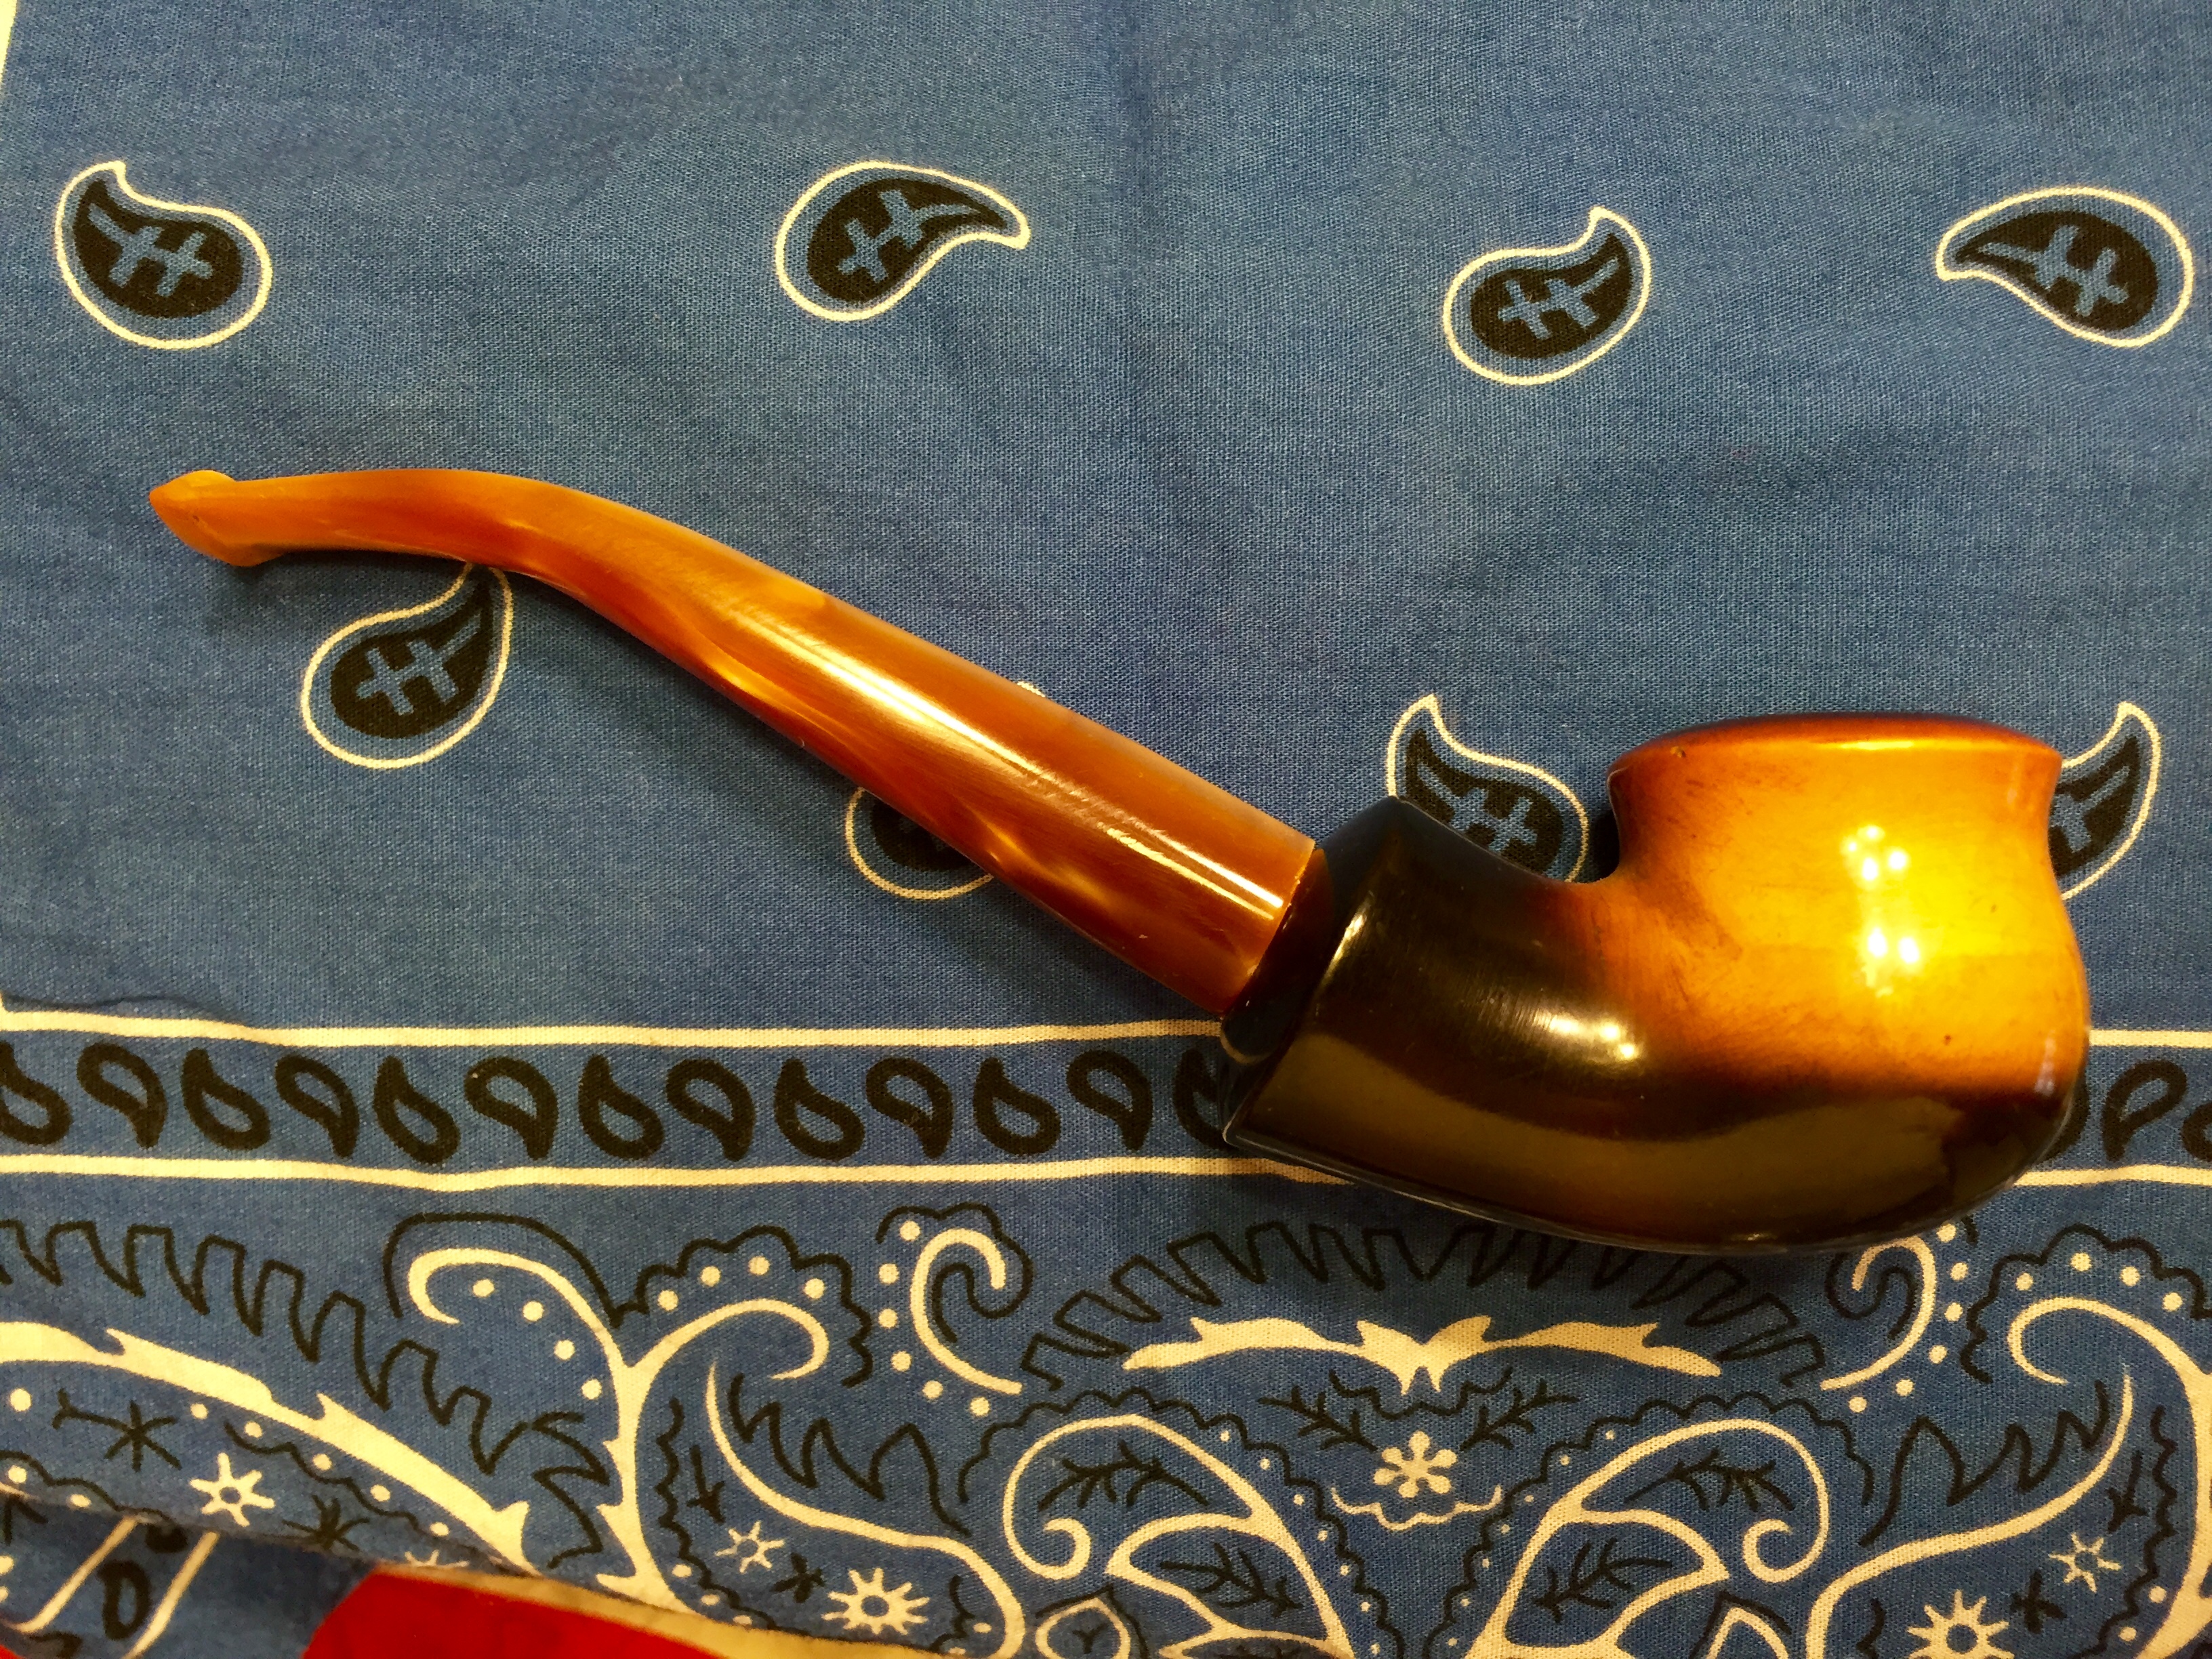
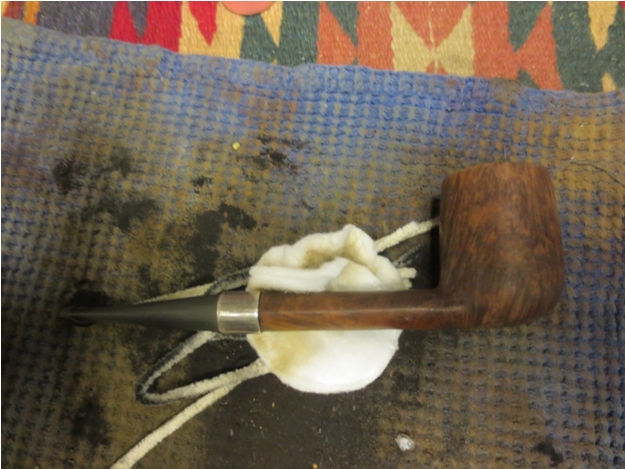
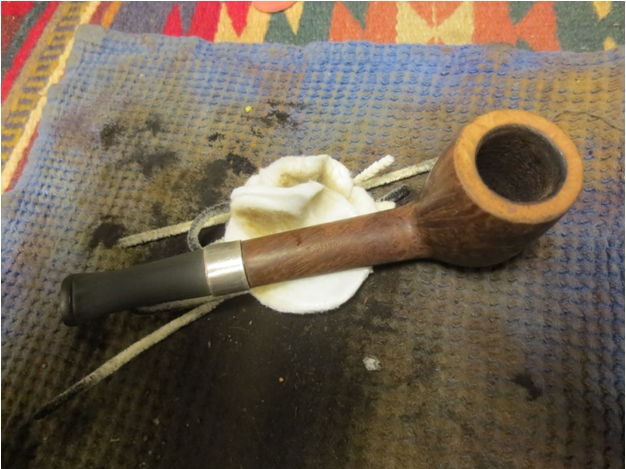
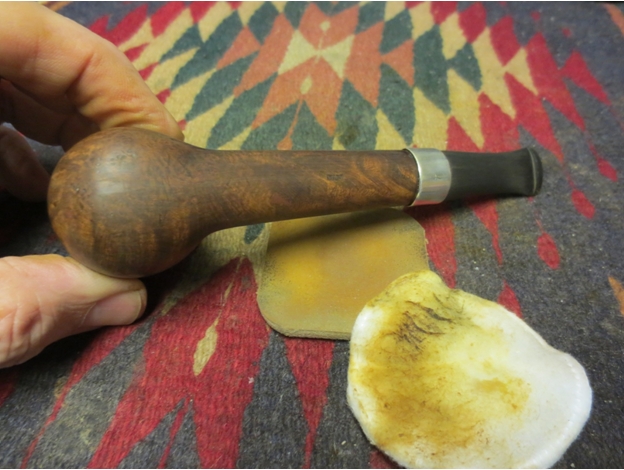
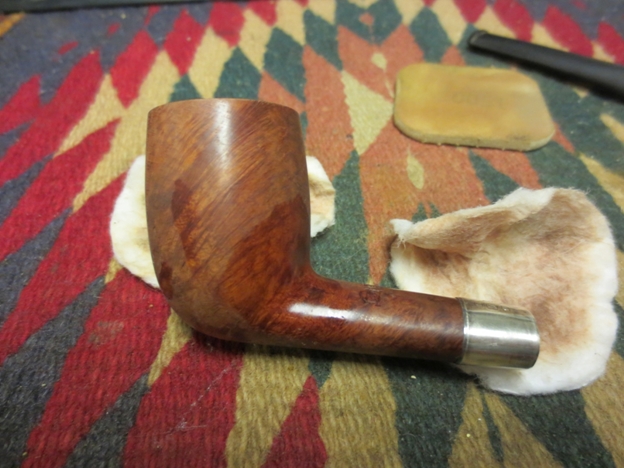
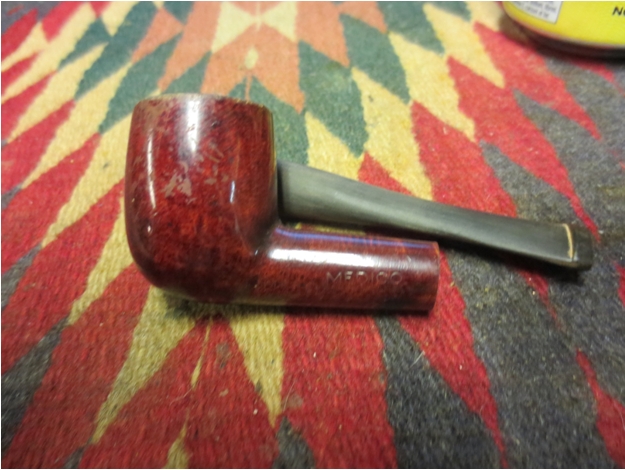
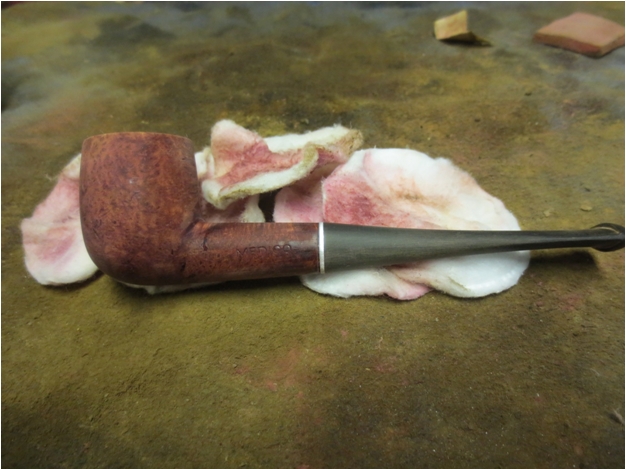
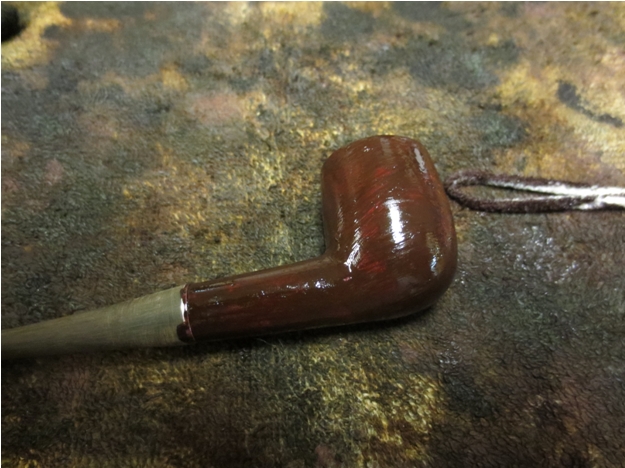
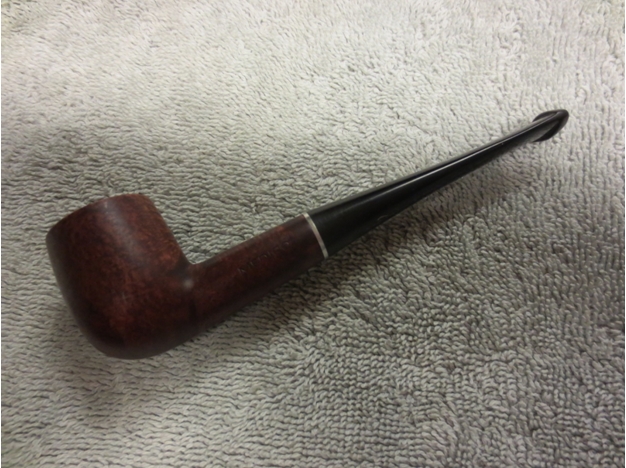
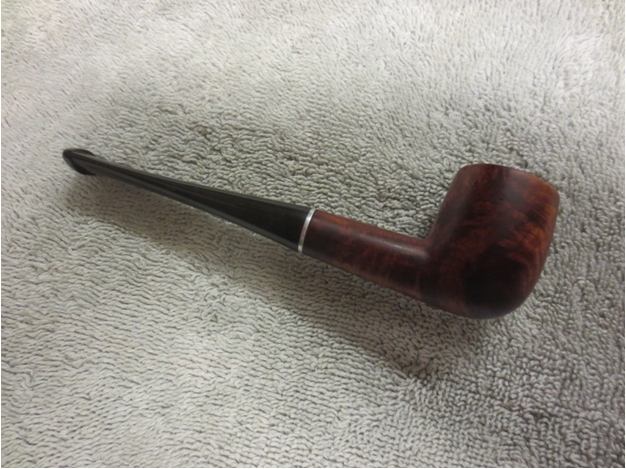
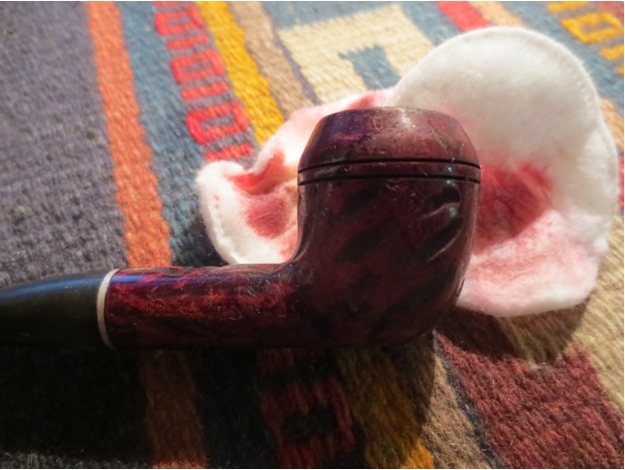
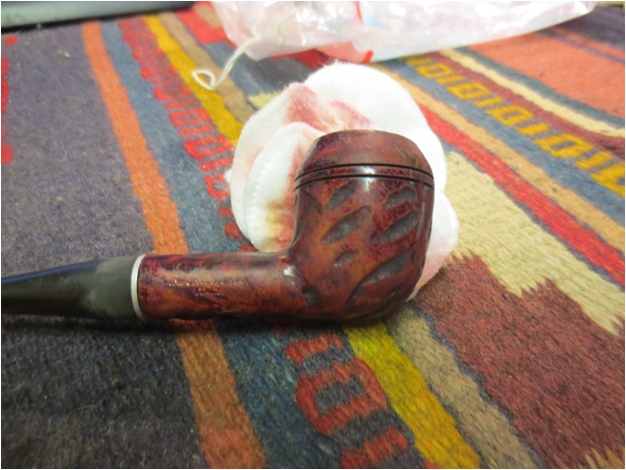
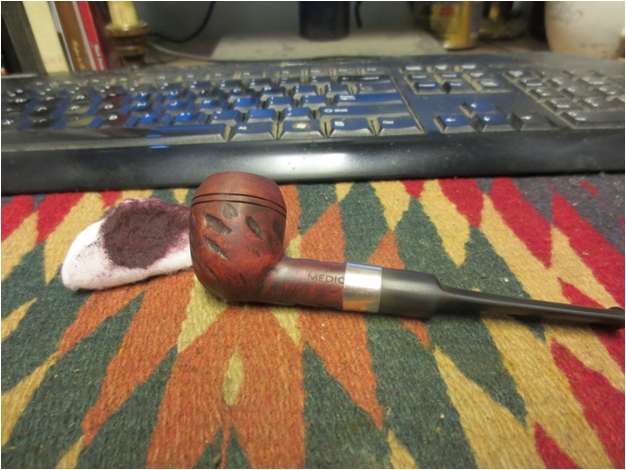
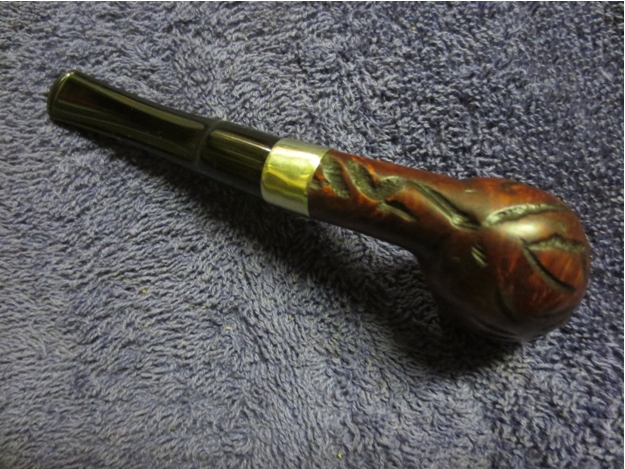
“This was successful, but also revealed the beginning of another crack that in time was certain to work its way all the way through the bowl,” the restorer said and sighed. “This was when I knew the best I could do was to extend the life of the once whole and healthy pipe. Only God can say how long that life will be.”  The restorer then sanded the remaining scratches from the bowl and made the chamber as smooth and free of the old cake as he could before starting what he thought would be the finishing touches: buffing the outer pipe with several grades of micromesh, re-staining the wood a dark red color and polishing the pipe with four kinds of wax.
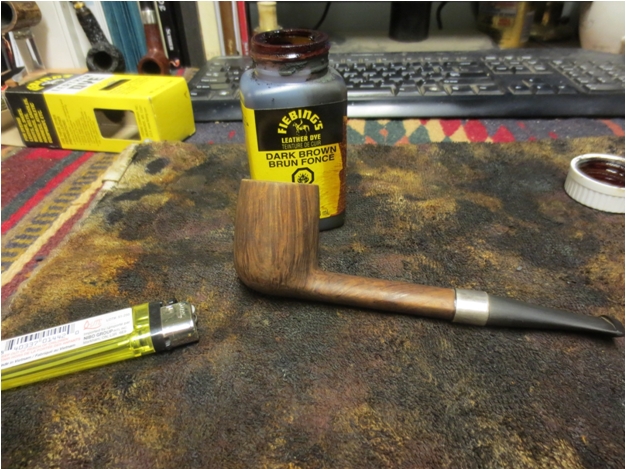
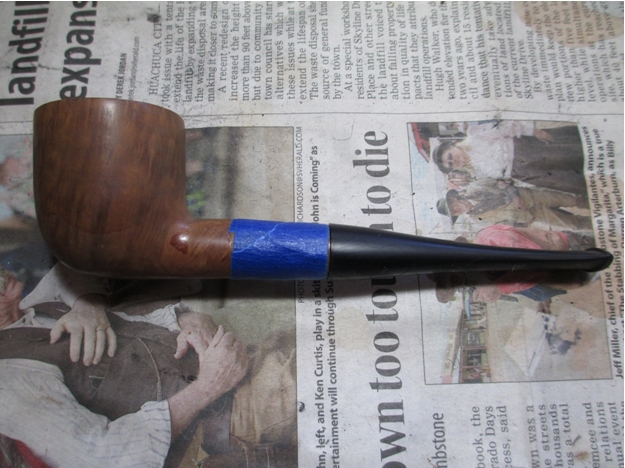
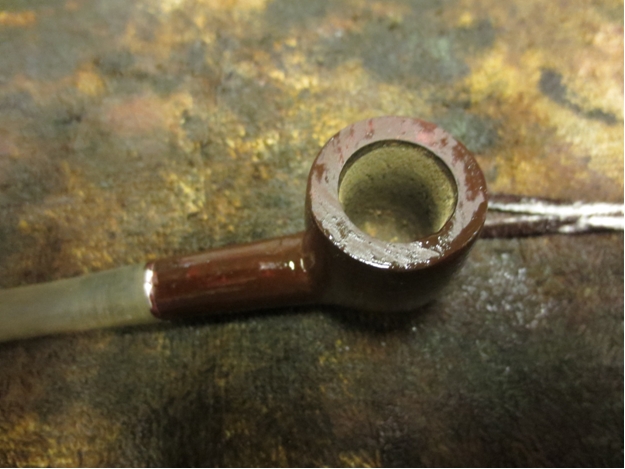
“It’s funny how sometimes going all the way through the regular steps of restoration will reveal new problems,” the restorer said. “In this case, two blemishes in the forms of gashes showed up.”
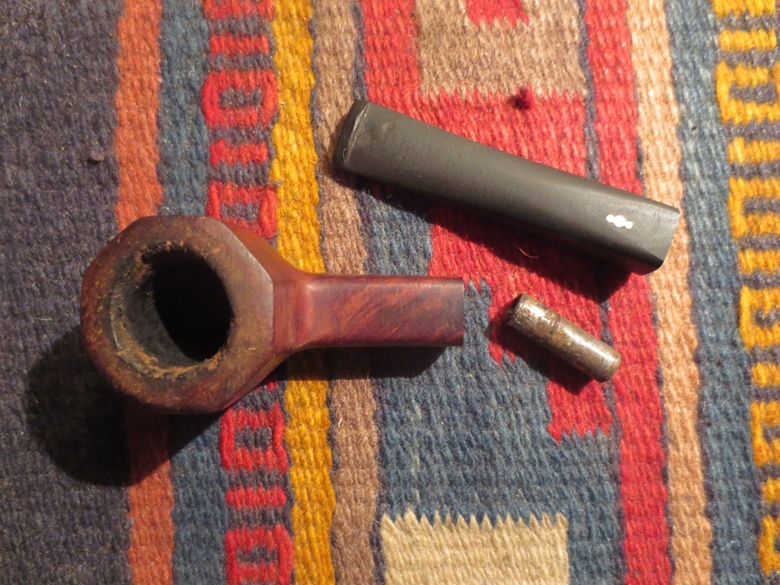
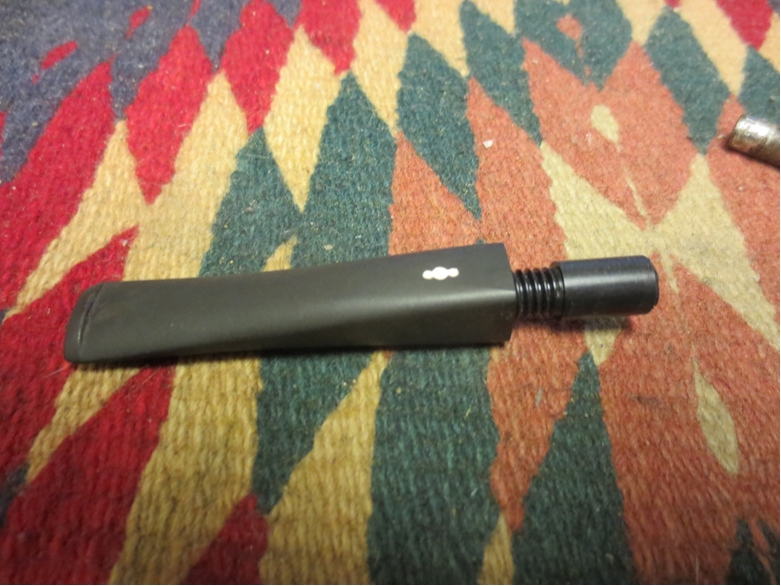
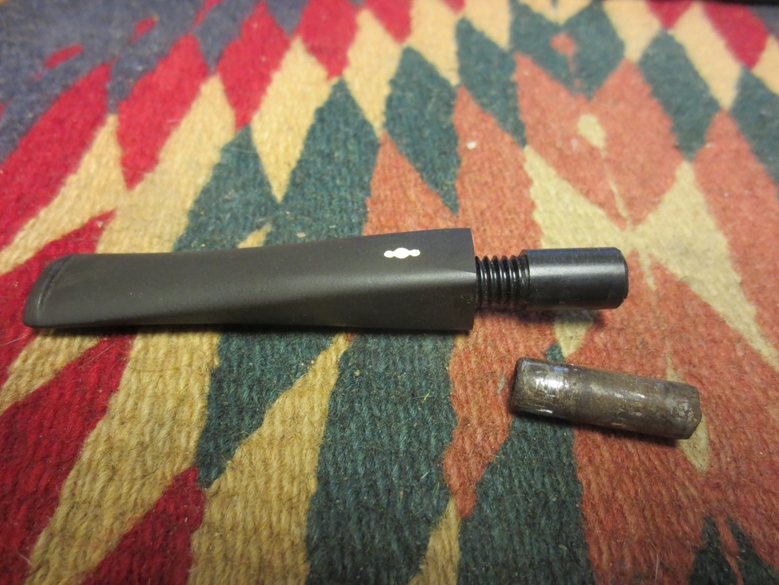
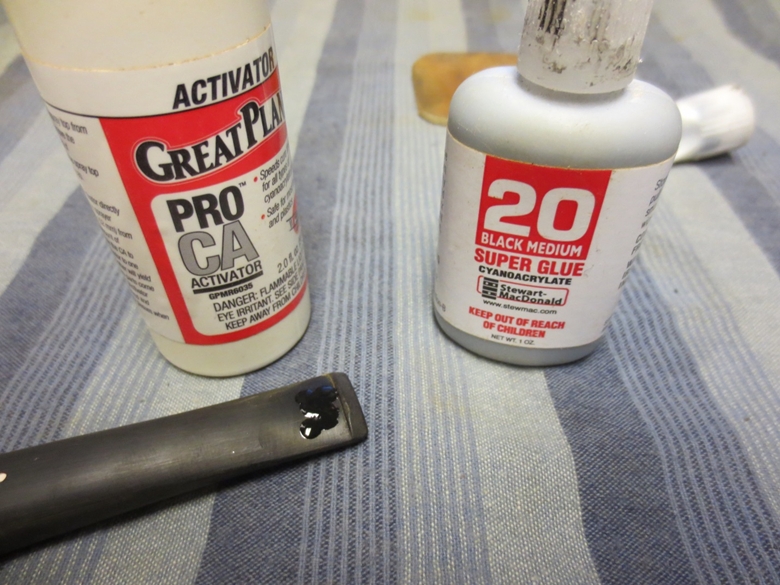
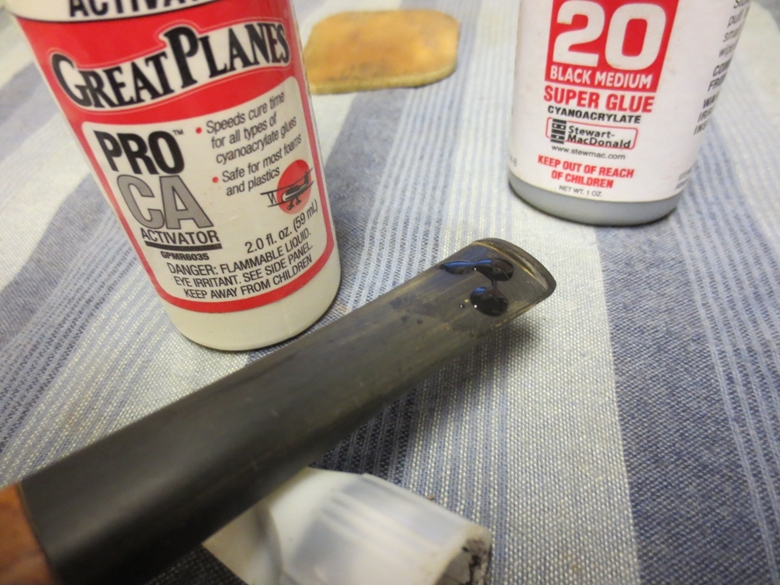
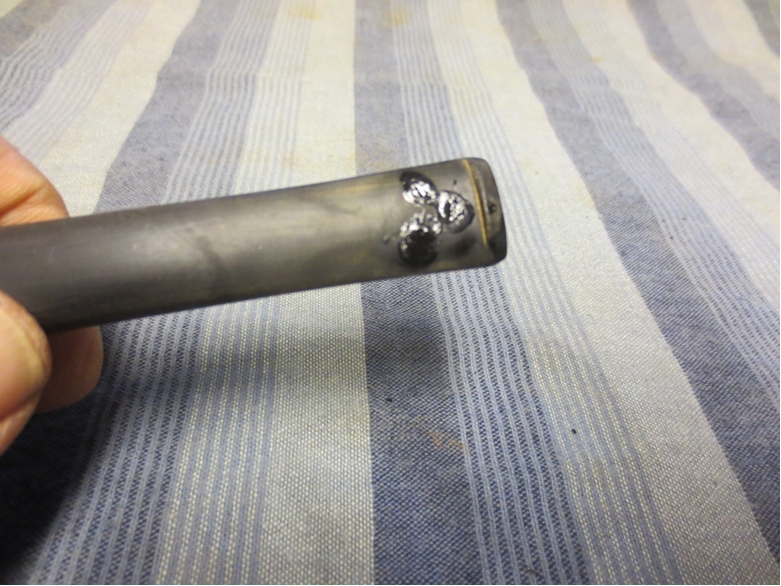
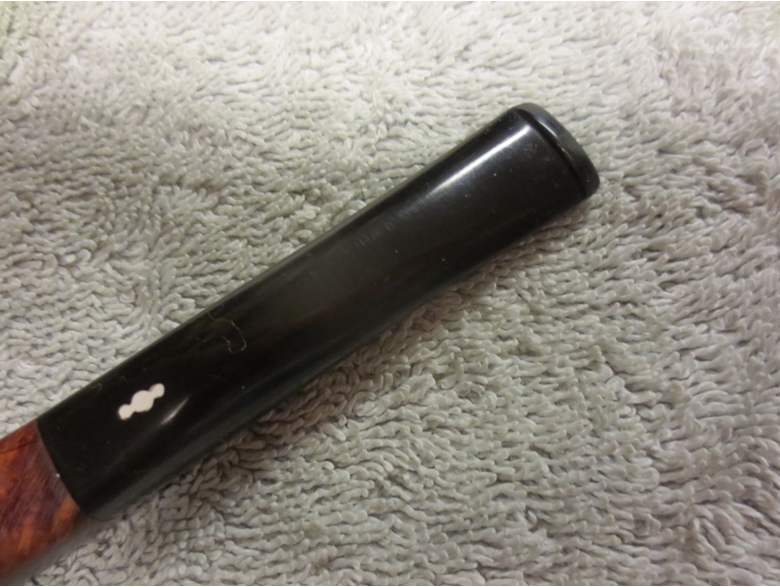
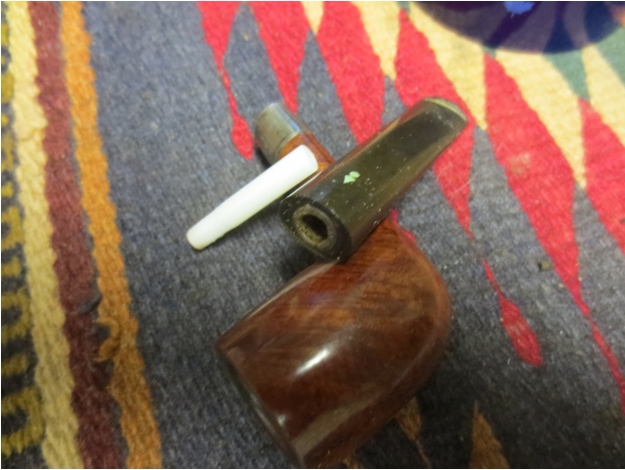
The restorer explained how he used a black marker over the damaged areas to simulate the grain color and then applied small amounts of Super Glue, which he let dry. Once the glue dried and hardened, the restorer added, he rubbed it away with three grades of micromesh. The tenon of the replacement stem that was on the pipe when it arrived, despite the restorer’s attempts to fix it with Black Super Glue, no longer fit the shank.
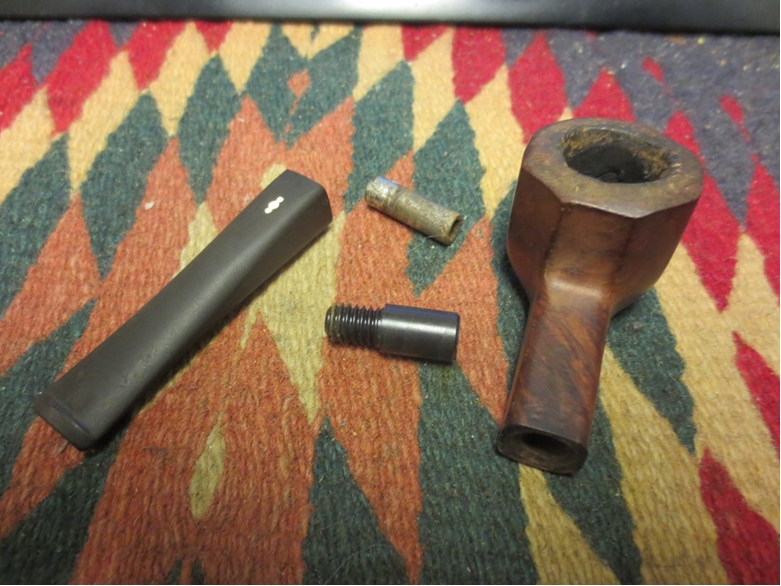
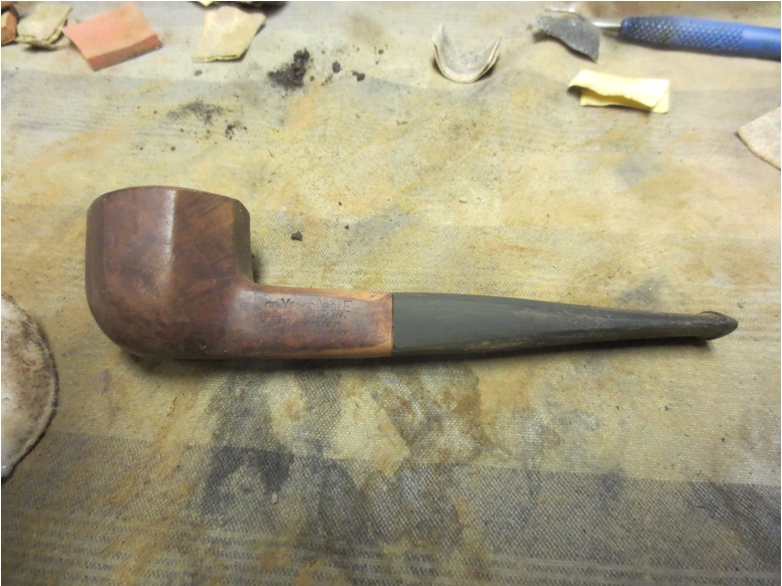
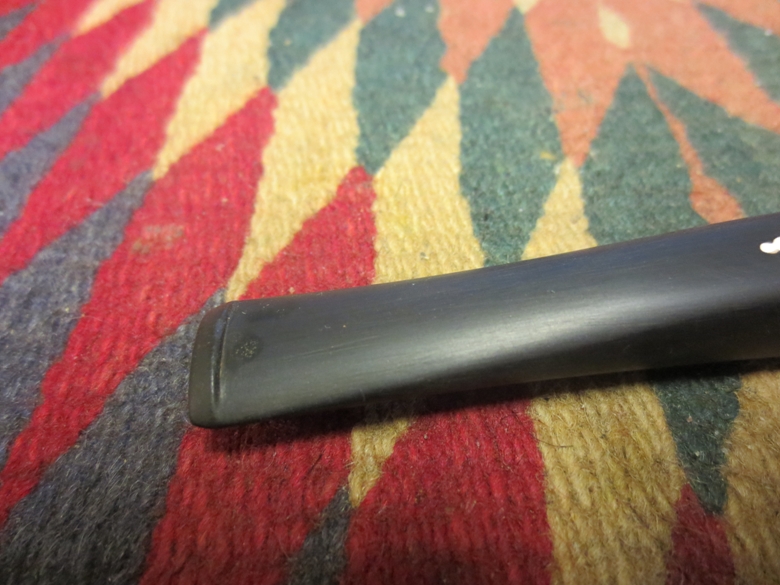
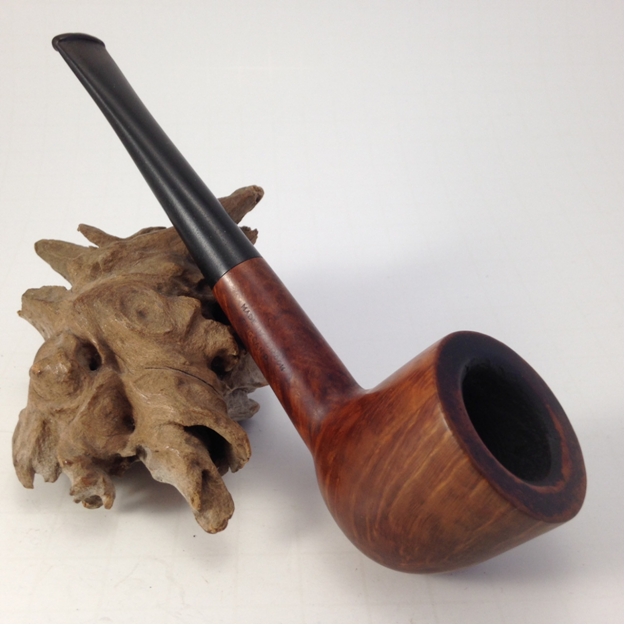
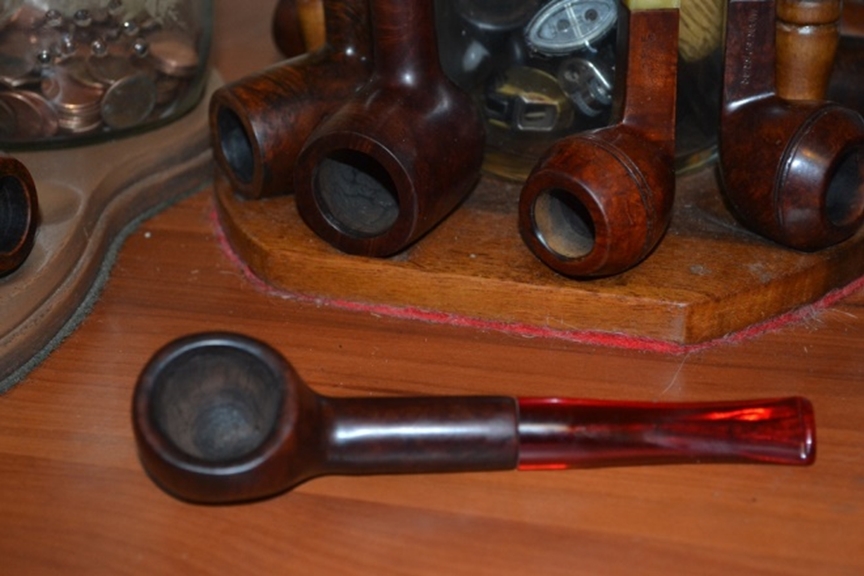
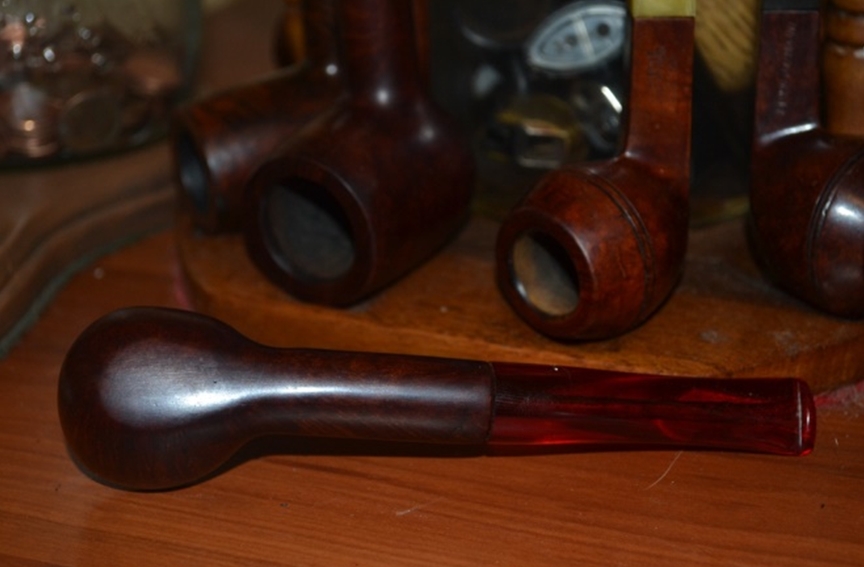
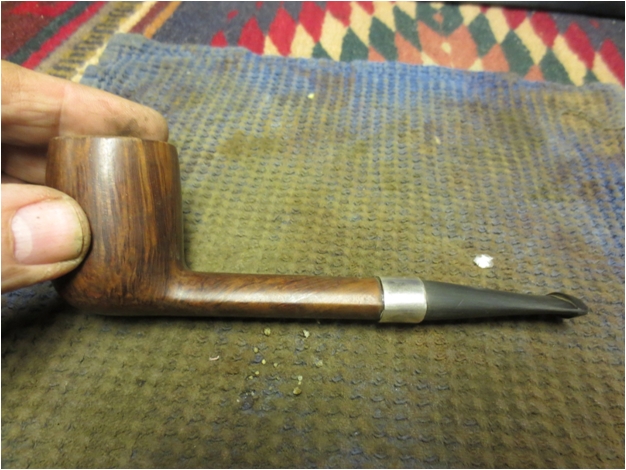
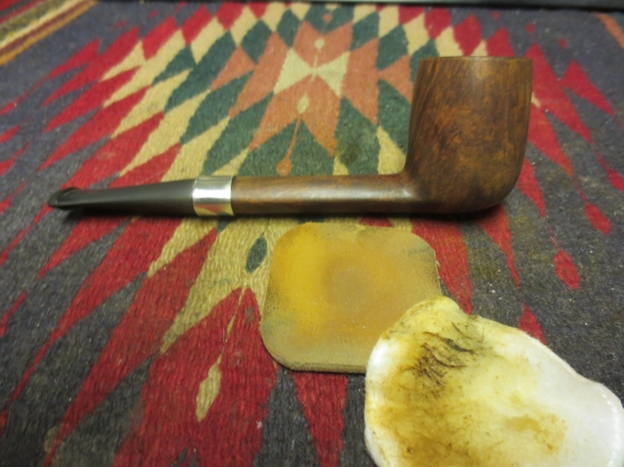
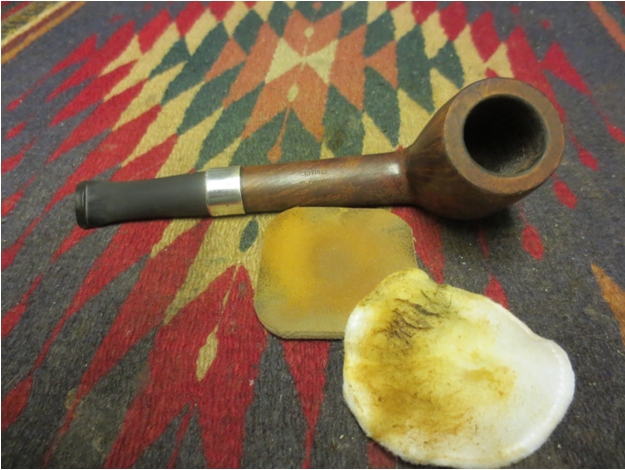
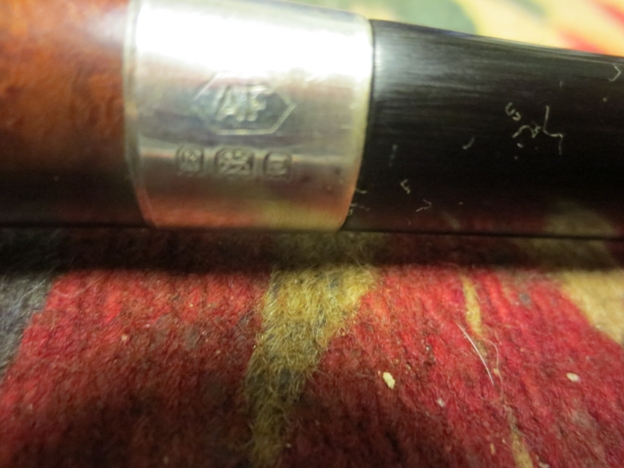
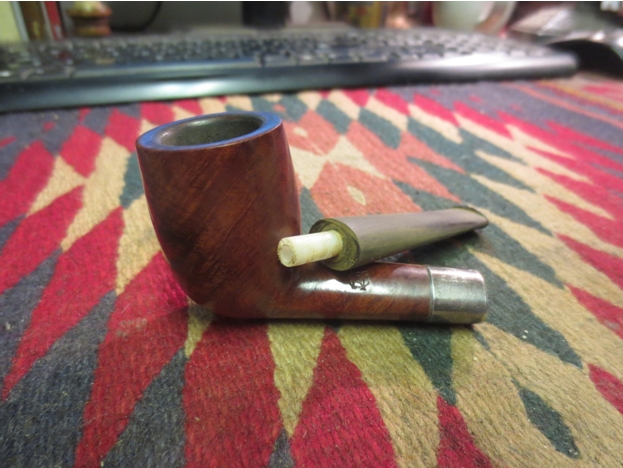
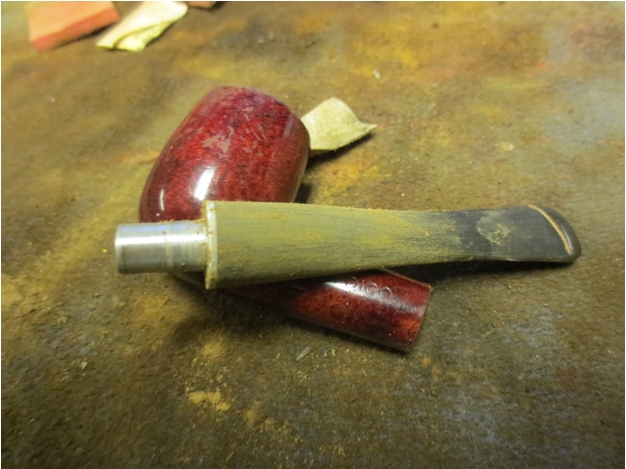
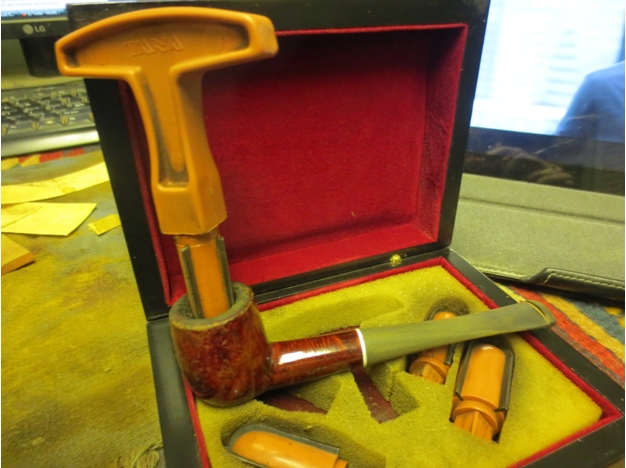
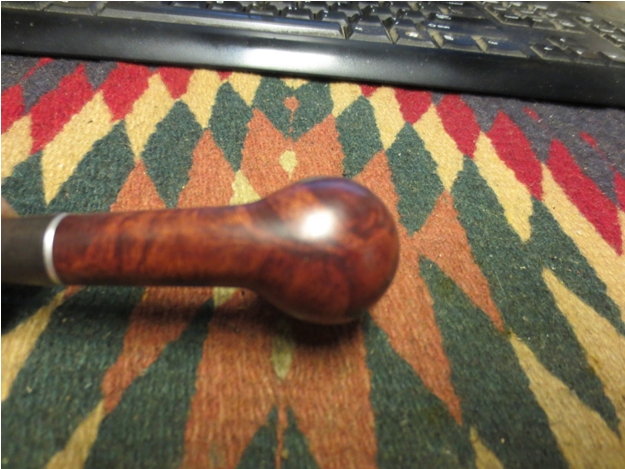
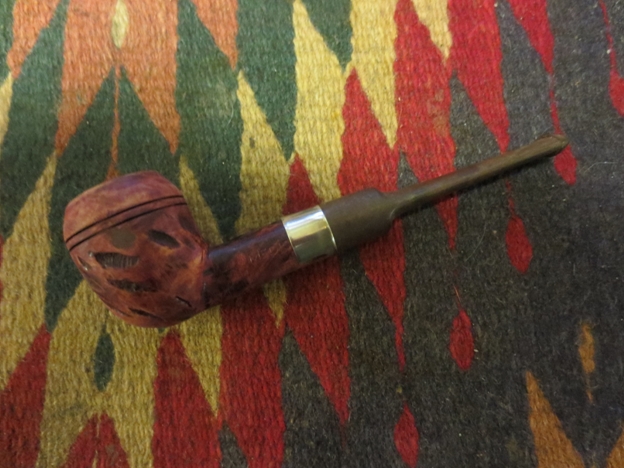
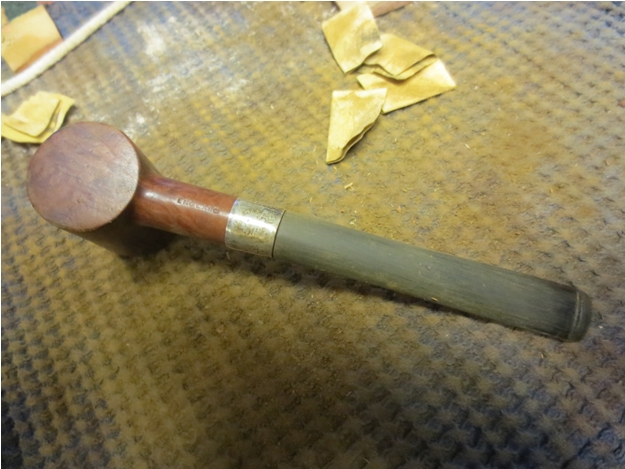
“It was way too small, and I hated the idea of using beeswax to force it to fit,” the restorer said. “It is my belief that the previous owner, instead of cleaning the pipe regularly if ever, let the crud in the shank accrete until the stem became stuck and then sanded down the tenon to fit the goop. I guess it takes all kinds.” 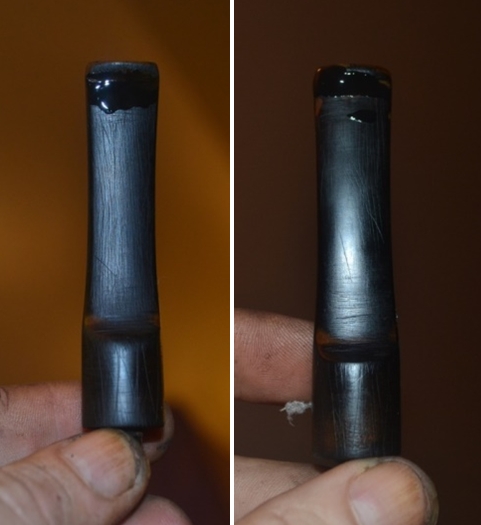 Finding a good Lucite replacement stem that fit the shank as if it were made for it, the restorer said he only needed to remove some minor scratches with high-grade micromesh and buff it with some waxes before re-finishing the bowl and shank.
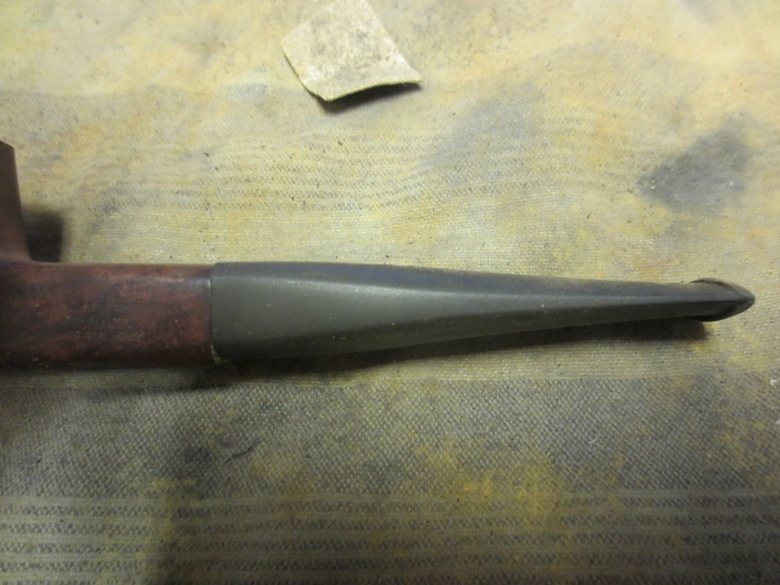
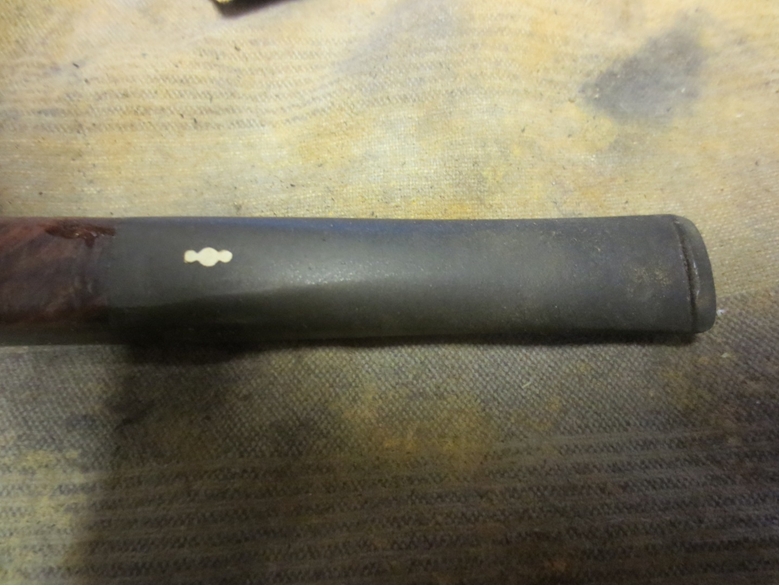
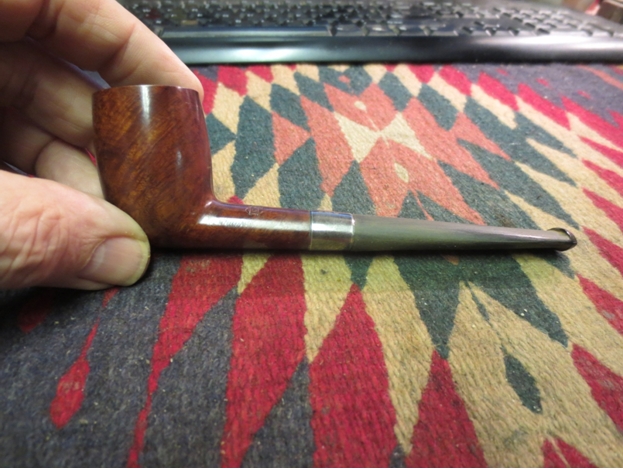
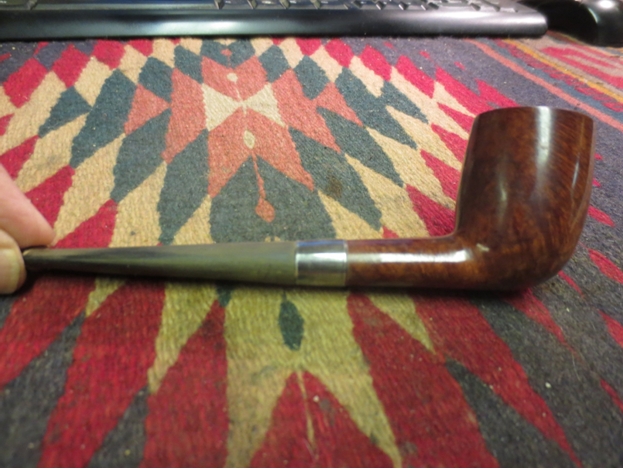


 “I decided to adopt the Ben Wade and care for it however long it has to live,” the restorer said with a hopeful smile. “But of course I wouldn’t dream of having its name legally changed to mine.”
http://www.naspc.org
http://www.roadrunnerpipes.com
http://about.me/boughtonrobert
Photos © the Author


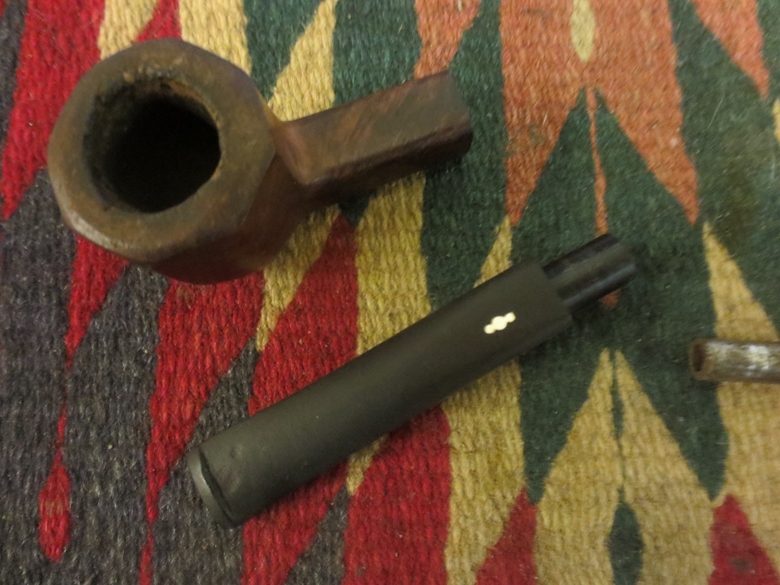
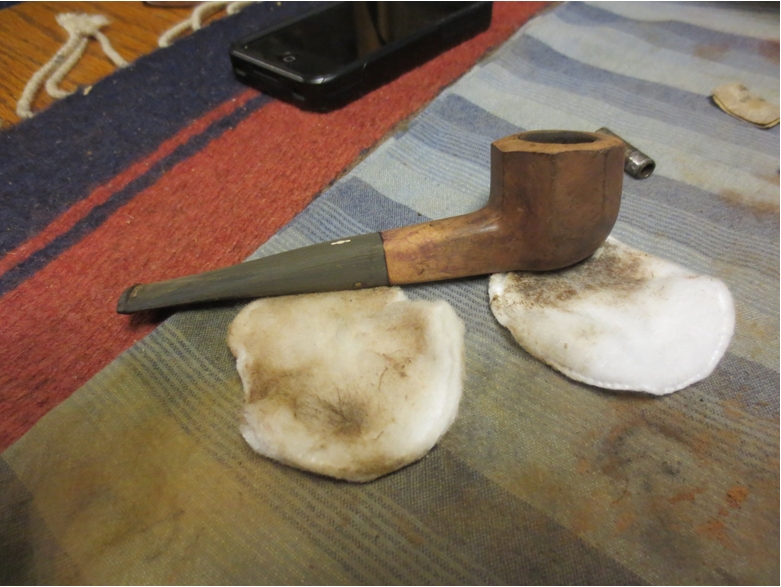
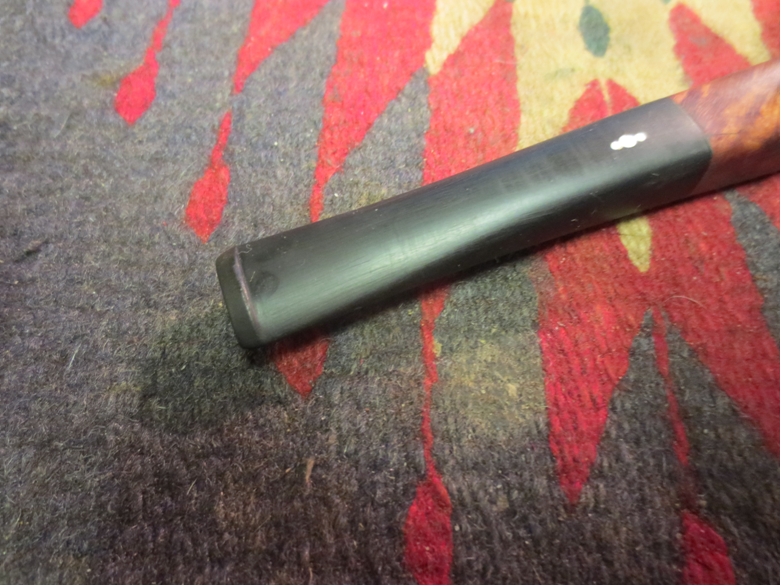
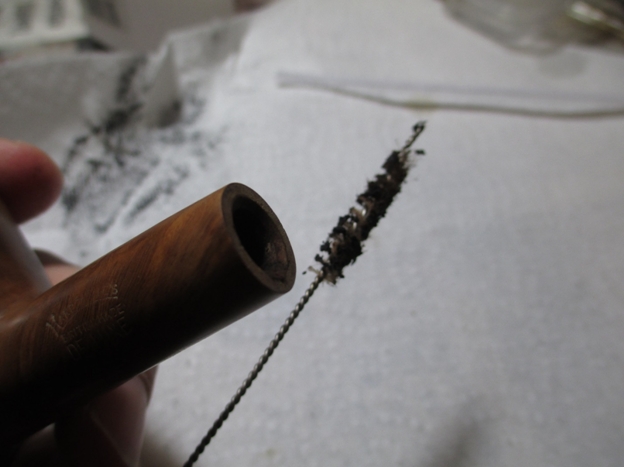
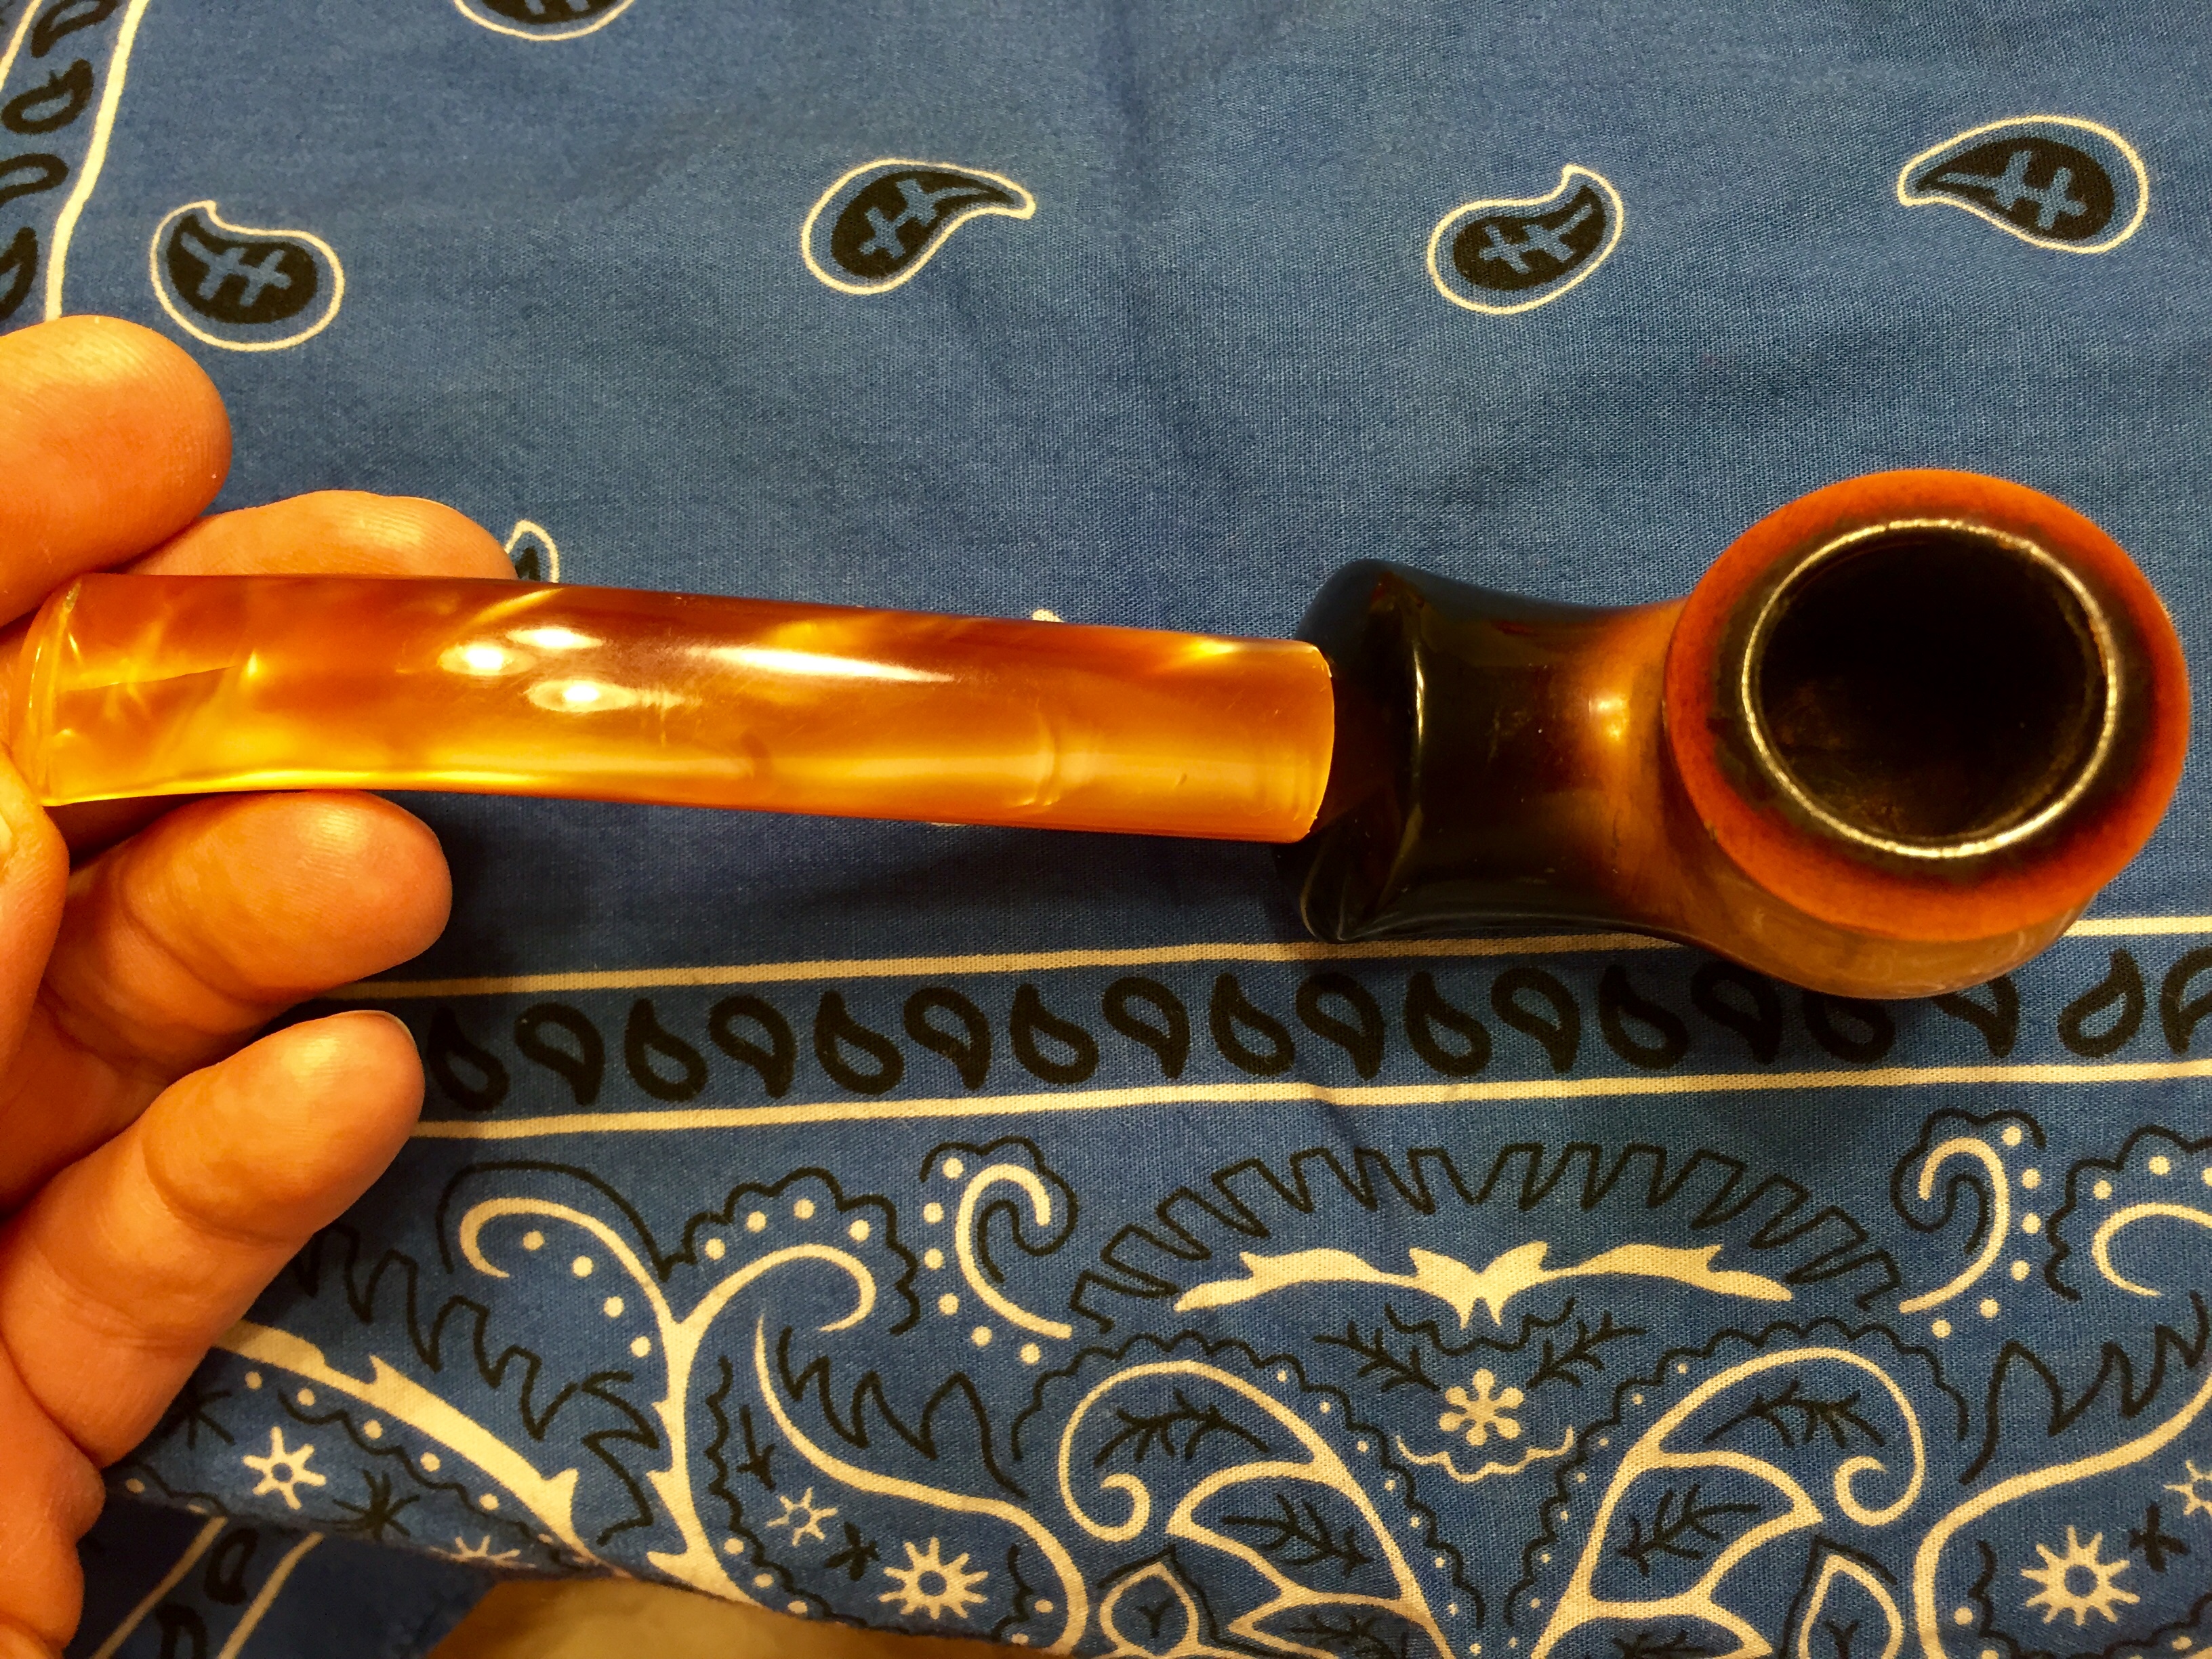
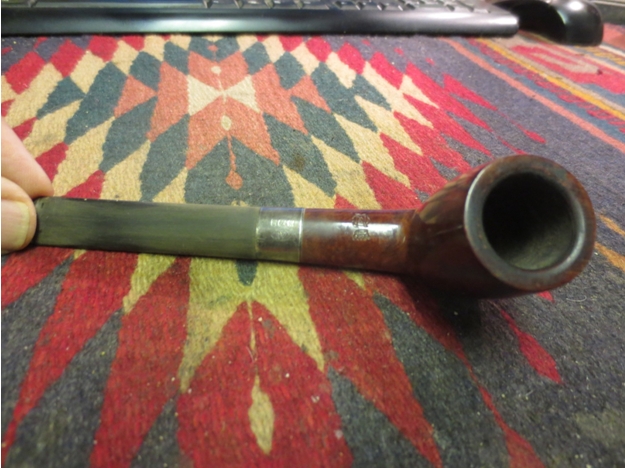
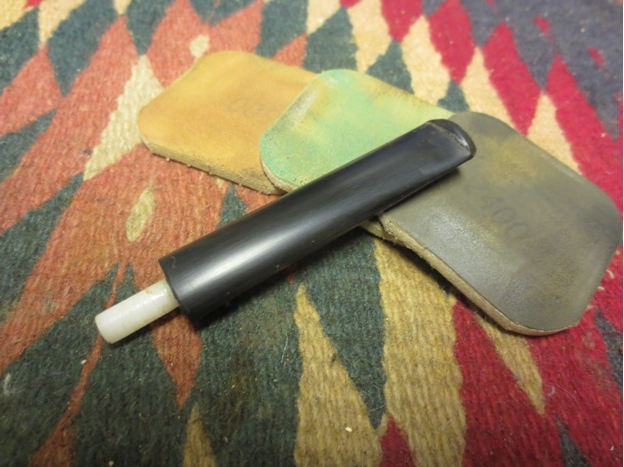
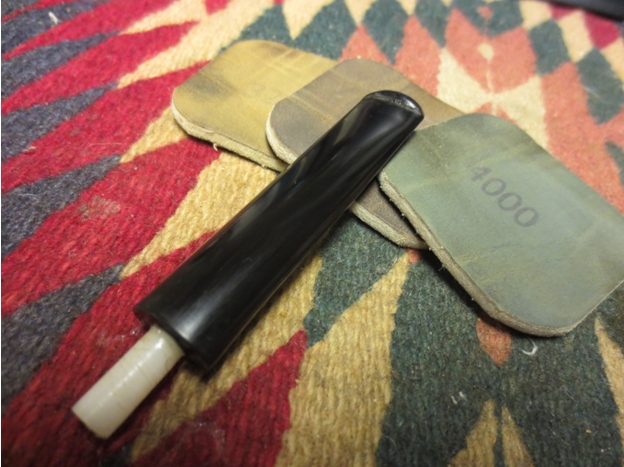
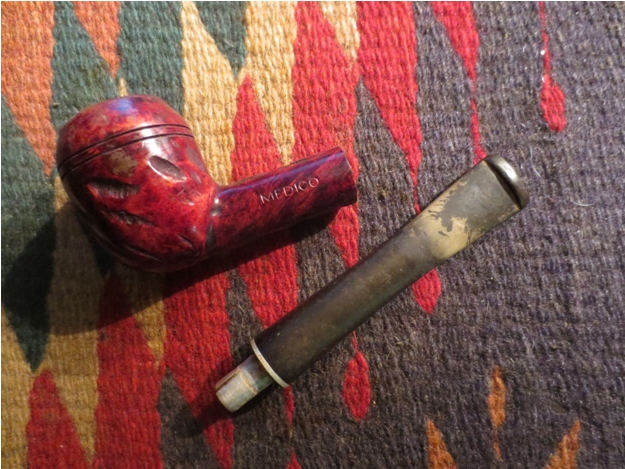
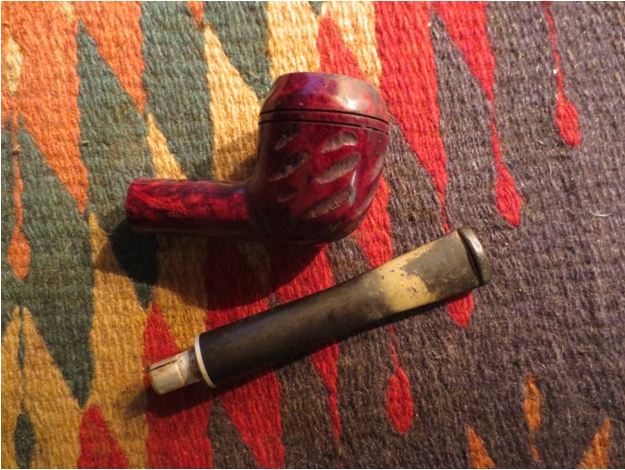
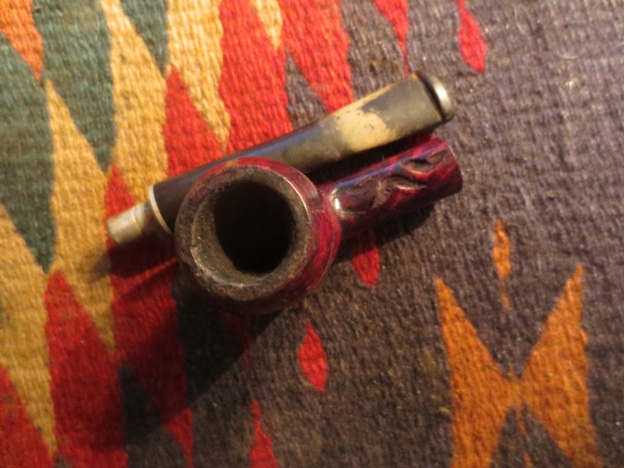
 I took it apart and blew through the shank – the airway was constricted. I blew through the stem it too was constricted. I used my KleenReem drill bit to open the shank airway and cleaned out and opened the airway. Blowing through the airway was no wide open. The stem was a different story. The tenon was nice and open. The issue lay in the round airway in the button. It was significantly smaller than the airway in the stem. I used a needle file on the airway in the button to open it up and flare it around the edges – while still maintaining the round look. Once that was complete the draw on the stem and shank were both open. Now I needed to work on the taper, the shape of the button and the diameter of the stem at the shank junction.

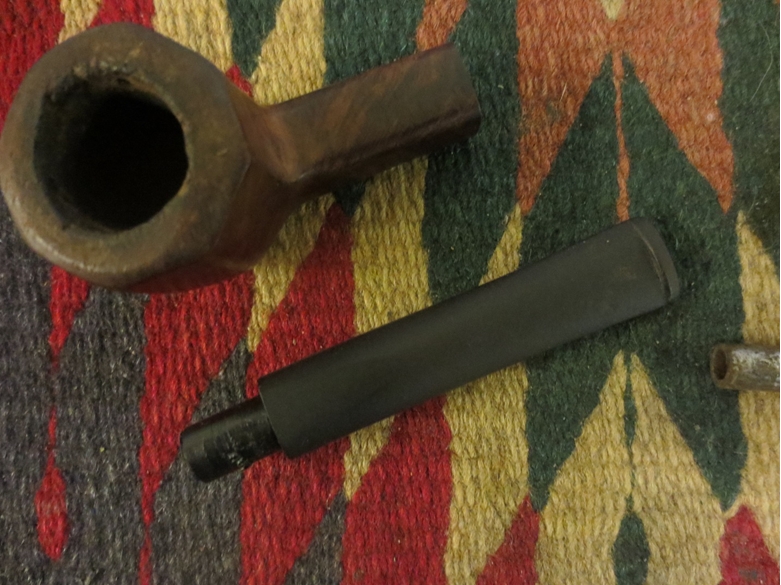
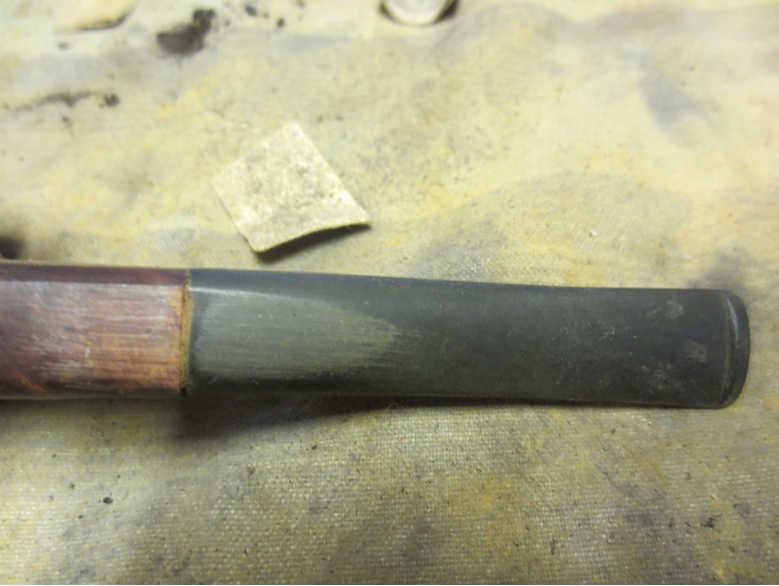
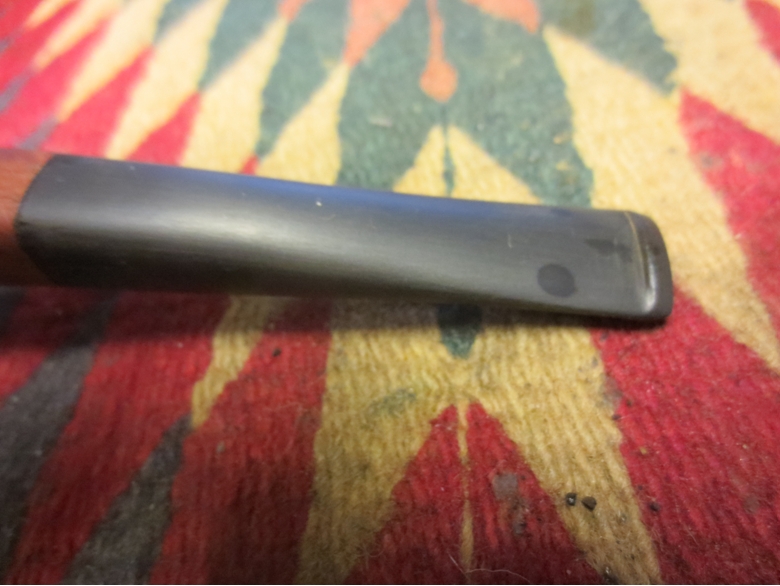
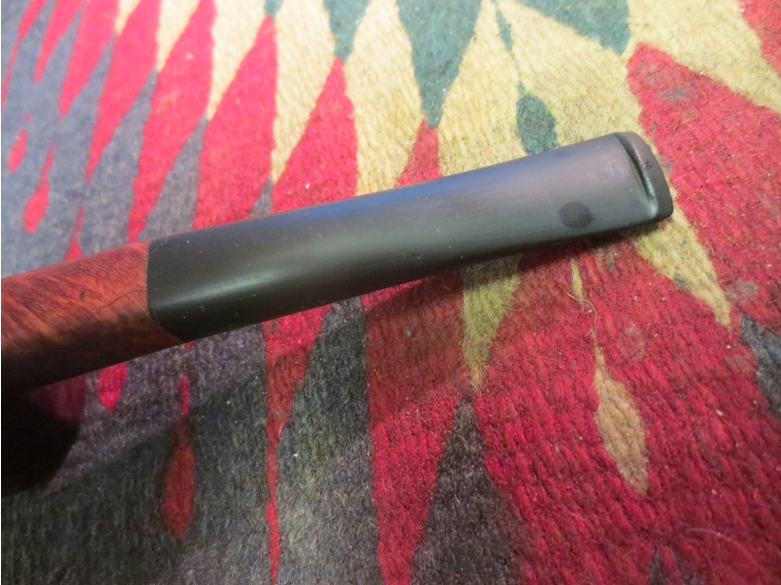
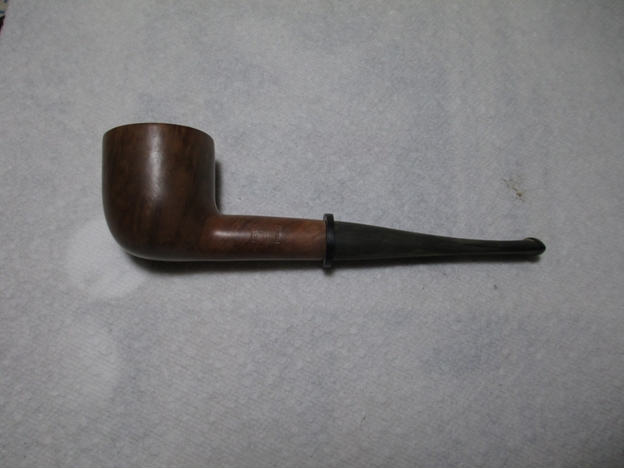
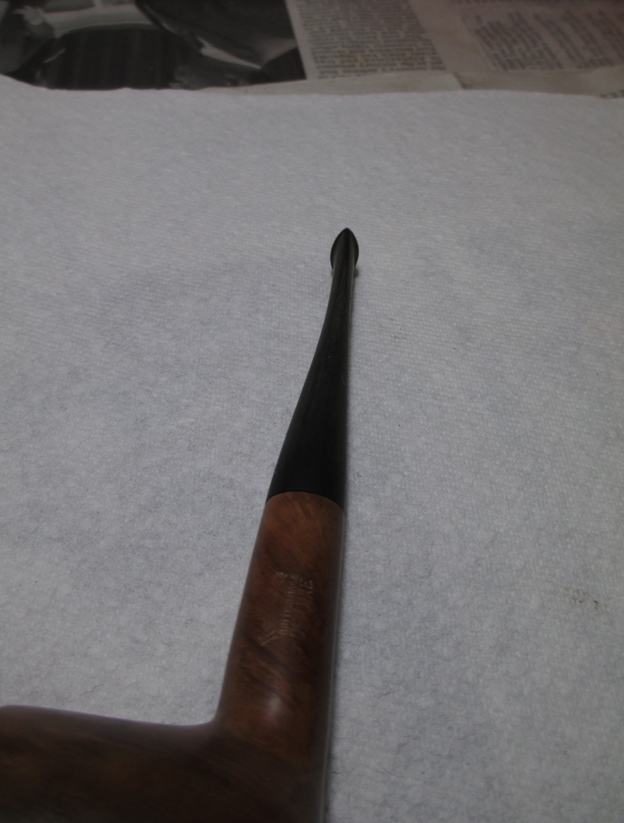
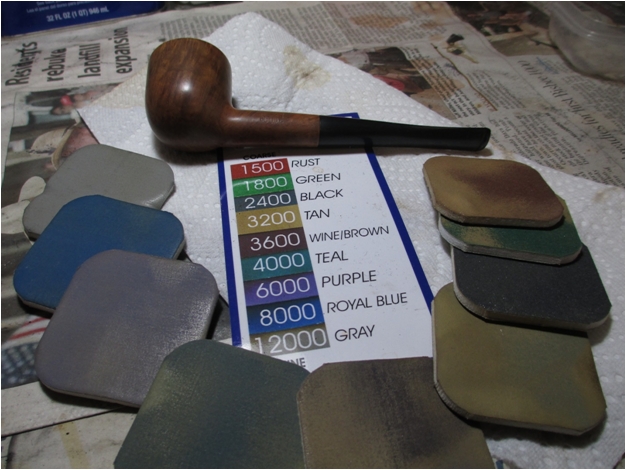
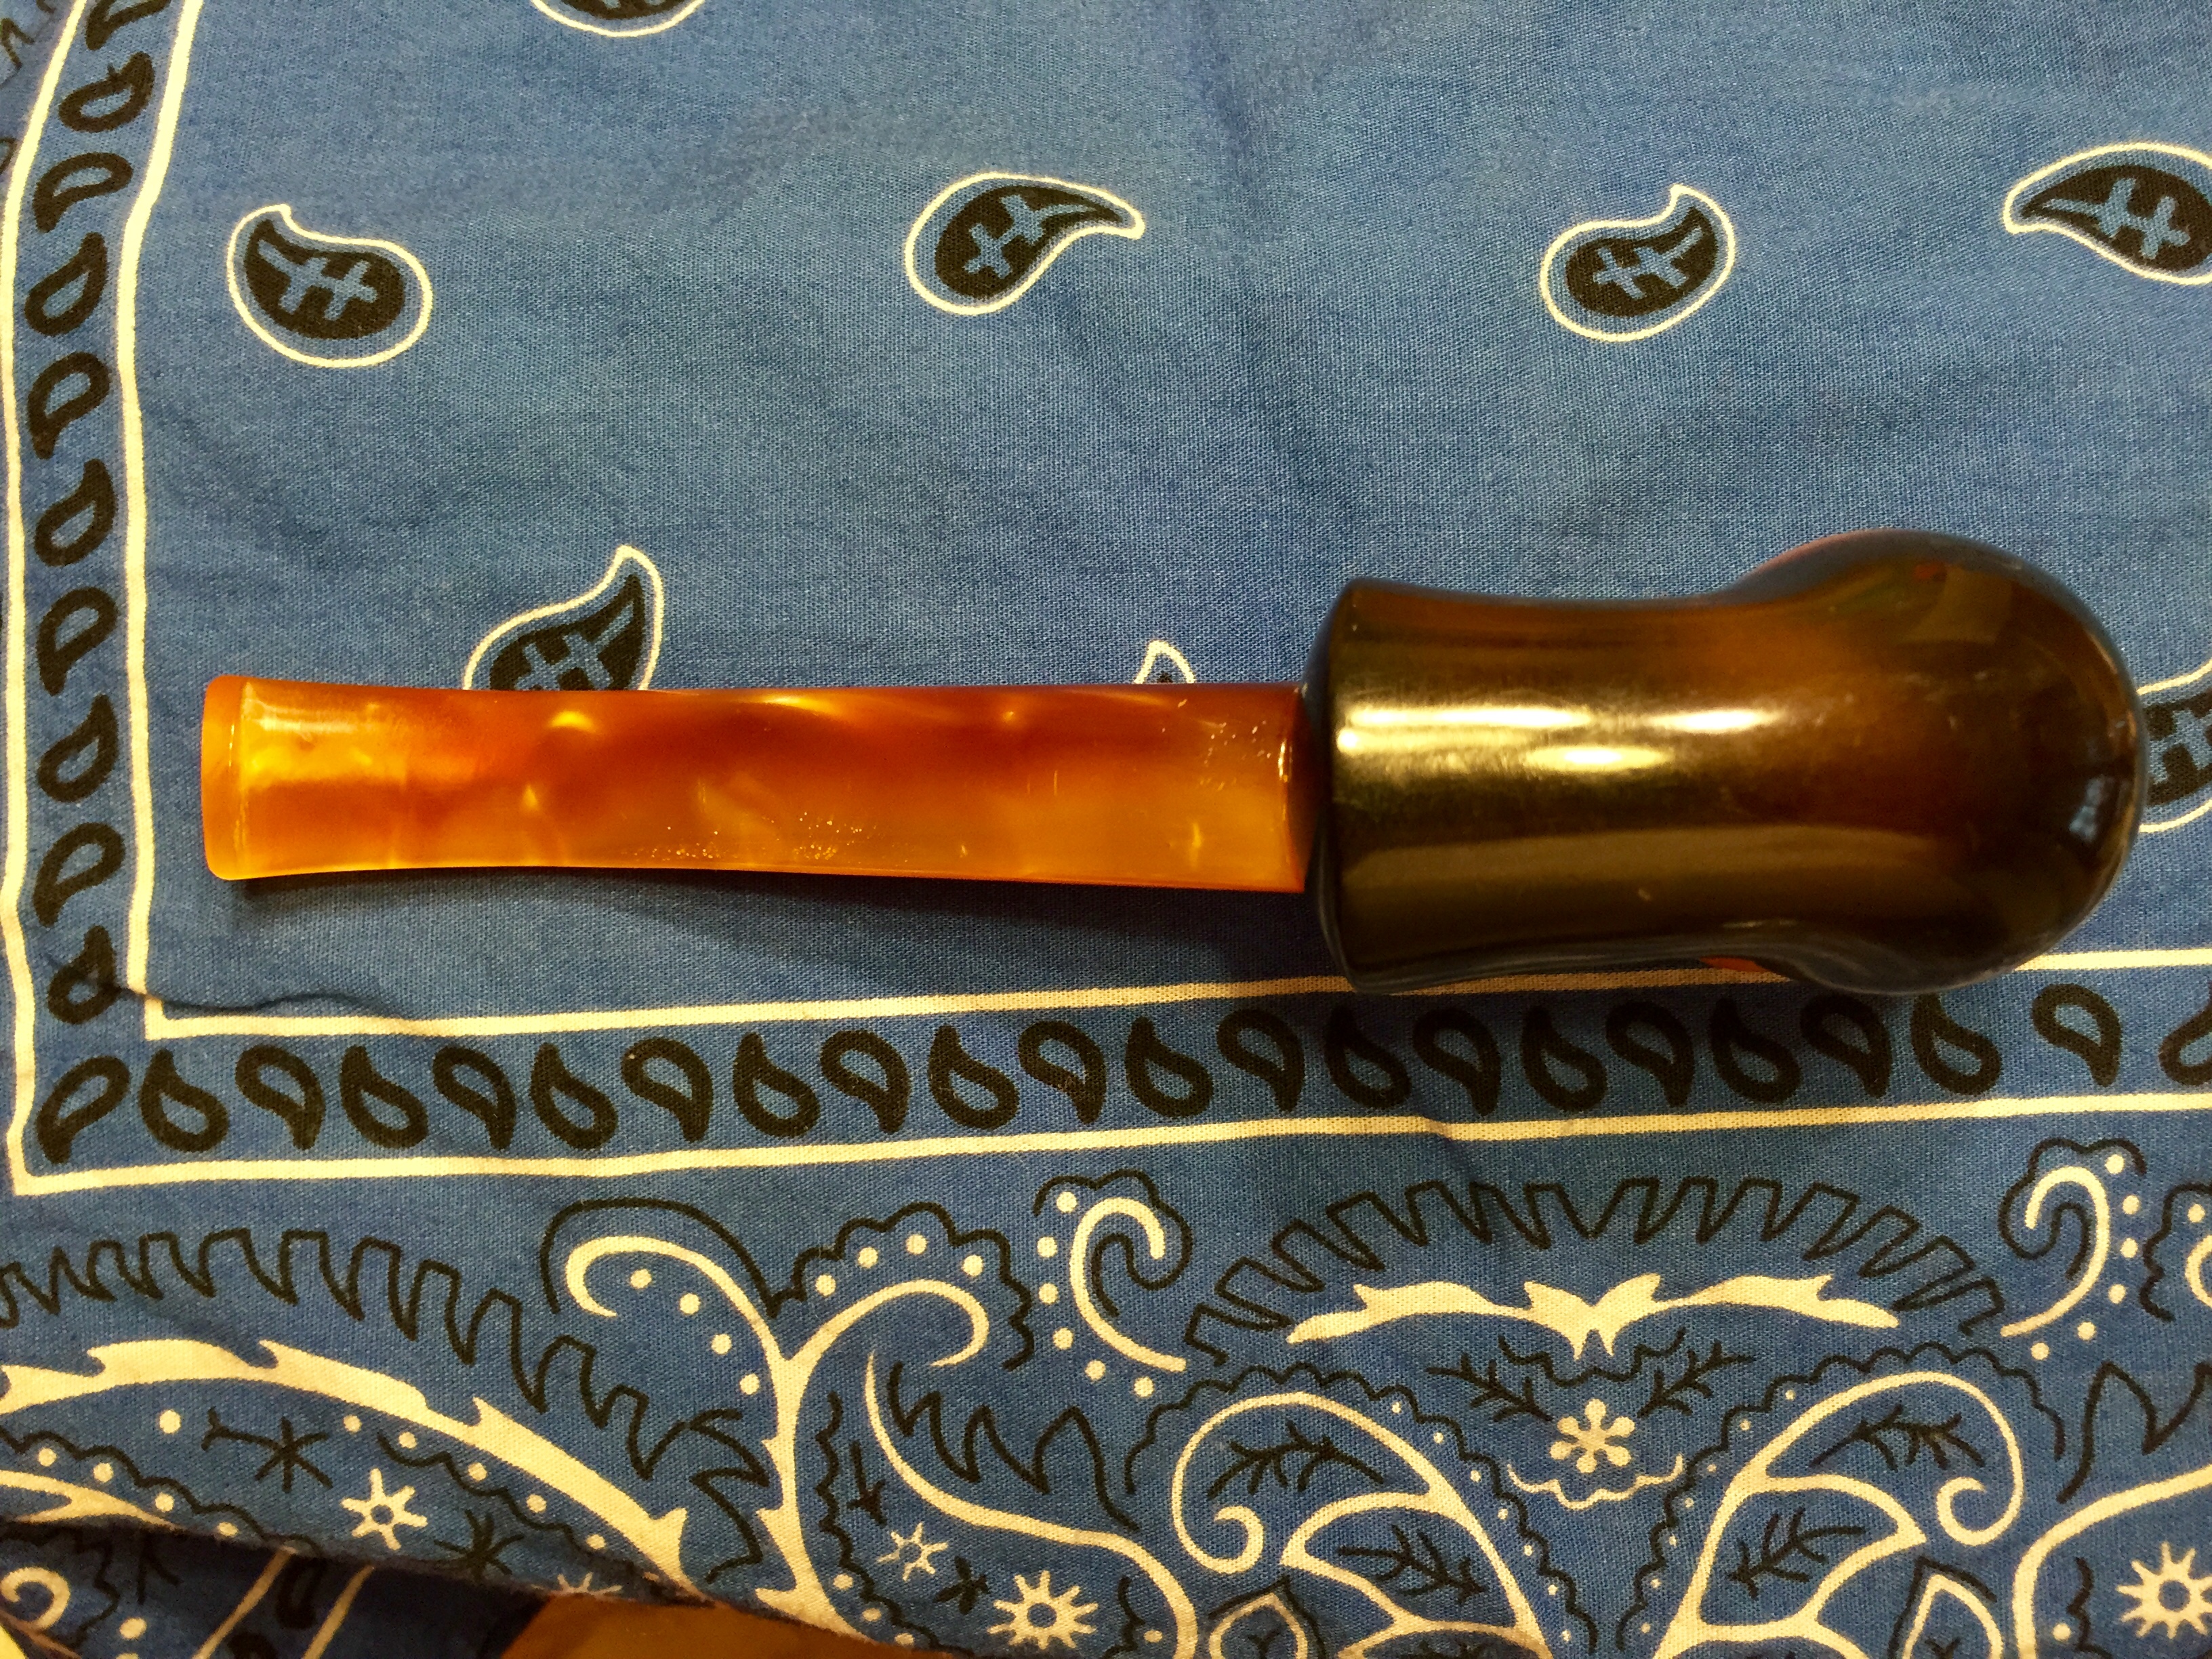
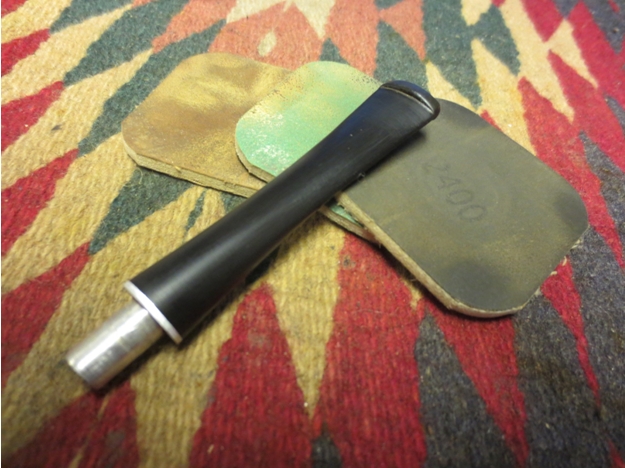
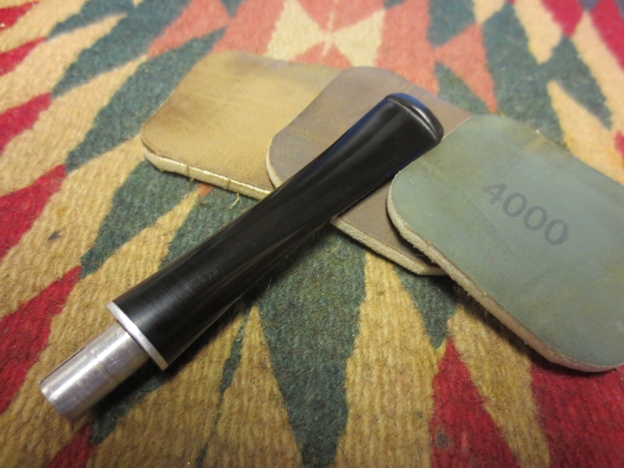
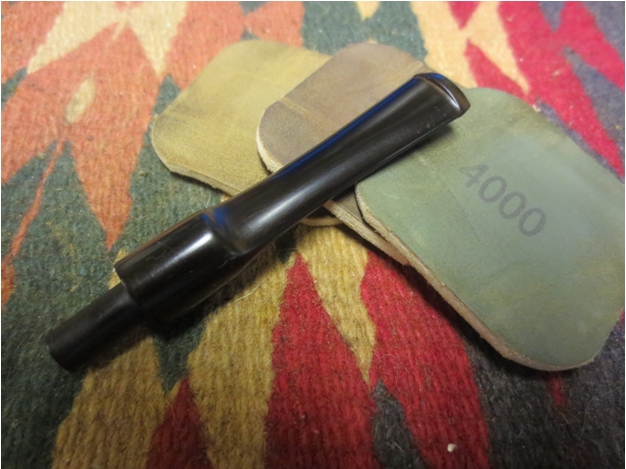
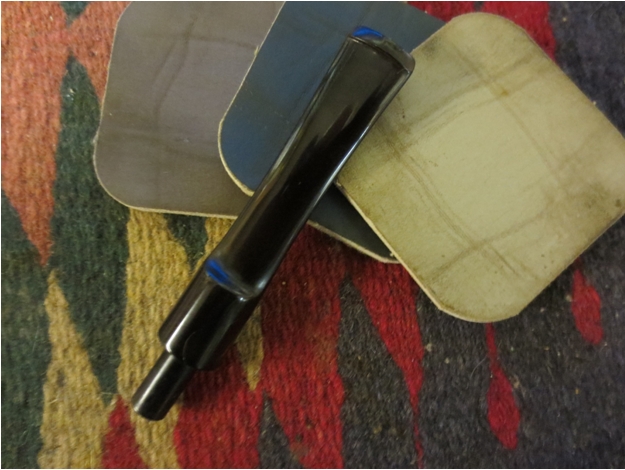
 I worked the stem over with my usual array of micromesh sanding pads, wet sanding with 1500-2400 grit pads and dry sanding with 3200-12,000 grit pads. (Note to self – pick up some more of the 1500-2400 grit pads as I go through them far more quickly than the higher grit pads. Must be the water!) I wiped the stem down with Obsidian Oil and when it had dried, gave it multiple coats of carnauba wax and buffed it with a soft flannel buff. The newly shaped stem is shown in the photos below. The draw is open, the shape more comfortable in the mouth and the lines look far better.