by Steve Laug
Not too long ago I received an email from a Andrew in Greece asking if I could work on some pipes for him. He had some that needed a stem and a couple of pipes with broken stems and a Canadian that had a crack down the back of the bowl and across the right side. We emailed back and forth and he sent me the following photos. I figured they would be some interesting pipes to work on so he sent them to me to work on. 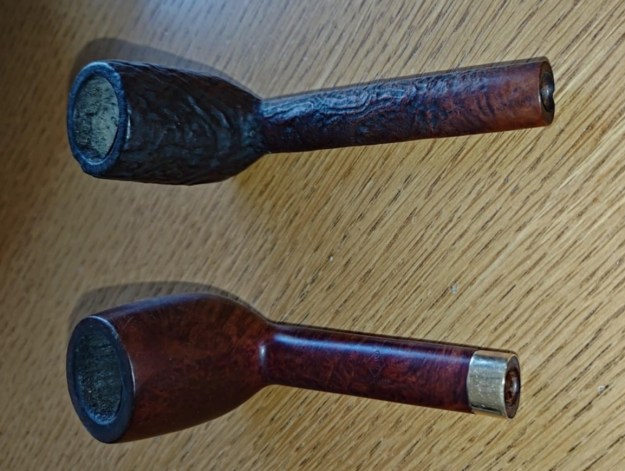
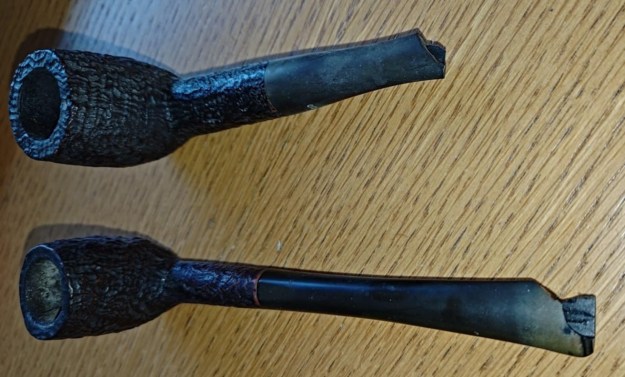
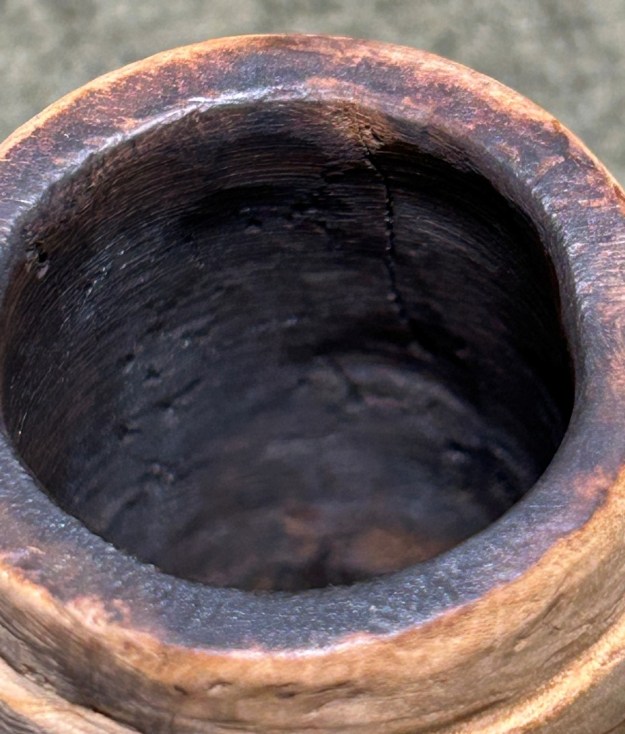
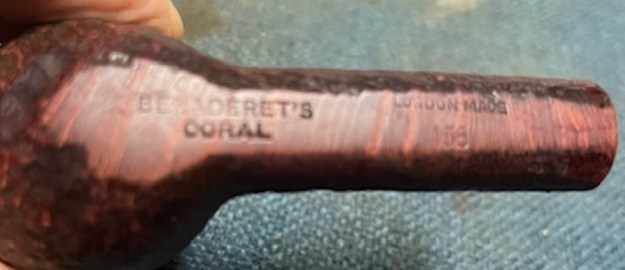
 I received the box yesterday. When I opened it this morning I was amazed to see what he had sent. The Sandblast Canadian that needed restemming was stamped 264 Peterson’s Kapruf. The rest of the stamping was quite faint. The pipe needed to be restemmed and it had a small divot in the shank end and what looked like a crack. The second, a smooth Canadian was a BBB Ultonia 504 with a gold band. The two Sandblast with broken stems turned out to be Stanwells. The larger on is stamped Stanwell [over] Regd. No. 969-48. It is followed by the shape number 858 [over] Old Briar. The smaller one is stamped Stanwell [over] Regd. No. 969-48 followed by de Luxe followed by the shape number 87. The last of the five with the cracked bowl is an 8 Dot Sasieni [over] London Made [over] Pat. No. 1513428. It was also stamped “Amesbury”. They were going to be an interesting lot to work on.
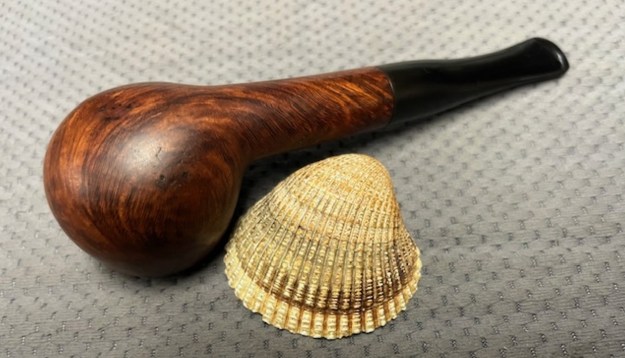
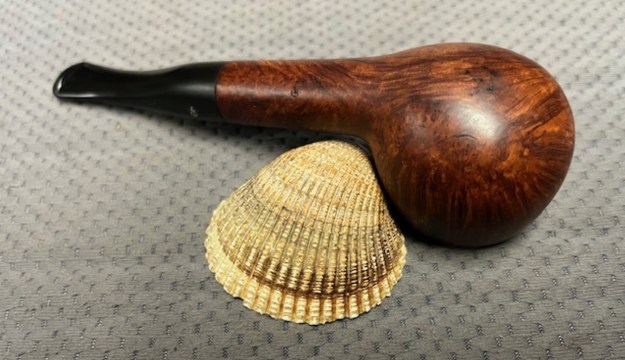
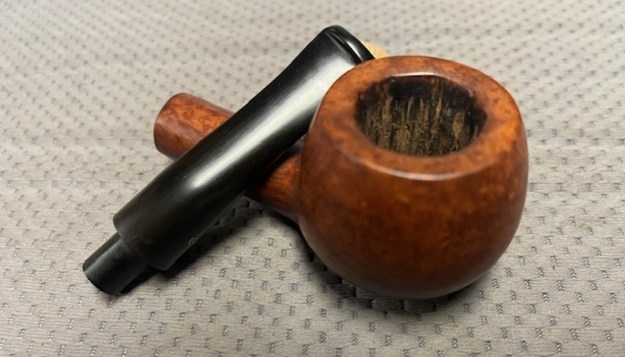
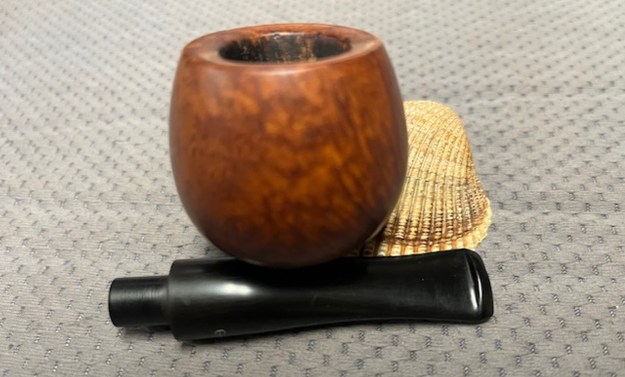
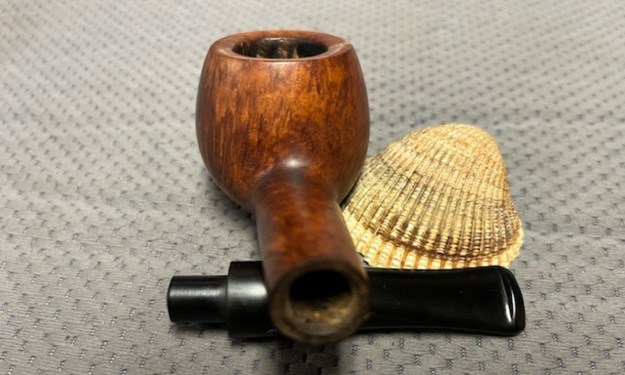
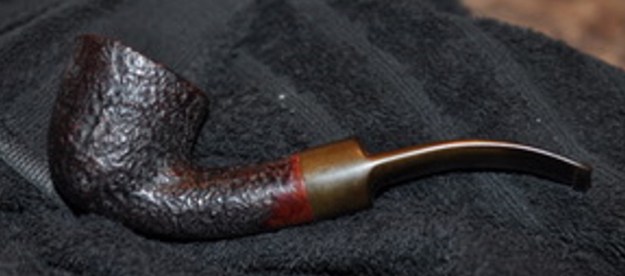
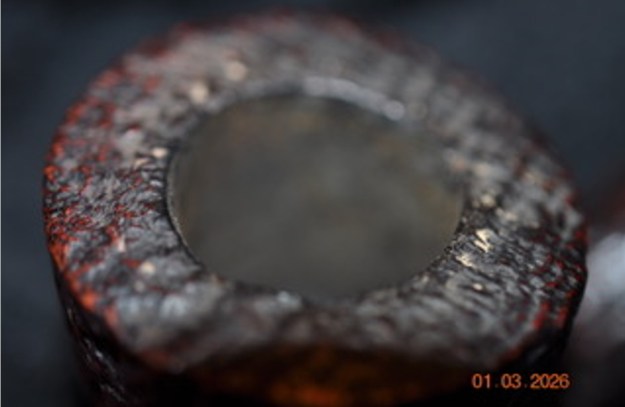
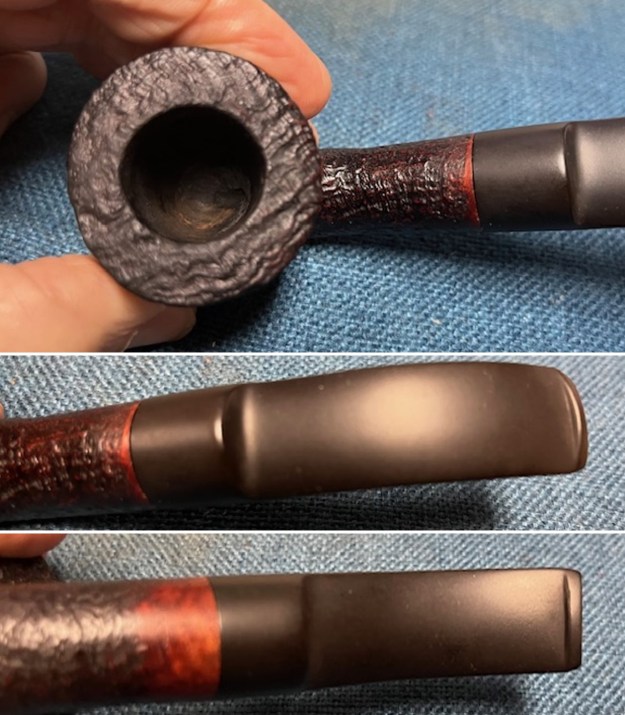
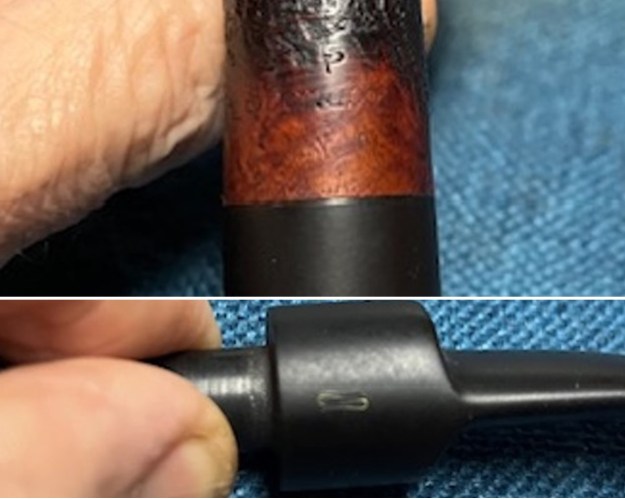
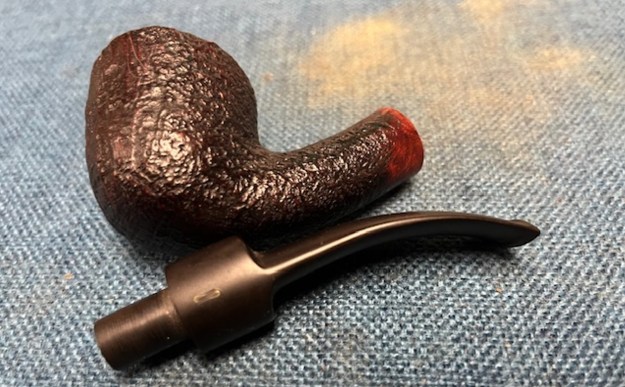
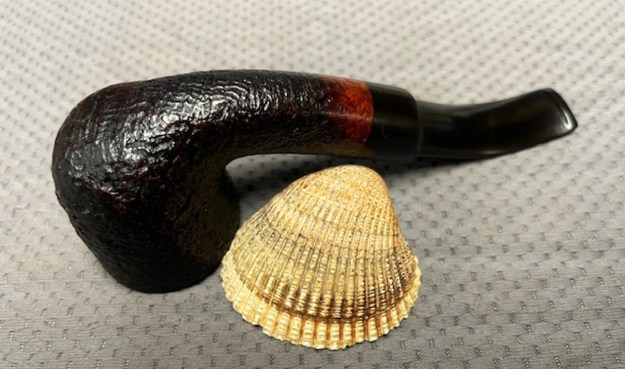
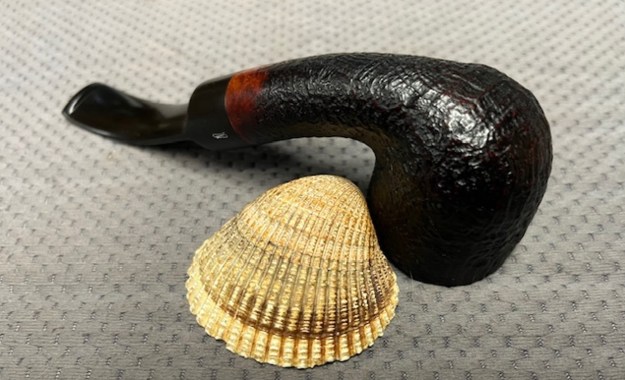
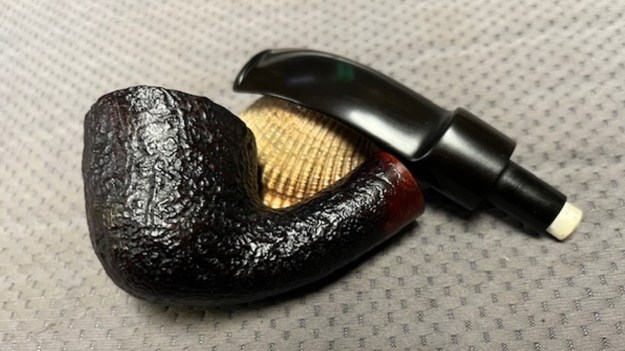
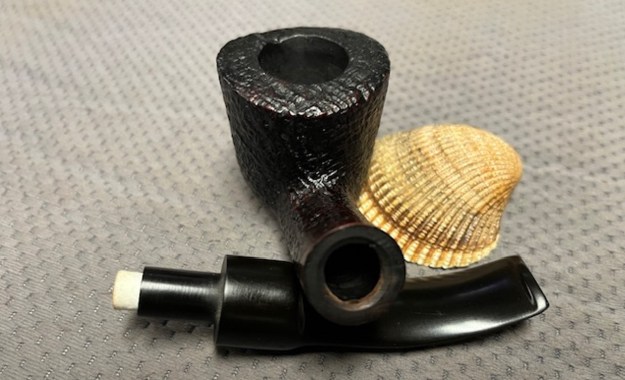
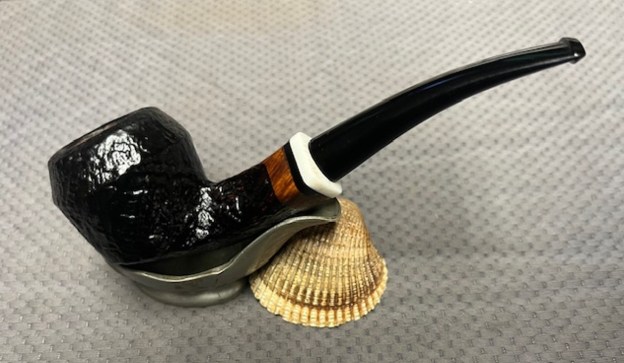
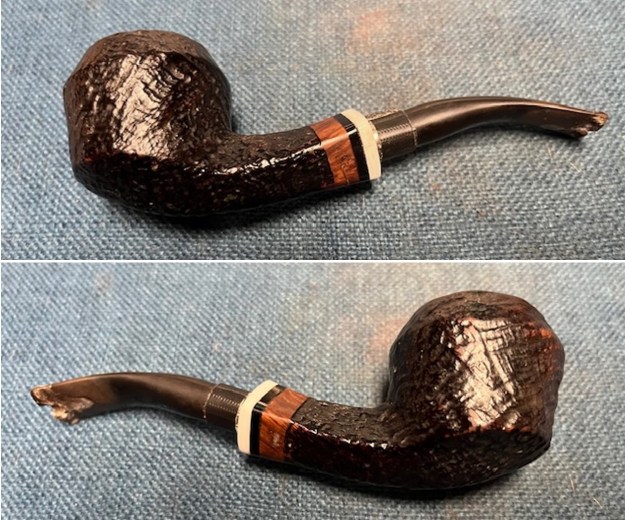
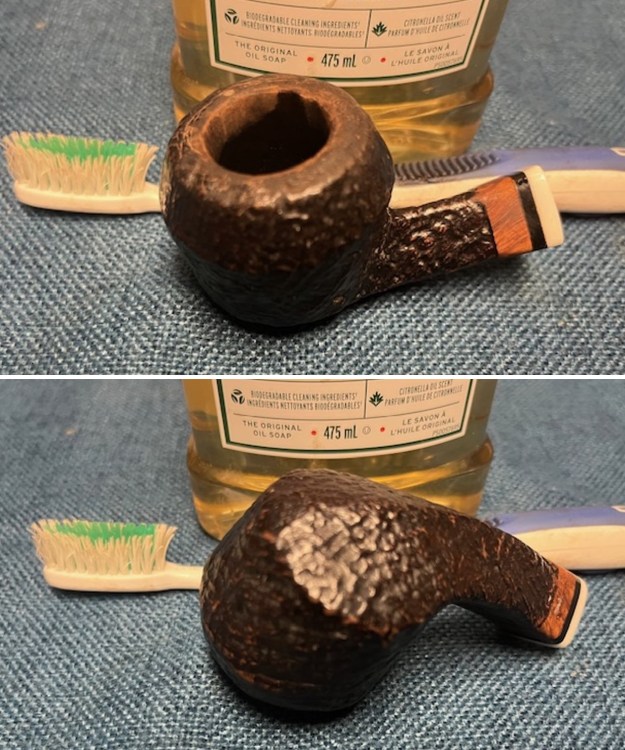
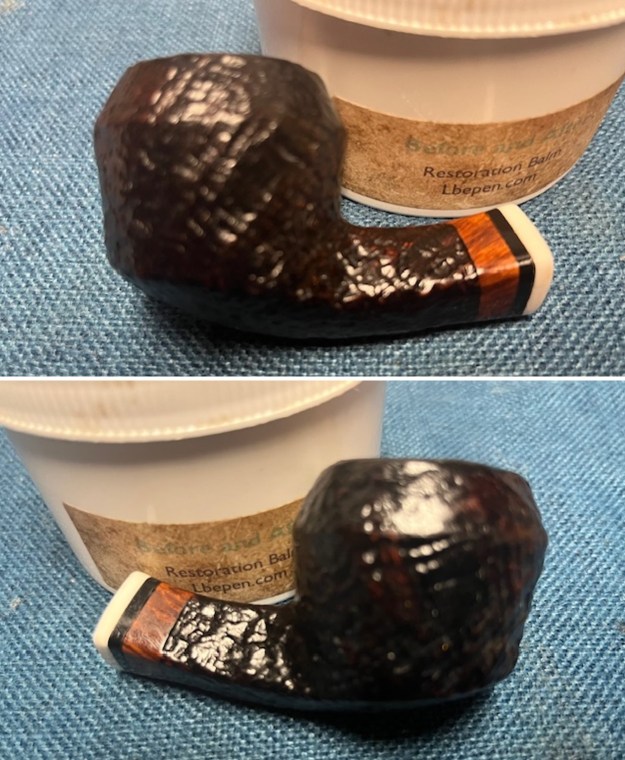
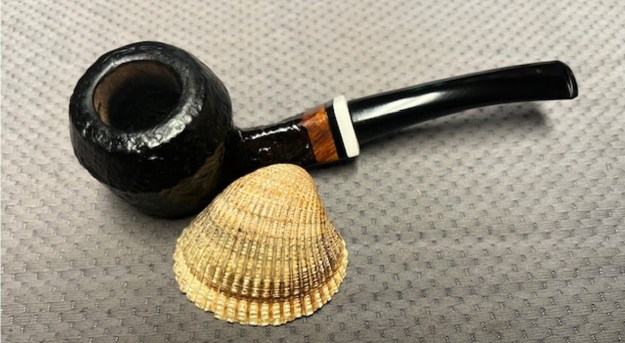
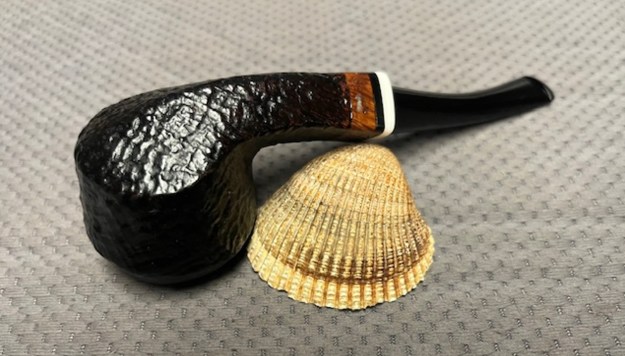
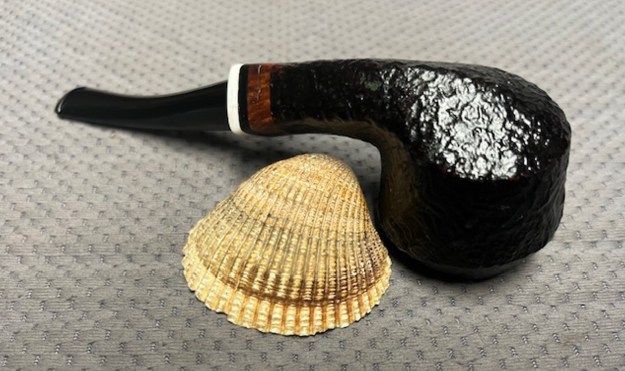
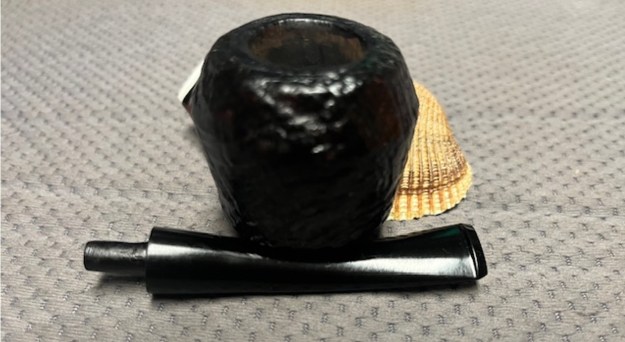
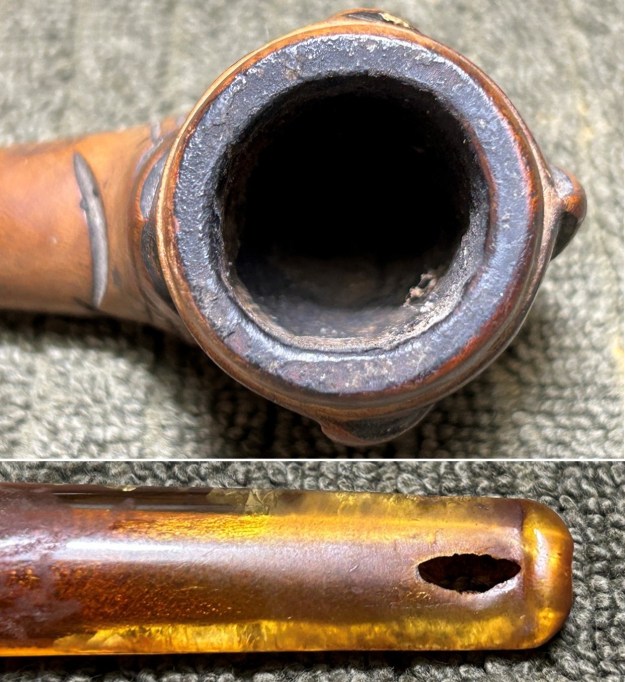
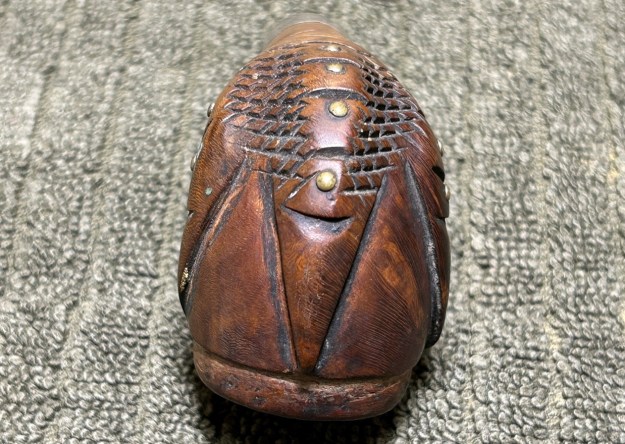
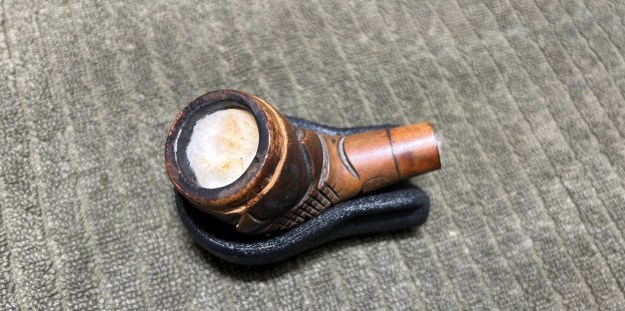
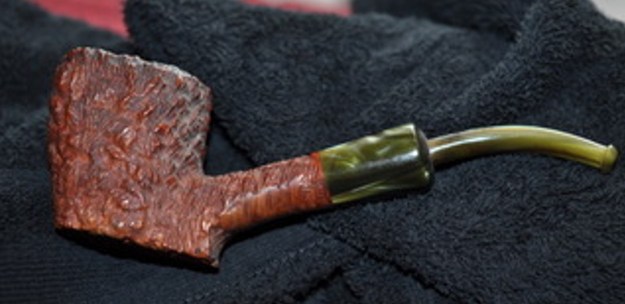
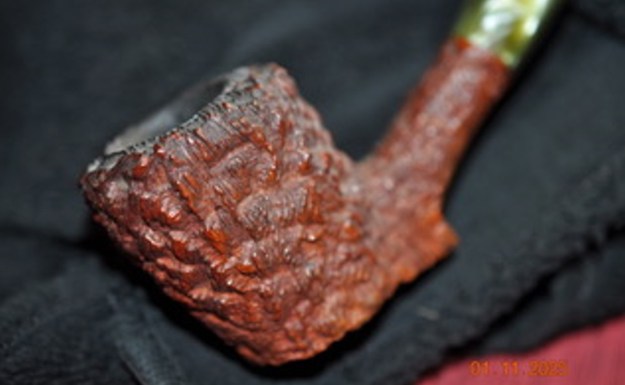
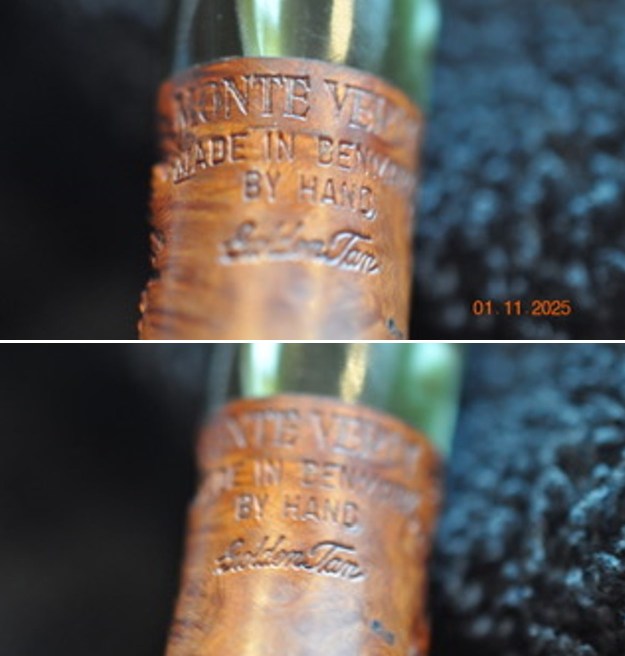
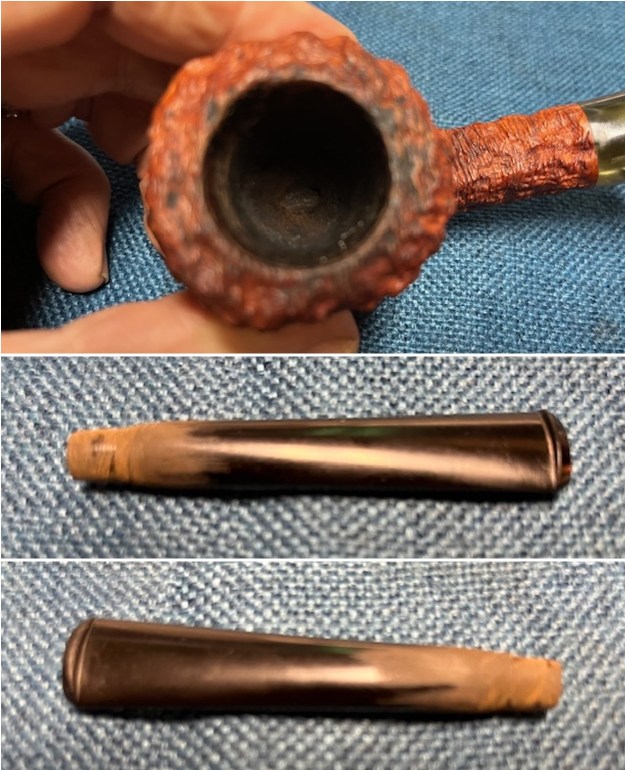
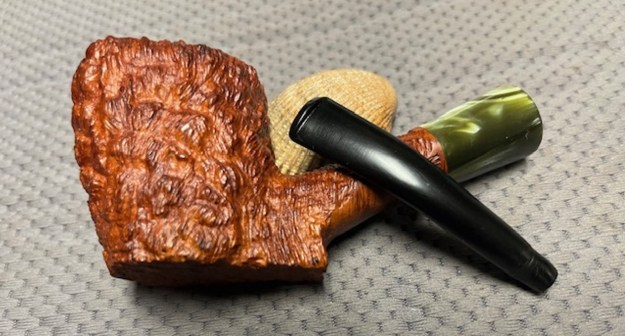
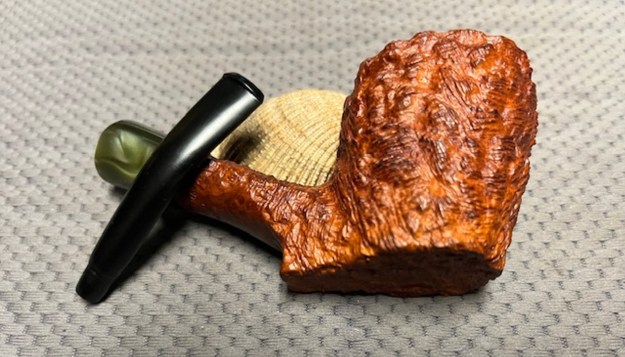
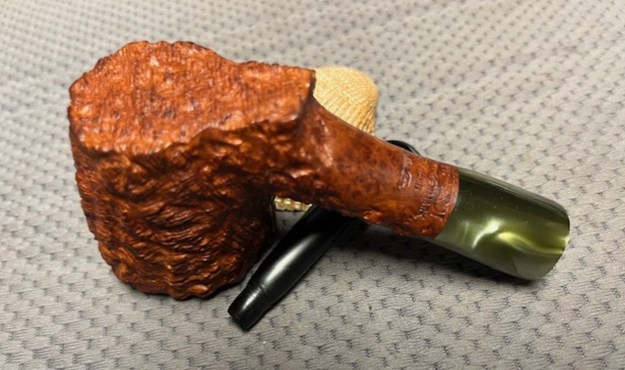
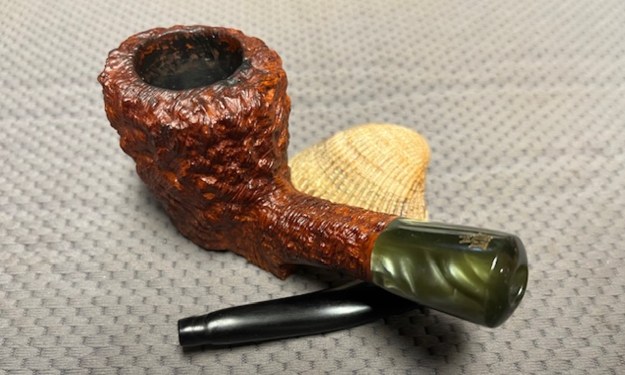
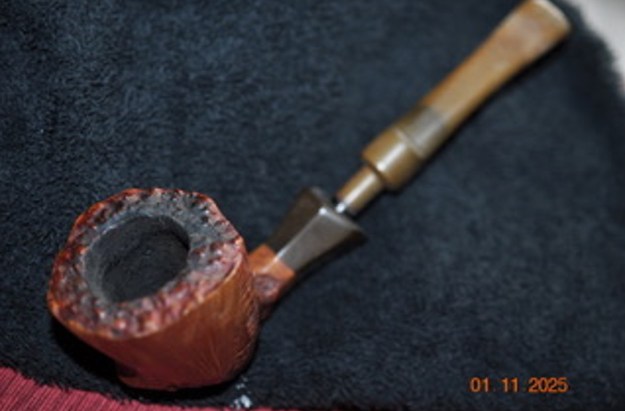
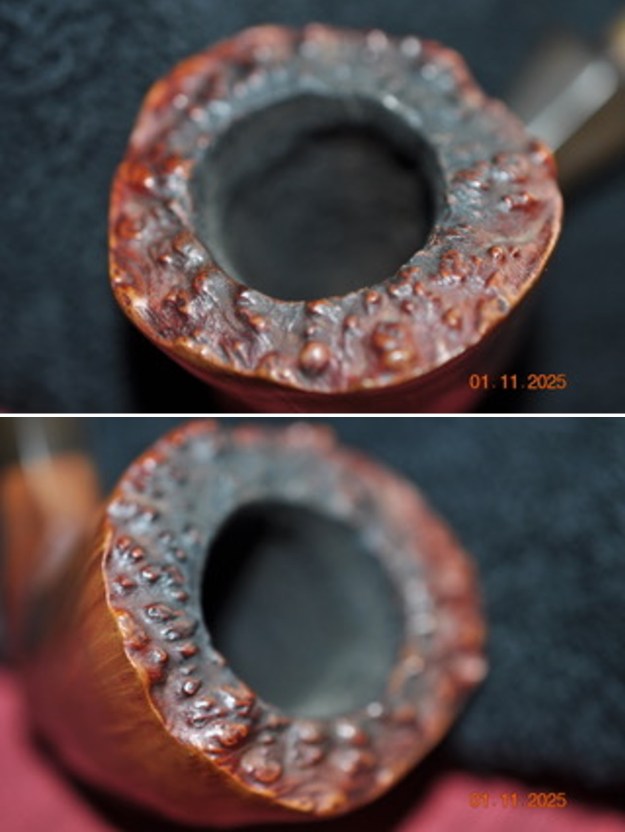
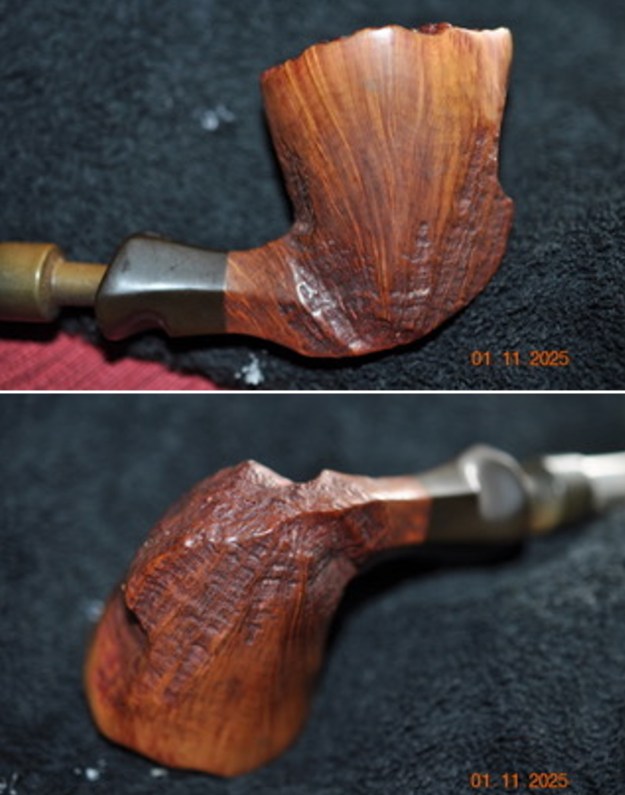
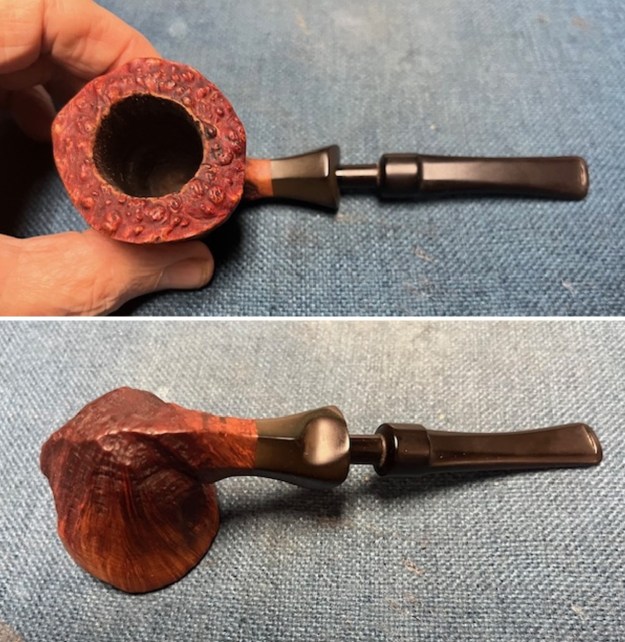
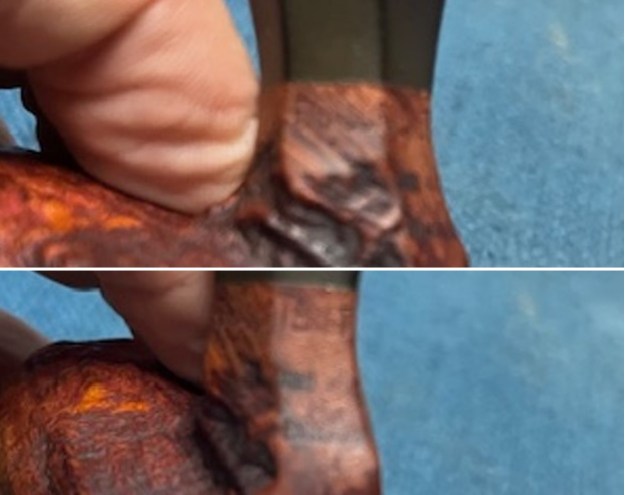
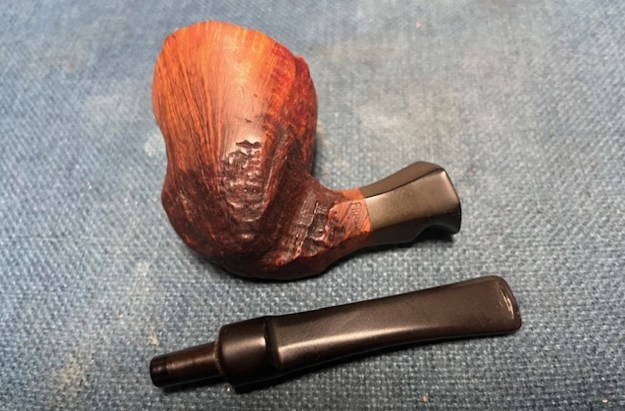
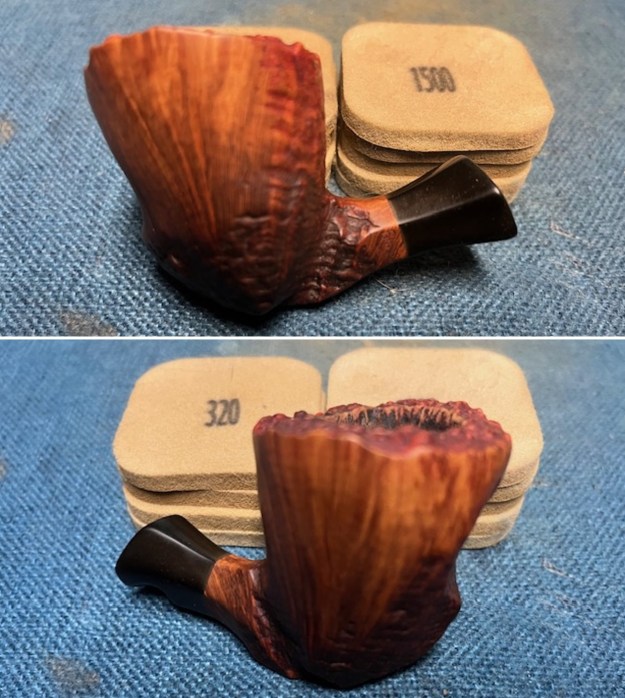
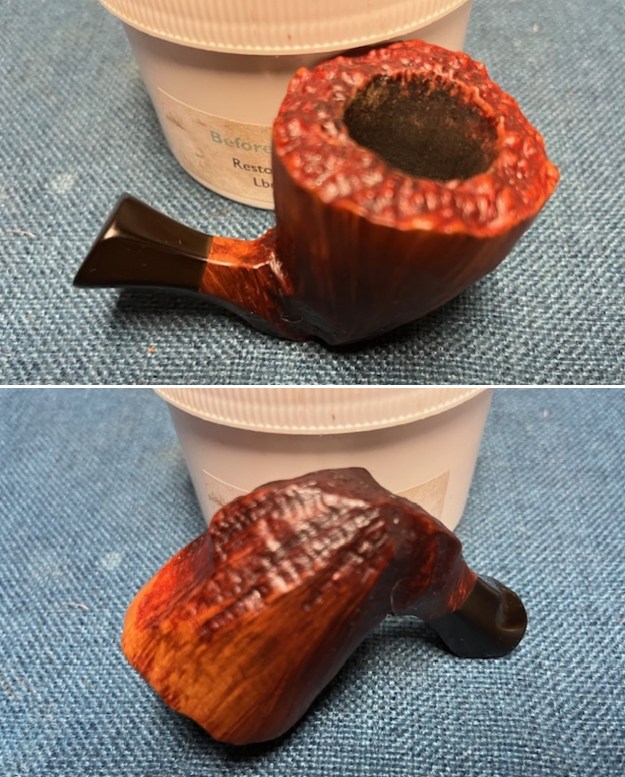
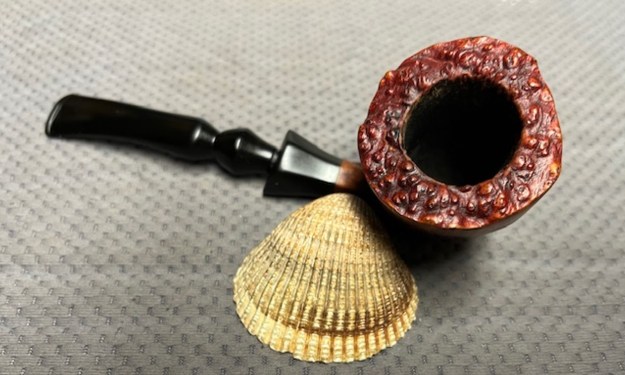
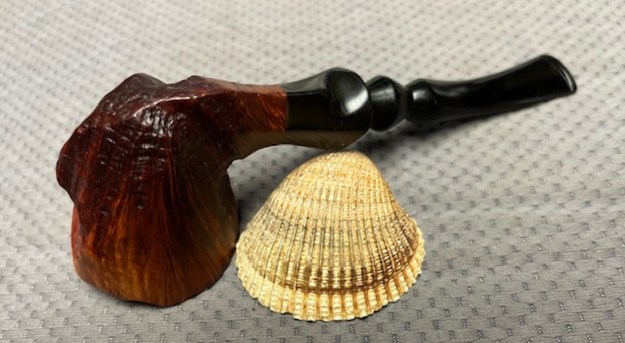
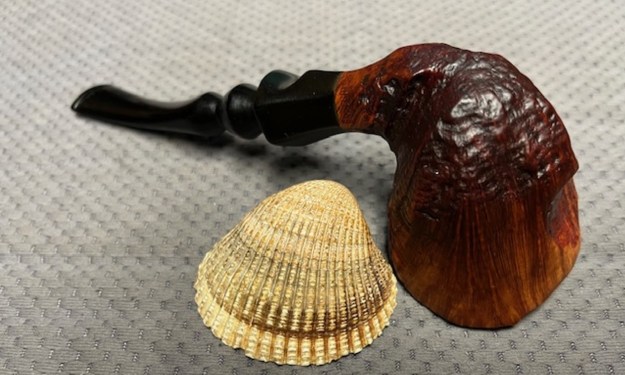
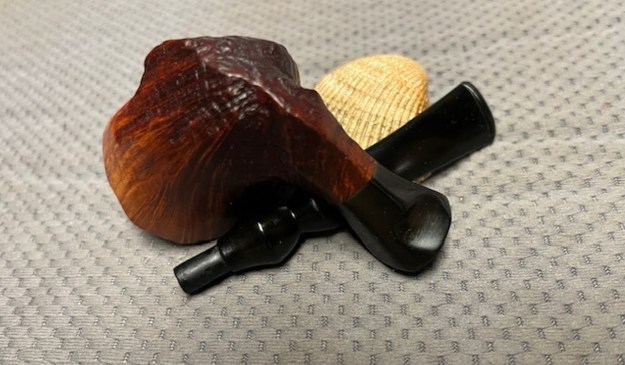
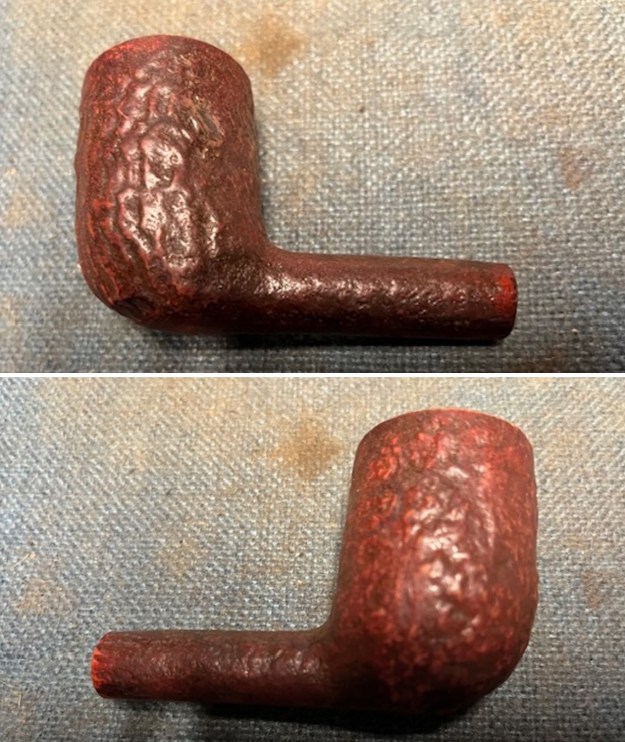
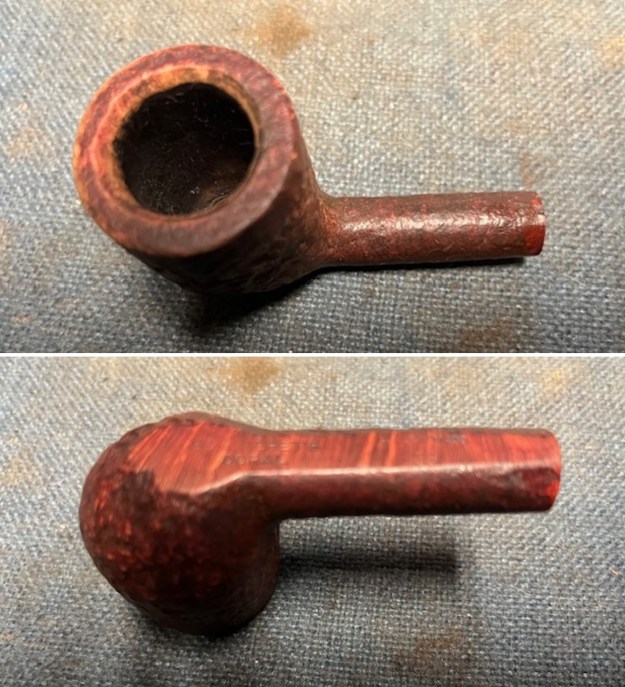
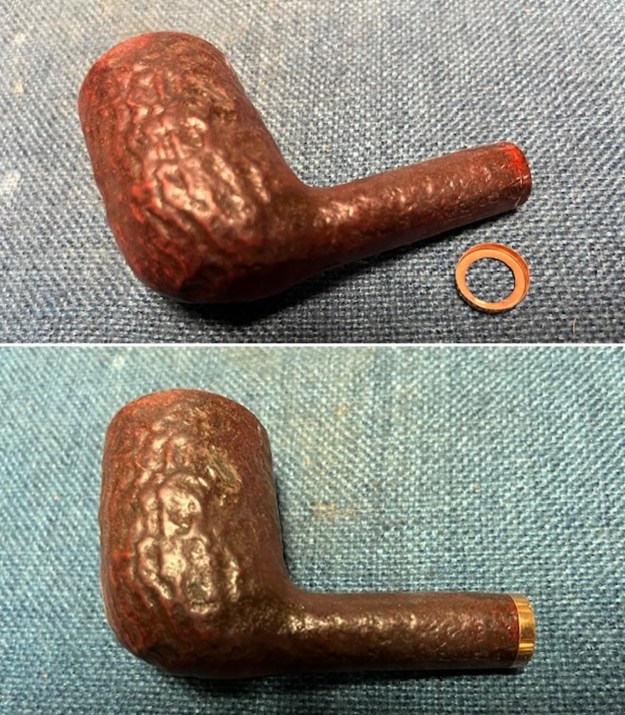
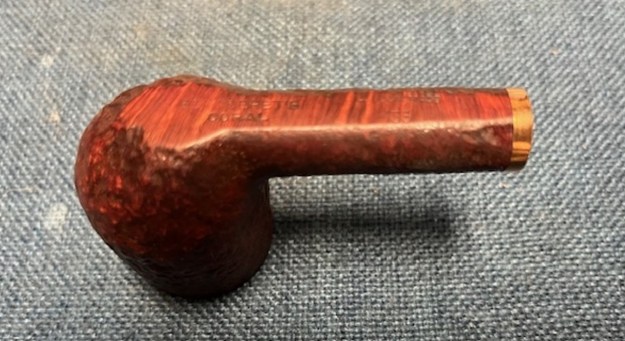
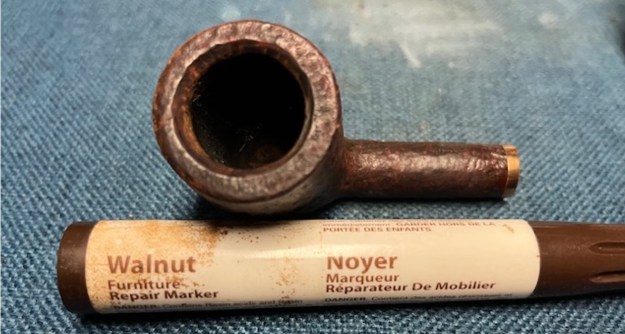
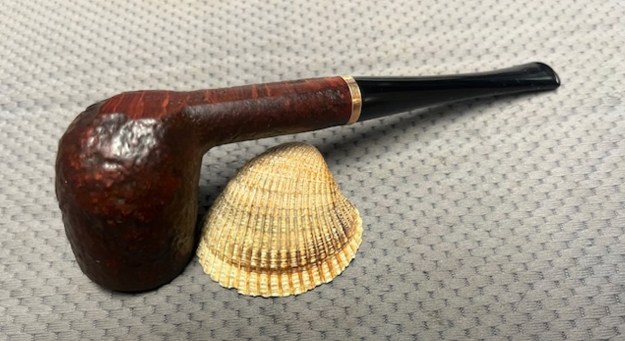
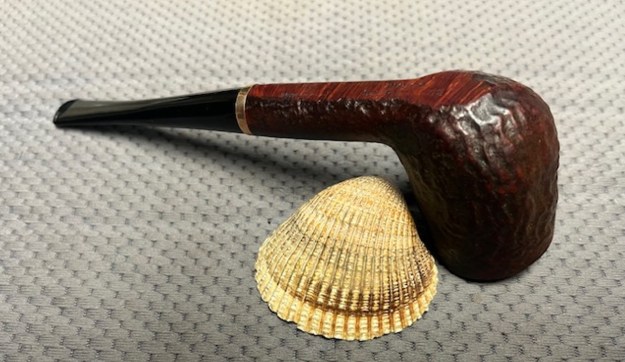
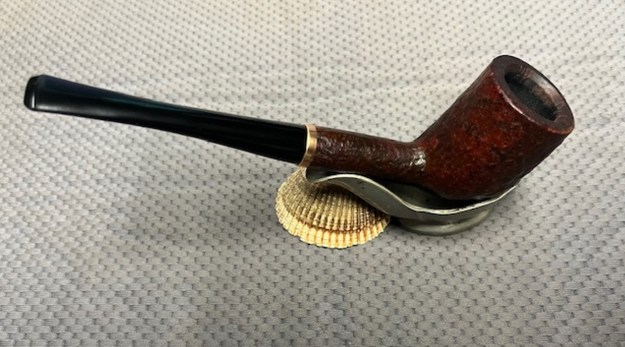
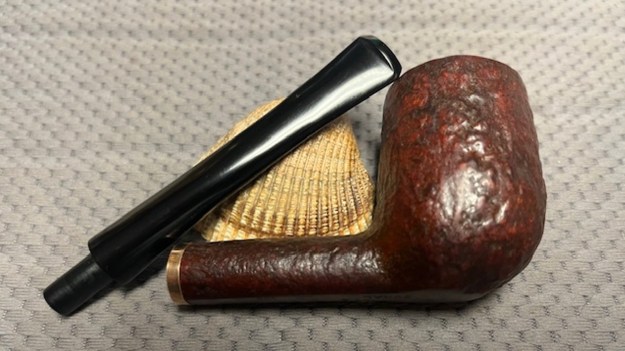
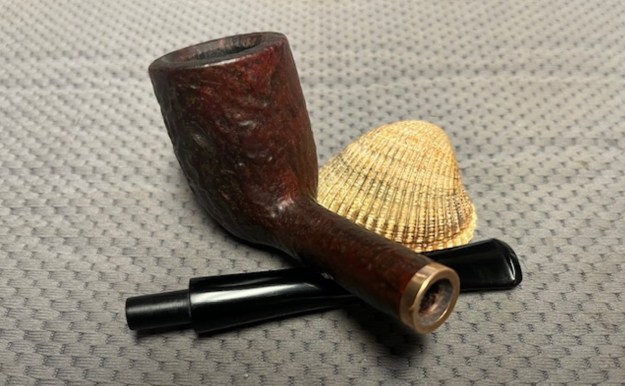
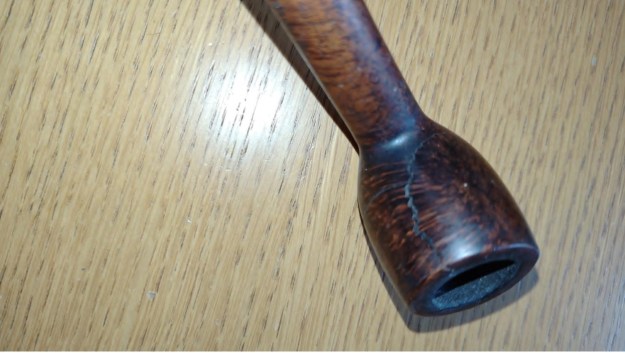
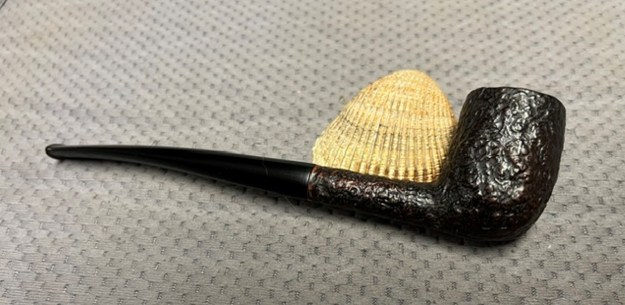
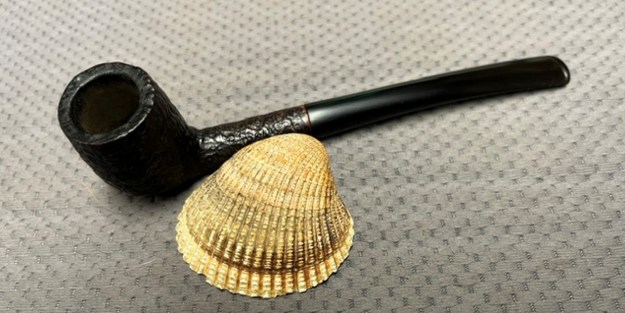
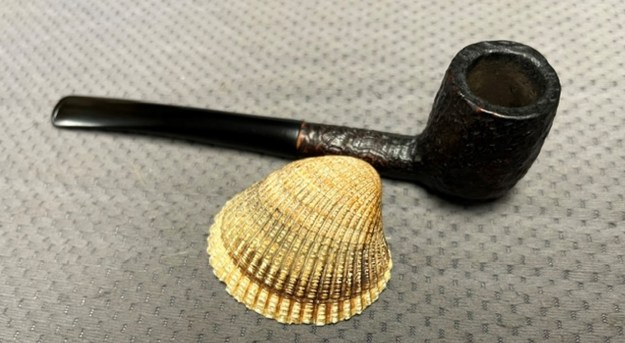
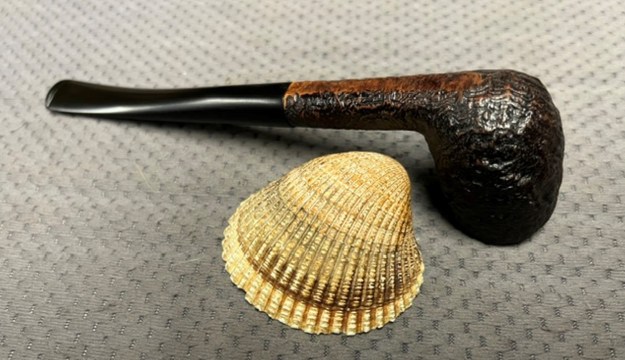
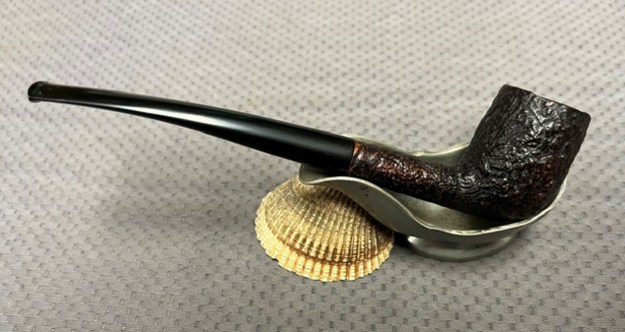
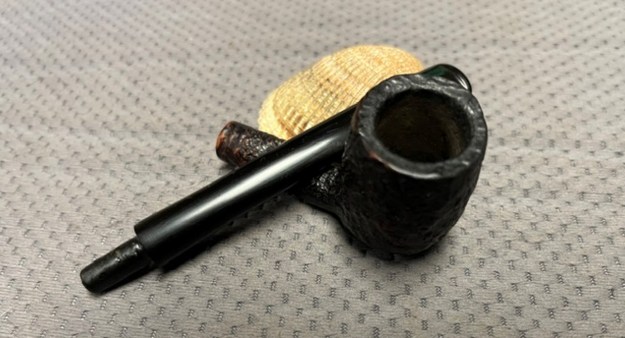
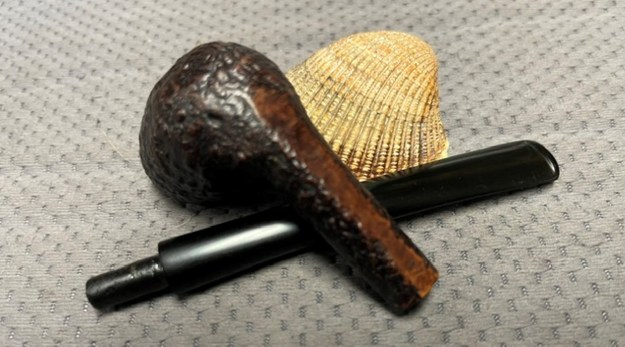
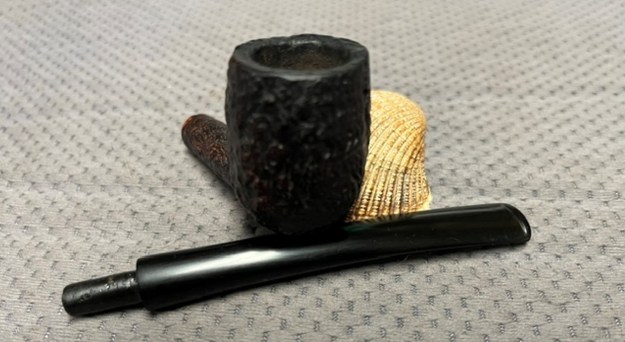
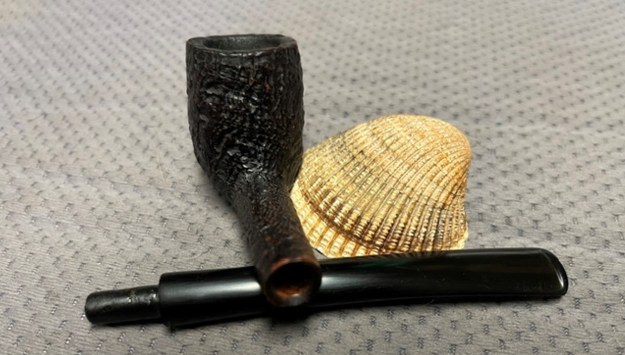
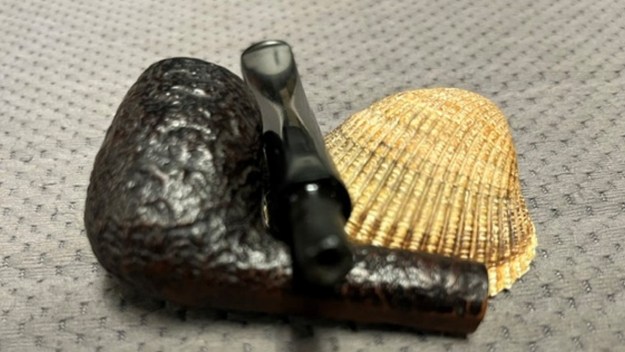
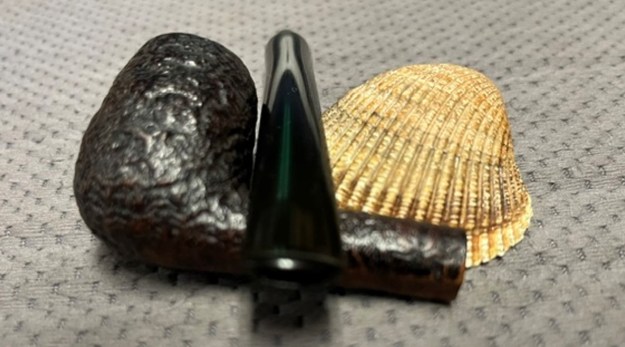
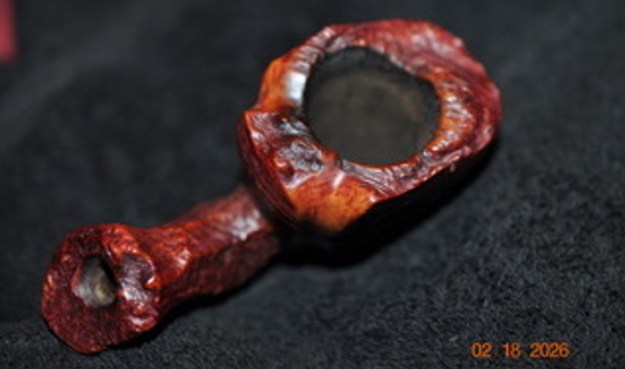
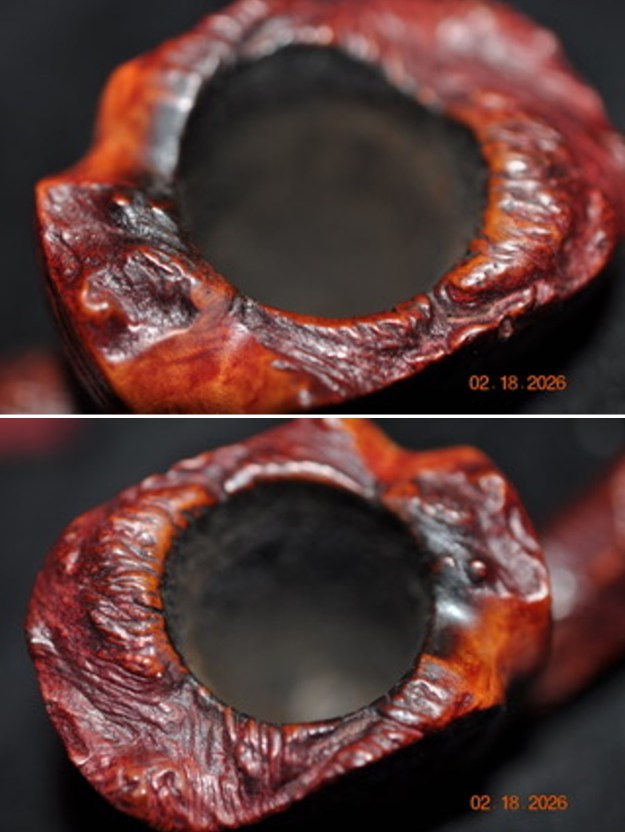
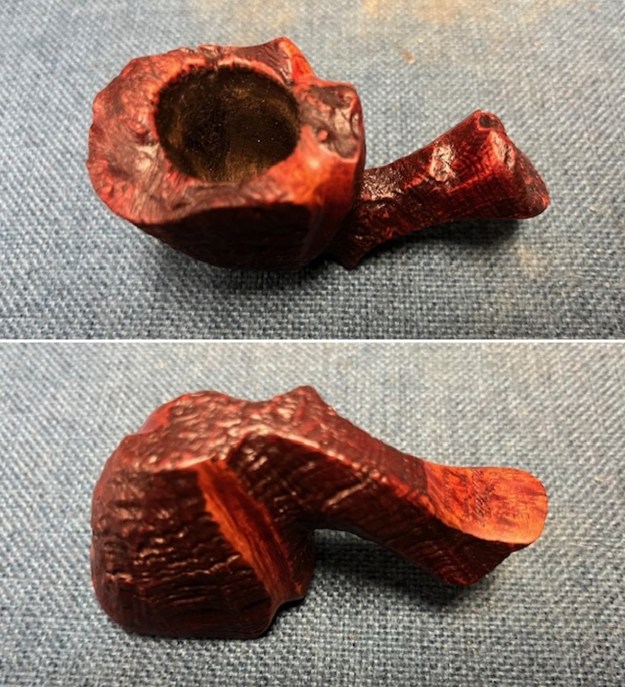
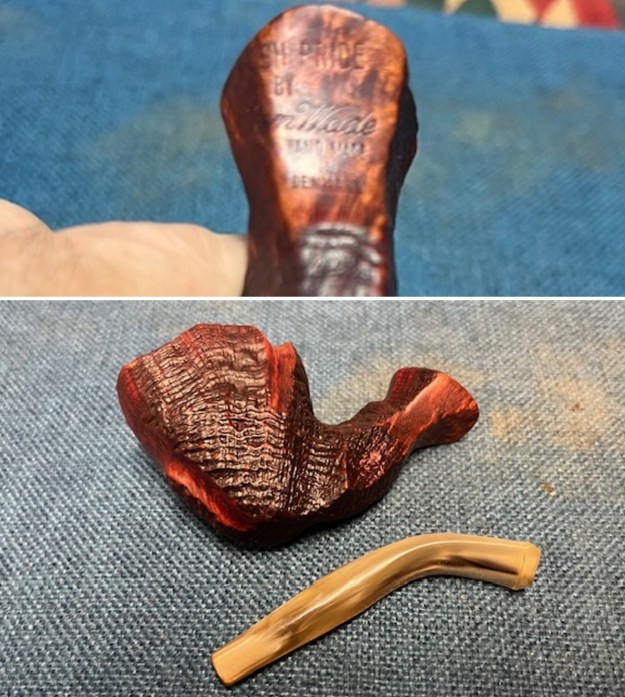
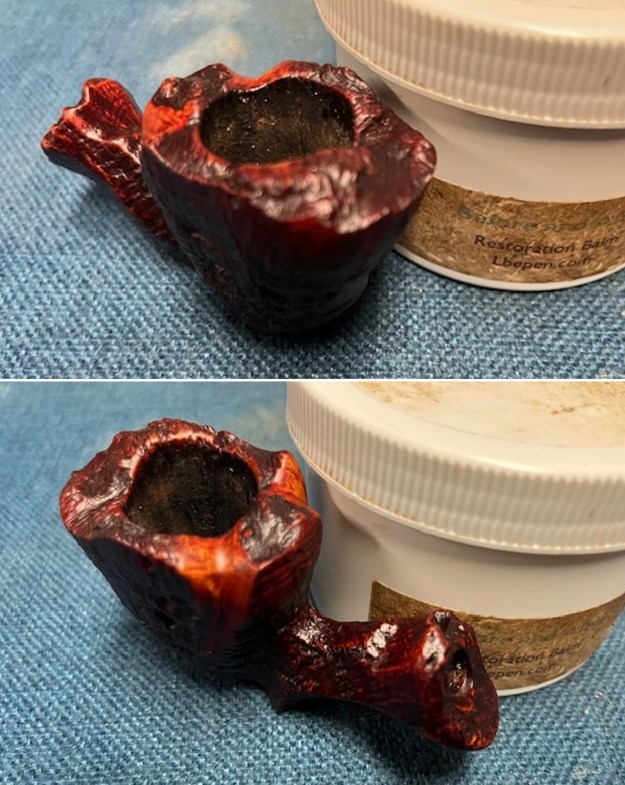
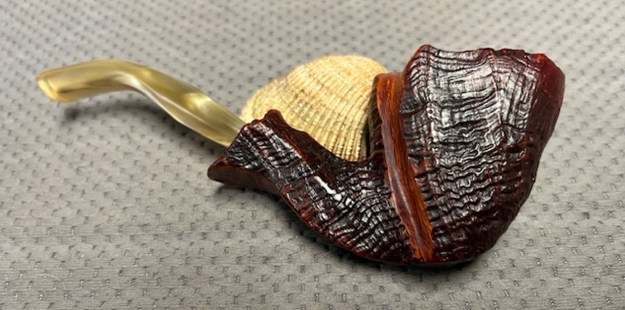
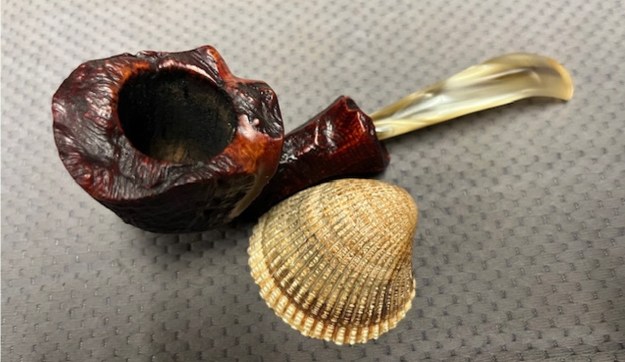
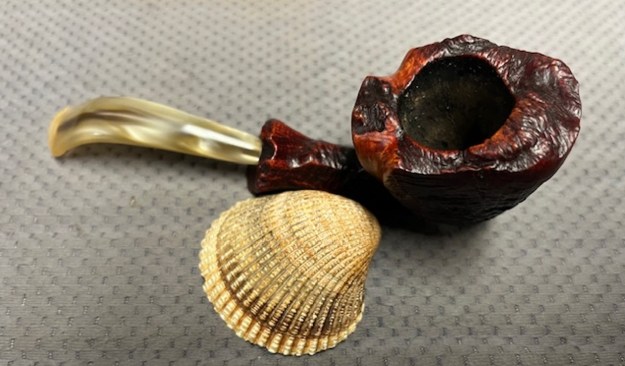
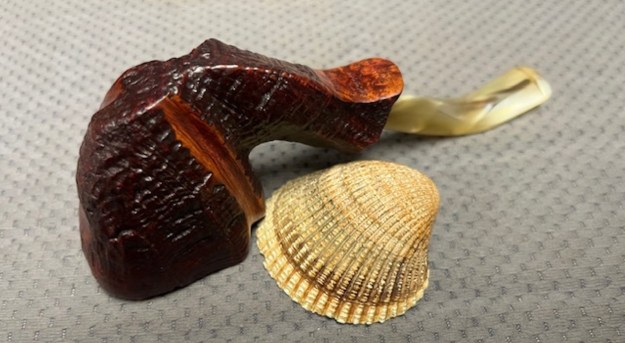
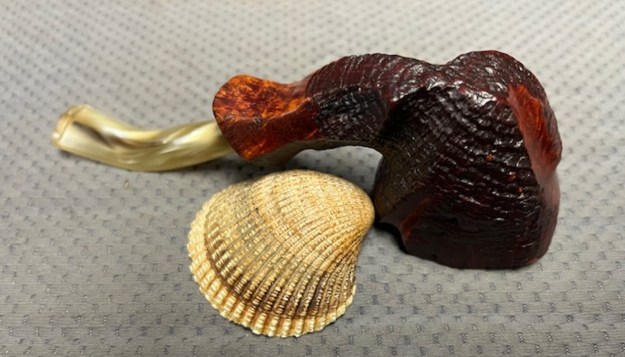
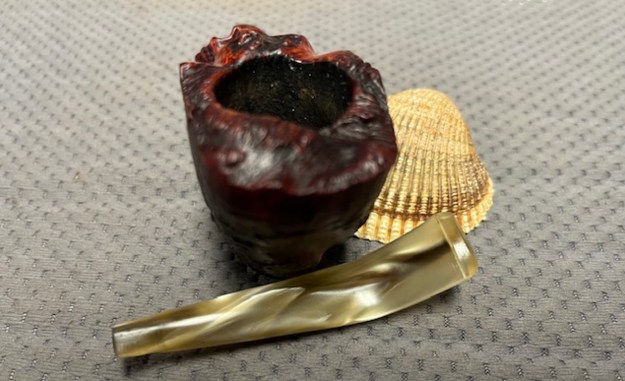
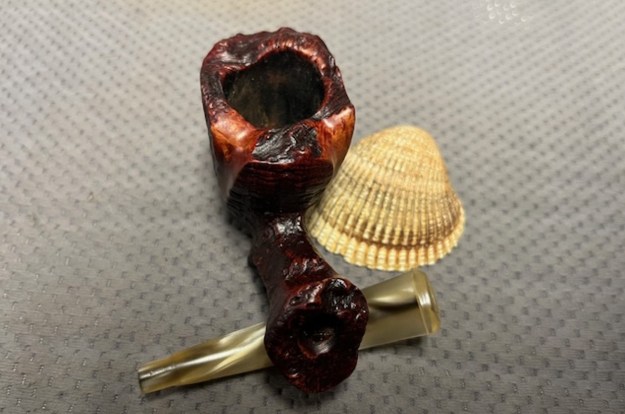
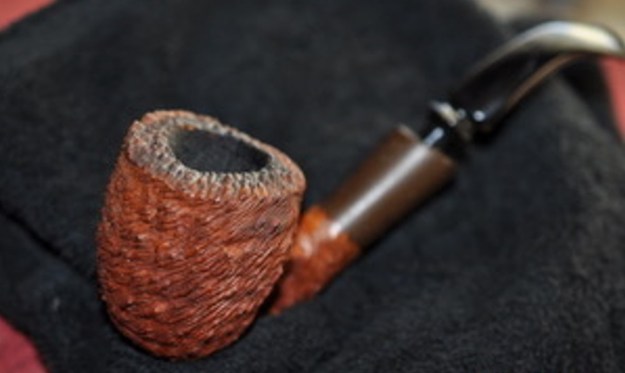
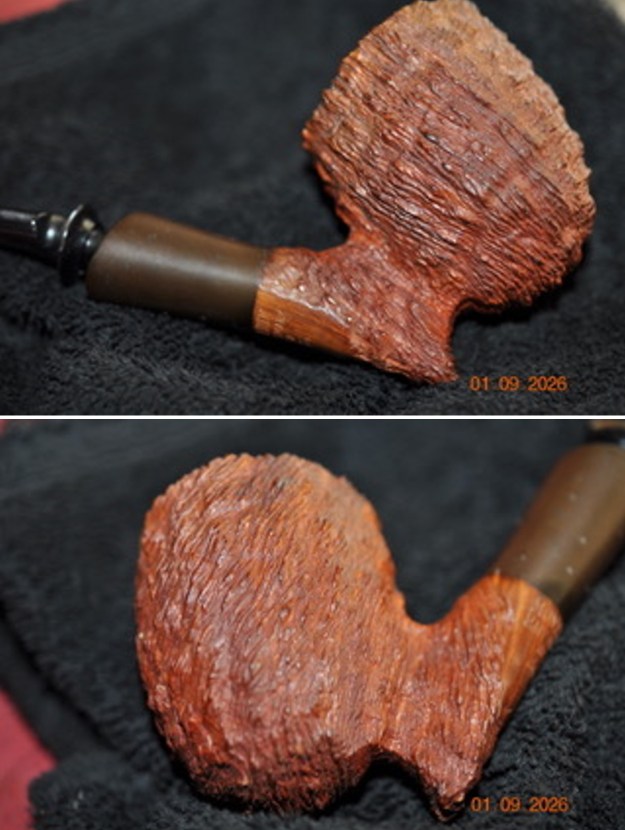
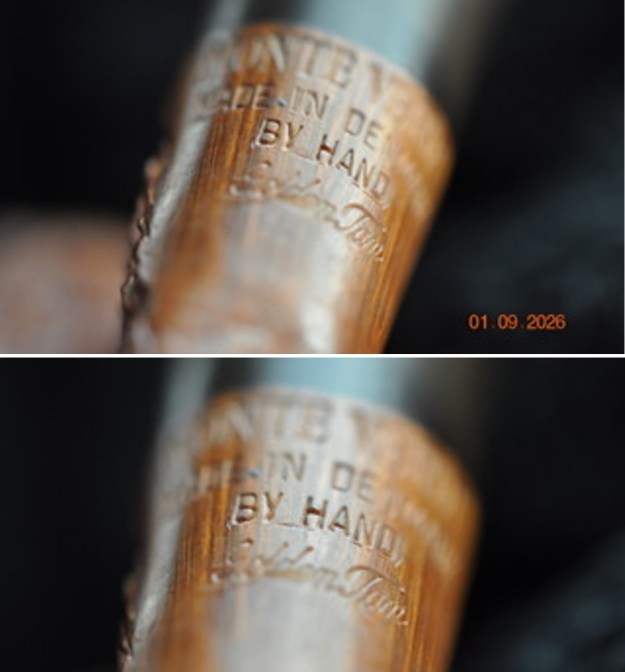
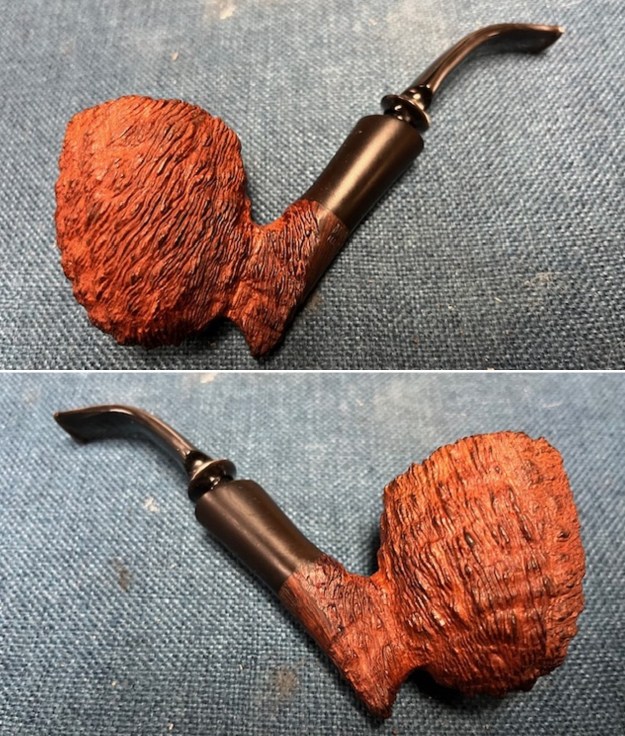
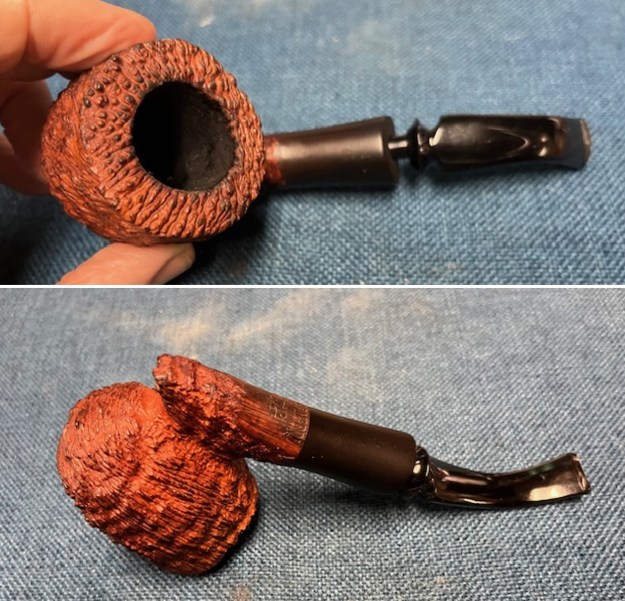
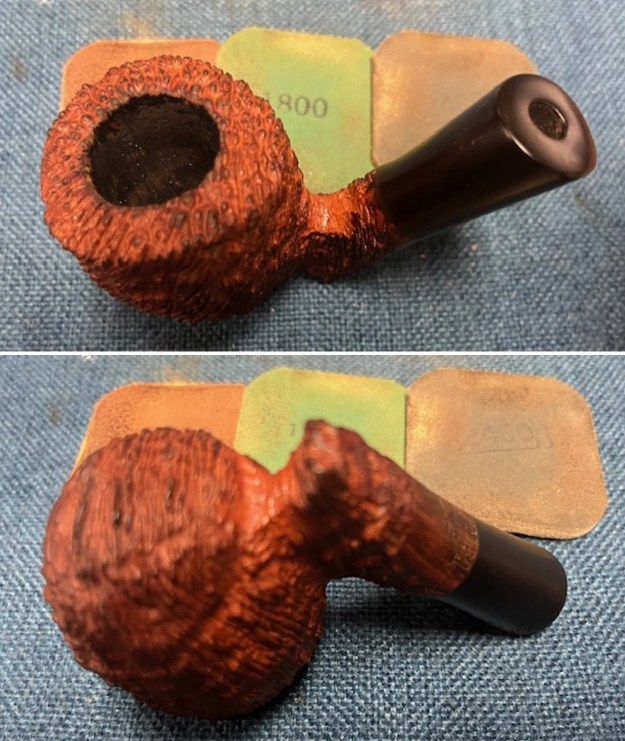
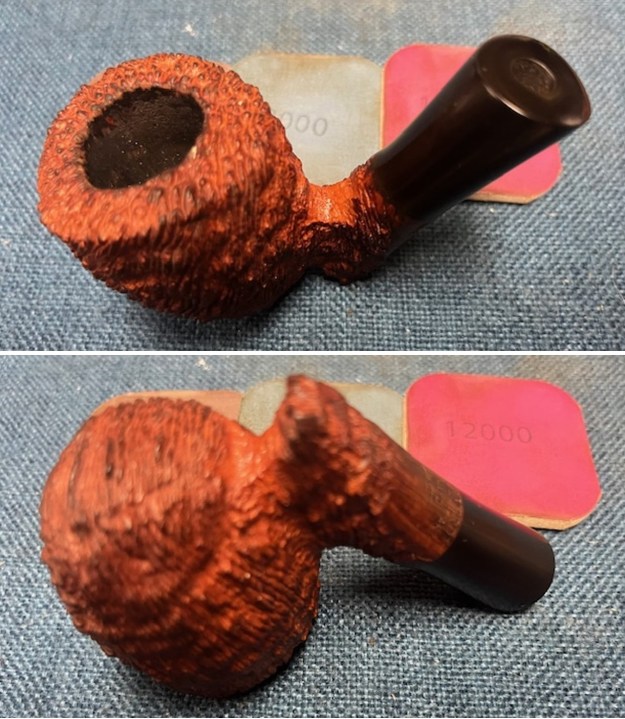
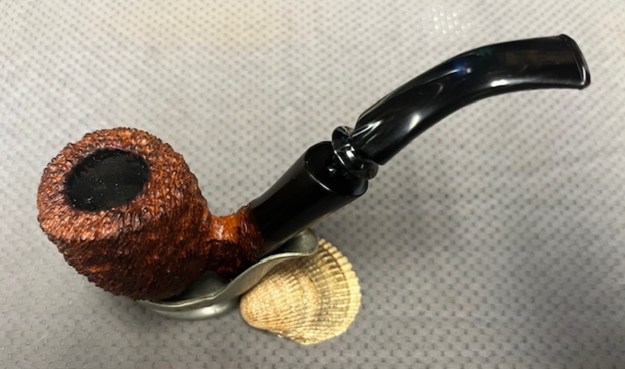
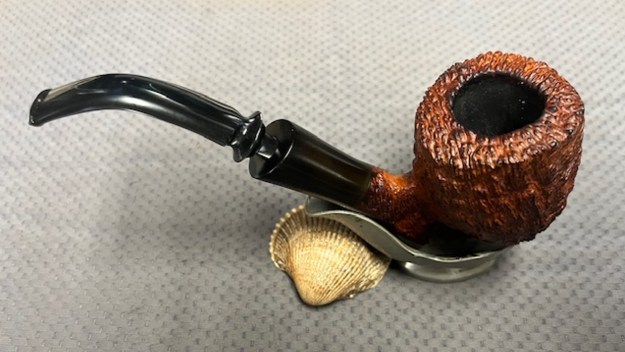
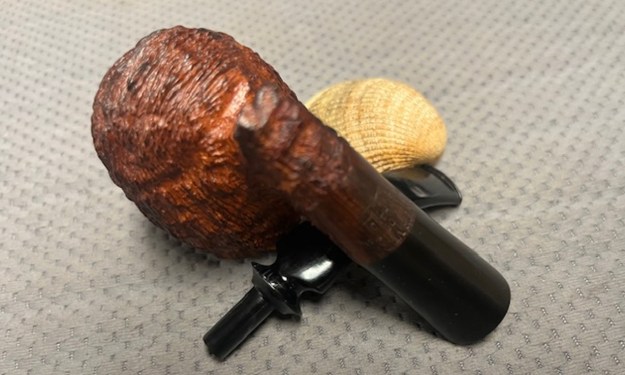
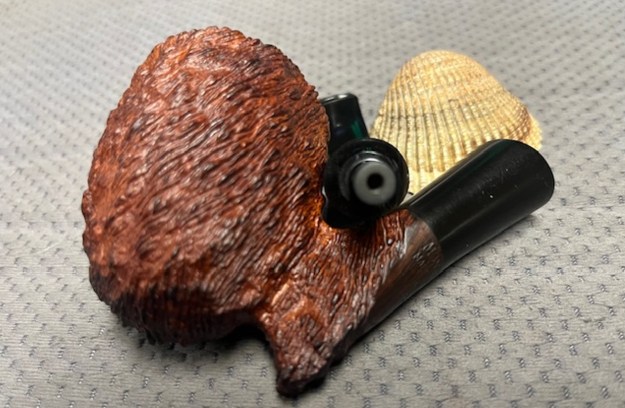
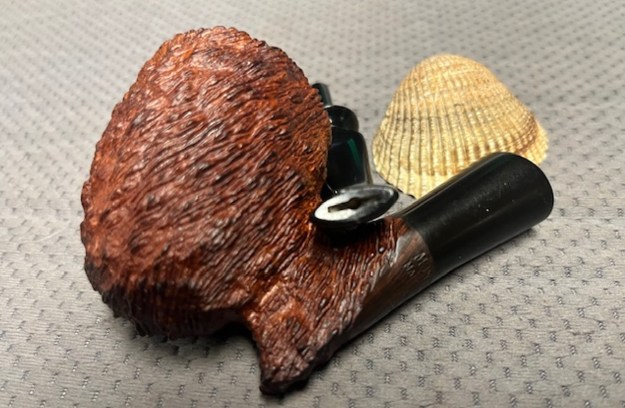
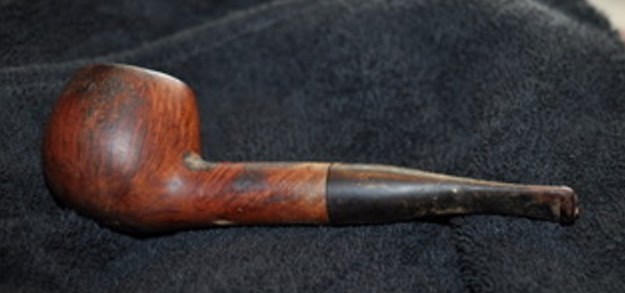
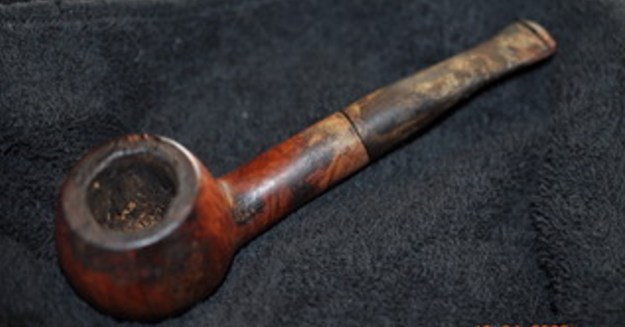
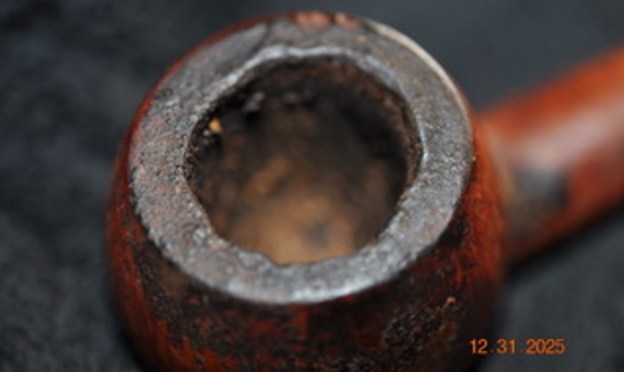
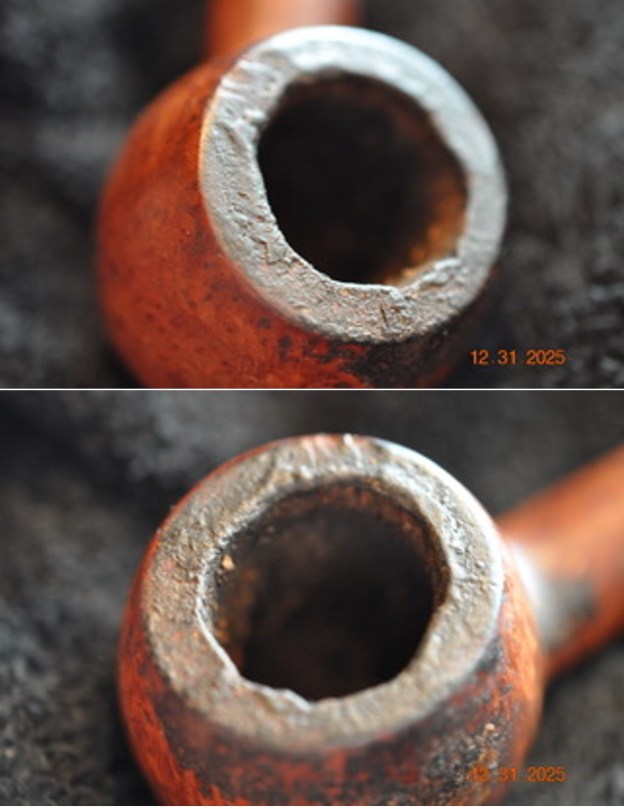
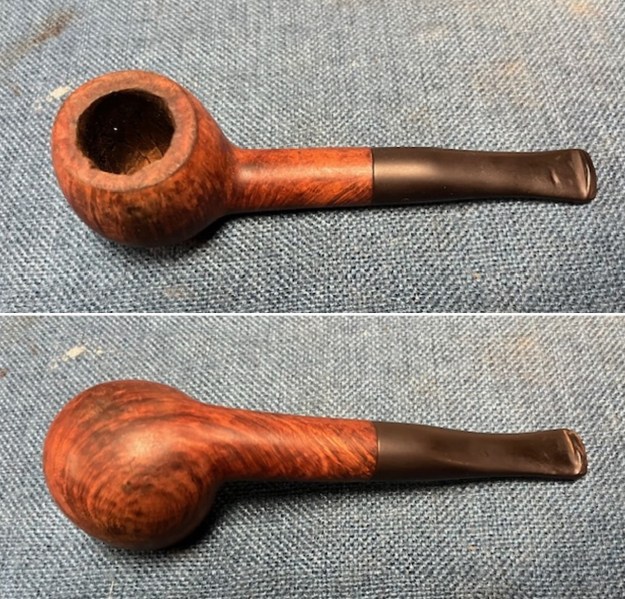
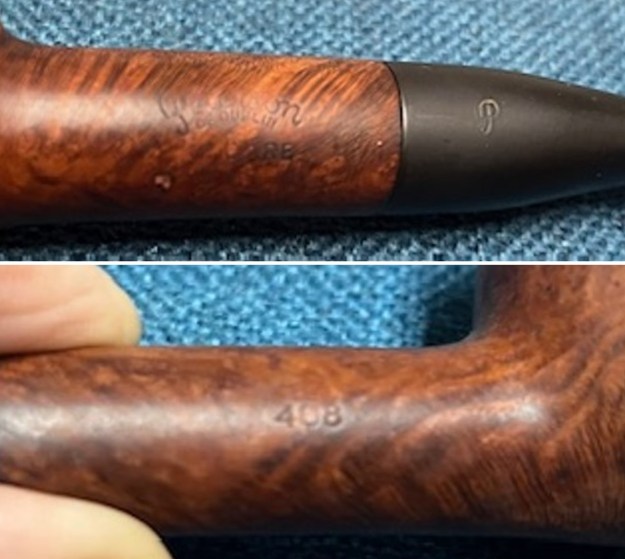
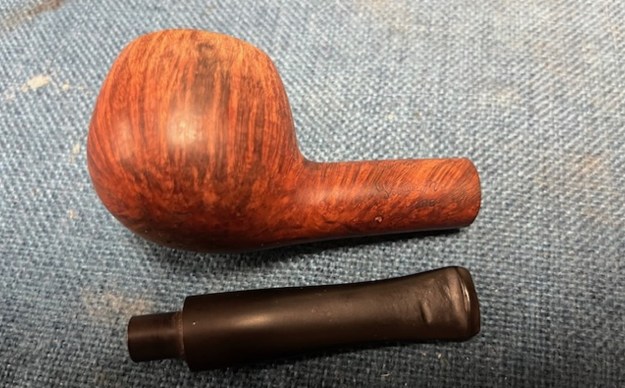
I chose to deal with the smaller Stanwell de Luxe 87 billiard next. It was in decent condition, probably the best of the lot. The stamping on the Stanwell [over] Regd. No. 969-48 followed by de Luxe followed by the shape number 87. It was clear and readable. The sandblast finish was nice but dirty. The bowl had a light cake in it and there were spots of lava in the sandblast on the rim top and inner edge. The inner edge was a little rough from previous reaming. The interior of the shank was quite dirty. 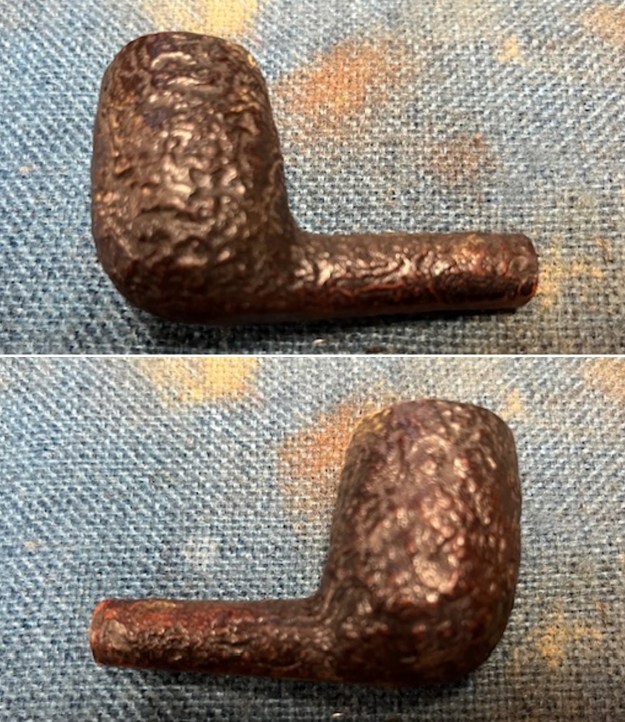
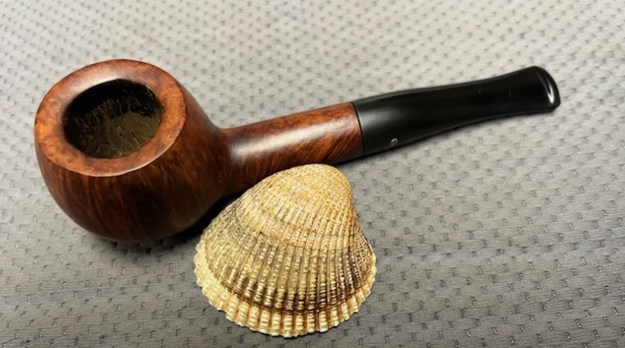
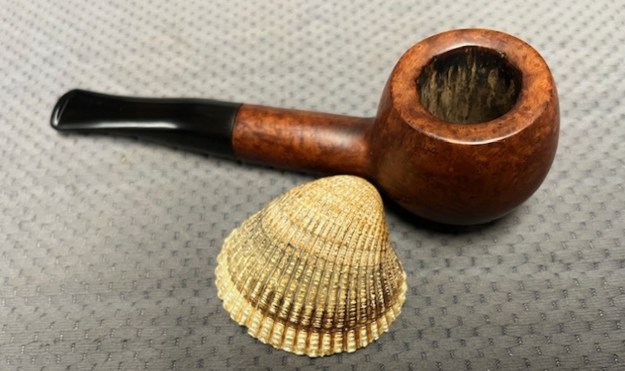
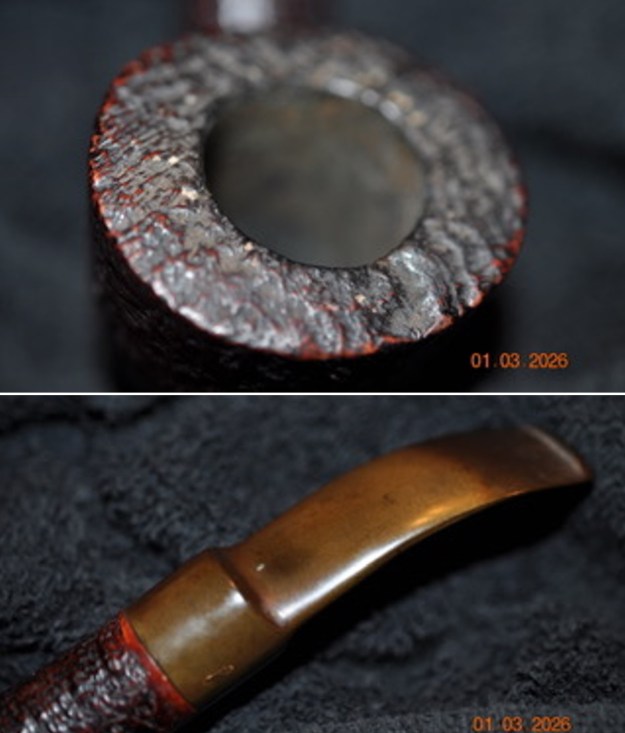
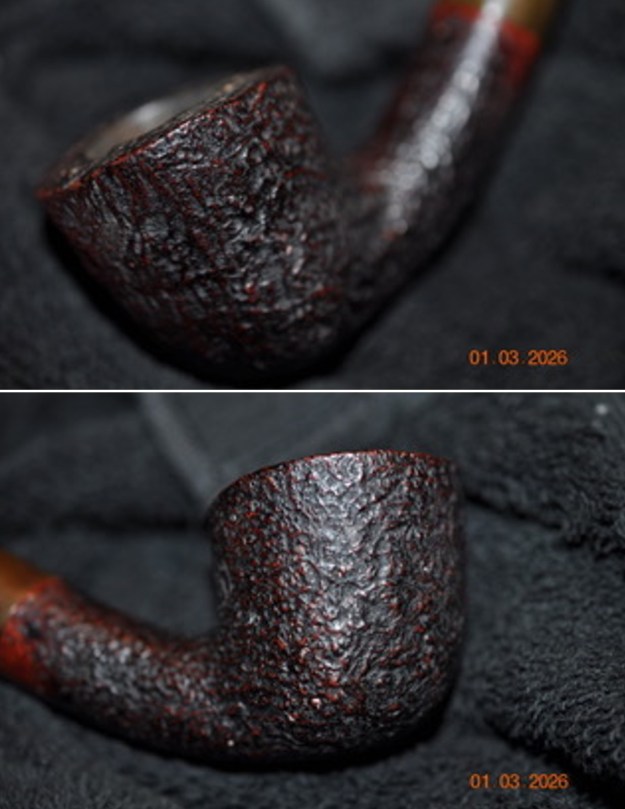
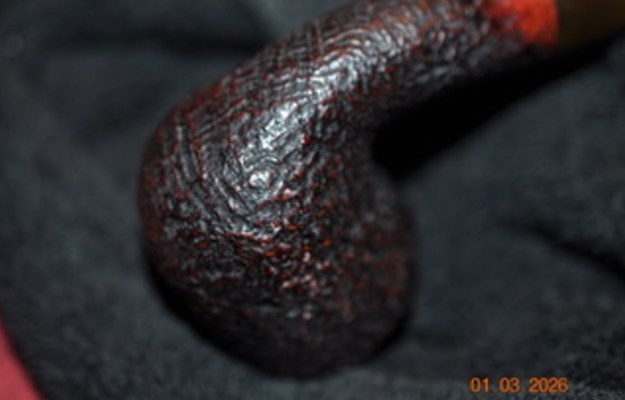
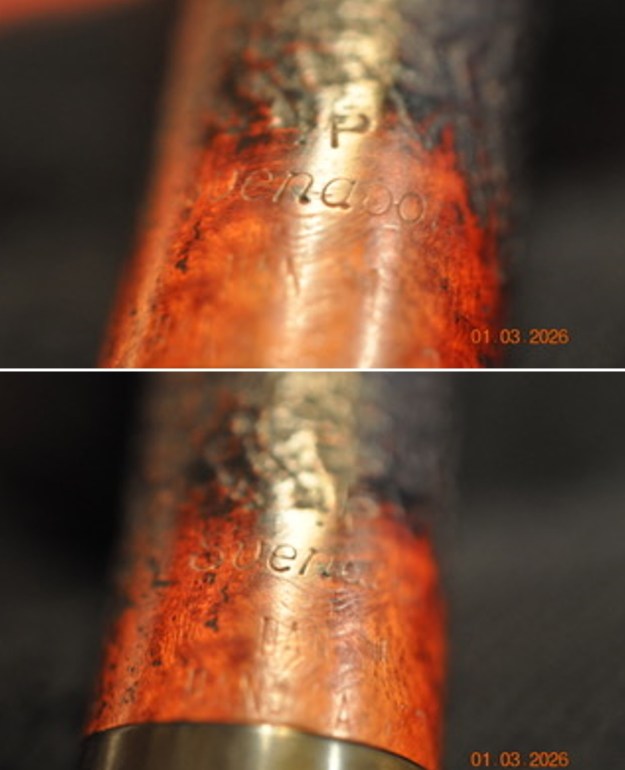
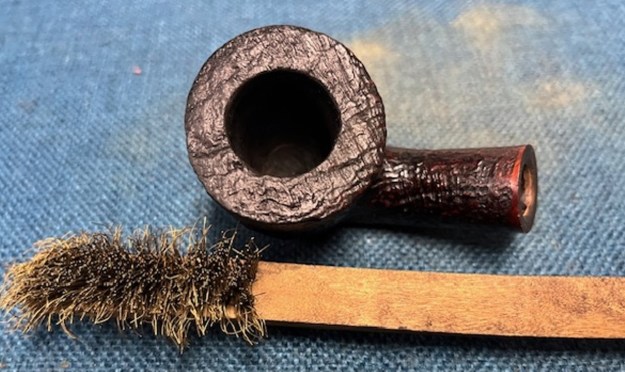
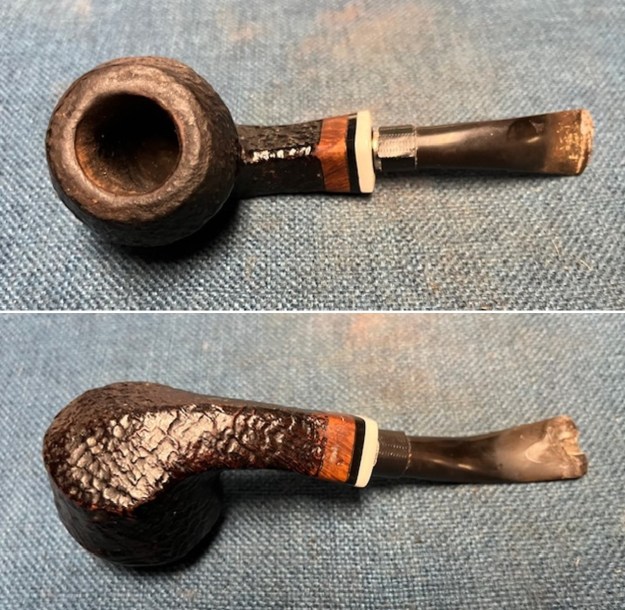
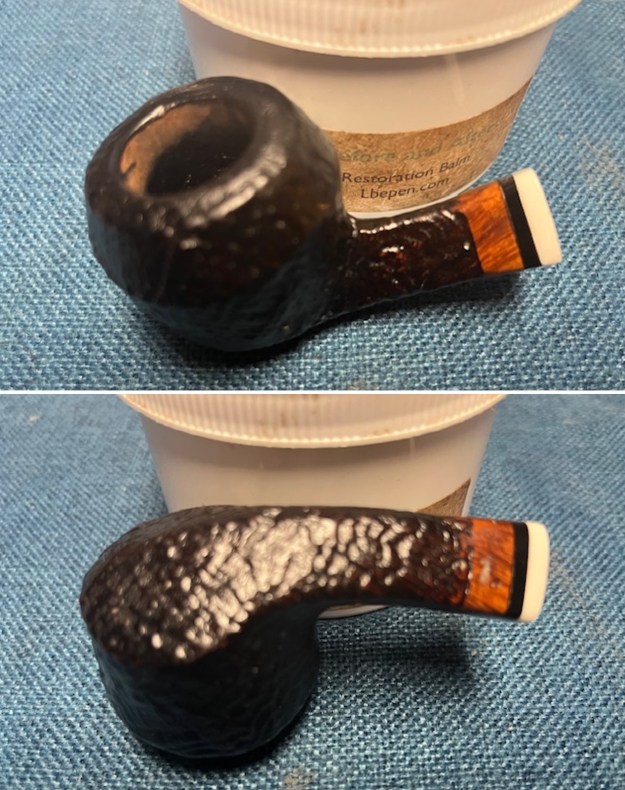
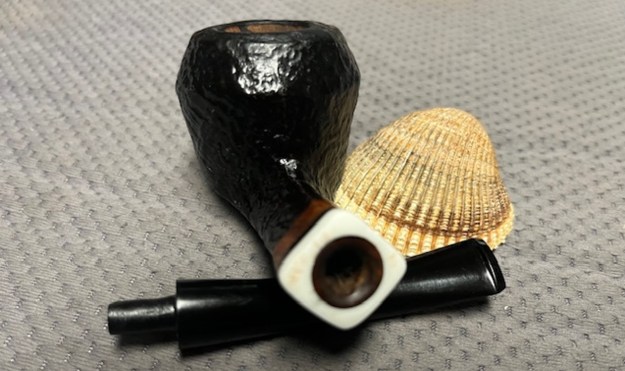
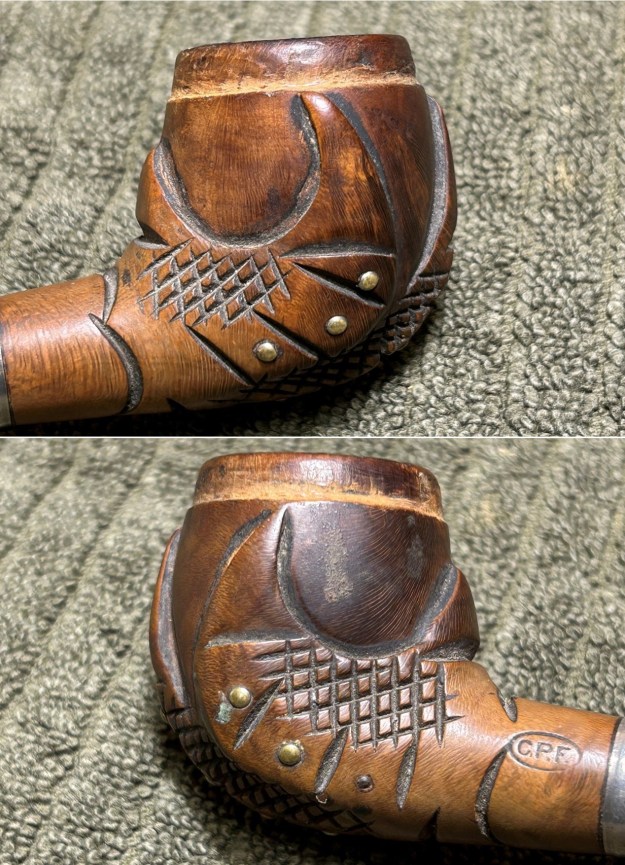
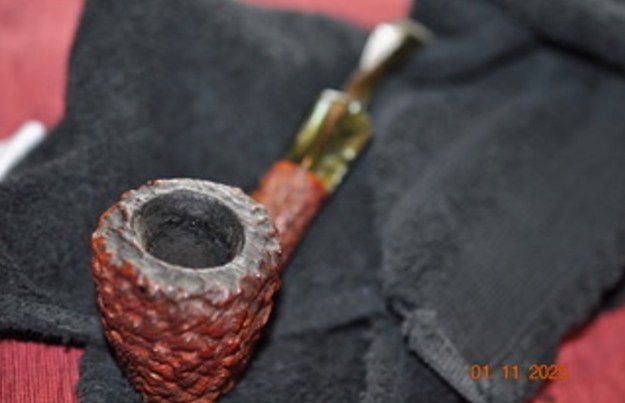
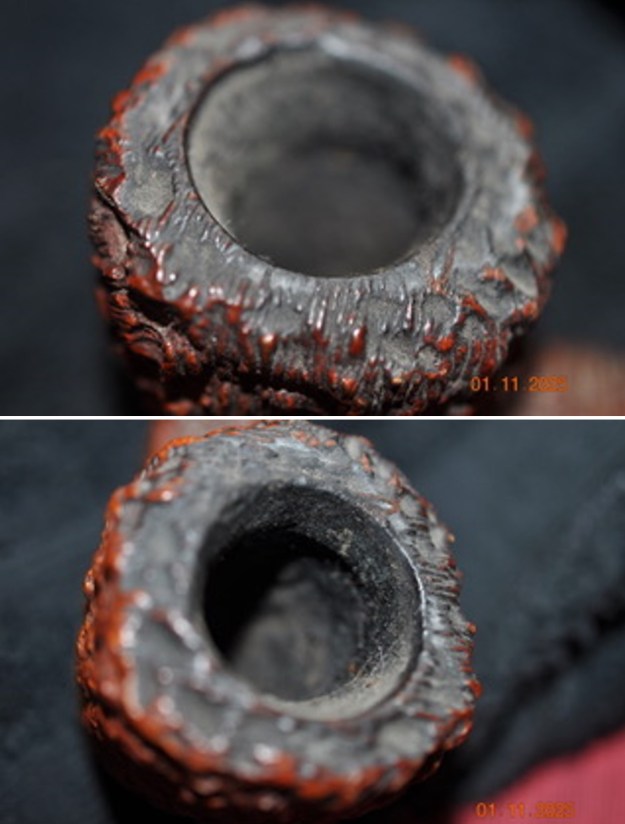
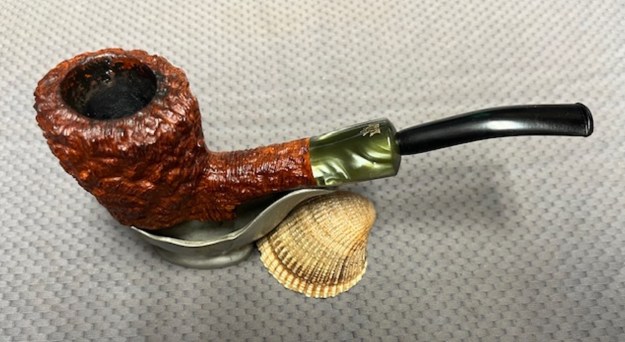
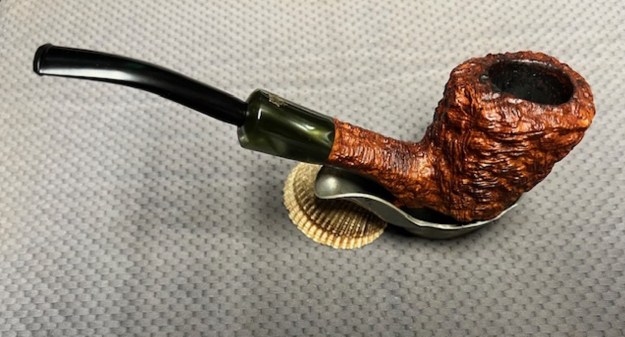
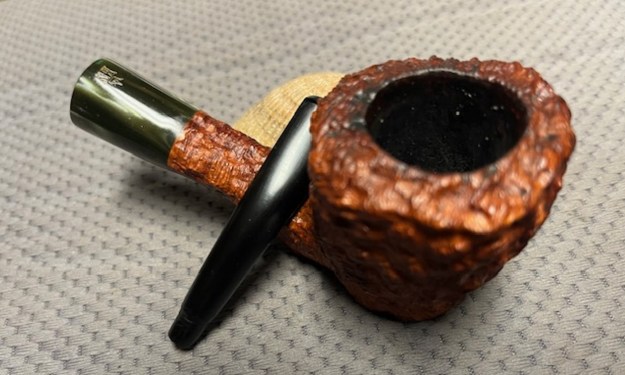
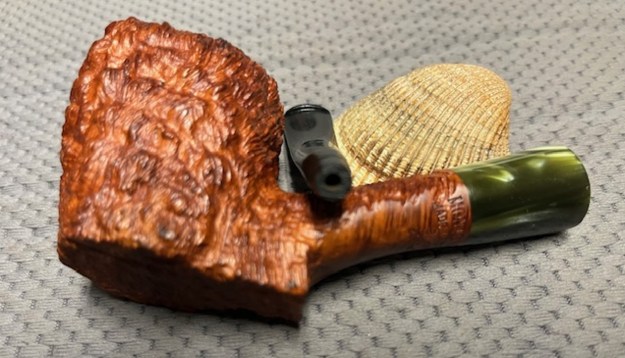
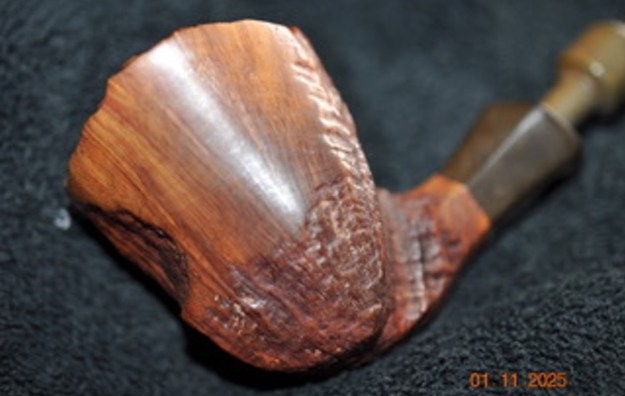
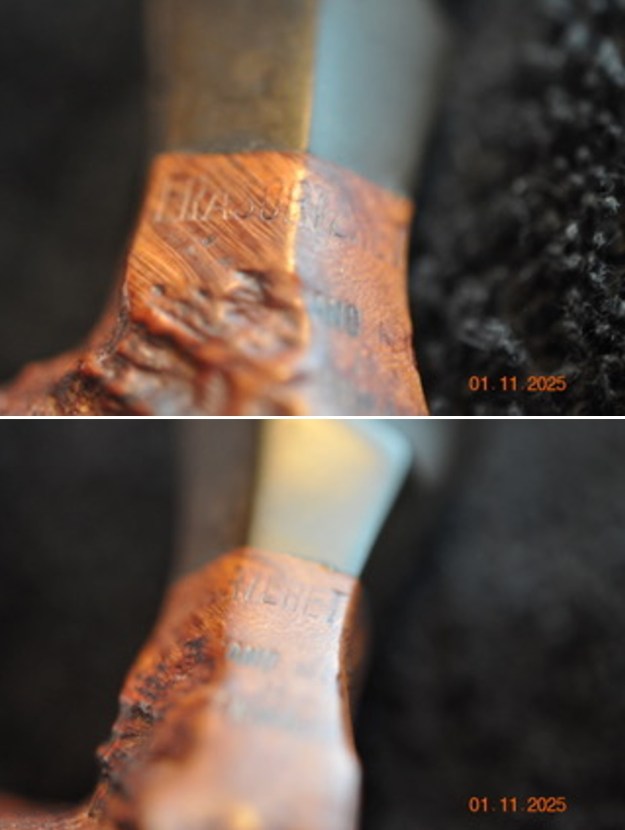
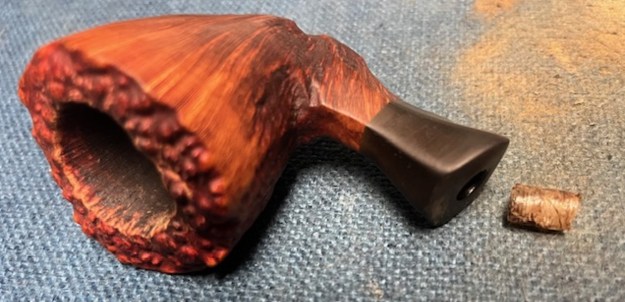
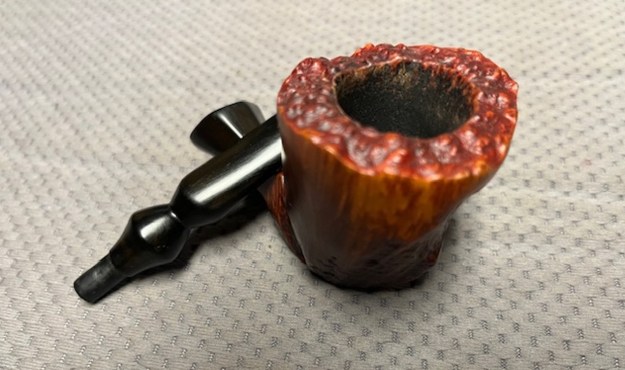
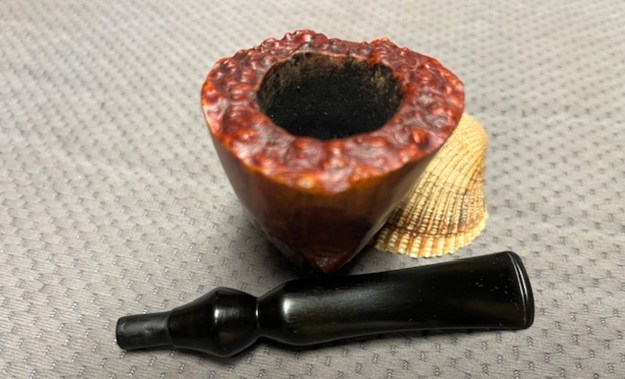
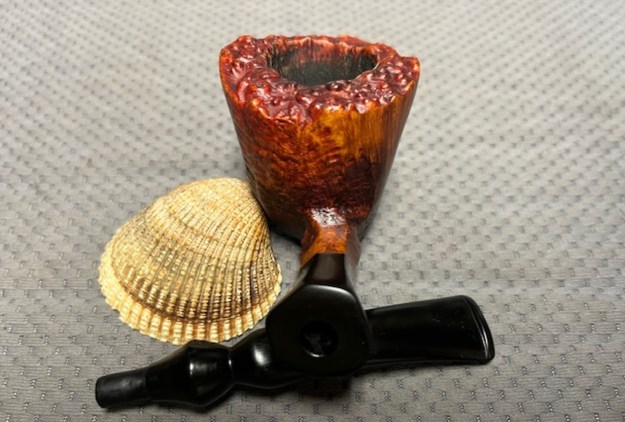
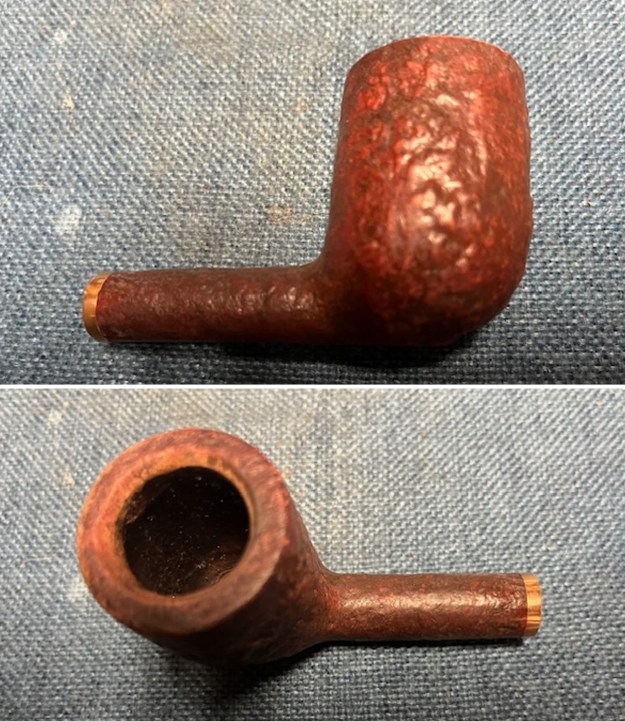
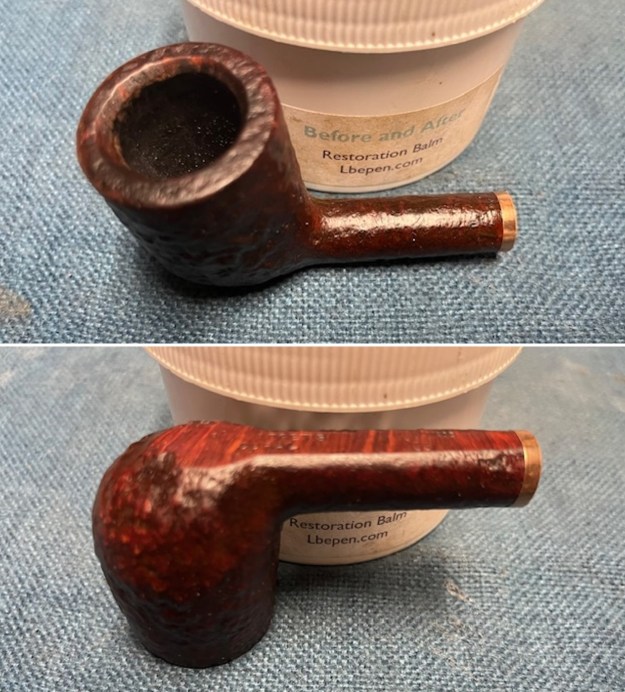
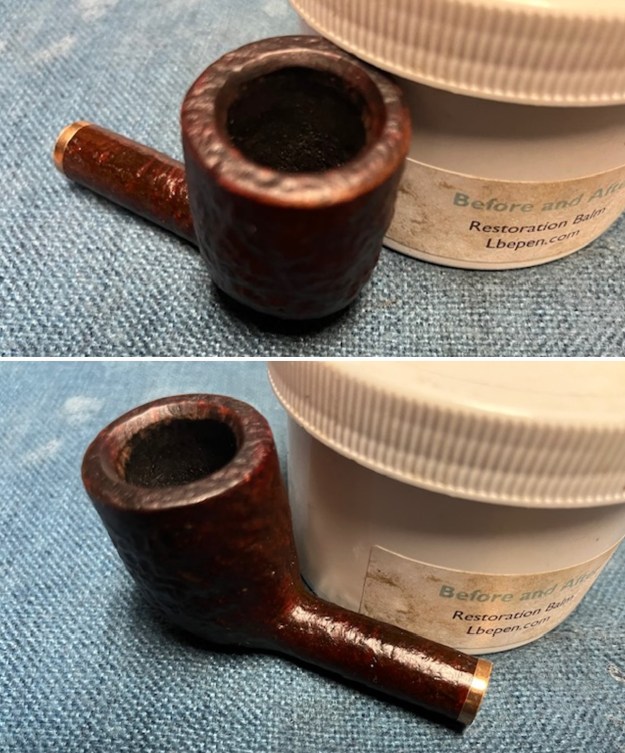
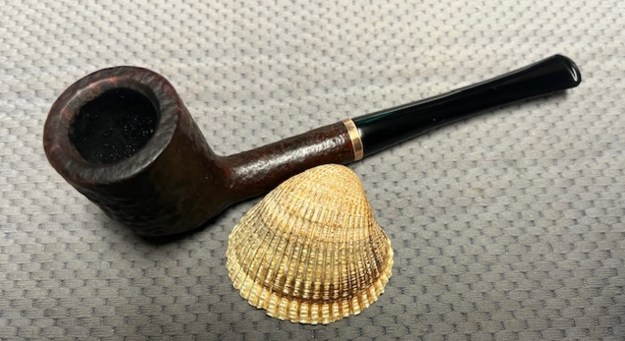
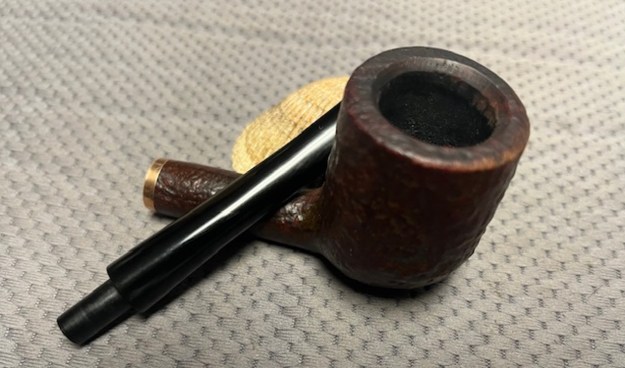
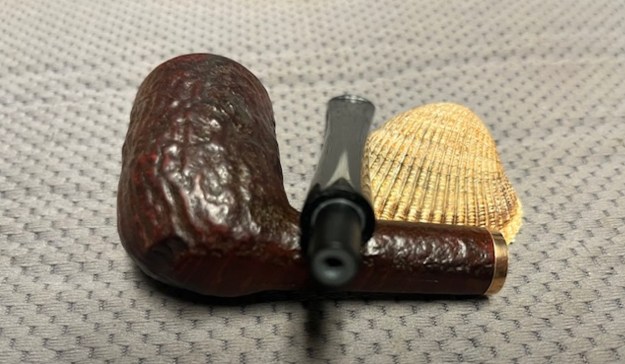
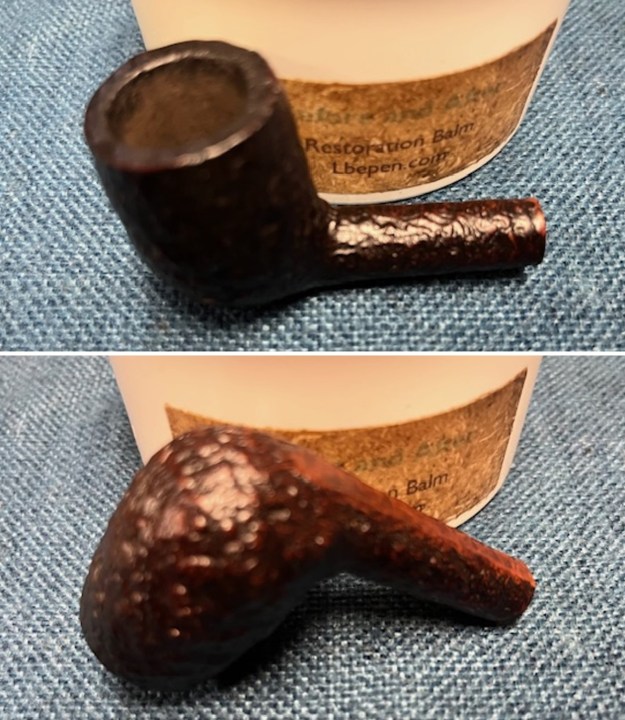
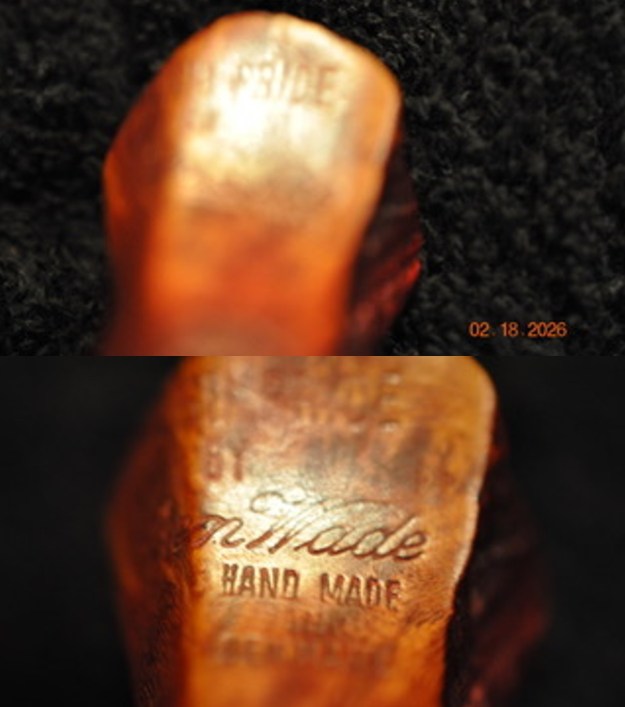
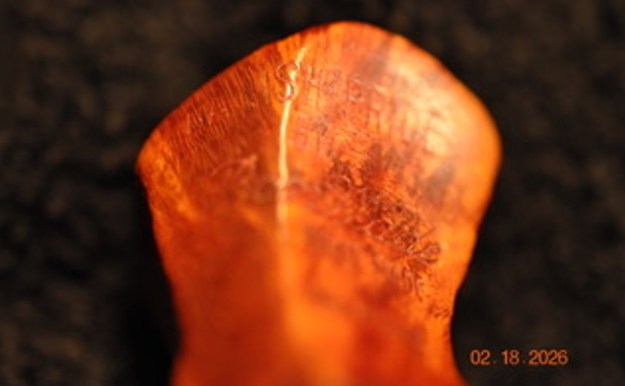
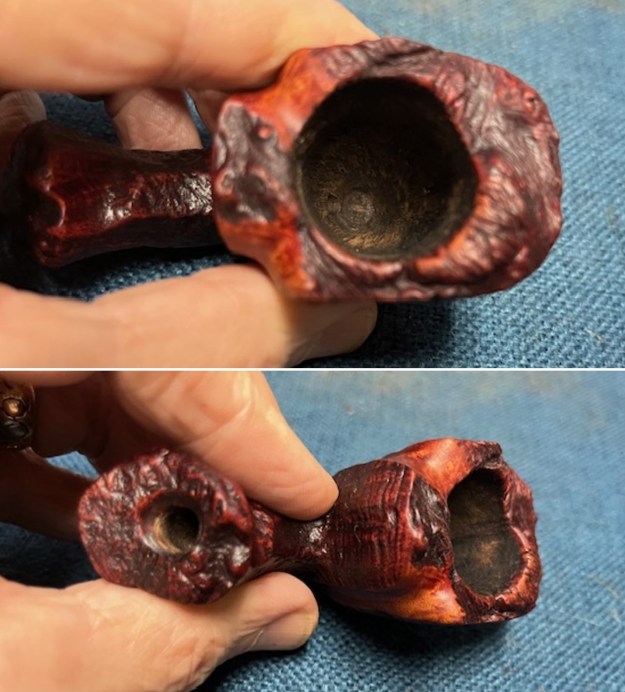
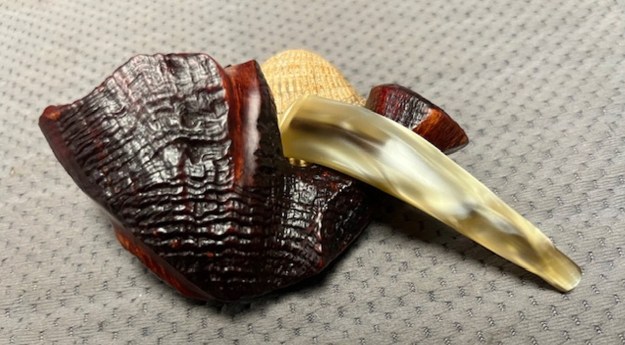
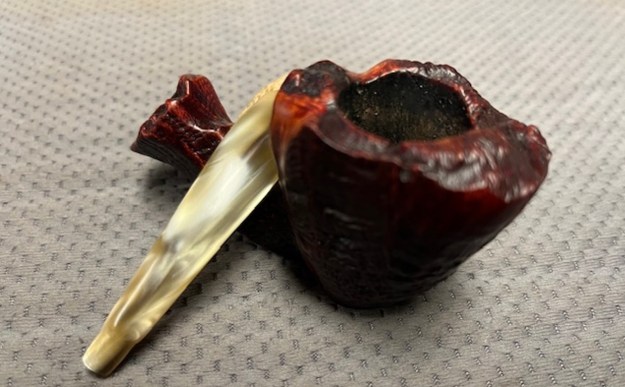
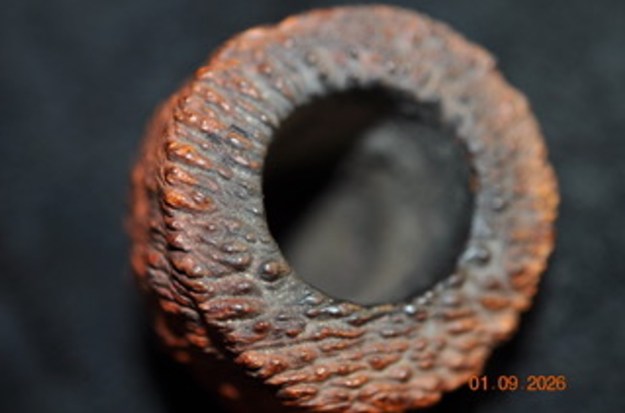
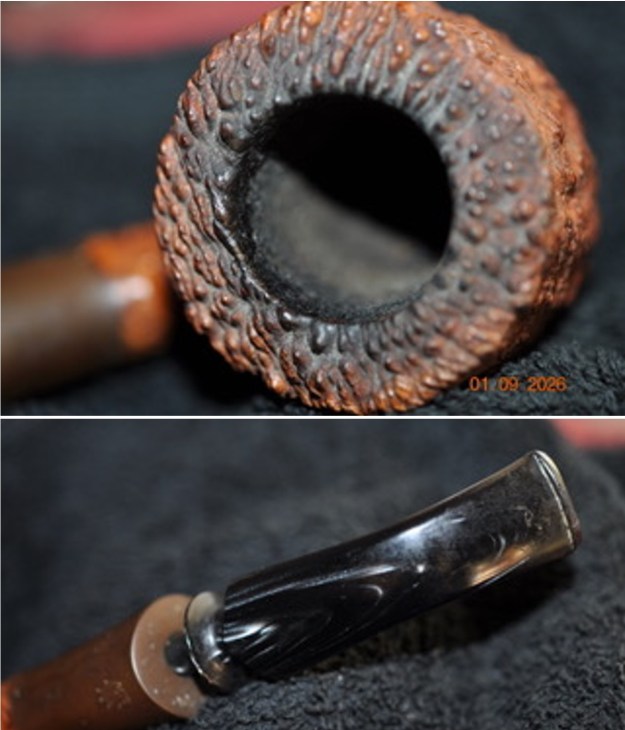
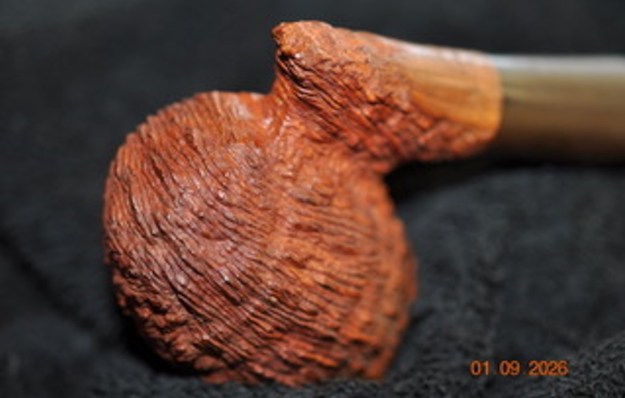
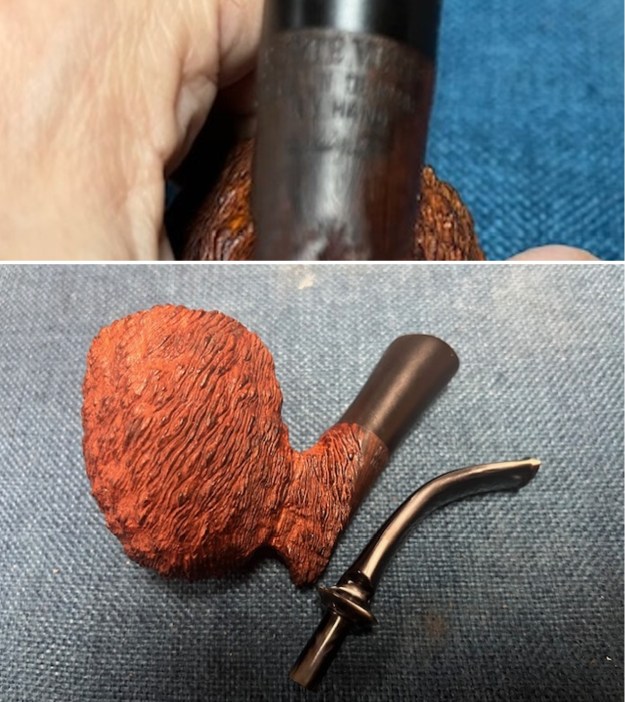
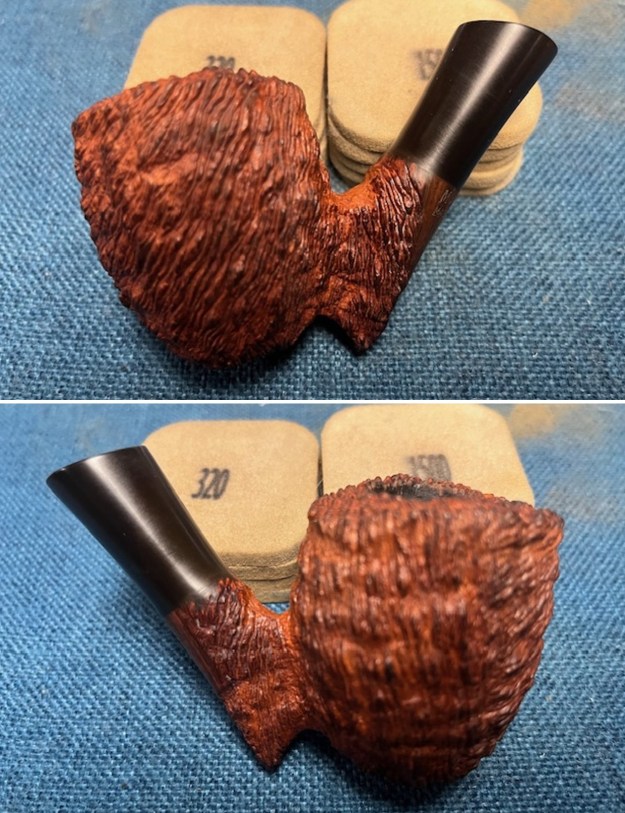
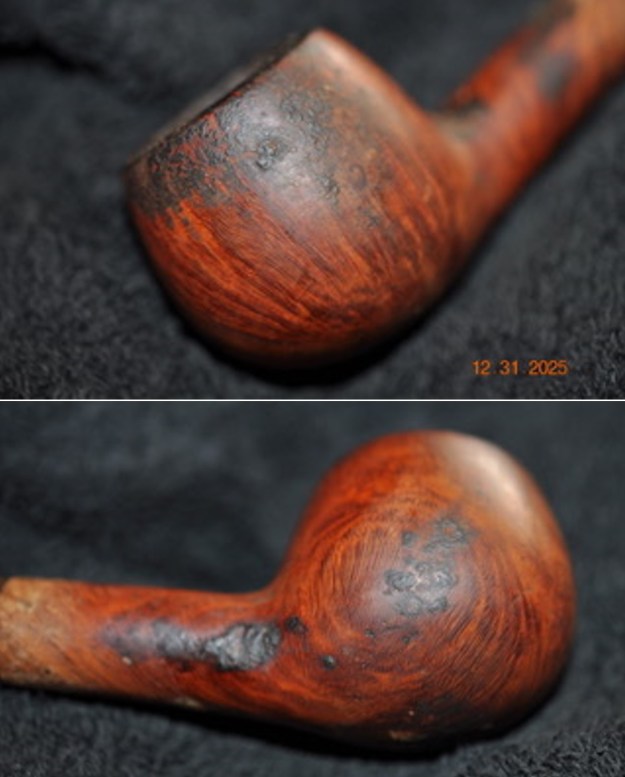
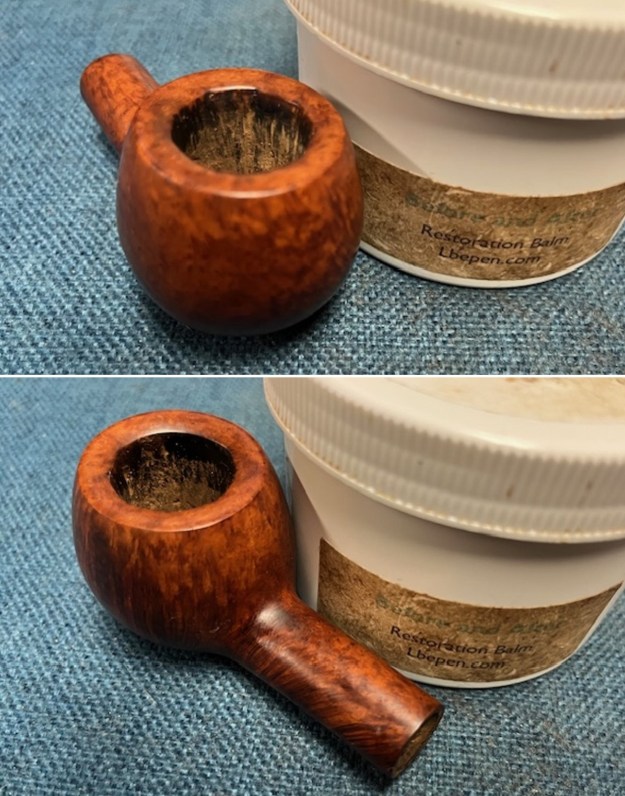
 I took a photo of the bowl and rim top to show the condition of them bowl. The lava on the rim top was in the sandblast. The inner edge looked very good. I also took a photo of the underside of the shank to show the faint stamping that was present. It is faint in spots but is still readable.
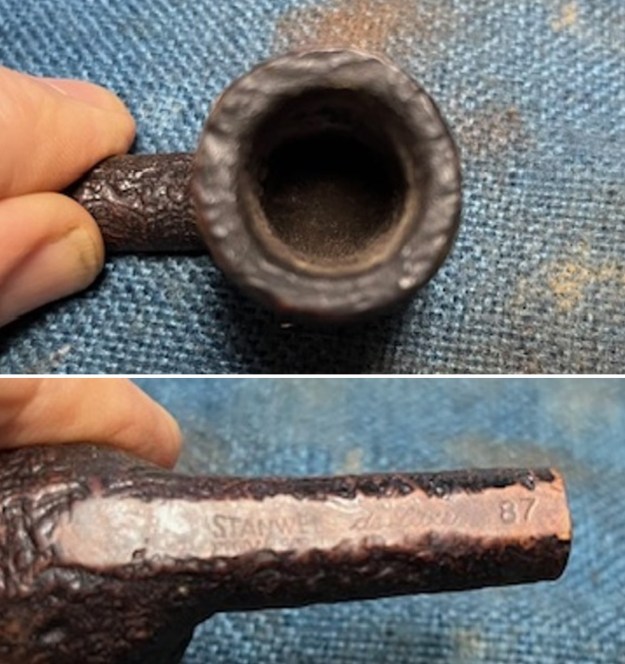 I turned to do a bit of research on the Stanwell de Luxe line first to Pipephil’s site and found a listing there with a photo of the stamping (http://www.pipephil.eu/logos/en/logo-stanwell.html).
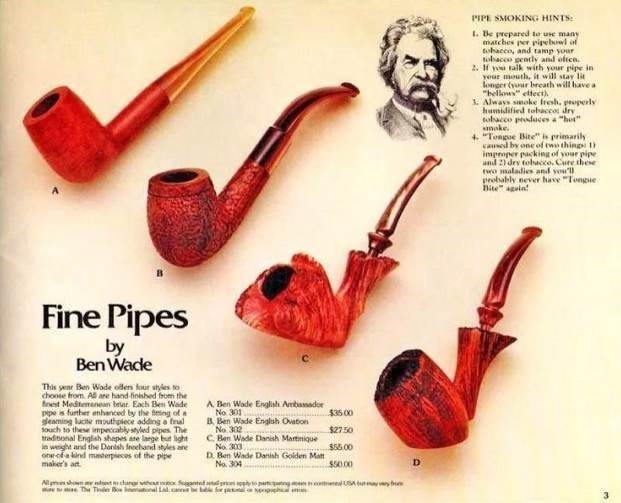
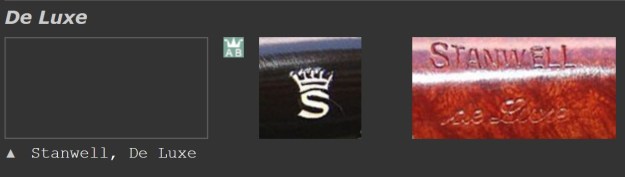 I know that Pipedia has some great history (https://pipedia.org/wiki/Stanwell) on the brand so I turned there hoping to see the de Luxe. There were several examples of the de Luxe line shown on the site and references to it appearing in both a 1960s and 70s catalogue.
I turned to the article on designers and shape numbers to see if I could find data on the 87 Shape (https://pipedia.org/wiki/Stanwell_Shape_Numbers_and_Designers). I found that the shape had four versions of this shape number a) Large billiard, full mouthpiece, b) Large “Chimney”, full mouthpiece, c) Freehand, conical bowl, long saddle mouthpiece by Sixten Ivarsson. 87R. Same as 87(b).
I knew that the pipe I had in hand was pipe a) above – a Billiard and in this case small one. With the Regd. No. on the shank, the pipe was made in the period between 1948 and 1960. But I wanted to know more. I can find many examples of the de Luxe line online but no one explains the meaning of the term. Do any of you readers have any information on this quandary? Post a response and let us in on the information.
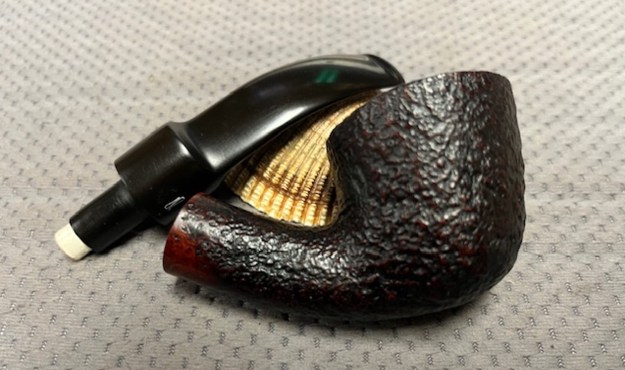
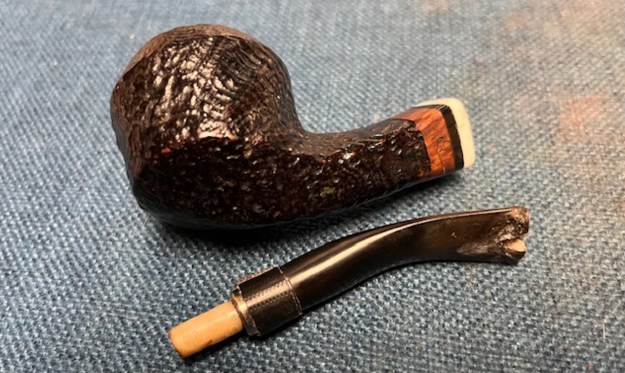
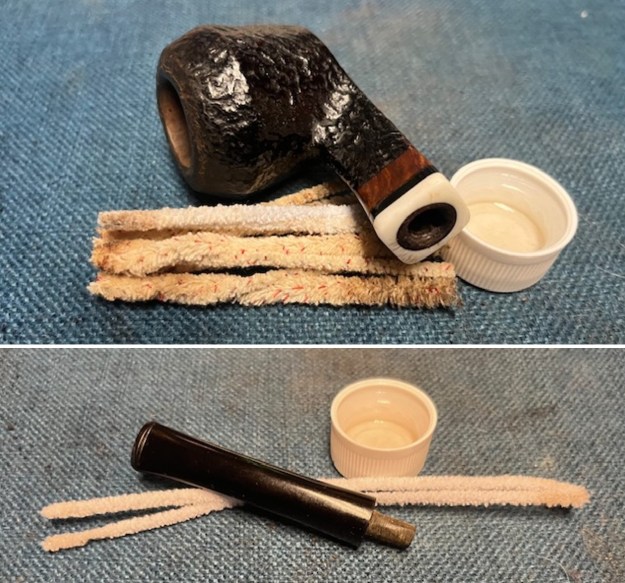
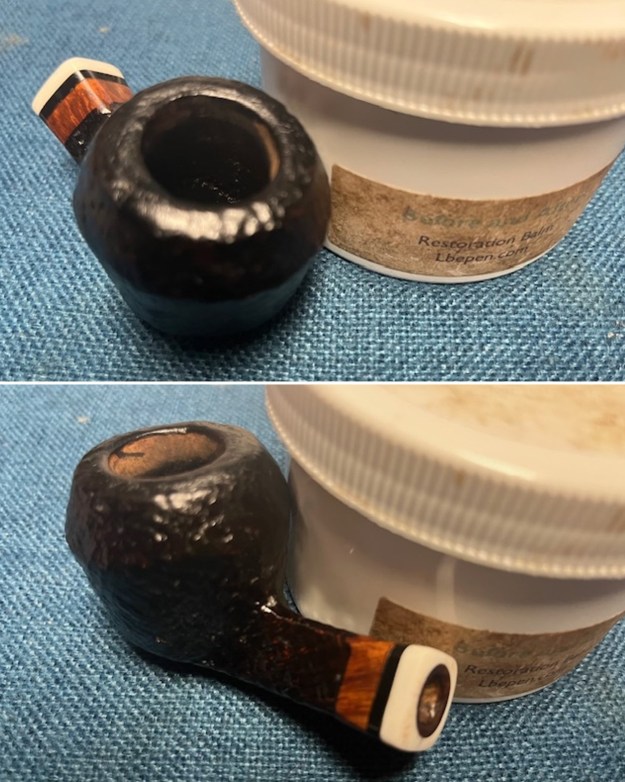
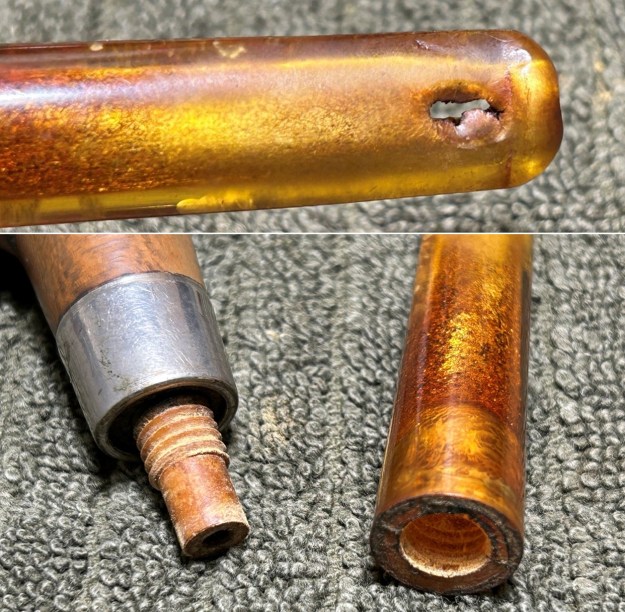
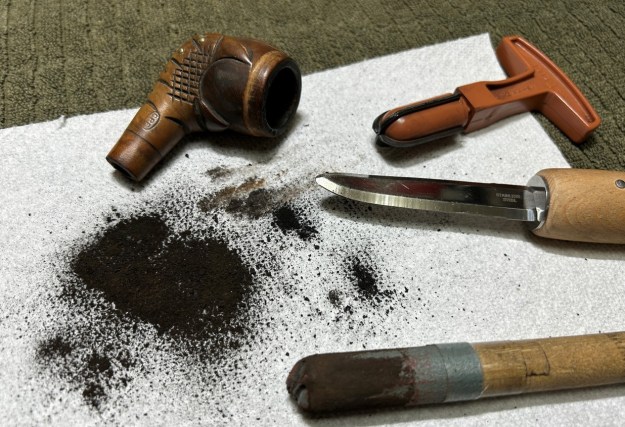
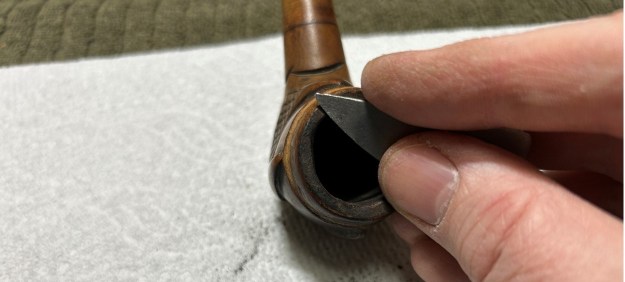
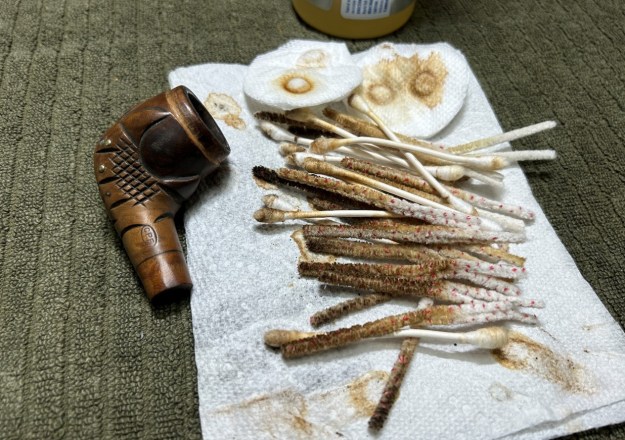
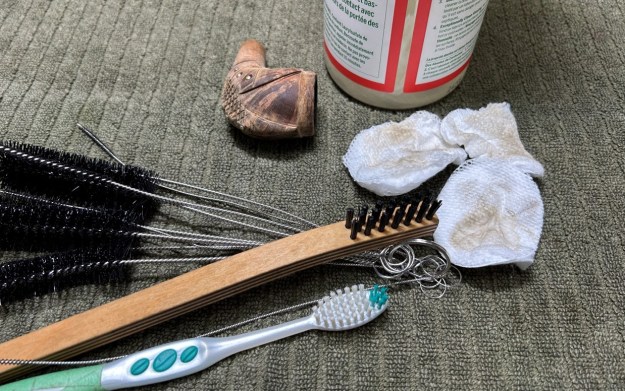
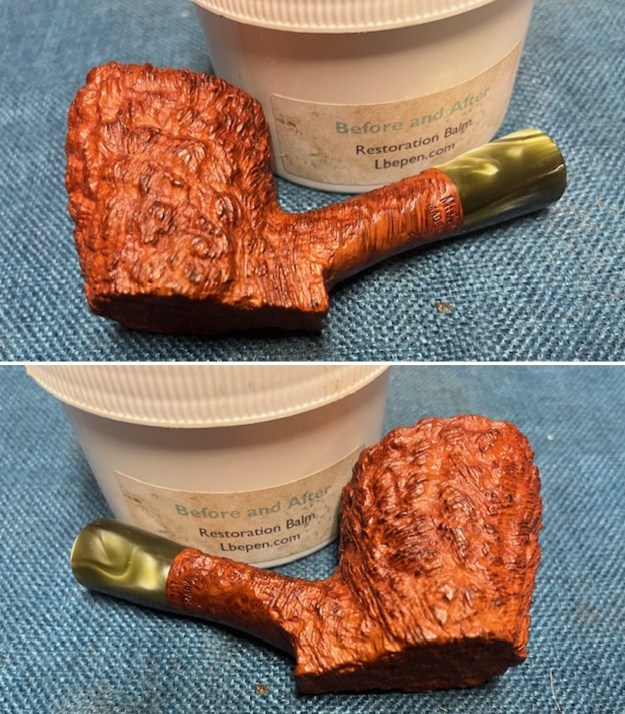
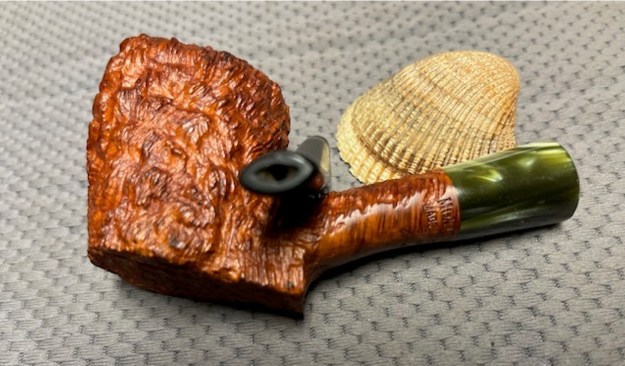
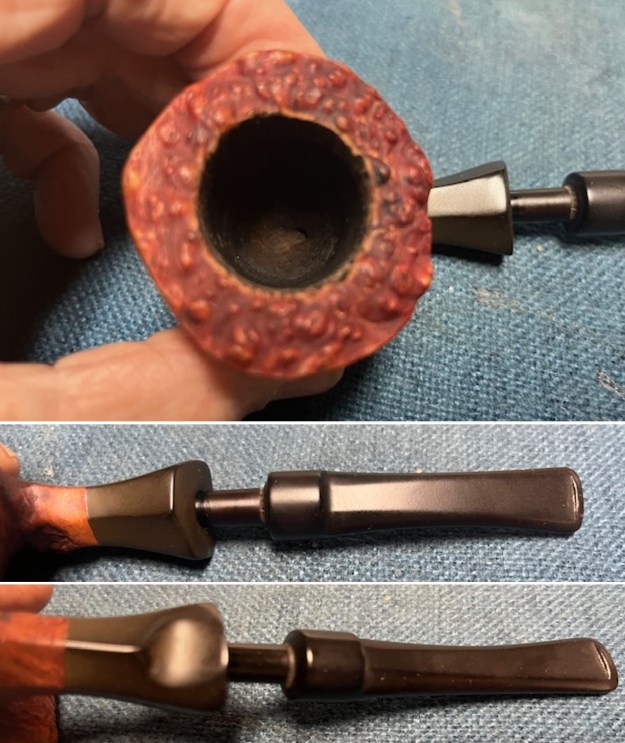
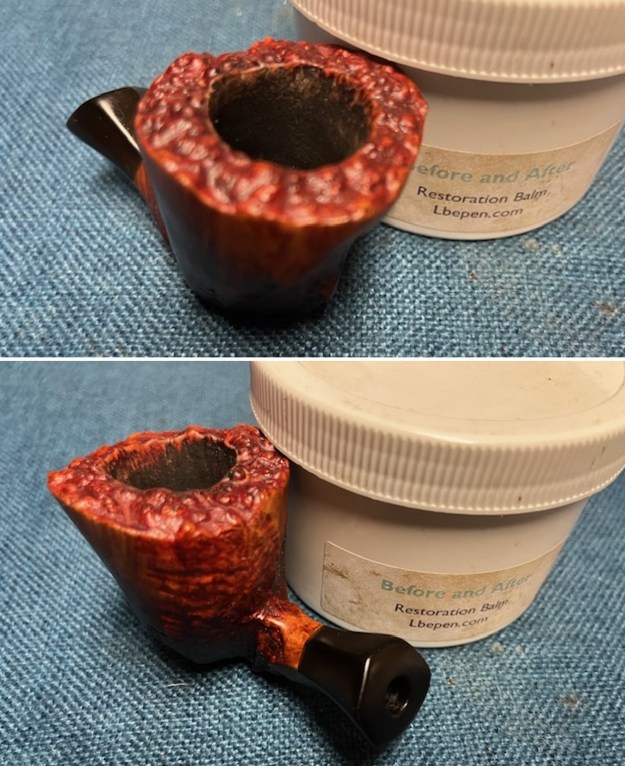
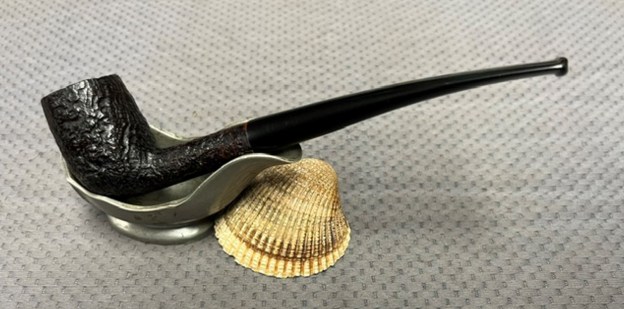
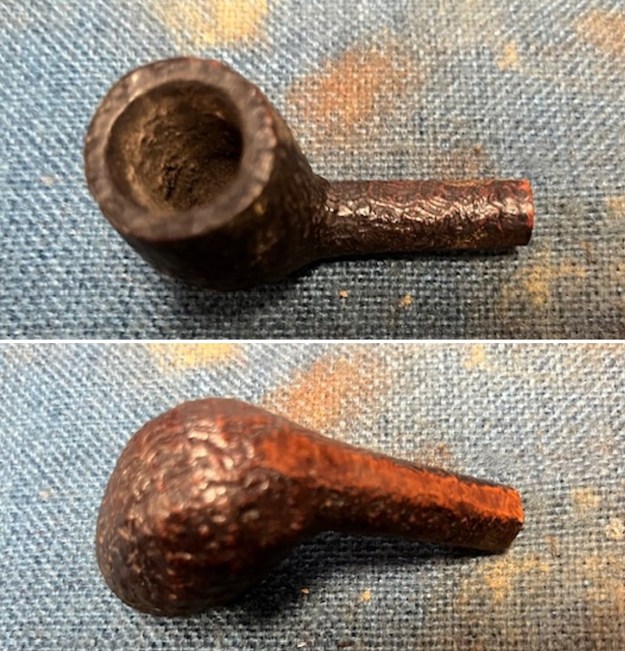
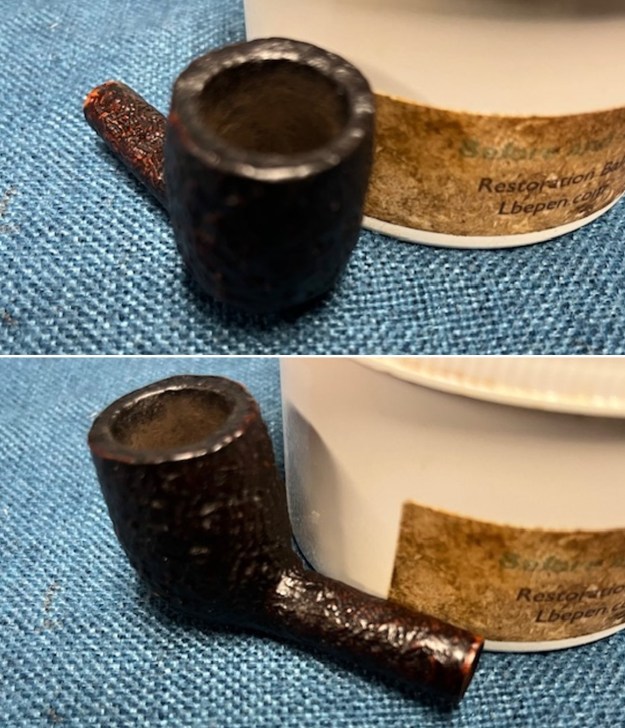
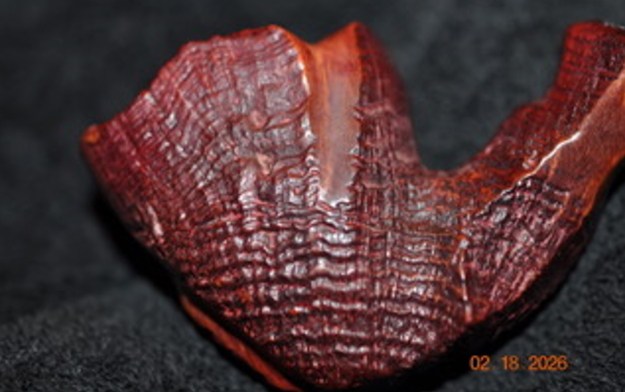
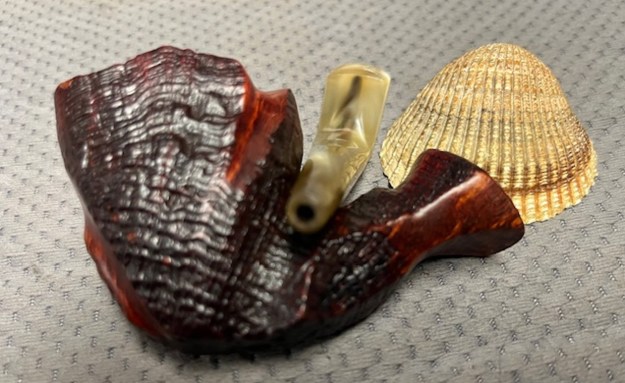
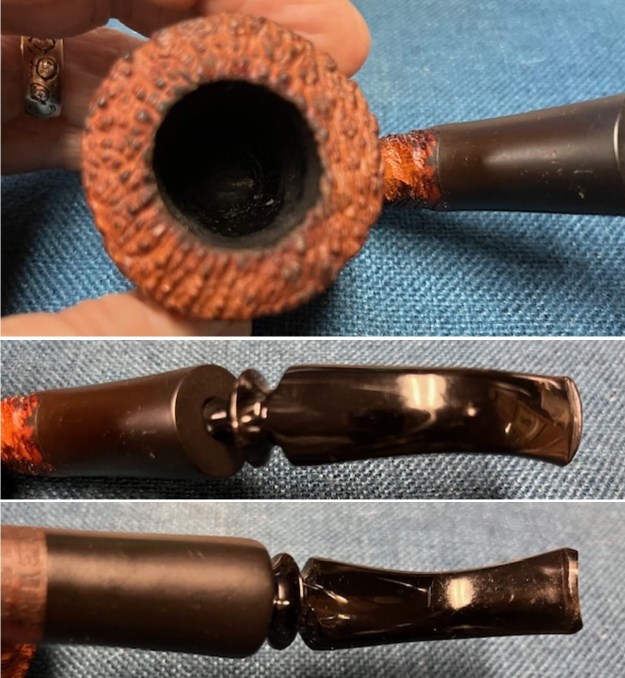
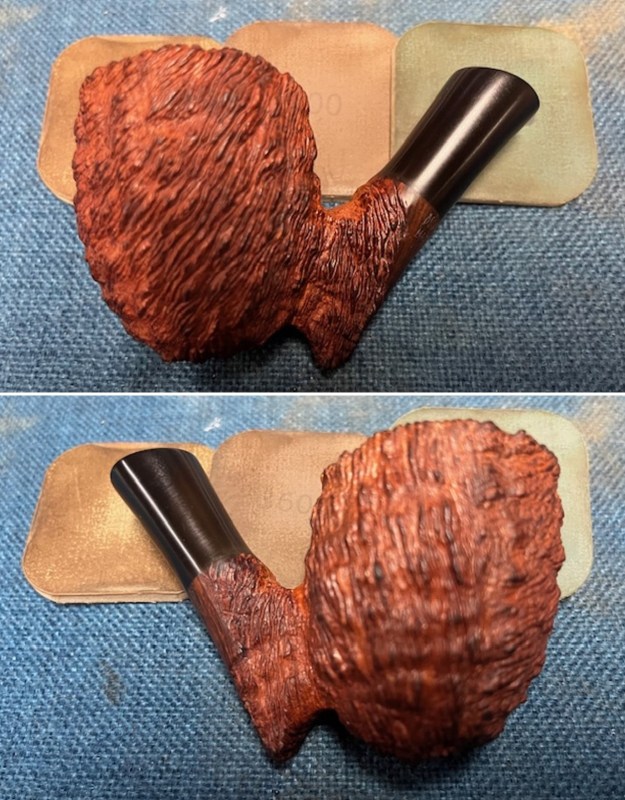
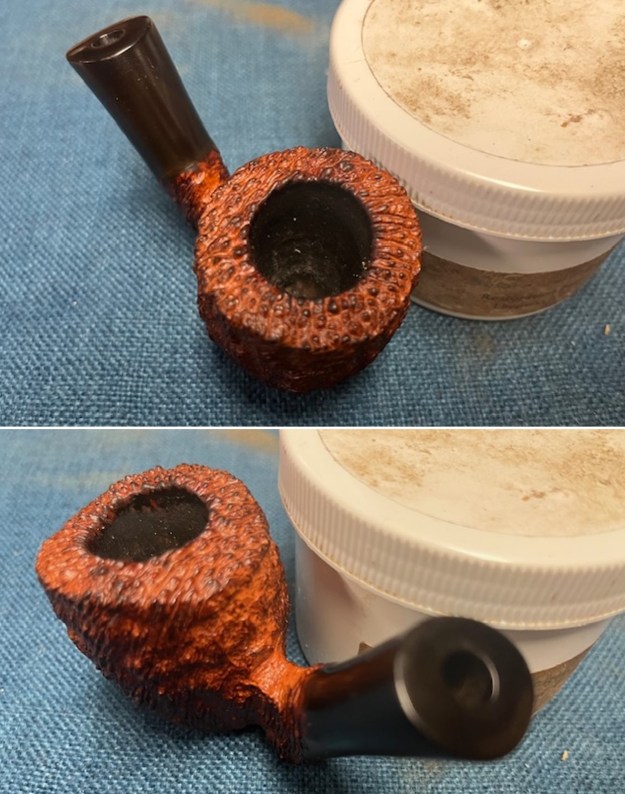
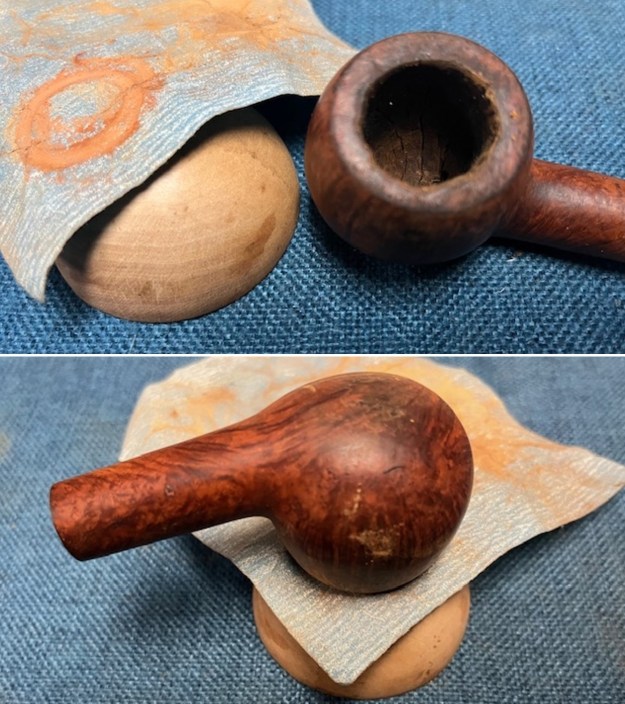
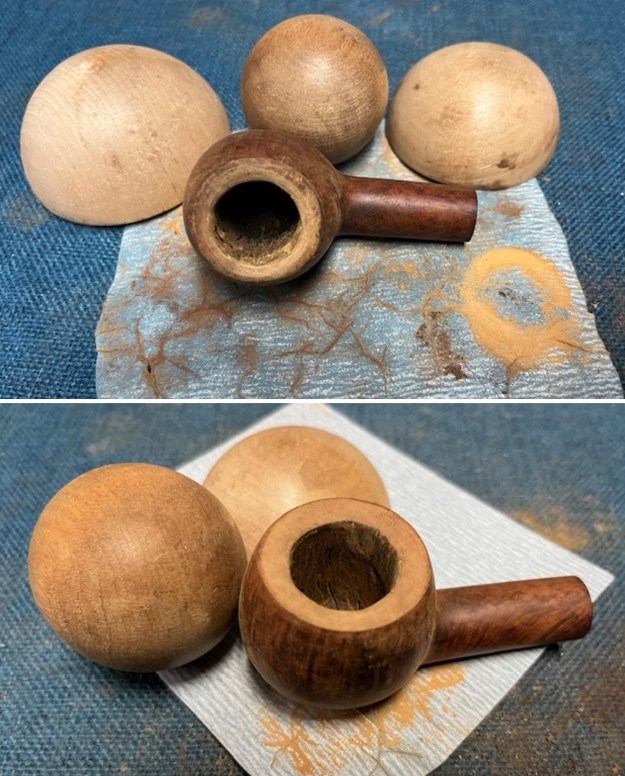
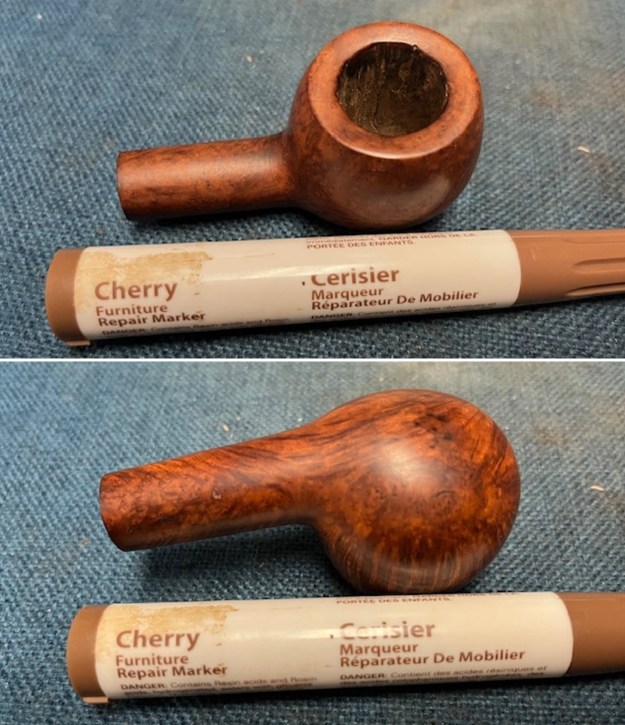
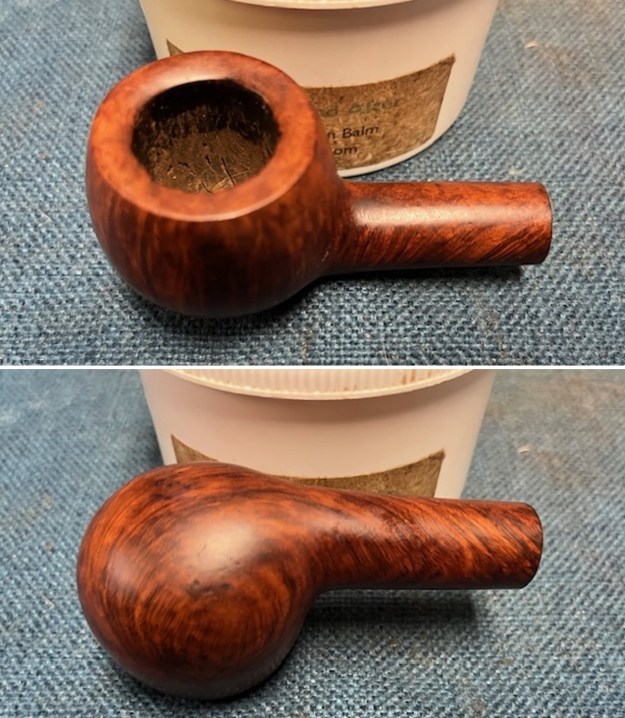
Now it was time to work on the pipe. I started my work on the pipe by reaming it with a Savinelli Fitsall Pipe Knife. I scraped the lava built up on the rim top with the edge of the knife. I sanded the bowl walls with 220 grit sandpaper wrapped around a dowel to clean up the remaining bits. It looked much better after the clean up.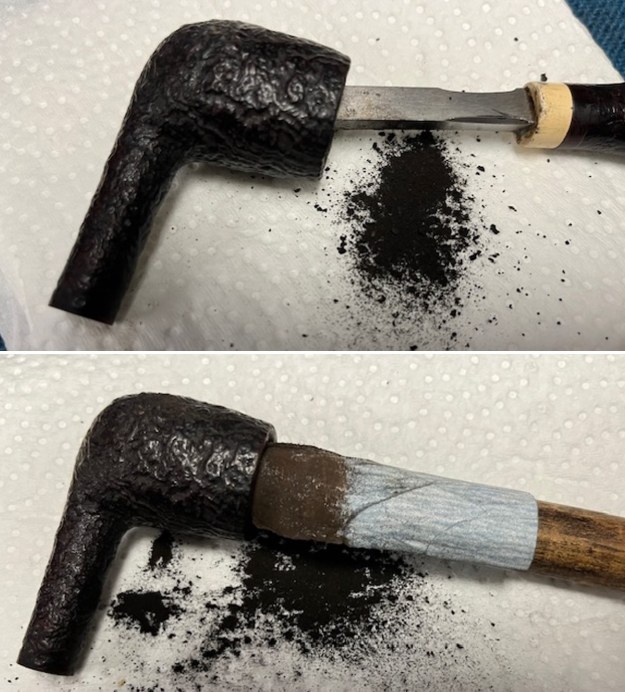 I cleaned out the internals of the shank and bowl with pipe cleaners, cotton swabs and isopropyl alcohol. The pipe is very clean. I like it clean to make a better fit for new stem. I cleaned out the airway in the stem I had chosen with pipe cleaners and alcohol.
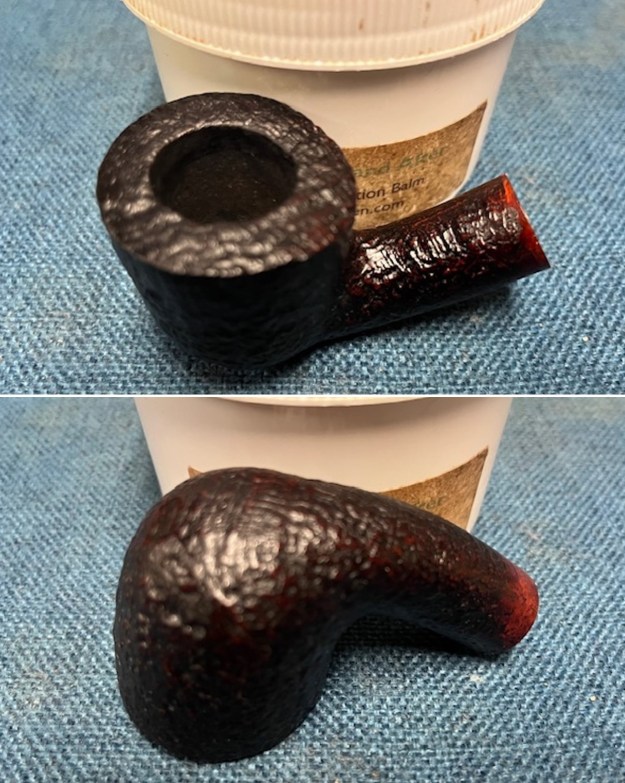
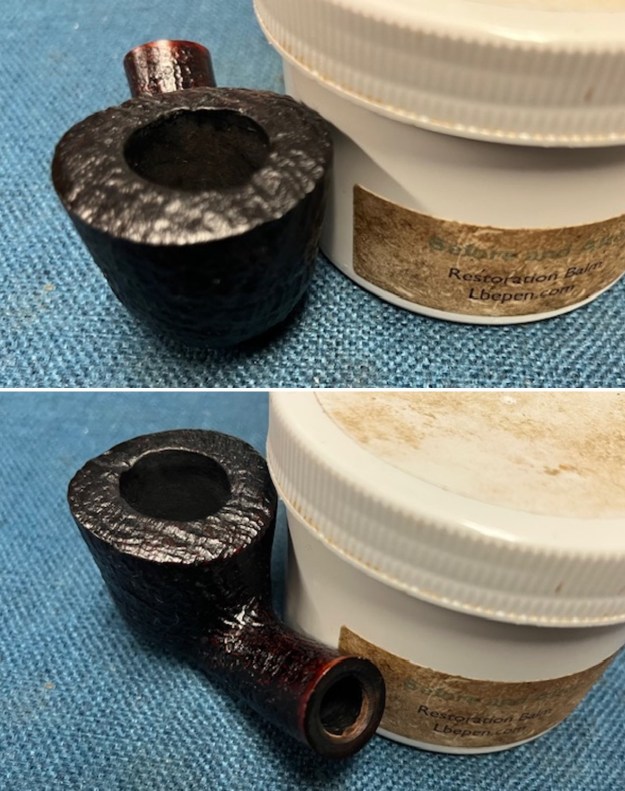
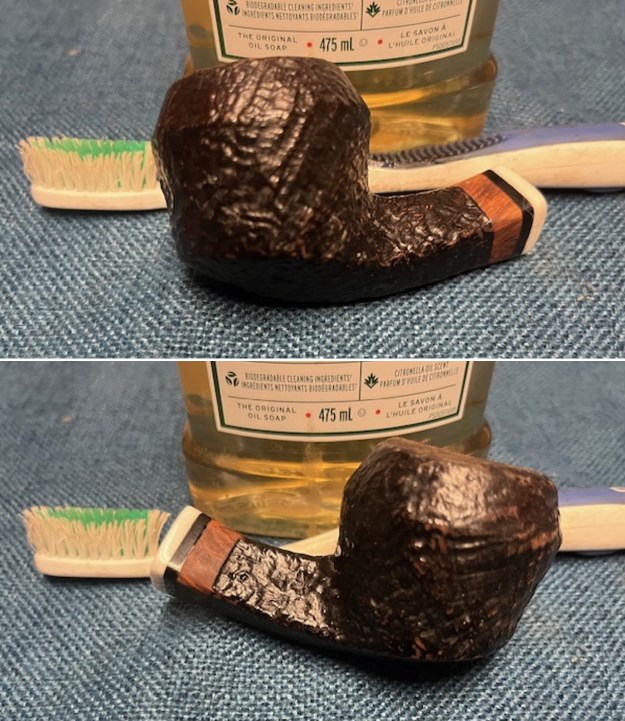
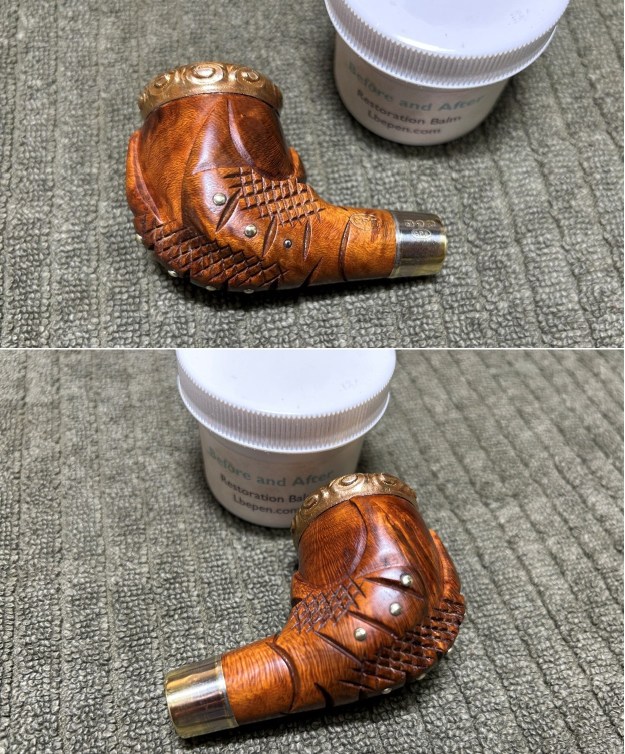
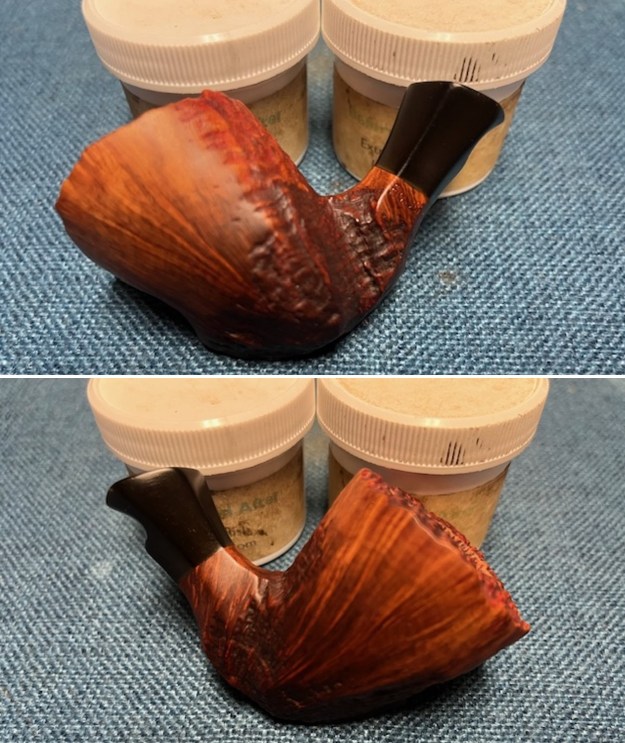
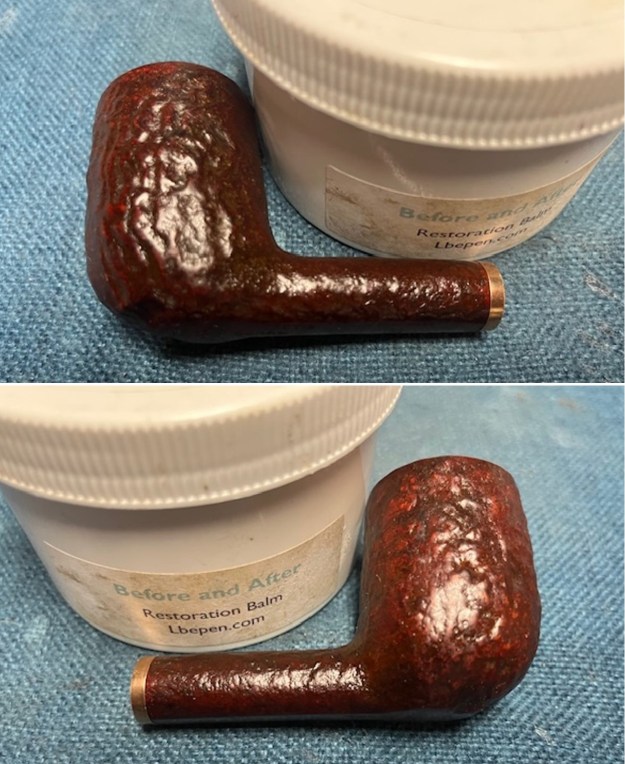
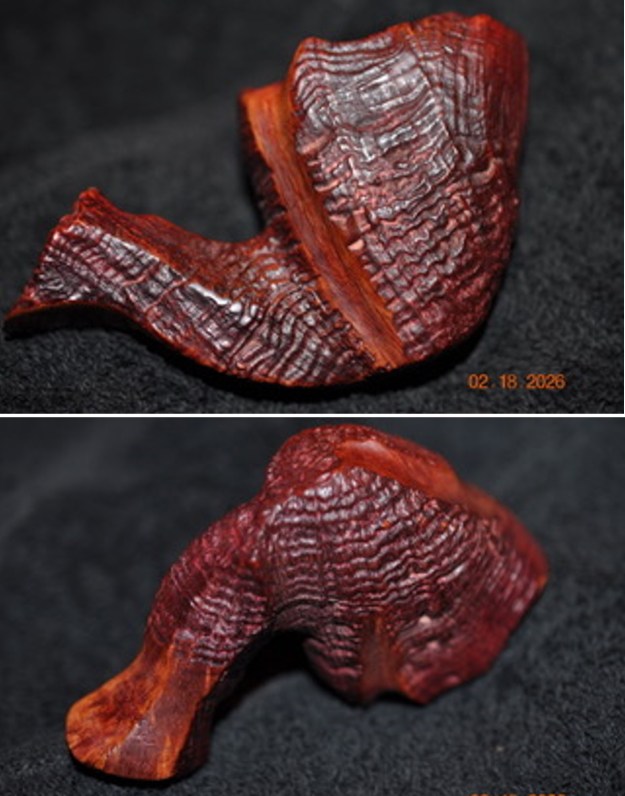
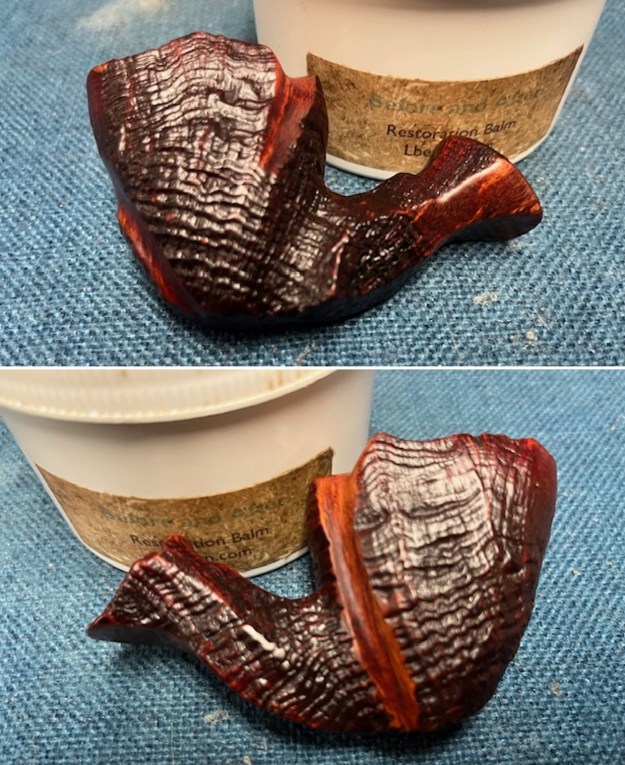
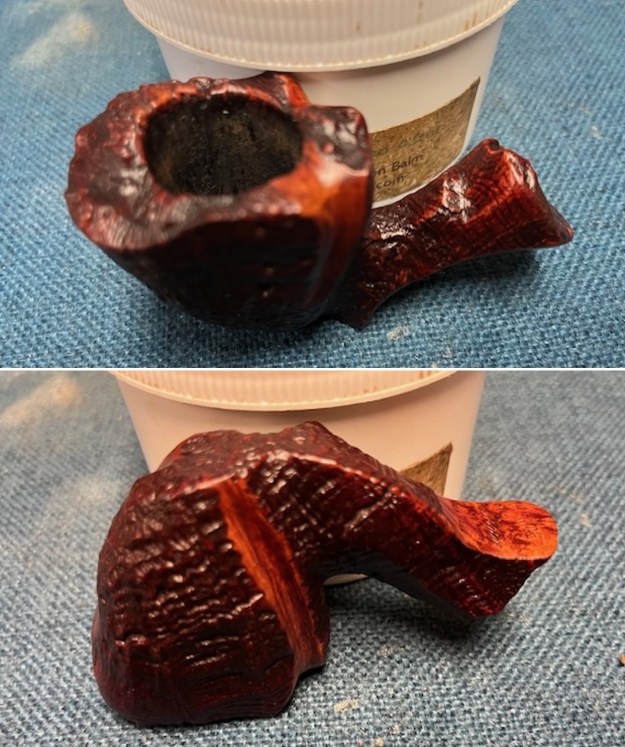
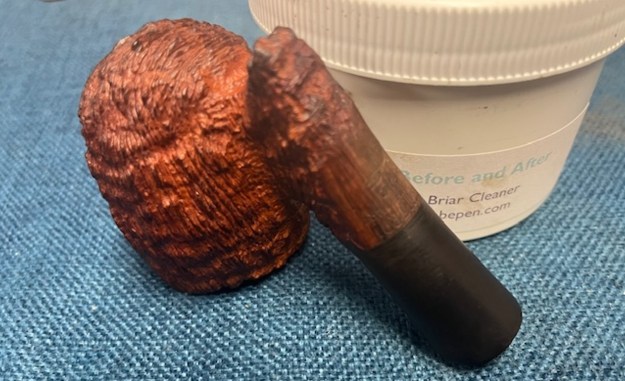
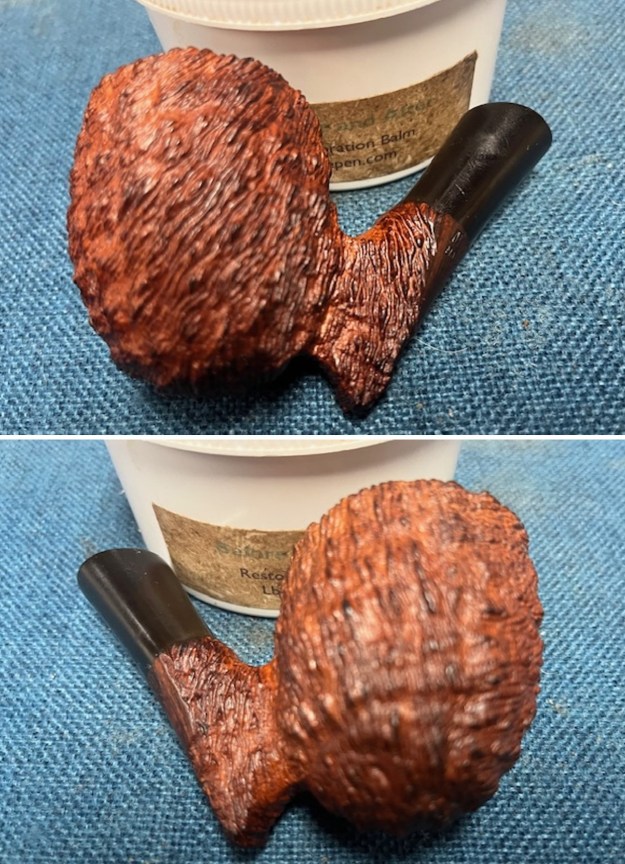
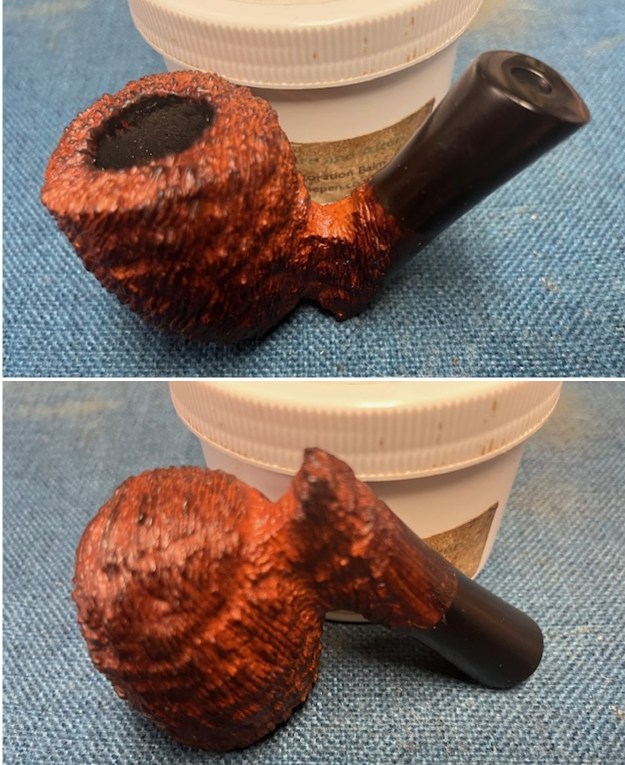
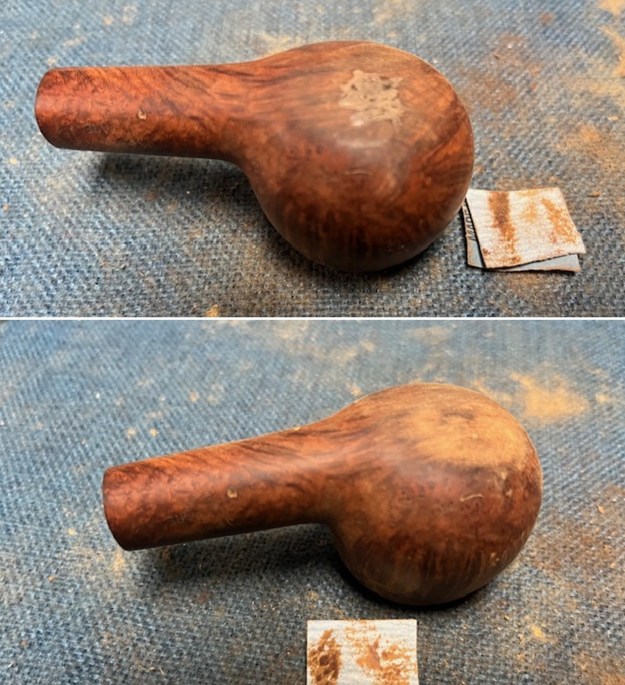
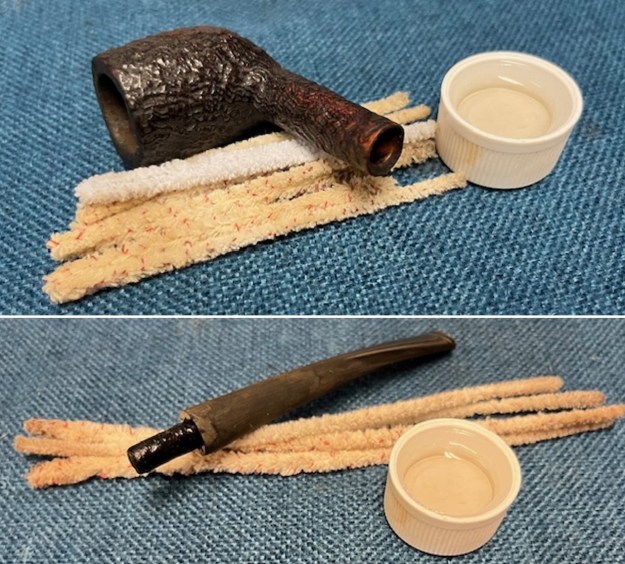 I worked some Before & After Restoration Balm into the surface of the briar with my finger tips and a shoe brush to work it into the sandblast. The product is incredible and the way it brings the grain to the fore is unique. It works to clean, protect and invigorate the wood.
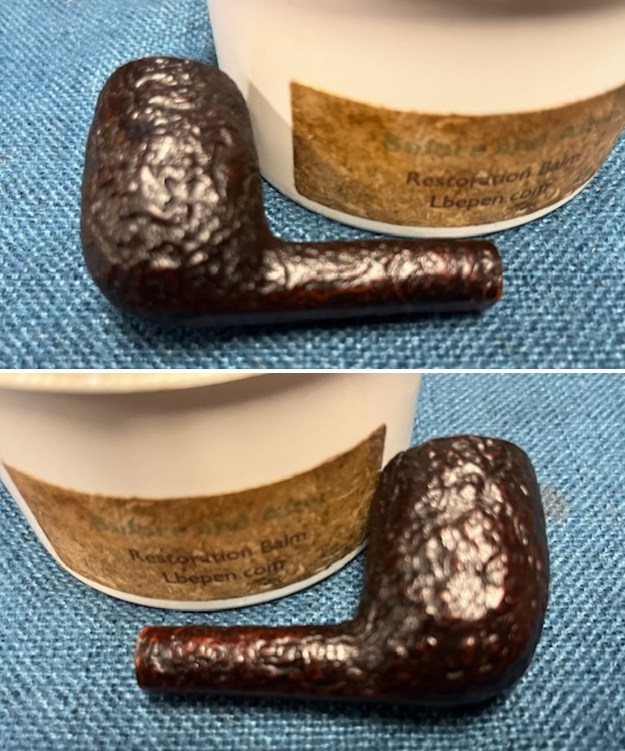
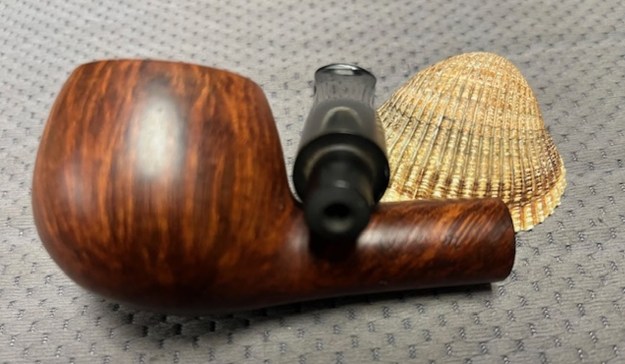
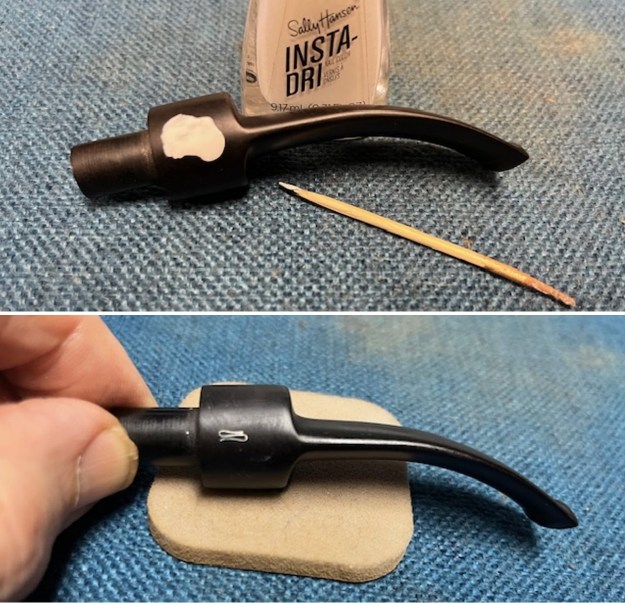
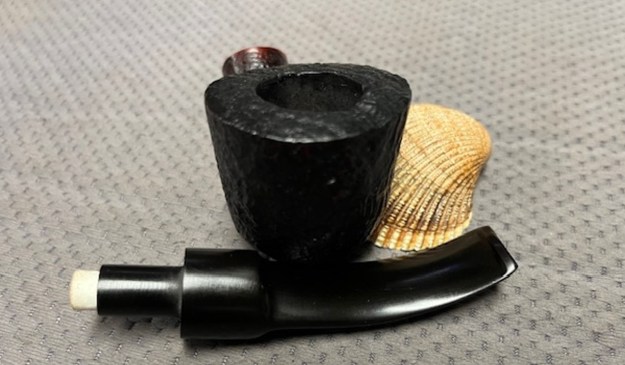
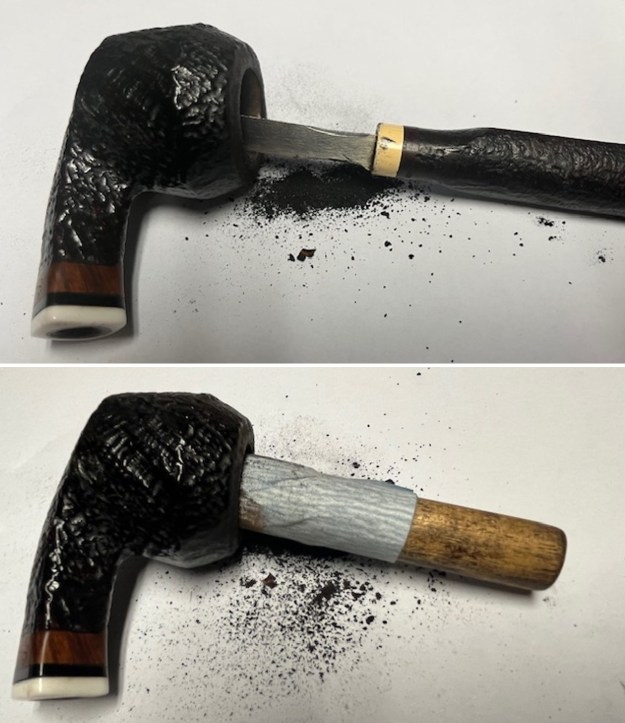
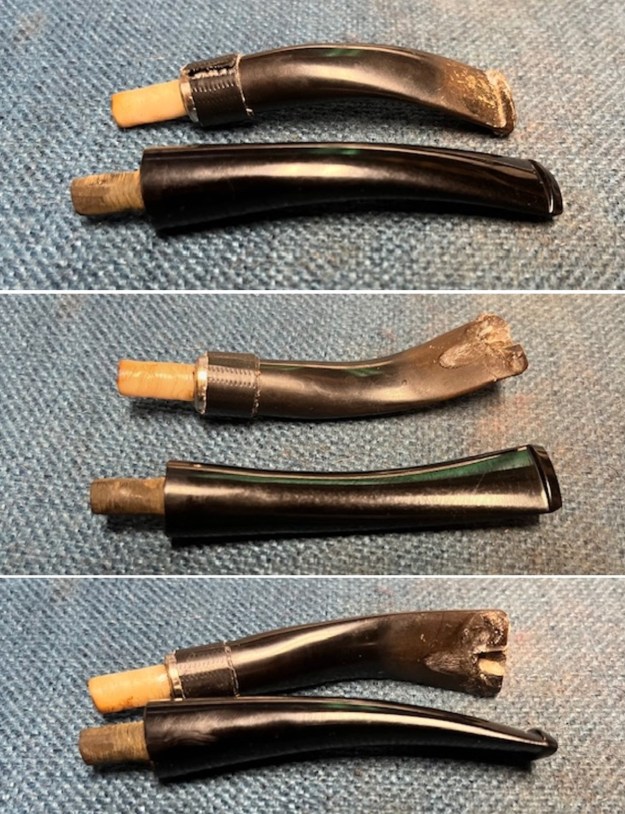
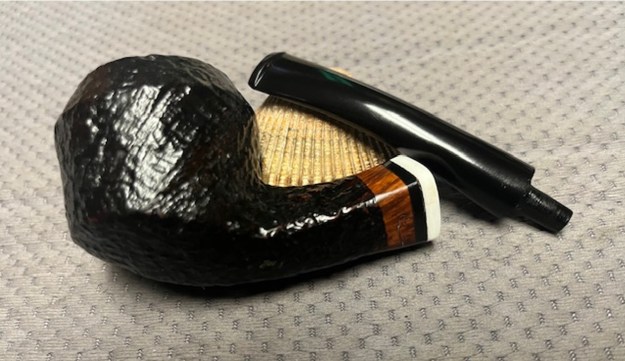
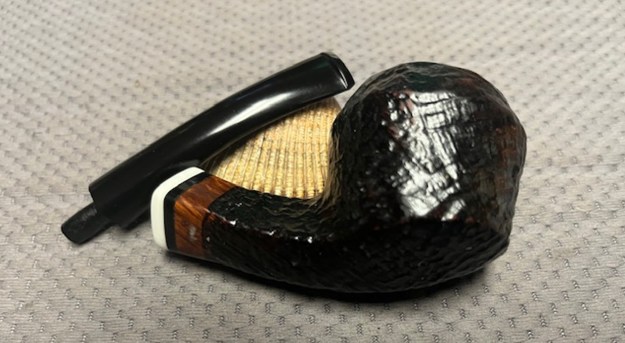
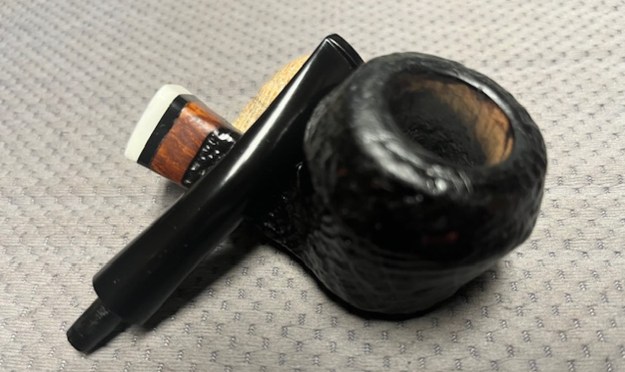
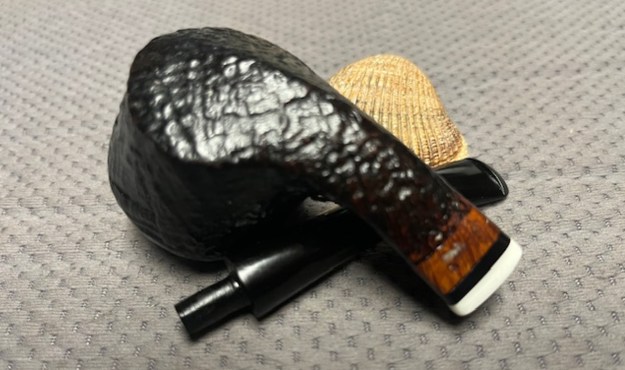
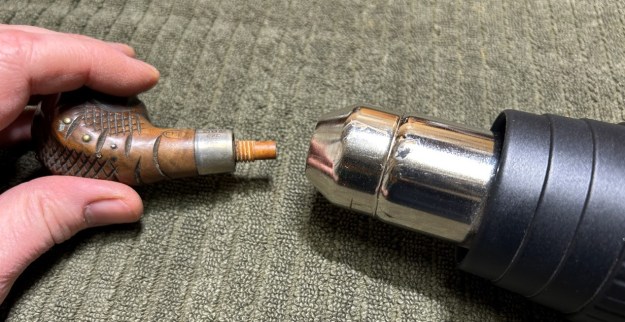
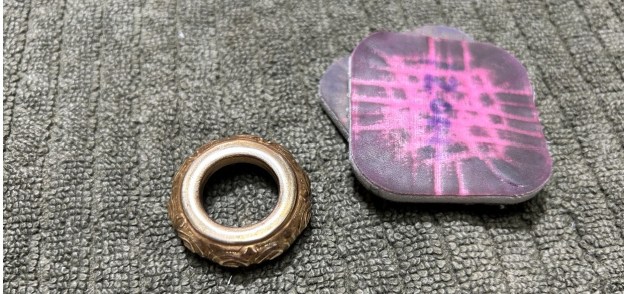
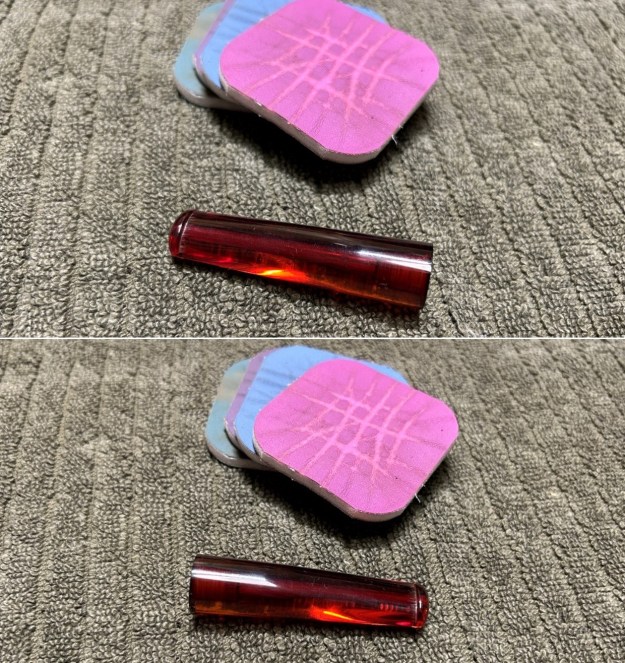
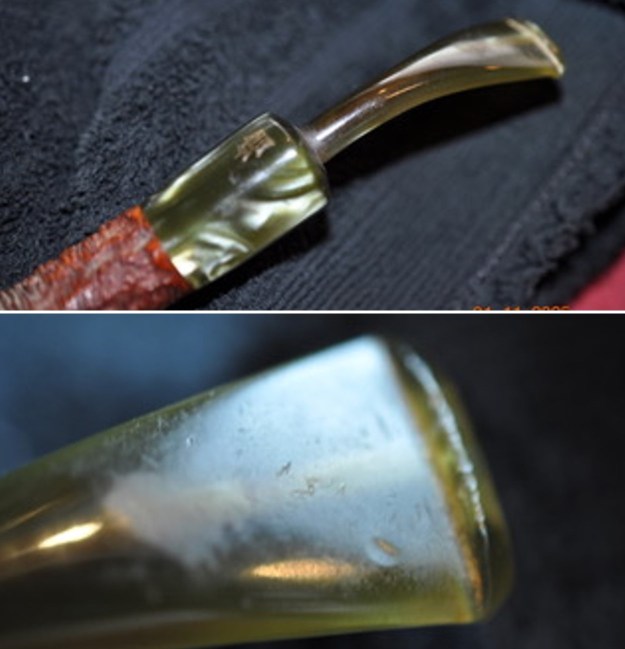
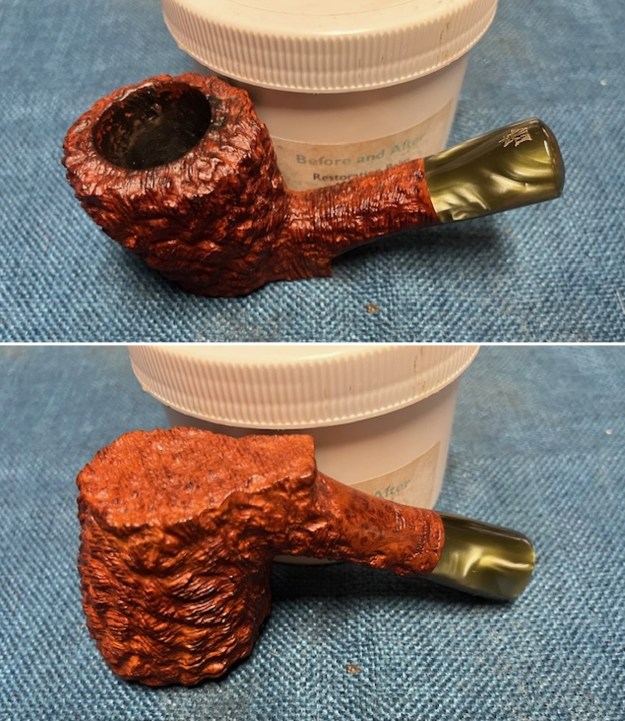
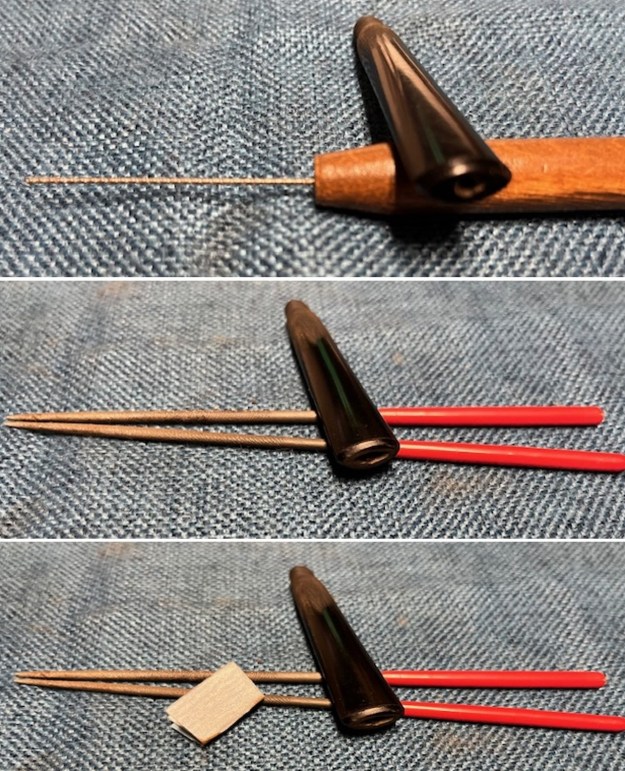
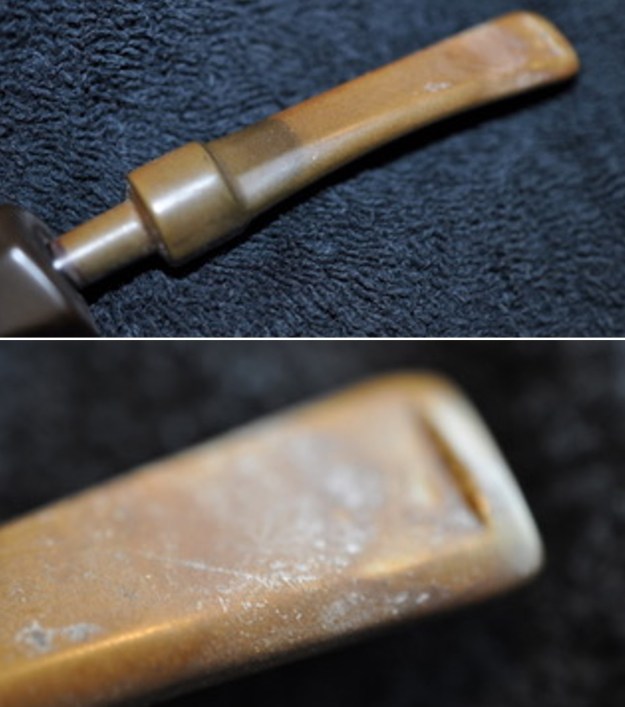
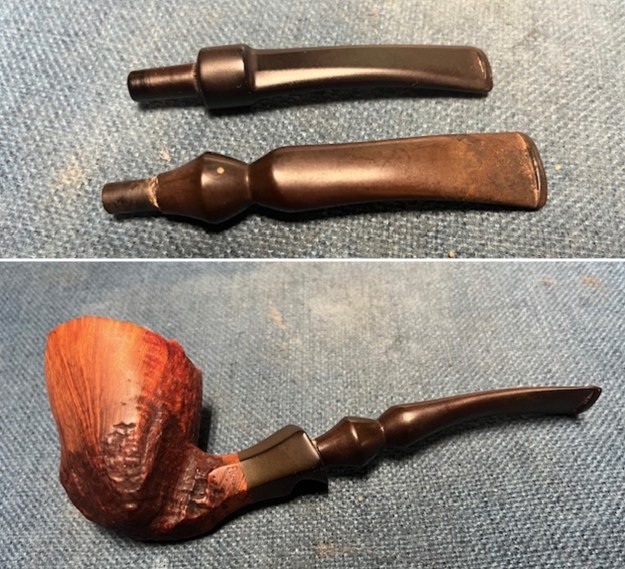
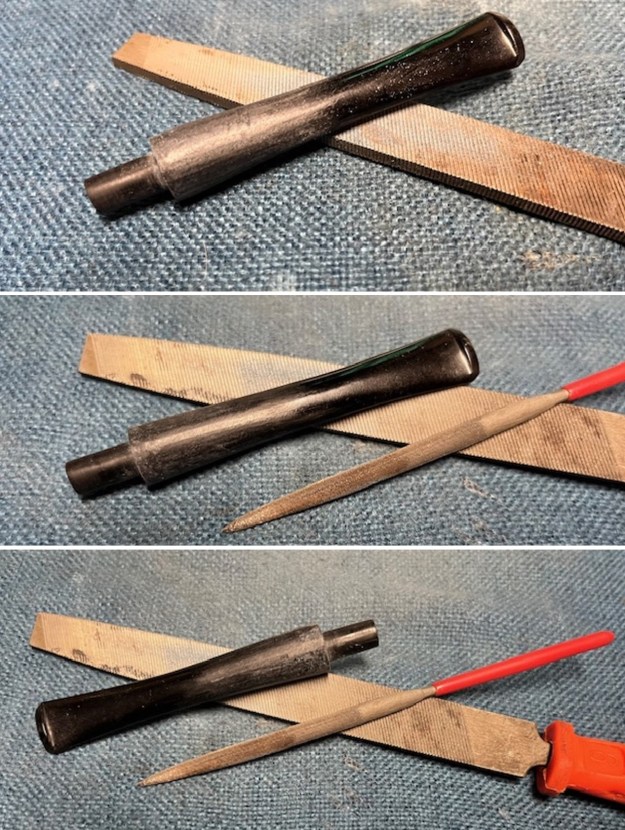
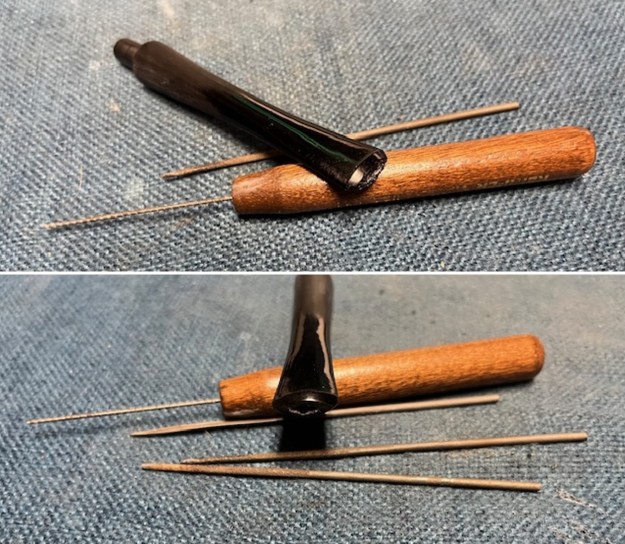
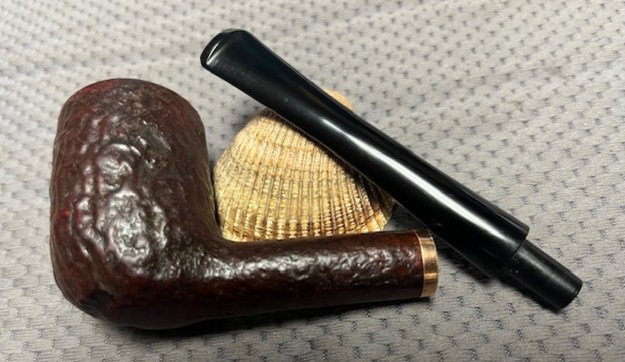
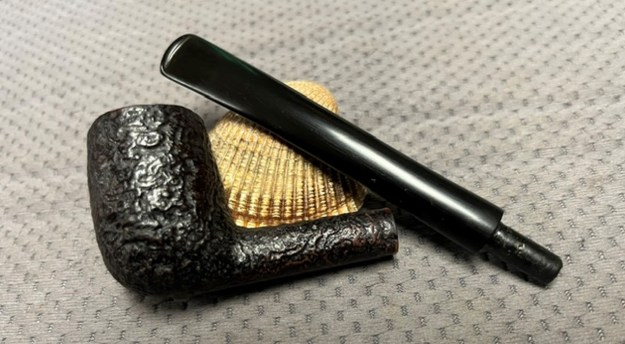
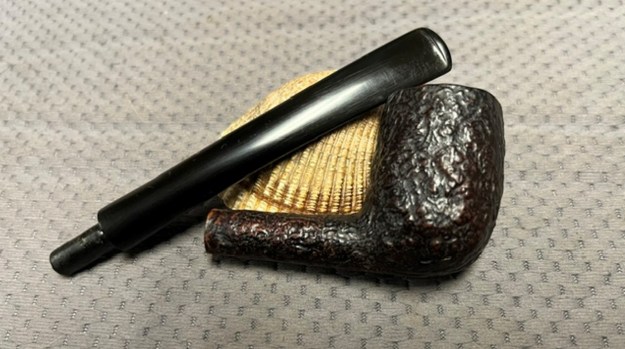
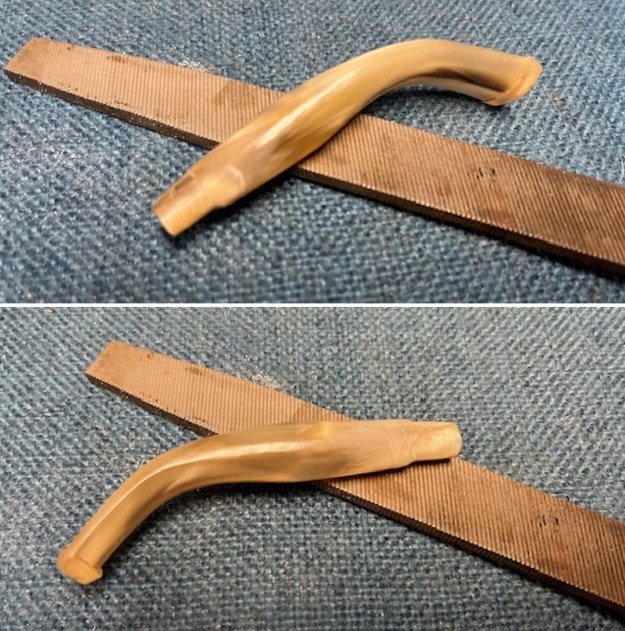
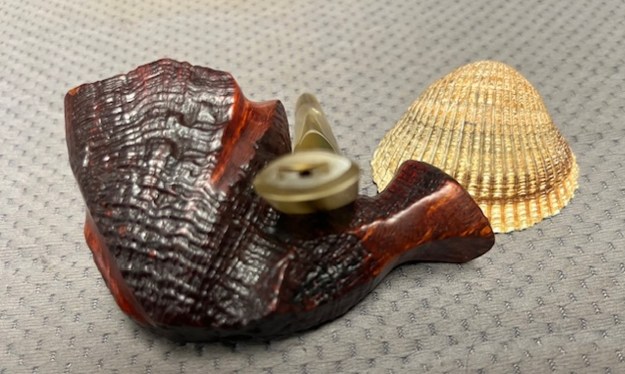
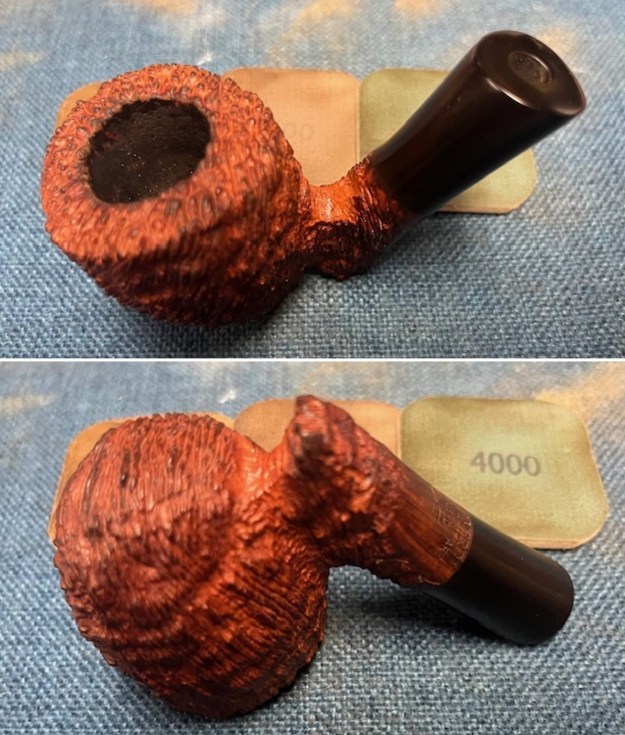
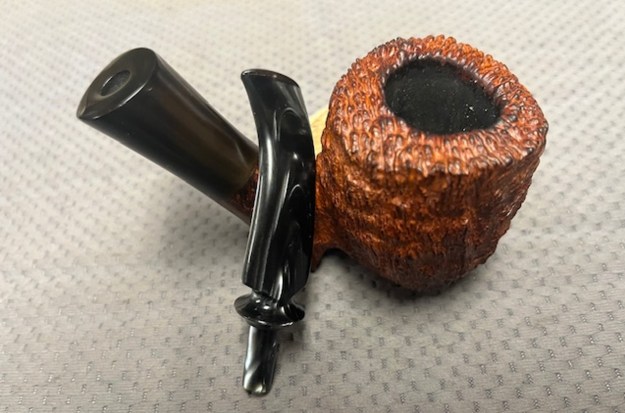
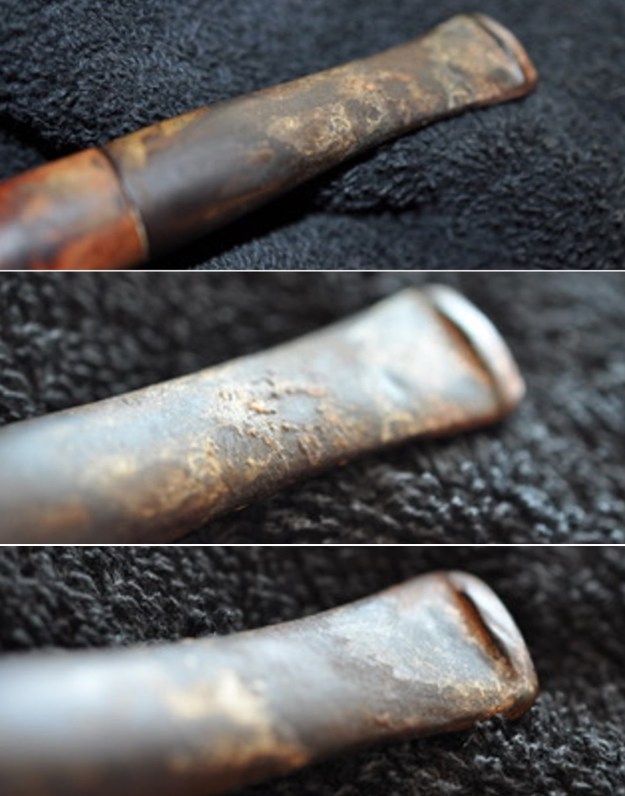
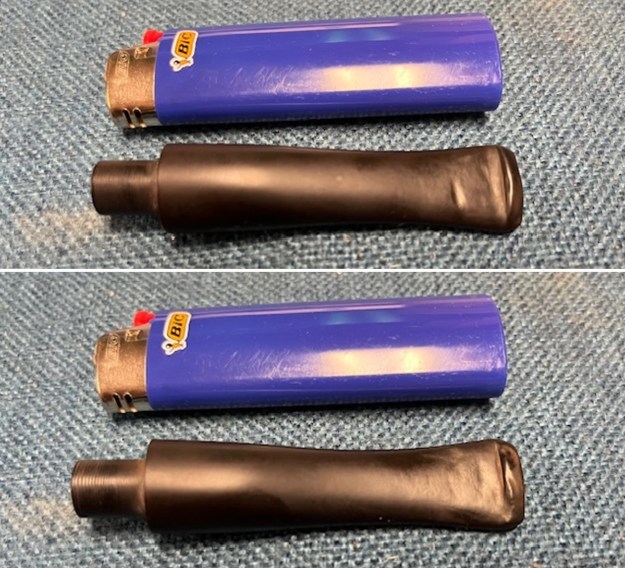
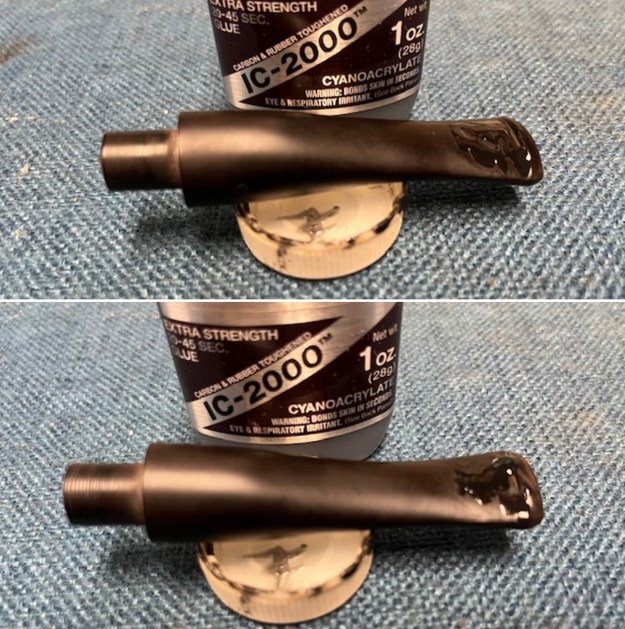
 I went through my stems and found one that was the right length and would need some slight adjusting to fit the diameter of the shank and the tenon.
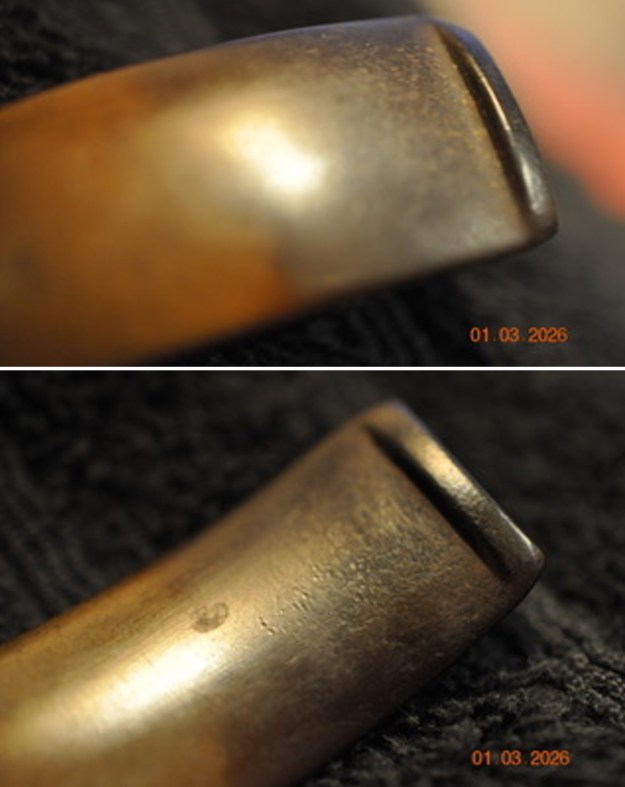
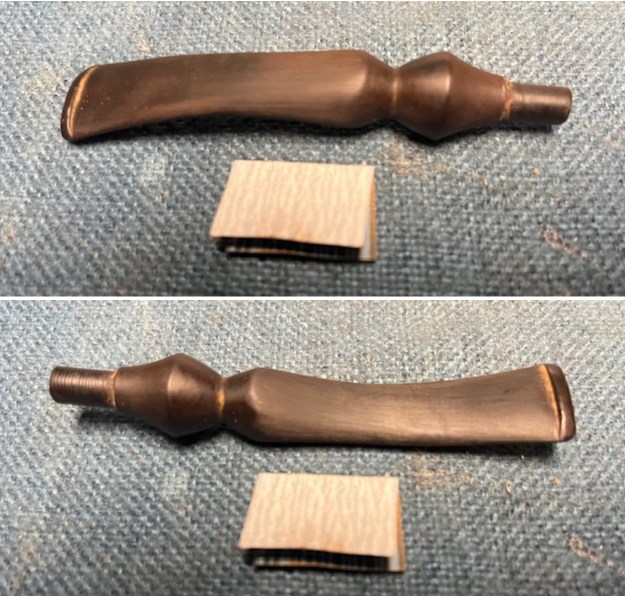
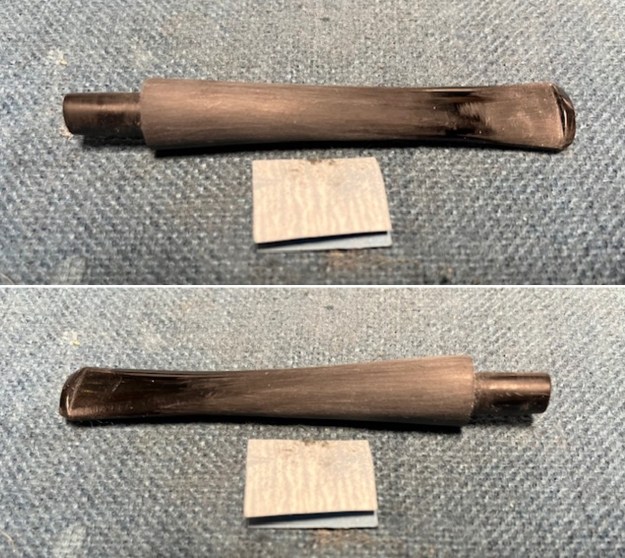
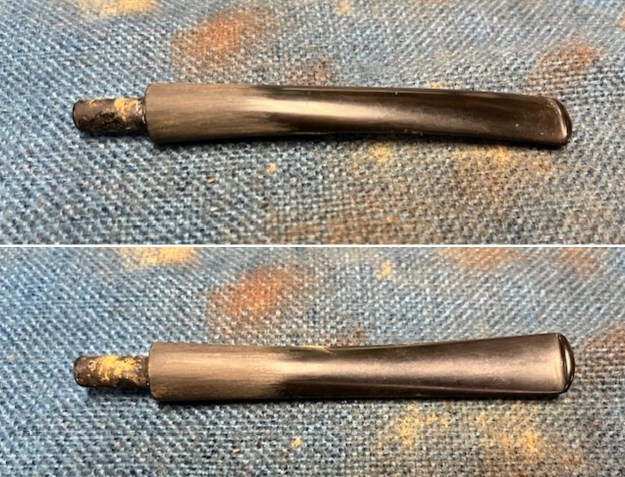 I used a Dremel and sanding drum along with a folded piece of 220 grit sandpaper to shape and rework the stem and tenon to fit the shank end. Once I was finished with the reshaping I took photos of the look of the stem.
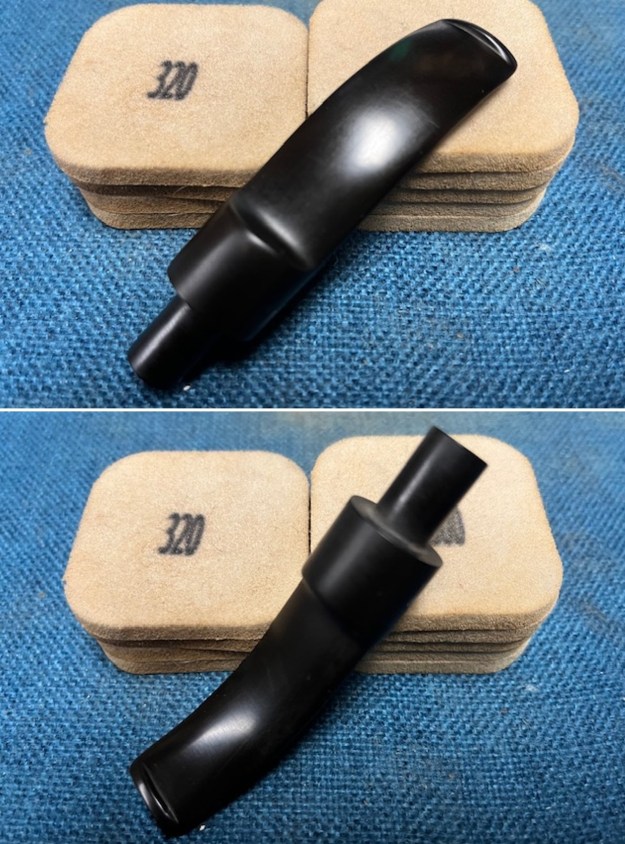
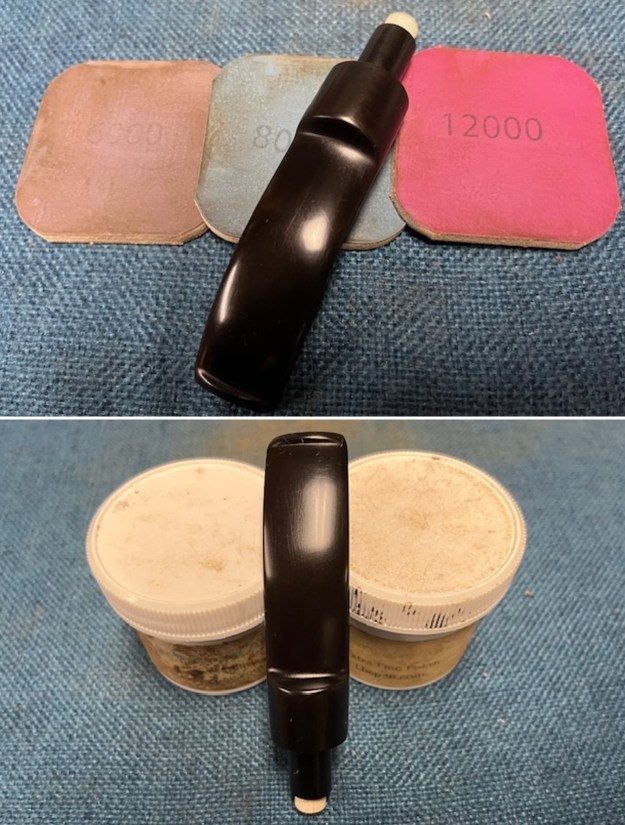
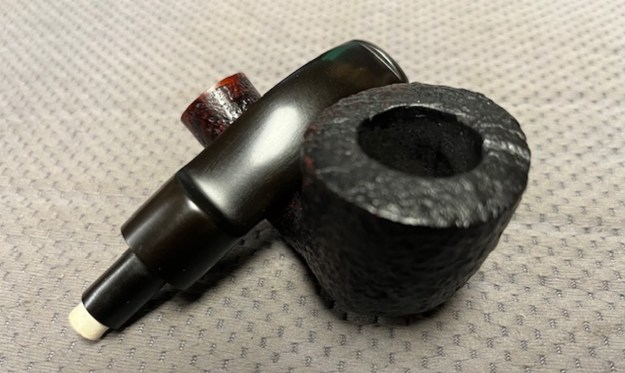
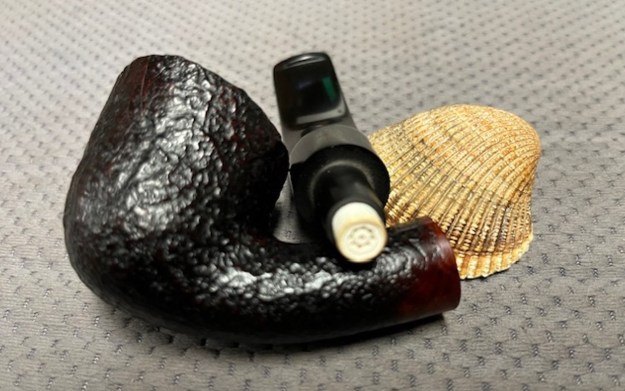
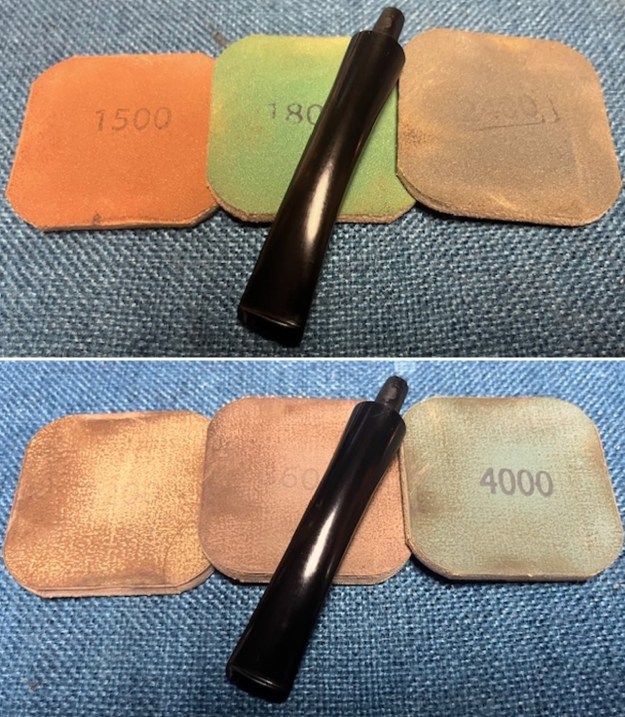
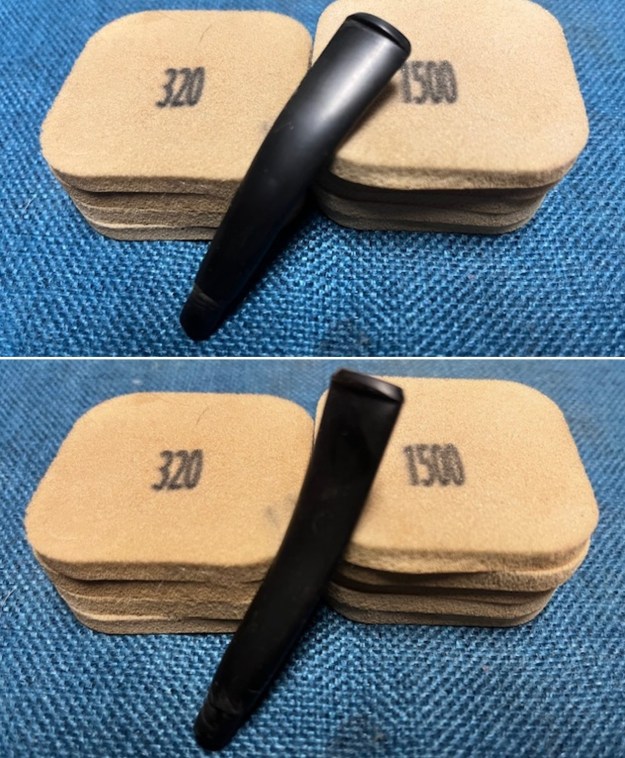
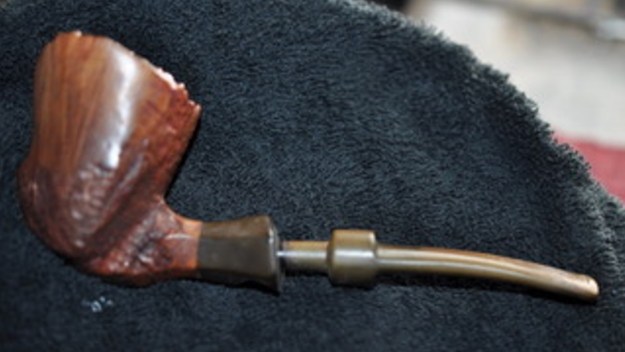
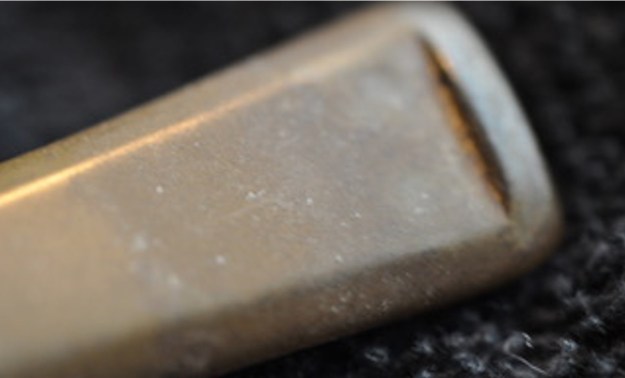
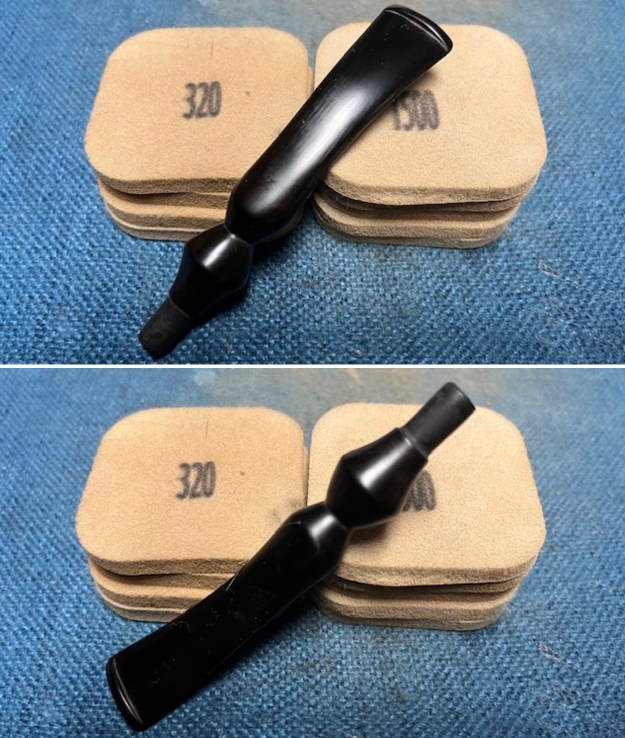
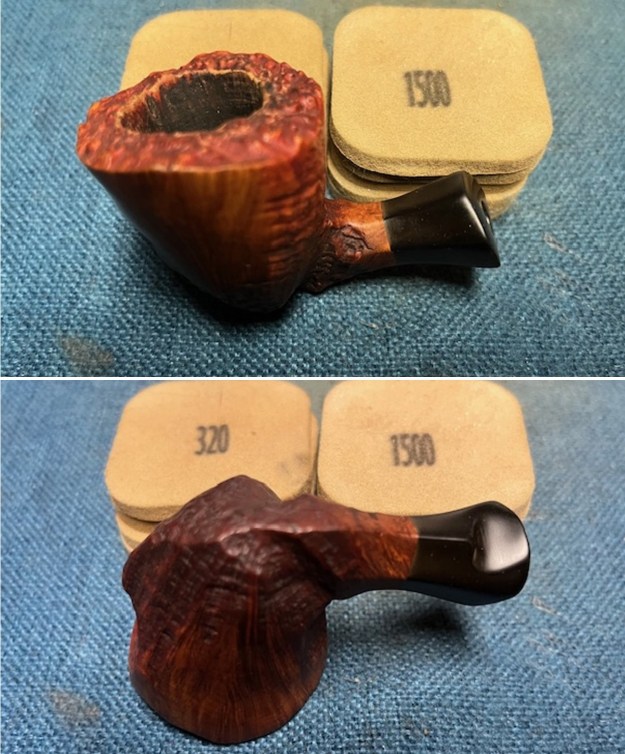
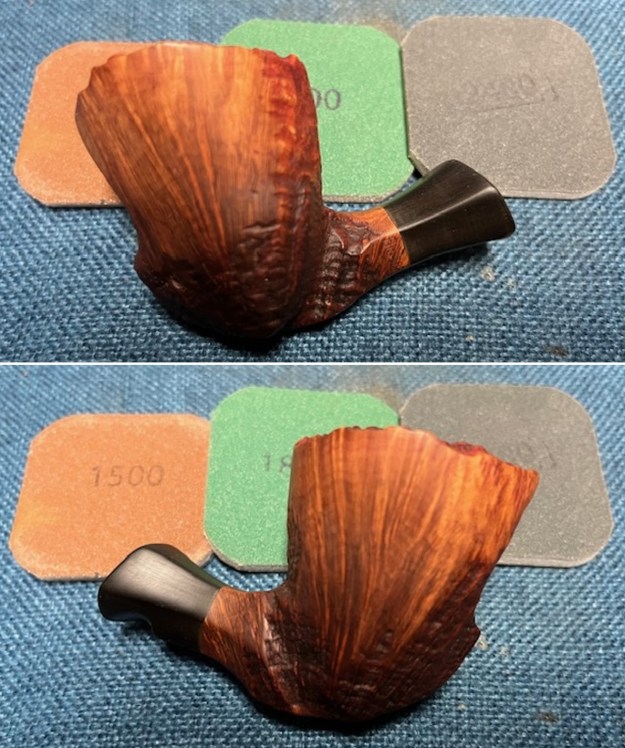
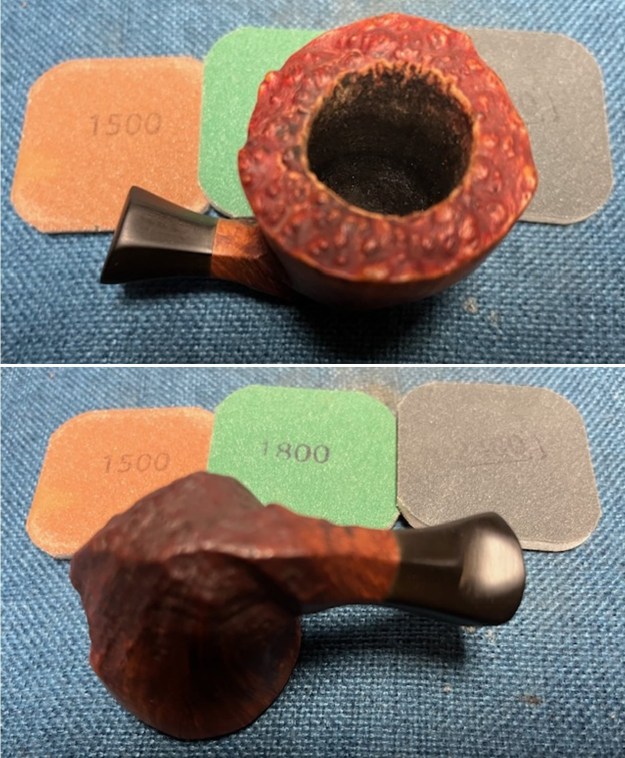
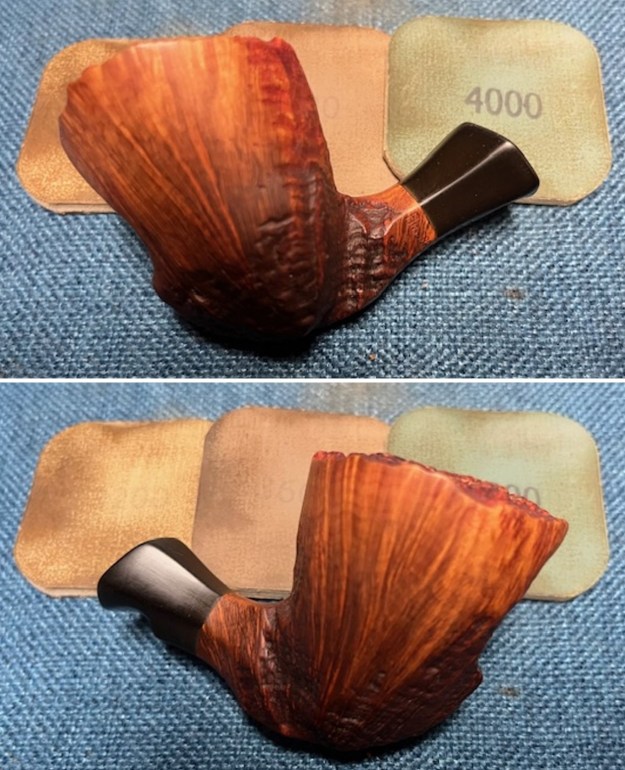
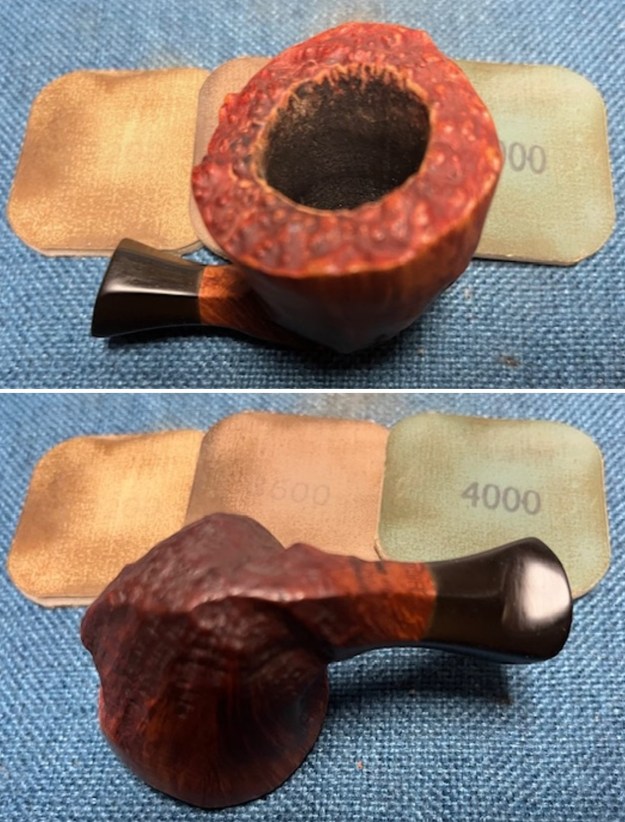
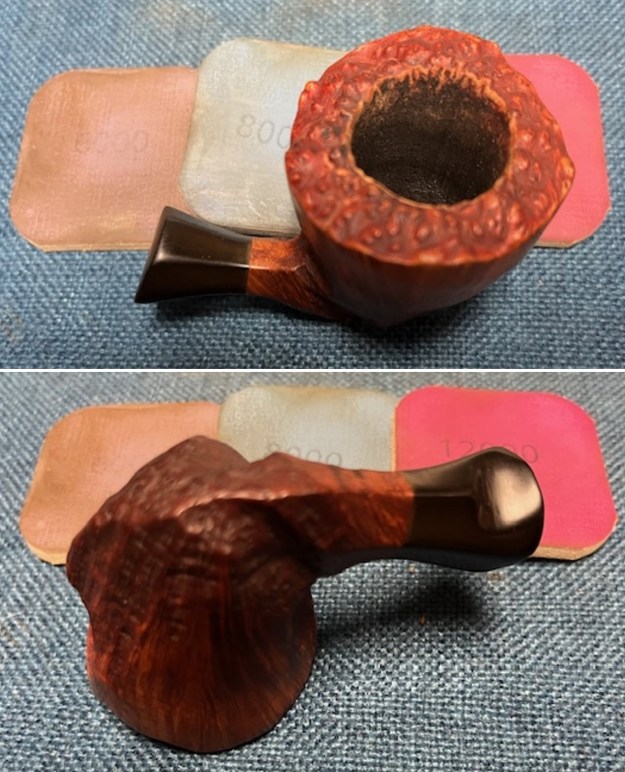
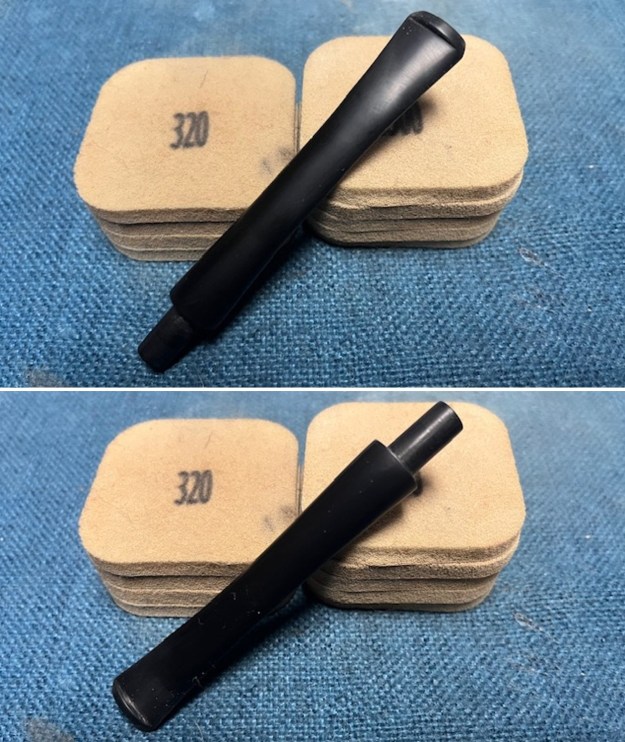
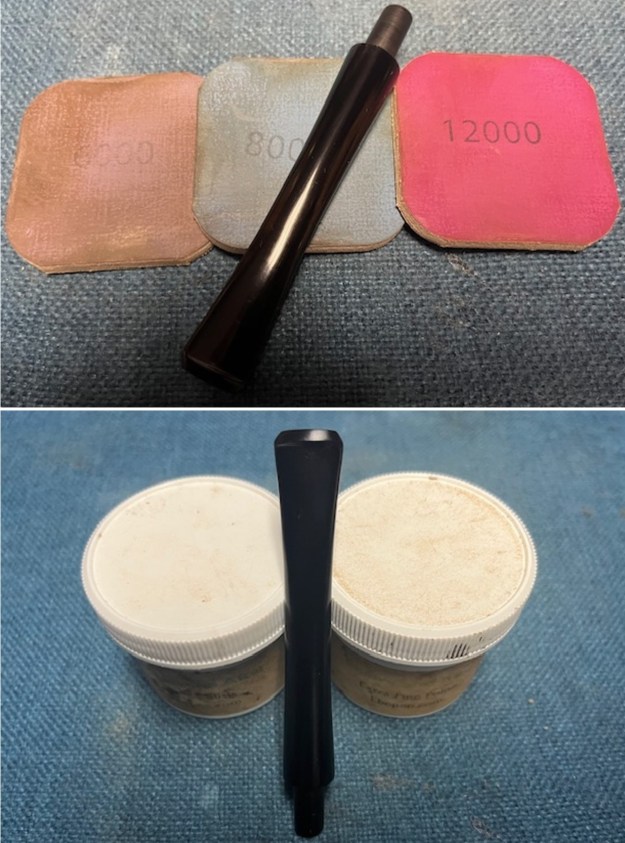
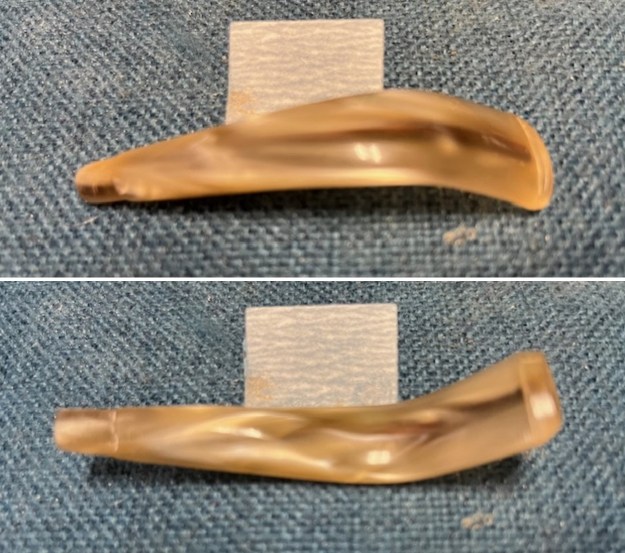
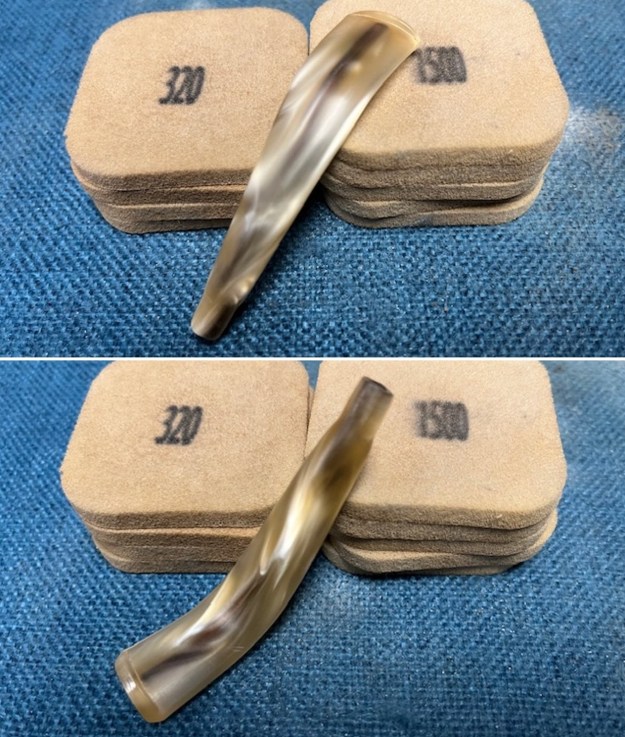
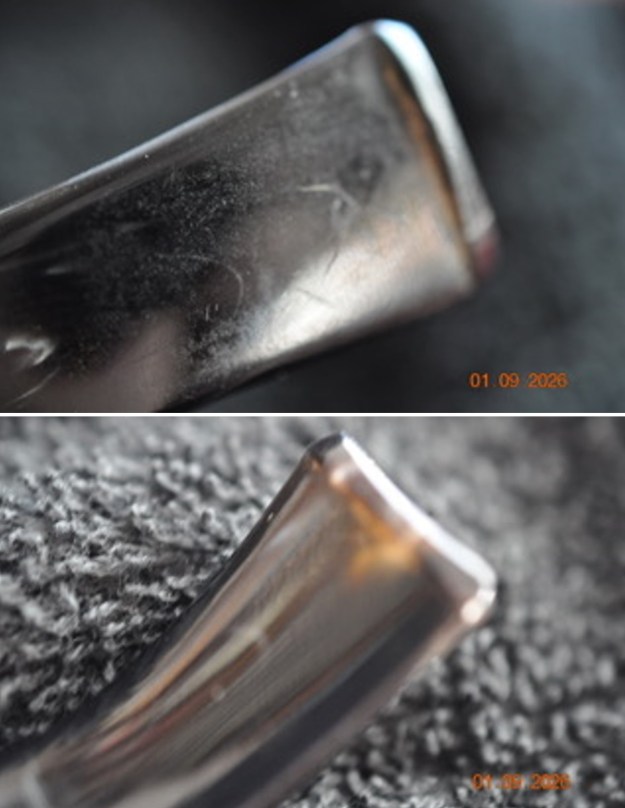
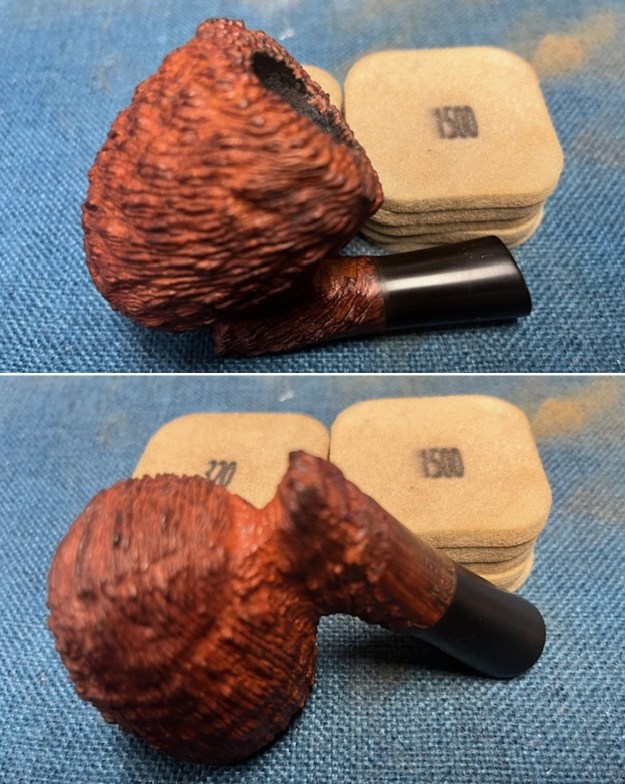
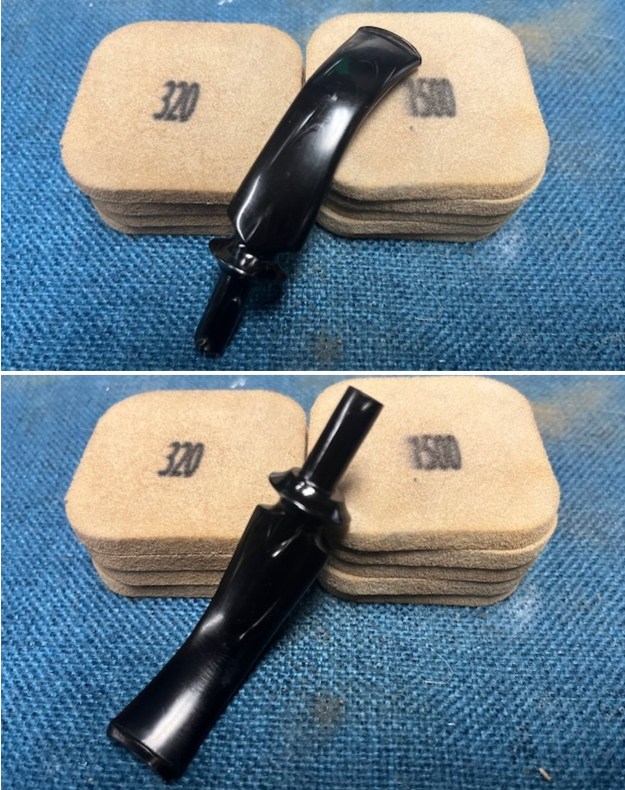
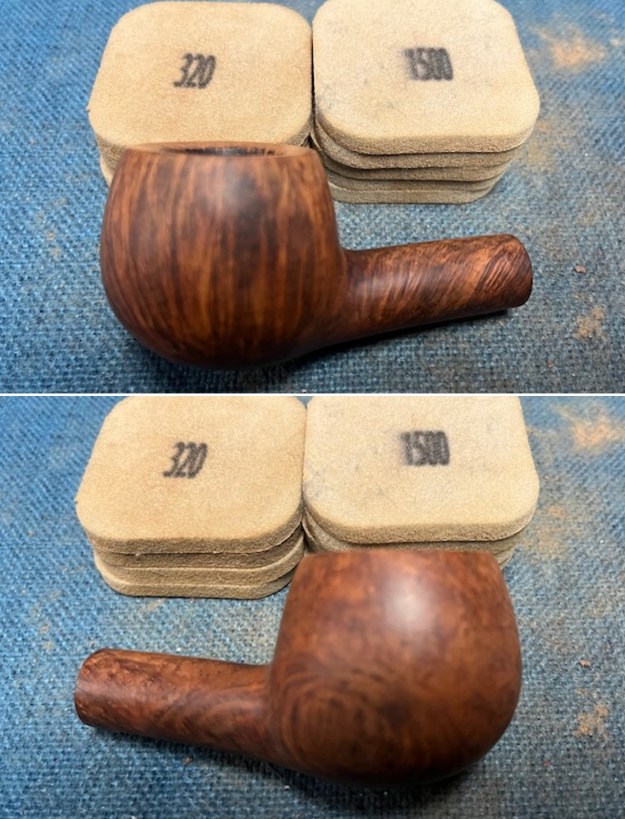
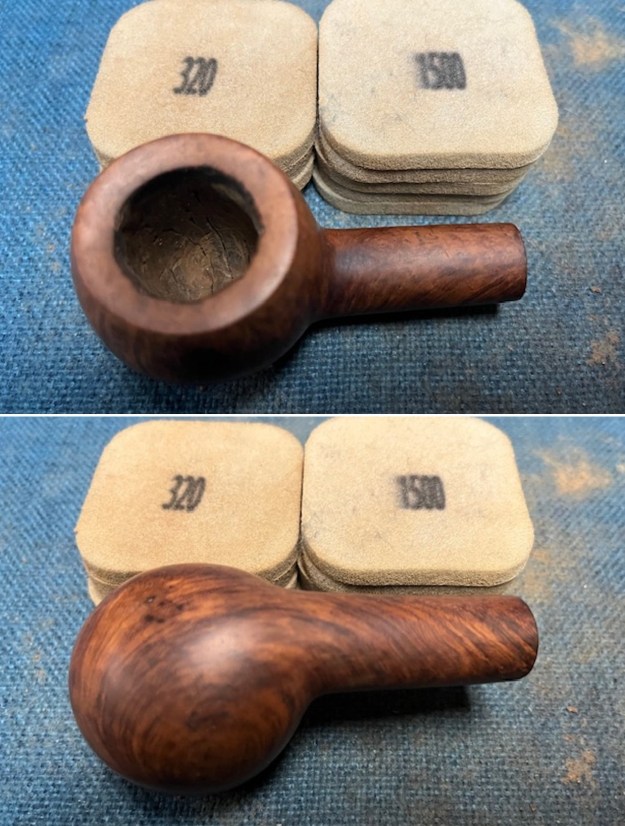
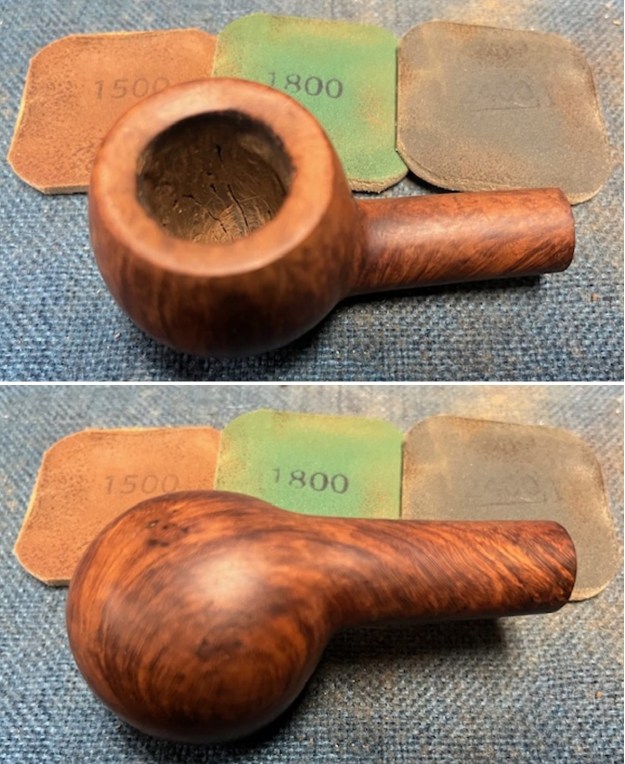
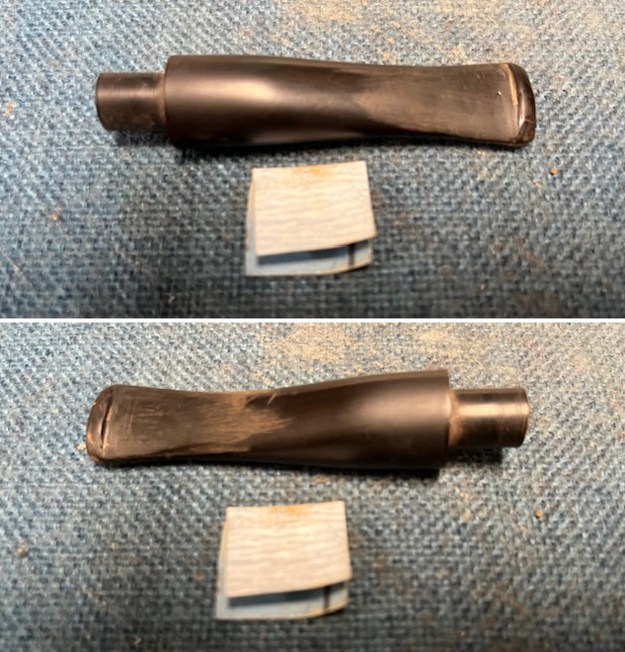
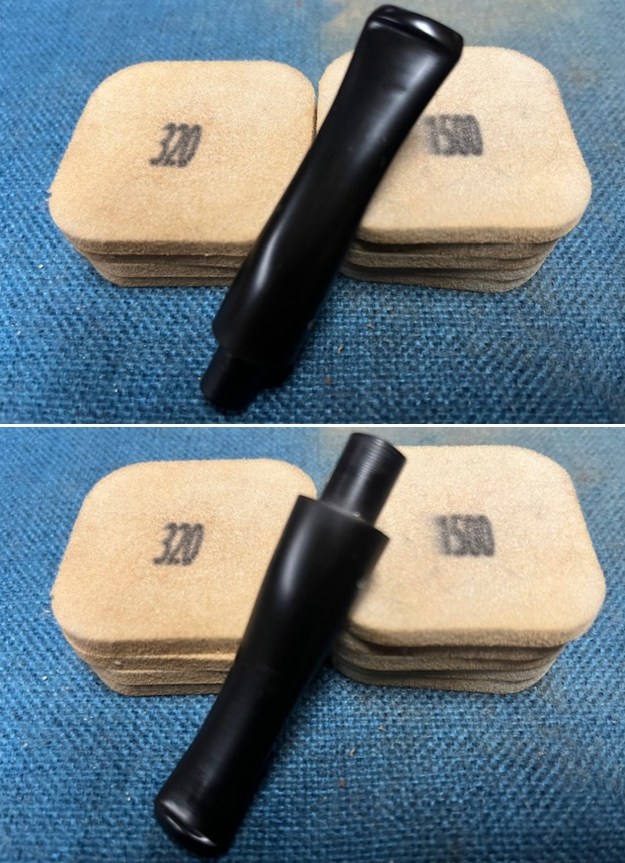
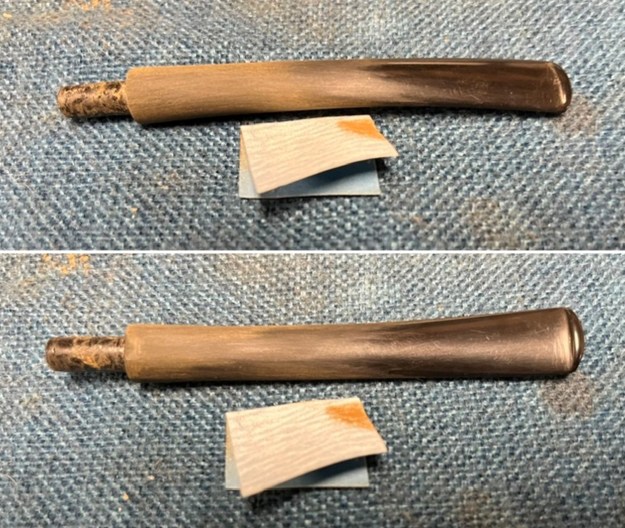 I sanded the stem with 320-1500 grit 2×2 inch sanding pads. I wiped the stem down after each sanding pad with an Obsidian Oil Cloth to remove the sanding dust. It began to look very good.
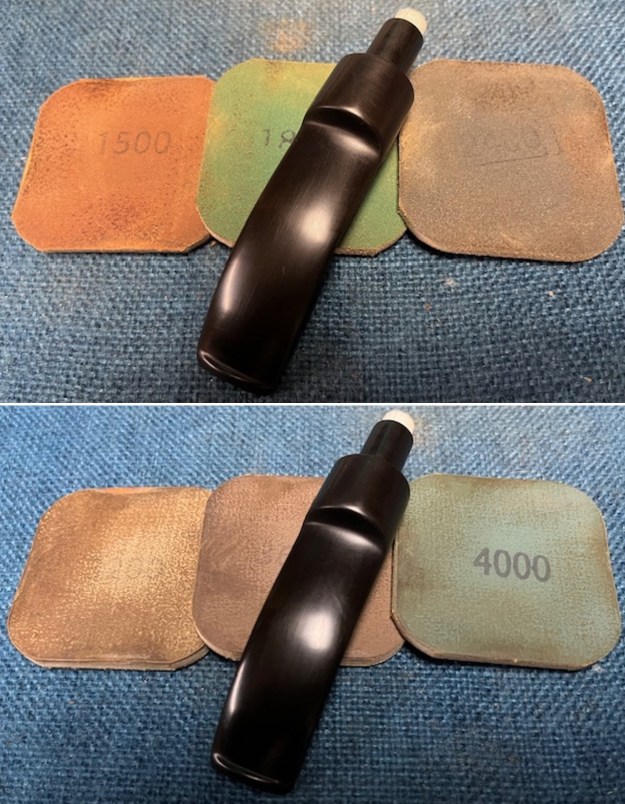
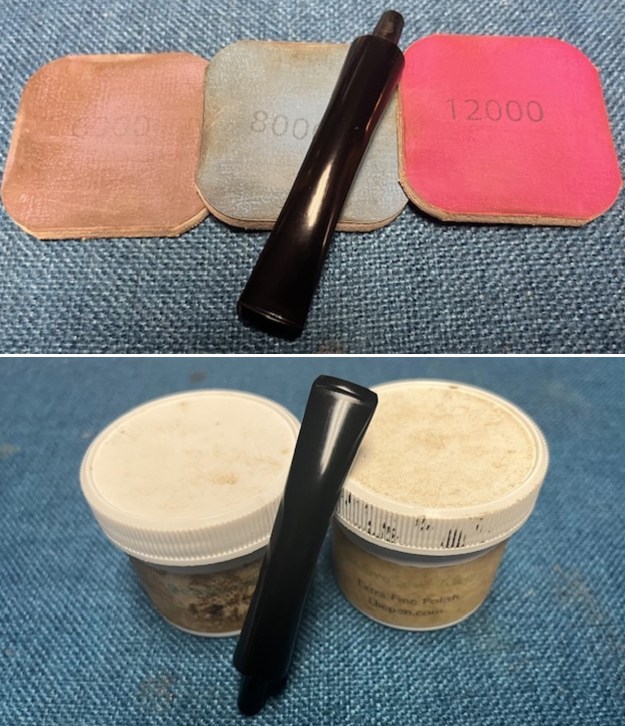
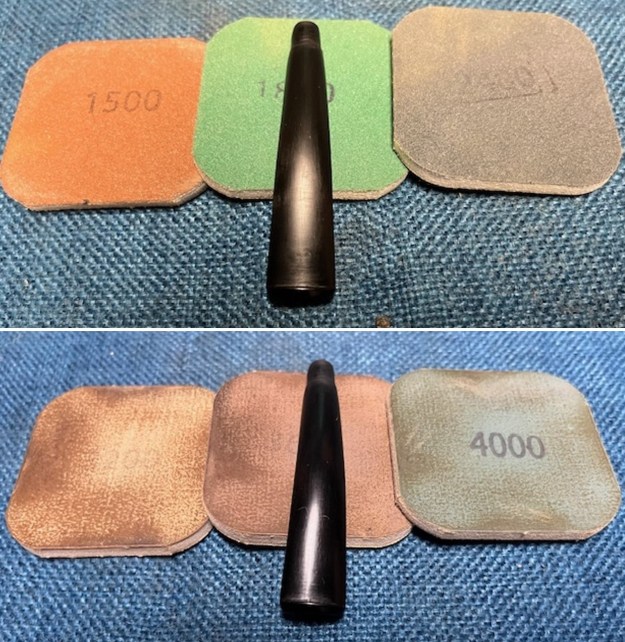
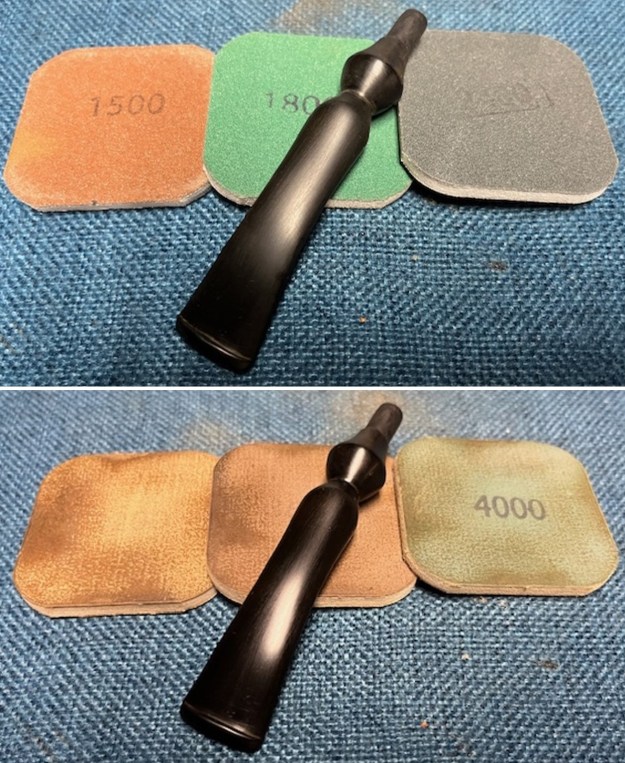
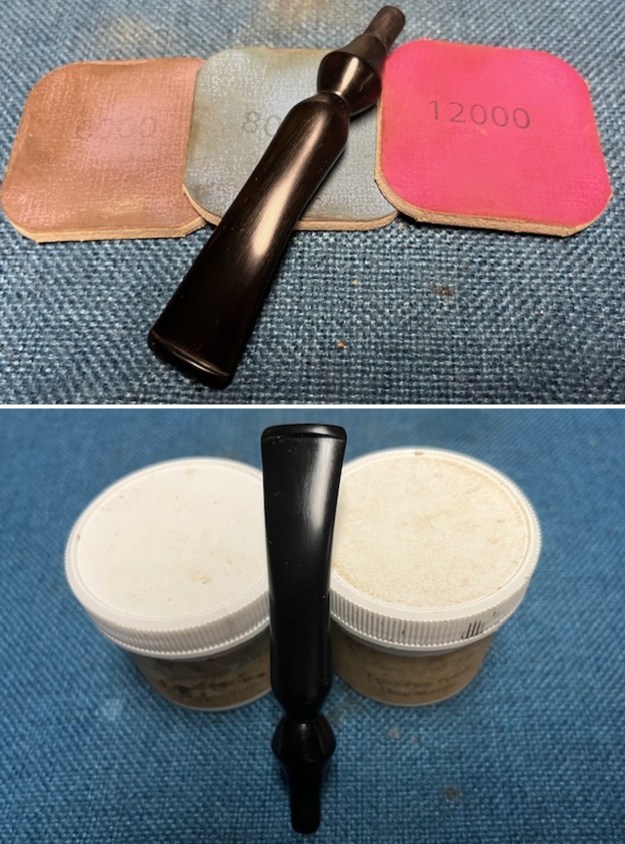
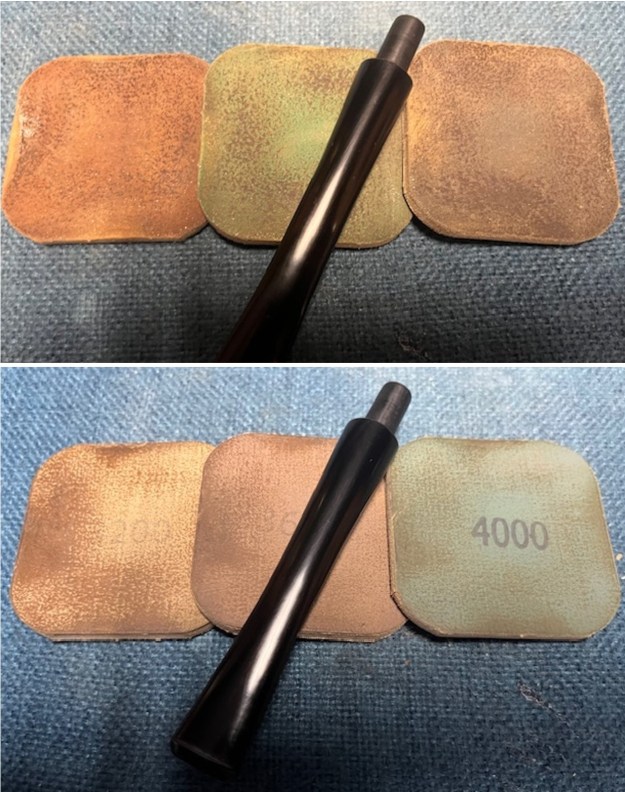
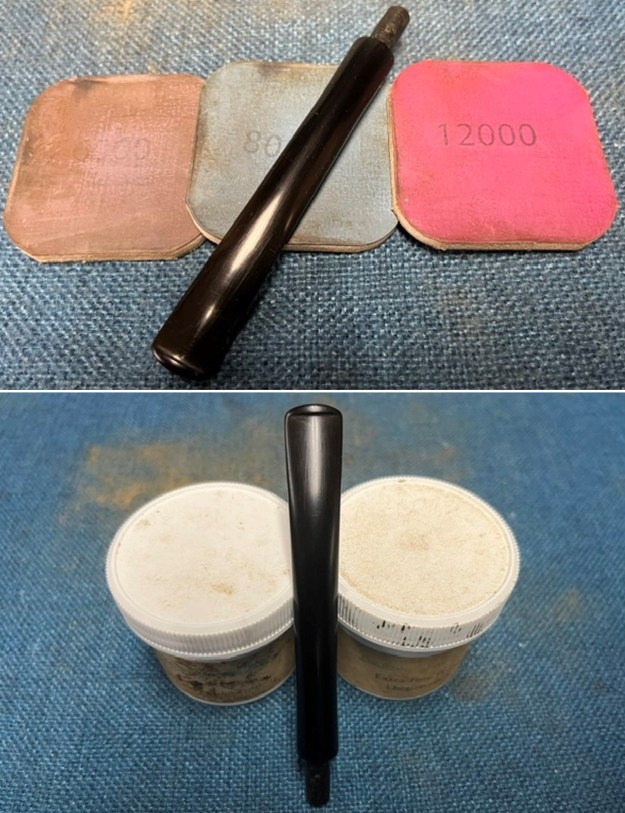
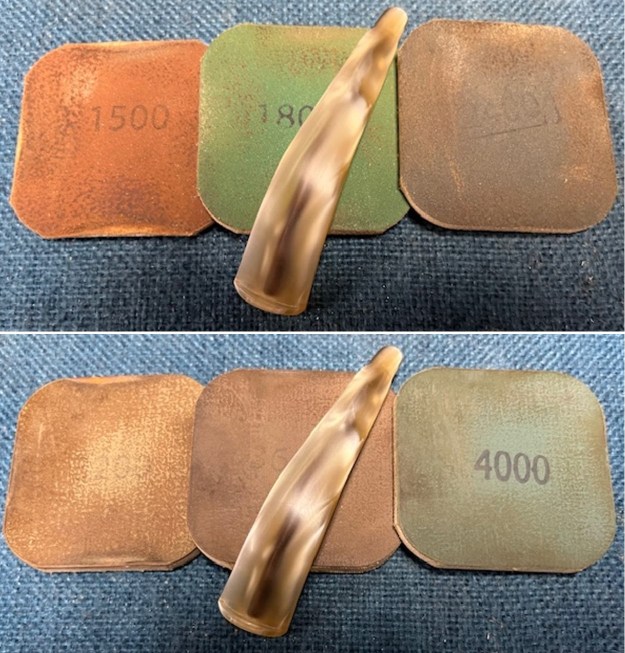
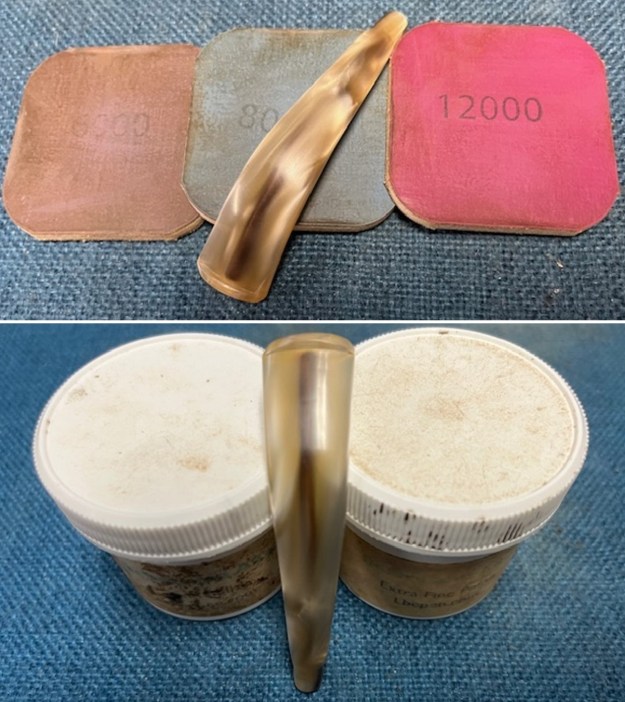
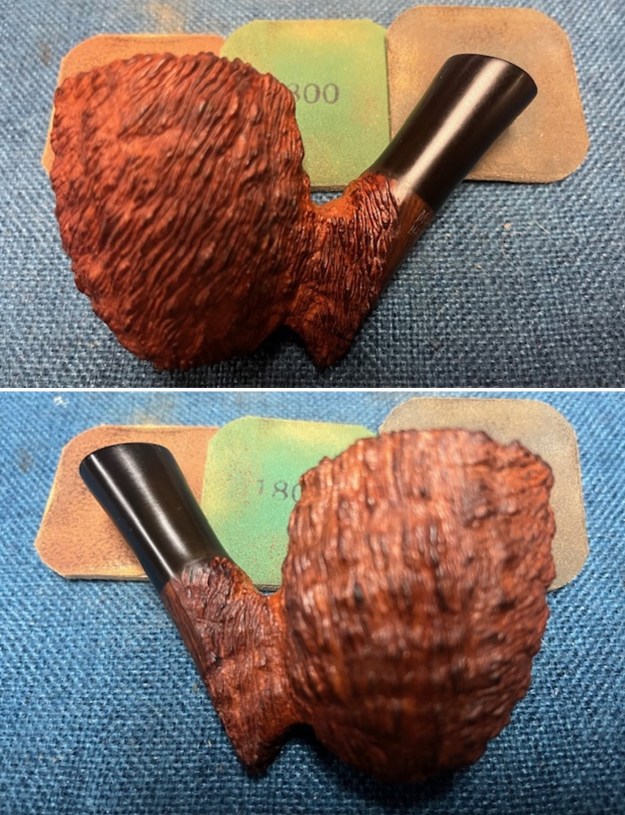
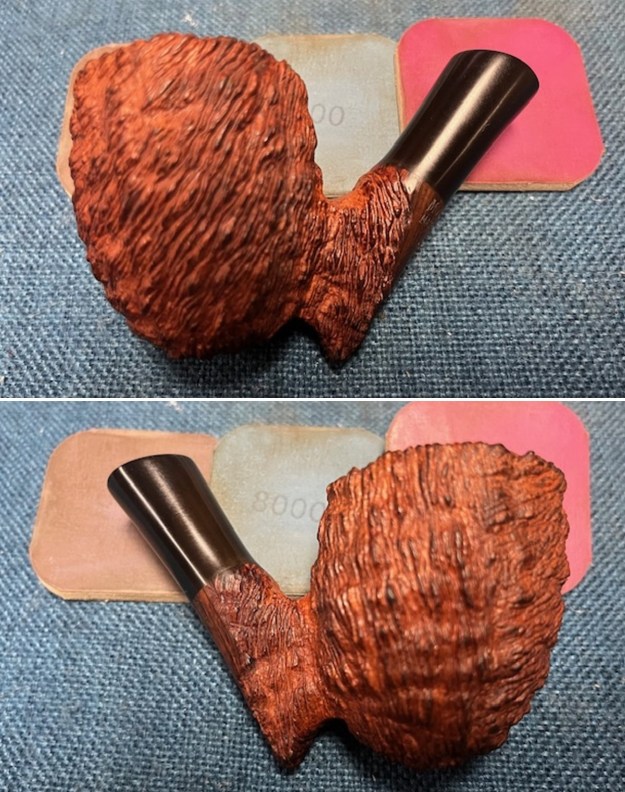
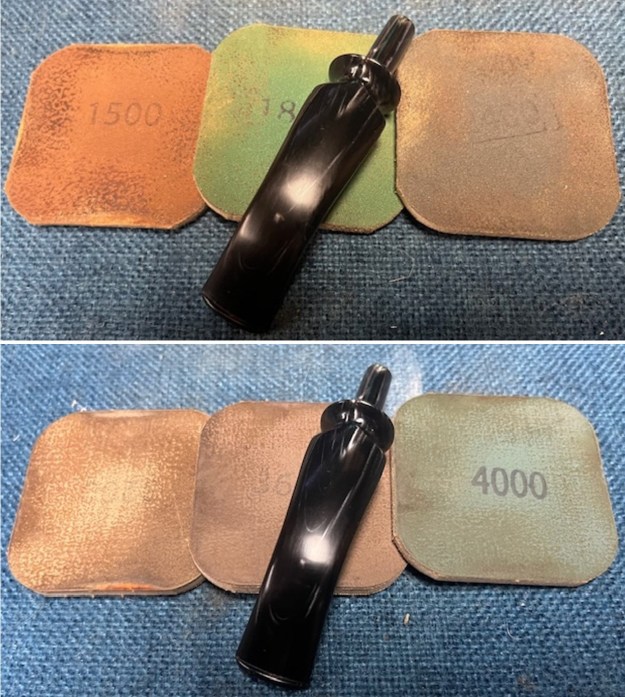
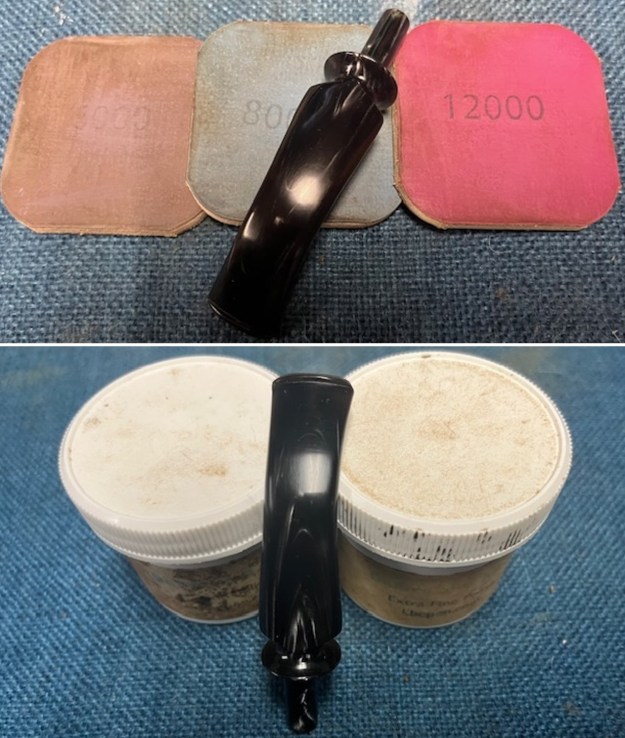
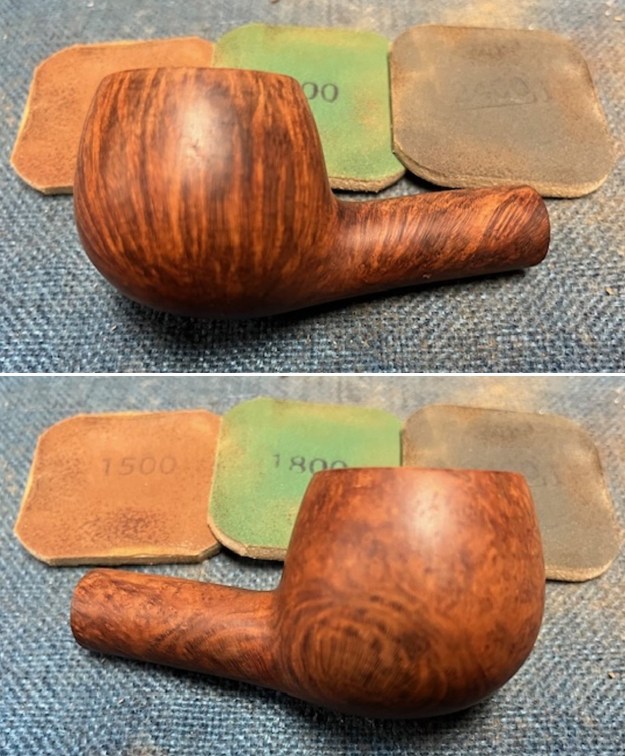
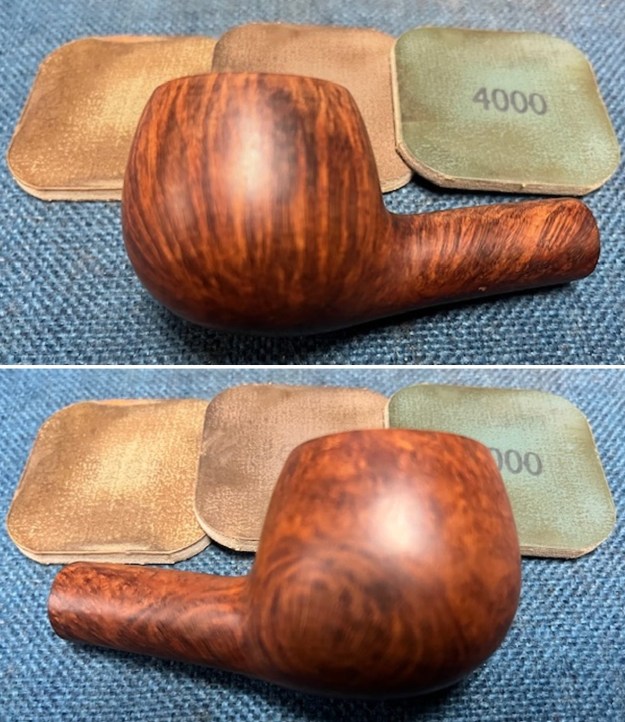
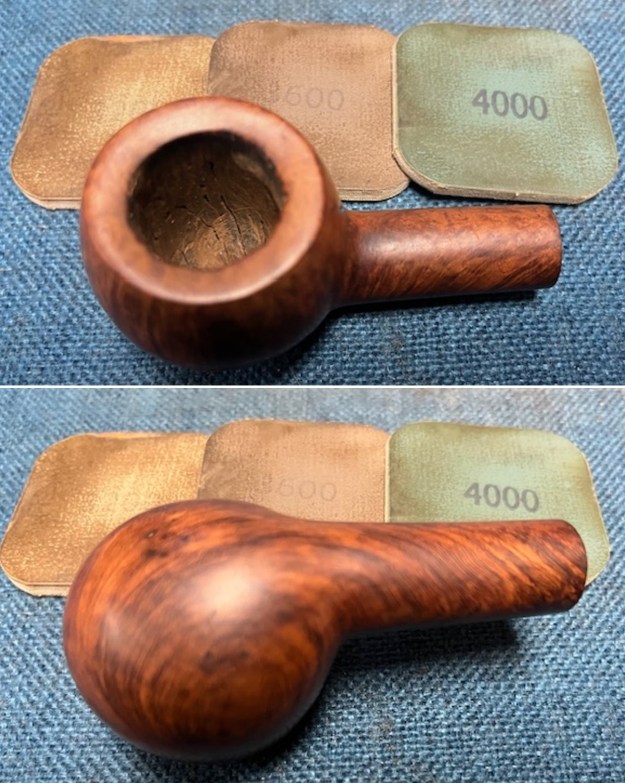
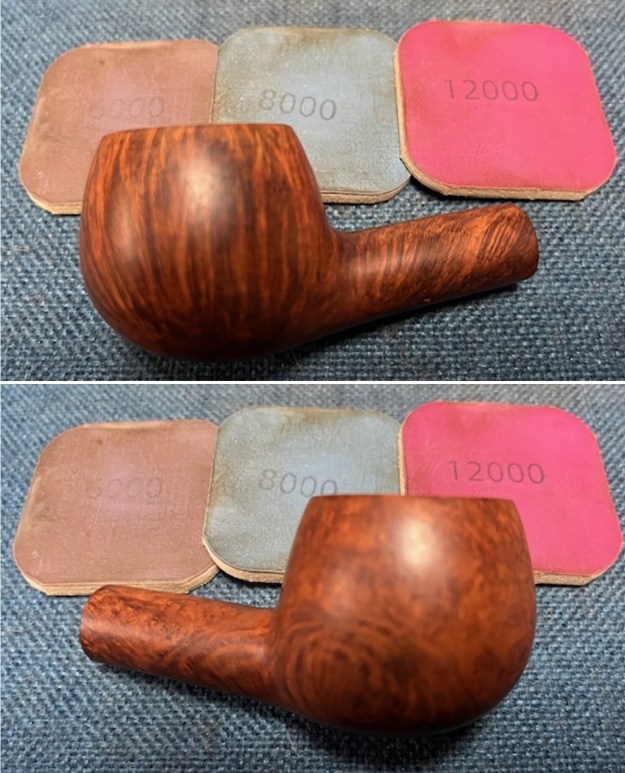
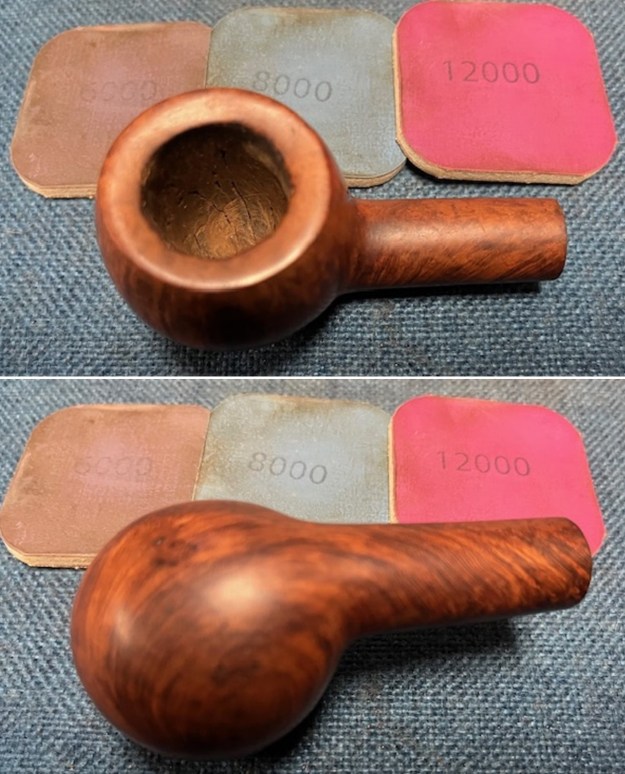
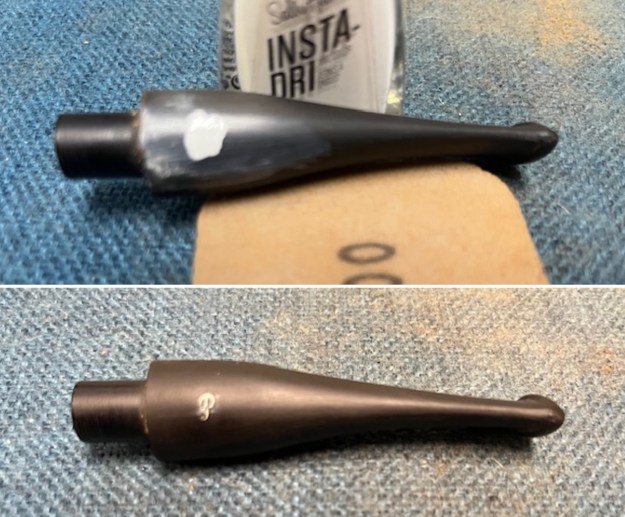
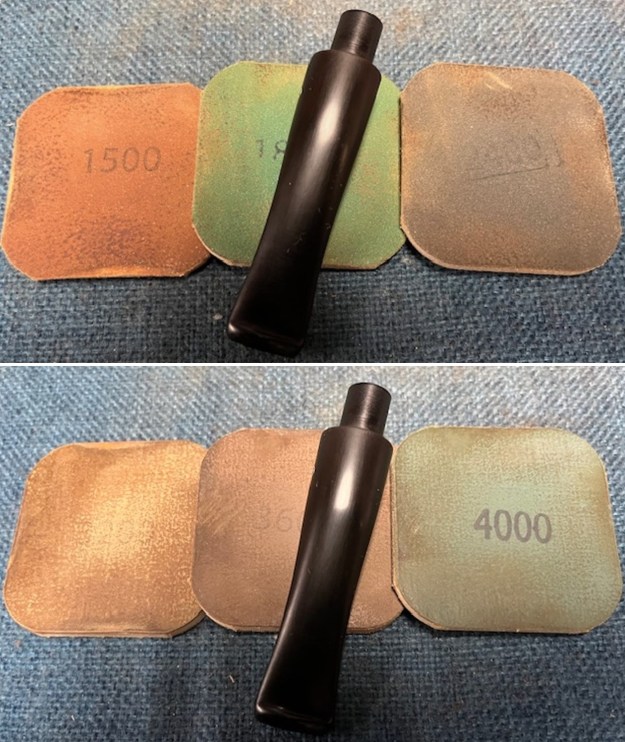
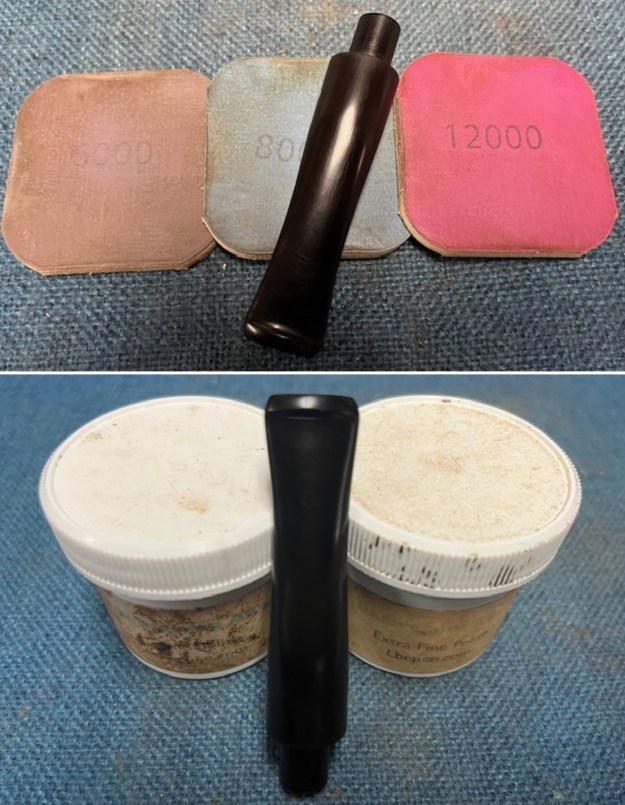
 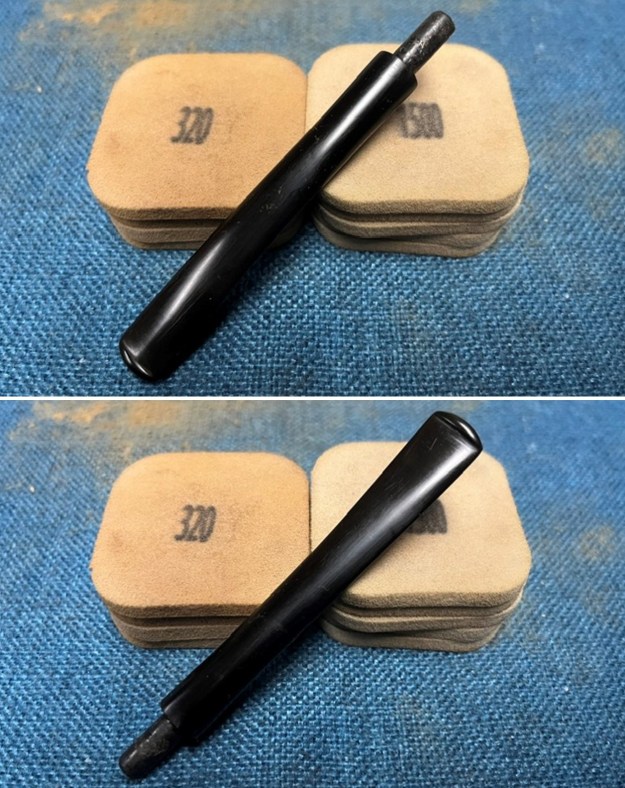 I polished the stem with micromesh sanding pads – dry sanding with 1500-12000 grit pads. I wiped the stem down after each sanding pad with an Obsidian Oil Cloth. The stem began to take on a rich shine.
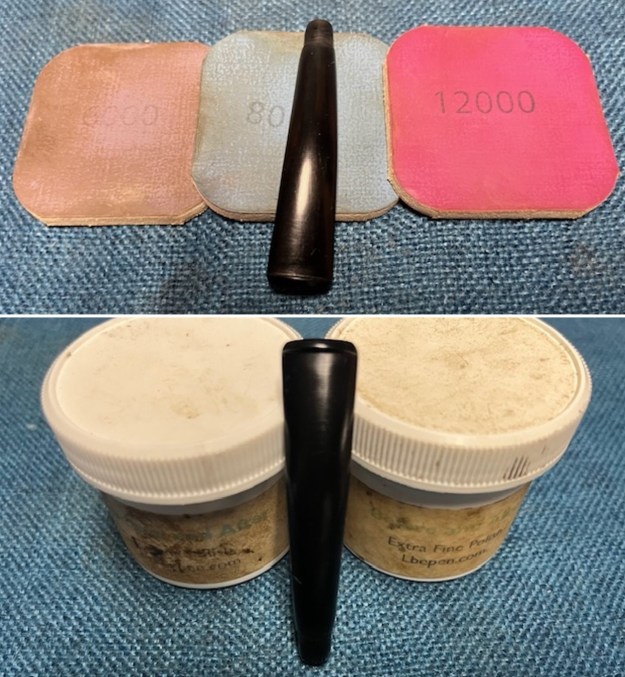
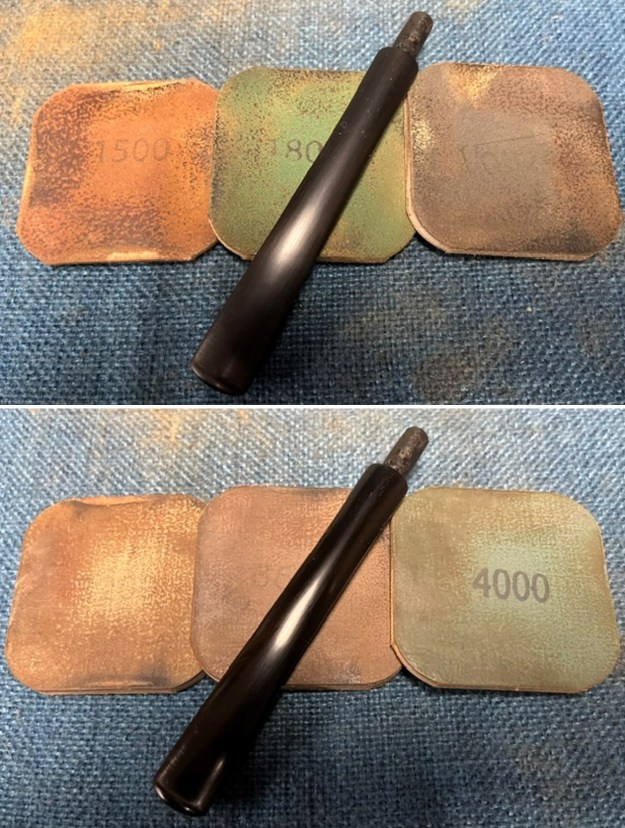
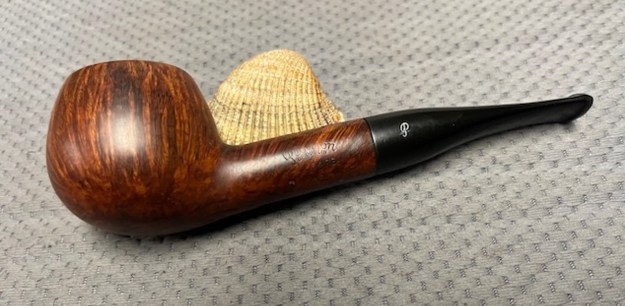
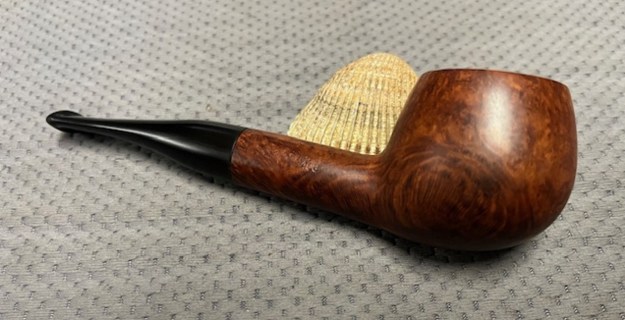
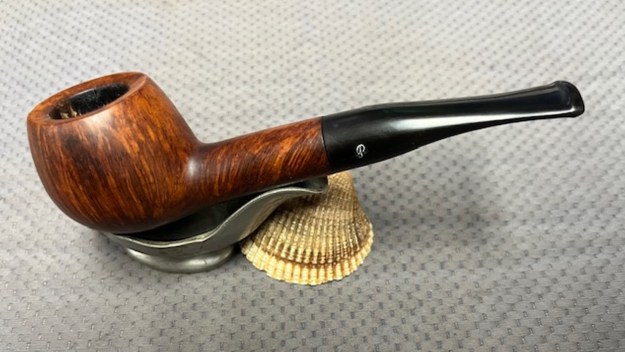
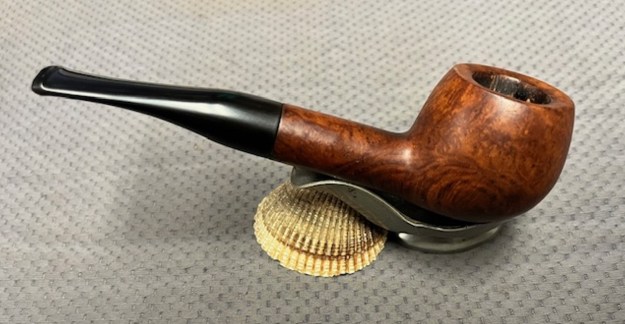
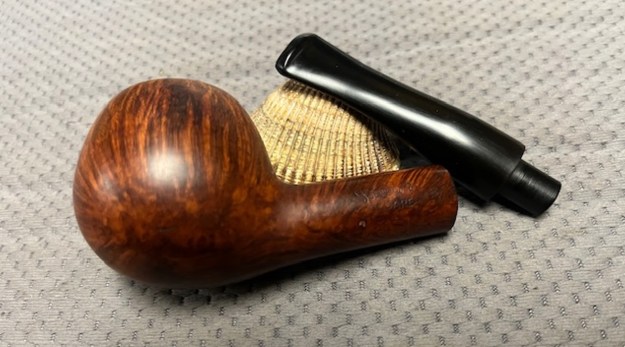
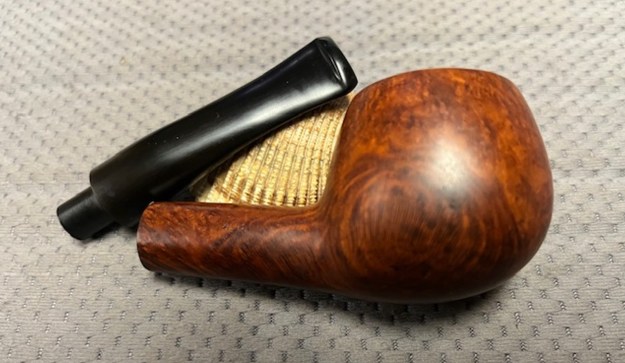
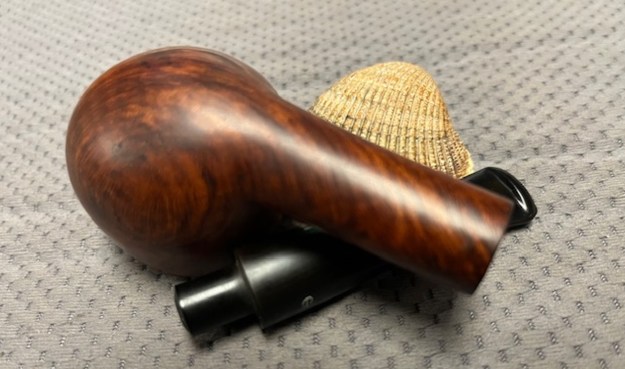
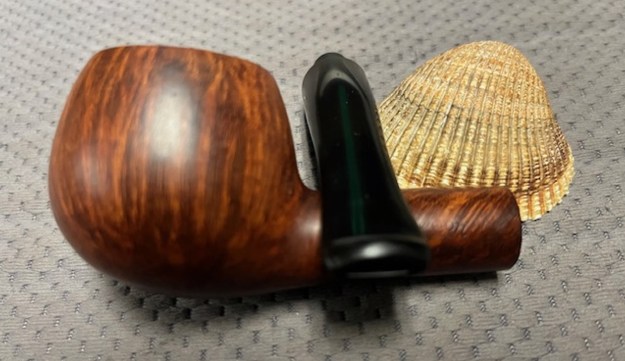
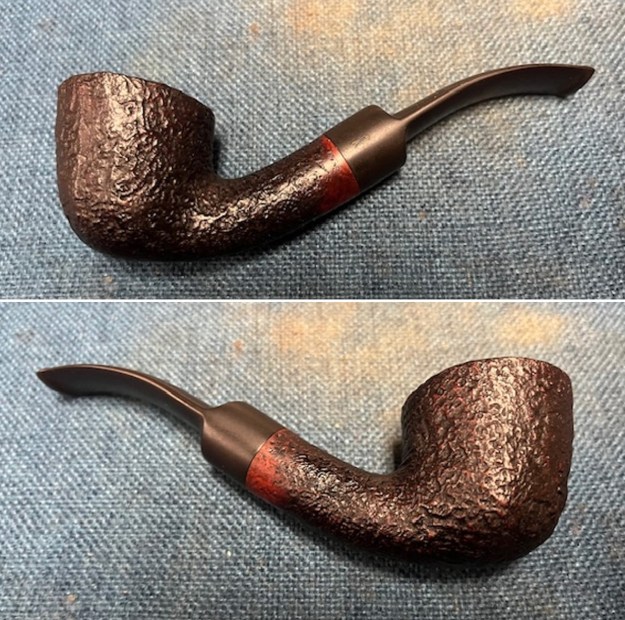
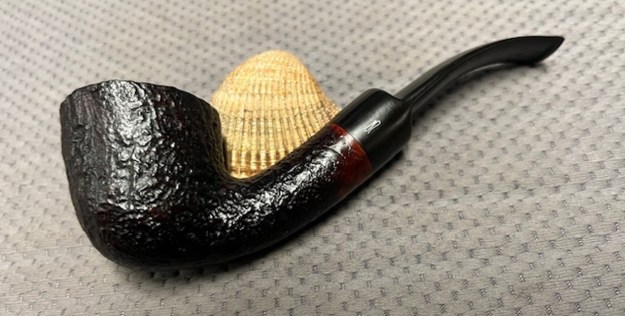
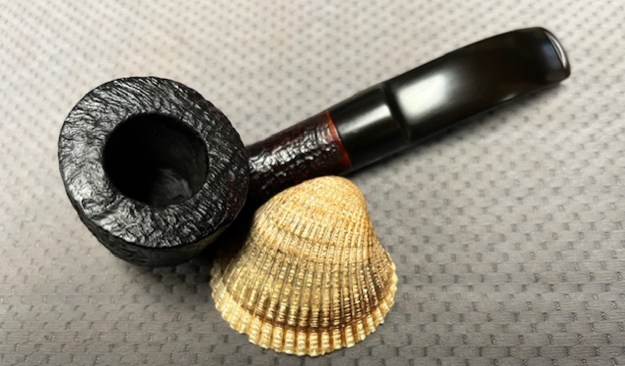
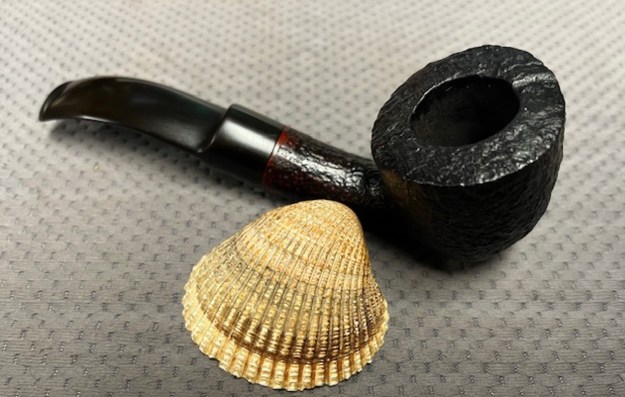
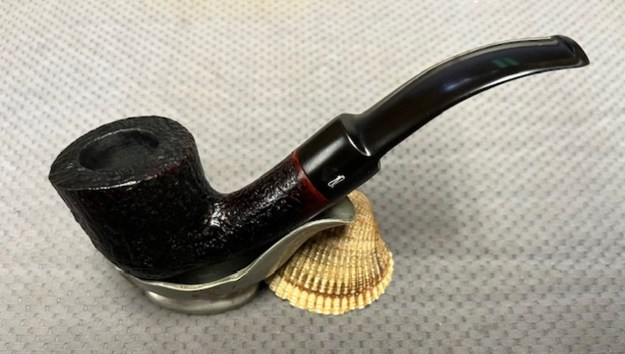
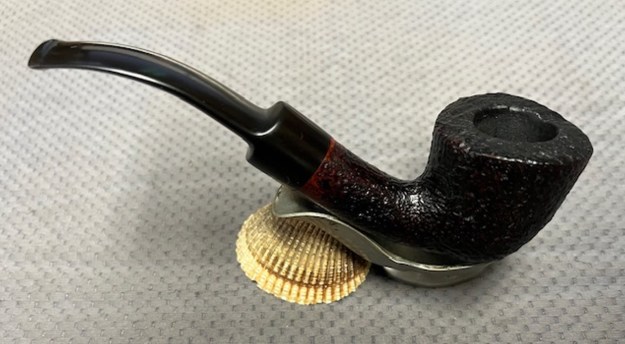
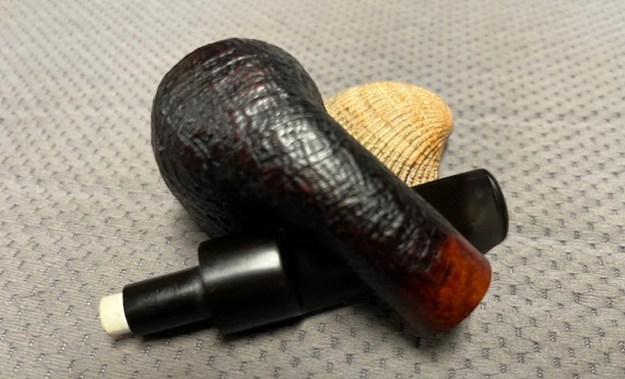
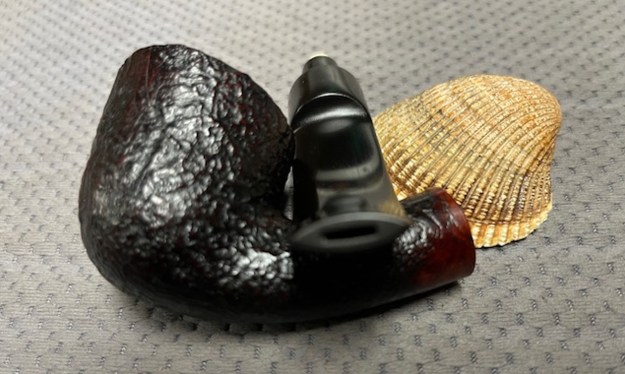
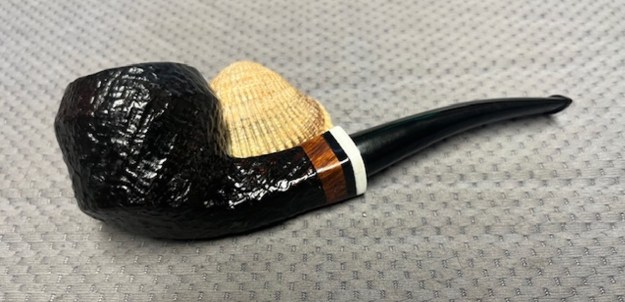
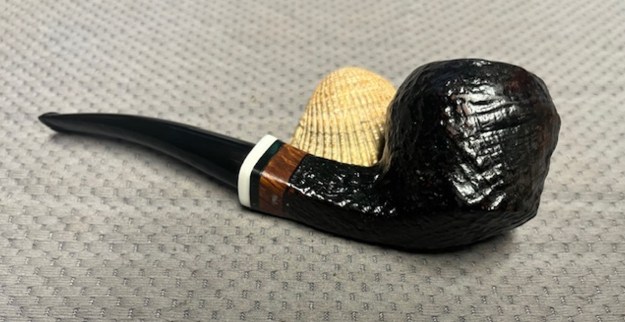
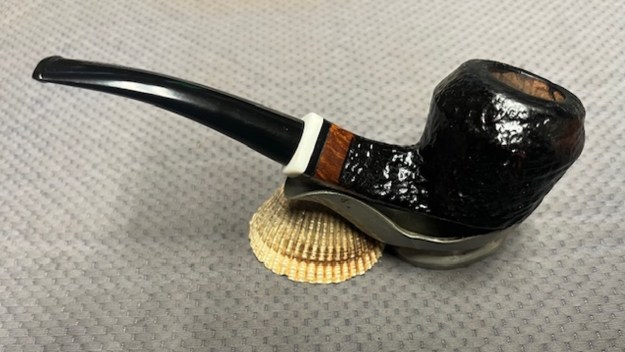
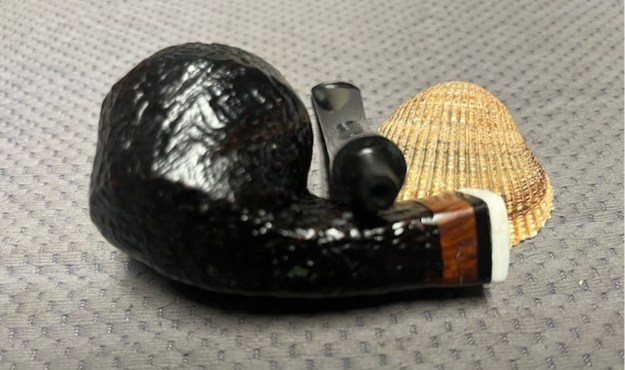
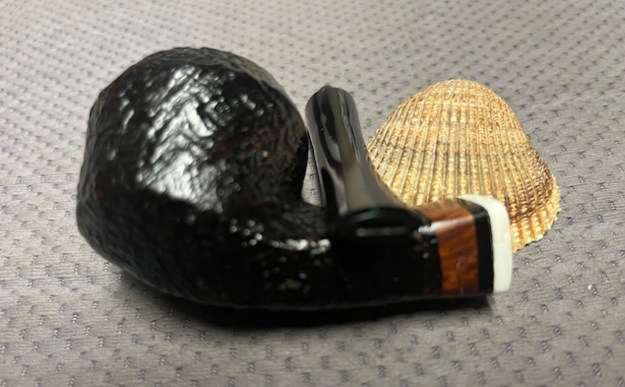
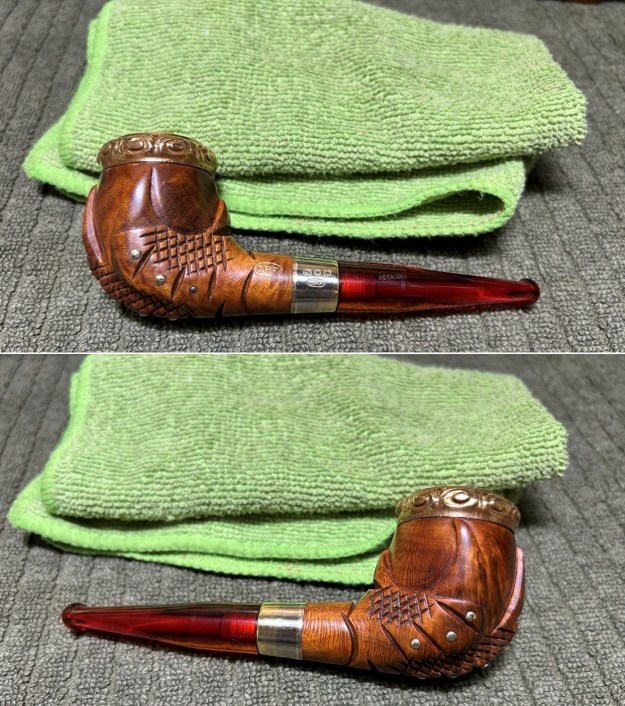
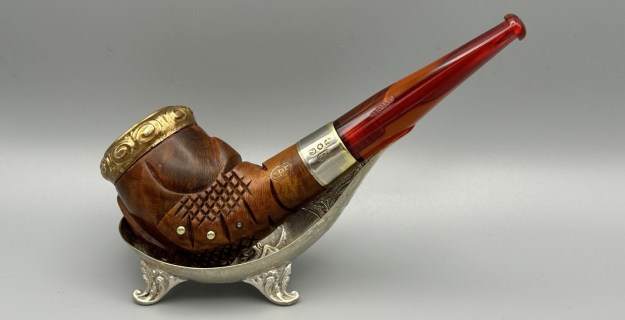
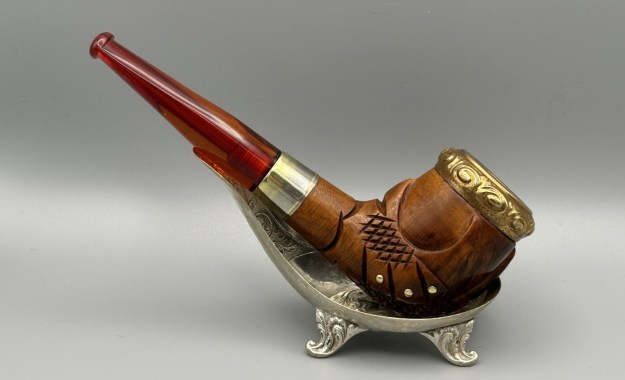
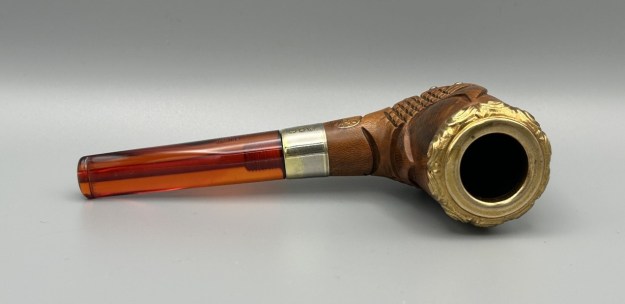
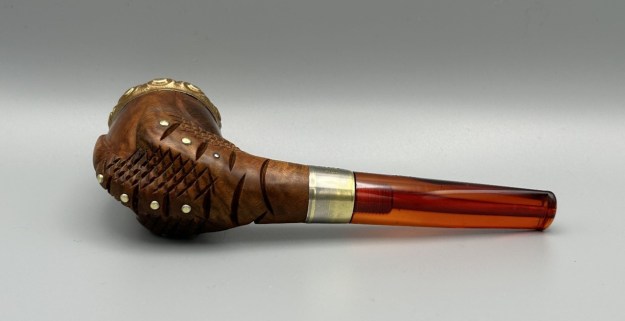
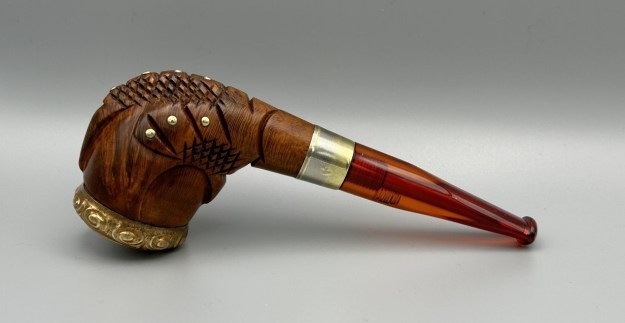
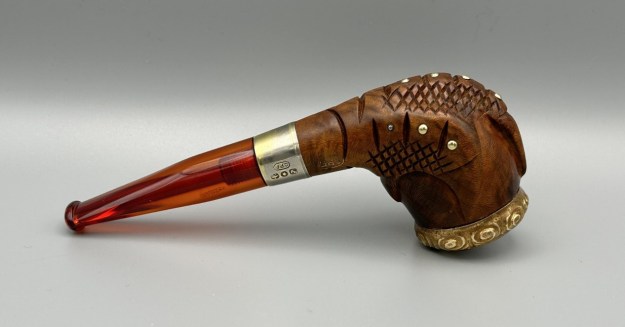
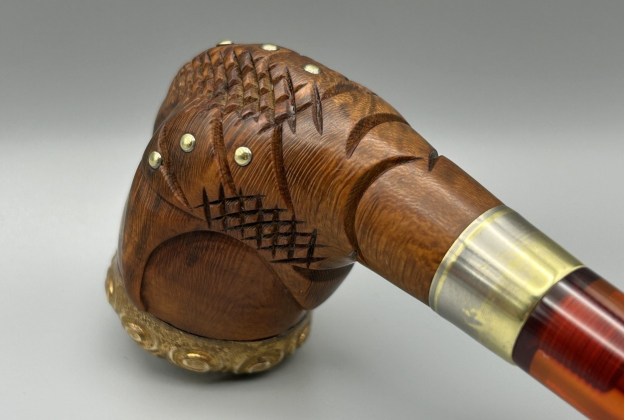
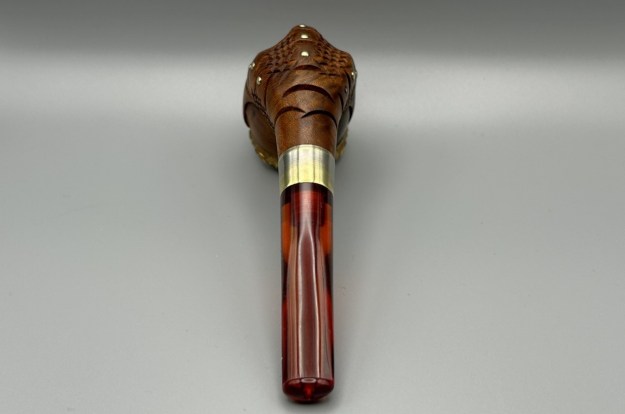
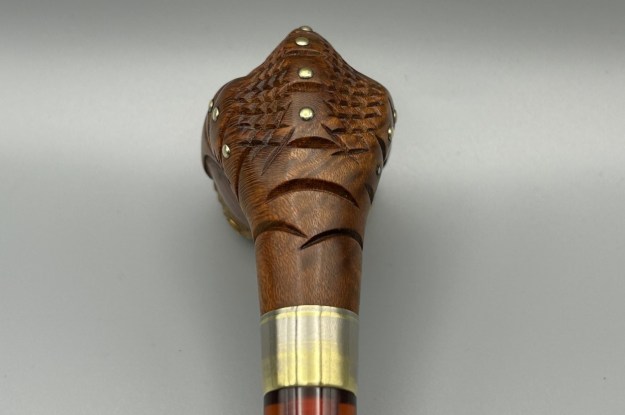
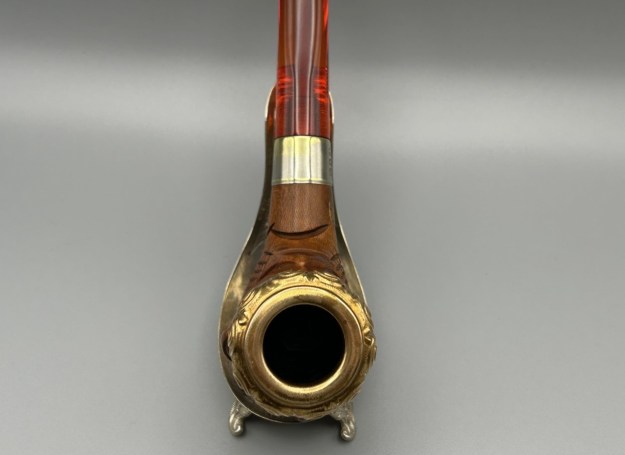
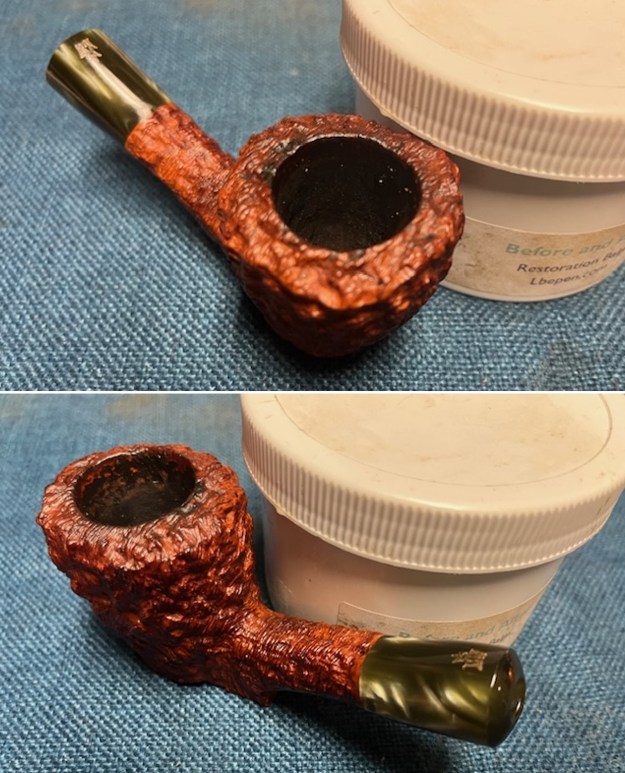
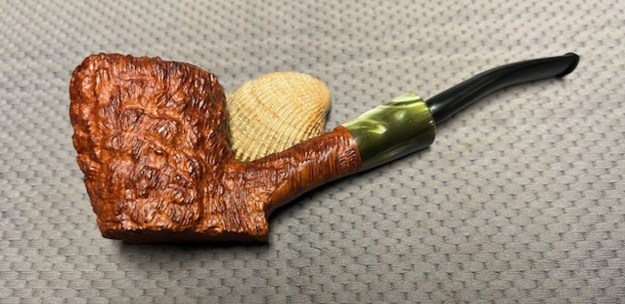
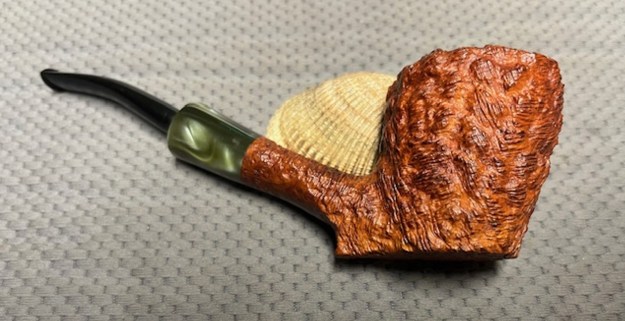
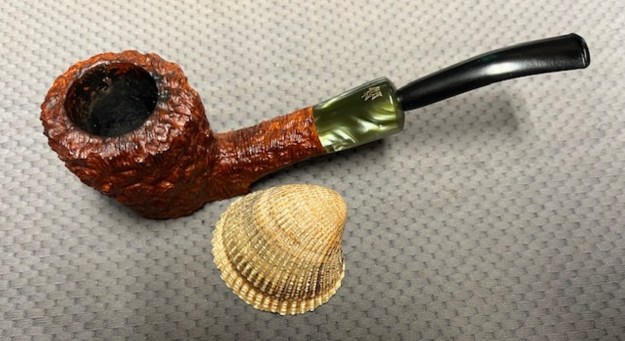
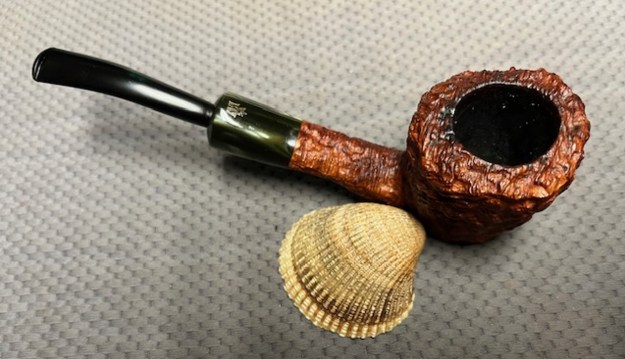
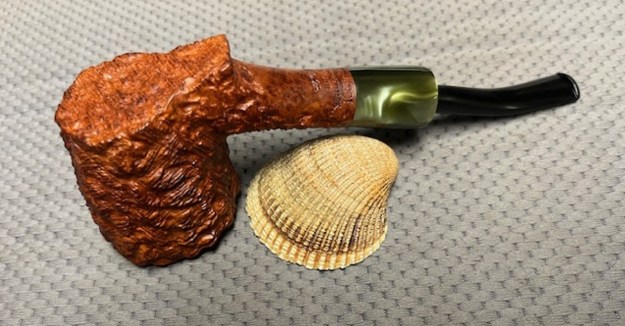
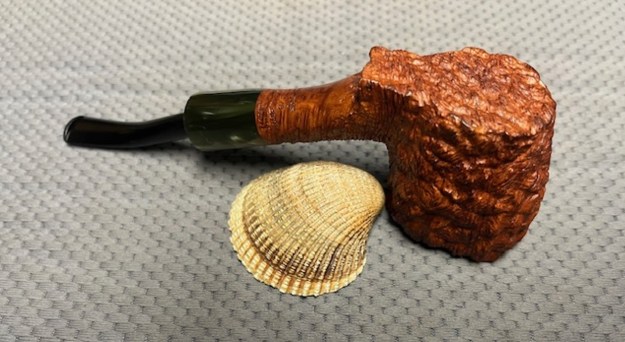
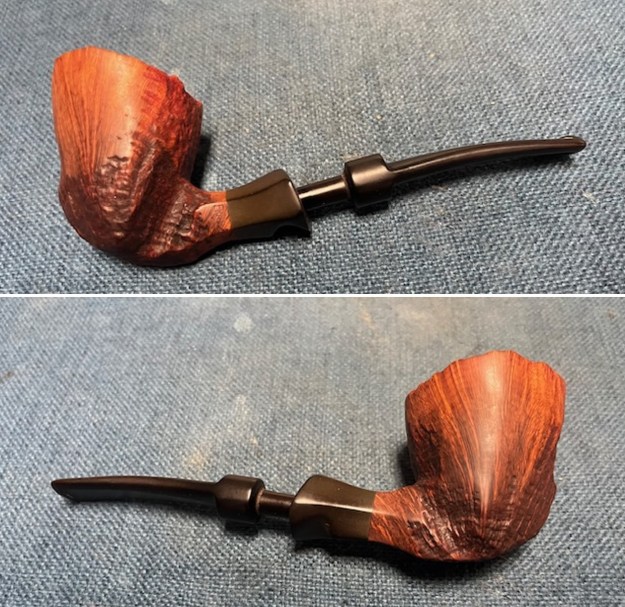
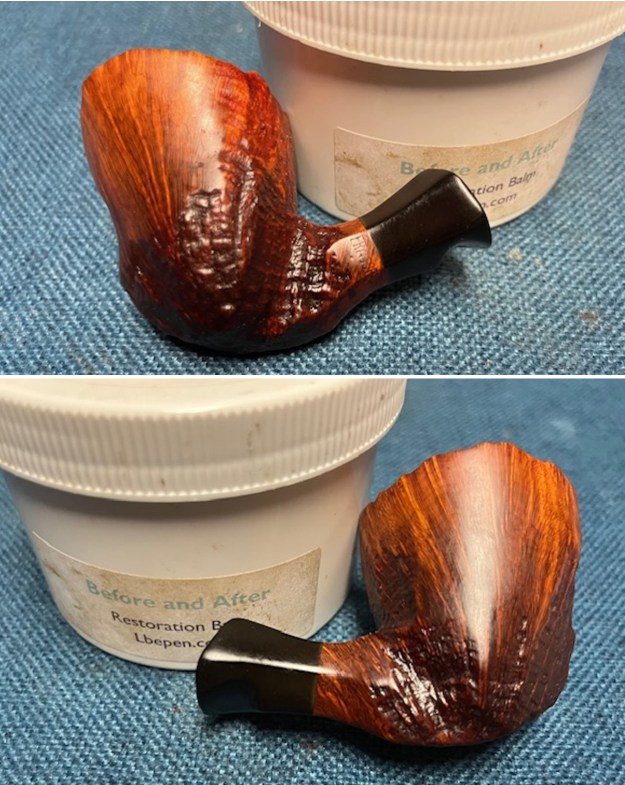
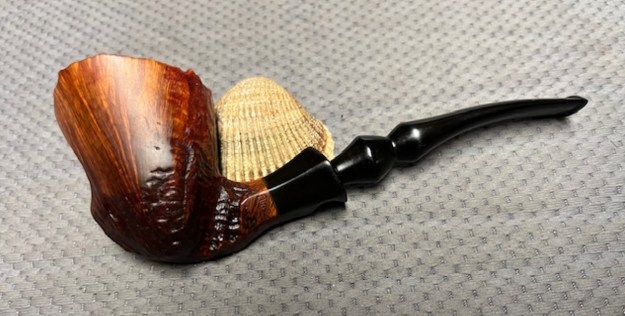
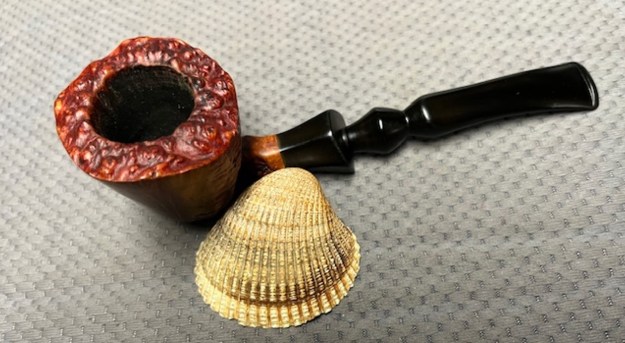
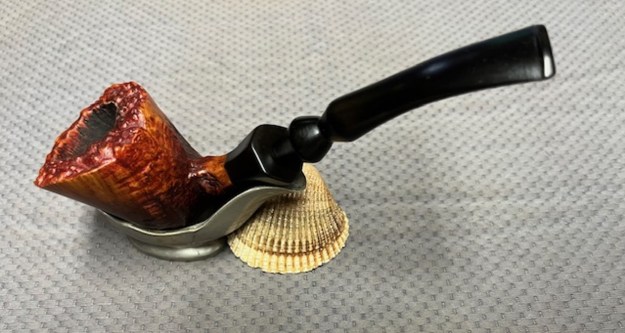
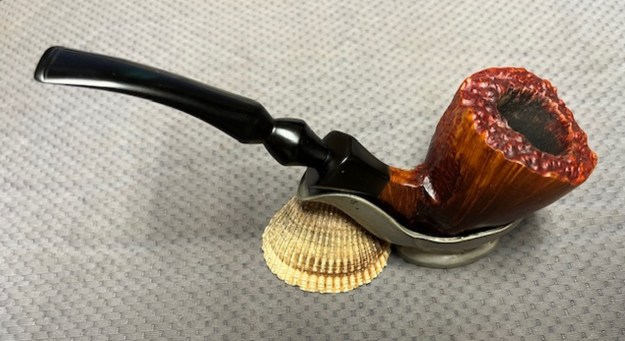
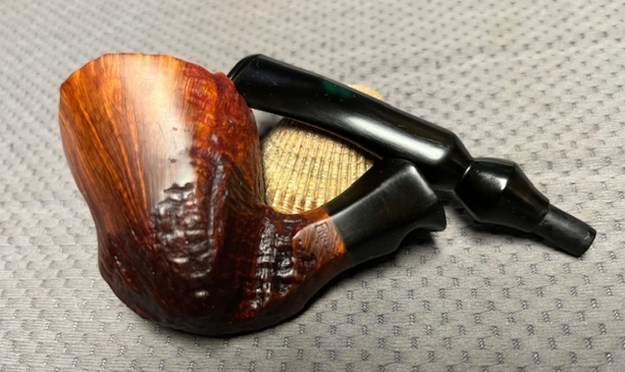
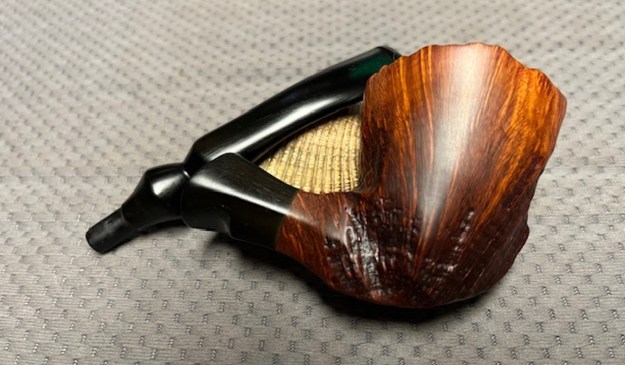
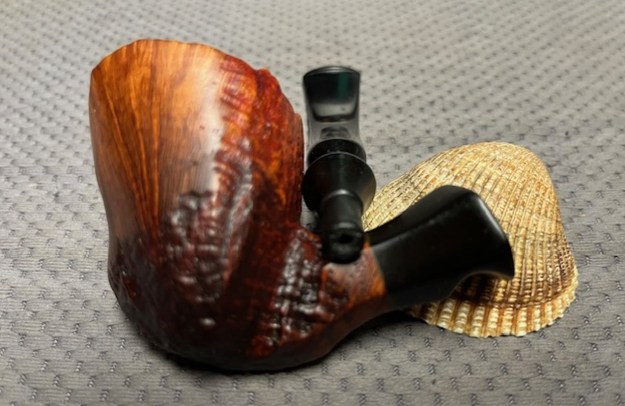
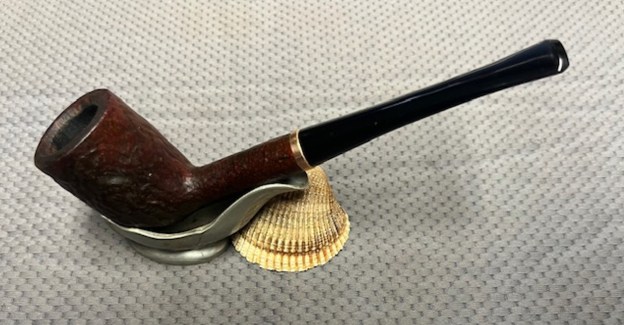
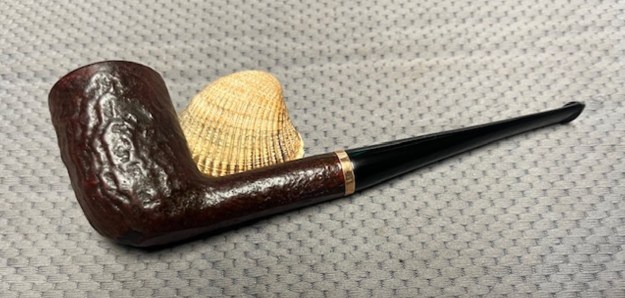
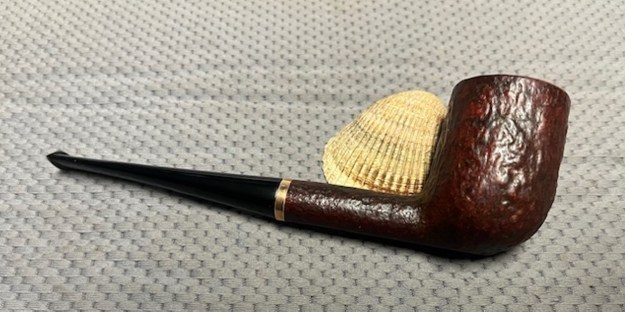
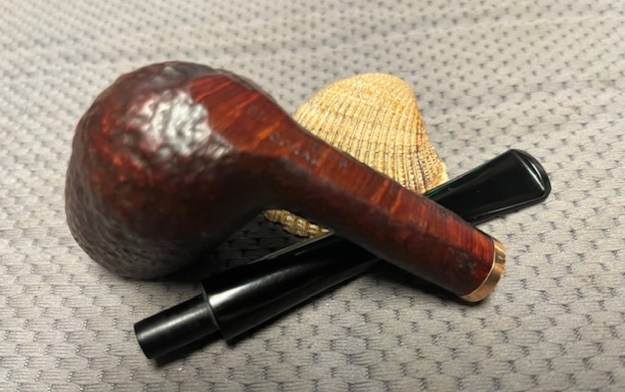
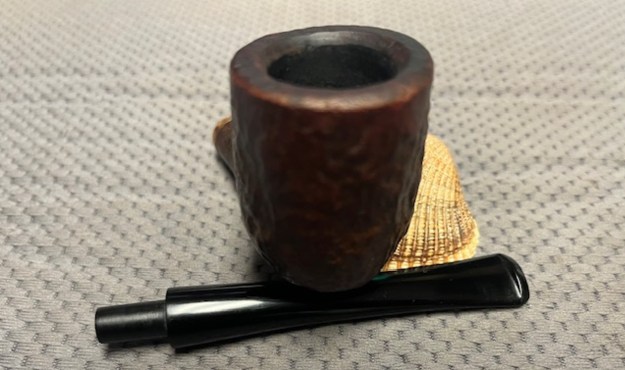
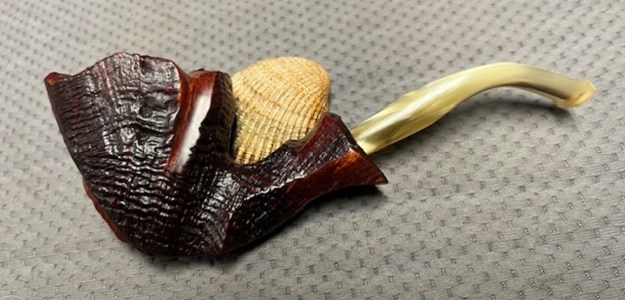
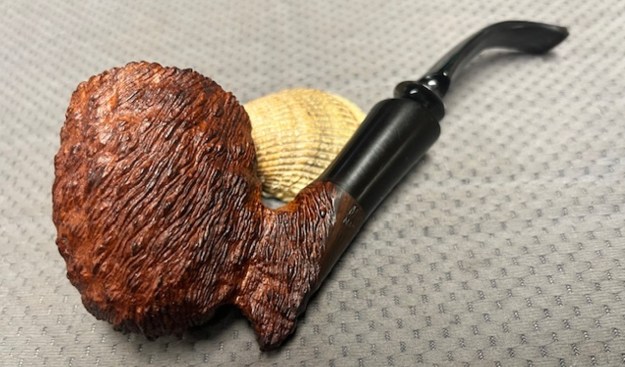
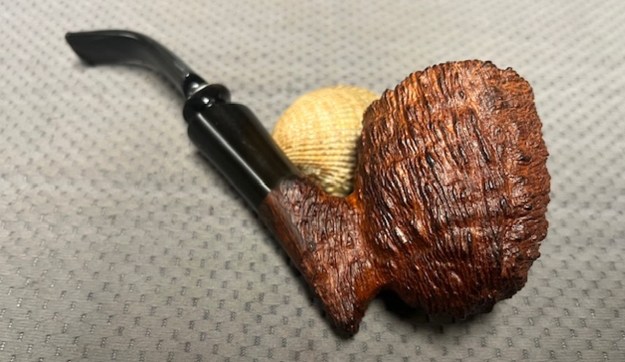
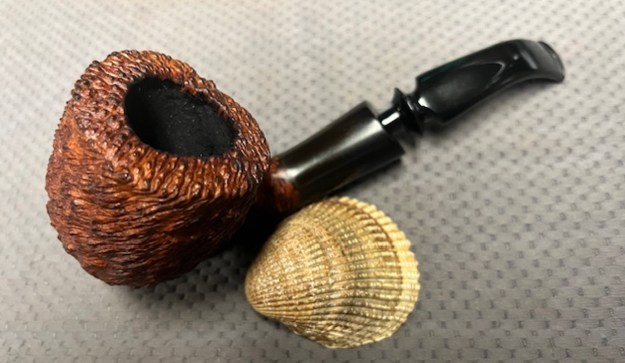
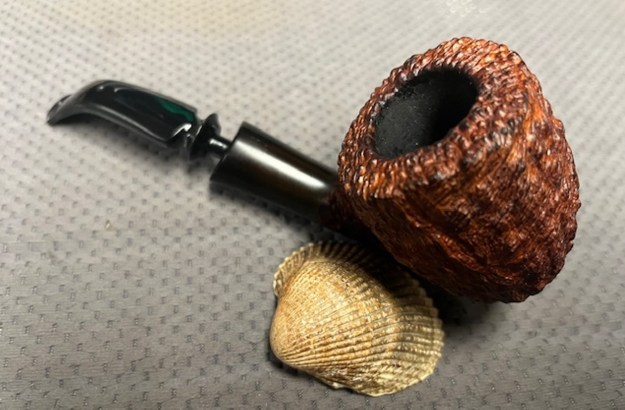
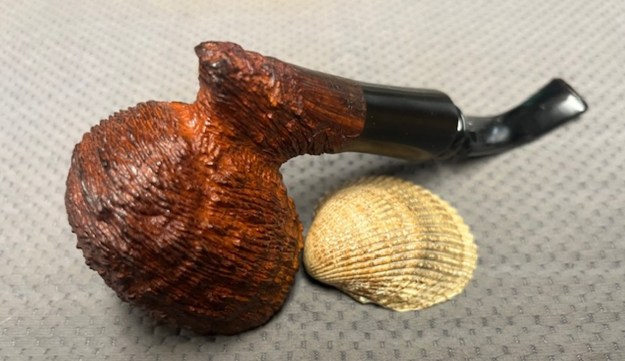
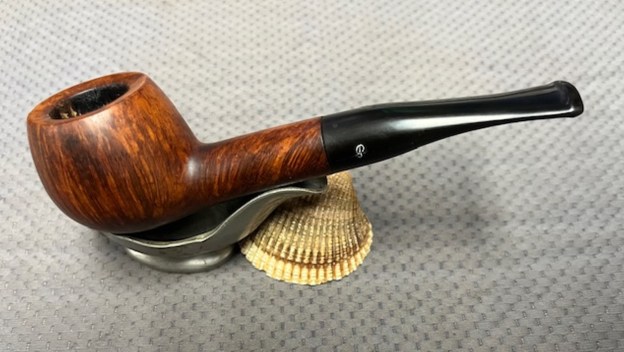
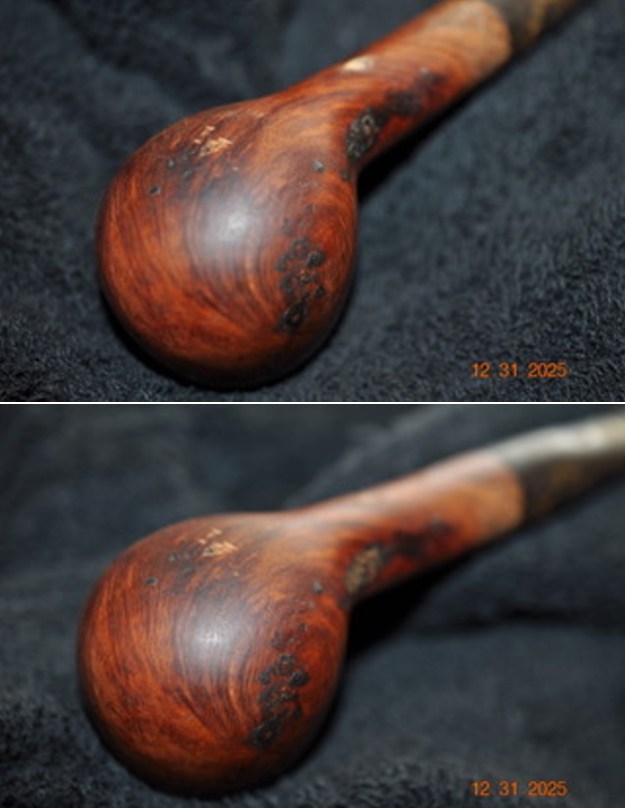
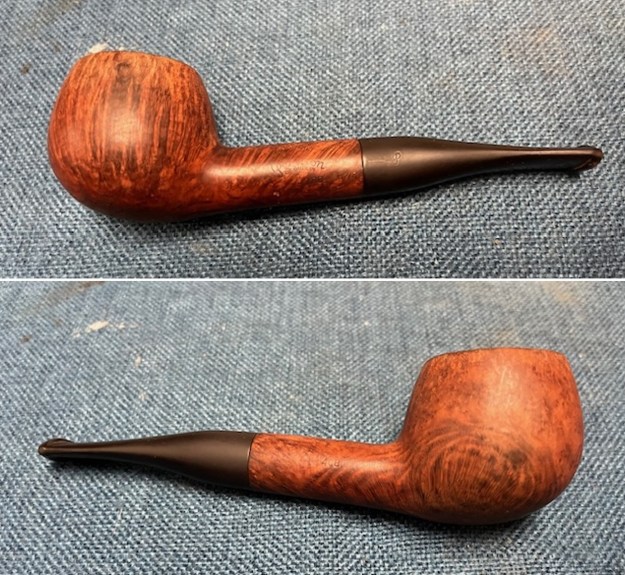
 This Sandblast Stanwell Regd. No. 969-48 de Luxe 87 Billiard with a new vulcanite taper stem is a great looking pipe now that it has been restemmed and restored. The beautiful sandblast on the briar shines through the polished finish is stunning. I put the stem back on the bowl and carefully buffed the pipe with Blue Diamond on the buffing wheel. I gave the bowl and the stem multiple coats of carnauba wax on the buffing wheel and followed that by buffing the entire pipe with a clean buffing pad. I hand buffed the pipe with a microfiber cloth to deepen the shine. The finished Stanwell Regd. No 969-48 de Luxe 87 Billiard fits nicely in the hand and feels great. Give the finished pipe a look in the photos below. The dimensions of the pipe are Length: 6 inches, Height: 1 ½ inches, Outside diameter of the bowl: 1 inch, Chamber diameter: 5/8 of an inch. The weight of the pipe is 22 grams/.78 ounces. It is a beautiful pipe and one that I will hold until I have finished working on the final pipe that Andrew sent me. Once I am finished with the lot they will be heading back to Greece. Thanks for walking through the restoration with me as I worked over this pipe. Thanks to each of you who are reading this blog.
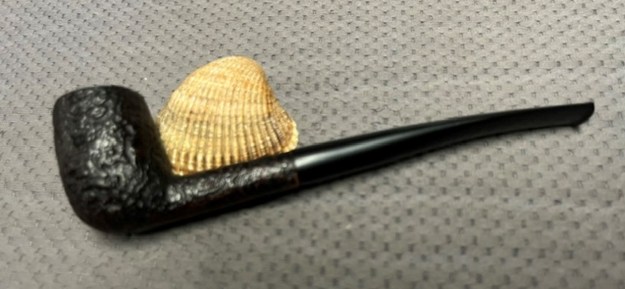


 I
I