by Steve Laug
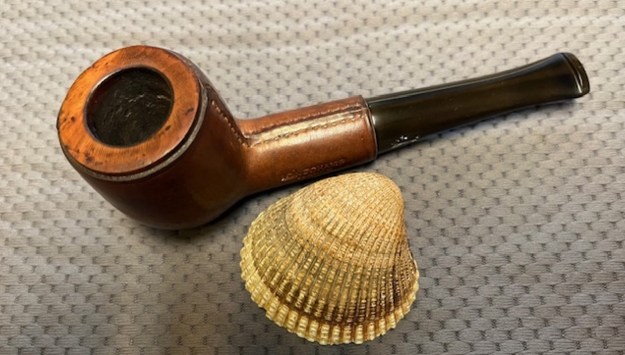
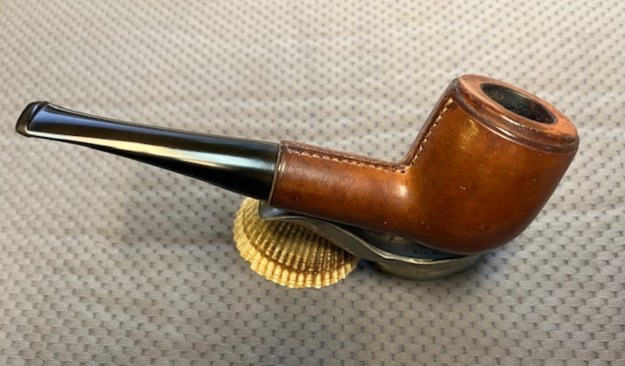
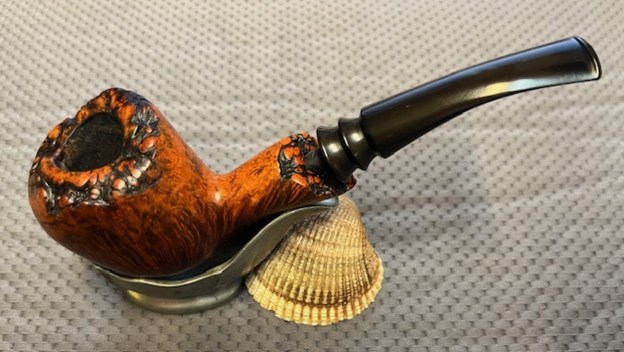
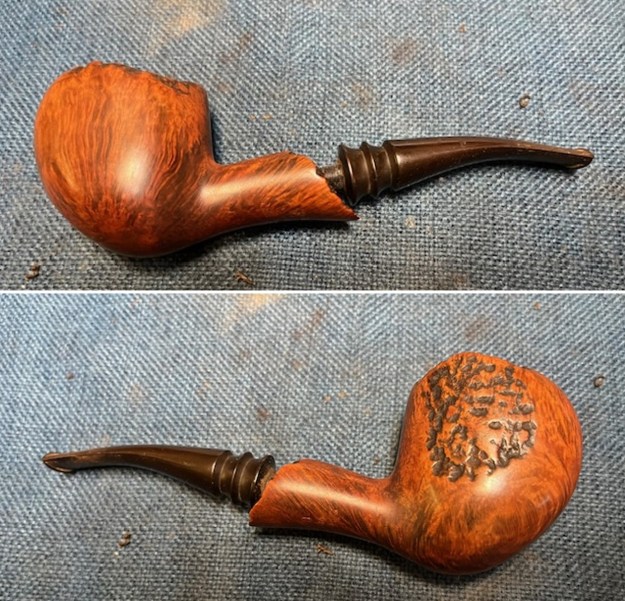
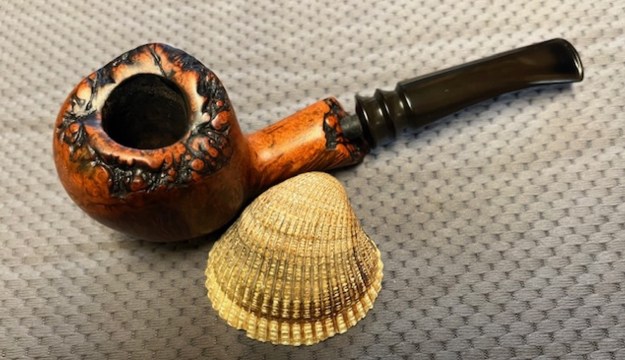
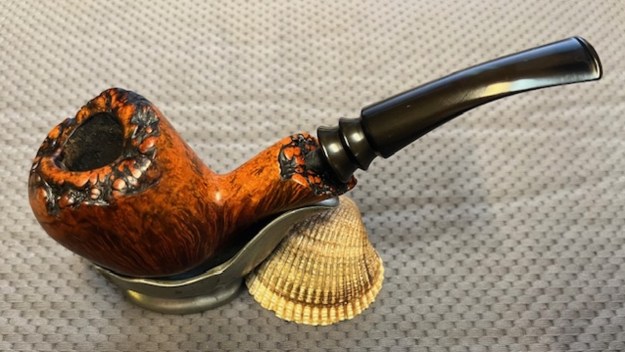
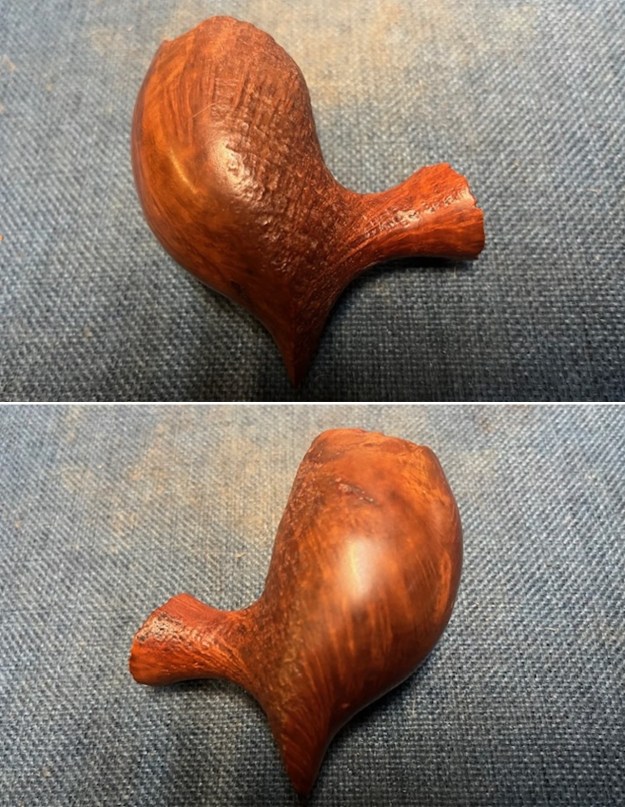
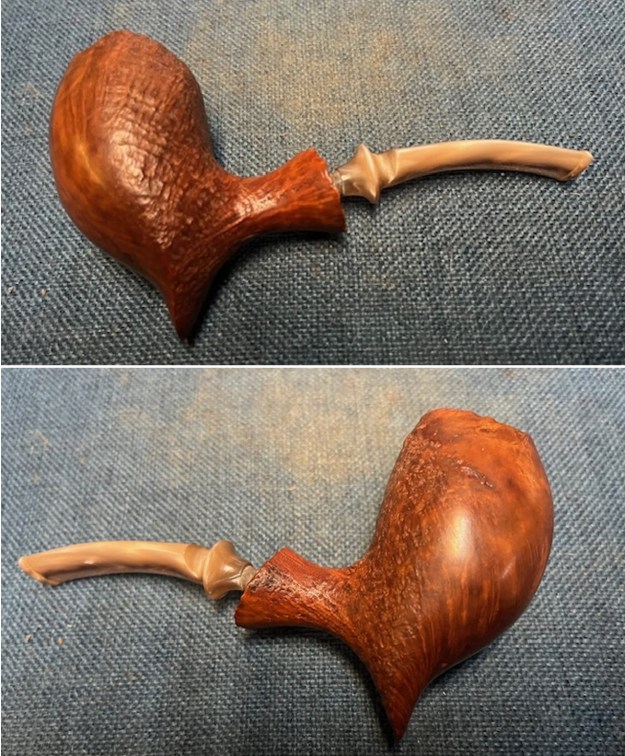
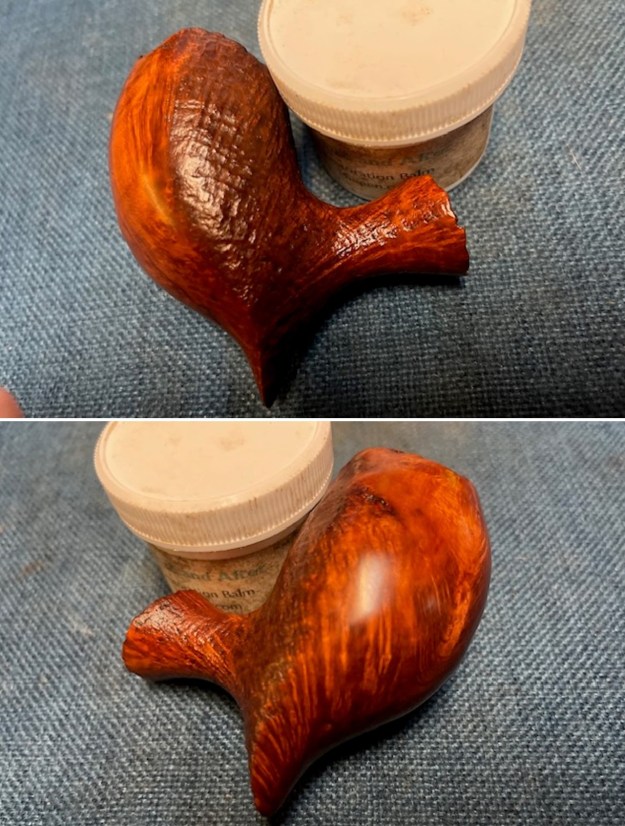
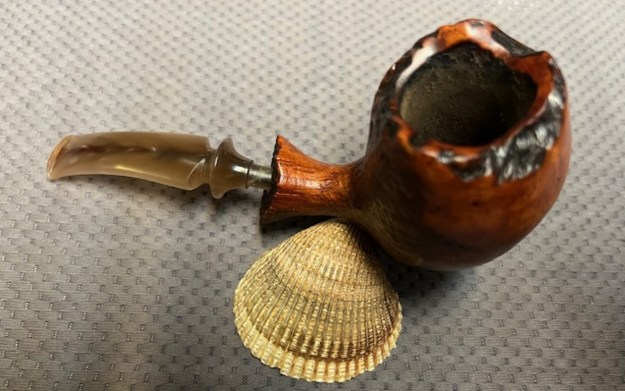
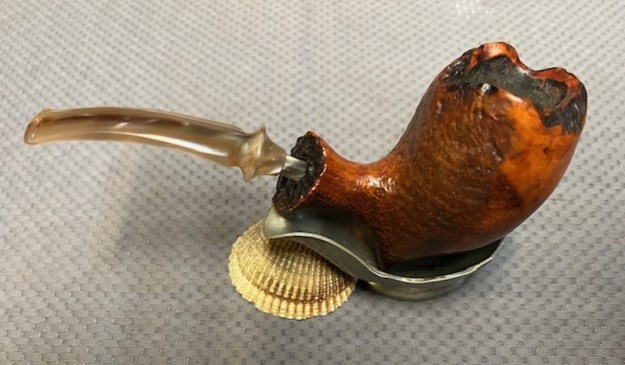
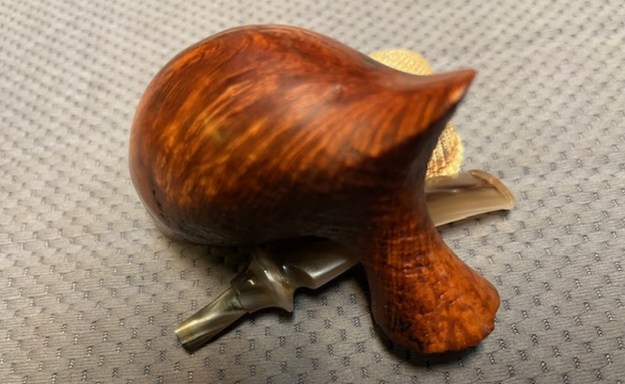
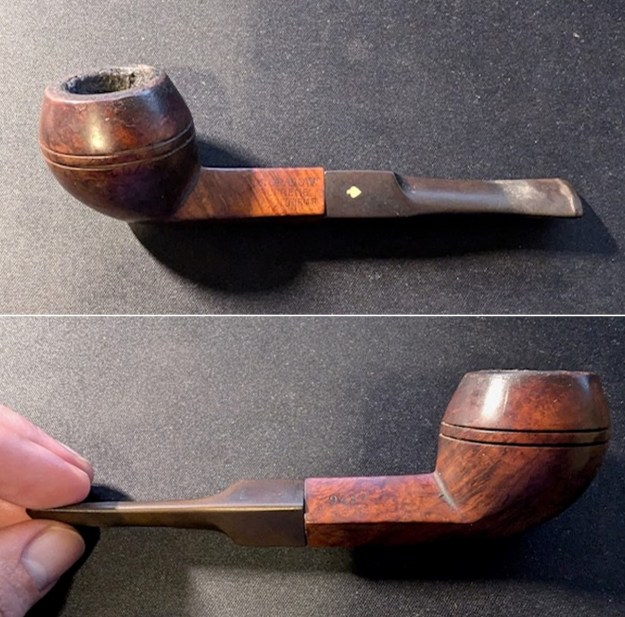
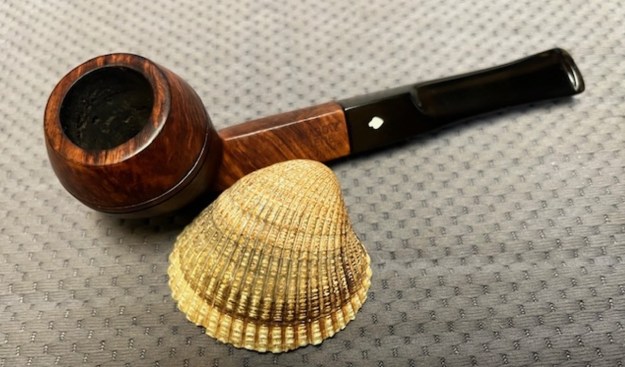
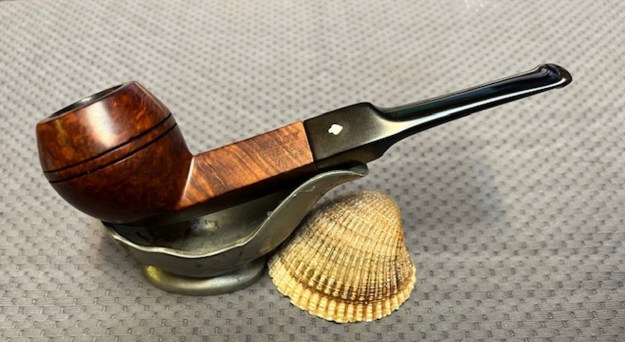
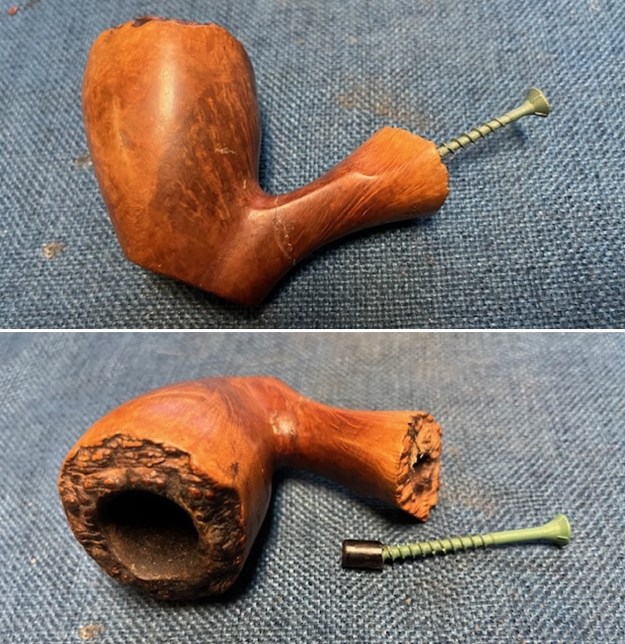
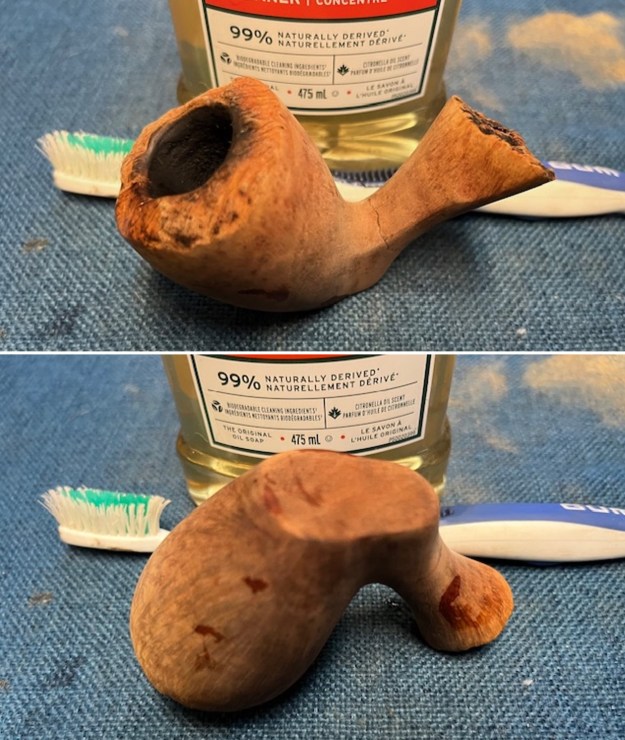
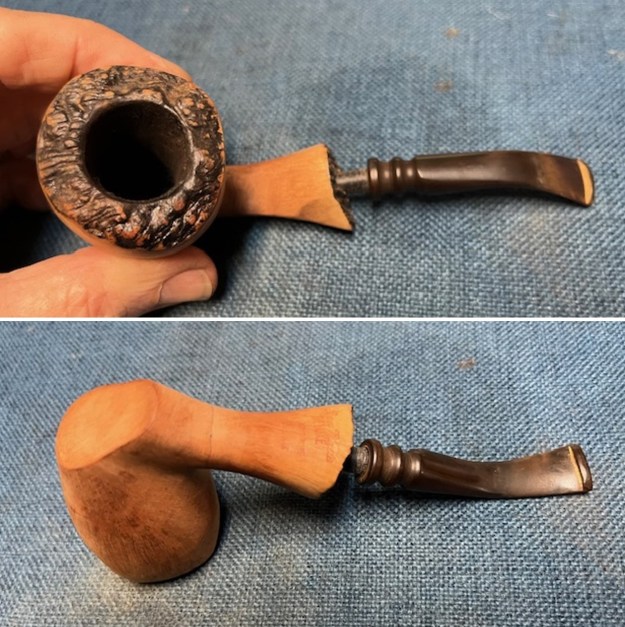
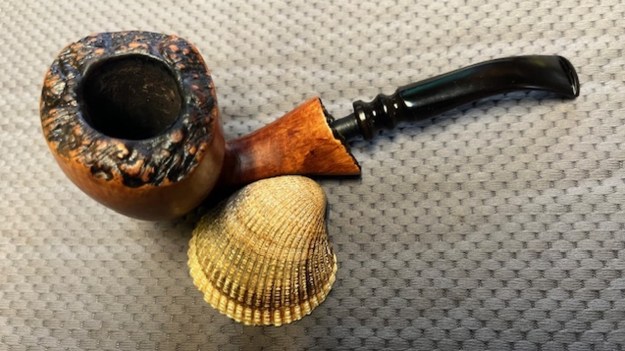
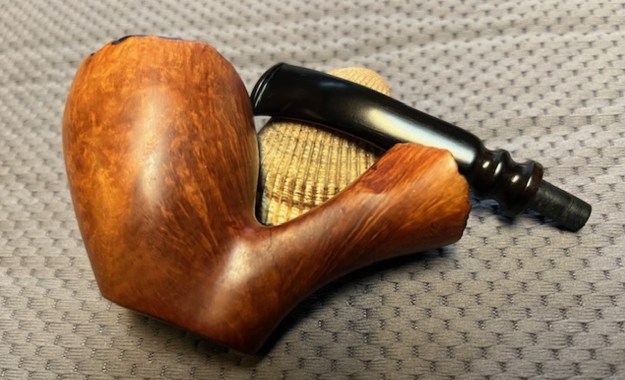
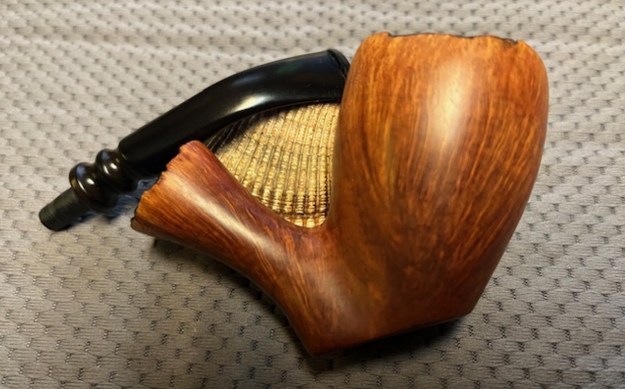
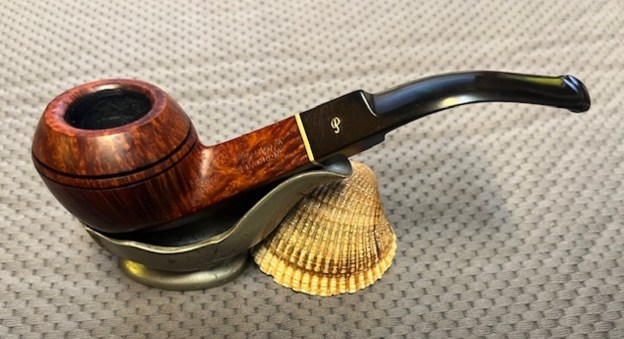
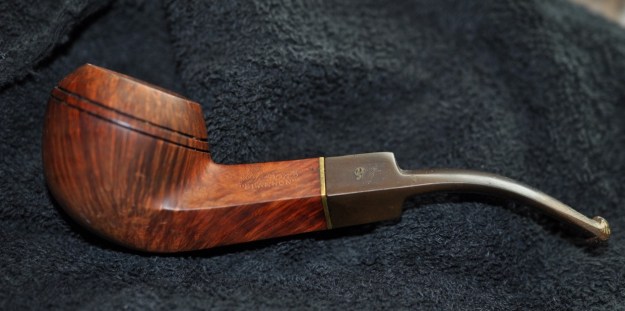
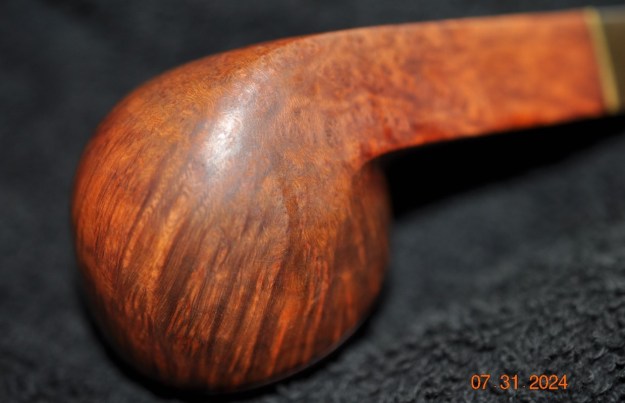
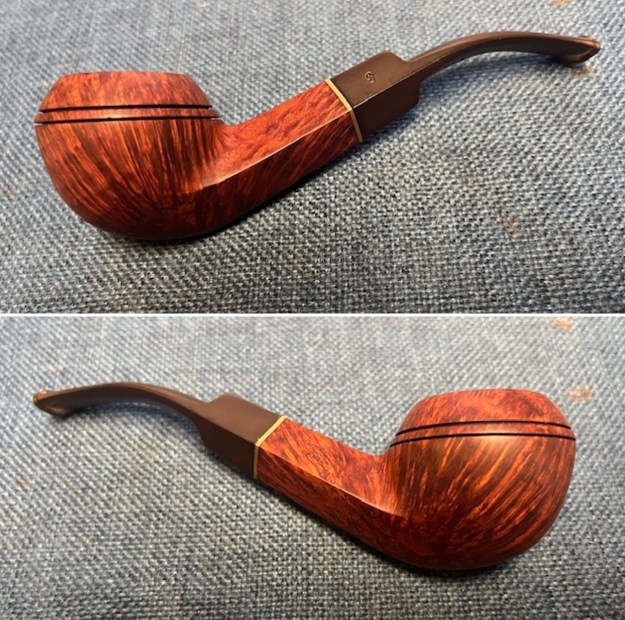
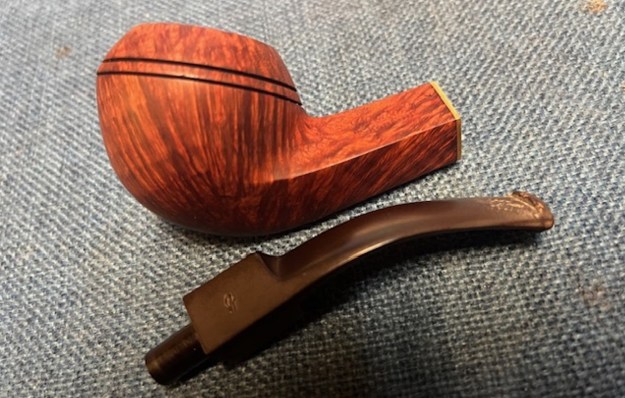
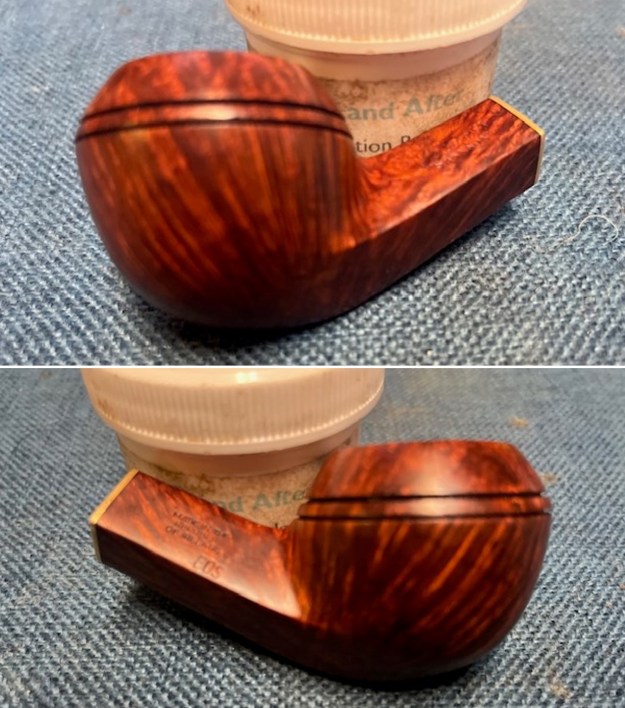
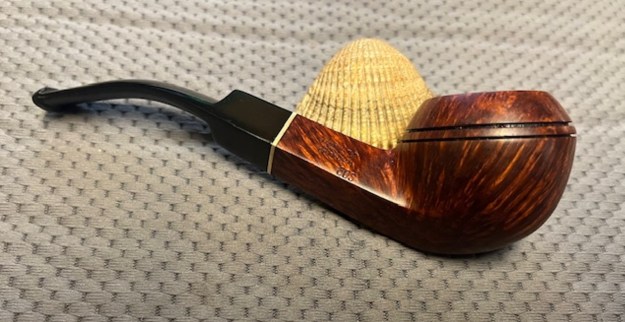
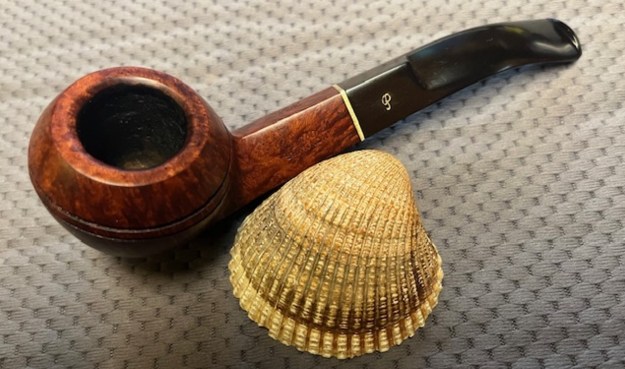
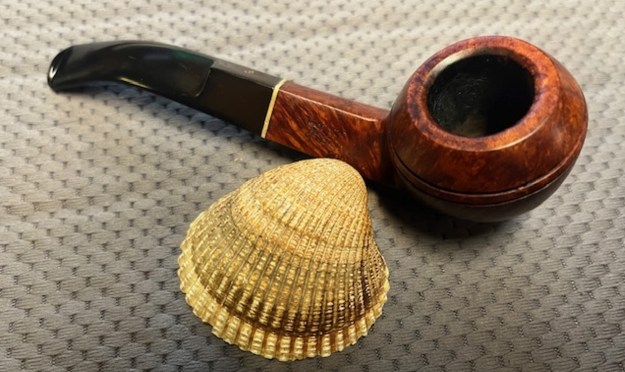
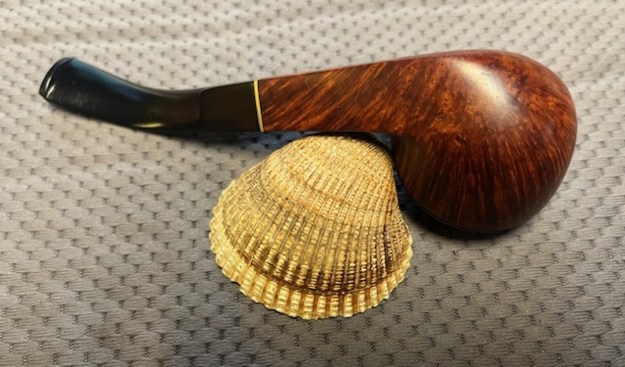
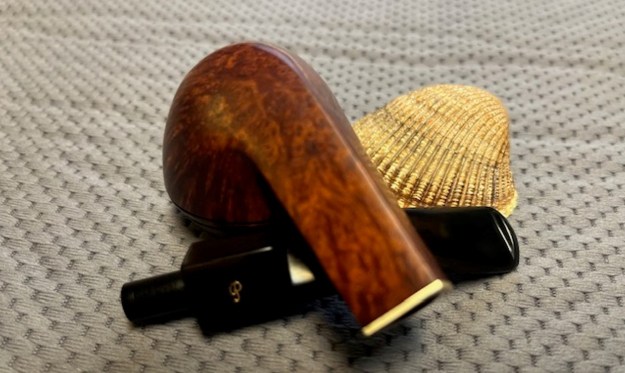
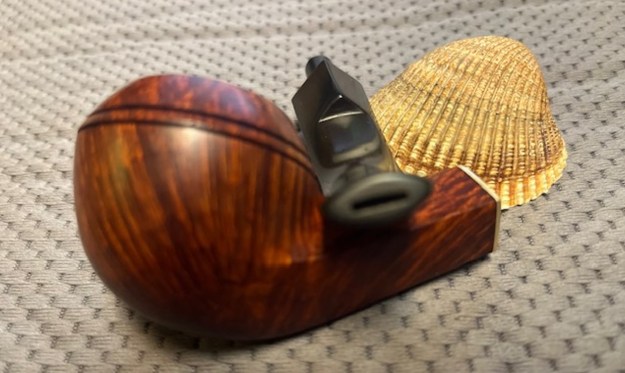
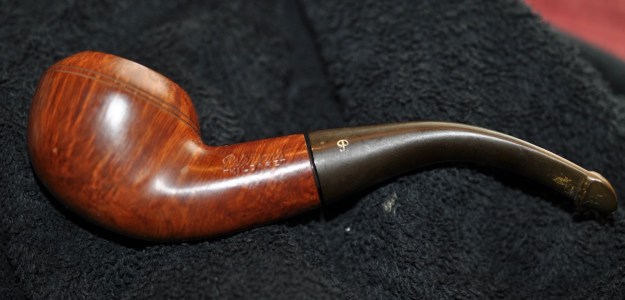
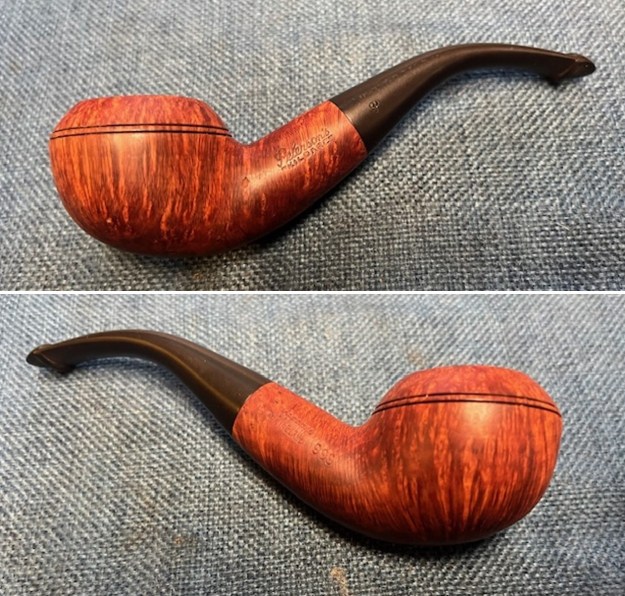
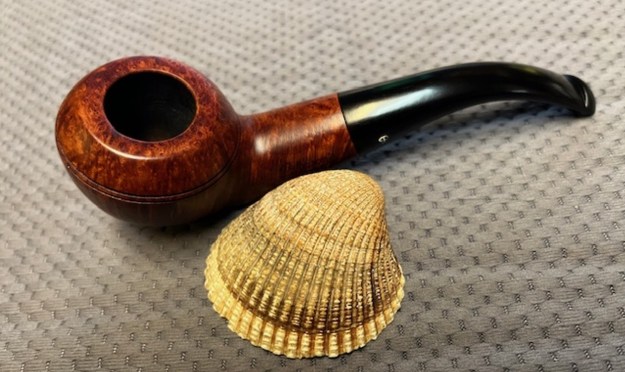
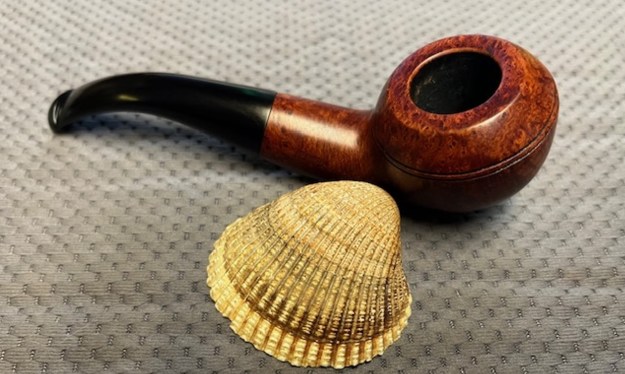
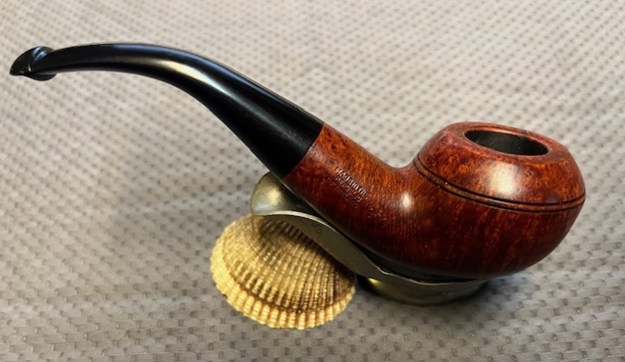
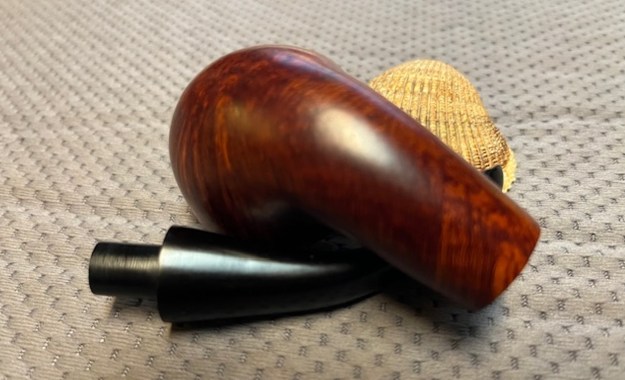
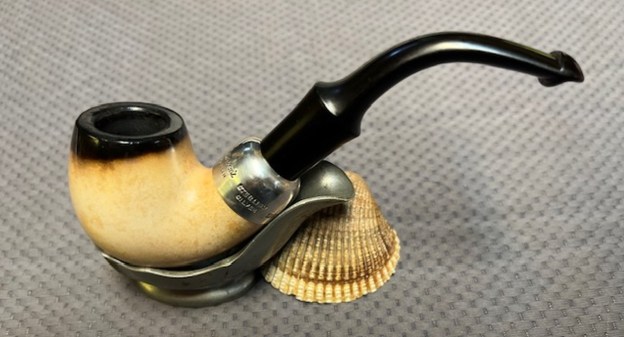
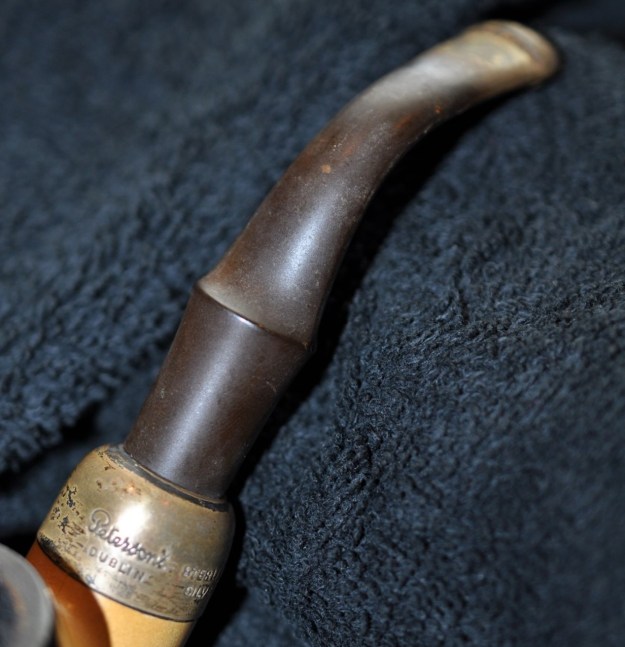
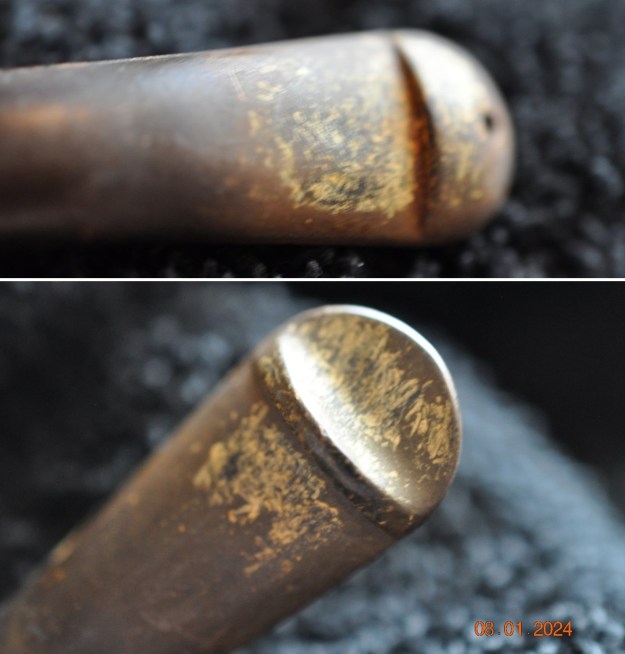
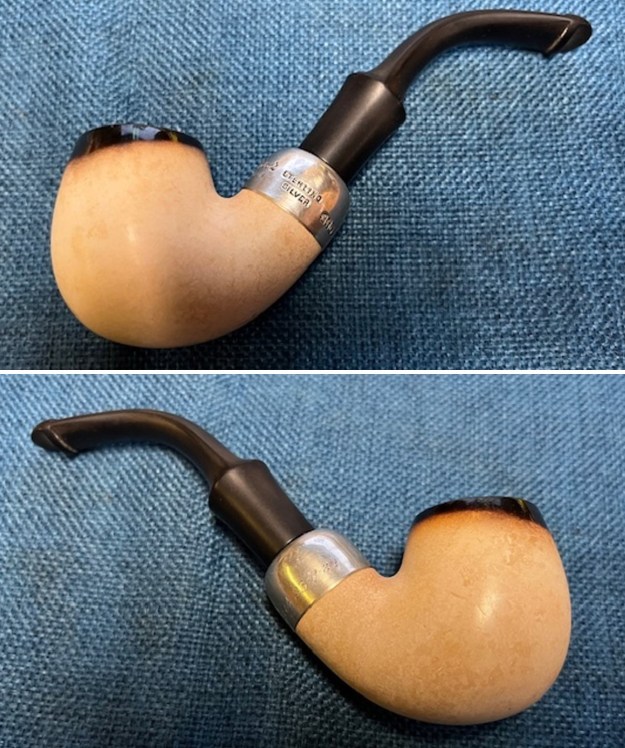
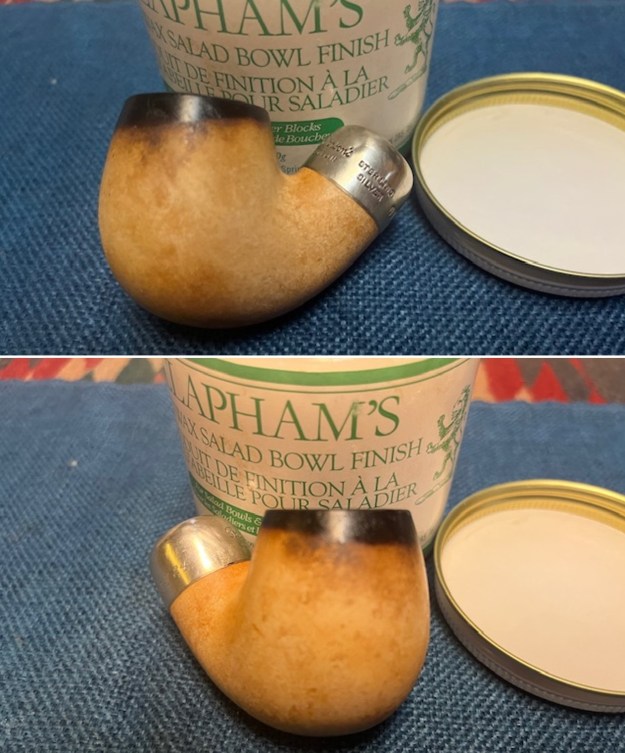
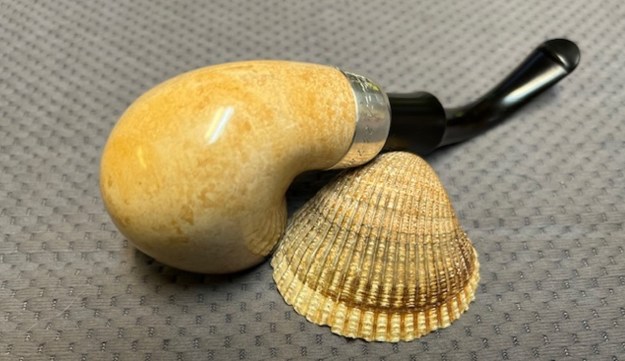
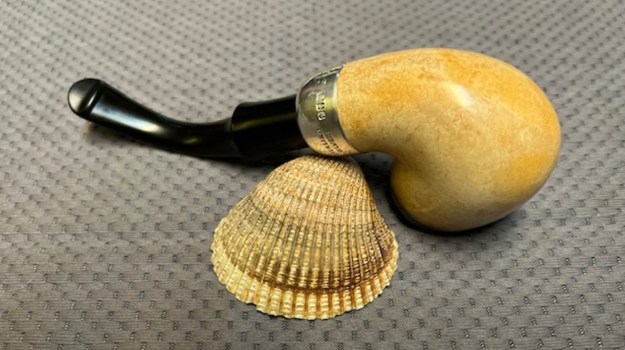
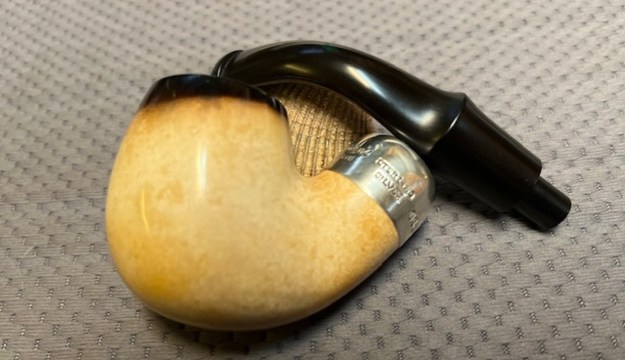
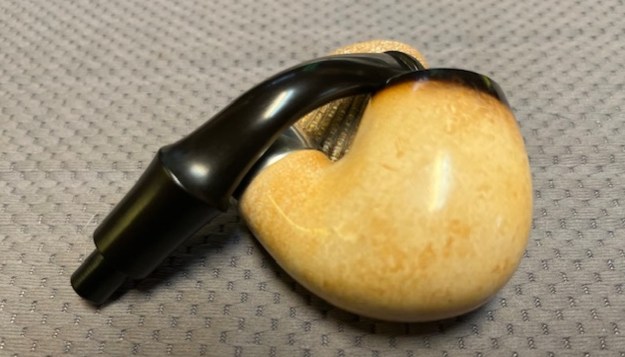
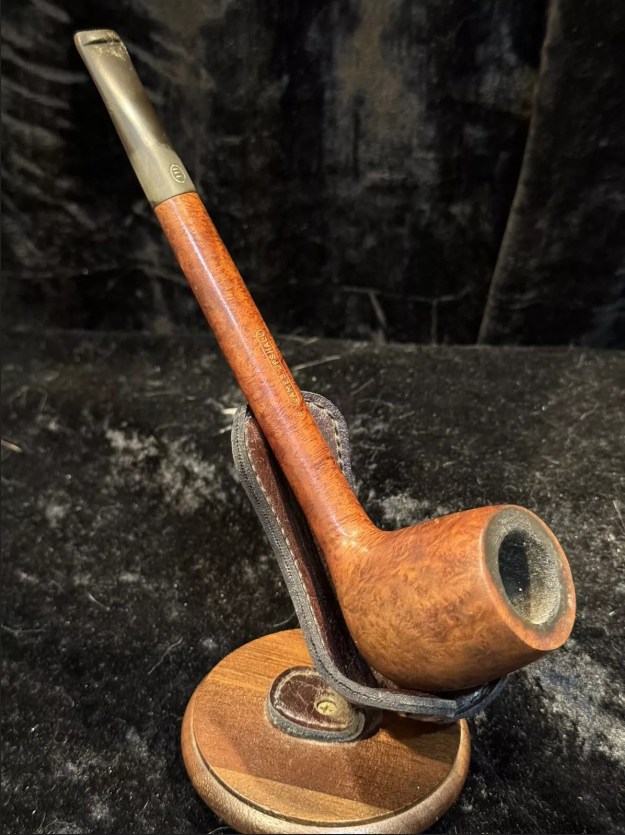
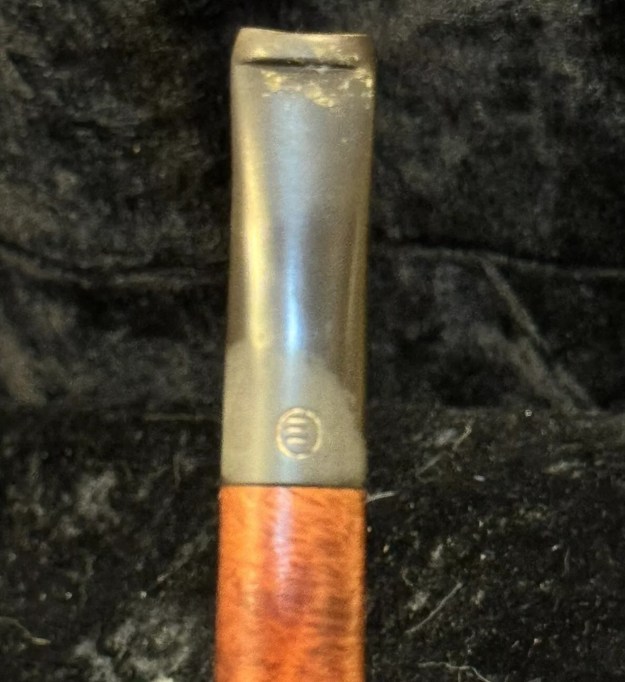
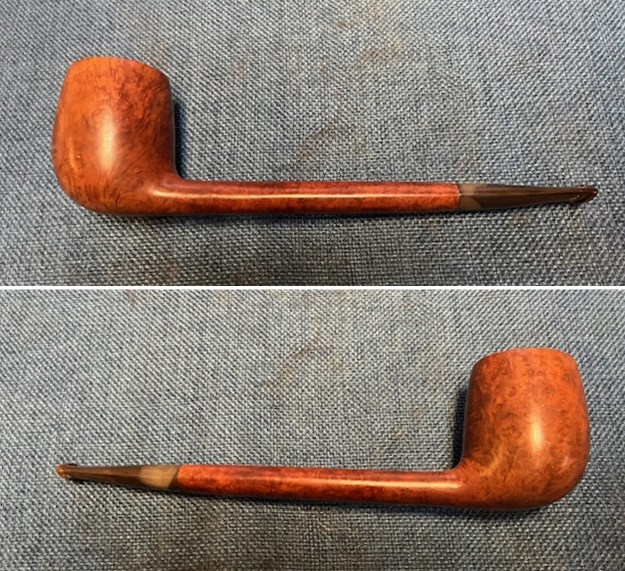
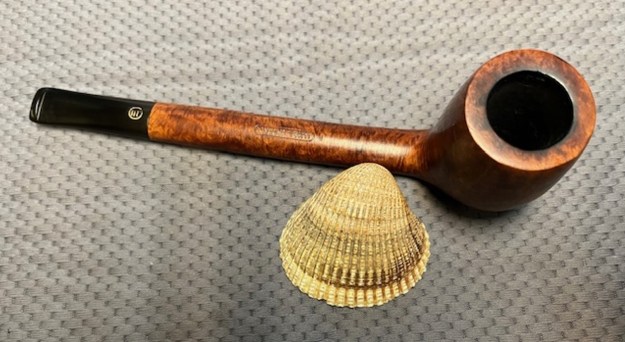
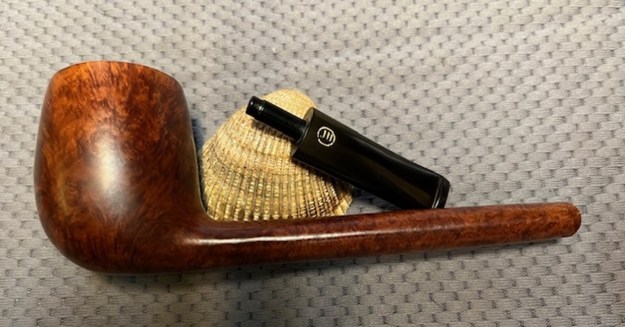
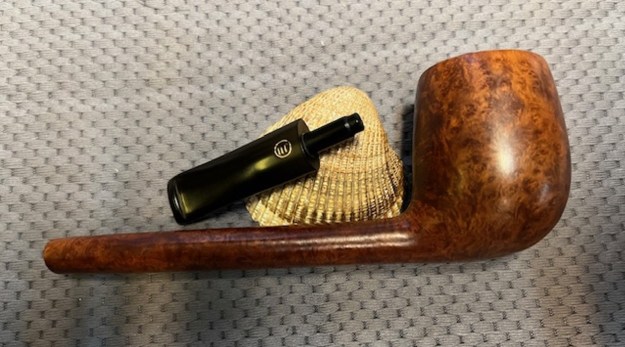
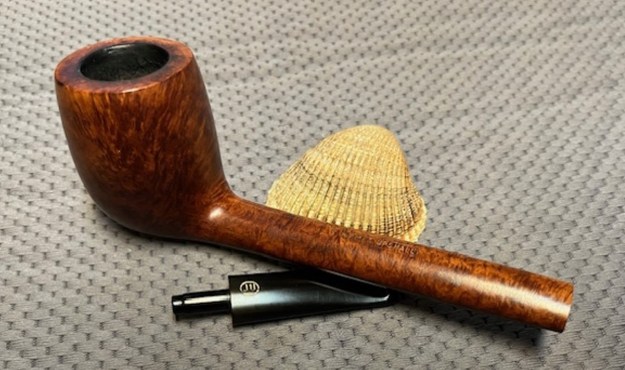
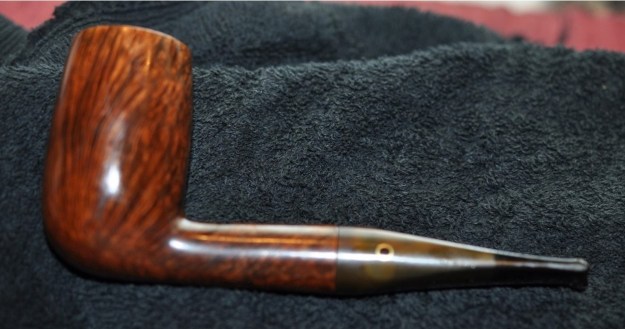
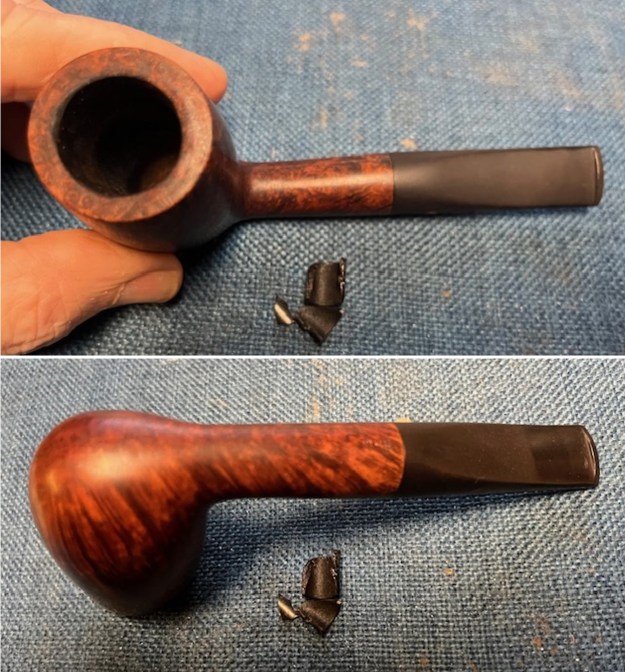
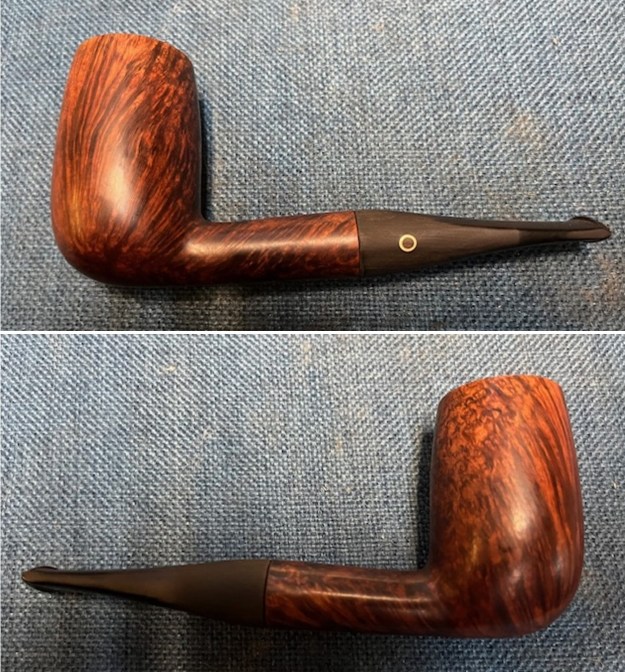
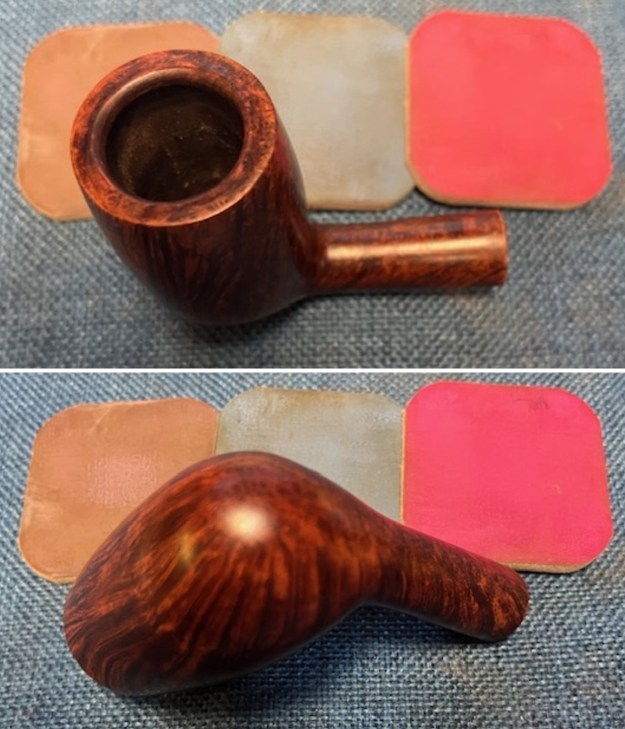
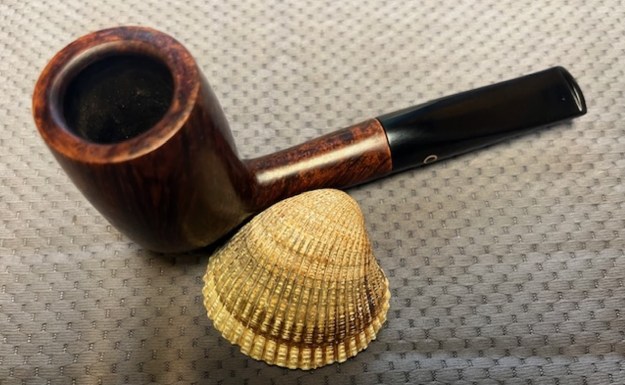
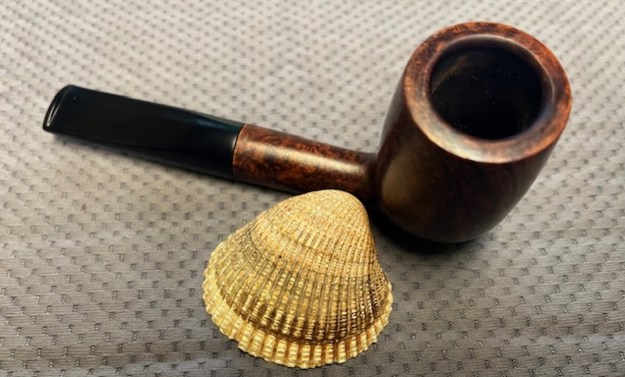
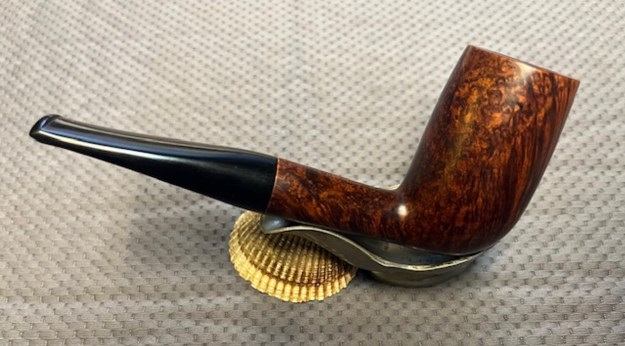
I received two pipes for repair from Brady, who works at a Pipe and Tobacco Shop in Texas yesterday. The first is a tiny Hexagonal Dublin stamped Genuine Briar. The second one is a leather coated bowl stamped Longchamp France Billiard. Both were quite dirty and needed some special attention. It was time to work on the second pipe – a Longchamp France Leather Clad Billiard. It is stamped on the left side of the shank and reads Longchamps [over] France. There was no other stamping on the shank sides. On the left side of the stem there was a race horse with a stylized rider. The bowl had a heavy cake in the bowl and thick lava on the rim top. It was thick so it was hard to be certain what the inner edge looked like. The leather clad bowl had a lot of scuffs on the sides of the bowl and was quite dirty. The vulcanite taper stem had oxidation, calcification, tooth chatter and tooth marks on both sides ahead of the button. I took photos of the pipe before I started working on it. 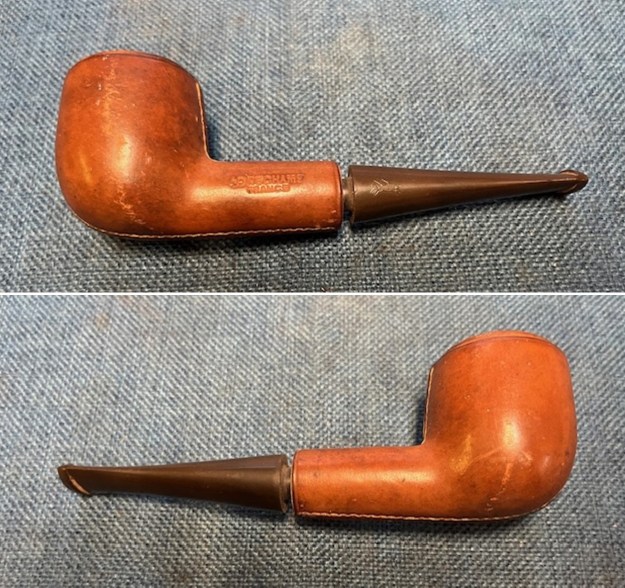
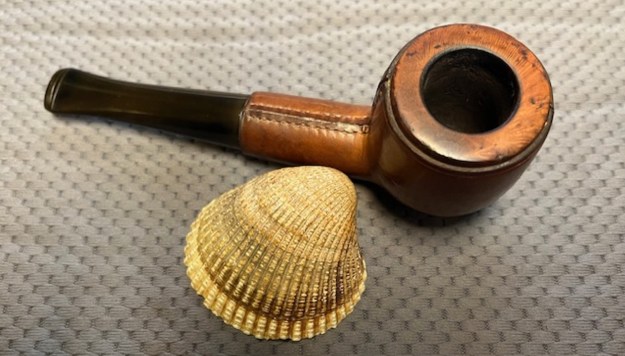
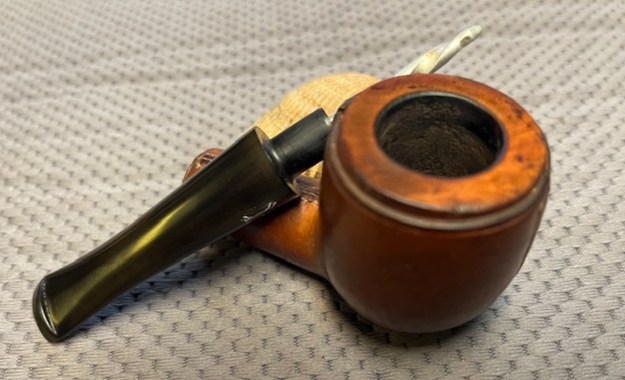
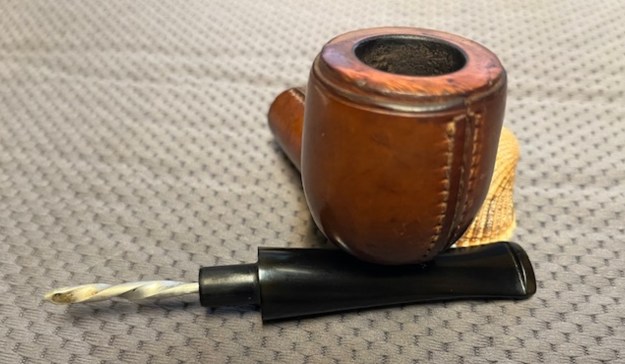
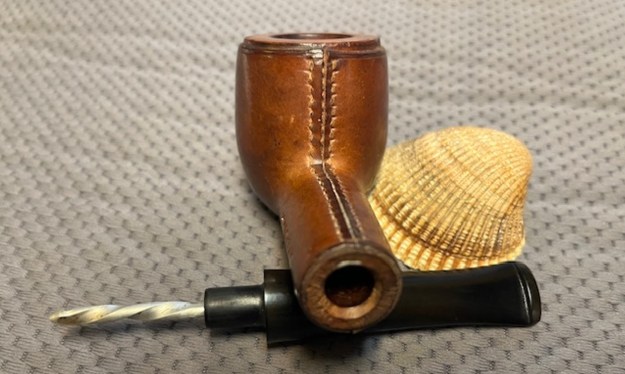
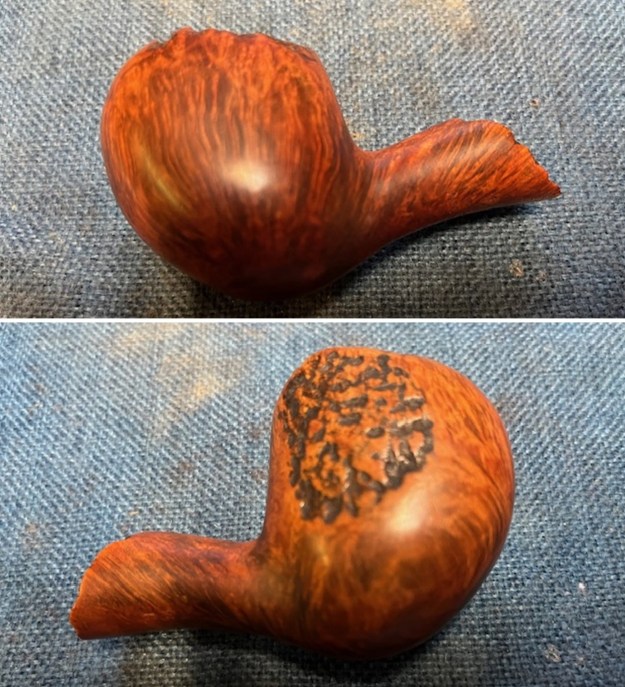
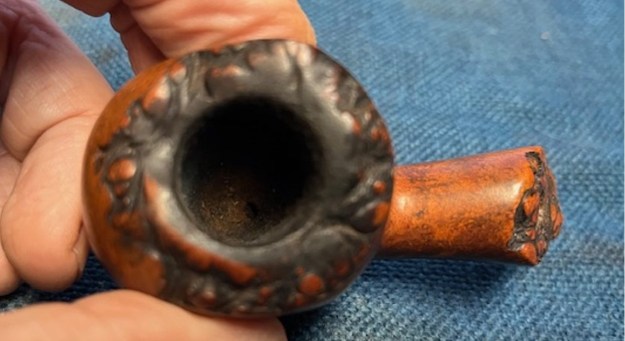
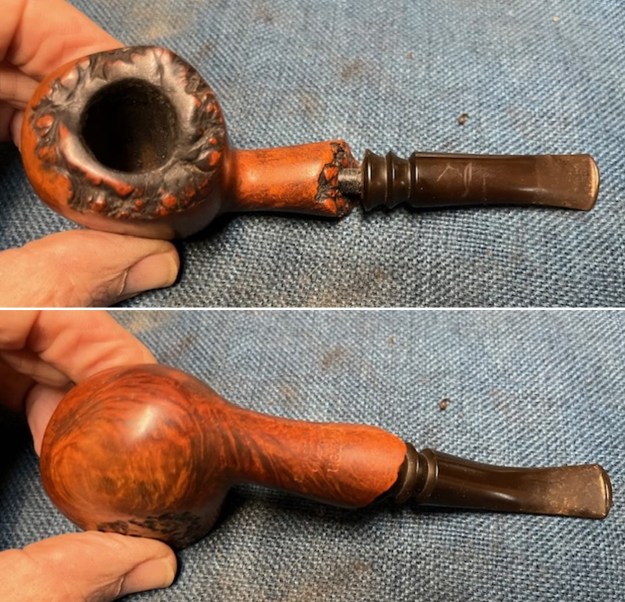
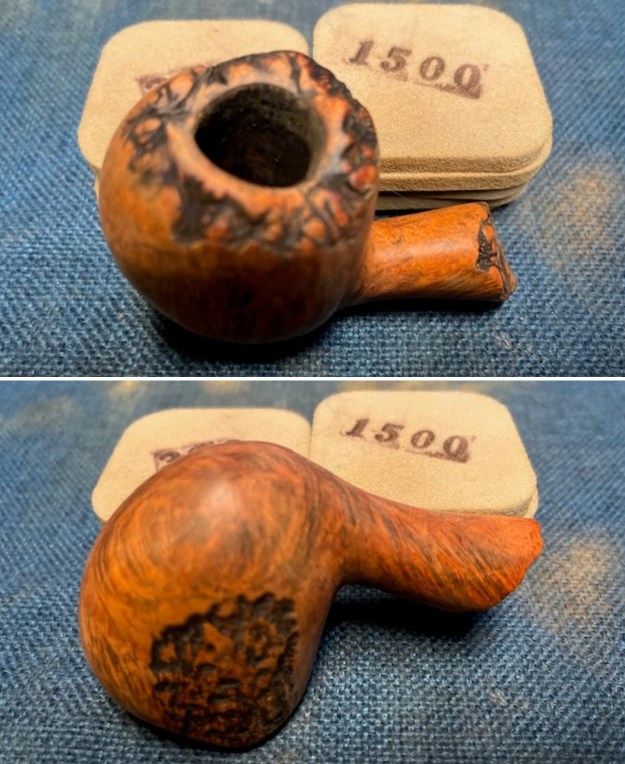
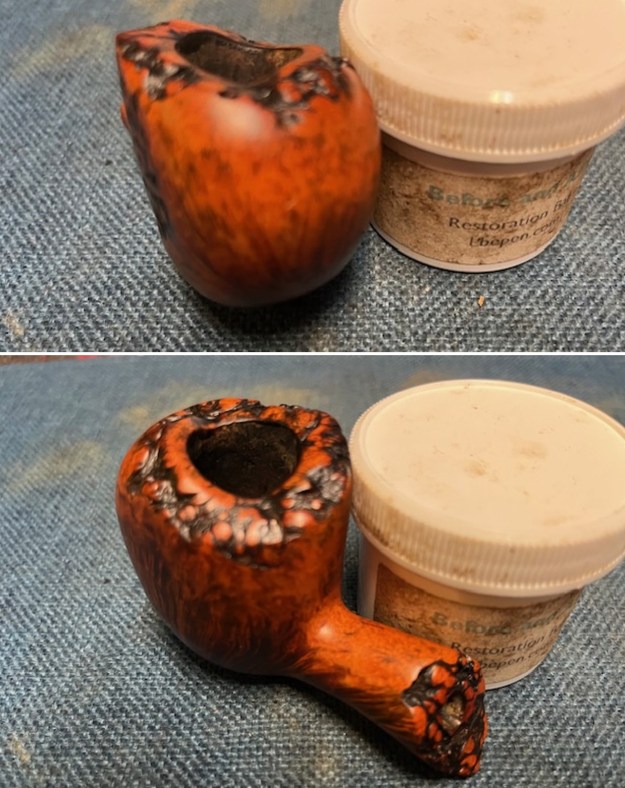
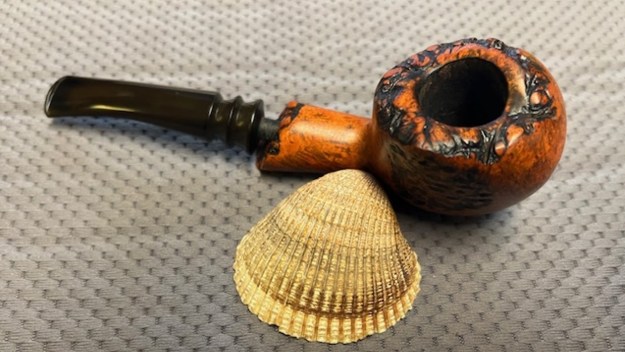
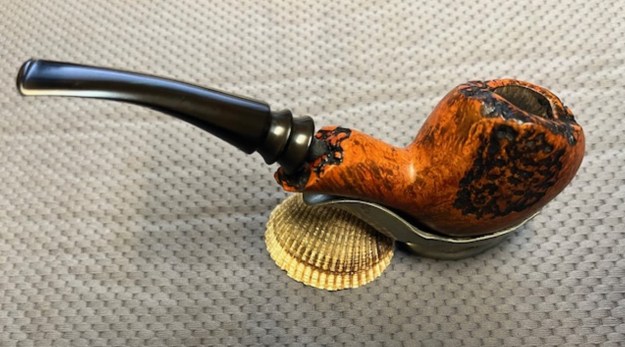
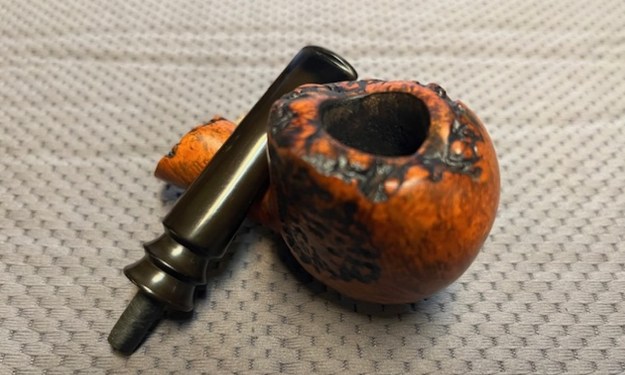
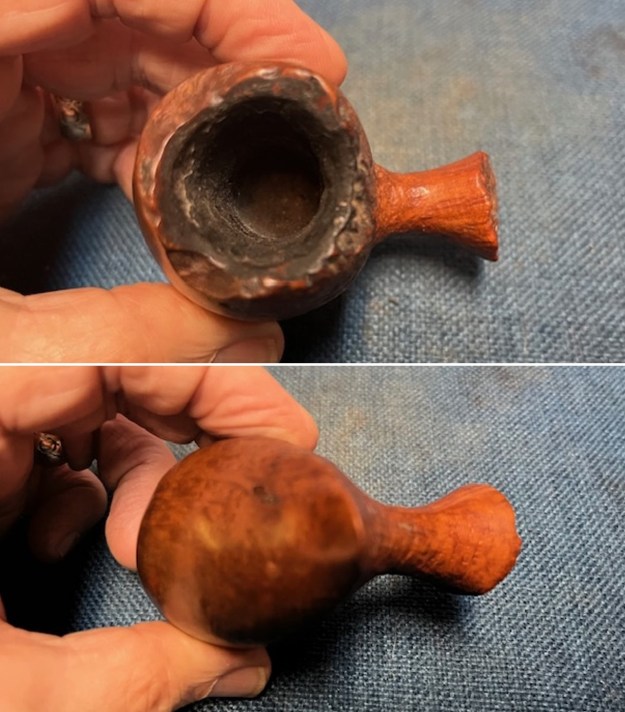
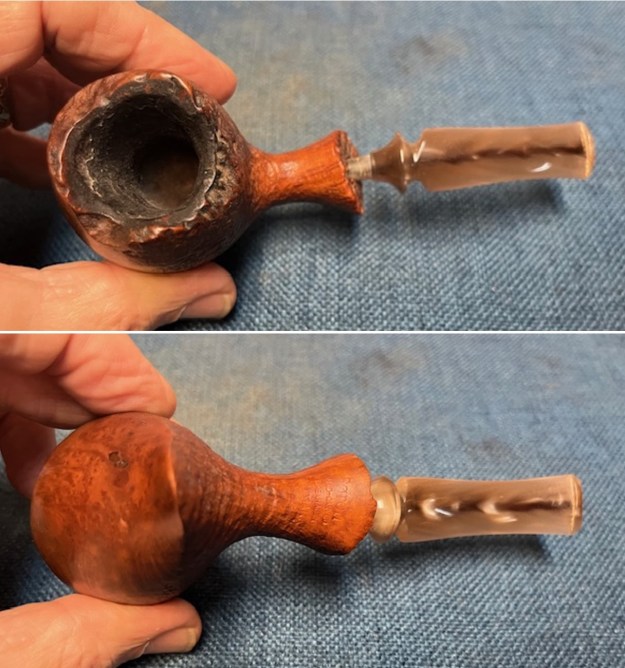
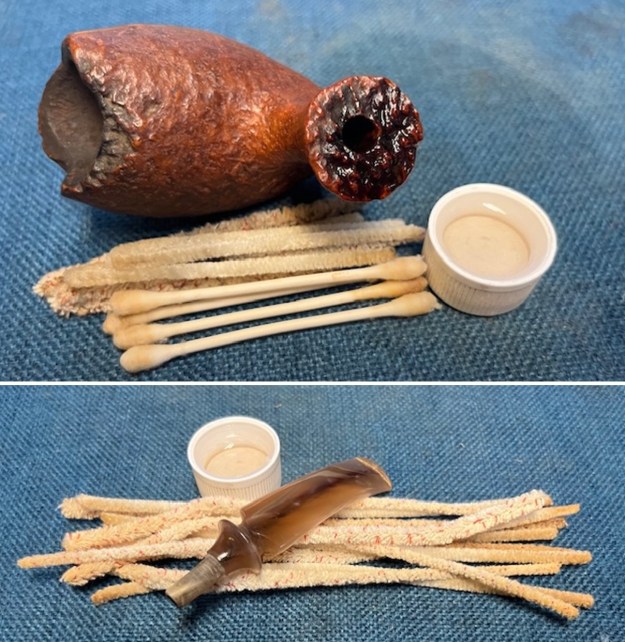
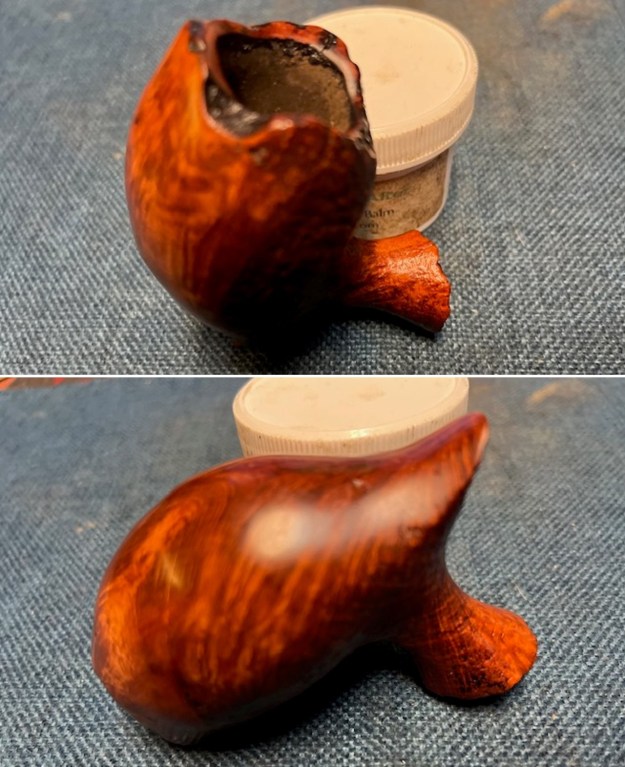
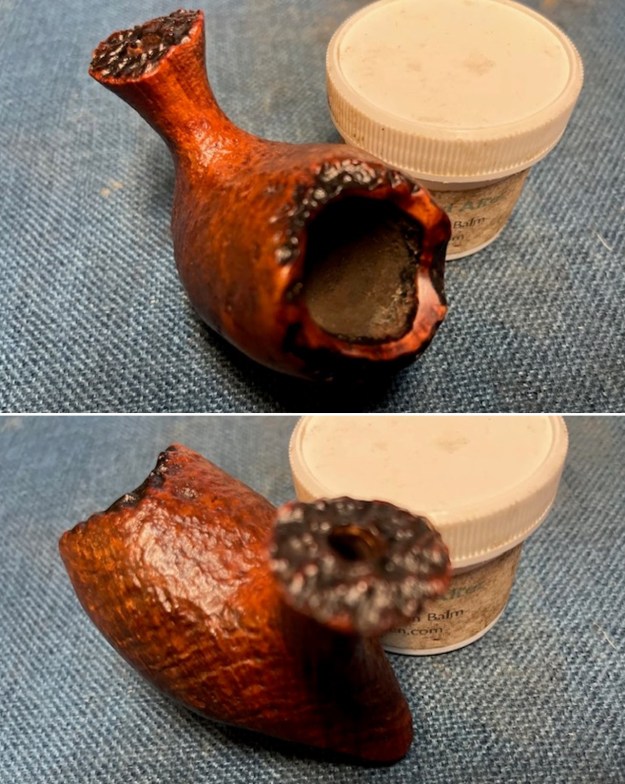
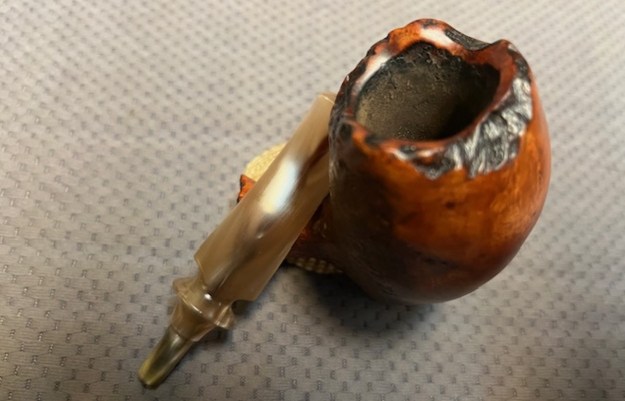
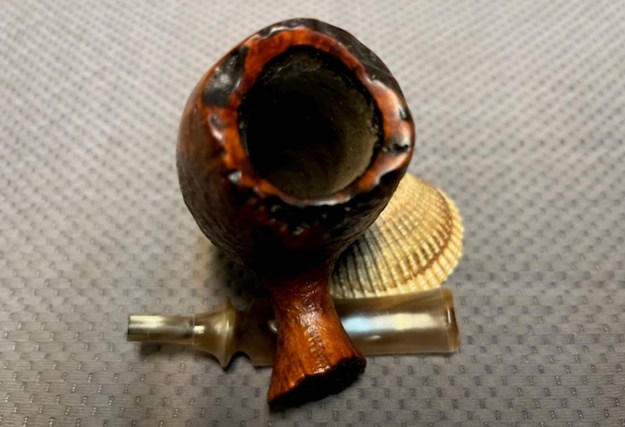
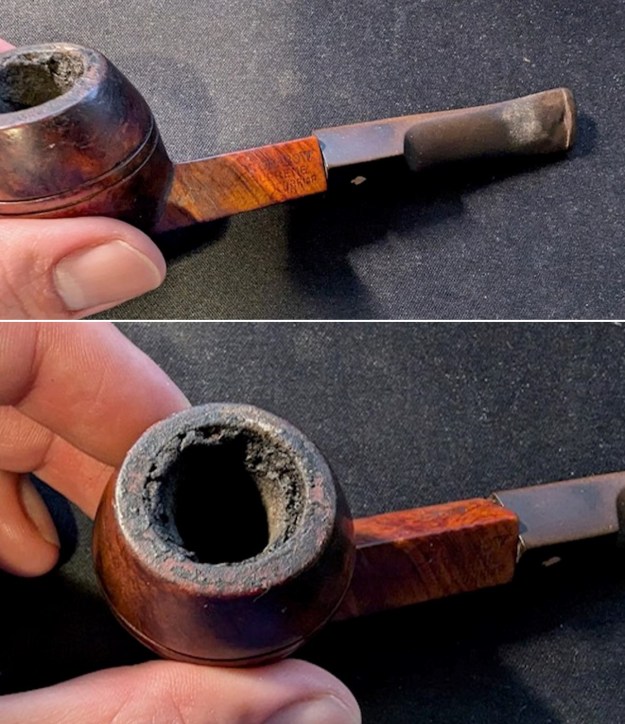
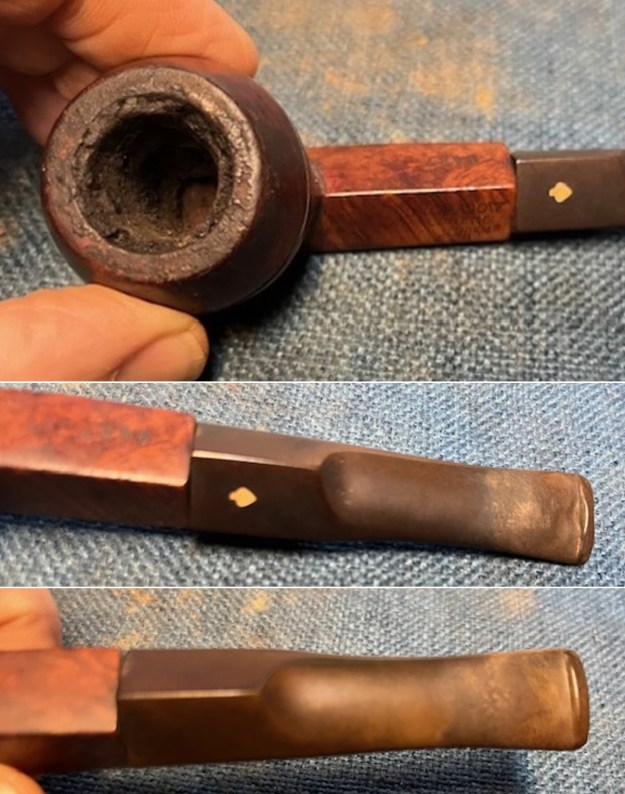
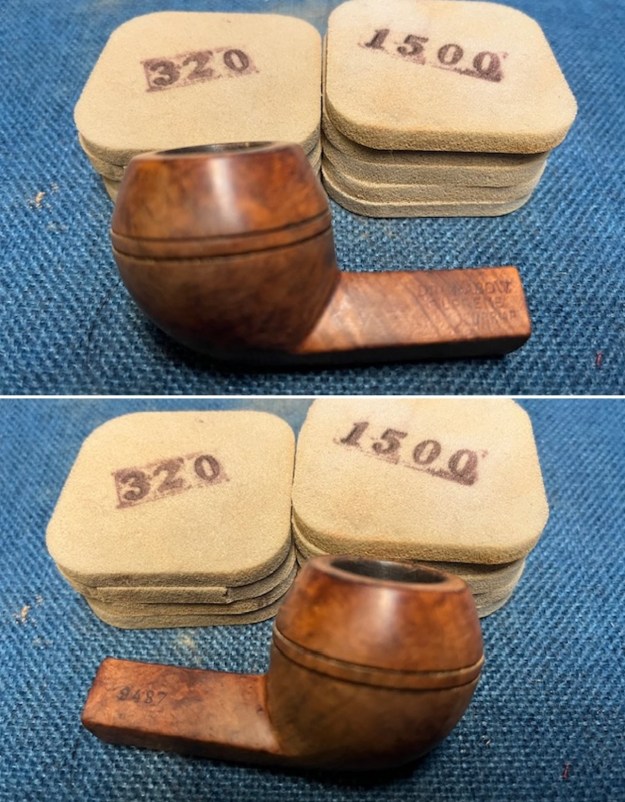
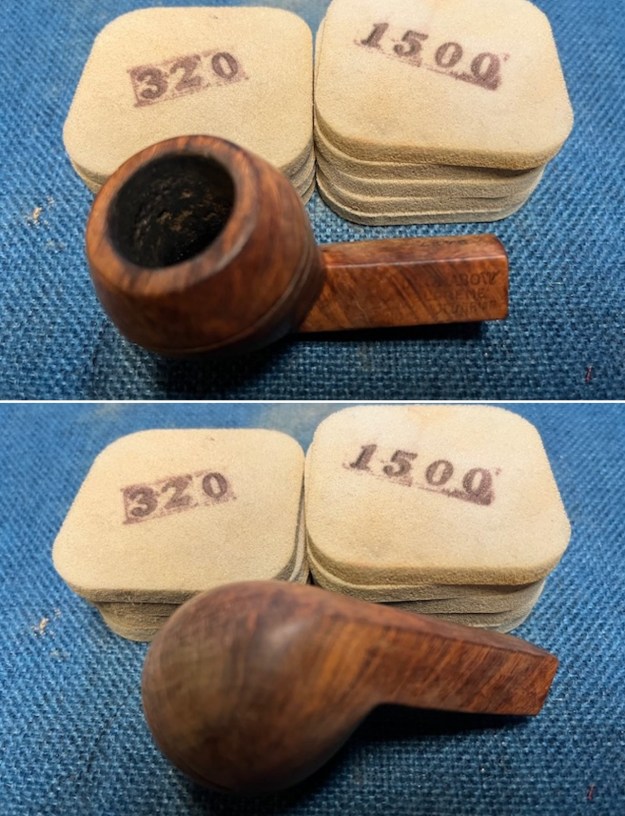
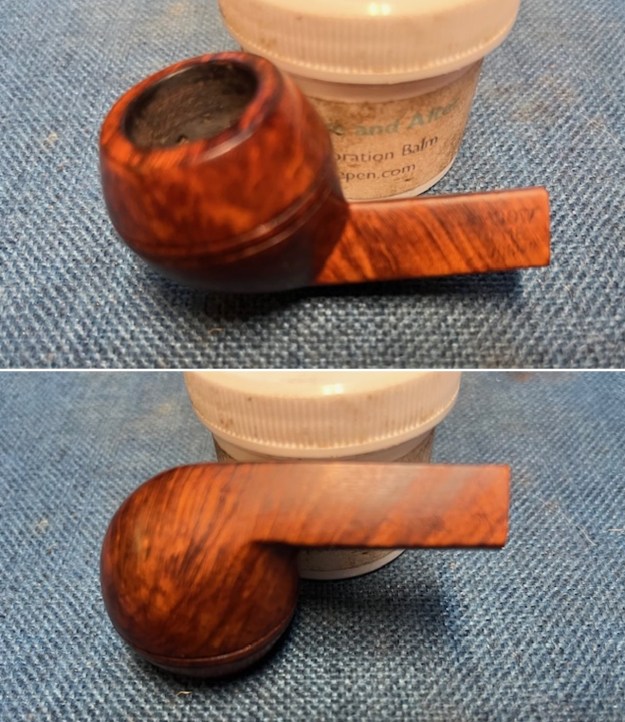
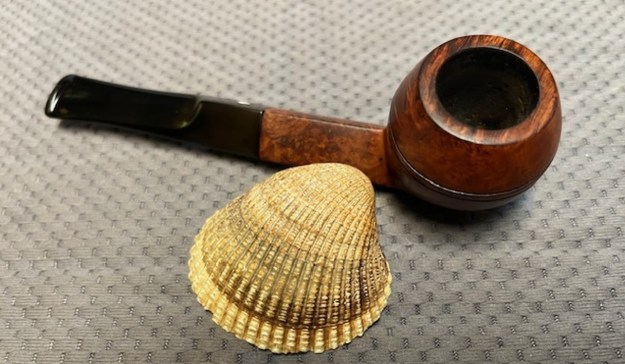
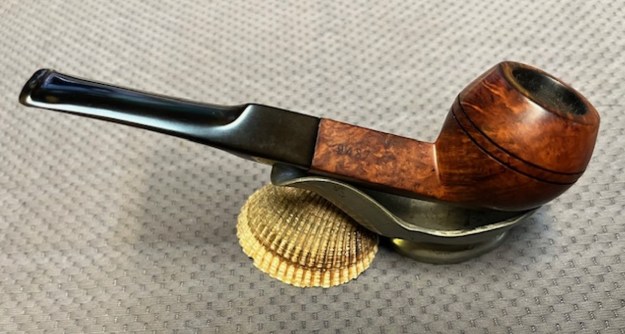
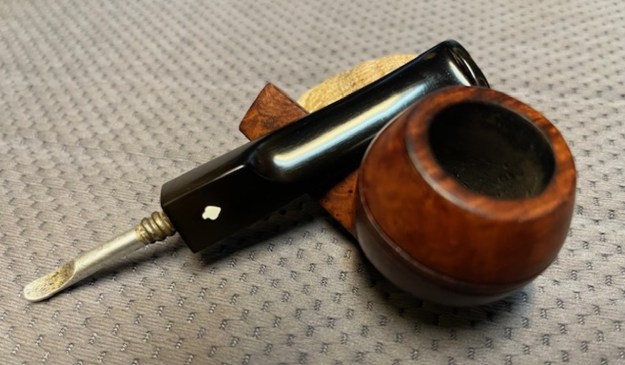
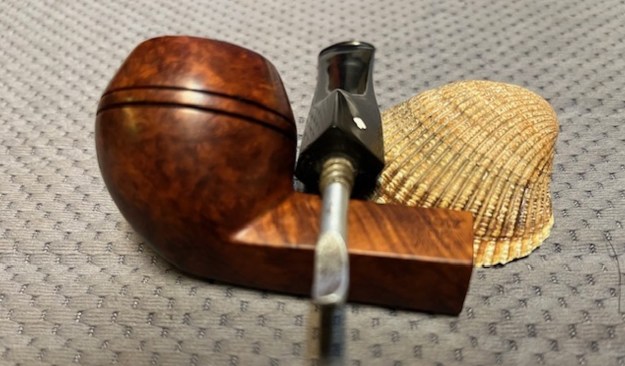
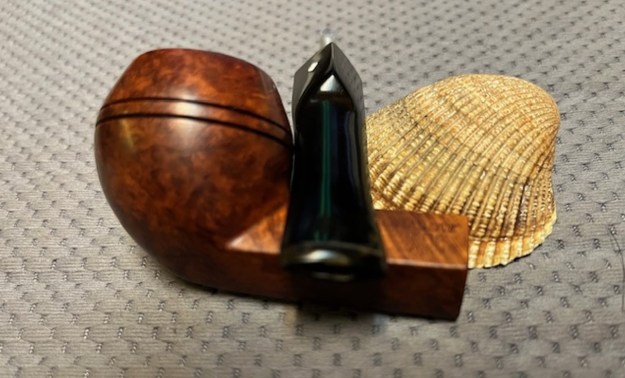
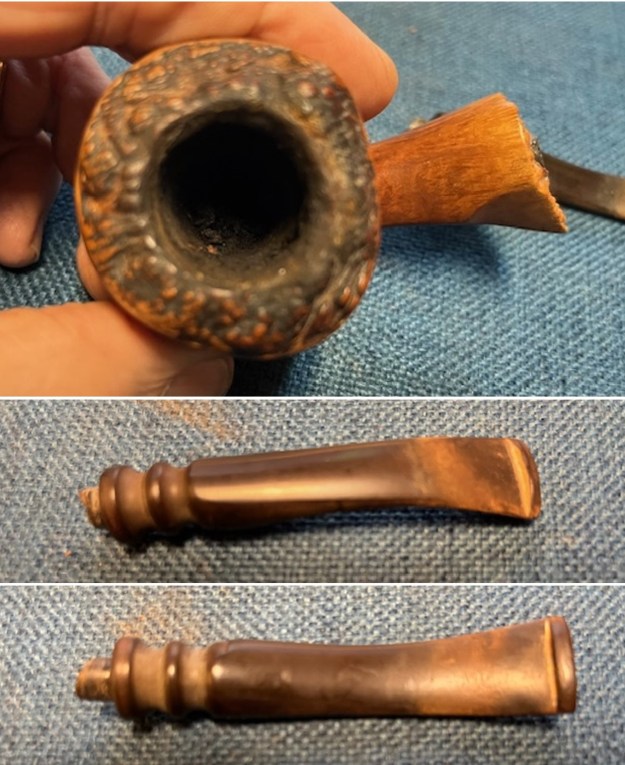
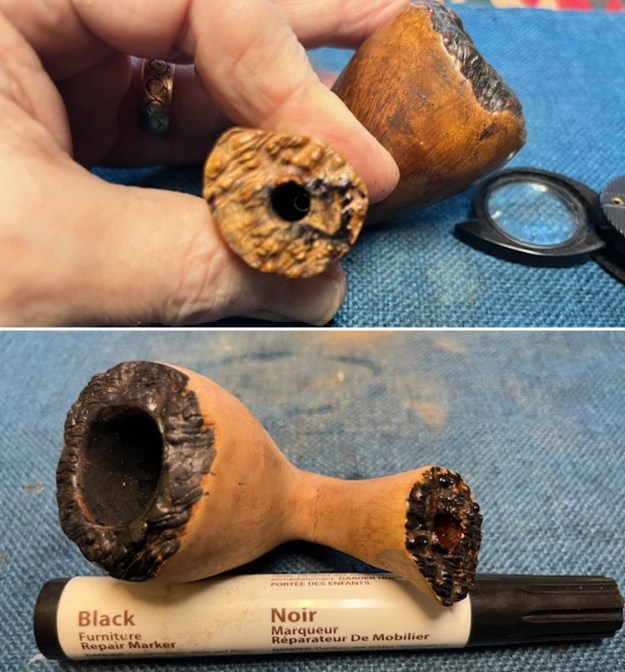
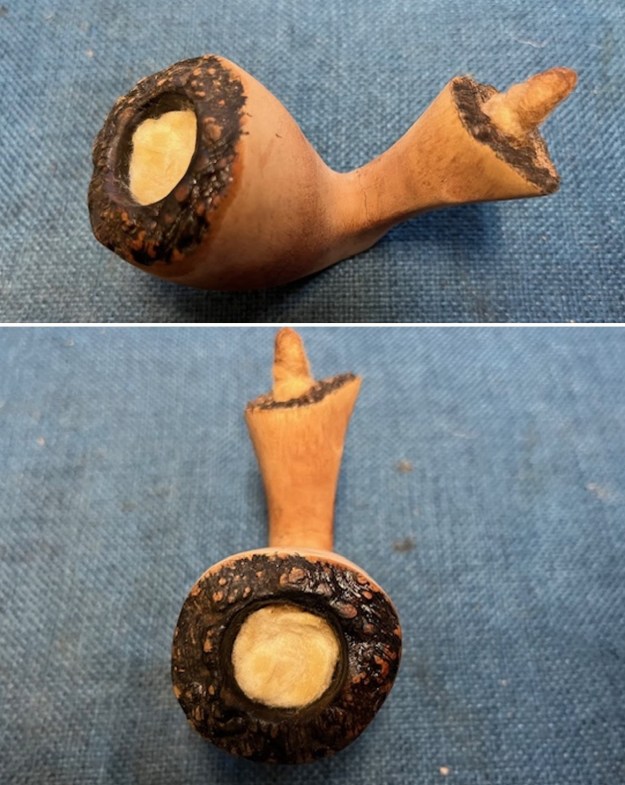
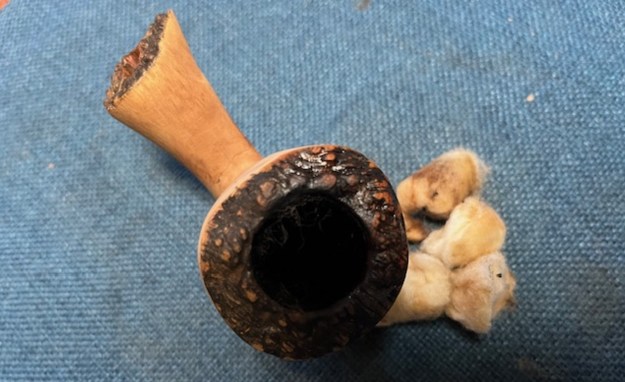
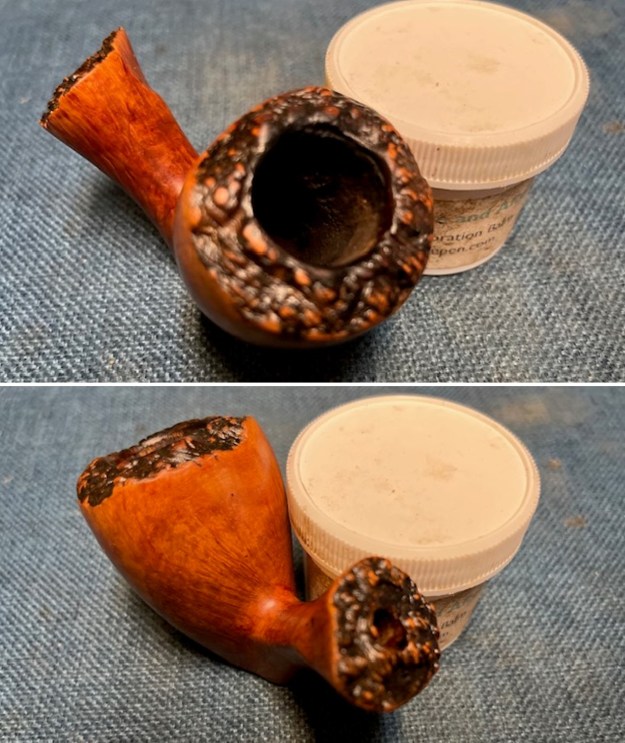
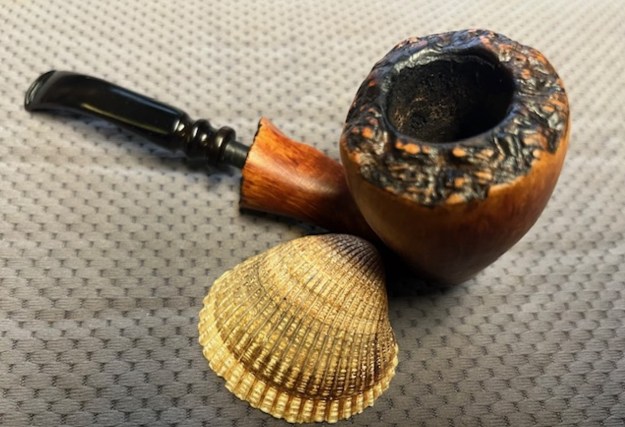
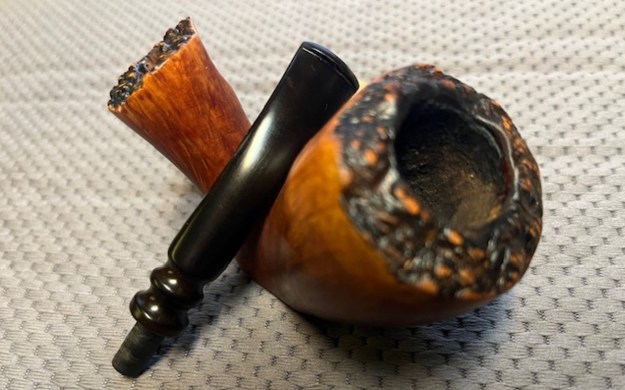
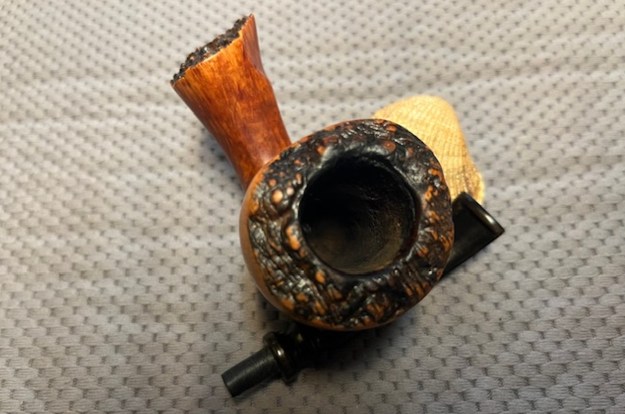
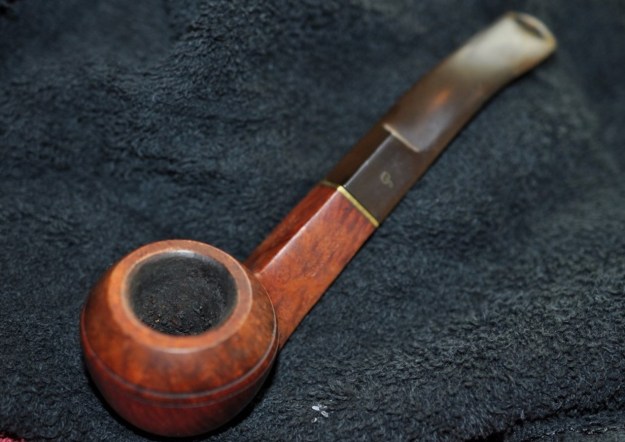
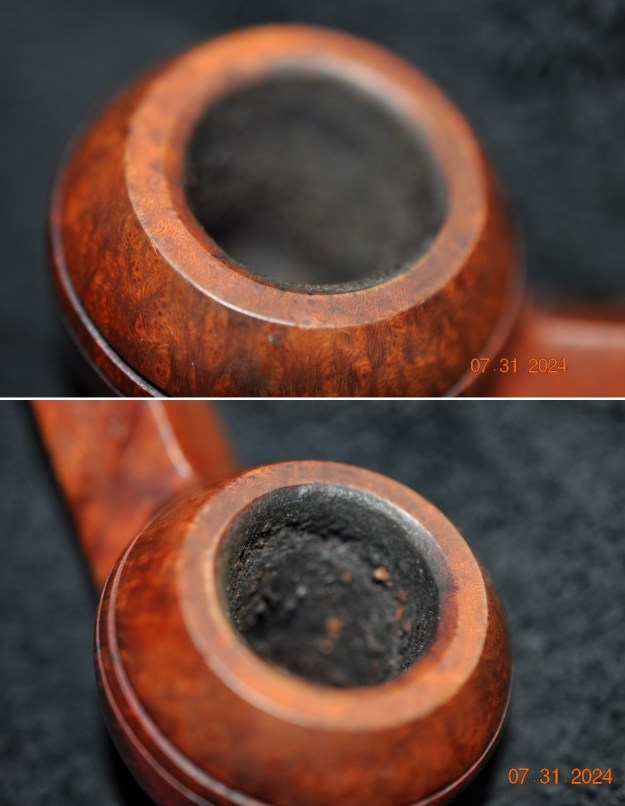
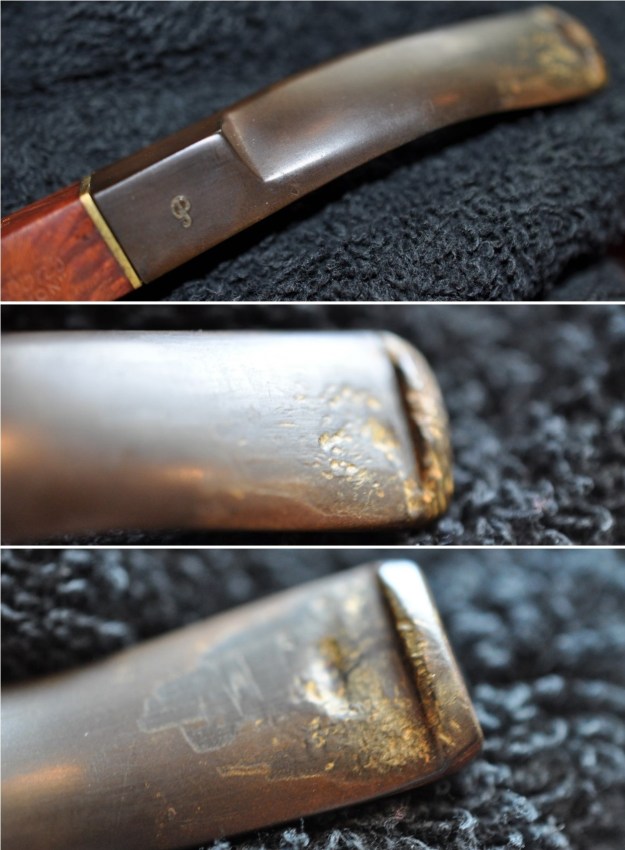
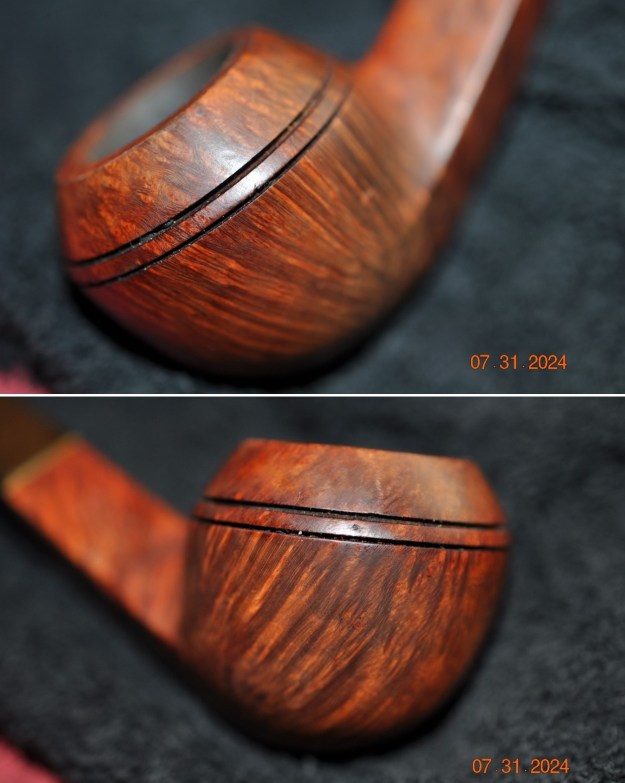
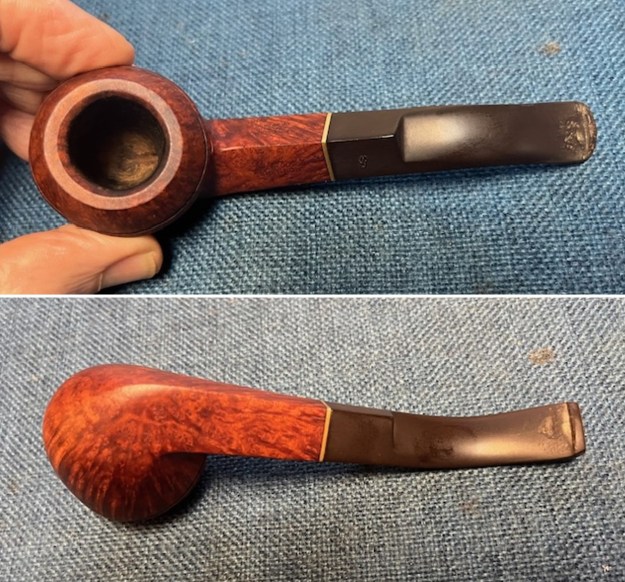
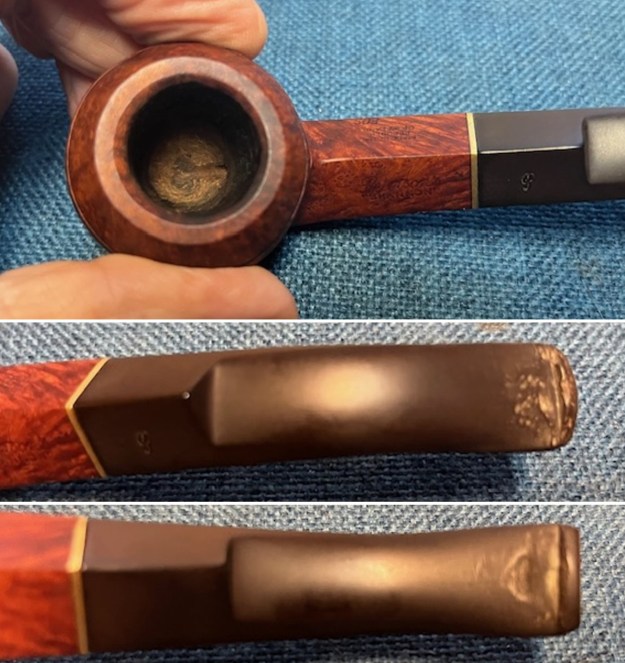
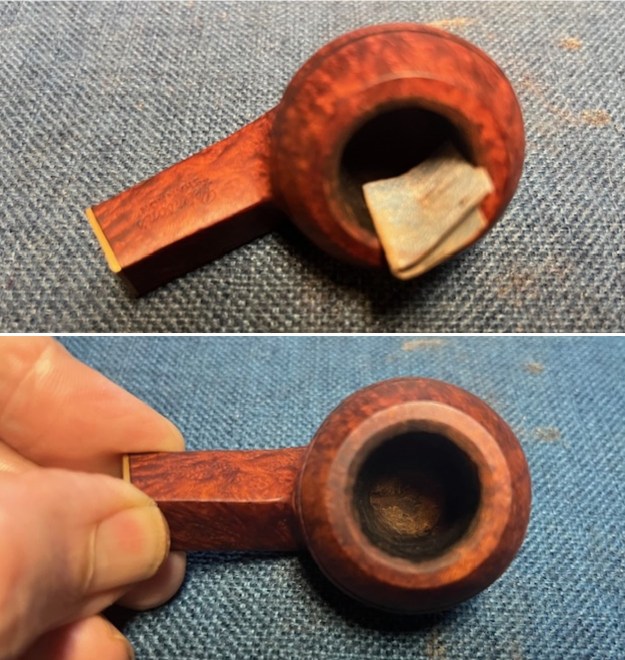
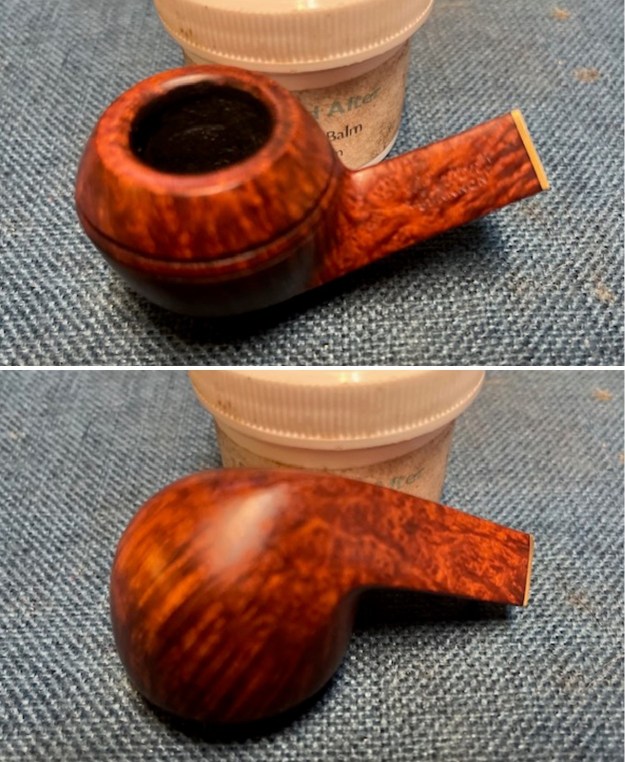
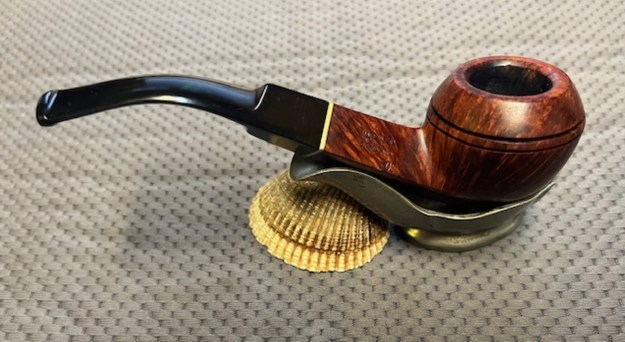
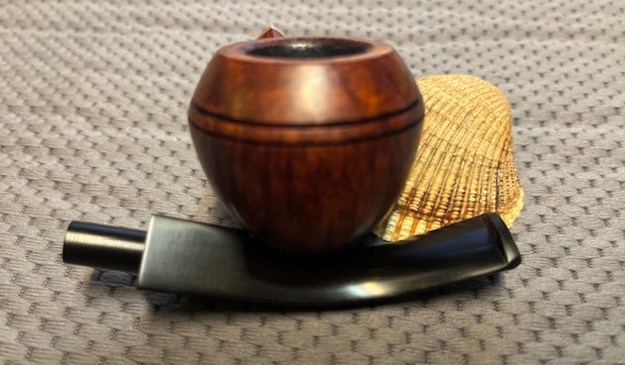
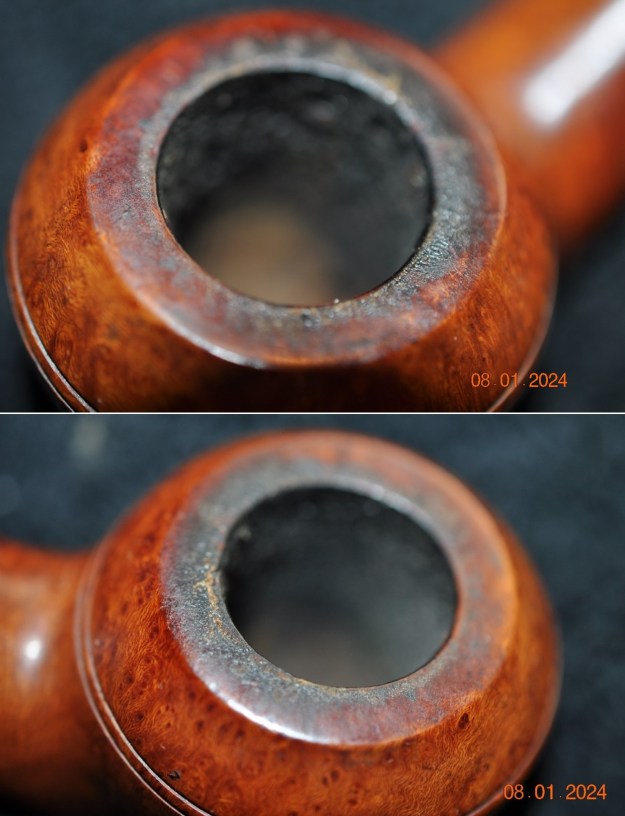
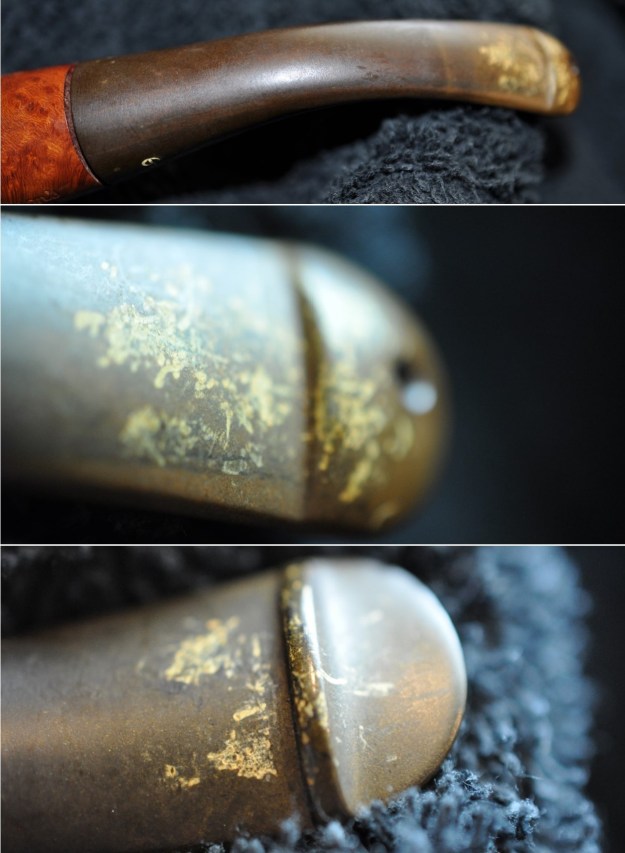
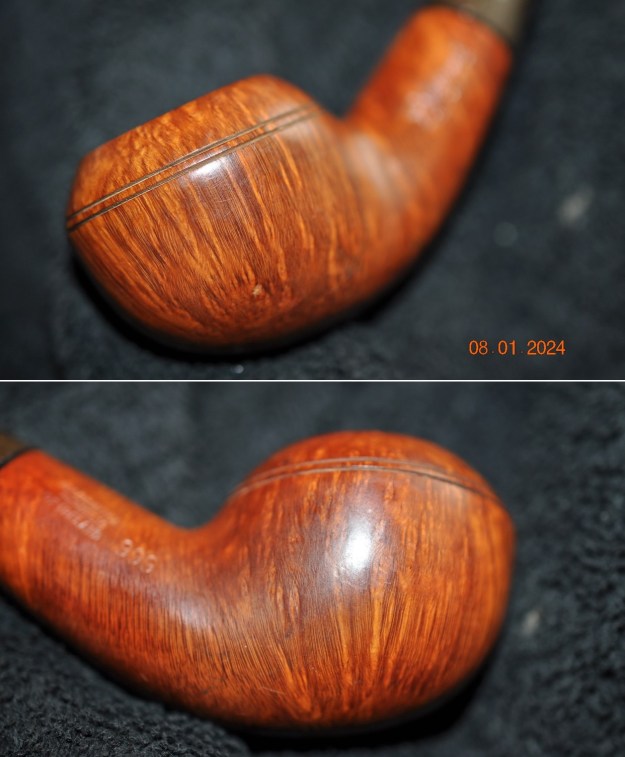
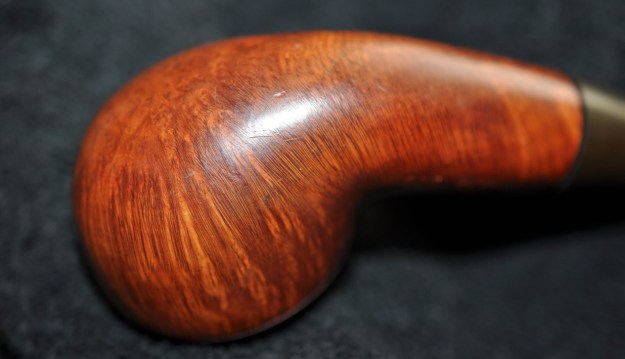
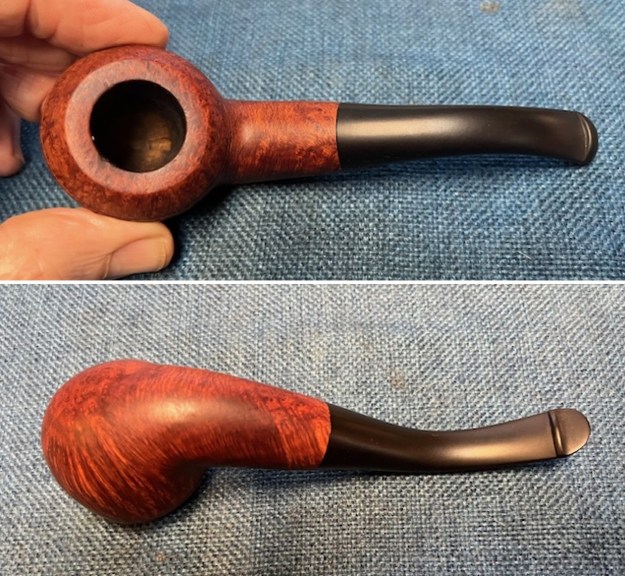
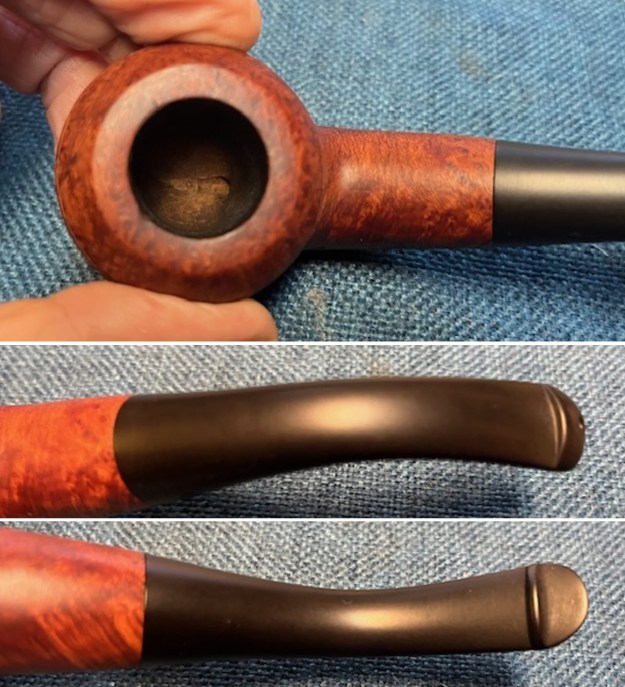
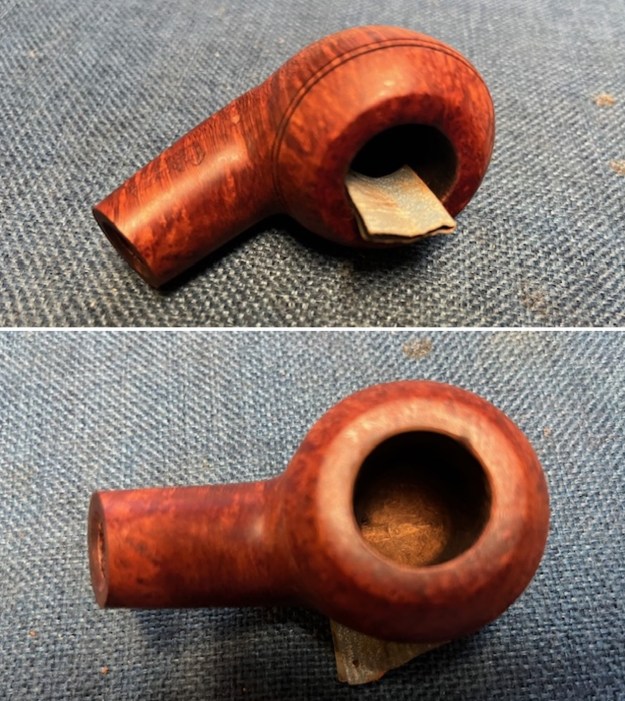
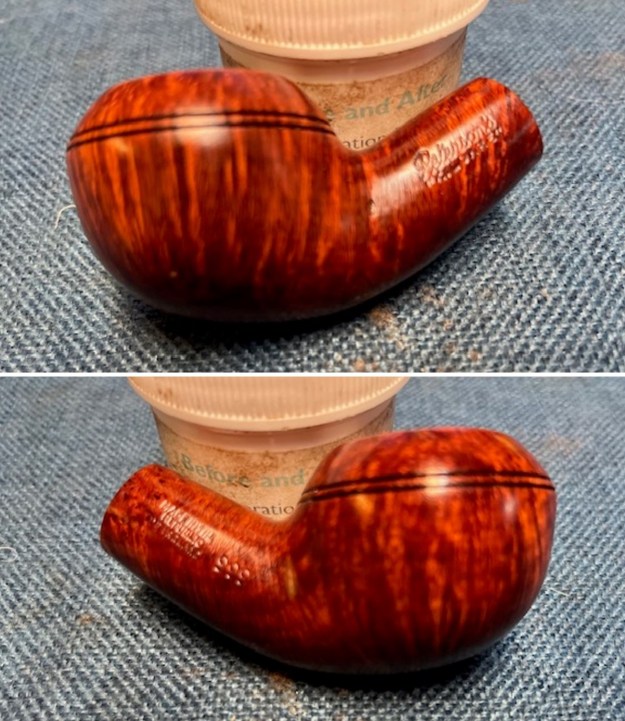
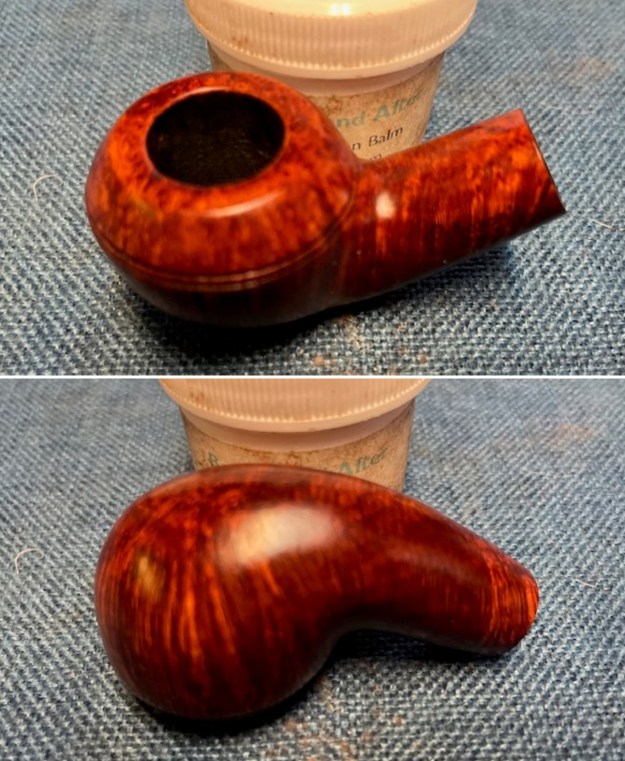
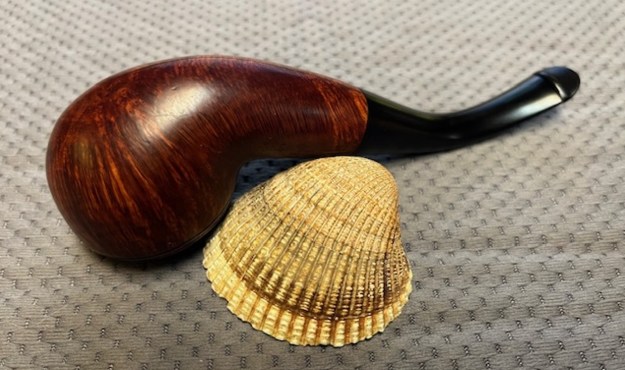
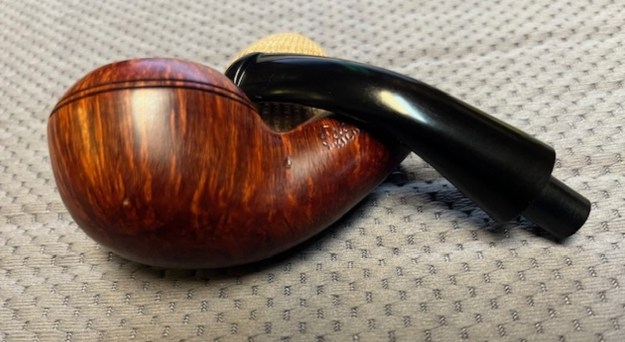
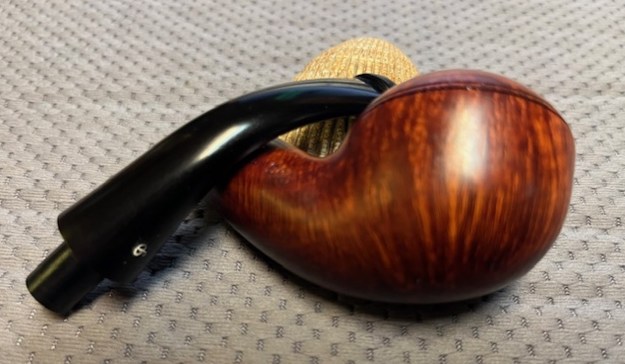
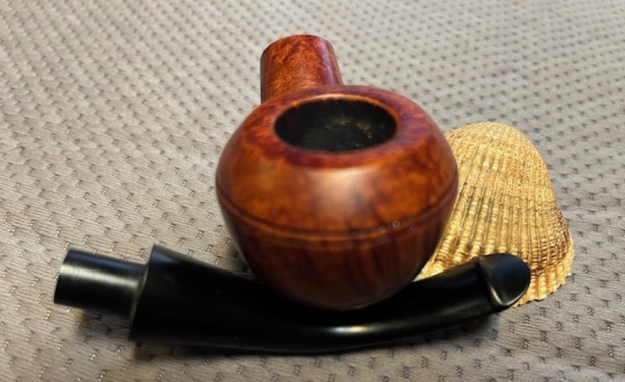
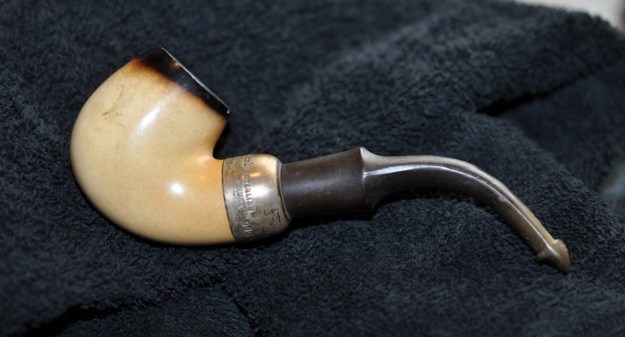
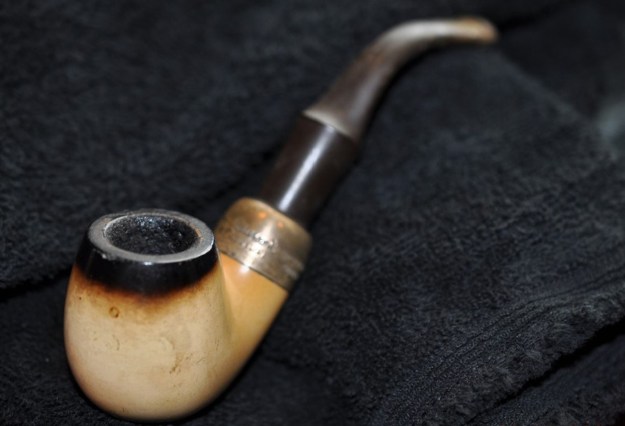
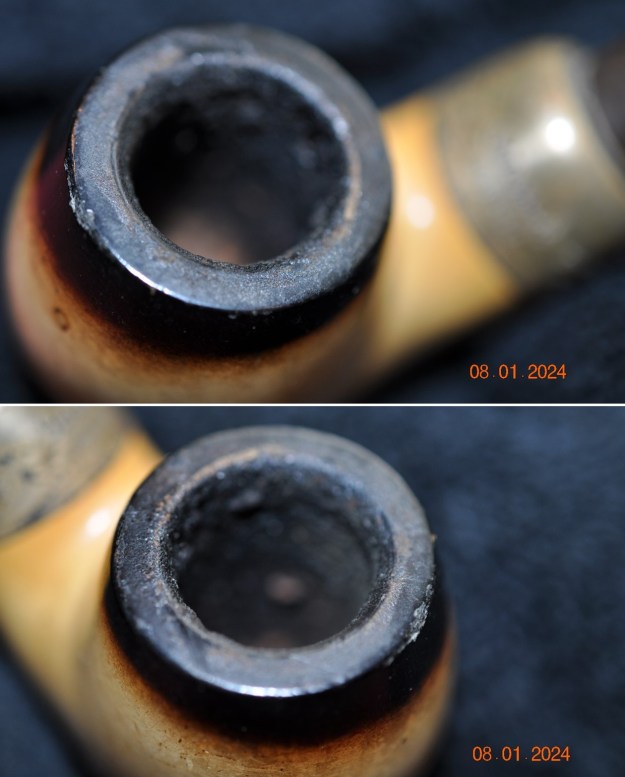
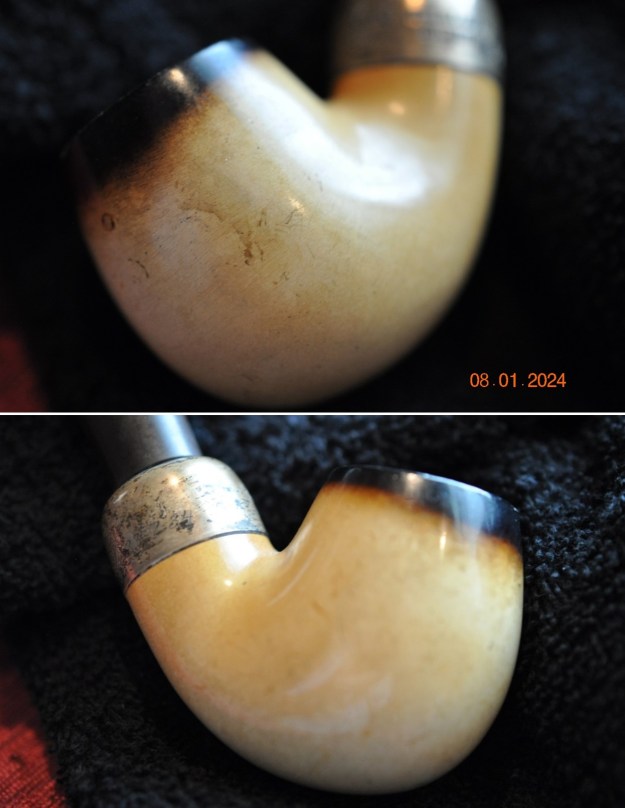
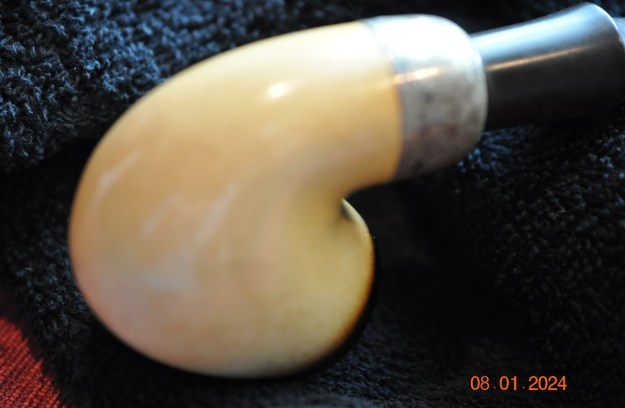
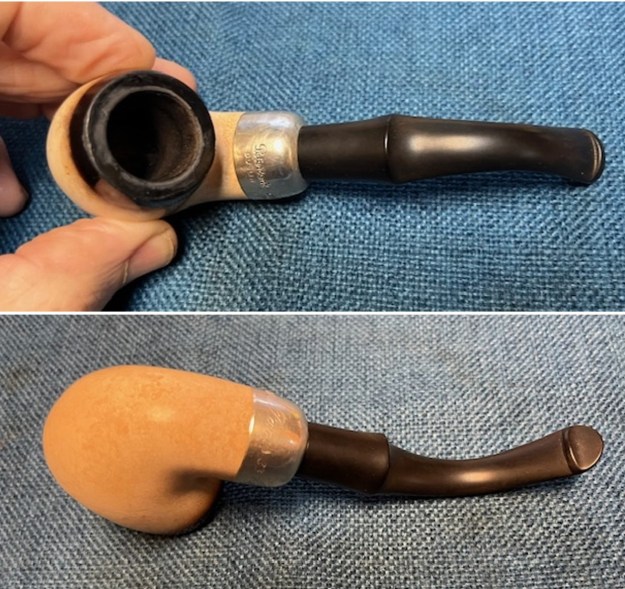
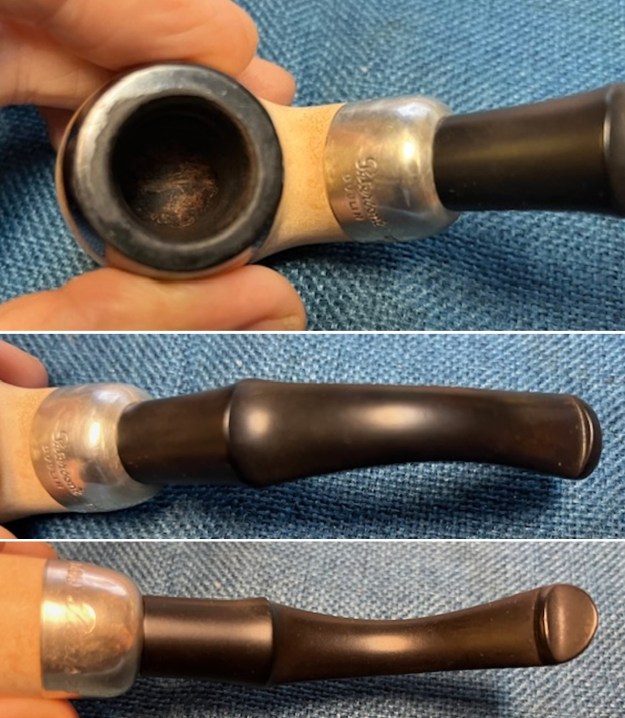
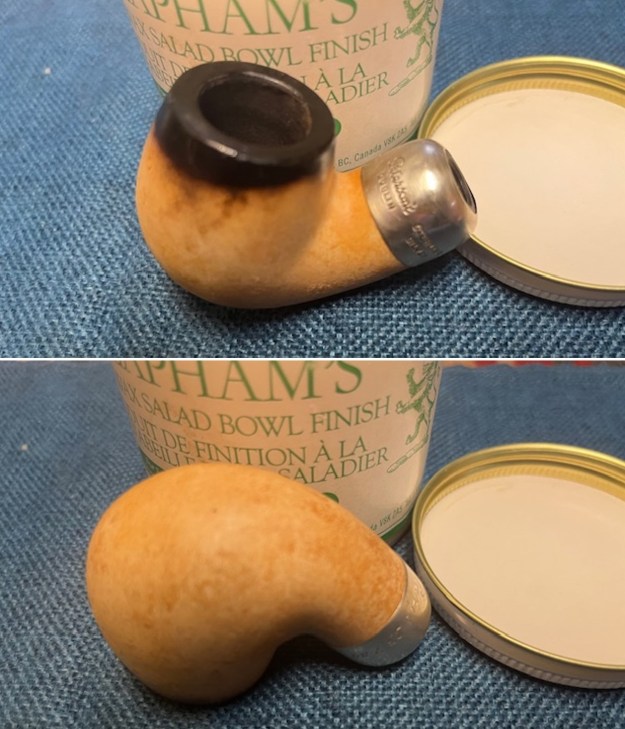
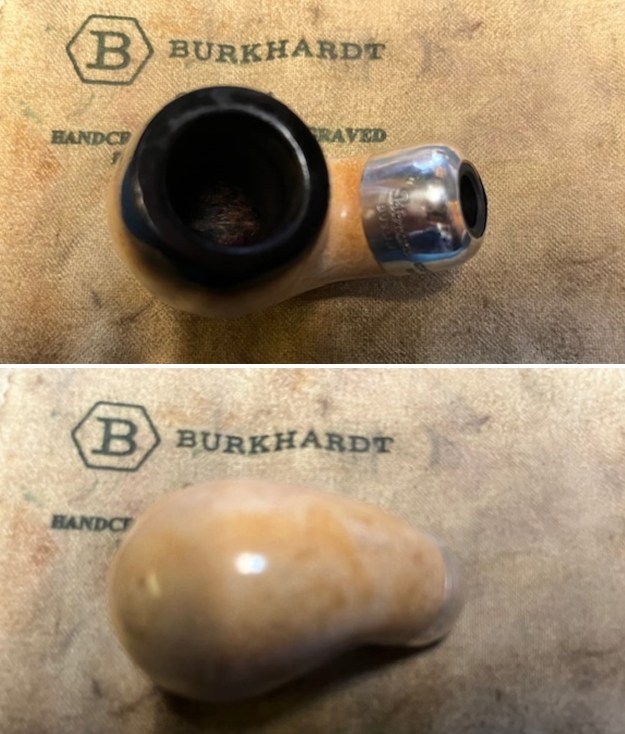
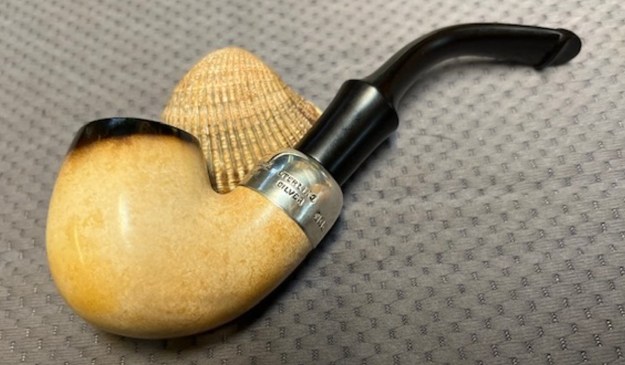
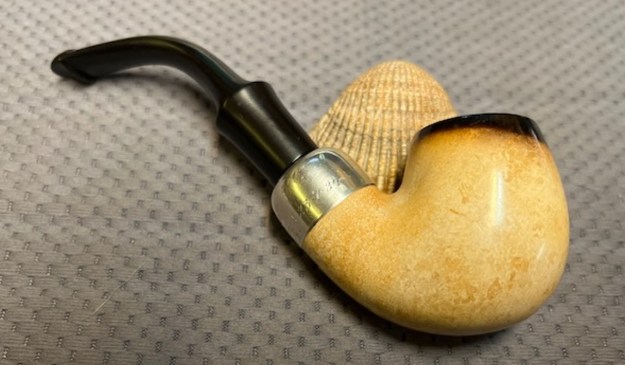
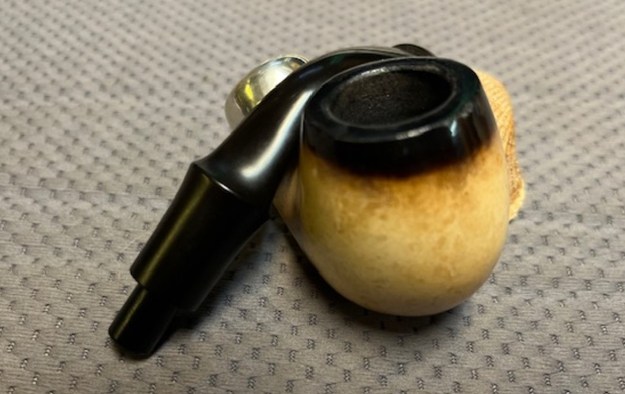
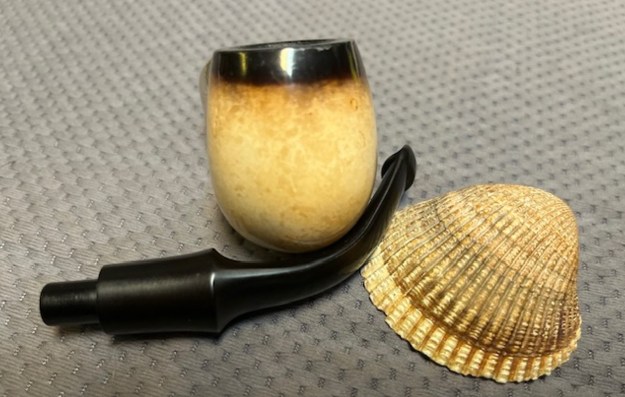
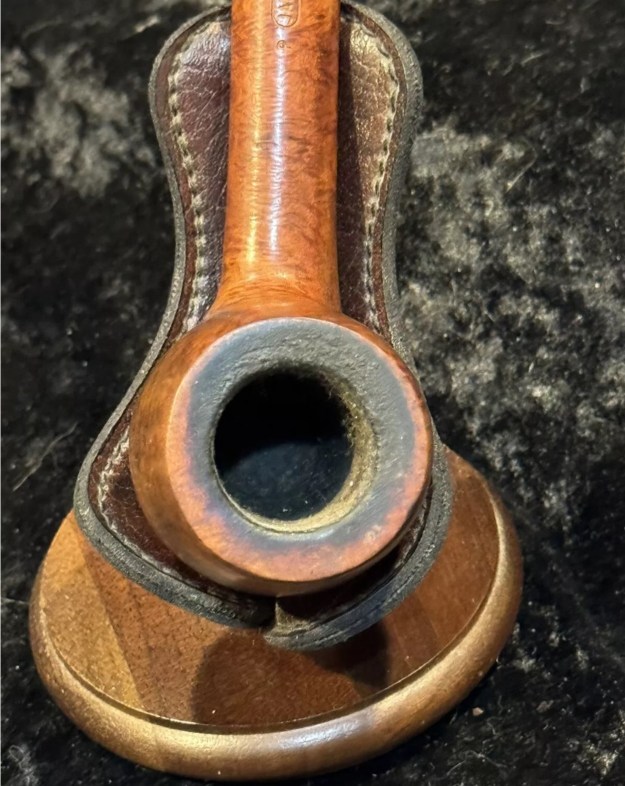
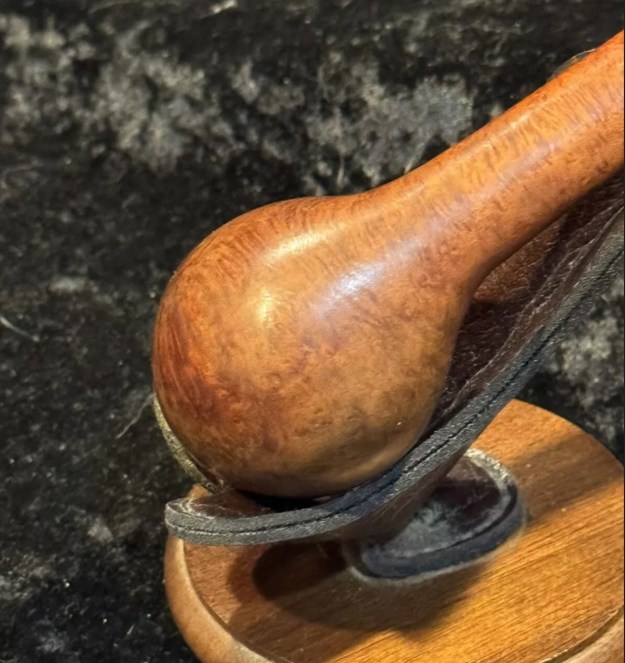
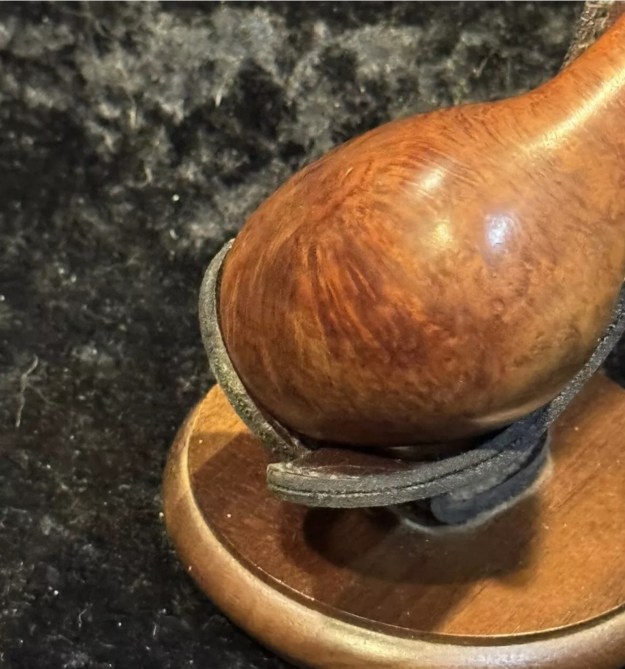
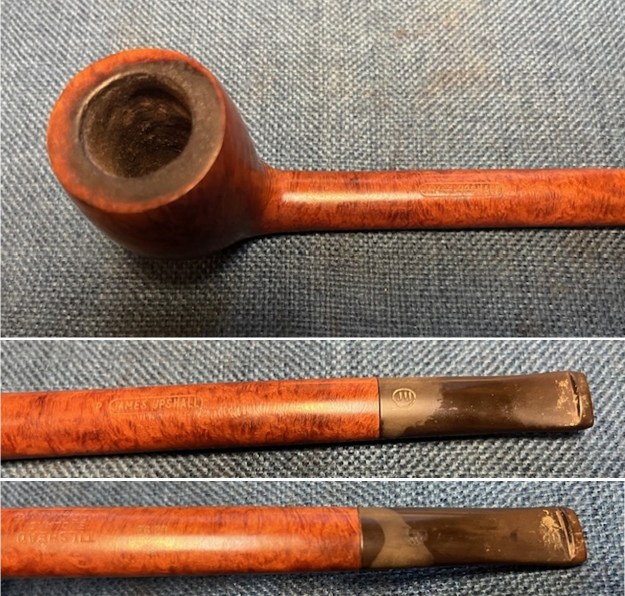
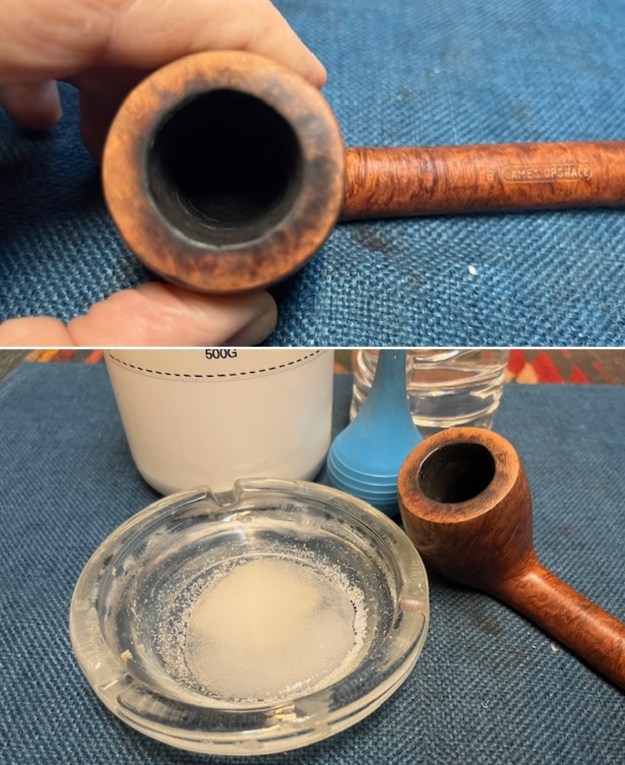
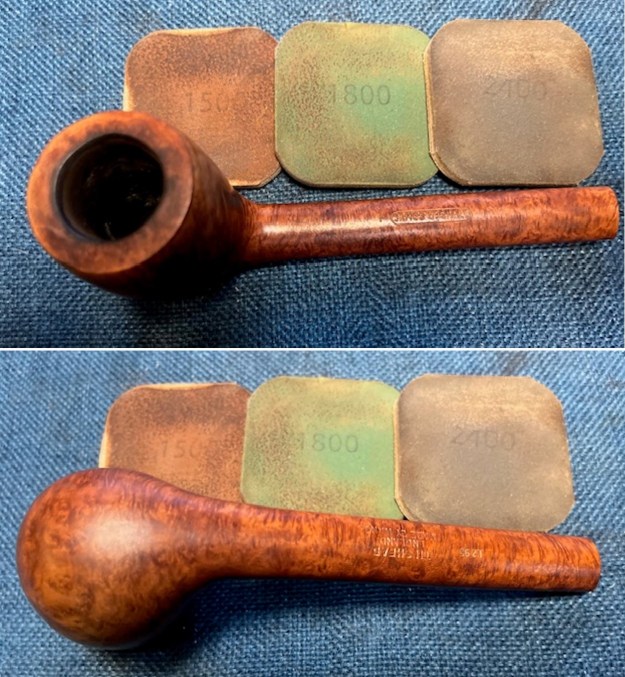
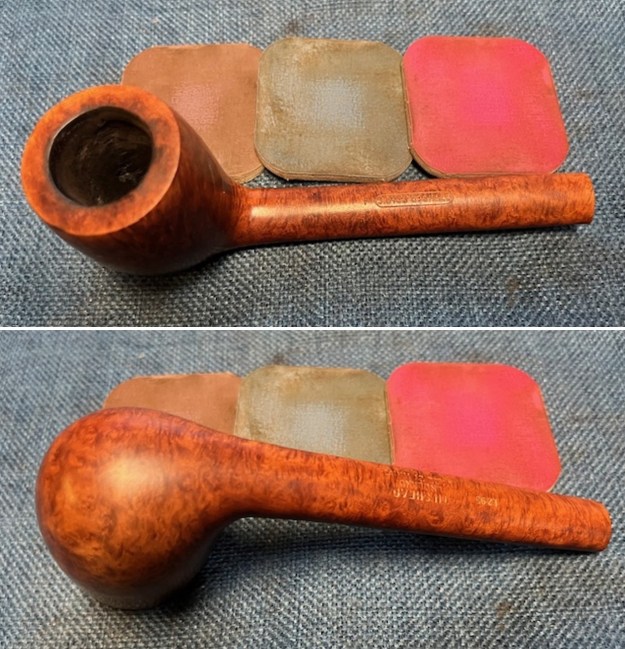
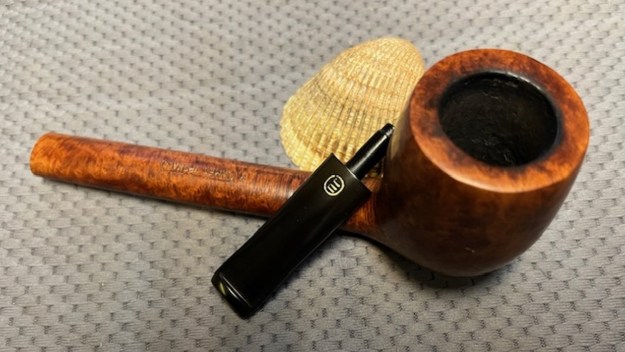
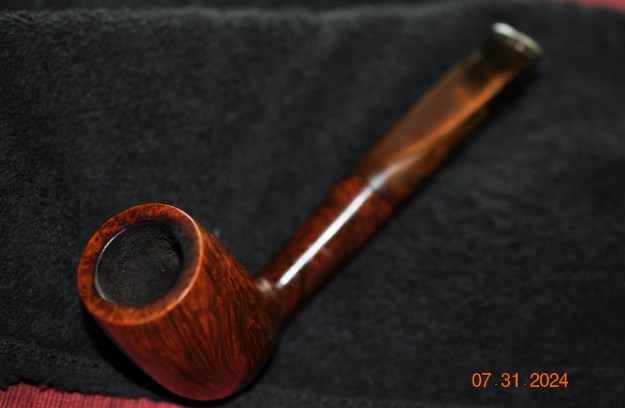
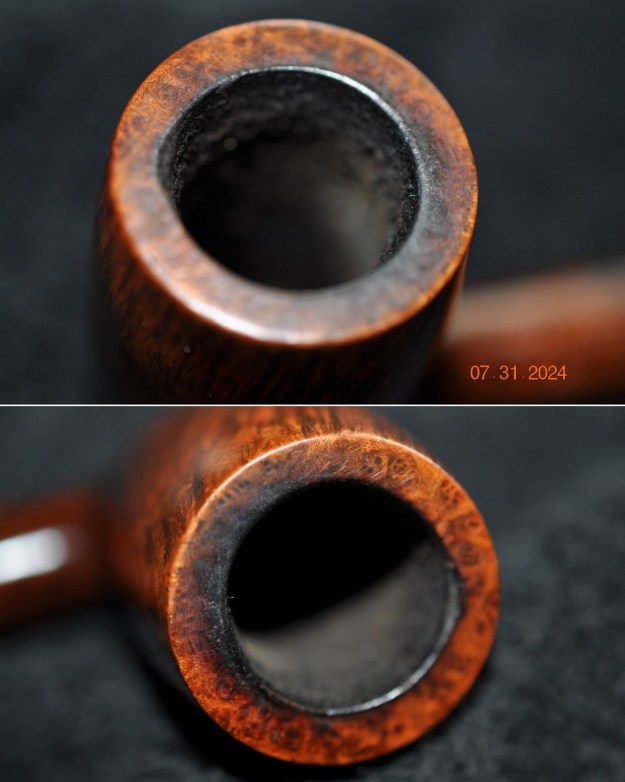
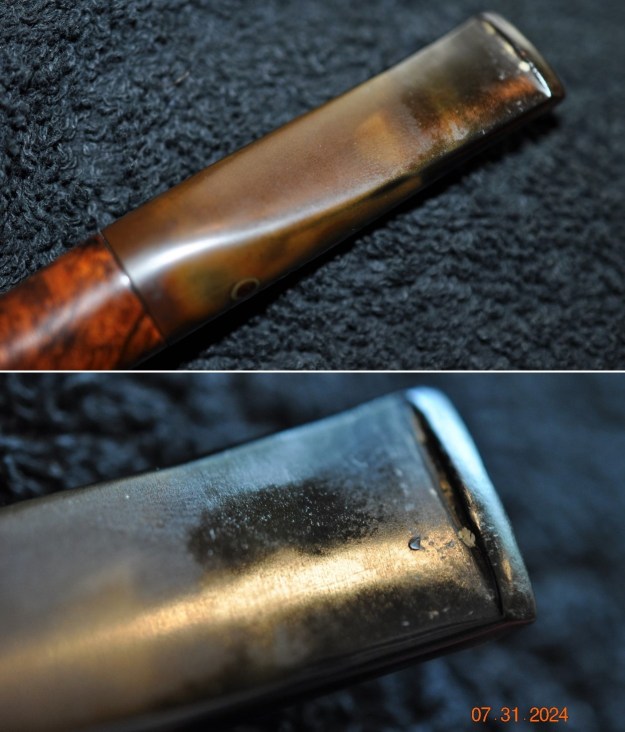
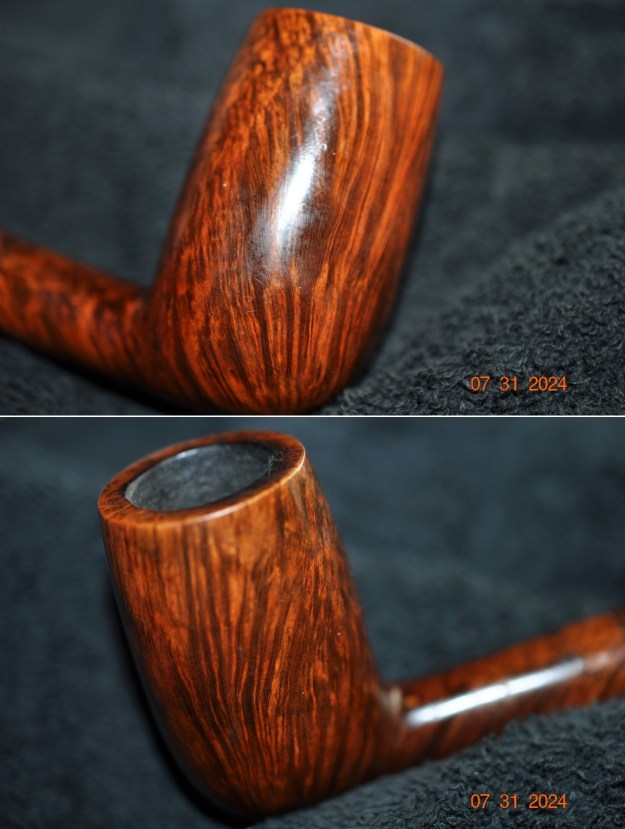
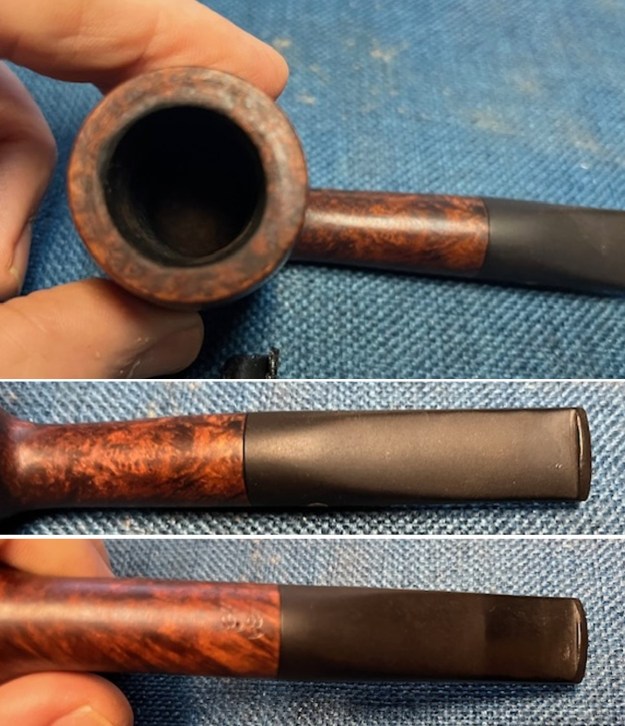
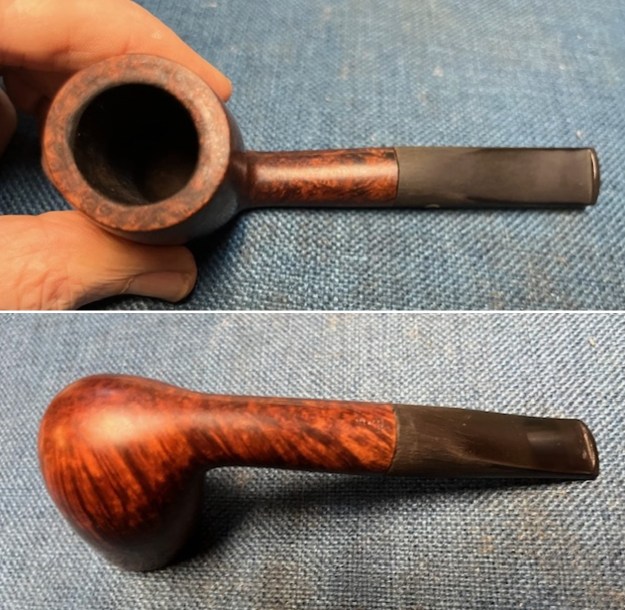
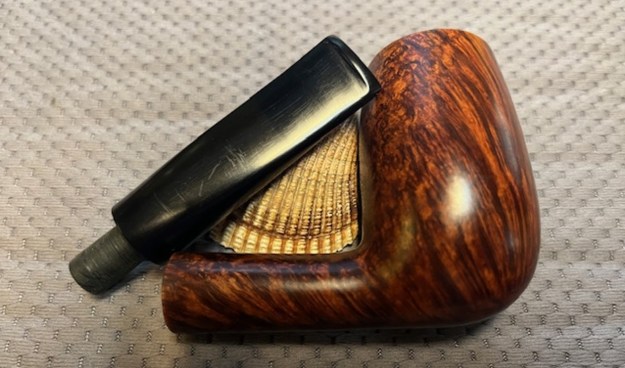
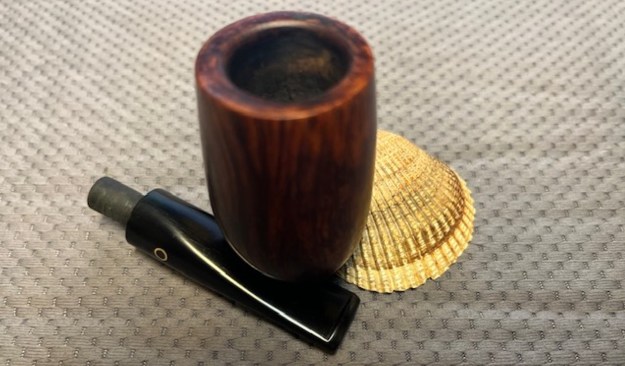
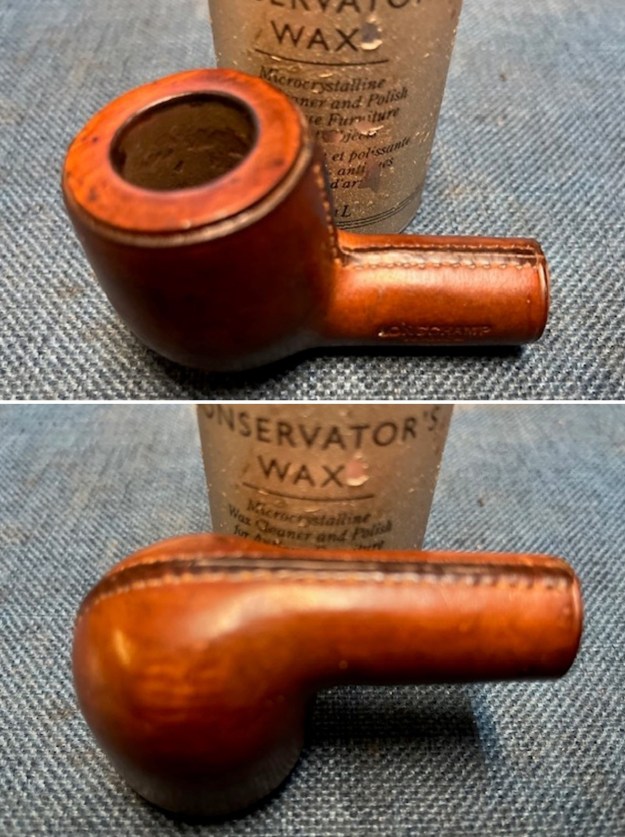
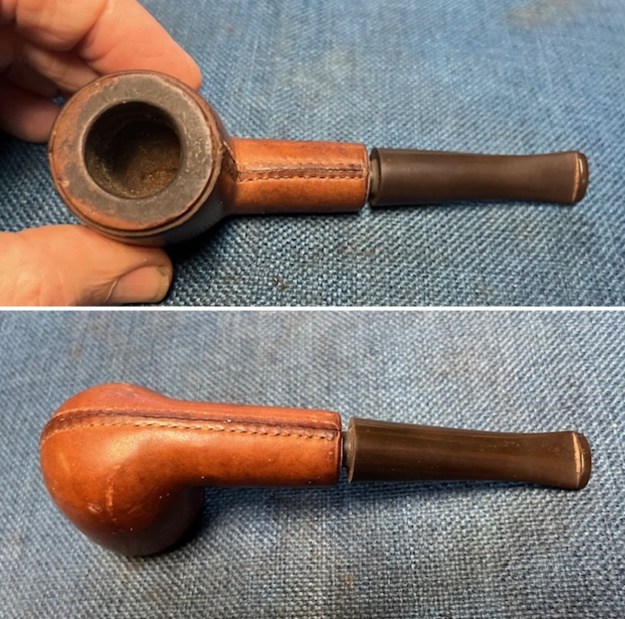 I took close up photos of the bowl and rim top to show the condition of both the bowl and the rim top. The bowl has a thick cake lining the walls and overflowing into lava. You can see the lava and build up on the rim top and the lava flowing over the inner edge of the bowl. It is hard to know if there is damage or if the lava protected it. The leather looks good with the stitching still tight. The stem is oxidized and has light tooth marks and chatter on both sides ahead of the button.
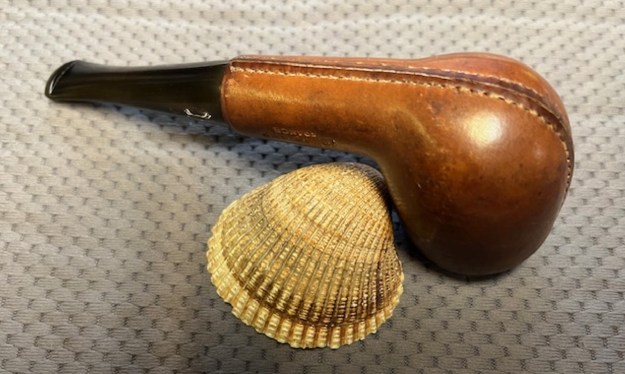
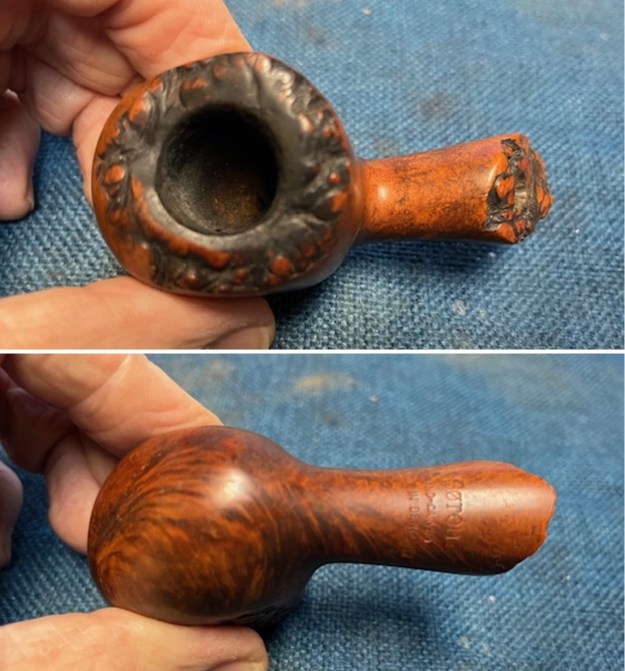
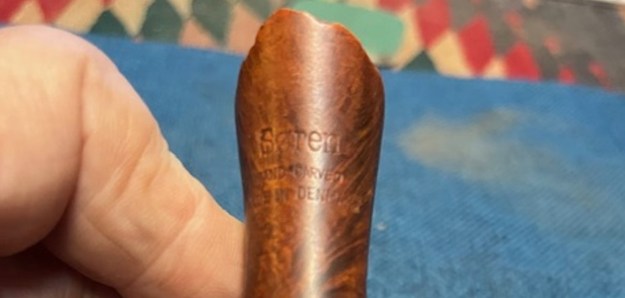
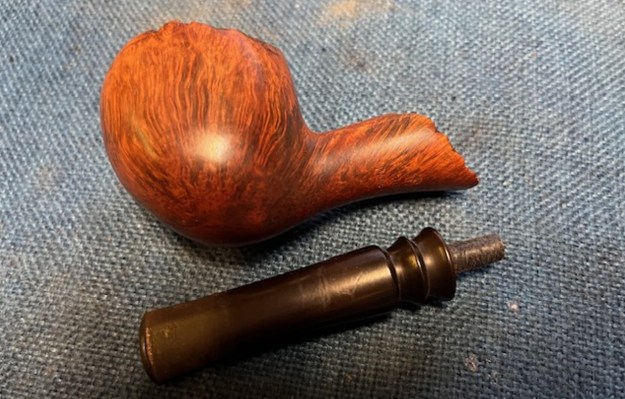
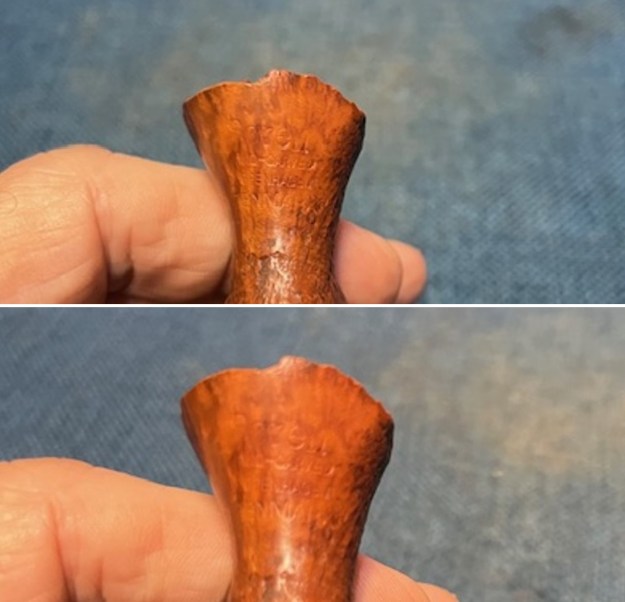
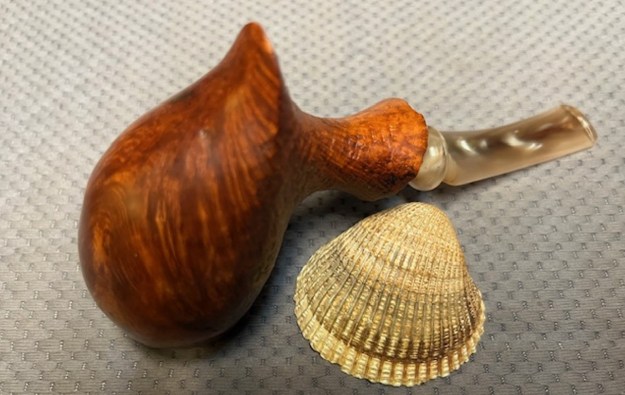
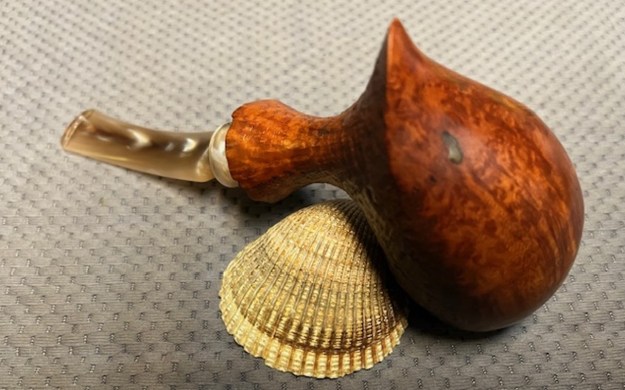
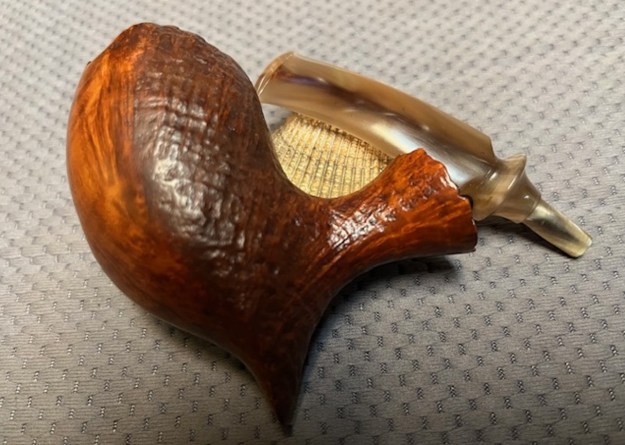
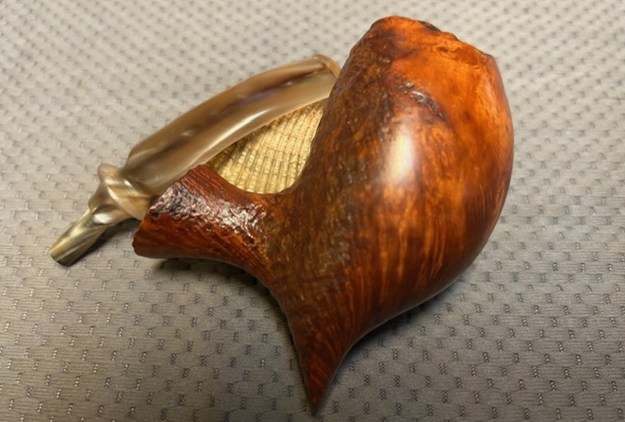
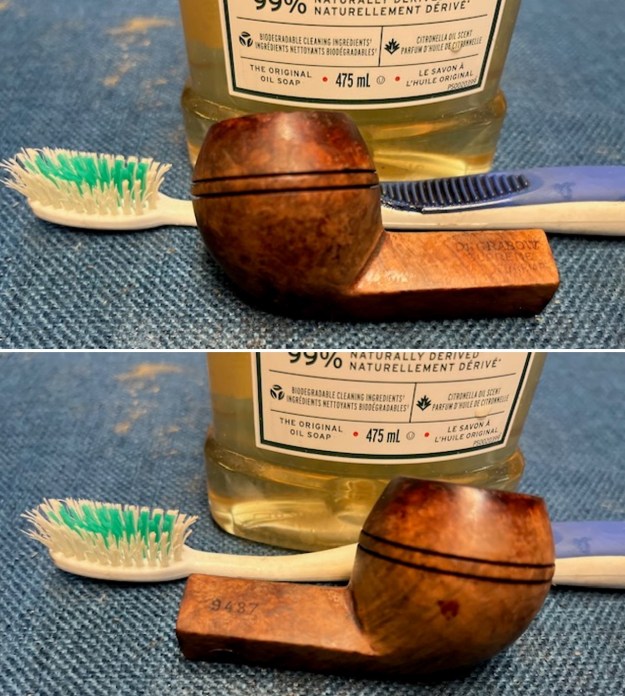
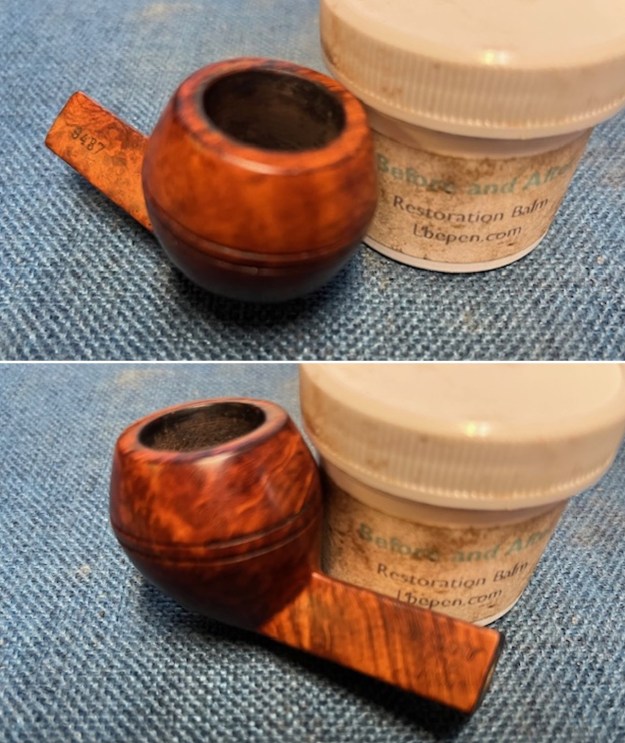
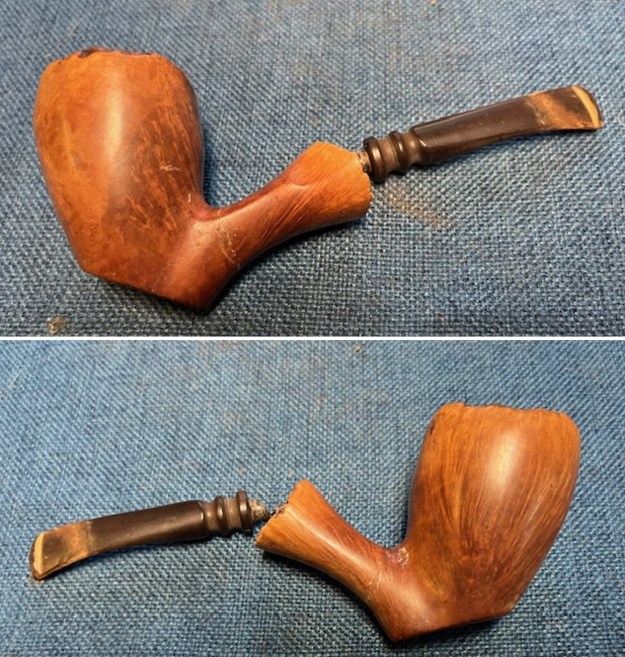
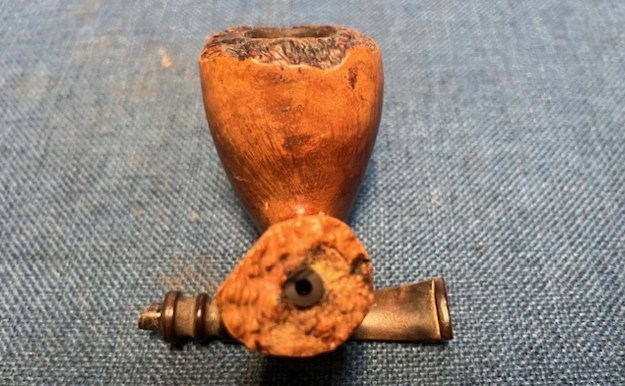
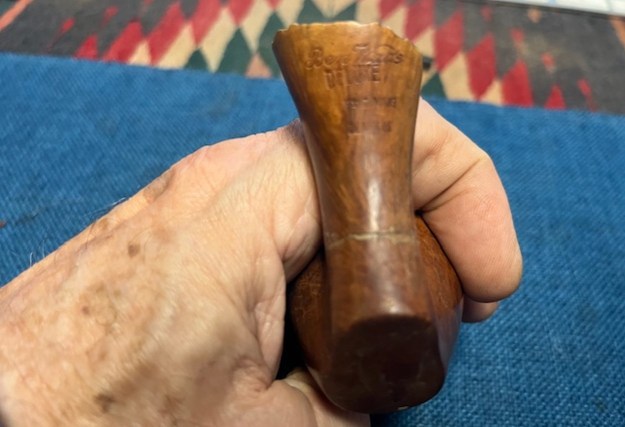
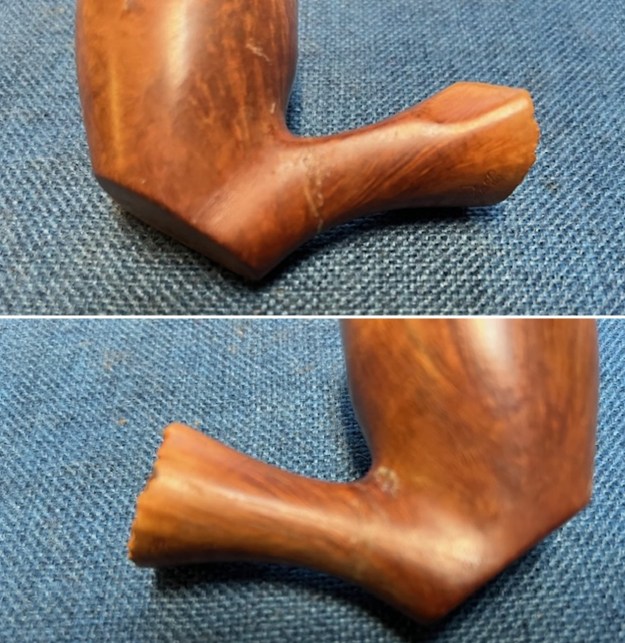
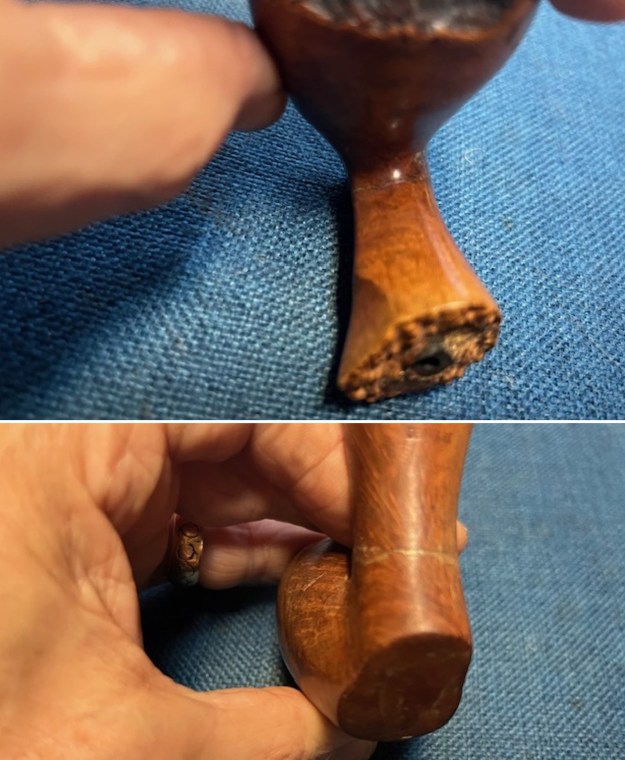
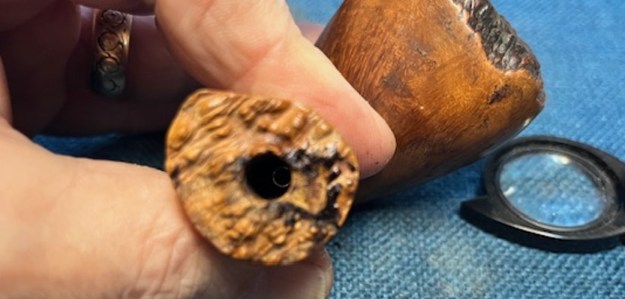
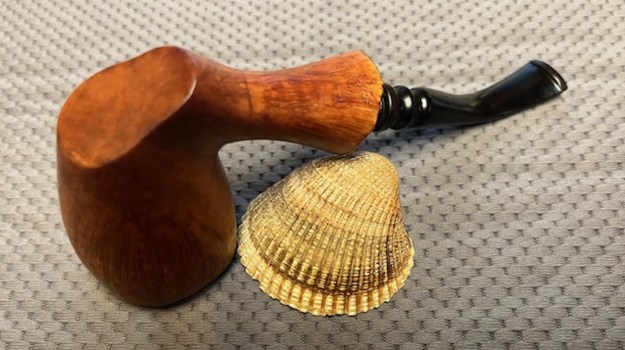
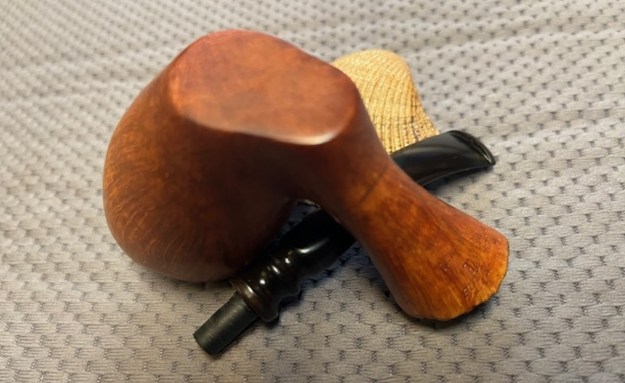
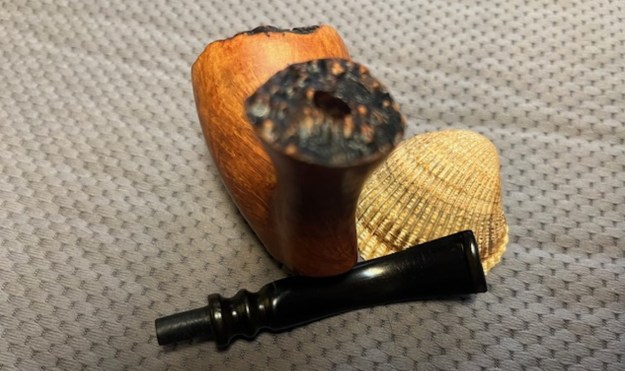
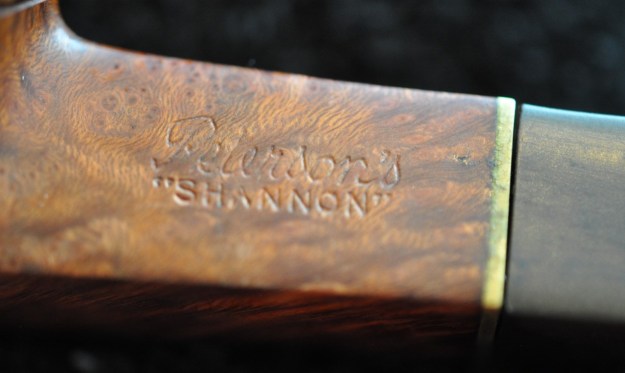
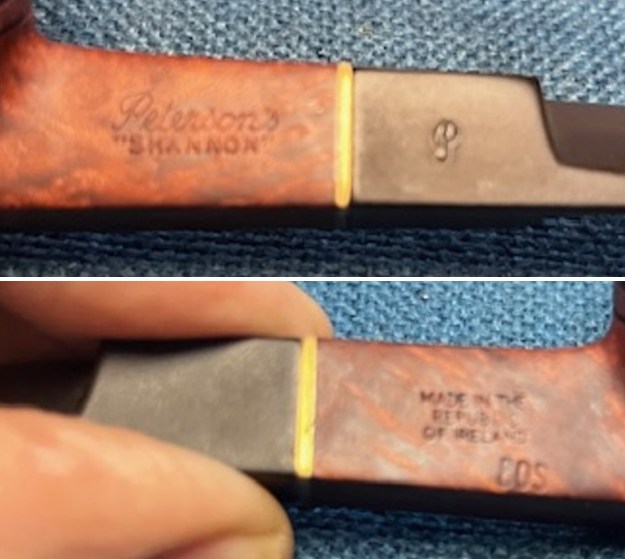
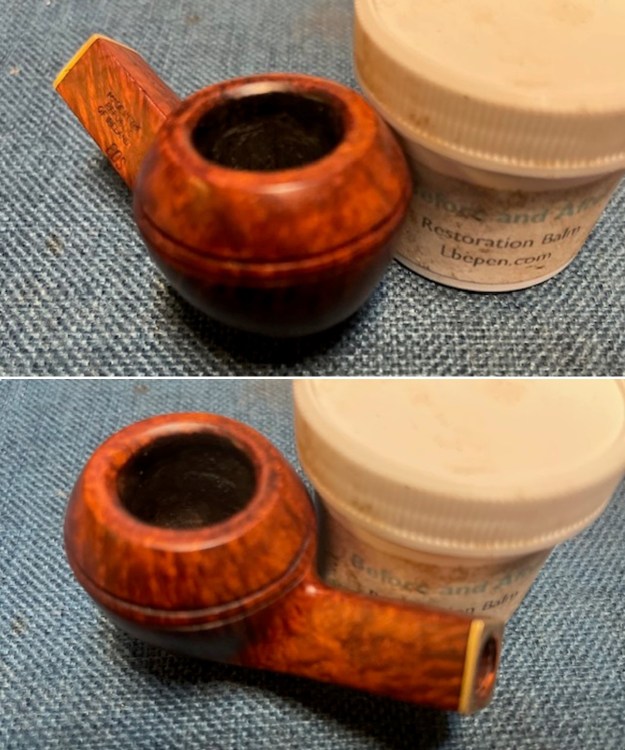
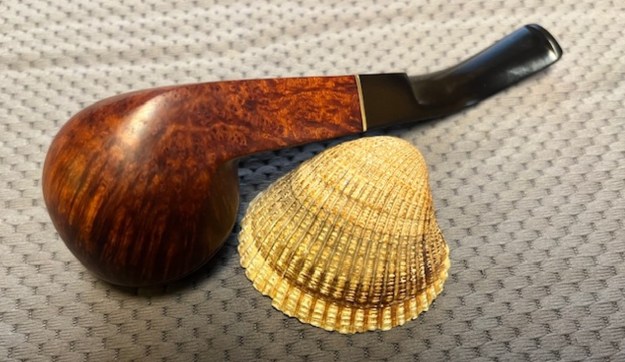
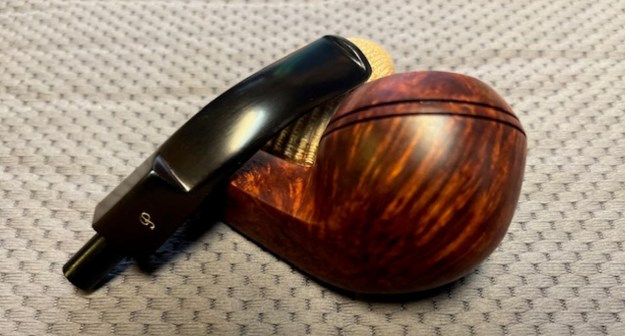
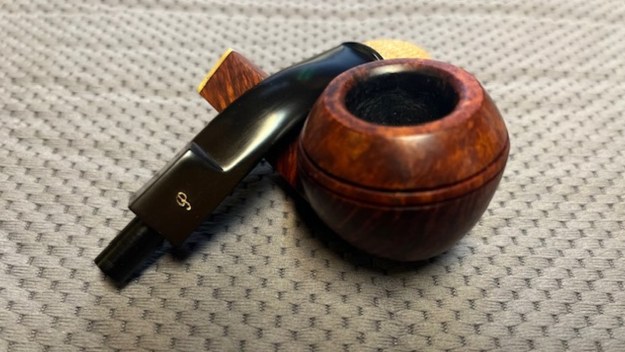
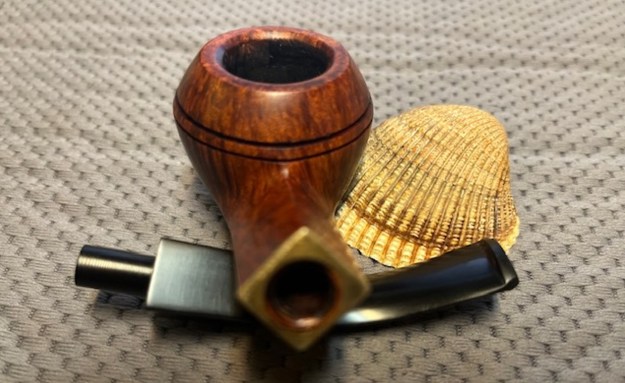
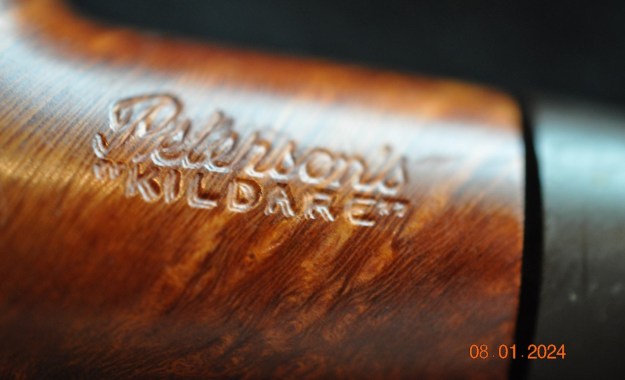
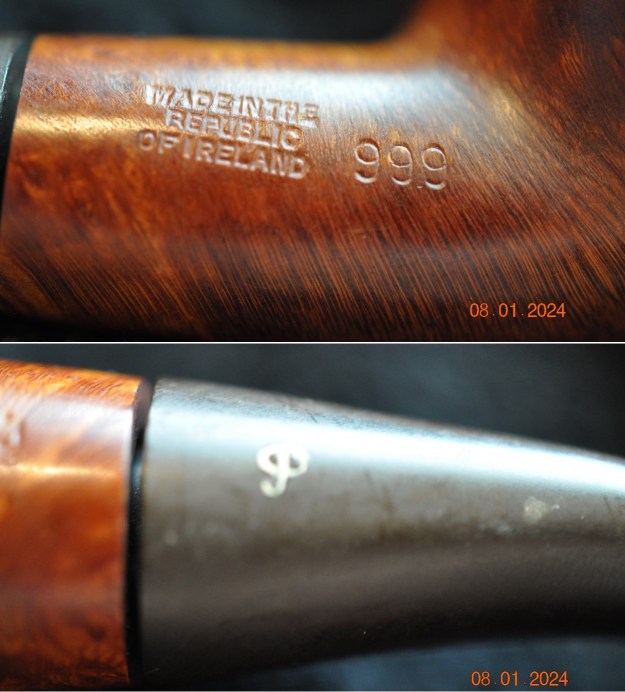
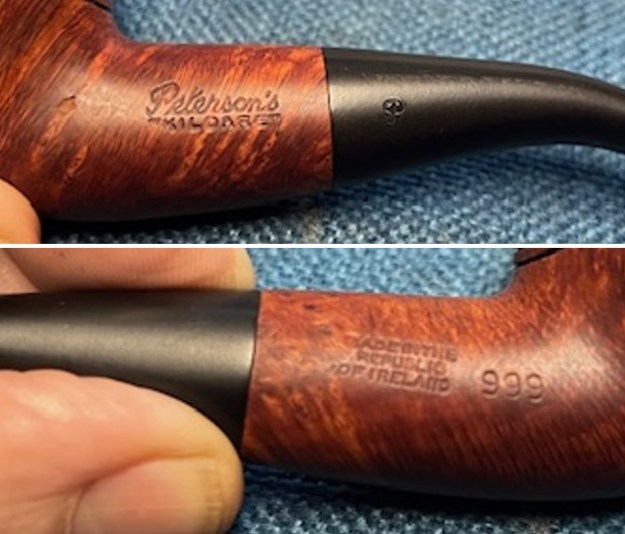
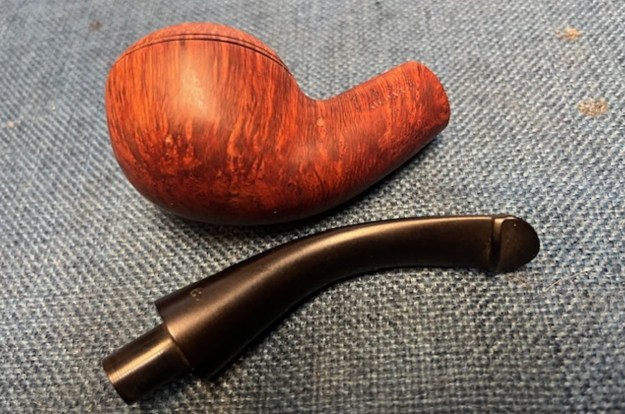
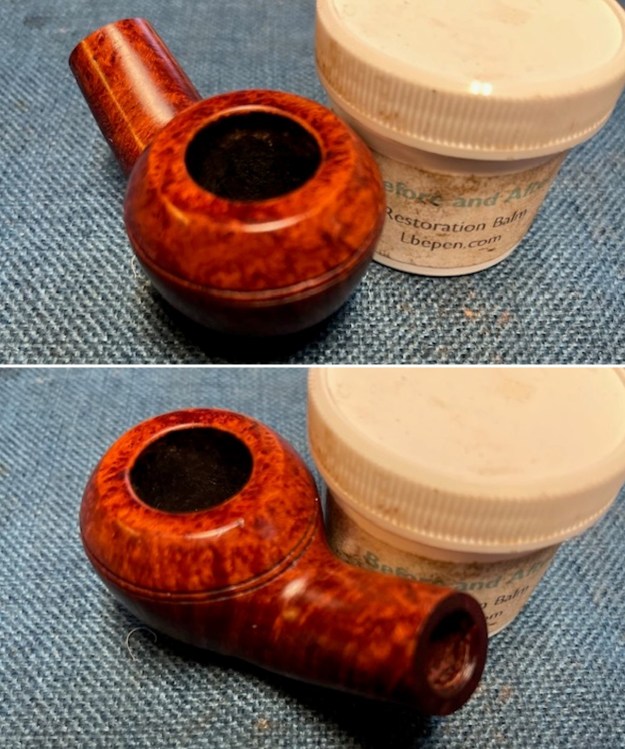
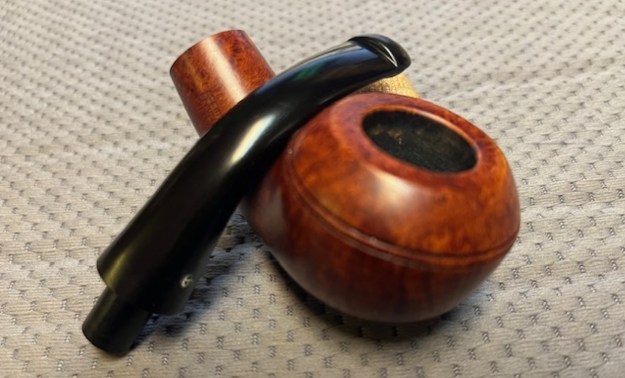
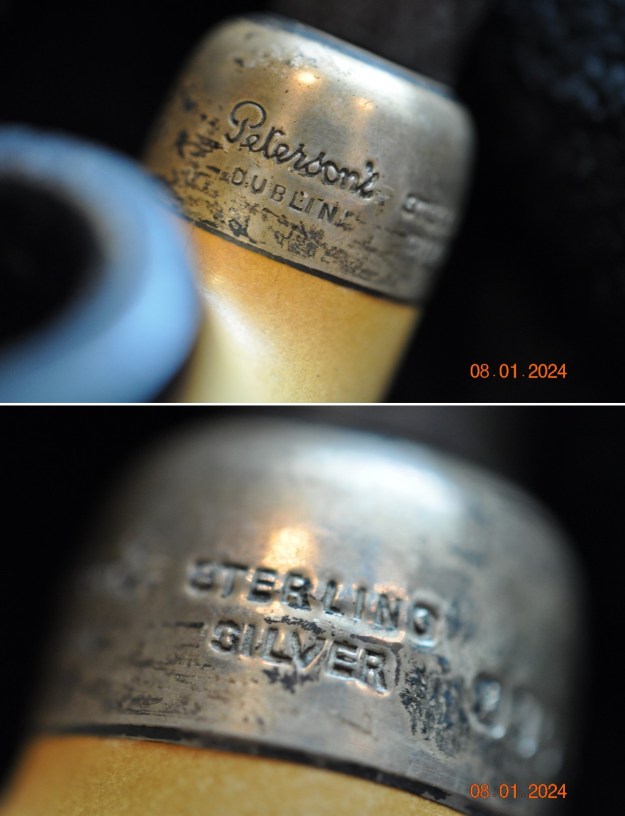
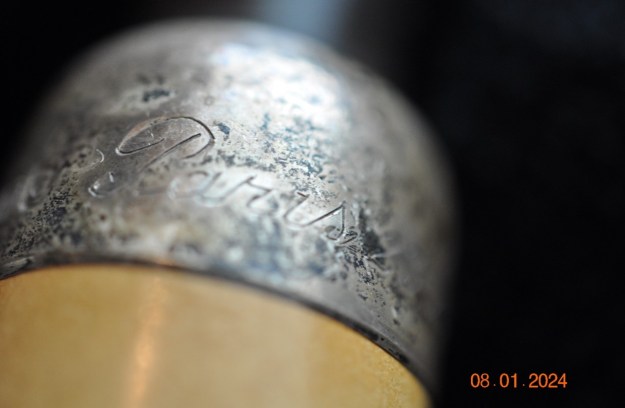
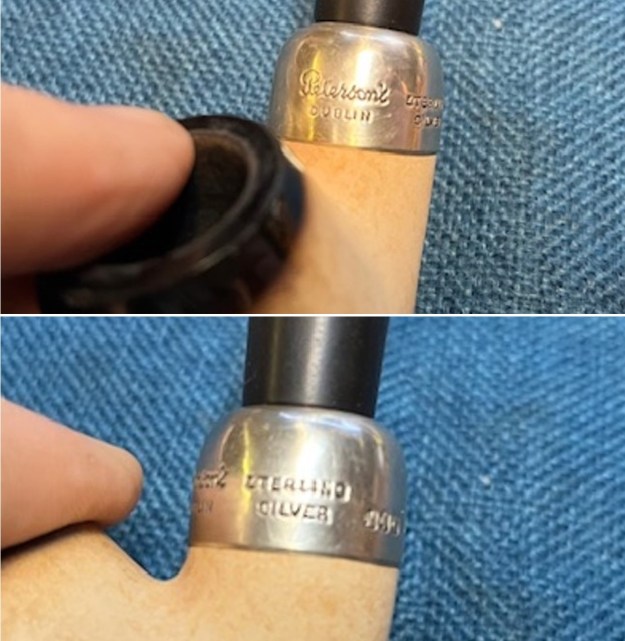
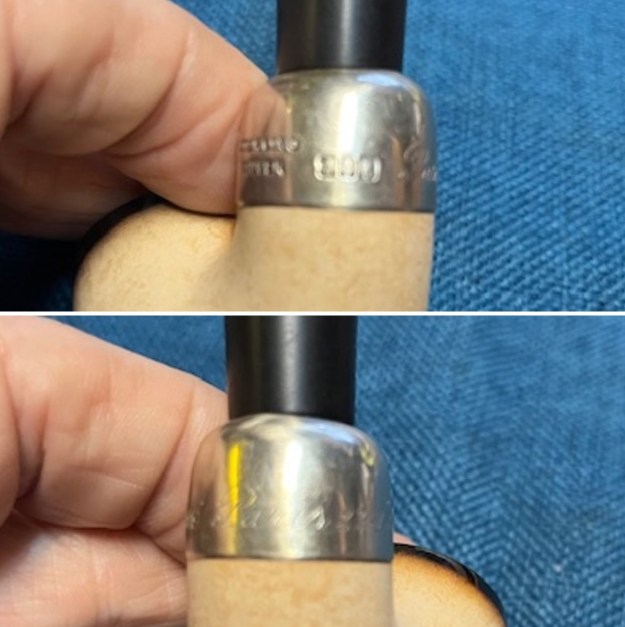
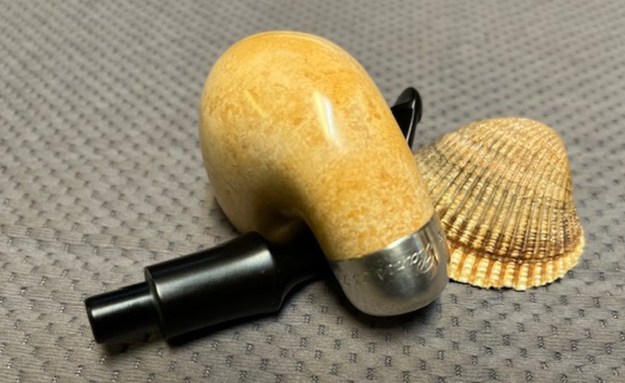
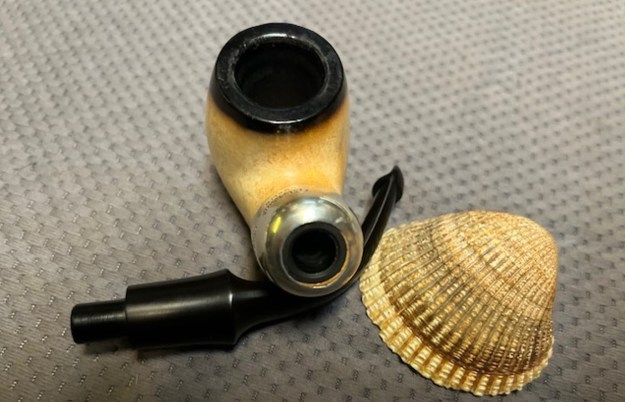
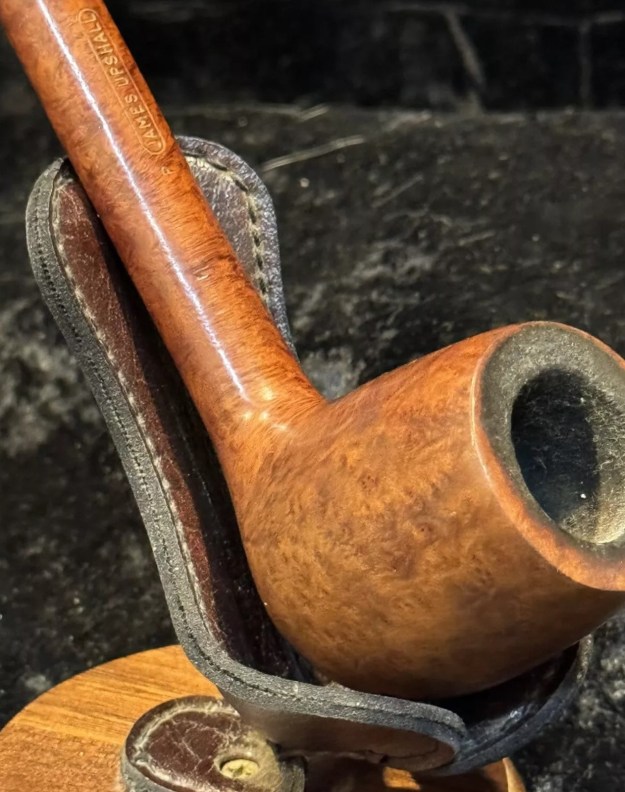
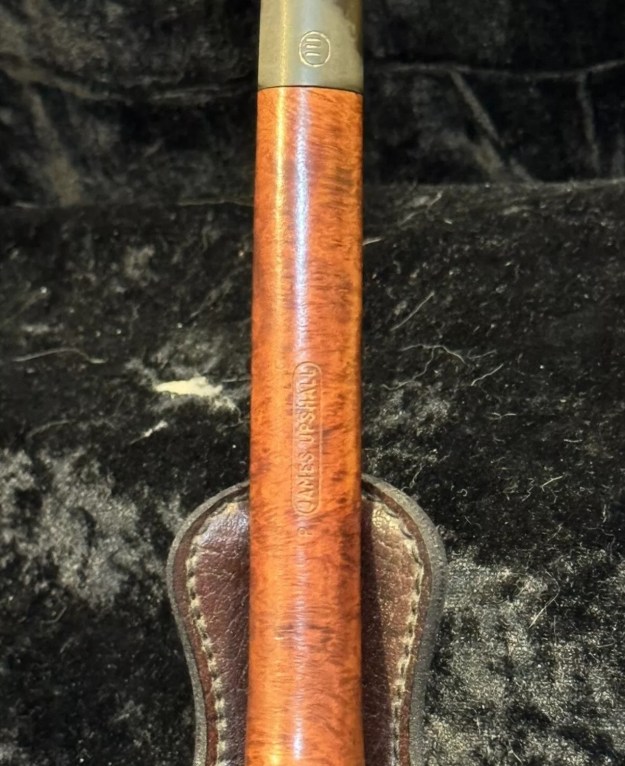
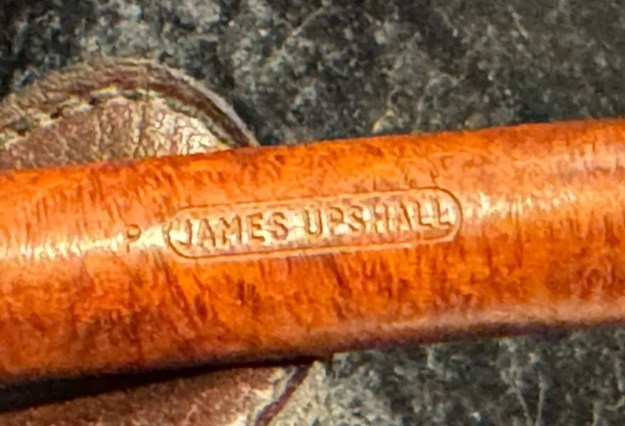
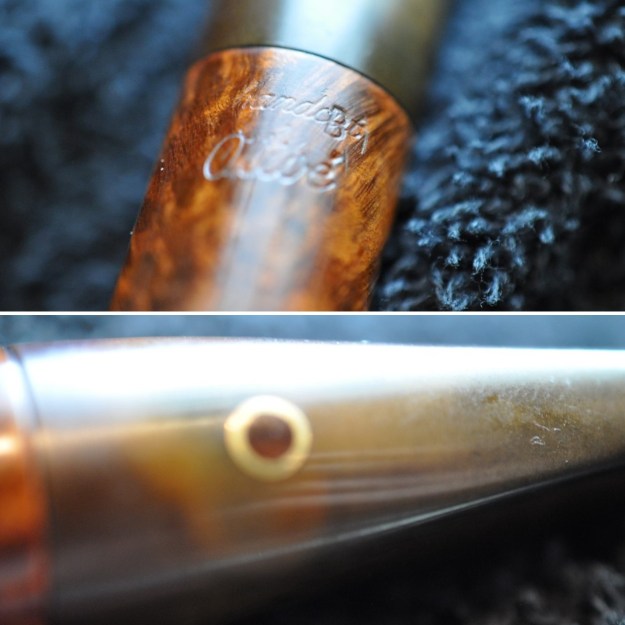
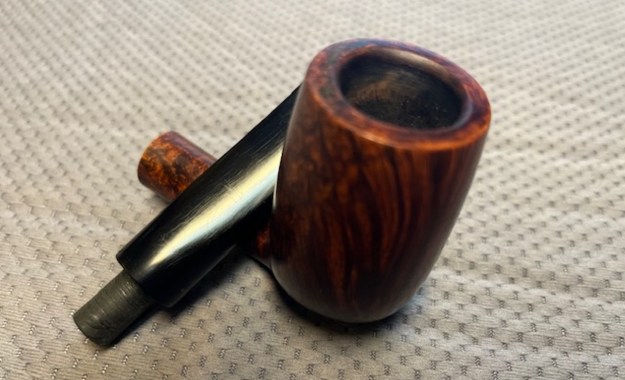
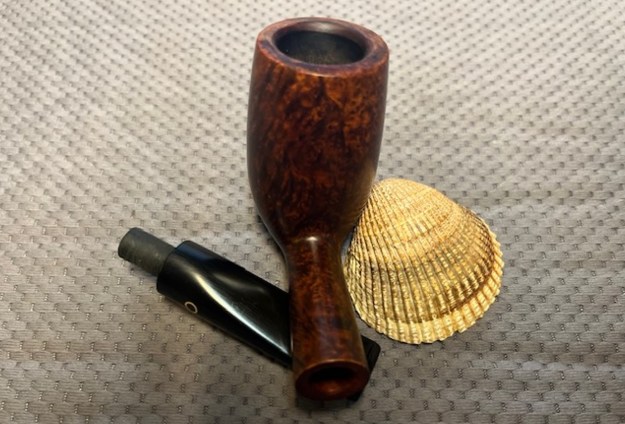
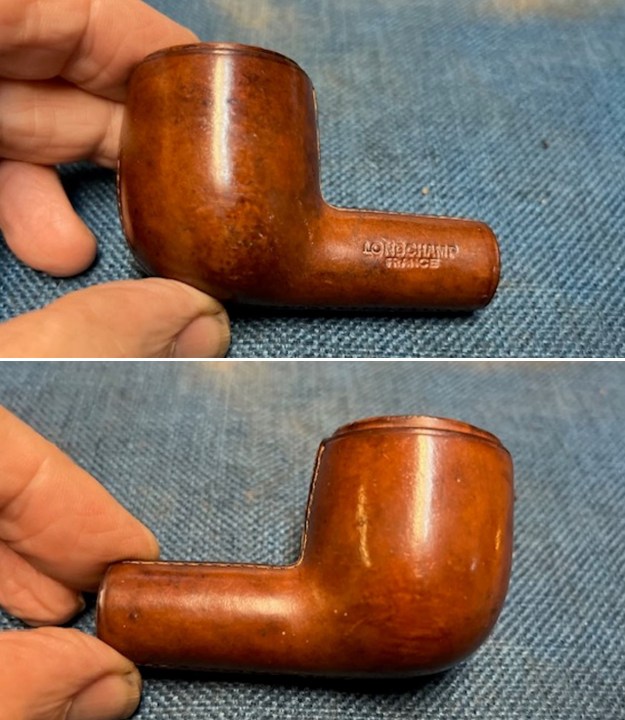
 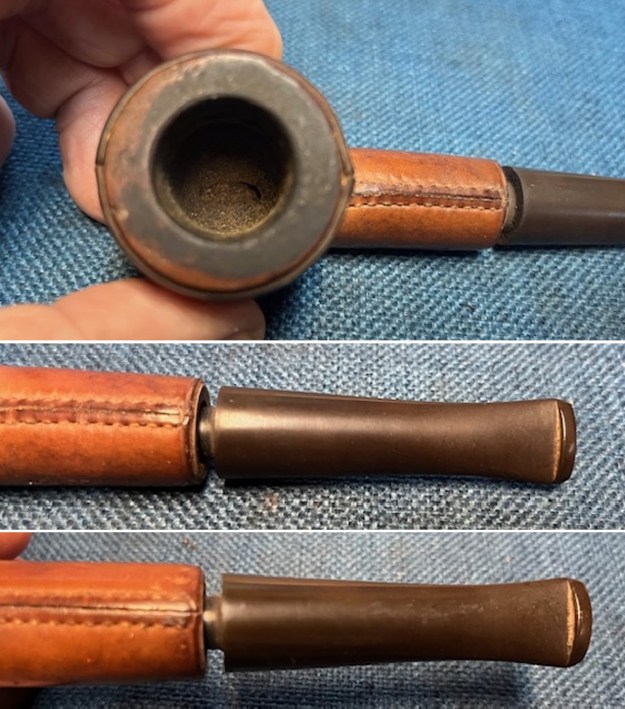 I took a photo the stamping on the shank to show its condition before my work. It is clear and readable as noted above. The stamp on the stem is faint but still visible. I removed the stem from the bowl and took a photo of the parts to give a sense of the symmetry of the pipe. It is a beauty beneath all grime.
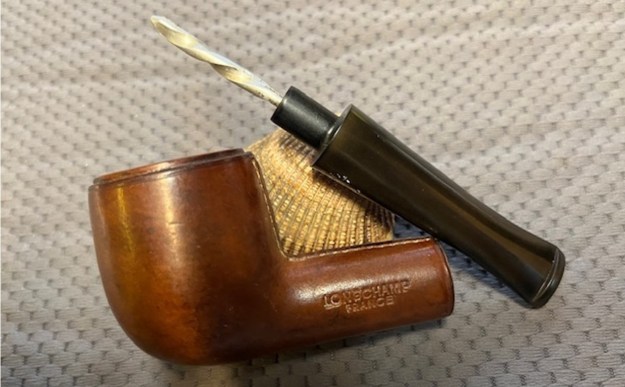
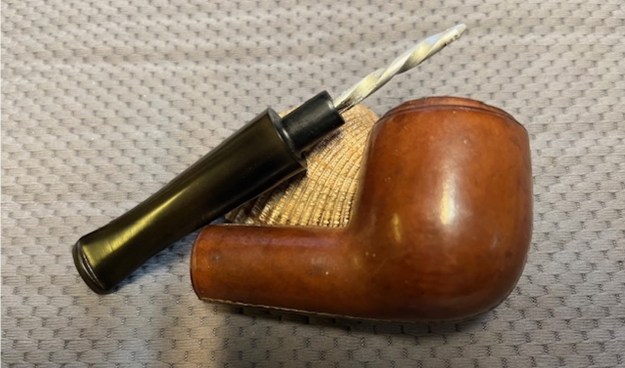
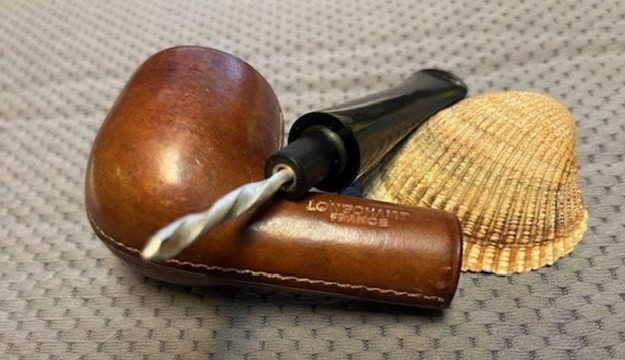
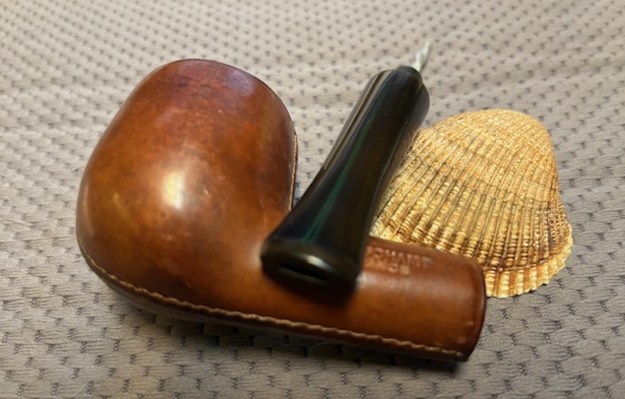
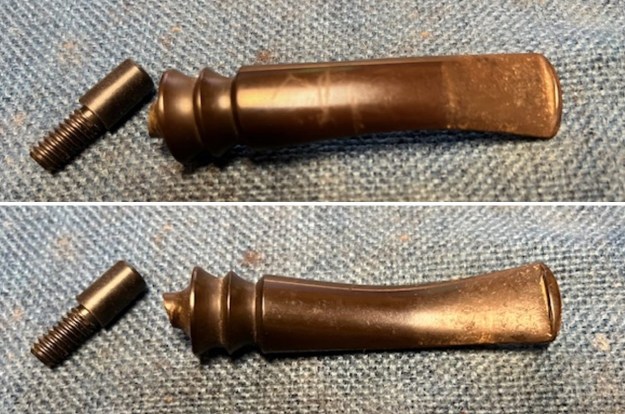
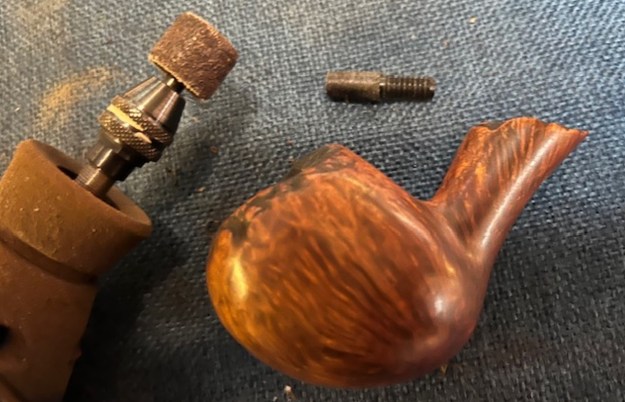
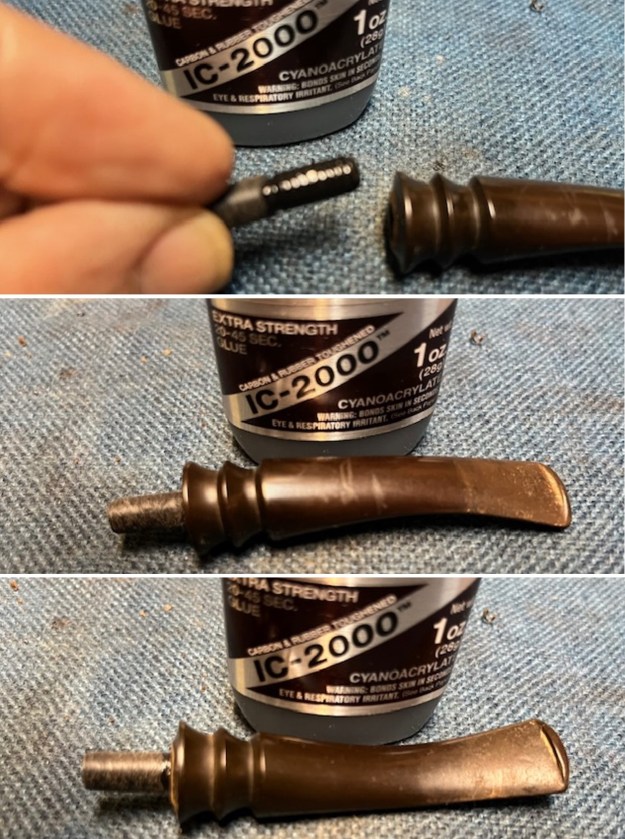
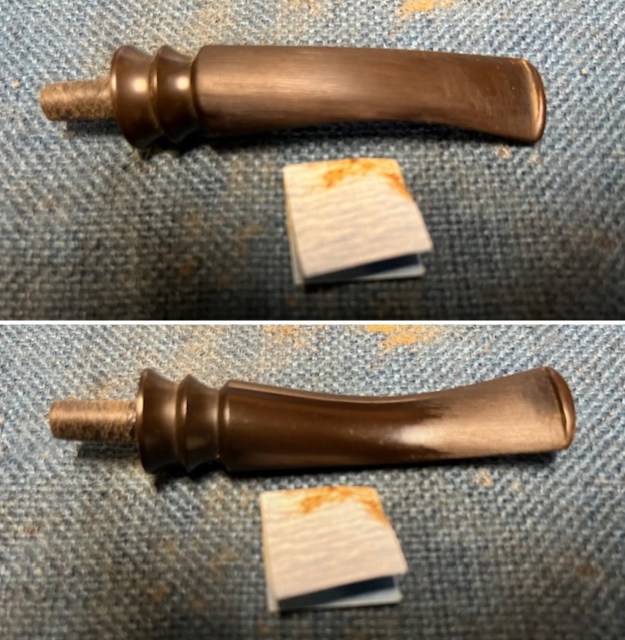
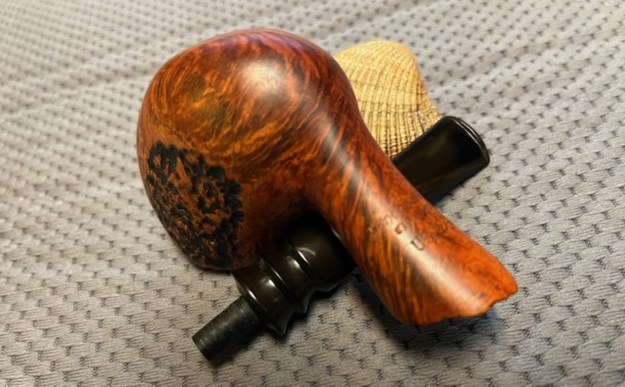
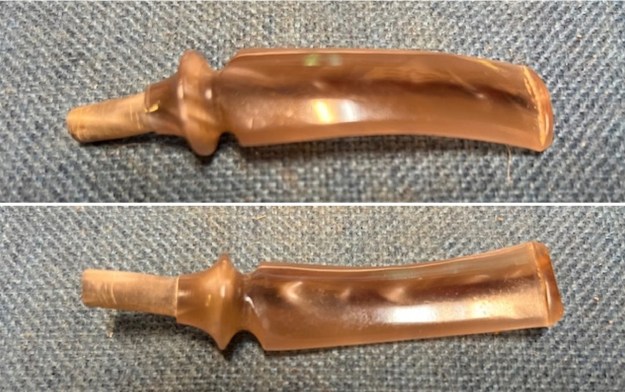
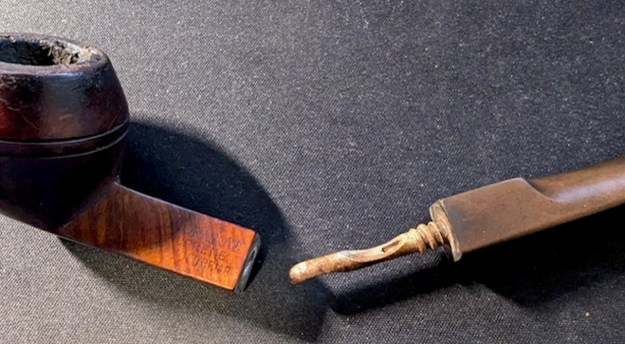
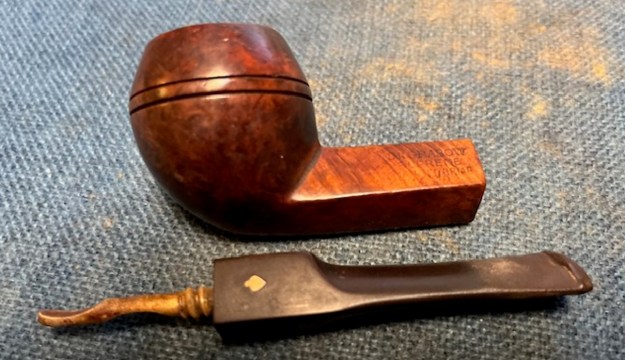
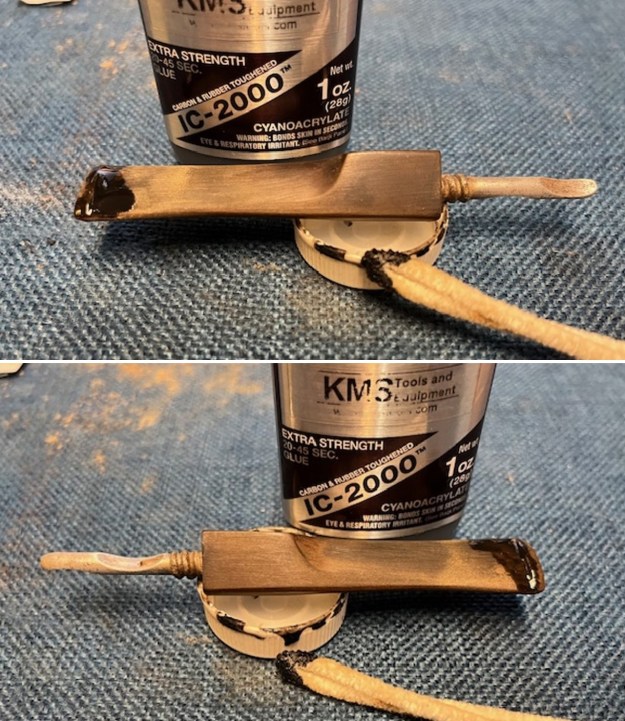
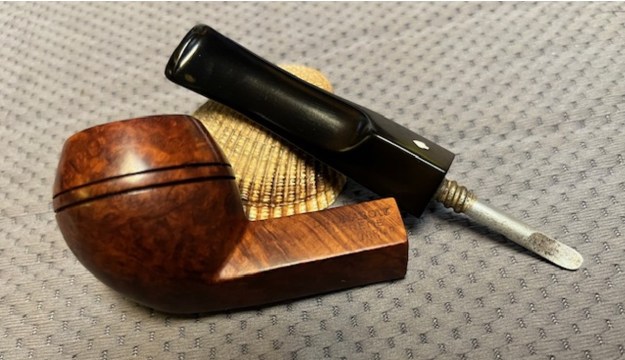
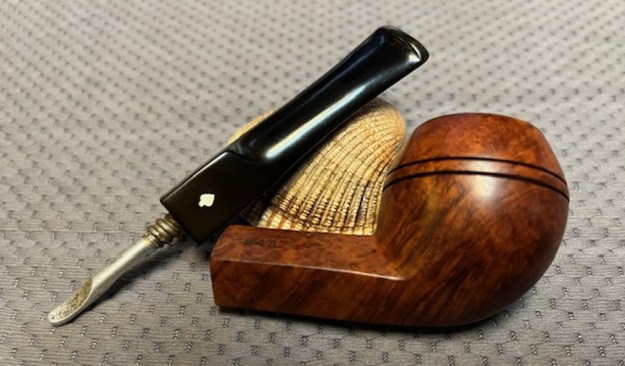
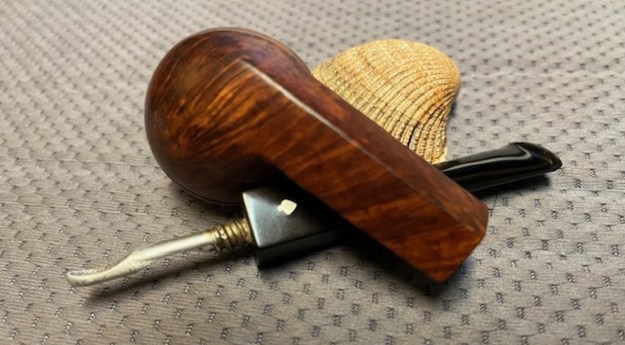
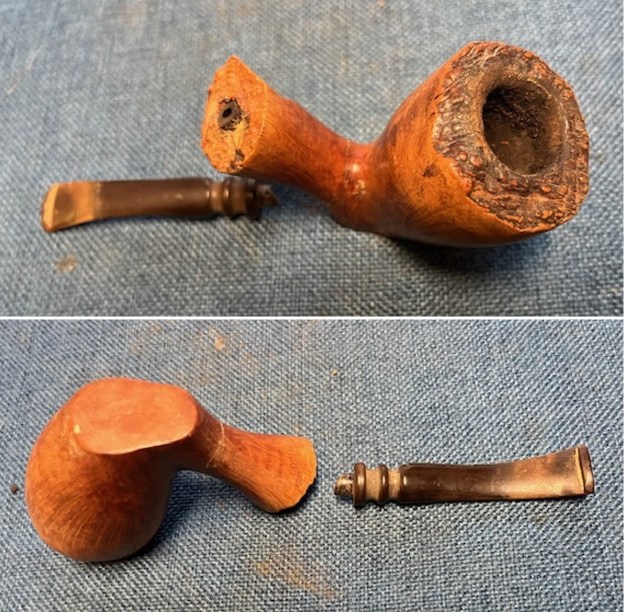
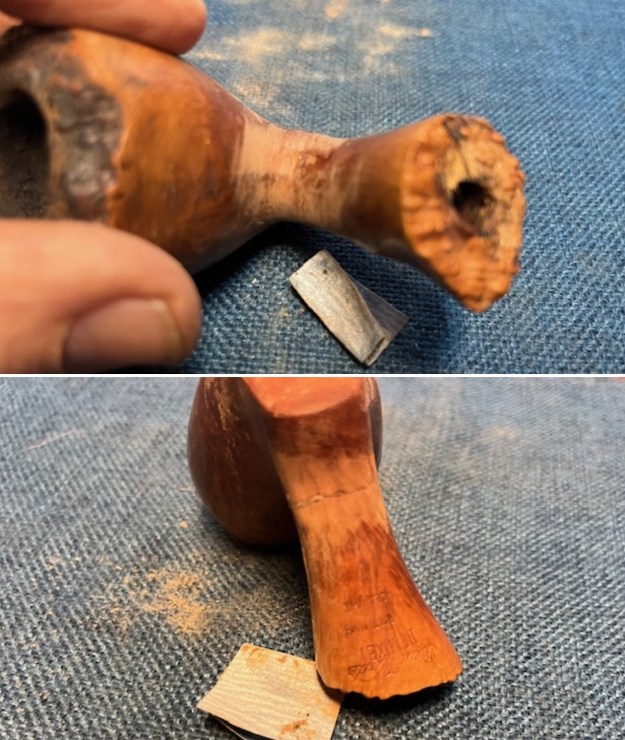
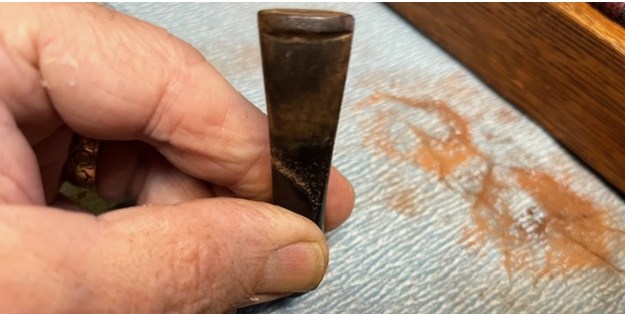
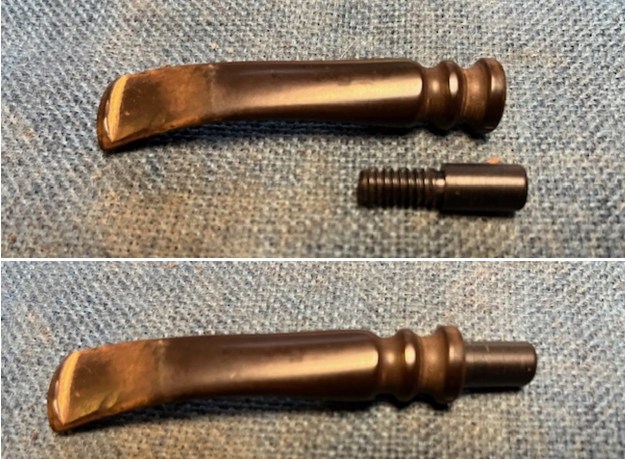
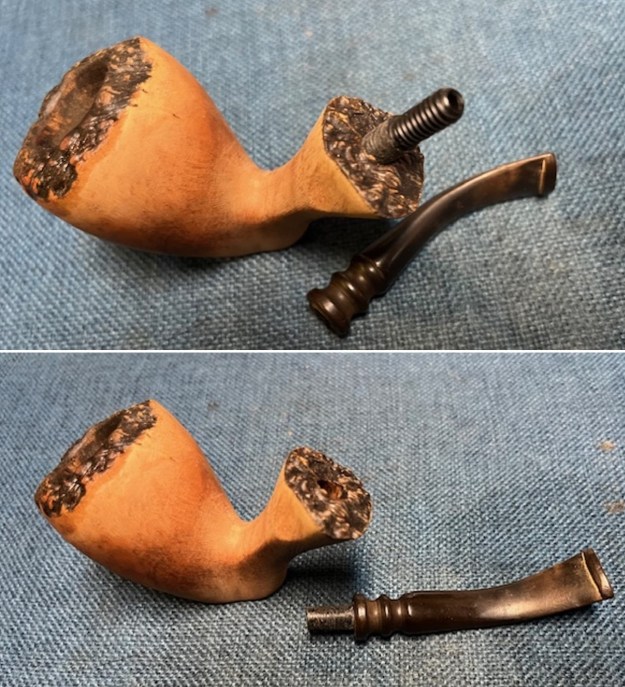
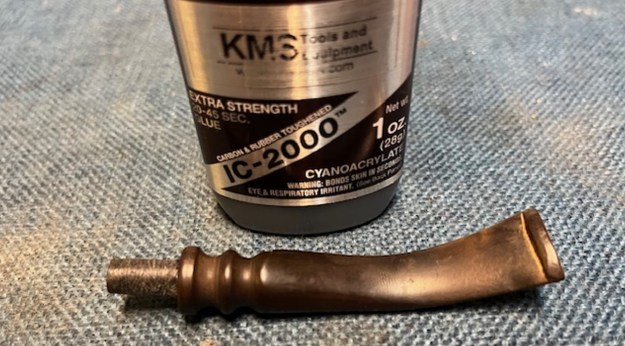
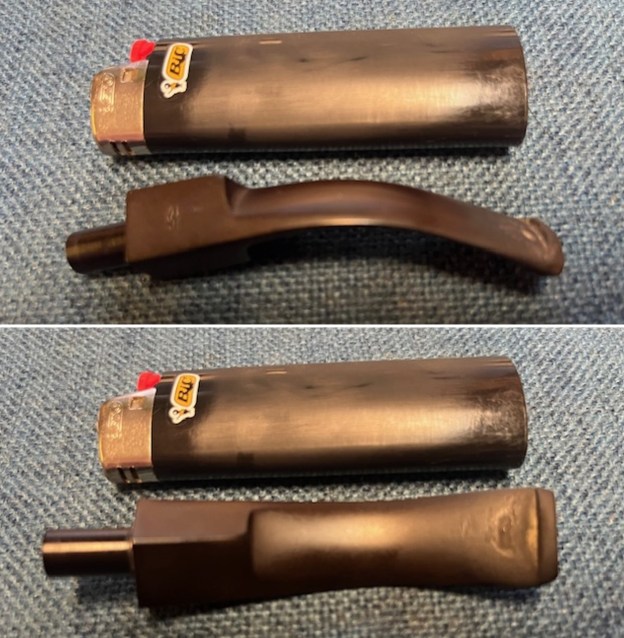
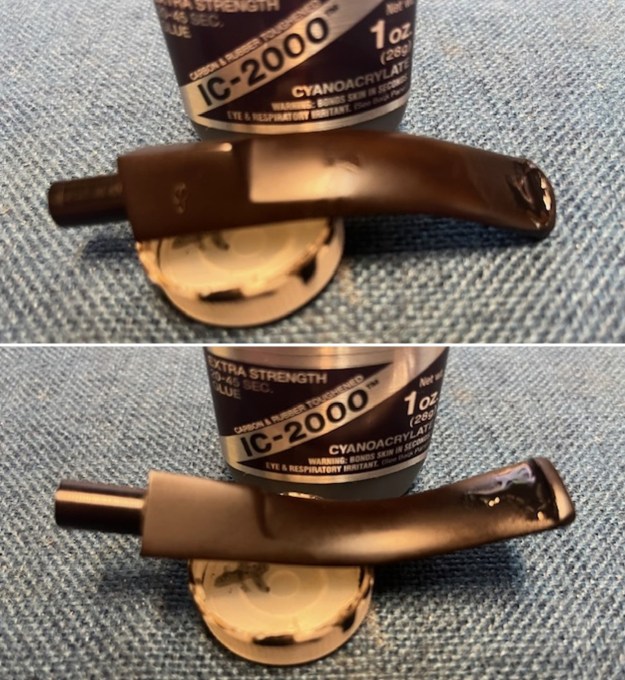
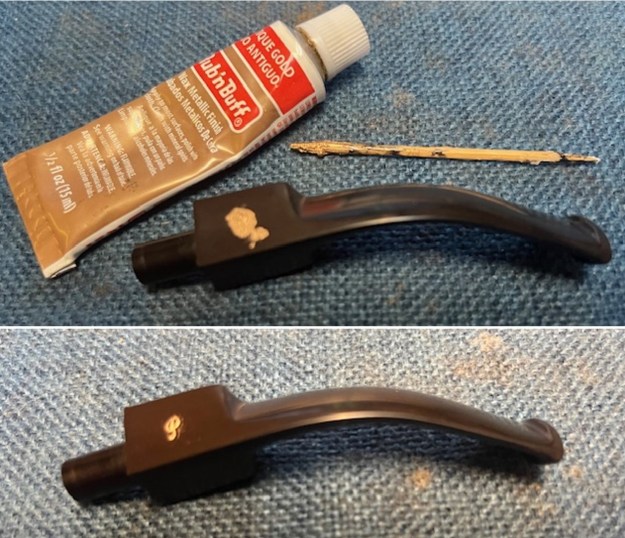
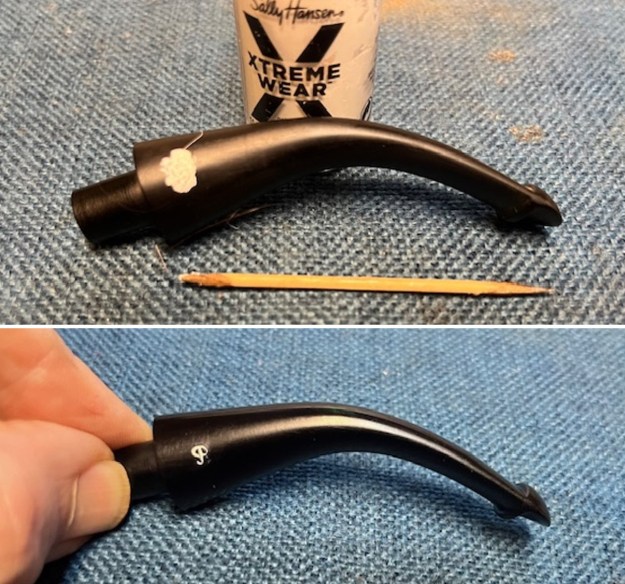
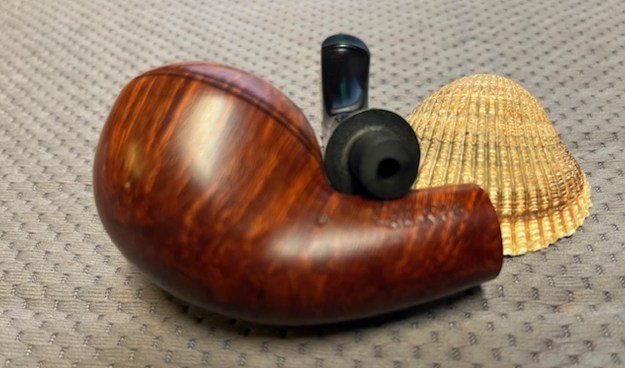
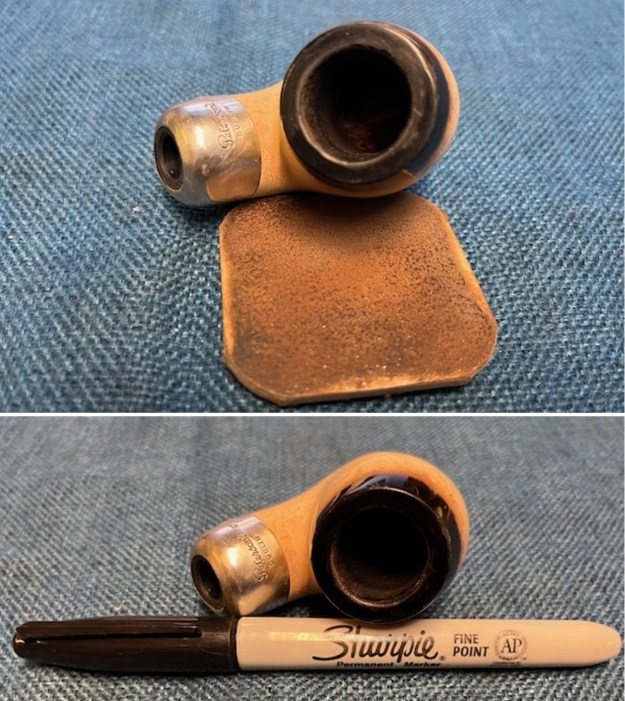
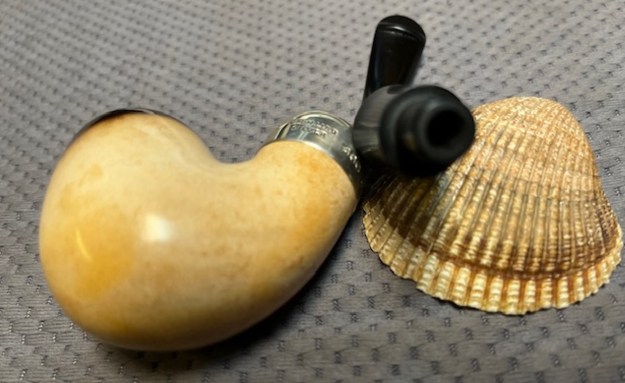
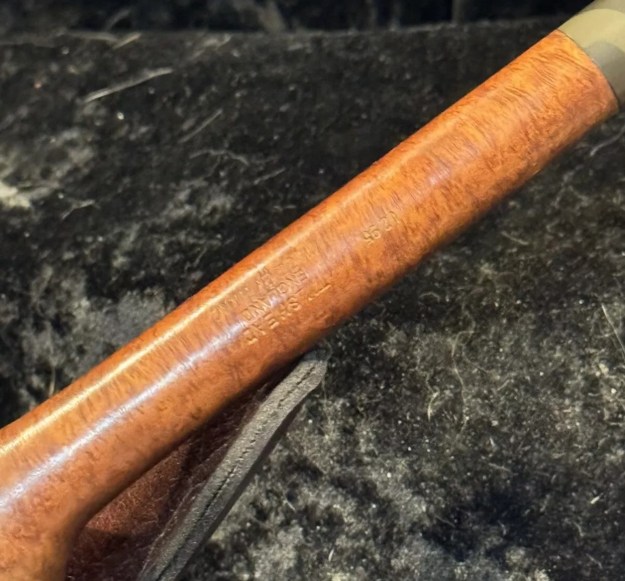
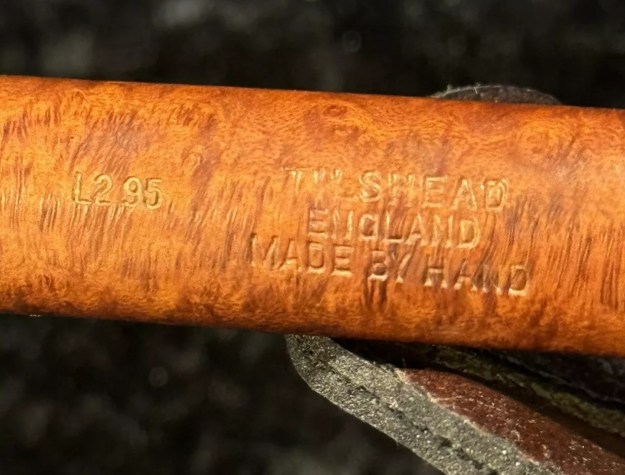
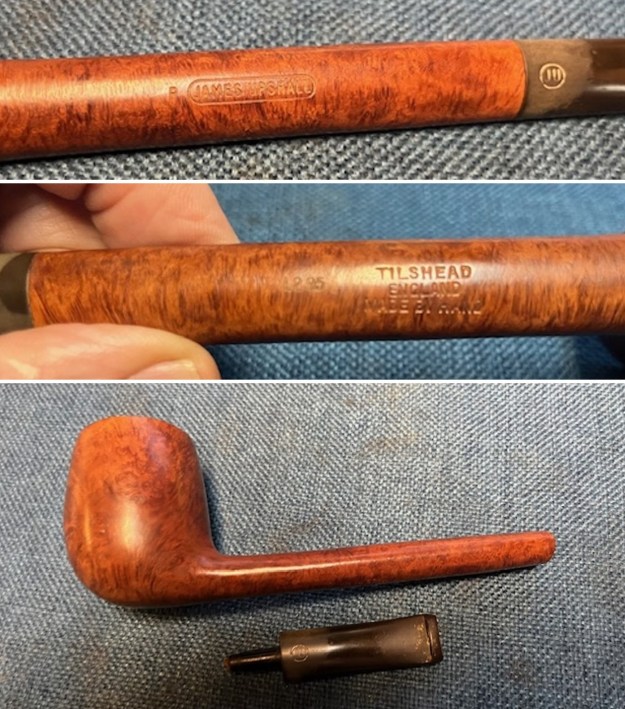
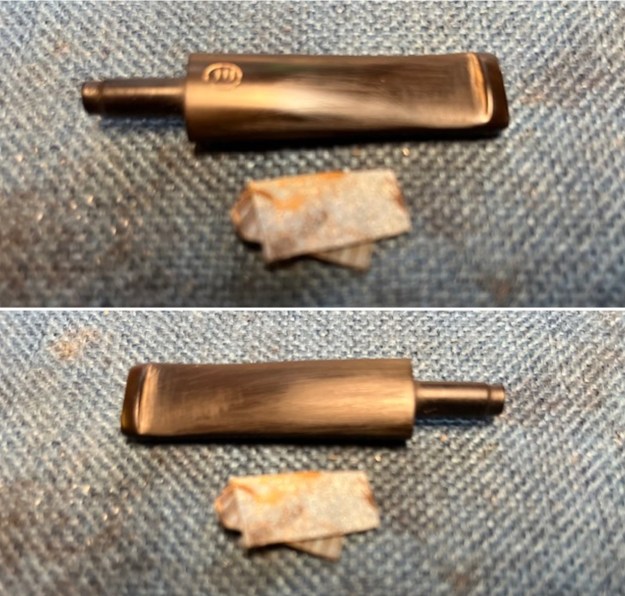
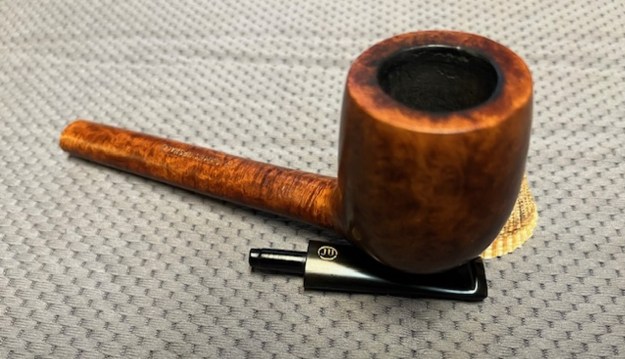
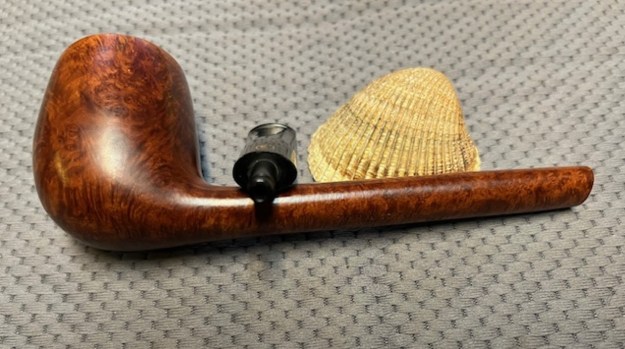
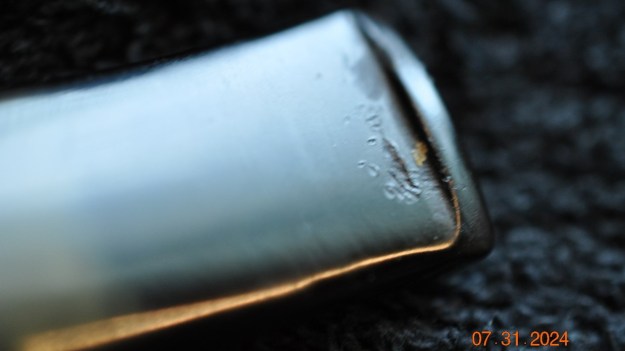
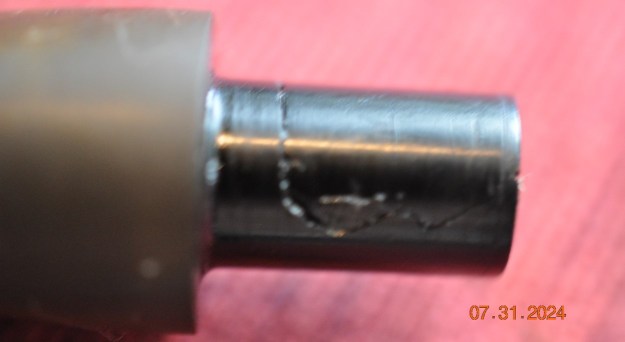
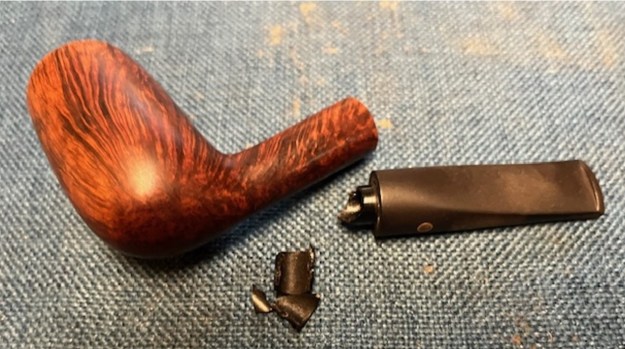
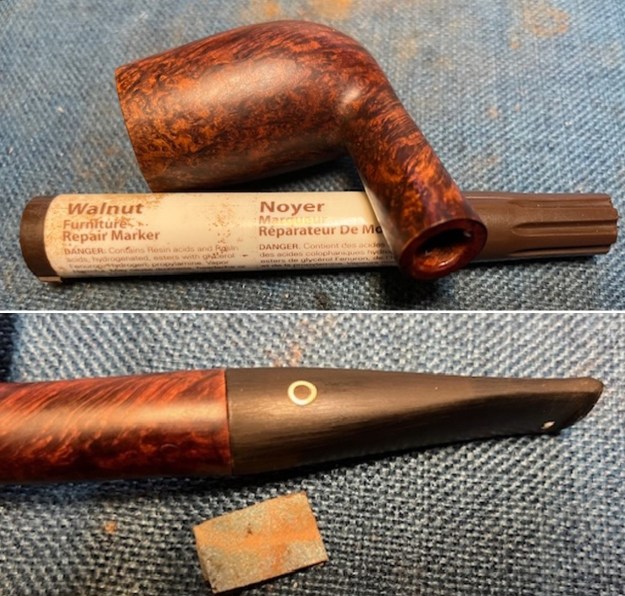
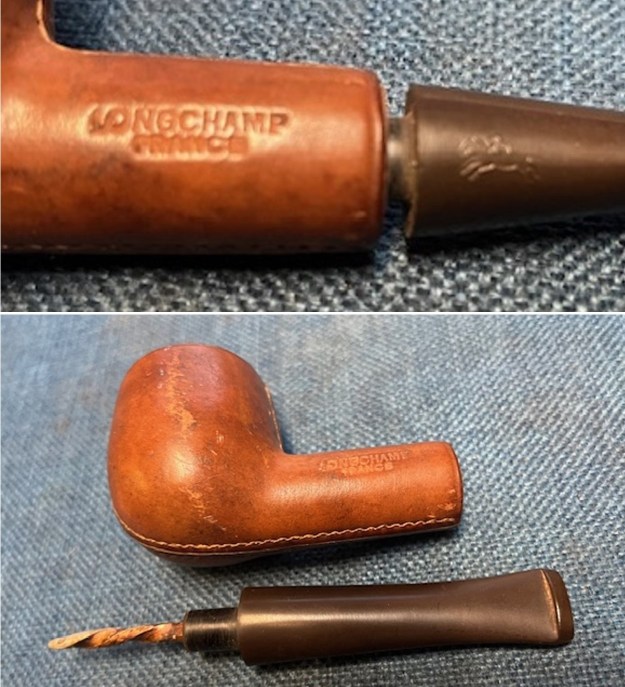 I unscrewed the corkscrew stinger in the tenon and removed it. I took a photo of the stem with the stinger next to it.
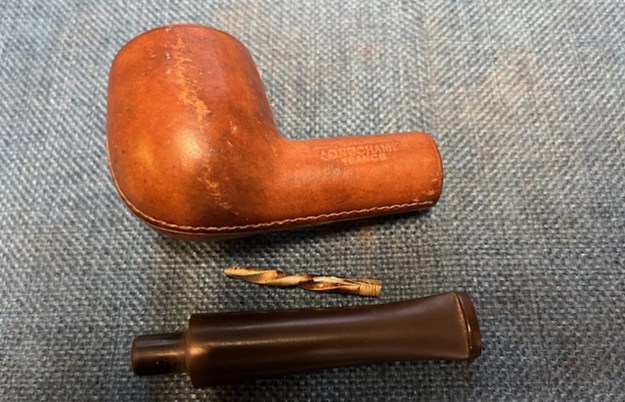 I turned first to Pipephil’s site to get a sense of the brand and an overview. Pipephil does an amazing job of summarizing (http://www.pipephil.eu/logos/en/logo-l5.html). I have included a screen capture of the brand and also the sidebar below the capture.
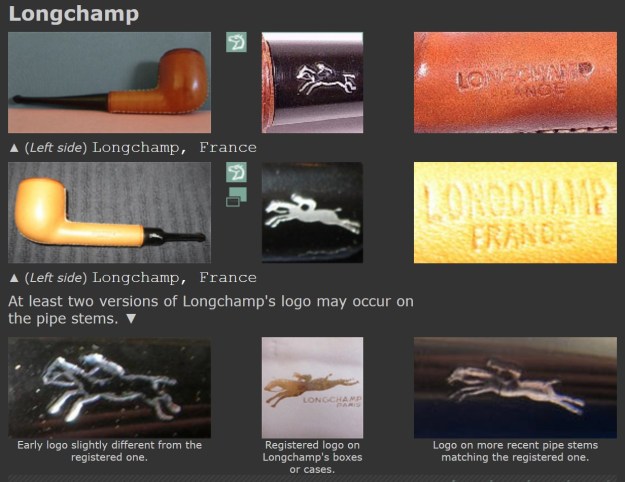 Brand created in 1948. The pipes were crafted by Forestier-Bourgeois Cie (FBC) in St Claude and leather wrapped by Parisian workshops. Longchamp is the one and only brand which exclusively marketed leather clad pipes. They invented these pipes.
I turned to Pipedia to get some added background on the brand that I find an important part of the work on a pipe (https://pipedia.org/wiki/Longchamp).
In 1948 Jean Cassegrain inherited a small shop near the French Theater on the Boulevard Poissonnière in Paris, called “Au Sultan”. Articles for smokers and fountain pens were offered there.
Now, the absolute bulk of the pipes Cassegrain found in the inventory was from war-time production and due to the sharp restrictions on pipe production the French government had enforced in 1940, these pipes were of very poor quality and showed large fills. Strictly speaking, they were not marketable now that the French pipe industry produced pipes of pre-war standards again. In this situation Cassegrain had the probably most enlightened moment in his life: he took some of these pipes to a leather worker who clad bowls and shanks in leather. Only the rims of the bowls and the shanks’ faces remained blank.
E voila – the pipes looked pretty good now and were eye-catching enough to become an instant success in sale. Above all among the thousands of Allied soldiers who populated Paris in those days. The thing worked well, and even unexperieceid pipesters liked the covered pipes very much for they did not transmit the heat to the hand. Very soon Cassegrain had sold the old stock of pipes, and the leather-clad pipes became his only product. He began to place orders with renowned firms like Ropp or Butz-Choquin.
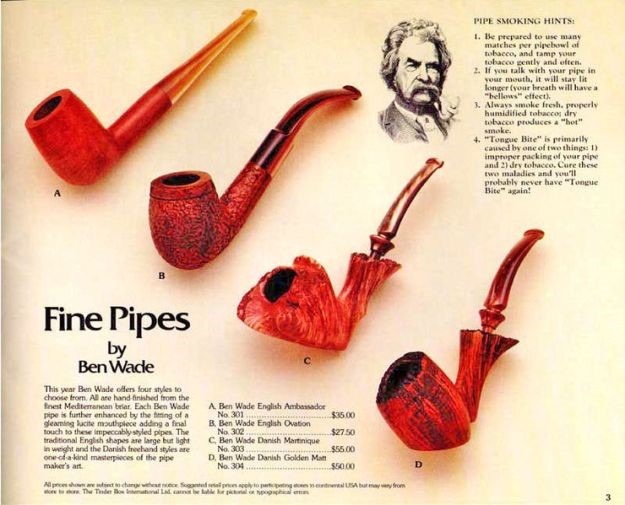
Because the name Cassegrain was already registered as a trade name for one his relatives, Cassegrain, a big fan of horse races, named his newly created firm after his favorite race course Longchamp near Paris. Hence an outlined galopping race horse with jockey was chosen as logo. The wind mill – see the frontpage of the catalog – symbolizes the name Cassegrain.
The numerous contacts with American soldiers bestowed an official contract on Cassegrain to supply the PX shops with his leather-wrapped pipes. According to his grandson, also named Jean and now CEO of the family firm, “There wasn’t an American GI in Europe who didn’t have one of these pipes at the time. They were exported and sold in PXs worldwide. That’s how it all started.”
In the course of the following years Cassegrain enlarged and refined the Longchamp pipe program continuously. More precious kinds of leather like calf and suede came in use. The top range was clad in alligator leather and even pony fur was used. In addition, many models showed vibrant colors now, and small sized pipes, the “Royal Mini”, made that also women interested themselves in the pipes. The hype was pushed furthermore, when well-known persons of public interest, like TV moderators or pop icon Elvis Presley, began to flaunt with a Longchamp put on.
The Cassegrain family expanded their business in 1955 starting a sortiment of pipe bags, tobacco pouches, pipe stands, ashtrays, tampers, lighters – all made of or clad in leather. (Going from there Longchamp turned to other gentleman’s leather-goods around 1960 and finally established itself as a global brand at the end of the 1960’s introducing the Xtra-Bag for ladies.)
After 1970 the interest in leather-clad pipes slowly diminished. The Longchamp pipes were offered for the last time in the 1978 catalog though previously placed orders were delivered until 1980.
The splendid success inspired many other renowned producers to offer their own lines Ropp, Butz-Choquin, Gubbels, GBD, Sasieni… Maybe Savinelli was the very last producing them for the label of the famous designer Etienne Aigner. 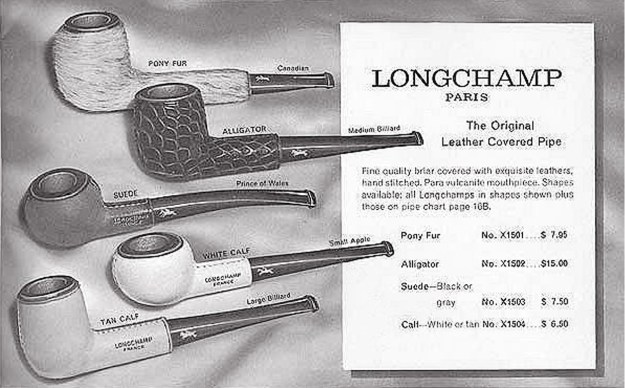
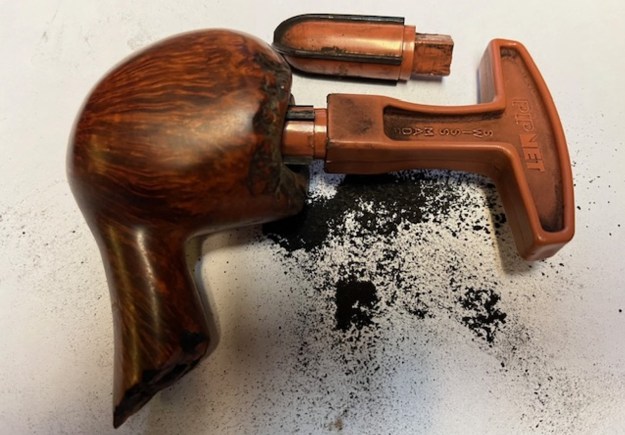
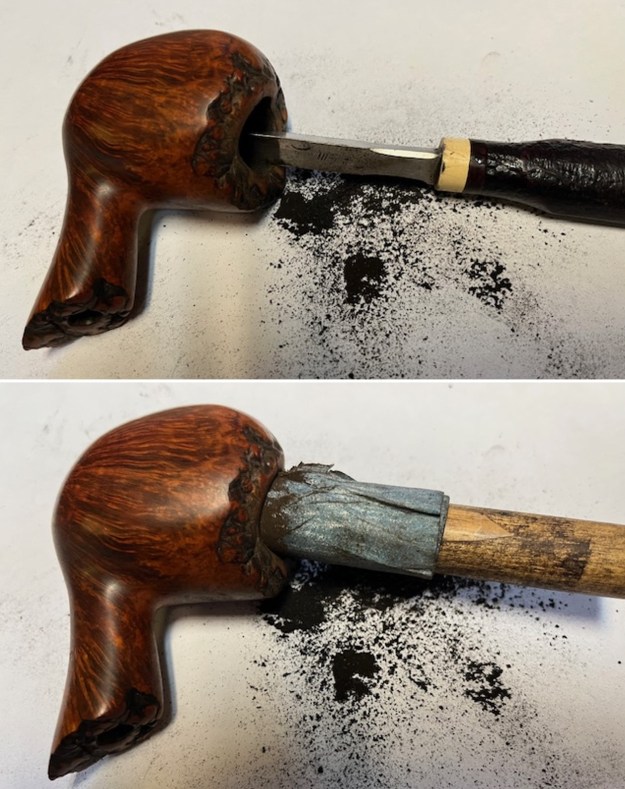
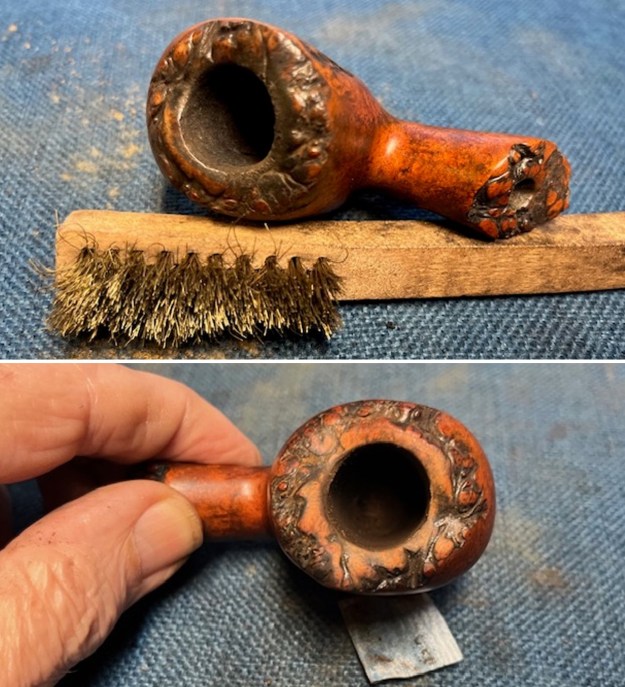
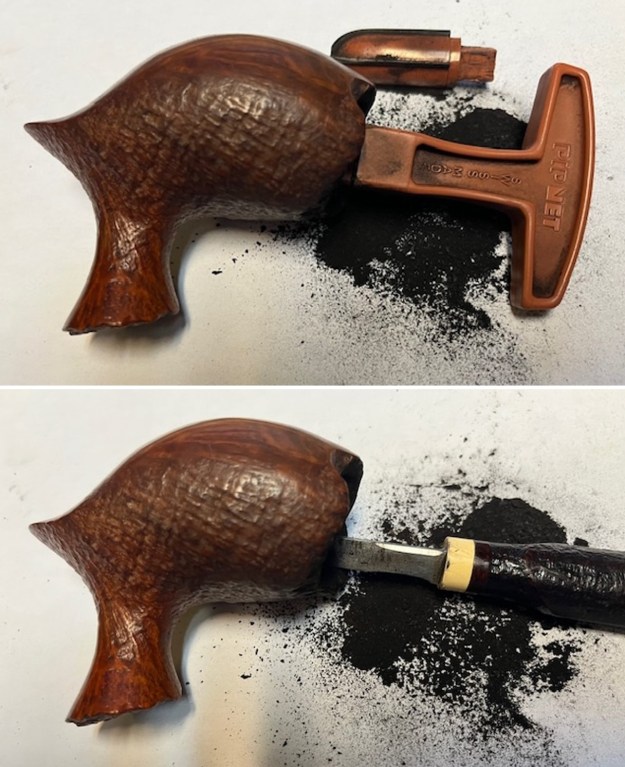
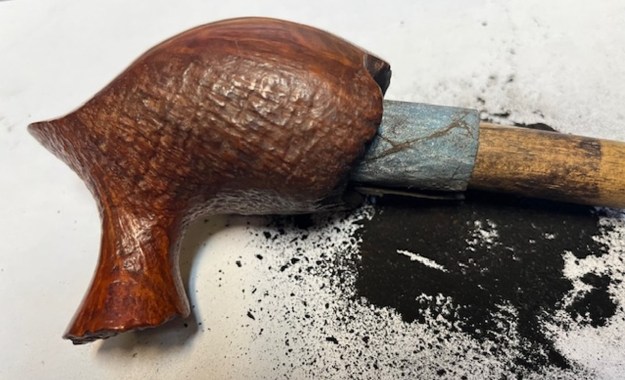
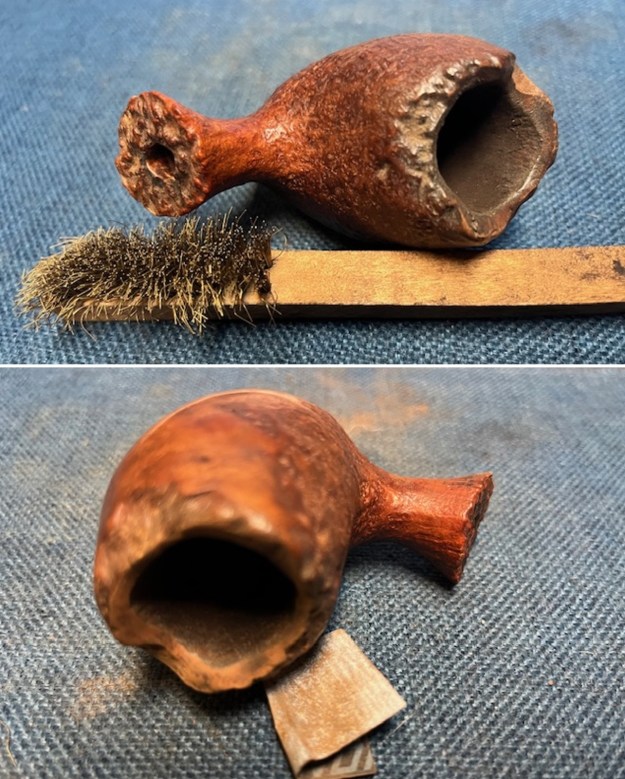
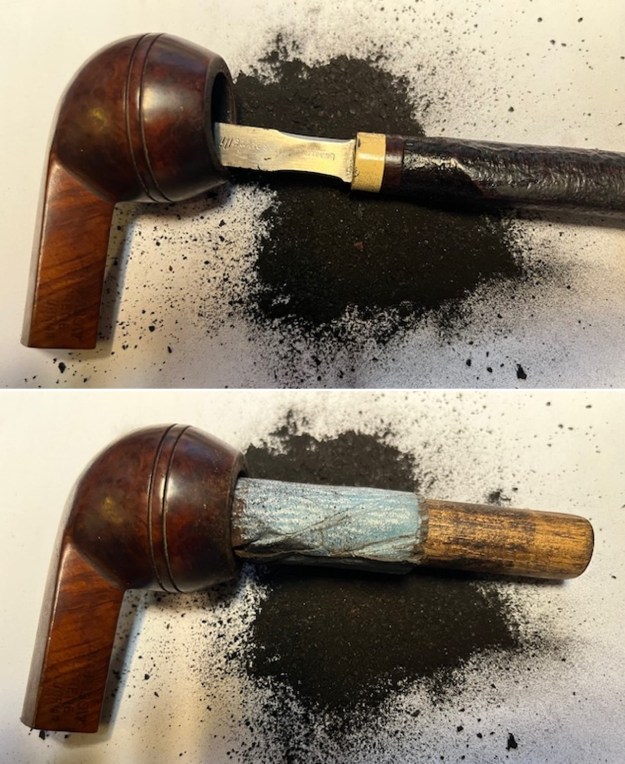
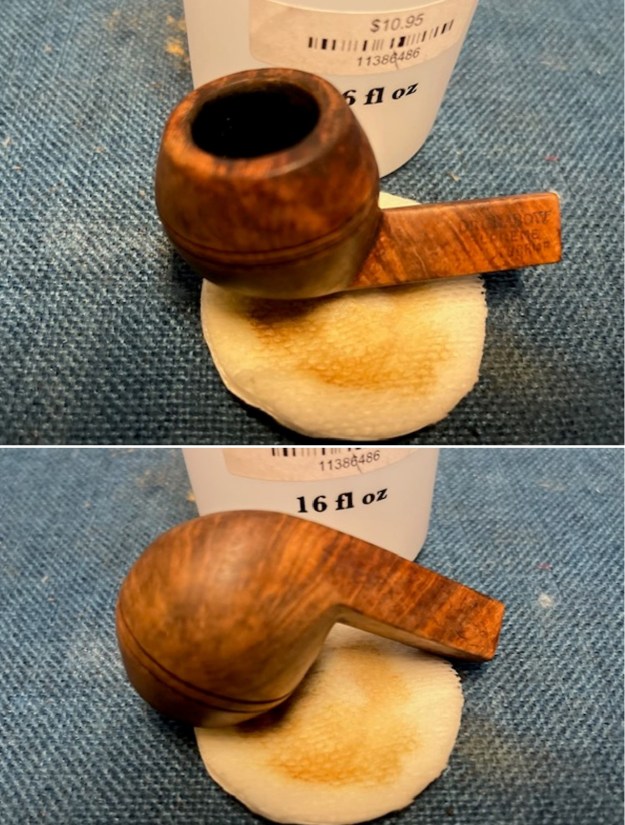
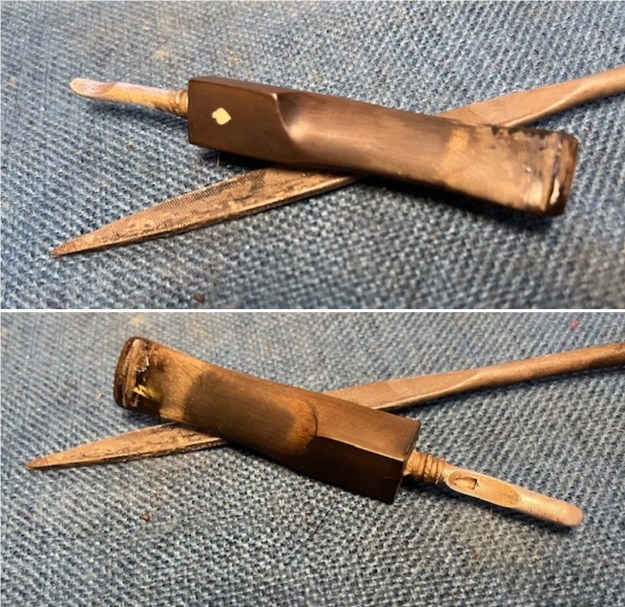
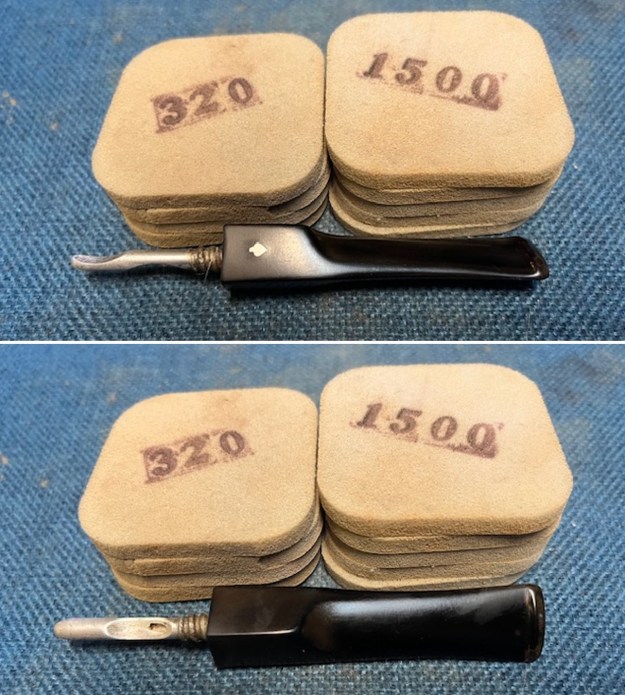
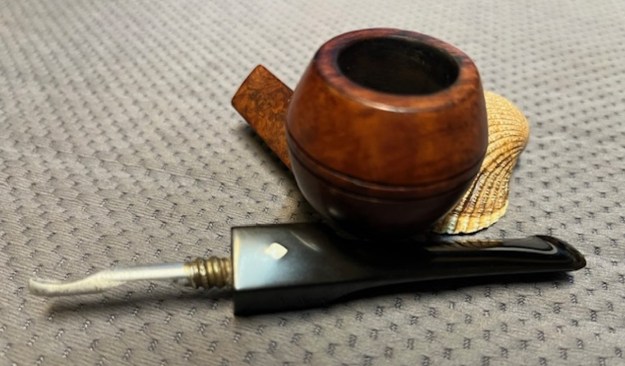
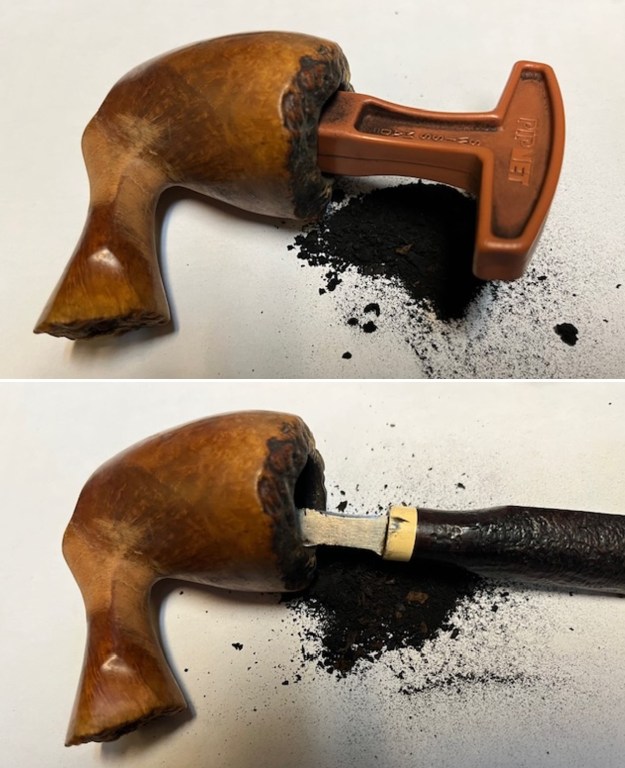
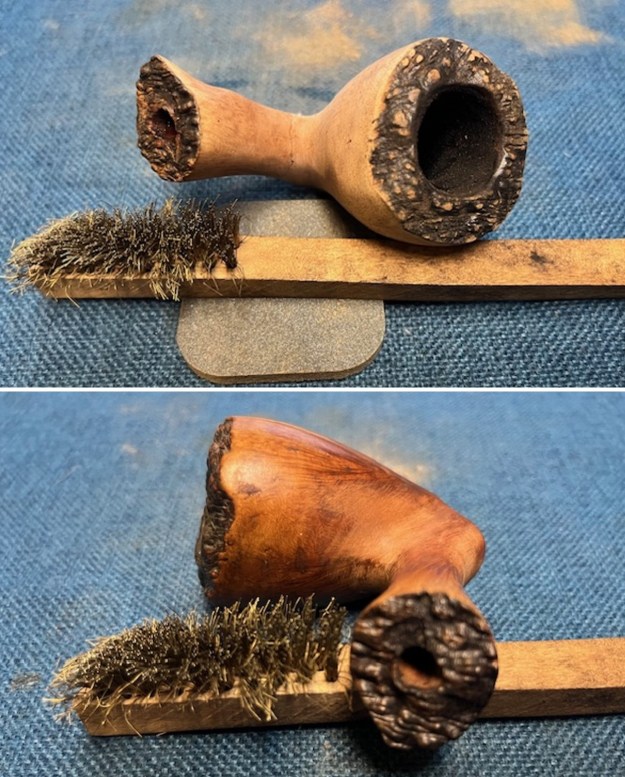
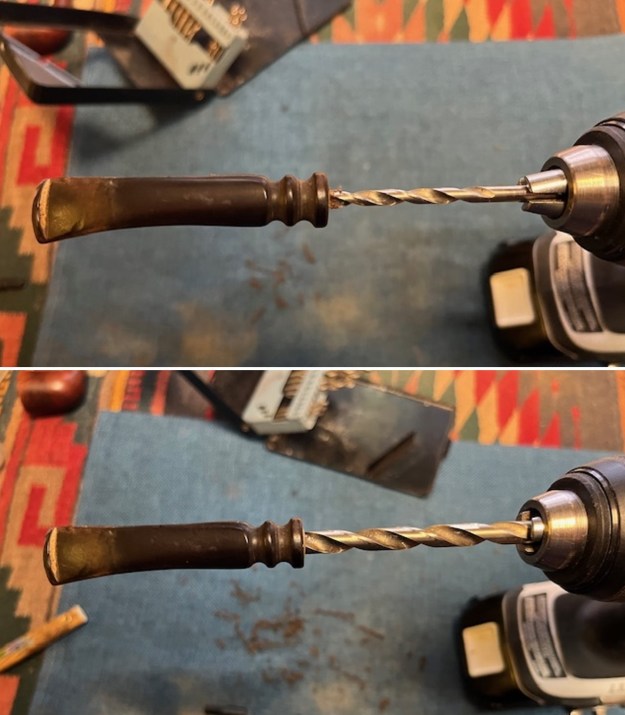
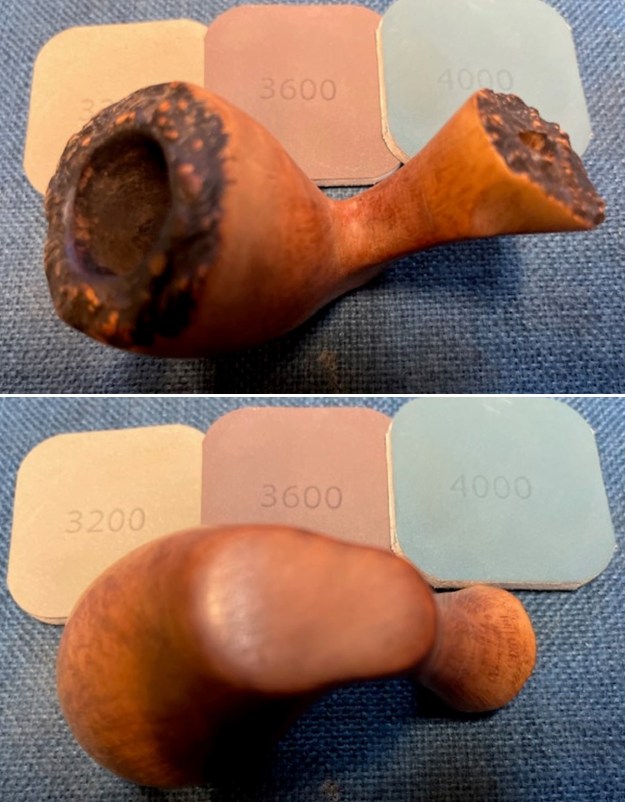
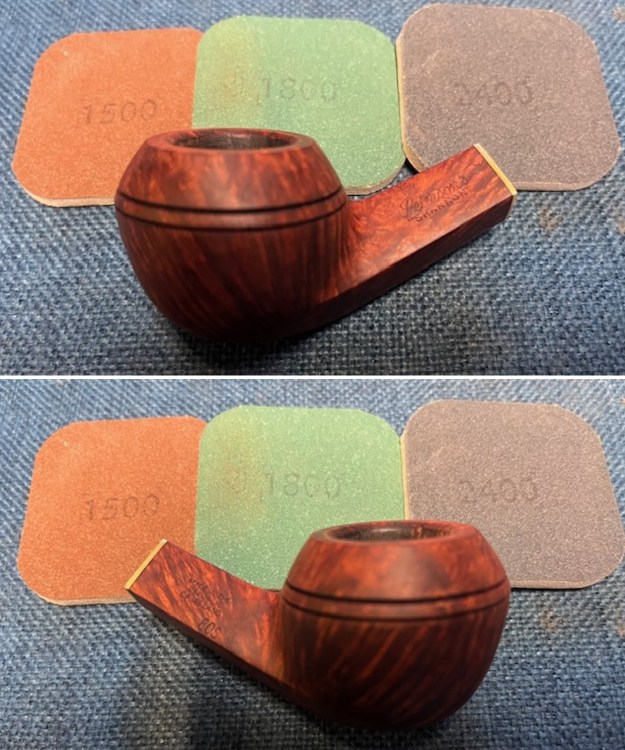
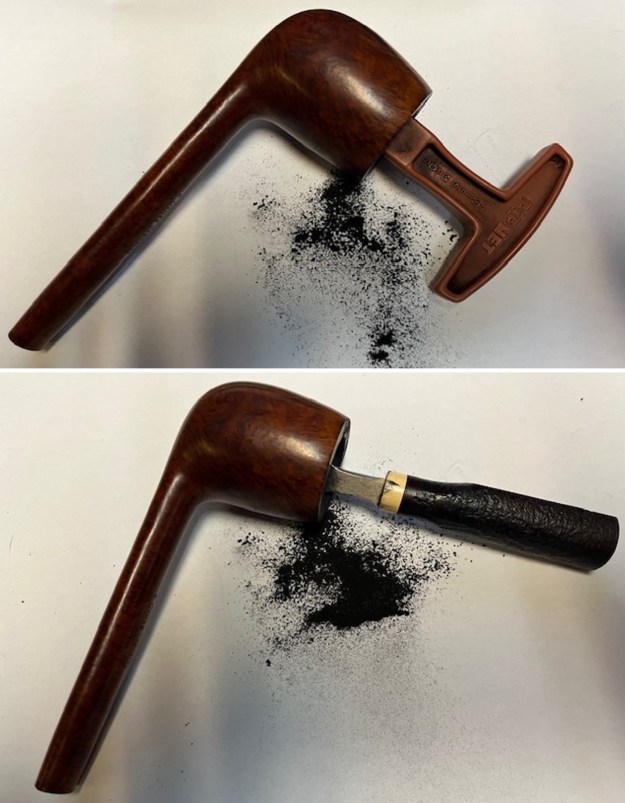
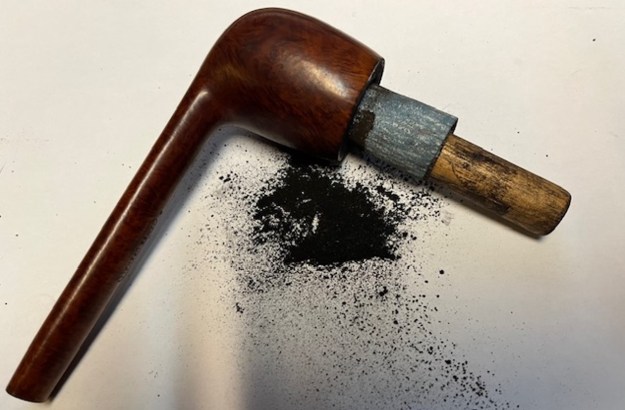
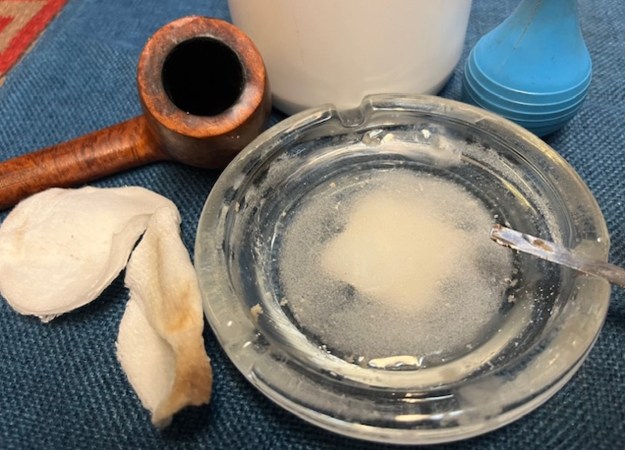
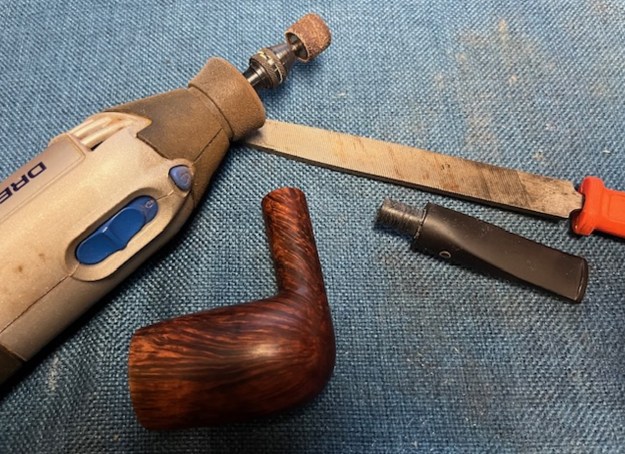
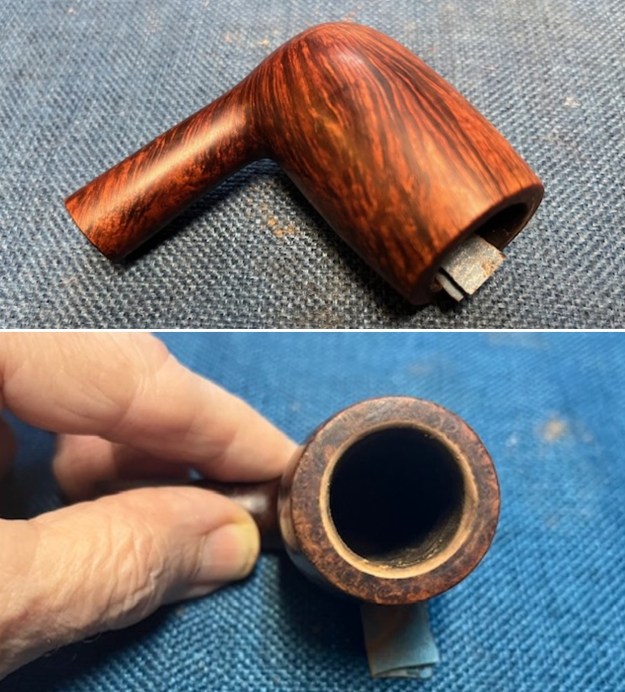
I decided to ream the bowl and do some internal clean up work before further polishing the briar. The cake was very hard so I proceeded with care so as not to either break my reamer or damage the rim edges. I reamed the bowl with a PipNet pipe reamer using the 1st and 2nd cutting heads to remove the cake in the bowl. I cleaned up the reaming with a Savinelli Fitsall Pipe Knife and finally sanded the bowl with 220 grit sandpaper wrapped around a piece of dowel to clean up the walls of the bowl. The walls appeared to be in good condition. 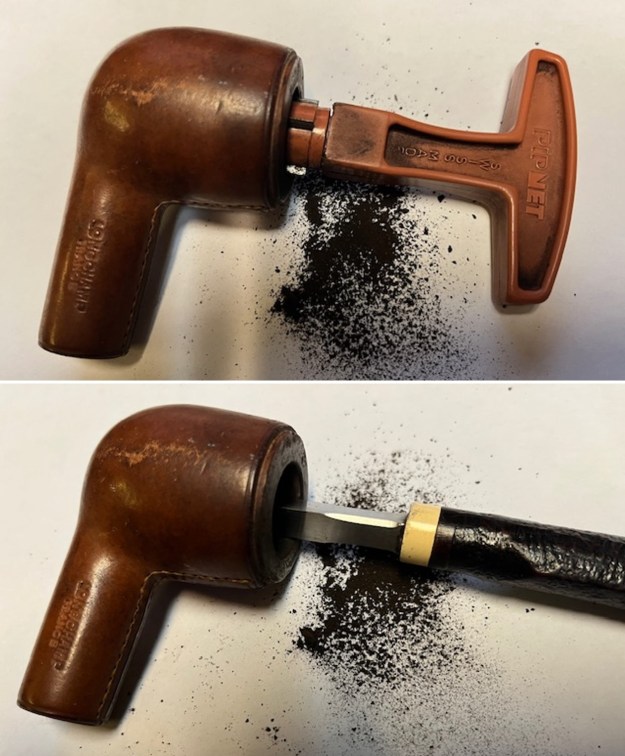
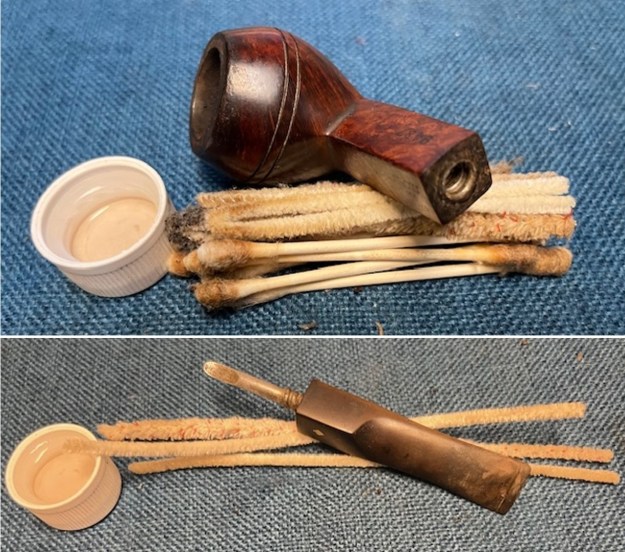
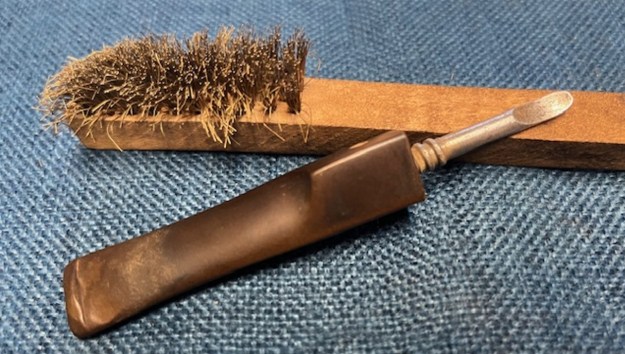
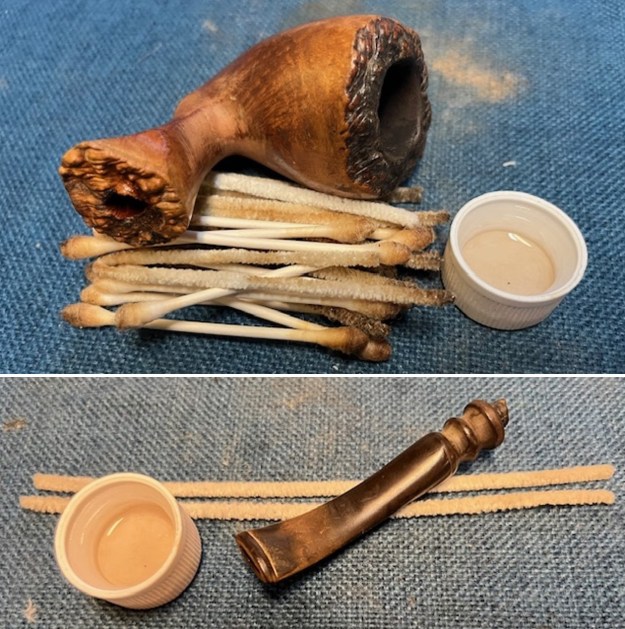
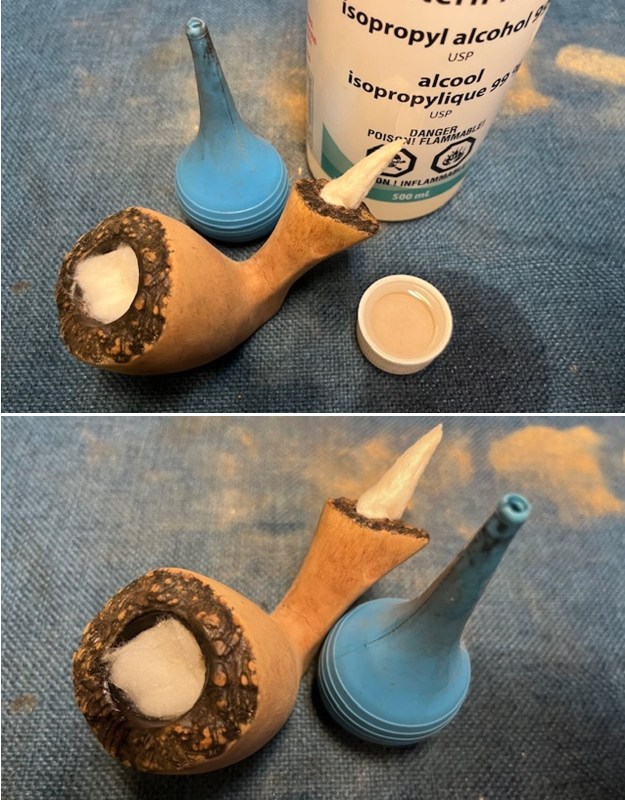
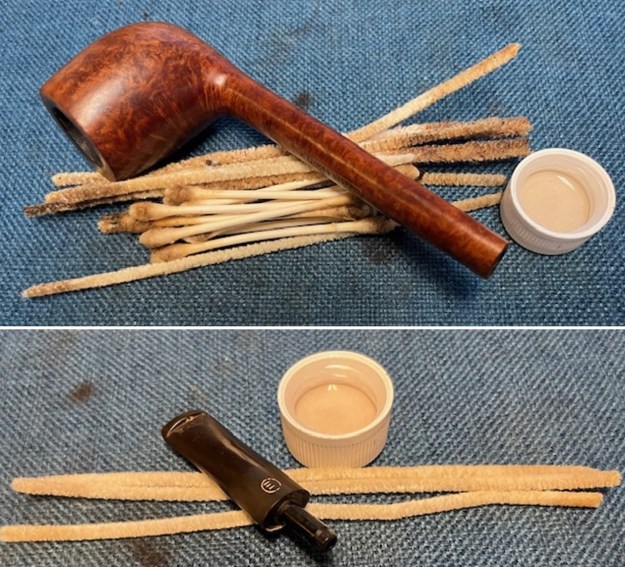
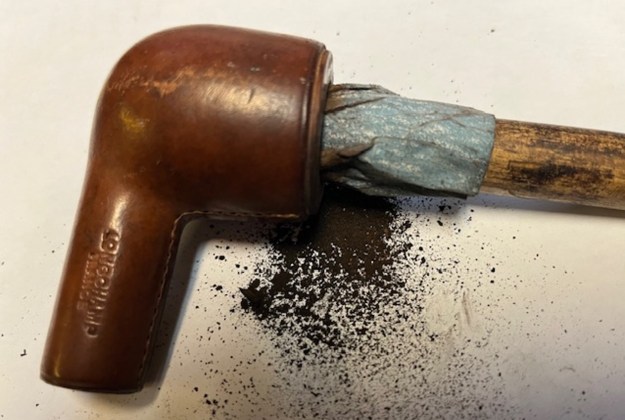 I cleaned out the internals of the bowl, shank and stem with pipe cleaners, cotton swabs and isopropyl alcohol. It came out smelling much better. I scrubbed the aluminum corkscrew stinger with a brass bristle wire brush to remove the oils and tars along the turns. It cleaned up very well.
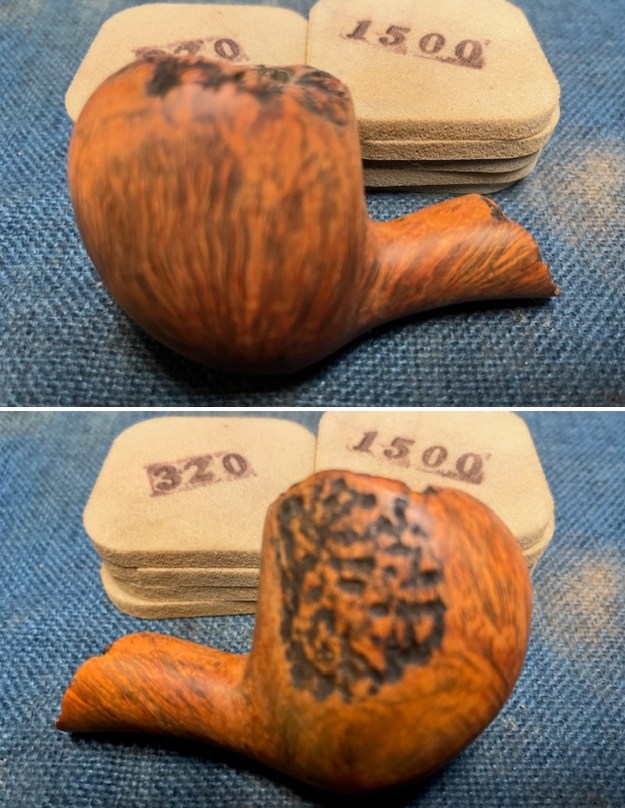
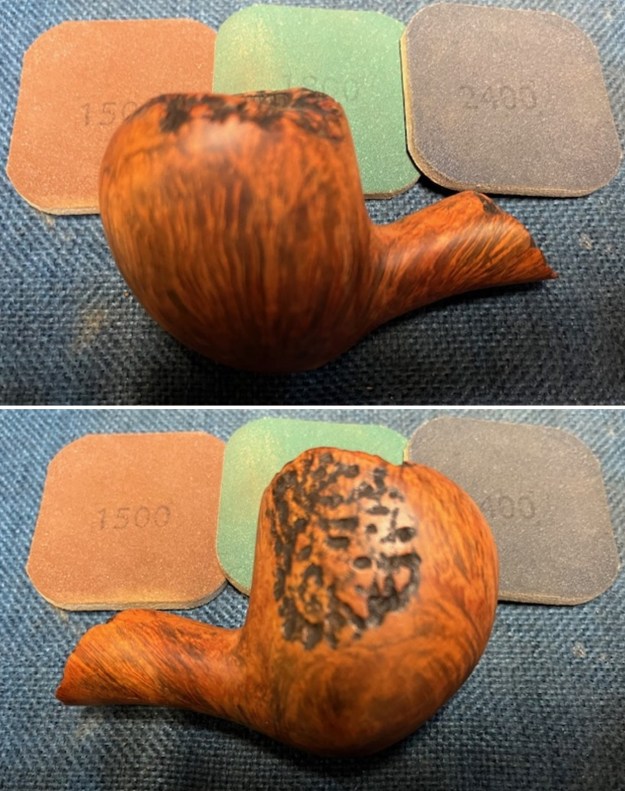
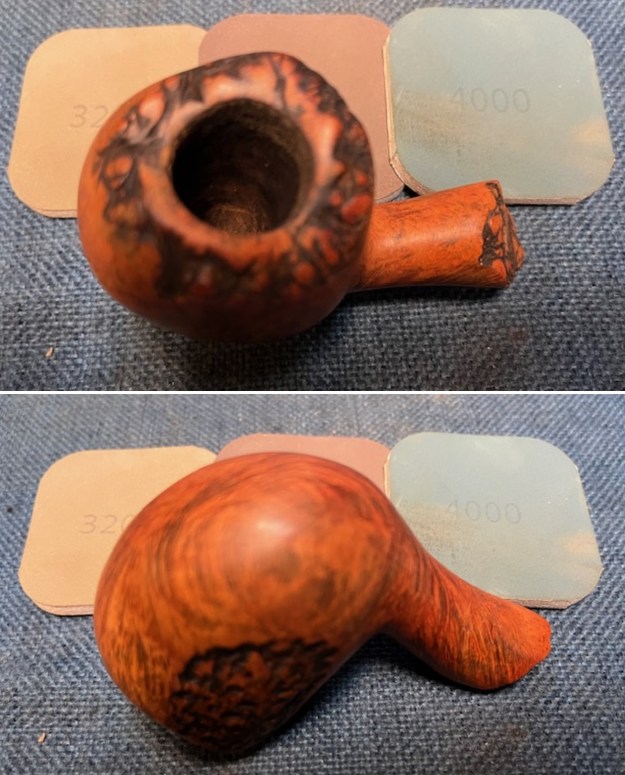
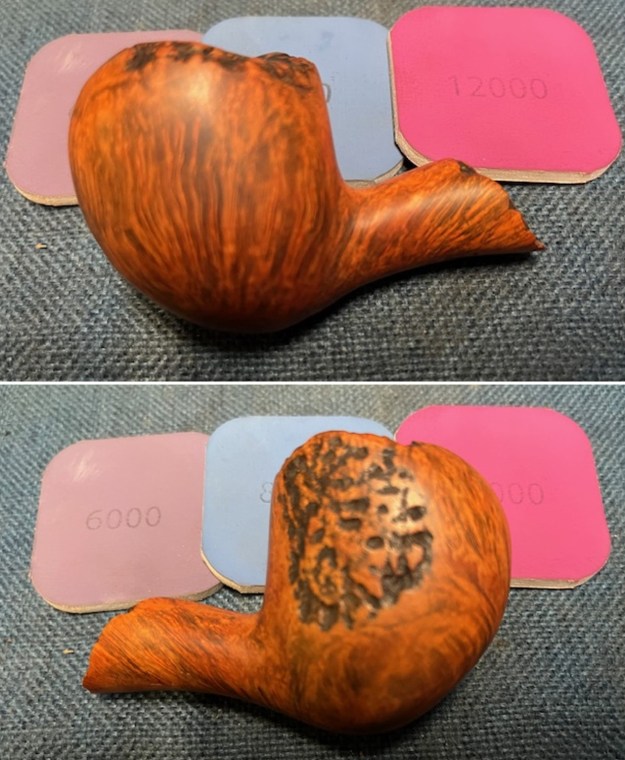
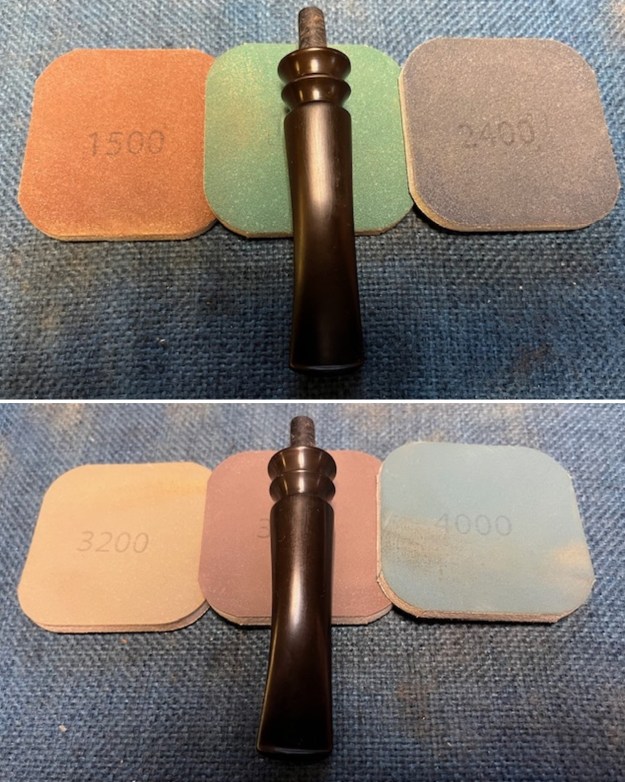
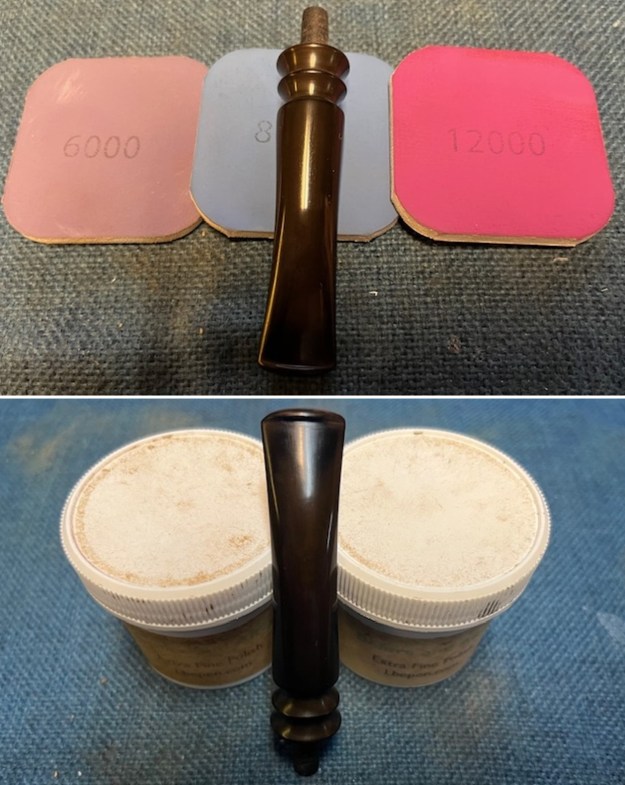
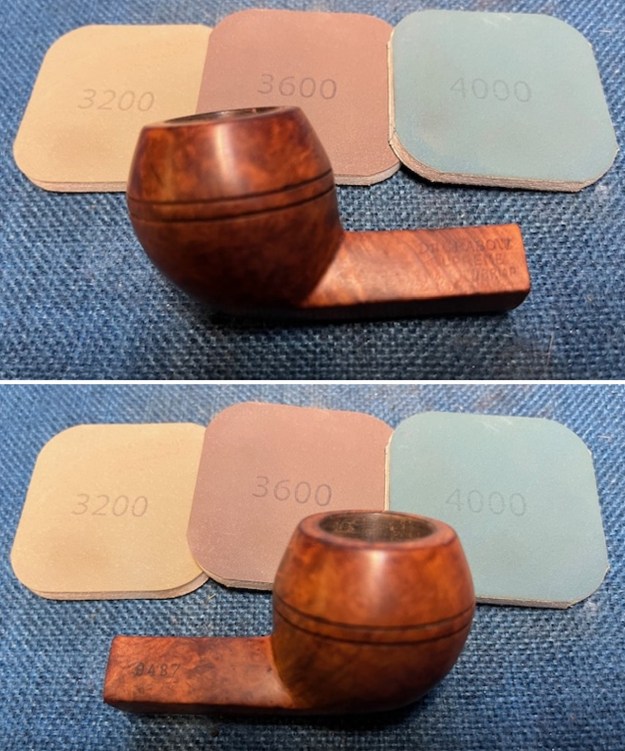
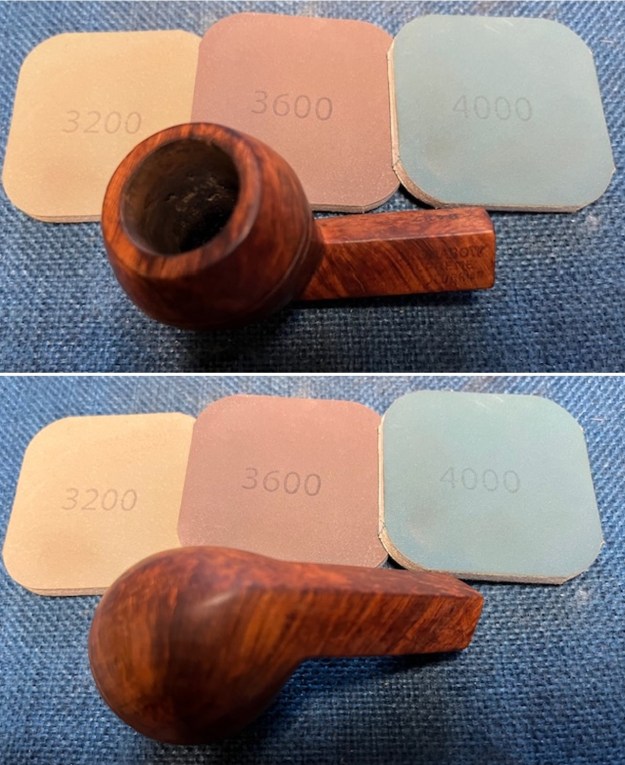
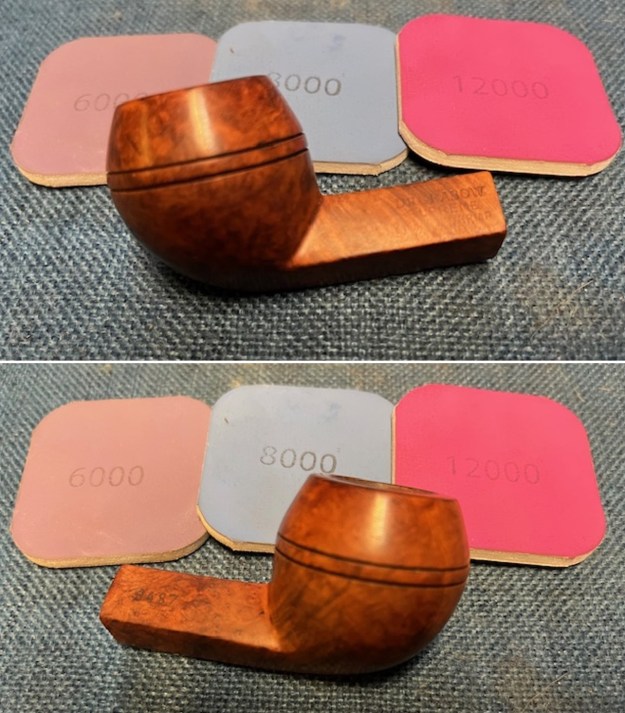
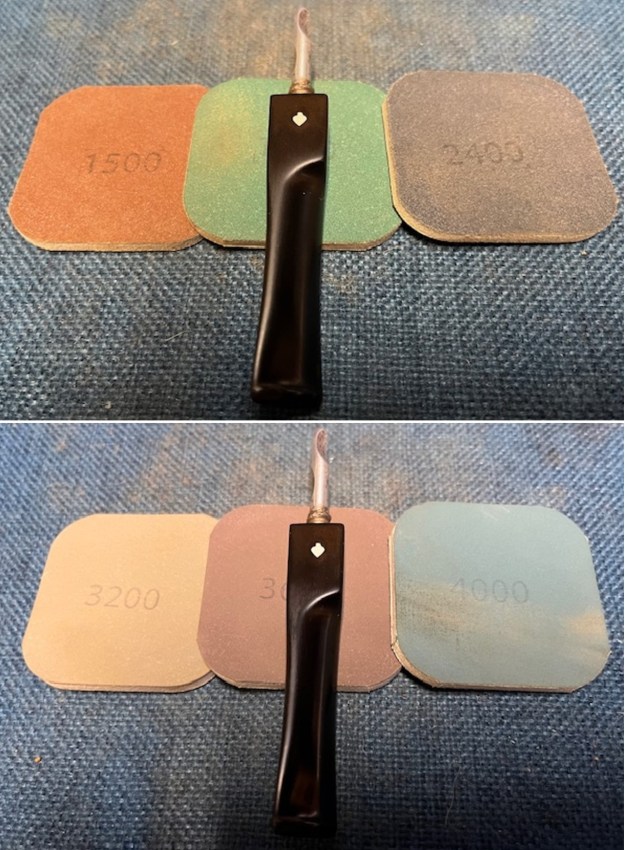
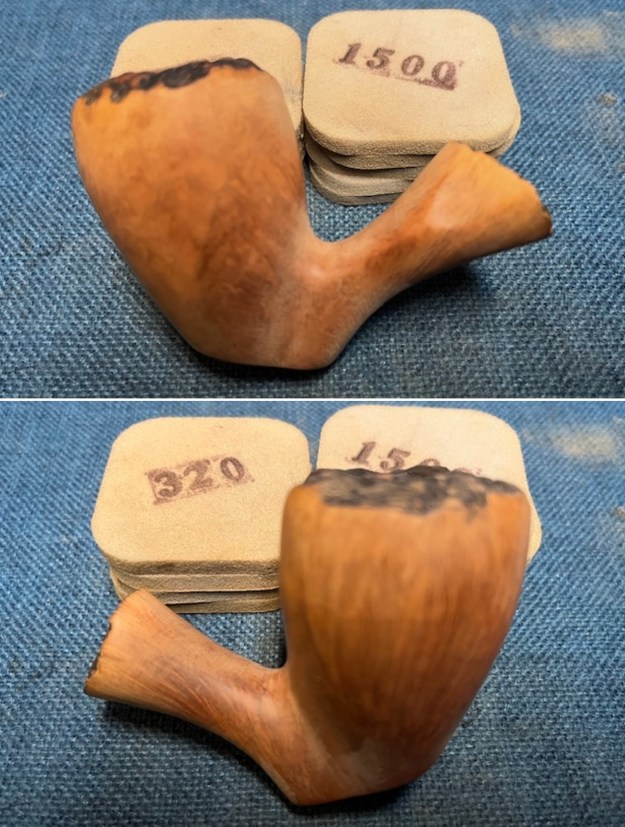
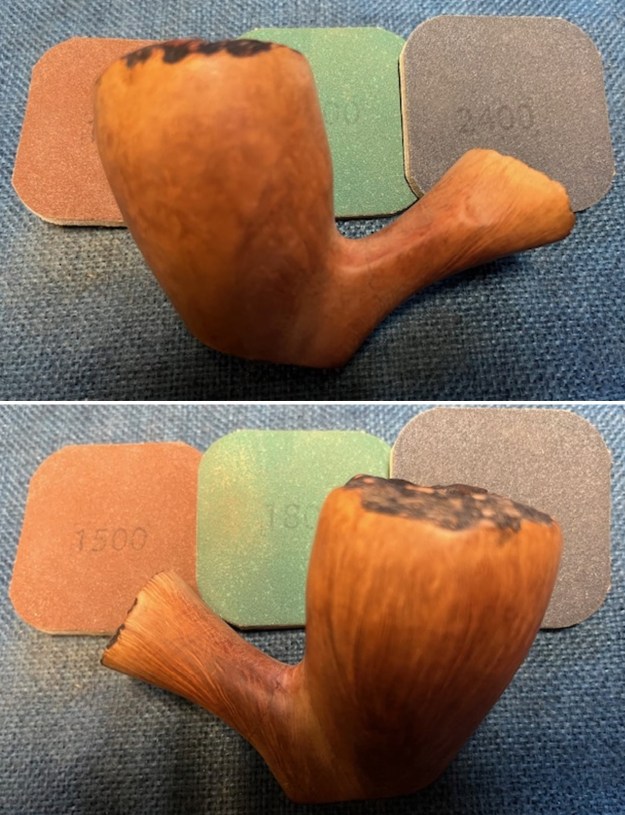
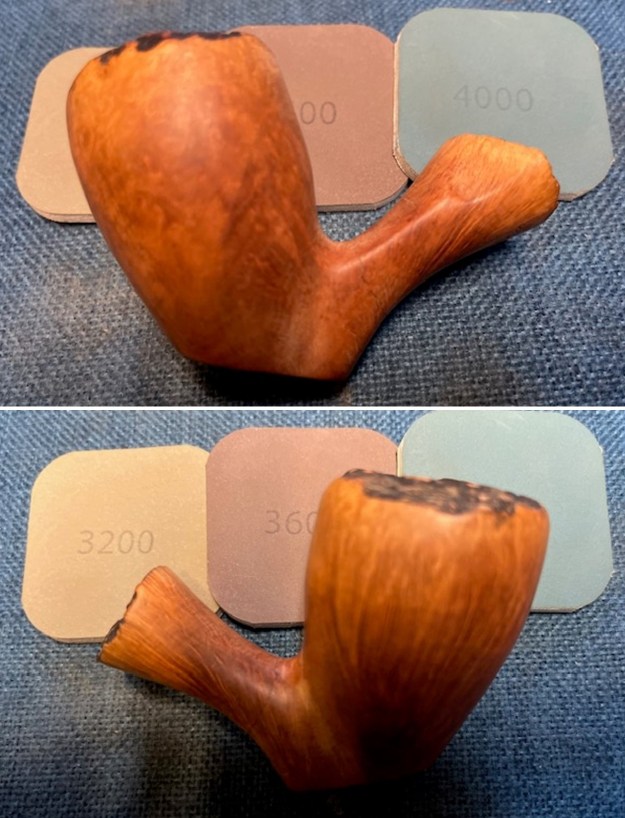
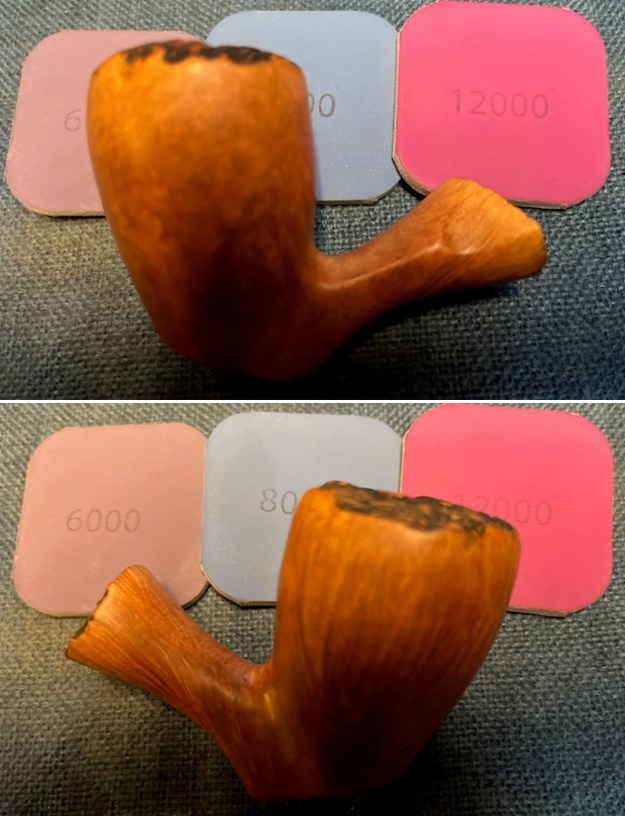
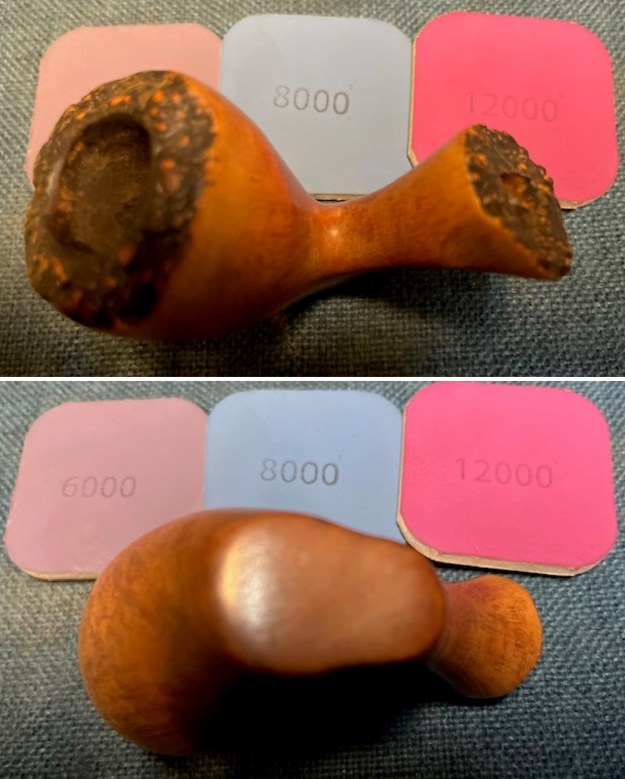
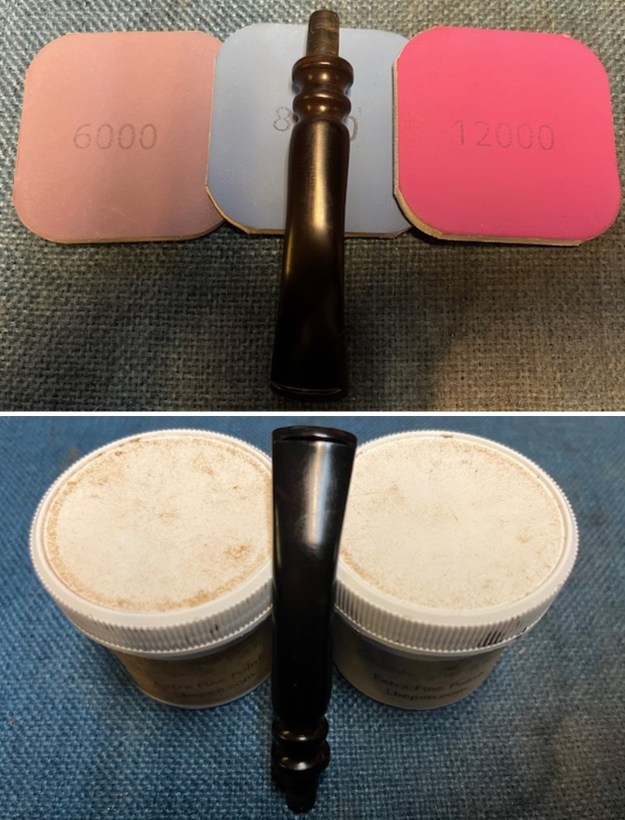
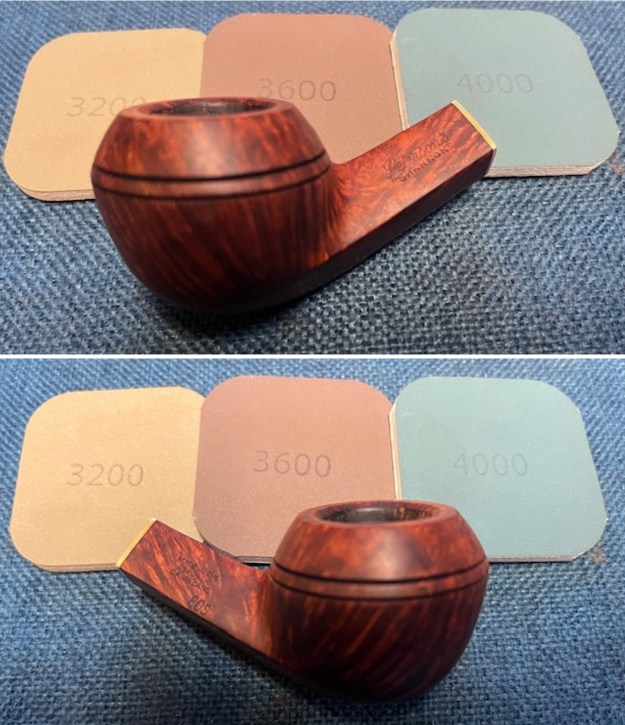
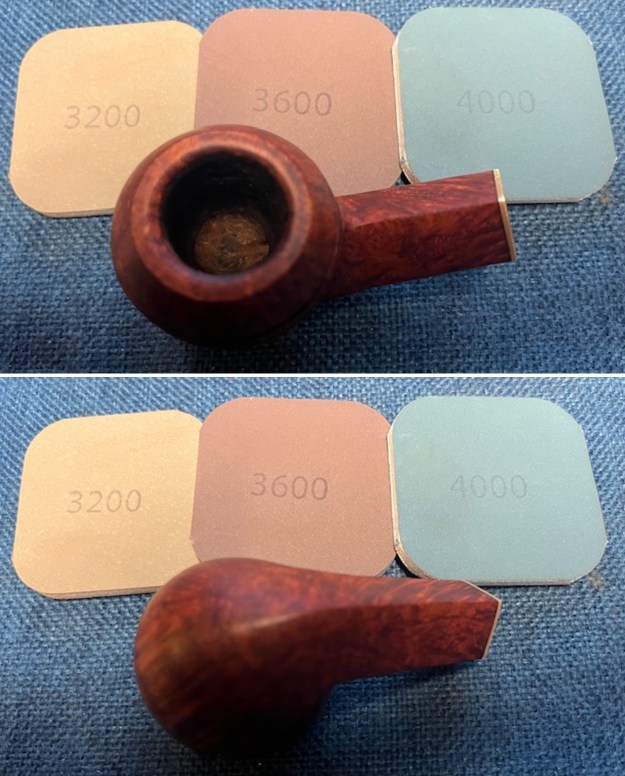
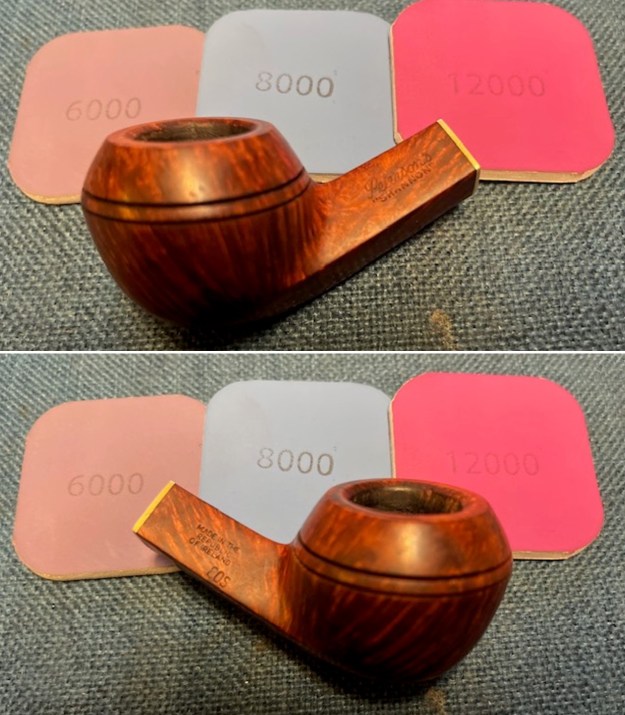
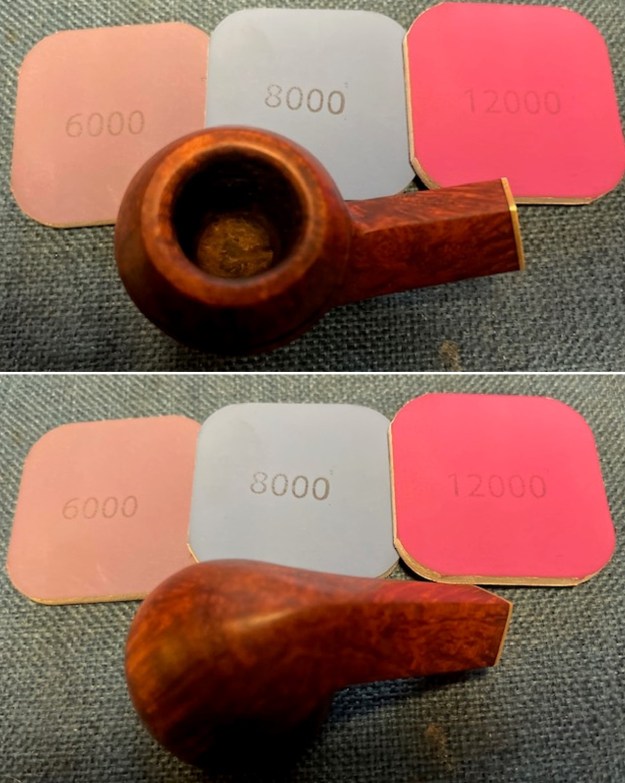
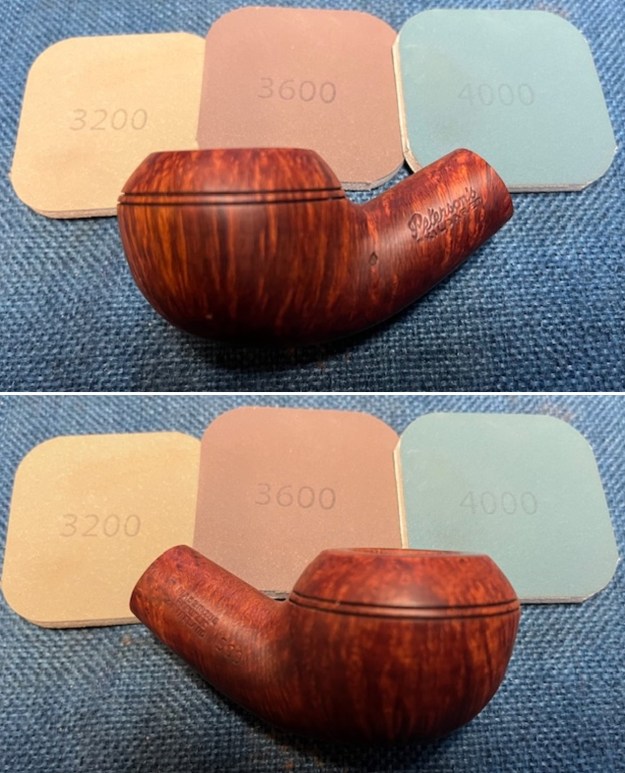
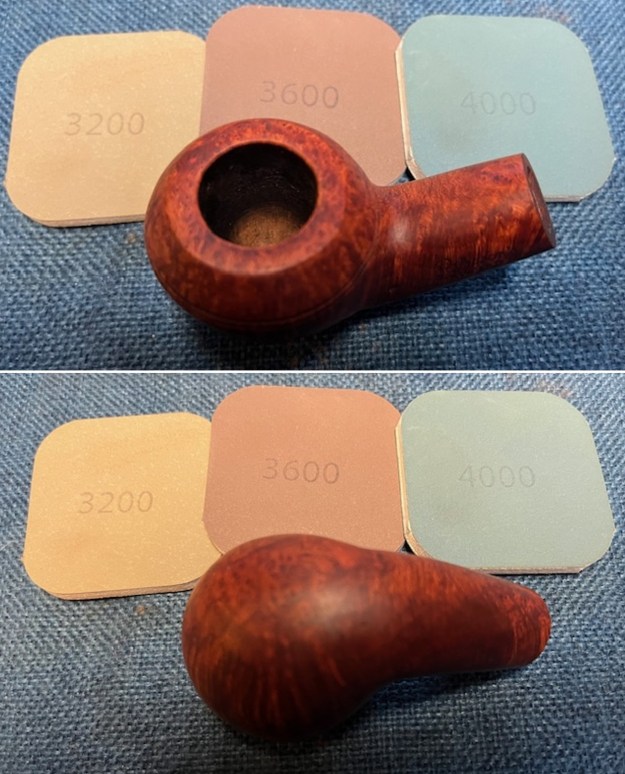
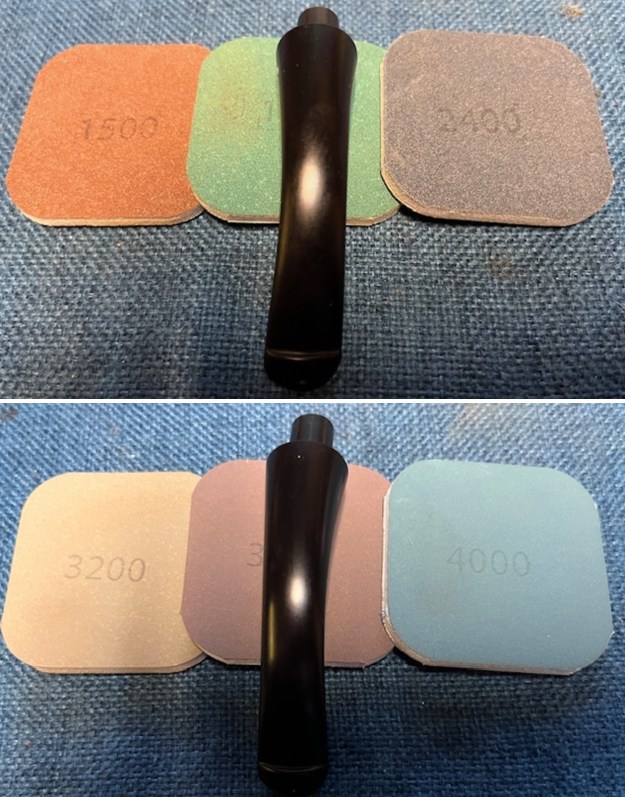
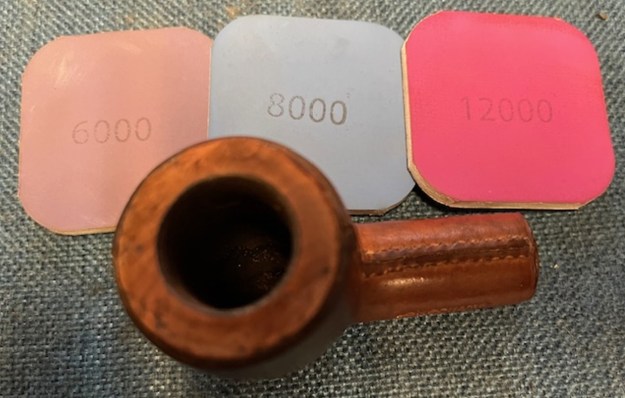
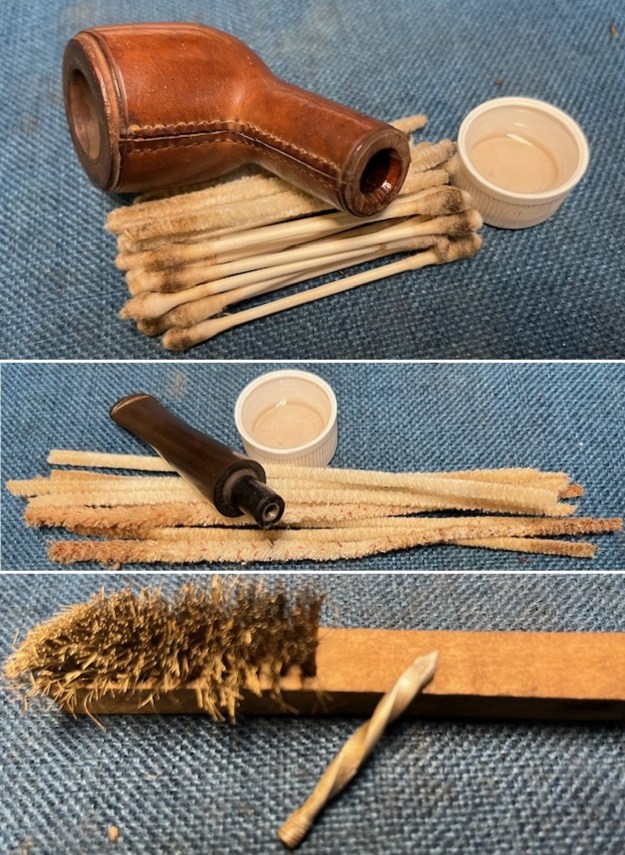 I polished the rim top with micromesh sanding pads – dry sanding with 1500-12000 grit sanding pads. I wiped it down with a damp cloth after each sanding pad to remove the dust and debris. The grain stood out more with each set of pads. There were some nicks and dents but it looked good.
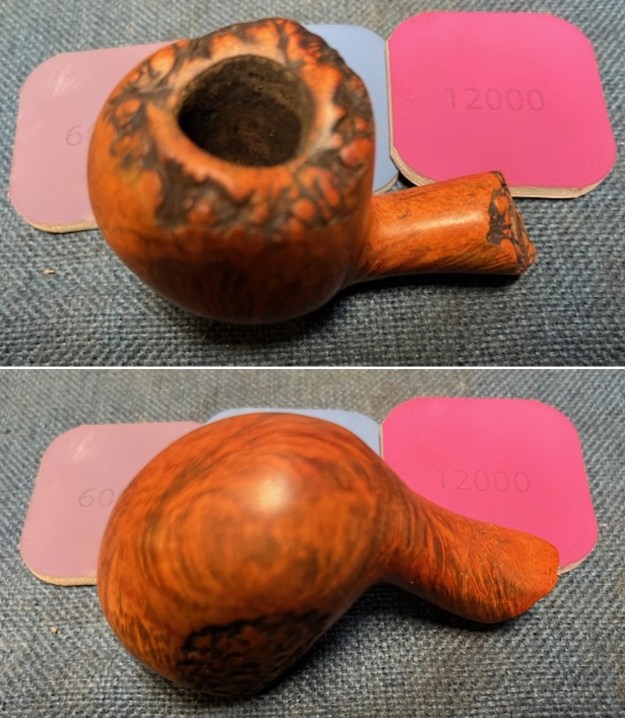
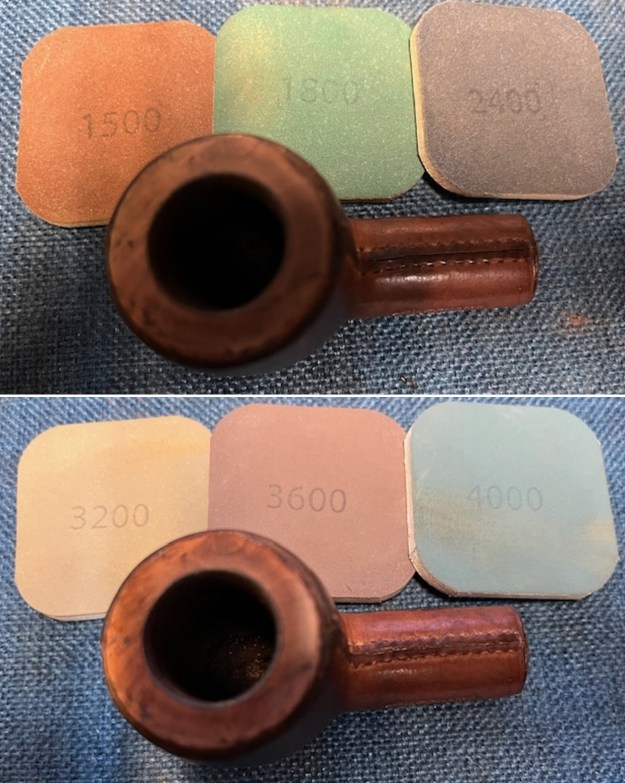
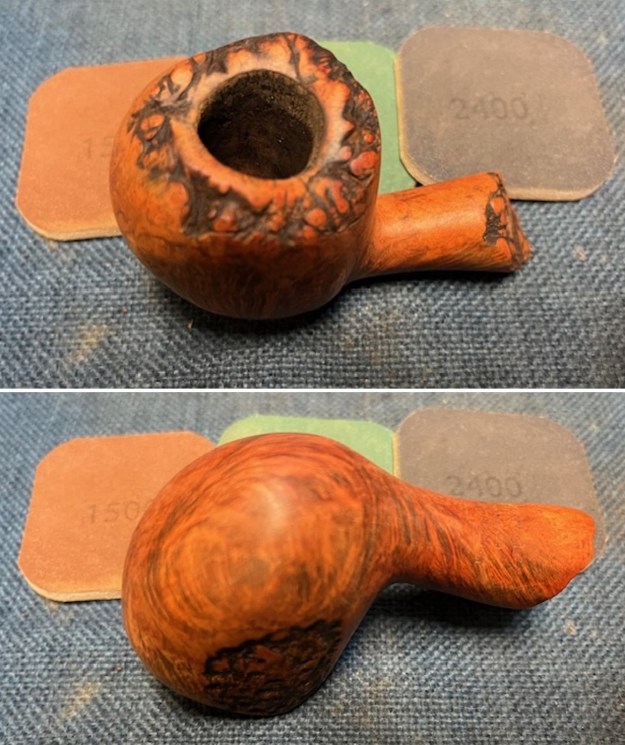
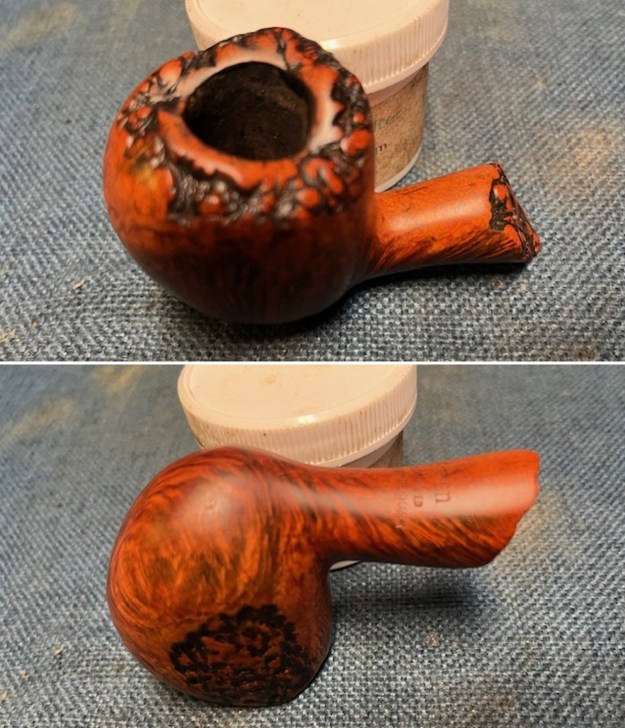
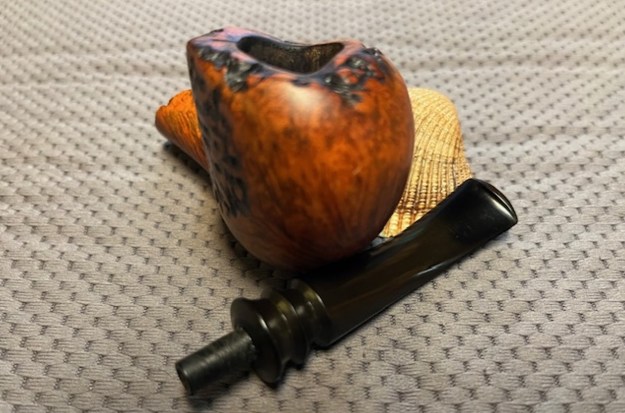
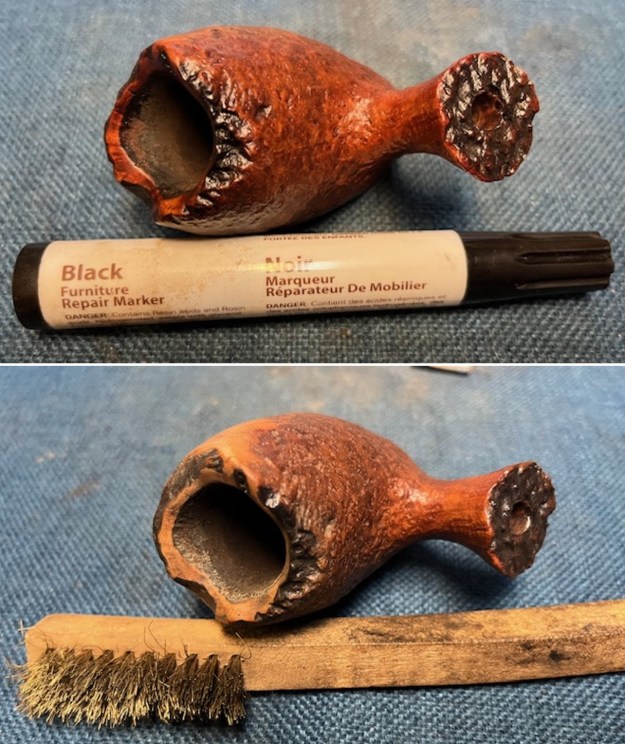
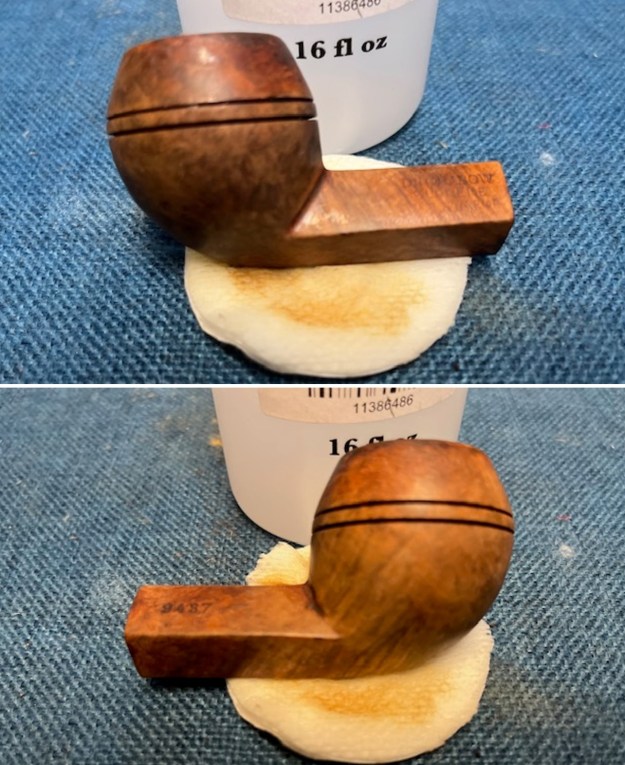
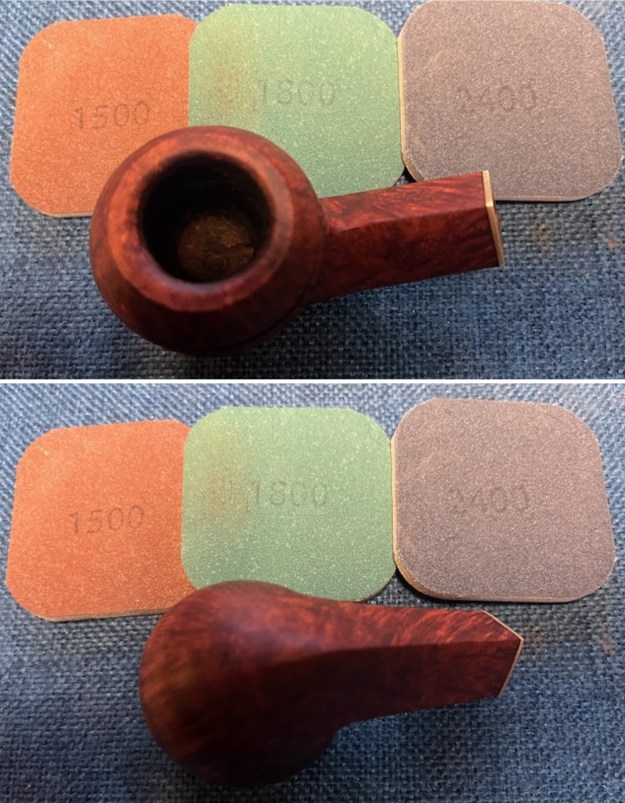
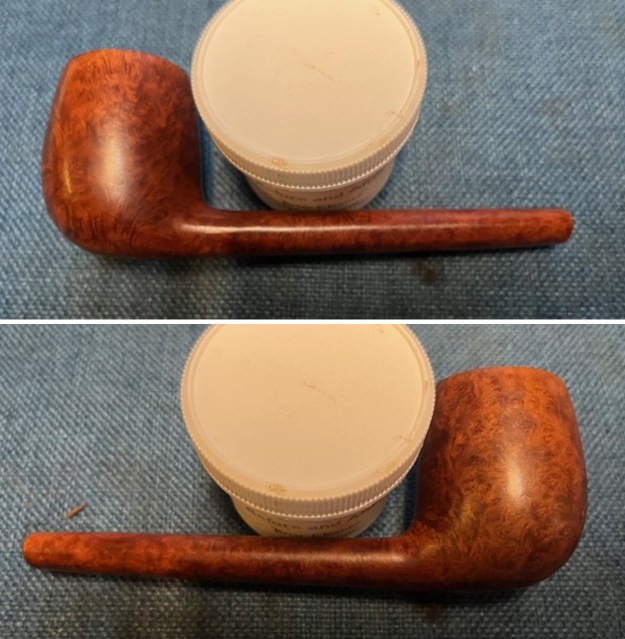
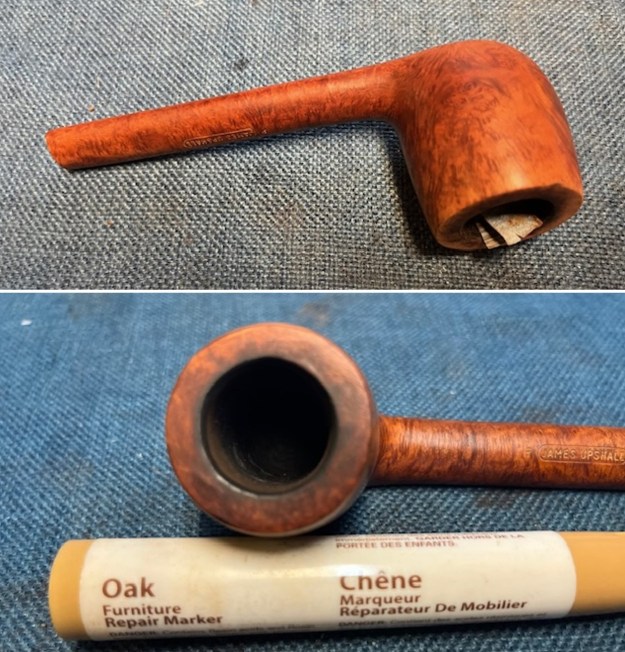
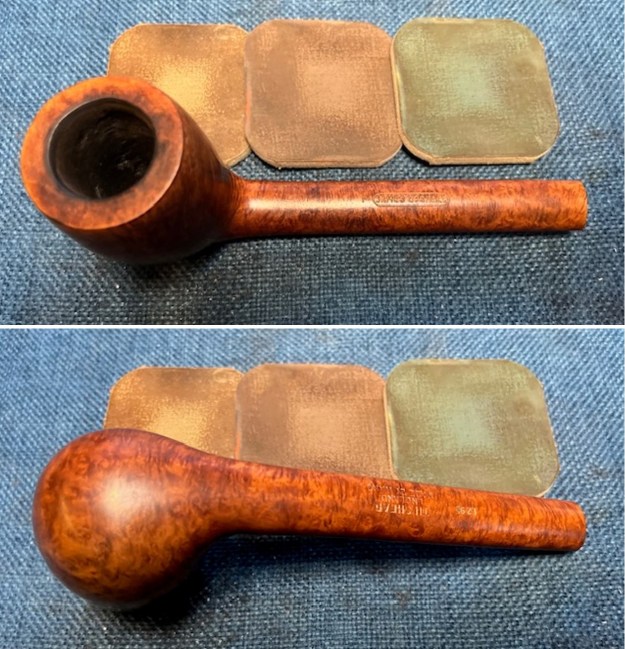
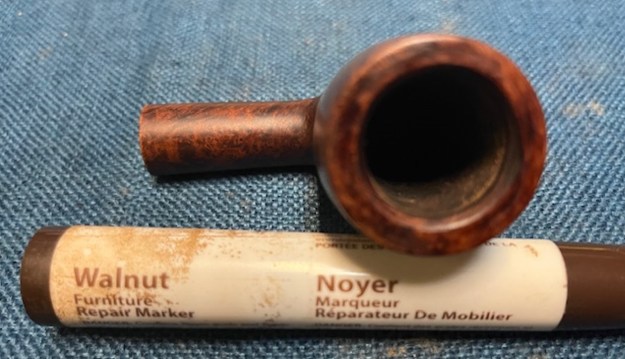
 I touched up the rim top with a Maple Stain pen to blend it into the colour of the leather on the bowl. It looked much better.
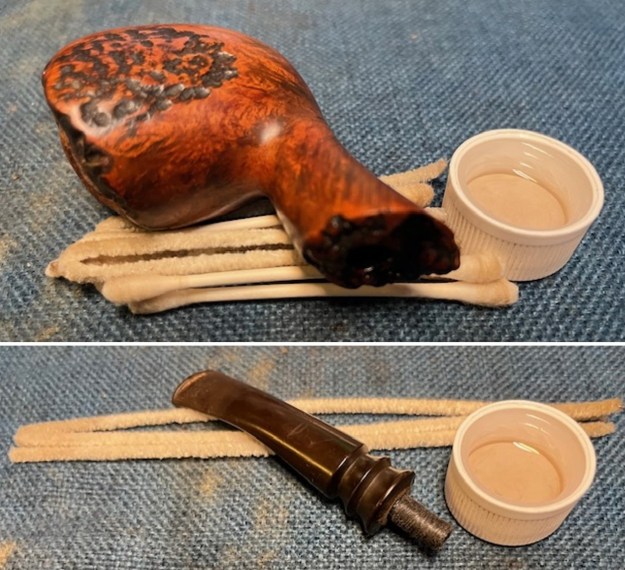
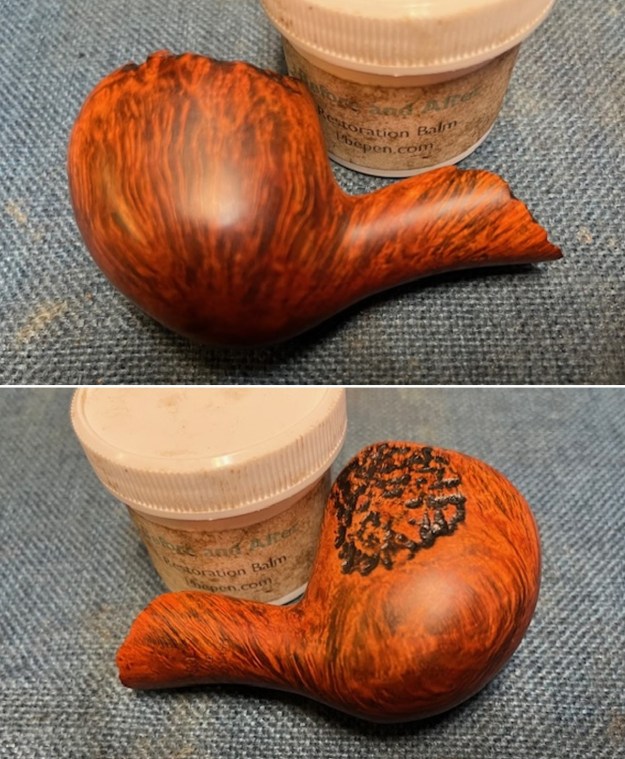
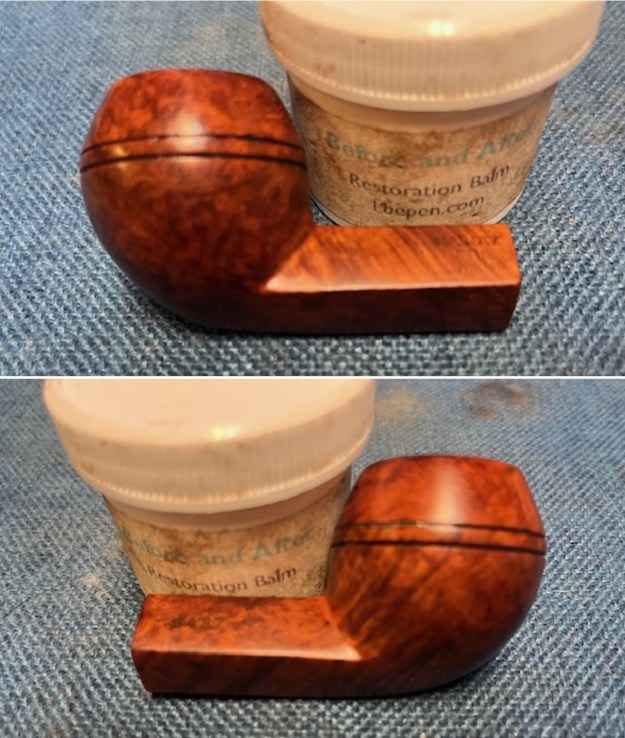
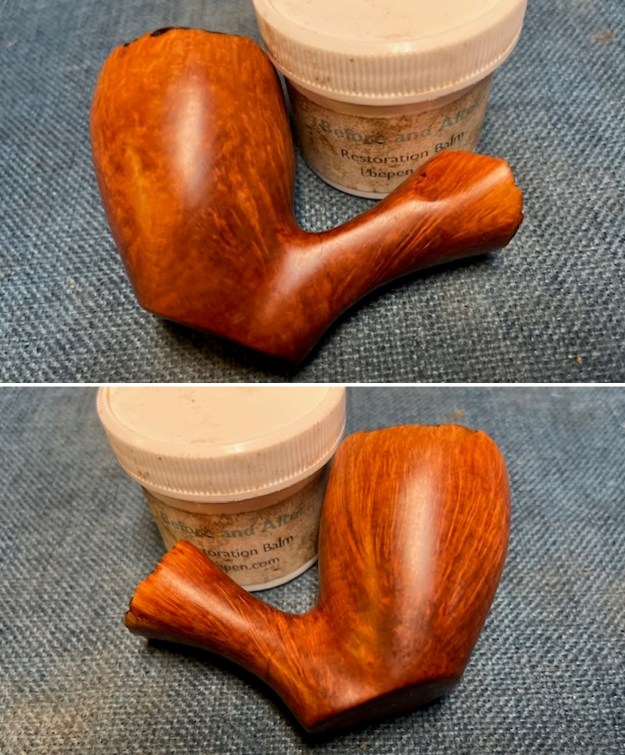
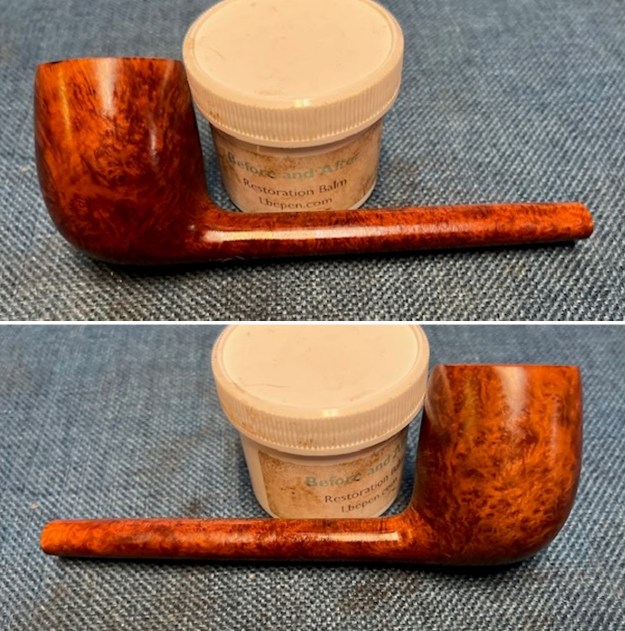
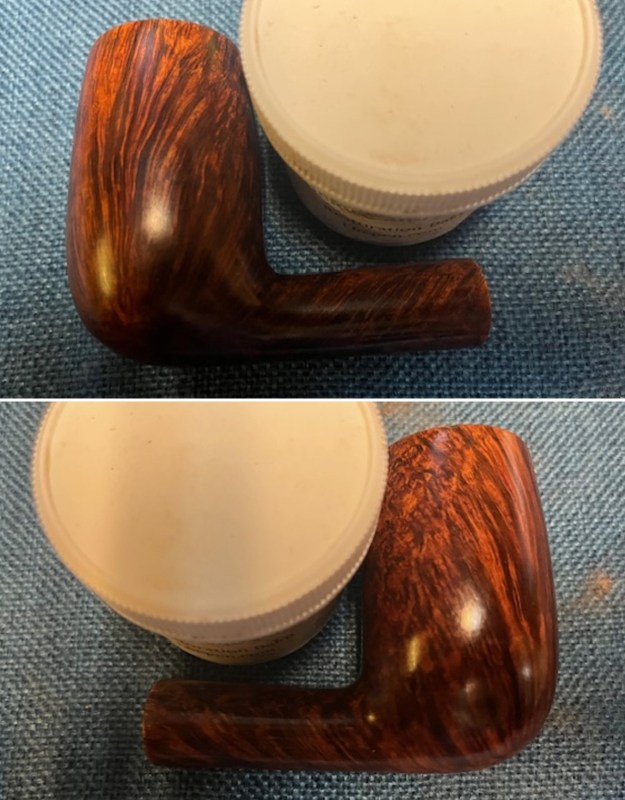
 I worked some Before & After Restoration Balm into the finish of the rim top with my fingertips to clean, enliven and protect it. I find that the balm really makes the briar come alive again. I let the balm sit for 15 minutes and then buffed with a cotton cloth to raise the shine. The bowl really looks good at this point.
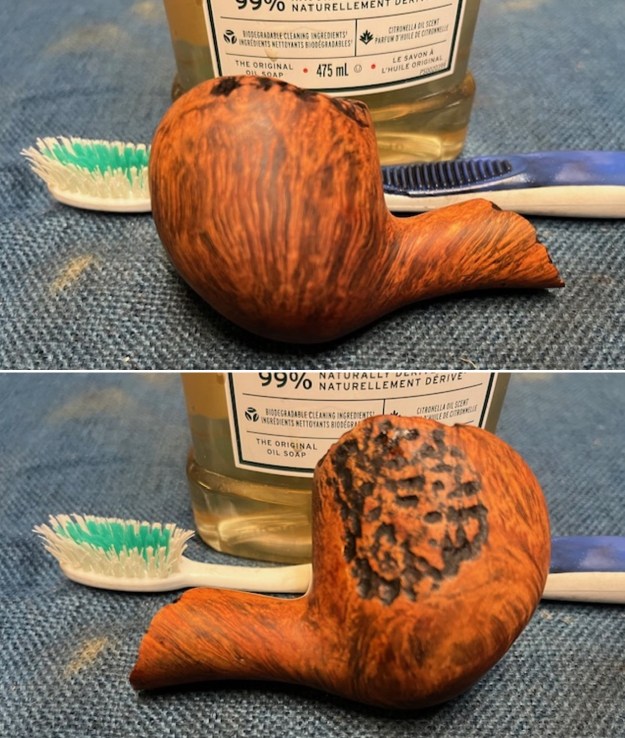
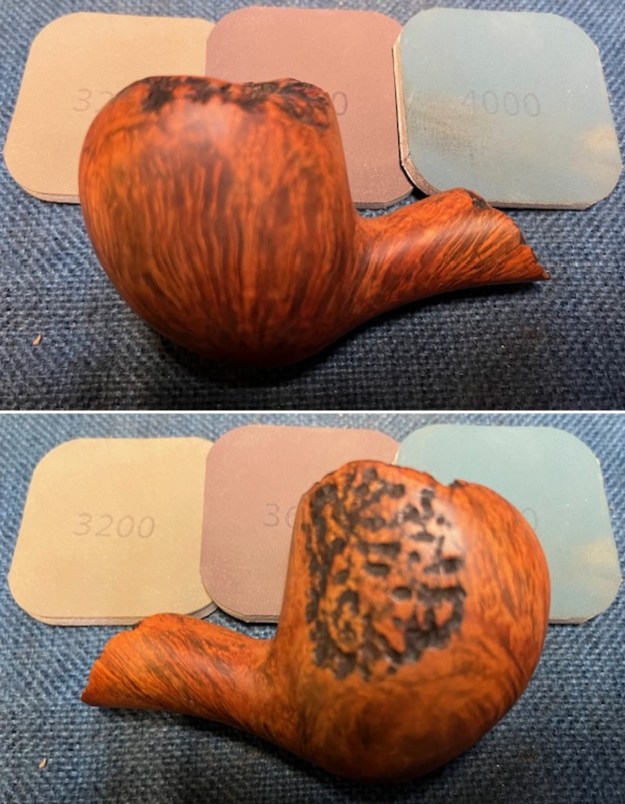
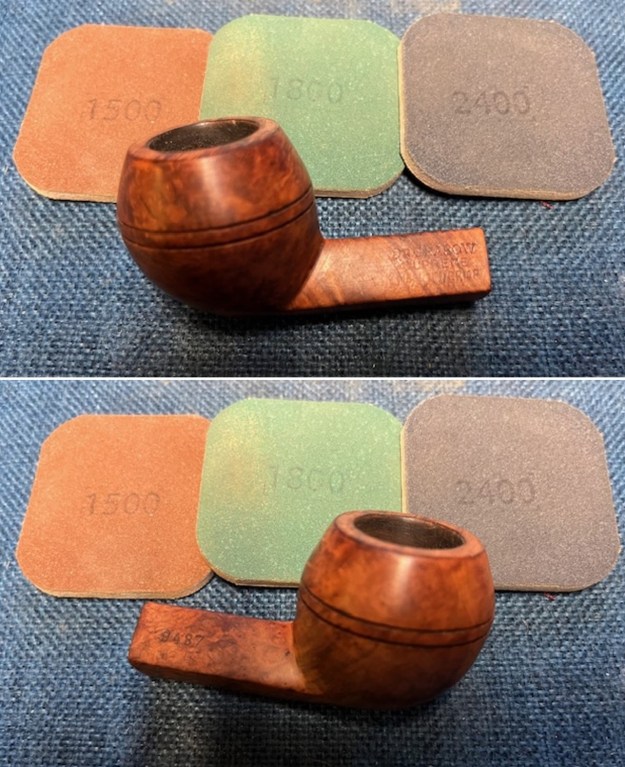
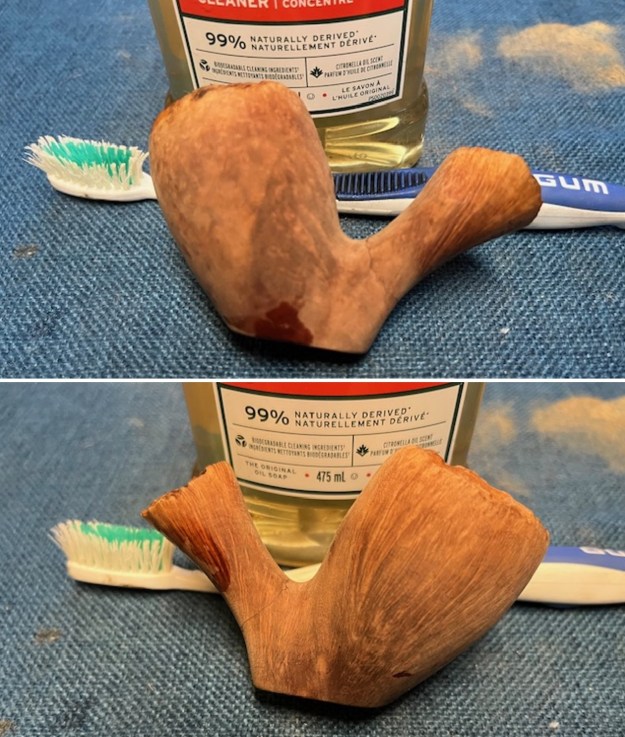
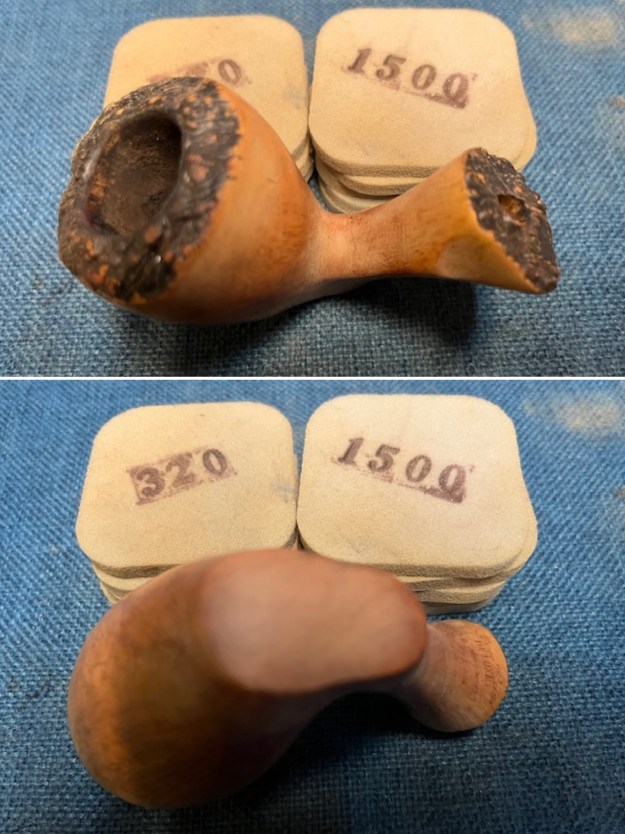
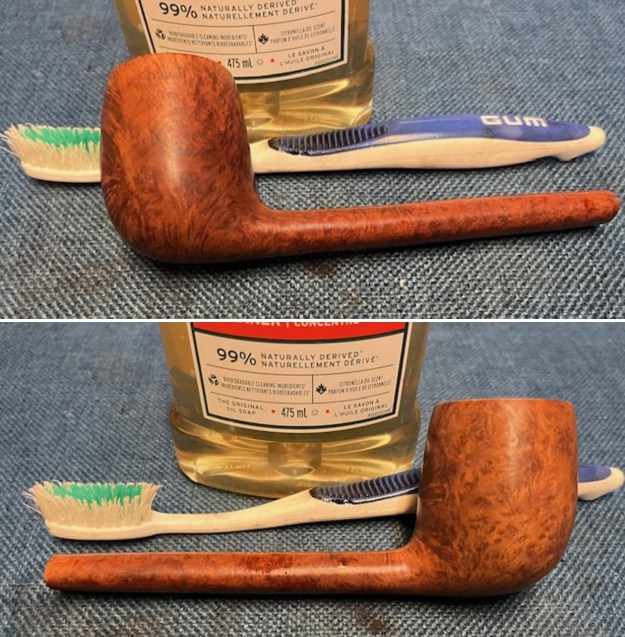
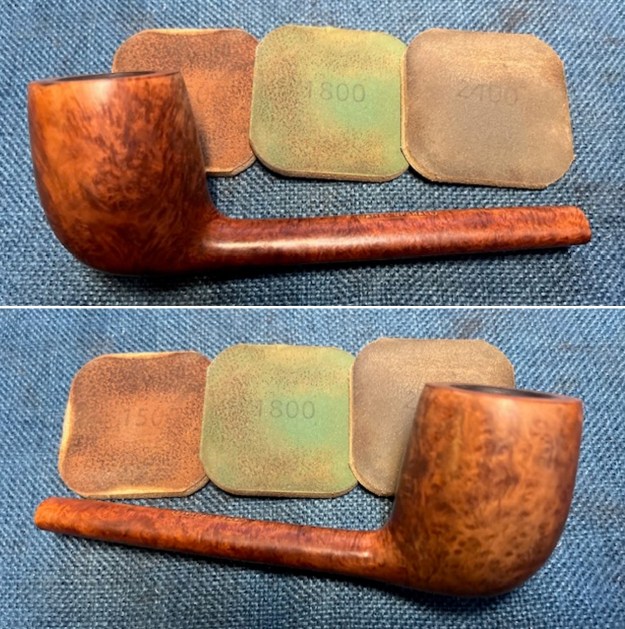
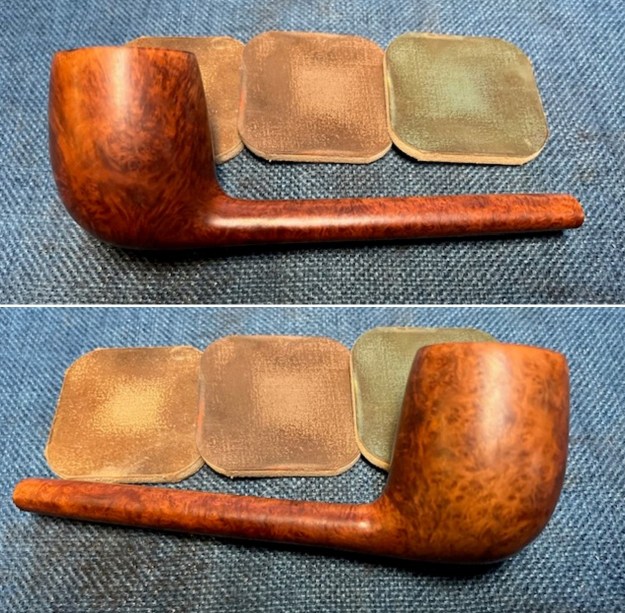
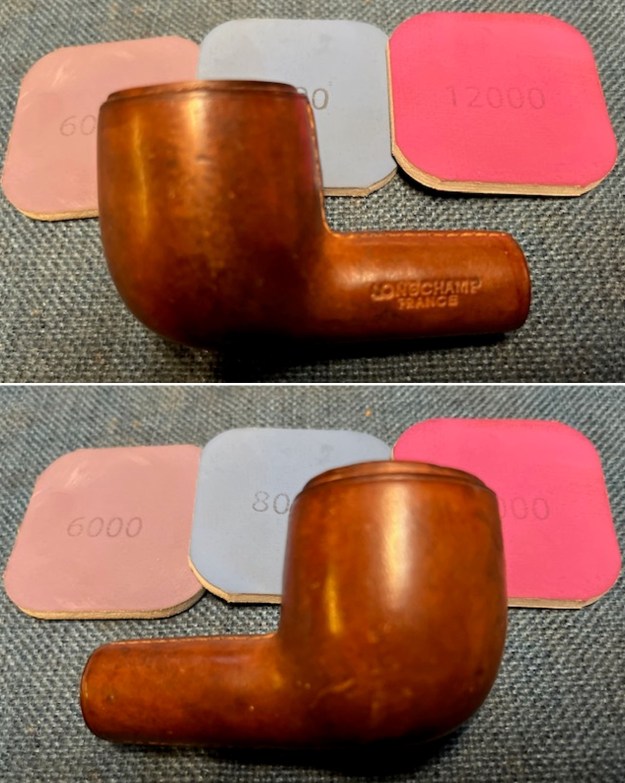
 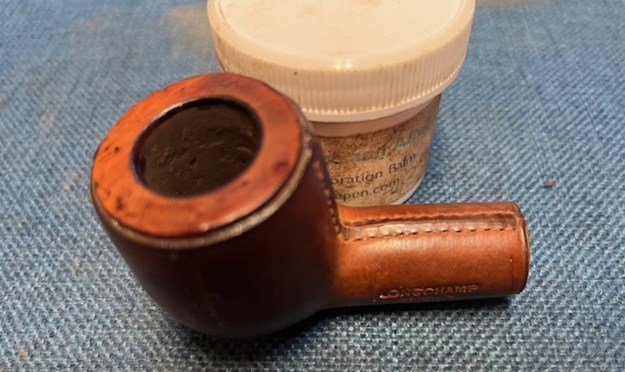 Now it was time to address the scuffing on the bowl sides. I wiped the leather down with a damp cloth to remove the dust and debris. It was surprisingly clean. I decided to try something new in terms of addressing the scuffing on the leather sides. I used micromesh sanding pads to work on the scuffed areas and smooth them out. It worked very well.
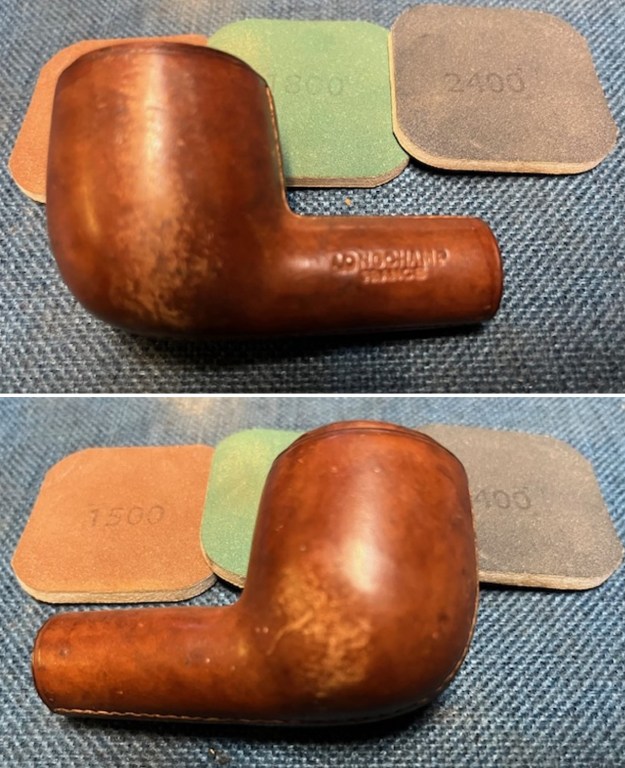

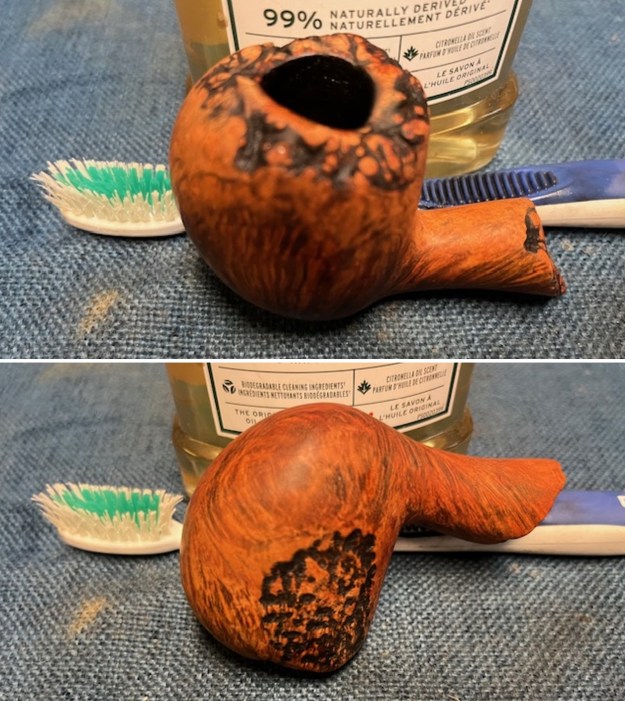
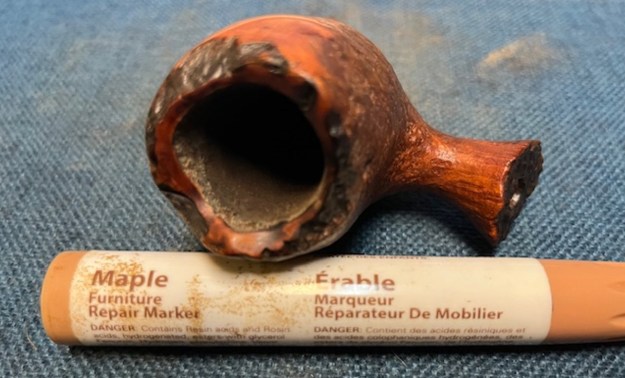
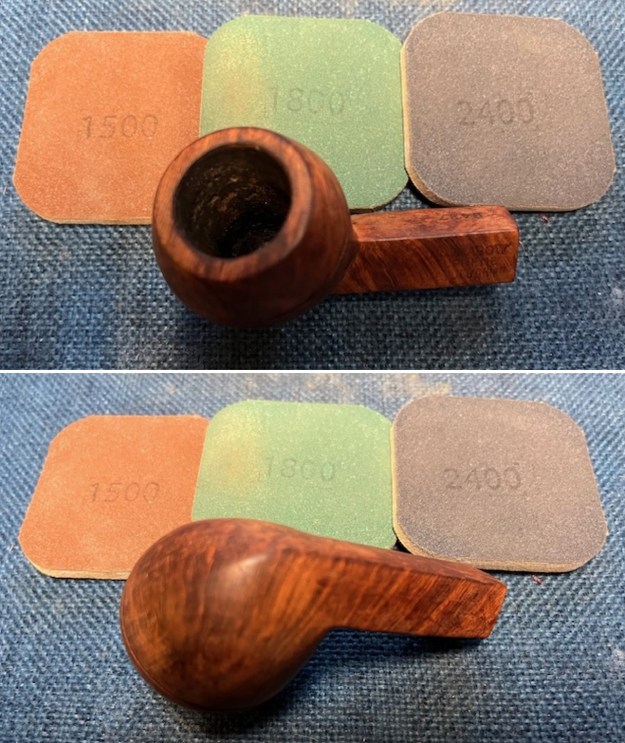
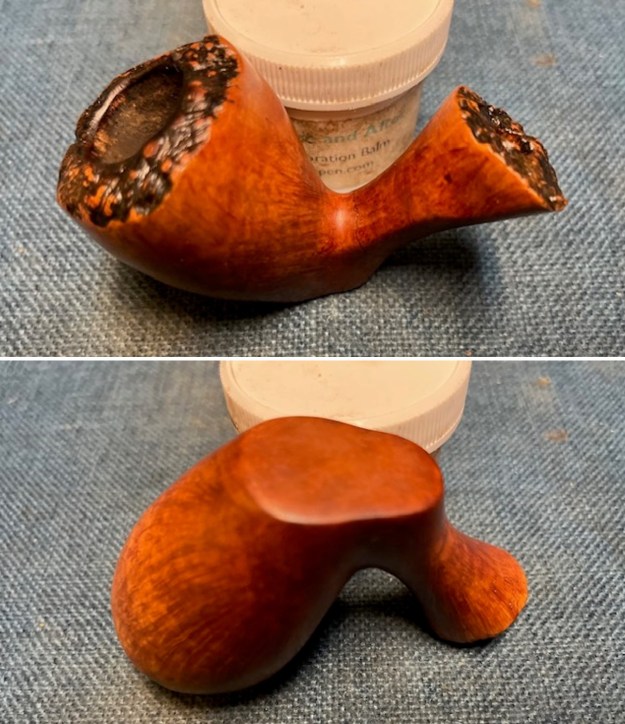
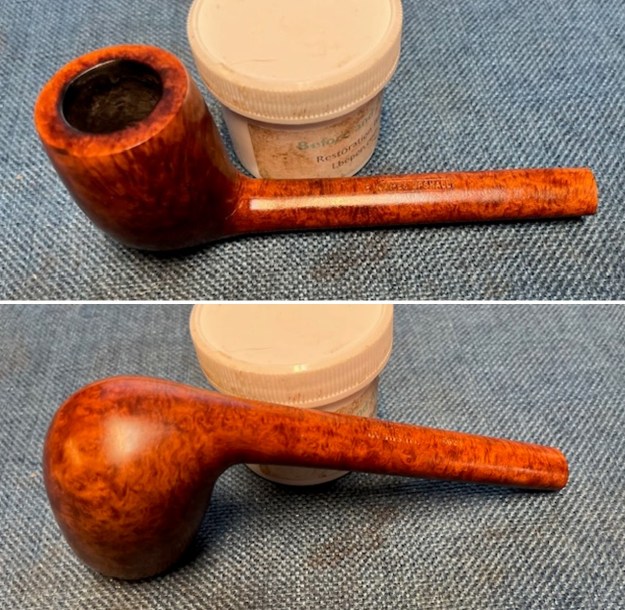
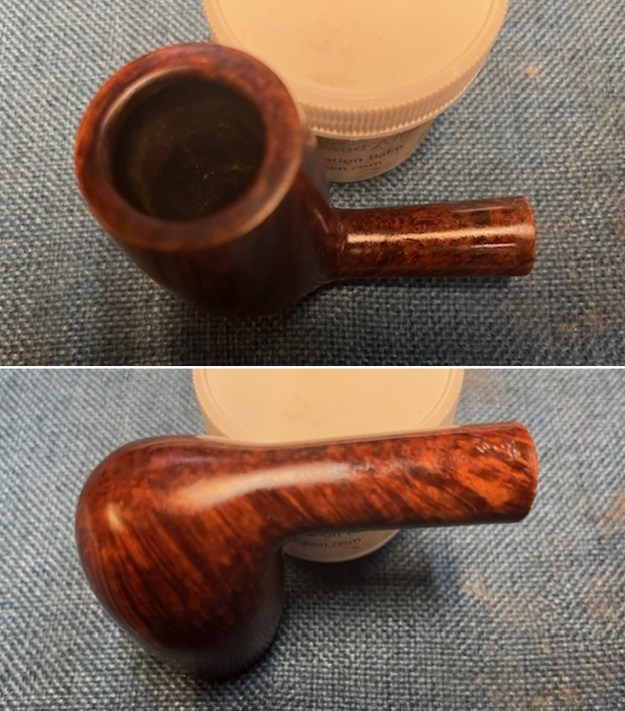
 I used a Maple stain pen to blend the smoothed-out areas of the leather into the surrounding areas of the bowl covering. It really looked much better!
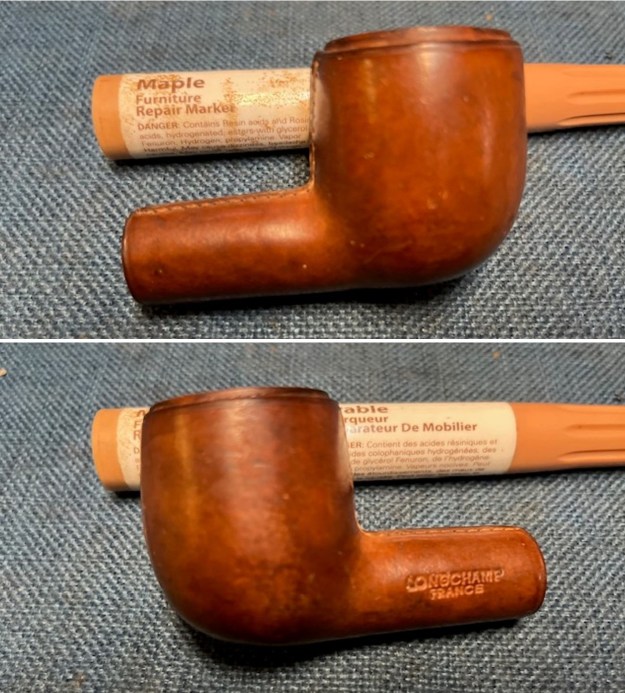 I waxed the leather cladding with Conservator’s Wax and buffed it on the buffer with a clean buffing wheel. It looked very good.
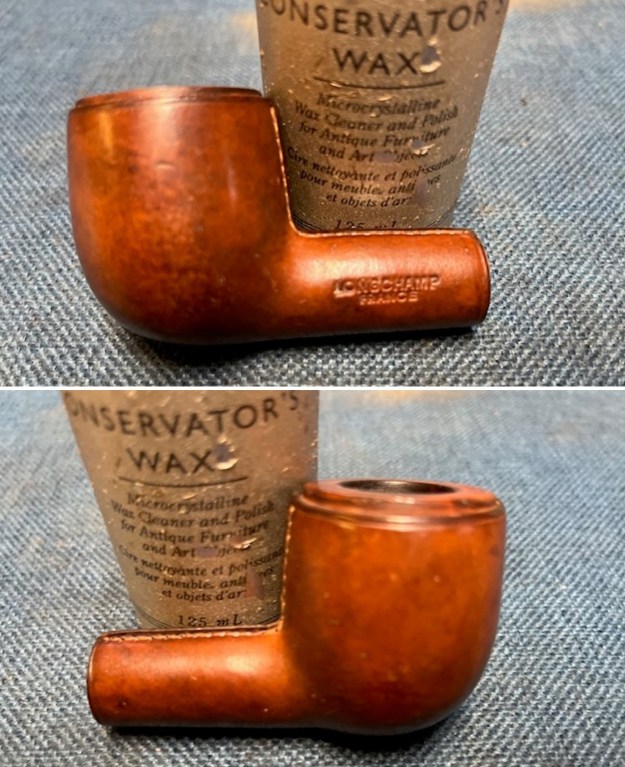
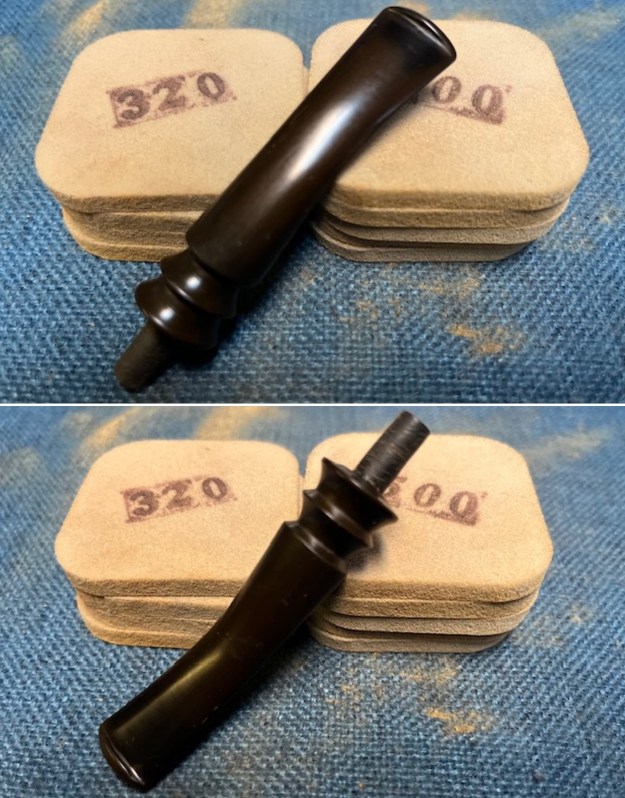
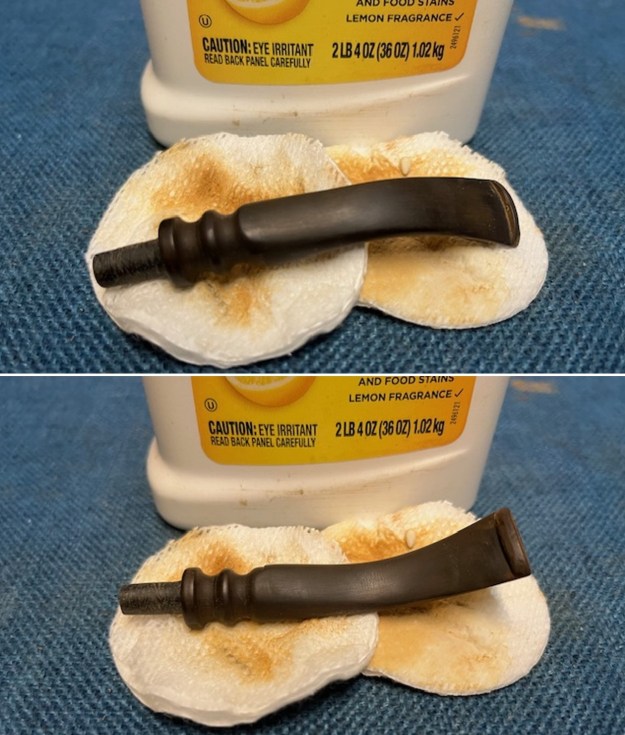
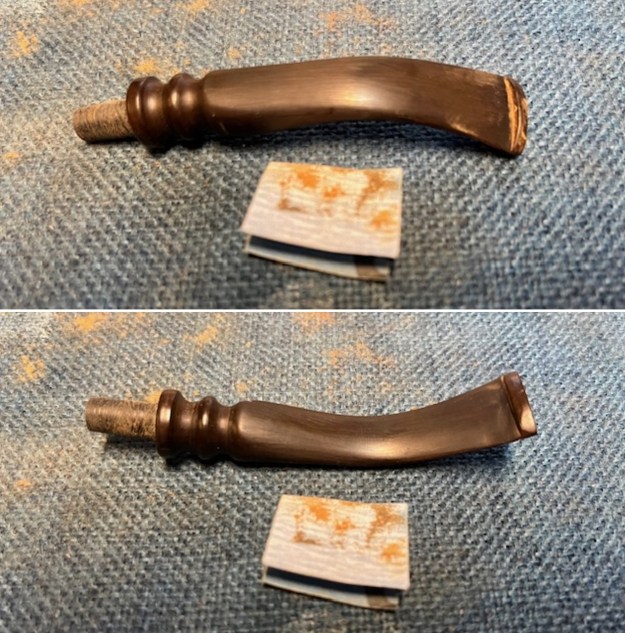
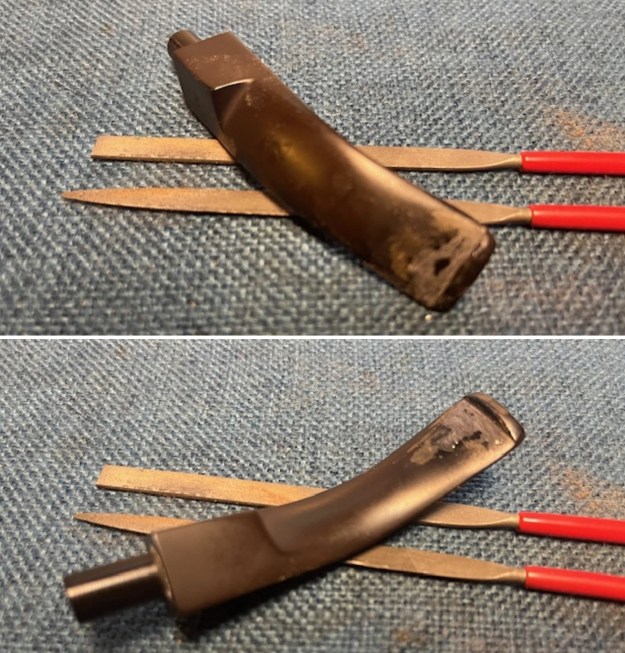
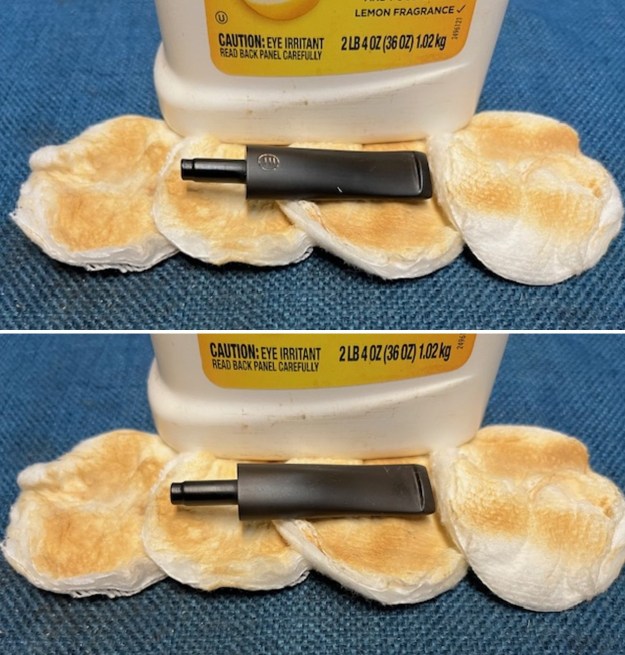
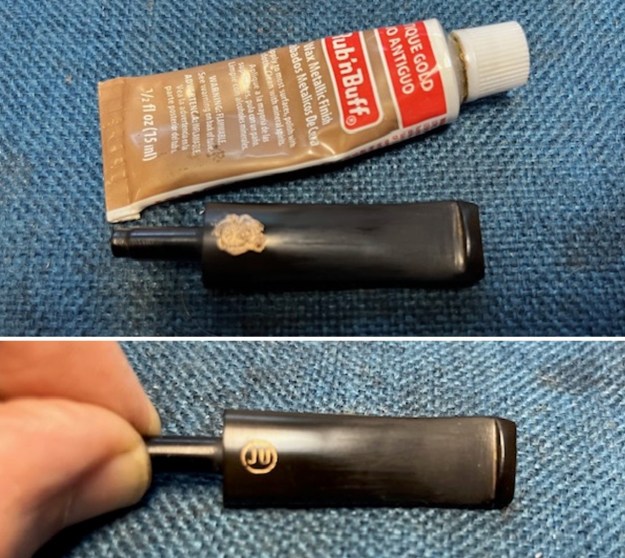
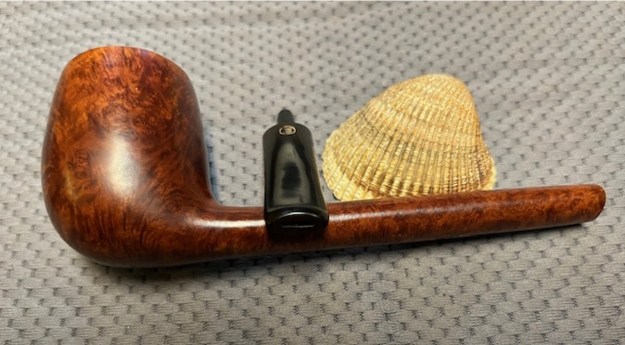
 I set the bowl aside and turned my attention to the stem. I touched up the racing horse stamp on the left side of the taper stem with white acrylic fingernail polish. Once it dried I scraped off the excess.
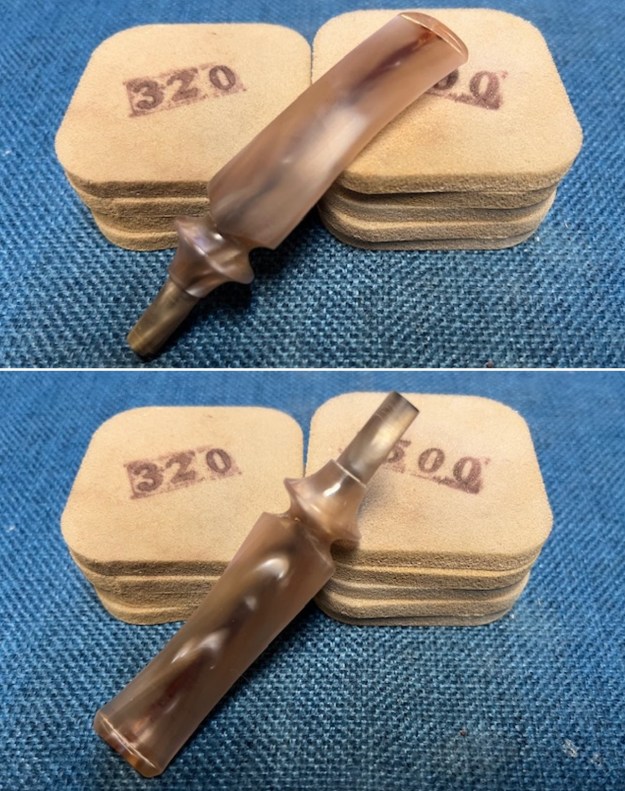
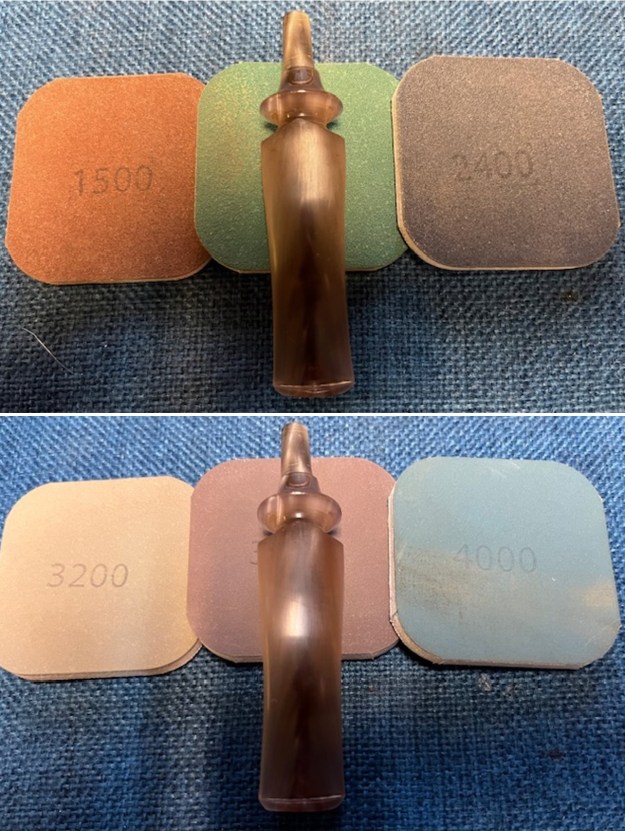
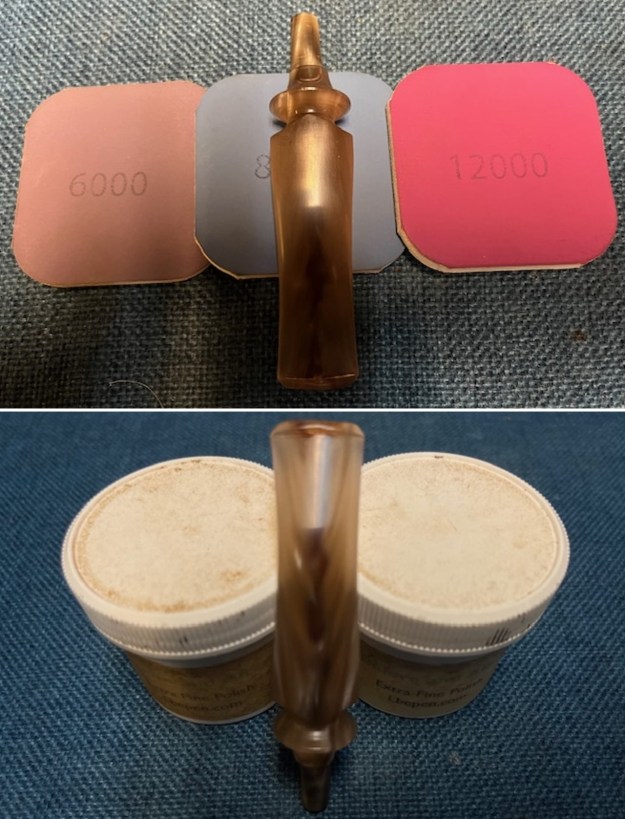
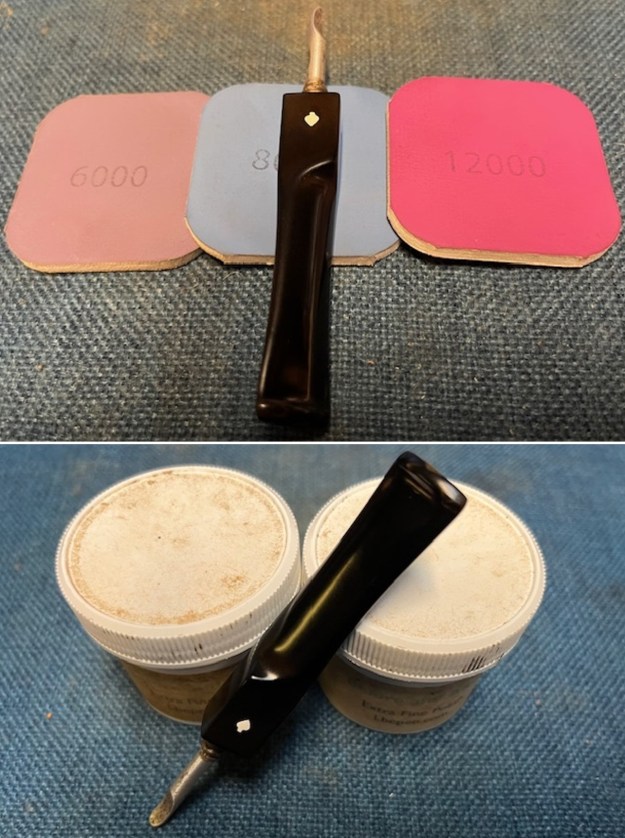
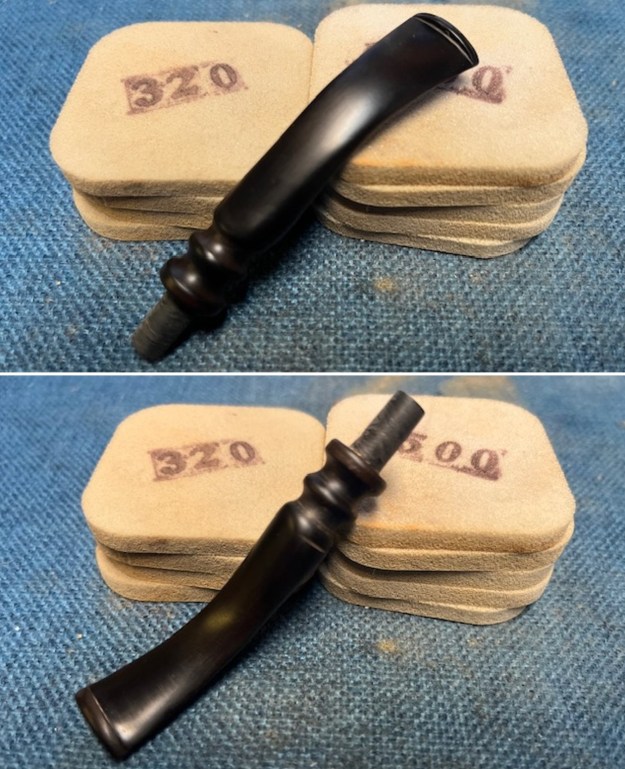
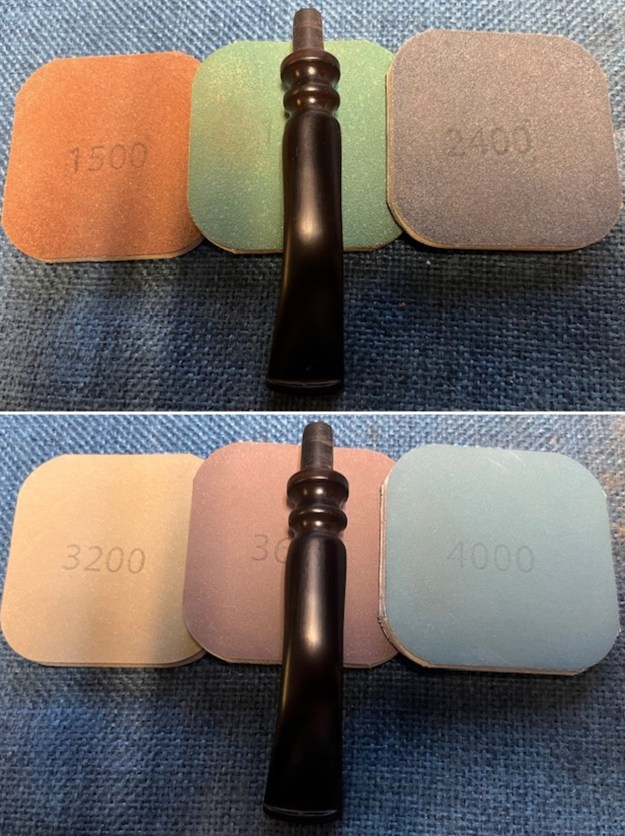
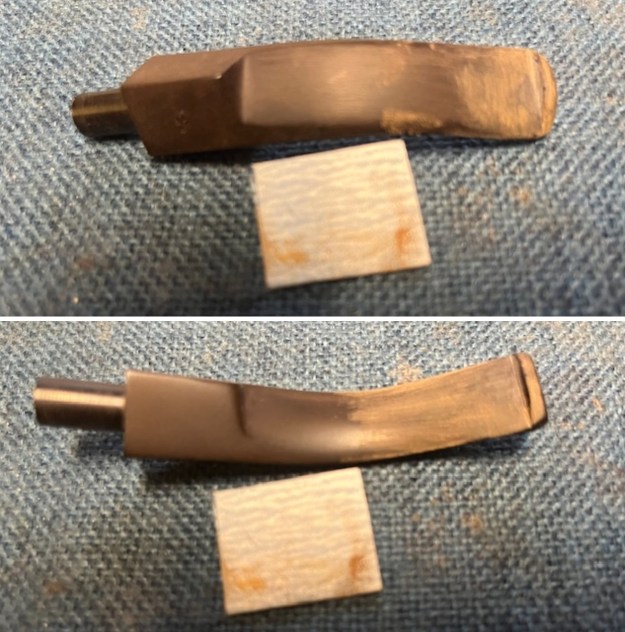
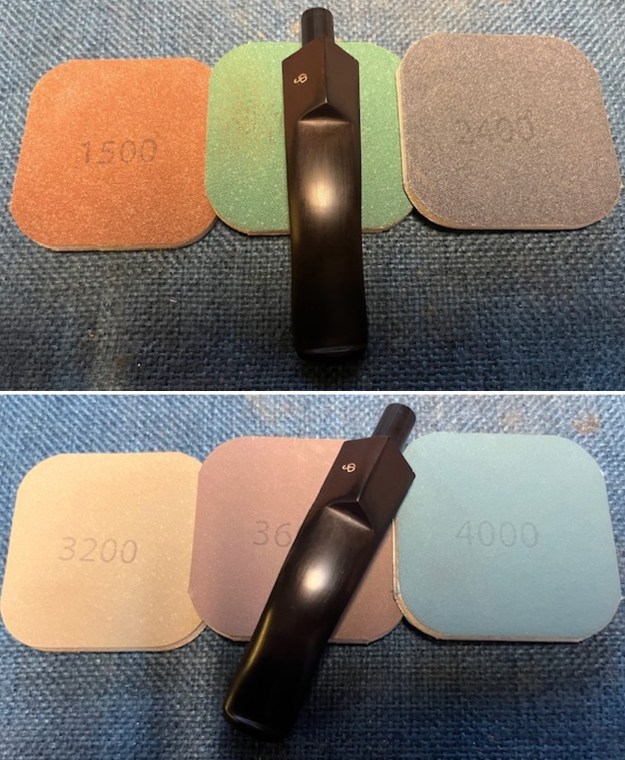
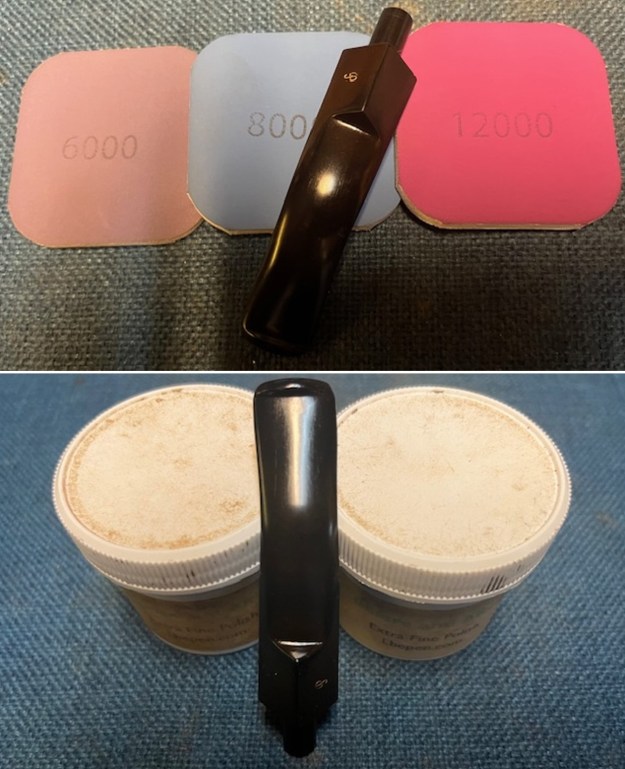
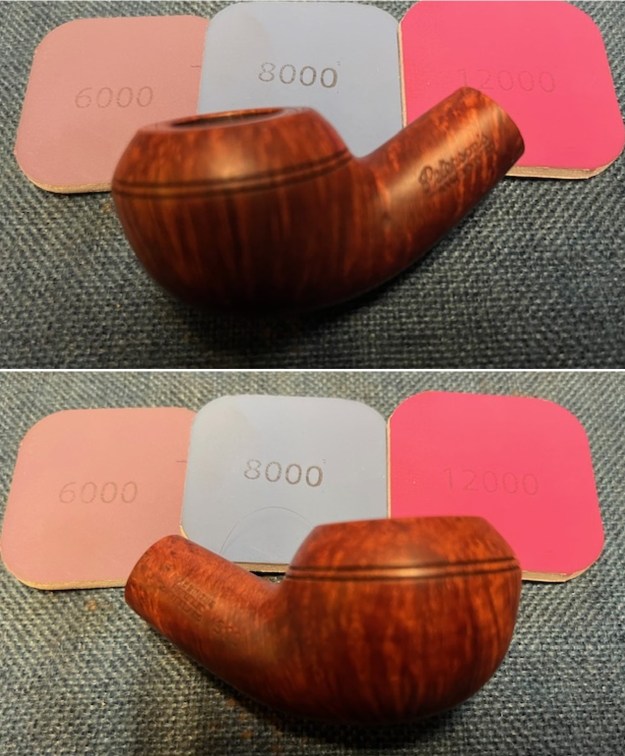
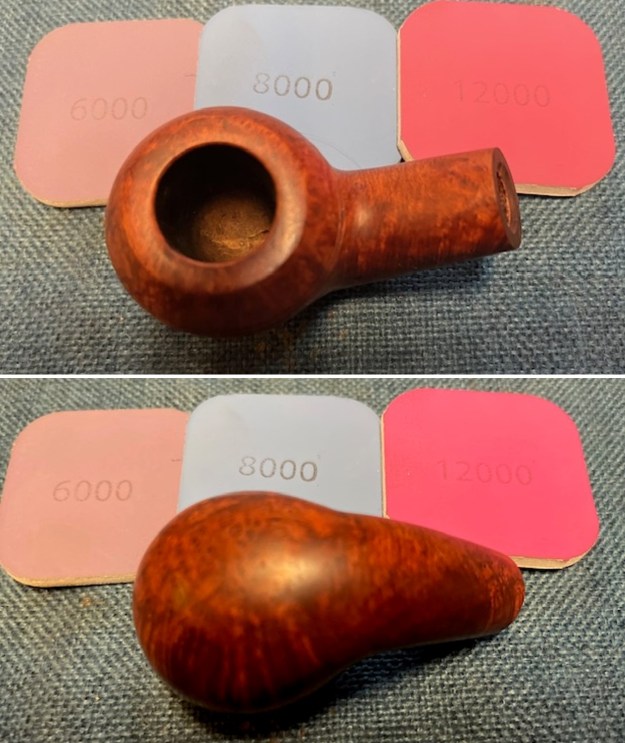
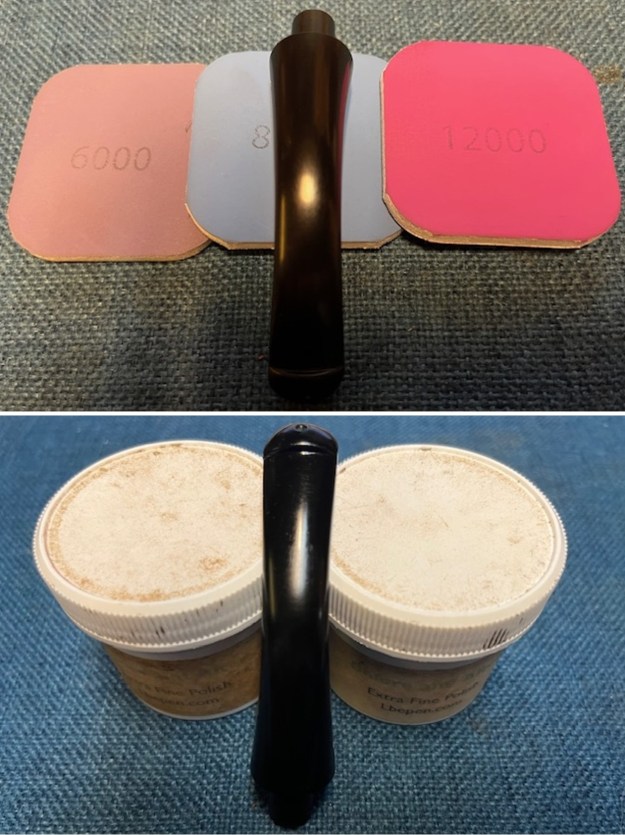
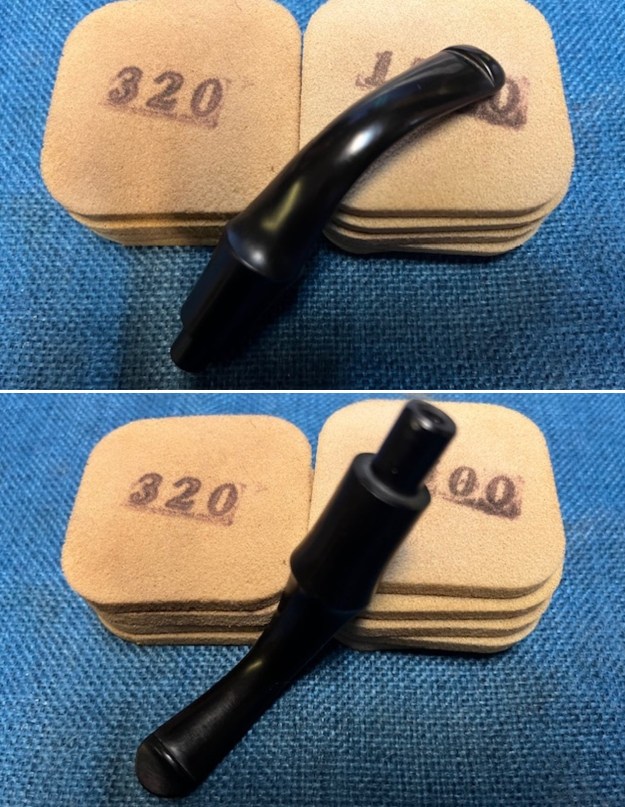
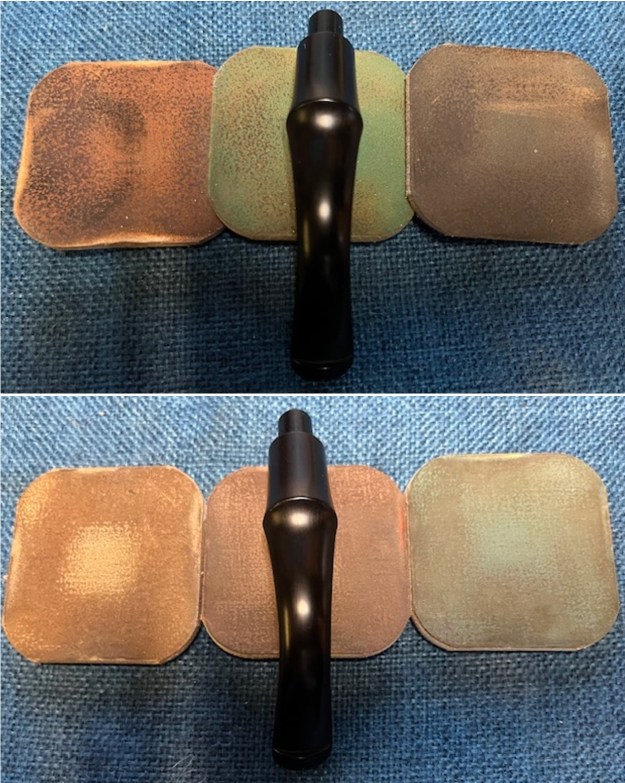
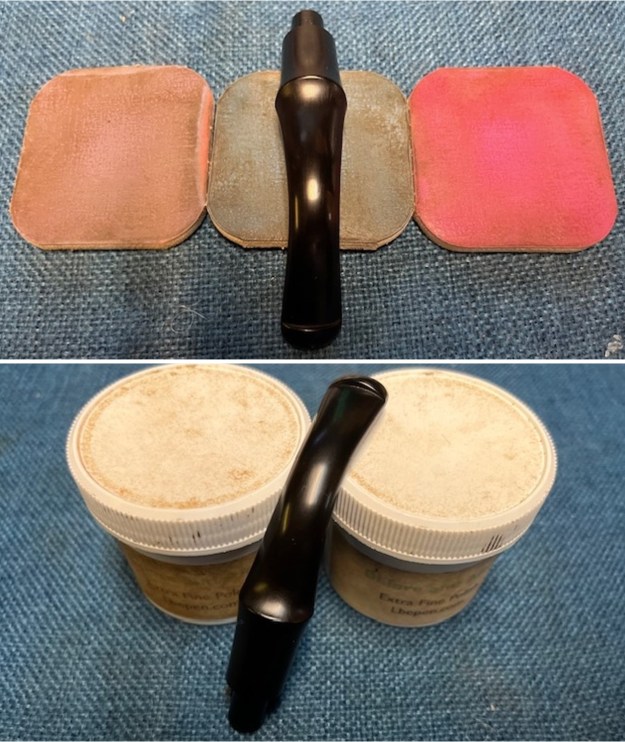
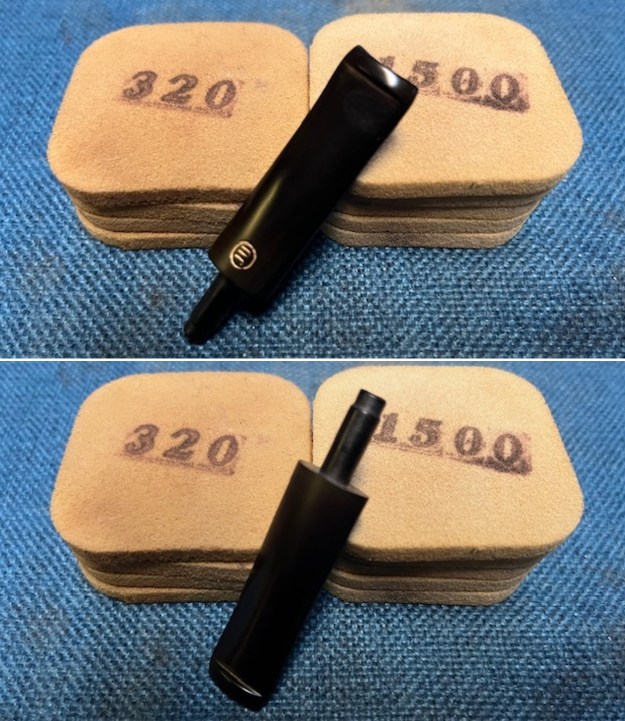
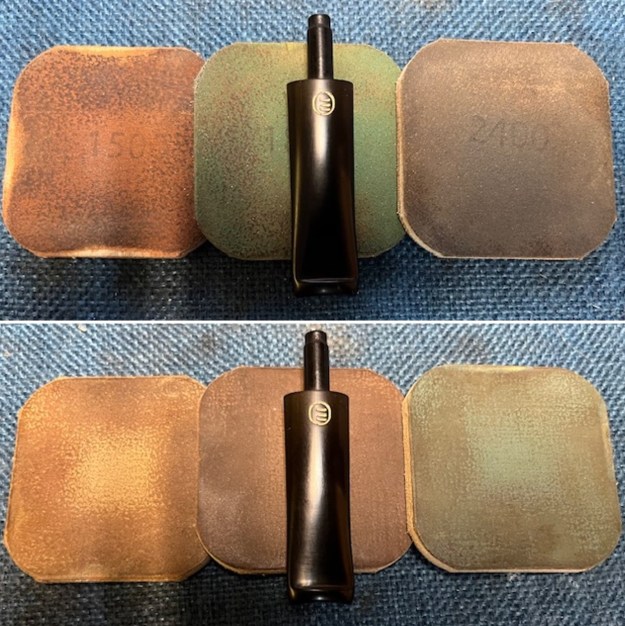
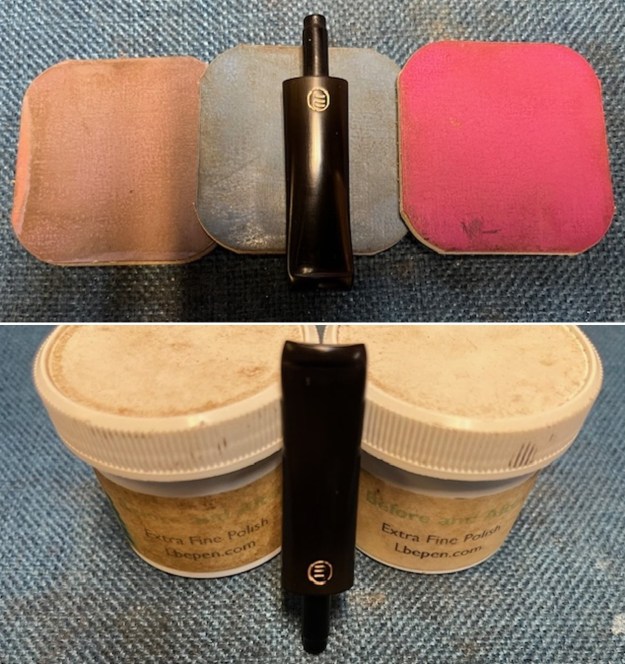
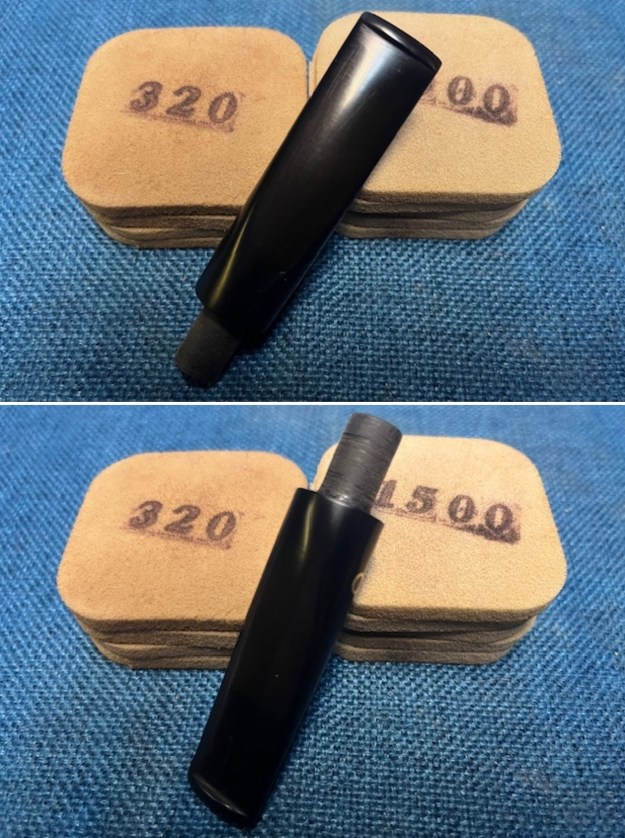
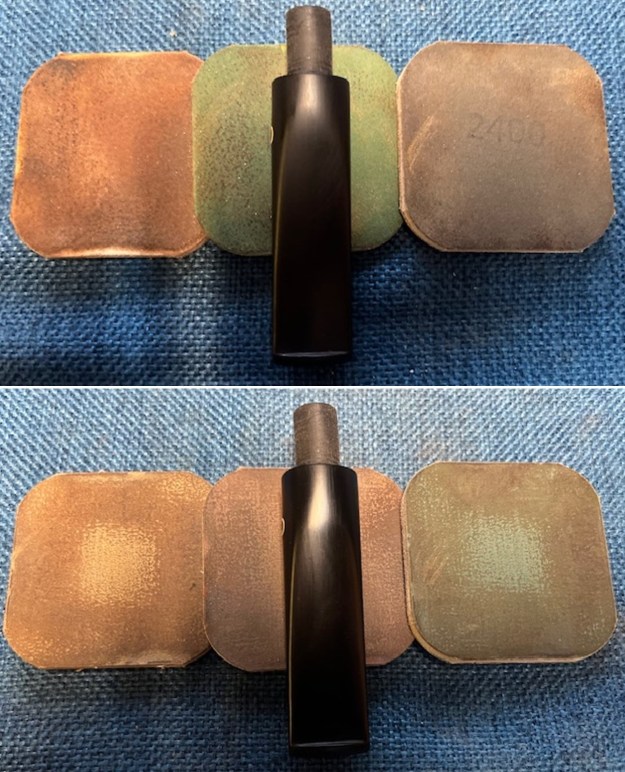
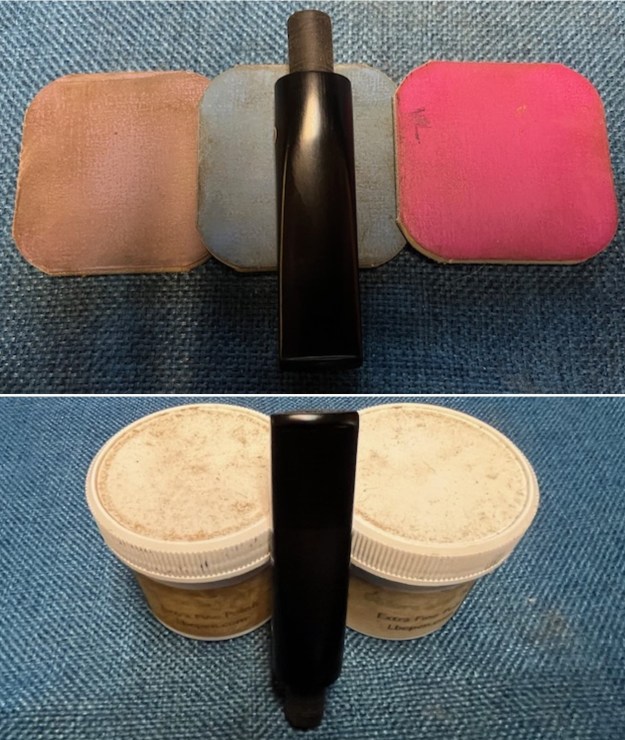
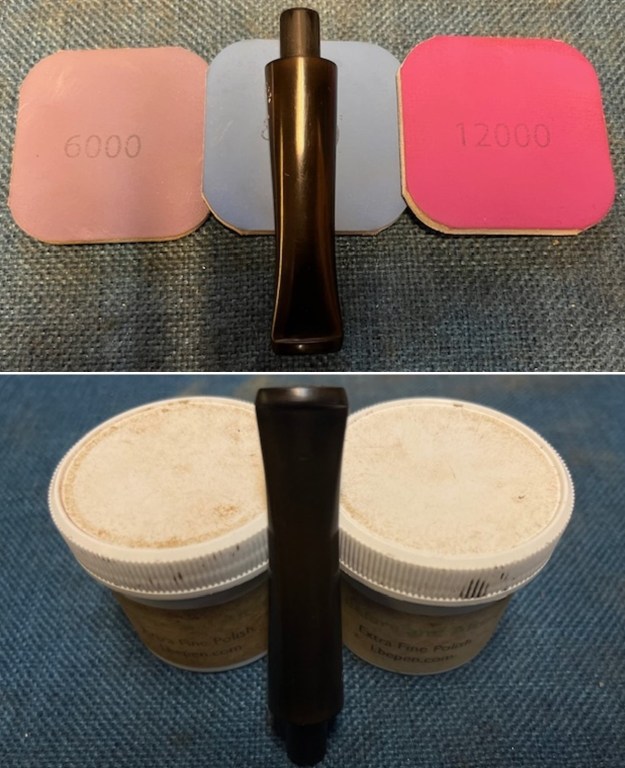
 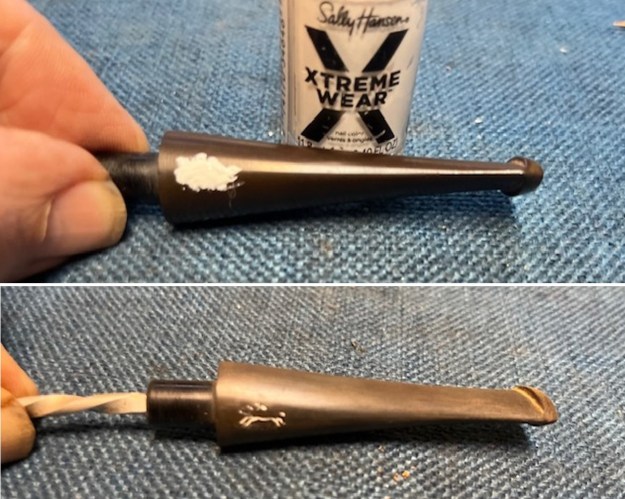 I polished the stem with micromesh sanding pads – dry sanding it with 1500-12000 grit pads. I polished it further with Before & After Pipe Stem Polish – both fine and extra fine.
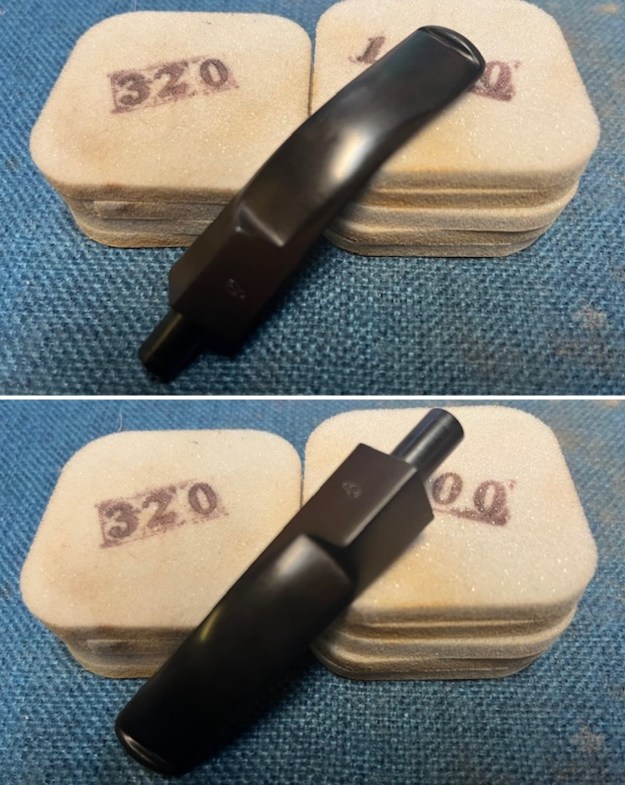
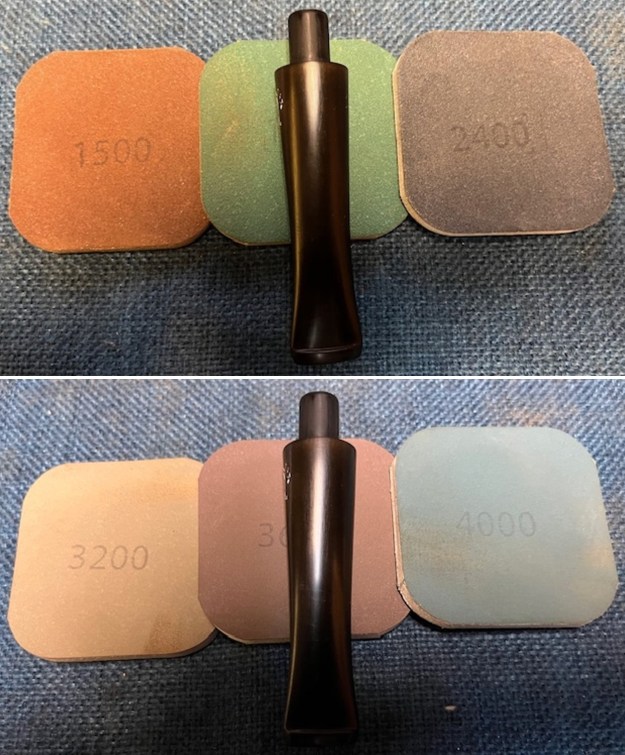
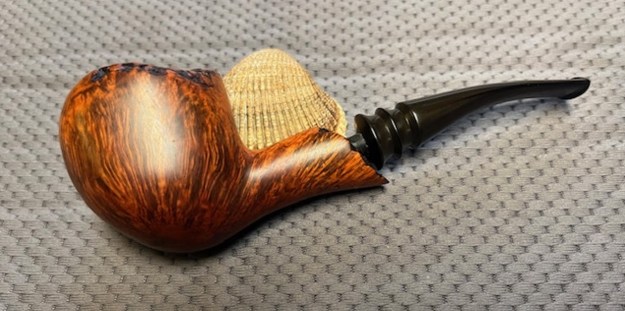
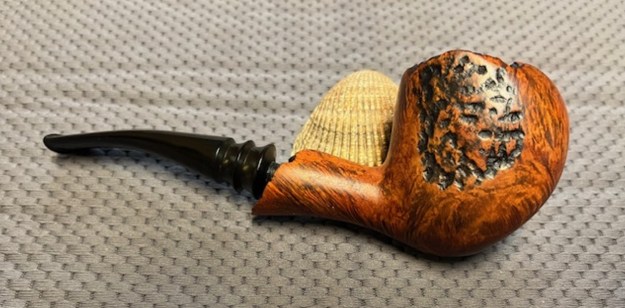
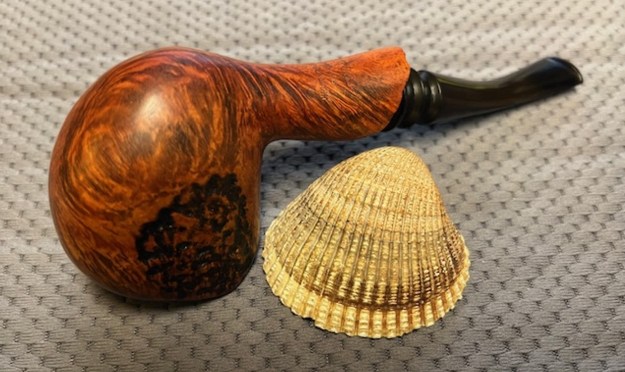
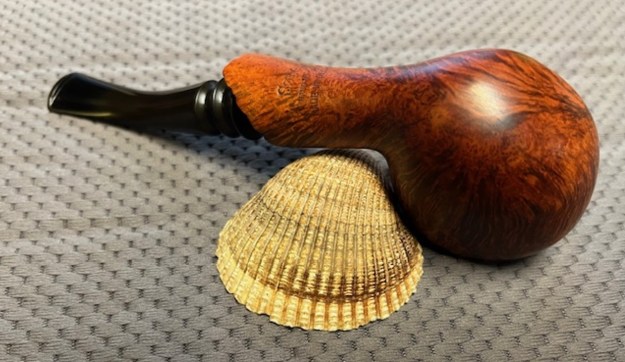
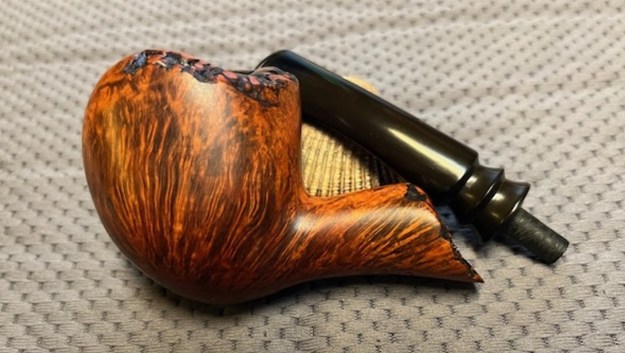
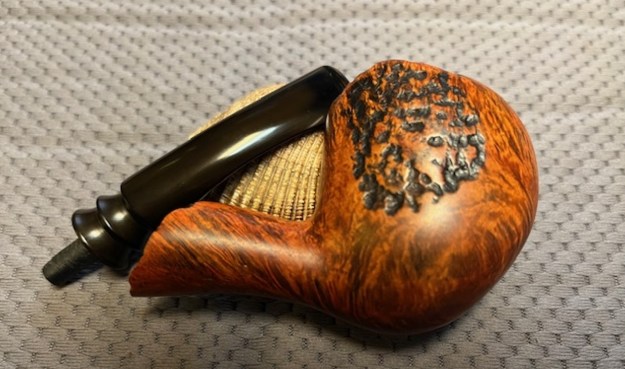
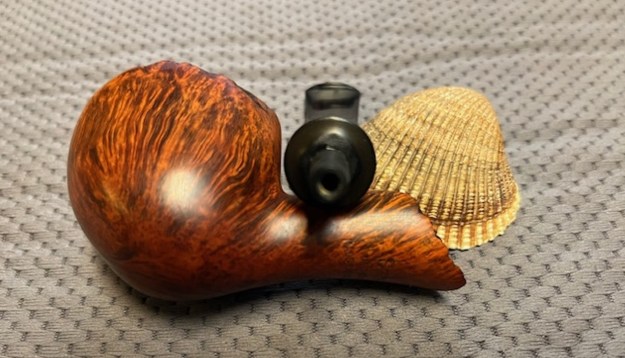
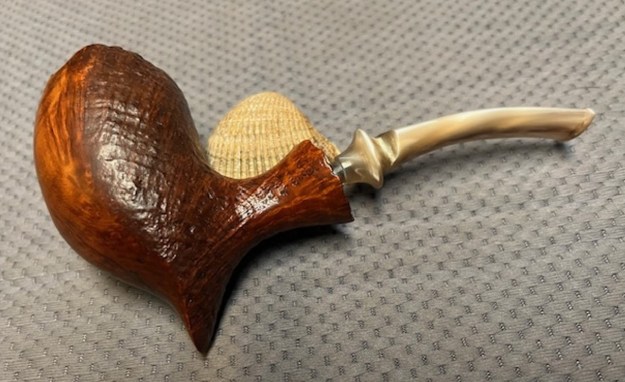
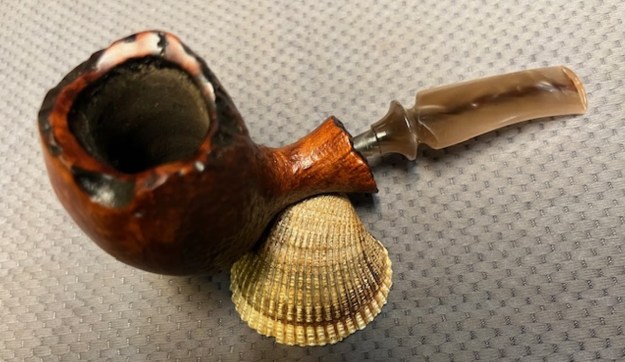
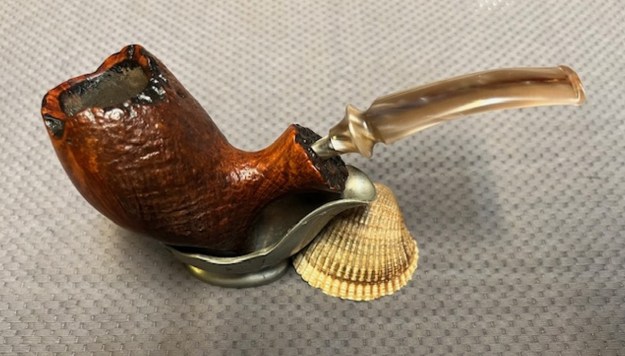
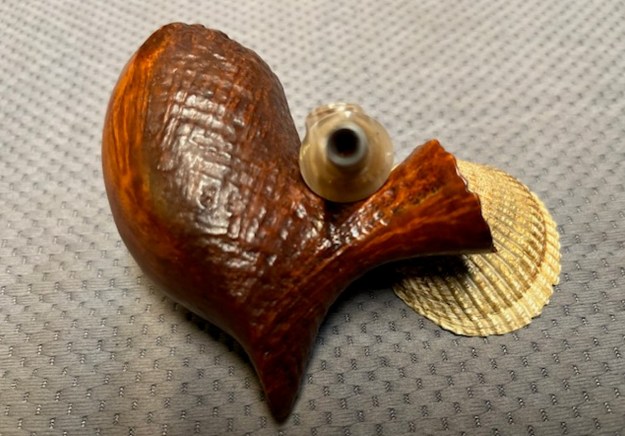
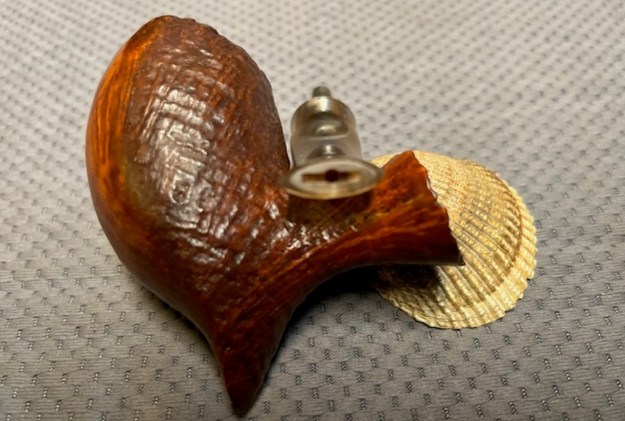
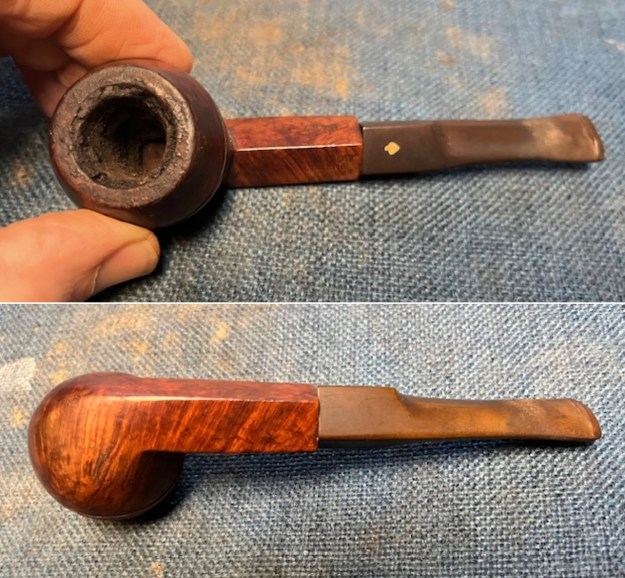
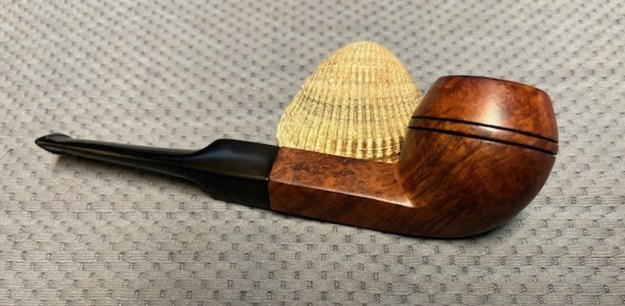
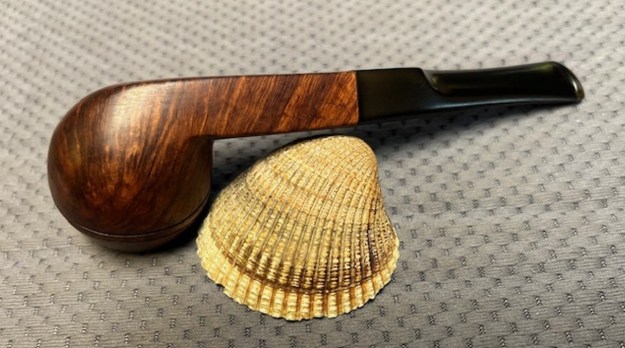
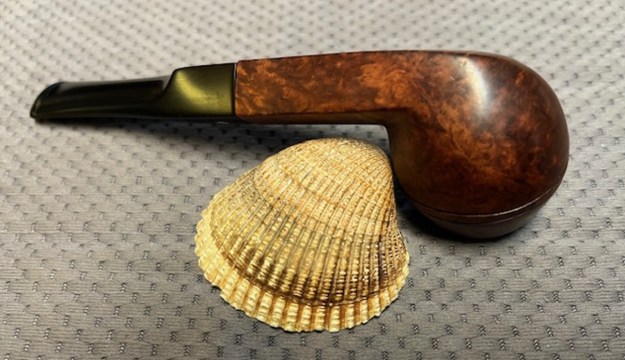
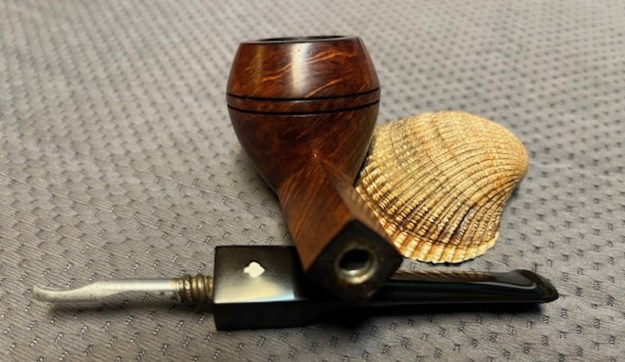
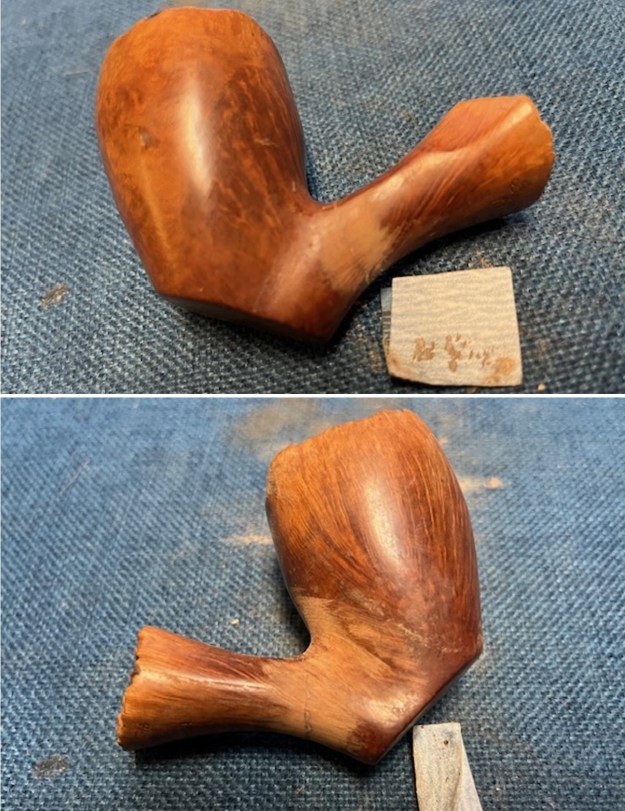
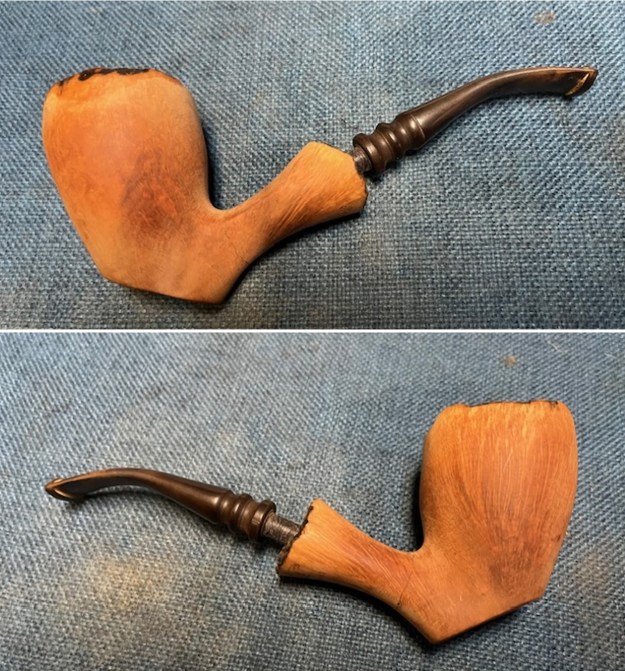
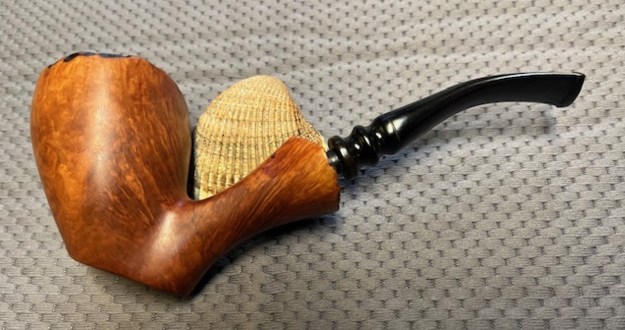
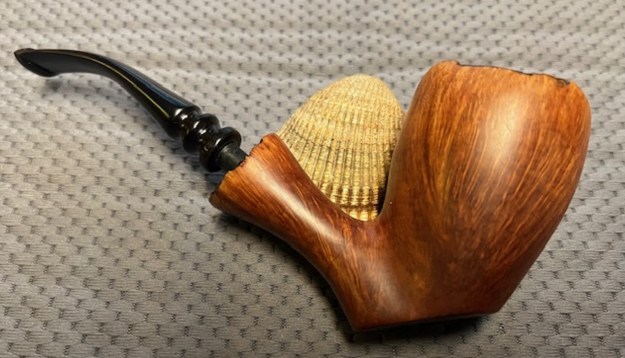
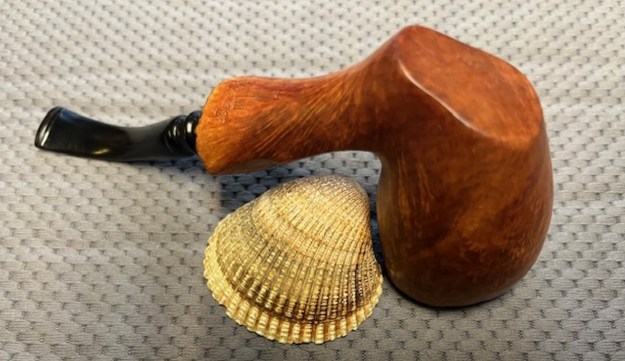
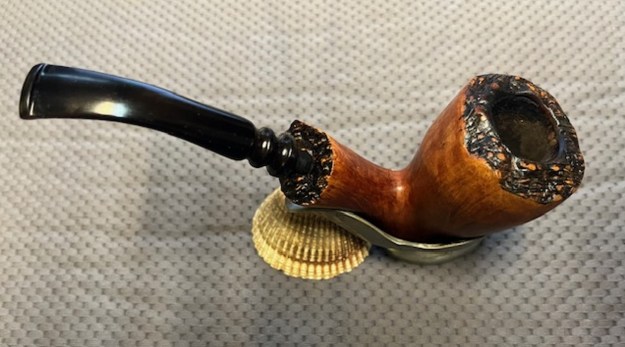
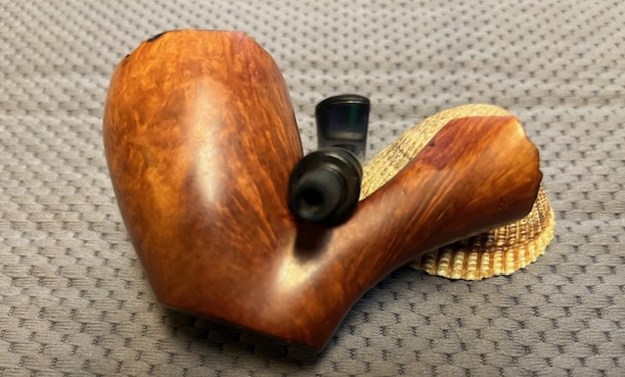
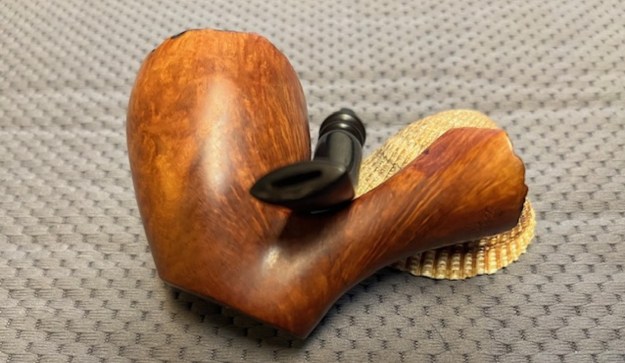
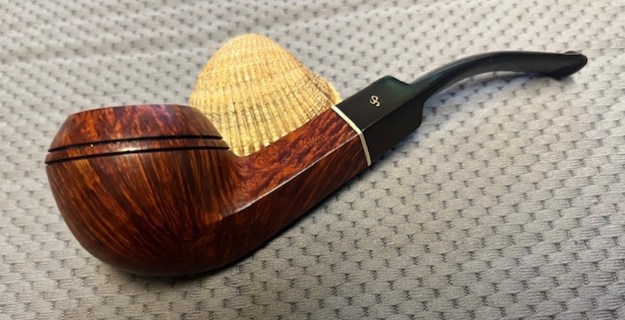
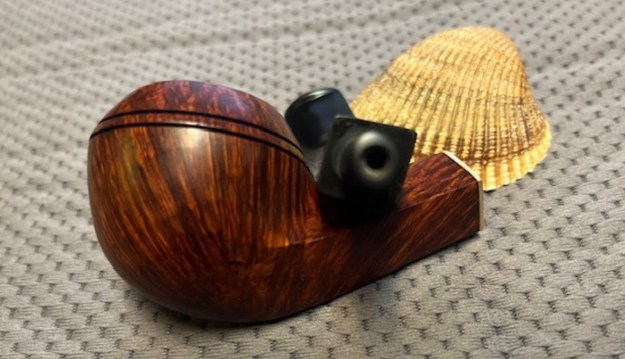
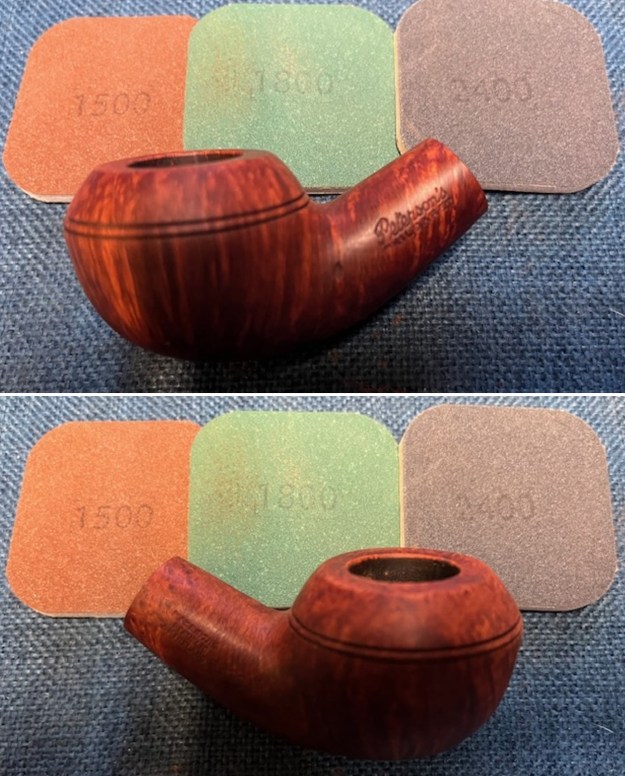
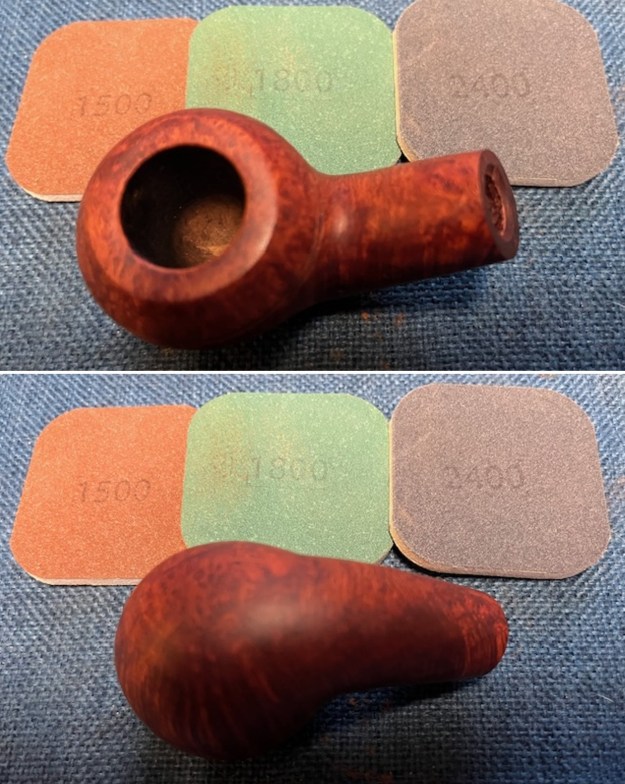
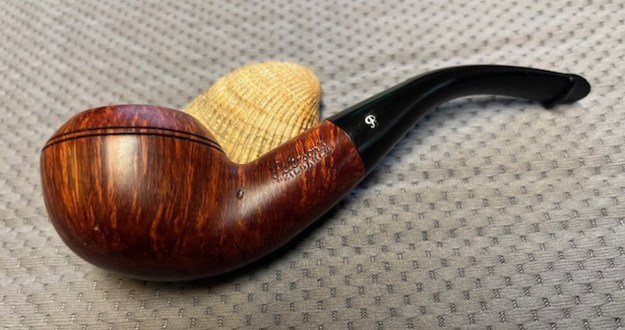
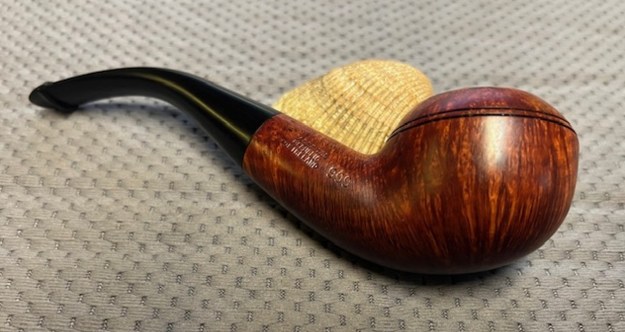
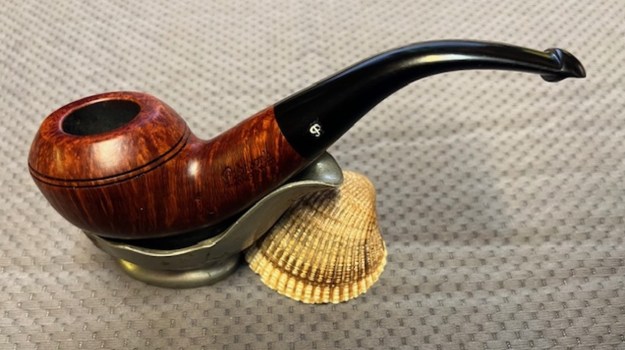
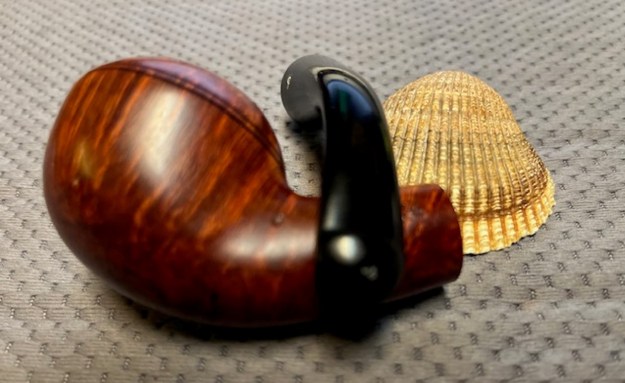
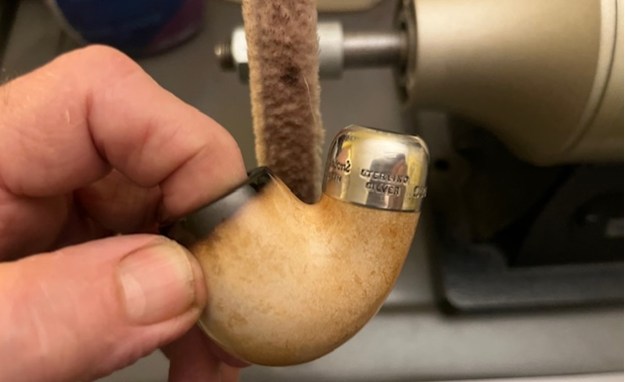
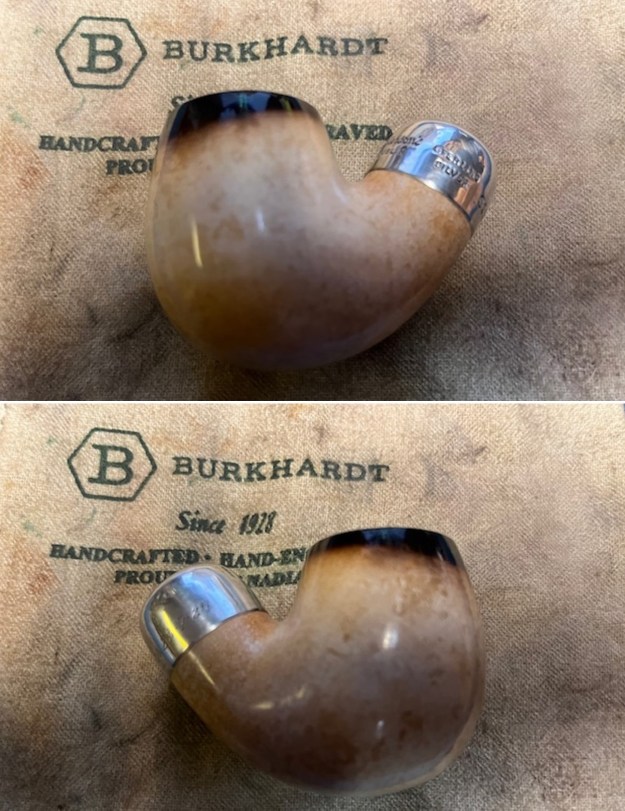
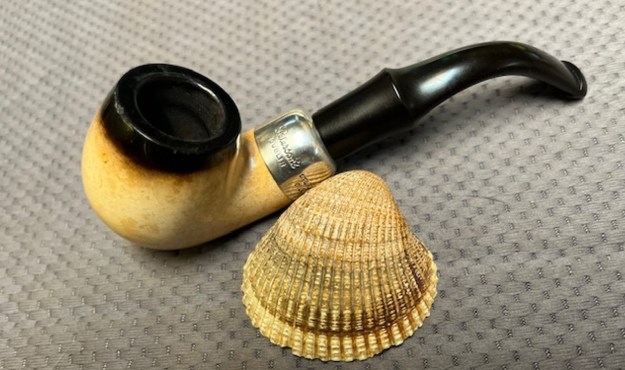
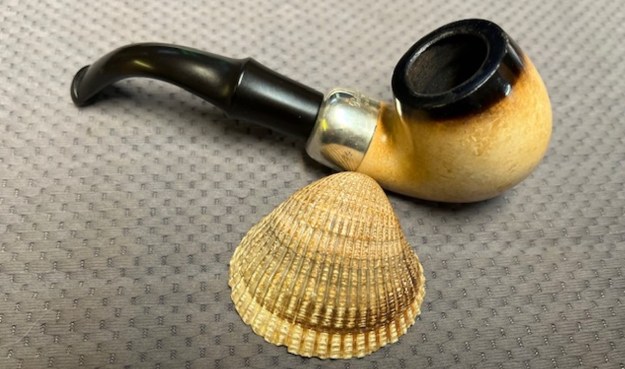
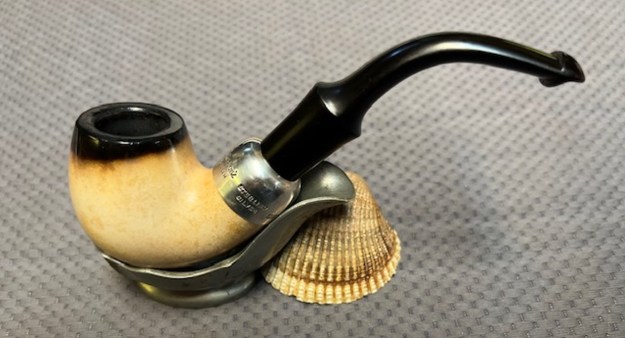
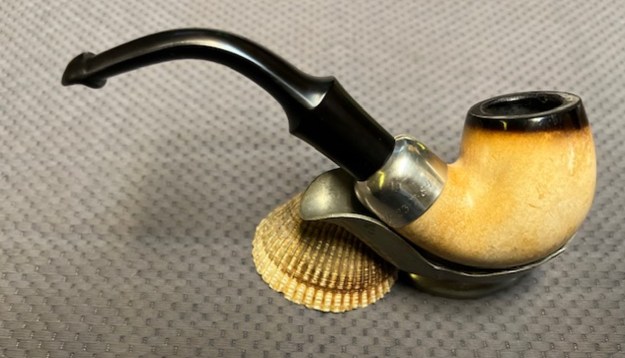
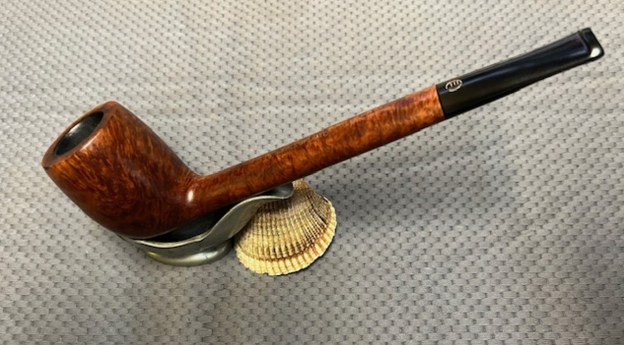
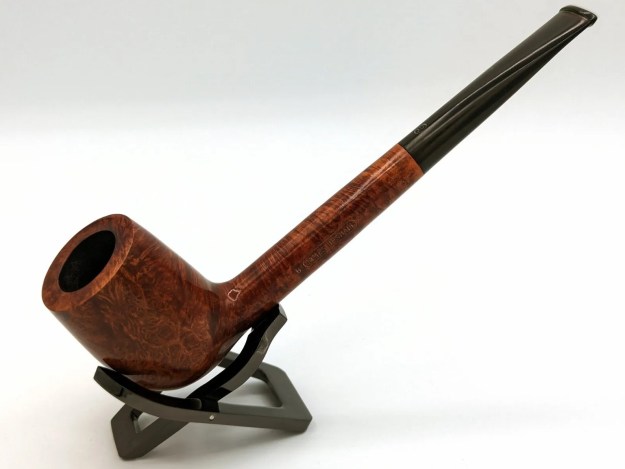
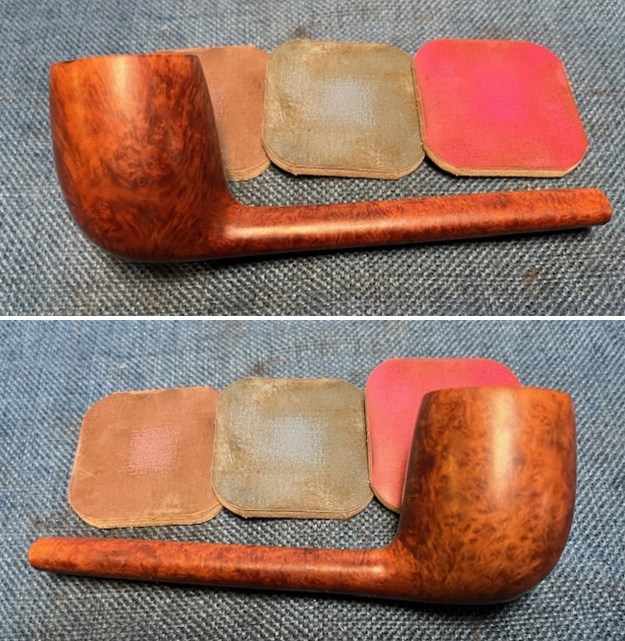
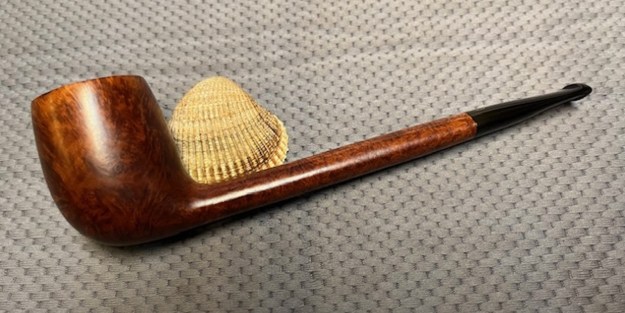
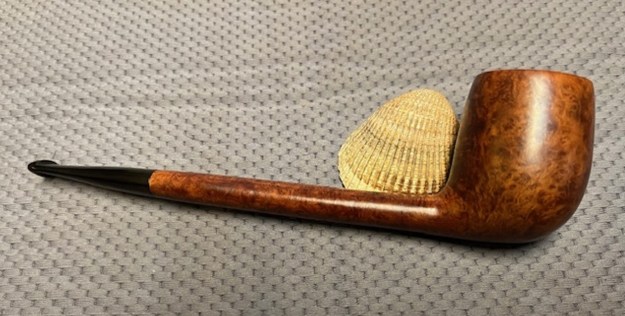
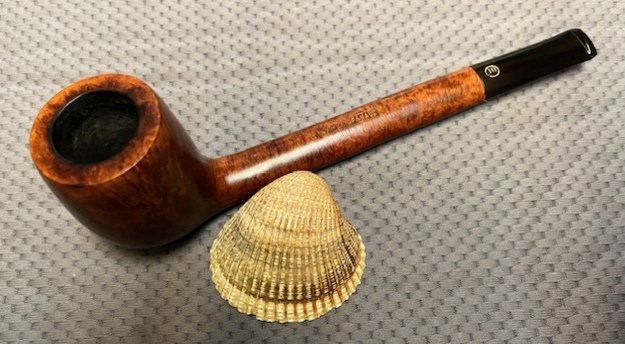
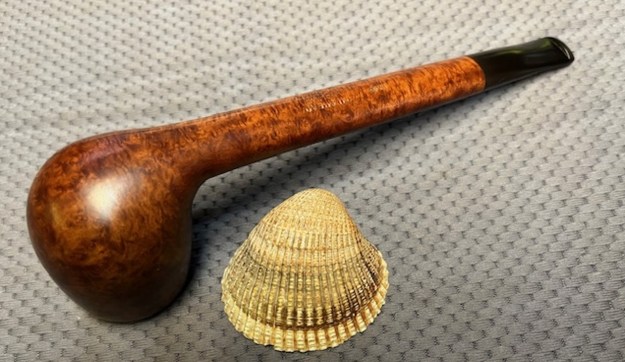
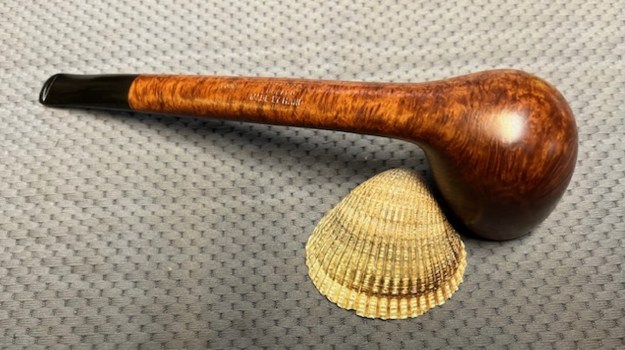
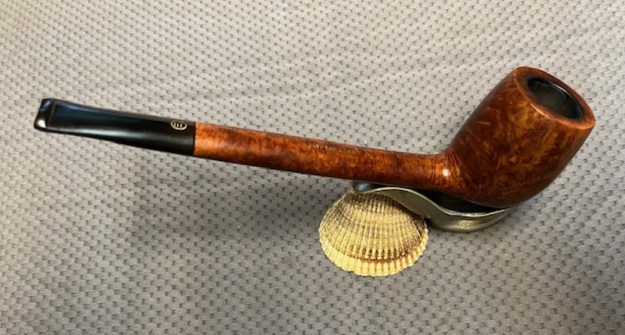
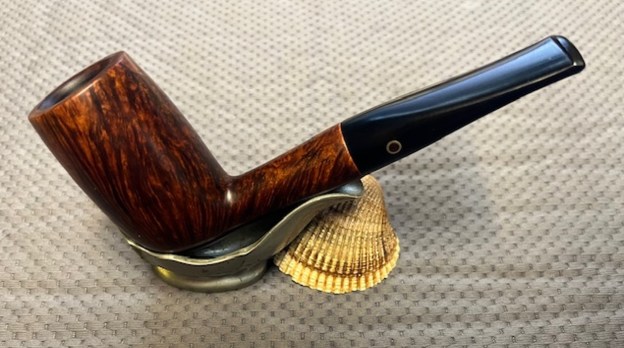
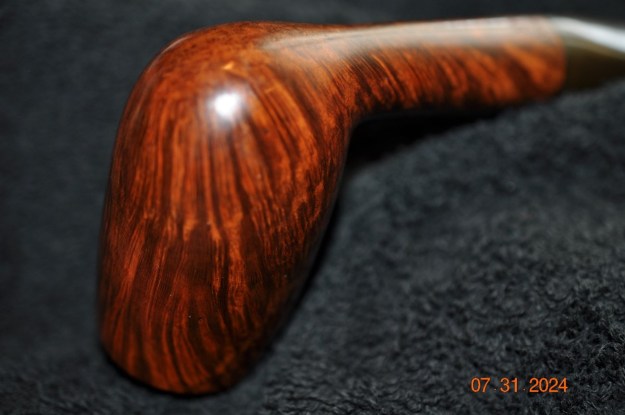
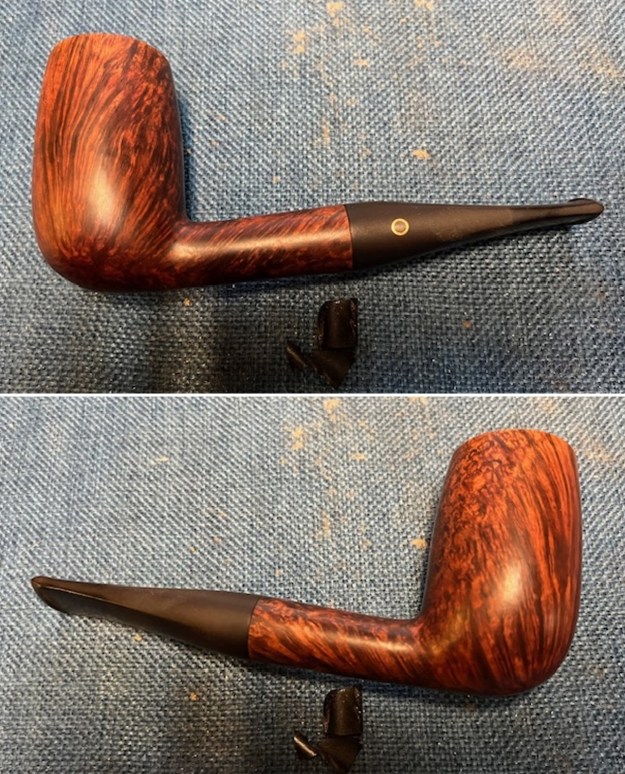
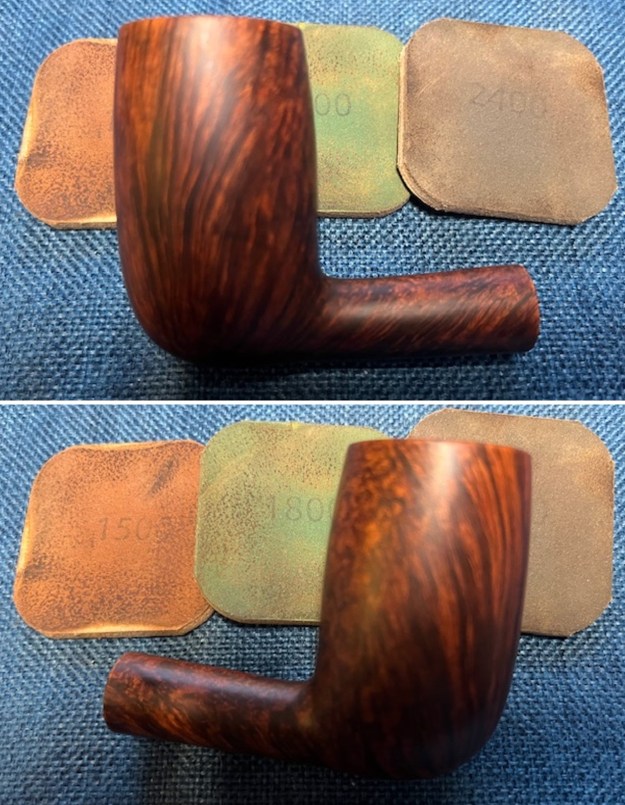
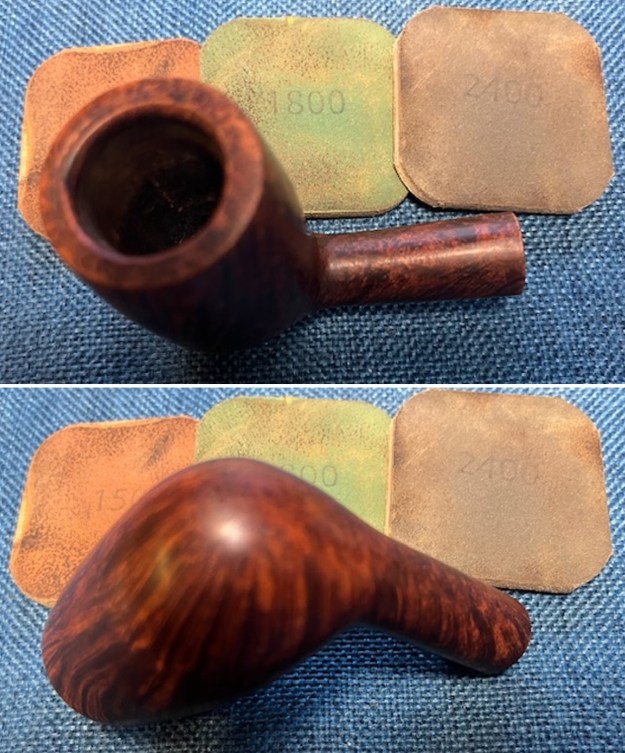
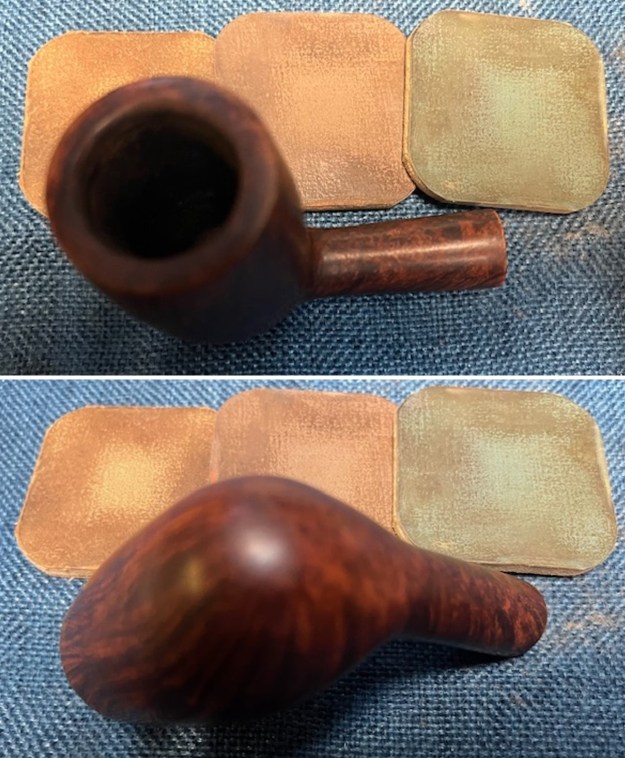
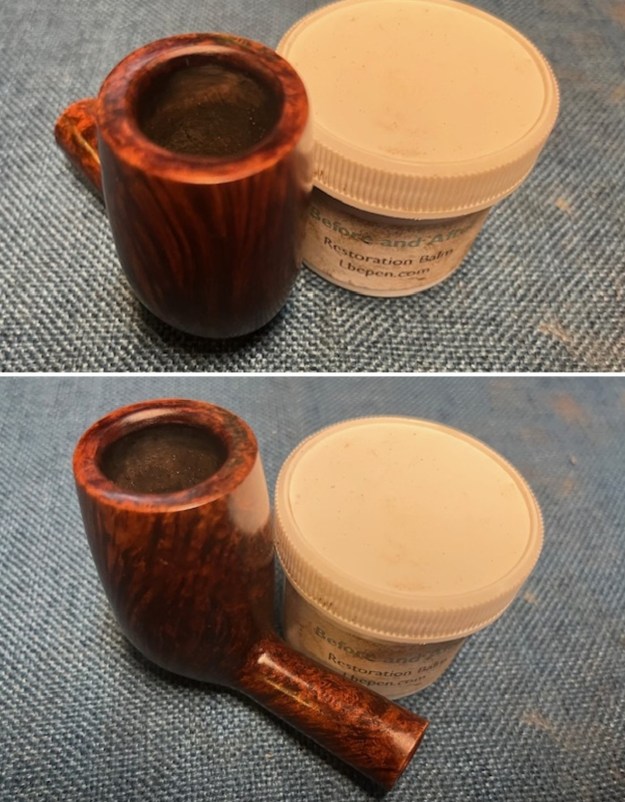
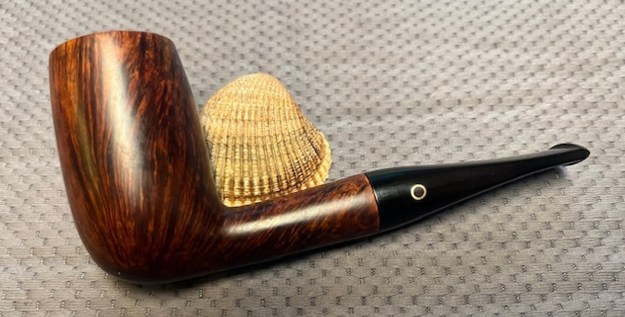
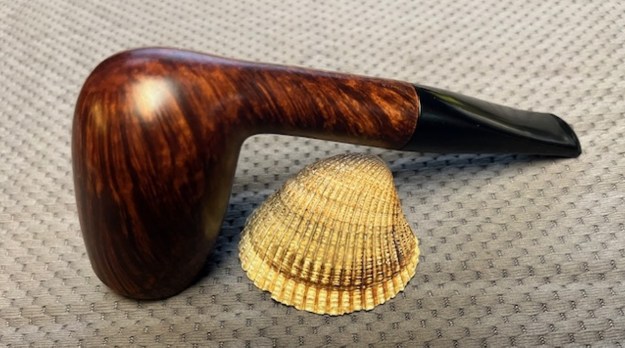
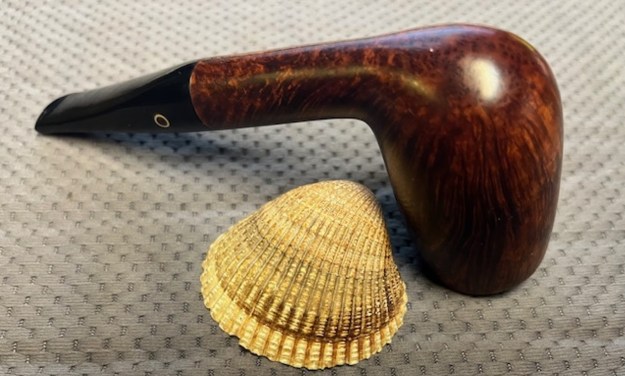
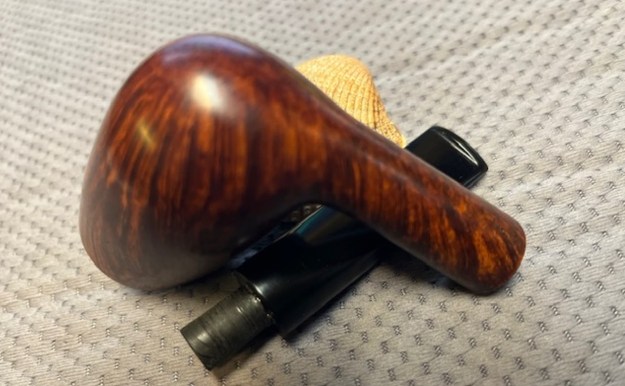
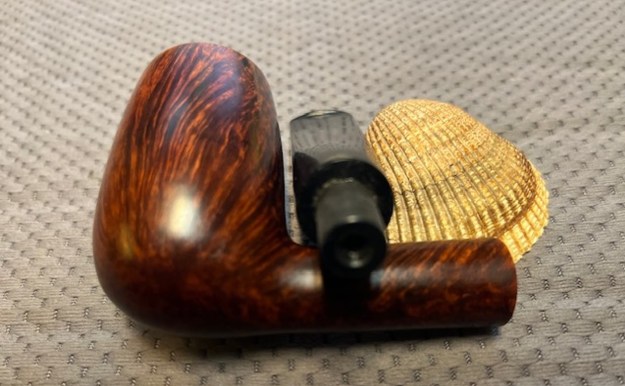
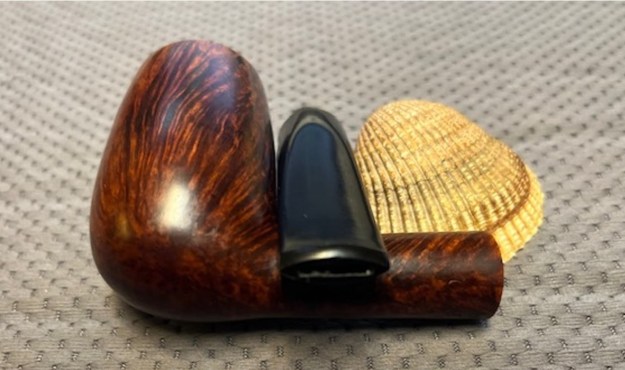
 This Longchamp France Leather Clad Billiard with a vulcanite saddle stem is a great looking pipe now that it has been restored. I put the stem back on the bowl and carefully buffed the pipe with Blue Diamond on the buffing wheel. I gave the bowl multiple coats of Conservator’s Wax and the stem multiple coats of carnauba wax on the buffing wheel and followed that by buffing the entire pipe with a clean buffing pad. I hand buffed the pipe with a microfiber cloth to deepen the shine. The finished Longchamp France Billiard fits nicely in the hand and feels great. Give the finished pipe a look in the photos below. The dimensions of the pipe are Length: 5 ½ inches, Height: 1 ¾ inches, Outside diameter of the bowl: 1 ½ inches, Chamber diameter: ¾ of an inch. The weight of the pipe is 1.66 ounces/47 grams. Thanks for walking through the restoration with me as I worked over another beautiful pipe. Since both pipes are finished I will be sending them back to Brady this week. Thanks for your time.