
Blog by Steve Laug
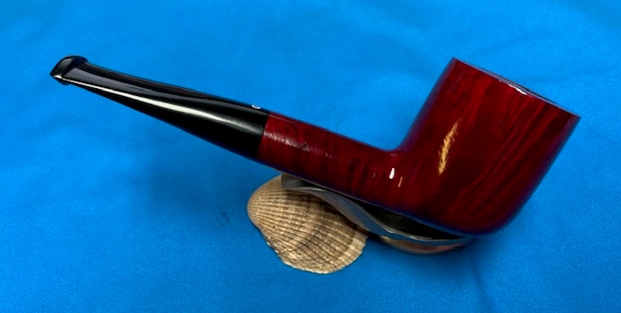
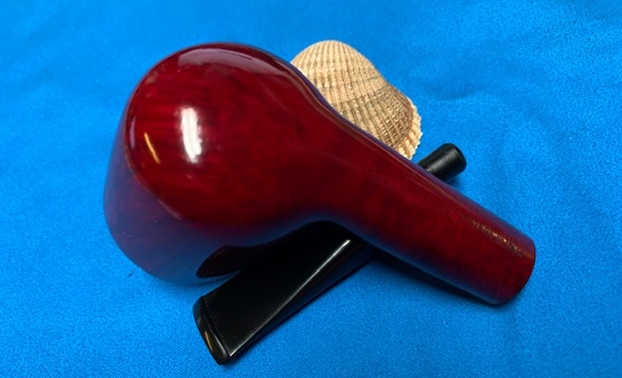
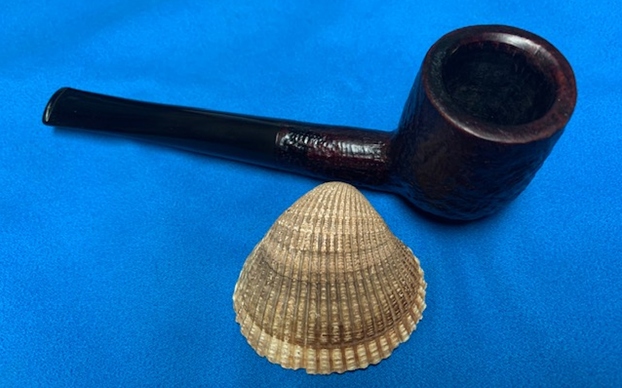
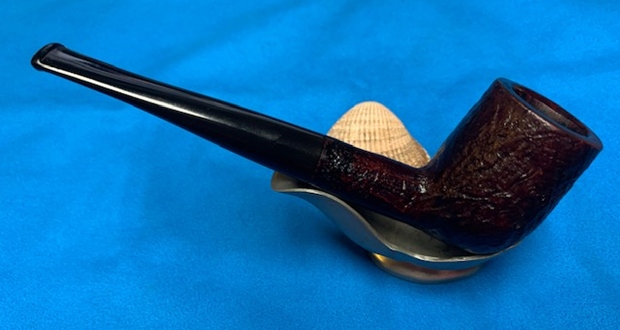
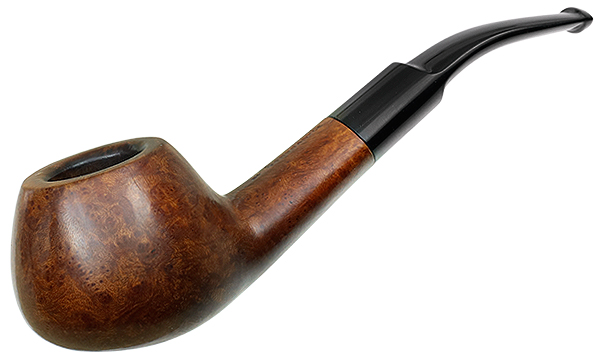
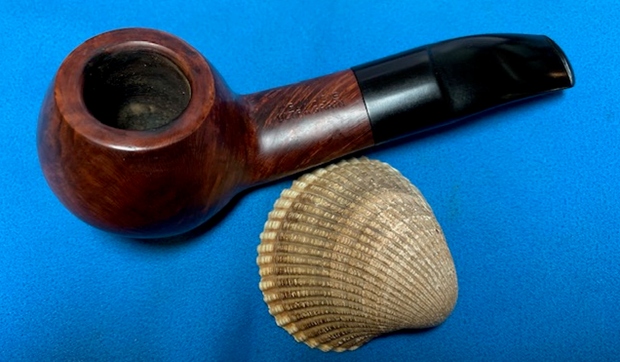
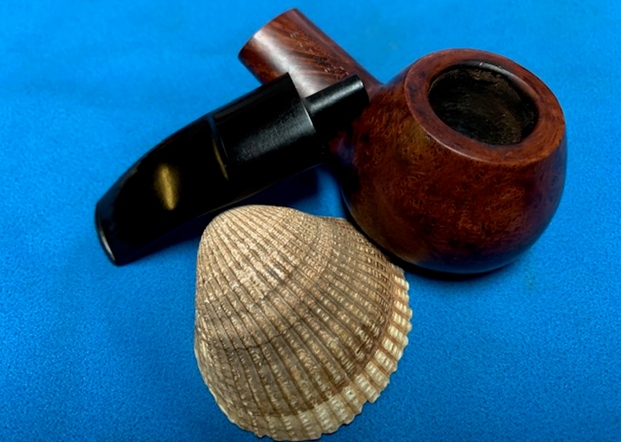
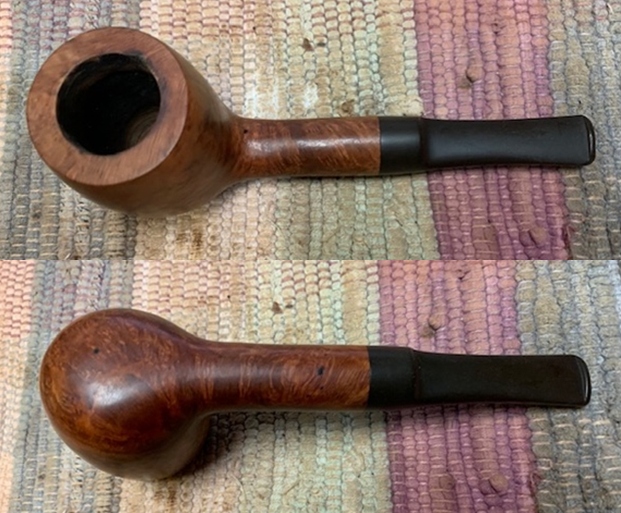
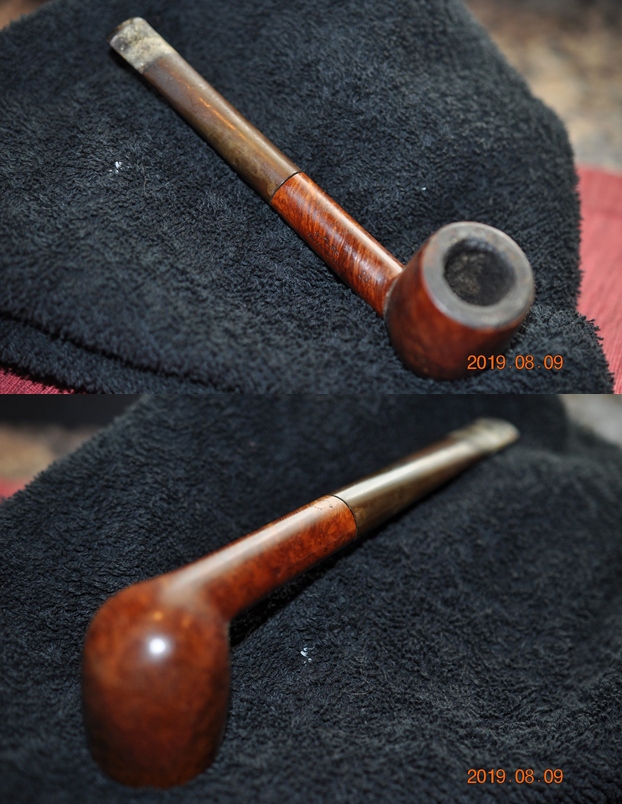
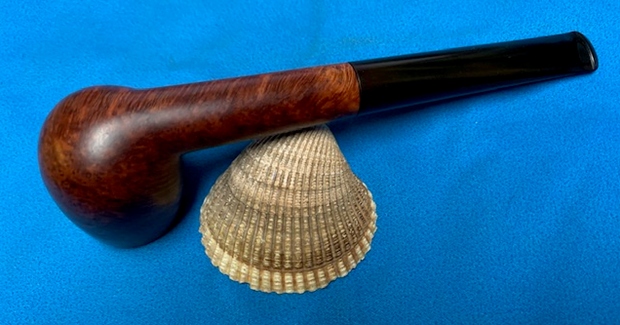
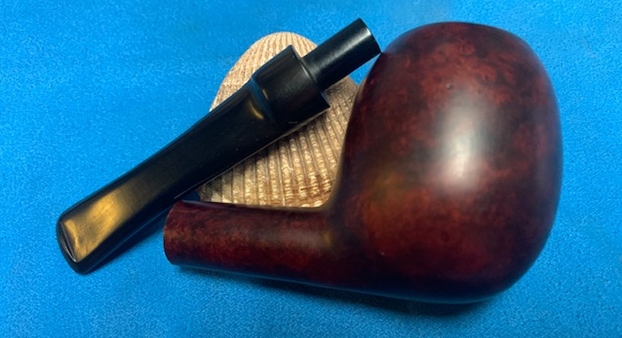
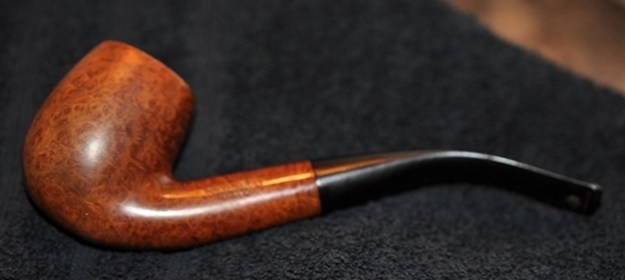
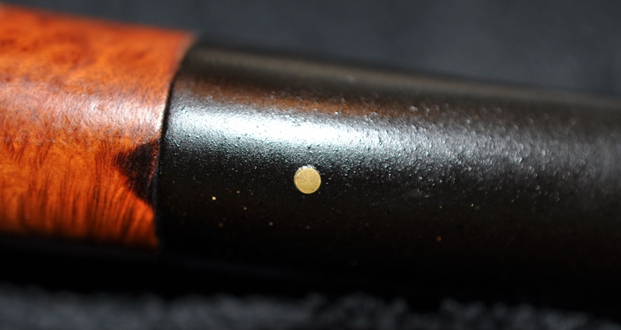
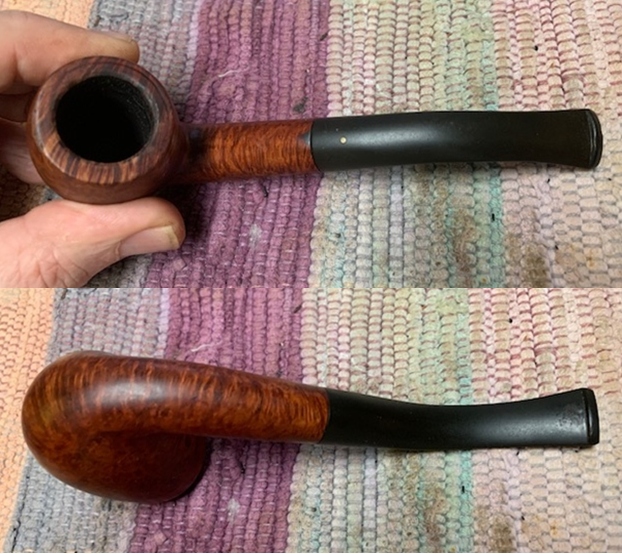
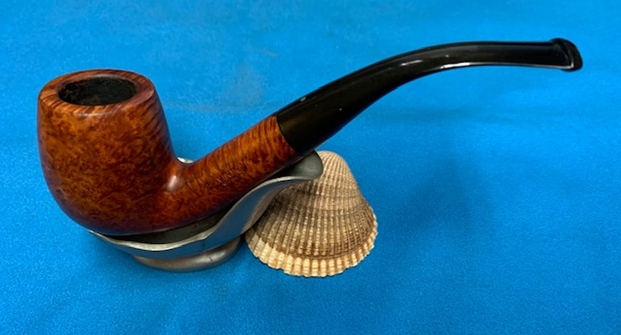
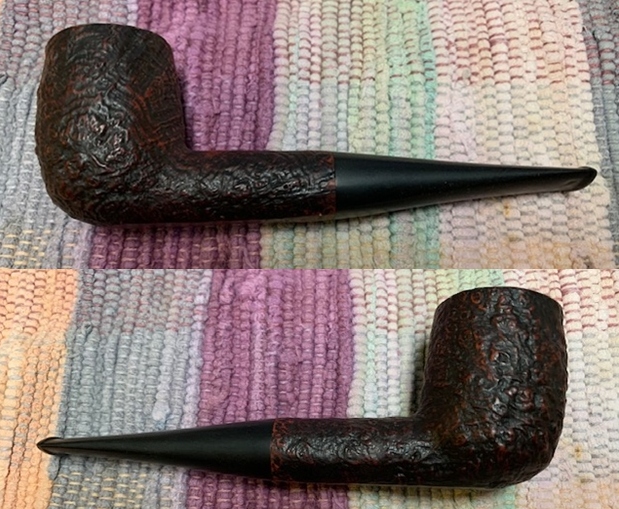
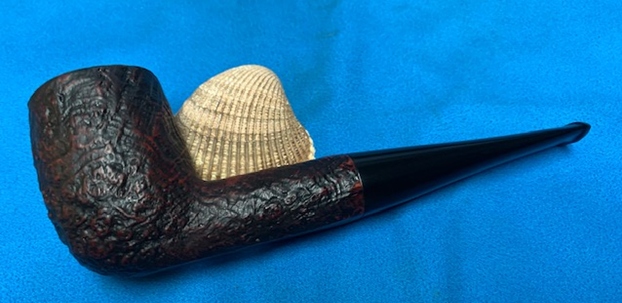
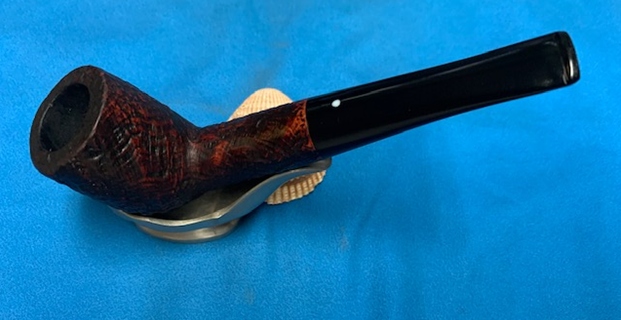
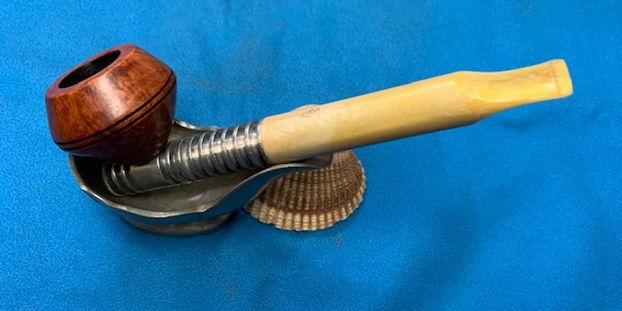
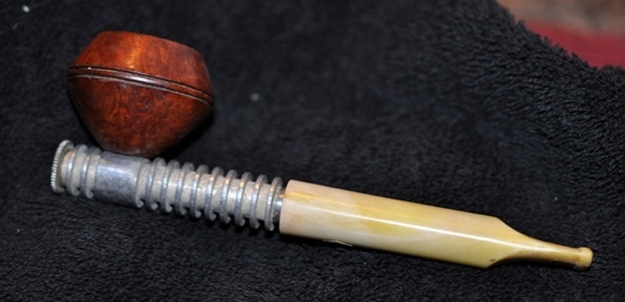
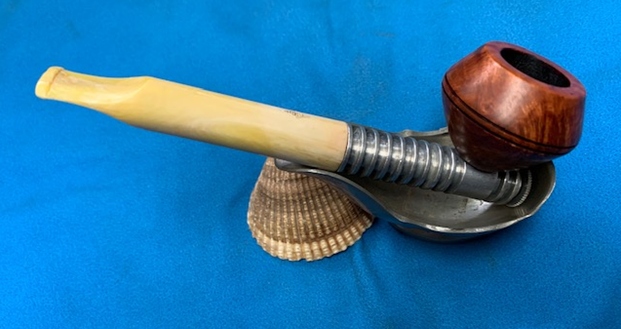
The next pipe on the work table came to us from a seller in Troy, Michigan on 01/06/19. It has been around waiting to be worked on. Jeff did the original photographs of the pipe in on January 18, 2019. It is a large billiard with an acrylic stem and some nice grain around the bowl. It has a rich cherry red finish that is transparent enough that you can see the grain. The stamping is the clear and readable. It is stamped on the left side of the shank and reads the Talamona [over] Romana. On the underside of the shank it is stamped Made In Italy. The finish was very good around the bowl sides but the rim top is rough. There was a lot of grime ground into the bowl and some darkening around the sides of the bowl. There was some damage on the rim top where it was nicked and dented. The bowl was heavily caked and there was a lava coat on the top of the rim. The inner edge of the bowl was covered with thick lava but it appeared to me that there was damage and burning around the edges. The black, taper acrylic stem was a mess. There were tooth marks and chatter on both sides and damage on the button surface. The stem had red dot in a white circle insert on the top side of the taper. The pipe had promise but it was very dirty. Jeff took photos of the pipe before he started his cleanup work. 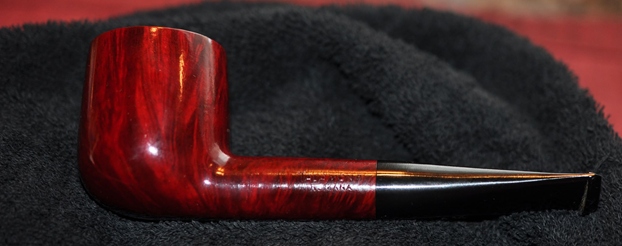
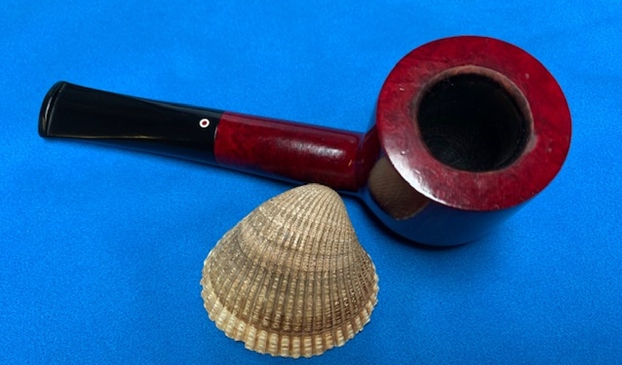
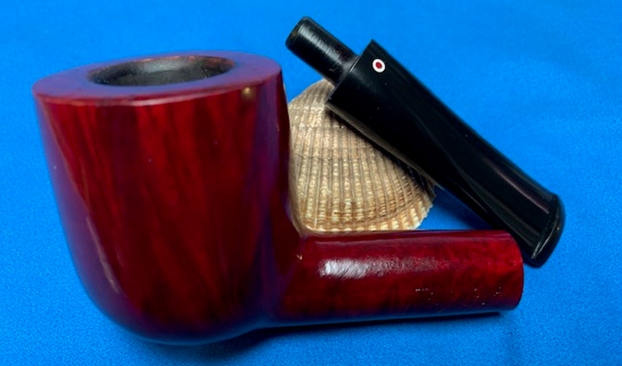
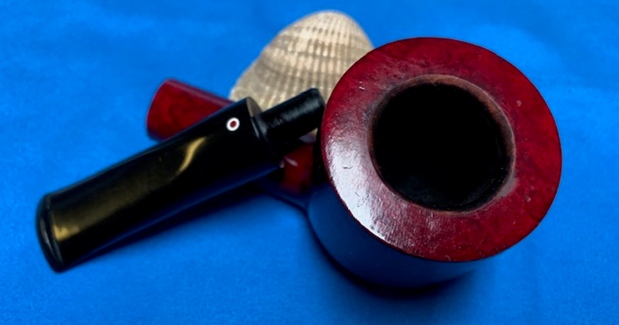
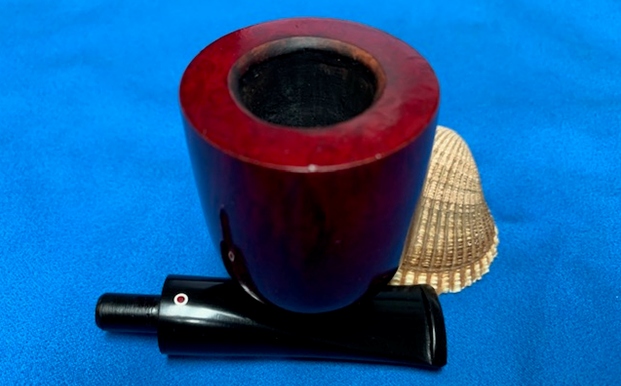
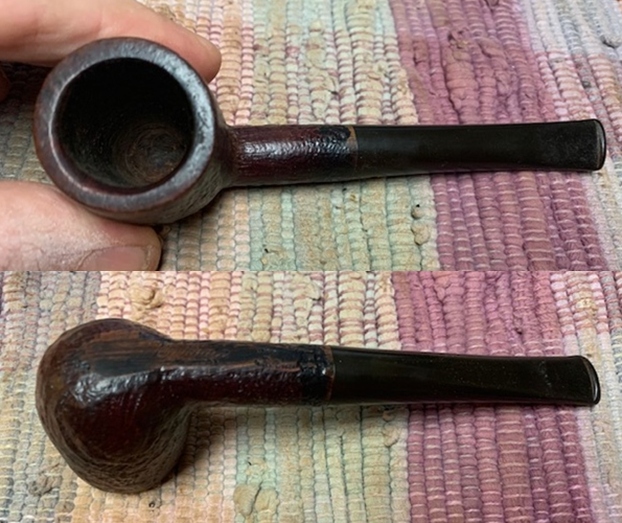
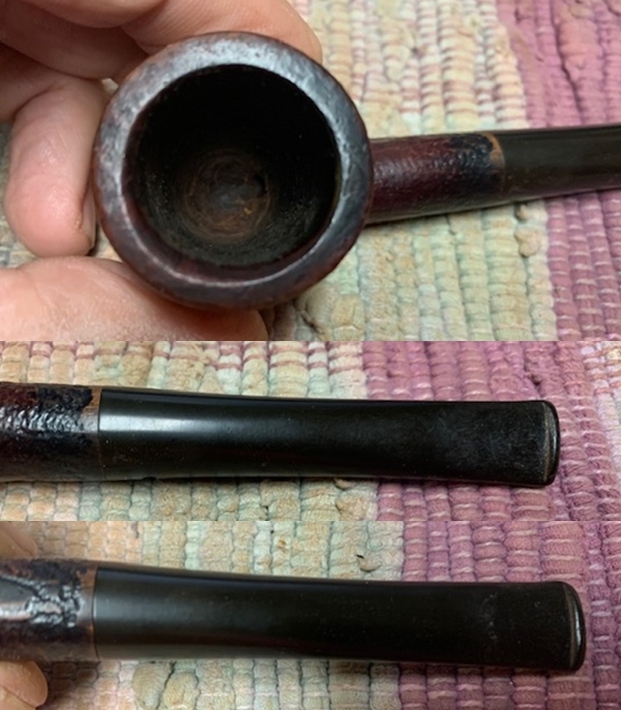
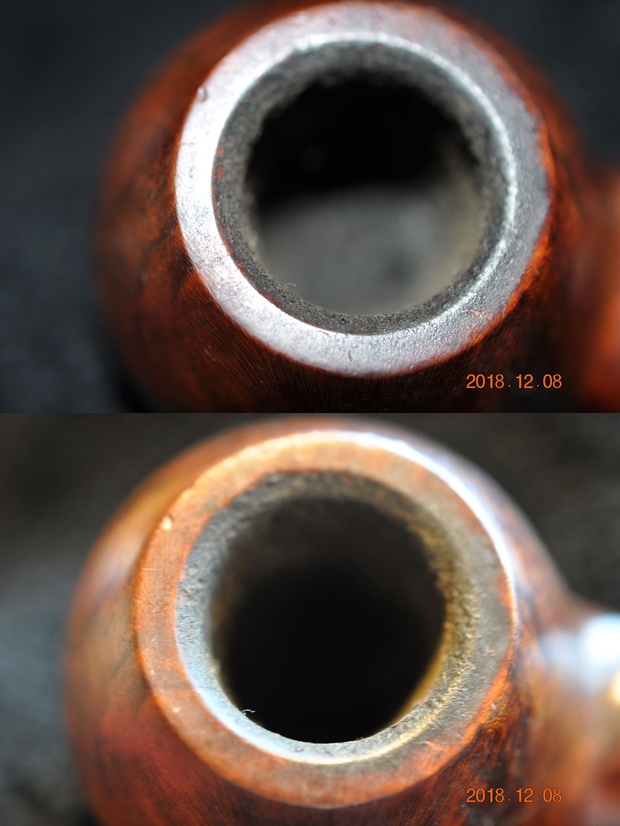
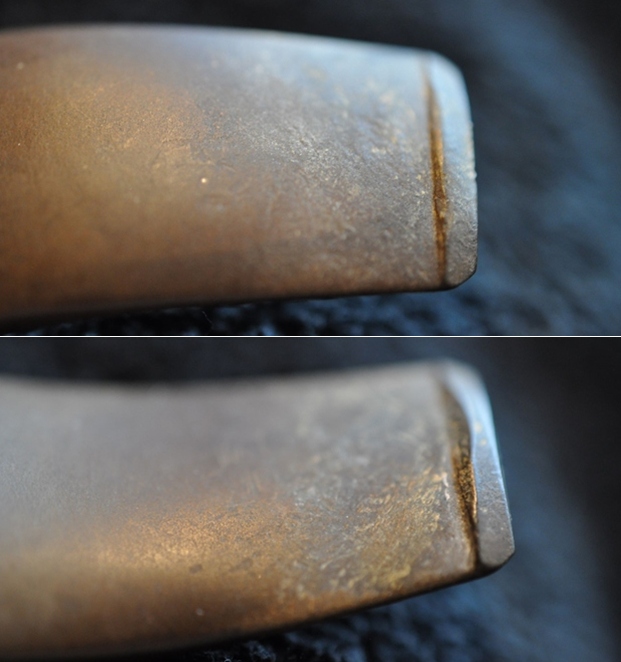
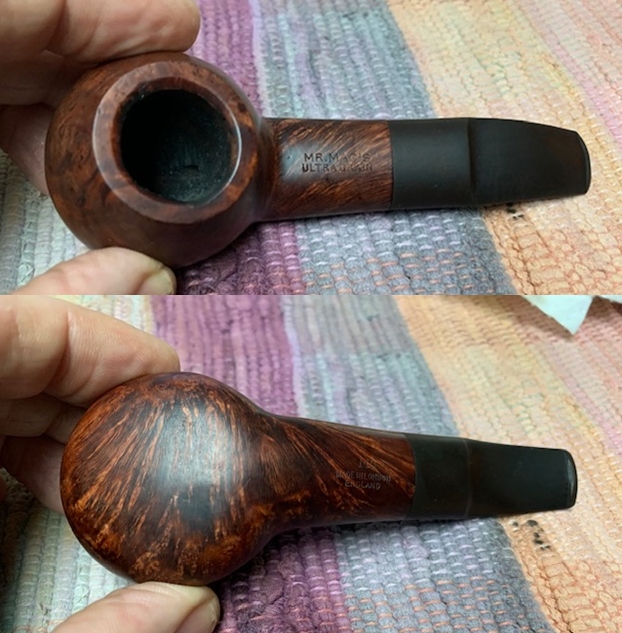
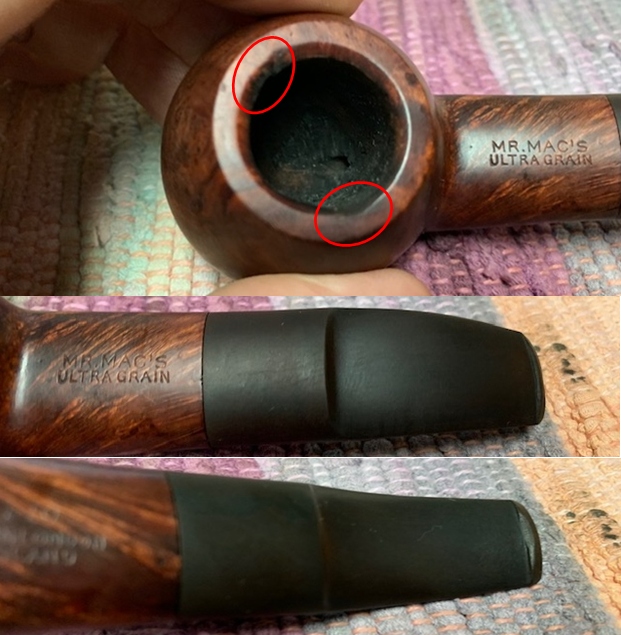
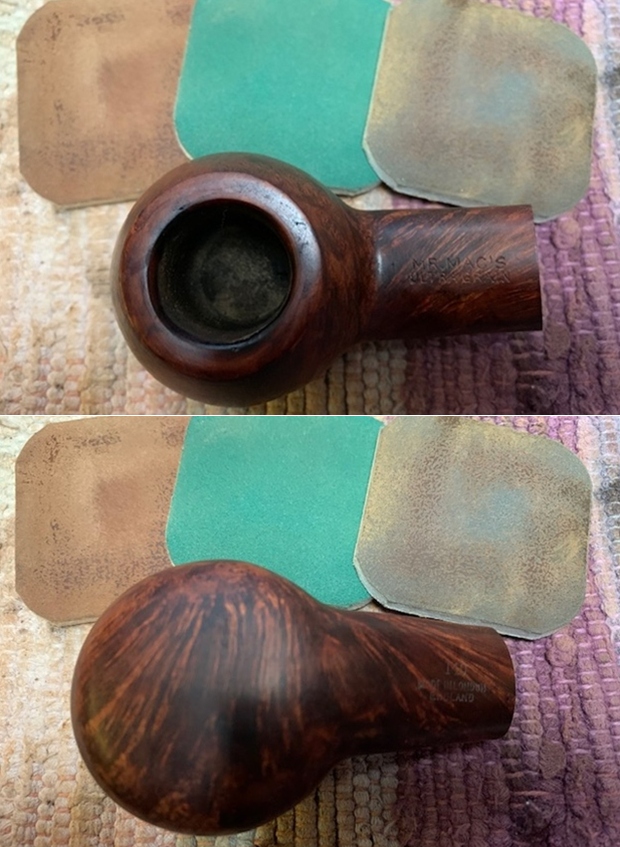
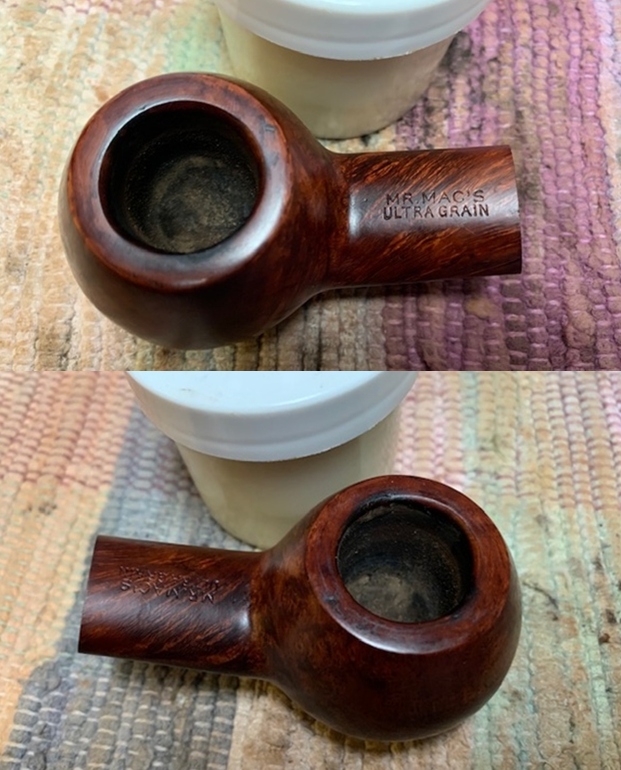
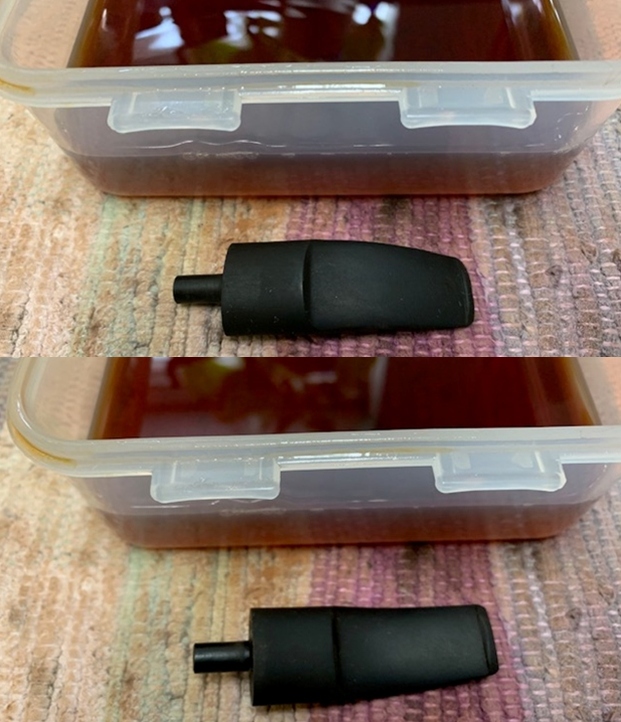
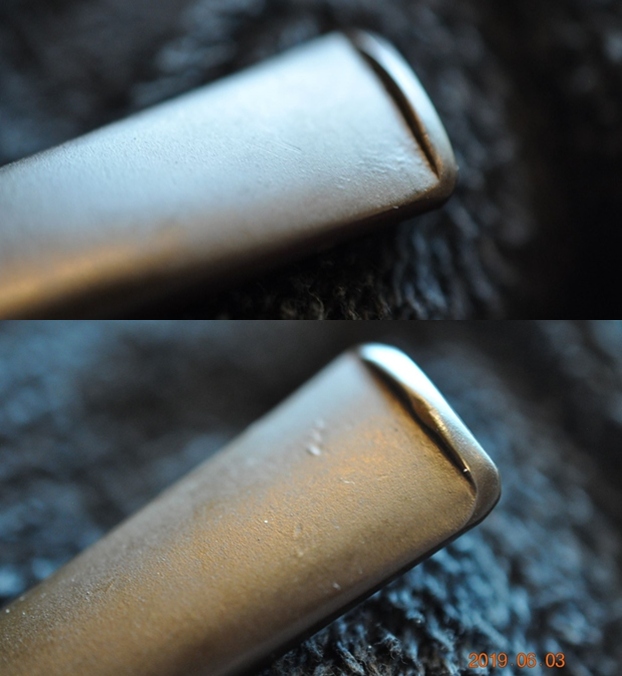
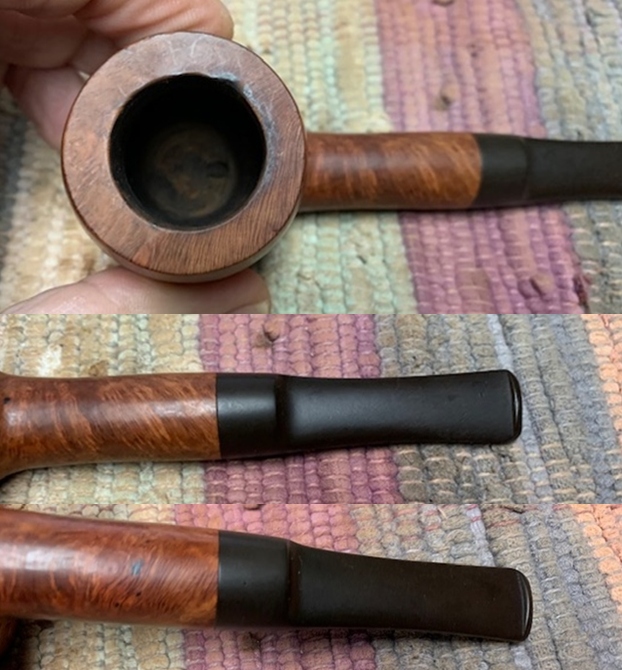
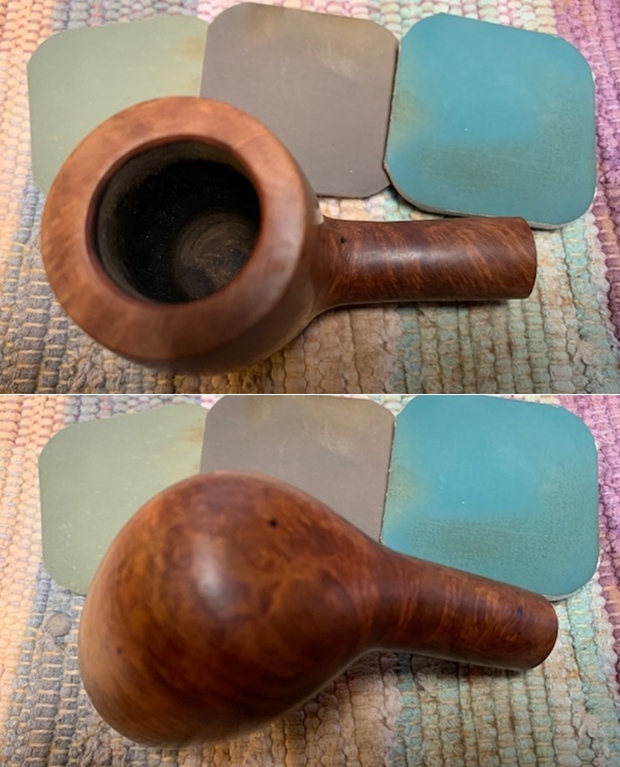
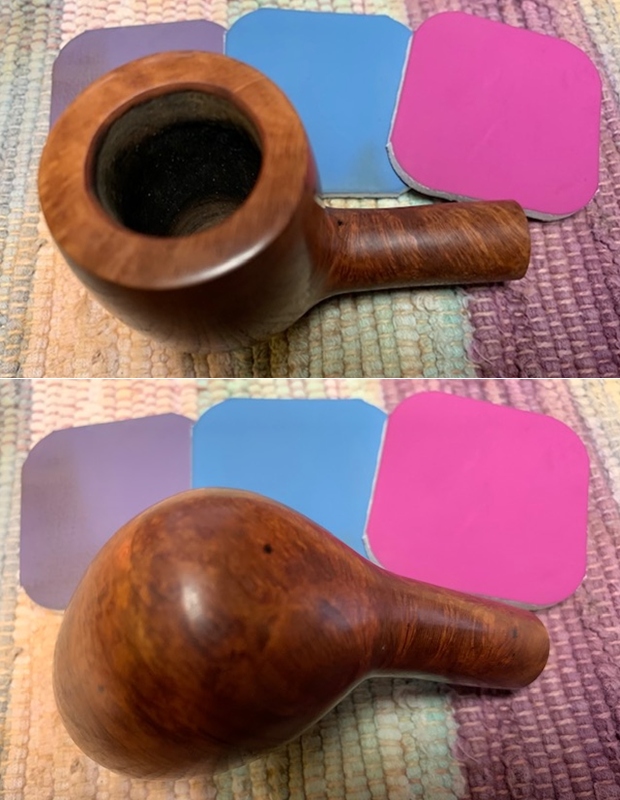
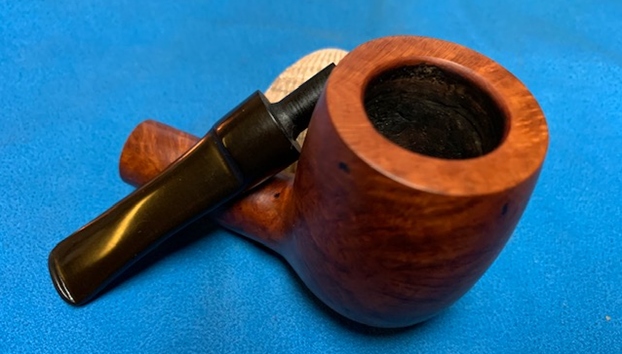
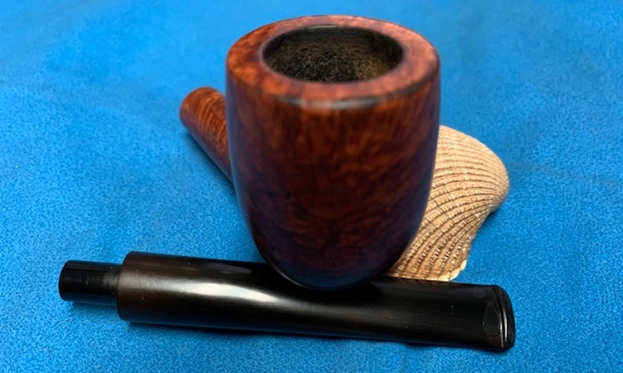
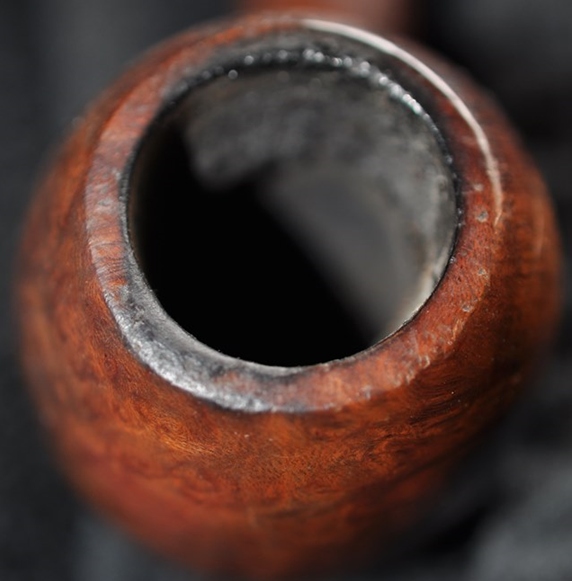
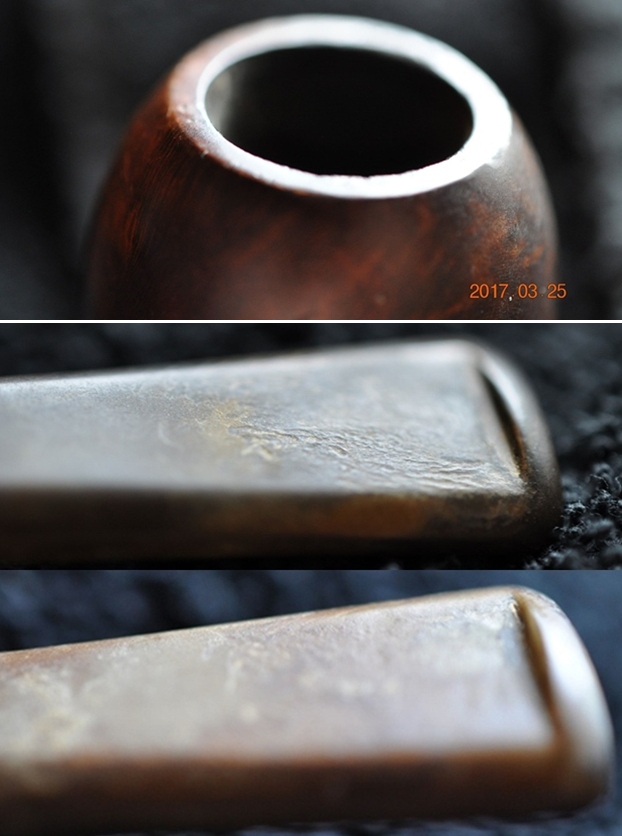
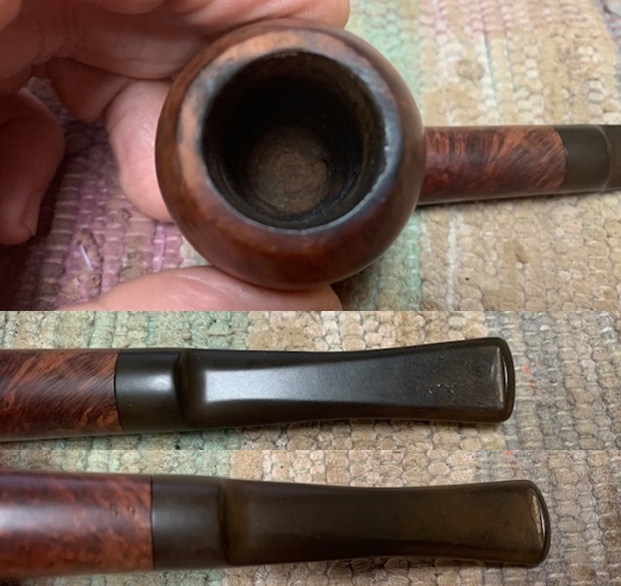
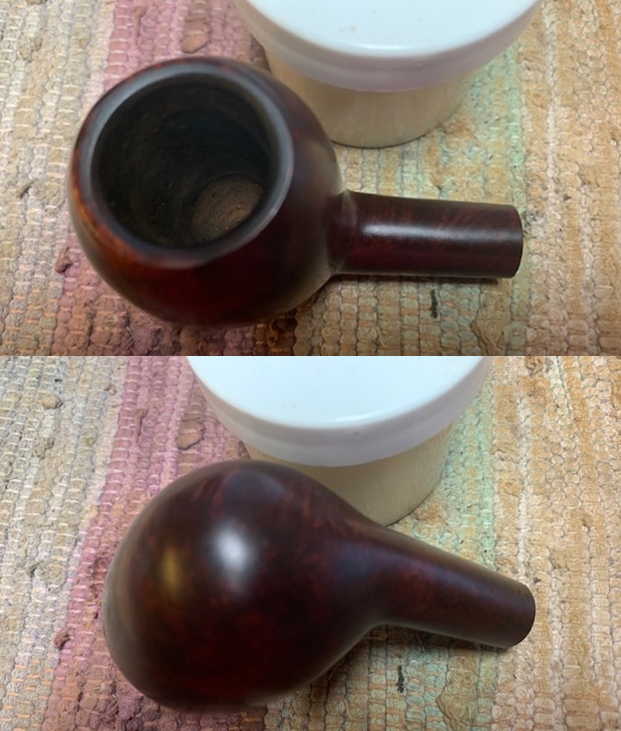
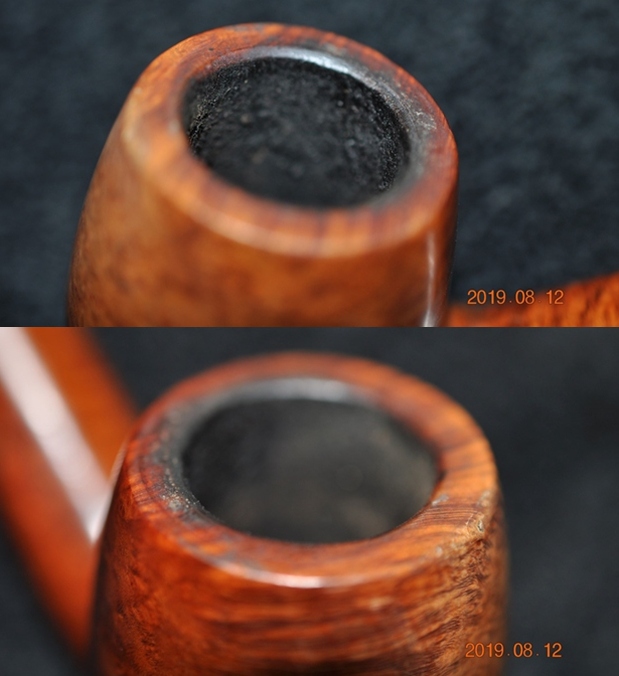
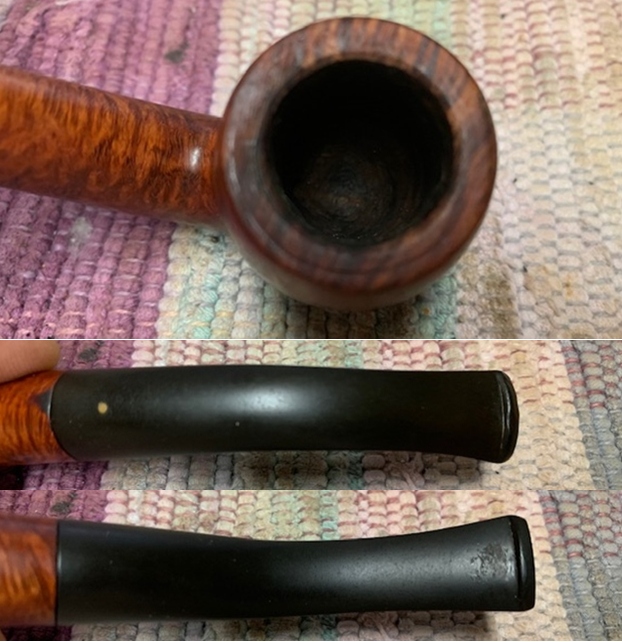
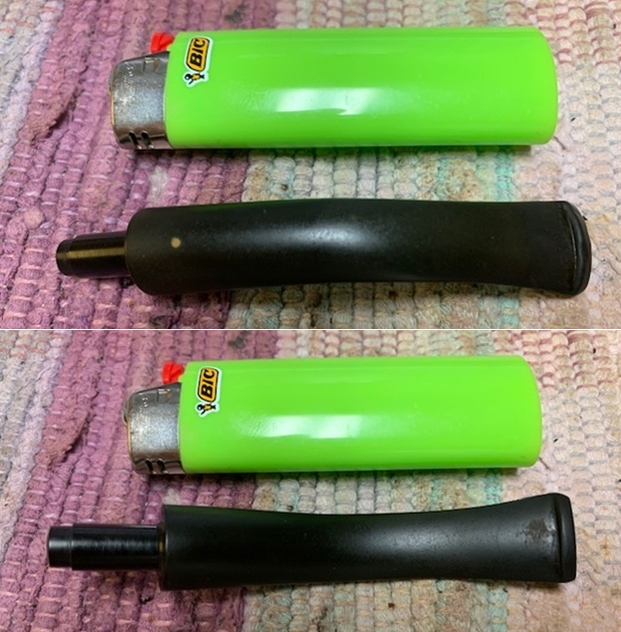
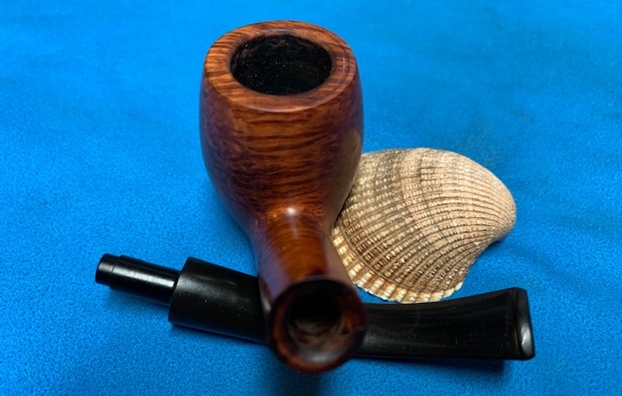
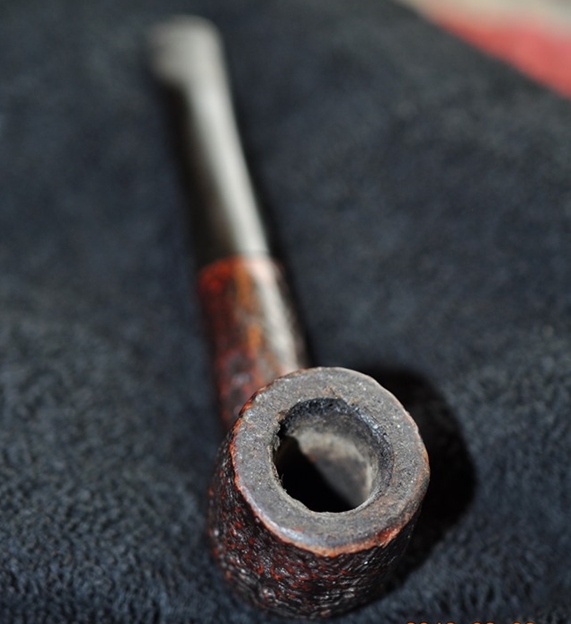
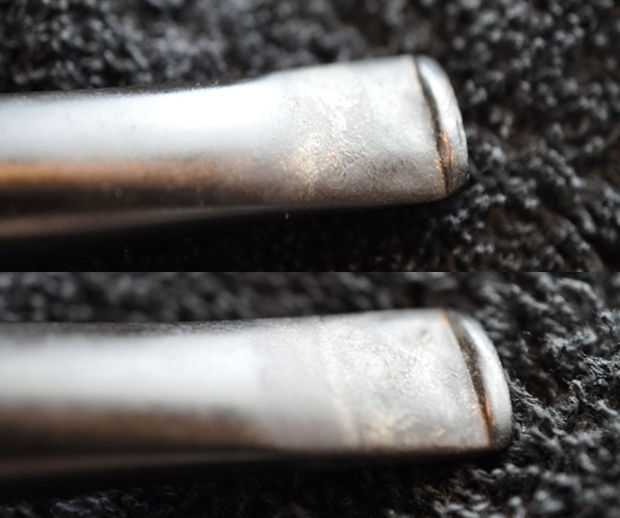
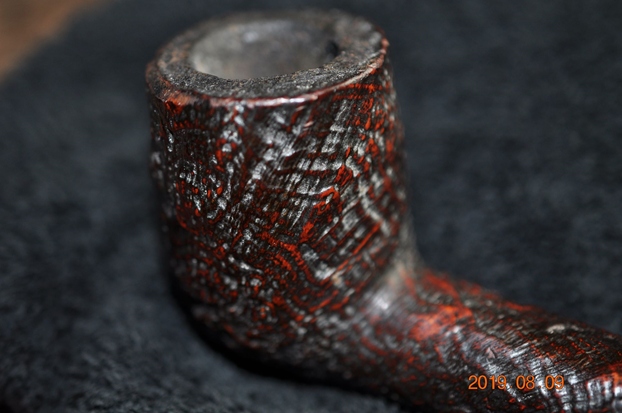
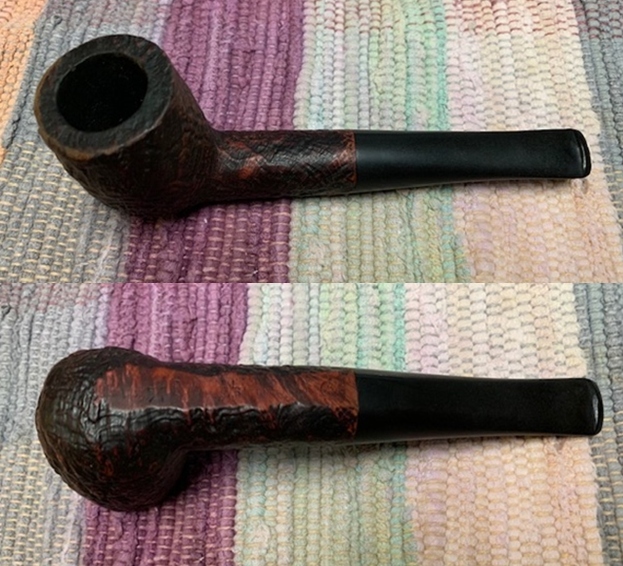
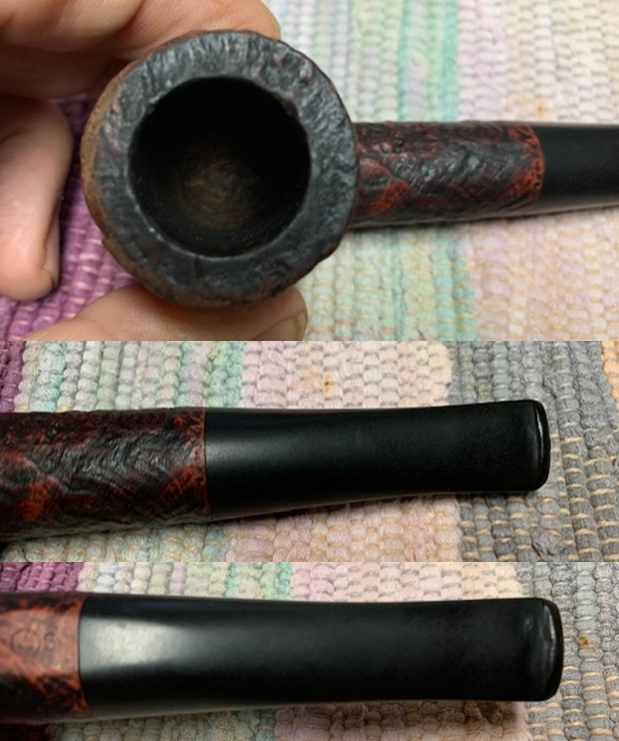
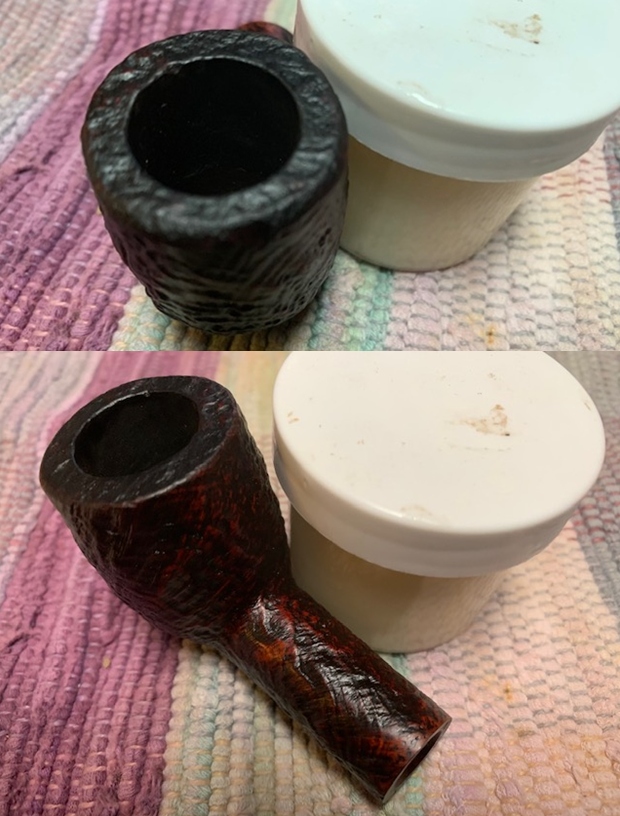
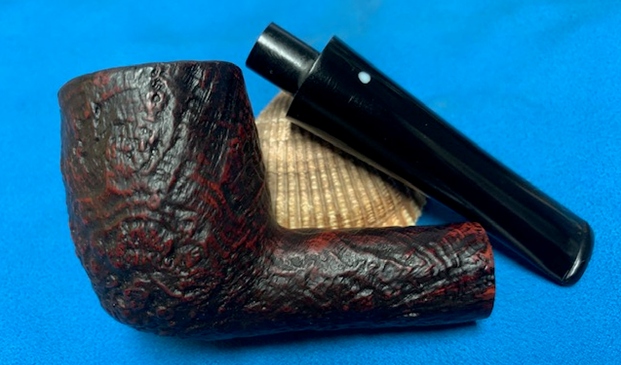
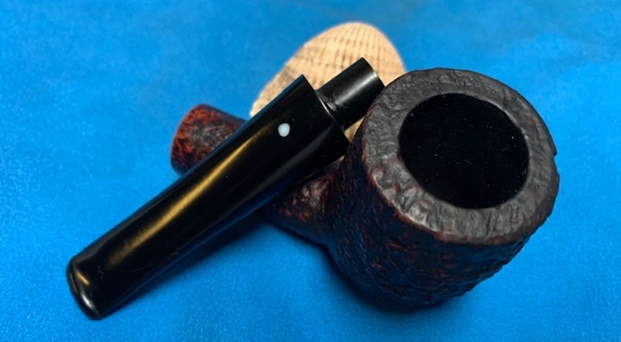
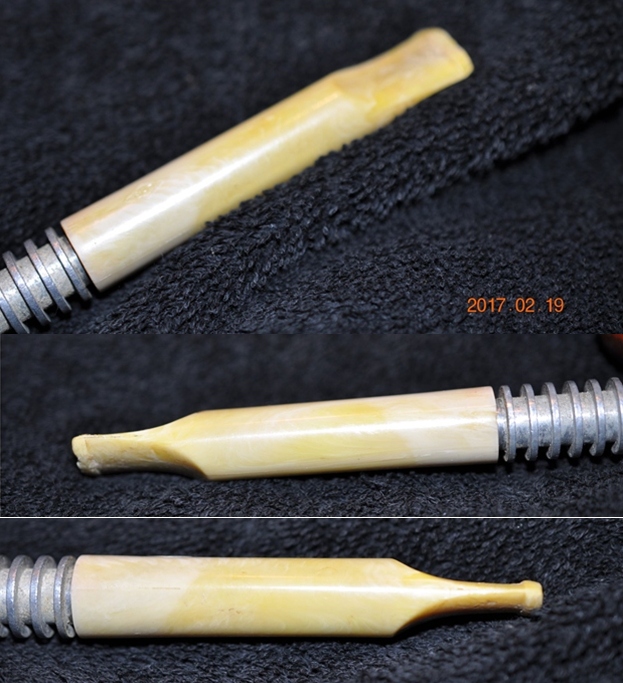
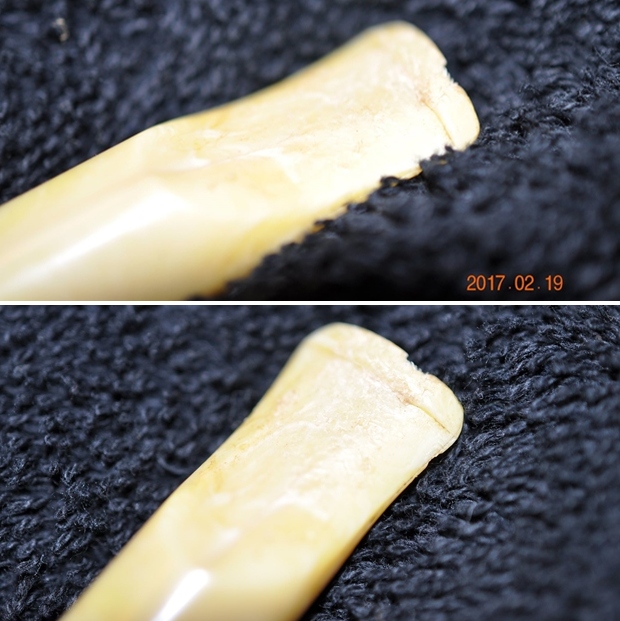
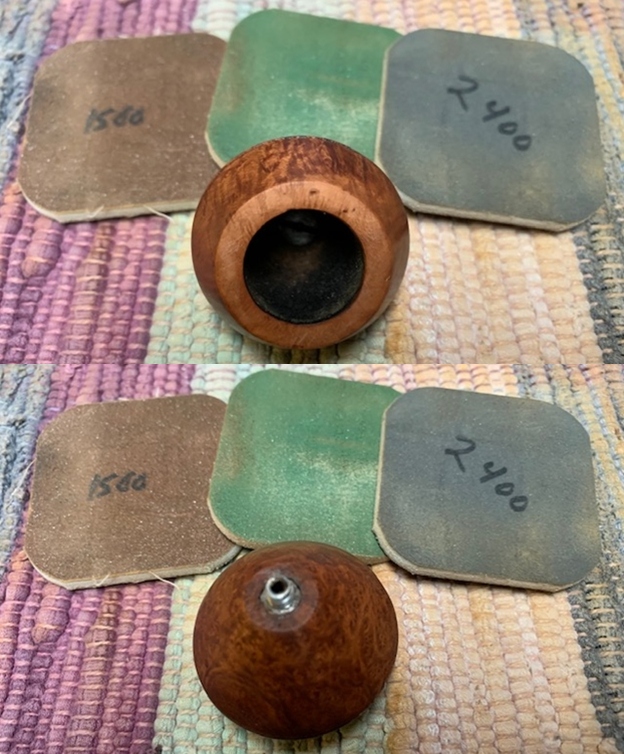
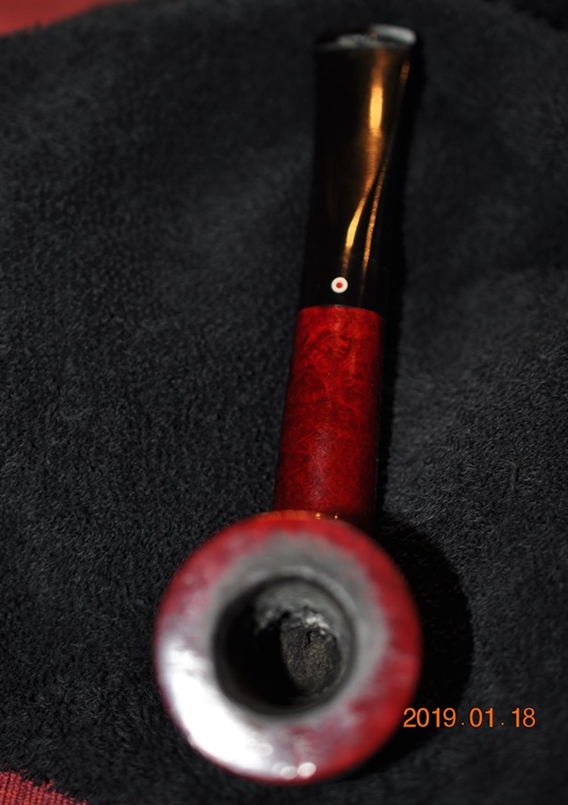 He took photos of the rim top and bowl to give a clear picture of the thickness of the cake and the condition of the rim top and edges. You can see the damage on the crowned top and edges of the bowl. He also took photos of the top and underside of the stem to show the horrible condition of the chatter and tooth marks.
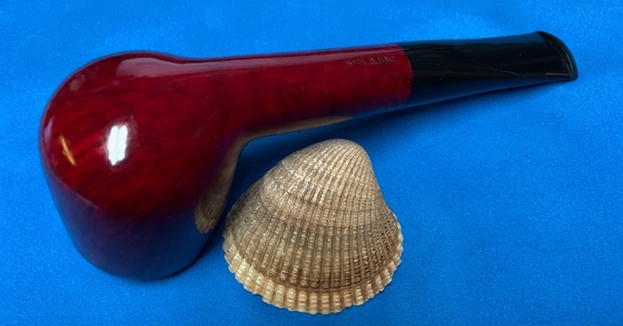
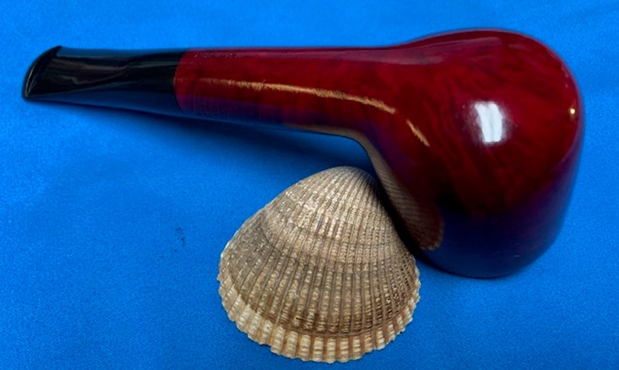
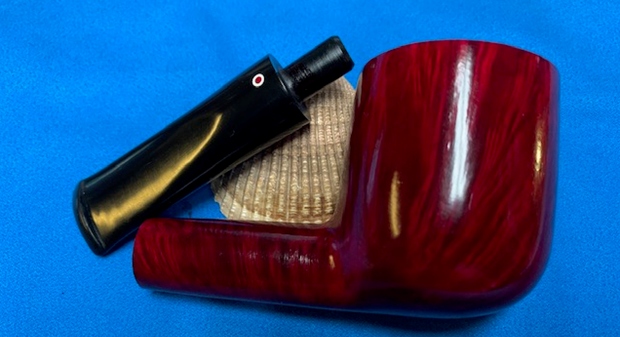
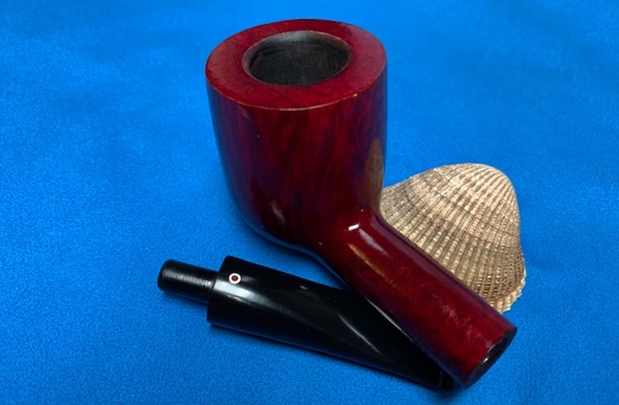
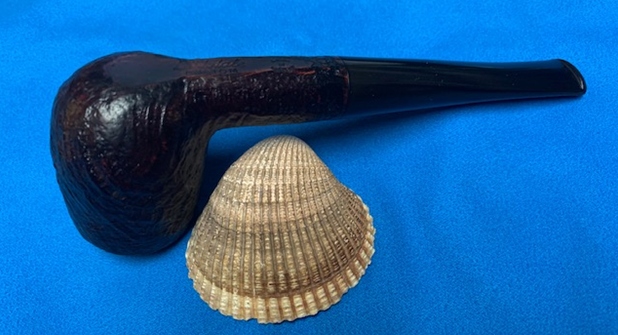
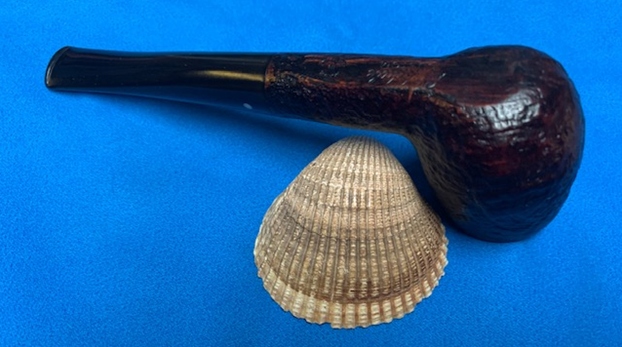
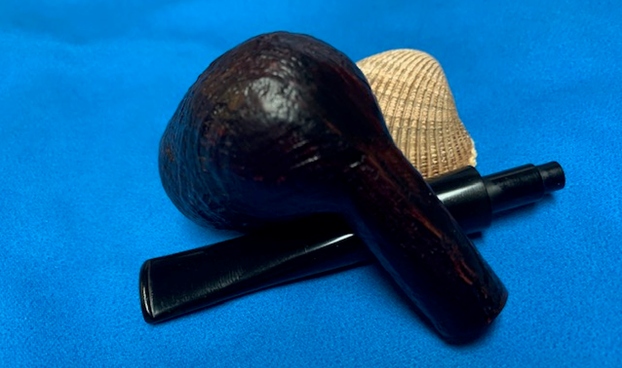
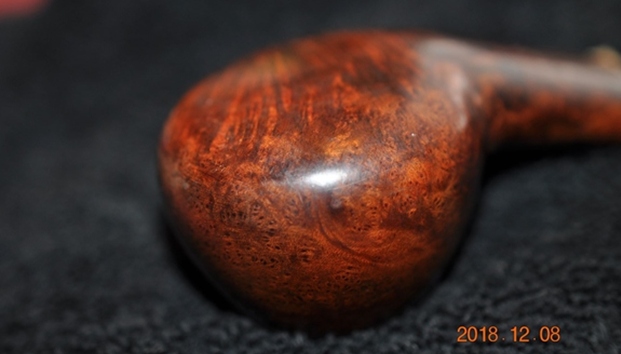
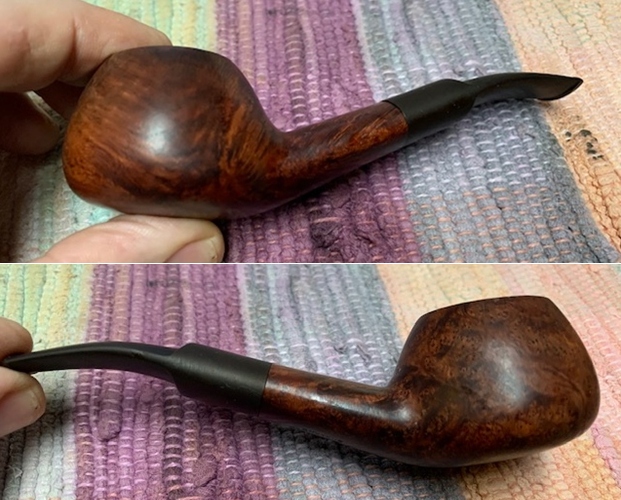
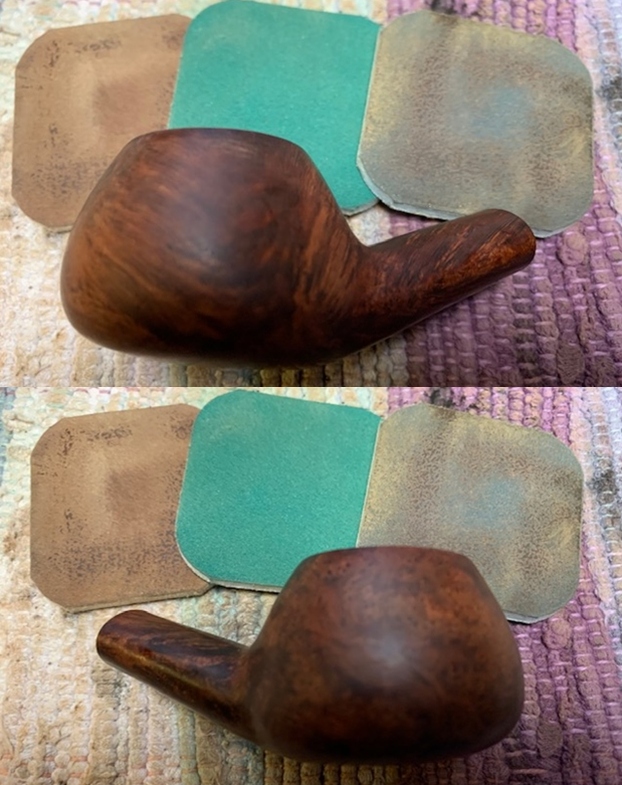
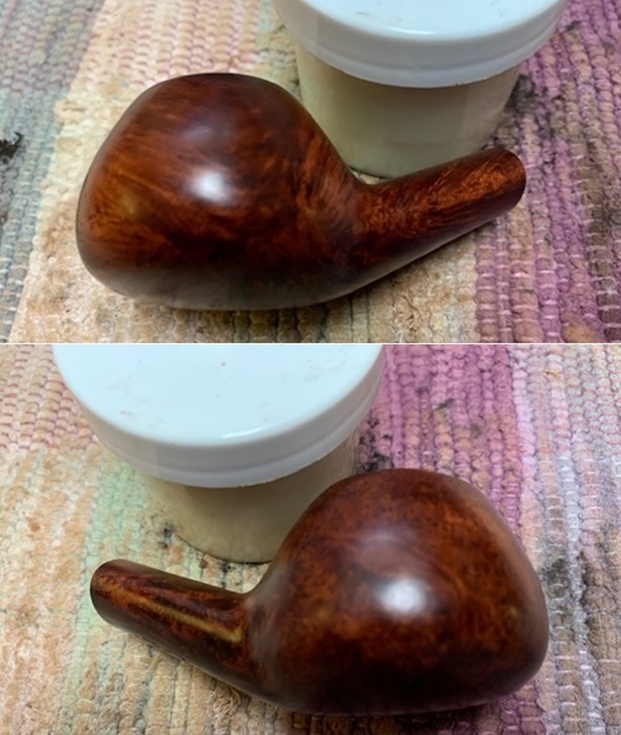
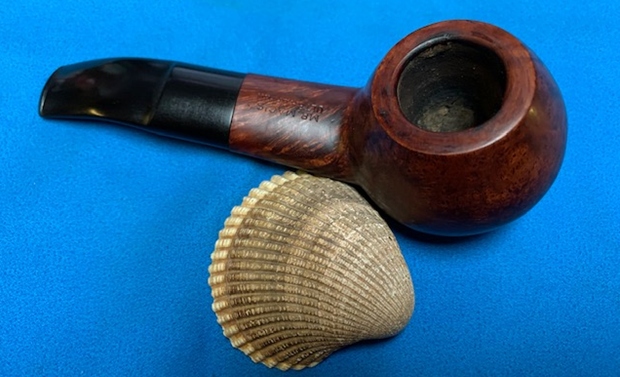
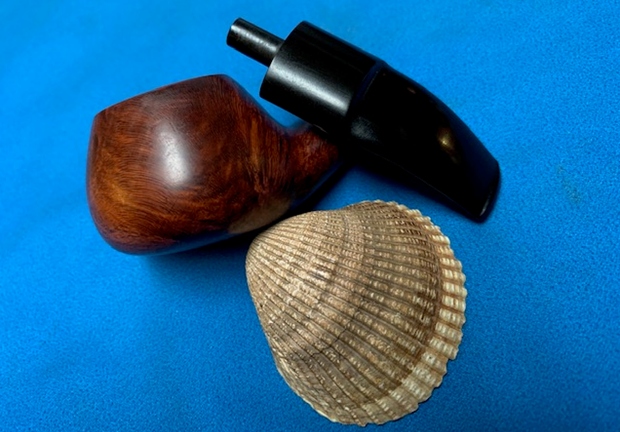
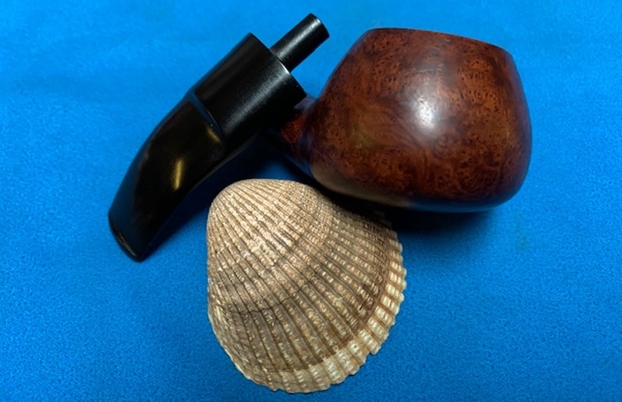
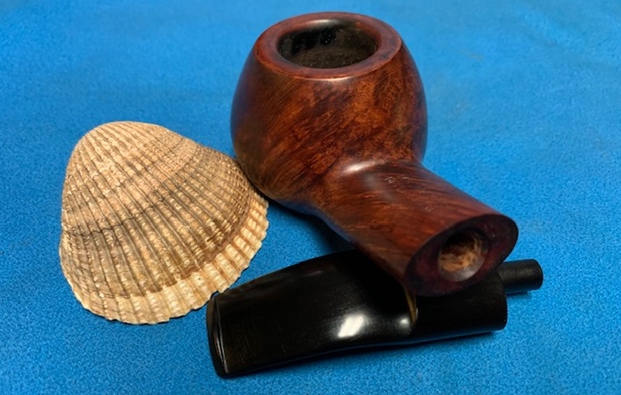
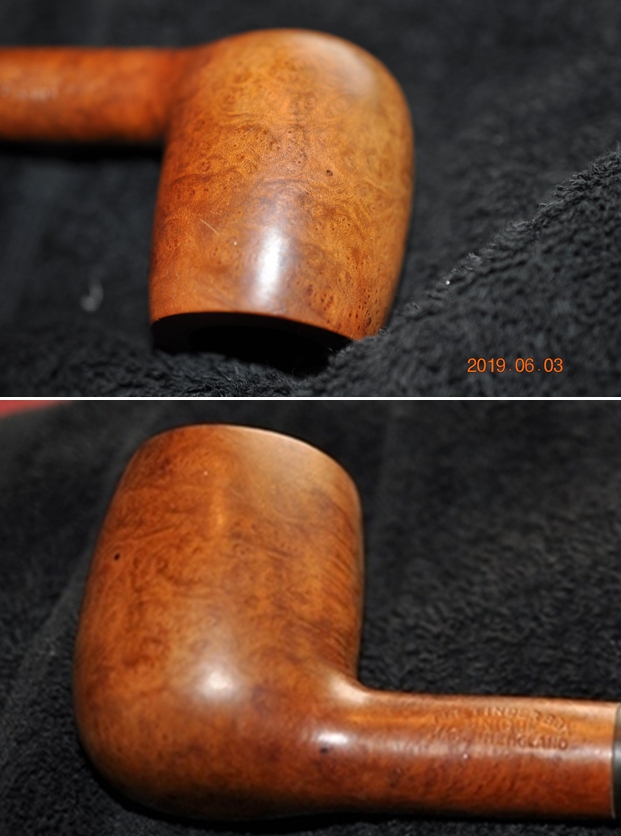
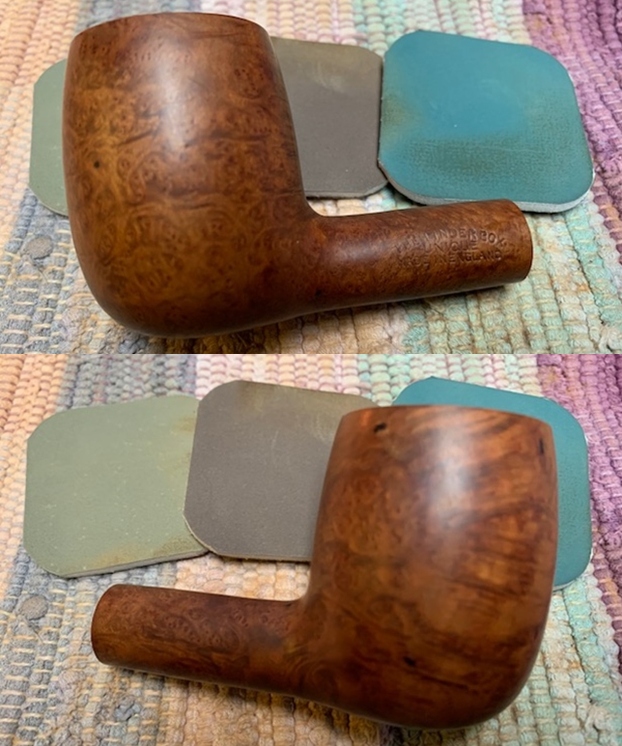
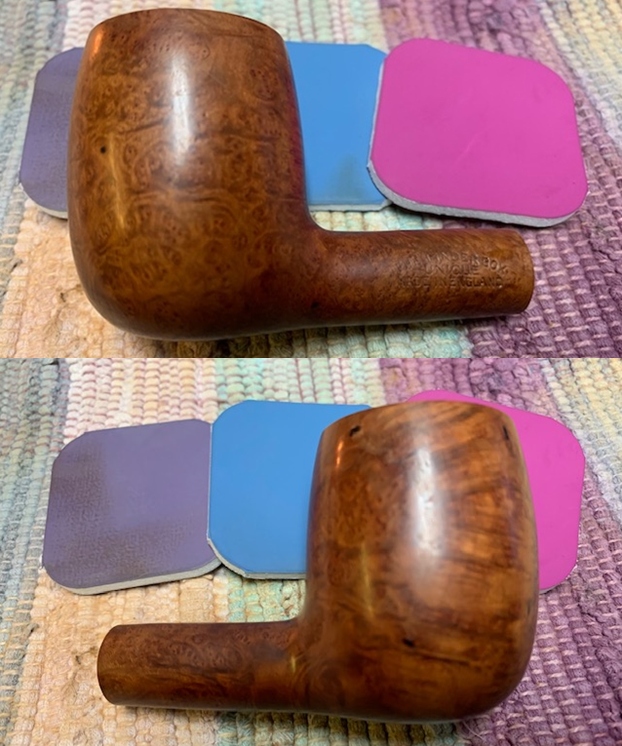
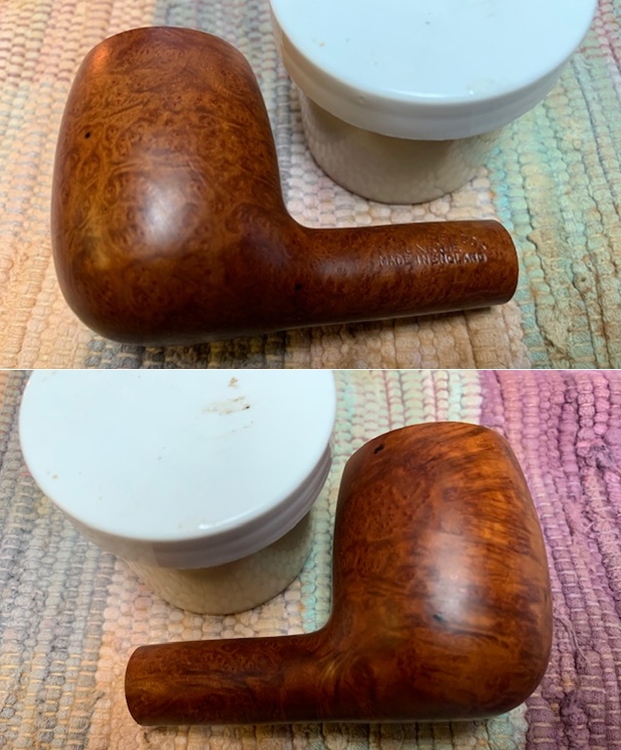
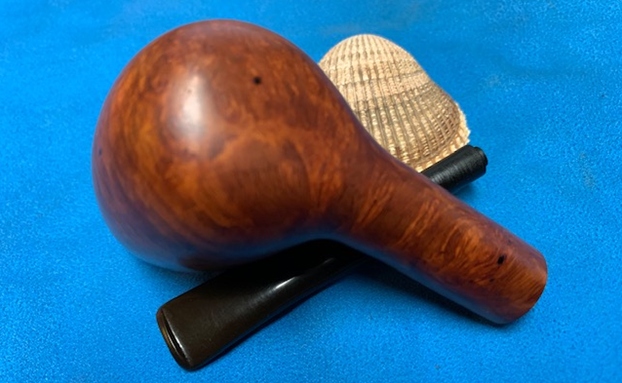
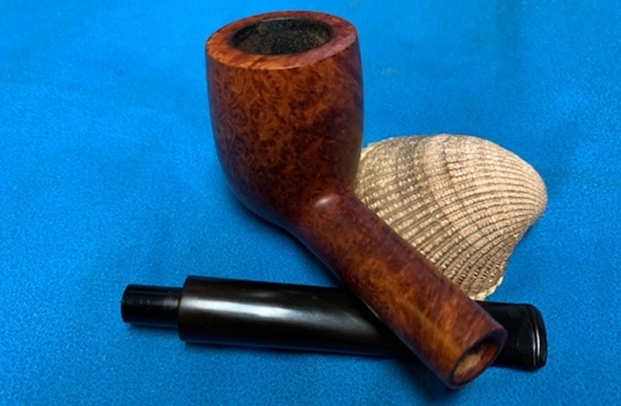
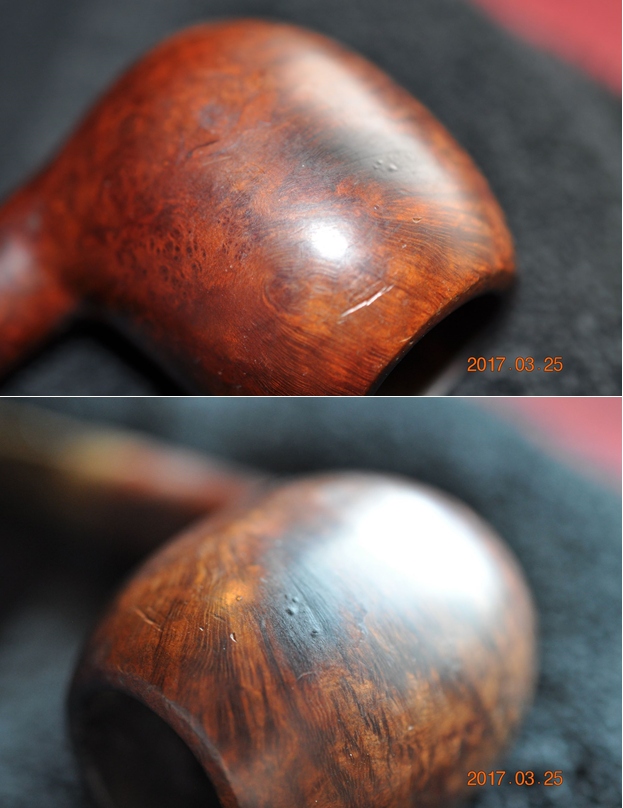
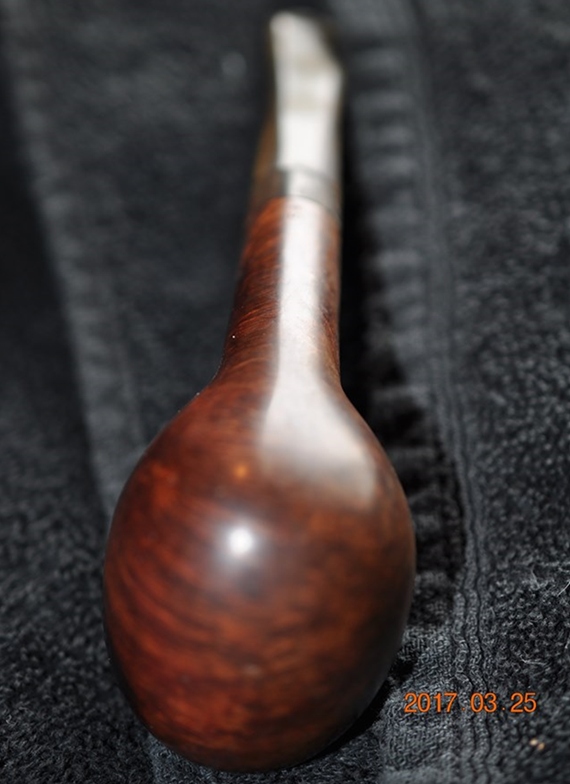
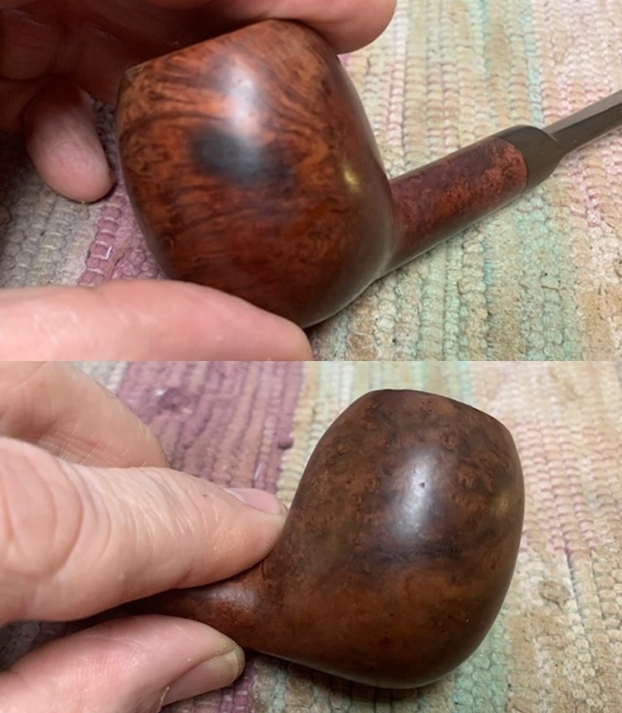
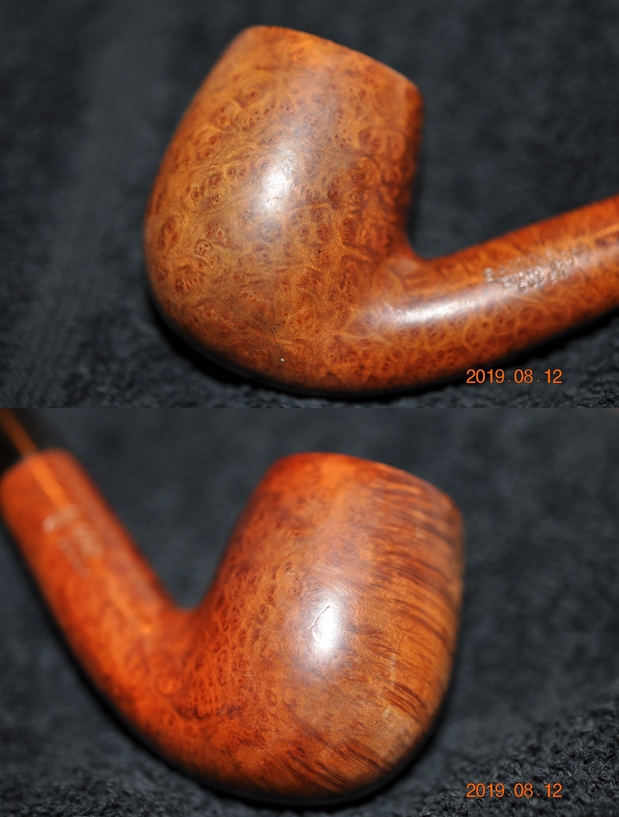
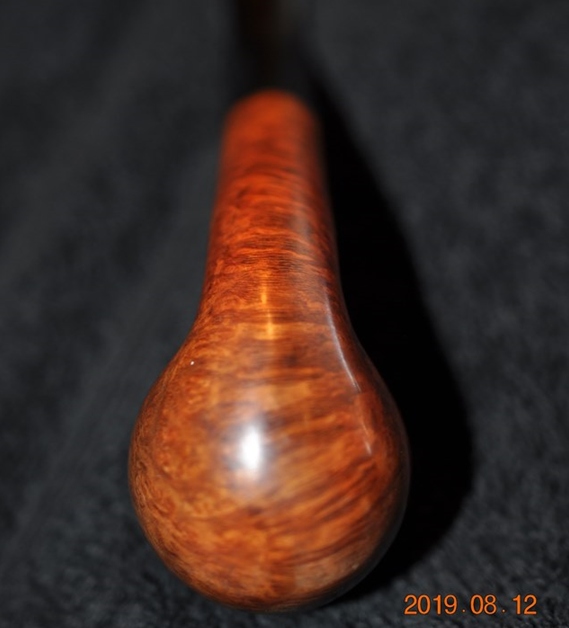
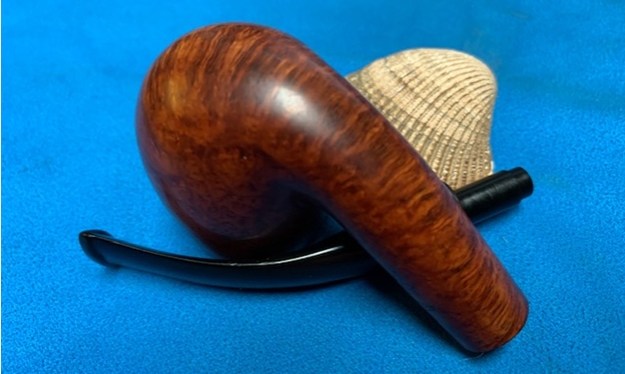
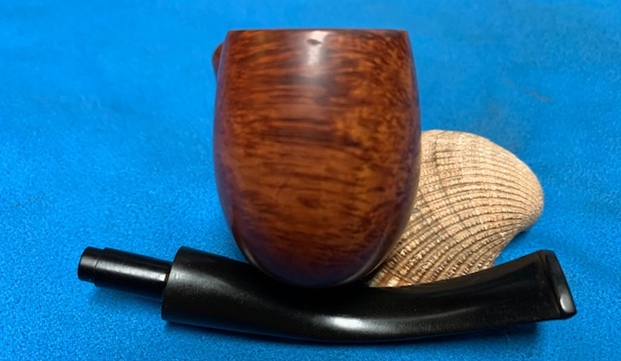
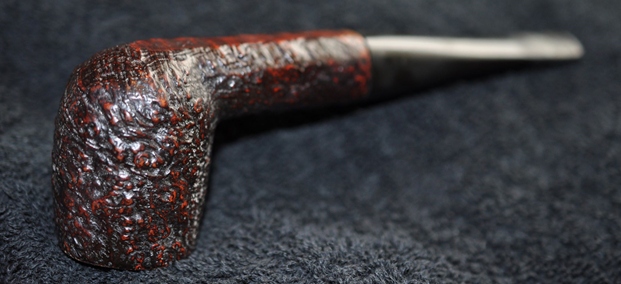
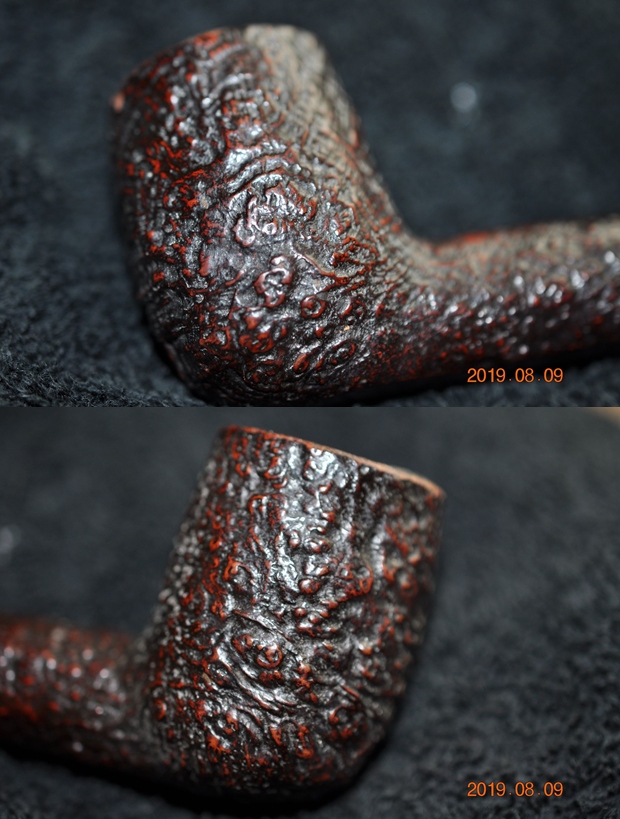
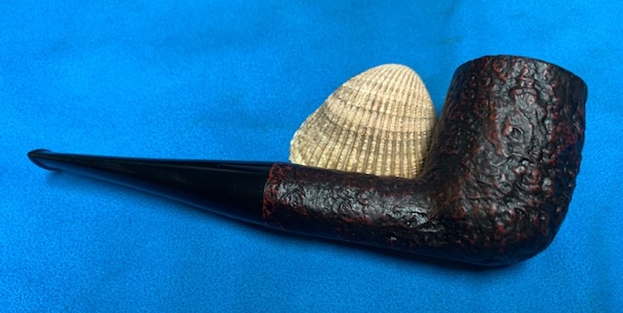
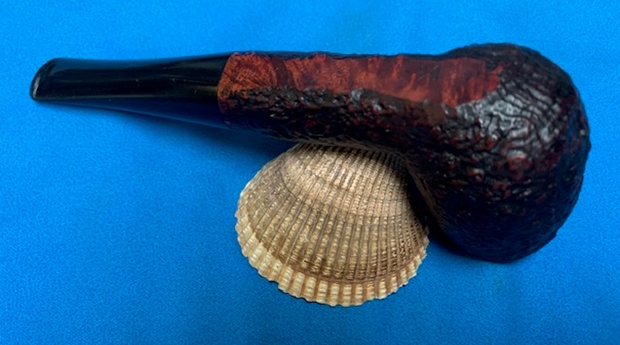
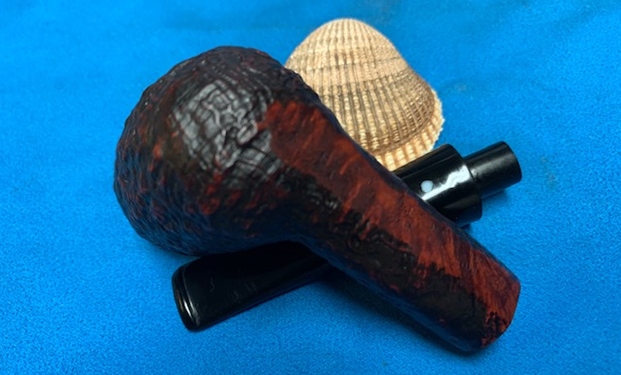
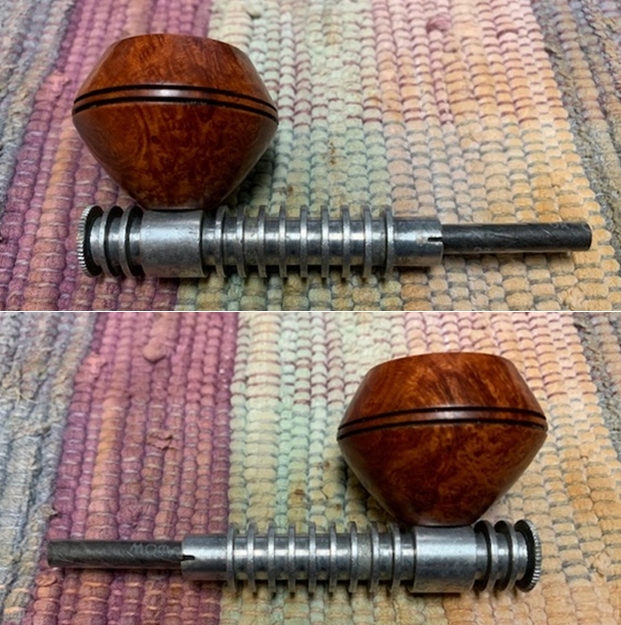
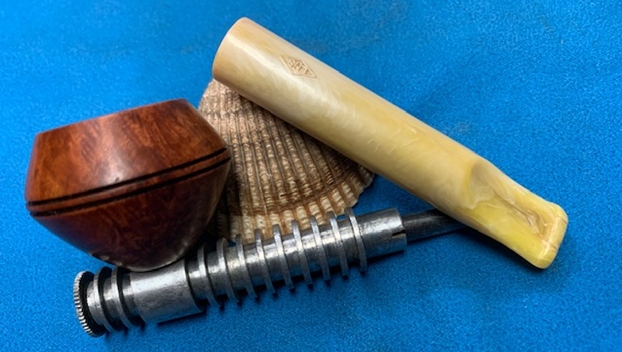
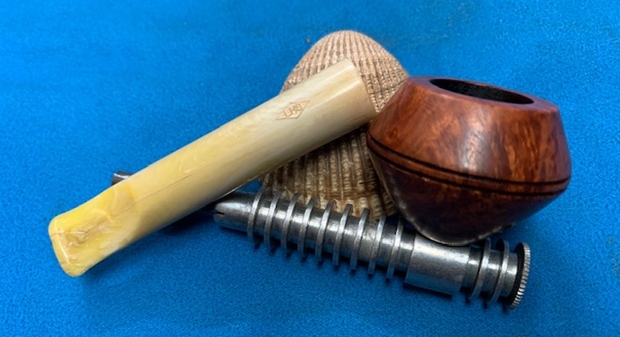
 Jeff took photos of the sides and heel of the bowl to give a picture of what the briar around the pipe looked like. There is some interesting grain under the grime and heavy scratching of the bowl sides. There are a few small fills that also evident. The third photo shows the burn mark toward the front bottom of the bowl.
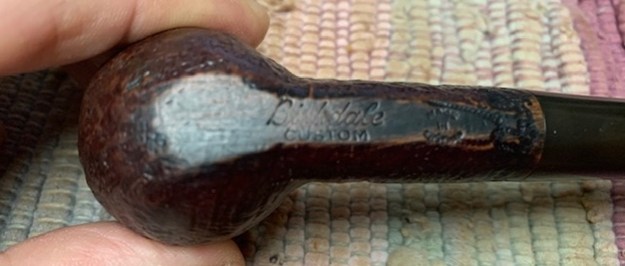
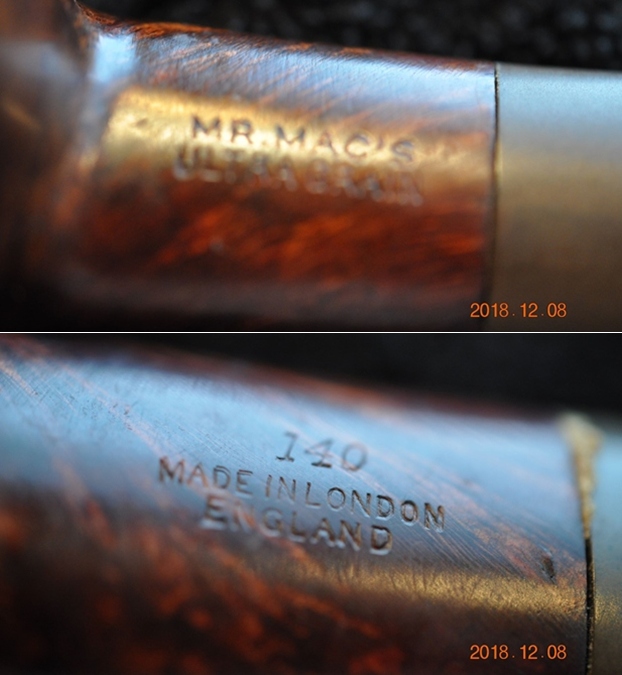
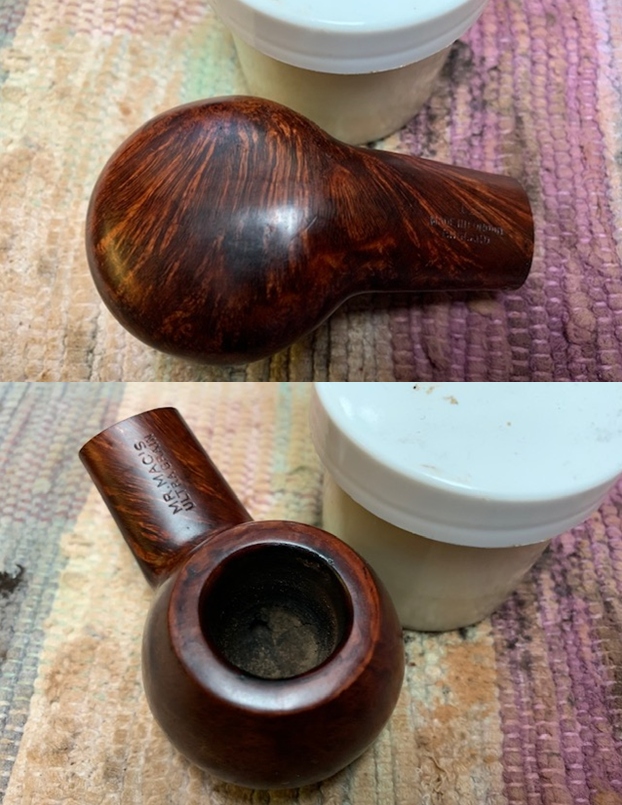
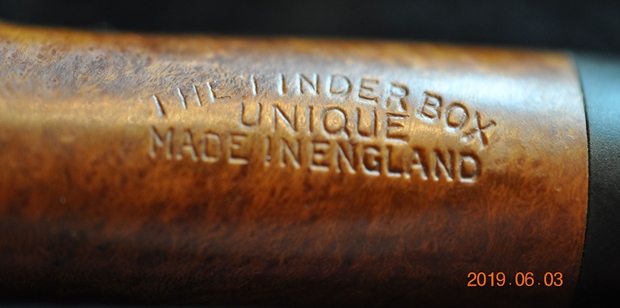
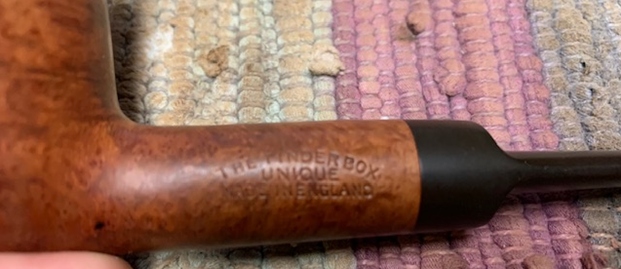
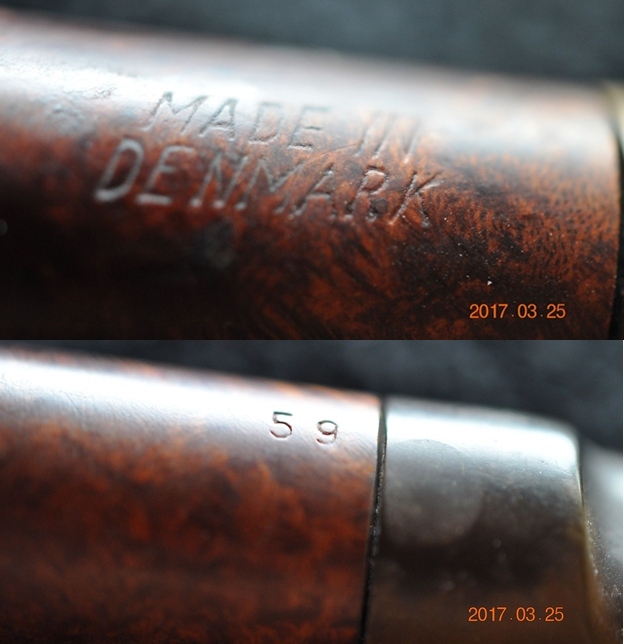
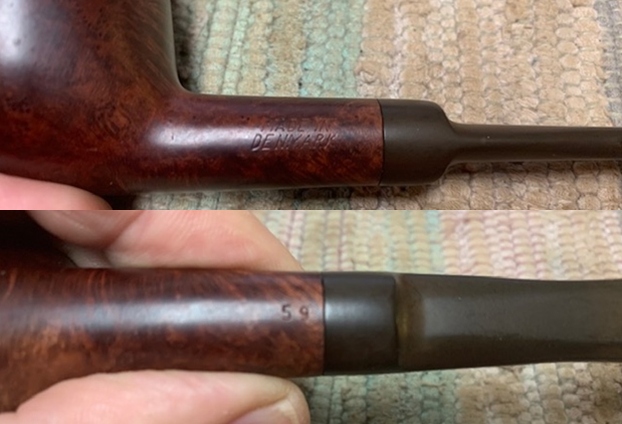
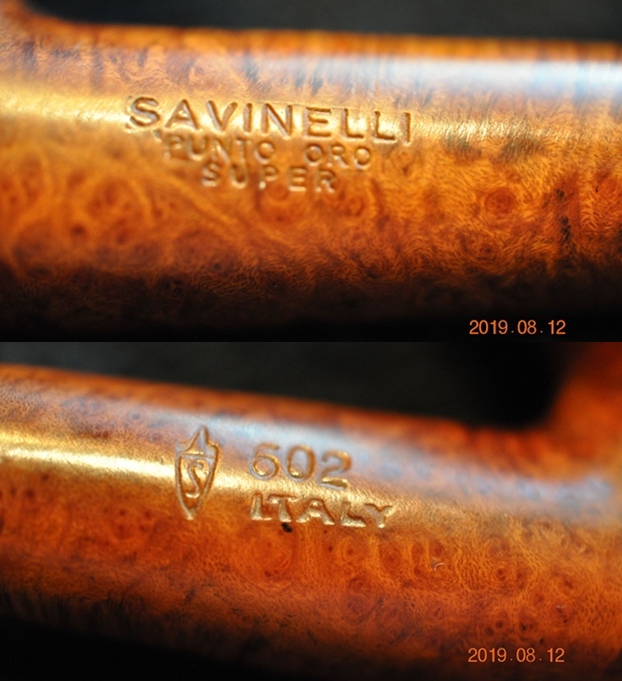
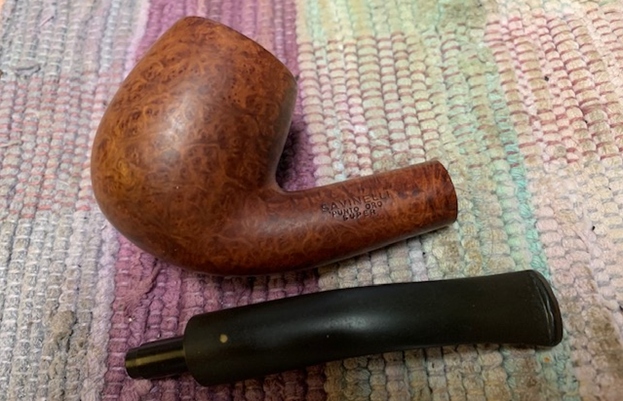
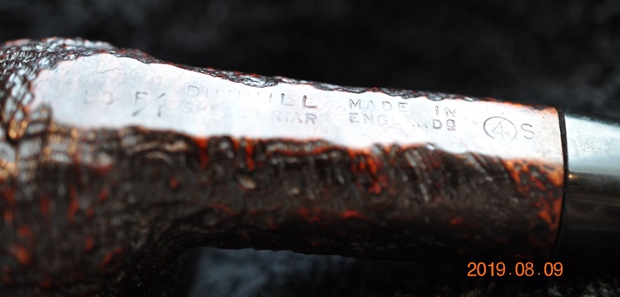
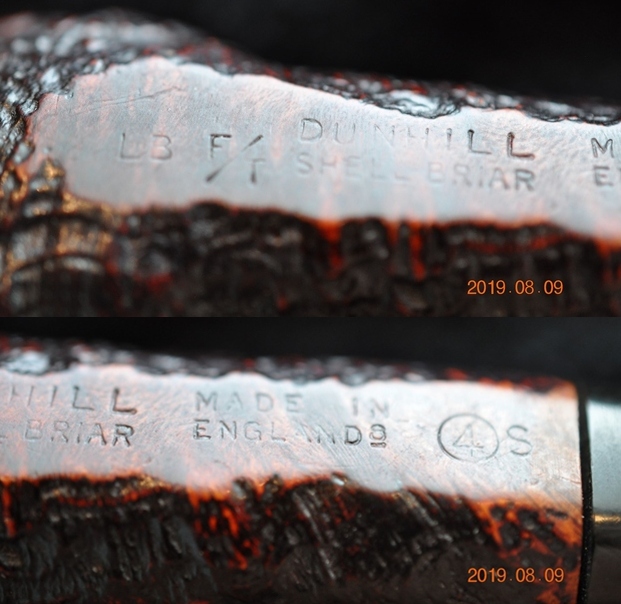
 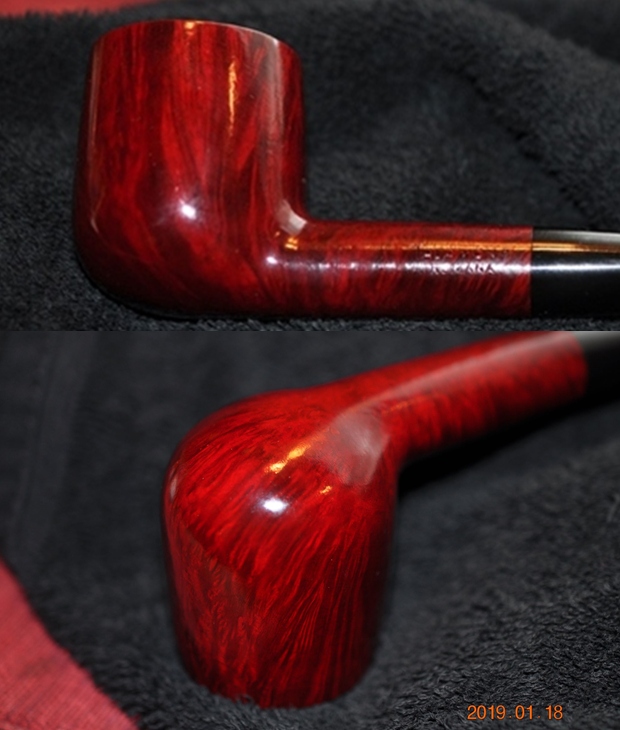 Jeff took photos of the stamping on the sides of the shank. It read as noted above.
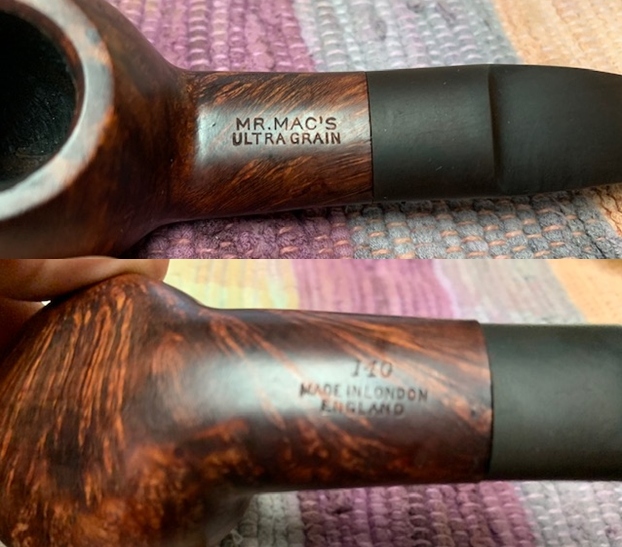
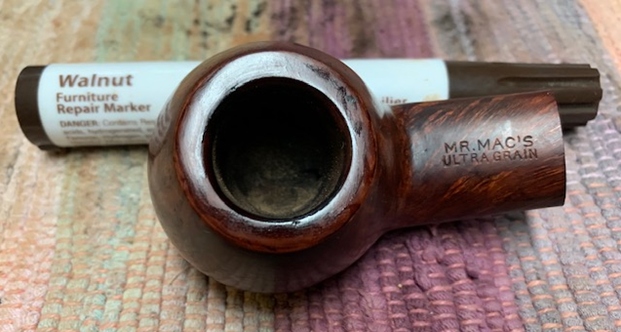
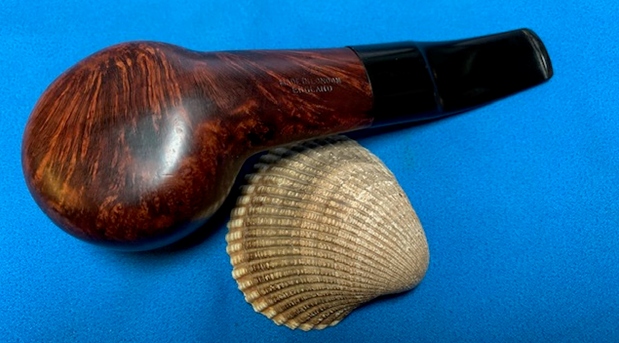
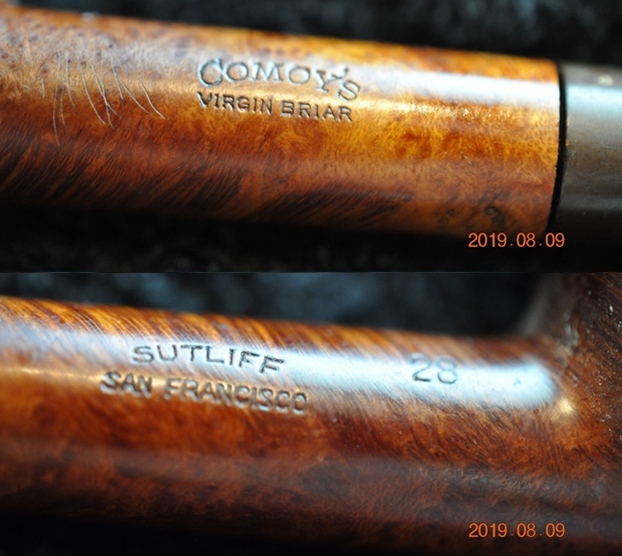
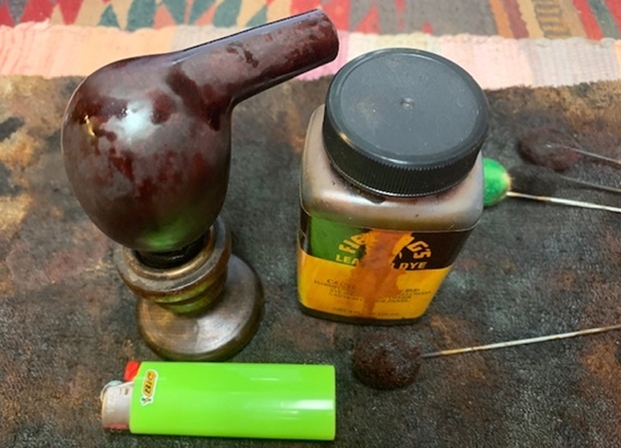
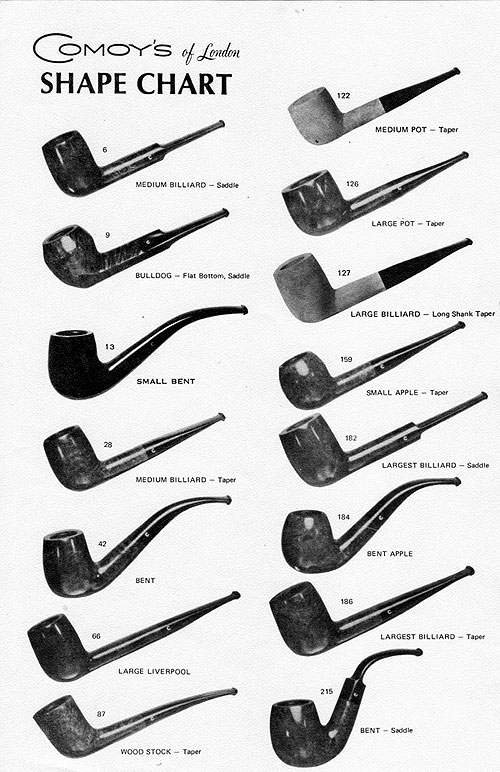
 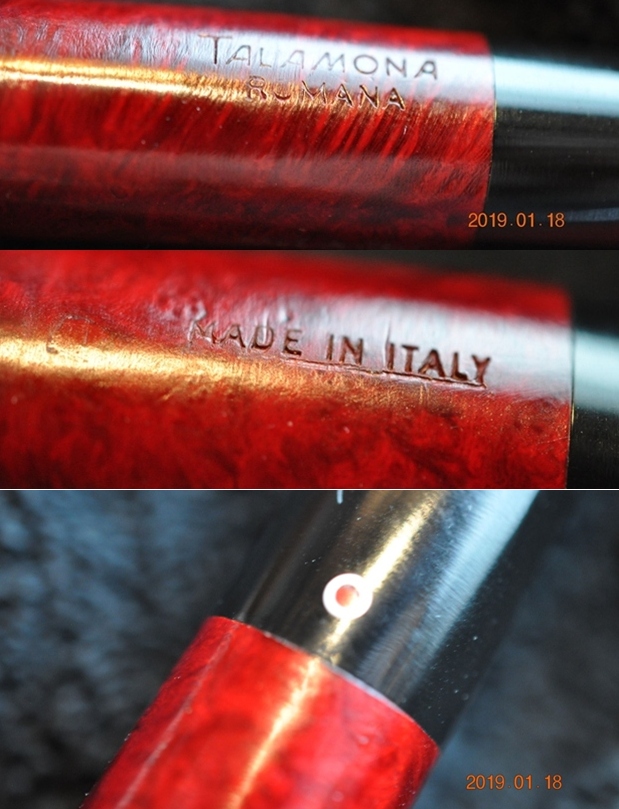 I searched on Pipephil for the brand and found the stamping and logo on a similar looking pipe (http://www.pipephil.eu/logos/en/logo-t2.html). It gave me information on the carver – Cesare Talamona. It is fascinating information as this is not a brand that I have worked on before. The last pipe in the photo before is the same as the one I am working on – a Talamona Romana, Made in Italy. The logo on this pipe is the same as the third pipe in the photo below.
 Artisan: Cesare Talamona is the son of Cornelio Talamona who founded the brand in 1929 in Oltrona di Gavirate (Varese). Most of Talamona pipes have a 9mm filter. The business closed down in December 2000 after Cesare’s wife had passed away. See also (second): Caesar
I turned to Pipedia for information on the brand (https://pipedia.org/wiki/Talamona). I quote the article below.
Those weren’t good times in Italy when Cornelio Talamona, a carpenter by trade, began to manufacture pipes in his bottega in 1929 to earn an additional income.
When his son Cesare left school in 1945 at the age of 15, times were worse. There was neither a place for an apprenticement nor another job to be found in the destitute and war-torn country. And Cesare felt no desire to a continuing school attendance which moreover would have costed money. So the father, beset by worries, decided the boy might lend him a helping hand in the workshop where at that time in priority furniture pieces of the indispensable kind were made – and repaired above all. And then… Time would tell.
Gradually Italy recovered from the consequences of the war – above all thanks to enormous aid by the United States. Cesare Talamona remained in the workshop and became pipe maker. And Talamona Pipes made their way first to some important pipe shops in northern Italy where they gained a considerable good reputation for the small brand. This helped a lot to sell pipes in Germany since the later 1960’s as well, where the circle of customers admittedly remained manageable but affectionate due to a very good quality at moderate prices. Almost all of these pipes were made for 9mm filter.
In fact, Cesare Talamona never became one of the real great names of Italian pipe making. Though during the best years, in the 1980’s, there were even some auxiliary crafts, and also Cesare’s son and his two daughters earned their livelihood for a while in the family business. On the 31st of December 2000, the firm was closed officially. The main reason was that Cesare’s wife had passed away. But even though Cesare Talamona came back to the old workshop often, where he gladly made pipes for good friends and casual visitors. “As long as heart and hands still tag along” as he used to say.
I knew that the pipe I was working came from Cesare Talamona between the 1980s and the closure of the shop in 2000. While most of his pipes were made for a 9mm filter the one I am working does not have a filter tenon. The pipe is a well made briar with shiny red coat. Now it was time to work on the pipe.
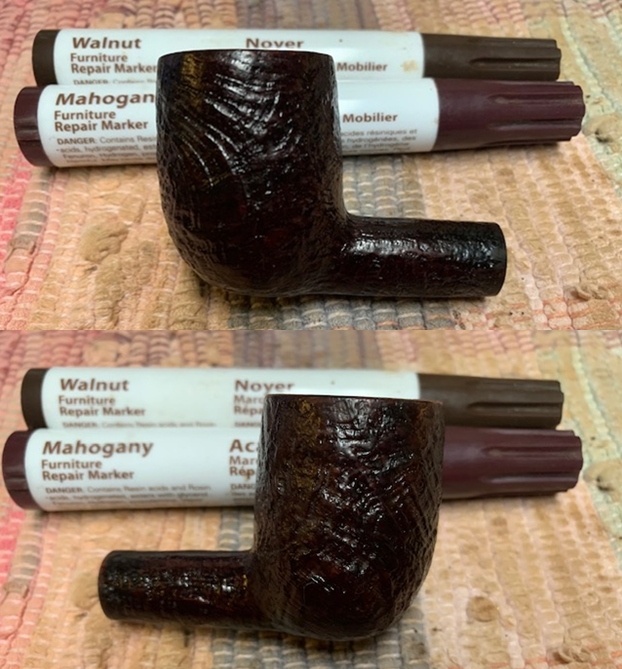
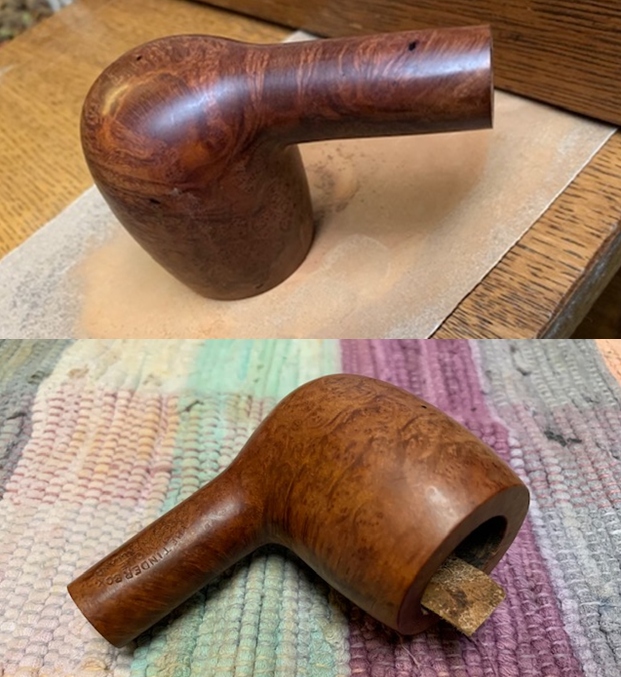
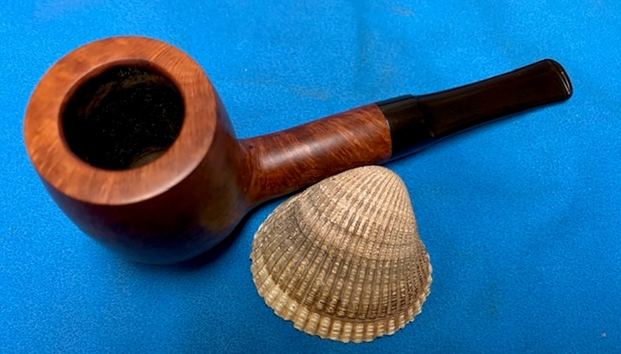
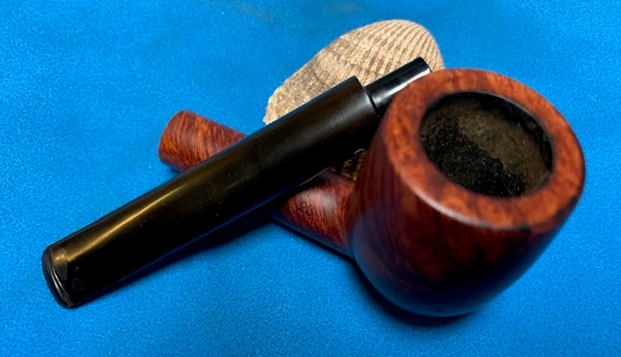
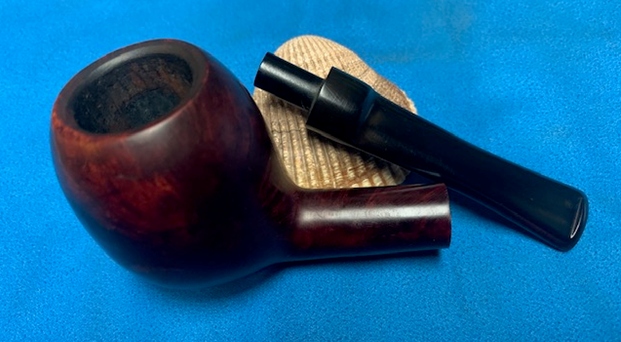
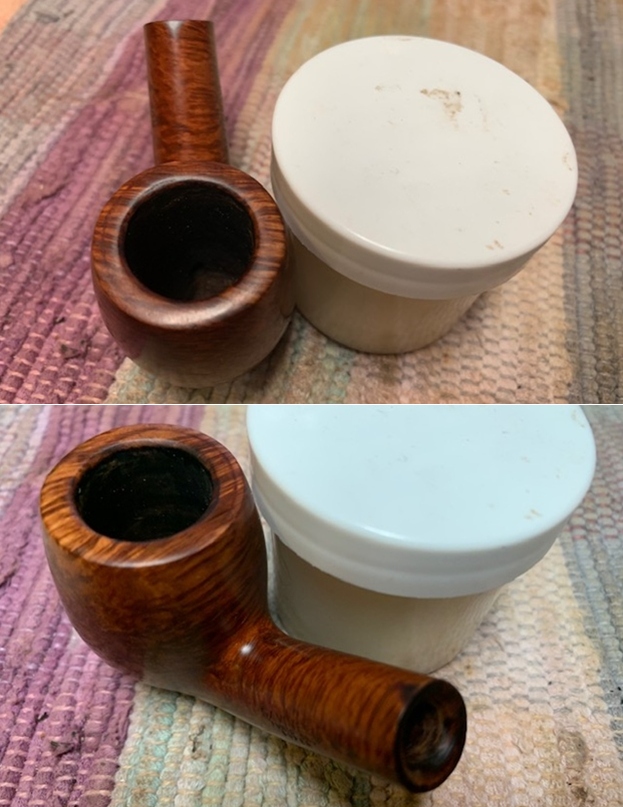
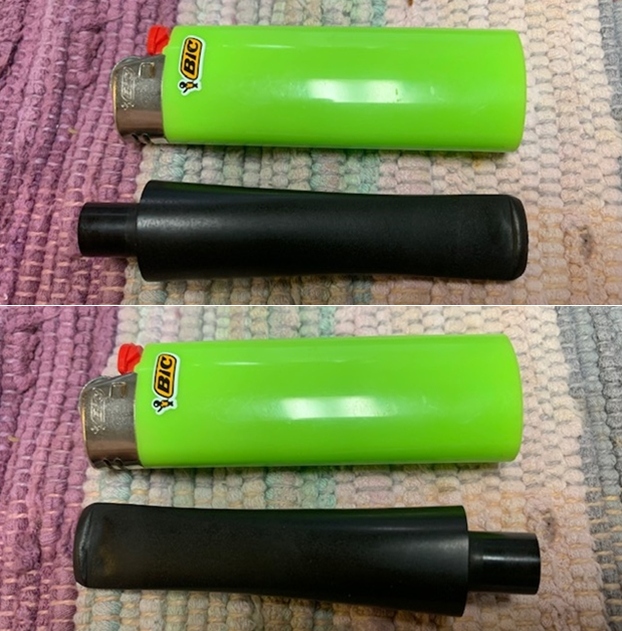
Since Jeff follows the same pattern of work in his cleanup we do not include photos but rather just a simple summary. Jeff reamed the bowl with a PipNet pipe reamer and followed up with a Savinelli Fitsall pipe knife to remove the cake. He scrubbed out the mortise and the airway in the shank and the stem with alcohol, cotton swabs and pipe cleaners. He scrubbed the exterior of the bowl, rim, shank and stem with a tooth brush and Murphy’s Oil Soap to remove the oils and tars on the rim and the grime on the finish of the bowl. He rinsed it under running water. He dried it off with a soft cloth. He cleaned the internals and externals of the stem with alcohol, pipe cleaners and cotton swabs. The stem was clean and you could clearly see the damage on the top and underside. I took photos of what the pipe looked like when I brought to my worktable. 
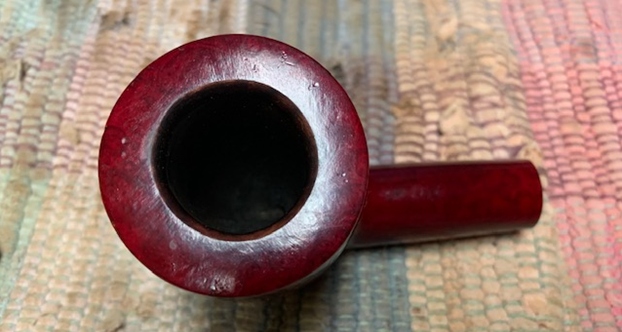
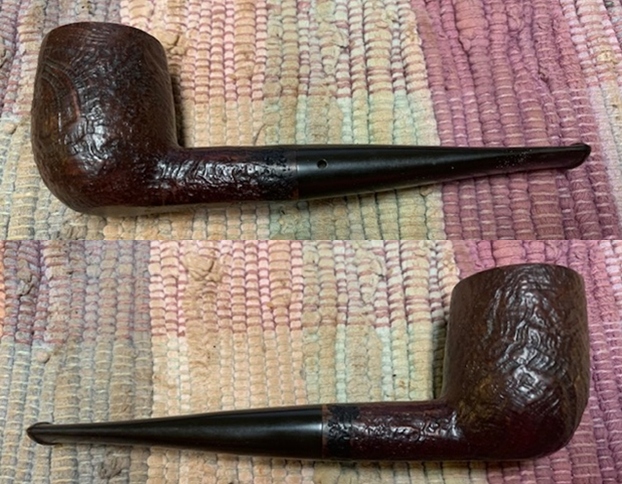
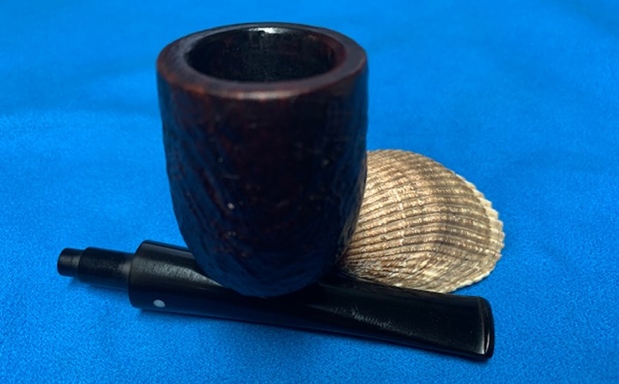
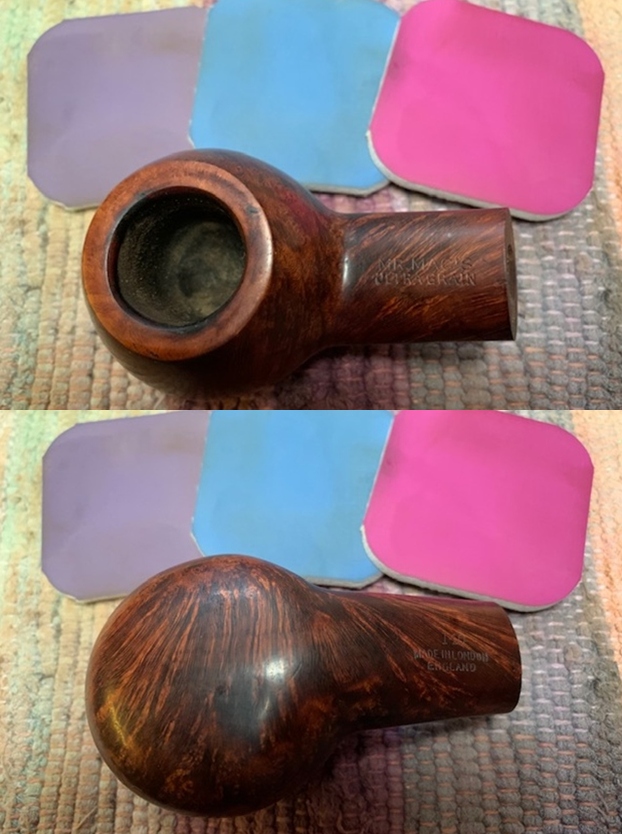
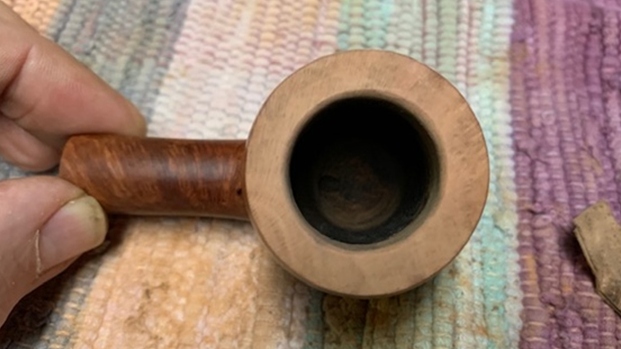
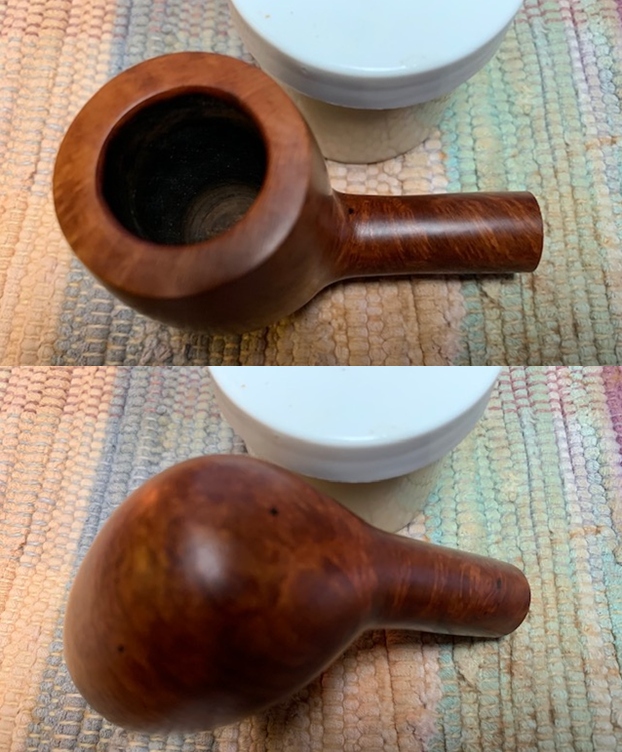
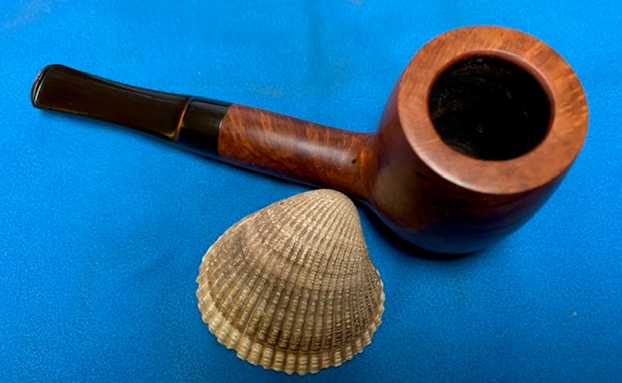
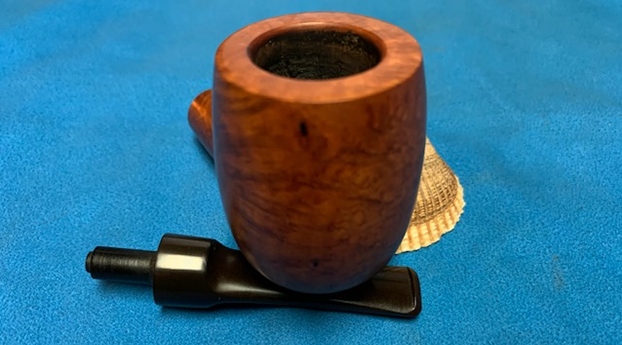
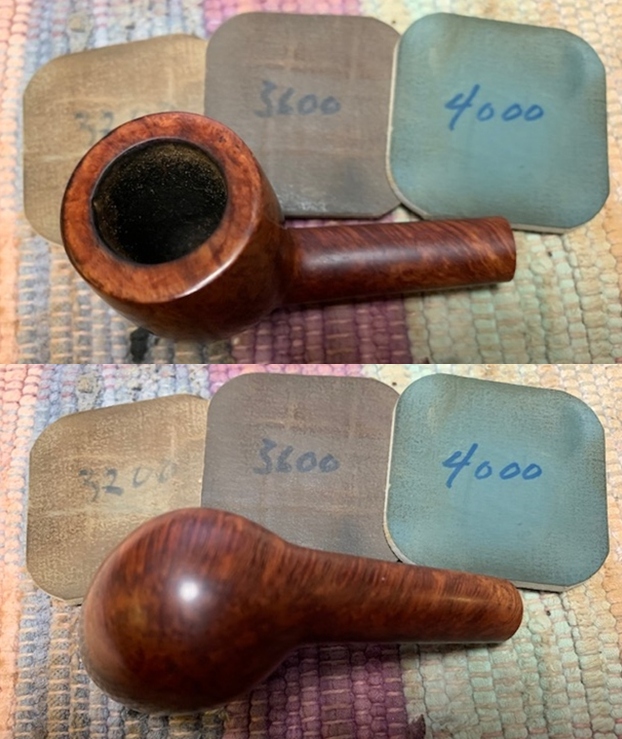
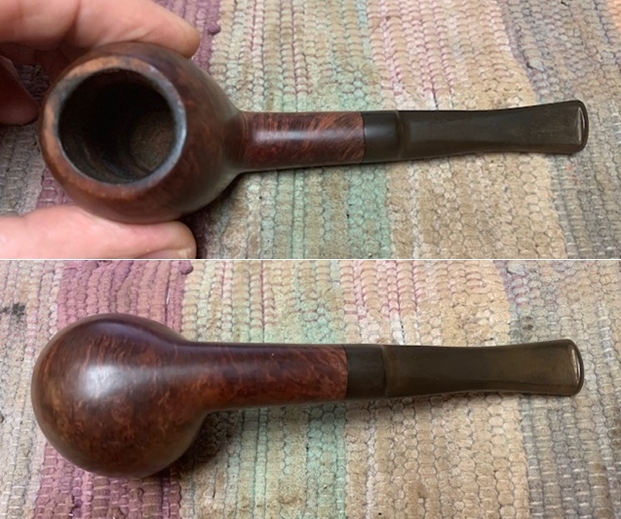
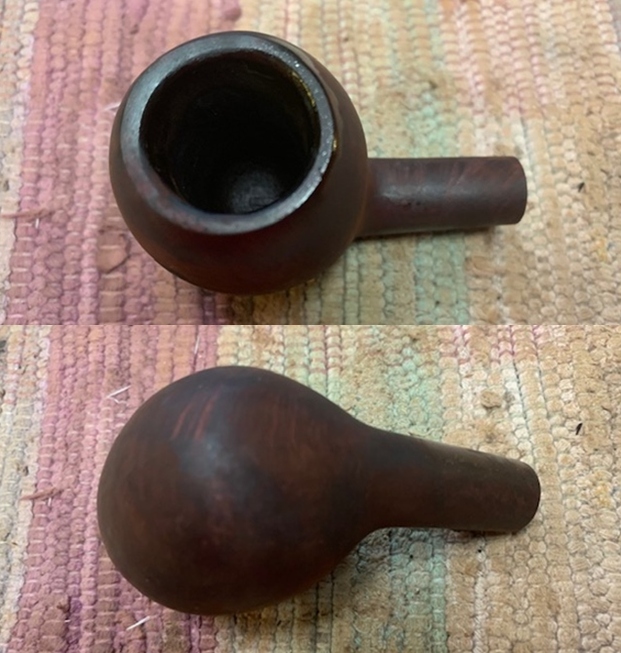
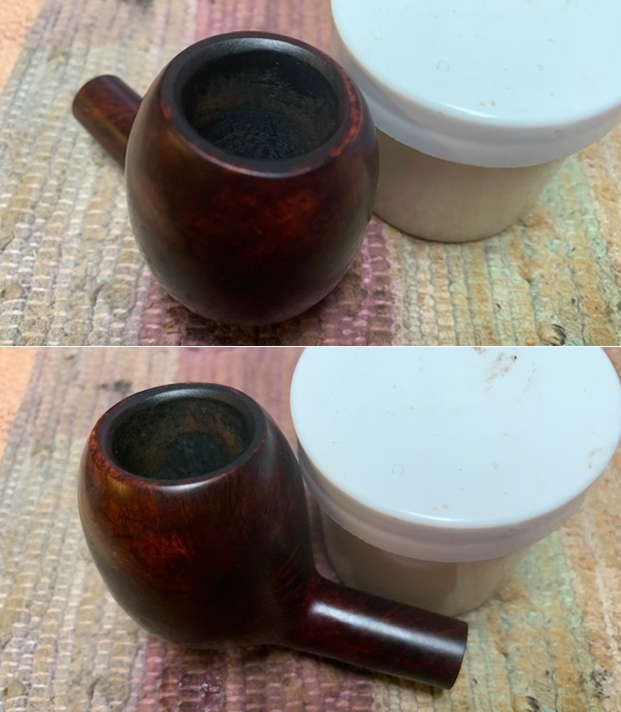
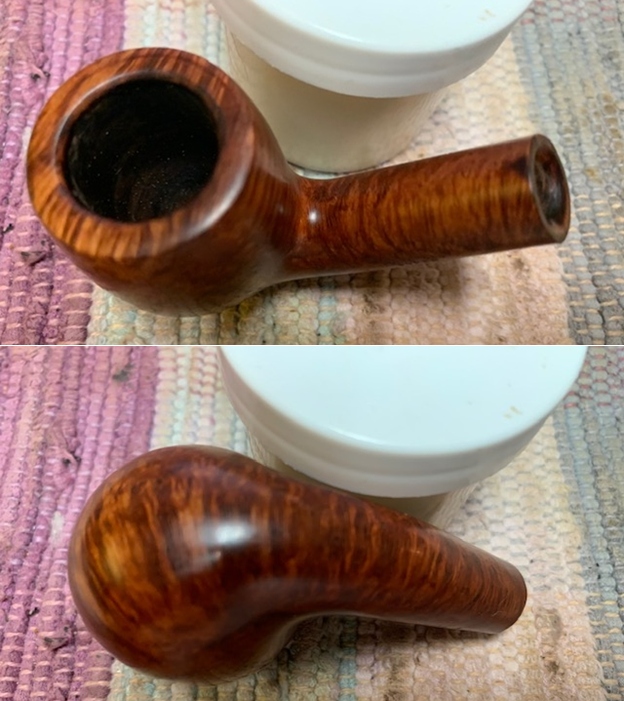
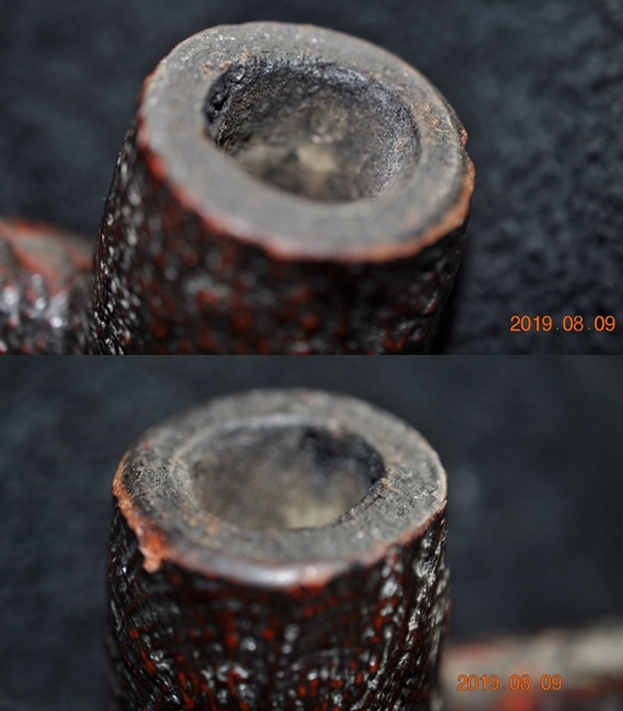
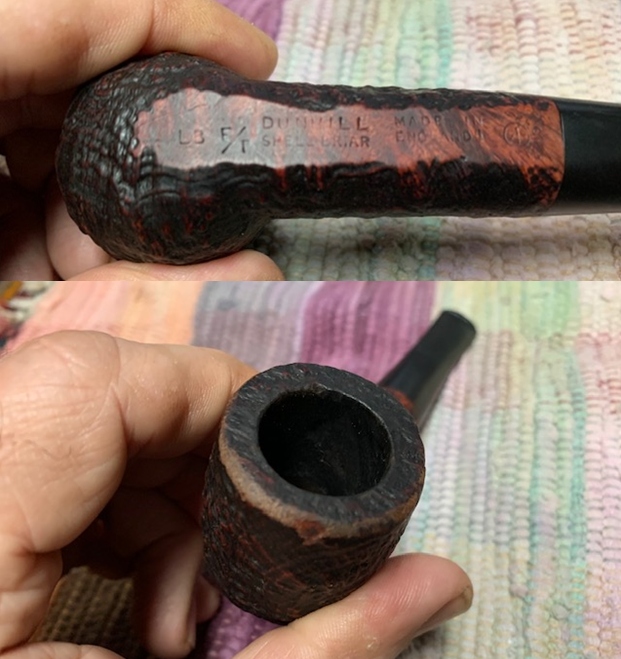
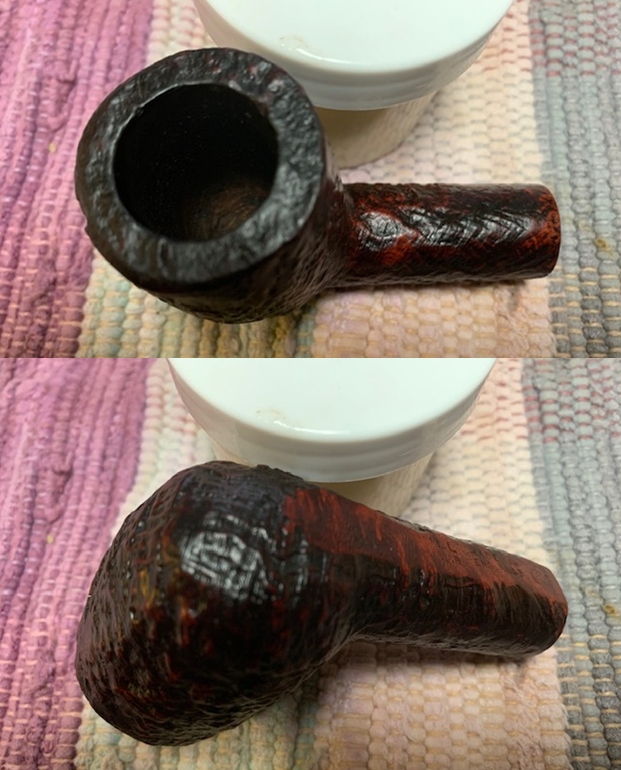
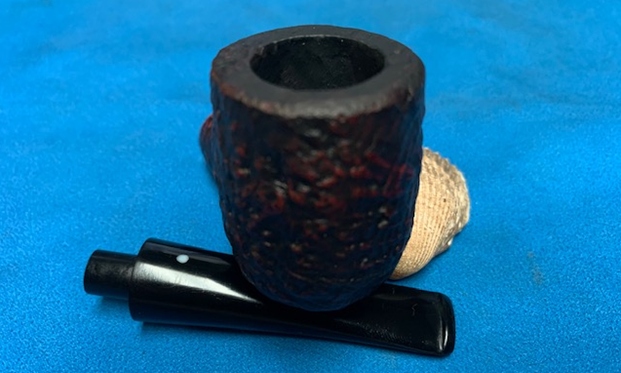
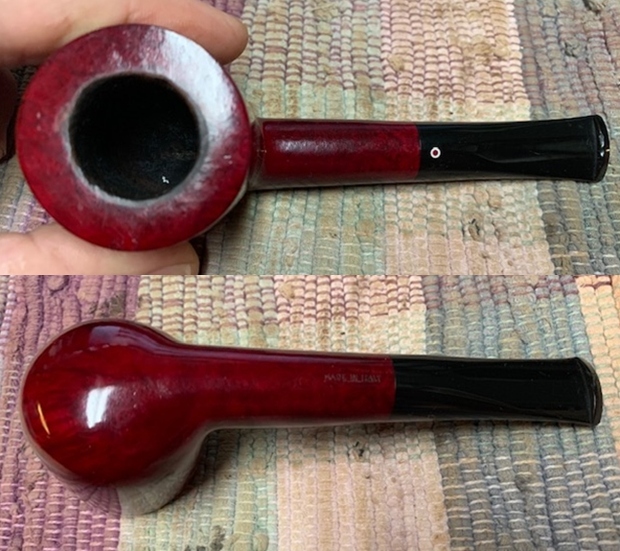 The bowl and rim top cleaned up really well leaving the nicks and scratches on the crown visible. The inner edge of the bowl was rough and had some burn damage. The stem surface looked very good the tooth chatter and marks on both sides ahead of the button and on the button surface very visible.
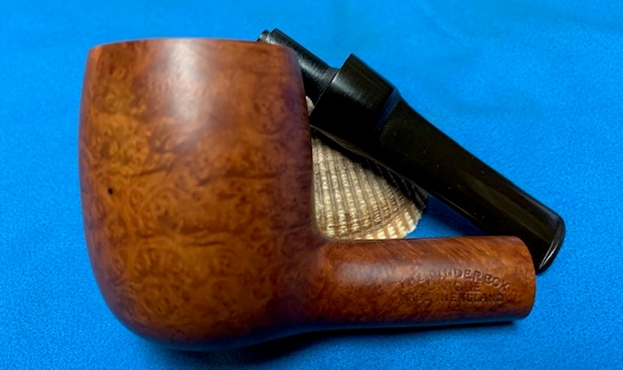
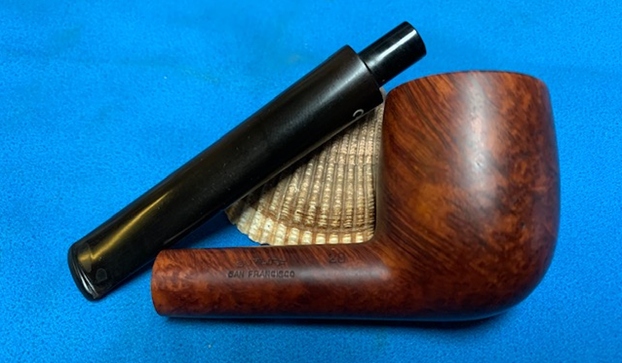
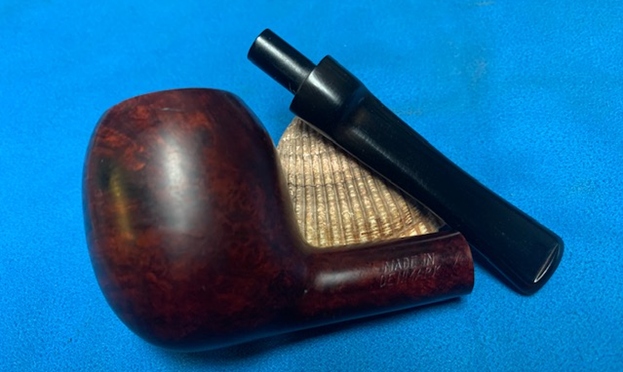
 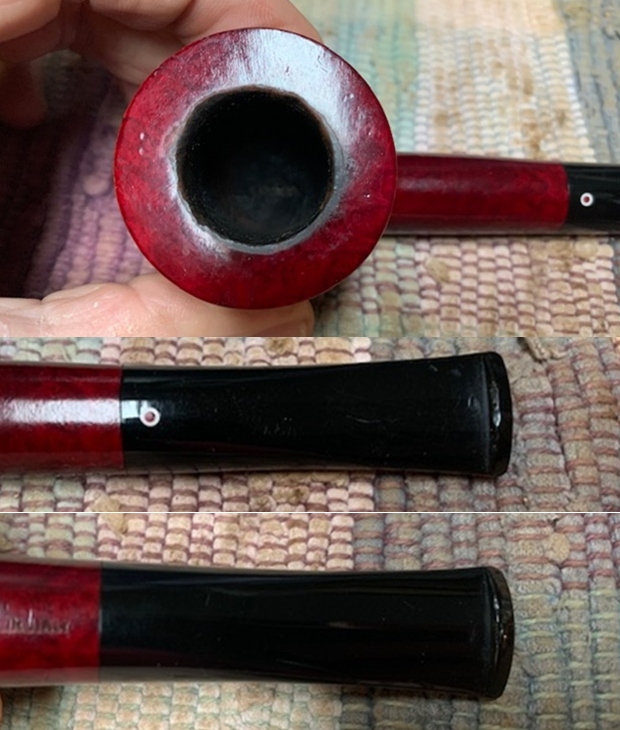 I took a photo of the stamping on the left and underside of the shank. It read as noted above.
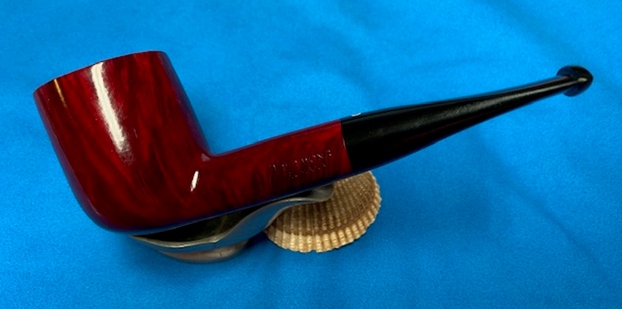
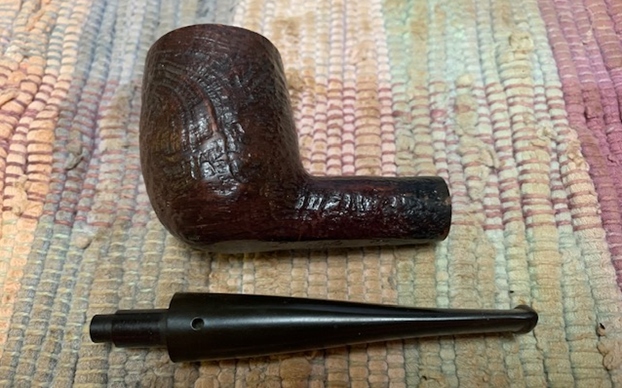
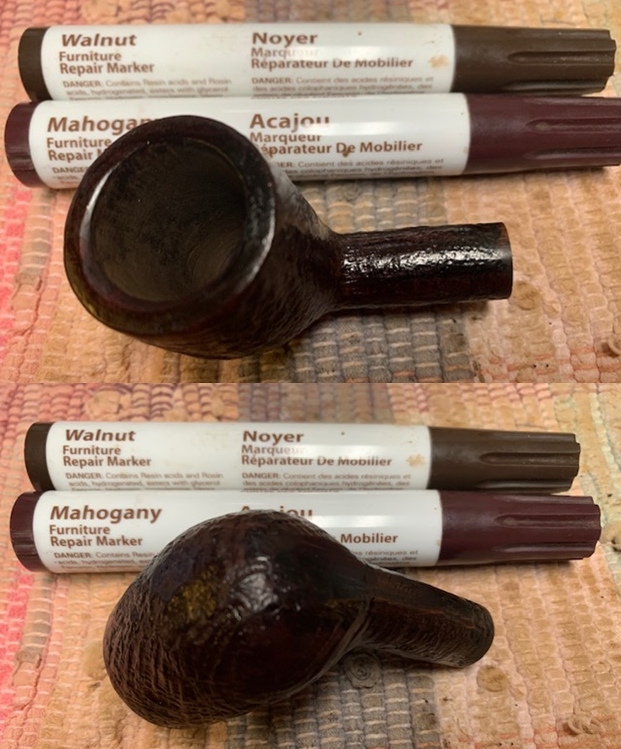
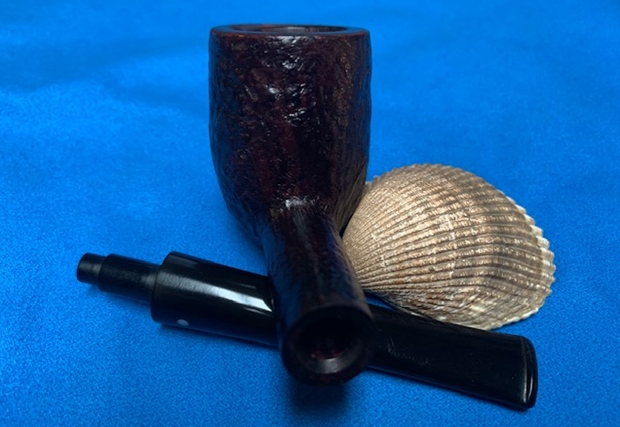
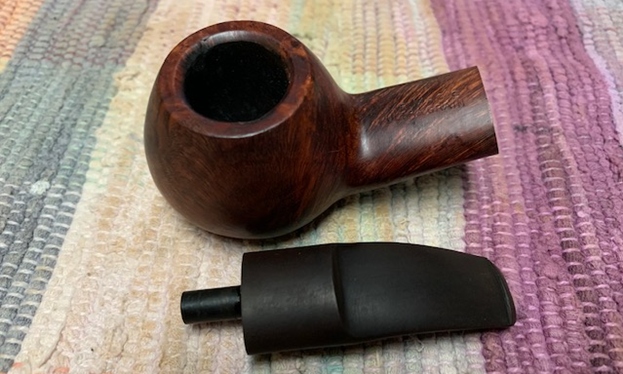
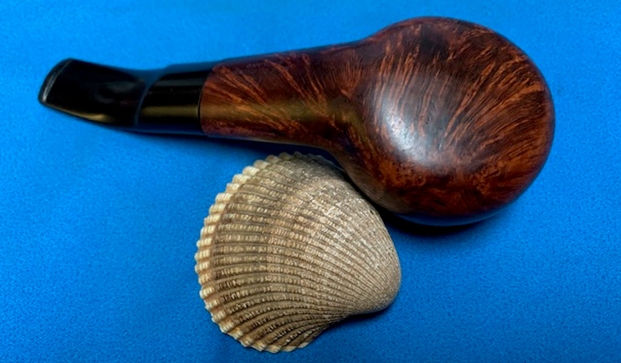
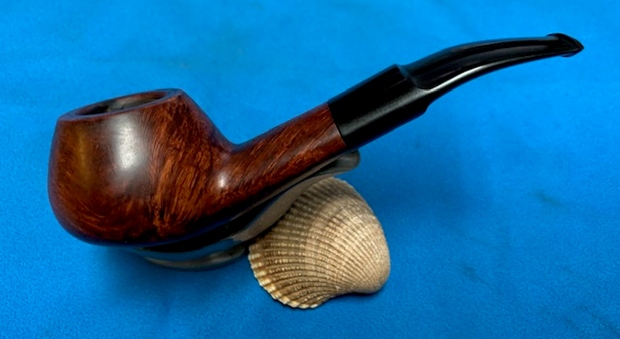
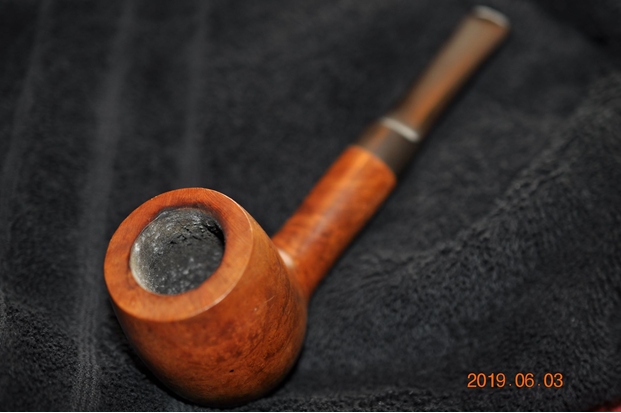
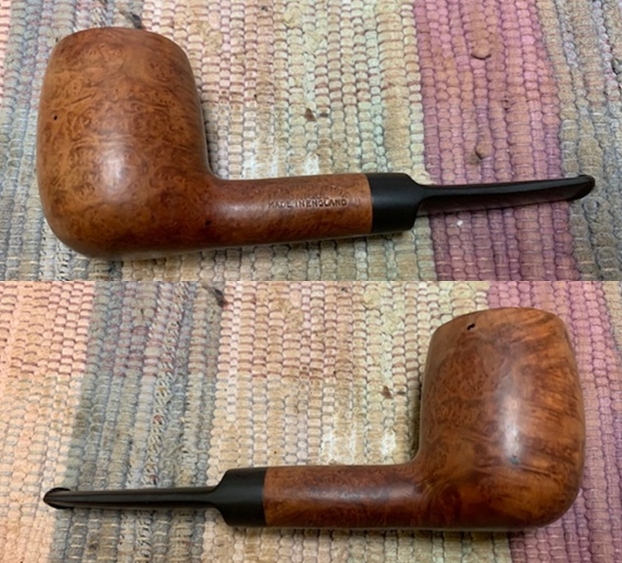
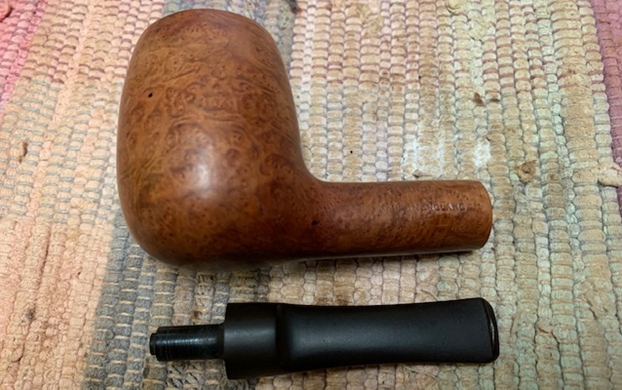
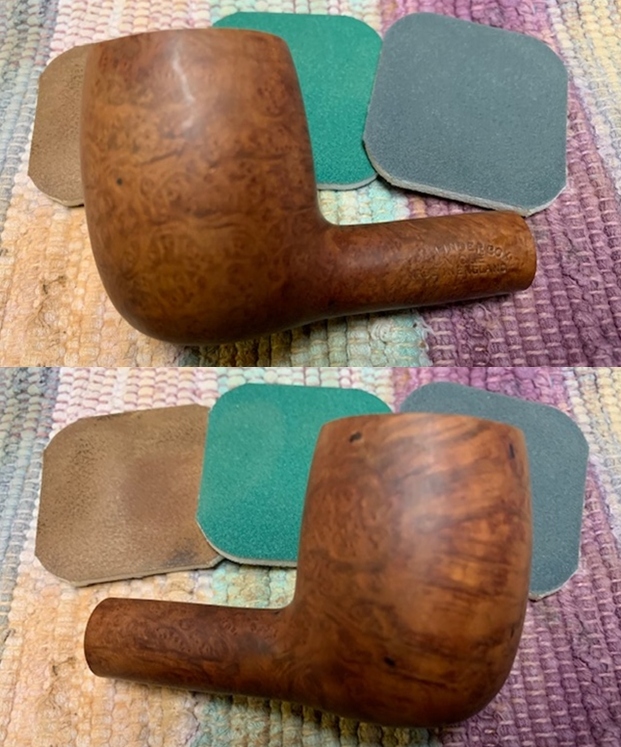
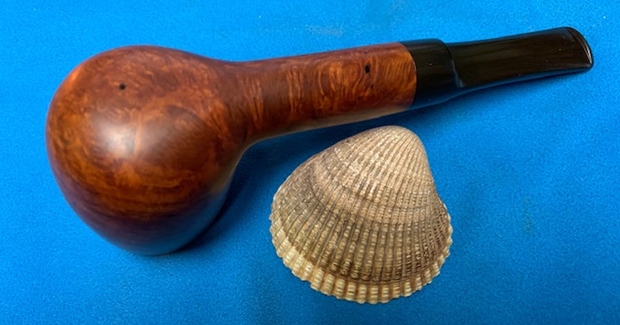
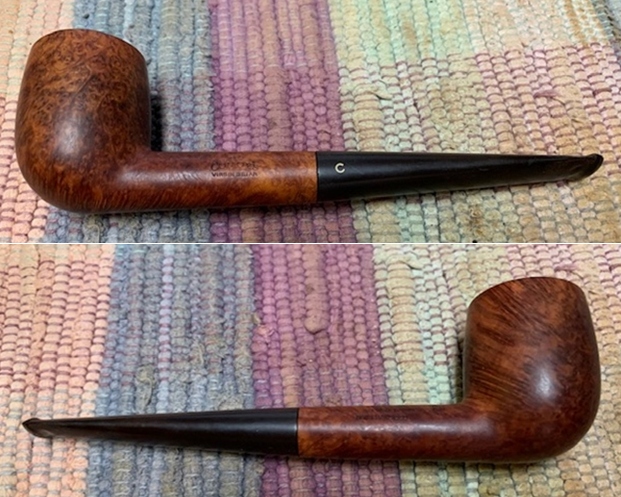
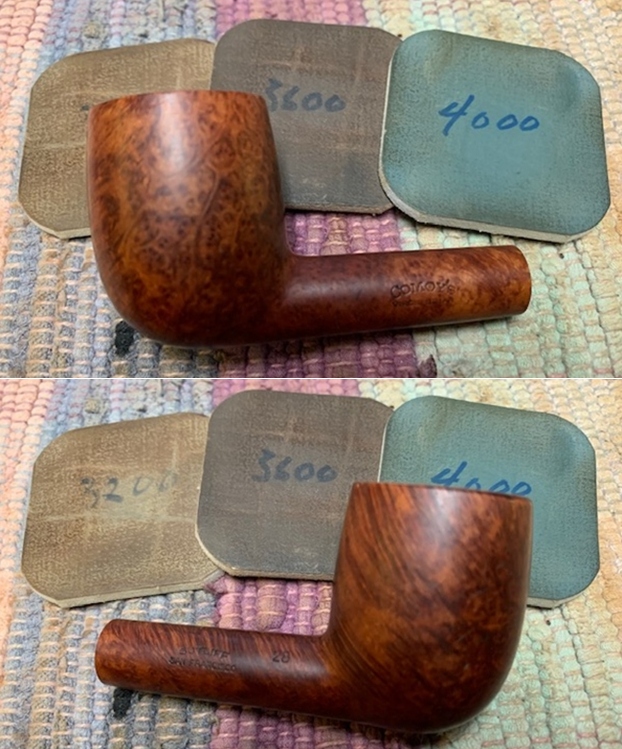
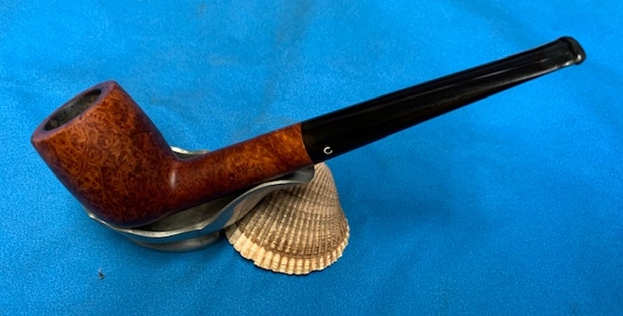
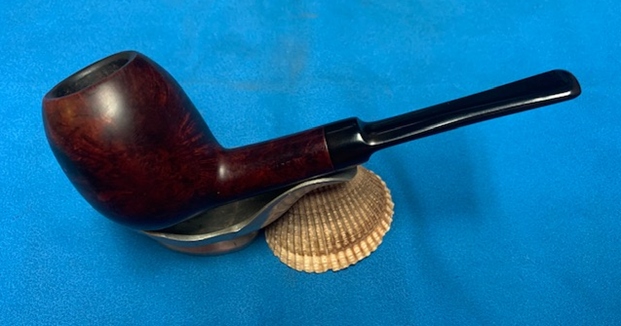
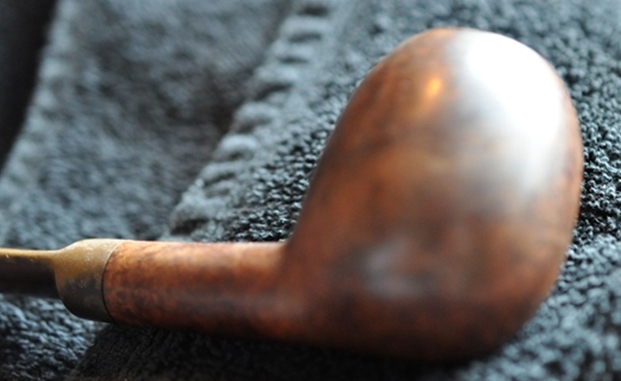
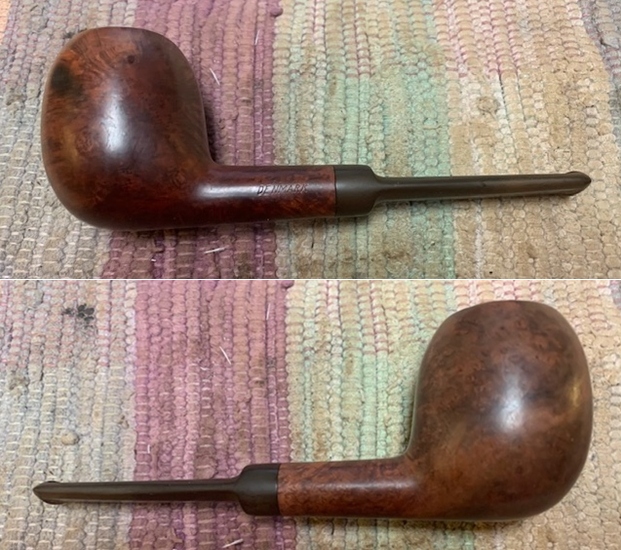
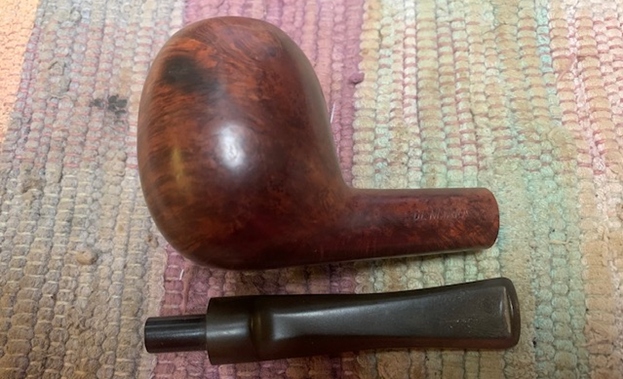
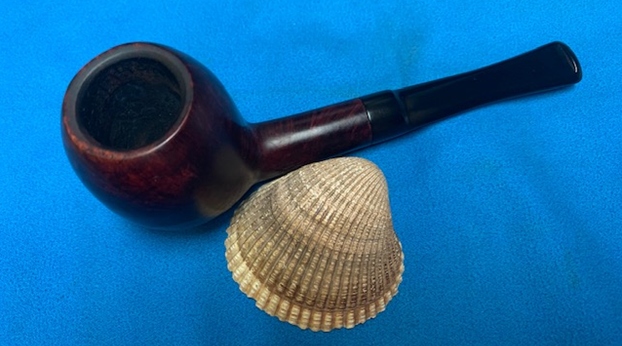
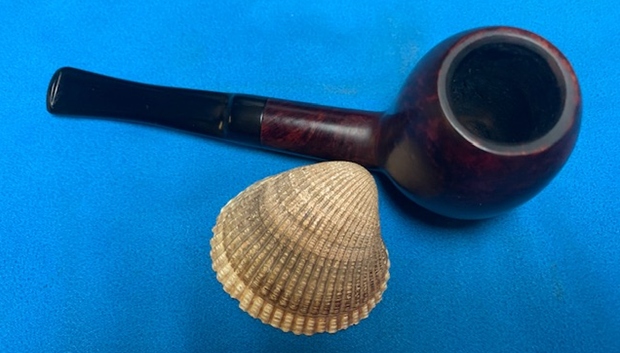
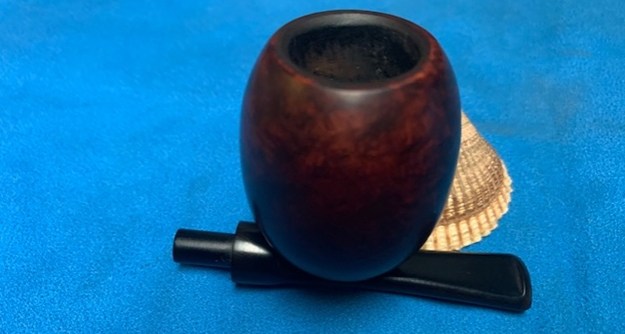
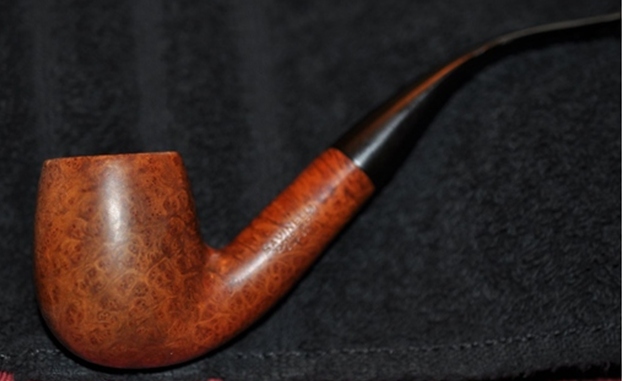
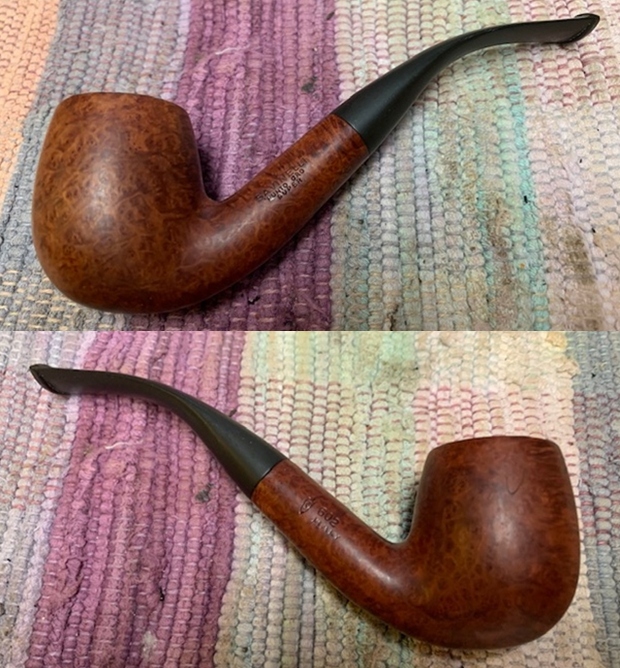
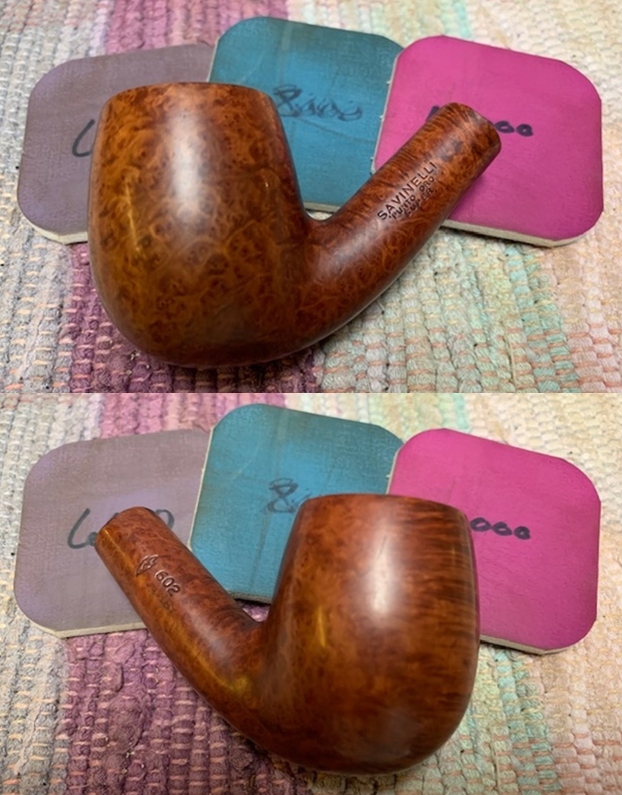
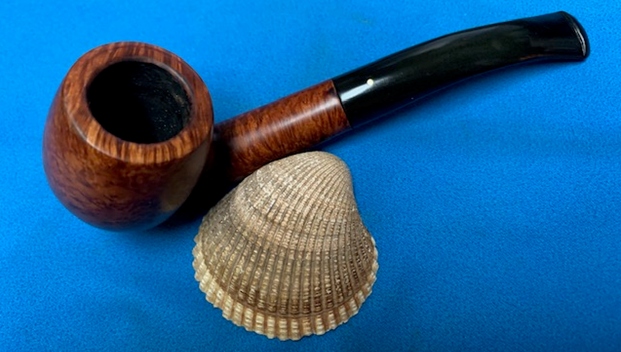
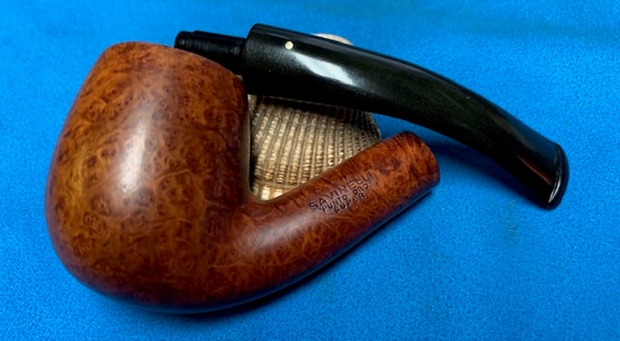
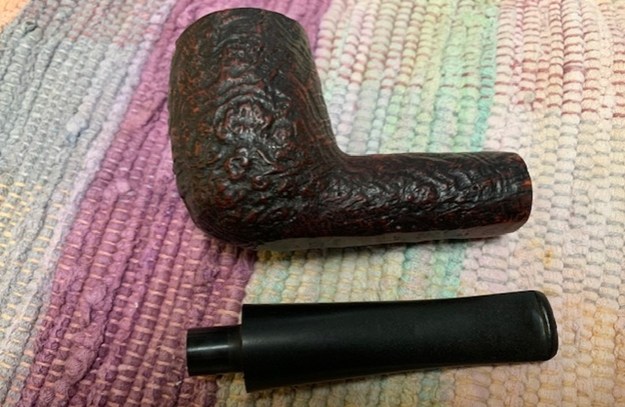
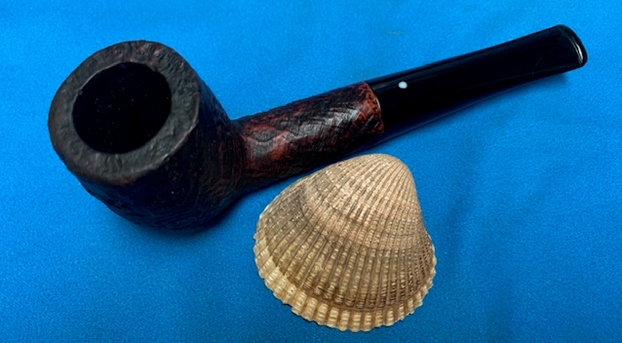
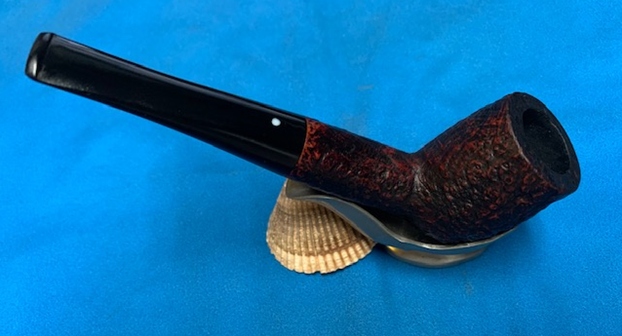
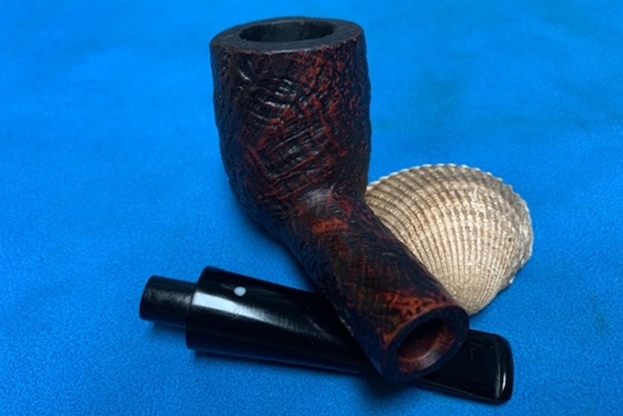
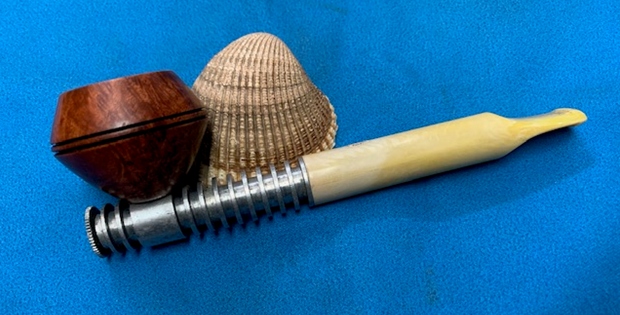
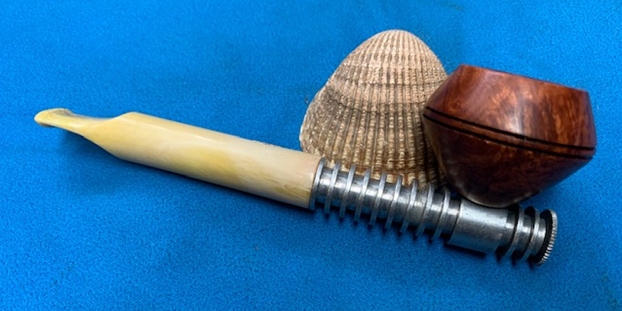
 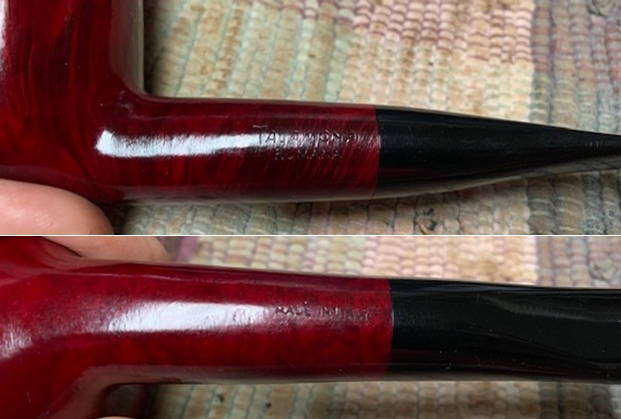 I removed the stem and took a photo of the pipe to give a sense of the whole. It is a well shaped tall Brandy shape that looks elegant.
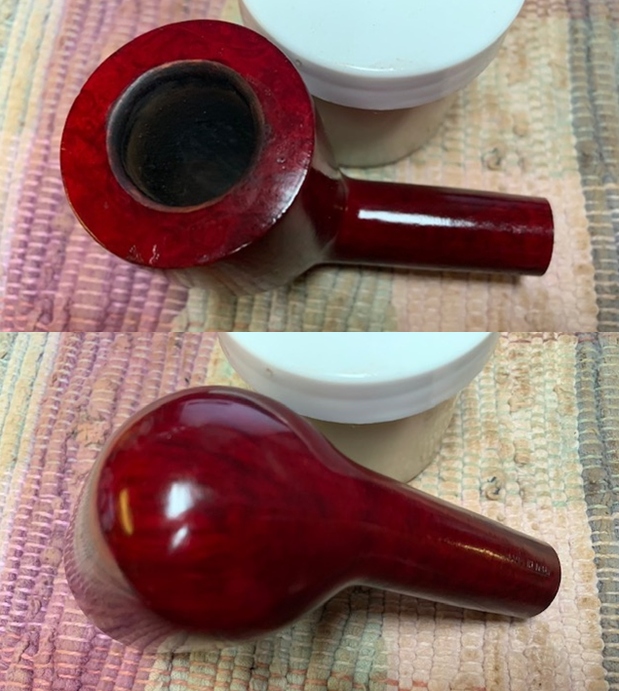
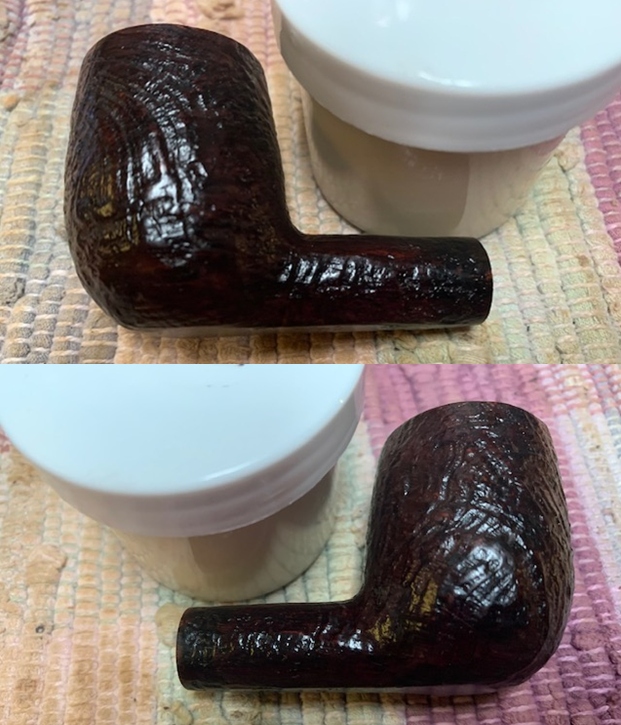
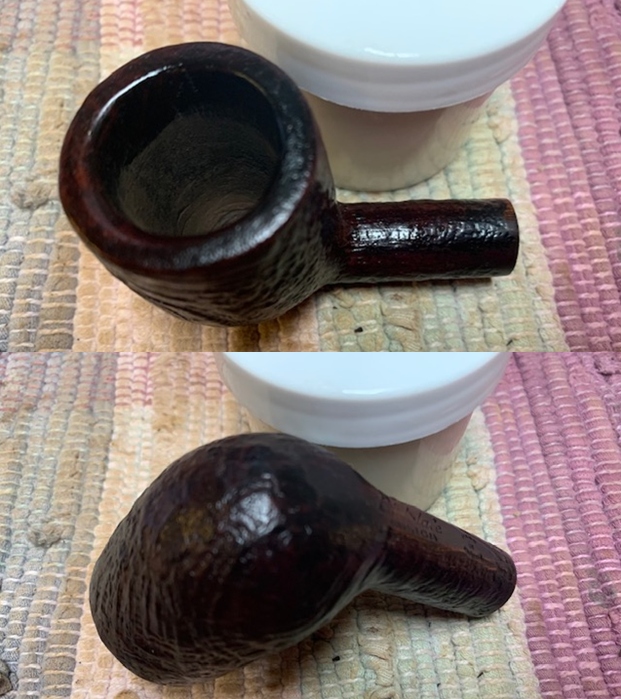
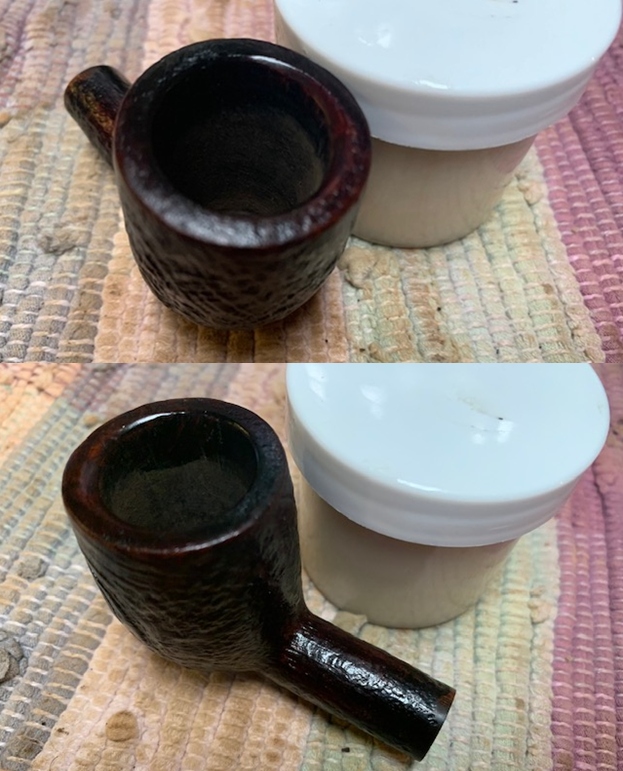
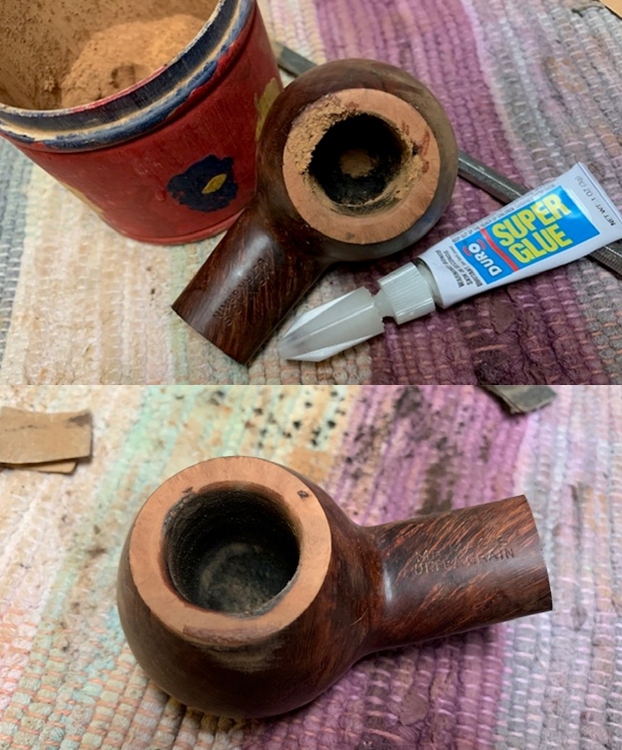
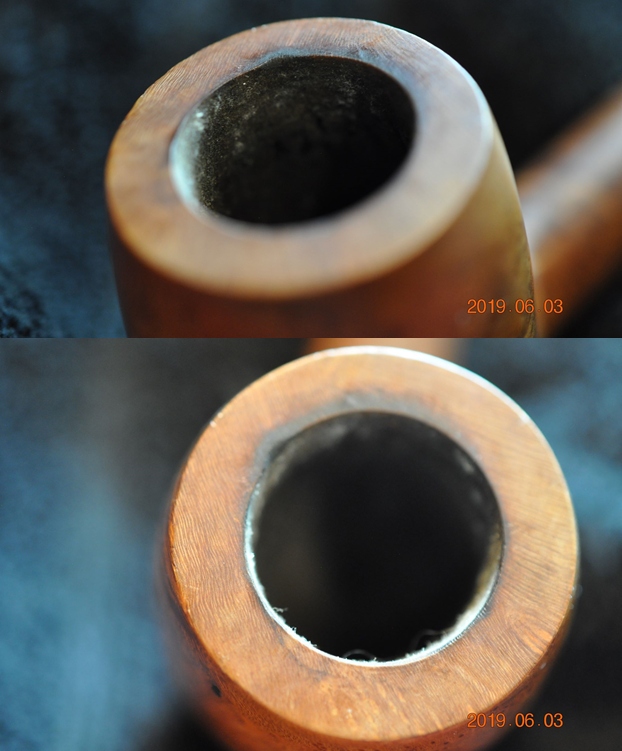
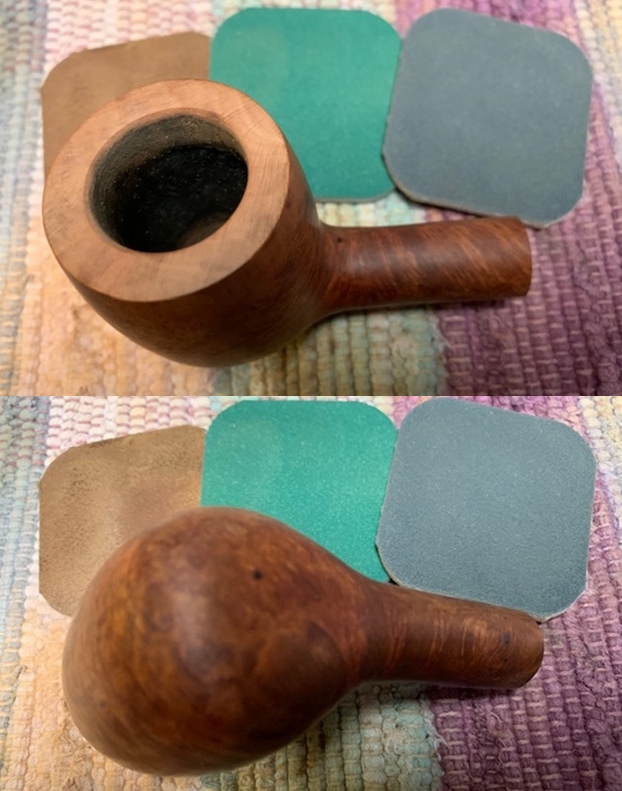
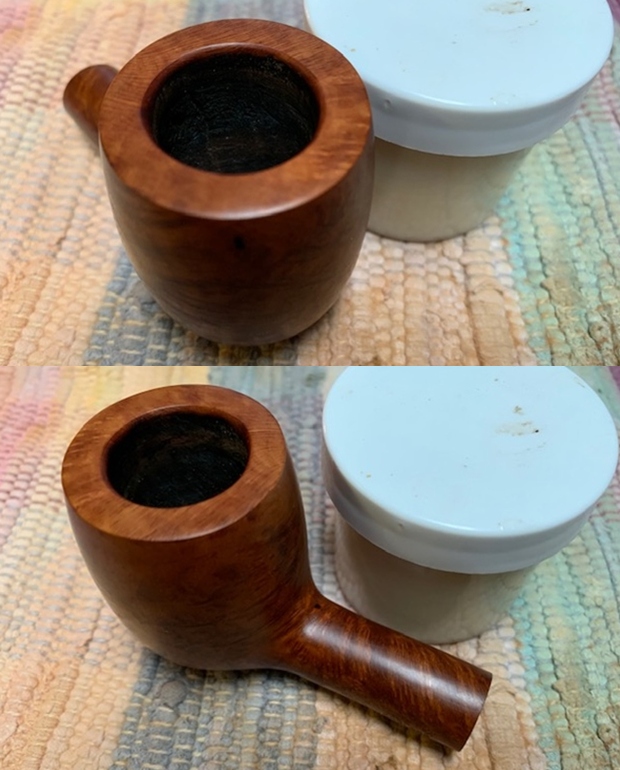
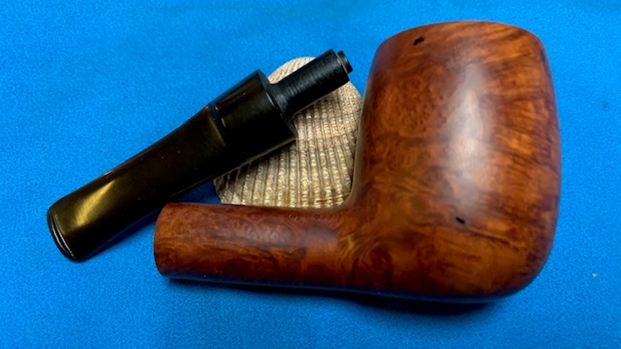
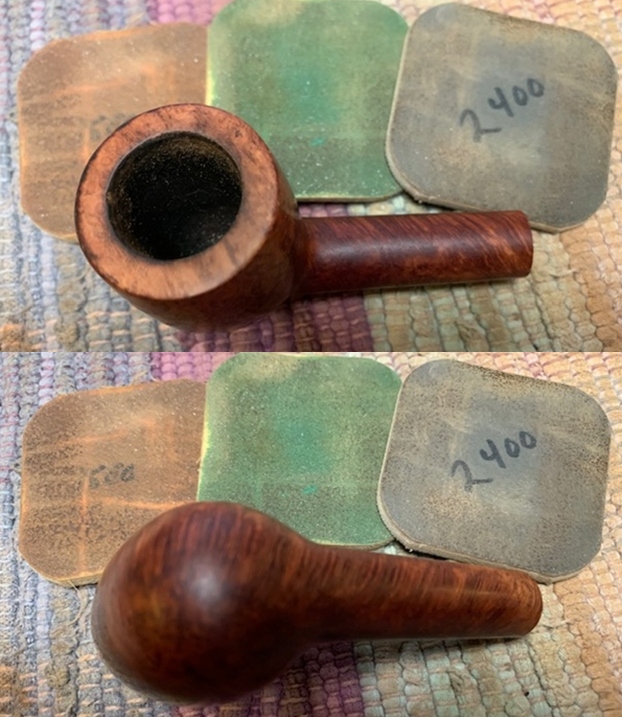
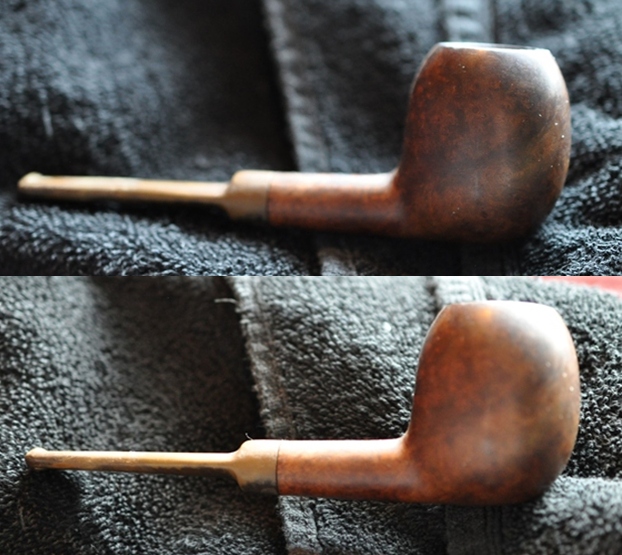
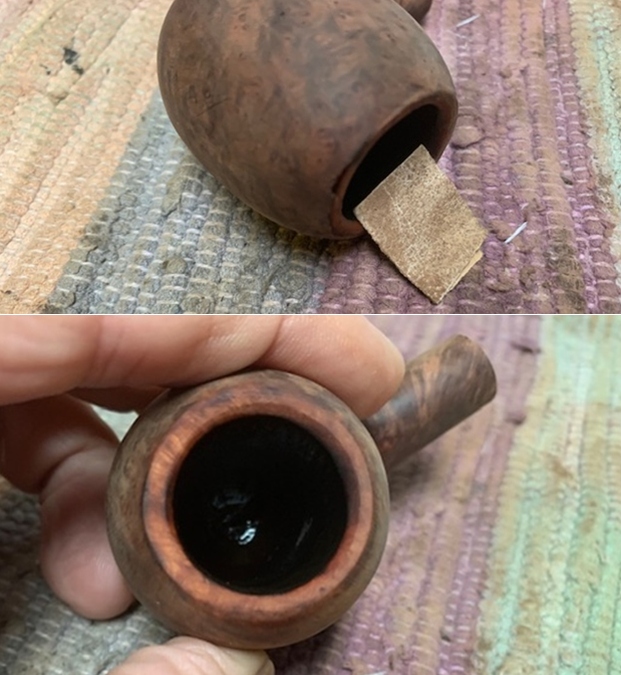
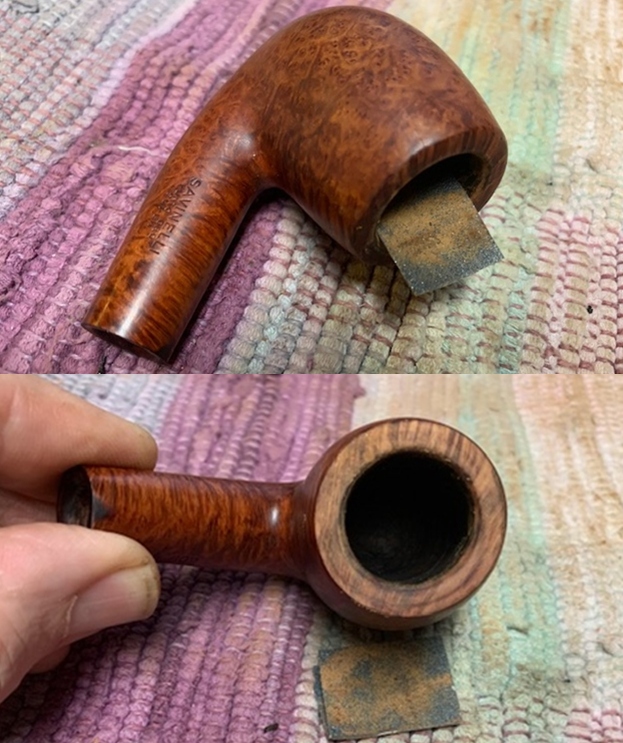
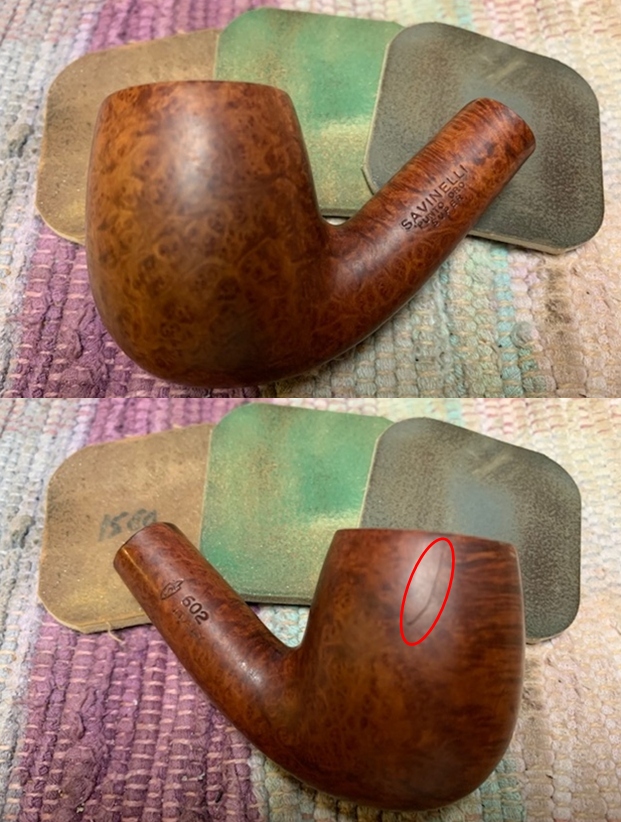
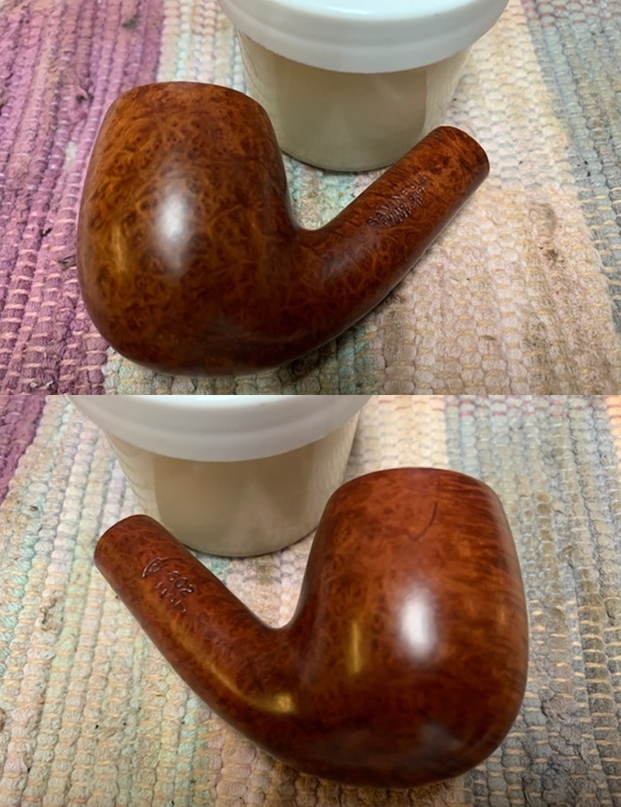
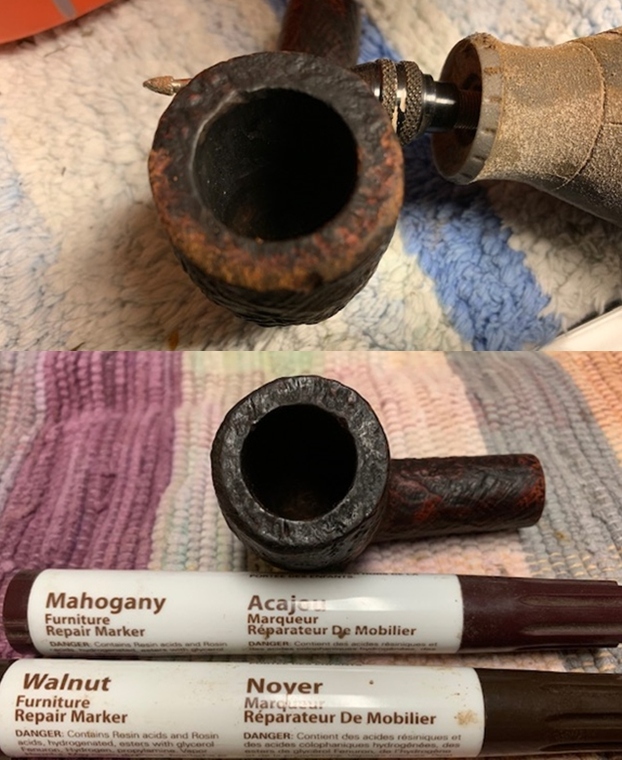
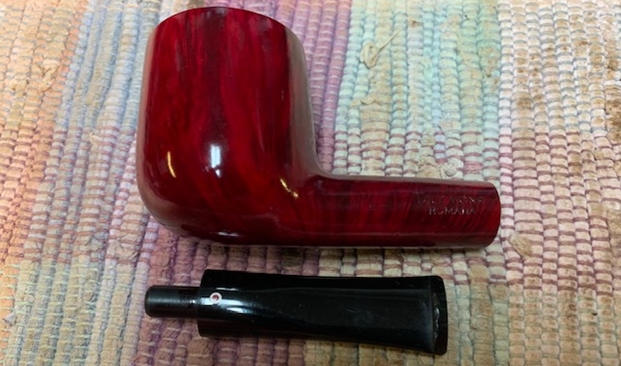 Now it was time to do my work on the pipe. To minimize many of the nicks and scratches on the sides, bottom and top of the bowl I steamed them out. I heat a butter knife on our gas range and use a damp cloth to cover the nicks around the bowl. I heat the knife until it hot and then place it over the cloth. I creates steam which lifts many of the scratches in the briar. I was able to remove many of them. The few that remain are a part of this pipe’s journey. I cleaned up the inside edge of the bowl with a folded piece of 220 grit sandpaper to give it a slight bevel and bring it back to round and remove the burn marks.The third photo below show the stemed dents and the repaired edge of the bowl.
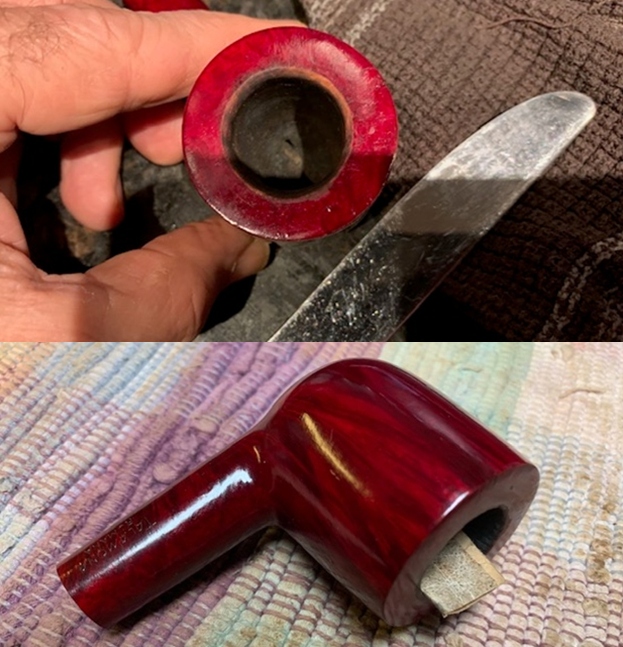
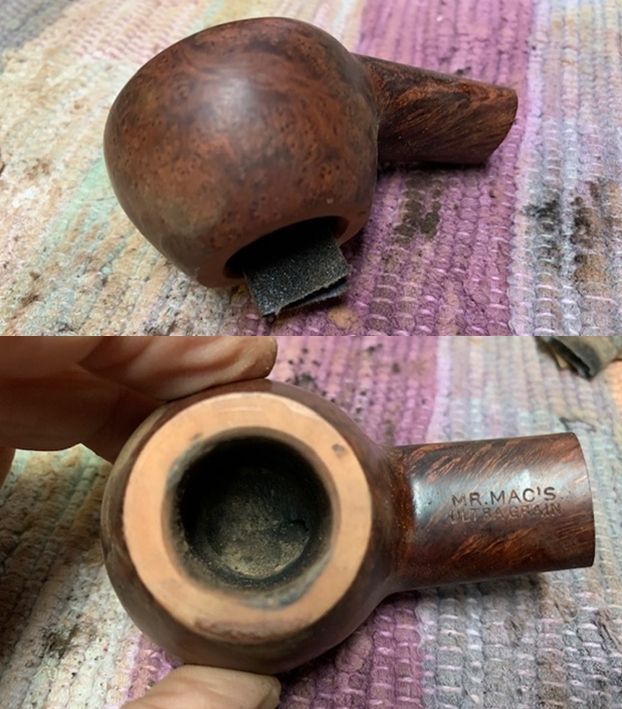
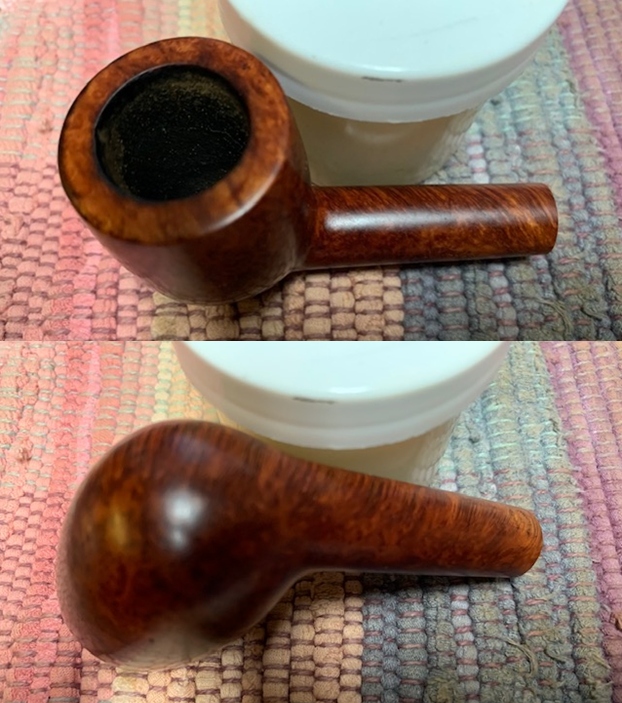
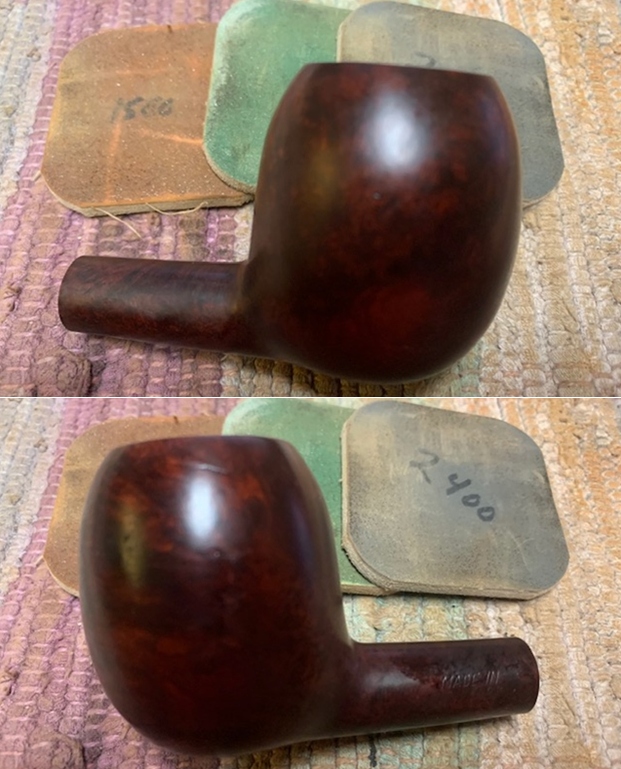
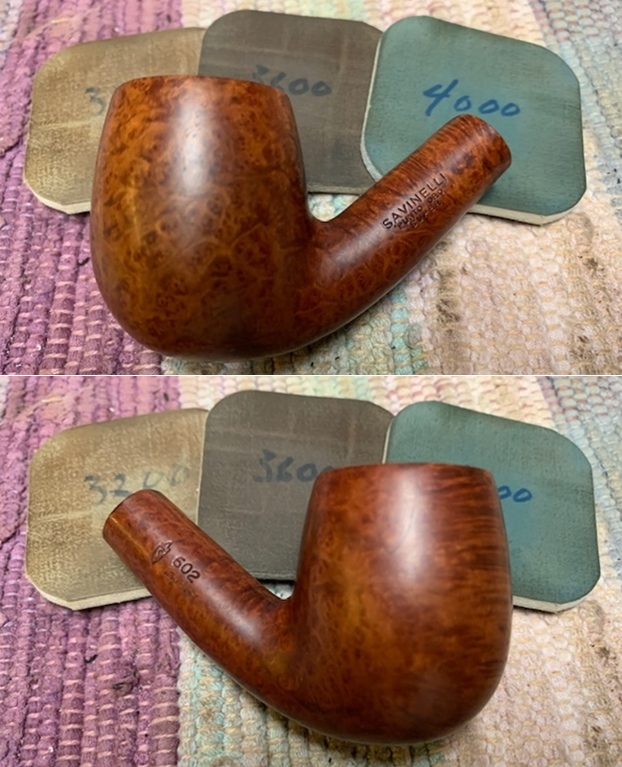
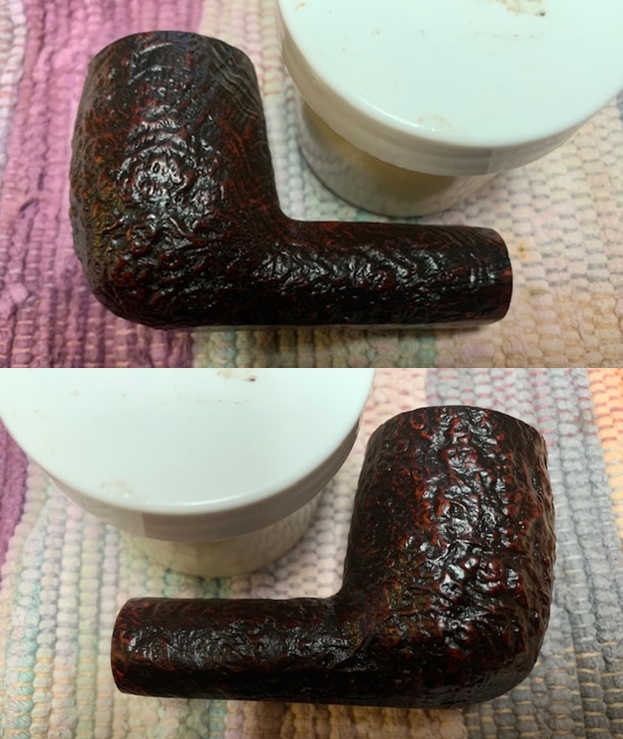
 I rubbed the bowl and shank down with Before & After Restoration Balm. I worked it into the surface of the bowl sides and shank with my fingertips to clean, enliven and protect the briar. I let the balm sit for a little while and then buffed with a cotton cloth to raise the shine. It helped to blend the stain into the rest of the bowl. The final buffing would bring the pipe alive.
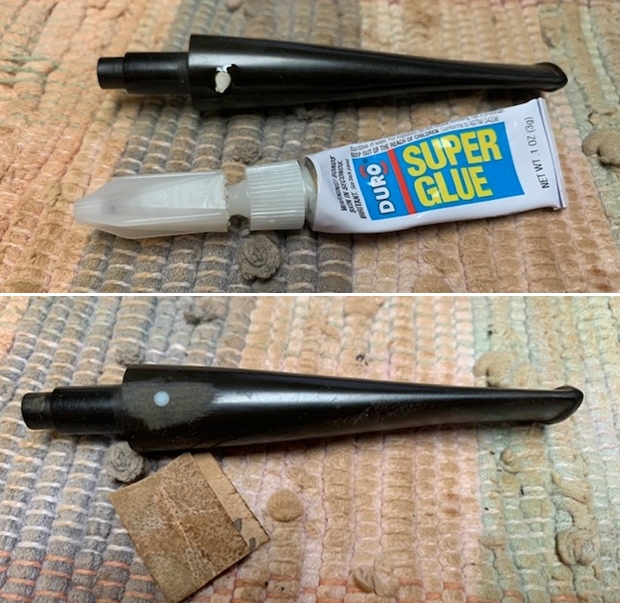
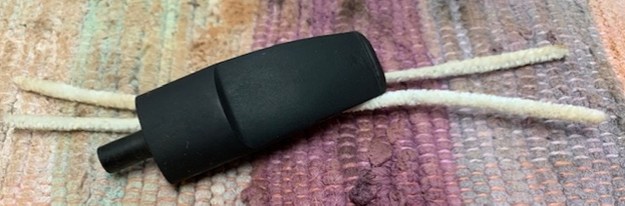
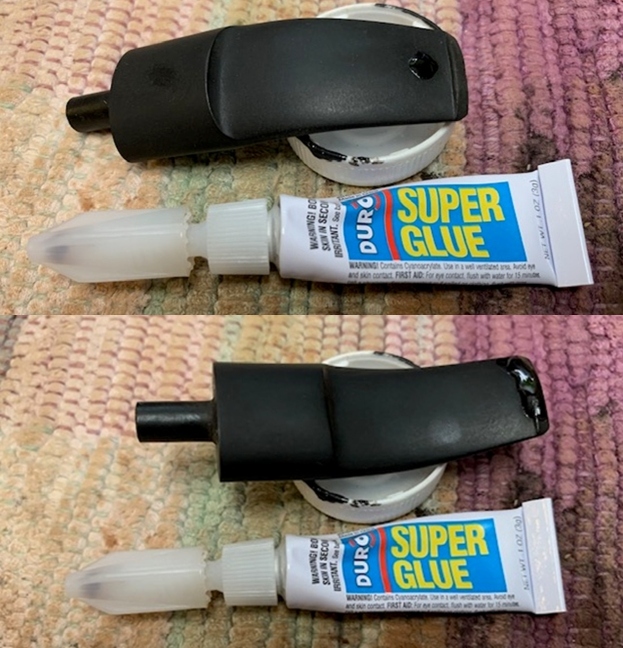
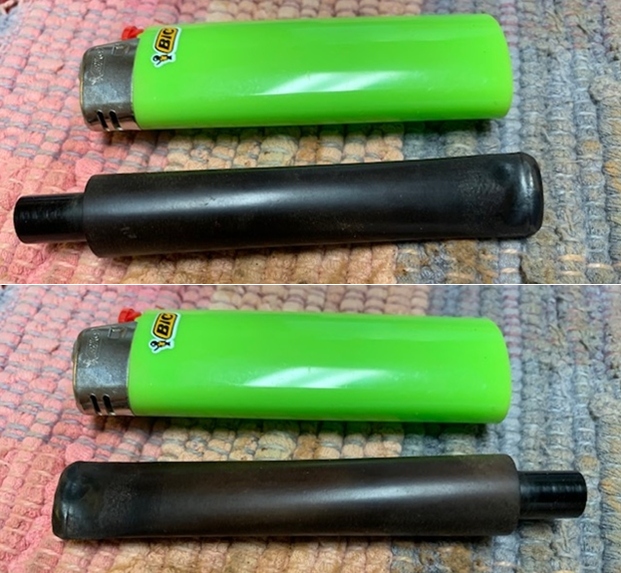
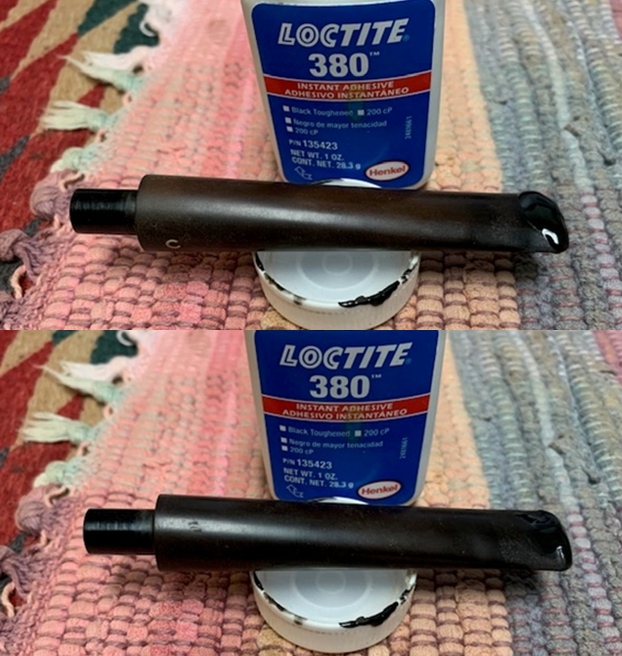
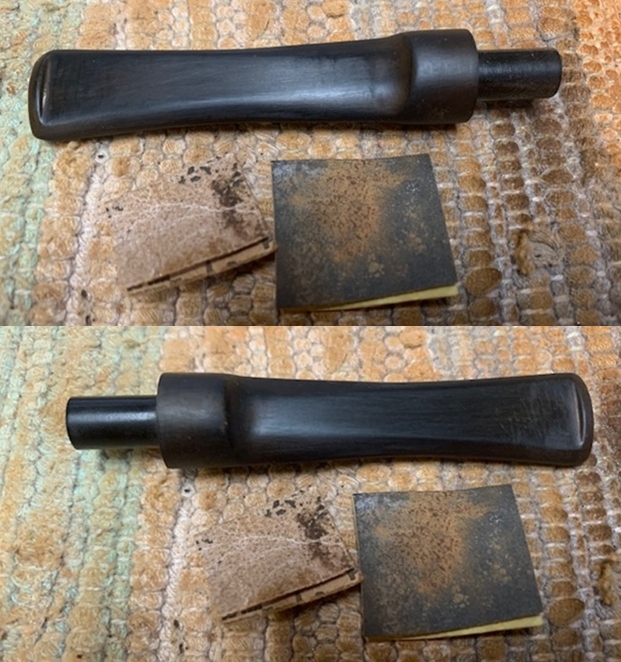
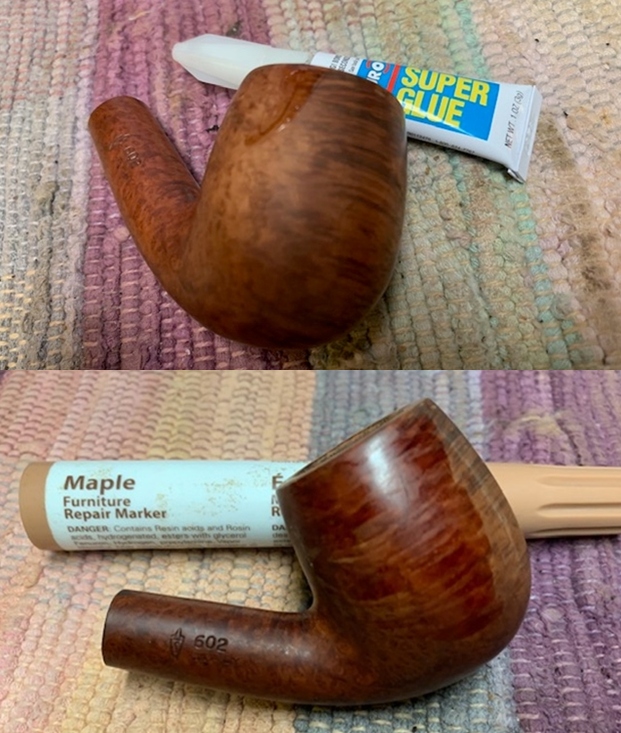
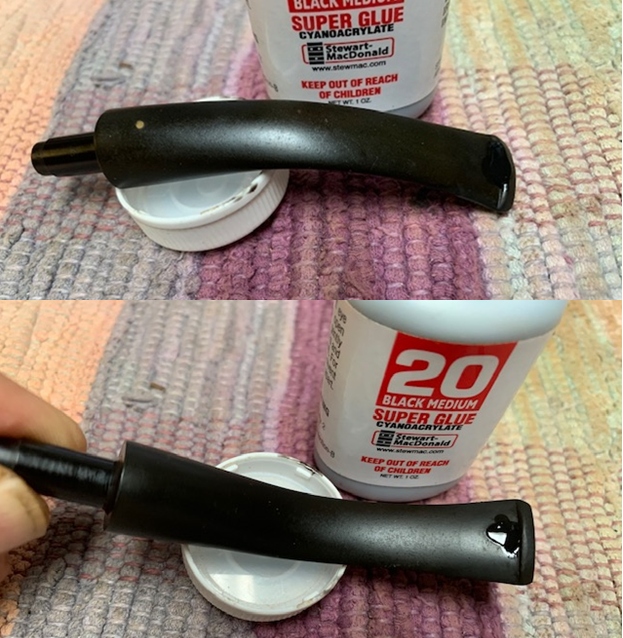
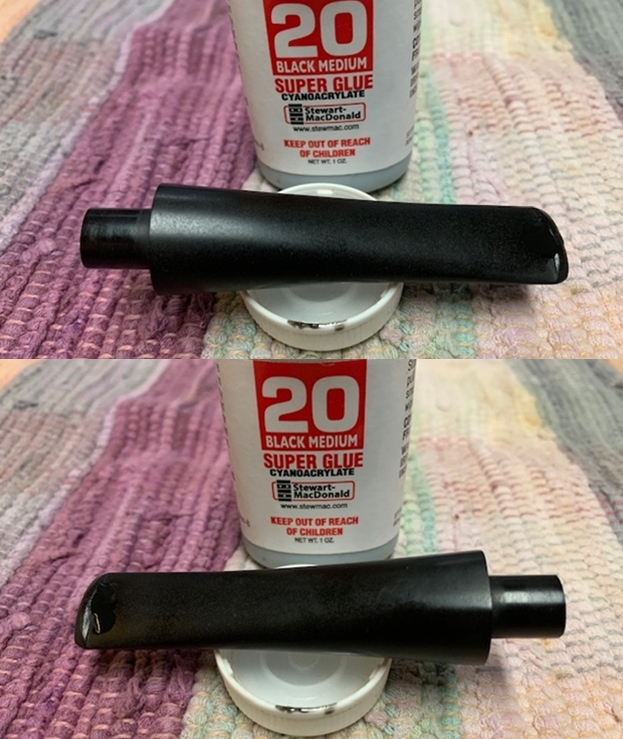
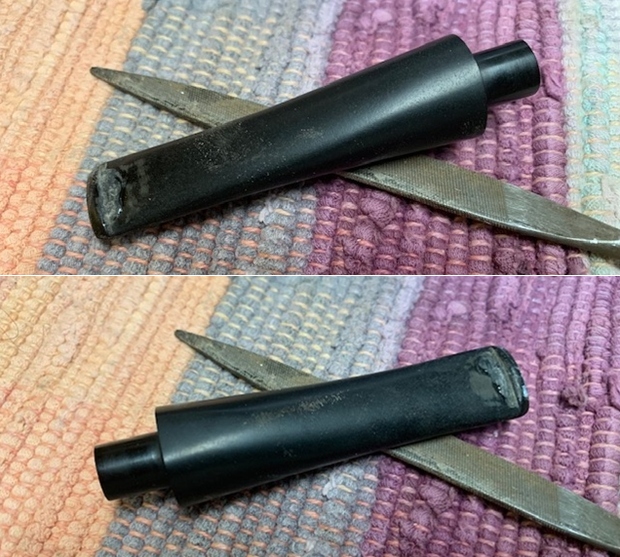
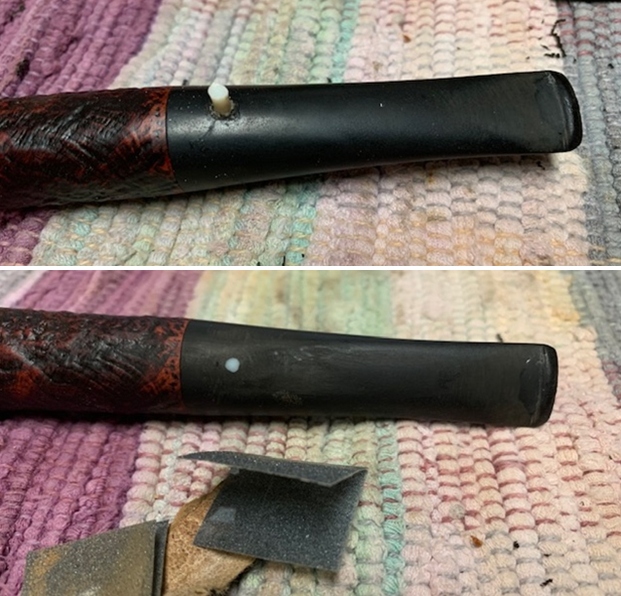
 I set the bowl aside and turned my attention to the stem. I filled in the tooth marks on the topside and the underside of the stem with black super glue. I also rebuilt the button surface on both sides.
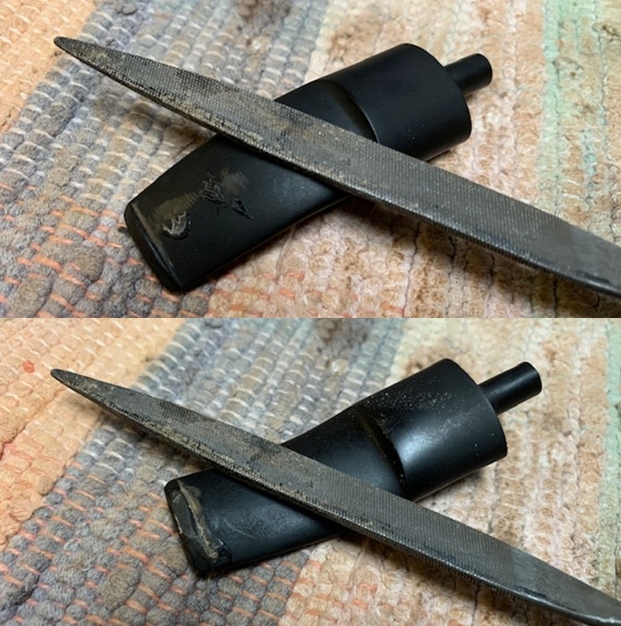
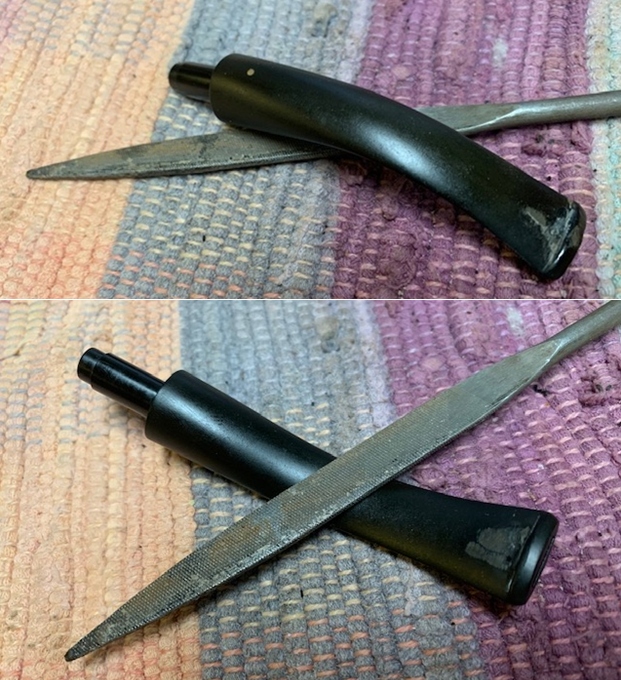
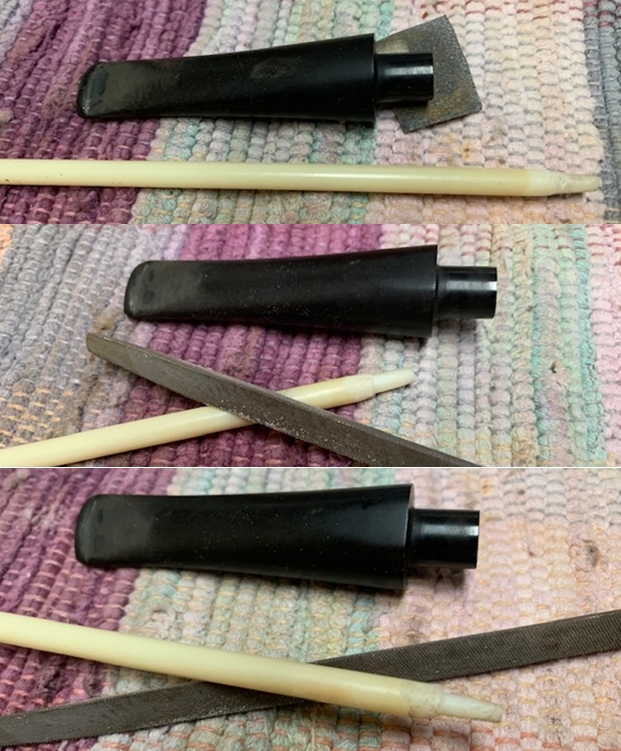
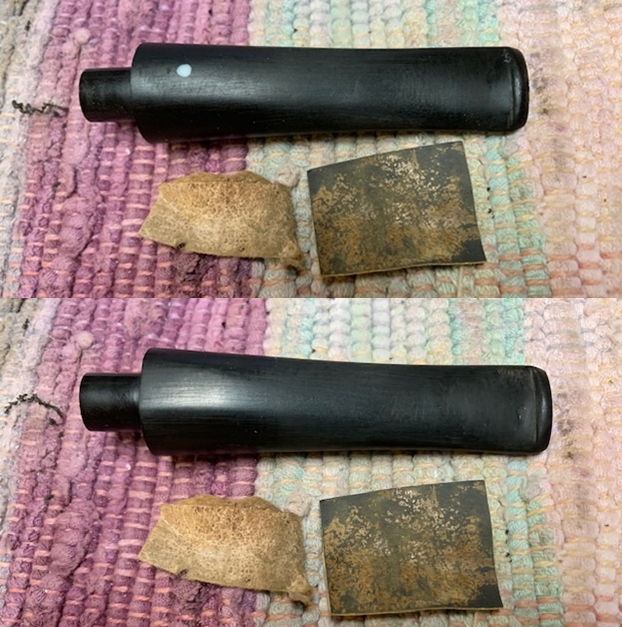
 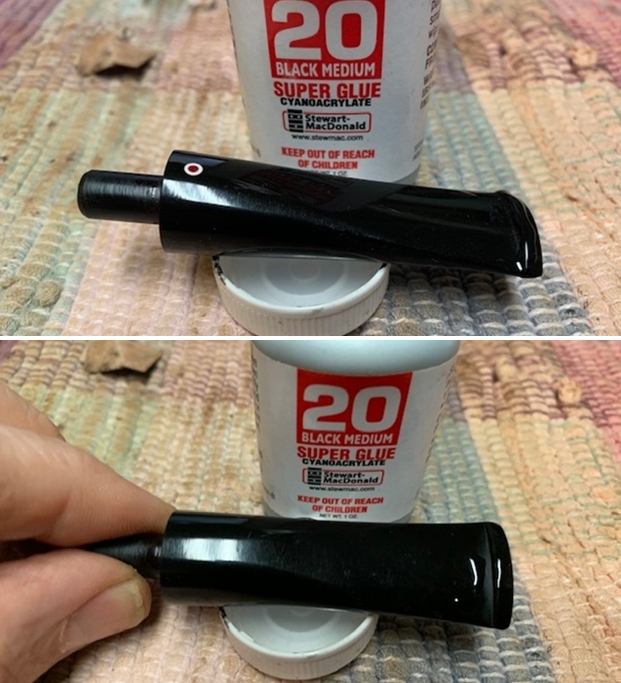 Once the repairs cured I used a needle file to flatten the repairs and recut the button. I used 220 grit sandpaper to smooth out the repairs further and blend them into the stem surface. I started the polishing with 400 grit wet dry sandpaper.
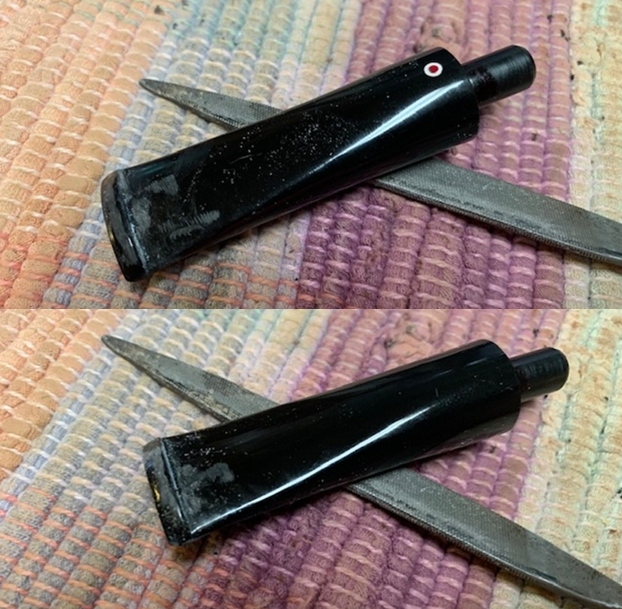
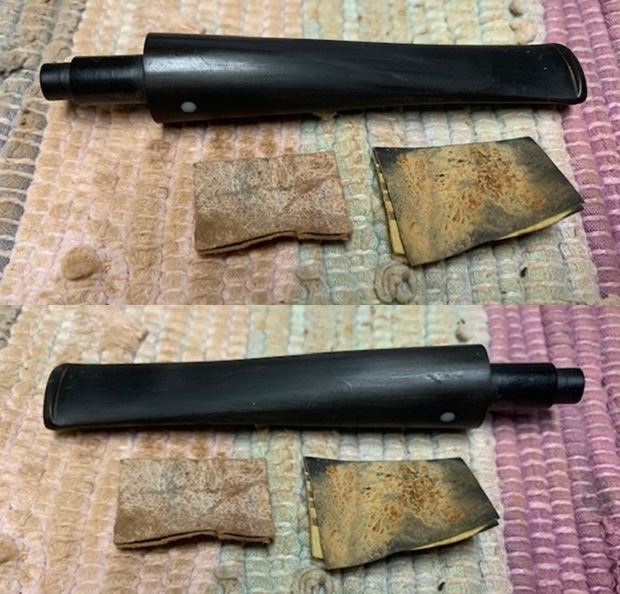
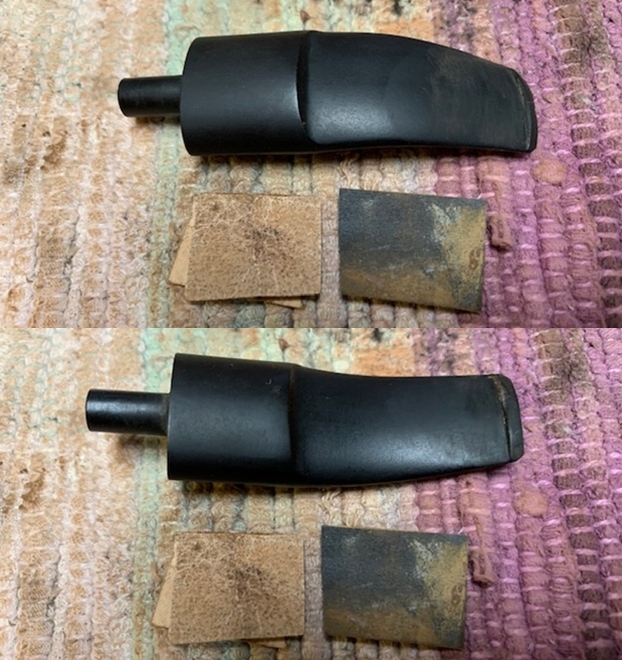
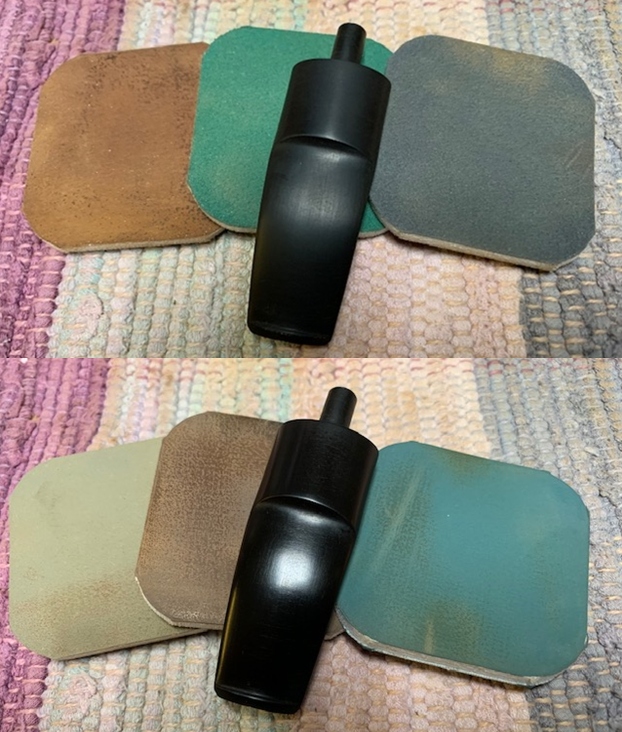
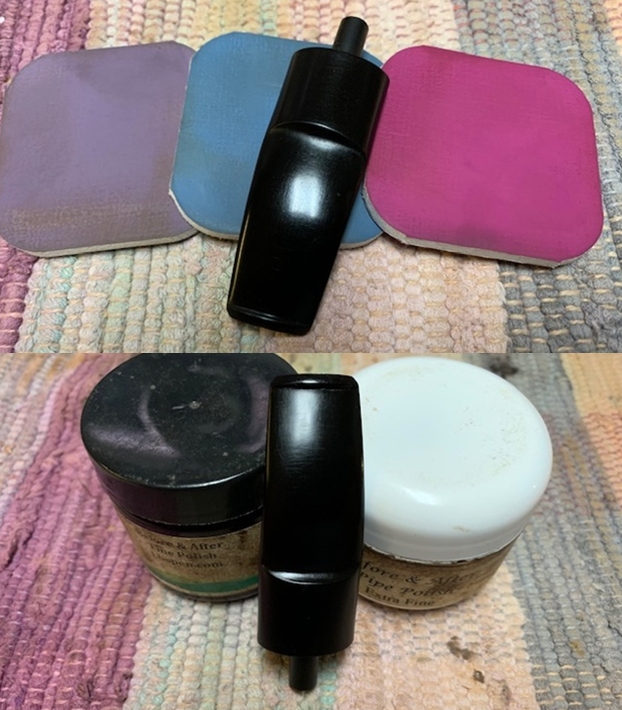
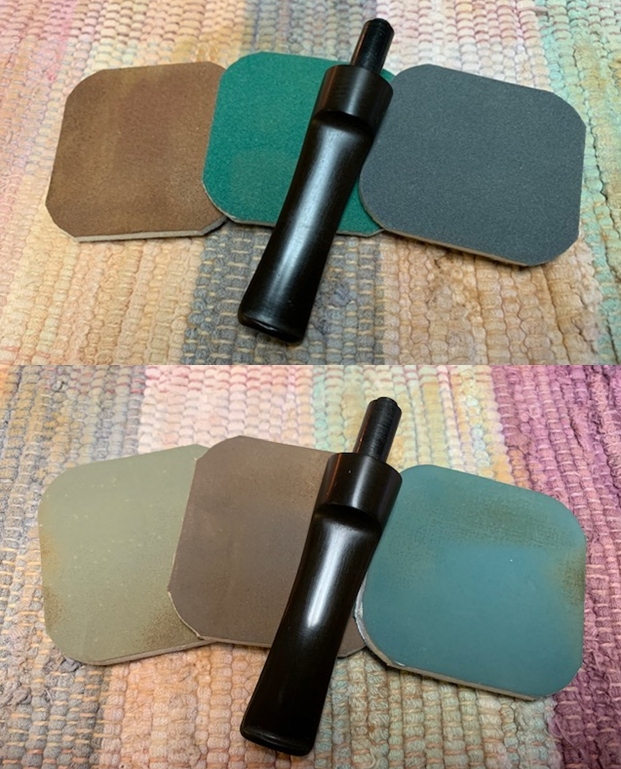
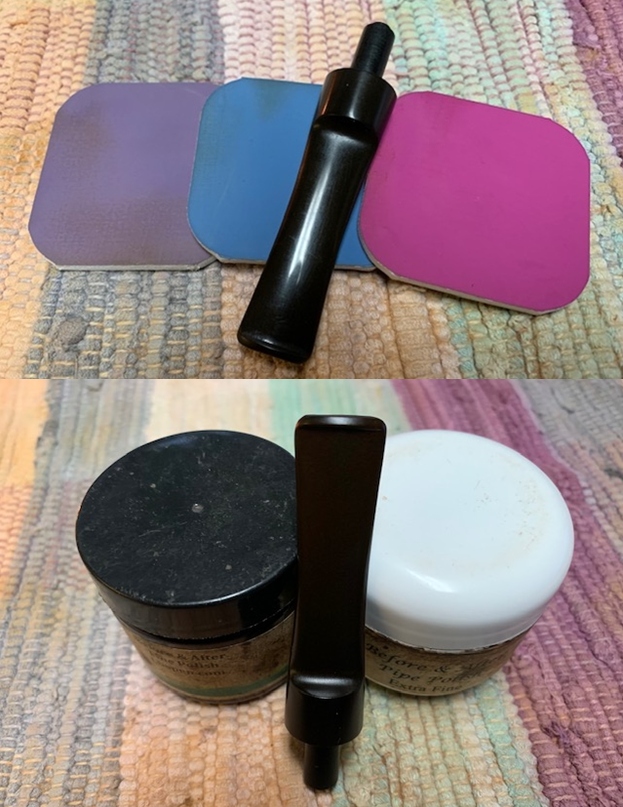
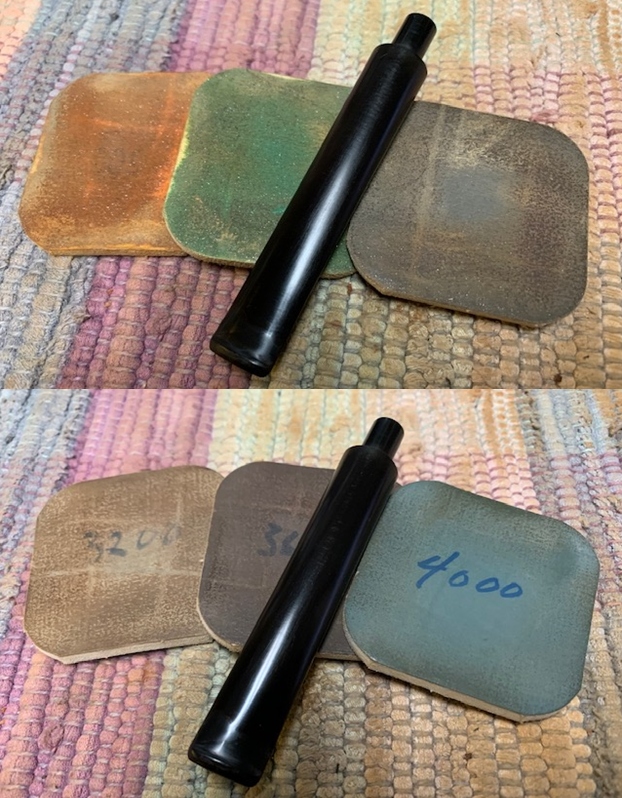
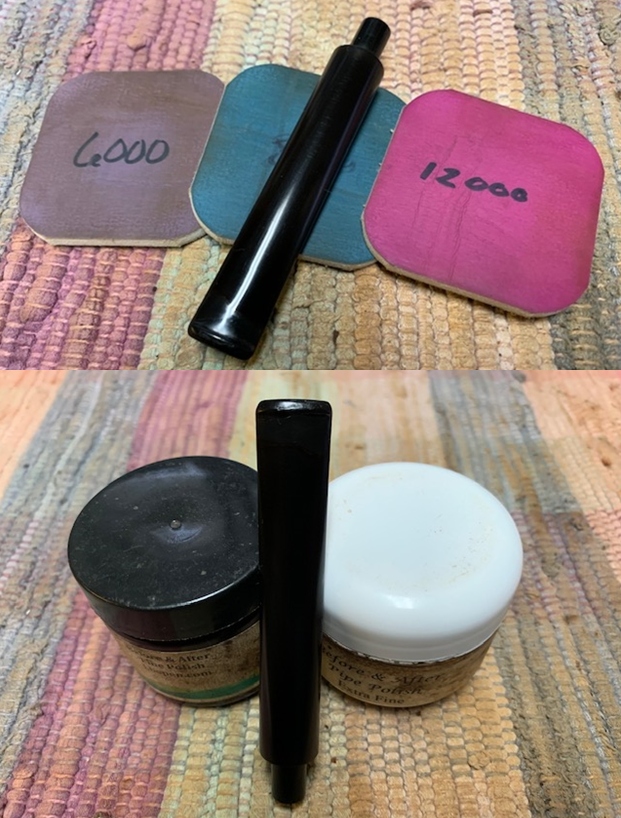
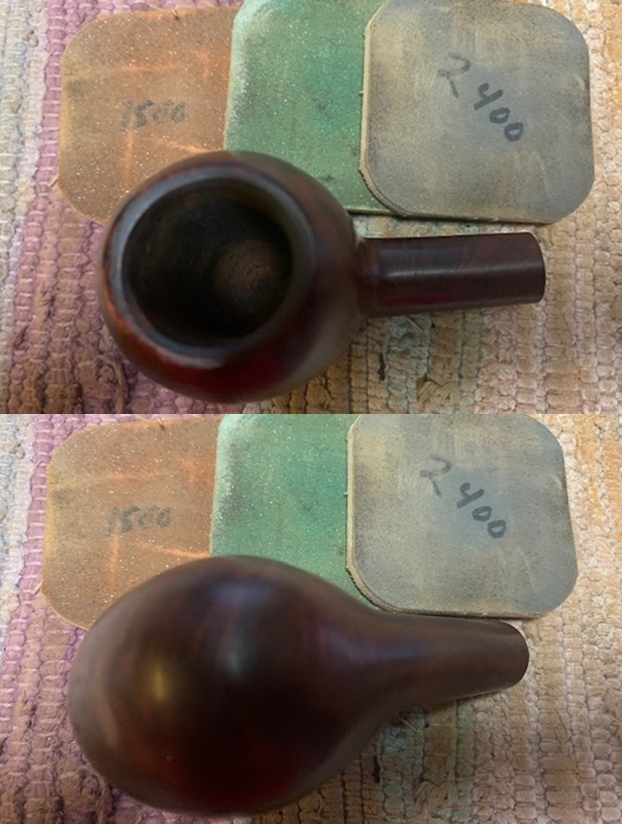
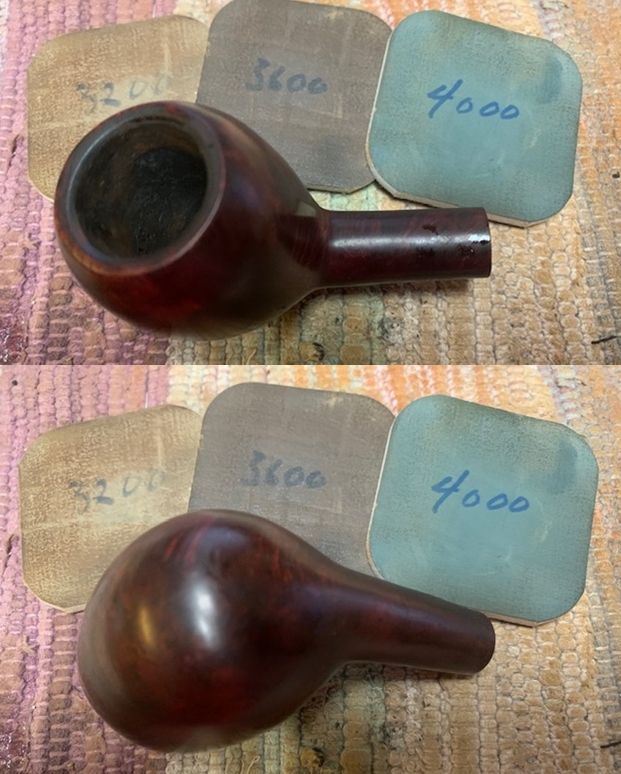
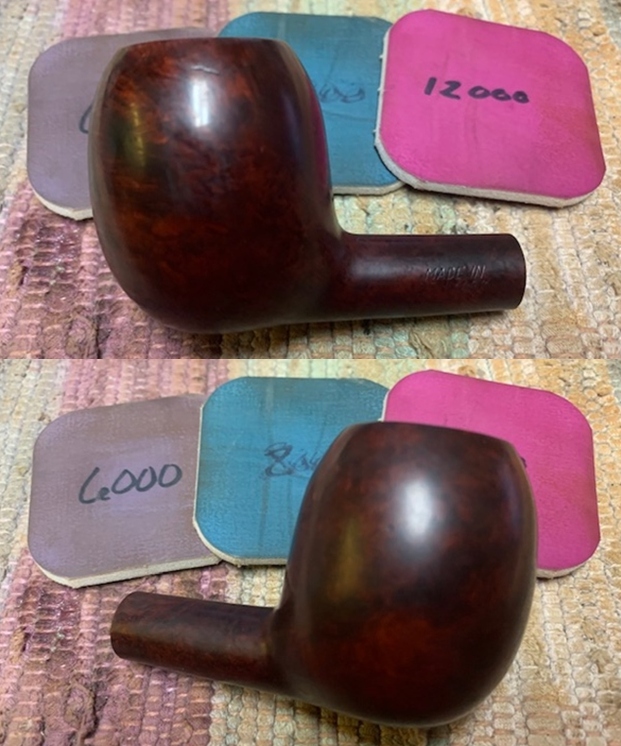
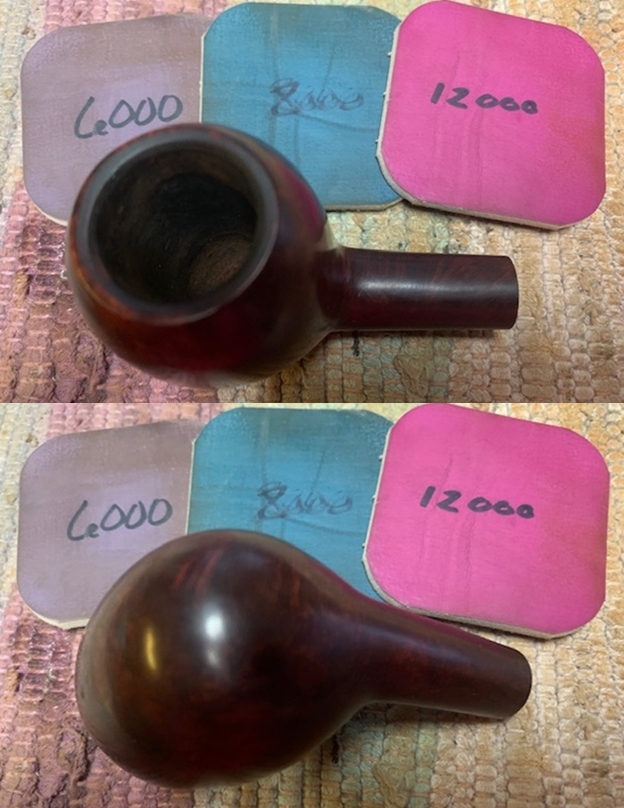
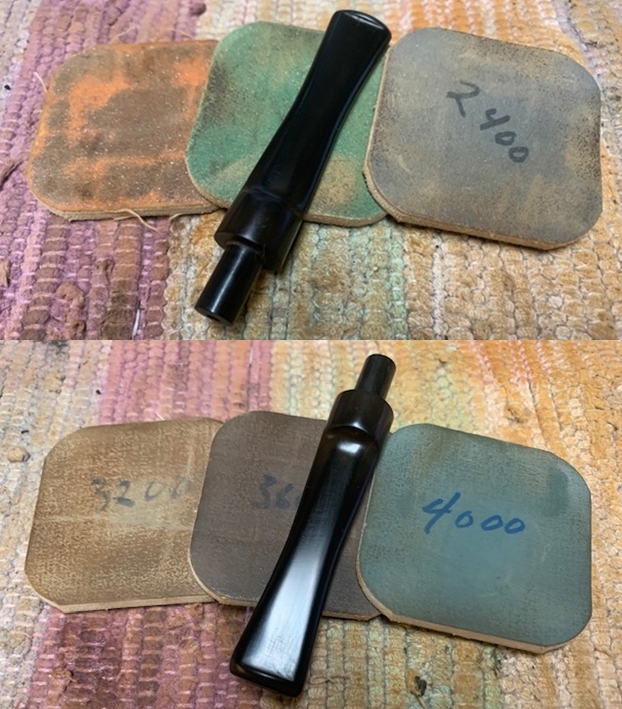
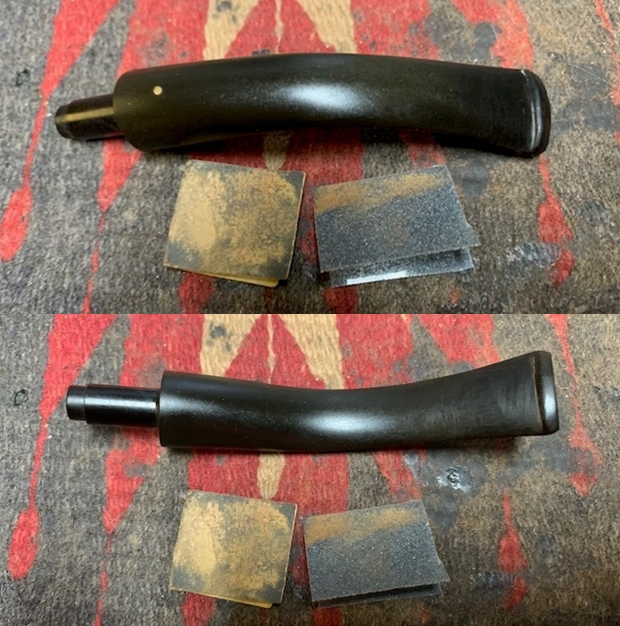
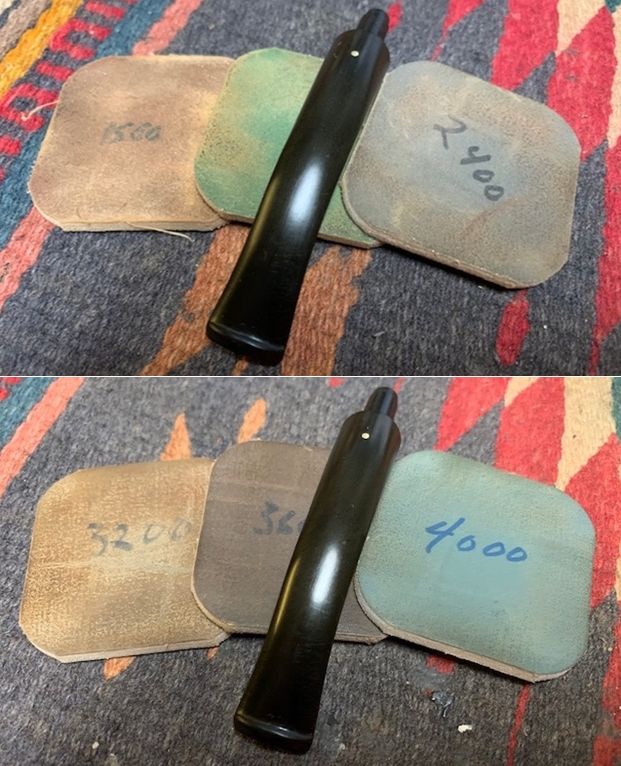
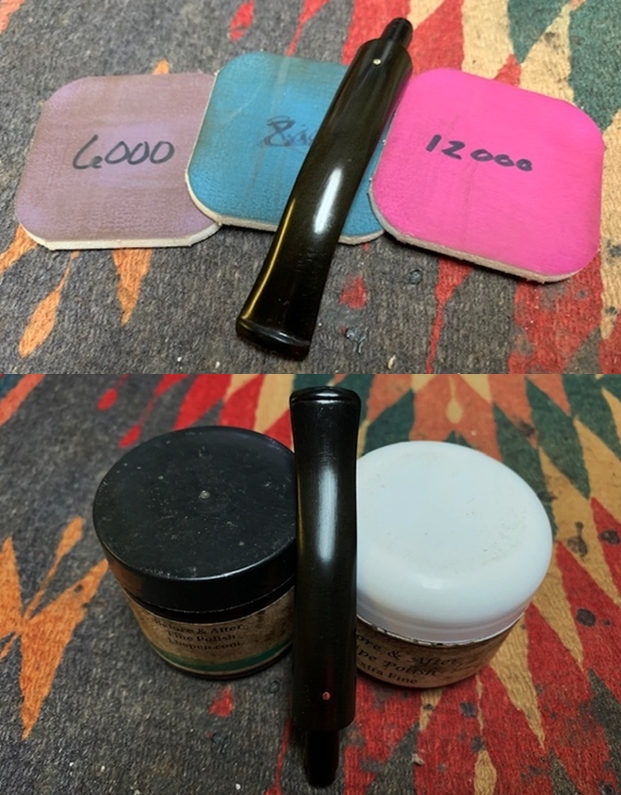
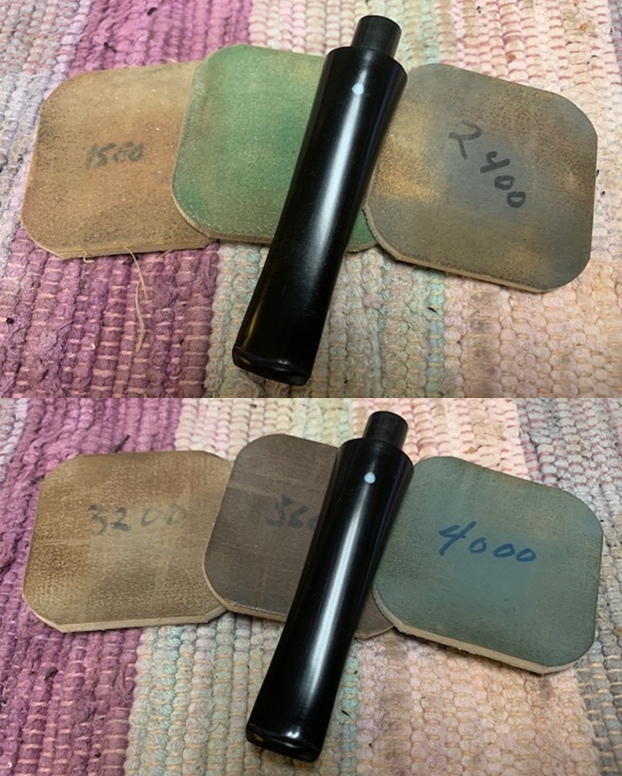
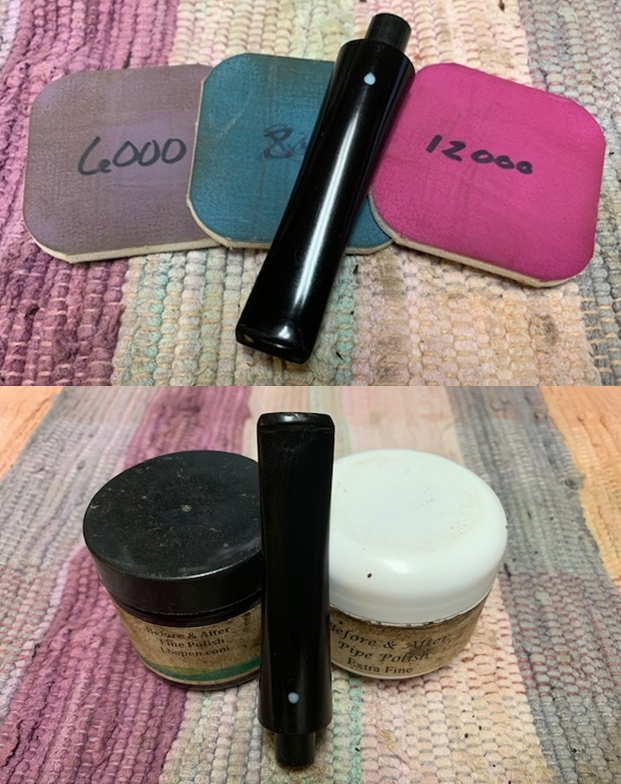
 I polished the acrylic stem with micromesh sanding pads – 1500-12000 grit pads. I wiped it down with a damp cloth after each sanding pad. I used Before & After Pipe Polish – both Fine and Extra Fine to further polish the stem.
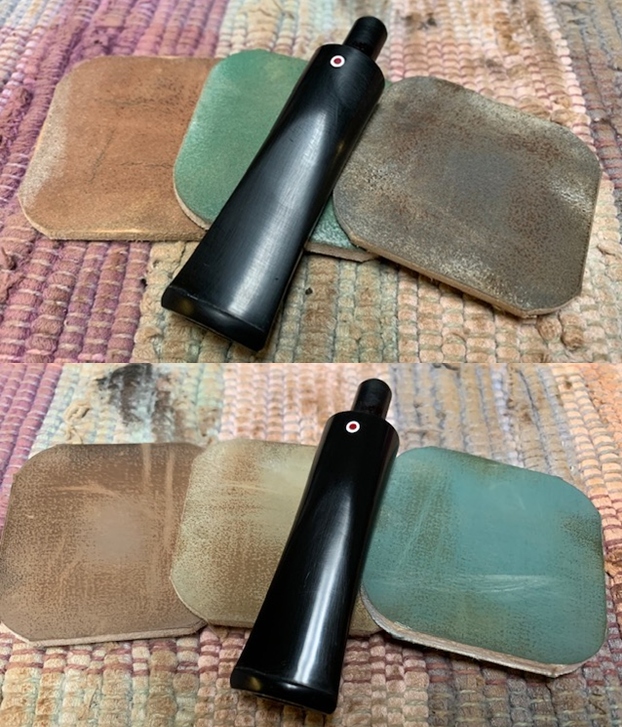
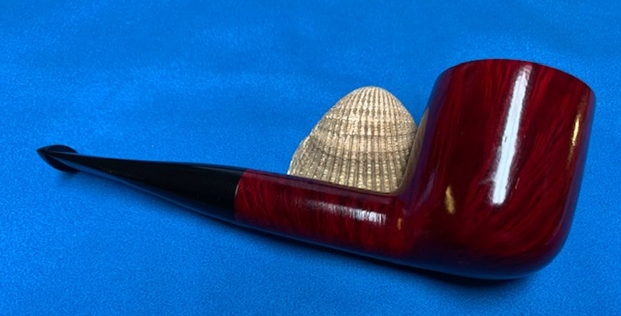
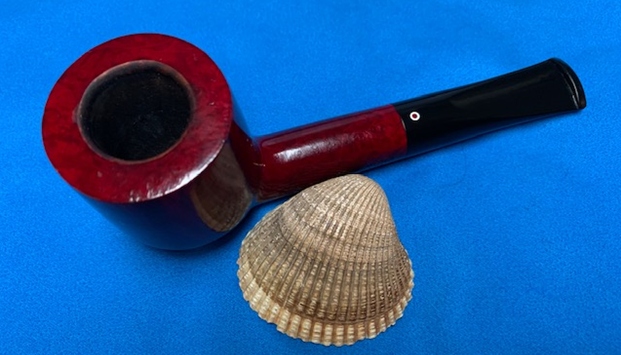
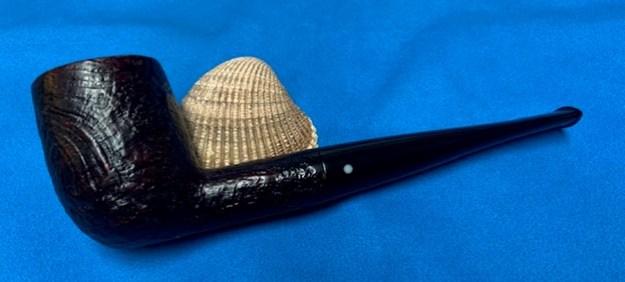
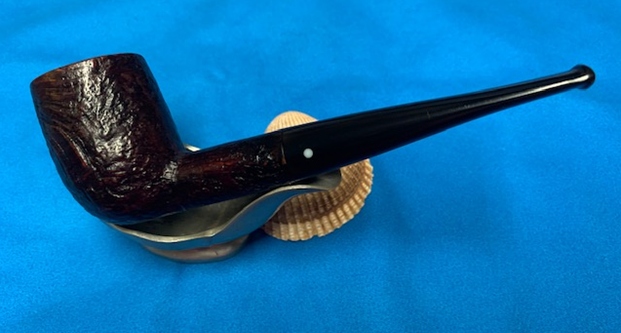
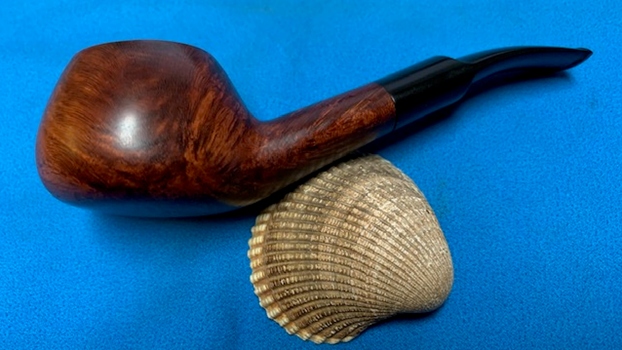
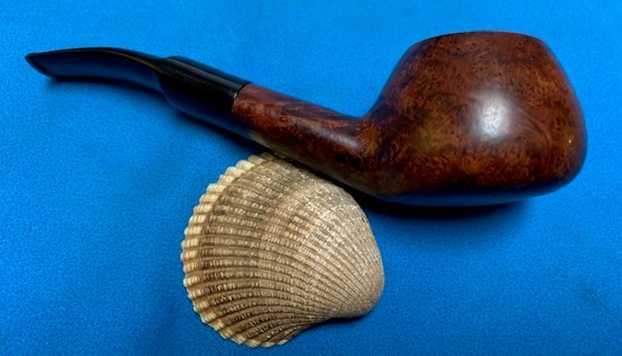
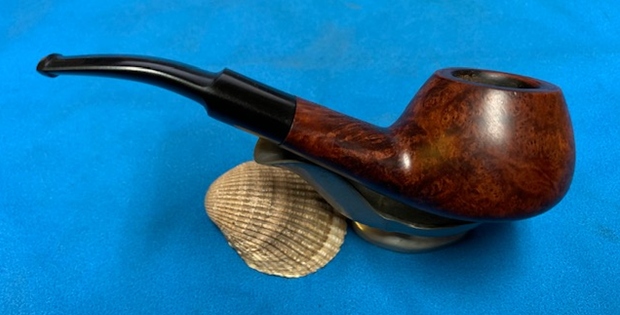
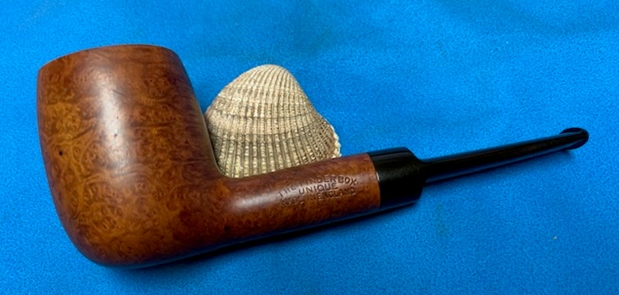
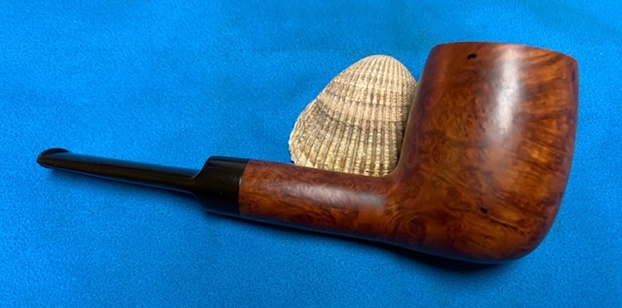
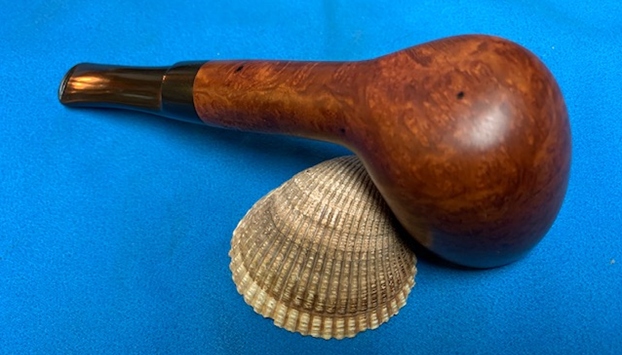
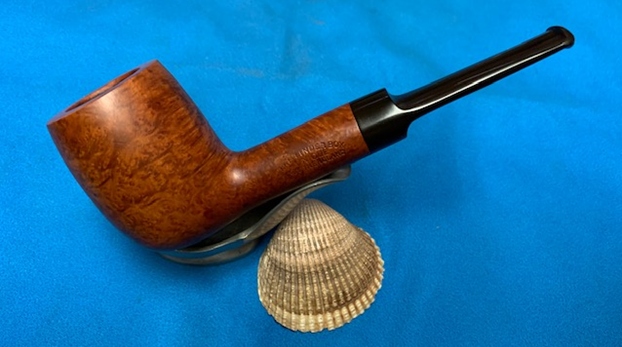
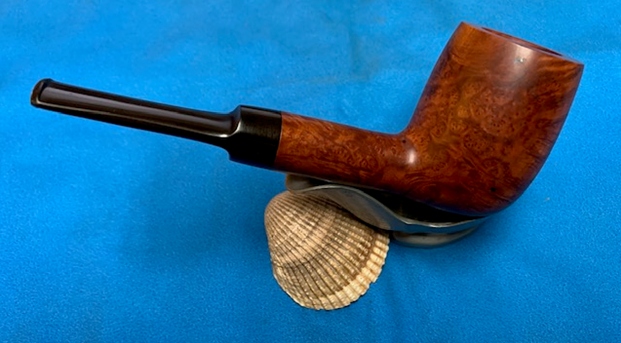
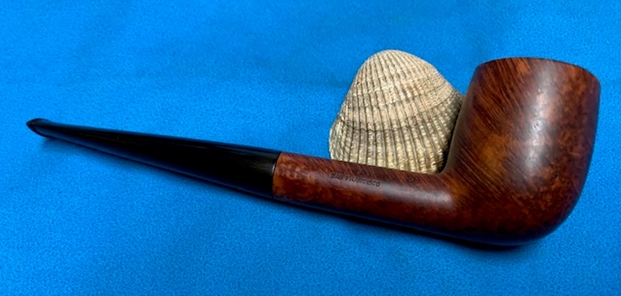
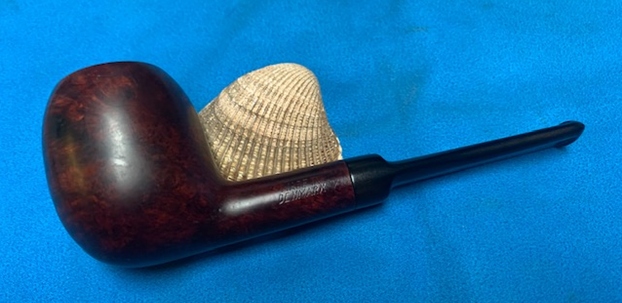
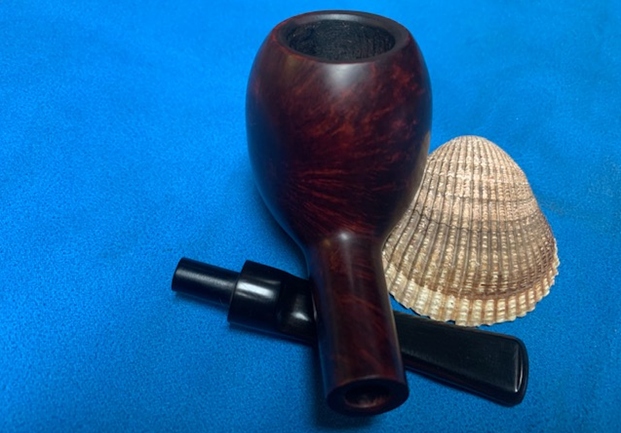
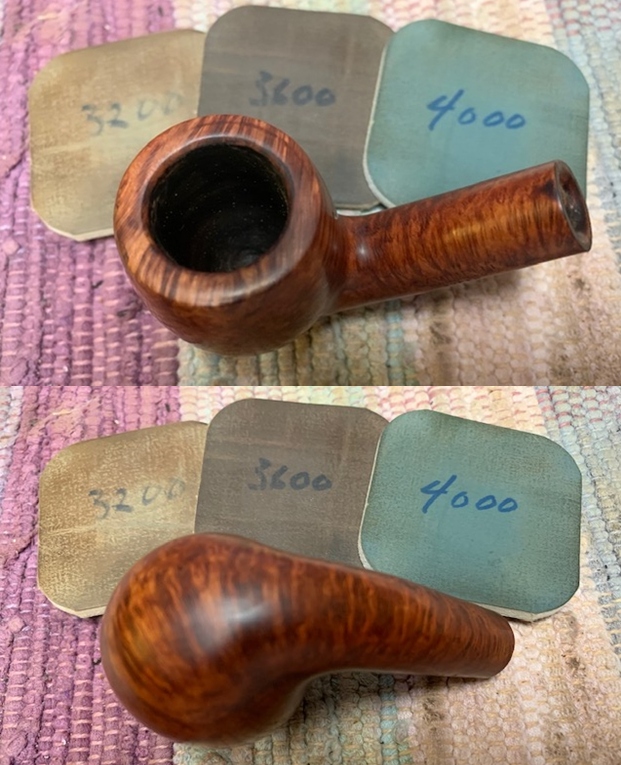
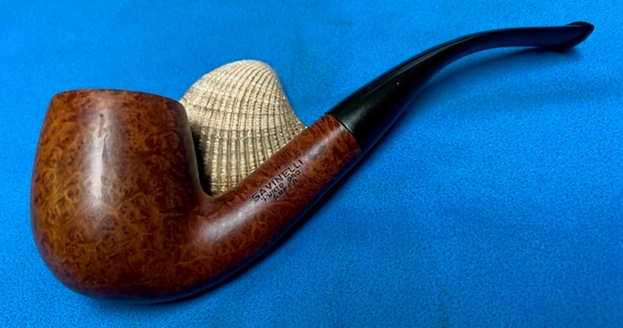
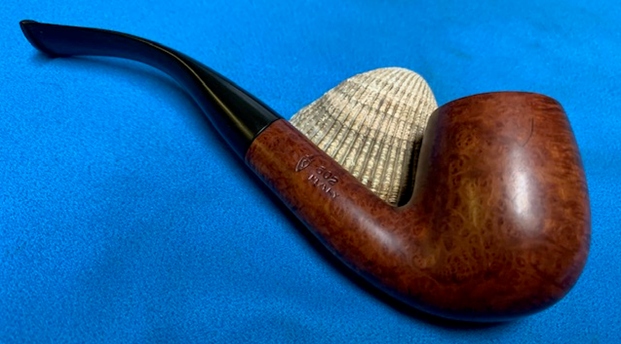
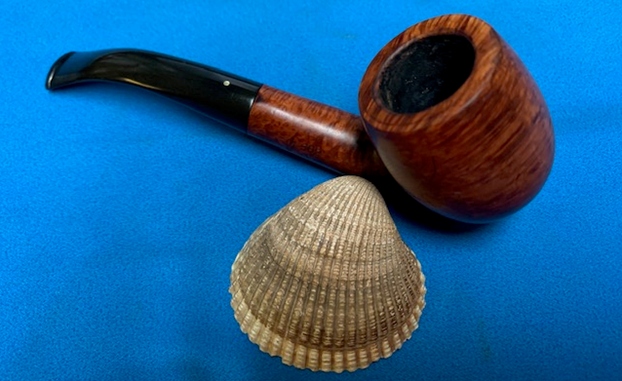
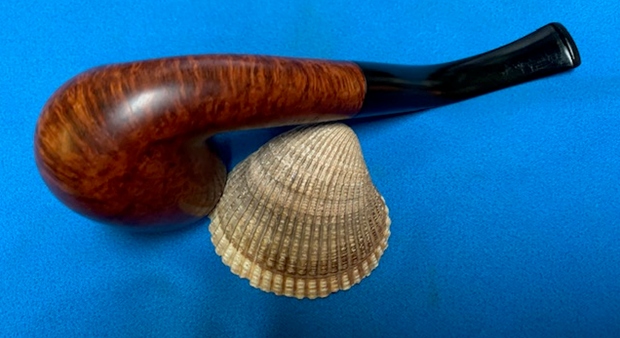
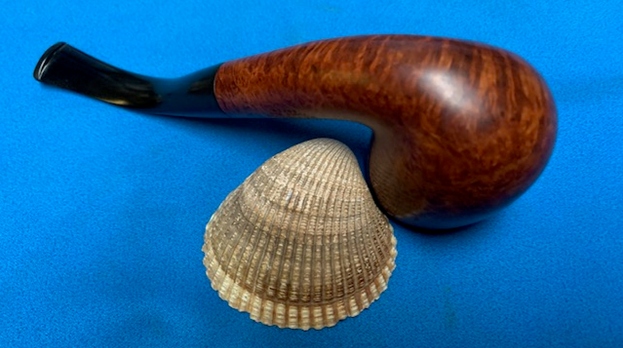
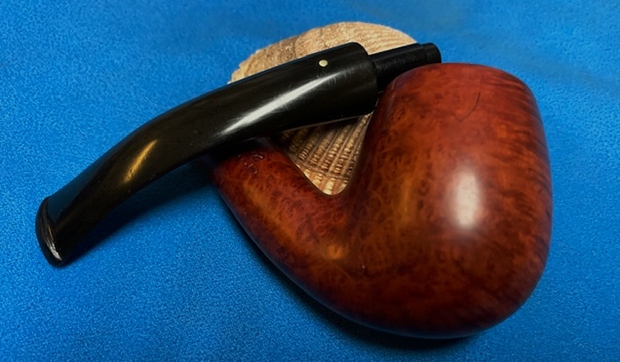
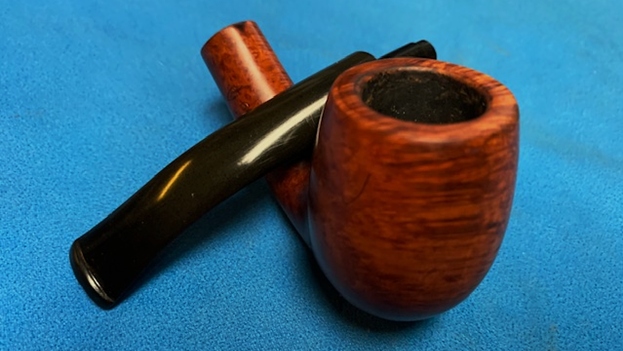
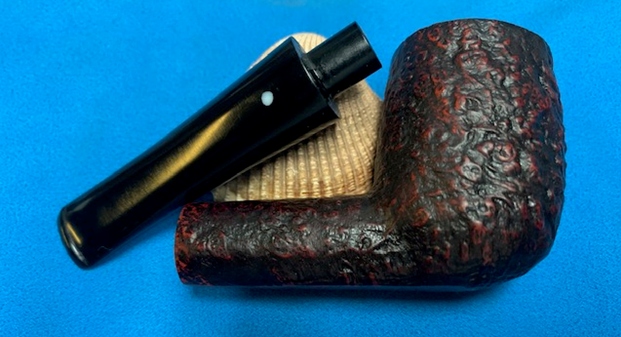
 This classic Italian Made Talamona Romana Cherry Red Billiard with a black acrylic stem is a great looking pipe now that it has been restored. I was able to remove and minimize the scratches around the bowl and rim. I gave a bevel to the inside edge of the bowl to remove the burn damage and out of round bowl. The rich red finish came alive with the polishing and waxing. The grain really popped. I put the stem back on the bowl and carefully buffed the pipe with Blue Diamond on the buffing wheel using a light touch on the briar. I gave the bowl and the stem multiple coats of carnauba wax on the buffing wheel and followed that by buffing the entire pipe with a clean buffing pad. I hand buffed the pipe with a microfiber cloth to deepen the shine. The finished Talamona Romana Billiard is a beauty and fits nicely in the hand and looks very good. Give the finished pipe a look in the photos below. The dimensions of the pipe are Length: 5 ¾ inches, Height: 2 inches, Outside diameter of the bowl: 1 ¾ inches, Chamber diameter: 7/8 of an inch. If you are interested in adding this pipe to your collection send me a message or an email. Thanks for reading this blog and my reflections on the pipe while I worked on it. There are many more to come!


 H
H


