Blog by Steve Laug
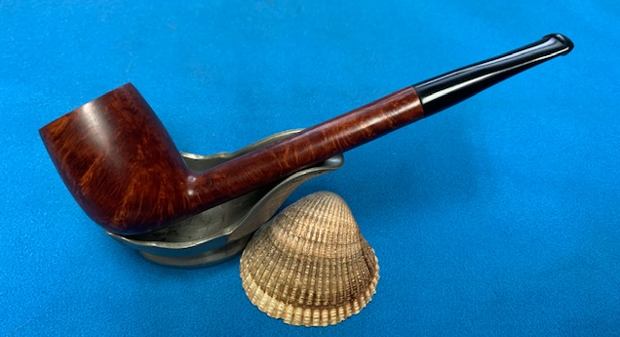
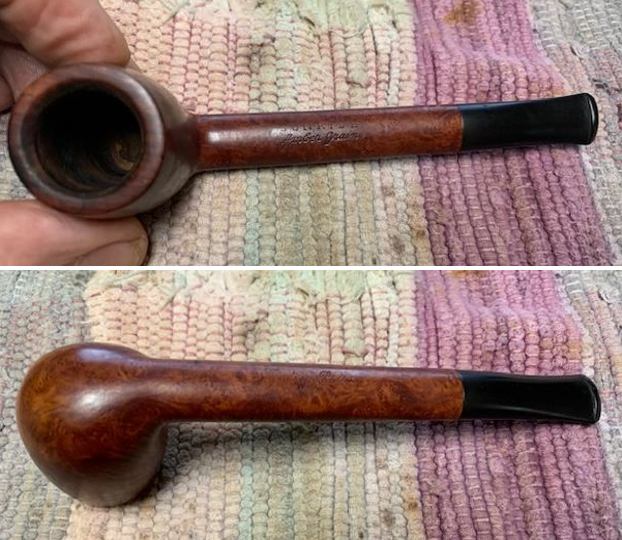
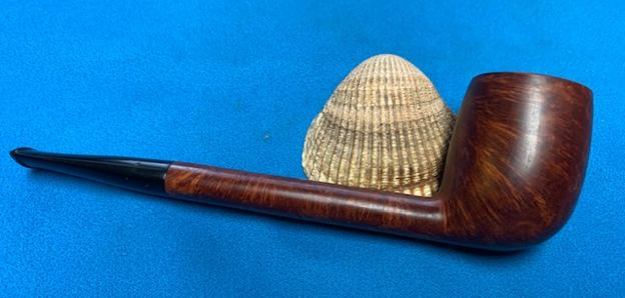
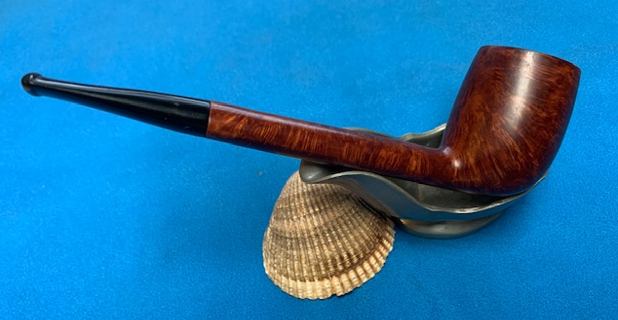
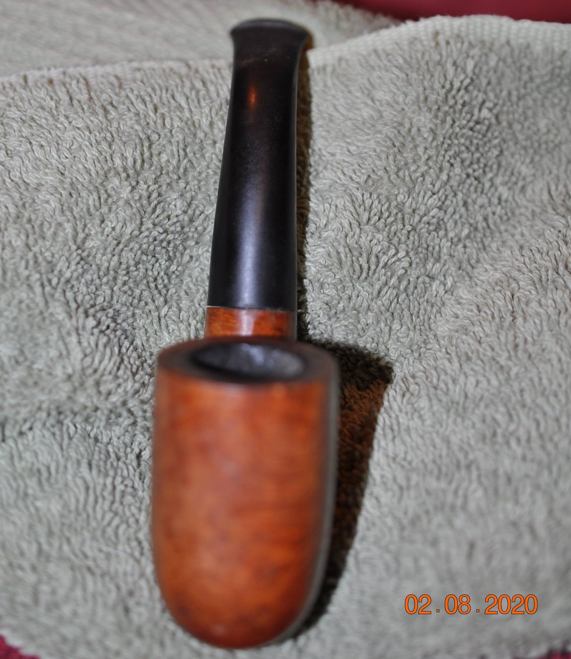
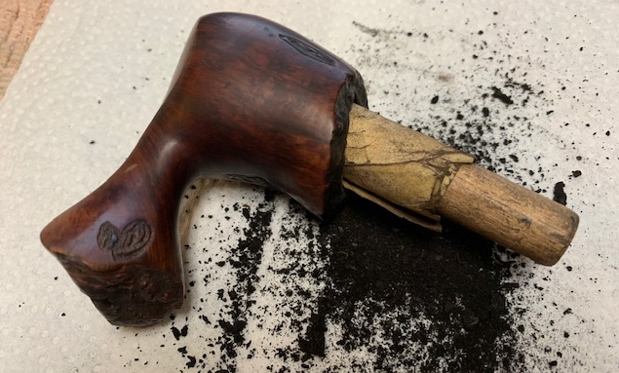
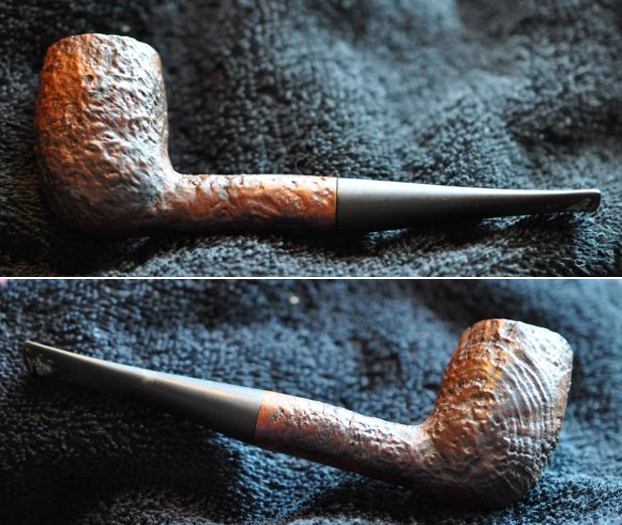
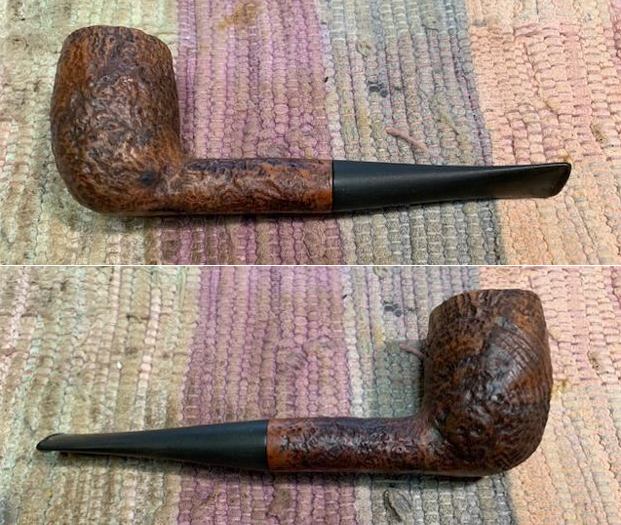
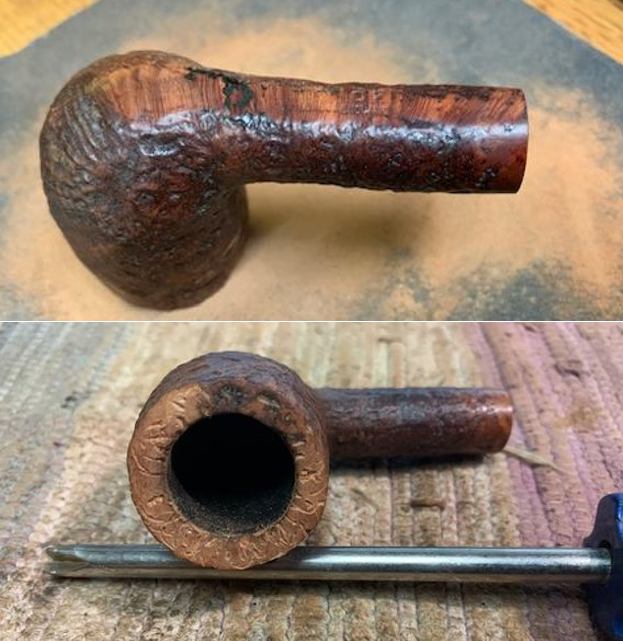
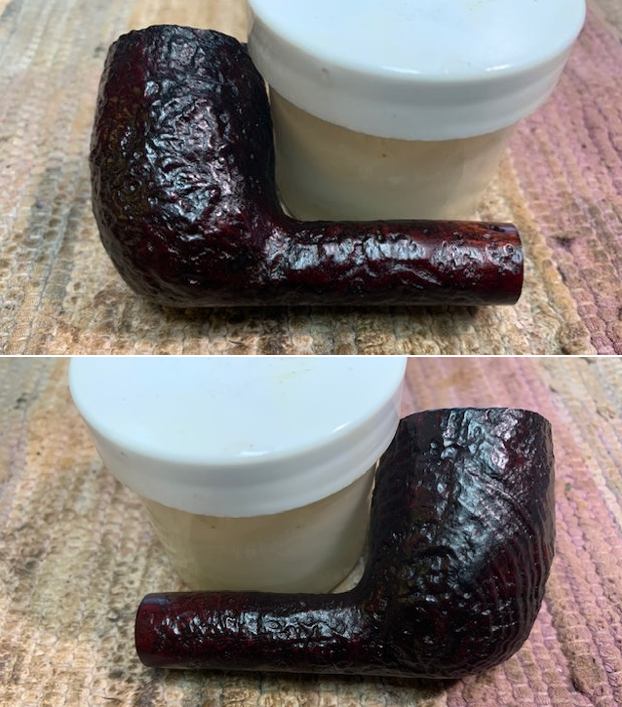
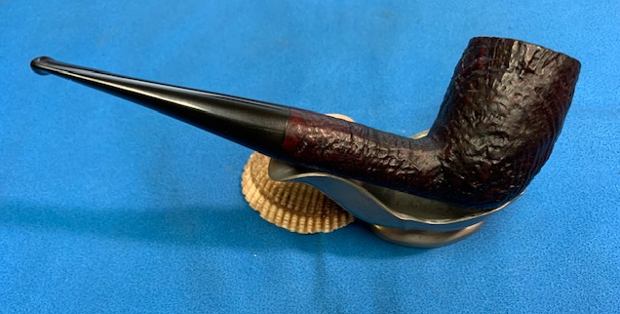
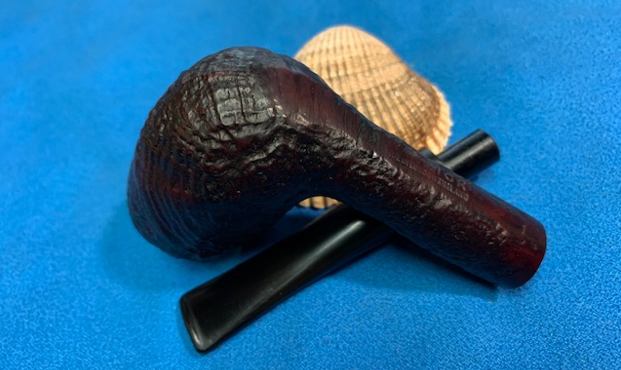
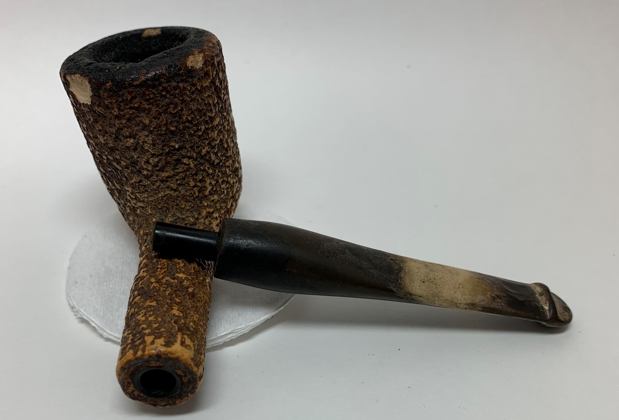
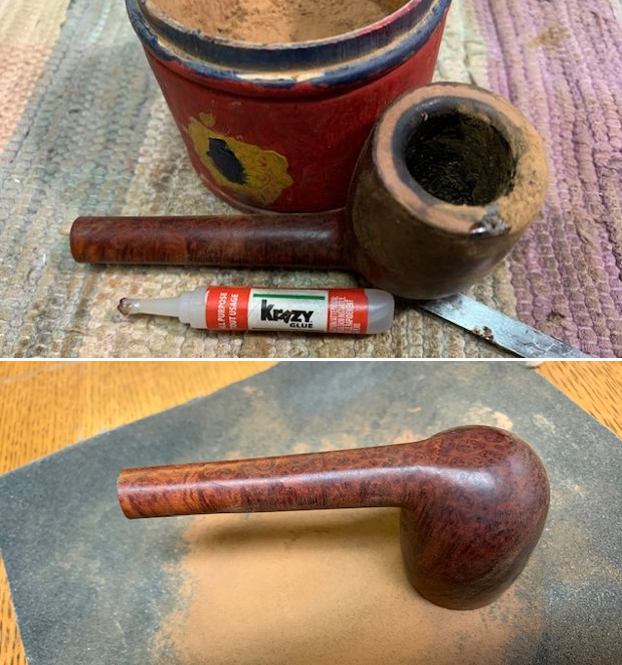
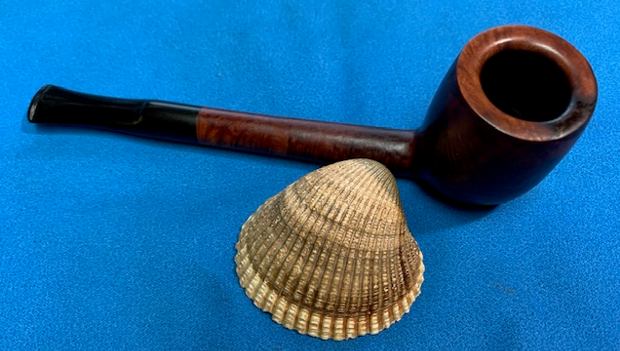
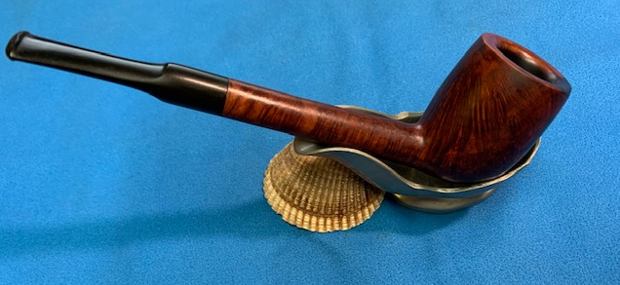
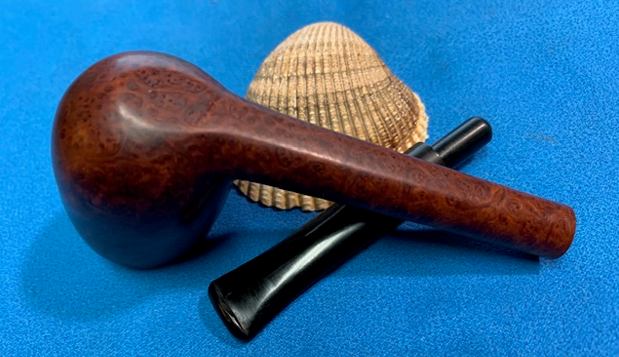
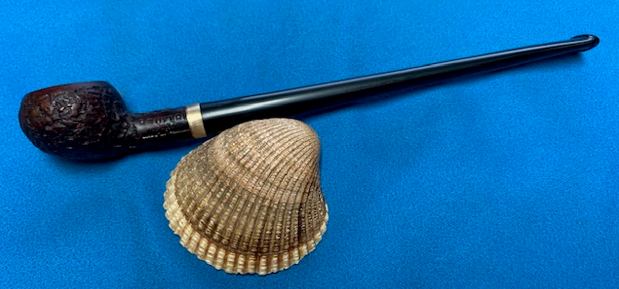
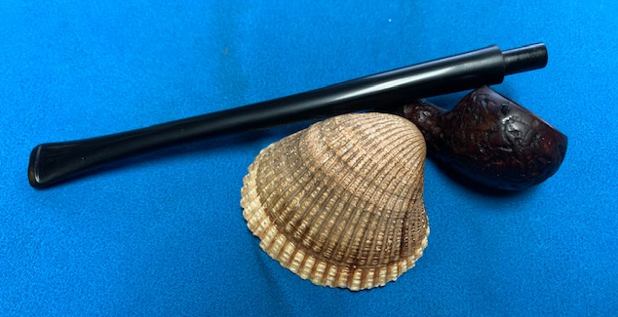
The next pipe on the work table came to us from a group of pipes that Jeff and I picked up from an auction from Wilkes Barre, Pennsylvania, USA. The pipe is beautifully grained Canadian shaped pipe with a mix of medium brown stains back in 2019. Jeff cleaned it up in 2020 and now I am finally getting to it is 2021. The pipe is stamped on the topside of the shank and reads Sunrise [over] Amber Grain. On the underside of the shank it reads Vintage Briar [over] the shape number 299 near the bowl end. The pipe was dirty with a lot of grime ground into the bowl but the grain was still visible. The bowl was moderately caked with a light lava coat flowing onto the rim top and beveled inner edge toward the left front of the bowl. The stem was lightly oxidized and dirty with light tooth chatter and marks on the top and underside near and on the button. It had promise but it was very dirty. Jeff took some photos of the pipe before he started his cleanup work. 
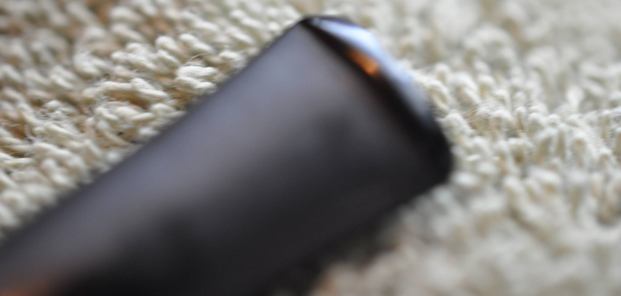
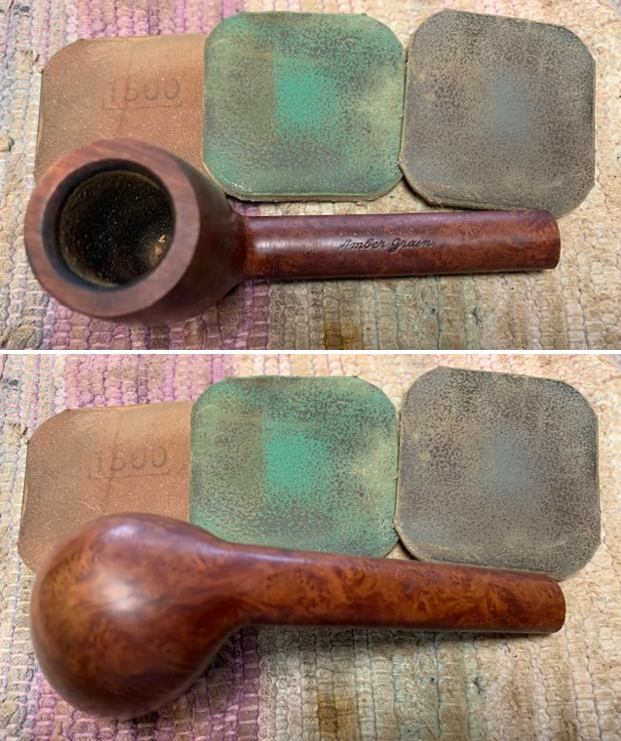
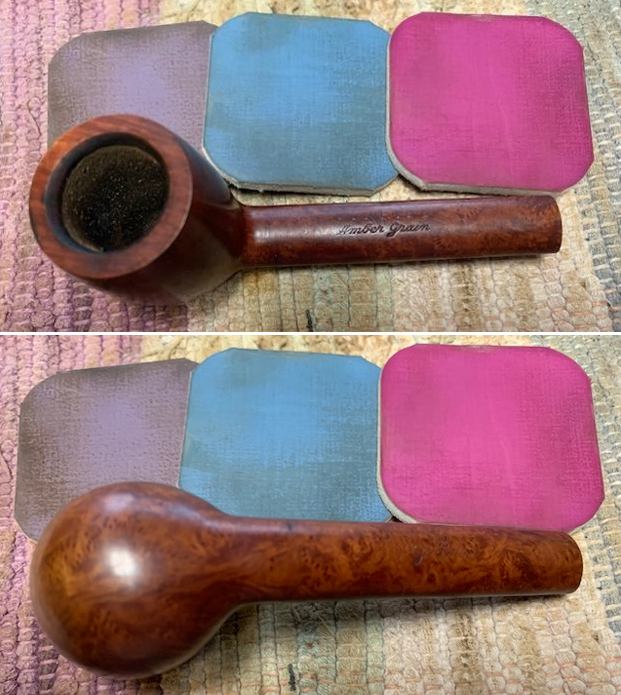
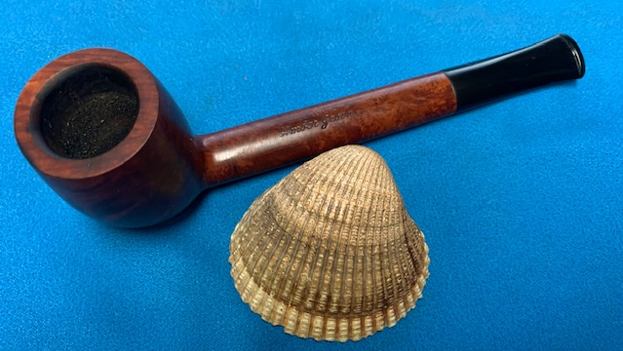
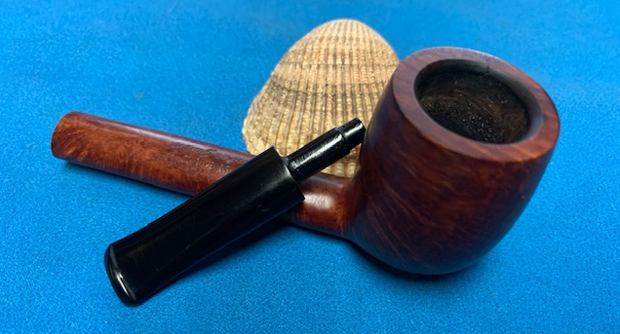
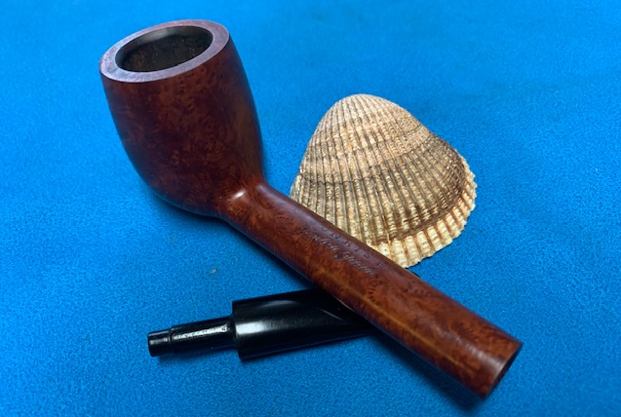
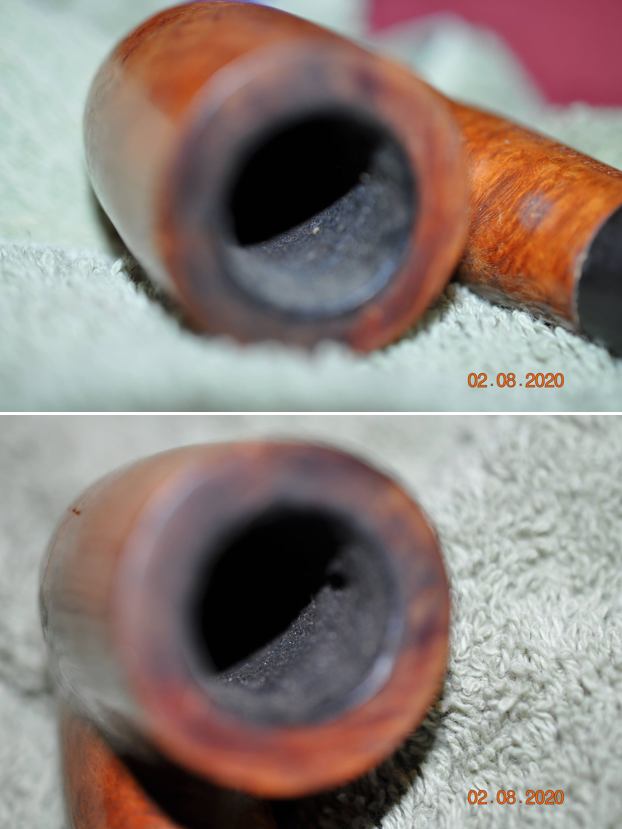
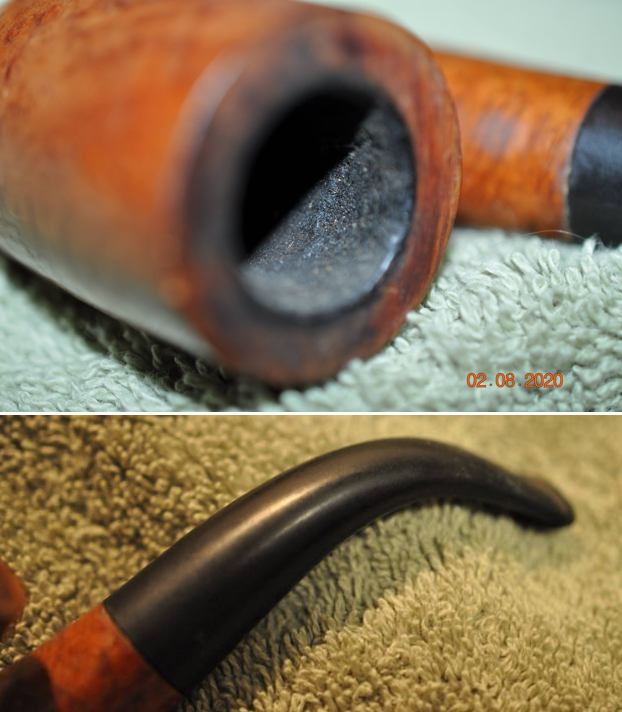
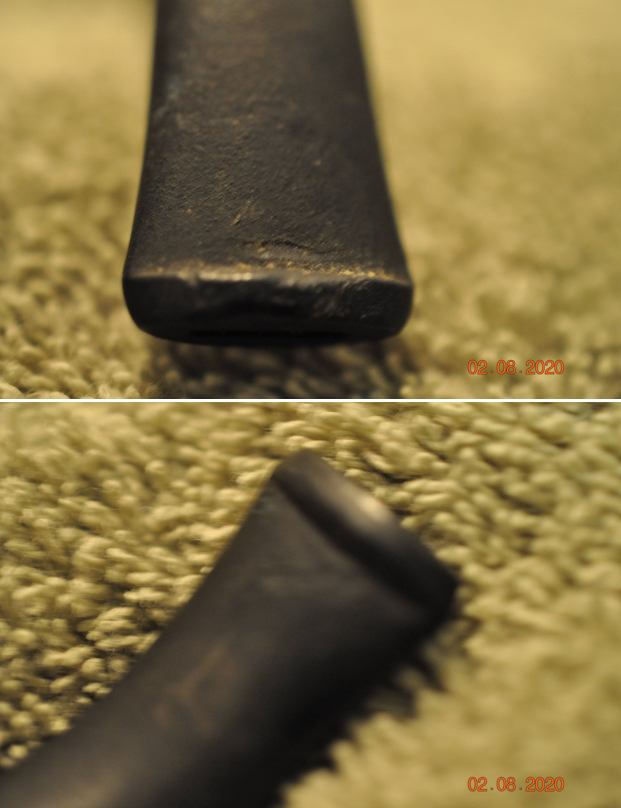
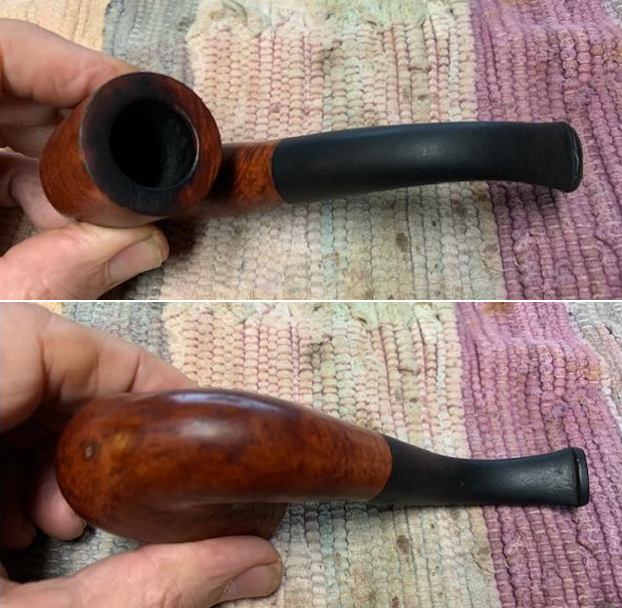
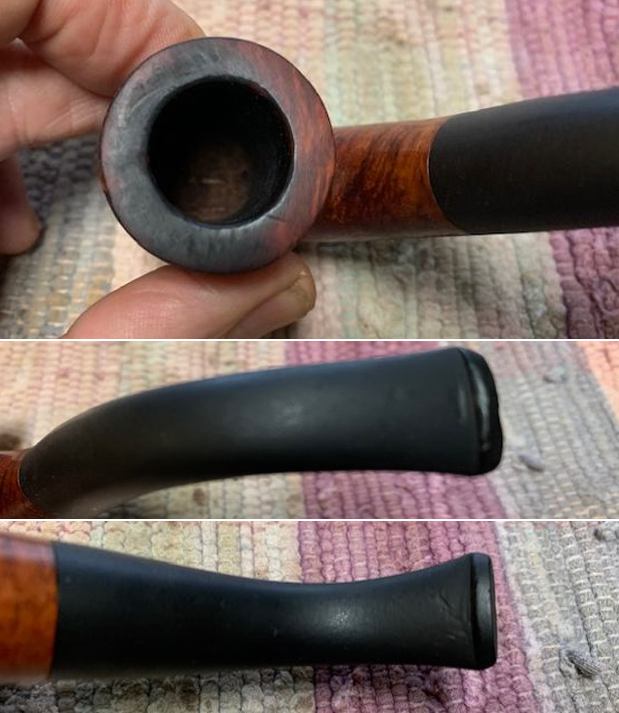
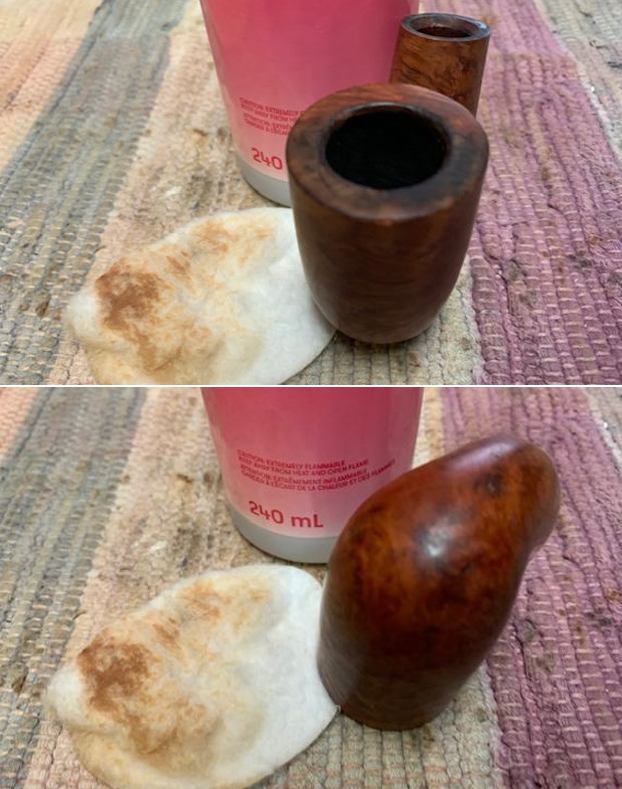
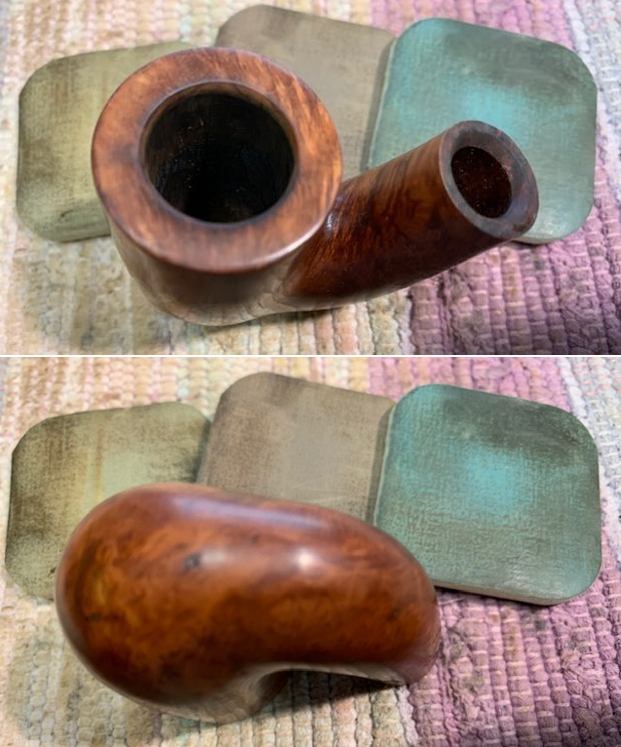
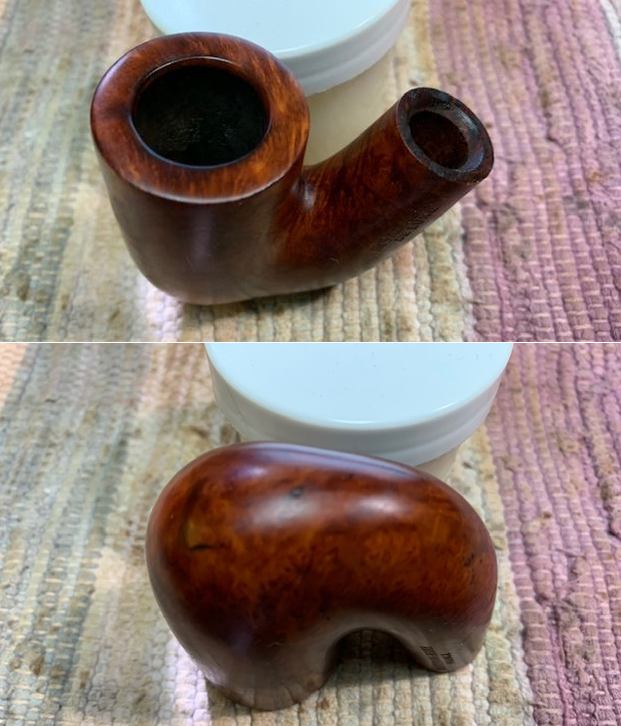
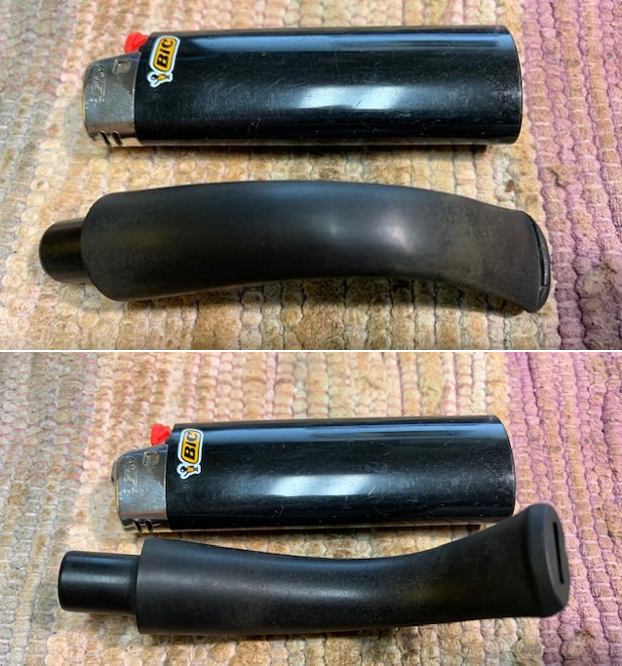
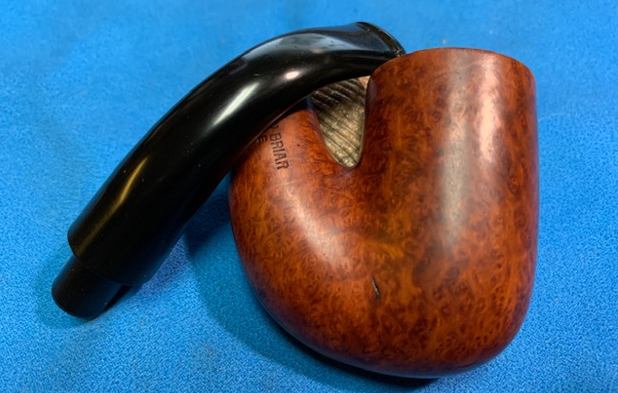
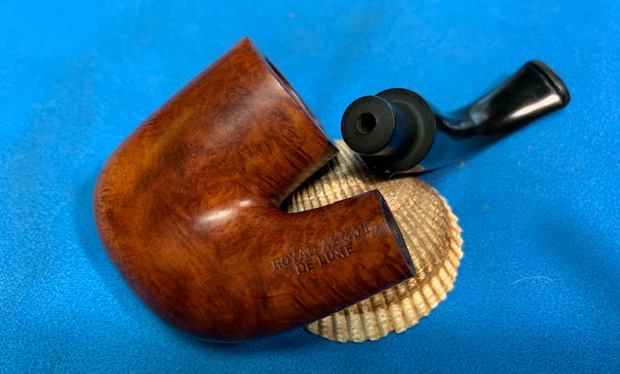
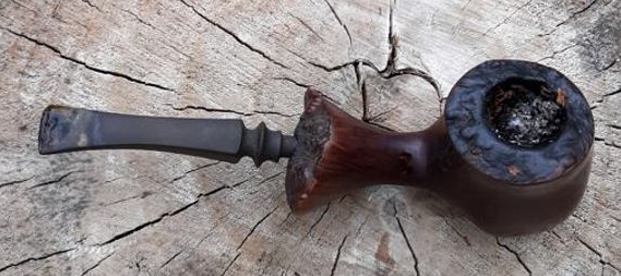
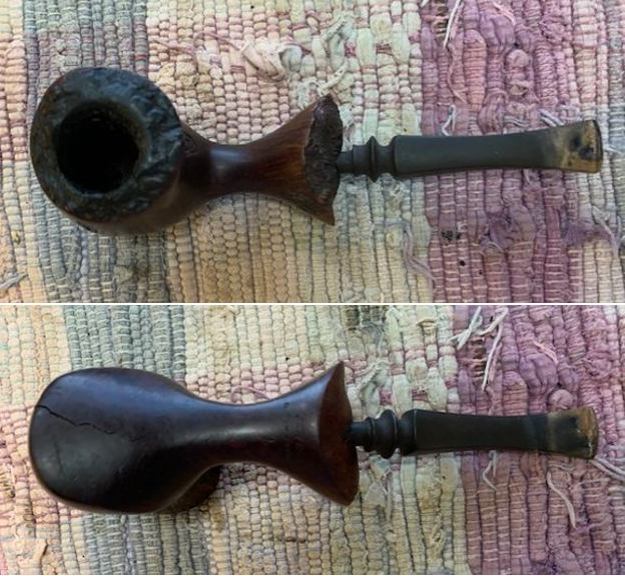
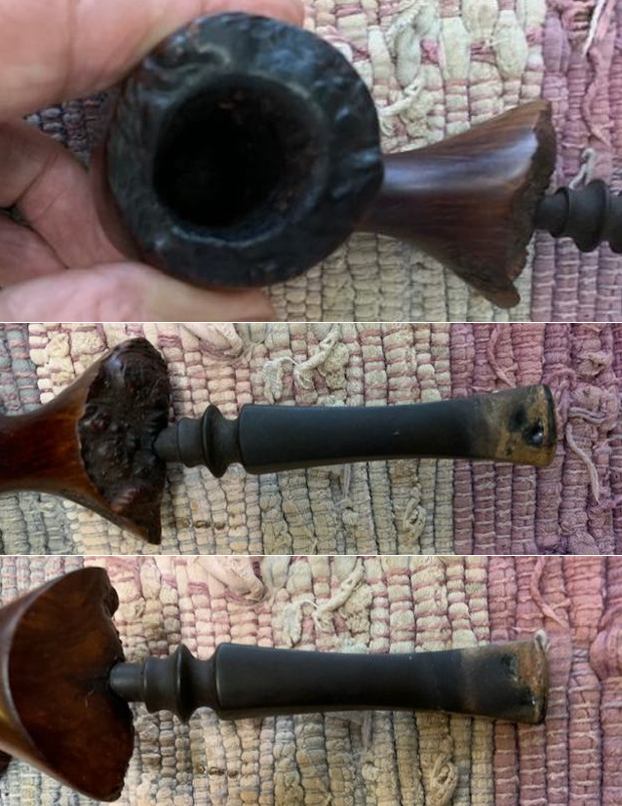
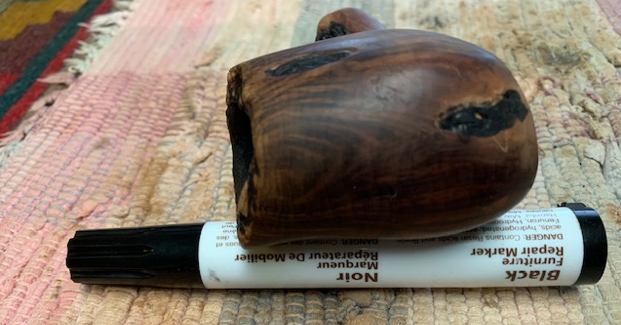
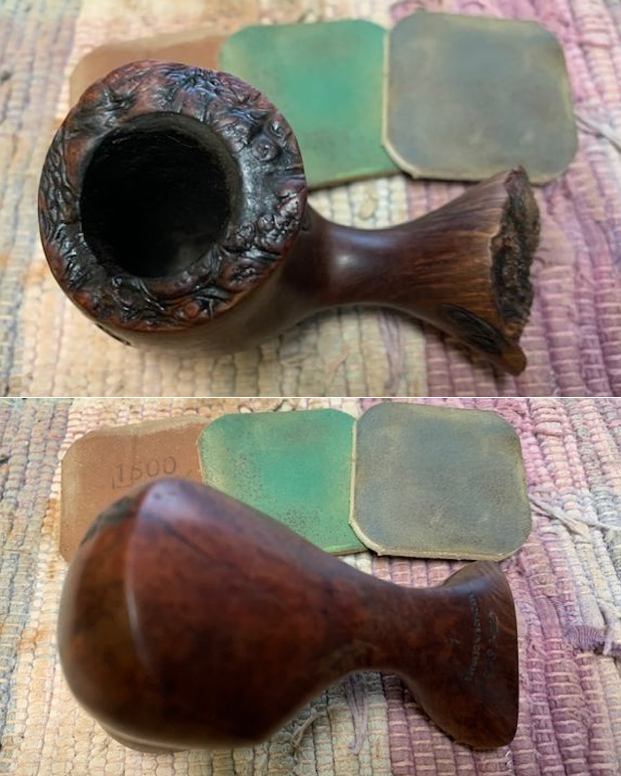
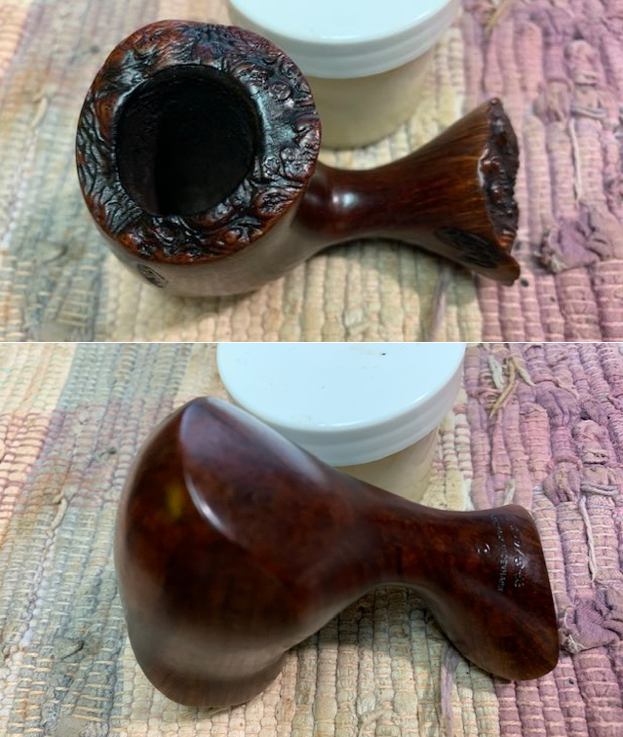
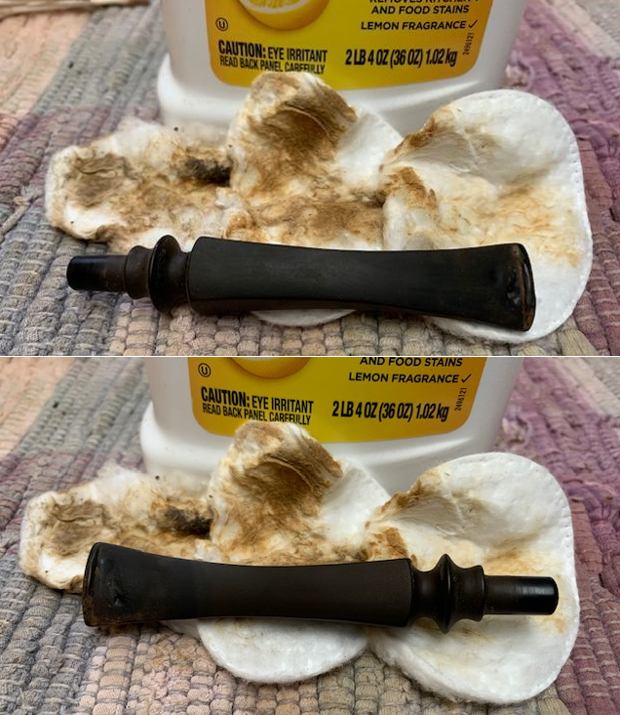
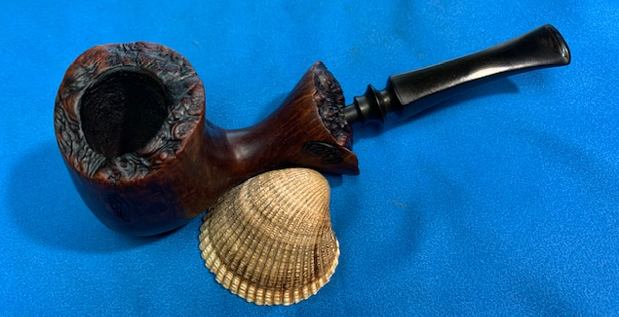
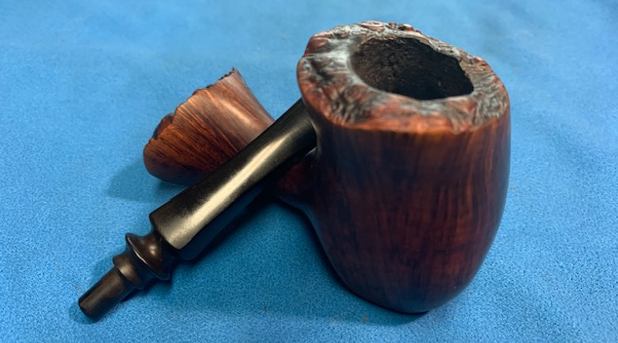
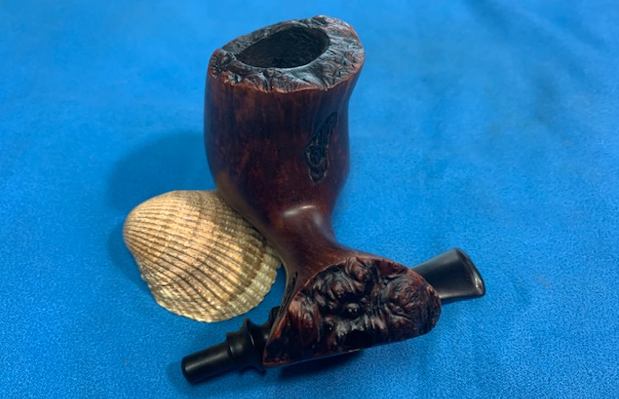
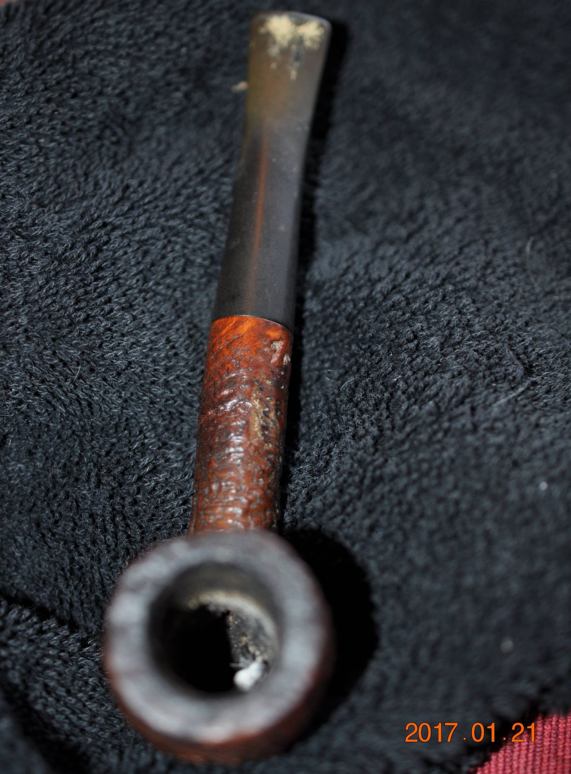
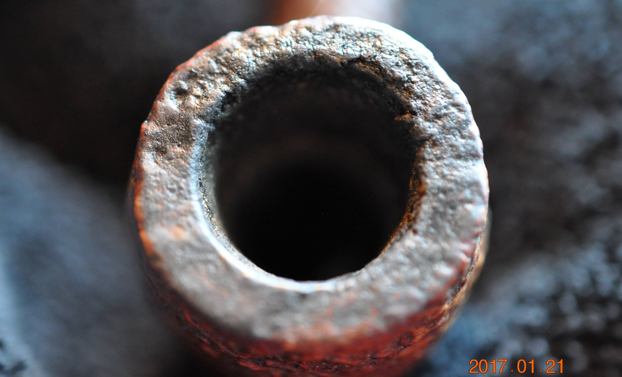
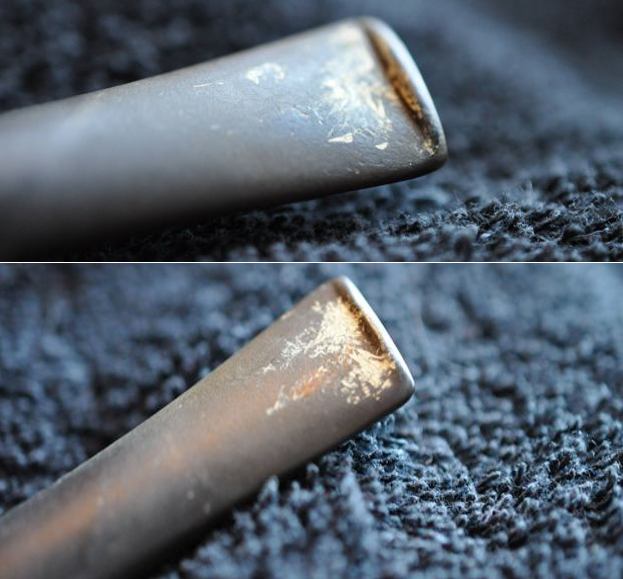
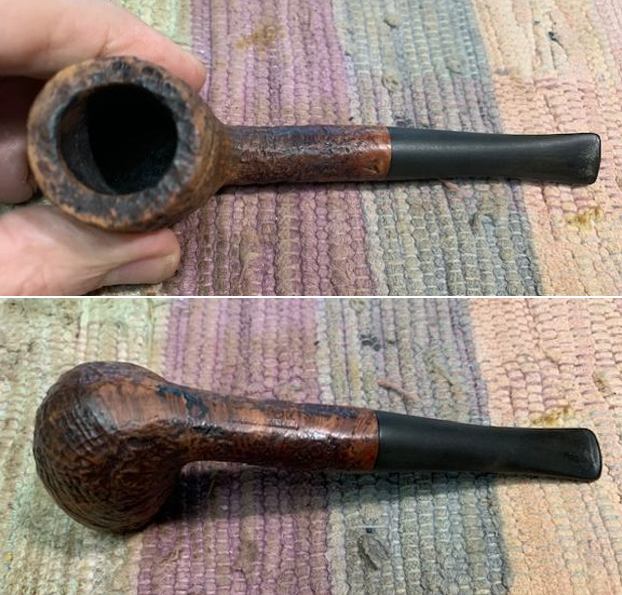
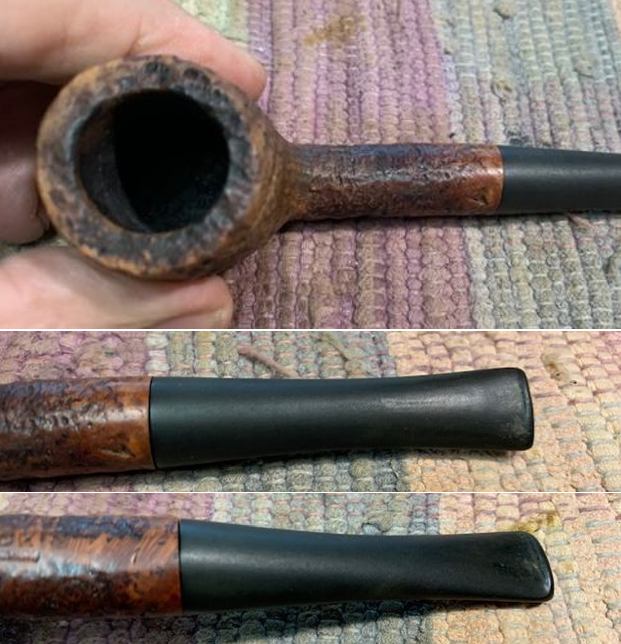
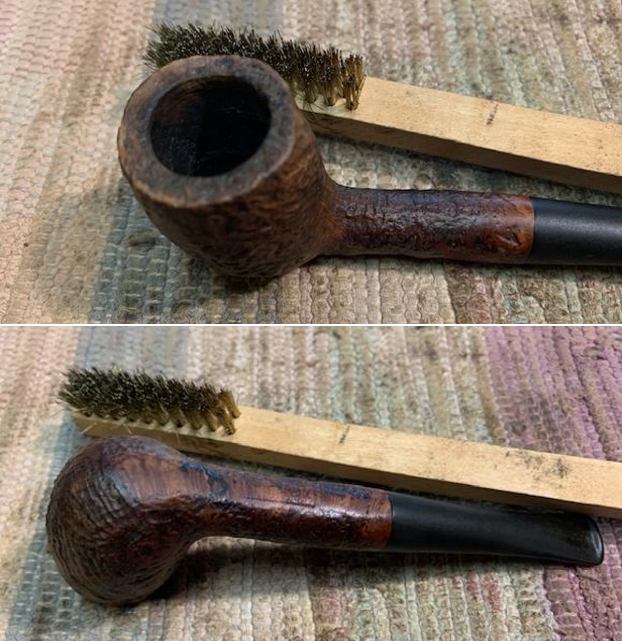
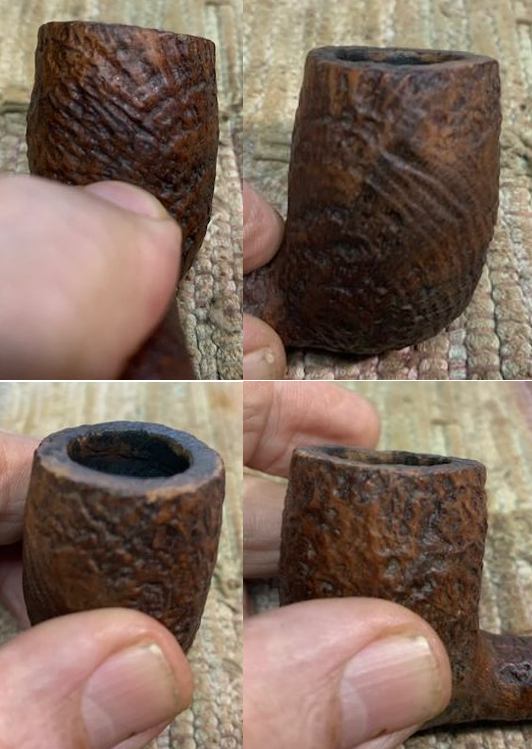
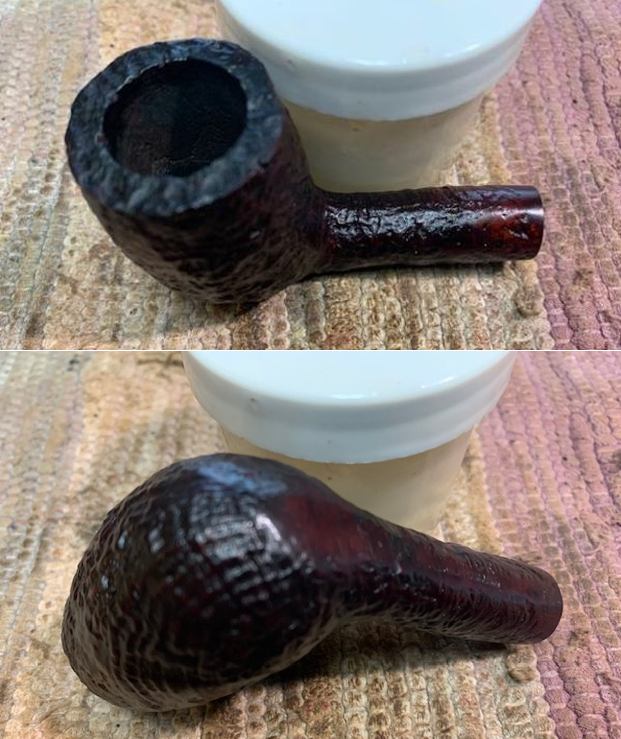
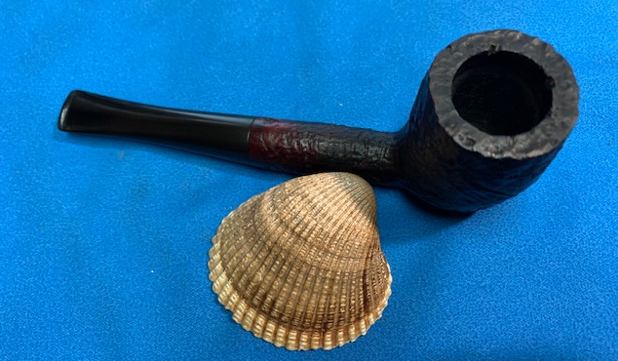
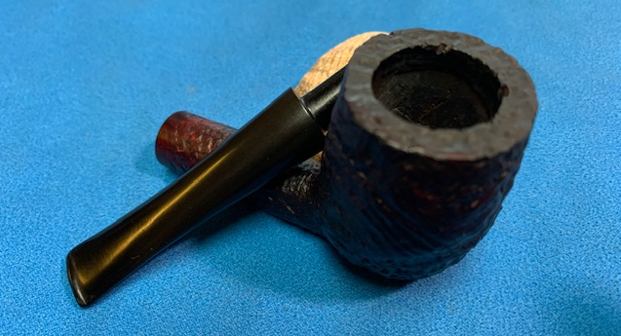
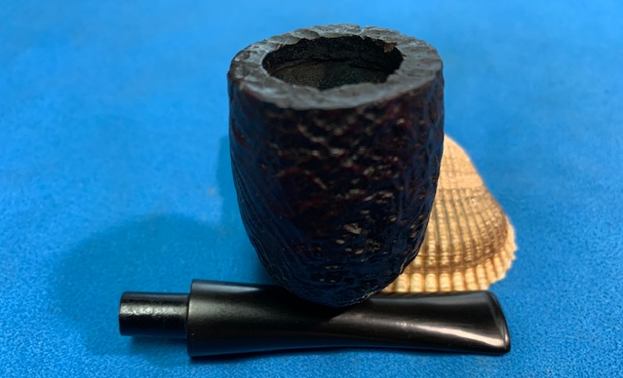
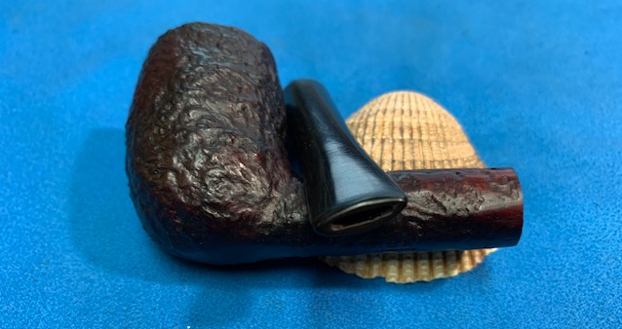
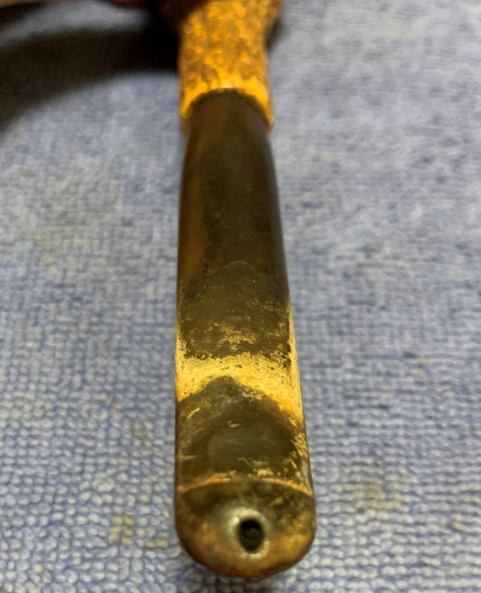
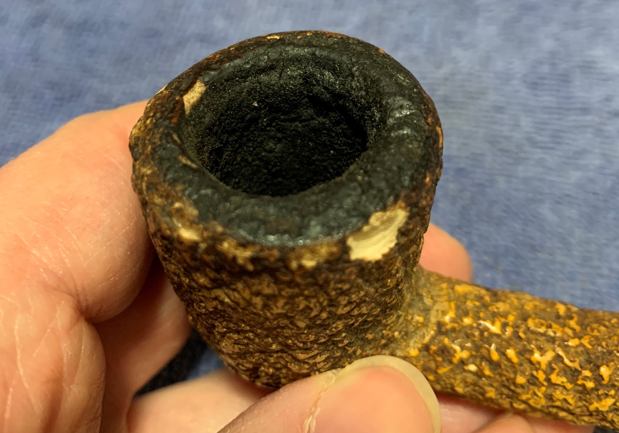
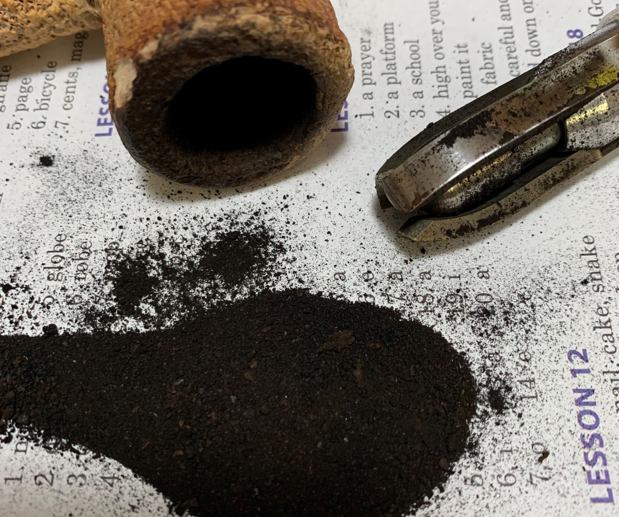
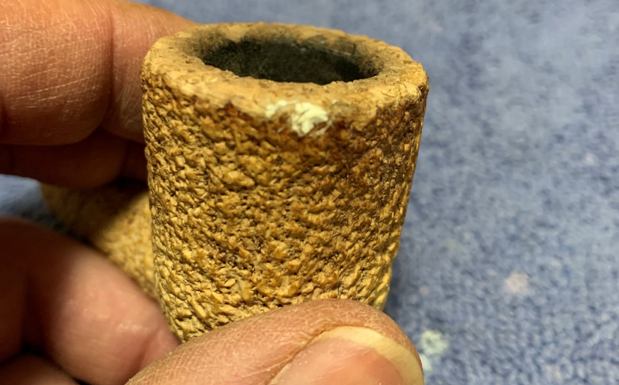
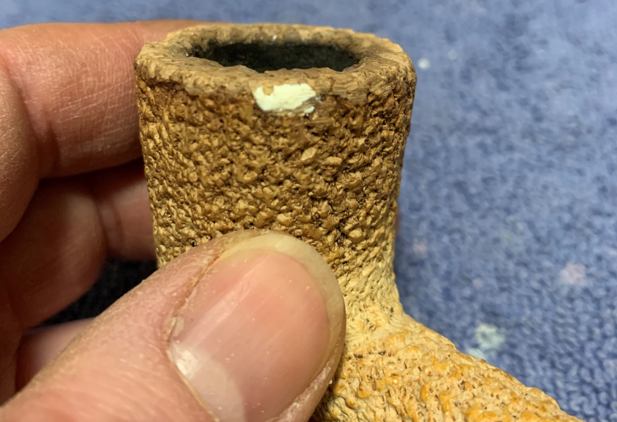
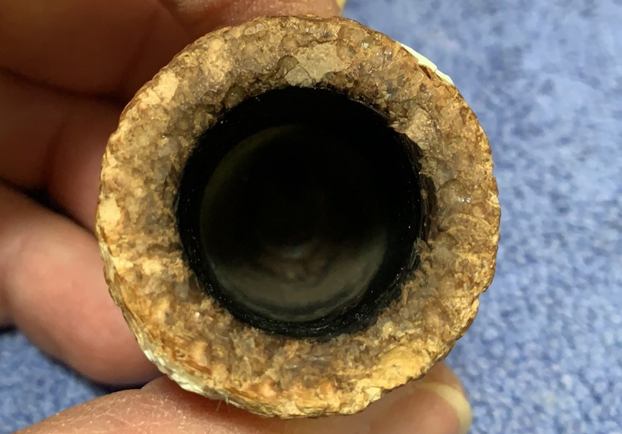
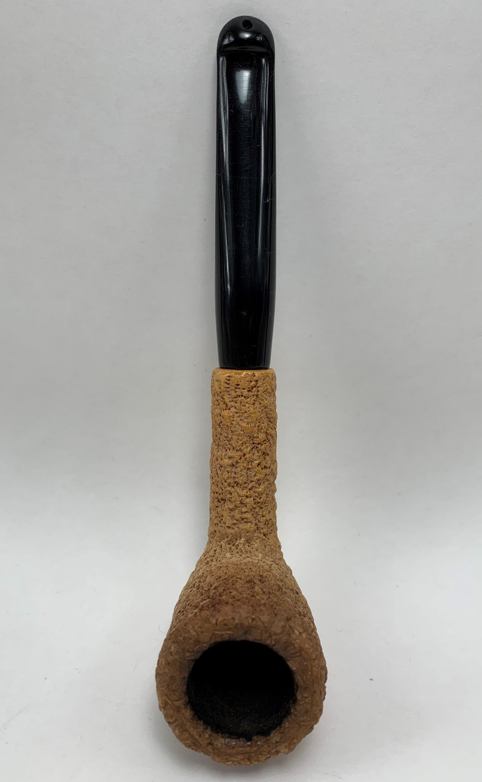
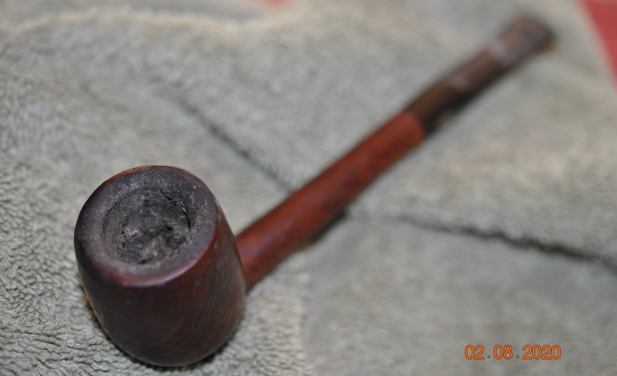
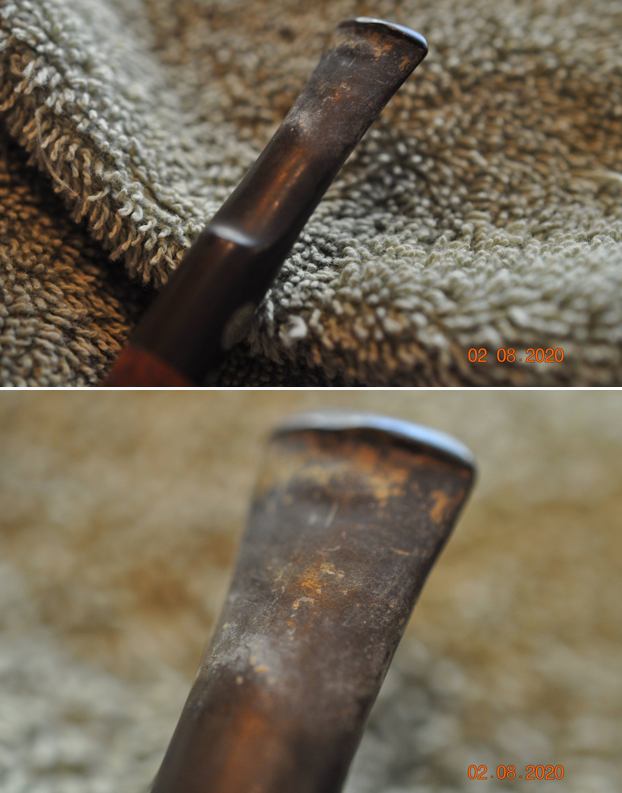
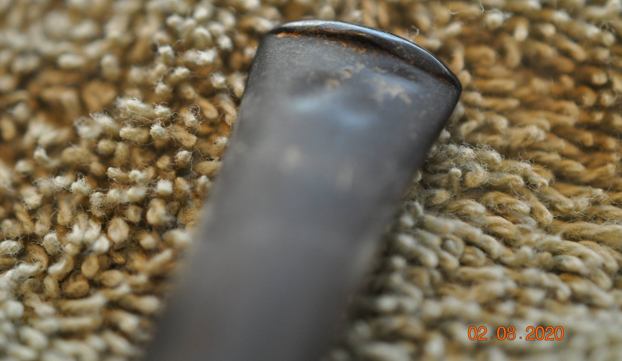
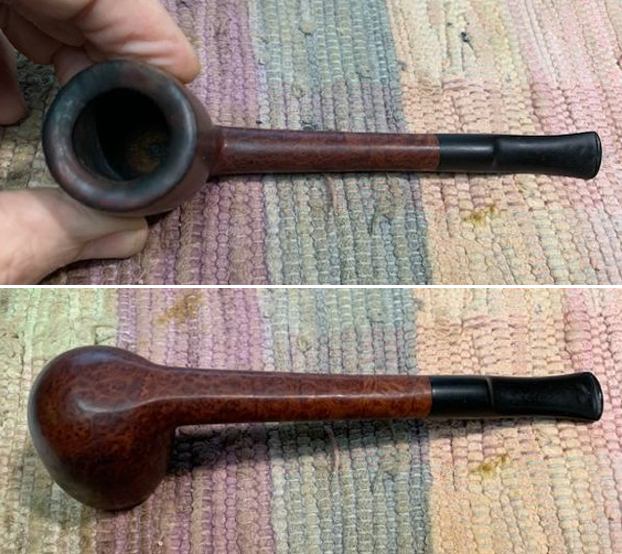
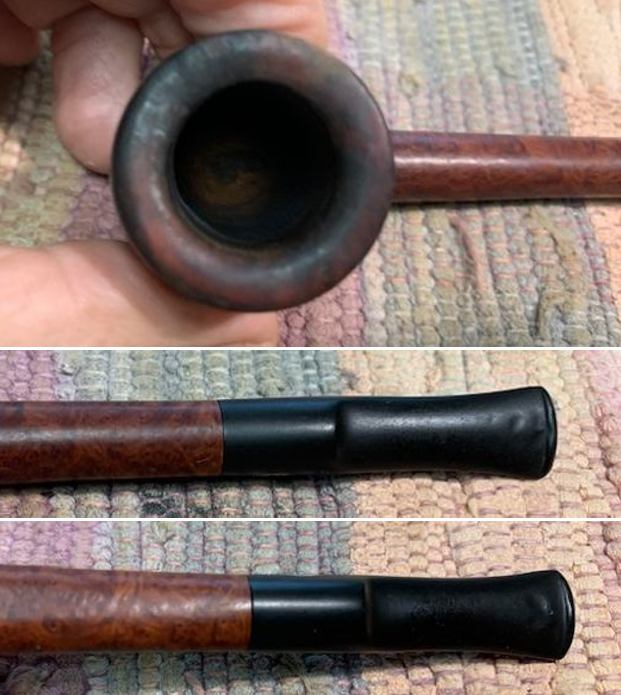
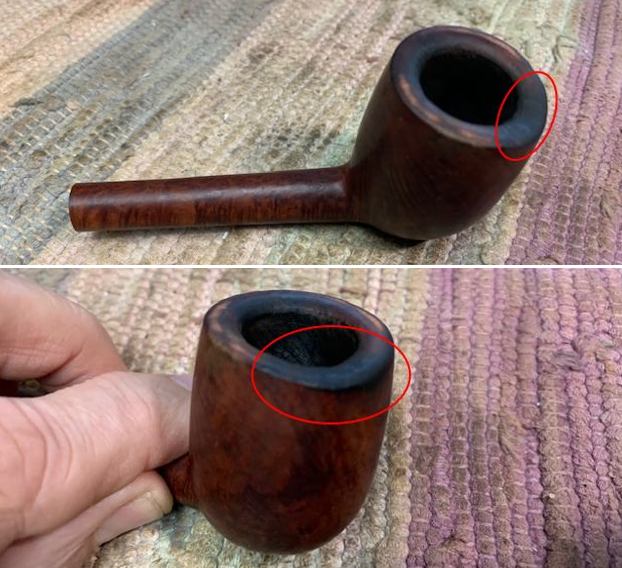
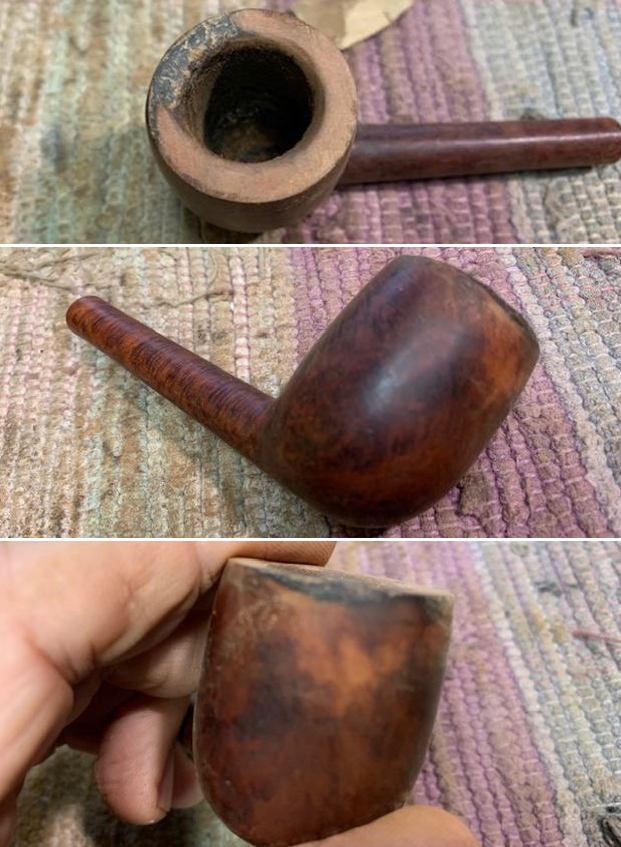
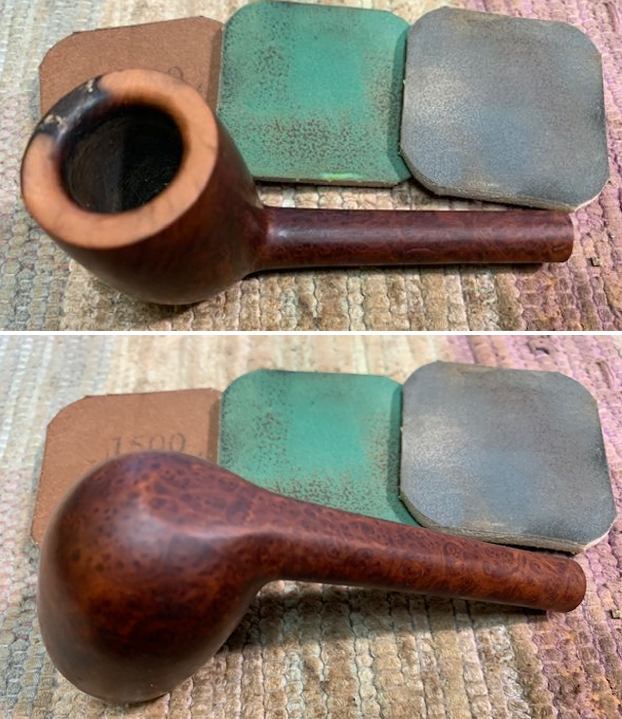
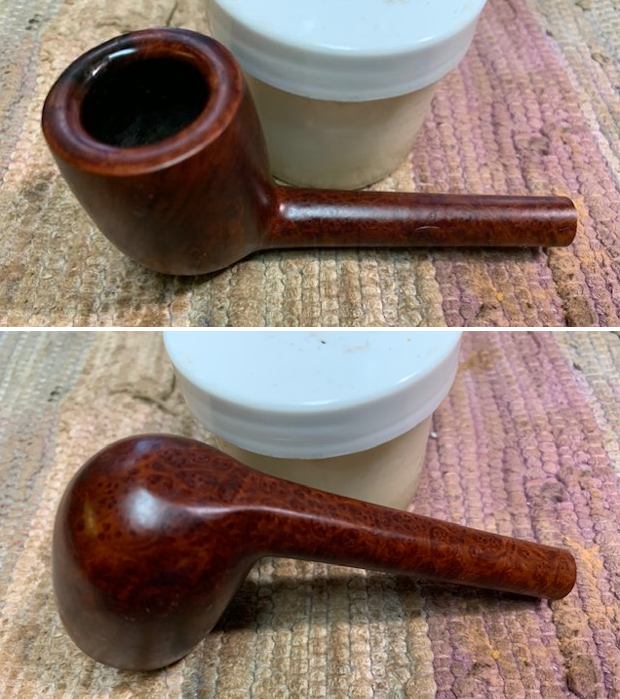
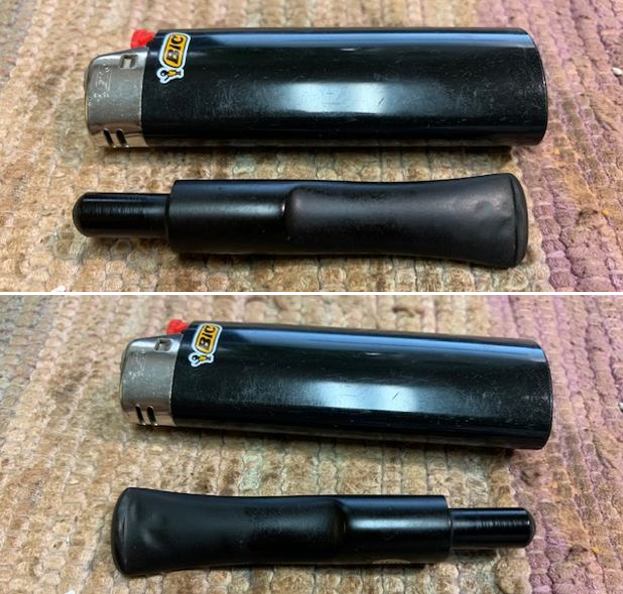
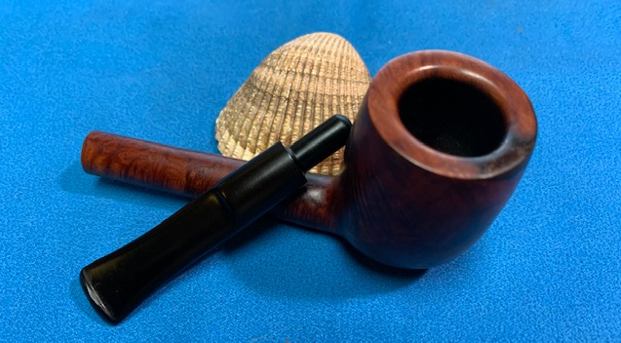
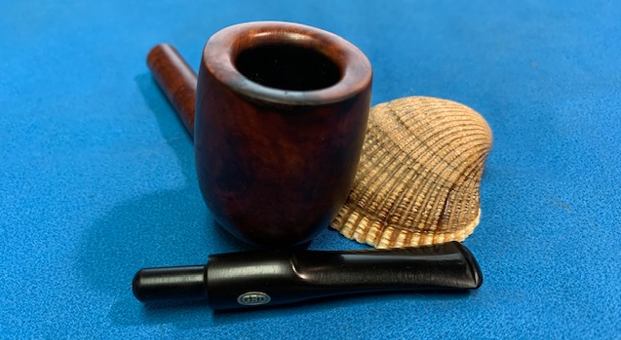
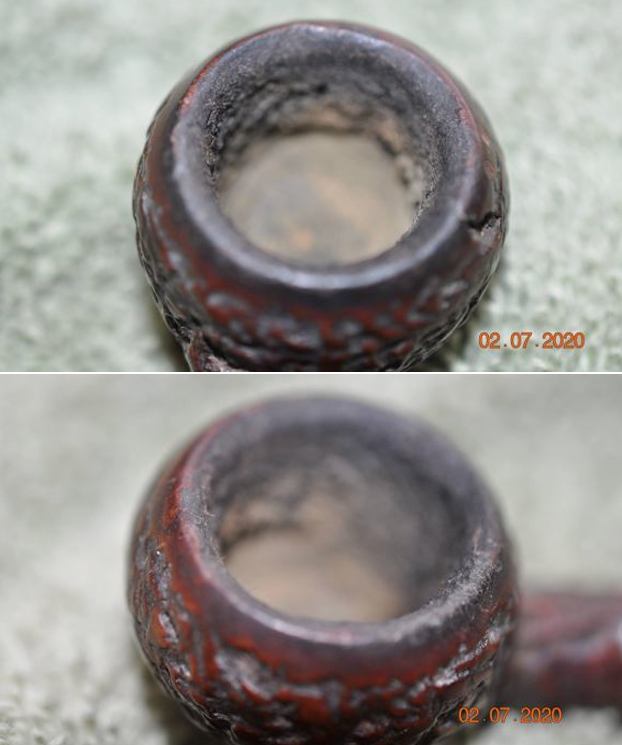
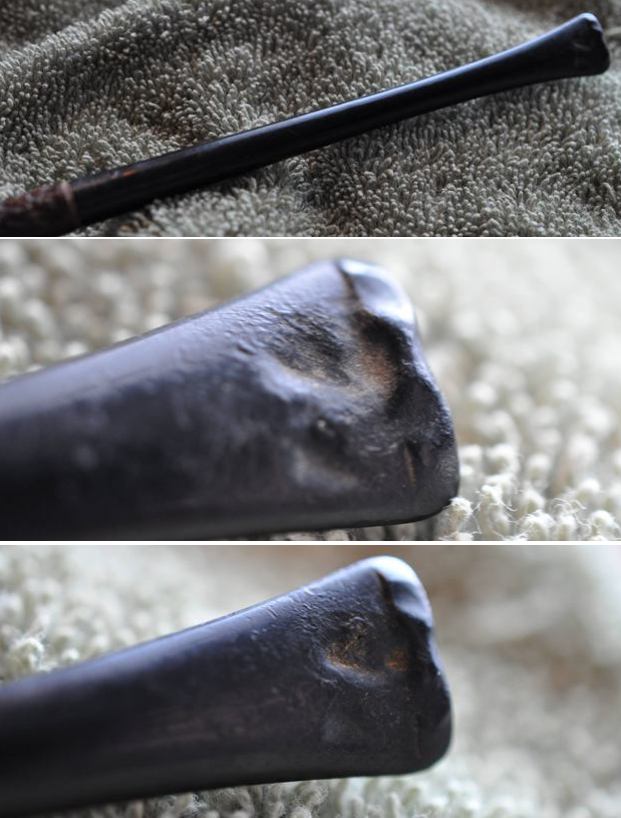
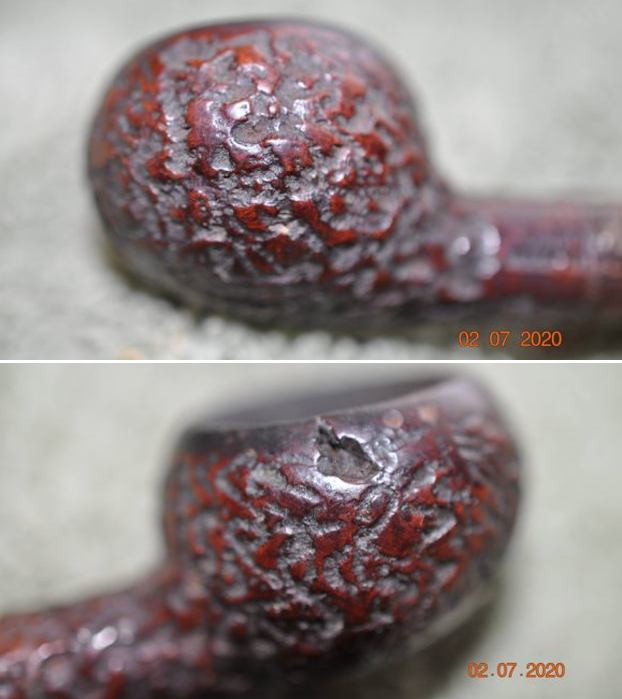
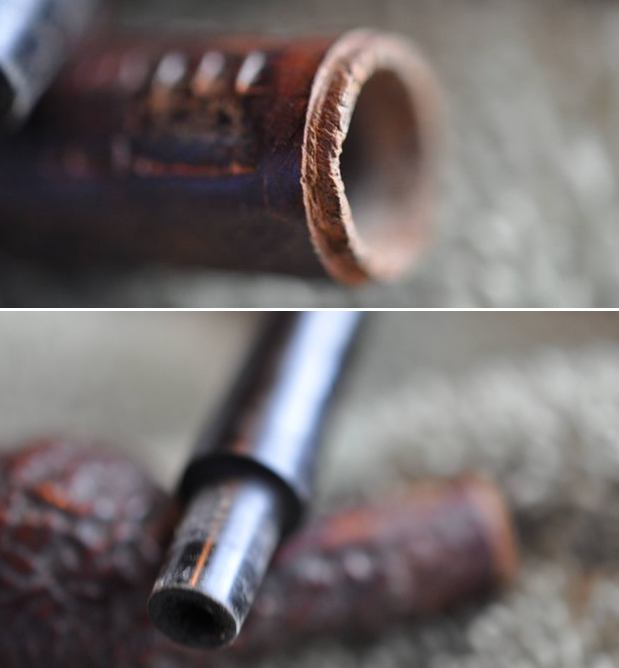
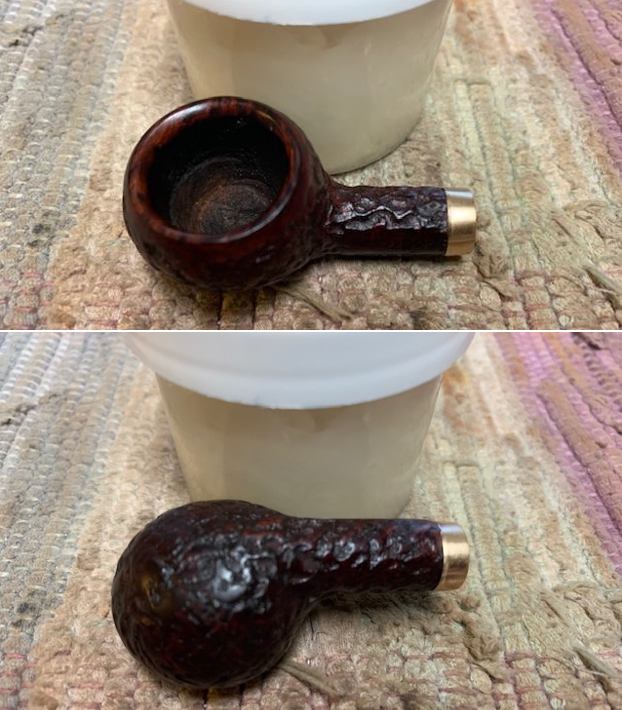
 He took photos of the rim top and bowl to give a clear picture of the thickness of the cake and well as the lava and darkening on the front side of the rim top and inner edge. He also took photos of the top and underside of the stem to show the light oxidation and the chatter and tooth marks.
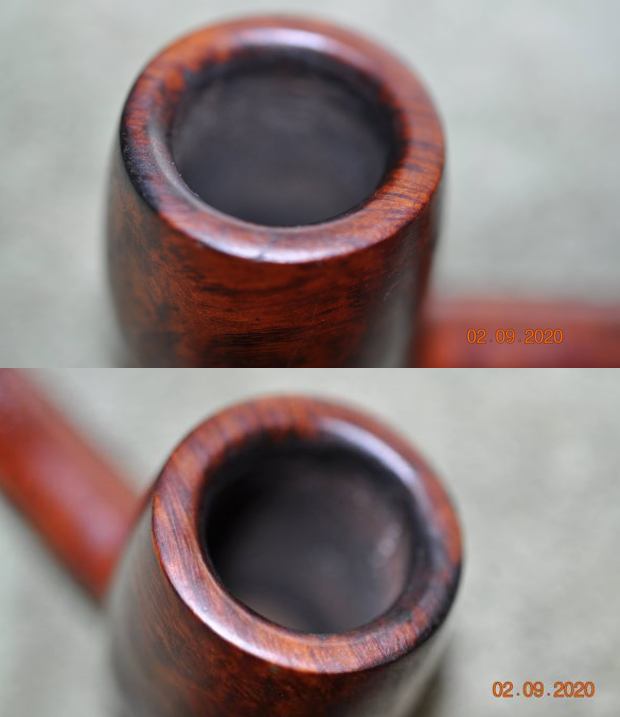

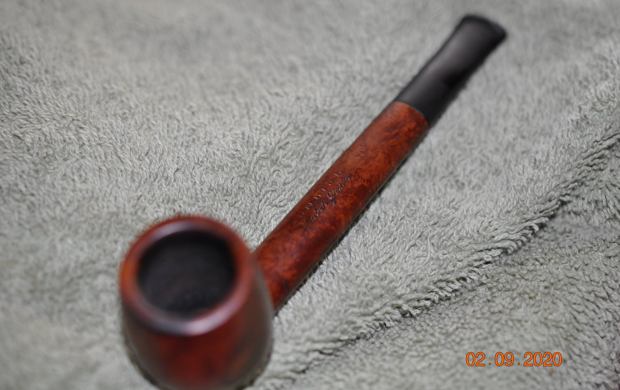
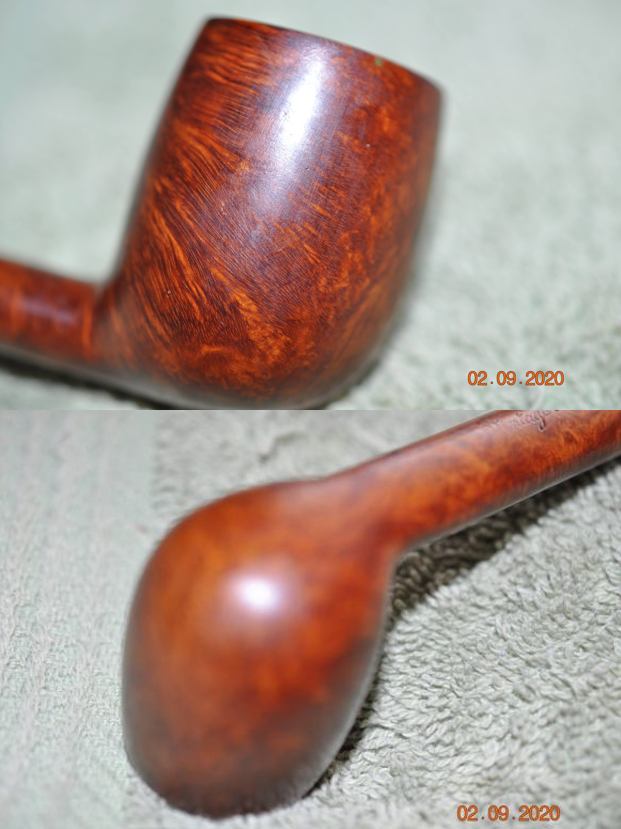
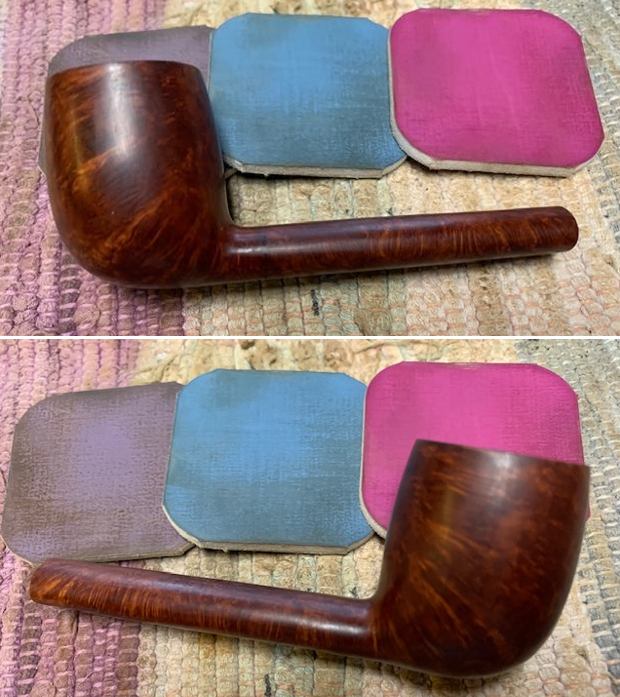
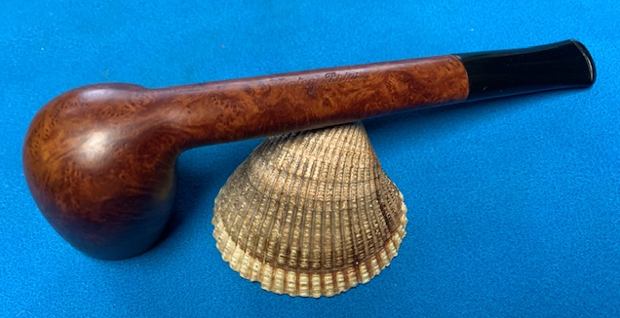
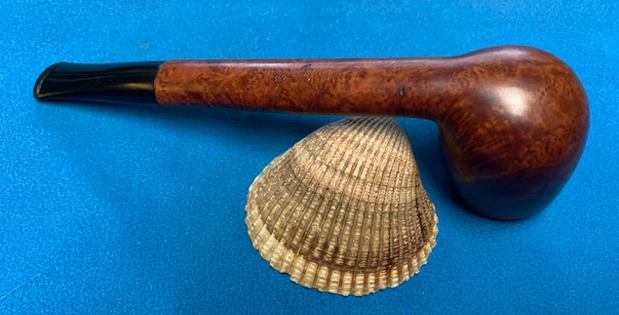
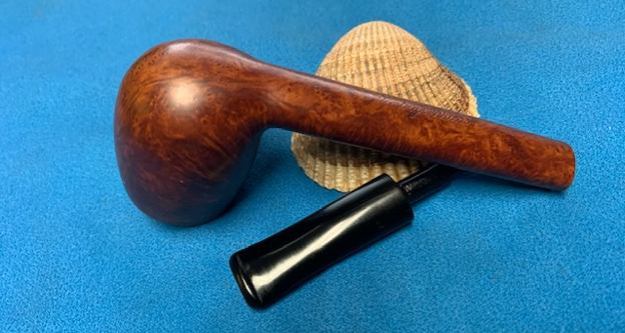
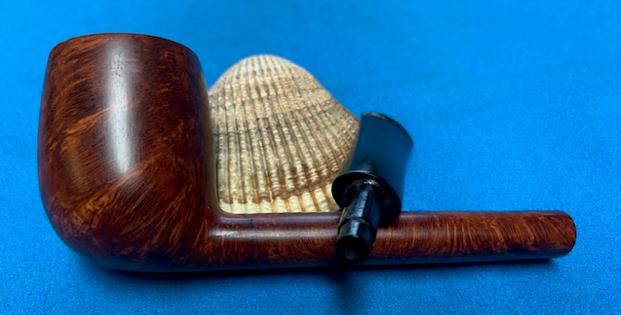
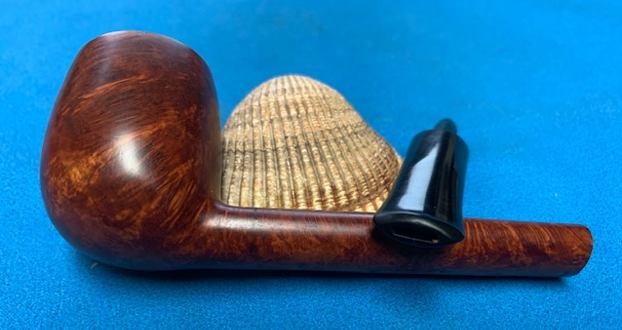
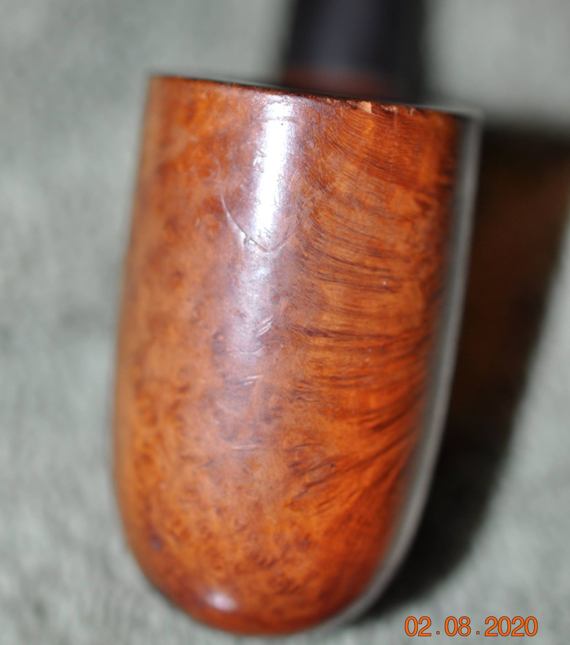
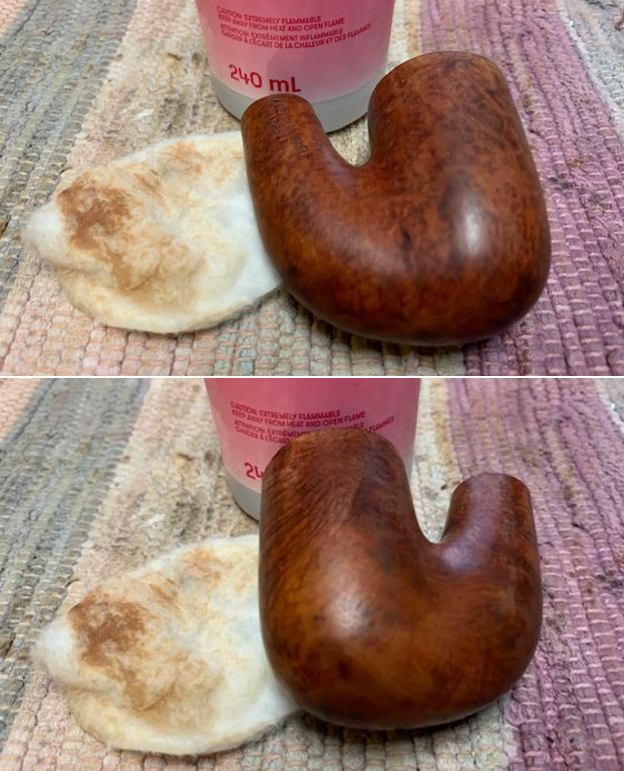
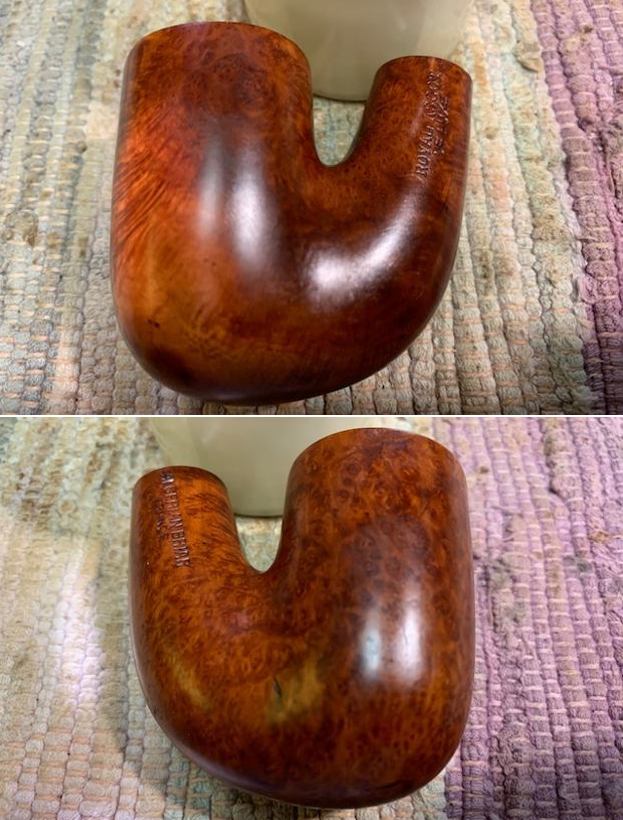
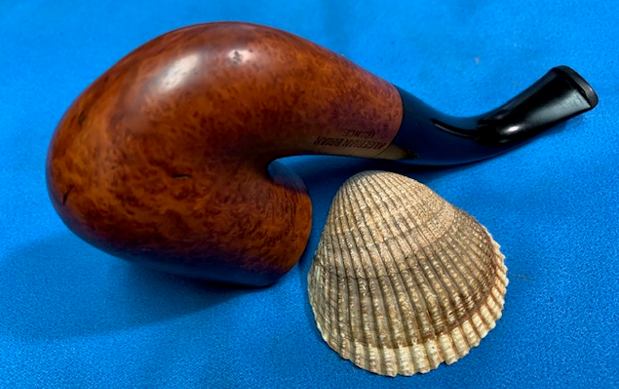
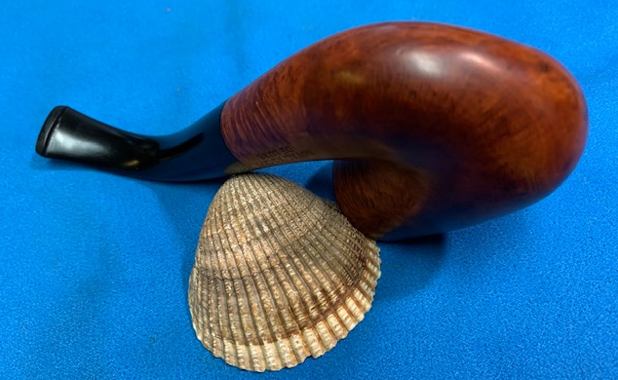
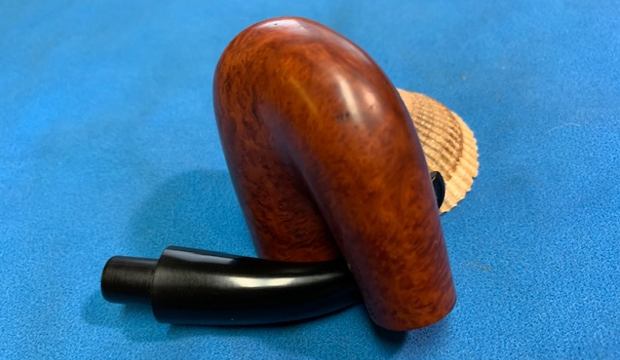
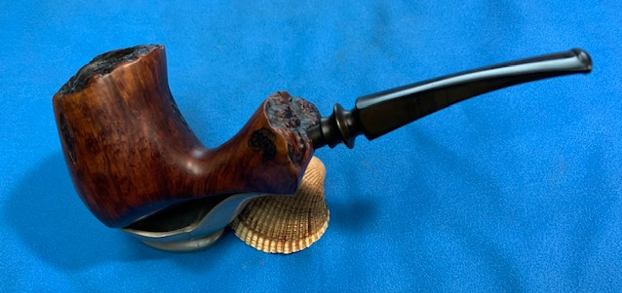
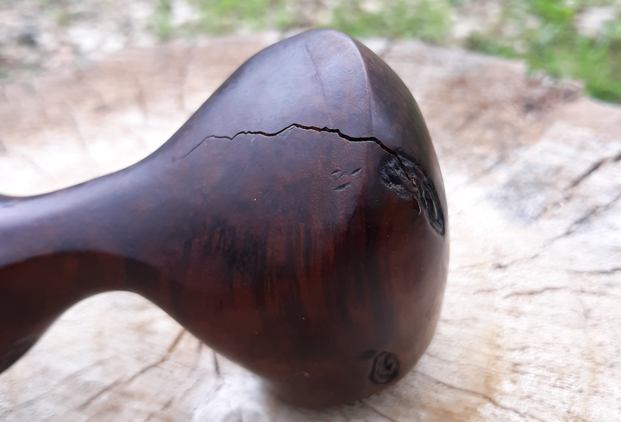
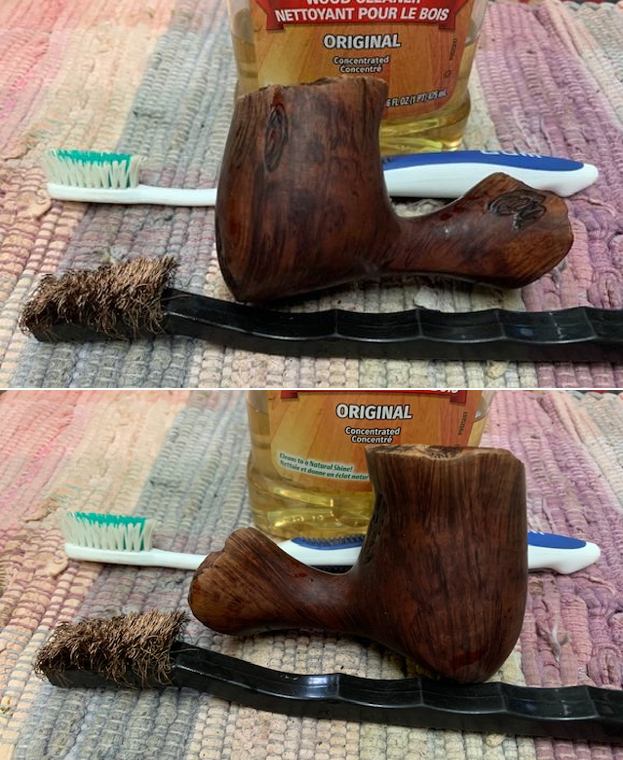
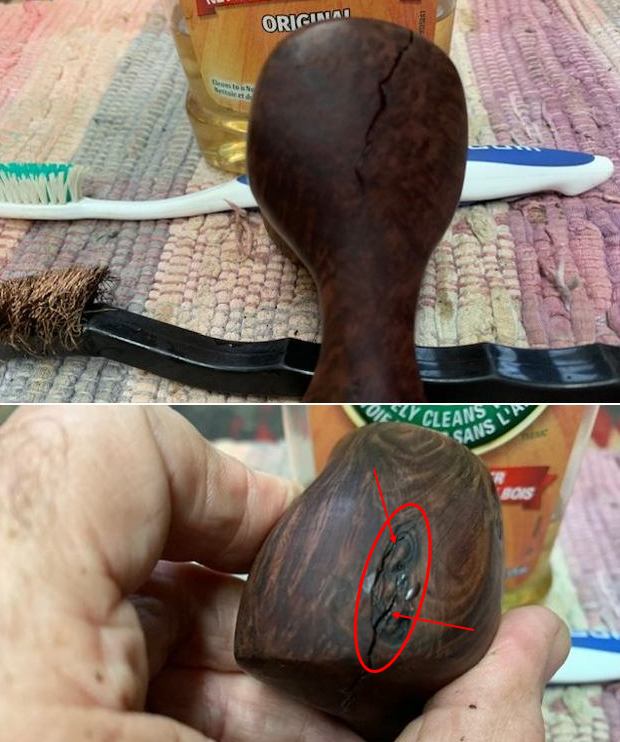
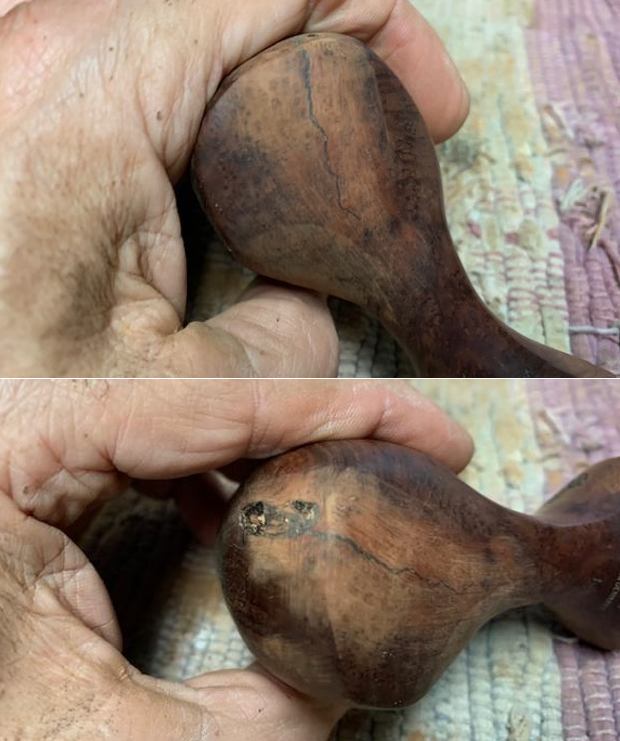
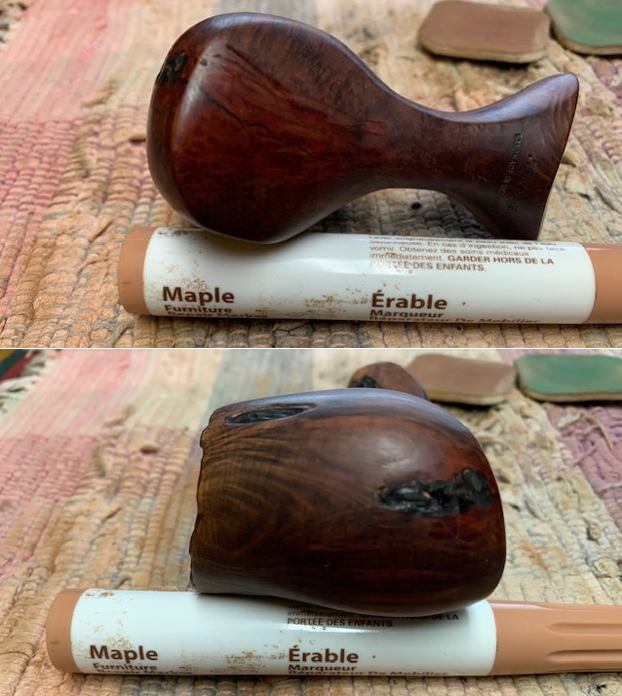
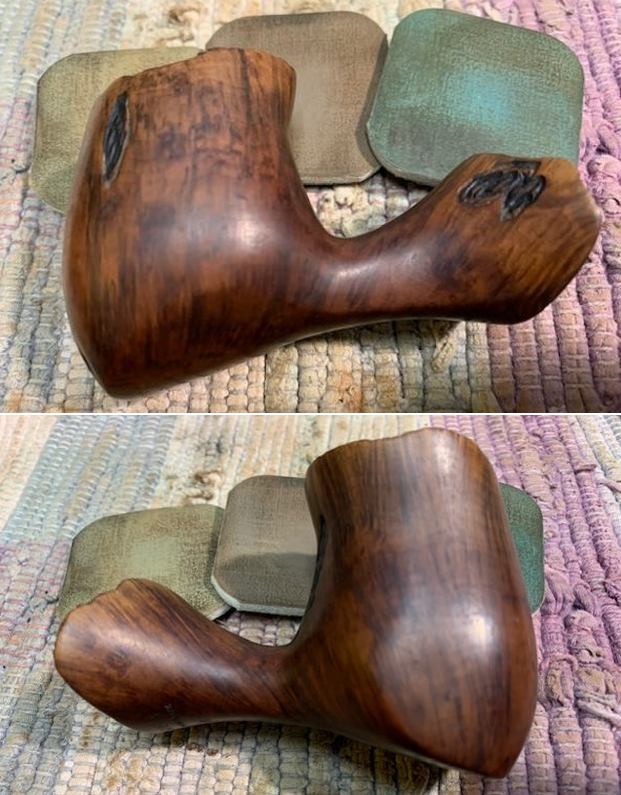
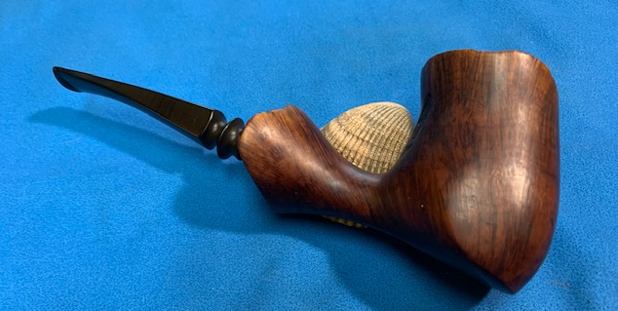
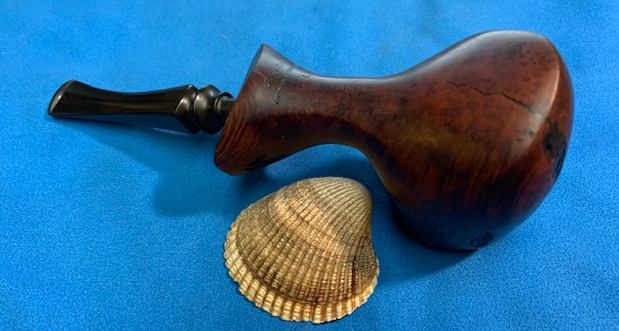
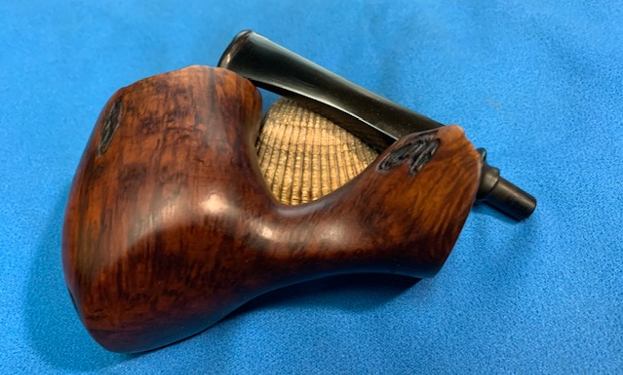
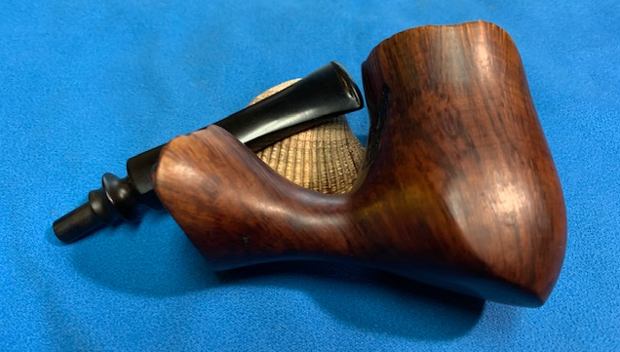
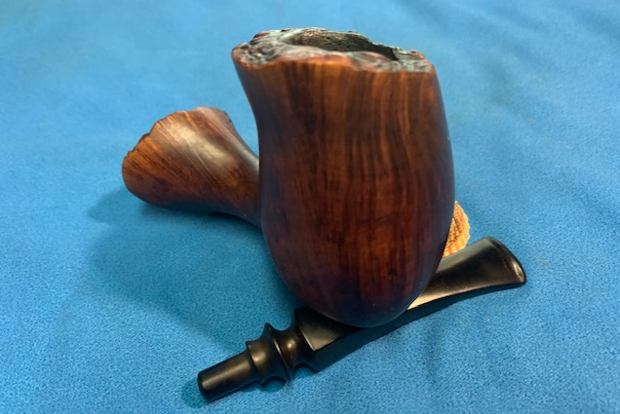
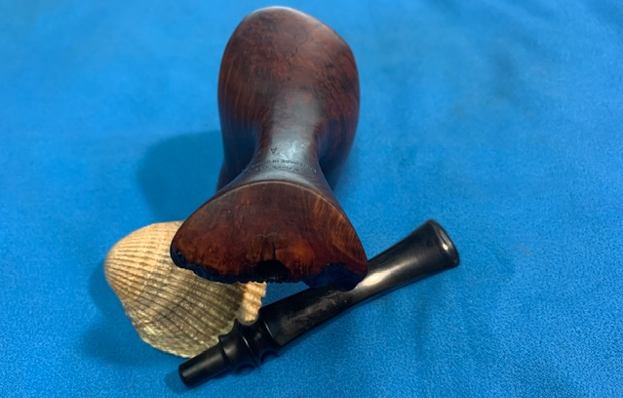
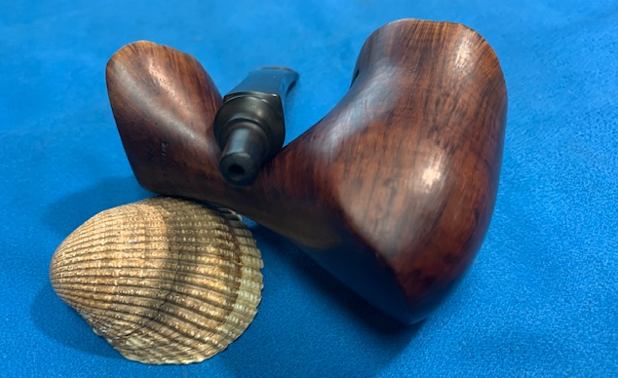
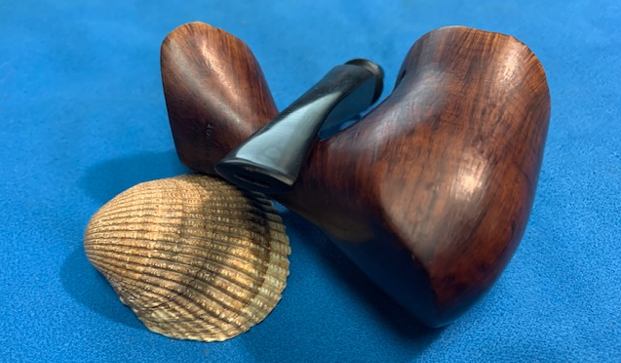
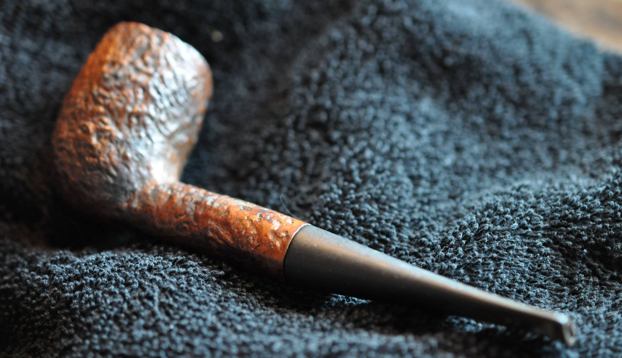
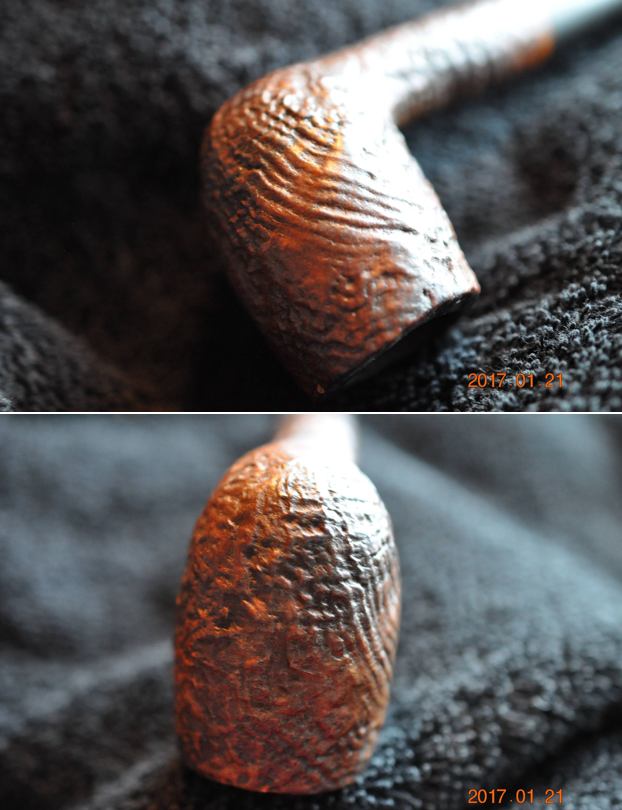
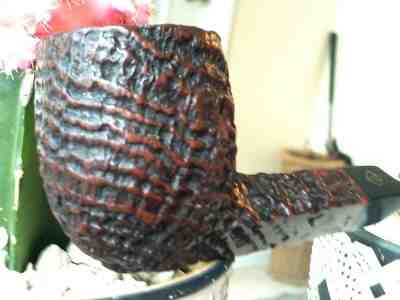
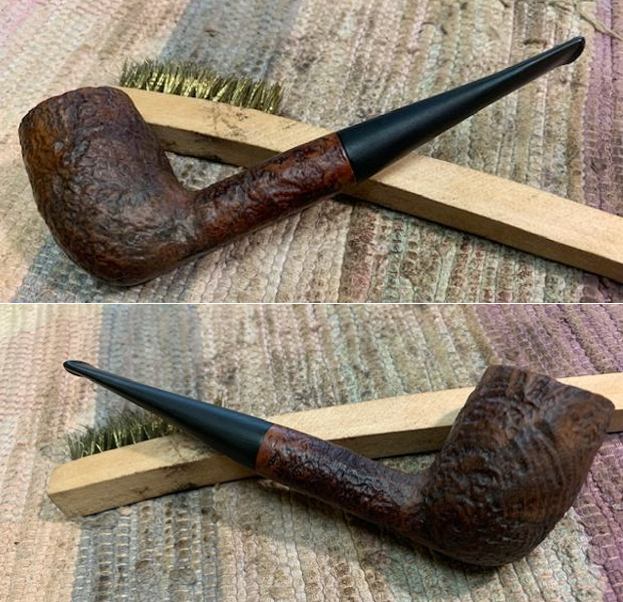
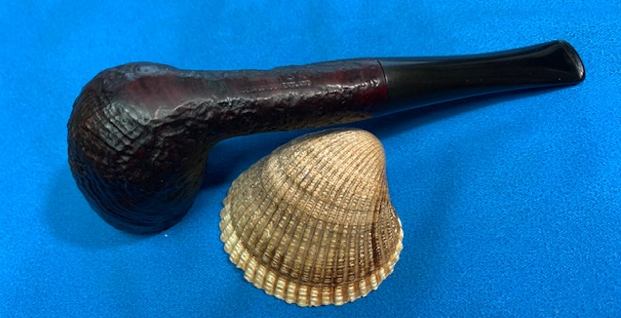
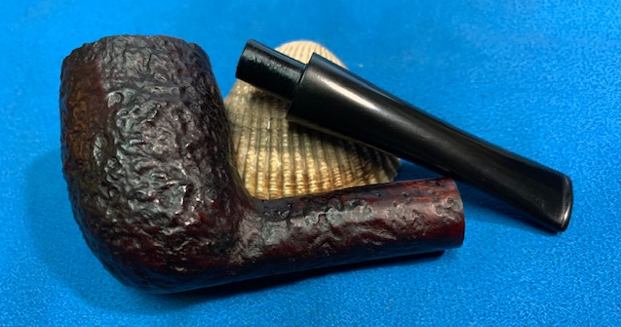
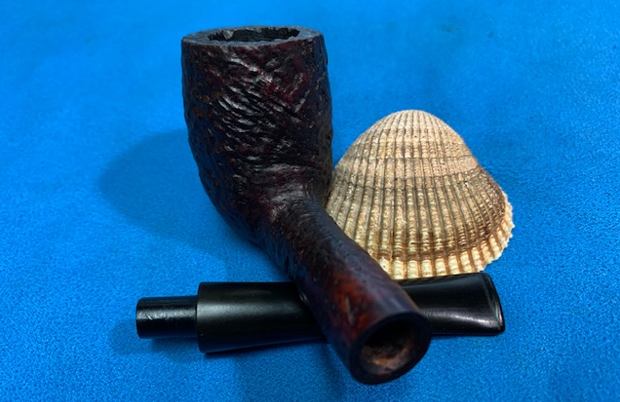
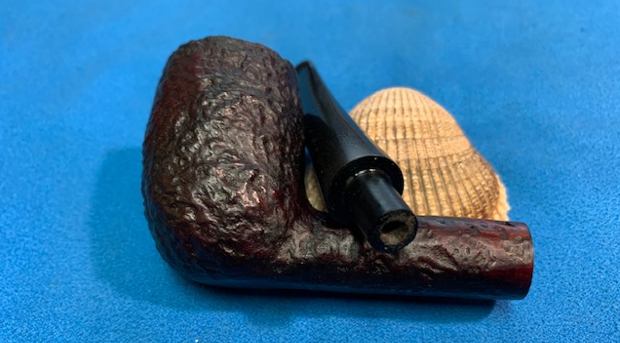
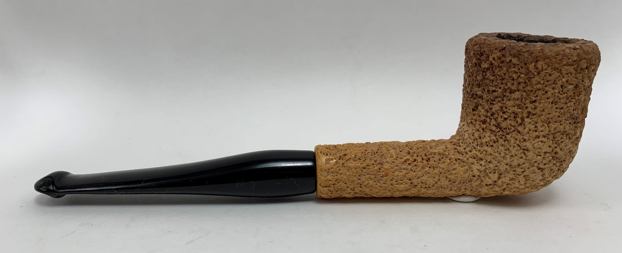
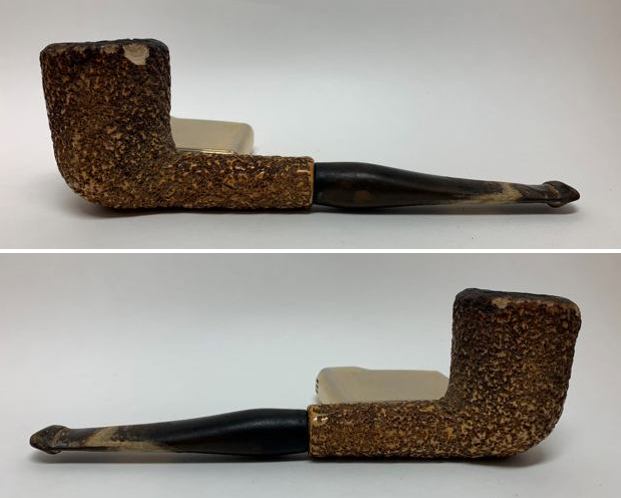
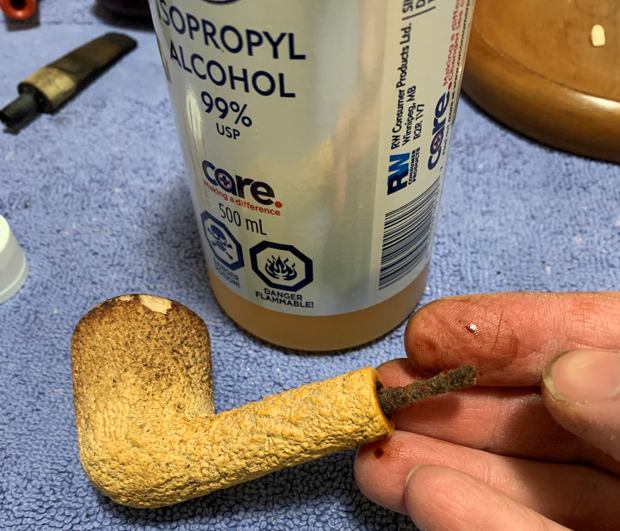
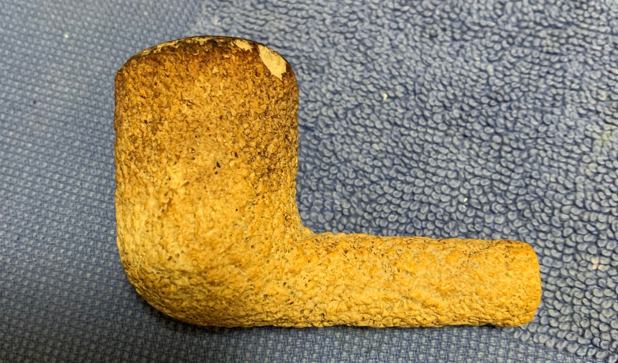
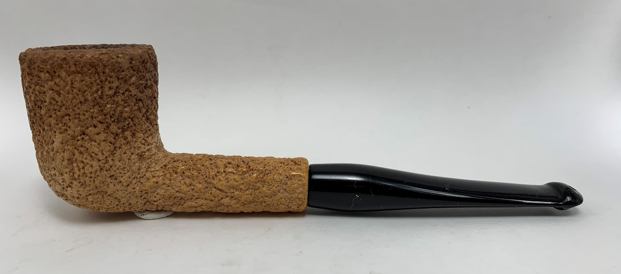
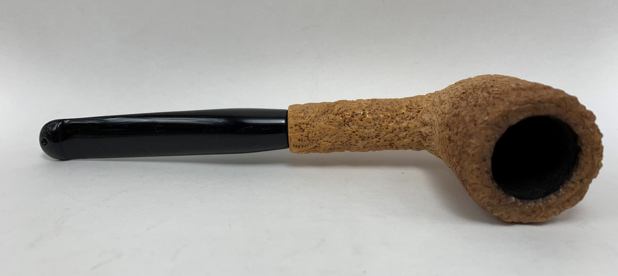
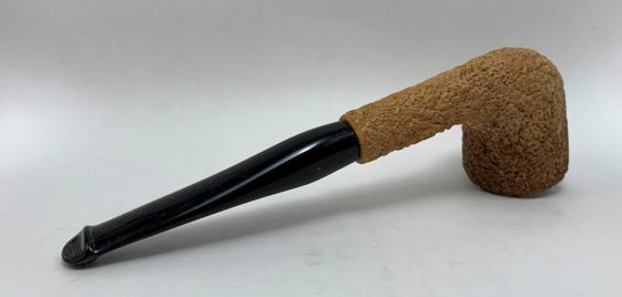
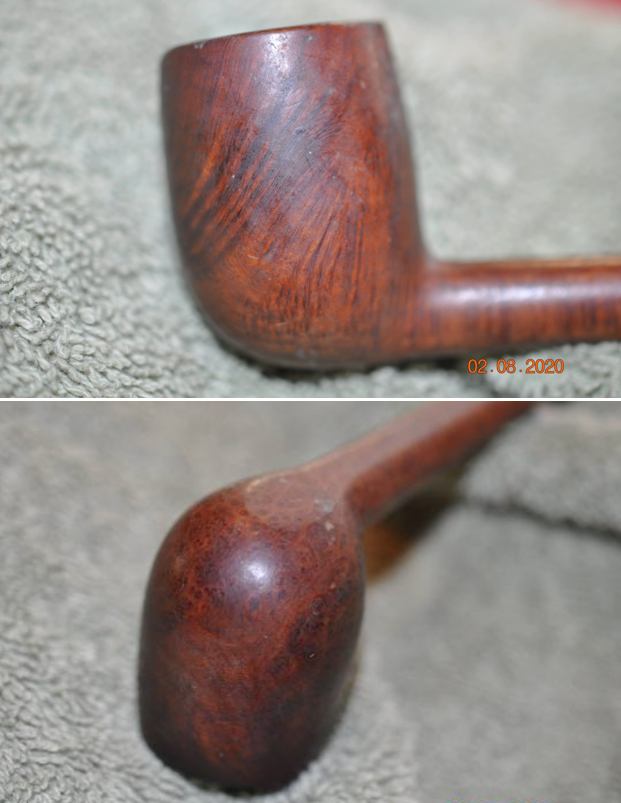
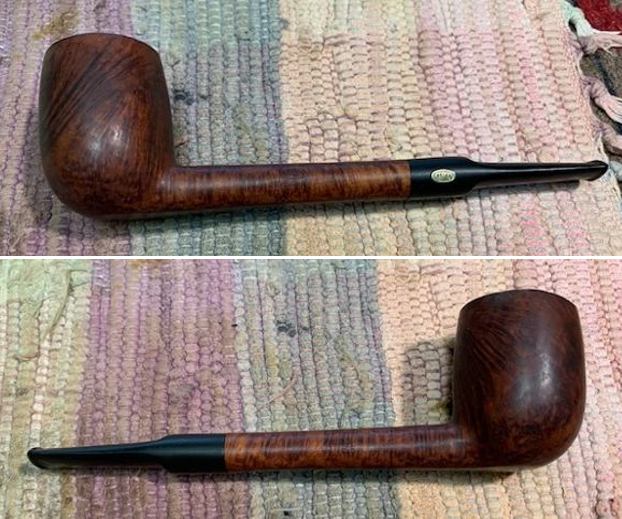
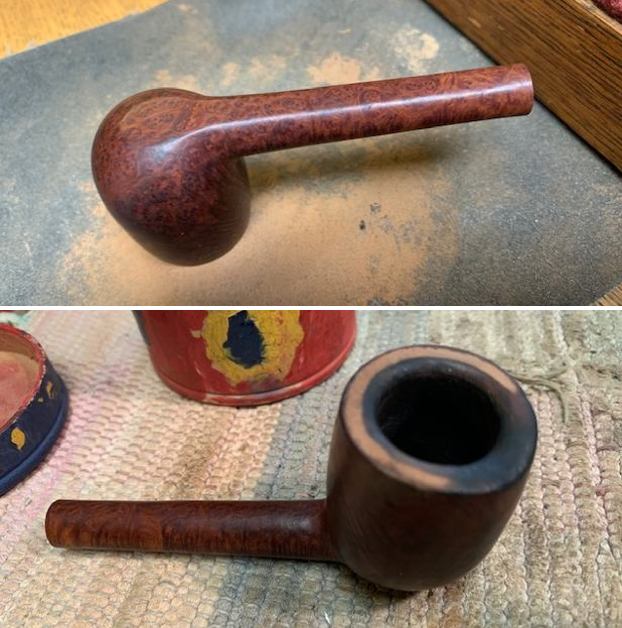
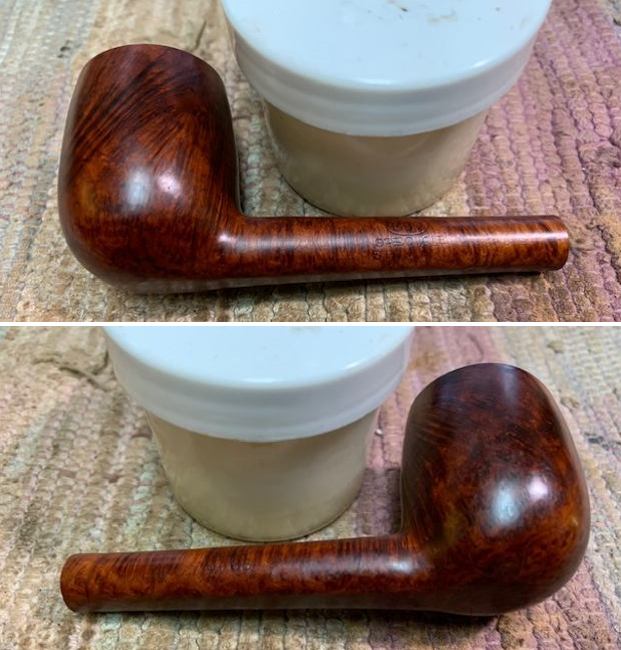
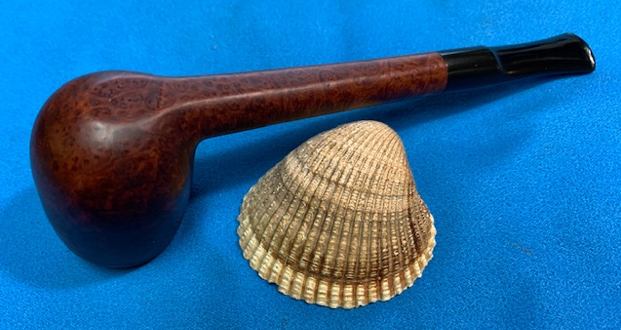
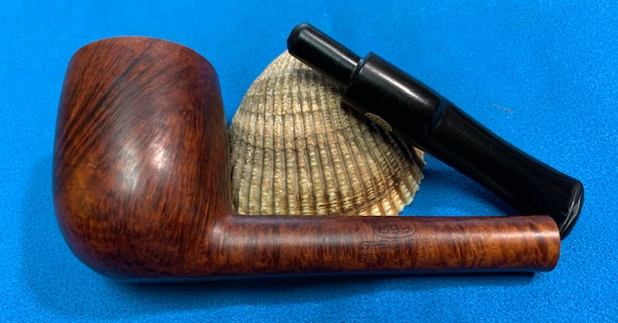
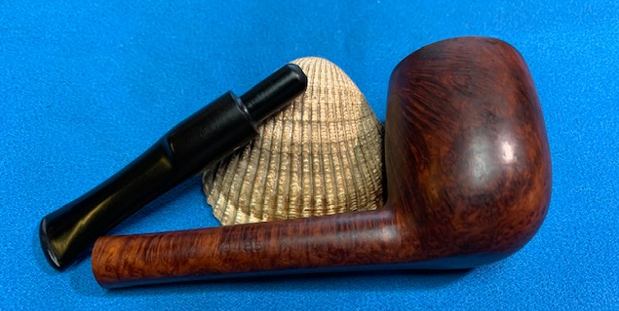
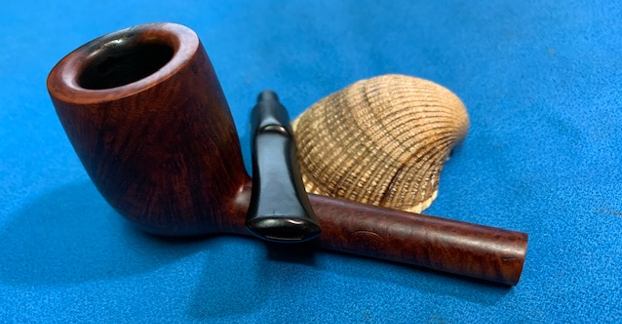
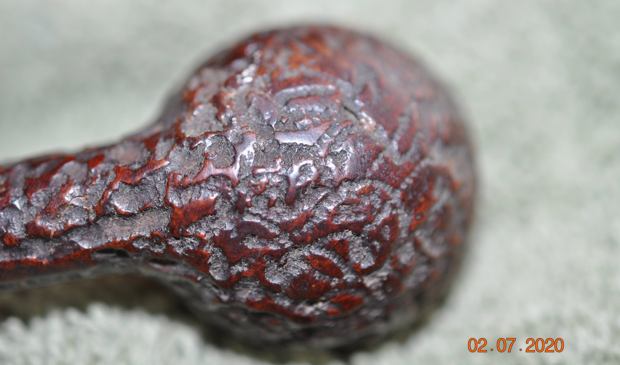
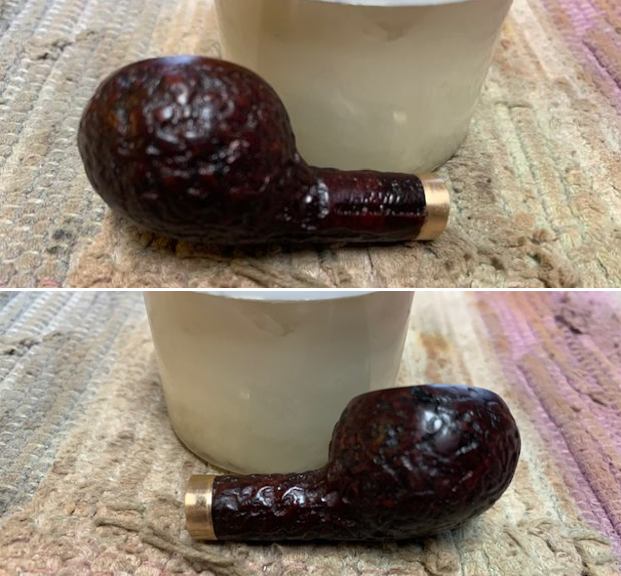
 Jeff took a photo the sides and heel of the bowl to give a picture of the beautiful grain around the bowl and shank.
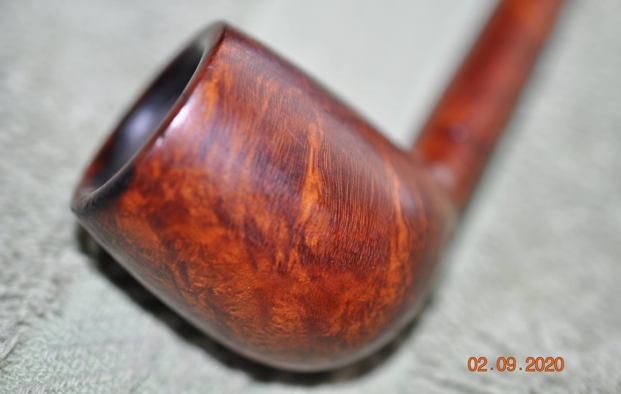
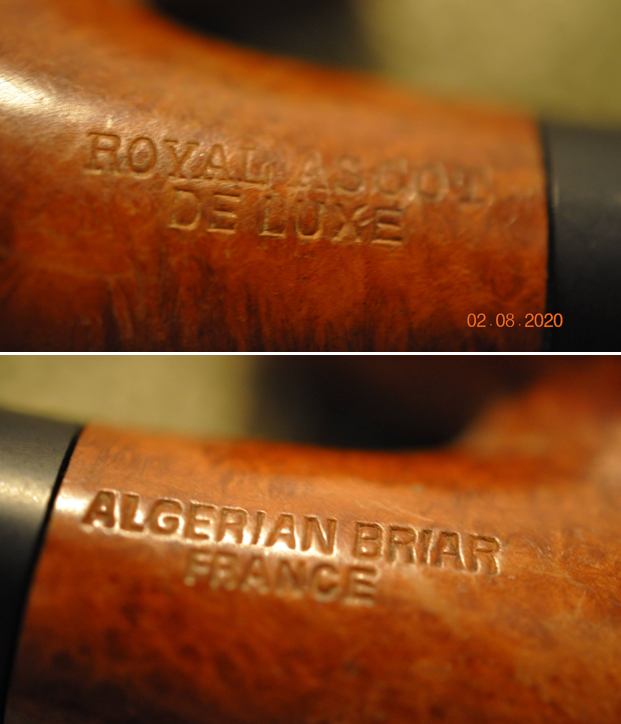
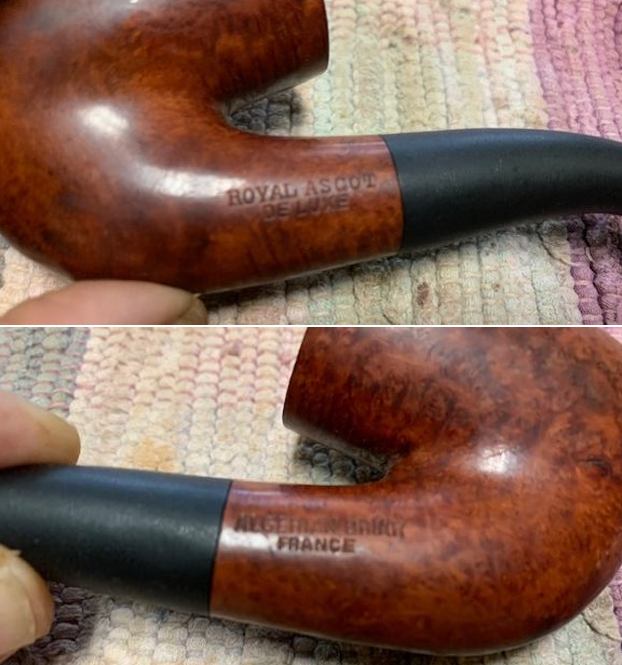
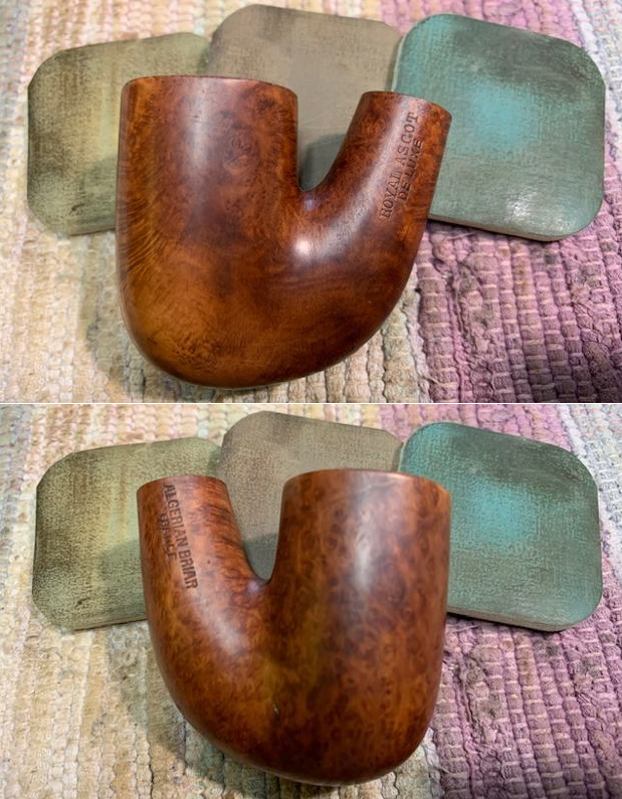
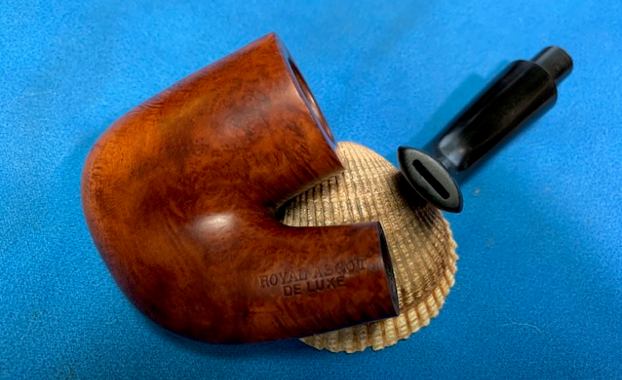
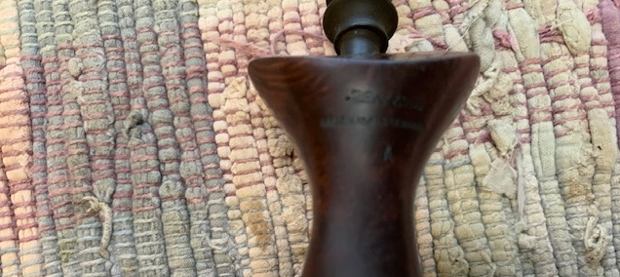
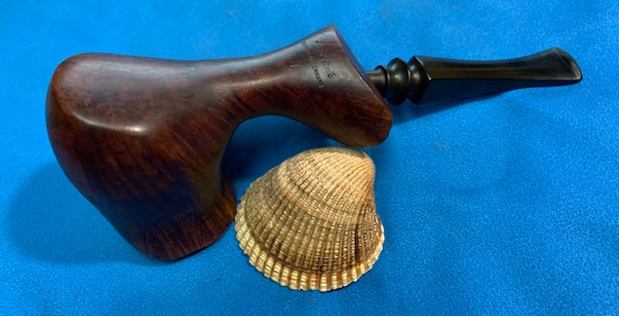
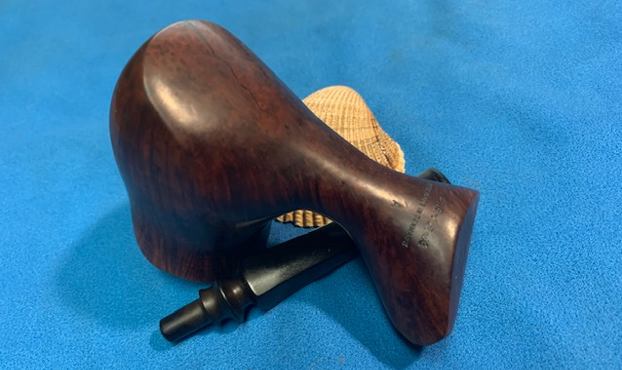
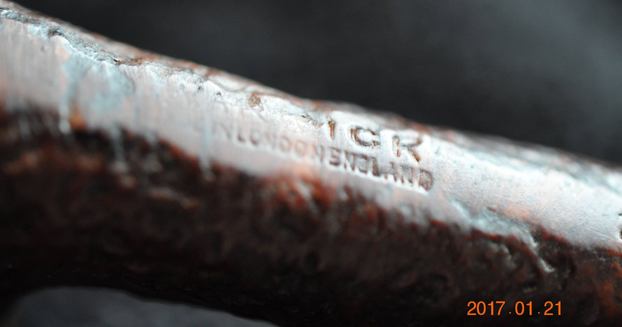
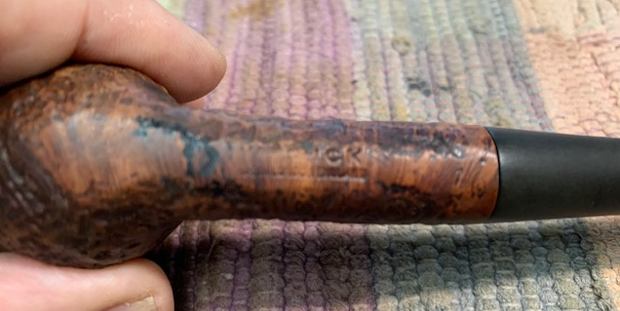
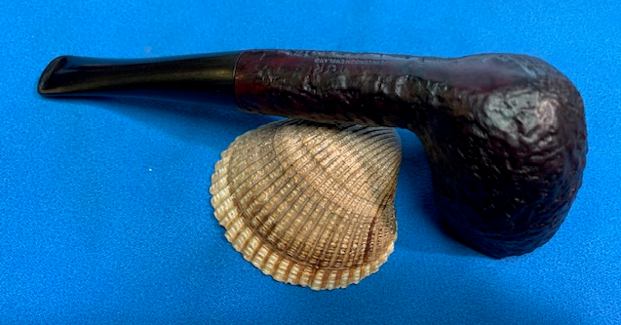
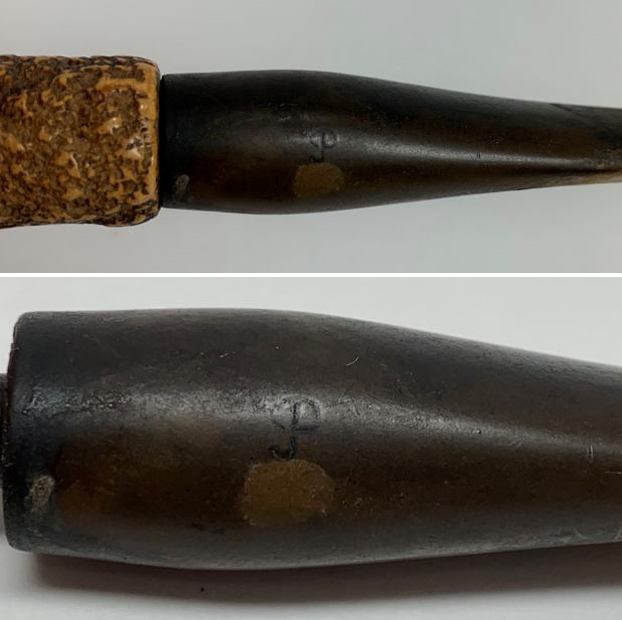
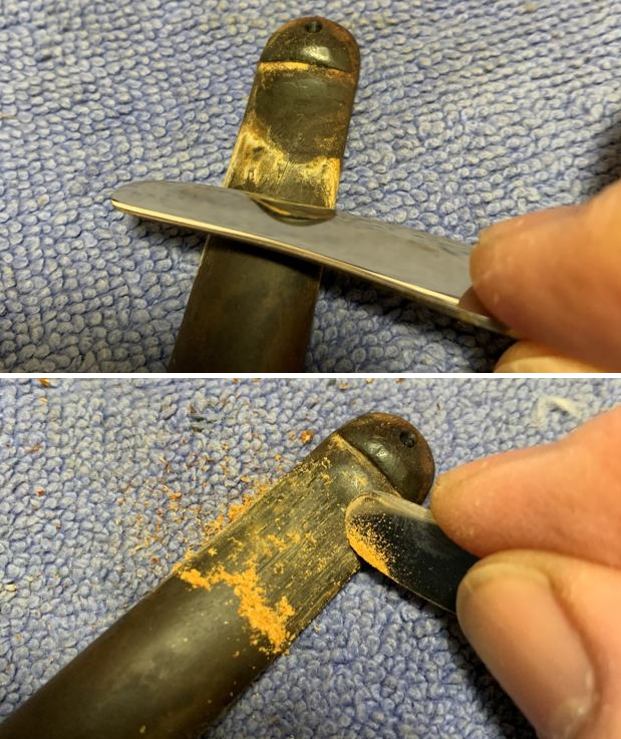
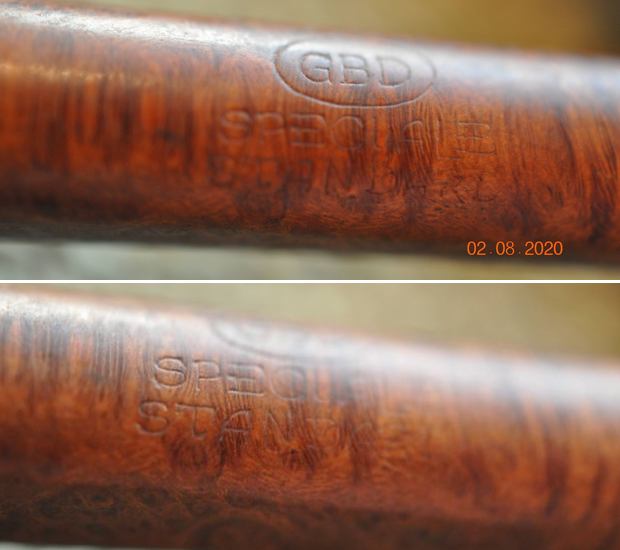
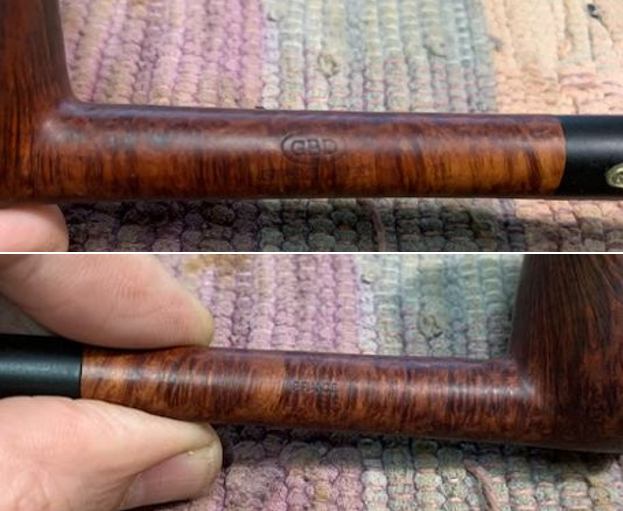
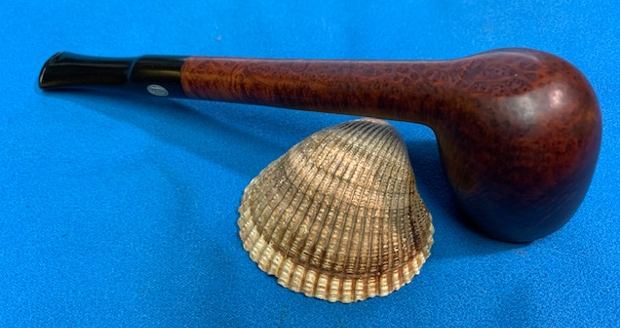
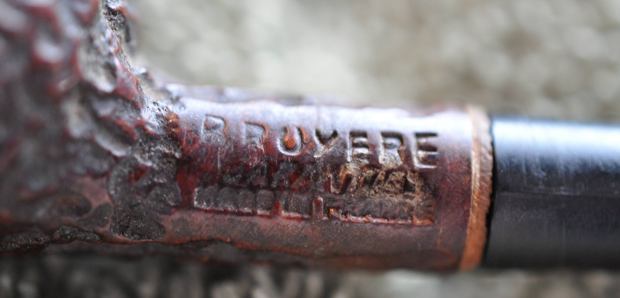
 The stamping on the sides of the shank are clear and readable and read as noted above.
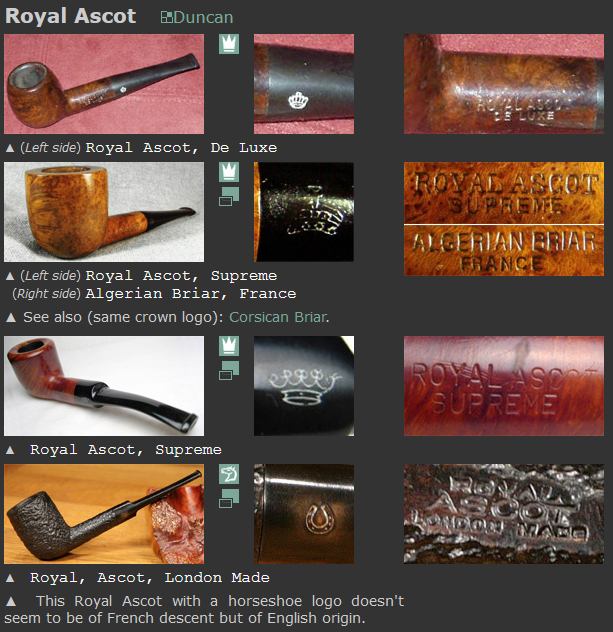
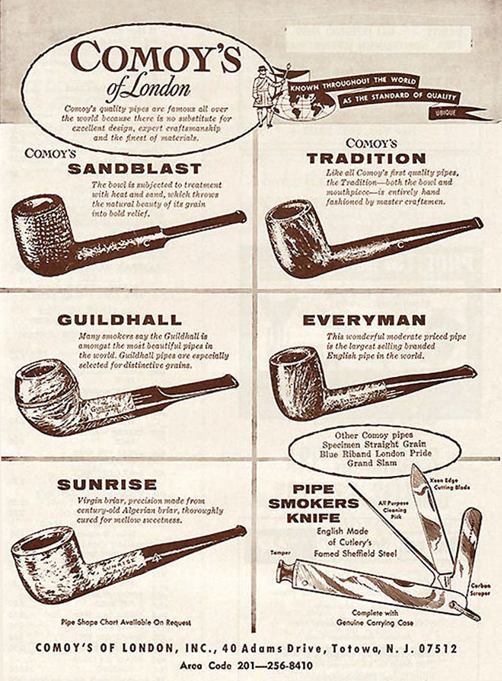
 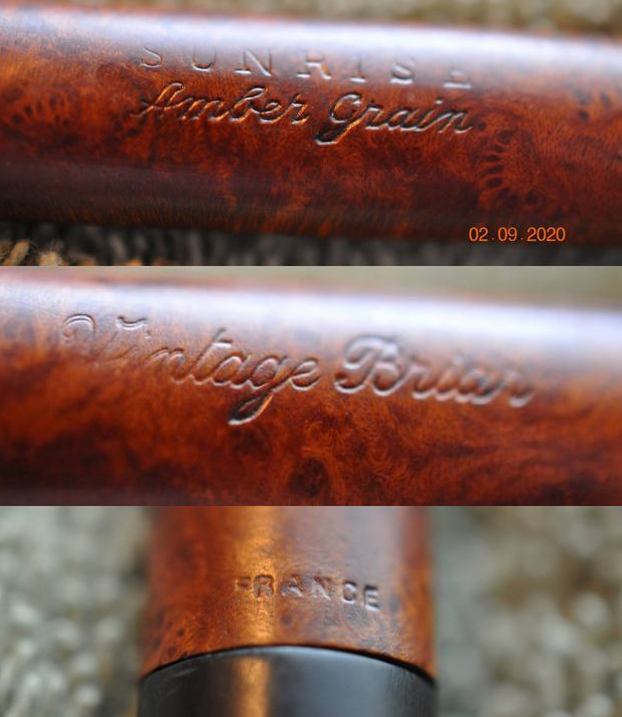 The Sunrise pipe was a Comoy’s made pipe and the France stamp on the shank pointed me to the connection between London and St. Claude (England/France). I turned to Pipephil’s site (http://www.pipephil.eu/logos/en/logo-s13.html) to get some background information on this beauty. I have included a screen capture of the pertinent section. The first pipe listed bears the same stamping as the one I am working on.
 The side bar includes this interesting piece of information. I quote:
The Sunrise brand perfectly illustrates the split pipe production of a same label between Saint Claude (FR) and London (GB) during the period Chapuis Comoy and Comoy closely collaborated (prior to early 1970s).
I turned to Pipedia and looked under the French makers and the brand was not listed. Under the English makers it was listed as a Comoy’s Sub-brand or second. I turned to the Comoy’s listing and at the bottom of the article was a list of these pipes (https://pipedia.org/wiki/Comoy%27s). I have included the list in its entirety and highlighted the Sunrise in red.
Seconds made by Comoy’s
Ace of spades, Ancestor, Astor, Ayres, Britannia, Carlyle, Charles Cross, Claridge, Coronet?, Cromwell, Dorchester, Dunbar, Drury Lane, Emerson, Everyman, Festival of Britain, Golden Arrow, Grand Master, Gresham, Guildhall, Hamilton (according to Who Made That Pipe), Kingsway, Lion’s Head, Lord Clive, Lumberman, Hyde Park, Lloyds, Mc Gahey, Moorgate, Newcastle, Oxford, O’Gorman, Rosebery Extra, Royal Falcon, Royal Guard, Royal Lane, Scotland Yard, St James, Sunrise, Super Sports, Sussex, The Academy Award, The Golden Arrow, The Mansion House, The Exmoor Pipe, Throgmorton, Tinder Box Royal Coachman, Townhall, Trident, Trocadero, Westminster, Wilshire
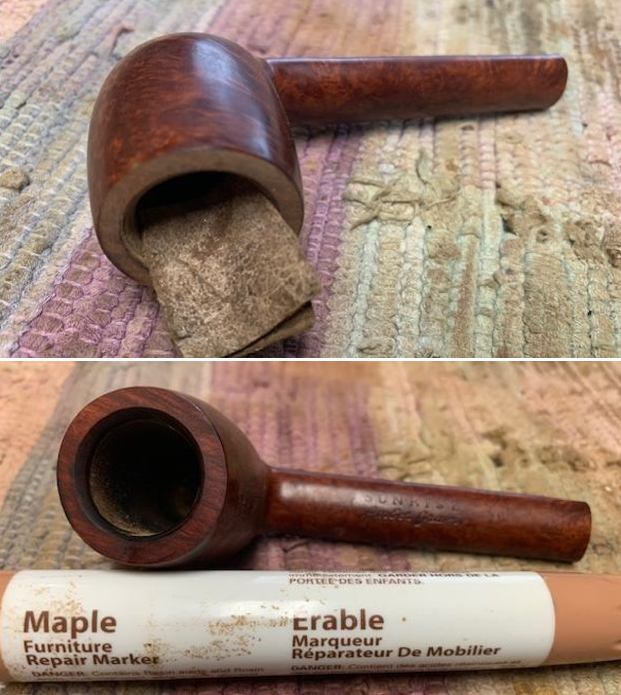
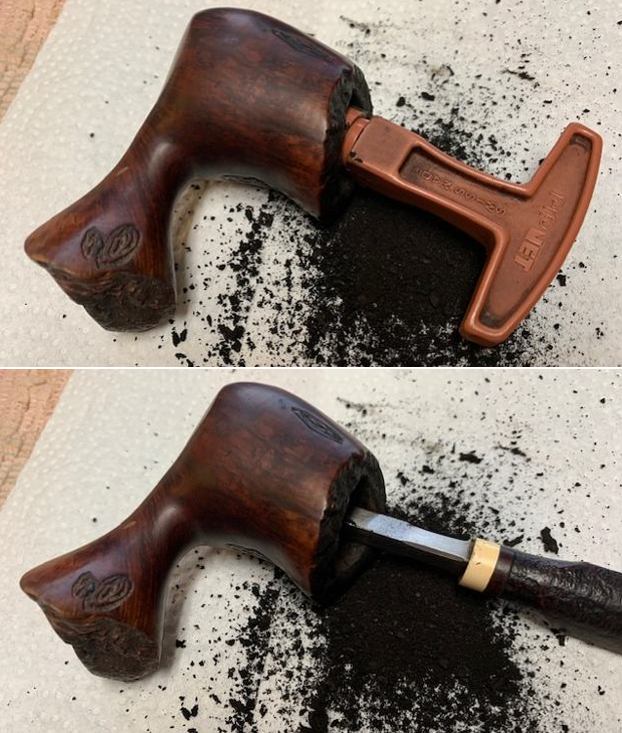
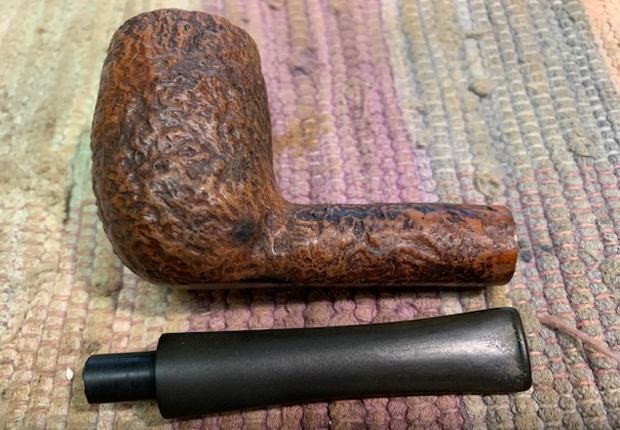
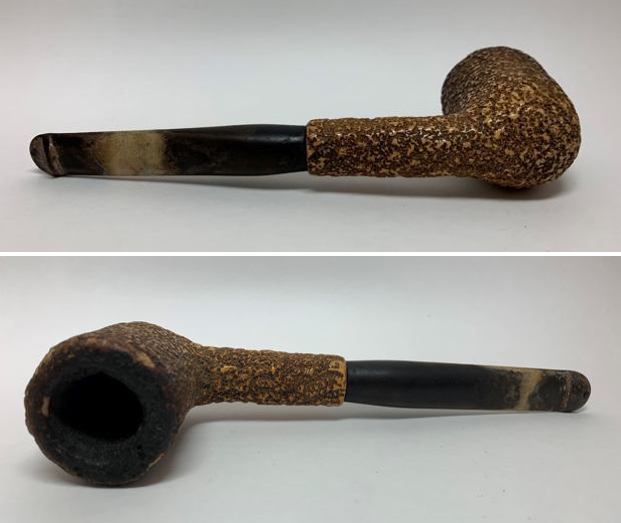
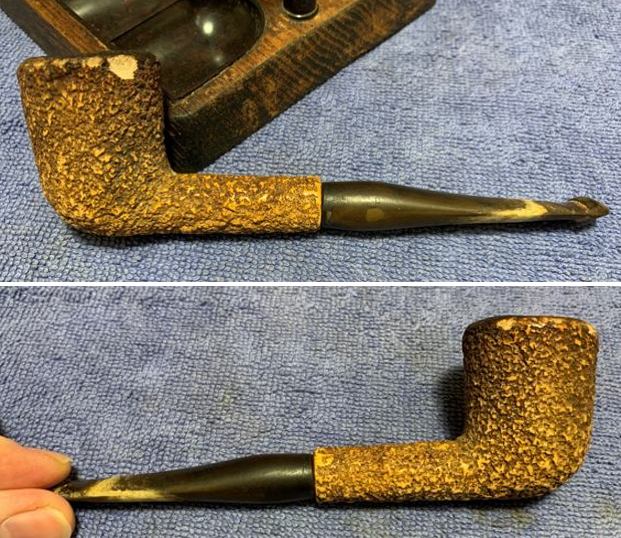
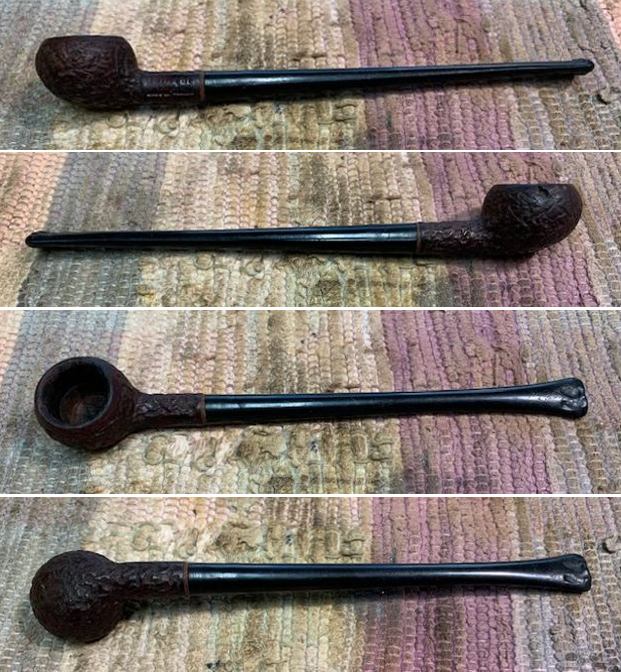
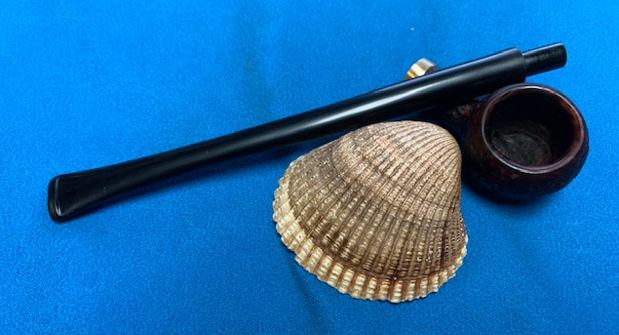
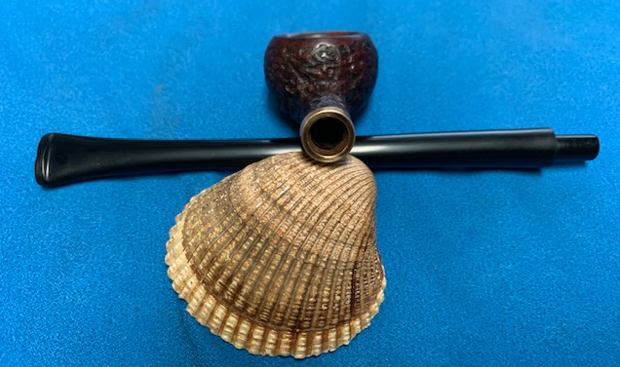
Now it was time to turn my attentions to the pipe itself. Jeff had cleaned up the pipe with his usual penchant for thoroughness. He reamed the pipe with a PipNet pipe reamer and removed the rest of it with a Savinelli Fitsall Pipe Knife. He scrubbed the bowl with undiluted Murphy’s Oil Soap with a tooth brush. He rinsed it under running warm water to remove the soap and grime. He cleaned out the inside of the shank and the airway in the stem with alcohol, cotton swabs and pipe cleaners. He soaked the stem in Before & After Deoxidizer and rinsed it off with warm water. I took photos of the pipe once I received it. 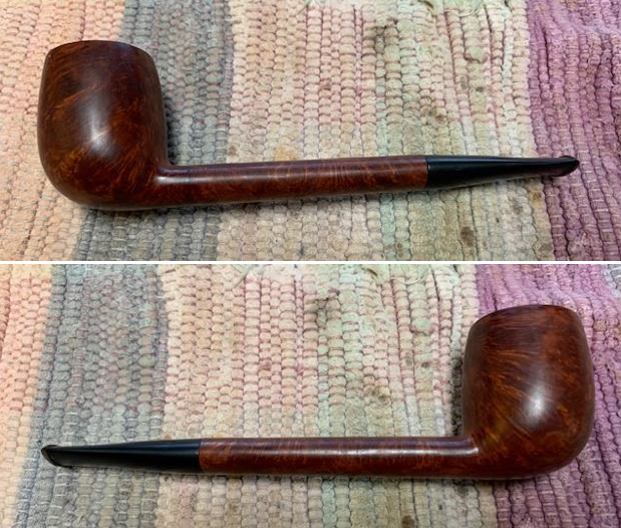
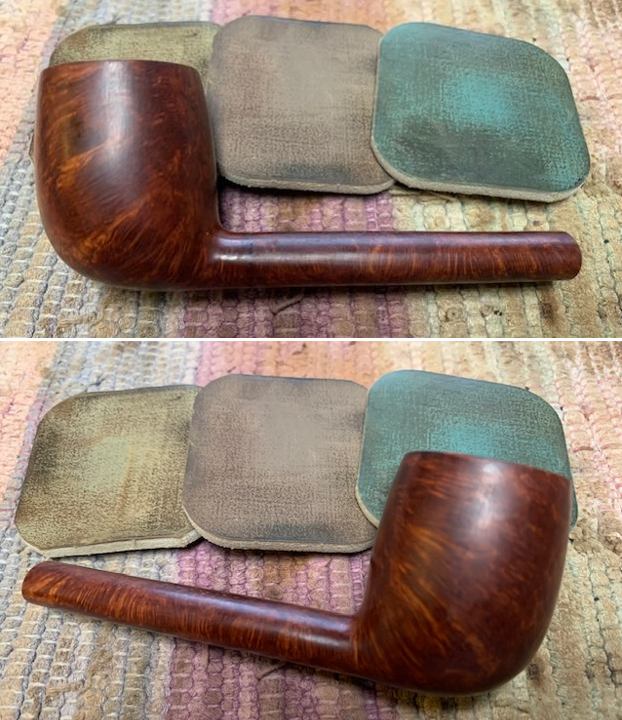
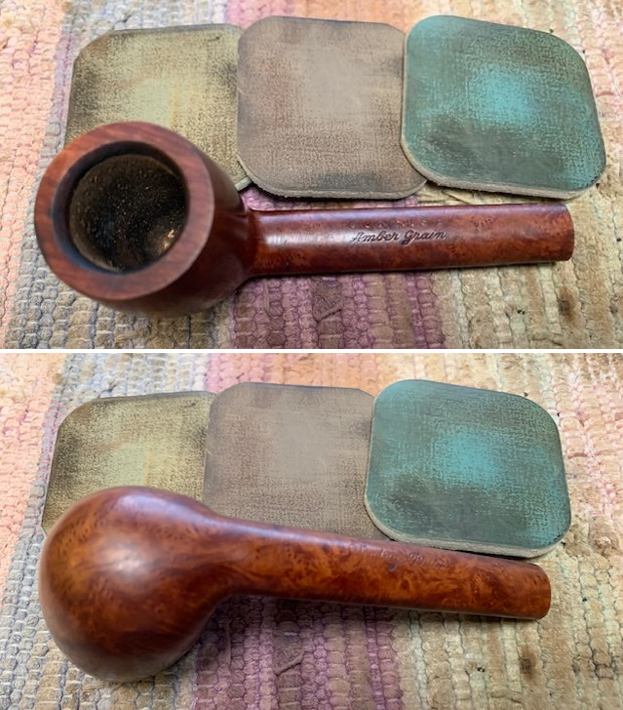
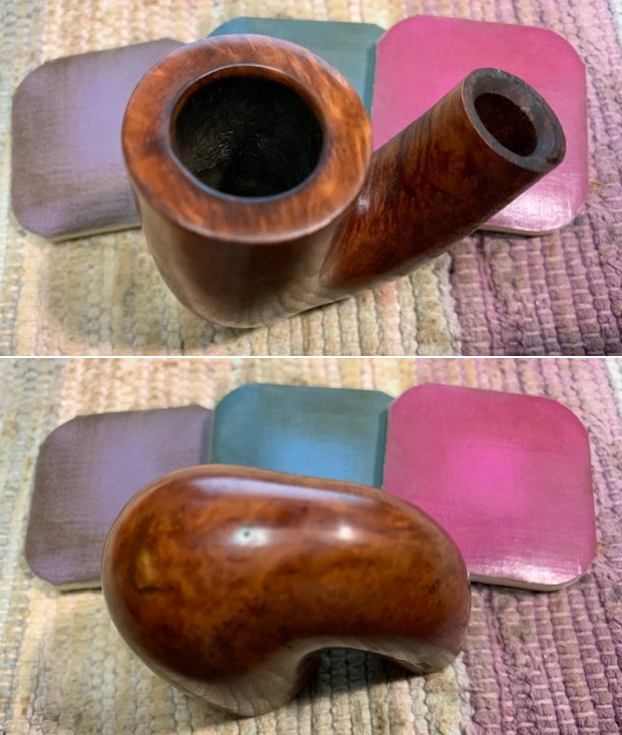
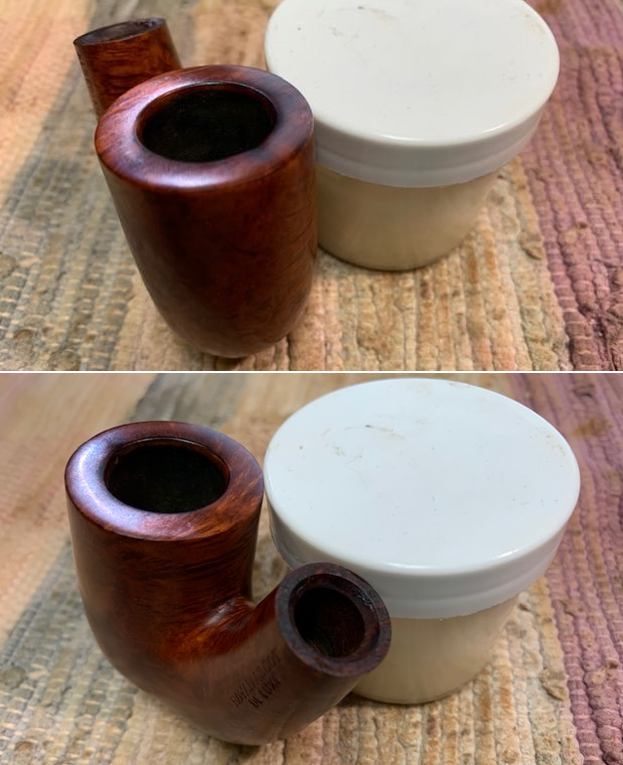
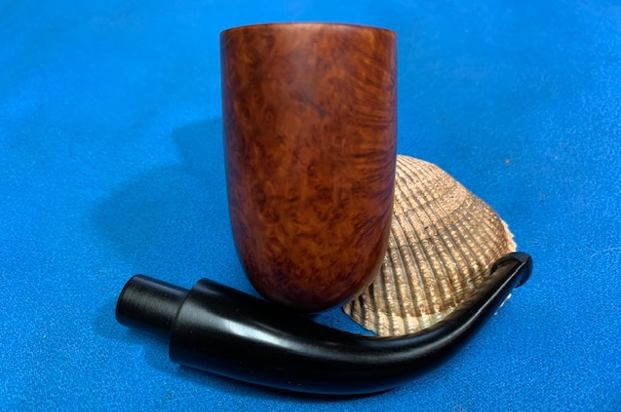
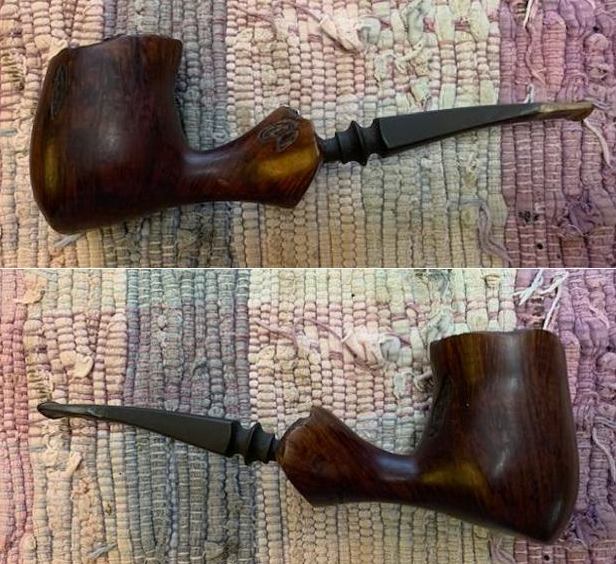
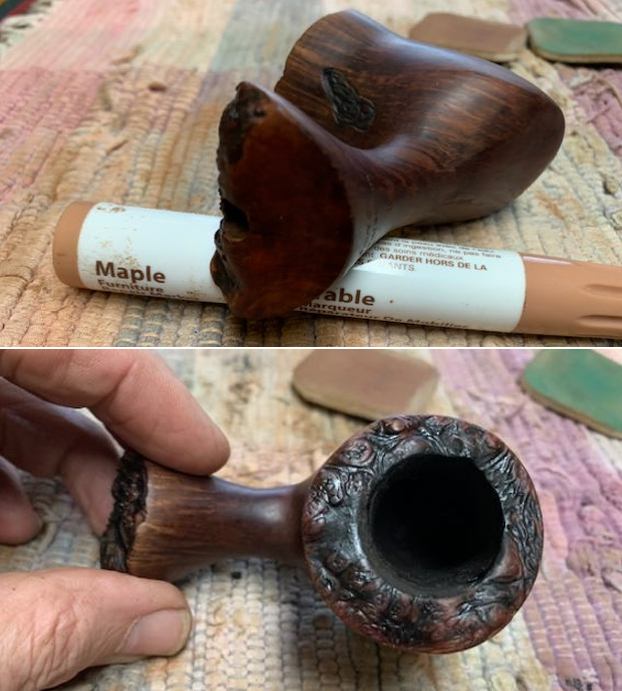
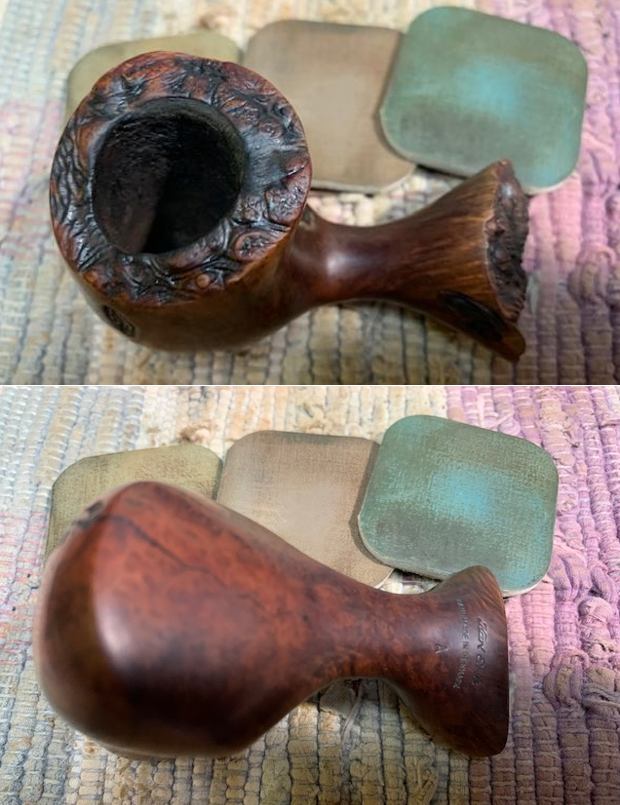
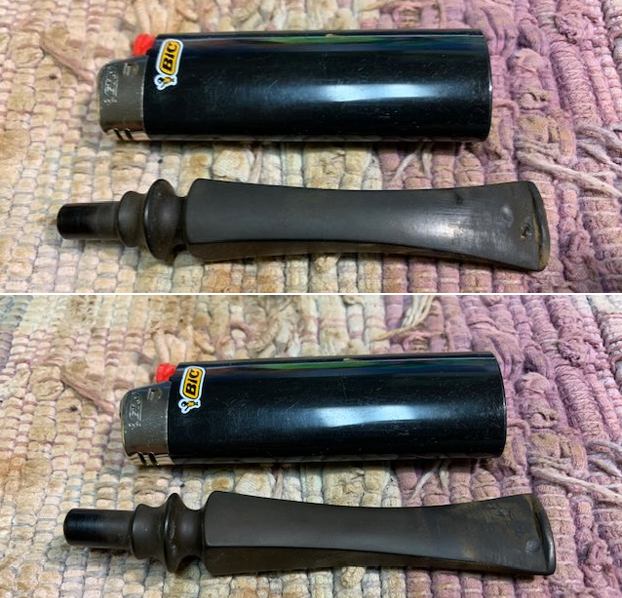
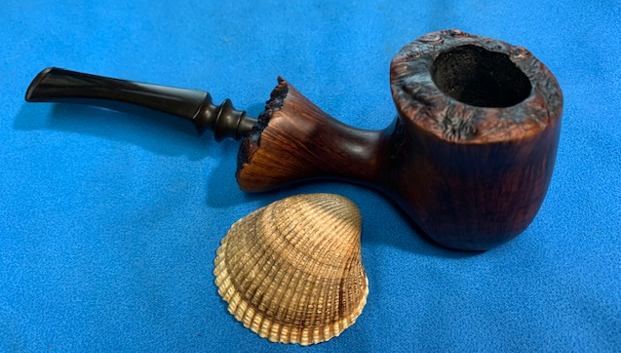
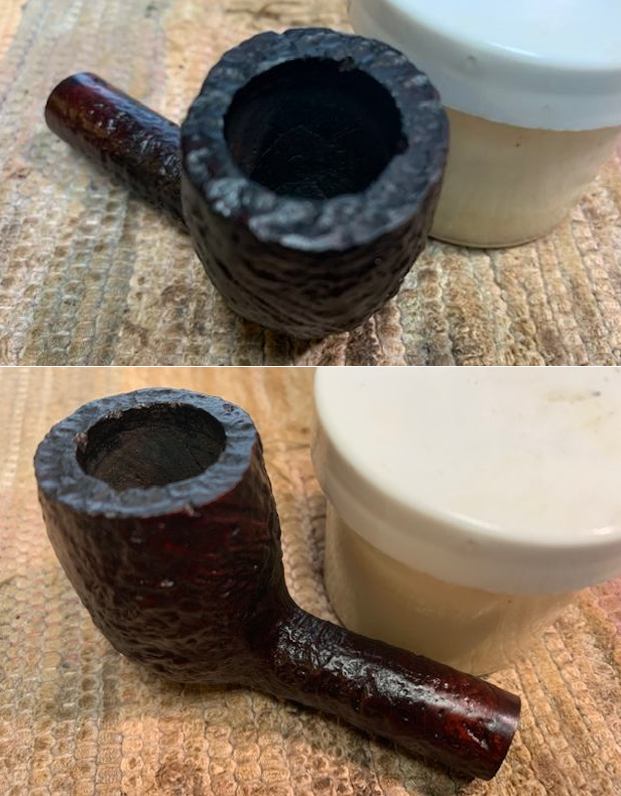
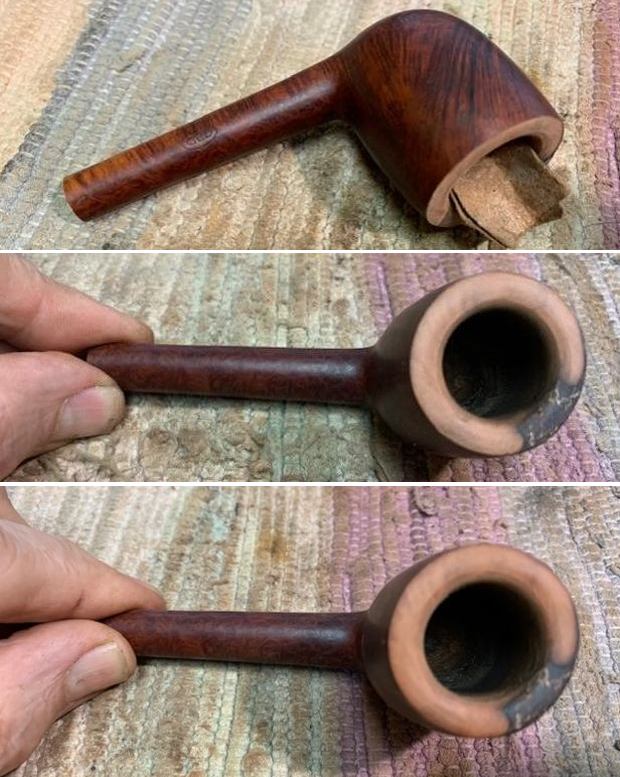
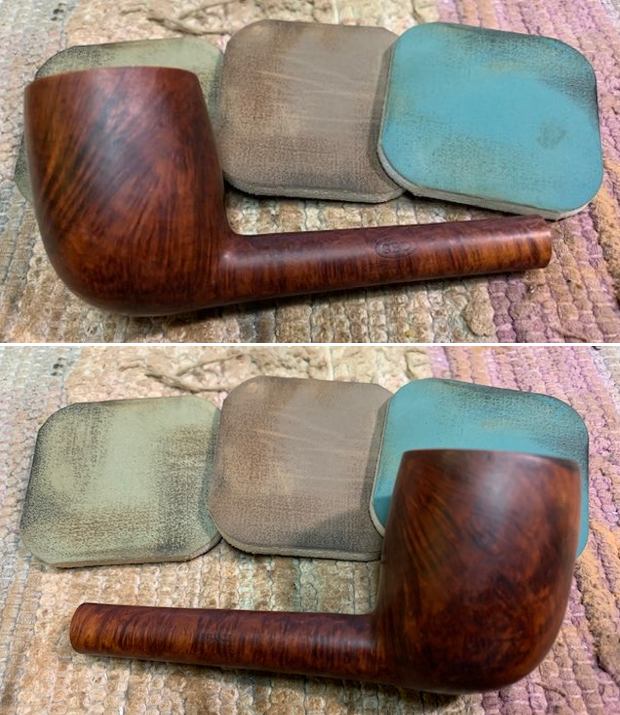
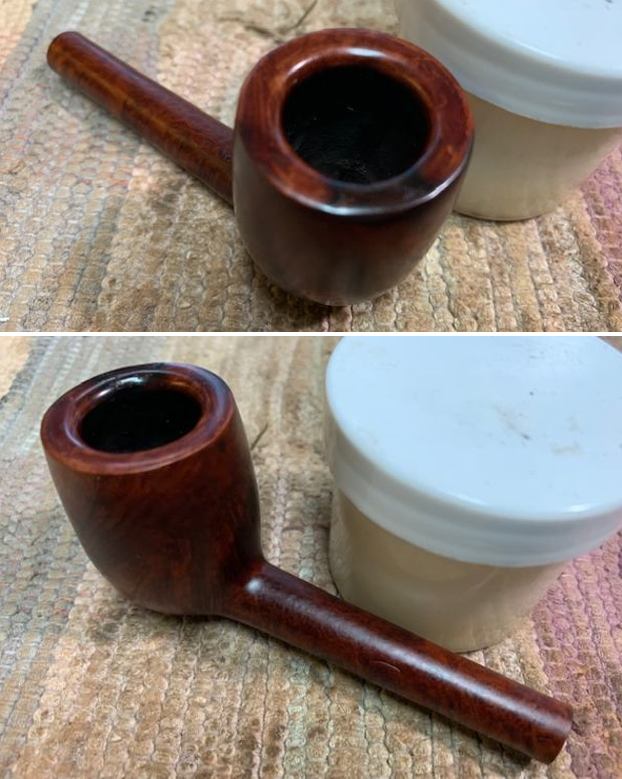
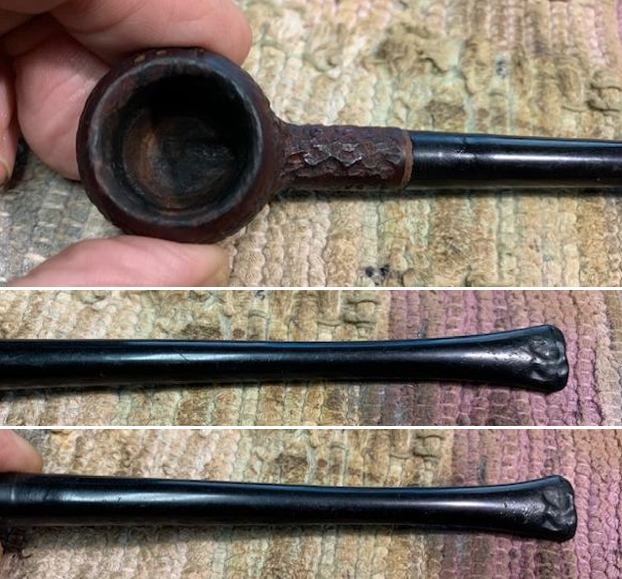
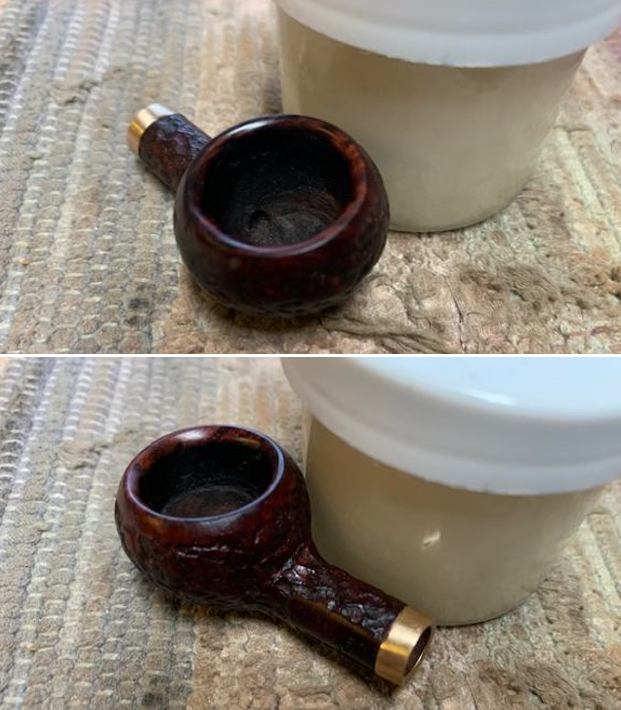
 The rim top cleaned up really well. The rim top and outer edge of the bowl appear to be in good condition other than some slight darkening on the front. The stem surface looked very good and the chatter on the stem on both sides near the button could easily be sanded out. The tooth marks on the button surface would need to be addressed.
  The stamping on the top and underside of the shank is readable and reads as noted above.
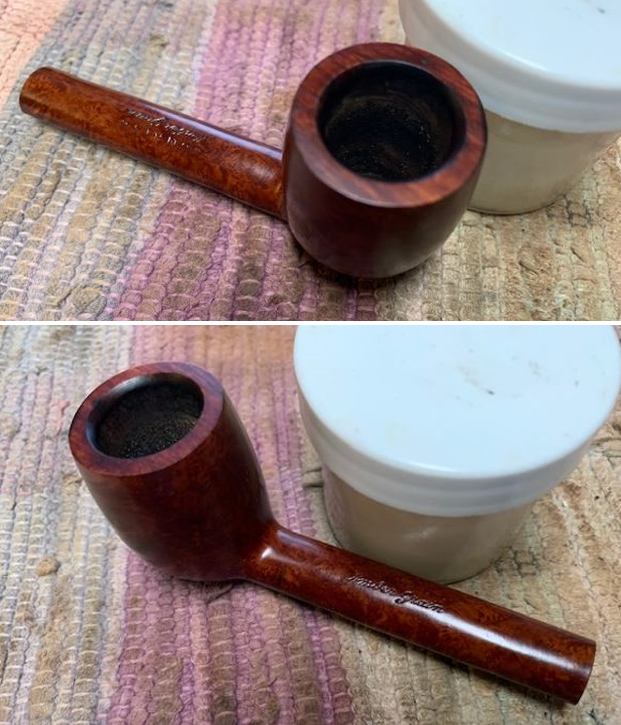
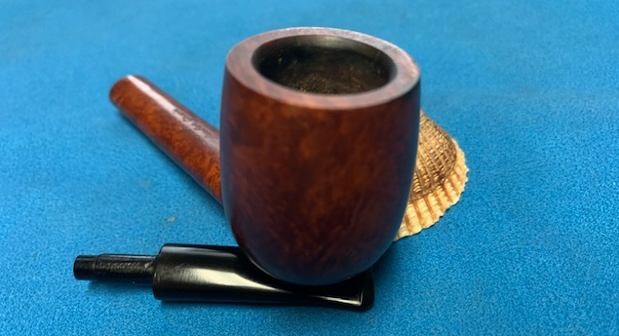
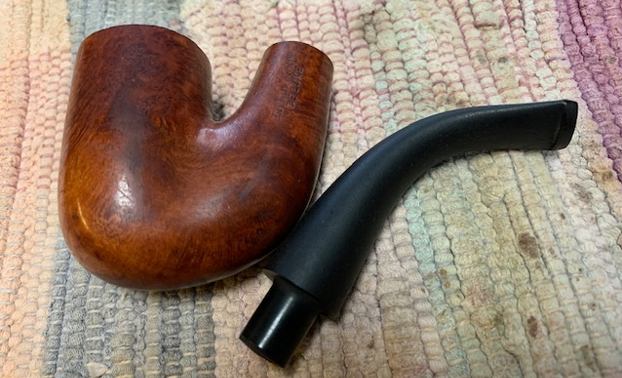
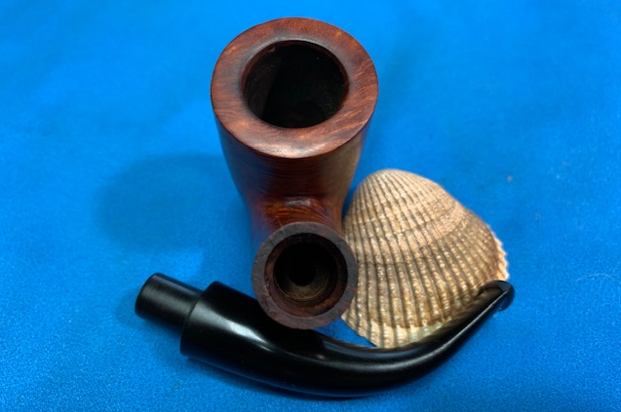
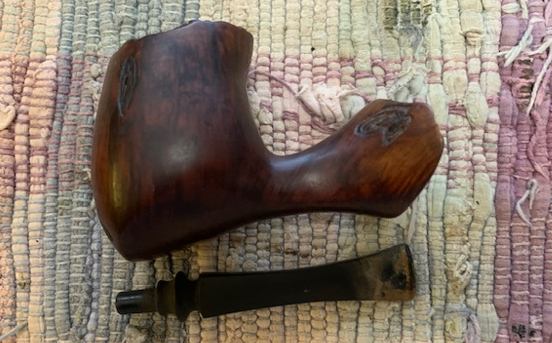
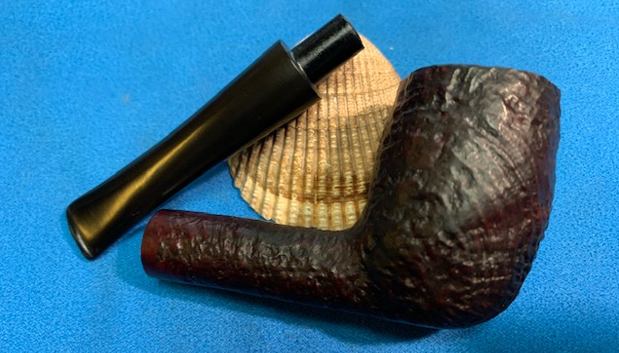
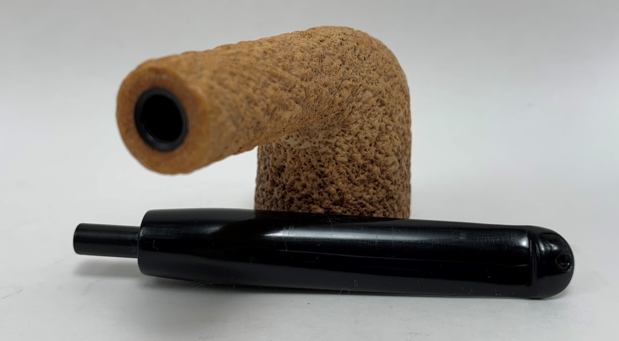
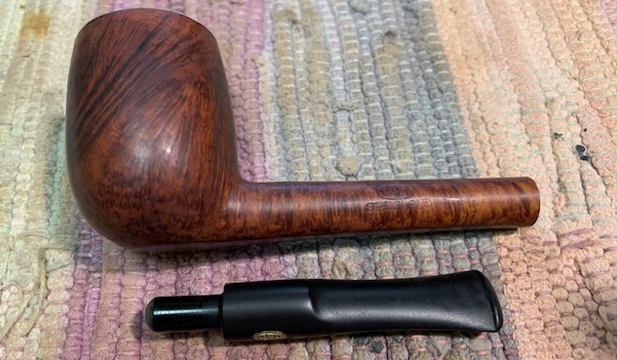
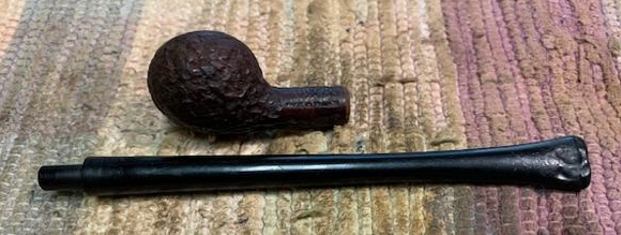
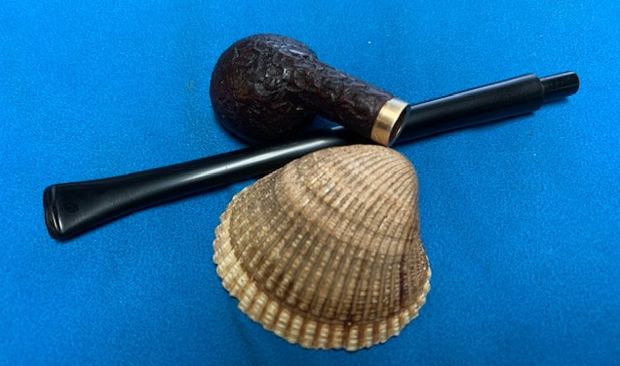
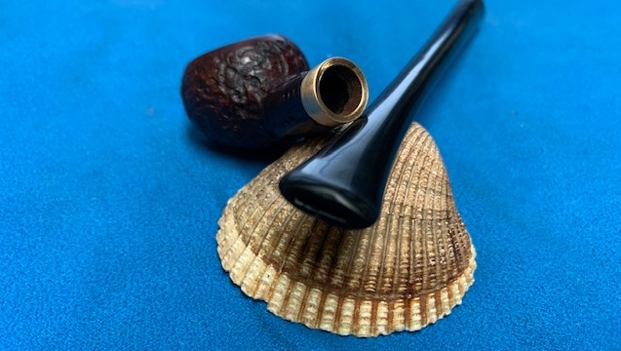
 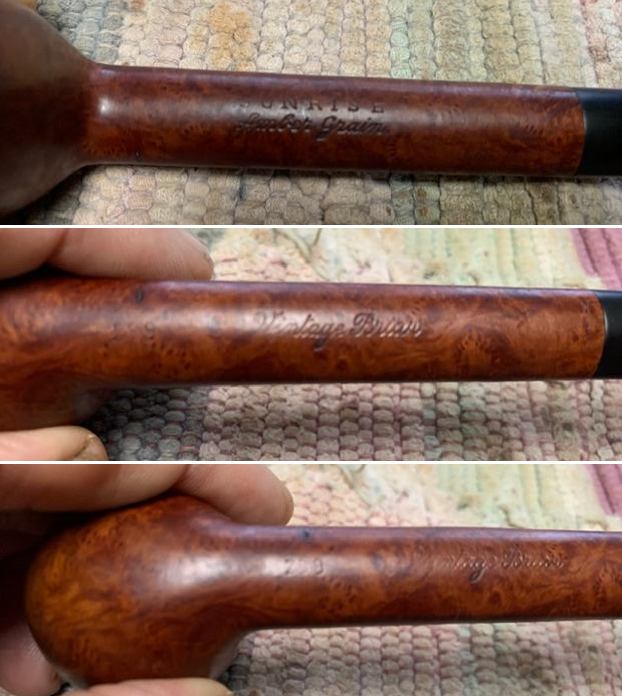 I removed the stem and took a photo of the pipe to give a sense of the whole. The bowl looked very good and once I cleaned up the stem the pipe would look very good.
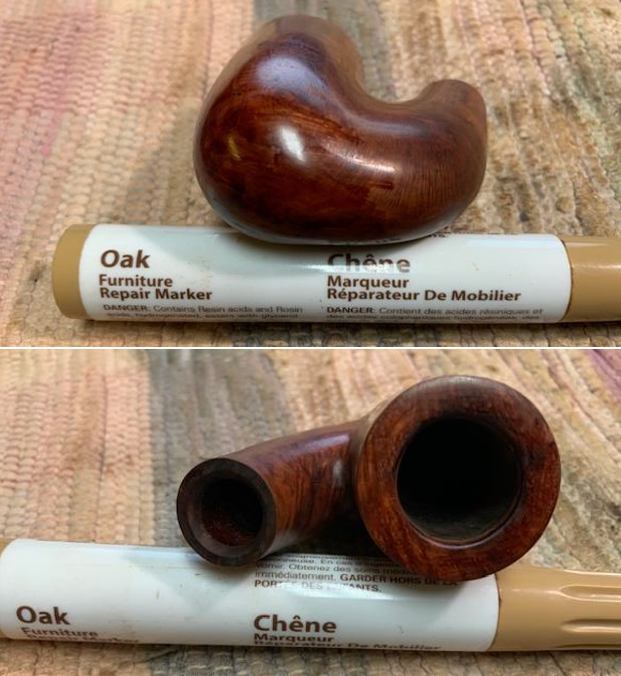
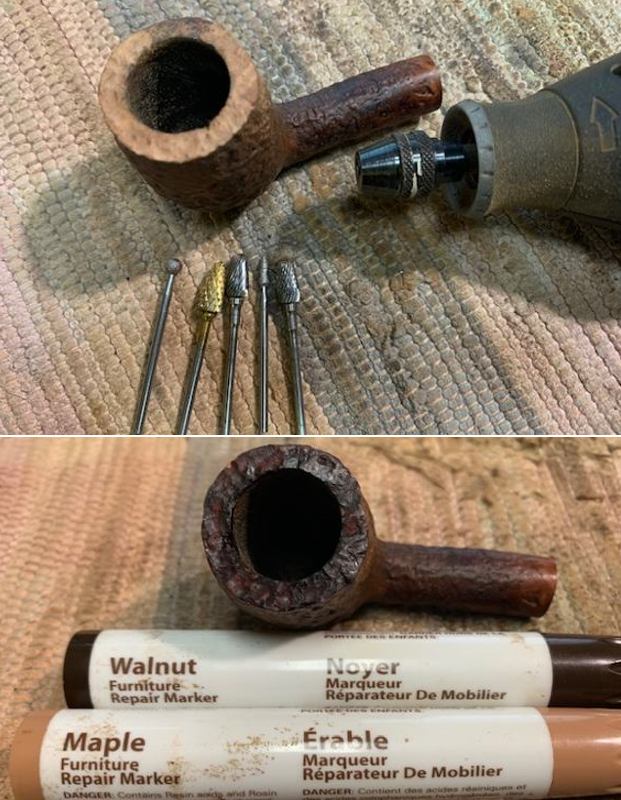
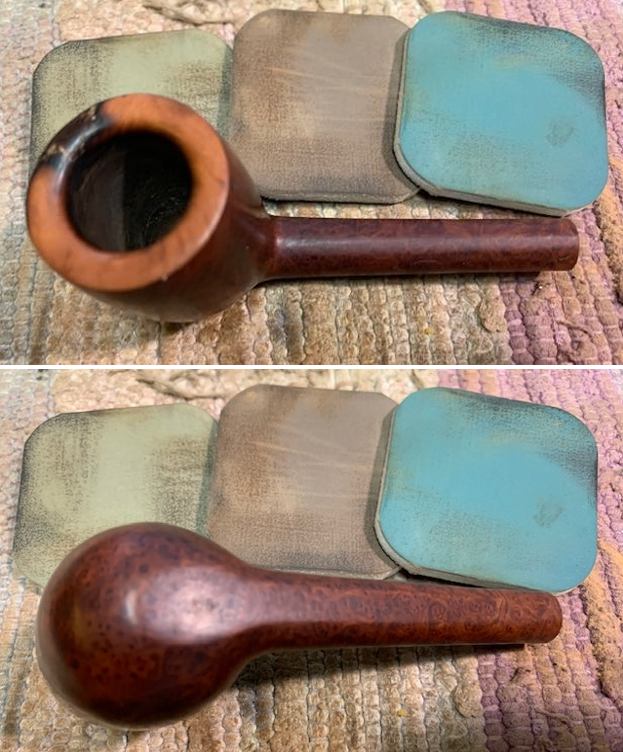
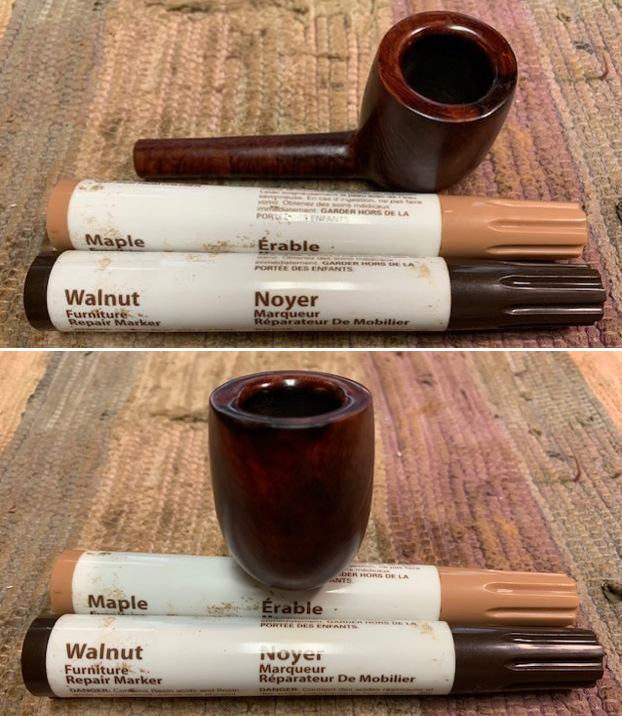
 Now it was time to do my work on the pipe. I topped the bowl lightly and sanded the beveled inner edge and top of the rim with 200 grit sandpaper to lighten the darkening that was there. There was also a spot on the front outer edge of the bowl that I needed to sand. I stained it with a Maple stain pen to match the colour of the bowl. The finished product looked better.
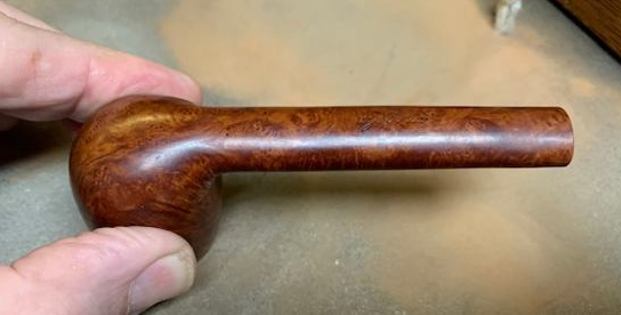
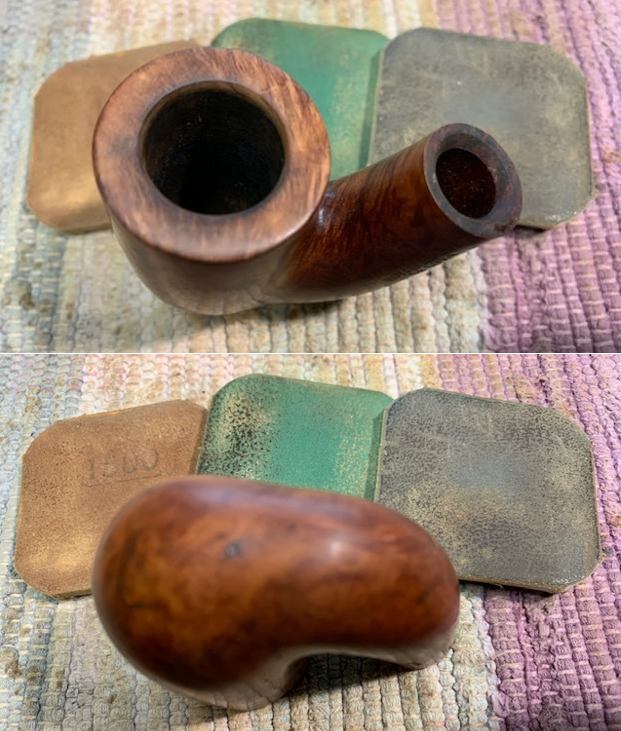
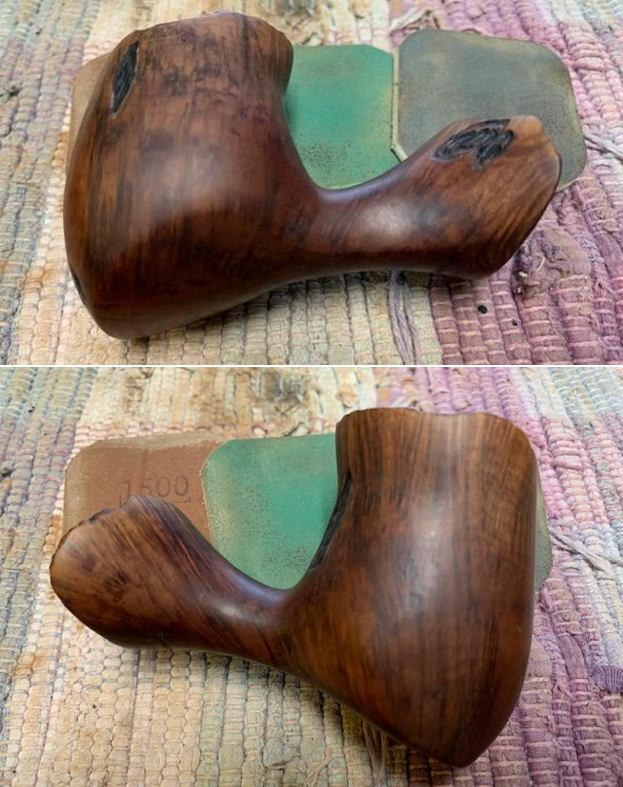
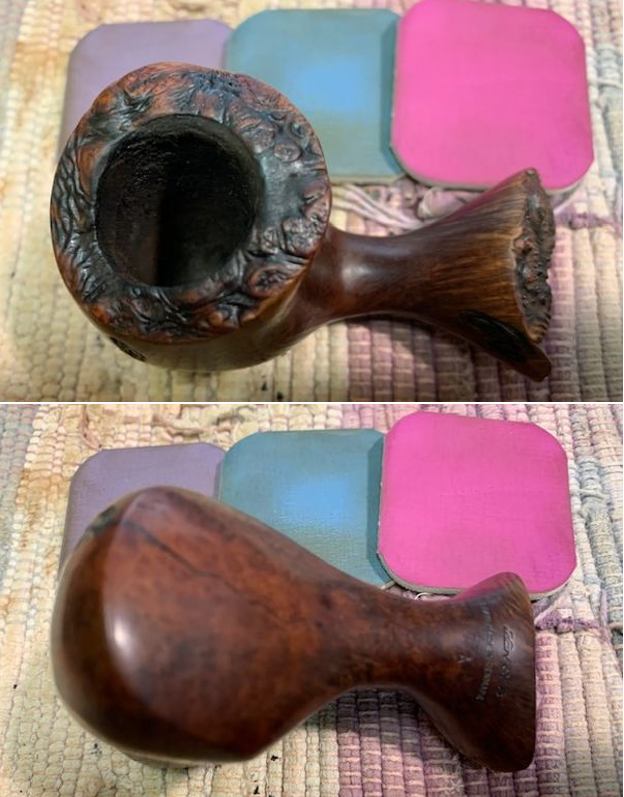
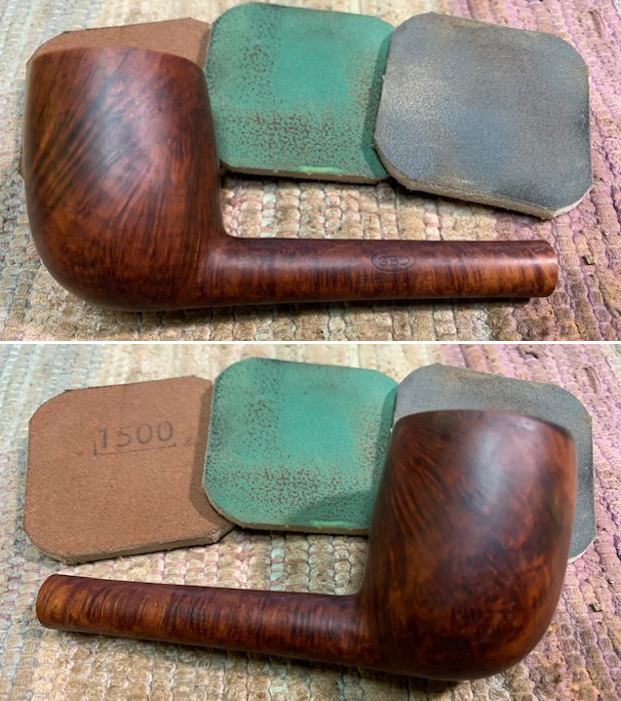
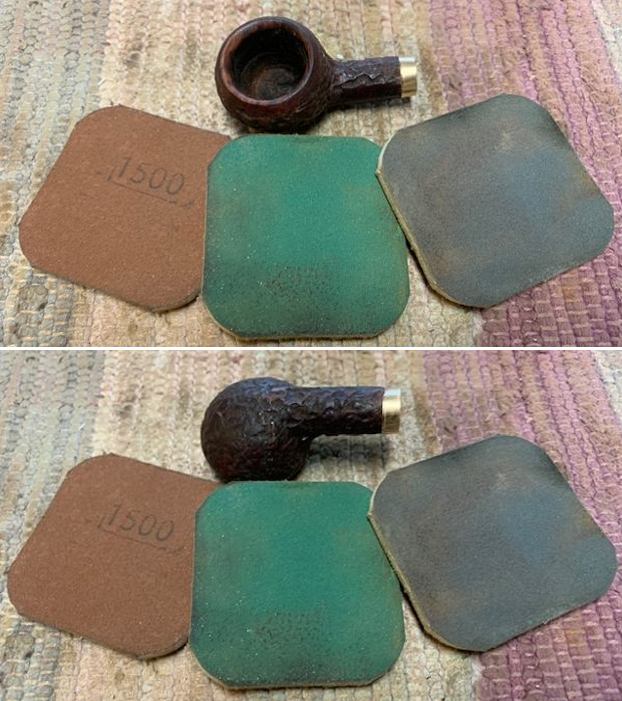
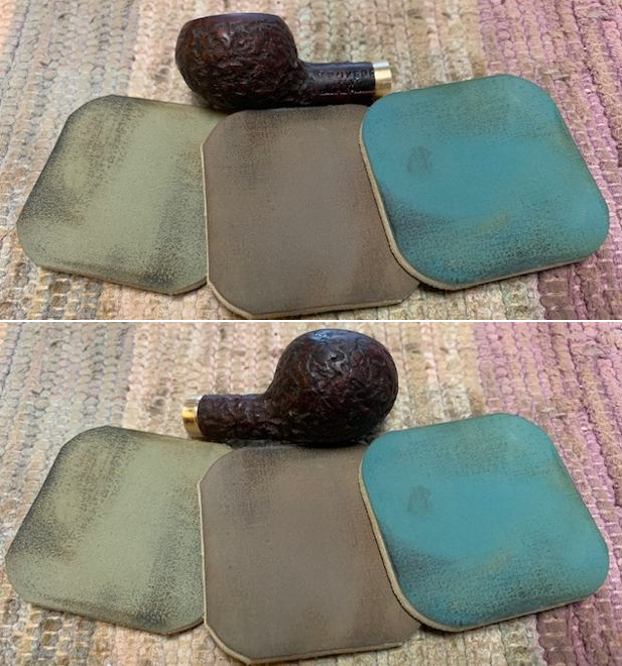
 I polished the briar with micromesh sanding pads – 1500-12000 grit pads. I wiped it down with a damp cloth after each sanding pad.
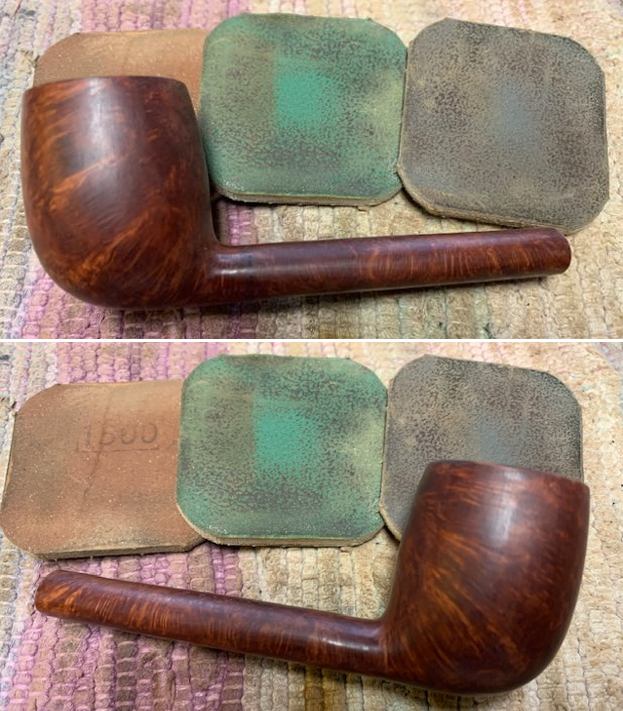
 The bowl was in such good condition that I rubbed the bowl and shank down with Before & After Restoration Balm. I worked it into the surface of the bowl sides and shank with my fingertips to clean, enliven and protect the briar. I let the balm sit for ten minutes then buffed the bowl with a cotton cloth to raise the shine.
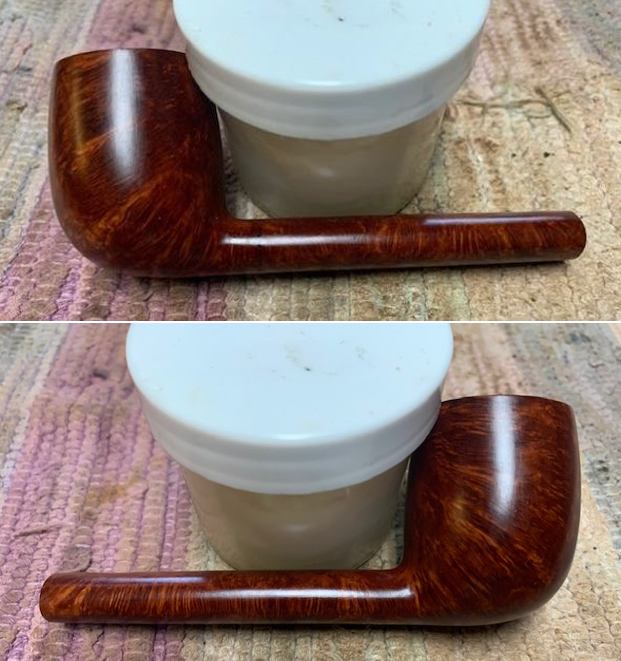

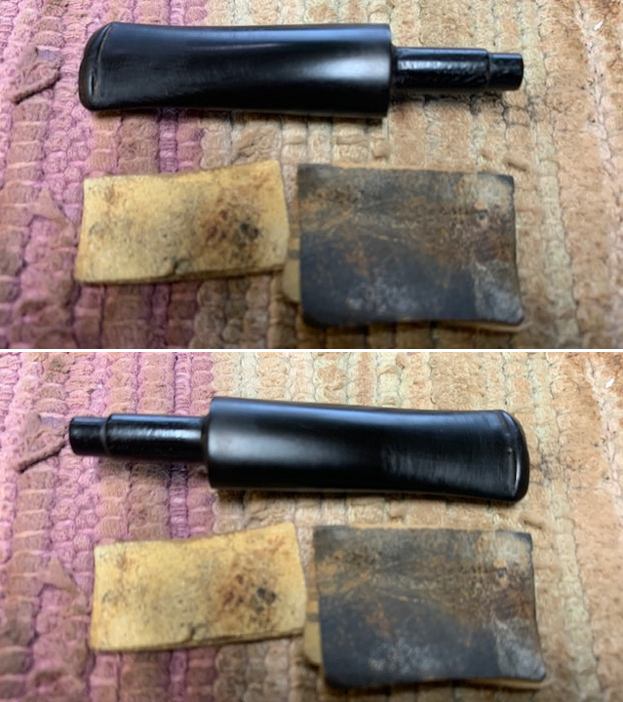
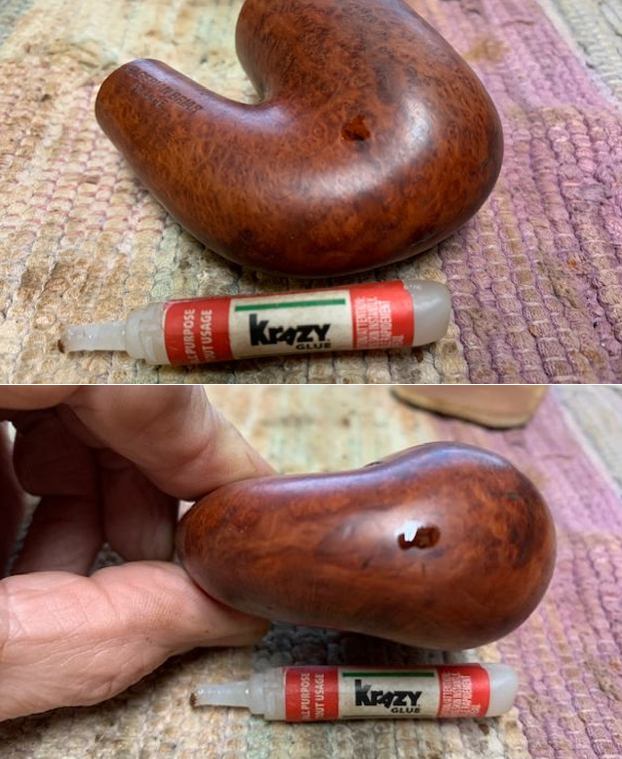
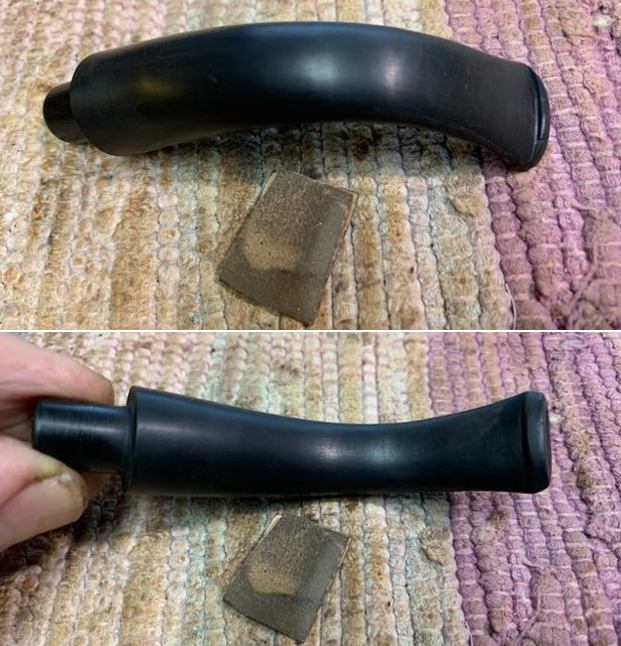
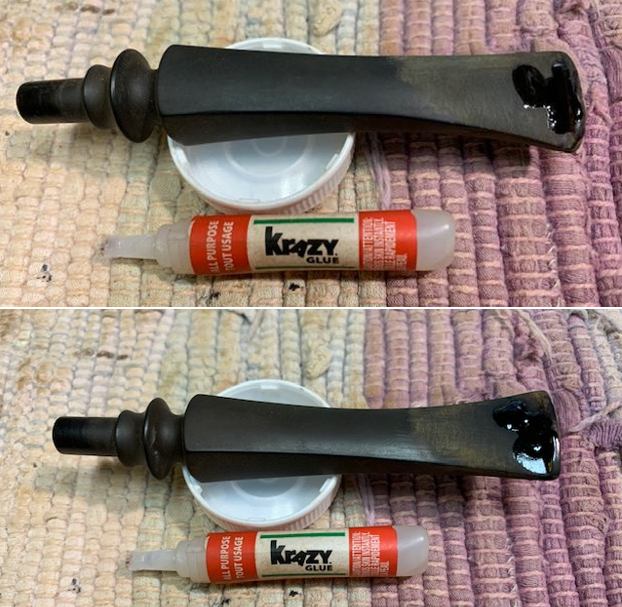
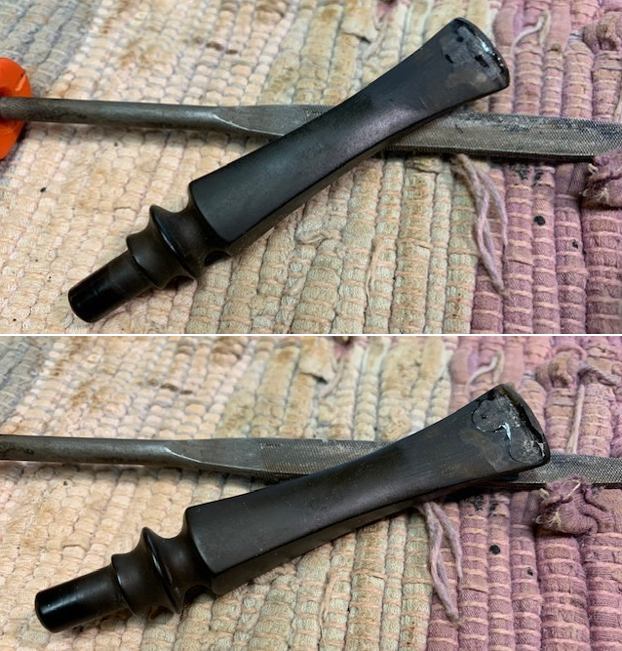
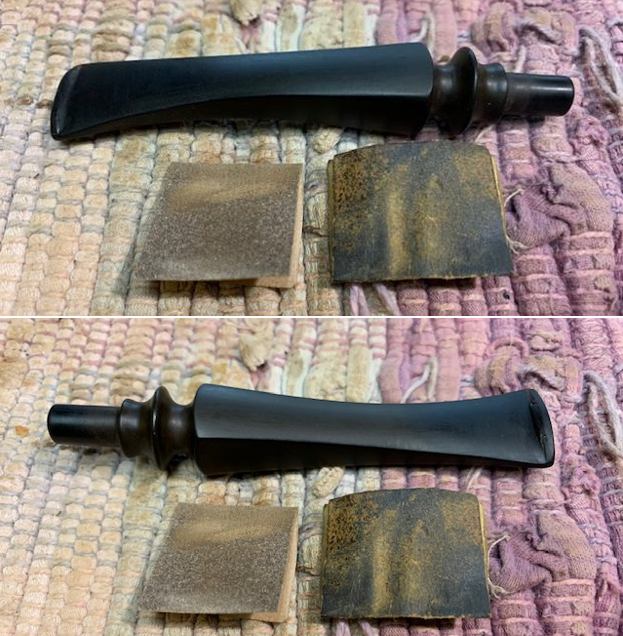
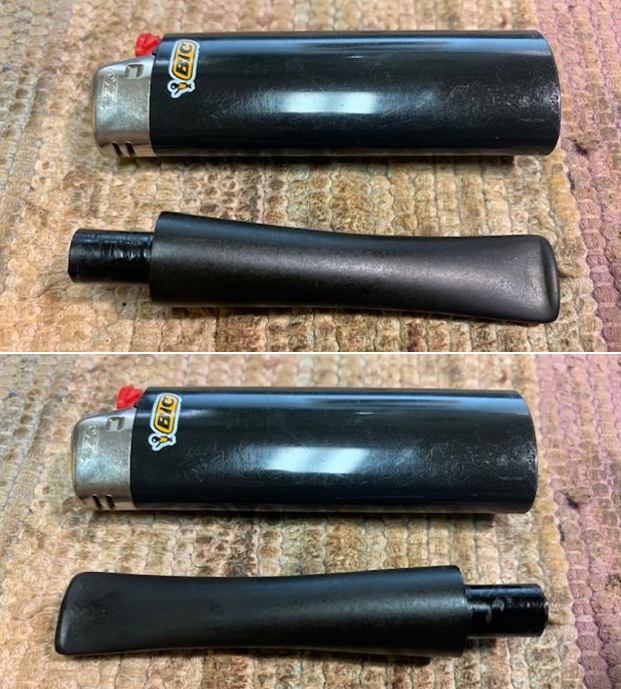
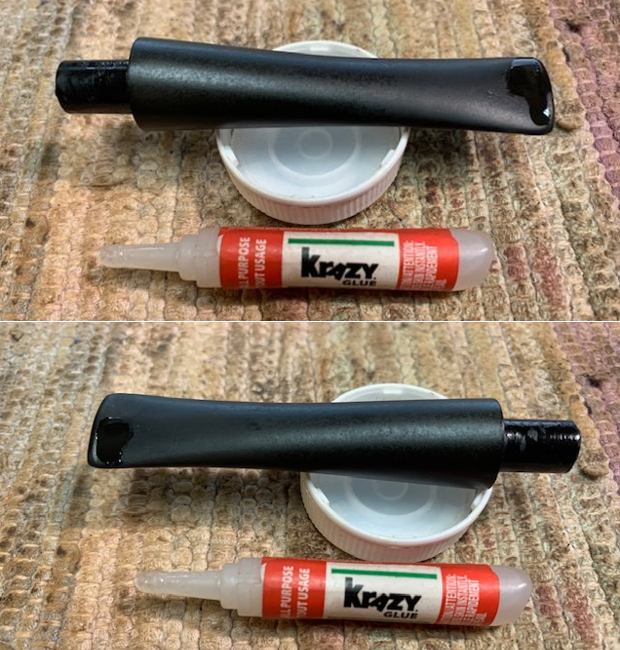
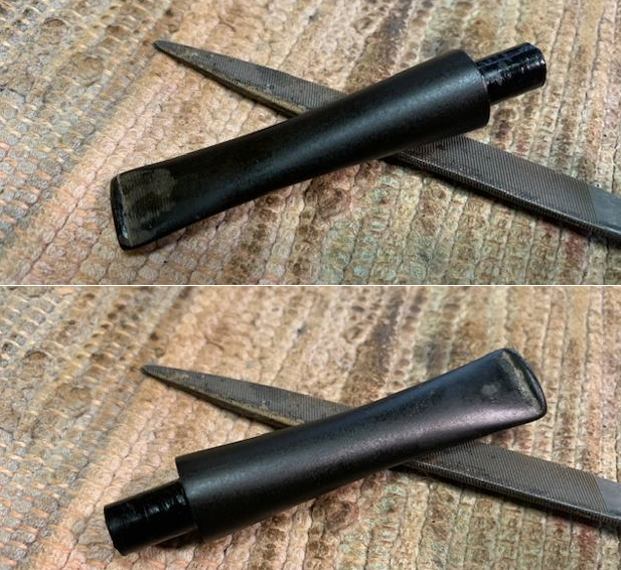
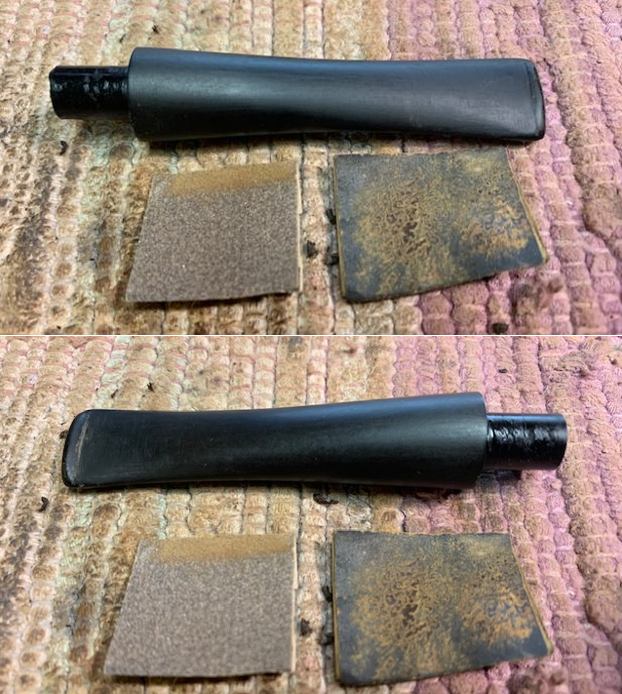
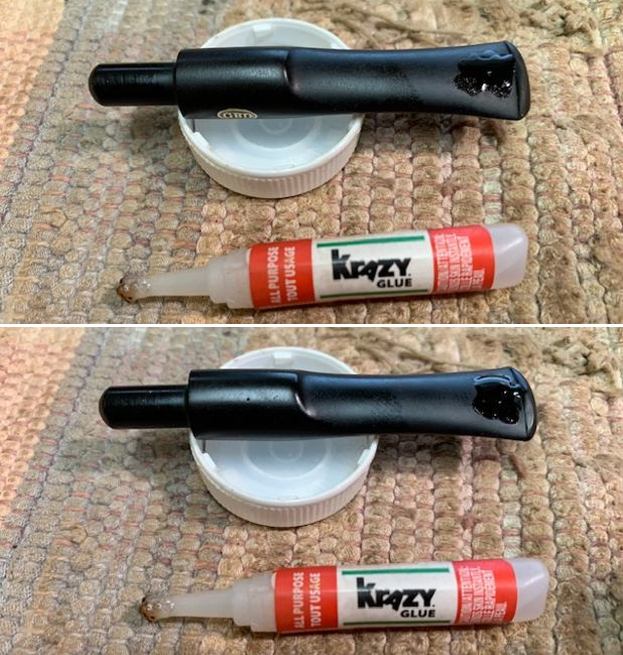
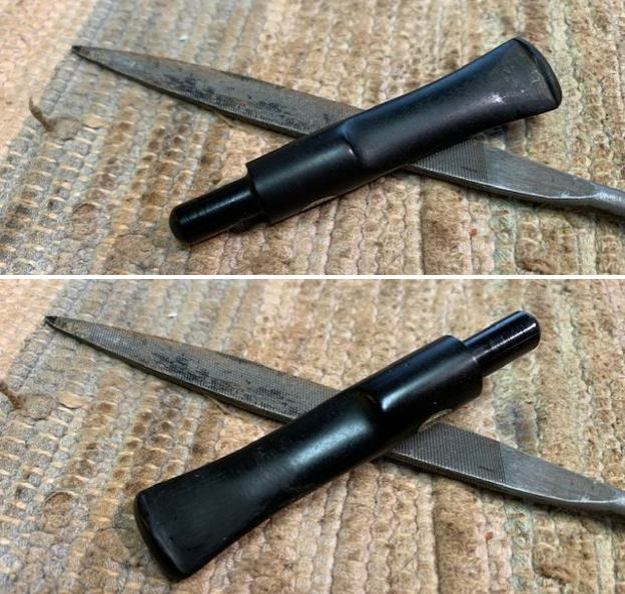
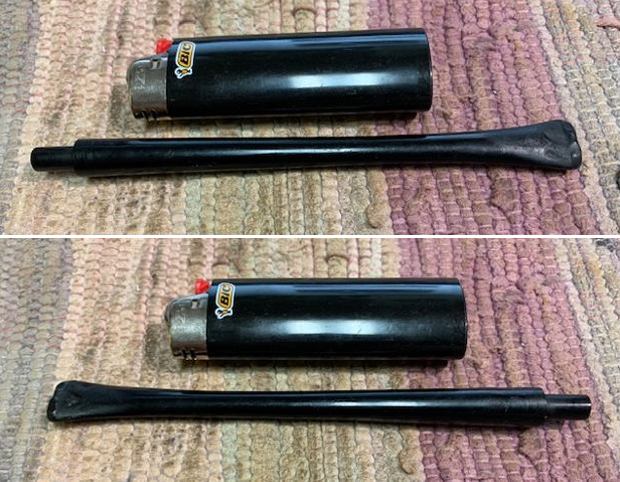
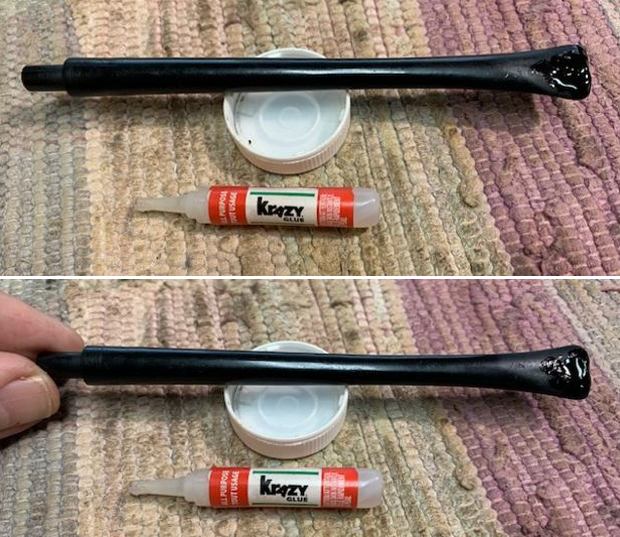
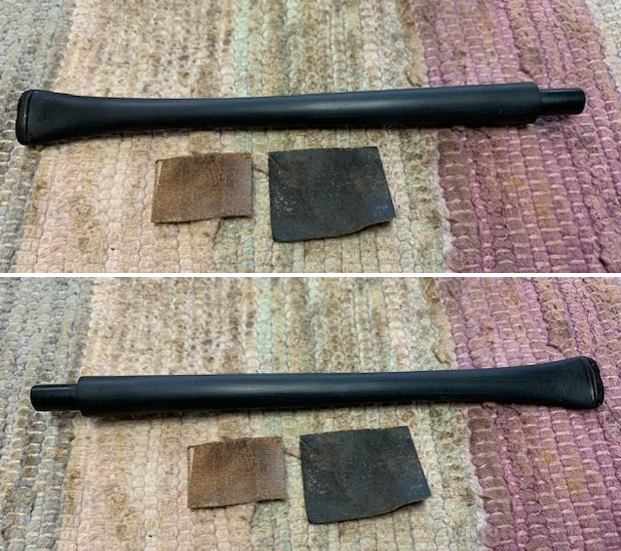
 I filled in the deep tooth marks on the button surface and the deeper ones on the stem itself with clear super glue. I let it cure and once it had hardened I reshaped the button and sanded the repairs smooth with 220 grit sandpaper. I started polishing the stem with 400 grit wet dry sandpaper.
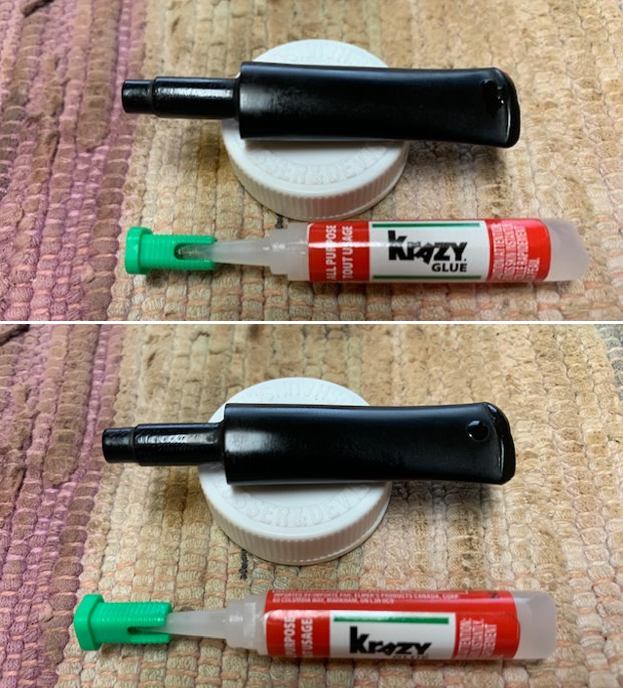
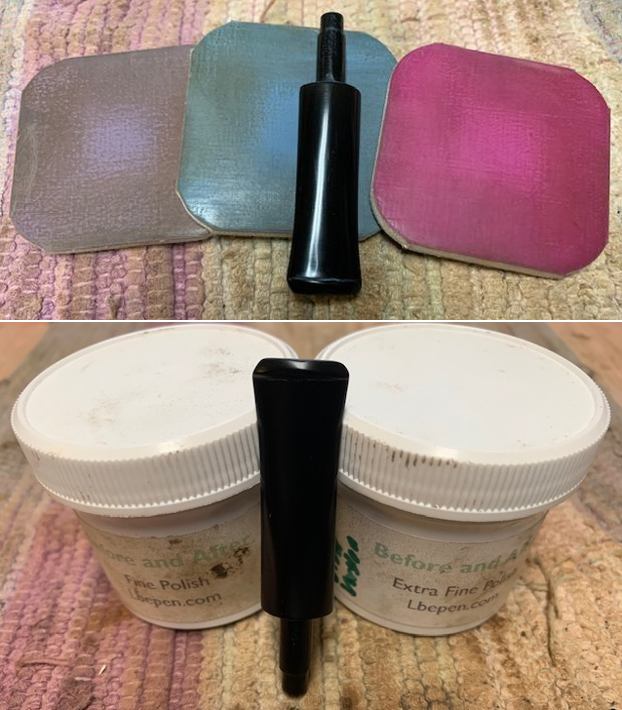
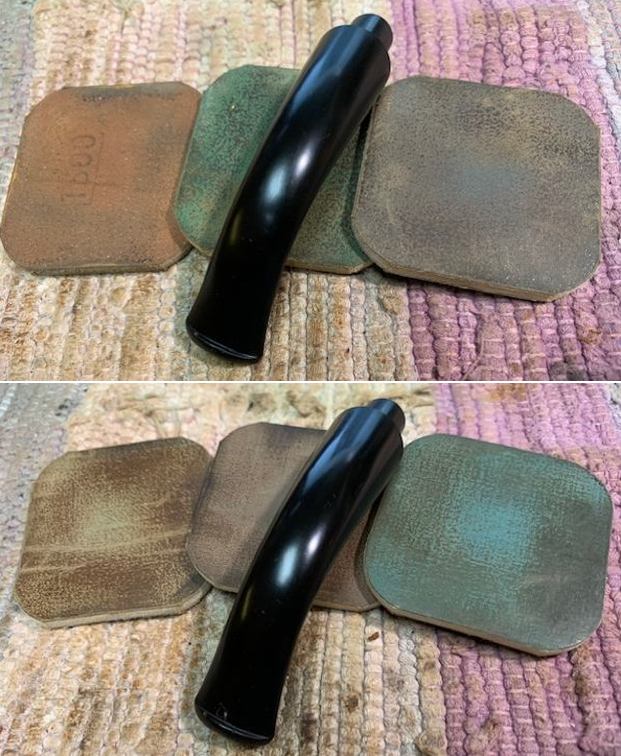
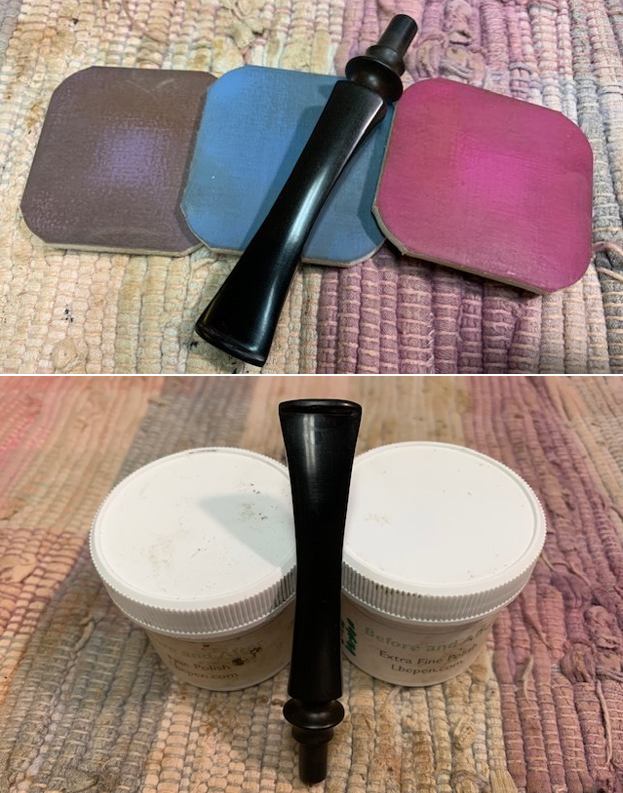
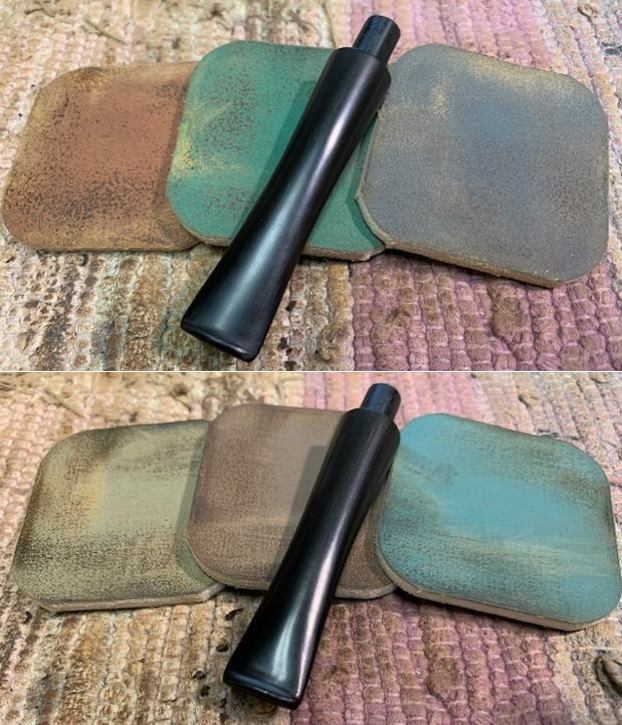
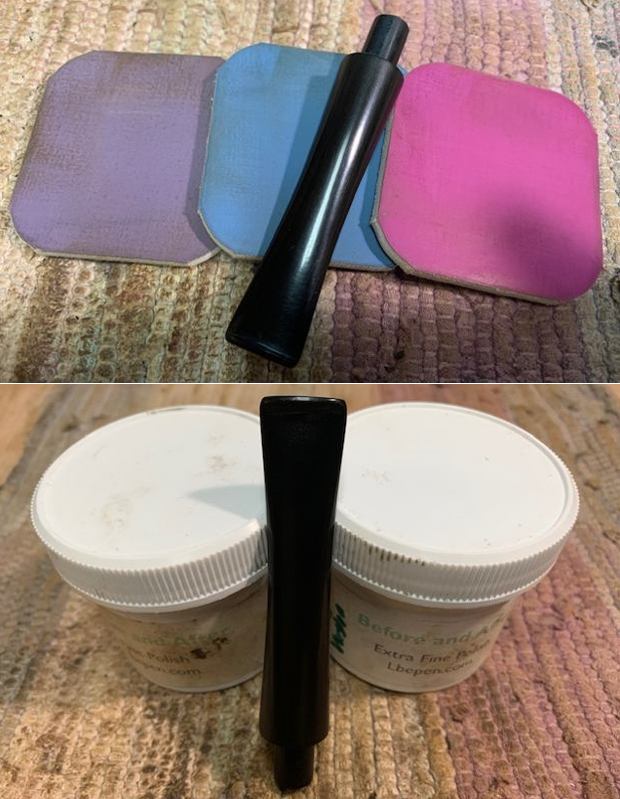
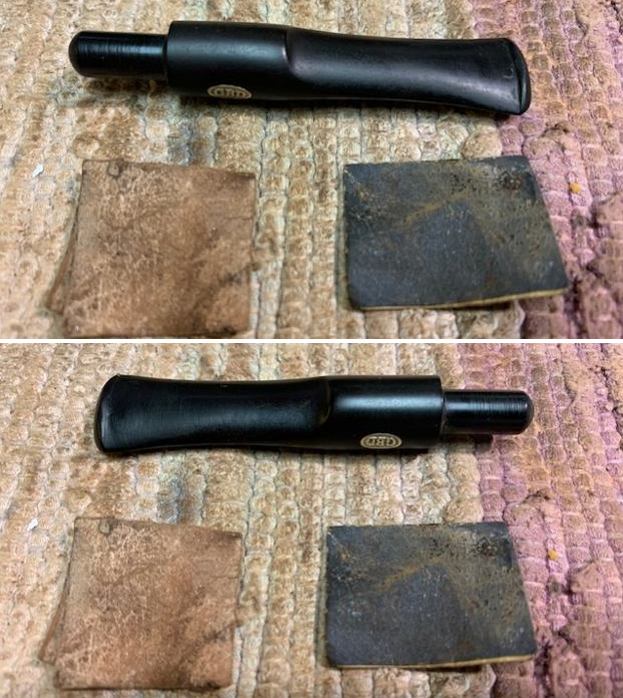
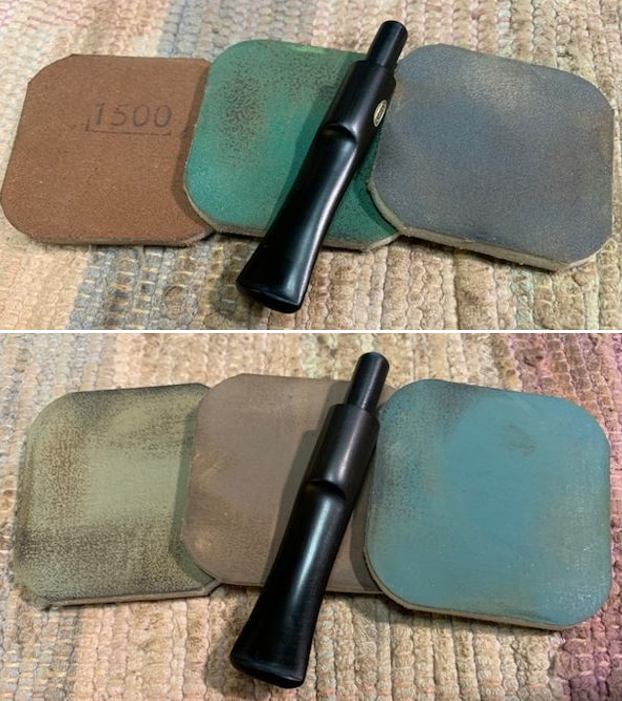
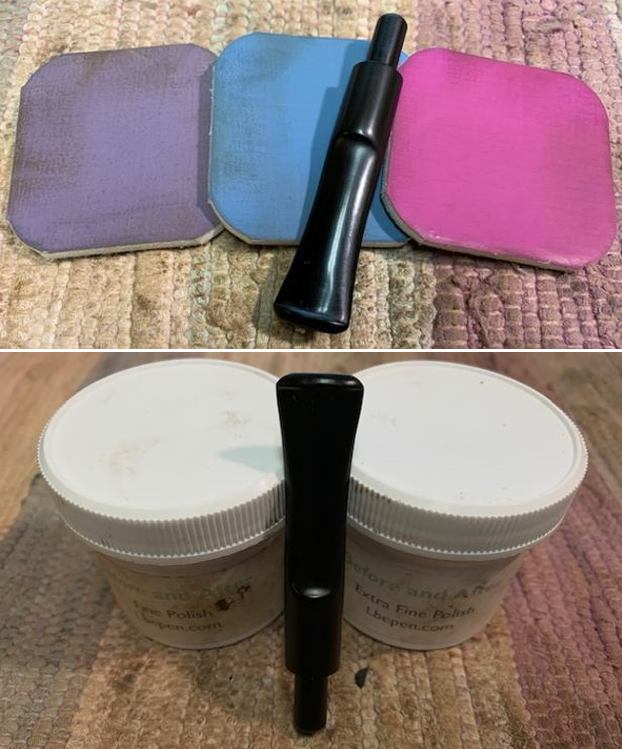
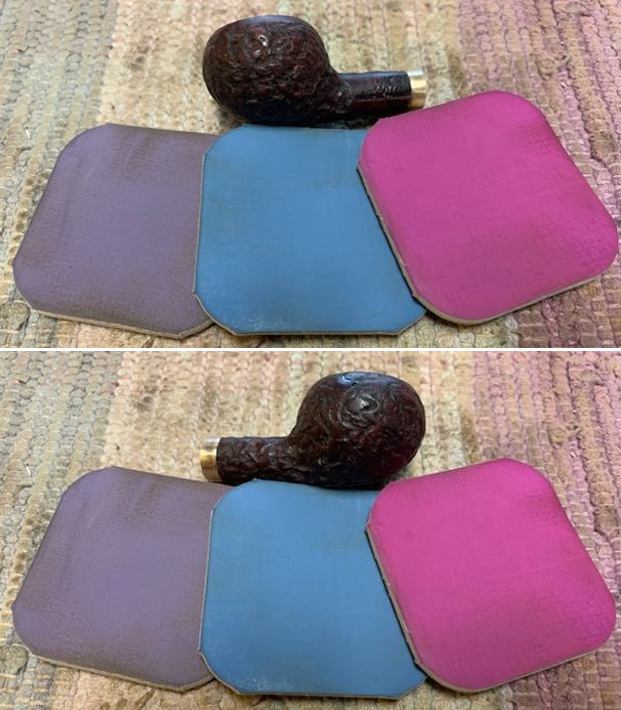
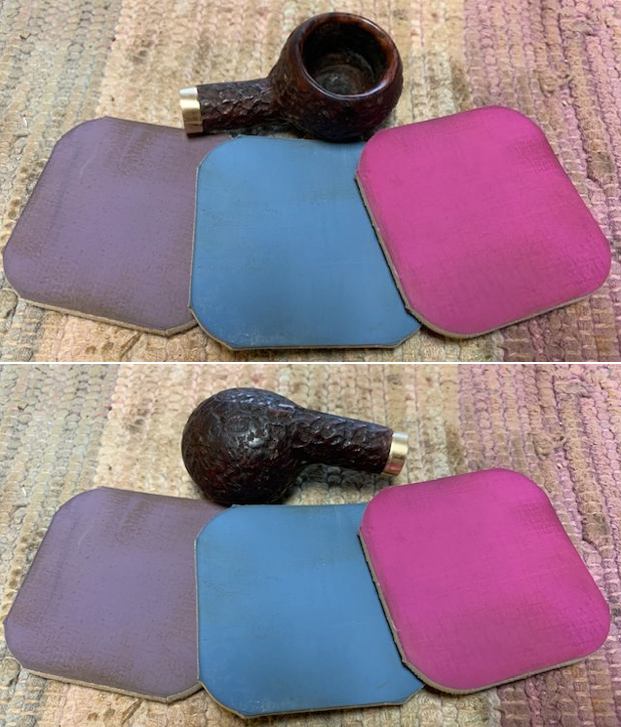
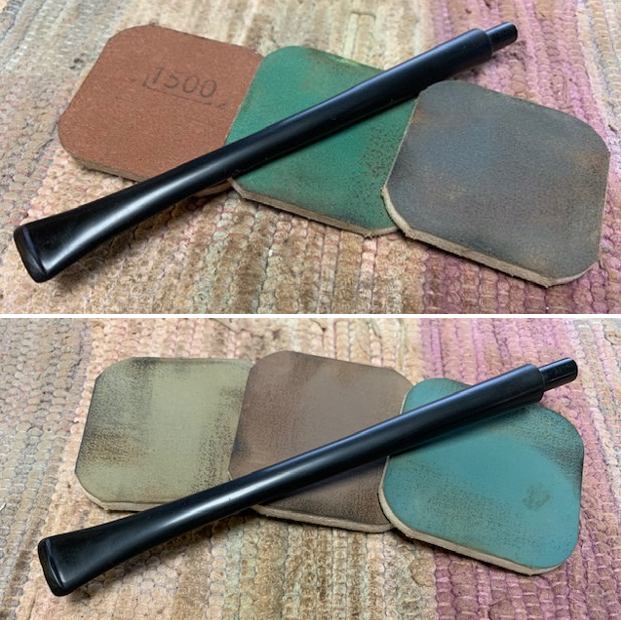
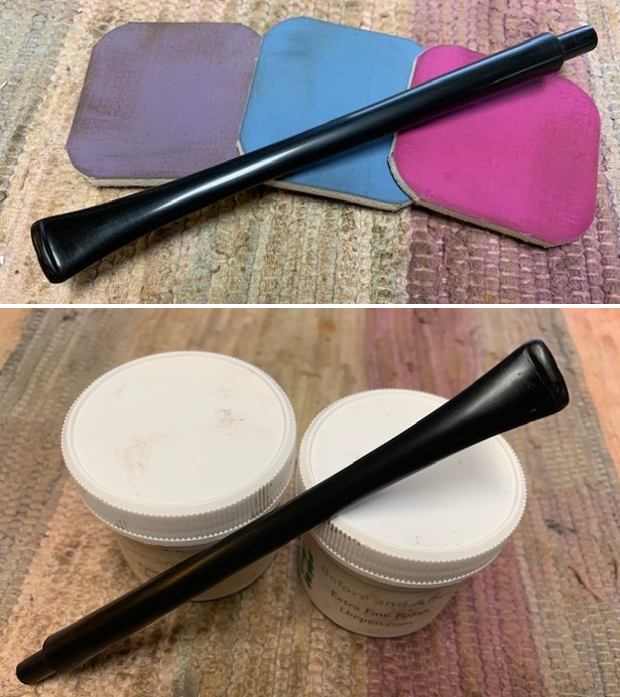
 I polished the stem with micromesh sanding pads – 1500-12000 grit pads. I wiped it down with Obsidian Oil after each sanding pad. I used Before & After Pipe Polish – both Fine and Extra Fine to further polish the stem.
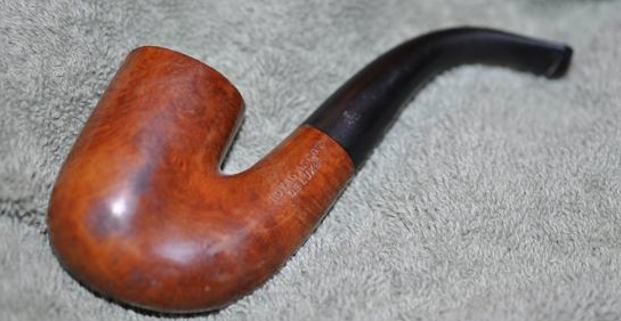
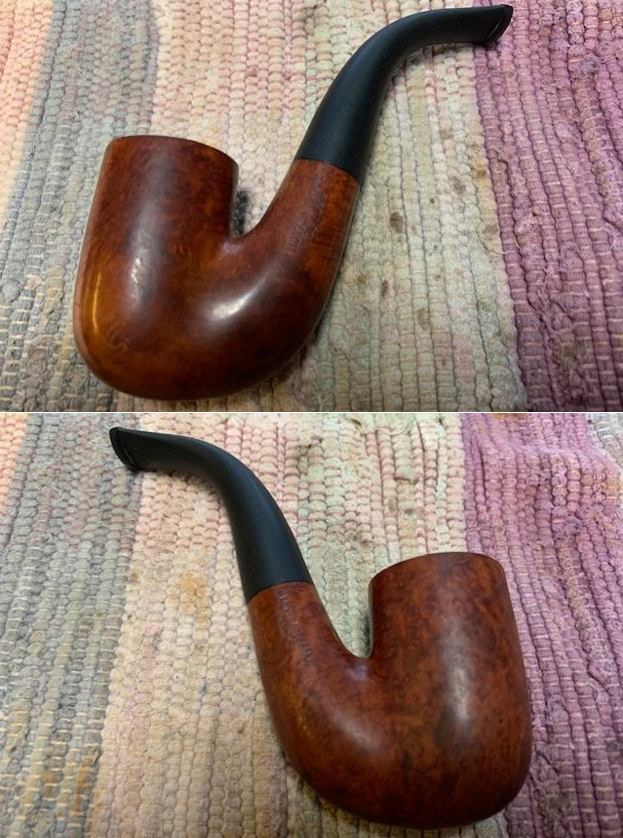
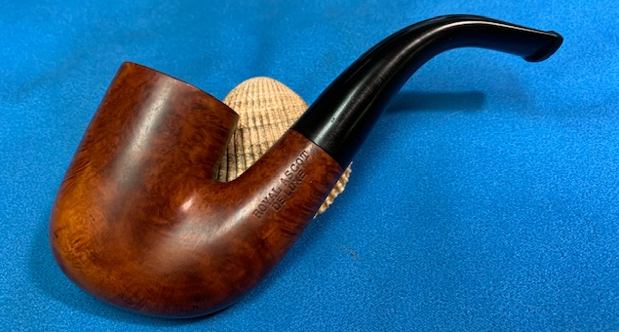
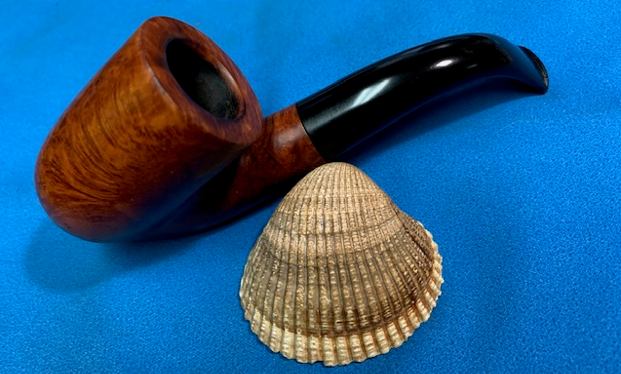
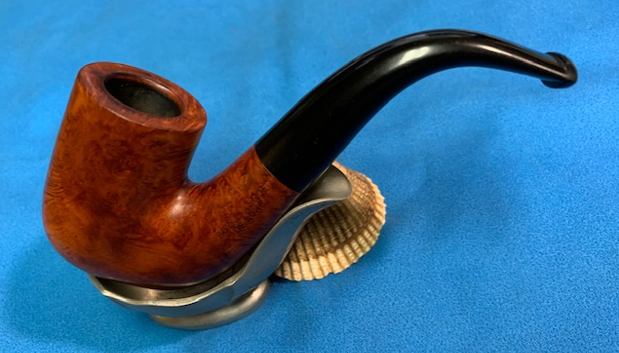
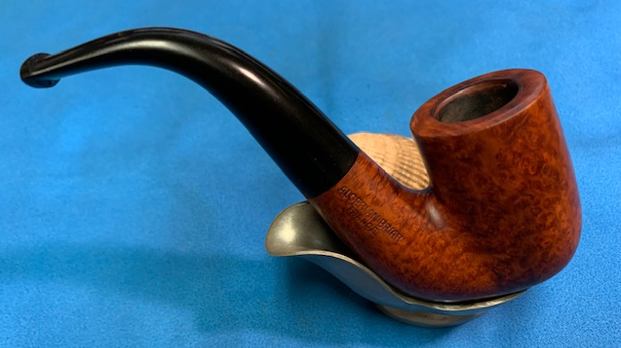
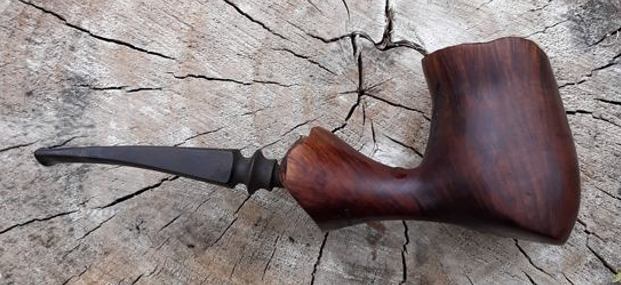
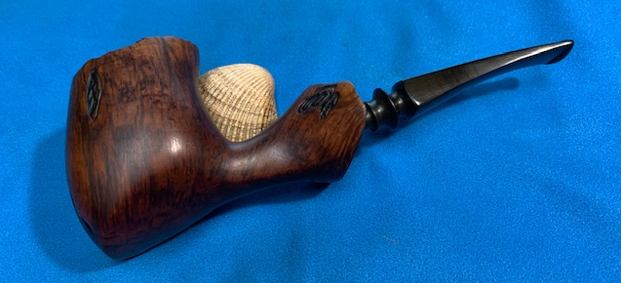
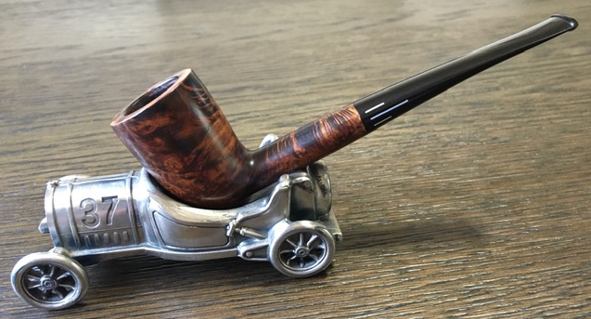
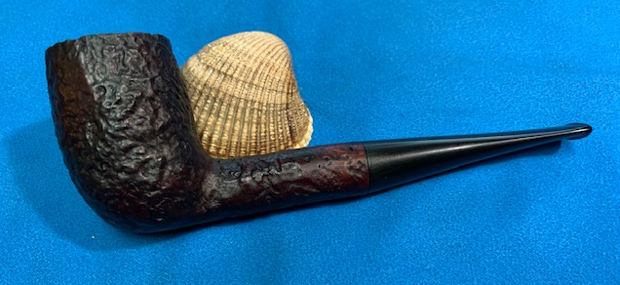
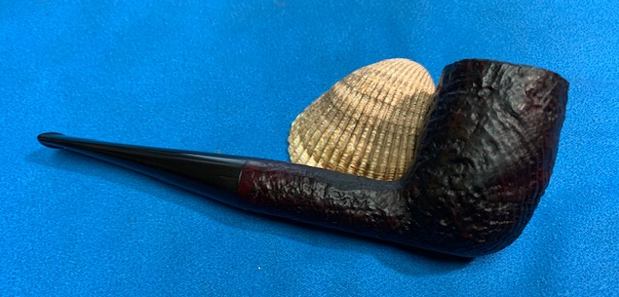
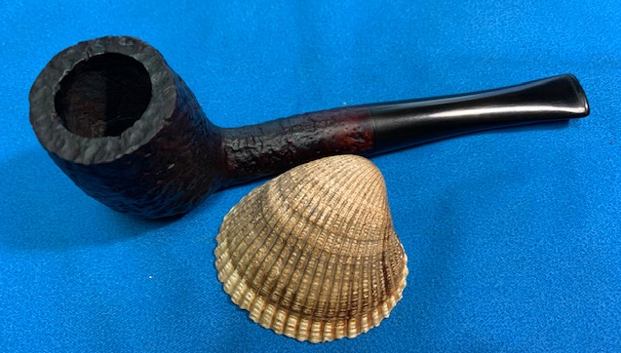
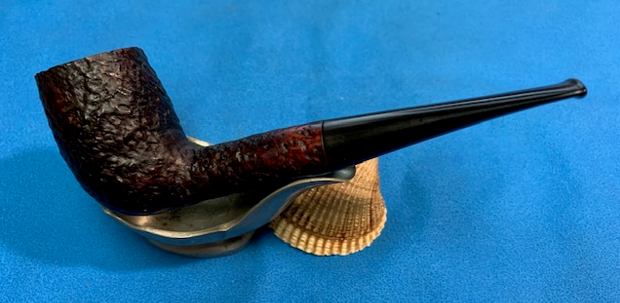
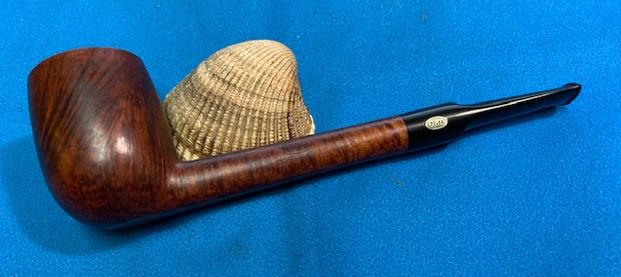
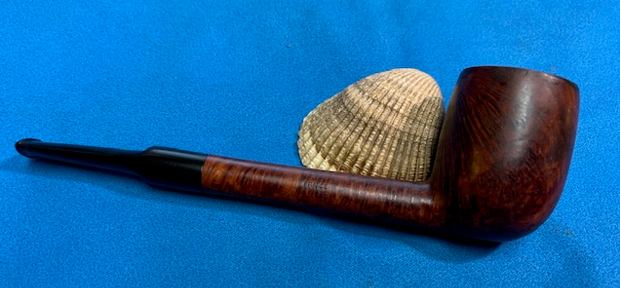
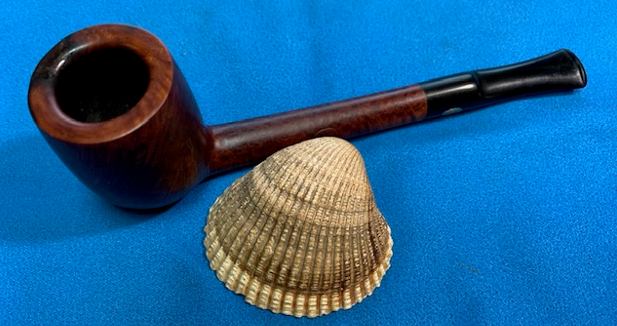
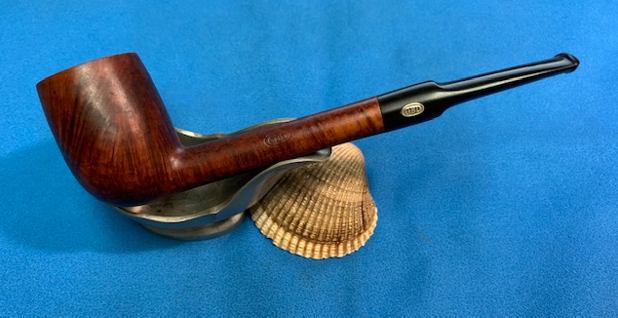
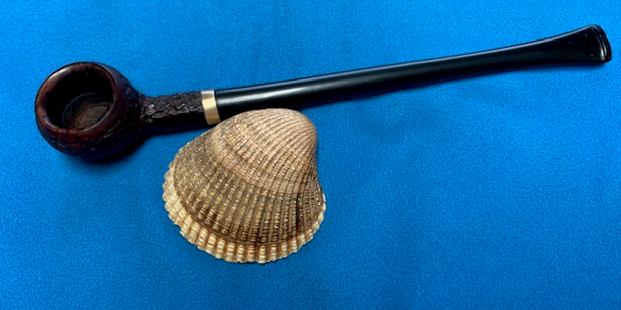
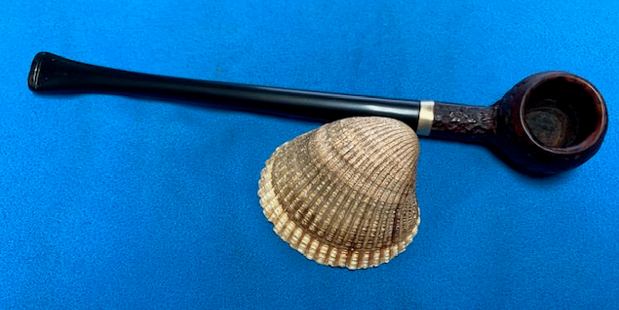
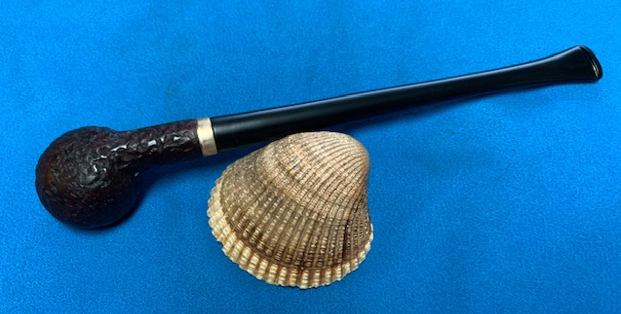
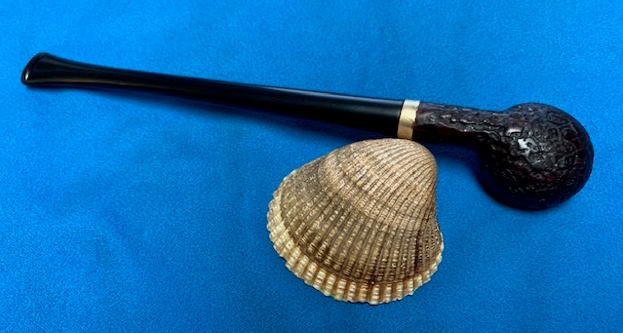
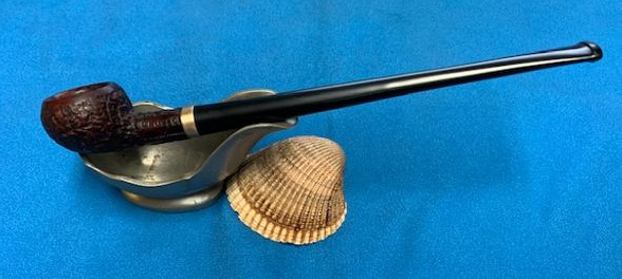
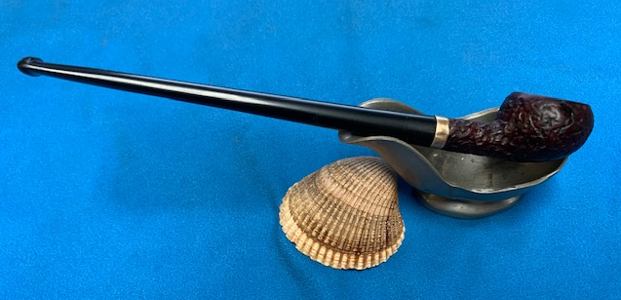
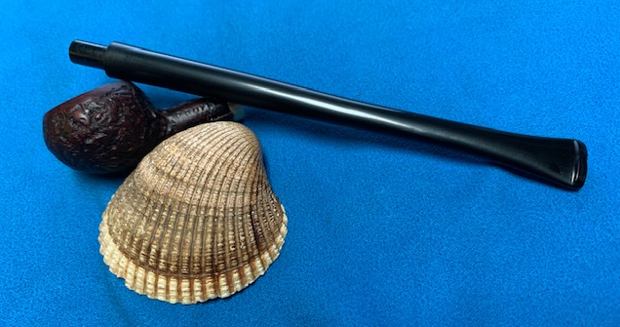
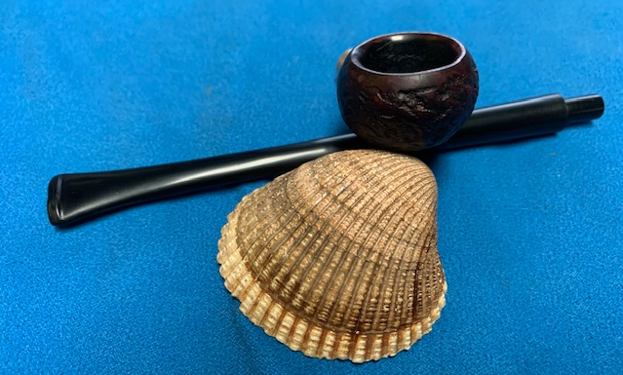
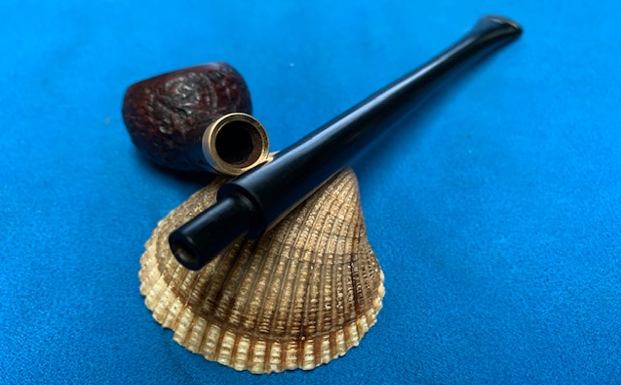
 This Comoy’s Made Sunrise Amber Grain Vintage Briar 299 Canadian is a great looking pipe now that it has been restored. The brown stained finish around the bowl is quite beautiful and highlights grain very well. The finish works well with the polished vulcanite oval taper stem. I put the stem back on the bowl and carefully buffed the pipe with Blue Diamond on the buffing wheel using a light touch on the briar. I gave the bowl and the stem multiple coats of carnauba wax on the buffing wheel and followed that by buffing the entire pipe with a clean buffing pad. I hand buffed the pipe with a microfiber cloth to deepen the shine. The finished Sunrise Amber Grain Vintage Briar Canadian sits nicely in the hand and feels great. Give the finished pipe a look in the photos below. The dimensions of the pipe are Length: 5 ¾ inches, Height: 1 ¾ inches, Outside diameter of the bowl: 1 1/8 inches, Chamber diameter: ¾ inch. The weight of the pipe is 31 grams/1.09 ounces. I will be putting it on the rebornpipes store shortly. If you are interested in adding this pipe to your collection send me a message or an email. Thanks for reading this blog and my reflections on the pipe while I worked on it. There are many more to come!
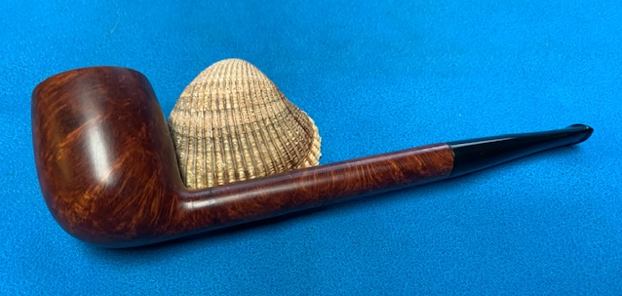


