Blog by Steve Laug
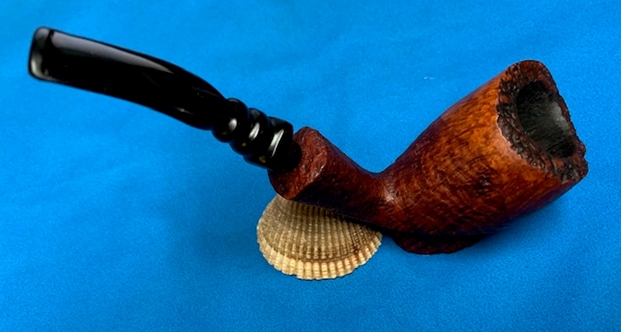
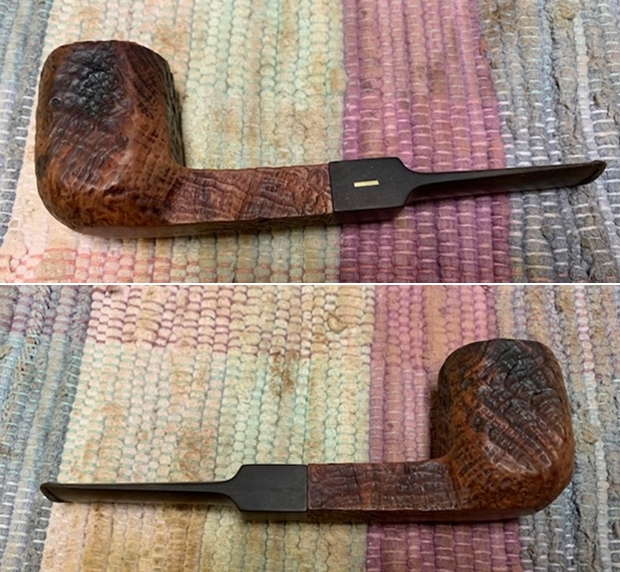
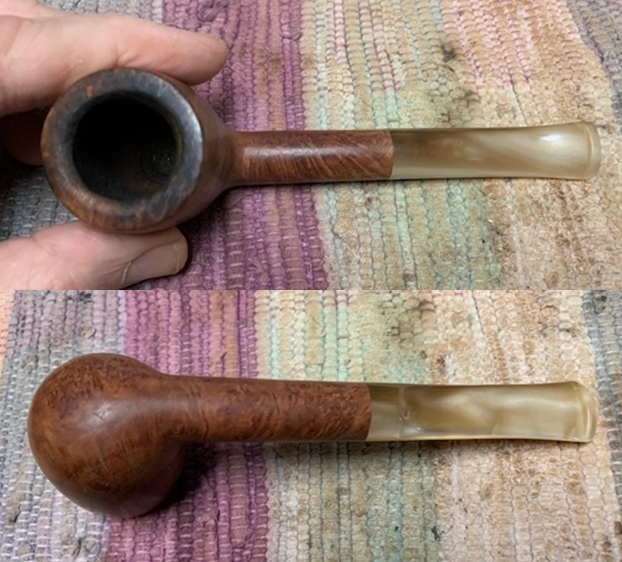
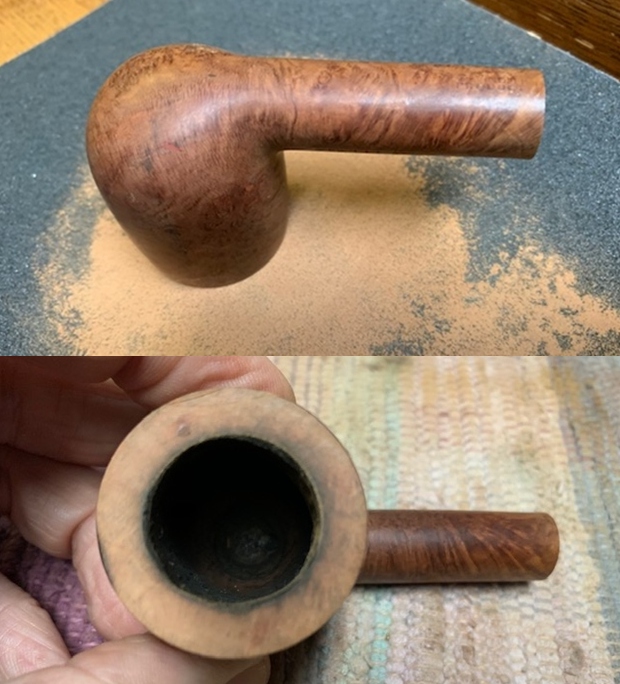
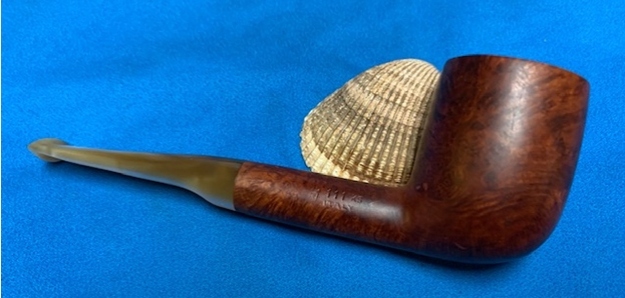
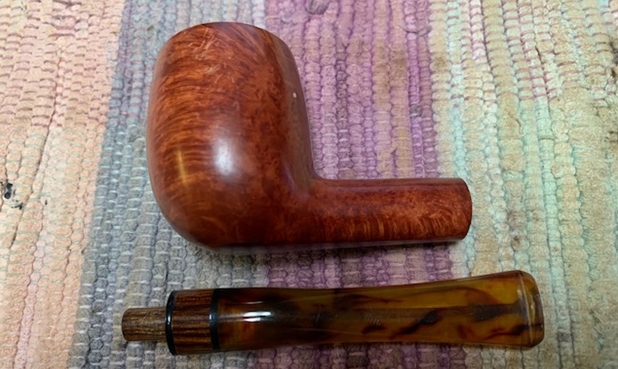
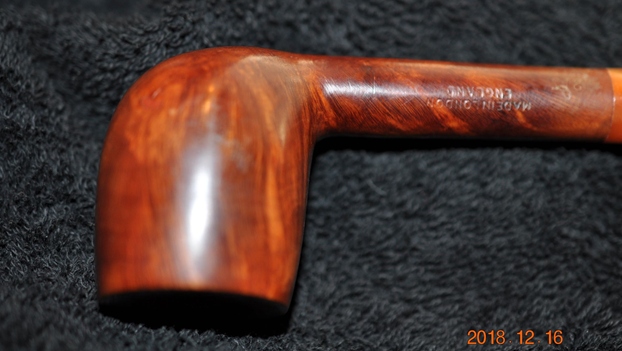
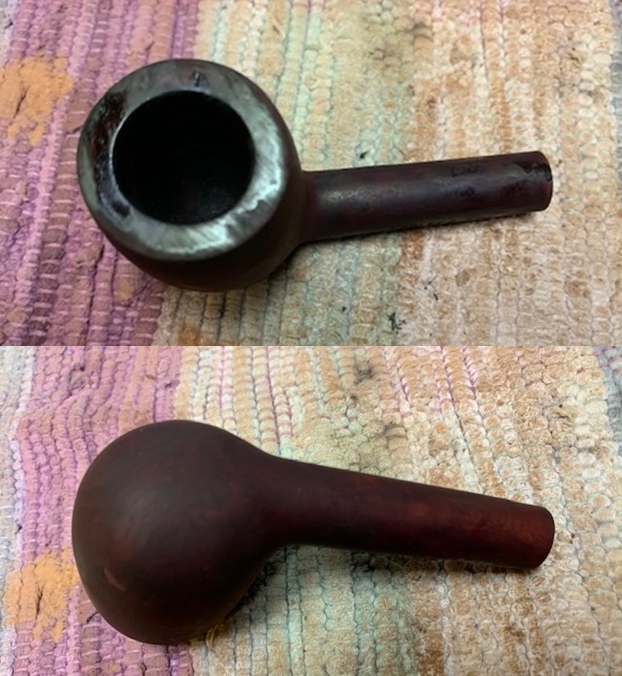
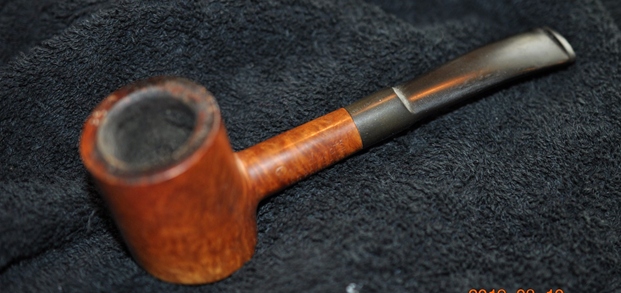
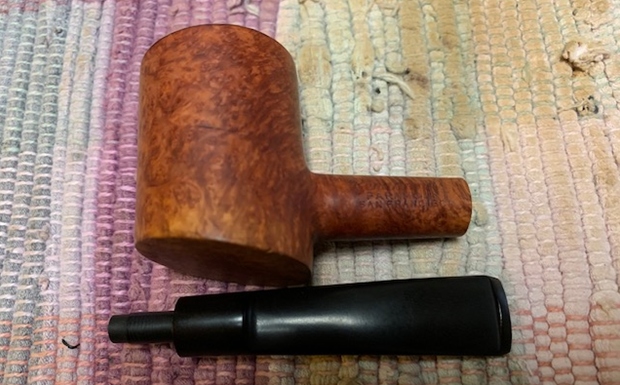
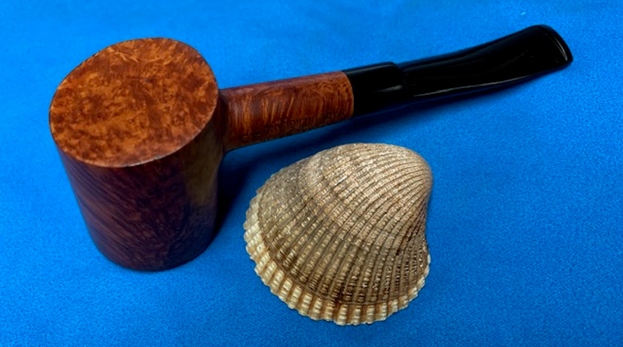
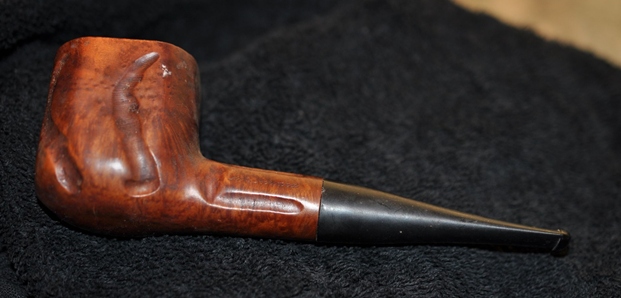
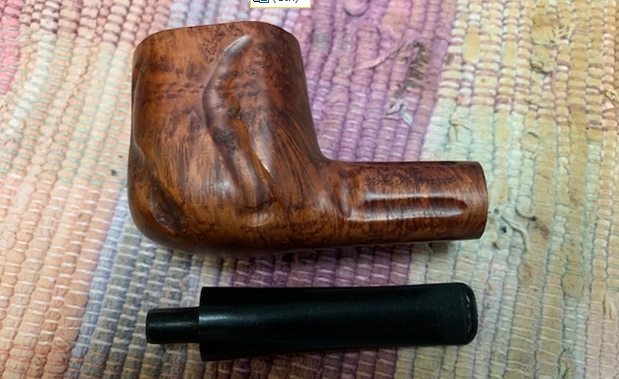
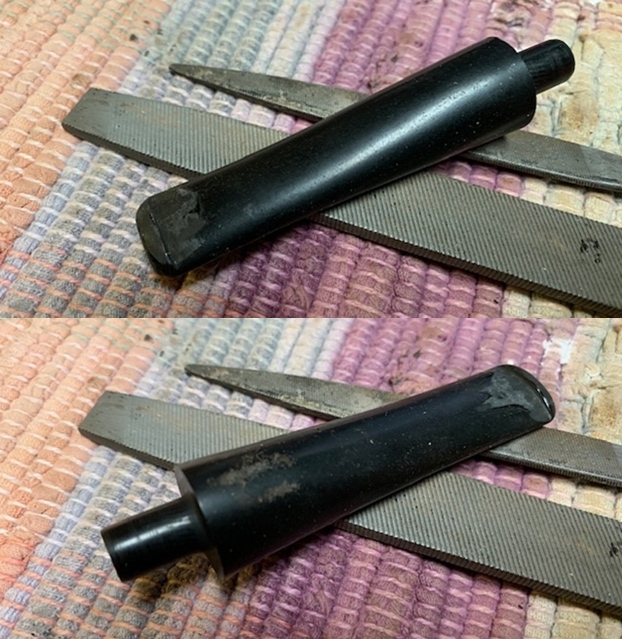
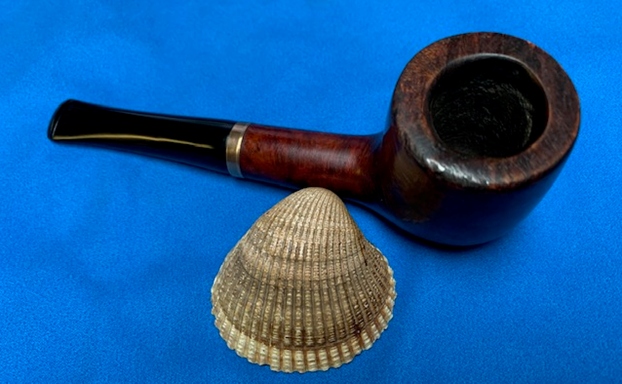
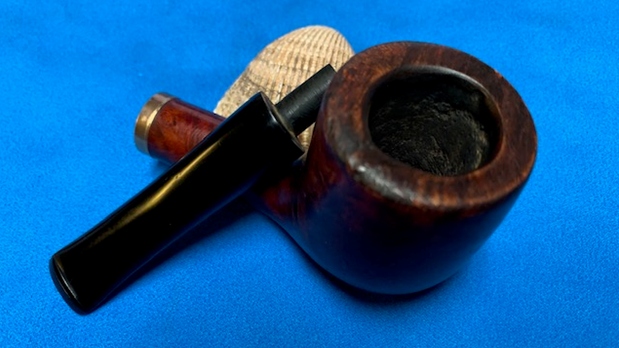
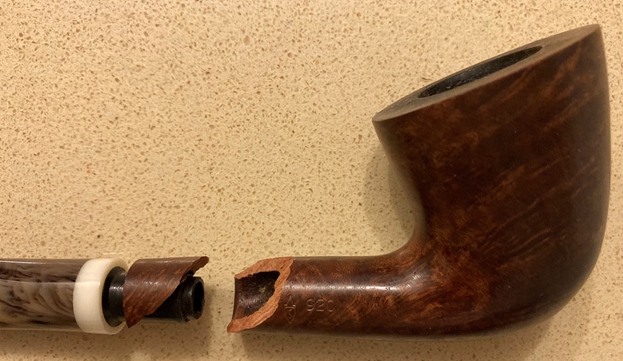
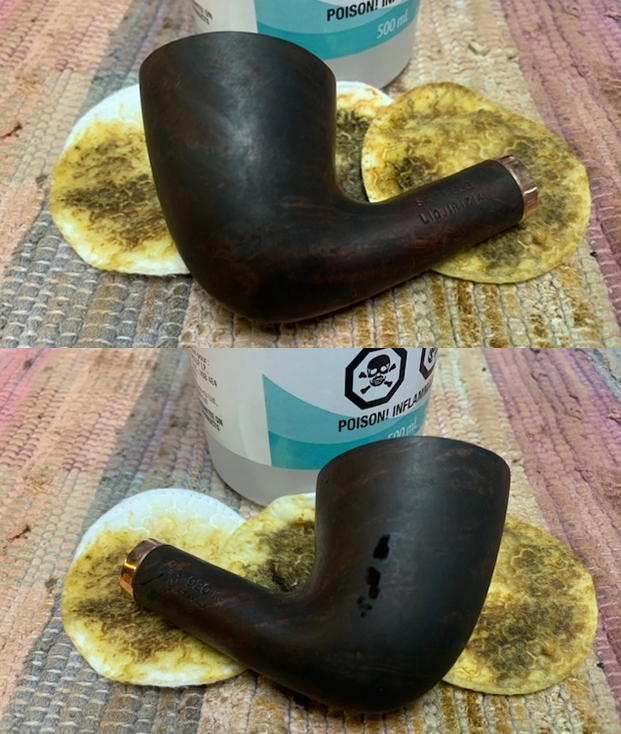
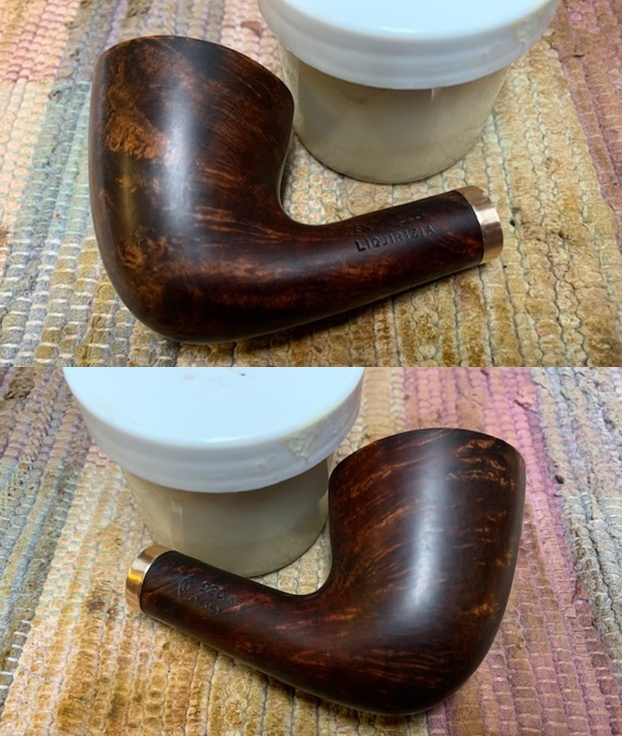
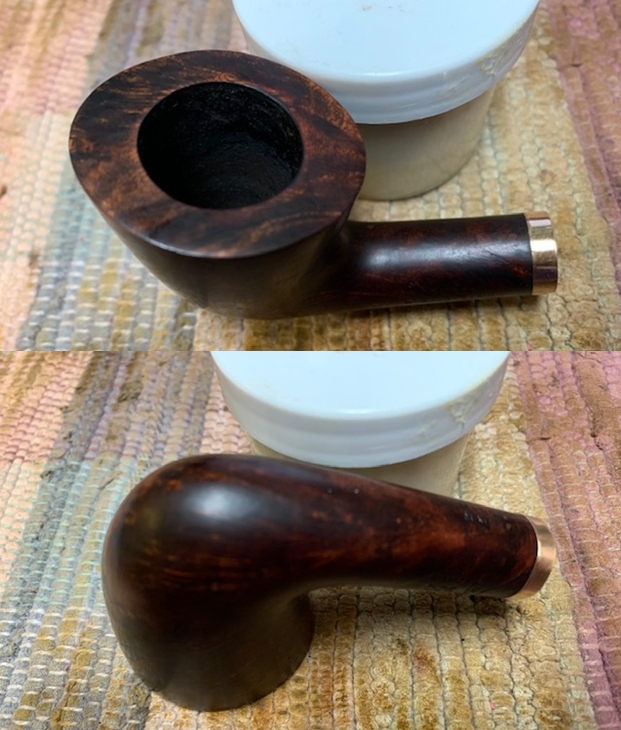
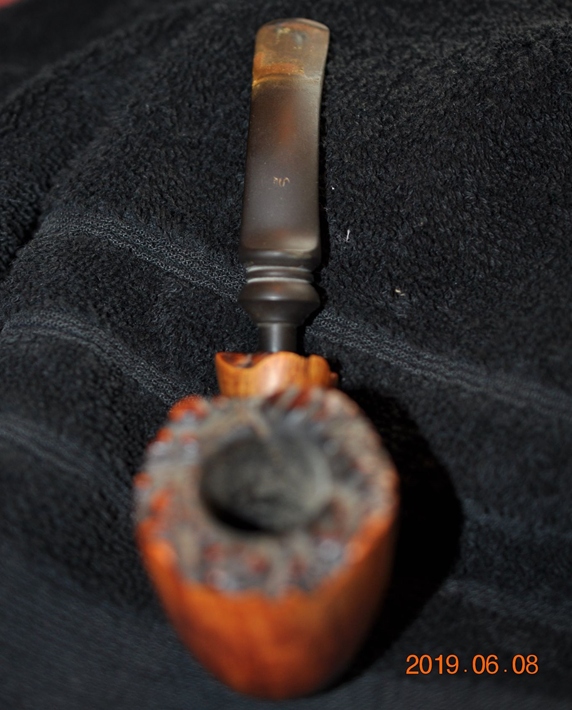
I woke up to the sound of something large jumping on the roof next to our bedroom window around 4:30am this morning. That gave me an early start at the work bench. I have to tell you that on days like today I miss my old supervisor Spencer who would greet me no matter what time and beg for a treat… strange to not have him here. Ah well time to work. The next pipe on the table came to us in a group of pipes that we picked up from an Antique Store in Montana, USA in mid-2019 so it has been sitting here for a while. Even though the finish was a dirty and worn it had some amazing grain showing through the grit and grime of the years. On the underside of the shank it was stamped Stanwell [over] Regd. No. 969-48 [over] Made in Denmark. The pipe is a freehand and there is no shape number stamped on it at all. The finish is filthy with grime and oil ground into the briar of the bowl and shank sides. The bowl had a thick cake and there was an overflow of lava on the rim top filling in the plateau and inner bevel of the rim. The stem was a fancy turned vulcanite stem that fit snugly in the ferrule. It had the Stanwell Crown S faintly stamped on the topside of the saddle stem. The vulcanite was oxidized, calcified and had tooth marks and chatter on both sides ahead of the button. Jeff took some photos of the pipe to show its overall condition before he started his cleanup work. 
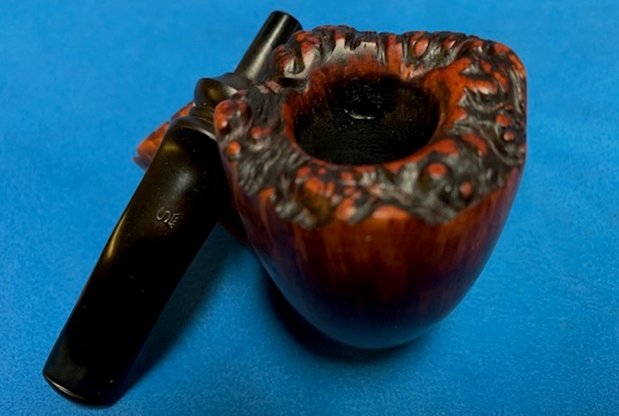
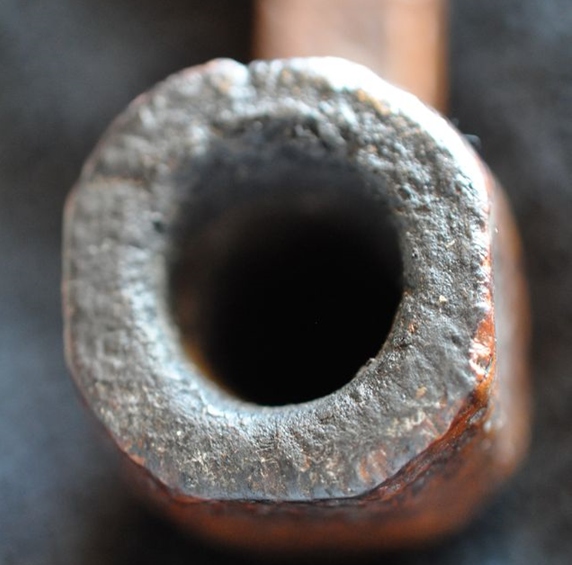
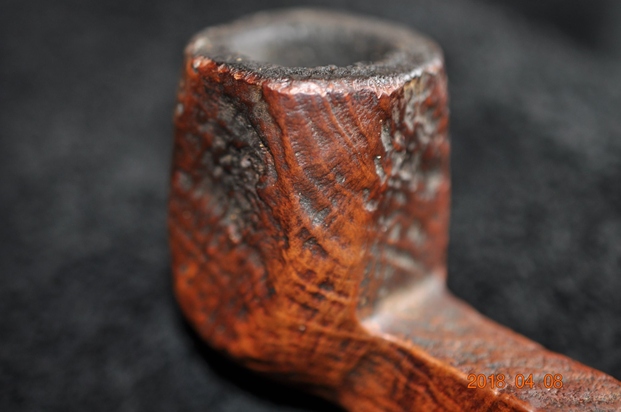
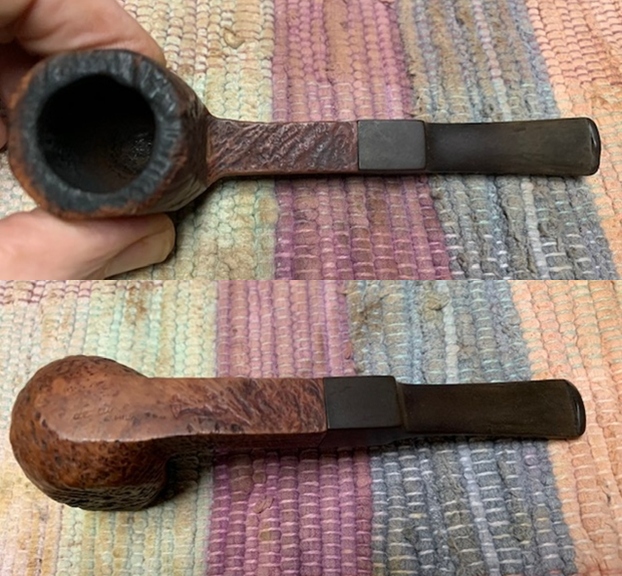
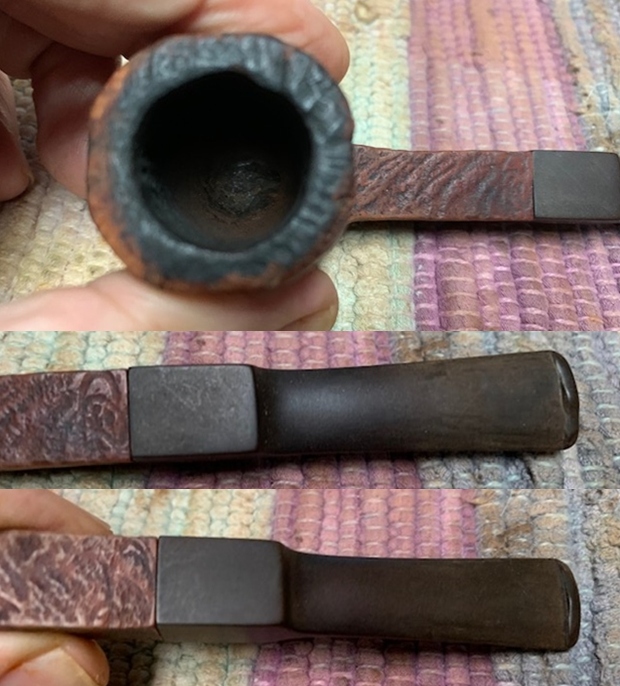
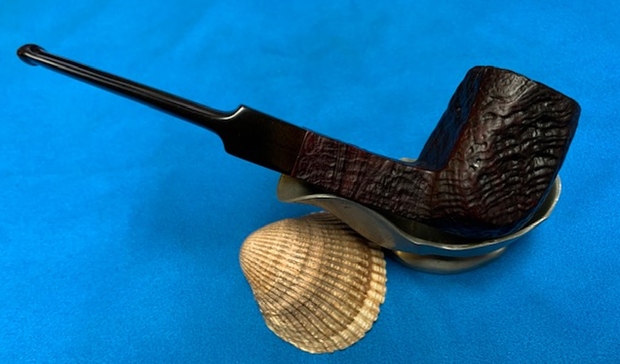
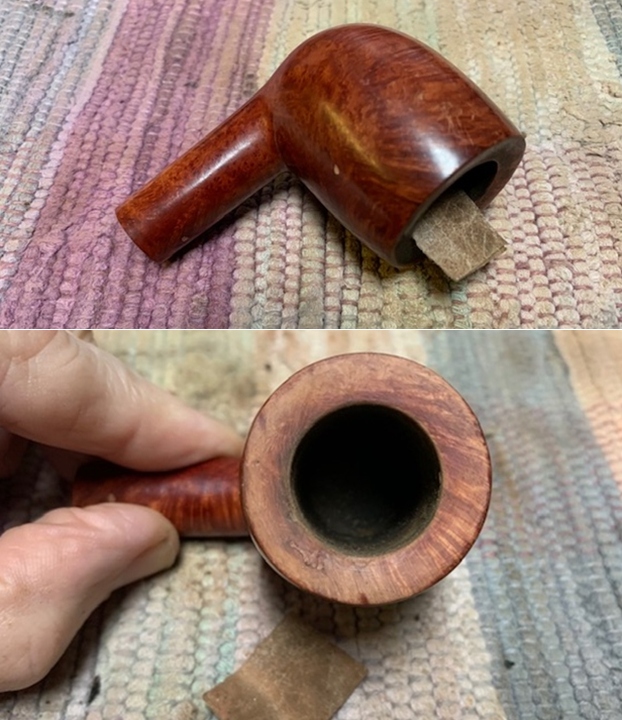
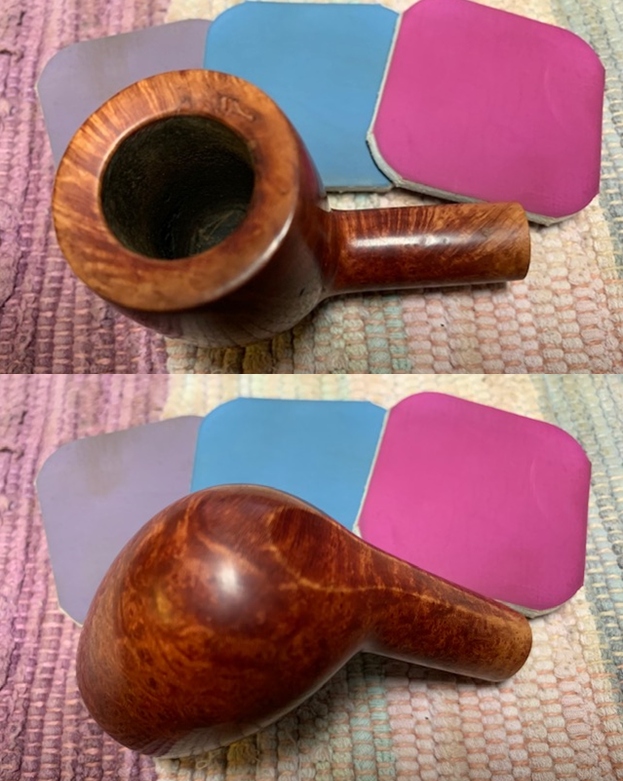
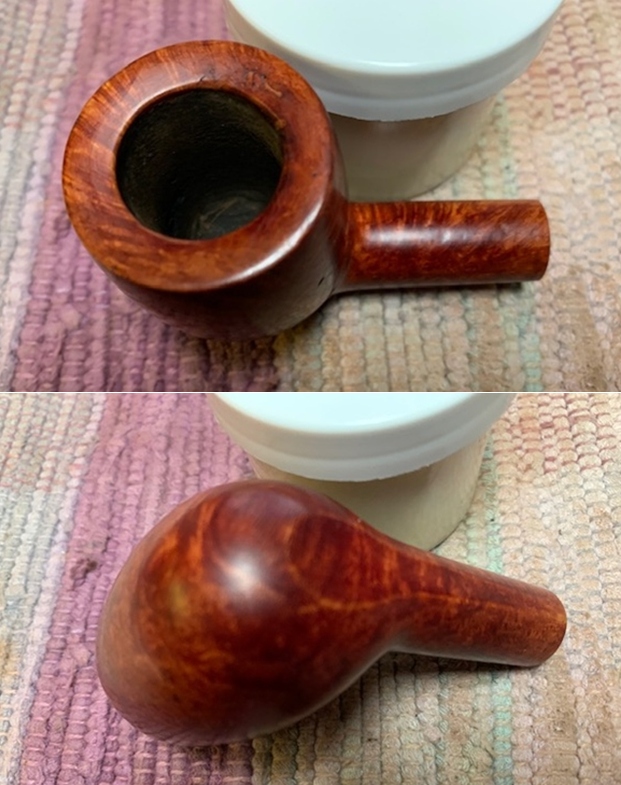
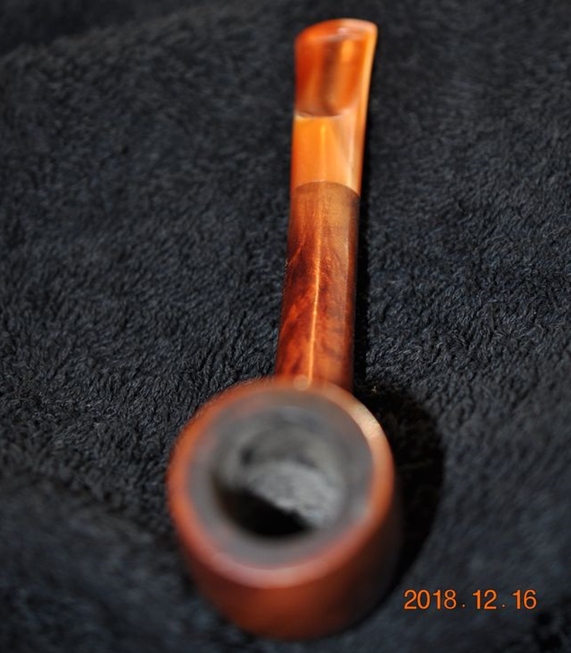
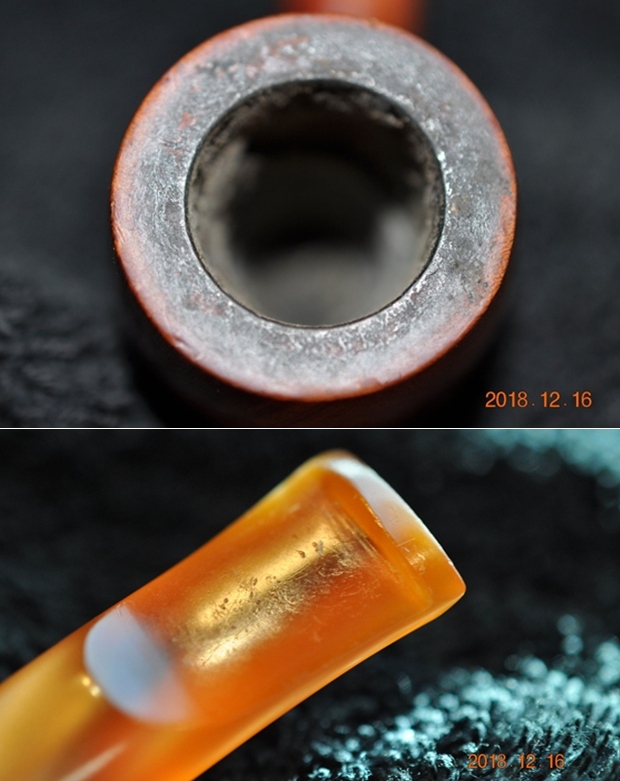
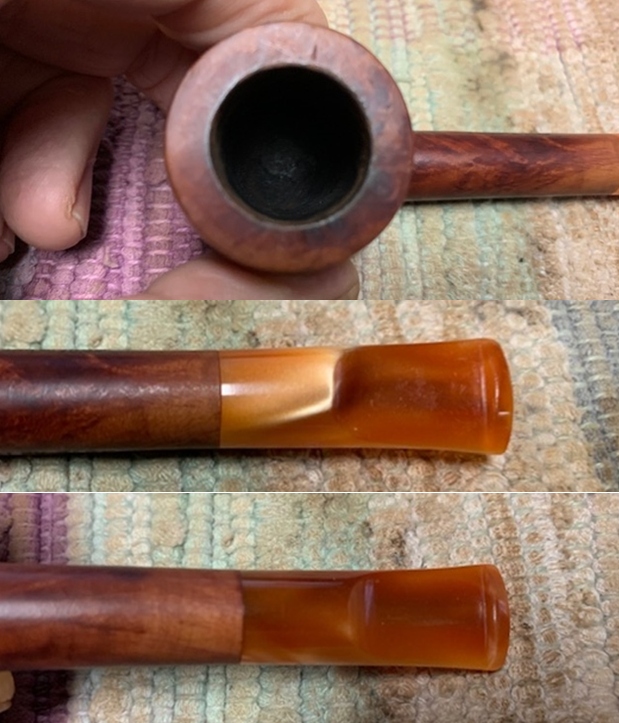
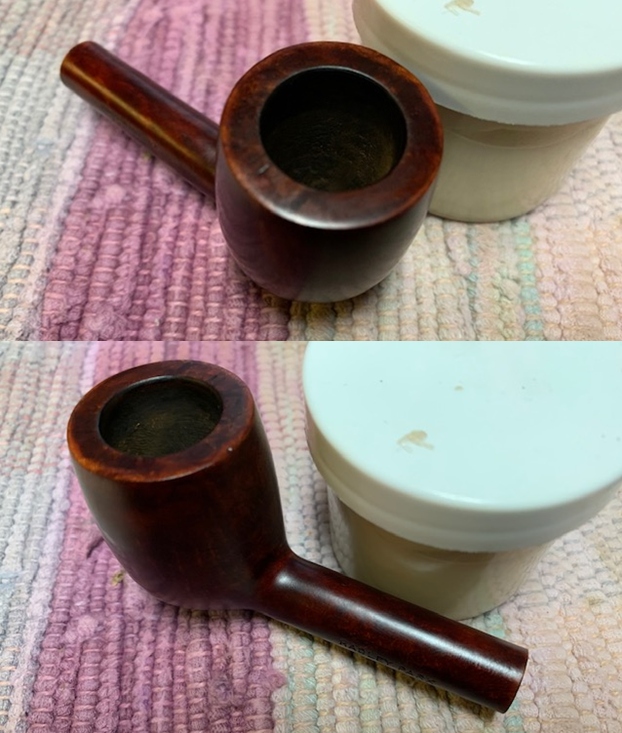
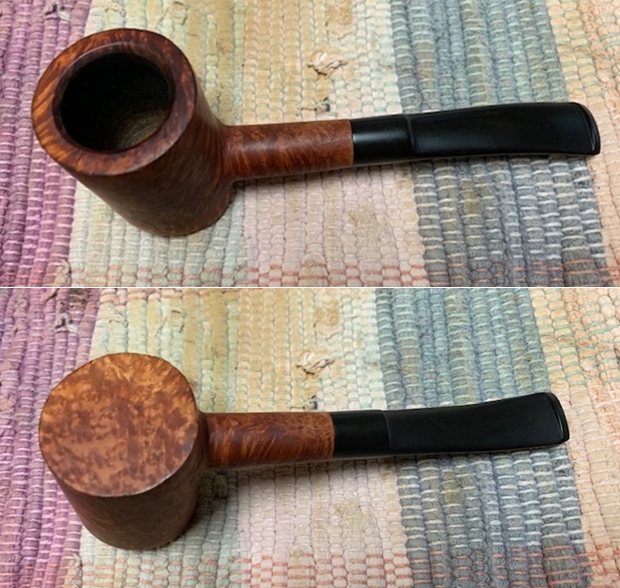
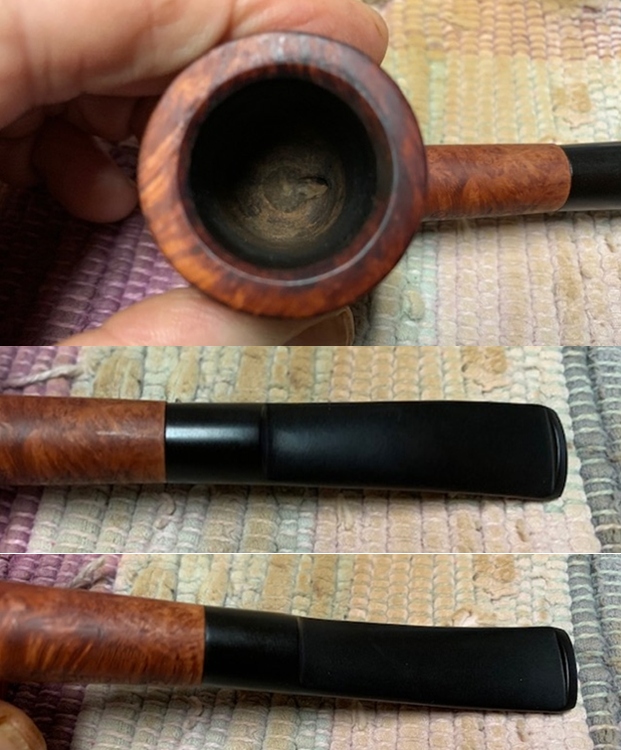
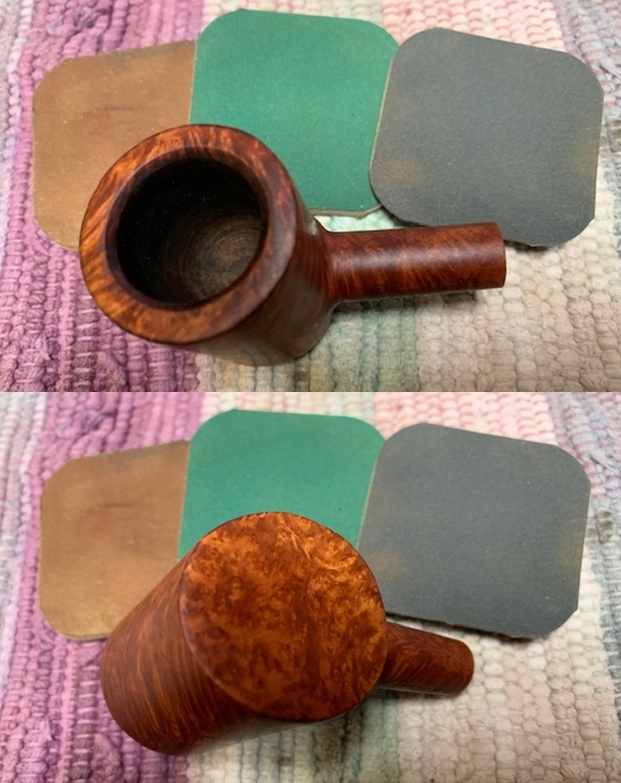
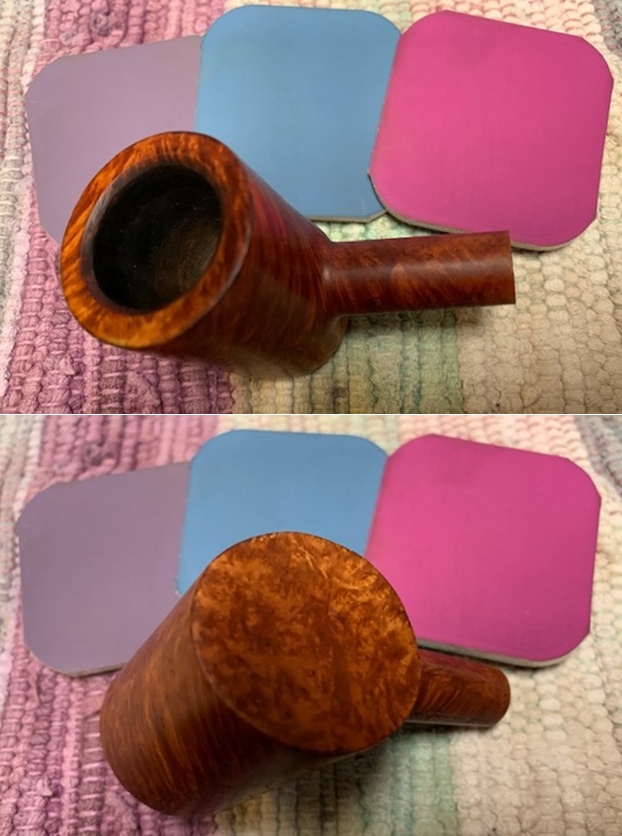
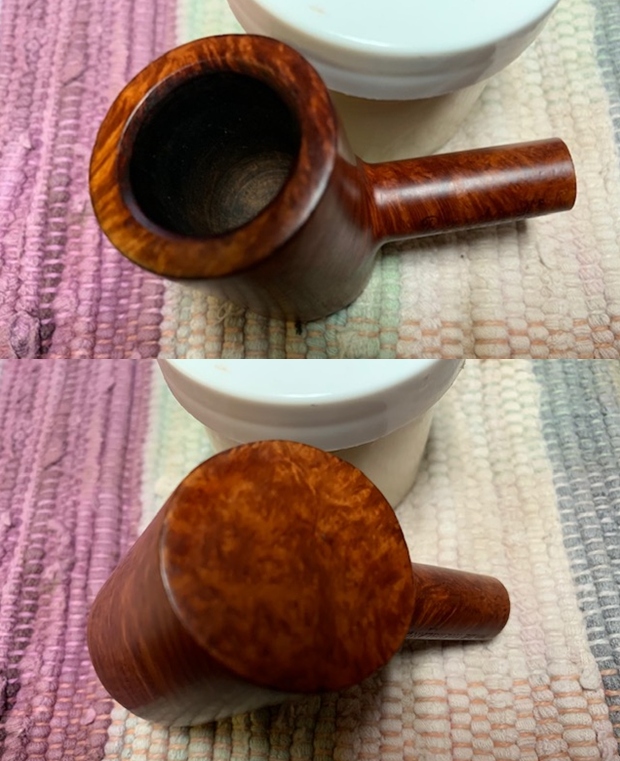
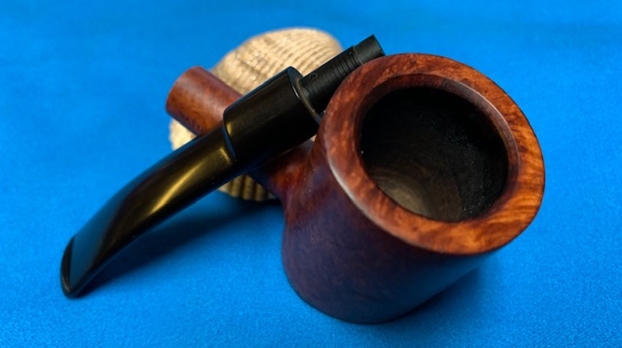
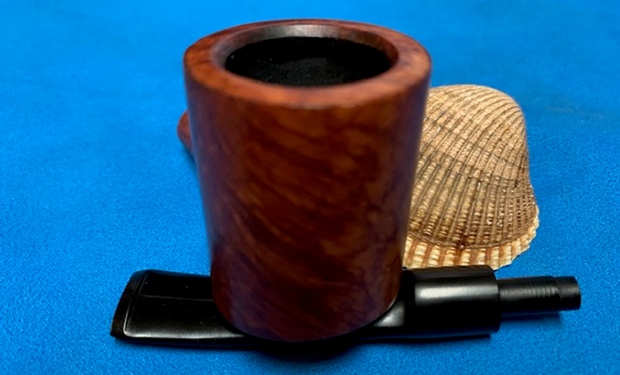
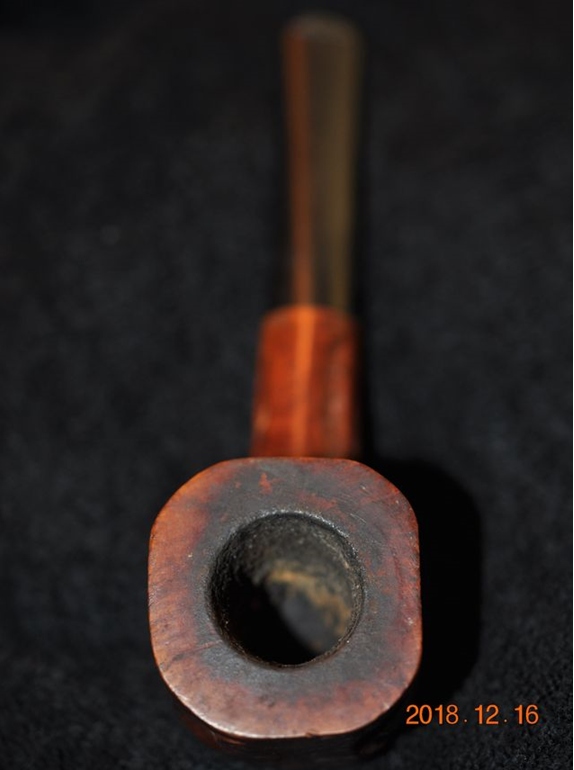
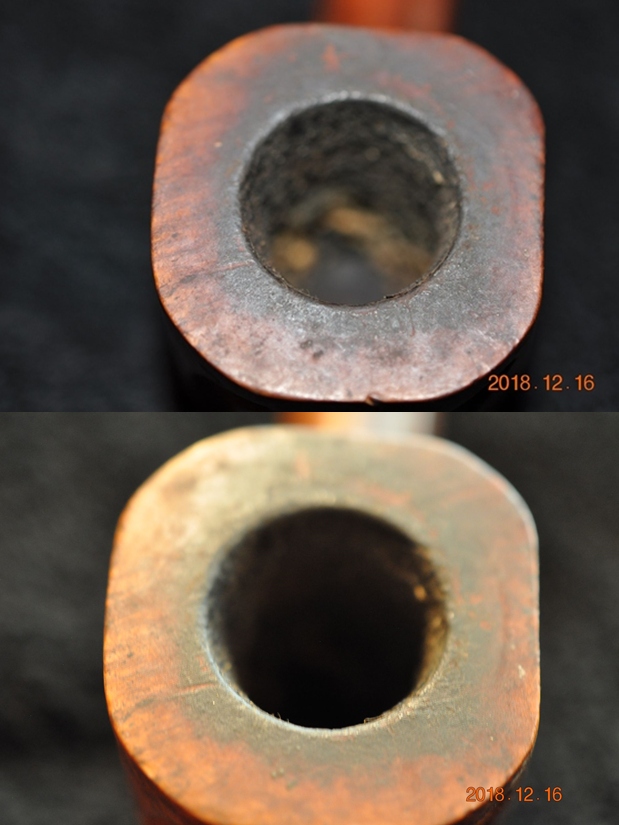
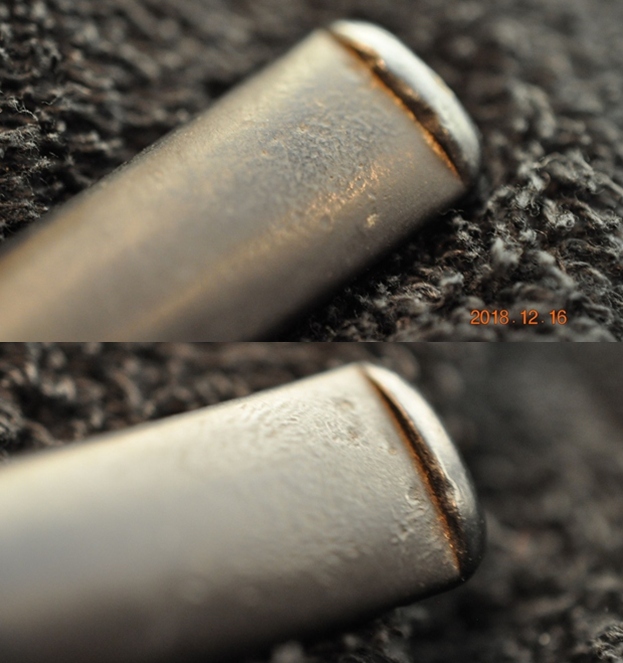
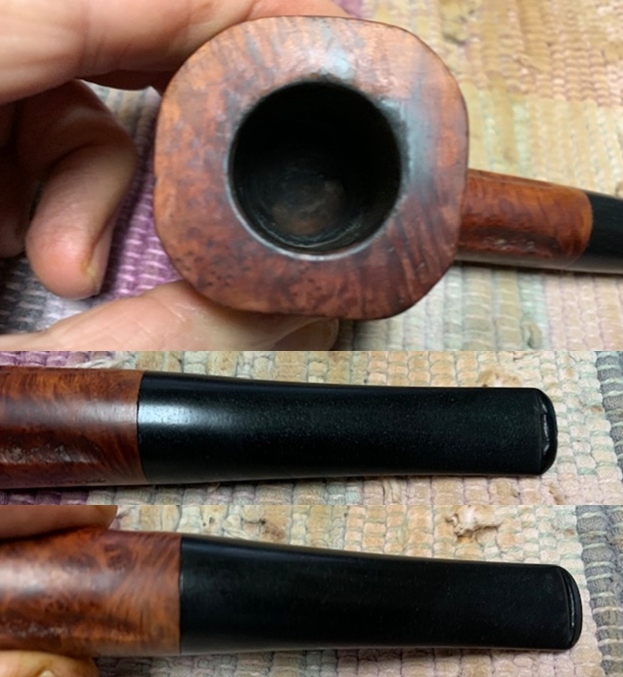
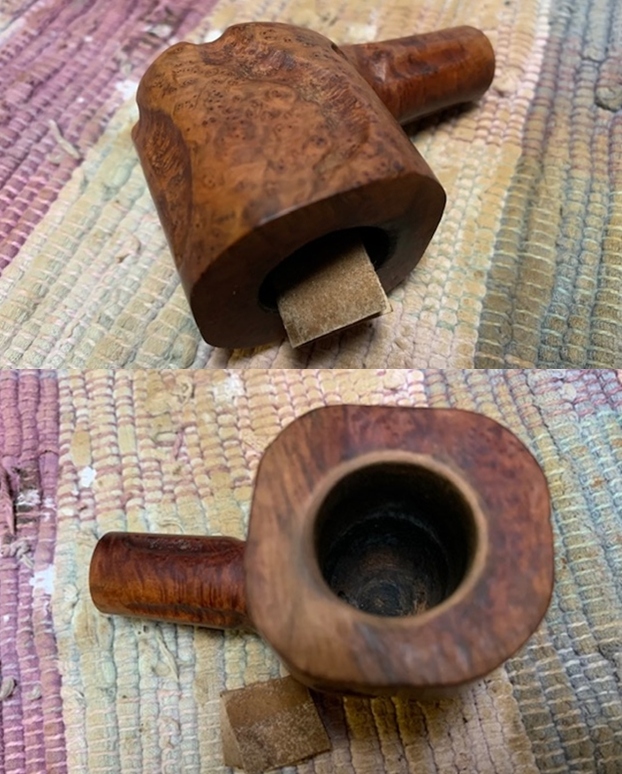
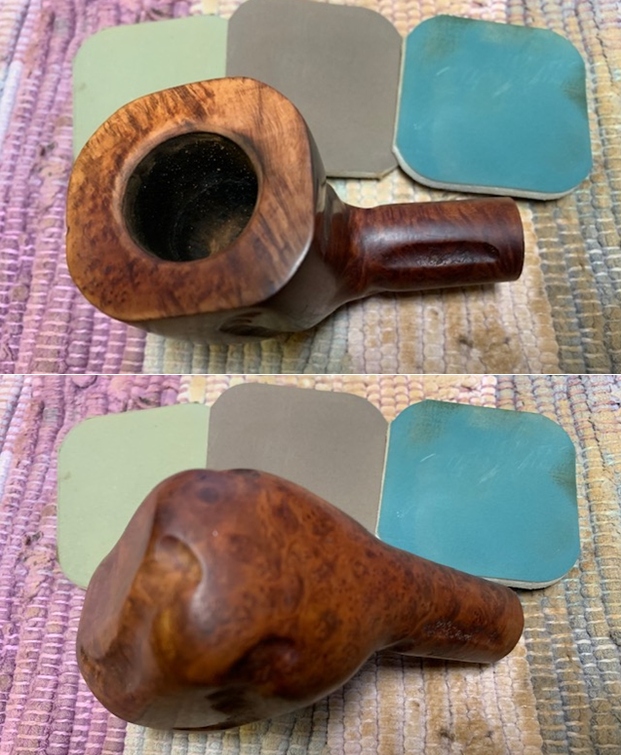
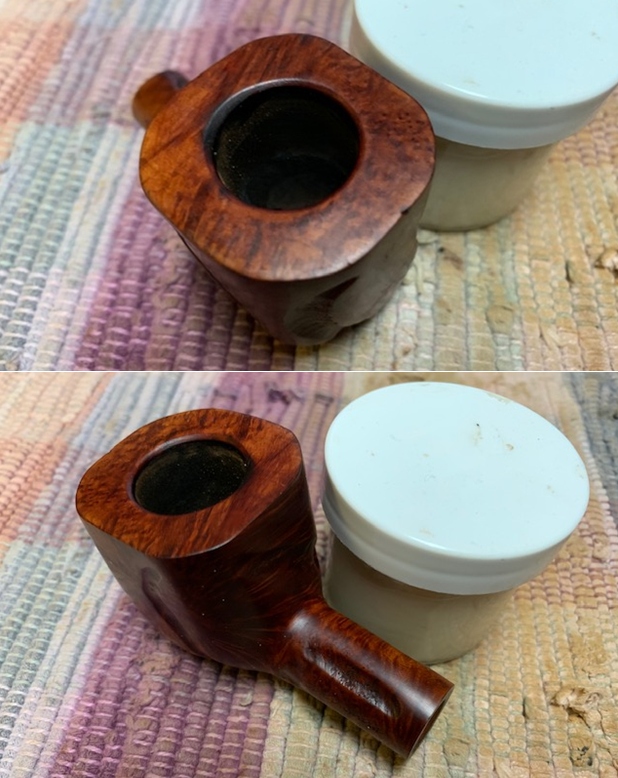
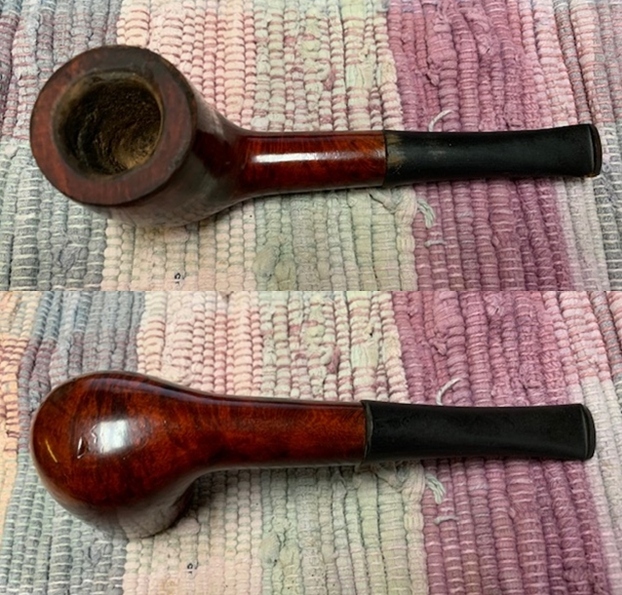
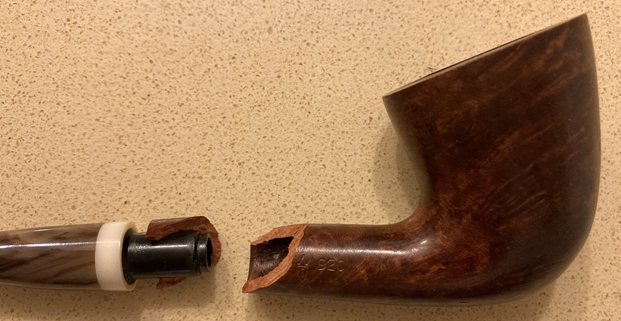
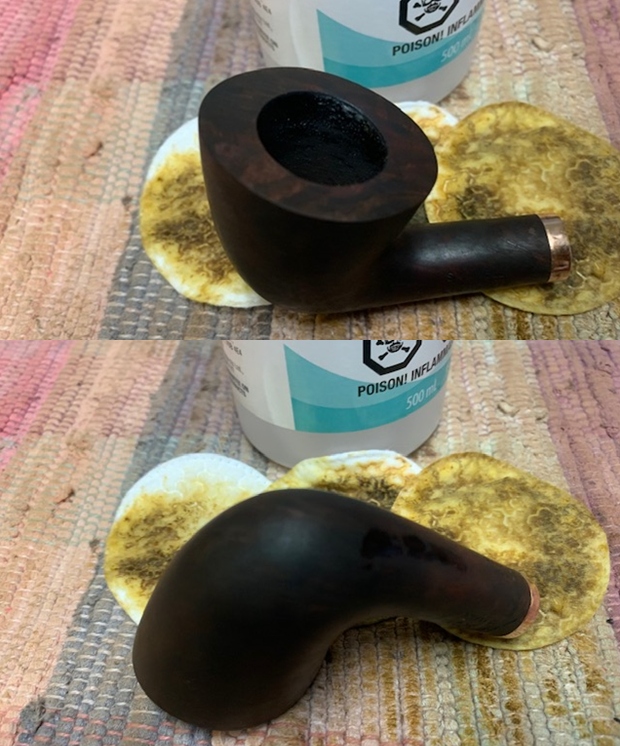
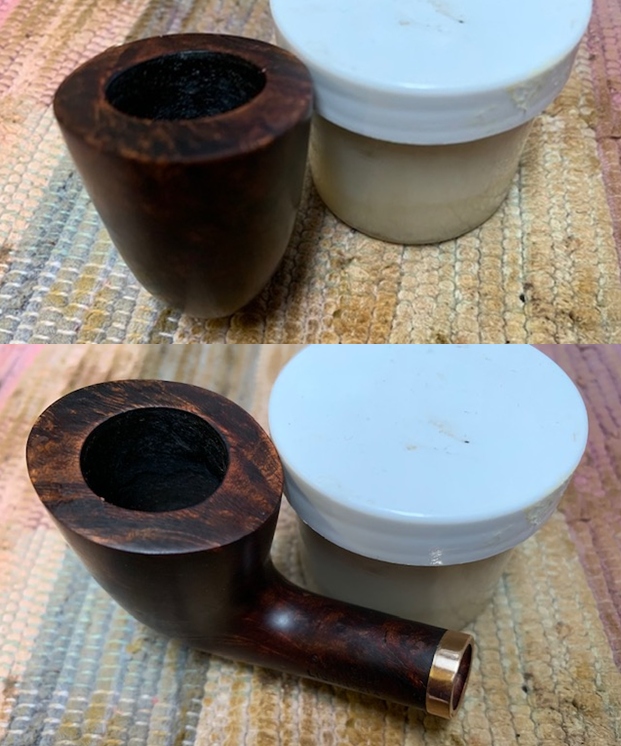
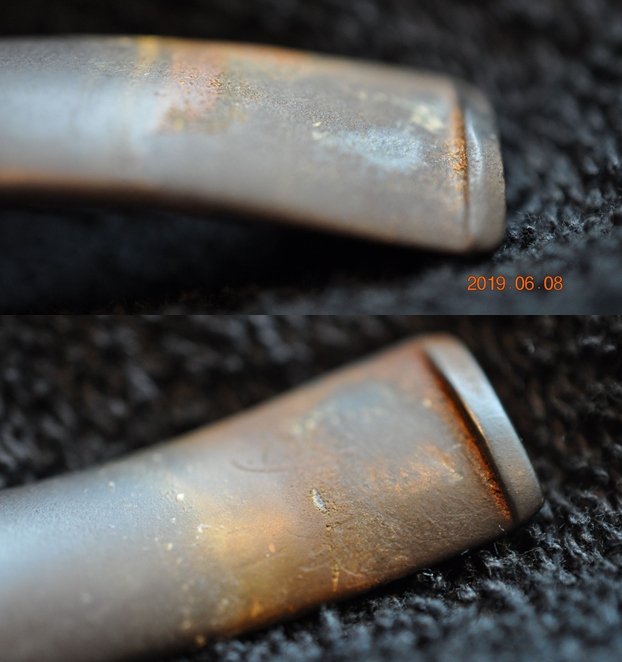
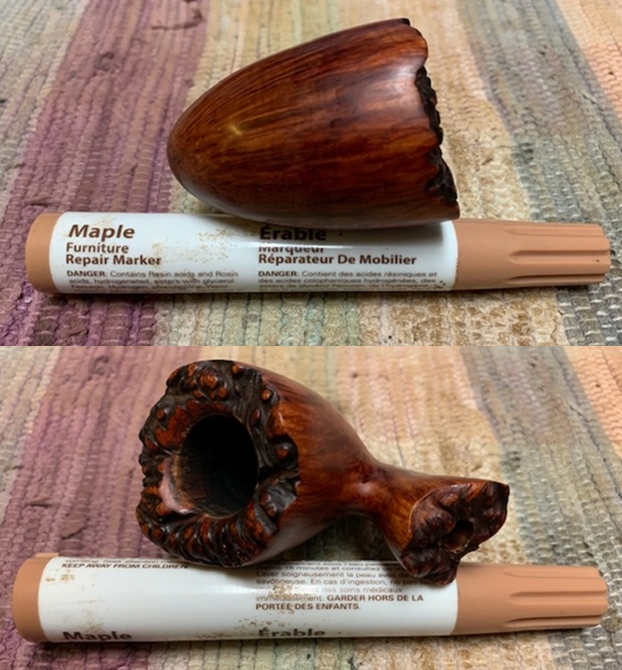
 He took photos of the rim top and bowl to give a clear picture of the thickness of the cake and the lava and dust ground into the plateau finish of the rim top. There is dust and debris stuck to the walls of the bowl clearly visible in the photos. He also took photos of the top and underside of the stem to show the chatter and tooth marks. Otherwise the stem is quite clean.
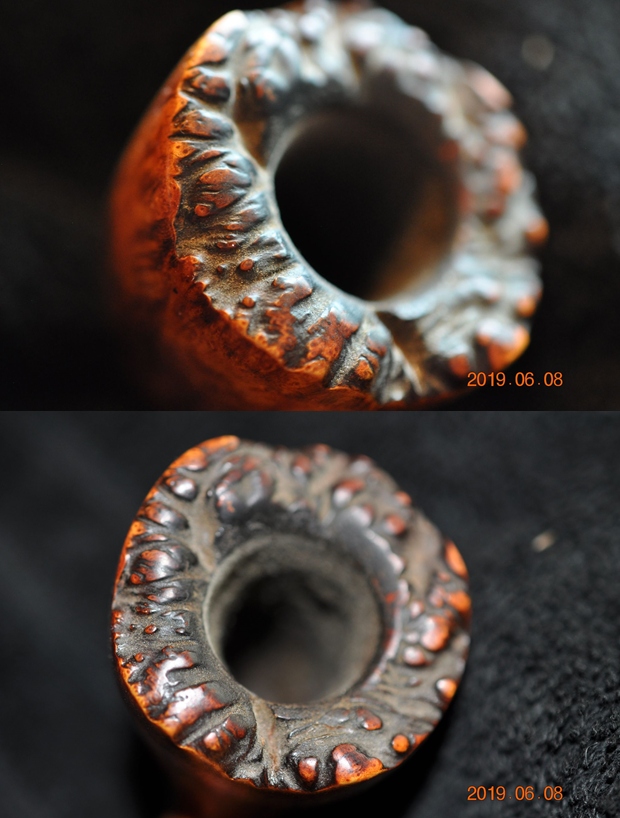
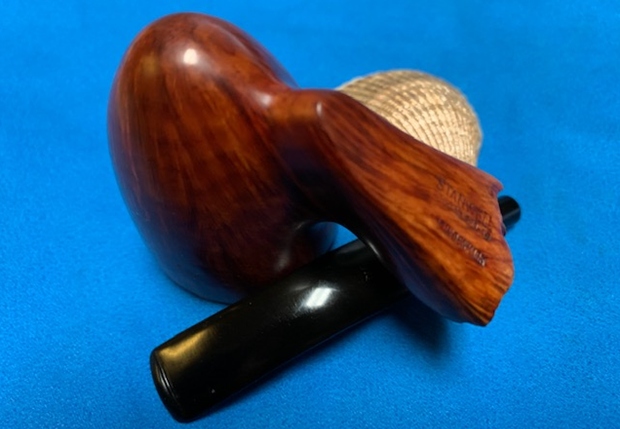
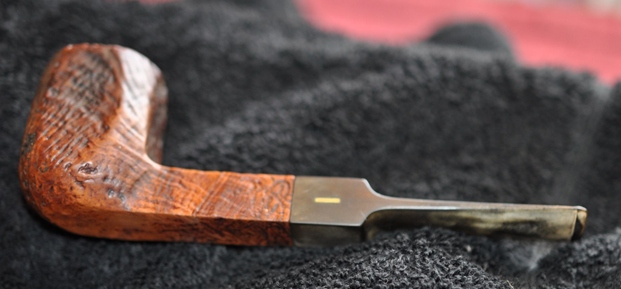
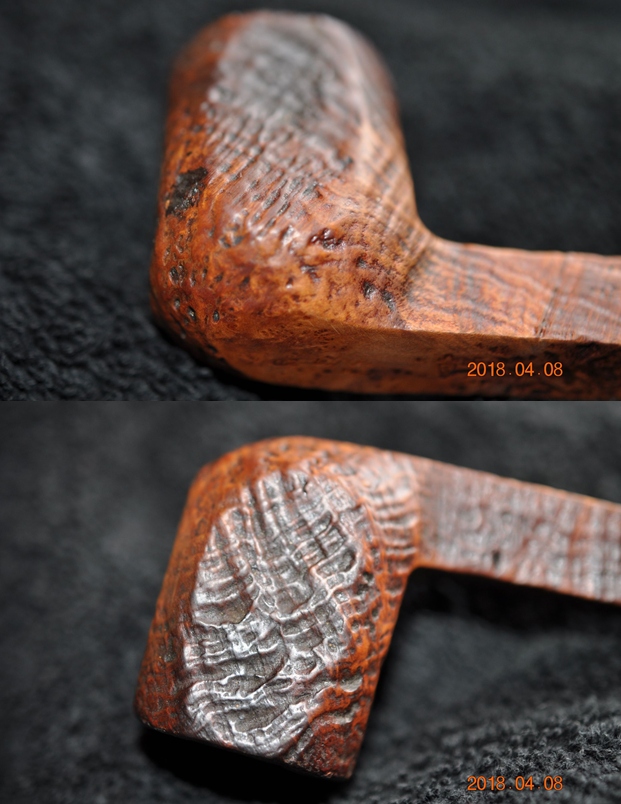
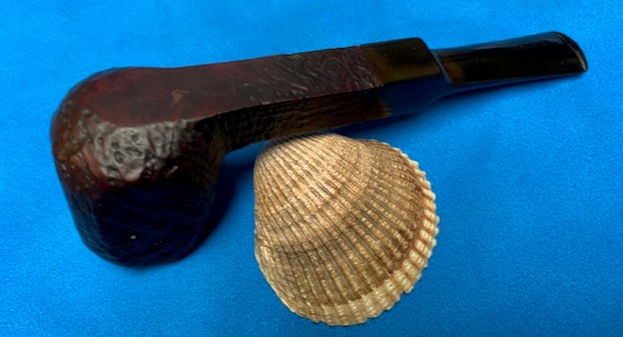
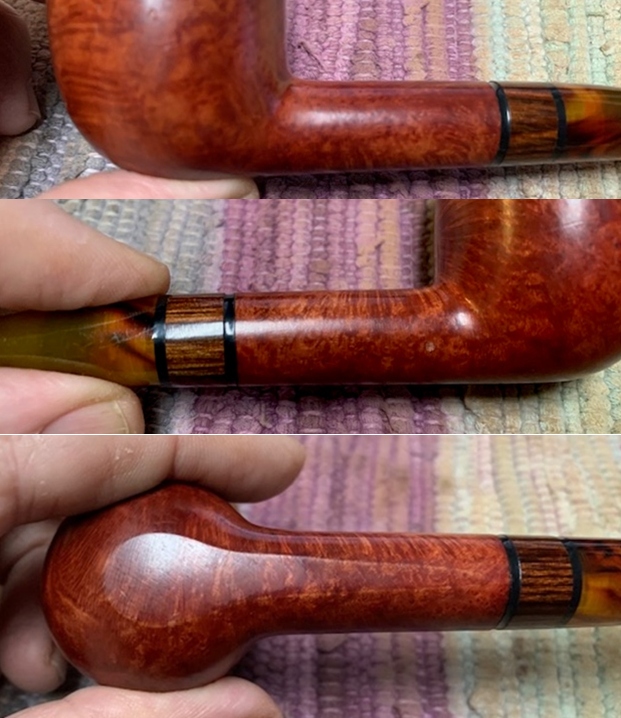
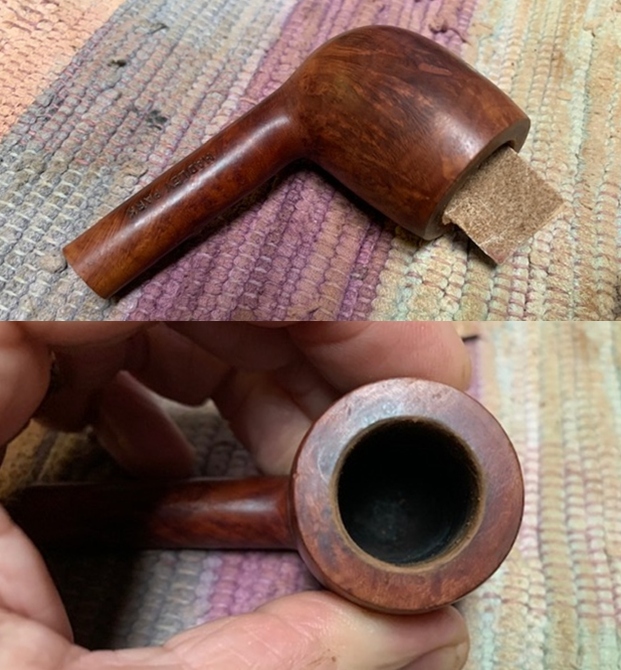
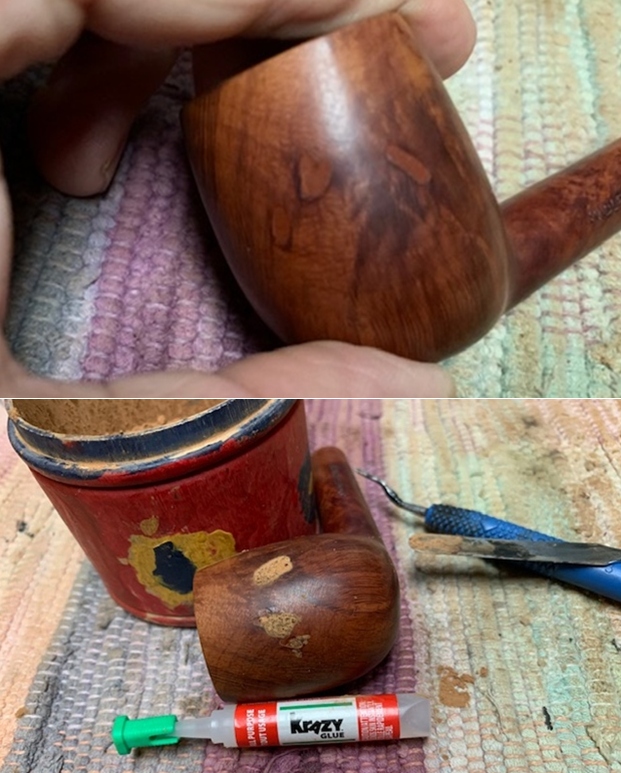
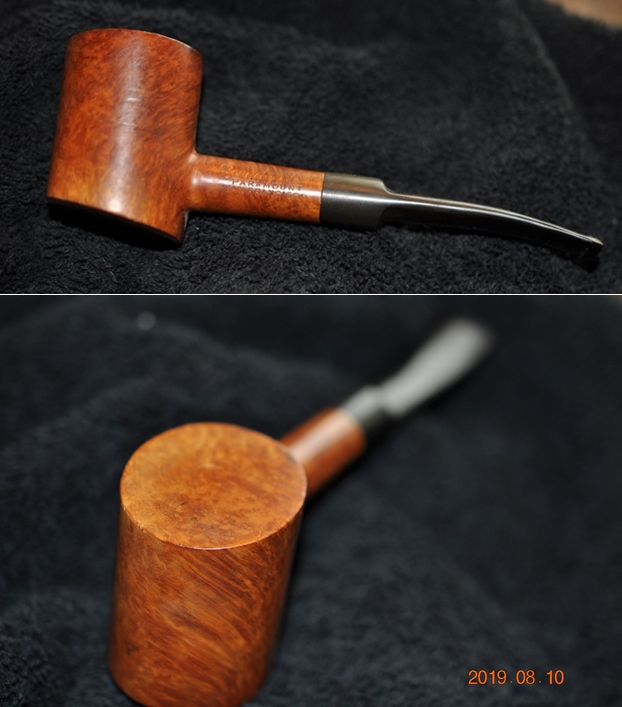
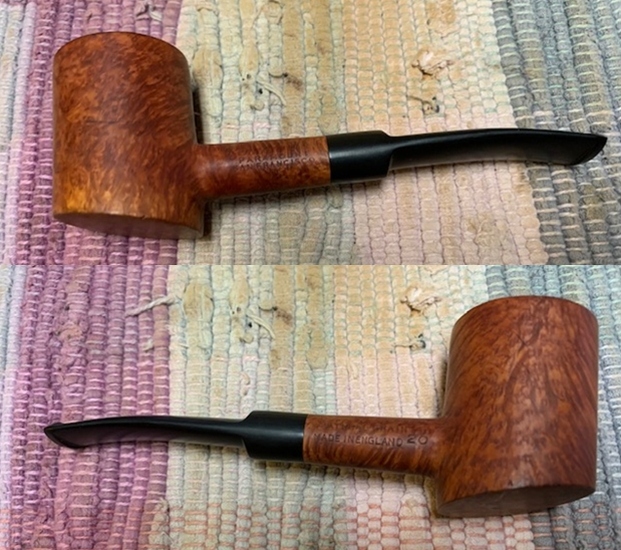
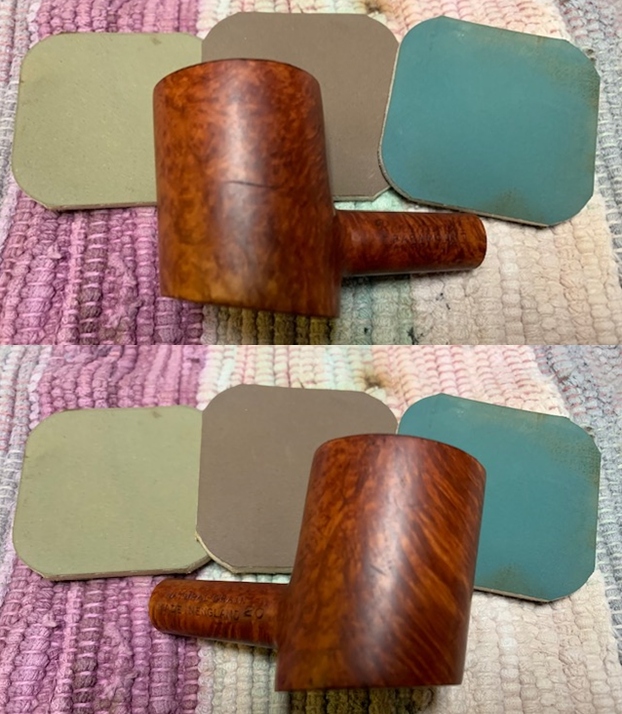
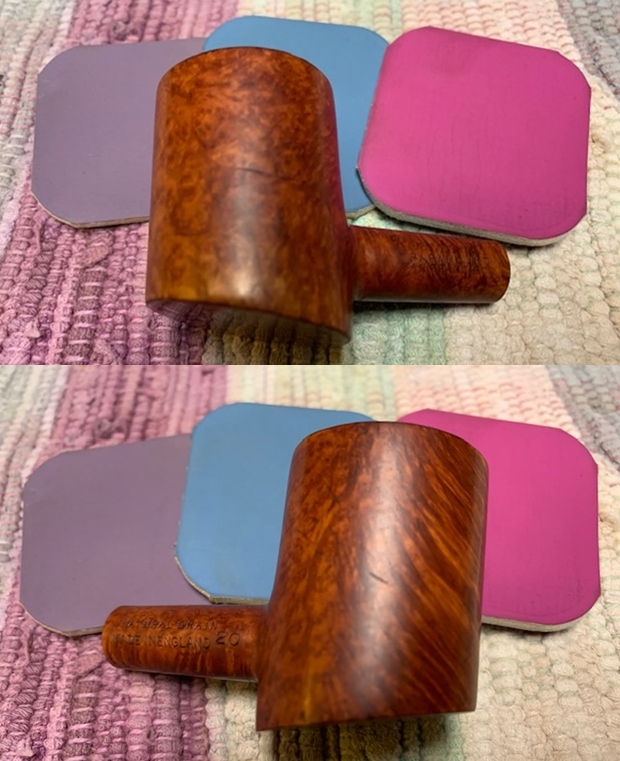
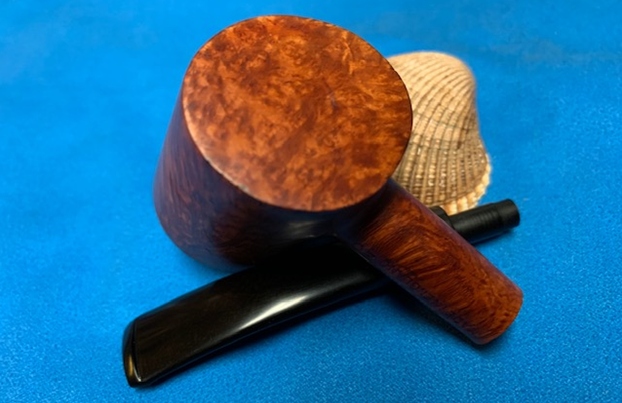
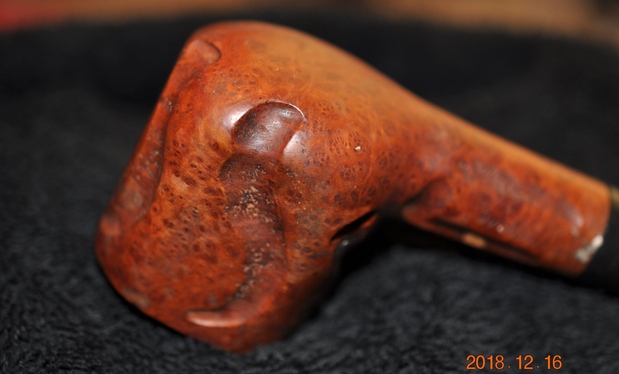
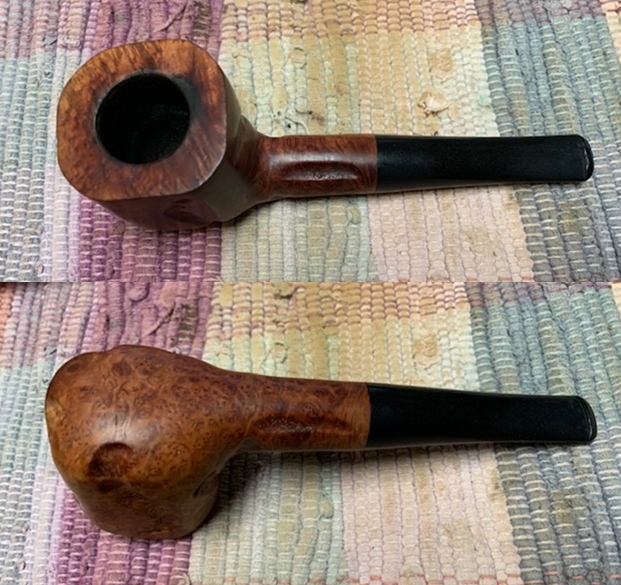
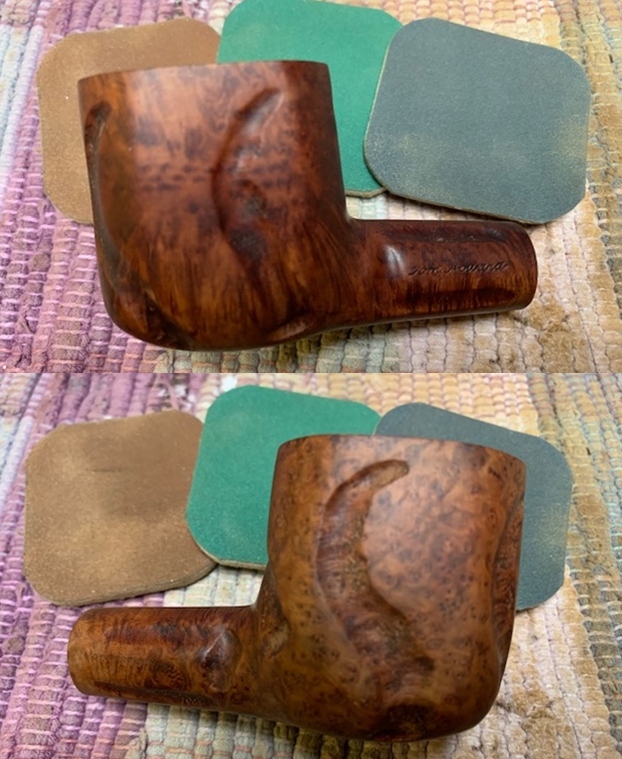
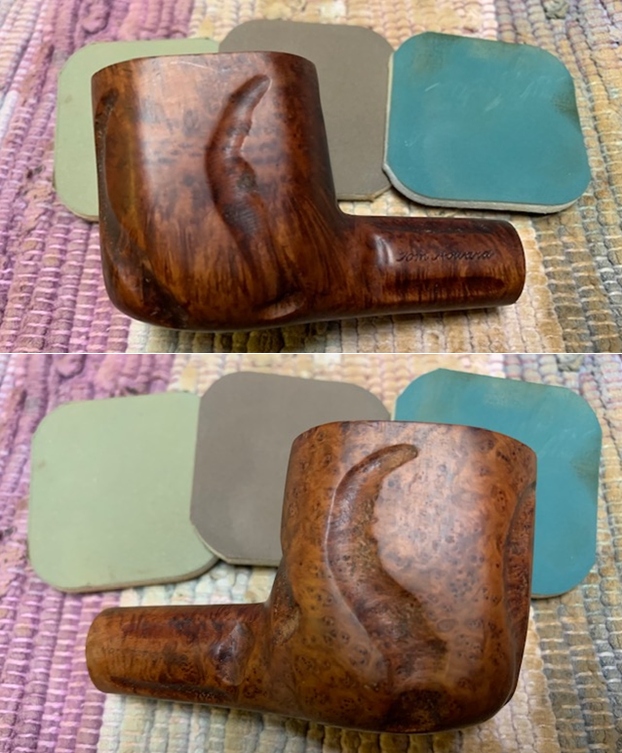
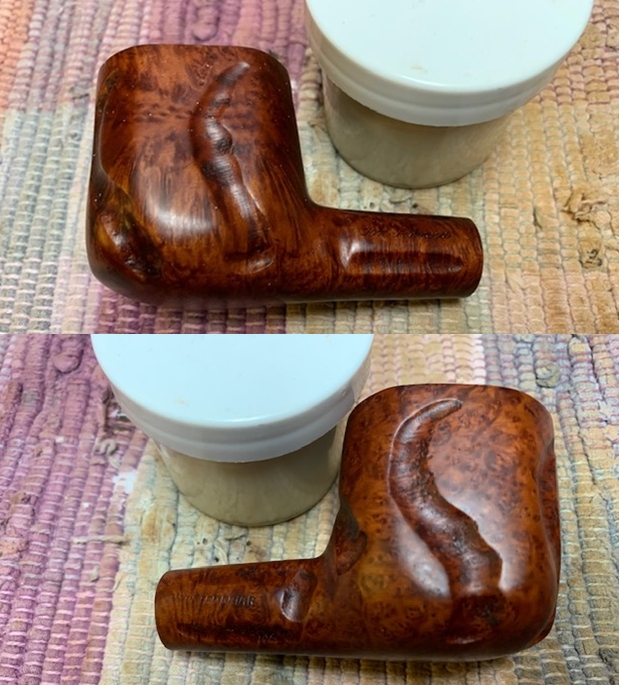
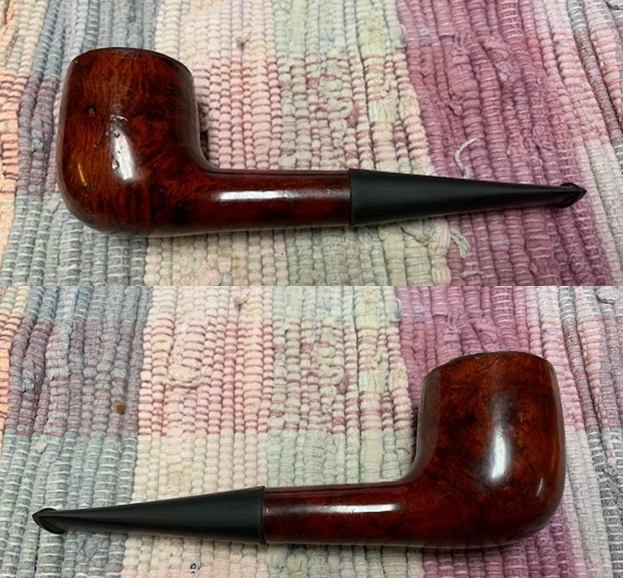
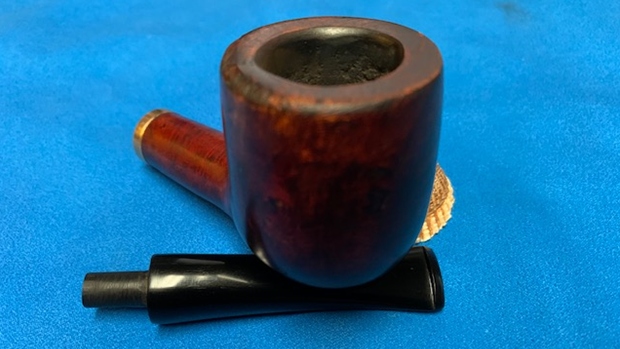
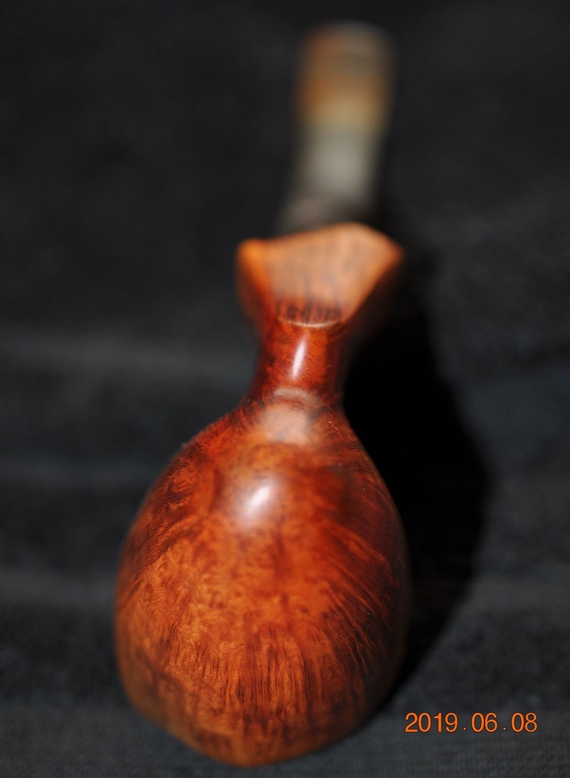
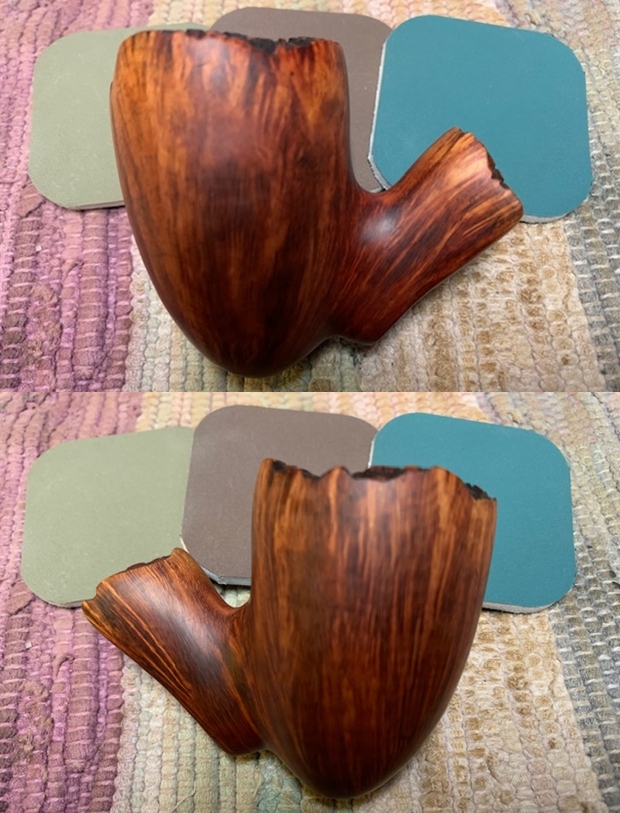
 Jeff took photos of the sides and heel of the bowl to give a picture of what the briar around the pipe looked like. There are a lot of angles on this pipe and there is some stunning grain under the grime.
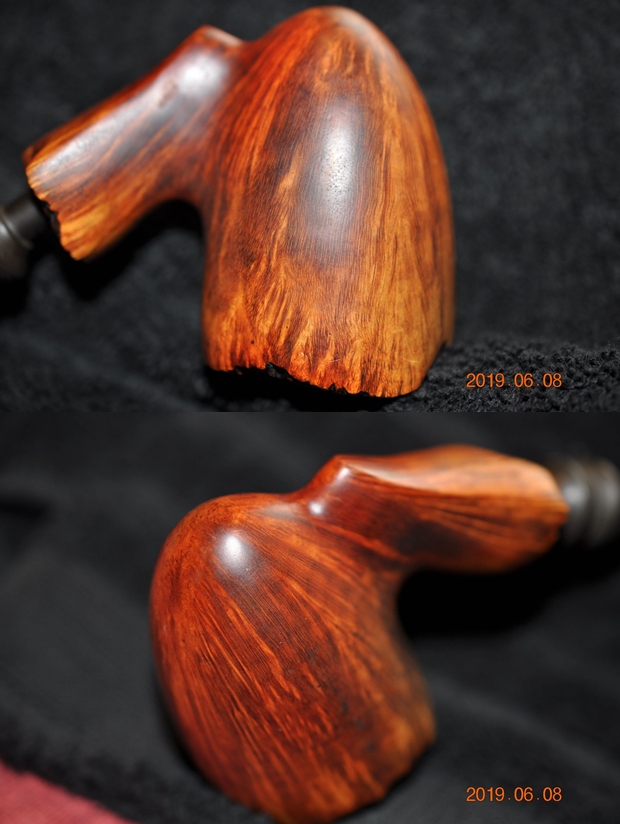
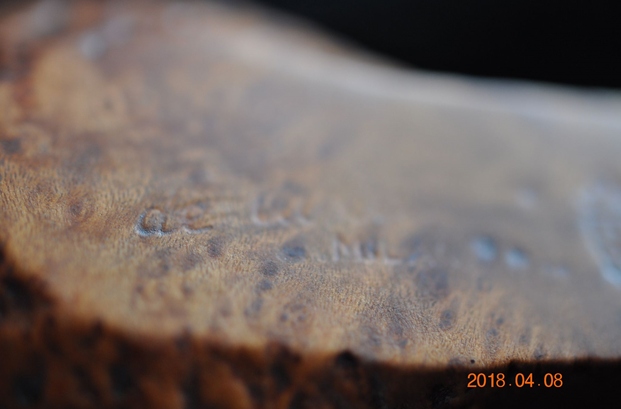
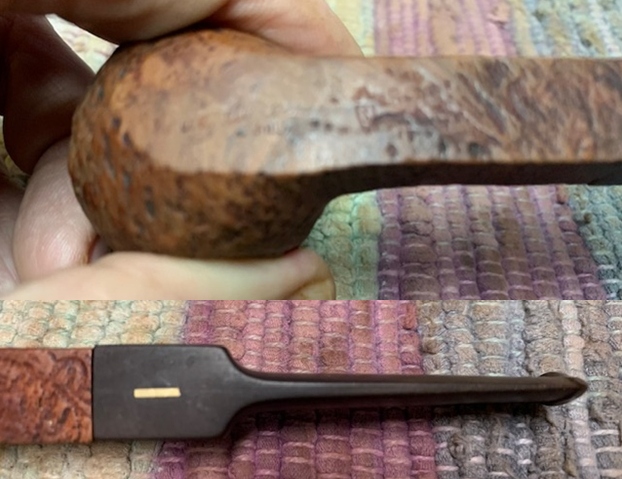
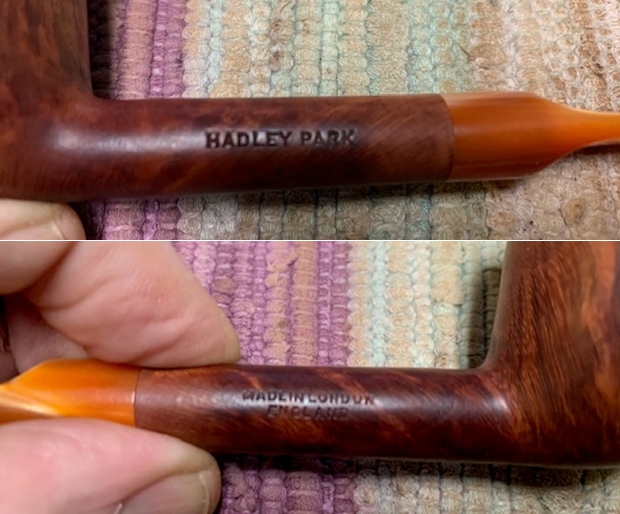
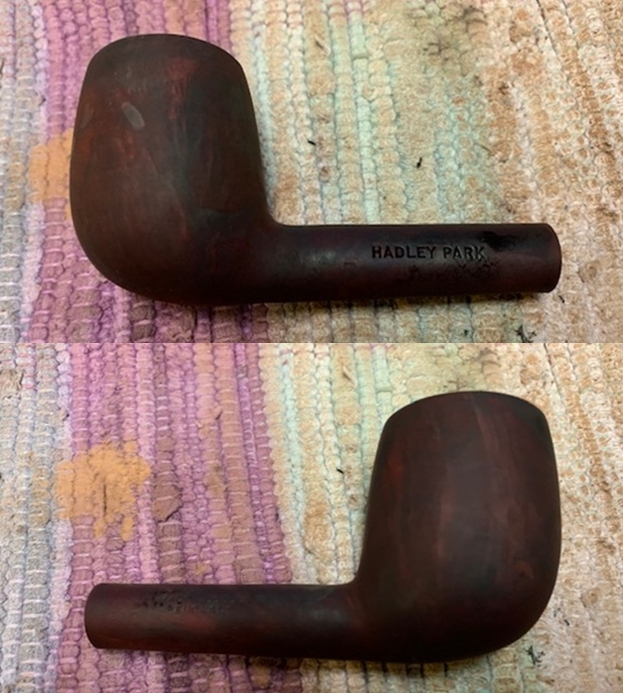
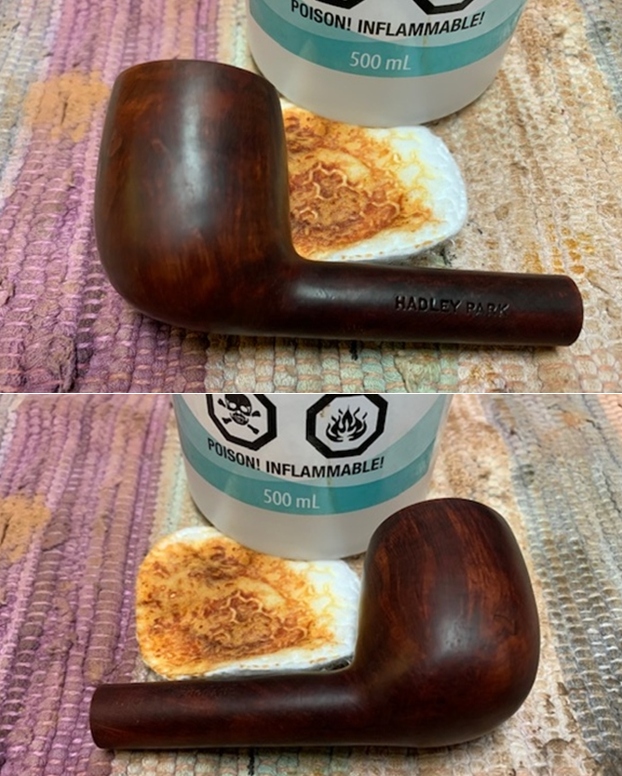
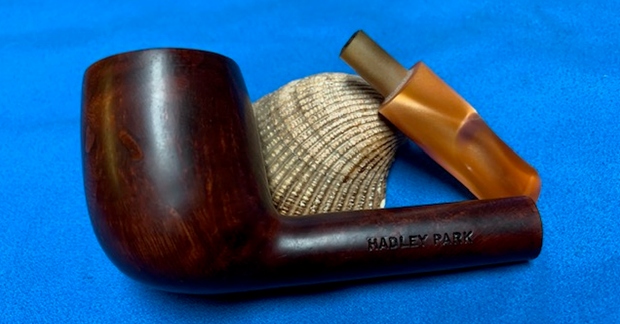
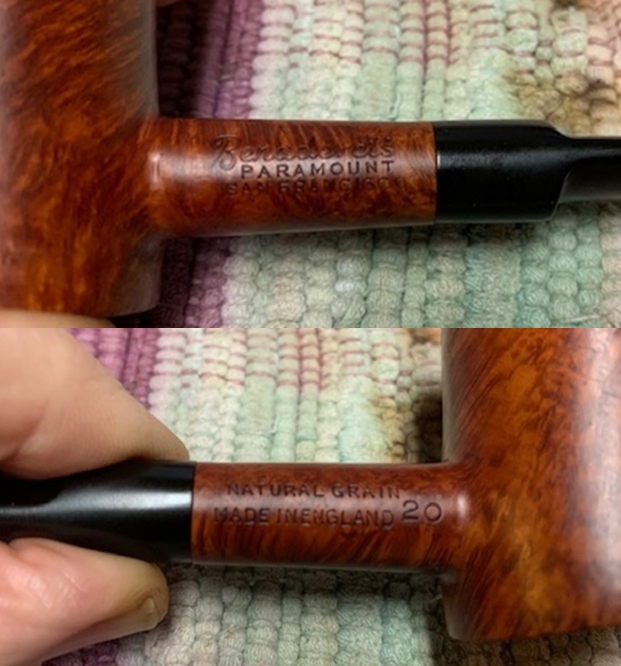
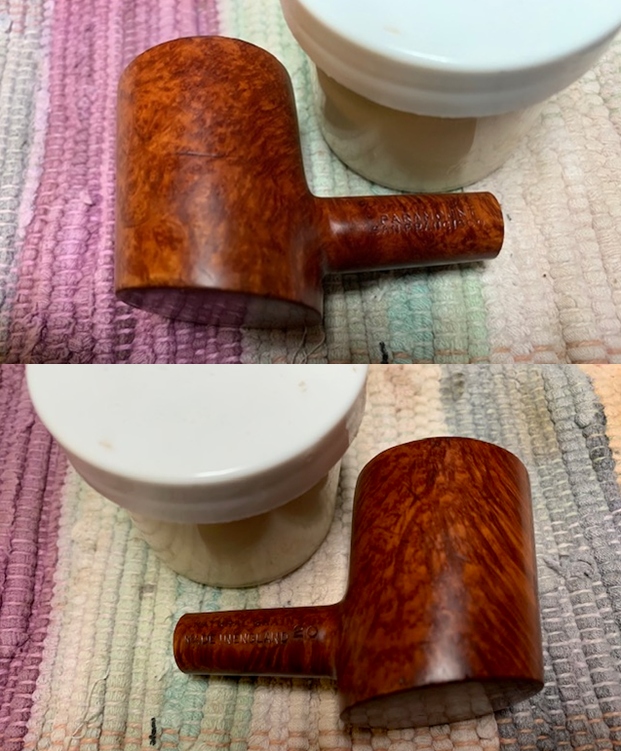
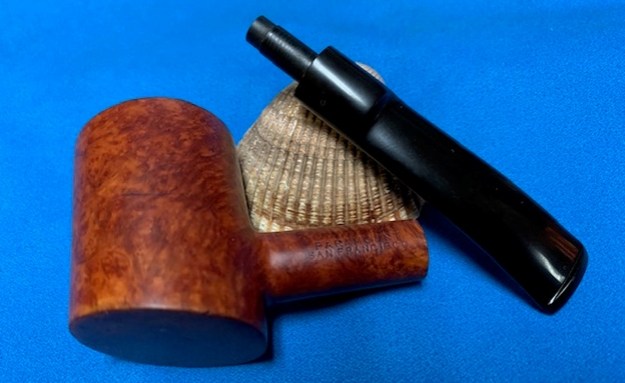
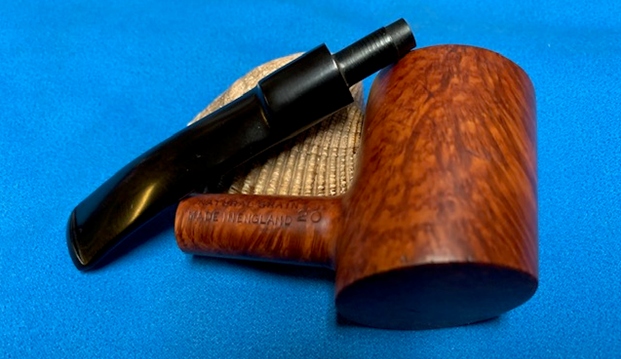
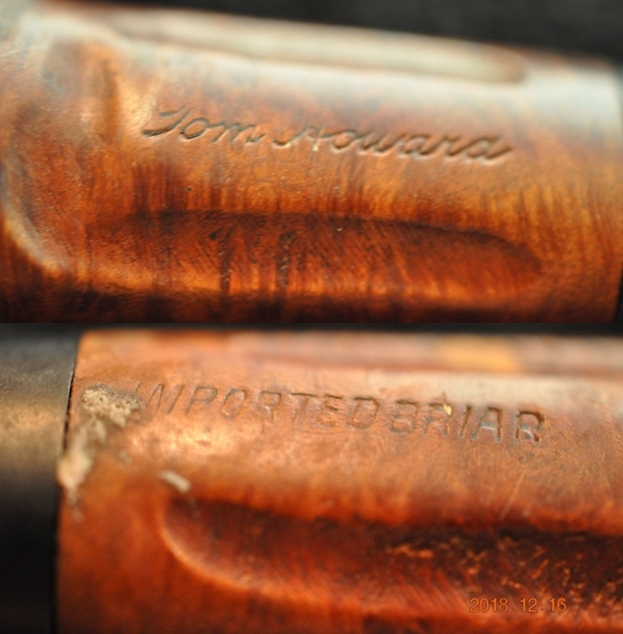
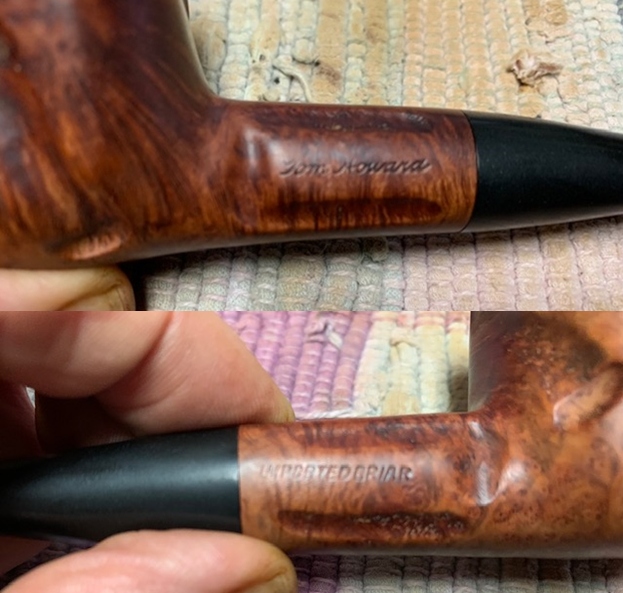
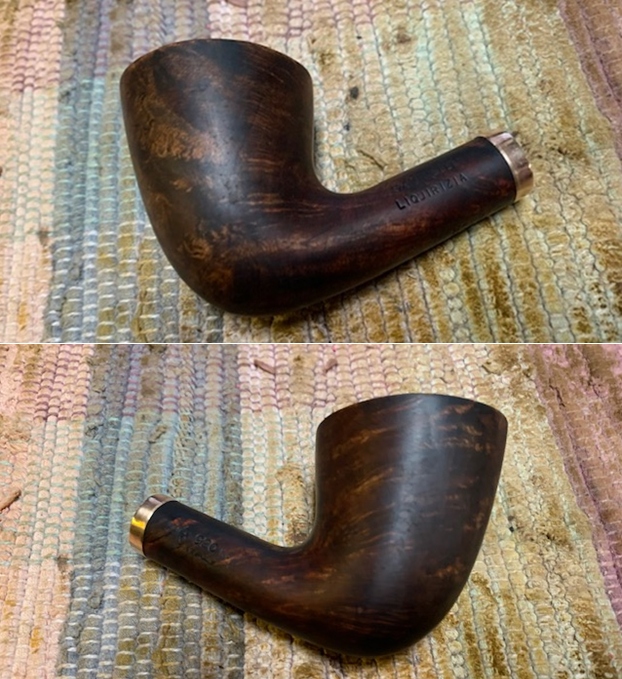
 He took a photo of the stamping on the shank. It reads as noted above and is clear and readable.
 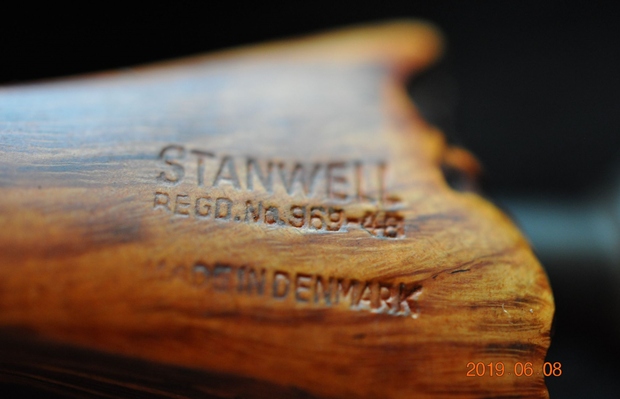 I turned first to Pipephil’s site to get a quick idea of when this pipe was made by reference to the Regd. No. on the underside of the shank (http://www.pipephil.eu/logos/en/logo-stanwell.html). I quote what I found there.
The “Regd. No.” stamping discontinued in late 1960s to very early 1970s.
I also turned to Pipedia’s article on Stanwell but it did not add any further information. It is a great read in terms of the history of the brand (https://pipedia.org/wiki/Stanwell).
With that information in hand I knew what I was dealing with in terms of the stamping and the age of this pipe. I knew from the information from Pipephil that the Regd. No. stamping was discontinued in the late 60s to very early in the 70s. Now it was time to work on the pipe.
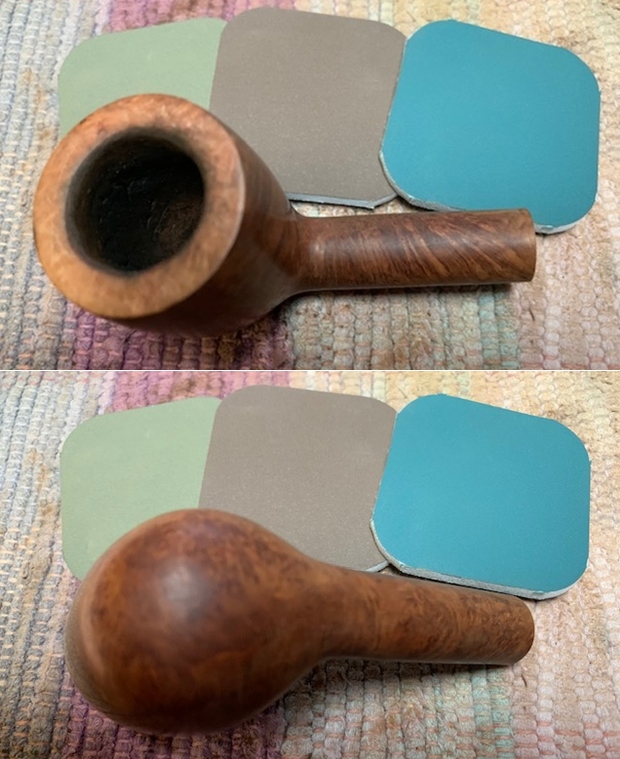
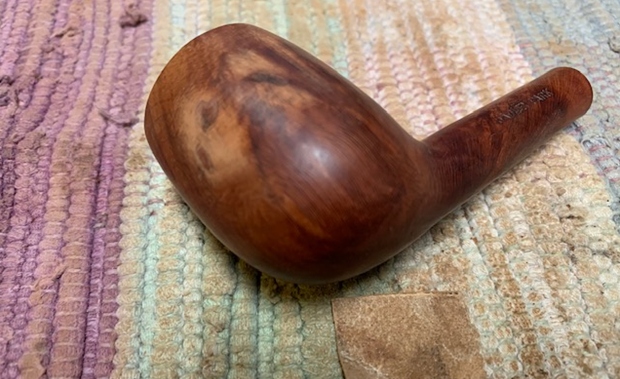
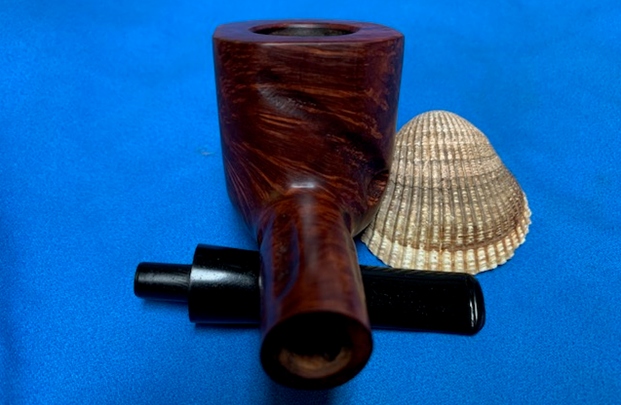
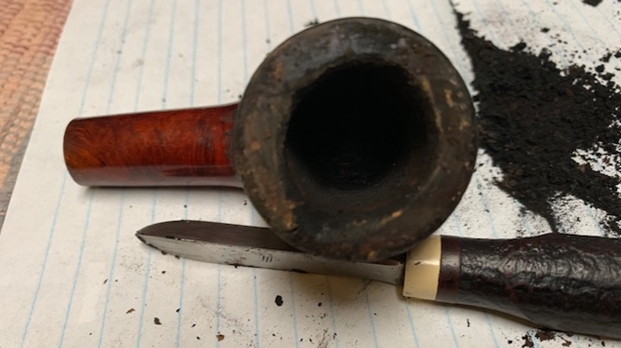
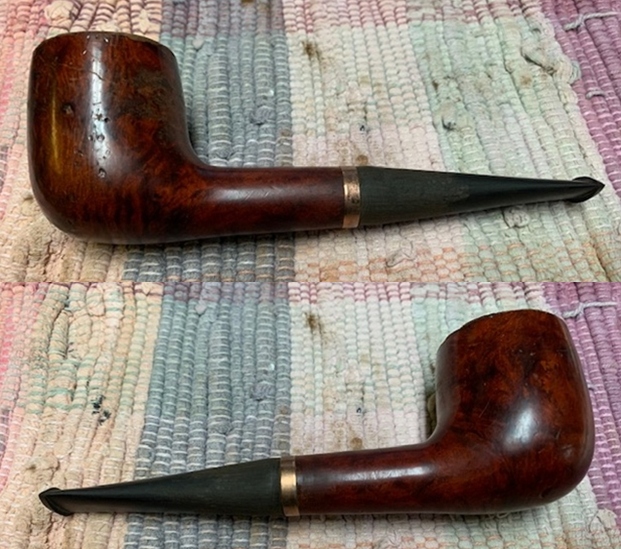
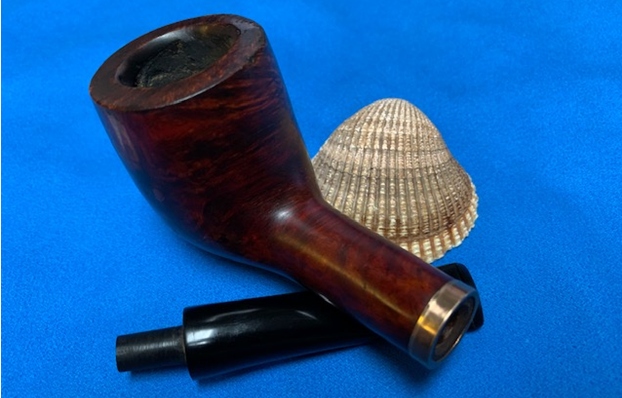
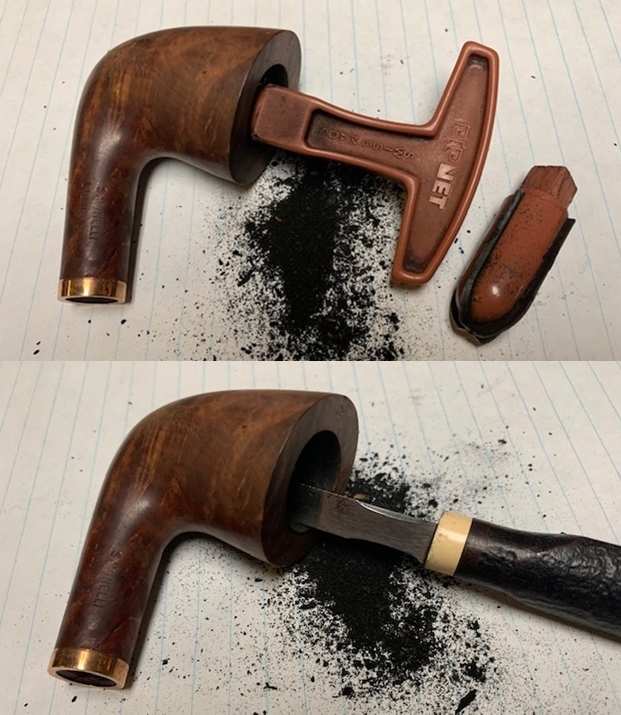
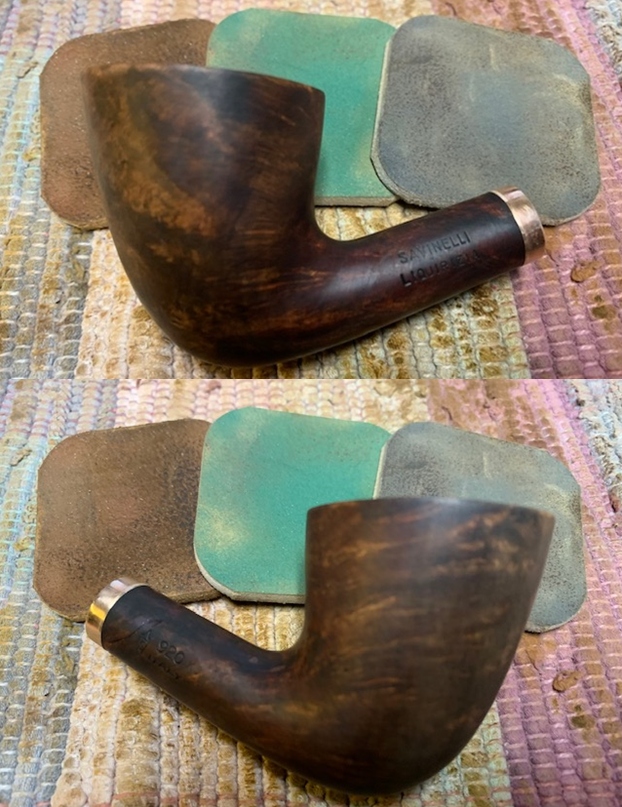
Jeff had cleaned up the pipe with his usual penchant for thoroughness. He reamed the pipe with a PipNet Pipe Reamer and cleaned up the remnants with a Savinelli Fitsall Pipe Knife. He scrubbed the bowl with undiluted Murphy’s Oil Soap with a tooth brush. He worked over the debris on the rim top and was able to remove it. He rinsed it under running warm water to remove the soap and grime. He cleaned out the inside of the shank and the airway in the stem with alcohol, cotton swabs and pipe cleaners. He soaked the stem in Before & After Pipe Stem Deoxidizer and rinsed it off with warm water. He scrubbed the stem with Soft Scrub and cotton pads to remove remaining oxidation on the ferrule and the stem. He rinsed it with warm water and dried it off. I took photos of the pipe once I received it. It really looked good. 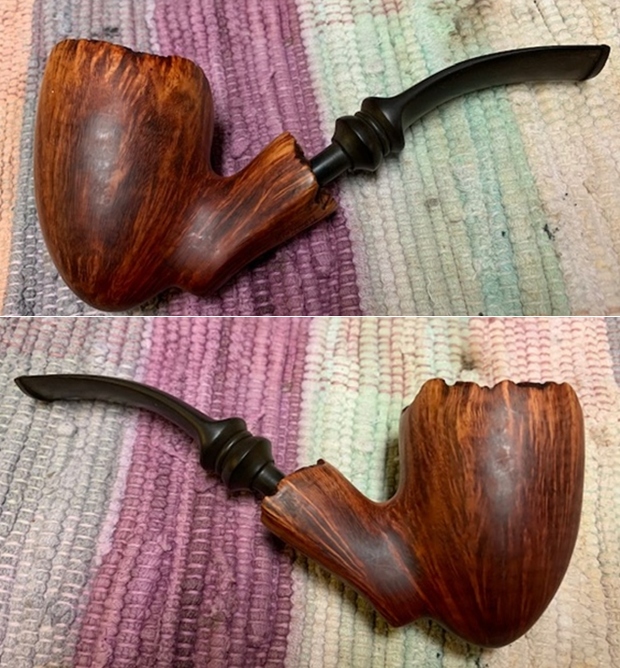
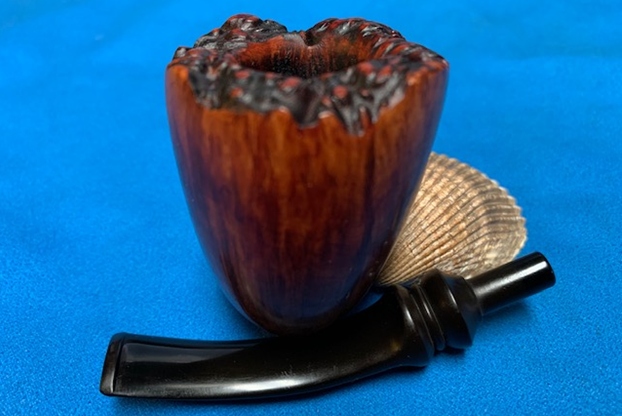
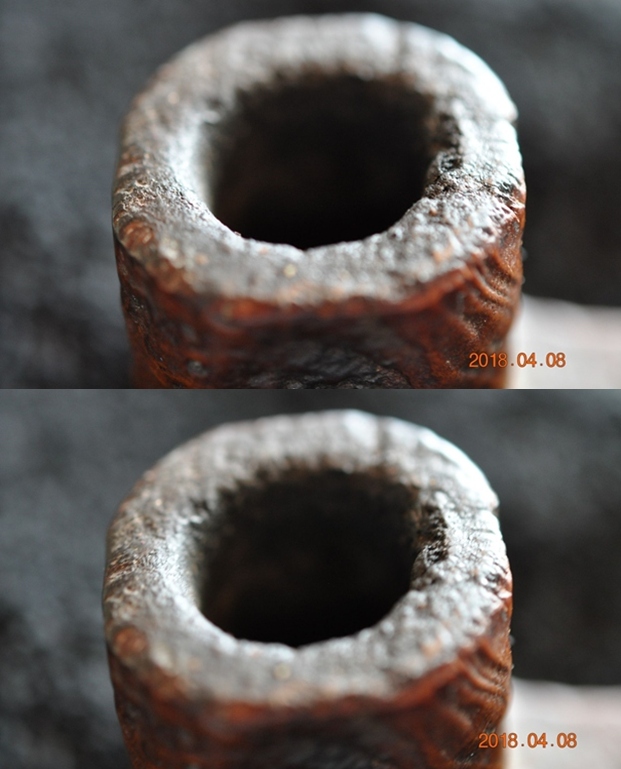
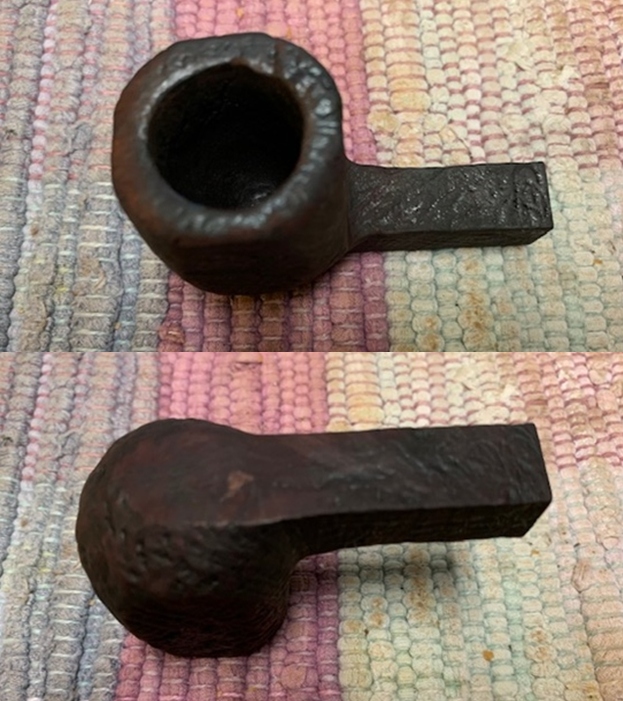
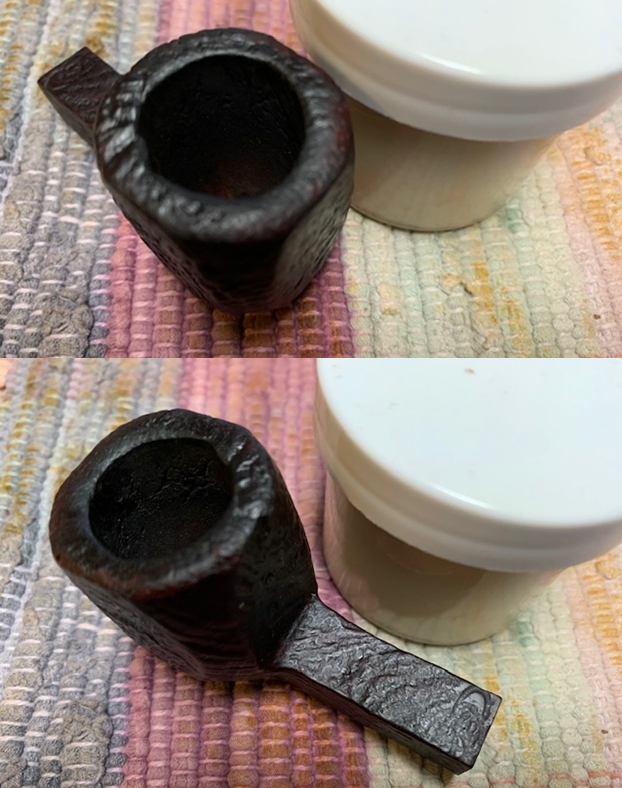
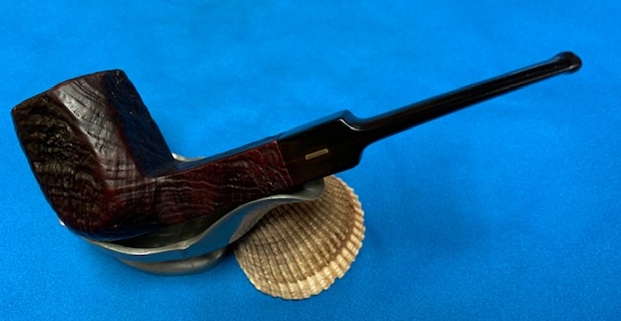
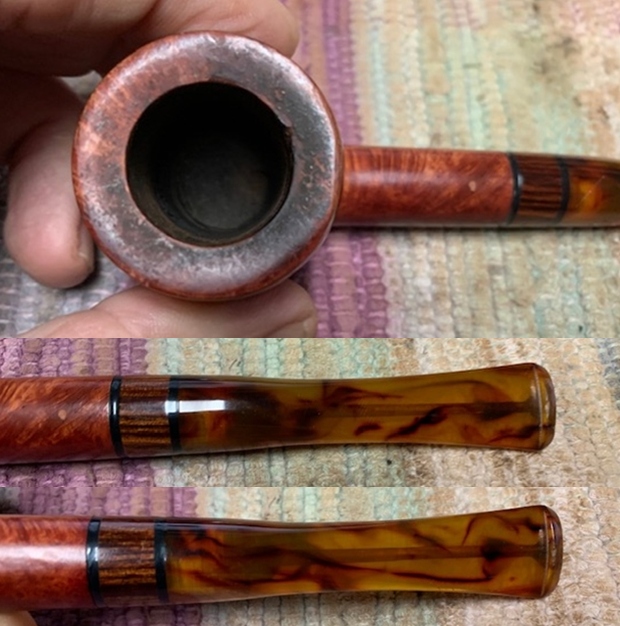
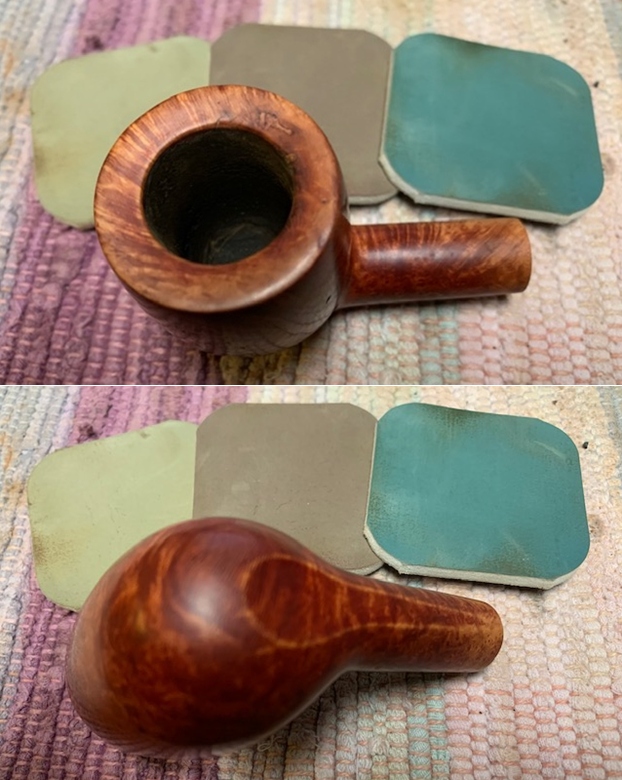
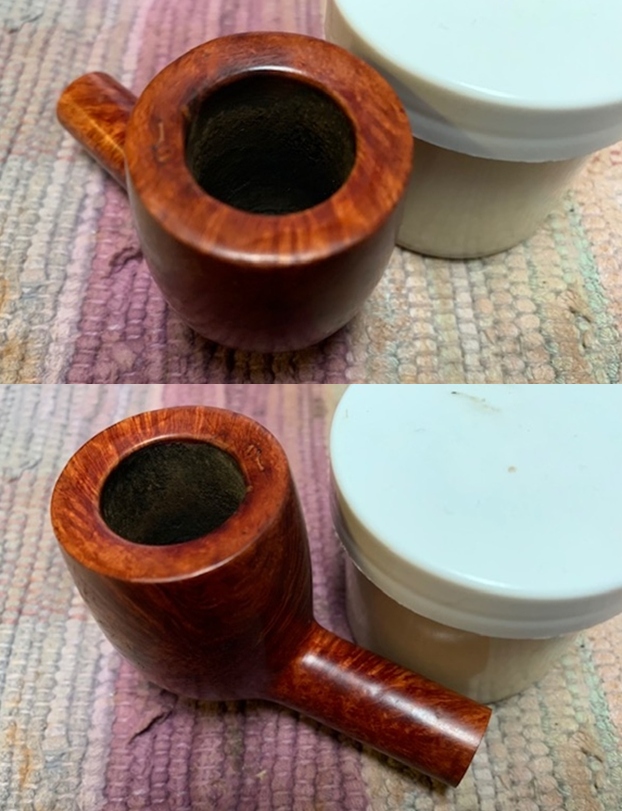
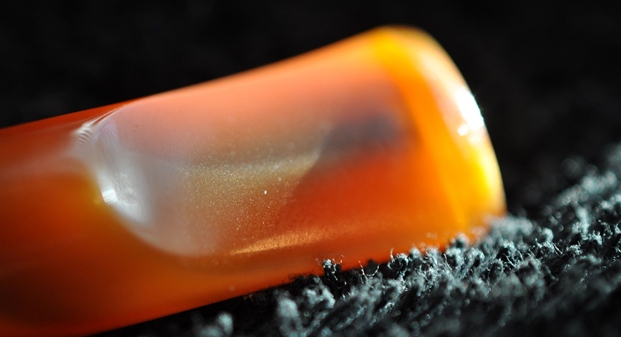
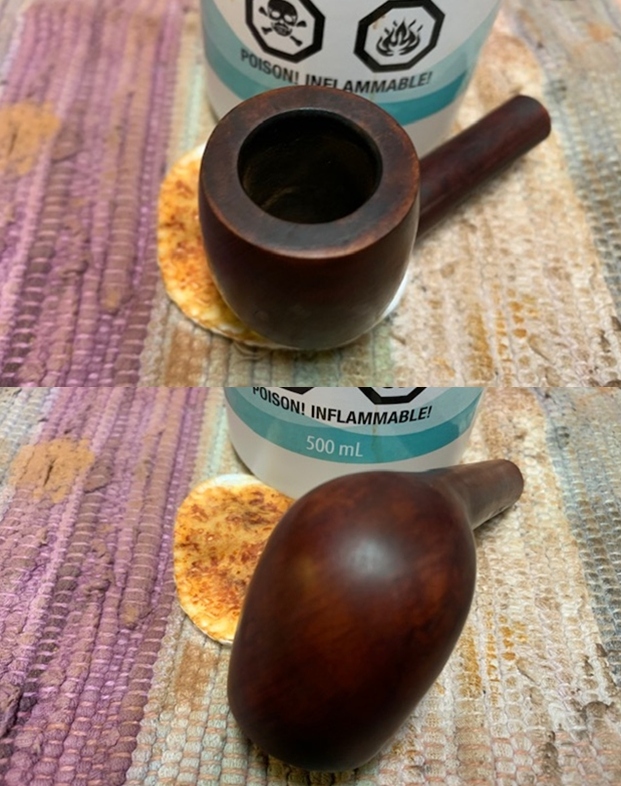
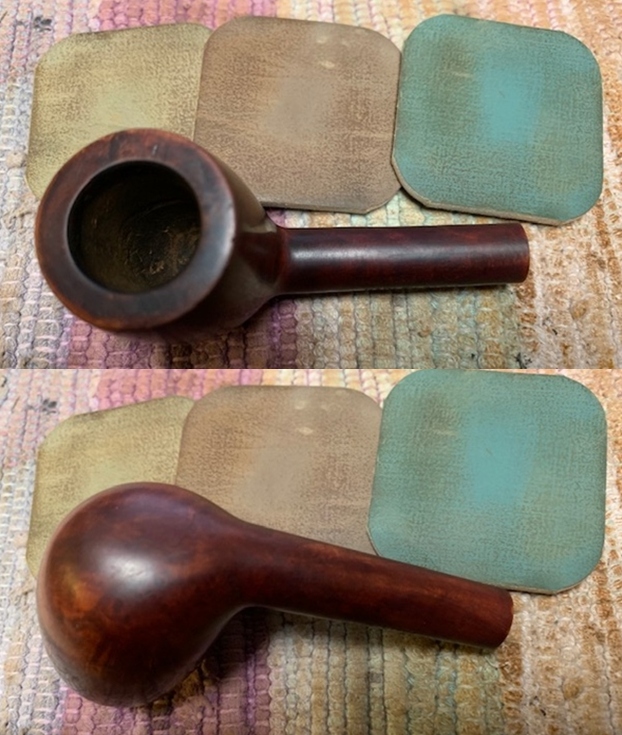
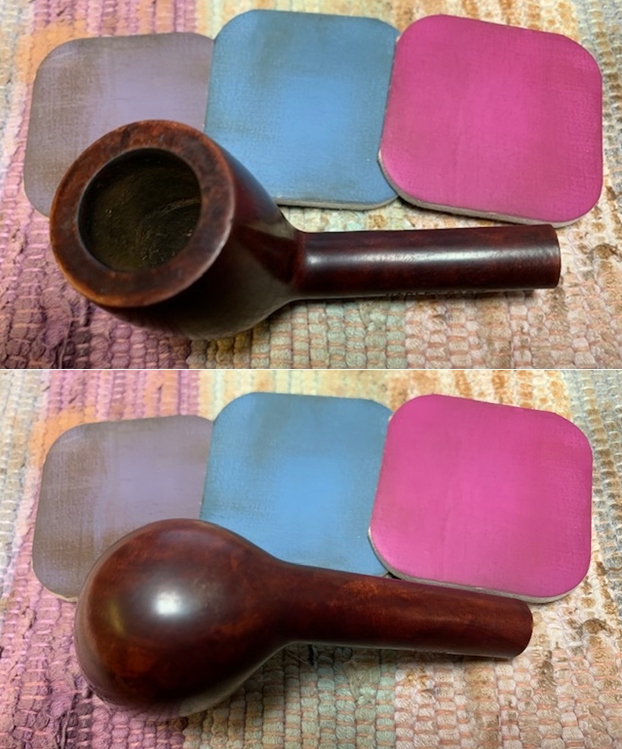
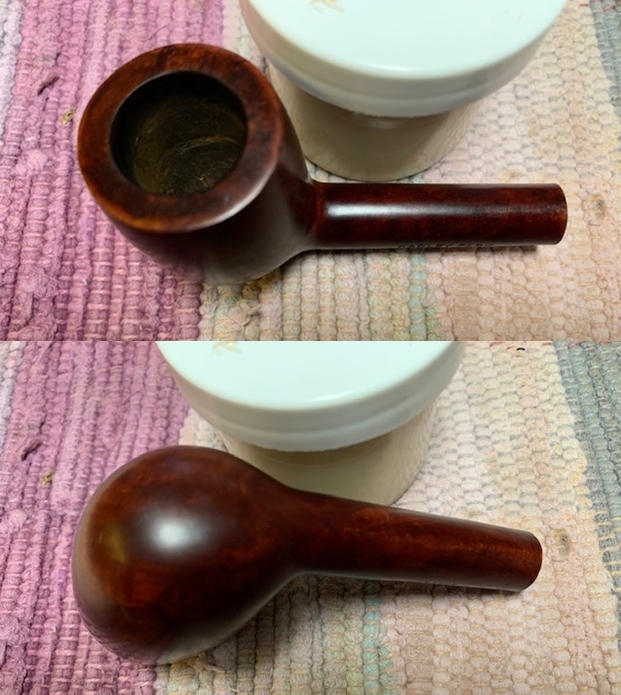
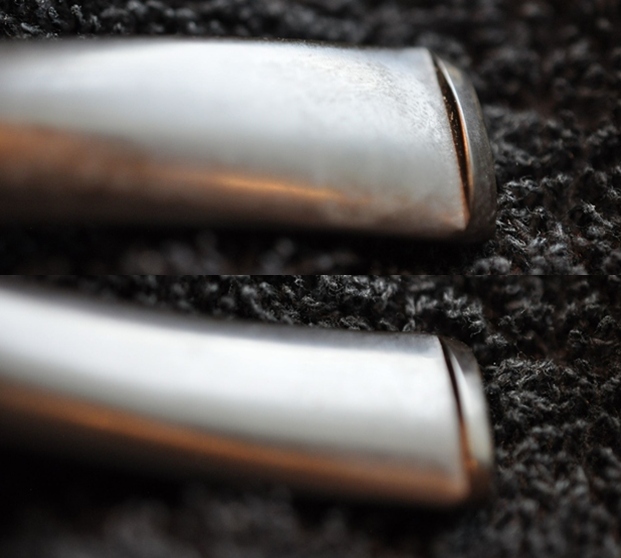
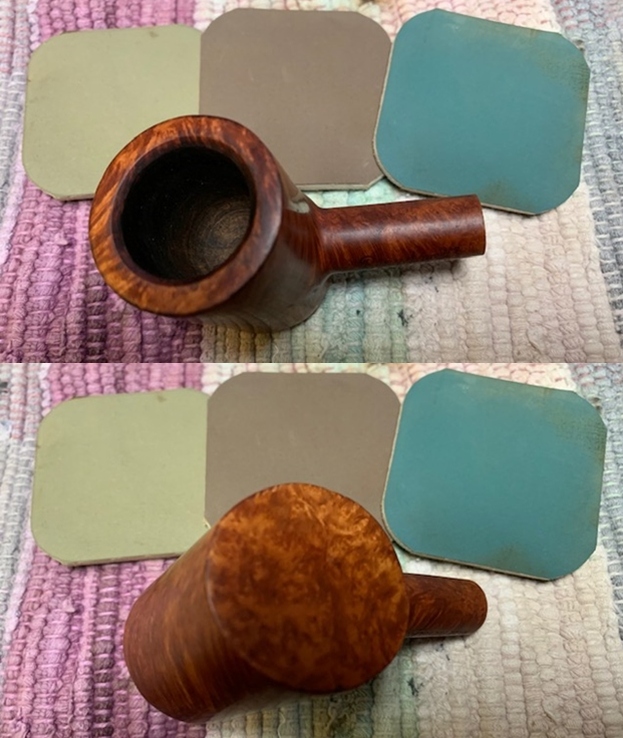
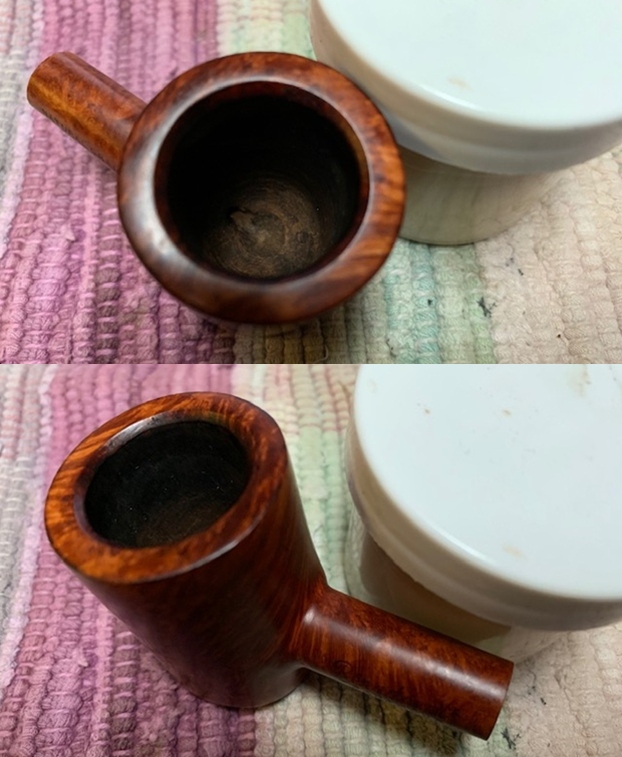
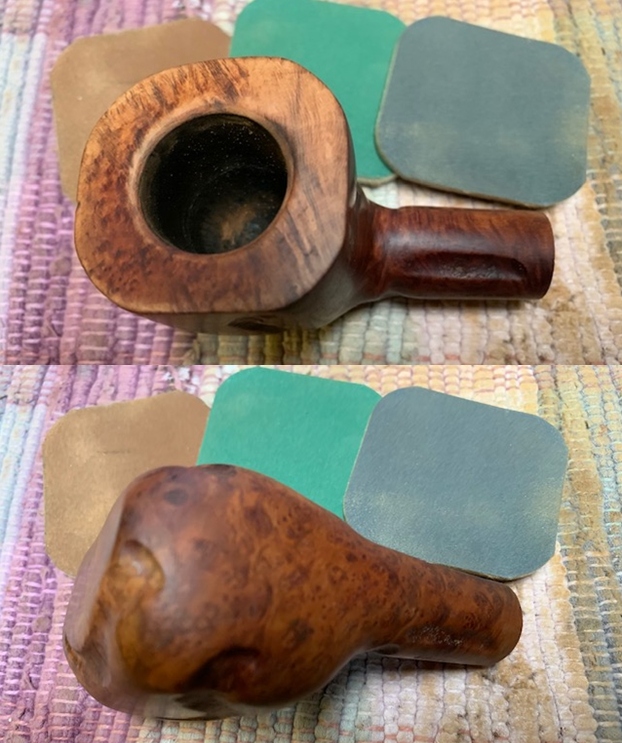
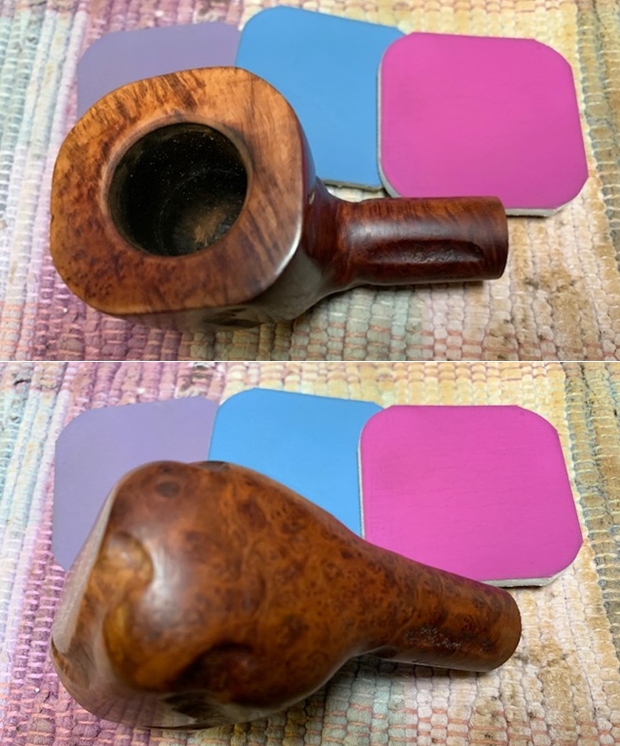
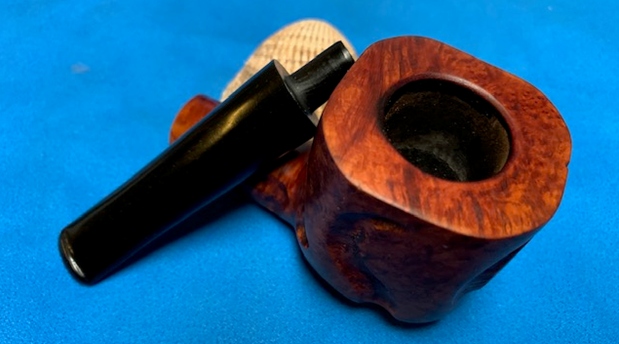
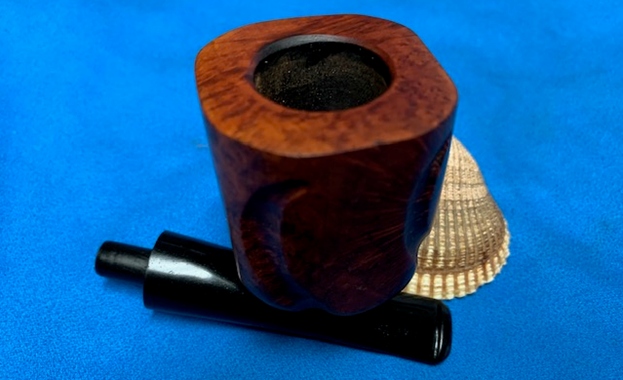
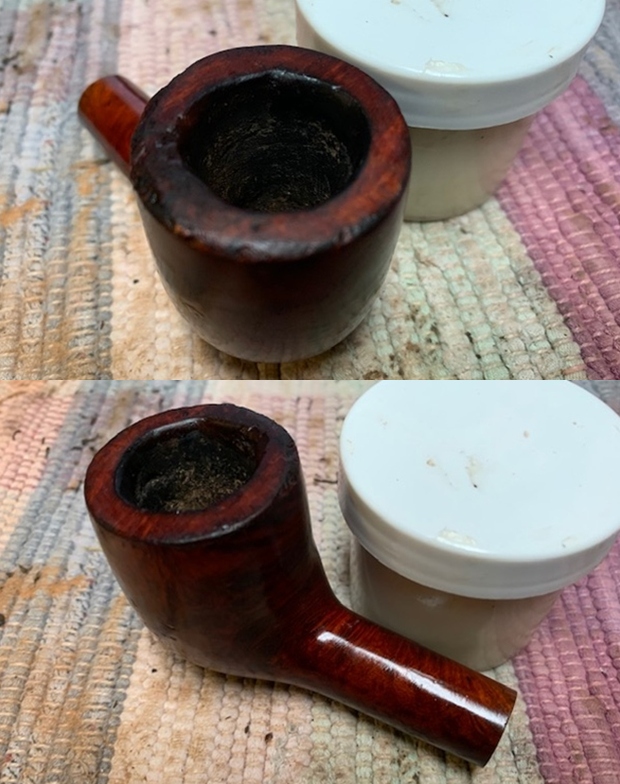
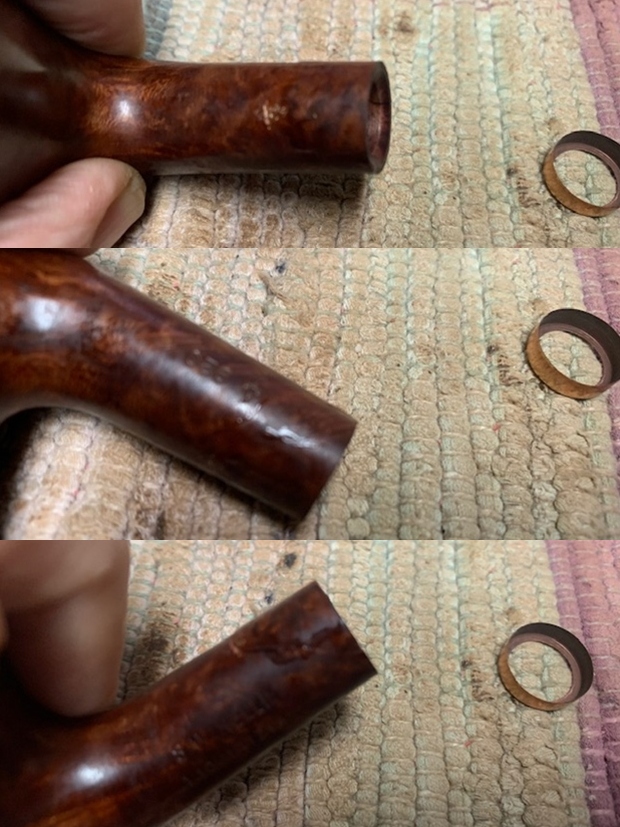
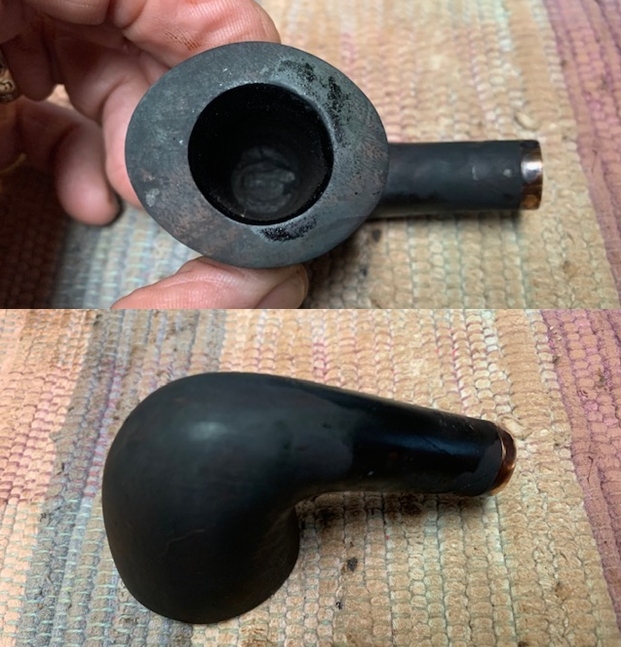
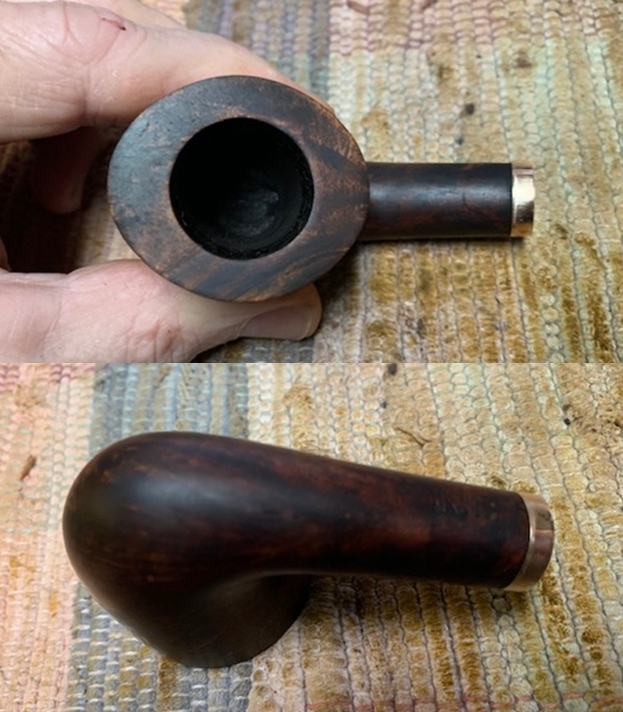
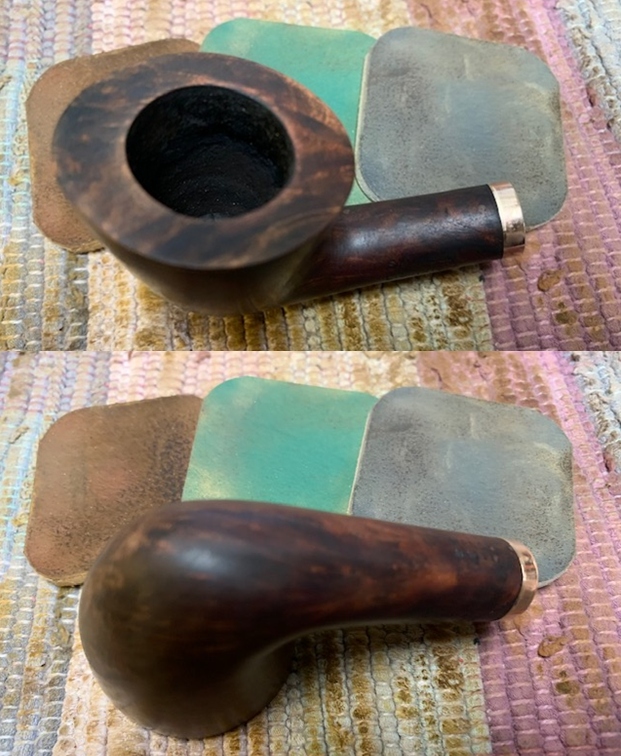
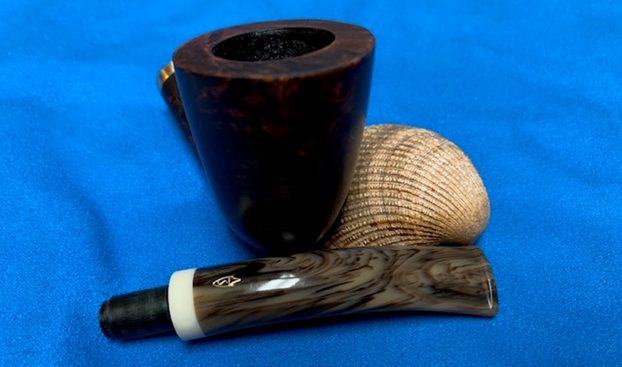
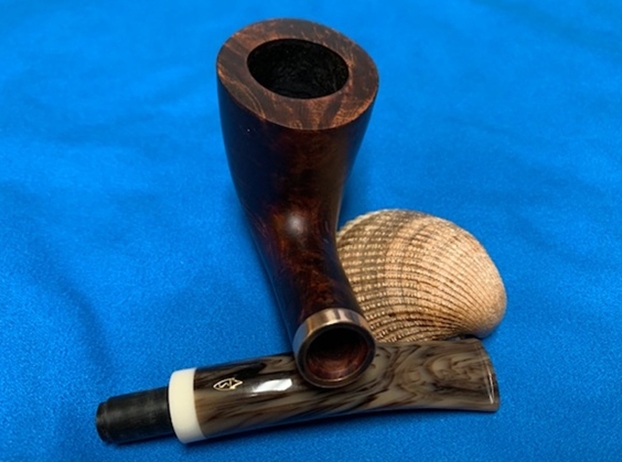
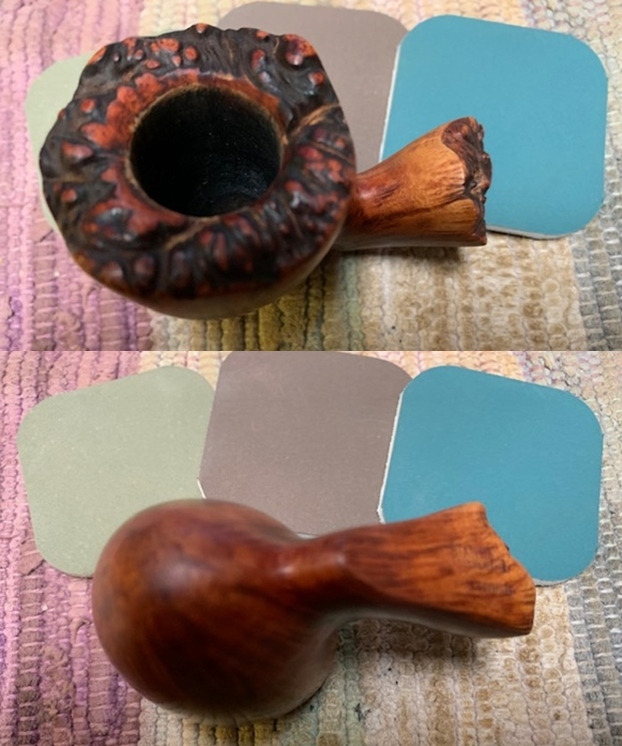
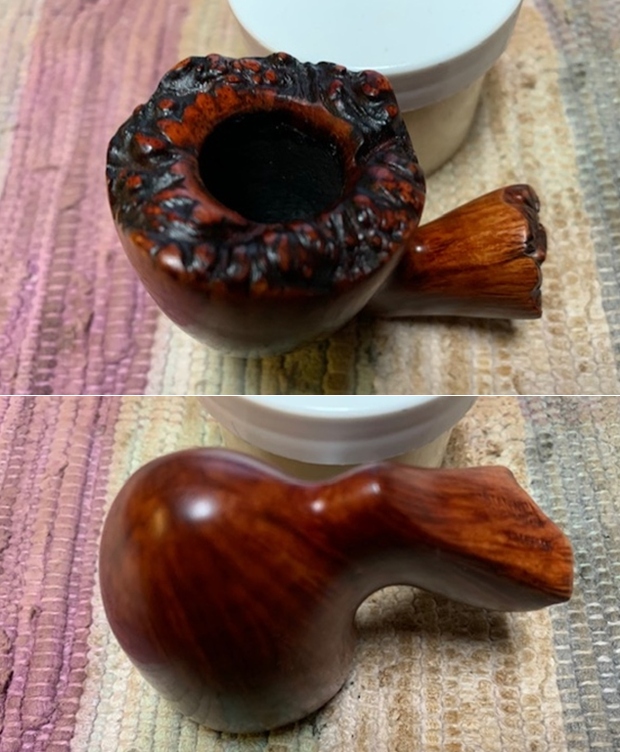
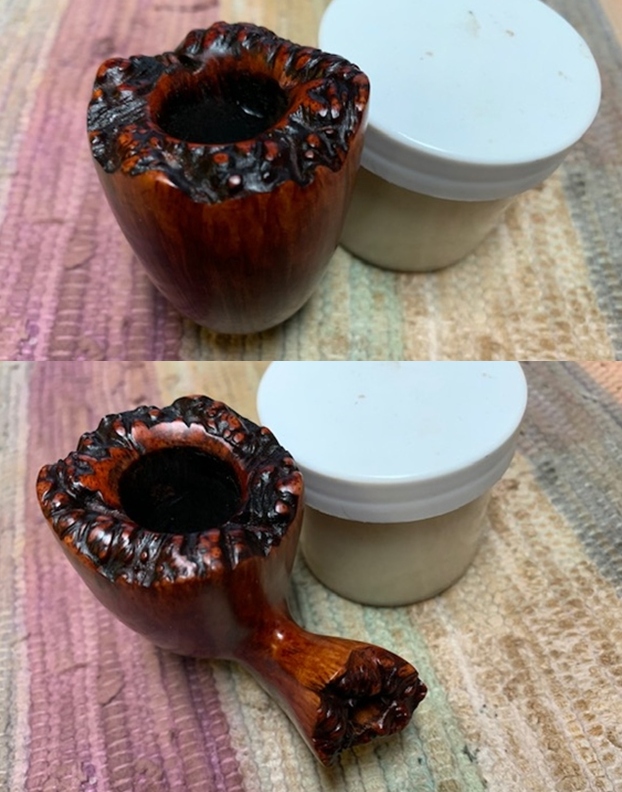
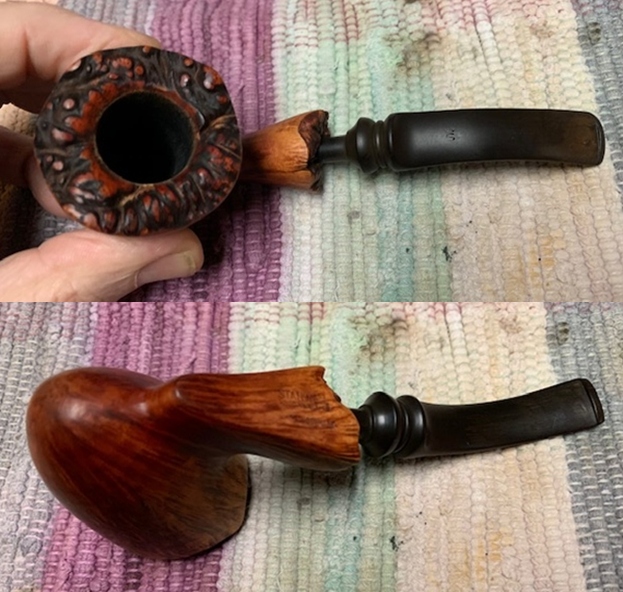 The rim top and the inner edge of the rim looked very good after the cleaning. It had a few small tooth marks and chatter on both sides near the button.
 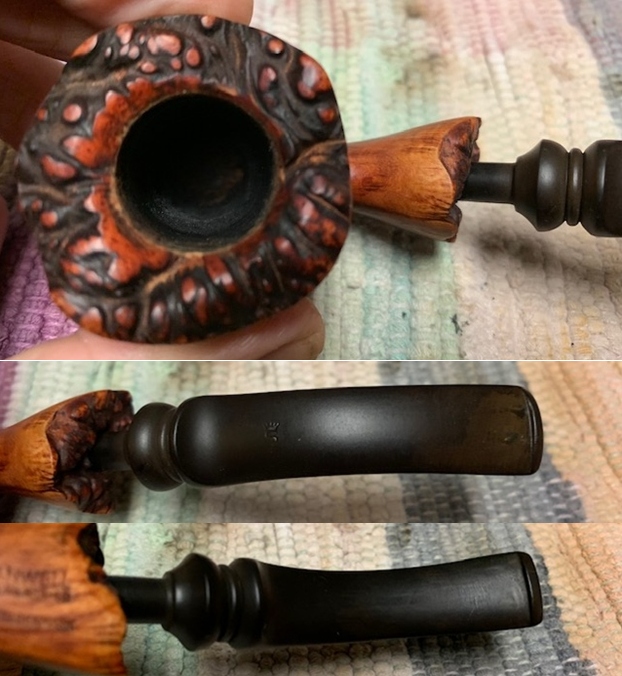 I took a photo of the stamping on the underside of the shank. It was clear and read as noted above.
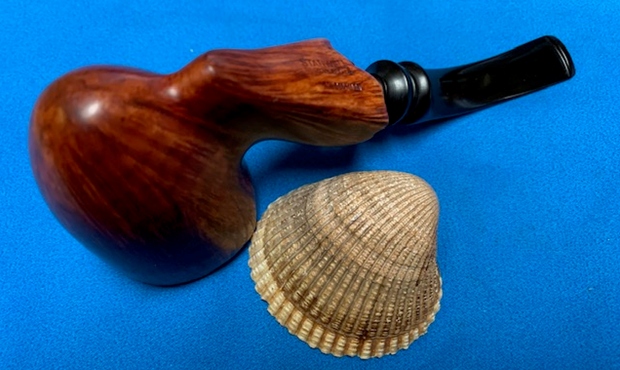
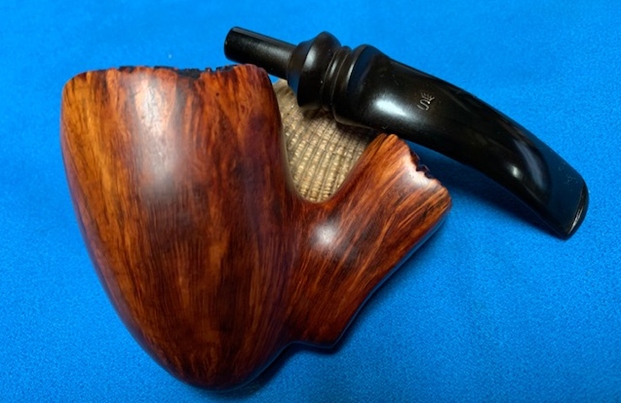
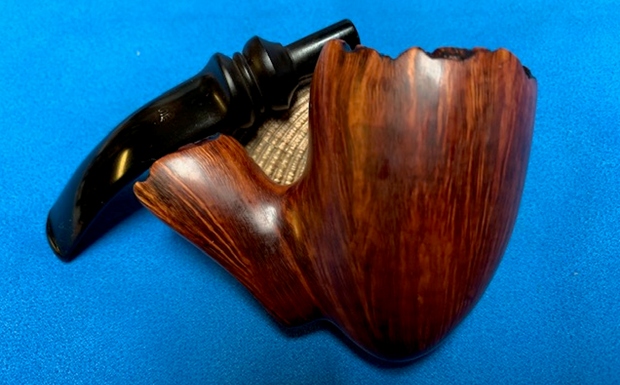
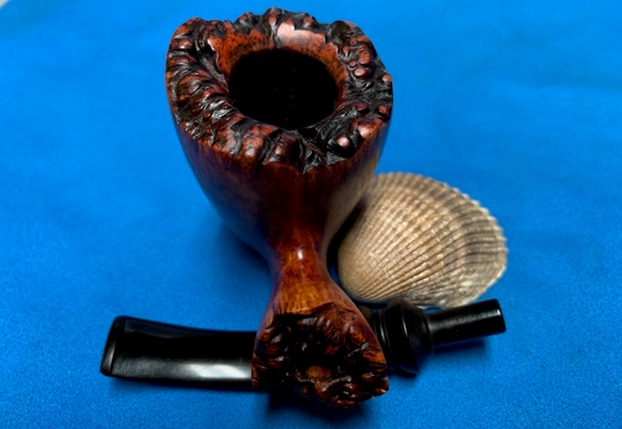
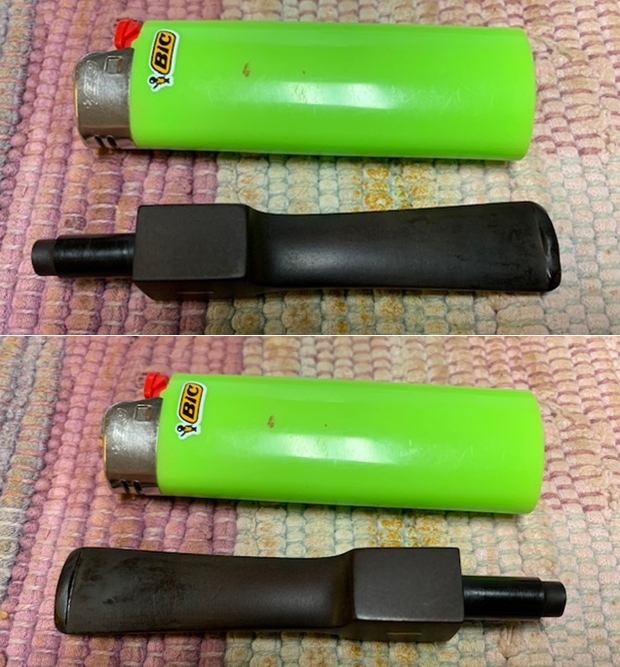
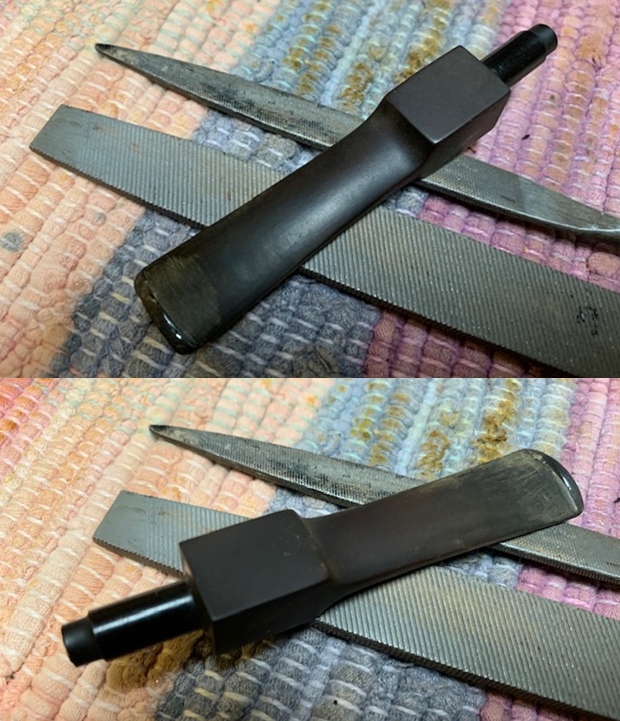
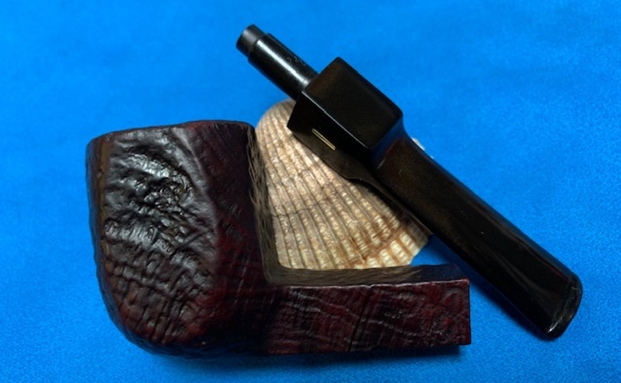
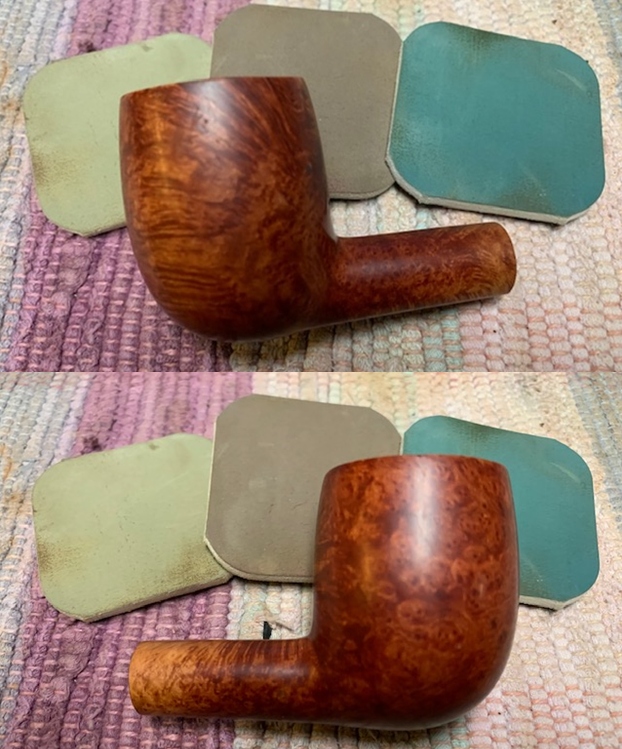
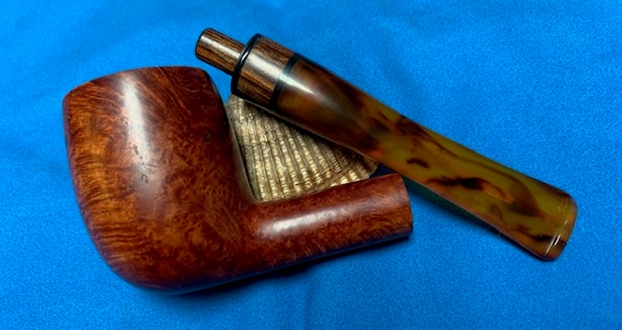
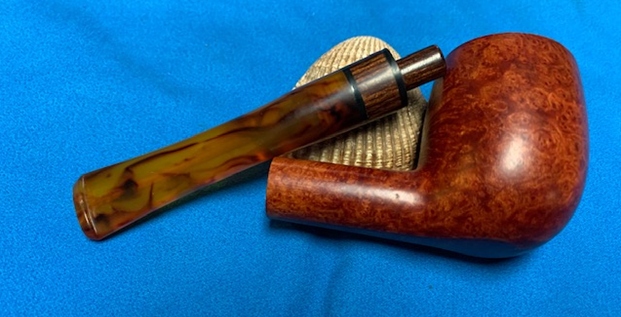
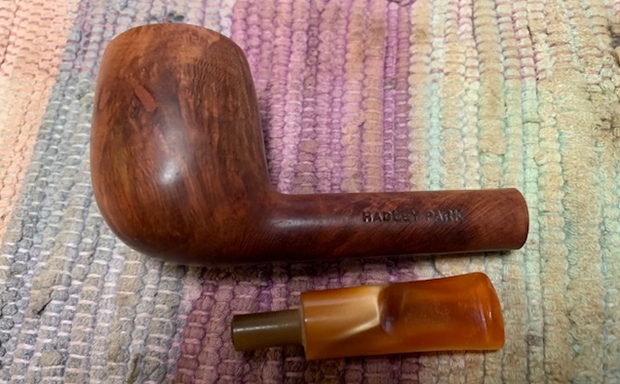
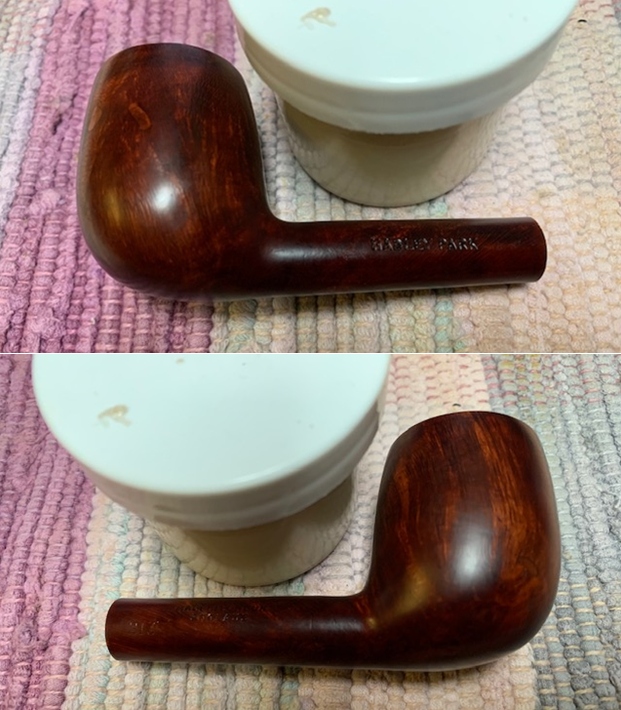
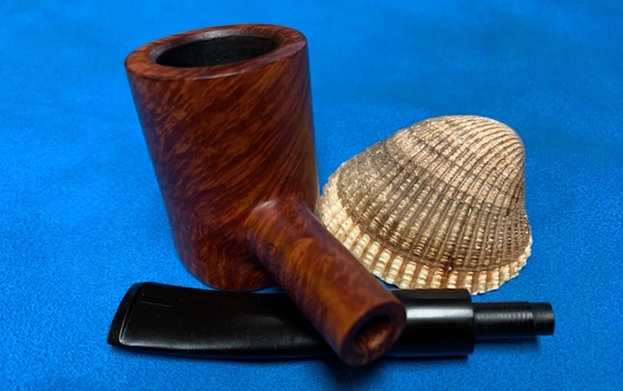
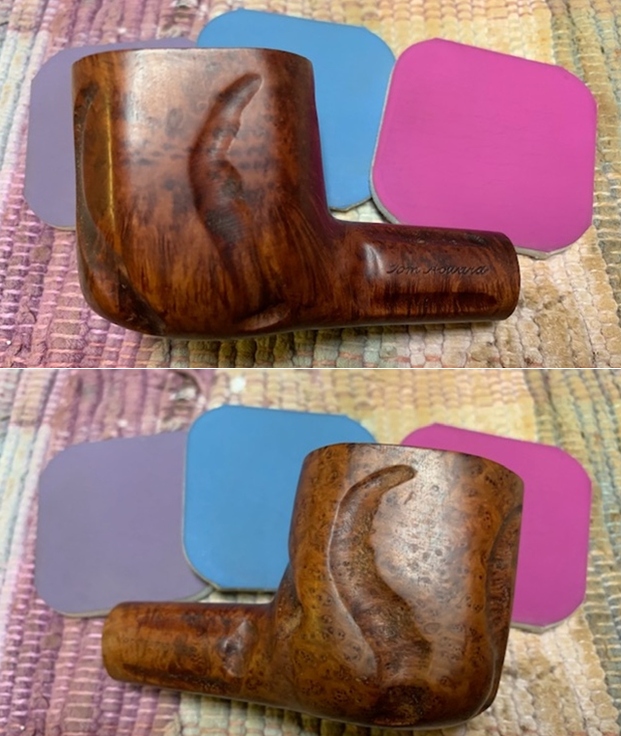
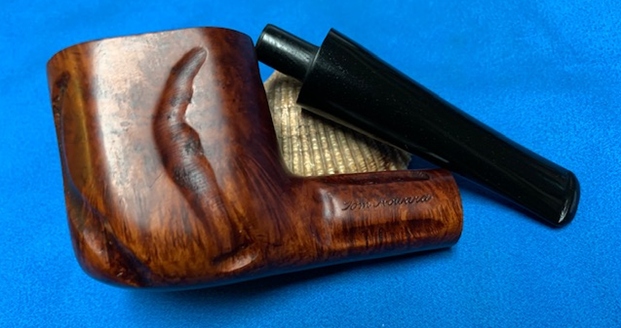
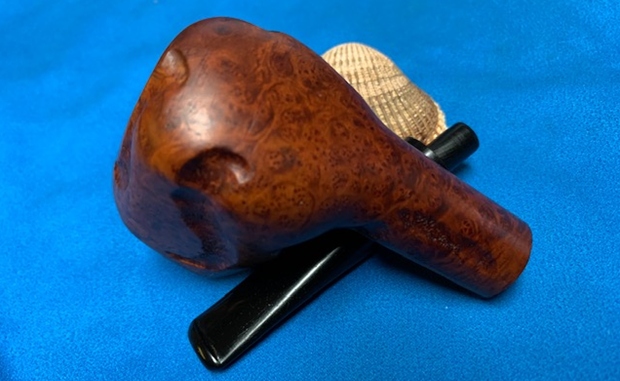
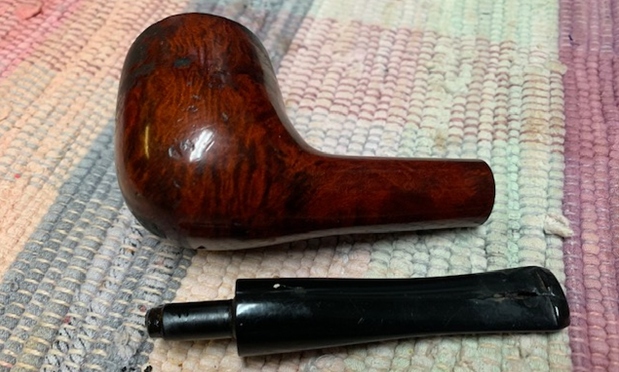
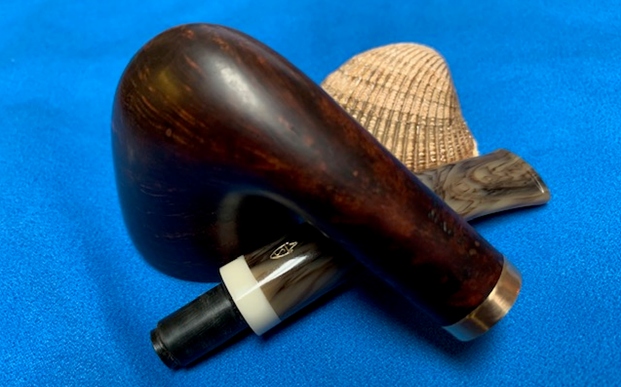
 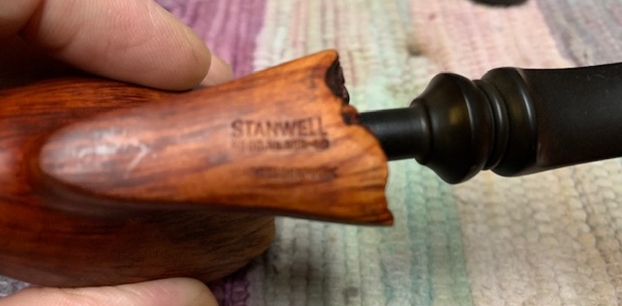 I removed the stem and took a photo of the pipe to give a sense of the whole. The stem is fancy turned vulcanite.
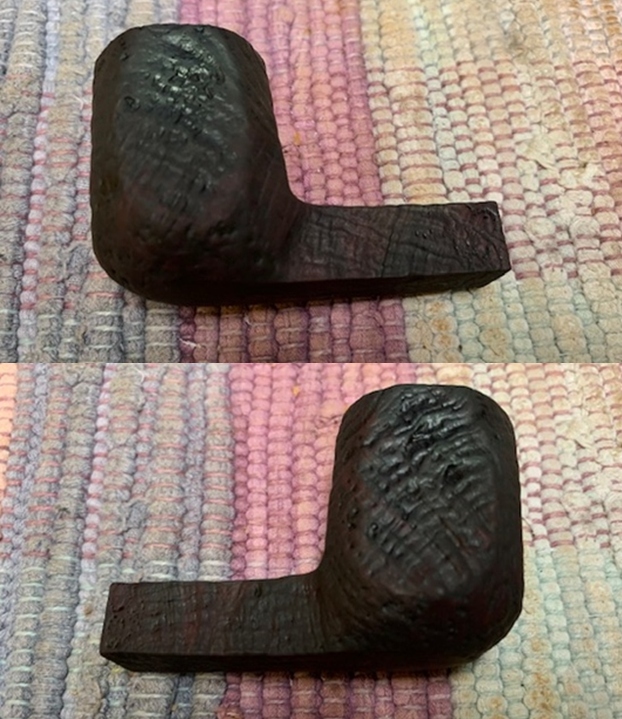
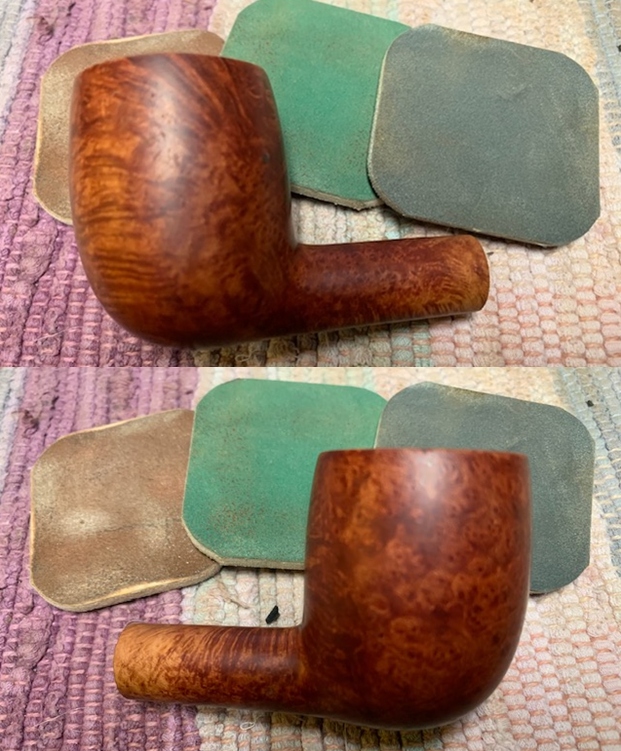
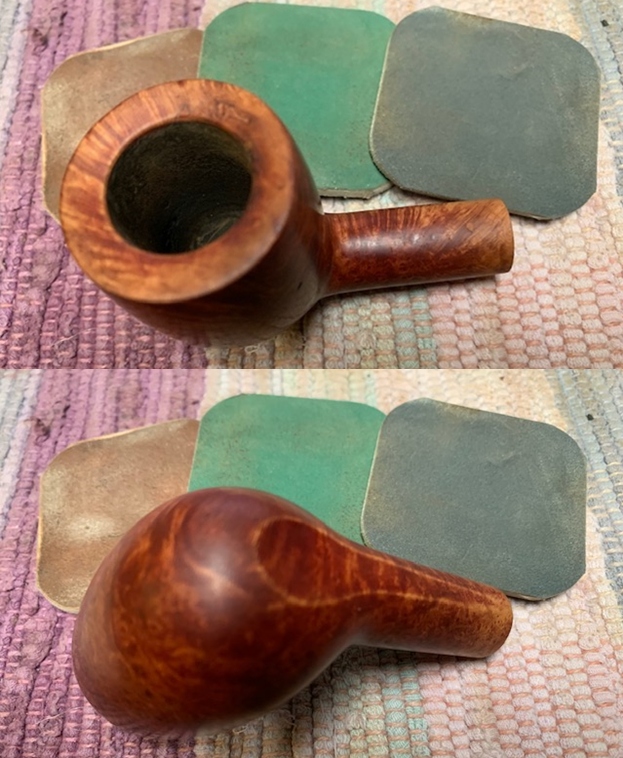
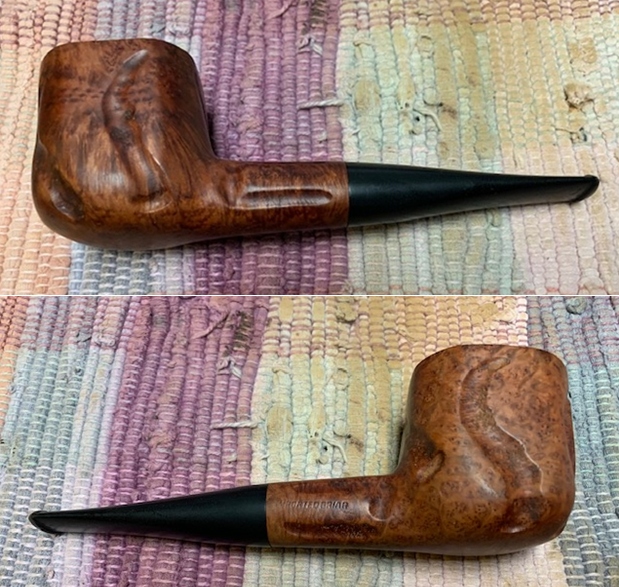
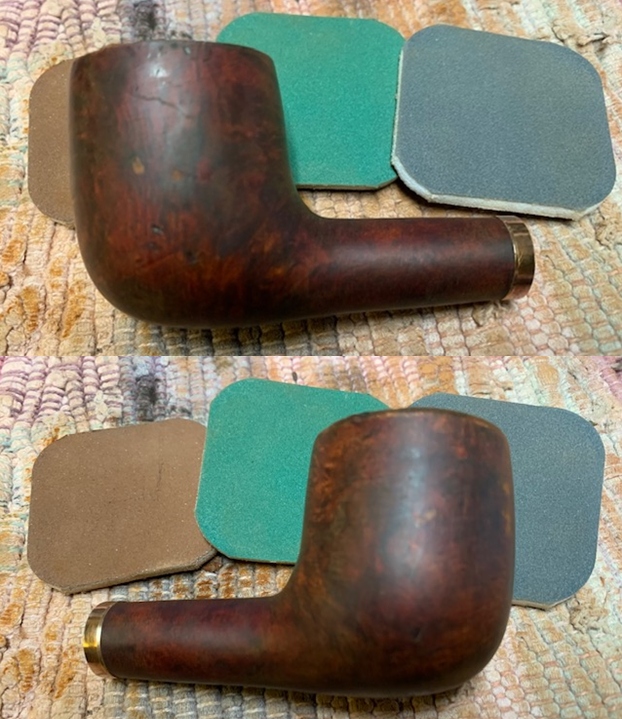
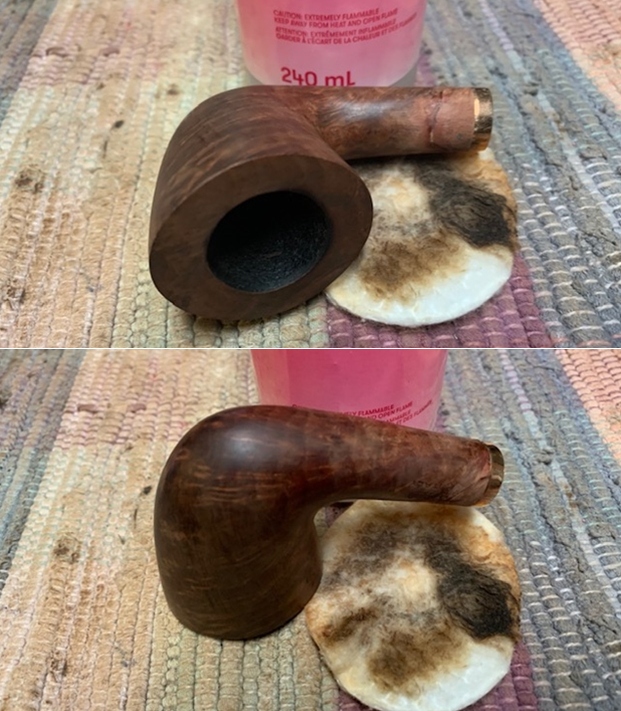
 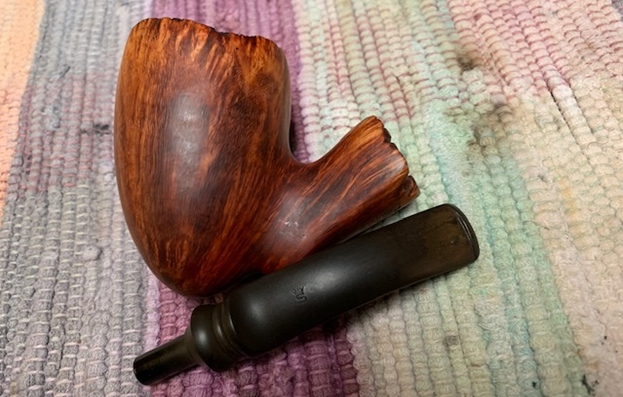 I polished the bowl and the smooth portions on the rim top with micromesh sanding pads – dry sanding with 1500-12000 grit pads and wiping it down after each pad with a damp cloth.
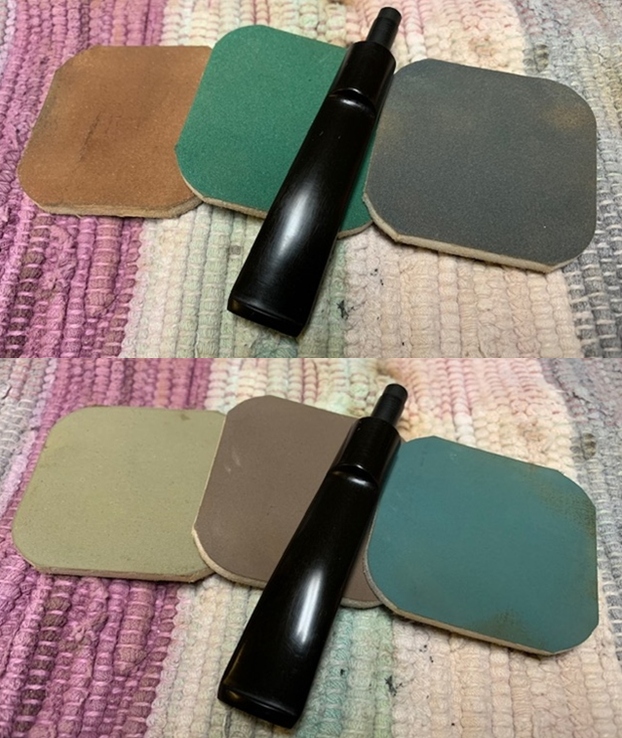
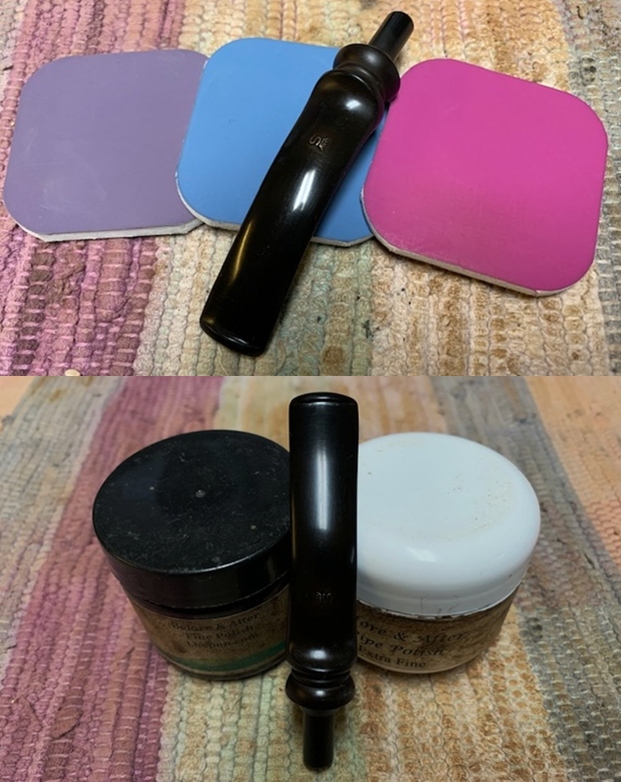
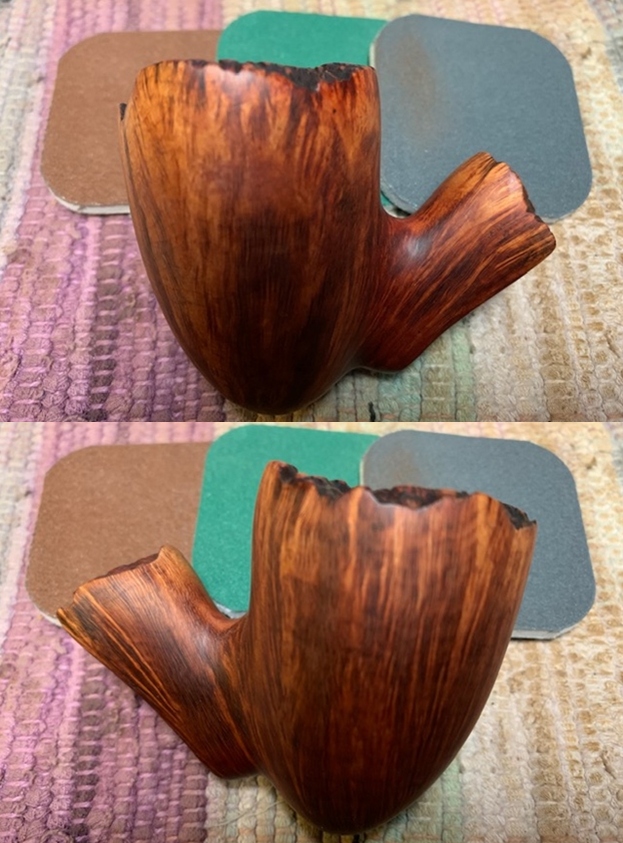
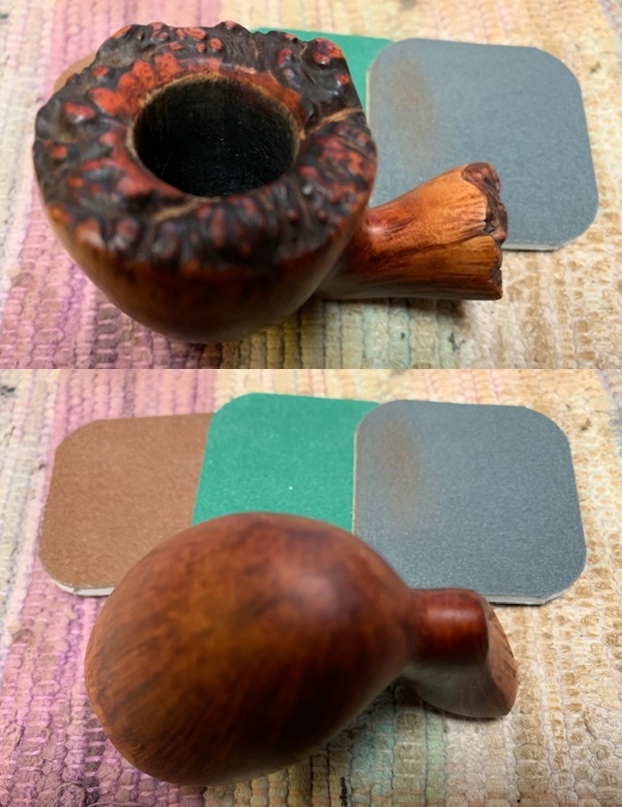
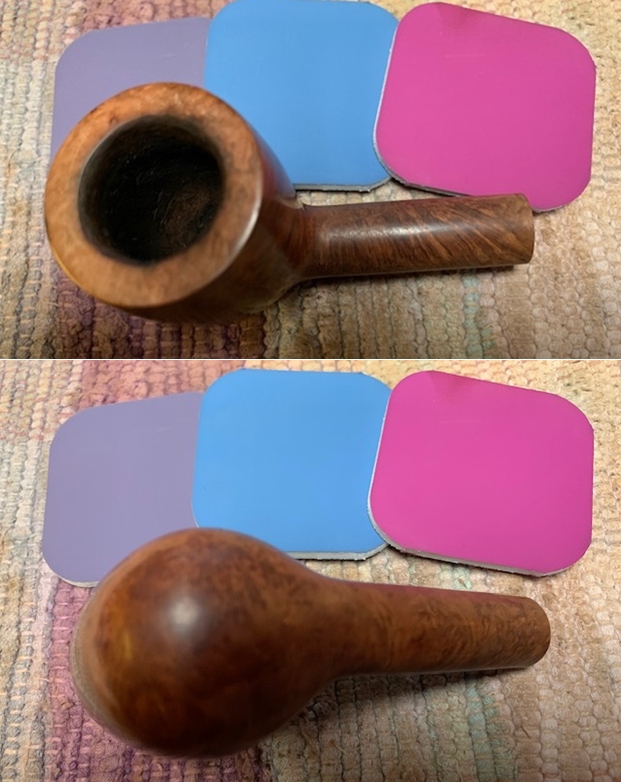
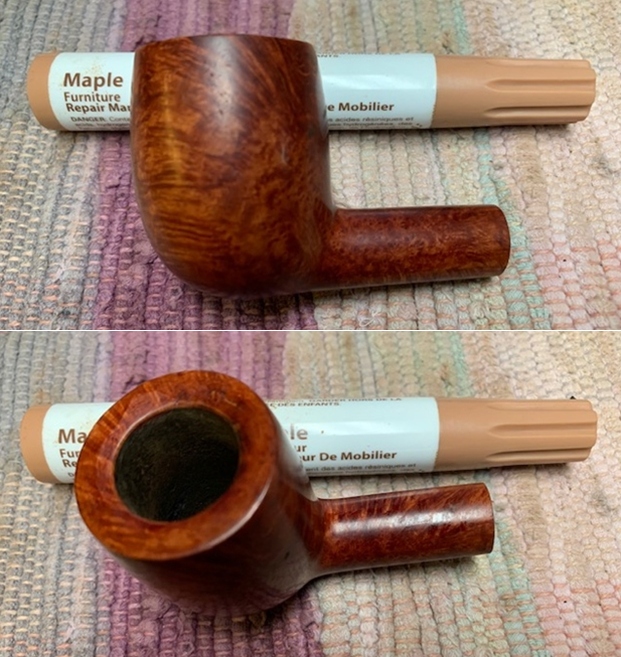
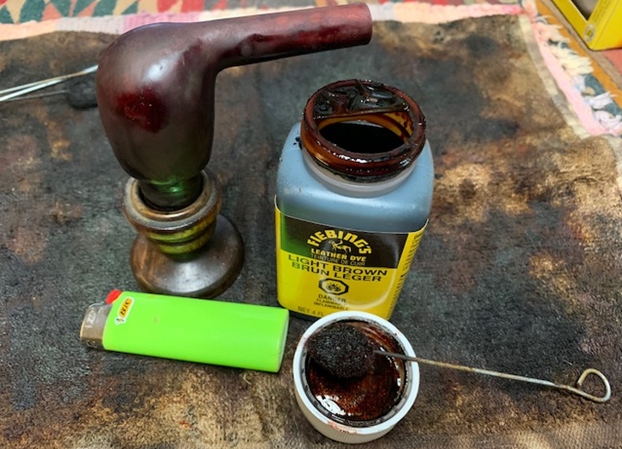
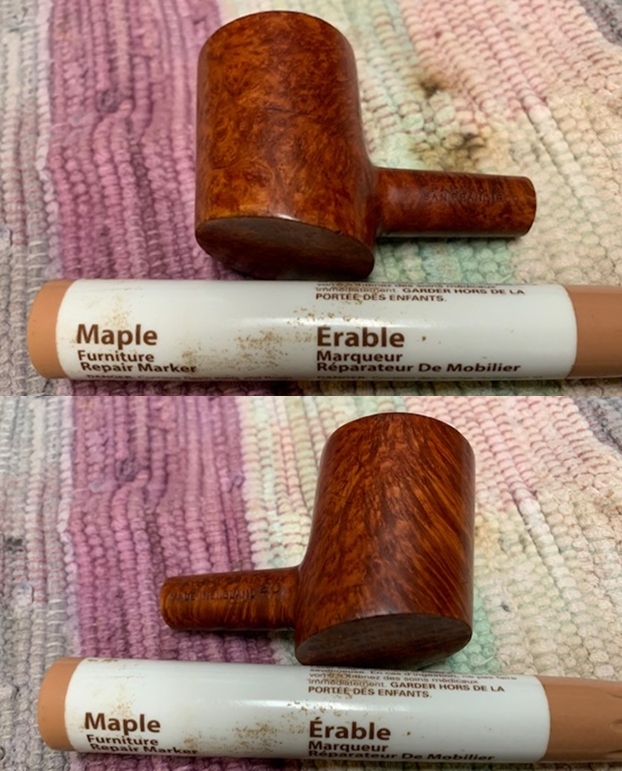
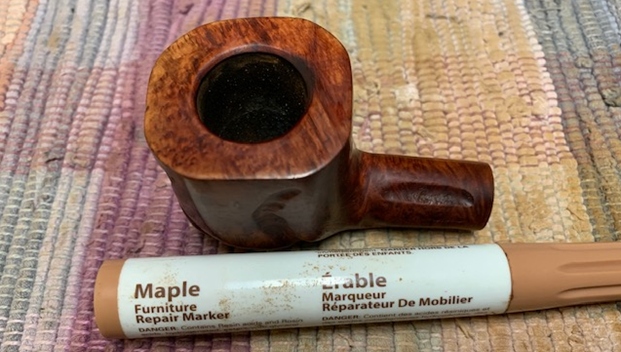
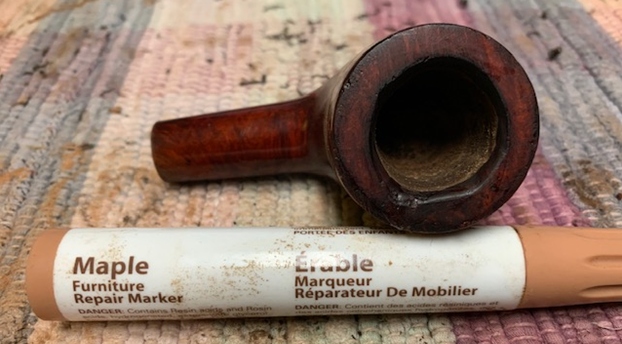
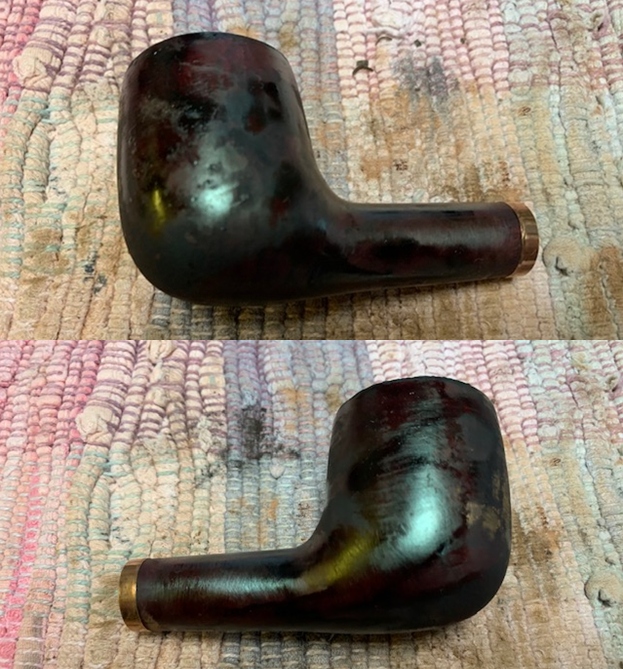
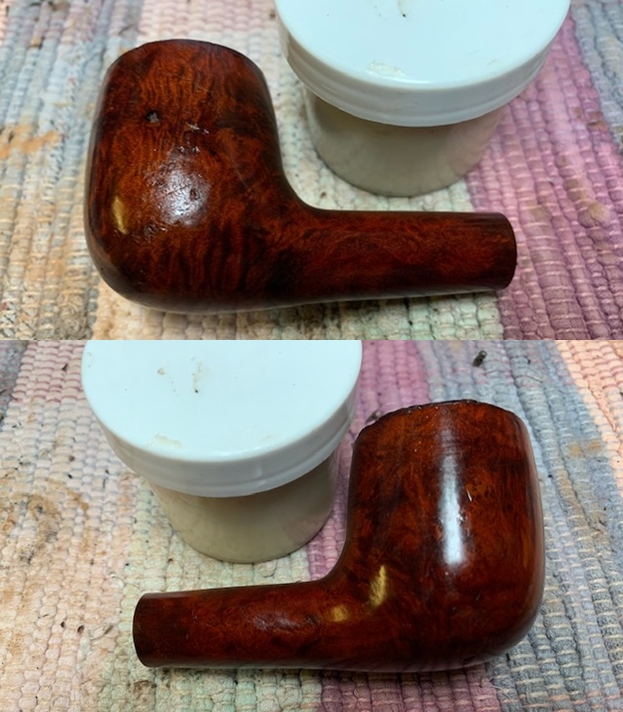
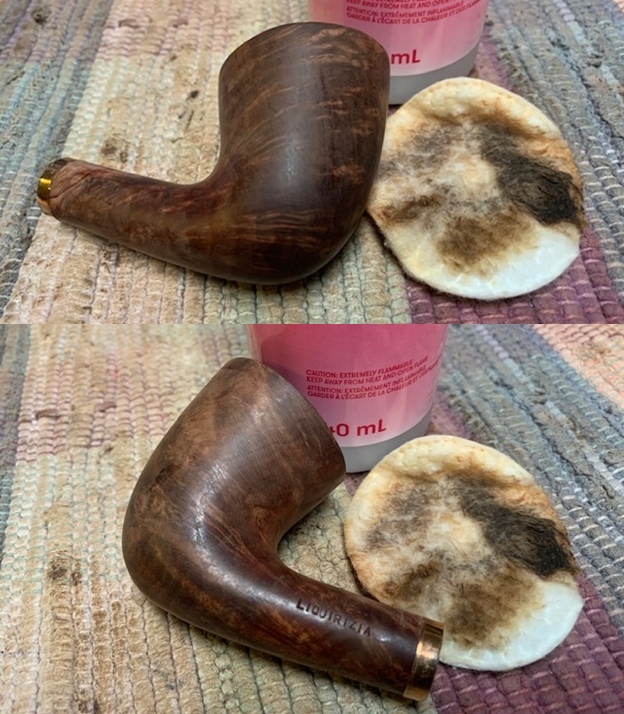
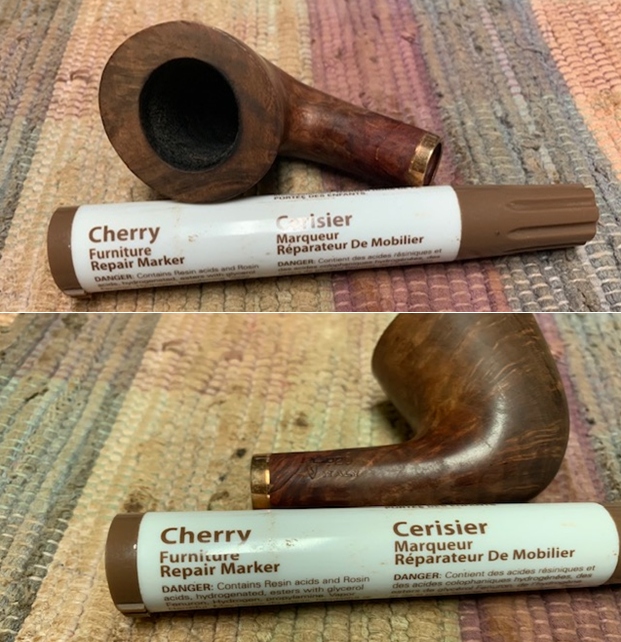
 The bowl had lightened around the top edge and on the shank end. I touched up the stain on the bowl with a Maple stain pen.
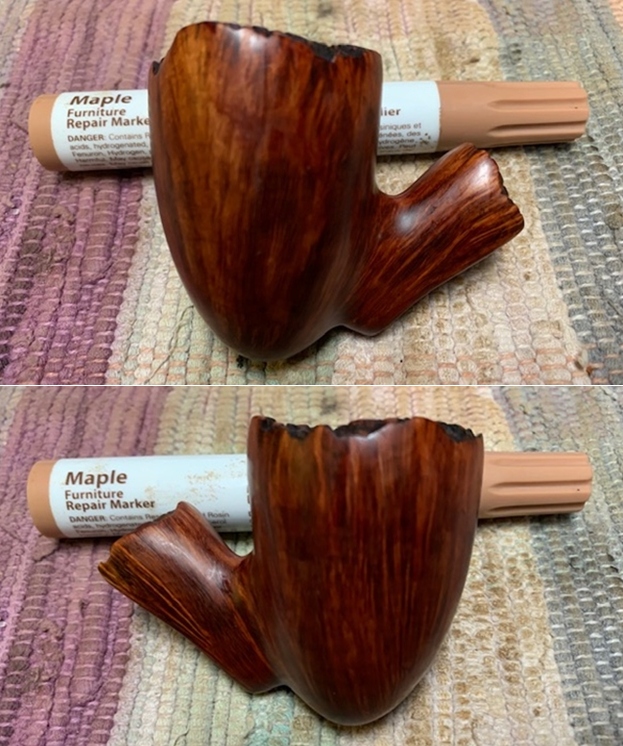
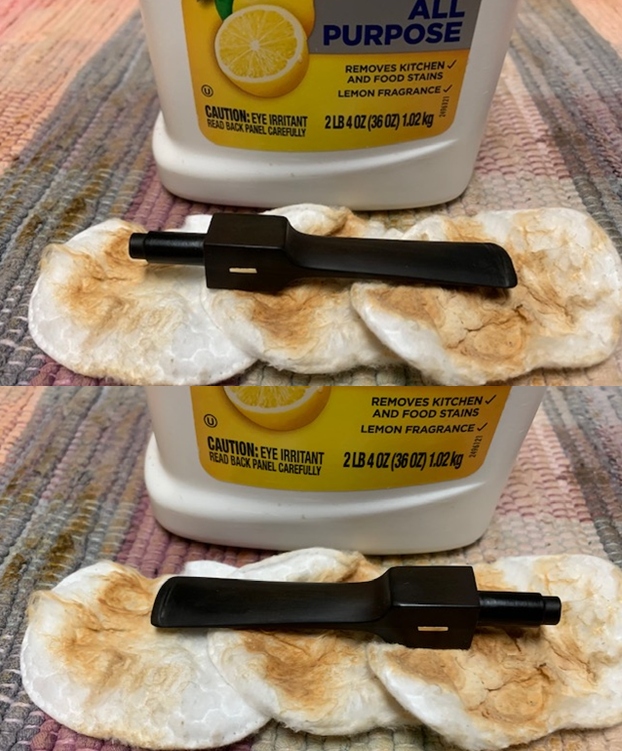
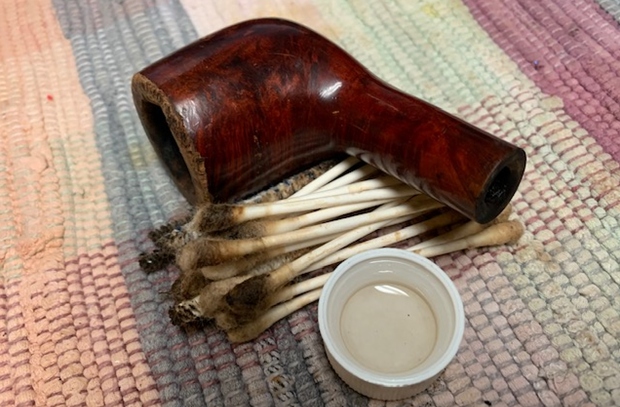
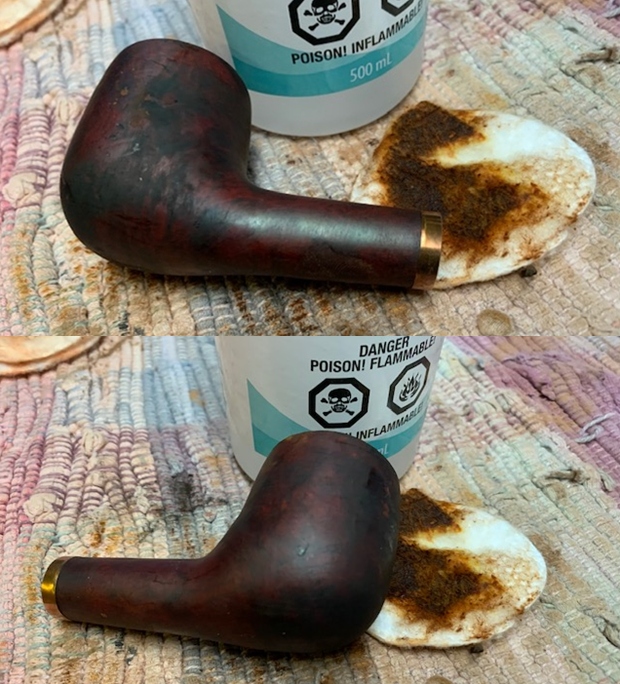
 I rubbed the bowl and shank down with Before & After Restoration Balm. I worked it into the surface of the bowl sides and shank with my fingertips. I used a horsehair shoe brush to work it into the plateau on the rim top and shank end.. The product works to clean, enliven and protect the briar. I let the balm sit for 15 minutes and then buffed with a cotton cloth to raise the shine.
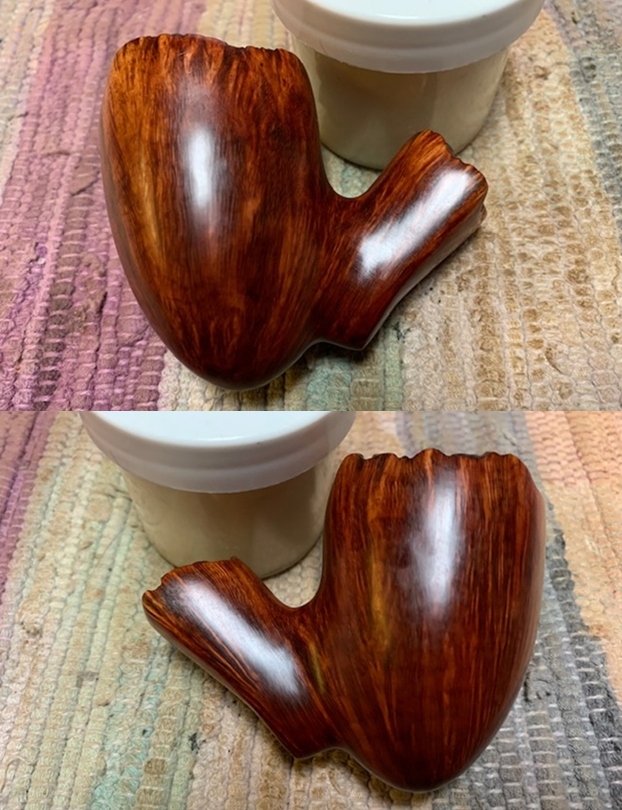
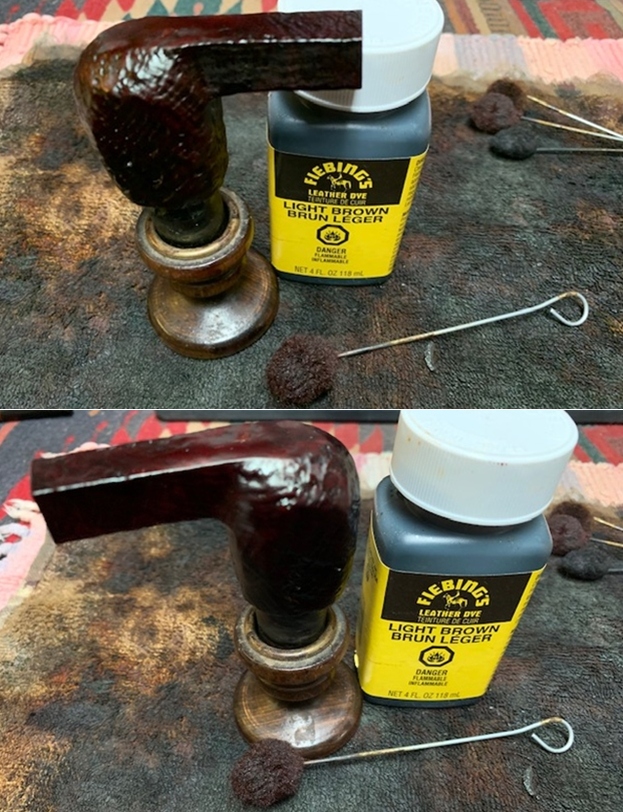
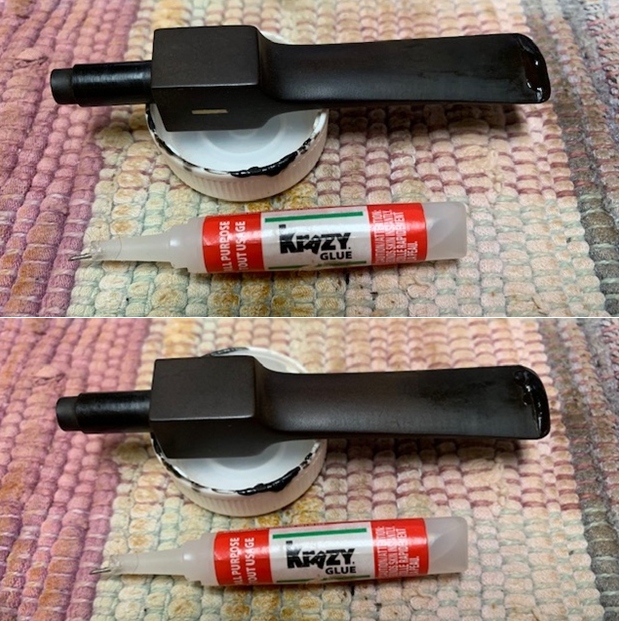
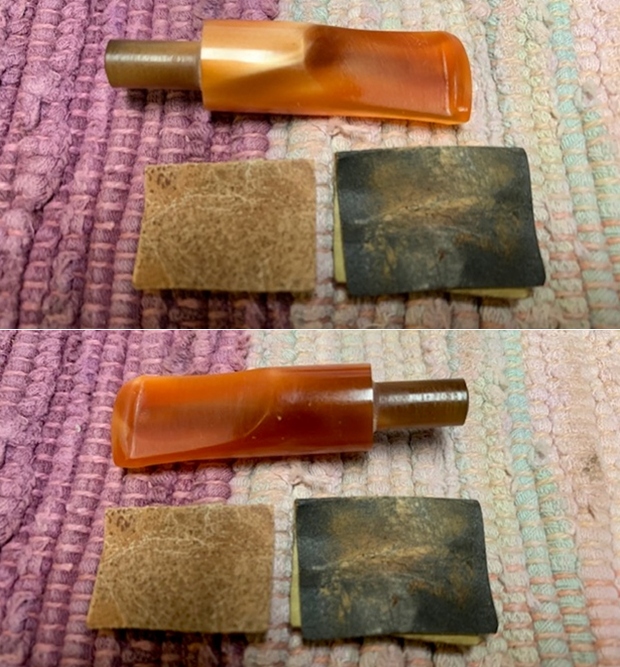
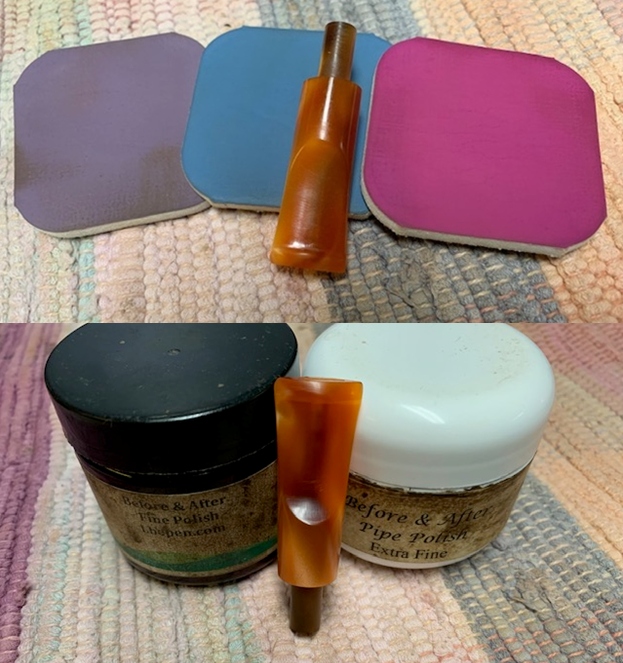
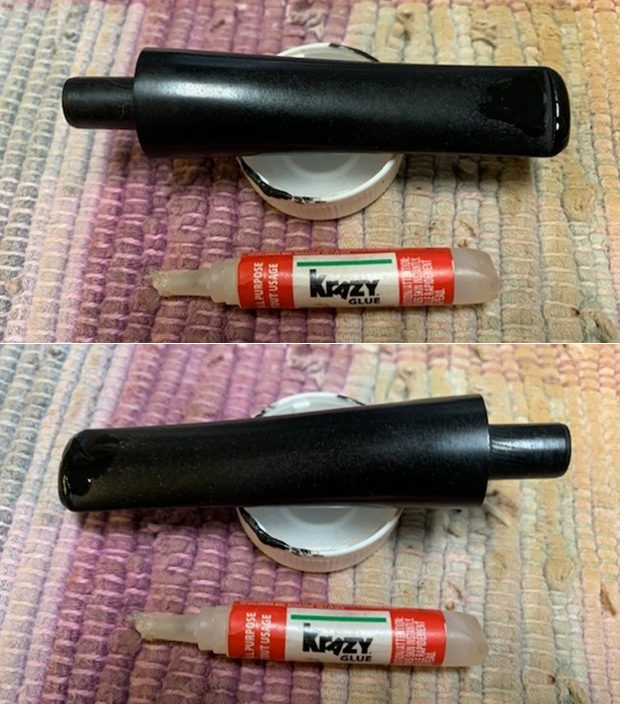
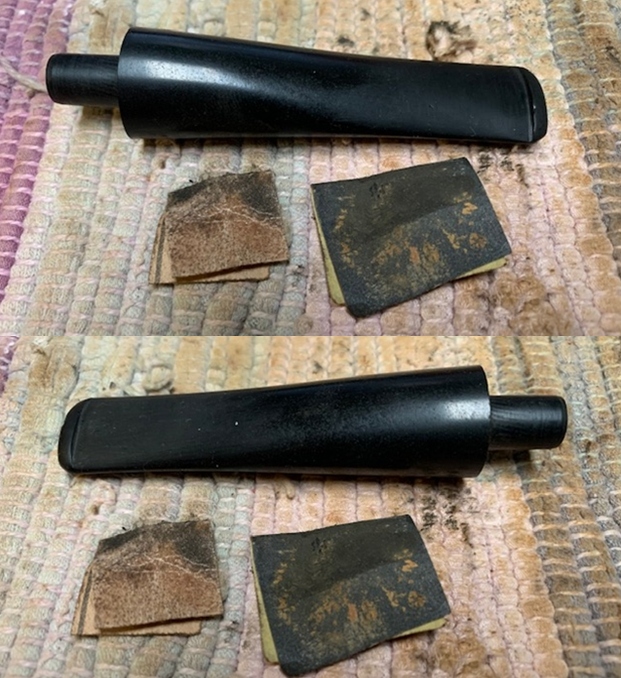
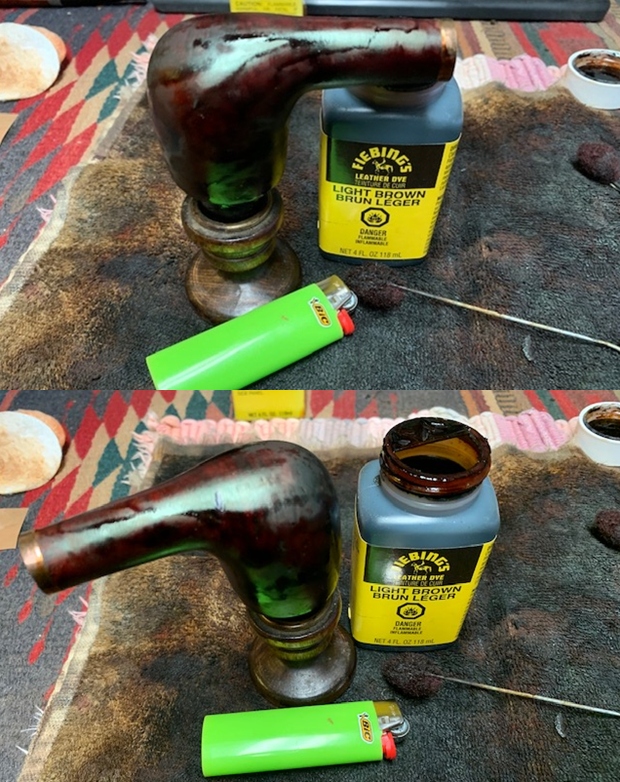
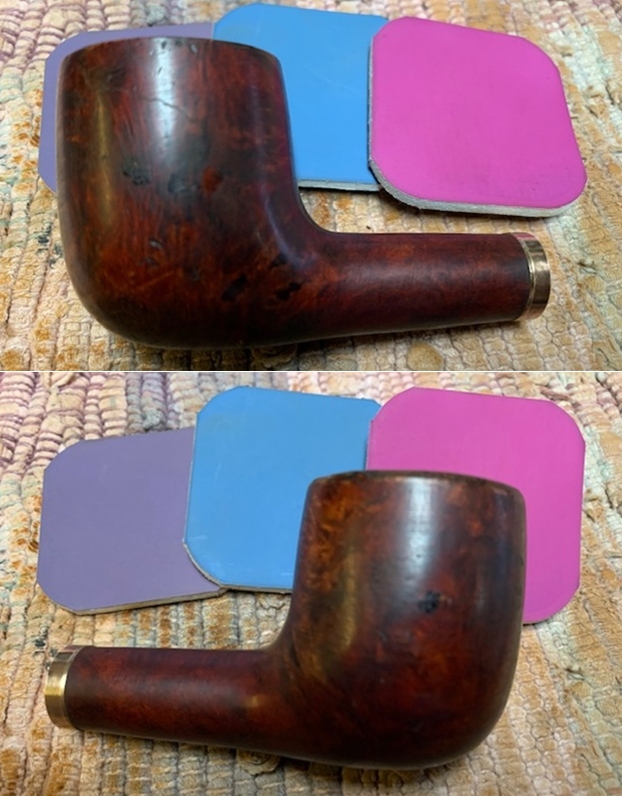
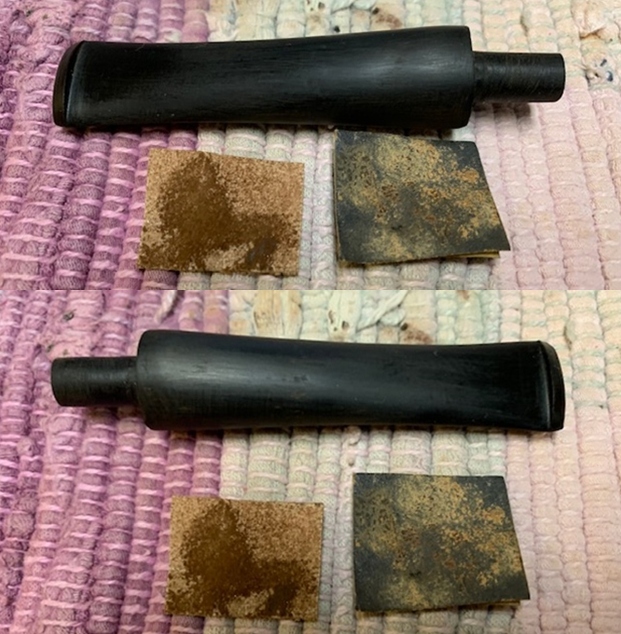
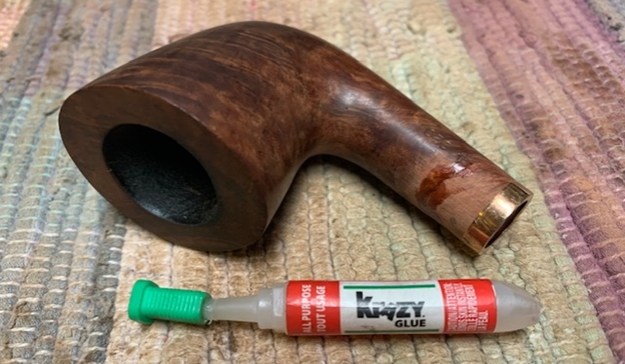
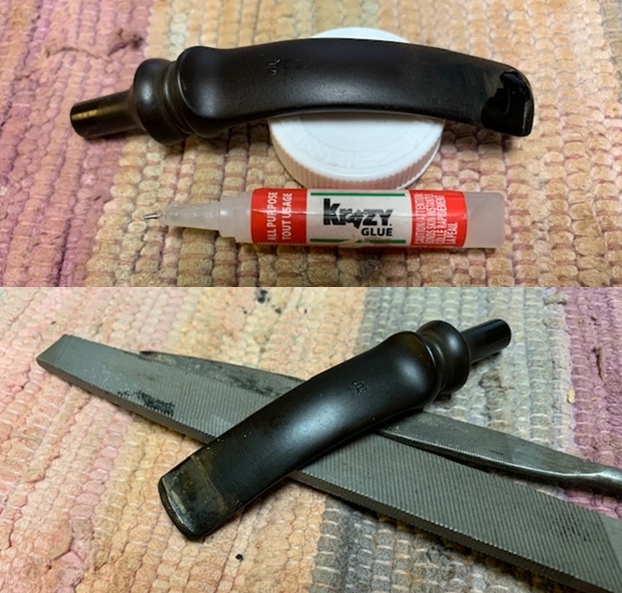
 I “painted” the stem surface on both sides with the flame of a lighter to lift the tooth marks. I was able to lift all of them on the underside of the stem but two of them on the topside remained. I filled them in with clear super glue. Once the repairs cured I reshaped the button with a rasp and a file. I smoothed out the repairs further with 220 grit sandpaper. I started the polishing with 400 grit wet dry sandpaper.
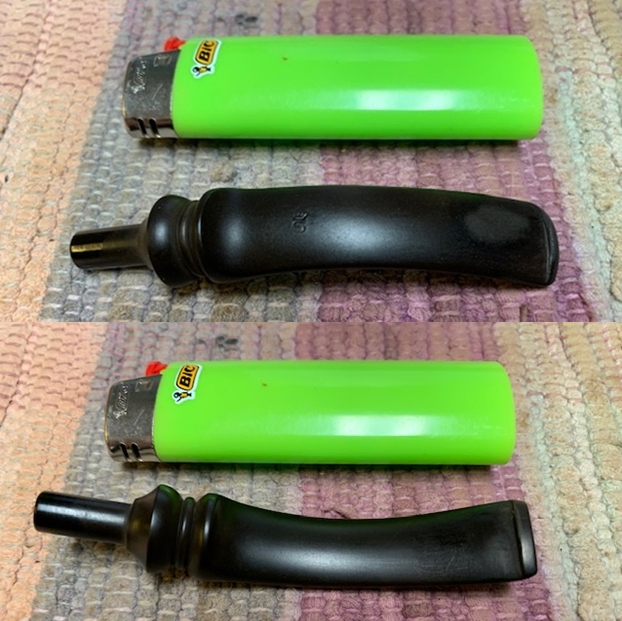
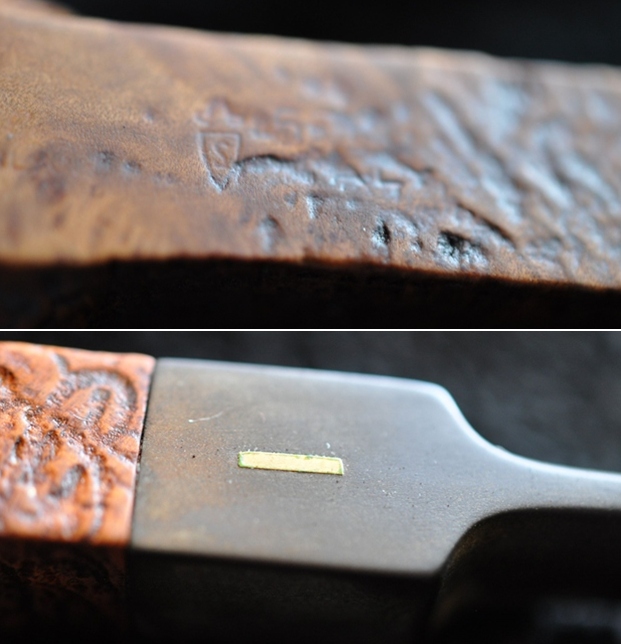
 I touched up the faint stamping on the top of the stem. It was a Stanwell Crown S logo. Parts of it were faint but I was able to get some of the stamping to show up with the Rub’n Buff Antique Gold.
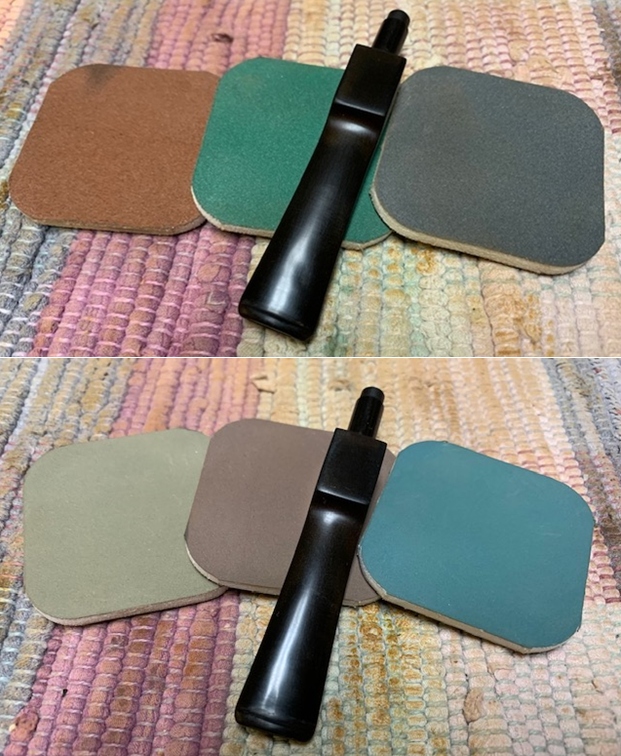
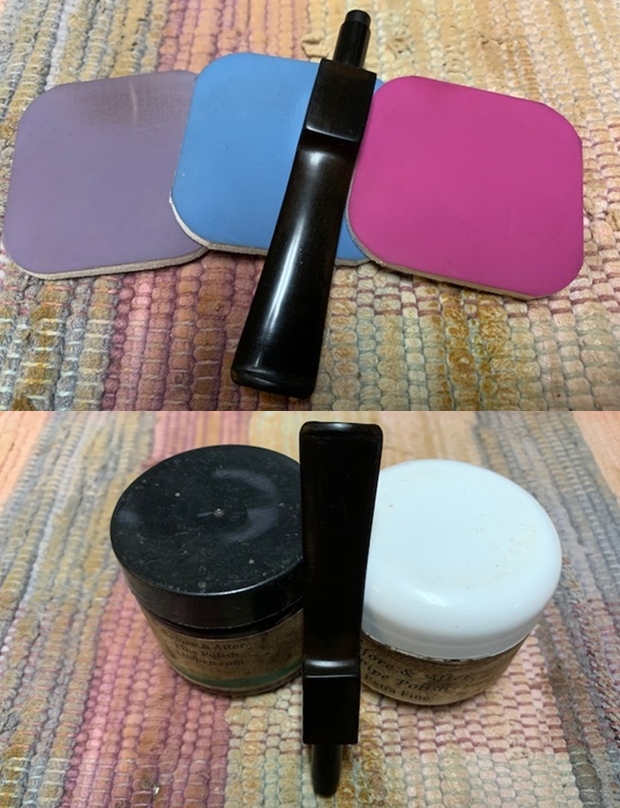
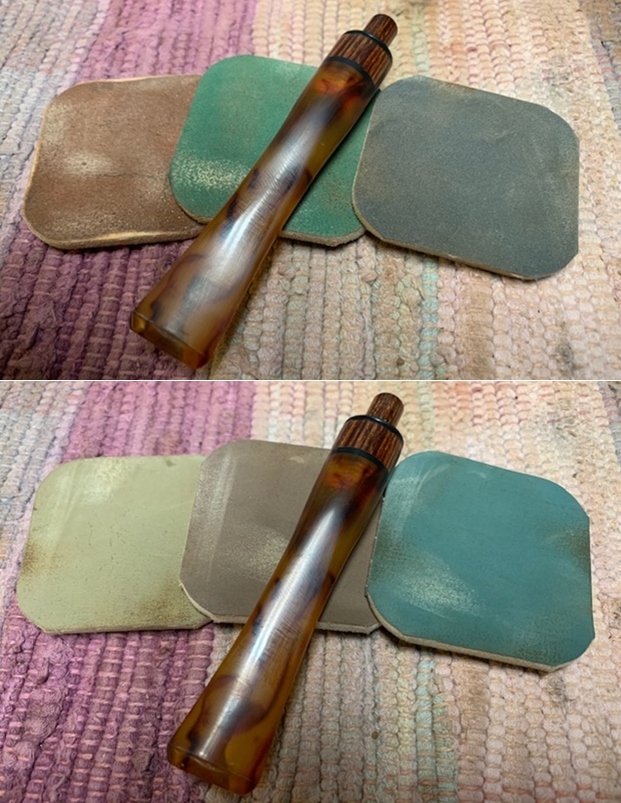
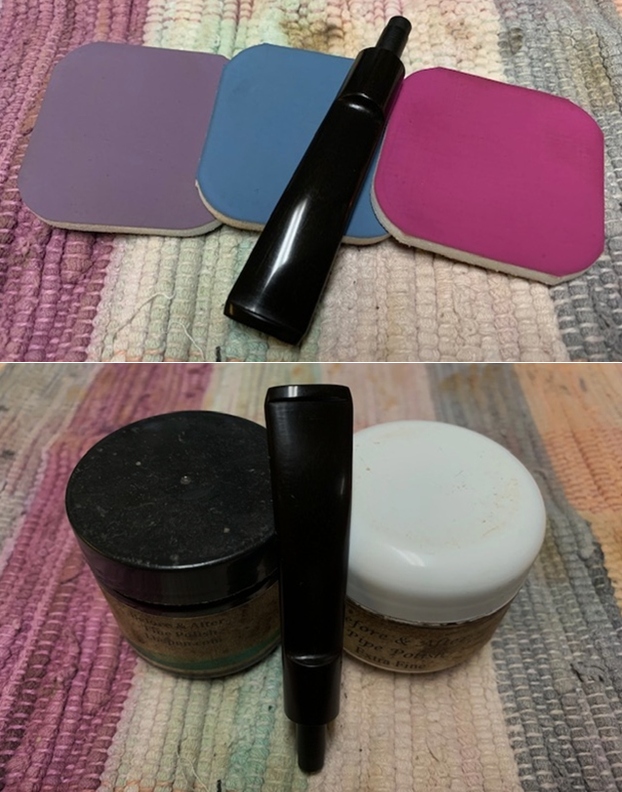
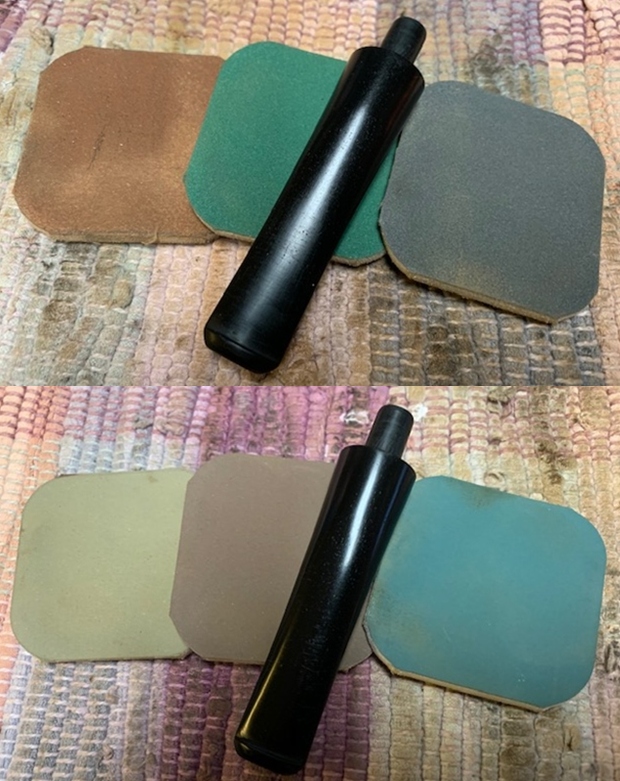
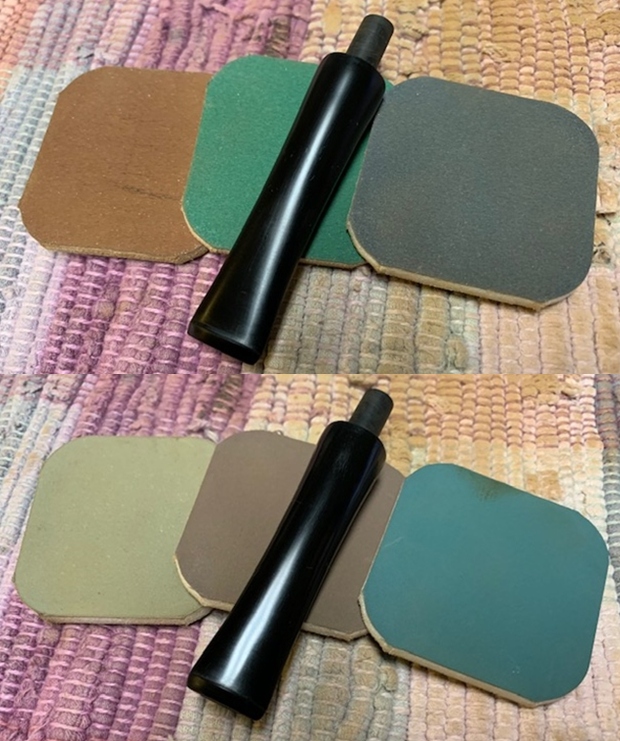
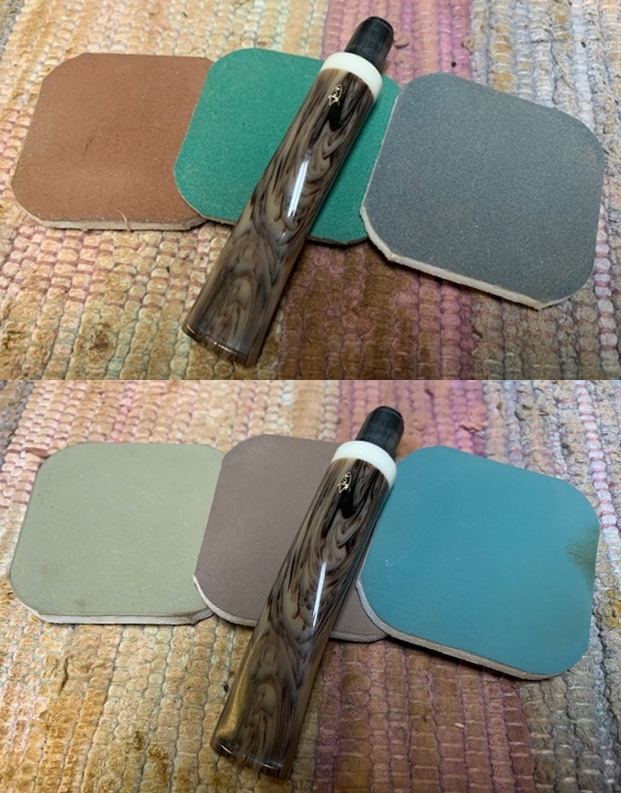
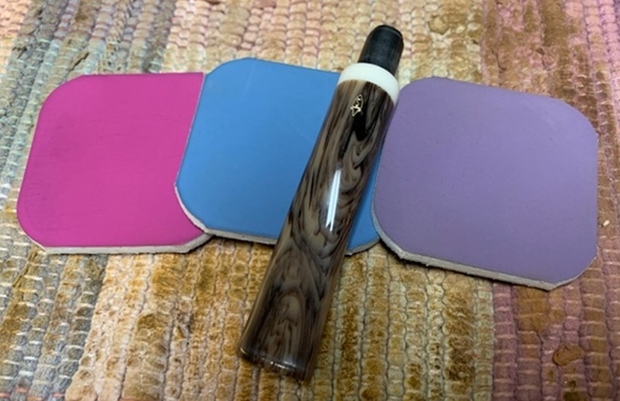
 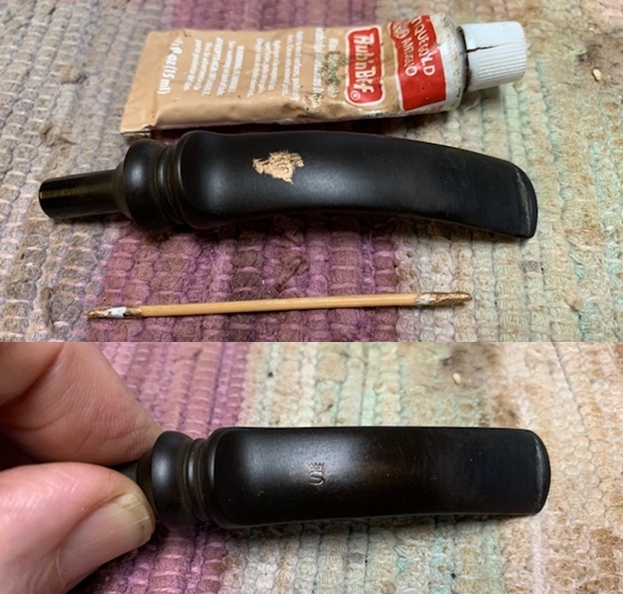 I polished the vulcanite stem with micromesh sanding pads – 1500-12000 grit pads. I wiped it down with a damp cloth after each sanding pad. I used Before & After Pipe Polish – both Fine and Extra Fine to further polish the stem.
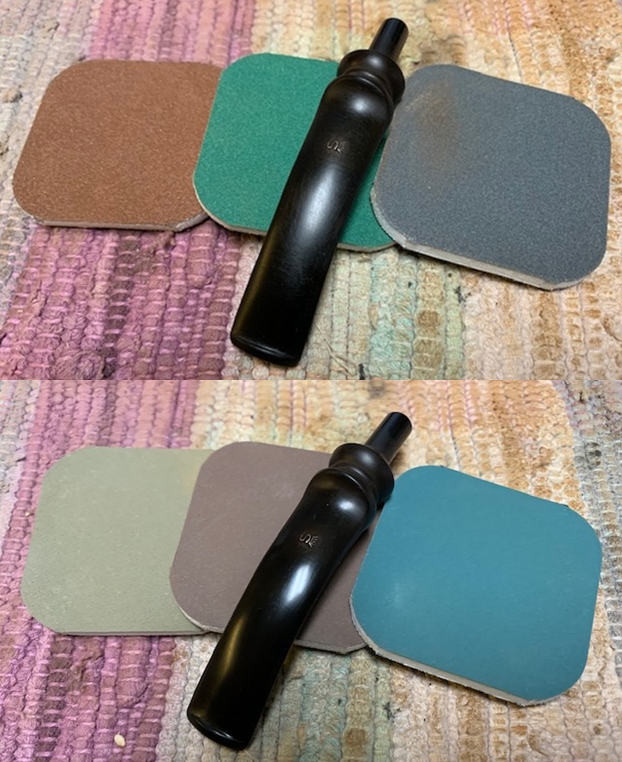
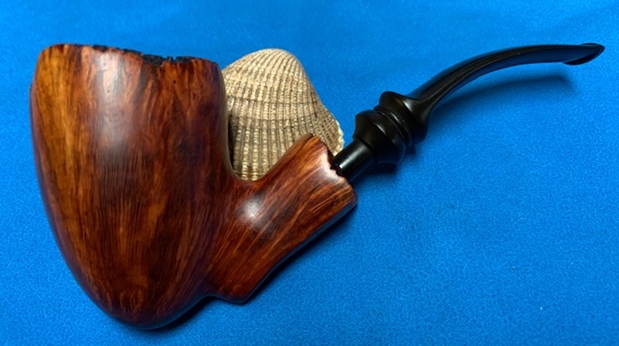
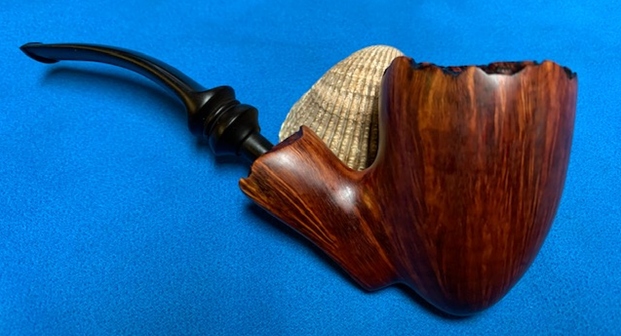
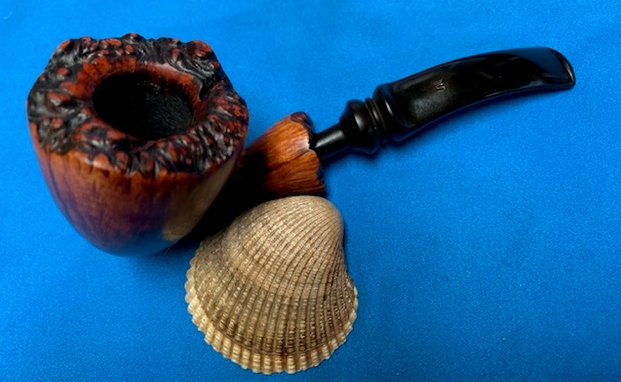
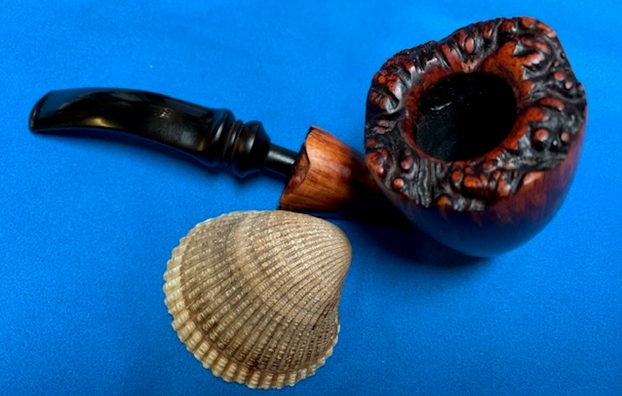
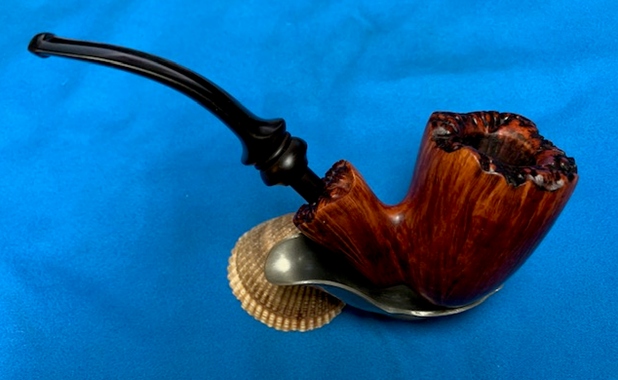
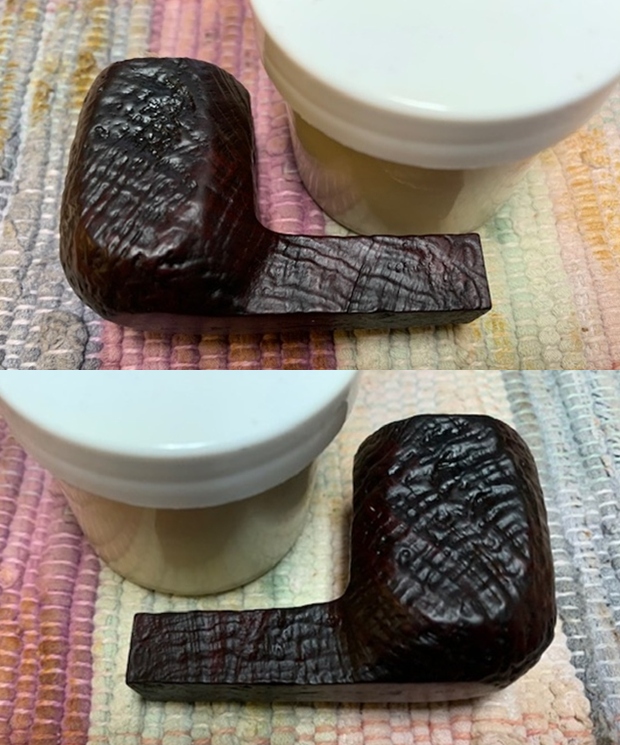
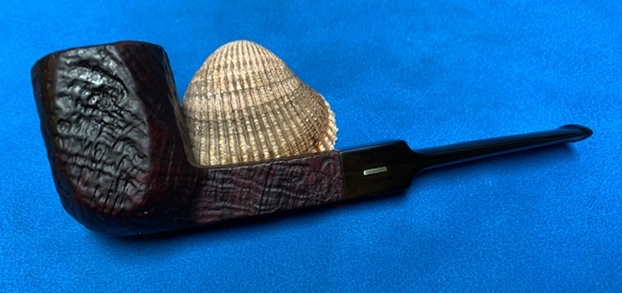
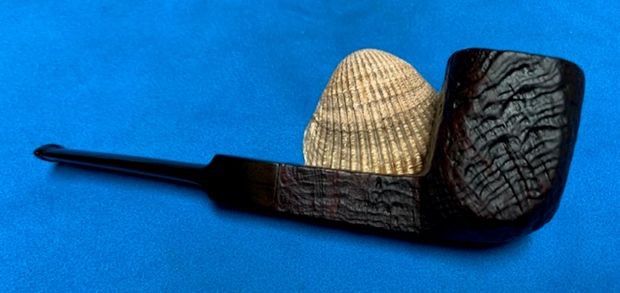
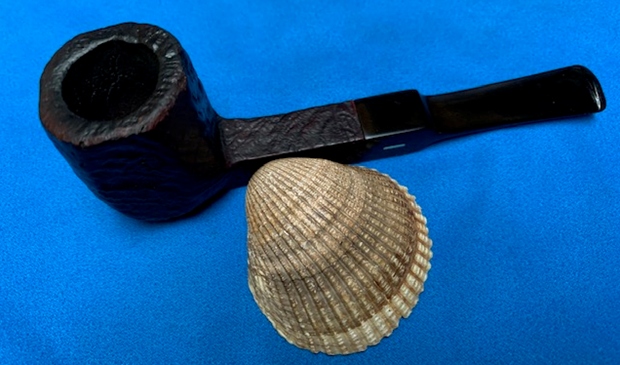
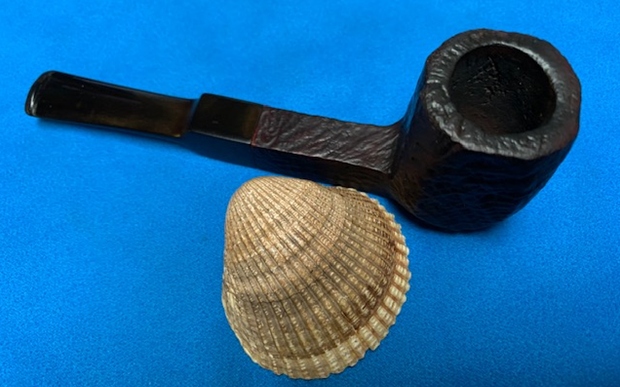
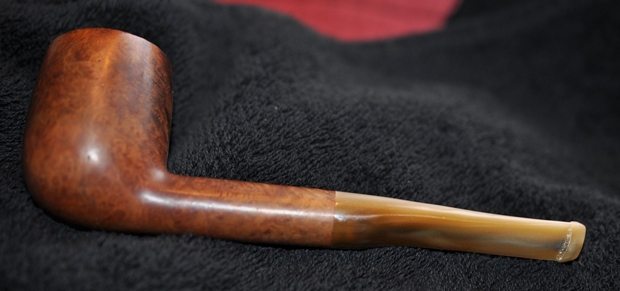
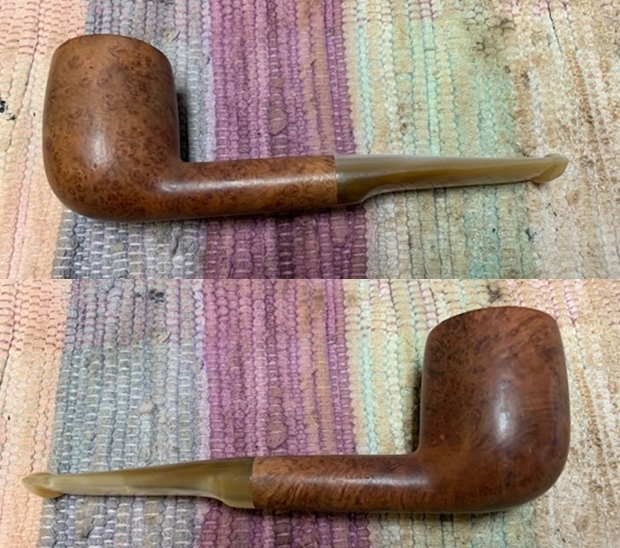
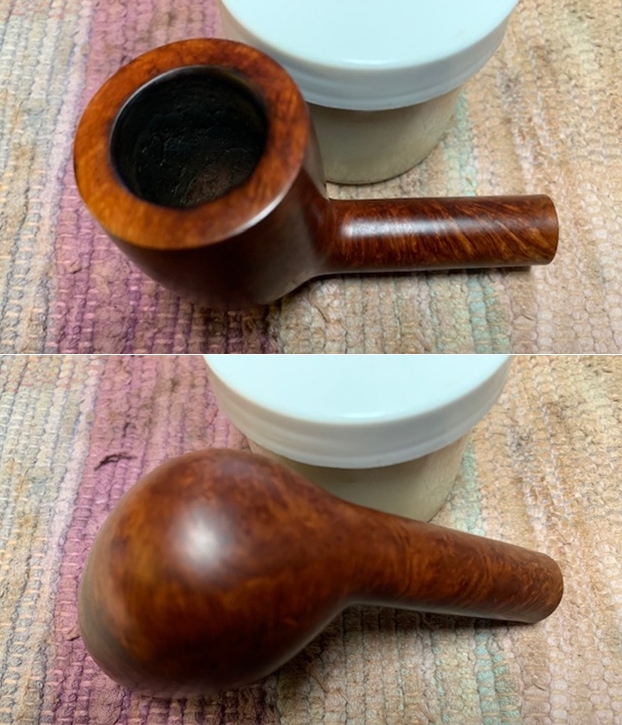
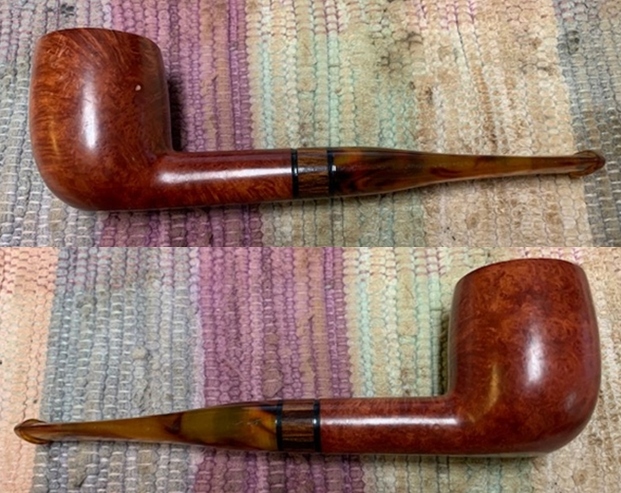
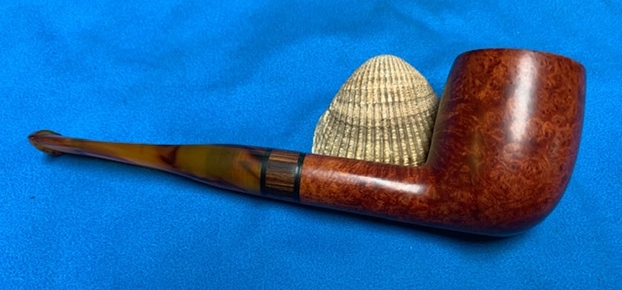
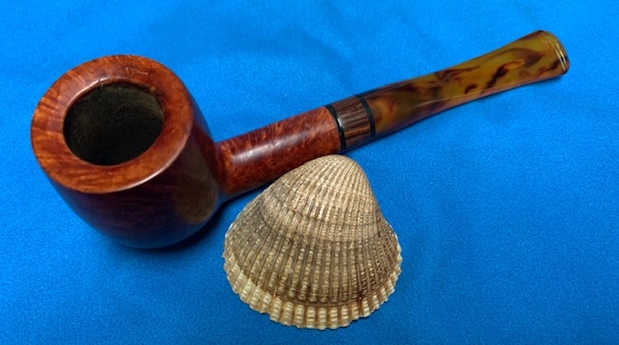
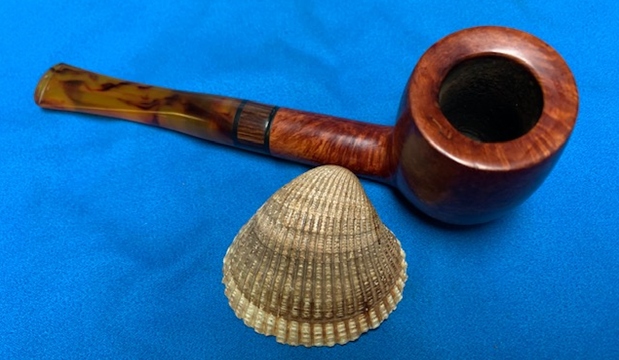
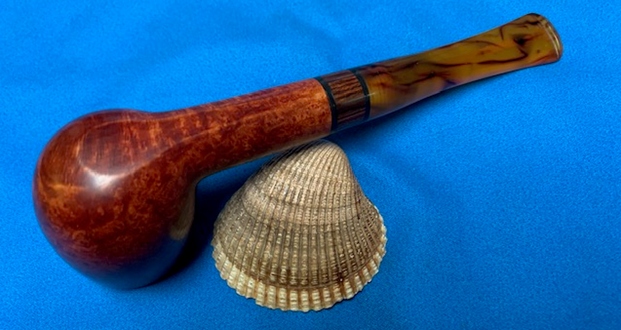
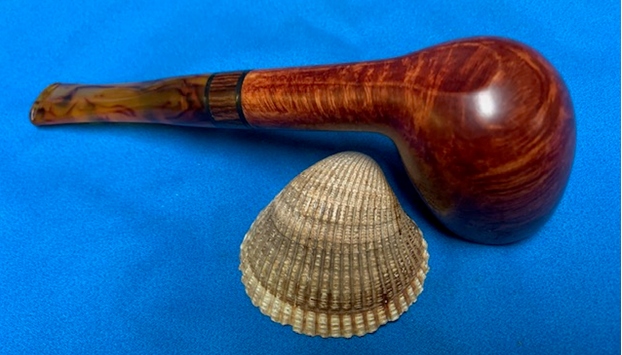
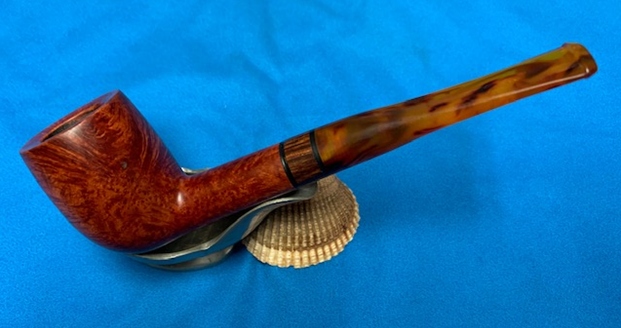
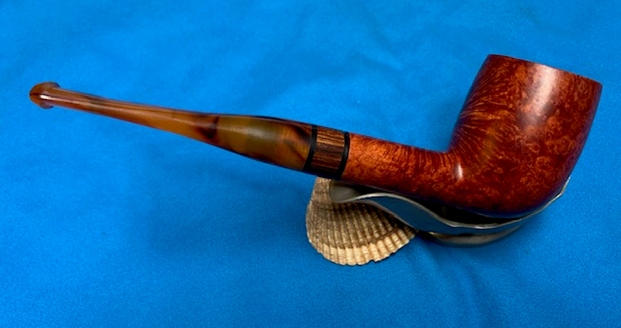
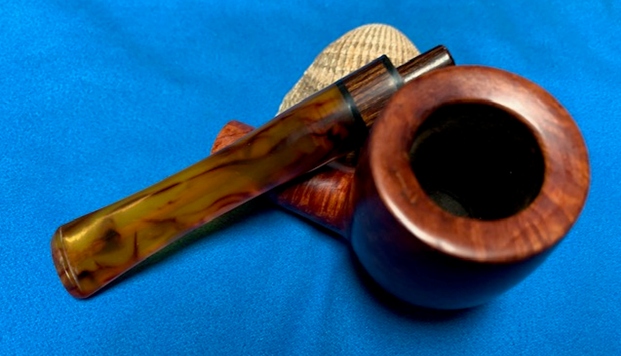
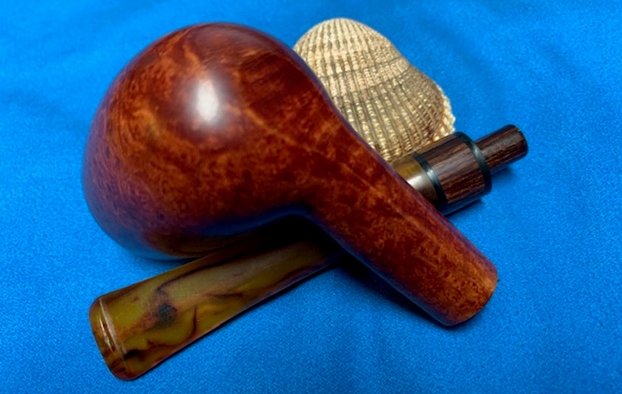
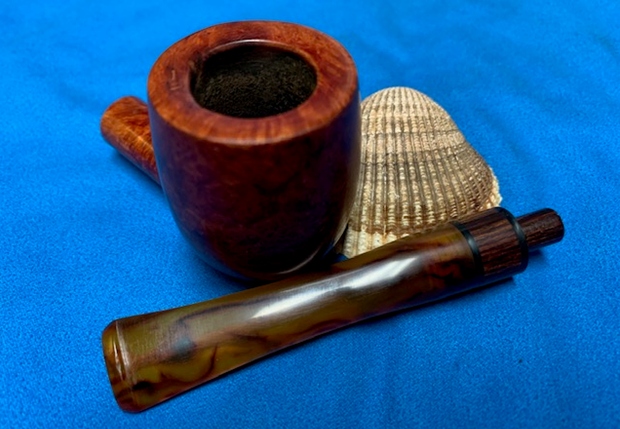
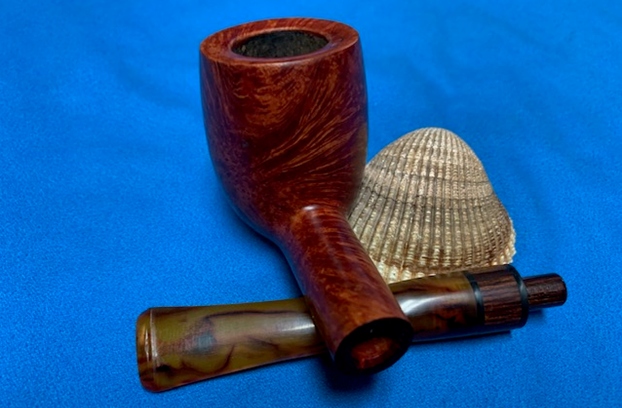
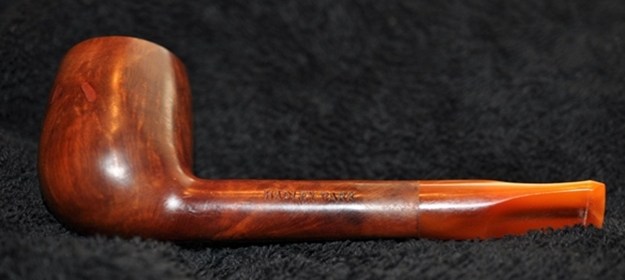
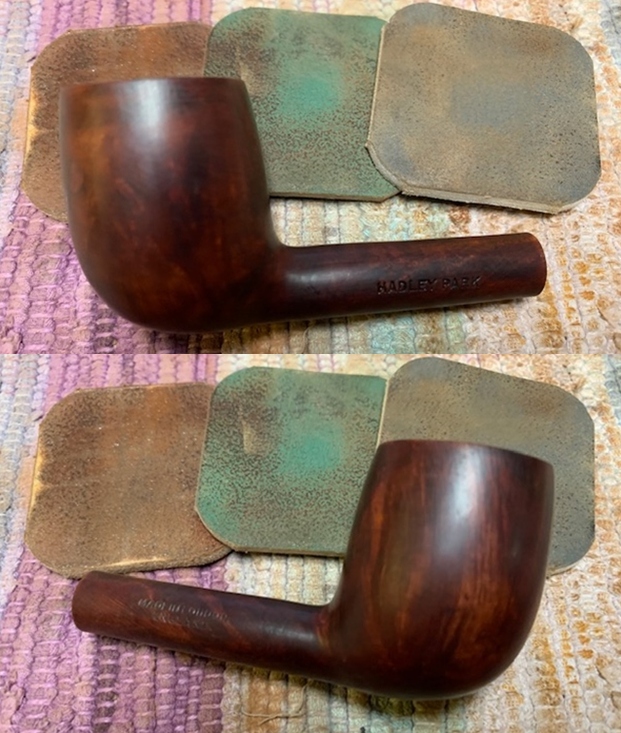
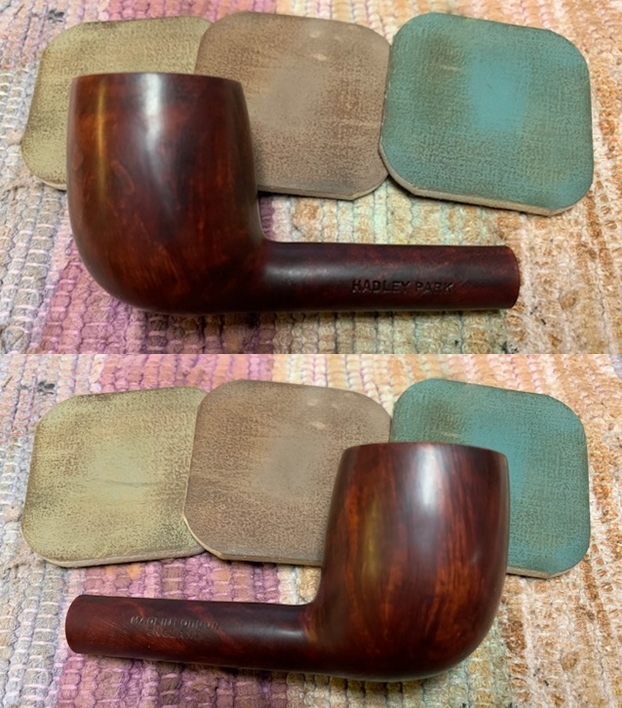
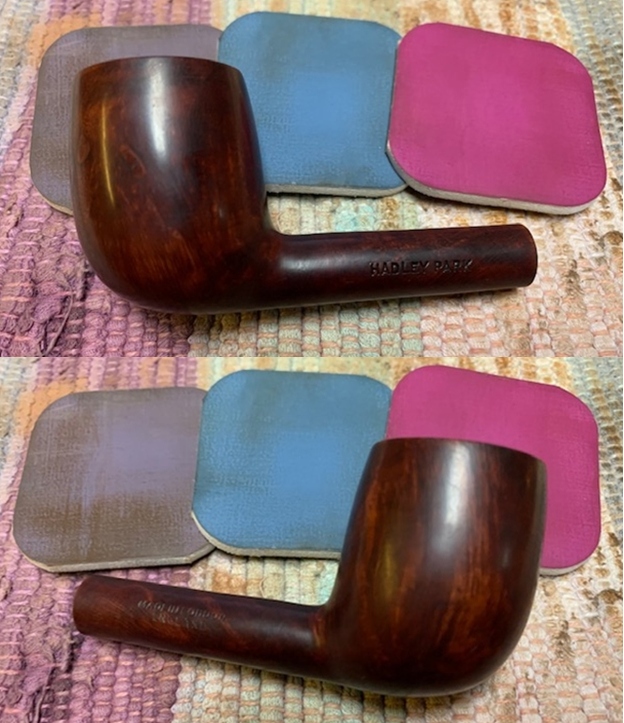
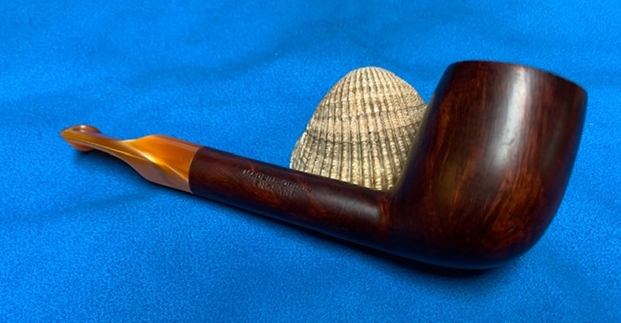
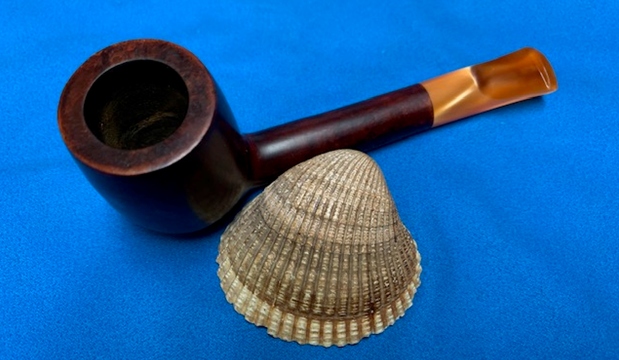
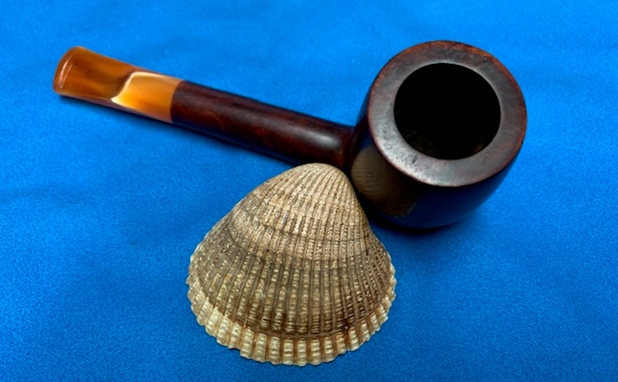
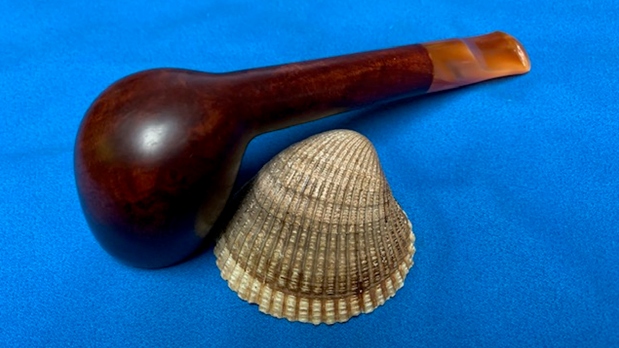
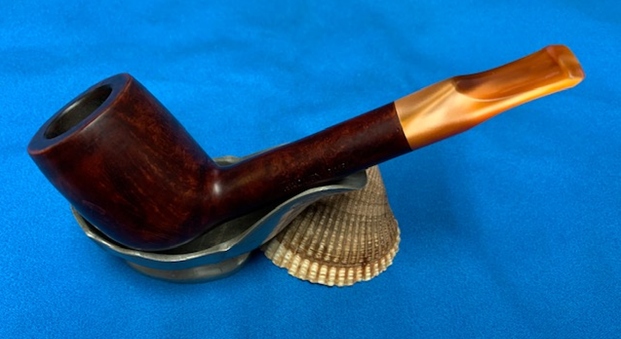
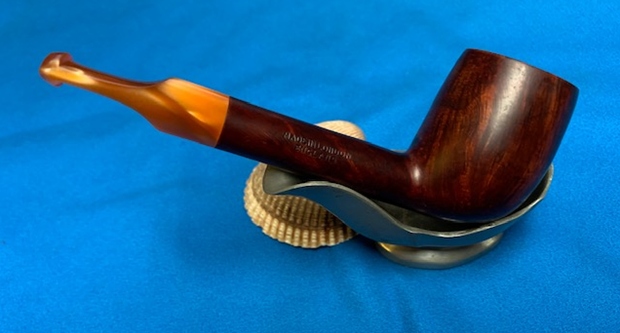
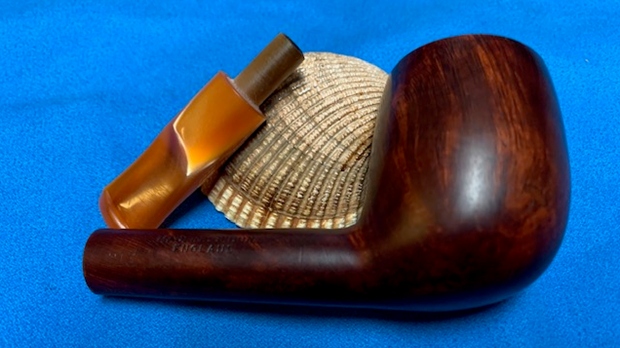
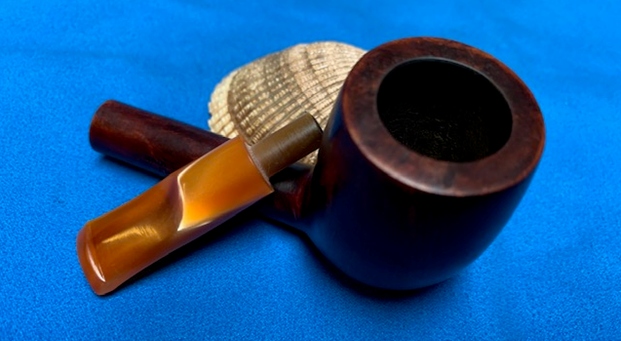
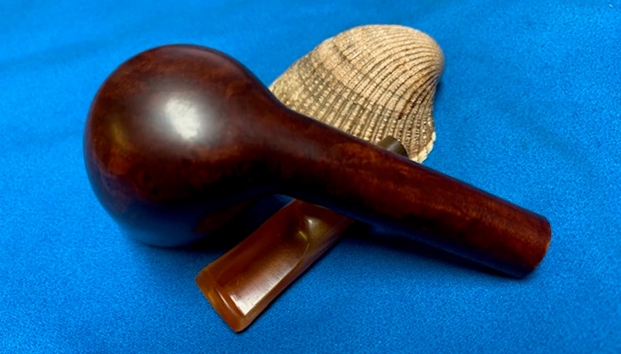
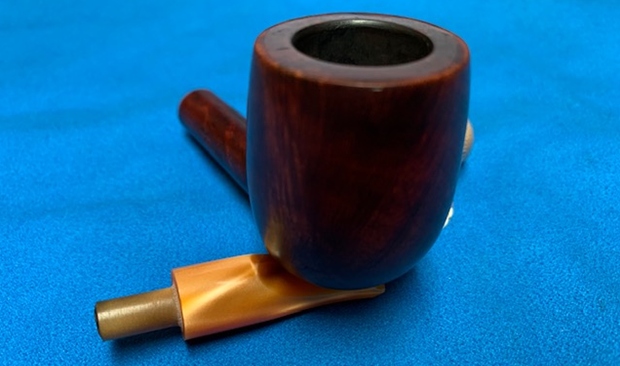
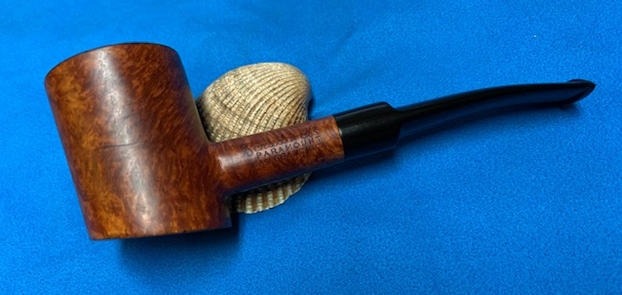
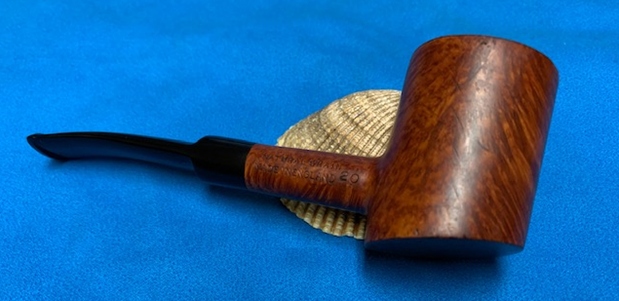
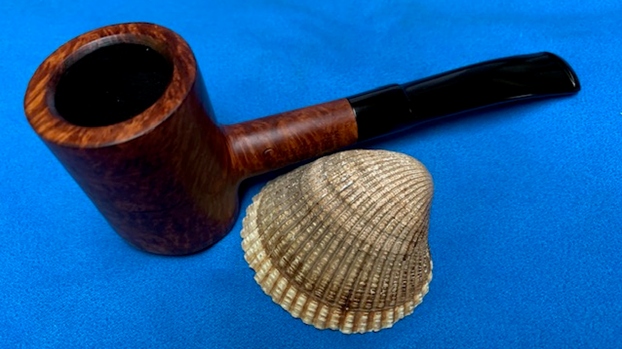
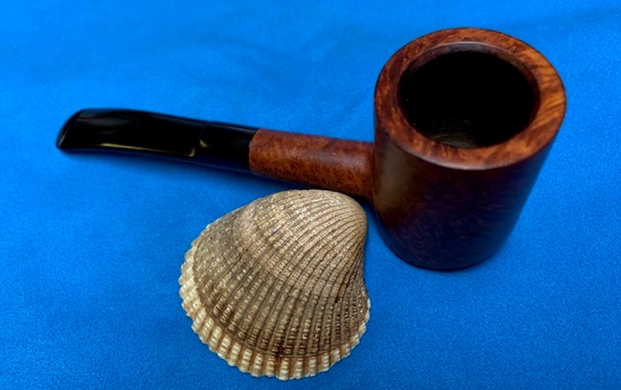
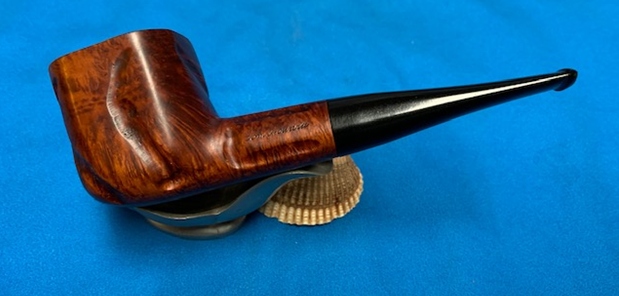
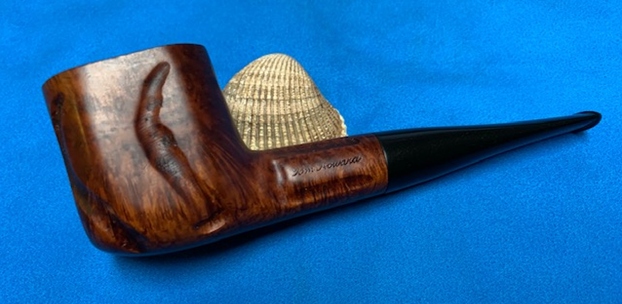
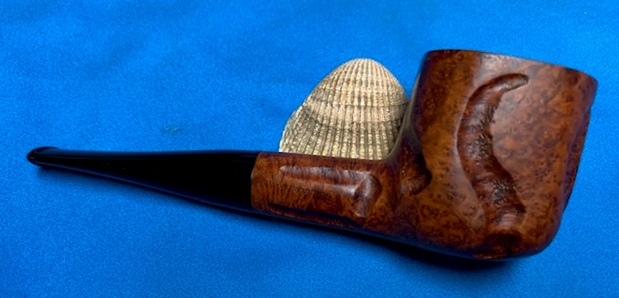
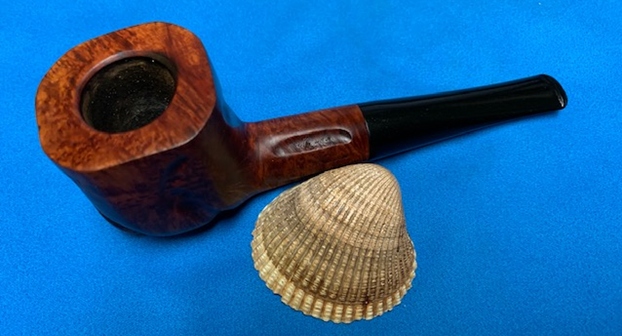
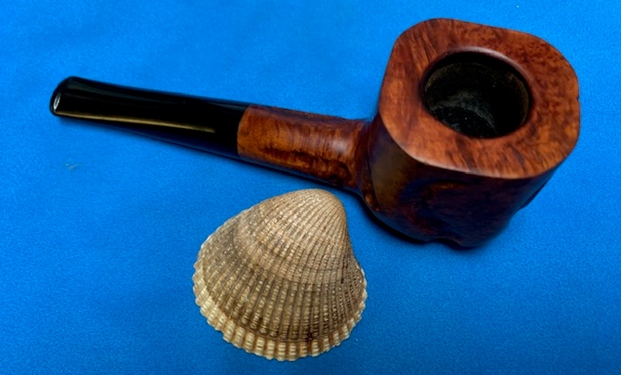
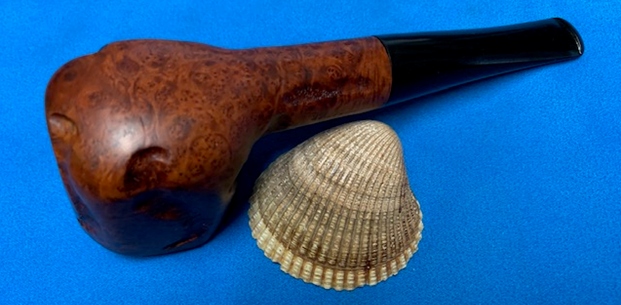
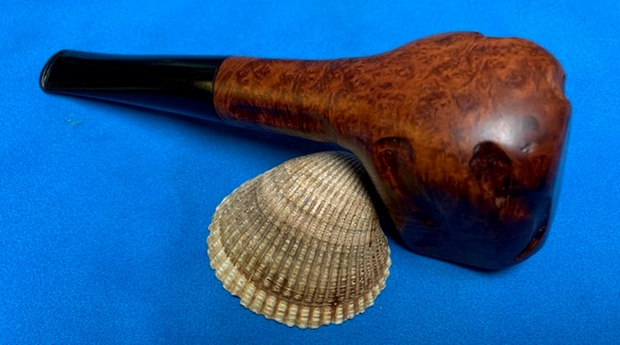
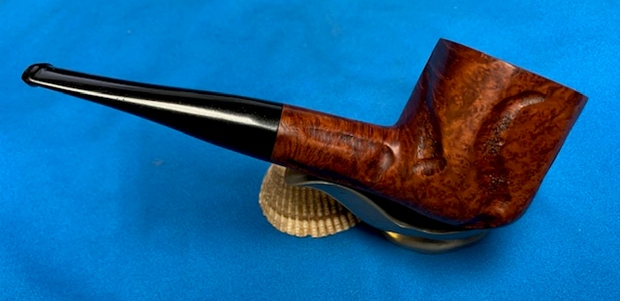
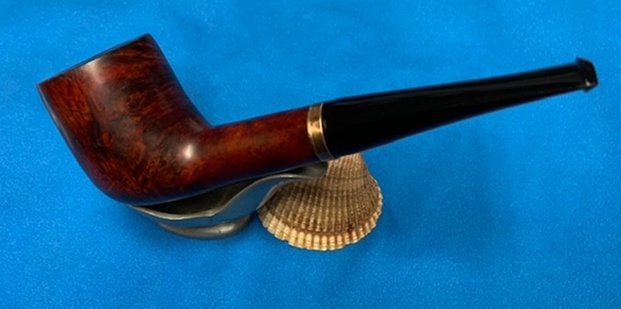
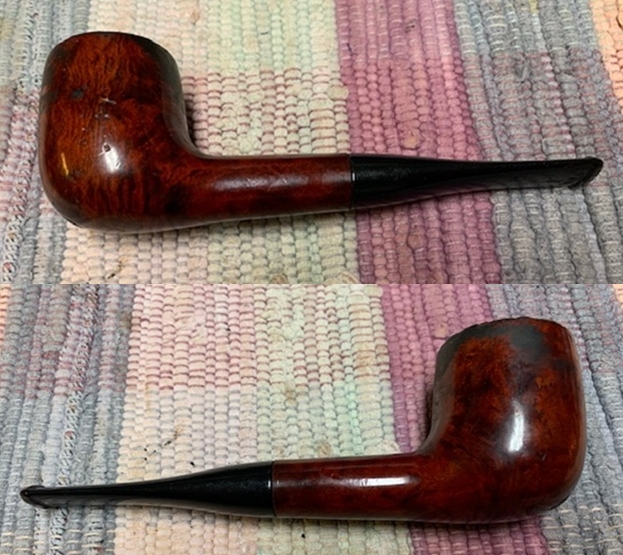
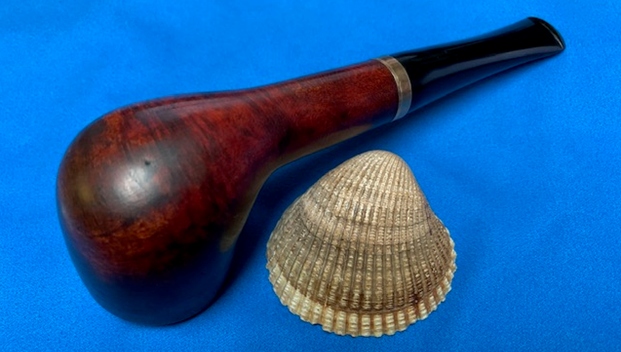
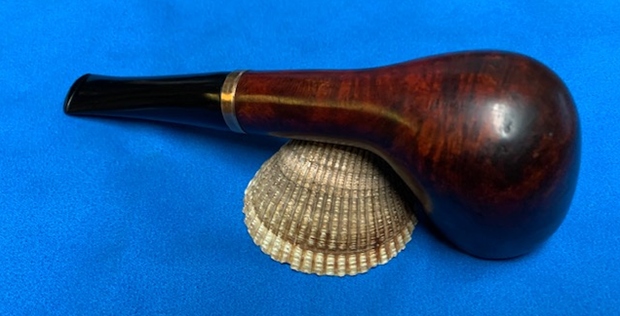
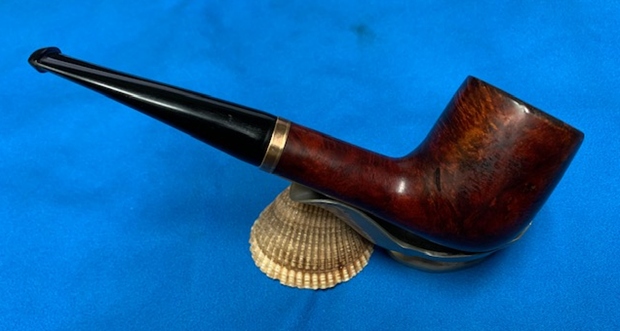
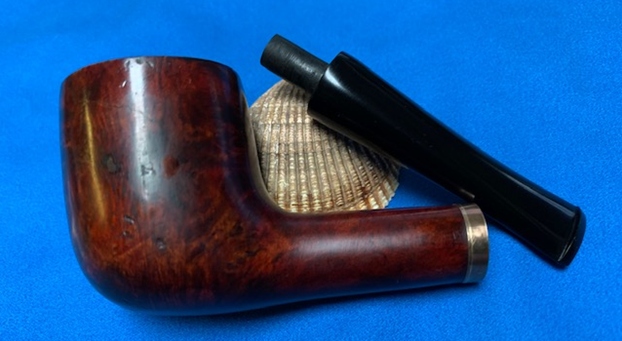
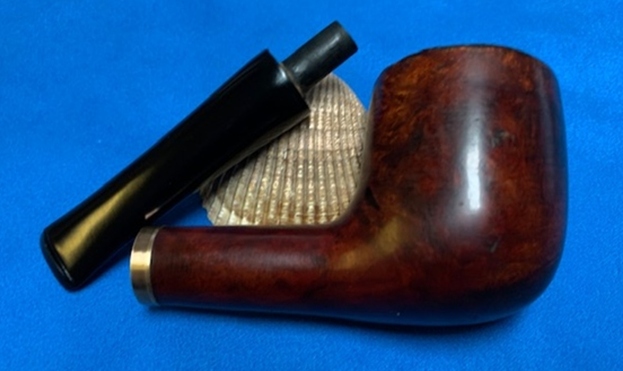
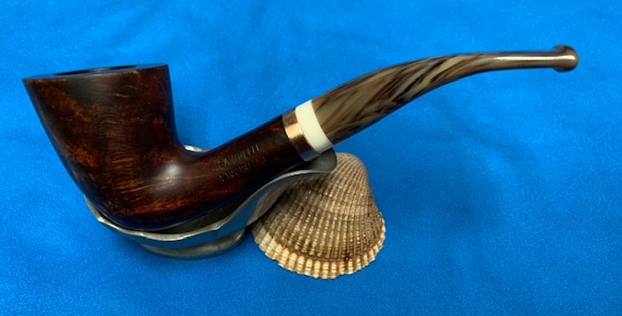
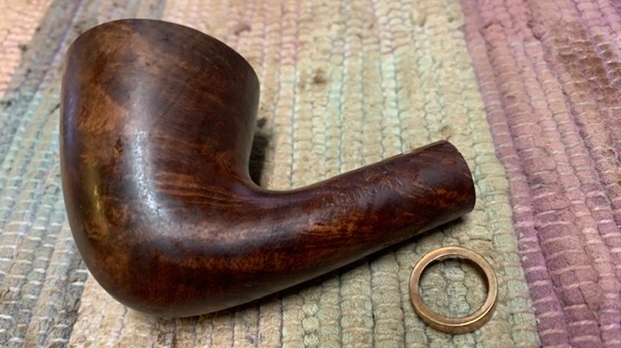
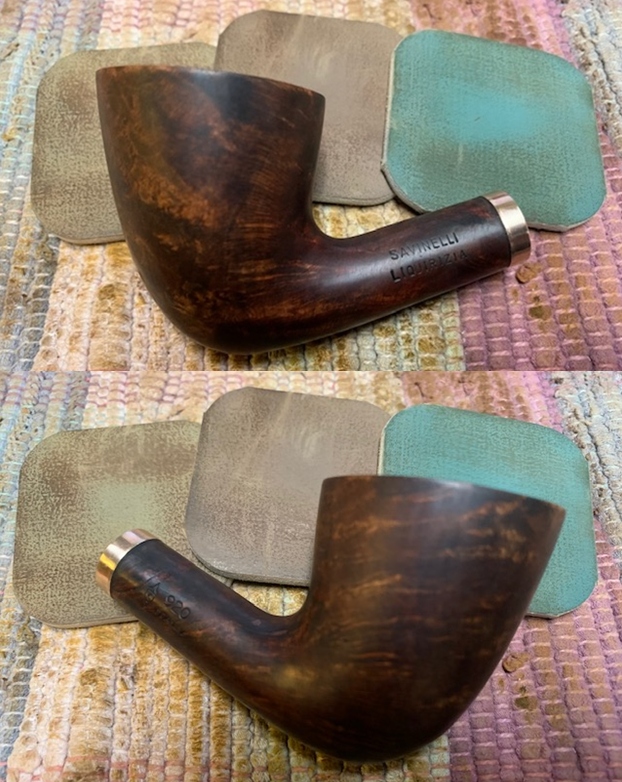
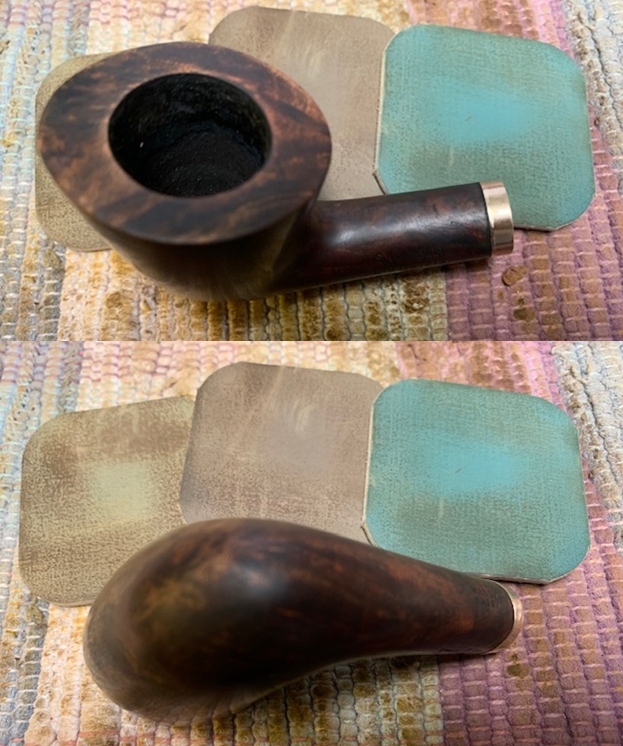
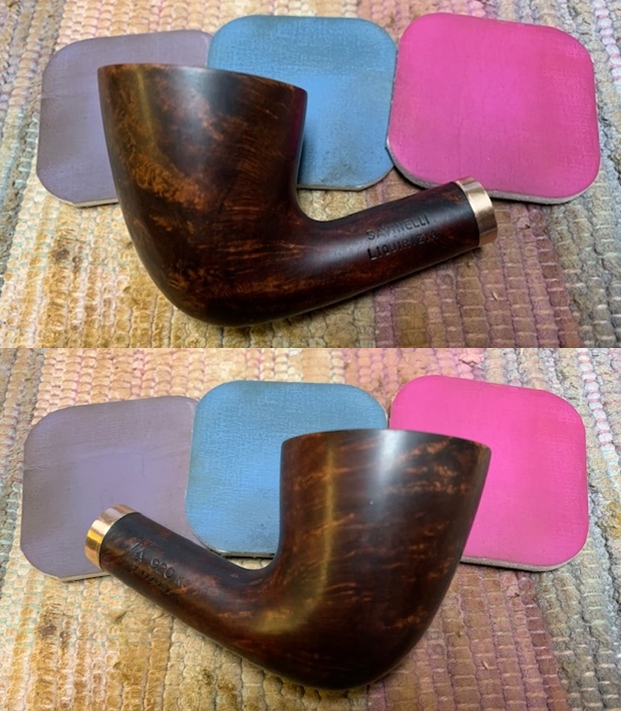
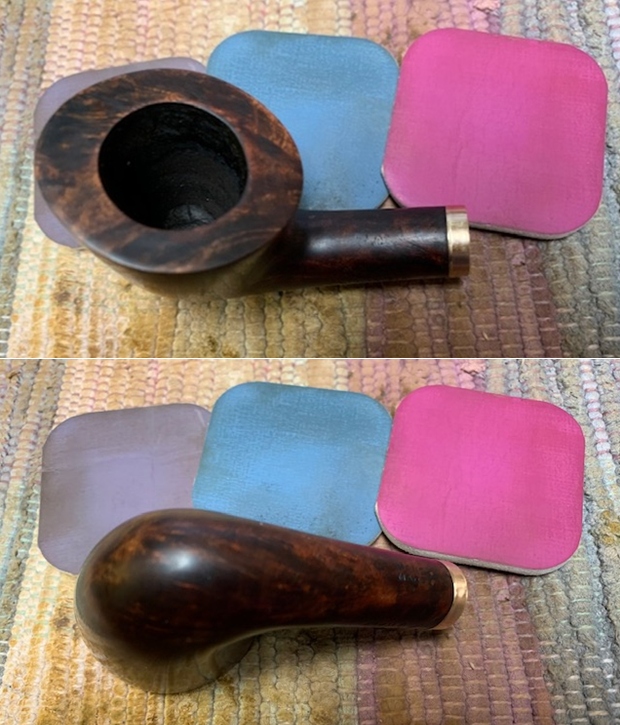
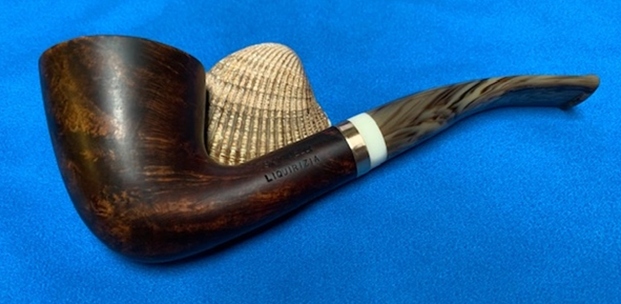
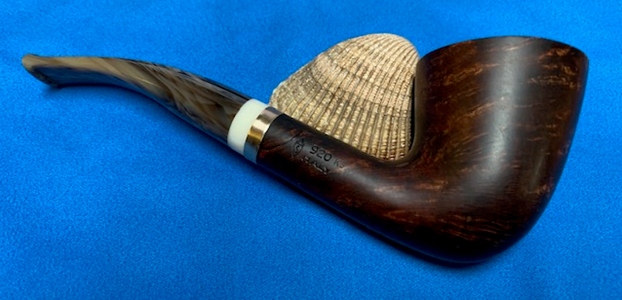
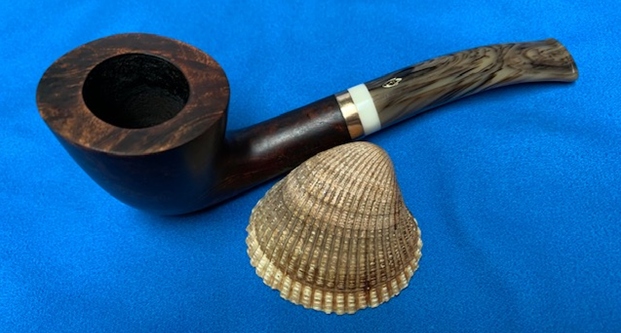
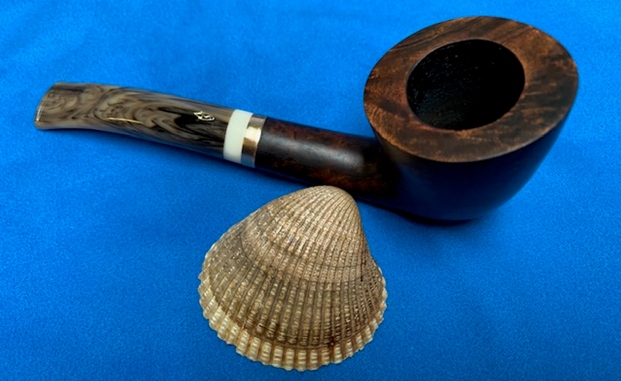
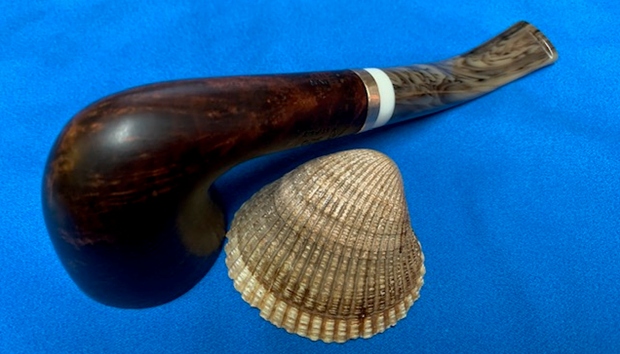
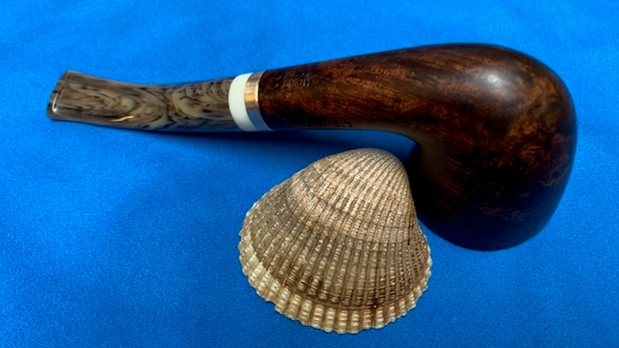
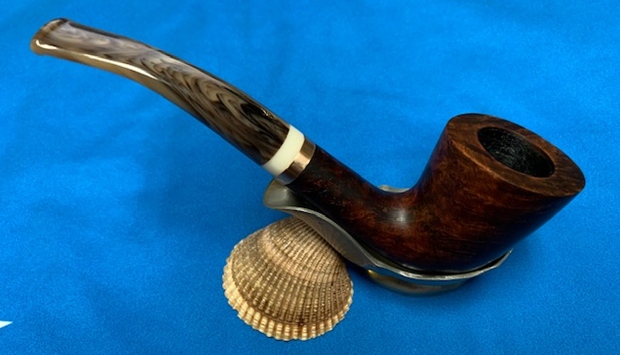
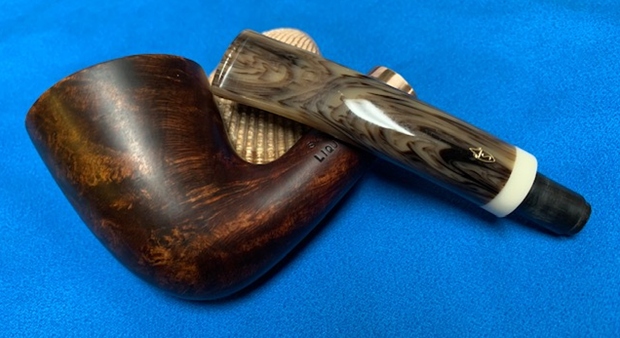
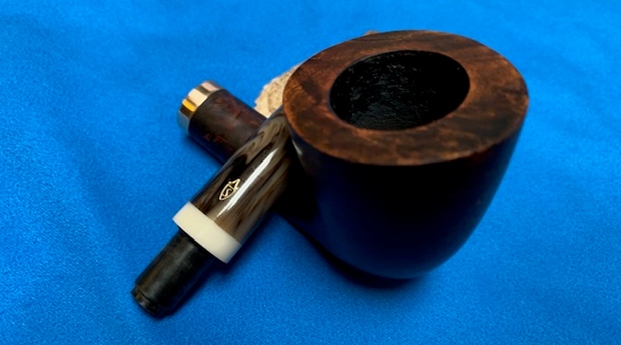
 This beautiful Stanwell Regd. No. 969-48 Freehand with a fancy, turned vulcanite stem is a great looking pipe now that it has been restored. I put the stem back on the bowl and carefully buffed the pipe with Blue Diamond on the buffing wheel using a light touch on the briar. I gave the bowl and the stem multiple coats of carnauba wax on the buffing wheel and followed that by buffing the entire pipe with a clean buffing pad. I hand buffed the pipe with a microfiber cloth to deepen the shine. The finished Stanwell Danish Freehand fits nicely in the hand and feels great. Give the finished pipe a look in the photos below. The dimensions of the pipe are Length: 6 inches, Height: 2 ½ inches, Outside diameter of the bowl: 1 ¾ inches, Chamber diameter: ¾ of an inch. The weight of the pipe is 54grams/1.90oz. I will be adding it to the rebornpipes store shortly in the Danish Pipe Makers Section. Thanks for reading this blog and my reflections on the pipe while I worked on it. There are many more to come!