Blog by Robert M. Boughton
https://www.facebook.com/roadrunnerpipes
After some time he felt for his pipe. It was not broken, and that was something. Then he felt for his pouch, and there was some tobacco in it, and that was something more. Then he felt for matches and he could not find any at all, and that shattered his hopes completely..
— J.R.R. Tolkien, The Hobbit, or There and Back Again
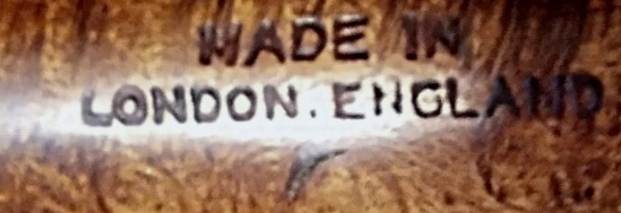
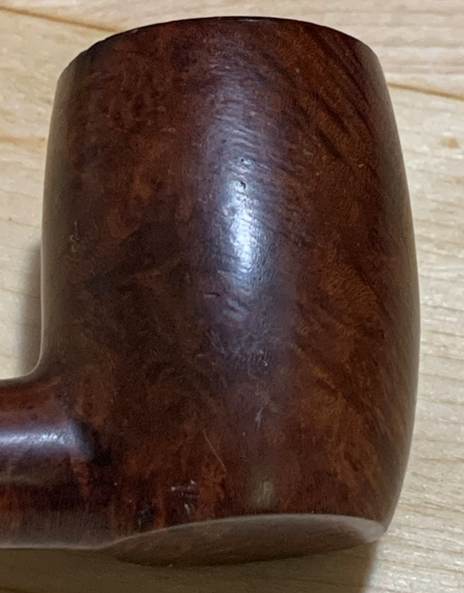
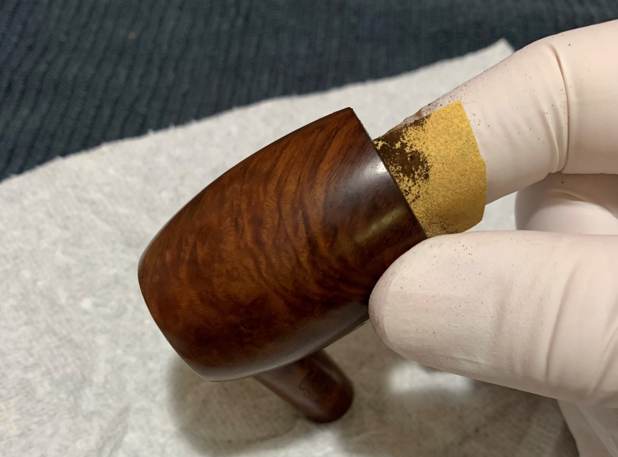
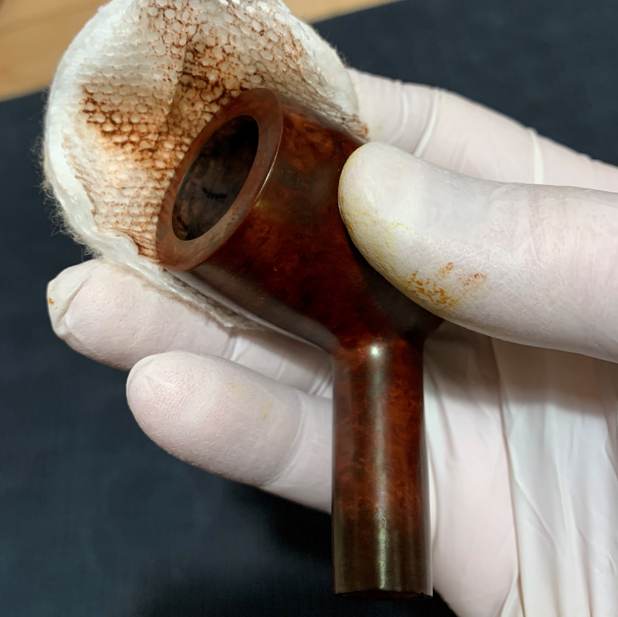
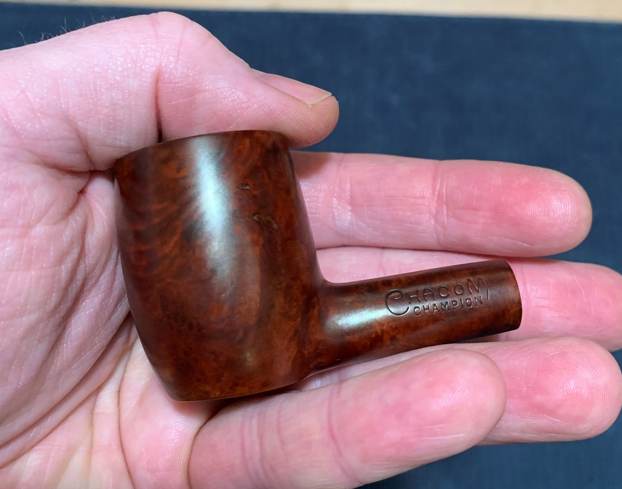
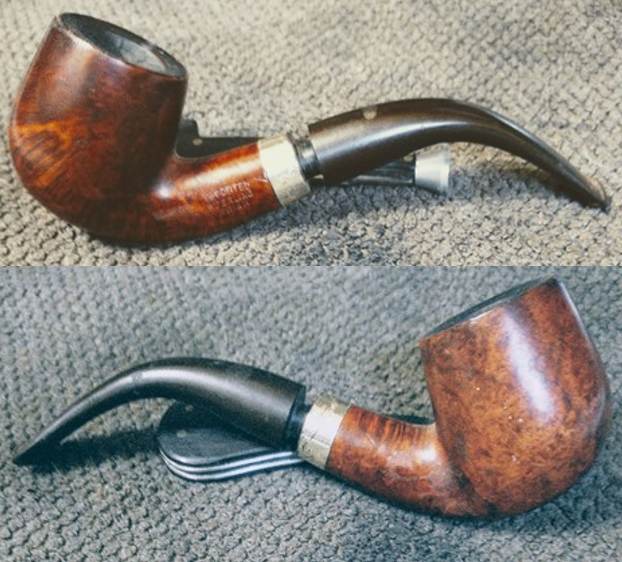
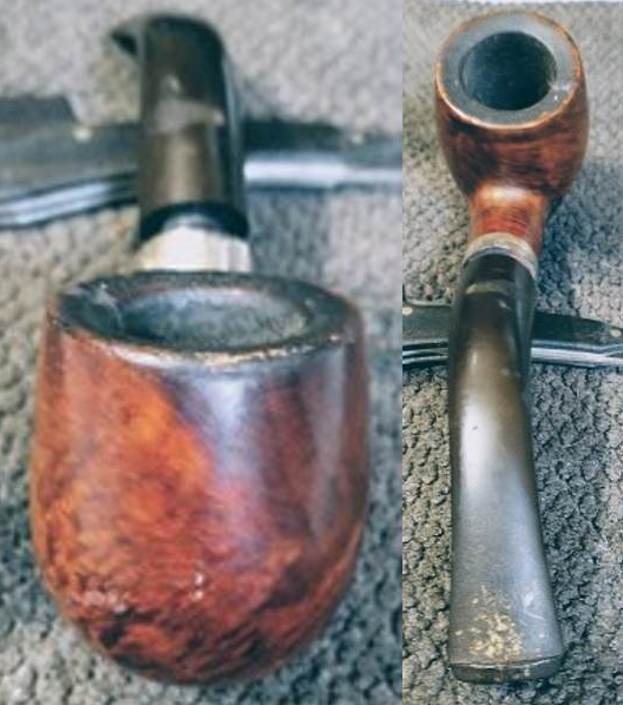
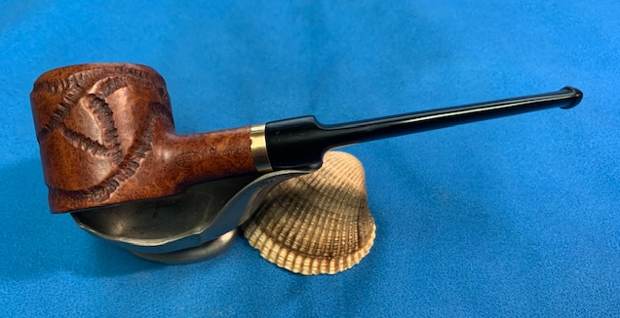
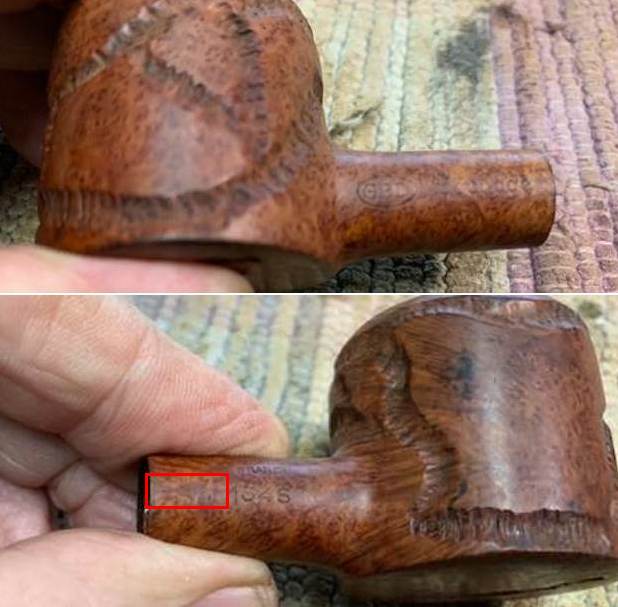
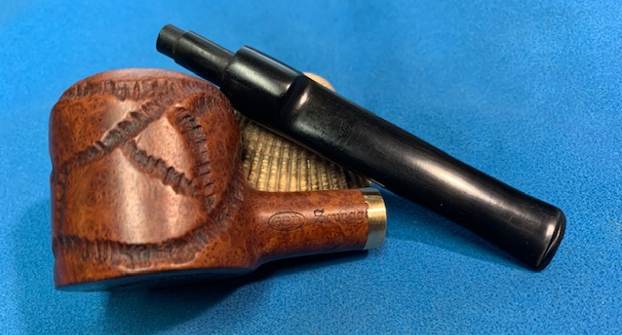
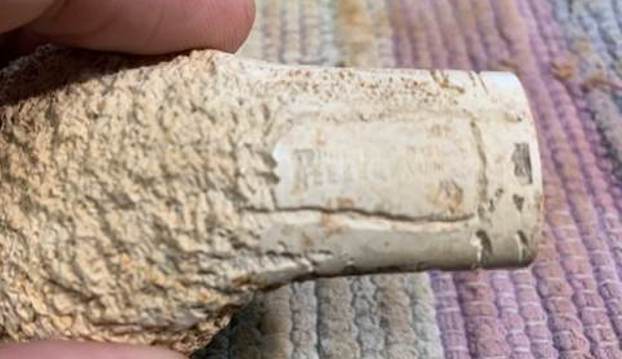
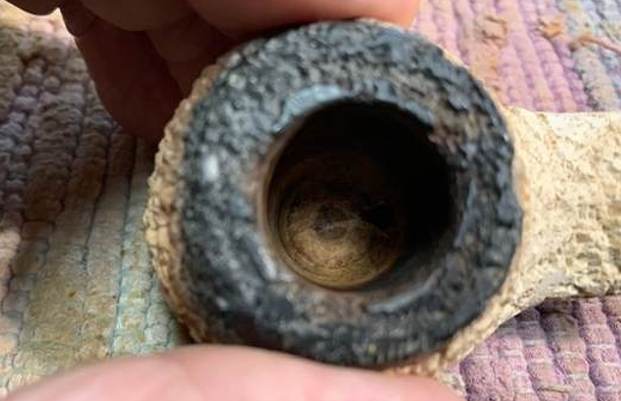
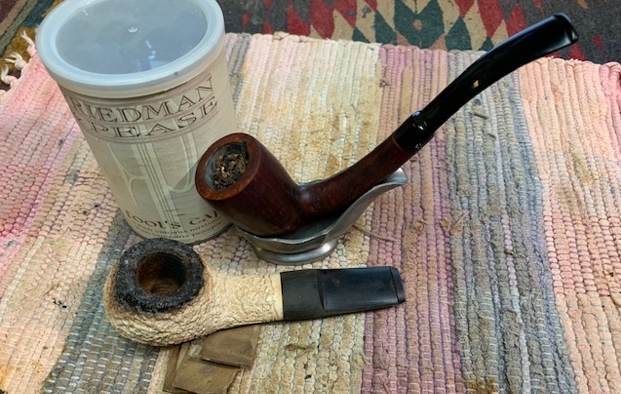
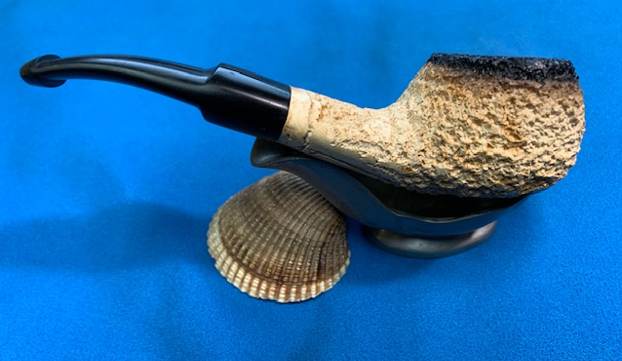
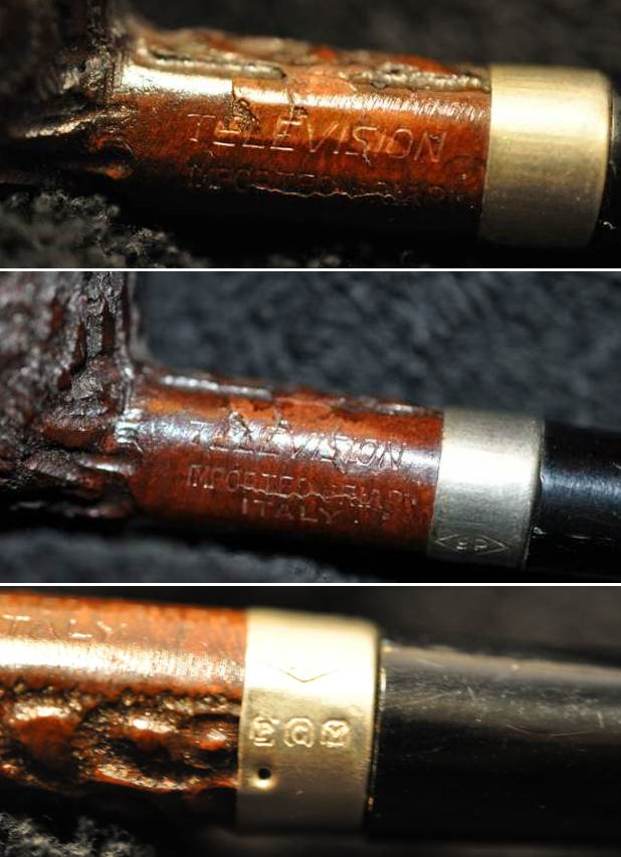
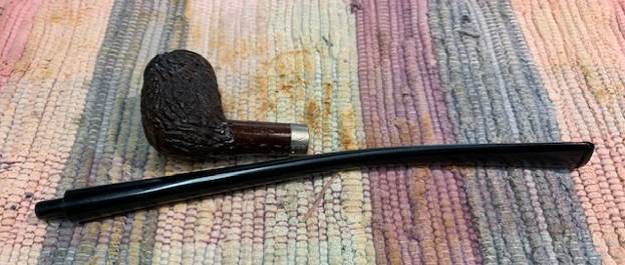
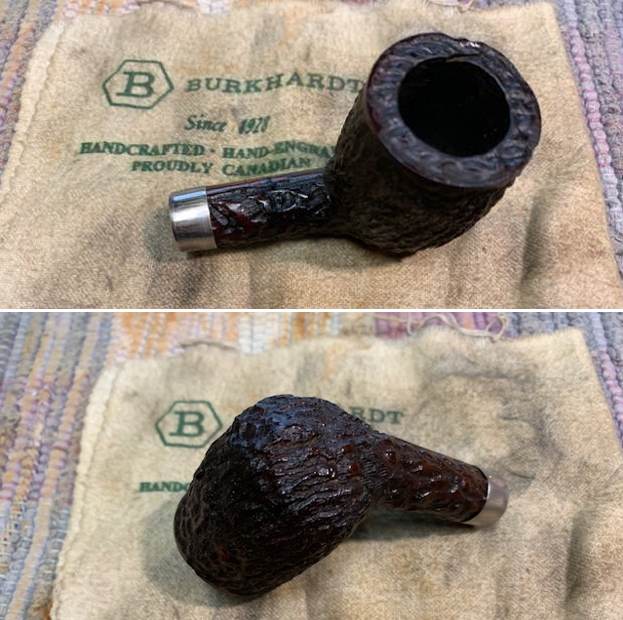
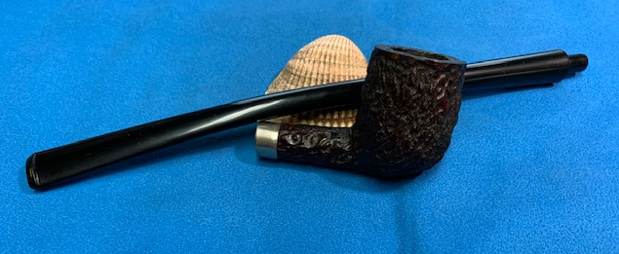
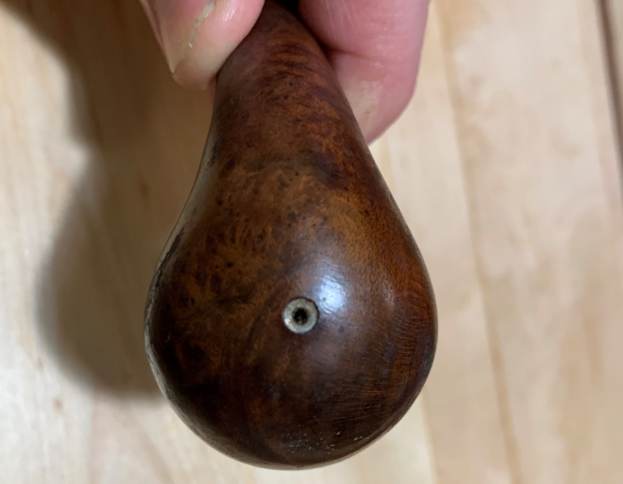
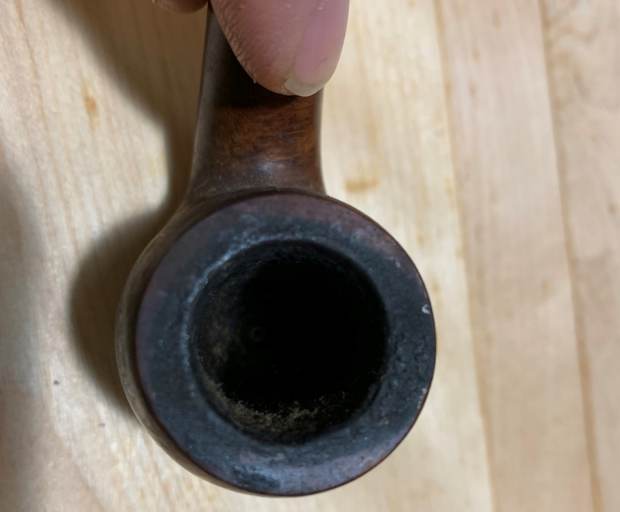
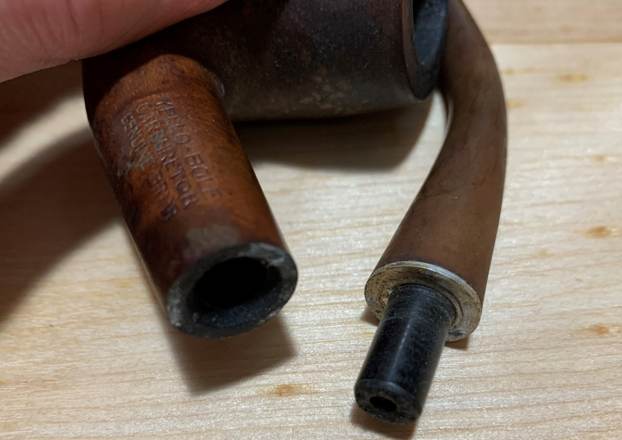
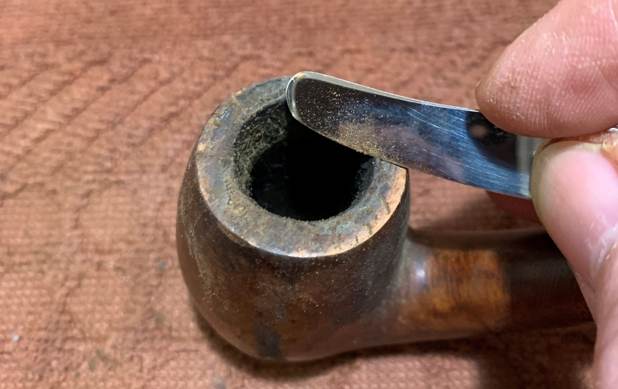
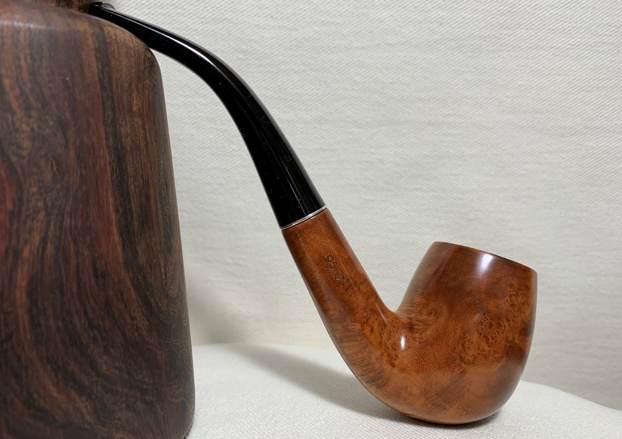
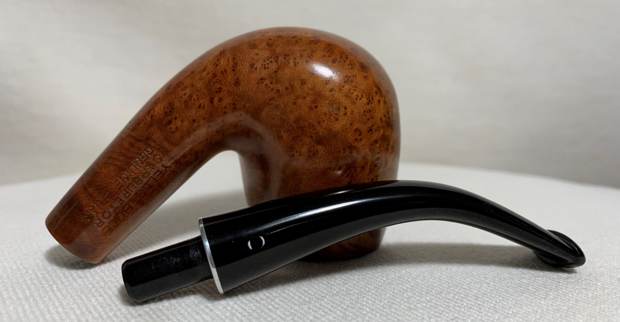
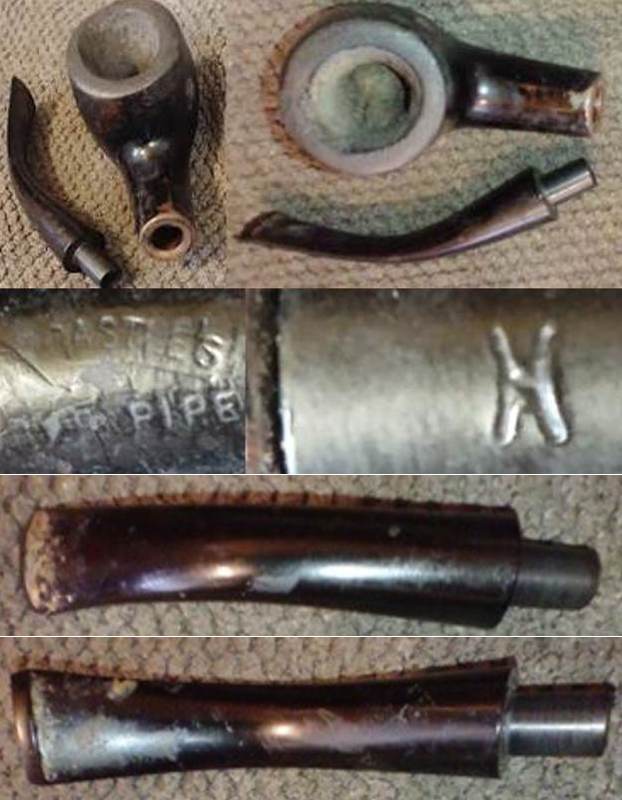
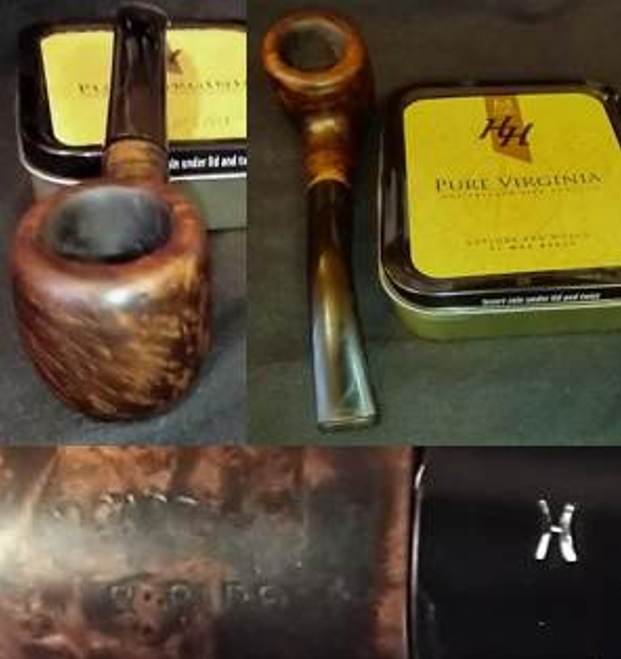
I had no idea where this pipe came from. It seemed to appear out of thin air on the little stand that serves as a sort of waiting room for my next six appointments needing various degrees of rejuvenation. The diminutive bent billiard – once a black dress pipe, I could tell – bore such wear and accumulated gunk that it looked more like something washed up on shore after a catastrophic oil spill. The thought occurred to me that perhaps I should wear latex gloves for the initial inspection, which suggested the pipe was not broken, and that was something, and there were no apparent cracks or burnouts, and that was something more. The rim of the bowl was wrecked, and that would not have been encouraging were it not for the apparition of the last five letters of an old friend’s name on the left shank. The classy H on the stem confirmed a Hardcastle shrouded by the grime. For a chronology of Hardcastle’s transition from its beginning in 1903 to the final stage of its evolution as a Dunhill second, follow the Pipephil link in Sources.
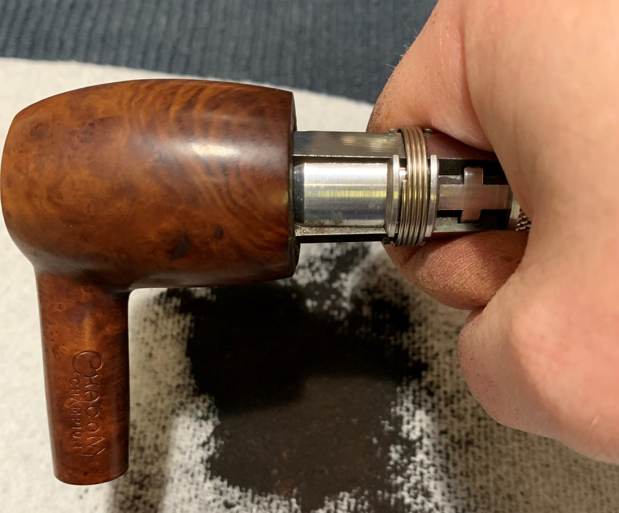
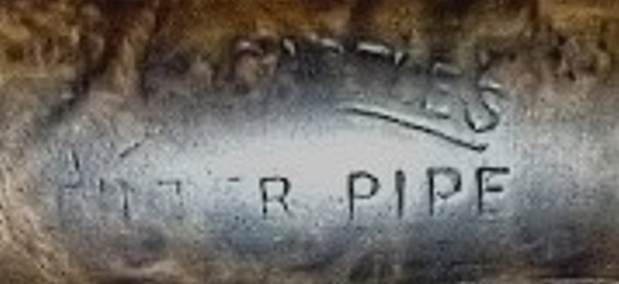
Only after the first two steps of the restoration did I discern that the billiard was a Filter Pipe model. I was creating a new sub-folder in my restored Hardcastles when a warning appeared on the monitor asking if I wanted to replace the existing Filter Pipe folder with the new one. This very pipe came to me a few years back with clear nomenclature but a rim that was more abused than most. At the time, it was the perfect candidate for my experiments in giving pipes a dress finish. My roommate, a Hardcastle devotee, bought it. That explained the poor thing’s further decline.
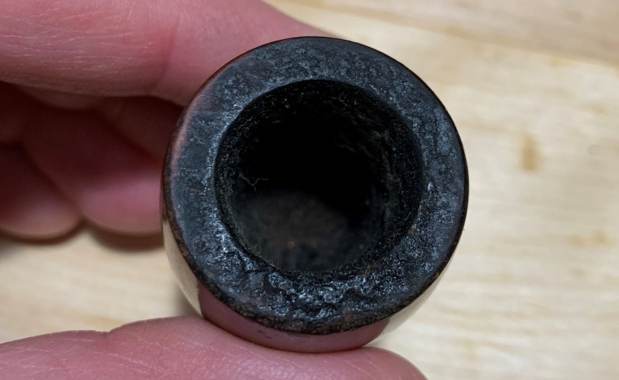
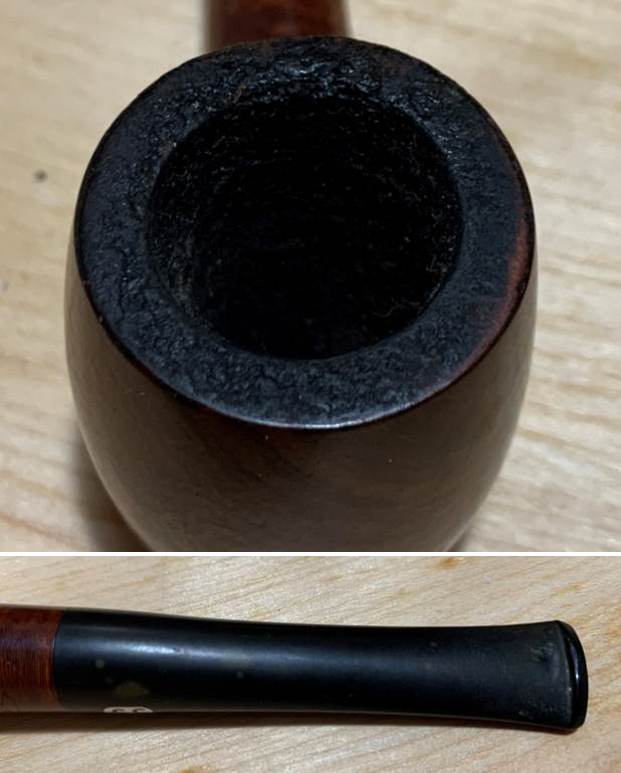
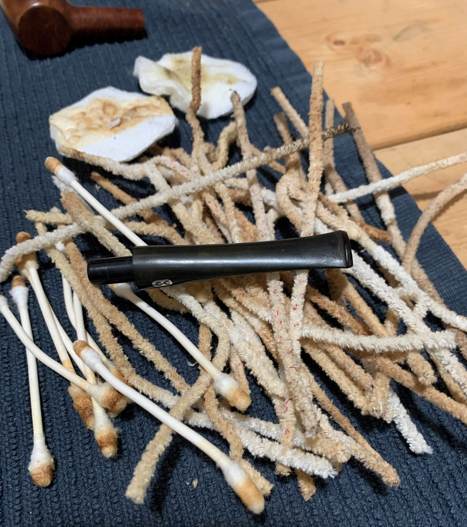
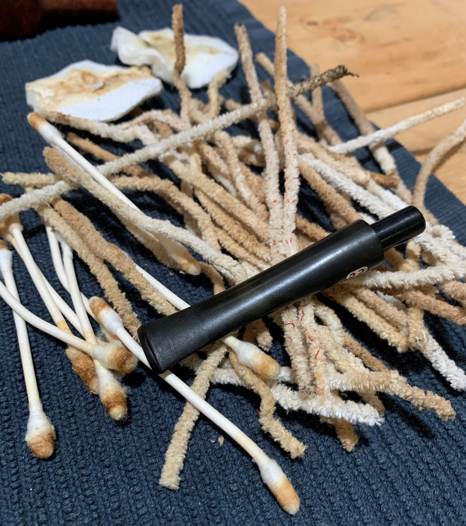
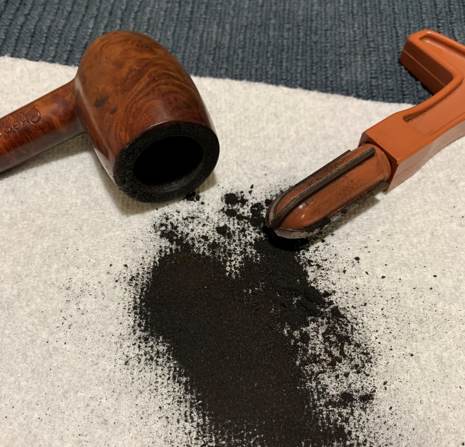
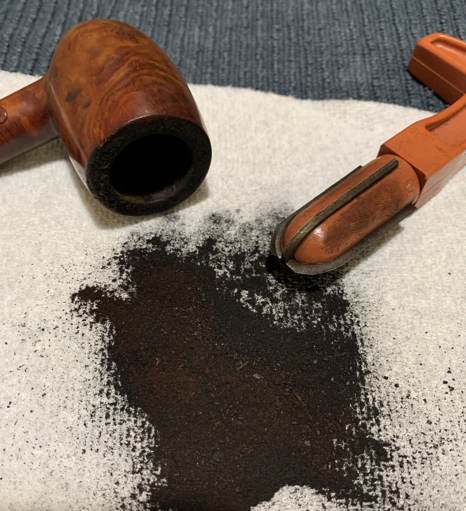
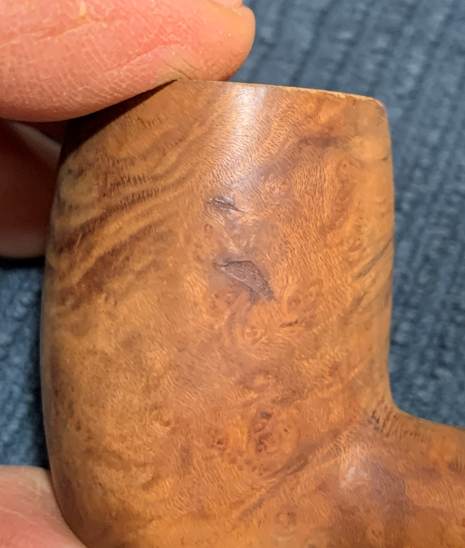
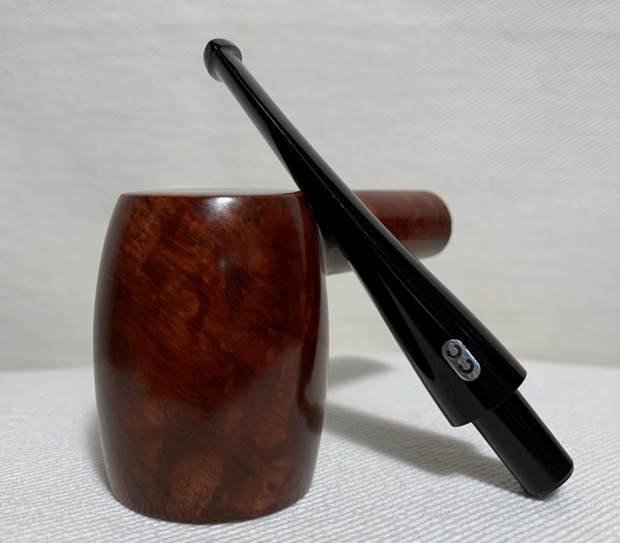
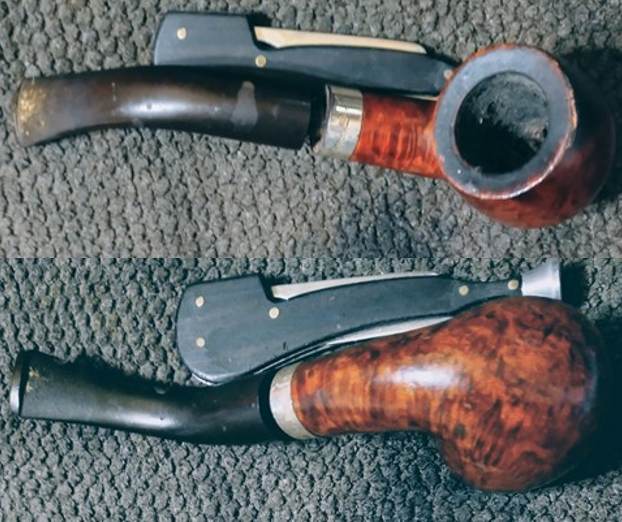
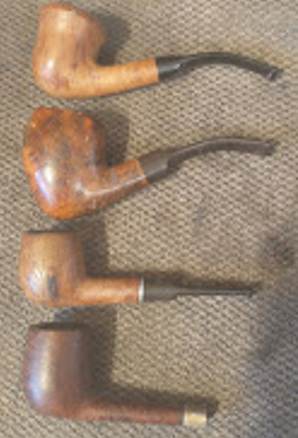
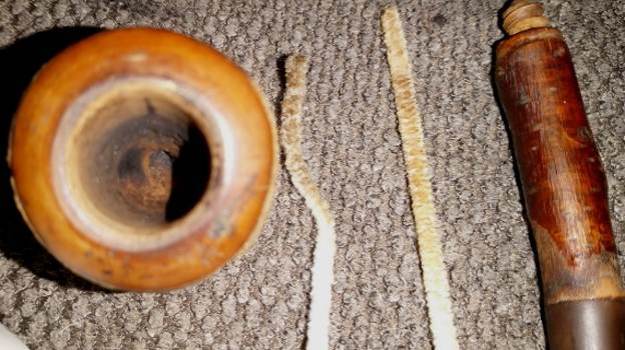
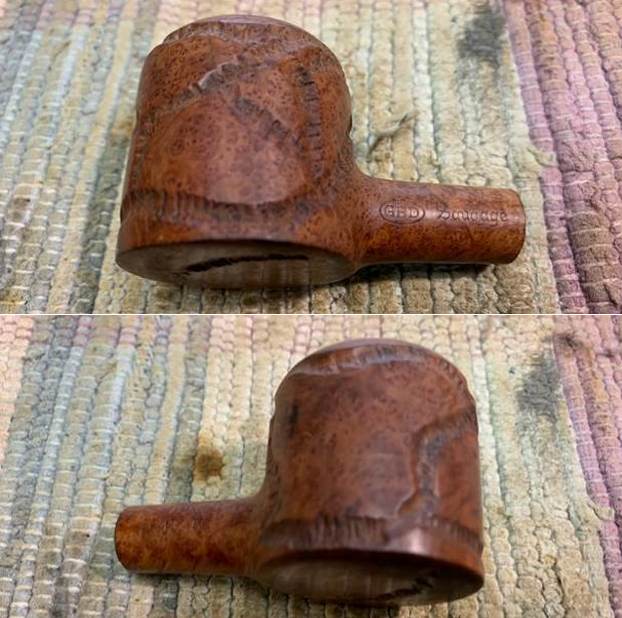
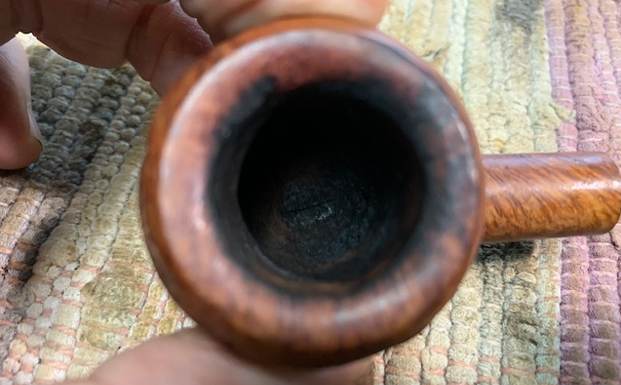
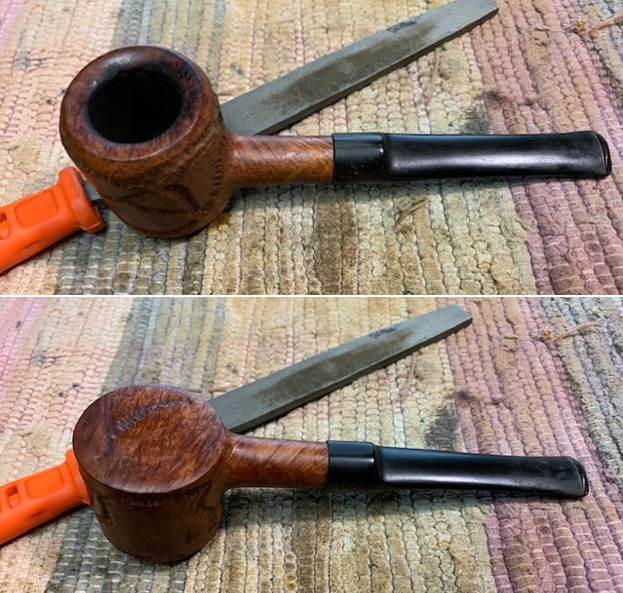
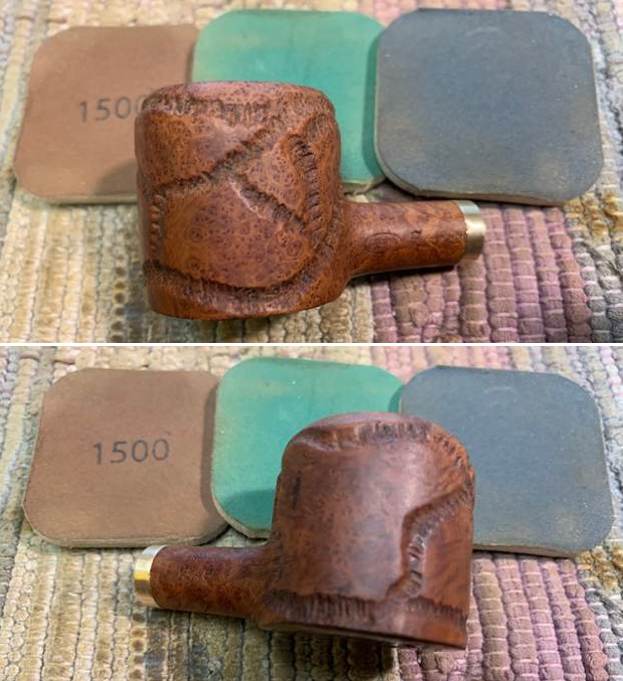
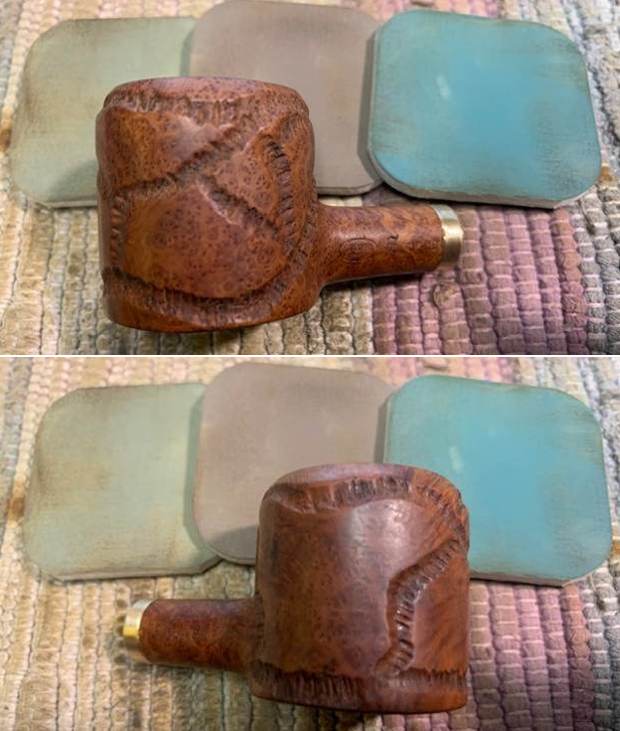
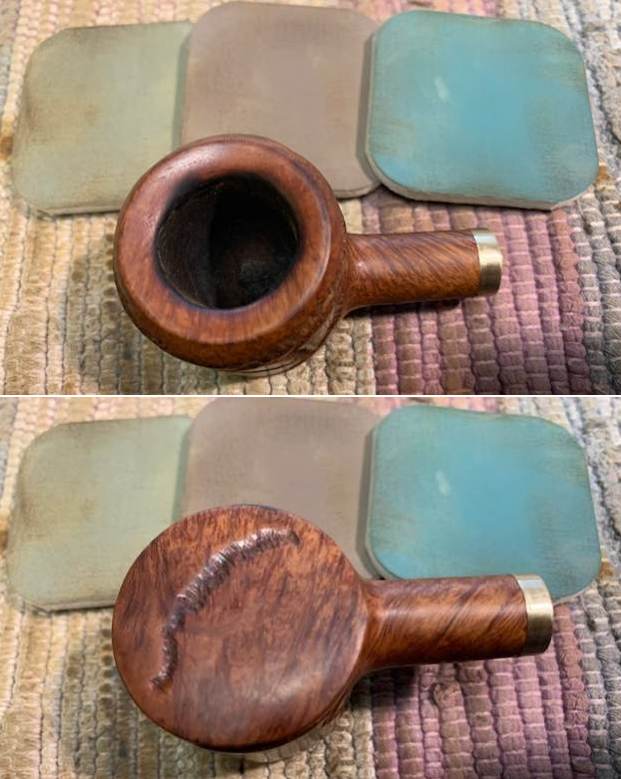
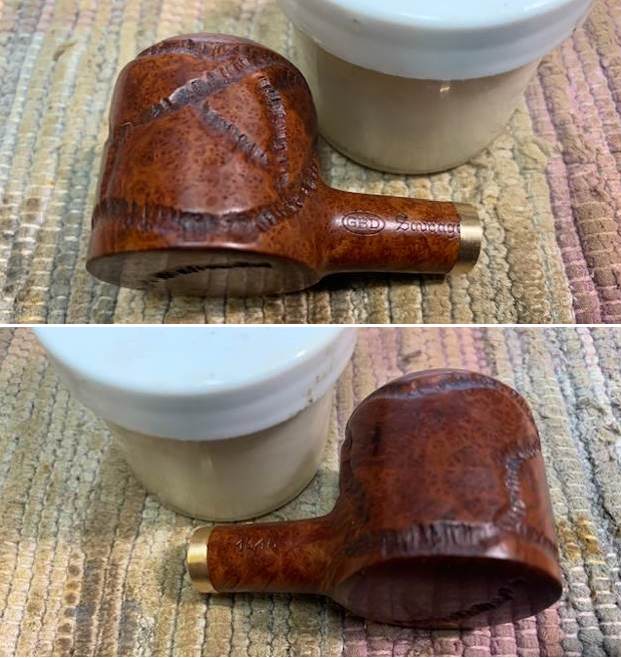
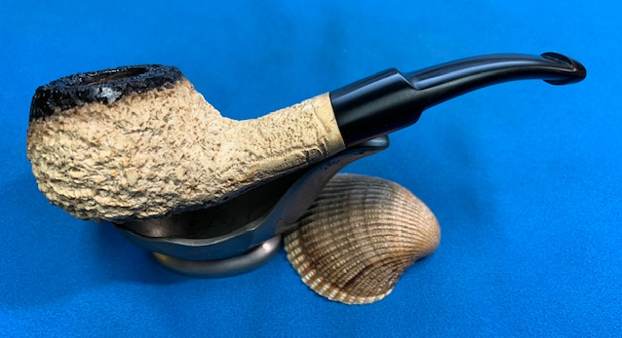
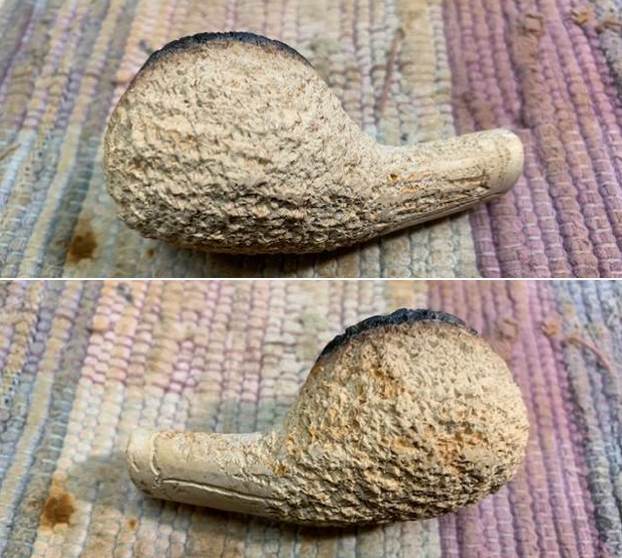
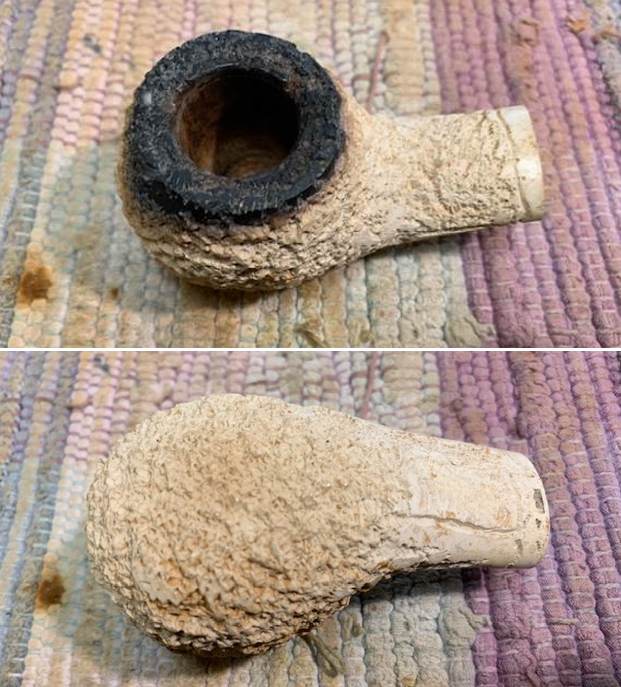
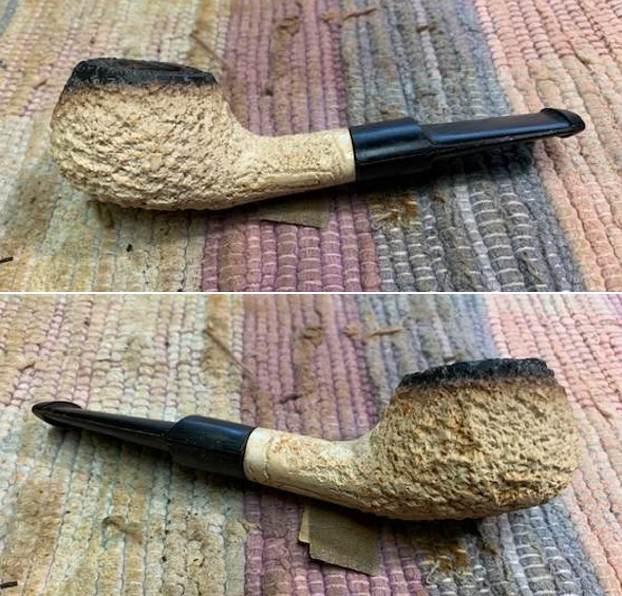
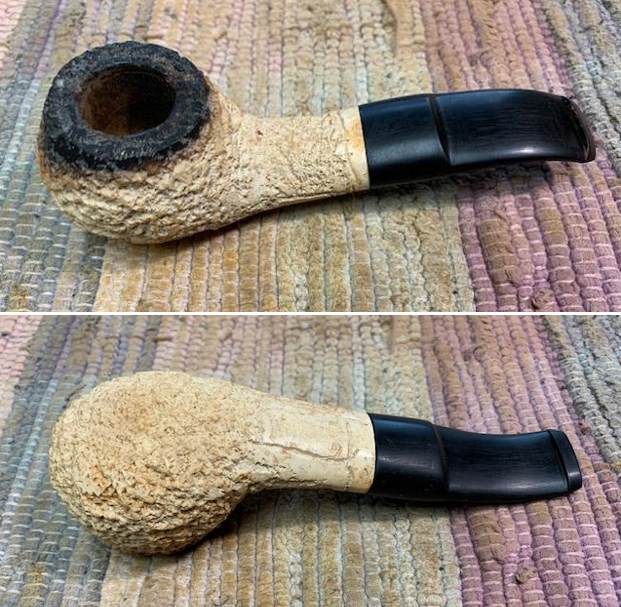
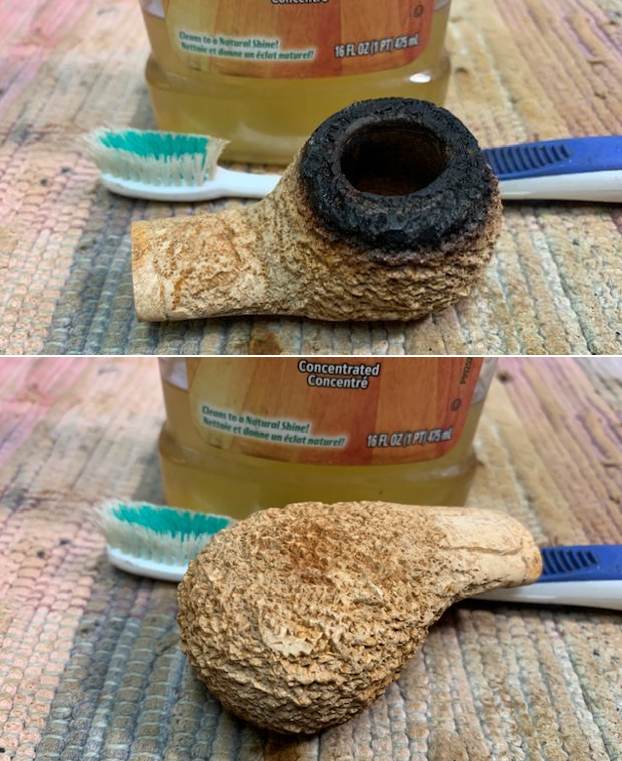
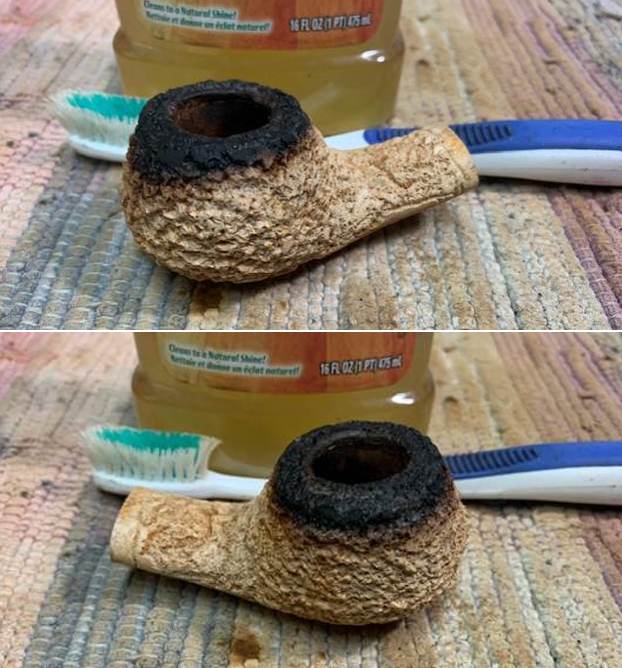
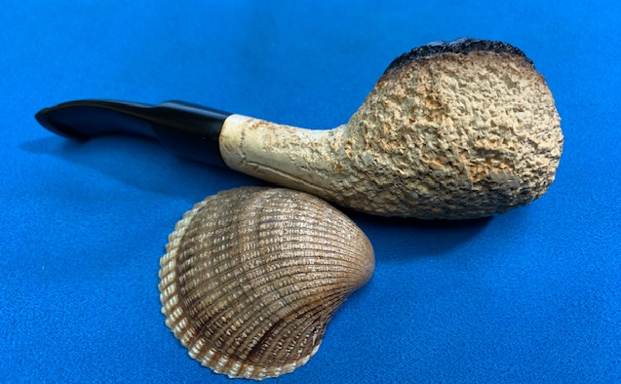
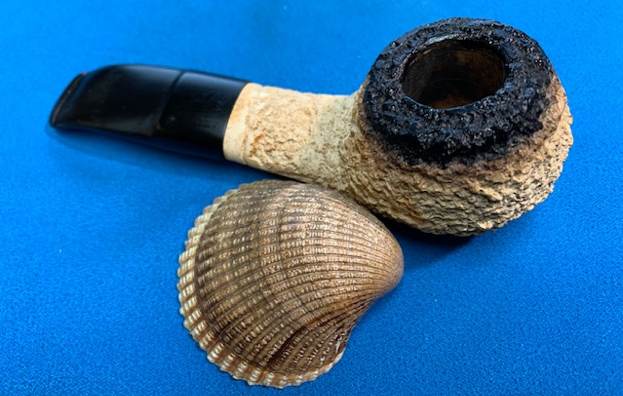
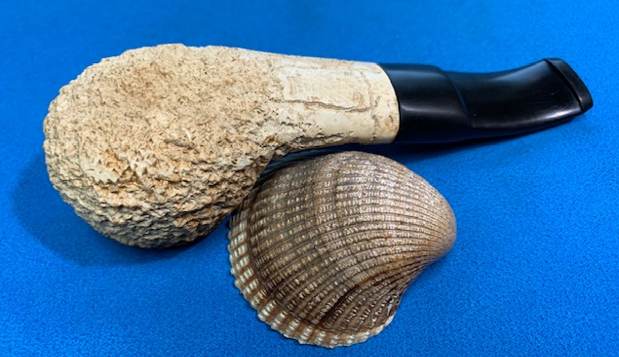
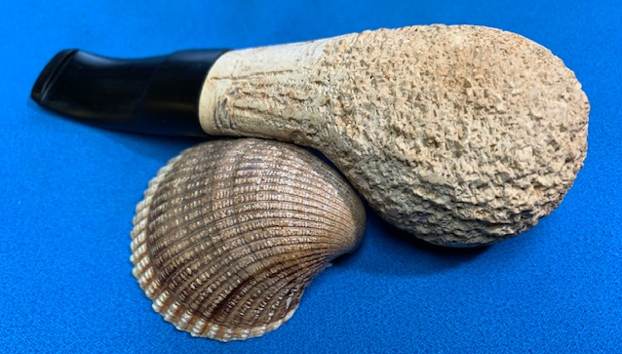
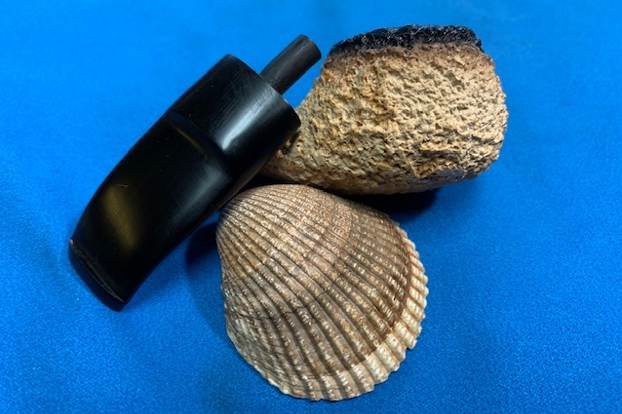
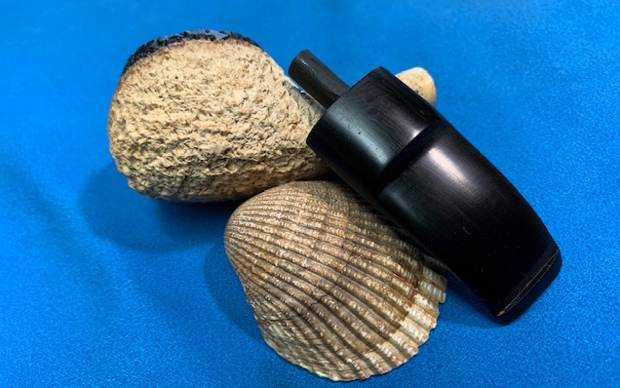
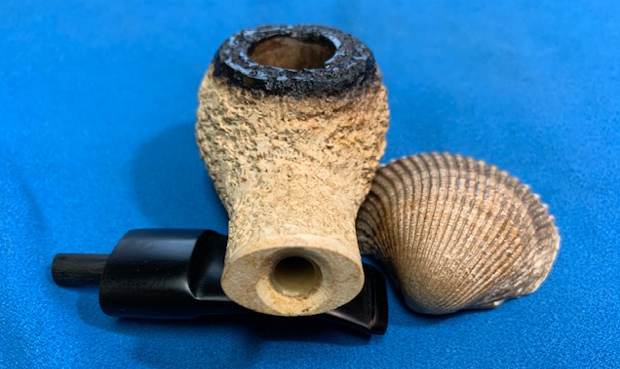
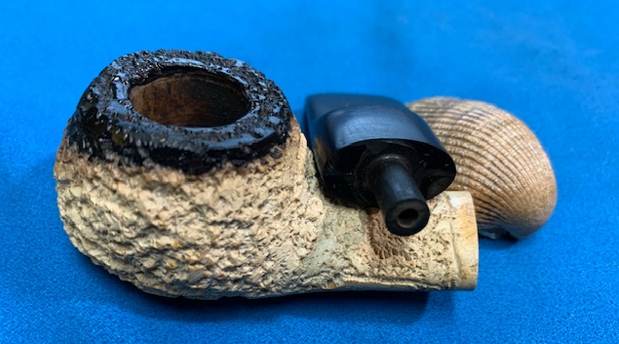
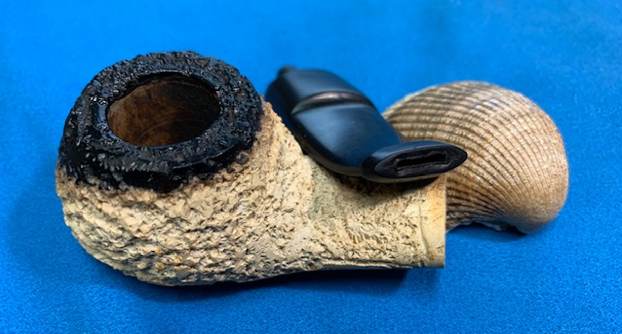
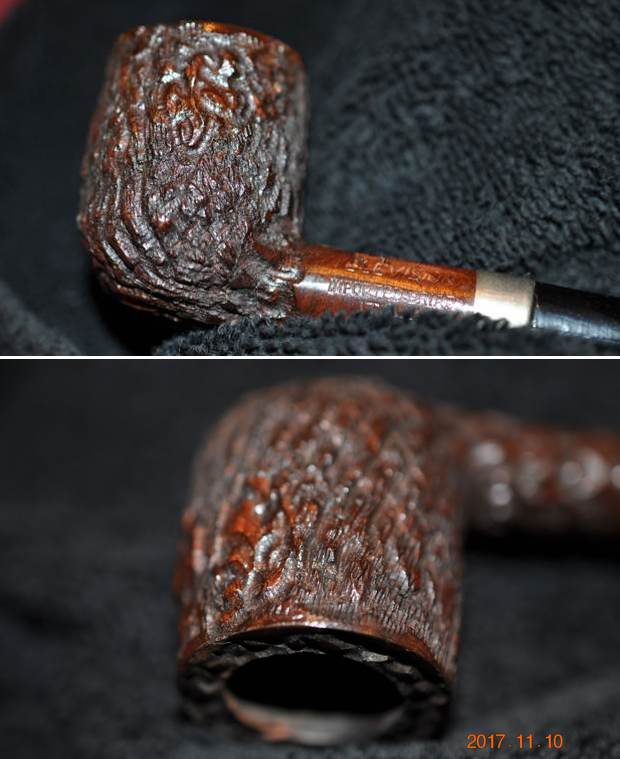
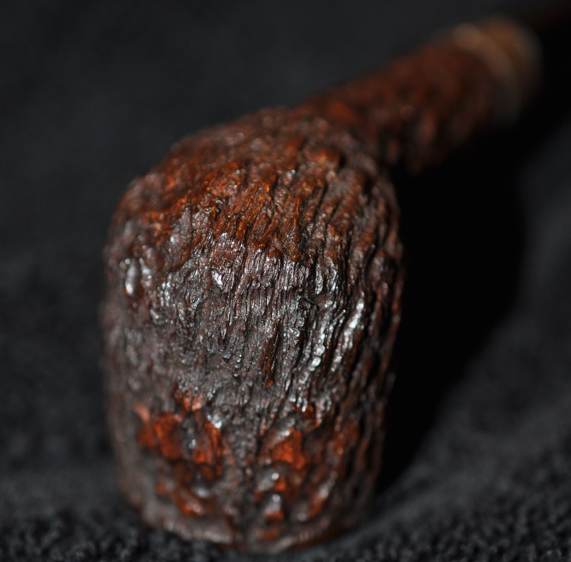
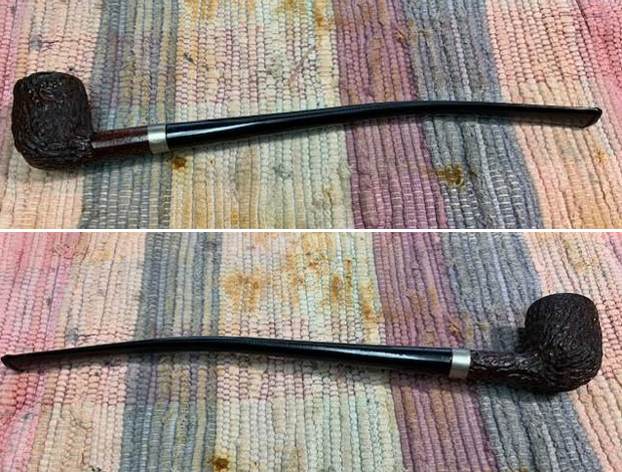
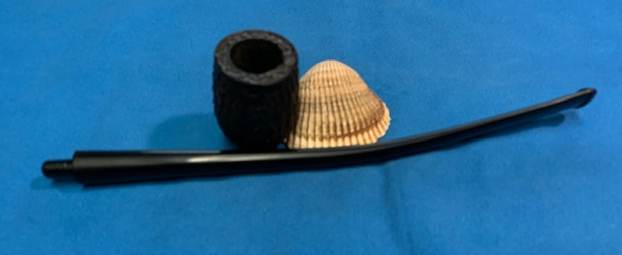
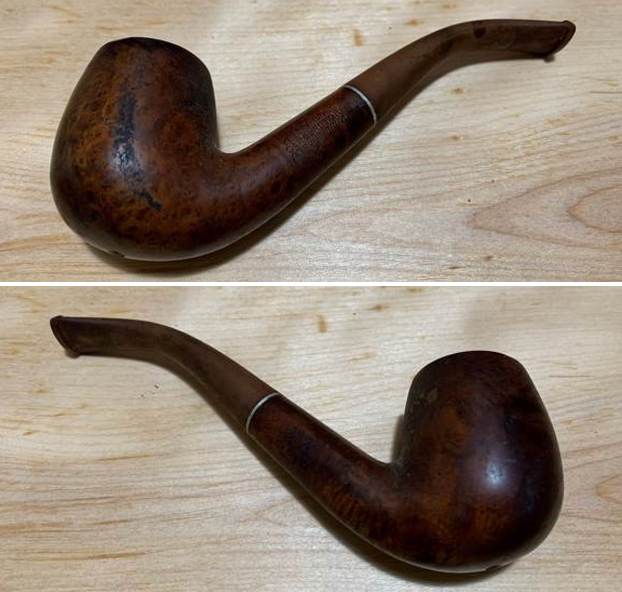
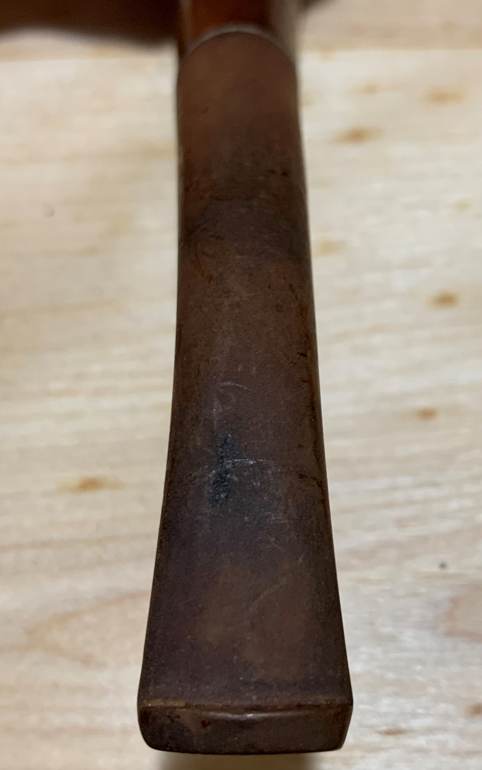
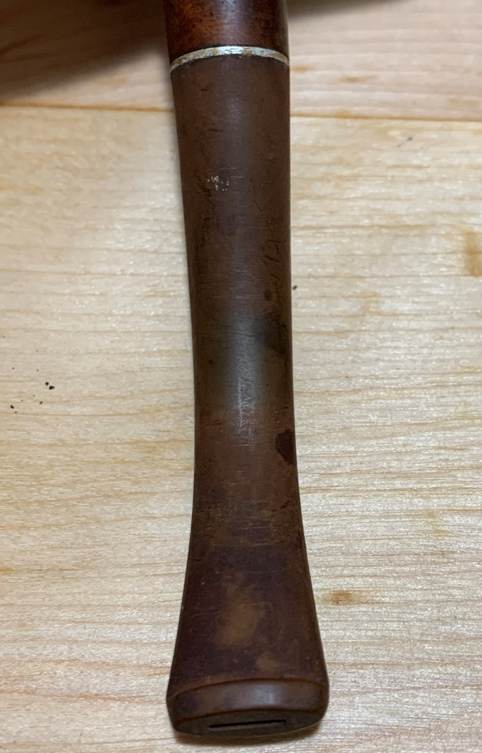
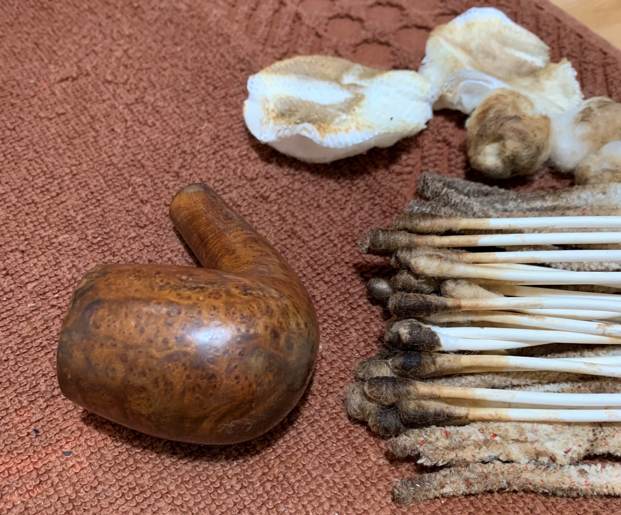
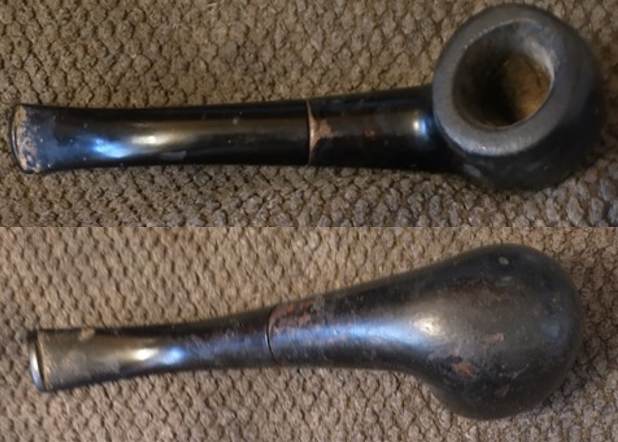
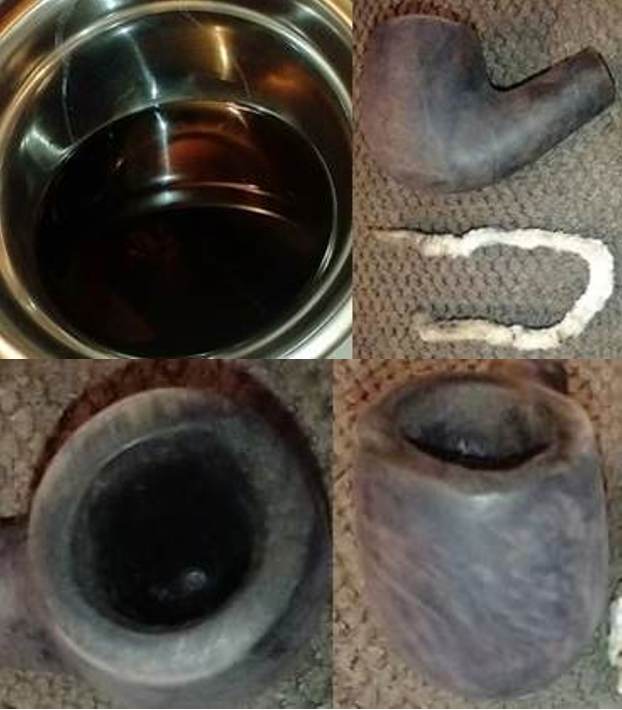
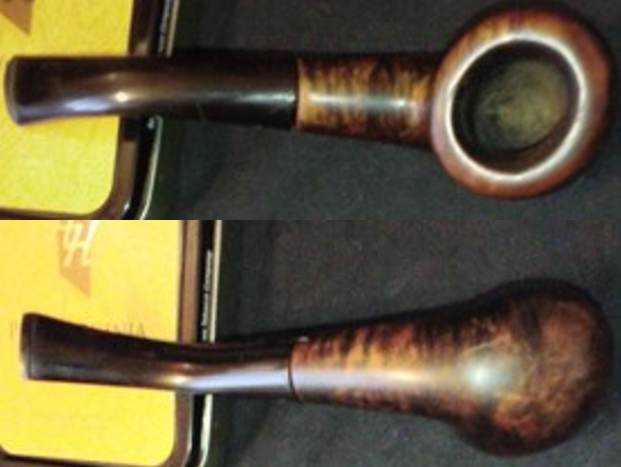
First, the before pics of the dress version. I never blogged it because I was not happy with the rim work. I’ve blogged one or two of my failures as cautionary tales, but not this one.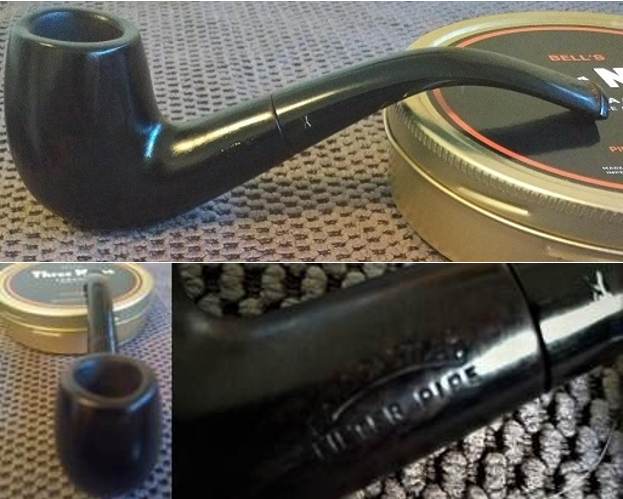 Now for the carnage my roommate dumped on me. This may be the most tortured pipe I have ever encountered. CAUTION: The following images may be unsuitable for children or squeamish pipe smokers.
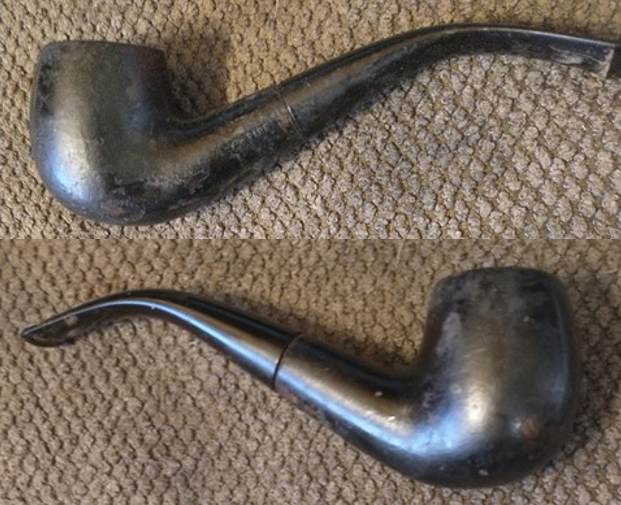
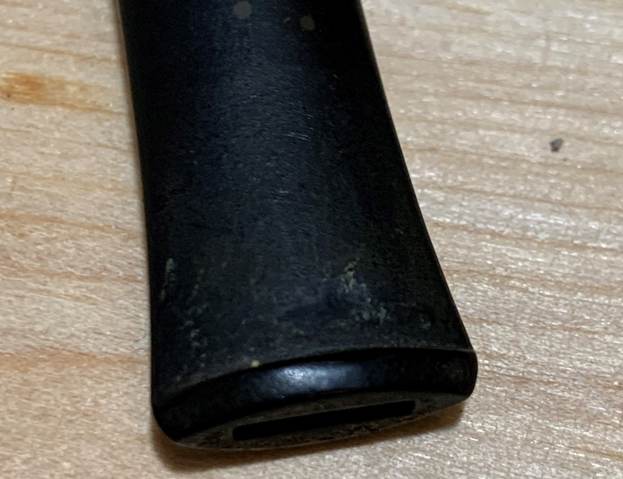
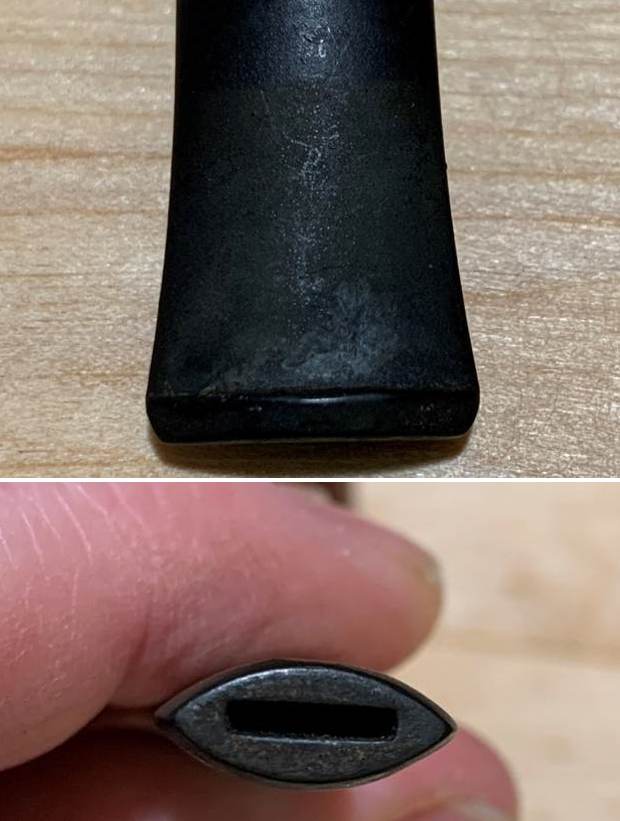
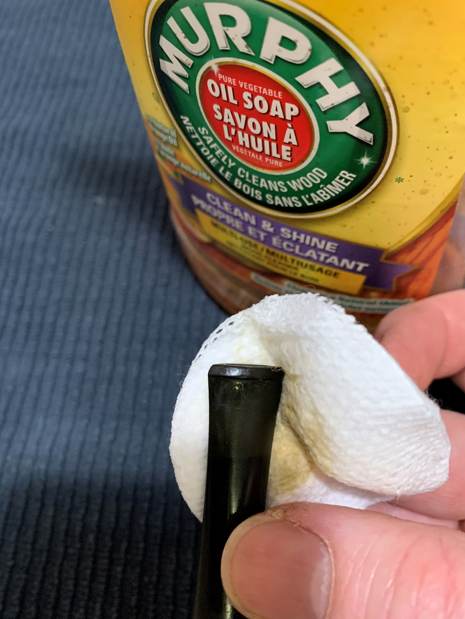
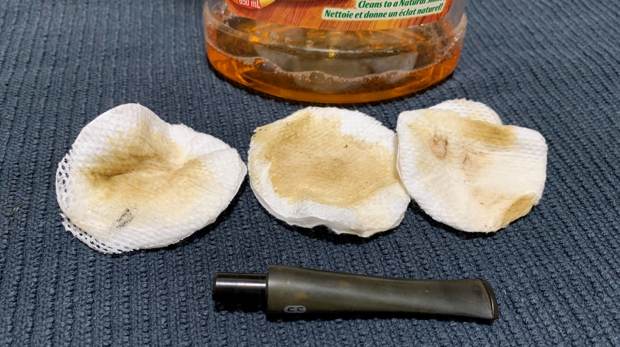
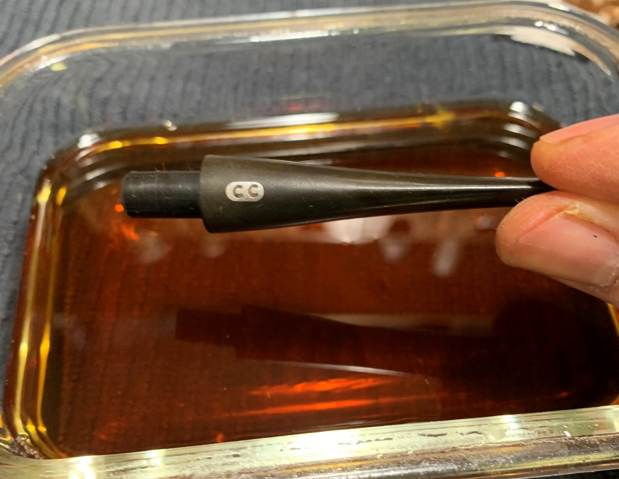
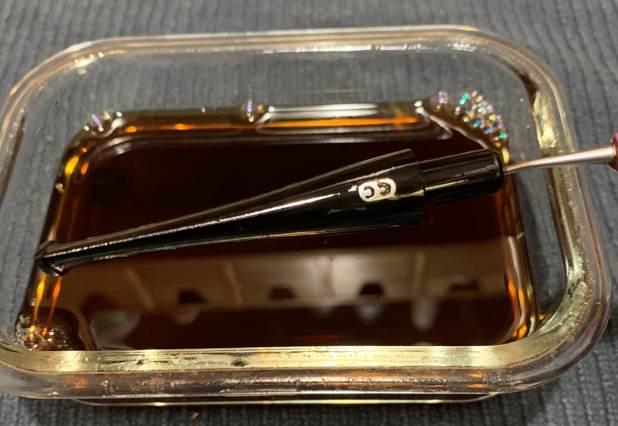
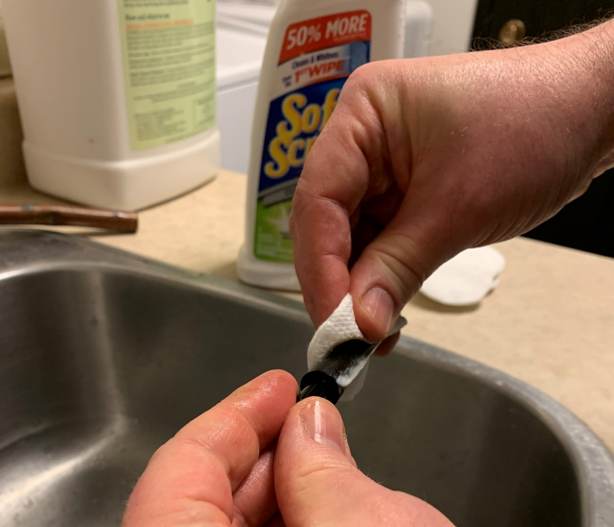
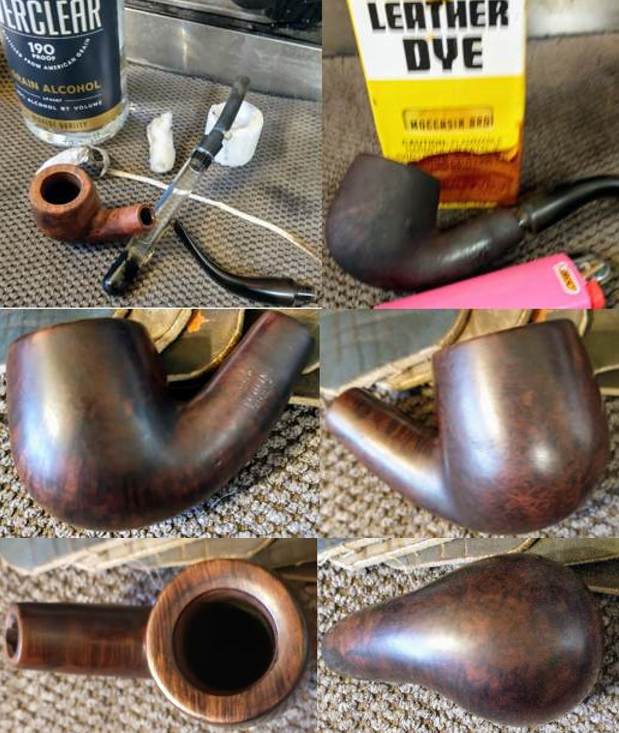
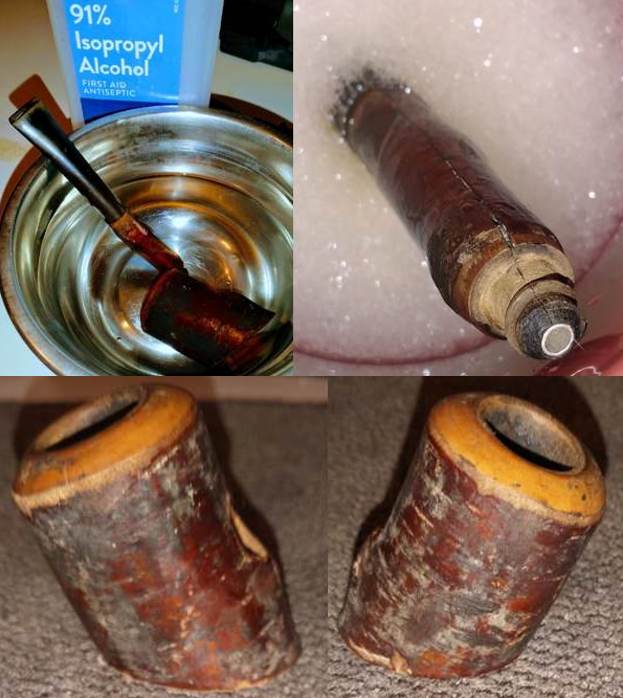
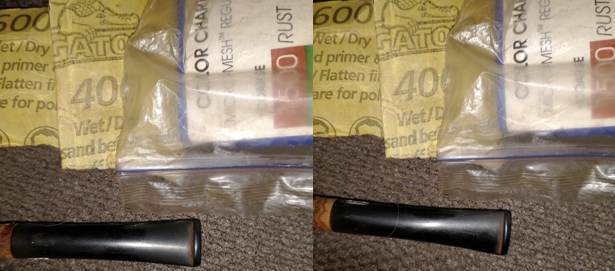
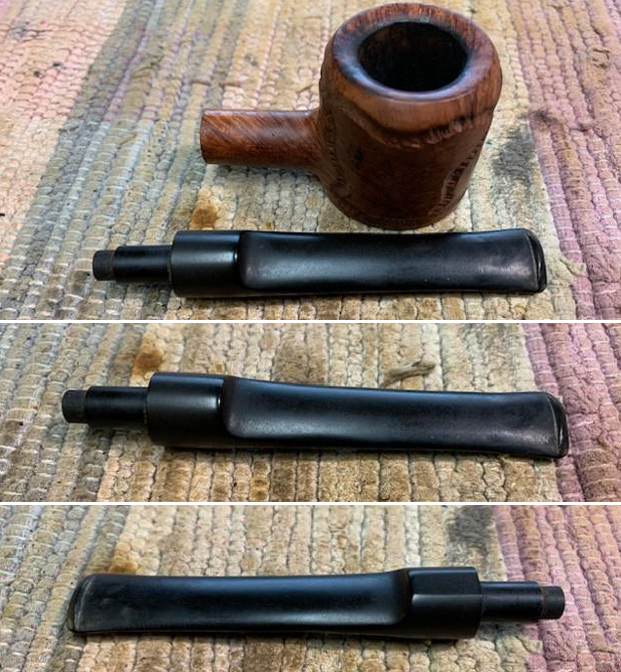
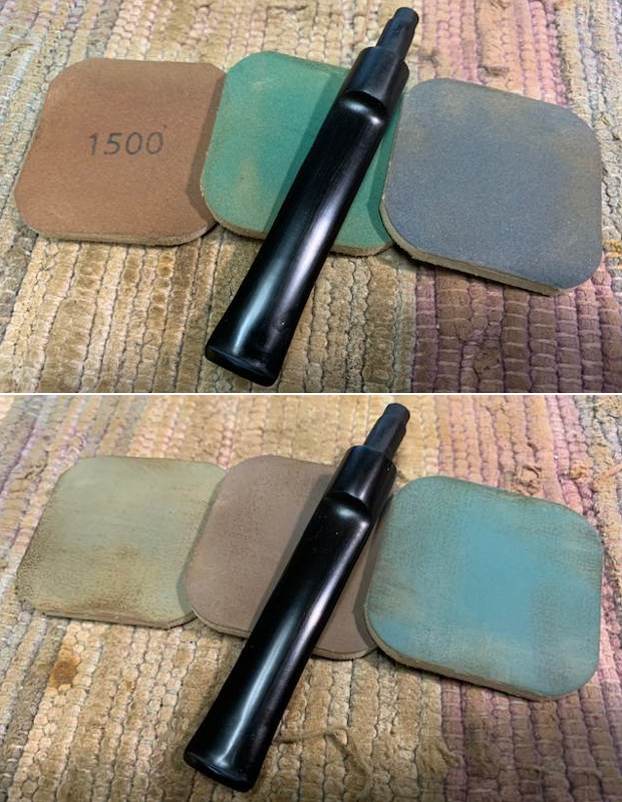
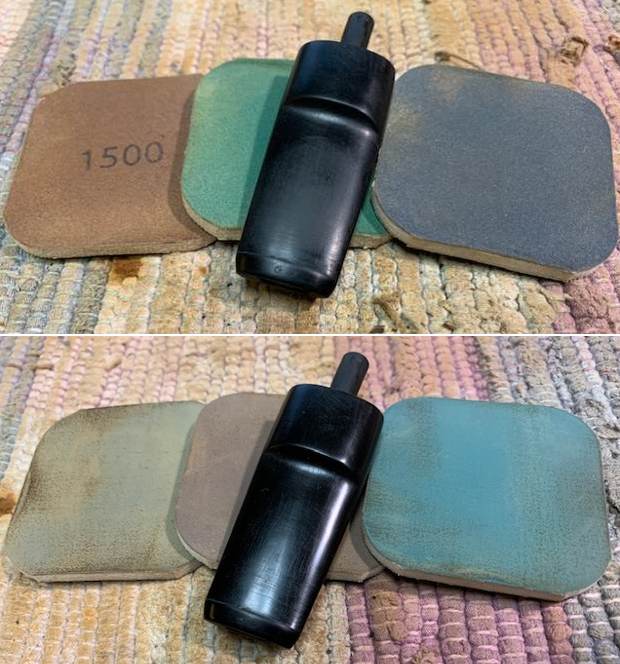
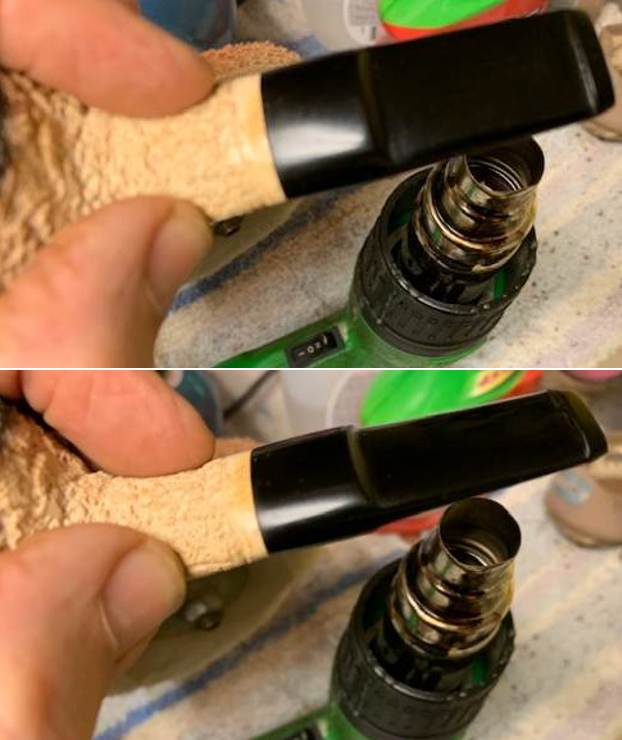
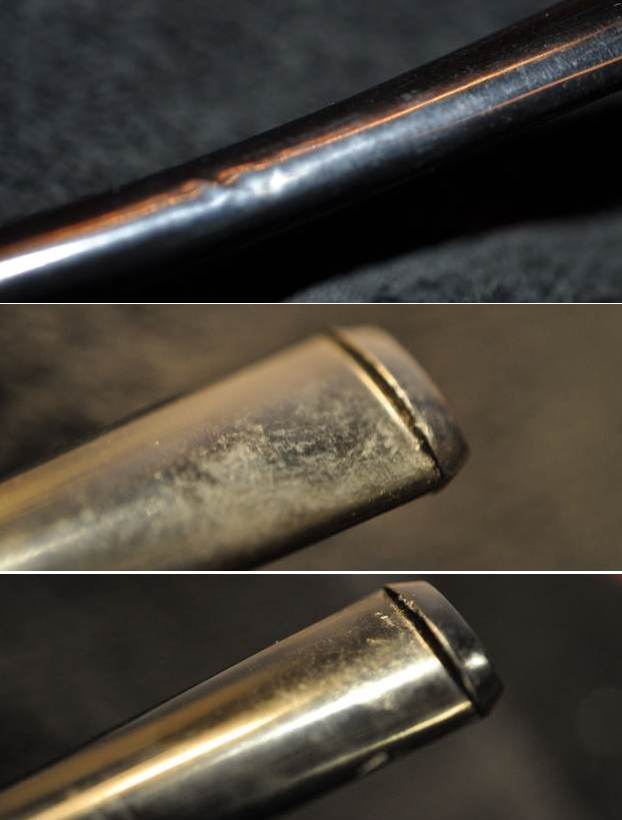
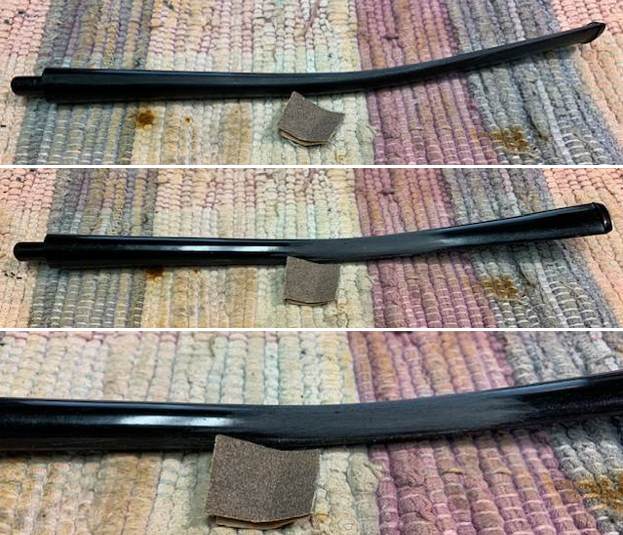
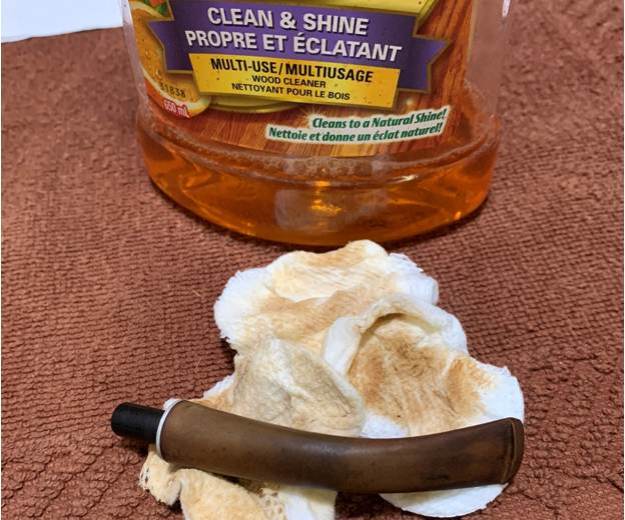
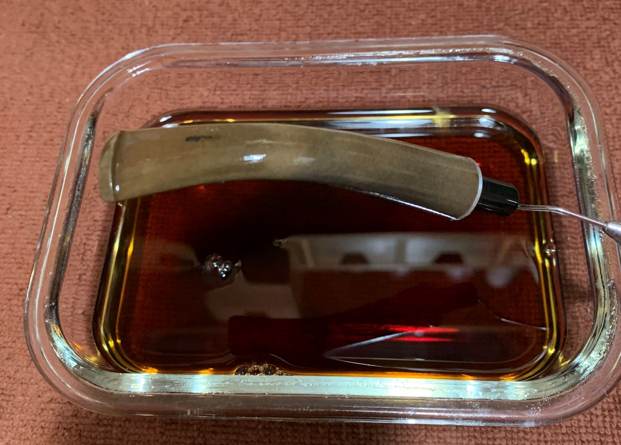
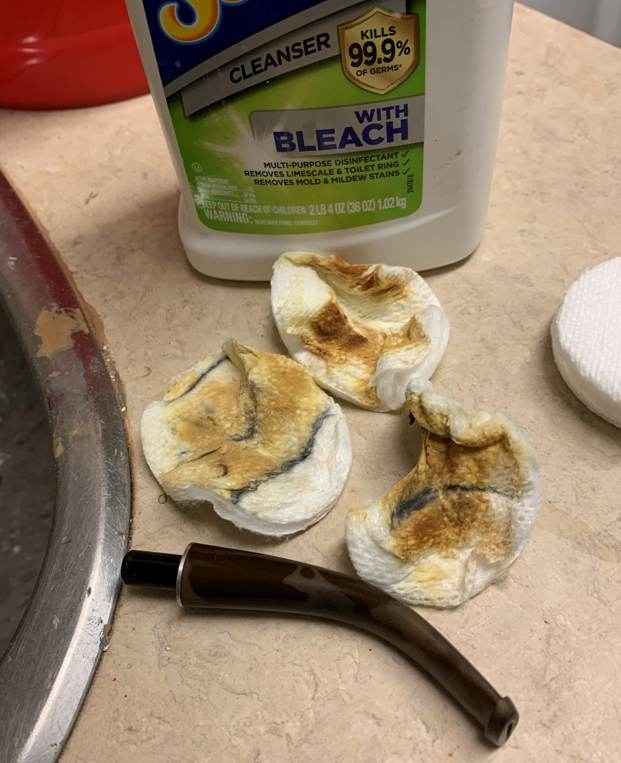
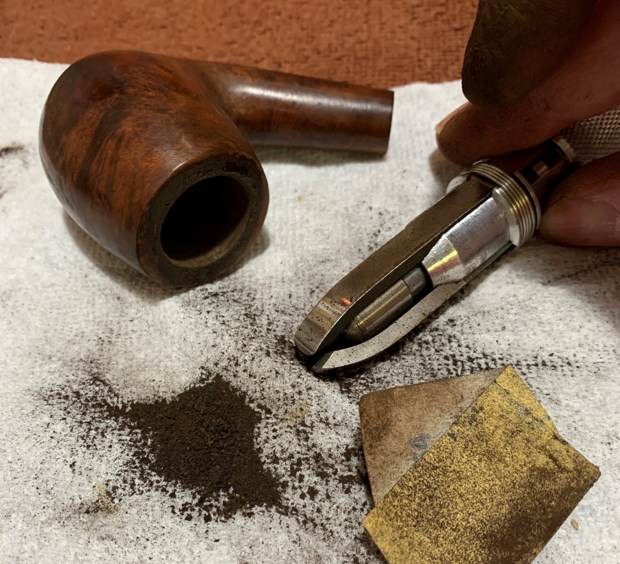
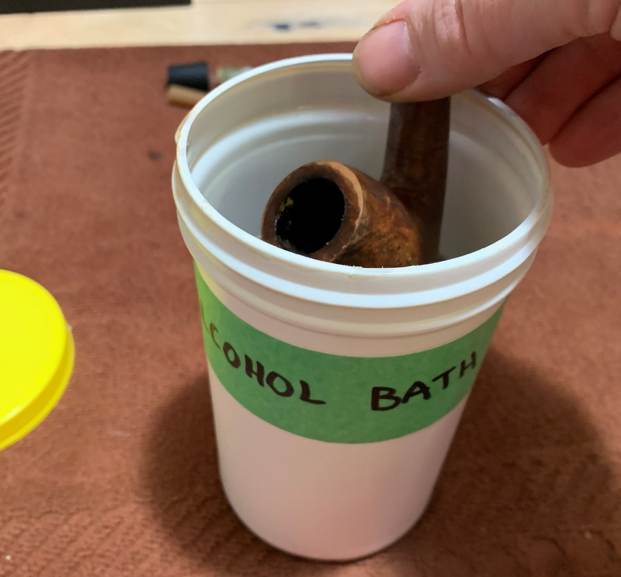
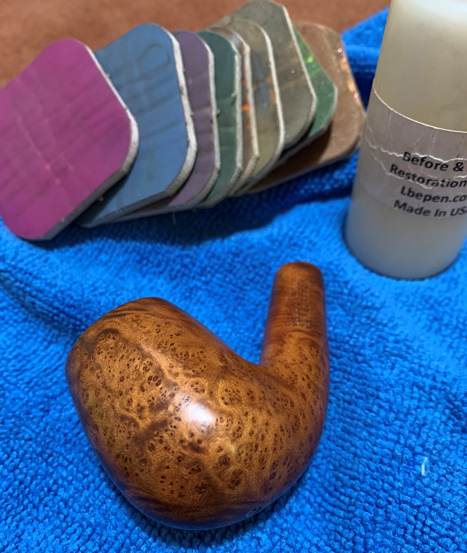
 In most cases, I soak the stummel in Isopropyl alcohol, but this time I chose Everclear to strip the homemade shellac I made for the dress process and the black leather dye beneath it – although not much of either appeared to remain. I gave the stem a bath in generic stain remover.
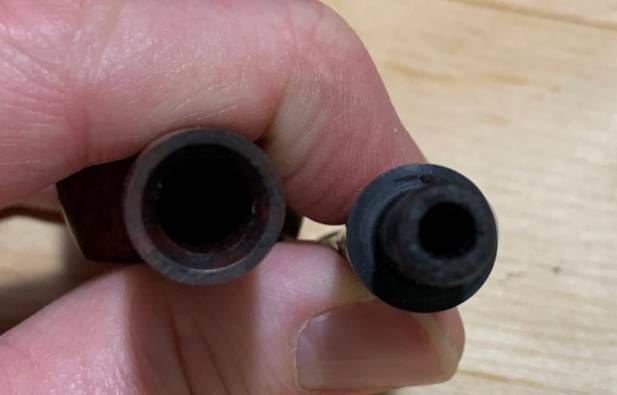
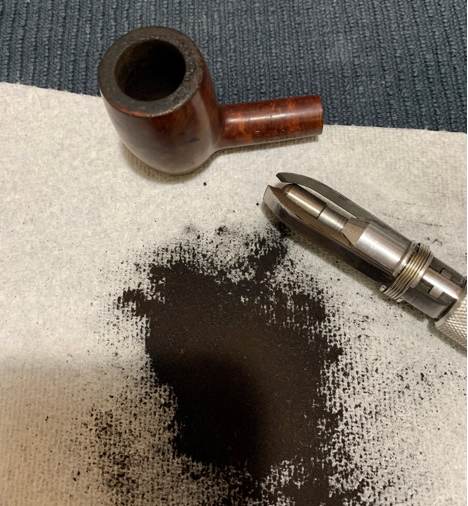
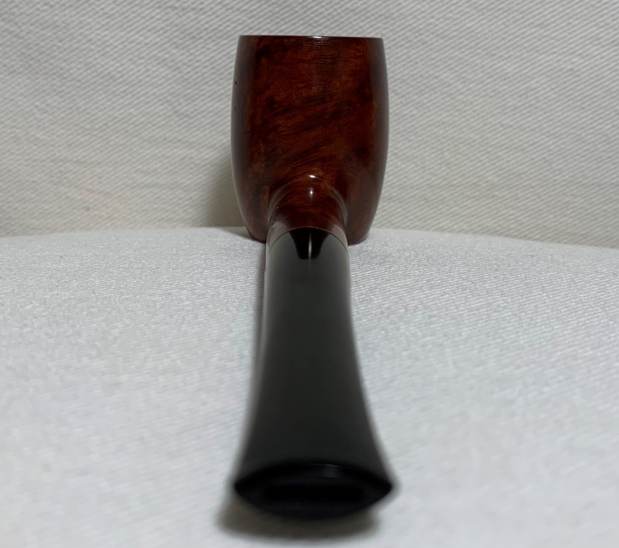
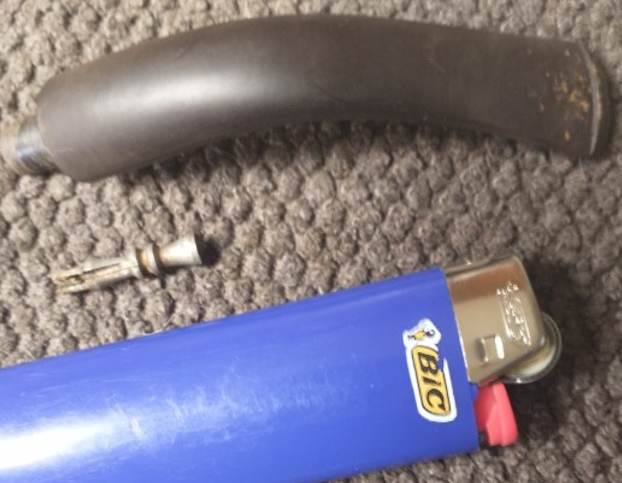
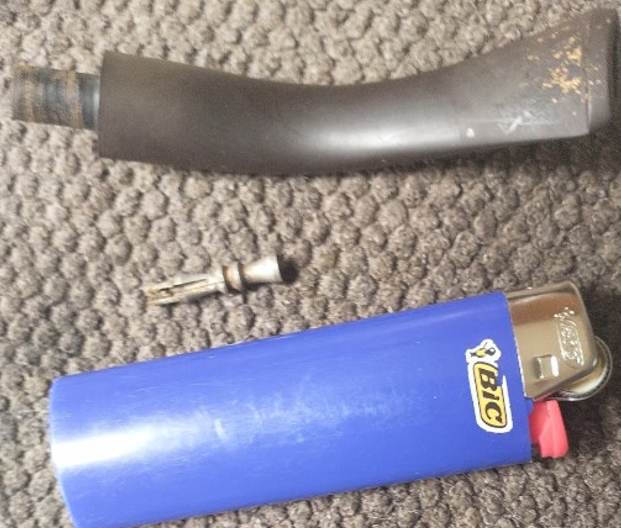
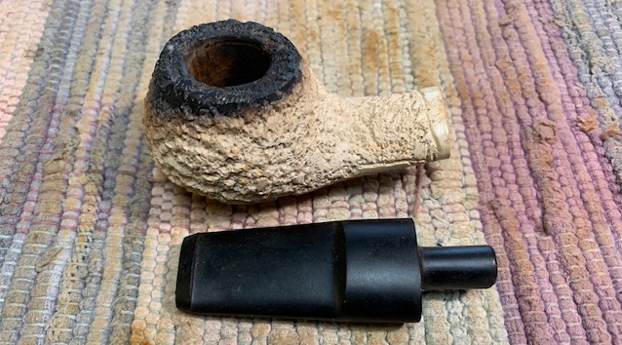
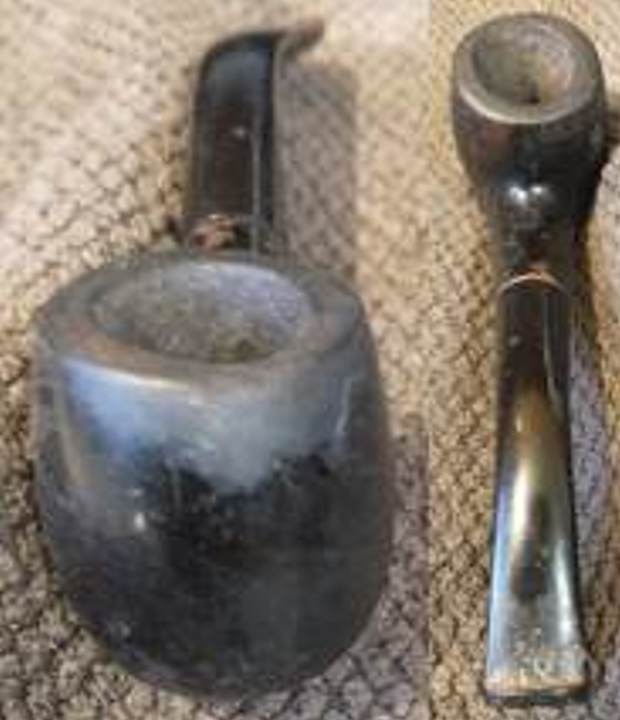
  The stem came out in great shape, but the stummel less so.
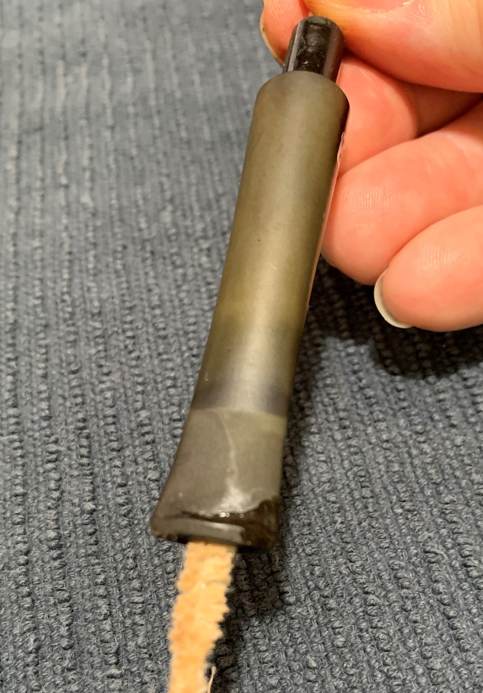
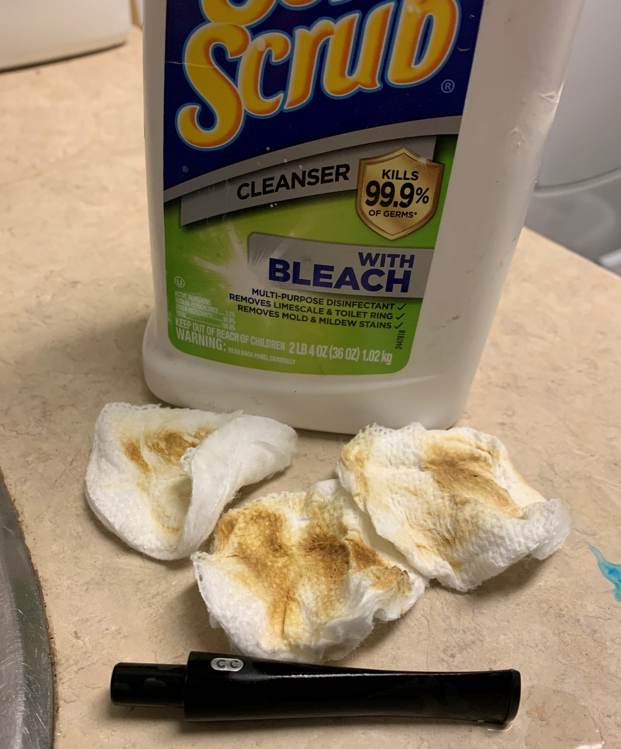
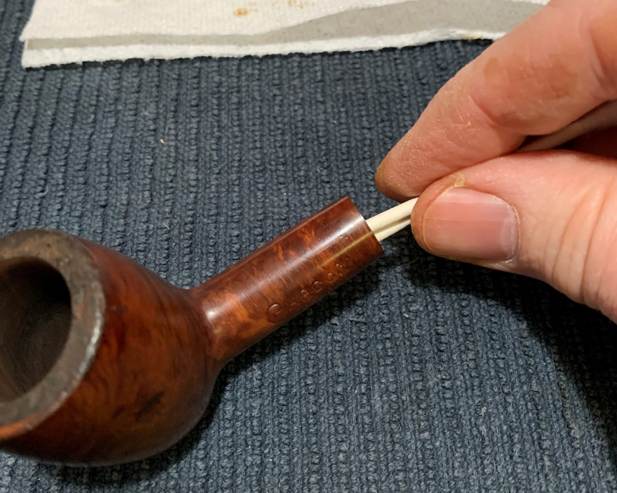
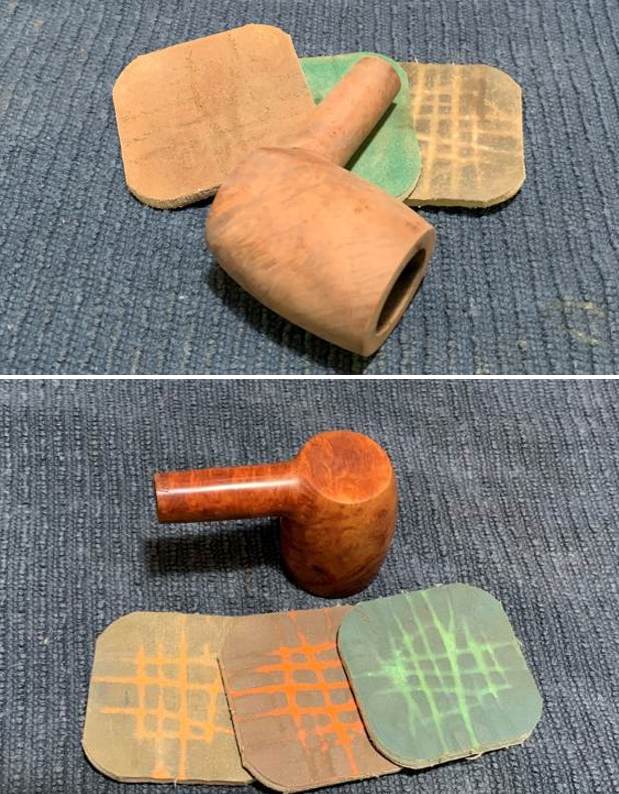
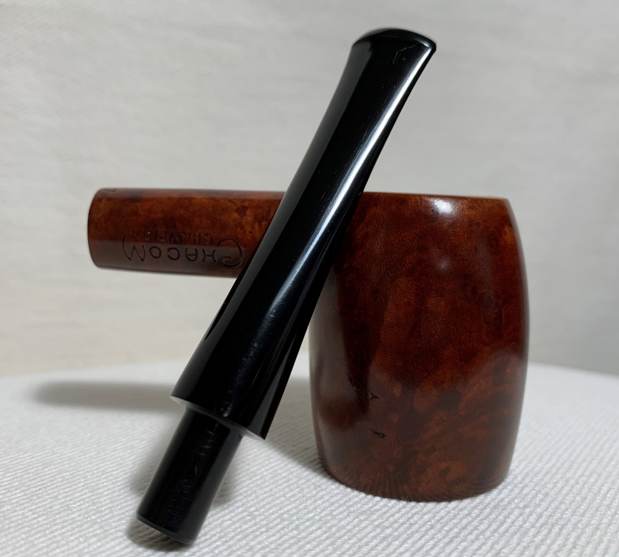
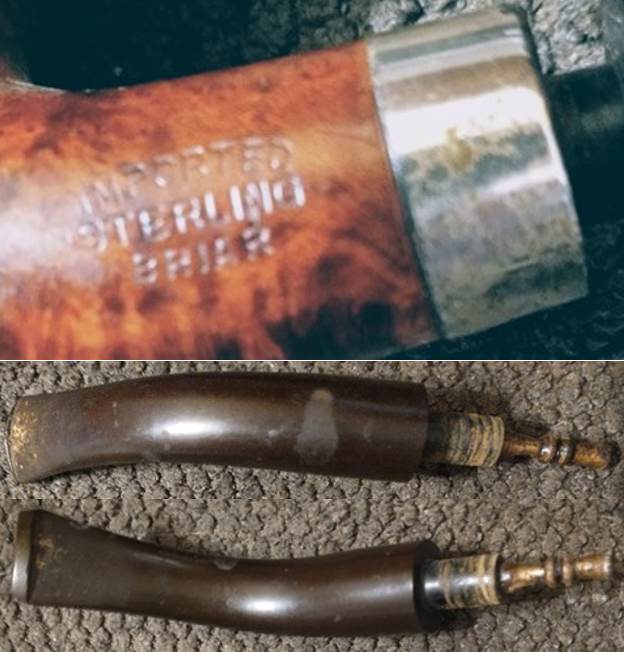
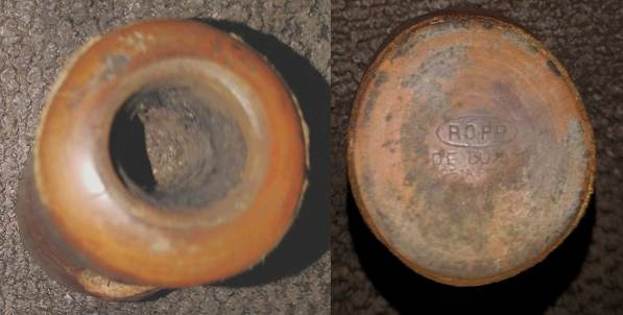
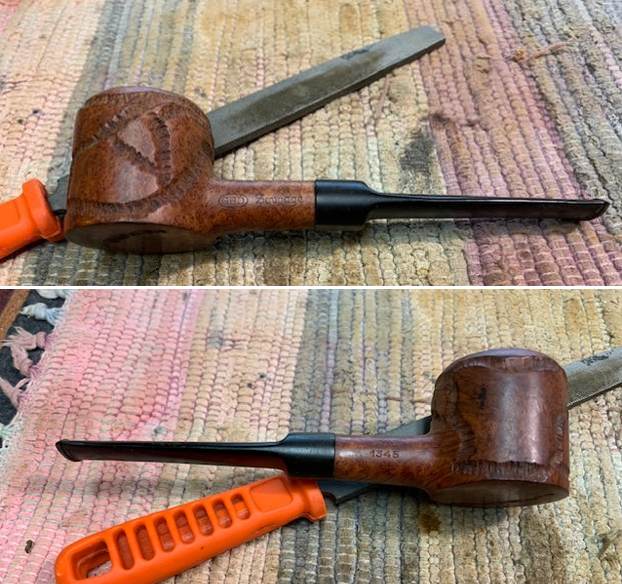
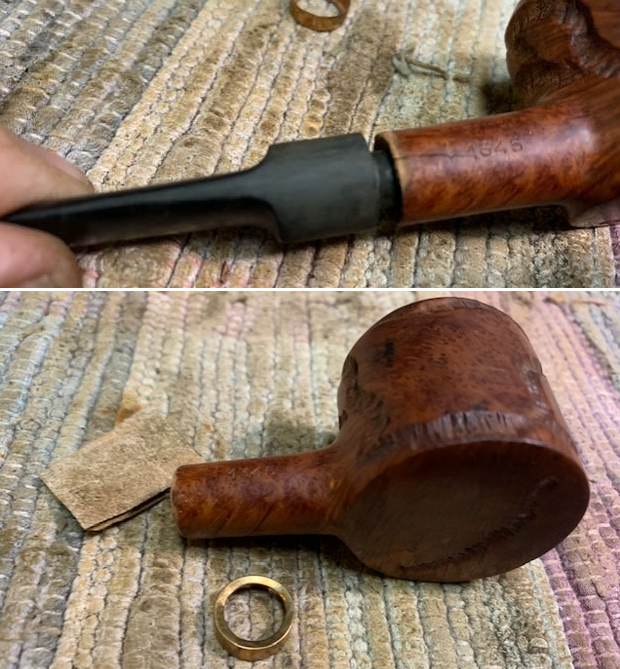
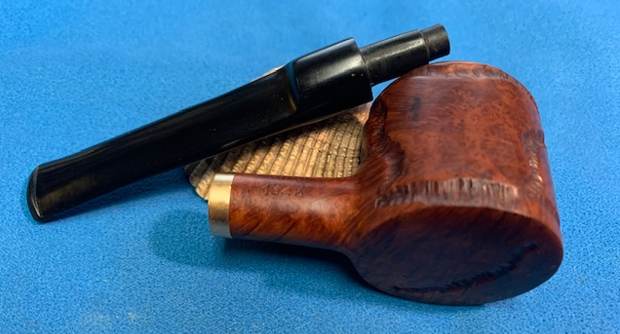
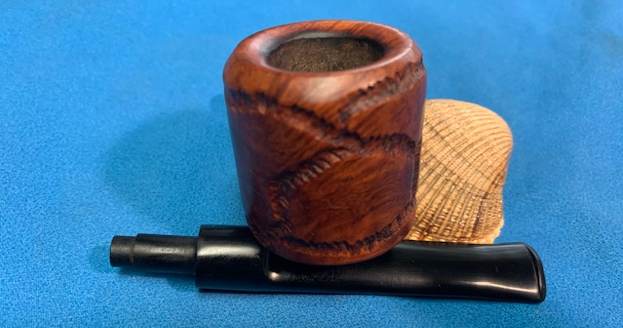
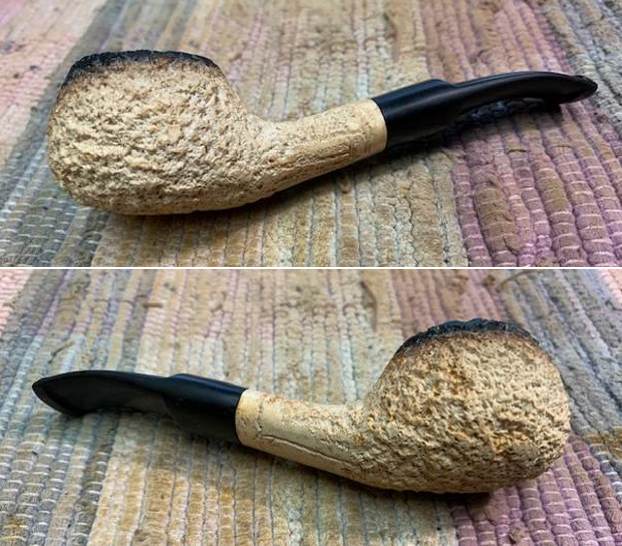
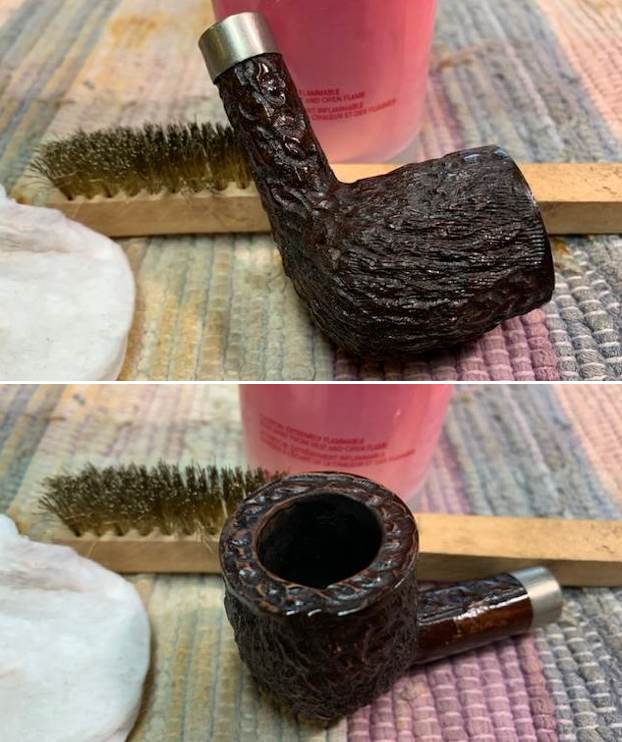
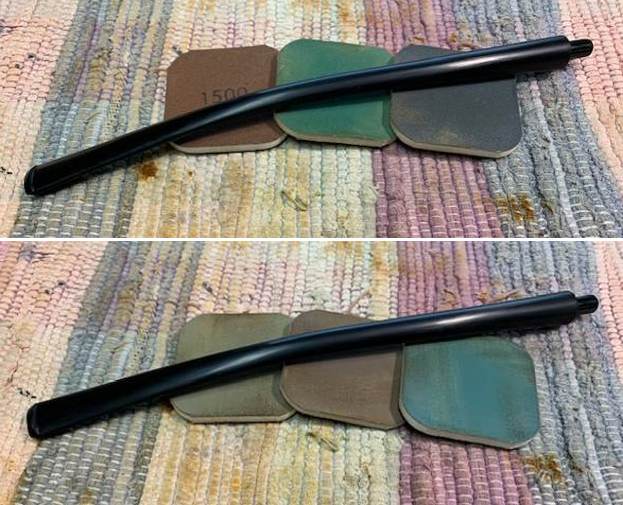
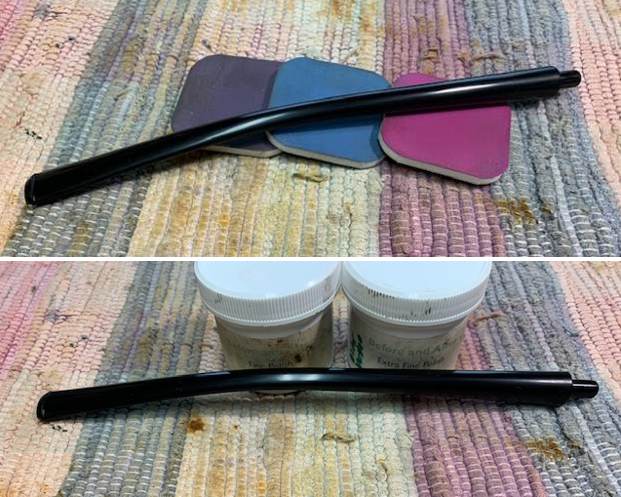
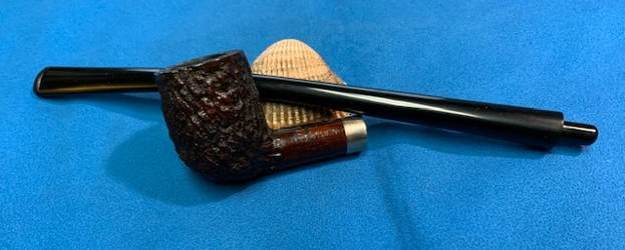
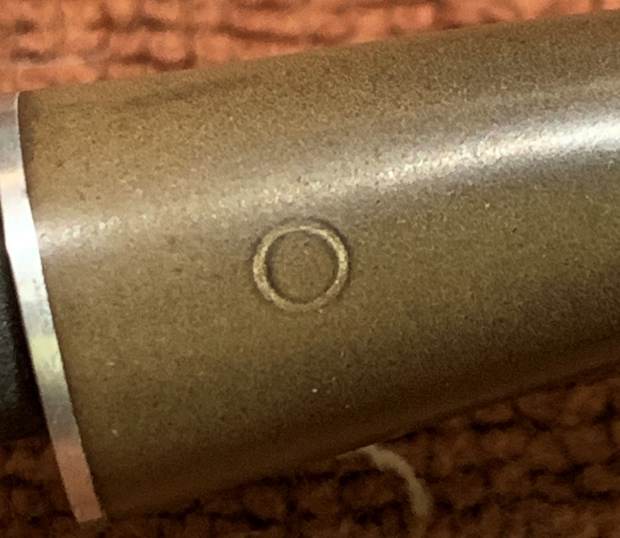
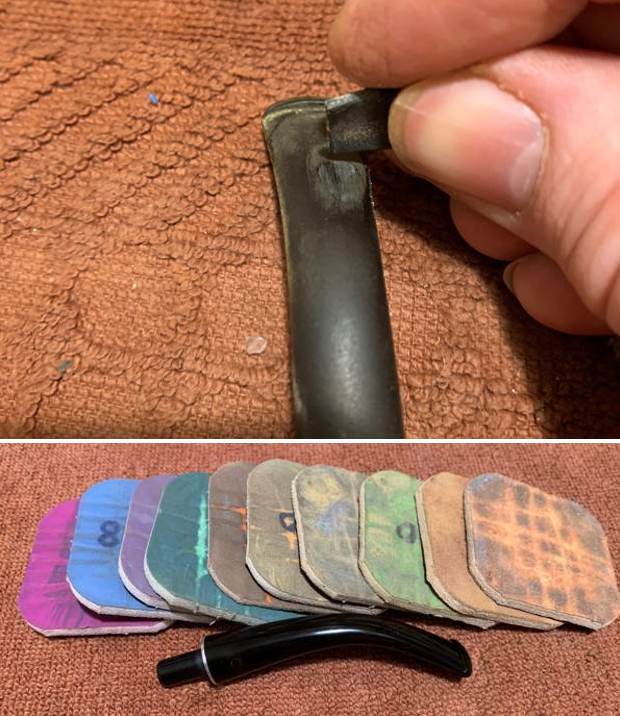
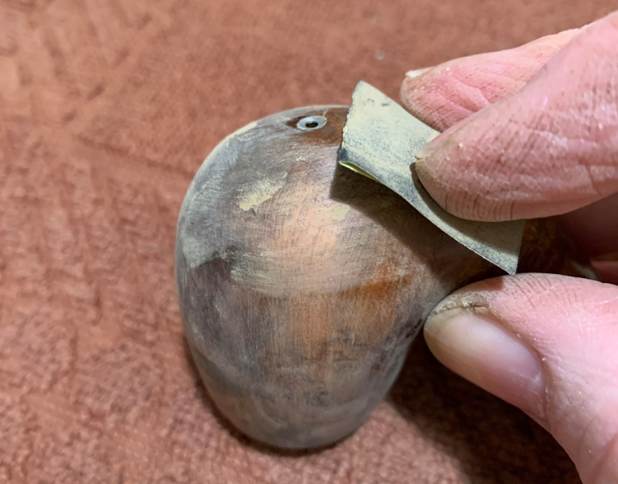
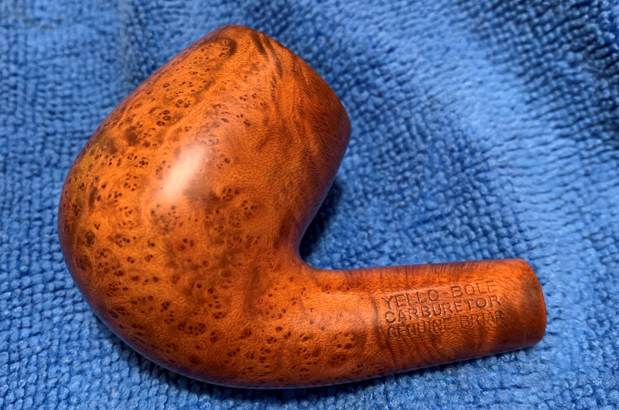
 I used super fine 0000 steel wool to take off the residue from the Everclear soak. This is when I could discern Filter Pipe.
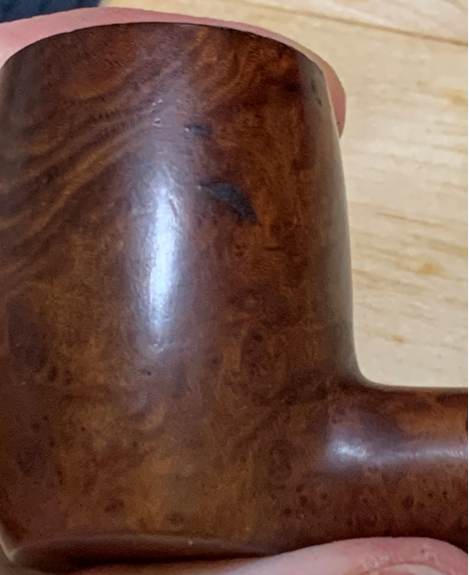
 A full micro meshing sharpened the nomenclature and revealed the wood’s rich brown, if erratic, grain.
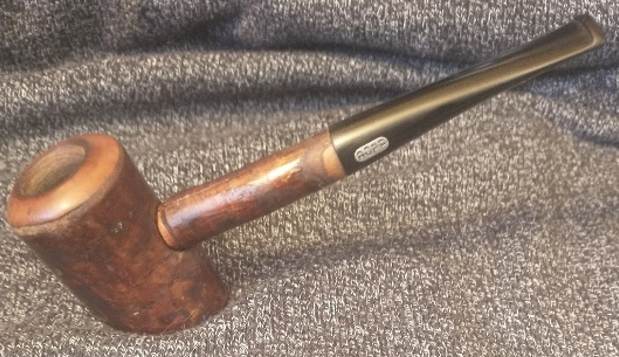
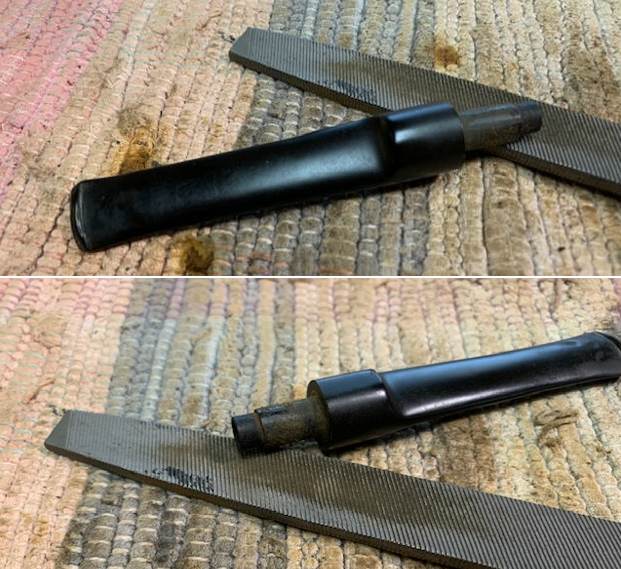
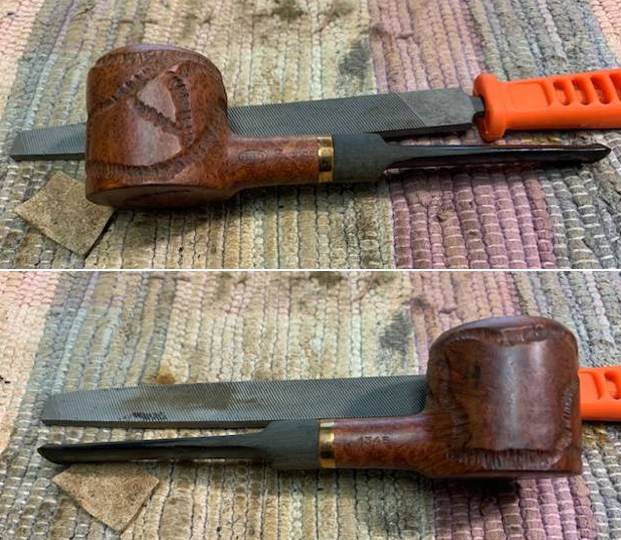
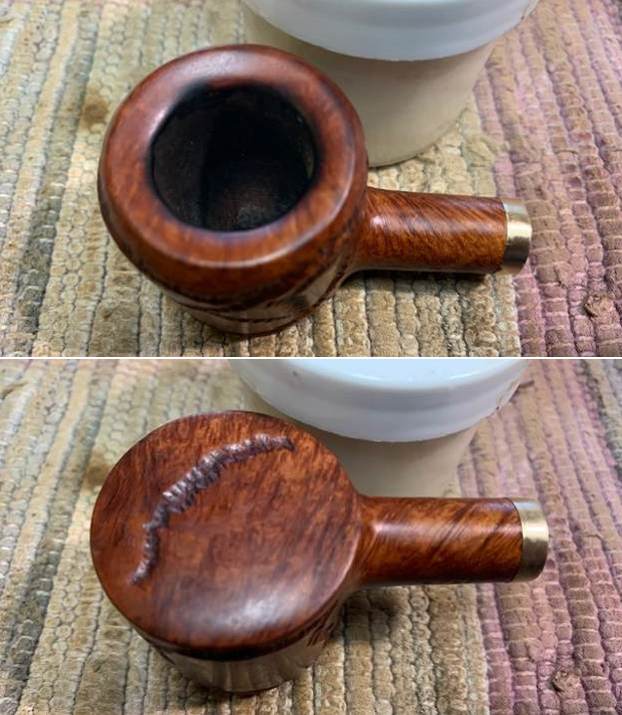
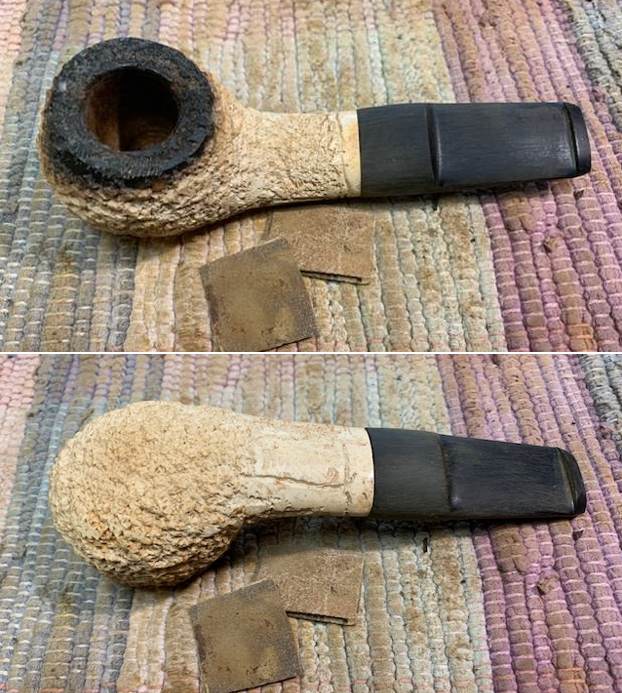
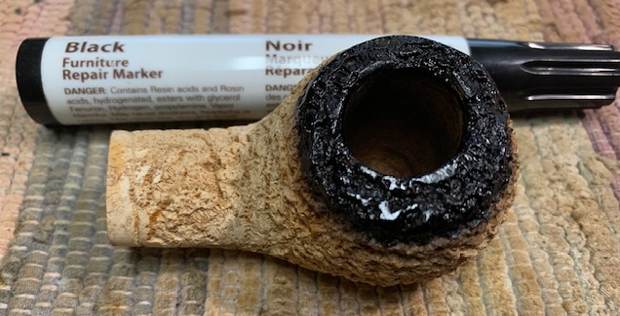
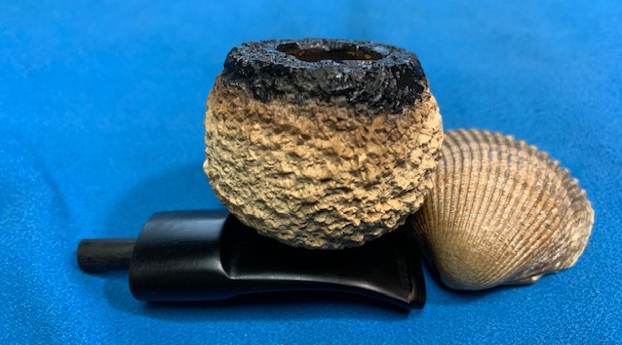
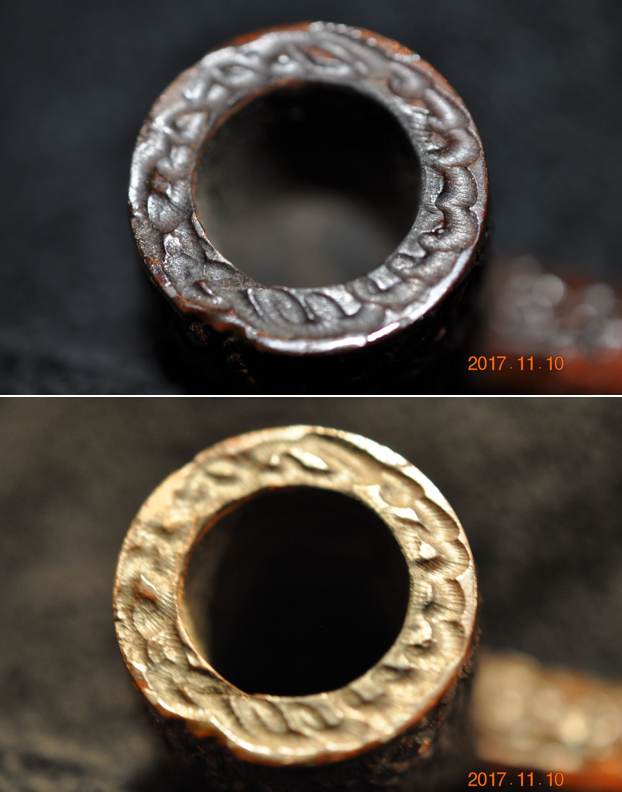
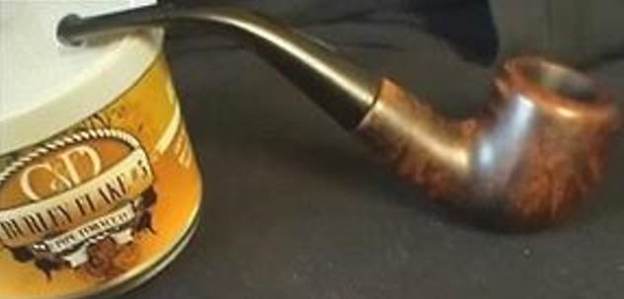
 I would like to know just how someone would go about inflicting such damage on a rim, but I couldn’t very well ask my roommate. In the past, I have been somewhat successful with reversing mangled rims. In one of the prior cases, for example, I resorted to a rasp. Here are the before, during and after shots of that pipe, a P&K Everyman.
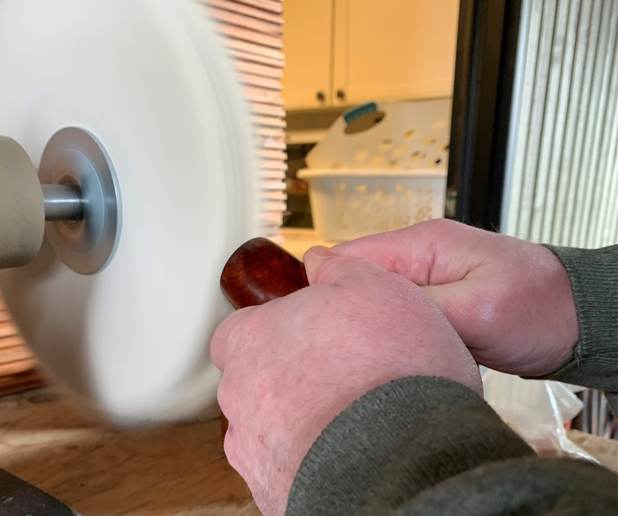
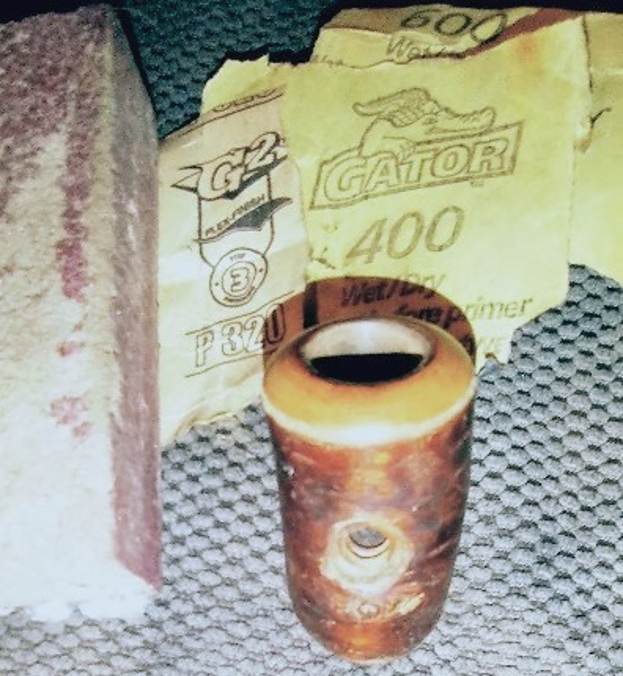
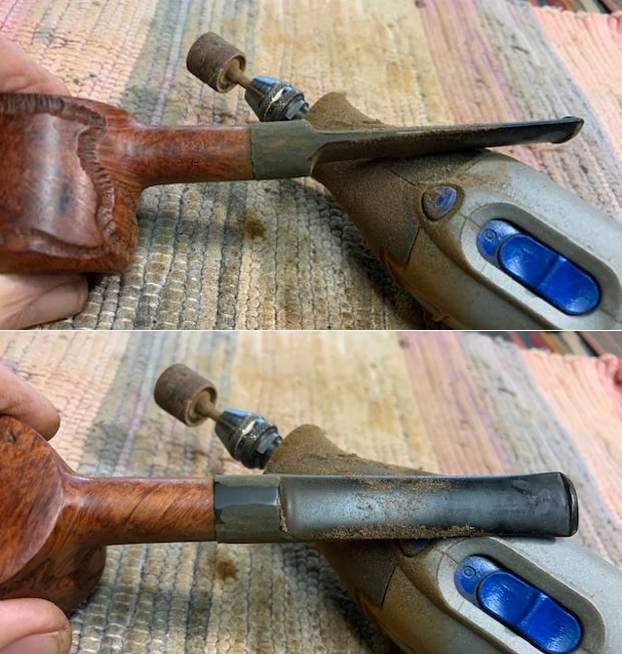
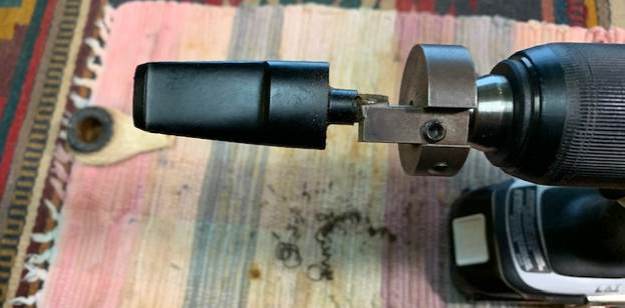
 I learned the importance of sanding, filing or grinding in the right direction. To narrow a rim, I move whatever tool I use with, or in the same general direction as the rim’s wall; to widen the rim, I move the tool against the rim, from the chamber outward. Try as I did to avoid resorting to extreme measures to make the Hardcastle rim right again, the time came to use my electric grinder. My main concern with making the misshapen rim at least more even and round again by putting it to an electric sanding wheel was the potential for irreversible damage in a heartbeat. Not being one to avoid a challenge, I went for it. I dare anyone reading this not to laugh at the last photo below.
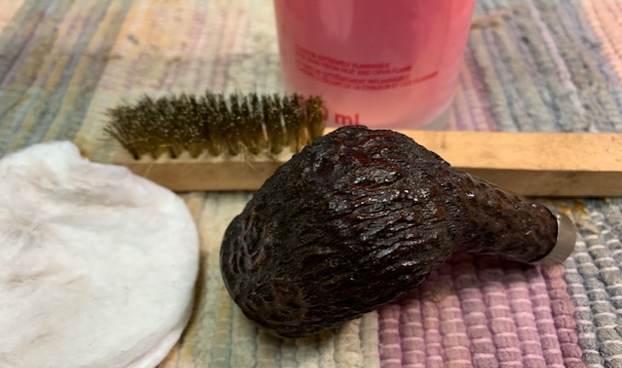
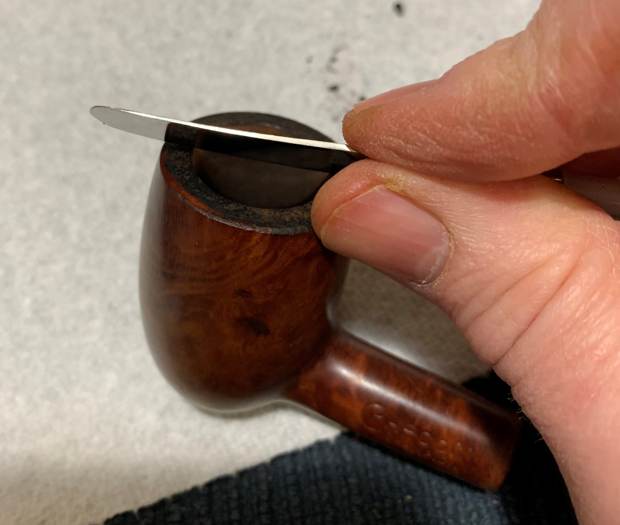
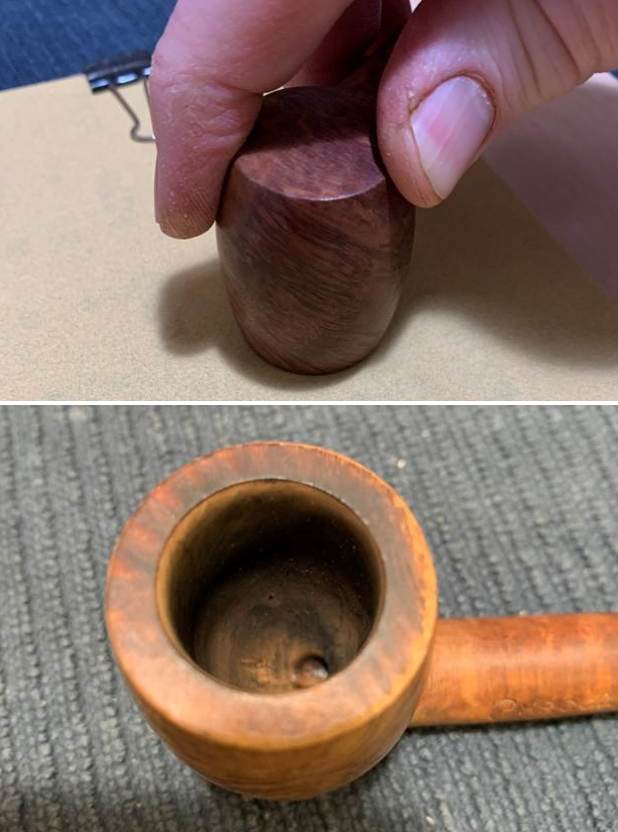
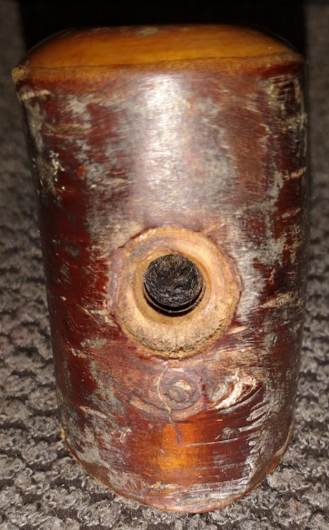
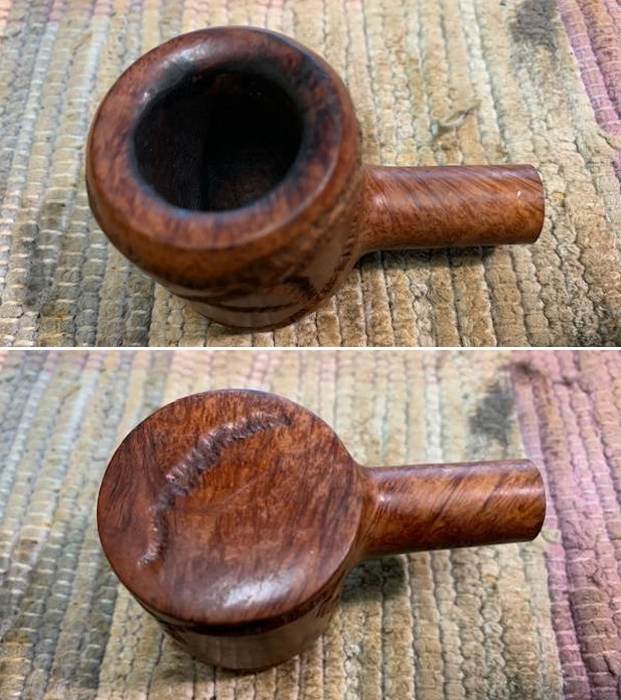
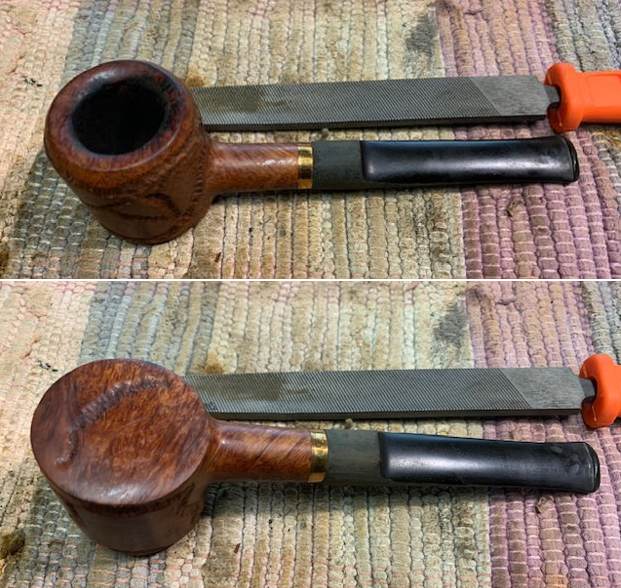
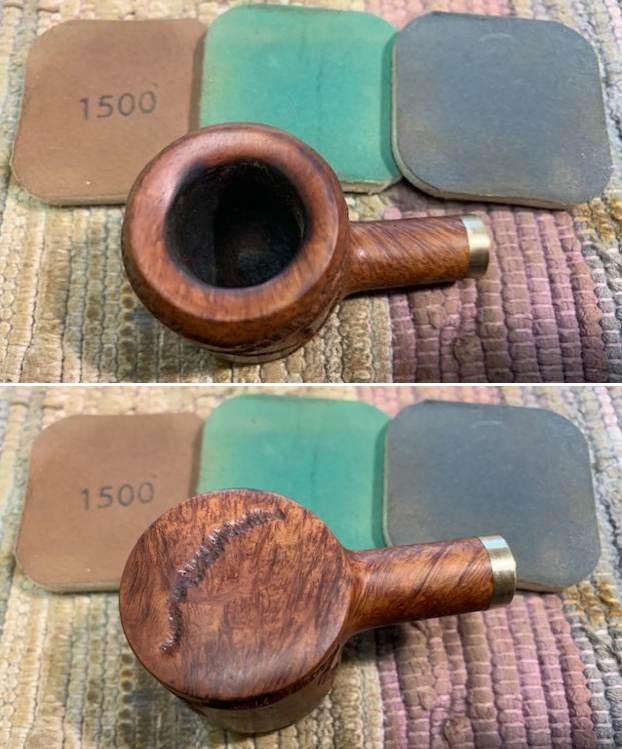
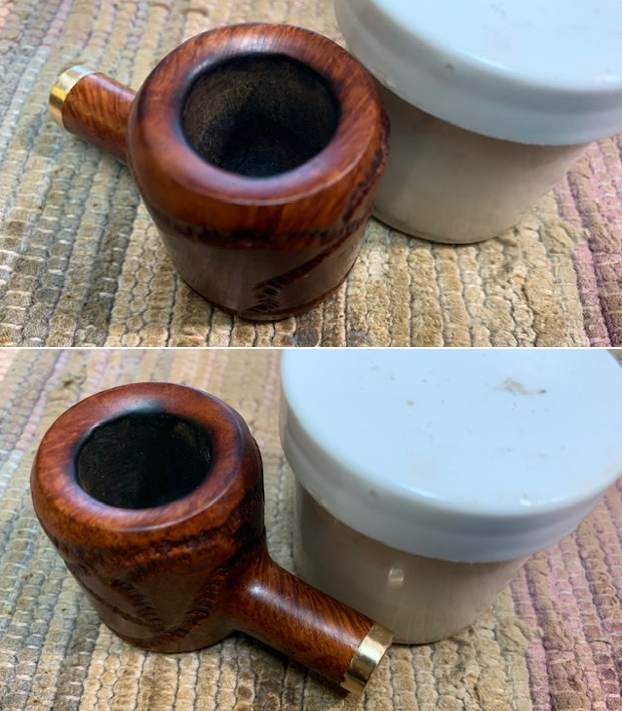
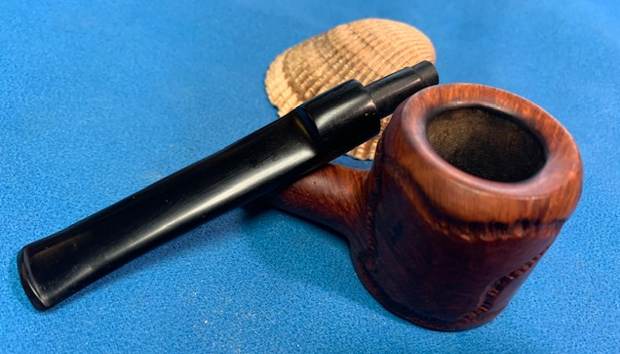
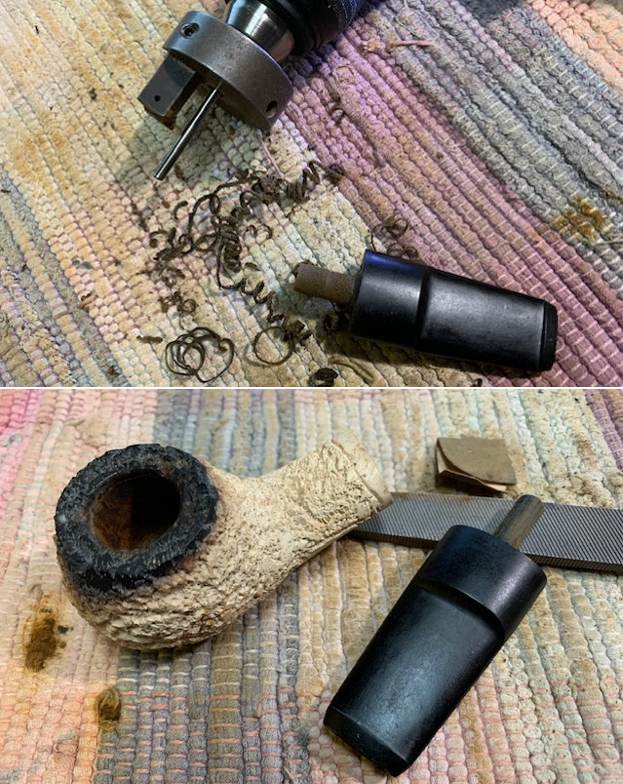
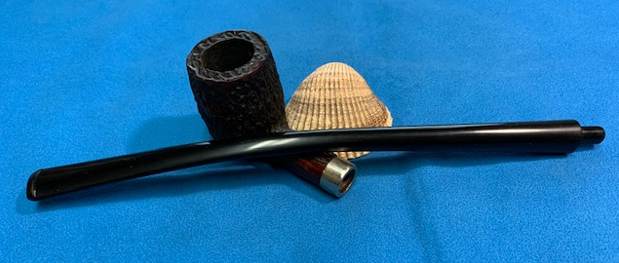
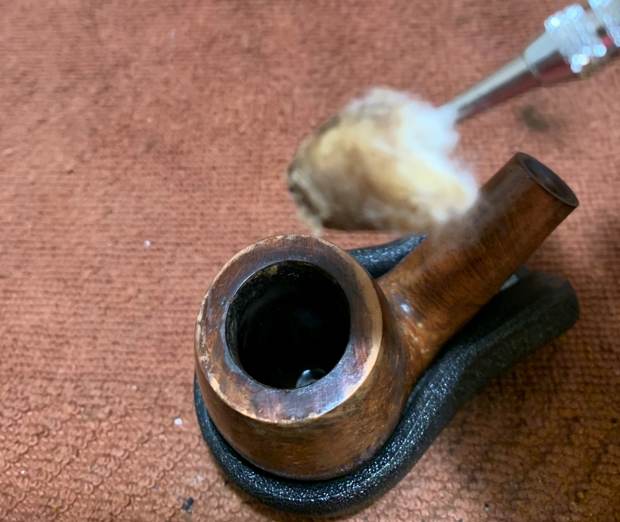
 Believe it or not, the wheel sander did what I needed: it made the rim almost level. I knew I could fix that problem a little later.
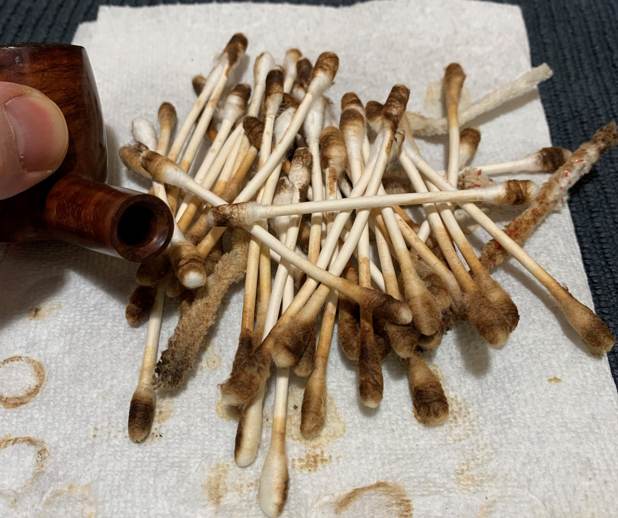
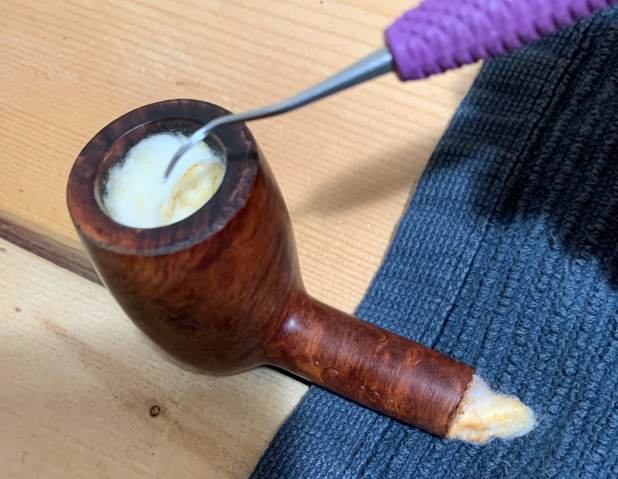
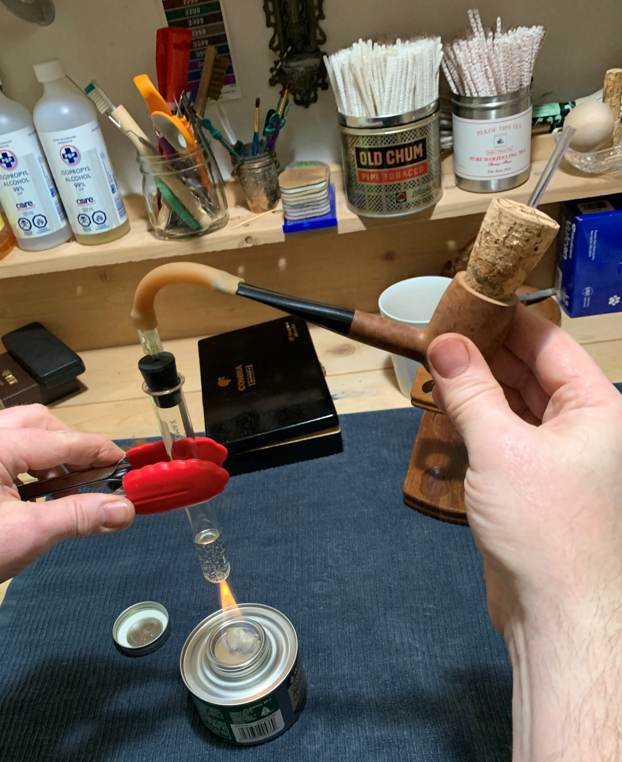
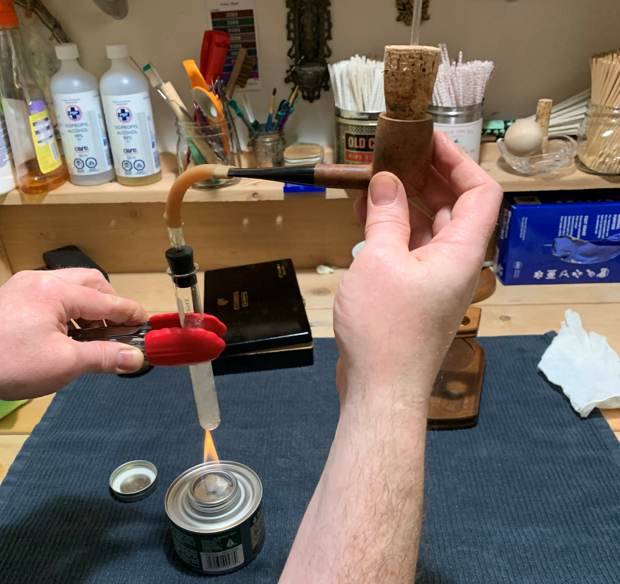
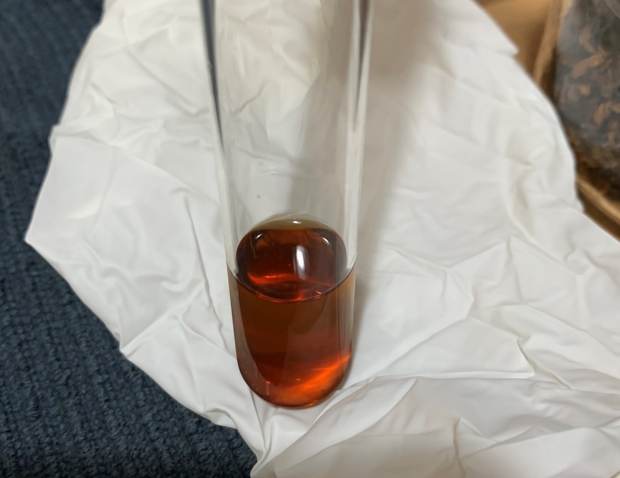
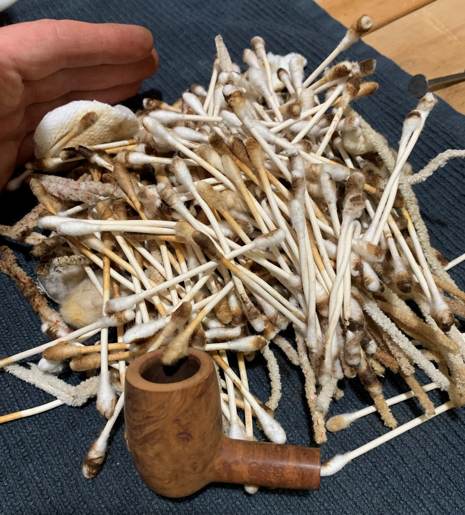
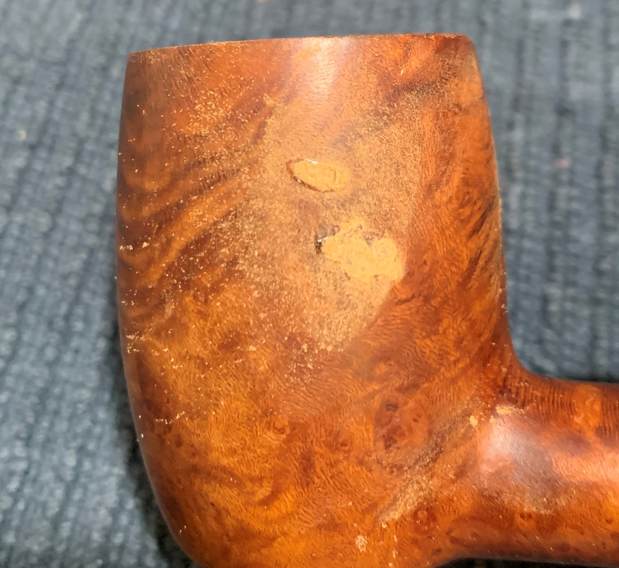
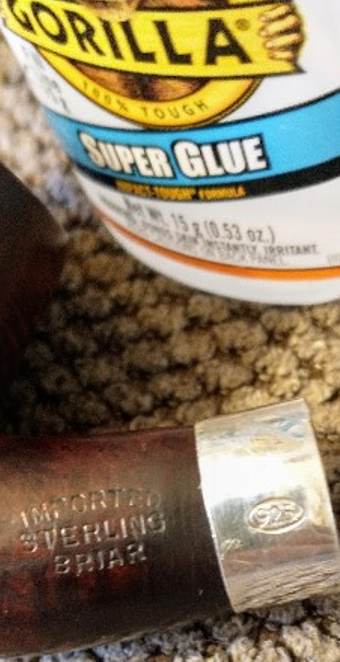
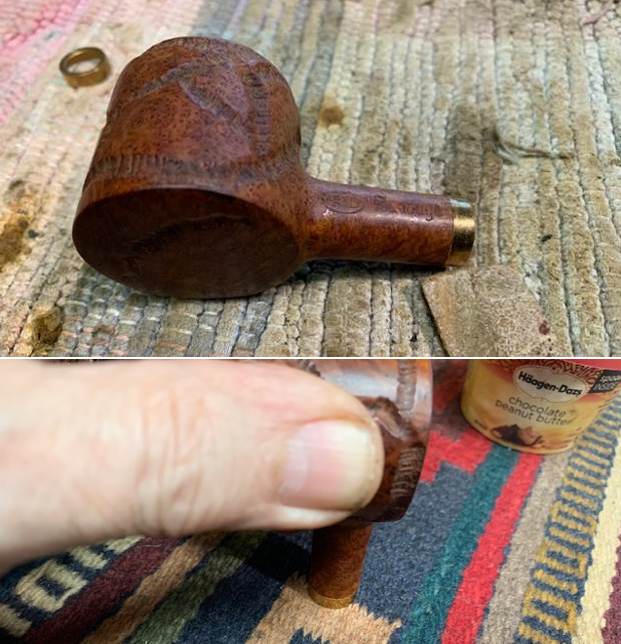
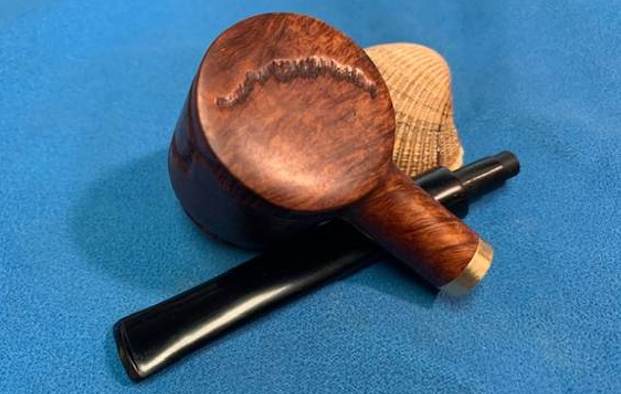
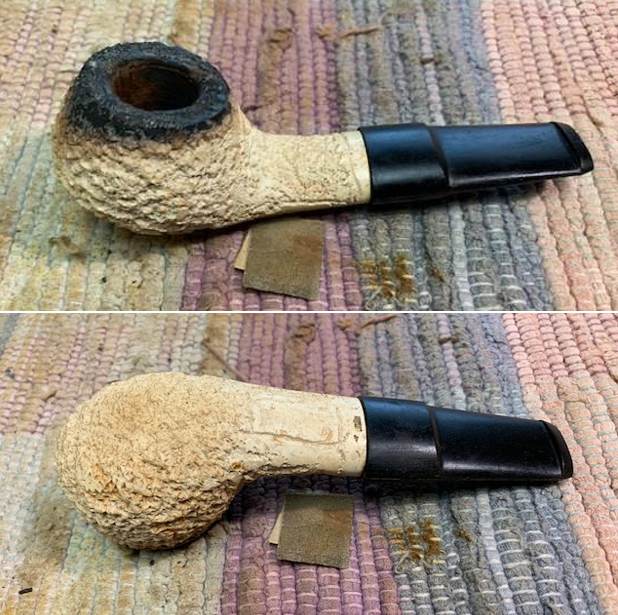
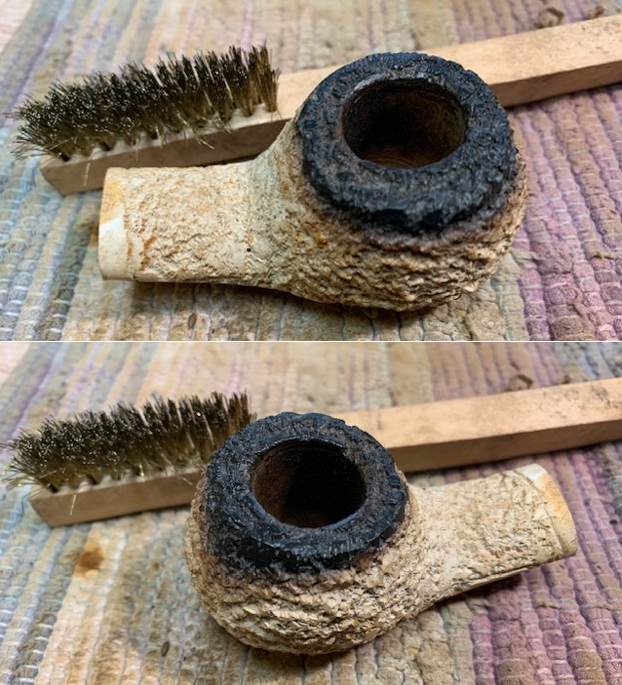
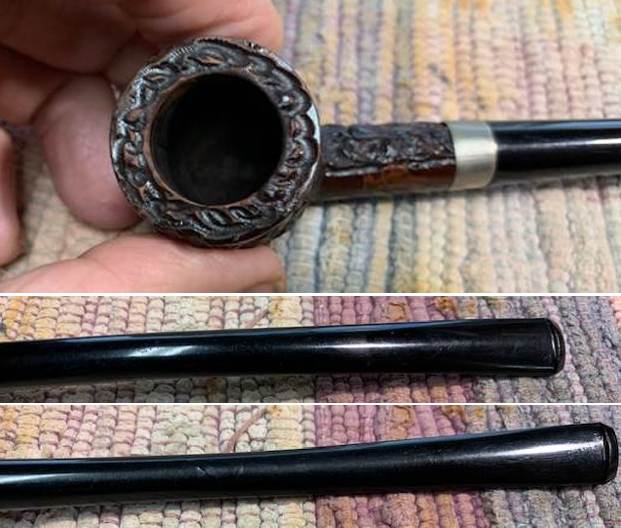
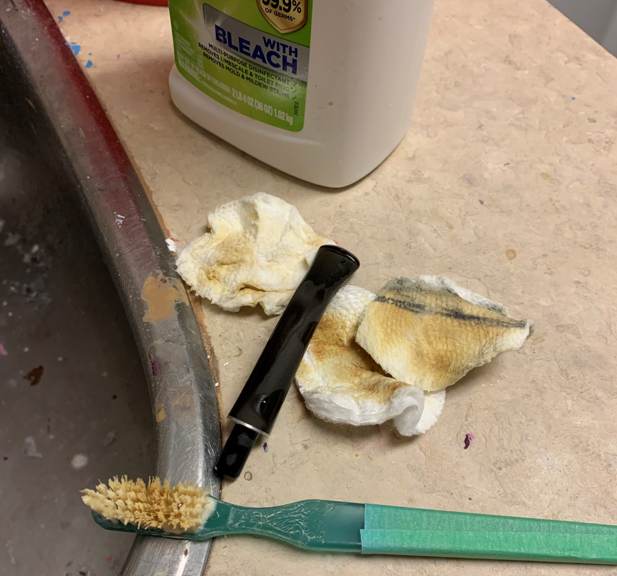
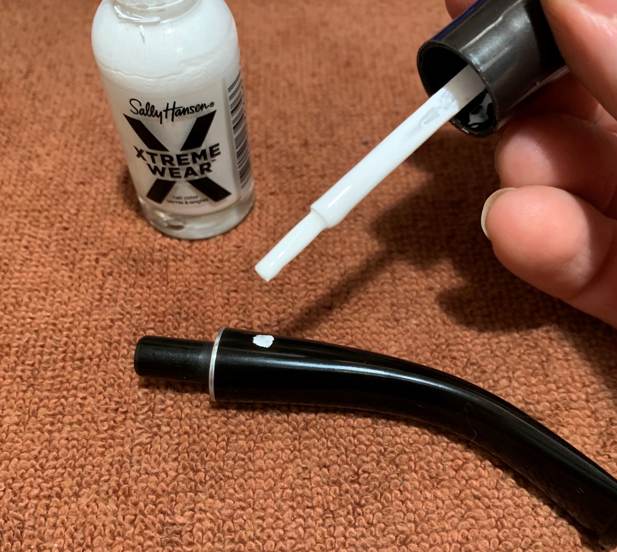
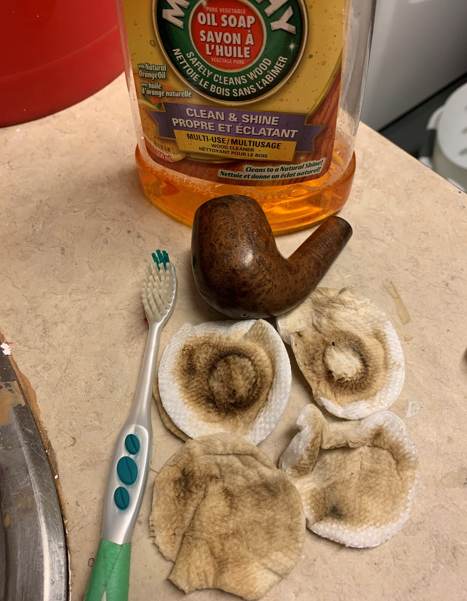
The pre-retort cleaning of the stummel and stem required more regular cleaners and a brass-handled brush with wire bristles, similar to the one below, both dipped in Everclear. At least my roommate enjoyed the pipe while beating it. The retort needed three test tubes of alcohol to come out clear.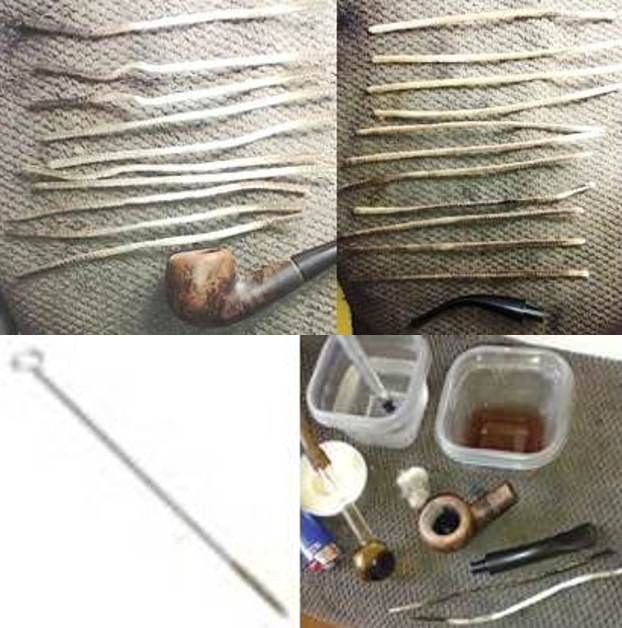 Notwithstanding the relative roundness of the rim, I knew I had to fill the preexisting indentation in the upper corner of the inner wall as shown in the post-electric sander pic. I did something similar once, but again, I found the solution in one of Steve’s blogs on correcting an off-round rim. I filed off briar shavings from a hopeless pipe and mixed them with Super Glue, then applied the goop to the problem area inside the chamber. It isn’t pretty, but it worked.
 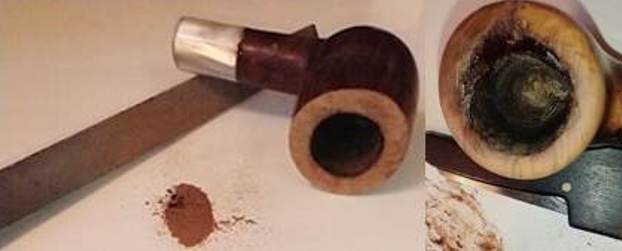 Several hours later, I sanded down the remaining hard mess with 60-grit paper followed by a 120/180 pad.
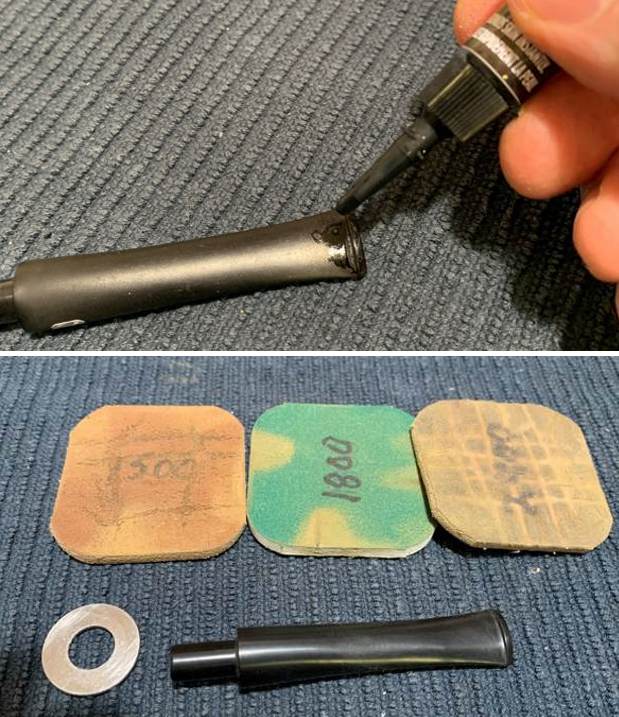
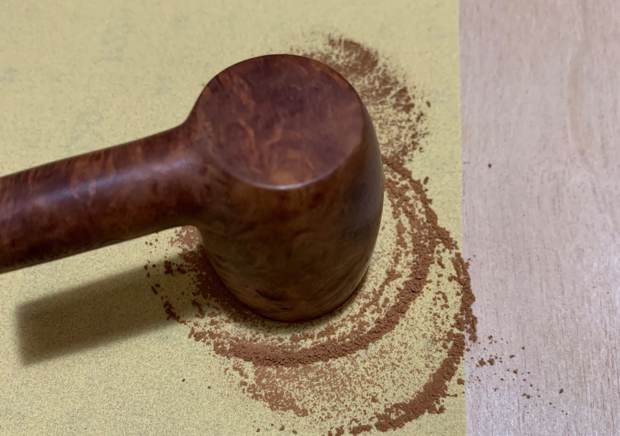
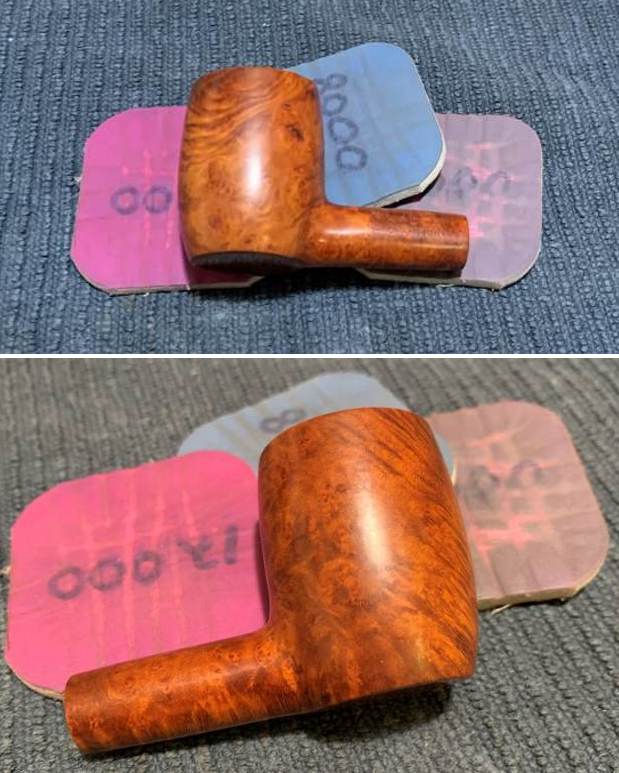
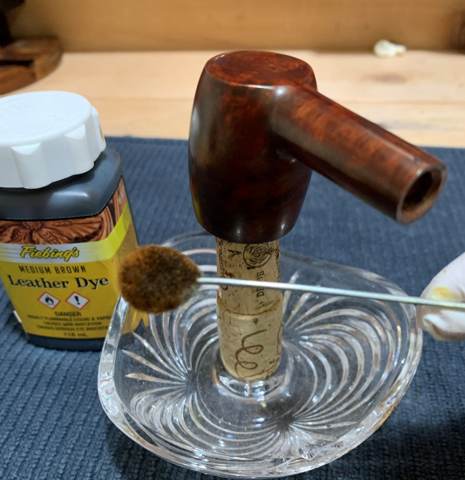
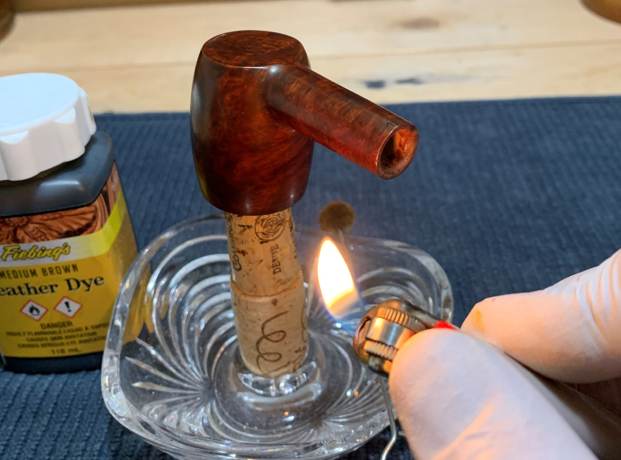
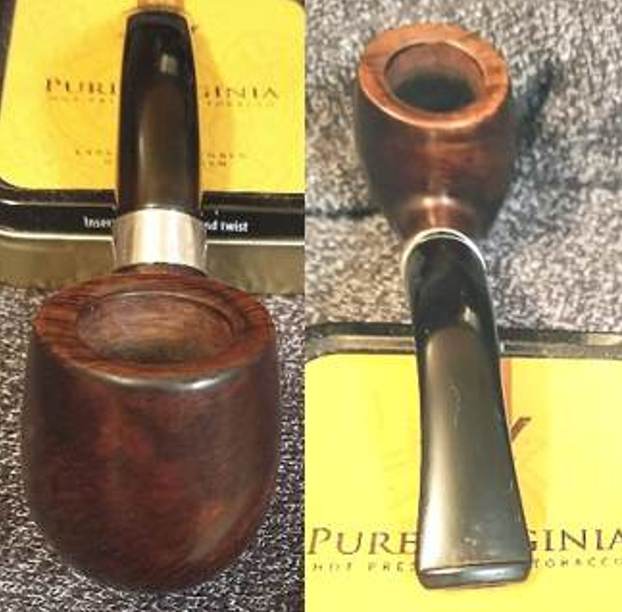
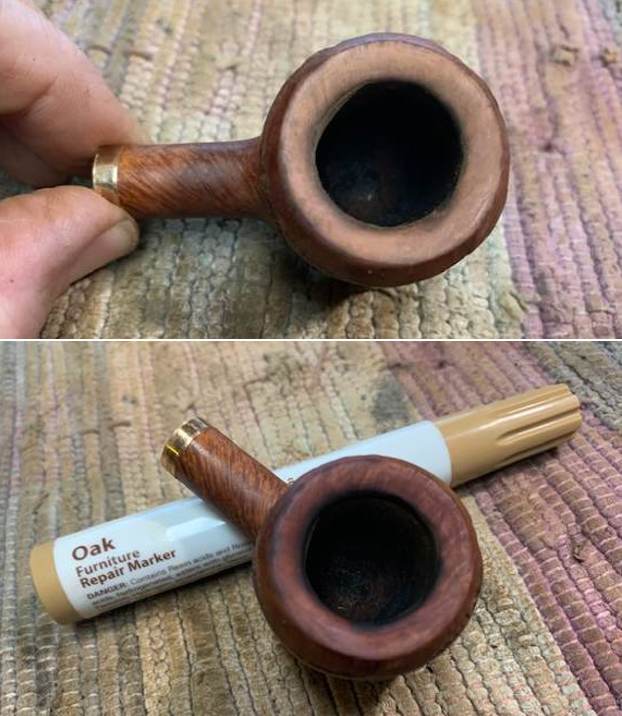
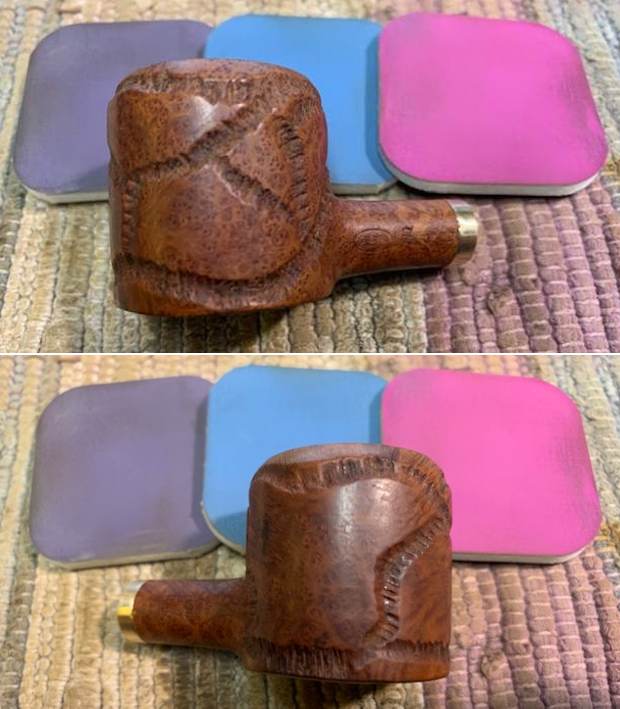
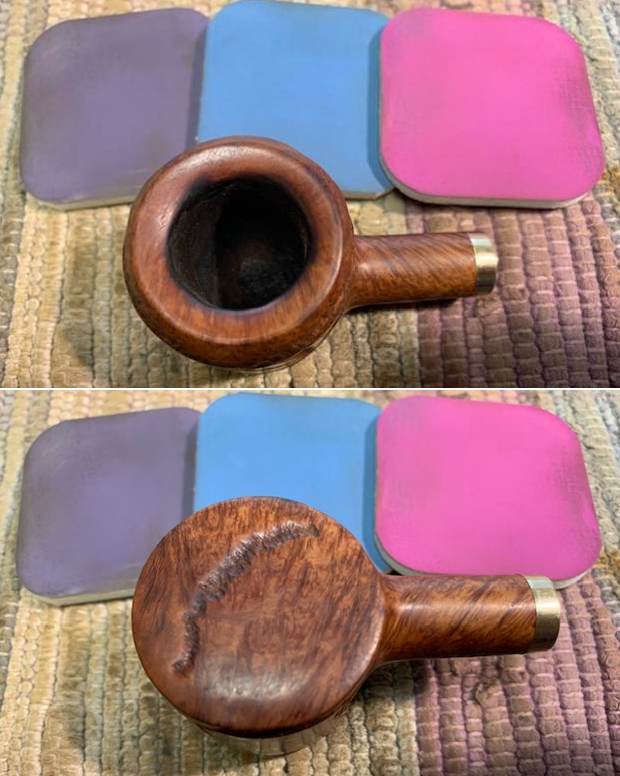
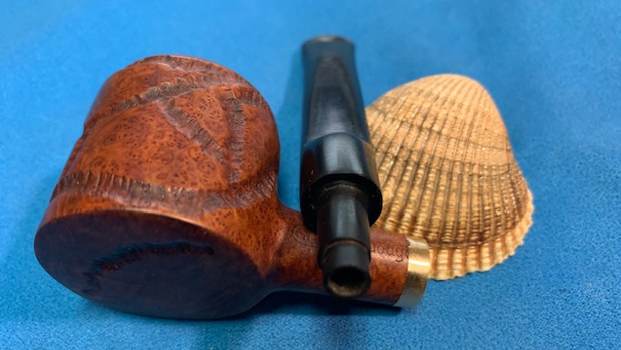
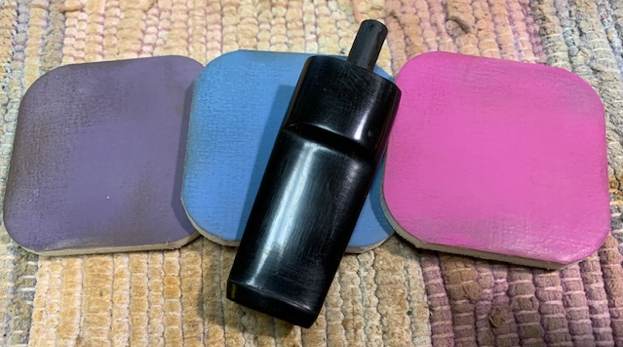
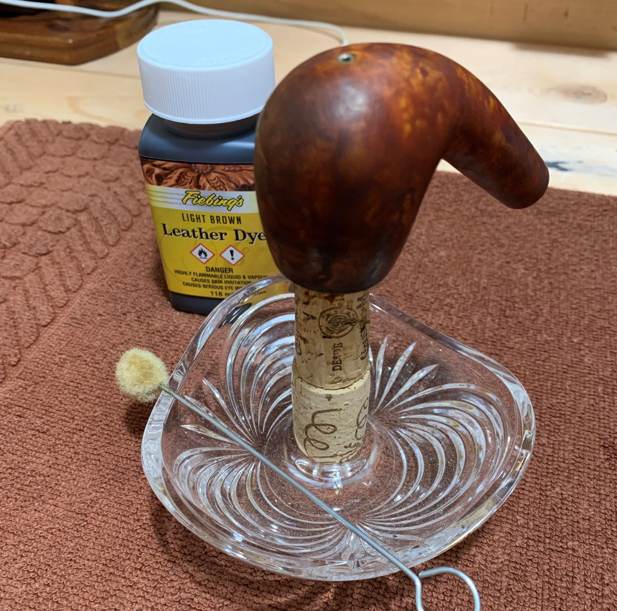
  Several more hours later, I had reached the point where I knew I could not do better and sanded and micro meshed the stummel in preparation for staining. I used British tan on the rim and moccasin brown on the rest, then micro meshed off the char with 1500, 8000 and 12000 pads. That’s a good combination for a subtle contrast.
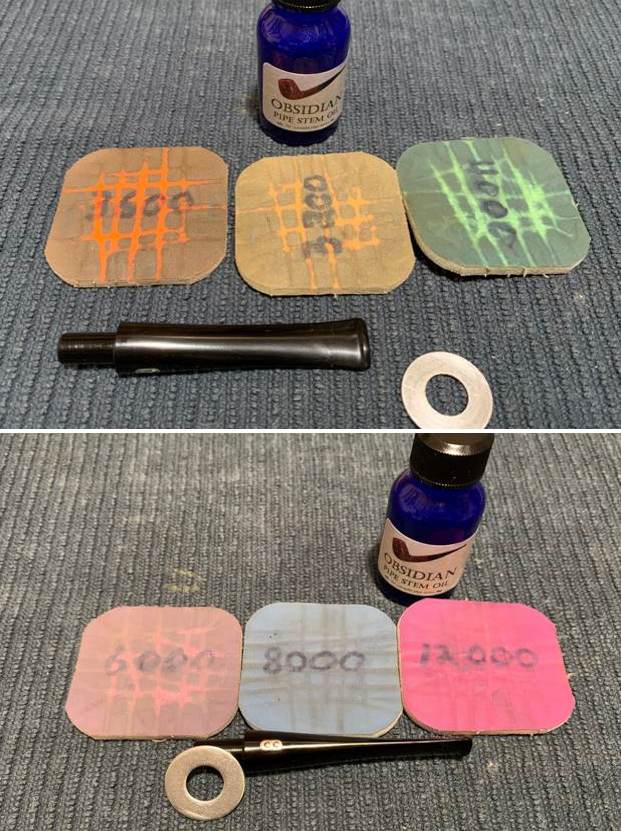
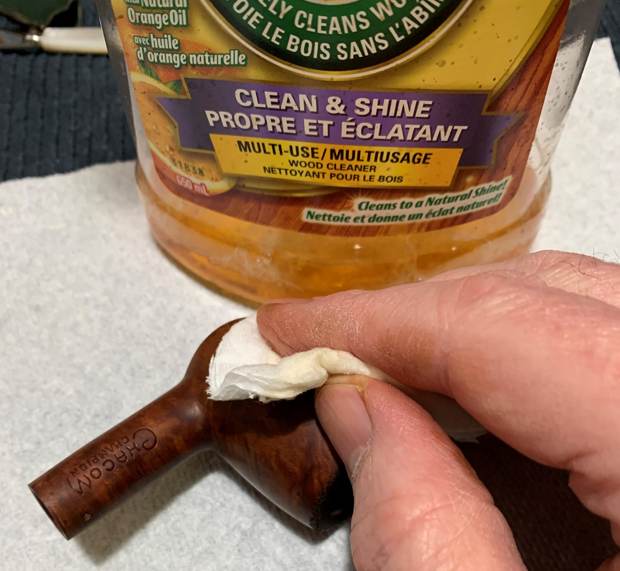
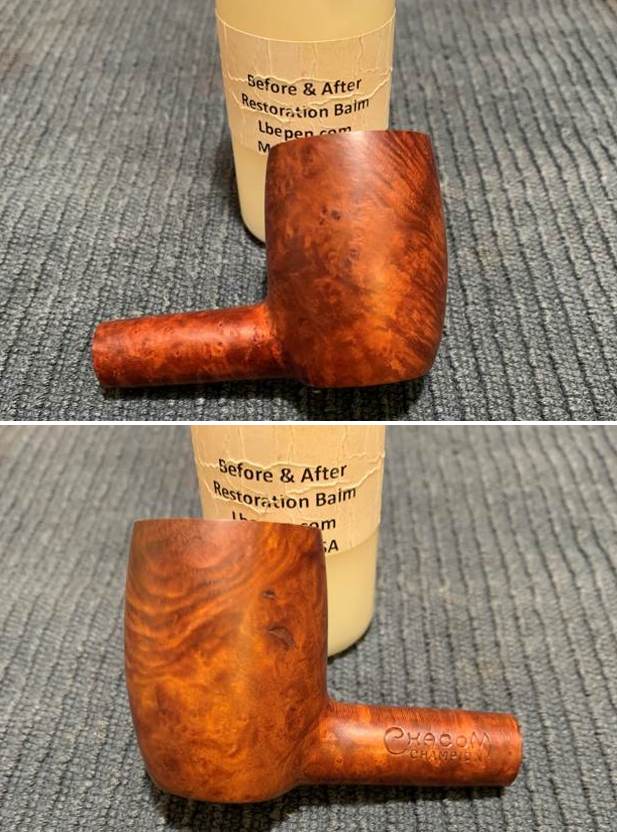
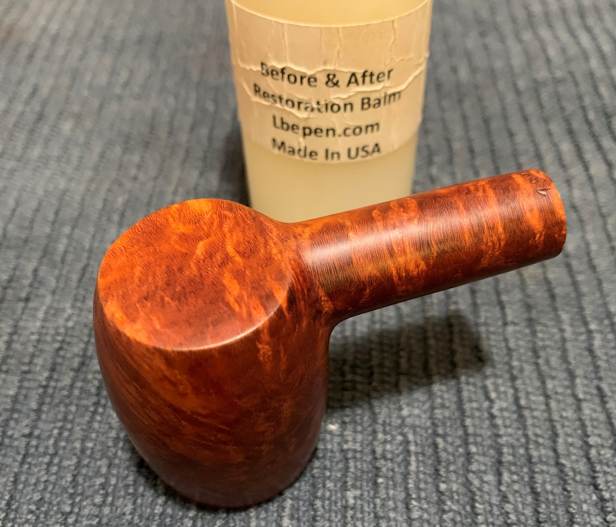
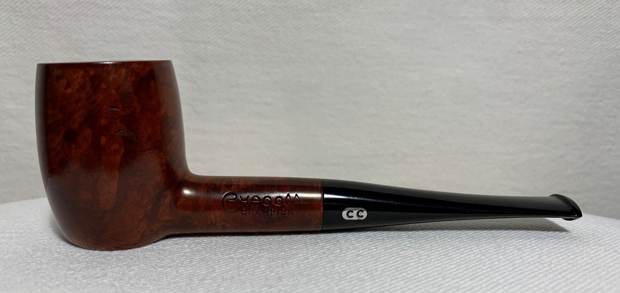
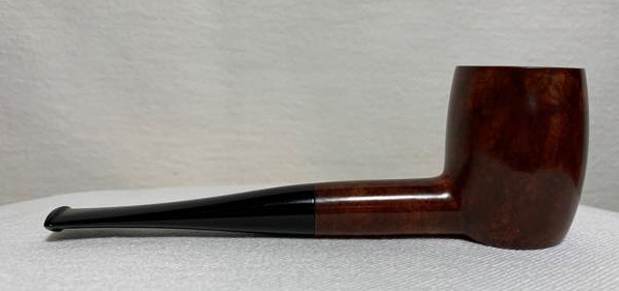
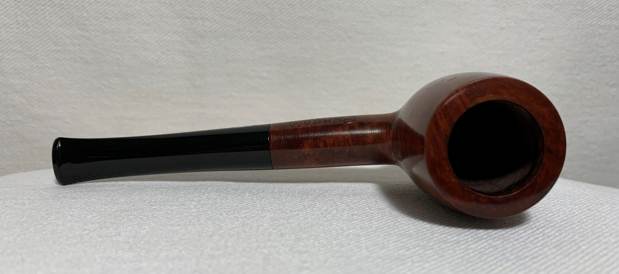
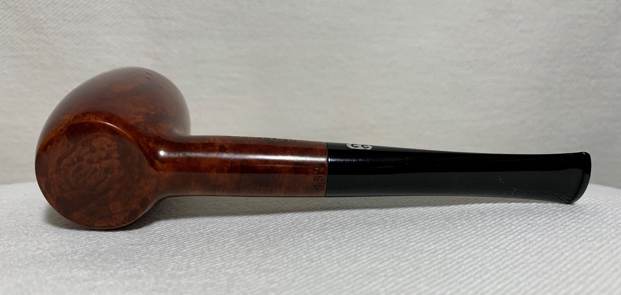
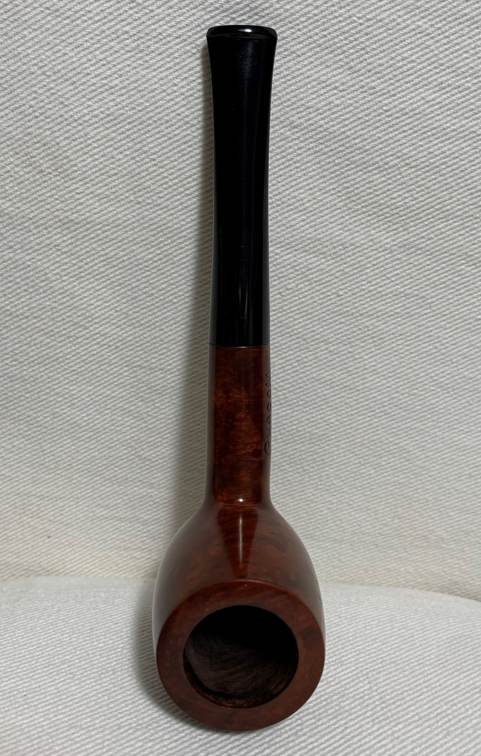
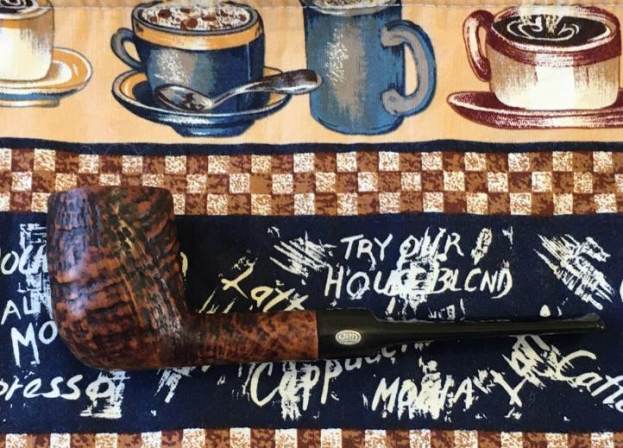
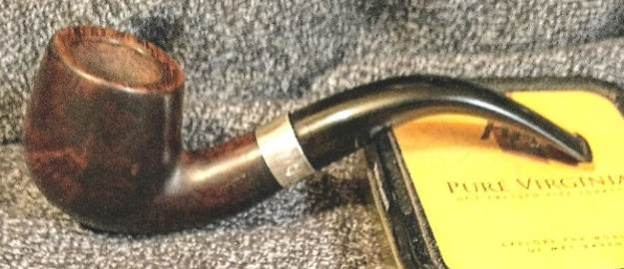
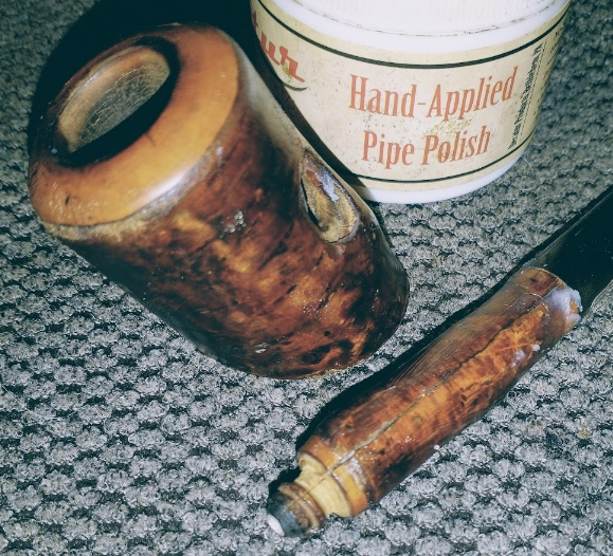
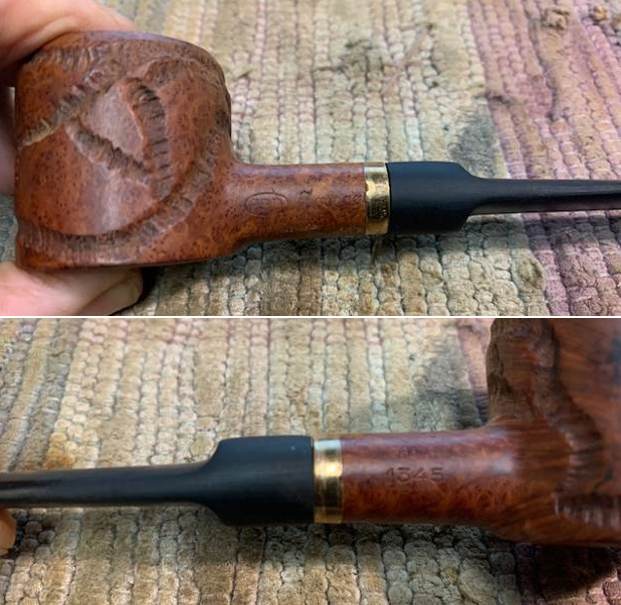
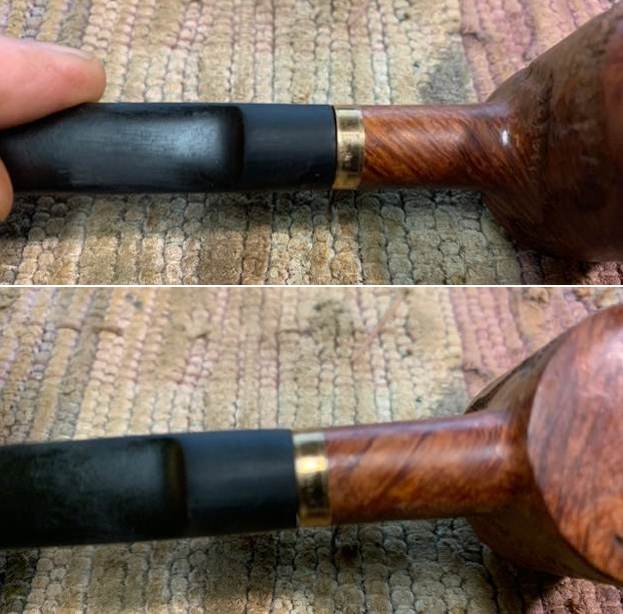
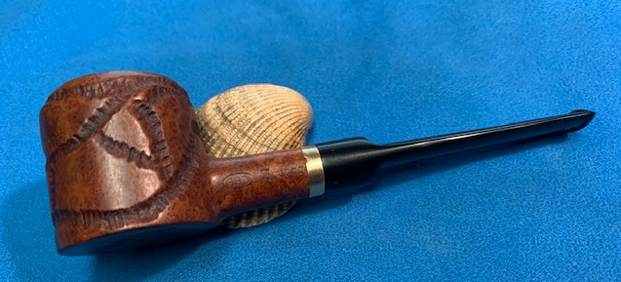
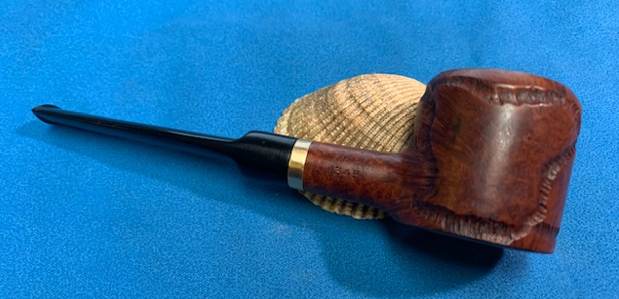
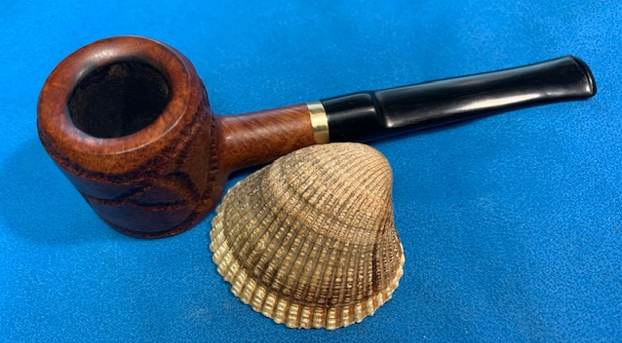
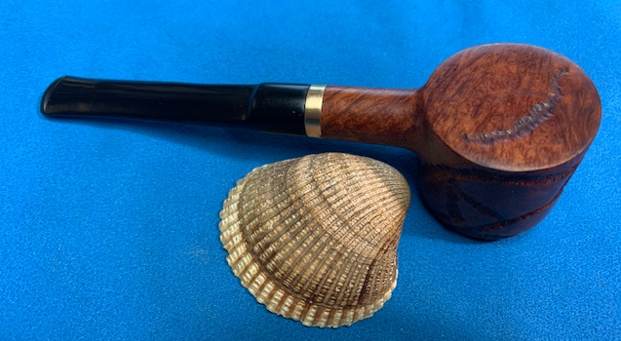
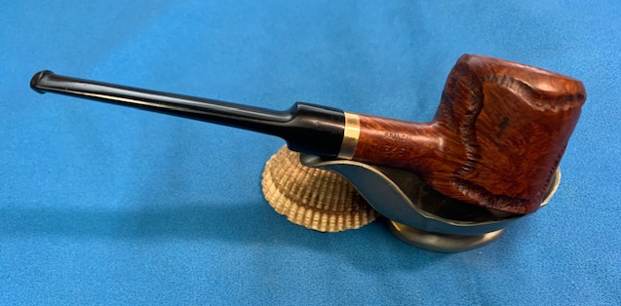
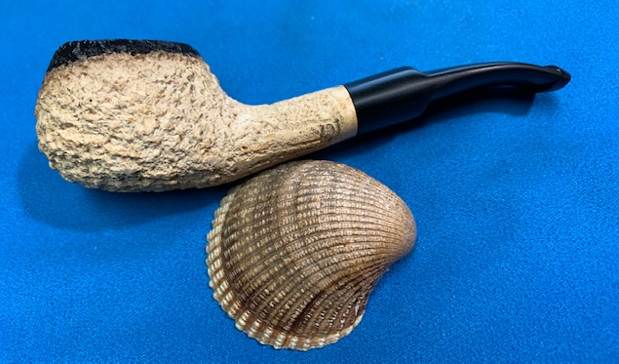
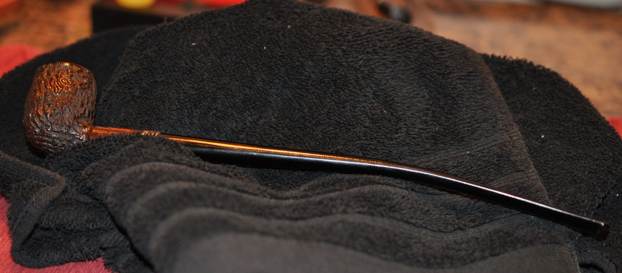
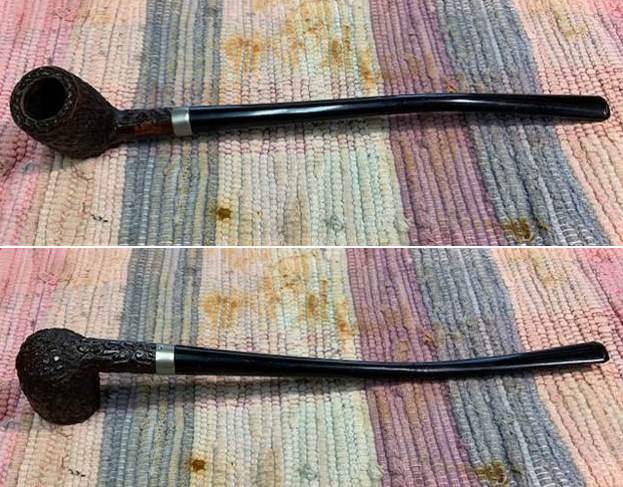
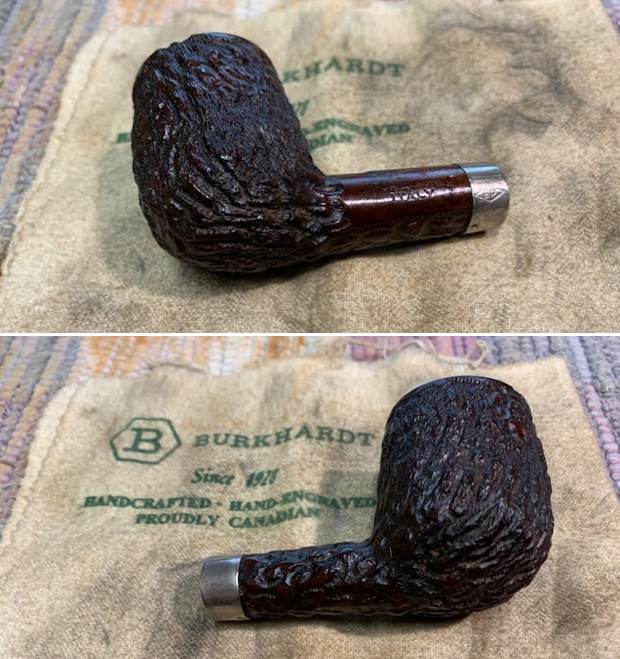
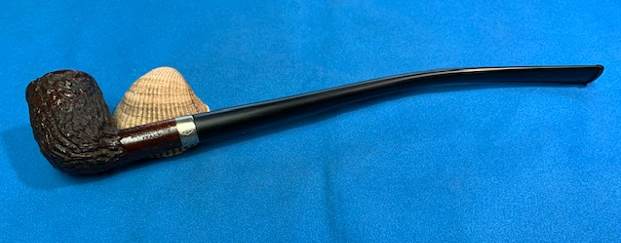
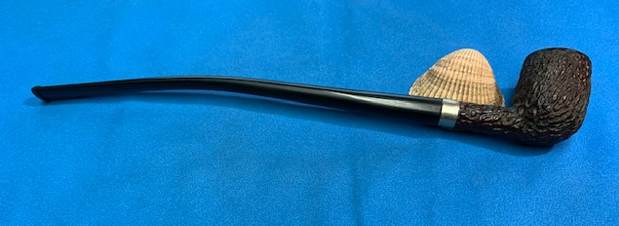
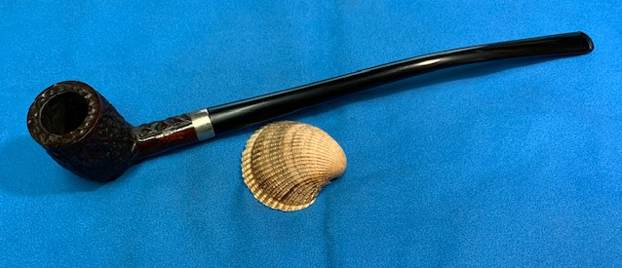
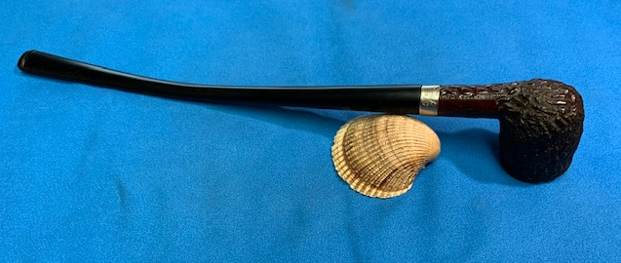
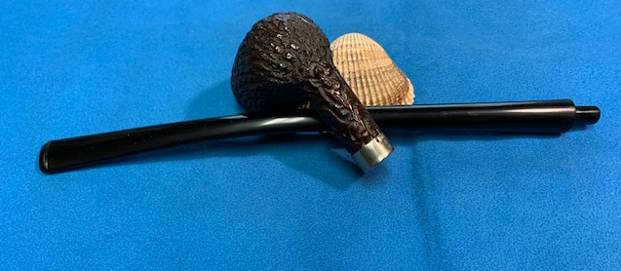
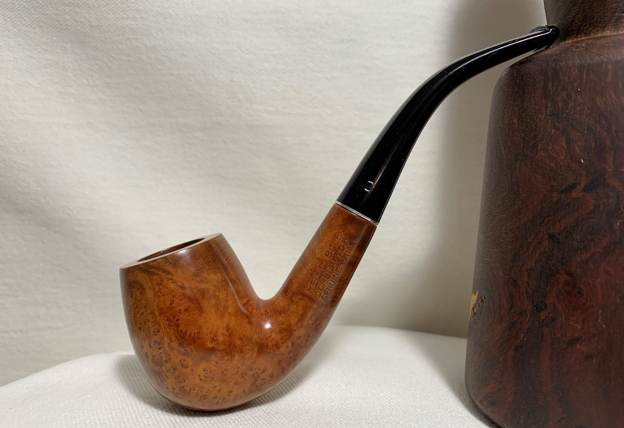
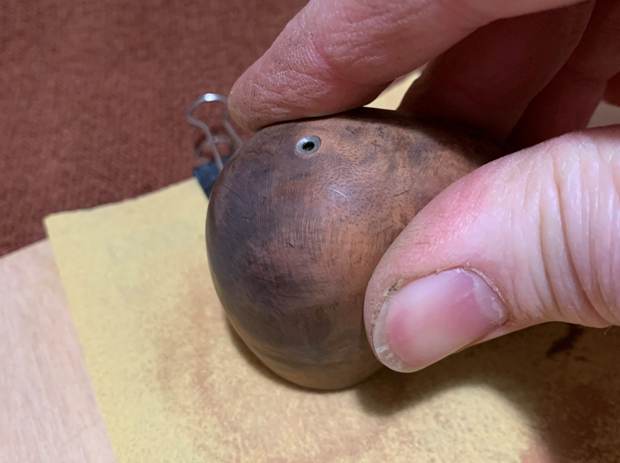
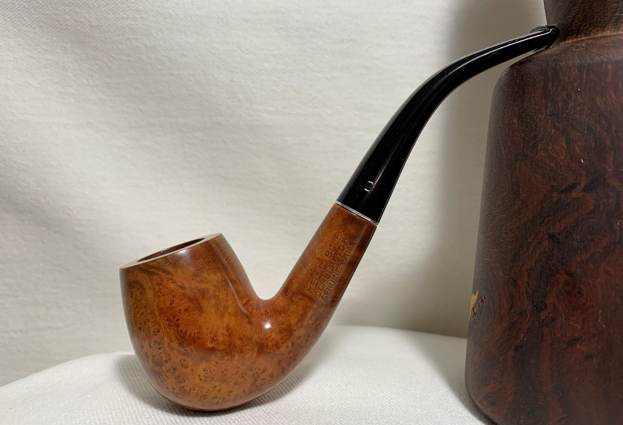
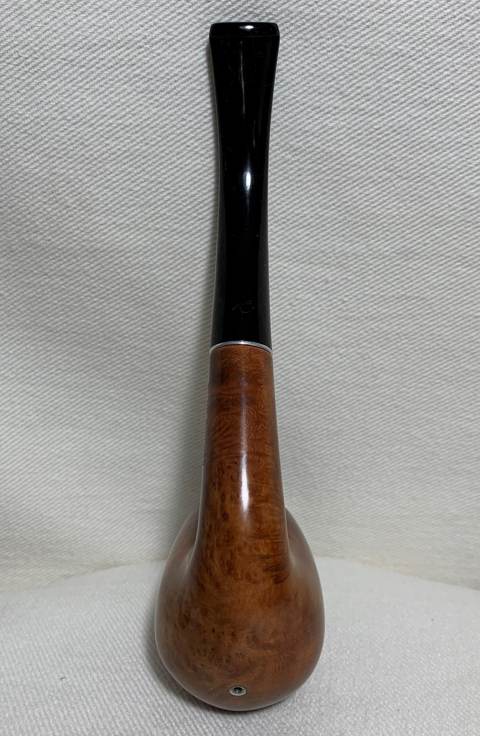
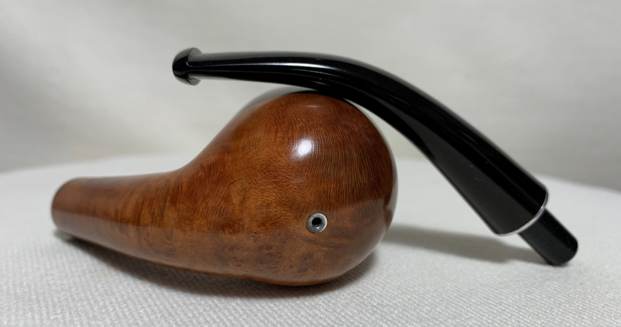
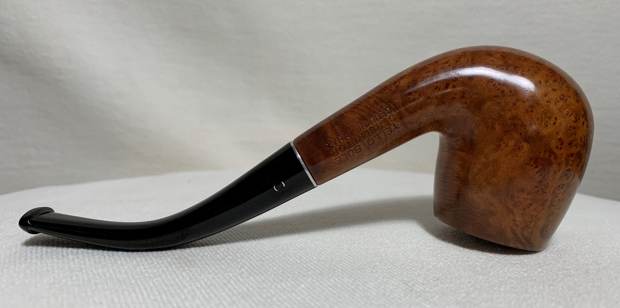
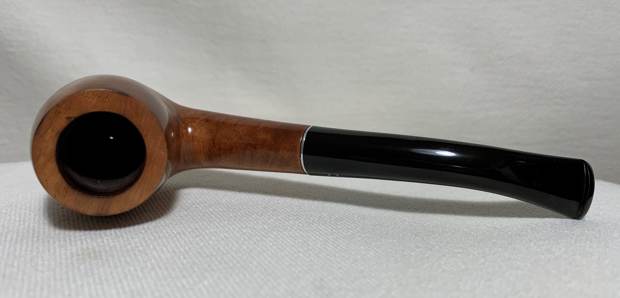
 I buffed the stummel with Red Tripoli and carnauba and was finished.

 SOURCES
https://www.worthpoint.com/worthopedia/hardcastle-filter-pipe-164105369
http://www.pipephil.eu/logos/en/logo-hardcastle.html
https://rebornpipes.com/2017/07/20/another-piece-pipe-history-a-lovely-cpf-french-briar-bent-billiard/