Blog by Steve Laug
The next pipe I chose to work on from Bob Kerr’s estate is part of his collection of Danish made pipes. I have worked on the restoration of others in this collection including a Stanwell Jubilee Shape 118 (https://rebornpipes.com/2019/08/11/another-bob-kerr-estate-a-stanwell-jubilee-1942-1982-shape-118/); a Stanwell de Luxe Shape 812 (https://rebornpipes.com/2019/08/10/back-to-bob-kerrs-estate-changing-up-and-working-on-a-danish-made-stanwell-de-luxe-812-billiard-regd-no-969-48/); a WO Larsen (https://rebornpipes.com/2019/01/13/restoring-pipe-17-from-bob-kerrs-estate-a-w-o-larsen-super-15-bent-stack/) and a Danish Sovereign Bulldog variation (https://rebornpipes.com/2019/08/11/another-bob-kerr-estate-a-danish-sovereign-305-bulldog-variant/).
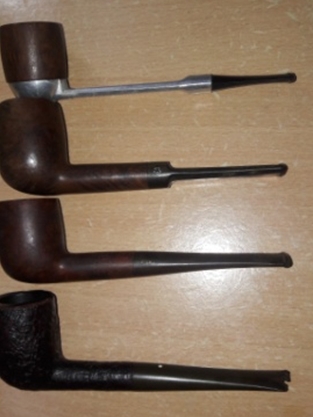
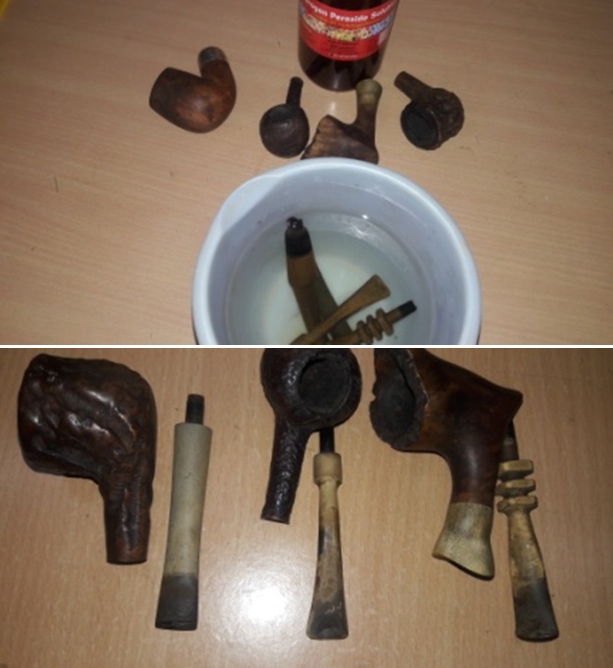
To this list of Danish pipes I am adding the next – a Danmore Handmade in Denmark Deluxe Volcano. Like the others it is part of Bob’s estate that the family asked me to clean up and move out to others who will carry on the trust that began with Bob. In the collection there were BBBs, Peterson’s, Dunhills, Comoy’s and Barlings as well many others – a total of 125 pipes. This is the largest estate that I have had the opportunity to work on. I created a spread sheet to track the pipes, restoration and sales. This job would take a fair amount of time to clean up. I could not pass up the opportunity to work on these pipes and help the family.
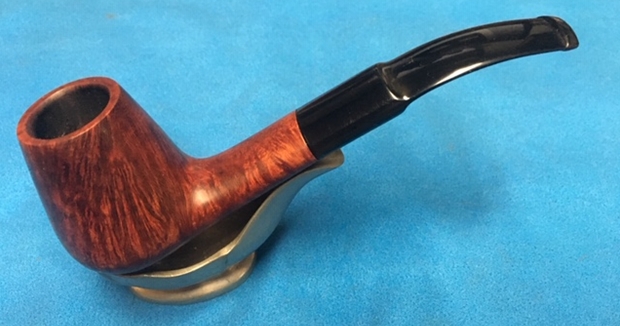
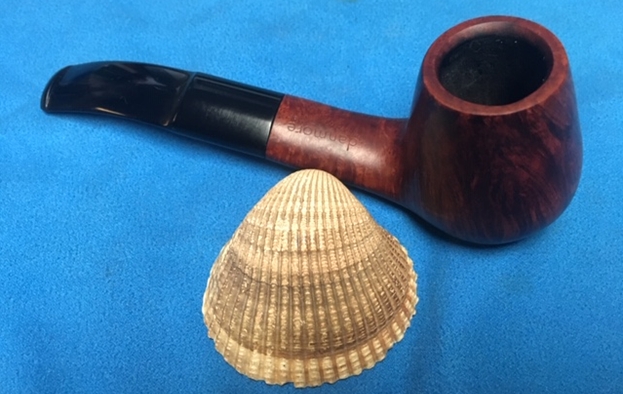
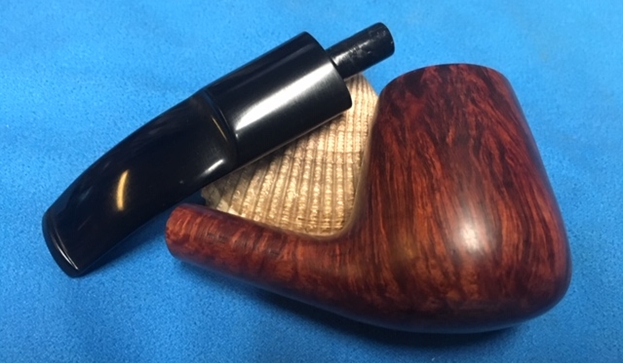
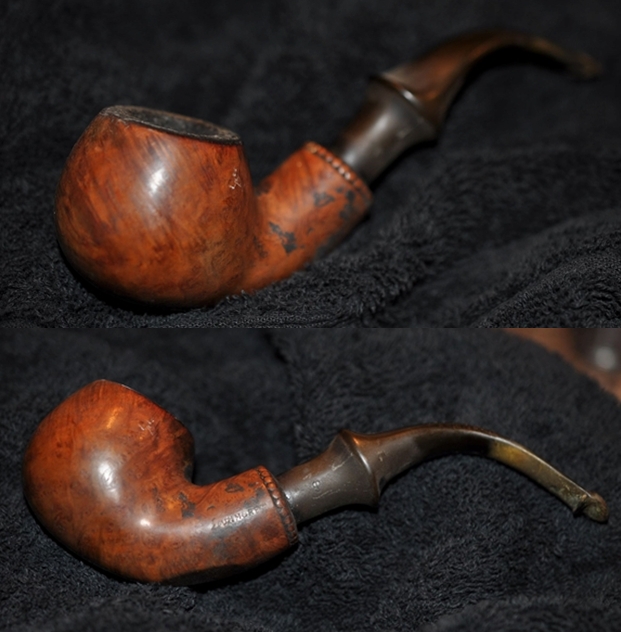
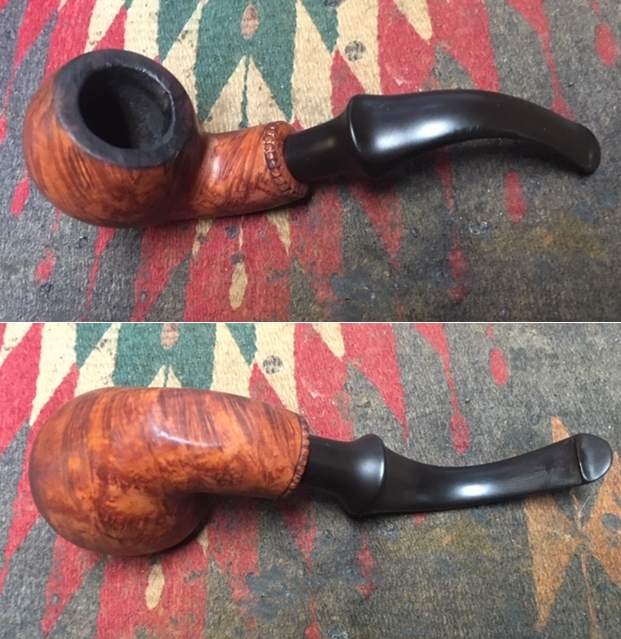
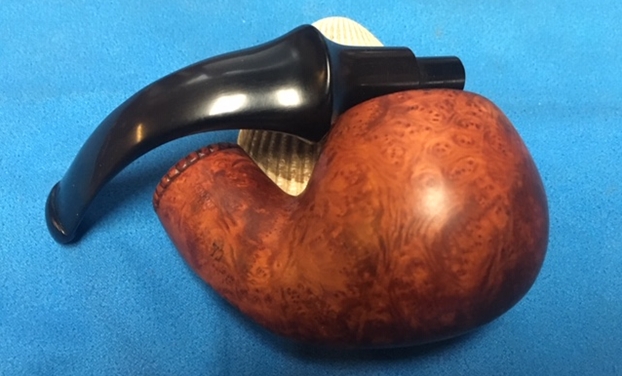
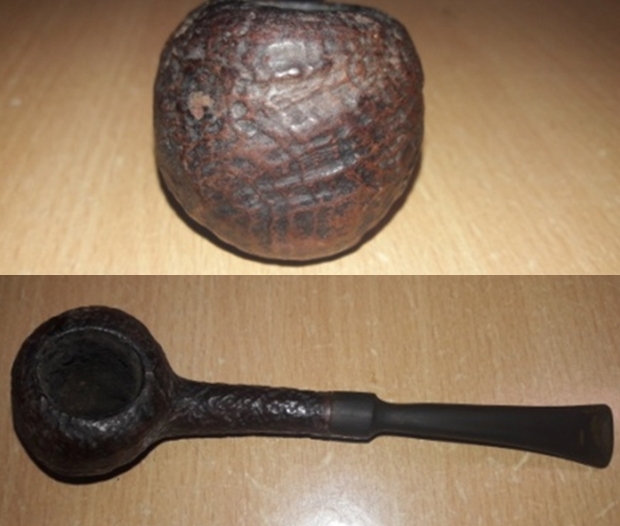
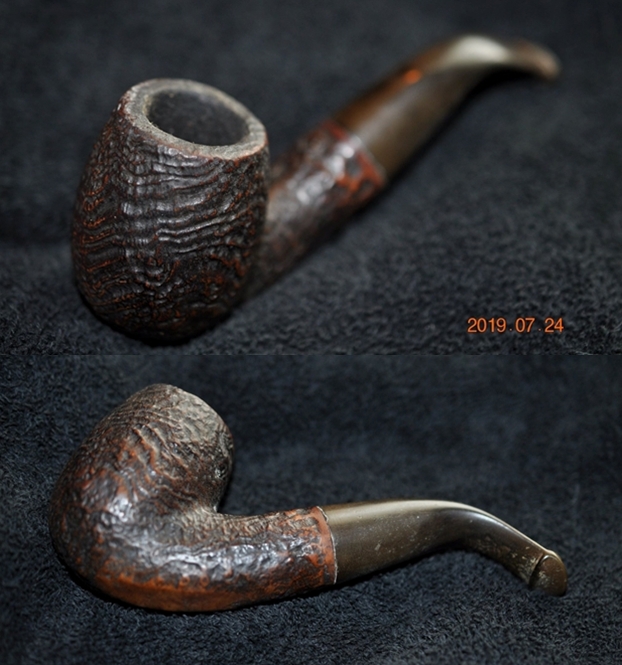
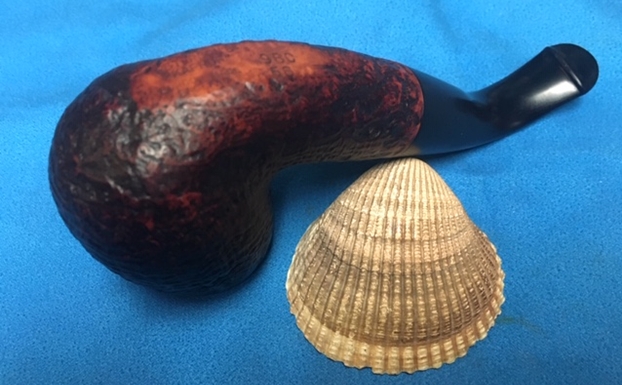
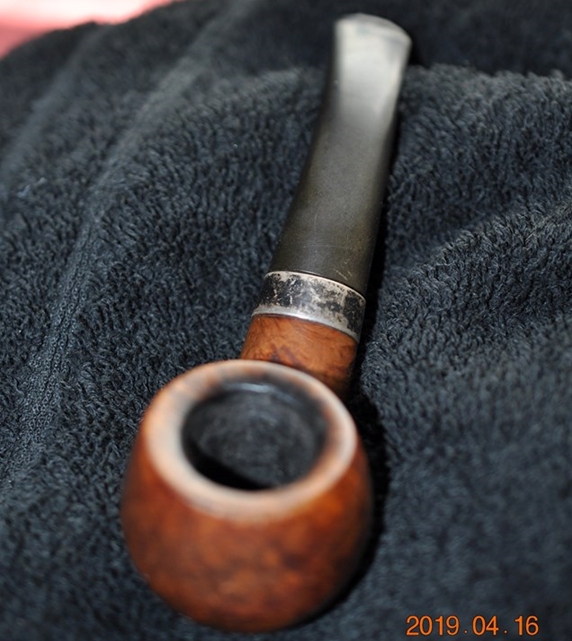
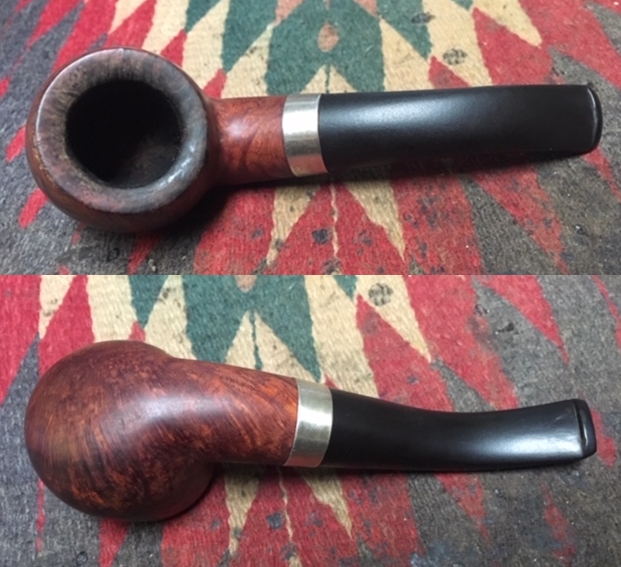
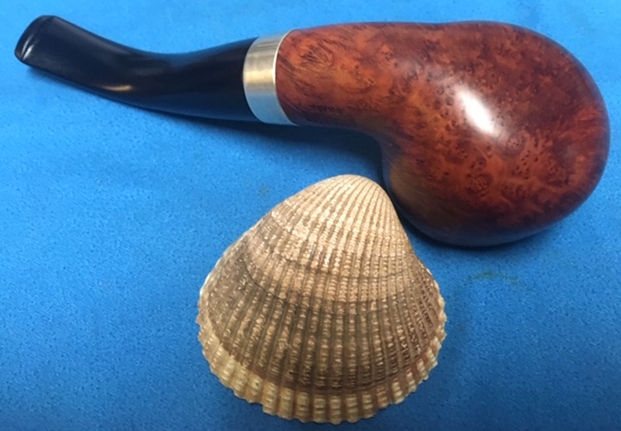
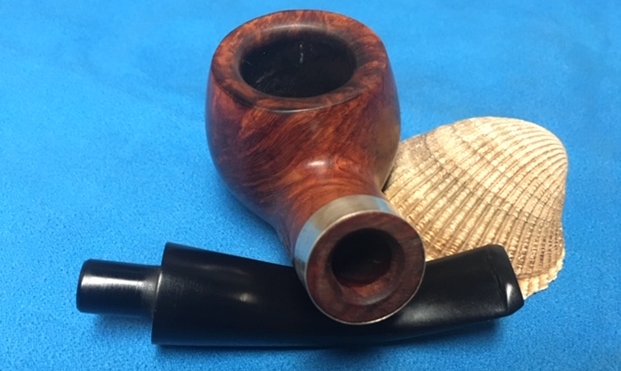
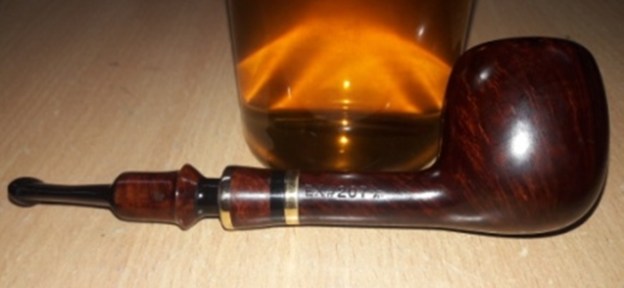
 When I took the Danmore out of the box of cleaned up pipes that Jeff sent back I could see that it was stamped Danmore Handmade Denmark on the topside of the shank and Deluxe on the right side of the shank. It has straight and flame grain around the bowl and the oval shank and birdseye on the heel of the bowl and shank. The finish was dirty like the rest of the pipes in this estate. There was a thick cake in the bowl with remnants of tobacco stuck on the walls. There was an overflow of lava on the rim. The top and edges of the rim were dirty and there appears to be a deep chip on the front of the bowl edge. I could see a beautiful pipe underneath all of the grime and buildup of years of use. The stem was oxidized with tooth chatter on both sides. Surprisingly it had none of the deep tooth marks that I have come to expect from Bob’s pipes. Jeff took photos of the pipe before he started his cleanup work on it.
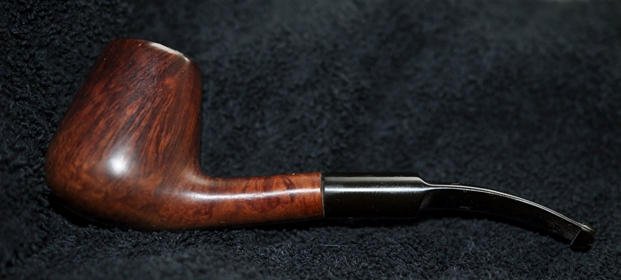
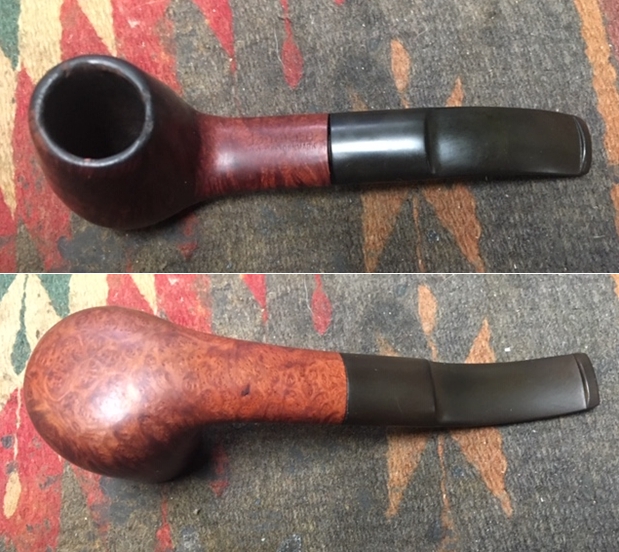
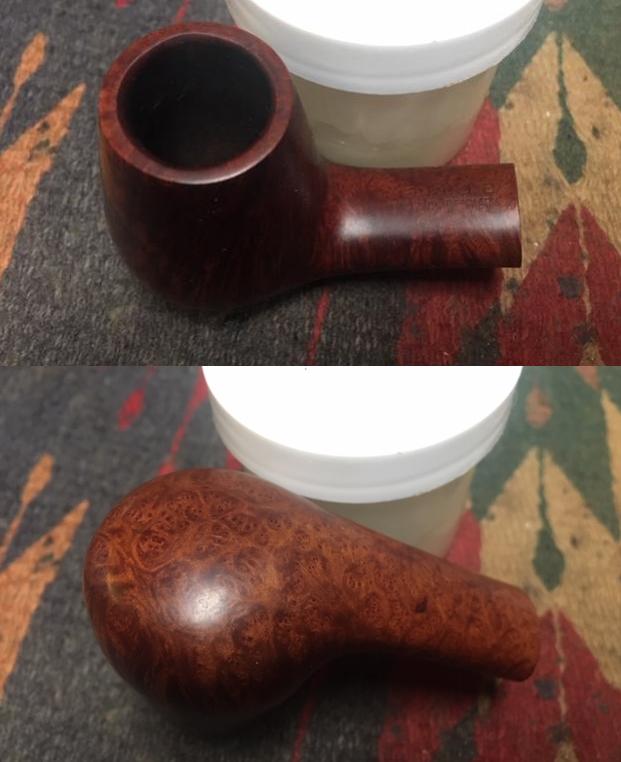
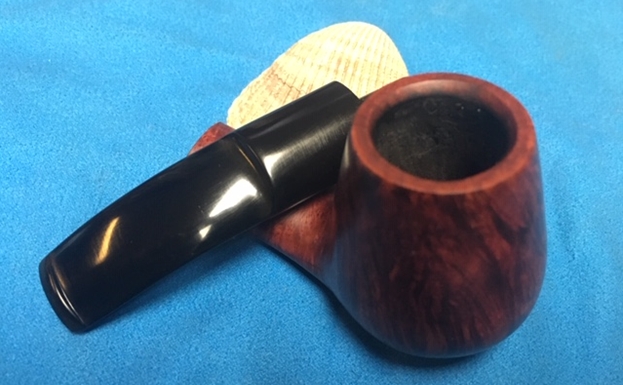
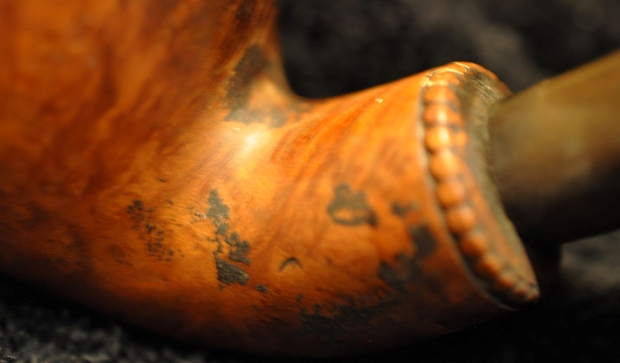
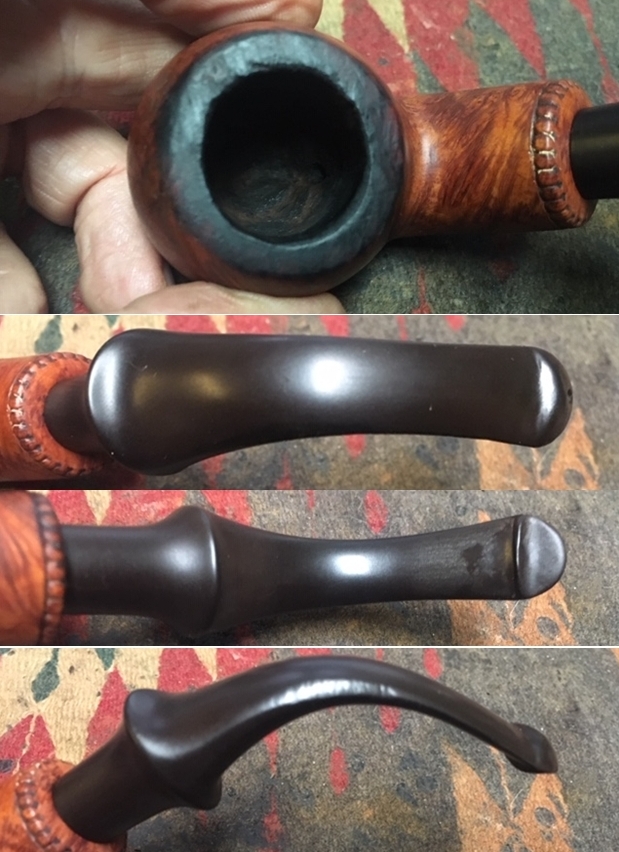
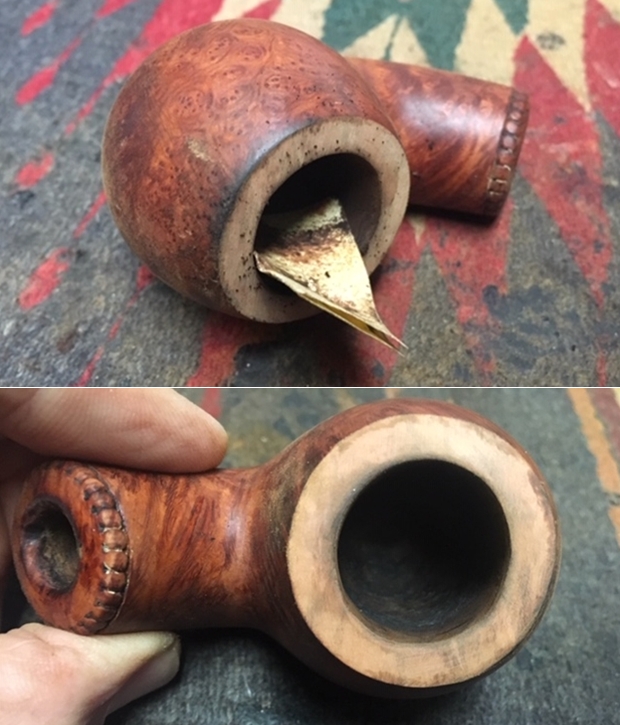
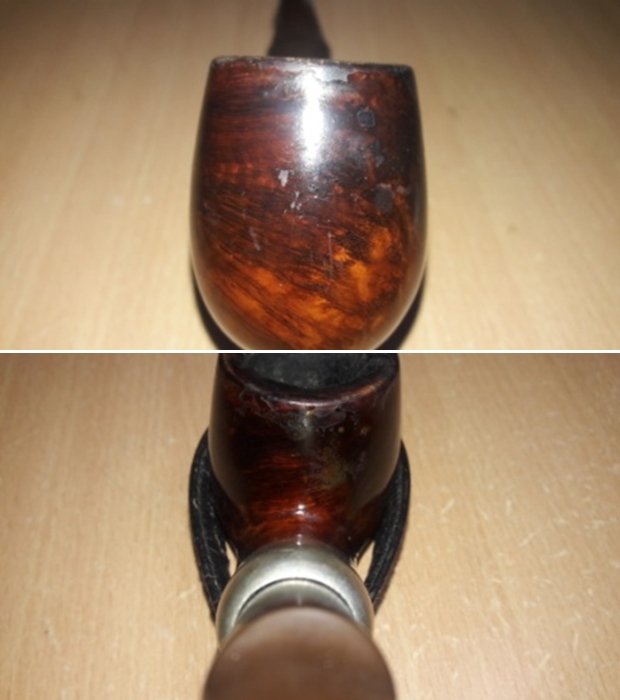
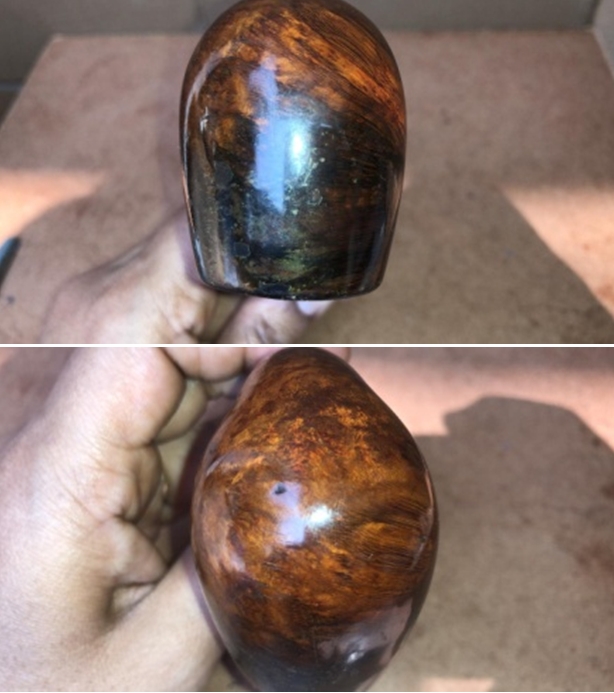
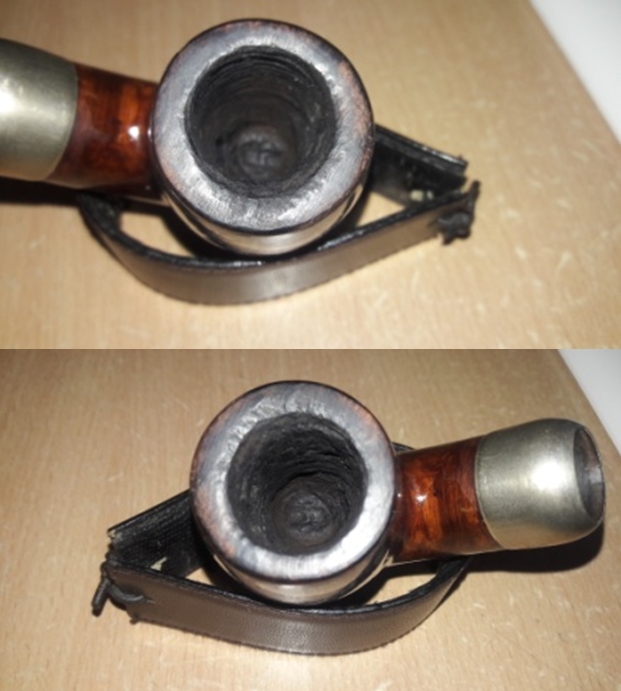
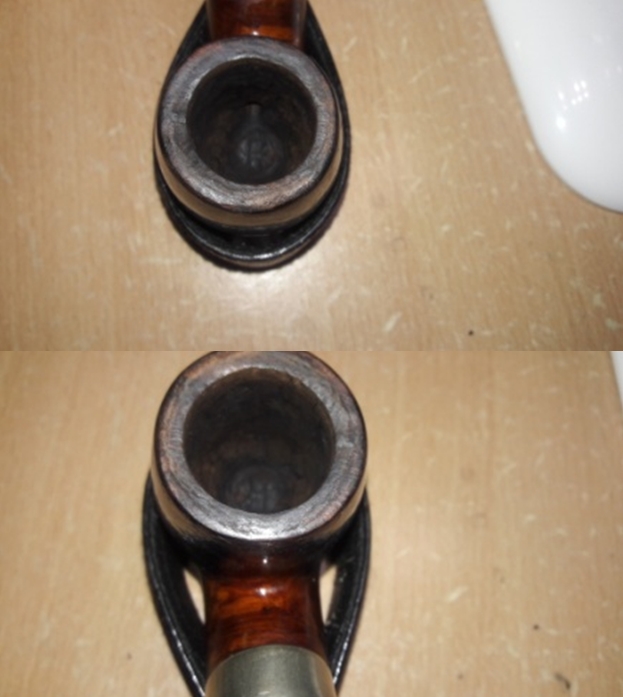
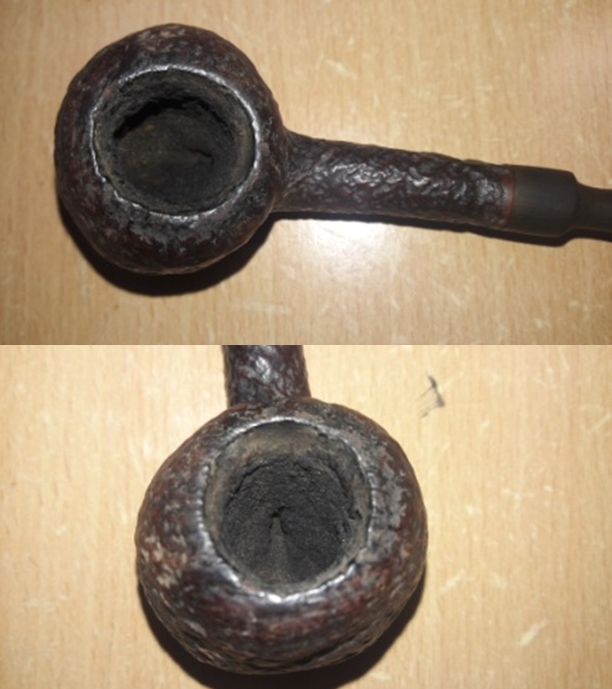
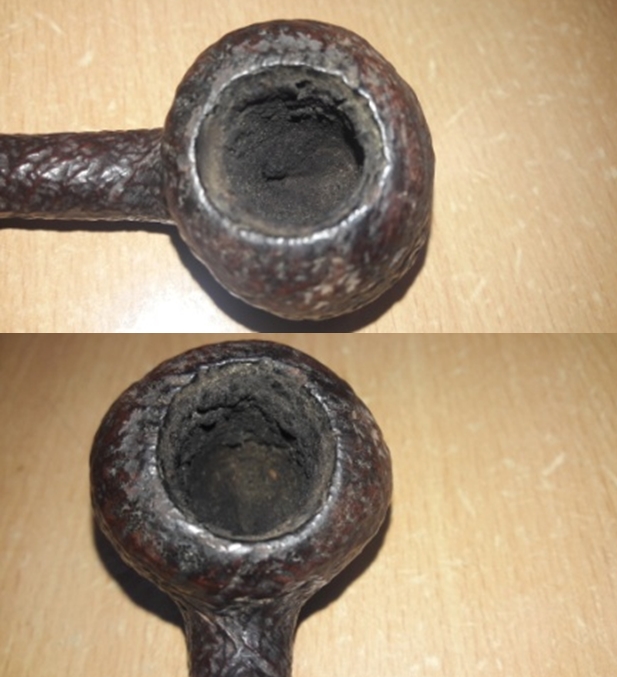
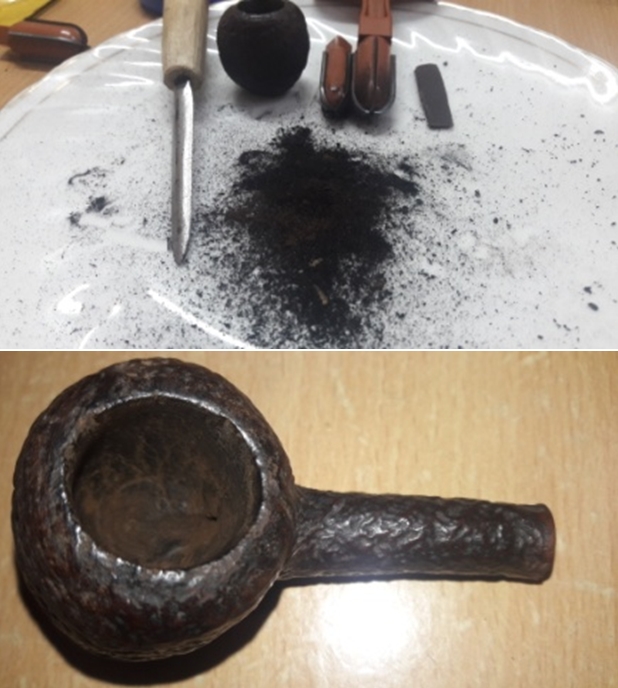
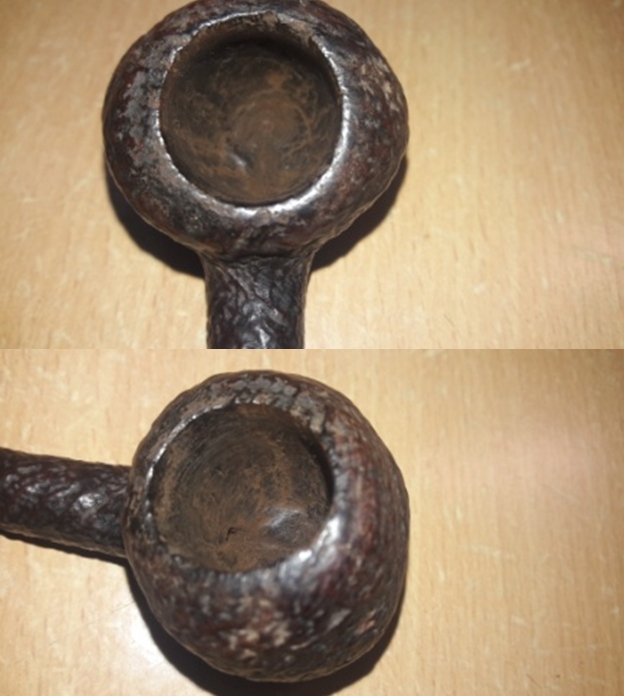
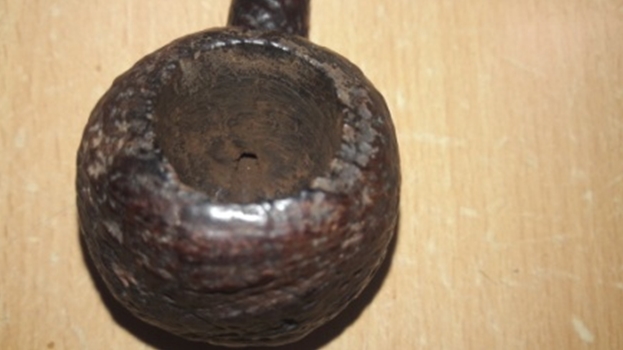
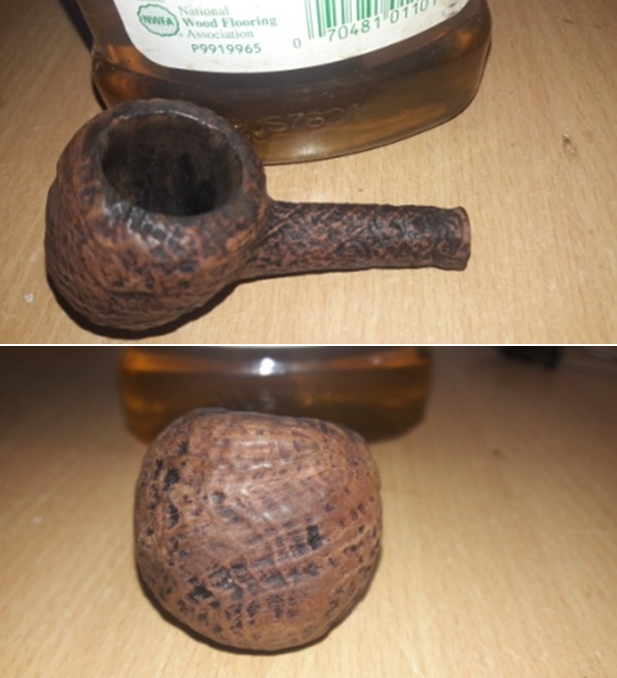
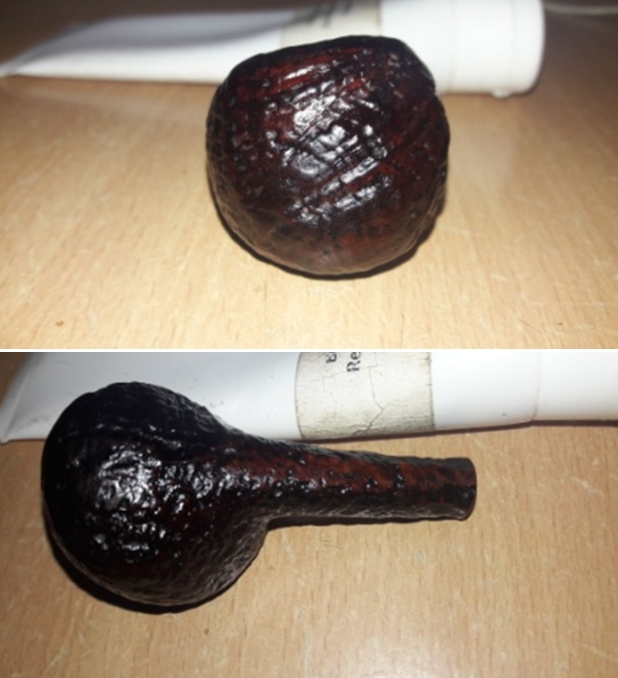
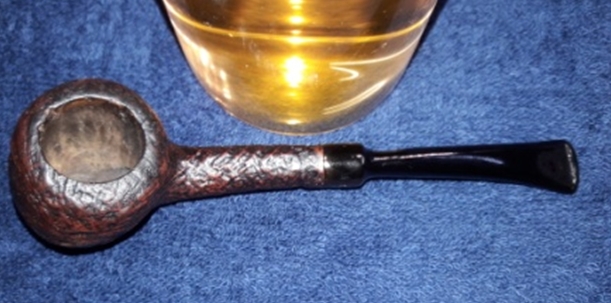
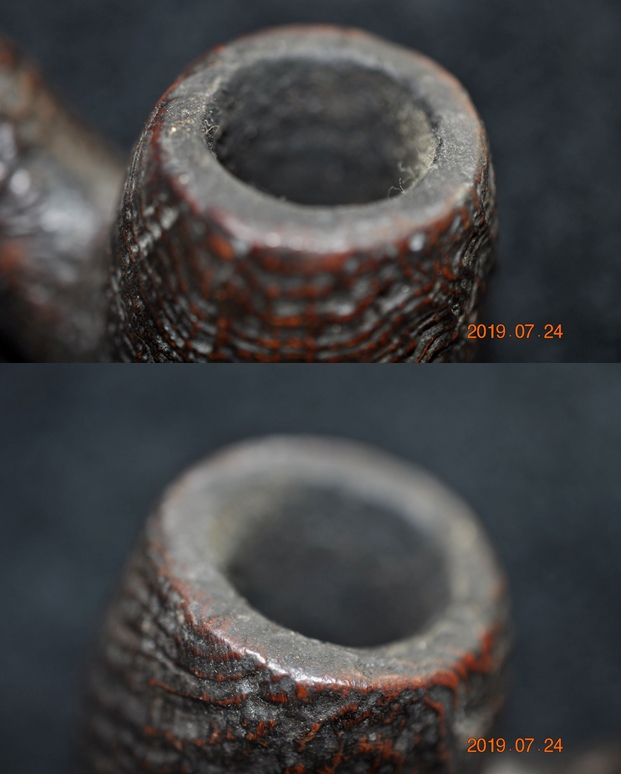
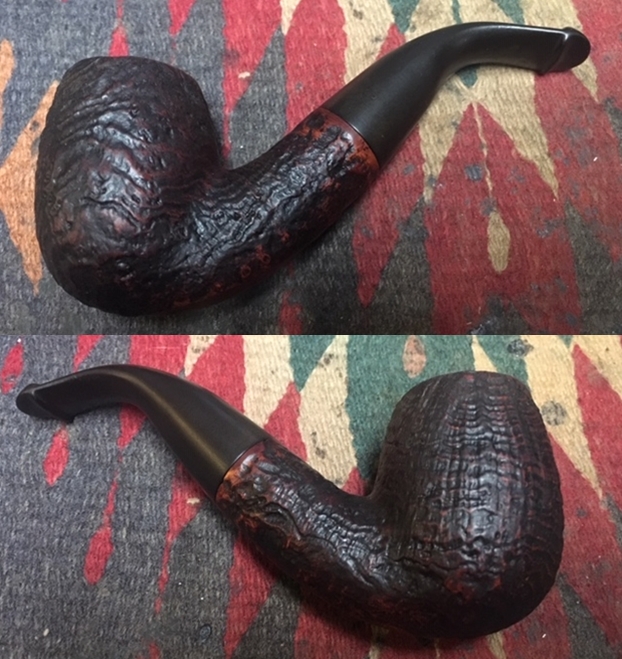
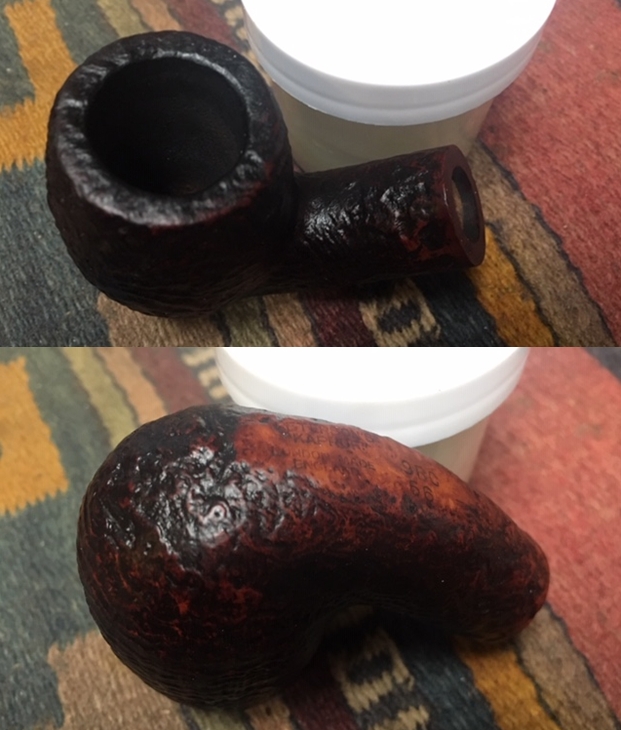
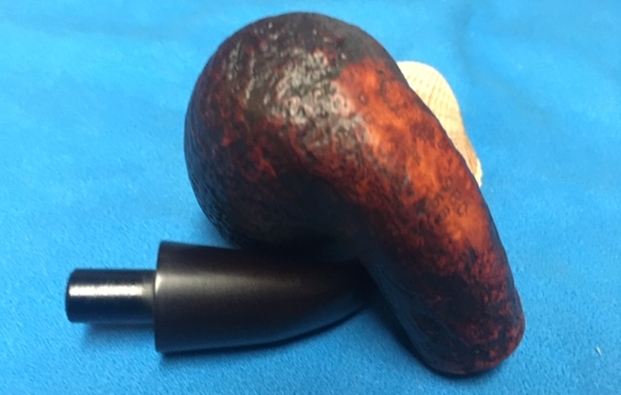
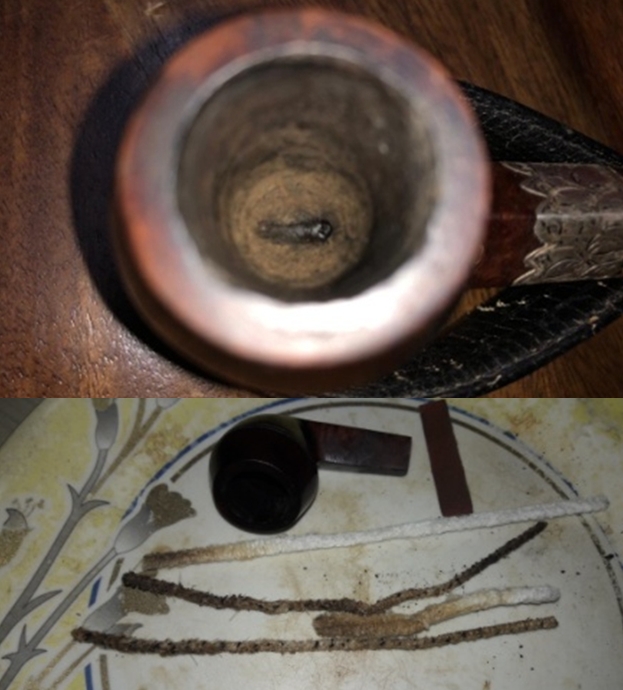
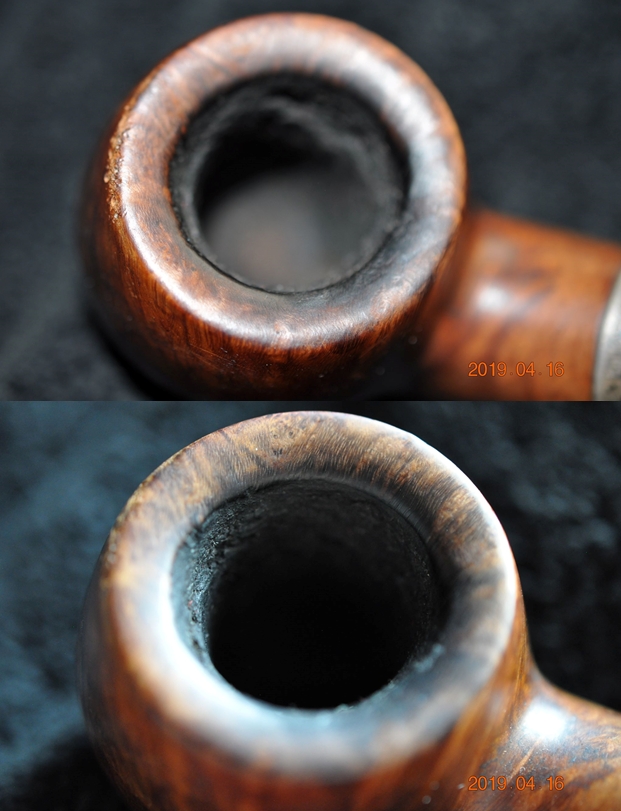
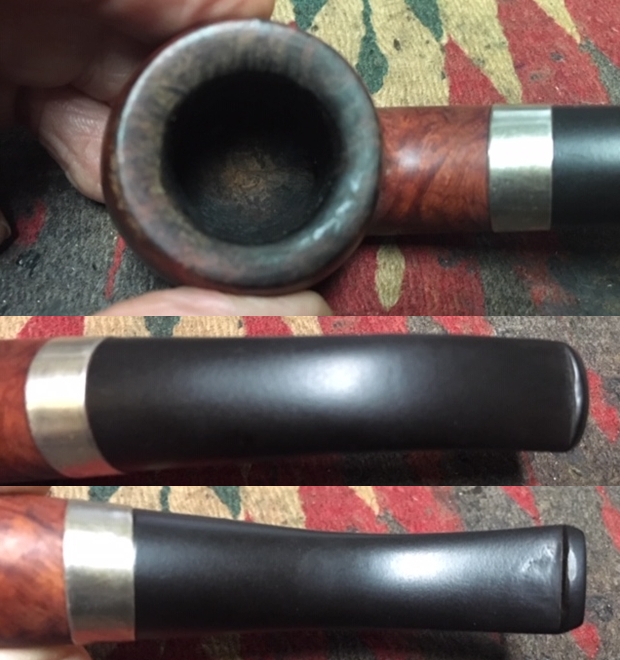
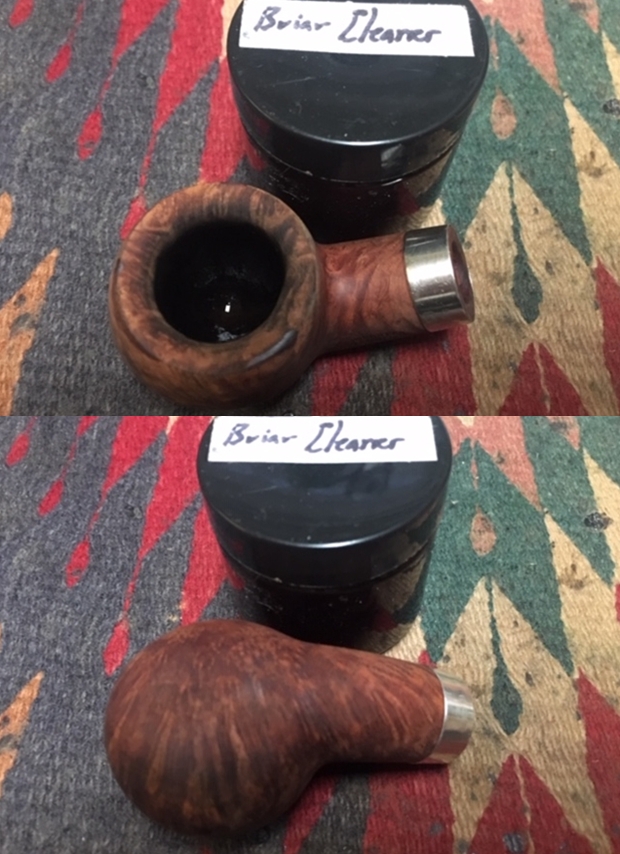
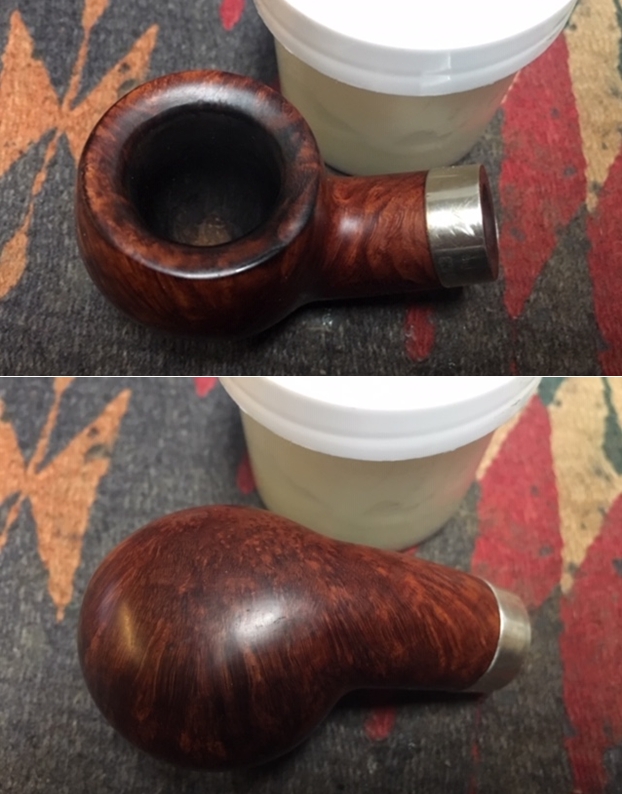
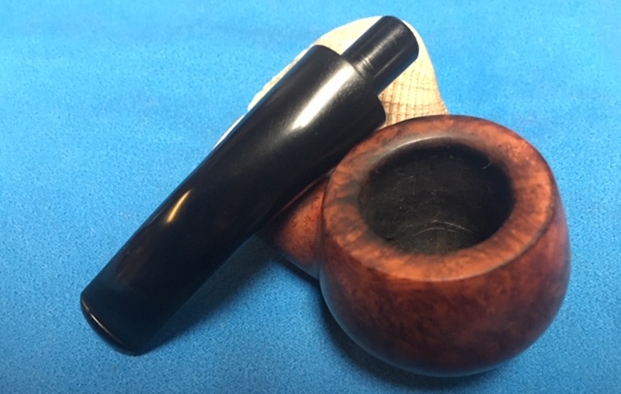
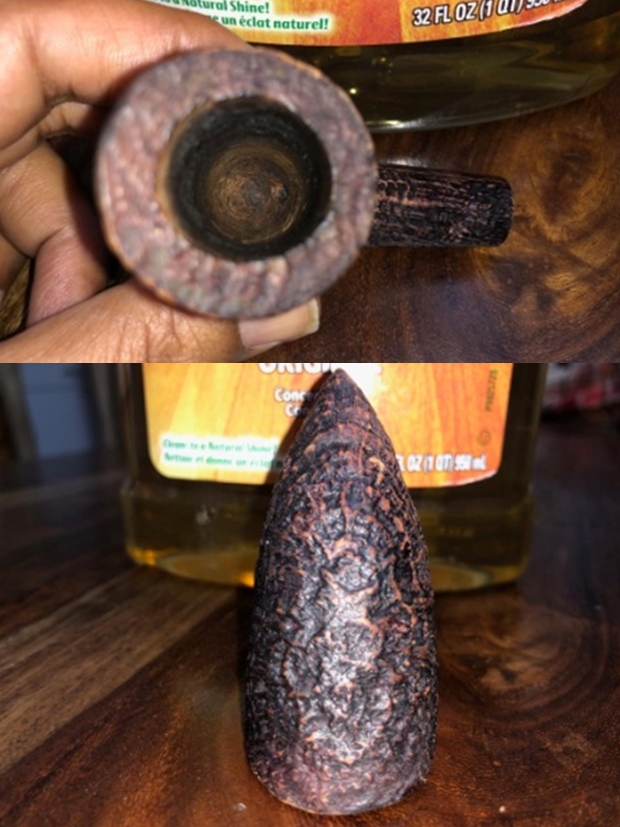
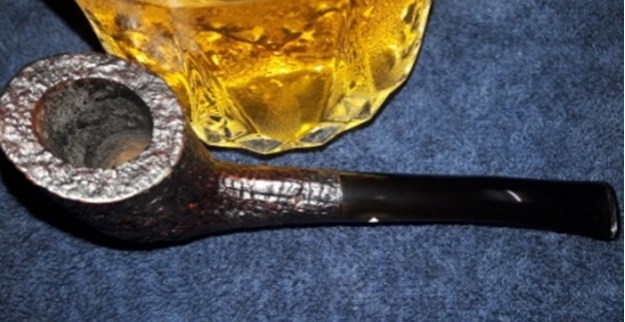
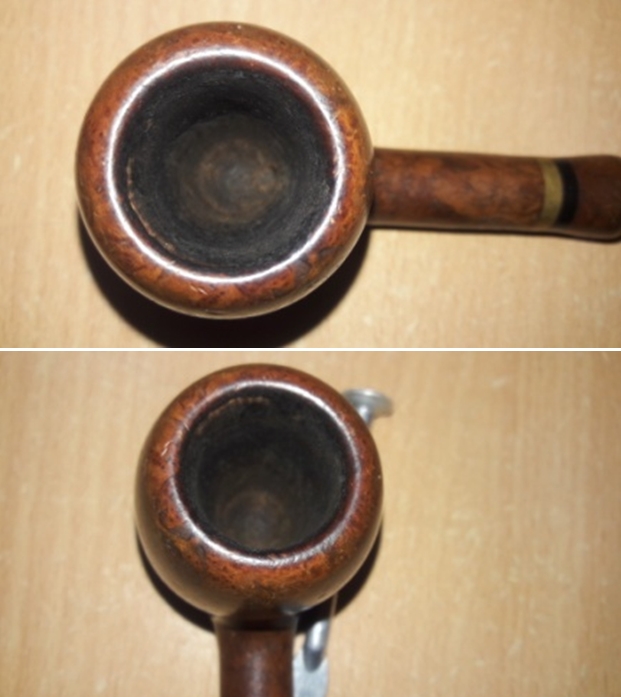
 Jeff took photos of the bowl and rim top to show the thick, hard cake in the bowl and the lava build up on the top of the rim and the edges of the bowl. You can see the chip on the rim top and inner edge of the bowl on the right side. There is some lava flowing down the outside of the bowl.
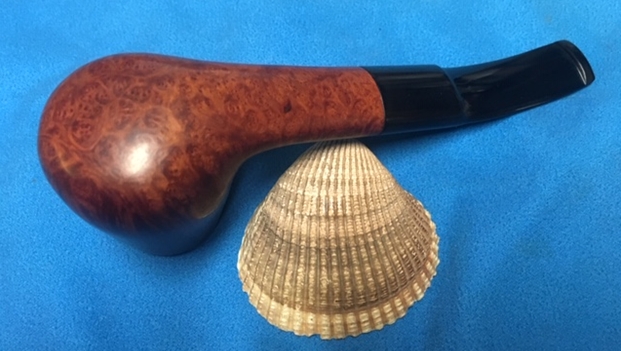
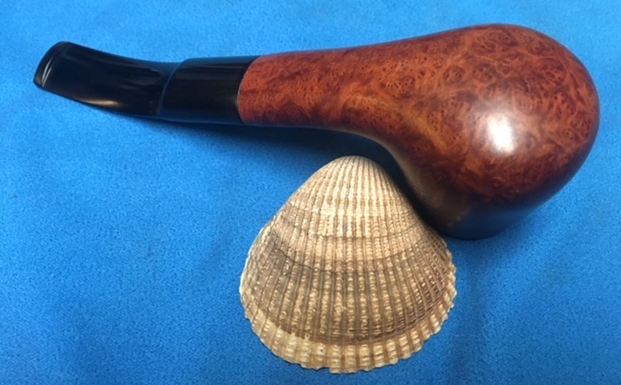
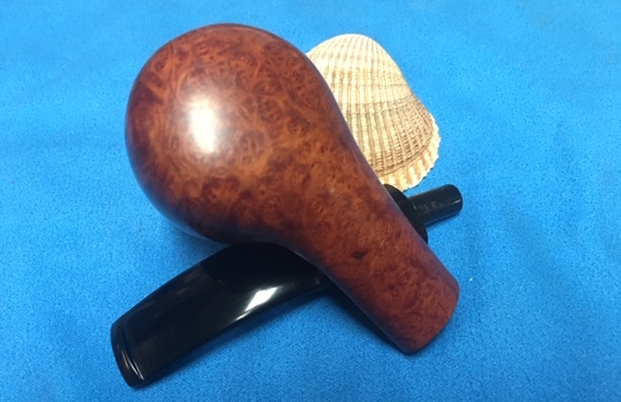
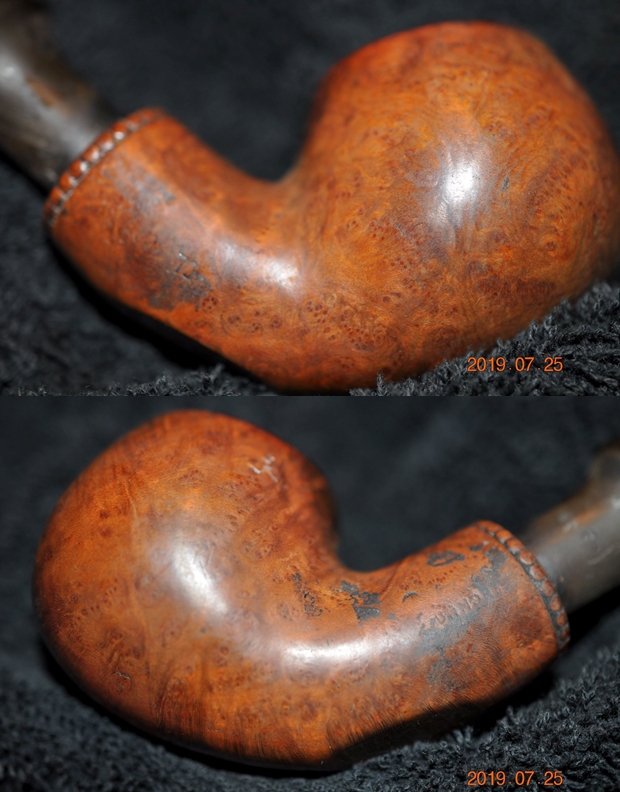
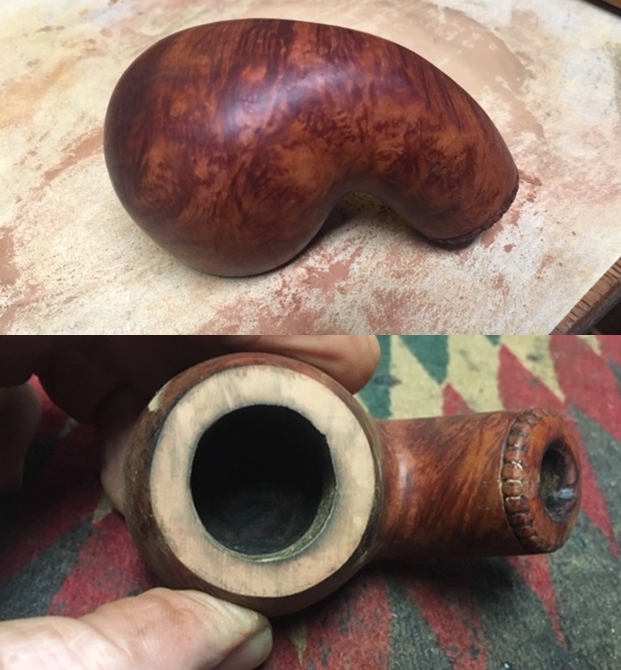
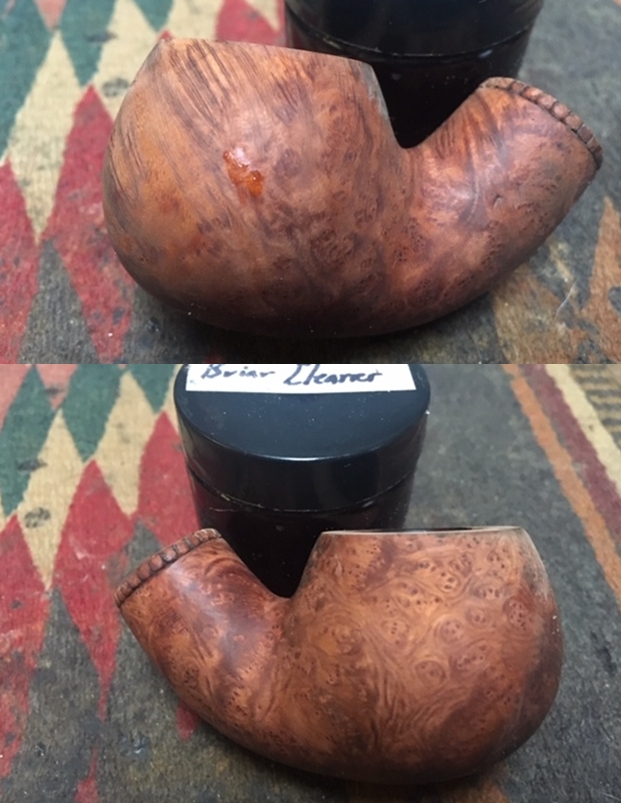
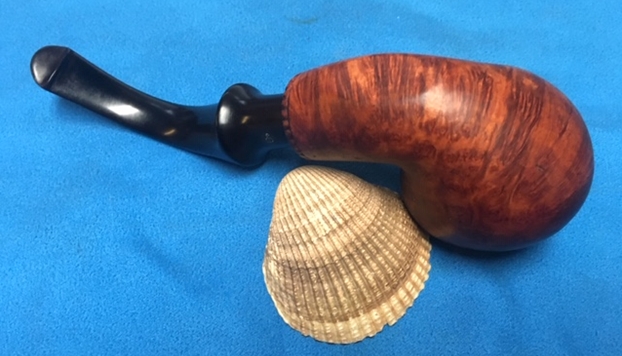
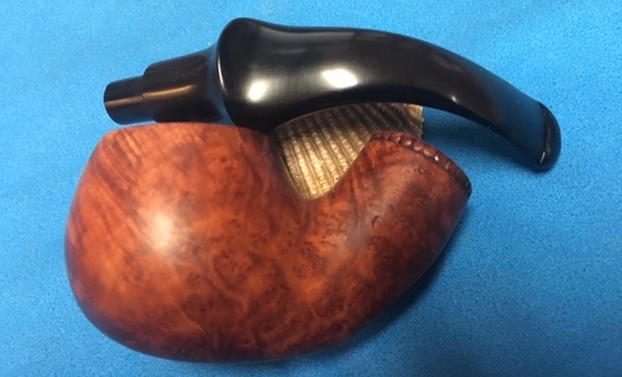
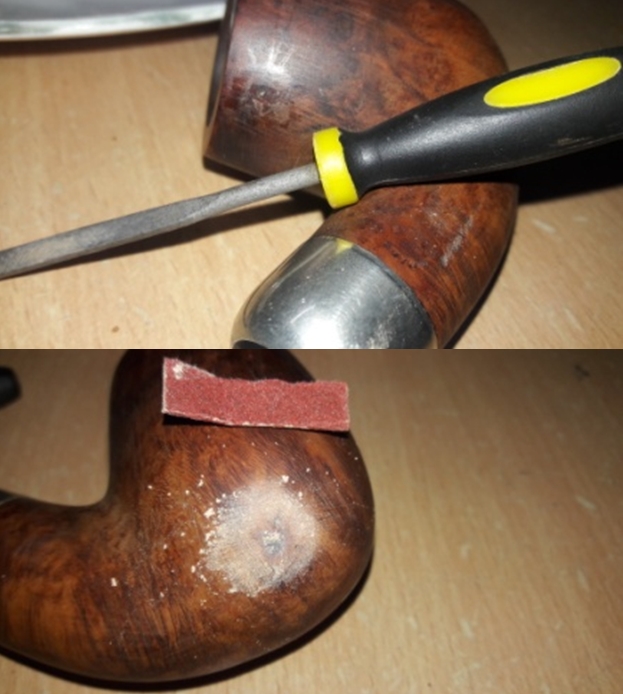
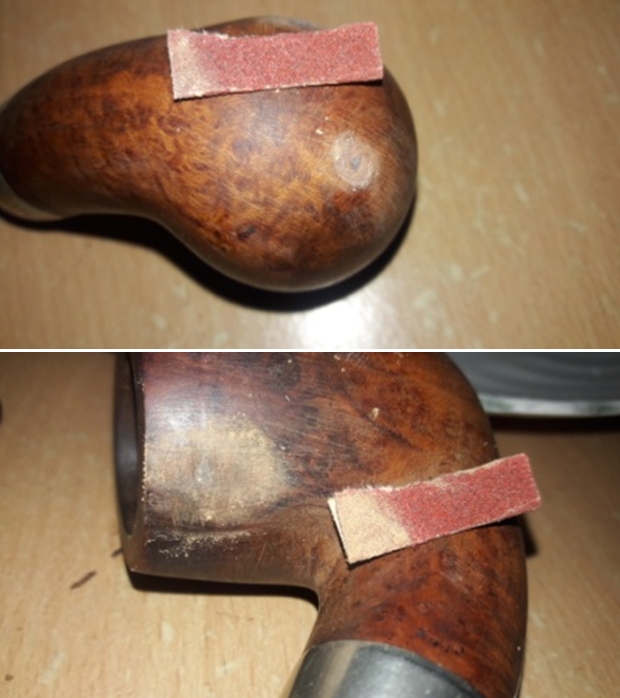
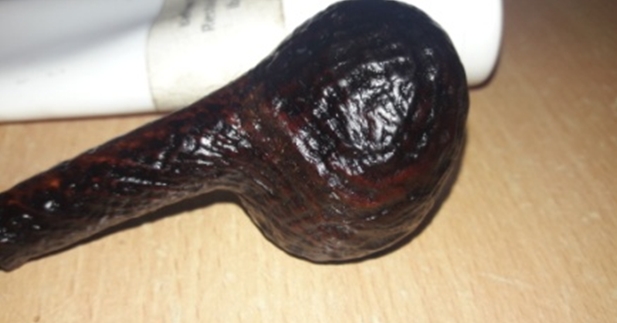
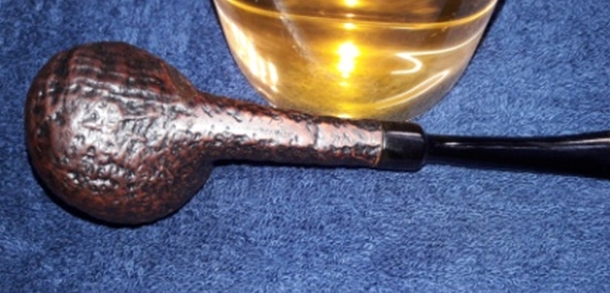
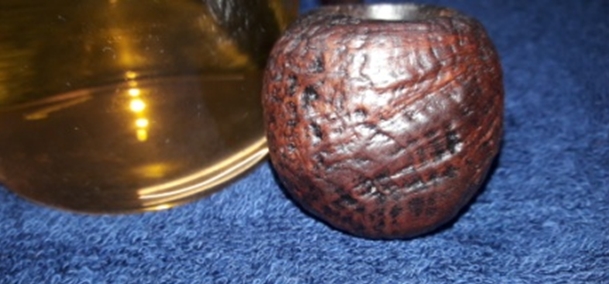
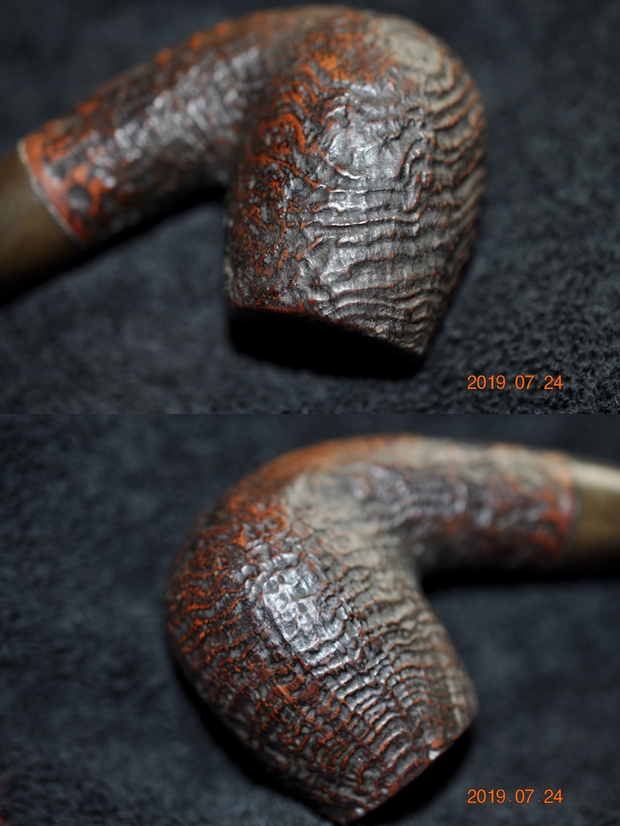
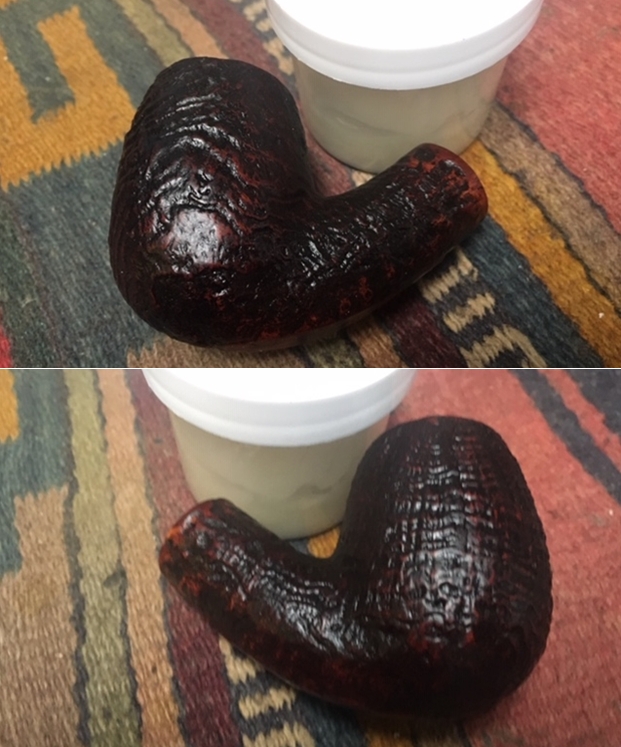
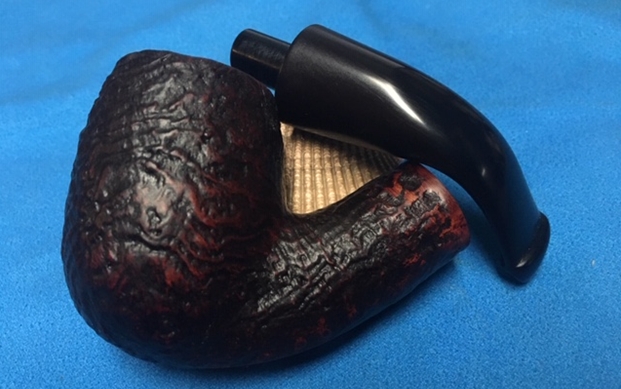
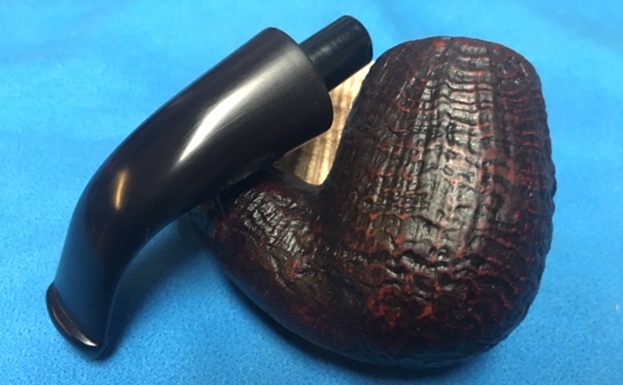
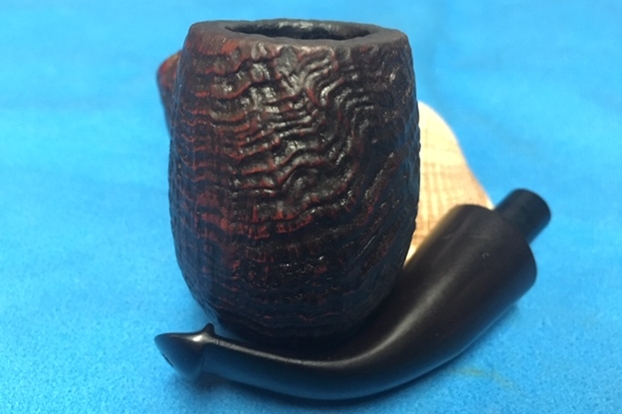
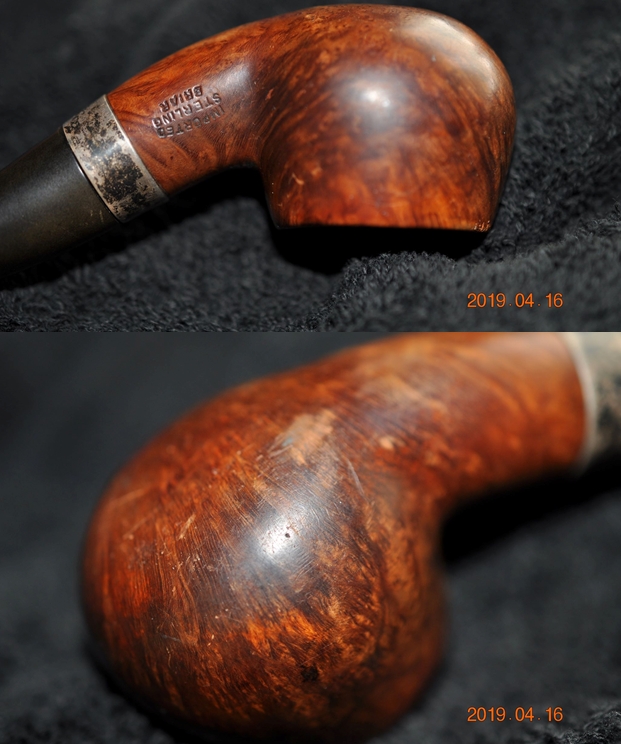
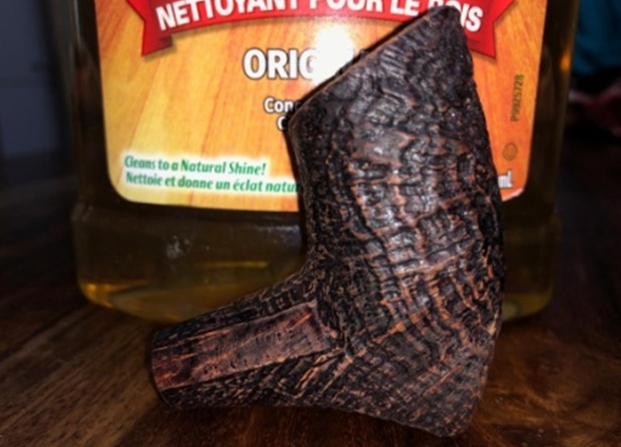
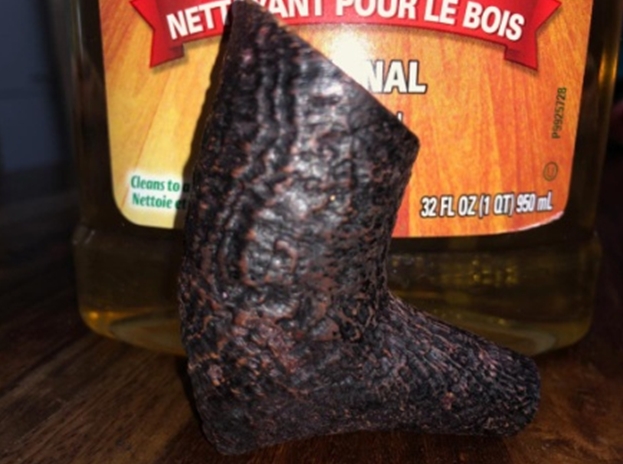
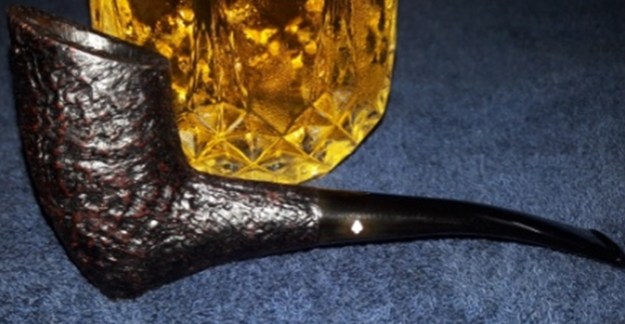
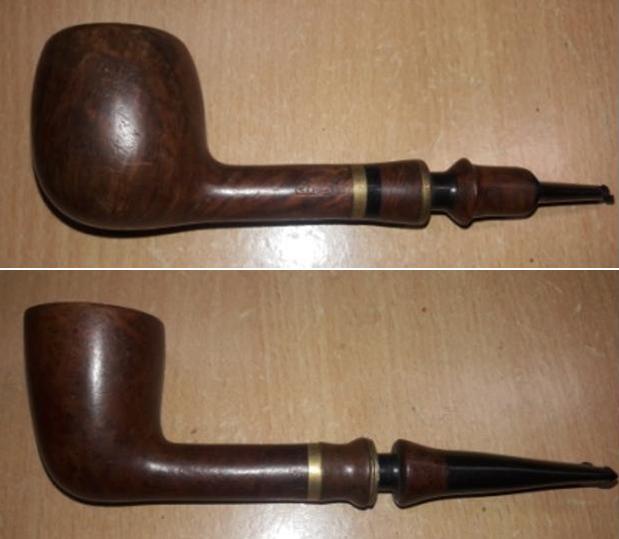
 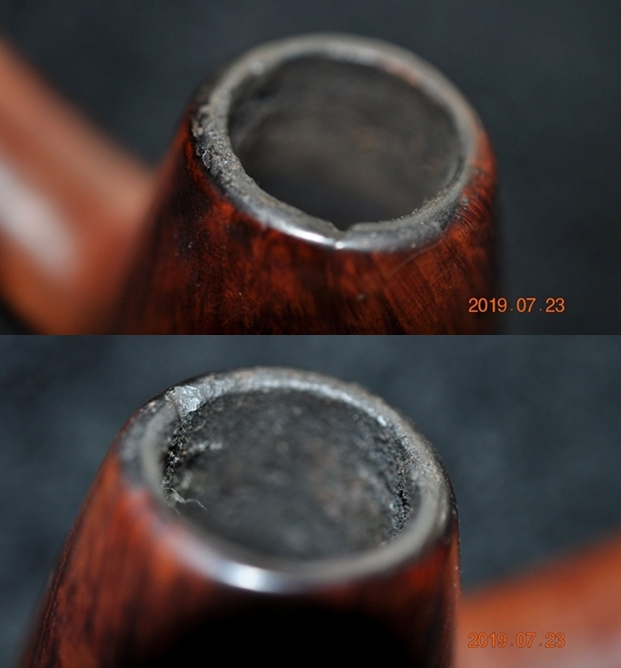 Jeff took photos of the sides and heel of the bowl to show the condition of the finish. You can see the beautiful mix of straight, flame and birdseye grain underneath the dirt and debris of the years. The birdseye grain on the heel was beautiful.
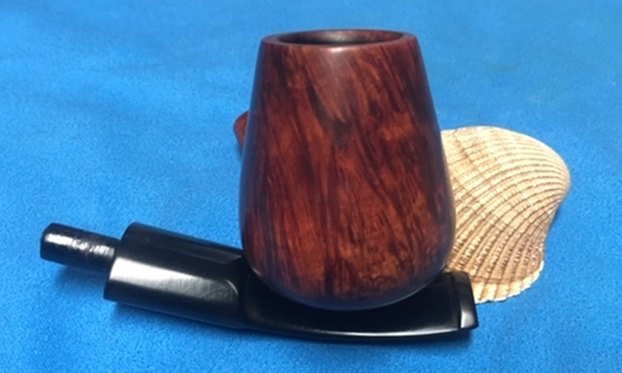
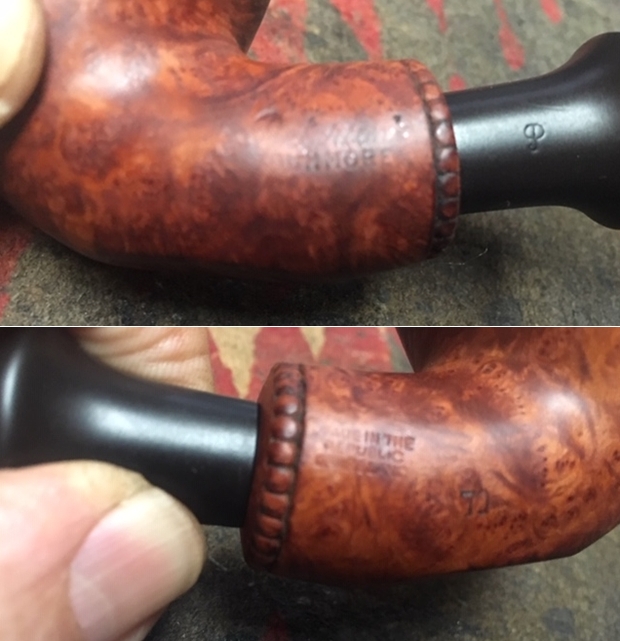
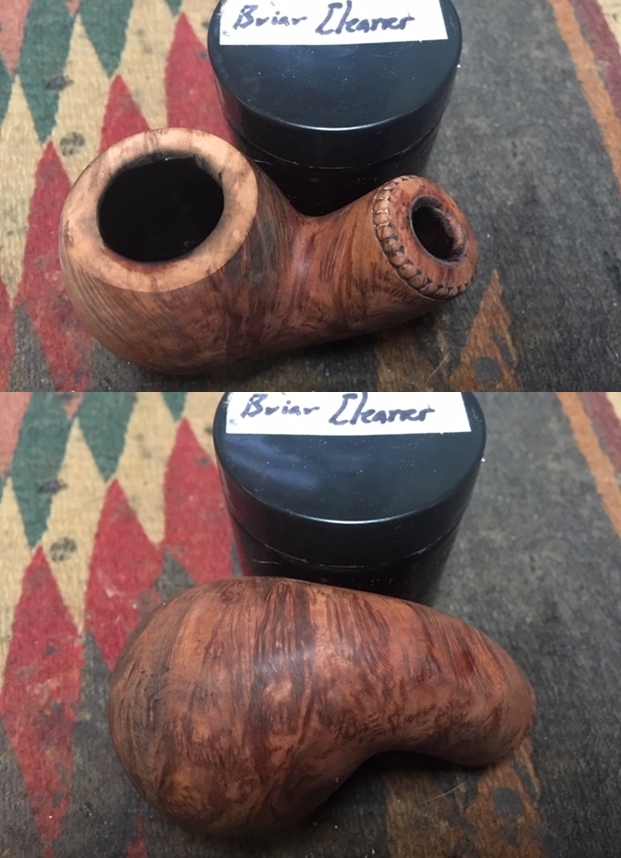
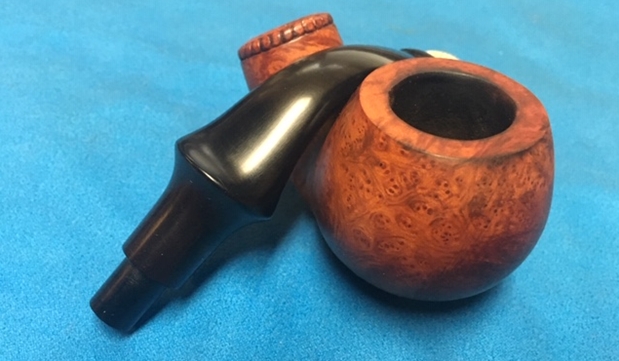
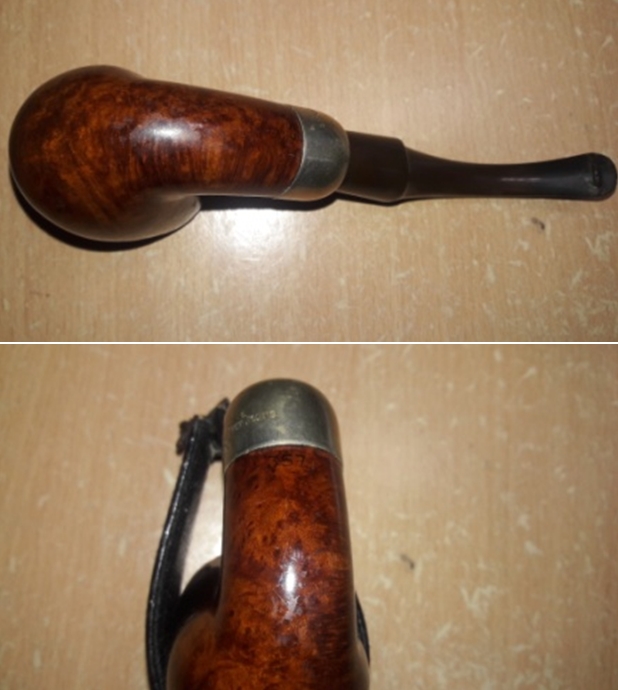
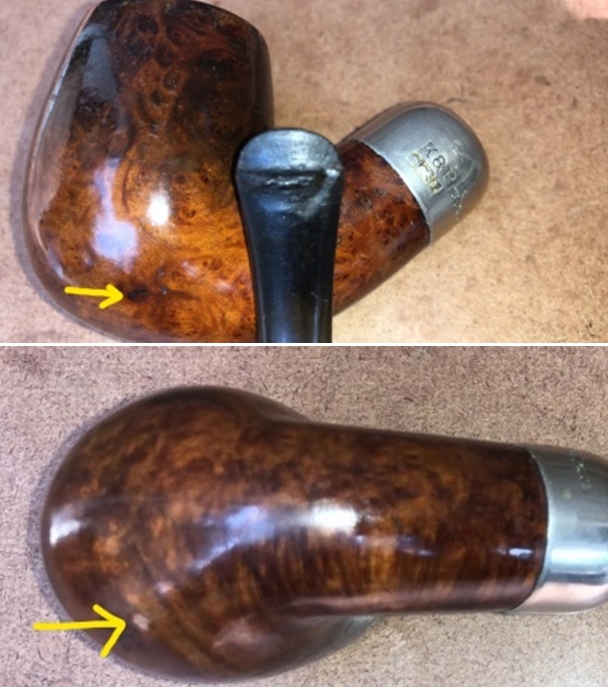
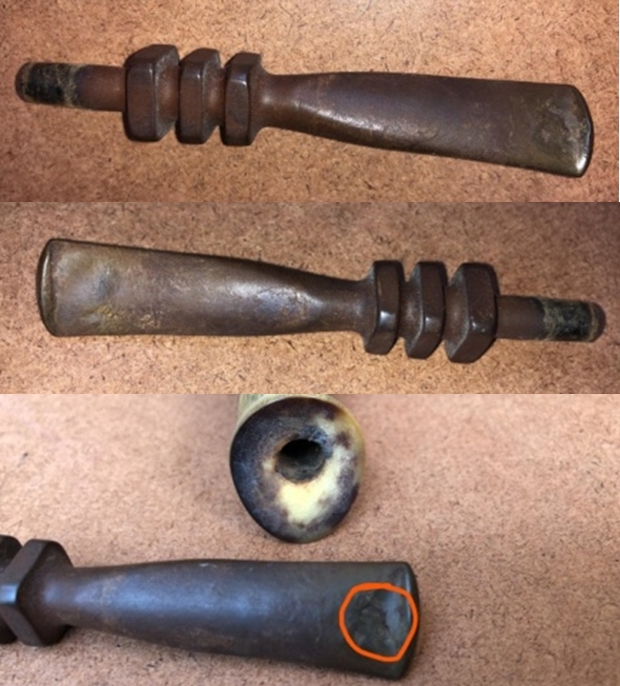
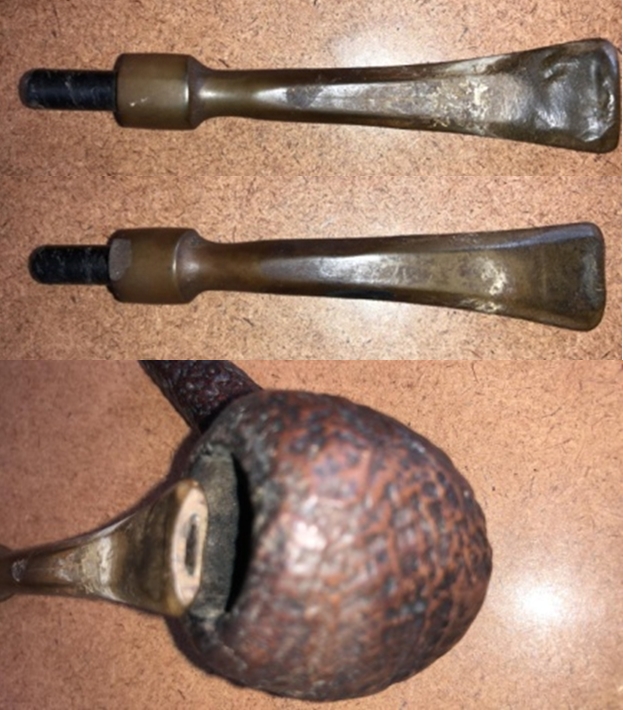
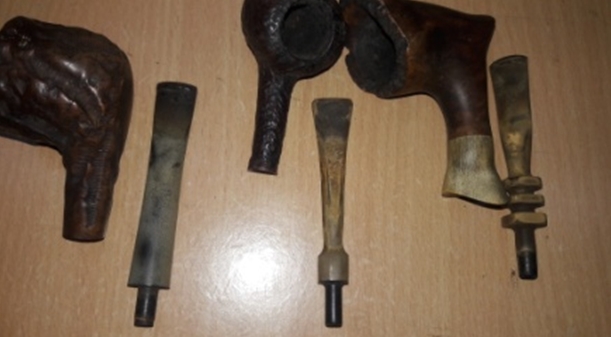
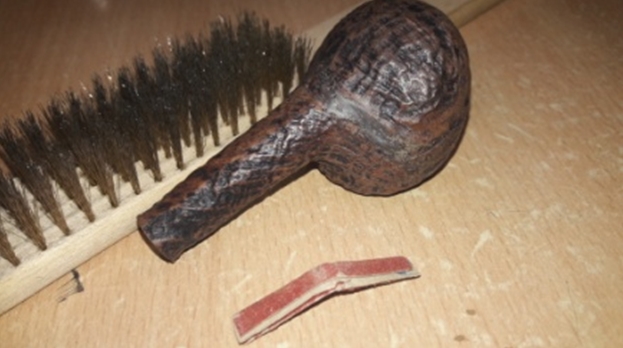
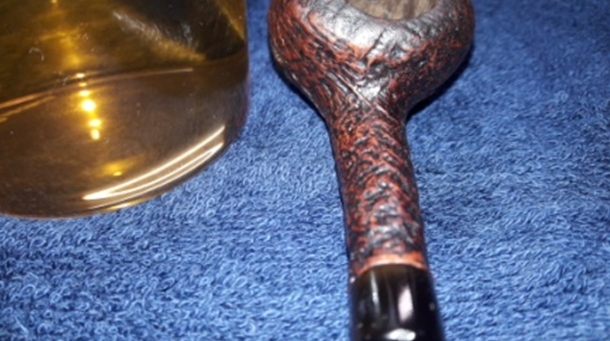
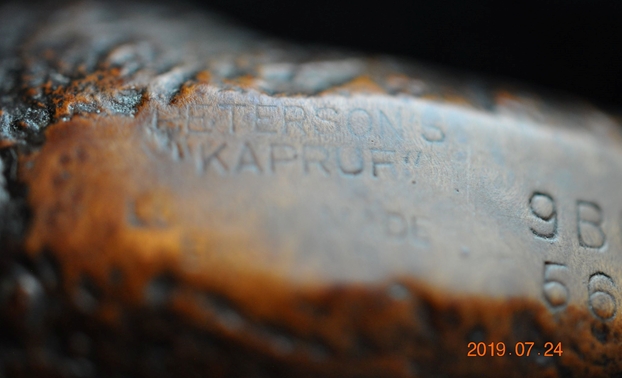
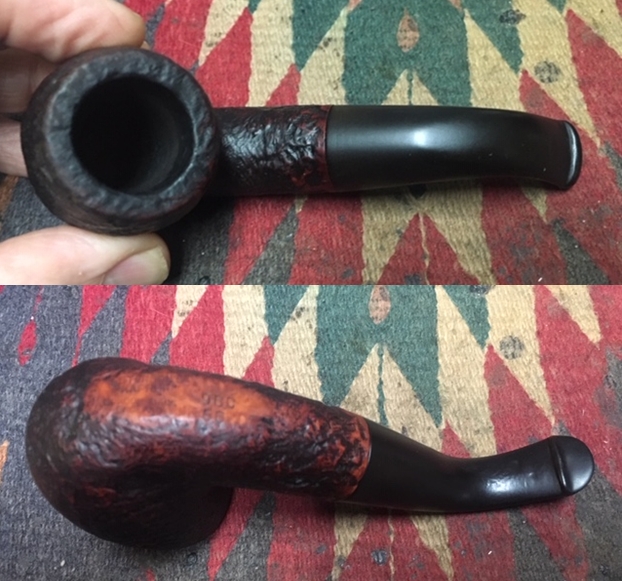
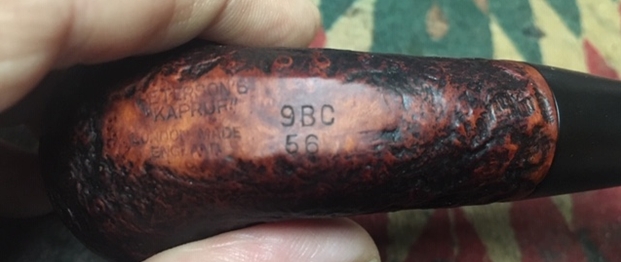
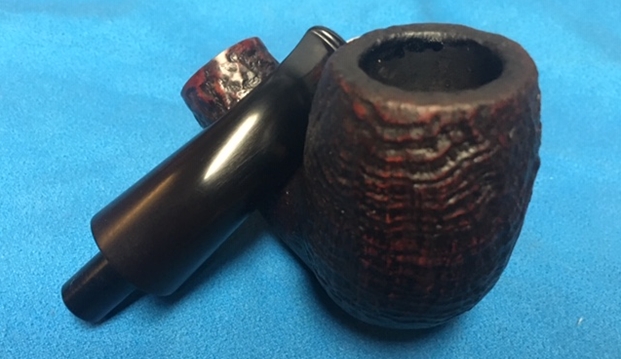
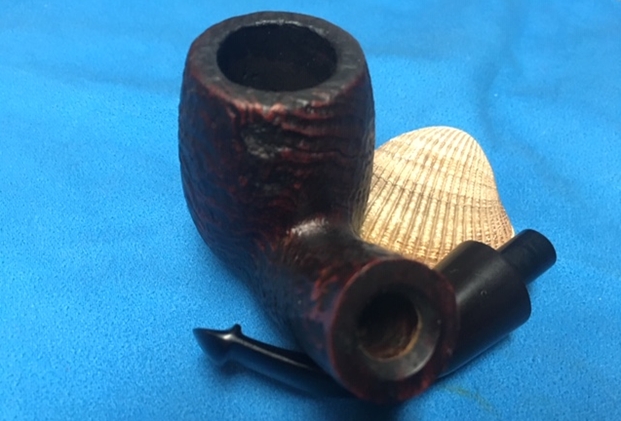
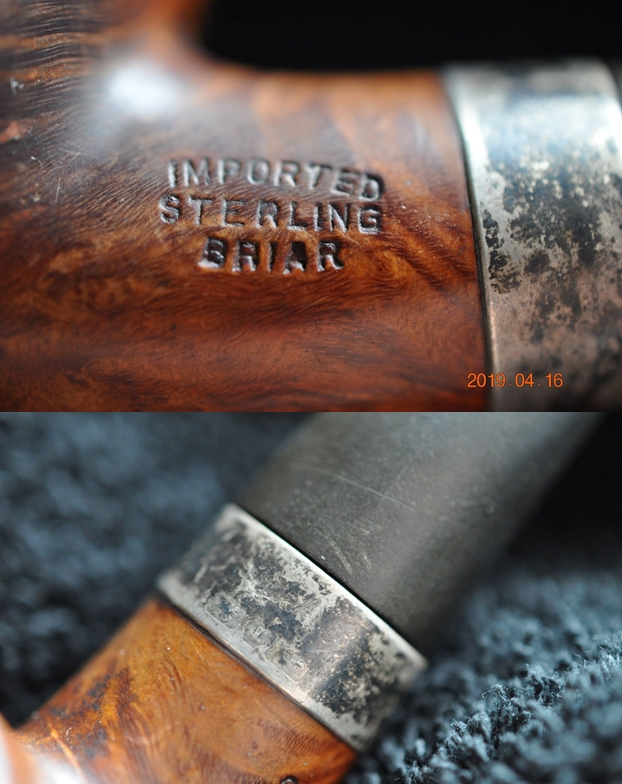
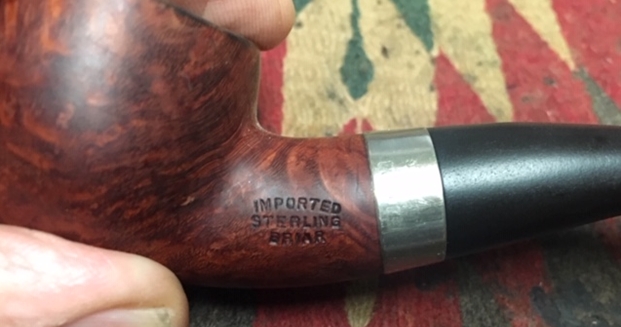
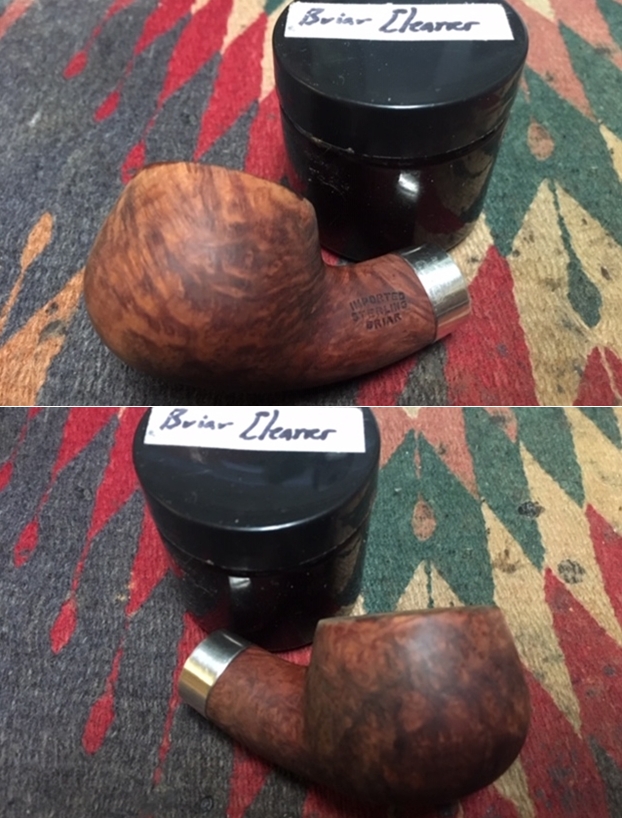
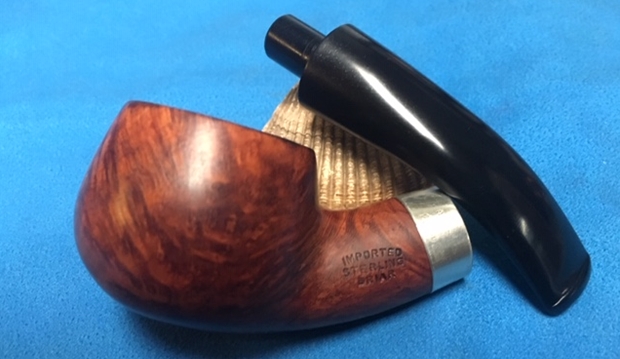
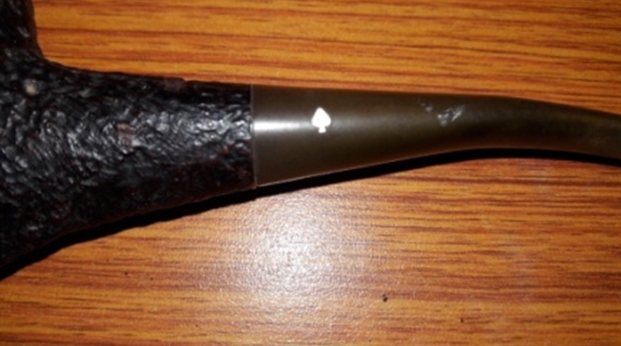
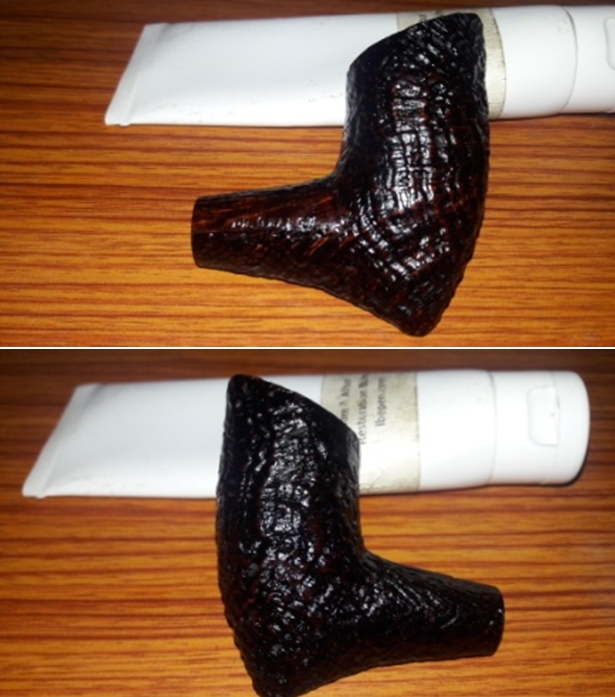
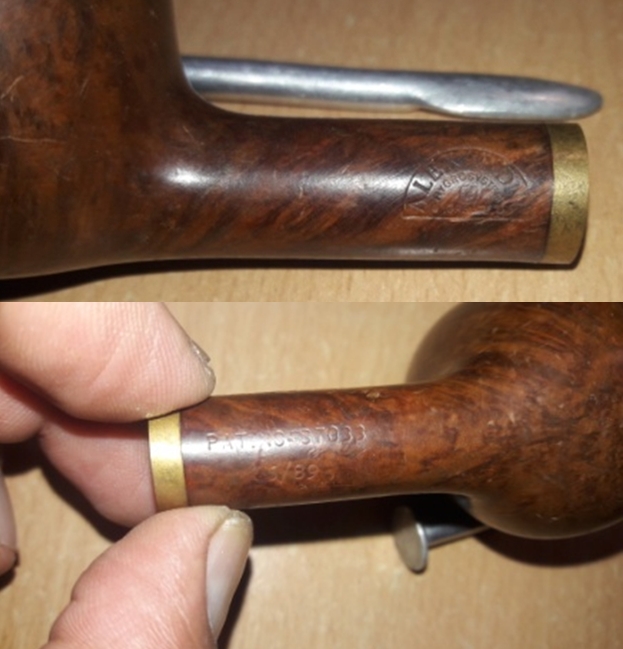
 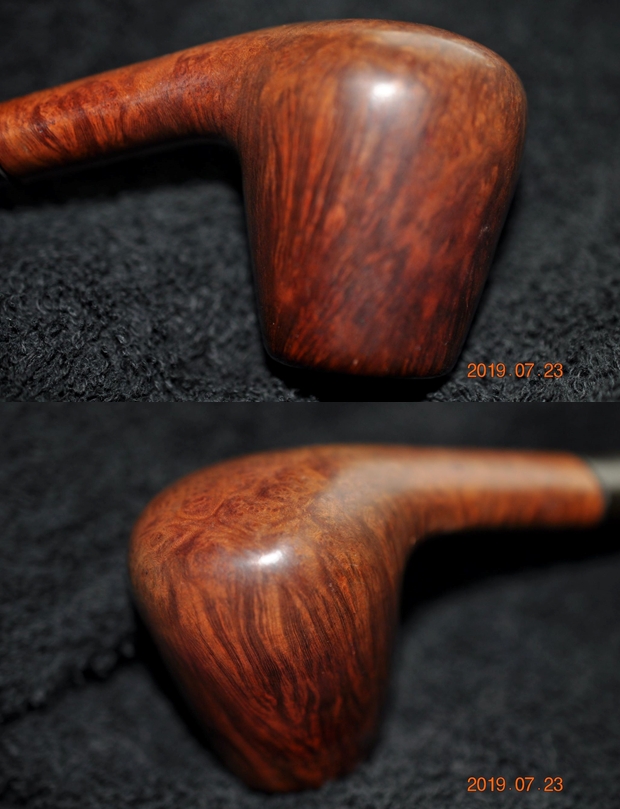 Jeff took photos of the stamping on both sides of the bowl and shank. The stamping on the topside was readable as you can see from the photos. It read danmore over Handmade Denmark. The stamp on the right side read Deluxe but Jeff did not take a photo of that stamp. You can see that the fit of the stem in the shank is off which tells me that the tenon is bent.
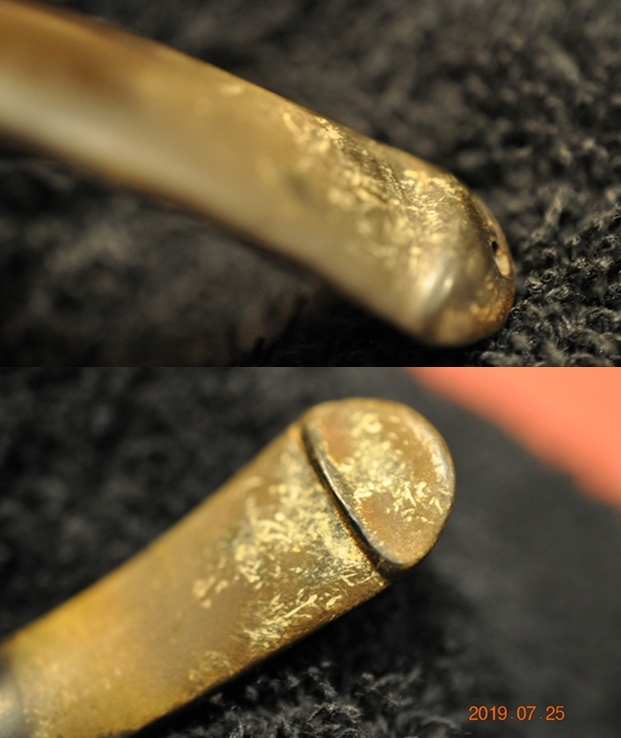
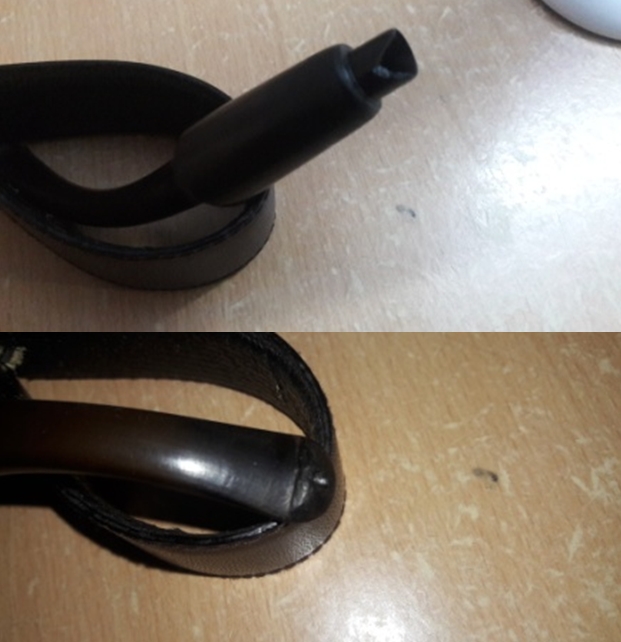
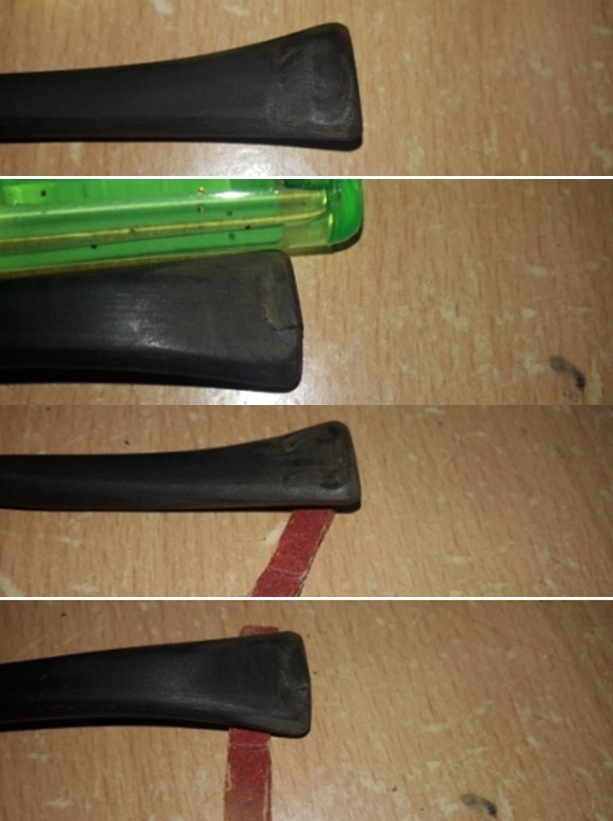
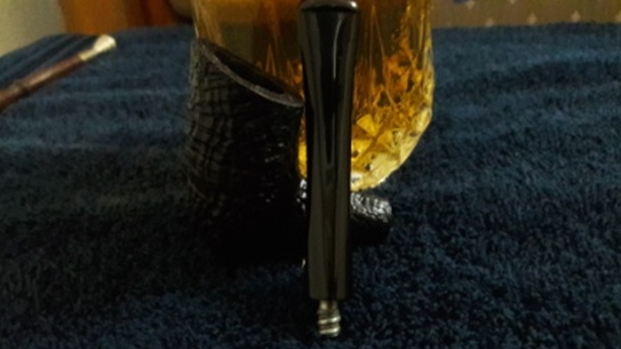
 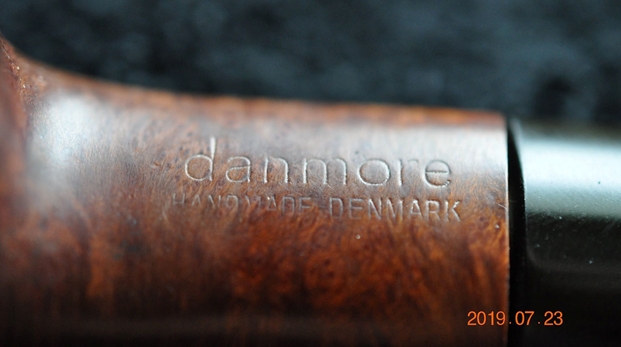 Jeff took photos of the top and underside of the stem showing the tooth chatter, scratching and oxidation on the stem surface and wear on the edges of the button.
  I turned first to Pipephil’s site to remind myself of the background of the Danmore brand. There was little information to be found there other than the factory was closed and third parties were making the pipes. I then turned to Pipedia’s article on the brand to see what I could garner from that information (https://pipedia.org/wiki/Danmore). I quote from there in full:
Danmore was founded by Hans Sørensen in the early 1970s, and produced pipes from that time until the early 1980s, at one point having up to 30 employees. The pipes were sold in the first Dan Pipe catalog. In the early 1980’s, however, production ceased in Denmark due to labor costs, and the company’s production was outsourced to Italy and Spain, and they began to also make pipecleaners and smokers articles.
Sørensen focused on the pipecleaner side of the concern, and eventually bought a share in the factory in the Far East making them. Today the company, owned by Hans’ sons Jesper and Lars Sørensen, no longer makes pipes, and instead makes only pipe cleaners under the name Danmore Hobby Aps, selling only to hobby and craftshops in Denmark and Scandinavia.
Hans Sørensen passed away in 2012. The Sørensen family continues to own the trademarks for the use of the Danmore name in relation to pipes, matches, and tobacco.
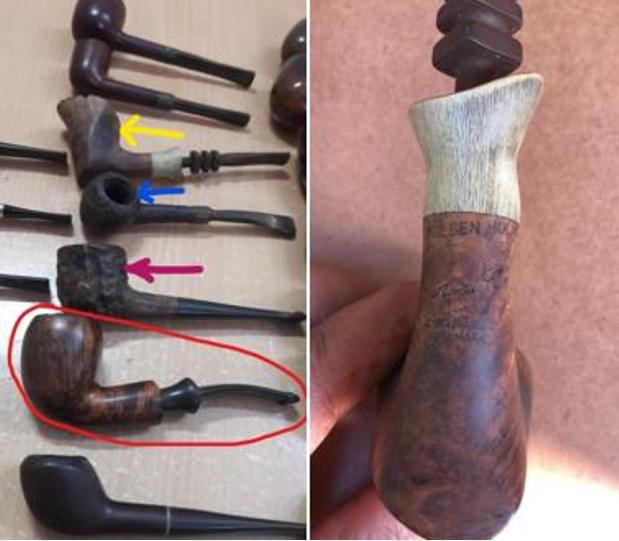
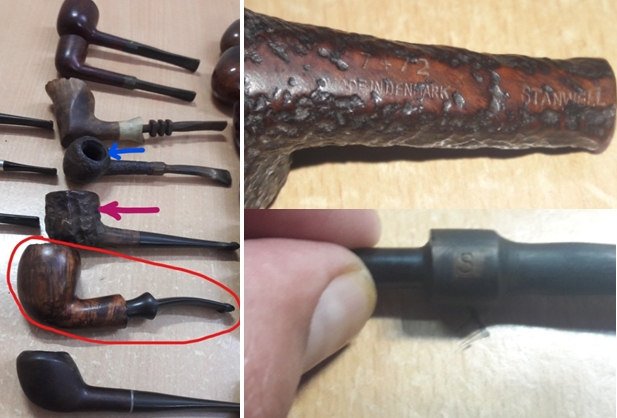
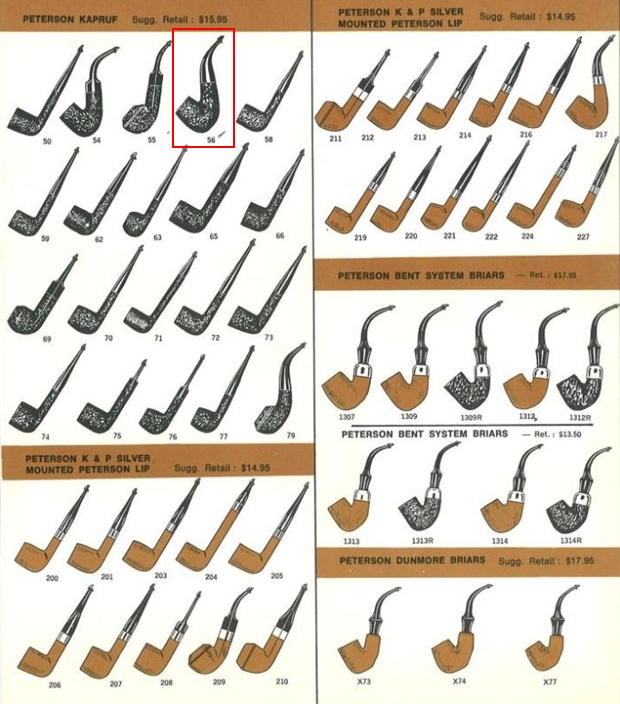
The article also included a Shape Chart that was courtesy of Doug Valitchka. I include that below as well. The shape of the pipe that I am working on is a variation on the 3014. It has a classic oval saddle stem rather than the more freehand looking one below. It also does not have the shank extension (https://pipedia.org/wiki/File:DanmoreCat.jpg). I have circled the shape in red to show which one is similar. I did a bit more searching online and found a copy of a brochure that was included in a box with a Danmore pipe on Redit in the archives. I was able to copy the photos of the pages of the brochure and have included them below. Have a look (https://www.reddit.com/r/PipeTobacco/comments/vclaj/does_anyone_know_much_about_danmore_pipes/). The Danmore I am working on is on the page labeled CORVETS. I have boxed in the pipe in red that I am working on.

 With that information in hand I knew what I was dealing with in terms of the stamping on the pipe. The pipe I have is the same shape as the one boxed in red – shape number 14 under section labeled CORVETS. The pipe was made for just a ten year period between early 1970s and the early 1980s. It seems that they have also been made since then by a third party. I believe this pipe was one from the original 10 year period by Hans Sørensen. Now it was time to work on the pipe.
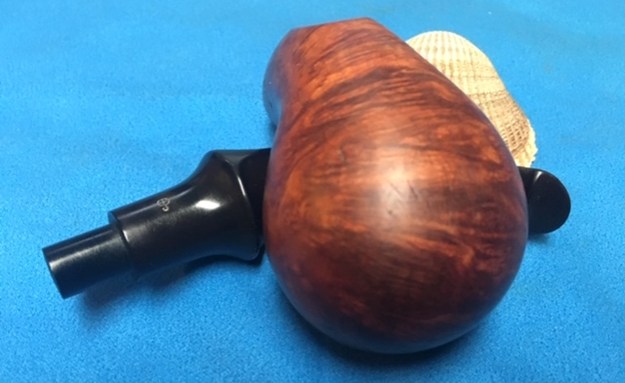
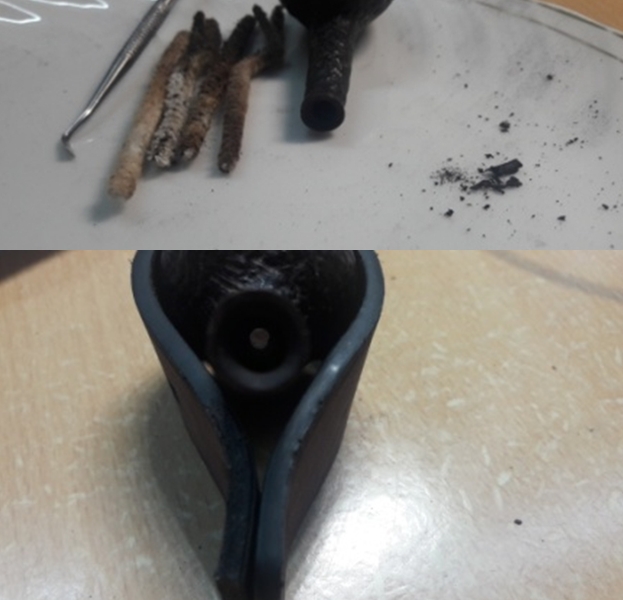
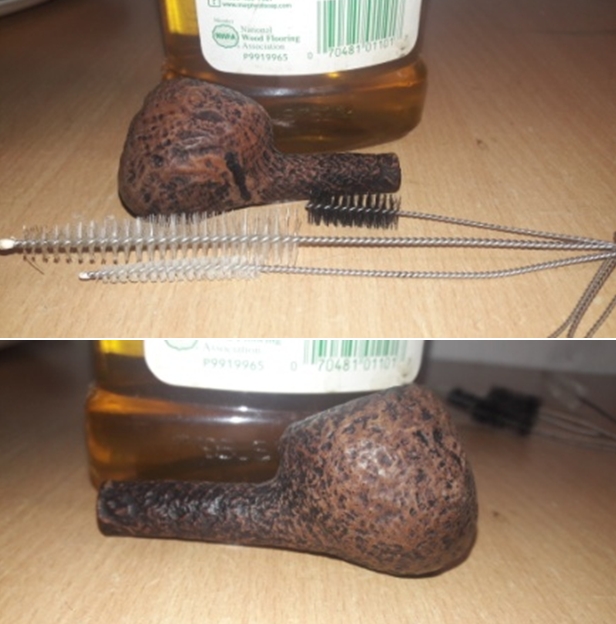
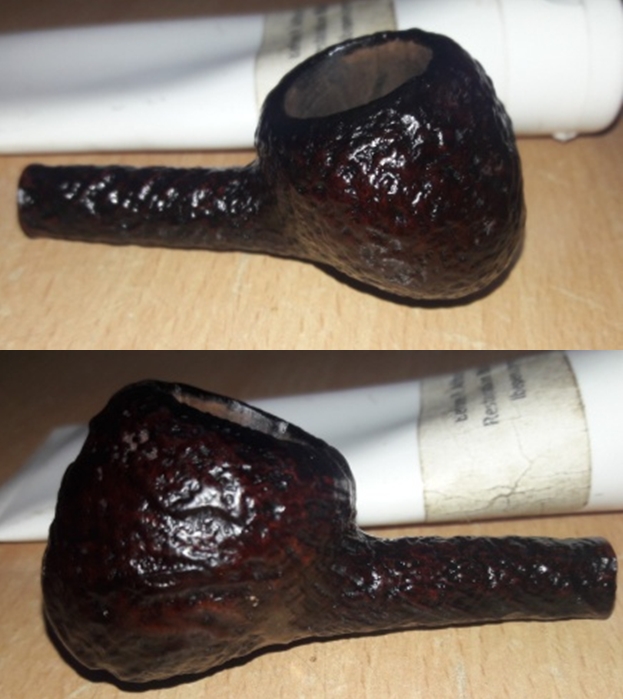
With over 125 pipes to clean from Bob’s estate I am very glad for Jeff’s help cleaning them. He cleaned this filthy pipe with his usual penchant for thoroughness that I really appreciate. This one was a mess and I did not know what to expect when I unwrapped it from his box. He reamed it with a PipNet pipe reamer and cleaned up the reaming with a Savinelli Fitsall Pipe Knife. He scrubbed out the internals with alcohol, pipe cleaners and cotton swabs until the pipe was clean. He scrubbed the exterior of the bowl with Murphy’s Oil Soap and a tooth brush to remove the grime and grit on the briar and the lava on the rim top. The finish looks very good with great looking grain around the bowl and shank. Jeff soaked the stem in Before & After Deoxidizer to remove the oxidation on the rubber. When the pipe arrived here in Vancouver for the second stop of its restoration tour I was amazed it looked so good. I took photos before I started my part of the work. 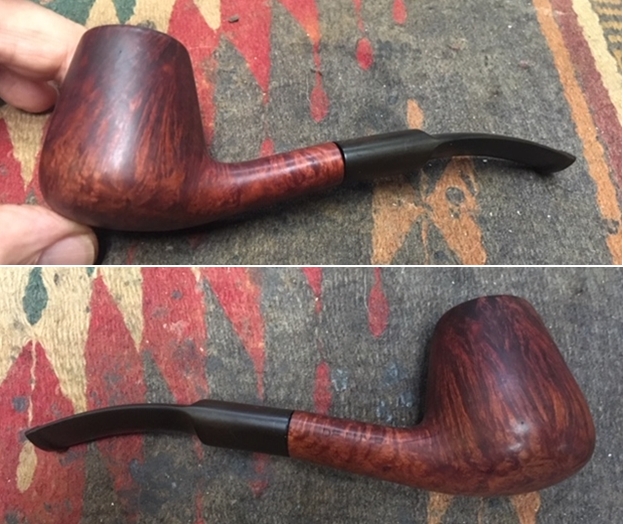
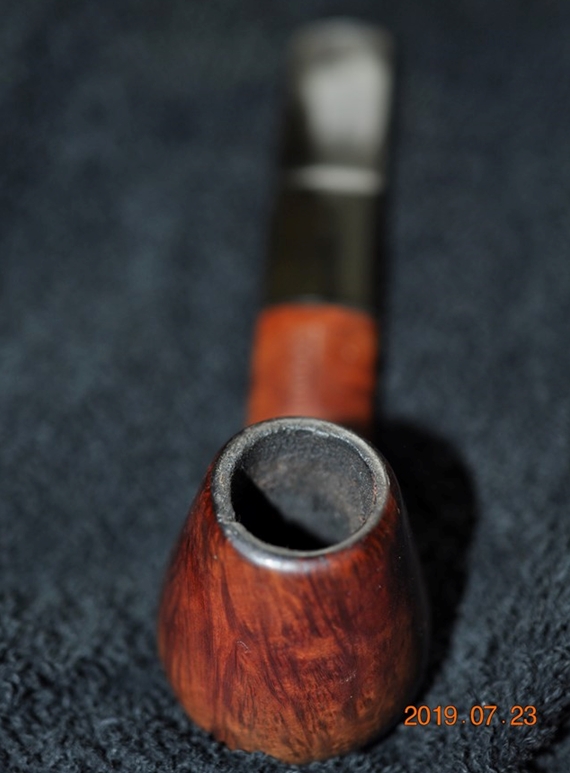
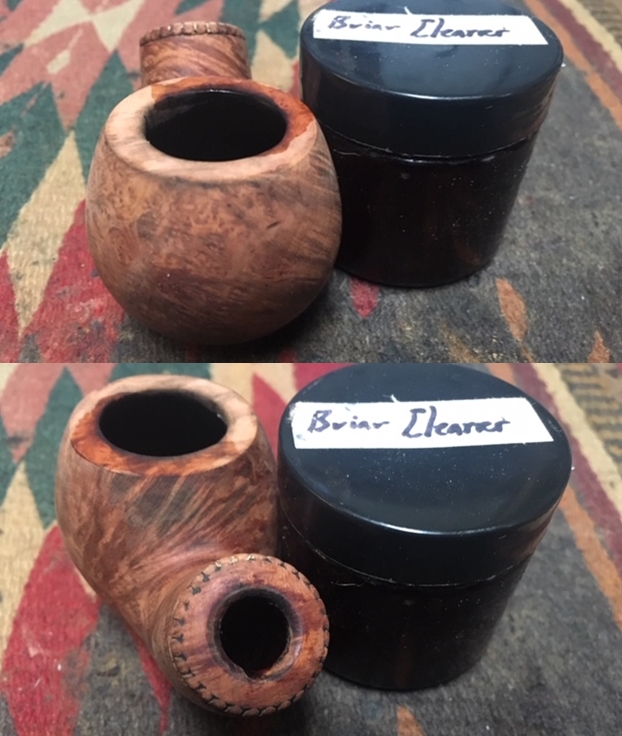
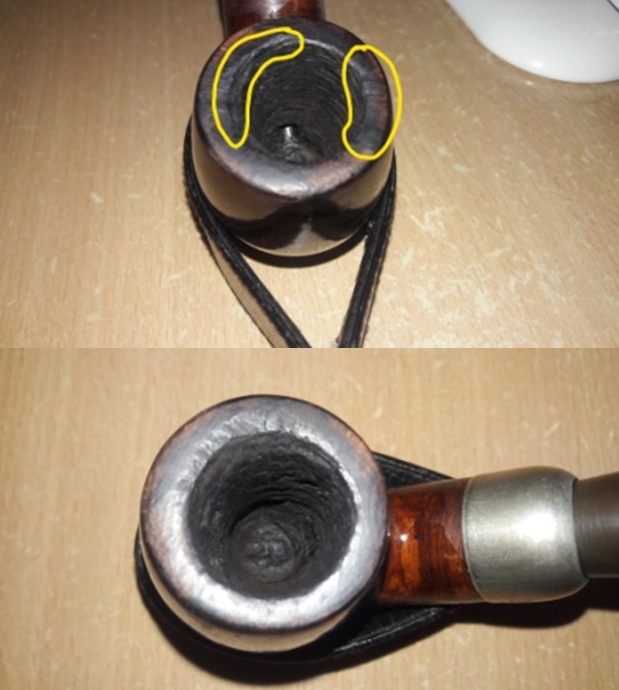
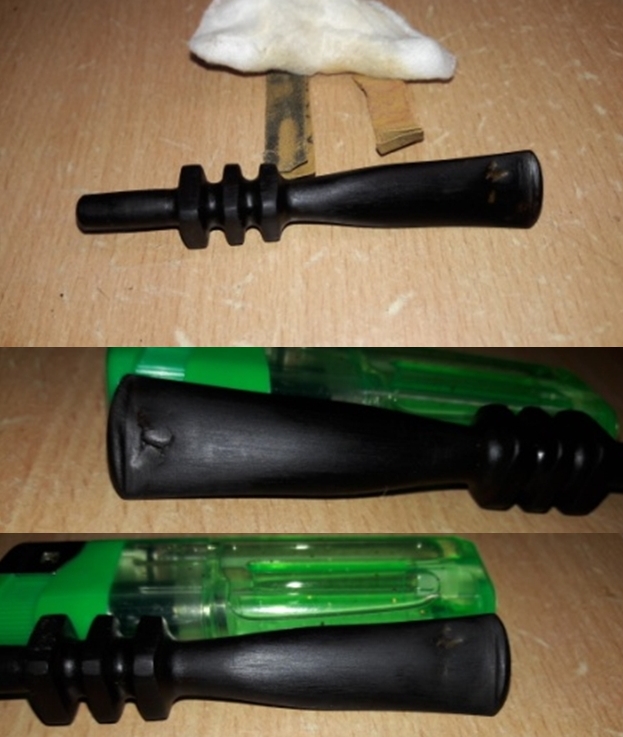
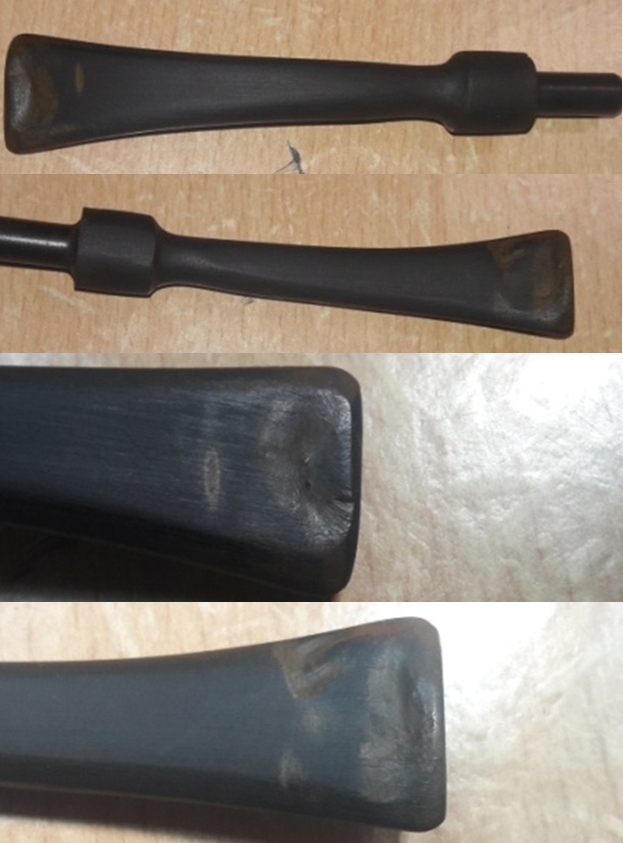
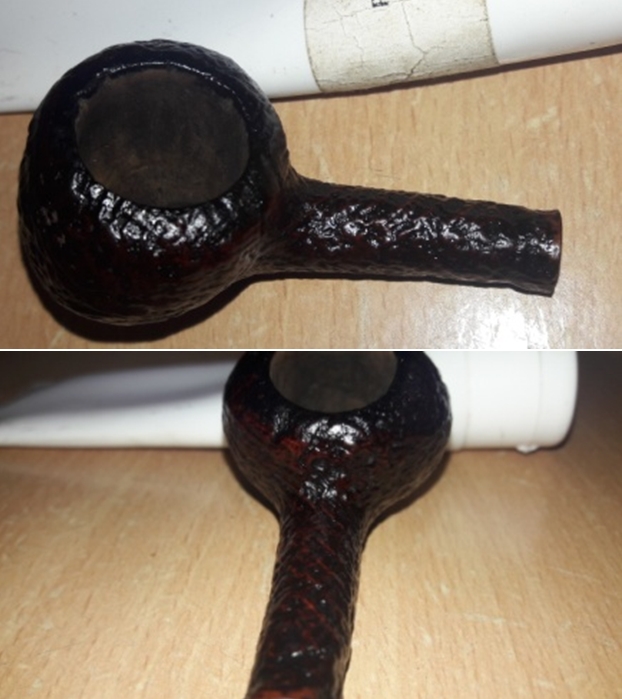
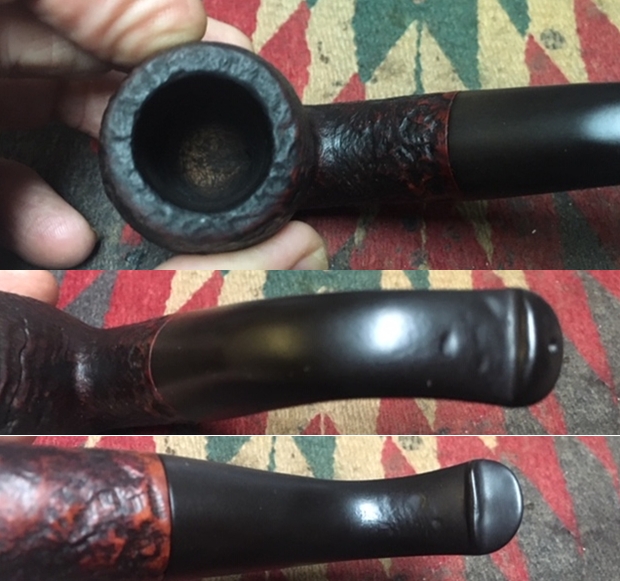
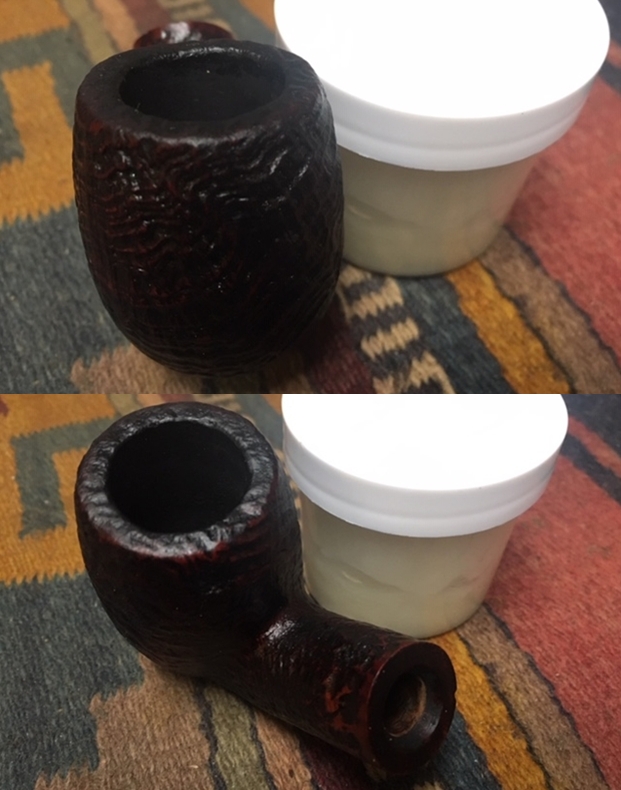
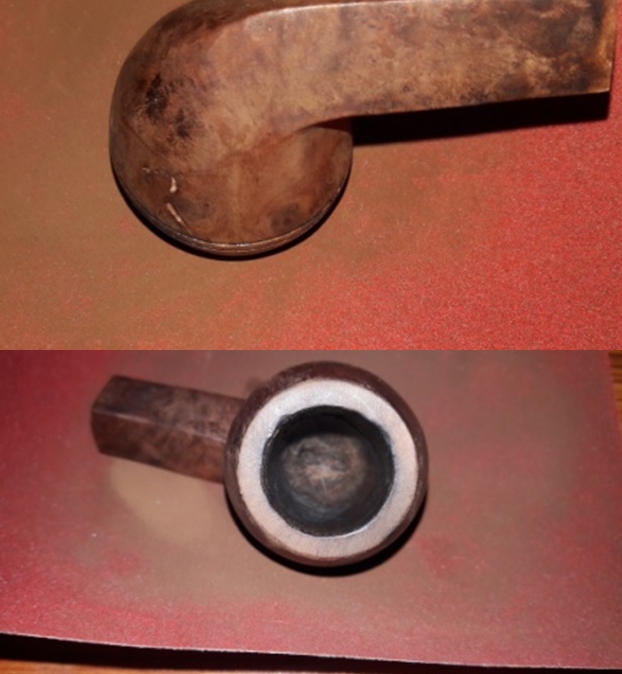
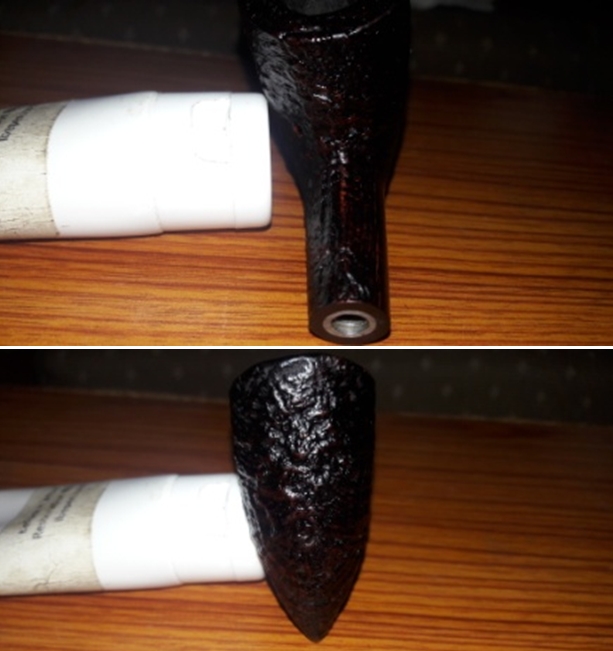
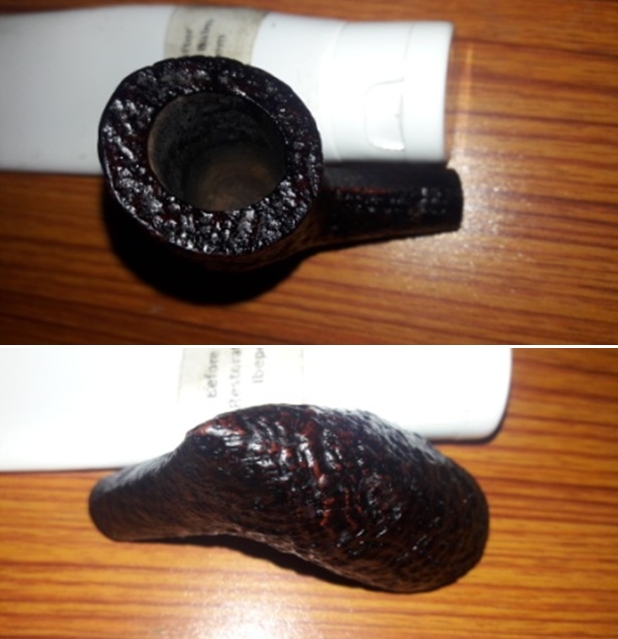
 I took some close up photos of the rim top and also of the stem surface. I wanted to show what an amazing job Jeff did in the cleanup of the rim top. I also wanted to show that the damage to the rim top was more extensive than I had originally thought. The thin rim top was burned and darkened with a few large nicks on the top and inner edge. The rim top was a nightmare of issues. I also took close up photos of the stem to show the lack of tooth marks and the light oxidation on the stem surface. You can also see gap between the stem and the shank end due to a bent tenon.
 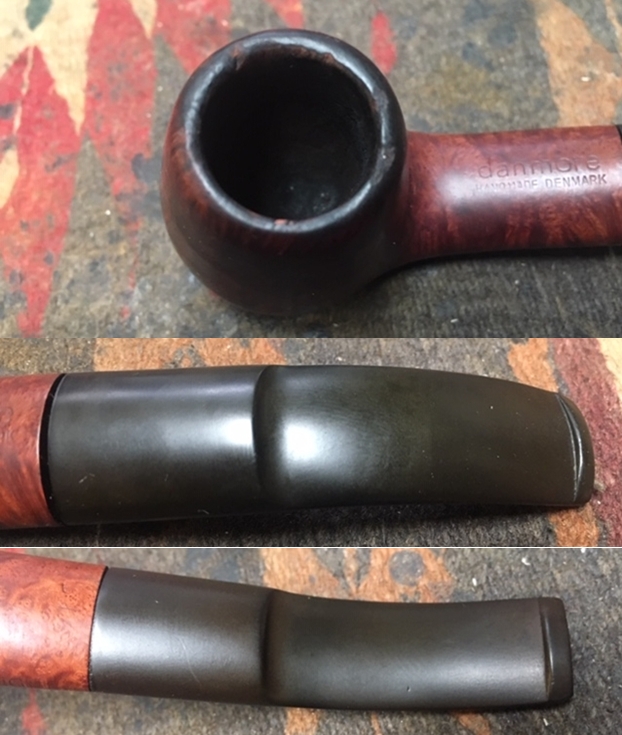 One of the things I appreciate about Jeff’s cleanup is that he works to protect and preserve the nomenclature on the shank of the pipes that he works on. The stamping on this one was very faint to start with so I was worried that it would disappear altogether with the cleanup. He was not only able to preserve it but it is clearer than shown in the earlier photos. I took some photos to show the clarity of the stamping. I have noticed that many restorers are not careful to protect the stamping in their cleaning process and often by the end of the restoration the nomenclature is almost destroyed. I would like to encourage all of us to be careful in our work to preserve this as it is a critical piece of pipe restoration!
 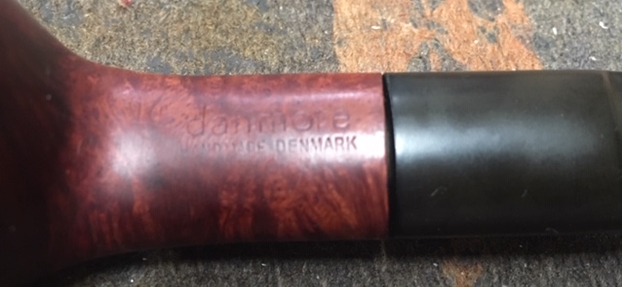 Since this is another pipe Bob’s estate I am sure that some of you have read at least some of the other restoration work that has been done on the previous pipes. You have also read what I
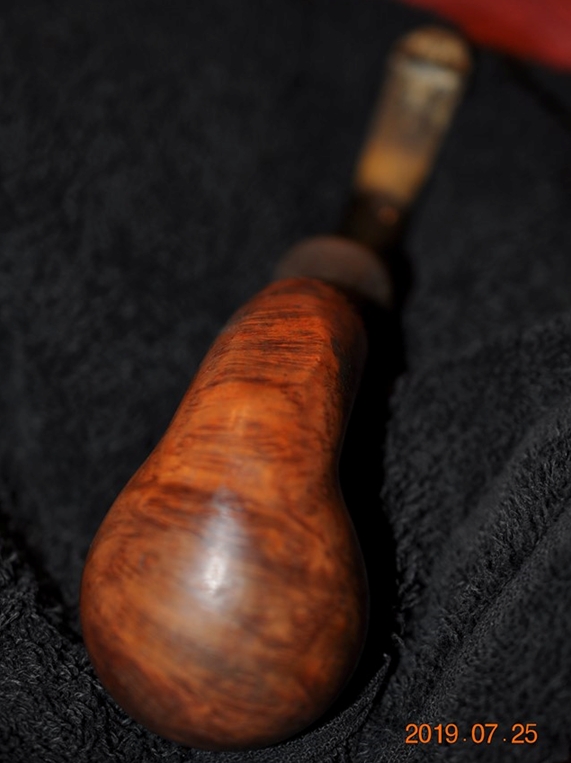
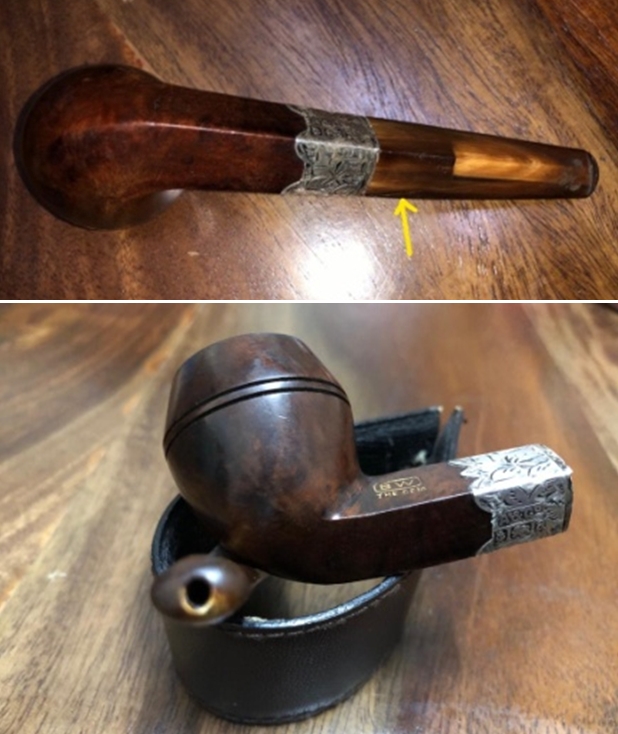
  have included about Bob Kerr, the pipeman who held these pipes in trust before I came to work on them (see photo to the left). Also, if you have followed the blog for long you will already know that I like to include background information on the pipeman whose pipes I am restoring. For me, when I am working on an estate I really like to have a sense of the person who held the pipes in trust before I worked on them. It gives me another dimension of the restoration work. I asked Brian if he or his wife would like to write a brief biographical tribute to her father, Bob. His daughter worked on it and I received the following short write up on him and some pictures to go along with the words including one of Bob’s carvings. Once again I thank you Brian and tell your wife thank you as well.
I am delighted to pass on these beloved pipes of my father’s. I hope each user gets many hours of contemplative pleasure as he did. I remember the aroma of tobacco in the rec room, as he put up his feet on his lazy boy. He’d be first at the paper then, no one could touch it before him. Maybe there would be a movie on with an actor smoking a pipe. He would have very definite opinions on whether the performer was a ‘real’ smoker or not, a distinction which I could never see but it would be very clear to him. He worked by day as a sales manager of a paper products company, a job he hated. What he longed for was the life of an artist, so on the weekends and sometimes mid-week evenings he would journey to his workshop and come out with wood sculptures, all of which he declared as crap but every one of them treasured by my sister and myself. Enjoy the pipes, and maybe a little of his creative spirit will enter you!
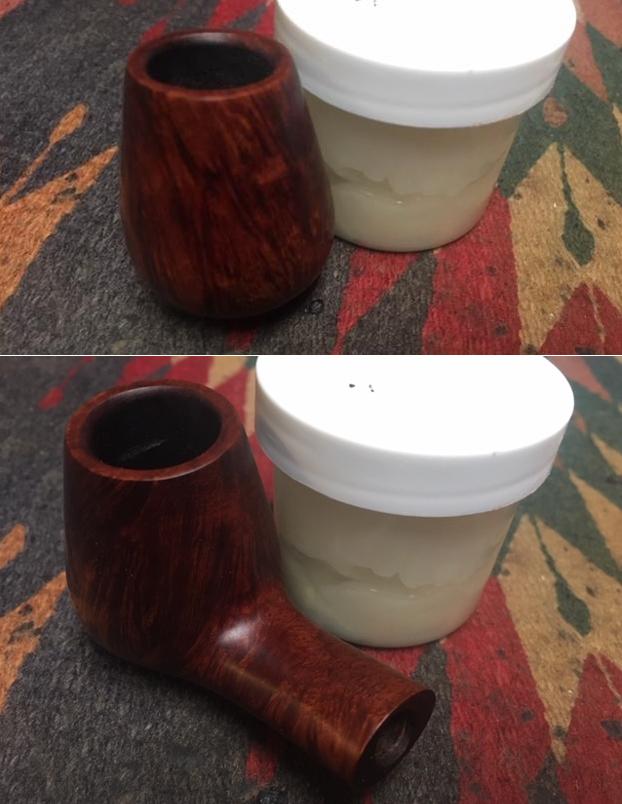
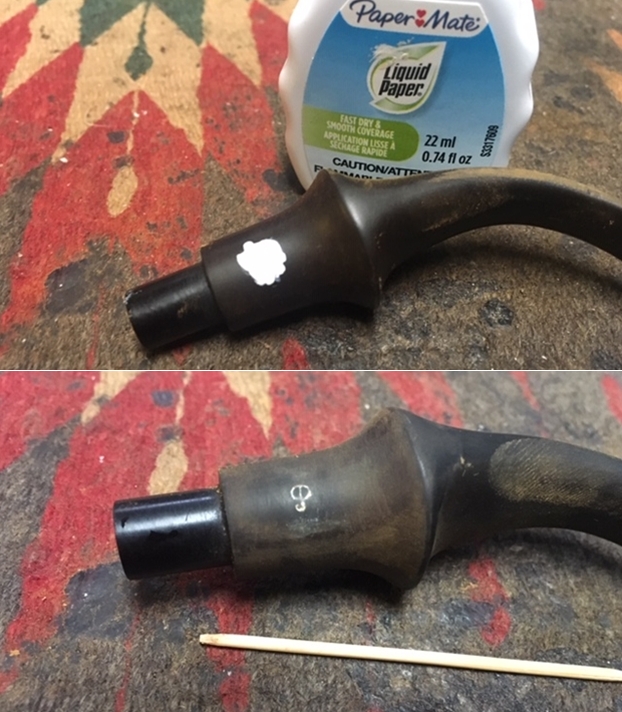
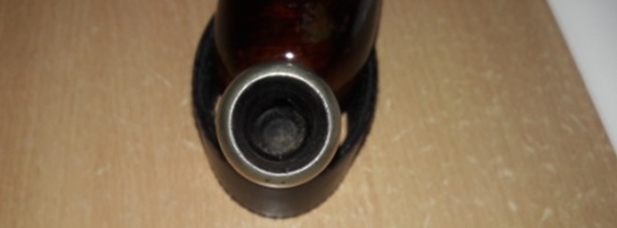
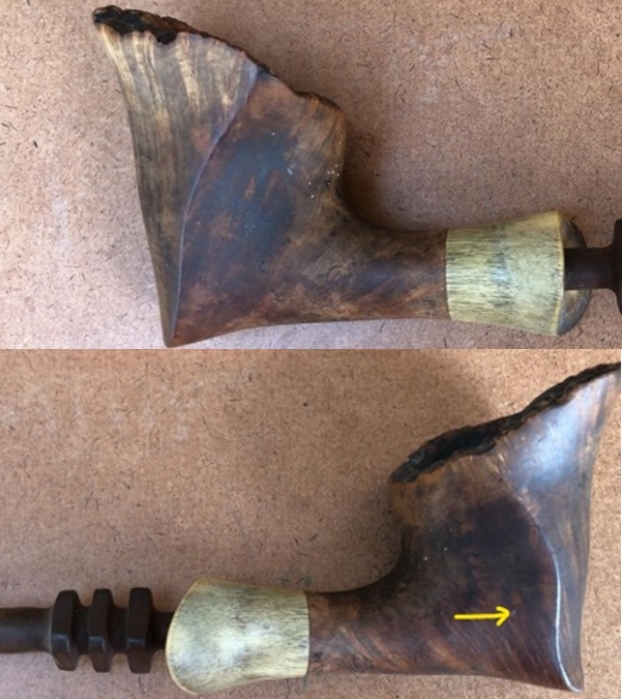
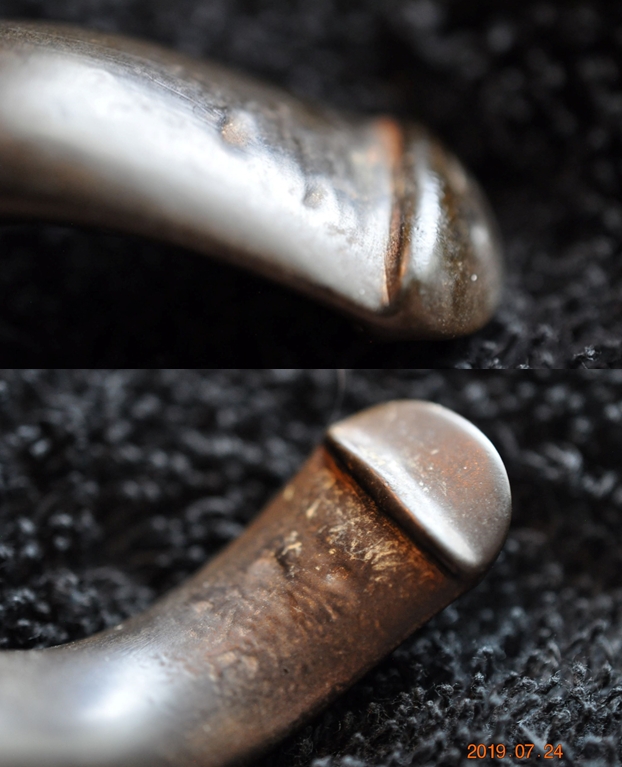
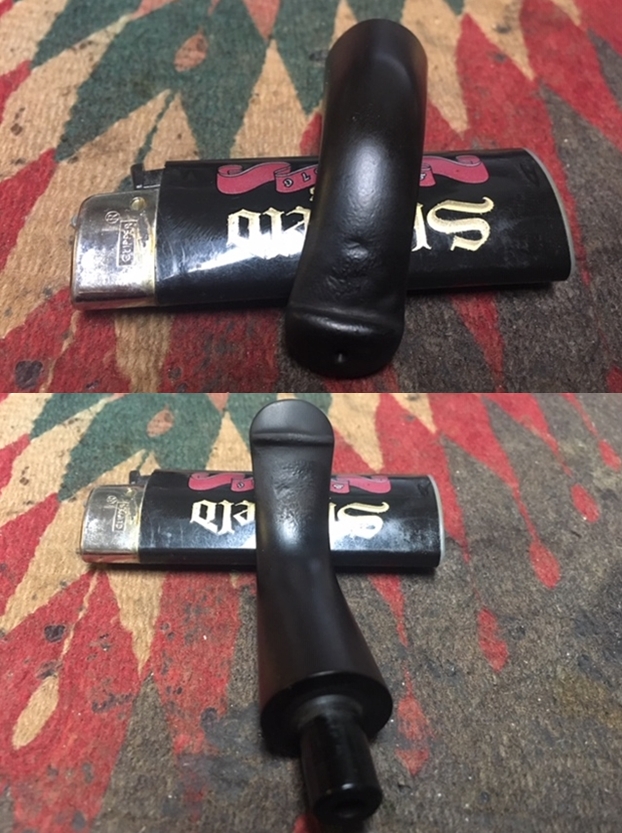
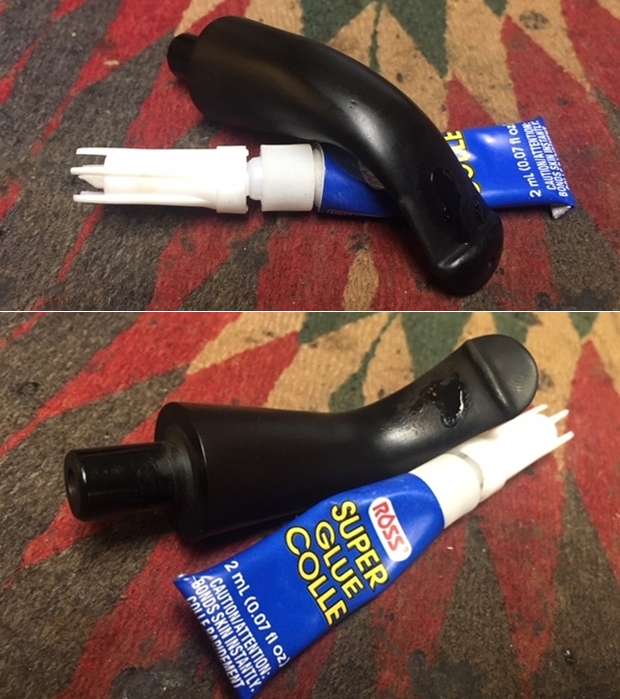
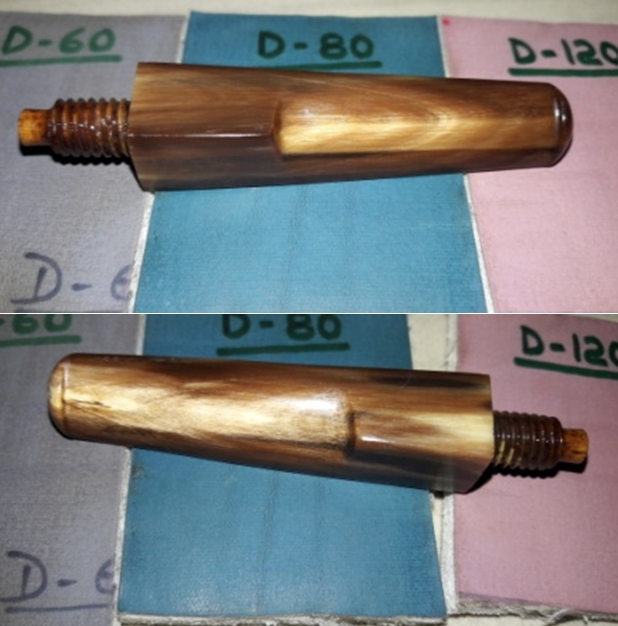
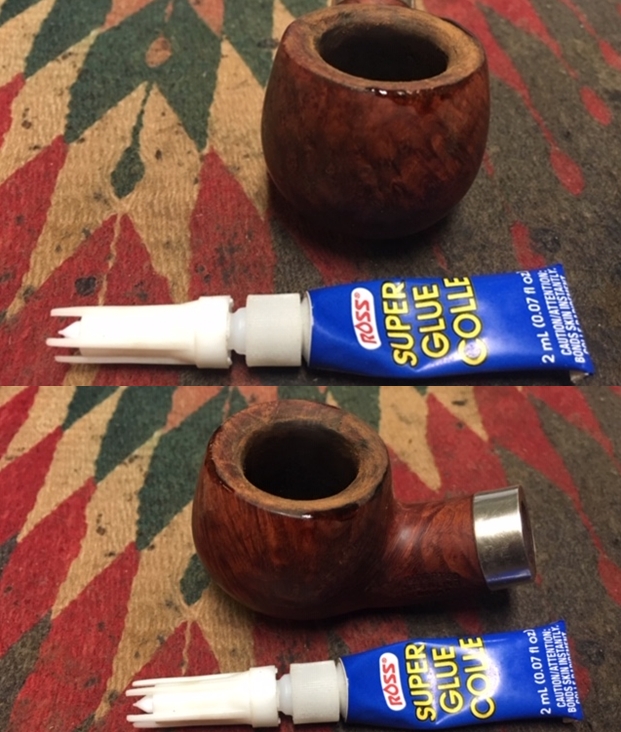
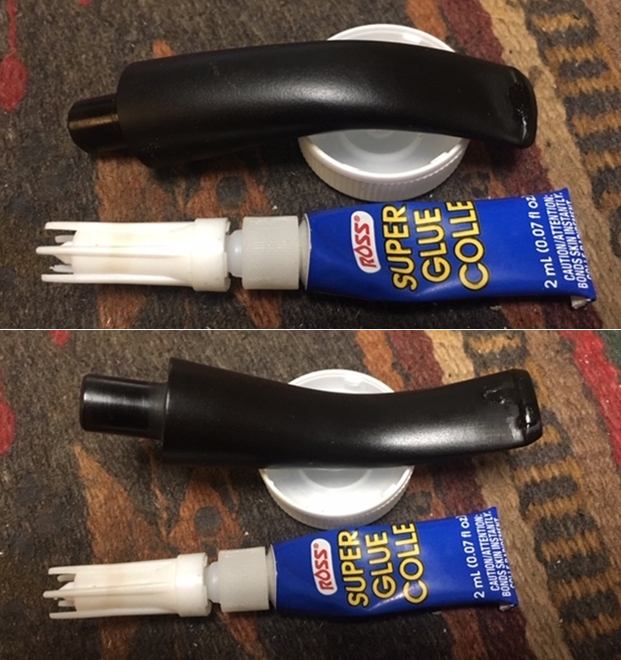
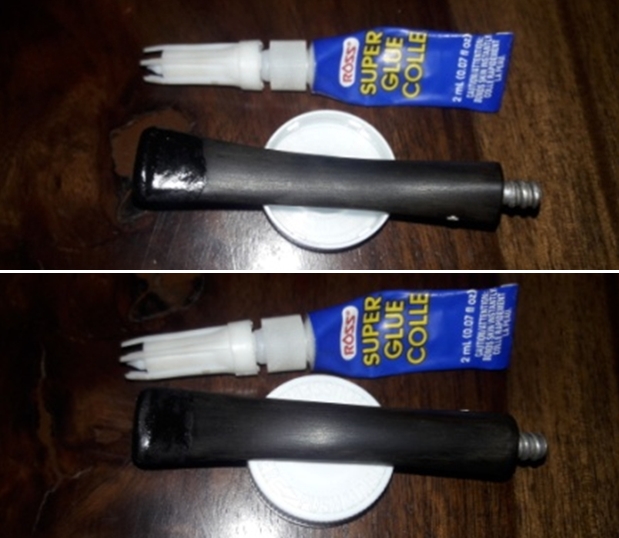
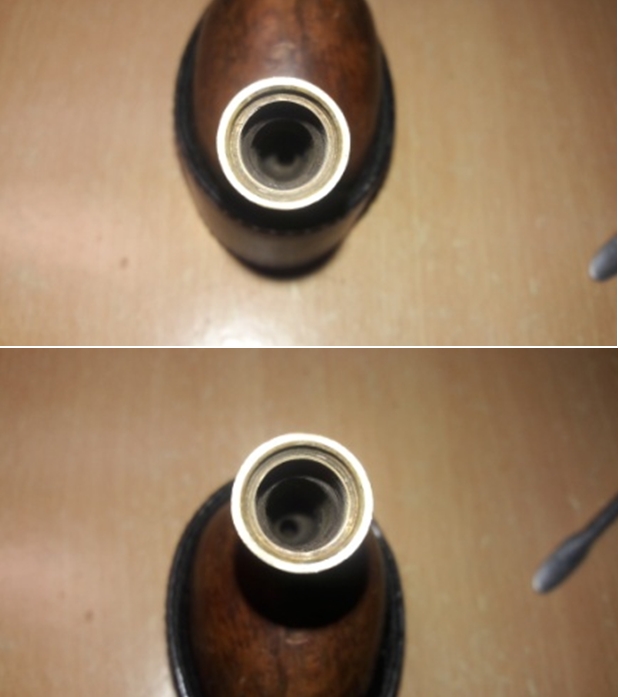
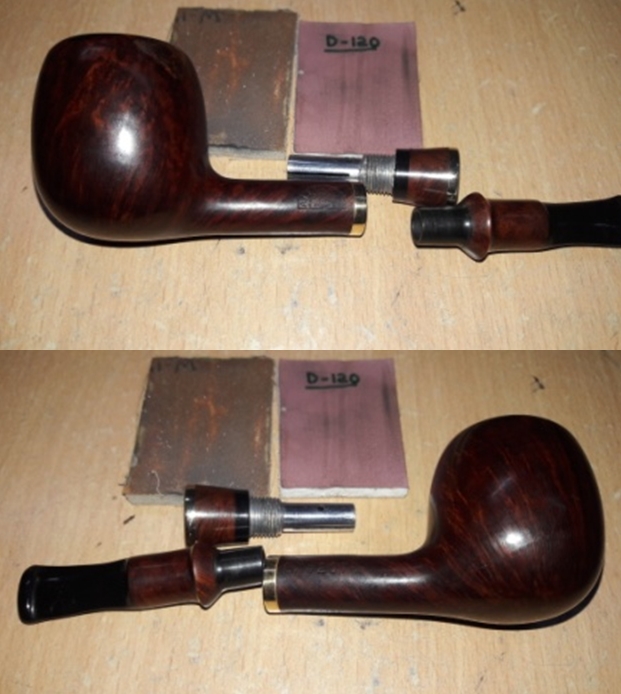
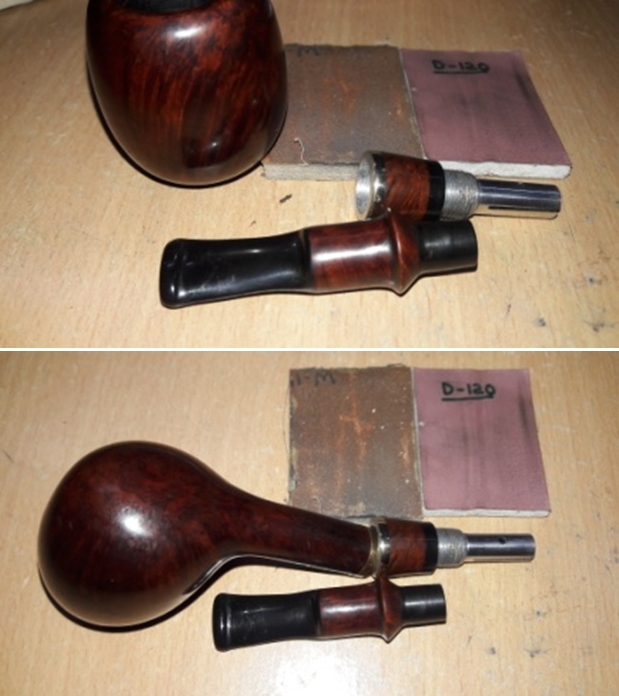
Now, on to the rest of the restoration of this beautifully grained Danmore Deluxe Volcano/Brandy. It was great that I did not need to clean the pipe. I decided to start the restoration process by addressing the poorly seated tenon. The first photo below shows the gap. I could see that the tenon itself had been bent and that caused the gap between the shank end and the face of the stem. I heated the tenon with a Bic lighter until the rubber was slightly flexible and then carefully inserted it in the mortise and adjusted the bend and fit. I held it in place until it cooled down. The fit was perfect. I took photos of the stem from the top and the side to show the repair. 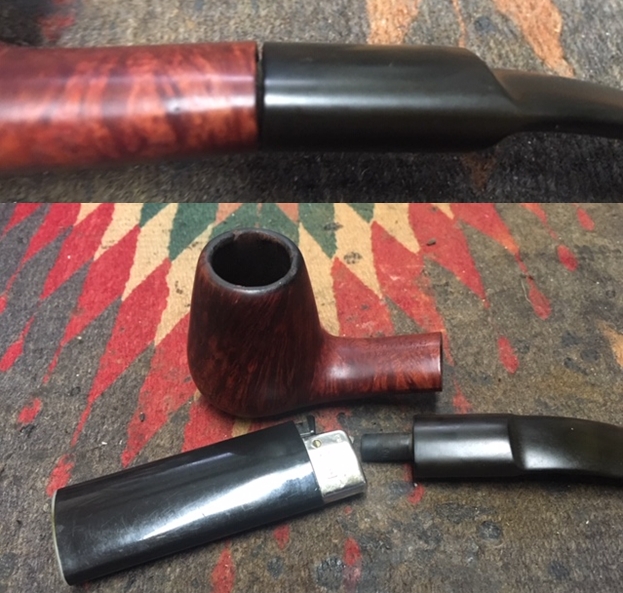
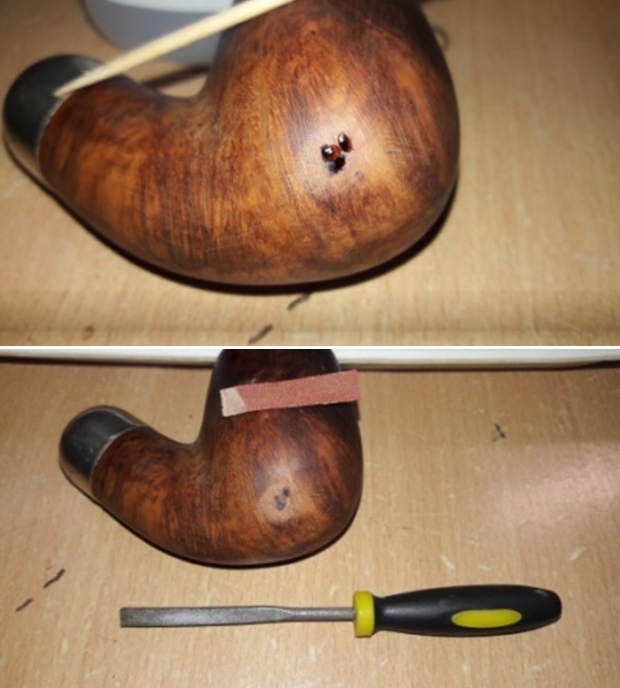
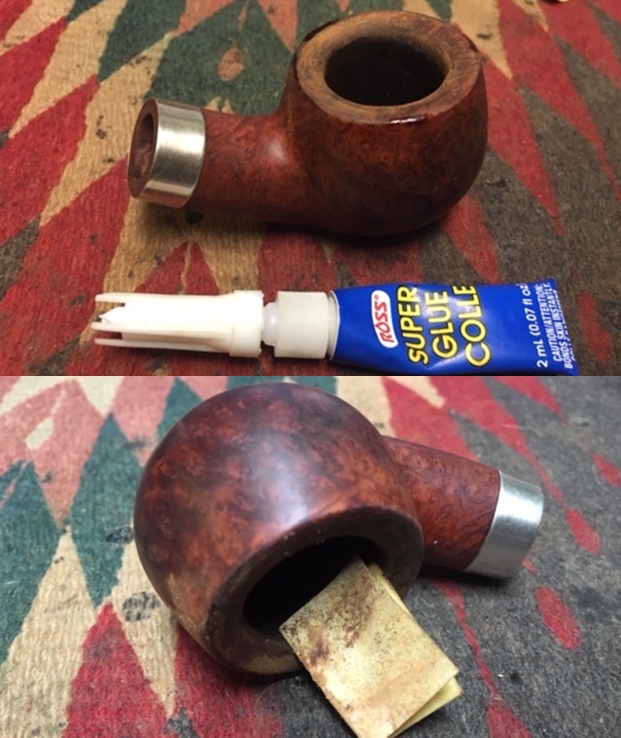
 I took the newly repaired stem off the shank and worked on the damage to rim top and the inner edge. From the extent of damage to the inner edge of the rim and the top of the bowl I decided I would need to top the bowl to remove as much of this damage as possible to restore the rim top back to a more pristine condition and bring the bowl back to round. I topped it on a topping board using 220 grit sandpaper. The photos show the topping process and the rim top after I had topped it to an acceptable point where the condition of the top and edges was good.
 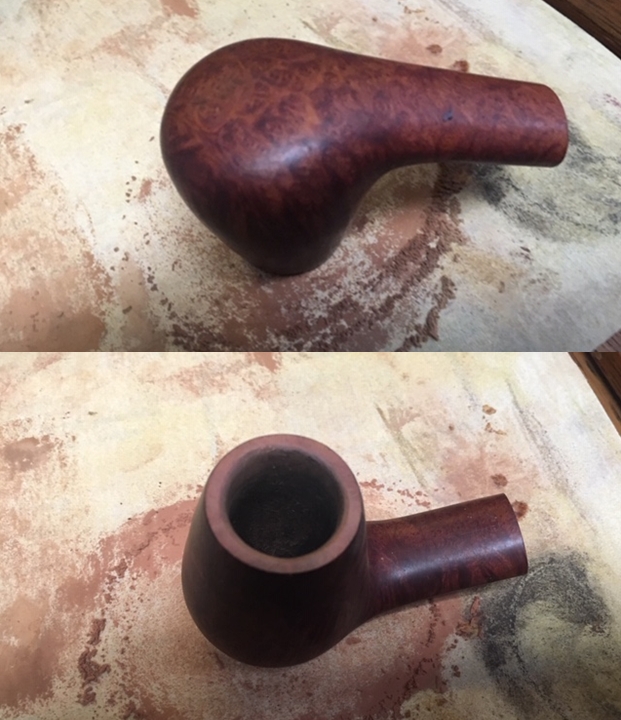 With the top cleaned up and repaired I moved on to address the inner edge surface itself. I used a folded piece of 220 grit sandpaper to bevel the edge inward to take care of the damage and thin the rim edge to its earlier dimensions. I followed that by sanding the rim top and edge with 400 grit wet dry sandpaper.
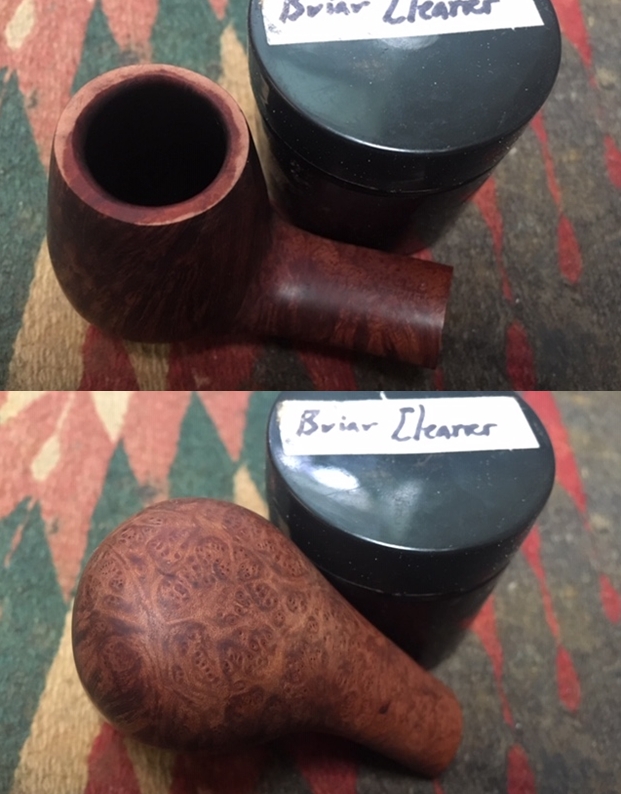
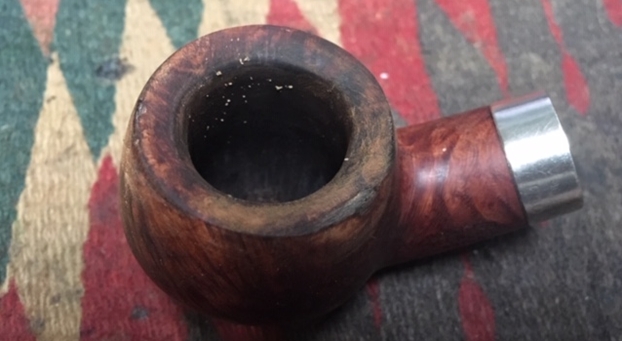
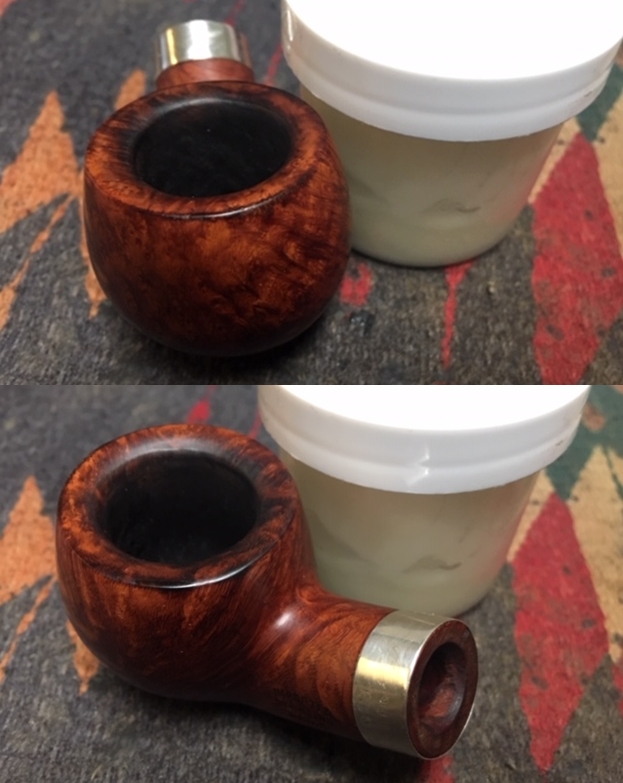
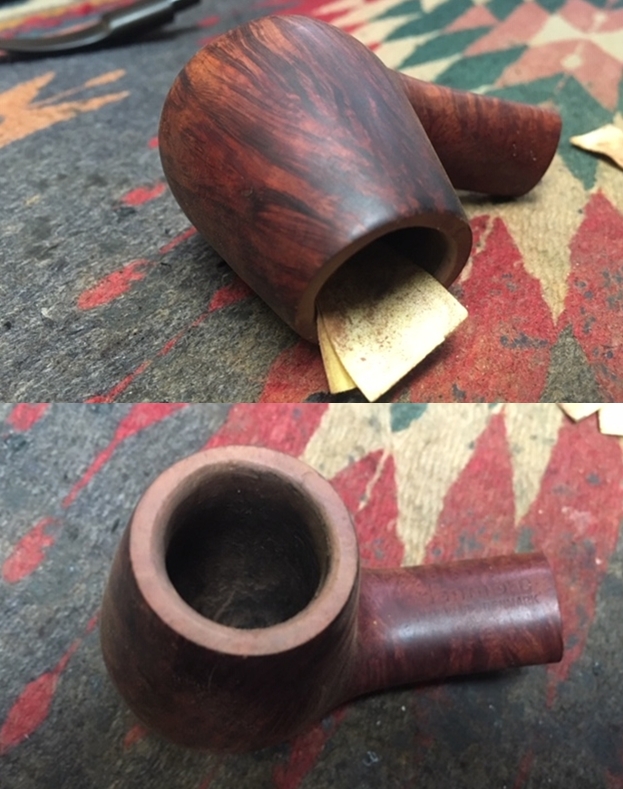 I cleaned the briar with Mark Hoover’s Before & After Briar Cleaner to remove the debris left behind by the sanding of the rim top and to blend the repairs into the briar. I rubbed it into the surface of the briar and let it sit for 10 minutes. I rinsed the bowl off with warm running water to remove the product and the grime. The grain really began to stand out clearly. It was a beautiful piece of briar.
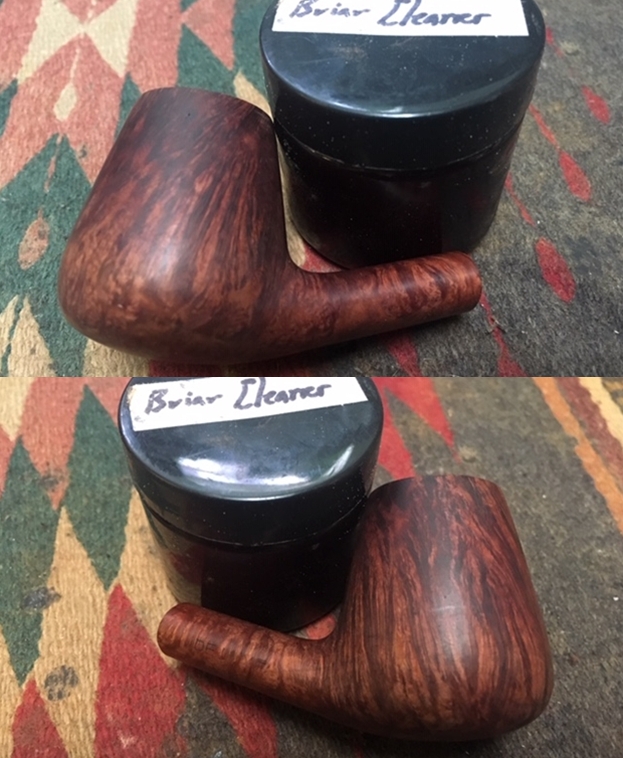
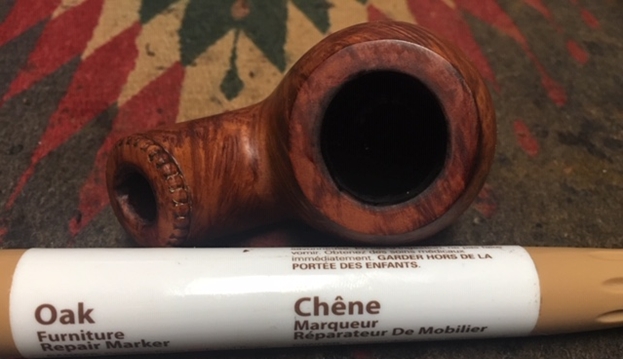
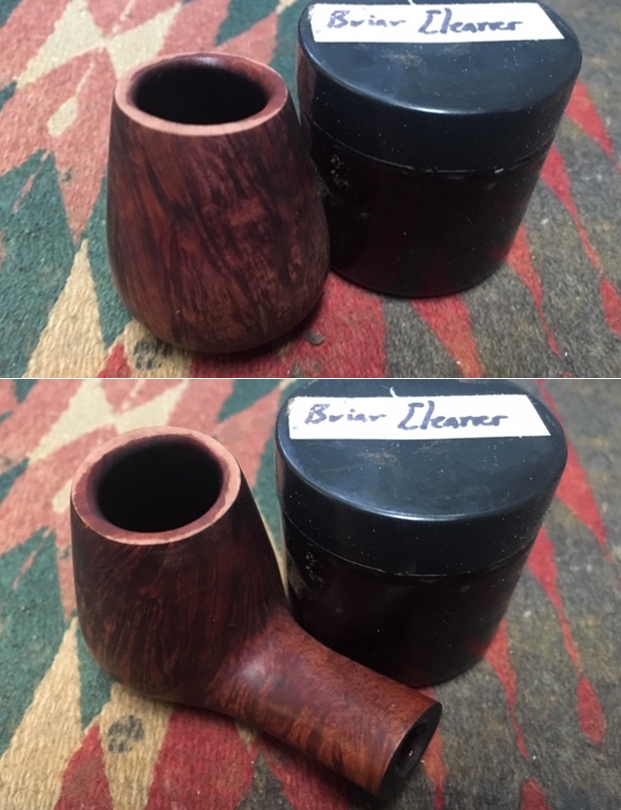 I stained the rim top and edges with a Cherry Stain pen to match the colour of the stain on the bowl. Once it was polished with micromesh sanding pads and Before & After Balm the stain would blend perfectly.
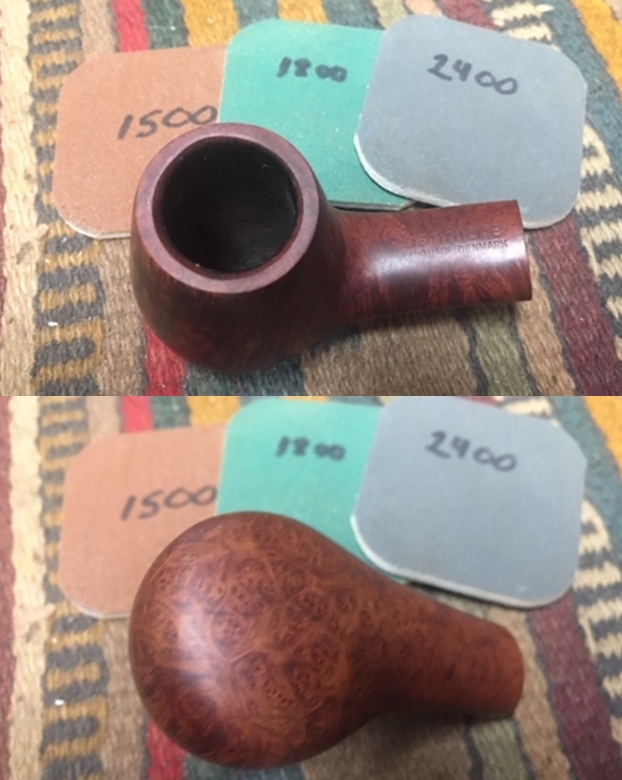
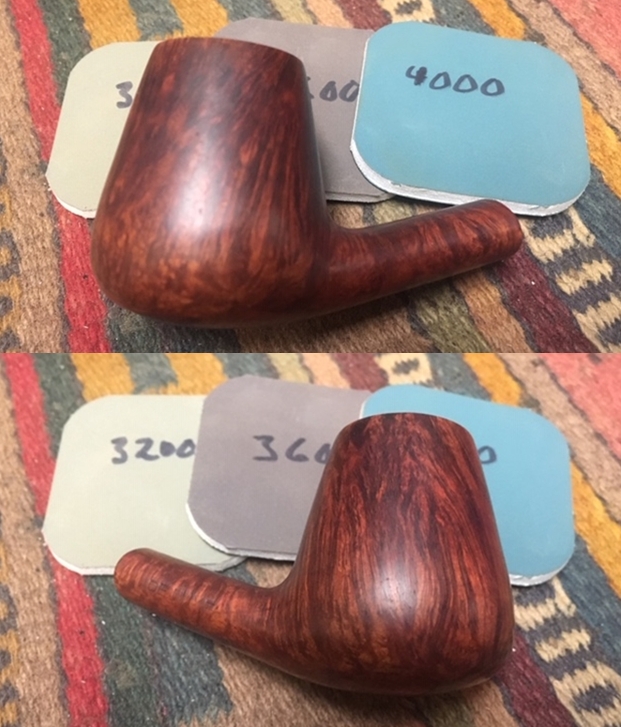
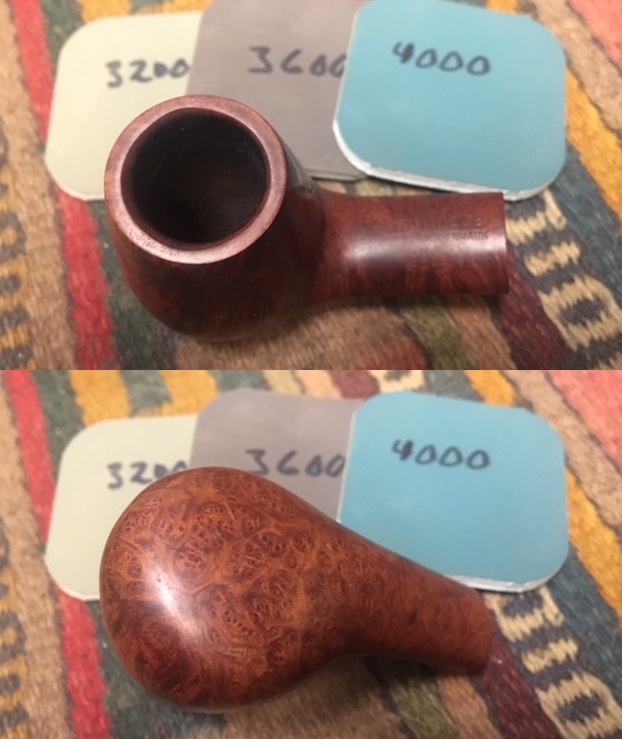
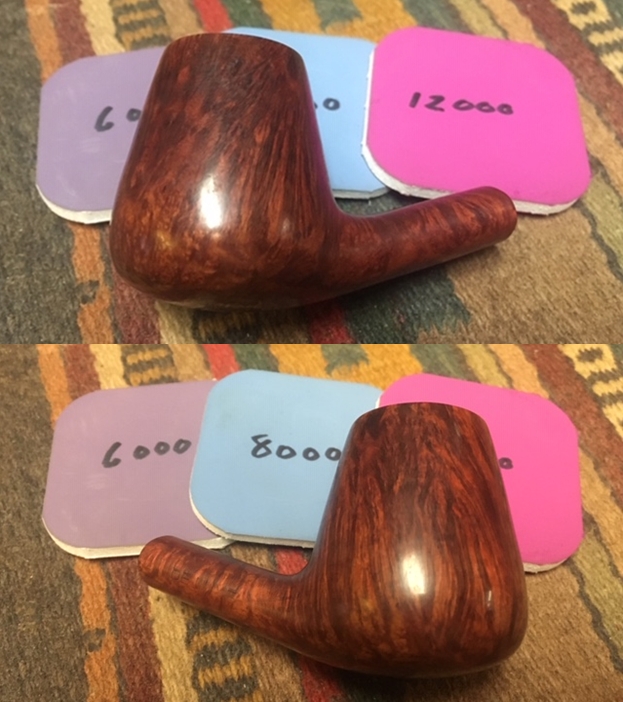
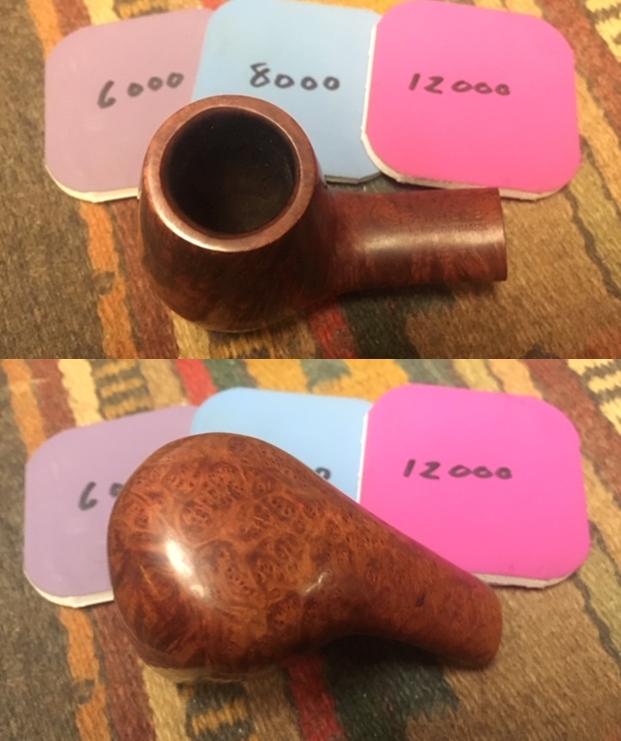
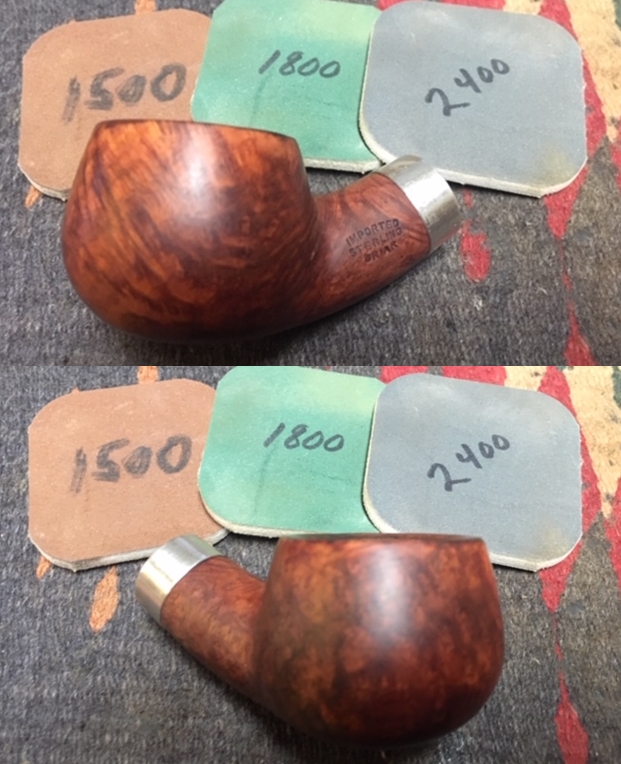
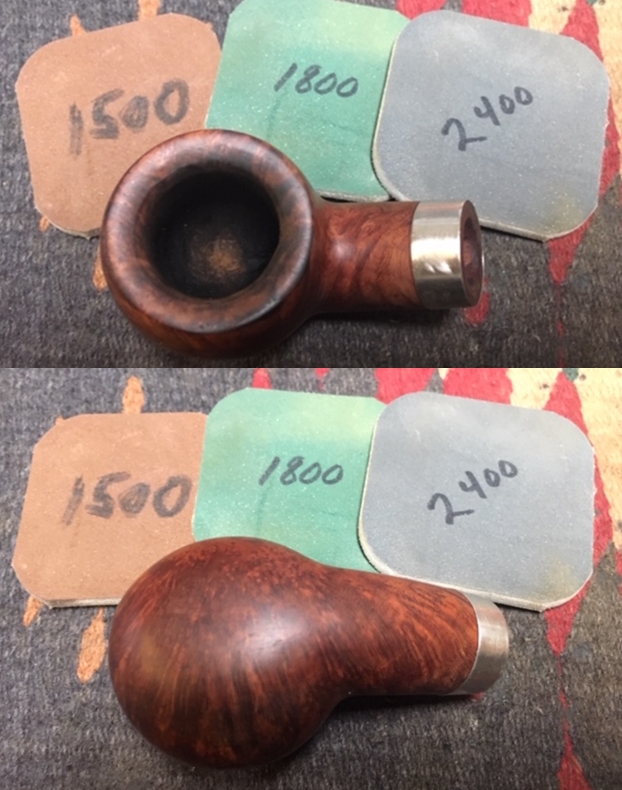
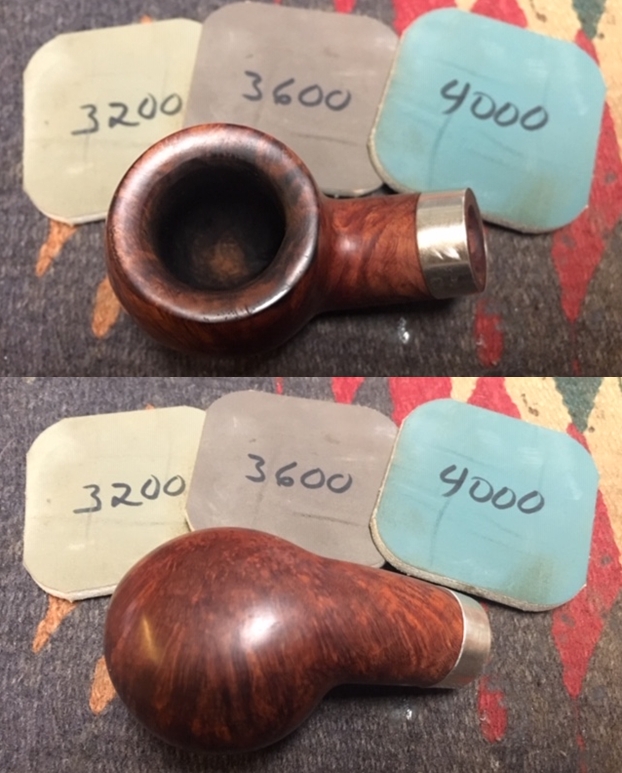
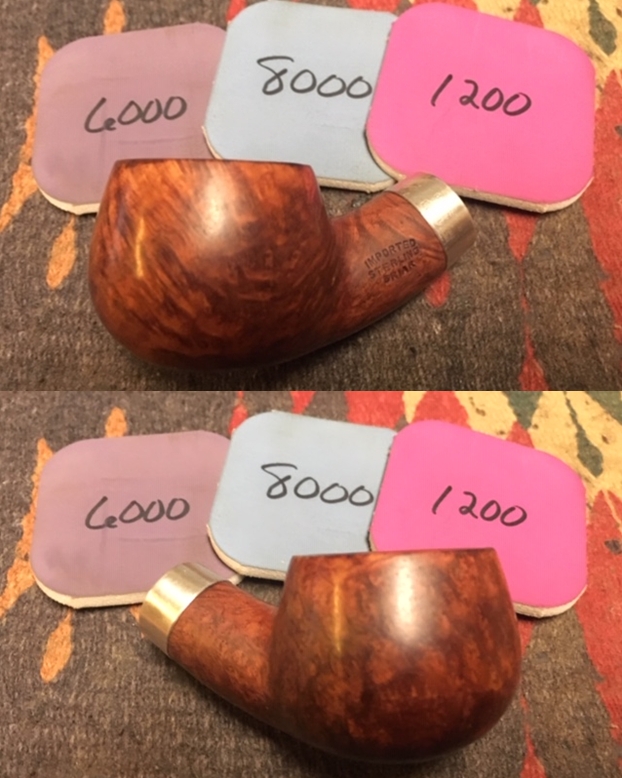
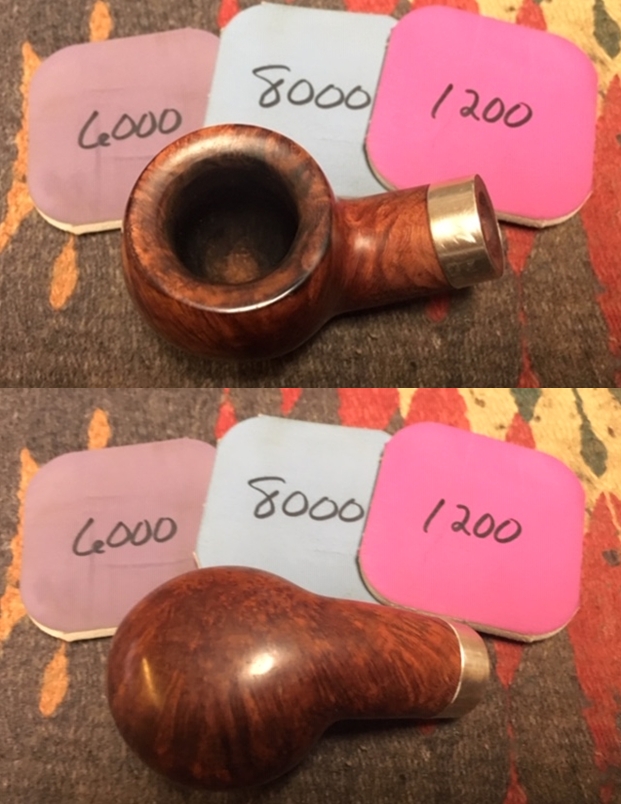
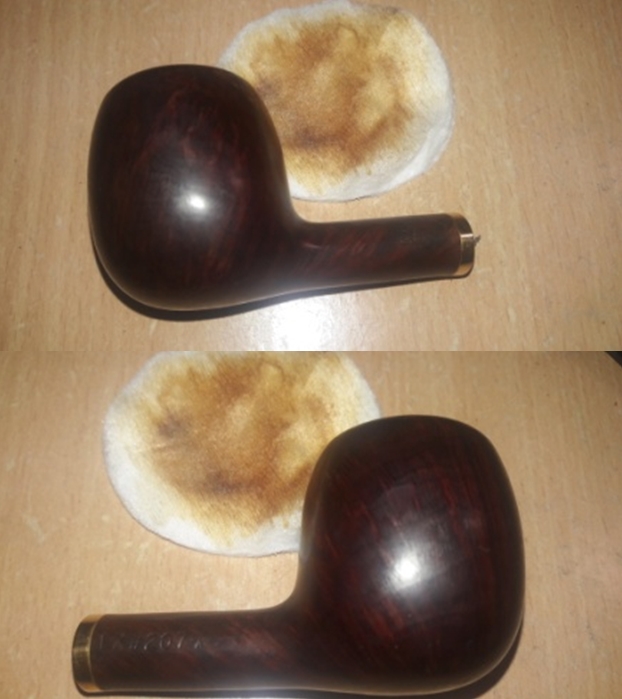
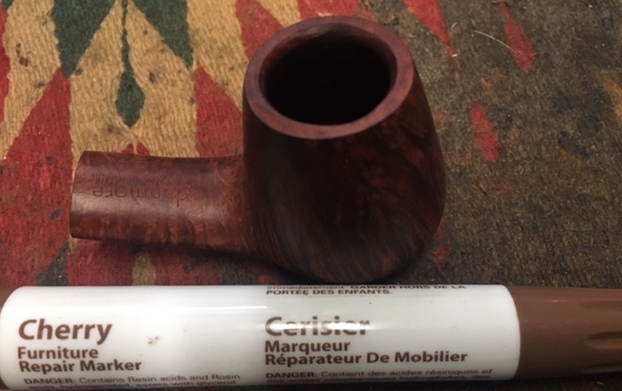 I polished the briar with micromesh sanding pads to blend in the stain and to polish the briar and remove the scratches in the surface of the bowl, heel and shank. I wet sanded with 1500-12000 grit pads and wiped the bowl down between each pad with a damp cloth.
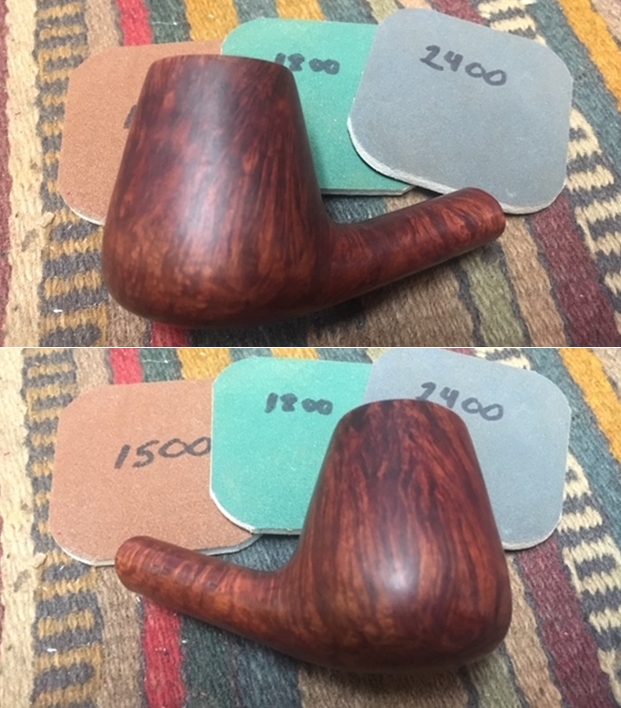
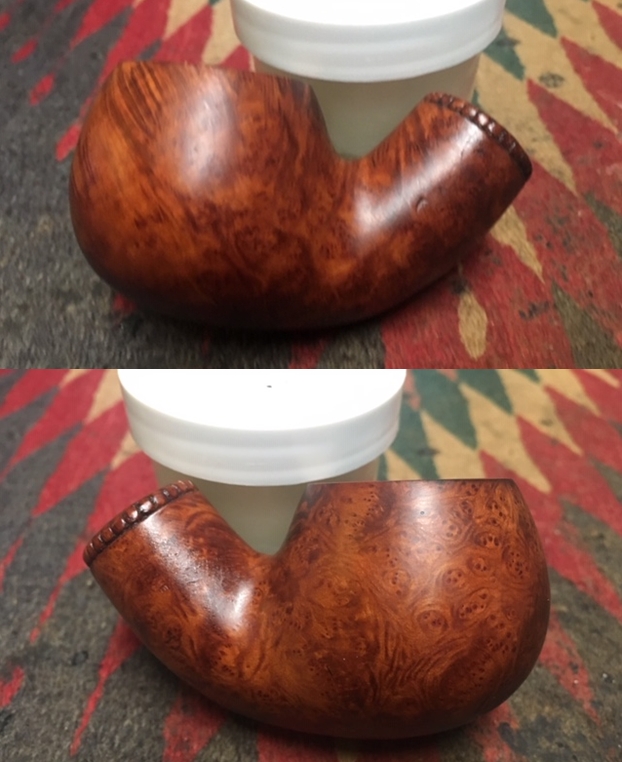
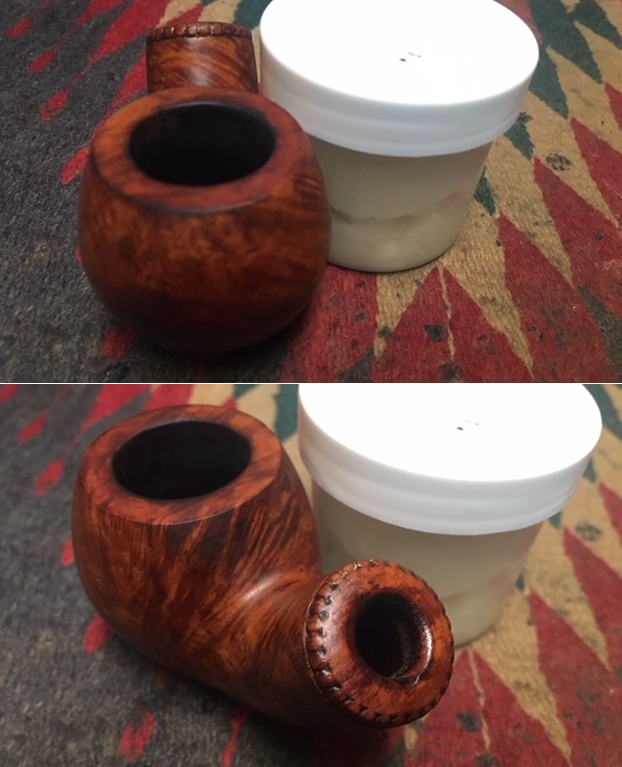
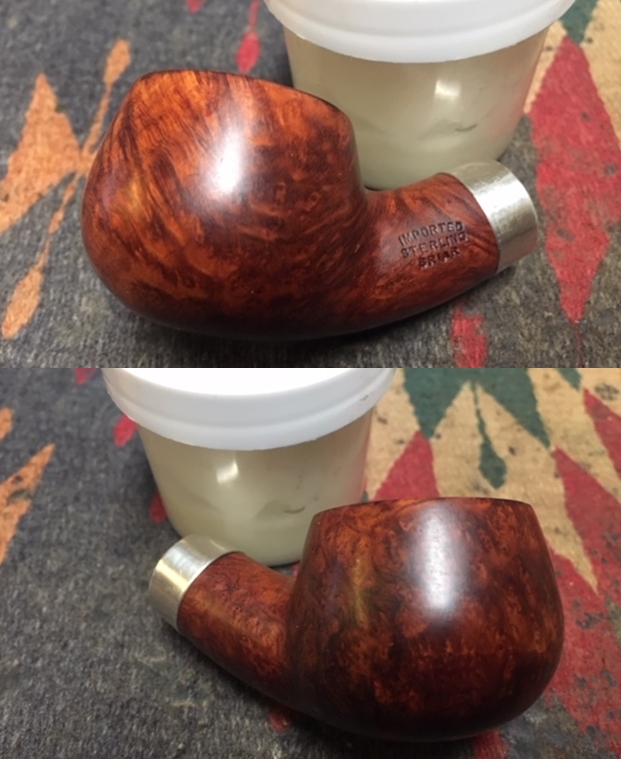
 I rubbed down the bowl with Before & After Restoration Balm. I worked it into the surface of the briar with my fingertips to clean, enliven and protect it. I let the balm sit for a little while and then buffed with a cotton cloth to raise the shine. Mark Hoover’s Balm is a product that I have come to appreciate and one I use on every pipe I have been working on.
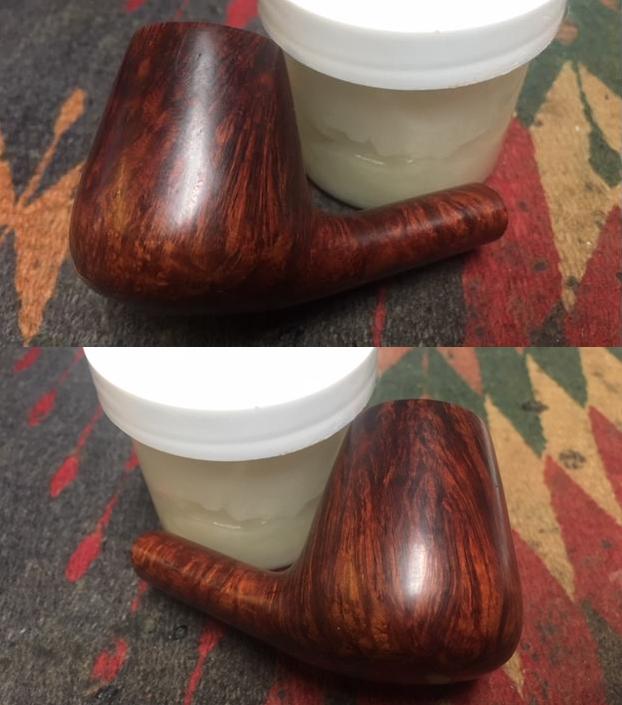
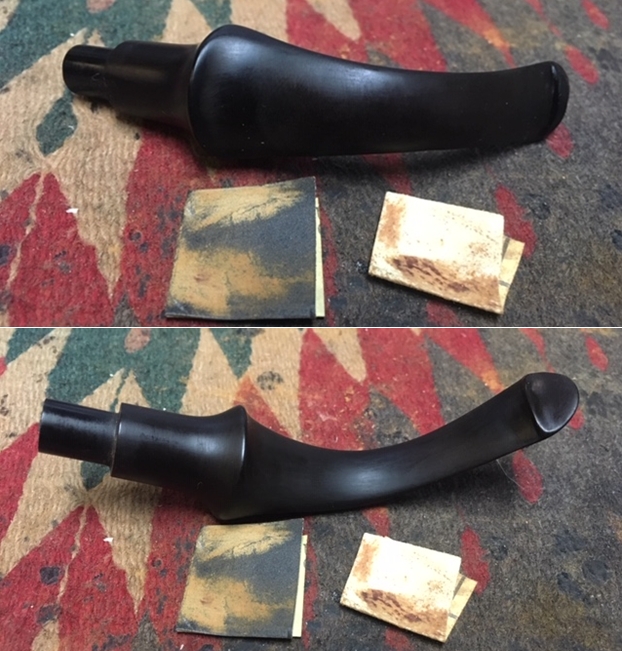
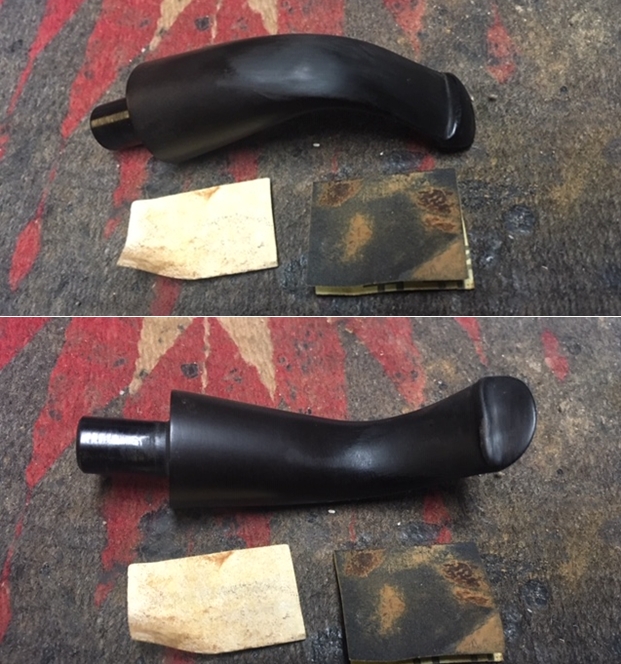
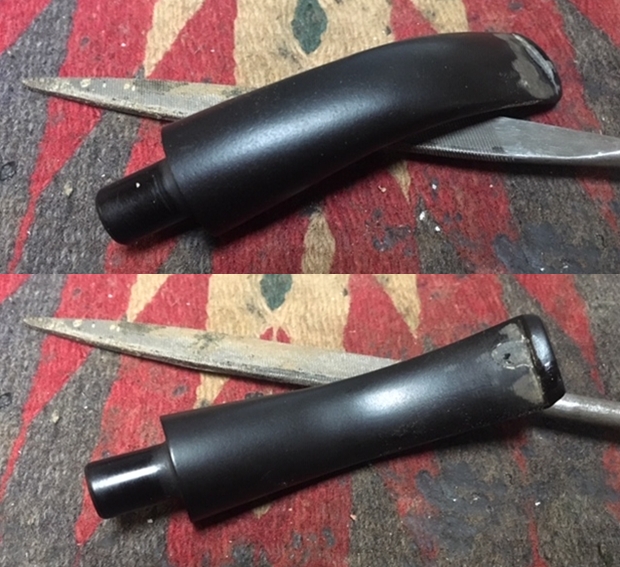
 I set the bowl aside and worked on the stem. I sanded the stem with 220 grit sandpaper to break up the remaining oxidation and smooth out the file marks. I started the polishing with 400 grit wet dry sandpaper to remove the scratching. It is starting to look good.
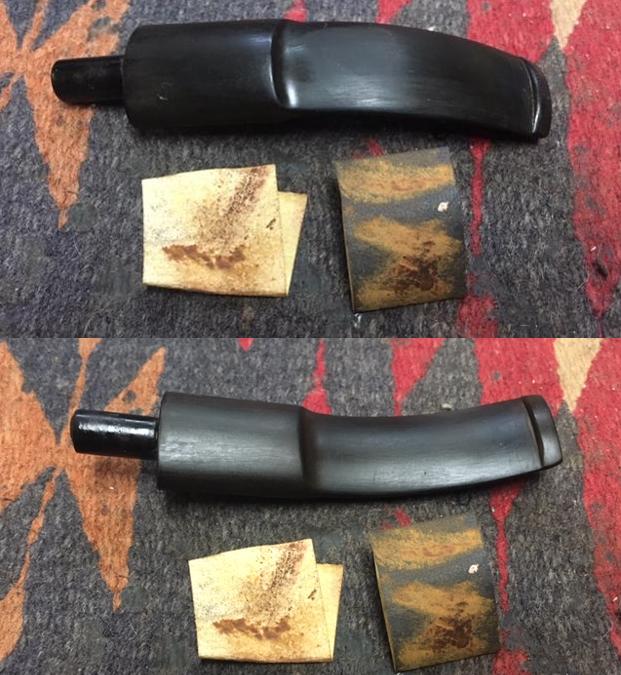 I have been using Denicare Mouthpiece Polish after sanding with 400 grit wet dry sandpaper for a while now as the grittiness of the product works to polish out the minor scratches in the vulcanite. I also have a few of these tins knocking around that I want to use up so it works for me to use it at this point.
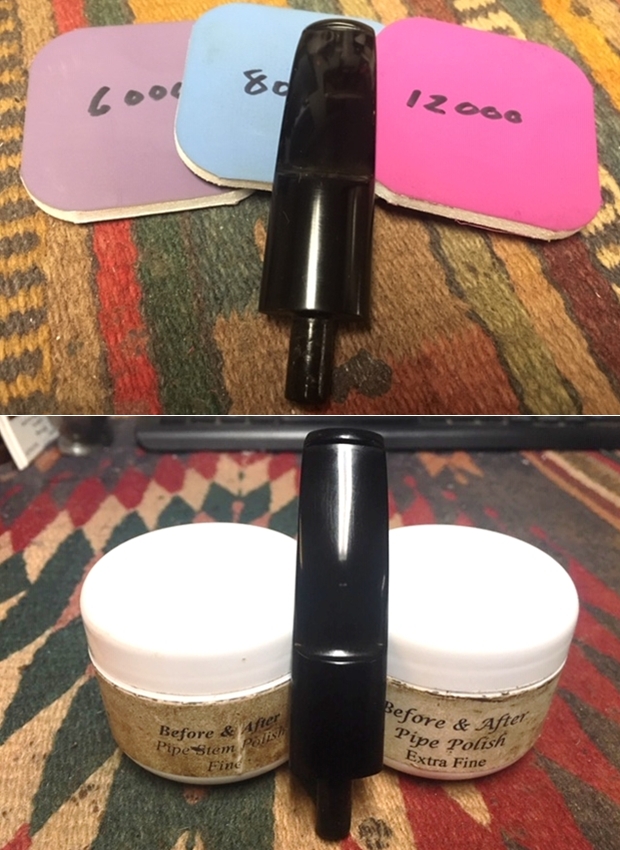
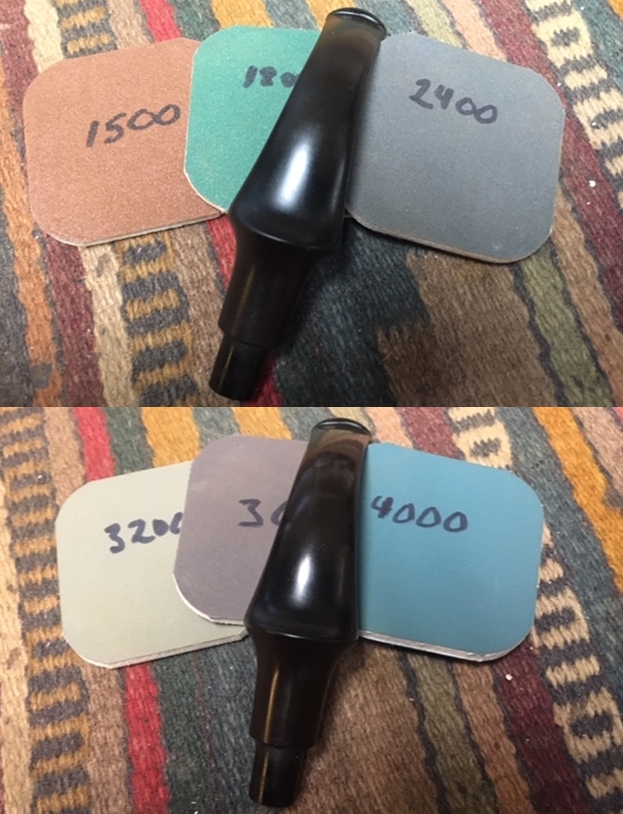
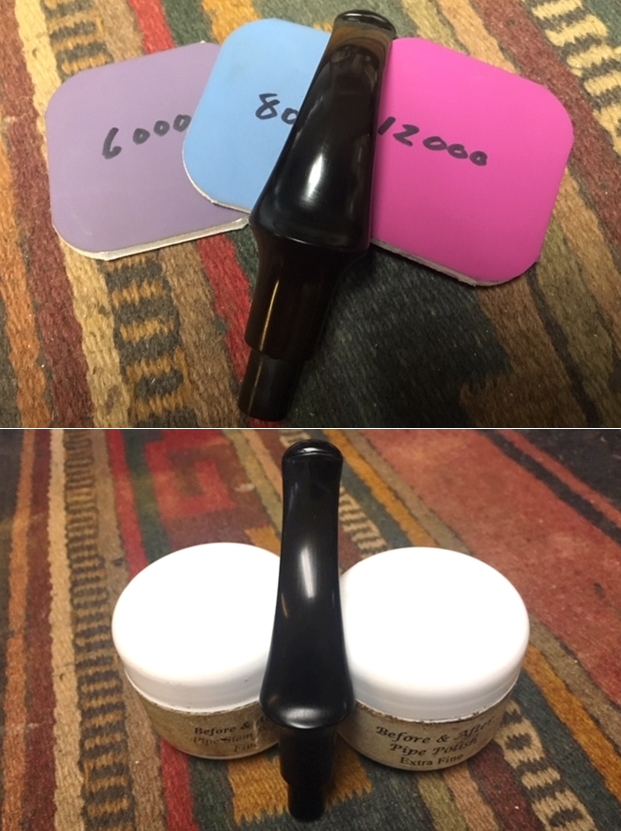
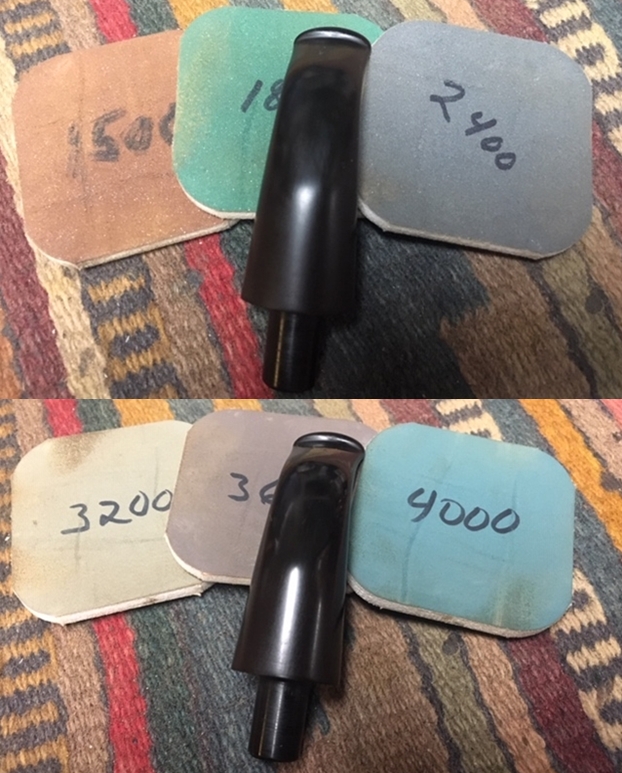
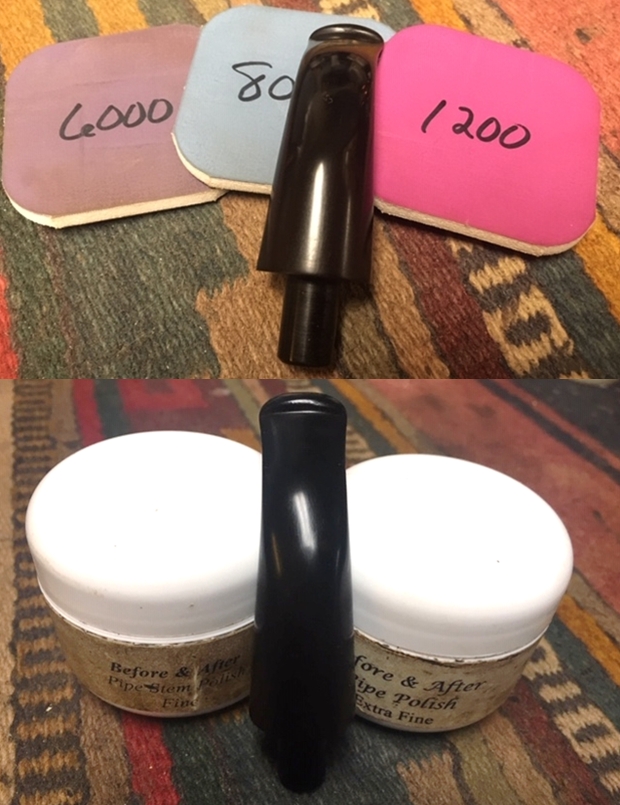
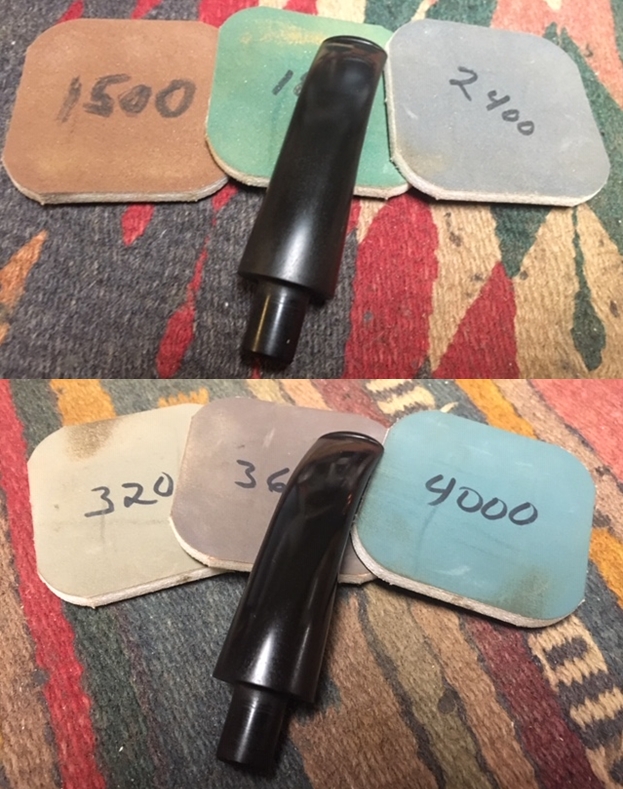
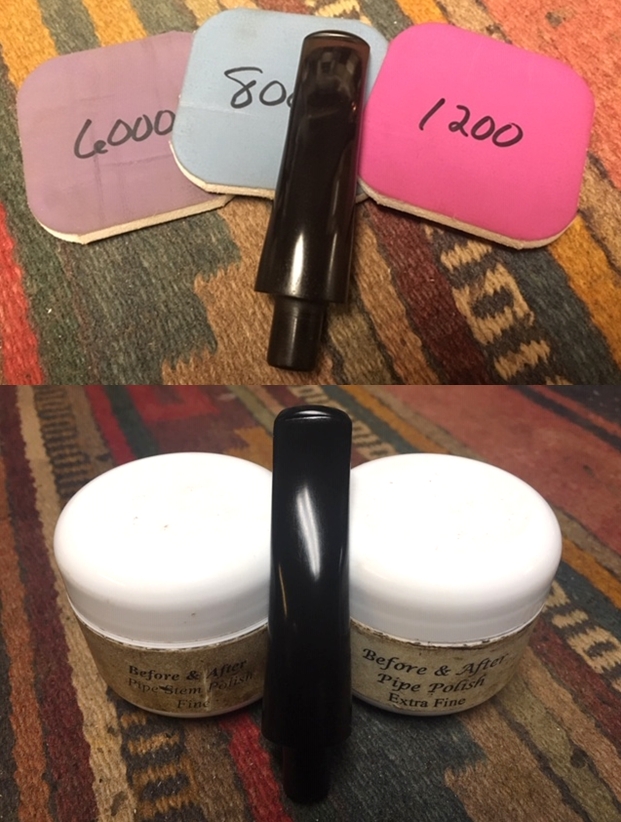
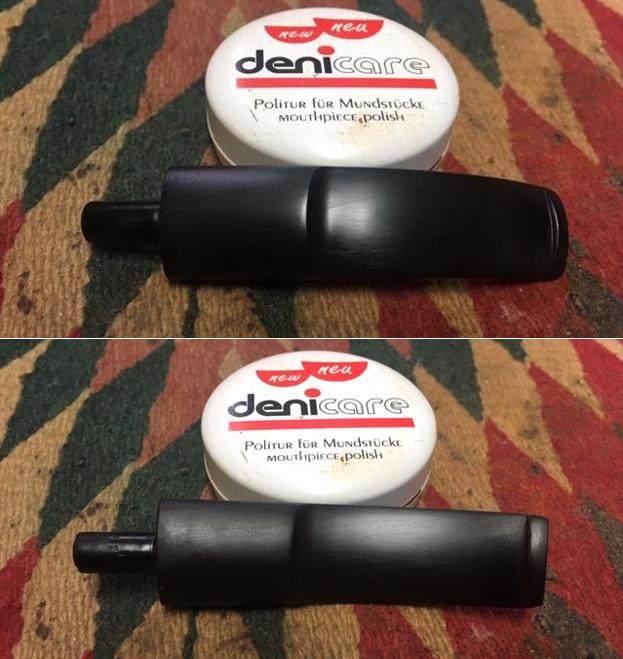 I polished the stem with micromesh sanding pads – wet sanding with 1500-12000 grit pads. I wiped the stem down after each sanding pad with Obsidian Oil. I polished it with Before & After Pipe Stem Polish – both Fine and Extra Fine. Once I had finished the polishing I gave it final coat of oil and set it aside to dry.
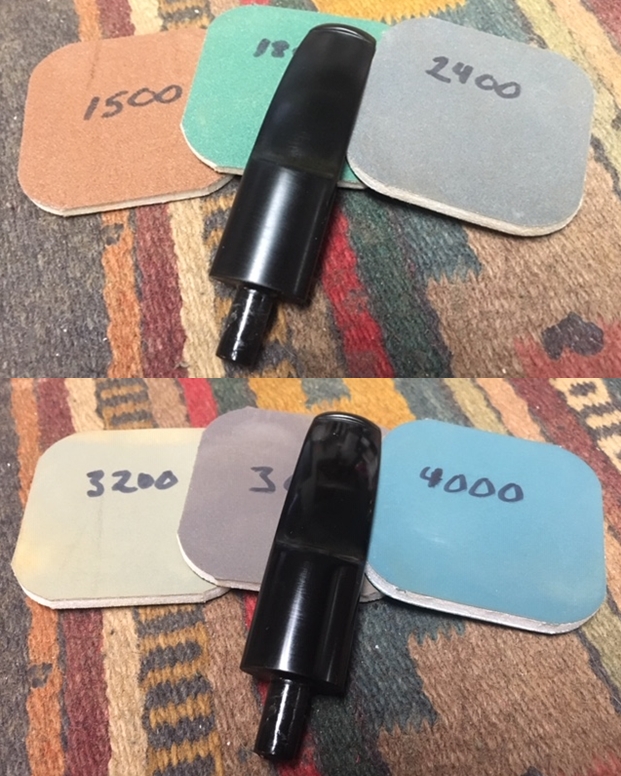
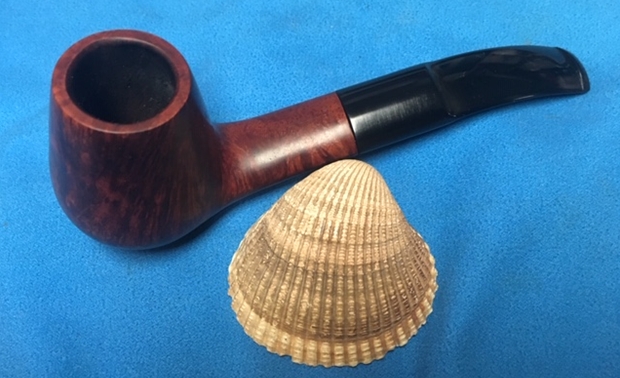
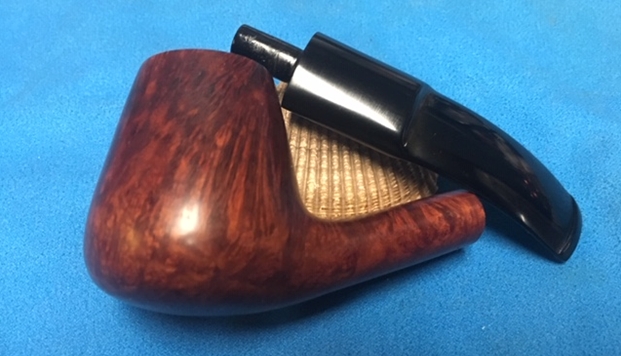
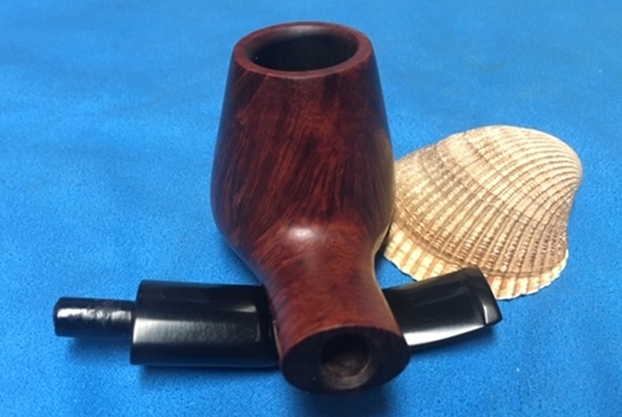
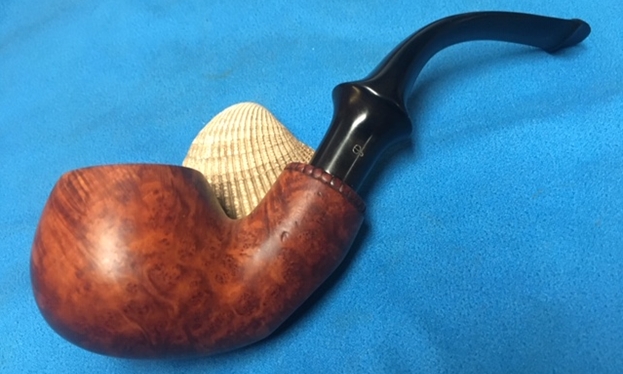
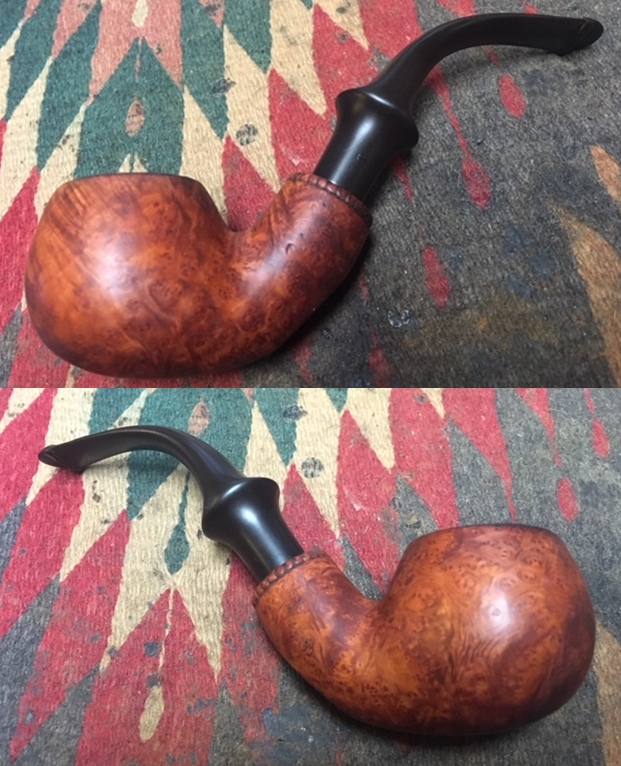
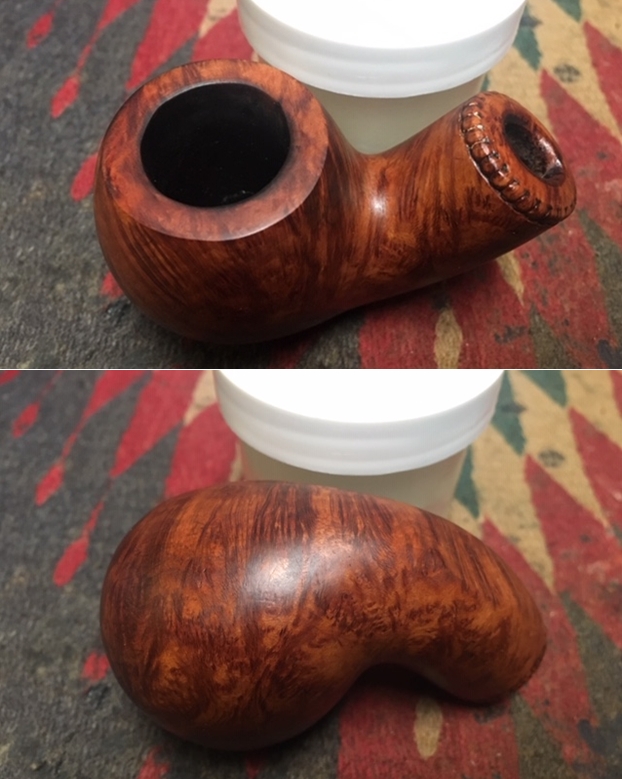
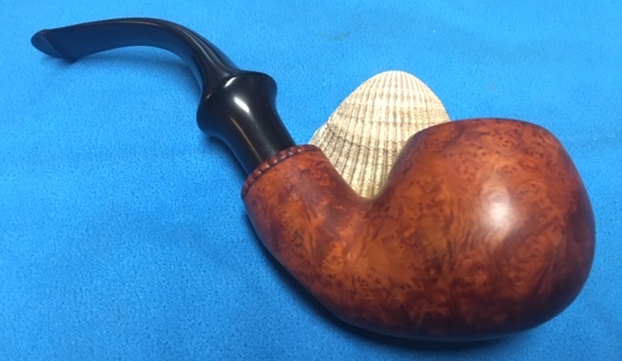
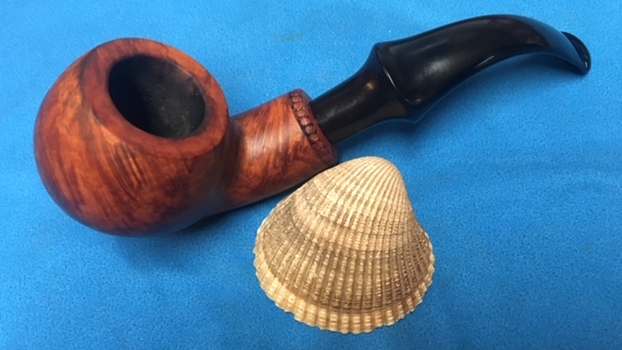
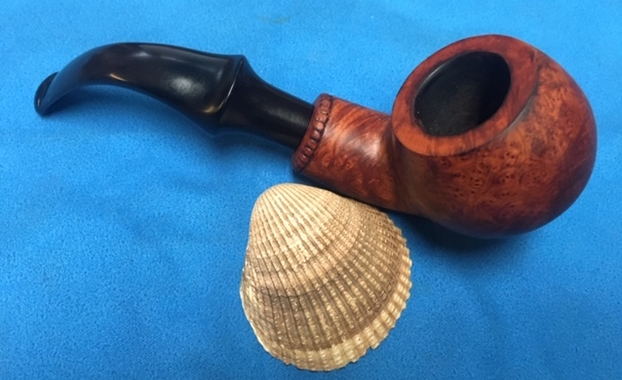
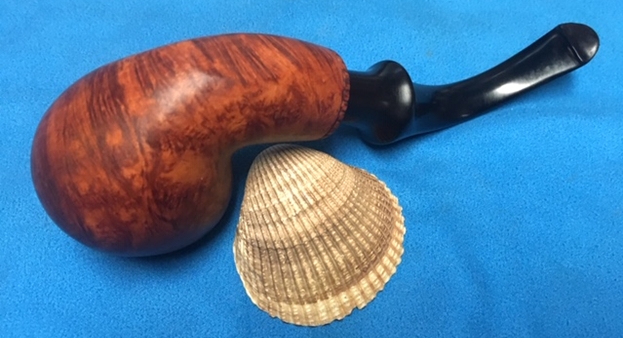
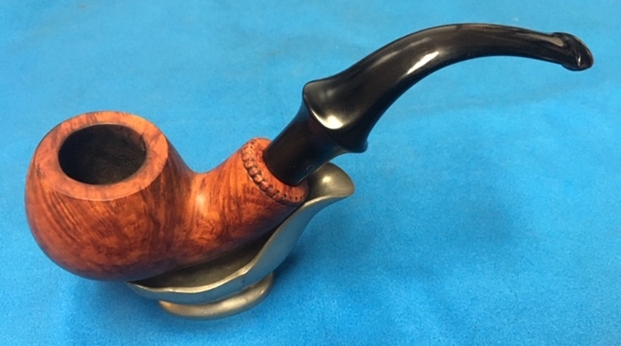
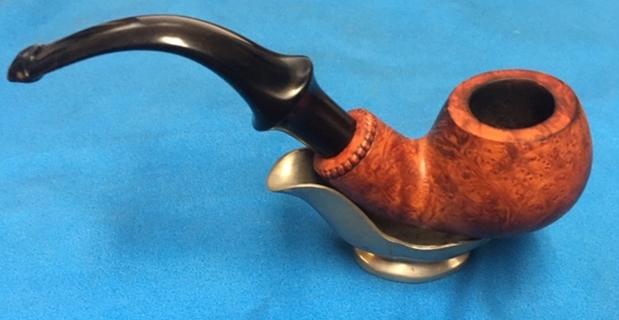
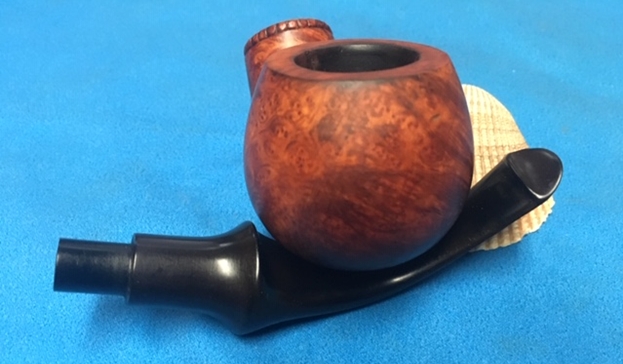
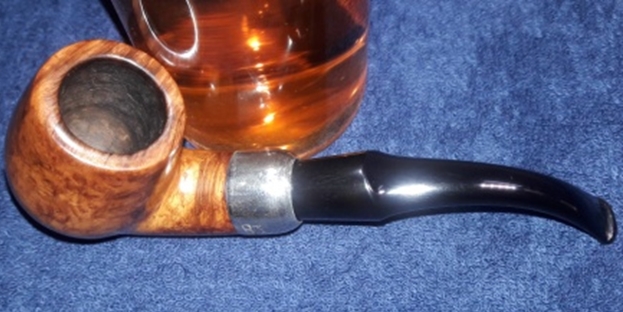
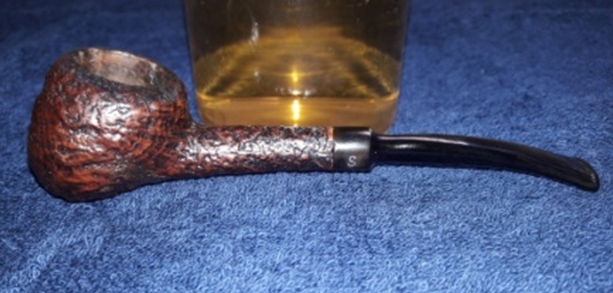
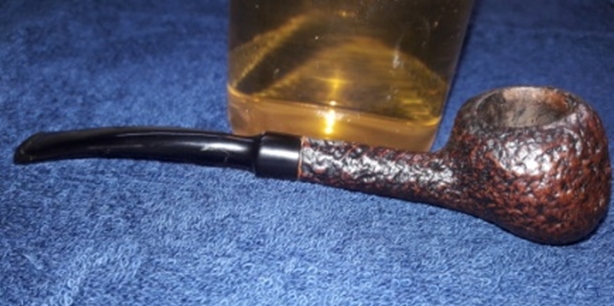
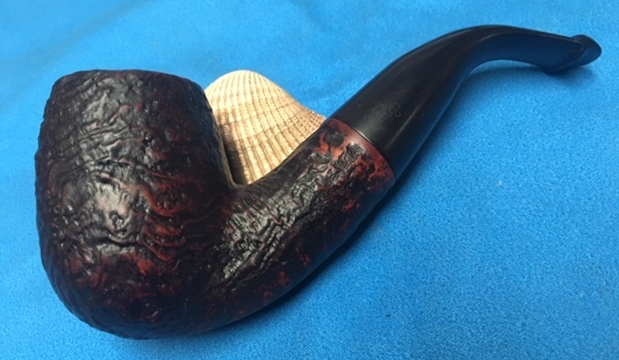
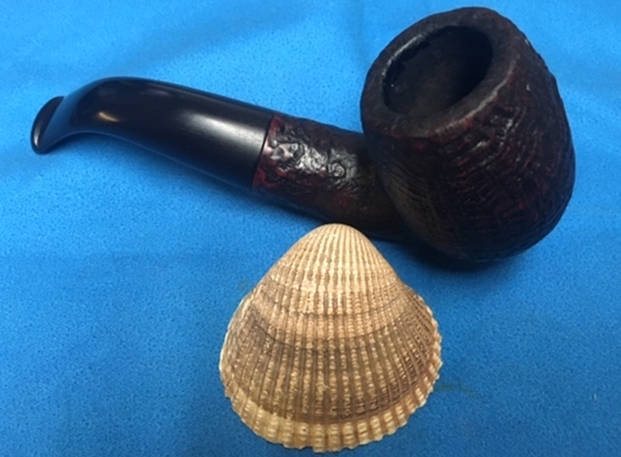
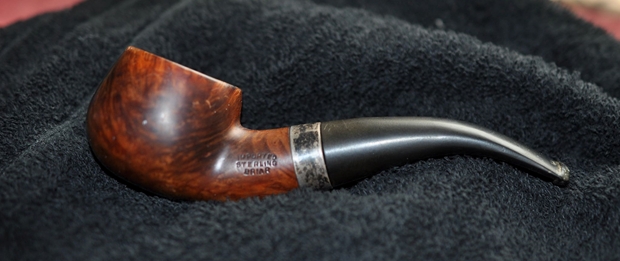
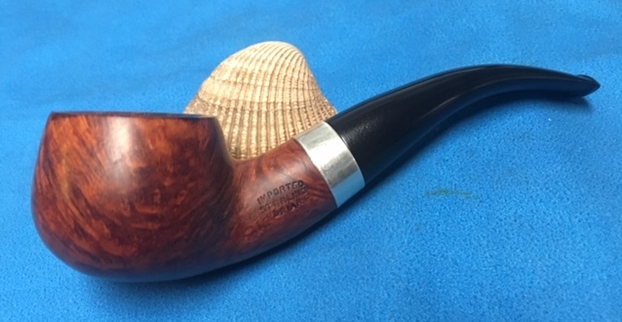
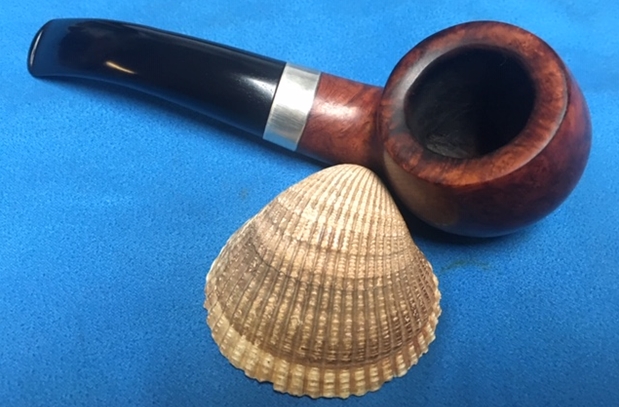
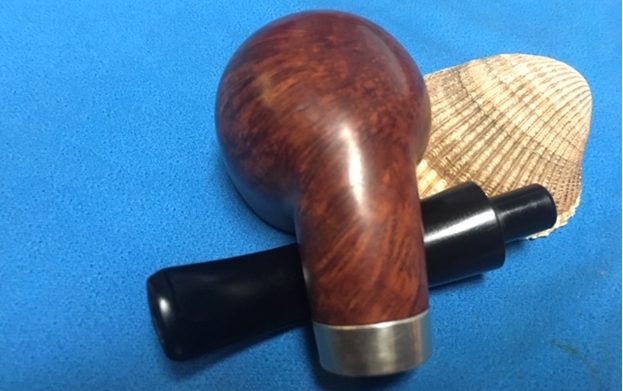
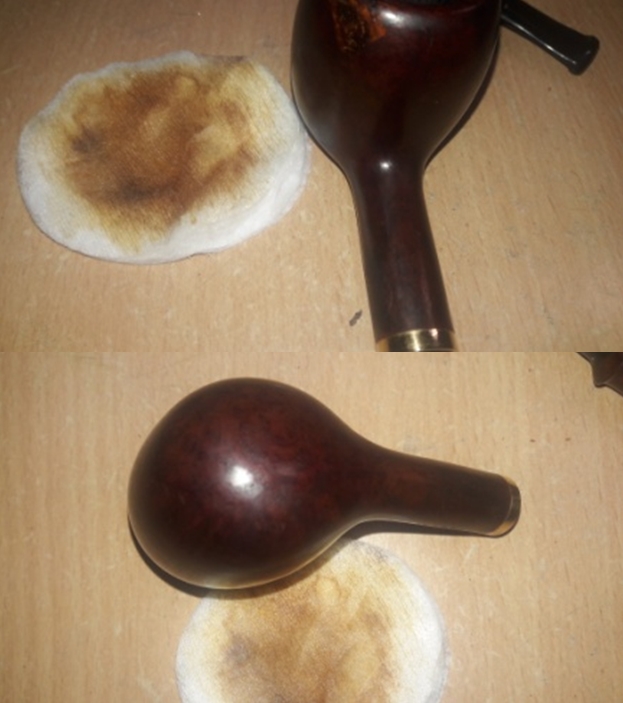
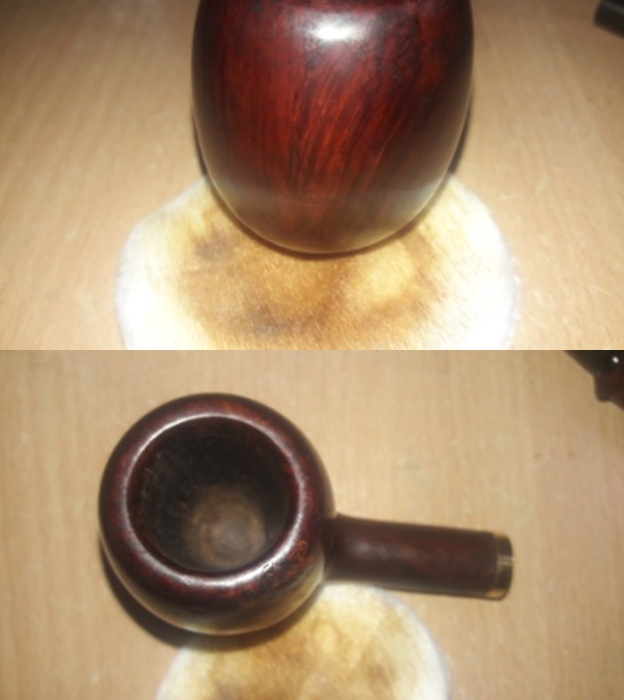
 As usual at this point in the restoration process I am excited to be on the homestretch. I look forward to the final look when it is put back together, polished and waxed. I put the bowl and stem back together. I polished the bowl and stem with Blue Diamond to polish out the scratches in the briar and the vulcanite. I gave the bowl and the stem multiple coats of carnauba wax. I buffed the pipe with a clean buffing pad to raise the shine. I hand buffed it with a microfiber cloth to deepen the shine. The pipe polished up pretty nicely. The straight and flame grain really pop with the wax and polish. The shiny black vulcanite saddle stem is a beautiful contrast to the browns of the bowl. This Danmore Deluxe Volcano was another fun pipe to work on thanks to Jeff’s cleanup work. The pipemaker followed the grain in laying out this pipe to maximize the glory of the briar. The flow and feel of the pipe is appealing. The finished pipe is shown in the photos below. The dimensions of the pipe are Length: 5 ¾ inches, Height: 1 7/8 inches, Outside diameter of the bowl: 1 inch, Chamber diameter: ¾ of an inch. This beautiful pipe will be going on the rebornpipes store if you would like to add it to your collection and carry on Bob’s legacy. If not, I have a lot more of Bob’s estate to work on of various brands. Perhaps one of those will catch your attention. Thanks for reading this blog and my reflections on the pipe while I worked on it. This is an interesting estate to bring back to life.
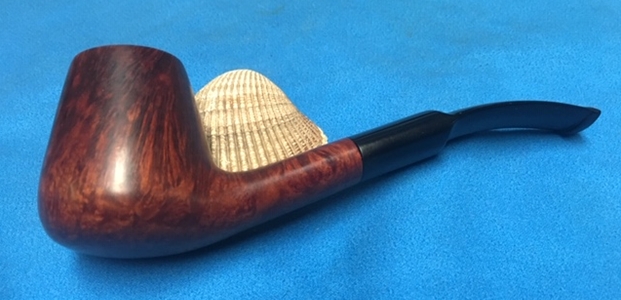


