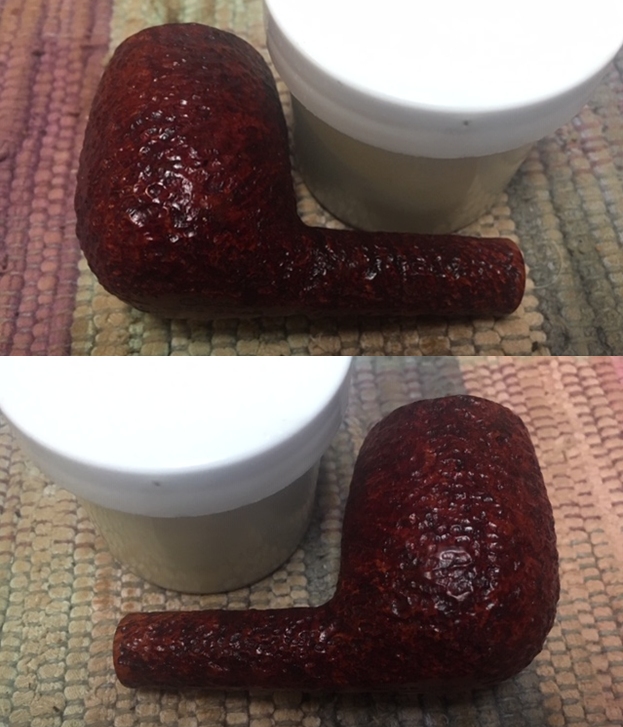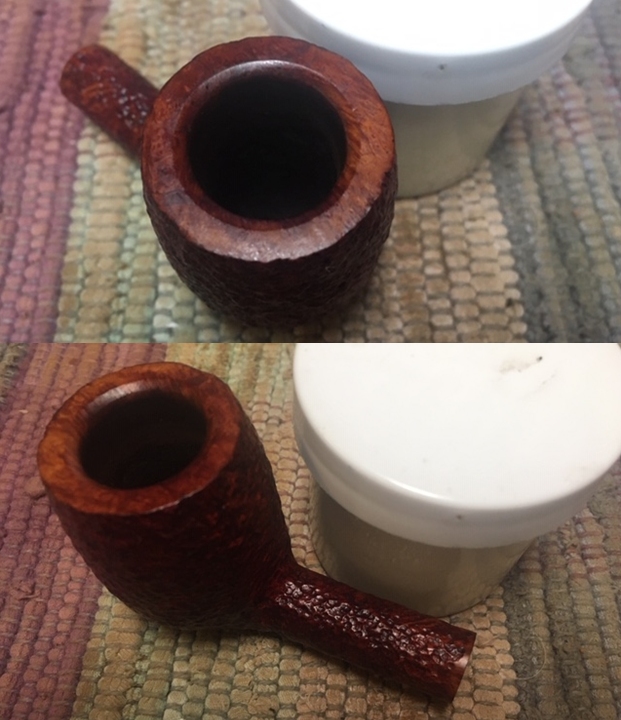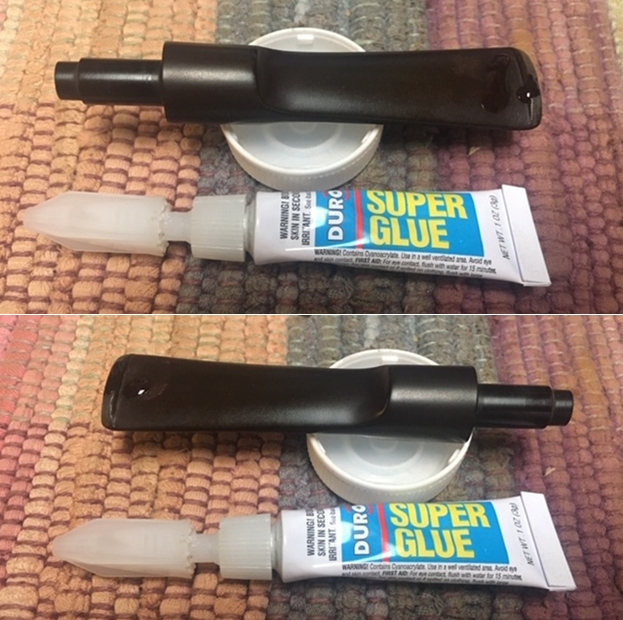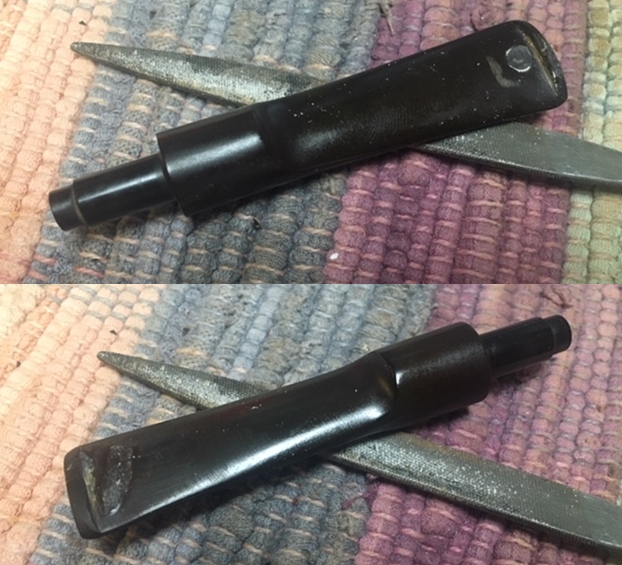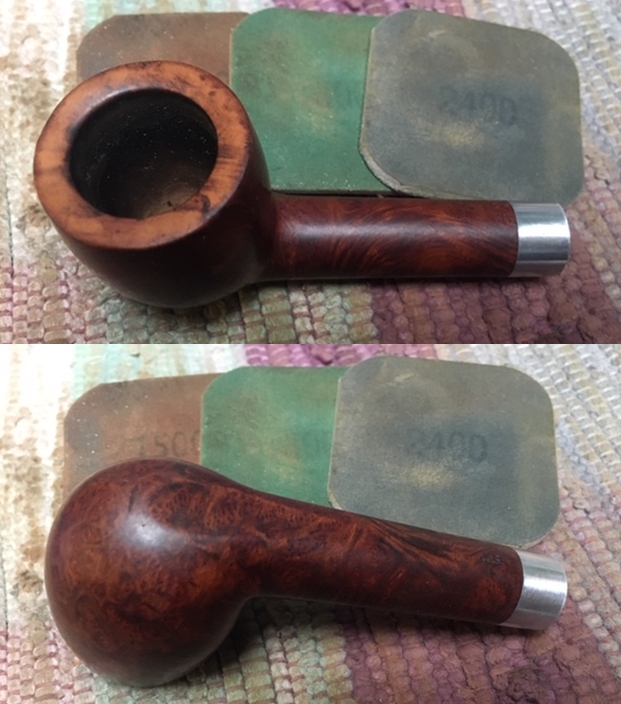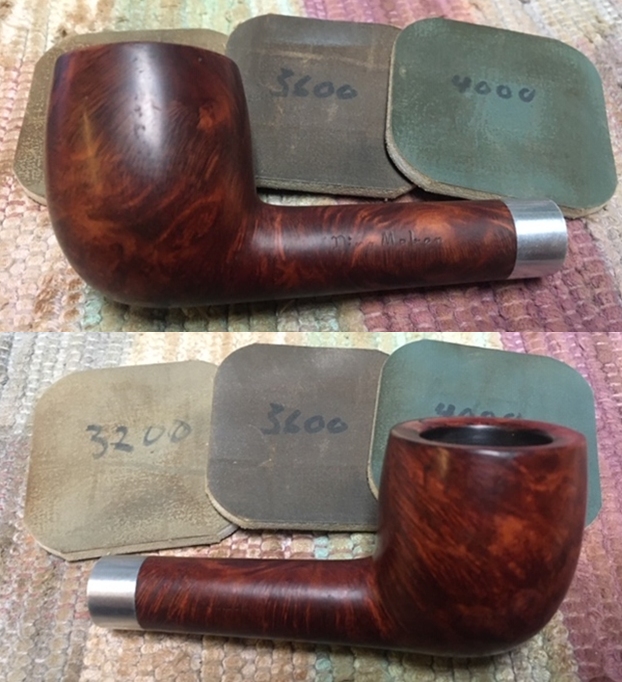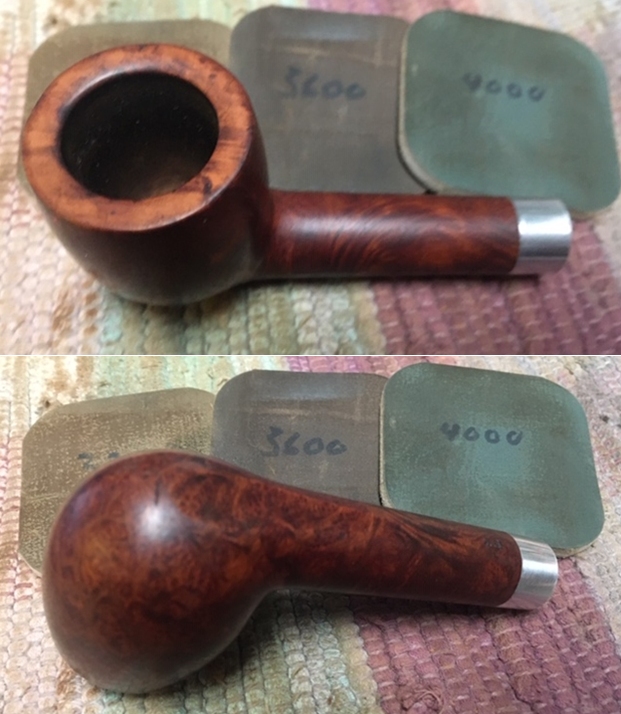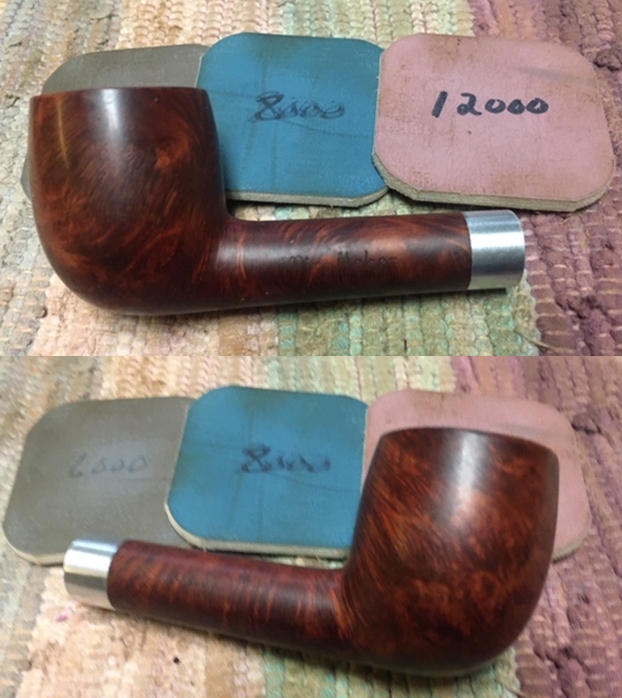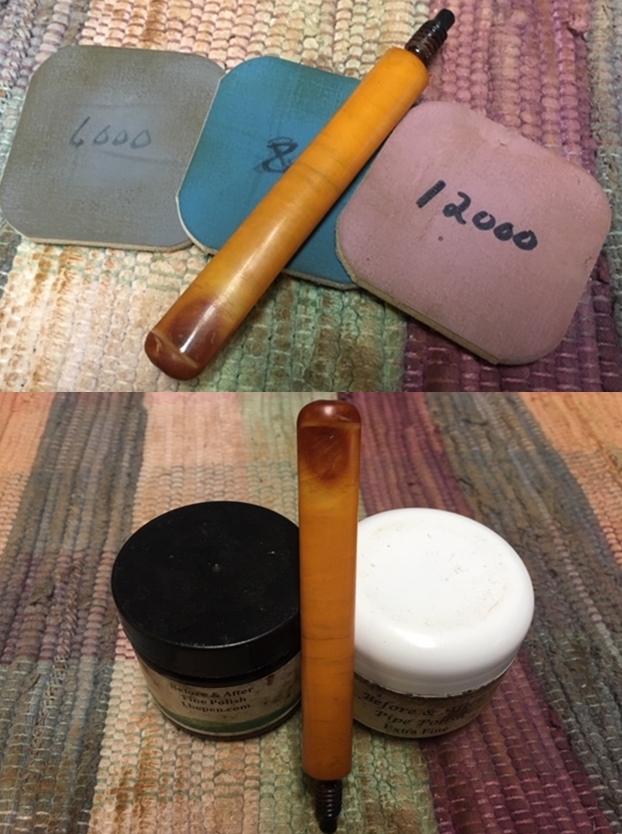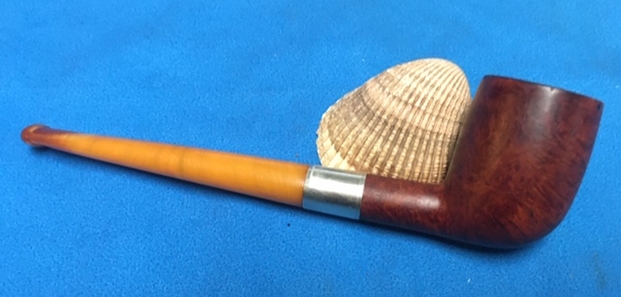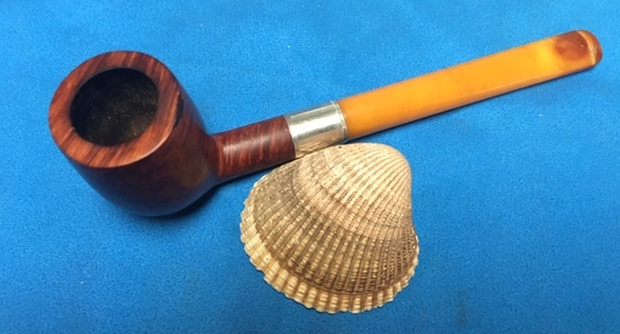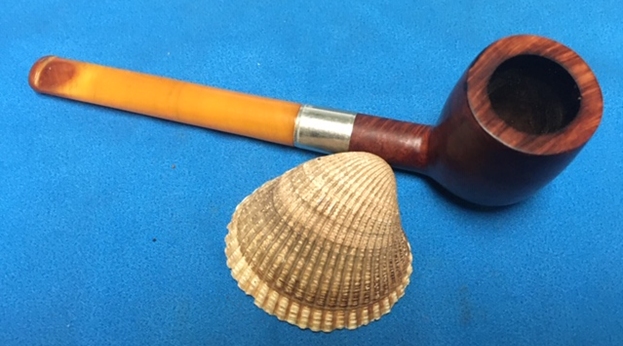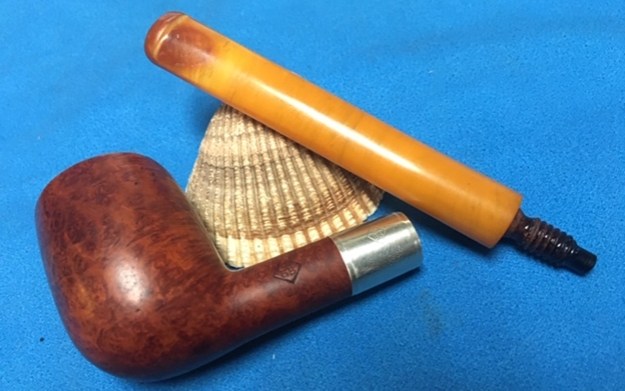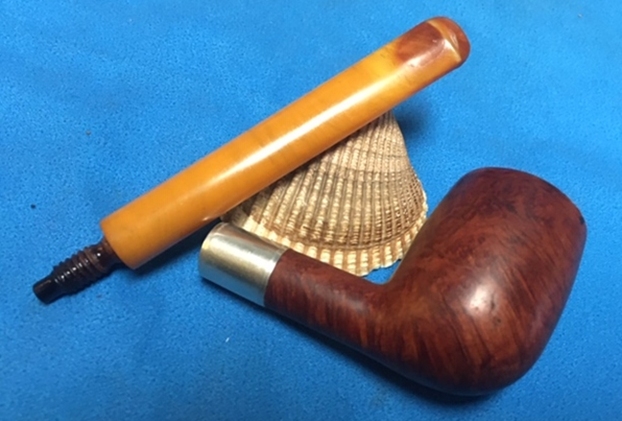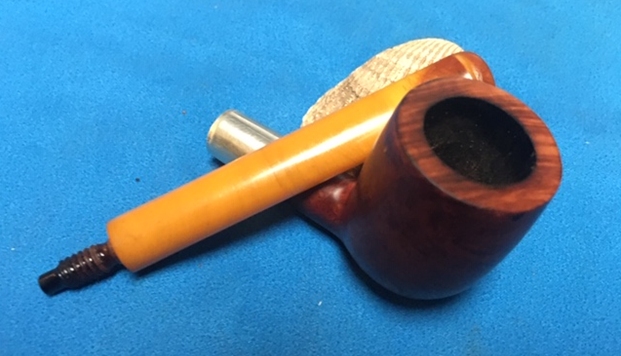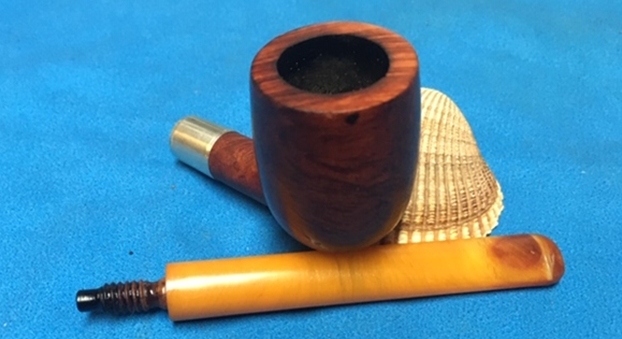
Tag Archives: repairing tooth marks

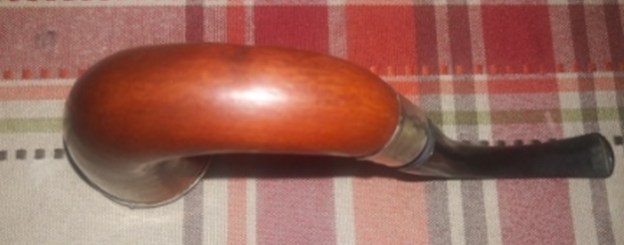
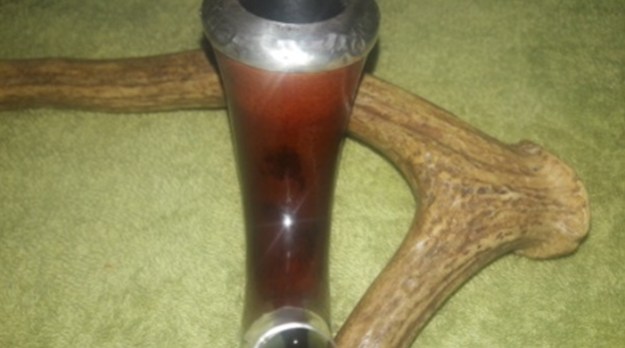
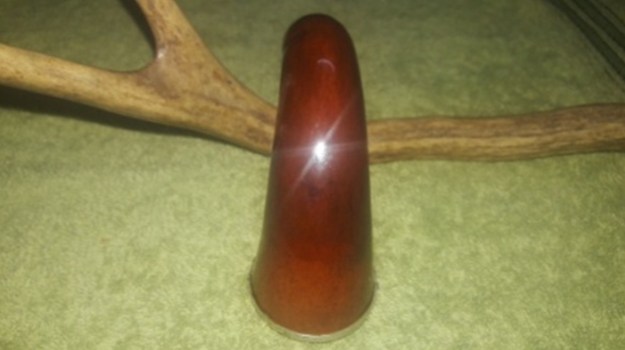
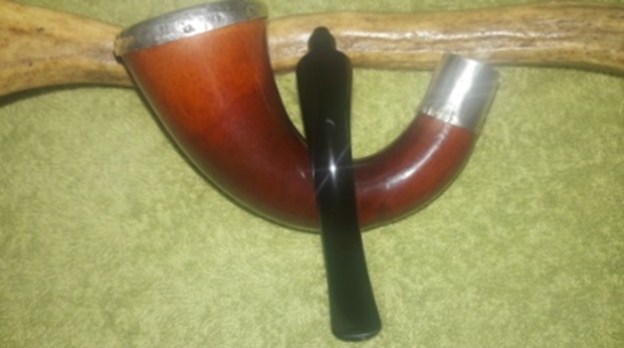
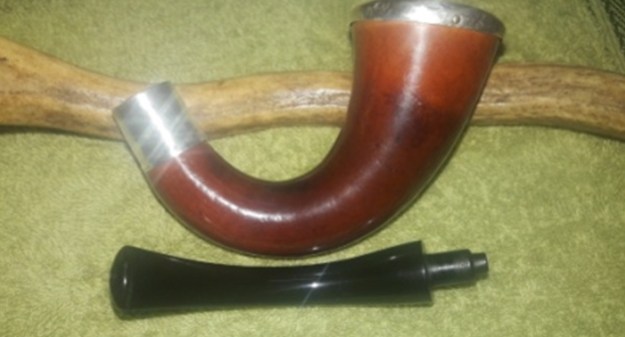
Back To Inherited Pipes And Restoring A 1912 W H Gourd Calabash


Blog by Paresh Deshpande

It’s been a while since I have worked on one of my inherited pipes as I have been busy with pipes from the estate pipe lots that have reached me from various sellers. Though these pipes had been fun to work on, I, at times, have a desire to work on inherited pipes.

The next pipe that has caught my attention is a gourd calabash and the only one to date, which was in one of the three very large boxes of pipes that I have inherited. Working on these old pipes is what I love the most because of the intrinsic connection I have with these pipes and the fact that once I pass away, these will be passed on to my kids as remembrance that their father had worked on restoring each of these vintage and priceless collection of pipes.

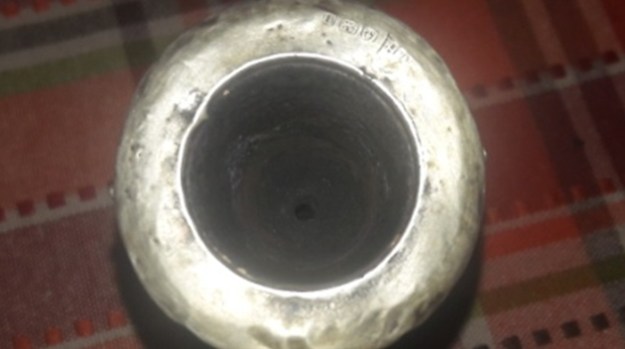
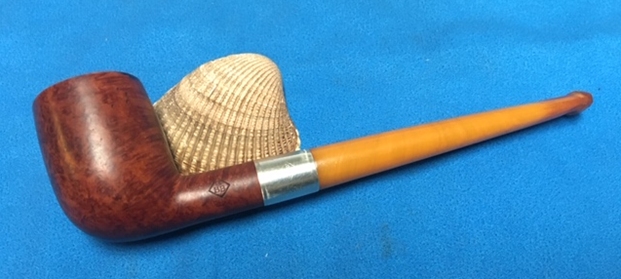
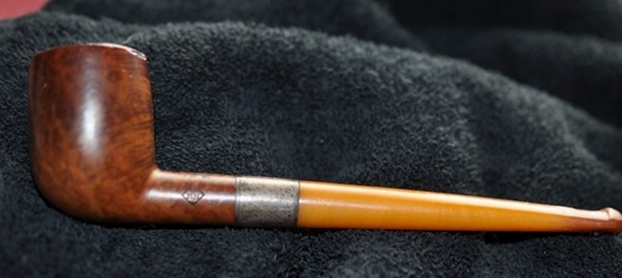
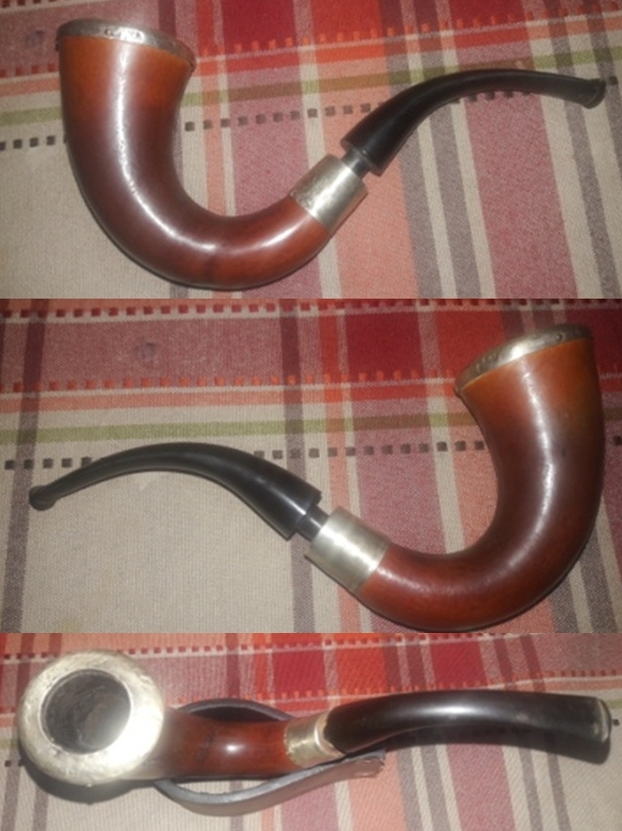
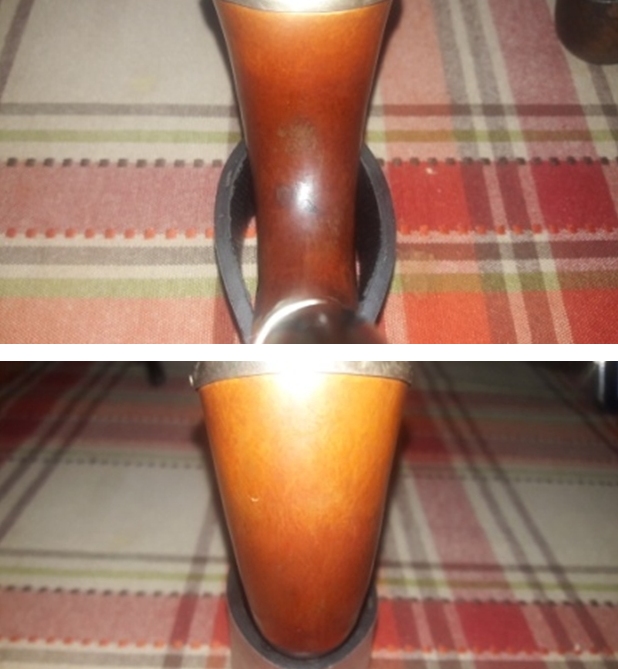
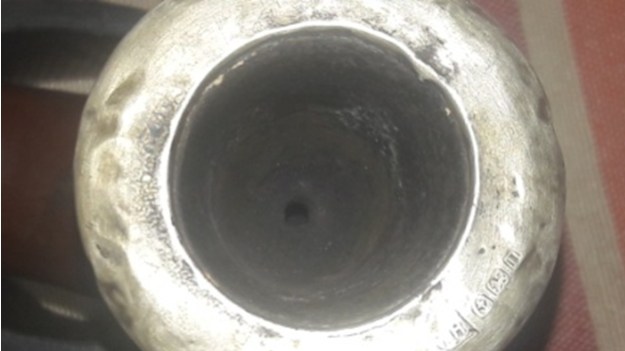
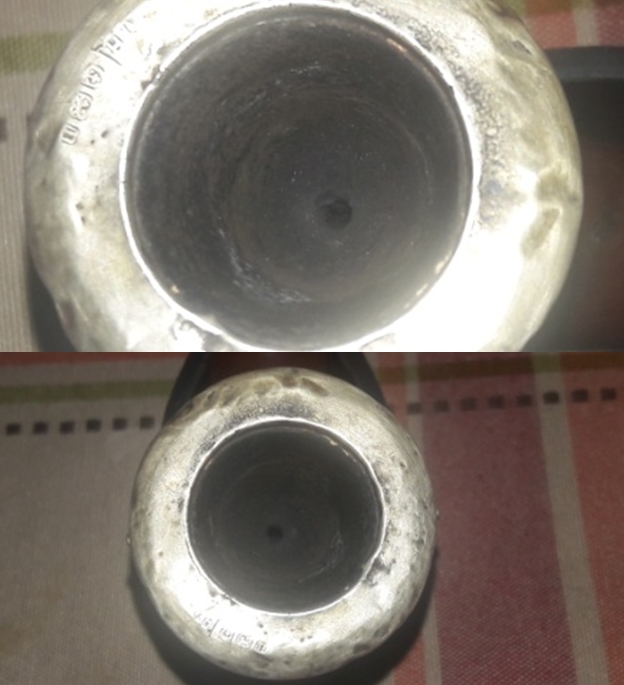
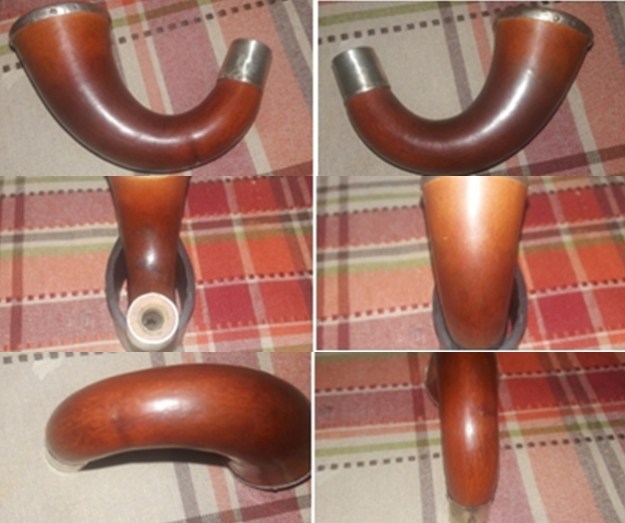
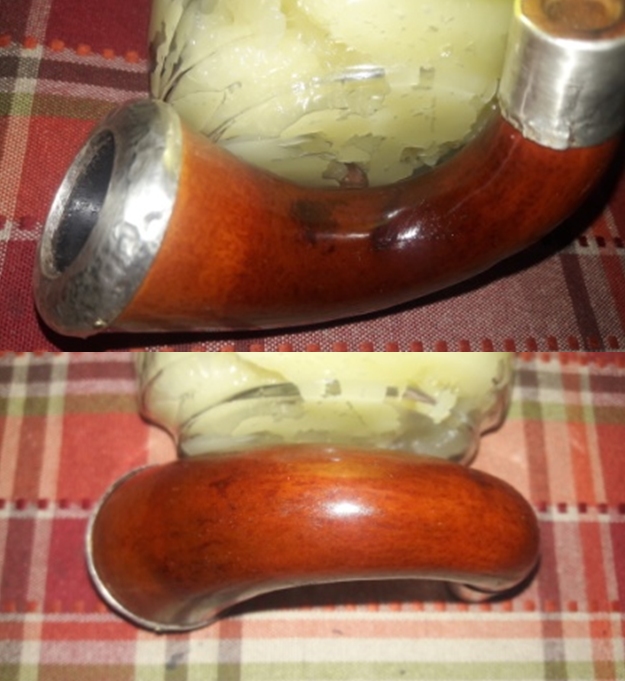
This gourd calabash is not very large in size, but big enough to have a great feel in the hand. The gourd has colored beautifully and has taken on a nice deep reddish brown color. The bowl sits flush with the gourd top and is covered in a Sterling Silver cap that is stamped as “W. H.” in a semi-circle followed by three sterling hallmarks, each in a cartouche. There is an anchor, a lion, and the lower case letter “n”. The anchor identifies the city of the manufacture of the silver to be Birmingham, England. The lion is the mark for 0.925 Sterling Silver and the letter “n” is the date stamp. A similar set of stampings are also seen on the sterling silver band at the shank end. The stampings are all crisp and prominent.The hallmarked sterling silver band and cap helps in the dating with great accuracy and the first site that I visit is www.silvercollection.it
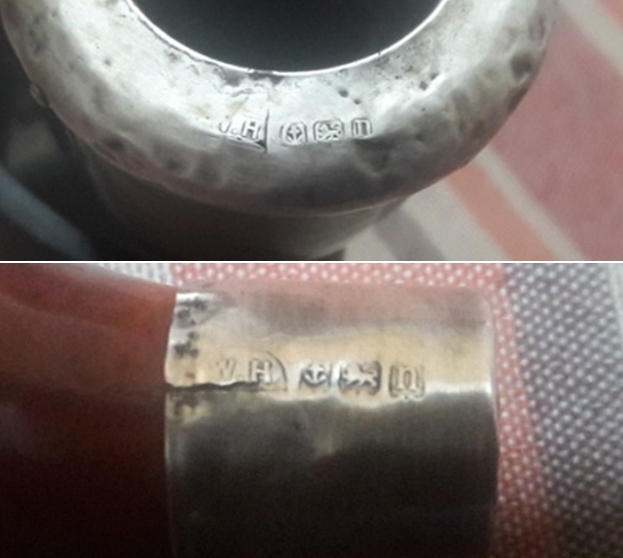
I browsed through the alphabetical listing of maker’s mark for W.H. in a semi circle and narrowed it down to William Harrison Active in London: various Harrison’s marks in Chester Assay Office were registered by Imperial Tobacco Co between 1907 and 1916. It is also known a fact that his marks are registered with the Birmingham Assay Office.Next I followed the link to the dating guide of the Birmingham Assay Office to date this pipe. I have included a hallmark chart for dating the pipe. I put a red rectangle around the letter for 1912. It is the same style of “n” and the cartouche that holds the letter stamp, matches the photo as well.Another source of information on William Harrison is reproduced below from the site  https://www.silvermakersmarks.co.uk/Makers/Chester-WD-WH.html#WH
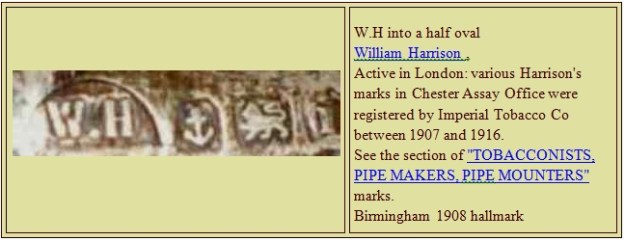


Thus, from the above, the pipe that I am now dealing with is from the tobacconist/ pipe maker/ pipe mounter William Harrison and dates to 1912!! This pipe is nearly 108 years old. With the provenance of the pipe now established, I move ahead with initial inspection of this old pipe.

Initial Visual Inspection
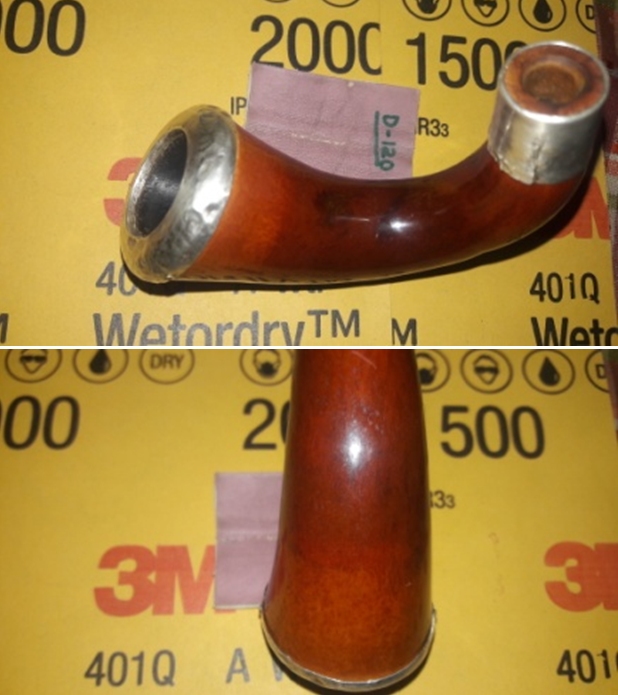
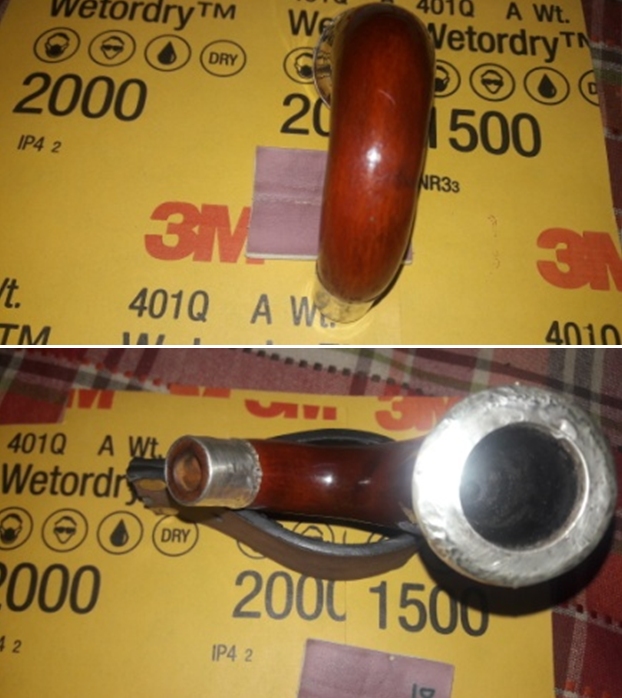
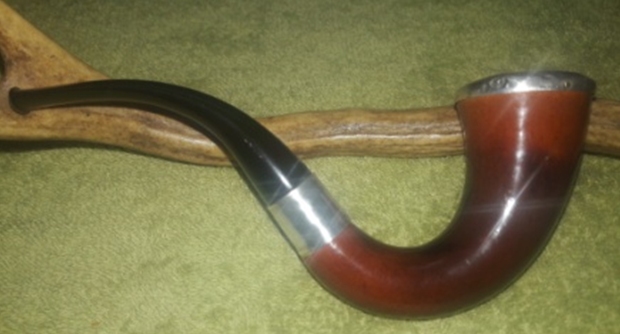
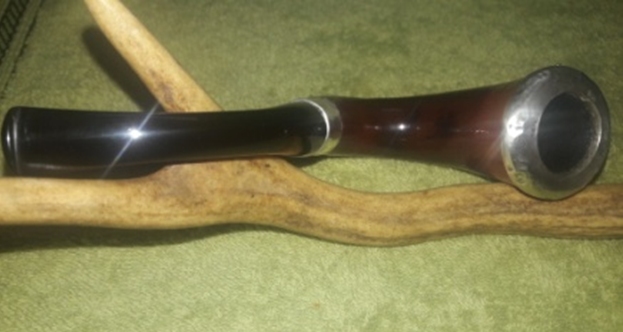
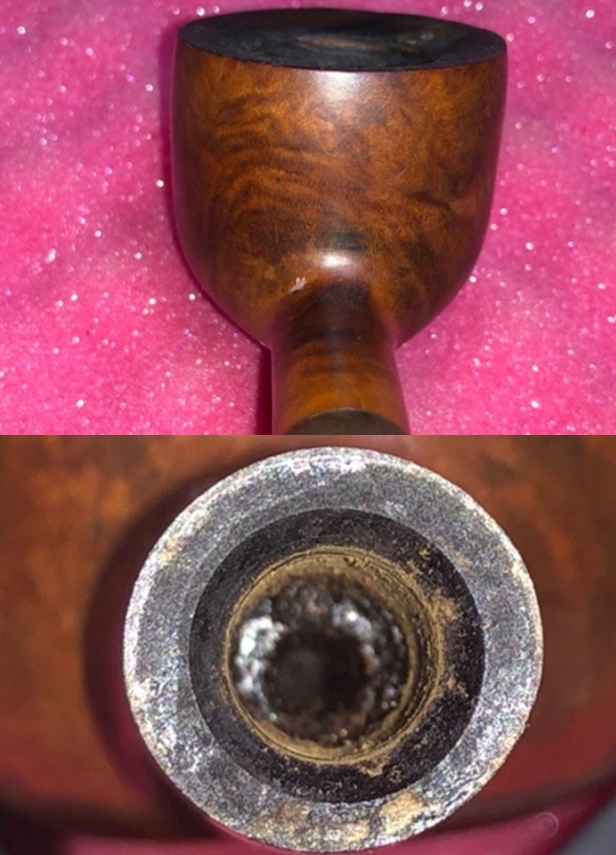
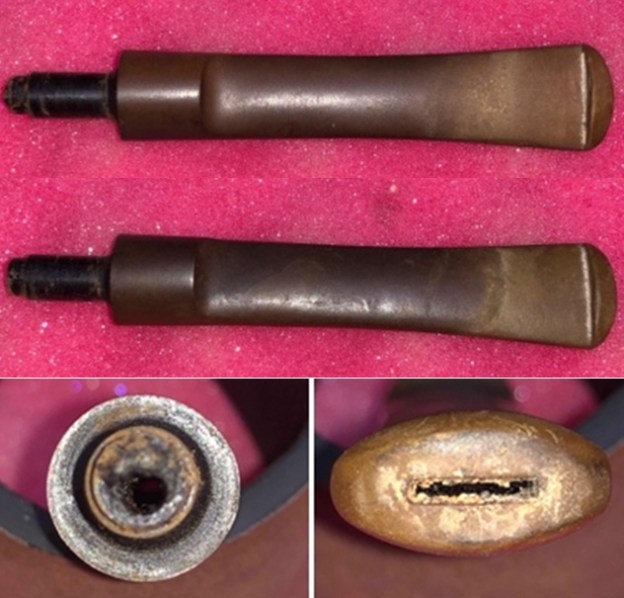
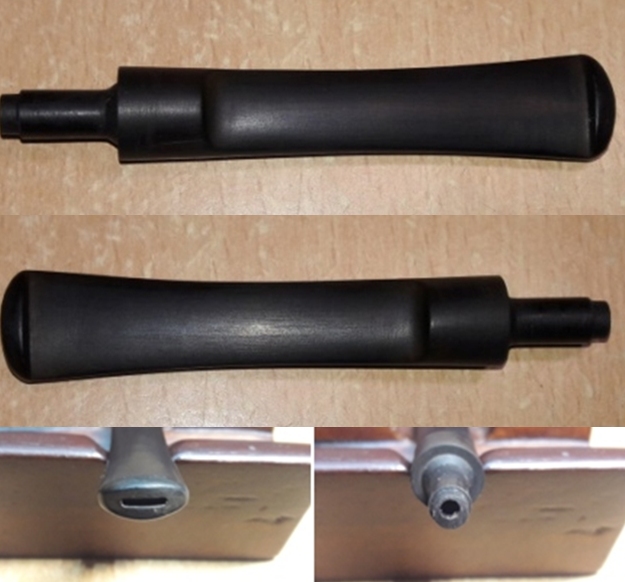
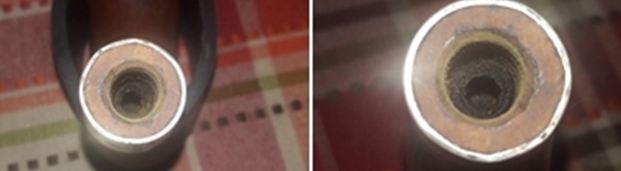
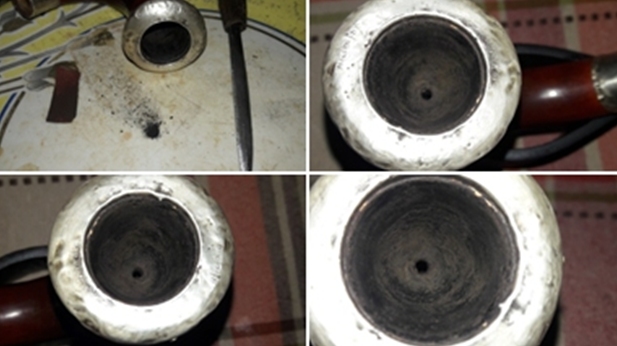
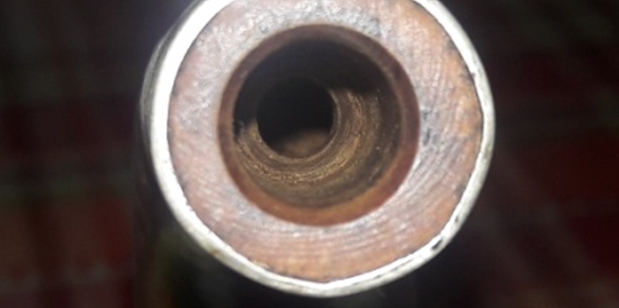
The pipe, as it sits on my work table, presents itself as a simple and straight forward refurbishing project. The gourd has developed a nice patina and taken on a deep red brown golden color. There is no damage to the gourd. This pipe should polish up nicely. The sterling silver rim cap and shank band have numerous dents and dings. A straight split to the silver shank band is seen on the right side. This split can be welded by my silversmith, but that can happen only after the lockdown and social distancing norms have relaxed somewhat. The vulcanite stem does not seat completely into the shank. This issue should be addressed once the mortise has been thoroughly cleaned. Here is how the pipe appears at this stage. The bowl on this calabash is flush with the gourd rim top. Native South African calabashes imported to the UK had bowl linings of gypsum pressed into the gourd. Since the rims of a gypsum bowls were somewhat inelegant, retailers fit them with sterling rim covers– a practice they continued even after they began to employ meerschaum for the bowl linings. Given the vintage of this pipe, the bowl could either be clay or gypsum or even a meerschaum. There is a decent layer of dried and crusted cake in the chamber. The draught hole is at the bottom, dead center and somewhat constricted by the cake. The bowl is held in place by a Sterling Silver rim cap that is riveted in to the gourd and unmovable without damaging the gourd. The sterling rim cap is tarnished and has numerous dents and dings and a light overflow of lava over the surface. The stampings on the rim cap are crisp and easily readable but with the beginnings of wearing off at the ends. I need to be careful with my polishing of the sterling cap. The gourd surface has beautiful color and it will be my endeavor to preserve the patina that has developed on the surface due to smoking. The surface is covered in old oils, tars, grime and dirt from all these years. There is no damage to the gourd surface and that’s a big relief. This piece of gourd will look stunningly beautiful and rich once it has been cleaned and polished. The bowl is fixed to the gourd with sterling rim cap and is riveted in place. These rivets have a little play but still have many years of careful use ahead. The mortise and the gourd internals are filthy to say the least and no surprises here. Heavy accumulation of oils, tars and grime are seen within the mortise and also within the gourd. This is adversely affecting the seating of the stem in to the mortise. Cleaning the internals of a calabash is always challenging and this one more so, as the bowl is permanently fixed to the gourd.The tapered vulcanite stem is heavily oxidized. Deep tooth indentations are seen in the bite zone on either surfaces of the stem. The round orifice is correct for the vintage of this pipe and shows accumulated oils and tars. The button edges need to be sharpened. The tenon is also covered in oils, tars and grime. The air way is clogged and will need to be cleaned. The Process
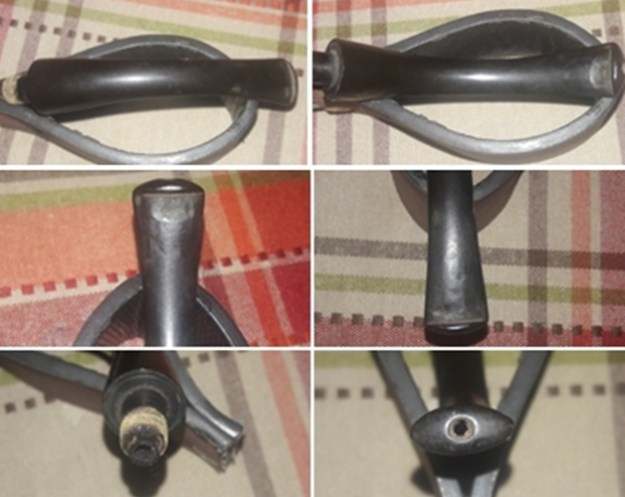
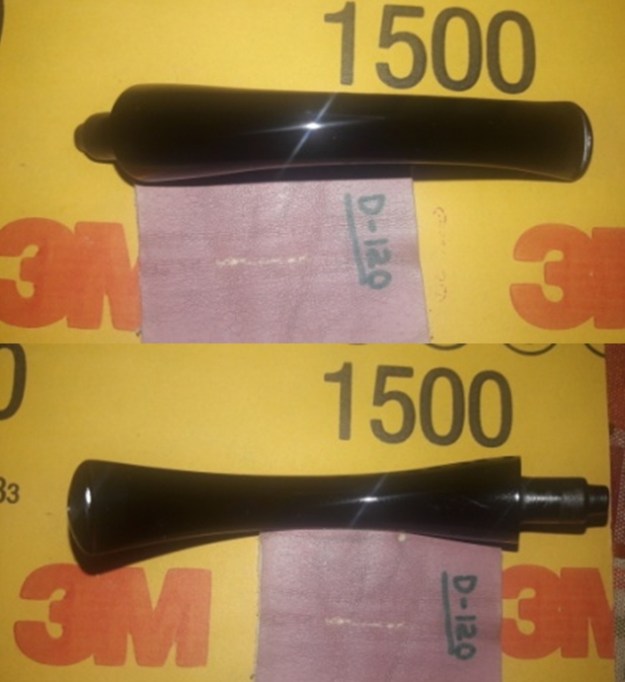
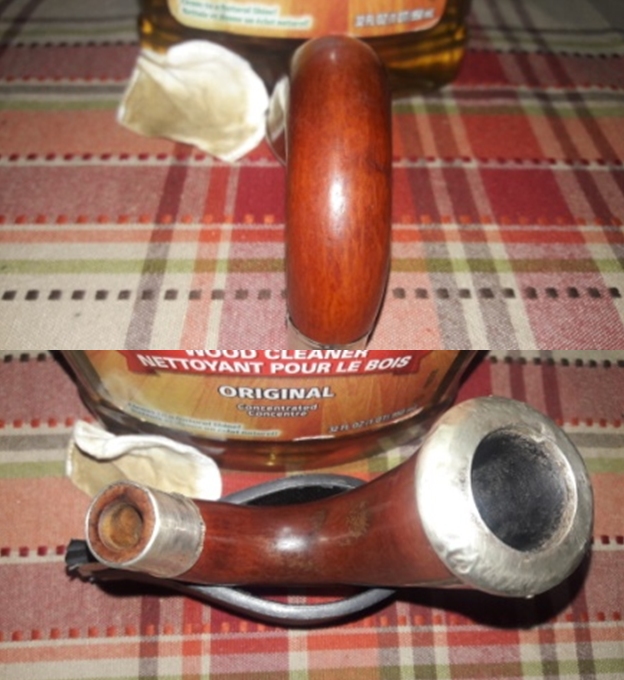
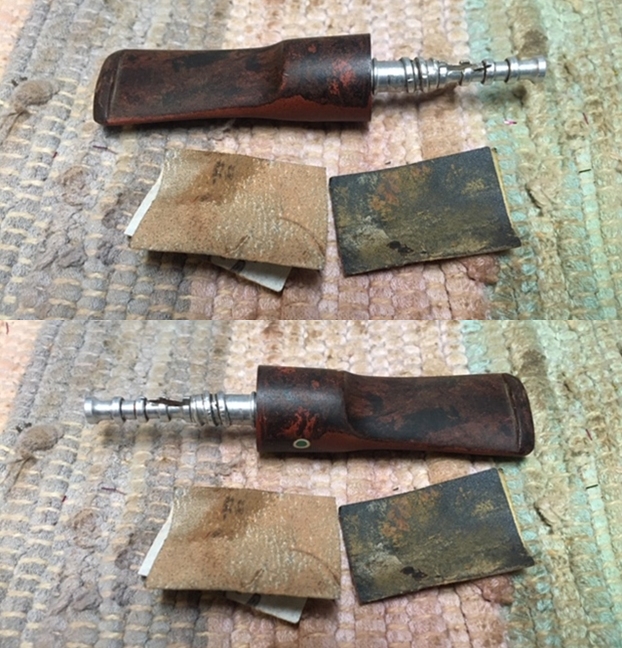
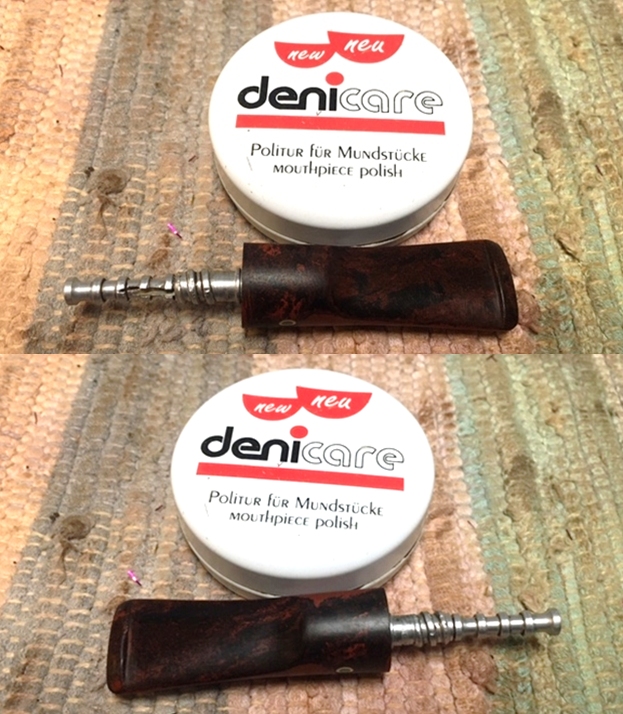
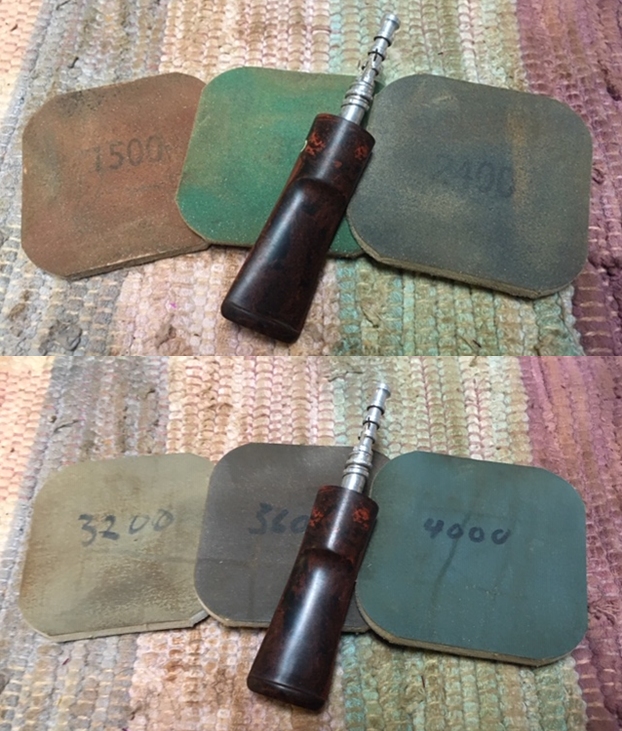
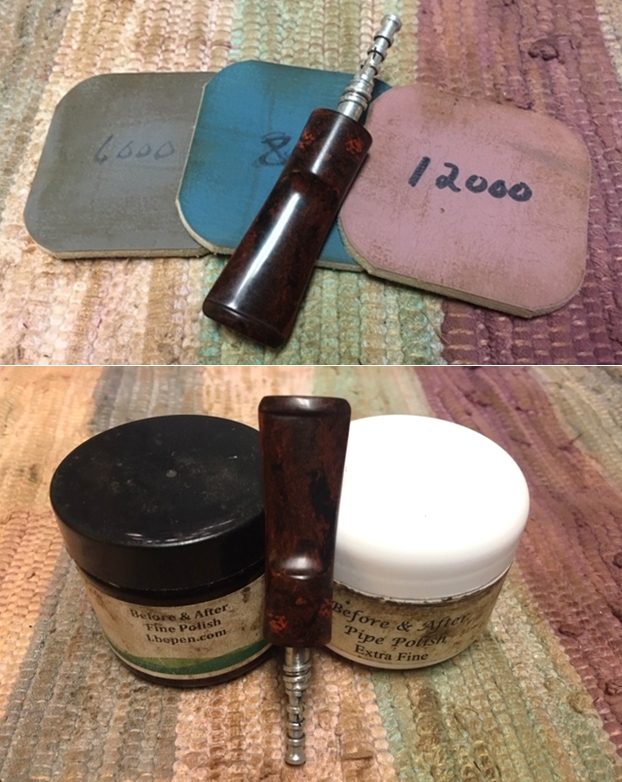
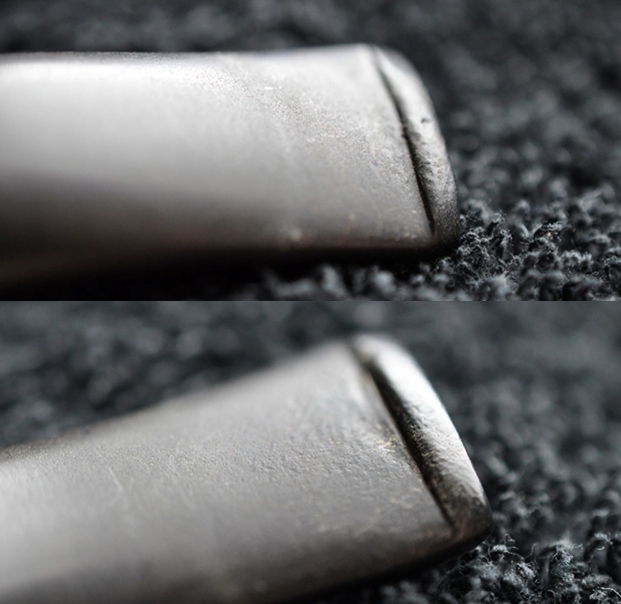
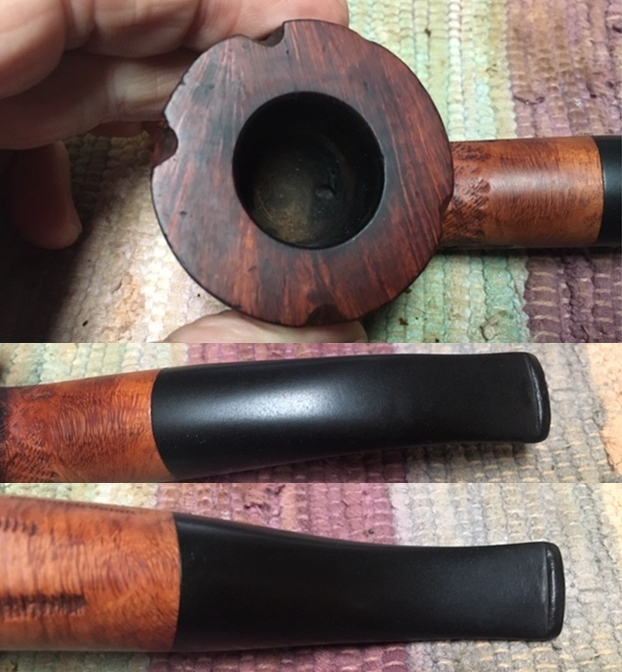
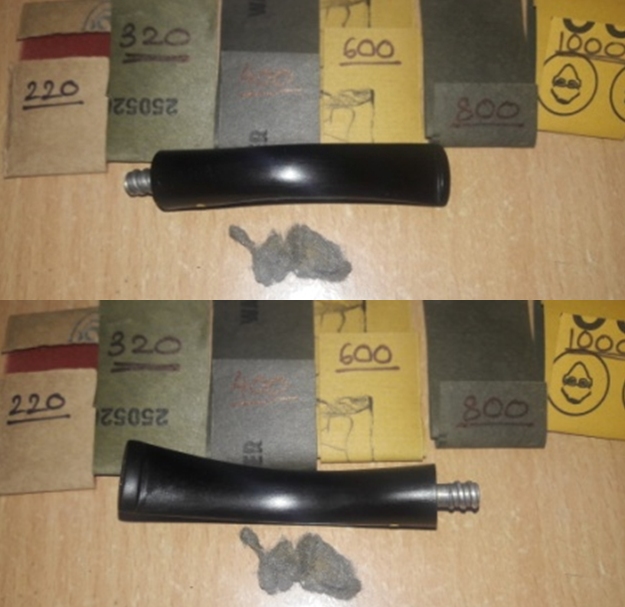
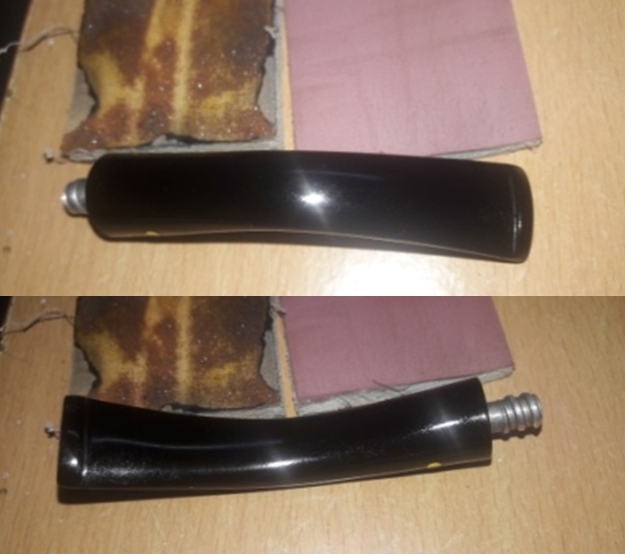
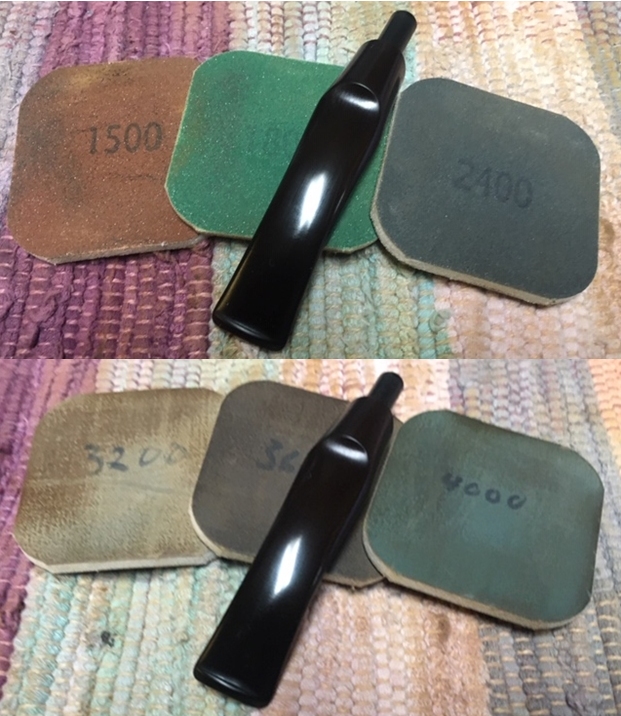
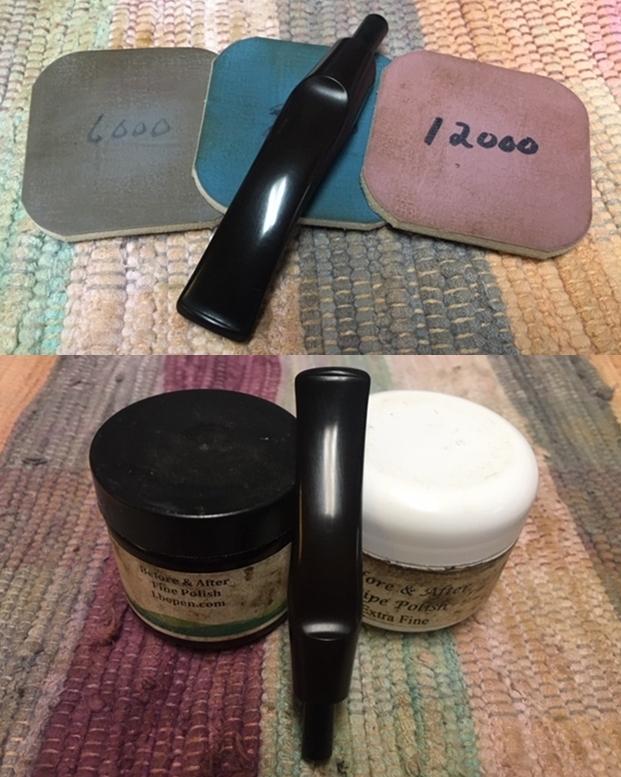
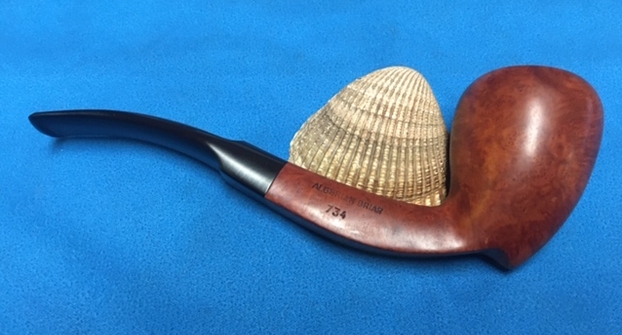
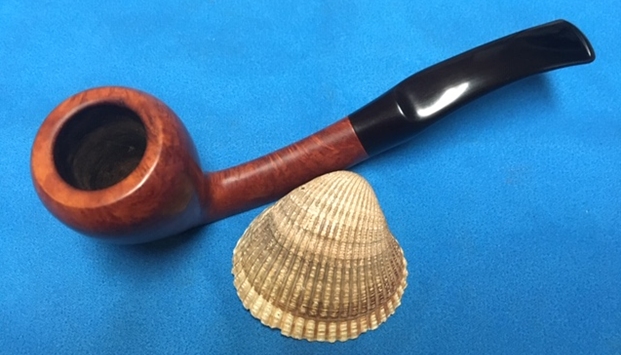
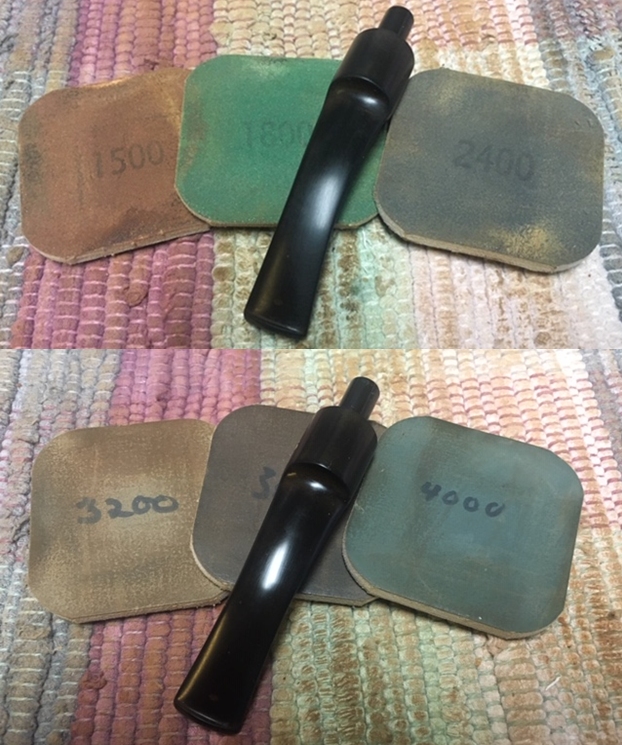
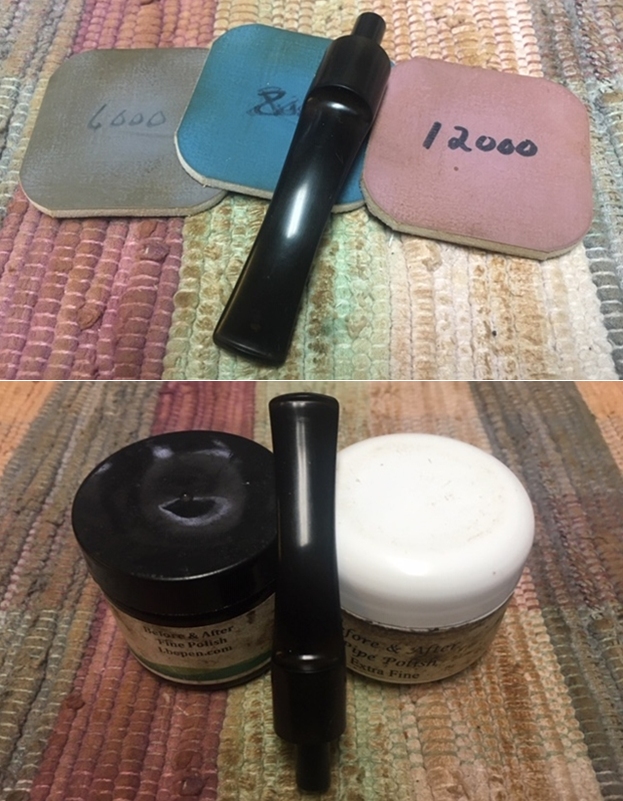
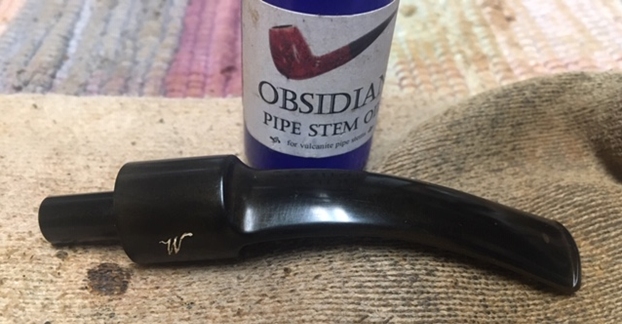
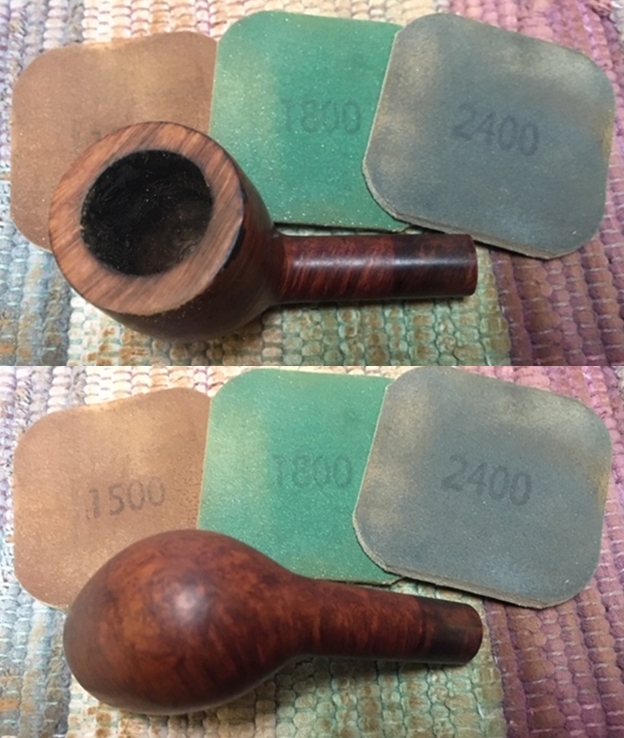
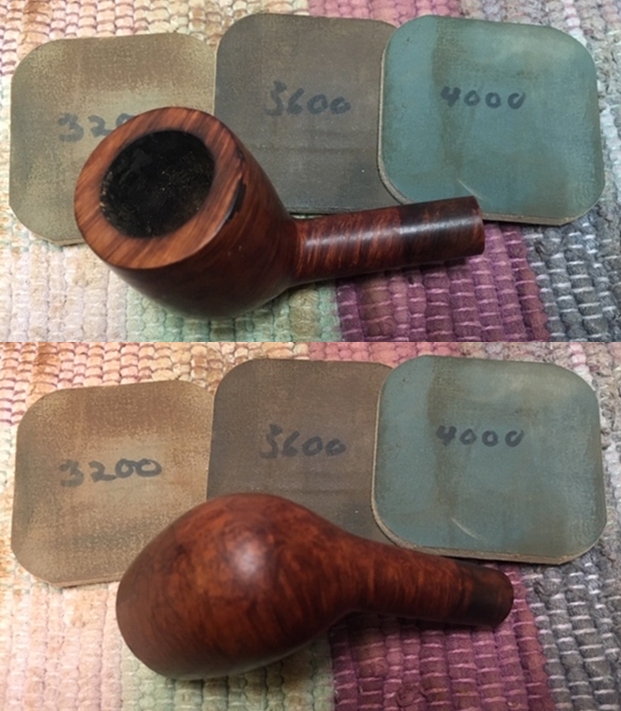
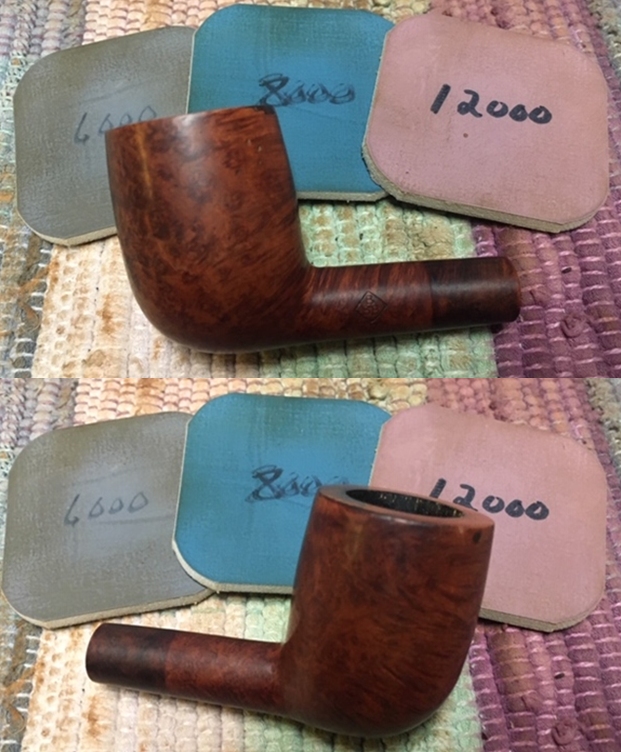
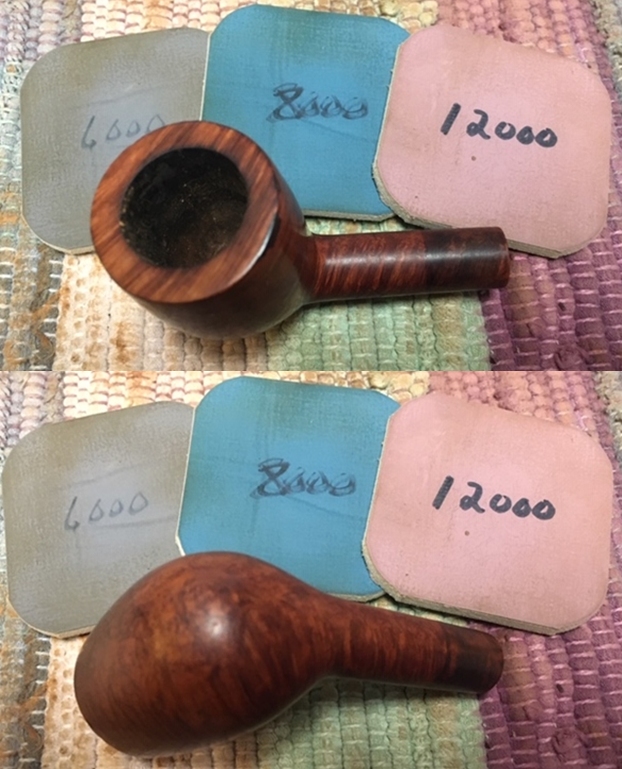
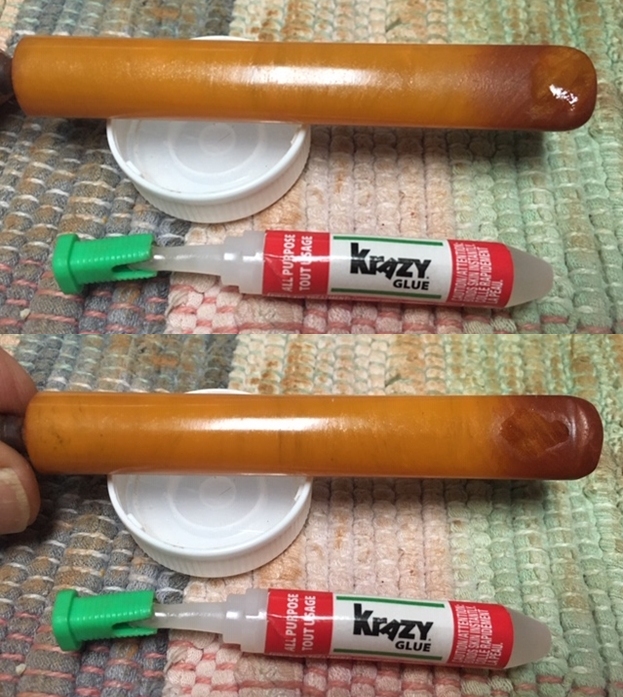
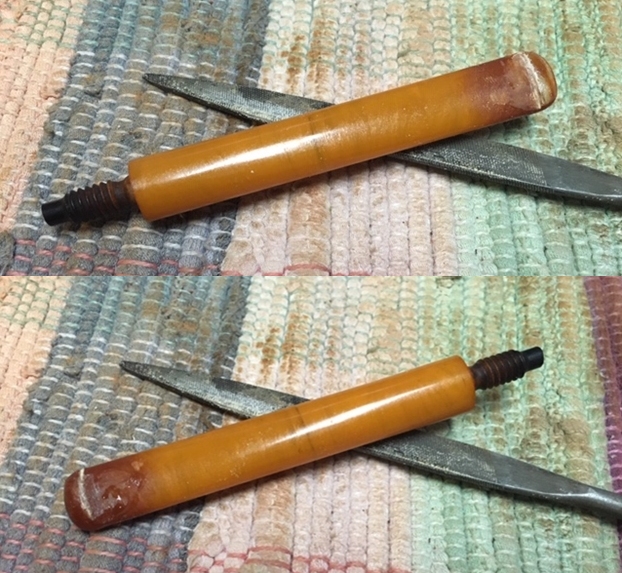
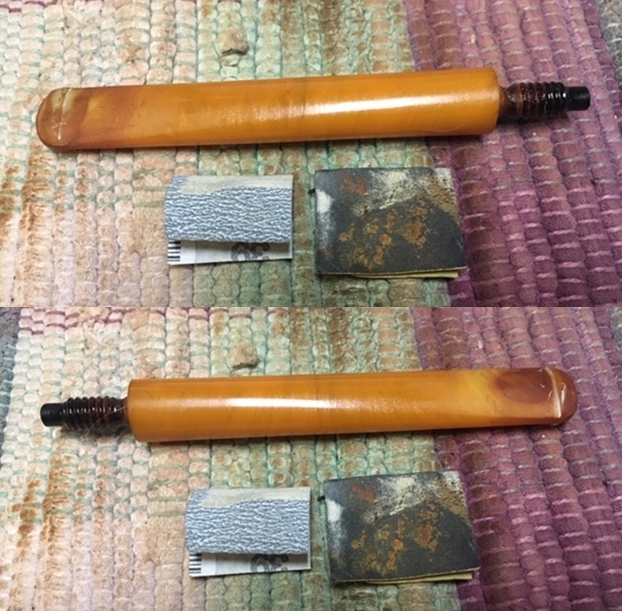
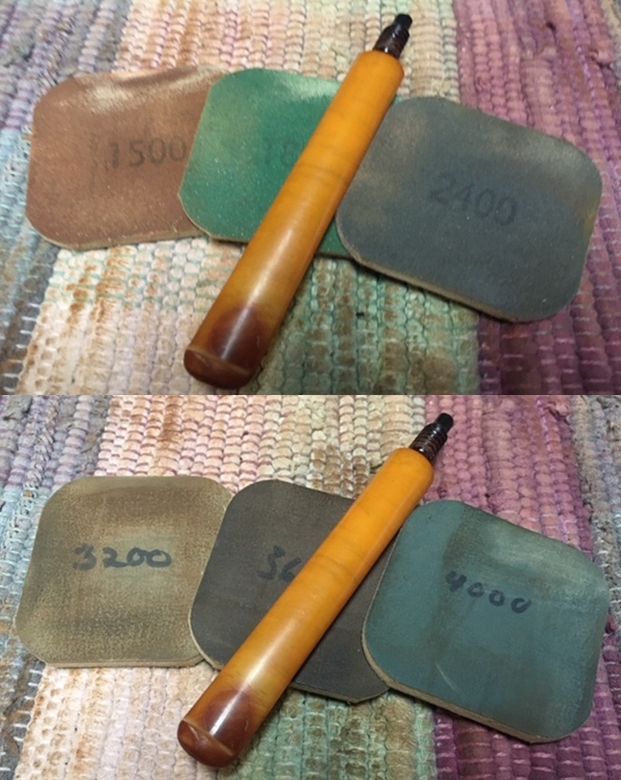
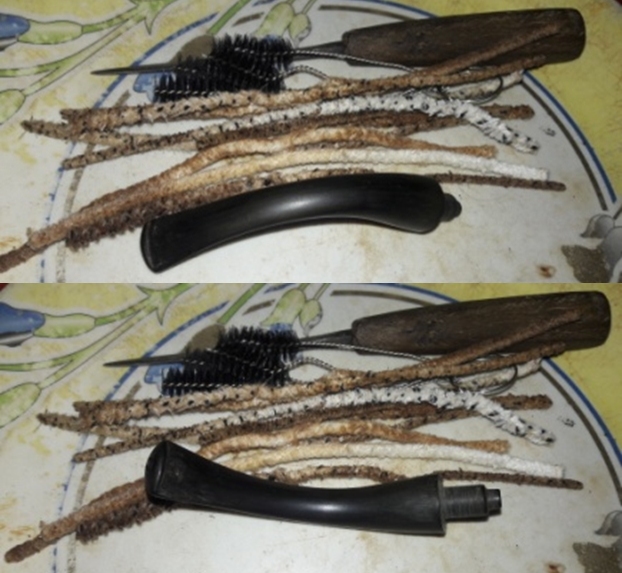
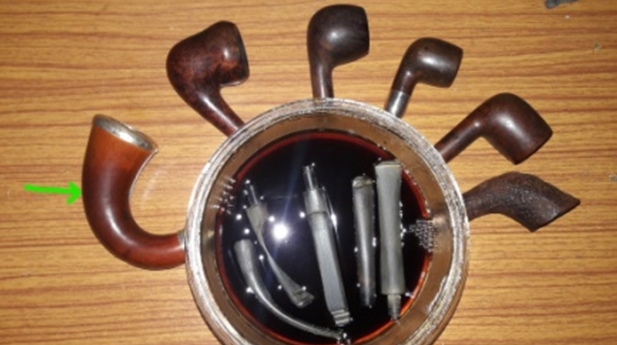
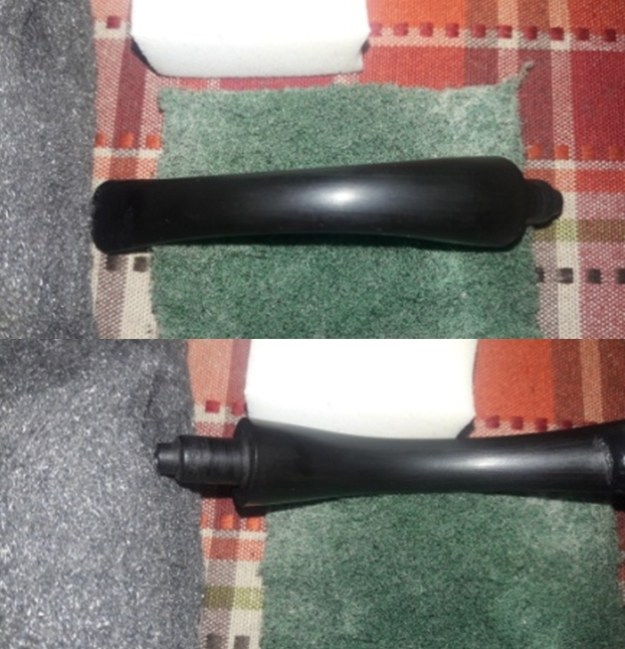
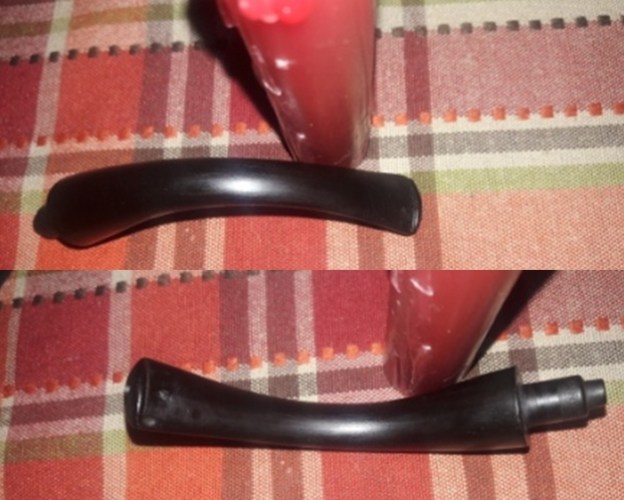
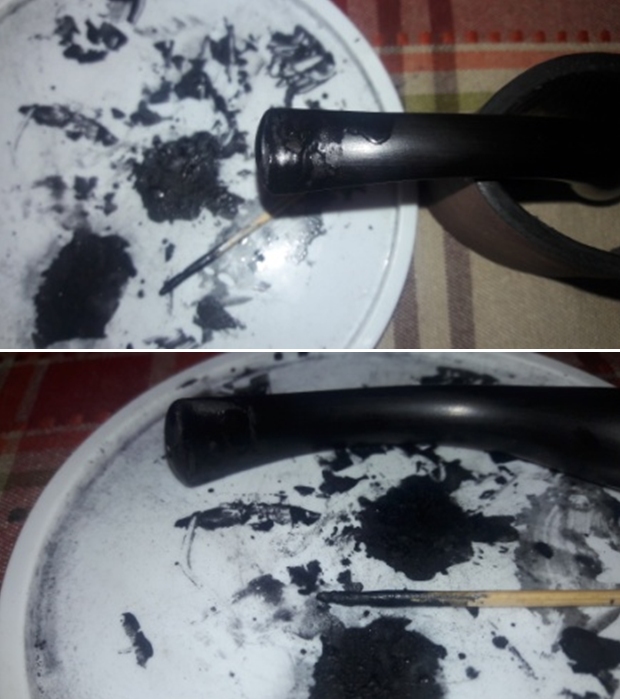
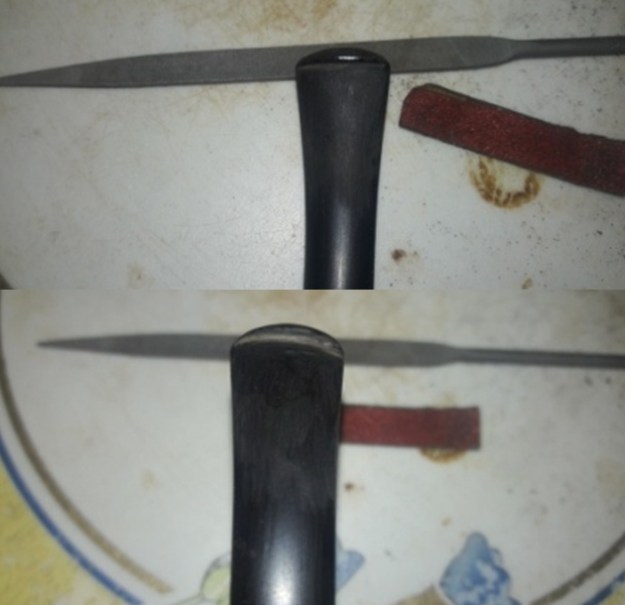
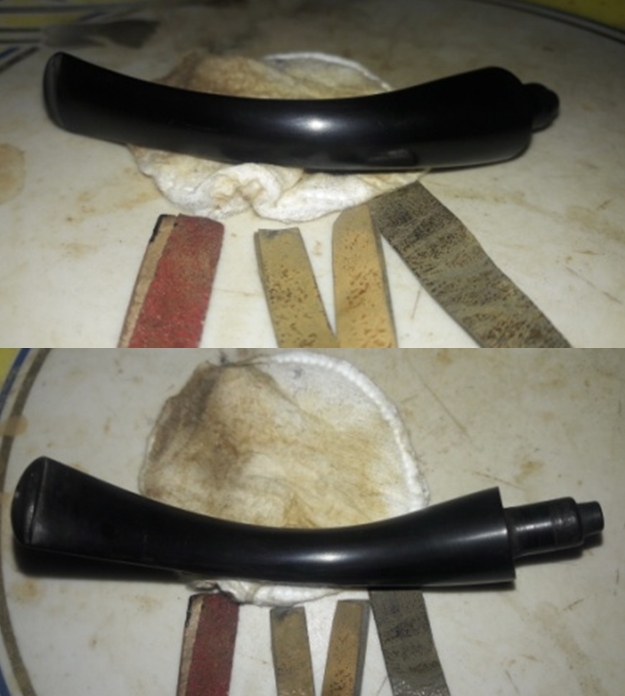
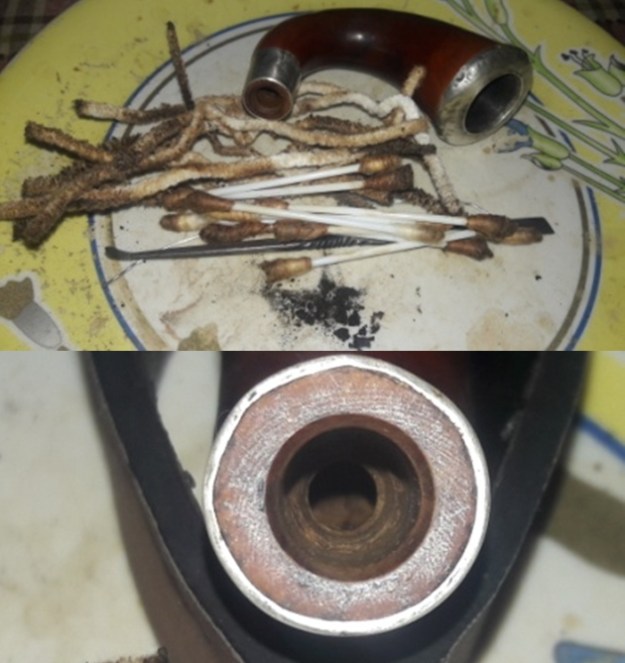
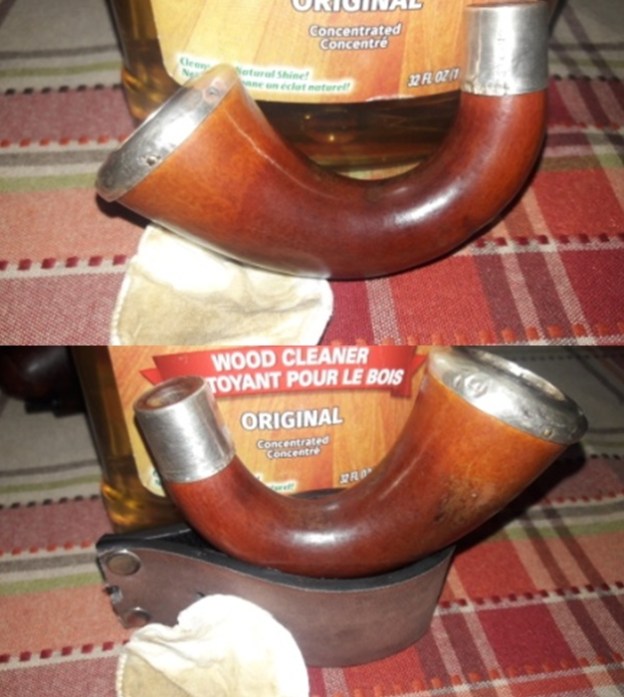
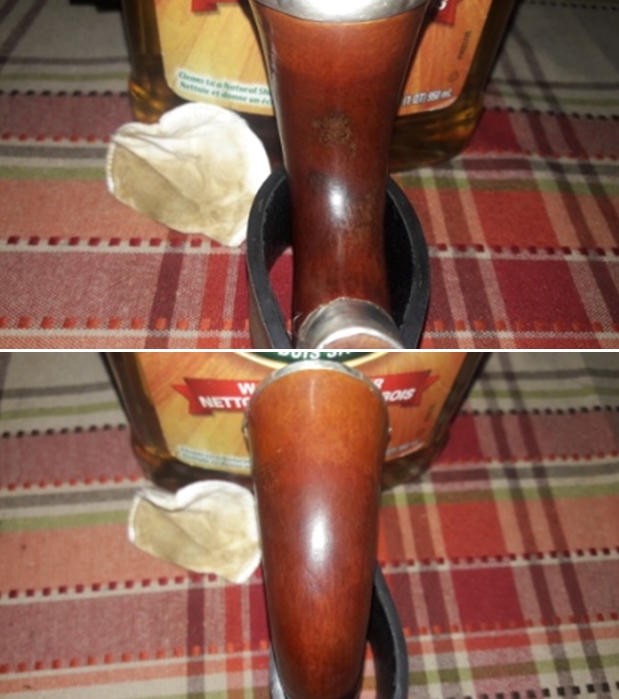
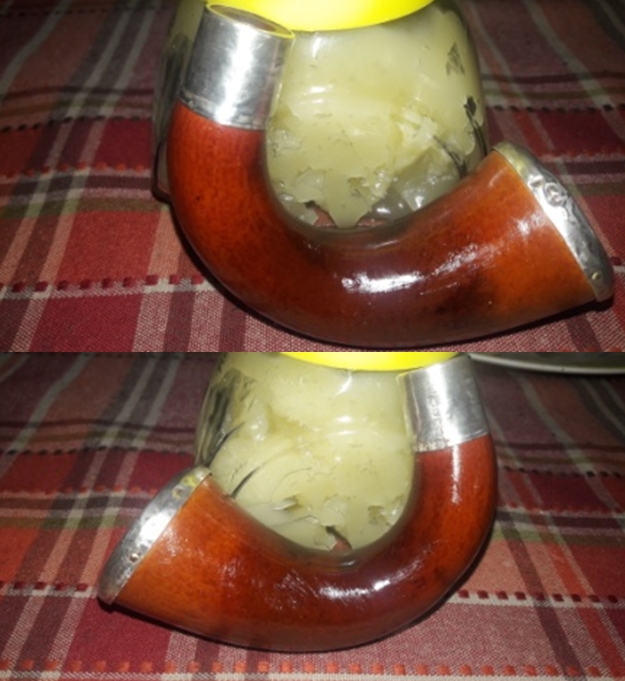
The process of refurbishing this pipe started with the cleaning of the stem. Abha, my wife, cleaned the stem air way with regular and bristled pipe cleaners dipped in 99.9% pure isopropyl alcohol. She further cleaned the stem internals with thin shank brushes and dish soap to remove the stubborn and thick gunk from within the airway. The heap of pipe cleaners and their appearance tells a sordid story. With my sharp fabricated knife, she scraped off all the dried tars and gunk from the tenon end.Once the stem internals had been cleaned, I gently sand the stem surface with a used piece of 220 grit sand paper and immersed it in “Before and After Deoxidizer” solution along with the stem of other pipes in line for restoration. It has been our experience that before immersing the stem in to the stem deoxidizer, light sanding of the stem with a folded piece of 220 grit sand paper loosens the oxidation a bit and helps get fantastic end results.Simultaneously while Abha was working on the stem, I reamed the bowl with my fabricated knife to clean up the chamber. I used a 220 grit sand paper, pinched between my thumb and forefinger, to sand the inner walls of the chamber of the pipe. Once I had reached the bare walls, I wiped the chamber with a cotton pad dipped in isopropyl alcohol. This removed all the residual carbon dust and also rid the chamber of all ghost smells. The walls of the chamber are nice and solid with no signs of heat fissures or cracks. I ran a couple of hard bristled pipe cleaners dipped in isopropyl alcohol through the draught hole and thoroughly cleaned it.The next morning, Abha removed the stems that had been soaking in the deoxidizer solution overnight. She cleaned the stem under running warm water and scrubbed the raised oxidation from the stem surface using a Scotch Brite pad. She further removed the oxidation by scrubbing the stem with 0000 grade steel wool and applied a little olive oil to rehydrate the stem.The deep tooth indentations are now clearly visible and I decided to address these issues at this stage. Since I did not have a lighter (I generally prefer to use it for this purpose), I used a lit candle instead. The result is equally good; however, one has to be doubly careful as the heat from a candle flame is more intense as compared to a lighter. These tooth indentations were raised to the surface to some extent due to the heating; however, it would require a fill to complete the repairs.I prepared a mix of CA superglue and activated charcoal and carefully applied it over the damaged bite zone on both surfaces and lip and set it aside for curing over night. I had applied this mix in sufficient thickness which would help during the filing and sanding to match the fills with the stem surface and shaping the button.Using a flat head needle file, I reshaped the button and followed it up by sanding the stem with a folded piece of 220 grit sand papers. I followed it up by further sanding the stem with 320, 600 and 800 grit sand papers. Once I was satisfied that the fills had perfectly matched with the rest of the stem surface, using micromesh pads, I completed the polishing cycle by wet sanding the surface with 1500 and 2000 grit sand papers and further dry sanding with 3200 to 12000 grit pads. The stem looks great with the fills nicely matched with the rest of the surface. I rub a little quantity of Extra Virgin Olive oil into the stem surface. While I was working on the stem repairs and subsequent polishing, Abha cleaned out the mortise and gourd internals using pipe cleaners, q-tips and alcohol. She scraped out the accumulated dried oils, tars and gunk from the mortise using fabricated tool. The mortise was finally declared clean by Abha after a few hours and lots of elbow grease, the pile of pipe cleaners and the chunks of grime removed from the mortise are a standing testimony to the filth in the pipe. The pipe now smells clean and fresh. At this point in time, the internal cleaning of the stem, mortise and gourd is completed. The stem repairs and polishing is also completed. Next I decided to clean and polish the gourd. I cleaned the external surface of the gourd with Murphy’s Oil soap on cotton swabs. I wiped the surface with a moist cloth and set the gourd aside to dry out completely. After the gourd had dried out, I polished the gourd surface with micromesh pads. There was a small twist though! The 1500 to 2400 grit micromesh pads in the set that were left behind at home (remember that my home and work place are at different corners of the country!) have completely worn down. Since most of my material and equipment that I use for pipe restoration is at my work place, I substituted the 1500 to 2400 grit pads with 1500 and 2000 grit wet or dry sand paper. I find that these work just fine. I wanted to preserve the patina and deep coloration that has developed on the gourd surface, I dry sand the stummel surface with 1500 (sand paper) to 12000 grit micromesh pads. This is starting to look really nice. With Colgate tooth powder, I cleaned the sterling silver rim cap and shank band to a nice shine and yes, I avoided rubbing the powder over the stampings and hallmarks to prevent them from wearing down.Next, I rub a small quantity of “Before and After Restoration Balm” in to the gourd with my finger tips and let it rest for a few minutes. The balm almost immediately works its magic and the gourd now has a nice vibrant appearance with the beautiful darkened colors on full display. I further buff it with a horse hair shoe brush. To apply the finishing touches, I mount a cotton cloth buffing wheel on to my hand held rotary tool and apply a coat of Blue Diamond to the stummel and the stem to polish out the minor scratches. With a cotton buffing wheel that I use for carnauba wax, I apply a coat of carnauba wax and continue to work on it till the complete coat of wax had been polished out. I mount a clean cotton cloth buffing wheel and give the entire pipe a once over buff. I finish the restoration by giving the entire pipe a rigorous hand buffing using a microfiber cloth to raise the shine further. The finished pipe looks beautiful and is ready to be added to my restored pipe collection. When, or if at all I will, smoke this pipe only time will tell!! Here are the pictures of the refurbished pipe.
A Rusticated Savinelli Oscar 127 Saddle Stem Billiard


Blog by Steve Laug

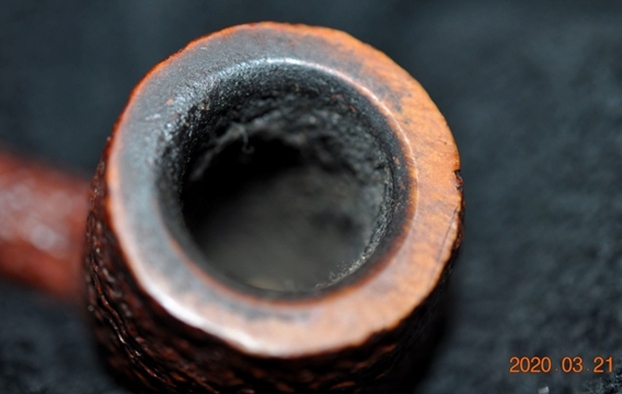
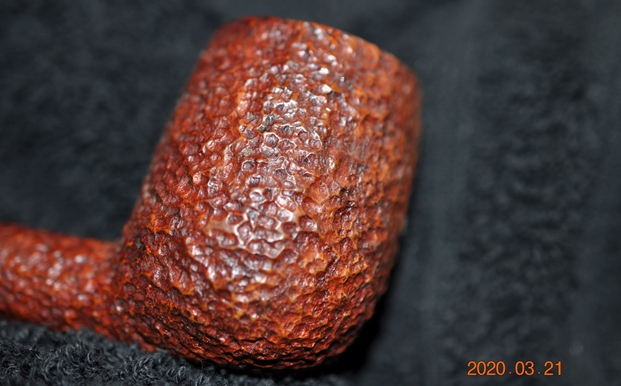
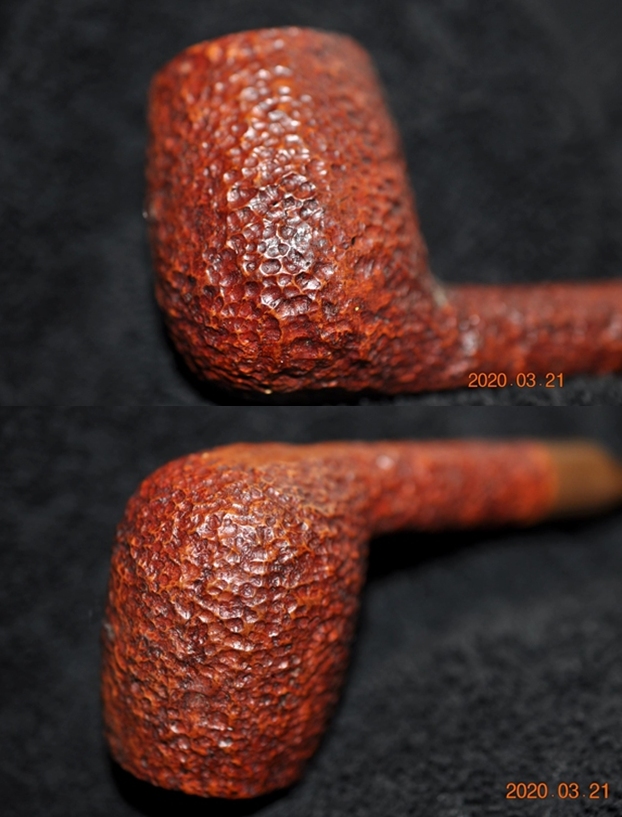
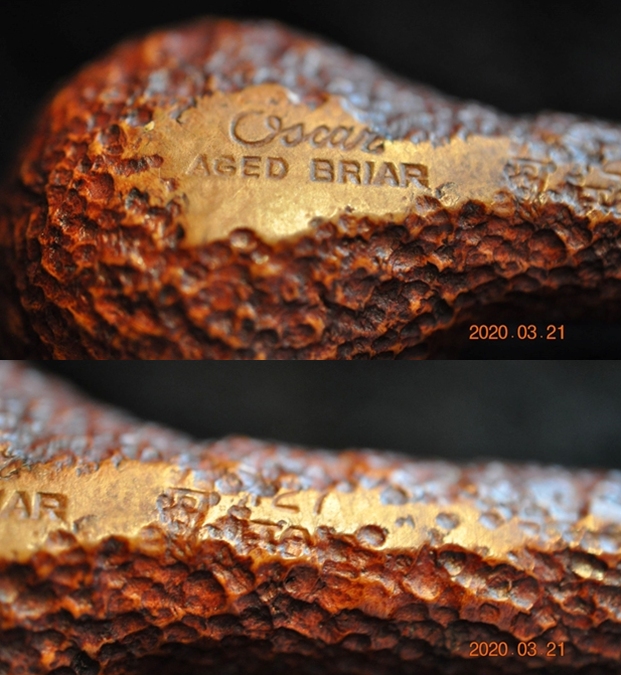
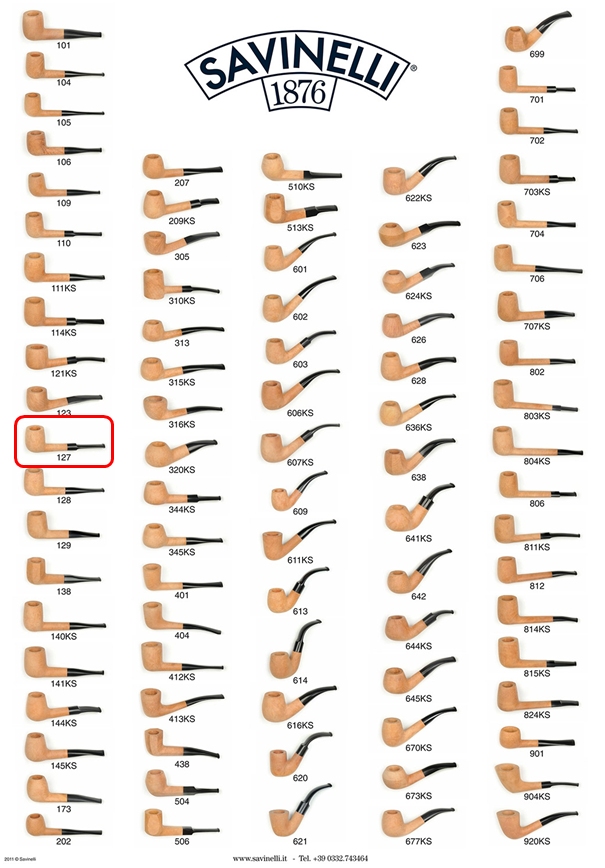
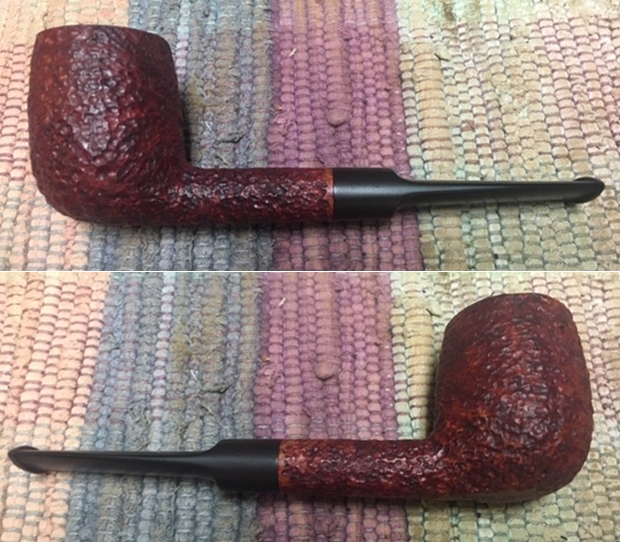
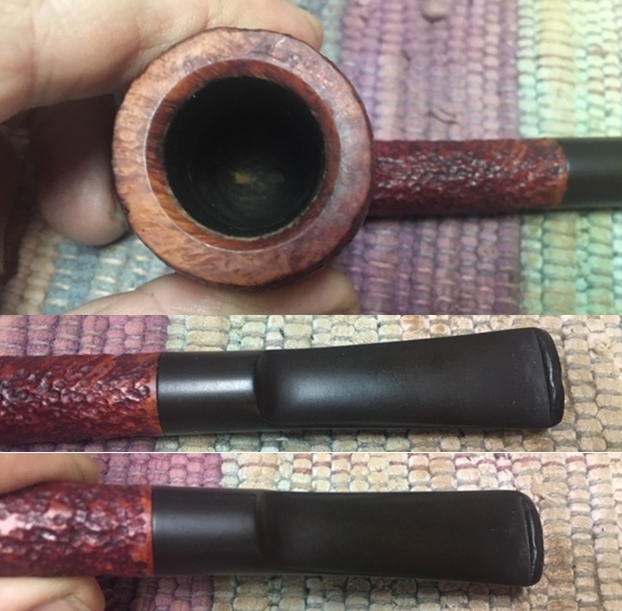
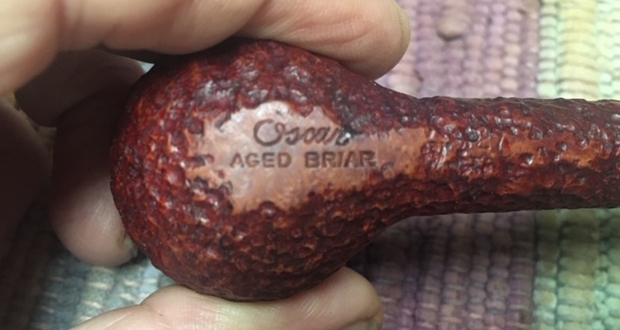
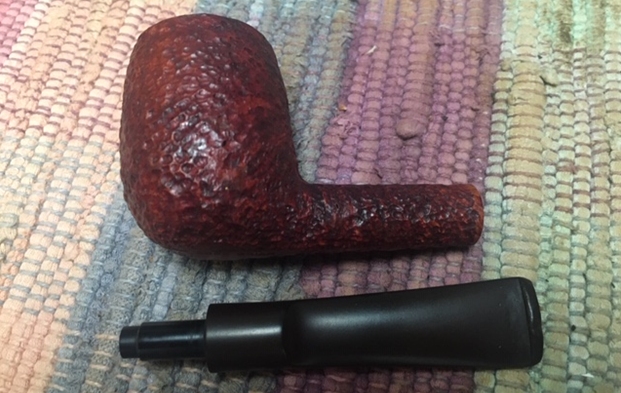
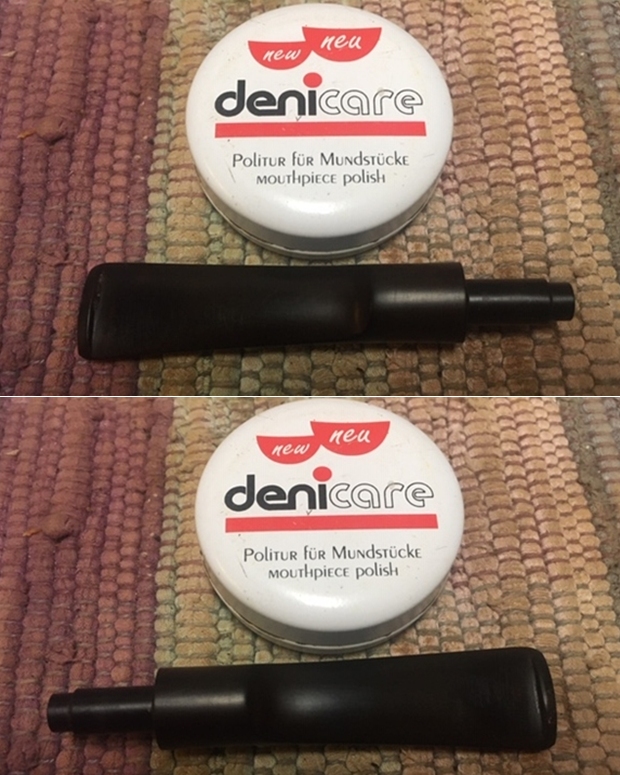
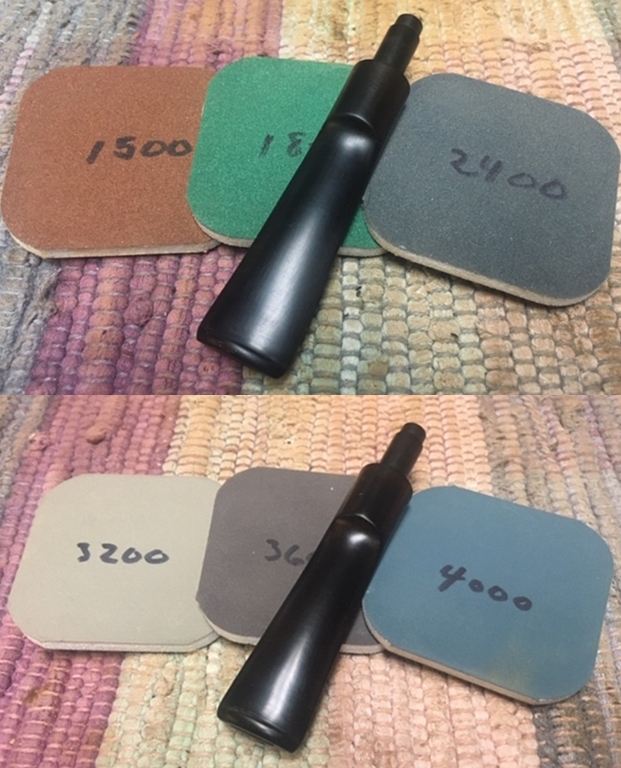
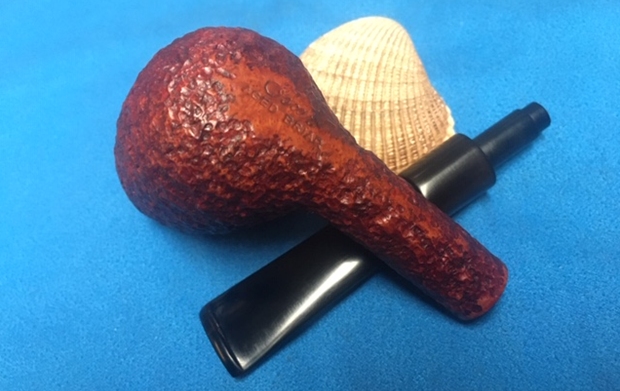
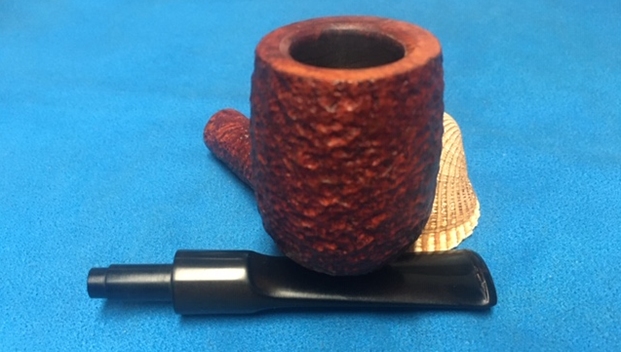
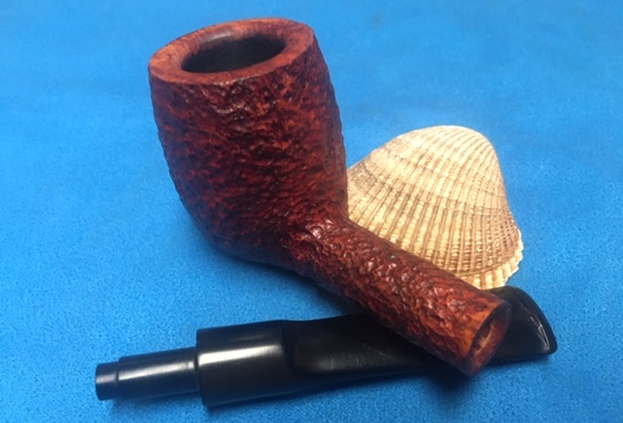
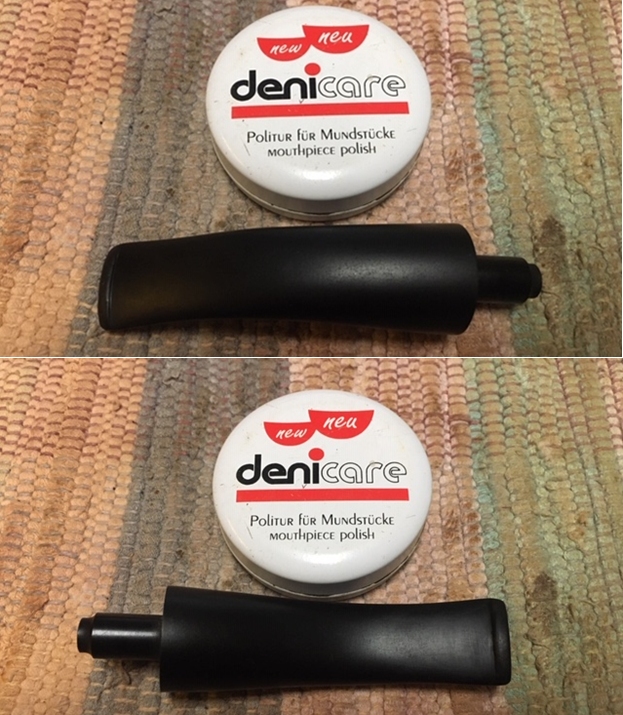
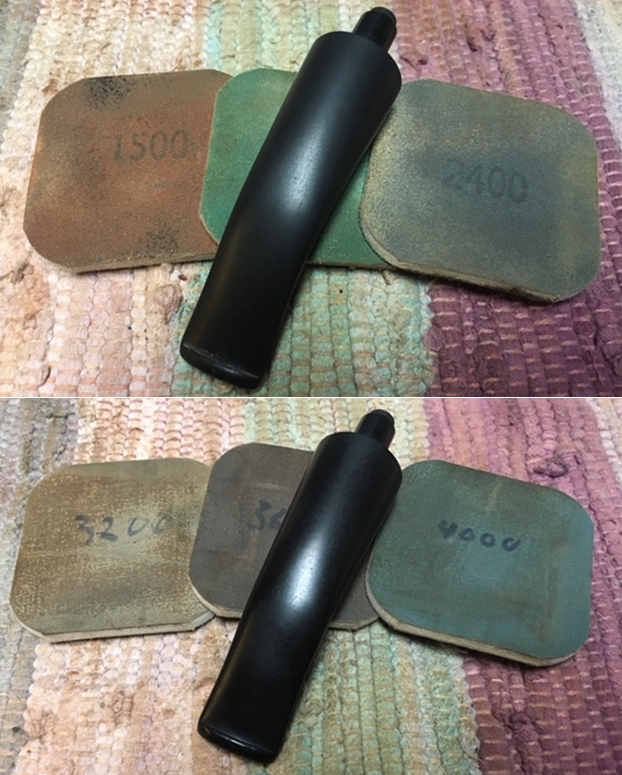
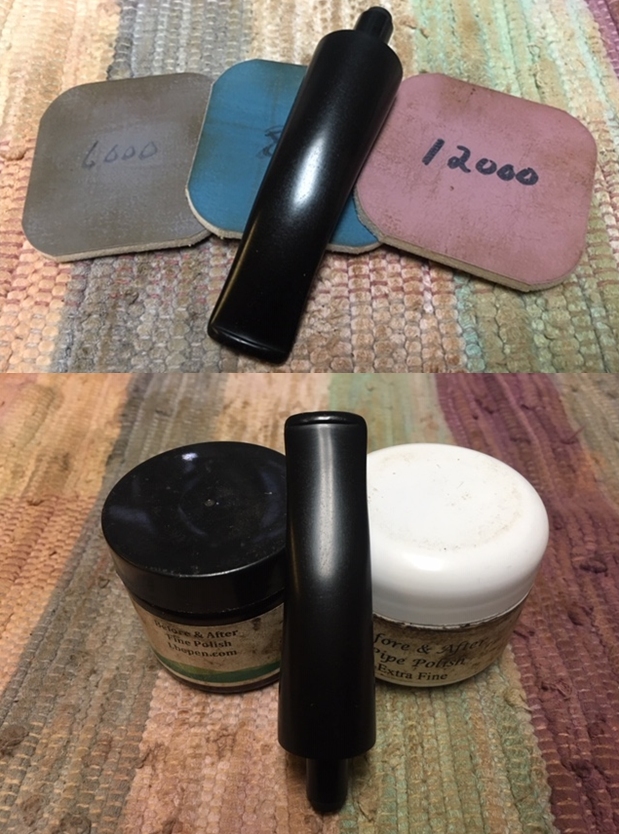
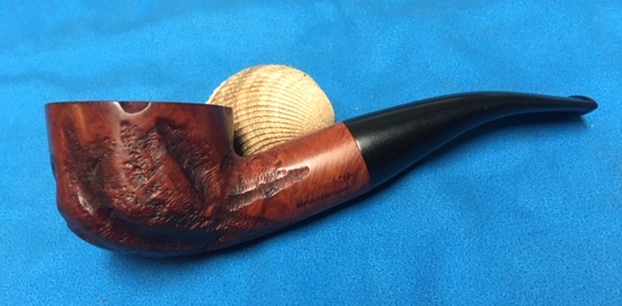
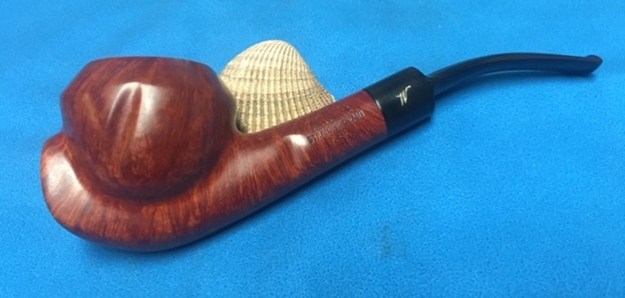
The next pipe on the table came to us from one of Jeff’s pipe hunts. It is a nicely rusticated saddle stem Billiard with a smooth rim top with a bevel on the inside edge of the bowl. It is stamped with Oscar over Aged Briar on the heel of the bowl followed by the Savinelli “S” shield and the shape number 127 over Italy. The stamping is clear and readable though the shape number is hidden slightly by the rustication. The pipe has a combination of brown stains and the tight rustication is not only tactile but also lends a sparkle to the finish. The finish was very dirty with grime ground into the bowl. The bowl had a thick but even cake in the bowl and a heavy lava overflow on the beveled inner edge of the top and top toward the back of the bowl. There was darkening on the briar around the inner beveled edge and the top of the rim. The stem was oxidized and there were tooth marks and chatter on both sides and on the top and bottom edges of the button. Jeff took photos of the pipe before he cleaned it up. Jeff took photos of the rim top to show the thick cake in the bowl and the lava overflow on the beveled inner edge of the rim.  Jeff took some photos of the bowl sides and heel to show the tight rustication pattern that was around this bowl. It is a nice looking pipe. The stamping on each side of the shank is shown in the photos below. They look very good and readable. The shooting star logo on the stem side is clear but faint. I am hoping that it can be repainted once it is clean. It all depends on how deep the stamping on the stem side is. The stem was a very good fit to the shank. It was oxidized, calcified and had debris stuck to the surface of the vulcanite. It also shows the tooth marks on the stem and on the button surface.   I confirmed that the shape number stamping, partially hidden by the rustication is indeed 127 by comparing it to the Savinelli Shape Chart that I have. I have drawn a red box around the shape on the chart below.For some background give the article on Pipedia are as it includes a well written history of the Savinelli brand. (https://pipedia.org/wiki/Savinelli). I turned to work on the pipe itself. Jeff had done a great job cleaning up the pipe as usual. He reamed the pipe with a PipNet reamer and cut back the cake back to the bare briar. He cleaned up the walls with a Savinelli Fitsall Pipe Knife. He scrubbed the interior of the bowl and shank with pipe cleaners, cotton swabs and alcohol to remove the tars and oils. He scrubbed the exterior of the pipe with Murphy’s Oil Soap and a tooth brush to remove the grime from the finish. He worked on the rim top lava and darkening with the soap and tooth brush. He scrubbed the inside of the stem with alcohol and pipe cleaners. He scrubbed the exterior with Soft Scrub and then soaked it in Before & After Deoxidizer. He washed it off with warm water to remove the deoxidizer. The pipe looked far better. The stamping on the side of the stem was very light and the white that had remained was gone. I took photos of the pipe when I received it before I started working on it. I took photos of the bowl and rim top as well as the stem to show how clean they were. You can some spots on the inner edge and the top where some darkening remains.  The stem looks clean of oxidation and the tooth marks and chatter are very clear in the photos.   I took a photo of the stamping on the underside of the bowl and shank. The stamping is clear and readable as noted above.   I took a photo of the pipe with the stem removed to show the overall look of stem, tenon and profile of the pipe.I decided to start my work on the pipe by addressing the darkening on the rim top and beveled inner edge. I used a folded piece of 220 grit sandpaper to work edge to remove the darkening. It took a bit of work but I was able to remove the majority of it and the end product looked much better.   Because the bowl and rim top looked so good I decided to move on to rubbing the briar down with Before & After Restoration Balm. I worked it into the briar with my fingertips and a horse hair shoe brush to get it into the crevices. The product works to clean, enliven and preserve the briar. I let it sit for 10 minutes while I worked on the stem. After the time passed I buffed it with a cotton cloth to deepen the shine. The briar really comes alive with the balm.    I set the bowl aside and turned my attention to the stem. The deep tooth marks and the deep marks on the top and underside of the stem needed to be filled in and reshaped. I filled them in with clear super glue. I purposely overfill the spots so that as they cure and shrink they will still fill in the damage. Once the glue cured I used a needle file to recut the button edge and shape the button surfaces. I flattened the fills on the top and underside of the stem at the same time. I sanded the repaired button and stem surface with 220 grit sandpaper to blend them into the surface of the button and stem. I started polishing the stem with 400 grit wet dry sand paper.   I rubbed the stem down with Denicare Mouthpiece Polish – a red, gritty Tripoli like substance that is a paste. I rubbed it into the surface of the stem and polished it off with a cotton pad. I have found that is a great intermediary step before polishing with micromesh pads. I am not sure what I will use once the final tin I have is gone!   I polished the vulcanite with micromesh sanding pads – 1500-12000 grit pads. I wiped it down with Obsidian Oil after each sanding pad. I used Before & After Pipe Polish – both Fine and Extra Fine to further polish the stem.     This Savinelli Oscar Aged Briar 127 Billiard is a nice looking pipe. The mix of brown stains highlights the rustication around the bowl sides and the heel. The finish on the pipe is in excellent condition and the contrasting stains work well and almost sparkle on the pipe. The polished black vulcanite taper stem adds to the mix. It was impossible to save the shooting star logo it was just too far gone. I put the stem back on the bowl and carefully buffed the pipe with Blue Diamond on the buffing wheel using a light touch on the briar. I gave the bowl multiple coats of Conservator’s Wax by hand and the stem multiple coats of carnauba wax on the buffing wheel and followed that by buffing the entire pipe with a clean buffing pad. I hand buffed the pipe with a microfiber cloth to deepen the shine. The finished Oscar Aged Briar rusticated Billiard is quite nice and feels great in the hand. It is also a sitter with a flat bottom. Give the finished pipe a look in the photos below. The dimensions of the pipe are Length: 5 ½ inches, Height: 1 ¾ inches, Outside diameter of the bowl: 1 ¼ inches, Chamber diameter: ¾ of an inch. Thanks for walking through the restoration with me as I worked over another beautiful pipe. This pipe will be added to the Italian Pipe Makers section of the rebornpipes store soon. If you want to add it to your collection send me an email or a message! Thanks for your time.

Life for a Comoy’s Christmas 1983 Bent 409 Bulldog


Blog by Steve Laug

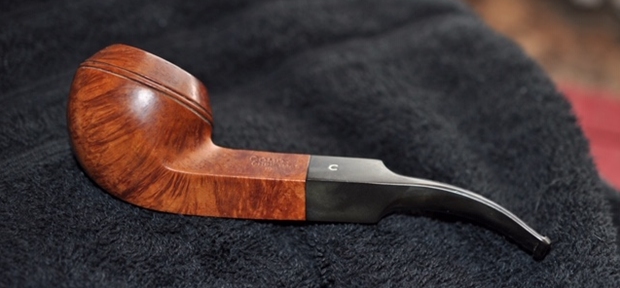
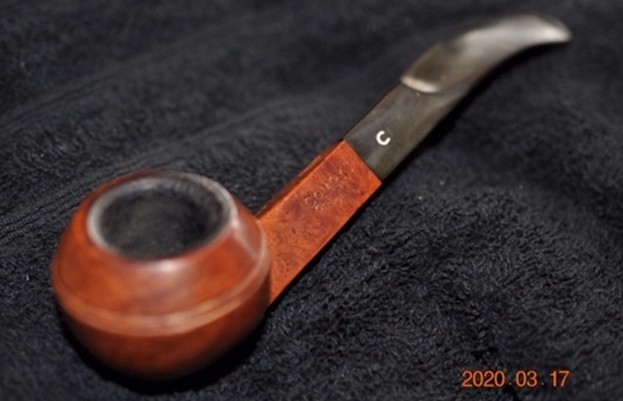
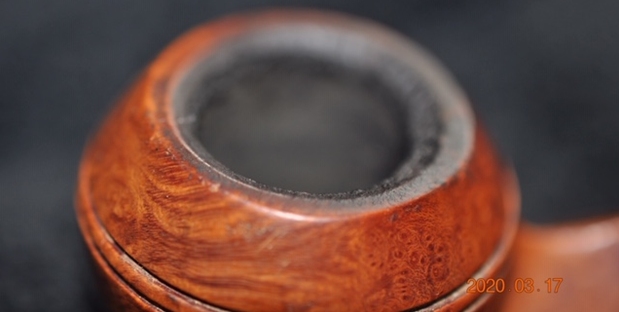
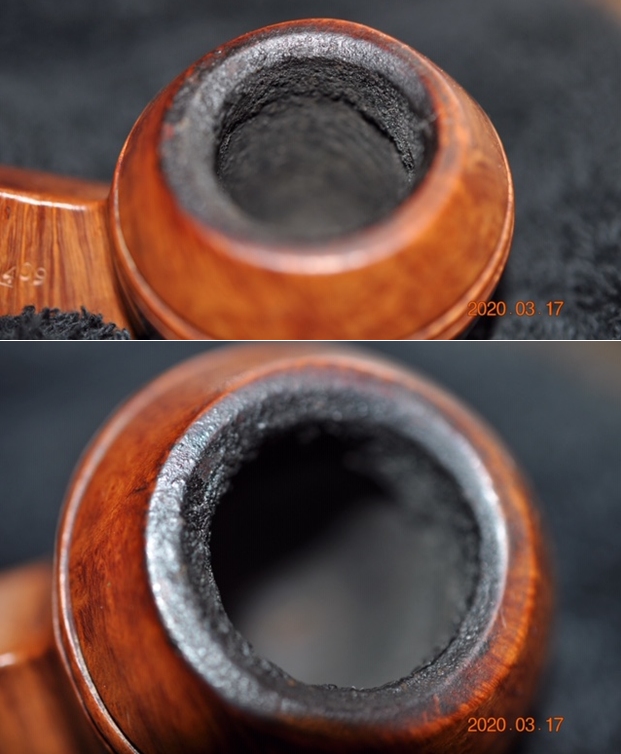
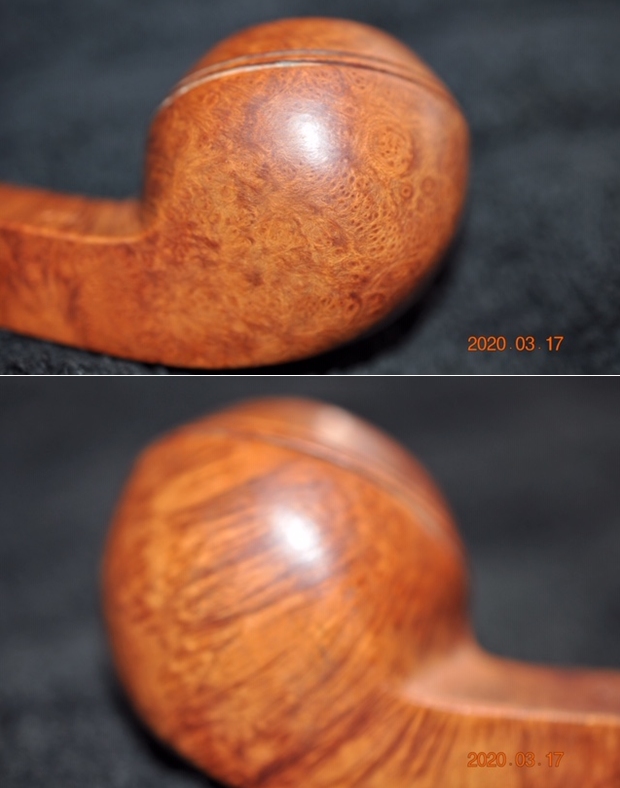
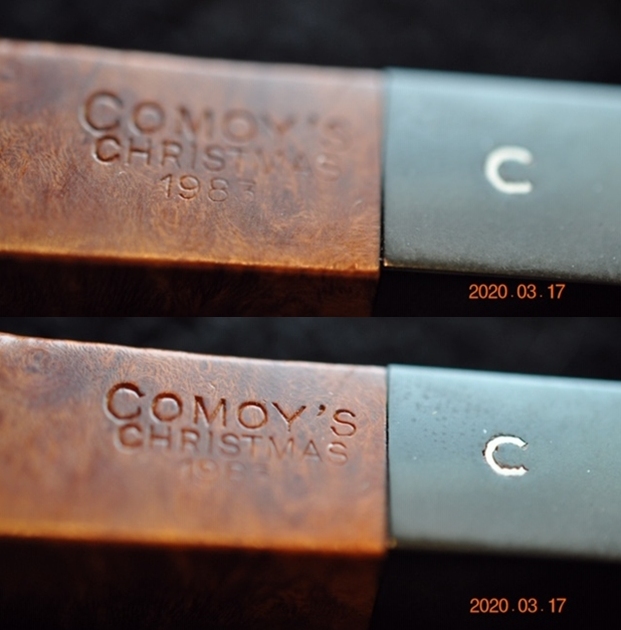
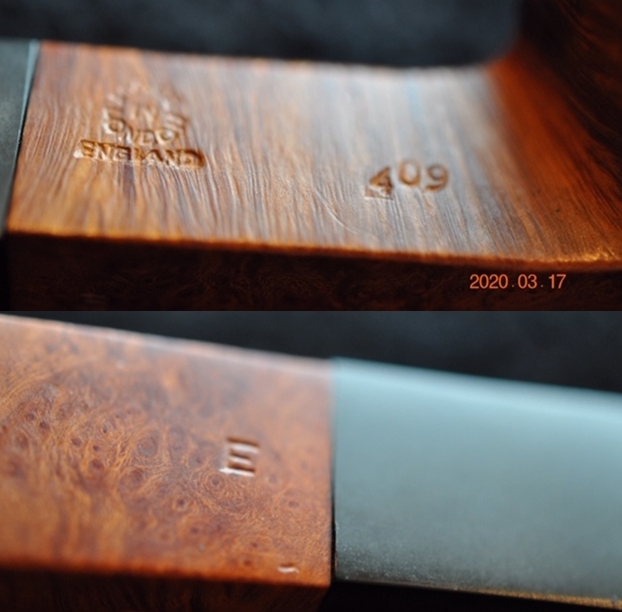
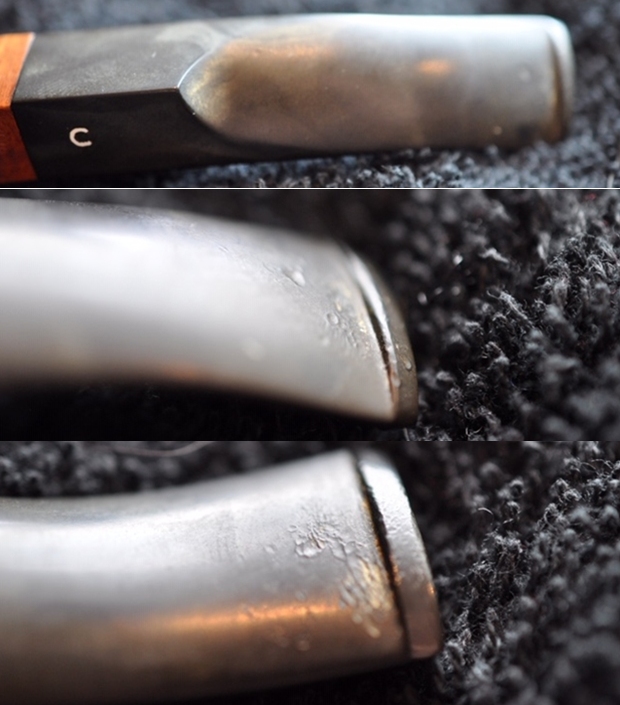
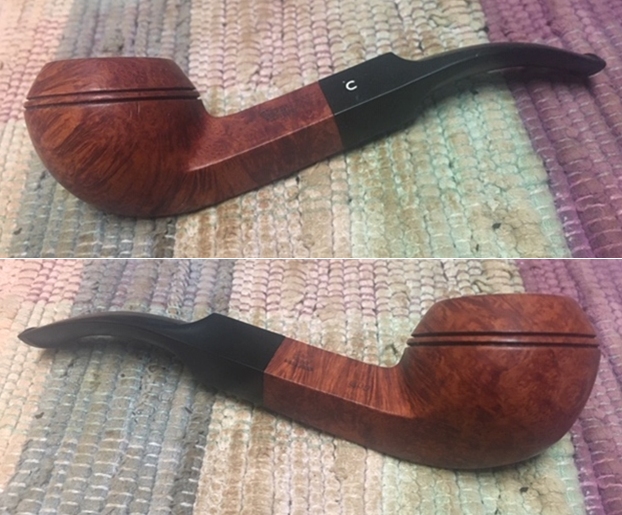
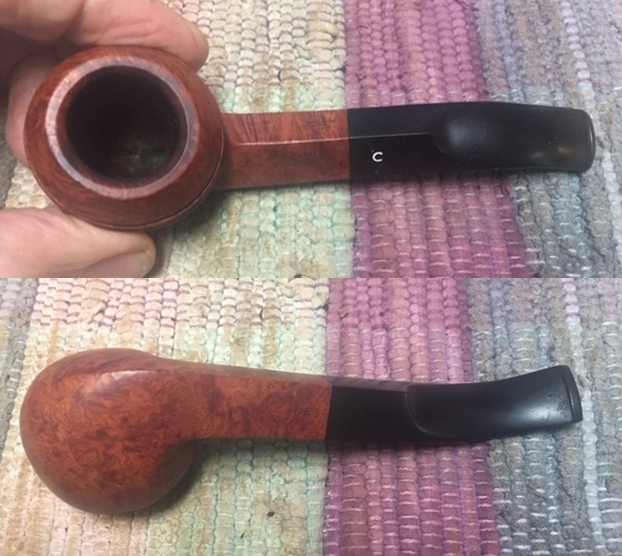
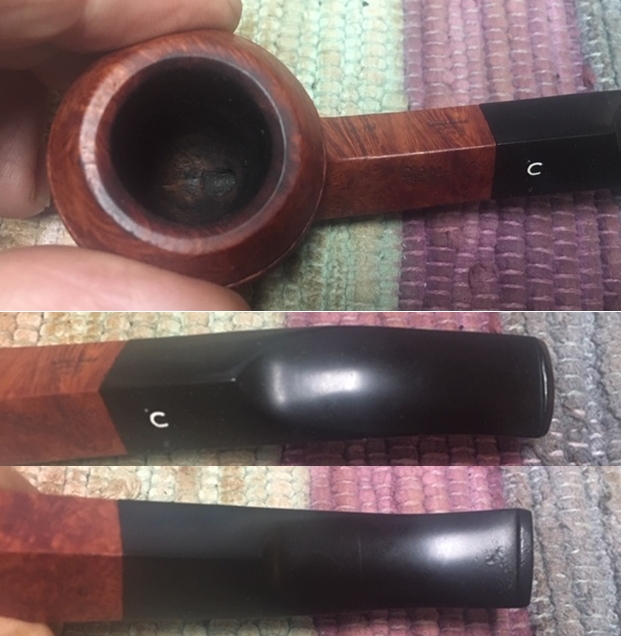
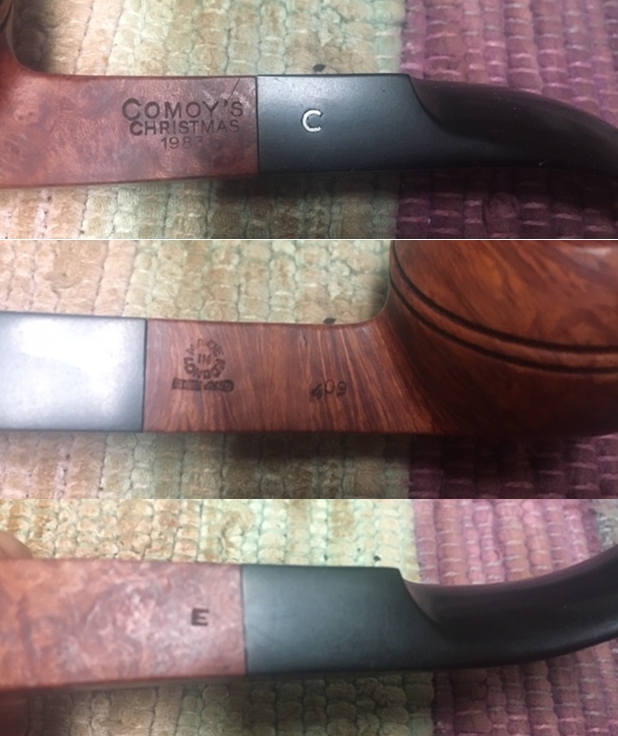
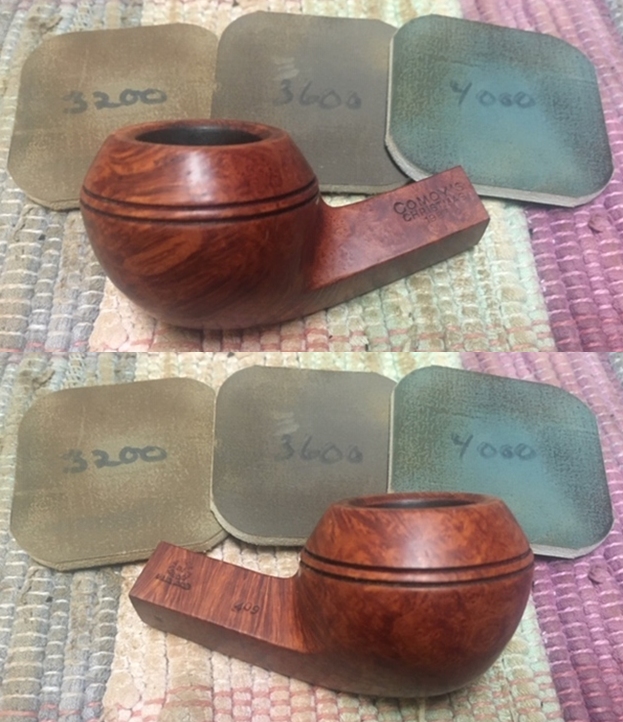
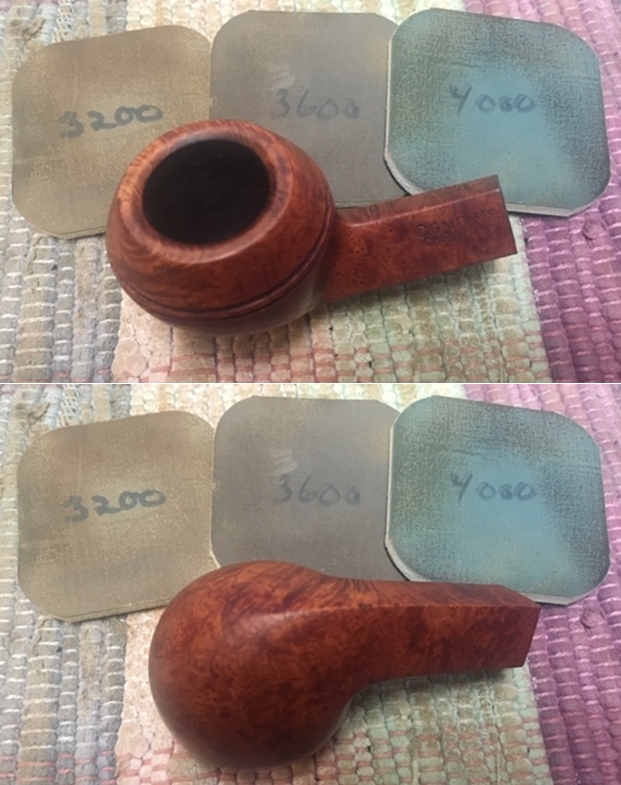
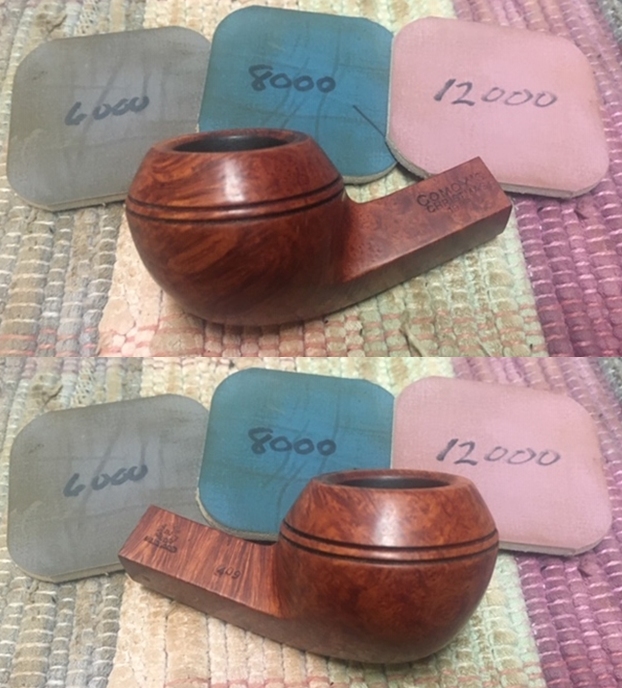
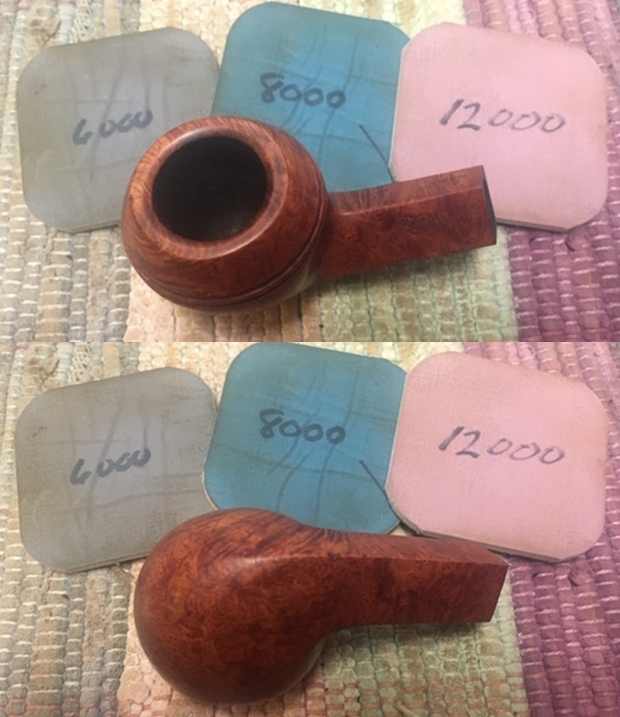
The next pipe on the table came to us from one of Jeff’s pipe hunts not far from where he is located. It is a Comoy’s 409 Bulldog that is in decent condition. It is stamped Comoy’s Christmas 1983 on the top left side of the diamond shank. On the right side it is stamped with the Comoy’s circular COM stamp Made in London in a circle over England. That is followed by the shape number 409. On the right underside it is stamped with the letter E near the stem/shank junction. The stamping is clear and readable. The pipe has a medium brown finish and some amazing grain that the shape follows well. The finish was very dirty with grime ground into the grain around bowl sides. The bowl had a thick cake in the bowl and some lava overflow on the top and the beveled inner edge of the top. There was darkening on the briar around the inner beveled edge of the rim. The stem was dirty, oxidized and calcified. There was light tooth chatter and marks on the stem near the button on both sides. The stem has the inset C logo of Comoy’s on the top left side of the diamond saddle stem. Jeff took photos of the pipe before he cleaned it up. Jeff took photos of the rim top to show the thick cake in the bowl and the lava overflow on the top and beveled inner edge of the rim. The photos show the rim top and bowl from various angles. Jeff took some photos of the bowl sides and heel to show the nice grain that was on this bowl. It is a quite beautifully grained pipe. The stamping on each side of the diamond shank is shown in the photos below. They look very good and readable. You can also see the inset C logo on the top left side of the diamond stem. The stem was a very good fit to the shank. It was oxidized, calcified and had debris stuck to the surface of the vulcanite. There was tooth chatter and marks on both sides of the stem and on the button surface.  I knew that I was dealing with a 1983 Comoy’s 409 Bulldog that was specially made as a Christmas Pipe. I turned to work on the pipe itself. Jeff had done a great job cleaning up the pipe as usual. He reamed the pipe with a PipNet reamer and cut back the cake back to the bare briar. He cleaned up the walls with a Savinelli Fitsall Pipe Knife. He scrubbed the interior of the bowl and shank with pipe cleaners, cotton swabs and alcohol to remove the tars and oils. He scrubbed the exterior of the pipe with Murphy’s Oil Soap and a tooth brush to remove the grime from the finish. He worked on the rim top lava and darkening with the soap and tooth brush. He scrubbed the inside of the stem with alcohol and pipe cleaners. He scrubbed the exterior with Soft Scrub and then soaked it in Before & After Deoxidizer. He washed it off with warm water to remove the deoxidizer. The pipe looked far better. I took photos of the pipe when I received it before I started working on it. I took photos of the bowl and rim top as well as the stem to show how clean they were. You can see the darkening on the inner edge of the rim and the top.  The stem looks clean of oxidation and the tooth marks and chatter are very clear in the photos.I took photos of the stamping on the sides of the shank. The stamping is clear and readable as noted above.   I took a photo of the pipe with the stem removed to show the overall look of stem, tenon and profile of the pipe.I decided to start my work on the pipe by addressing the darkening on the rim top and beveled inner edge. I used a folded piece of 220 grit sandpaper to work on the finish to remove the darkening on both. It took a bit of work but I was able to remove the majority of it and the end product looked much better.   I polished the briar with micromesh sanding pads – dry sanding with 1500-12000 grit pads and wiping the bowl down with a damp cloth after each pad. I rubbed the briar down with Before & After Restoration Balm. I worked it into the briar with my fingertips. The product works to clean, enliven and preserve the briar. I let it sit for 10 minutes while I worked on the stem. After the time passed I buffed it with a cotton cloth to deepen the shine. The briar really comes alive with the balm.  I set the bowl aside and turned my attention to the stem. Some of the tooth marks were deep – fortunately small but deep on both sides. I filled in the divots with clear super glue and set the stem aside to dry while I took my dog for a walk. When I got back I used a needle file to sharpen the edge of the button and flatten the repairs. I sanded out the repairs on both sides of the button surface and stem with 220 grit sandpaper to blend them into the surface. I began polishing the stem with 400 grit wet dry sandpaper.I polished the vulcanite with micromesh sanding pads – 1500-12000 grit pads. I wiped it down with Obsidian Oil after each sanding pad. I used Before & After Pipe Polish – both Fine and Extra Fine to further polish the stem.   This Comoy’s Christmas 1983 Bulldog is a real beauty. The Medium Brown stain highlights some great grain around the bowl sides and the heel. The finish on the pipe is in excellent condition and the contrasting stains work well to highlight the grain on the pipe. The polished black vulcanite saddle stem adds to the mix. With the grime and debris gone from the finish and the bowl it was a beauty and is eye-catching. I put the stem back on the bowl and buffed the pipe with Blue Diamond on the buffing wheel. I gave the bowl and the stem multiple coats of carnauba wax on the buffing wheel and followed that by buffing it with a clean buffing pad. I hand buffed the pipe with a microfiber cloth to deepen the shine. The finished Bent Bulldog 409 is quite nice and feels great in the hand. Give the finished pipe a look in the photos below. I can only tell you that like the other pipes I am working that it is much prettier in person than the photos capture. The dimensions of the pipe are Length: 5 ¼ inches, Height: 1 ½ inches, Outside diameter of the bowl: 1 ½ inches, Chamber diameter: ¾ of an inch. Thanks for walking through the restoration with me as I worked over another beautiful pipe. This pipe will be added to the British Pipe Makers section of the rebornpipes store soon. If you want to add it to your collection send me an email or a message! Thanks for your time.

Breathing Life into A Pipe Maker 16 Lovat with a Cumberland Stem


Blog by Steve Laug

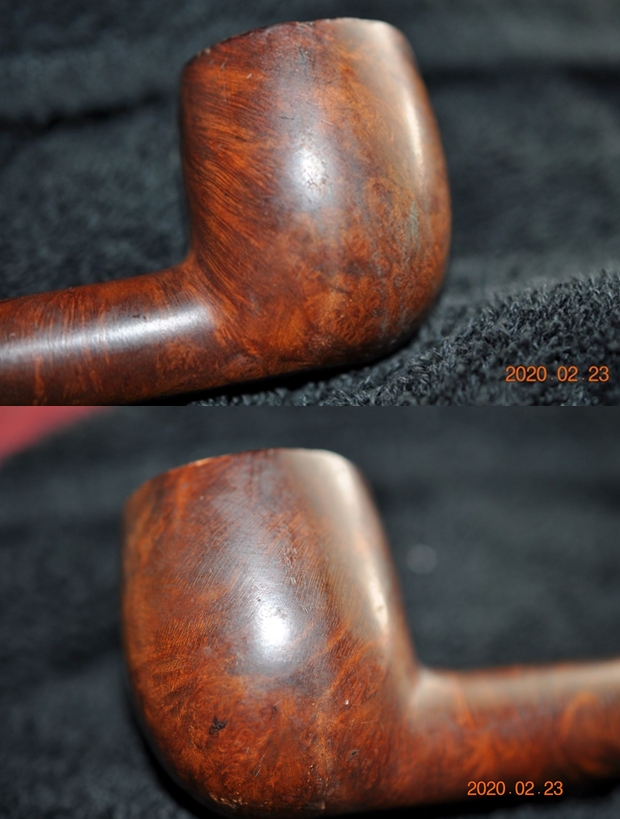
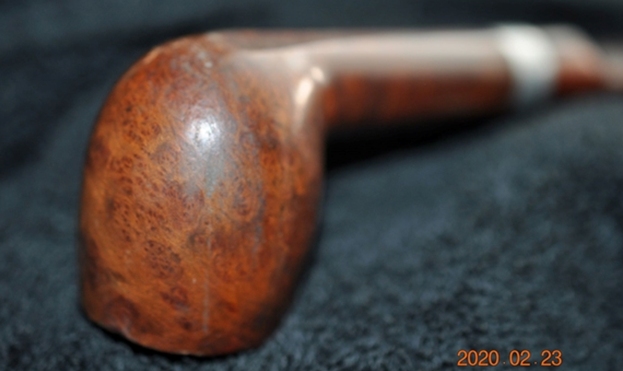
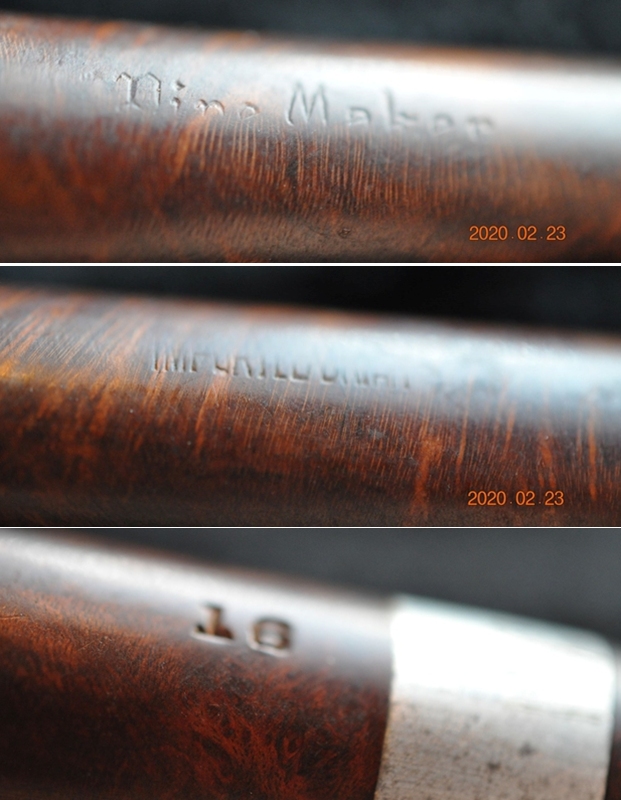
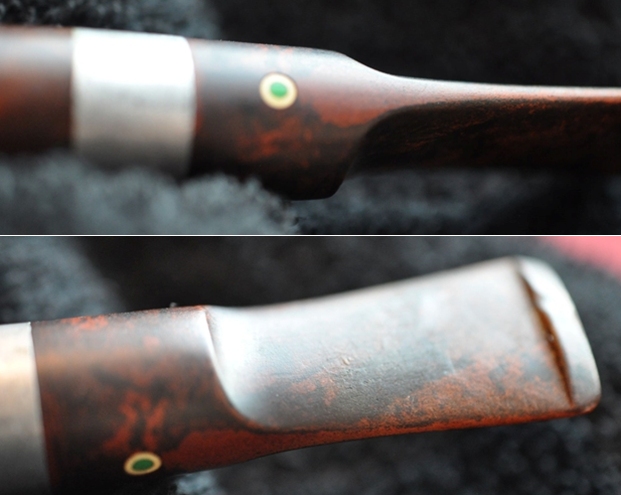
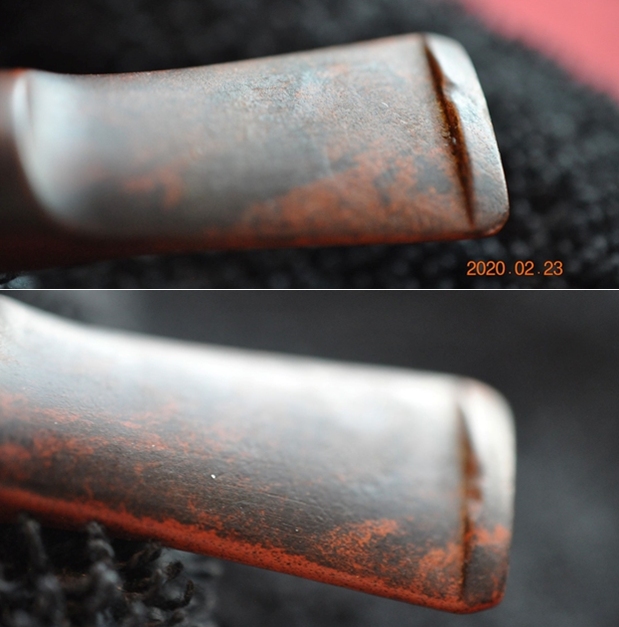
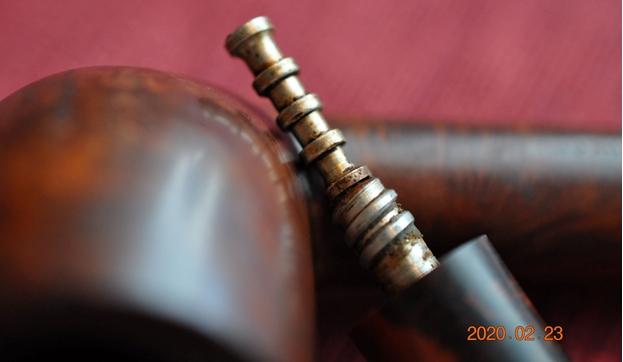
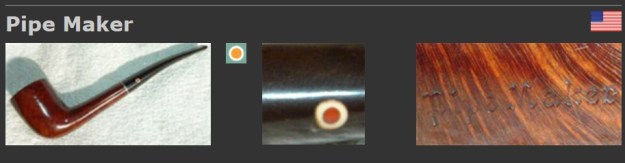
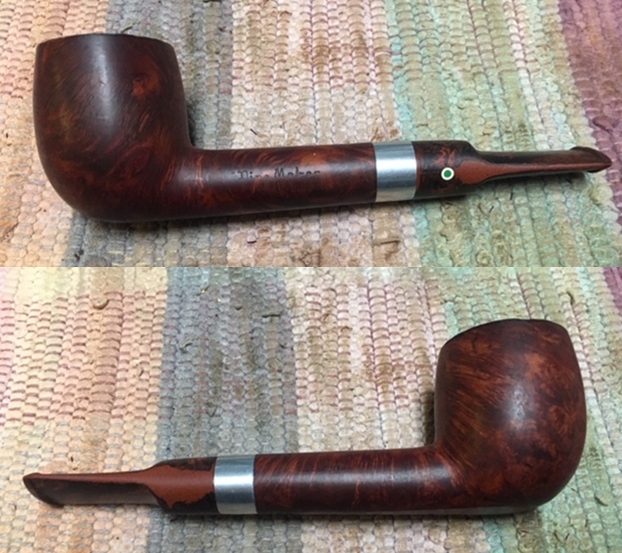
This past January Jeff and his wife Sherry and Irene and I made a pipe hunting trip down the Oregon Coast. At least that is what Jeff and I called it. We stopped in a lot of the small towns up and down the northern part of the coast and picked up some nice pipes. When I saw this little Lovat with a Cumberland stem I was hooked and we picked it up and added it to the finds of the trip. This pipe is stamped on both sides of the shank and on the underside at the shank/stem union. On the left side it is stamped with the Pipe Maker. On the right side it is stamped Imported Briar. On the underside it is stamped with the shape number 16. It was a very dirty pipe with a dull and lifeless finish that hid the grain around the bowl. There was a very thick cake in the bowl and a thick lava coat on the rim top and the inner edge. It was hard to see what the condition of either the inner or outer edges with the lava and grime. The pipe had a rich medium brown stain with a reddish tint that highlighted nice grain on the bowl sides under the grime and the finish appeared to be in good condition. A lot would be revealed once Jeff had worked his magic on it. The Cumberland style saddle stem was in good condition with oxidation and light tooth chatter and marks on both sides ahead of the button and on the button surface itself. Jeff took photos of the pipe before he started his cleanup work. Jeff has gotten very good at capturing the condition of the bowl and rim top with his photos. You can see the work that is ahead of us in terms of the lava and grime on the rim and the cake in the bowl. This pipe is a real mess. The next set of photos show the grain on the sides and heel of the bowl. It is an interesting combination of grain – cross grain and birdseye predominate. I look forward to seeing what this one looks like once it is clean and restored. He took photos of the faint stamping on the sides of the shank. The Pipe Maker stamp on the left side is faint but readable. The Imported Briar stamp on the right side is also faint but readable.  On the underside is the shape stamp 16 which is very clear readable. The fourth and fifth photos below show the logo on the left side of the saddle stem. The next photos show the stem surface. It was very dirty, oxidized and calcified. It had pitting, light tooth marks and chatter on both sides ahead of the button.  Jeff removed the stem from the shank and the photo shows the interesting stinger apparatus and threaded tenon on the pipe. I was certain that the brand was American because of the Imported Briar stamp on the shank but I wanted to learn more about it. I turned first to Pipephils site to see if there was any information on the brand (http://www.pipephil.eu/logos/en/logo-p3.html). I did a screen capture of what was on the site and I include that below.I turned to Pipedia see if there was any further information to help me with hunt for this pipe manufacturer. There was no listing for that pipe company so I had as much information as I could find online.

Now it was time to work on the pipe itself. Jeff had cleaned the pipe with his usual penchant for thoroughness that I really appreciate. It looked far better than what it was like when we found it. He reamed the bowl with a PipNet Pipe reamer and took the cake back to bare briar. He cleaned up the bowl walls with a Savinelli Fitsall Pipe Knife. He scrubbed out the internals with alcohol, pipe cleaners and cotton swabs until the pipe was clean. He scrubbed the exterior of the bowl with Murphy’s Oil Soap and a tooth brush to remove the grime and grit on the briar and the lava on the beveled rim top. The finish looks very good with good looking grain around the bowl and shank. Jeff scrubbed the stem with Soft Scrub and then soaked it in Before & After Deoxidizer to remove the oxidation on the Cumberland style rubber. When the pipe arrived here in Vancouver for the second stop of its restoration tour it looked very good. I took photos before I started my part of the work. I took some photos of the rim top and stem. Once Jeff removed the lava on the top and inside of the rim top was a wreck. Both the inner and the outer edge of the bowl showed damage. There were deep nicks and gouges to the surface of the rim and a lot of darkening. The close up photos of the stem shows that is it very clean and there is some tooth chatter and marks on the button surface and just ahead of the button.I removed the stem from the bowl and worked on the rim surface. The rim was beveled so topping it on a topping board was out of the question. I used a folded piece of 220 grit sandpaper to smooth out the inner and outer edges of the bowl. I also used it to smooth out the rim top to remove the damage.I was happy with the way the rim top and edges looked so I did not need to do anymore except to polish them. I polished the briar with micromesh sanding pads – dry sanding with 1500-12000 grit pads. I wiped the bowl down after each pad with a damp cloth. The grain really began to stand out and the finish took on a shine by the last sanding pad. The photos tell the story! I touched up the rim top to match the rest of the bowl with a blend of Maple and Cherry stain pens. The blend works really well with this colour of bowl. I am happy with the work so it is time to move on.I worked some Before & After Restoration Balm into the surface of the briar with my fingertips. The product works to clean, enliven and protect the briar. I let the balm sit for about ten minutes and then buffed with a cotton cloth to raise the shine. The photos show the bowl at this point in the restoration process. I set the bowl aside at this point and turned my attention to the stem. I filled in the tooth marks on the button edge and along the edge on both sides with clear super glue. When the repairs had cured I used a needle file to recut and sharpen the edges of the button and the button surface. I paused in my work on the stem to realign the stem in the shank. I heated the tenon with a lighter to soften the glue that holds it in place. I screwed the stem back in the mortise and aligned it while the glue was soft. Once it had set I removed the stem and continued to work on it.I blended the repairs into the surface of the stem and reshaped the button with 220 grit sandpaper and started the polishing with 400 grit wet dry sandpaper.I continued the polishing using Denicare Mouthpiece polish. It is a red gritty paste that feels a lot like Tripoli to me. It works very well  to polish out remnants of oxidation and smooth out fine scratches in the rubber stem.I polished the stem with micromesh sanding pads – dry sanding with 1500-12000 grit sanding pads. I wiped it down after each sanding pad with a cloth containing some Obsidian Oil. I finished polishing it with Before & After Pipe Stem Polish – both Fine and Extra Fine and buffed it off with a cotton cloth. This small Pipe Maker American Made Lovat is a bit of a mystery. I know that Frankau made them in England and Pipe Maker made them in the US but that is the extent of the information available on the brand. The shaping and carving follows the grain and highlights the mix of grains around the bowl. The finish on the pipe is in excellent condition and the contrasting stains work well to highlight the stunning grain on the pipe. The Cumberland saddle stem adds its reds to the mix. With the grime and debris gone from the finish and the bowl it was a beauty and the grain just pops at this point. I put the stem back on the bowl and buffed the pipe with Blue Diamond on the buffing wheel. I carefully avoided the stamping on the shank and stem during the process. I gave the bowl and the stem multiple coats of carnauba wax on the buffing wheel and followed that by buffing it with a clean buffing pad on the buffer. I hand buffed the pipe with a microfiber cloth to deepen the shine. The finished Lovat is quite nice and feels great in the hand. Give the finished pipe a look in the photos below. I can only tell you that it is much prettier in person than the photos capture. The dimensions of the pipe are Length: 5 ¼ inches, Height: 1 ¾ inches, Outside diameter of the bowl: 1 ¼ inches, Chamber diameter: ¾ of an inch. Thanks for walking through the restoration with me as I worked over another interesting pipe. This pipe will be added to the American Pipe Makers section of the rebornpipes store soon. If you want to add it to your collection send me an email or a message! Thanks for your time.

New Life for a Wally Frank Period Custombilt Bent Scoop


Blog by Steve Laug

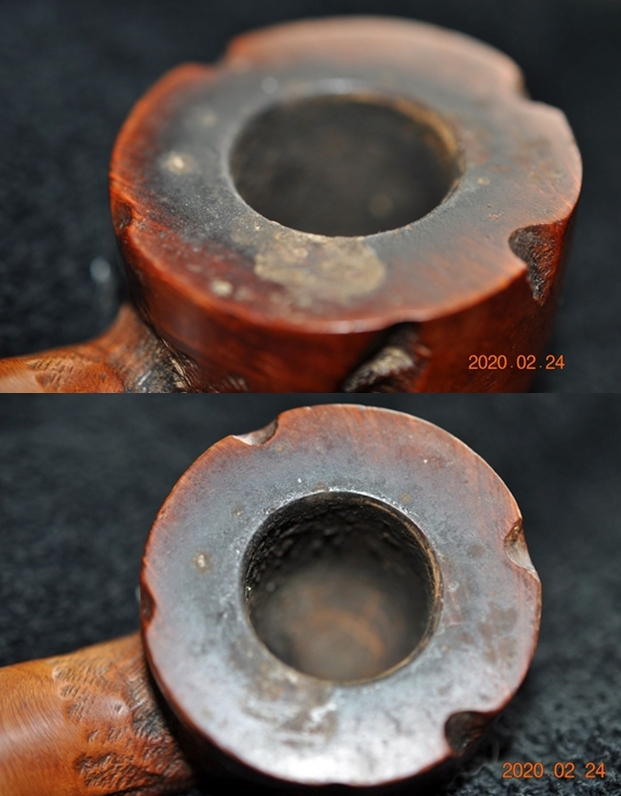
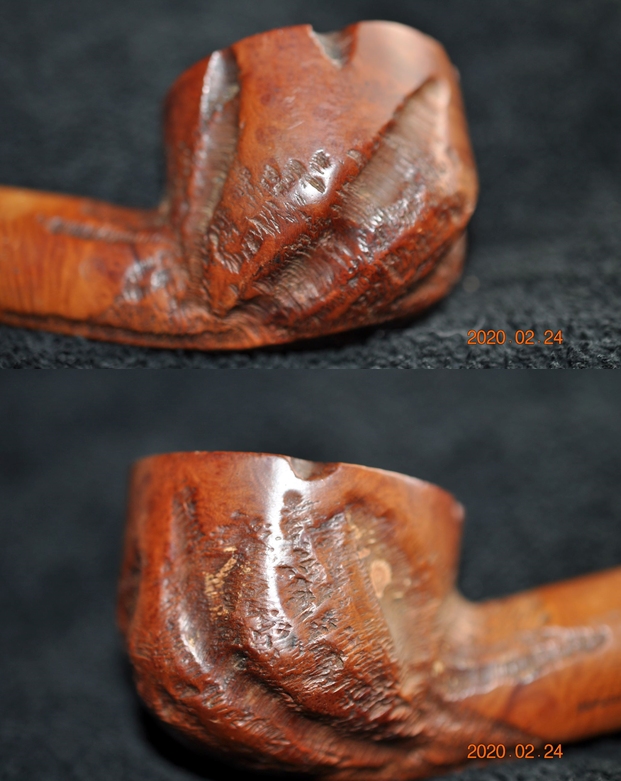
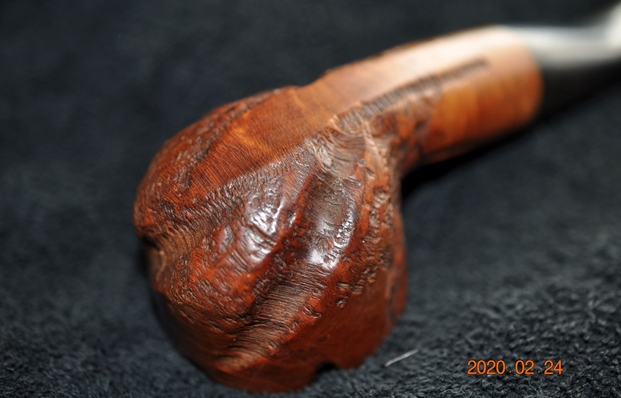
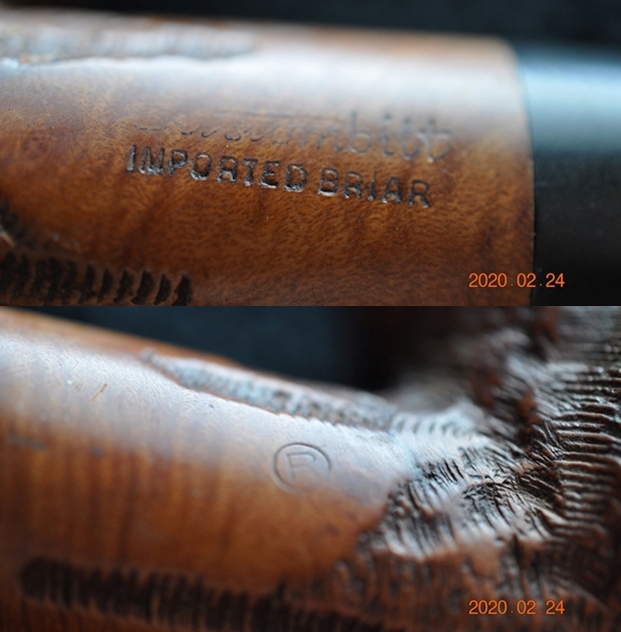
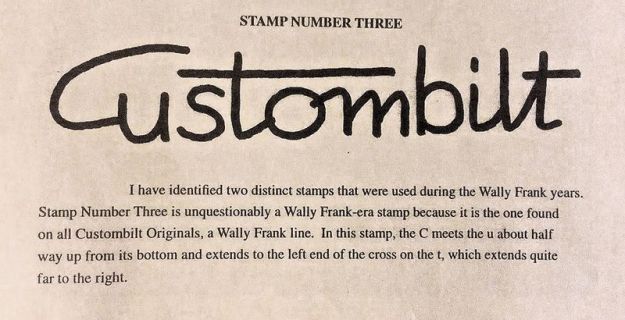
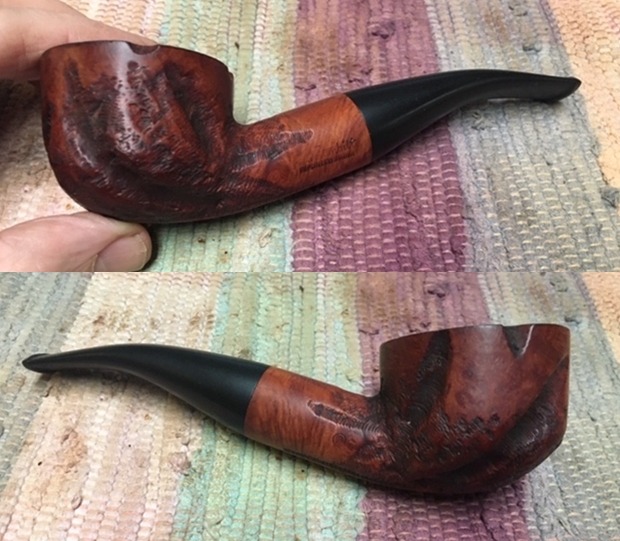
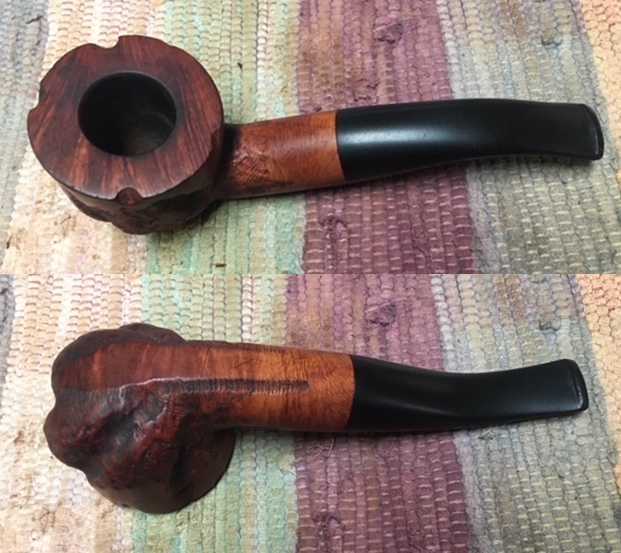
Over the years I have owned and worked on quite a few Custom-Bilt pipes from the hands of Tracy Mincer and also the various iterations that followed his demise – Wally Frank, Holco Rohr to mention a few. The stamping on this particular pipe identifies it to the Wally Frank Period. There is just something about the brand and the large rustic carving of the pipe that captures a lot of people’s imagination. This particular Custombilt is what I would call a Bent Scoop. It has a taper stem and is quite chunky. It is stamped both on the left and right side of the shank. On the left side it is stamped with the Custombilt over Imported Briar. On the right side it is stamped with the letter R in a circle. It was dirty and the fills in the briar really stood out with the finish as dull and lifeless as it was. There was a moderated cake in the bowl and a lava coat on the rim top and the inner edge. The pipe had a rich medium brown stain that highlighted nice grain on the bowl sides under the grime and the finish appeared to be in good condition. A lot would be revealed once Jeff had worked his magic on it. The vulcanite taper stem was in good condition with some oxidation and light tooth chatter and marks on both sides ahead of the button and on the button surface itself. Jeff took photos of the pipe before he started his cleanup work. Jeff captured the condition of the bowl and rim top with the next series of photos. You can see the work that is ahead of us in terms of the lava and grime on the rim and the cake in the bowl. The rustication patterns around the sides of the bowl and the contrasting smooth areas look very “Mincerlike”. Jeff took some photos showing what is underneath the grime and debris of time and use. He captured the stamping on the sides of the. The Custombilt stamp is faint but readable. The Imported Briar stamp is clear and the R circle stamp on the right side is also readable.The photos of the stem show the stem surface. It is dirty and has pitting, light tooth marks and chatter on both sides ahead of the button.I turned to Pipedia to the specific section on Custombilt pipes to try and establish a time frame for this pipe (https://pipedia.org/wiki/Custom-Bilt). I did a screen capture of the section showing the style of stamp that the pipe I have on the table. From that information I knew that the pipe I had was made during the Wally Frank years of Custombilt history. I quote a pertinent portion of the article on this particular era of the history

…In the early 1970s, Wally Frank Co. bought the Custombilt trademark and began to produce their version of the pipe in 1974 or 1975. Hollco Rohr owned the Weber pipe factory, located in New Jersey, and produced the Custombilt pipes there. In 1987, the pipes were made out of the Butz-Choquin factory (France) and then Mexico until the late 1990s.

So it appears that this pipe was made in the early 1970s and before Wally Frank sold the company in 1974 or 1975. So at least I have narrowed down the time period to a few years between 1970-1975.

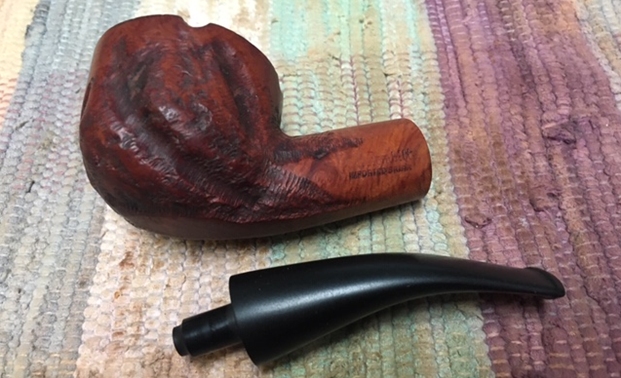
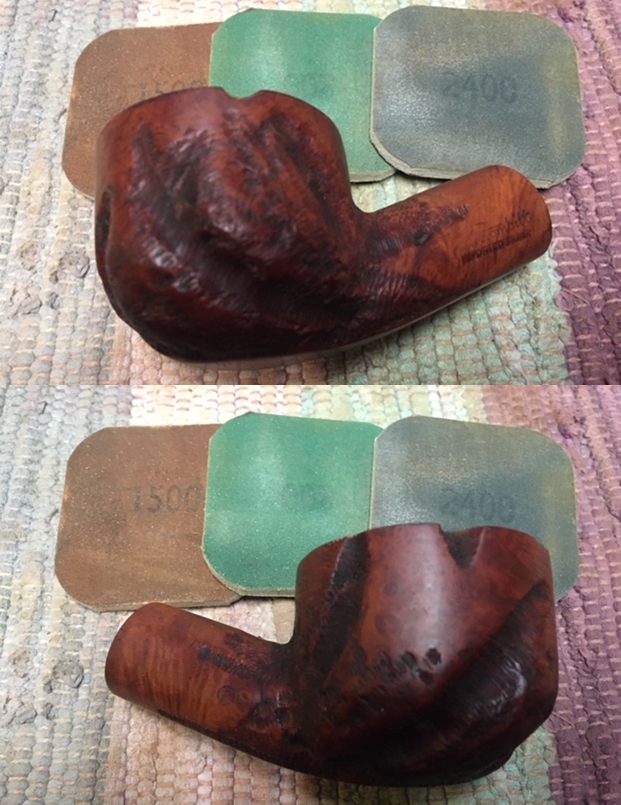
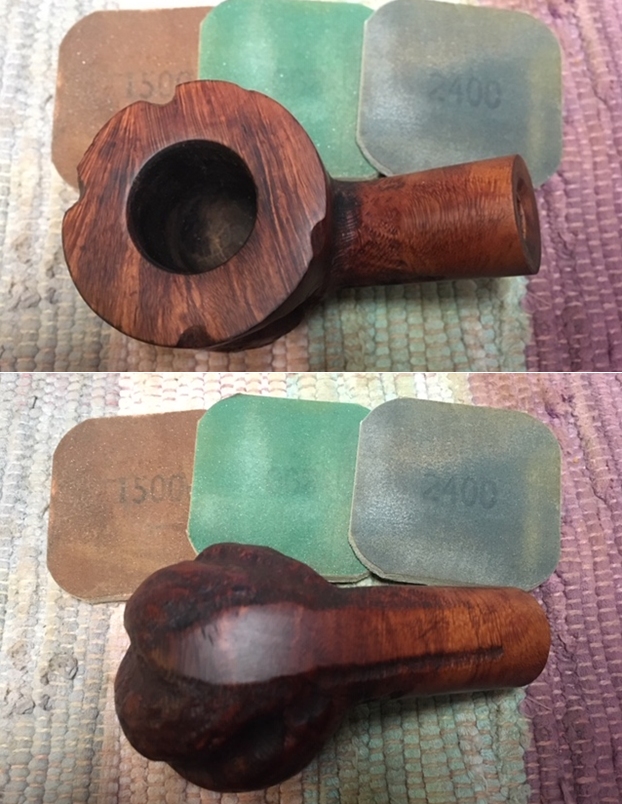
Now it was time to work on the pipe itself. Jeff had cleaned the pipe with his usual penchant for thoroughness that I really appreciate. He reamed the bowl with a PipNet Pipe reamer and took the cake back to bare briar. He cleaned up the bowl walls with a Savinelli Fitsall Pipe Knife. He scrubbed out the internals with alcohol, pipe cleaners and cotton swabs until the pipe was clean. He scrubbed the exterior of the bowl with Murphy’s Oil Soap and a tooth brush to remove the grime and grit on the briar and the lava on the beveled rim top. The finish looks very good with good looking grain around the bowl and shank. Jeff scrubbed the stem with Soft Scrub and then soaked it in Before & After Deoxidizer to remove the oxidation on the rubber. When the pipe arrived here in Vancouver for the second stop of its restoration tour it looked very good. I took photos before I started my part of the work. I took some photos of the rim top and stem. Once Jeff removed the lava on the top and inside of the rim top all that remained was a little darkening that should be able to be polished off. Both the inner and the outer edge of the bowl look good. The close up photos of the stem shows that is it very clean and there is some tooth chatter and marks on the button surface and just ahead of the button.I took the stem off the shank and took a picture of the pipe. It really is nice looking pipe with rugged rustication. After the clean up the fills blended back into the surface of the briar.I was happy with the way the rim top and edges looked so I did not need to do anymore except to polish them. I polished the briar with micromesh sanding pads – dry sanding with 1500-12000 grit pads. I wiped the bowl down after each pad with a damp cloth. The grain really began to stand out and the finish took on a shine by the last sanding pad. The photos tell the story! I worked some Before & After Restoration Balm into the surface of the briar with my fingertips. The product works to clean, enliven and protect the briar. I let the balm sit for about ten minutes and then buffed with a cotton cloth to raise the shine. The photos show the bowl at this point in the restoration process. I set the bowl aside at this point and turned my attention to the stem. I filled in the tooth marks on the button edge and along the edge on both sides with clear super glue. Once the repair cured I blended it into the surface of the stem with 220 grit sandpaper and started the polishing with 400 grit wet dry sandpaper. I continued the polishing using Denicare Mouthpiece polish. It is a red gritty paste that feels a lot like Tripoli to me. It works very well  to polish out remnants of oxidation and smooth out fine scratches in the rubber stem.I polished the stem with micromesh sanding pads – dry sanding with 1500-12000 grit sanding pads. I wiped it down after each sanding pad with a cloth containing some Obsidian Oil. I finished polishing it with Before & After Pipe Stem Polish – both Fine and Extra Fine and buffed it off with a cotton cloth. This Custombilt from the earlier 70s is a handful just like all Custombilts or Custom-Bilt pipes that I have worked on. It is a big piece of briar that has great grain on the rim top. The shaping and carving is interestingly done and minimizes the flaws in the briar. The finish on the pipe is in excellent condition and the contrasting stains work well to highlight the stunning grain on the pipe. The black vulcanite saddle stem just adds to the mix. With the grime and debris gone from the finish and the bowl it was a beauty and the grain just pops at this point. I put the stem back on the bowl and buffed the pipe with Blue Diamond on the buffing wheel. I carefully avoided the stamping on the shank and stem during the process. I gave the bowl and the stem multiple coats of carnauba wax on the buffing wheel (lightly in the rustications) and followed that by buffing it with a clean buffing pad on the buffer. I hand buffed the pipe with a microfiber cloth to deepen the shine. The finished Bent Pot is quite nice and has the instantly recognizable look of a Custombilt. The finish on the bowl combines various stains to give it depth. It is very well done. Give the finished pipe a look in the photos below. I can only tell you that it is much prettier in person than the photos capture. The dimensions of the pipe are Length: 6 inches, Height: 1 ¾ inches, Outside diameter of the bowl: 2 inches, Chamber diameter: 7/8 of an inch. Thanks for walking through the restoration with me as I worked over another interesting pipe. This pipe will be added to the rebornpipes store soon. If you want to add it to your collection send me an email or a message! Thanks for your time.

A New Lease On Life For A No-Name English Make Large Pot


Blog by Paresh Deshpande

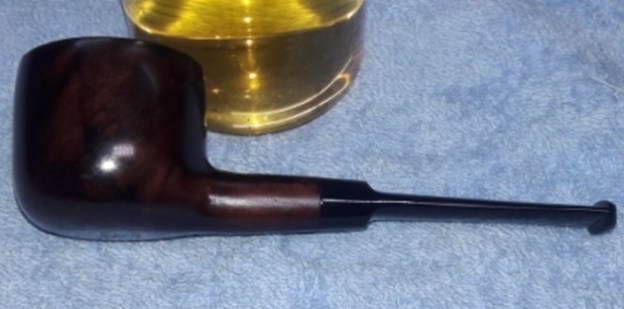
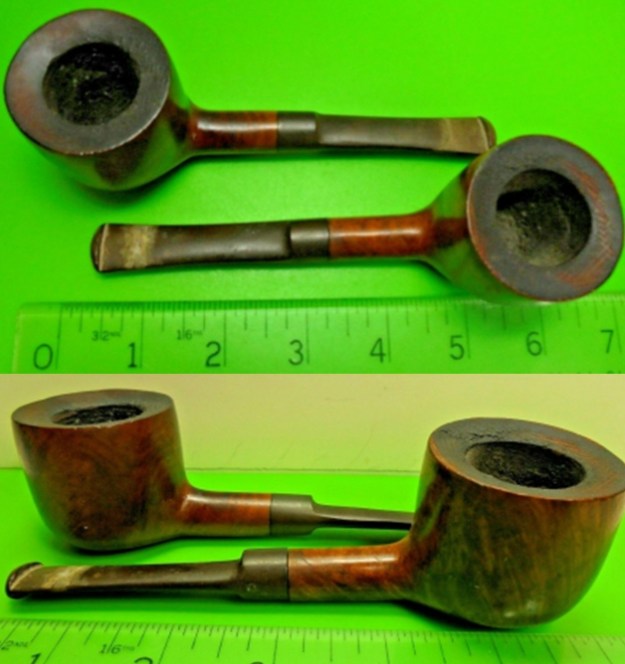
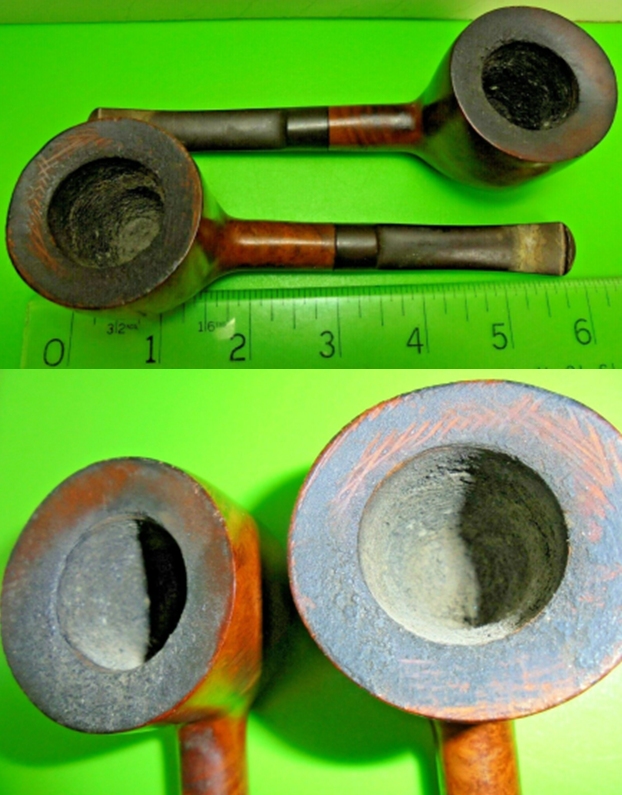
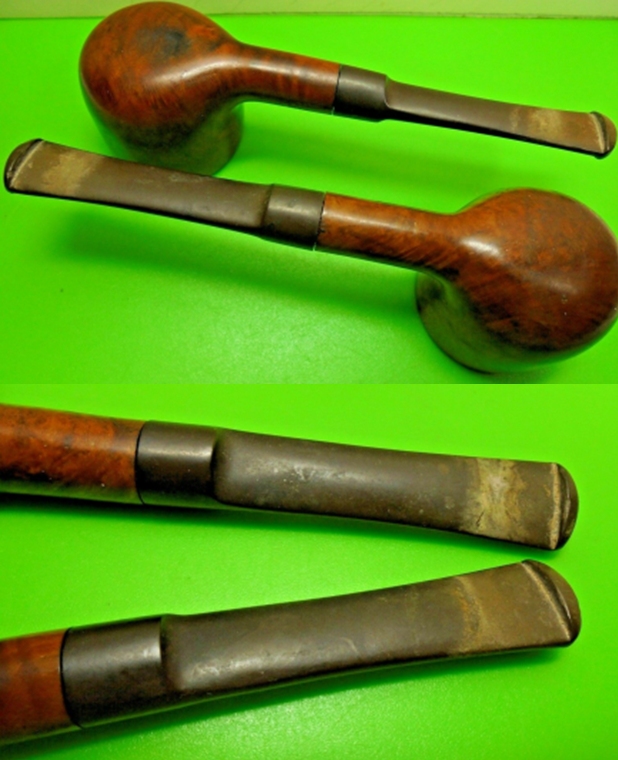
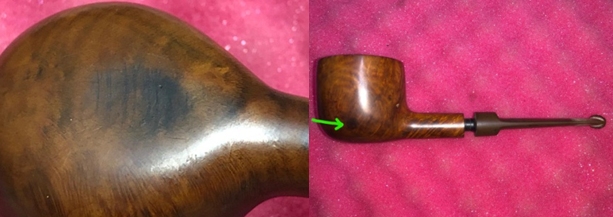
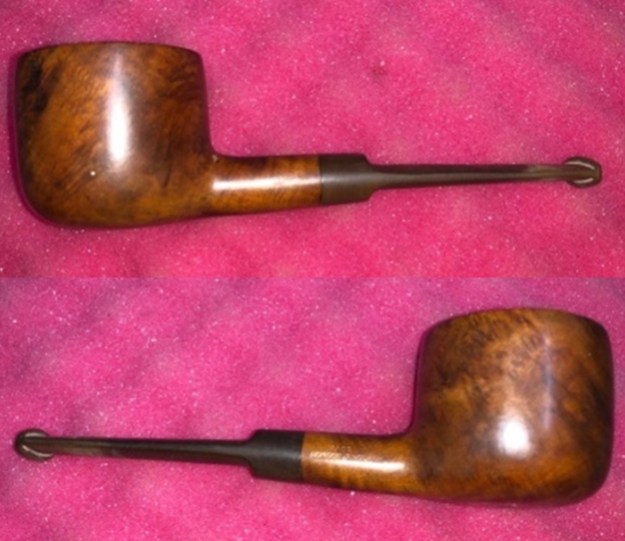
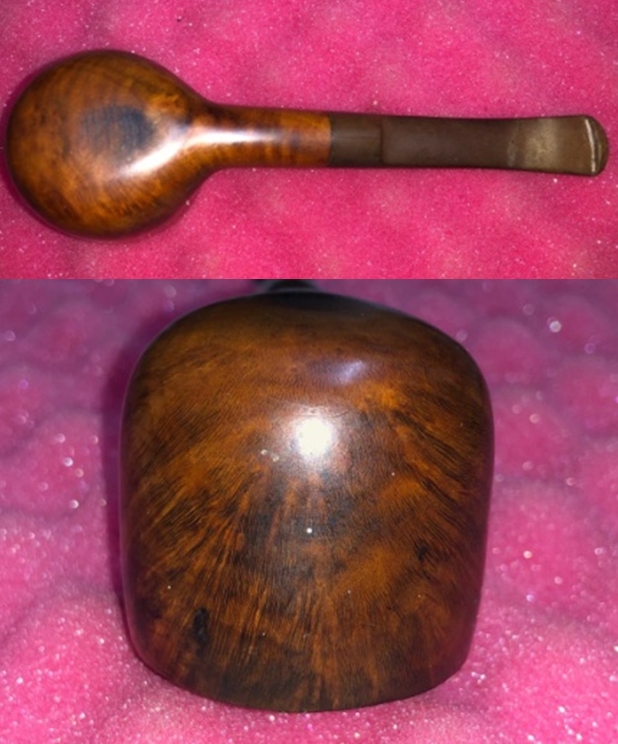
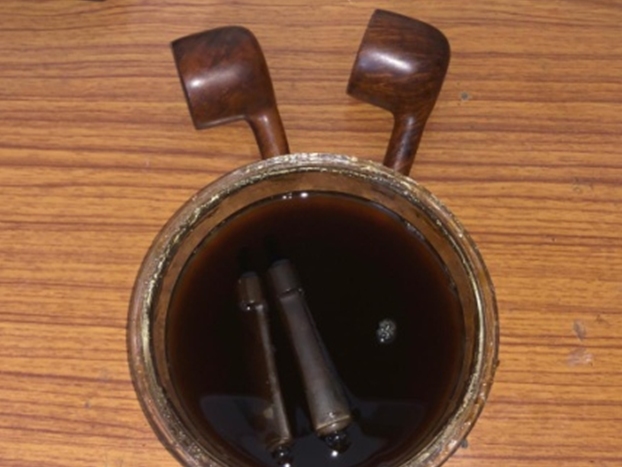
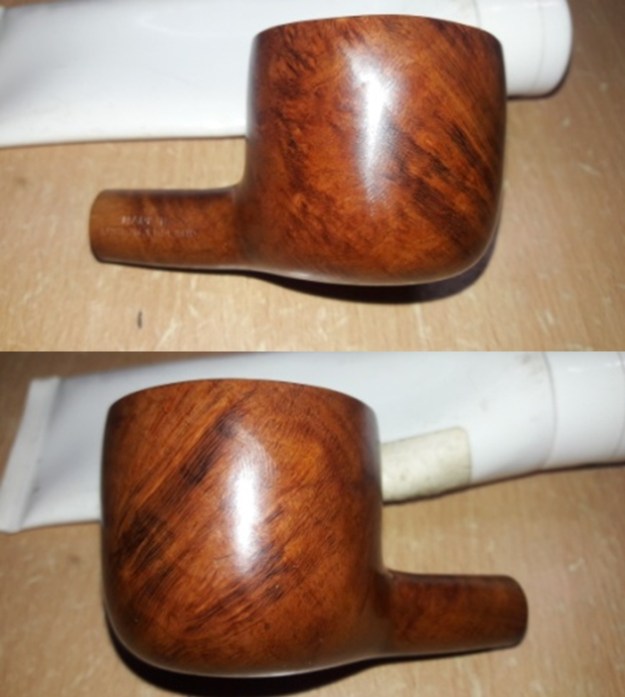
I had purchased this pipe lot of two unmarked beautiful looking pots on eBay with the intention of either selling or gifting. The price was very low and from the pictures, the pipes screamed quality and appeared solid. Here are a couple of pictures of this pair that were posted by the seller. Once the pipes were delivered home (my work place is away from where my family resides), Abha my wife, checked them out and informed me of the following;

(a) Both pipes are similar with only difference being in the size, one is large Pot while the other is a medium.

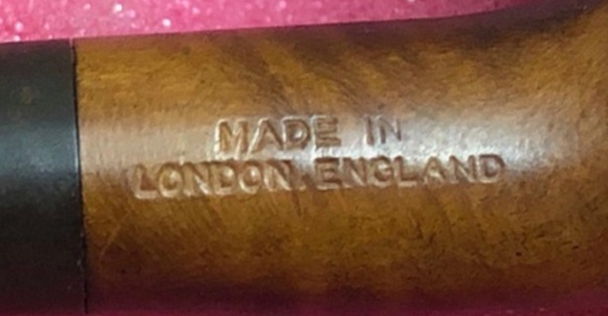
(b) The only stamping seen is on the right side of the shank and reads “MADE IN” over “LONDON, ENGLAND”. The stem is devoid of any stampings. The overall feel of the pipe is that of high quality.

(c) Both pipes have a darkened spot each, the larger one has it on the heel and the other on the bottom left side of the stummel.

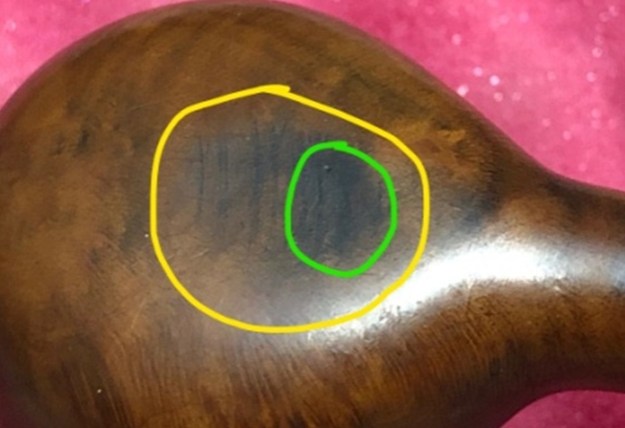
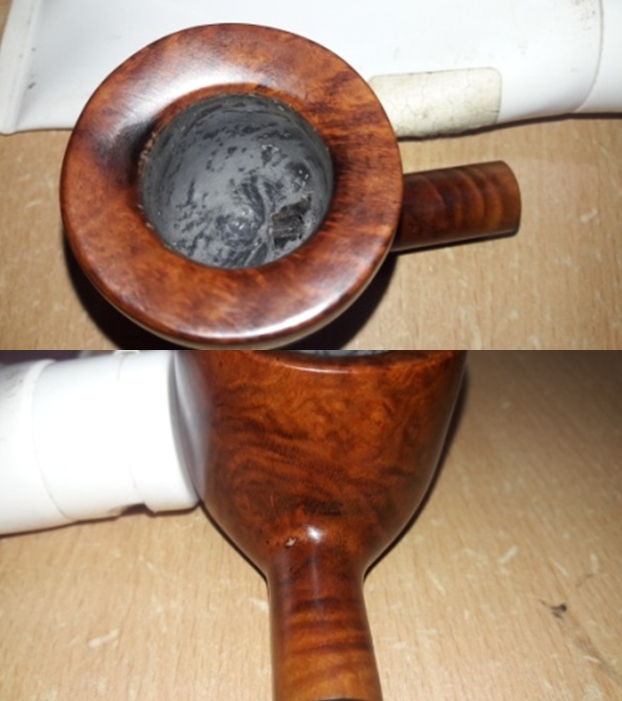
The last piece of information was something that troubled me. I had seen a dark spot on the heel of one pipe, but it appeared to be a smear of grime and dirt. Here are the pictures of the spots that Abha had sent me. It definitely appeared to be the beginnings of a burn out!!Truth is, after the initial surprise of being misinformed by the seller on eBay had subsided, I did not find these damages very alarming and I felt that these two beauties still had many years of smoke left in them with some minor repairs. The matter rested till I received about 40 pipes that Abha had sent me duly cleaned for my part of refurbishing. Both these pipes were part of that parcel that I had received.

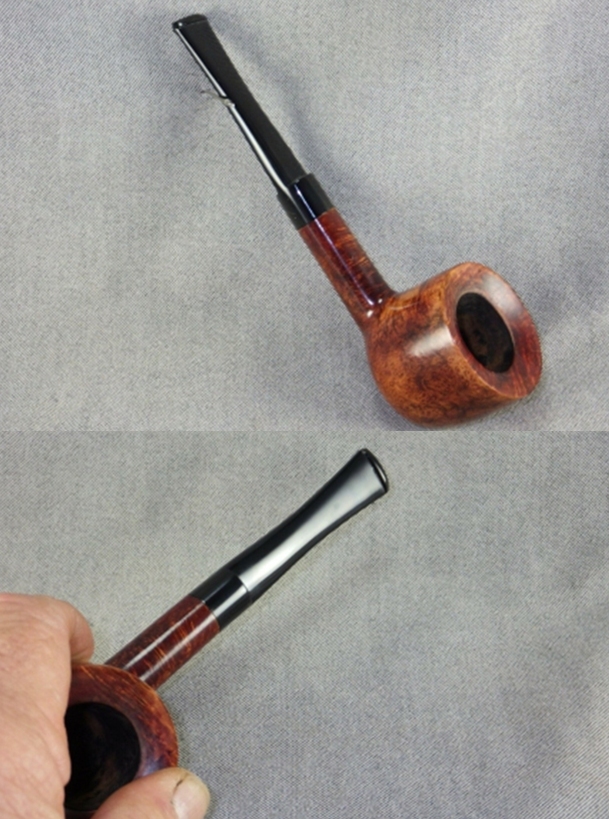
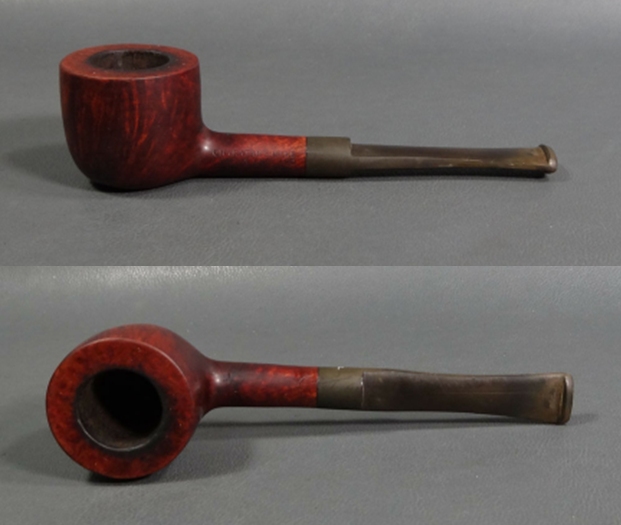
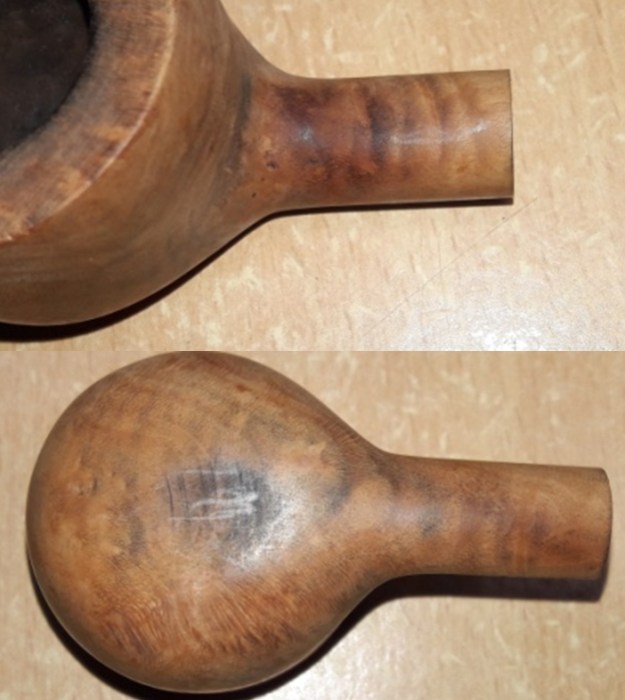
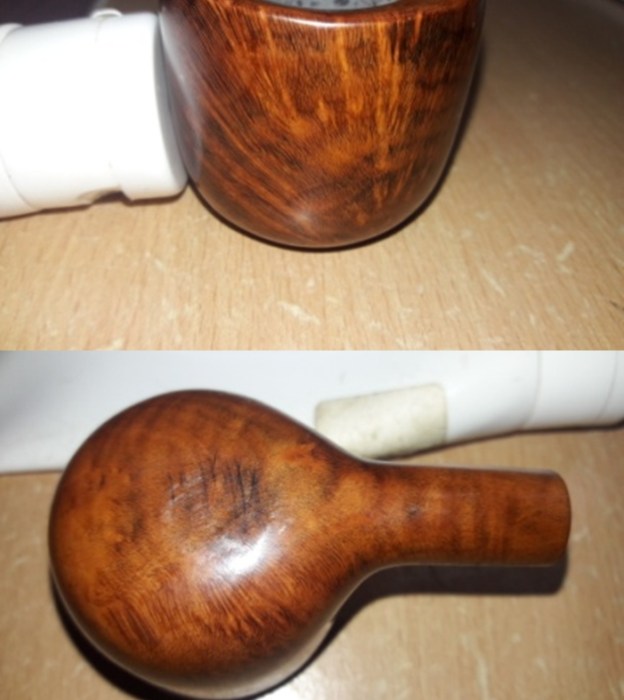
I decided to work on the larger pot first. The pipe has a beautiful mix of swirls and cross grains. In fact, the USP of the stummel lies in the solid hand feel and robustness of the build. The quality of briar is top notch and without any fills at all on this piece. It is stamped on the right side of the shank as “MADE IN” over “LONDON, ENGLAND”. The high quality vulcanite saddle stem is sans any stampings.There are not very many clues that can point me towards the provenance of this pipe. The only fact that can be established is that this is a London made pipe. The build quality, the shape and stem type reminds me a lot of Charatan’s pipe, most notably their Belvedere line. In fact, I do have a Charatan’s Make BELVEDERE pot shaped pipe that I had received as part of my Mumbai Bonanza and the similarities are striking. Also, while surfing the net, I came across a MOUNTBATTEN pot which again resembled the pipe on my work table. Here are pictures of both these pipes, the first two are of the Mountbatten and the next two are that of Belvedere pot. With Mountbatten being a Charatan’s second and observing the similarities between these three pipes, it may be surmised that there is a possibility that the pipe presently on my work table is made by Charatan’s for some pipe shop, which was not uncommon in the past. Any confirmed input to either support or refute my assumption is most welcome.

Initial Visual Inspection
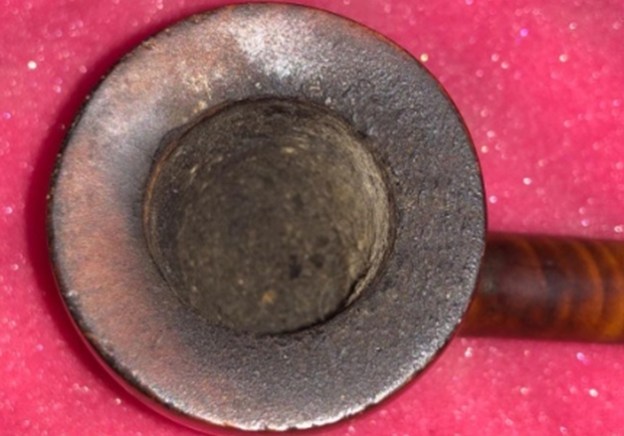
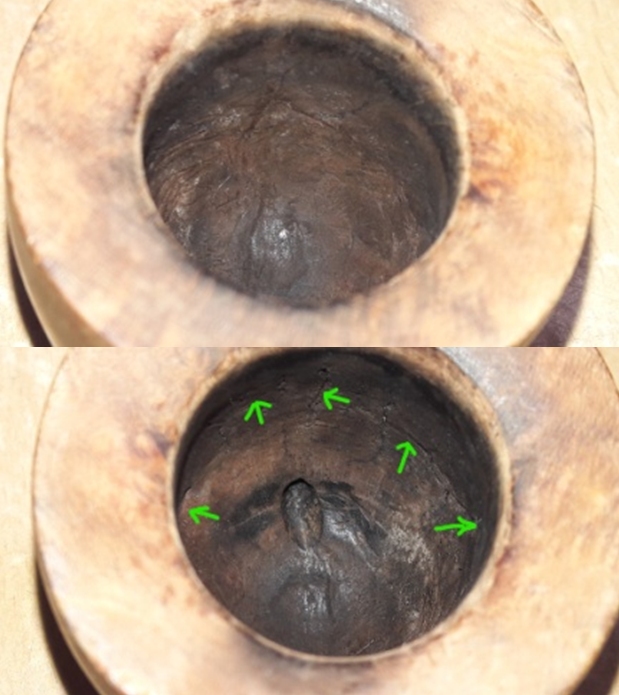
The chamber has a thick even layer of cake with heavy lava overflow over the inward sloping rim top surface. The deposition of heavy lava overflow is predominantly seen on the backside of the rim surface in 6 ‘O’ clock direction. A number of dents and dings are seen on both outer and inner rim edges. I suspect charring to the inner rim edge in 1 ‘O’ clock and likely in the 6 ‘O’ clock direction. The extent of the charring and the condition of the walls of the chamber can be ascertained only once the cake has been taken down to the bare briar. The foot of the stummel did show the sign of beginnings of a burn out that was considerably darker towards the draught hole (encircled in green) and extending outwards away from the draught hole half way across the foot. The damage to the heel and the resulting severity of the burn out will be confirmed after reaming. There are some very strong ghost smells to the chamber which will need to be addressed. The stummel is covered in oils, dust and grime giving it a dull and lackluster appearance. The stummel feels solid and well carved and nice mixed grains can be observed all over the surface through all the grime. There is not a single fill anywhere on the bowl. Other than the charring observed at the foot of the stummel, the stummel has a robust and solid feel. The mortise is cleaned and clogged with the accumulation of old and dried oils, tars and gunk. This will need to be cleaned. The vulcanite saddle stem is heavily oxidized with signs of calcification on either surface of the stem about an inch from the button edges. There is no serious tooth chatter or indentation or button damage to the stem. The tenon end and horizontal slot shows signs of accumulation of old oils, tars and gunk. The high quality vulcanite stem should clean up nicely.Initial Cleaning By Abha…
The initial cleaning on this pipe was done by Abha, my wife (she has cleaned up around 40-50 pipes and these have now reached me for further restoration). She reamed out the complete cake and further smoothed out the chamber walls with a folded piece of 220 grit sand paper. She further cleaned out the internals of the shank with pipe cleaners and alcohol and cotton buds. She followed the internal cleaning of the shank with external cleaning of the stummel using Murphy’s Oil soap and hard bristled tooth brush and dried it with paper napkins and cotton cloth.

Next she cleaned out the internals of the stem air way and immersed it in “Before and After Deoxidizer” solution along with the stem of the other pot in line for restoration. Once the stem had soaked overnight, she cleaned the stem under running warm water and scrubbed the raised oxidation from the stem surface using Scotch Brite pad. She further removed the oxidation by scrubbing the stem with 0000 grade steel wool and applied a little olive oil to rehydrate the stem.Once The Pipe Is On My Work Table…
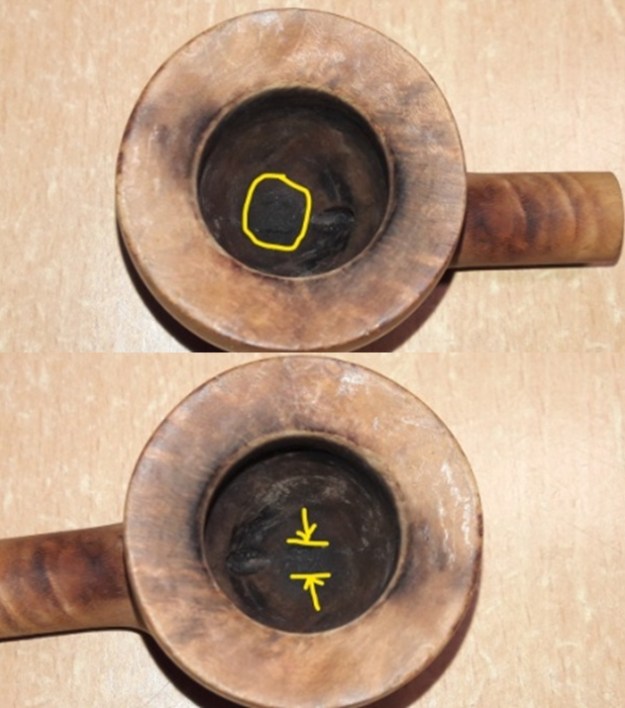
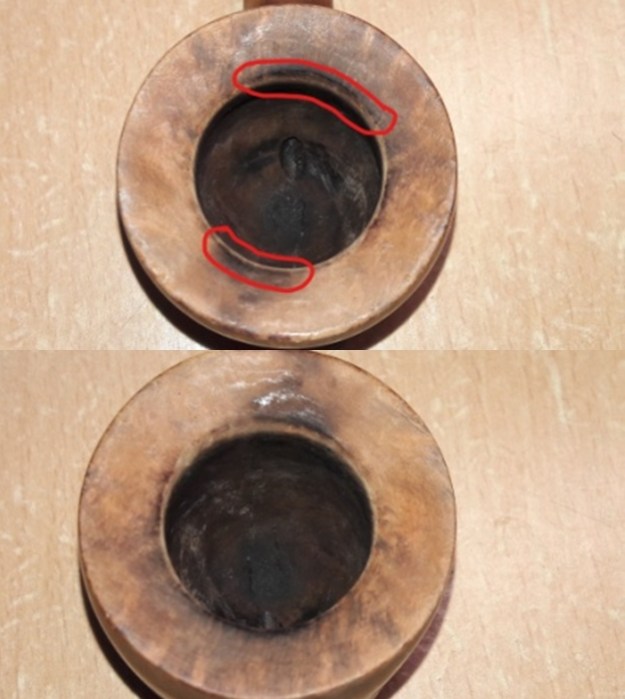
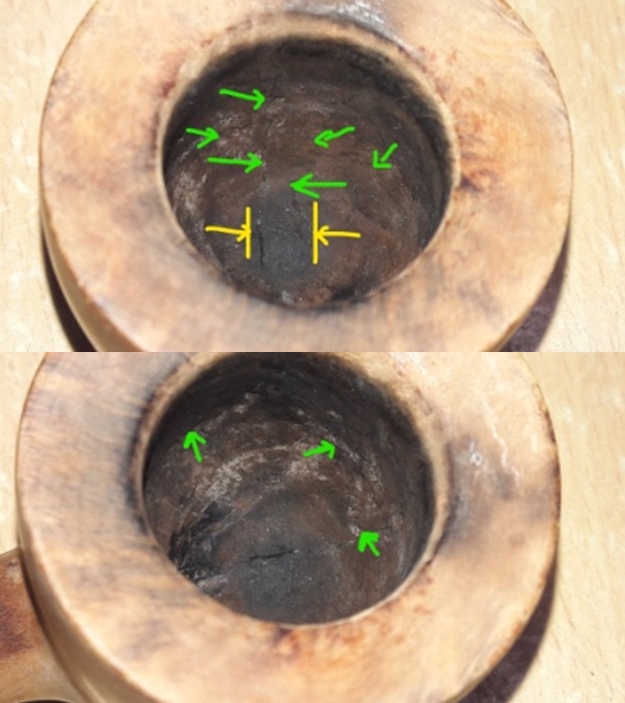
Now that the cleaned pipe is on my work table, I proceed to carry out my appreciation of the work that needs to be done on this pipe to restore it. The cleaned up pipe presented a clearer picture about the actual condition and the work required on this pipe. Here is how the pipe reached me. The stummel was clean and free of any accumulated grime. As observed earlier, there is not a single fill anywhere on the stummel. The only cause of concern is the darkened spot over the foot of the stummel. I felt the spot for softness with my nail and it appeared sufficiently solid, thus confirming that it’s not an all out burned heel. Rest of the stummel feels solid and robust to the touch. This piece of briar should polish up nicely. I was eager to understand the extent of burn out in the heel of the bowl. True enough, I could make out a dark patch just in front of the draught hole approximately at the center of the heel (marked in yellow). The chamber shows a few vertical minor heat lines all along the front of the walls emanating from the dark patch and further branching out horizontally to either side. The entire heel of the bowl appears dark and when seen in conjunction with the foot darkening, this issue needs to be investigated and addressed. The inward sloping rim top surface is in decent condition with the inner rim edge showing slight deformation and darkening in 6 o’clock and 1 o’clock direction (circled in red). The outer rim edge show few dents and dings. Thus, I would need to address issues of the darkened heel, inner rim edge and dents and dings to the outer rim edge. The mortise and shank is nice and clean. The ghost smells are history and reflects the thoroughness with which Abha cleans the internal and external of the pipe.The stem had cleaned up nicely and is in pristine condition. Whatever, little oxidation remains, will need to be removed by sanding with a folded piece of 220 grit sand paper and follow it up with polishing with micromesh pads. The Process
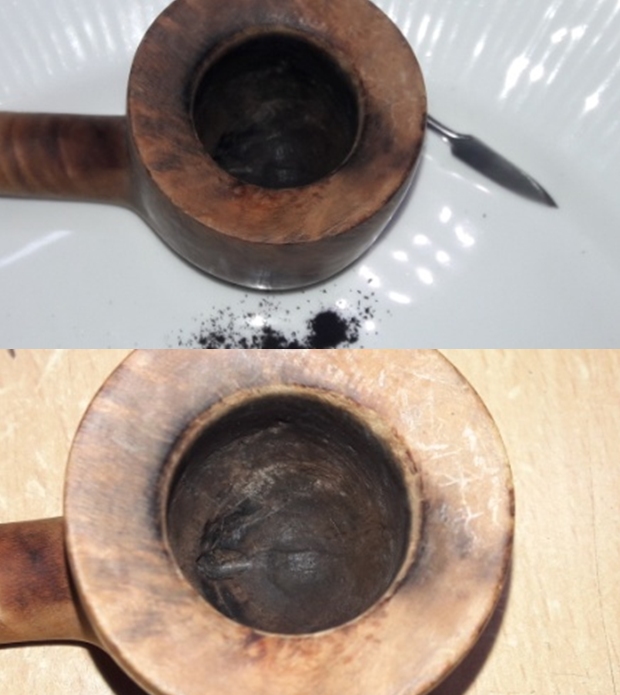
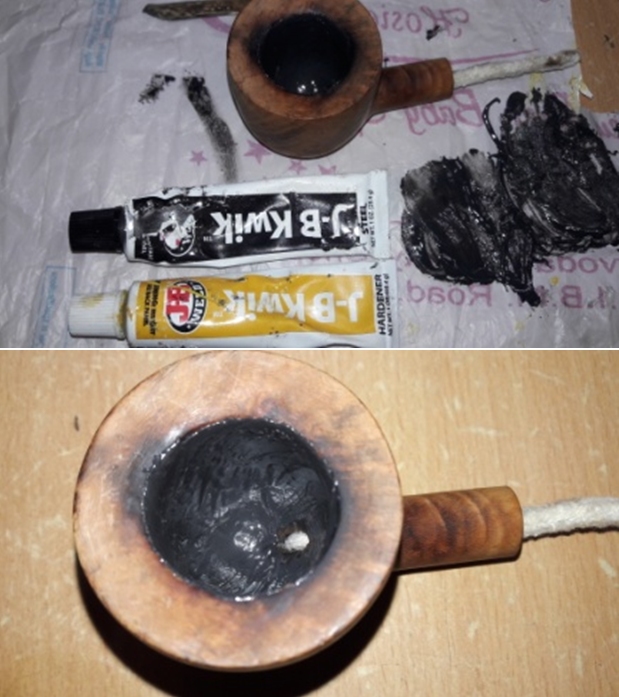
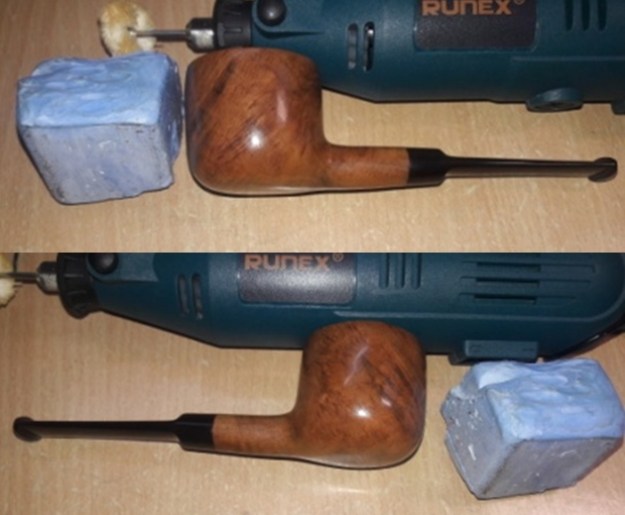
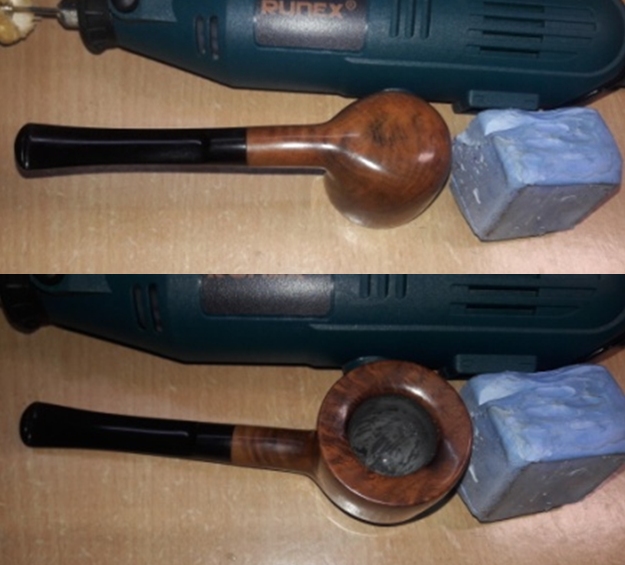
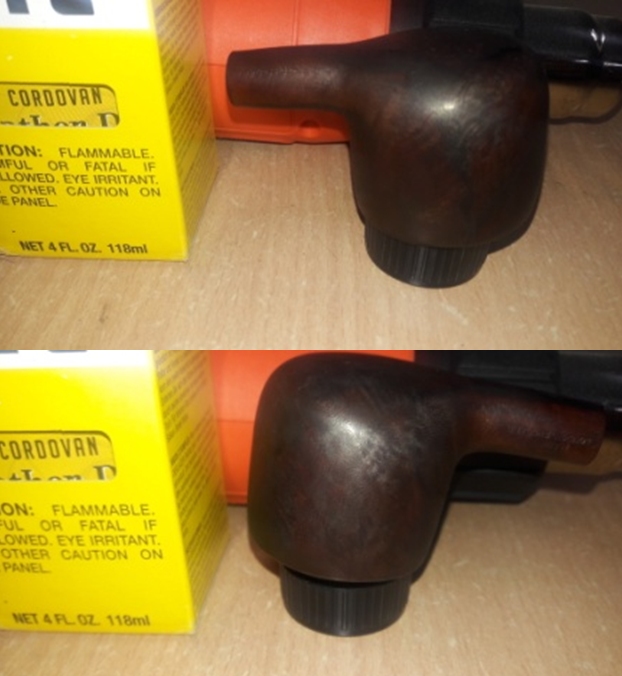
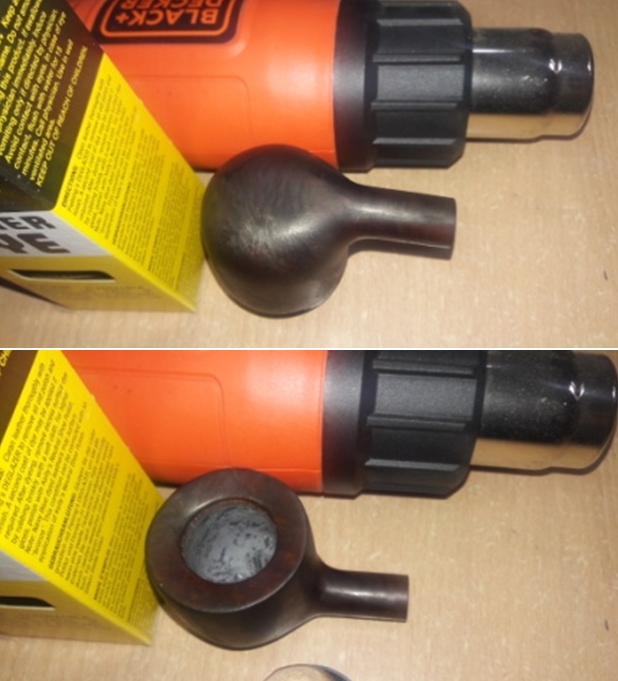
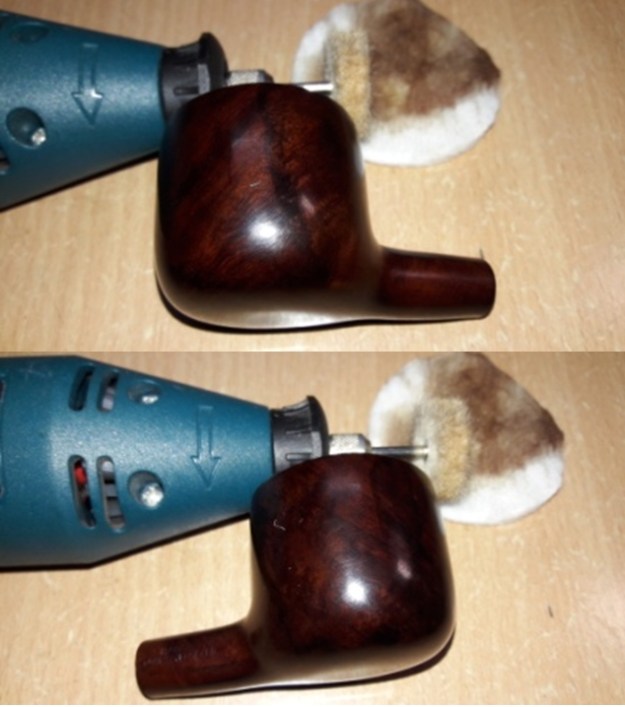
The first issue on the agenda that I decided to tackle was to address the dark patch to the heel observed just in front of the draught hole and correspondingly to the foot of the stummel. The black patch is bounded by the yellow arrows and the alignment of the web of these minor heat fissures is indicated by the green arrows. With a pointed dental tool, I scraped the black patch in the heel of the chamber and completely removed the dead charred briar from the surface till I reached solid intact briar. Thereafter, I removed the charred briar from the heat fissures till I had reached solid briar. Once the dead and charred briar was removed, there was a need to give a protective coat over the surface to avoid direct contact of the briar with the burning tobacco as the thickness from these damaged areas were slightly reduced. I would achieve this by coating the walls of the chamber with J B Weld mix. I preceded the stummel repairs first by coating the walls of the chamber with a slightly thick layer of J B Weld. J B Weld is a two-part epoxy Cold Weld in two tubes; hardener and steel which are mixed in two equal parts (ratio of 1:1) with hardening time of 5-6 minutes and complete curing time of 6-8 hours. I poured the contents of the two tubes and mixed it well. I inserted a petroleum jelly coated regular pipe cleaner through the draught hole to prevent it from getting blocked due to the J B Weld mix. I applied this mix, as evenly as possible, over the entire chamber wall surface. I worked fast to ensure an even coat over the chamber walls before the weld could harden. I set the stummel aside for the application to harden and cure overnight.While the J B Weld coat was curing, I worked the stem by first sanding it down with a folded piece of 220 grit sand paper. This step addresses the twin issues of removing residual stubborn oxidation and also smooth out the minor tooth chatter from the bite zone. I wiped the stem with Murphy’s Oil soap and cotton swab to remove the resulting sanding dust. I rubbed in a small quantity of EVO in to the stem and set it aside to rehydrate.Turning my attention back to the stummel, I sand the entire stummel surface with a folded piece of 220 grit sand paper to remove the minor dents and dings from the surface. This also helped to lighten the darkened spot from the foot of the stummel. Staying with the stummel repairs, the next issue I addressed was that of the damage to the rim top surface. The rim top surface is sloping inwards, making topping impossible without compromising the profile integrity. To address the issue of darkened rim surface, I sand it with a folded piece of 220 grit sand paper pinched between my thumb and fore finger, moving along in the direction of the surface profile. Simultaneously, I addressed the issue of charred inner rim edge and the dings and chips to the outer edge, by creating a slight bevel to both the rim edges. I am happy with the appearance of the stummel at this stage. I switch back to the stem and further sand it with 400, 600 and 800 grit sand paper. I wiped the stem with cotton pad dipped in alcohol to remove the resultant dust. I rubbed some extra virgin olive oil into the stem and set it aside to be absorbed. I polished the stem with micromesh pads, wet sanding with 1500 to 12000 grit pads. I rubbed a little extra virgin olive oil in to the stem at the end of all the micromesh pads. I finished the polishing of the stem by rubbing a small quantity of Paragon wax and giving it a final polish with a soft cotton cloth. The stem is now nice, smooth and shiny. With the stem polishing completed, I moved ahead with completing the stummel repairs. The J B Weld coat had hardened considerably by this time. I mount a sanding drum on to my hand held rotary tool and setting the speed to half of the full RPM, I sanded the excess coat from the chamber walls. To further fine tuned and keep the coat to a minimum thickness, I further sanded the coat with a 150 grit sand paper till I had a coat of a thickness that was just sufficient to protect the briar underneath. Here is how the chamber appeared at this stage. I polished the stummel with micromesh pads, wet sanding with 1500 to 12000 pads. I wiped the surface with a soft cloth at the end of the micromesh cycle. The stummel looks amazing with a deep shine and beautiful grains popping over the stummel surface. However, the dark rim surfaces in 1 o’clock direction and the dark spot at the foot of the stummel do not present a visually appealing picture. I had the option of either masking them under a darker stain or to let them be. I shall decide after I am done with polishing with Blue Diamond, hoping that this would further lighten these spots. I followed up the polishing by applying “Before and After Restoration” balm. This balm protects and enriches the briar surface and is highly recommended for use in any restoration of briar pipe. I rubbed it deep in to the stummel surface and set it aside to be absorbed for 20 minutes. I was pleased by the appearance of the stummel, less the dark spots on the rim edge and on the foot of the stummel. I mounted a cotton cloth buffing wheel on to my hand held rotary tool and applied a coat of Blue Diamond to the stummel, hoping to see a slight change in the appearance of the dark spots. However, these spots are still prominent and will need to be masked. Here are the pics of the pipe at this stage. I decided to stain the stummel with a Cordovan stain in the hope that it would help in a nice blending of the dark spots with the rest of the stummel. I heated the stummel surface with my heat gun to open up the pores on the stummel so that the stain is well set. I dipped a folded pipe cleaner in Fiebing’s Cordovan leather dye and liberally applied it over the heated surface, flaming it with the flame of a lighter as I went ahead to different self designated zones of the surface. This helps in even application and in the setting of the stain in the grain of the briar. I set the stummel aside for the stain to set into the briar. The next afternoon, I mounted a felt cloth buffing wheel on to my hand held rotary tool and using Red Tripoli proceeded, as my dear friend Dal Stanton likes to say “unwrap the coat of stain to reveal the grain” from the stummel surface. I set the tool at its slowest speed, again my recent experience while working on Steve’s pipe came in handy and the damage that can be caused due to heating while using the felt buffing wheel still fresh in my memory; I began to peel off the stain from the stummel surface first. The stain peeled out gradually. This was followed with wiping the stummel with a cotton swab and alcohol to lighten the stain a little as it was too dark for my liking. This also helped in cleaning the surface of all the residual stain and highlighting the grains. I set the stain by again heating the stummel surface with the heat gun. This is an essential step as, if missed, there is a possibility of the stain running down the hands of the smoker who decides to carry forward the trust in this pipe. To apply the finishing touches, I mounted a cotton cloth buffing wheel on to my hand held rotary tool and applied a coat of Blue Diamond to the stummel and the stem to polish out the minor scratches. Next, I mounted a cotton cloth buffing wheel and setting the speed to ¼ of the full power, I applied a thick coat of carnauba wax over the stummel and the stem. I worked the complete pipe till the time all the wax was absorbed by the briar. The pipe now boasted of a beautiful and lustrous shine. I vigorously rubbed the pipe with a microfiber cloth to deepen the shine and also to clean away any residual wax that had been left behind. I am very happy with the way this beauty has turned out. P.S. There was only one more issue that needed to be addressed and one that could not be ignored, being a functional issue. After I had protected the heel of the stummel and the walls of the chamber with a coat of J B Weld, it was necessary to prevent this coat from coming in to contact with the burning tobacco. I addressed this by mixing activated charcoal and plain yogurt to a thicker consistency, just enough that it would spread easily and applied it evenly all along the chamber walls after inserting a folded pipe cleaner through the draught hole to keep it open. Once dry and set, this will not only protect the walls but also aid in faster buildup of cake.I wish to thank all readers for sparing their valuable time to read through this write up.


Rusticating A Willard That Was A Gift For My Colleague…


Blog by Paresh Deshpande

My job involves a lot of transfers and frequent shifting of our household to a completely new place. At times, it is we who move to our work place alone while our families stay back for children’s education or when accommodation is not available or when the new place is in a remote area and fraught with risks. I moved to my present place of work alone. Here, I had a very fine set of colleagues with whom I gelled well. As time went by, these colleagues got transferred and new colleagues joined. However, when the last of my old colleagues got his transfer orders, I wanted to gift him a pipe as he has started to enjoy pipes more than his cigars.

Abha, my wife, had sent me one lot of 40-45 pipes that she had cleaned up and all ready for my part of restoration process. From this lot of the pipes that I had earmarked as for sale/ gifting, he selected a pipe that had come to me as part of my Mumbai Bonanza.

For those readers who have missed out on how I came to purchase this lot, here is the background story….

I was fortunate enough to have heeded the advice of my dear friend and mentor, Steve, and struck a deal with a junk collector from Mumbai. He did not know what he was selling and I did not know what I was buying as we reside in different cities!! The argument that Mr. Steve presented was that if not anything, I shall at least have some spares and this was logical. I struck a deal and here are pictures of the pipes that I received in this lot.    This lot contains some very nice collectible pipes, a few well known brands and some mediocre brands. Overall, with seven Dunhill pipes, a Preben Holm #1 FH, a couple of “Made in England” Pete System pipes, a couple of  Charatan’s Belvederes, Custom-Bilt, Stanwell and other assorted pipes, I would say that I had struck a decent deal!! This is indeed my “Mumbai Bonanza”.

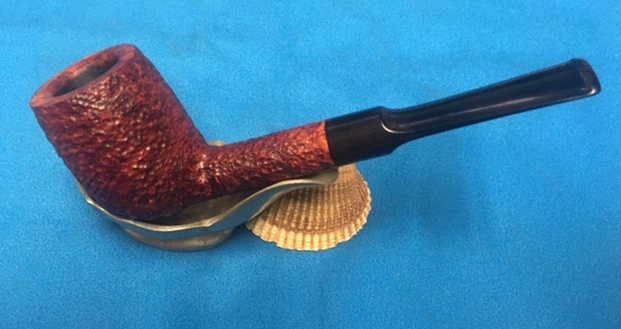
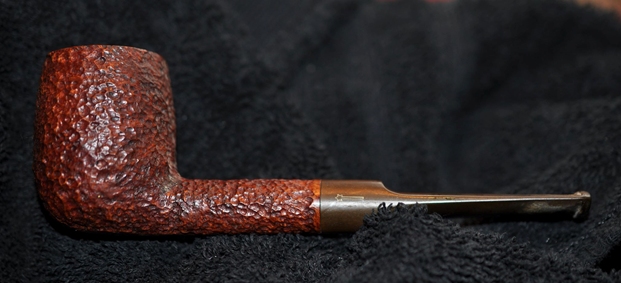
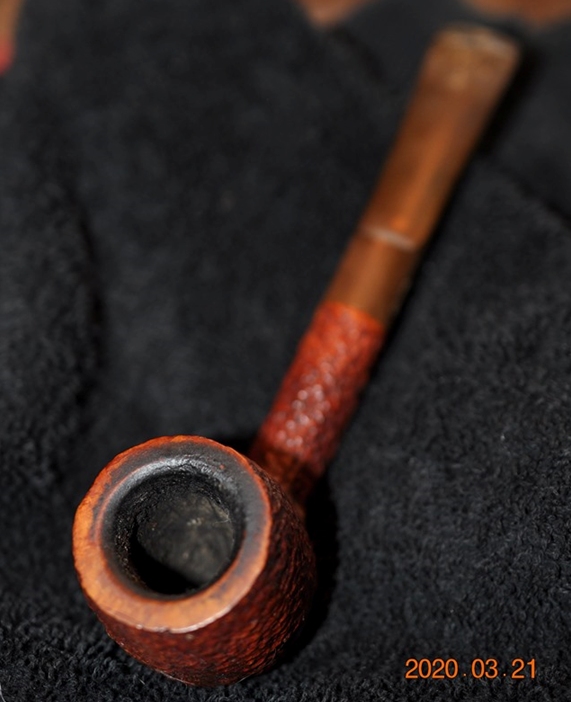
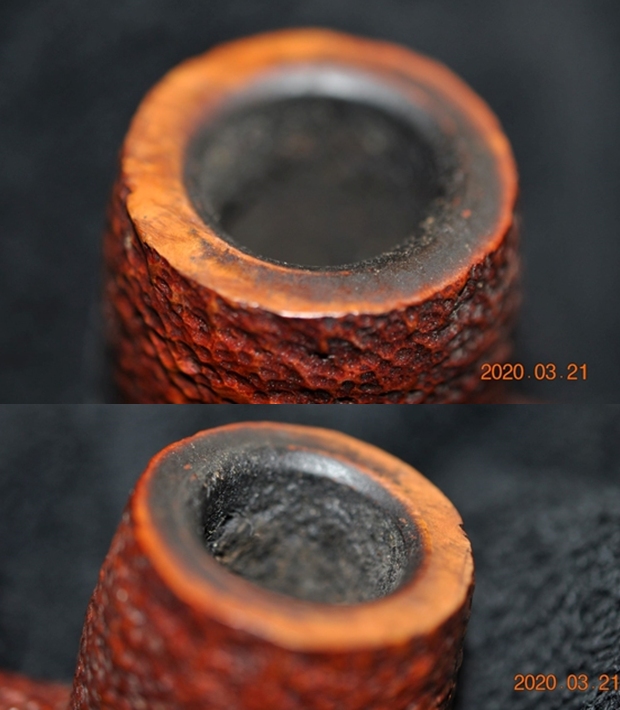
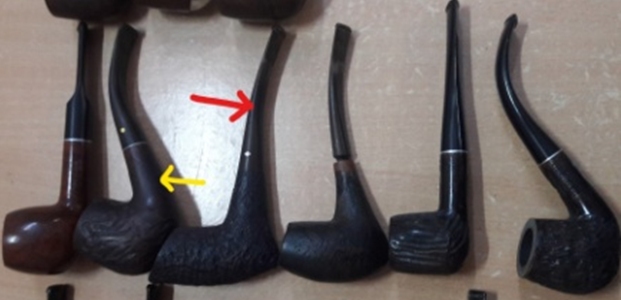
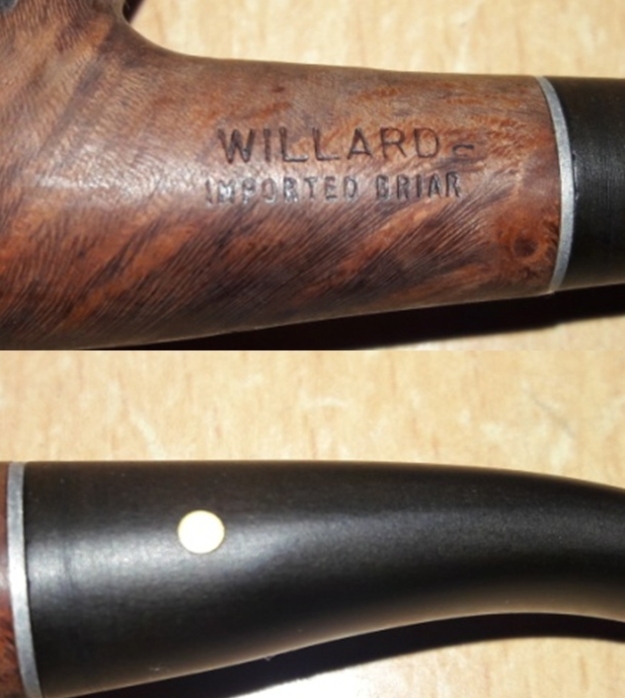
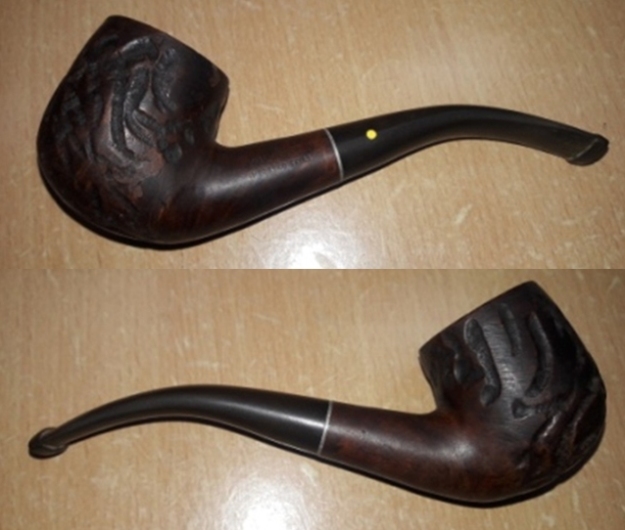
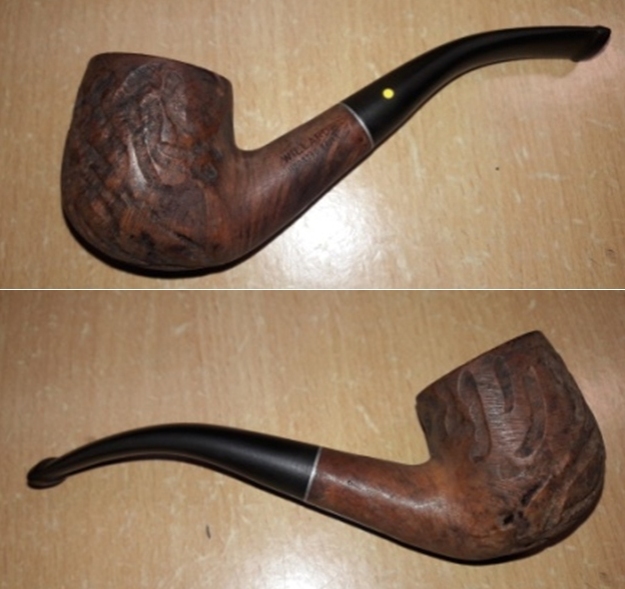
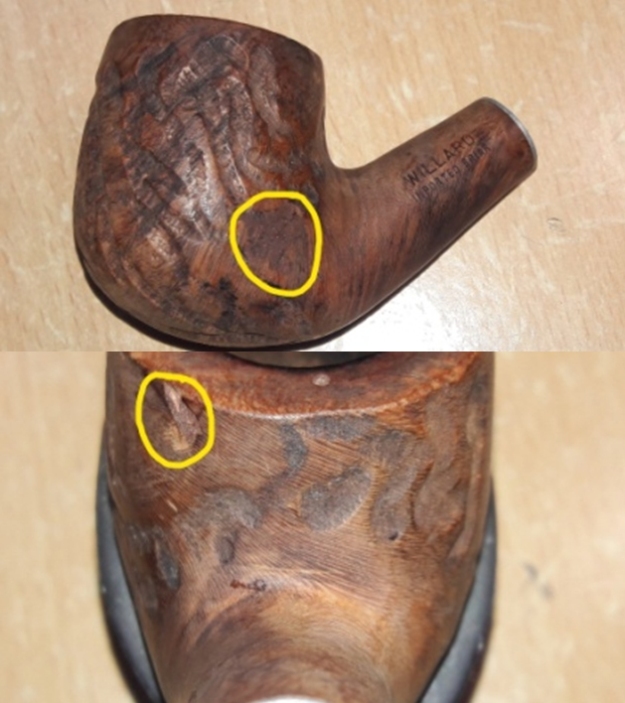
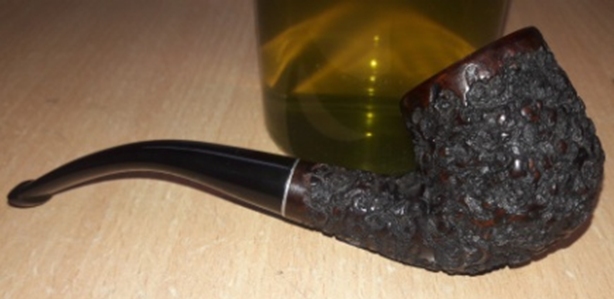
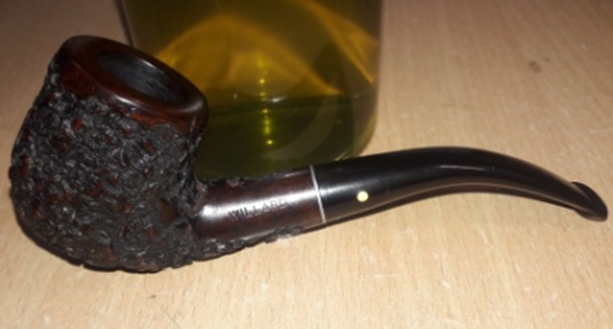
The pipe selected by my colleague and now on my work table from this find (sixteenth pipe being restored) is a bent billiard pipe with flame shaped worm rustications, a poor imitation of worm rustications as seen on Custombilts from the Wally Frank era! It is indicated in yellow arrow in the picture below. It is stamped on the left side of the shank as “WILLARD” in block letter over “IMPORTED BRIAR” again in block letter. The right side of the shank is devoid of any stamping. The stem bears a “Dot” logo in Yellow, embedded on the left side of the stem. Now coming to the research of this brand and line/model in specific, I referred to pipedia.org. Though there are no reams of information on this brand or model, the information provided gives a clear perspective of this brand and its aim. Here is the link (https://pipedia.org/wiki/Willard).

“The Willard pipes were made by Sparta Industries in Sparta, N.C from 1963 to 1975 (about 60,000 pipes per week). Some were distributed by the Post and Base Exchanges that serviced the military during the Vietnam War. Others were produced for R. J. Reynolds Tobacco. (preceding content from the “Pipes” website http://www.pipephil.eu/index.html)

Lord Abbott was either a sub-brand or a series produced by Willard —Dgillmor 22:42, 10 May 2012 (CDT)”

From the above information, it is evident that the pipe currently on my work table is from the period 1963-75. With this input on the vintage of this pipe, I move ahead with the restoration of this 42 plus years old pipe!

Initial Visual Inspection
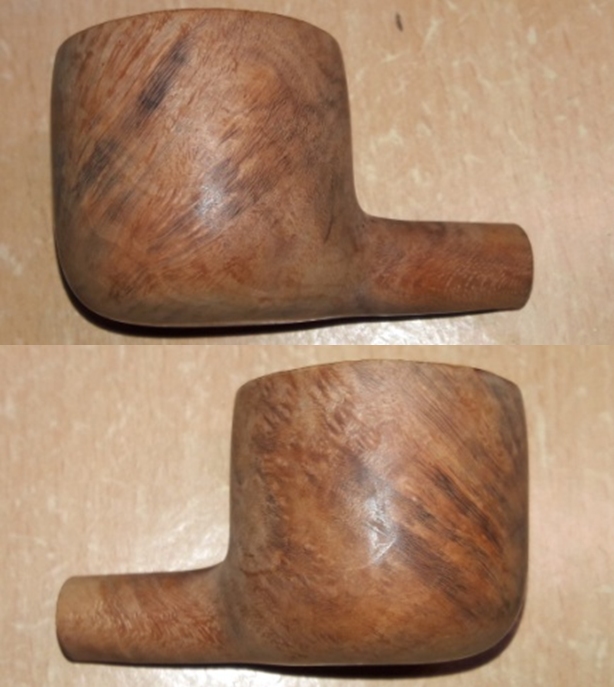
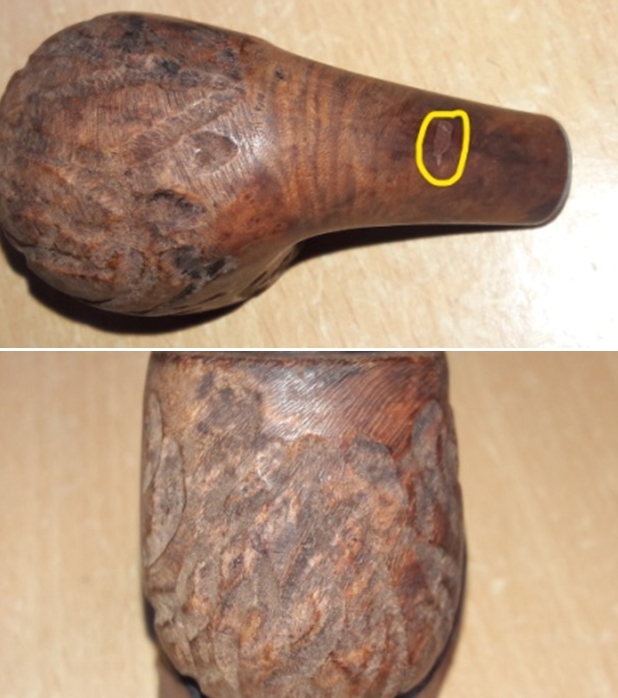
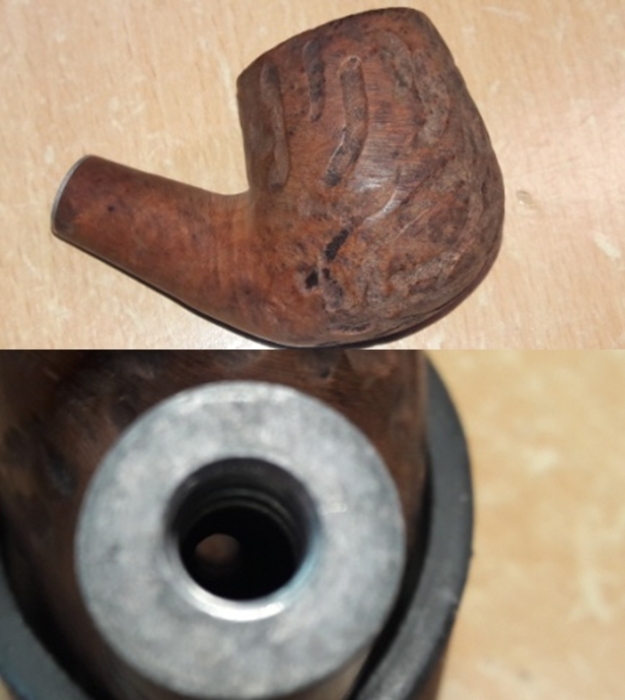
The stummel is covered in dust and dirt giving it a dull appearance. The Custombilt like worm rustications are uneven, without any finesse and filled with dirt and grime. There are a couple of fills that are plainly visible. These will need to be refreshed, if needed. It’s a matter of personal choice; however, I could not help but wonder what it was that attracted my colleague to this pipe in the first place!! I got my answer the next day when he said that he liked the shape and lightness of this pipe. Thus, it was not the grains (which were zero!) or the worm rustication that he was interested in and could be done away with to make it more attractive. With this input from him, I decided to rusticate the stummel as I was not very happy with the appearance of this pipe at this stage. A thick layer of cake can be seen in the chamber. The smooth rim top surface is covered in dirt, dust and grime with a few dents and dings thrown in for good measures. The condition of the inner walls of the chamber will be known once the cake has been taken down to the bare briar. The inner rim condition appears to be in good condition with no burn/ charred surfaces. Even the outer rim edge appears to be in a decent condition. Only once the stummel has been thoroughly cleaned that I can be sure of my initial appreciation. In spite of the thick cake, the chamber odor is surprisingly not strong, yet I shall be subjecting it to a salt and alcohol treatment to freshen it up for him.The shank end has a metal band and this metal band extends inside the shank with threads, over which the threaded stinger is seated in to the mortise. Thankfully, the band and threads are all intact. The mortise is blocked with dried gunk, adversely affecting the airflow. The metal band is dull and dirty in appearance.The vulcanite stem is oxidized and has calcification deposits towards the button end. The lower and upper stem surface is peppered with tooth chatter. The button edges also need to be sharpened. The stinger opening and the horizontal slot is covered in accumulated oils and tars. The alignment of the stem and shank is skewed with the stem being overturned to the right. Initial Cleaning By Abha…
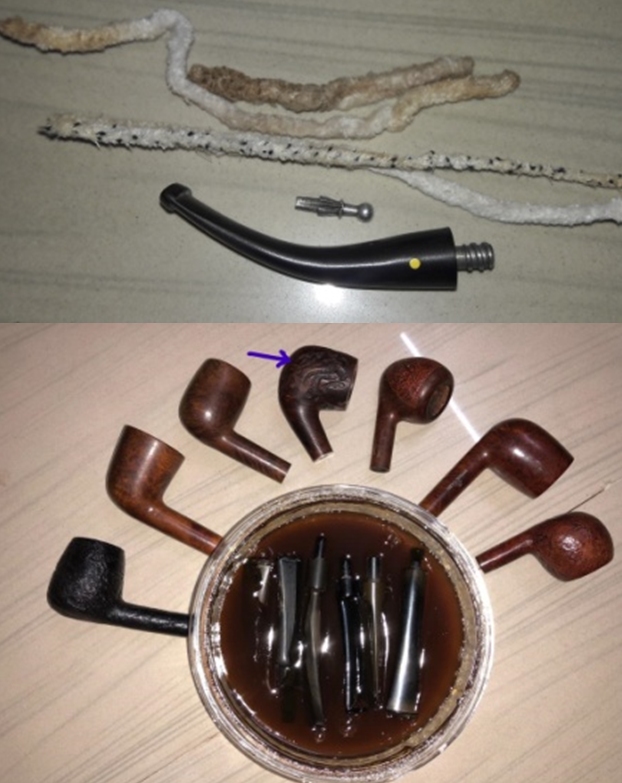
The initial cleaning on this pipe was done by Abha, my wife (she has cleaned up around 40-50 pipes and these have now reached me for further restoration). She reamed out the complete cake and further smoothed out the chamber walls with a folded piece of 220 grit sand paper. She further cleaned out the internals of the shank with pipe cleaners and alcohol and cotton buds. She followed the internal cleaning of the shank with external cleaning of the stummel using Murphy’s Oil soap and hard bristled tooth brush and dried it with paper napkins and cotton cloth.Next she cleaned out the internals of the stem air way and immersed it in “Before and After Deoxidizer” solution (pipe is marked in indigo blue arrow) along with the stem of other pipes in line for restoration. Once the stem had soaked overnight, she cleaned the stem under running warm water and scrubbed the raised oxidation from the stem surface using Scotch Brite pad. She further removed the oxidation by scrubbing the stem with 0000 grade steel wool and applied a little olive oil to rehydrate the stem.Once The Pipe Is On My Work Table…
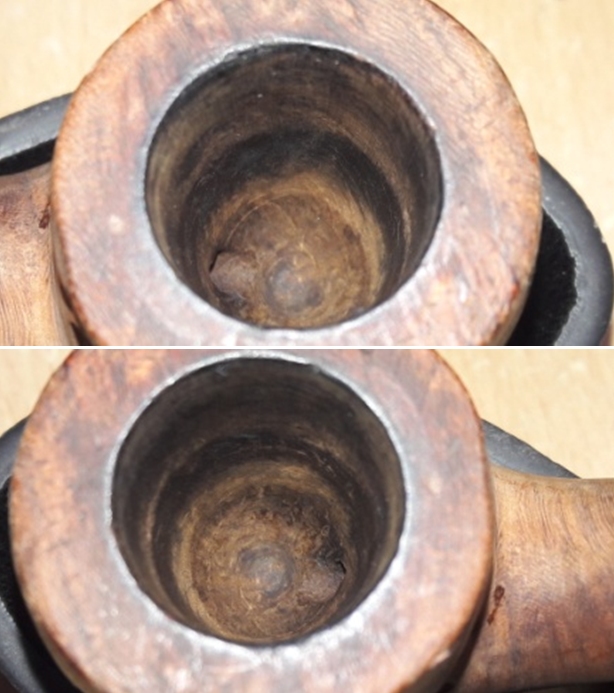
The cleaned up pipe presents a very clear picture of what needs to be done to restore this pipe to a decent and smoke worthy condition. I really cannot thank Abha, my wife, enough for all the help and support that she extends in my pursuance of this hobby. I proceed to carry out my appreciation of the work that needs to be done on this pipe to restore it. The cleaned up pipe, as I received it, is shown below. The chamber walls are without any heat fissures or pits and that’s a big relief. The rim top surface is peppered with dents and dings. The inner rim edge shows slight darkening all round and should be easily addressed with a couple of turns of a piece of 220 grit sand paper along the edge. There are some minute chipped spots on the outer edge. The condition of the chamber is good and will not require much repair work. There are no ghost smells in the chamber. The stummel surface is nice and clean. The worm rustications, though clean, are still not visually pleasing. There are a large numbers of fill now plainly visible (only larger ones are enclosed in yellow circle). The mortise is clean and air flow is smooth. The metal spacer ring is also clean and intact. The vulcanite stem had cleaned up nicely. The upper stem surface has a couple of deep bite marks at the base of the button and also in the bite zone. The lower surface has some minor tooth chatter in the bite zone. The button edges on both the surfaces need to be sharpened. The aluminum stinger is clean.The seating of the stem stinger in to the metal threaded mortise is off center. The stem is overturned to the right and will have to be readjusted to perfectly align with the shank and the stummel.The Process
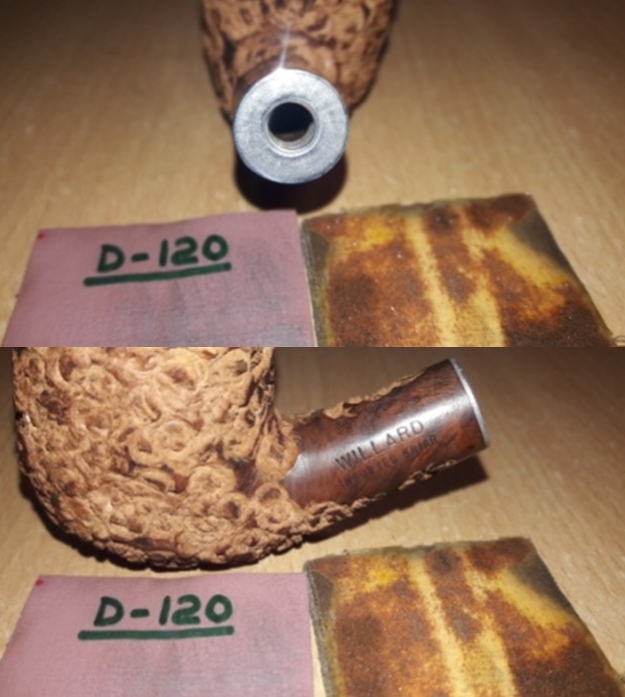
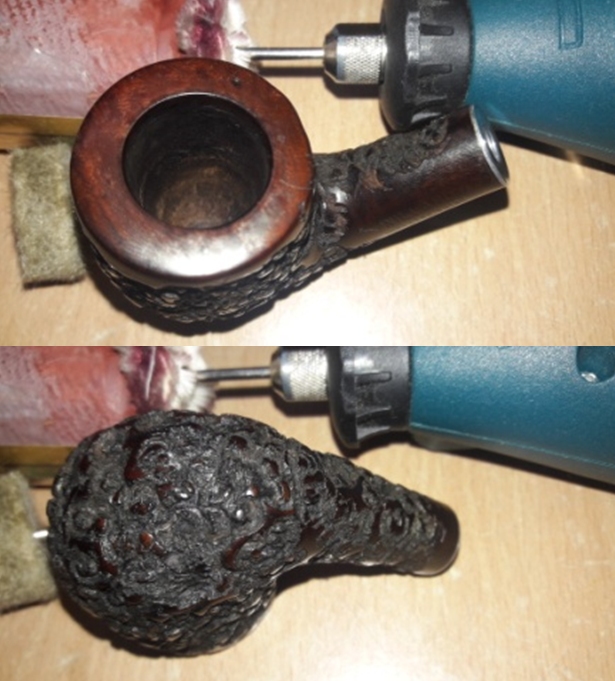
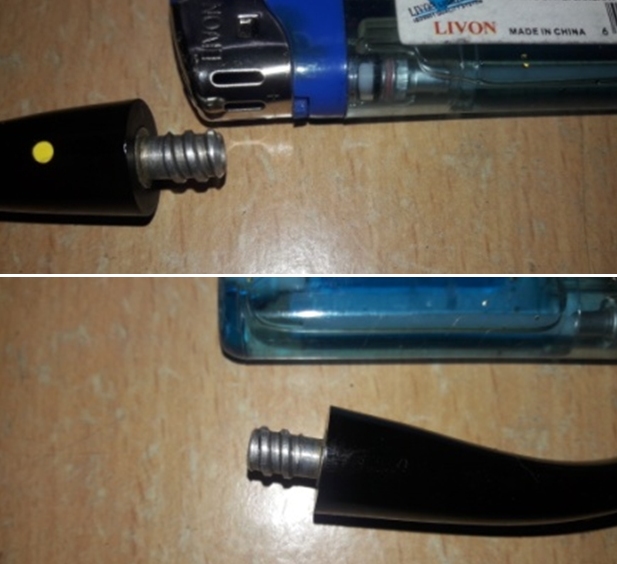
The first issue that I addressed in this project was that of the stem repairs. I painted both surfaces of the stem with the flame of a lighter to raise the tooth chatter and bite marks to the surface. This also helps in loosening minor oxidation from the stem surface. I sand the entire stem surface with a folded piece of a 220 grit sand paper to remove the loosened oxidation. I wiped the stem with a cotton swab and Murphy’s oil soap to further clean the surface. Even though most of the tooth indentations have been eliminated by heating the damaged stem portion, one deep indention is still seen on upper surface in the bite zone and a minor bite mark is seen on the button edge on the lower stem surface. I filled the tooth indentation in the button edge on lower and upper stem surface with a mix of activated charcoal and CA superglue and set it aside for the fill to cure.With the stem fills set aside for curing, I decided to work the stummel. The other day during a Face Time video call with Steve, we discussed the best way to transform this stummel. The long and short of the discussion was that it was decided to rusticate the stummel. This would help to mask the fills and provide a very tactile feel while smoking. It would also provide me an opportunity to practice rustication. With this decision finalized, I proceed with rusticating this stummel.

Now, this would not be my first attempt at rustication as I had rusticated one a few months back, here is the link to the write up (https://rebornpipes.com/2019/08/02/gifting-my-mentor-and-dear-friend-steve-an-alexander-zavvos-hygrosystem-pipe/).

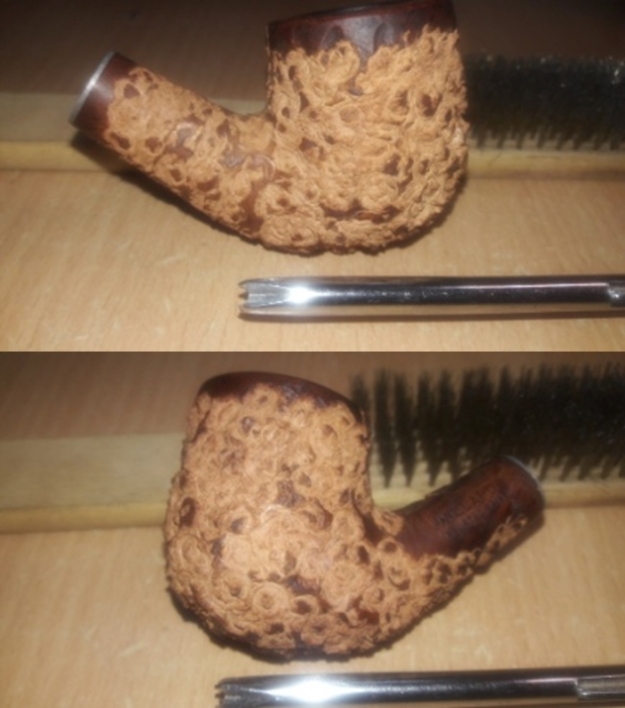
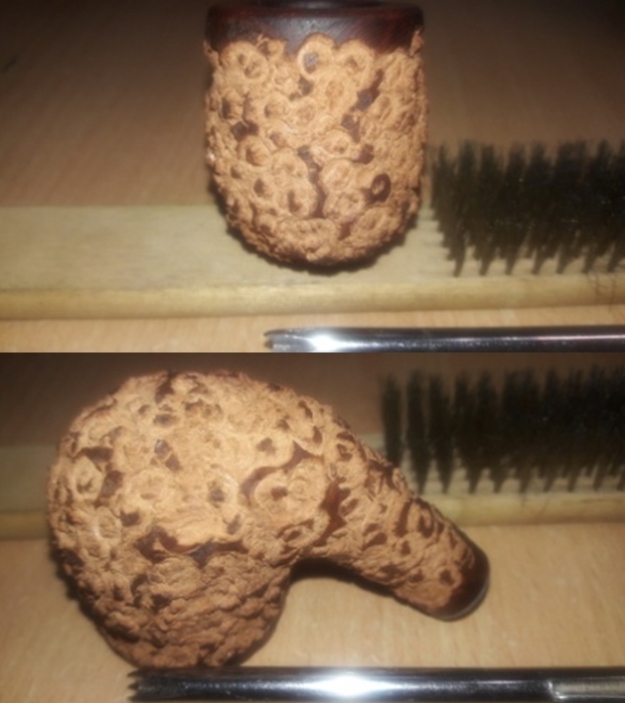
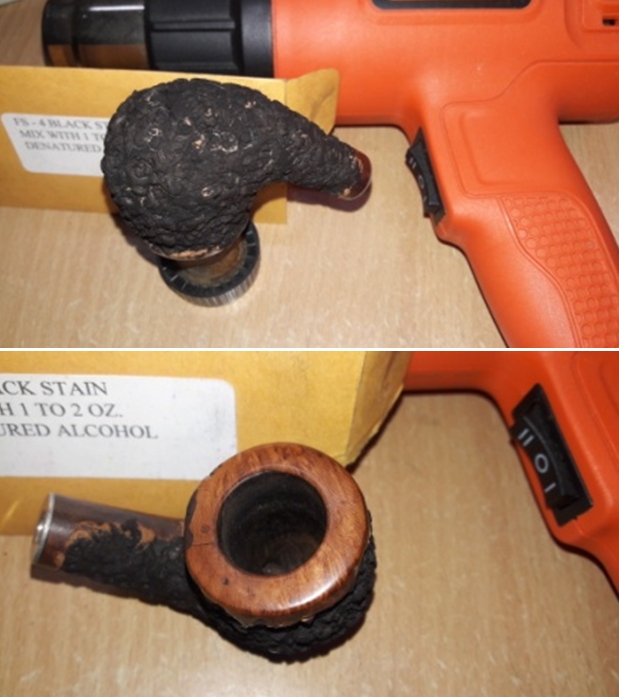
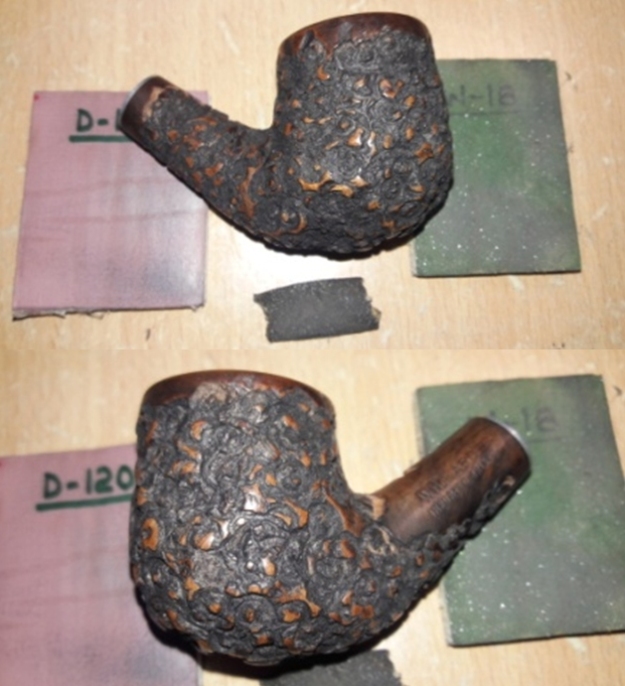
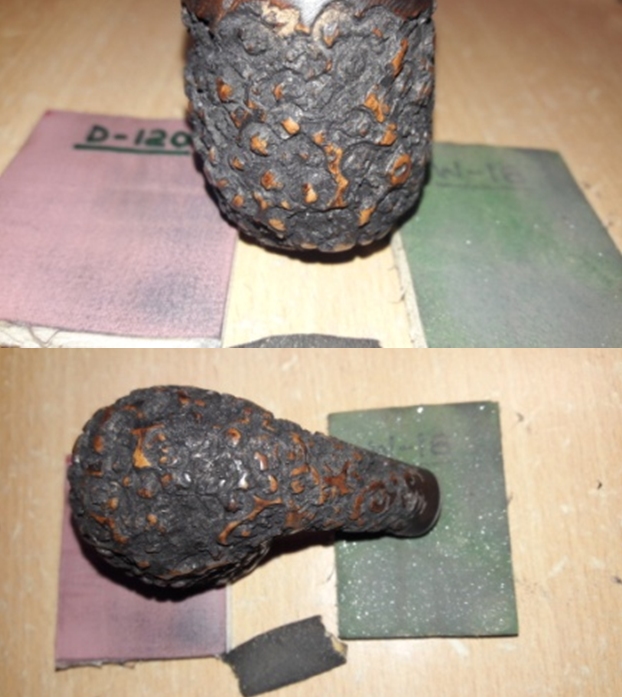
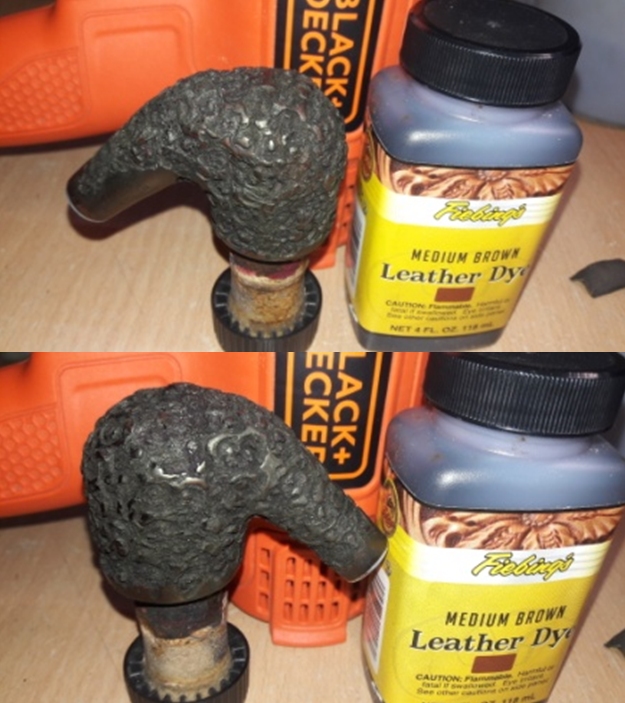
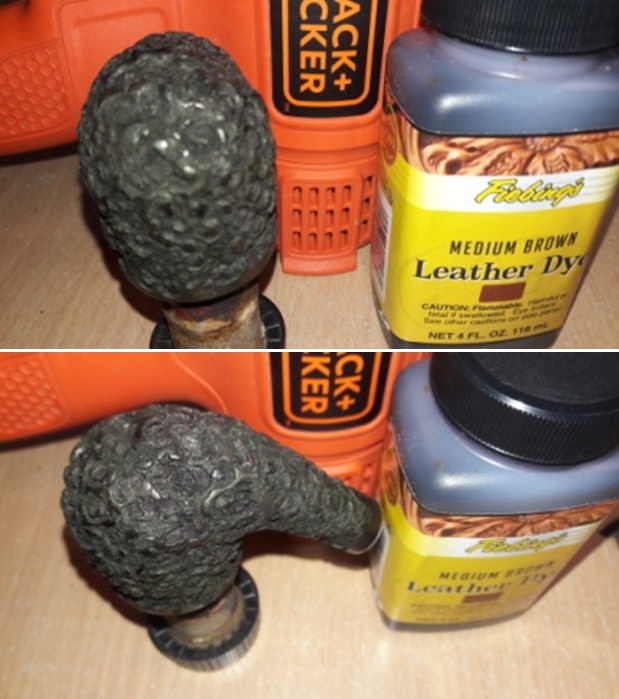
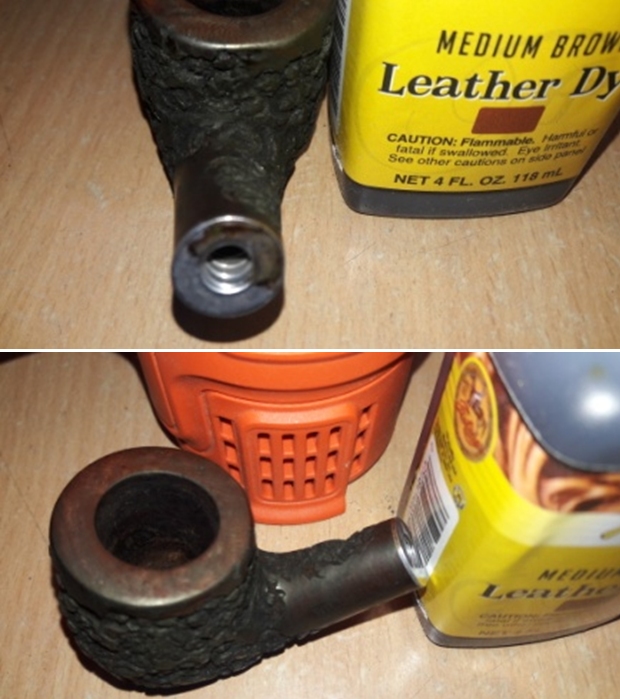
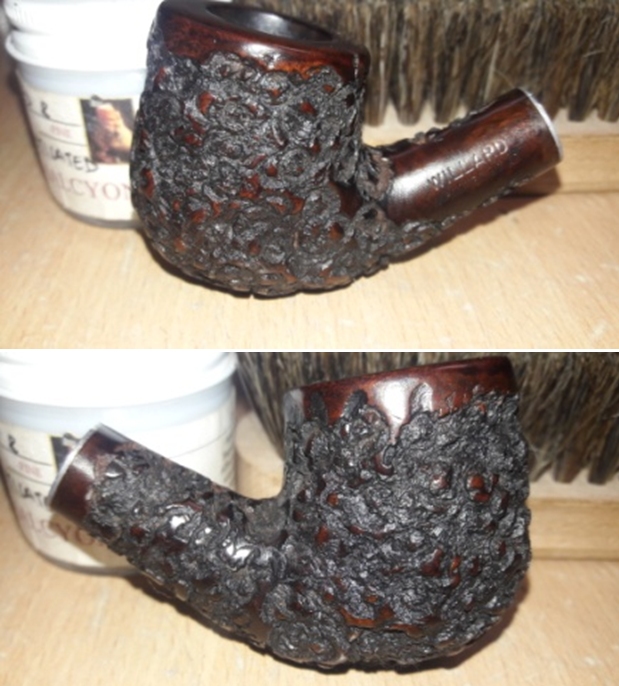
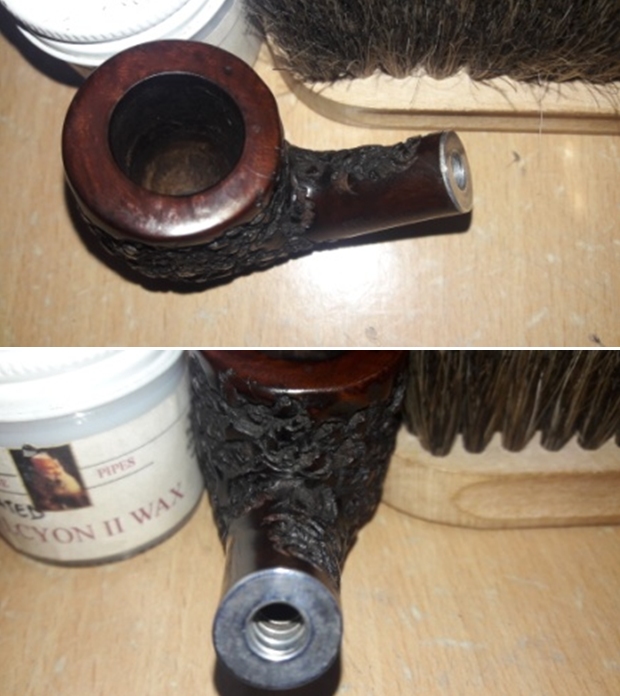
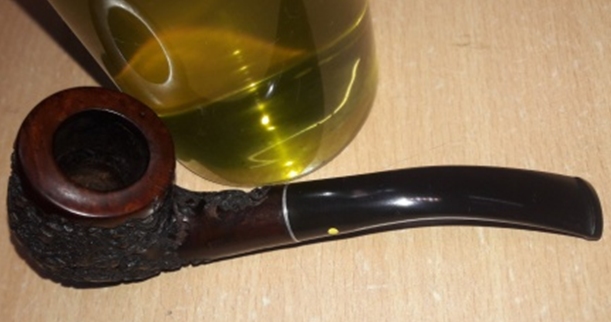
I referred to the above write up and other subject write ups on rebornpipes to understand the mistakes committed and decide on the look/pattern of rustications over the stummel surface. I decided to maintain a smooth ring atop the rustication below the outer edge of the rim and also at the shank end. I used a transparent tape to demarcate the area that I wanted to keep smooth that is the rim top and about quarter of an inch below the rim outer edge and a thin band at the shank end. Similarly, I covered whatever little that remained of the stamping. From my experience, I knew that this is a very essential step as I realized during rusticating that it is very easy to lose track and transgress over the areas and stampings which you wish to preserve.To rusticate, I firmly held the stummel in my left hand and with my right hand and began gouging out the briar. The technique is to firmly press the pointed four prongs of the modified Philips screwdriver in to the surface, rotate and pull out the removed chunk of briar. I worked diligently till I was satisfied with the rustications and the appearance of the stummel. I cleaned the stummel surface with a brass wired brush to clear all the debris from the rustications. I decided to take a break from further rusticating the surface as the process is tiring and painful. This makes me want a better and efficient rusticating tool. While giving my right hand a rest from this task, I decided to work on the damage to the rim top and edges. I start by addressing the rim top surface damage. I top the rim on a piece of 220 grit sand paper, checking frequently till I am satisfied that the darkened surface is addressed to a great extent and the rim top surface is nice, smooth and even. The inner and outer edges are still uneven, though much better than before topping, and shall be addressed subsequently.With a folded piece of a 220 grit sand paper pinched between my thumb and forefinger, I create a slight bevel on the inner and outer edges of the rim top surface. This helps to mask and address the minor dents and dings that had remained on the rim edges after topping. I am careful so as not to alter the profile of the stummel by excessive topping or creation of the bevels. I am pretty pleased with the appearance of the rim top and edges at this stage. I cleaned the stummel with pure acetone and cotton swab to remove the old stain completely in preparation for the polishing and subsequently, a new stain. After the cleaning, I set the stummel aside to dry out naturally. I turn my attention back to the stem. The fill has cured nicely and with a flat head needle file, I sand the fill to achieve a rough match with the surrounding surface. To achieve a perfect match, I sand the stem with a 220 grit paper, progressively moving through to finish with a 1000 grit sand paper. As expected, a clean and neat looking stem stared back at me. I rub a little Extra Virgin Olive oil into the stem surface to hydrate it and set it aside to be absorbed in to the vulcanite.I polish the rim top and the smooth surfaces of the stummel using micromesh pads, wet sanding with 1500 to 12000 grit pads. I am happy with the appearance of the stummel at this point in the restoration. The stummel is now ready for a fresh coat of stain. I heat the stummel surface with my heat gun to open up the pores on the stummel so that the stain is well set. I mix black stain powder with isopropyl alcohol and liberally apply it over the heated surface, flaming it with the flame of a lighter as I went ahead to different self designated zones of the surface. This helps in the setting of the stain in the grain of the briar. Once the stain has set in well, I again warm the stummel with my heat gun. This helps the stain to be absorbed and set further into the briar. I mount a felt cloth buffing wheel on my rotary tool and gently buff the entire stummel surface to remove the stain crust. I wipe the stummel with a cotton swab and alcohol to remove any excess stain and follow it up sanding the raised rustication with a folded piece of 220 grit sand paper. This is followed up by careful dry sanding of the entire stummel, especially the raised rustications with 1500 to 12000 grit micromesh pads. This not only lightens and highlights the rustications, but will also provide a smooth surface for the next coat of stain. Here is how the stummel appears at this stage. I buff the stummel with a horse hair shoe brush to remove any sanding dust resulting from the micromesh sanding. I apply a small quantity of “Before and After” restoration balm to rehydrate and rejuvenate the briar and set it aside for some time. Thereafter, I buff and clean the stummel with a microfiber cloth. I apply a second coat of Medium Brown stain over the stummel and the shank extension, going through the same method as described above and set them aside for the stain to set. With the stummel set aside for the stain to set, I turned my attention to the stem polishing. Using the micromesh pads, I complete the polishing cycle by wet sanding the surface with 1500 to 12000 grit pads. The stem looks great with the fills nicely matched with the rest of the surface. I rub a little quantity of Extra Virgin Olive oil in to the stem surface and set it aside to be absorbed by the vulcanite.Coming back to the stummel, once the stain is set I wipe it down with a cotton swab and alcohol to remove any excess stain and lighten it from the raised rustications. Mounting a felt cloth buffing wheel on my rotary tool, I go about removing the crust formed by the stain over the raised rustication. The second coat of brown stain has added another layer of texture to the appearance of the stummel. Next, I rub a small quantity of “Before and After Restoration Balm” in to the briar with my finger tips, work it deep in to the sandblasts and let it rest for a few minutes. The balm almost immediately works its magic and the briar now has a nice vibrant appearance with the beautiful rusticated patterns on full display. I further buff it with a horse hair shoe brush. I rub a small quantity of Halcyon II wax into the surface and immediately wipe it with a microfiber cloth. The only issue that remains unaddressed at this stage is the issue of the overturned stem. With the flame of a lighter, I heat the aluminum stinger to a point where the stem is just about able to rotate on the stinger. I reattach the stem to the shank while the stinger was still warm, and turned it till the alignment was as perfect as I desired and set it aside to cool down.To complete the restoration, I mounted a cotton cloth buffing wheel on to my hand held rotary tool.  I set the speed at about half of the full power and applied several coats of carnauba wax. I finished the restoration by giving the entire pipe a rigorous hand buffing using a microfiber cloth to raise the shine further. The finished pipe looks amazingly beautiful and quite a transformation it was. It is now ready for its long second innings with my colleague. I wish that he enjoys his pipe and remembers our association for a long time to come. I wish to thank our esteemed readers for sparing their valuable time to read through and any input or advice is always welcome.
 

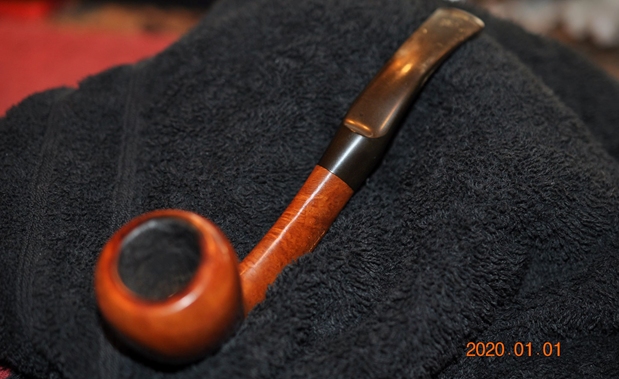
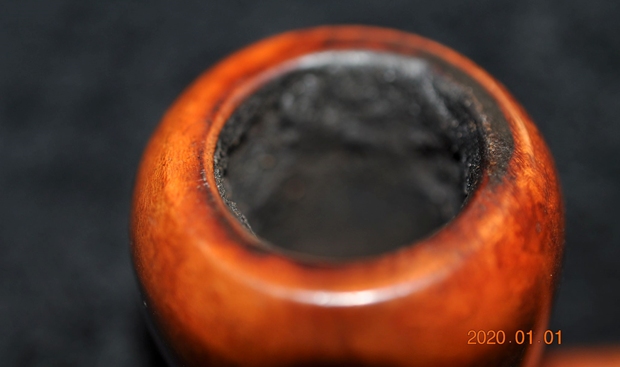
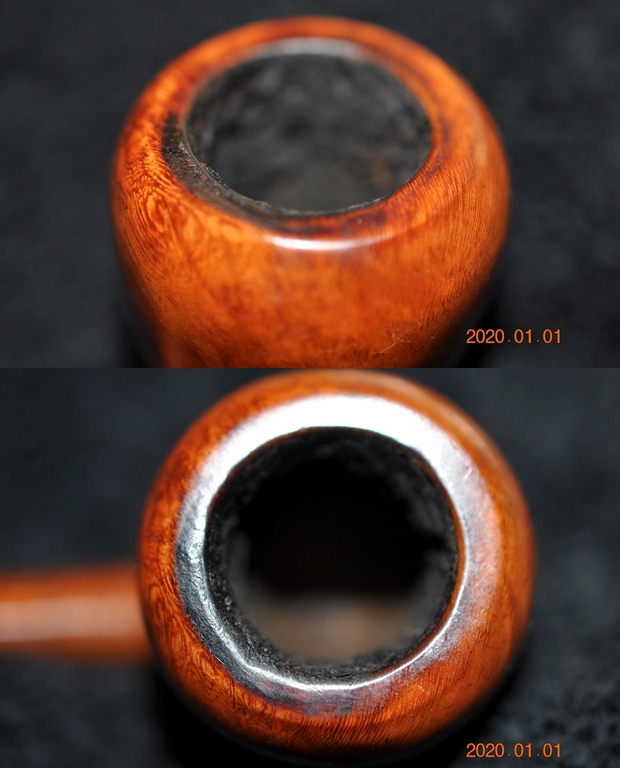
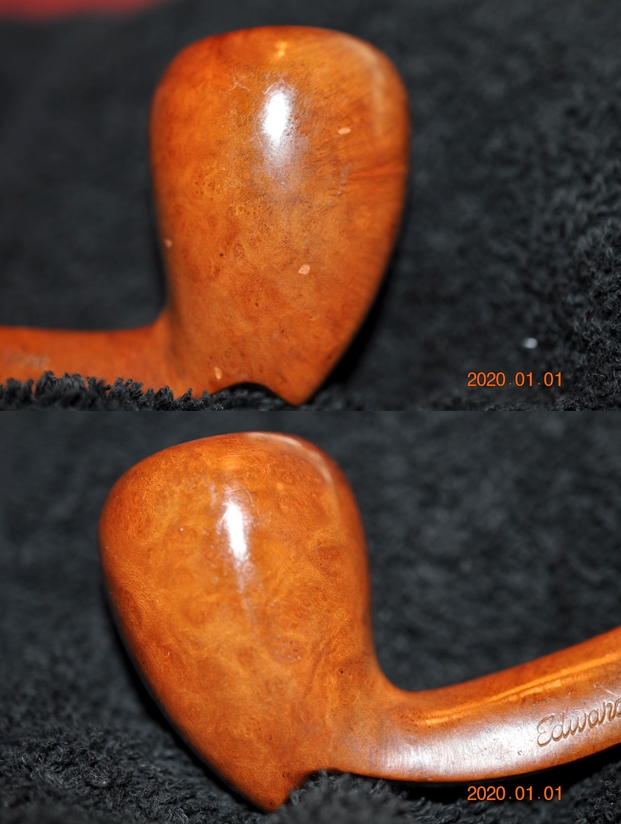
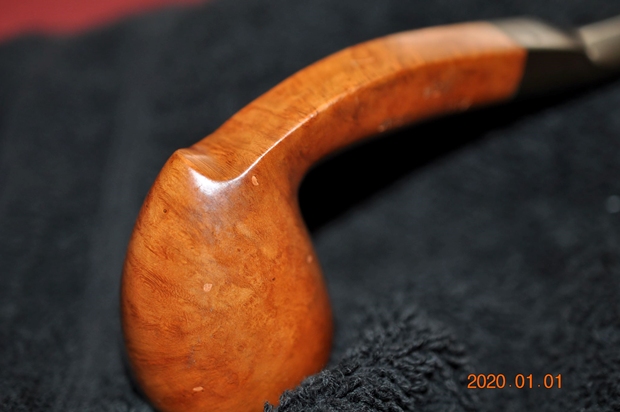
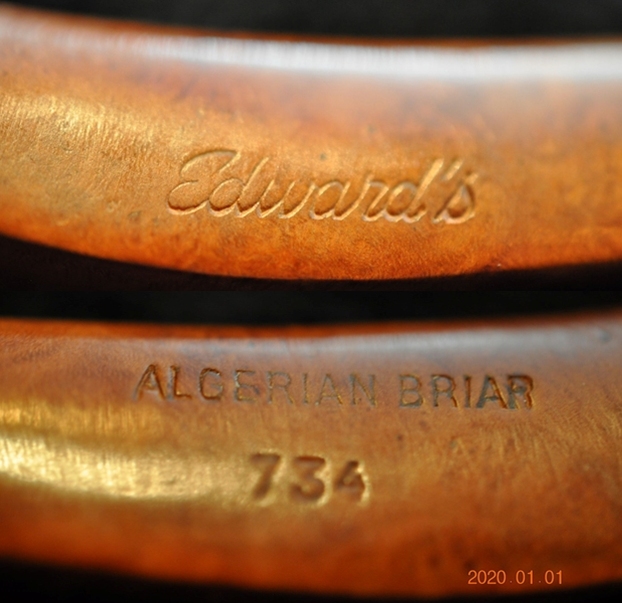
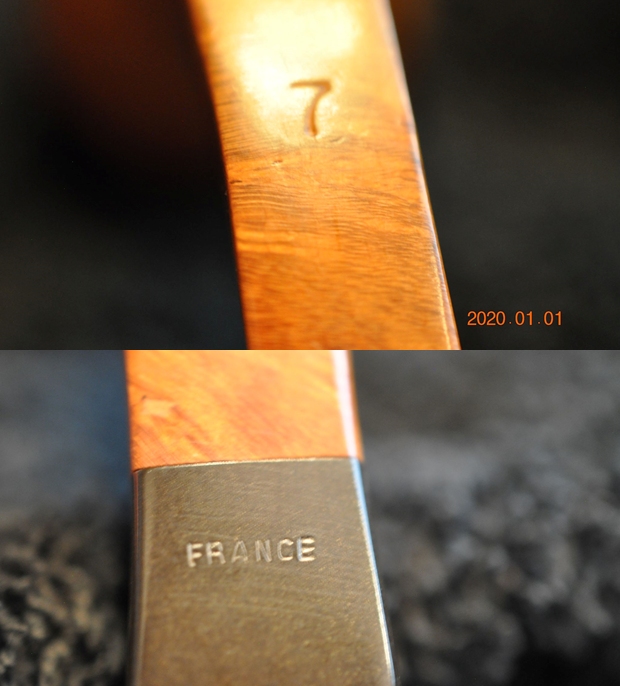
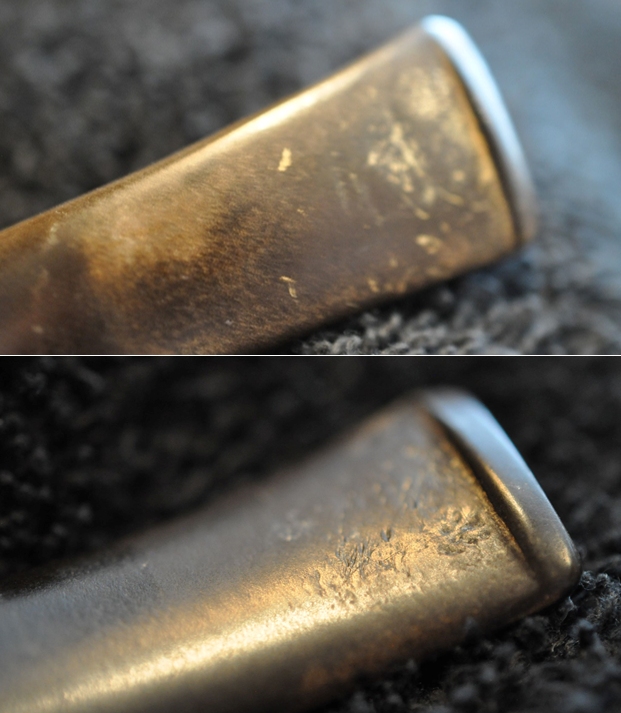
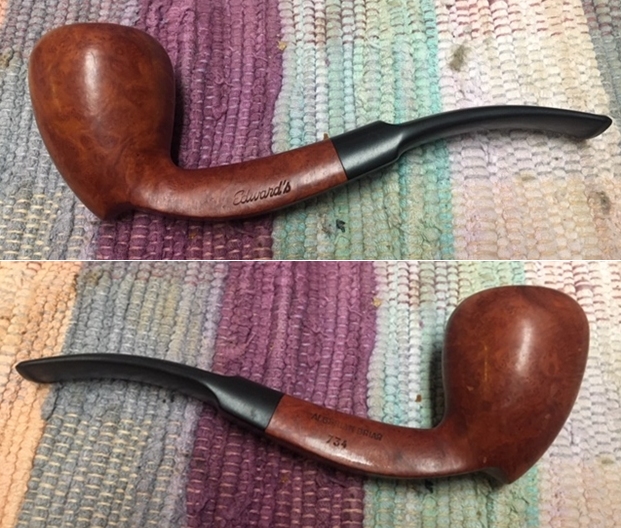
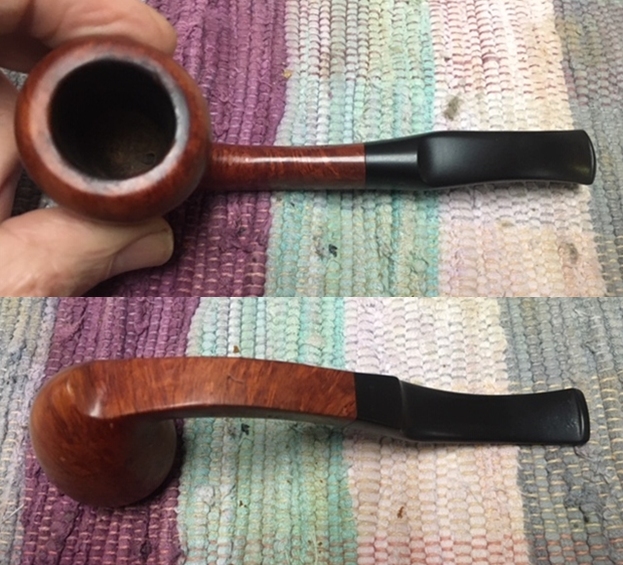
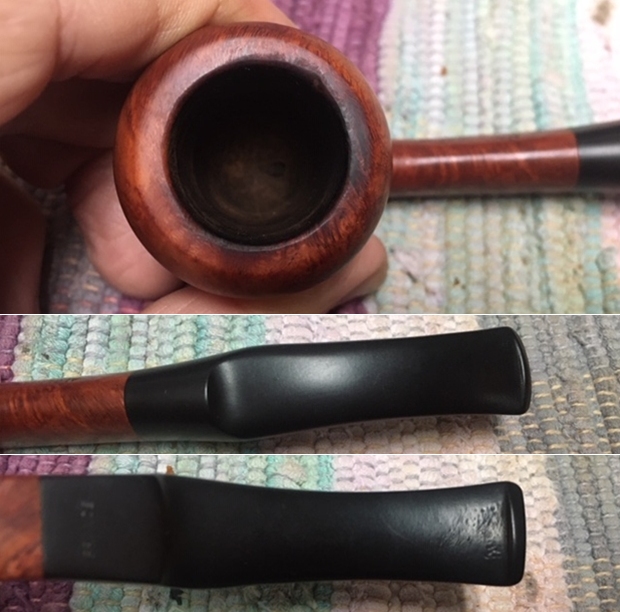
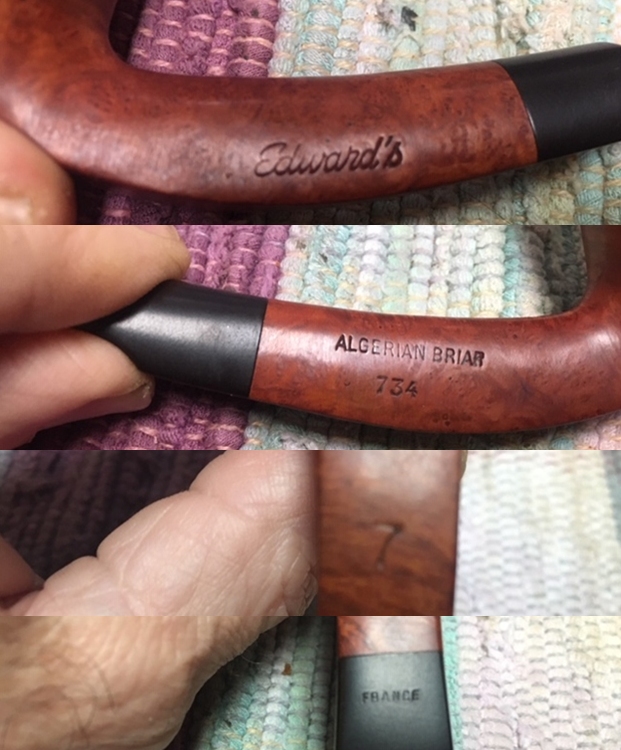
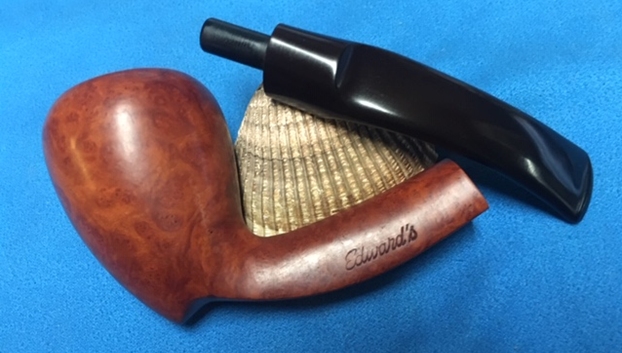
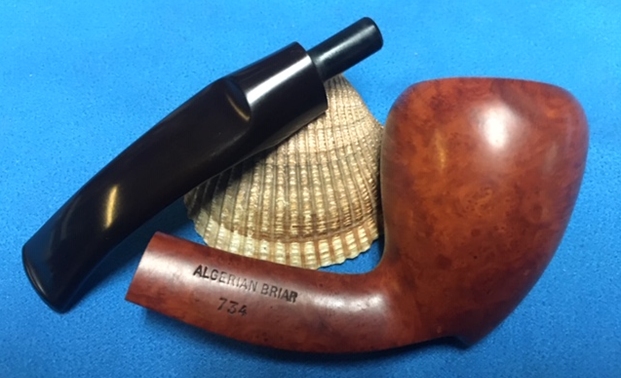
Next on the table is a very unique Edward’s Algerian Briar 734


Blog by Steve Laug

The next pipe on the work table is another unique one that I chose out of my boxes of pipes to restore. I am not even sure what to call the shape. It has an acorn shaped bowl. The shank is domed shape with flat bottom. The graceful curves of the shank and bowl give it a very unique shape. The bowl had a thick cake and lava overflow on the rim. The rim top was crowned with small thin flat top. The bowl was smooth and a natural finish. The finish was dusty and tired but there seemed to be a shiny coat of something on the finish – perhaps shellac. The bowl had some nice grain under the grime and the finish appeared to be in good condition. There were a few fills on the right side of the bowl and some sandpits as well. A lot would be revealed once Jeff had worked his magic on it. The stem was dirty but came with tooth chatter and marks near the button on both sides. Jeff took photos of the pipe before he started his cleanup work. Jeff captured the condition of the bowl and rim top with the next series of photos. You can see the work that is ahead of us in the photos. The cake is very thick and heavy. The rim looked like it might have some damage on the back inner edge of the bowl. Jeff took some great photos of the sides of the bowl and heel showing what is underneath the grime and debris of time and use. You can see the fills in briar on the right side. They really stand out in the first photo. It will be interesting to see what happens as the pipe is cleaned and restored. He captured the stamping on the sides of the shank and the underside of the saddle stem. They are clear and readable. The left side reads Edwards. On the right side it reads Algerian Briar 734. On the underside of the stem it is stamped France. The next two photos of the stem show the top and underside of the stem. You can see the tooth marks and chatter on the surface of both sides.I took it out of the box from Jeff and looked it over. He cleaned the pipe with his usual penchant for thoroughness. When I took it out of the box I was amazed at how good it looked it really looked like a different pipe. He reamed it with a PipNet pipe reamer and cleaned up the reaming with a Savinelli Fitsall Pipe Knife. He scrubbed out the internals with alcohol, pipe cleaners and cotton swabs until the pipe was clean. He scrubbed the exterior of the bowl with Murphy’s Oil Soap and a tooth brush to remove the grime and grit on the briar and the lava on the rim top. The bowl looked very good. Jeff scrubbed the stem with Soft Scrub to remove the grime and soaked it in Before & After Deoxidizer. When he took it out of the soak it came out looking far better. I took photos before I started my part of the work. I took some photos of the rim top and stem. The rim top is clean but there is a lot of damage to the inner edge and top on the back right side. The bowl itself looks very clean. The rest of the inner edge is a little rough but not damaged. The close up photos of the stem shows that is it very clean and other than being dull it looks very good.I took photos of the stamping because they had cleaned up very well.I decided to take care of the damage on the rim top and inner edge first. I topped the bowl on a topping board with 220 grit sandpaper. I then cleaned up the inner edge with a folded piece of 220 grit sandpaper and gave it a slight bevel. I filled in the small pits on the right side of the bowl with clear super glue. Once the repair was cured I sanded smooth with a folded piece of 220 grit sandpaper to smooth it out.I polished the briar and the shank with micromesh sanding pads – dry sanding with 1500-12000 grit pads. I was able to blend in the repairs into the side of the bowl. I wiped the bowl down after each pad with a damp cloth. The grain really began to stand out and the finish took on a shine by the last sanding pad. The photos tell the story! I worked some Before & After Restoration Balm into the surface of the smooth briar with my fingertips. The product works to clean, enliven and protect the briar. I let the balm sit for about twenty minutes and then buffed with a cotton cloth to raise the shine. The photos show the bowl at this point in the restoration process. I set the bowl aside and turned to deal with the stem. I “painted” the surface of the stem with the flame of a Bic lighter to lift the tooth marks. I was able to lift them a lot.I filled in the remaining tooth marks on the surface of the stem with clear super glue. I sprayed it with an accelerator to harden it. Once it had hardened I sanded it with 220 grit sandpaper and 400 grit wet dry sandpaper to blend it into the surface of the vulcanite. I polished the stem with some Denicare Mouthpiece polish – a red gritty paste that feels a lot like the texture of red Tripoli. It works well to polish out some of the scratches. I find that it does a great job preparing the stem for polishing with micromesh sanding pads.I polished the vulcanite stem with micromesh sanding pads – dry sanding with 1500-12000 grit sanding pads. I wiped it down after each sanding pad with a cloth containing some Obsidian Oil. I finished polishing it with Before & After Pipe Stem Polish – both Fine and Extra Fine and buffed it off with a cotton cloth. This Edward’s Unique Algerian Briar was another fun pipe to work on and I really was looking forward to seeing it come back together again. With the grime and debris gone from the finish it was a beauty and the grain just pops at this point. I put the stem back on the bowl and buffed the pipe with Blue Diamond on the buffing wheel. I carefully avoided the stamping on the shank during the process. I gave the bowl and the stem multiple coats of carnauba wax on the buffing wheel and followed that by buffing it with a clean buffing pad on the buffer. I hand buffed the pipe with a microfiber cloth to deepen the shine. The rich natural finish on the bowl looks really good with the polished black vulcanite stem. It is very well done. Give the finished pipe a look in the photos below. I can only tell you that it is much prettier in person than the photos capture. The dimensions of the pipe are Length: 6 inches, Height: 2 inches, Outside diameter of the bowl: 1 ½ inches, Chamber diameter: ¾ of an inch. The Edward’s pipes I have worked on always have had a creative flair. This is truly another unique looking Edward’s. Thanks for walking through the restoration with me as I worked over another beautiful pipe. I will be adding it to the rebornpipes store soon. If you want to add it to your collection send me an email or a message! Thanks for your time.
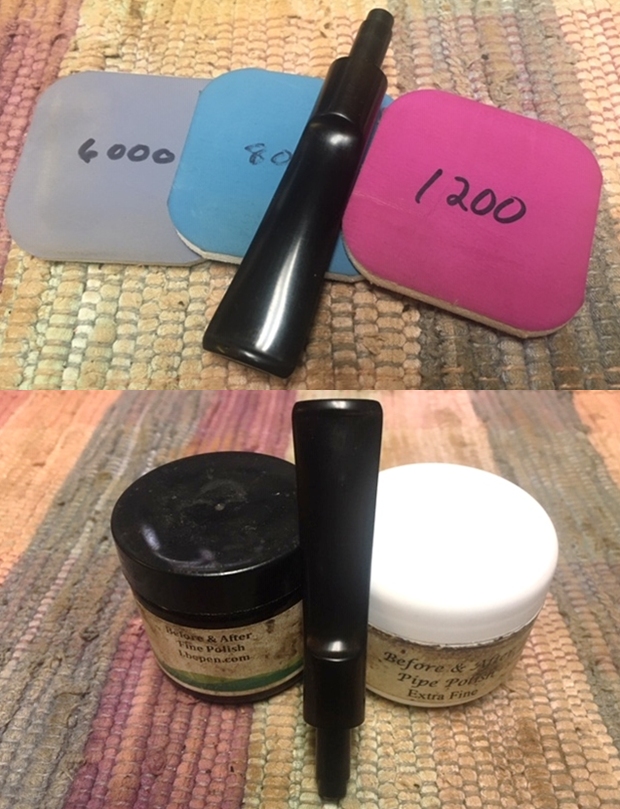
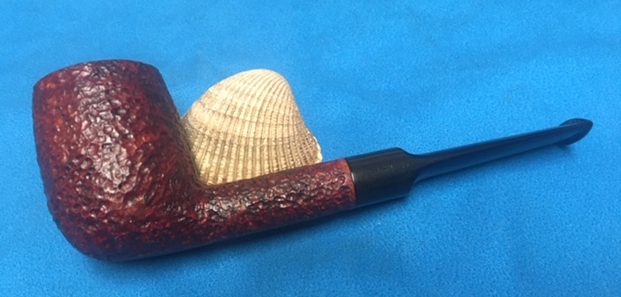
Cleaning up a Willmer Straight Grain AAA Standard Cup and Saucer


Blog by Steve Laug

The next pipe on the table is a shape I would call a cup and saucer or at least Willmer’s take on this shape. The pipe is stamped on the left side of the shank Willmer in script over Straight Grain over AAA over Standard. On the right side of the shank it is stamped Made in England. It is a bent cup and saucer shaped smooth briar with vulcanite saddle stem. The pipe was dusty and dull looking but had great grain around the bowl and rim. The rim top is smooth and there was some darkening and damage to the inner edge of the bowl. There was a thick cake in the bowl. The finish was in great condition under grime ground into the sides and shank. The saddle vulcanite stem was oxidized and had light tooth marks and chatter on both sides near the button. Jeff took the following photos before he started his cleanup work on the pipe. He took close-up photos of the bowl and rim top from various angles to capture the condition of the rim top and edges of the bowl. There was a little darkening around the inner edge and heavier along the back edge of the bowl. There are some scratches on the top and outer edge of the bowl as well. You can also see the cake in the bowl.He took photos of the sides and heel of the bowl to show the condition of the finish and the grain around the bowl. The pipe has some stellar grain around the bowl and shank and the carver maximized the lay of the grain with the shape of the pipe. Jeff took photos of the stamping on the sides of the shank. It reads as noted above and is clear and readable.  He also took a photo of the Willmer “W” on the left side of the stem. The next photos show the top and underside of the stem. You can see the light tooth marks right next to the button edge.I turned to Pipephil to get a quick review of the Willmer Company as it had been a long time since I had worked on one (http://www.pipephil.eu/logos/en/logo-w3.html). I quote the side bar from the site bellow.
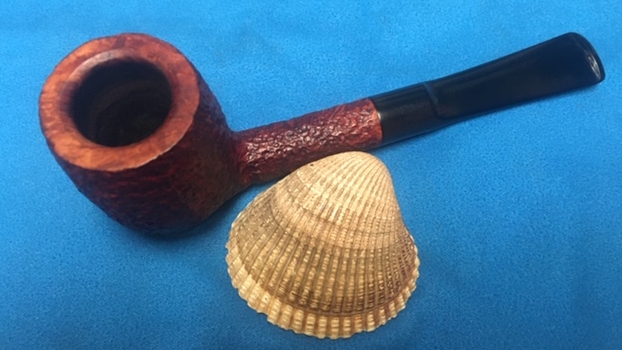
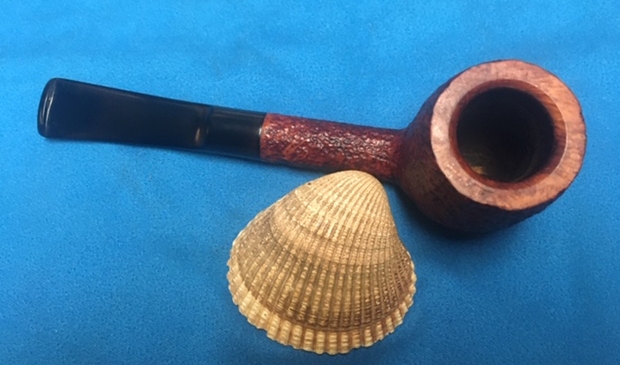
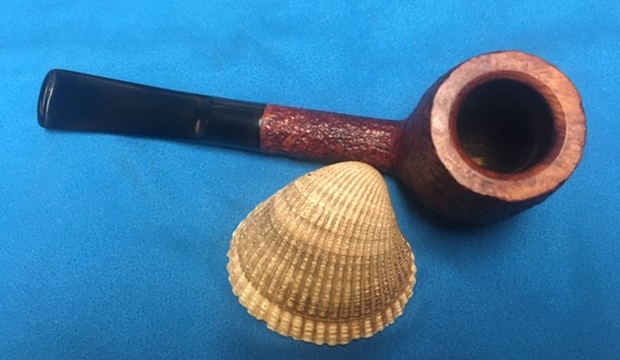
Willmer is a brand of H. Willmer & Son Ltd. The factory closed down about 2006-07 after more then 60 years activity and two generations of makers. Gradings until the 1980s (ascending): BA, A, AA, and AAA. After this date Willmer introduced the AAAA and AAAA PRESENTATION as top grades.

The pipe I was working on has a AAA stamping on it which if the pipe came from pre-1980s was the top of the line. If it was later pipe it close to the top of the line.I turned to Pipedia to get more information on the brand (https://pipedia.org/wiki/Willmer). The first paragraph dispelled of the belief that Willmer had been a carver for Charatan in his own words. I quote a portion of the article to give a sense of the history of the brand.

Willmer was founded in London. According to the website, which doesn’t exist anymore because the Willmer factory has been closed in 2006/07, the firm was in business “for more than 60 years” by 2003. Willmer was homed then in Southend-on-Sea, Essex, so not far from the Cadogan plant.

When Willmer first started, they definitely strived to compete with brands in the high-end market. Due to the excellent quality of the pipes Willmer was frequently asked to produce private label pipes for England’s best renowned pipe retailers. So many pipes are not easily recognized as Willmers for stamped under the name of the respective shop. Willmer’s own pipes were stamped “Willmer – Made in England” and showed a sweeping “W” in white or gold on top or left side of the stem. The earlier grading had AAA as top grade followed by AA, A, AB etc.

Sometime in the 1980’s, Willmer went through some major changes. The move to Essex was already mentioned above. They continued making highly respectable freehands – often copying some of the stunning Charatan shapes of days gone by. The grading was altered. What used to be an AAA now became the additional name “Presentation” and was stamped with AAAA. Funny enough, the forth A was often larger than the three before. The other grades were changed accordingly.

Now it was time to look at it up close and personal. Jeff had done his usual thorought job in removing all of the cake in the bowl and the lava on the rim top. He had reamed the bowl with a PipNet Pipe Reamer and cleaned up the remnants with a Savinelli Fitsall Pipe Knife. He took the cake back to bare briar so we could check the walls for damage. He scrubbed the exterior of the bowl with Murphy’s Oil Soap and a tooth brush to remove the grime on the bowl and rim and was able to remove the lava and dirt. He cleaned out the interior of the bowl and shank with pipe cleaners, cotton swabs and alcohol until they came out clean. He cleaned the stem with Soft Scrub to remove the grime on the exterior and cleaned out the airway with alcohol, cotton swabs and pipe cleaners. I took photos of the pipe before I started my part of the work. To show the damage to the inner edge of the rim and the rim top I took a close-up photo. You can see it on the right inner edge and the back edge of the bowl. The vulcanite stem had some tooth marks on both sides and there was some oxidation remaining.I took a photo of the stamping on both sides of the shank. It clearly read what was noted above. The “W” stem on the left side of the saddle stem is also readable.I removed the stem from the bowl and took photos of the parts. It really is a great looking pipe.I started my part of the restoration by addressing the damage to the rim top and inner edge of the bowl. I topped the bowl on a topping board with 220 grit sandpaper. I worked over the inside edge of the bowl with a folded piece of 220 grit sandpaper.I polished the newly topped rim and the rest of the bowl with 1500-12000 grit micromesh sanding pads. I wiped the bowl down with a damp cloth after each sanding pad to remove the dust and debris. I stained the rim with a Maple Stain Pen to blend the repaired and polished rim into the rest of the bowl.I rubbed the bowl and shank down with Before & After Restoration Balm to deep clean the finish on the bowl and shank. The product works to clean, enliven and protect the briar. I worked it in with my fingertips into finish on the bowl and shank. I let it sit for 10 minutes to let it do its magic. I buffed it with a soft cloth. The briar really began to have a rich shine. I took some photos of the bowl at this point to mark the progress in the restoration. The bowl was finished so I set it aside and turned my attention to the stem. To address the oxidation and the tooth marks on the stem surface I sanded it with 220 grit sandpaper to blend in the tooth marks and to break up the oxidation. I started the polishing with 400 grit wet dry sandpaper.I started polishing the stem with Denicare Mouthpiece Polish – a red gritty paste that feels a lot like Tripoli. I find that it works well to polish out some of the more surface scratches in the vulcanite left behind by the 400 grit wet dry sandpaper. I rub it into the stem surface with my fingertips and buff it off with a cotton pad.I touched up the “W” stamp on the stem with PaperMate Liquid Paper. I pressed it into the stamp in the vulcanite with a tooth pick. Once it dried I scraped off the excess fill with the tooth pick and with micromesh sanding pads.I polished the stem with micromesh sanding pads – dry sanding with 1500-12000 grit sanding pads. I wiped the stem down after each sanding pad with a cloth containing some Obsidian Oil. I finished polishing it with Before & After Pipe Stem Polish – both Fine and Extra Fine and buffed it off with a cotton cloth. I wiped it down with a final coat of Obsidian Oil and set it aside to dry. This is a unique pipe and it is the first one I have worked on like this. It is a beauty. I put the bowl and stem back together again and buffed the bowl and the stem with Blue Diamond on the buffing wheel. I gave the bowl and the stem several coats of carnauba wax. I carefully buffed the entire pipe with a clean buffing pad to raise the shine. I finished buffing with a microfiber cloth to deepen the shine. The finished pipe looks very good. The grain is quite beautiful a mix of straight and flame around the bowl sides and birdseye on the rim top and heel. The pipe feels great in the hand. It has an interesting shape that fits well in either the right or left hand. The finished Willmer Straight Grain AAA Standard is shown in the photos below. The dimensions of the pipe are Length: 6 ½ inches, Height: 2 inches, Outside diameter of the bowl: 2 inches, Chamber diameter: ¾ of an inch. This great looking Willmer Cup and Saucer pipe turned out very well. It should be a great pipe. It will be going on the rebornpipes store shortly if you are interested in adding it to your collection. Thanks for reading this blog and my reflections on the pipe while I worked on it.
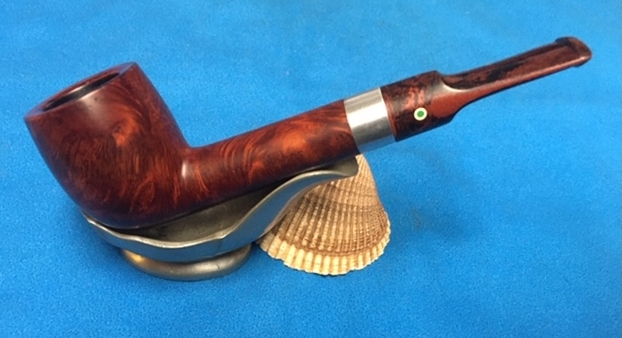
New Start for an older BBB Best Ambroid Cased Billiard


Blog by Steve Laug

Jeff and I picked up this older BBB Cased Billiard in a group of pipes we purchased not too long ago. It is quite unique. I have worked on a lot of BBB pipes over the years as they are one of my favourite brands and I have quite a few in my collection. This one is a bit different in that it has very little that gives a clue to its age. It is a nice briar with a silver band that is stamped with BBB in the Diamond and Sterling Silver. There were no hallmarks on the band to pin down a date.  It is stamped on the inside of the case with the BBB Diamond logo. The left side of the shank itself is stamped with the BBB Diamond logo. The stem in golden Ambroid and has a bone tenon that screws into the briar shank. It came in a worn black leather covered case lined with black chamois. The case has a brass clasp on the front and brass hinges on the back. It was obviously custom made for this pipe.Jeff opened the case and this was what the pipe that was inside looked like. It was a nice looking classic billiard that is for sure but it was also very dirty. The bowl and shank were a rich medium brown that was very dirty. The stem was golden Ambroid material. The exterior of the bowl was very dirty and had tars and oils ground into the finish and sticky spots on the finish. There was a chip missing on the outer edge at the back of the bowl. The rim top was a mess with lava overflowing out of the thick cake in the bowl. I am sure once it was out of the case it would become clear how dirty it really was.Jeff took it out of the case to have a better look at the condition of the pipe. It was a very classic billiard with a silver band and golden stem. It looked like it would cleanup really well and look great when finished. The finish on the briar bowl looked like it would be great once it was clean. He took some close-up photos of the bowl and rim top. There was a thick cake in the bowl that was hard and uneven. The lava overflowed over the rim top but it looked like the inner edge of the bowl was in good condition. The outer edge had some large nicks and gouges – chunks of briar missing on the back edge. Jeff took photos of the sides of the bowl and heel to show the grain and condition of the finish around the bowl. The pipe has some great grain around the sides. In terms of stamping the only identifying marks on the pipe were the gold BBB Diamond logo on the inside of the case lid, the same stamped on the left side of the shank and again on the silver band. Jeff captured those marks in the next set of photos. The logo on the inside lid of the case was worn and but still readable. Jeff took photos of the stamping on the left side of the shank and the band. He took photos of the stem off the shank/base. The stem has a threaded bone tenon that was filthy with oils and tars. The internals of the pipe were very dirty.Jeff took photos of the stem to show the general condition of the stem shape. The Ambroid stem is well gnawed on both sides around the button. The first photo shows the profile of the straight narrow stem. He took photos of the top and underside of the stem to show the damage and bite marks on both sides up the stem from the button.In 2009 Briar Books Press published a reprint of the 1912 BBB Catalogue No.XX from Adolph Frankau & Co, Ltd.London, E.C. I purchased a copy of the book when it came out and enjoyed reading through it and dreaming about the various pipes that were pictured there. I remembered that there was a section of pipes in the catalogue –Section E called pipes in Cases and it had individually cased pipes with Ambroid stems. I turned to that section in the catalogue and read through the various descriptions and looked at the pictures and sure enough I found this pipe. The only variation was that the one in the drawing had hallmarks on the silver but the rest was identical including the case and stamping on the lid. The top pipe on the right side of the page photo below looks like the one that I am working on.It is described in the title of the page a Best Ambroid Briars Silver Mounted in Cases and available in a variety of sizes. Now I knew the pipe I was working on and that there was at least some variation of it available in the 1912 BBB Catalogue.
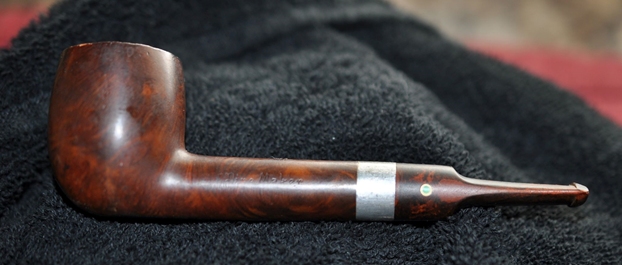
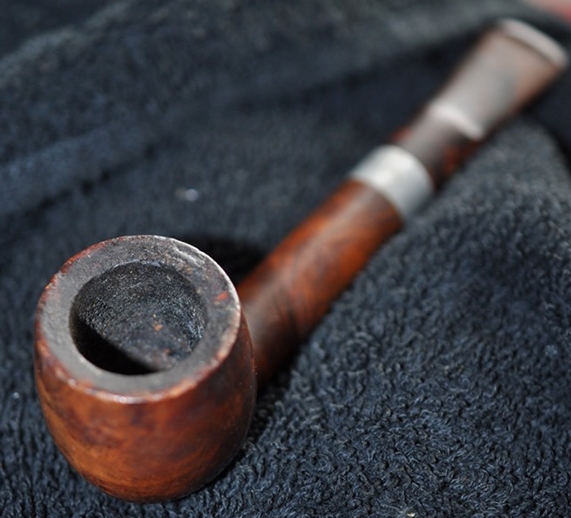
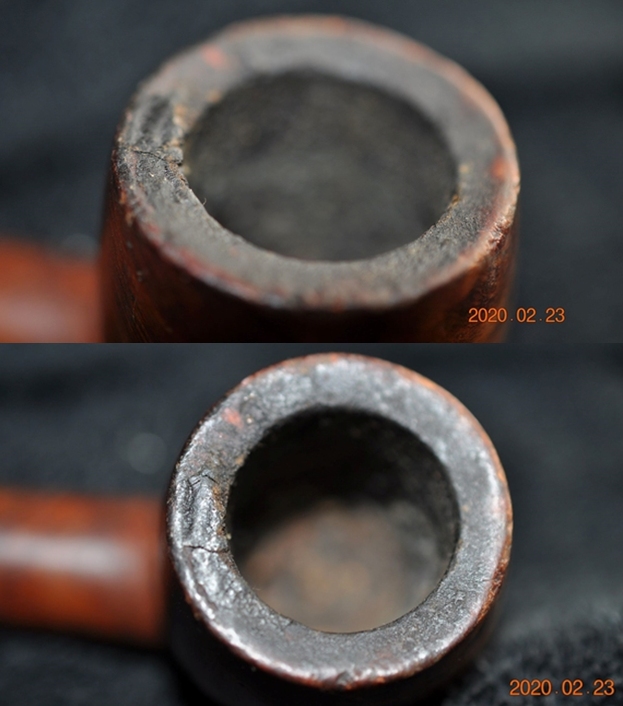
It was time to work on it now and do my part of the restoration. I took the leather case from the box that Jeff had shipped to me and brought it to the work table. I opened it up and took photos of the case and the pipe in the case before taking it out and examining it thoroughly to see what I needed to do. You can see the definite similarity between this pipe and the on in the drawing on the top right of the photo above.The pipe looked very clean. The bowl had been reamed back with a PipNet reamer and cleaned up with a Savinelli Fitsall Pipe Knife. The internals of the shank and stem had been cleaned with alcohol, cotton swabs and pipe cleaners. The exterior of the bowl had been scrubbed with a tooth brush and undiluted Murphy’s Oil Soap. The silver band had been cleaned and the tarnish removed. The stem was clean and the damage to the Ambroid was very visible and ready to repair. Jeff had done his usual great job on the clean up. I took photos of the pipe before I started my part of the work. I took some close up photos of the bowl and rim top as well as the stem to show the areas that I would need to address. You can see the that the bowl and rim are very clean. The inner edge of the rim has some damage as do the top and outer edge. There is general darkening to the rim top and scratches and nicks on the surface. The stem is also very clean and the gouges on the top and underside near the button are visible and ready for repair.I took a photo of the stamping on the left side of the shank. I also wanted to show that the band had turned on the shank so that the BBB Diamond was now on the topside so I took a second photo to capture that. I would need to realign the band and glue it in place.I unscrewed the stem from the shank and took photos of the parts. The bone tenon that connects the stem to the shank is visible.I decided to begin my part of the restoration by addressing the issues with the rim top and edges. I topped the bowl with 220 grit sandpaper on the topping board to smooth out the damage on the rim top and the immediate damage on the inner and outer edges. Once I had it smooth I used clear super glue and briar dust to repair the deep gouges in the back outer edge of the bowl. I took a photo of the rim top at this point to show how good the inner edge and top looked. You can also see the repair on the back outer edge of the bowl that still needs to be sanded. I sanded the repair with a folded piece of 220 grit sandpaper to blend it into the surrounding briar and then took a photo of the bowl looking down at the edges. I am happy with the state of the rim and edges at this point in the process. I removed the band from the shank before moving on to  polish the briar with micromesh sanding pads. I sanded the old glue off the shank to make it smooth for the refit. I polished the bowl, rim and shank with 1500-12000 grit micromesh pads wiping it down between pads with a damp cloth. The way in which the rim top colour was blending in with the rest of the briar was perfect and would not need to be stained. I worked some Before & After Restoration Balm into the briar with my fingertips to clean, enliven and preserve the briar. I find that it adds a depth to the polish that I really have come to appreciate. All that remains at this point is to wax and polish the bowl. The bowl looked very good at this point. I was able to preserve the old patina and through polishing blend the rim top into the rest of the finish. It was time to put the band back in place. I used a dental spatula to apply all-purpose white glue to the shank and aligned the band and pressed it in place. I wanted the BBB Diamonds on the shank and band to match as I had seen in photos on line. I wiped away the excess glue with a damp cotton pad.I set the bowl aside and turned to address the issues with the stem. I used a clear CA glue to fill in the deep tooth marks on both sides of the stem and to rebuild the button. I had to layer the glue and let it harden between applications to get a smooth fill on the stem.Once the repairs had cured I used a needle file to cut the sharp edge of the button and to smooth out the repairs.I smoothed out the repairs with a folded piece of 220 grit sandpaper. I started the polishing with a folded piece of 400 grit wet dry sandpaper.I polished the stem with micromesh sanding pads – dry sanding with 1500-12000 grit sanding pads. I wiped it down after each sanding pad with a cloth containing some Obsidian Oil. I finished polishing it with Before & After Pipe Stem Polish – both Fine and Extra Fine and buffed it off with a cotton cloth. I put the bowl and stem back together and carefully buffed the pipe with Blue Diamond polish on the buffing wheel. I gave the bowl and stem multiple coats of Carnauba wax on the buffing wheel and buffed it with a clean buffing pad. I hand buffed the entirety of the pipe with a microfiber cloth. The pipe was alive now and looked great to me. The patina of the older BBB shines through and the repaired Ambroid stem – though far from it pristine beginnings – looks very good.  This pipe is well balanced feels great in my hand. The finished pipe is shown in the photos below. The dimensions of the pipe are Length: 6 inches, Height: 1 ¾ inches, Outside diameter of the bowl: 1 ¼ inches, Chamber diameter: ¾ of an inch. This older BBB Best Ambroid Cased Briar pipe is a beauty and the Ambroid Stem, Sterling Silver Band and old patina briar look stunning together. It is an old BBB pipe so of course it is one that will be staying in my BBB collection. It will be a great addition to my collection of that classic English Brand. Thanks for reading this blog and my reflections on the pipe while I worked on it.