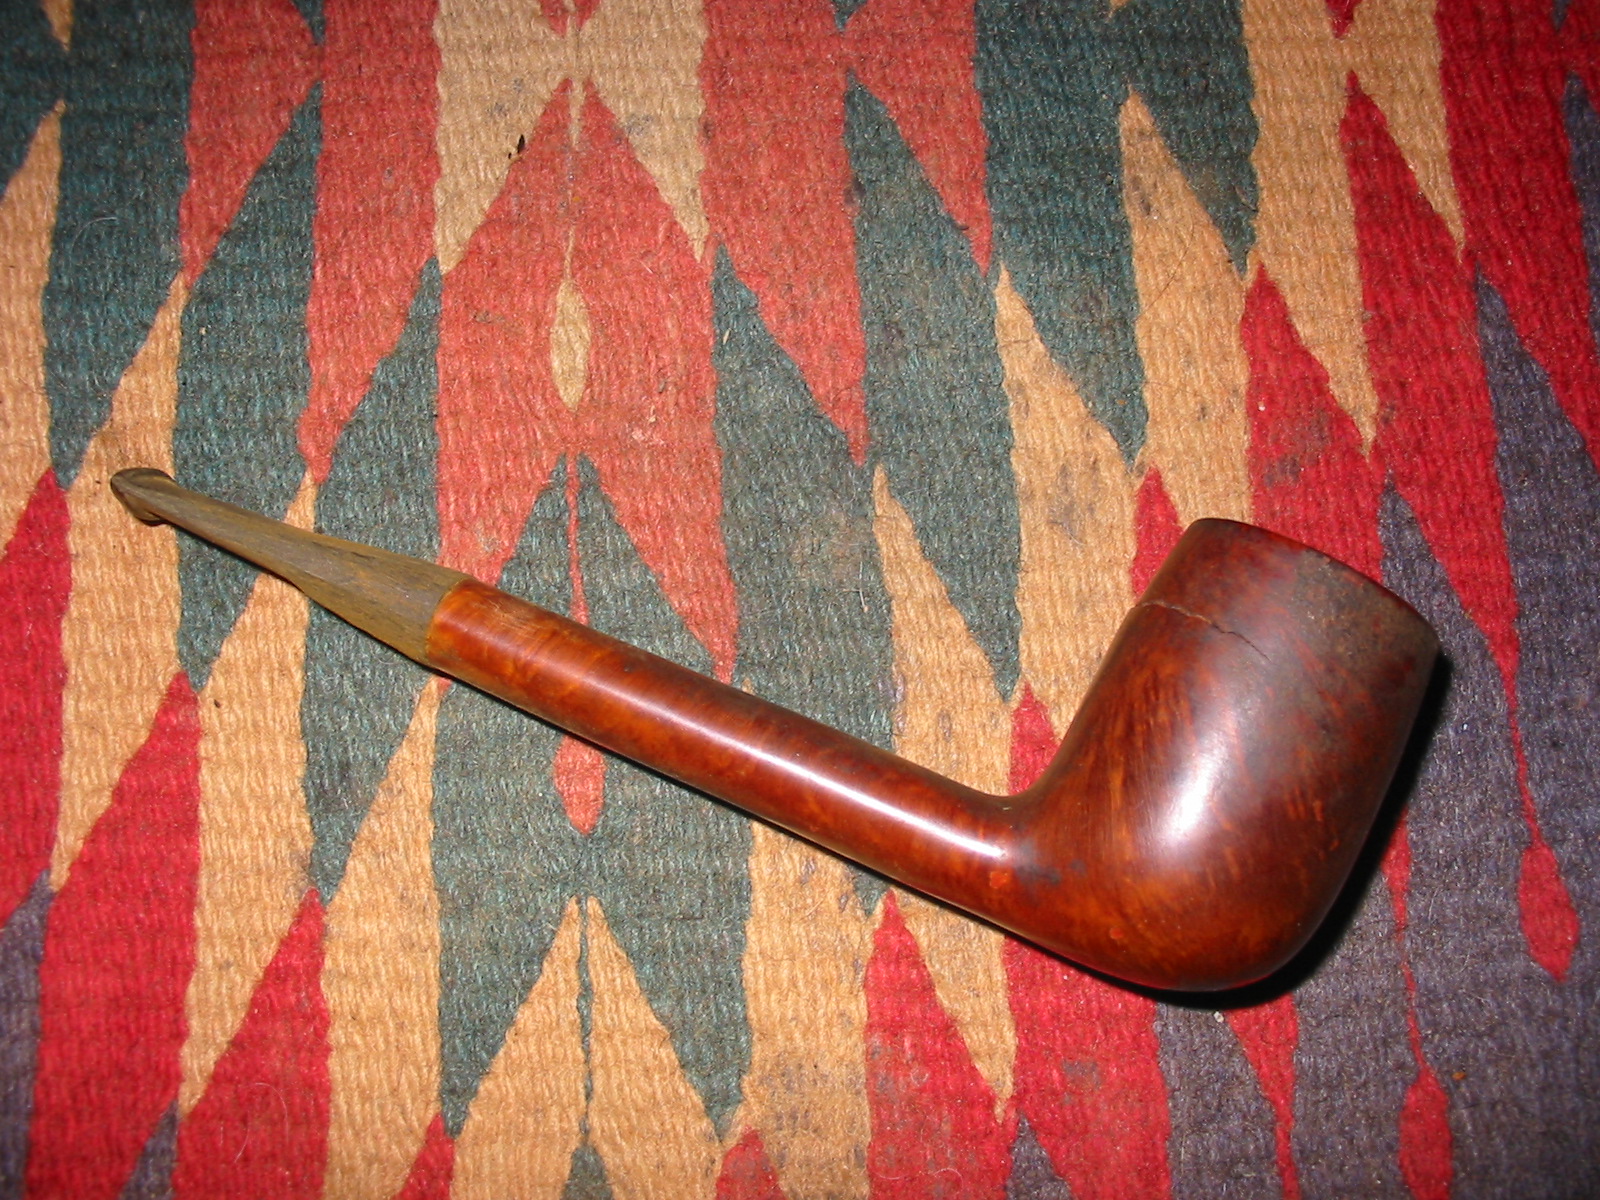
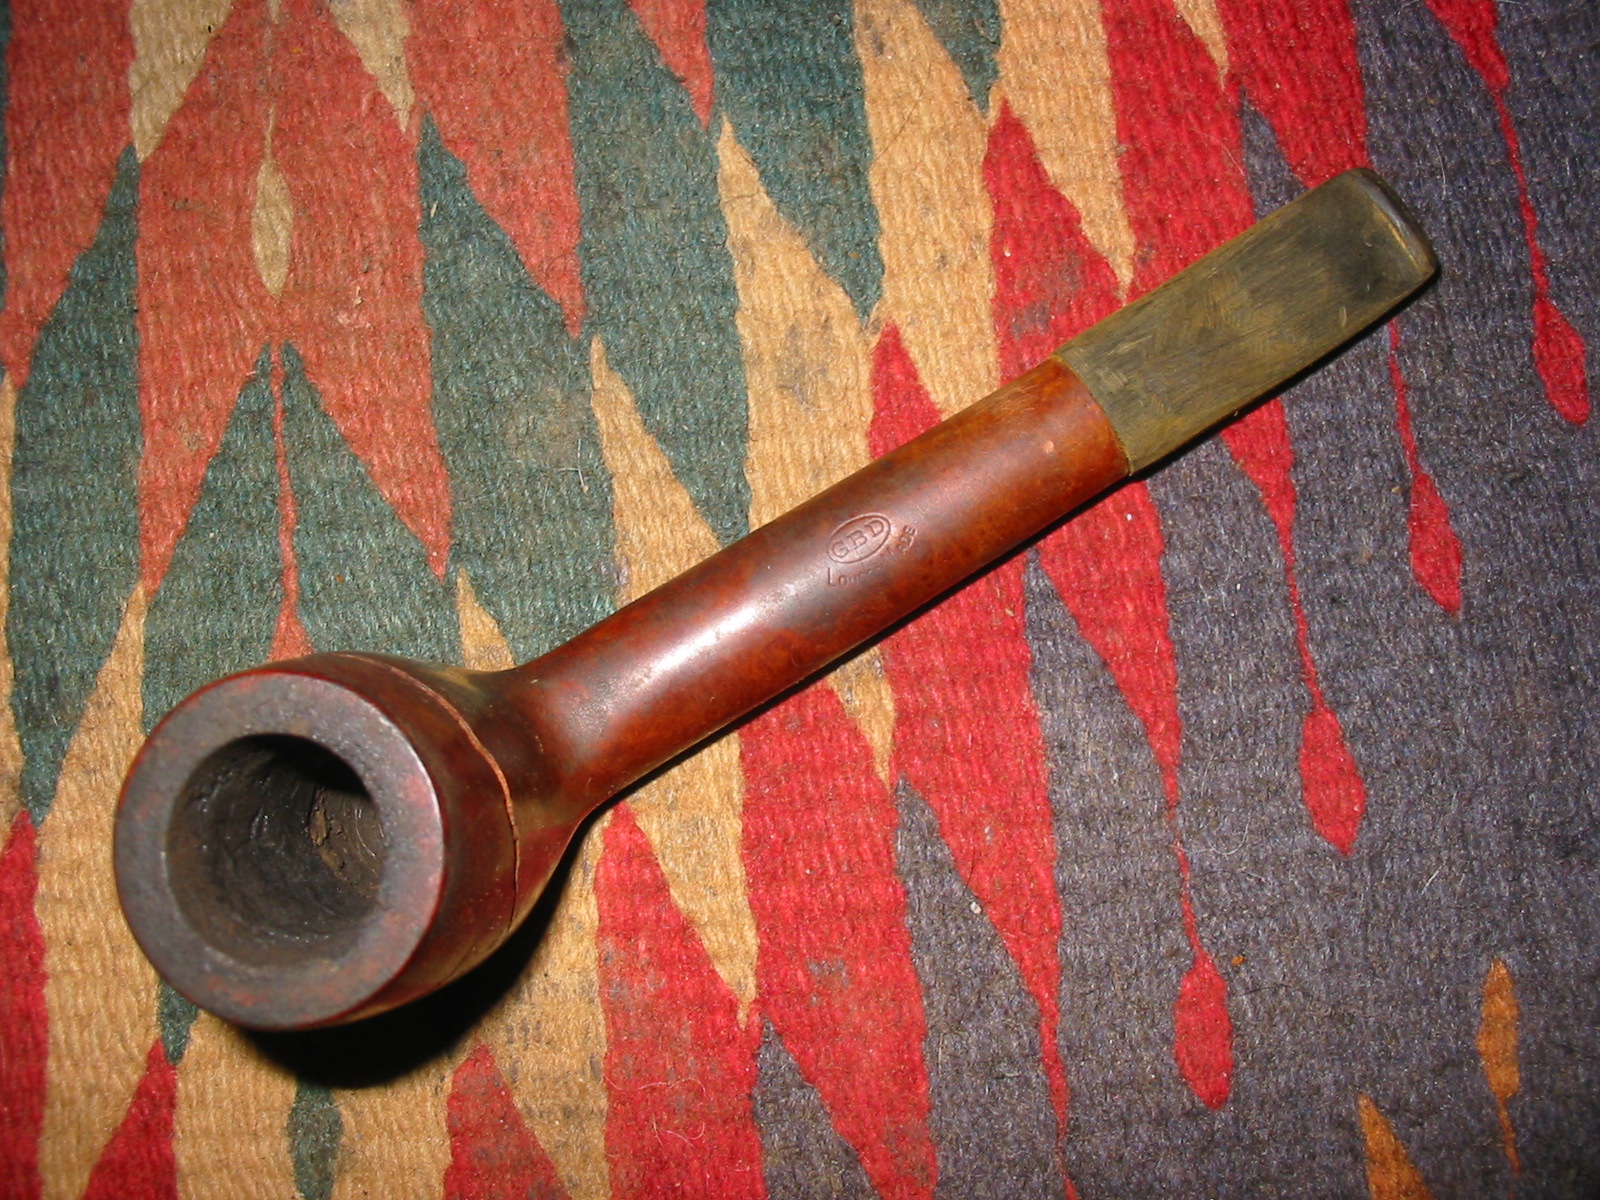
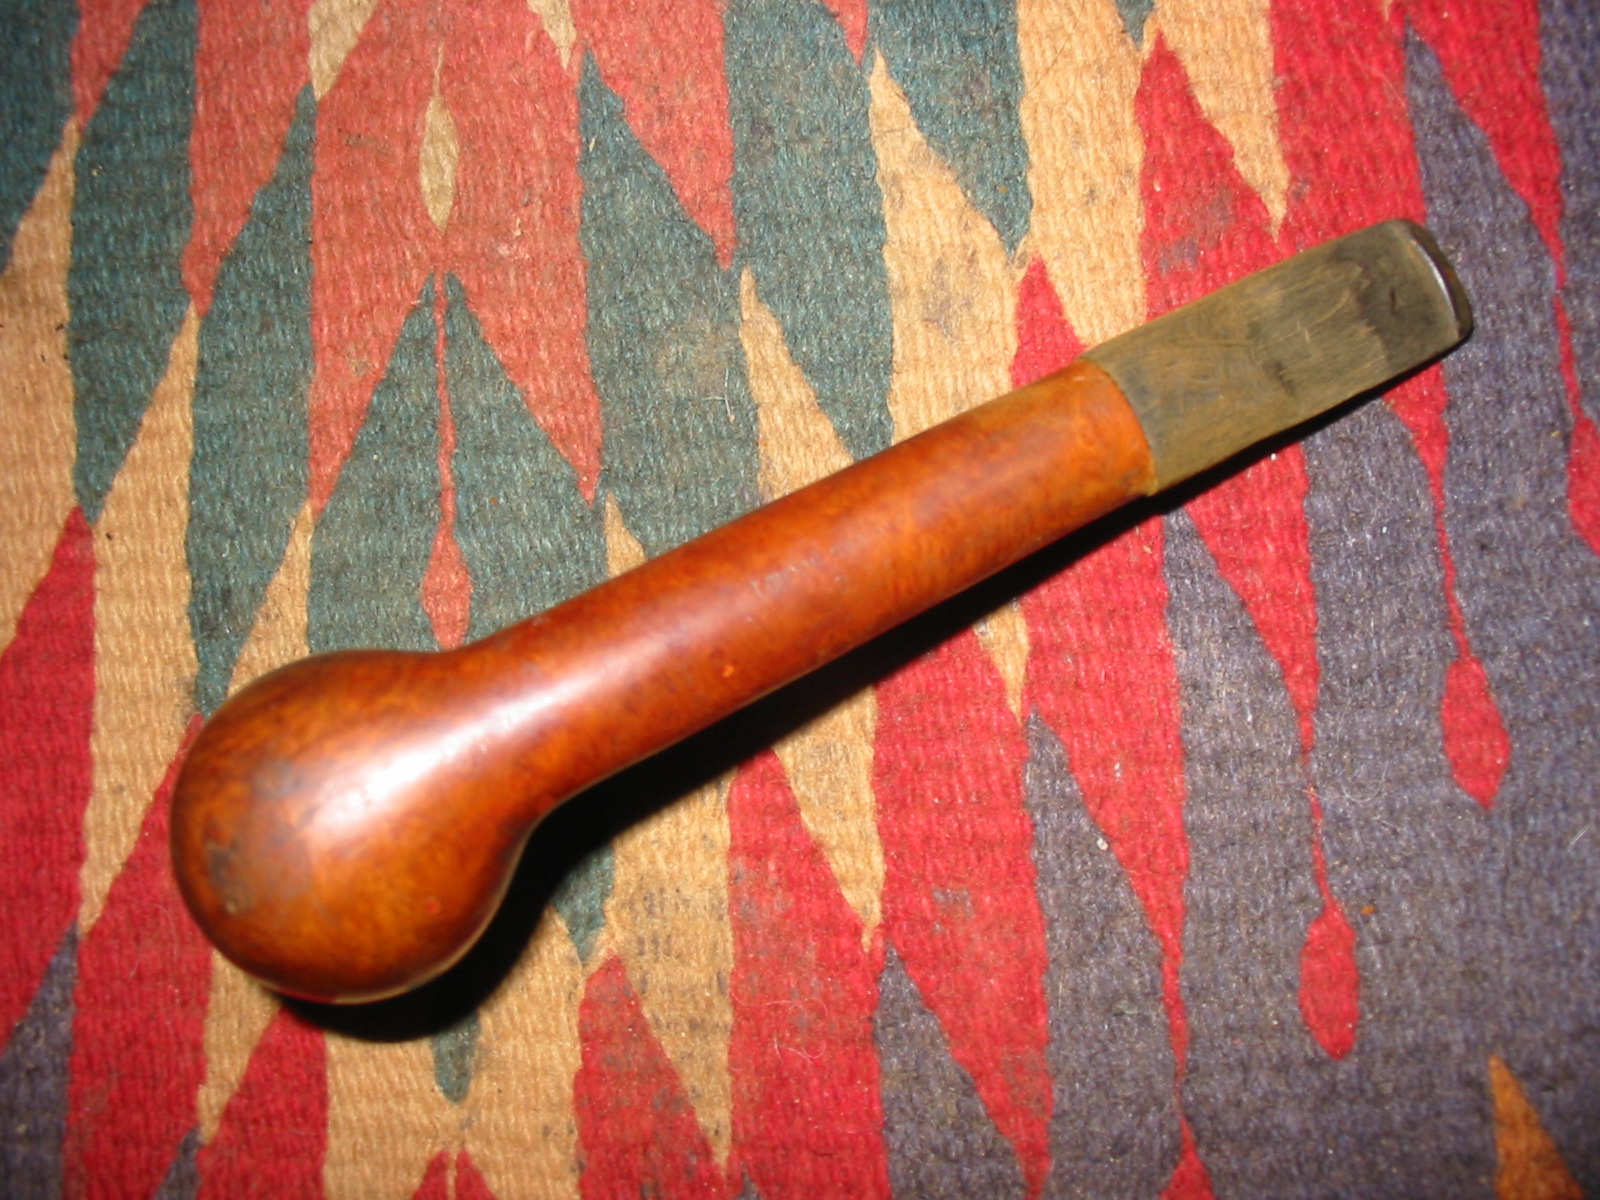
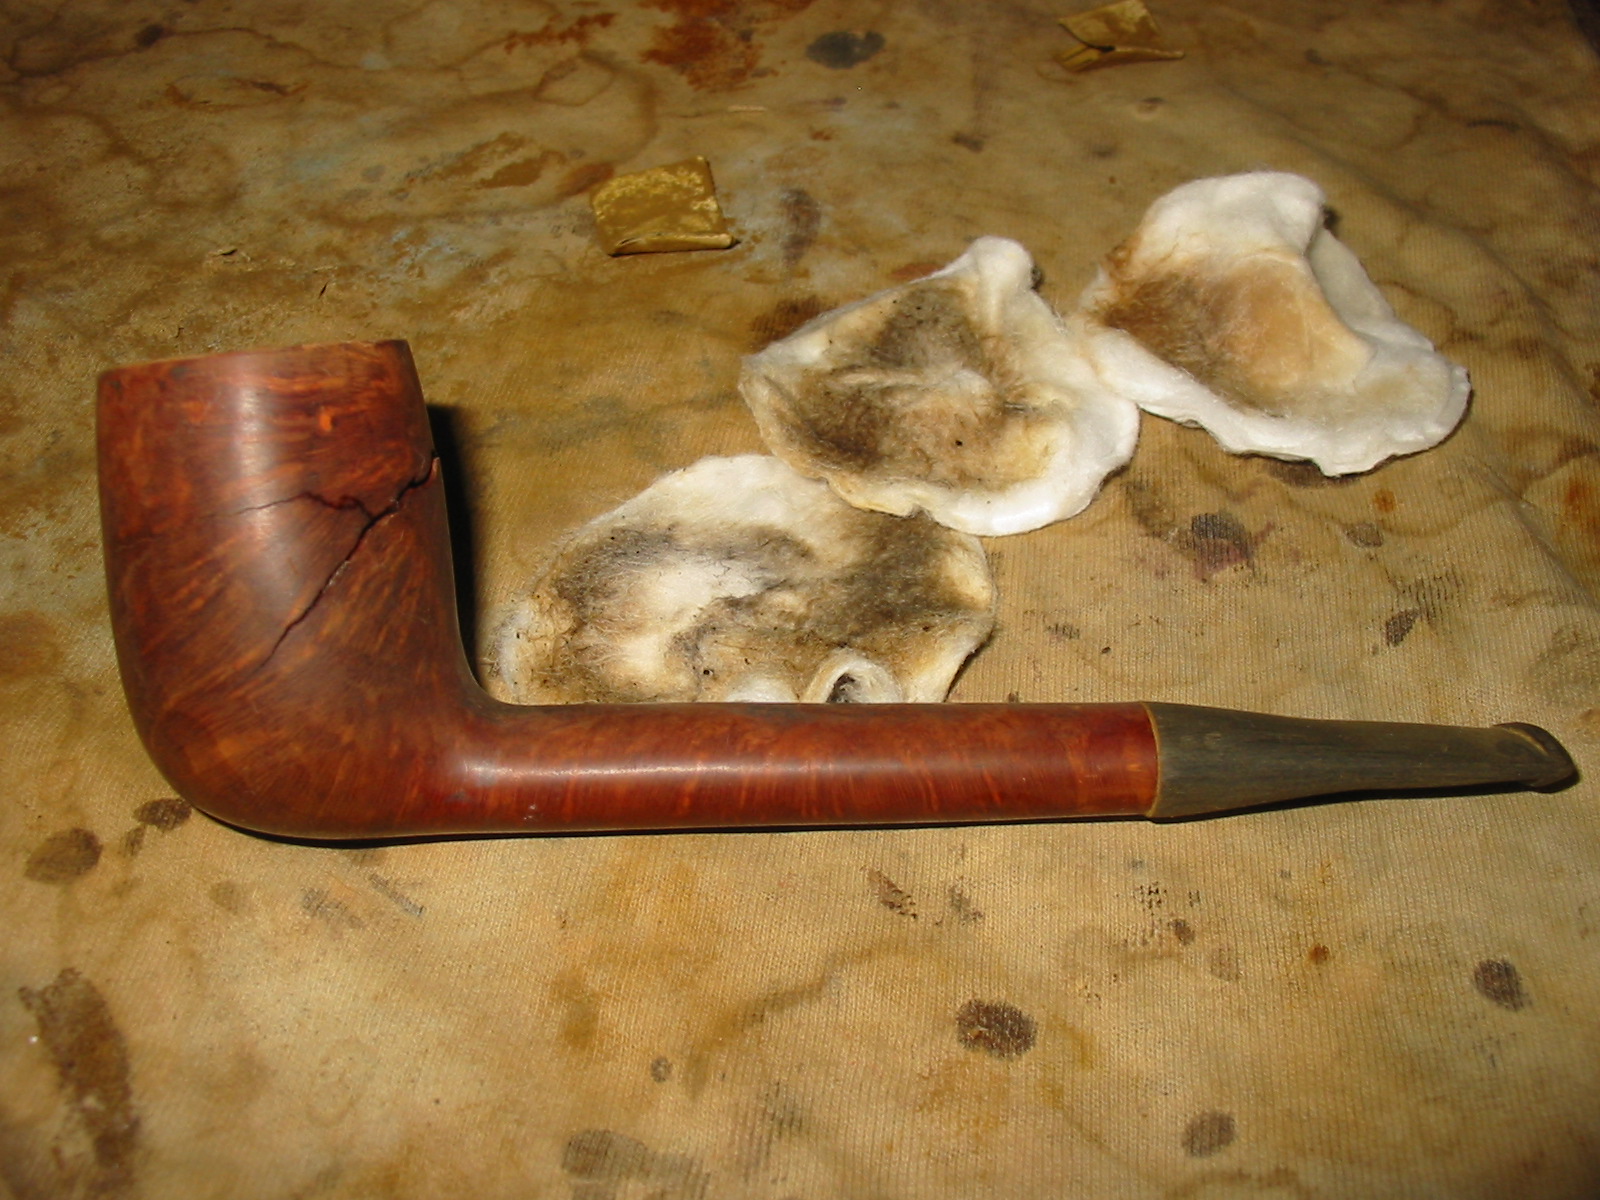
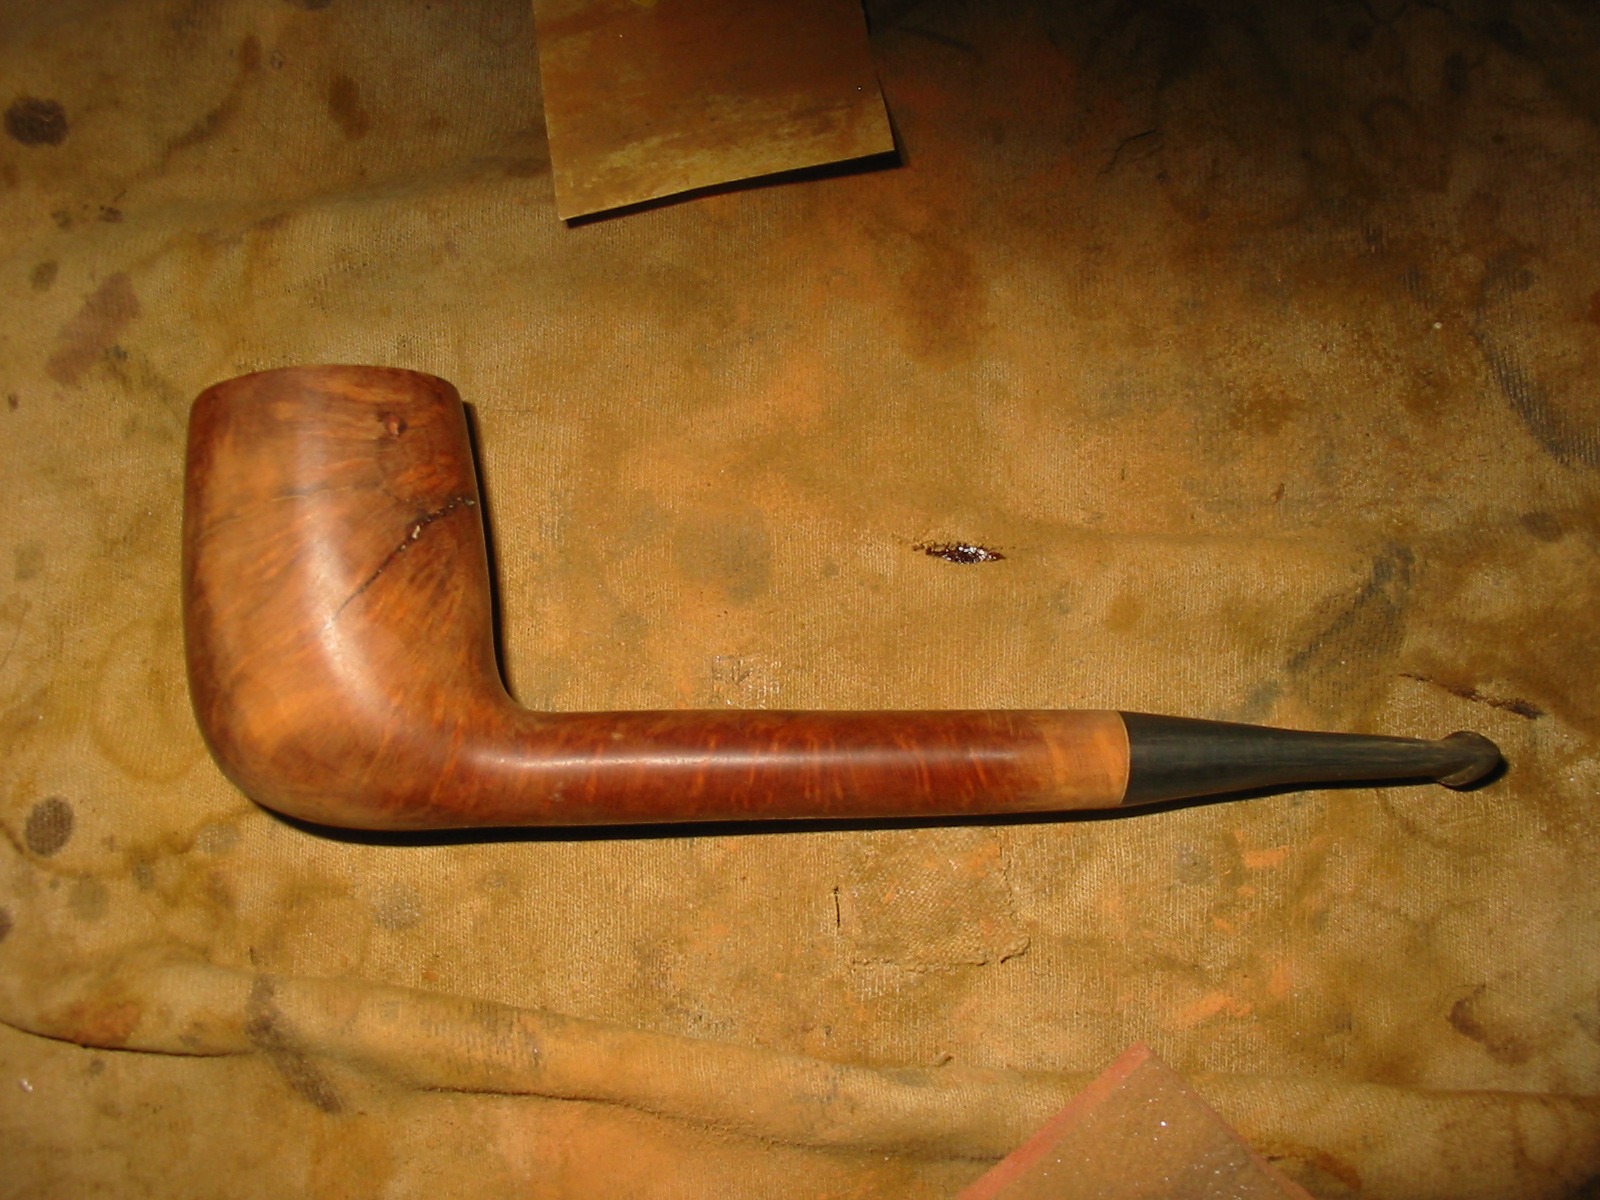
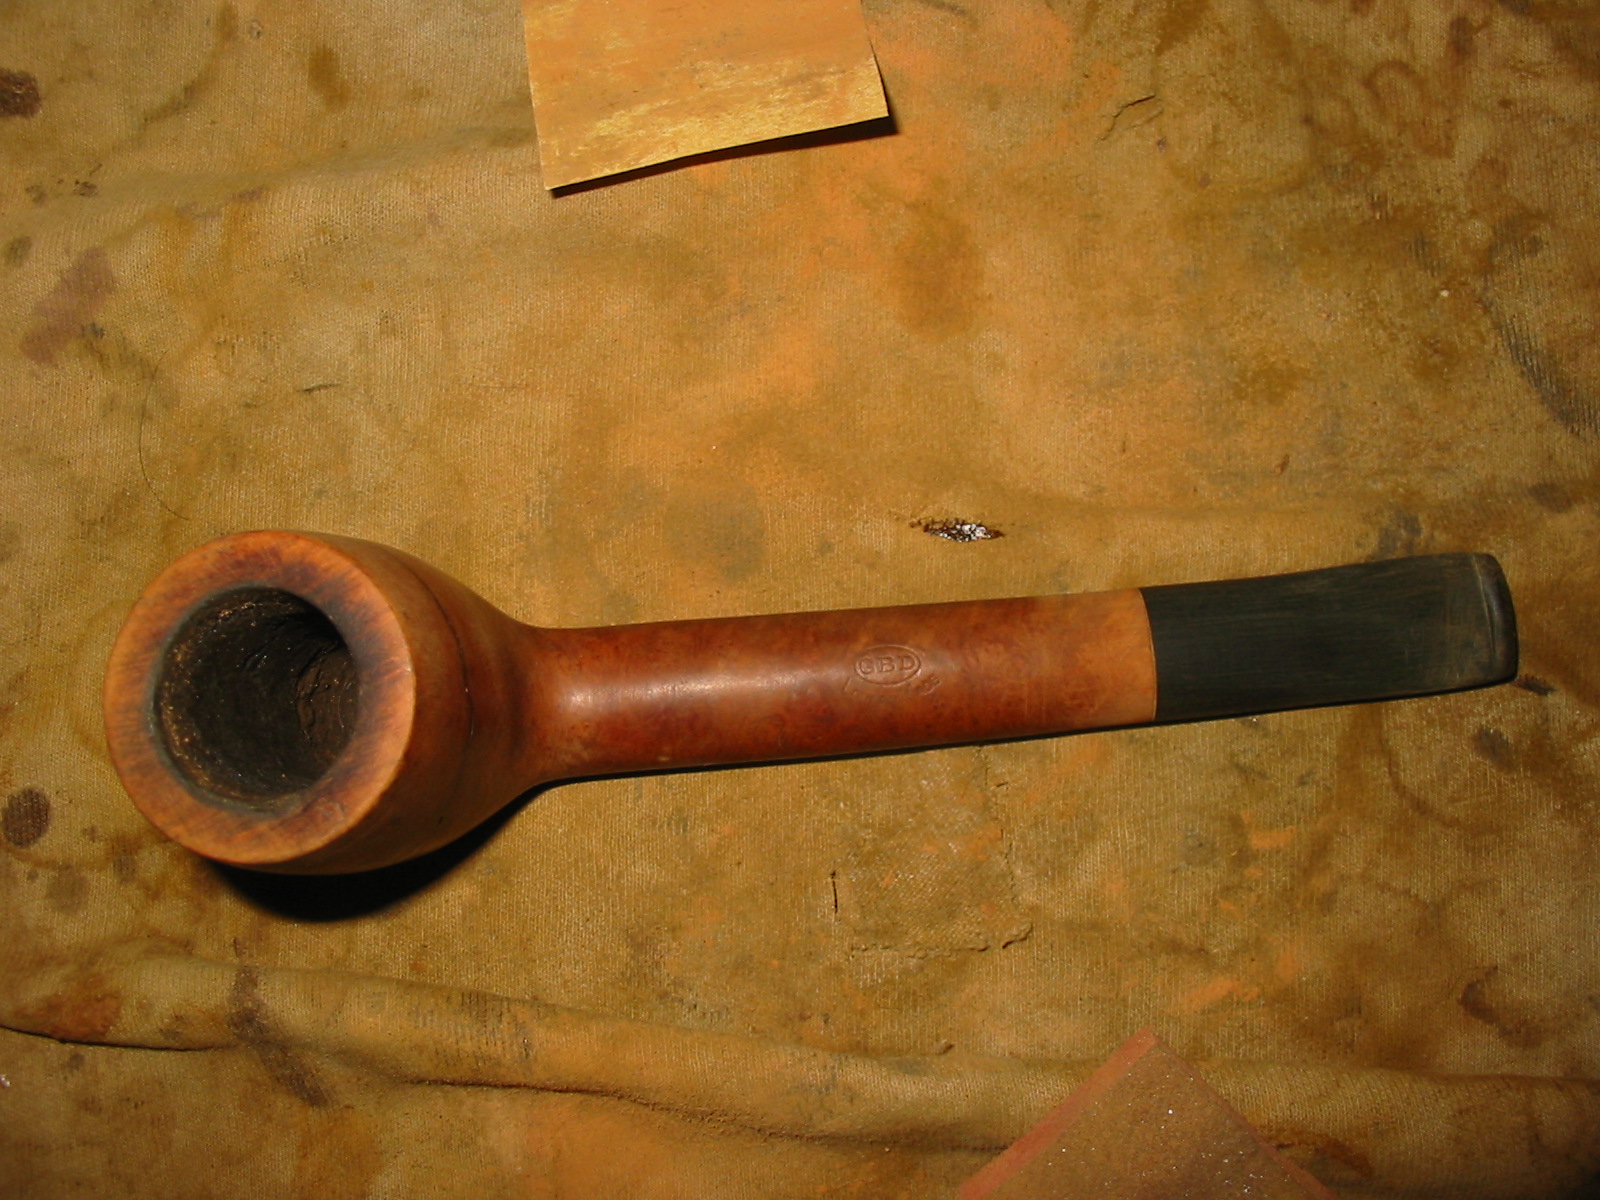
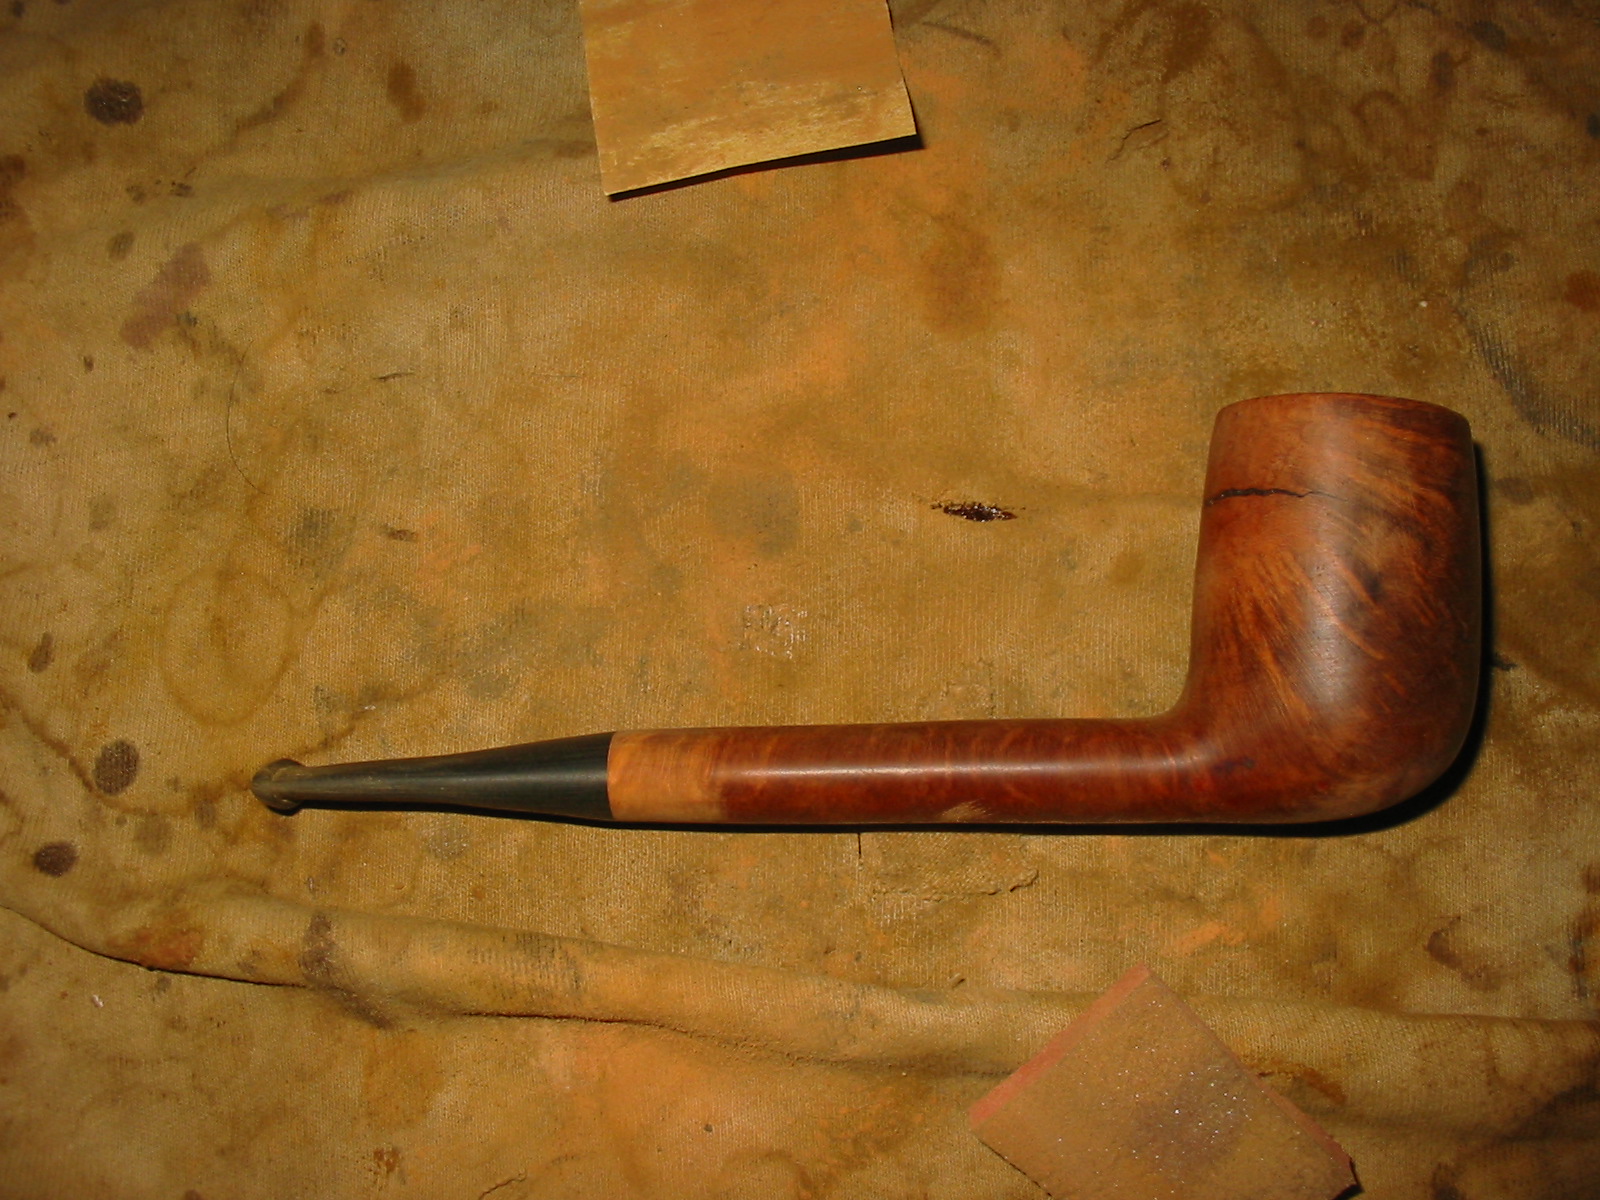
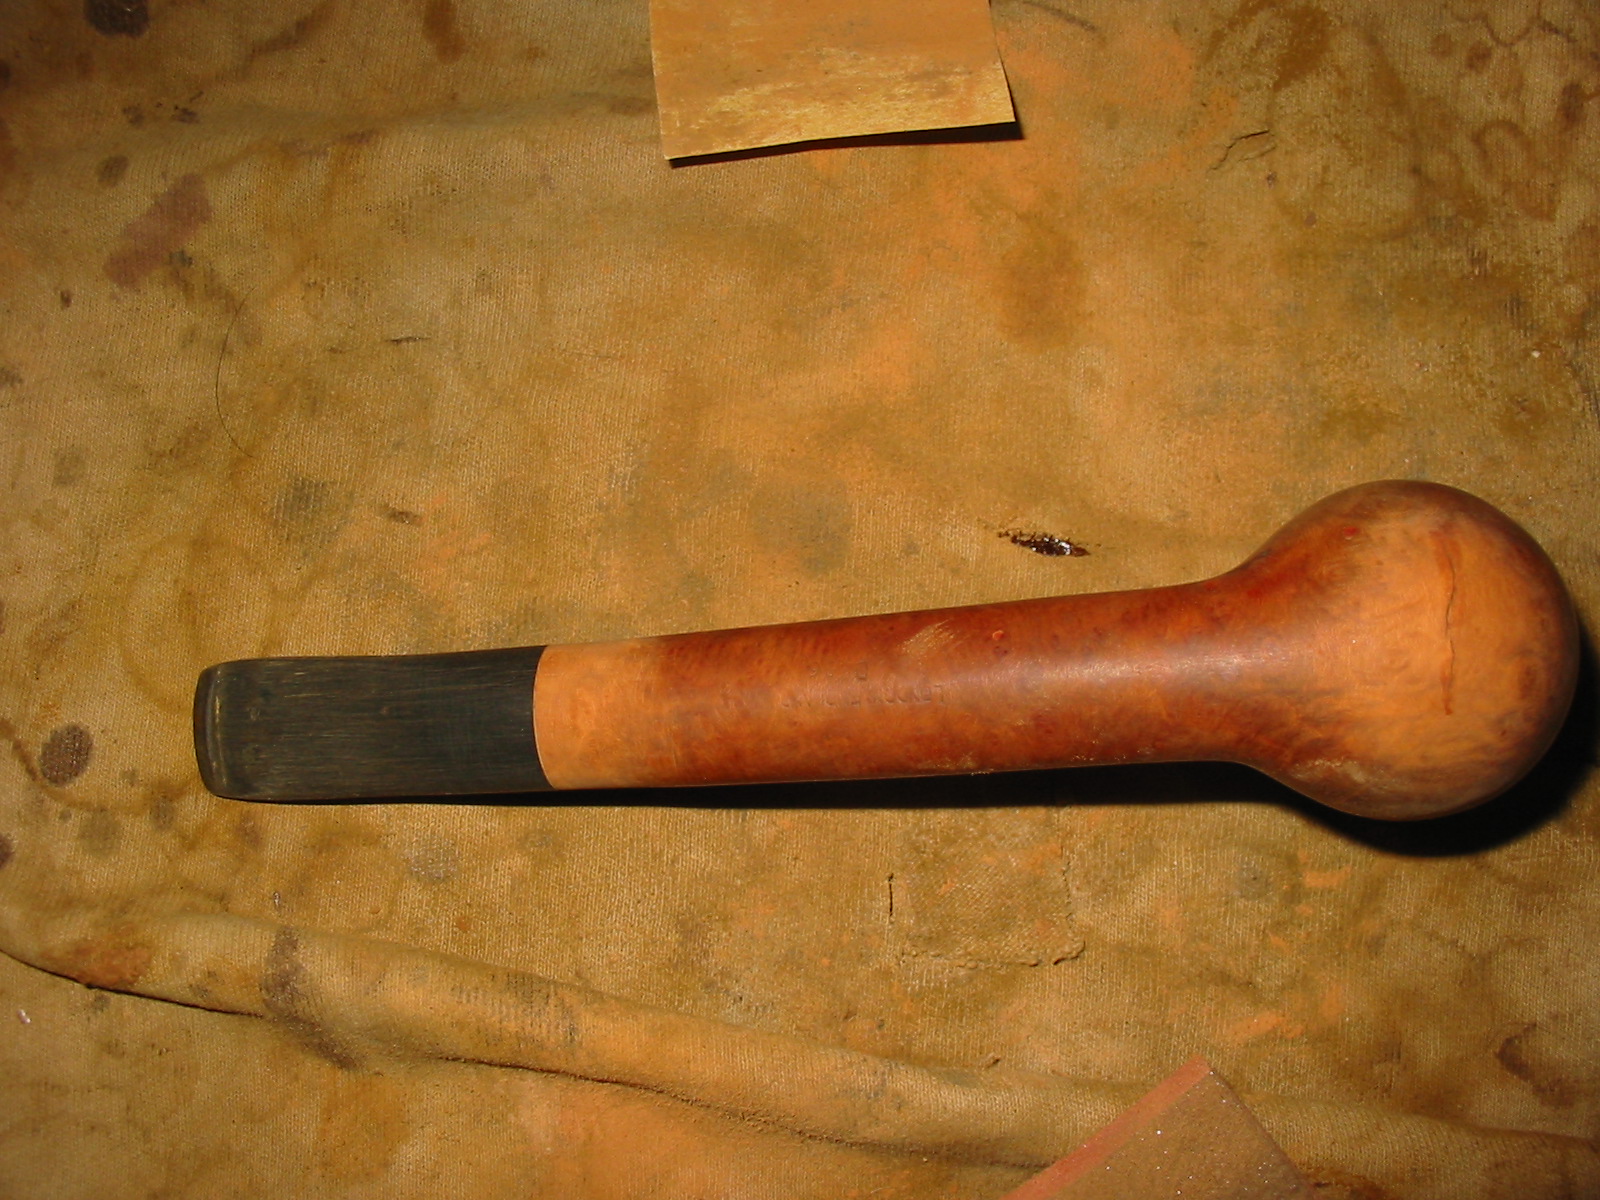
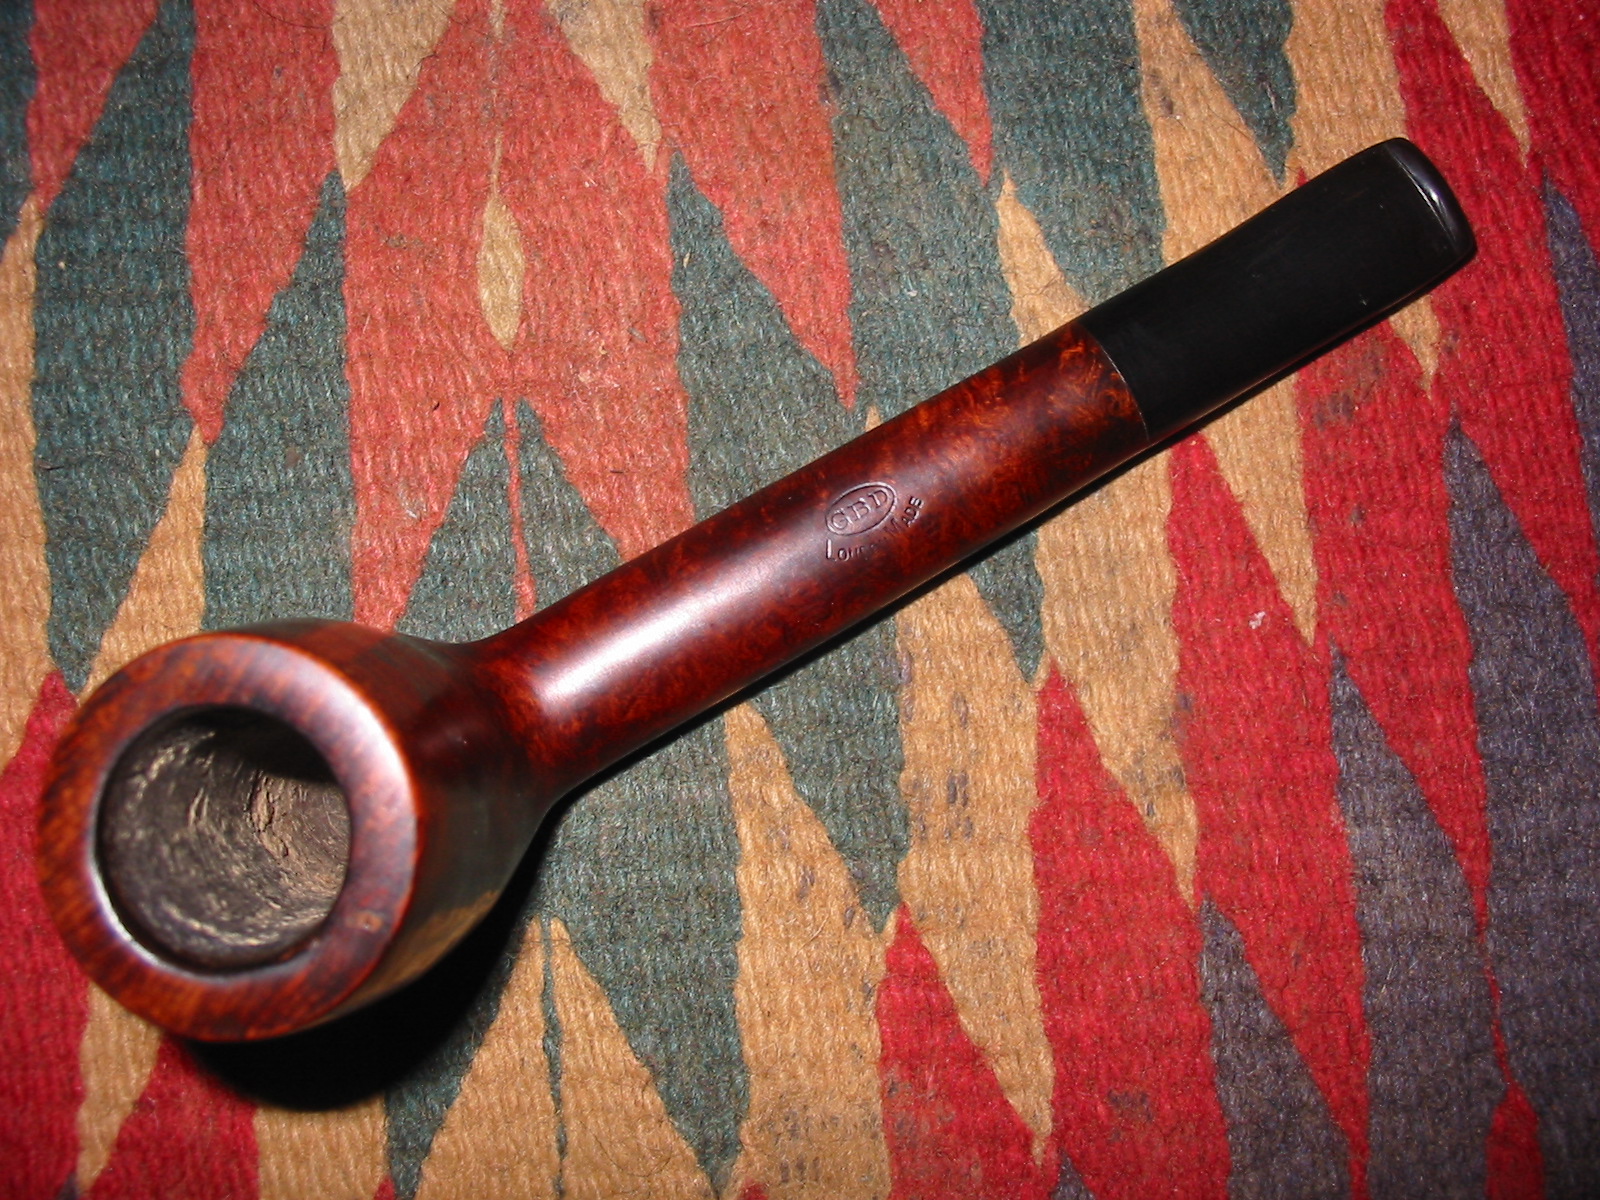
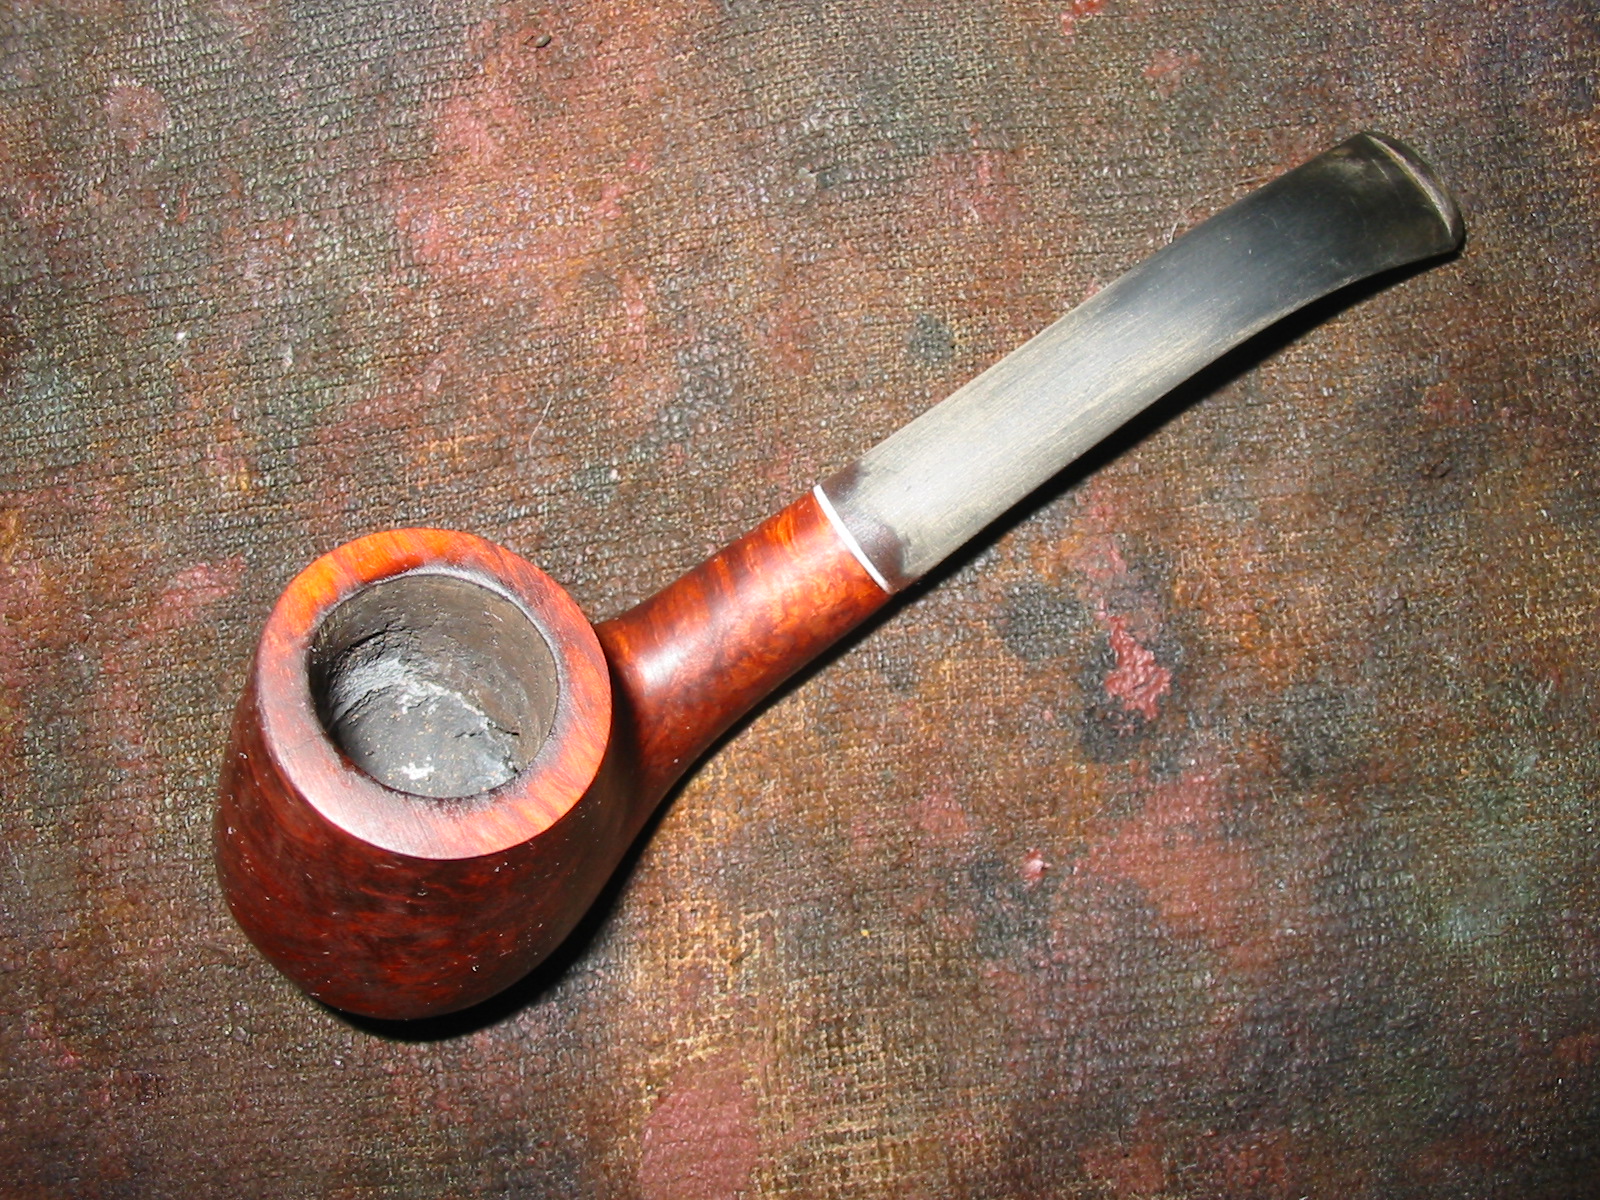
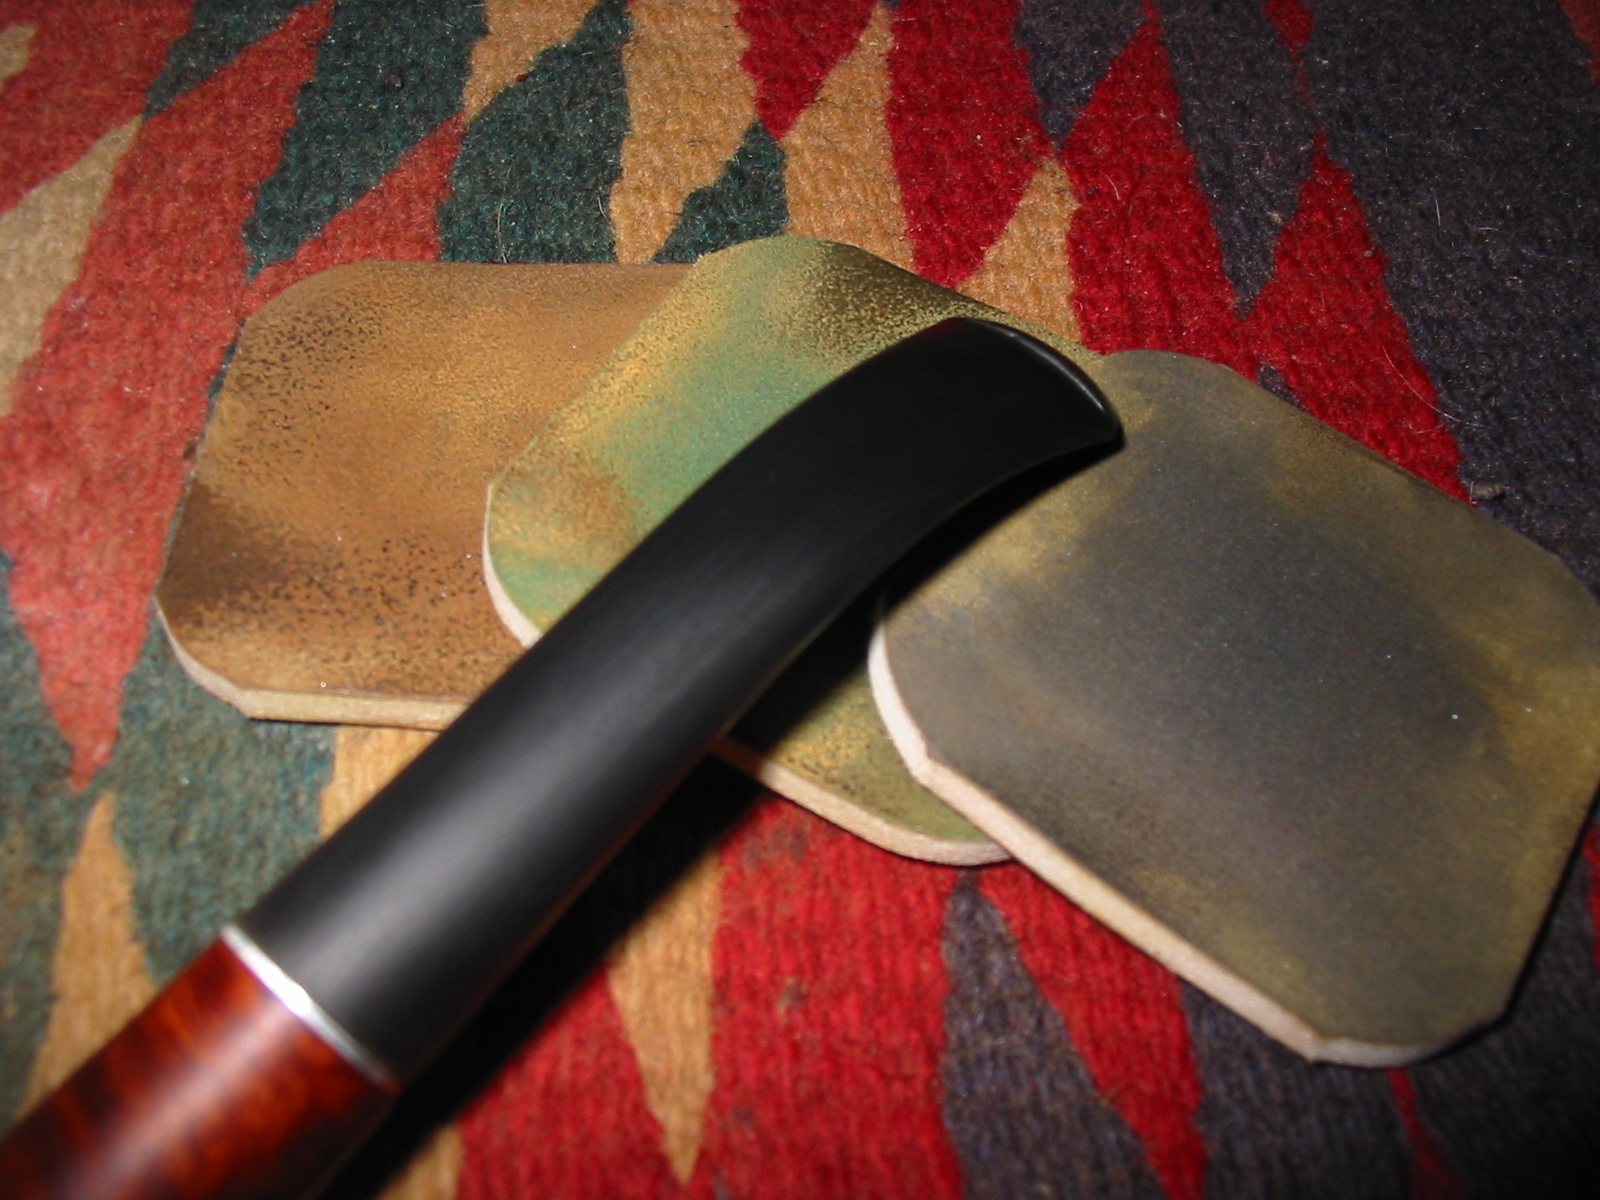
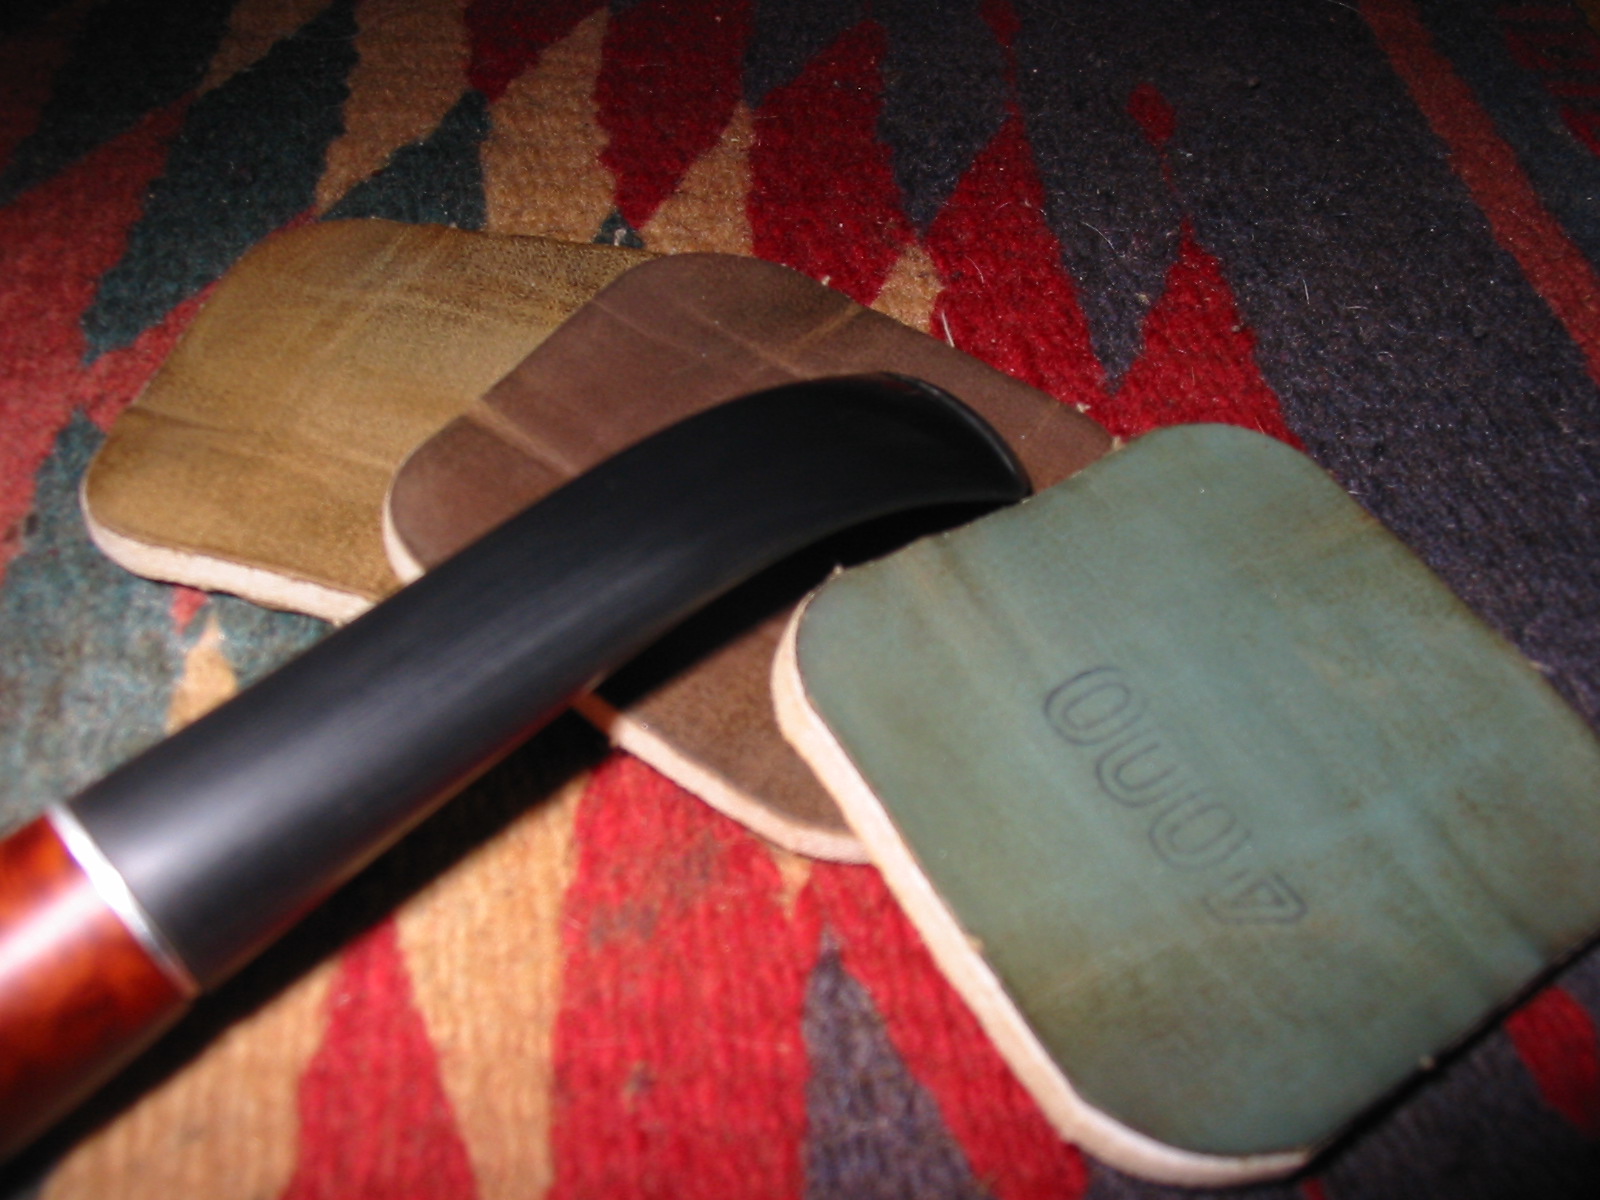
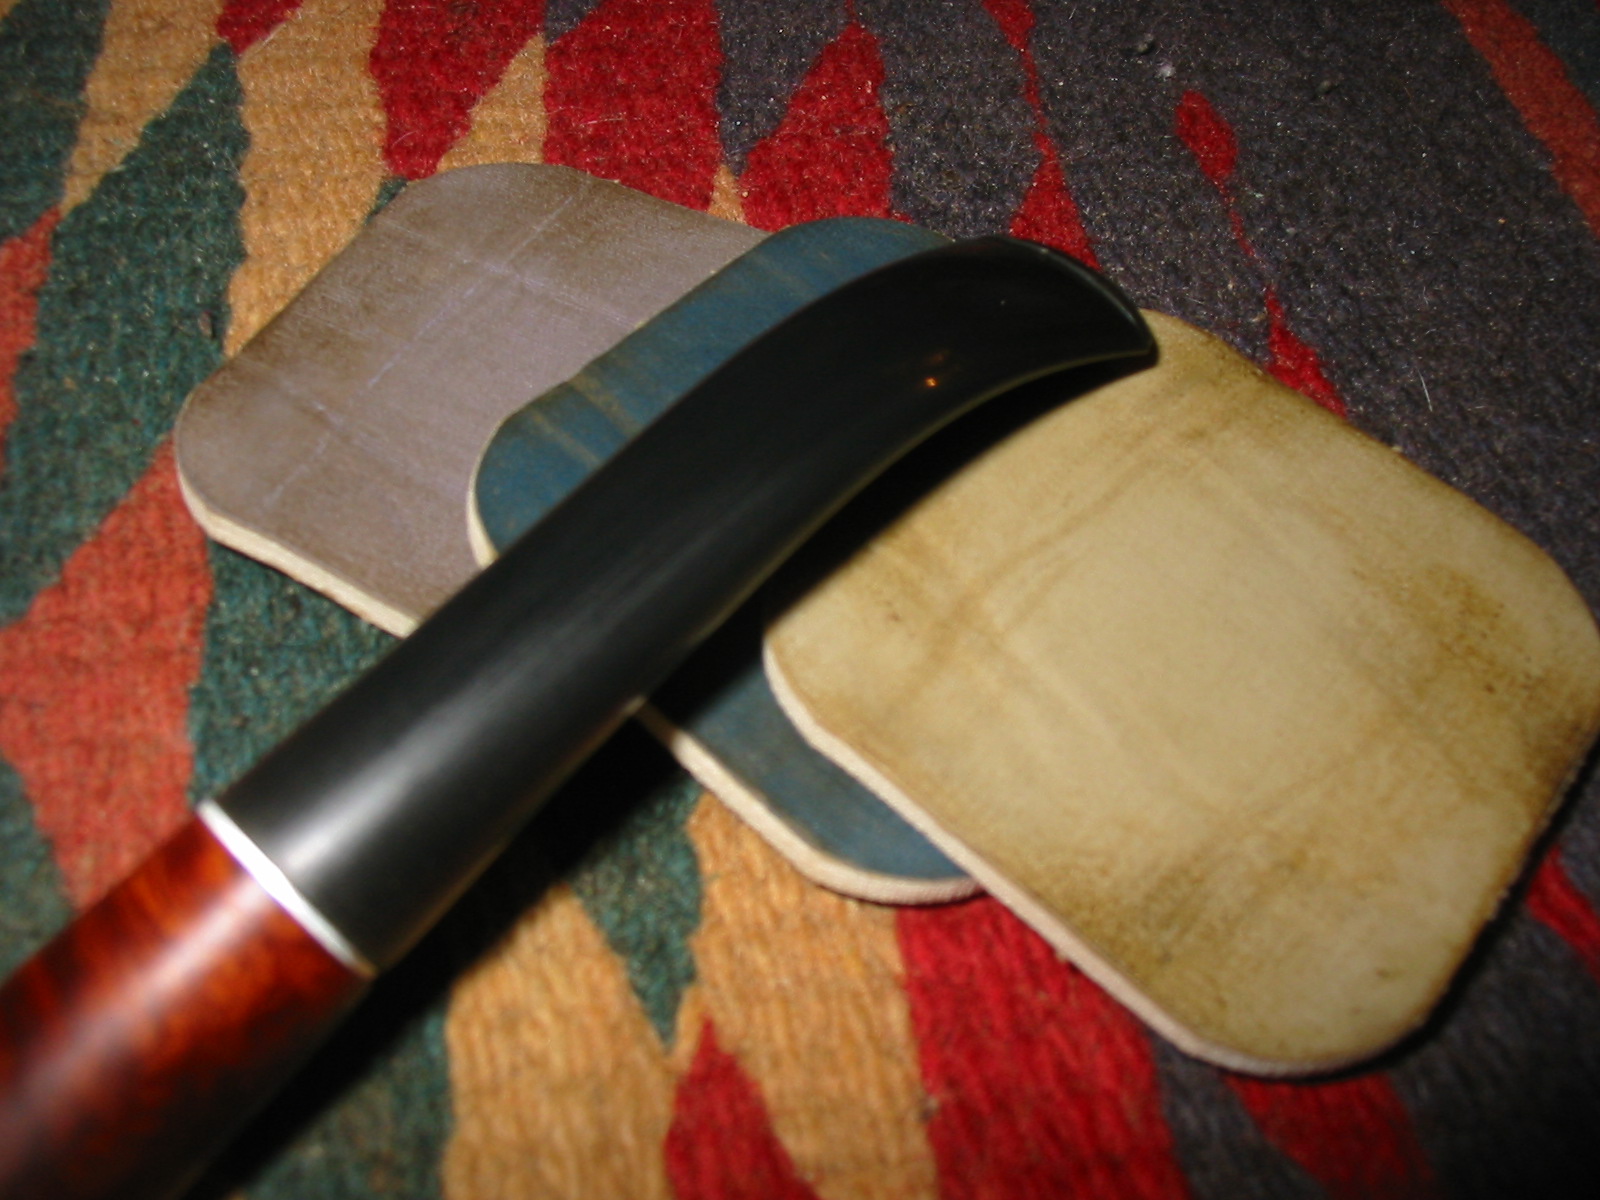
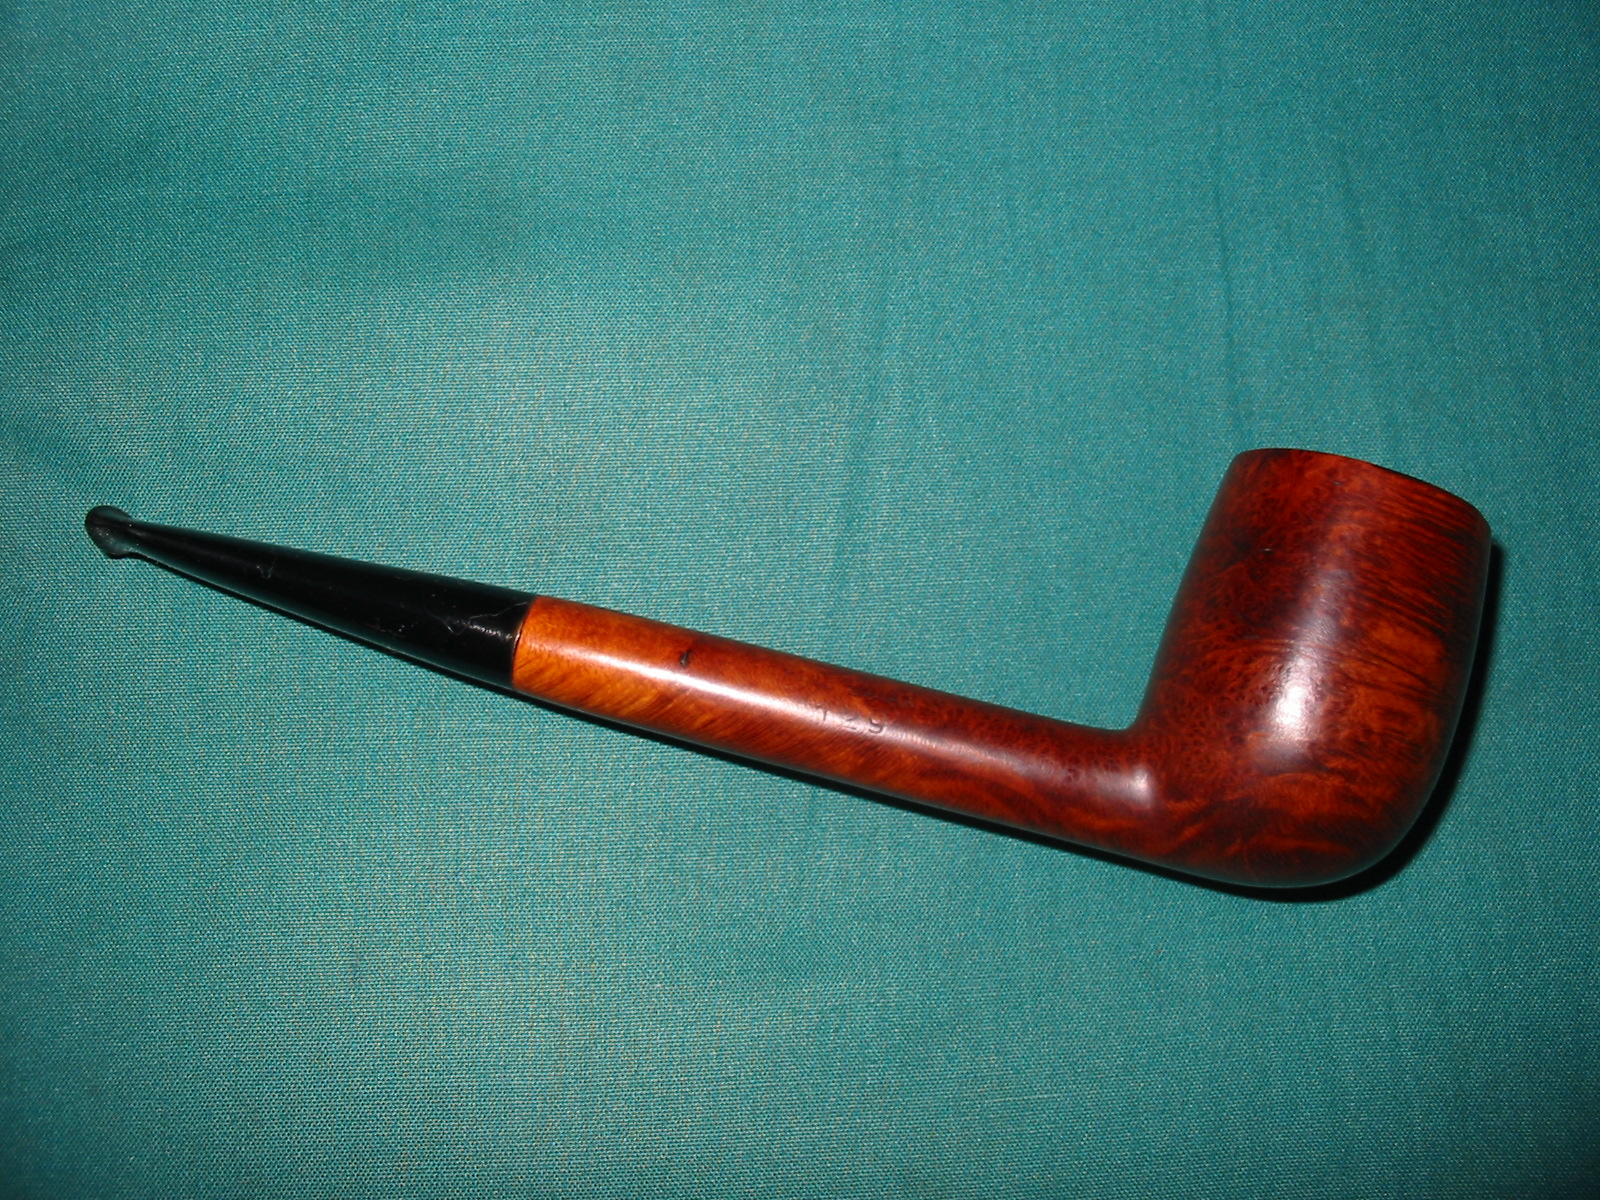
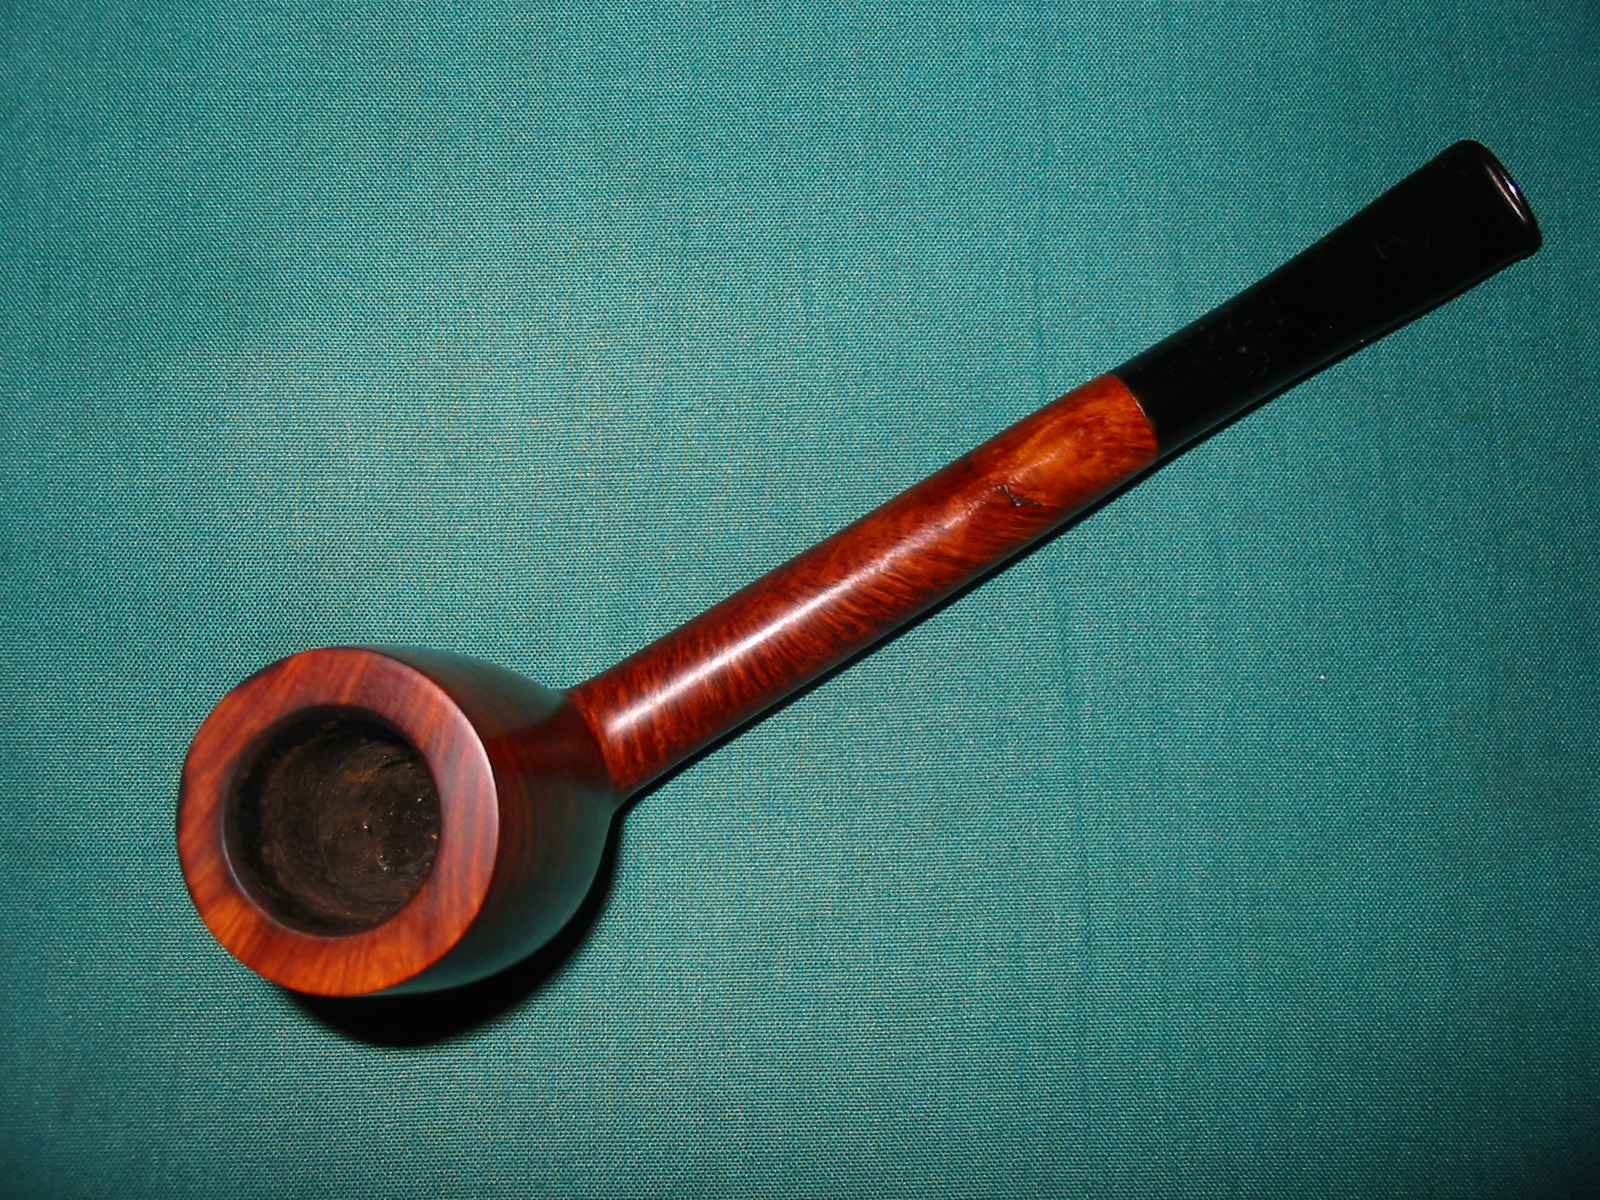
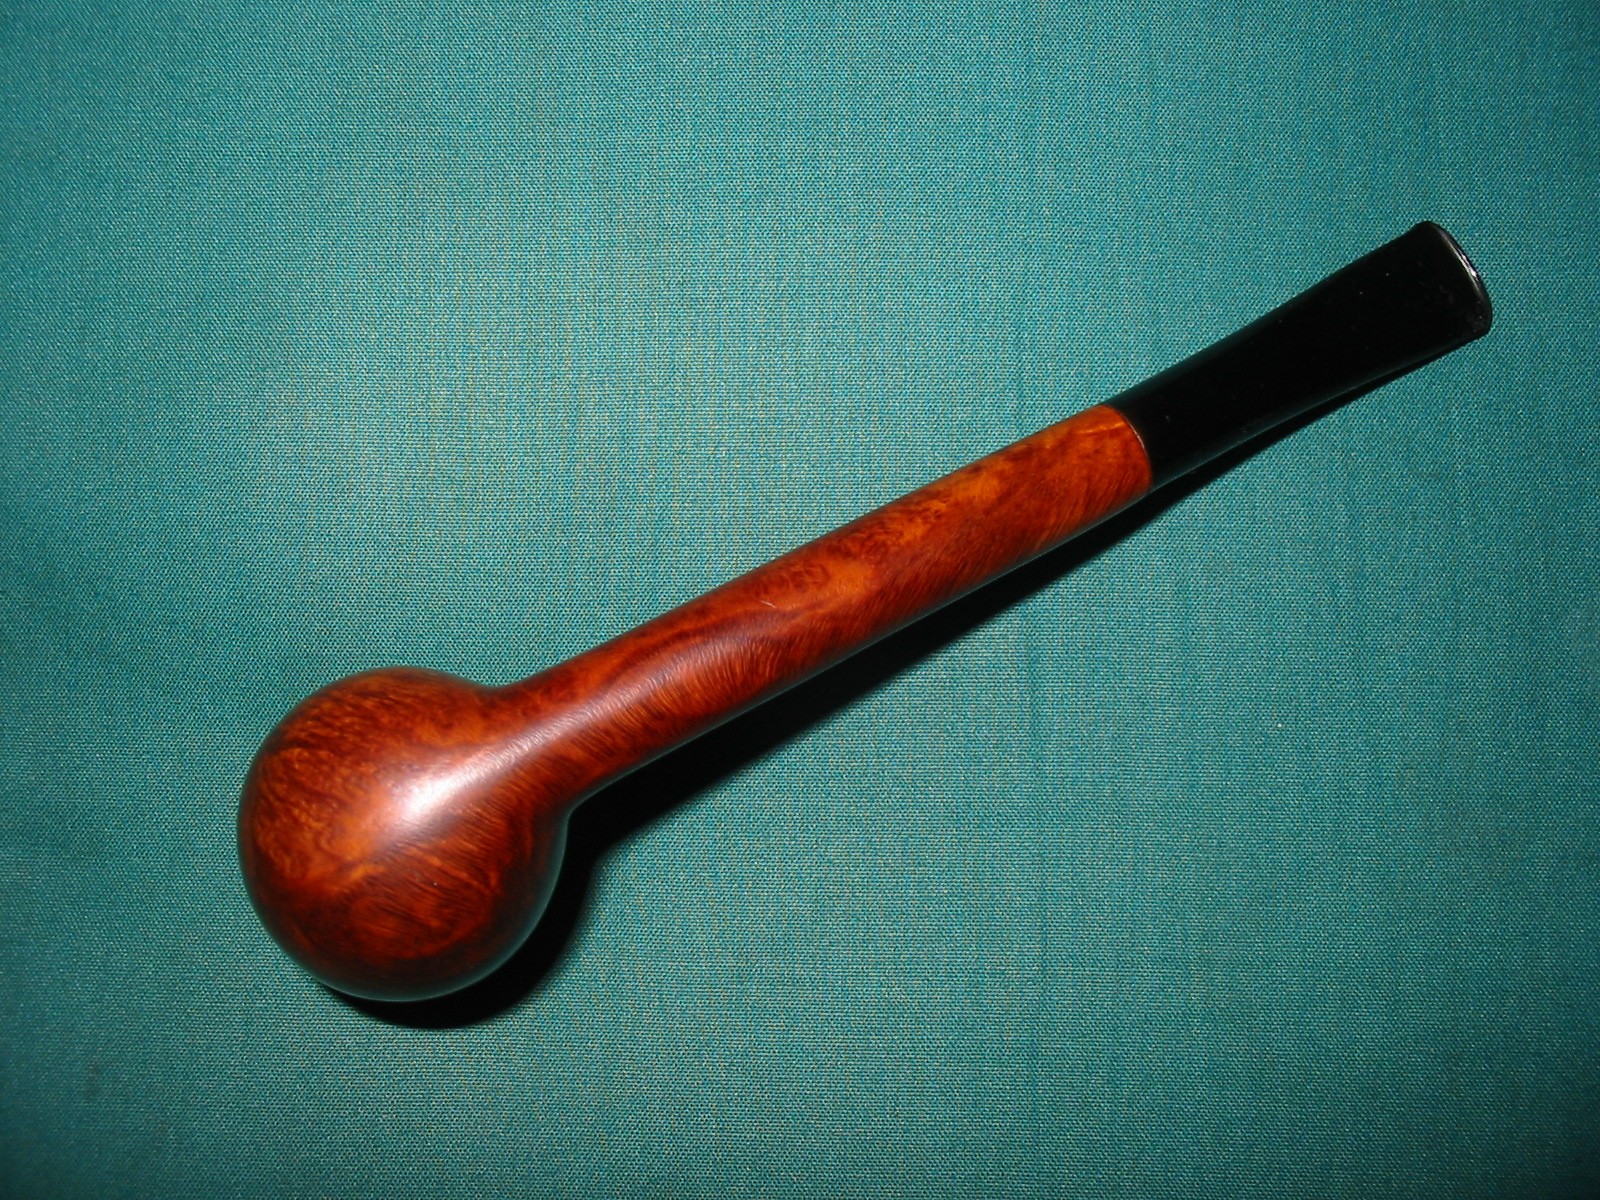
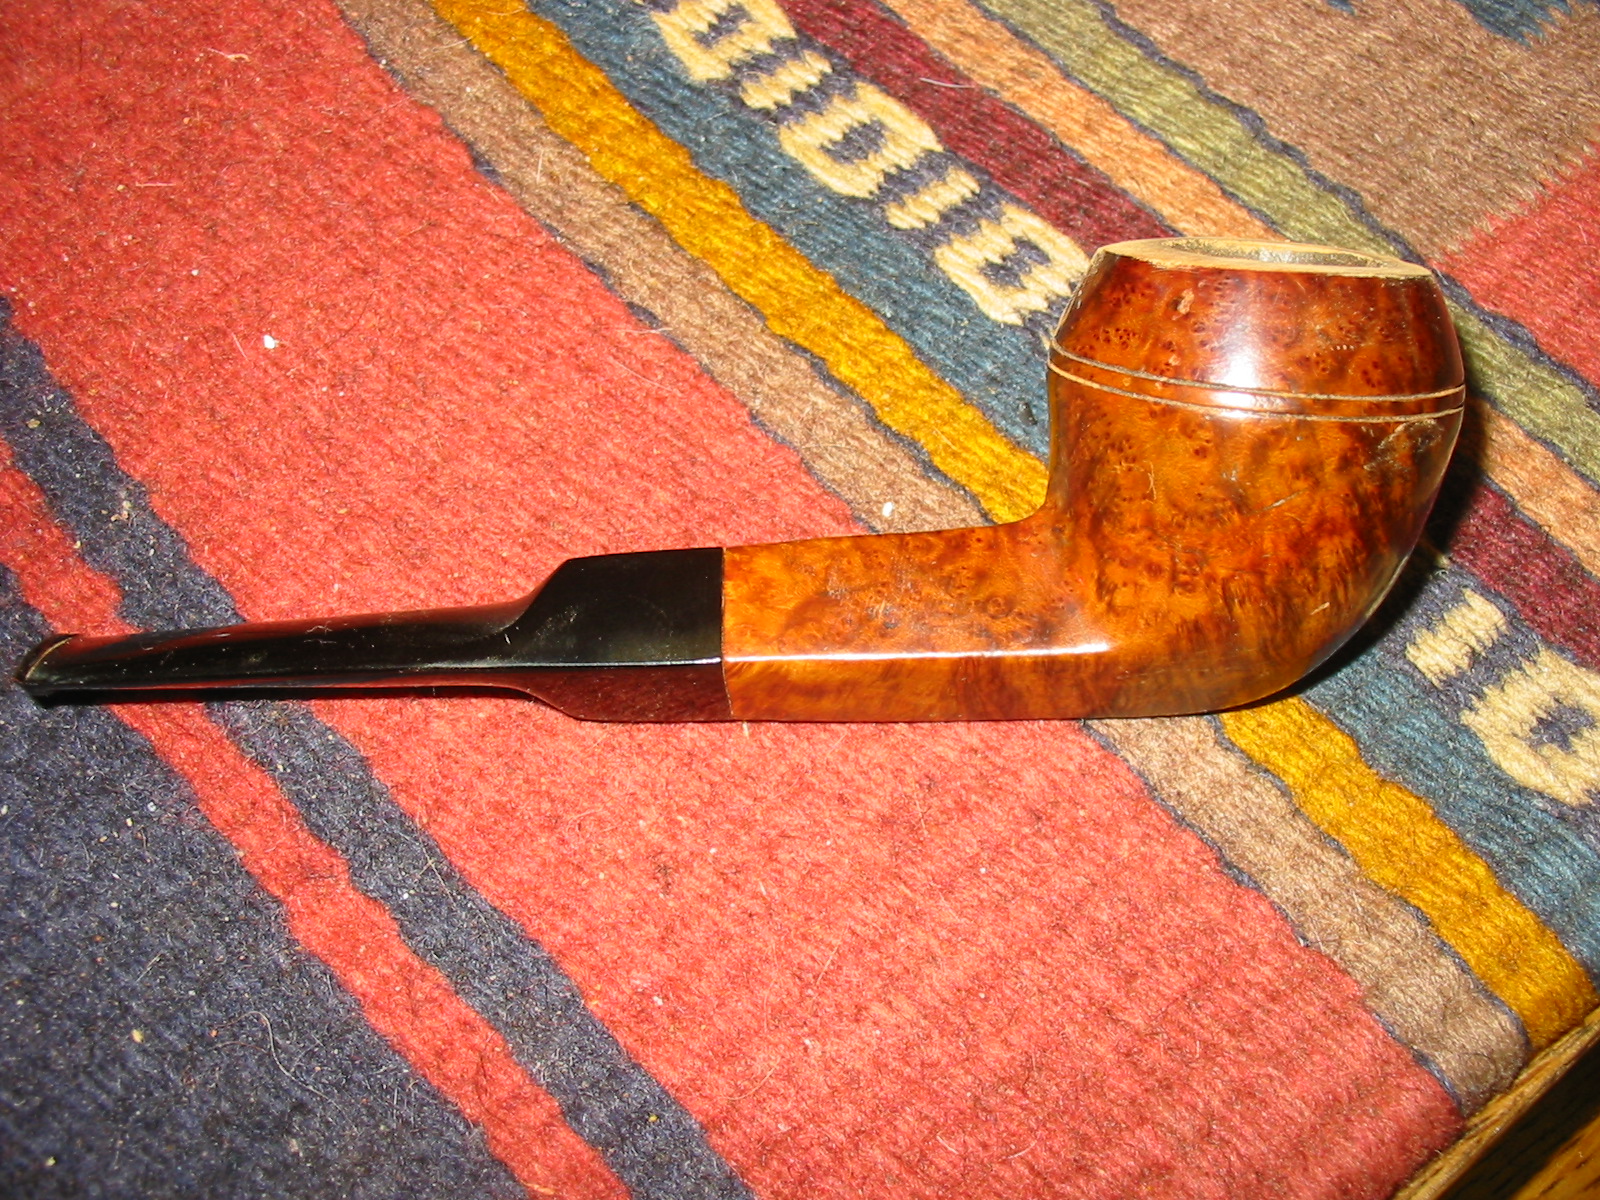
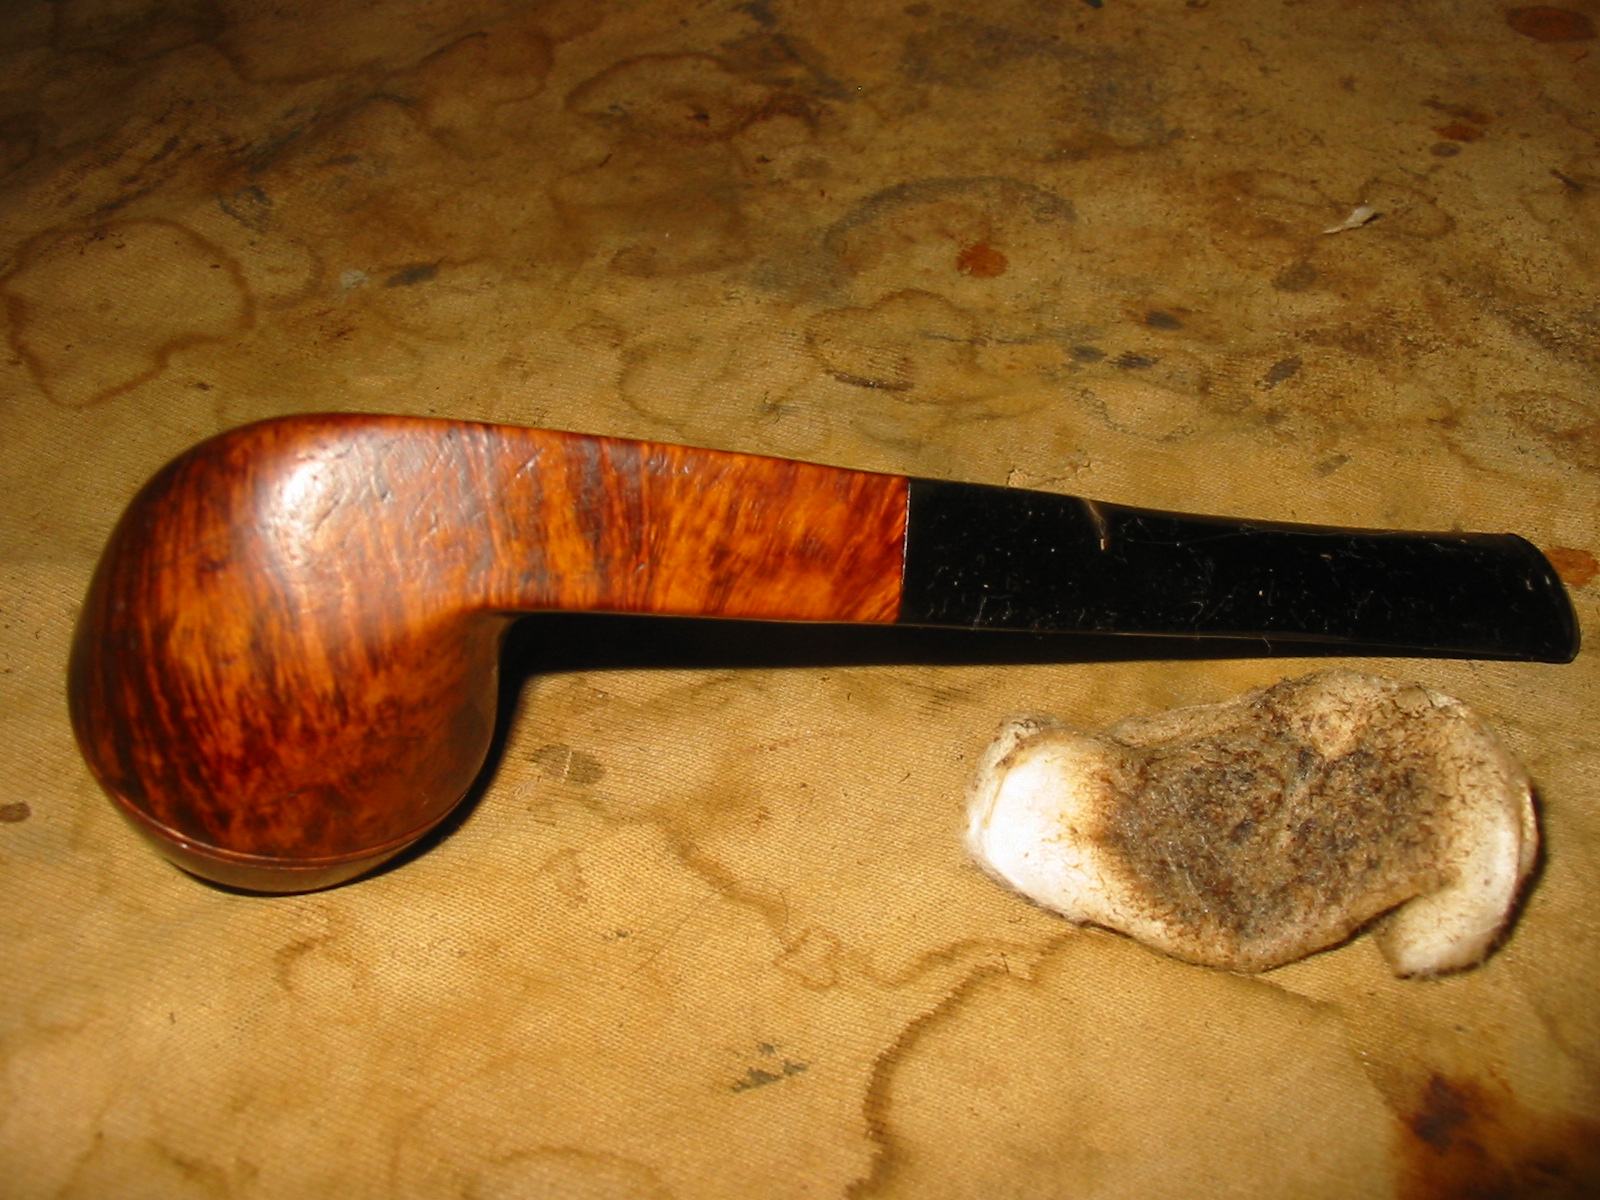
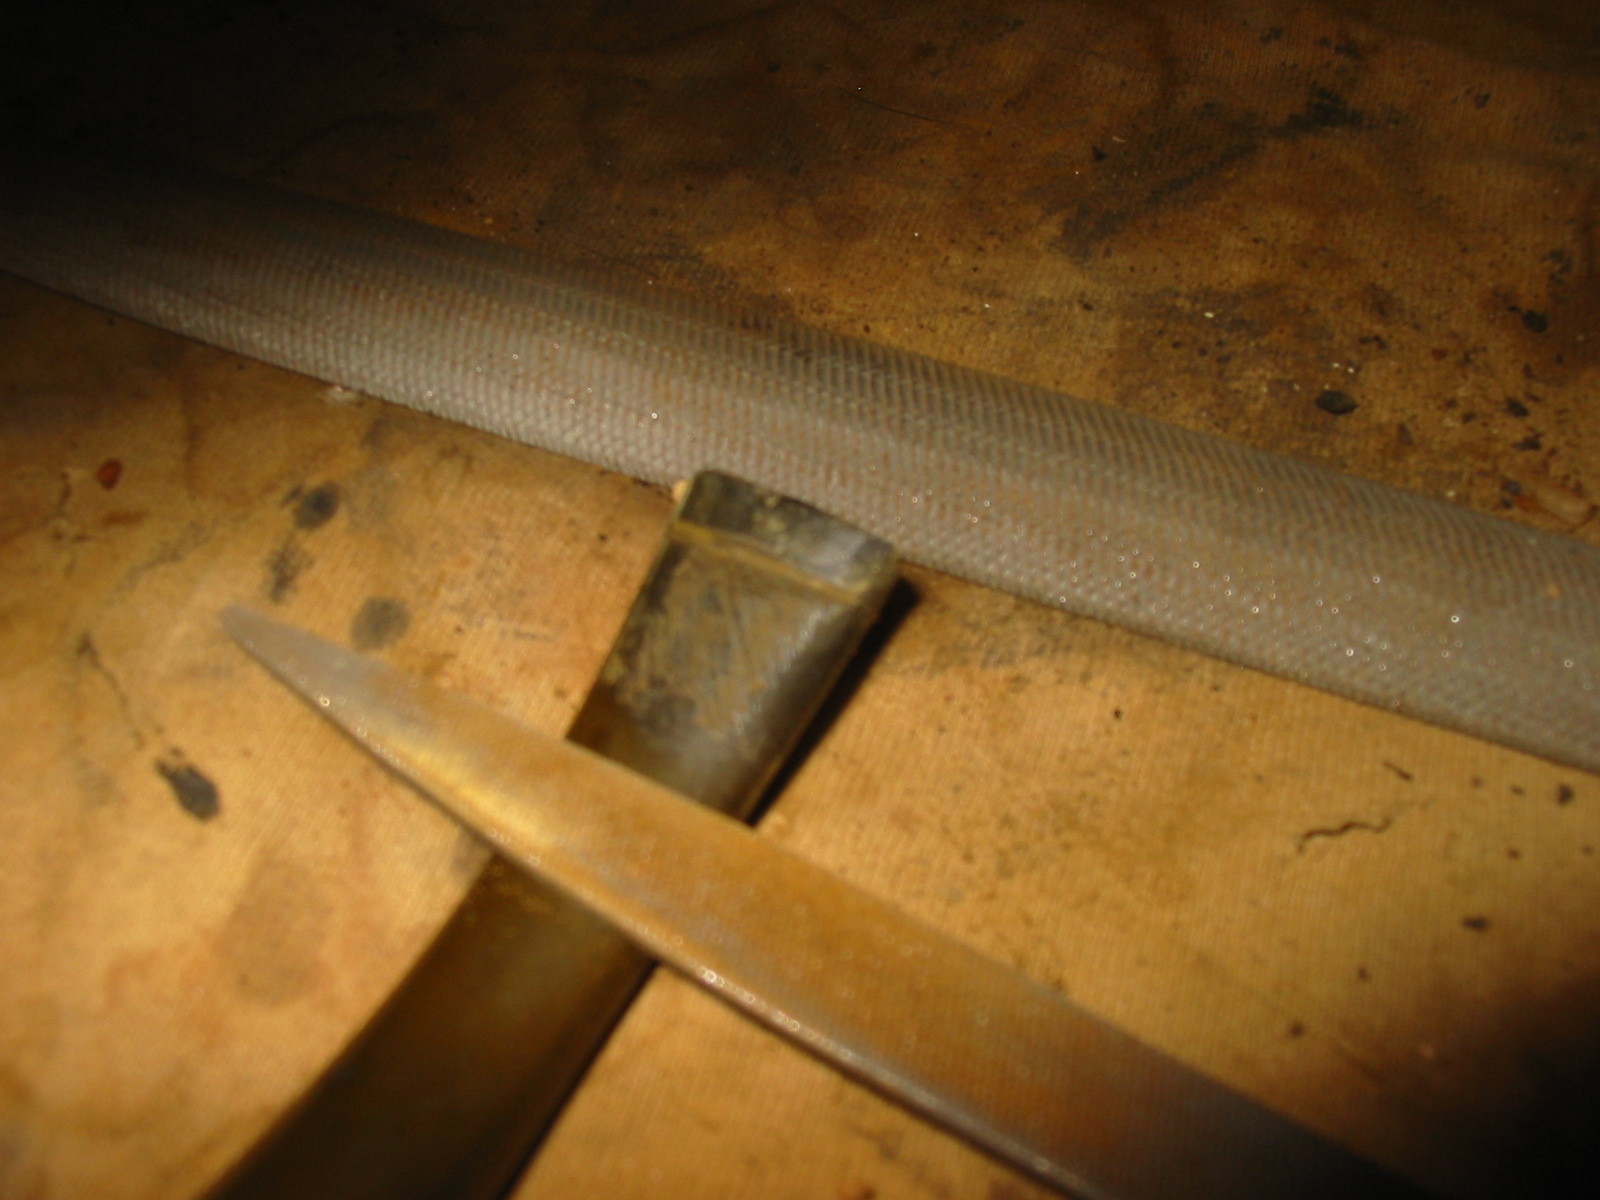
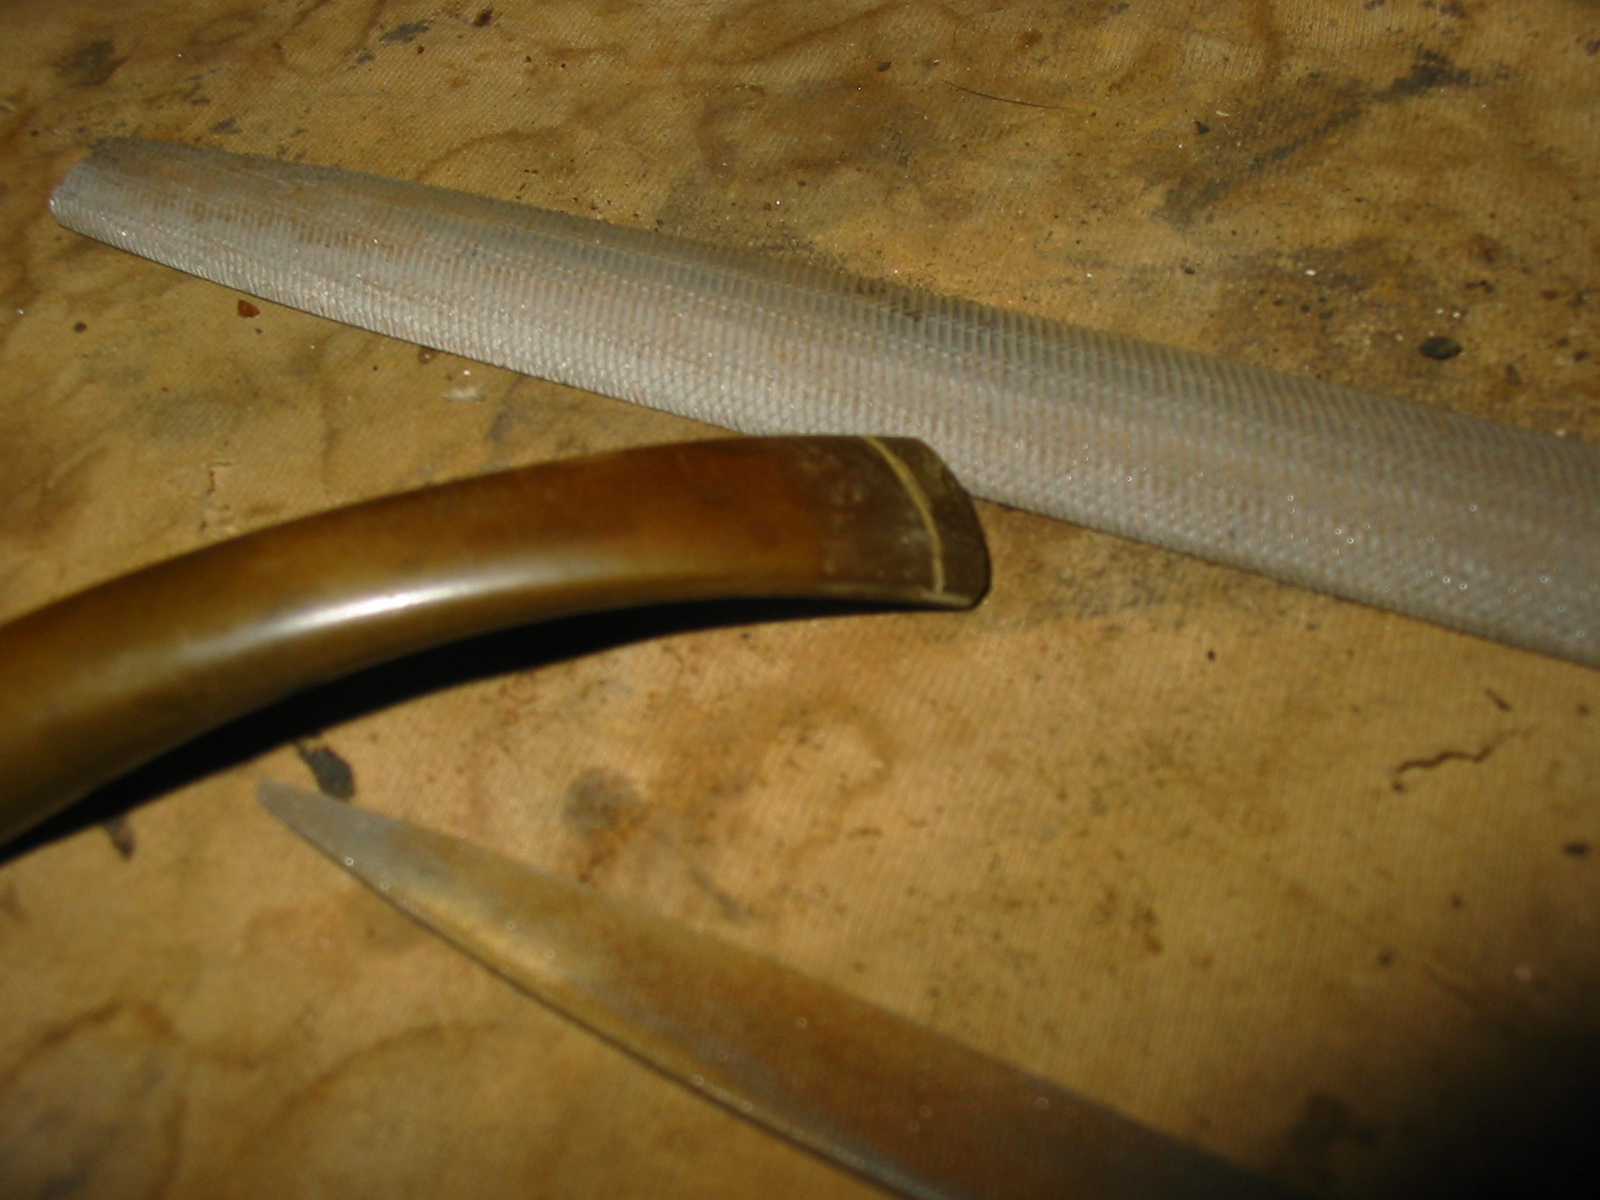
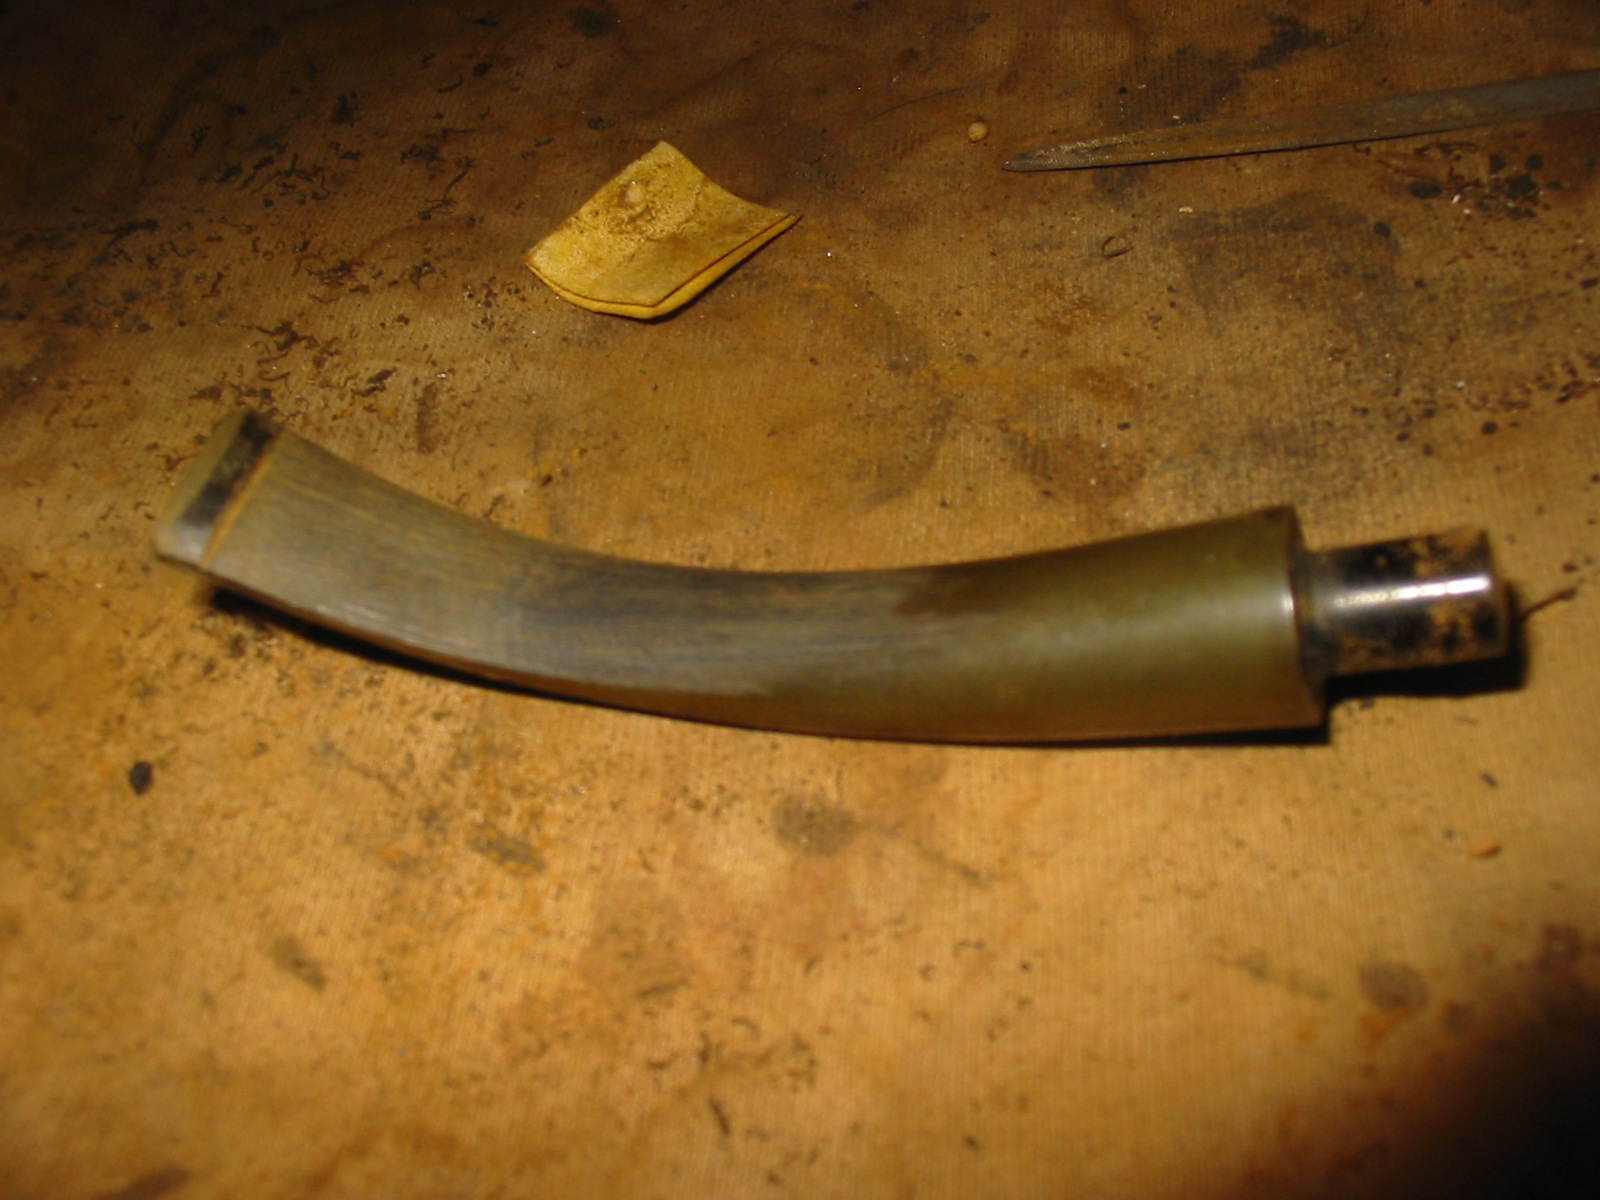
Tag Archives: repairing tooth marks

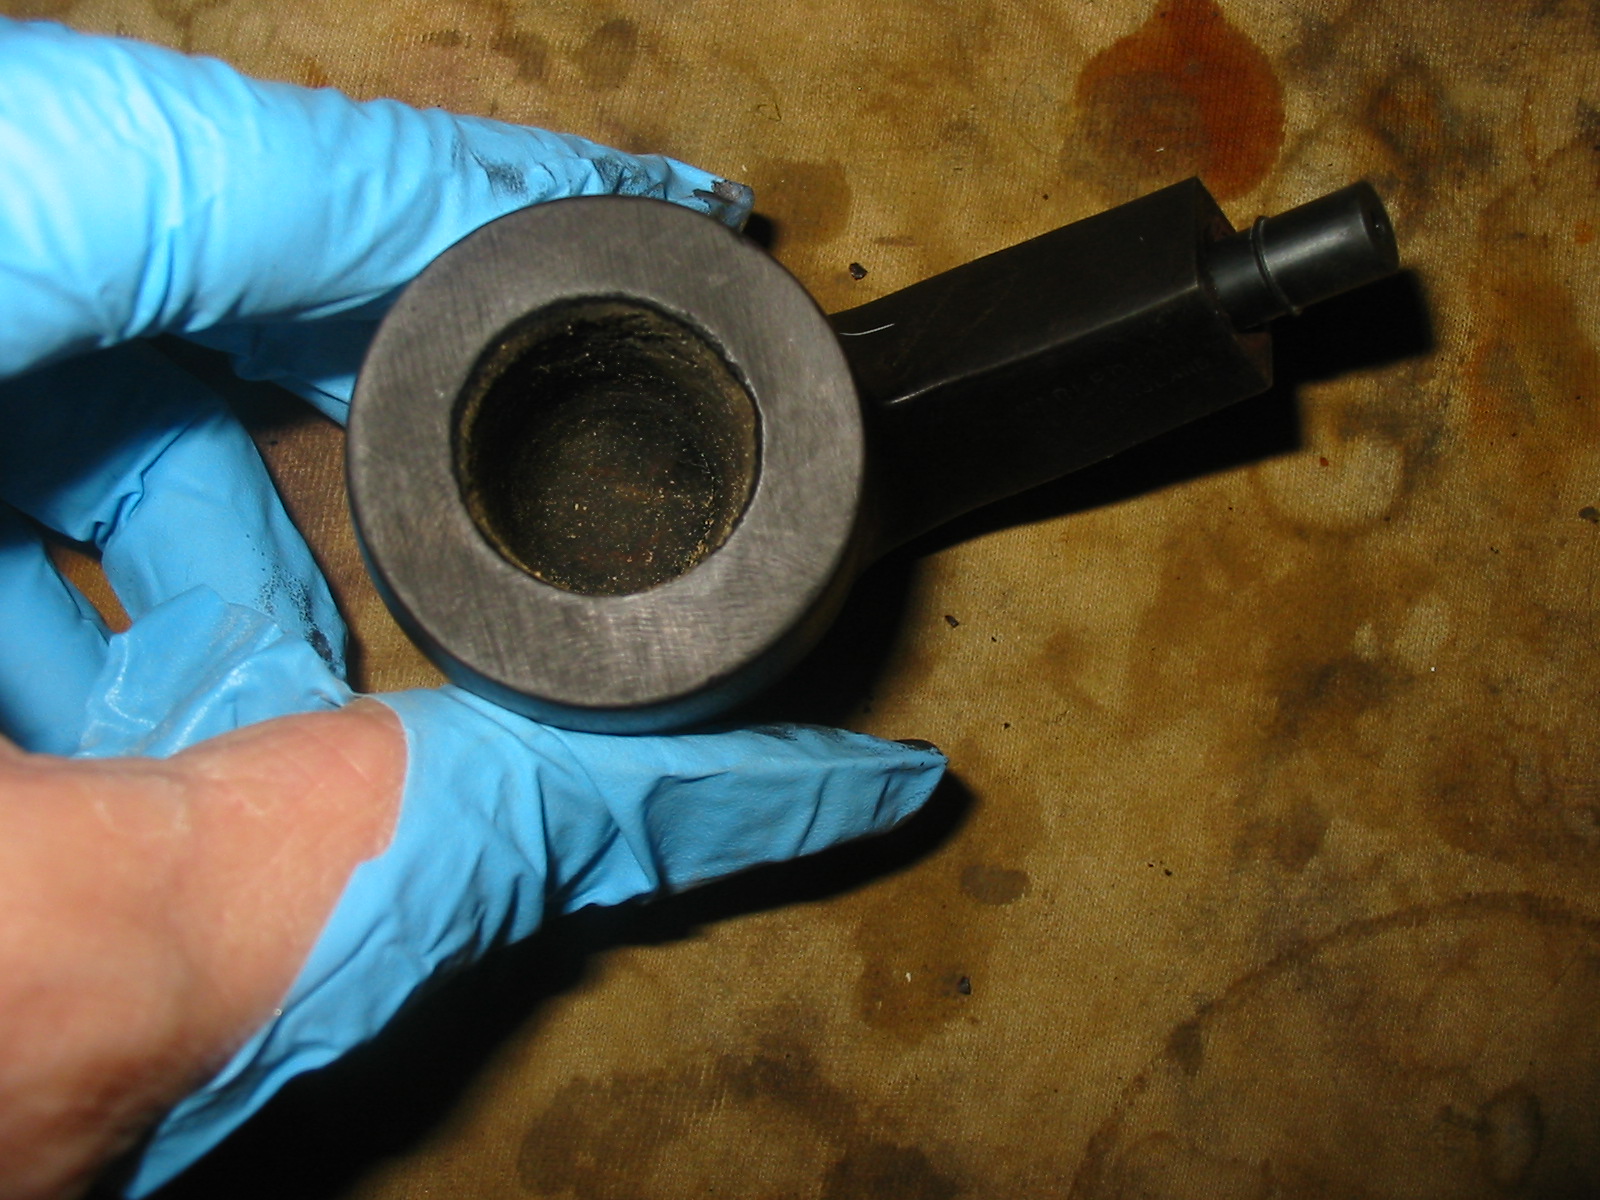
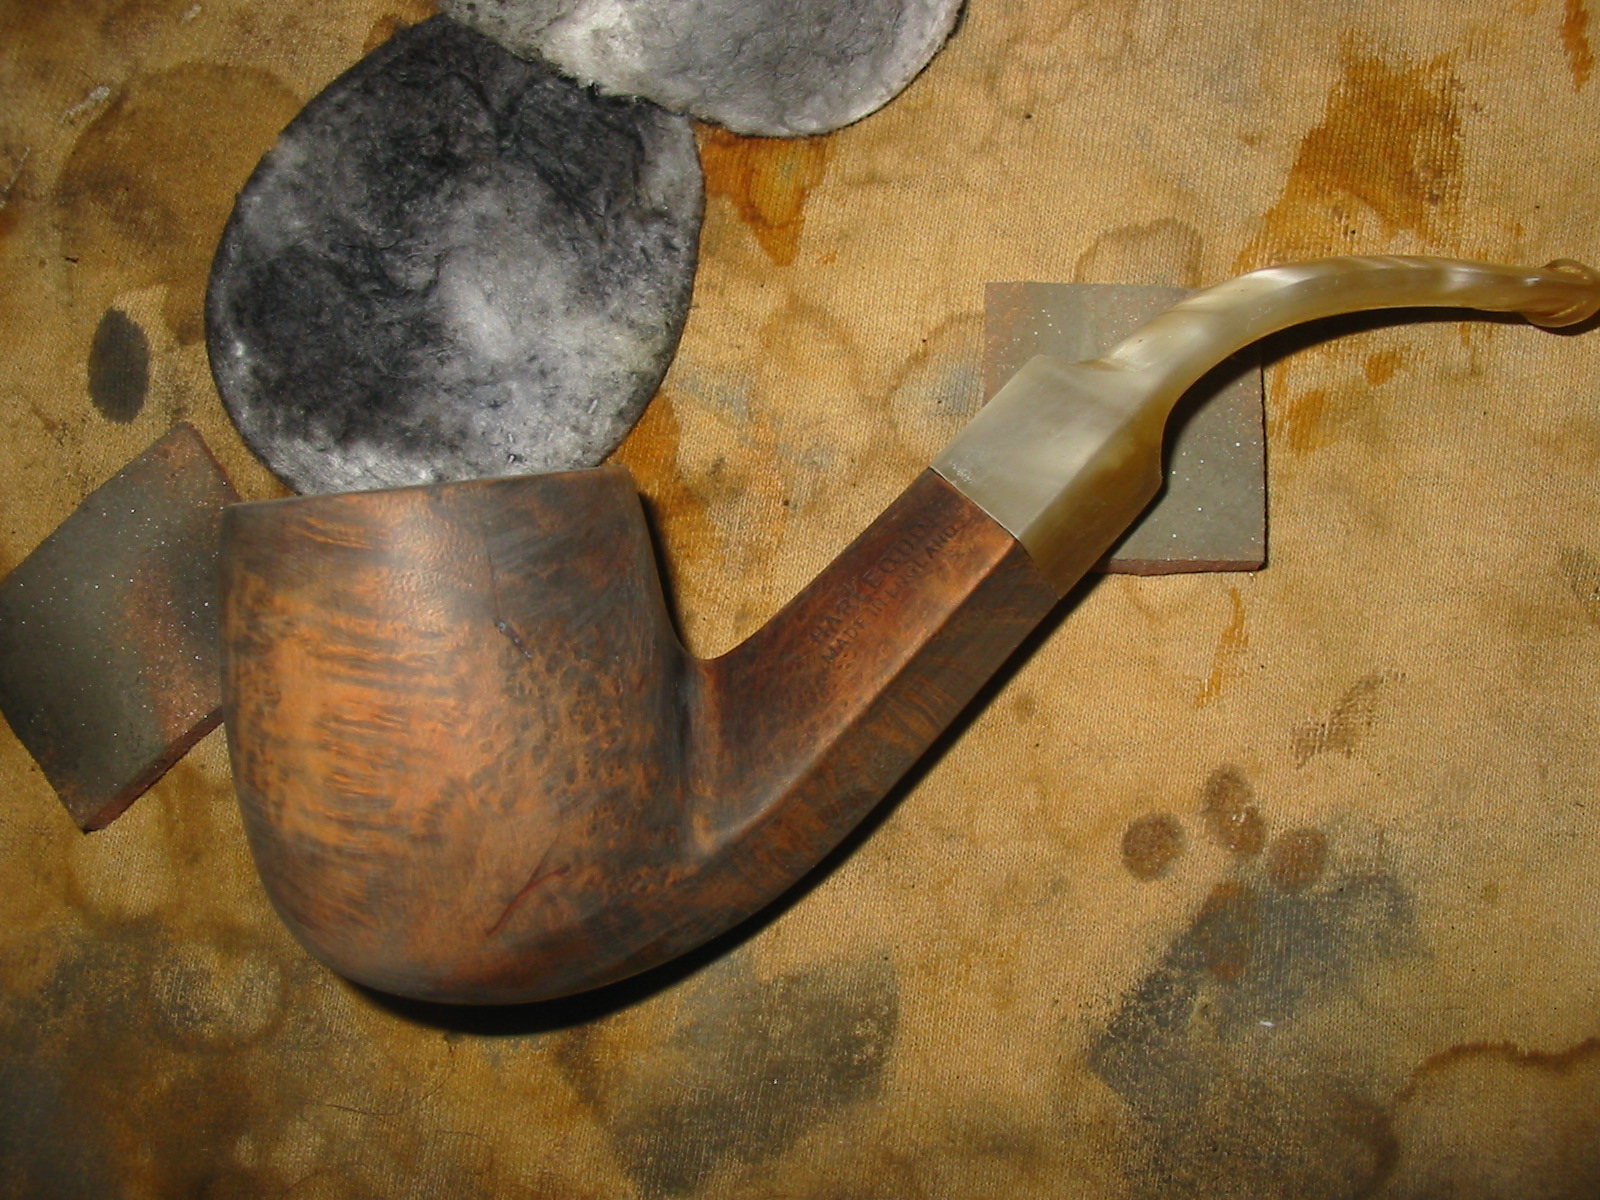
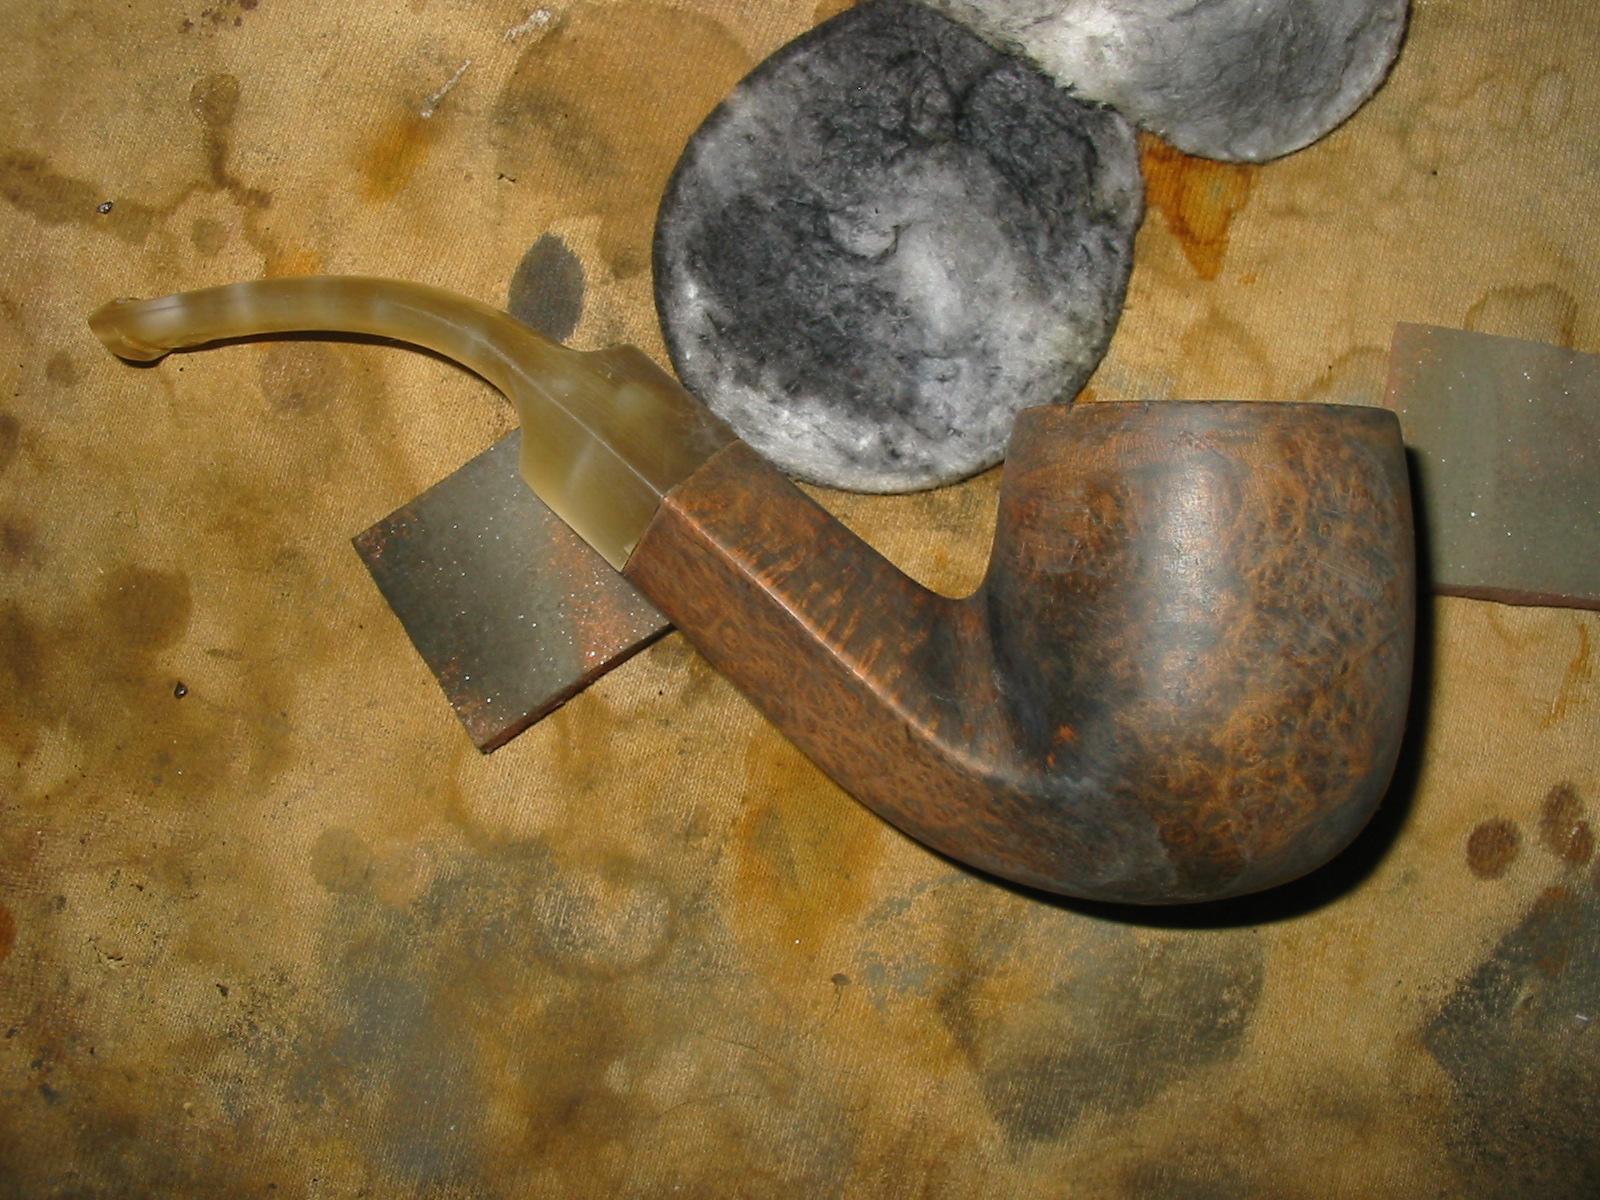
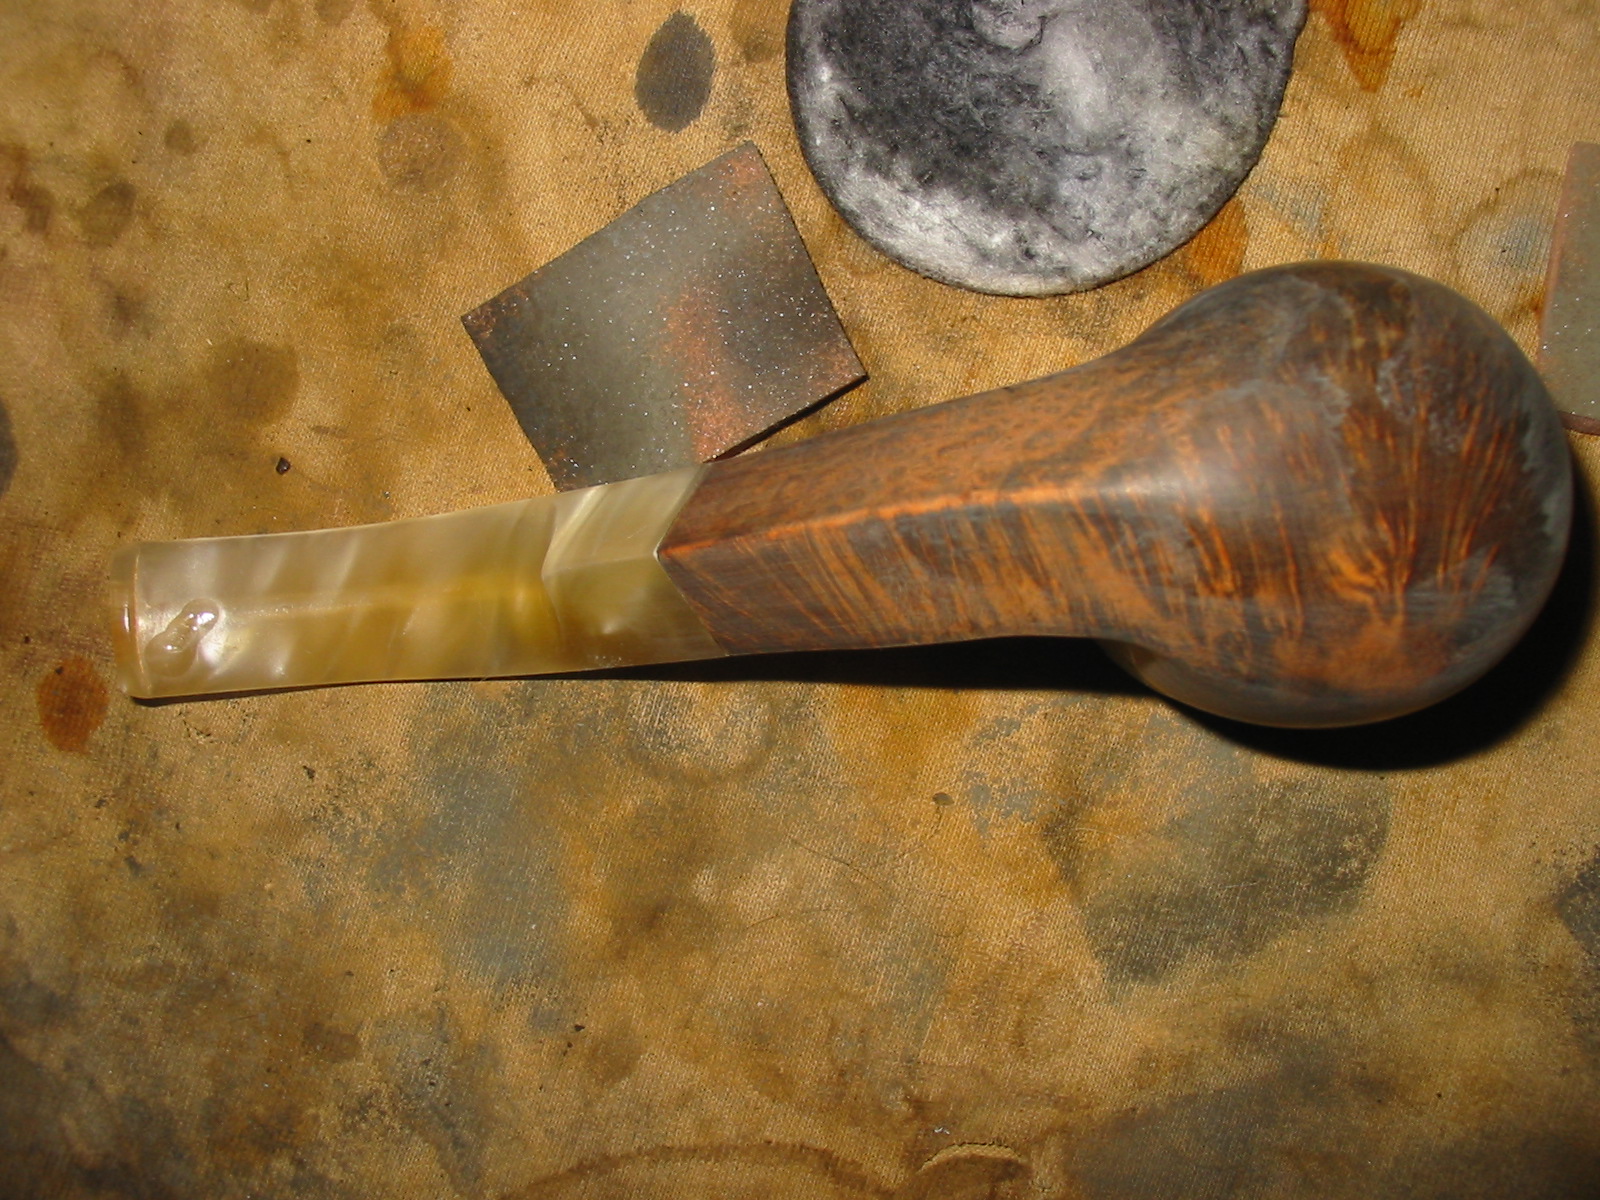
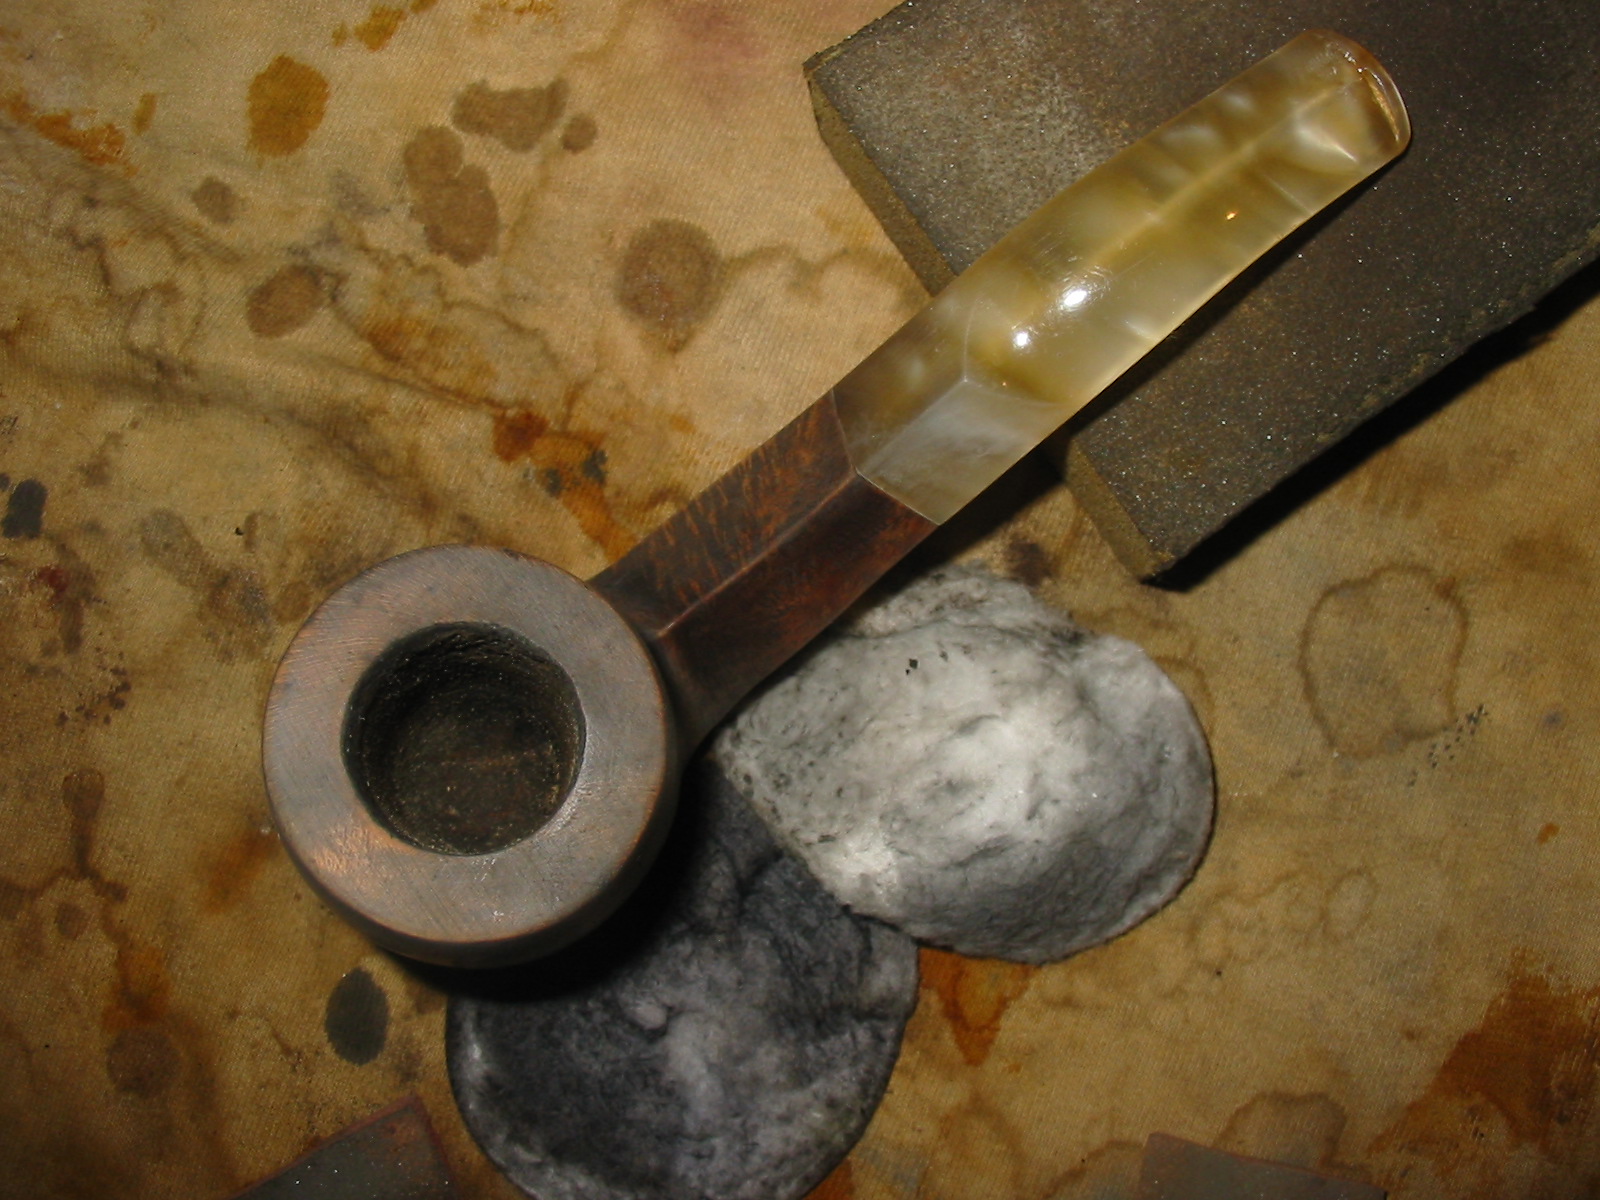
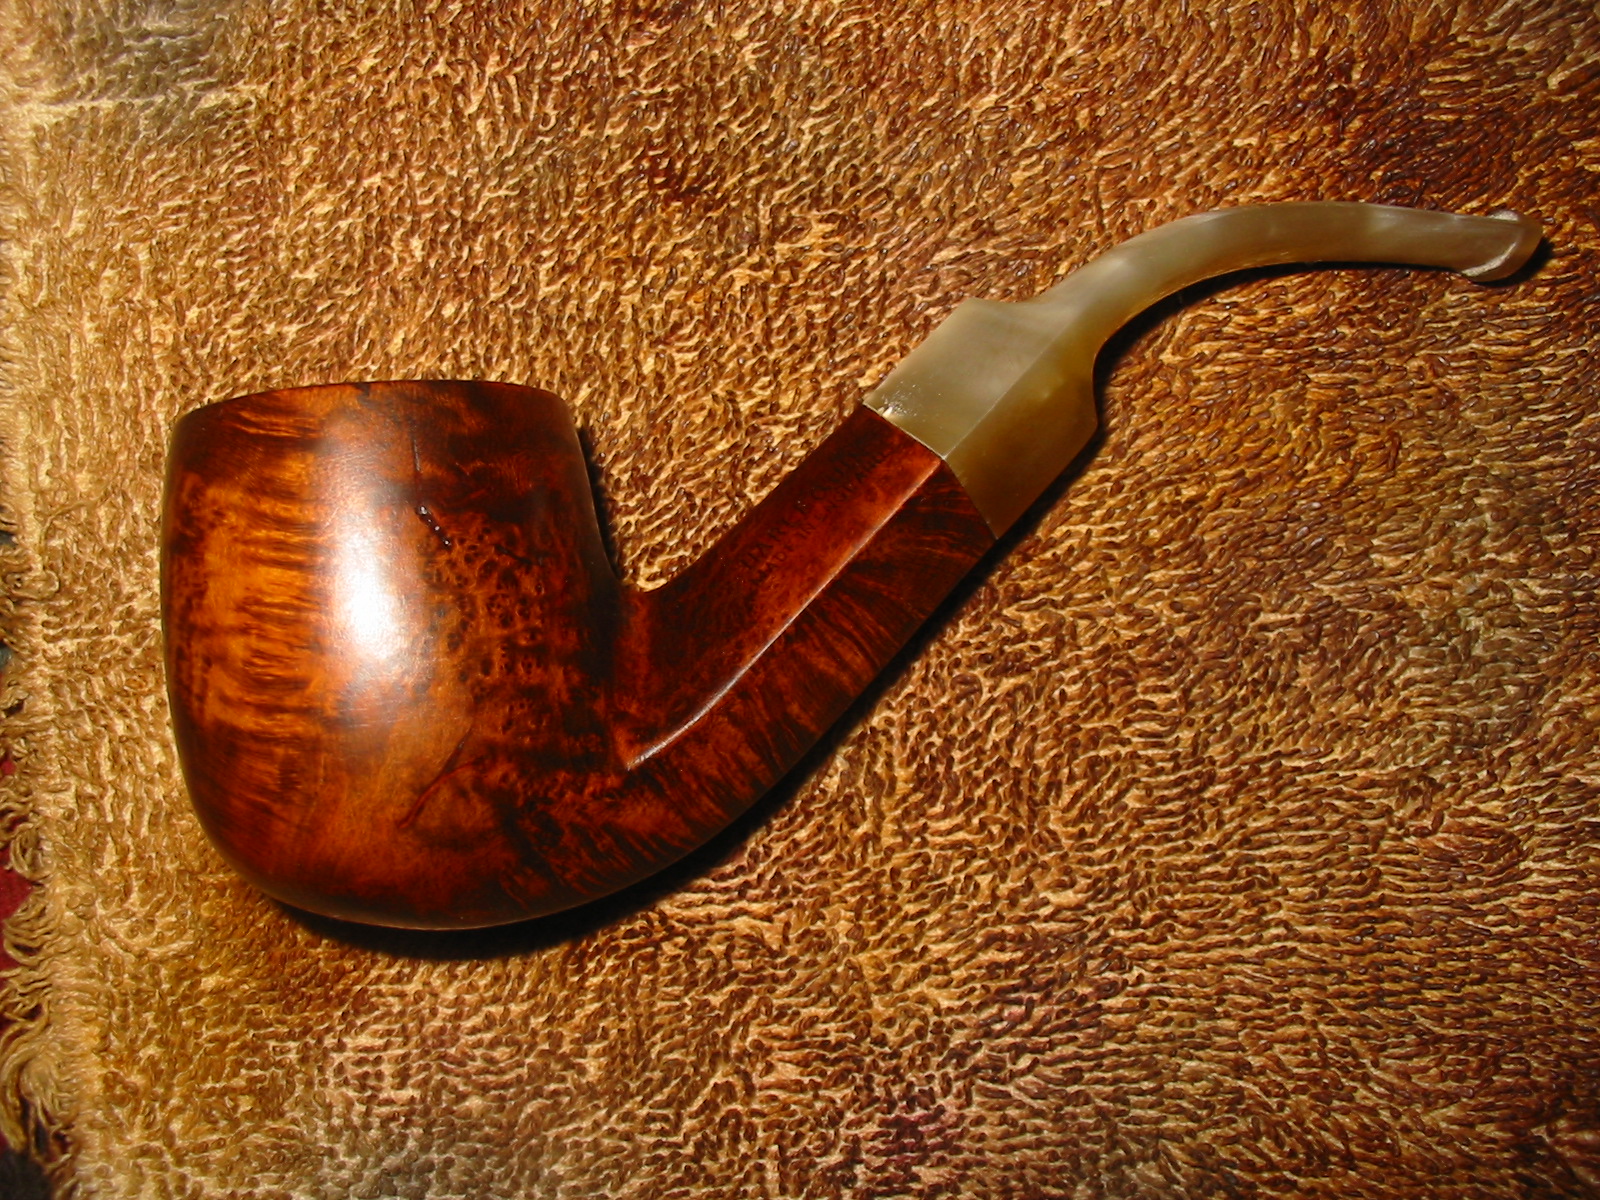
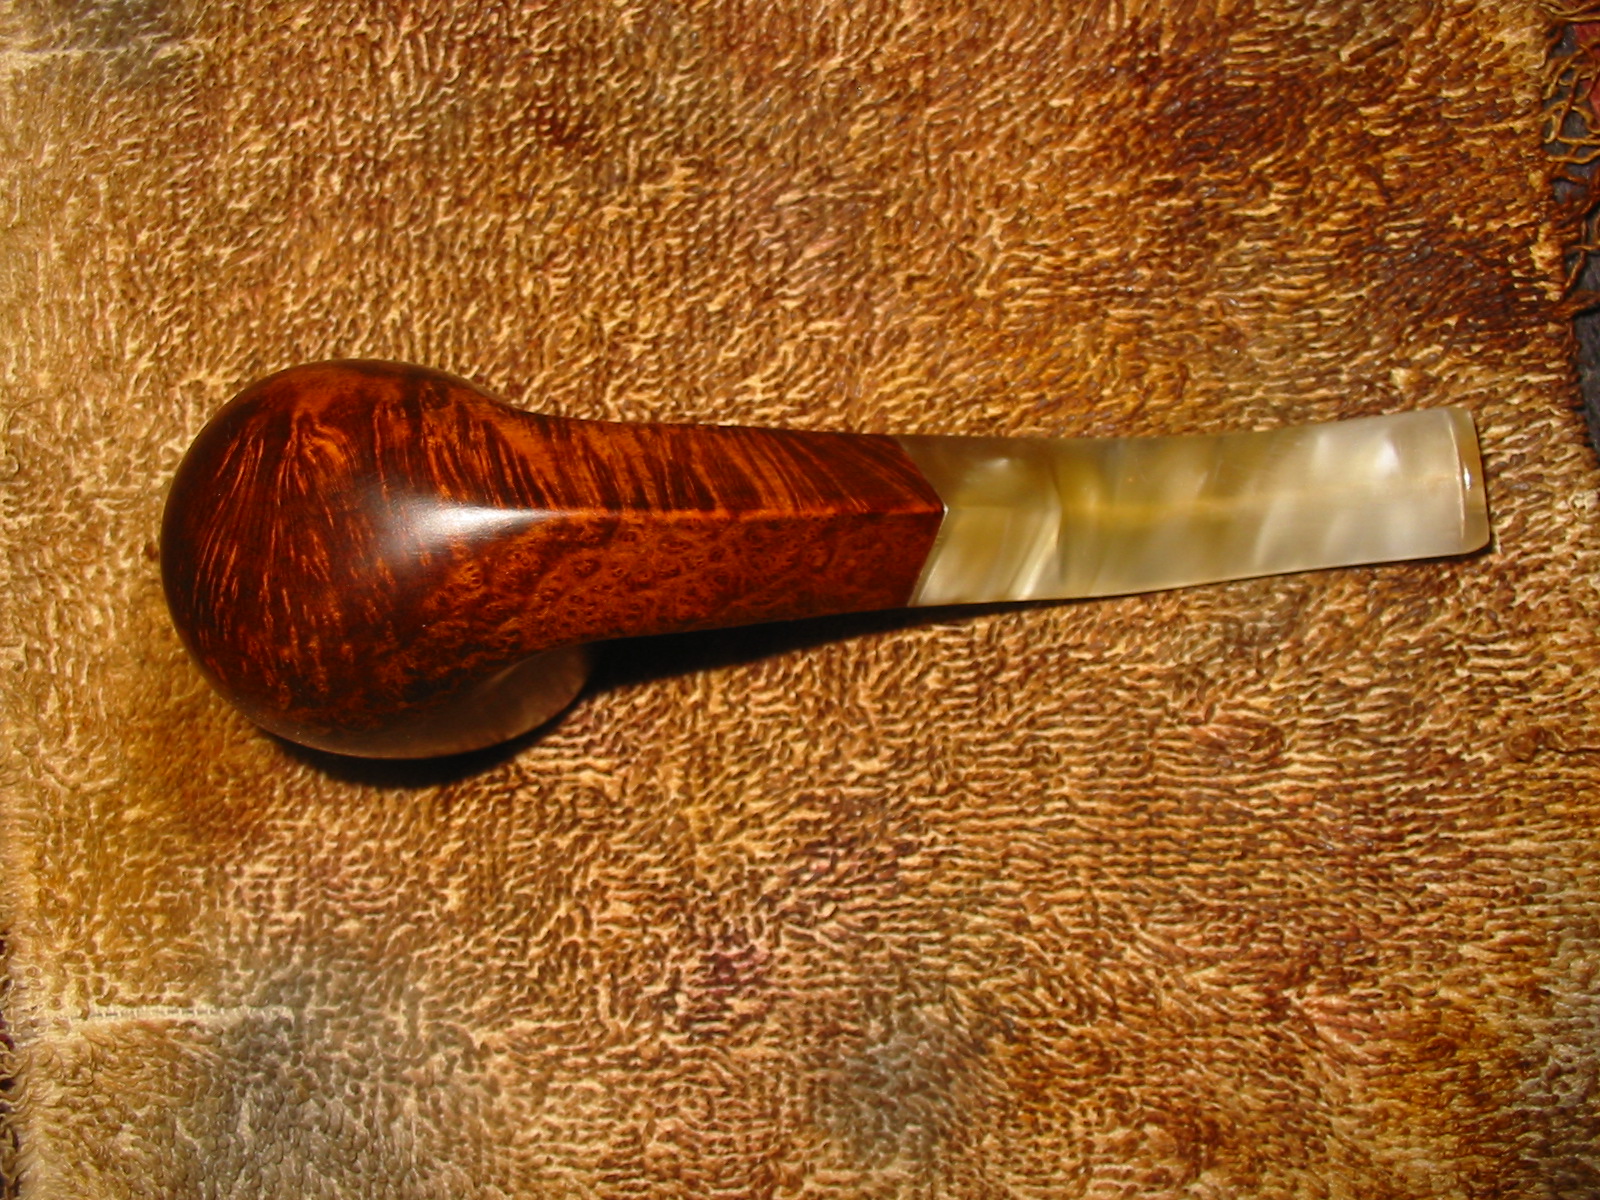
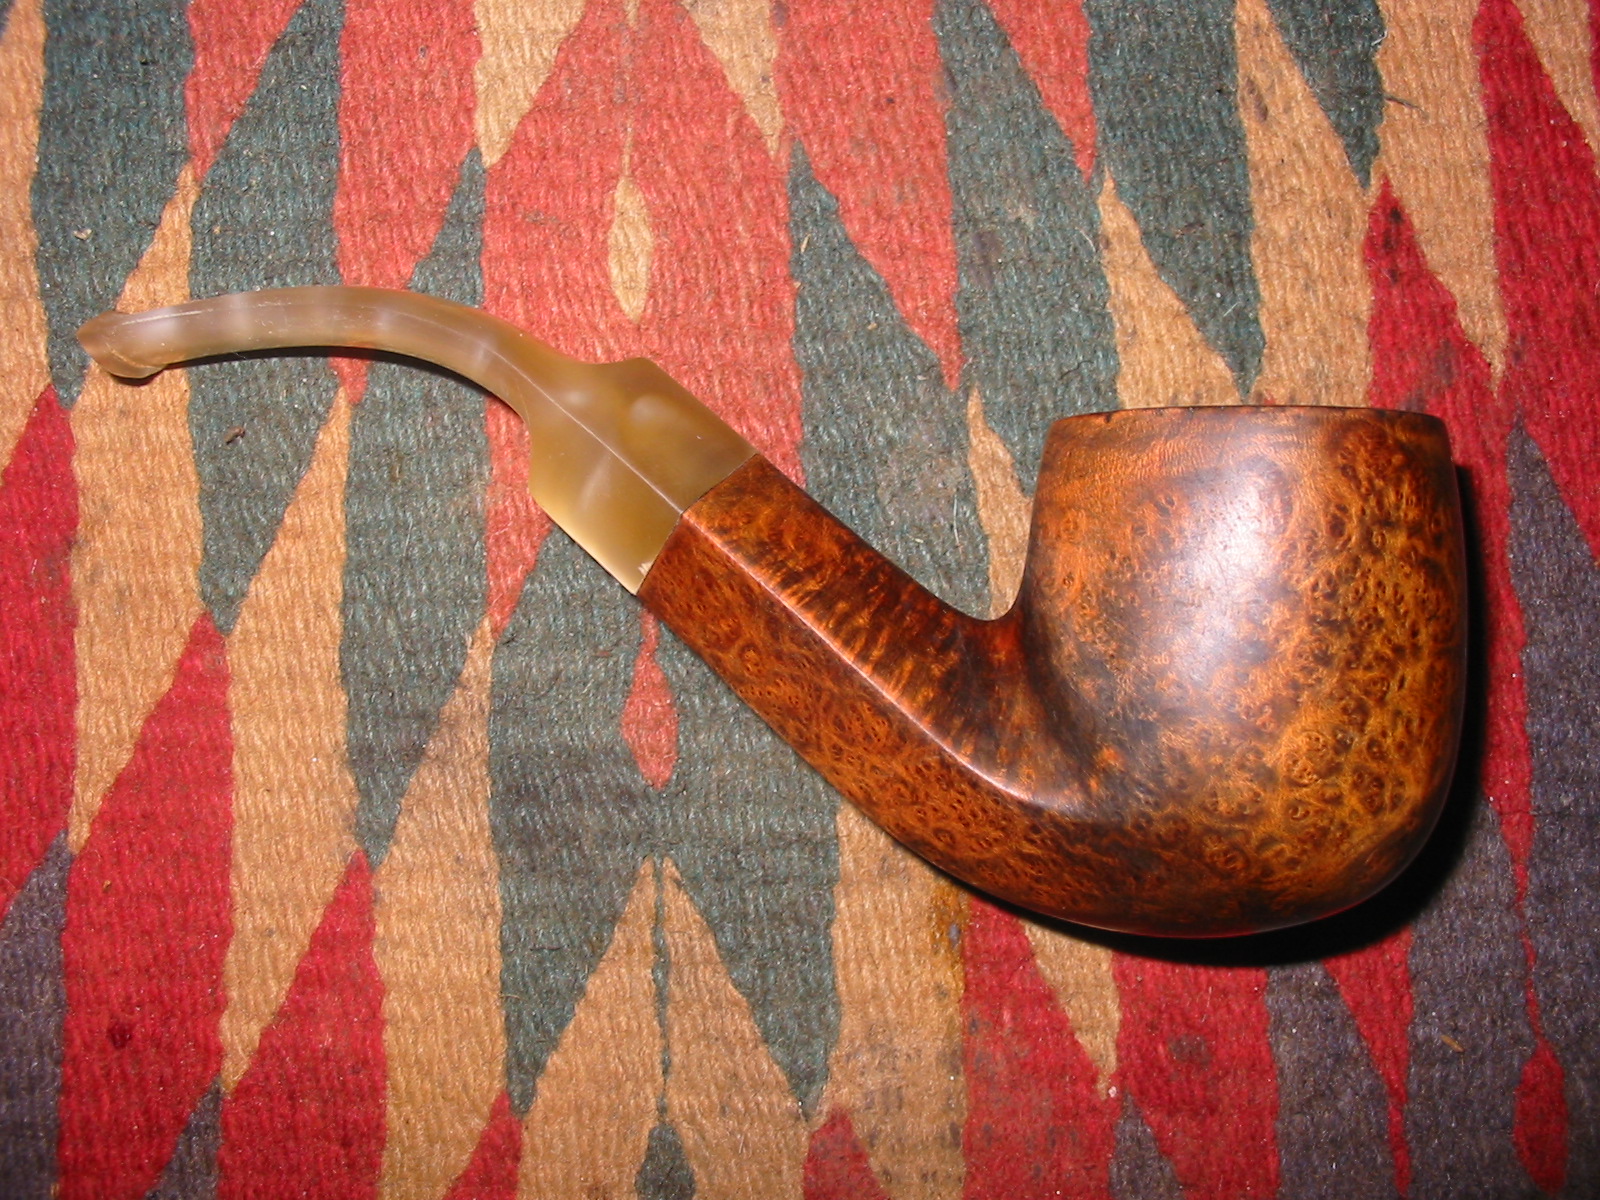
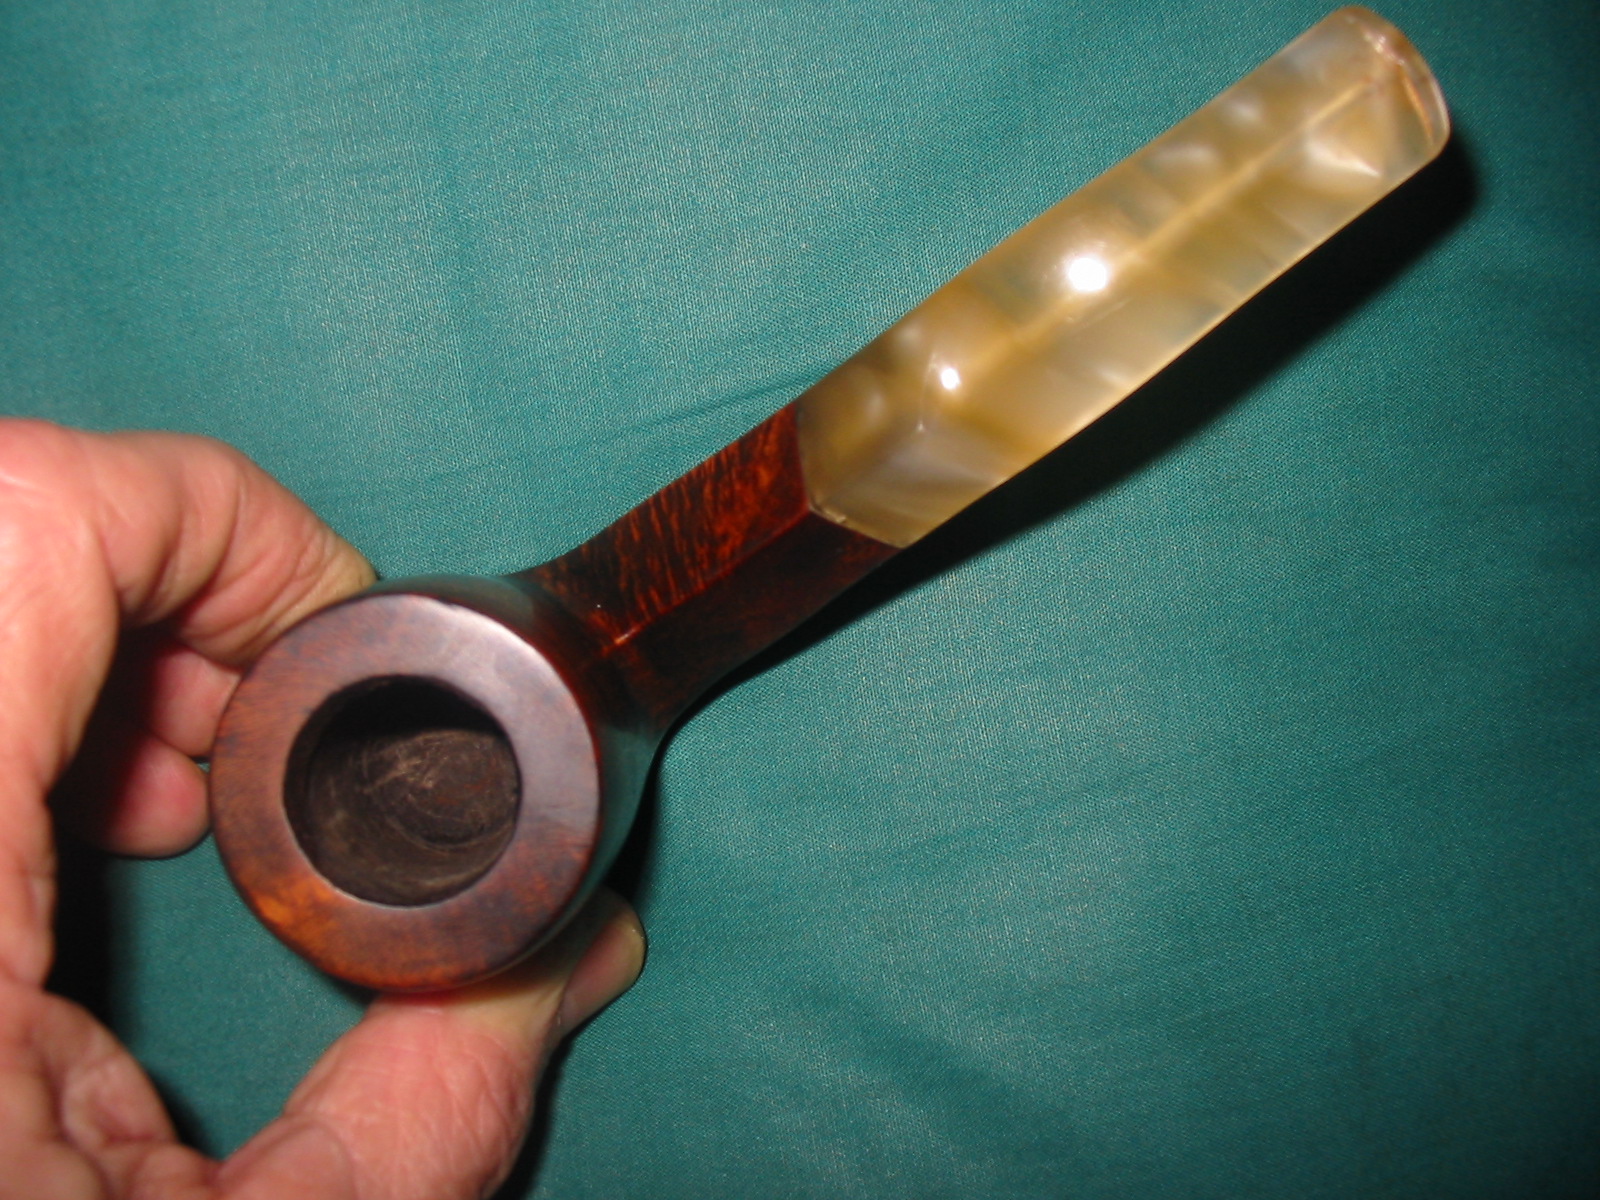
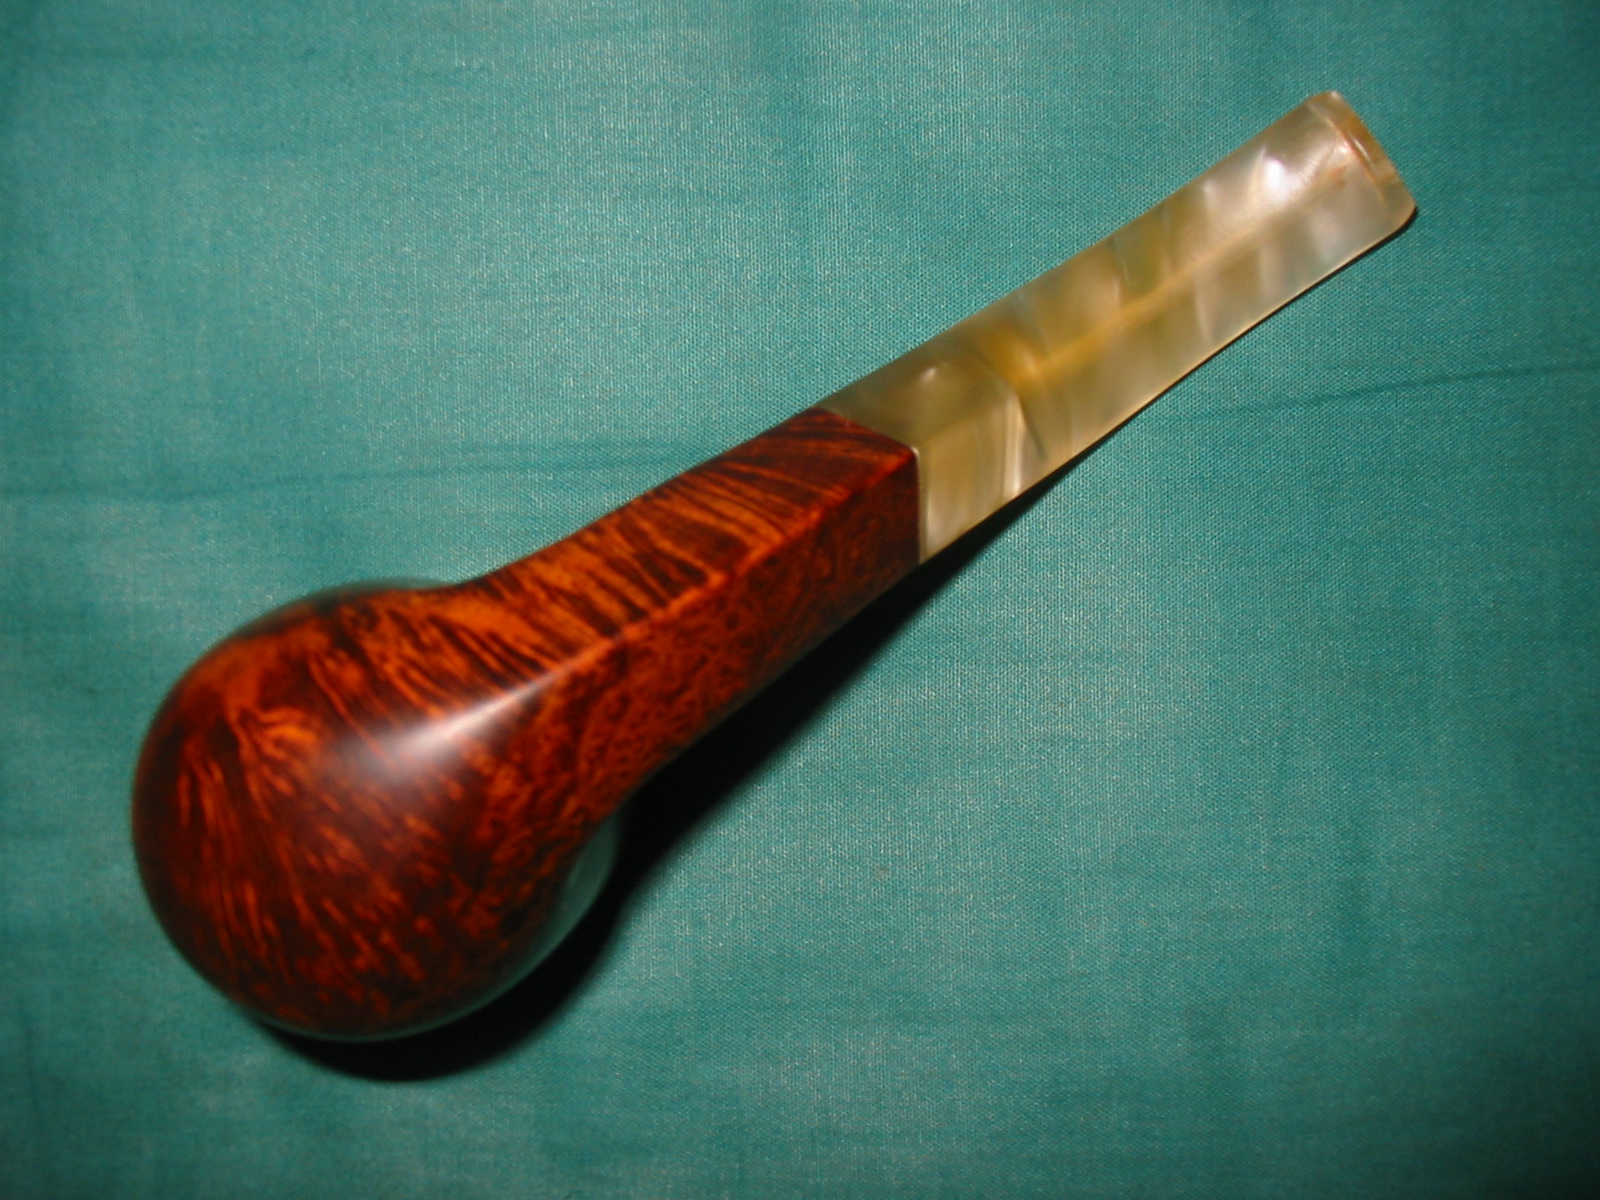
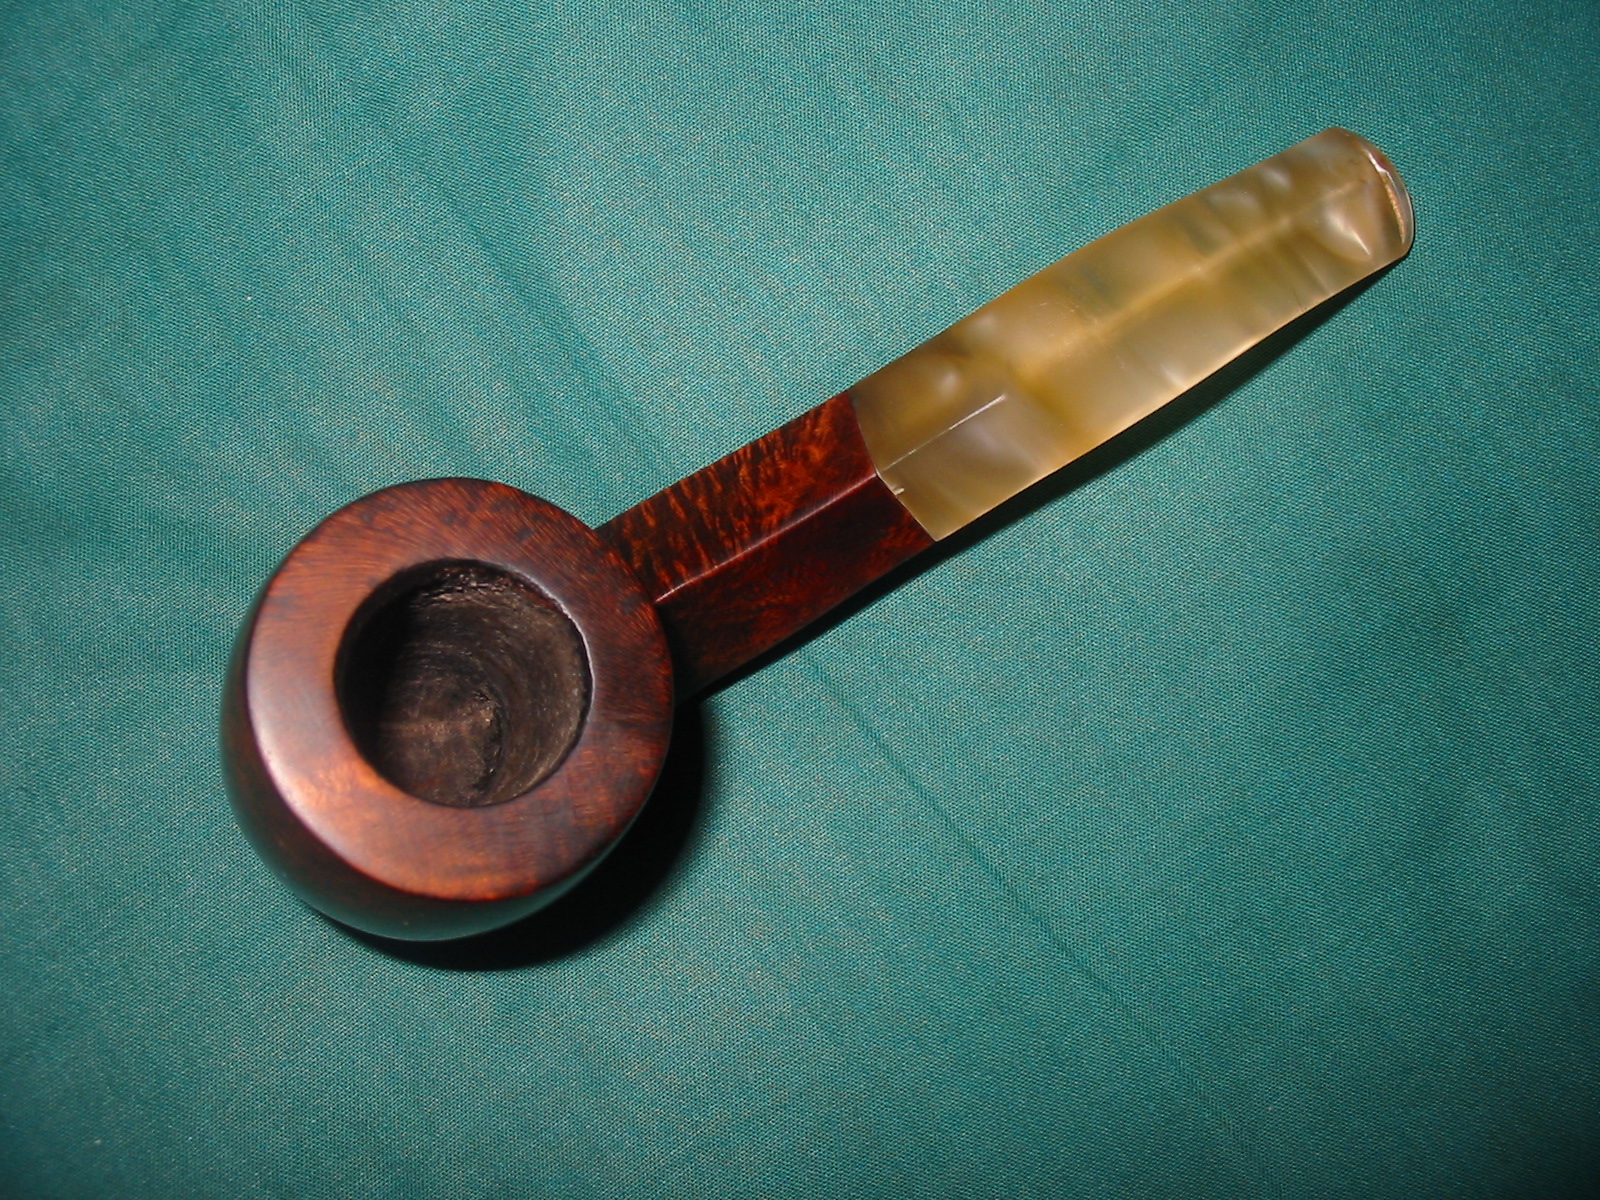
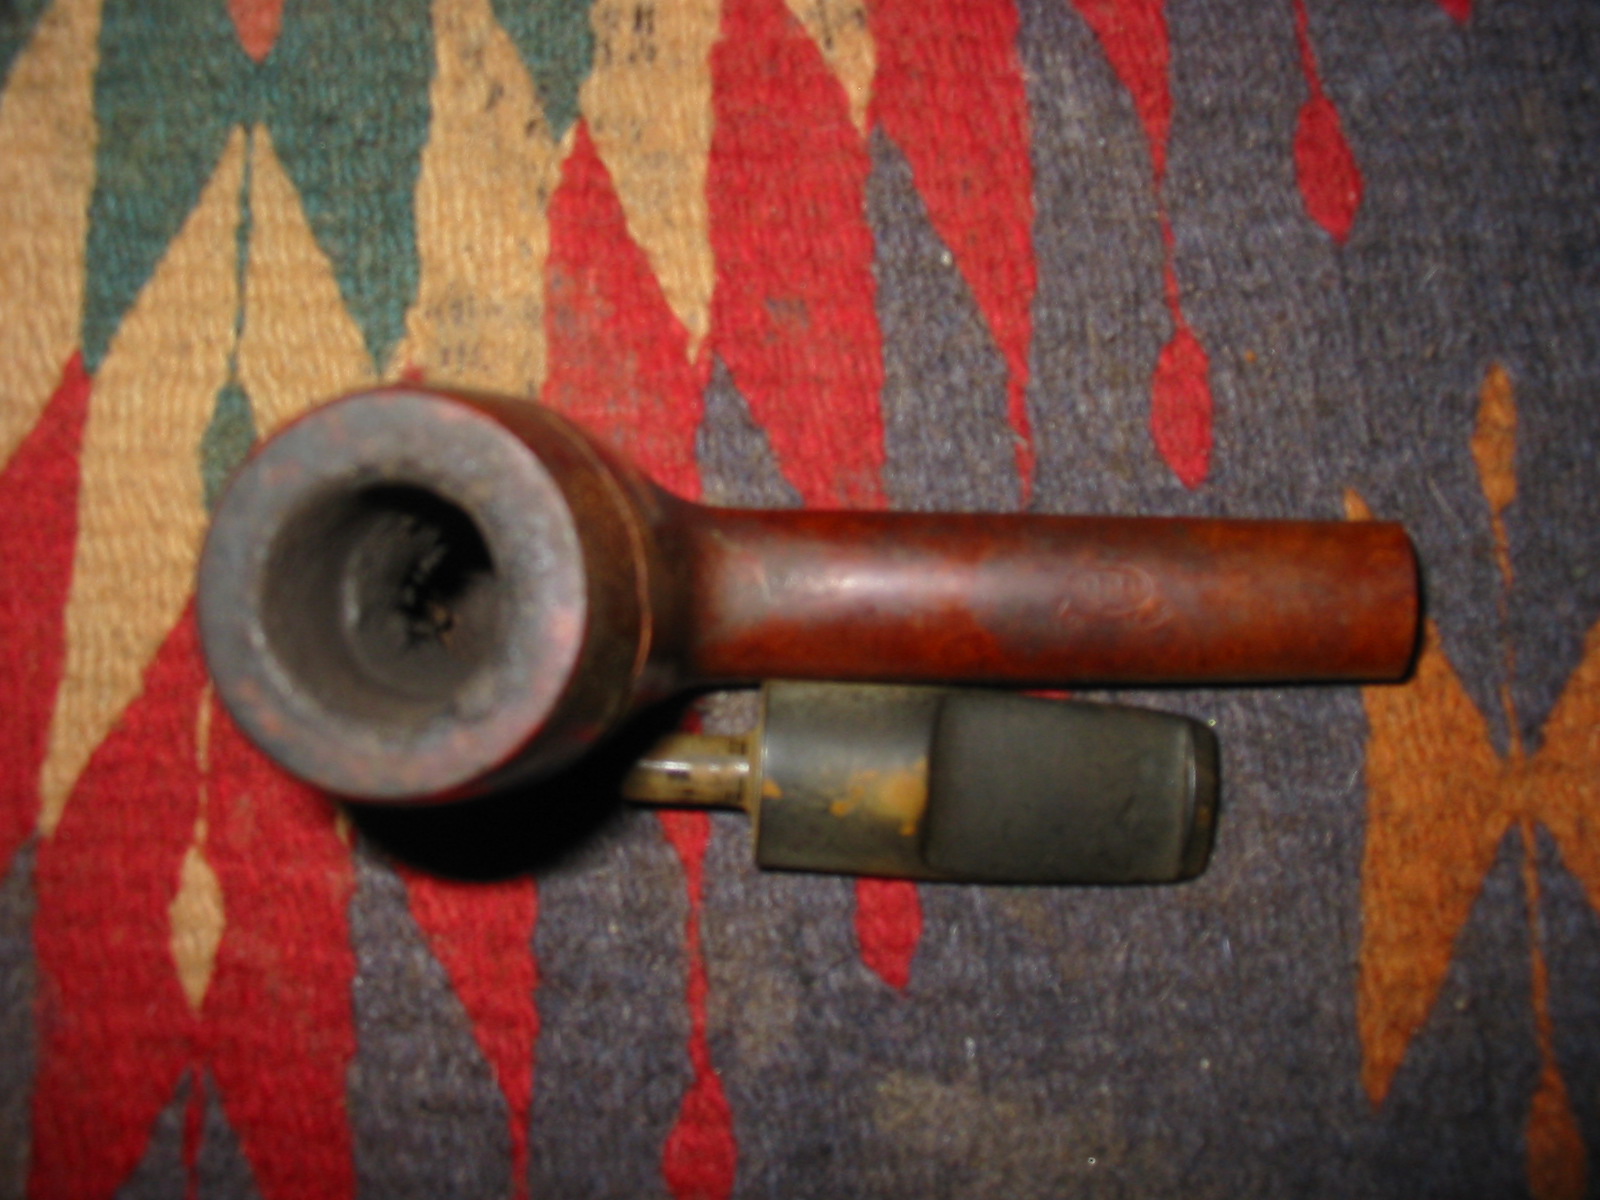
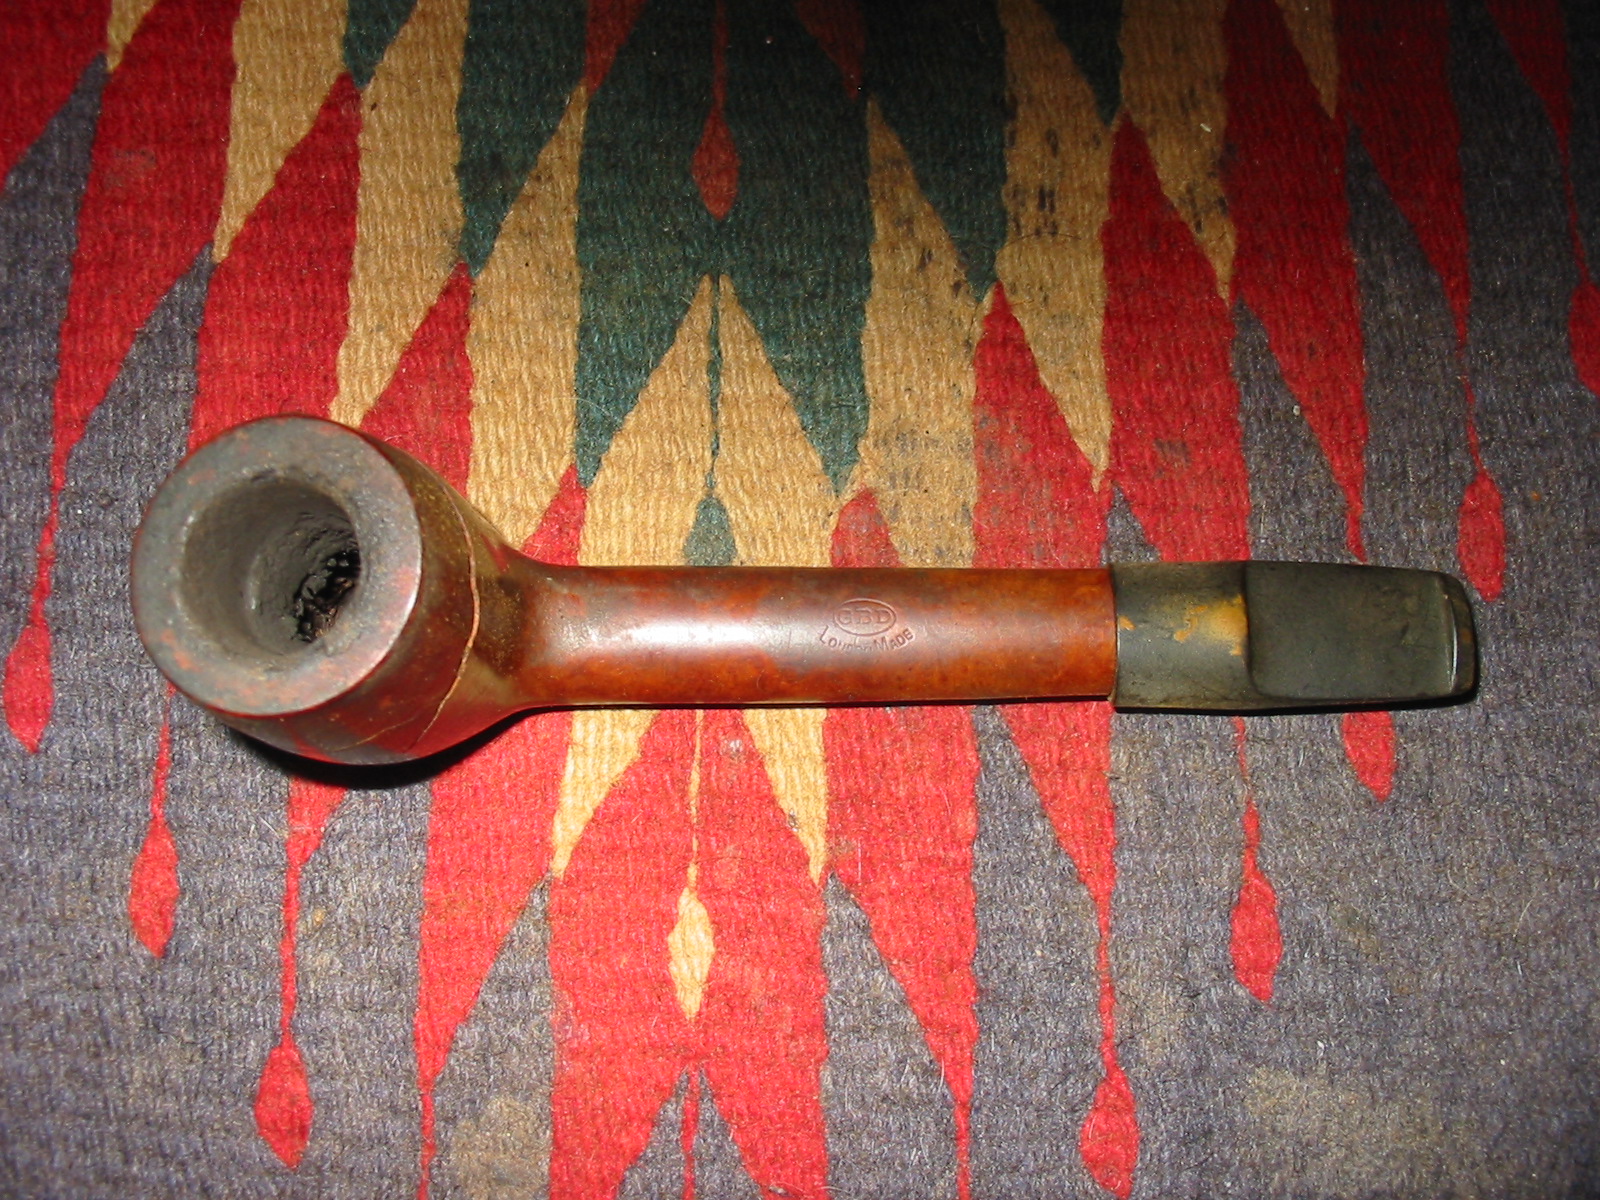
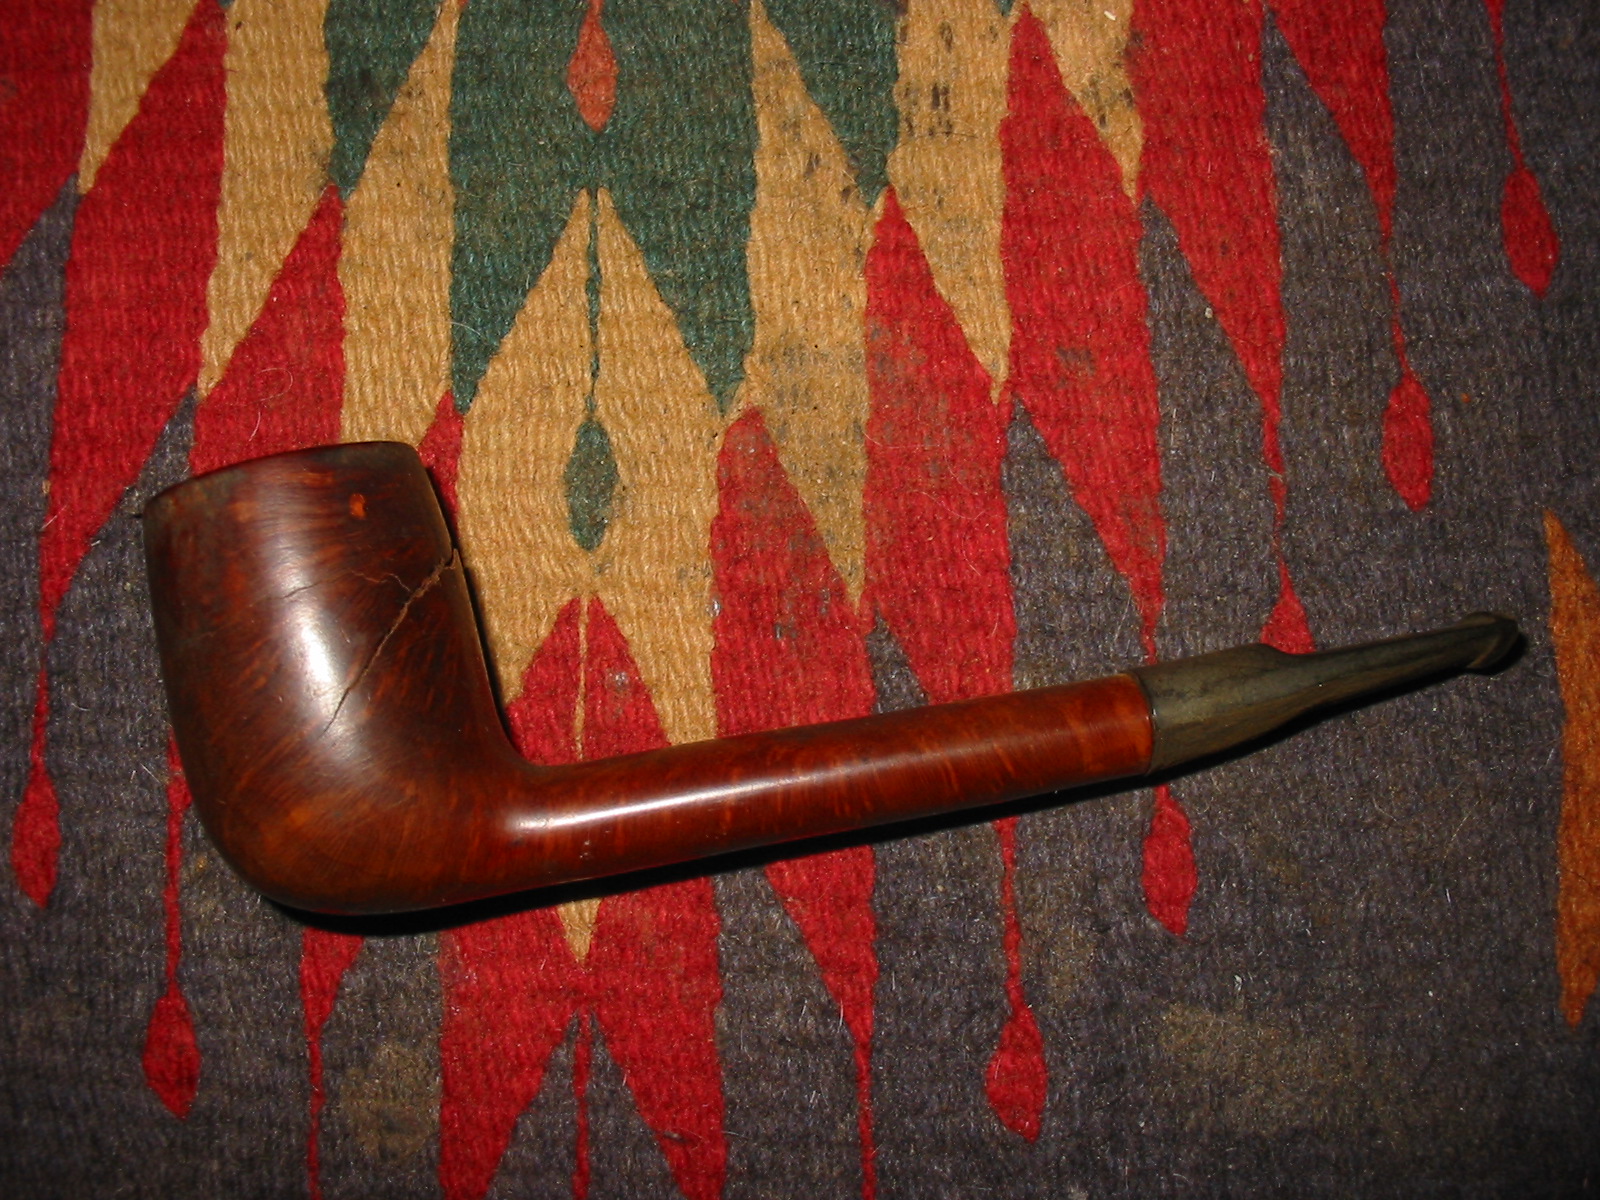
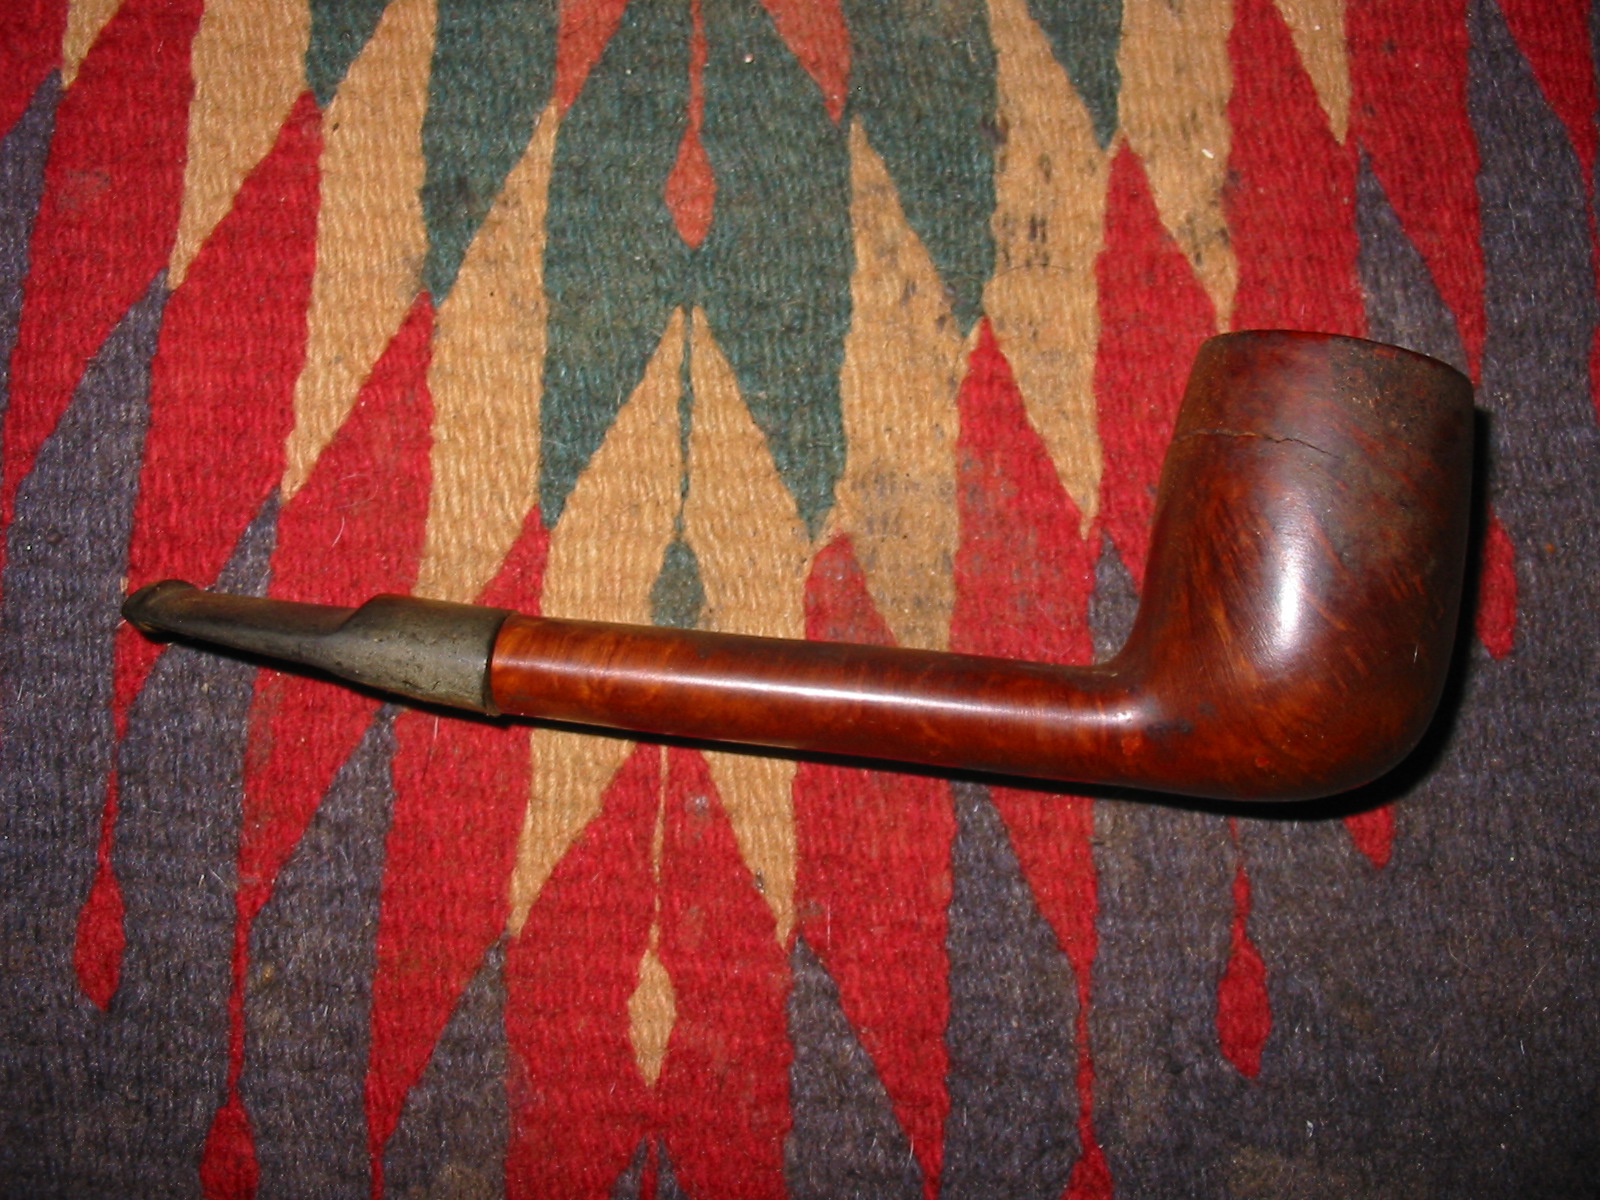
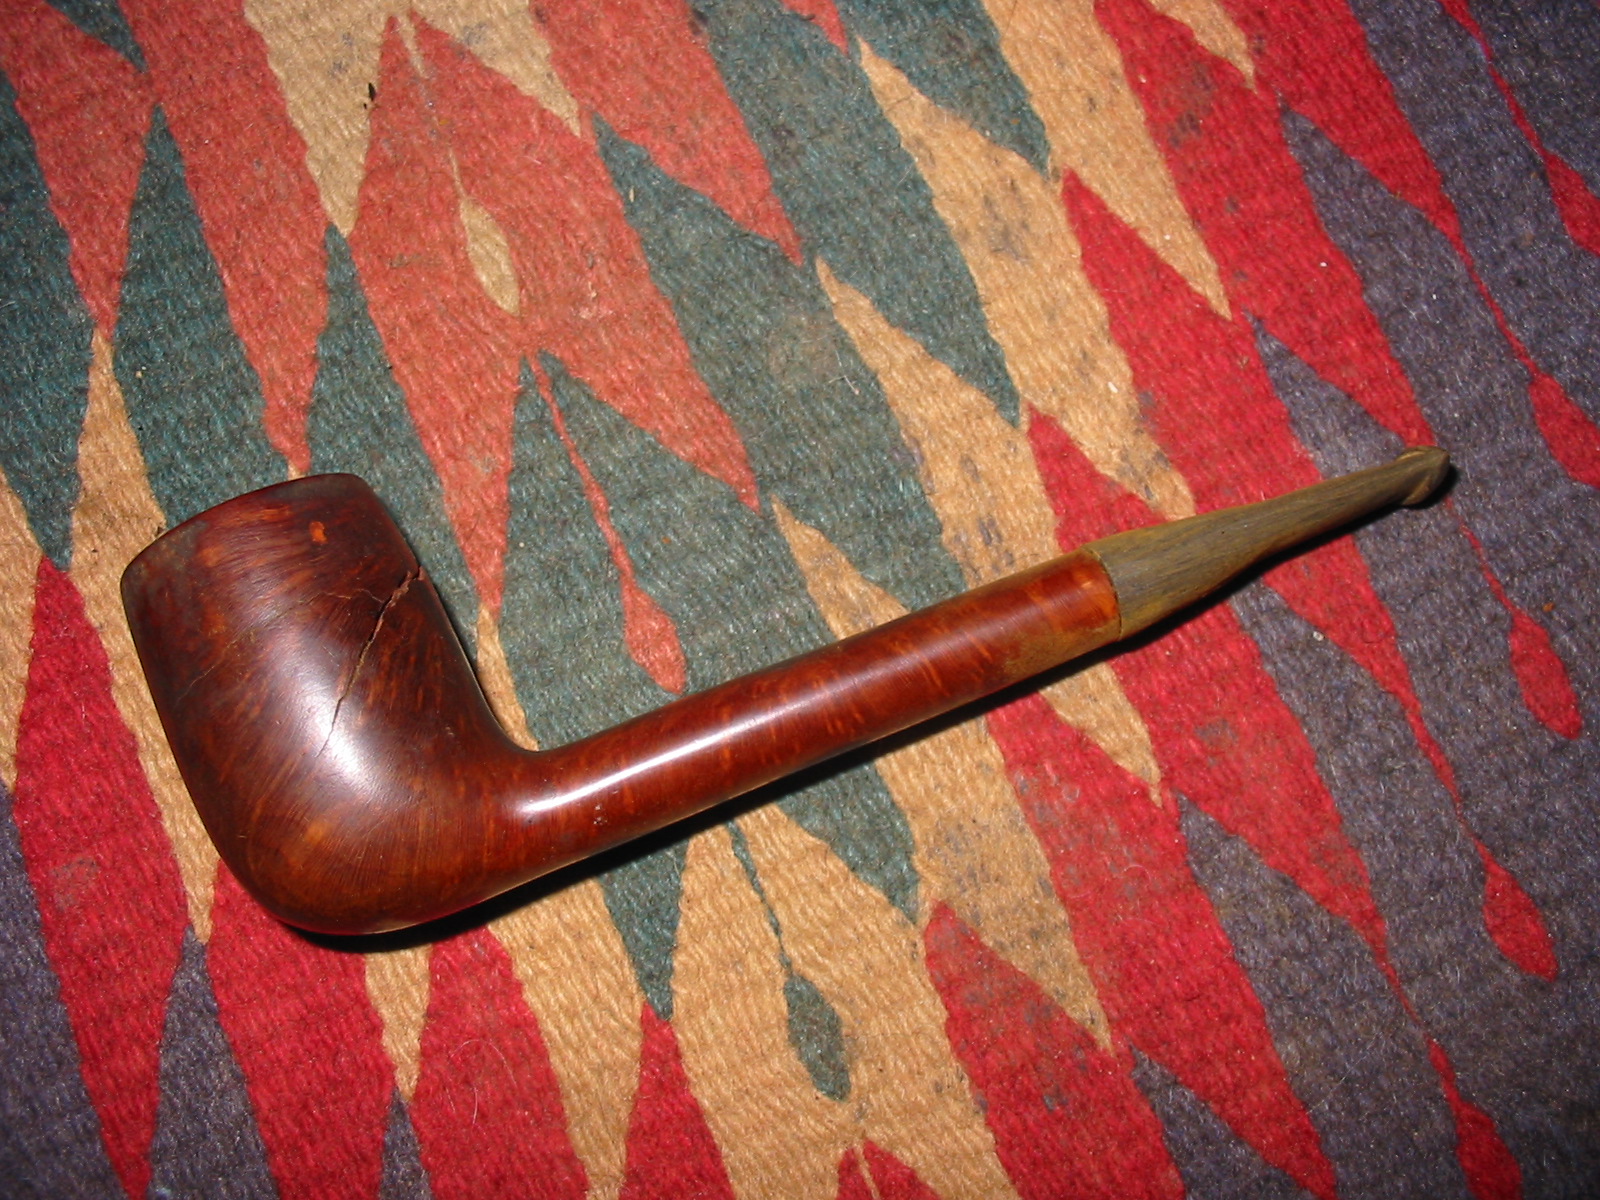
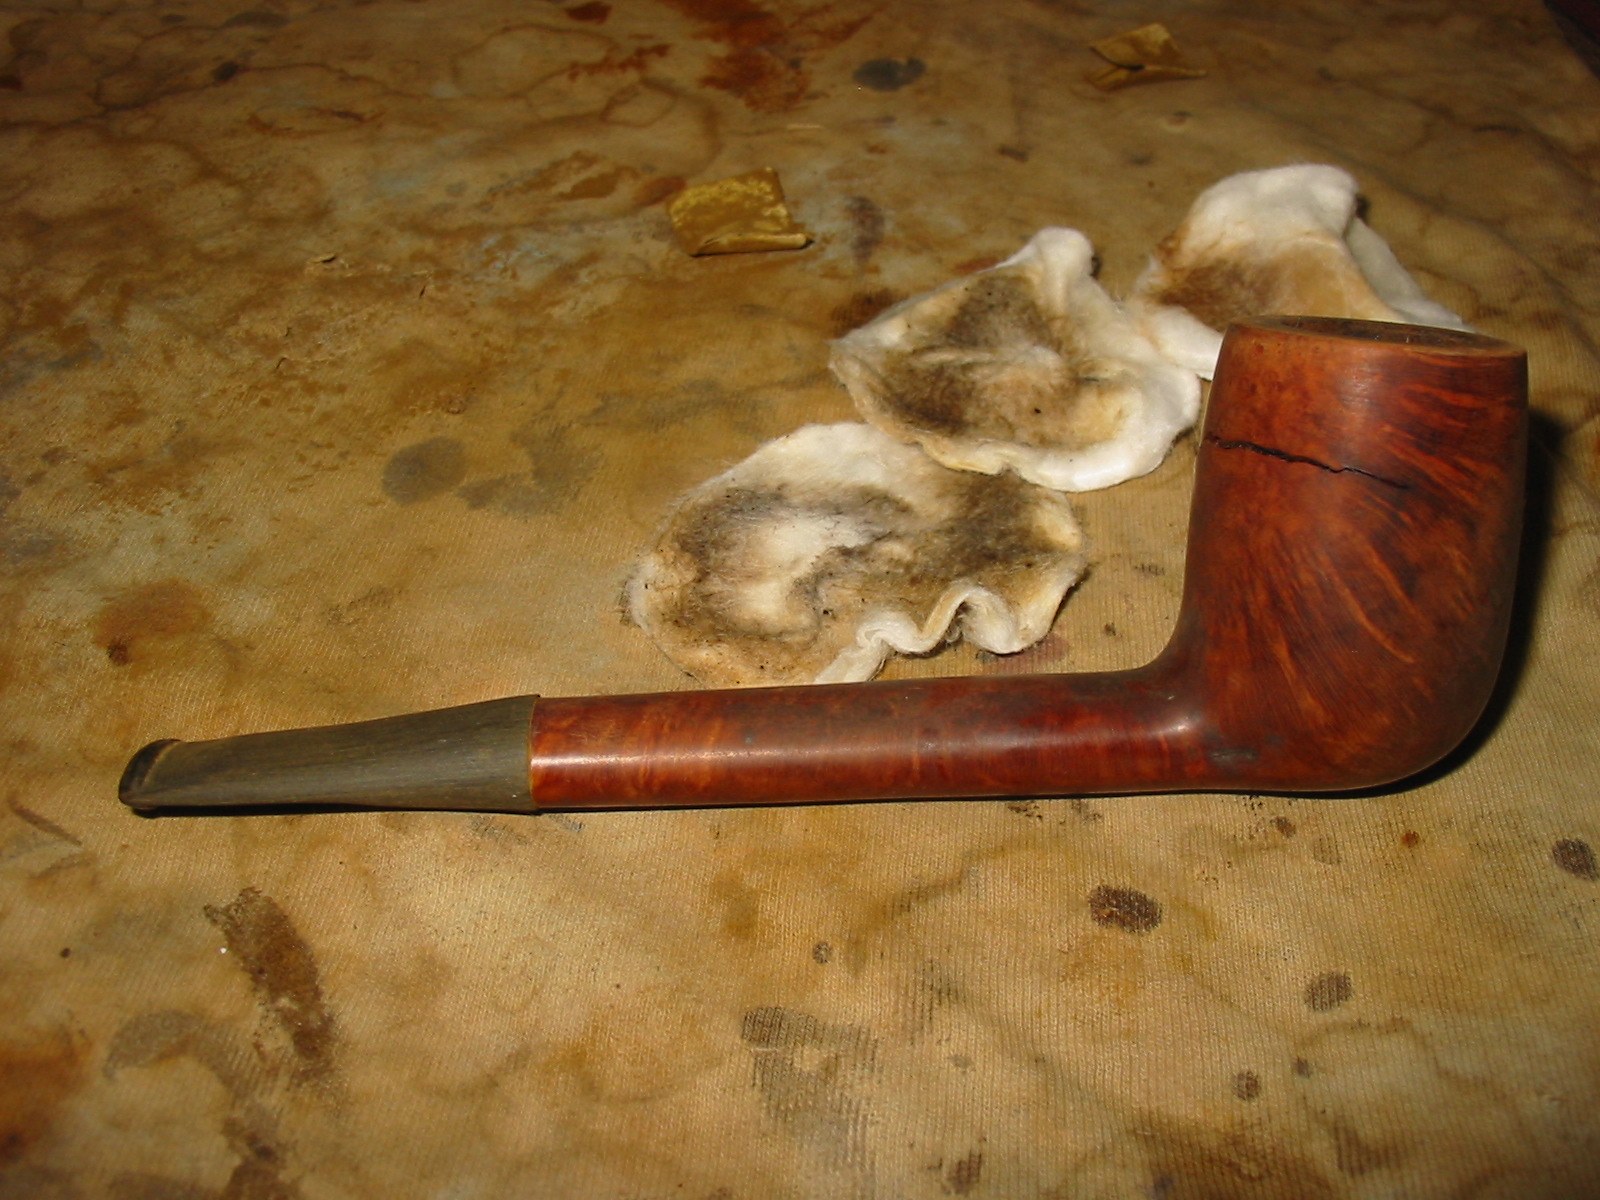
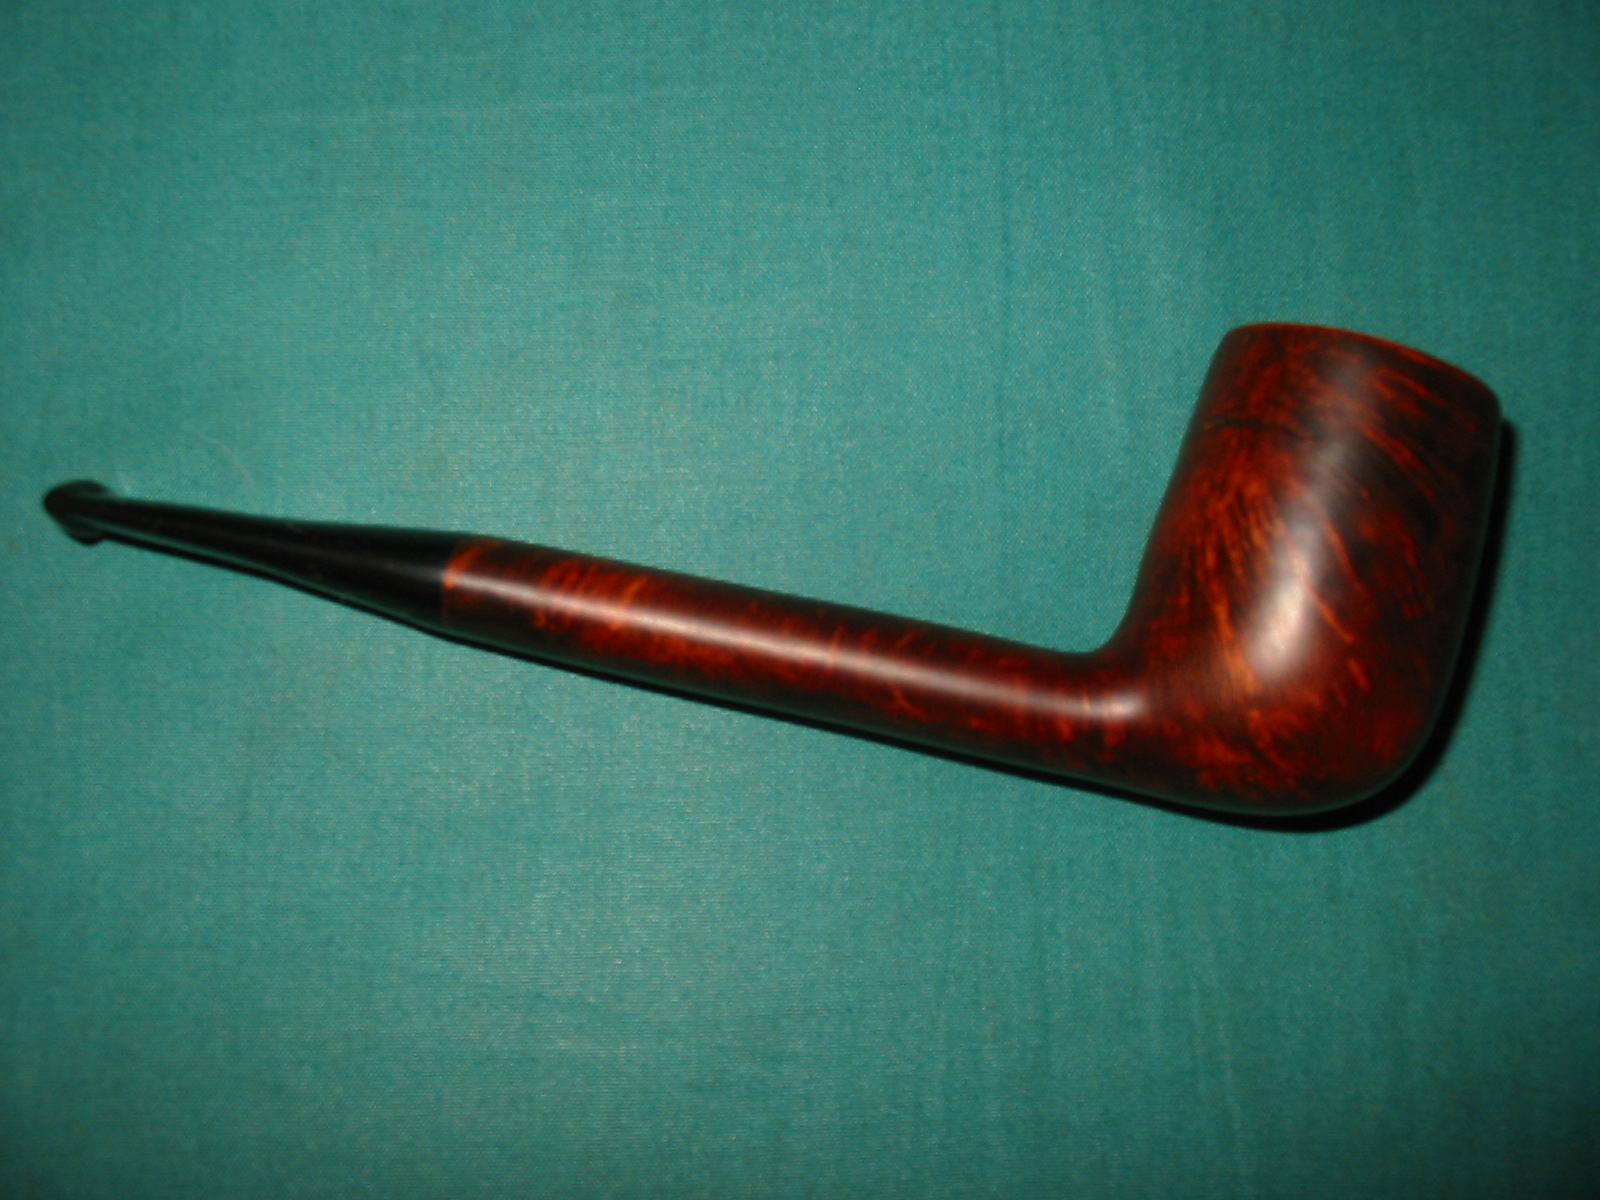
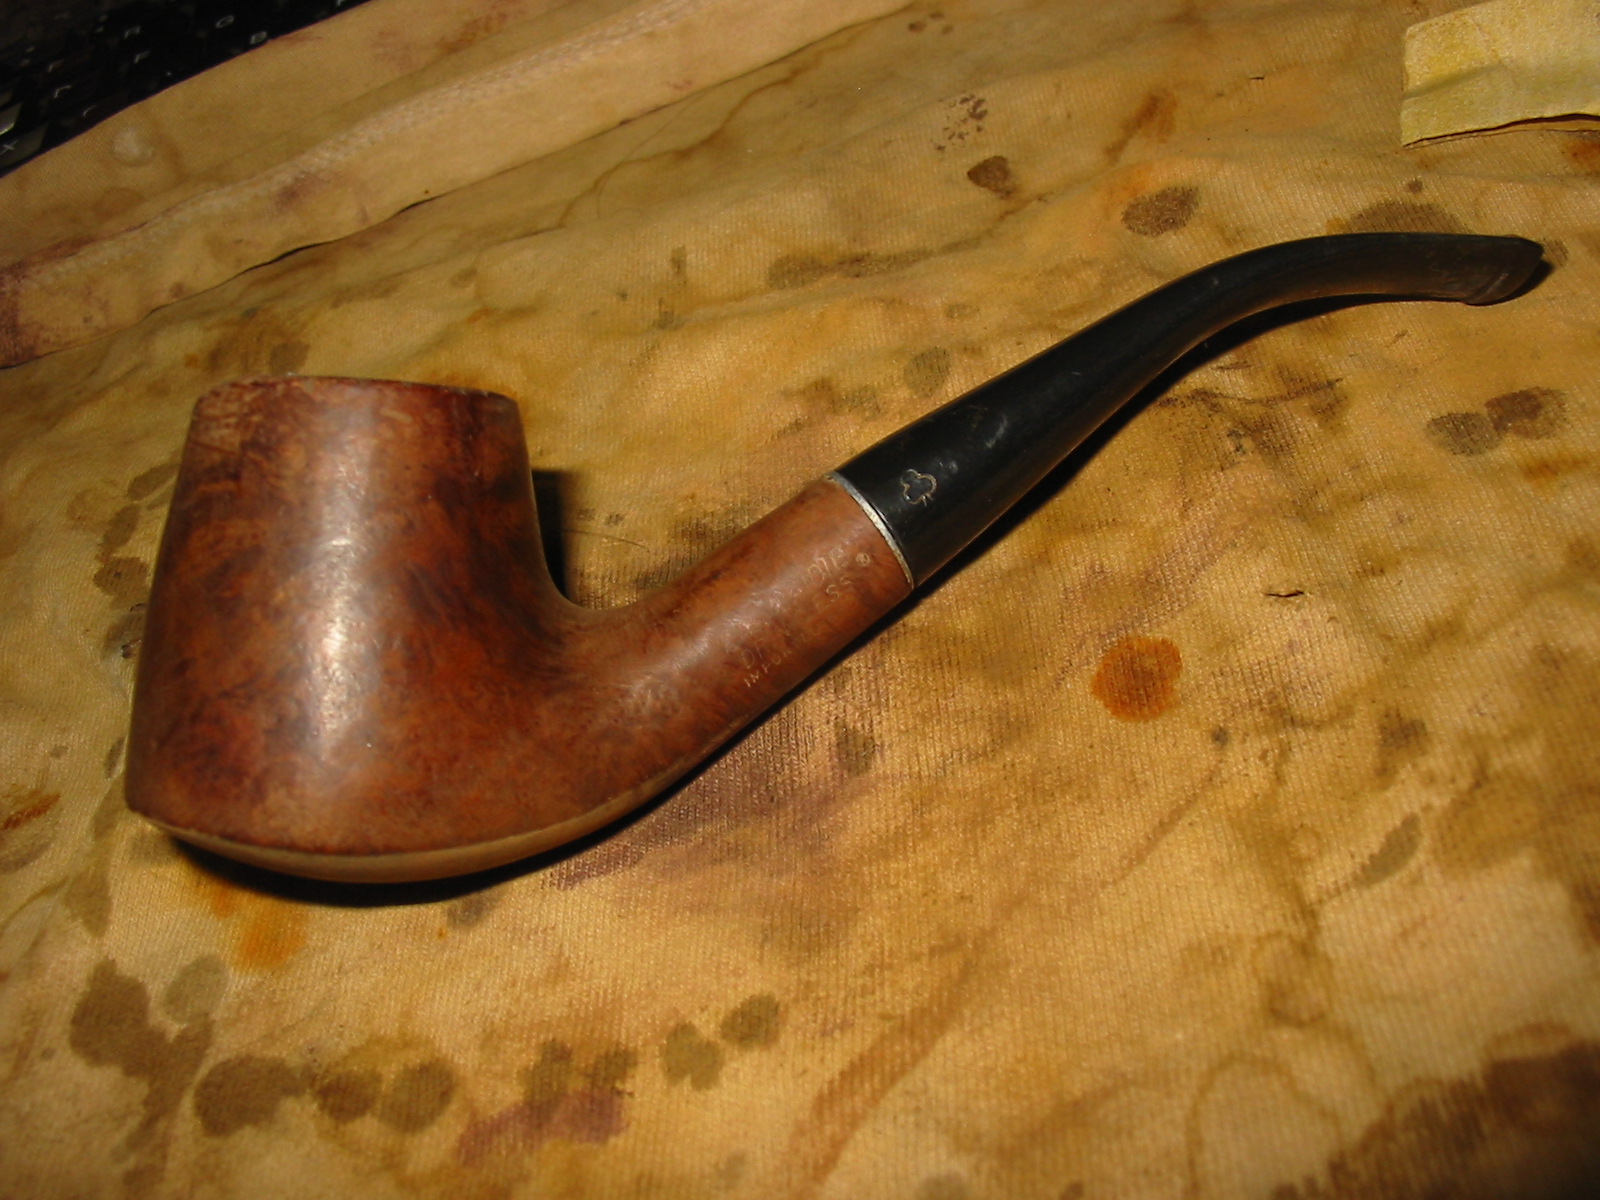
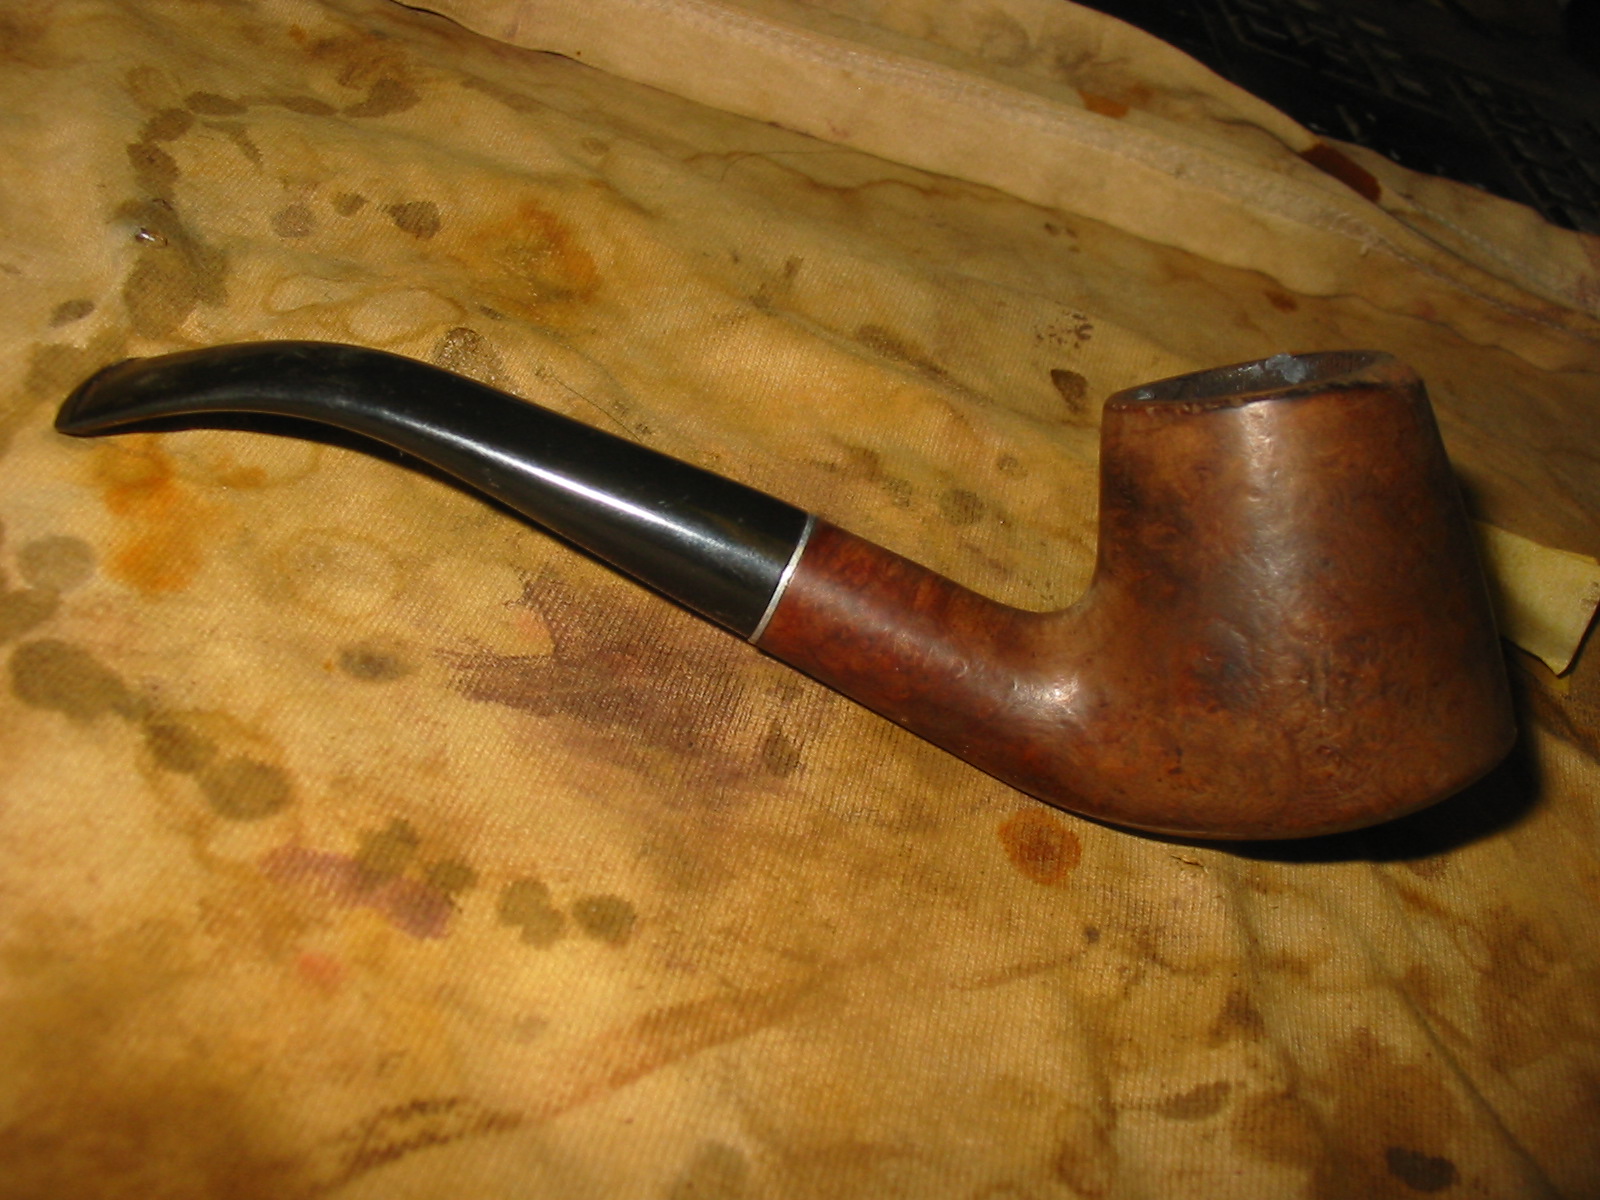
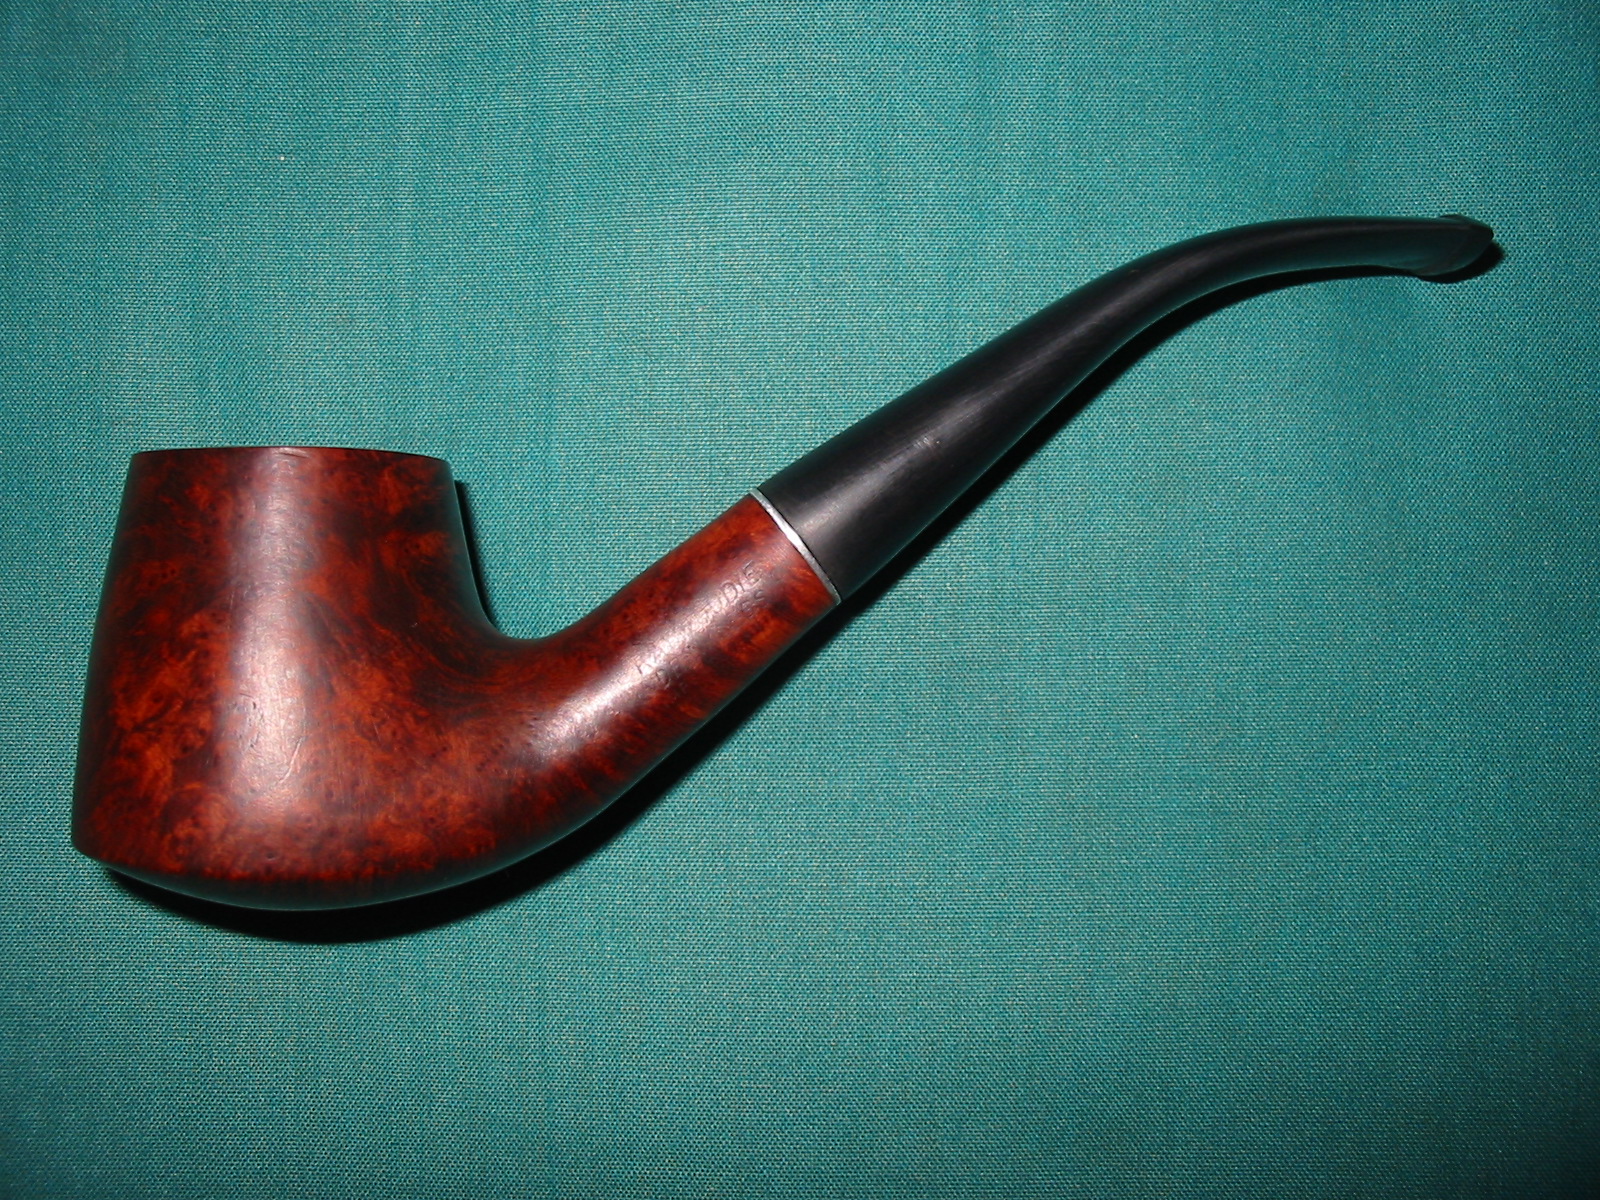
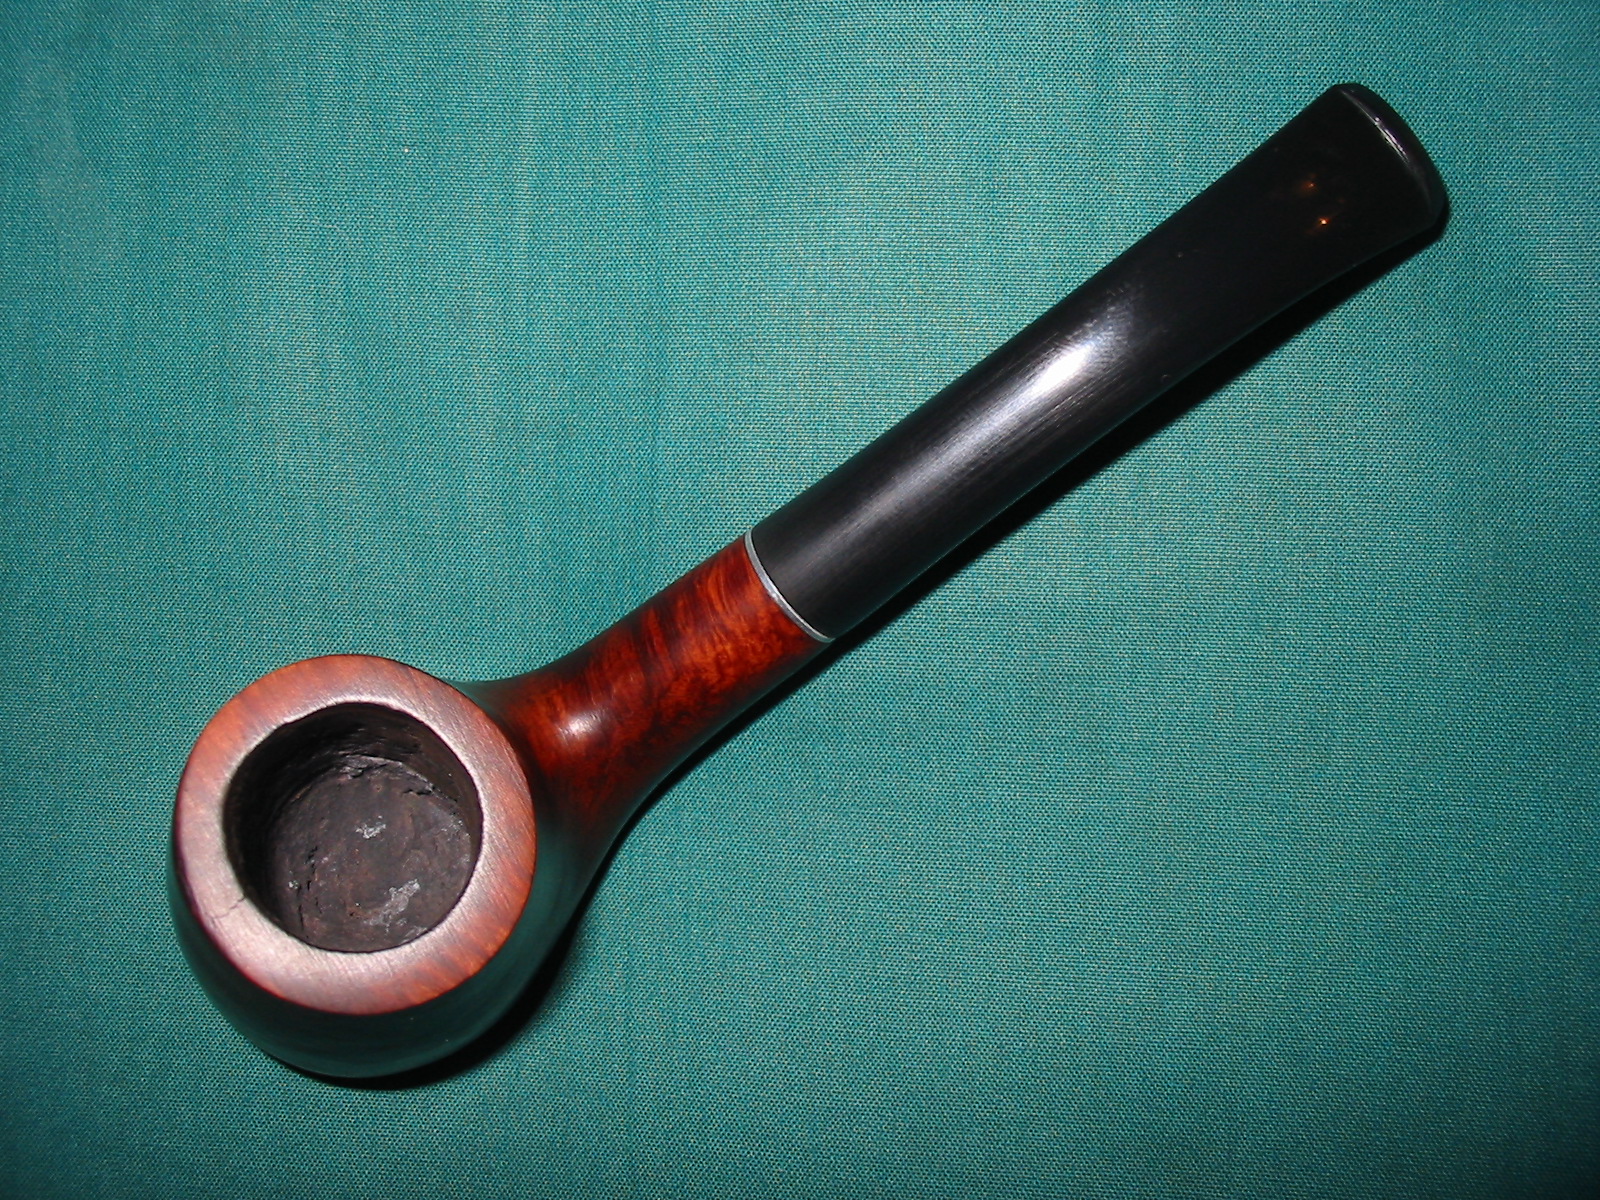
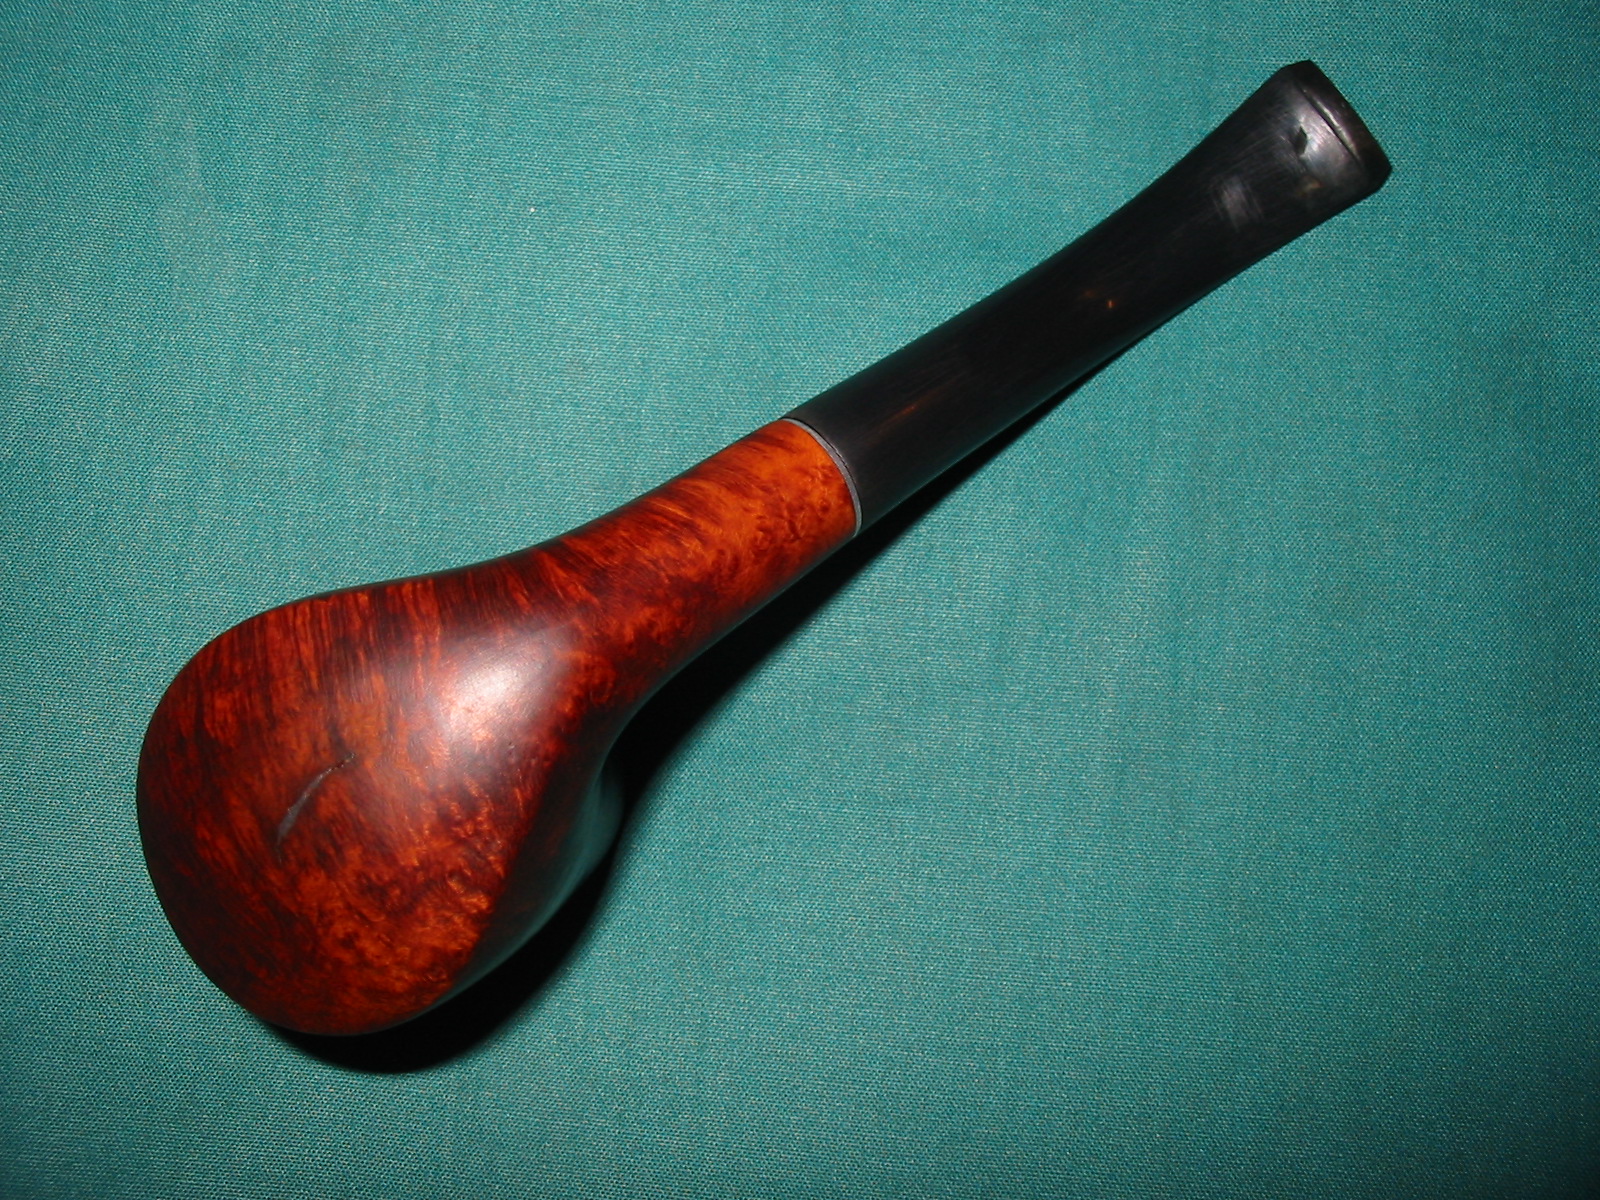
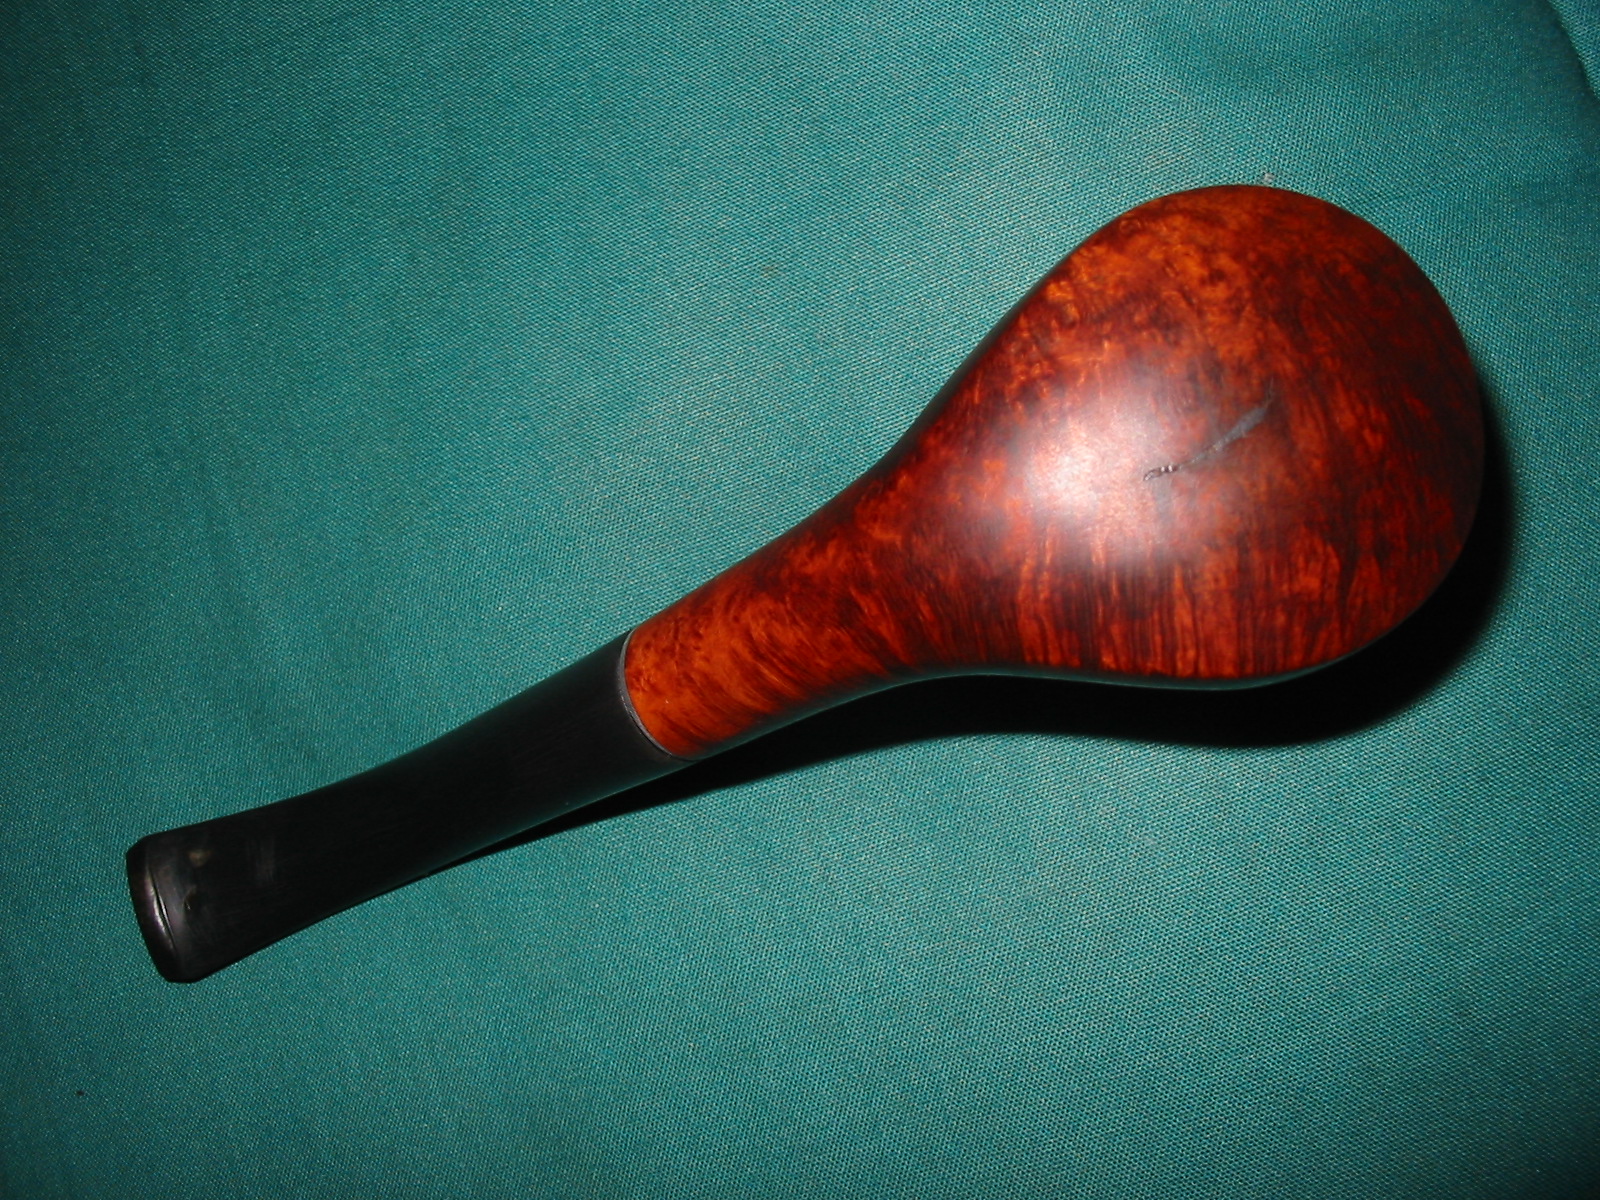
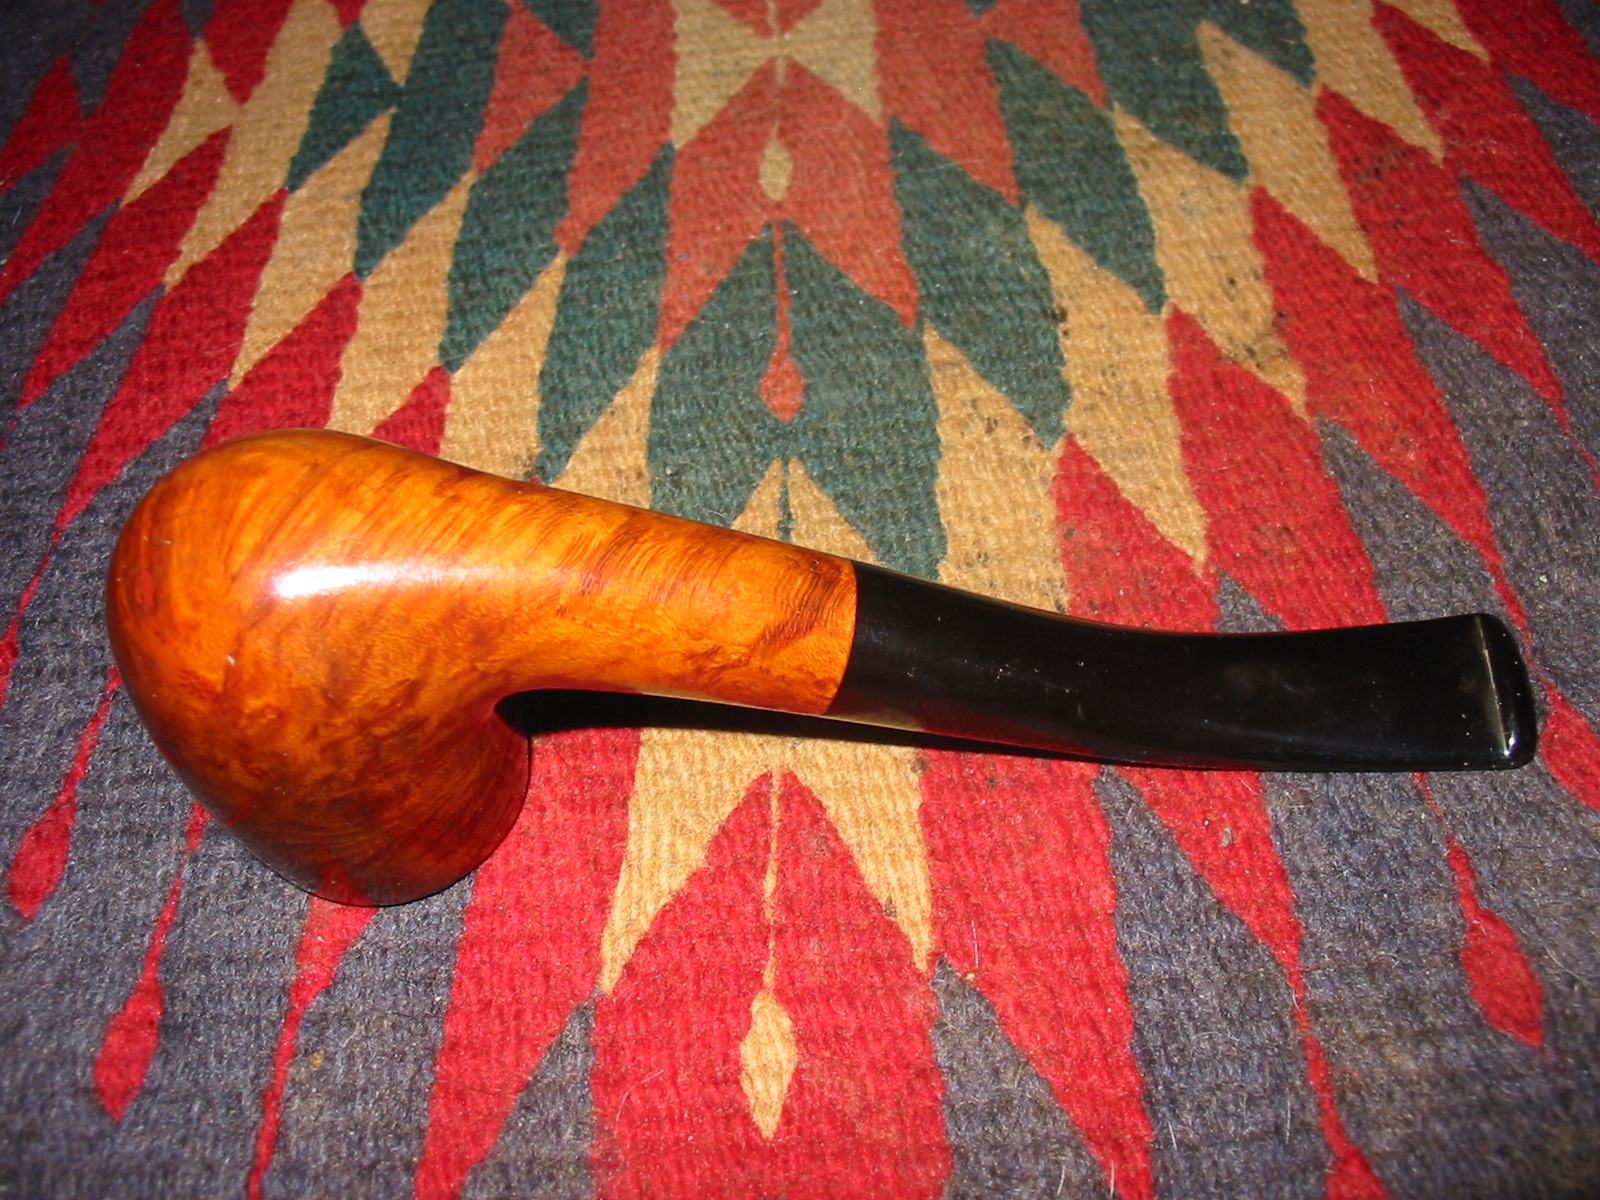
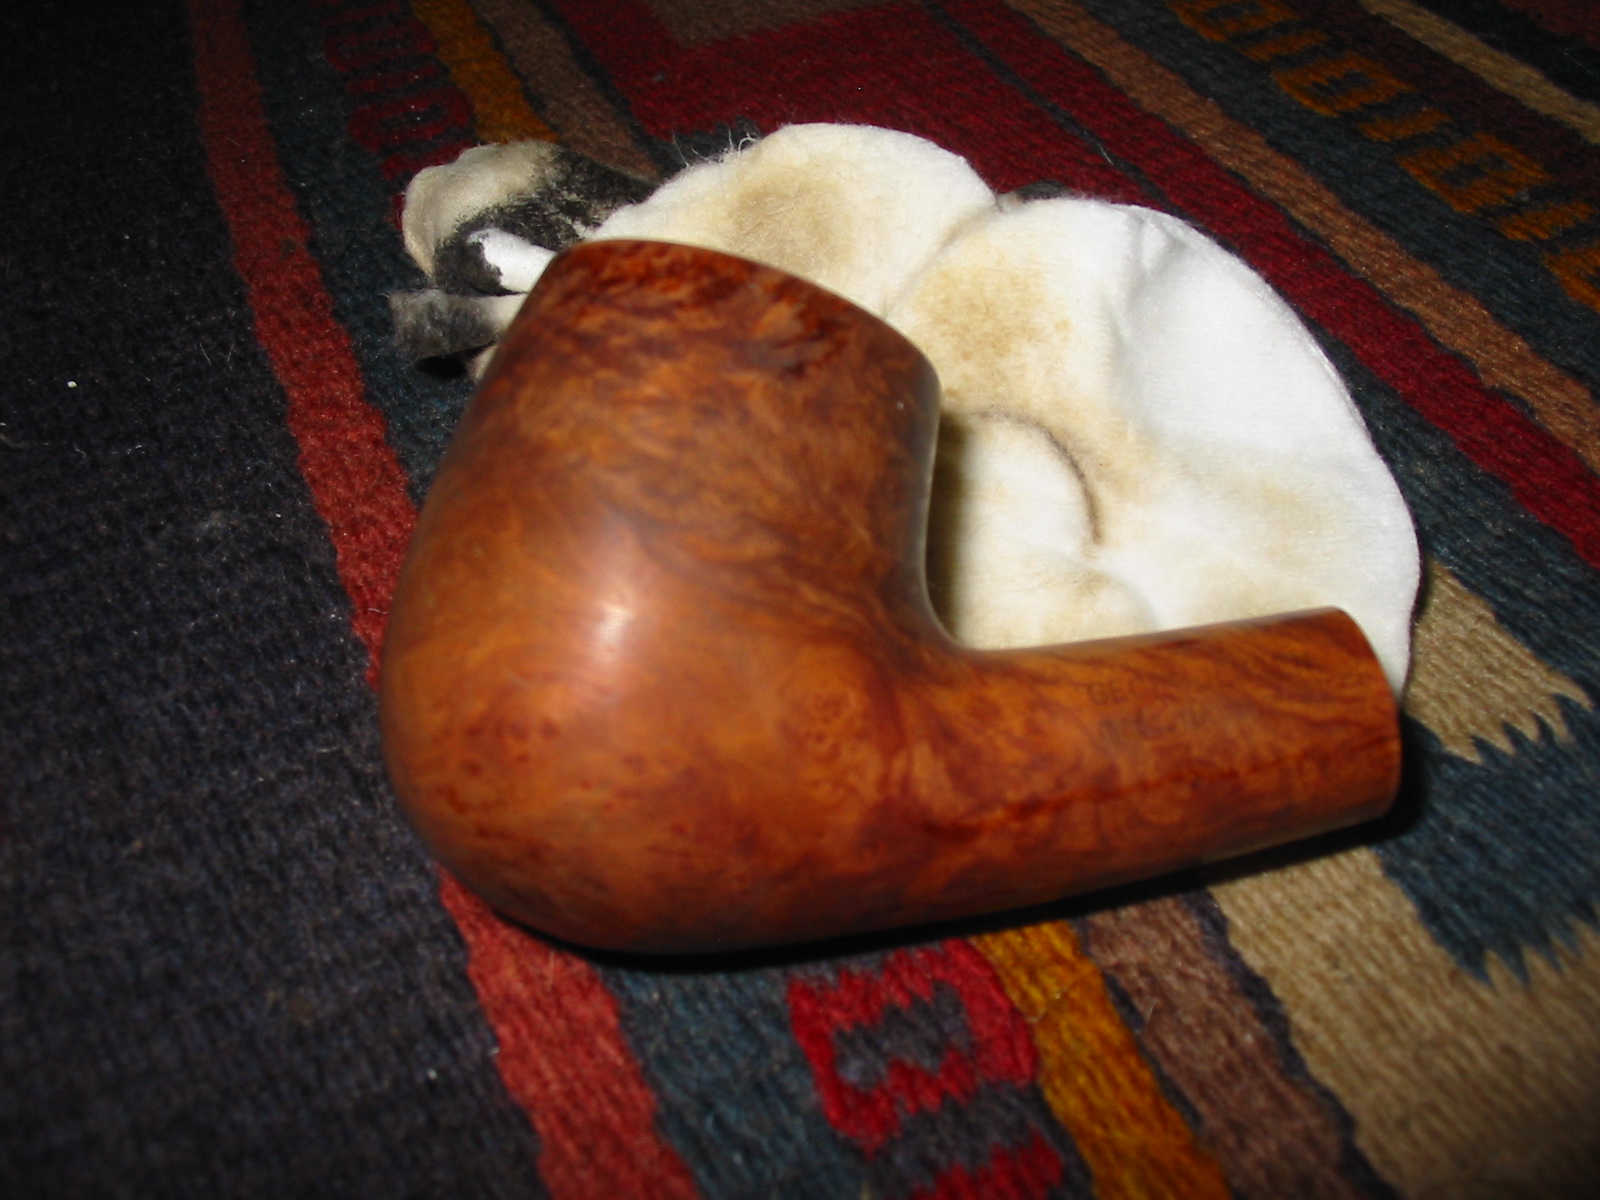
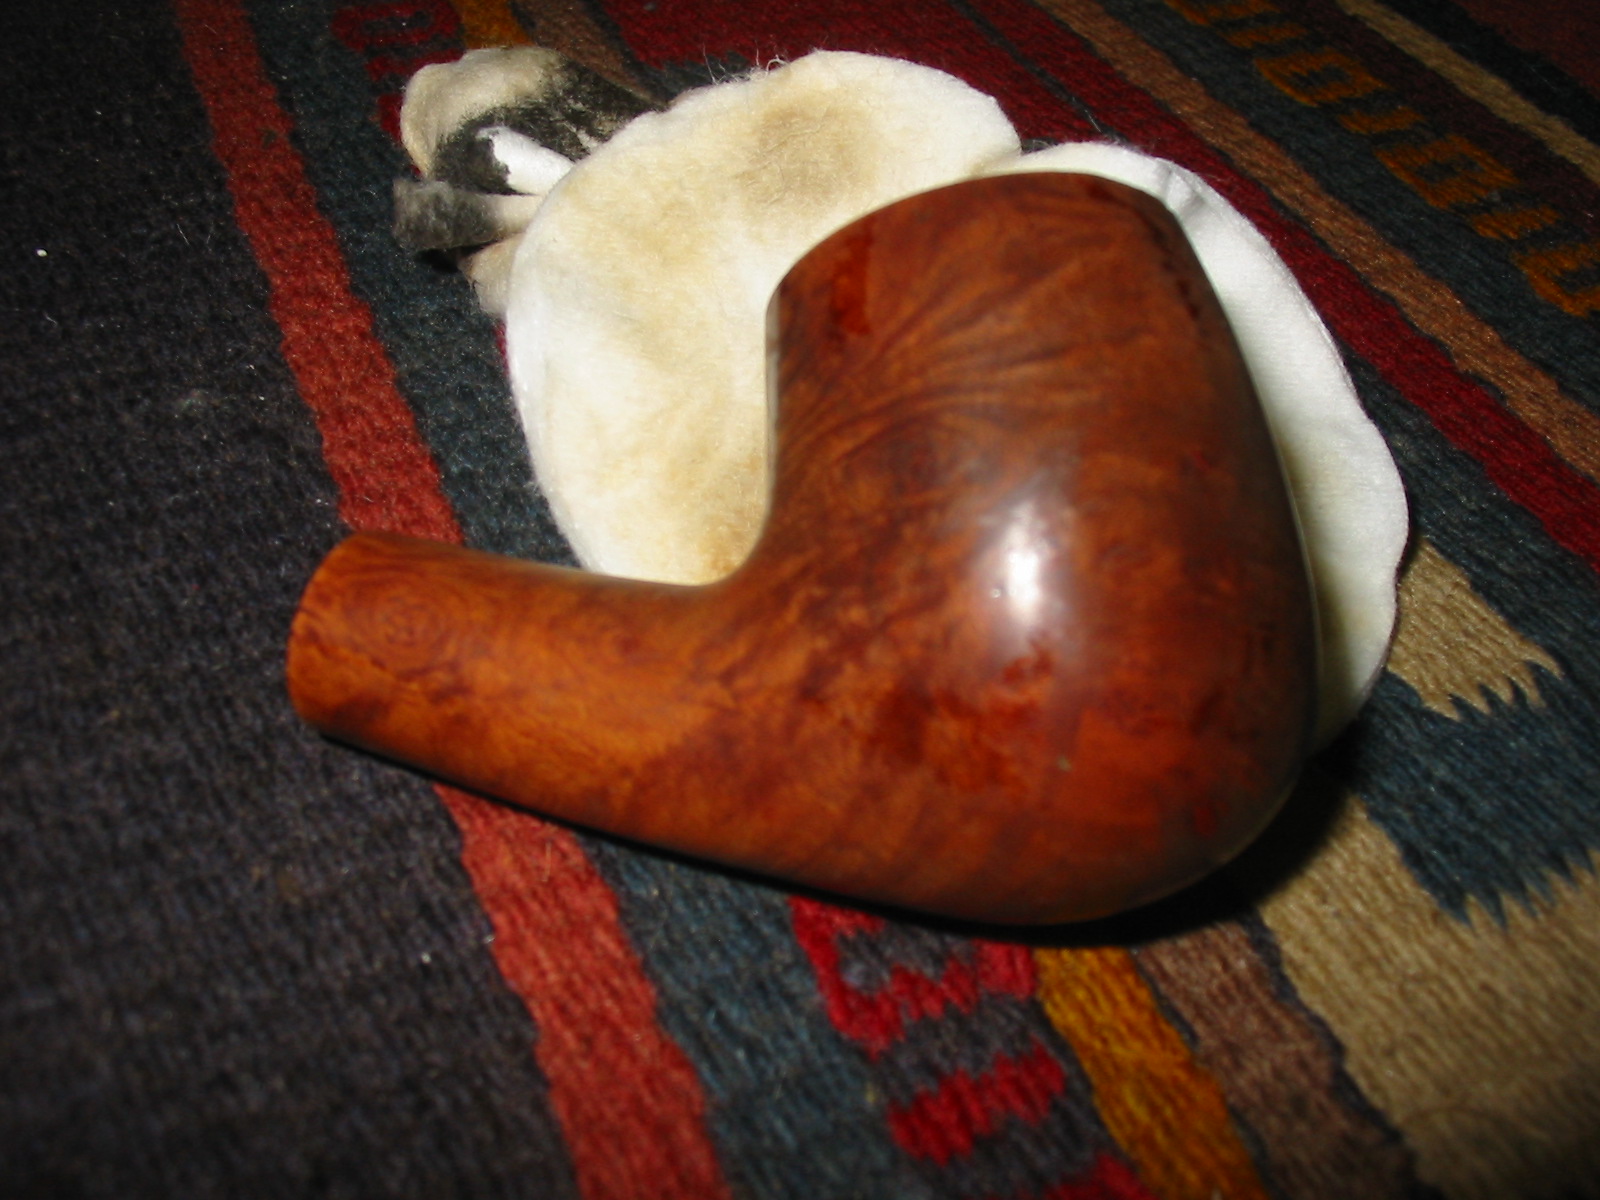
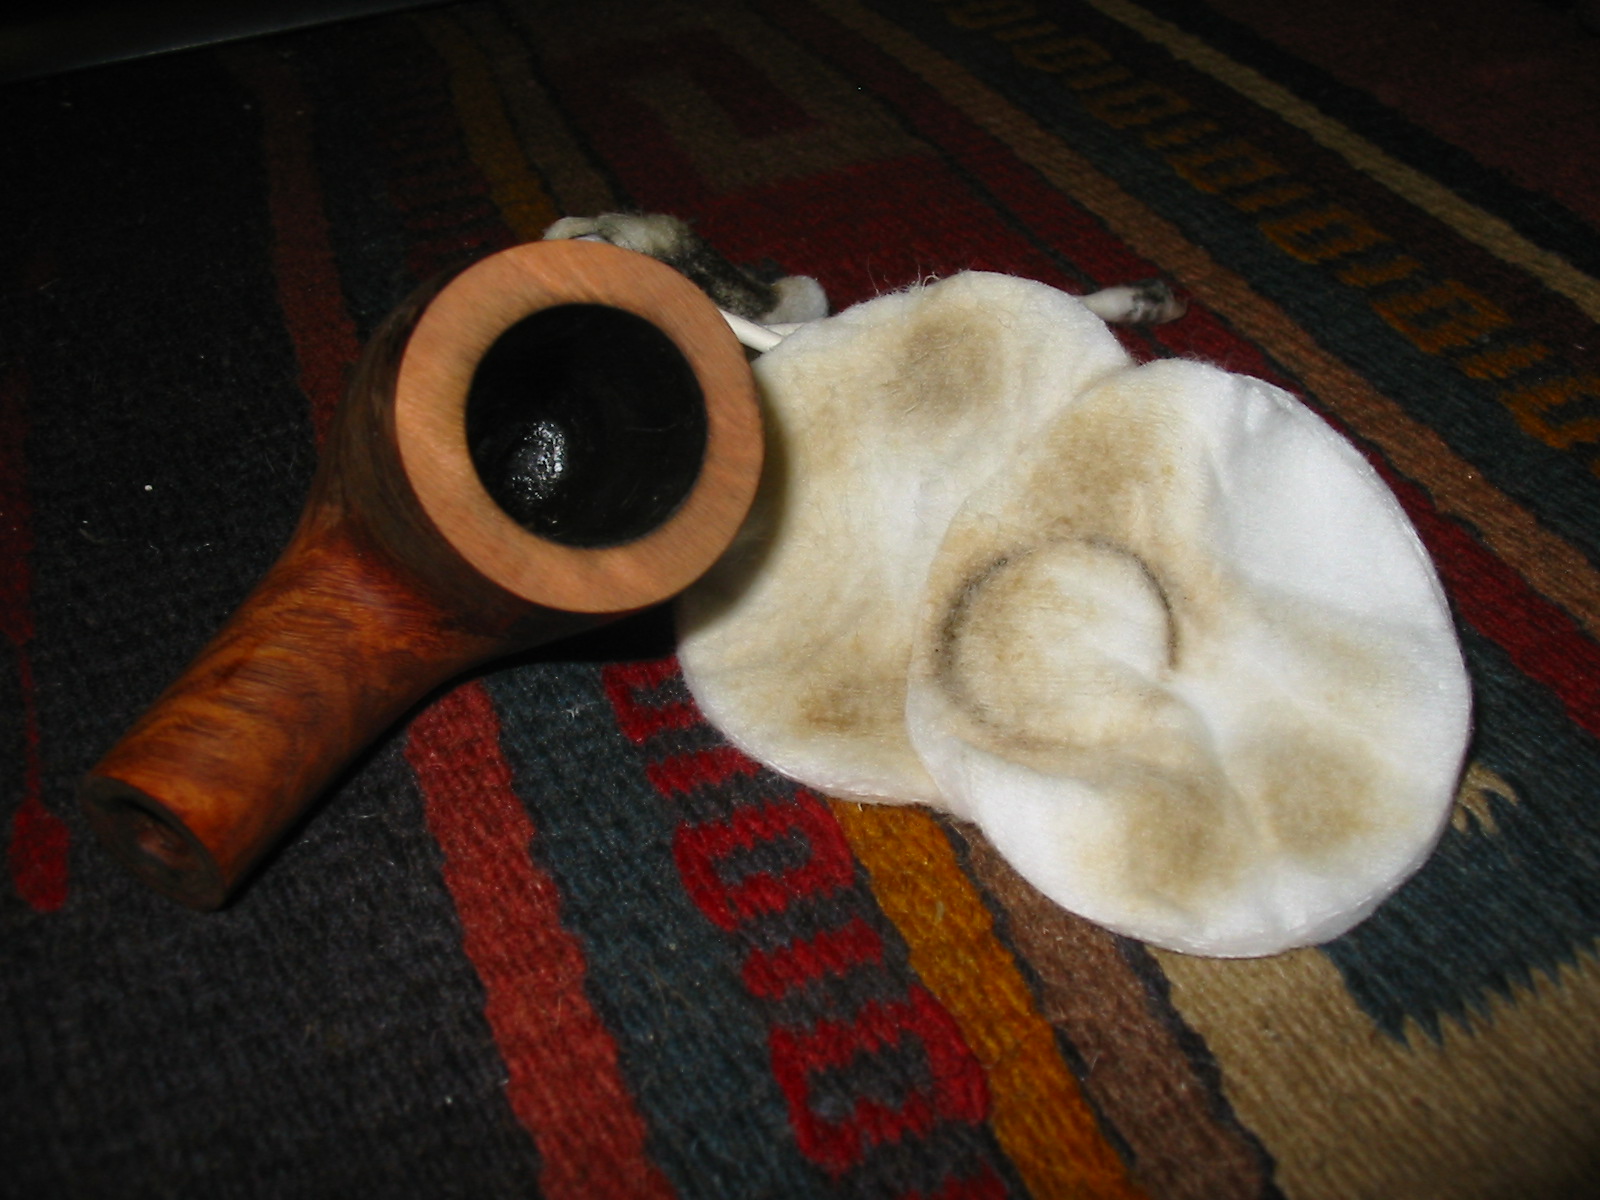
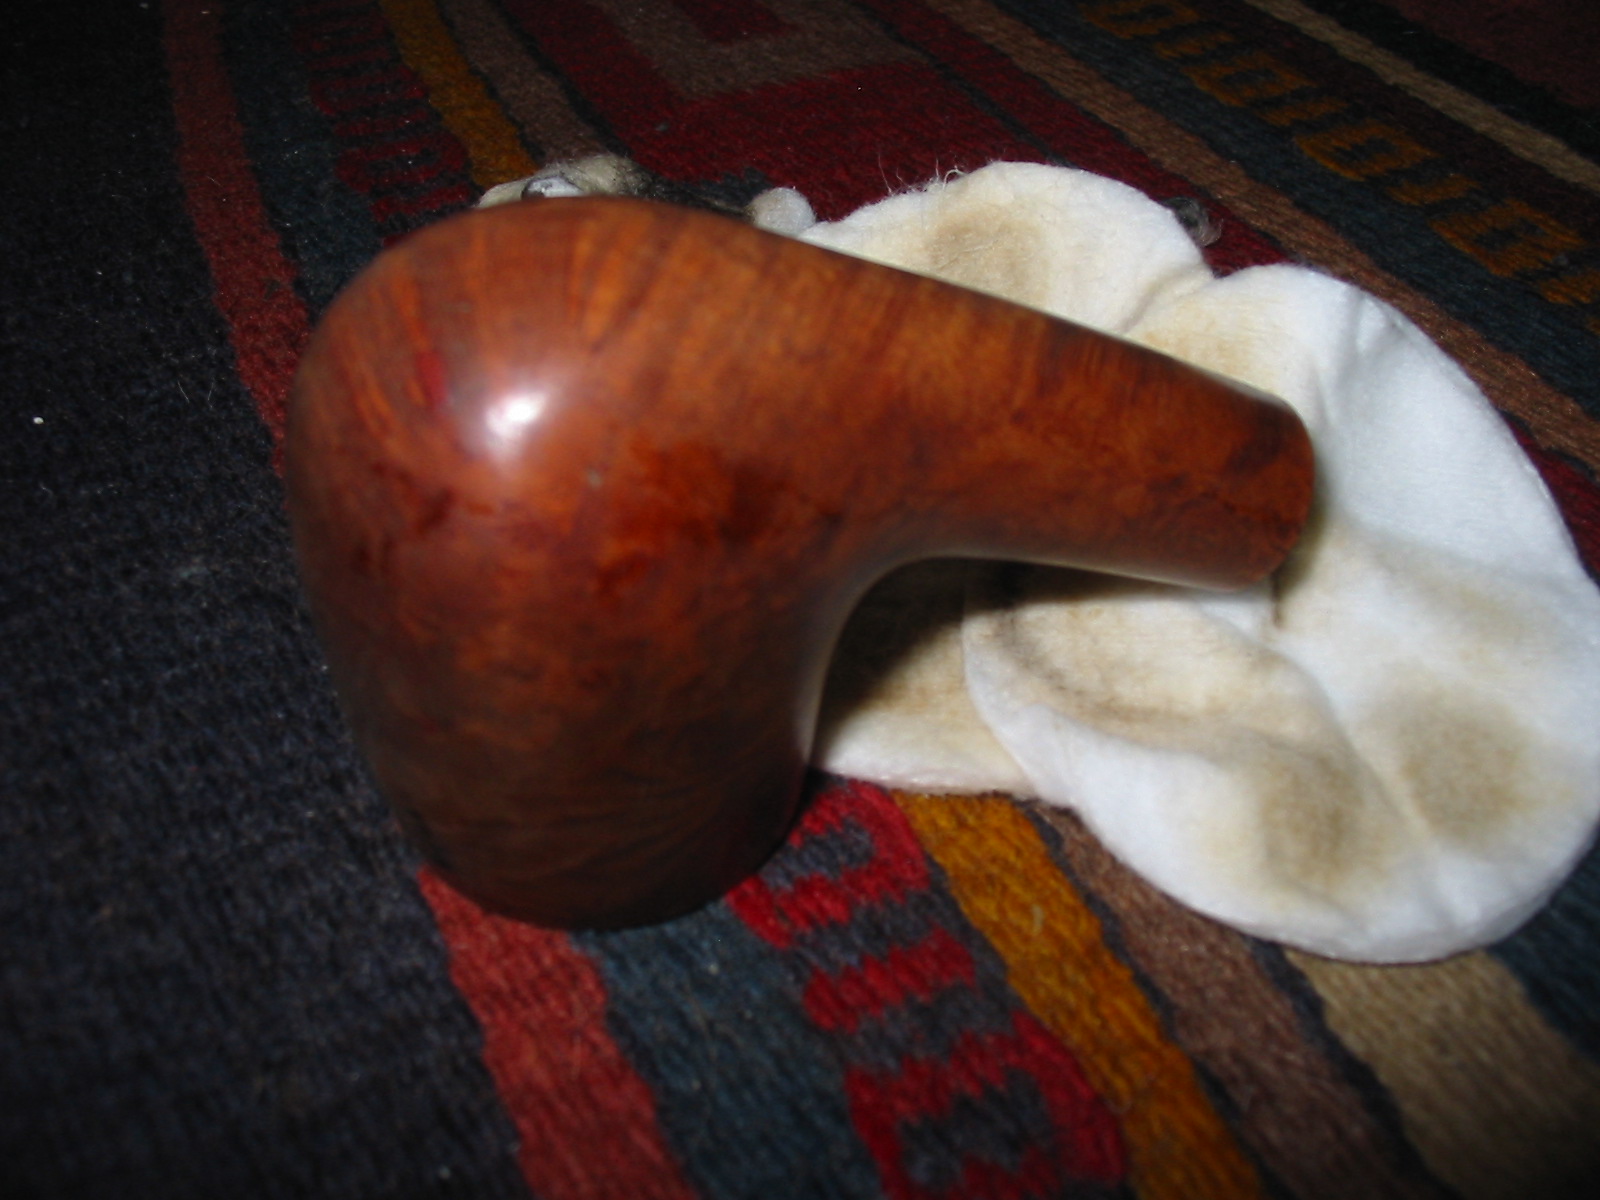
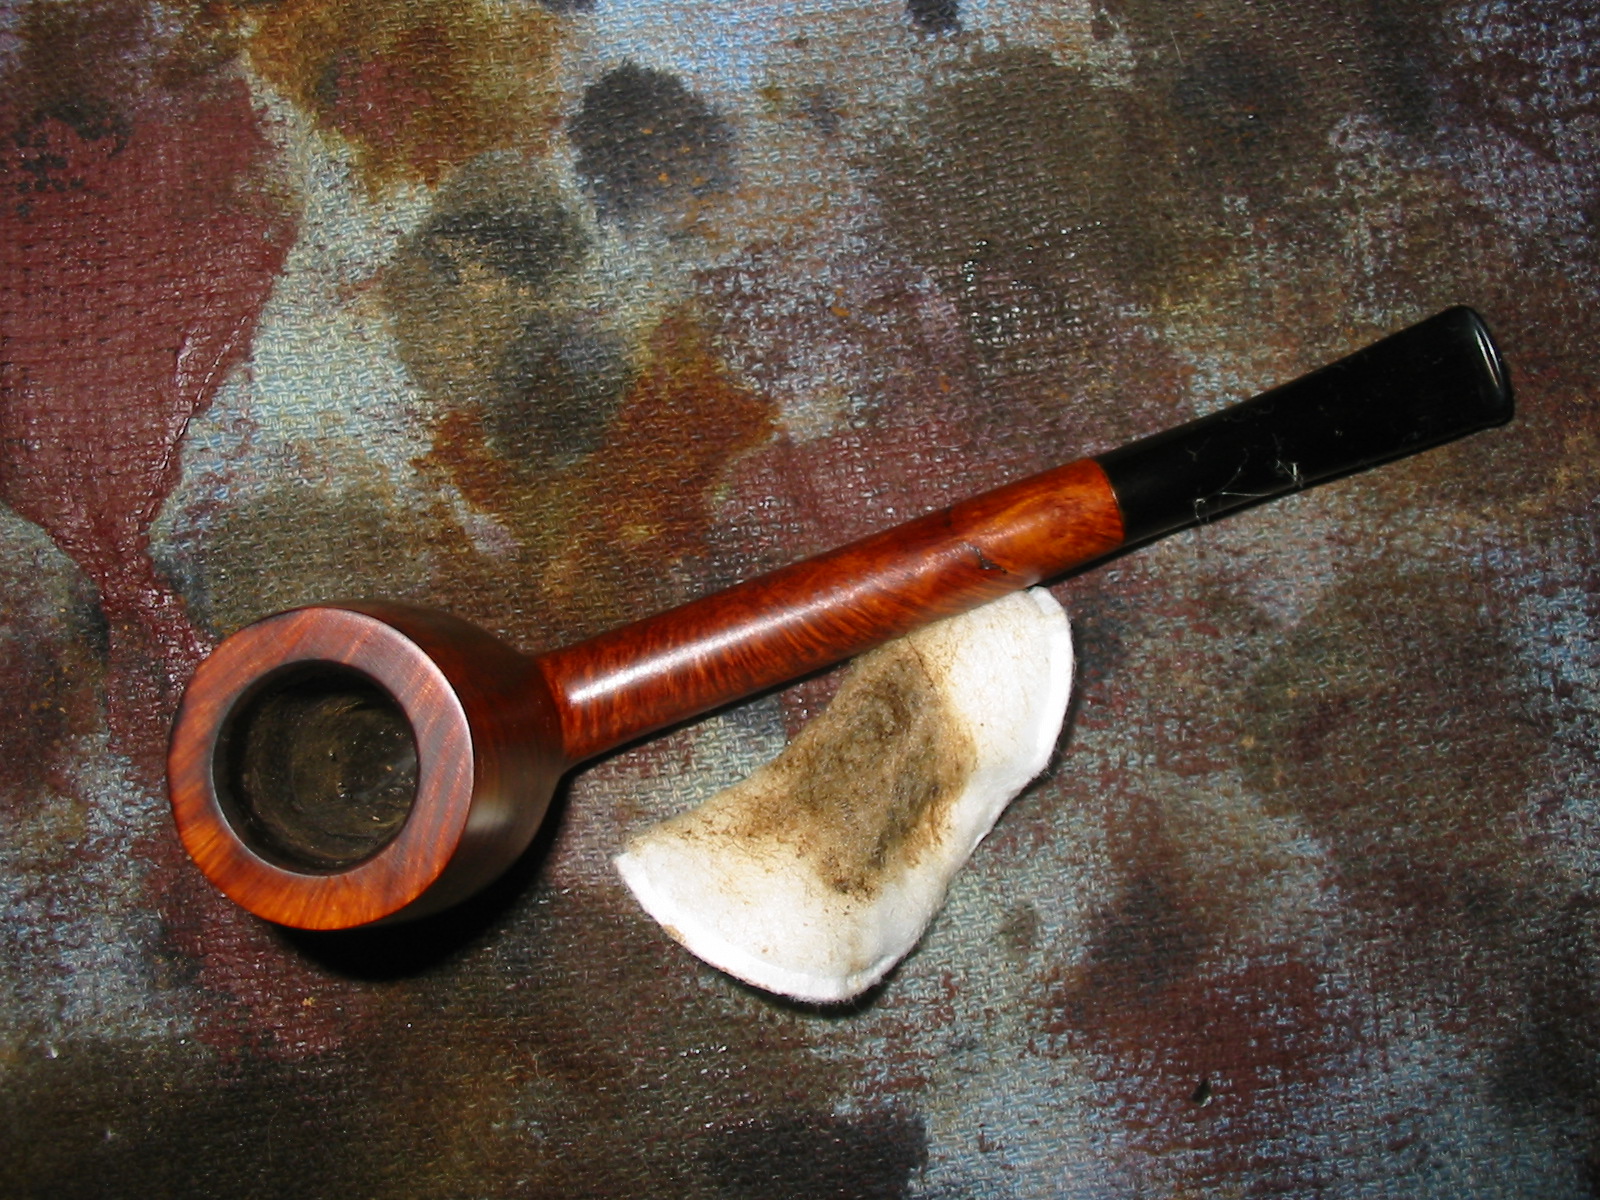
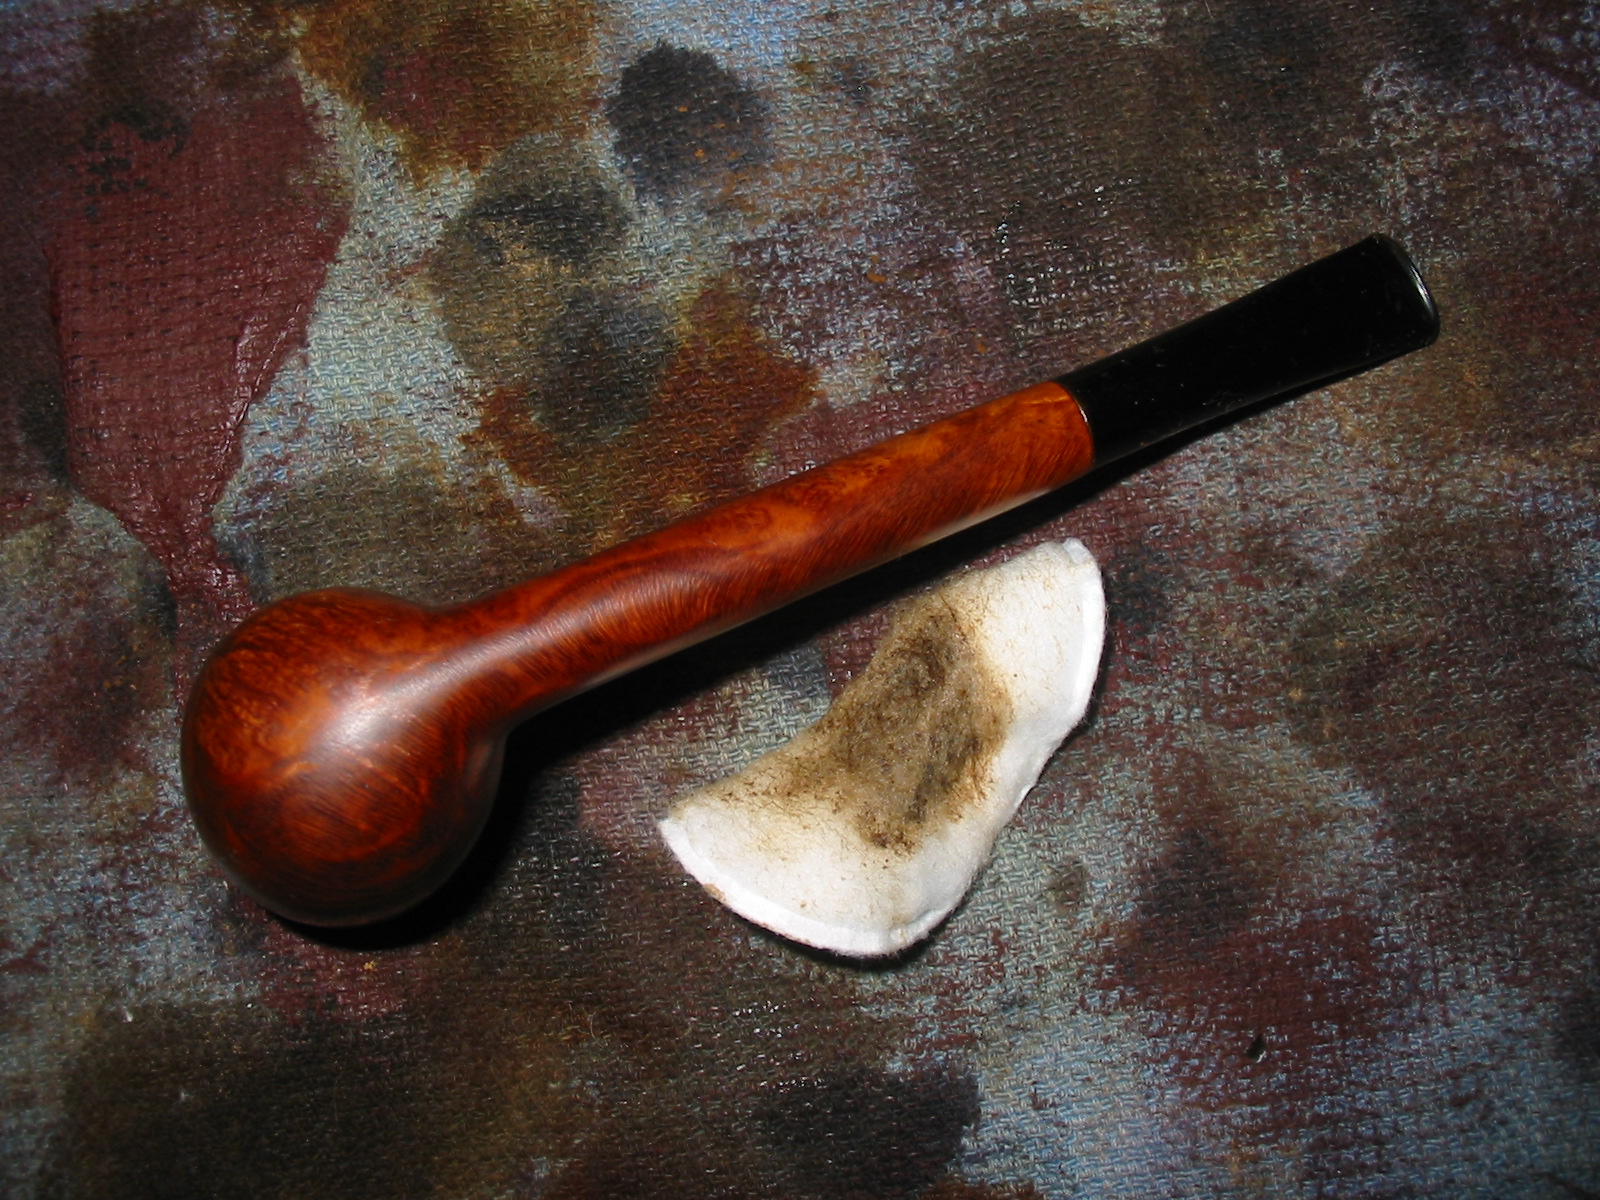
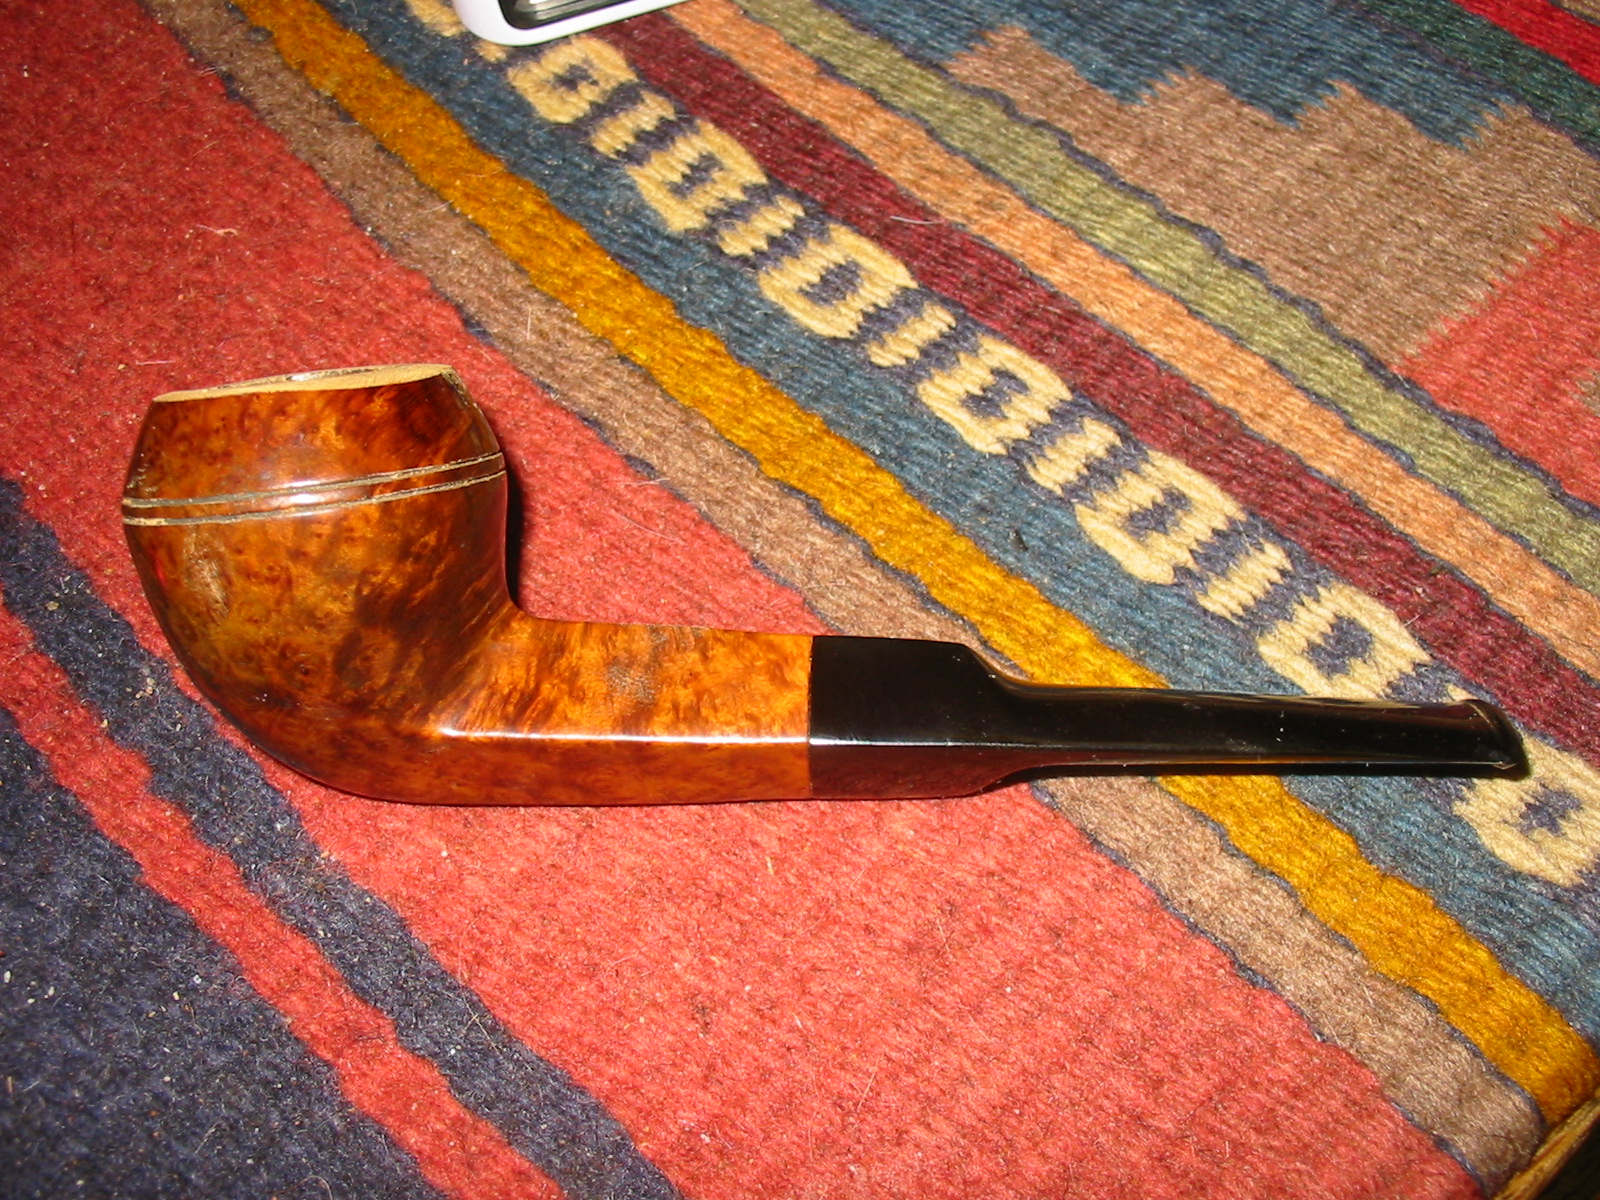
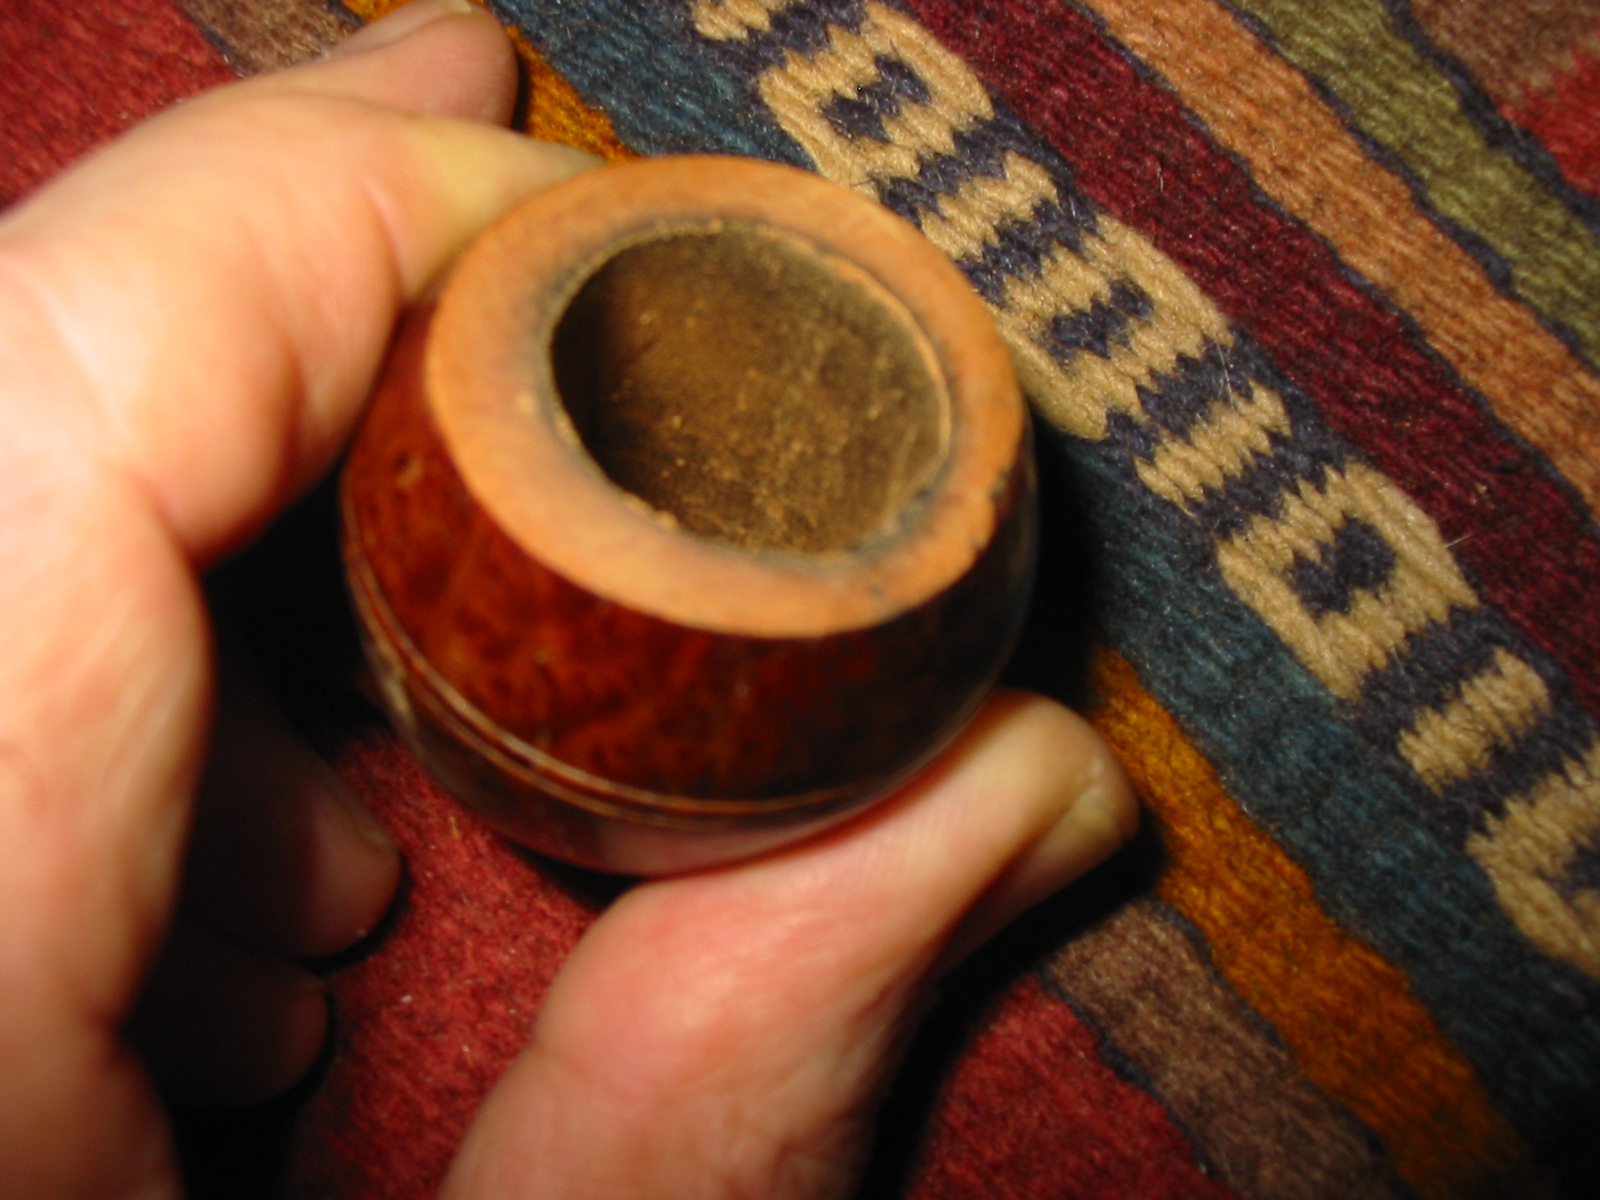
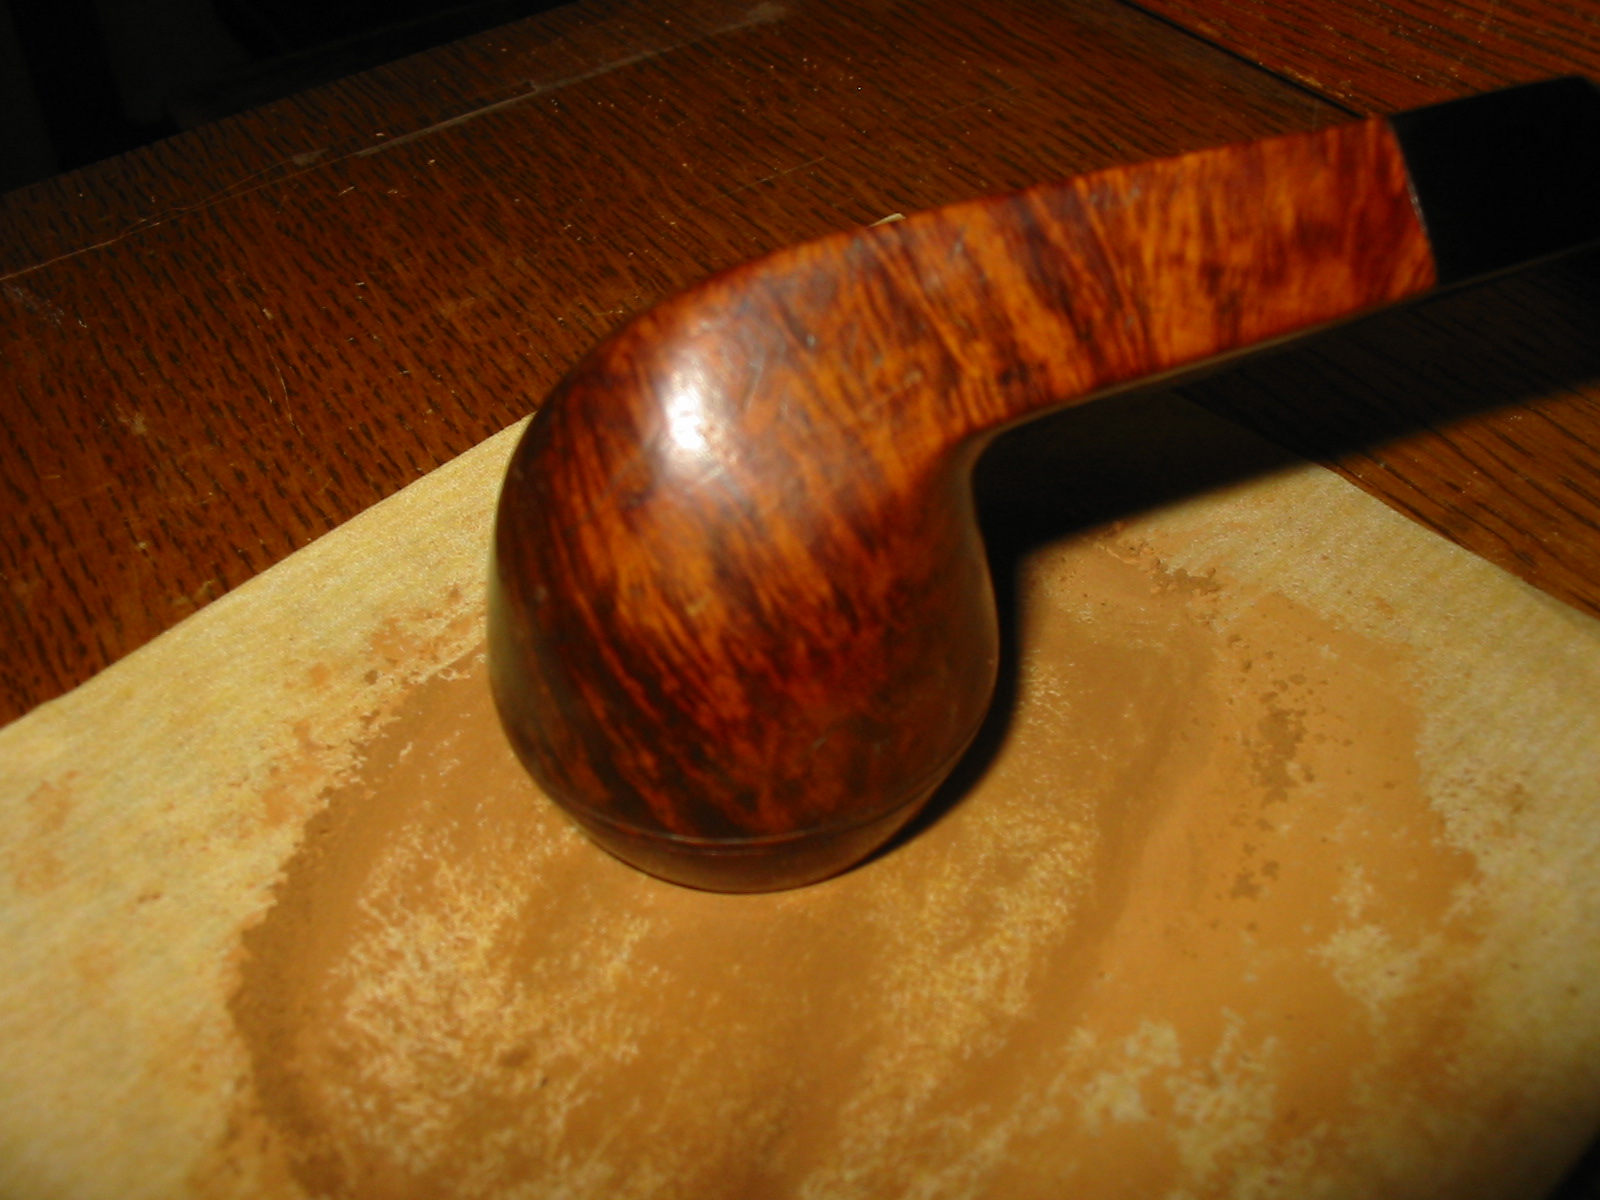
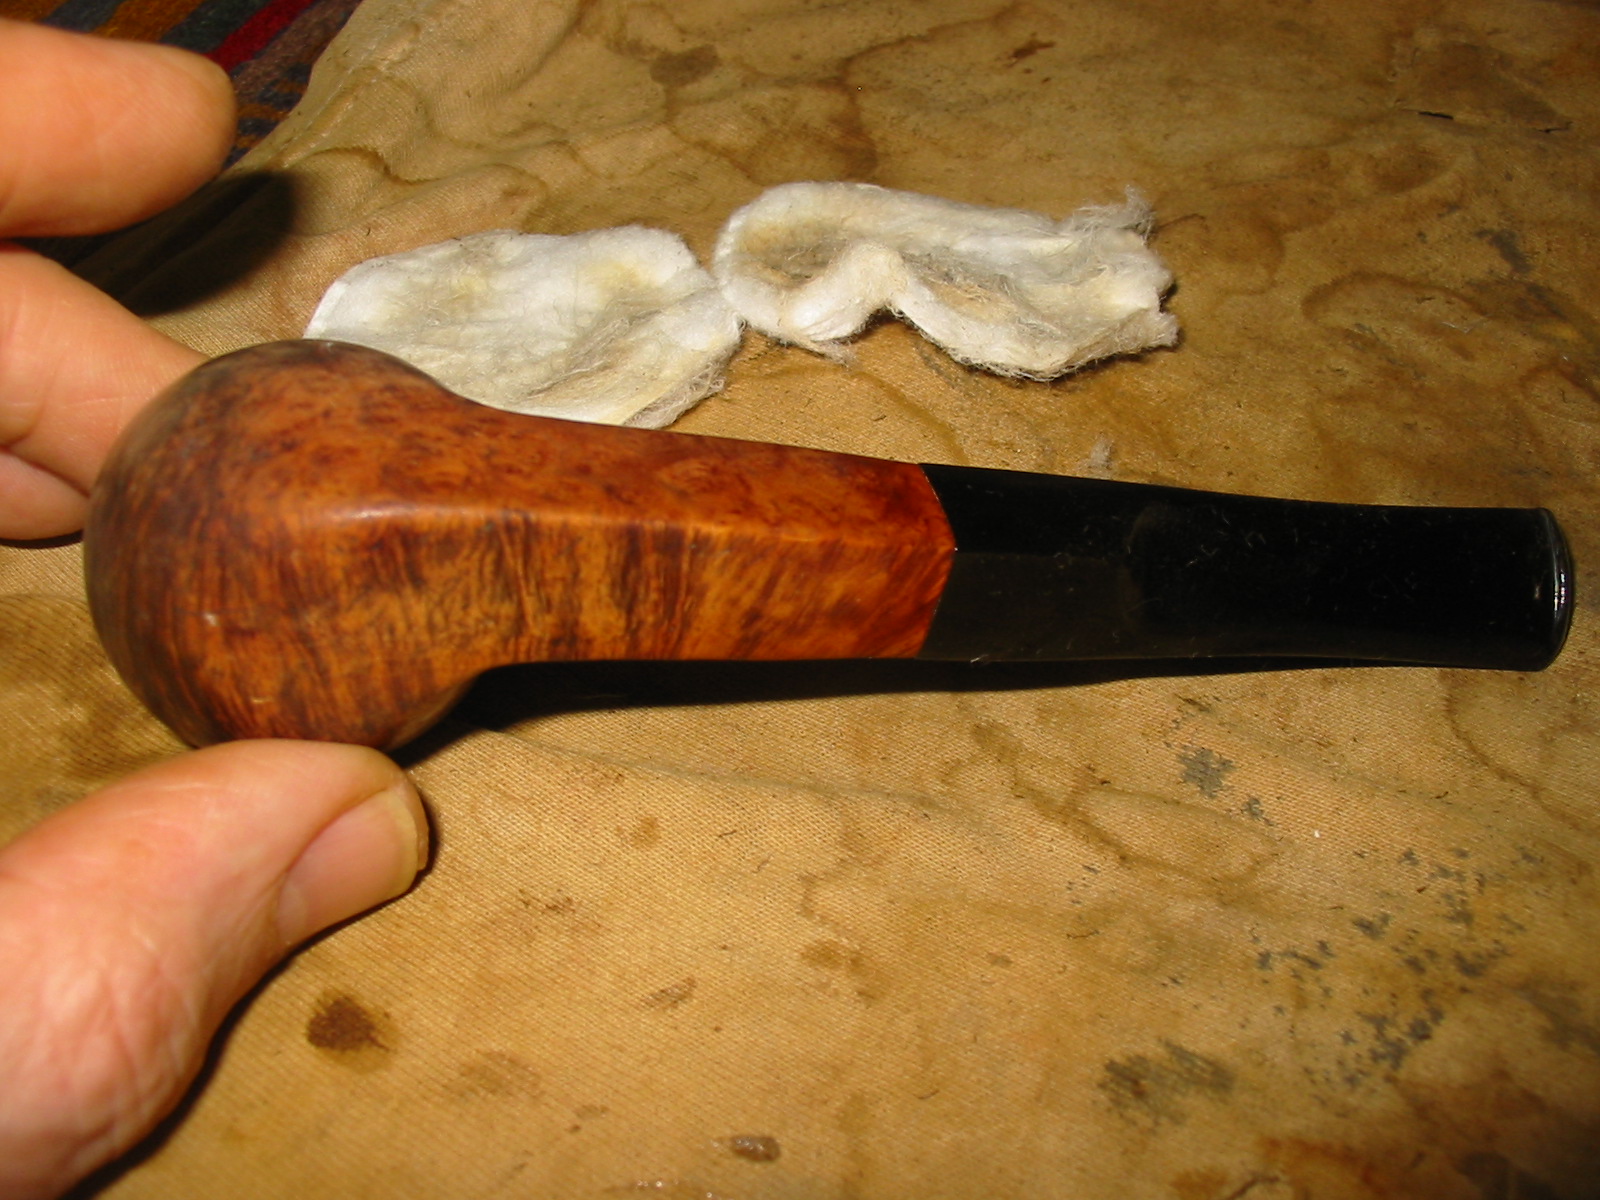
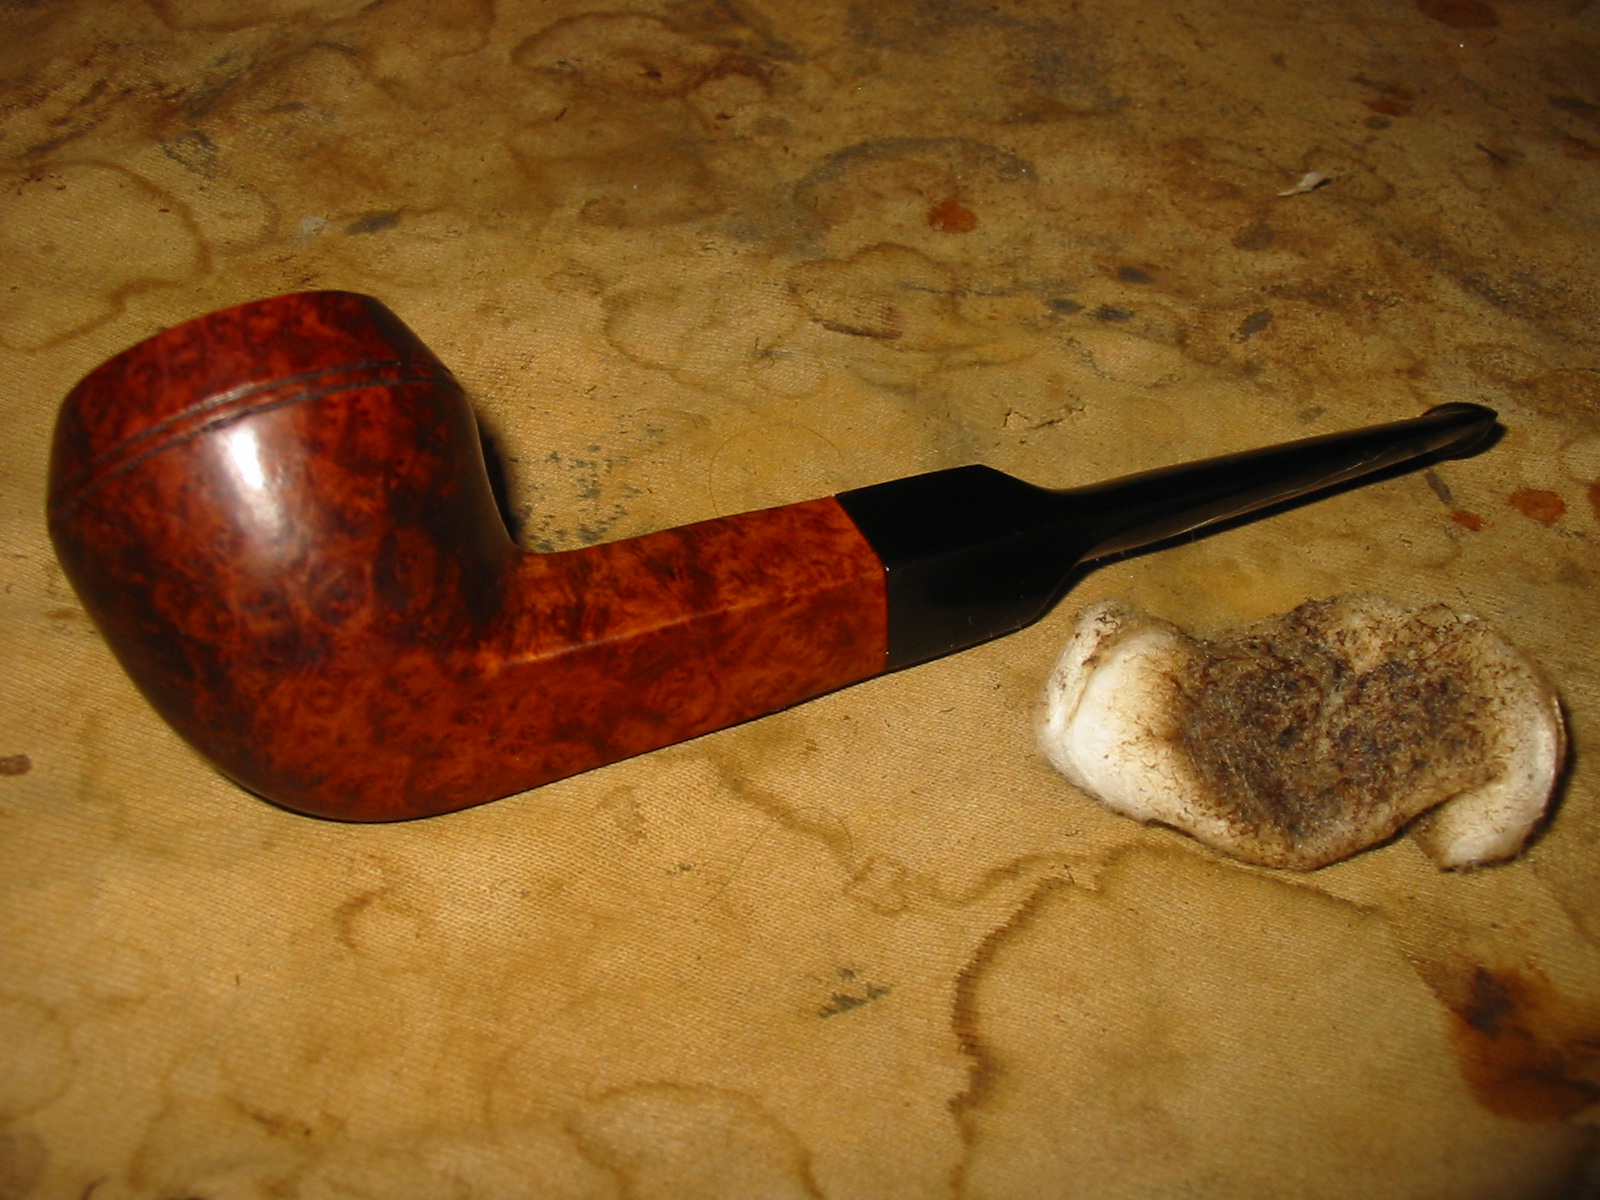
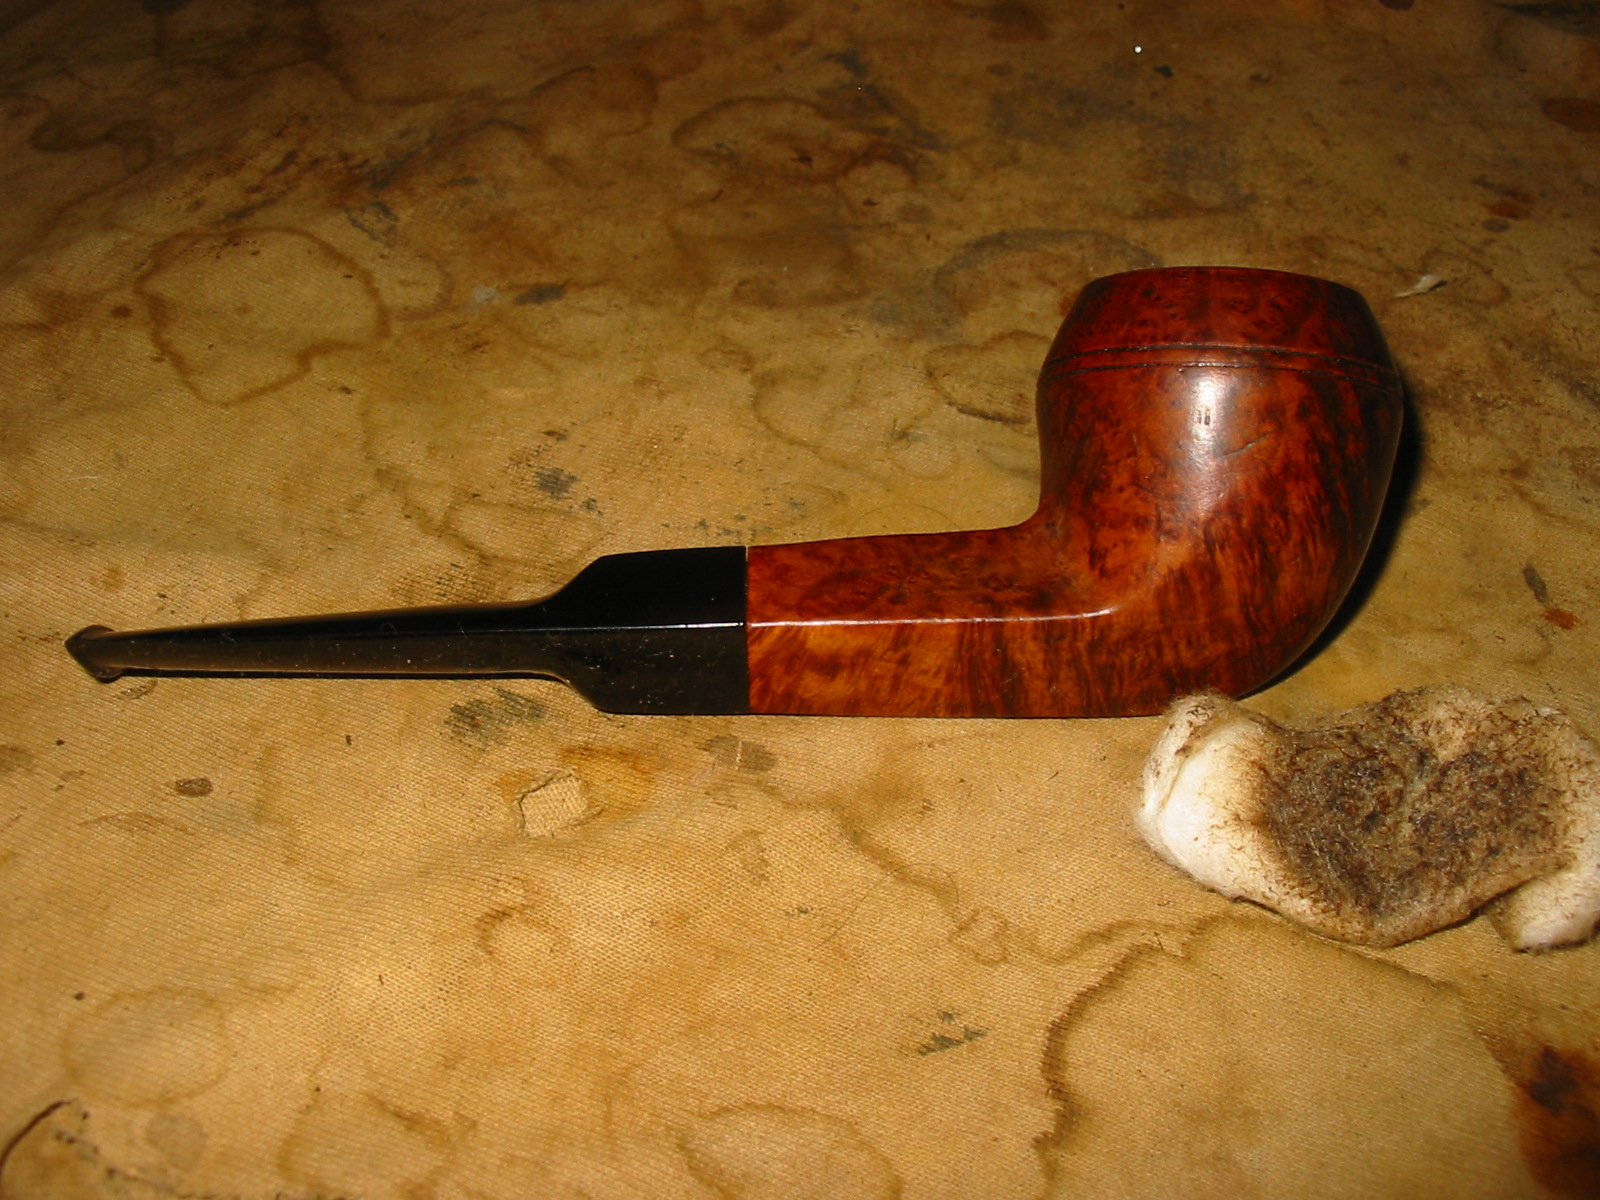
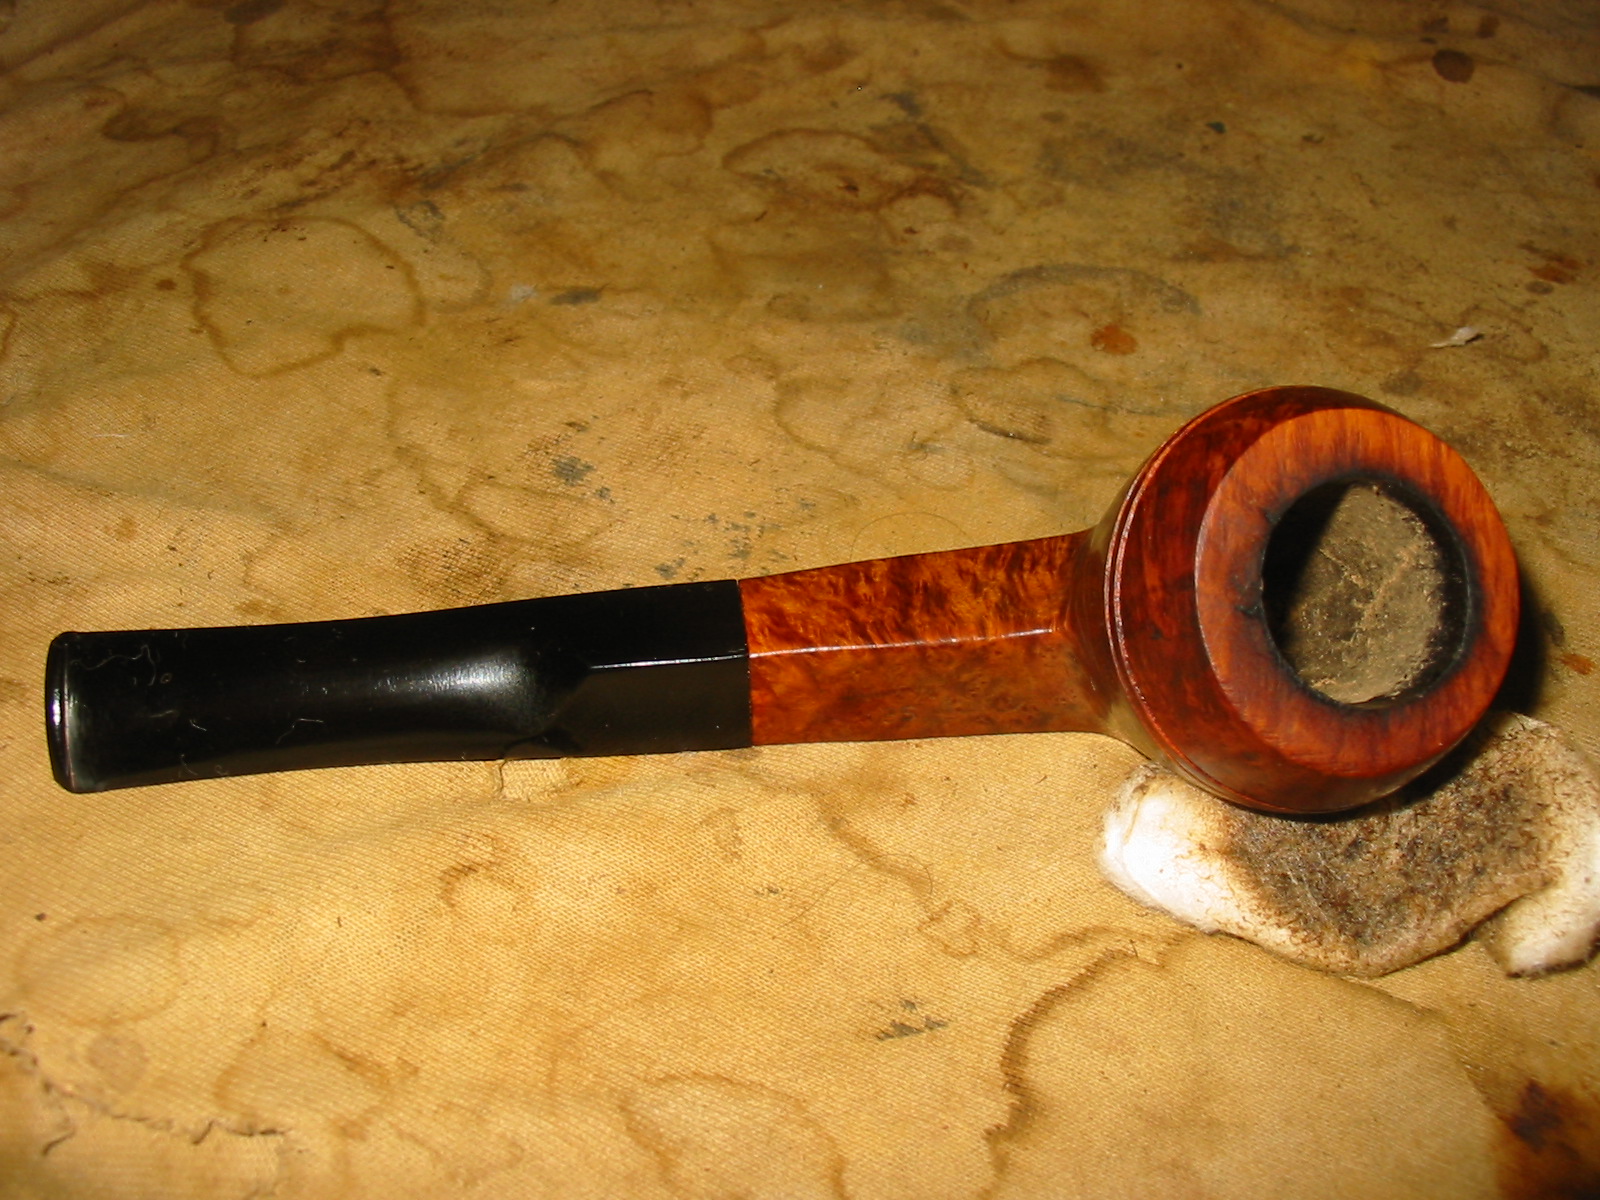
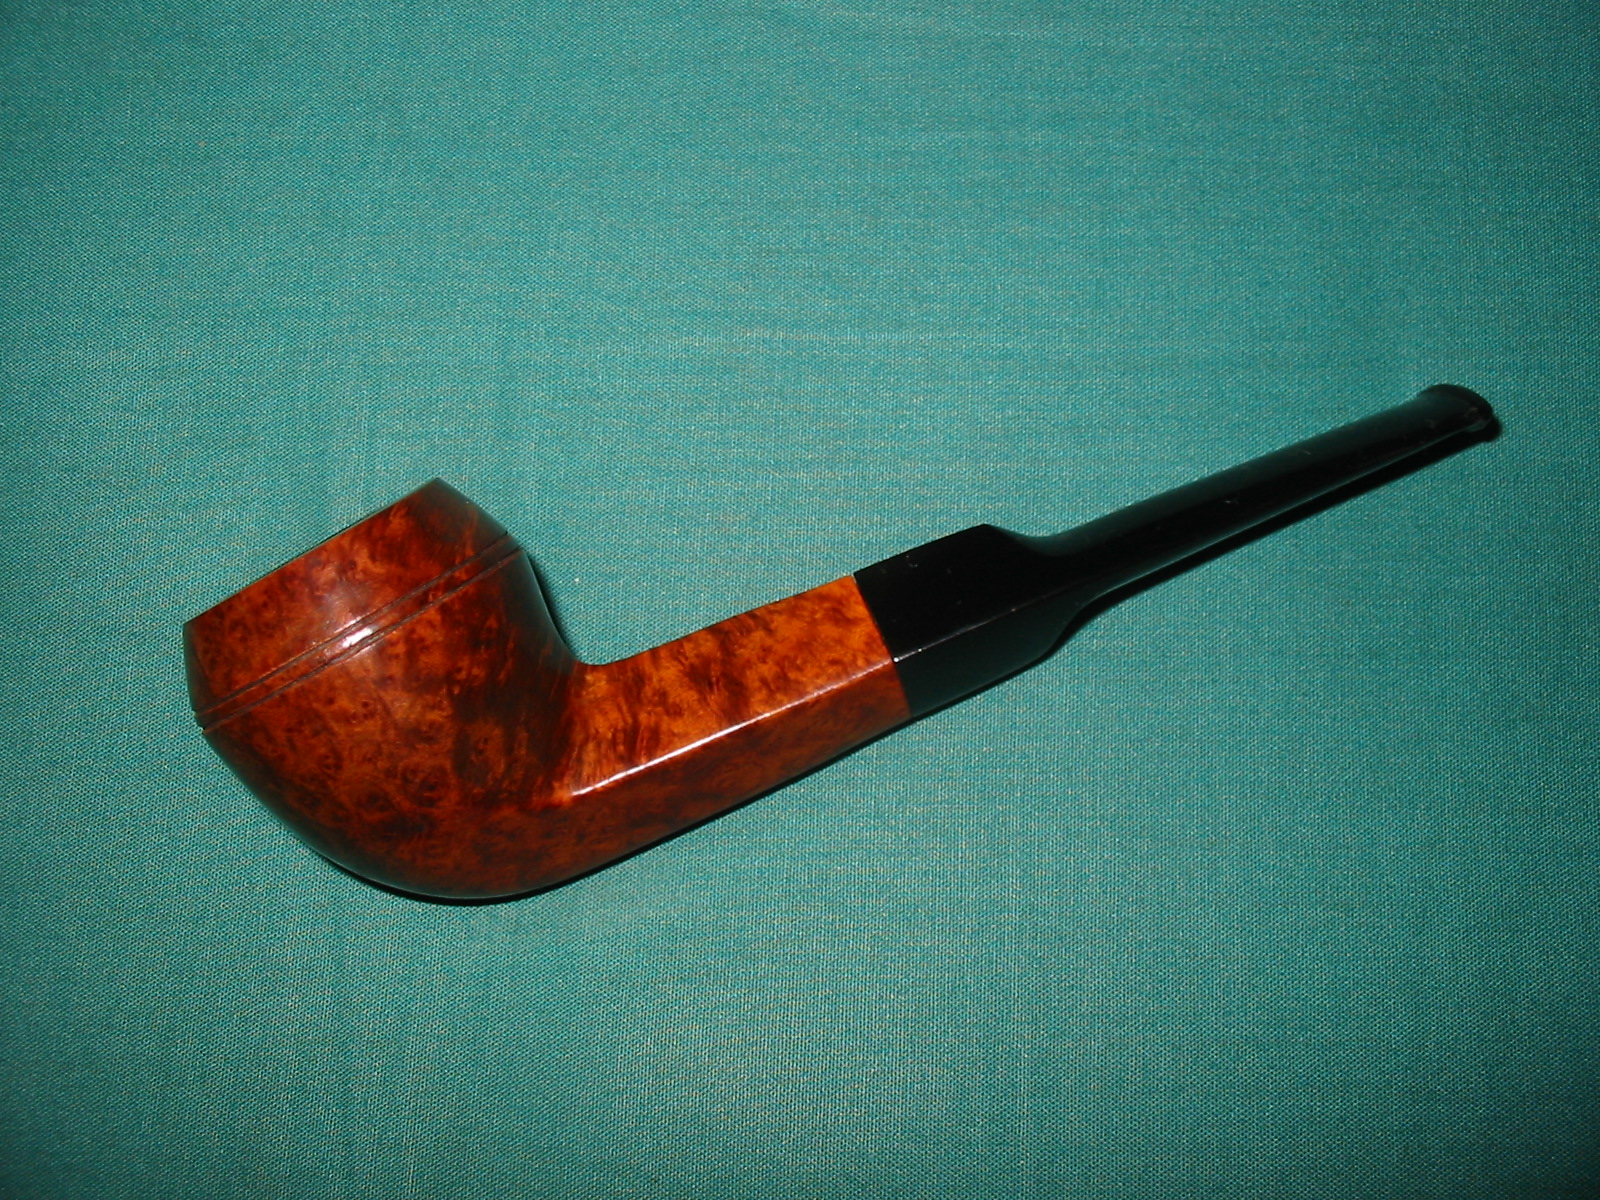
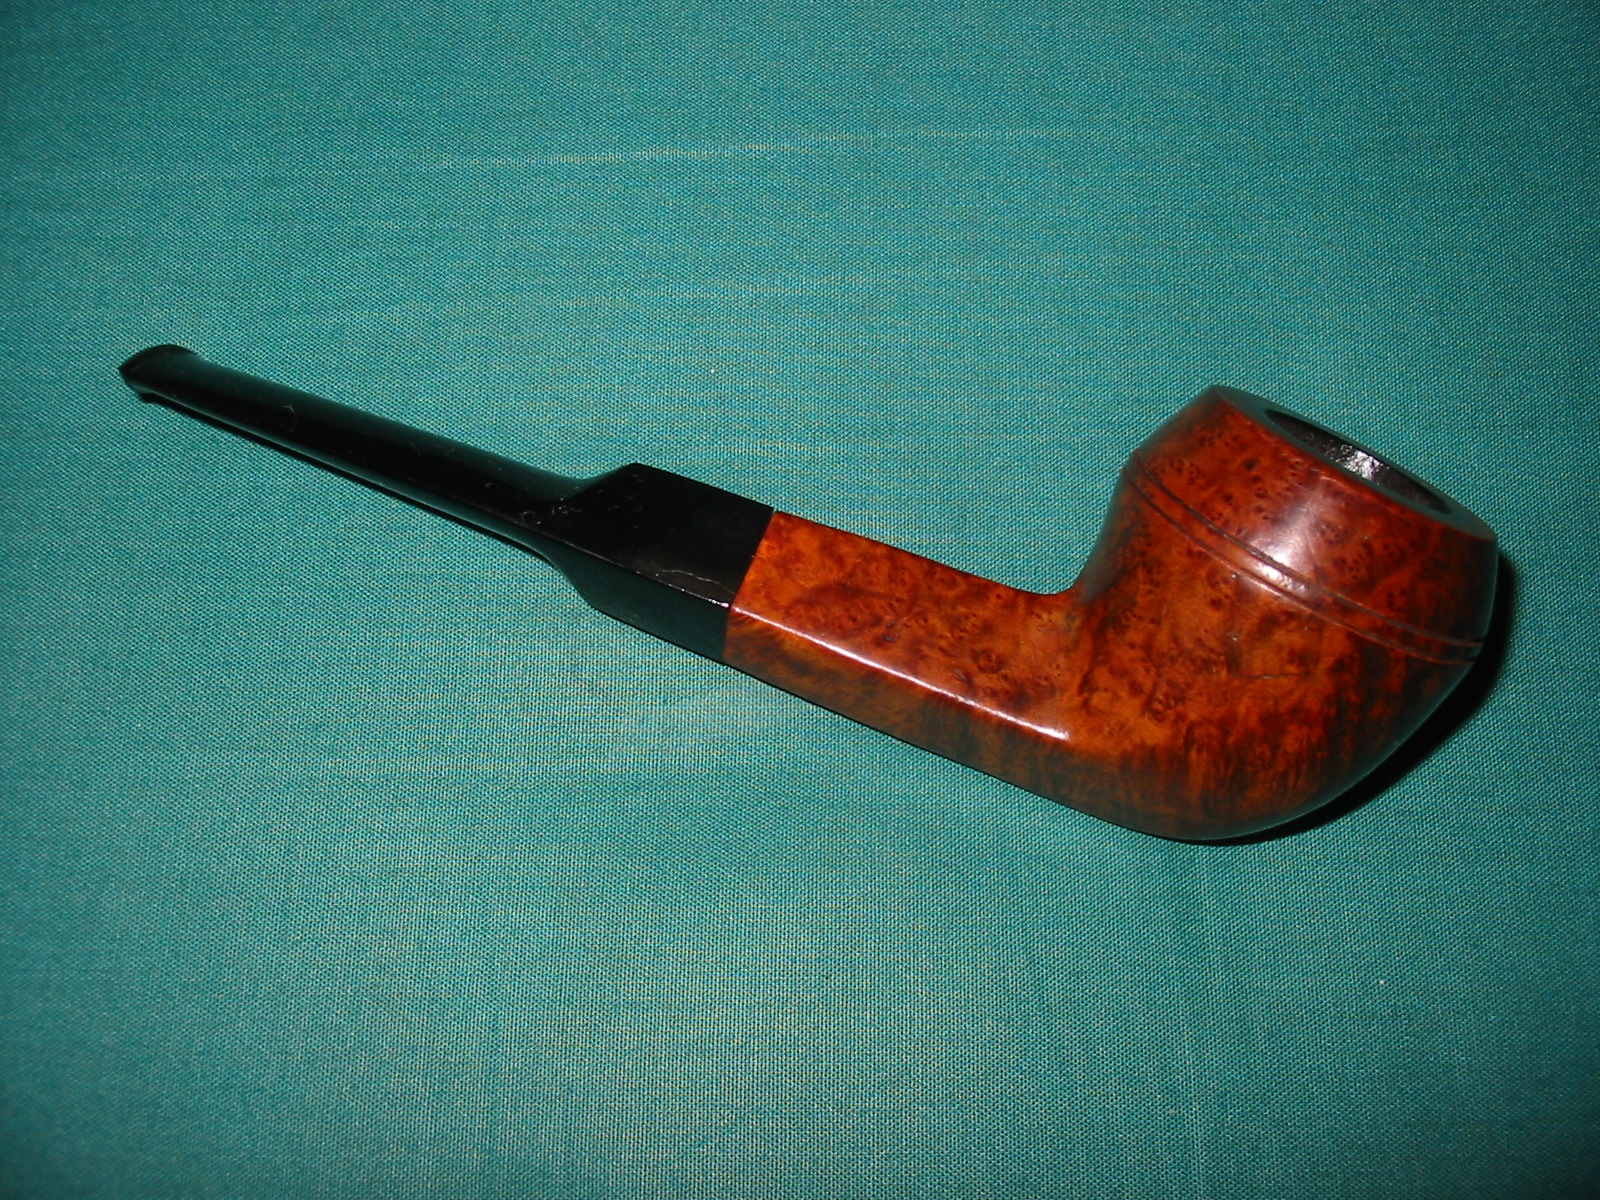
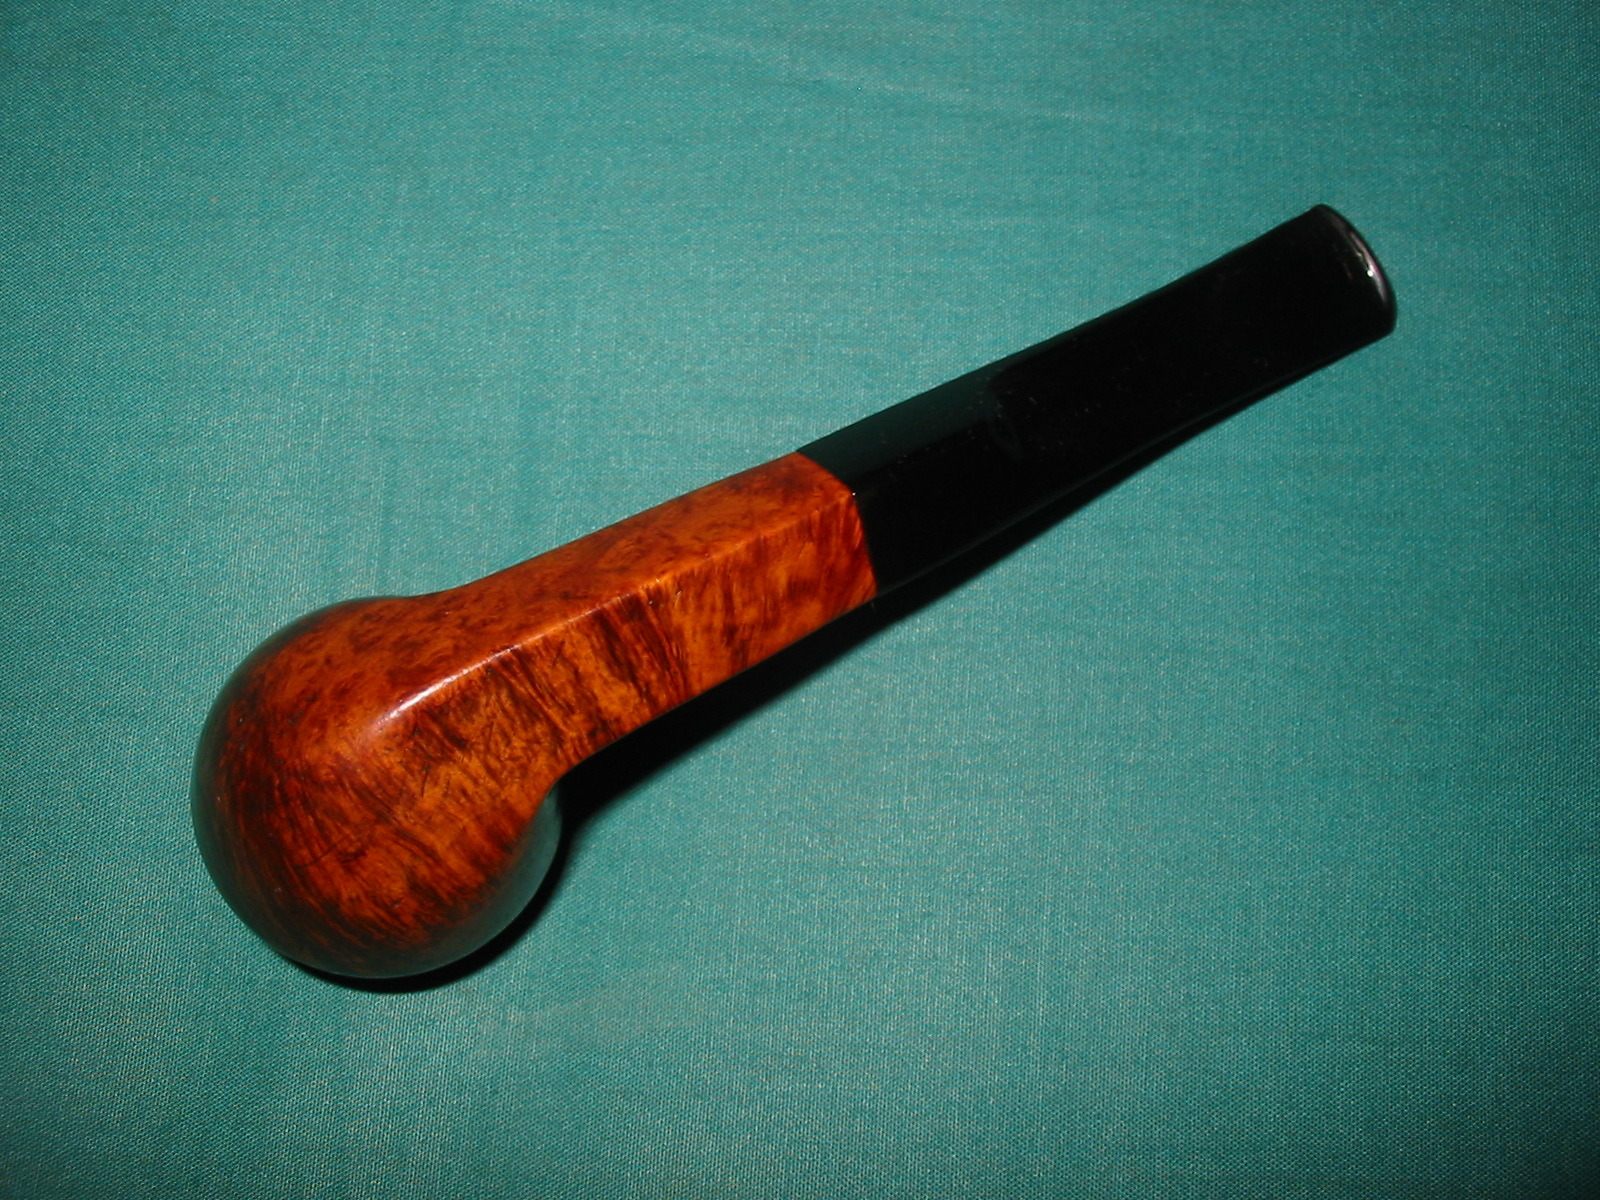
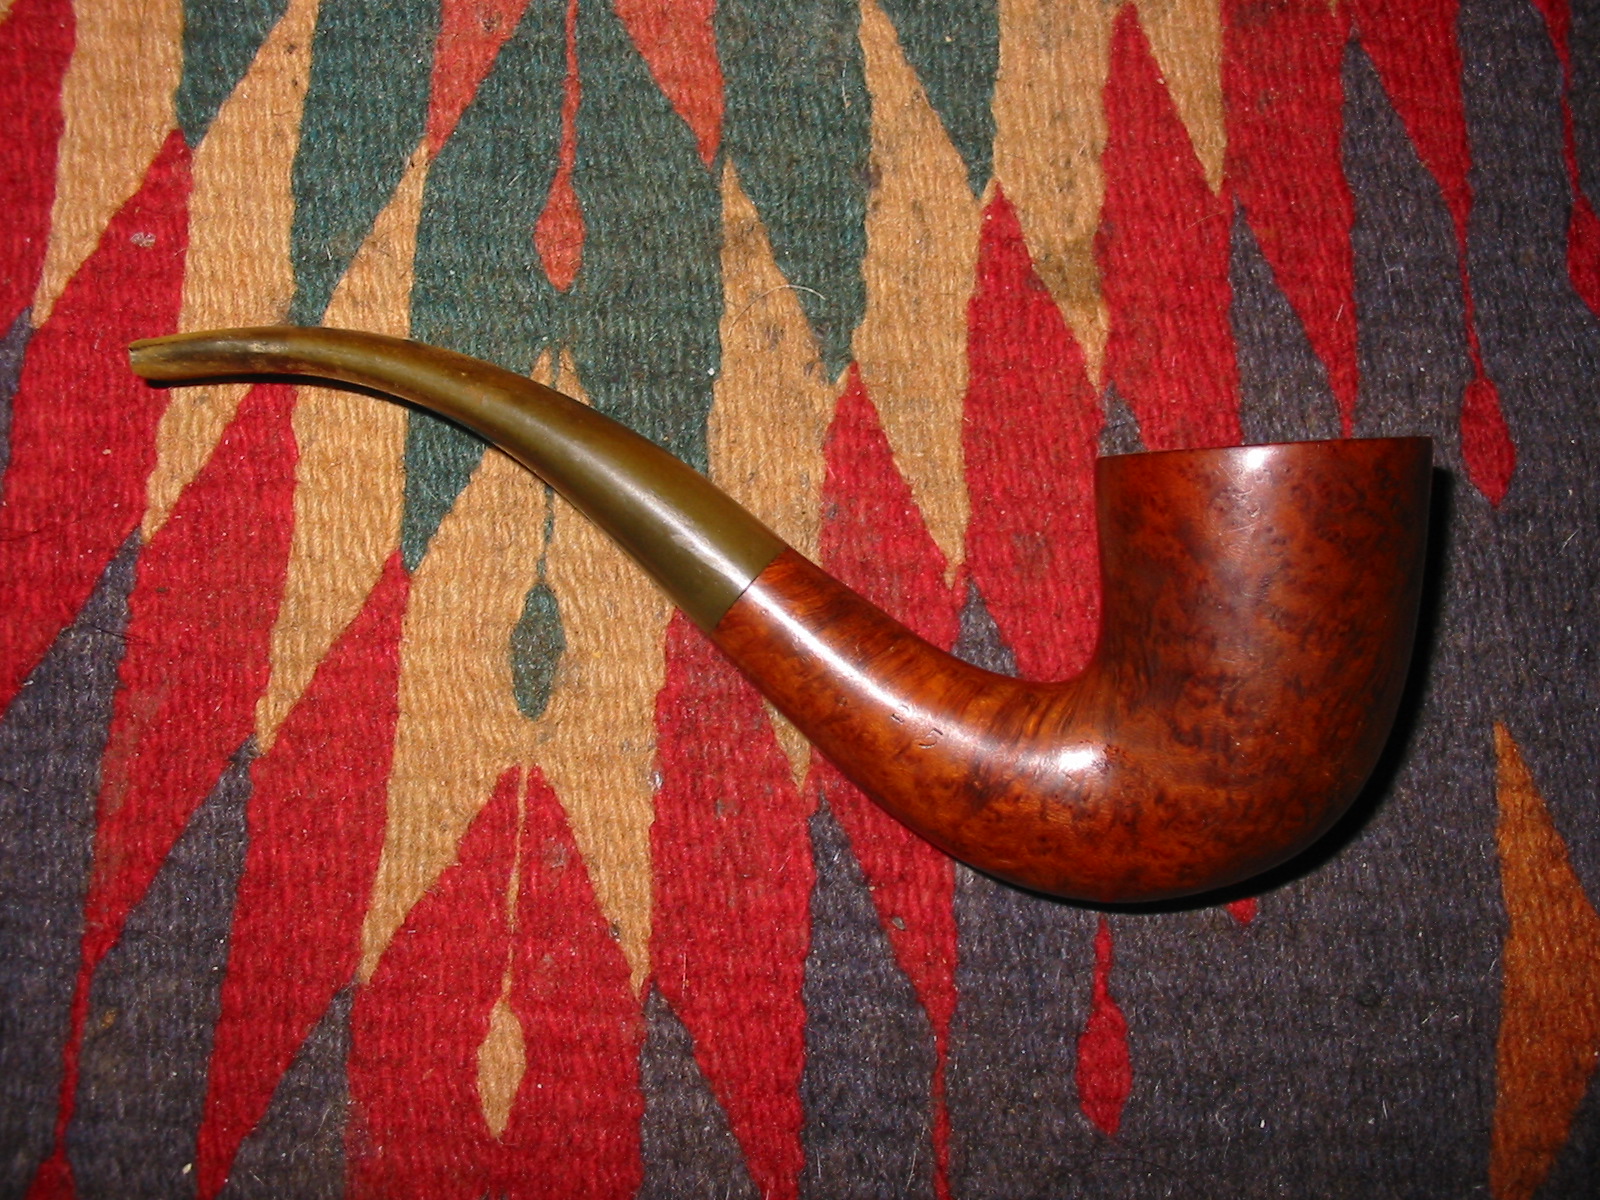
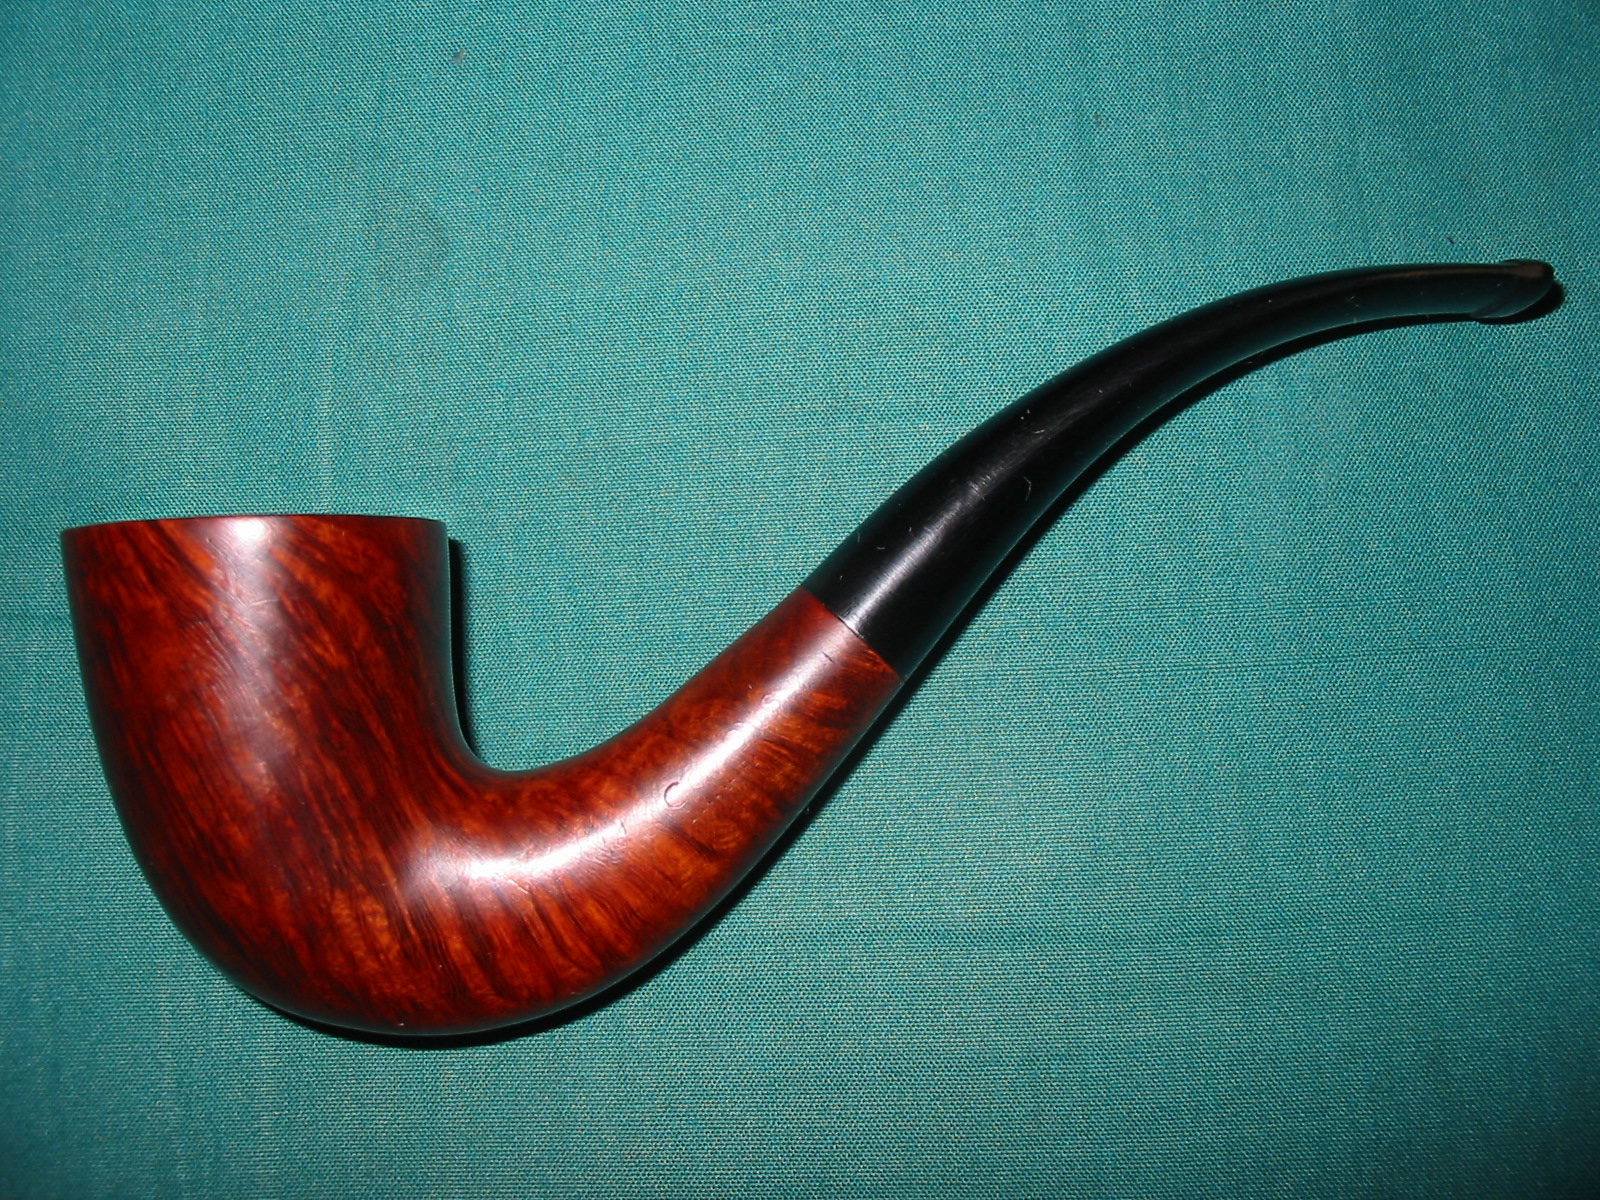
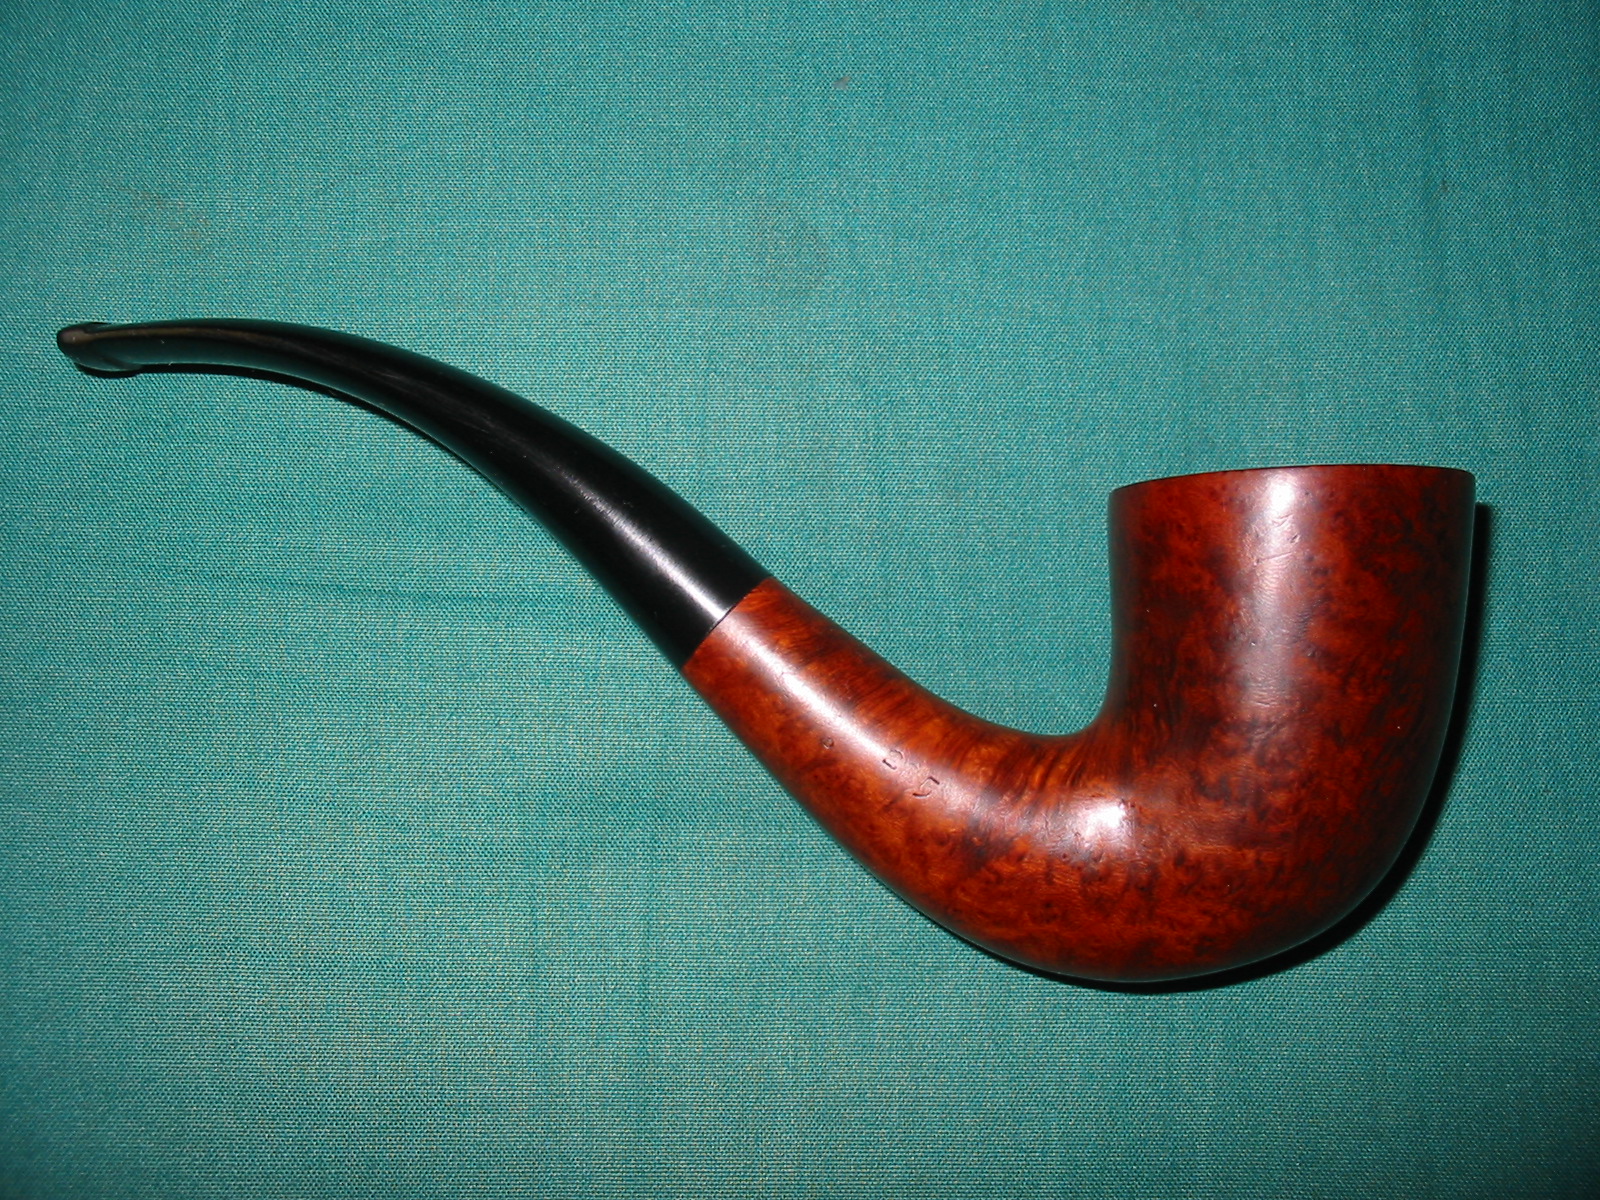
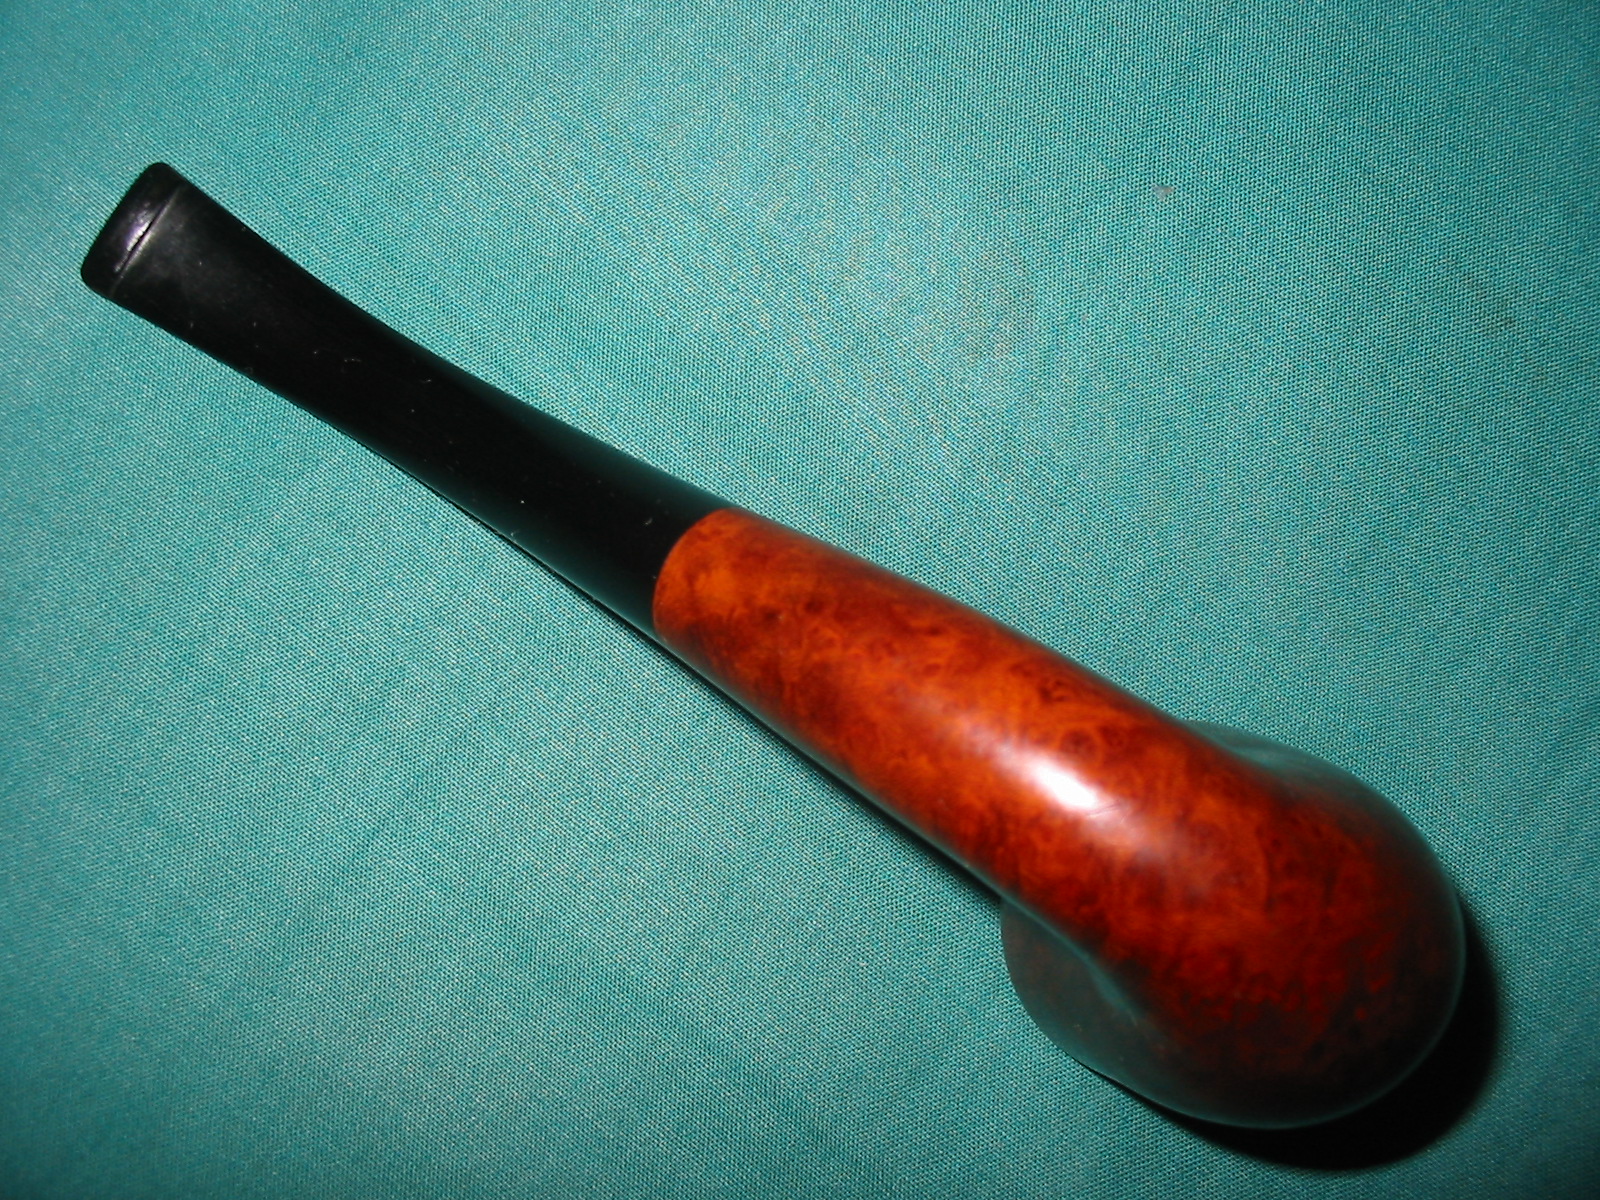
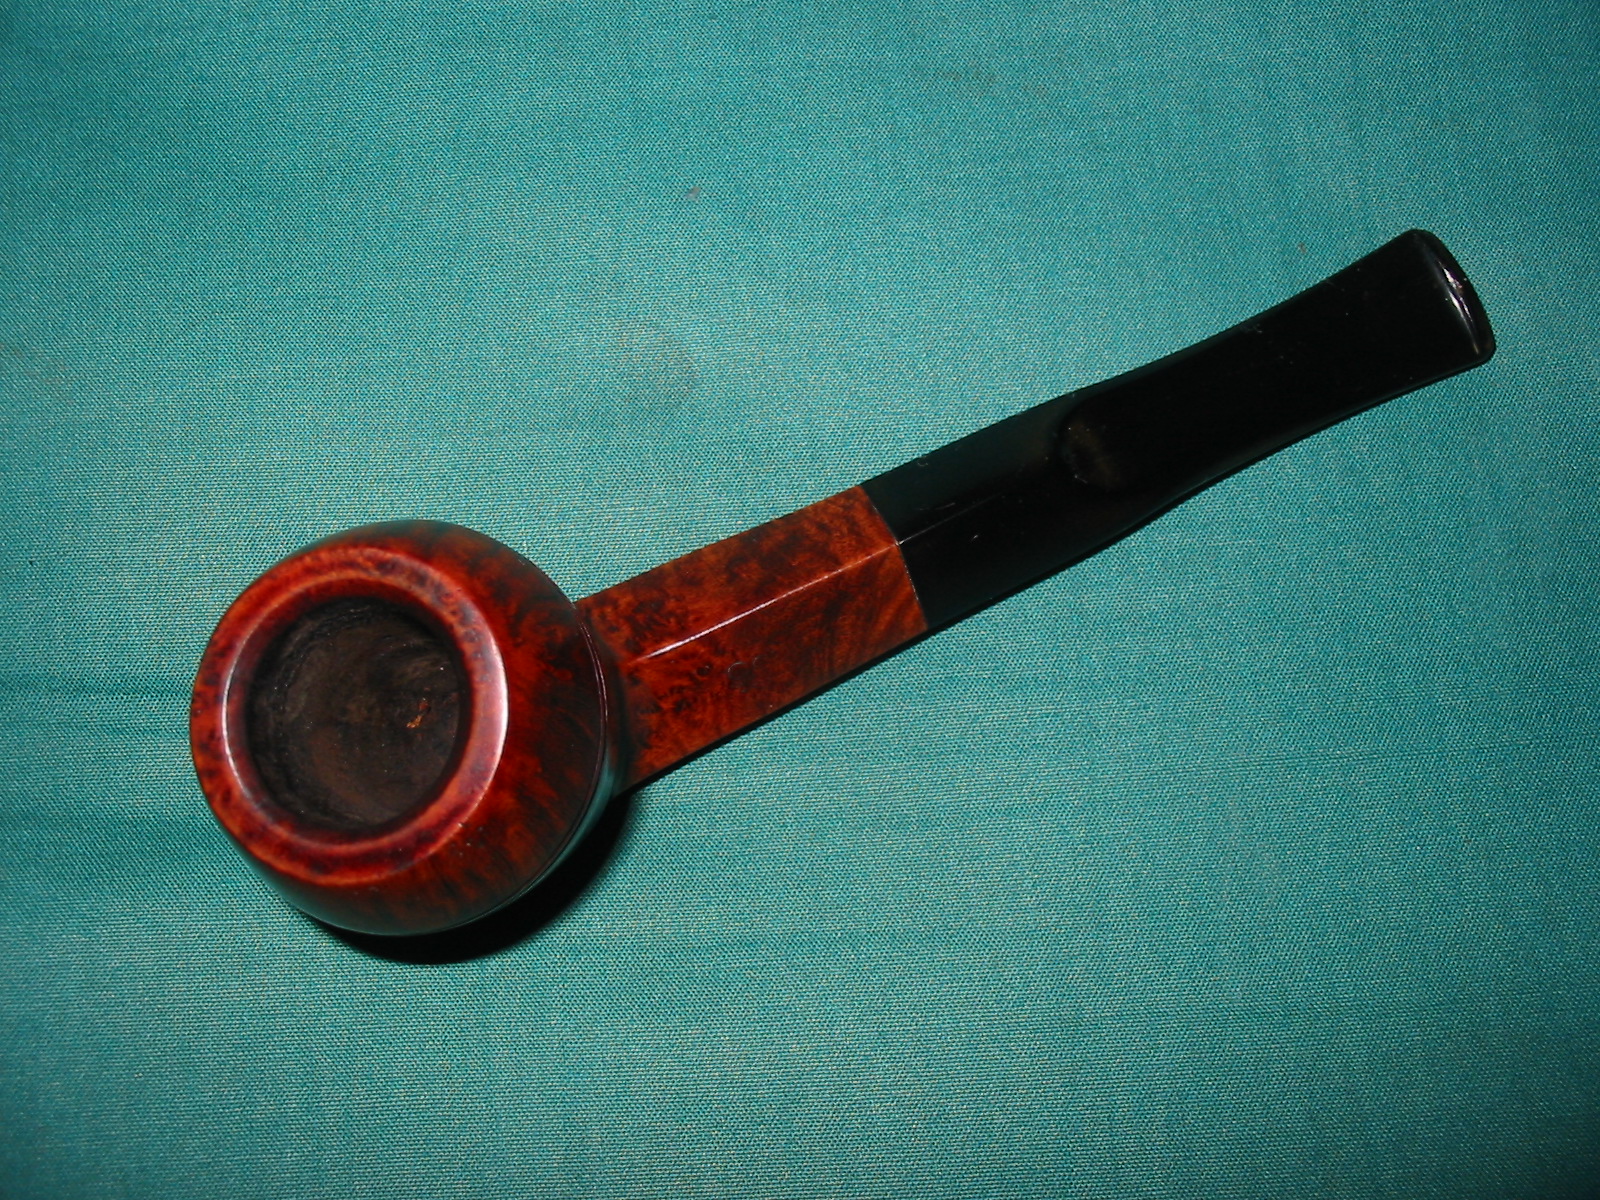
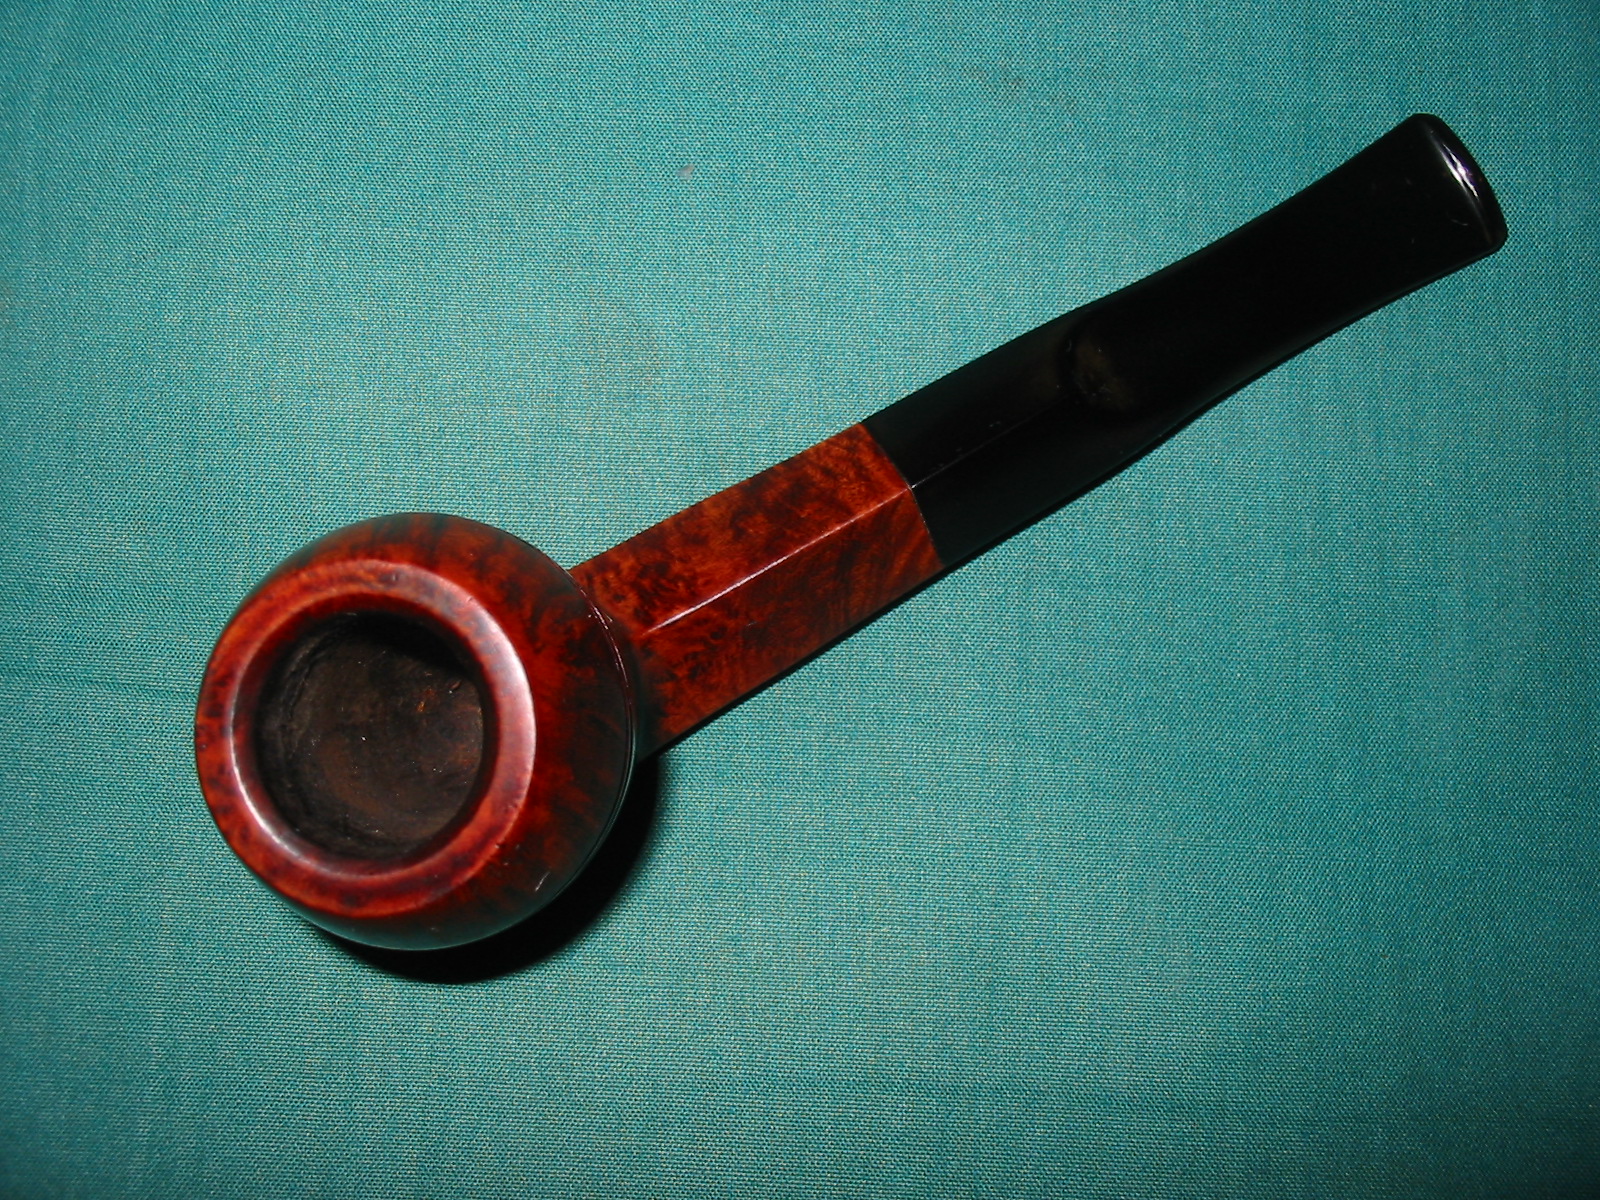
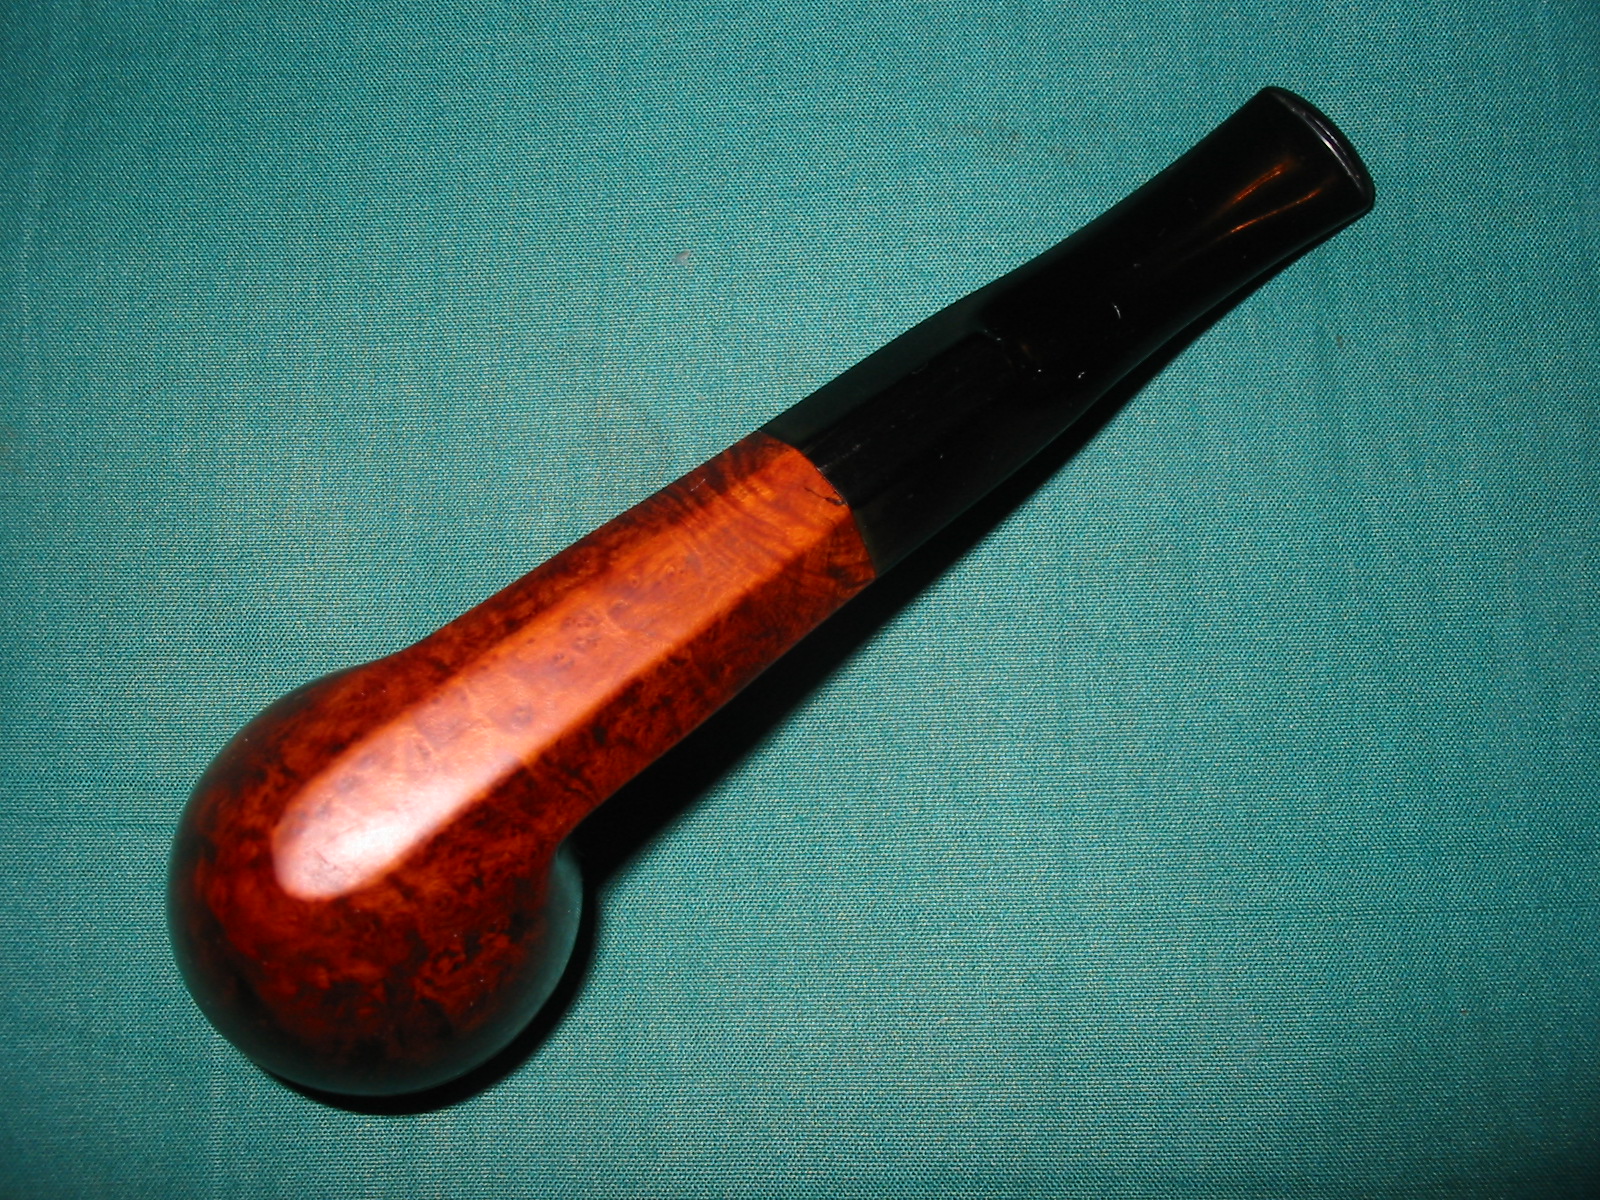
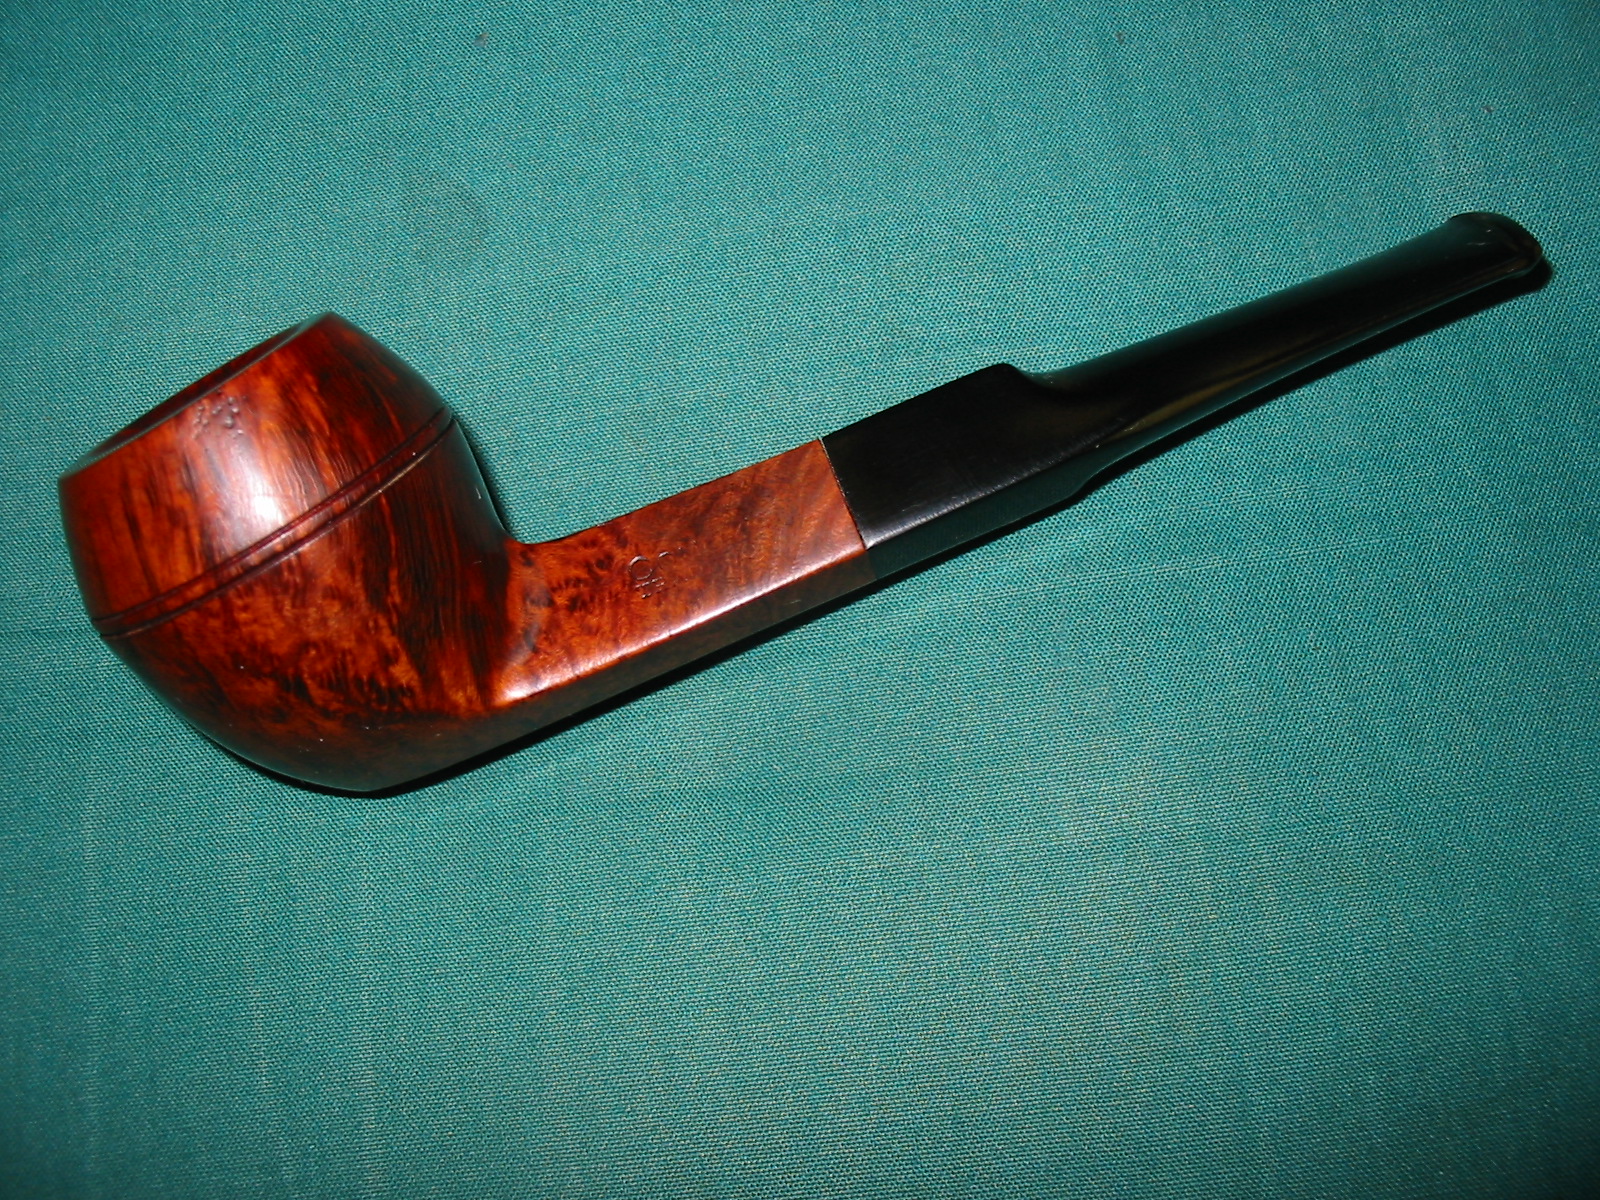
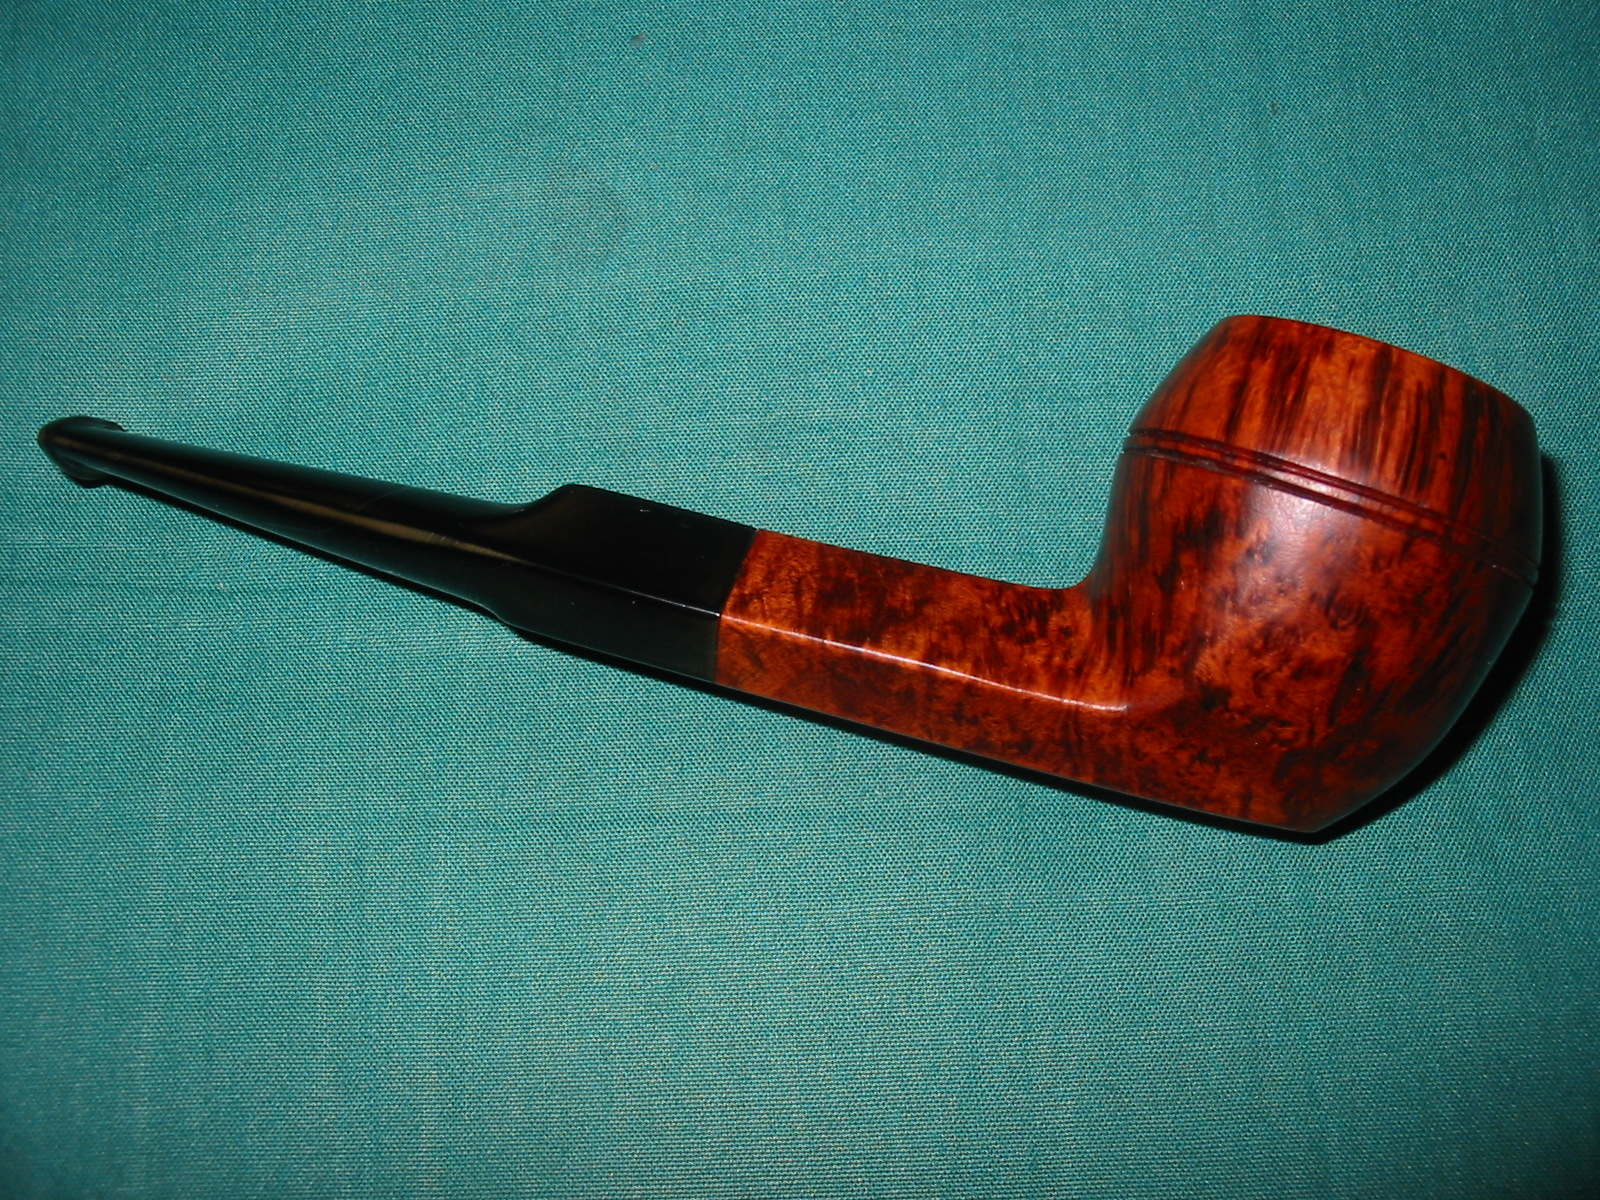
Restoring a Kaywoodie Drinkless Volcano


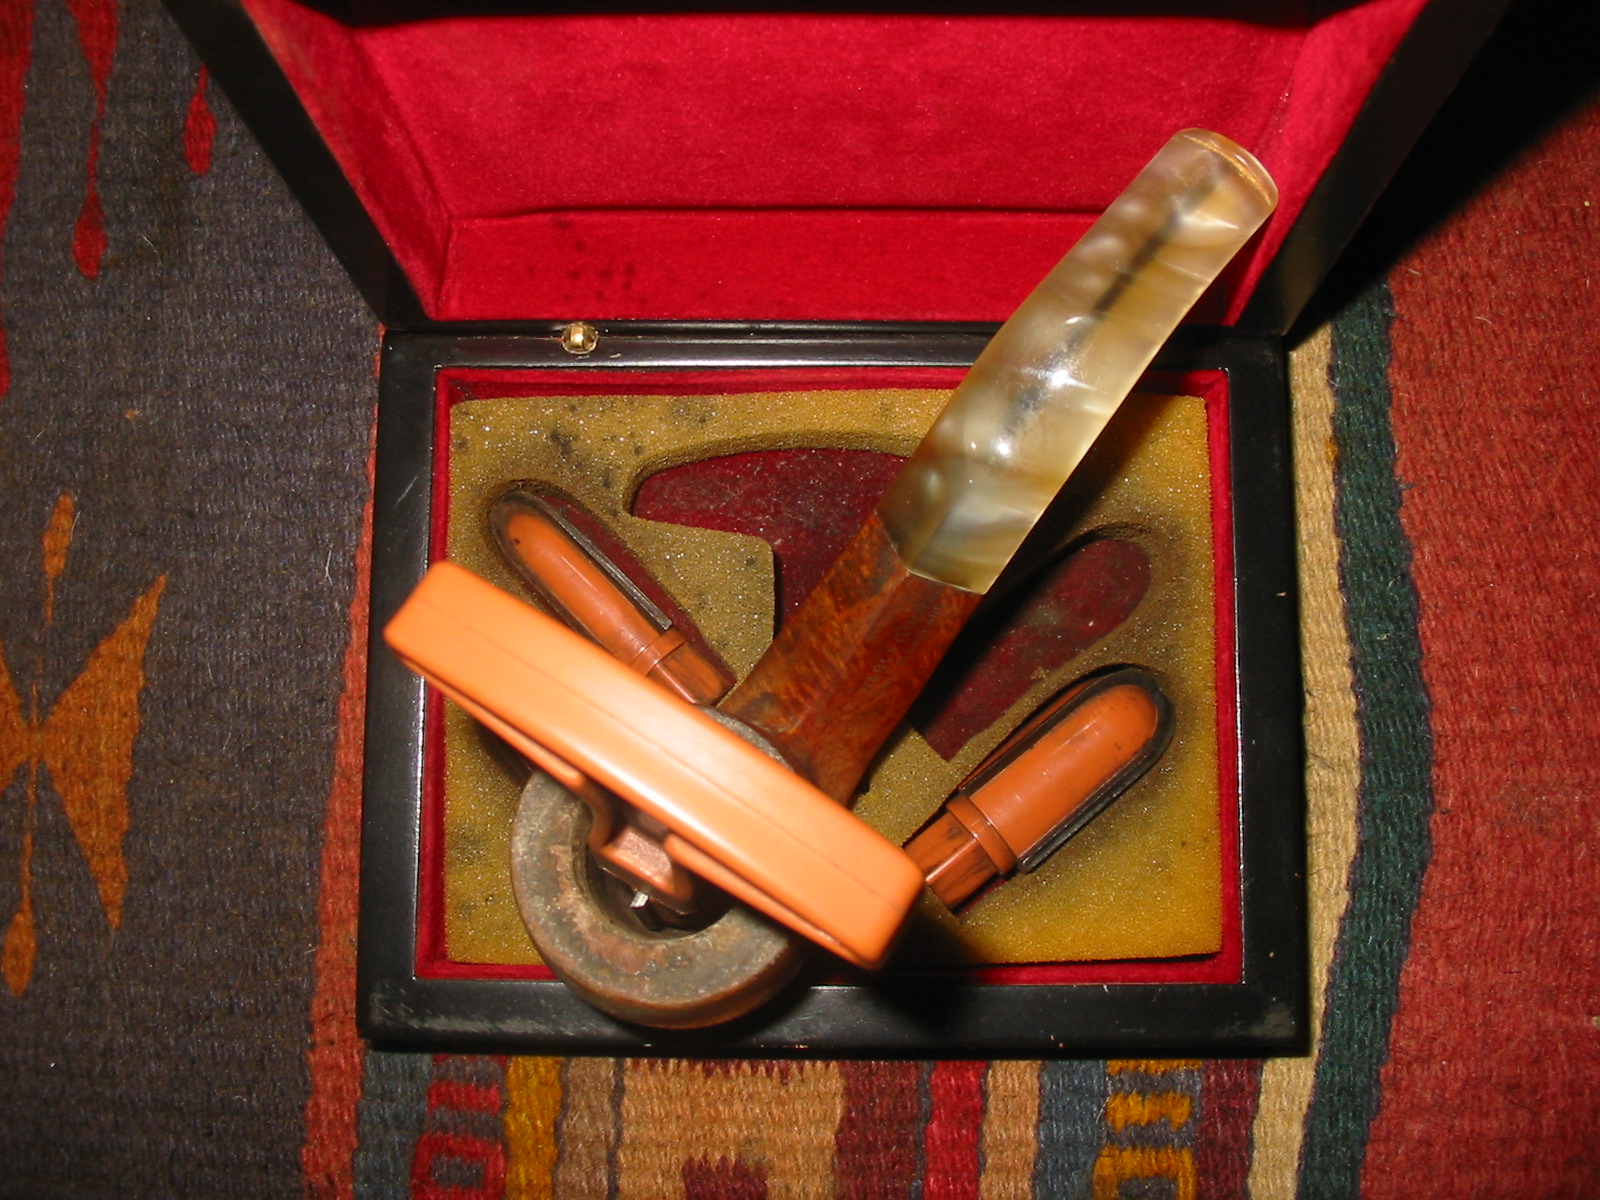
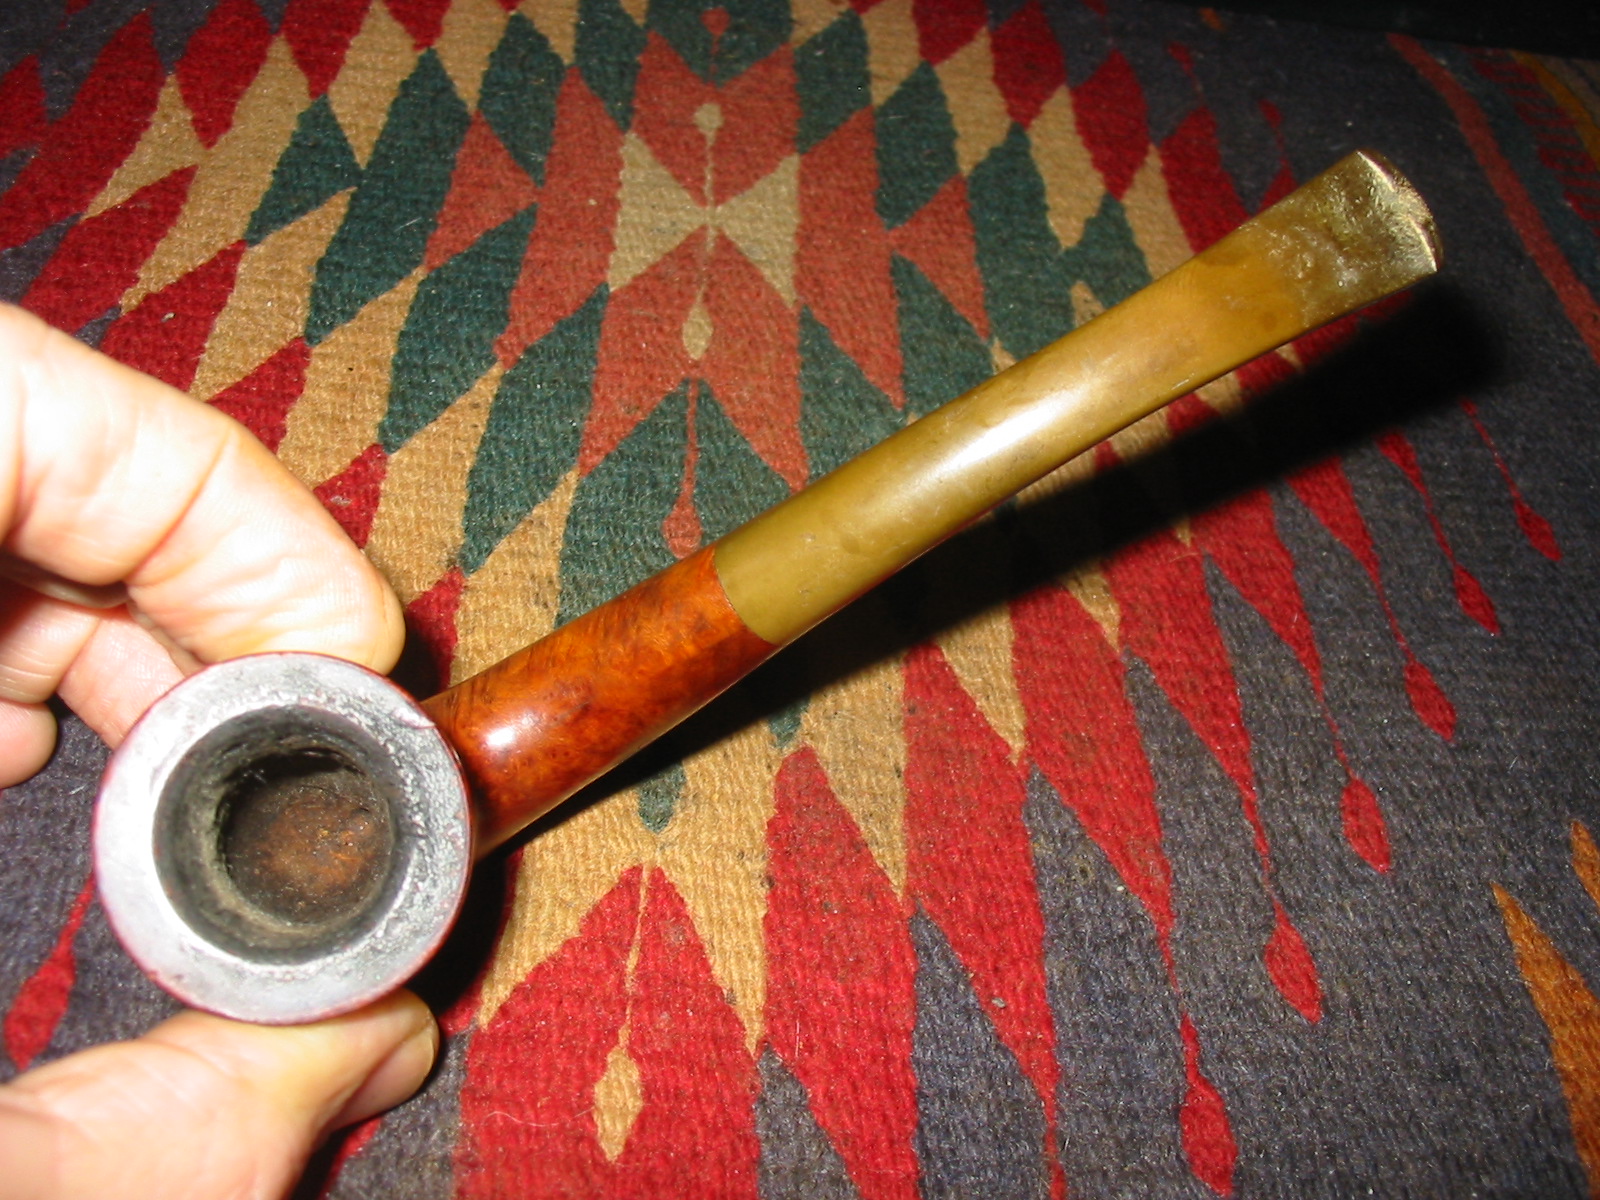
I was gifted this Kaywoodie Drinkless Volcano with a three hole stinger by Andrew, a reader of the blog. He wrote me an email about the pipe as follows:

Steve, I have this Kaywoodie Volcano shape with a 3 hole stinger, so probably 70’s or newer. It was burned out when I got it. I ended up slopping some fireplace cement in the bottom of it trying to fix it but it didn’t come out well as I was trying to form it with a pipe tool and it is rough. The stem is over turned as well. I figure this might “challenge” you as far as trying to bring it back to life somehow. Is this is something you might be interested in trying to some how to fix? — Andrew

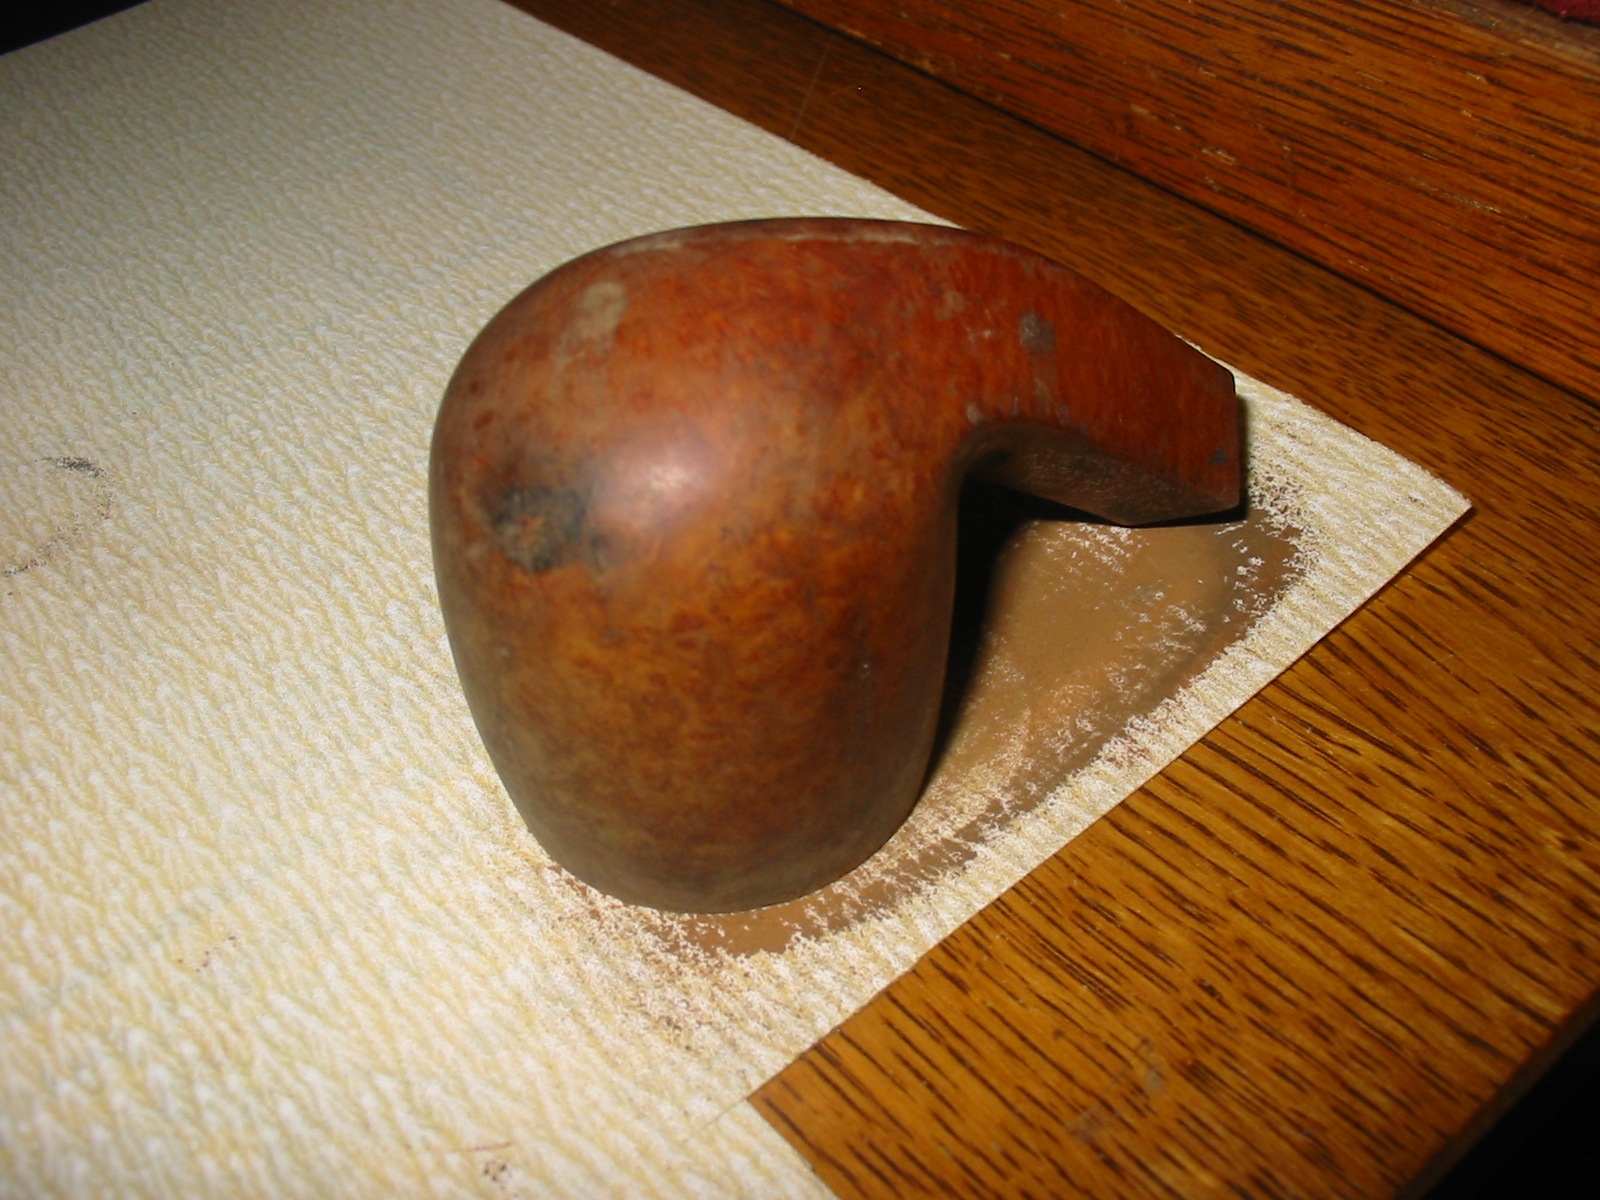
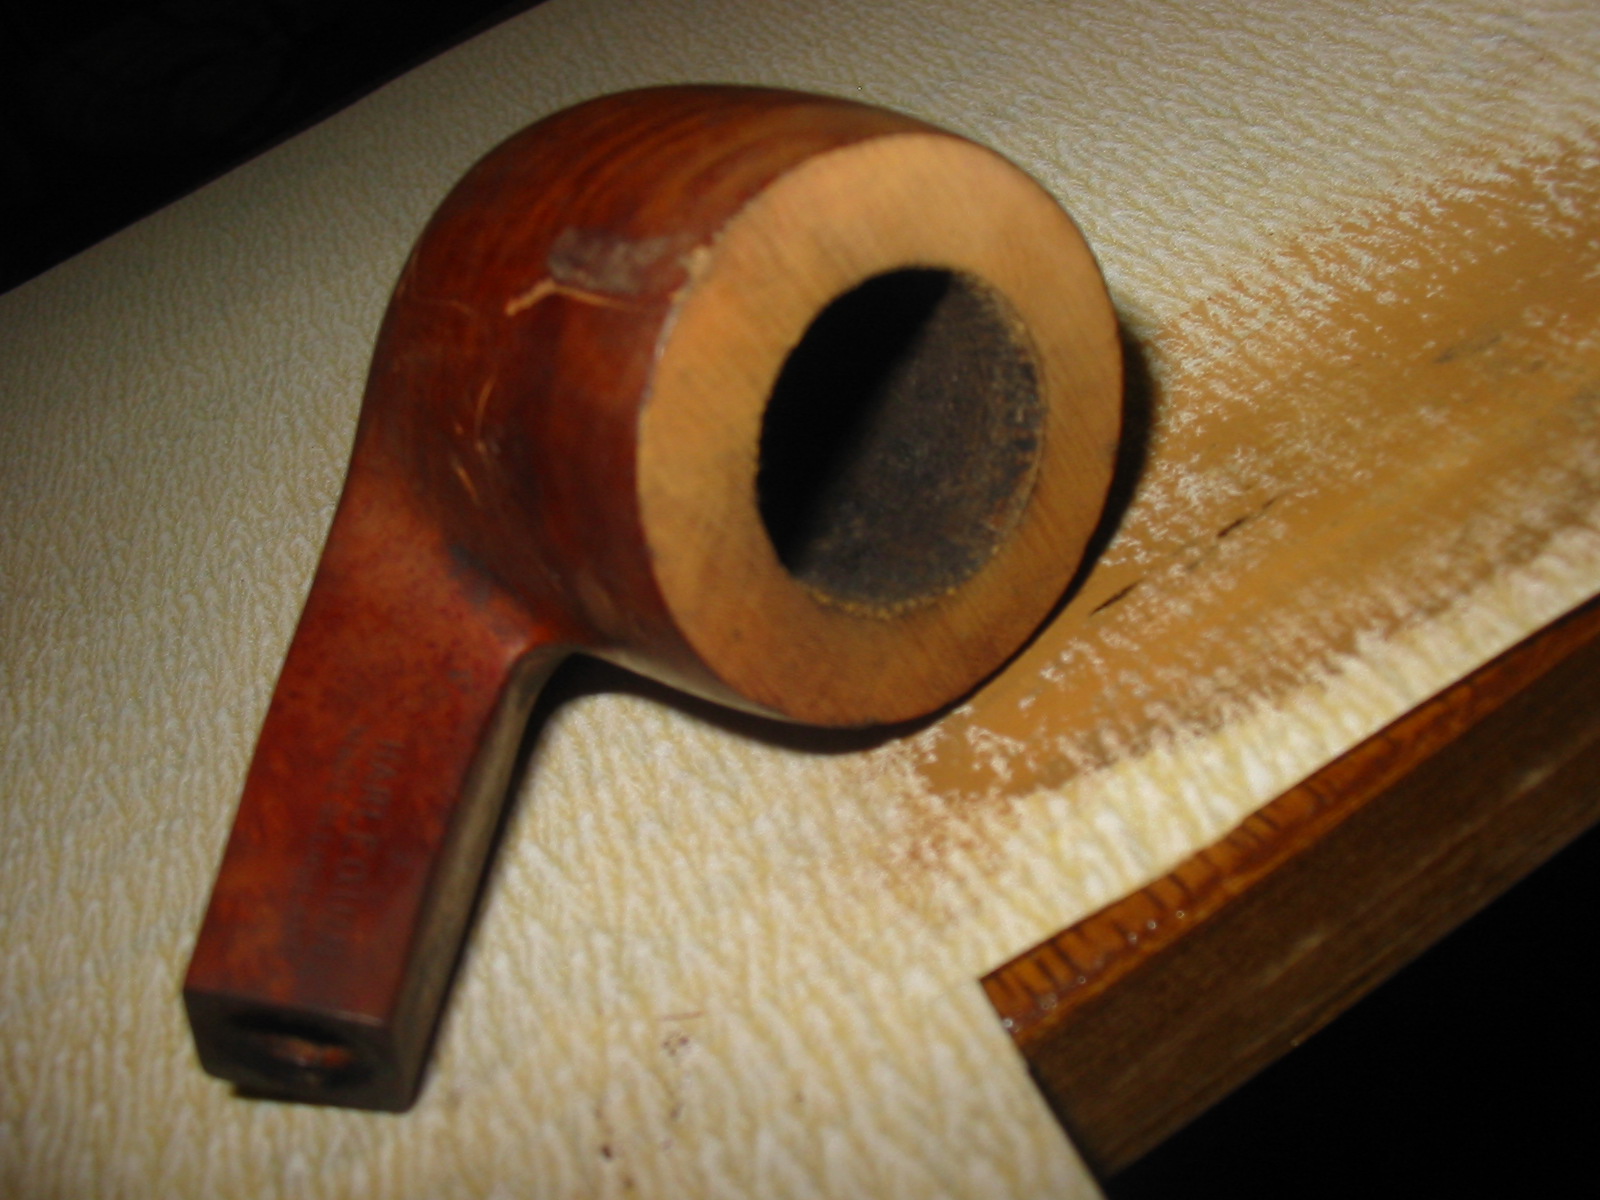
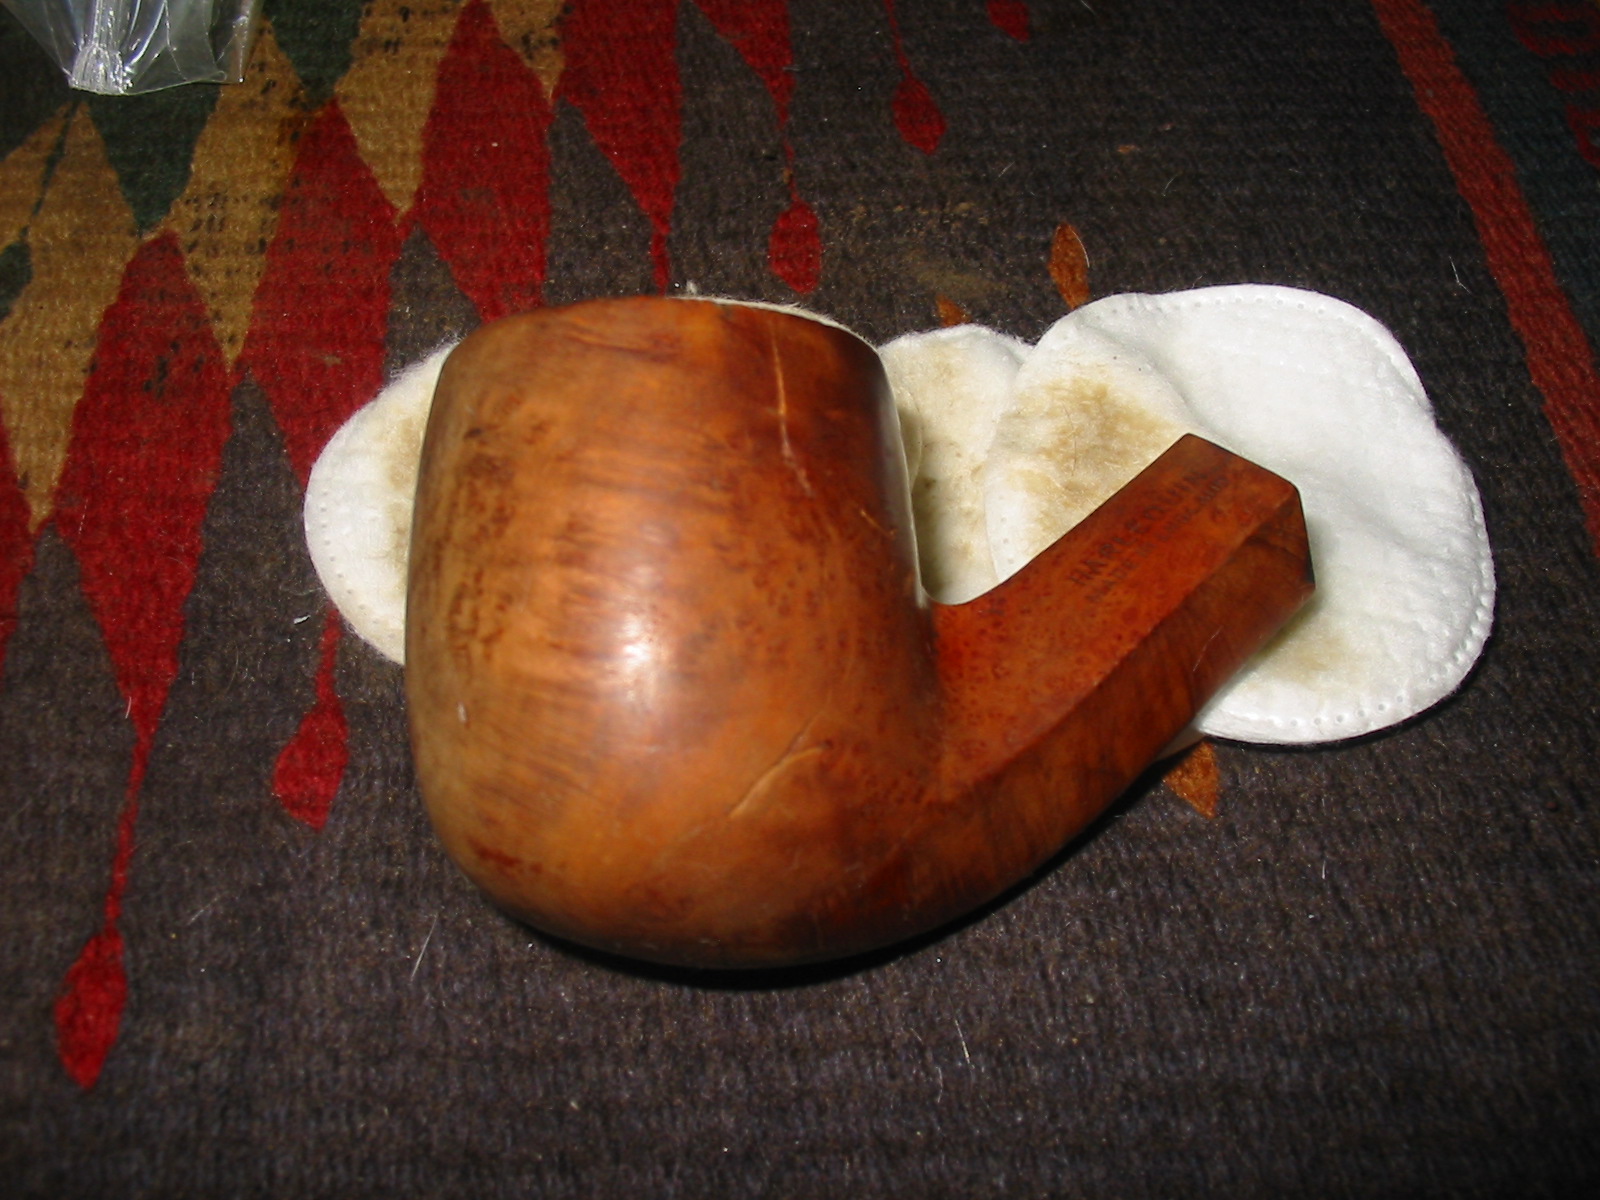
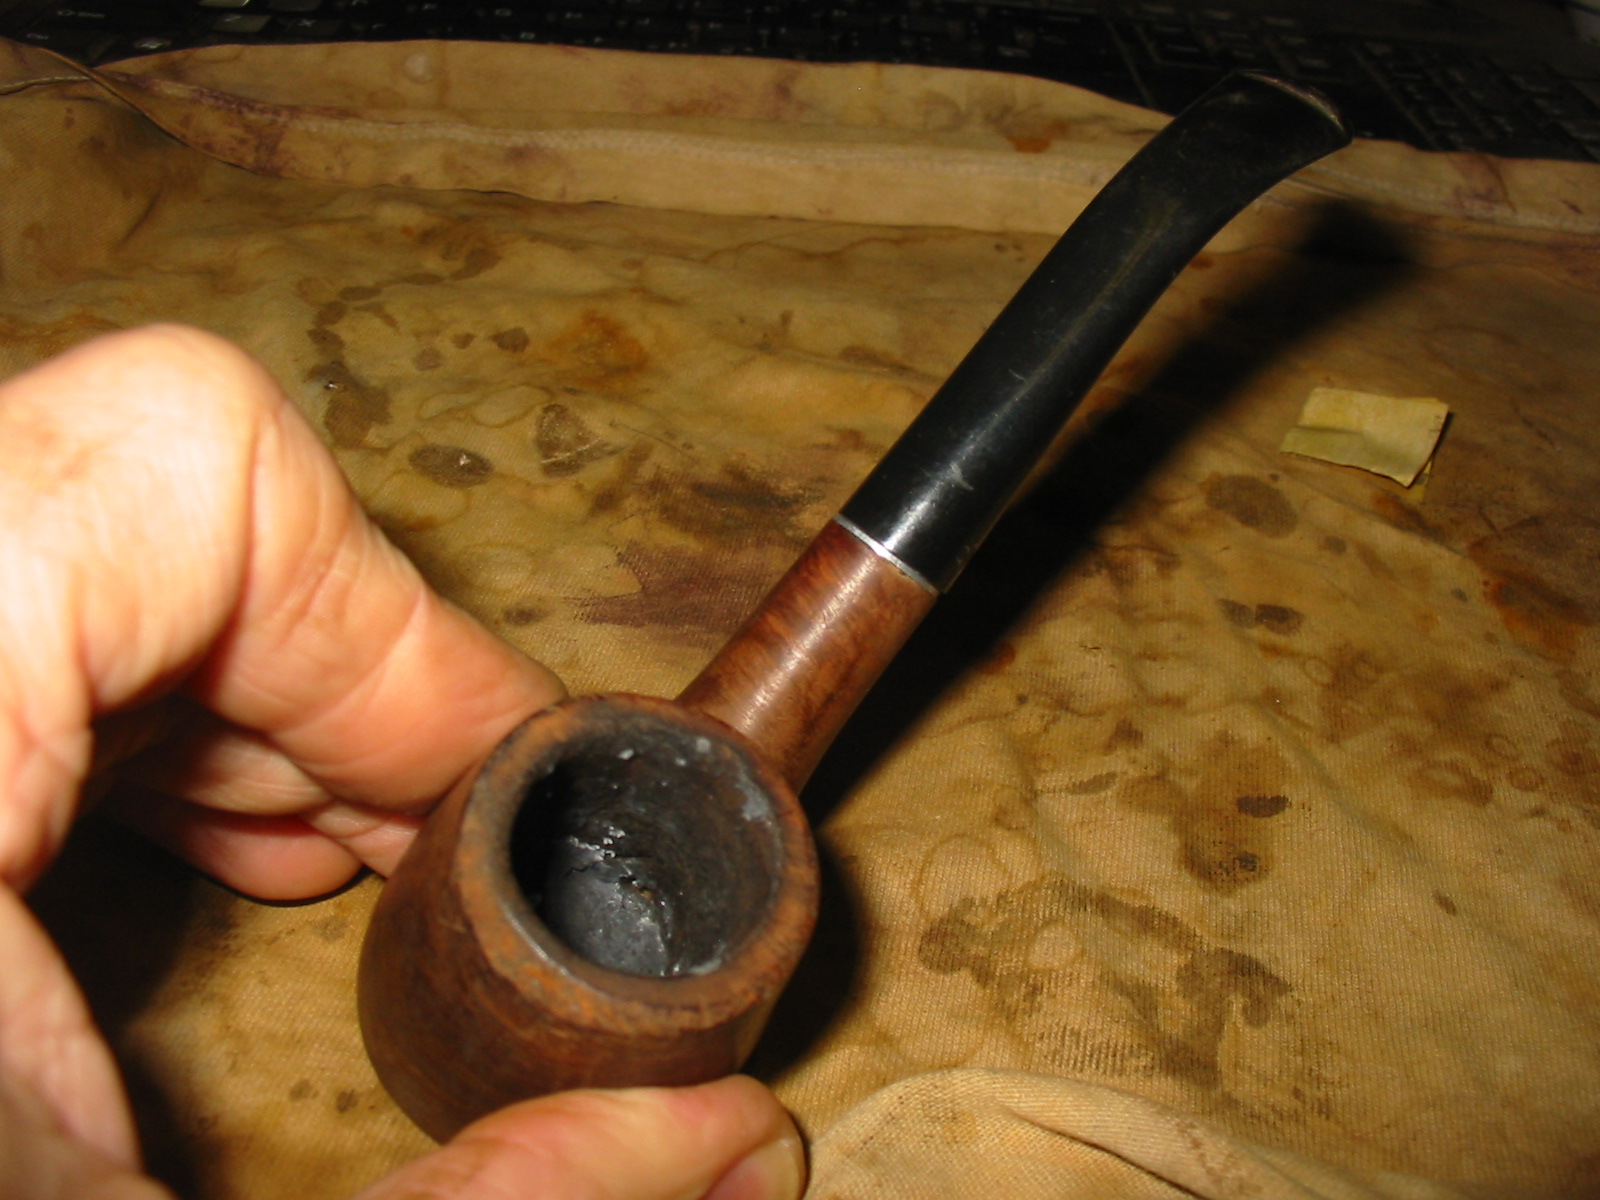
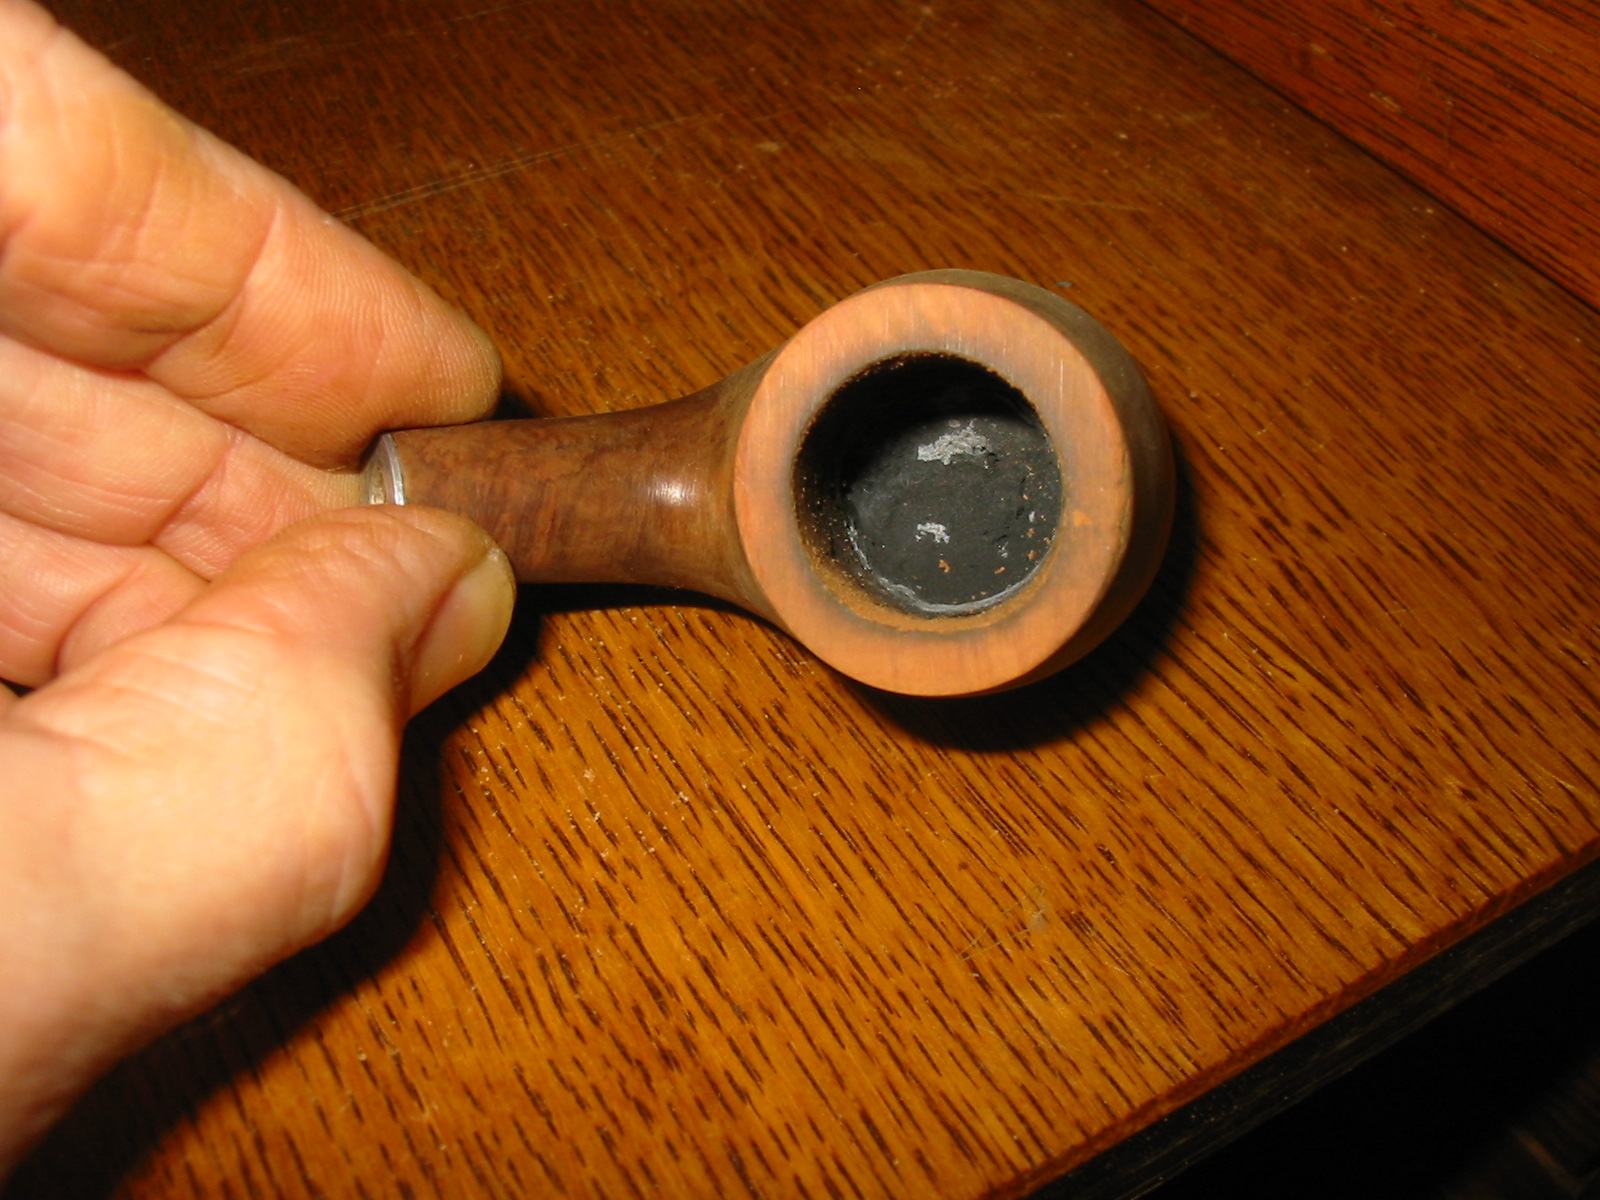
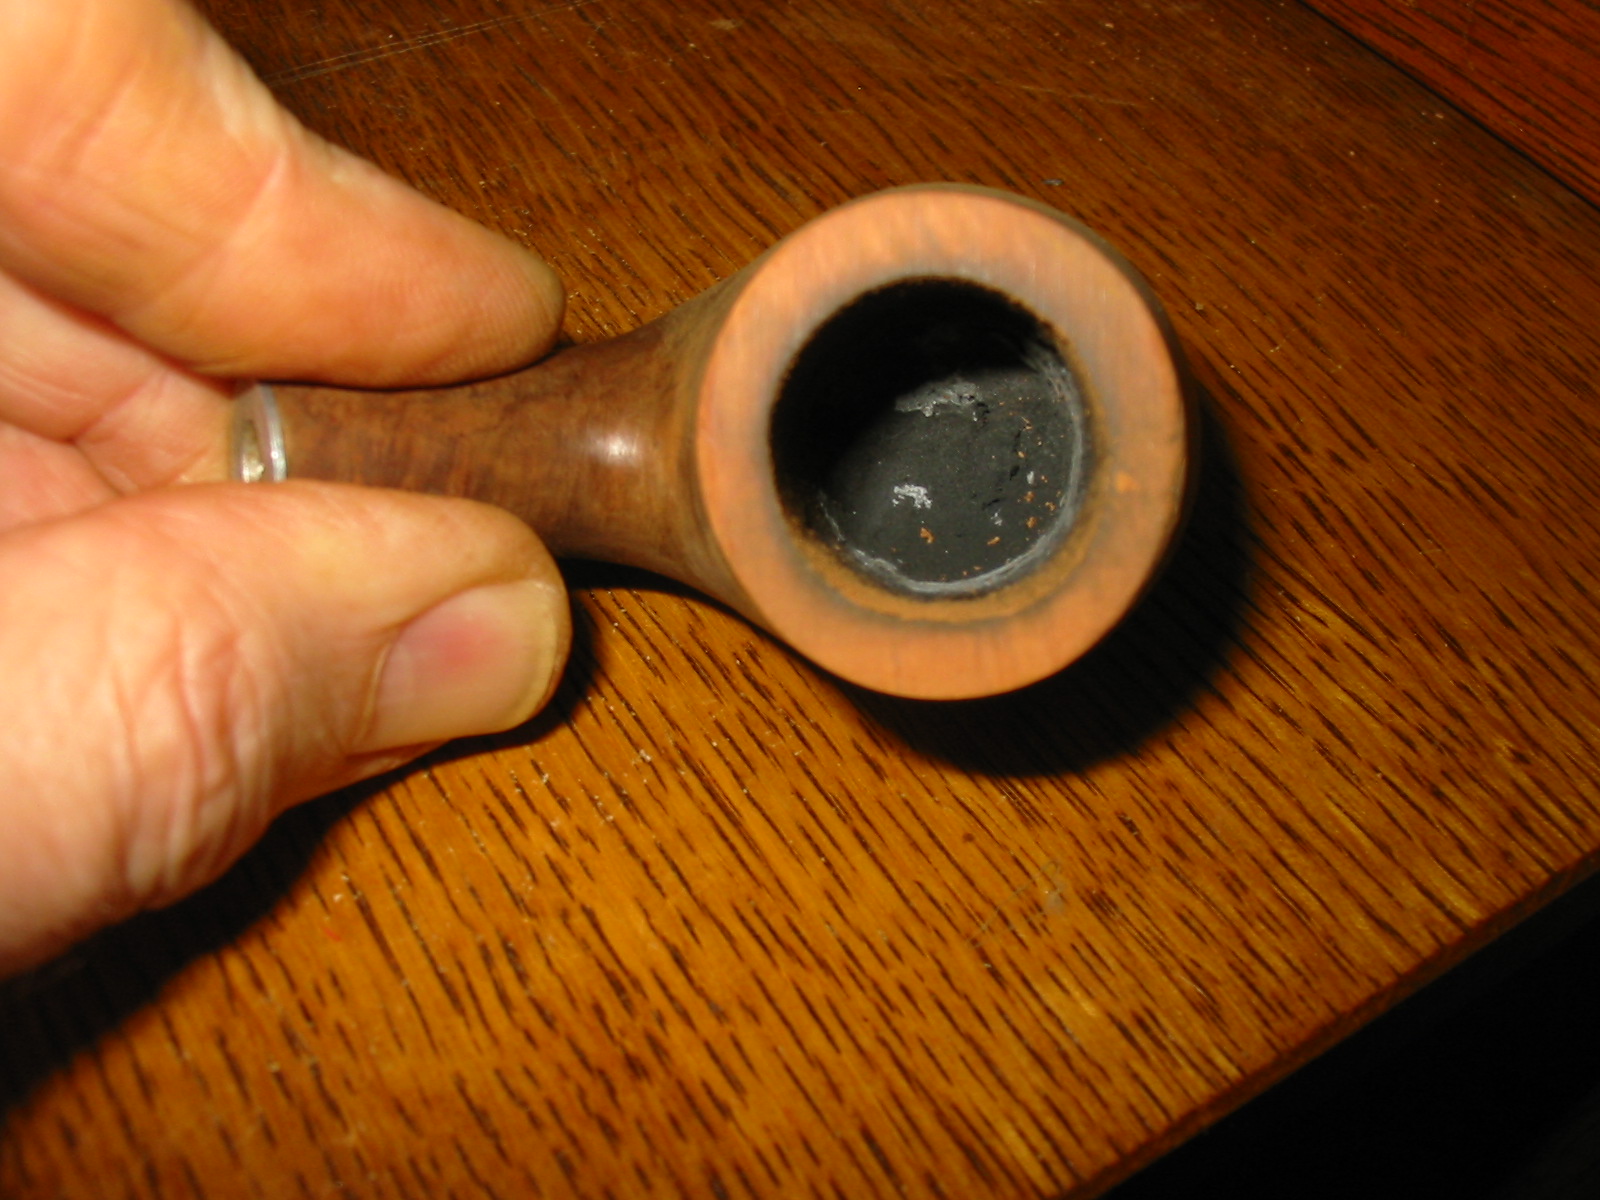
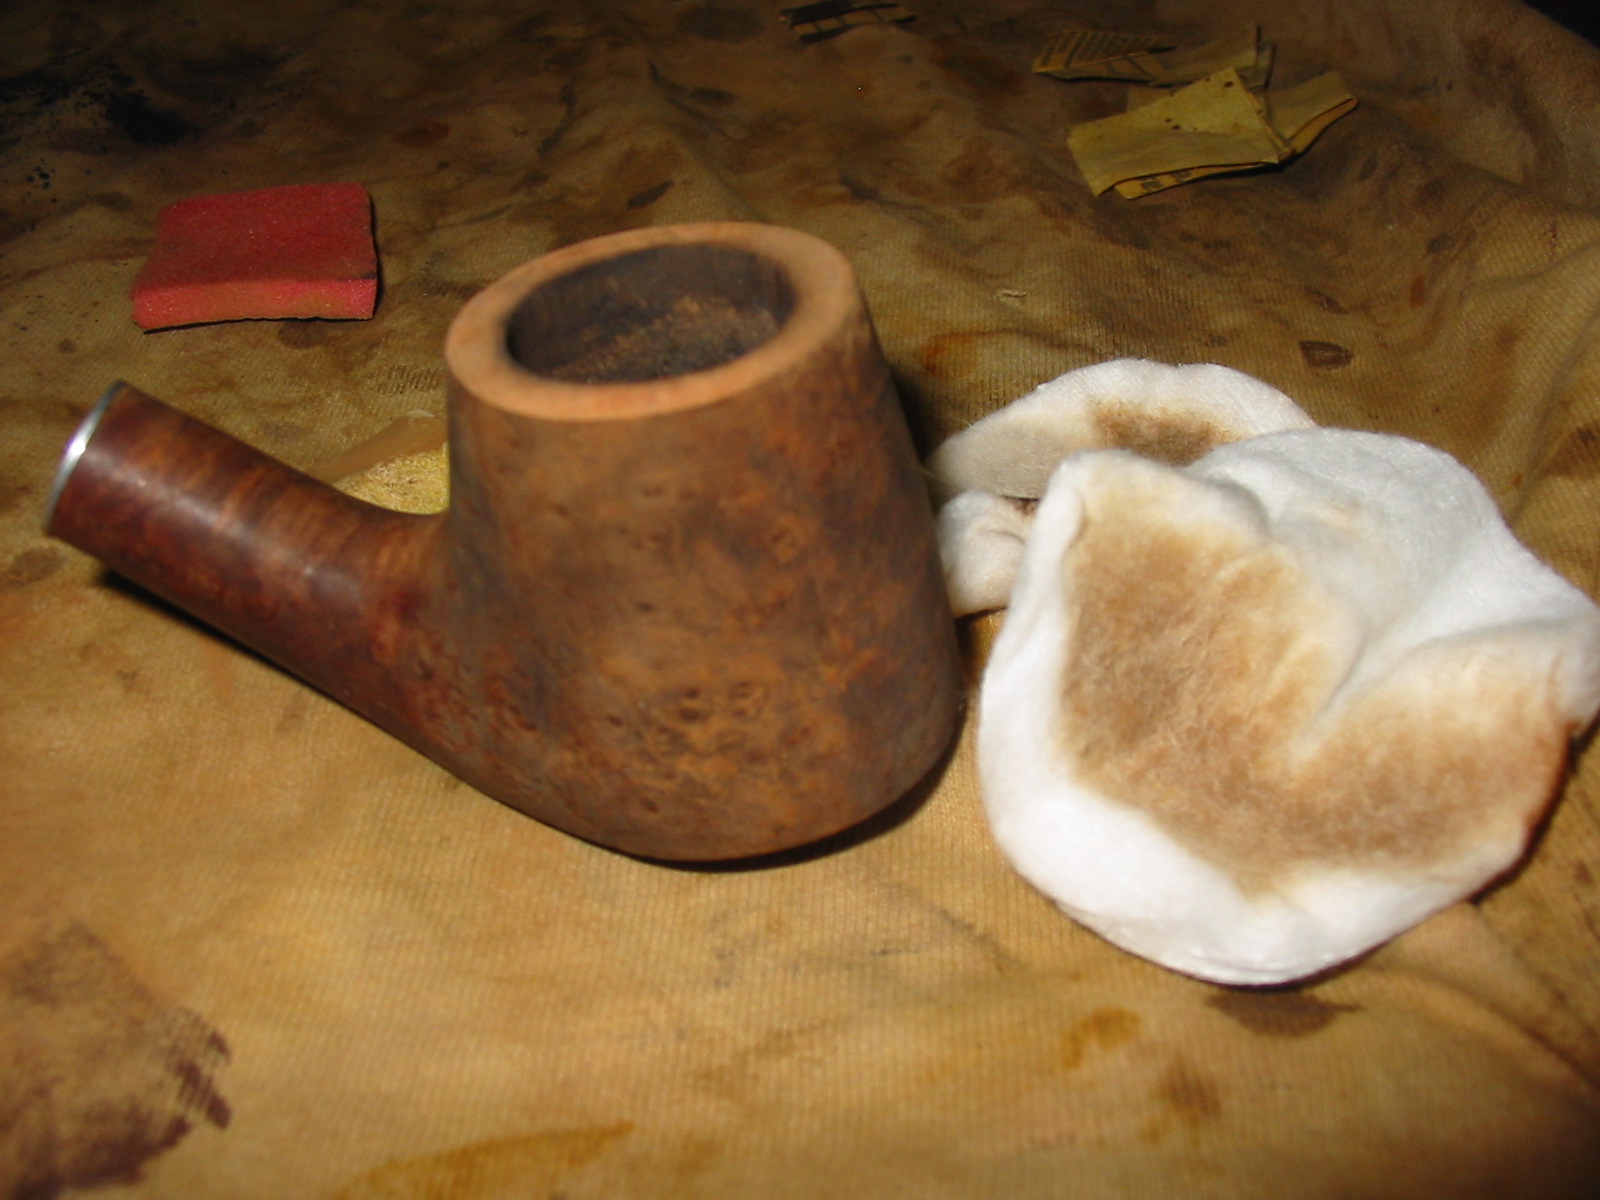
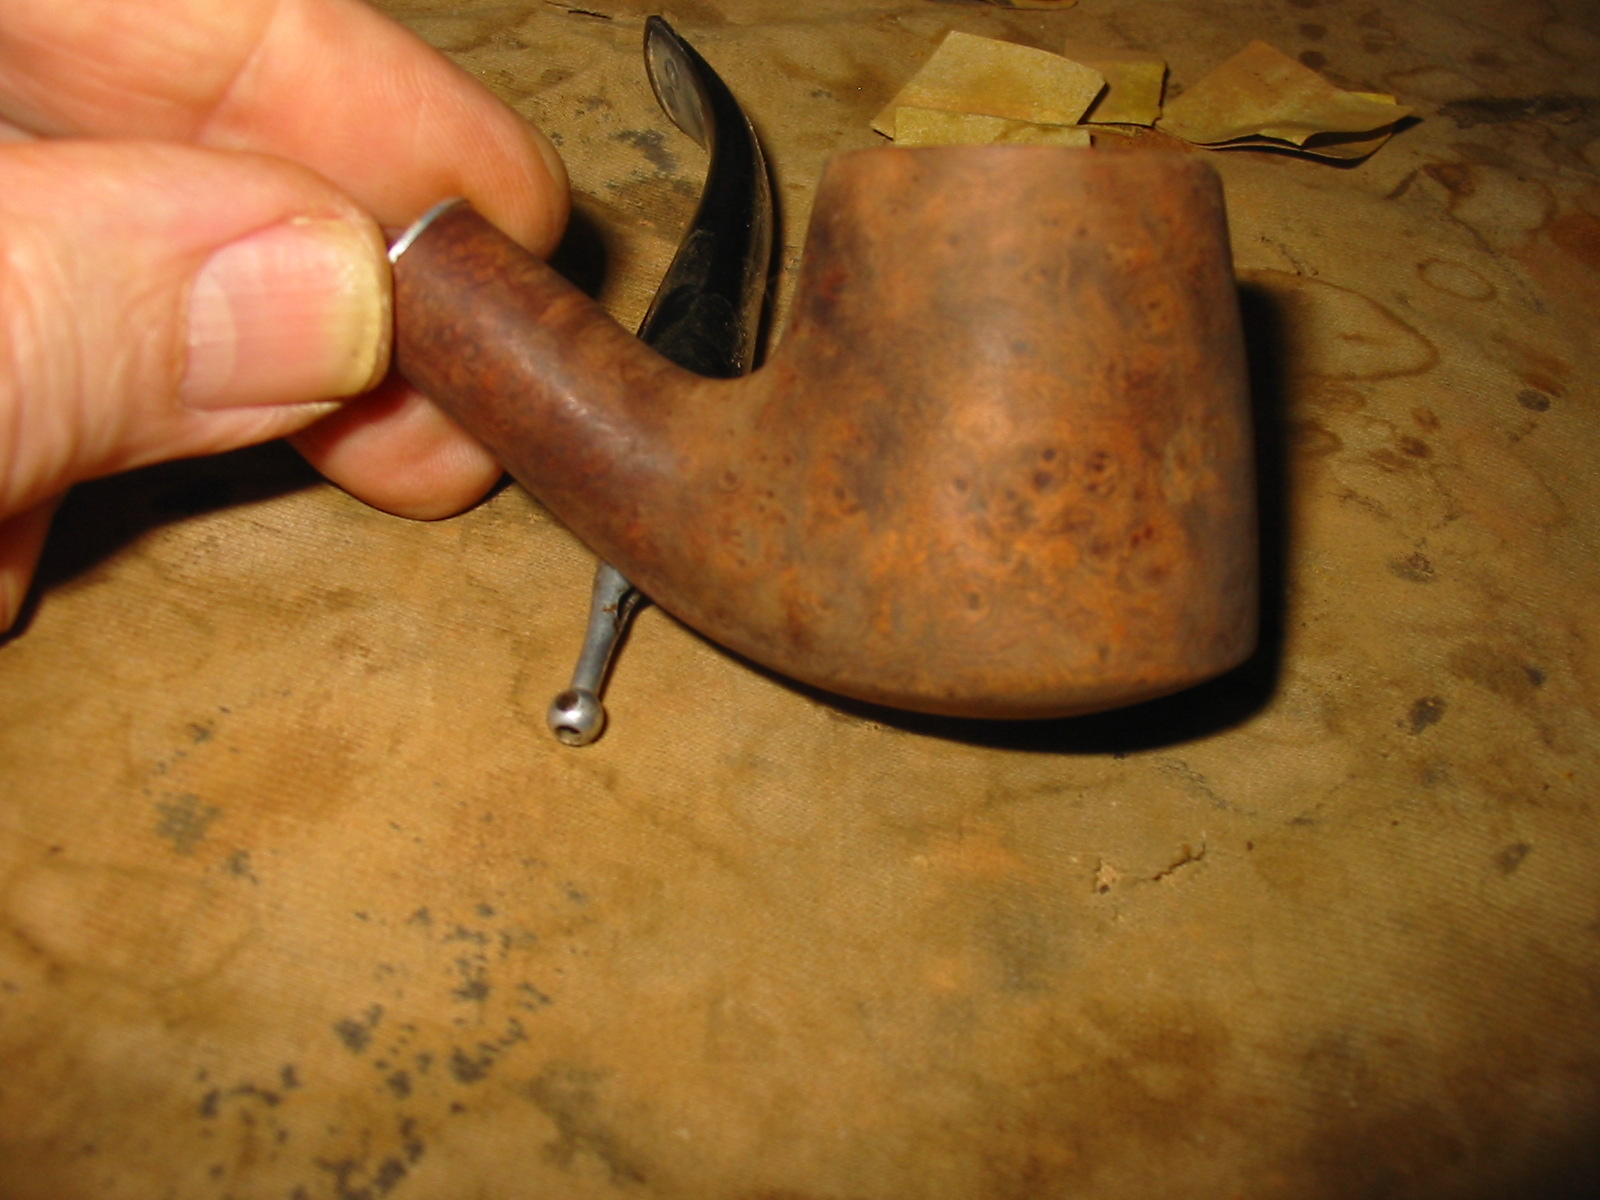
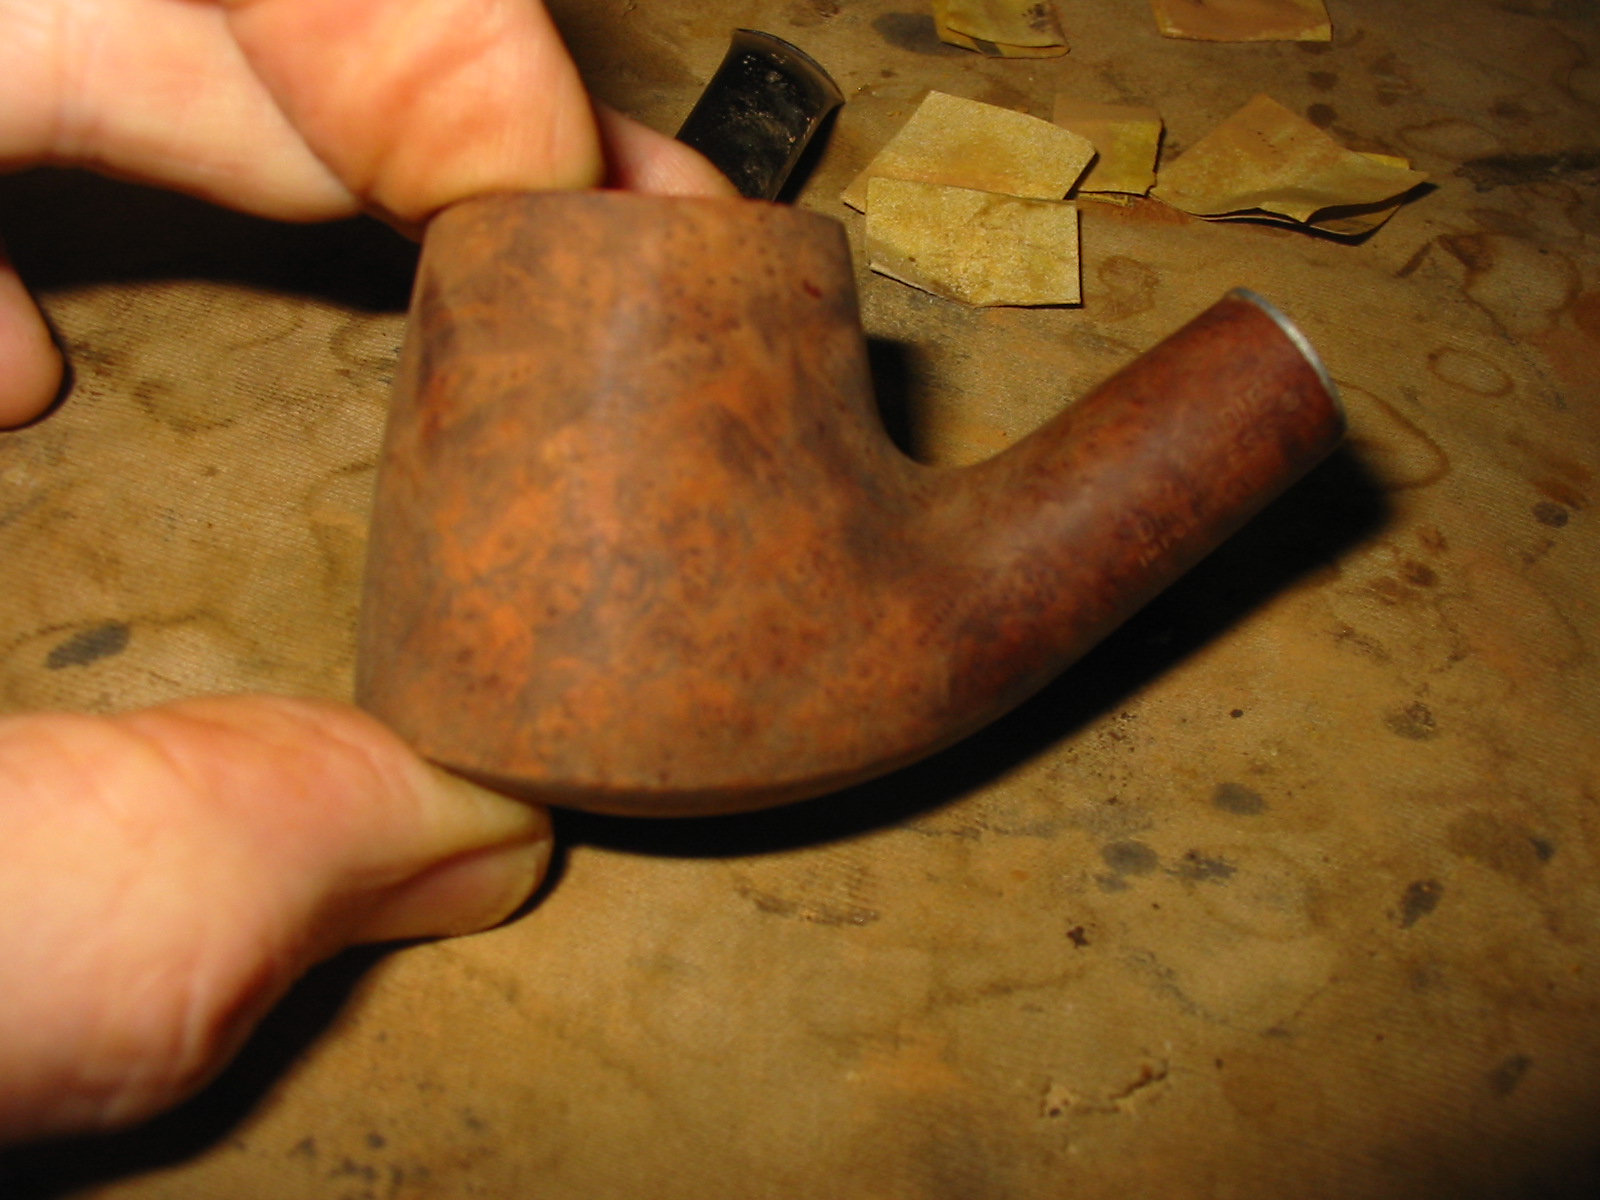
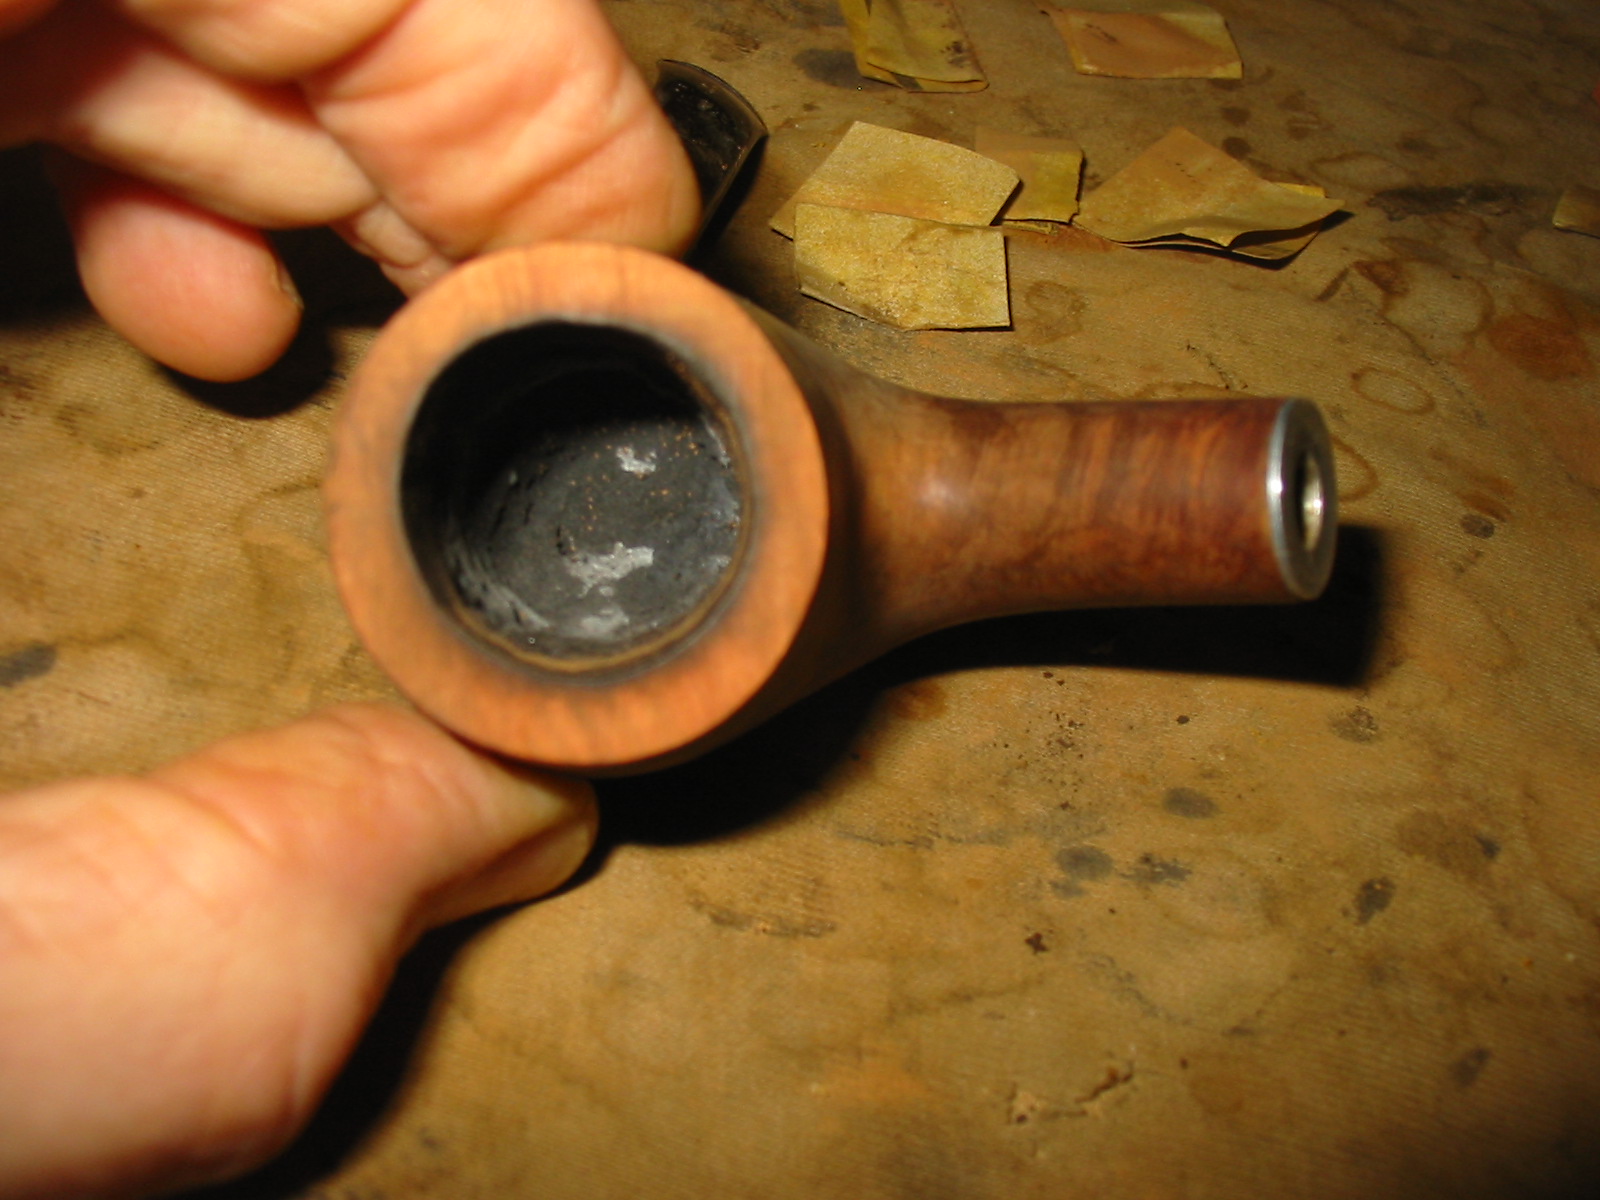
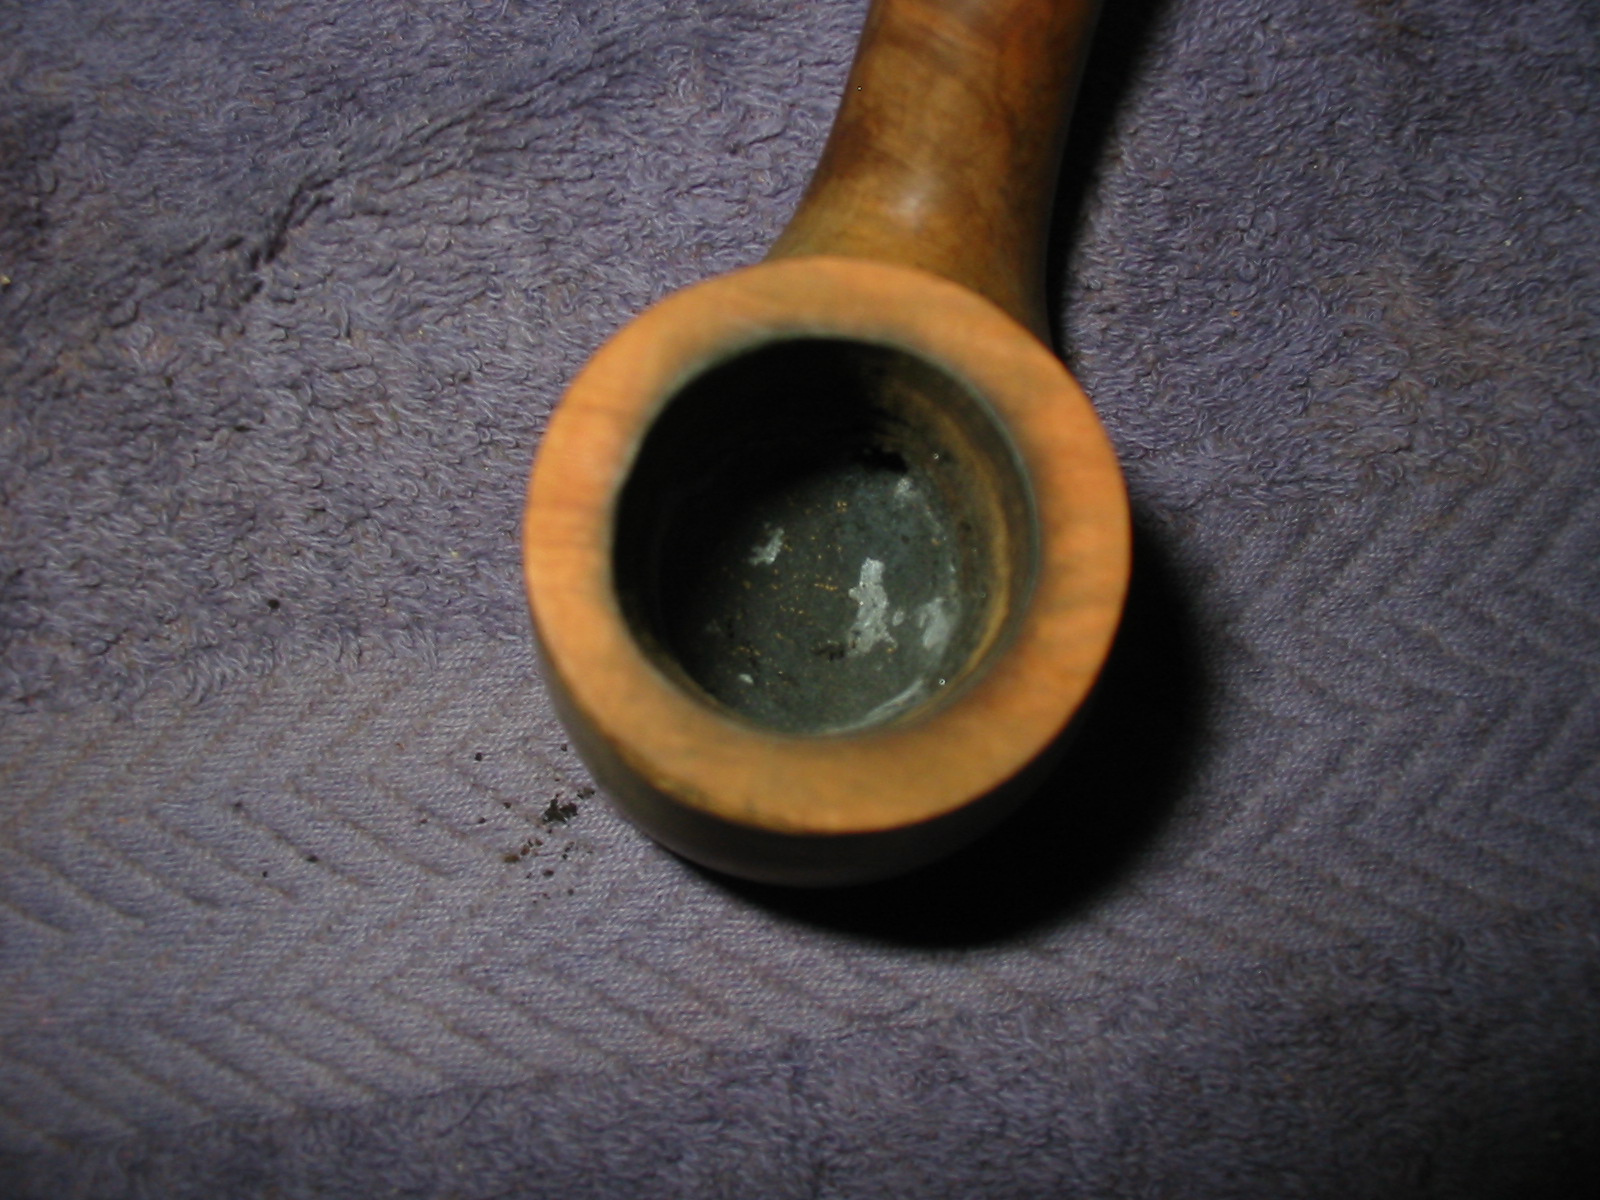
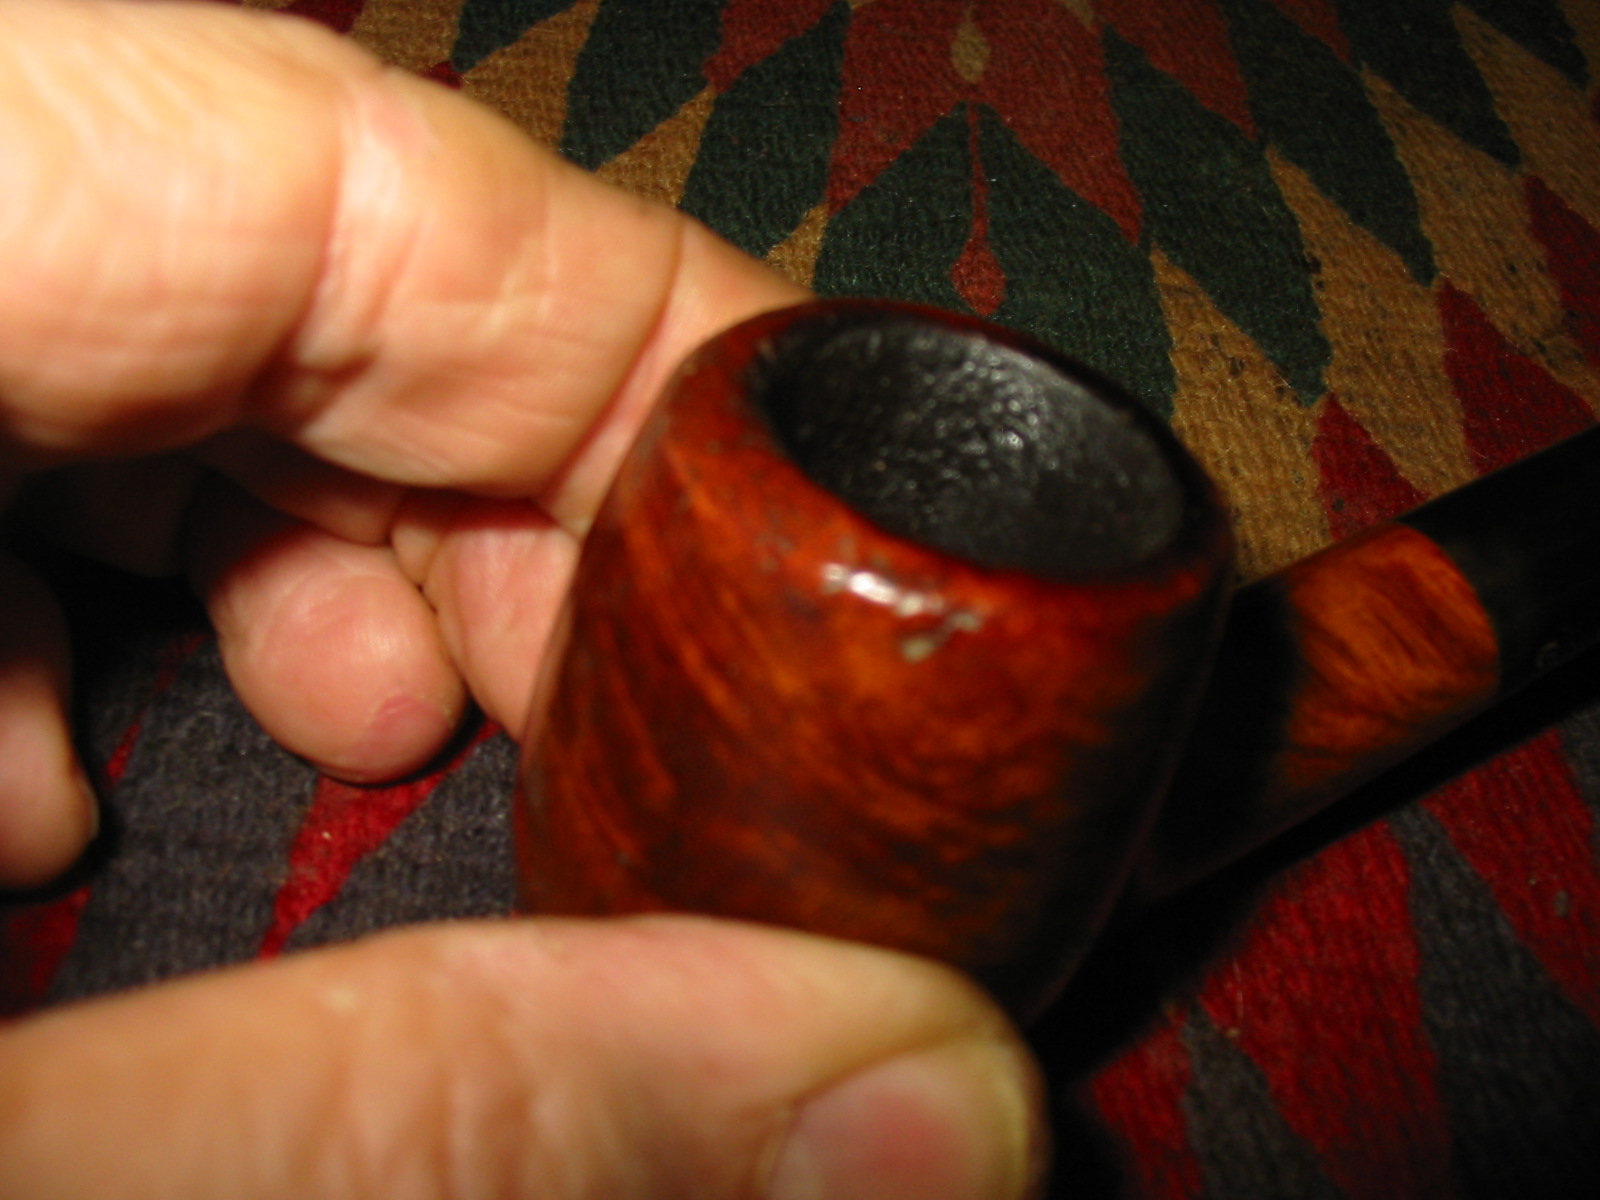
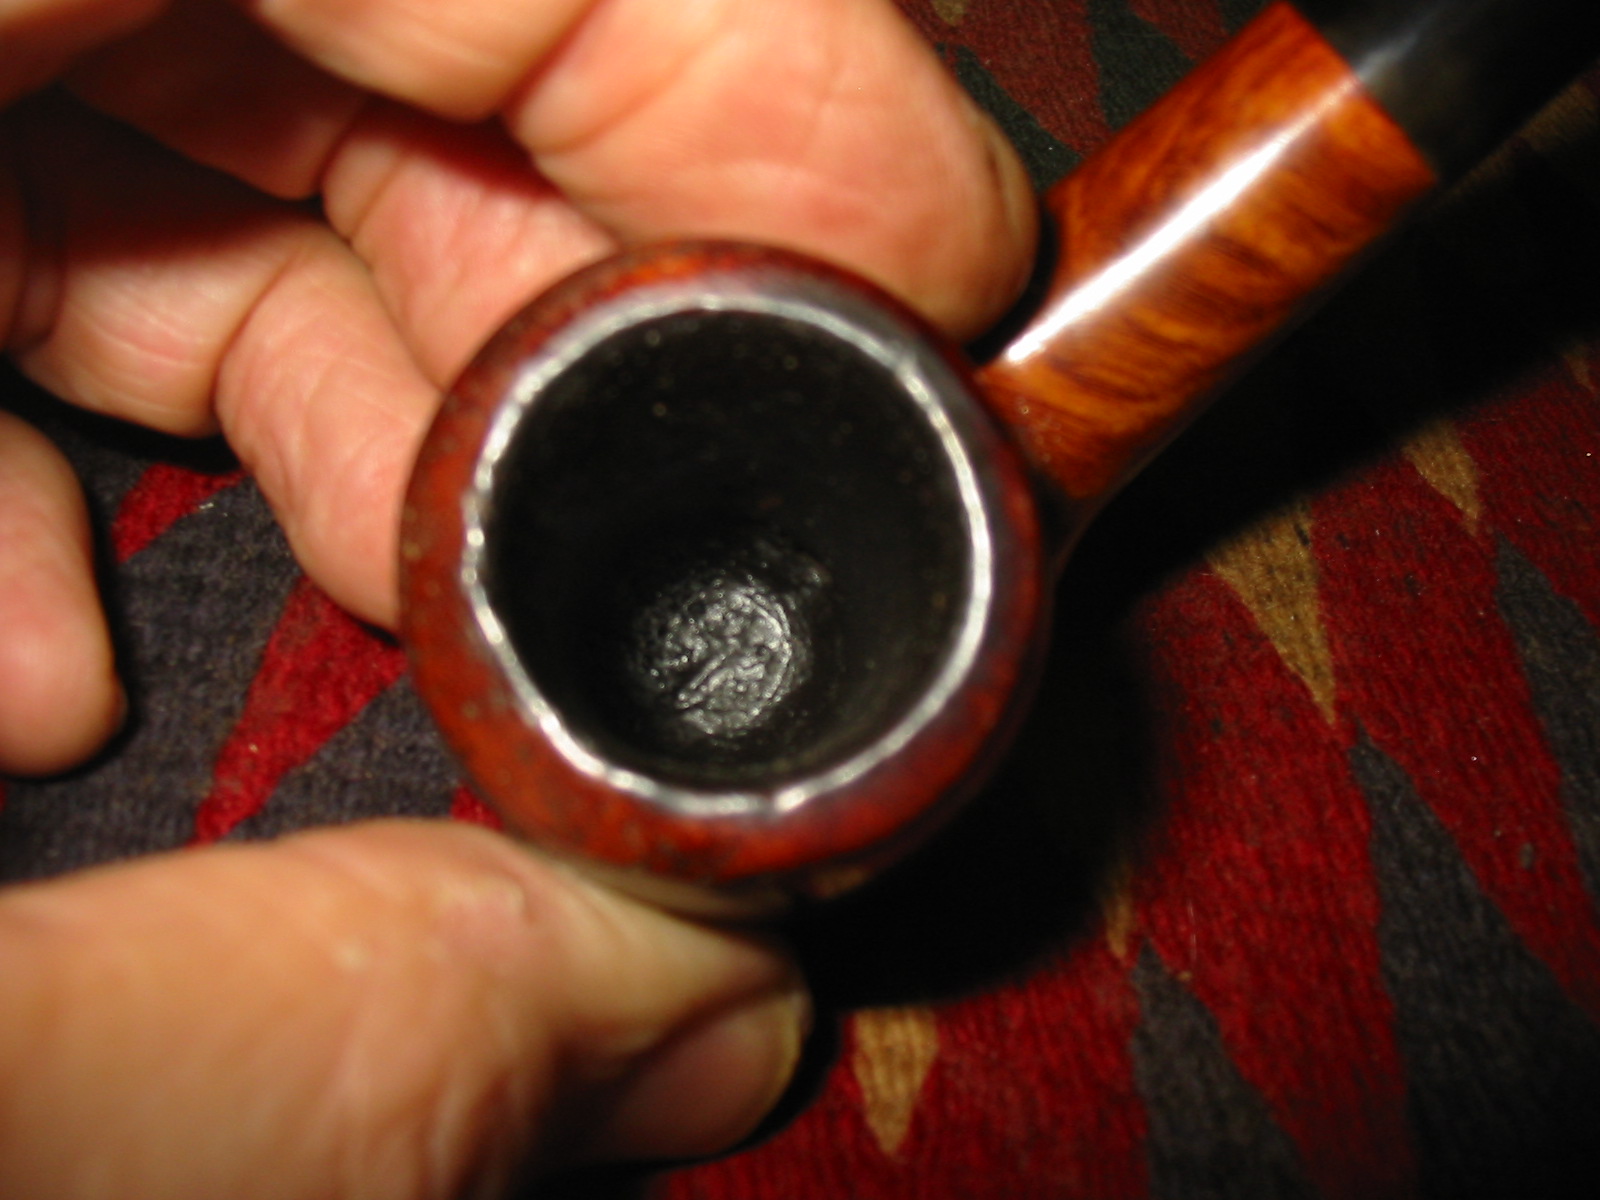
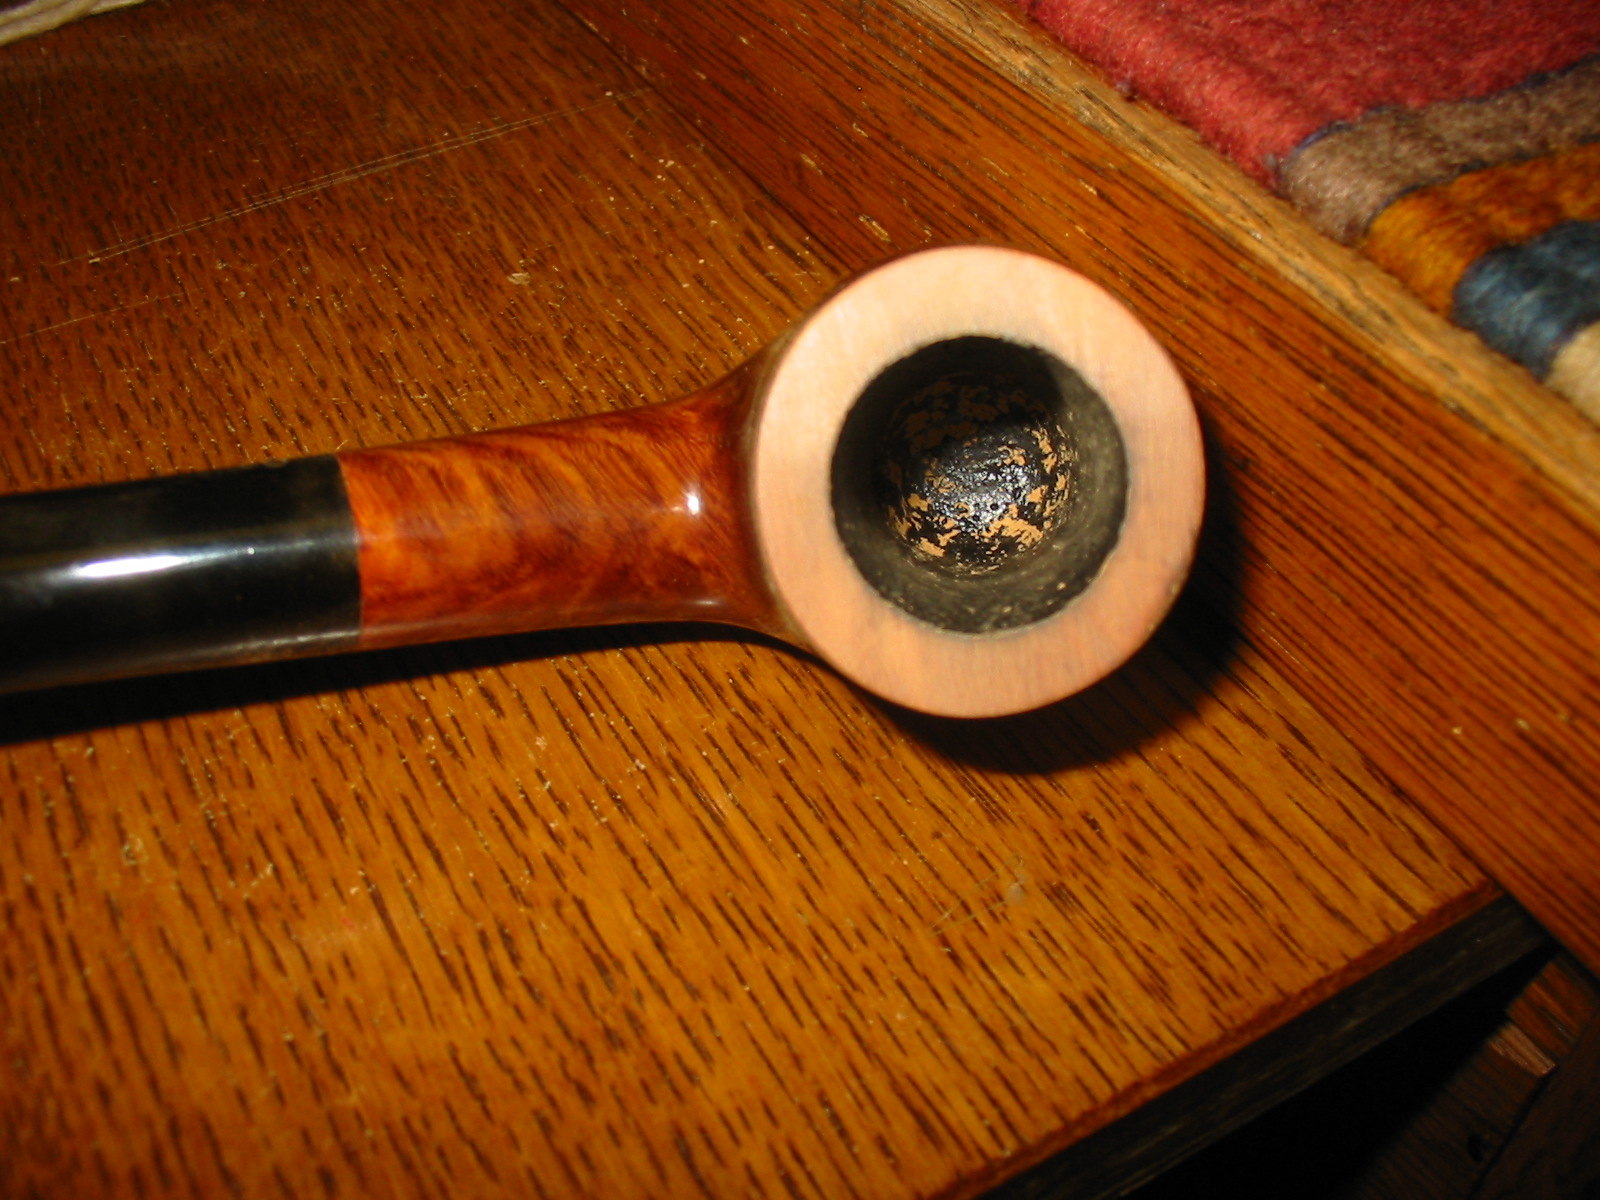
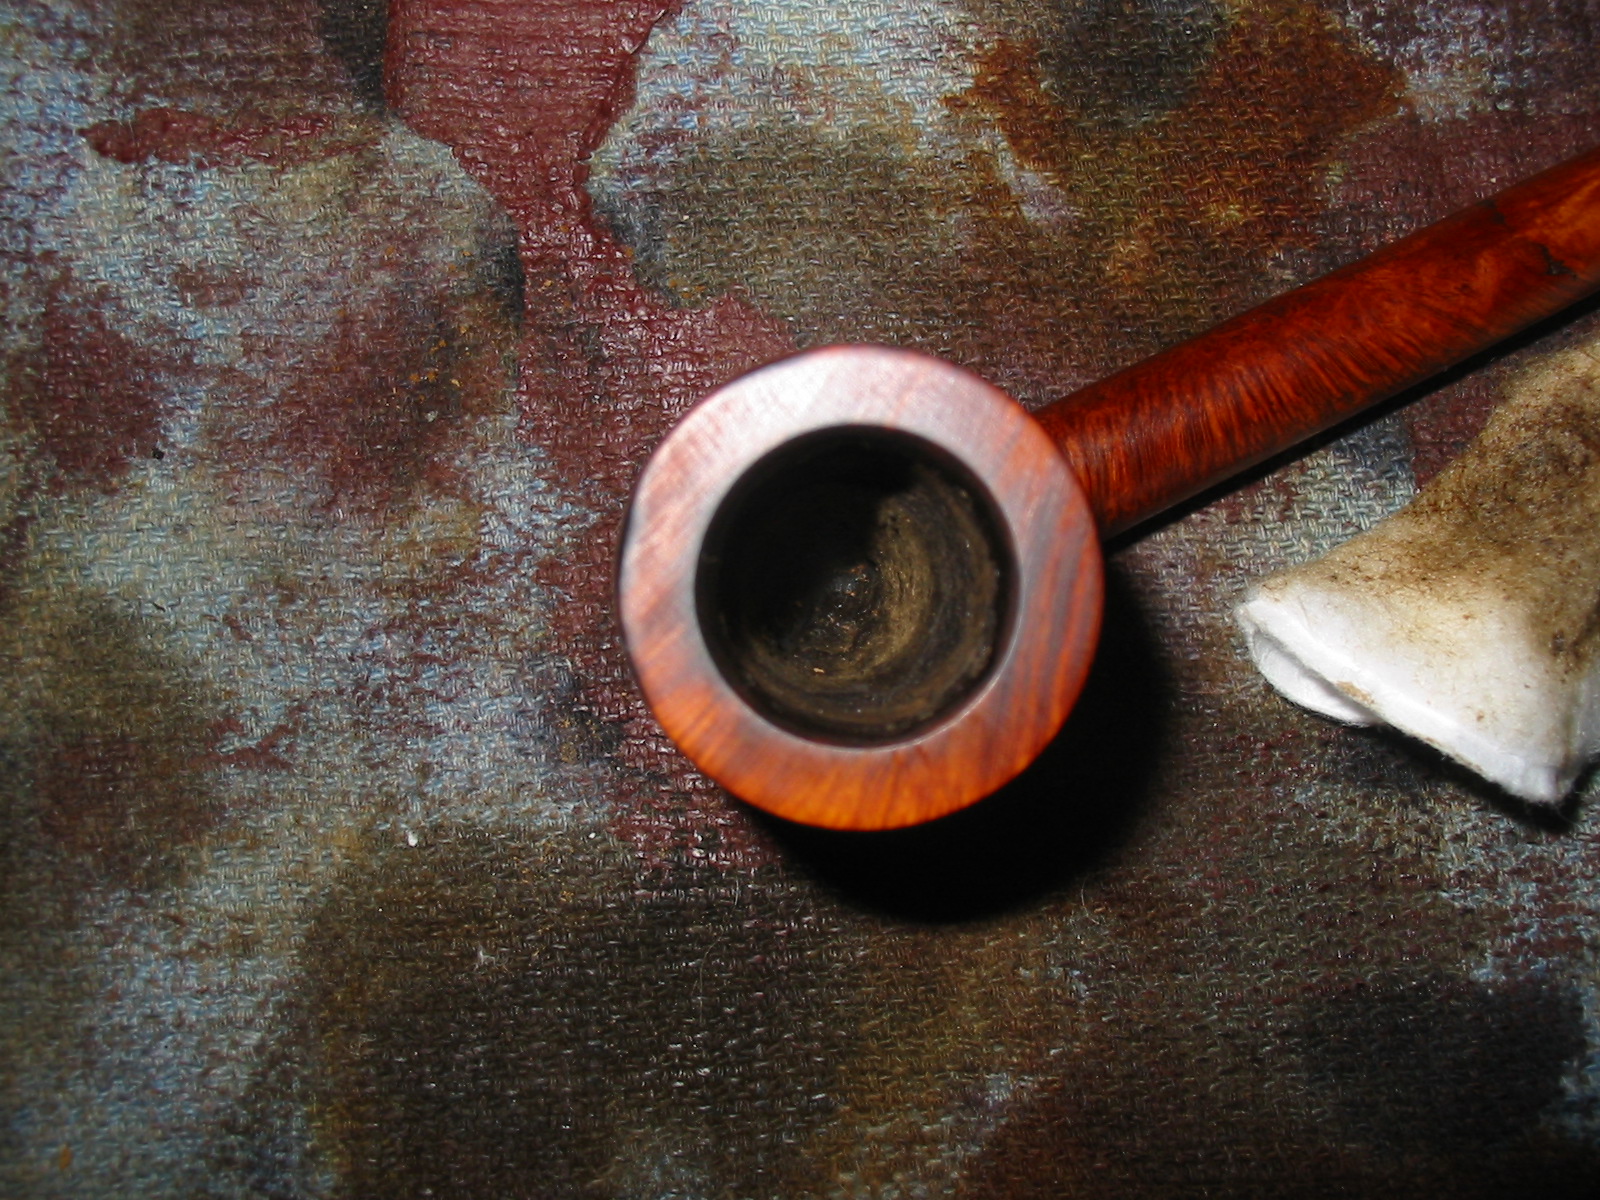
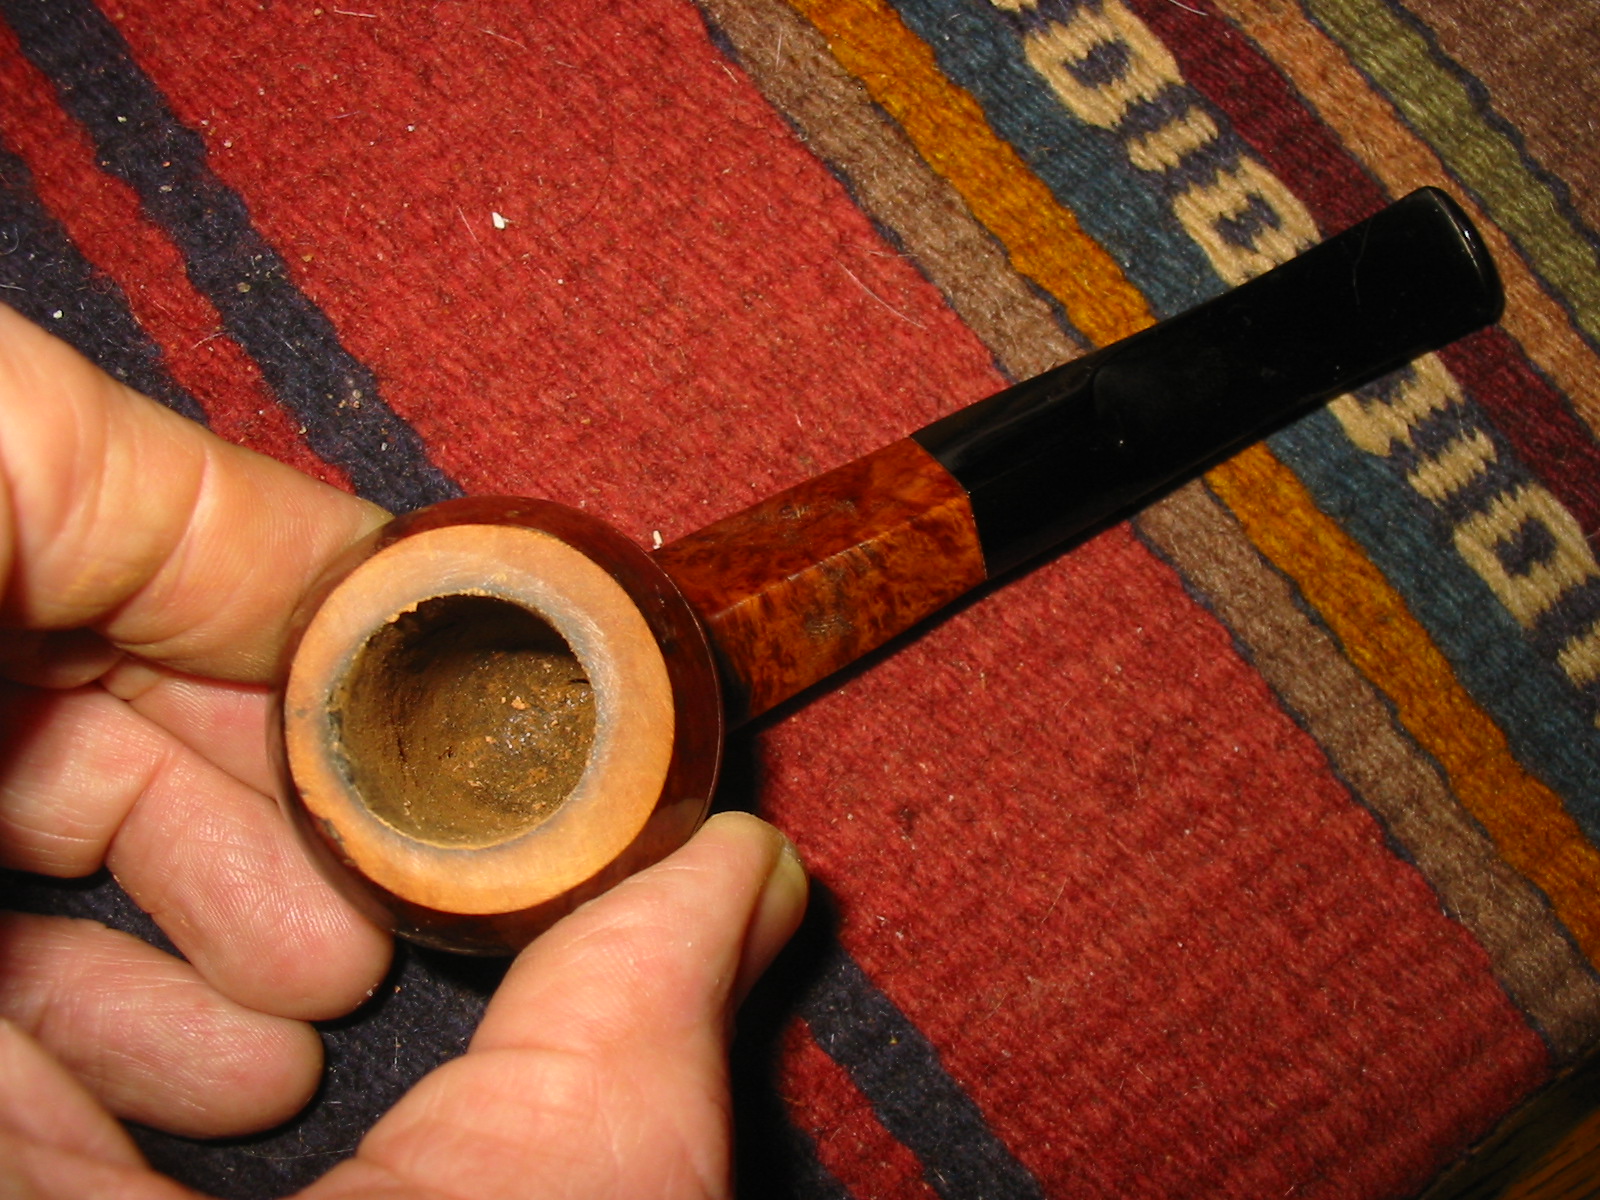
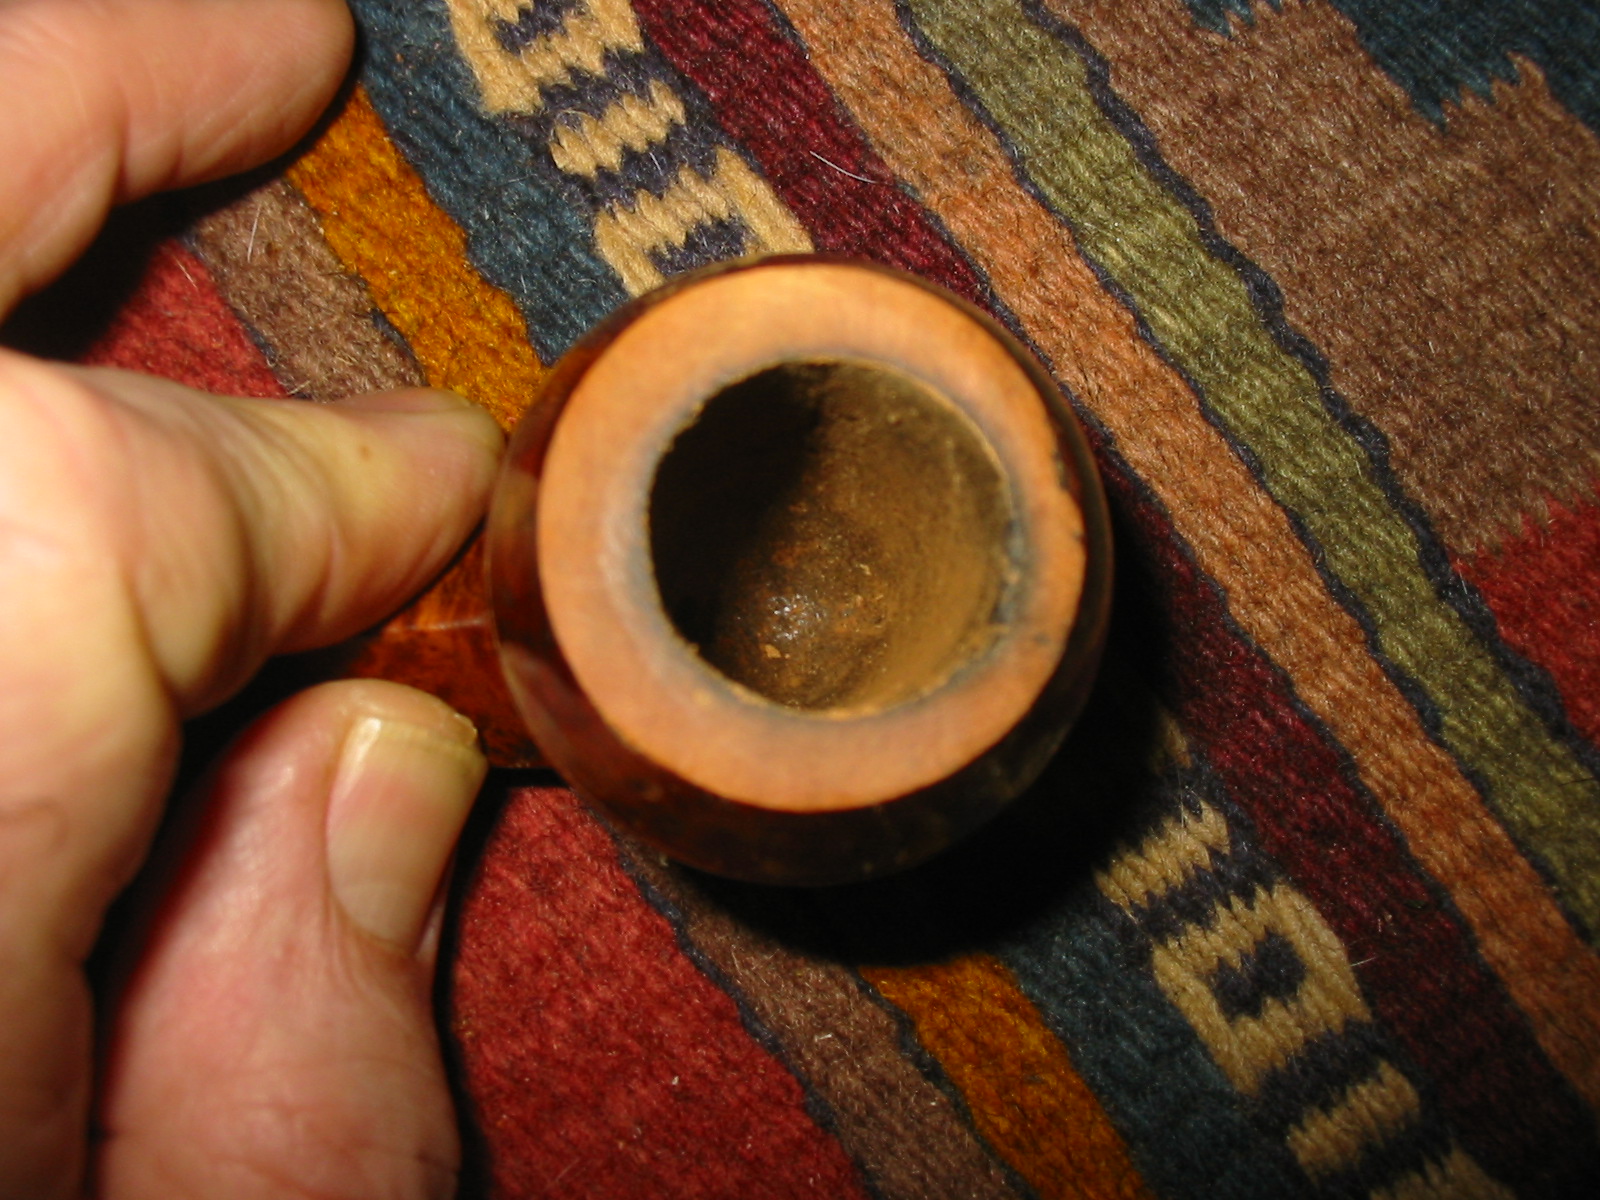
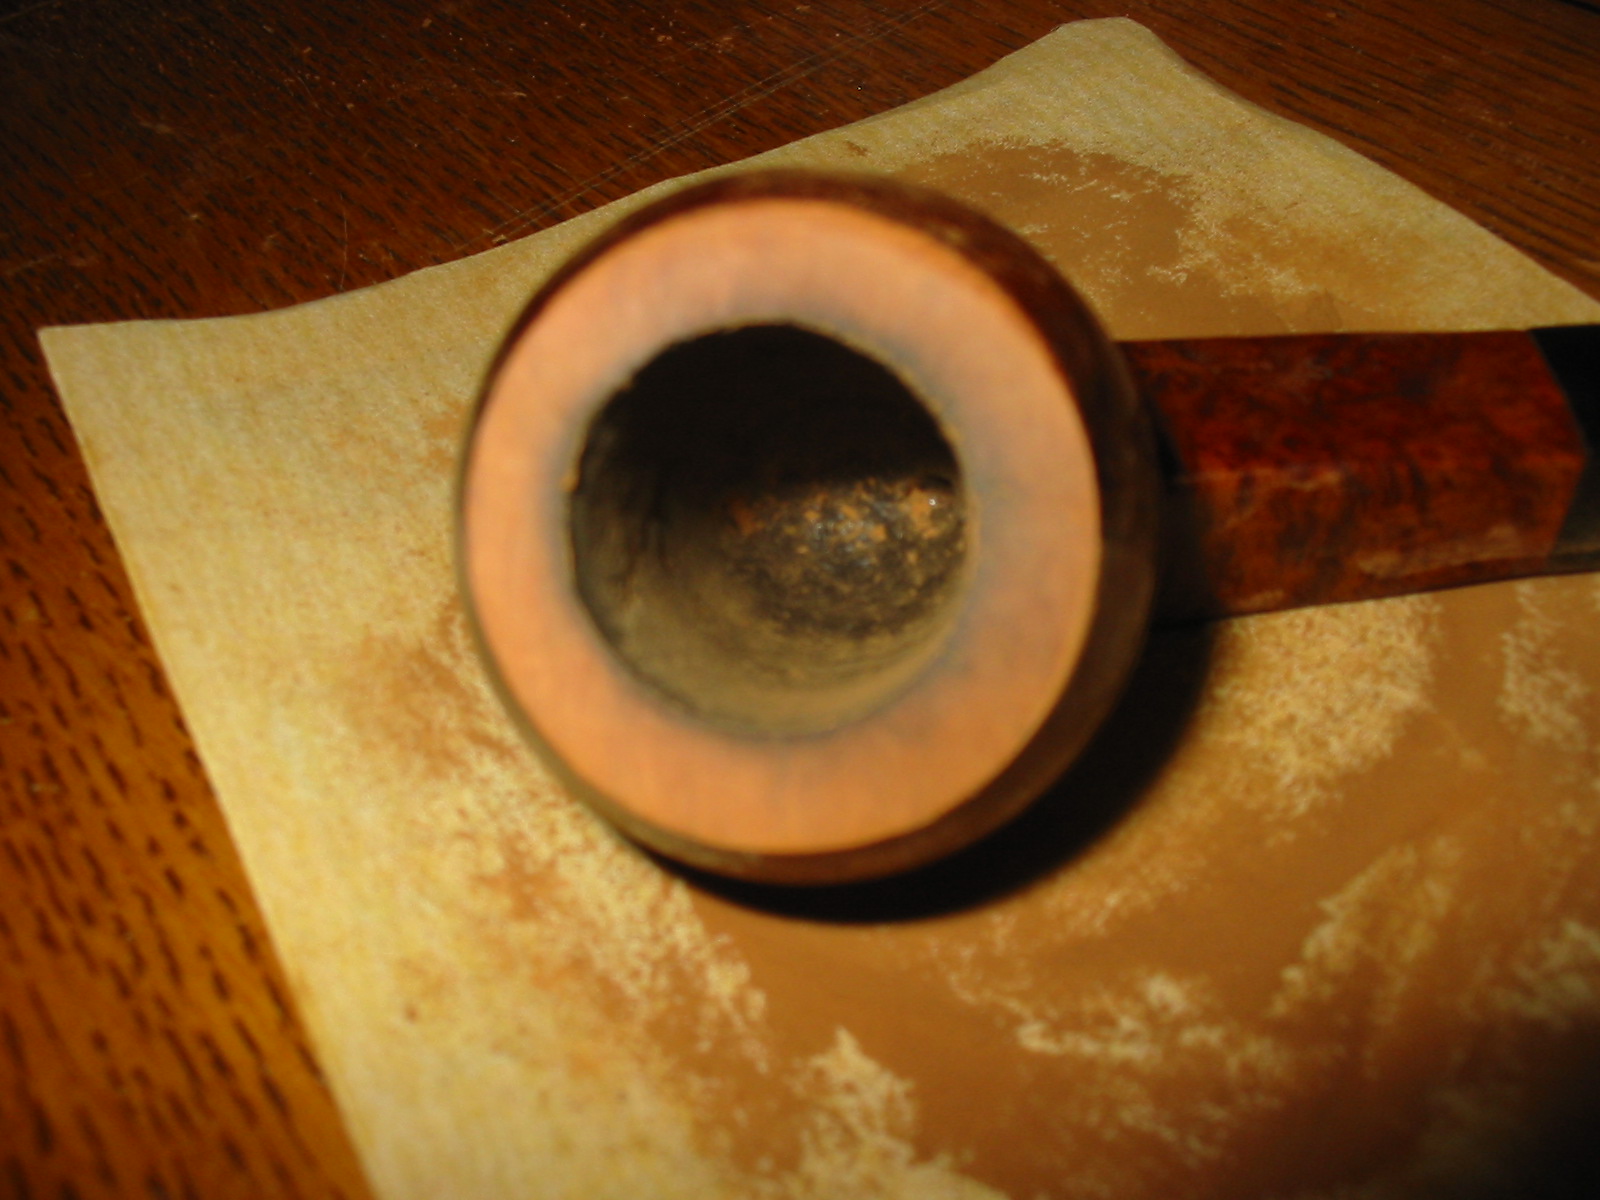
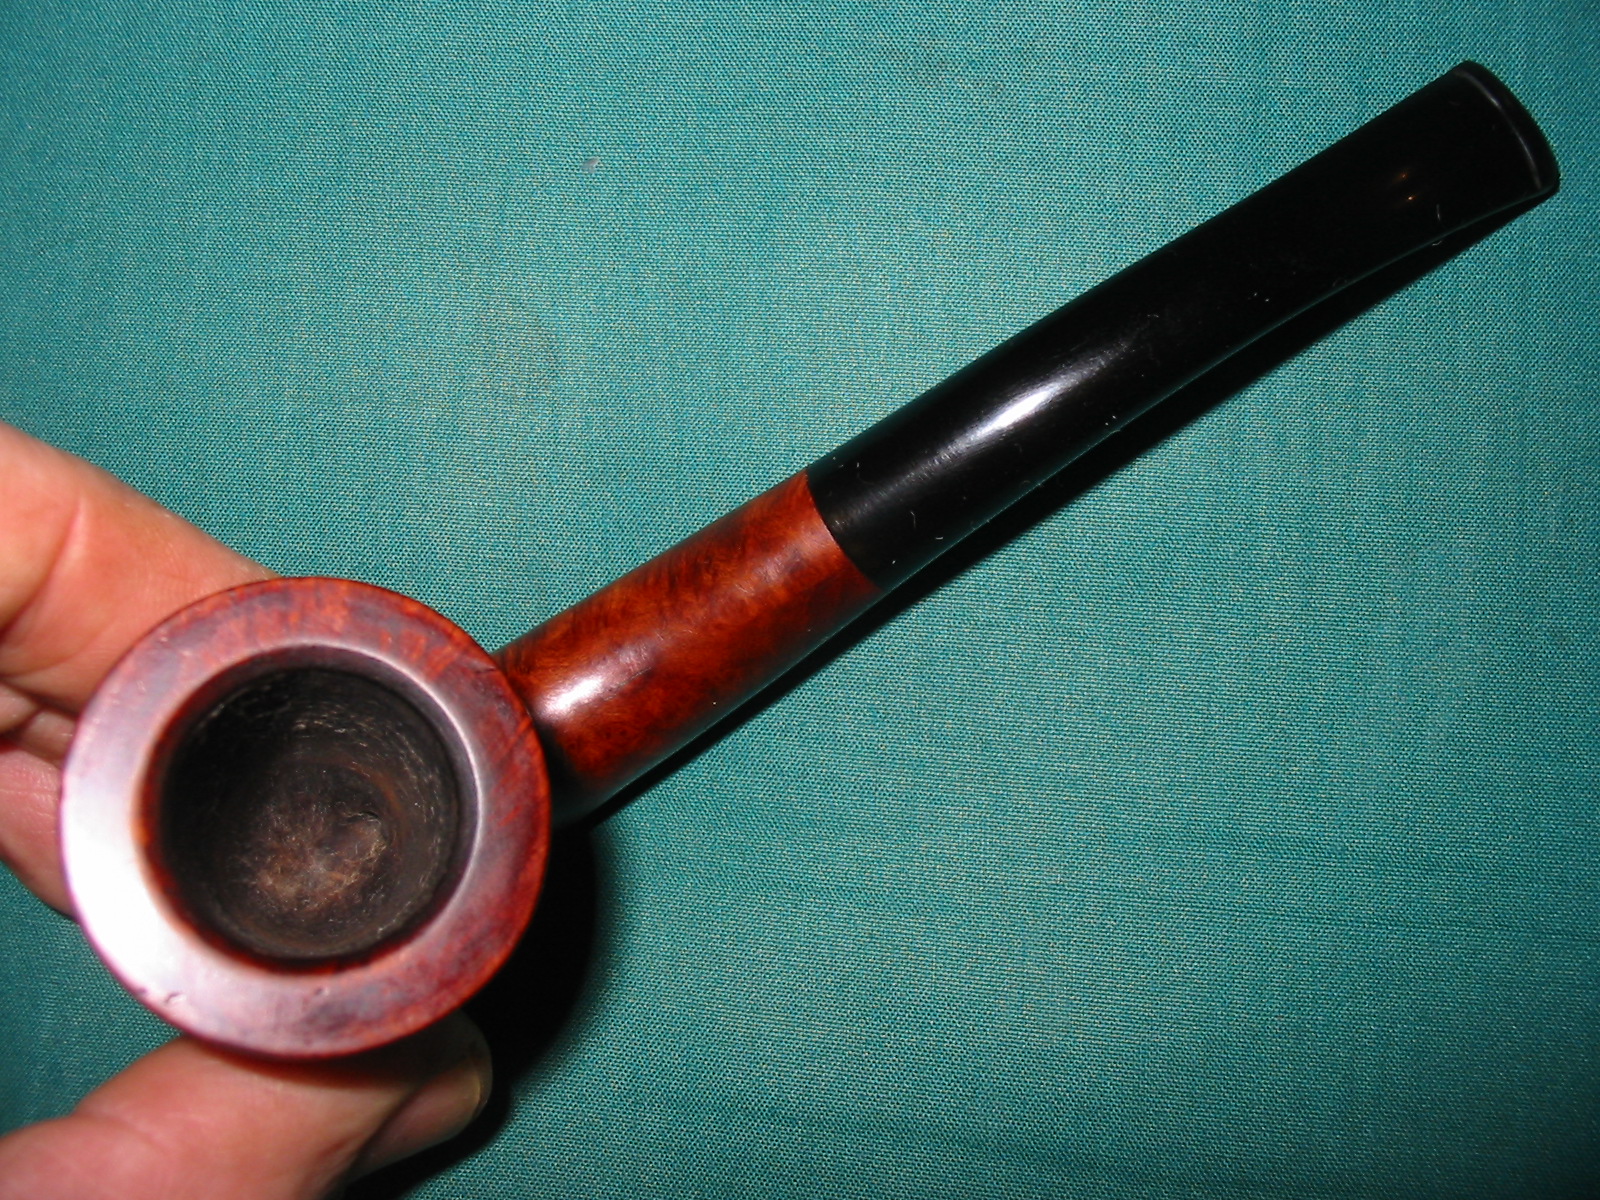
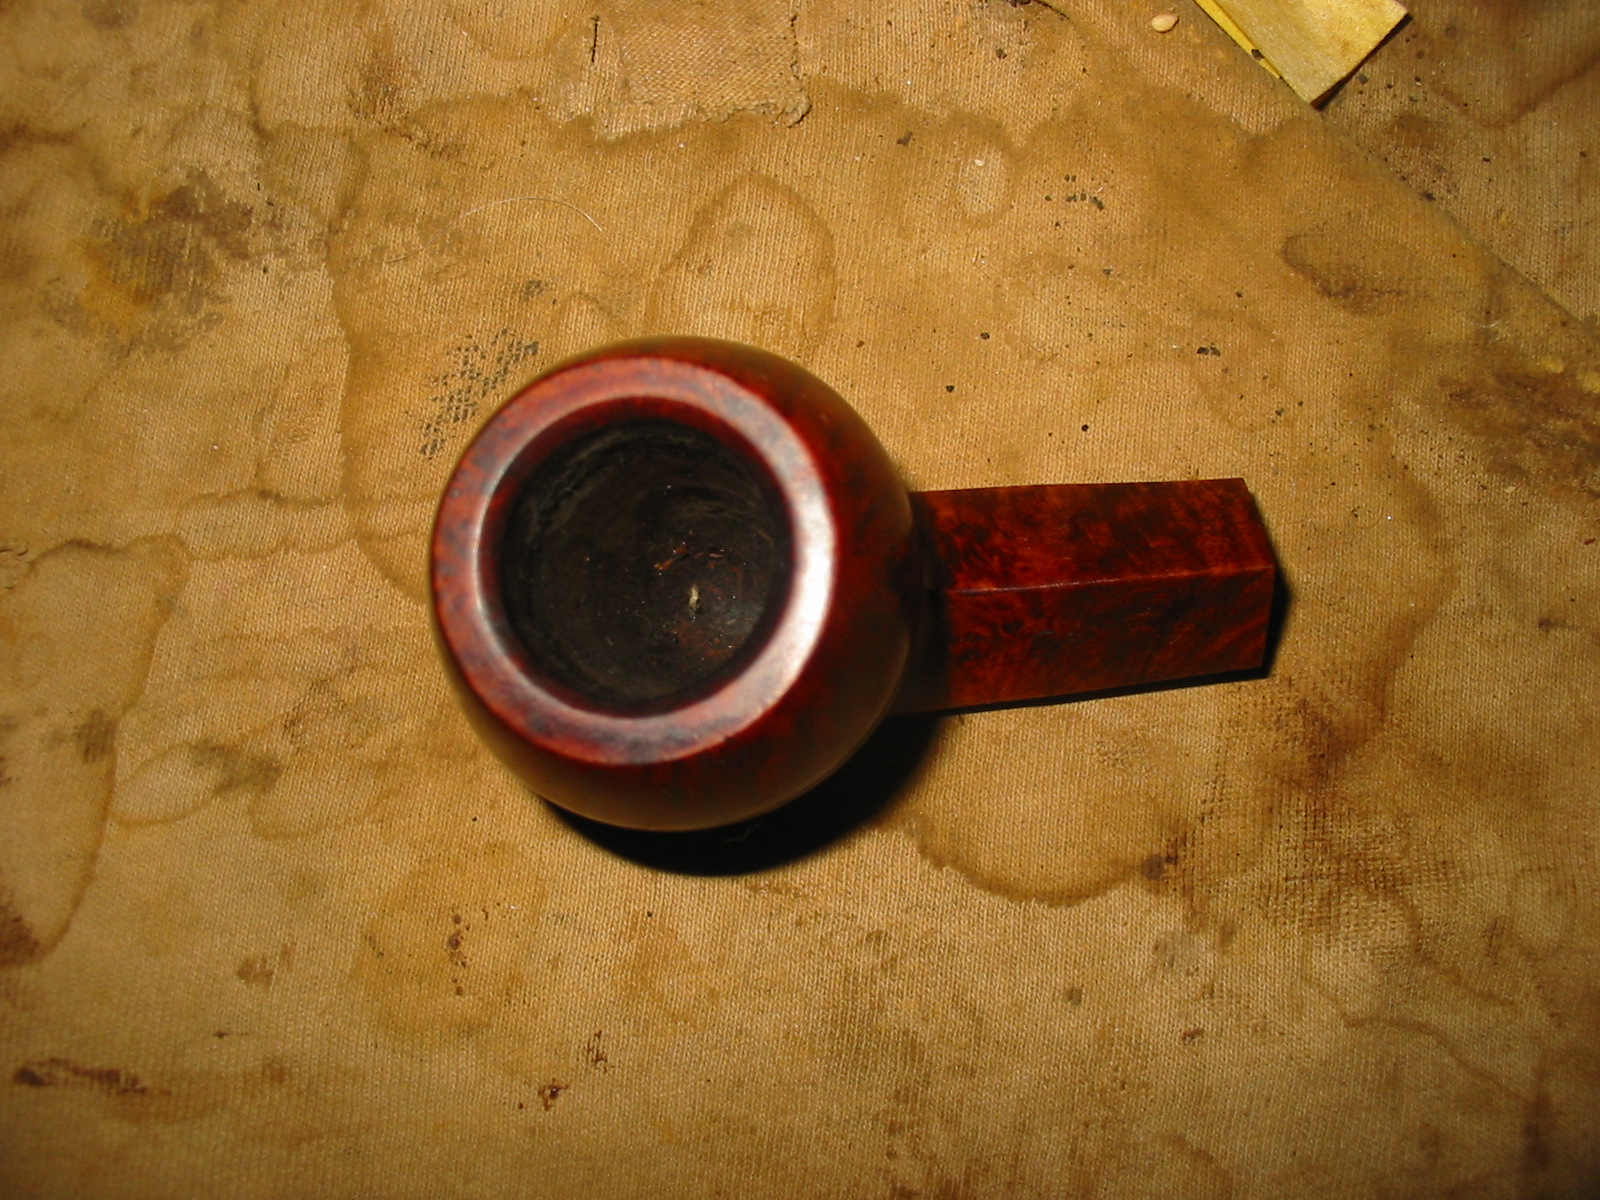
I wrote back that would gladly see what I could do with it so he sent it out to me to work on. When it arrived I saw that he had begun the work on it already and had reamed and cleaned the bowl. He had mentioned that when he bought it there was a small burn out area on the bottom of the bowl. When I got it the inside of the bowl was actually quite alright. His repair looked quite good. A little cleanup of the bowl would bring things in order. The fireplace cement needed to be cleaned off the walls and rounded a bit in the bottom of the bowl but it was not bad.

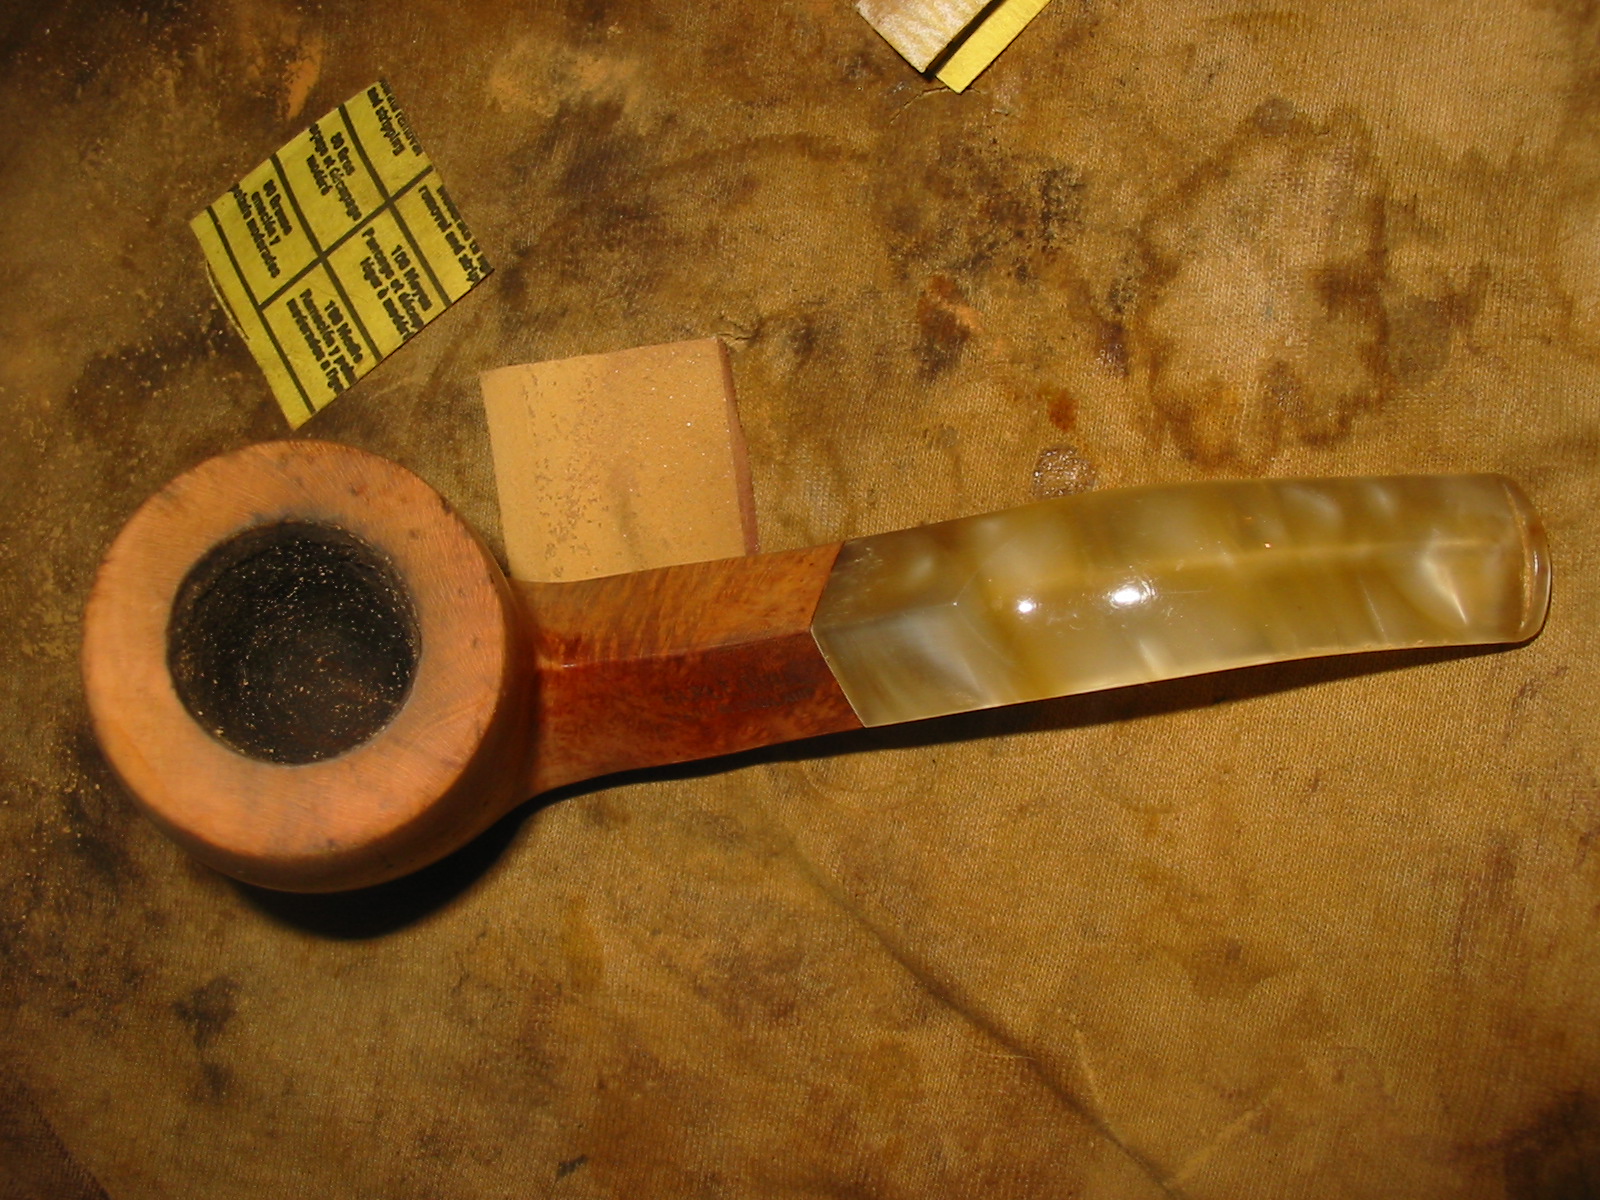
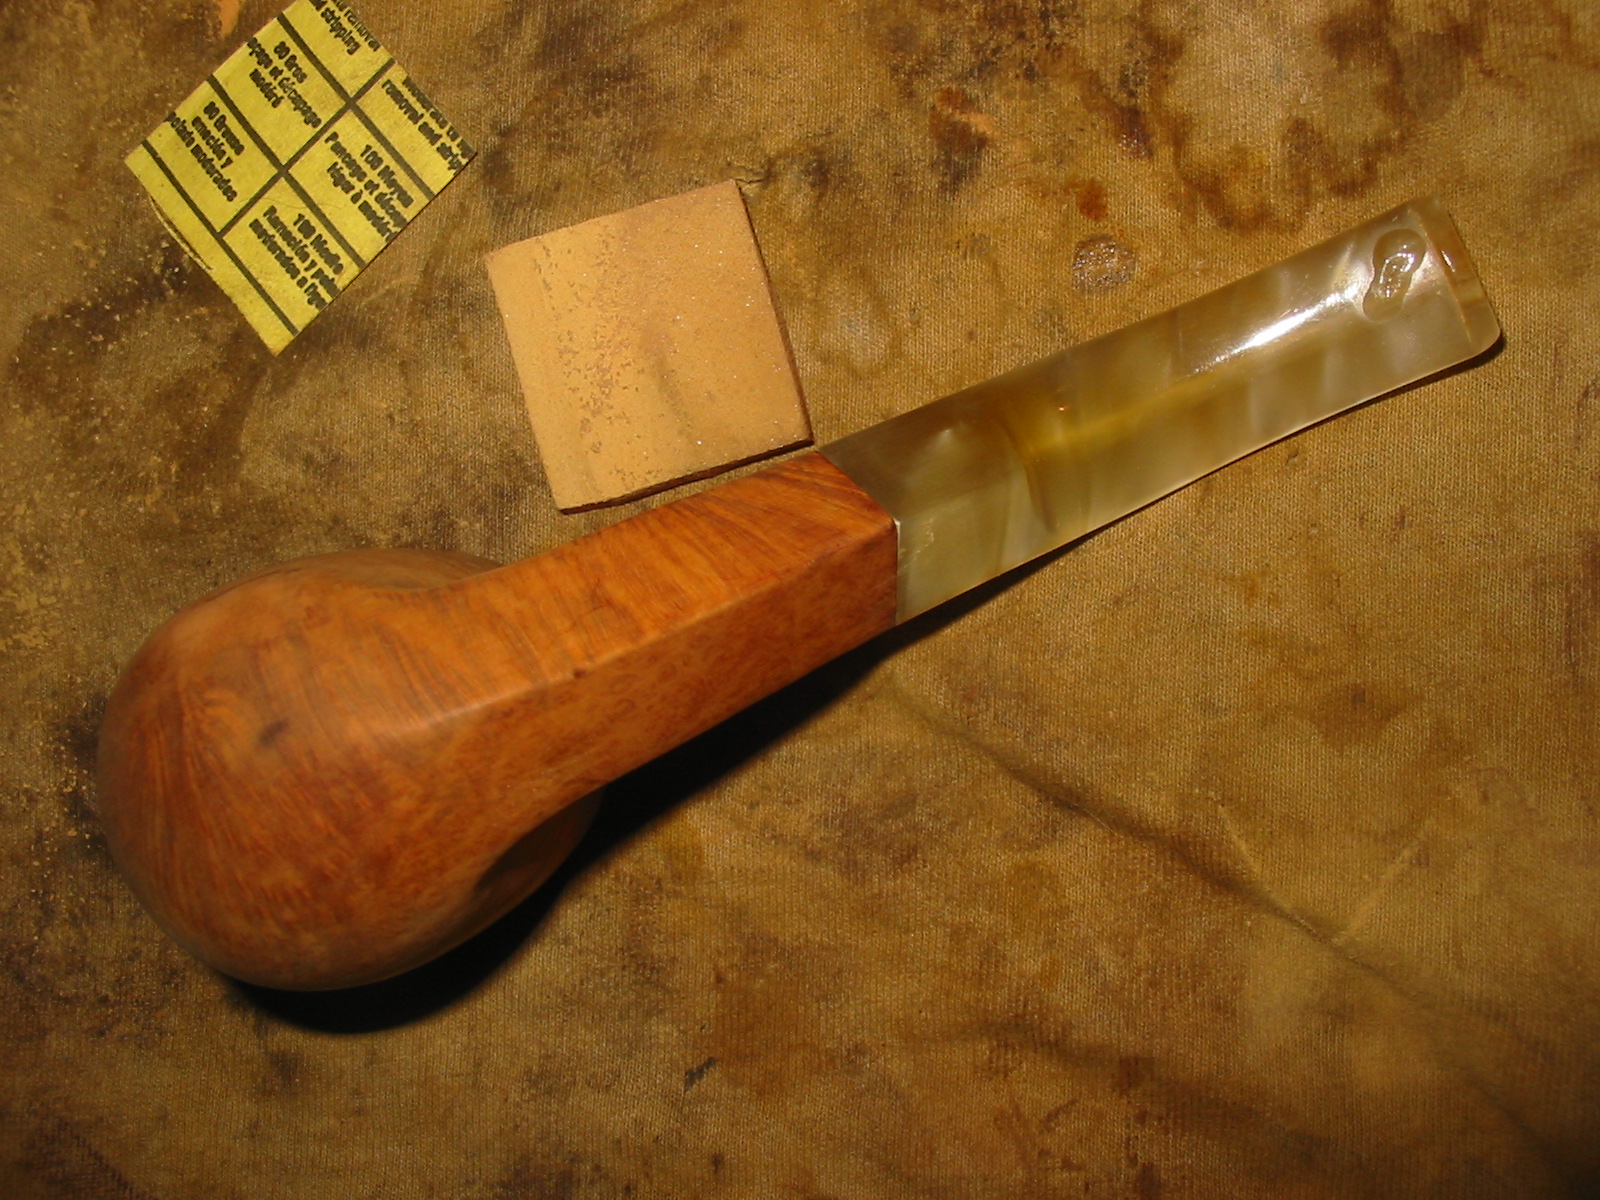
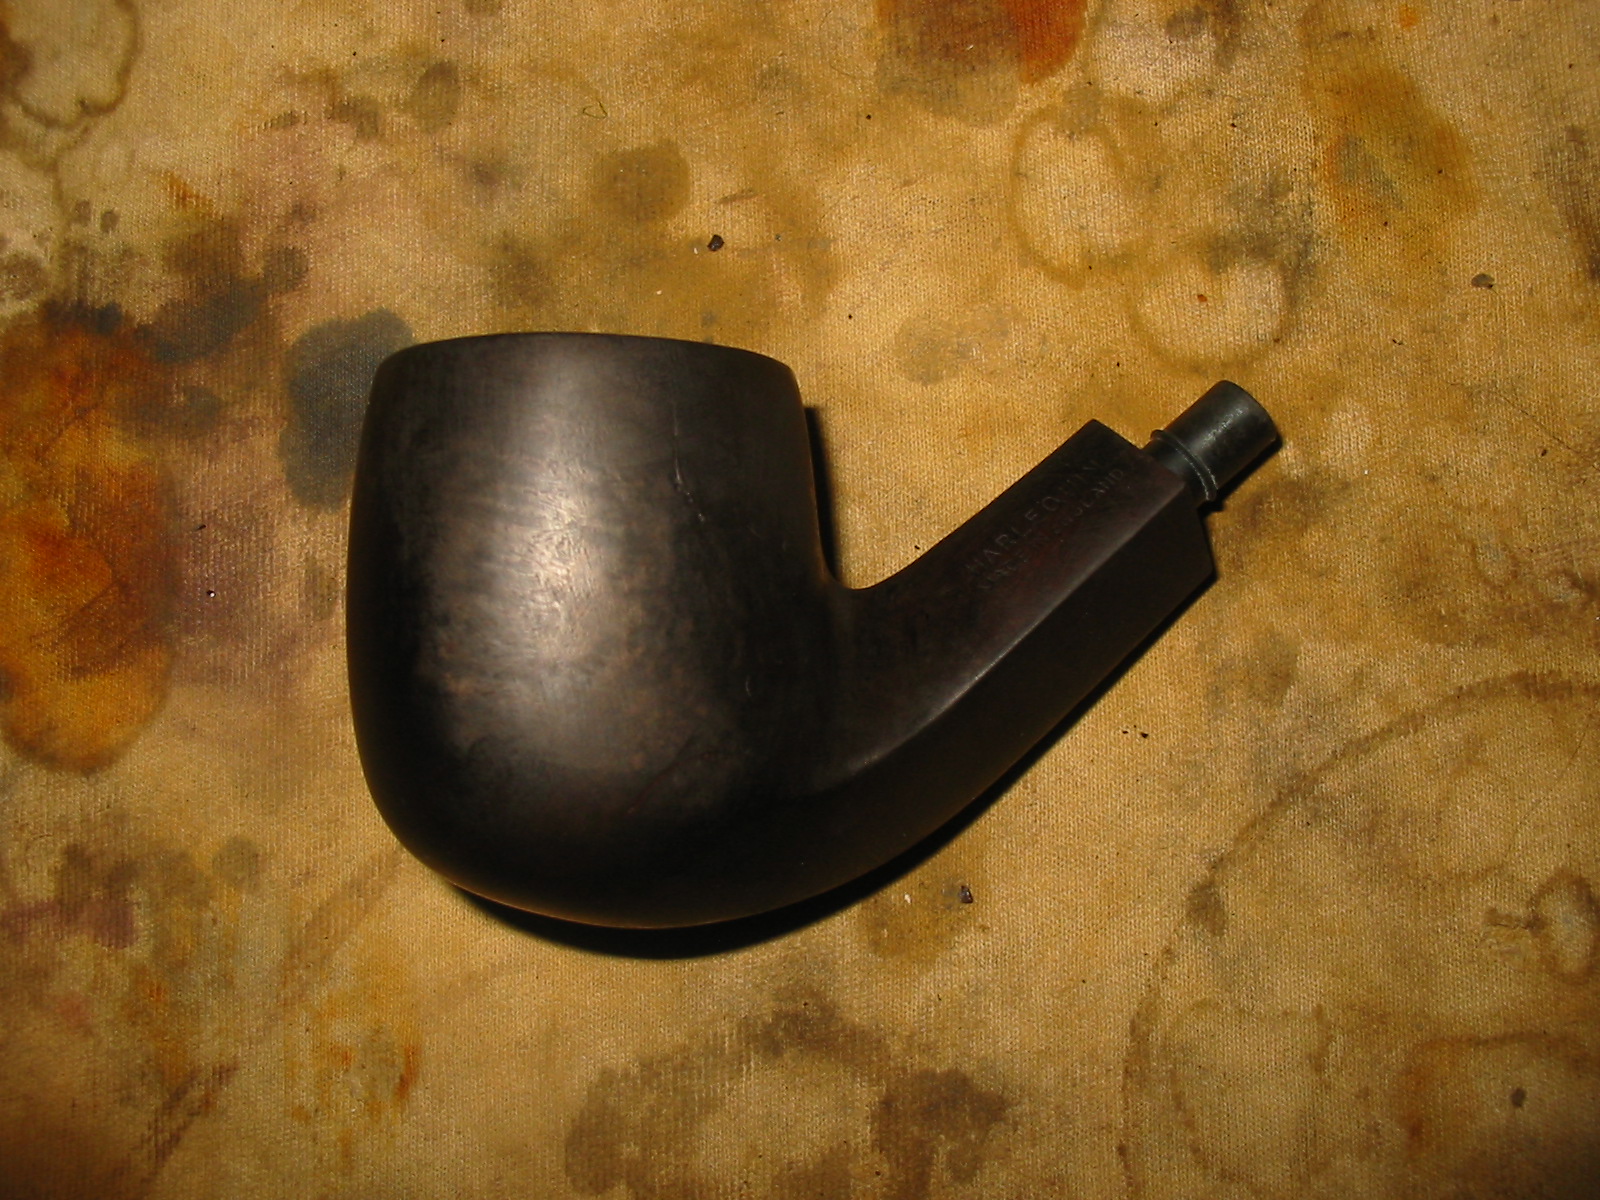
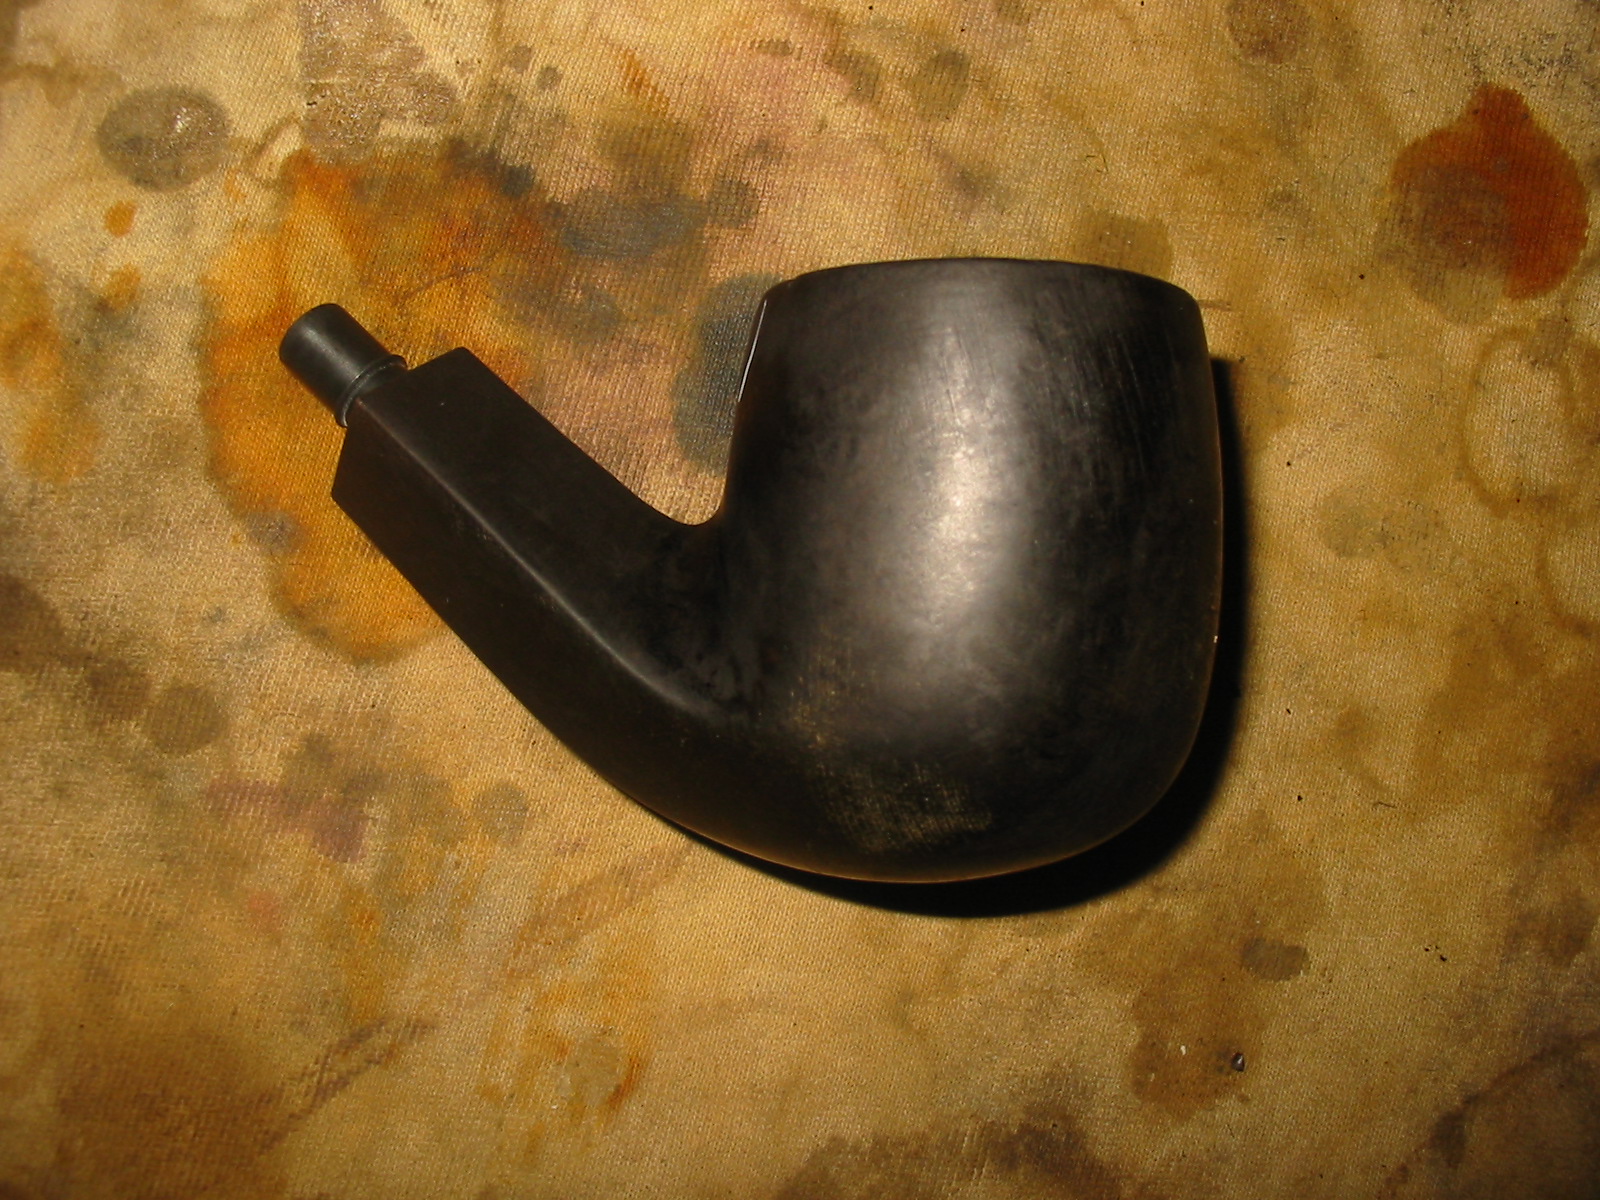
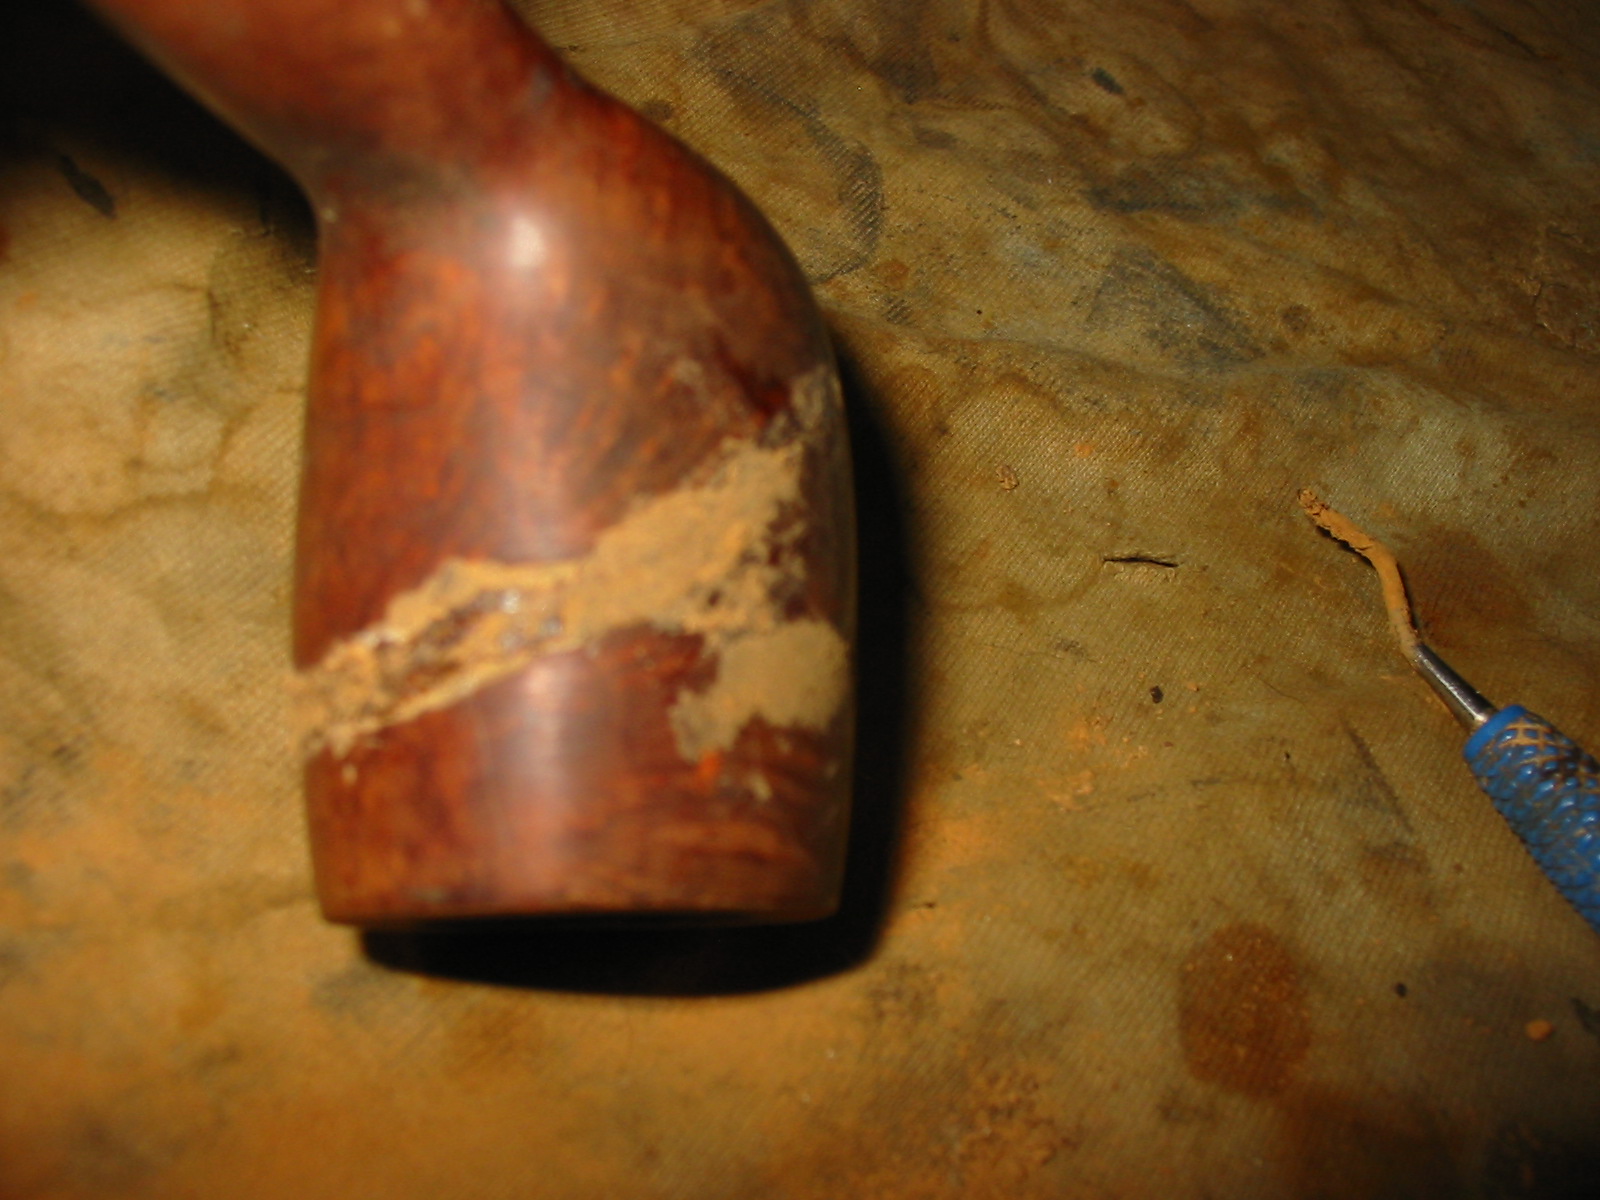
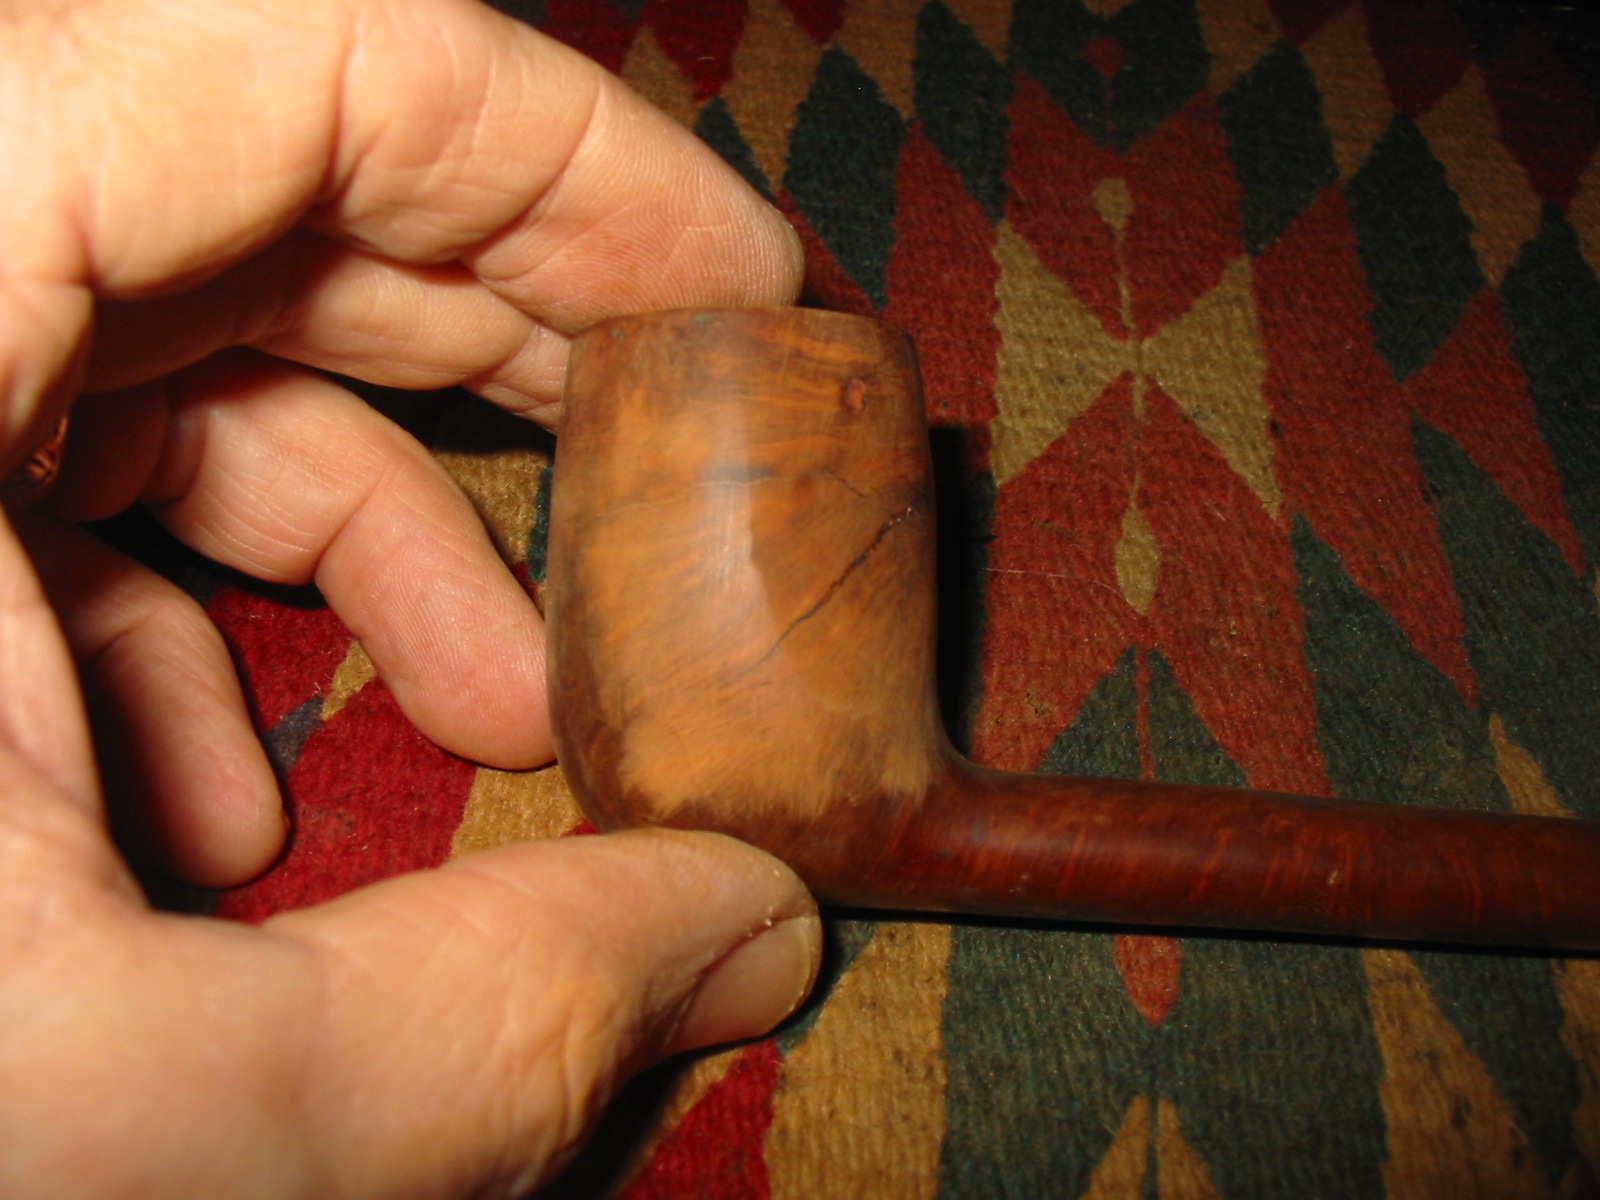
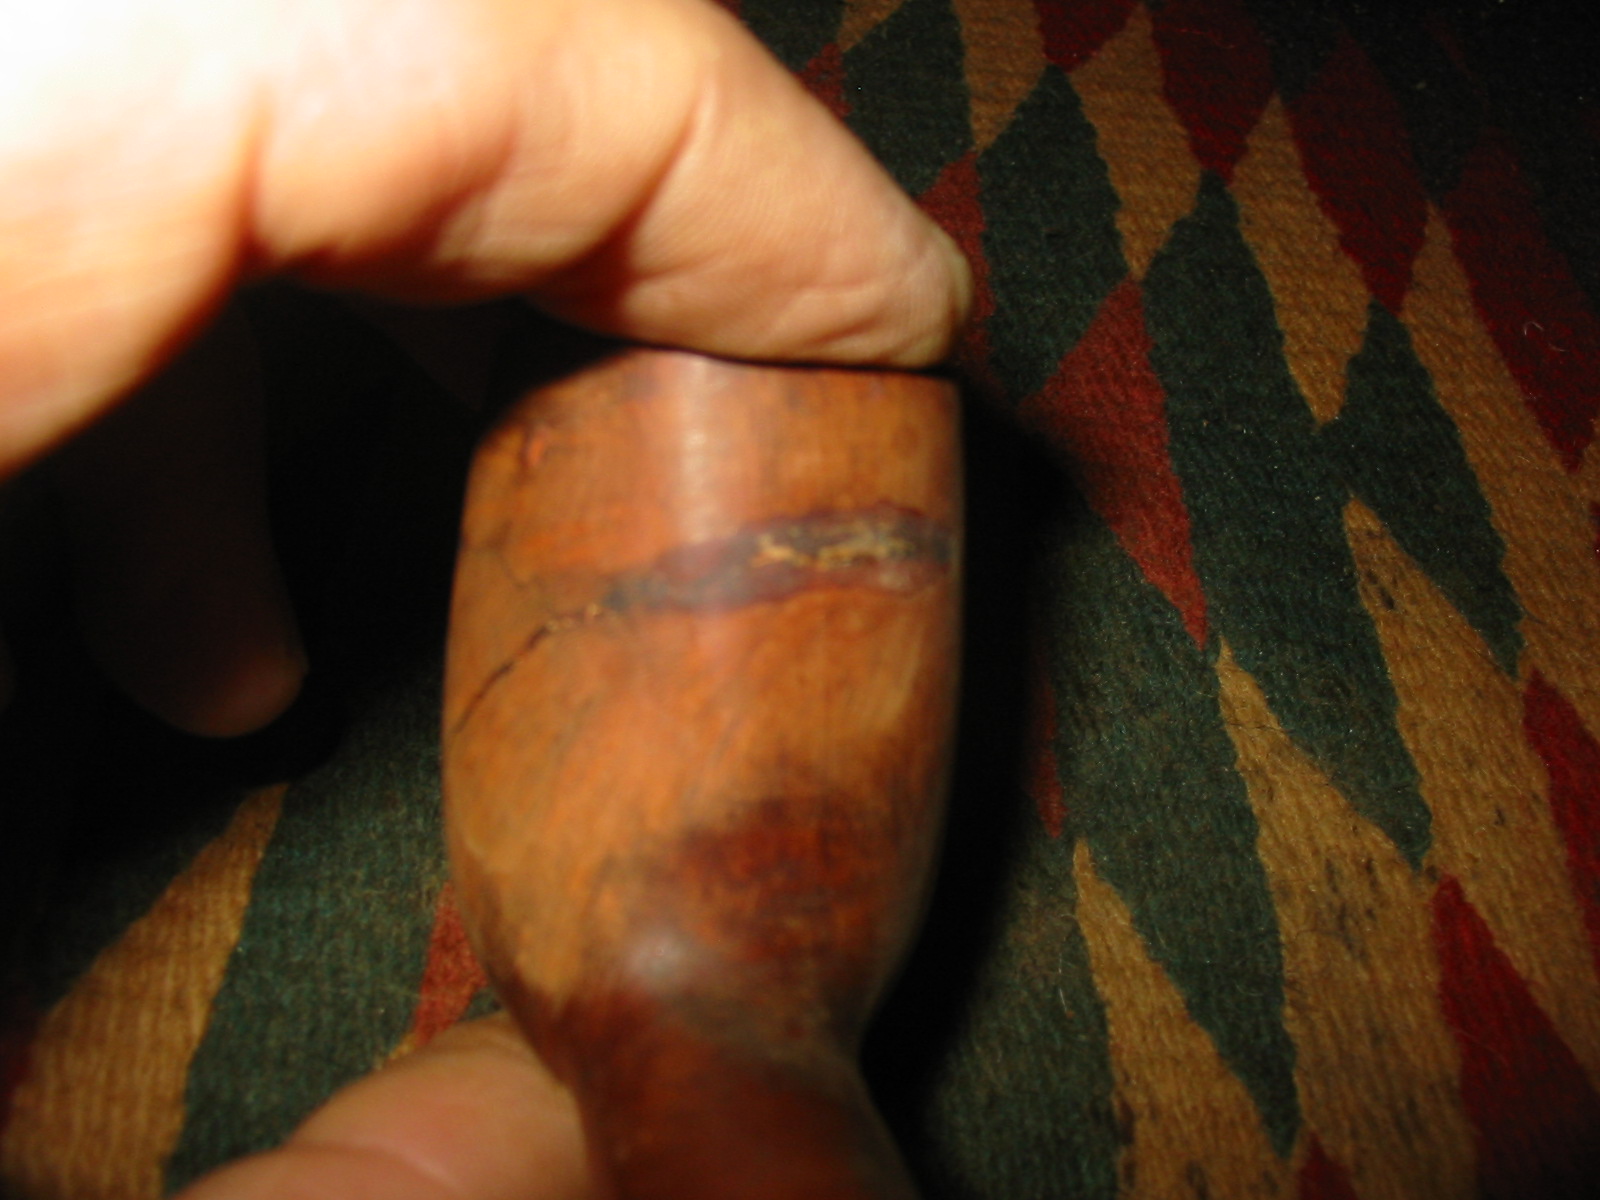
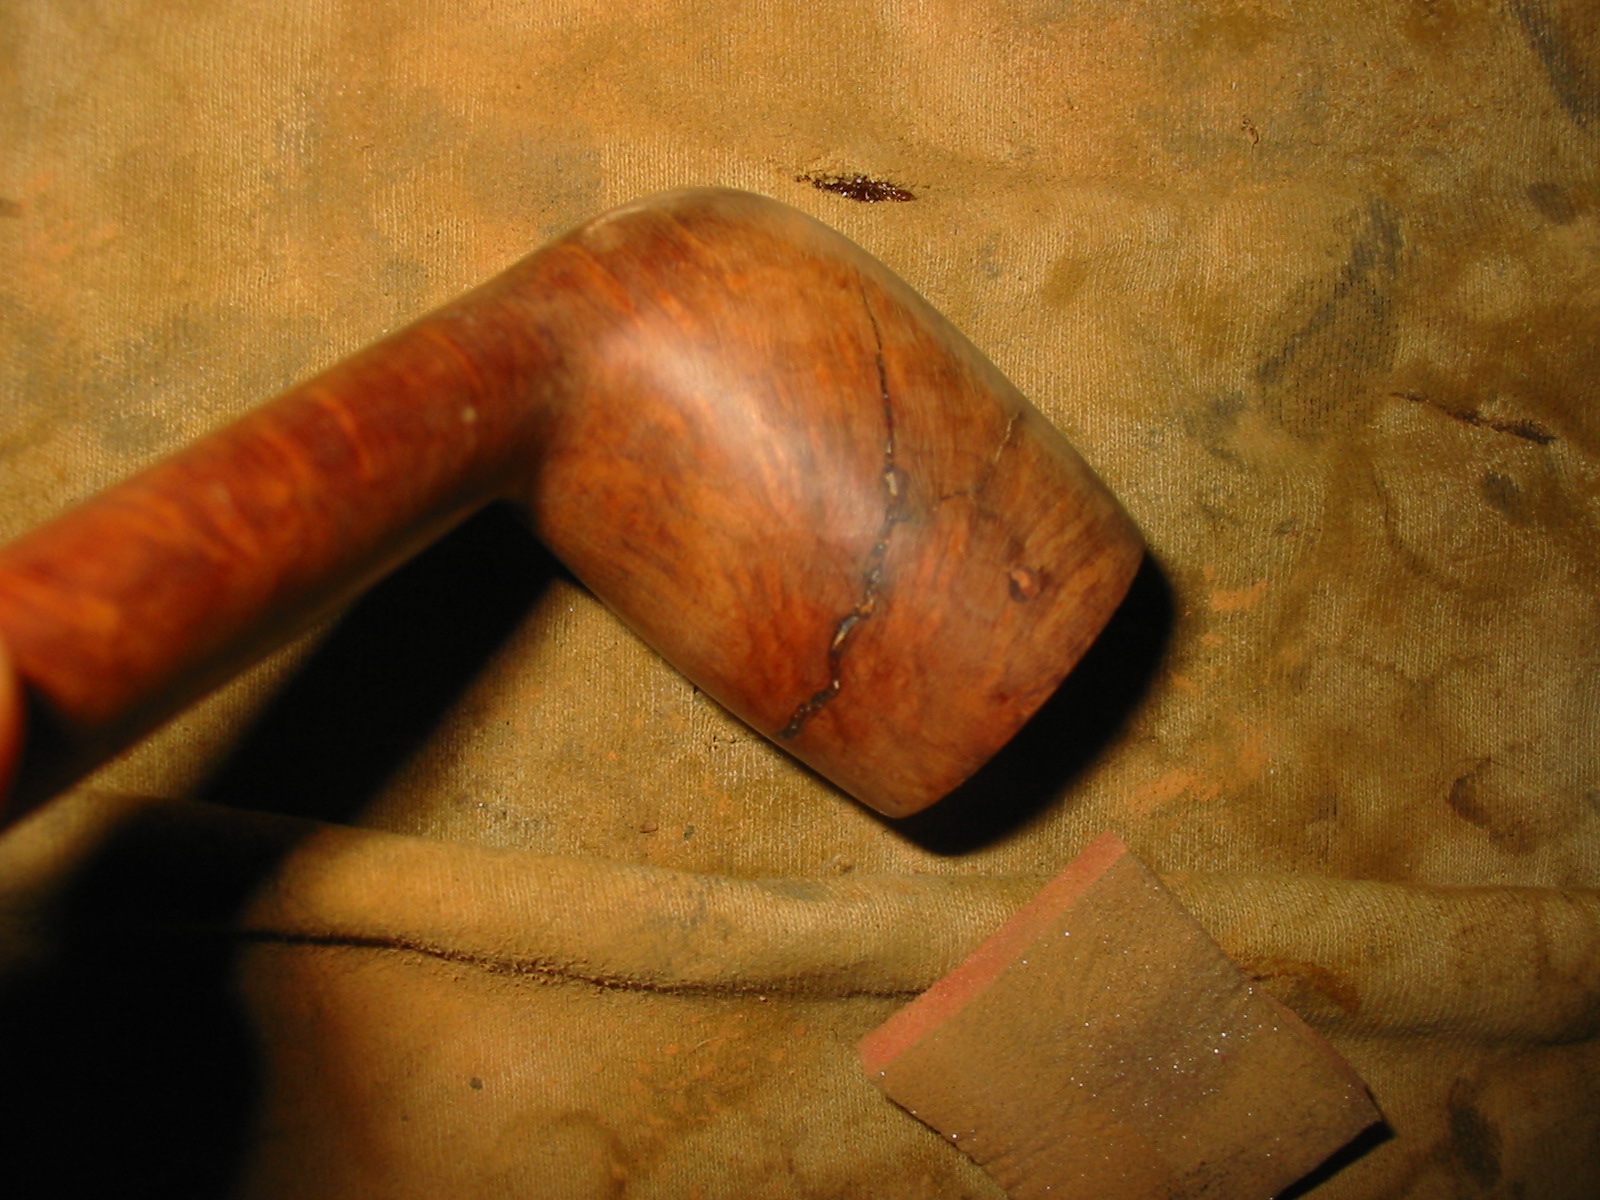
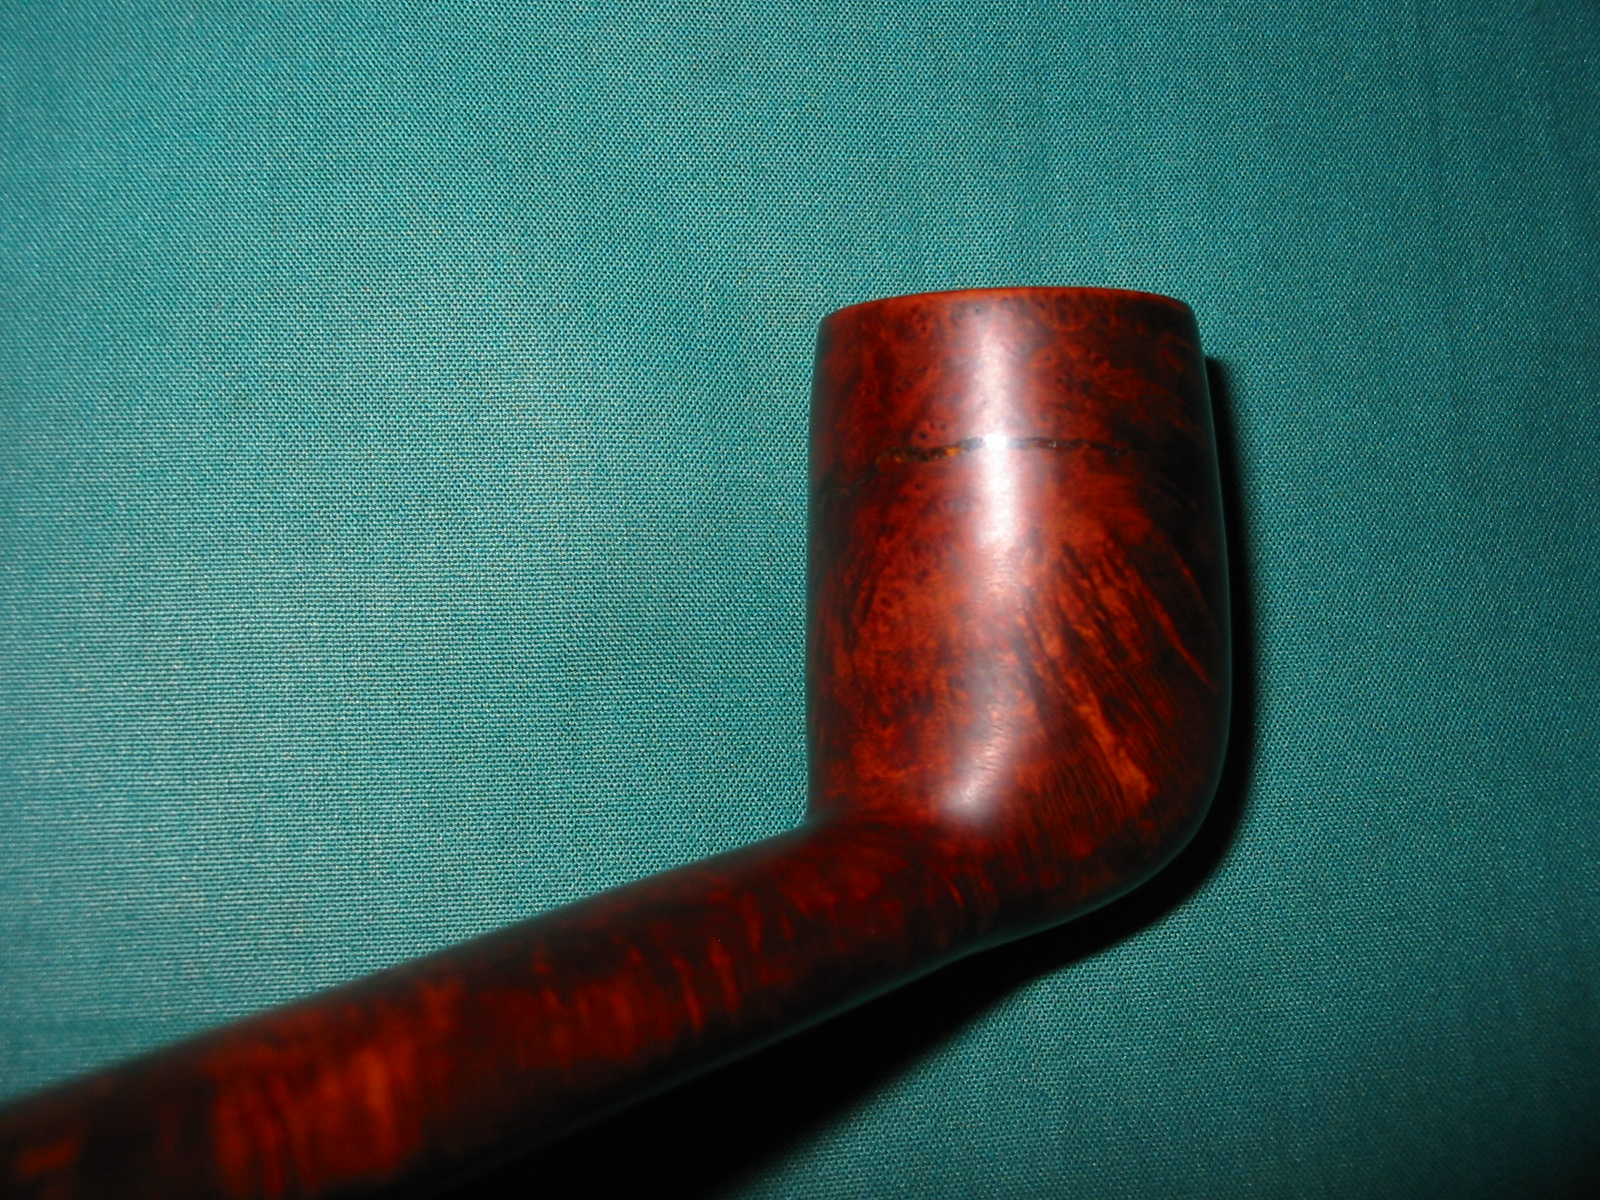
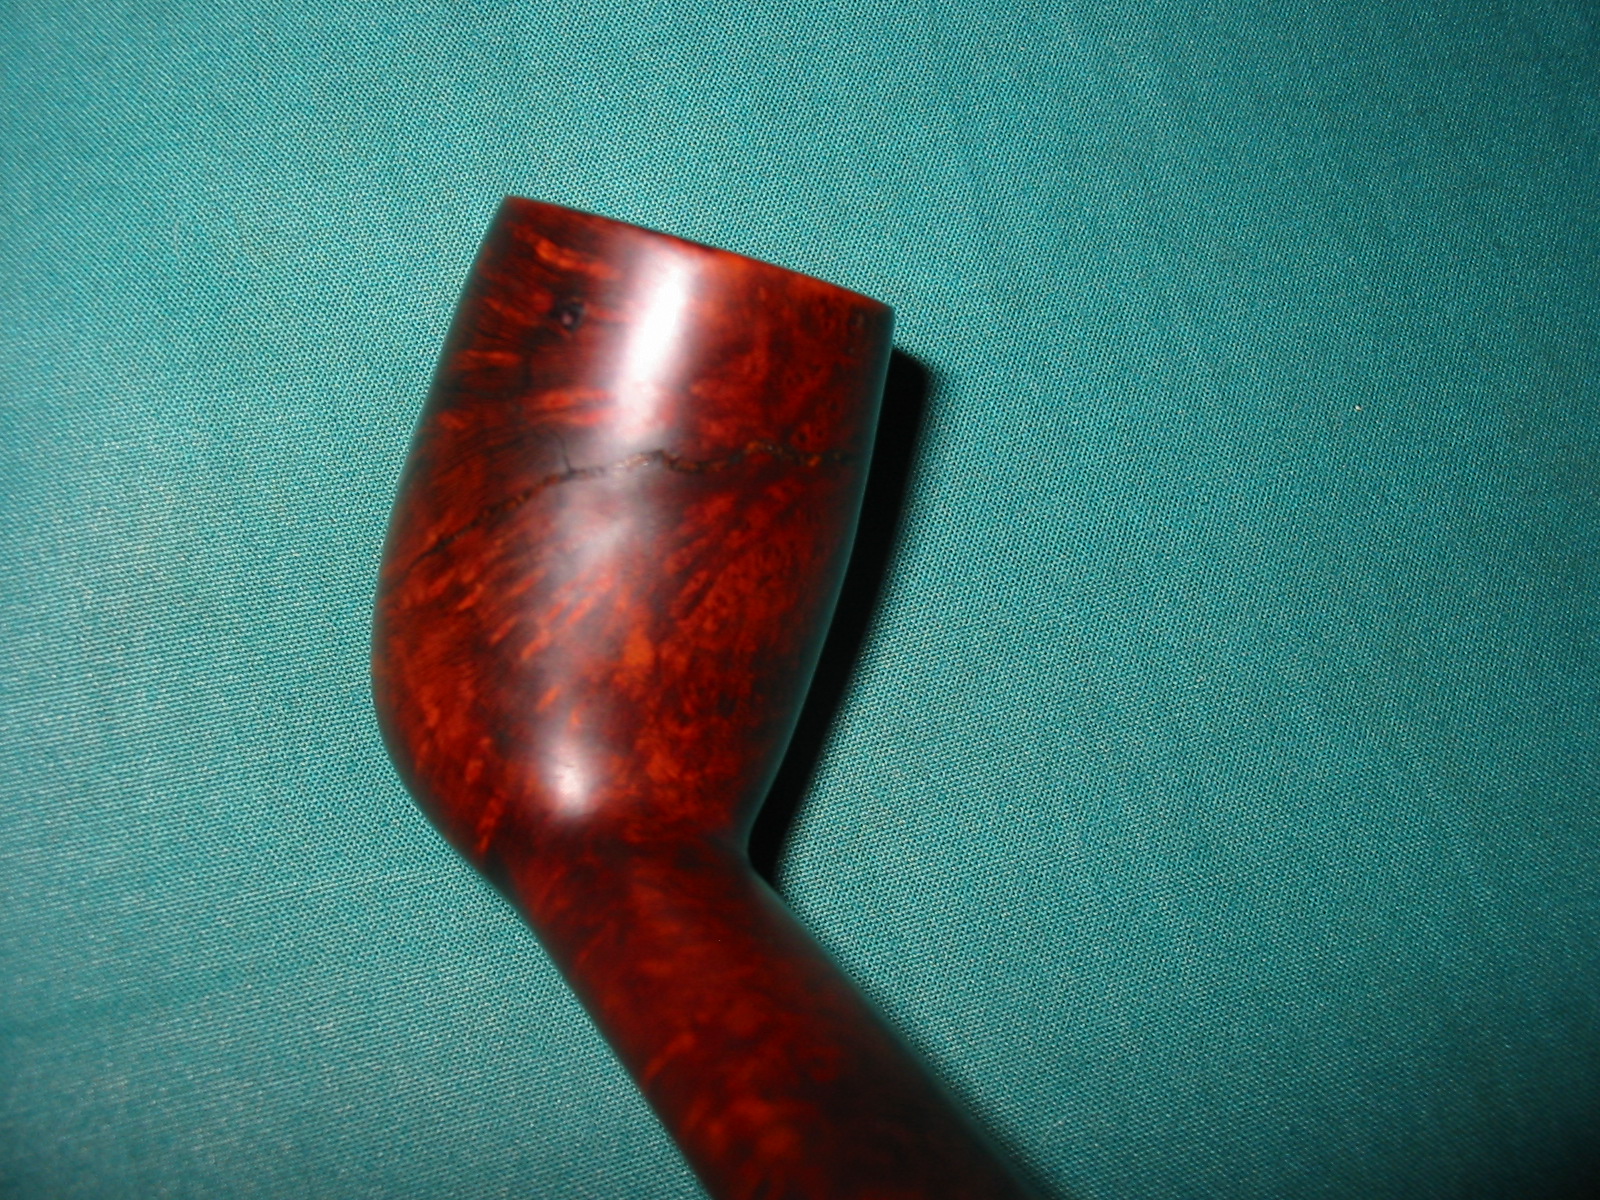
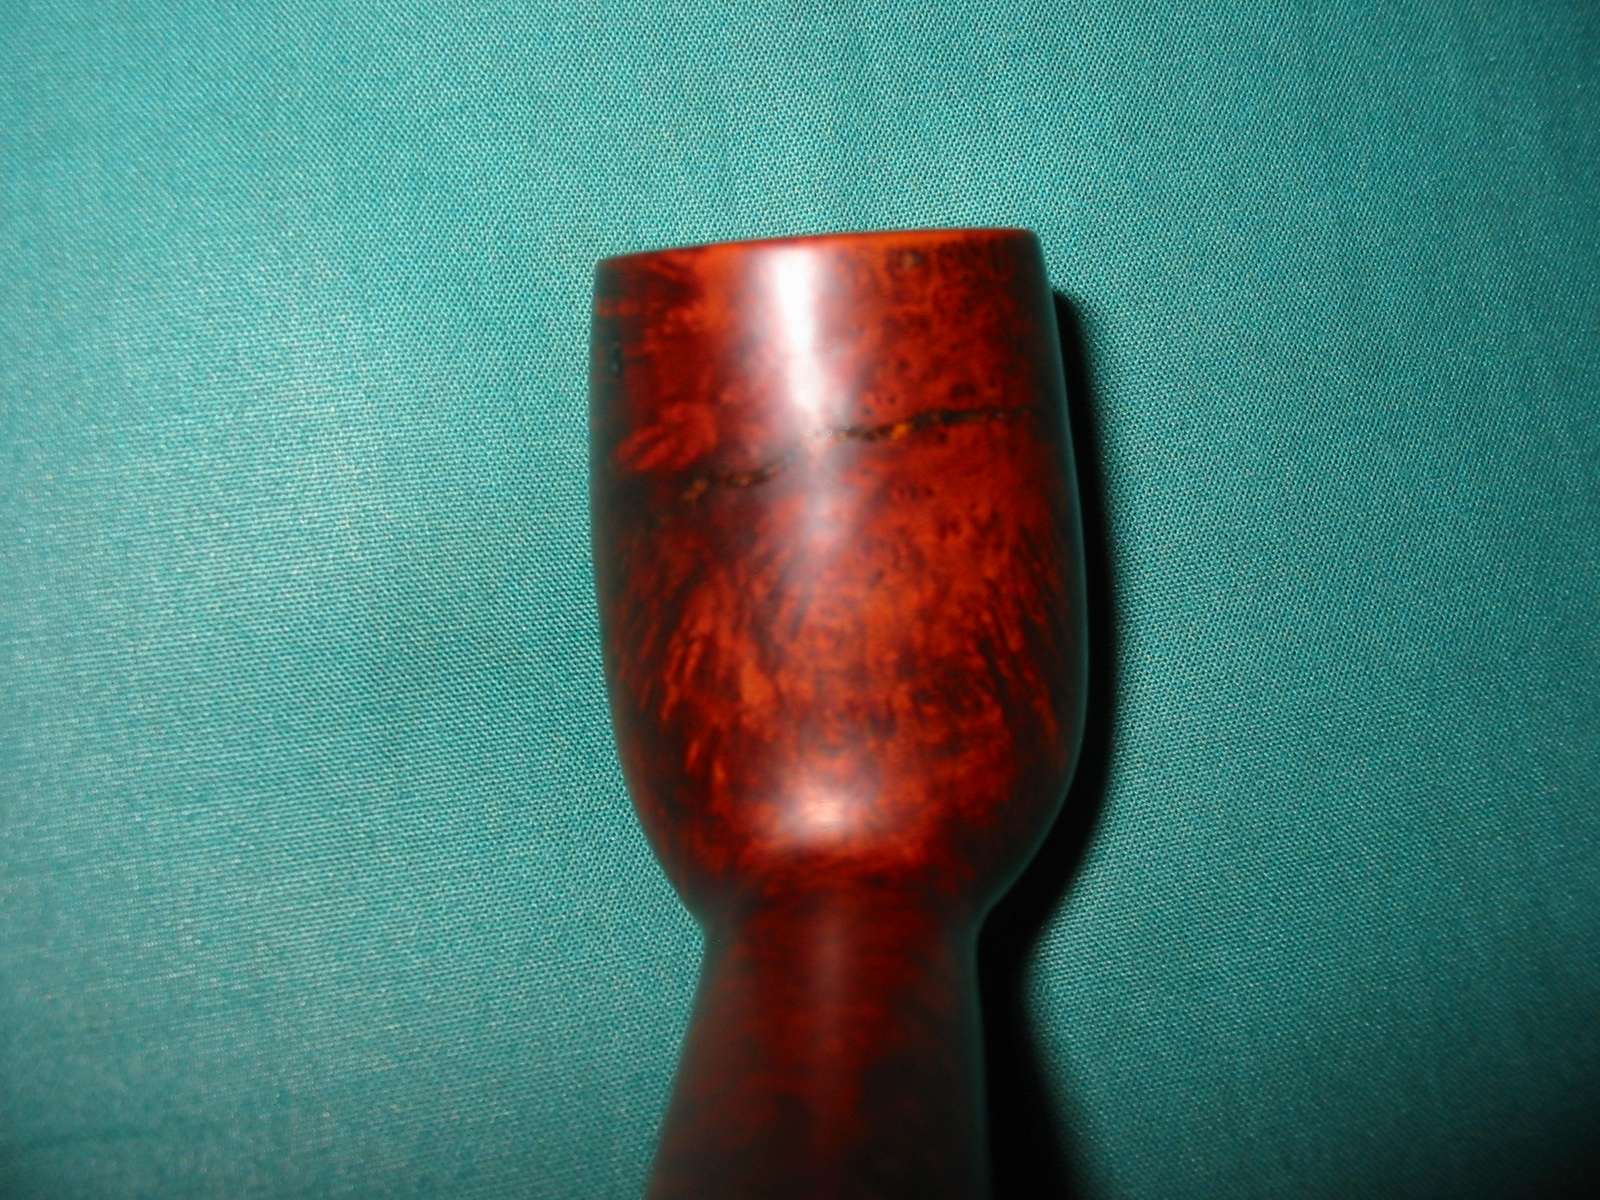
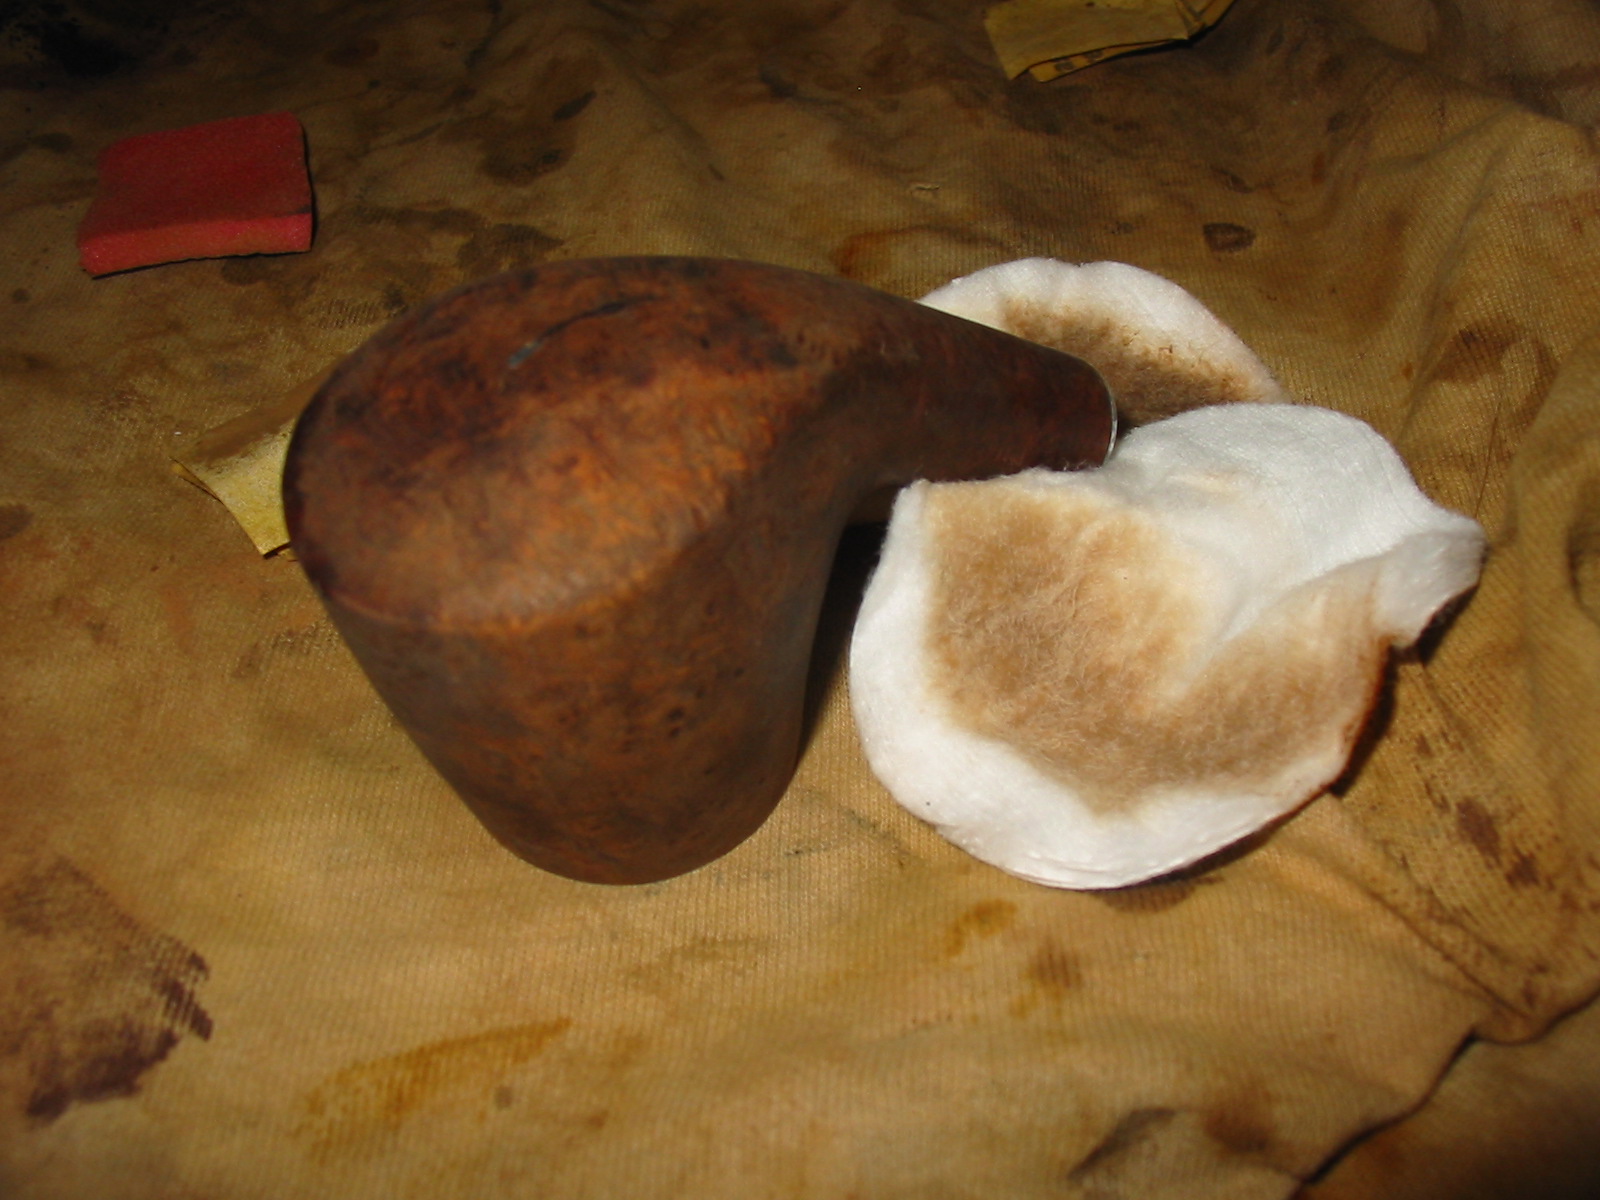
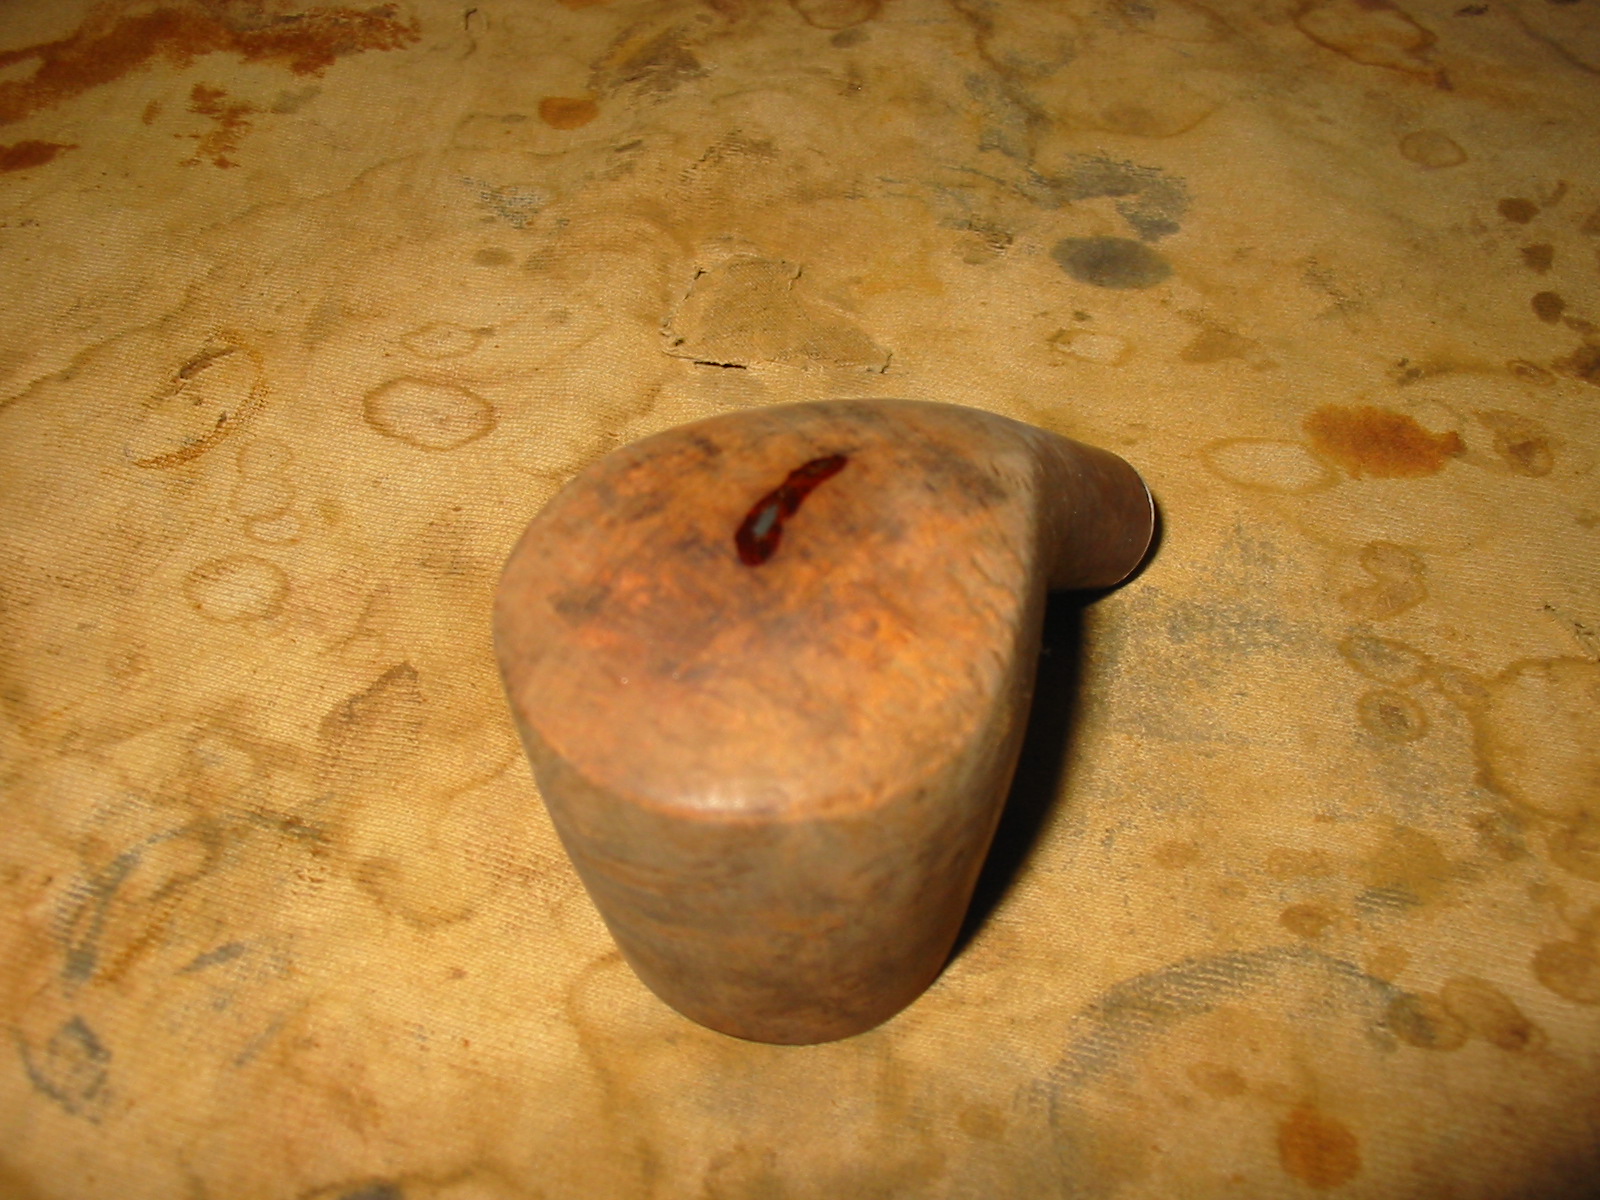
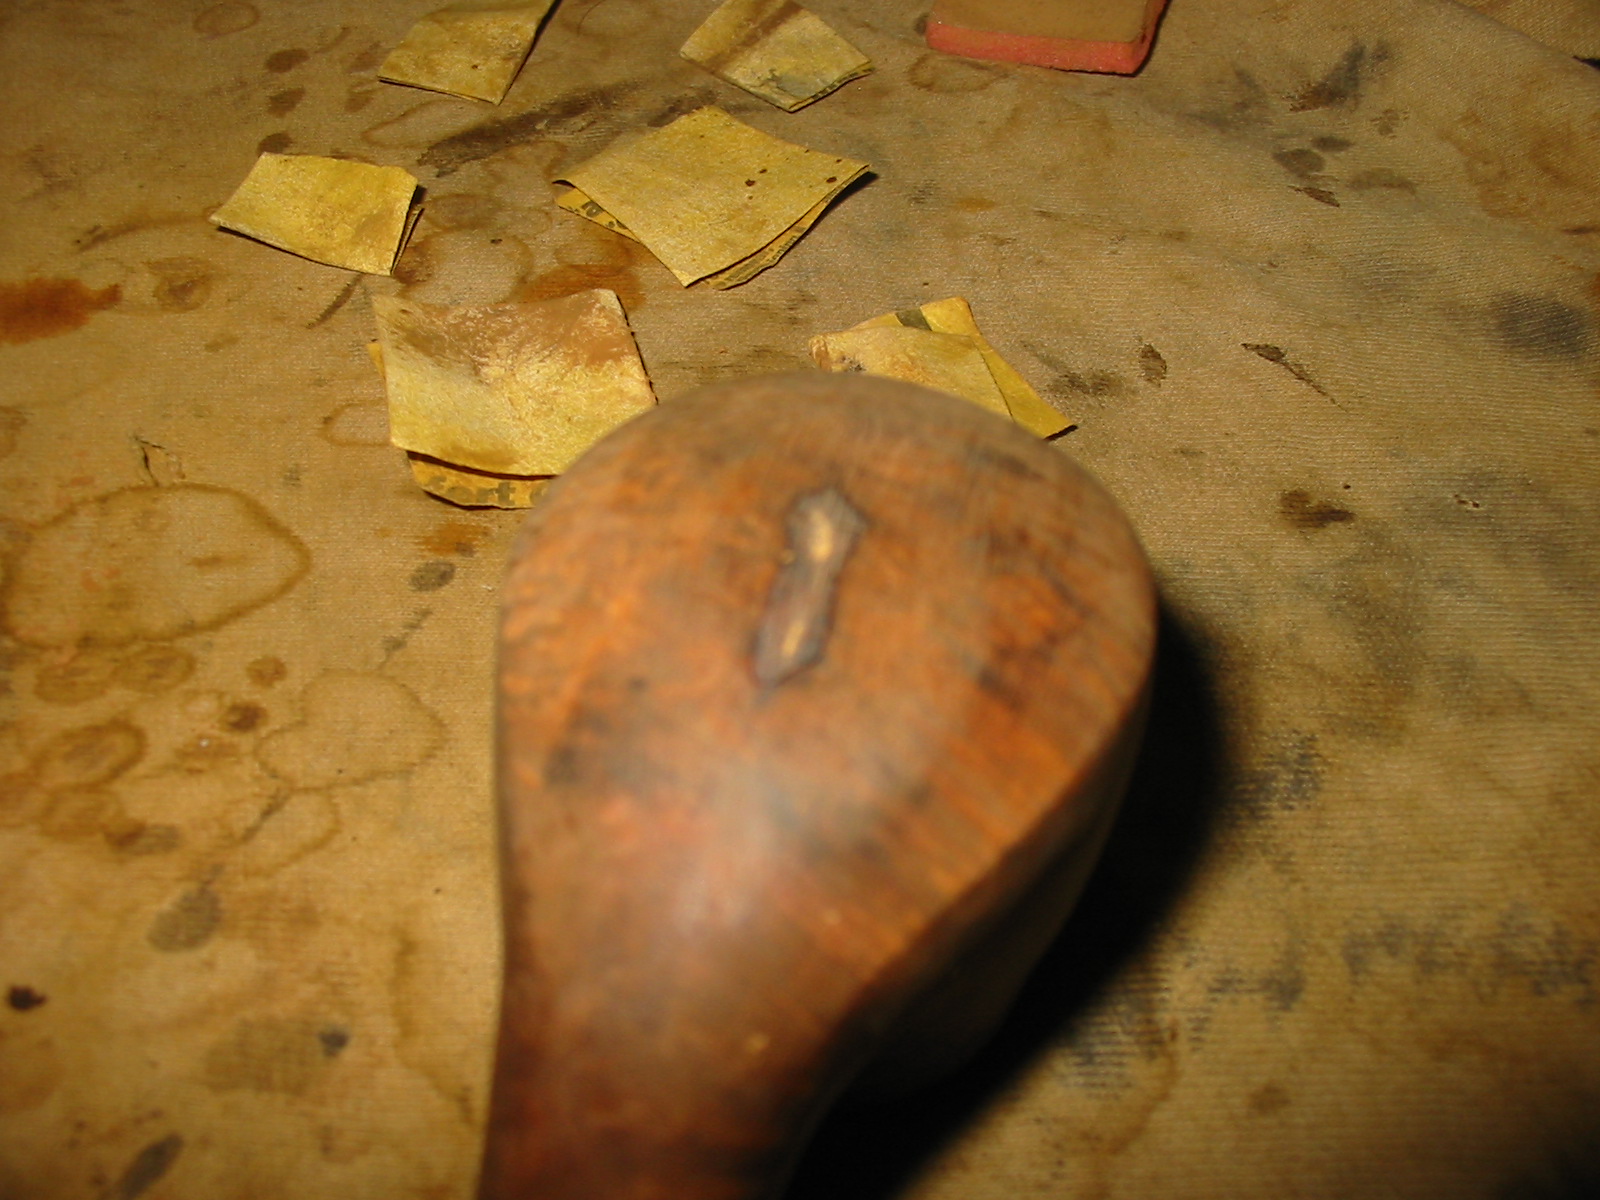
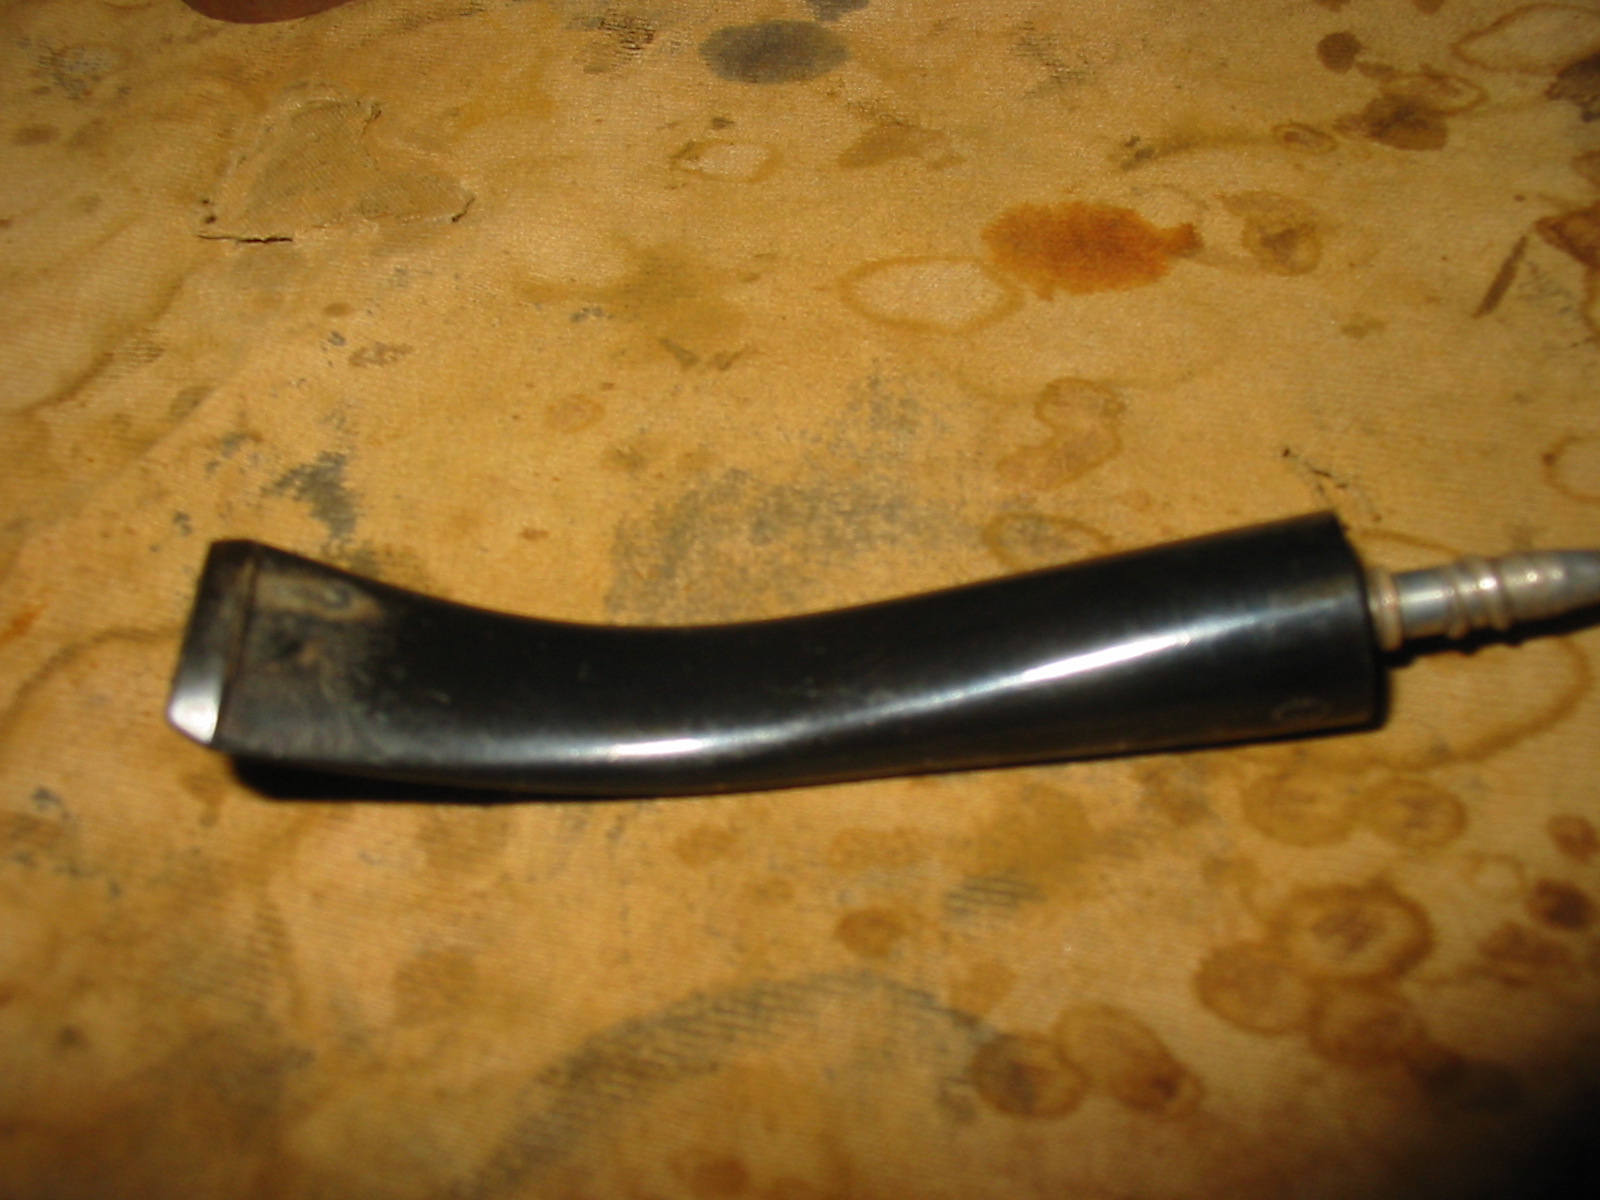
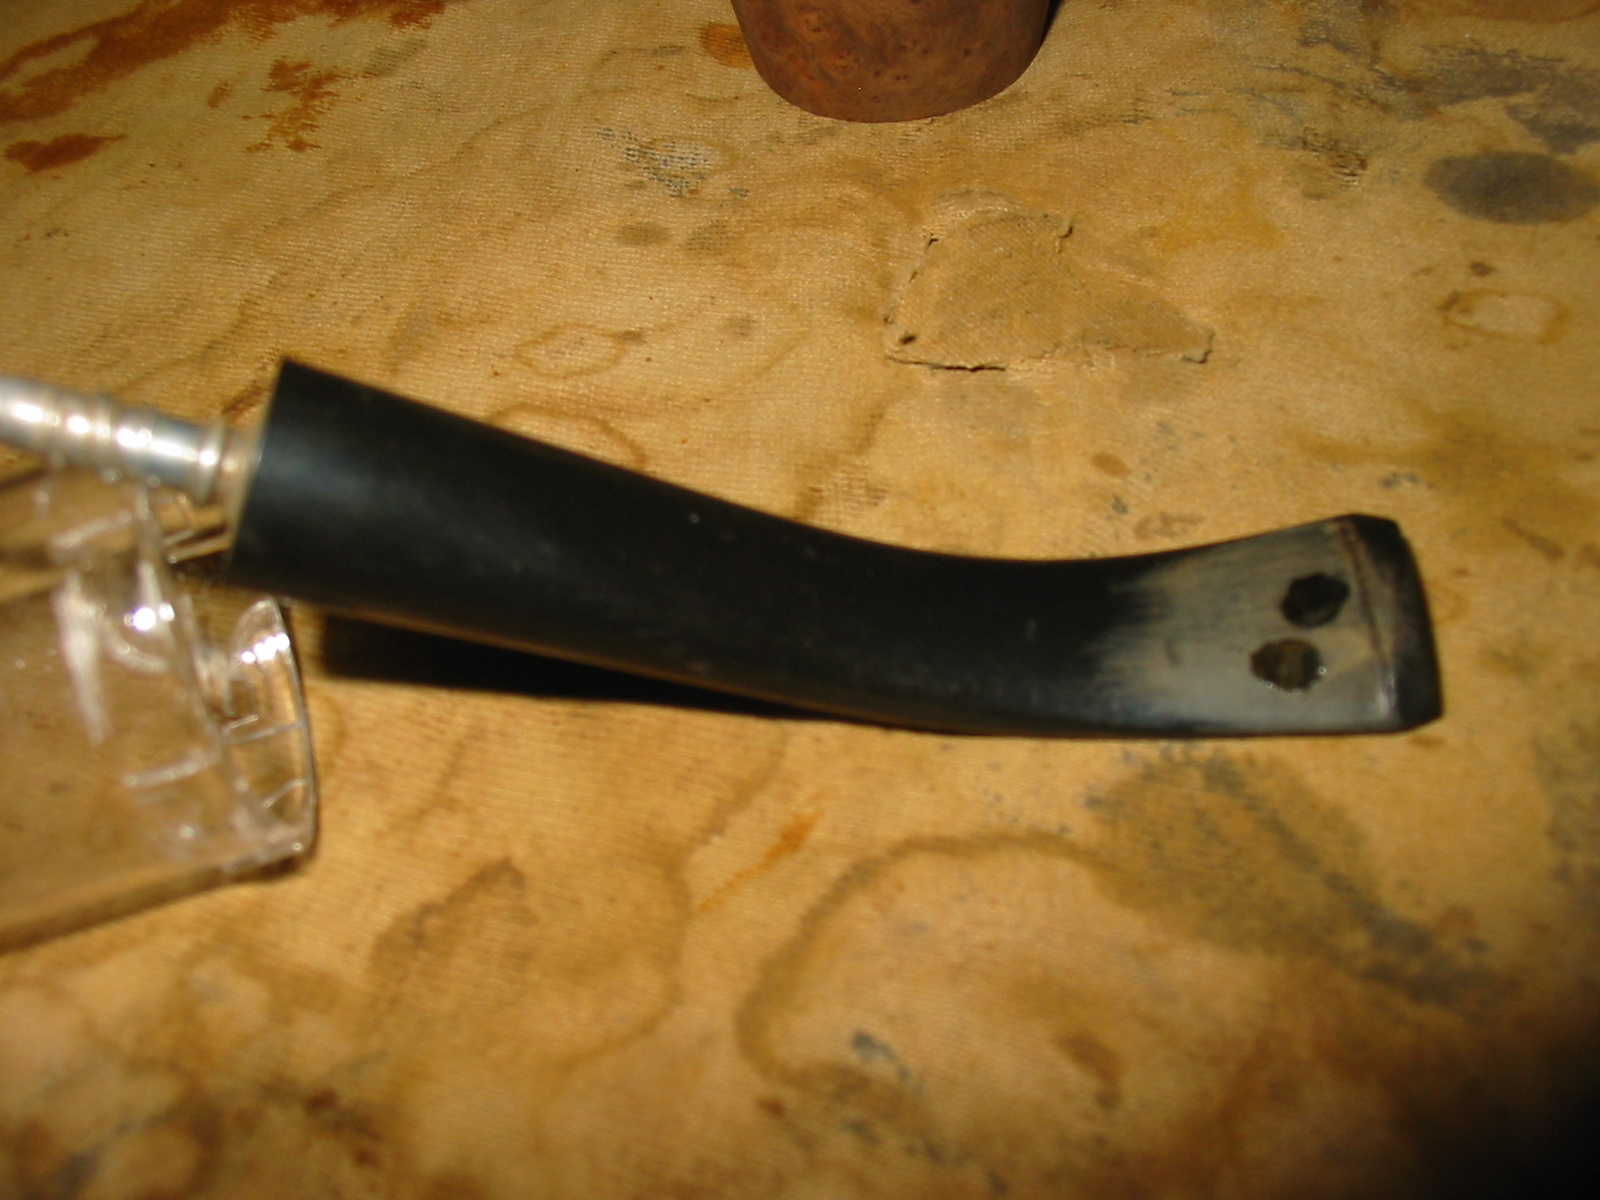
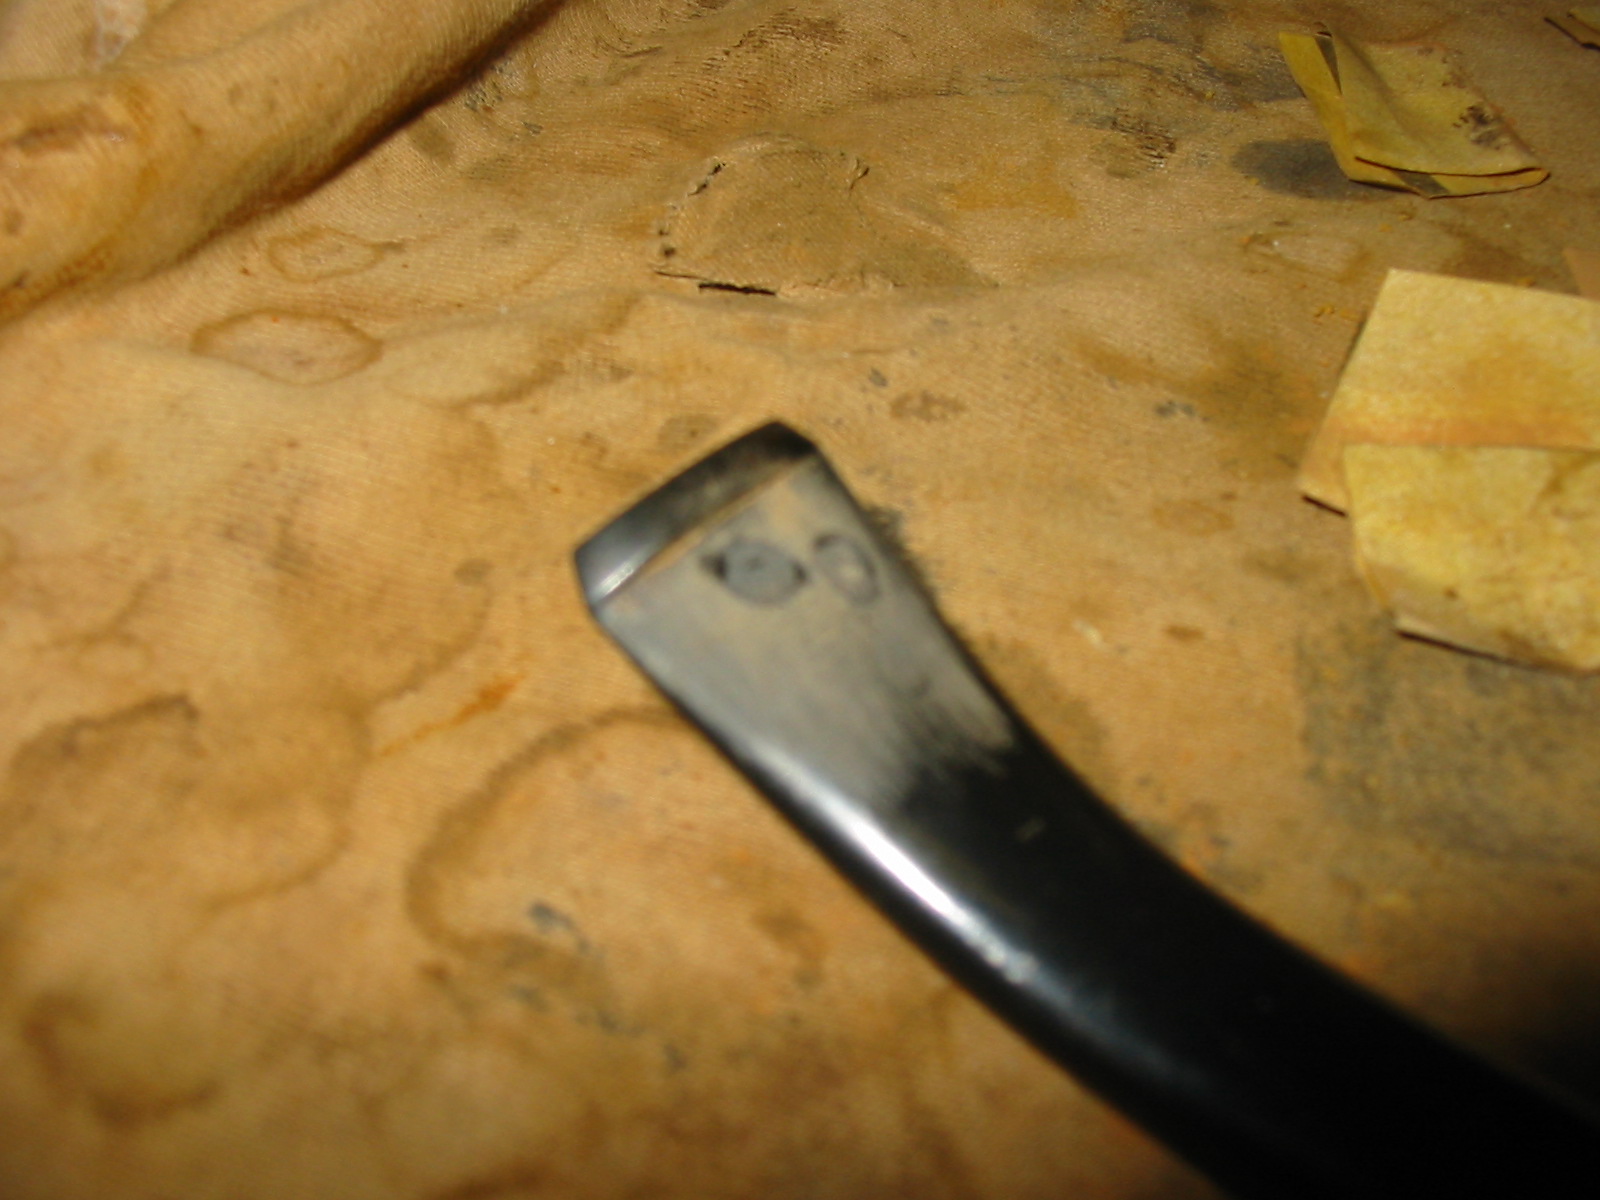
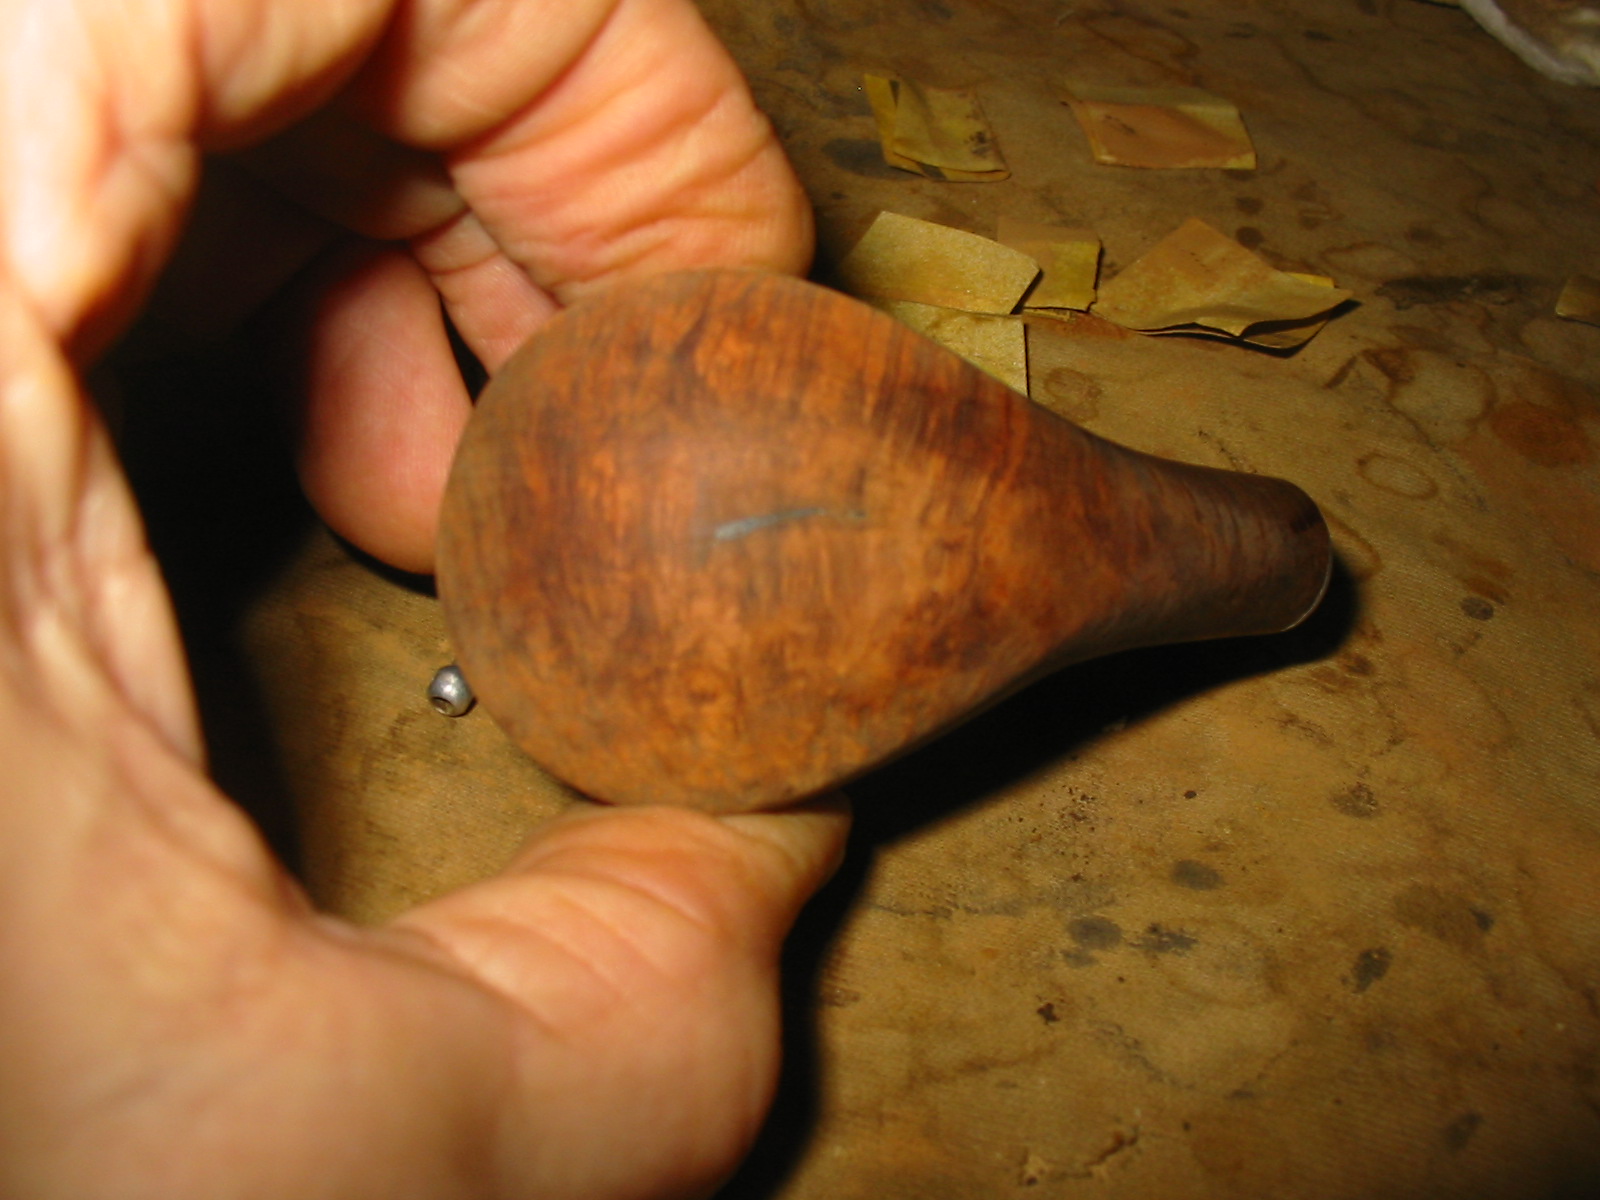
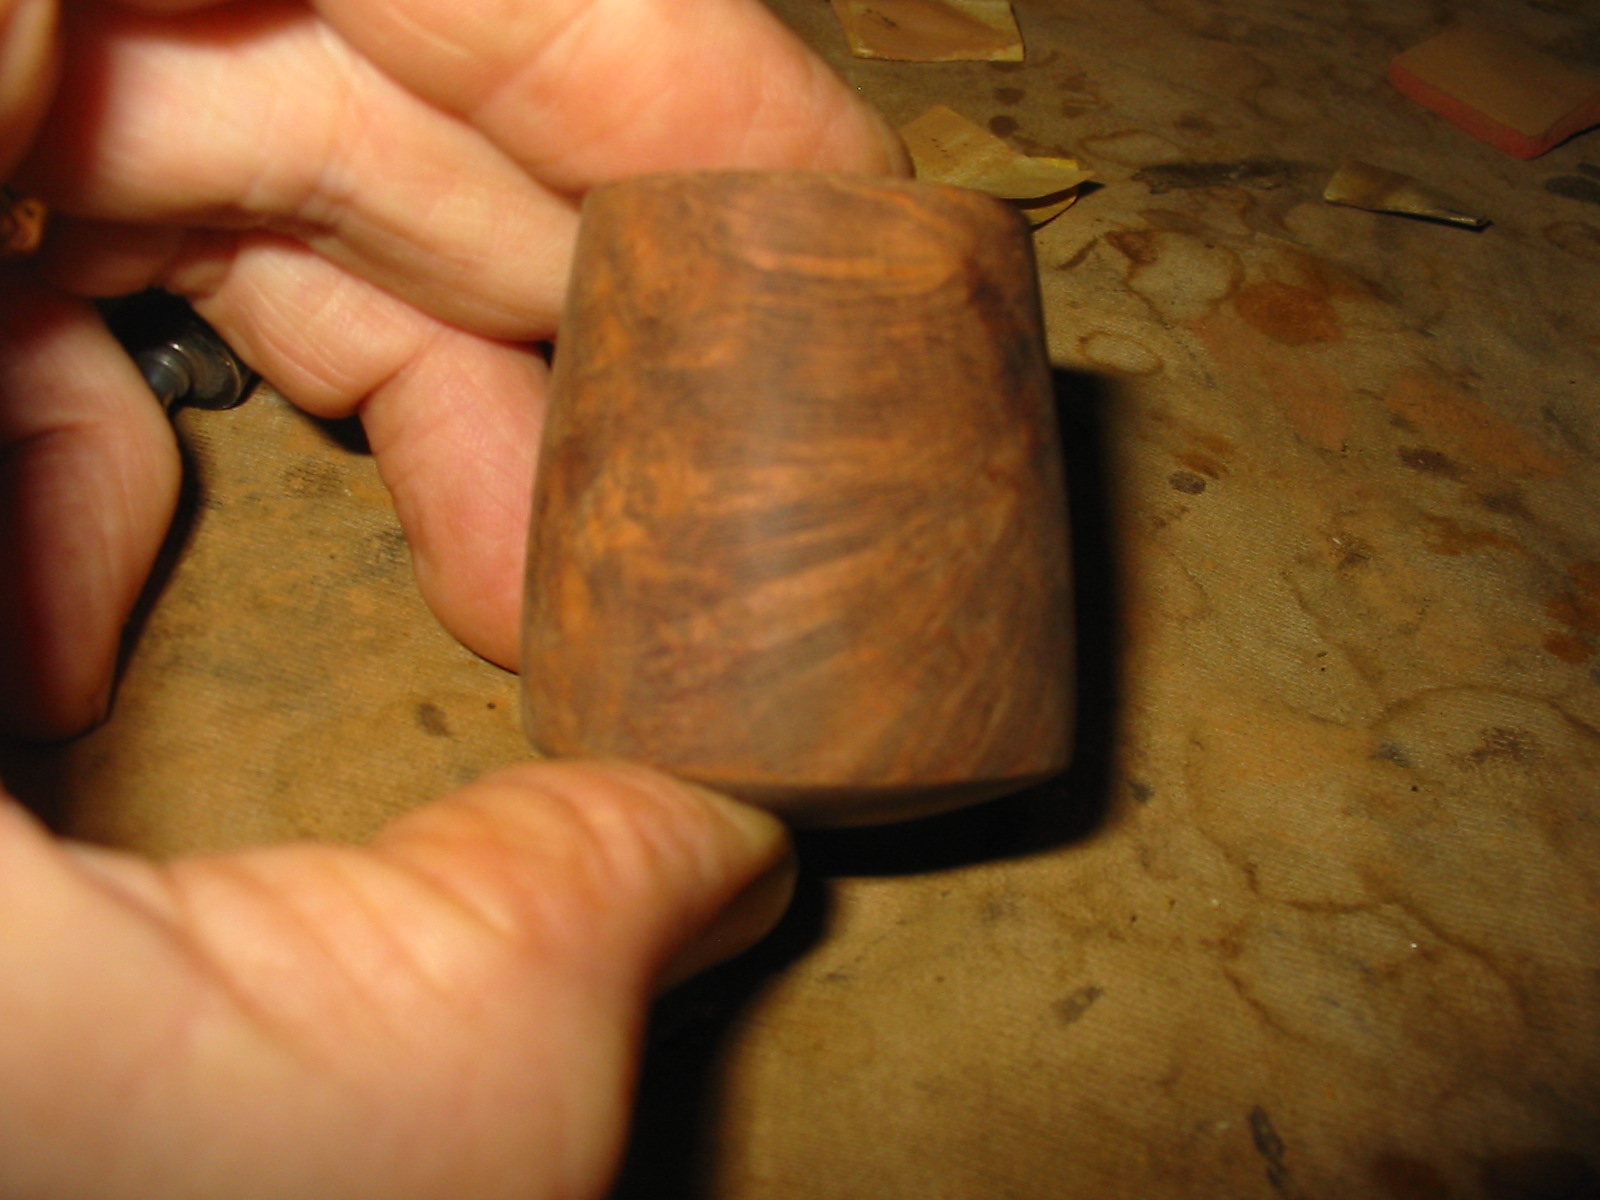
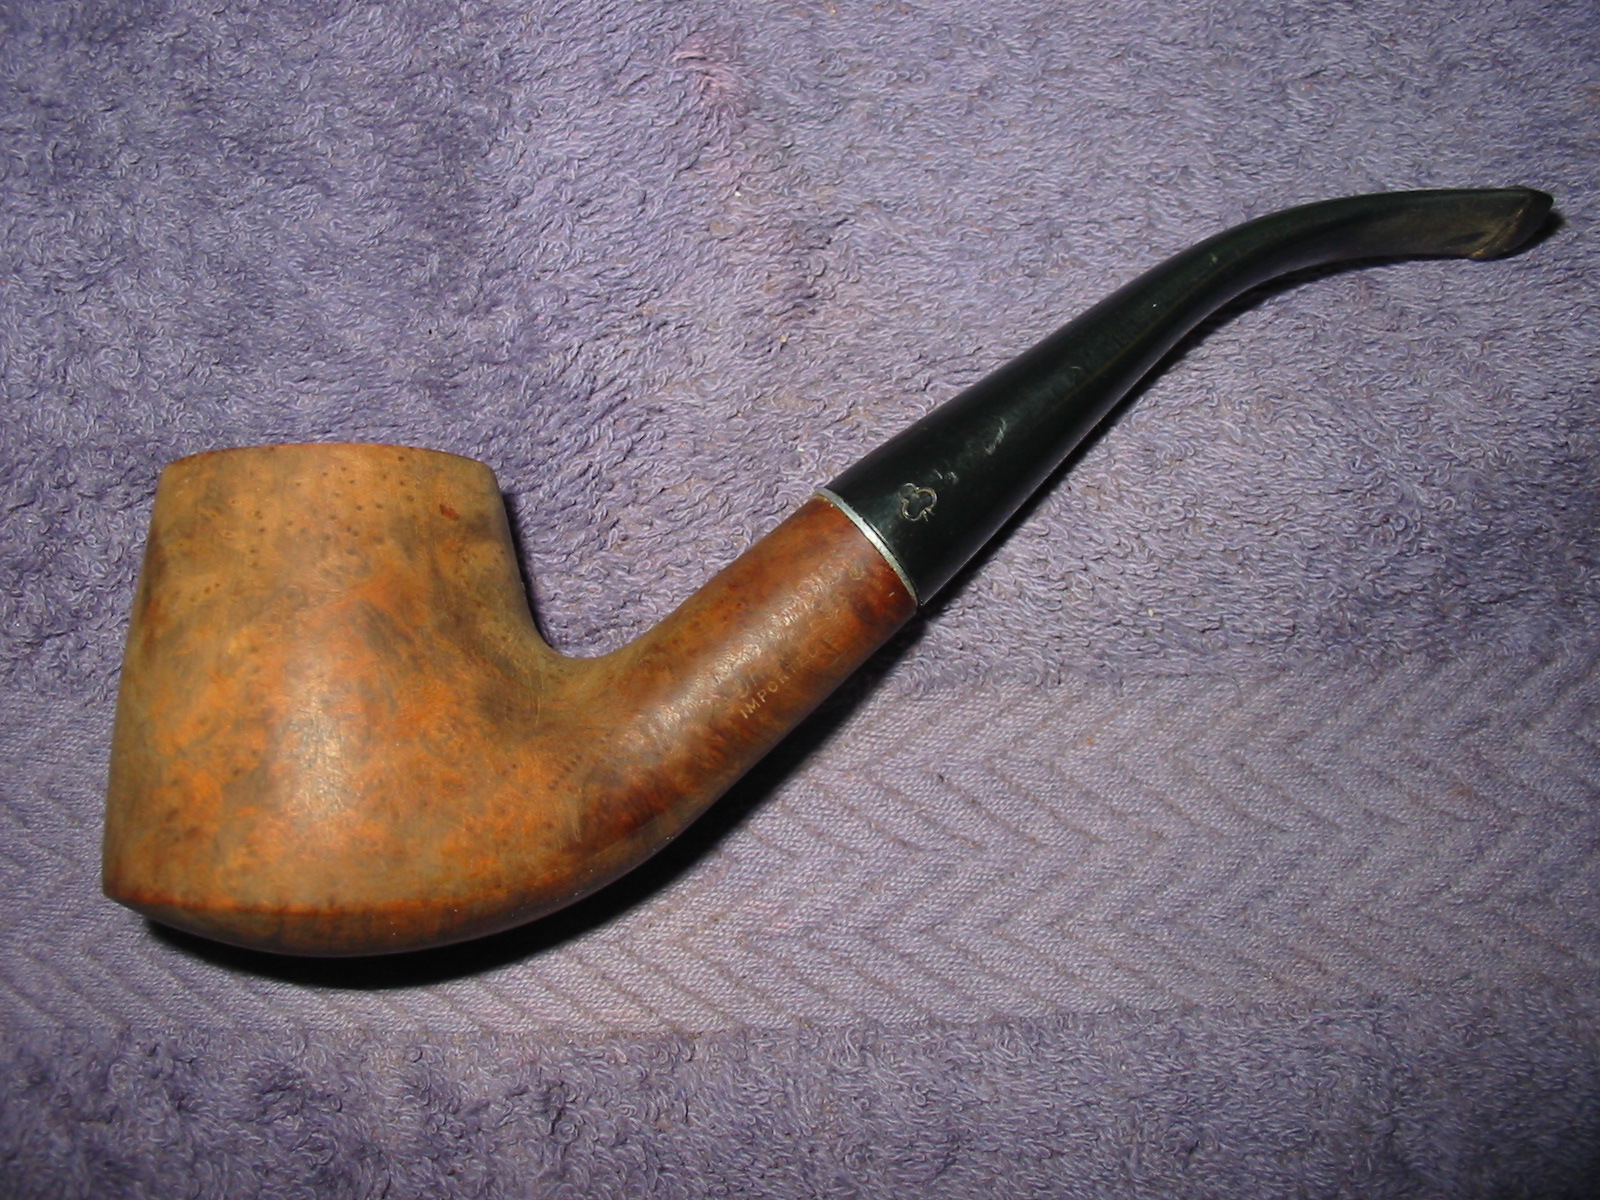
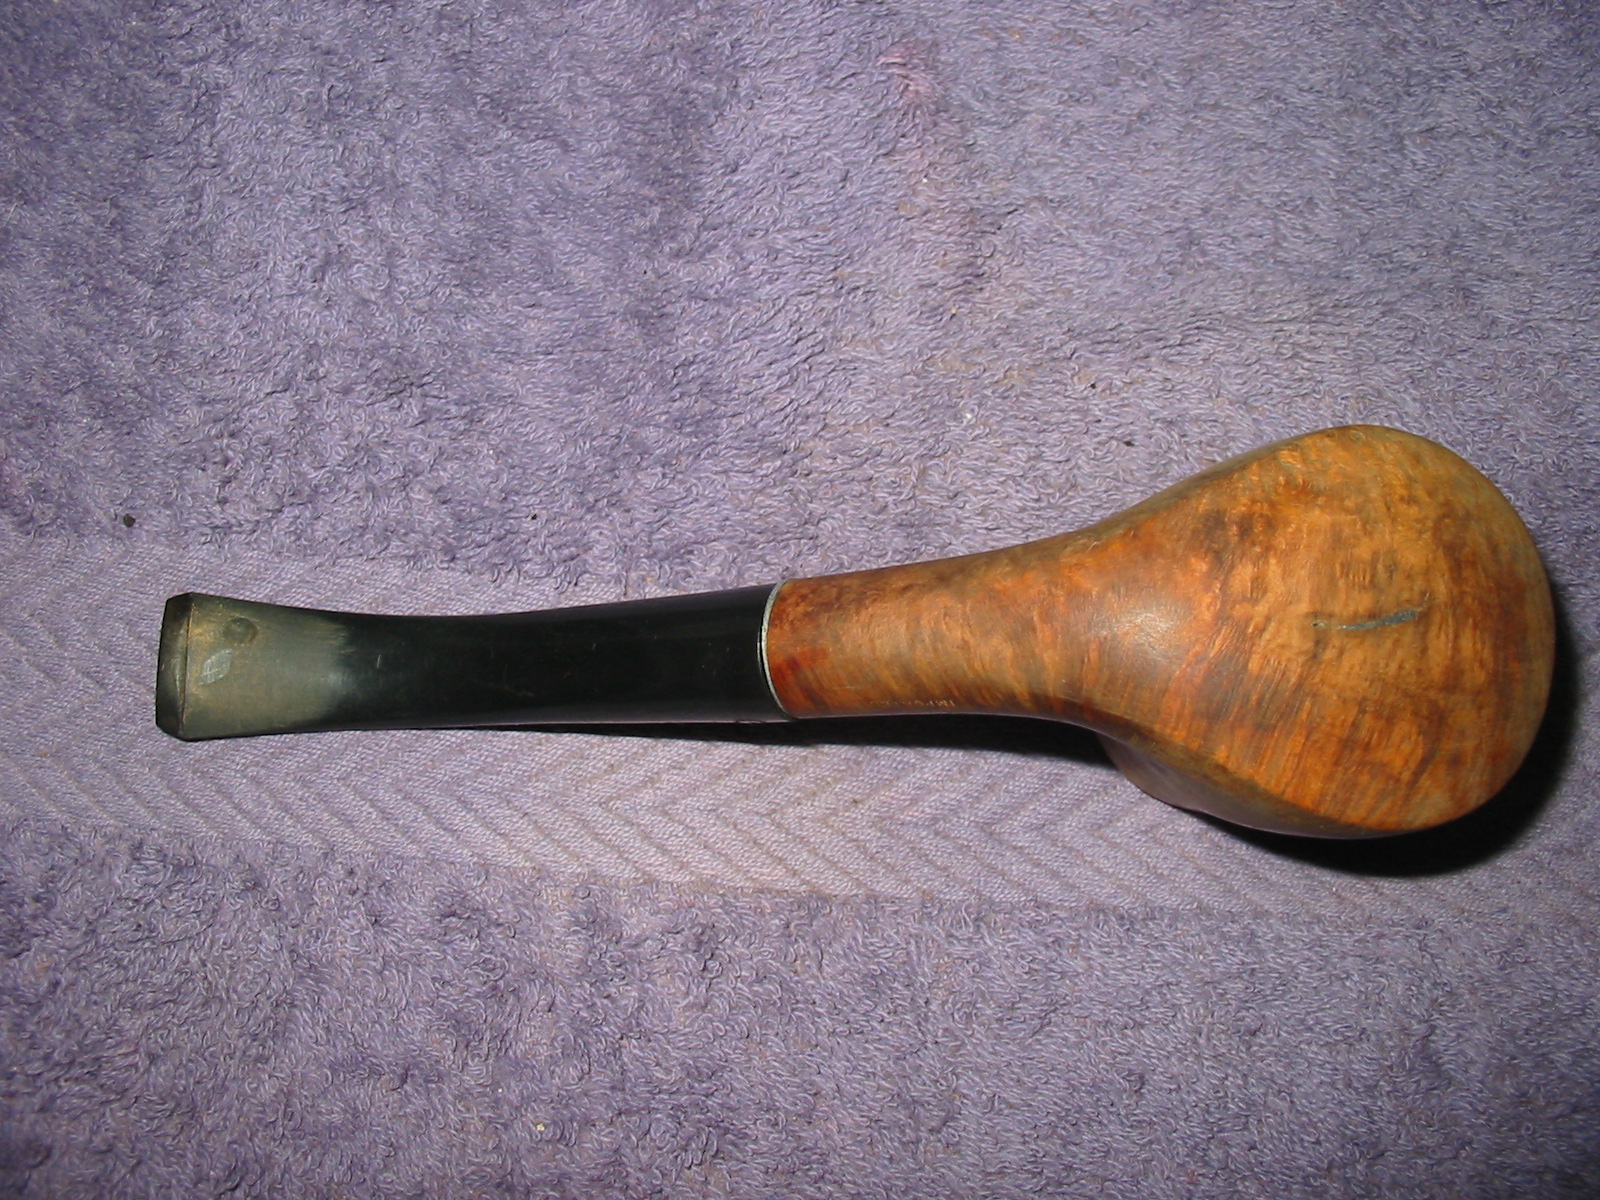
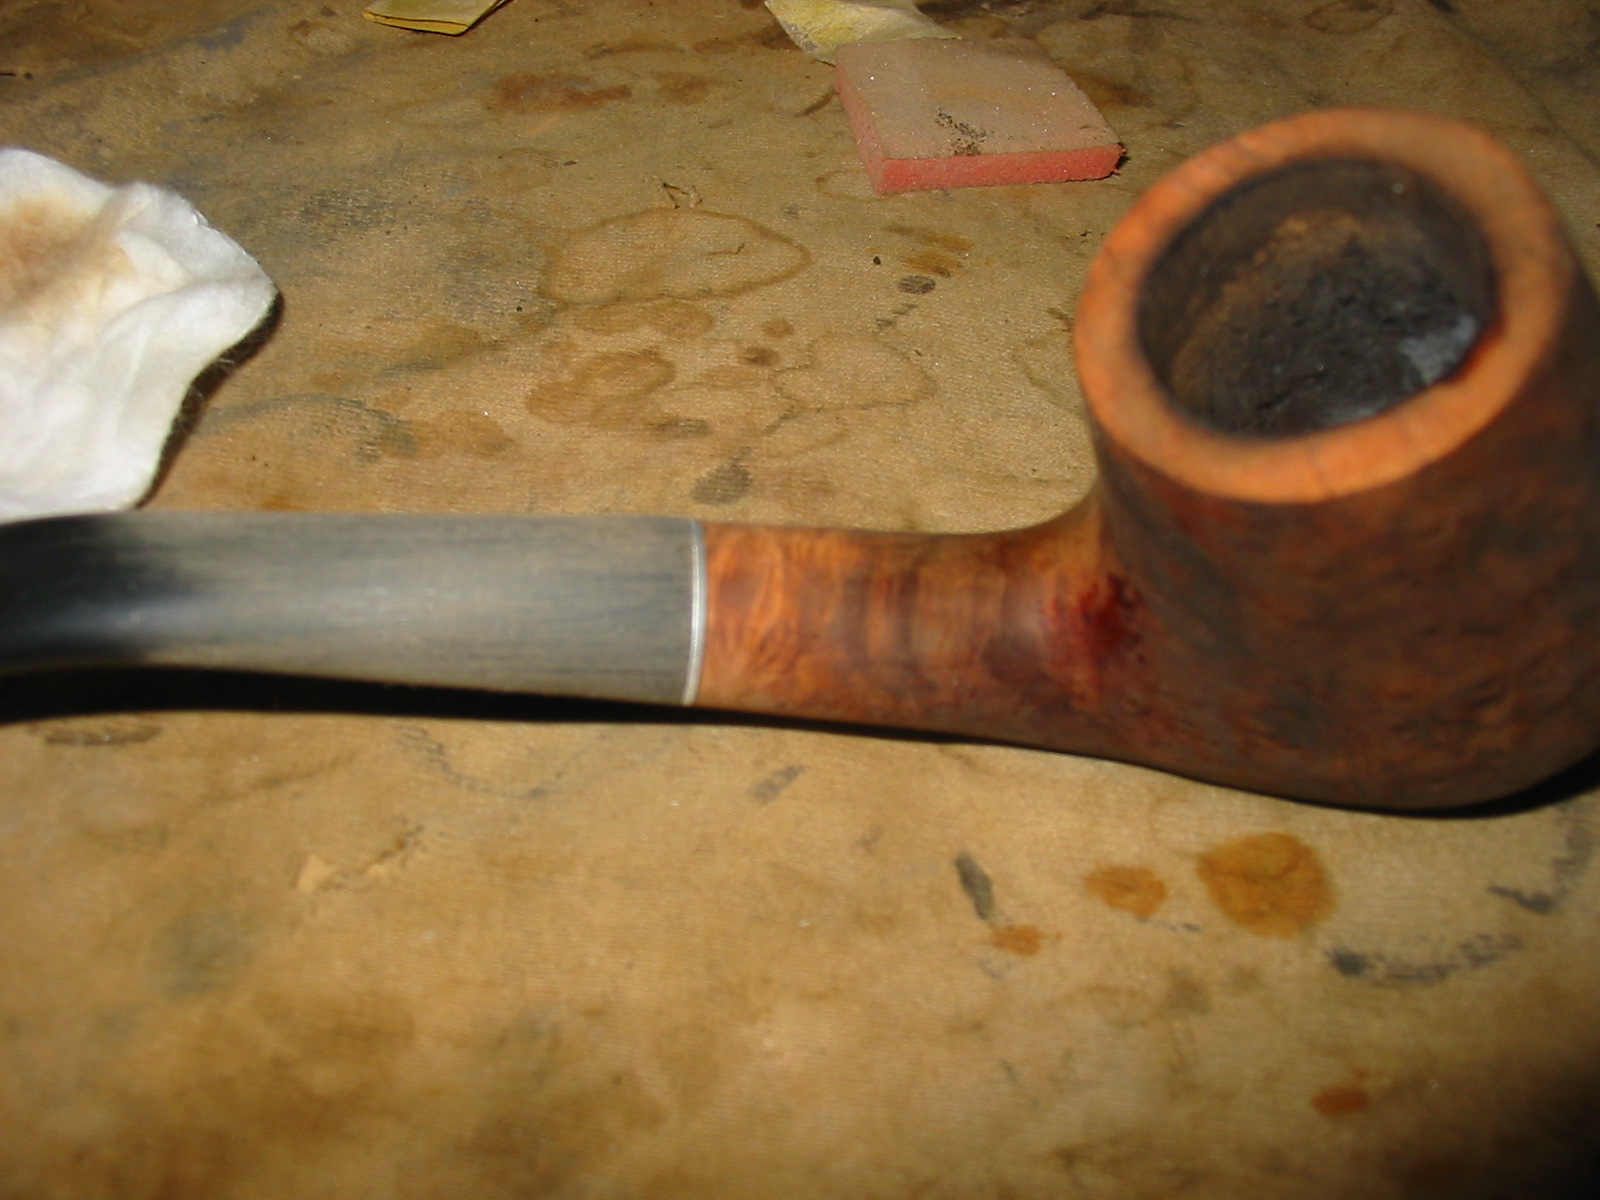
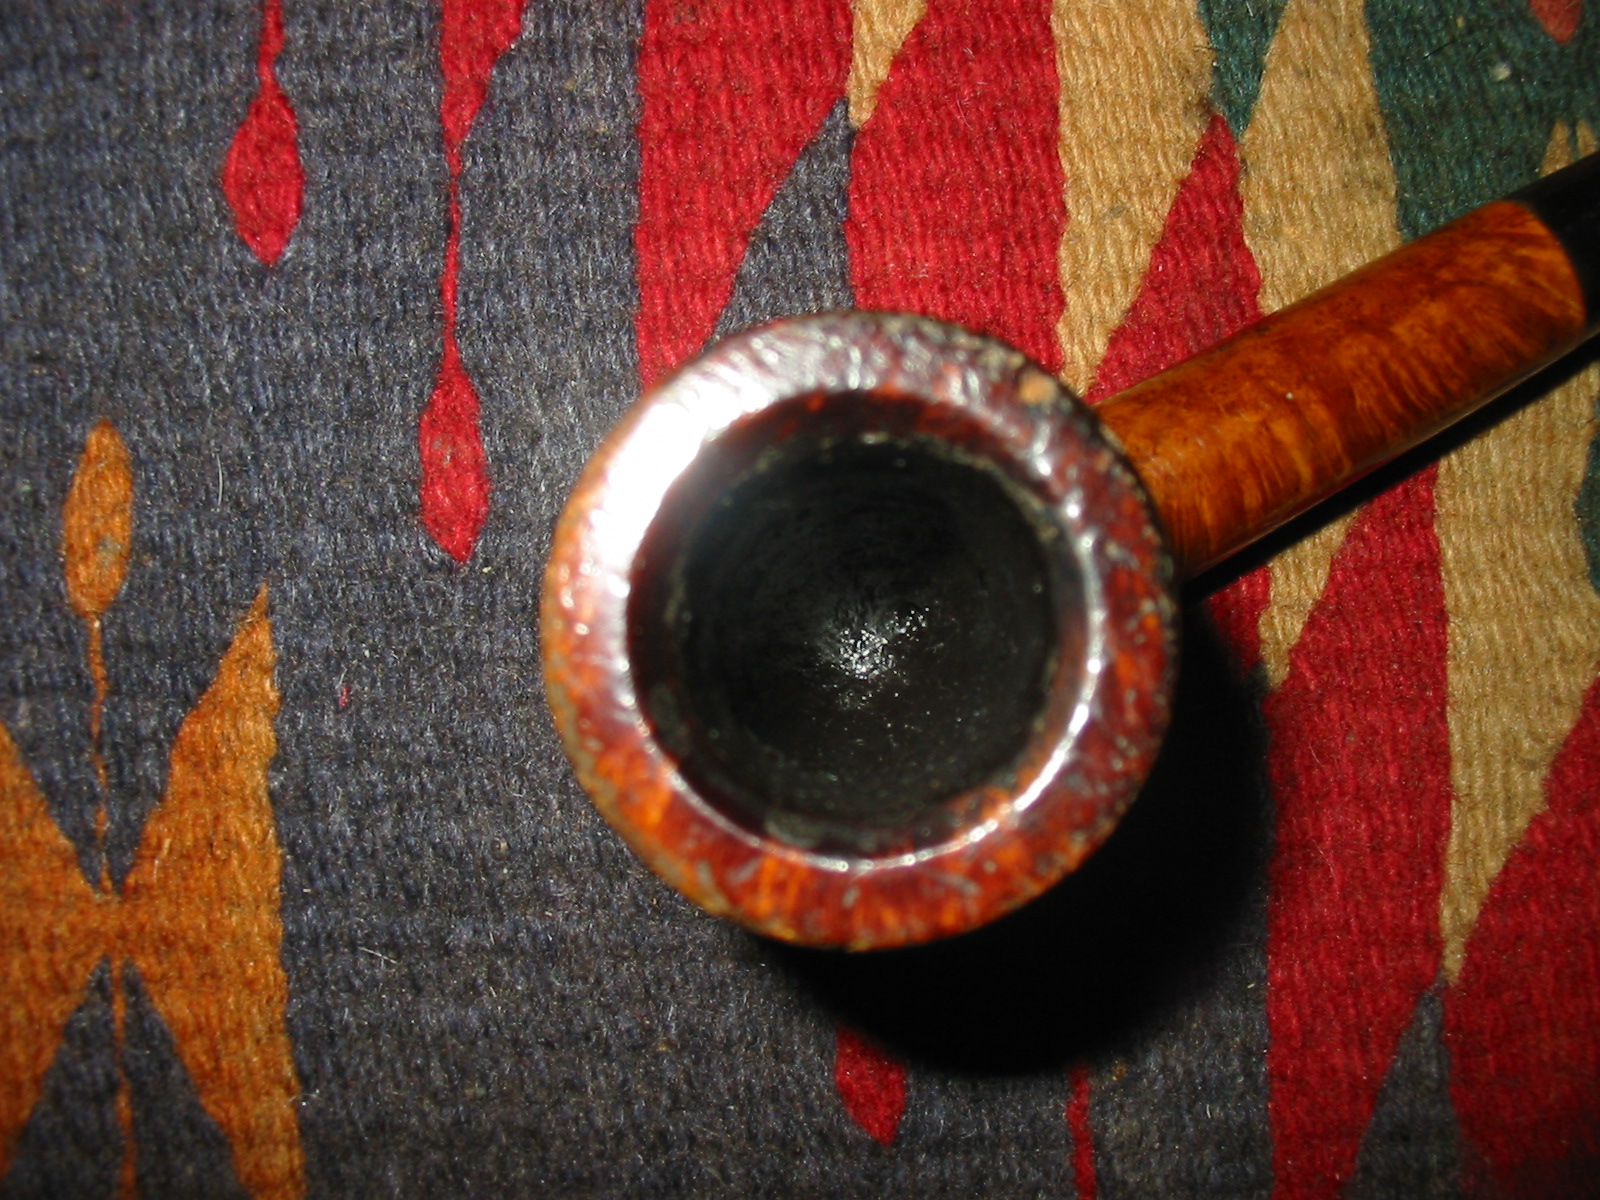
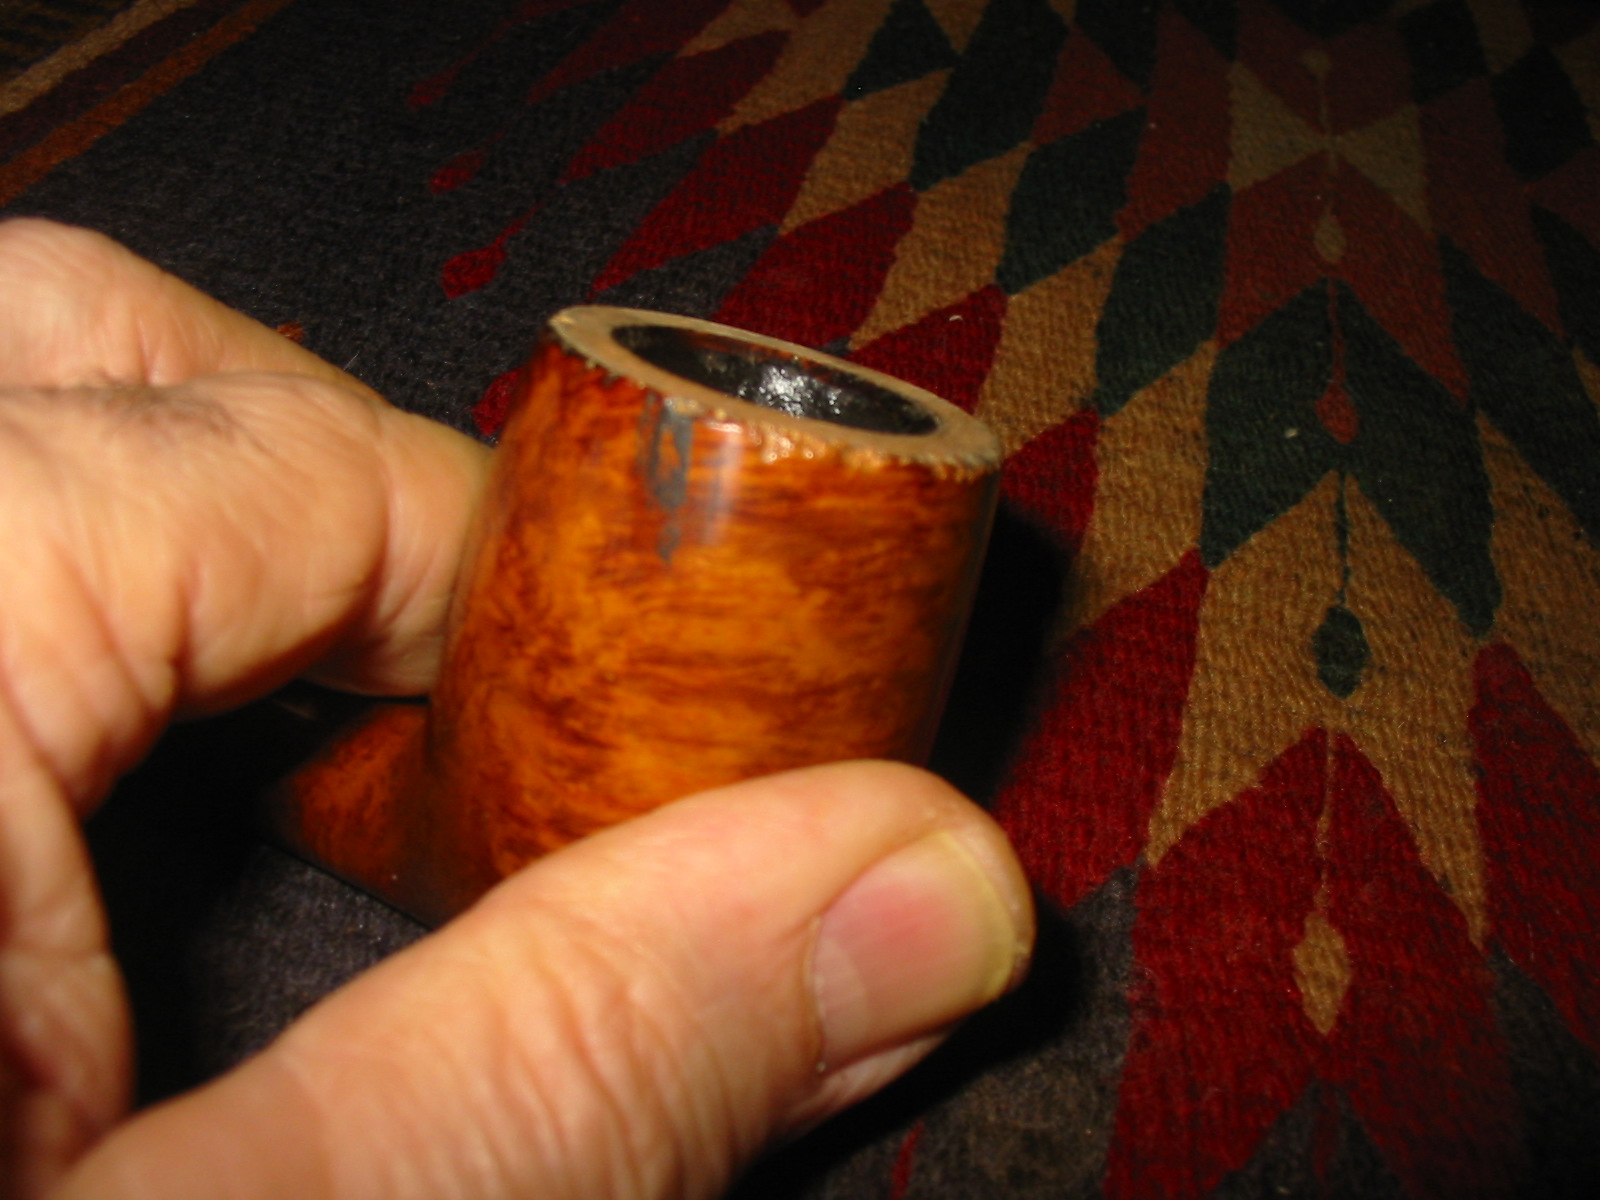
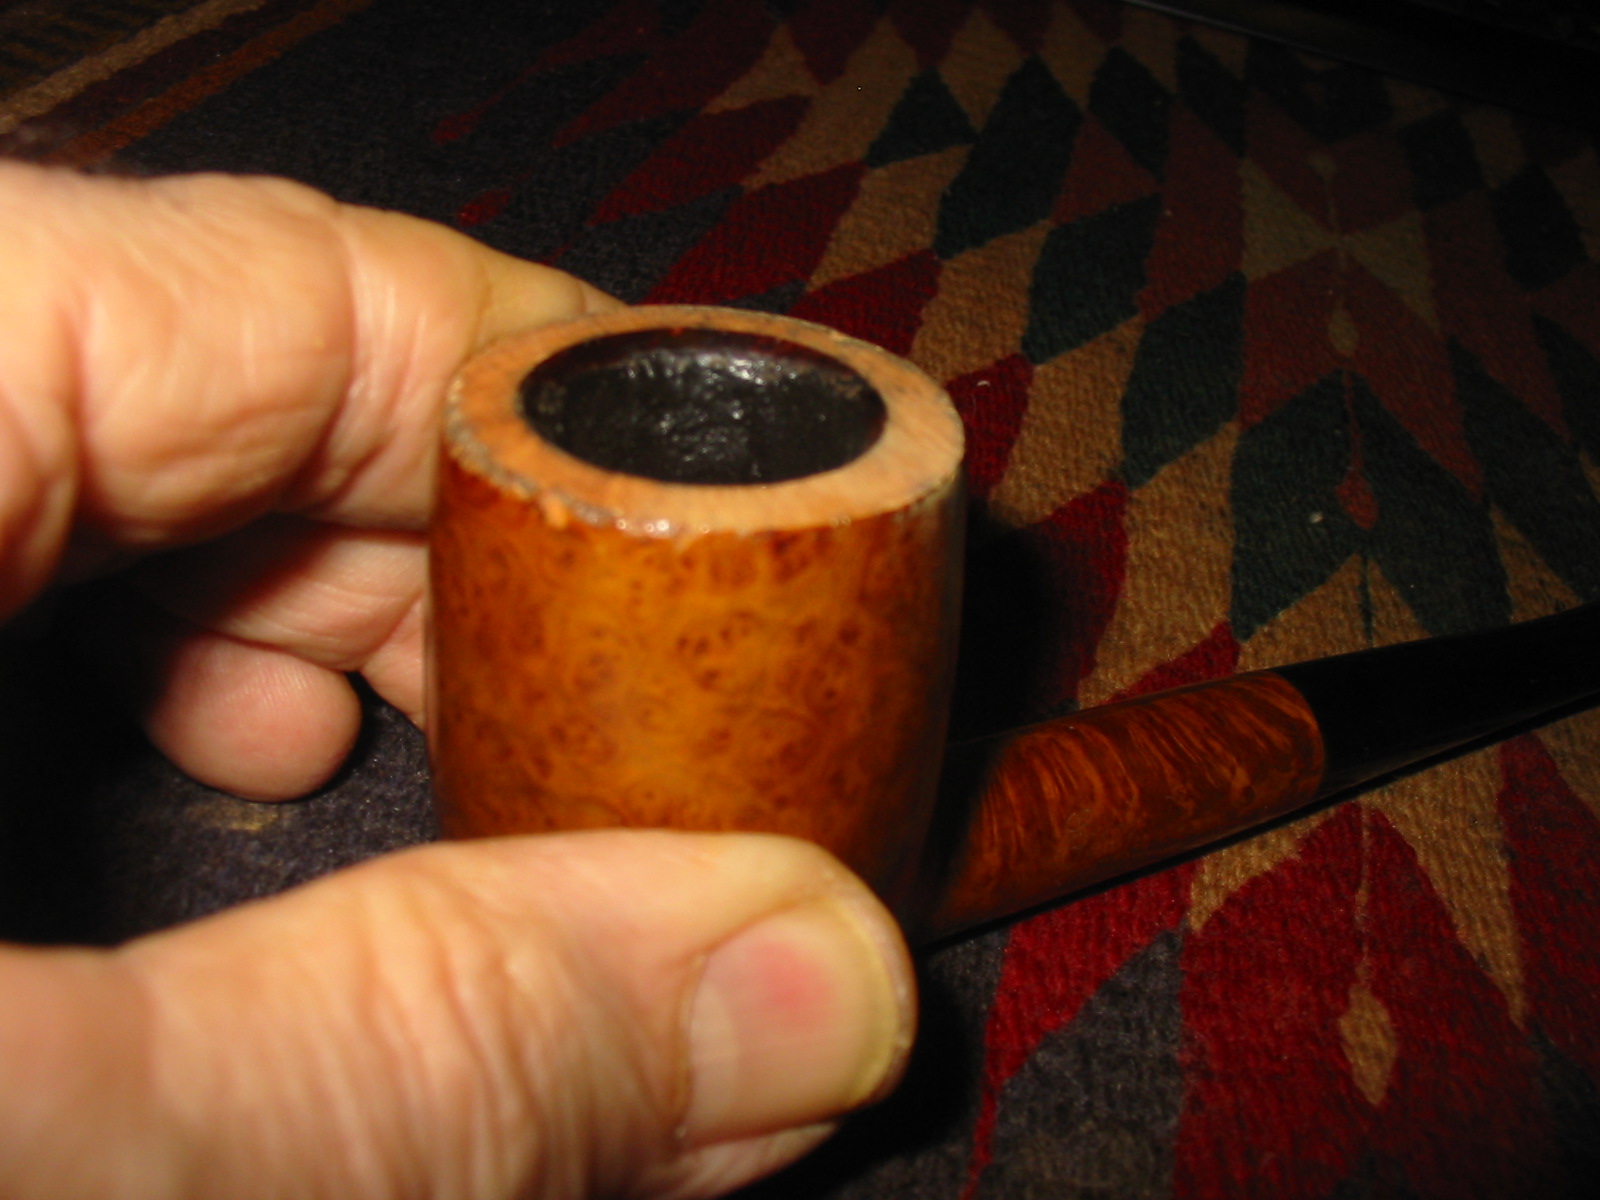
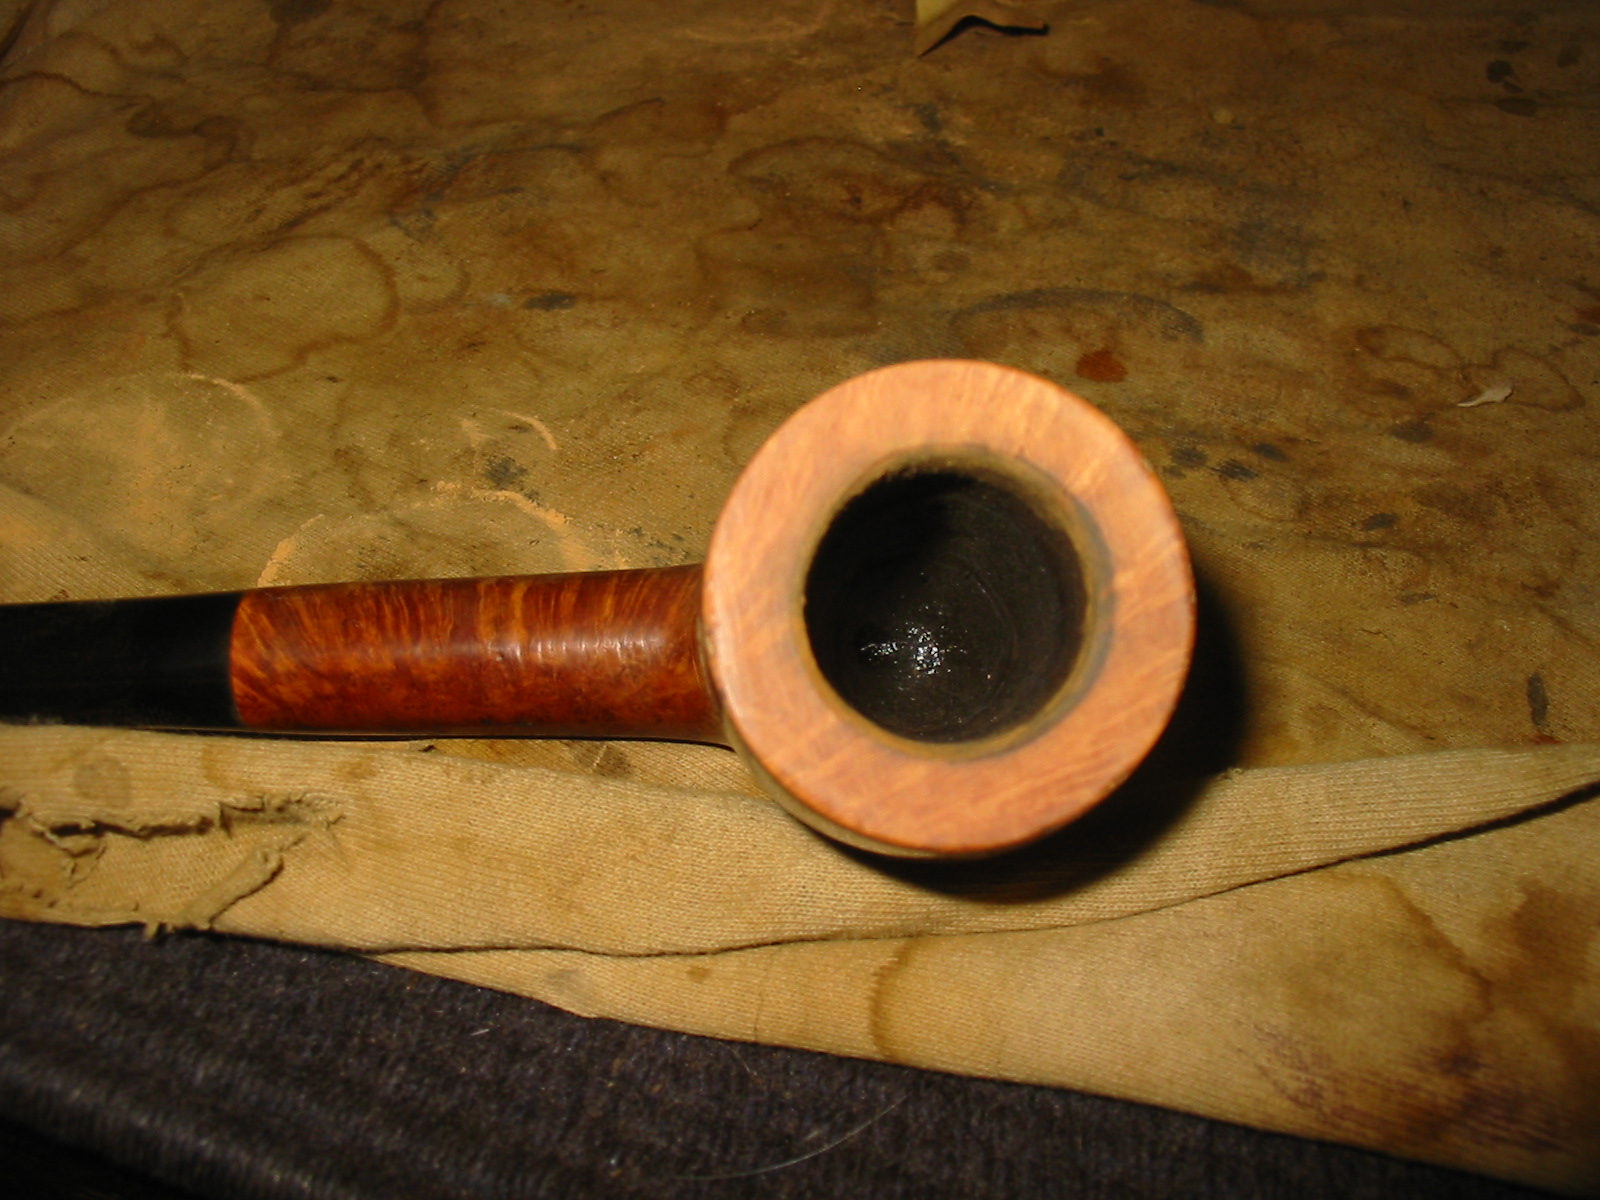
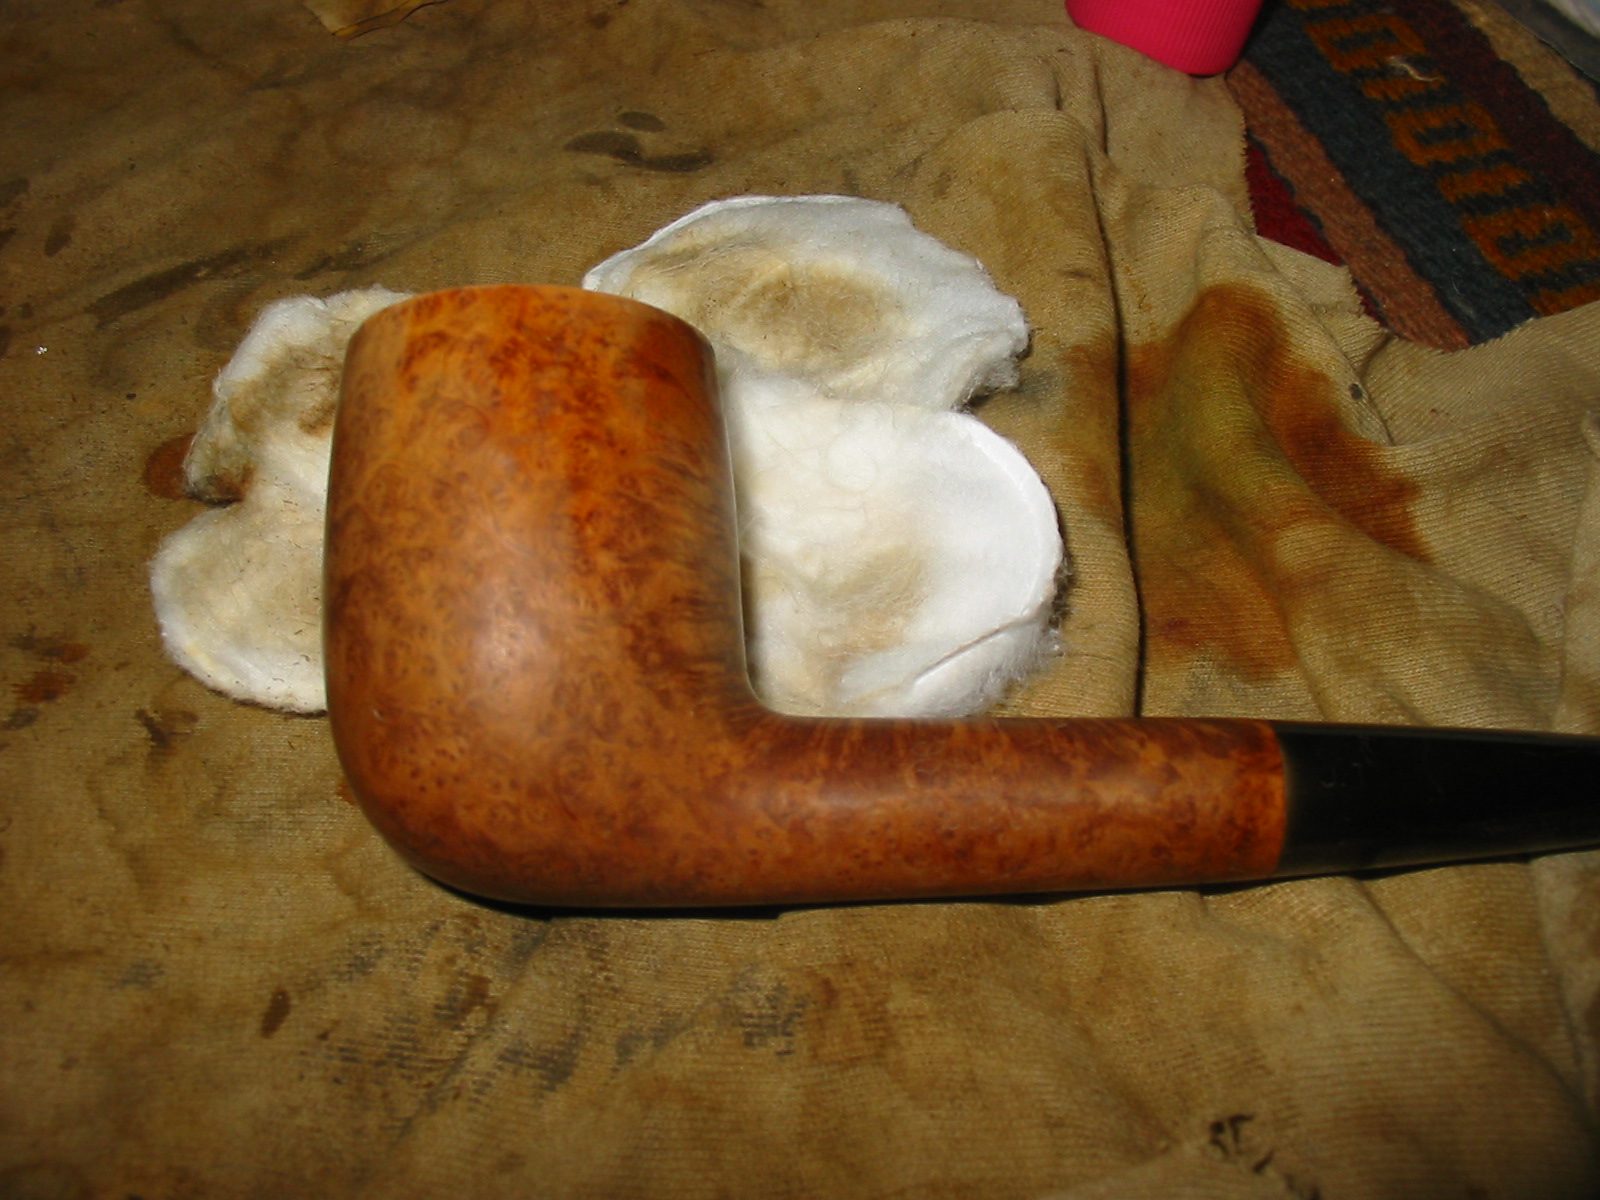
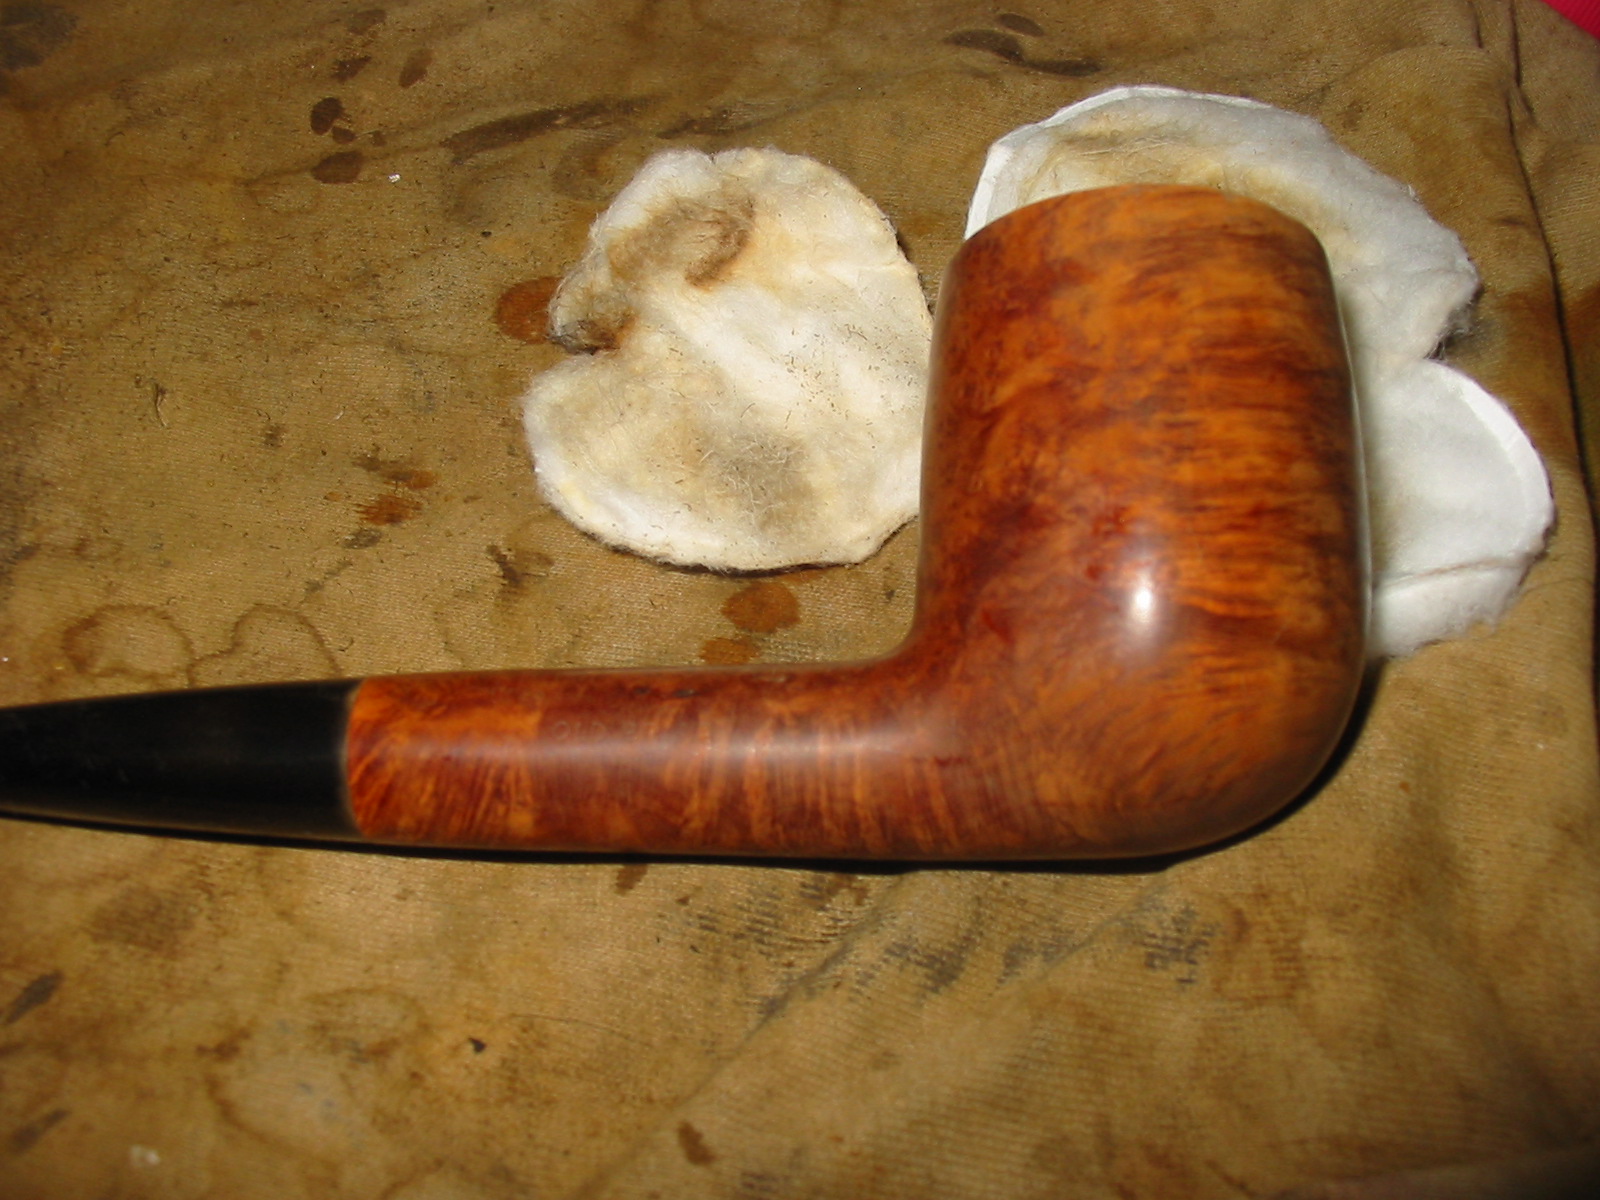
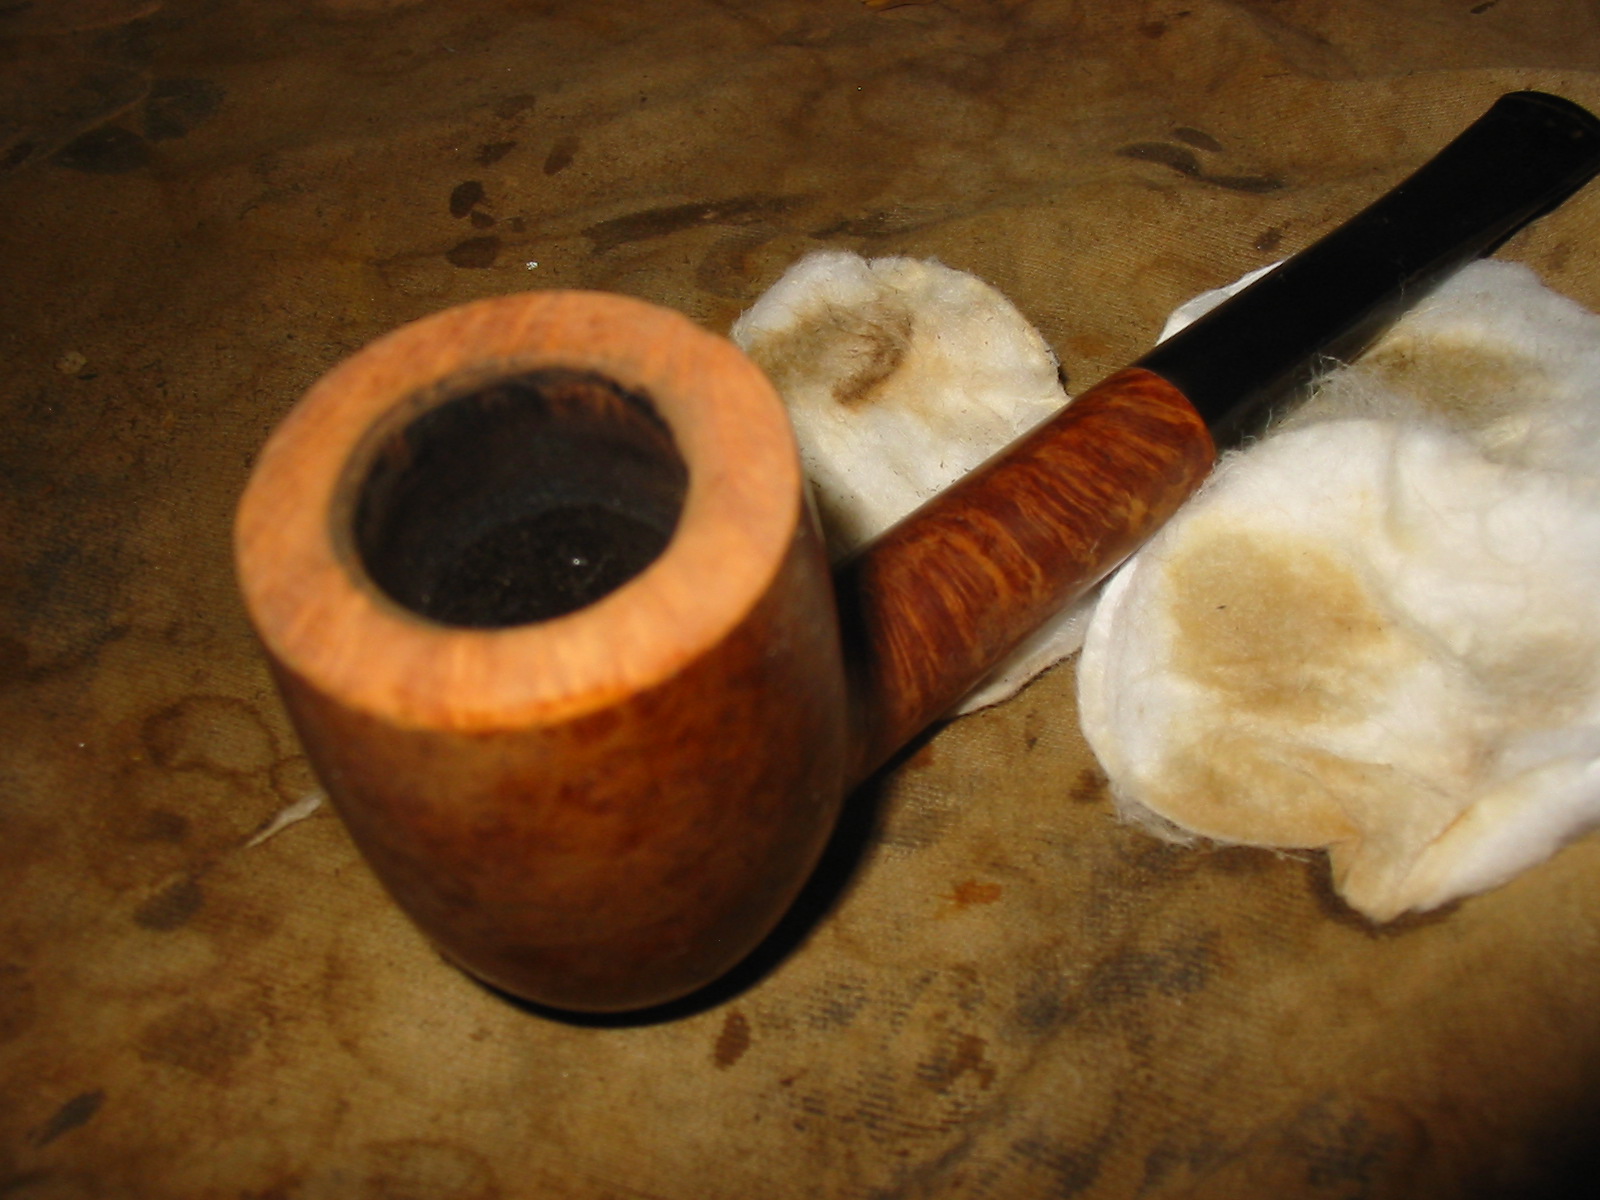
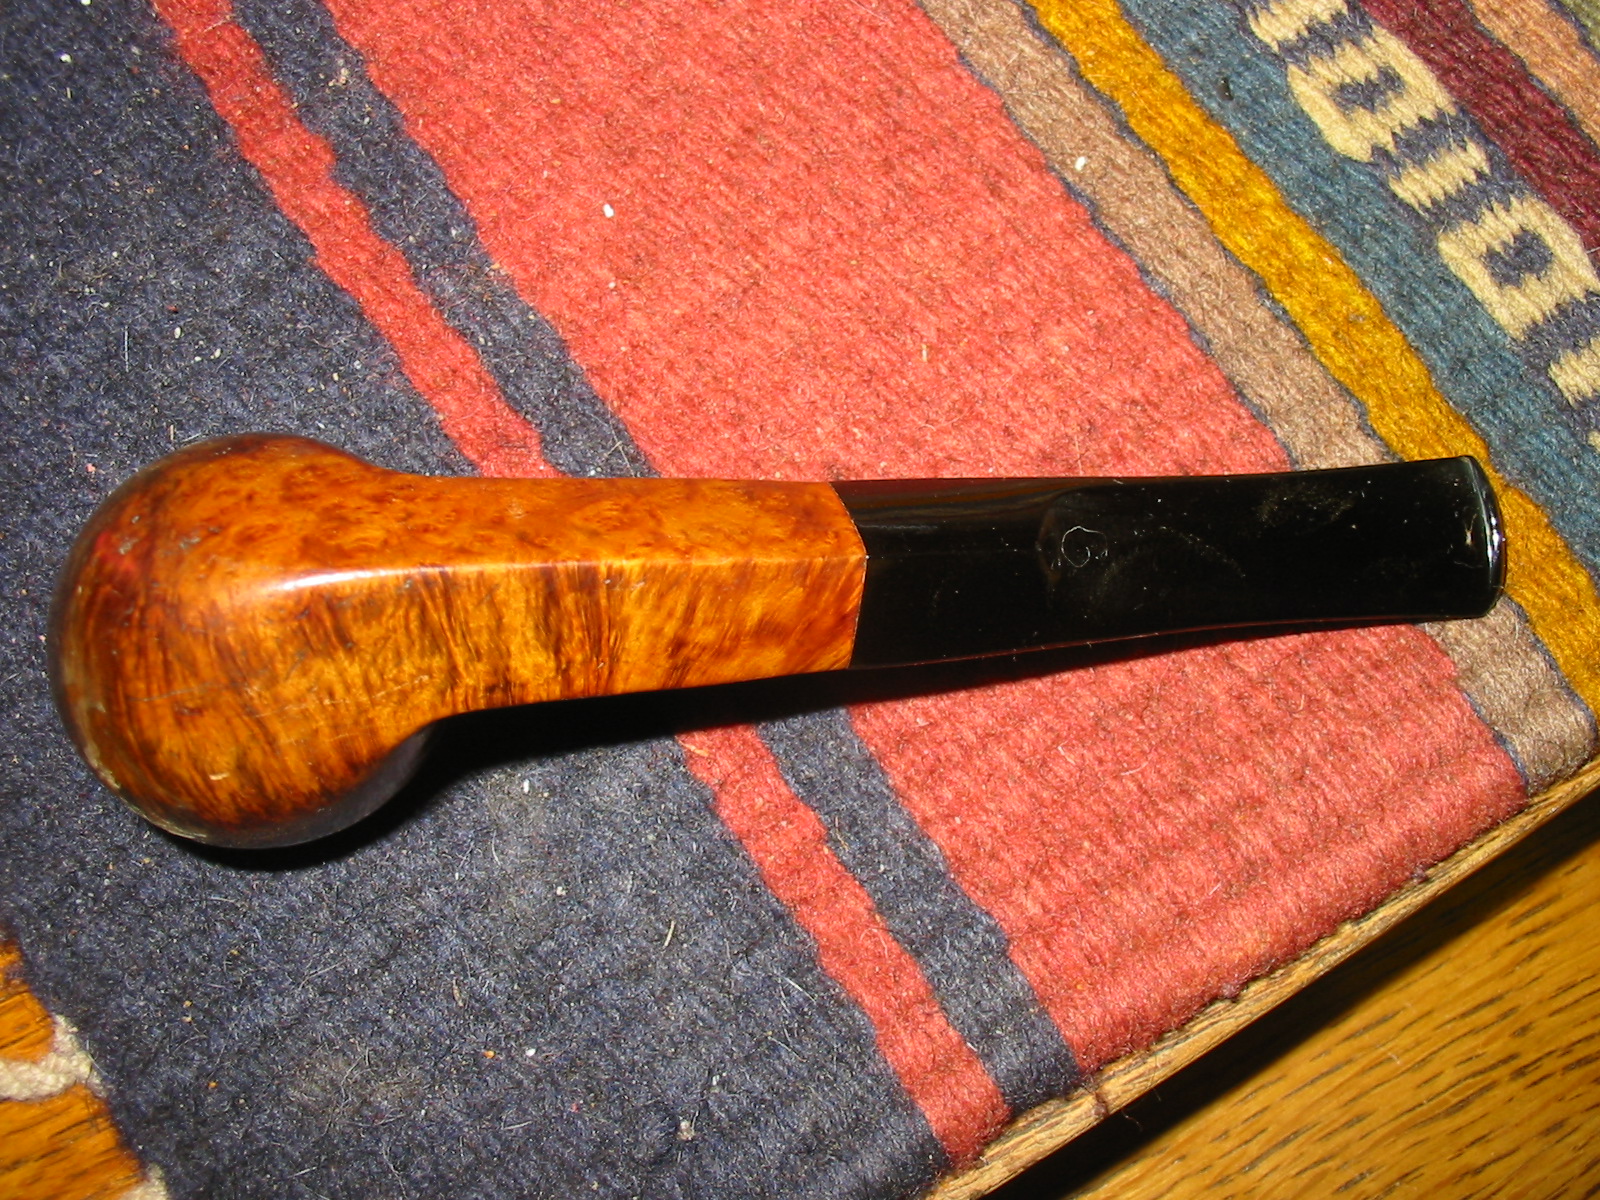
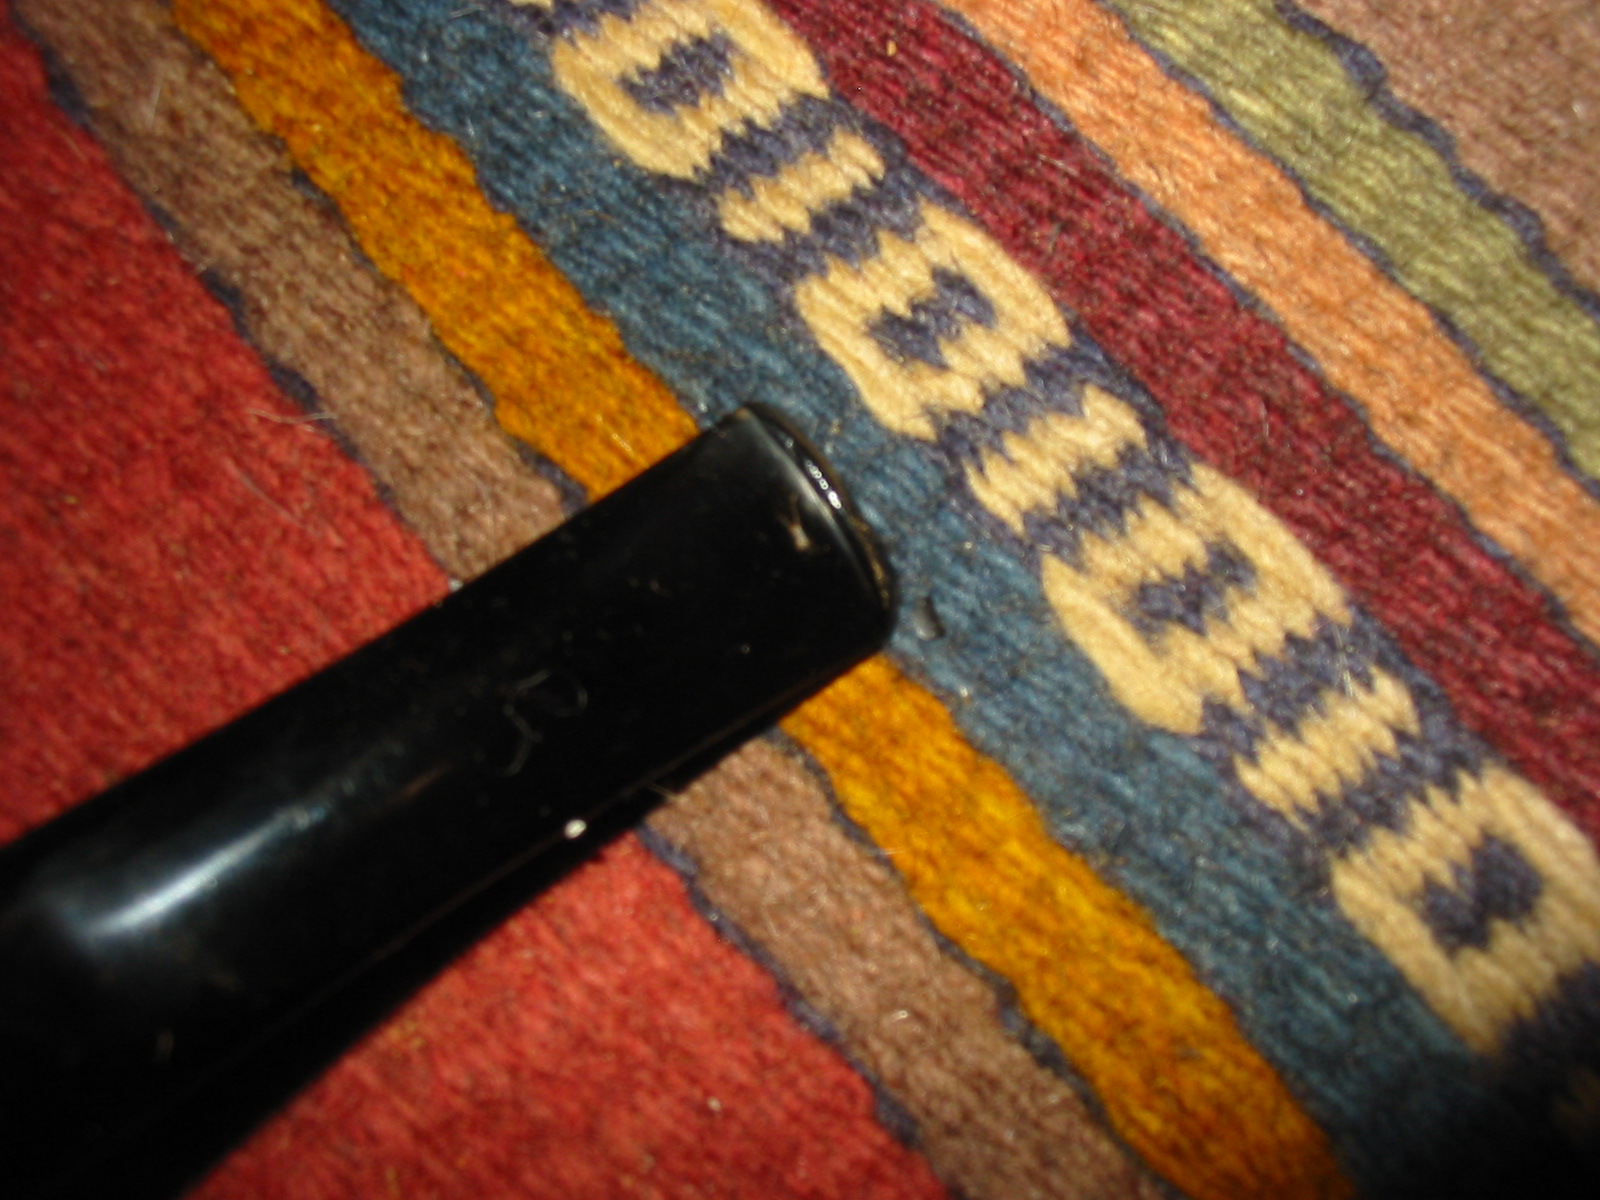
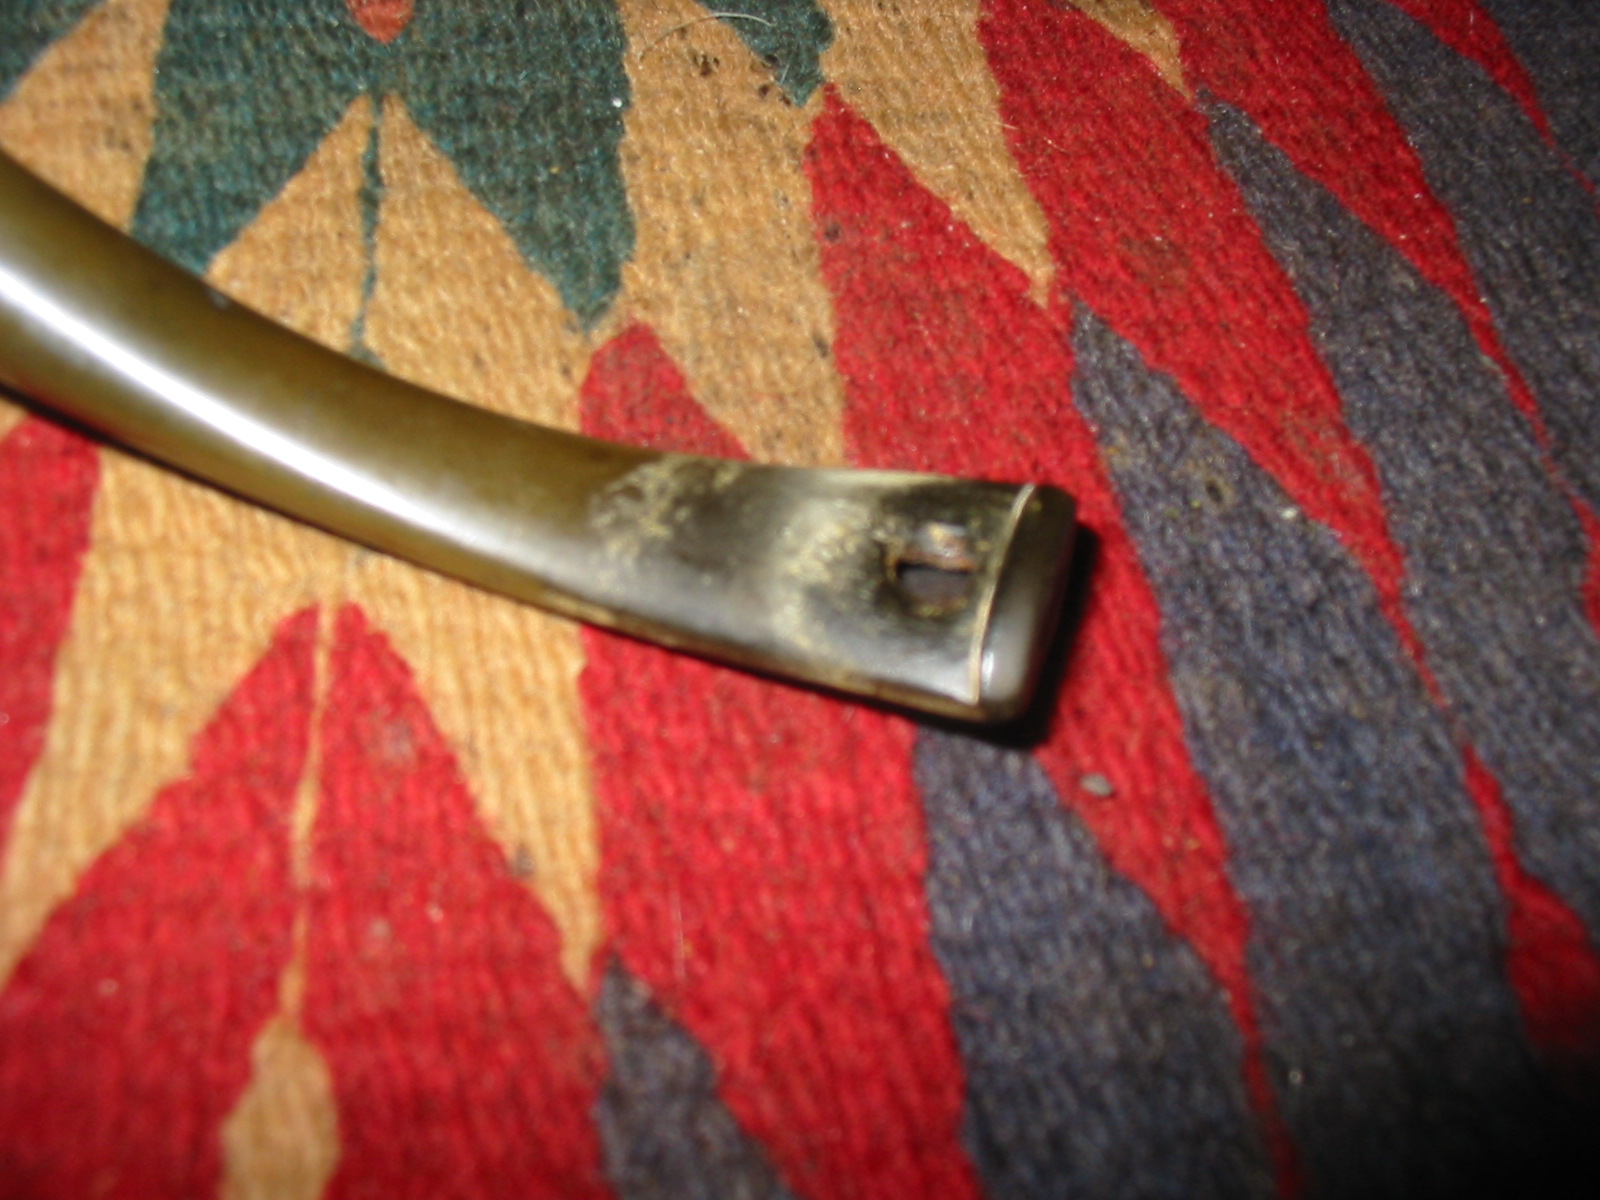
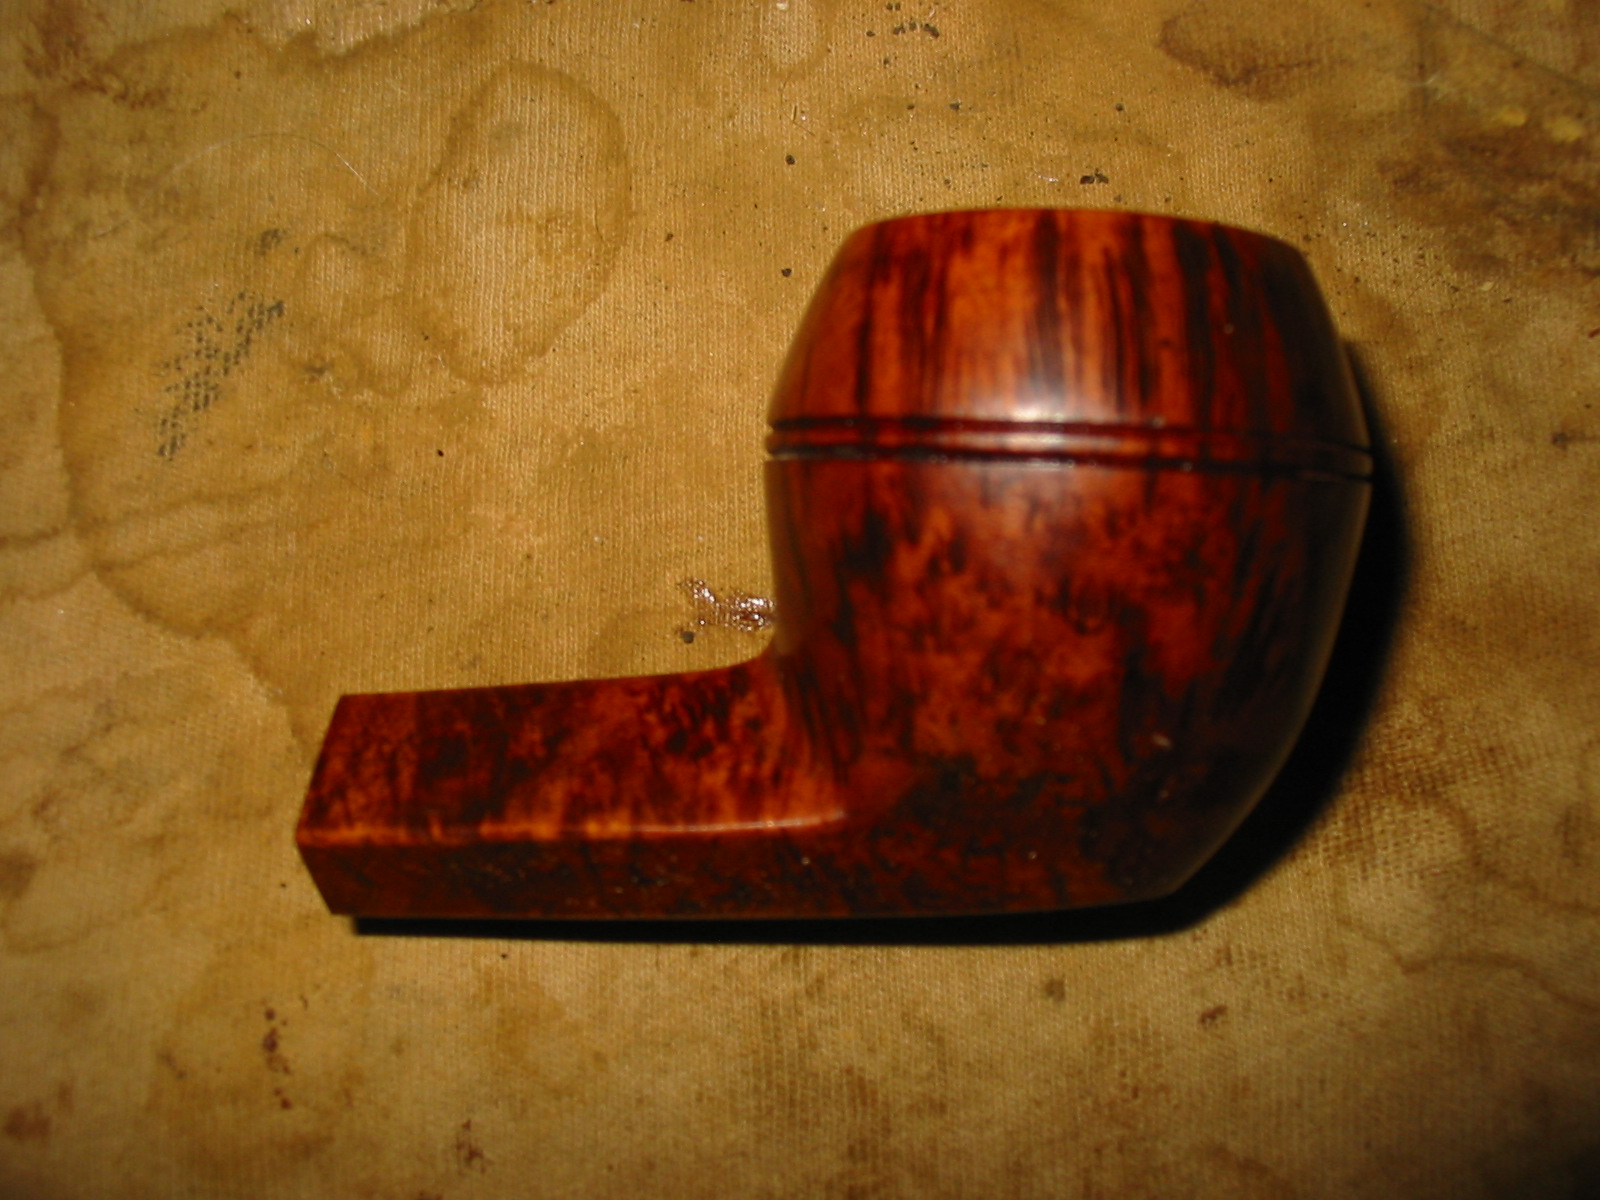
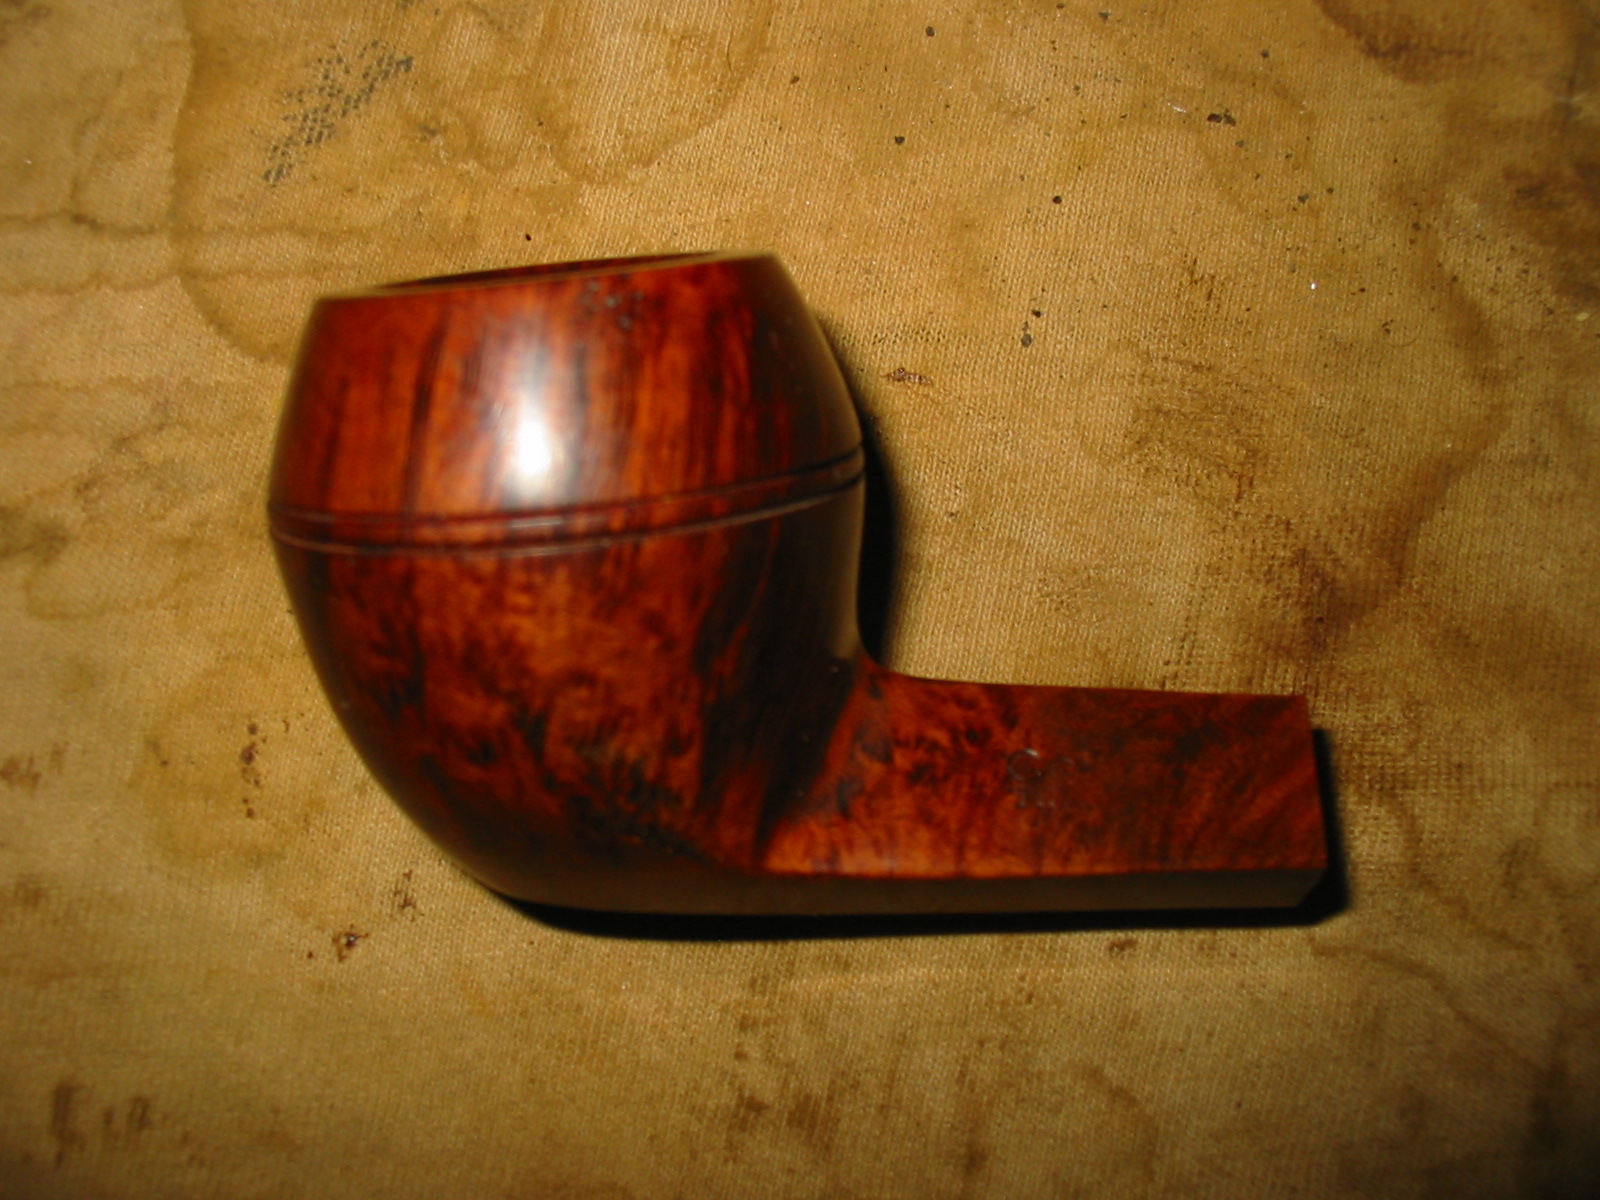
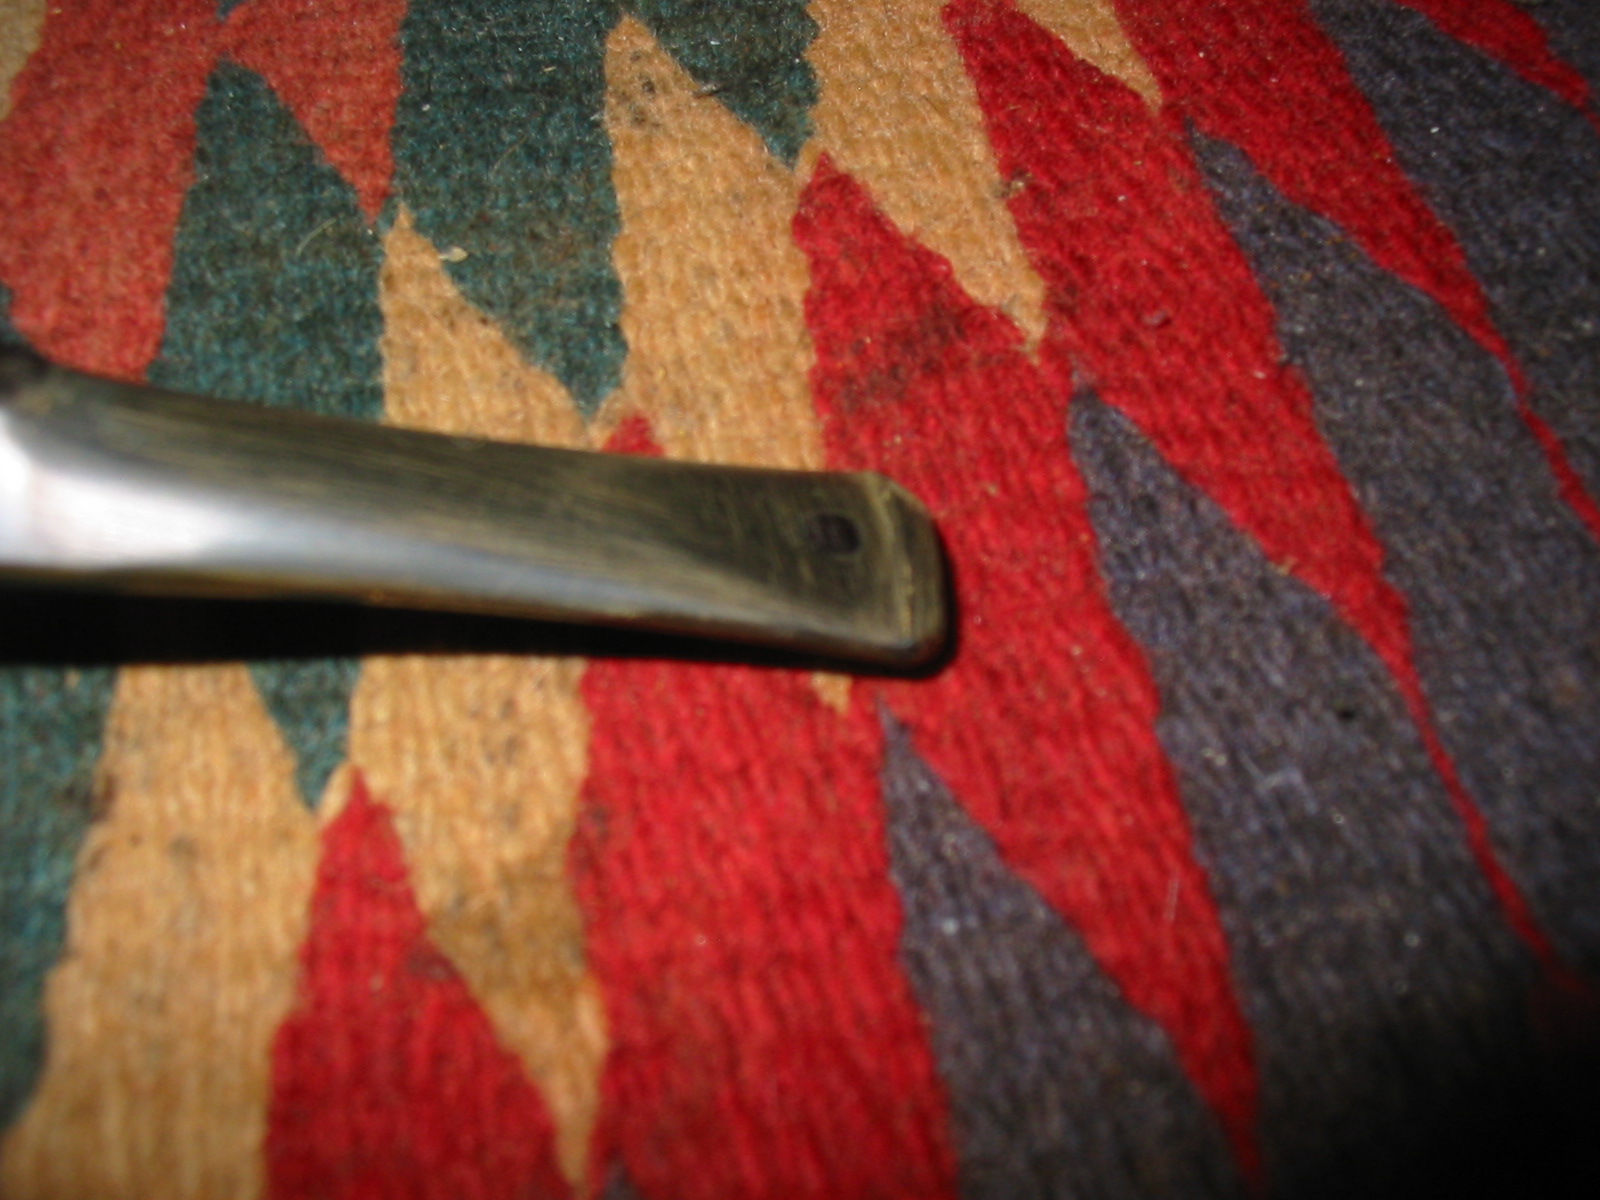
Besides the obvious damage to the bowl there was some other damage to the pipe as well. The outer edge of the rim was damaged on the front and the inner edge was slightly out of round. The external bottom of the bowl had a half-inch long crack that had been cleaned out and repaired but there was still a slight groove in the crack. The sides of the crack had been joined and repaired so what remained was cosmetic. The stem was overturned and slightly out of round in comparison to the round metal insert in the shank. The stem had a partial stamp of the KW cloverleaf but was in bad shape in terms of appearance.
IMG_4899

IMG_4900

IMG_4901

IMG_4903

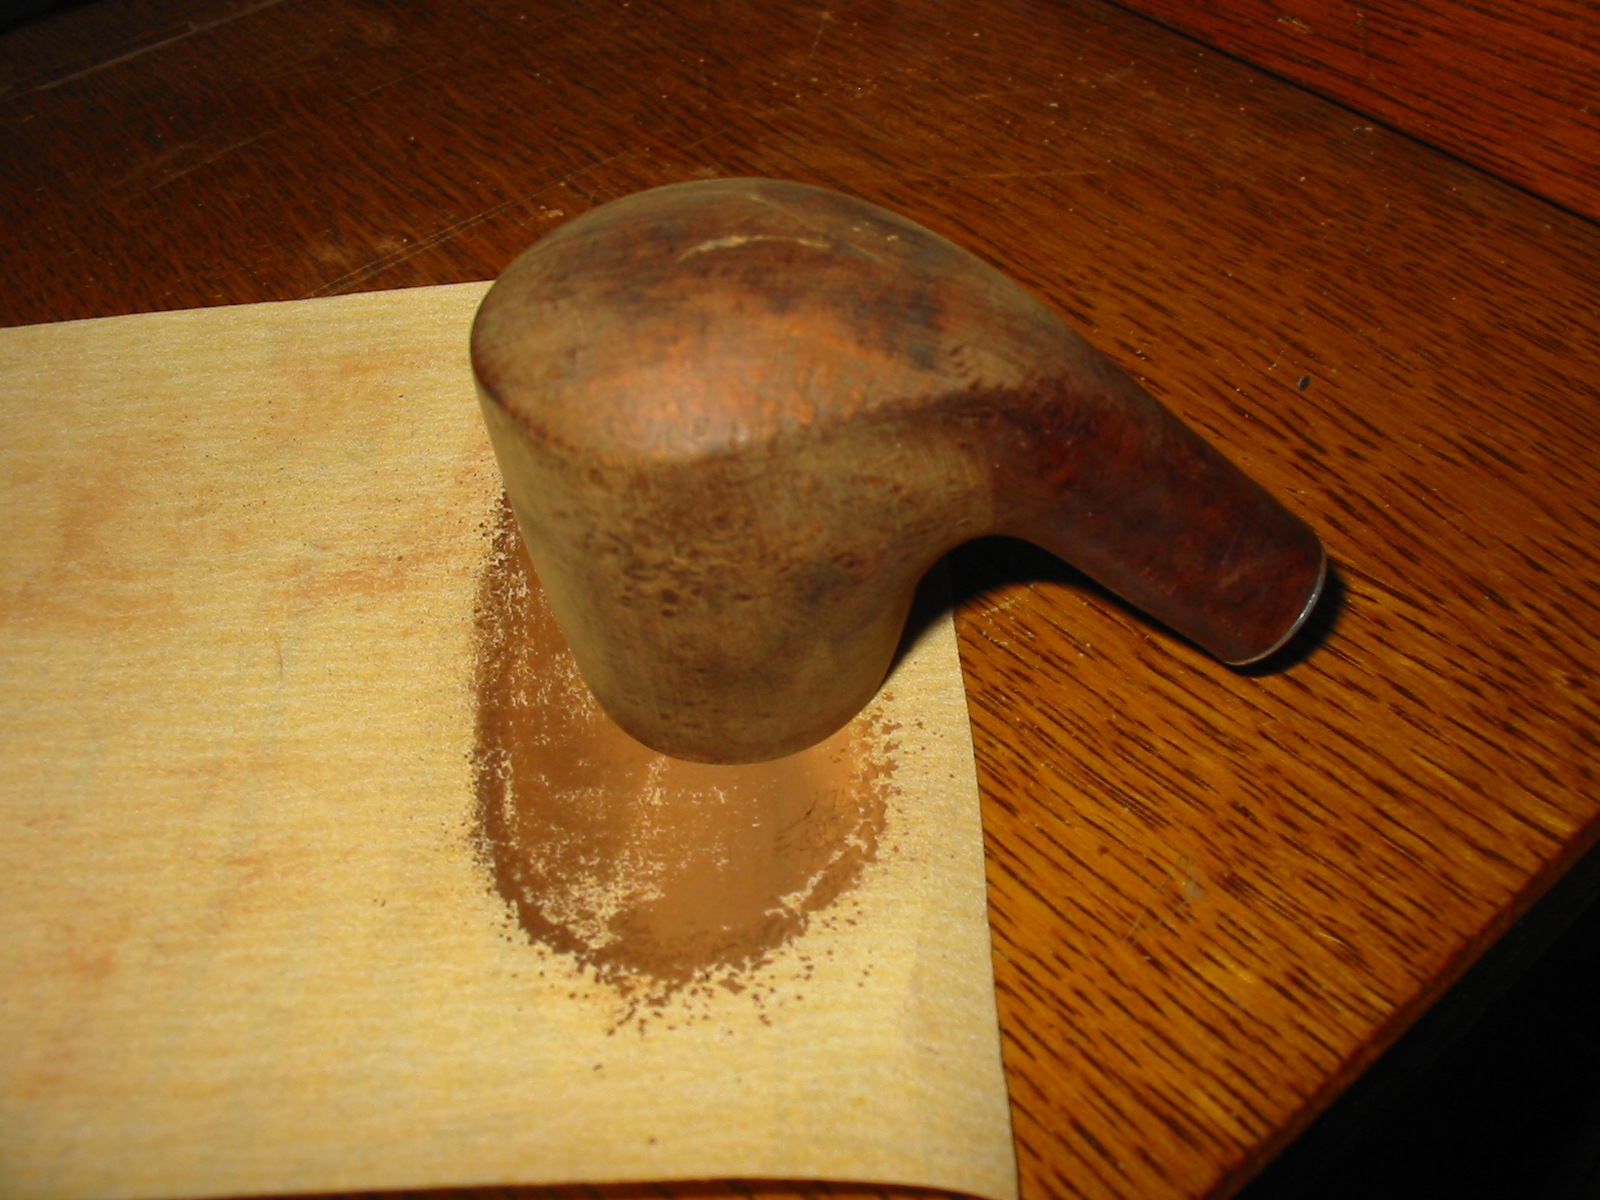
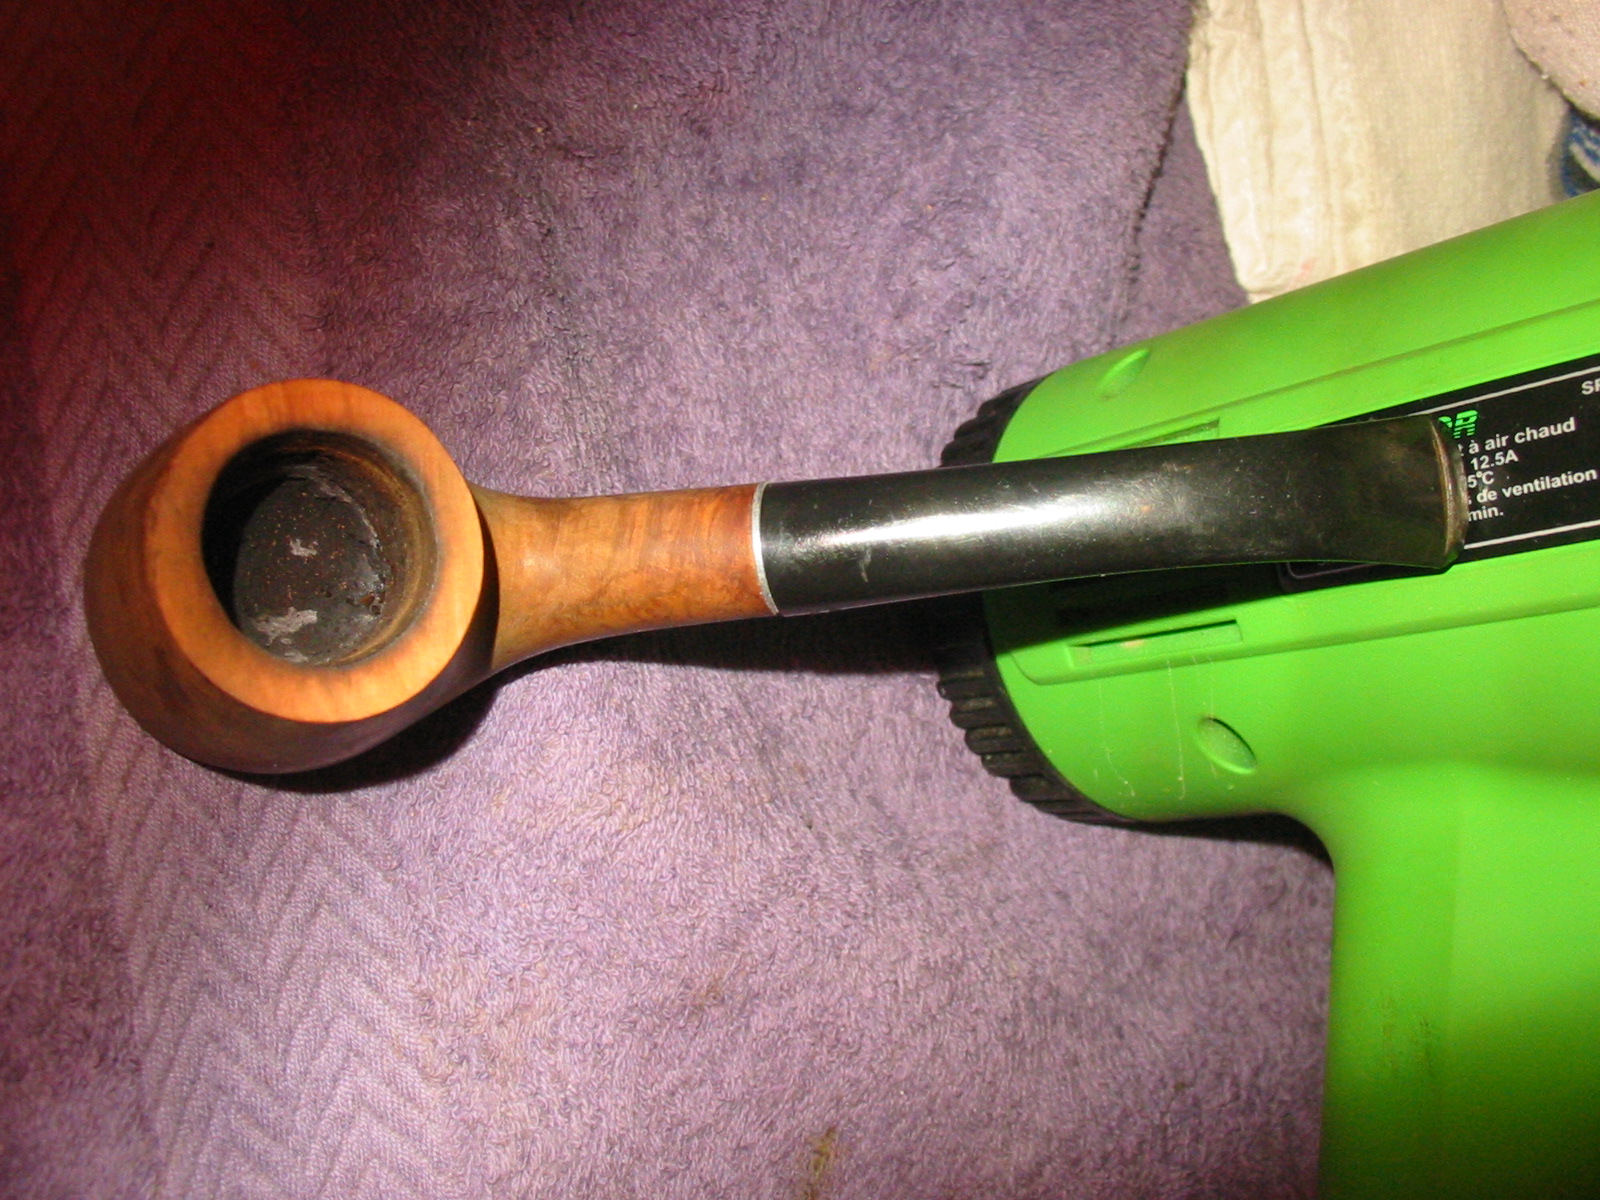
I set up my topping board and topped the bowl of the pipe to remove the damaged portion of the inner and outer edge of the rim. I sanded the top of the bowl, pressing it against the board and turning it in a clockwise direction until the damaged briar was removed. I used a PipNet reamer with a cutting head that fit the bowl diameter and turned it against the cement until it was removed from the sides of the bowl and the bottom of the bowl had a slight indentation.
IMG_4904

IMG_4905

IMG_4906

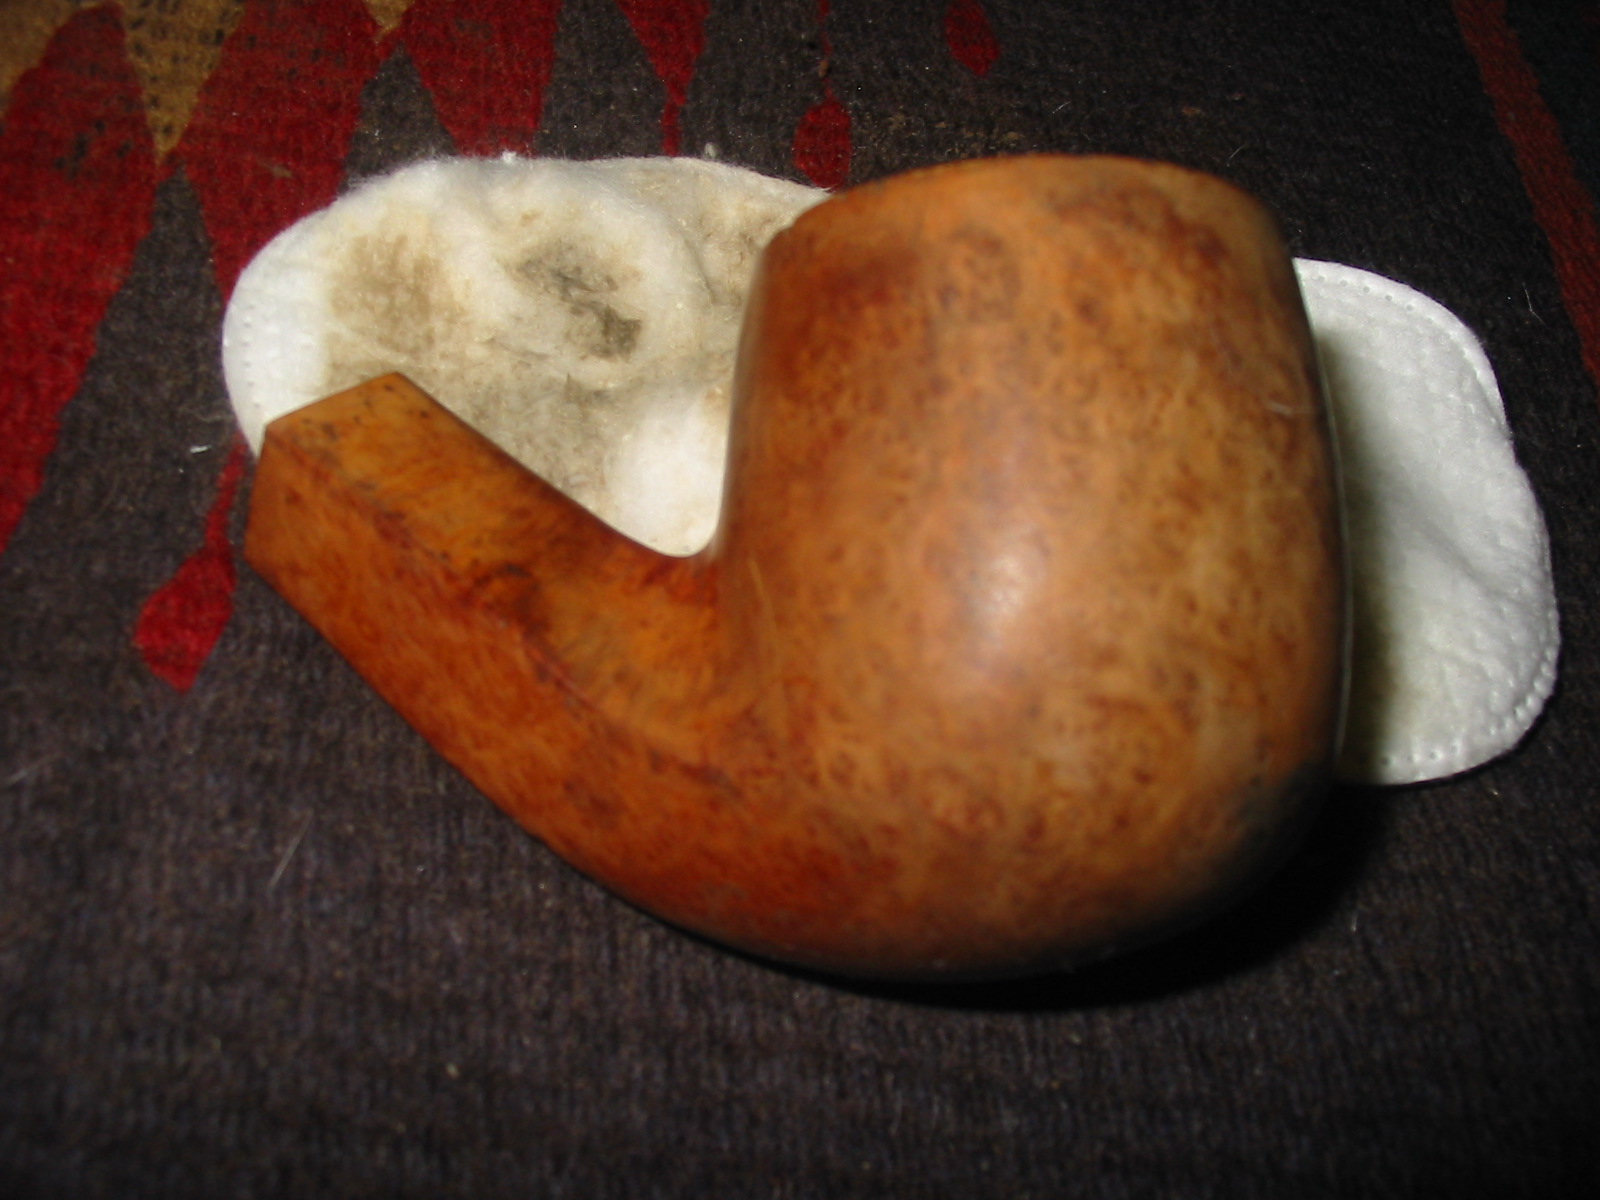
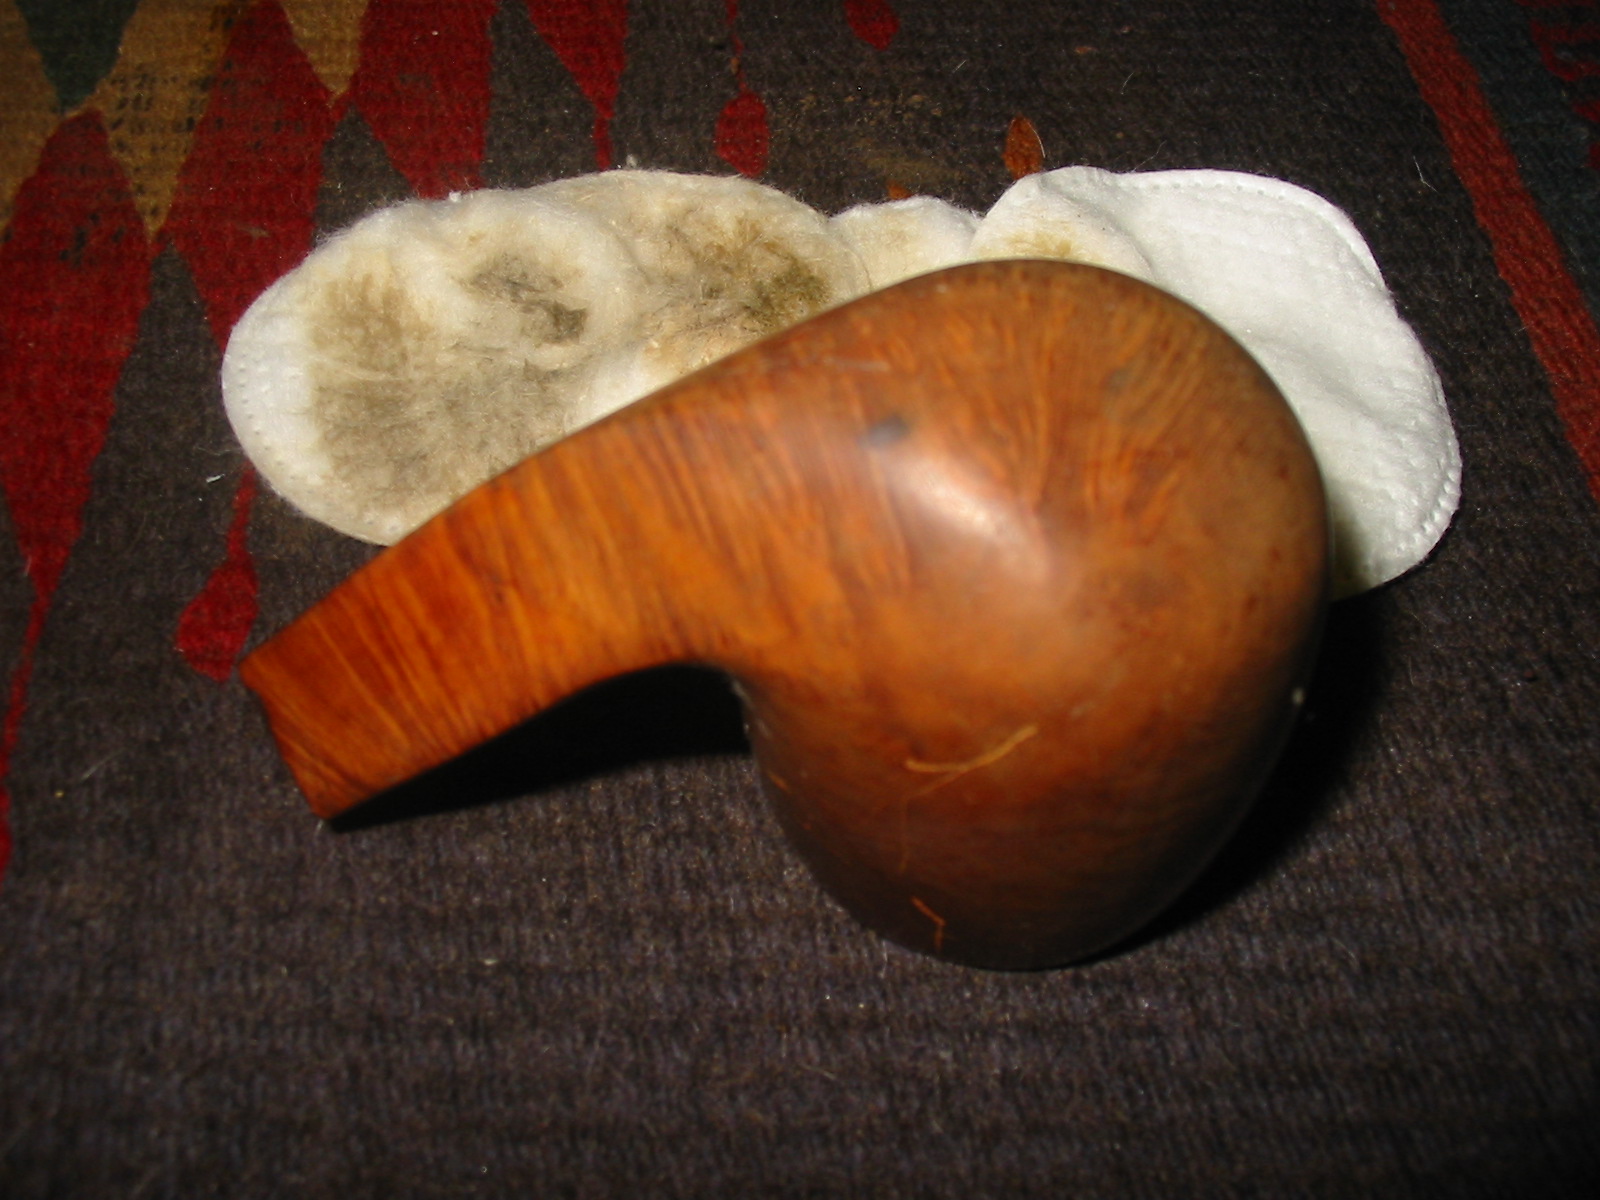
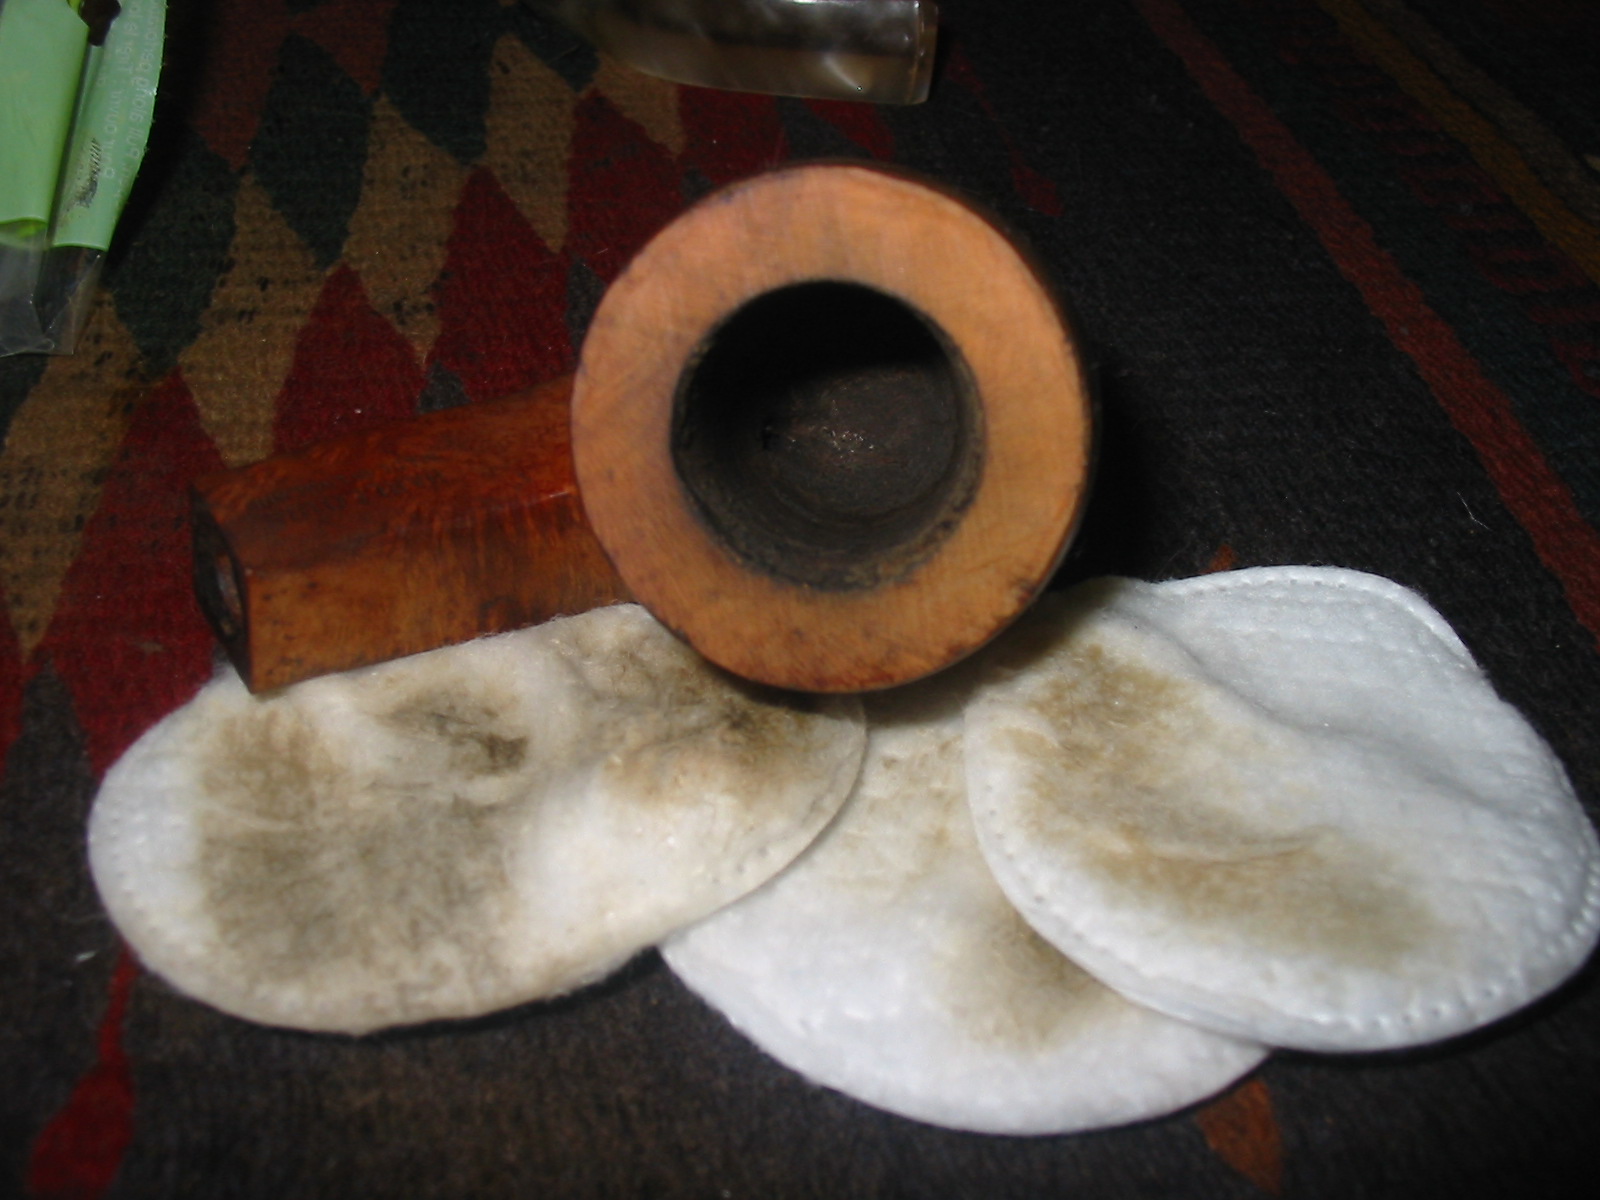
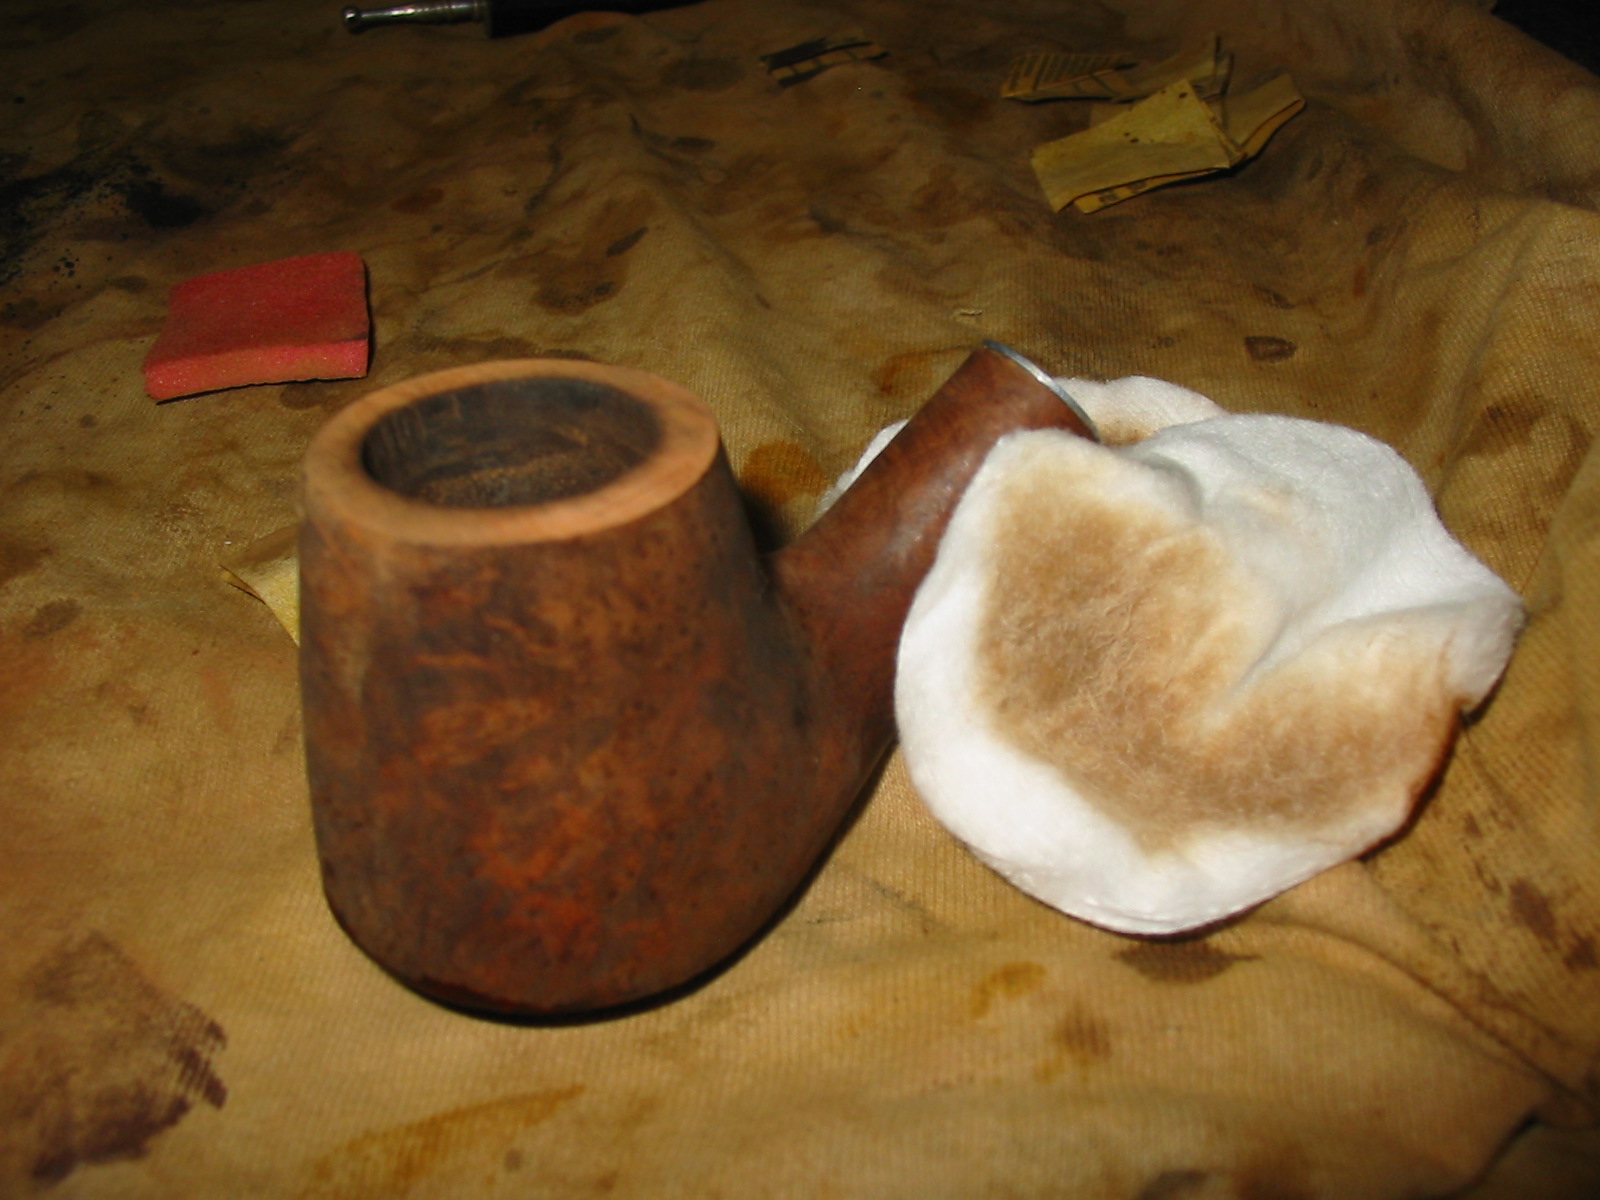
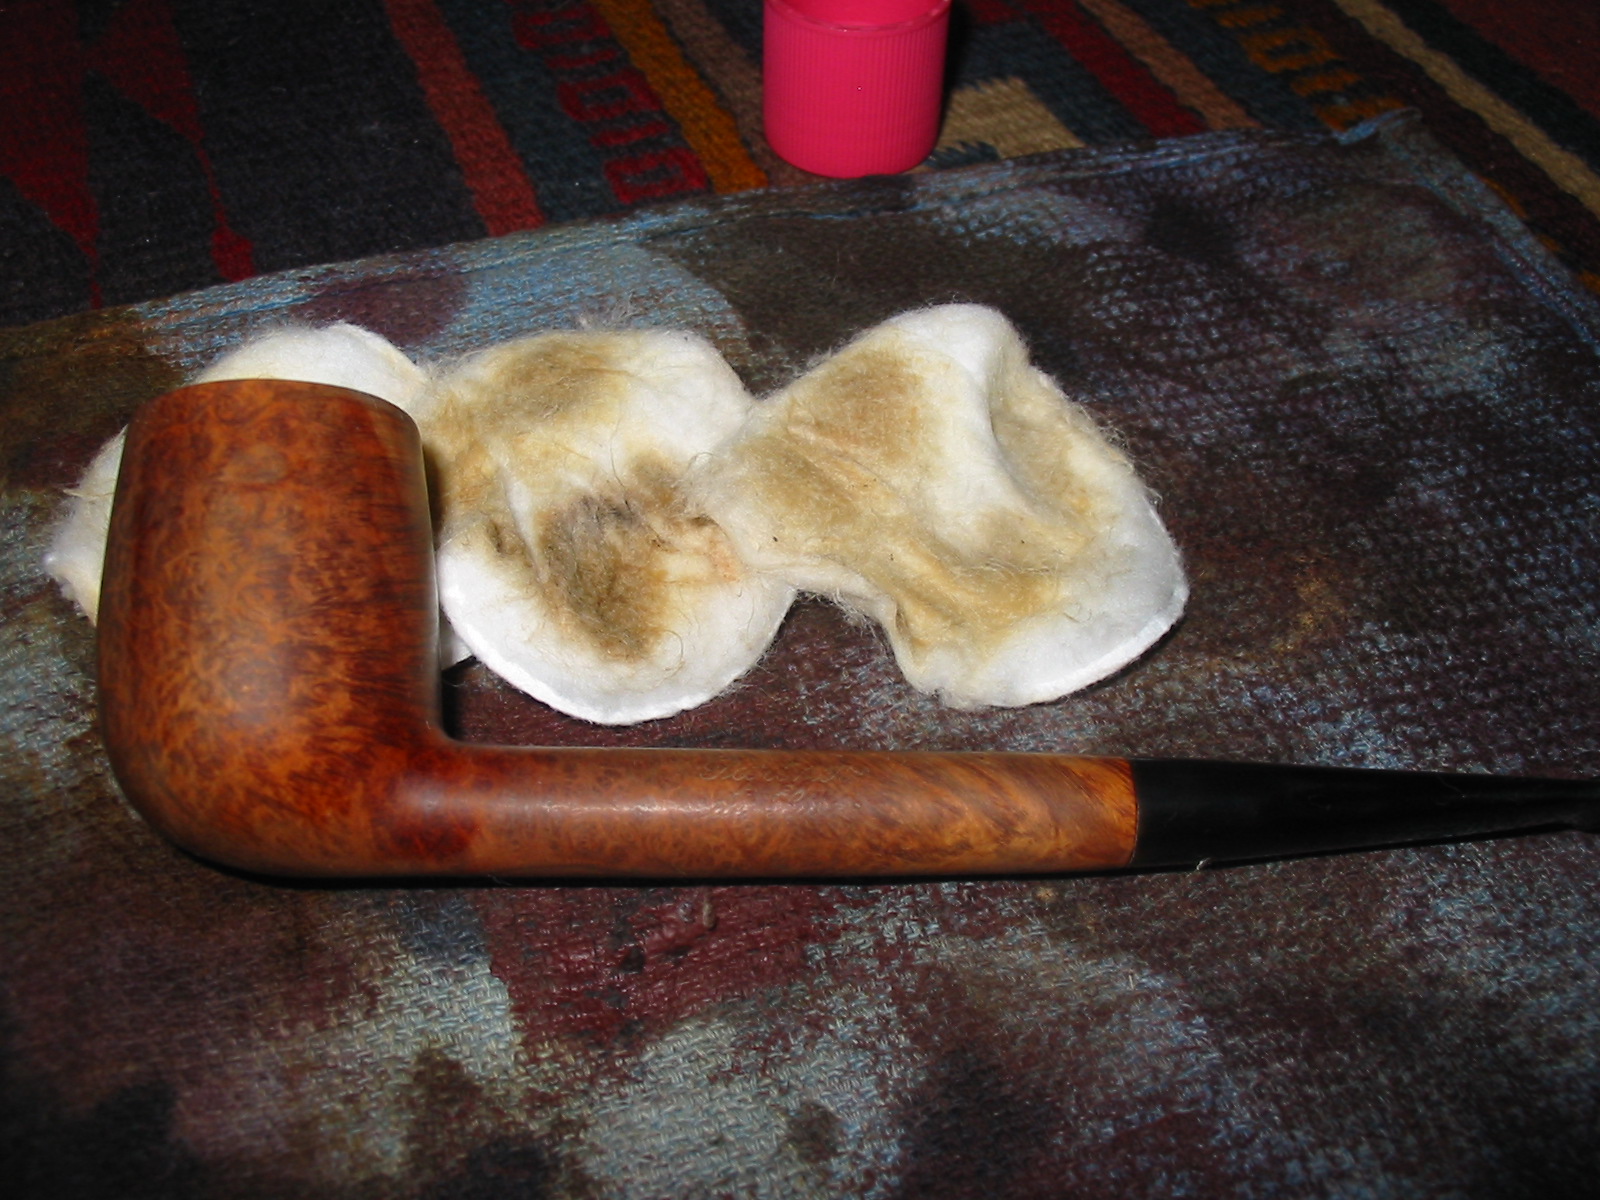
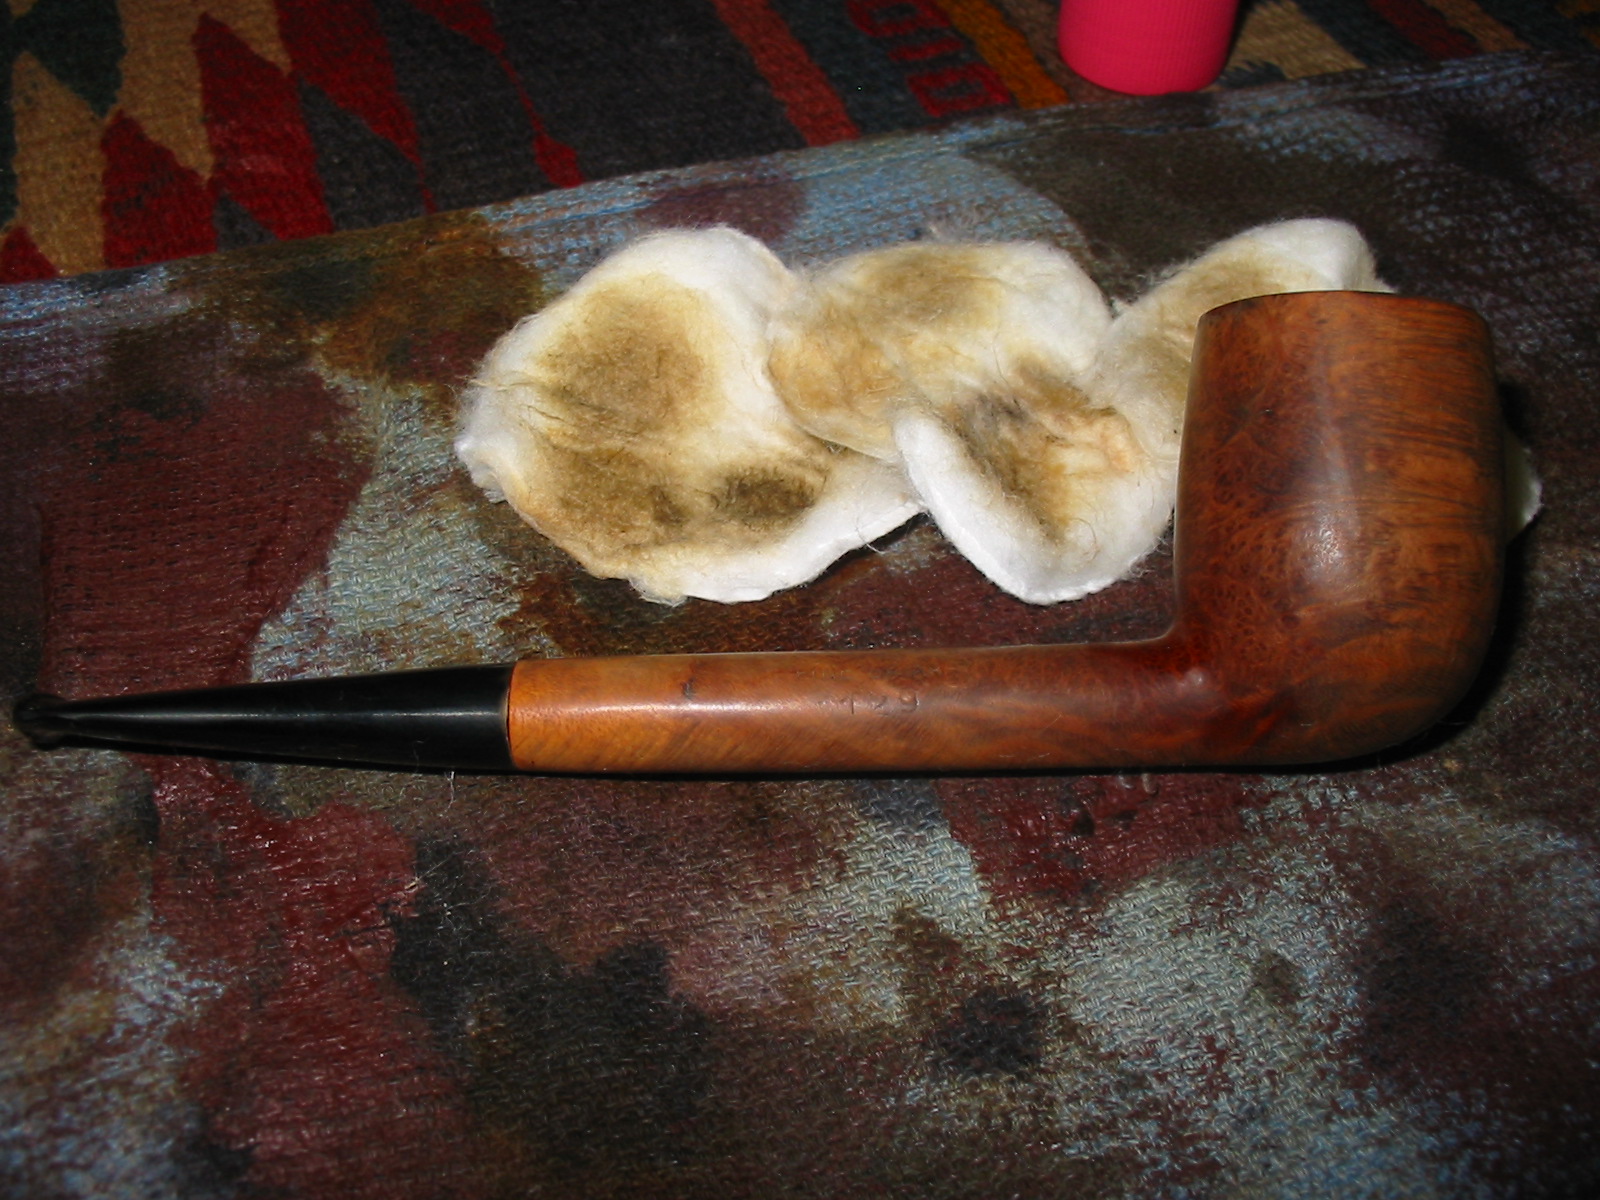
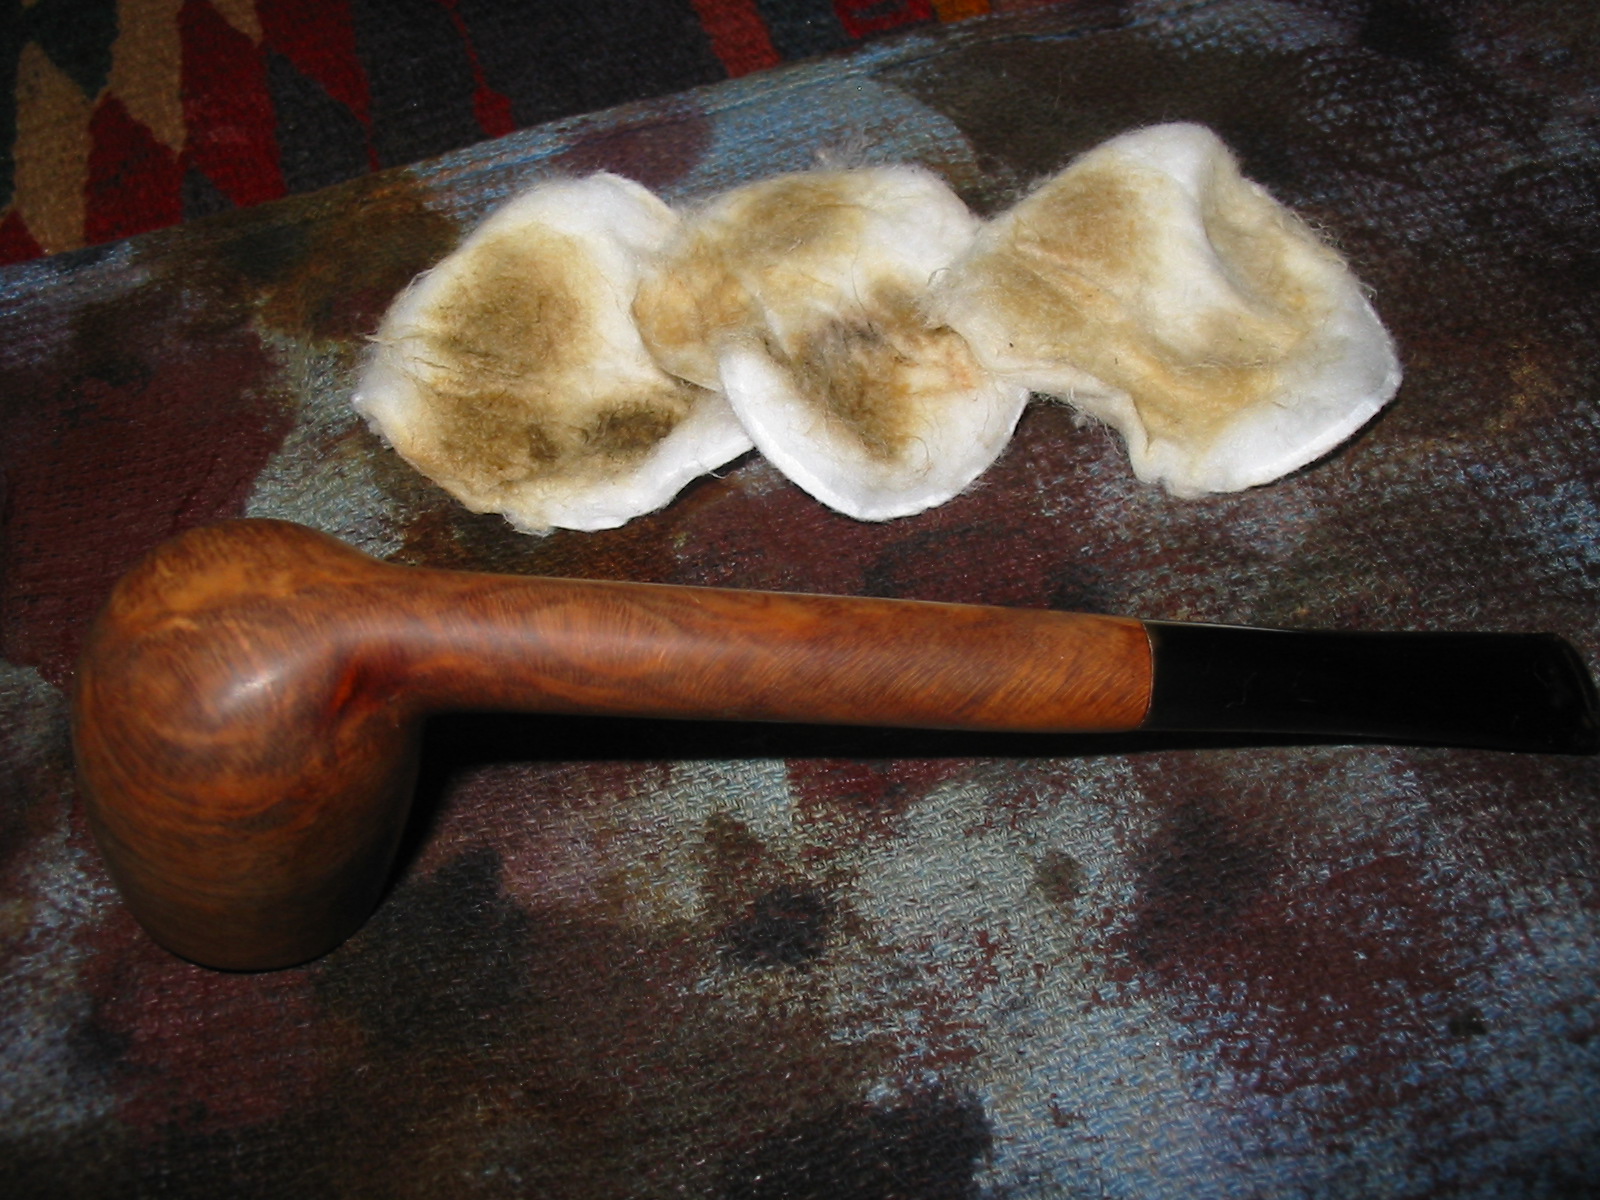
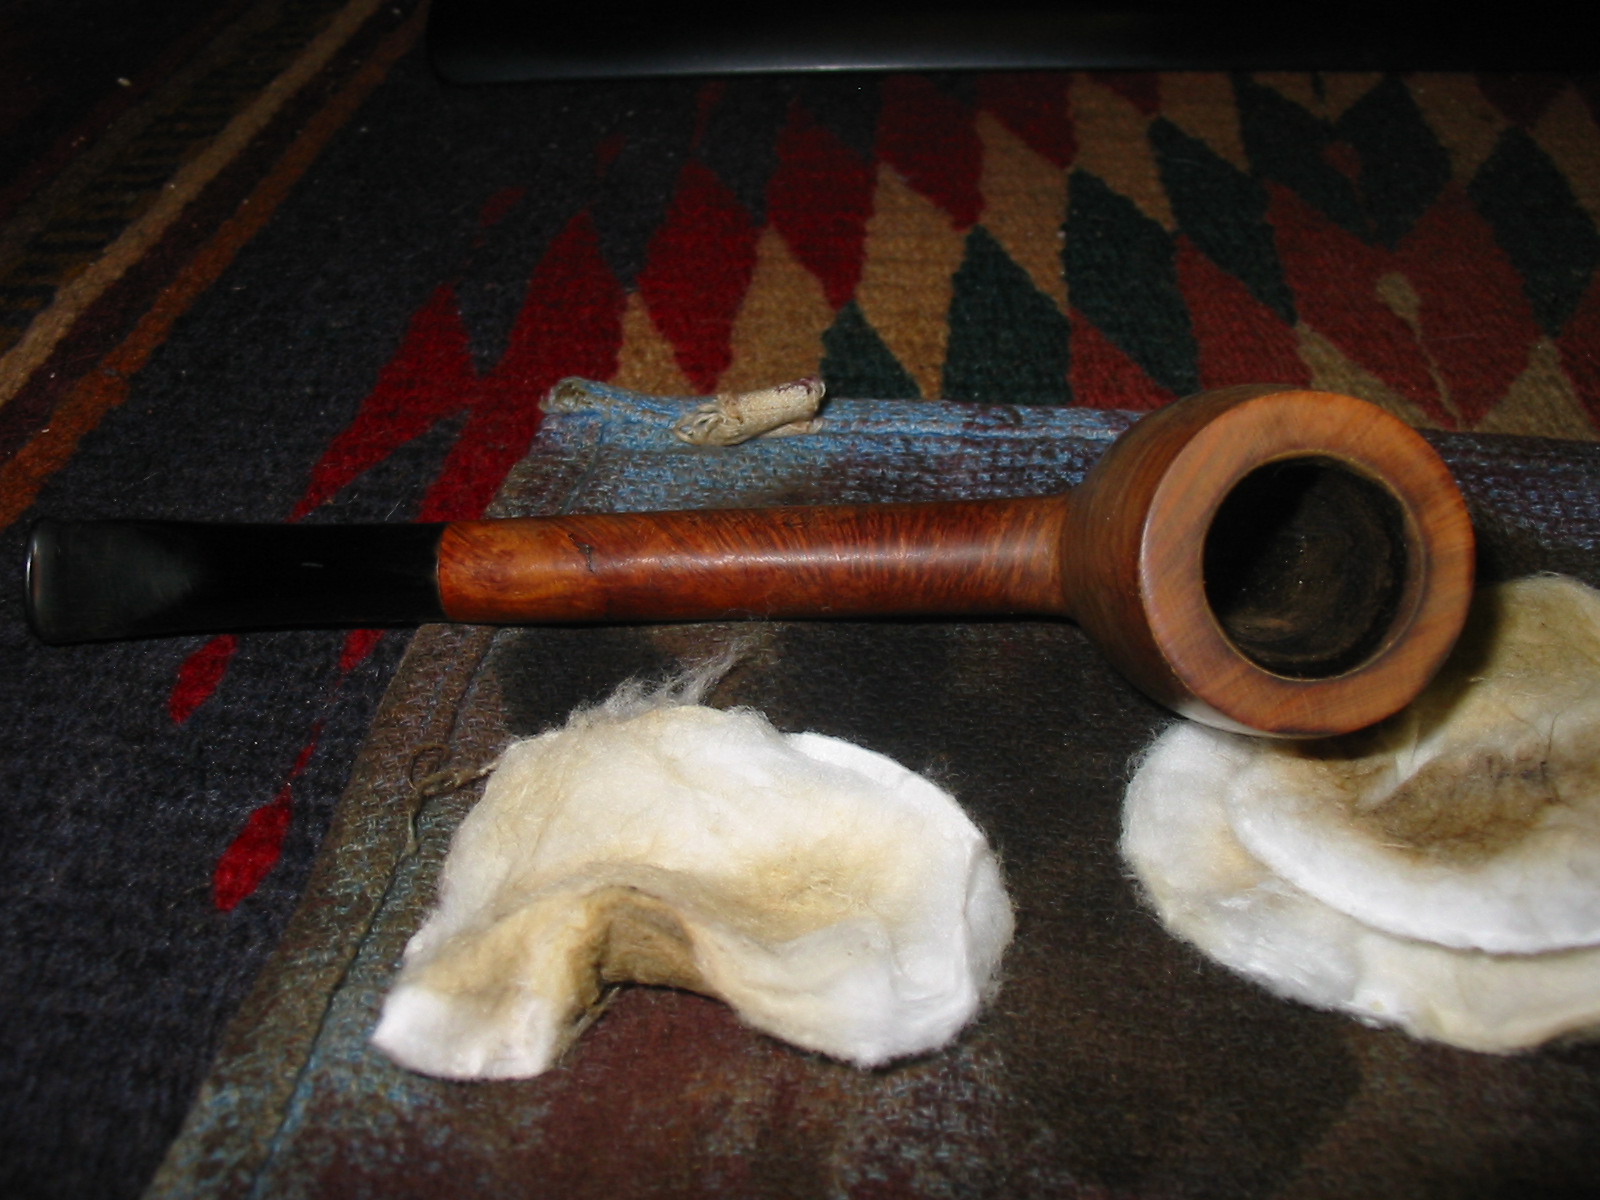
I wiped down the bowl with acetone and cotton pads to remove the remaining finish on the bowl and to clean up the partial repair to the bottom crack. I continued to wipe it down until the briar on the bowl was almost the same colouration as the sanded rim of the pipe.
IMG_4907

IMG_4908

IMG_4909

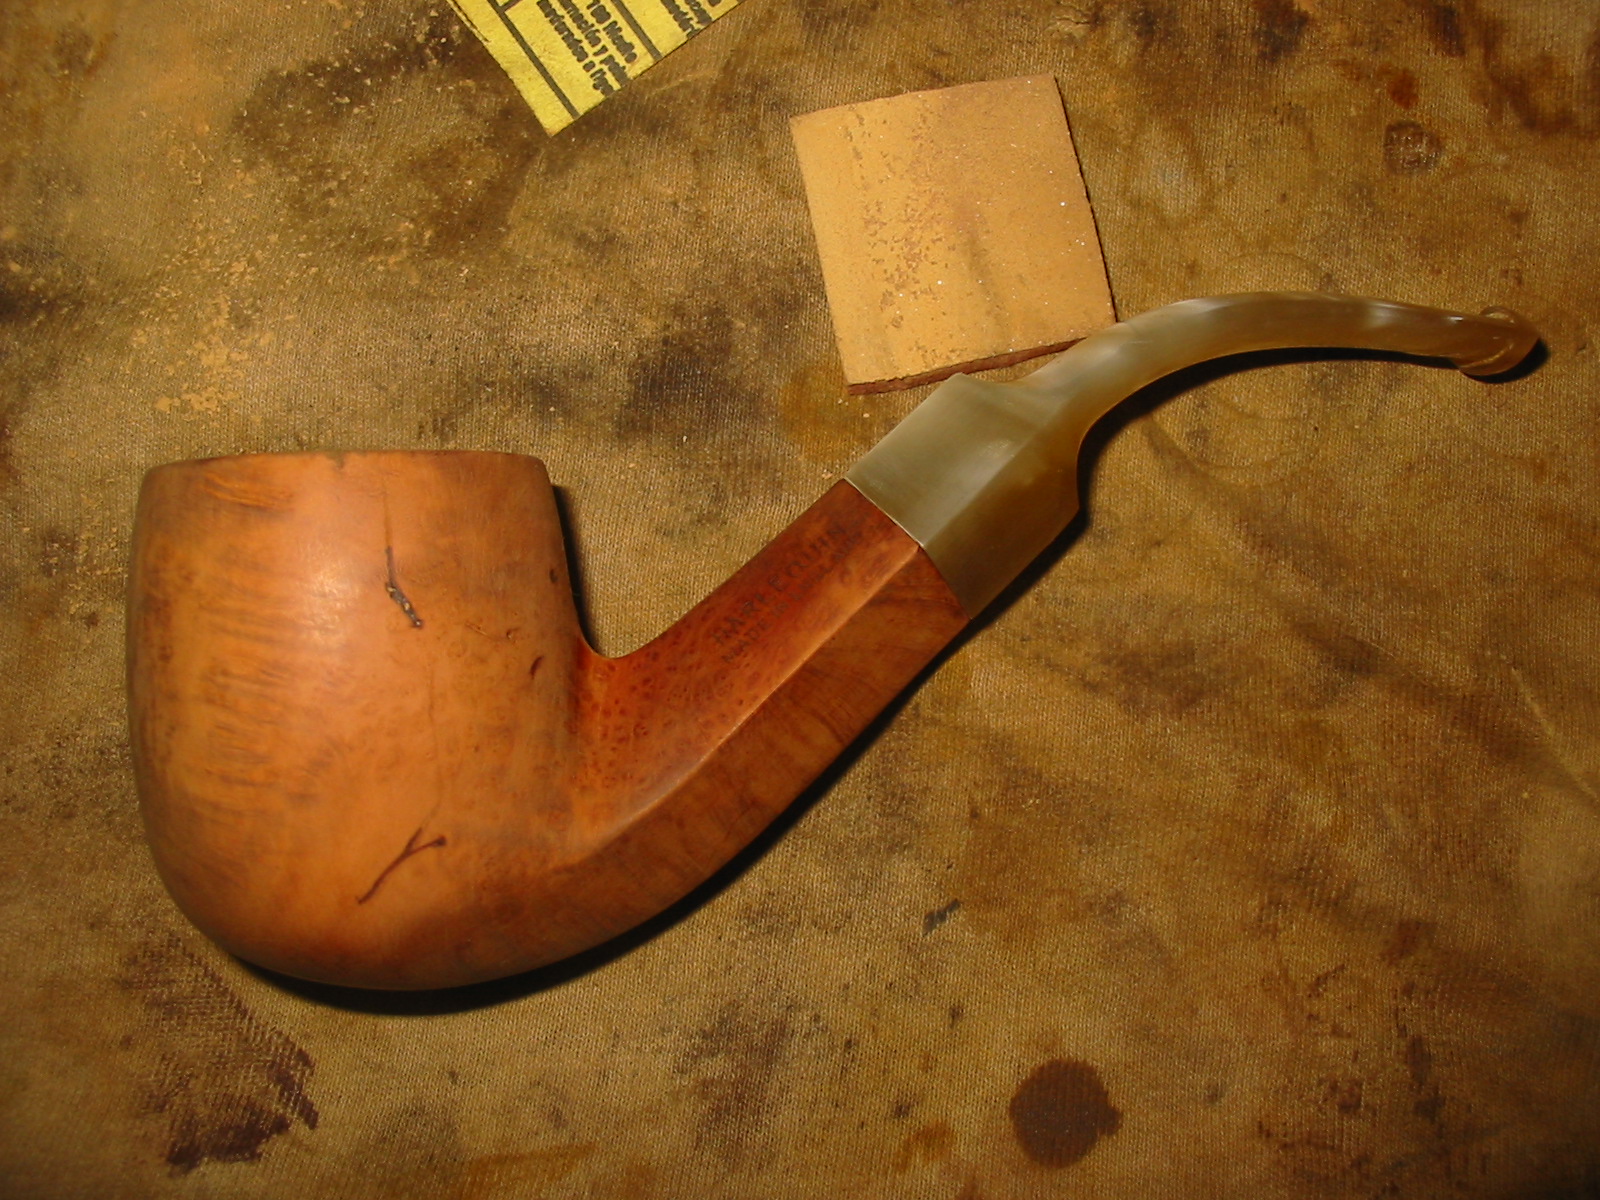
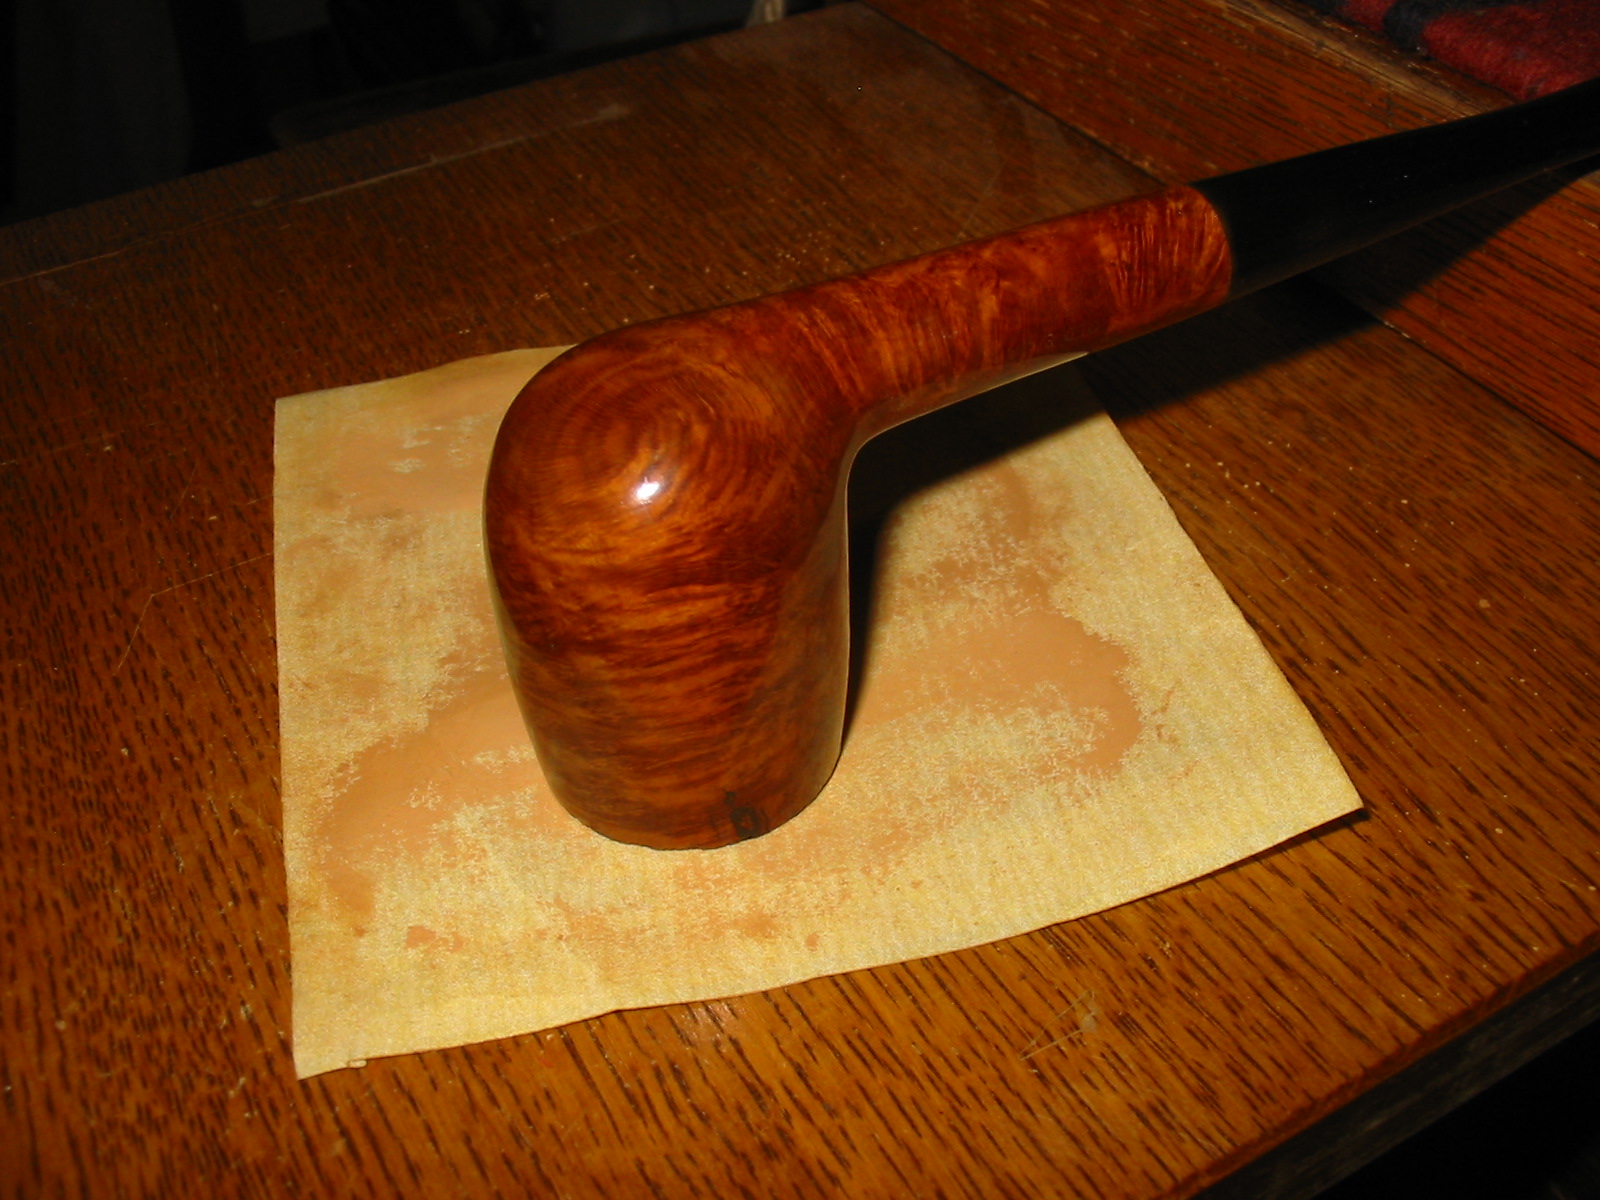
I scratched out the surface of the crack with a dental pick and packed in some briar dust that I had left from sanding the rim of the pipe. I tamped it and then dripped some superglue into the briar dust until it formed a bubble over the crack. I always overfill the crevices and fills to make sure that when they dry they do not shrink and make a second fill necessary. When the glue had dried I sanded it with 220 grit sandpaper and also with a medium and fine grit sanding sponge to smooth out the bubble and blend it into the surface of the bowl.
IMG_4910

IMG_4915

IMG_4916

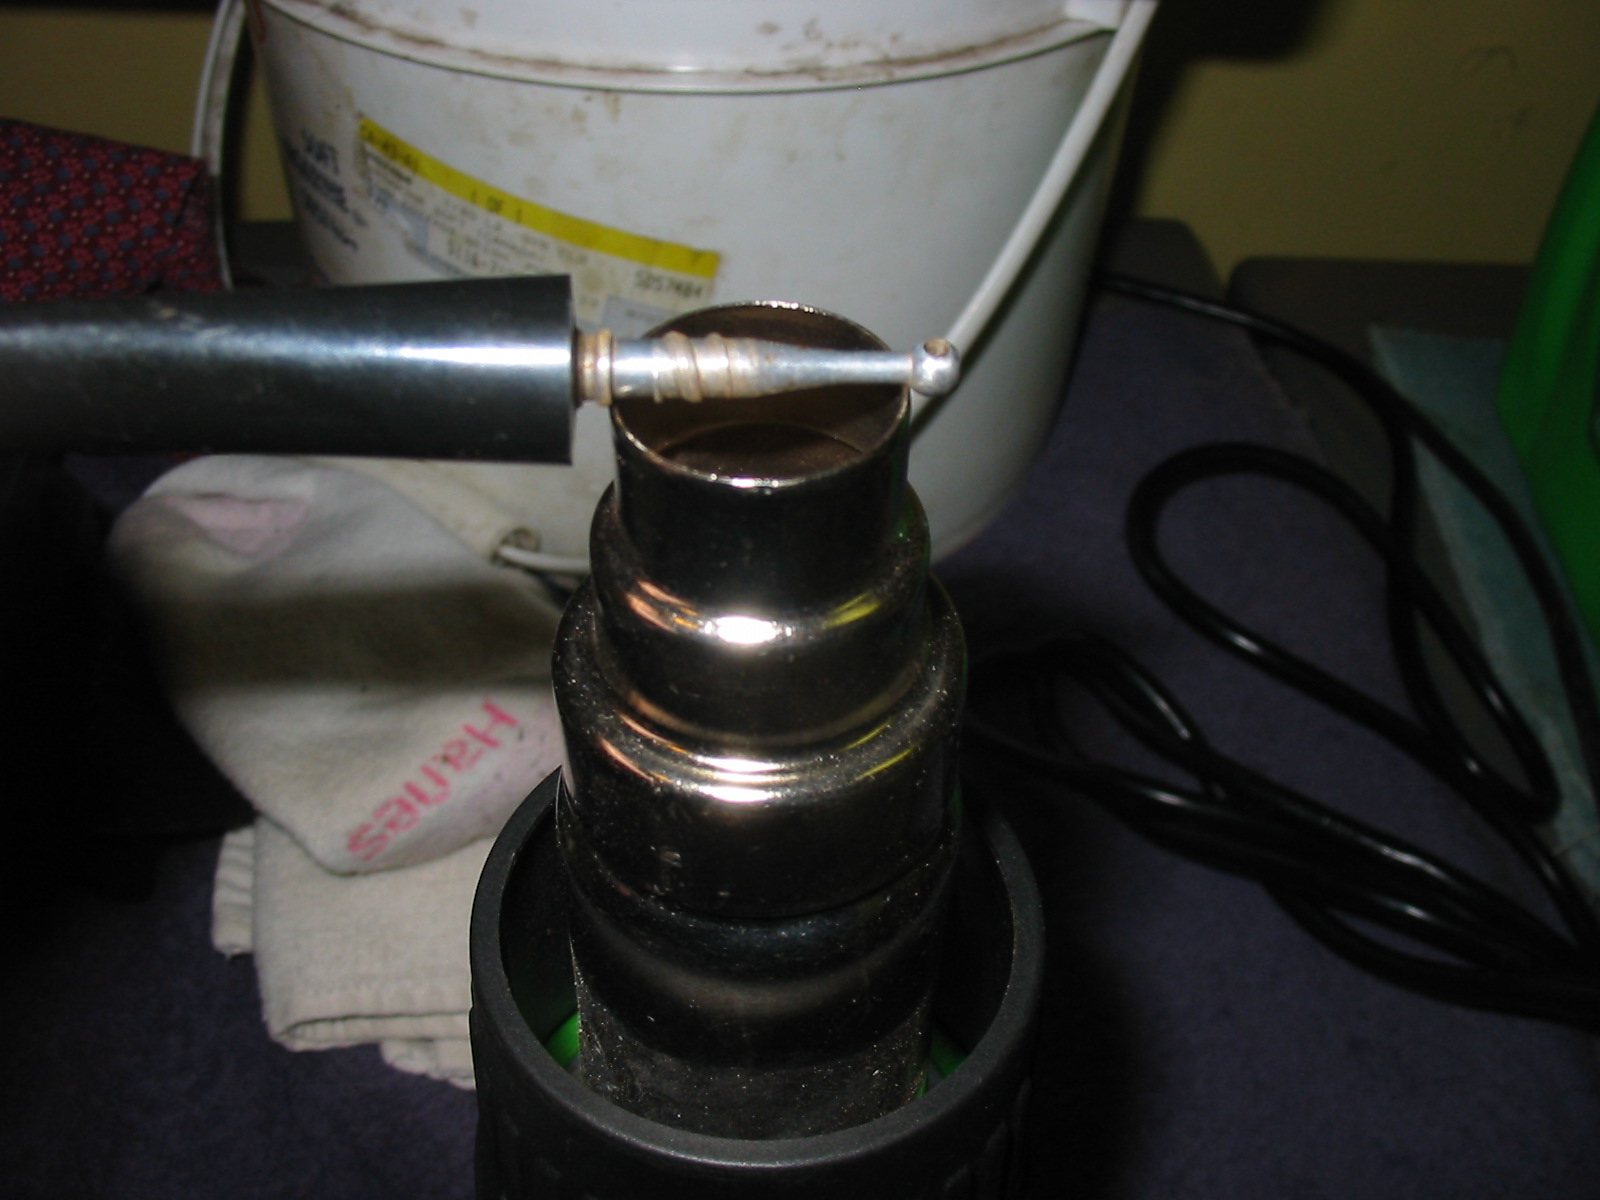
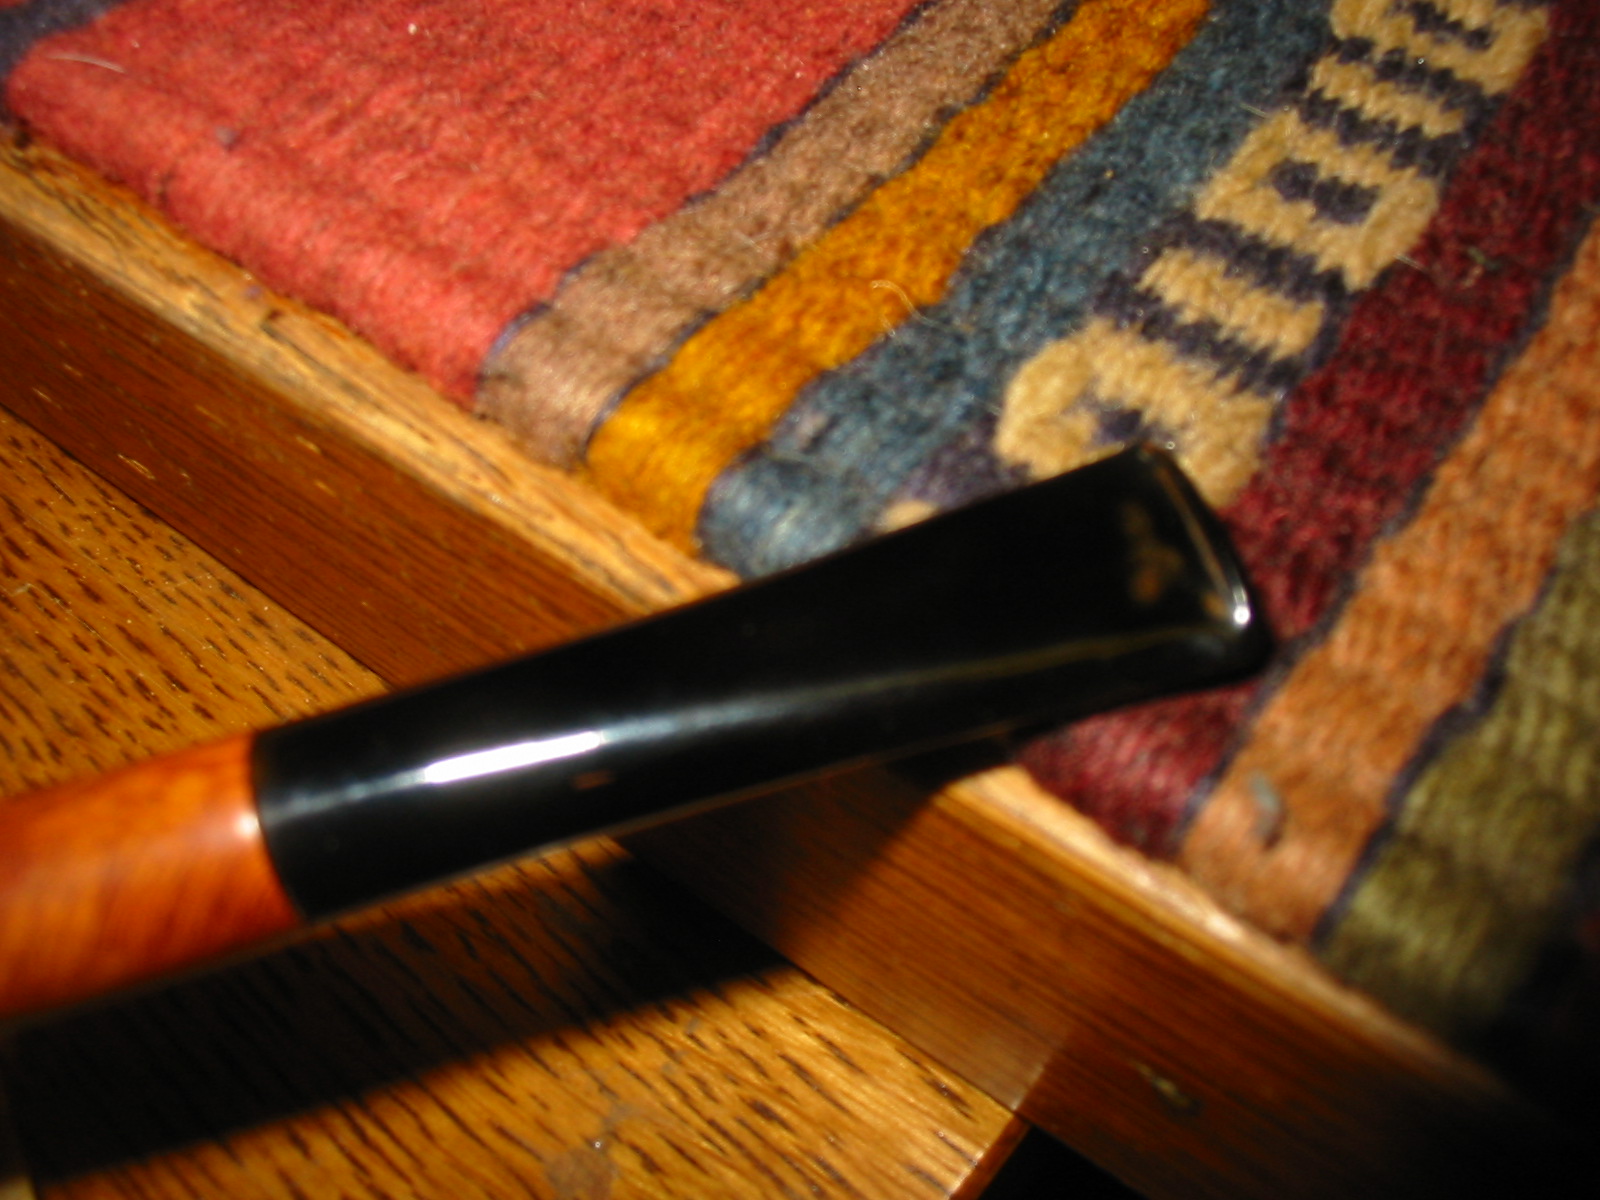
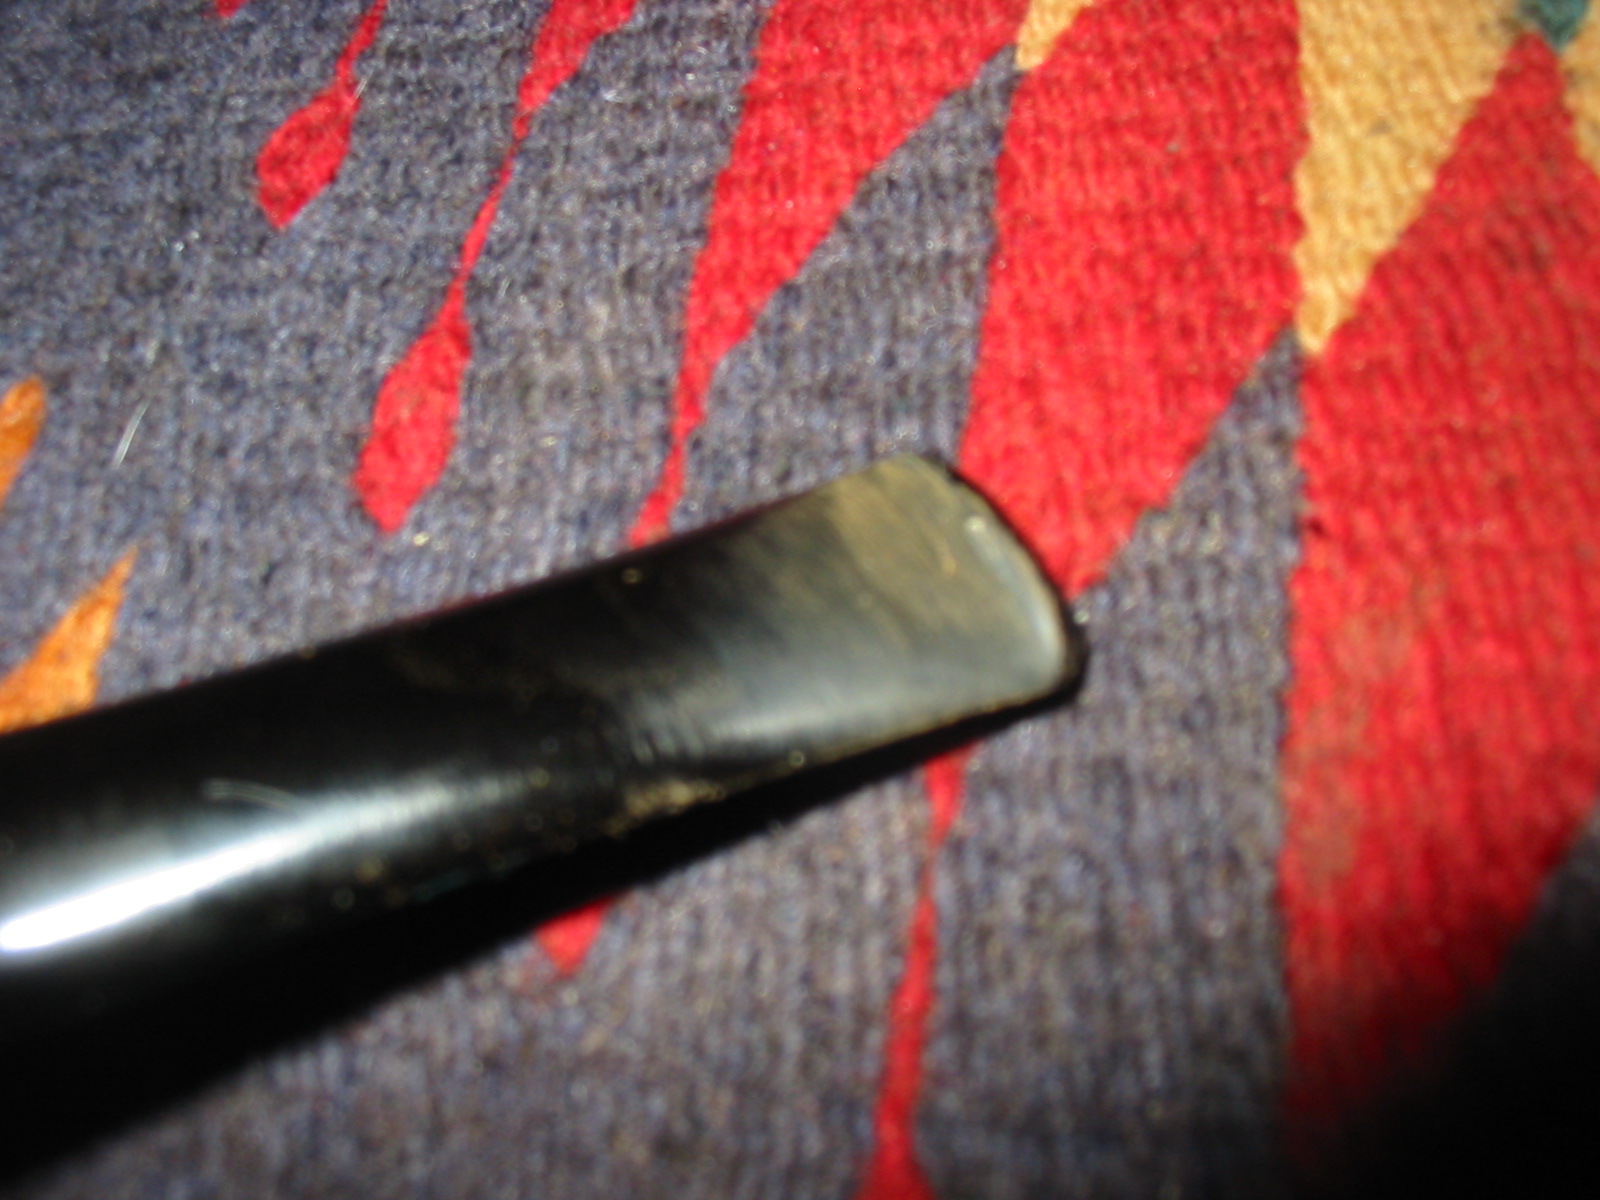
On the bottom of the stem there were also two very deep tooth indentations that would not lift when heated with a heat gun. I sanded the area around the dents and dripped clear superglue into the dents. I chose clear superglue as the stem did not appear to be vulcanite. When I sanded it the dust was grey rather than brown. I have found that the clear glue blends very well on this material. When it dries and is sanded it blends in quite well to the surrounding stem material.
IMG_4911

IMG_4913

IMG_4917

I wiped down the bowl again with acetone and sanded the whole bowl with a medium and fine grit sanding sponge.
IMG_4918

IMG_4919

IMG_4920

IMG_4921

IMG_4922

The overturn on the stem is something that is easily corrected. I heated the stinger with a heat gun until the glue holding it in place was softer and then turned it in the metal inserted mortise until it lined up correctly with the bowl. I was almost a quarter turn to the right so I needed to turn it all the way around. Once it was aligned I laid it aside to cool. The final photo gives a clear view of the inside of the bowl. The repaired bowl bottom with the minor adjustments I had made with the PipNet reamer are visible.
IMG_4923

IMG_4924

IMG_4925

IMG_4926

IMG_4927

IMG_4928

With the stem aligned it was evident that the diameter of the stem was different than that of the shank. In looking at the stem from the stinger end I could see that the left side was slightly larger than the right side. There was an overhang passed the metal insert in the shank. The next photos show that the left side would need to be sanded to fit properly.
IMG_4929

IMG_4930

I sanded the stem and shank with 220 grit sandpaper folded and was careful to not sand the stamping on the left side of the shank. I wanted the transition to be perfectly smooth to the touch. I sanded it with medium and fine grit sandpaper to smooth out the scratches left behind by the sandpaper.
IMG_4932

IMG_4933

IMG_4934

IMG_4935

IMG_4936

IMG_4937

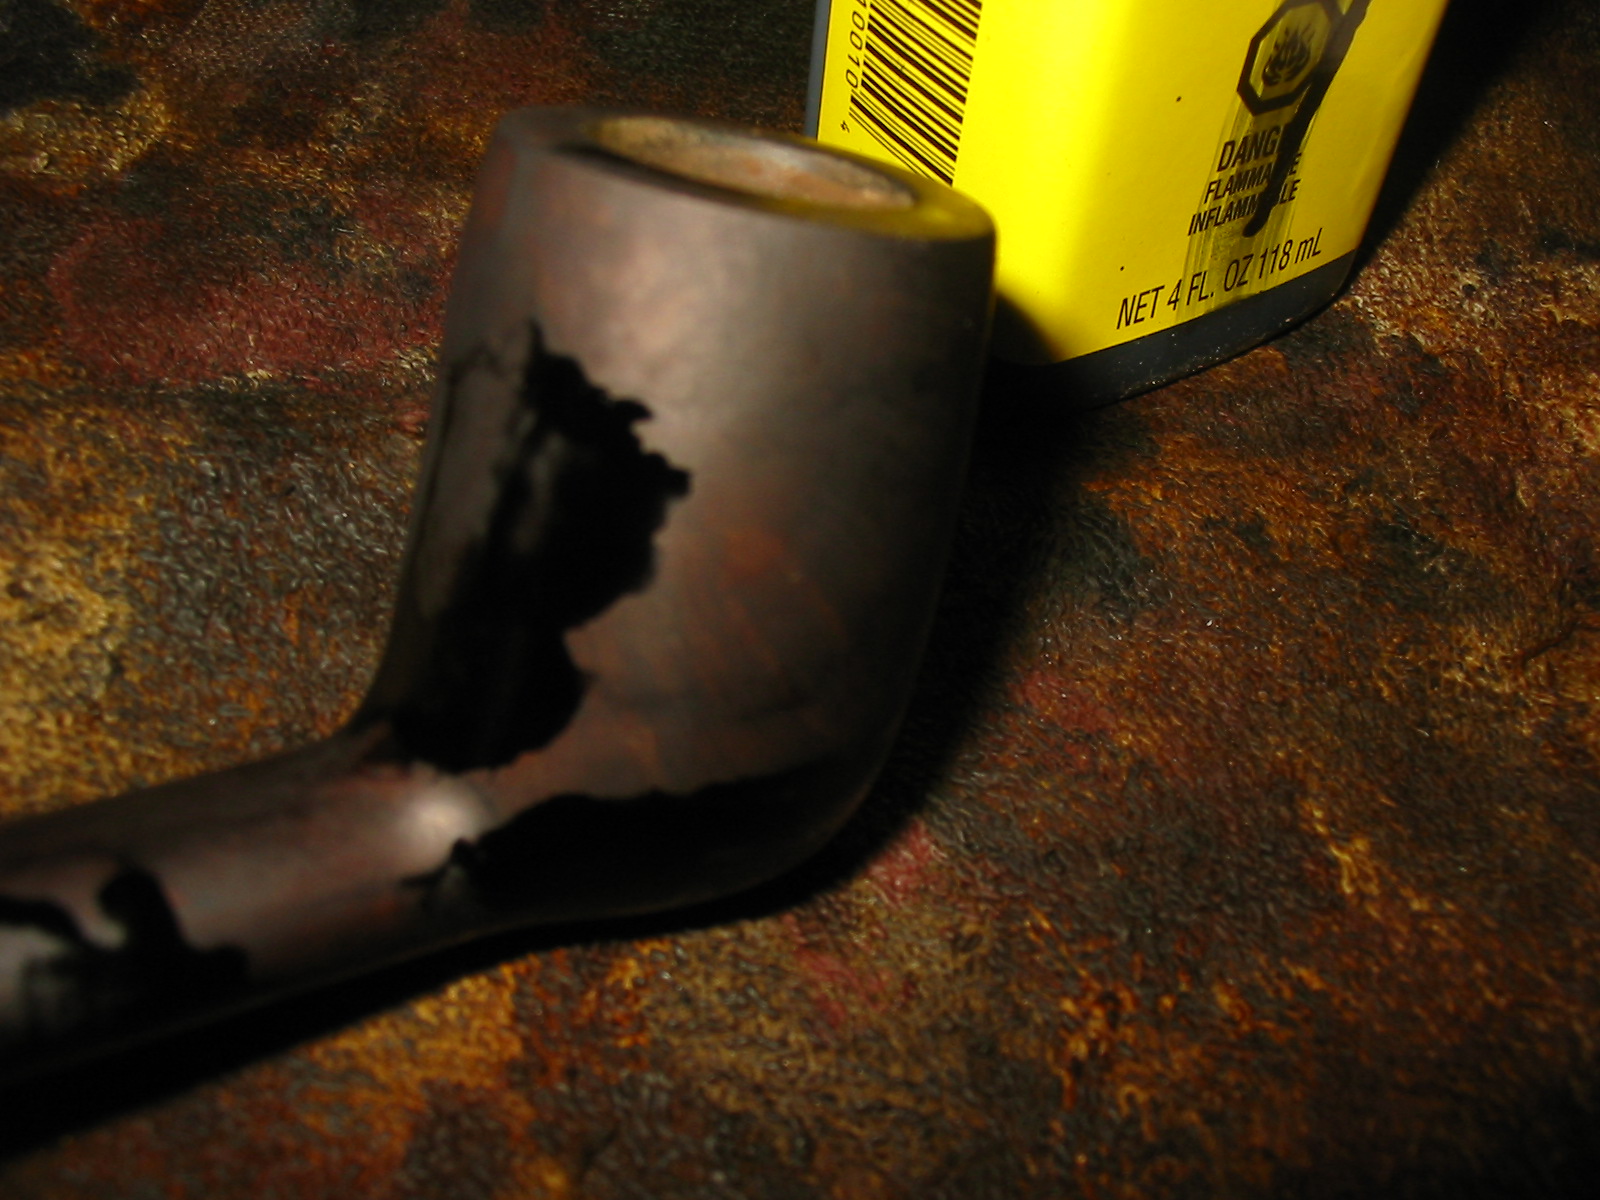
I stained the bowl with an aniline oxblood stain. I applied it and flamed it and reapplied it and flamed it again until I had a good even coverage across the bowl. I hand buffed the finish with a soft cloth.
IMG_4938

IMG_4939

IMG_4940

IMG_4941

IMG_4942

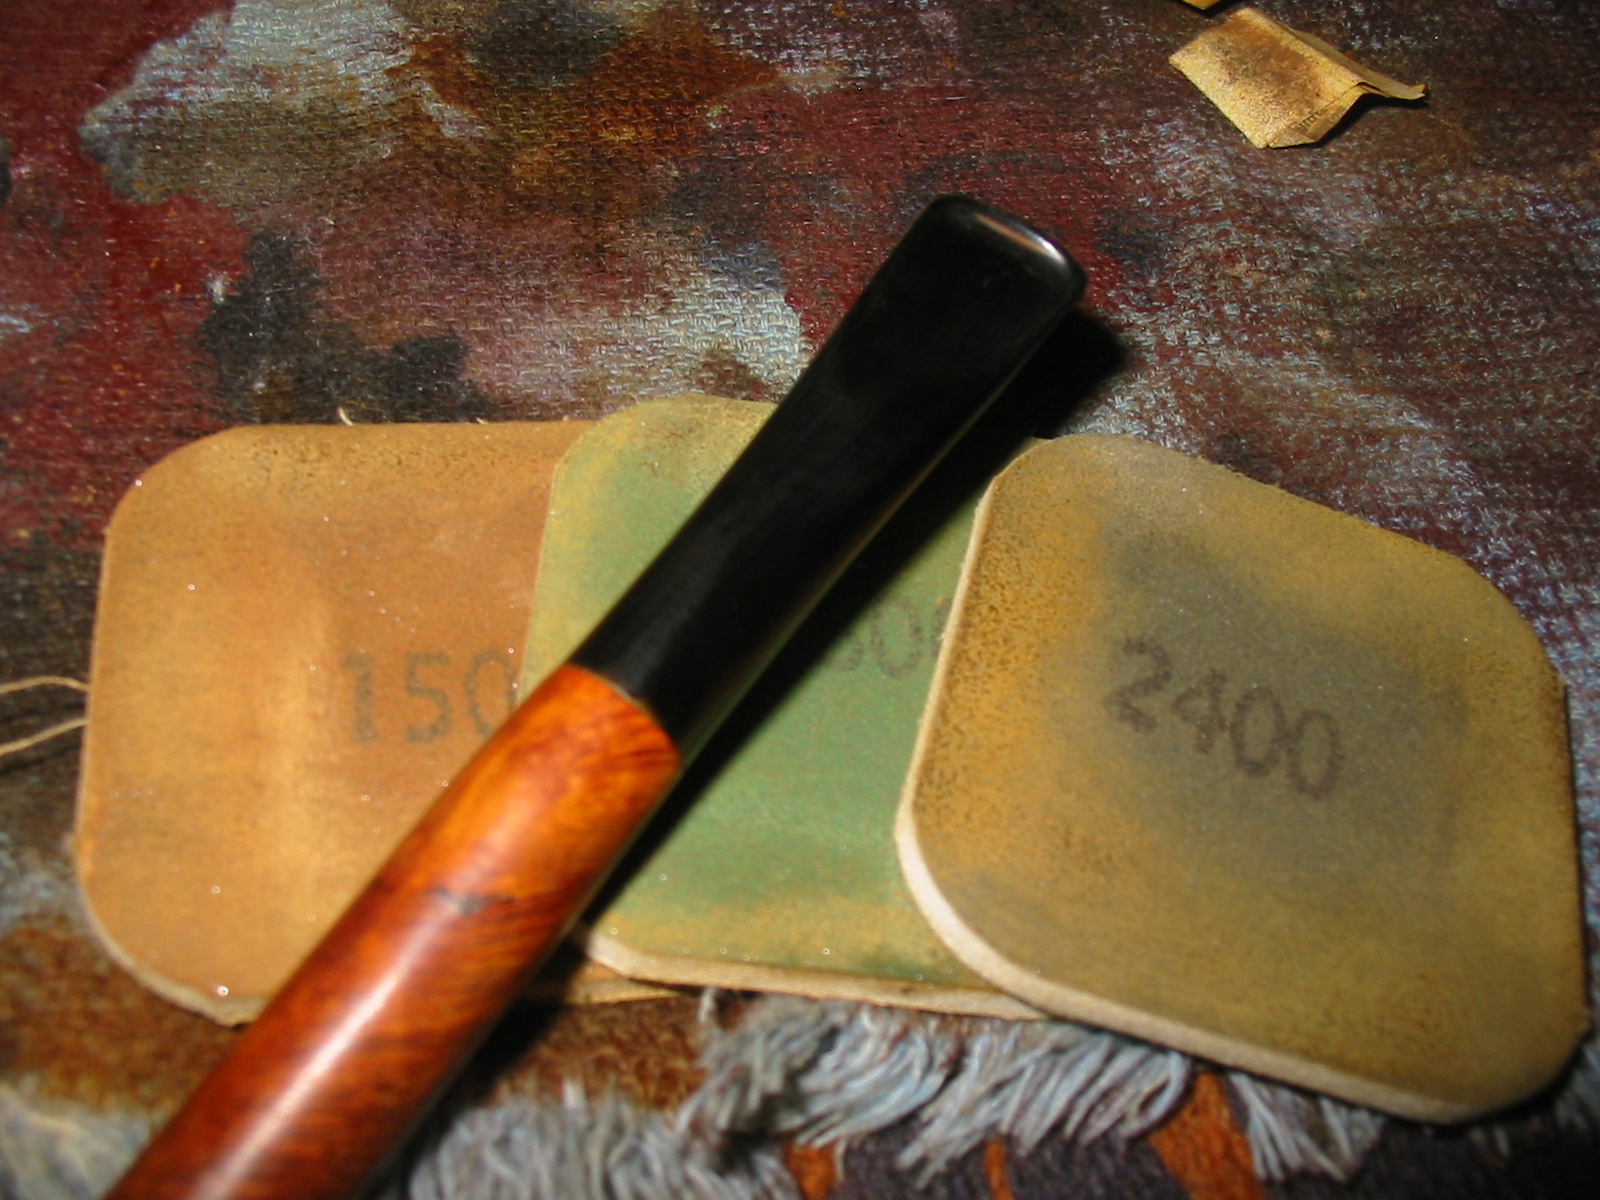
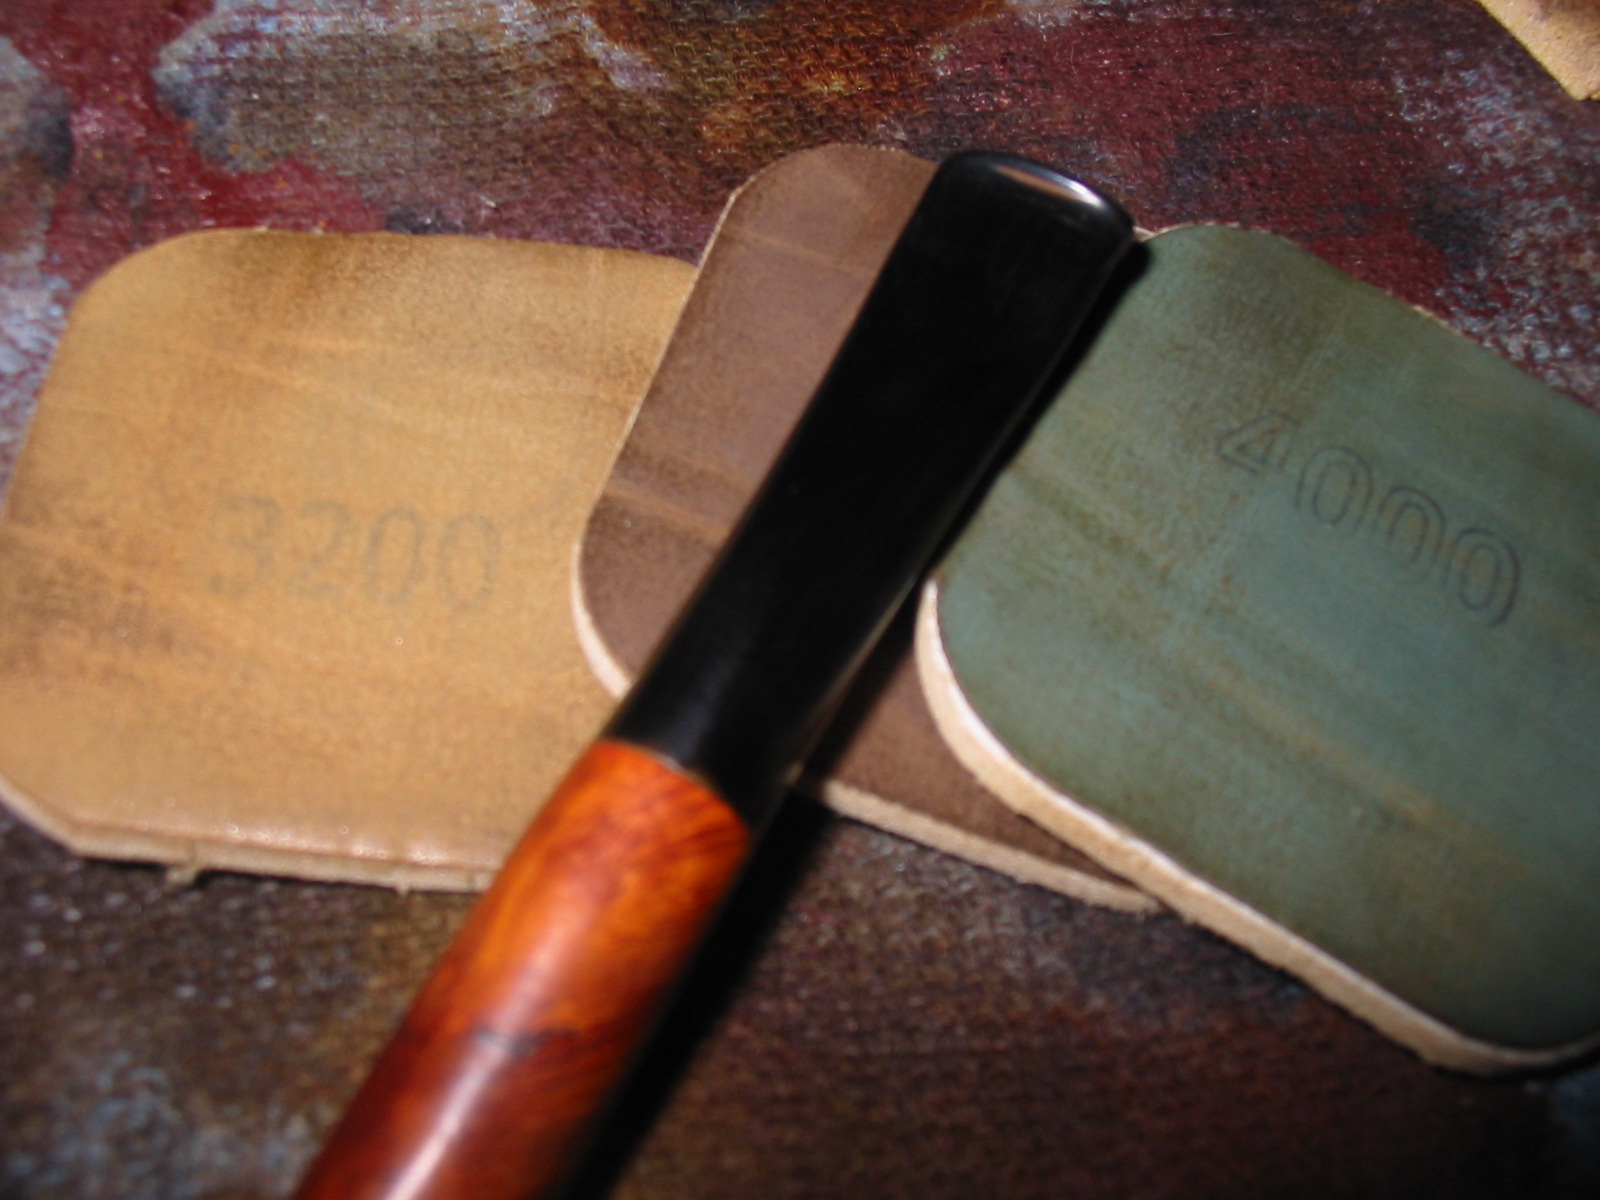
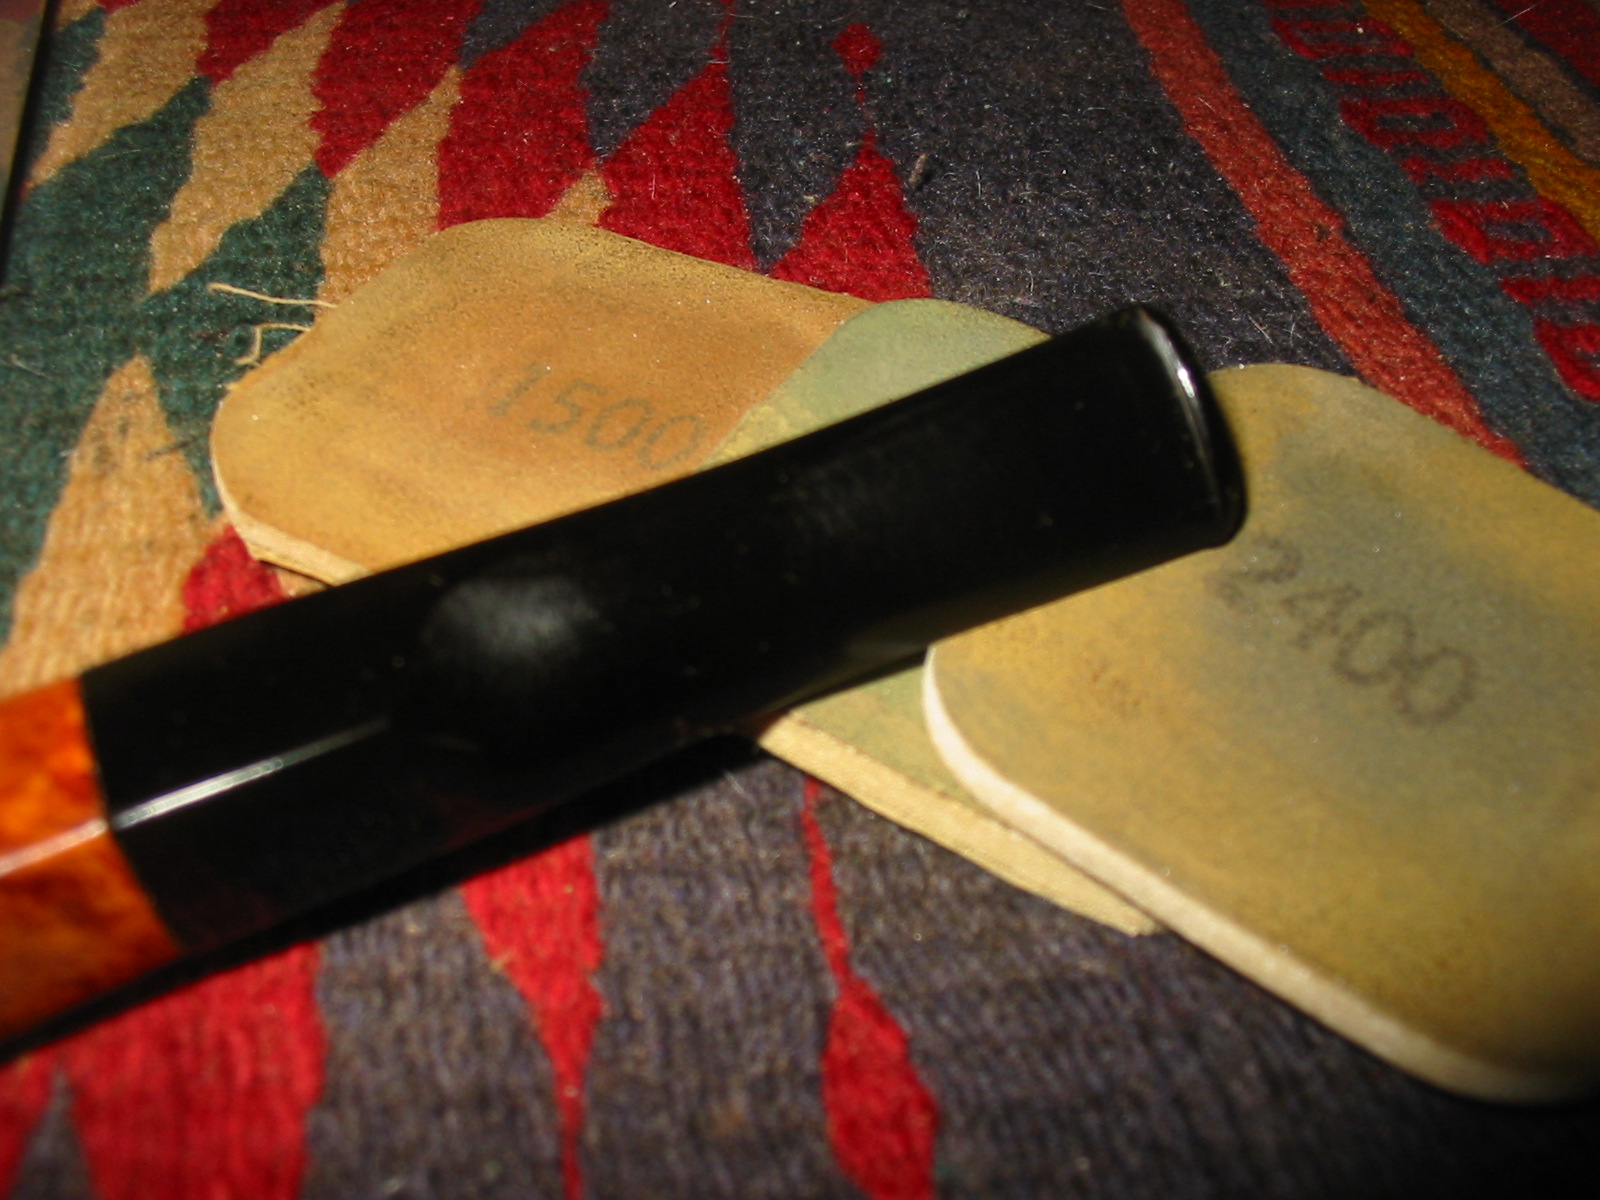
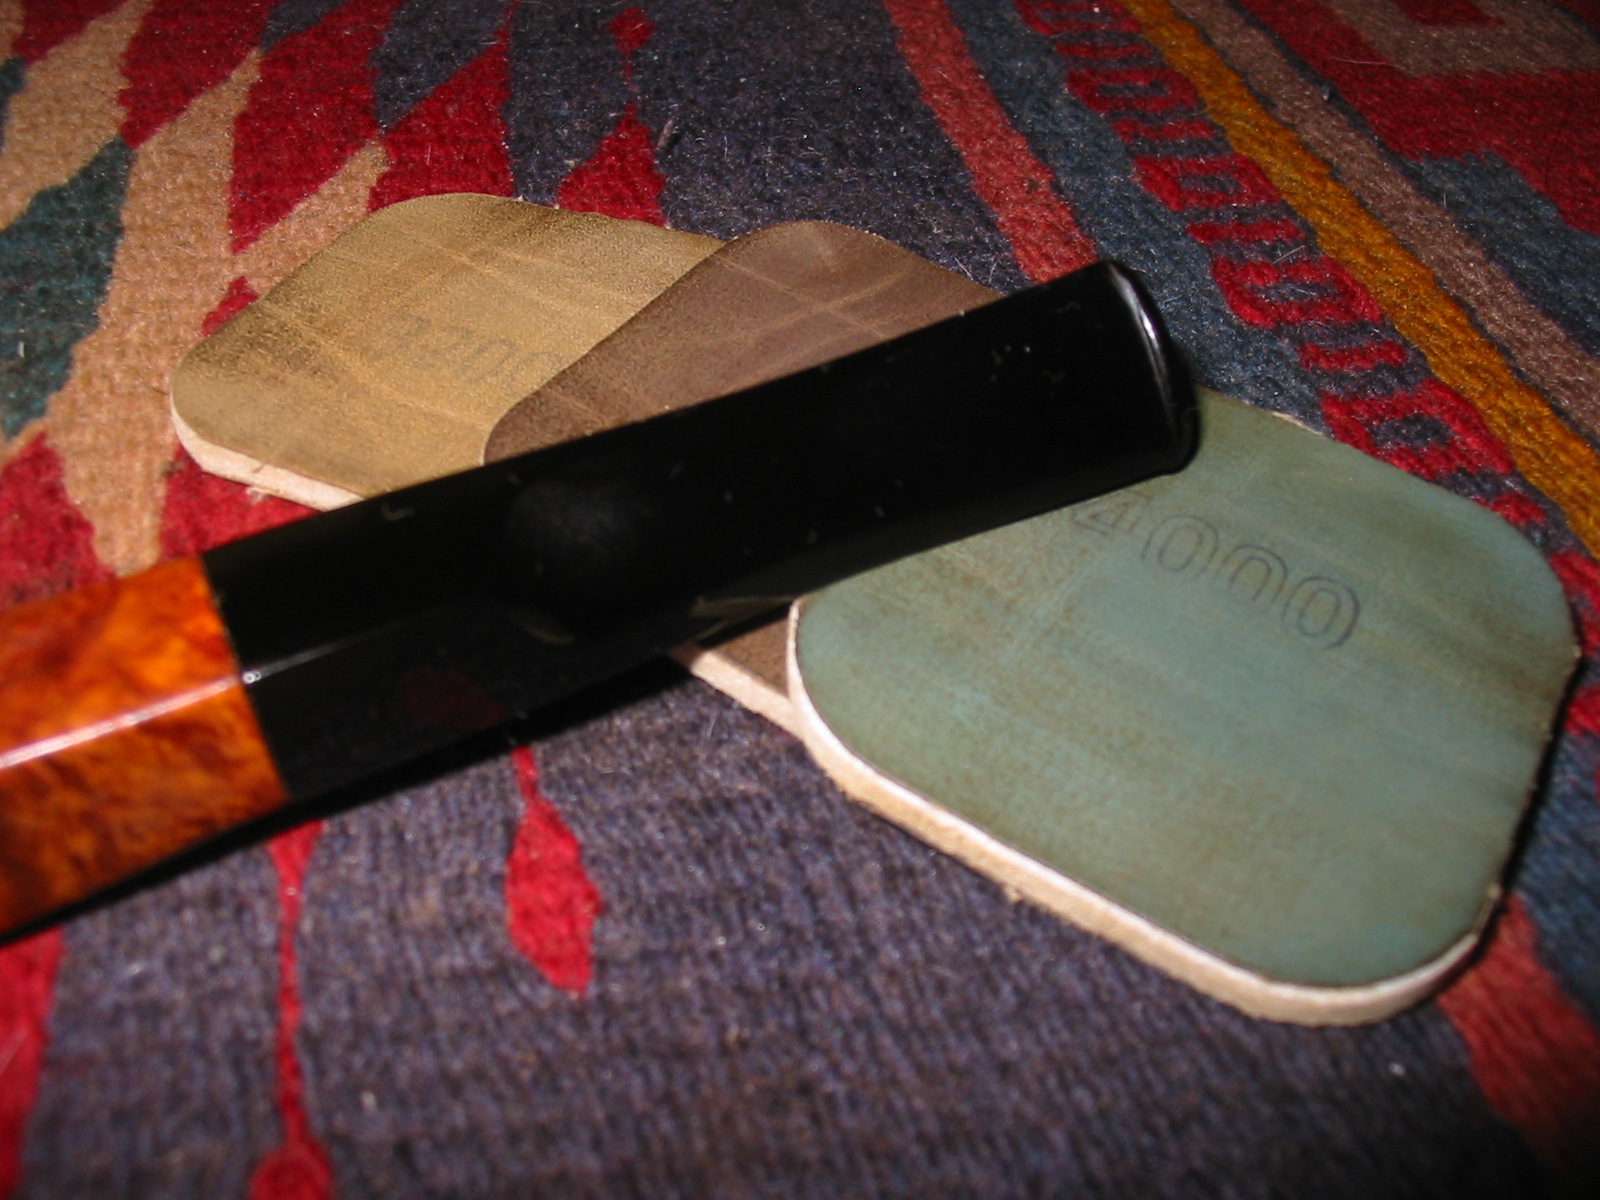
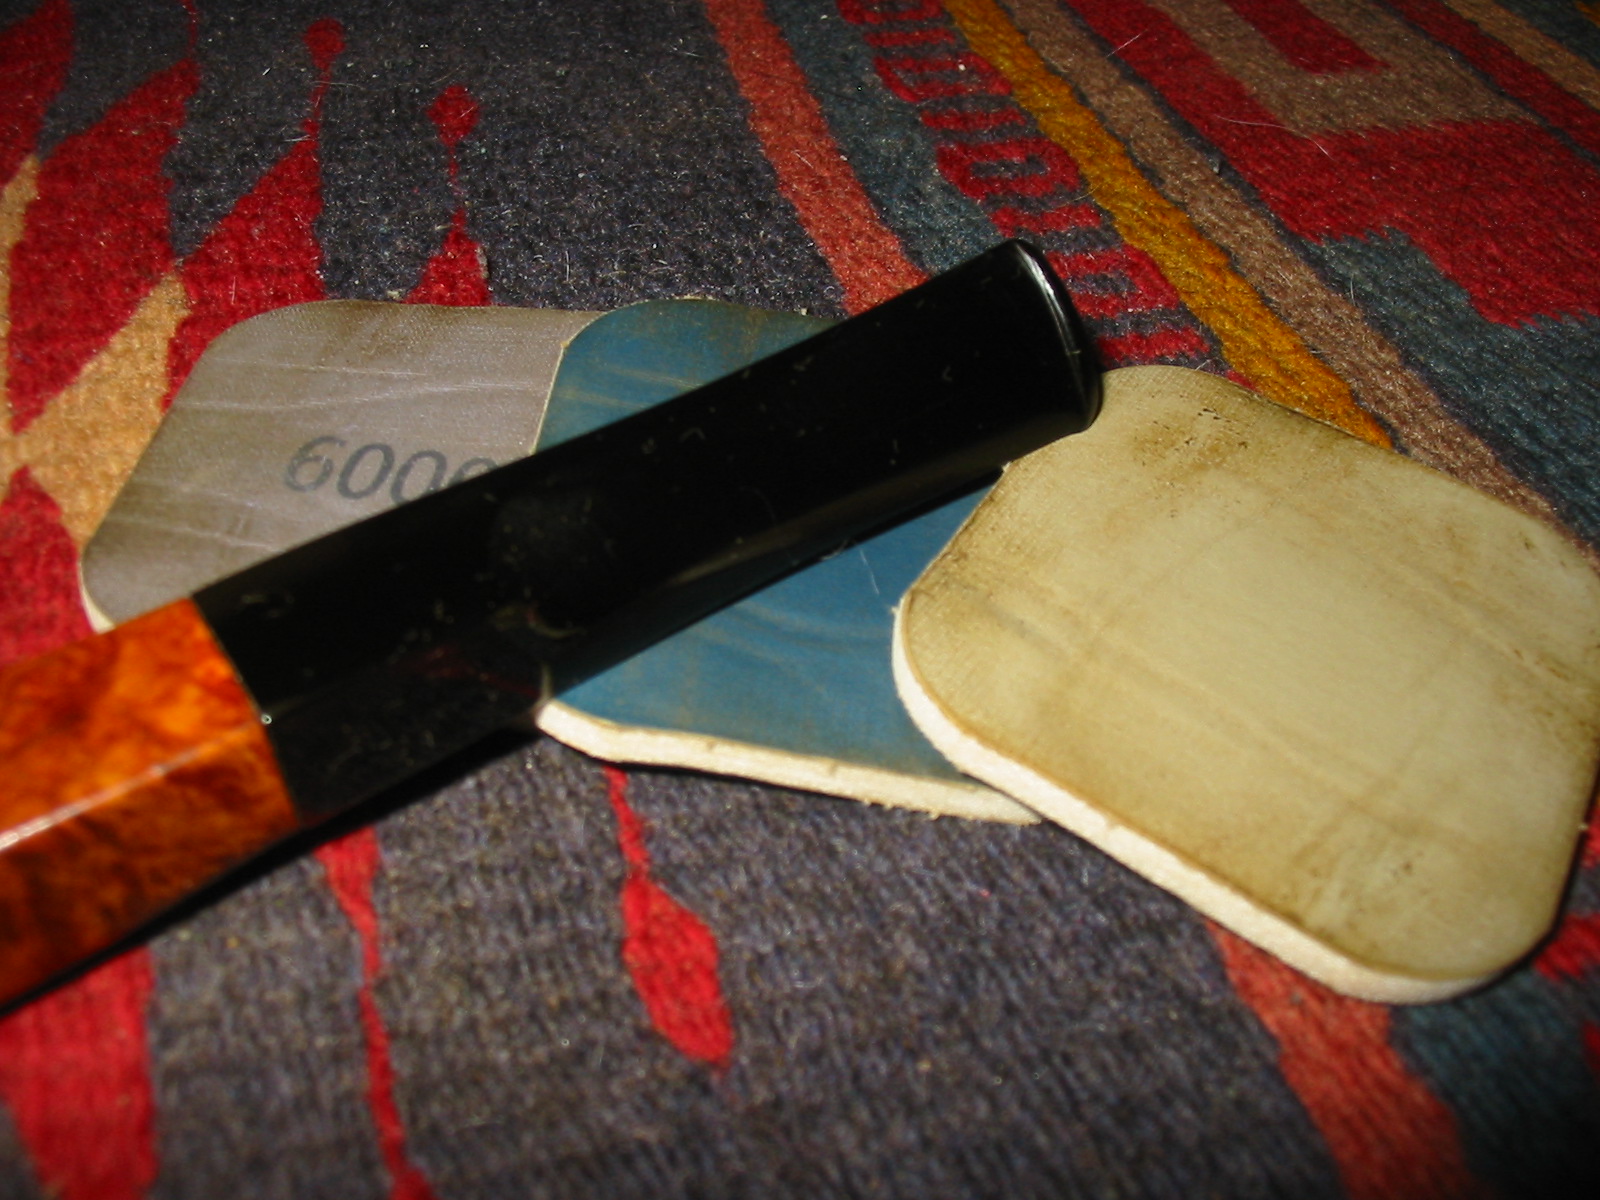
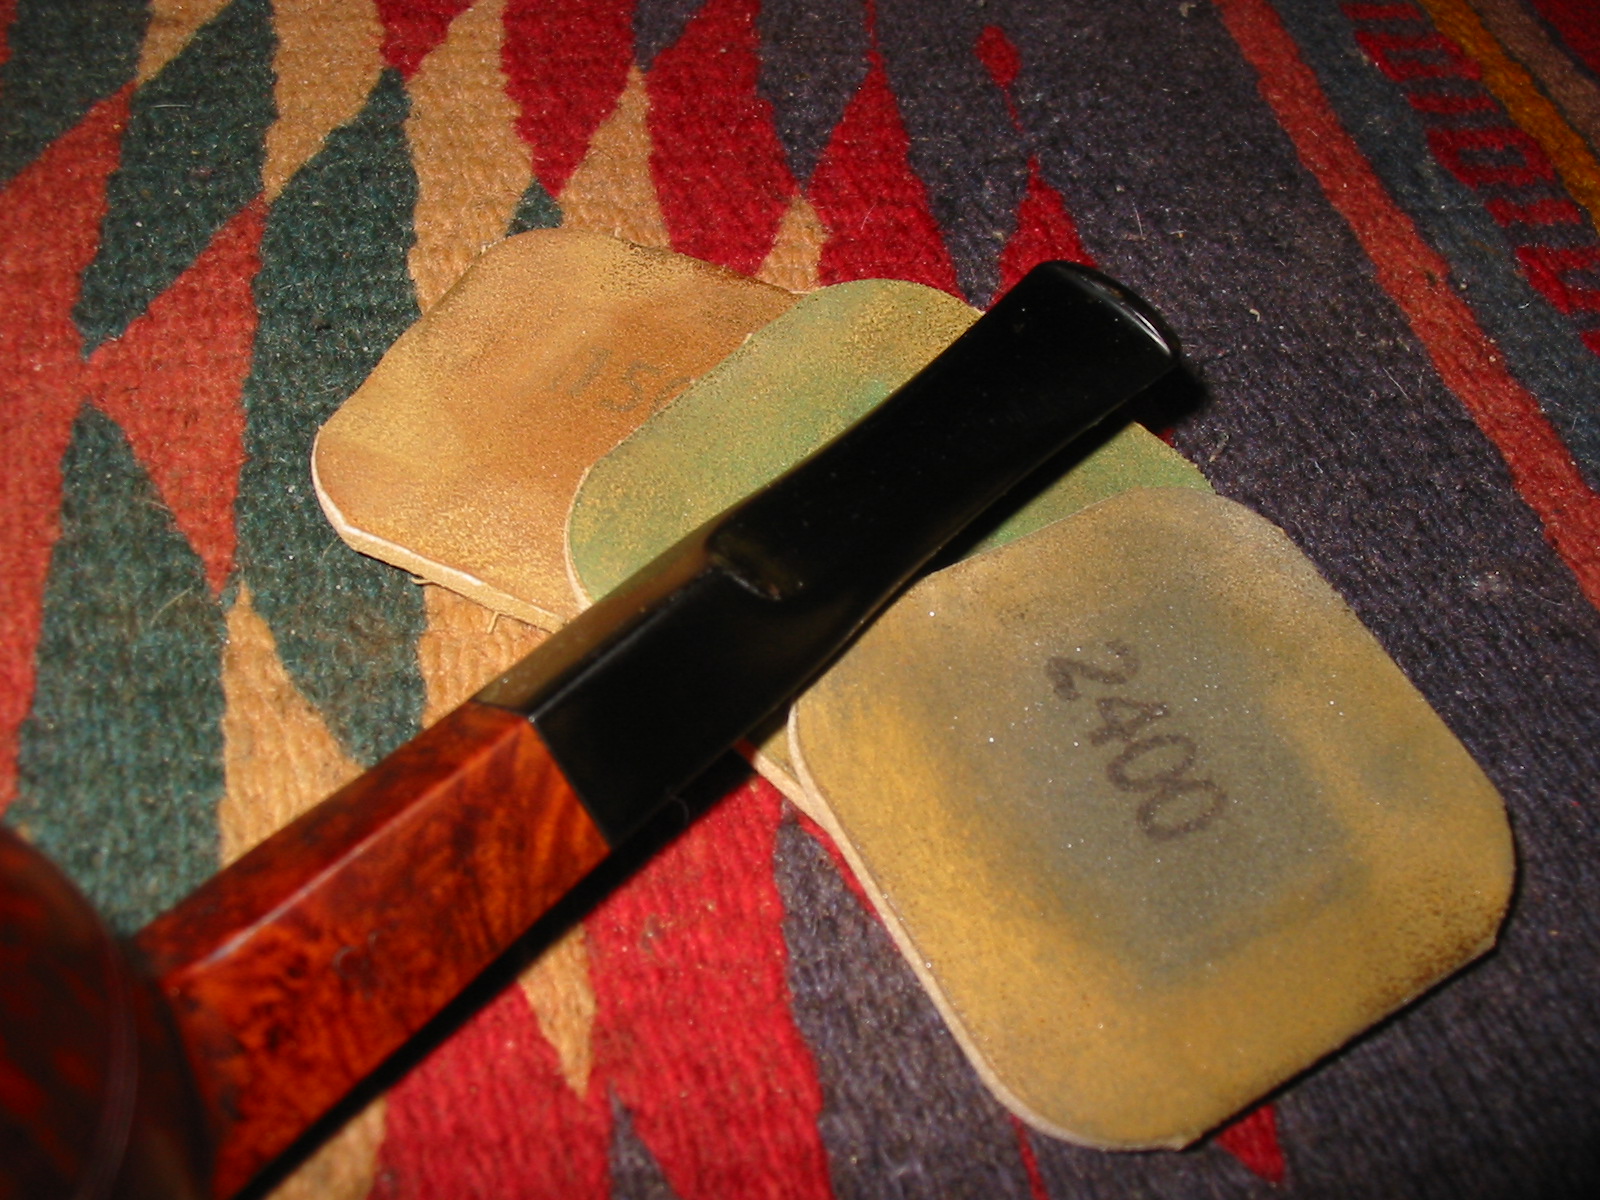
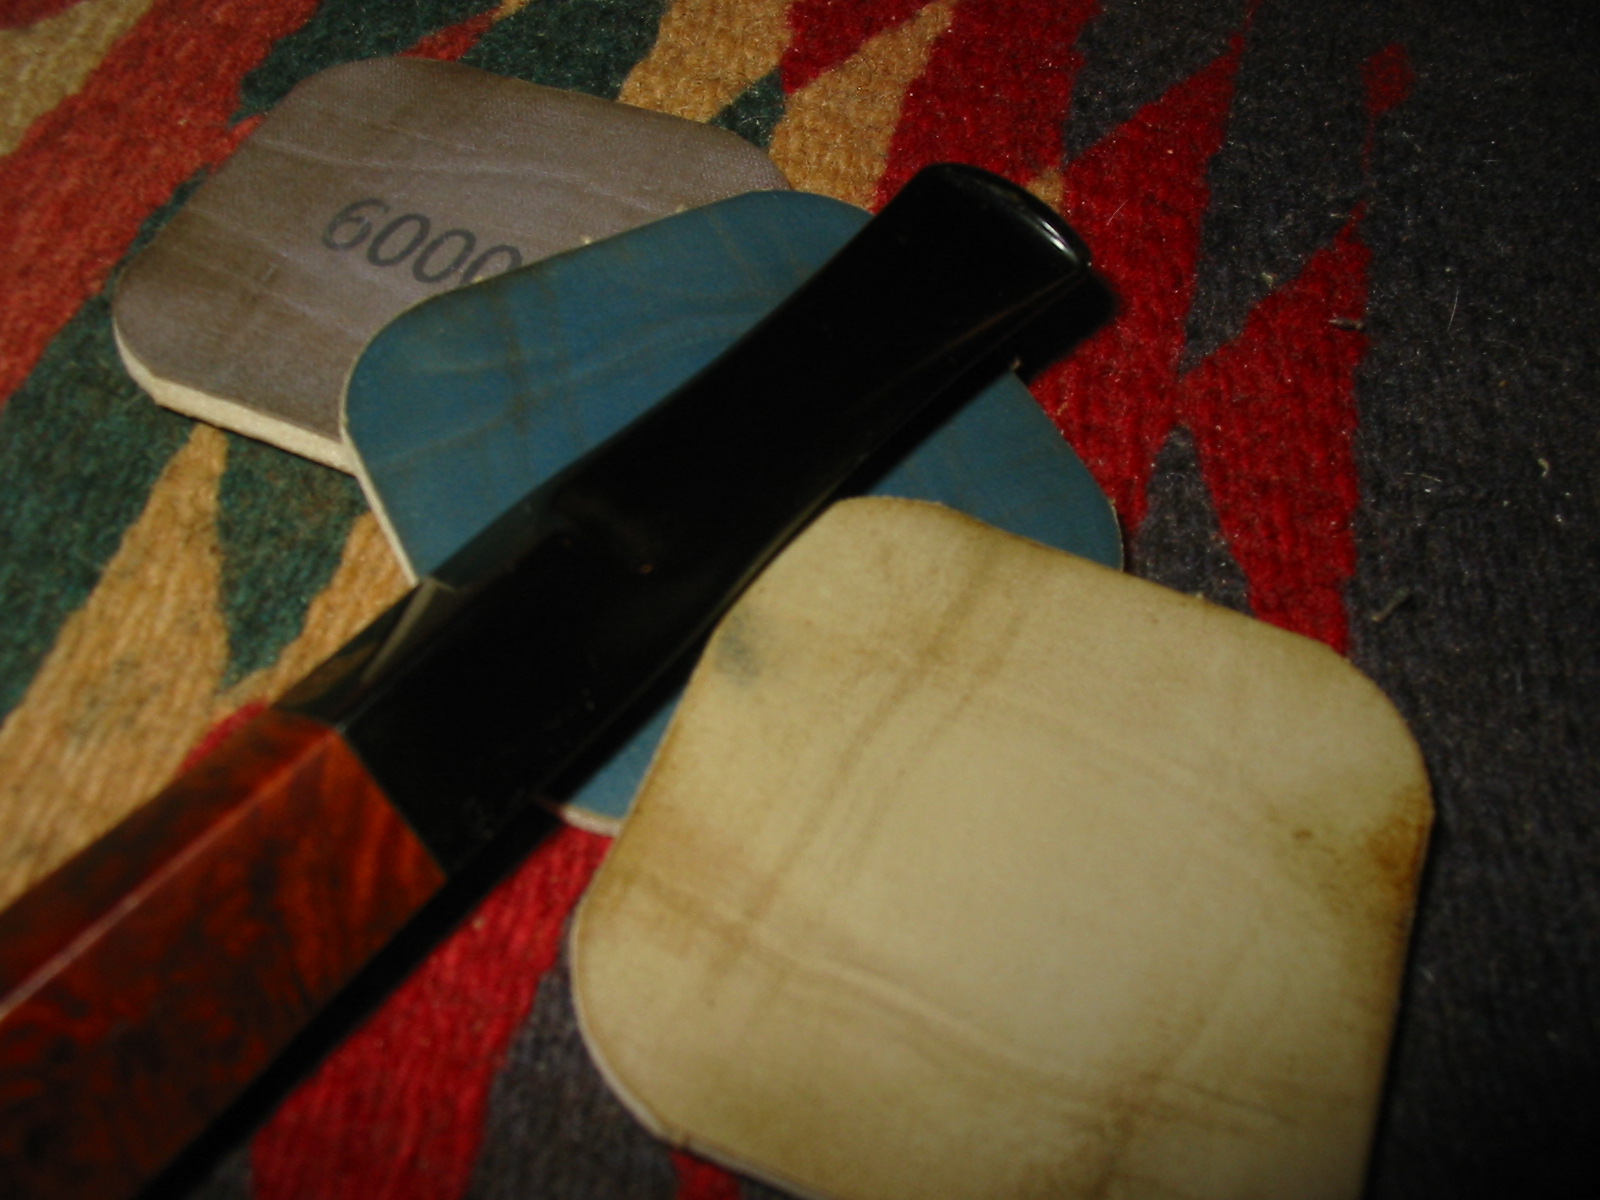
I sanded the stem with medium and fine grit sanding sponges and then followed up with my usual array of micromesh sanding pads – wet sanding with 1500-2400 grit pads and dry sanding with 3200-13,000 grit pads.
IMG_4943

IMG_4944

IMG_4945

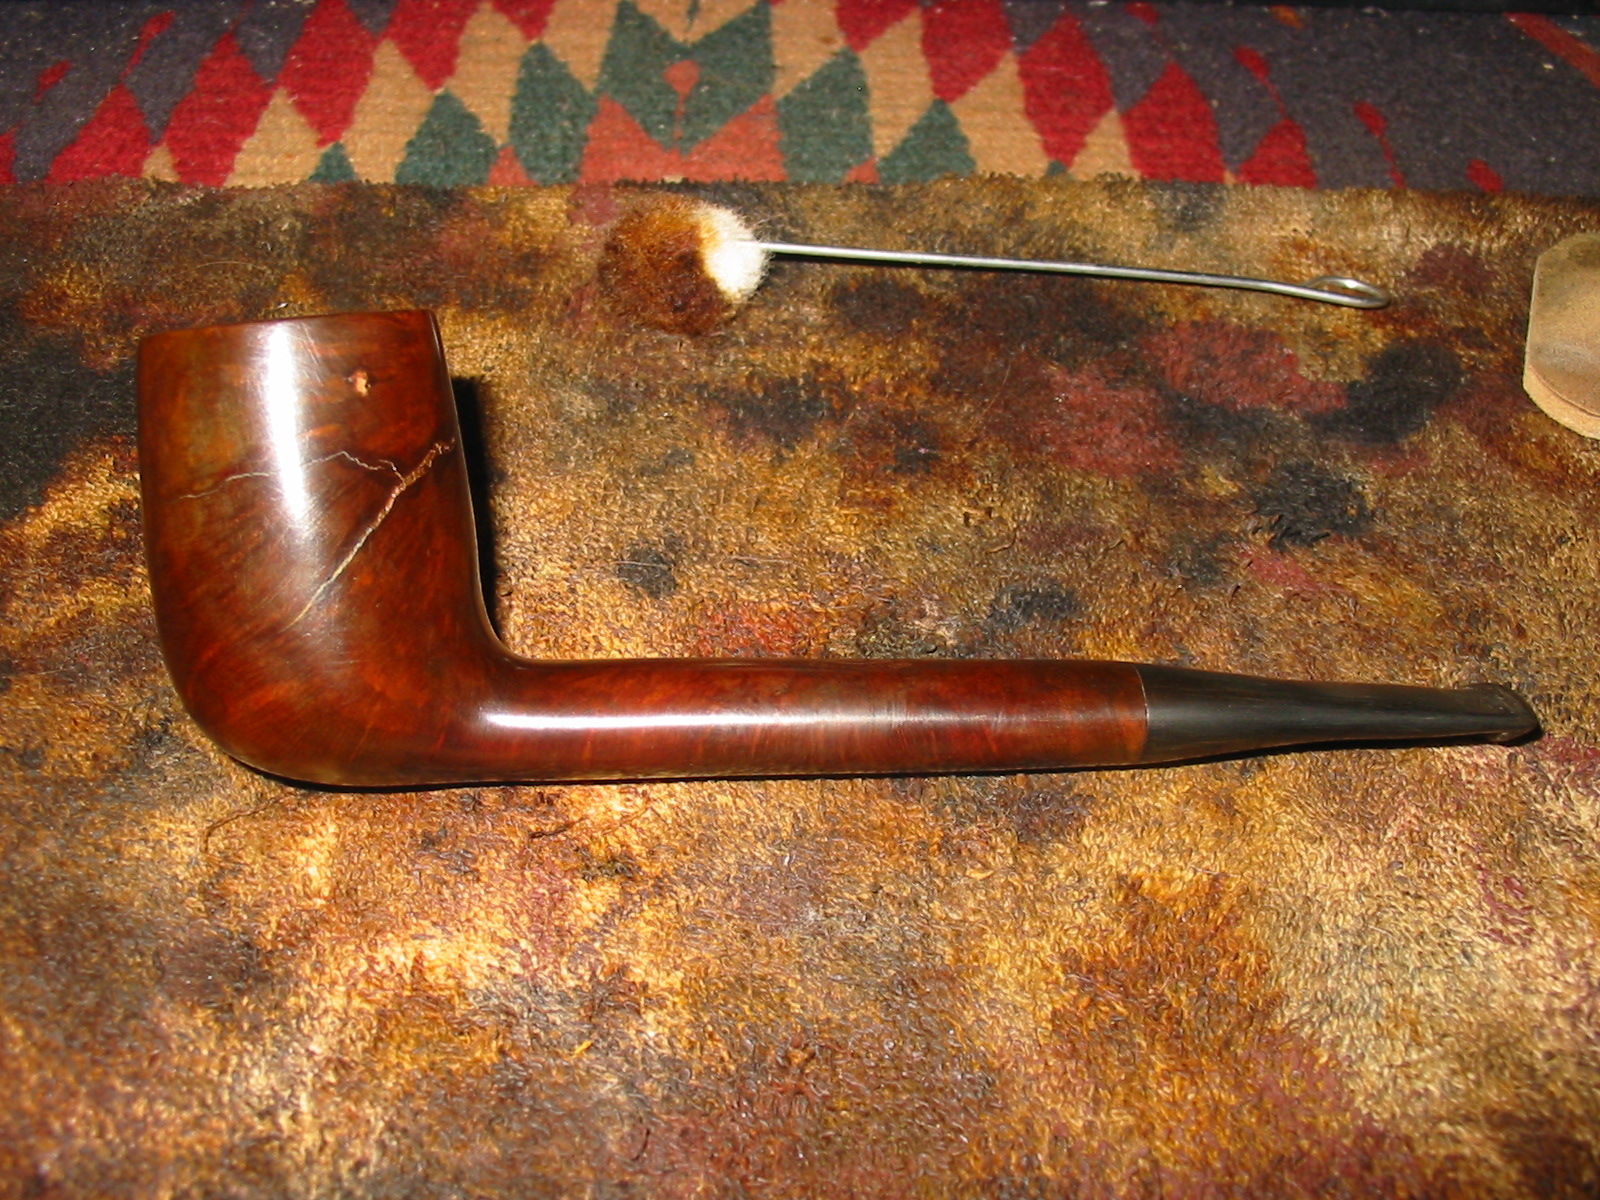
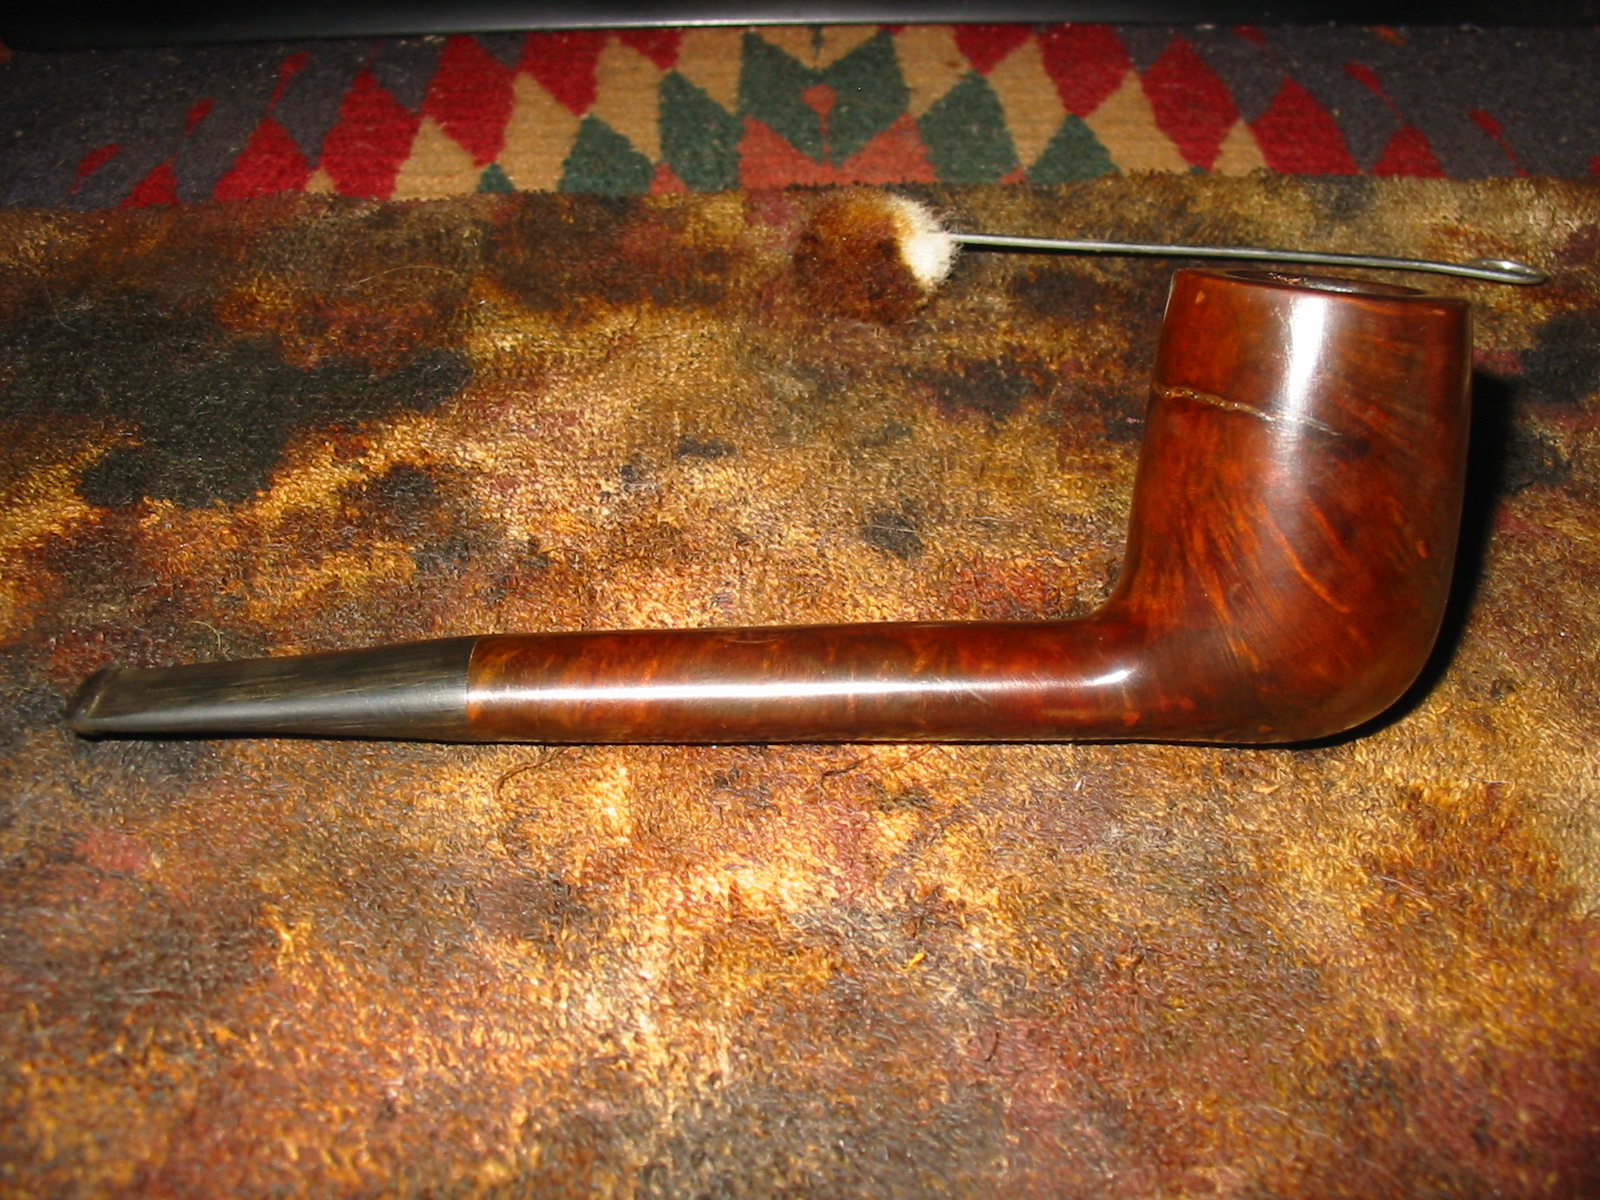
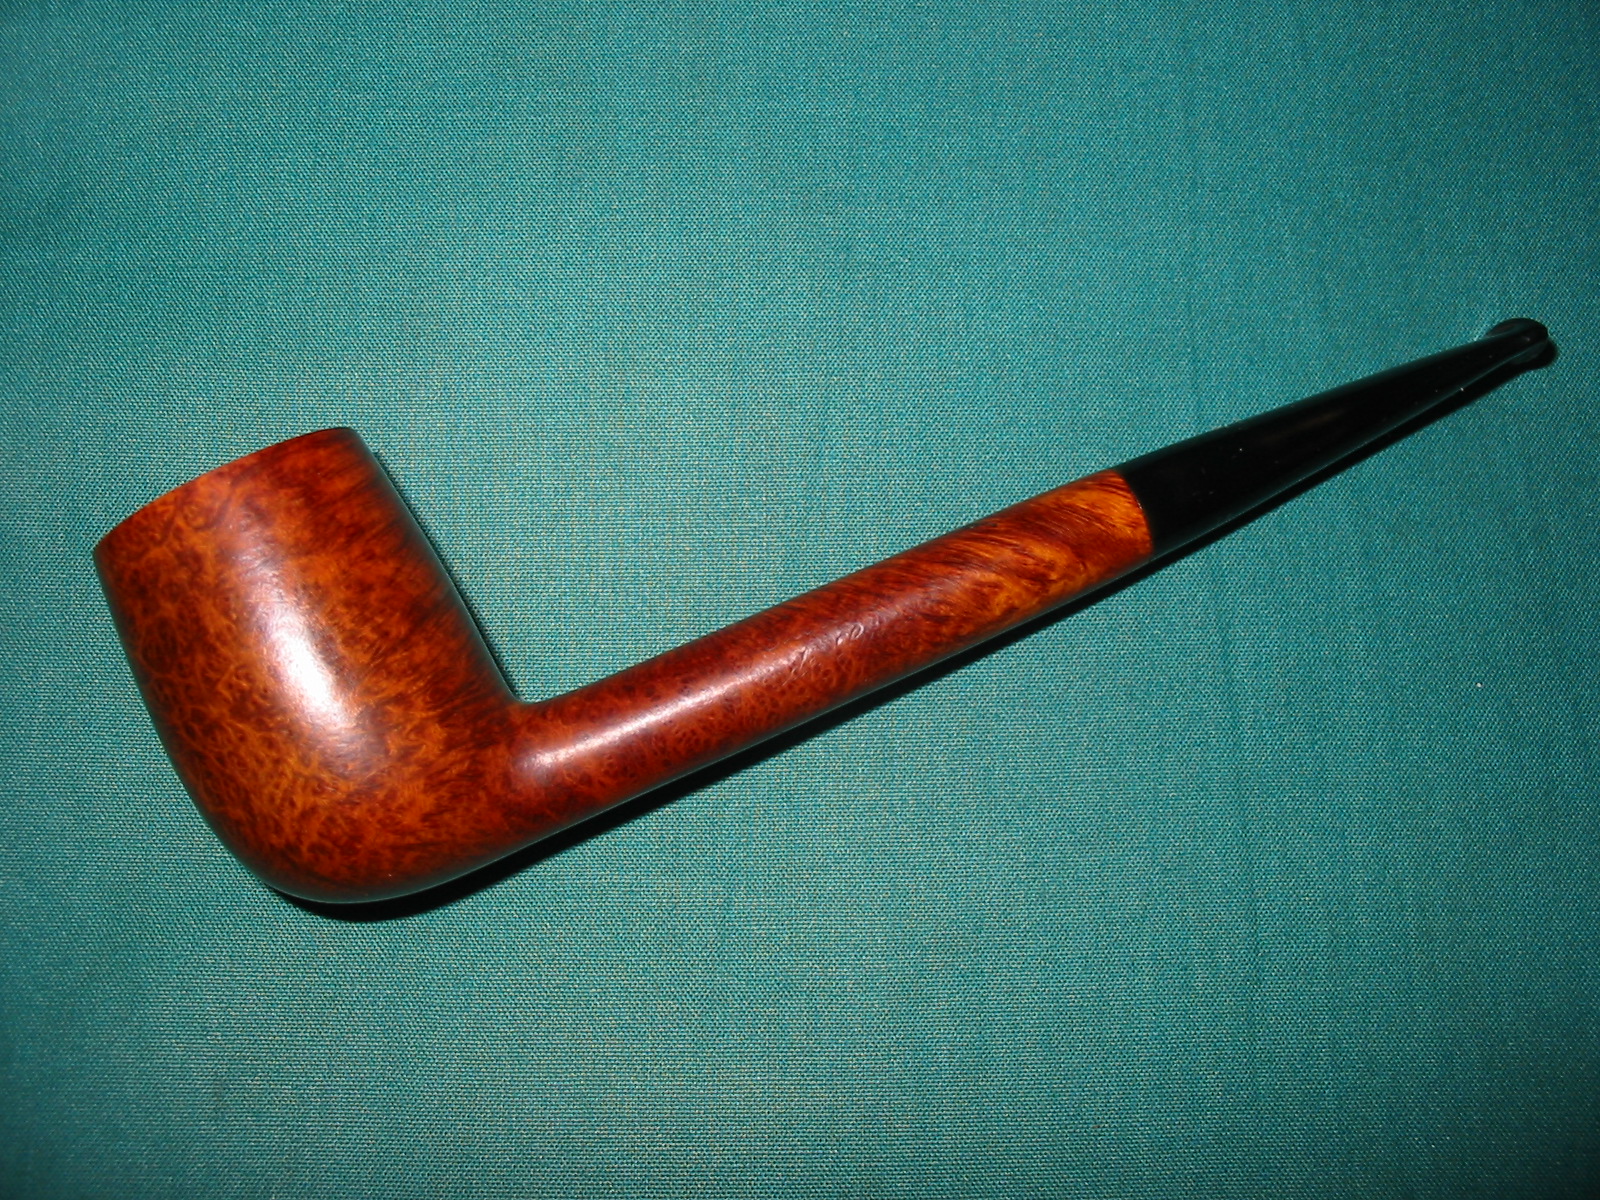
I rubbed the stem down with Obsidian Oil and then sanded it a final time with the 4000-13,000 grit pads. I lightly buffed the stem with White Diamond. I screwed the stem back into the shank and then buffed the entirety with White Diamond and then gave the pipe multiple coats of carnauba wax. I buffed it with a clean flannel buff for the final shine and protection. The finished pipe is pictured below and is ready for more years of service. The bowl repair done by Andrew provides a solid base in the bowl and the external repair and stem repair makes the pipe cosmetically more pleasing. Thanks Andrew for a good challenge. The pipe is ready for its inaugural smoke. I am sure it will last far longer than I do!
IMG_4946

IMG_4947

IMG_4948

IMG_4949

IMG_4950

IMG_4951

Topping a Badly Damaged Georg Jensen Bent Billiard


Blog by Steve Laug

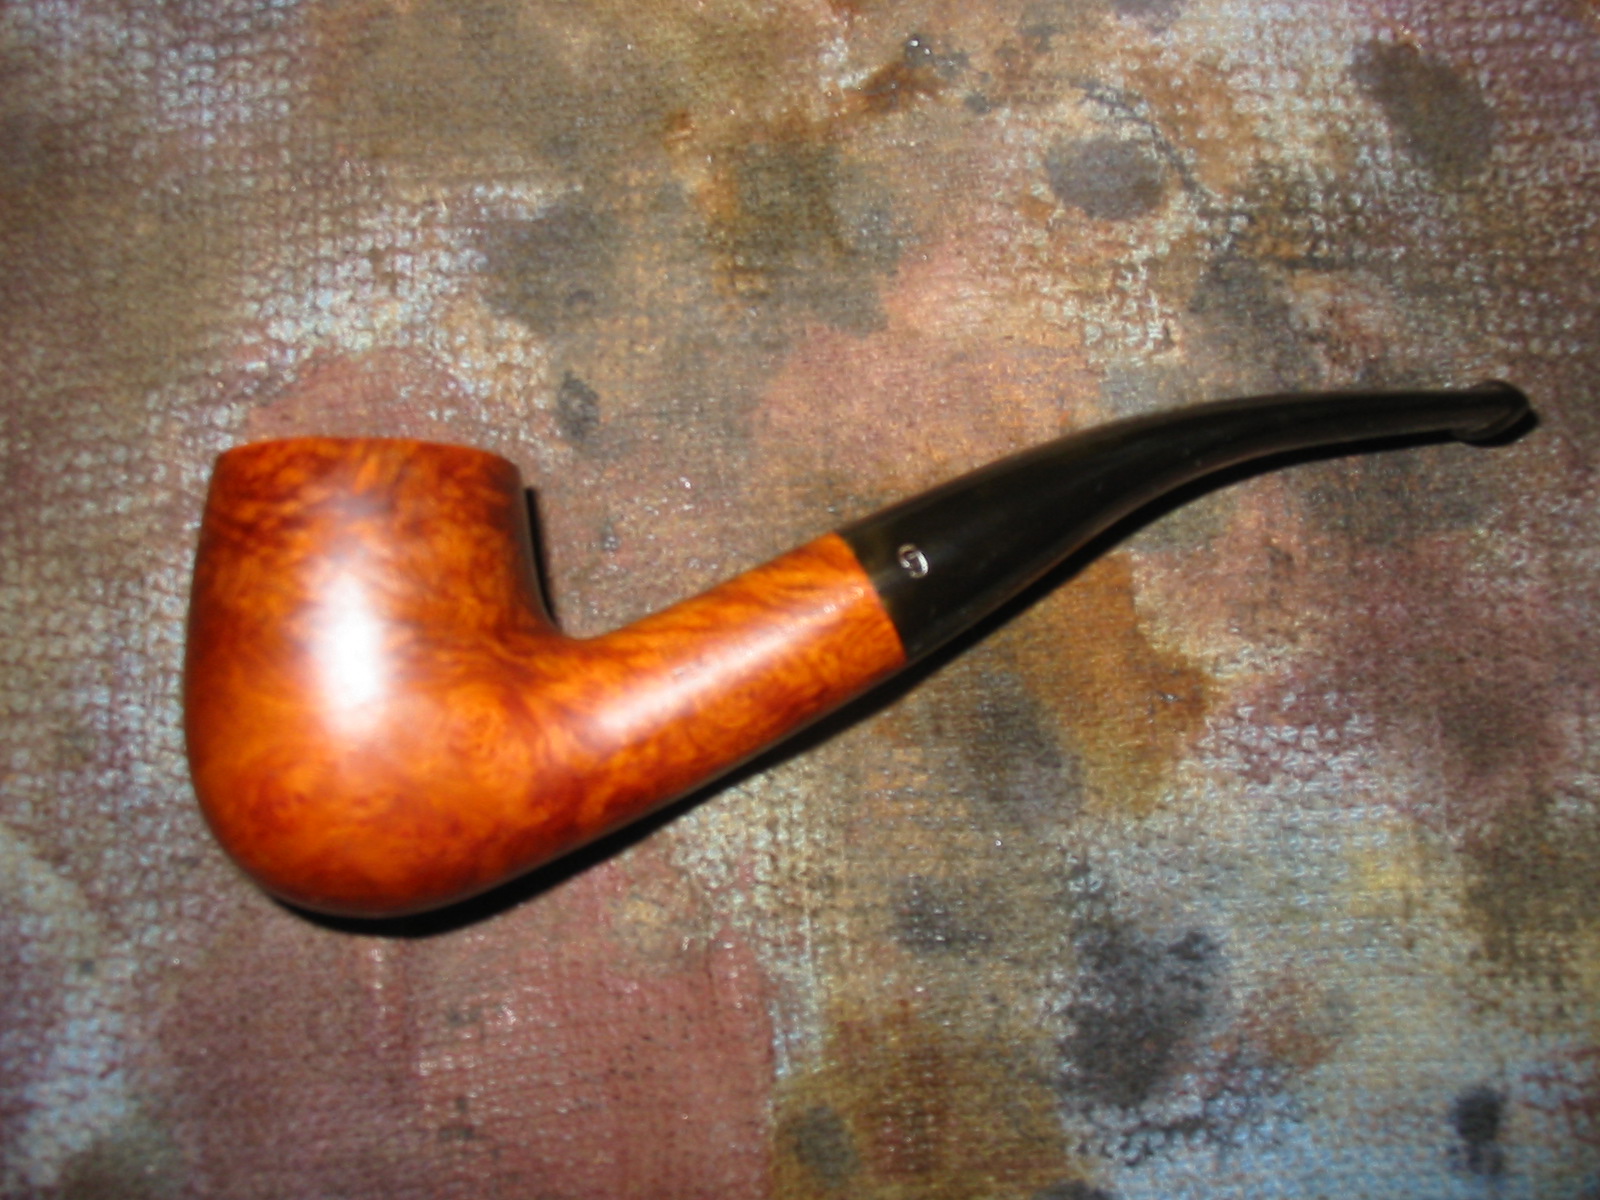
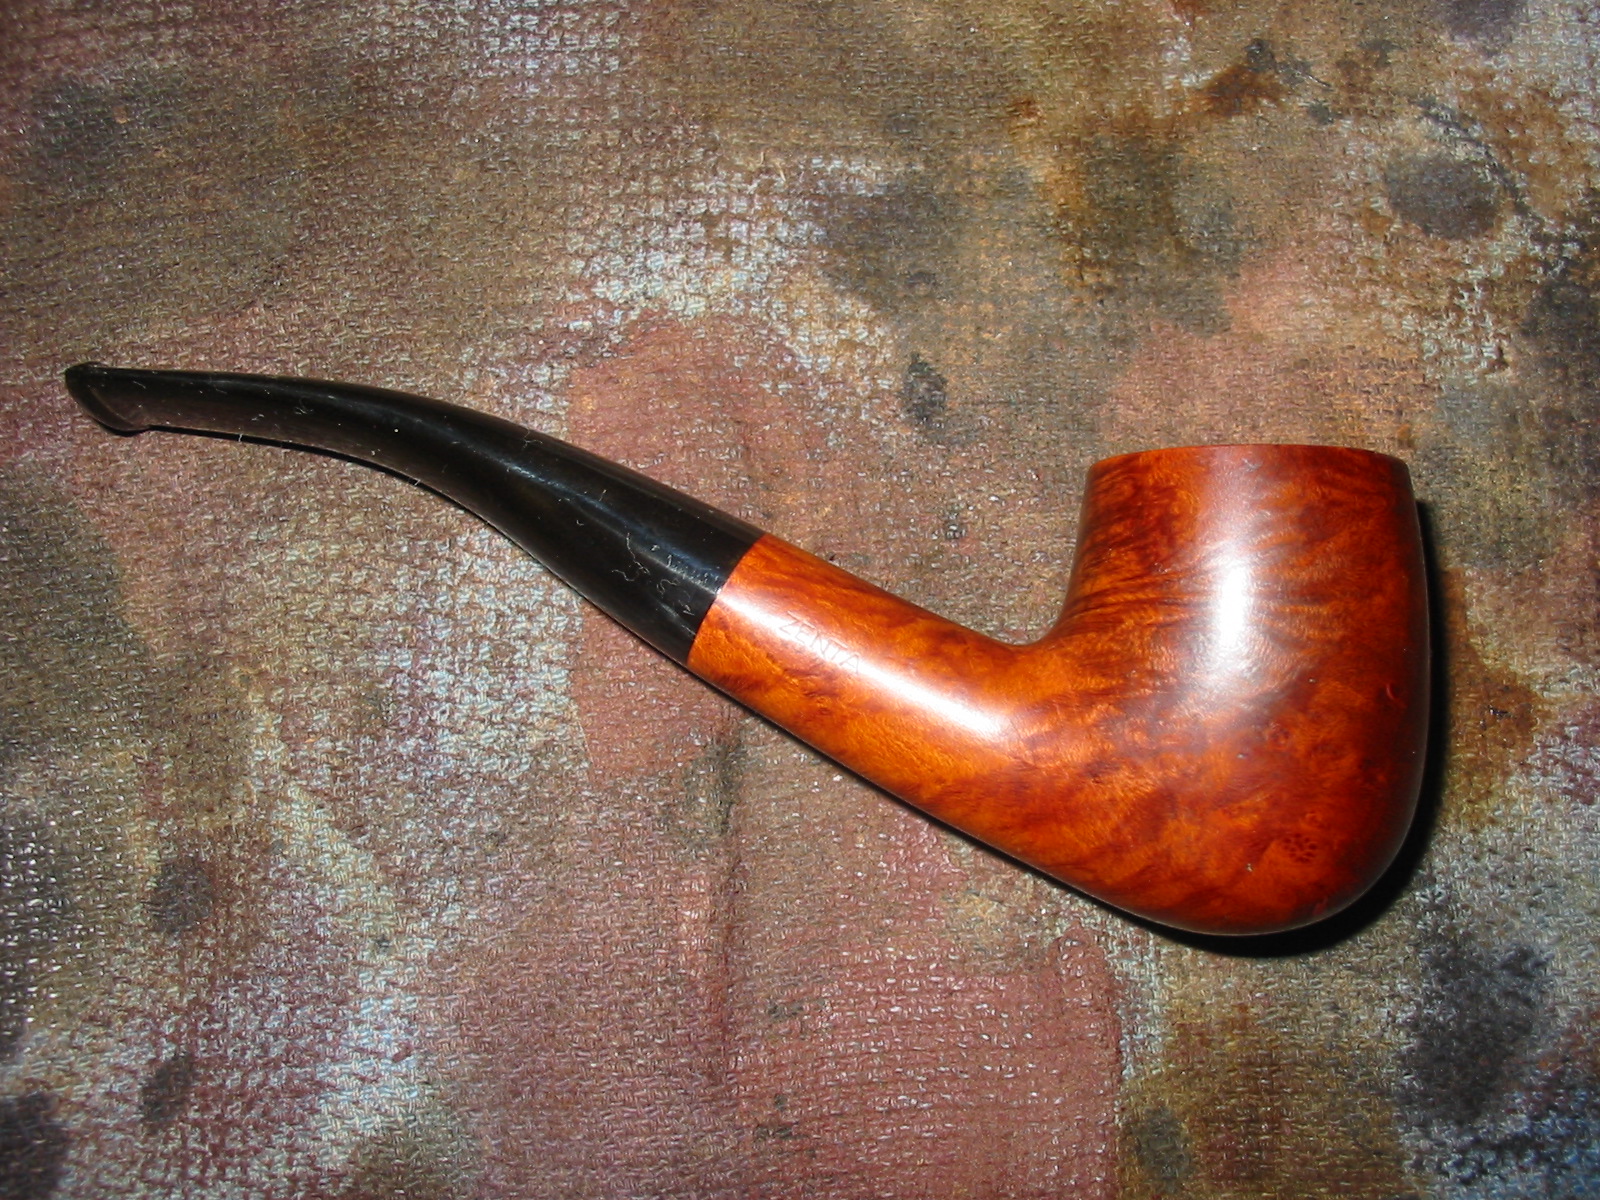
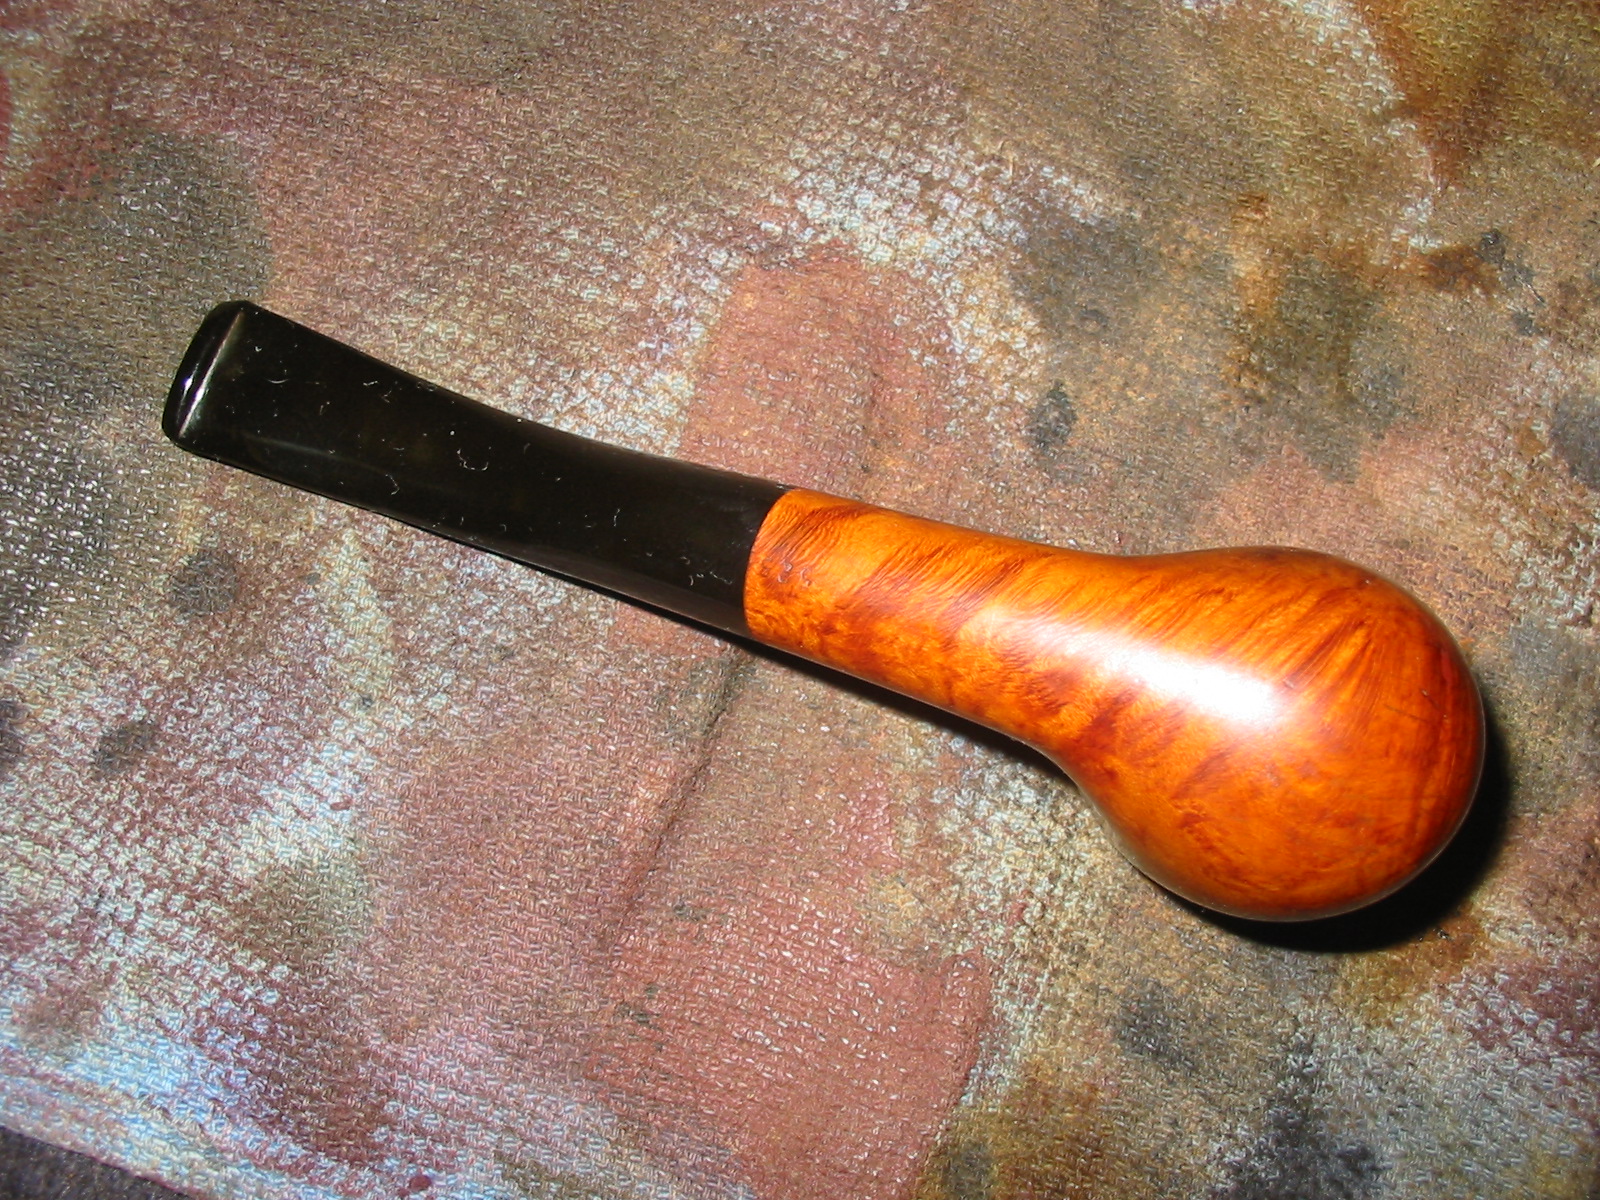
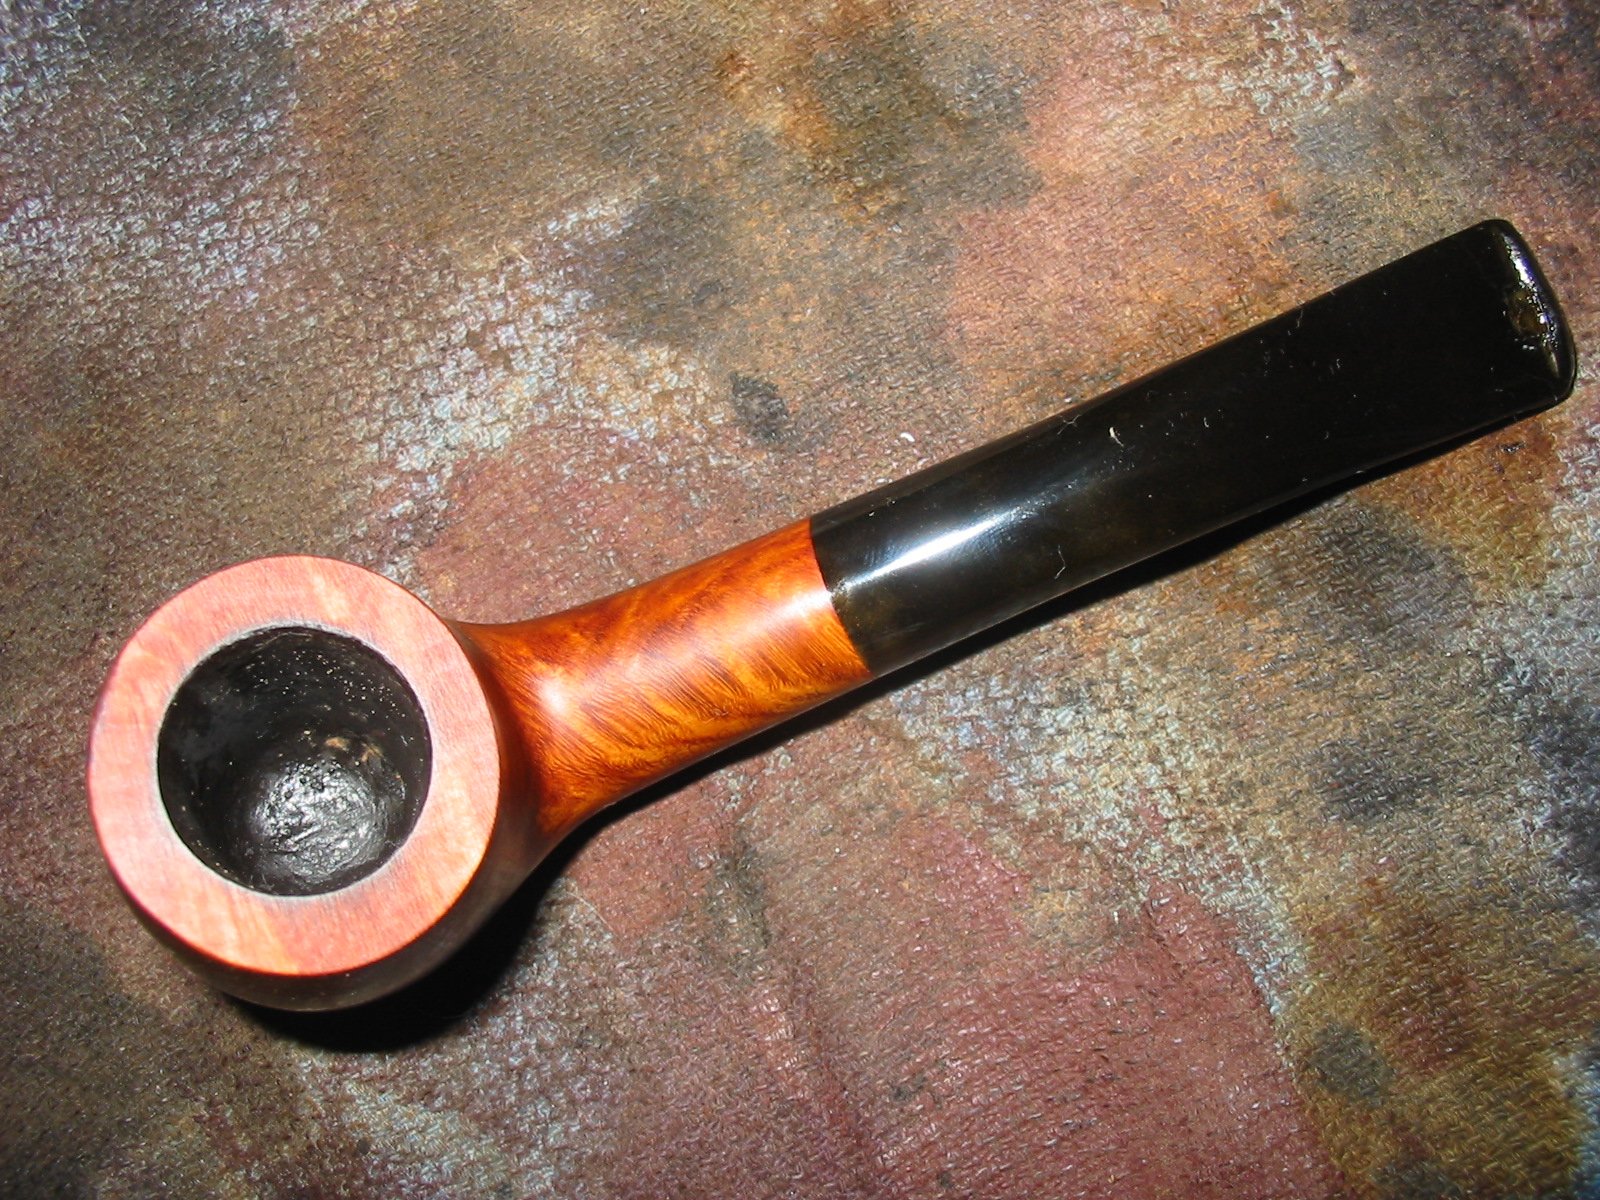
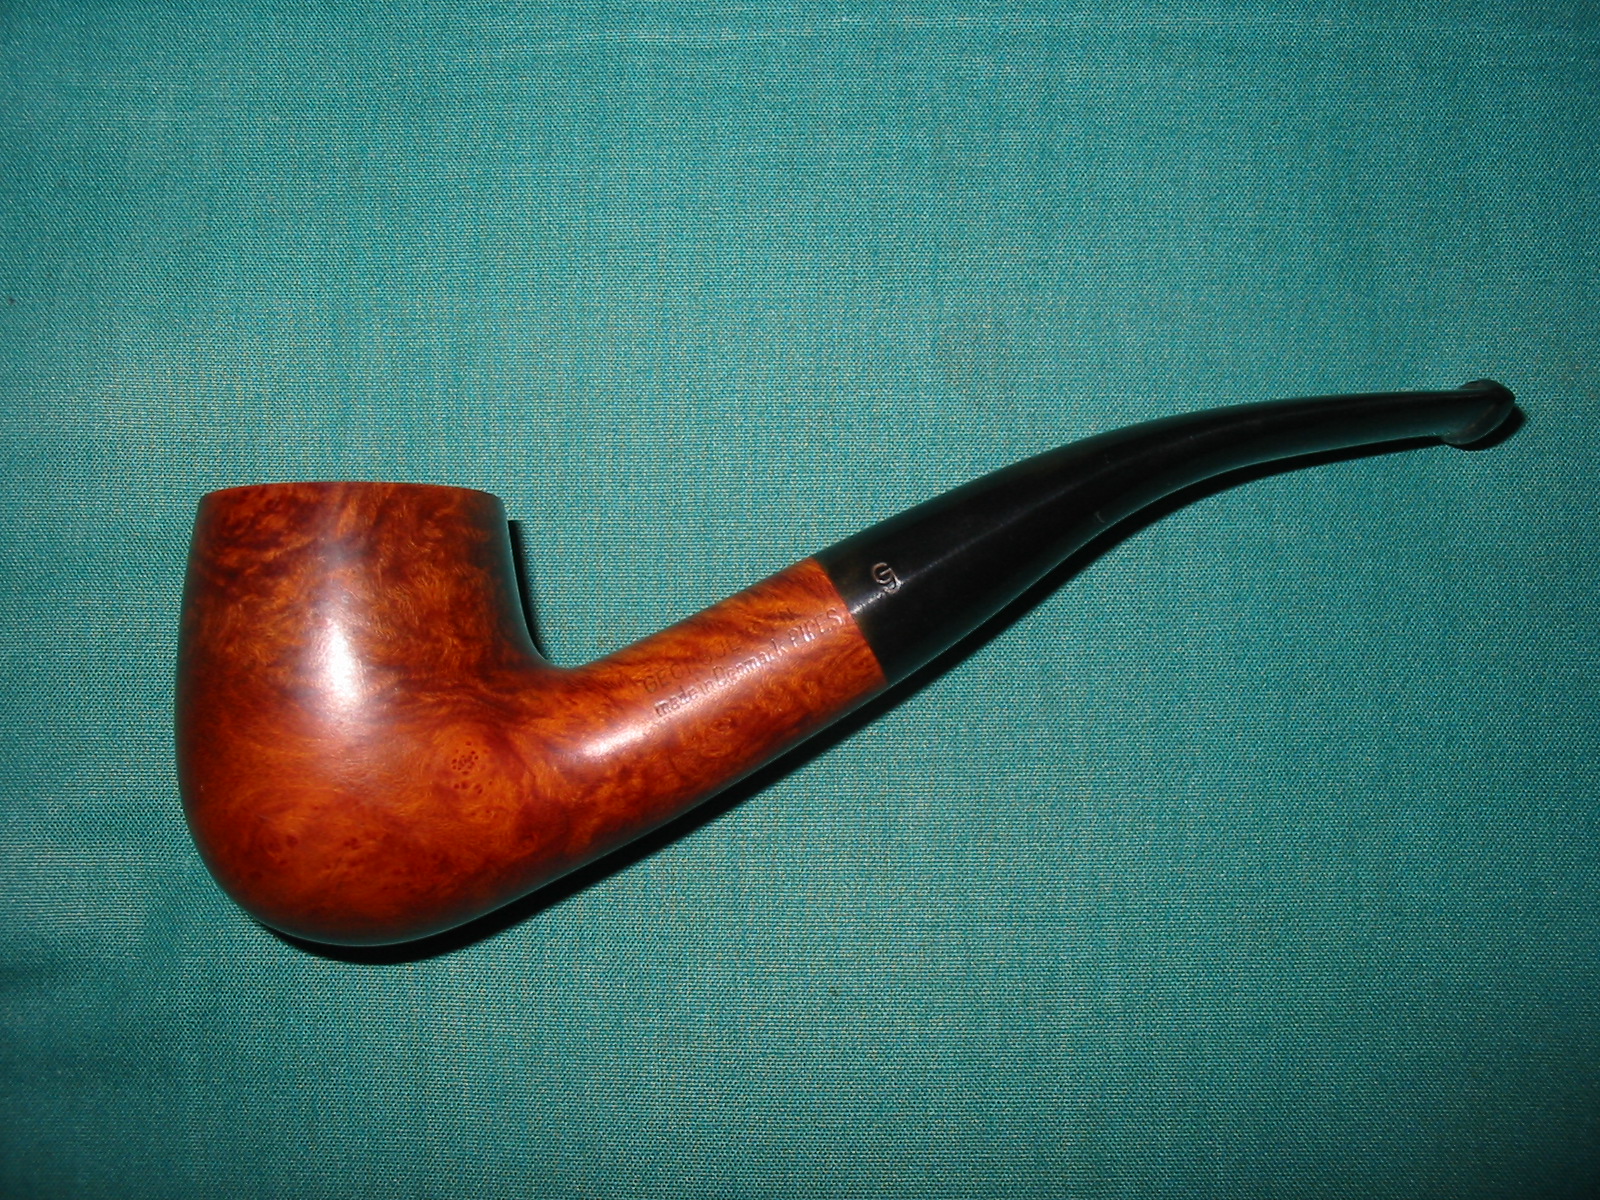
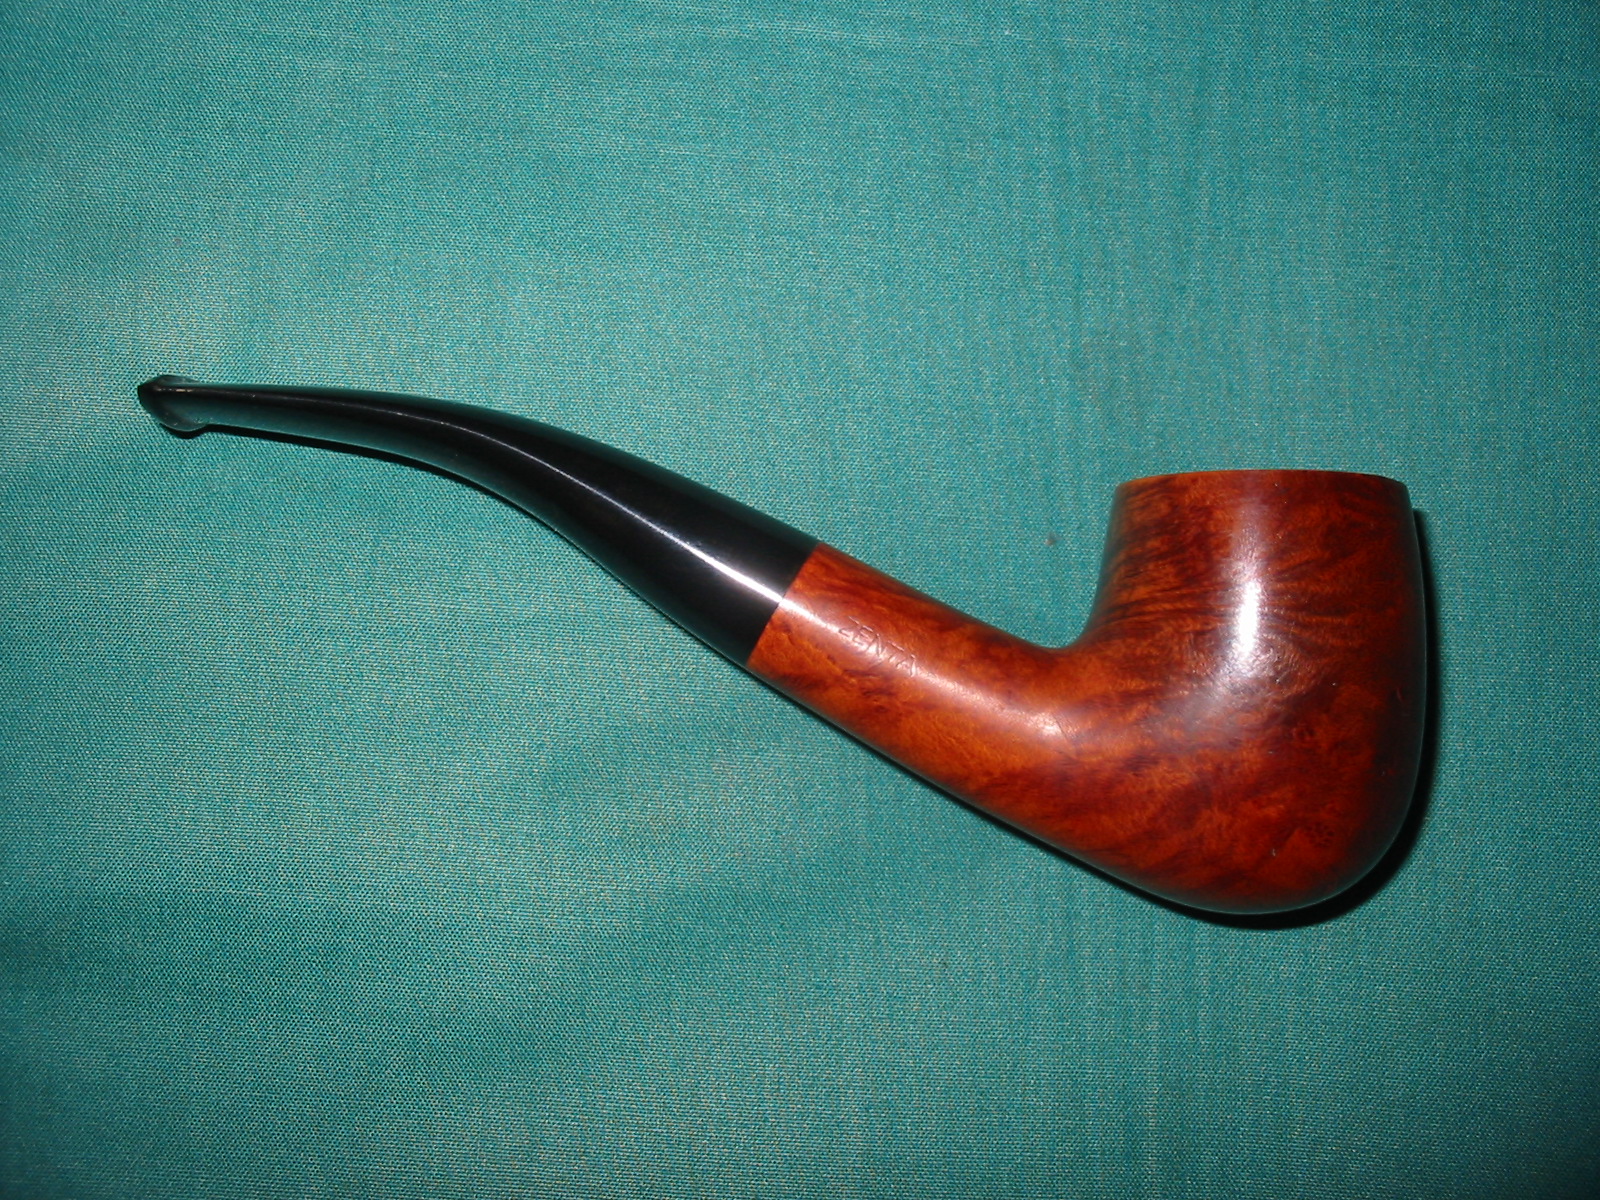
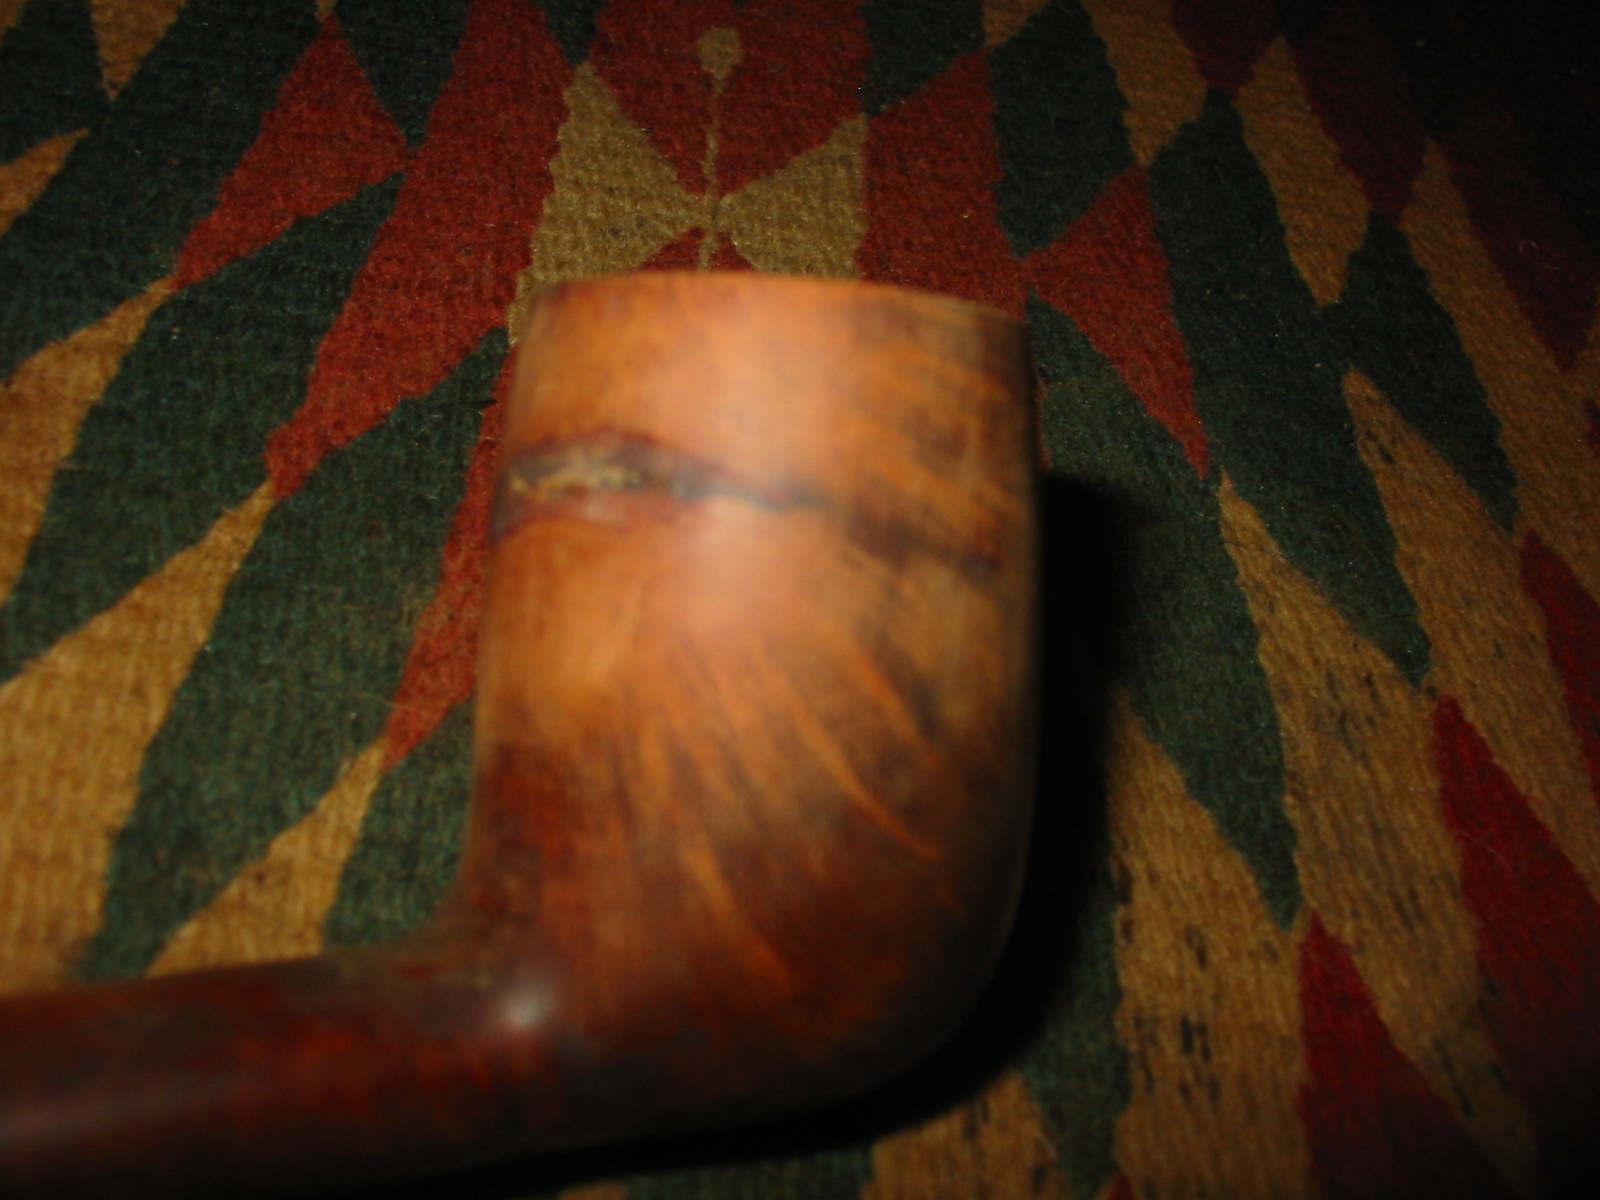
In the process of going through the box of pipes for the Vancouver Pipe Club to put back the ones I had worked on, I found another that really needed attention. I just could not leave it in the box as the damage looked awful and I knew it could look so much better. It is an oddly shaped bent billiard to me but it had a quaint quality about it that I liked. It is stamped Georg Jensen over Made in Denmark Pipes on the left side and Zenta on the right side. On the underside of the shank it is stamped 525. I am assuming that is a shape number. The stem was oxidized around the shank. The bowl had been coated with varnish – even over the grit on the surface. There were also finger prints in the varnish. The worst part of the pipe was the rim. It was worn down on the front side and the varnish had covered the rough surface of the beat up briar. It was also burned on the back inner edge of the rim and onto the rim surface. The inner edge of the rim was also damaged and nicked and gouged out of round. The stem had one tooth mark on the topside near the button.
IMG_4431

IMG_4433

IMG_4434

IMG_4435

I have included the next two close-up photos to show the rim damage. The front edge is very worn, the back inner edge is burned and the inner edge of the rim is clearly gouged and marked. Fortunately the damage did not extend deeply into the bowl was limited to the top 1/8th inch of the bowl top. The bowl had also been coated with a black rubbery bowl coating. I chose to leave it as the bowl also had some gouges in the bottom from the knife that someone used to ream the bowl.
IMG_4436

IMG_4437

I set up my board and sandpaper that I use for topping pipe bowls and sanded the top of the rim. This one was a little tricky in that the front slope was lower than the rest of the rim. I worked the back half of the rim first to bring the height down to the same place as the highest portion of the front slope. Once I had that done it was an easy matter to proceed with topping the rest of the rim. I worked until I had removed the burn damage and the rough front edge and had a flat, smooth and rim with an even circumference.
IMG_4438

I wiped the bowl down with acetone on cotton pads to remove the varnish coat and the rest of the finish so that I could blend in the stain on the freshly topped rim with the rest of the pipe.
IMG_4439

IMG_4440

IMG_4441

IMG_4443

I used MinWax Red Mahogany stain to restain the pipe. I rubbed it on and then wiped it off several times until I had the even coverage I wanted on the bowl. I had buffed it with a cotton cloth to give it a slight shine and get a feel for the overall look of the stain on the bowl. I retouched the stain on the rim to darken it slightly. I lightly buffed the bowl with White Diamond and gave it an initial coat of carnauba wax.
IMG_4444

IMG_4445

IMG_4446

IMG_4447

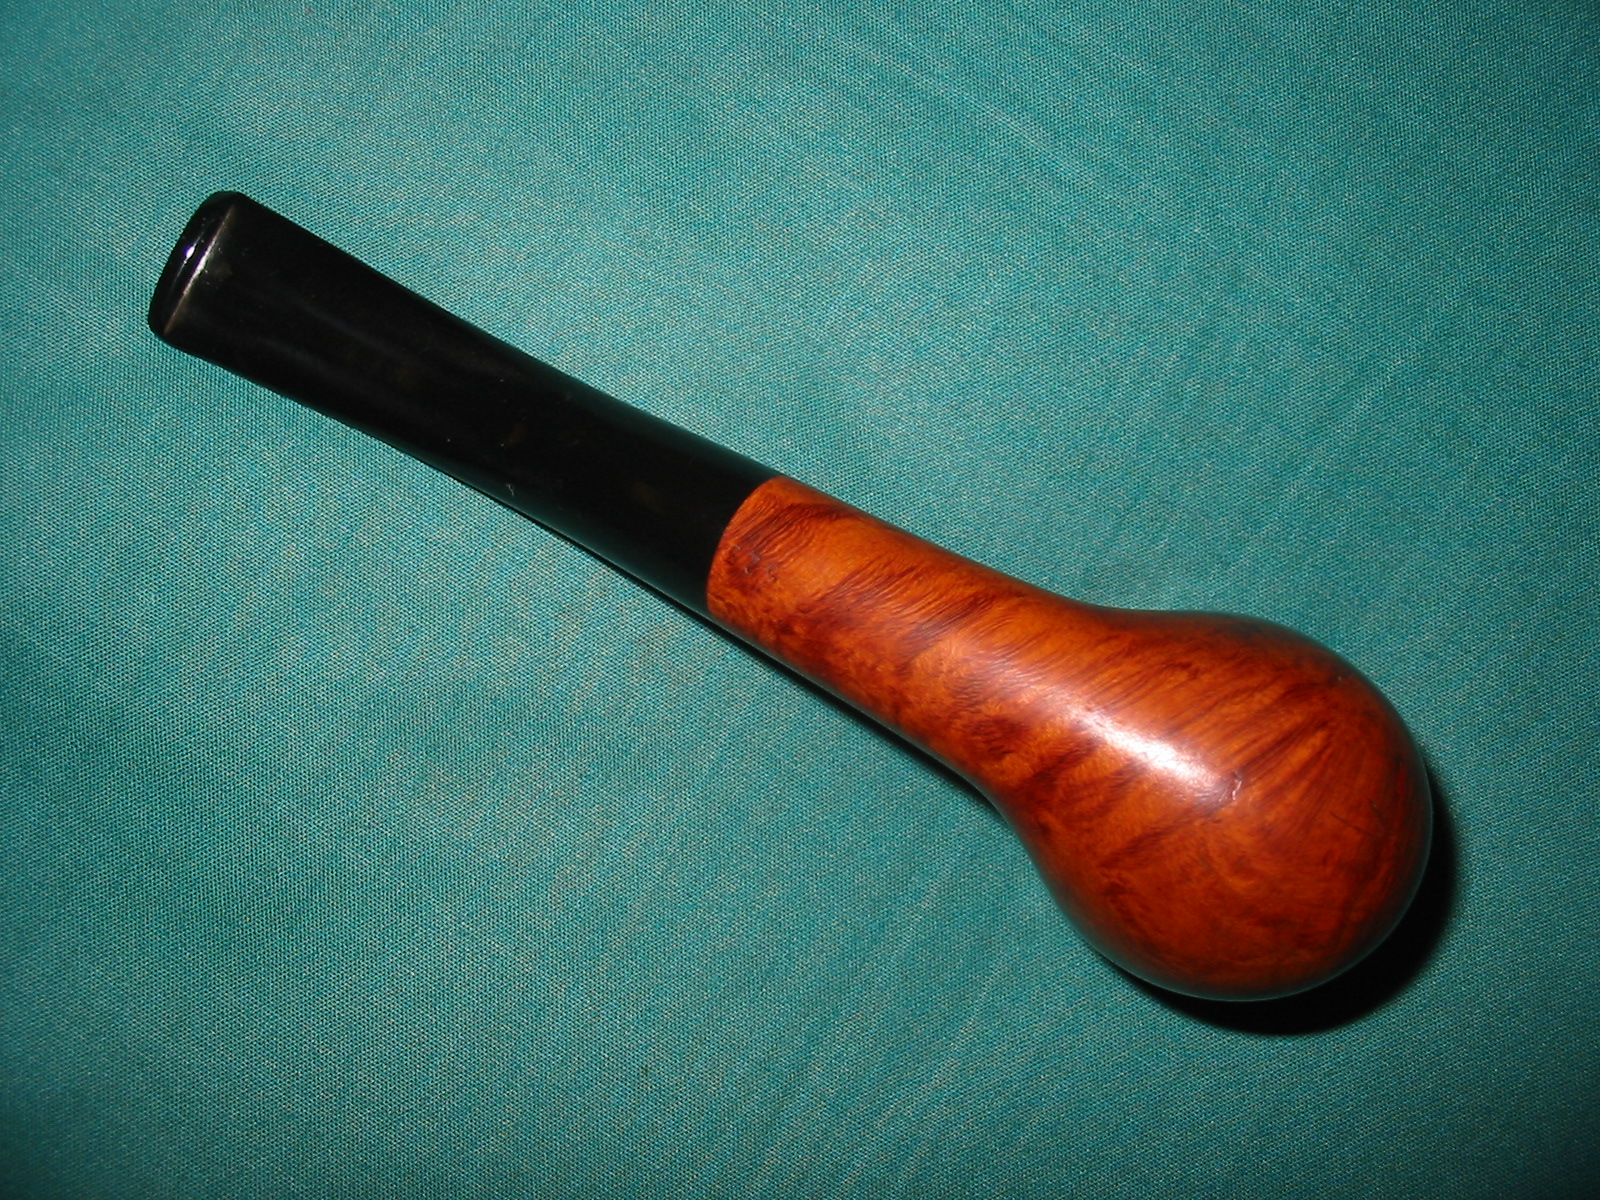
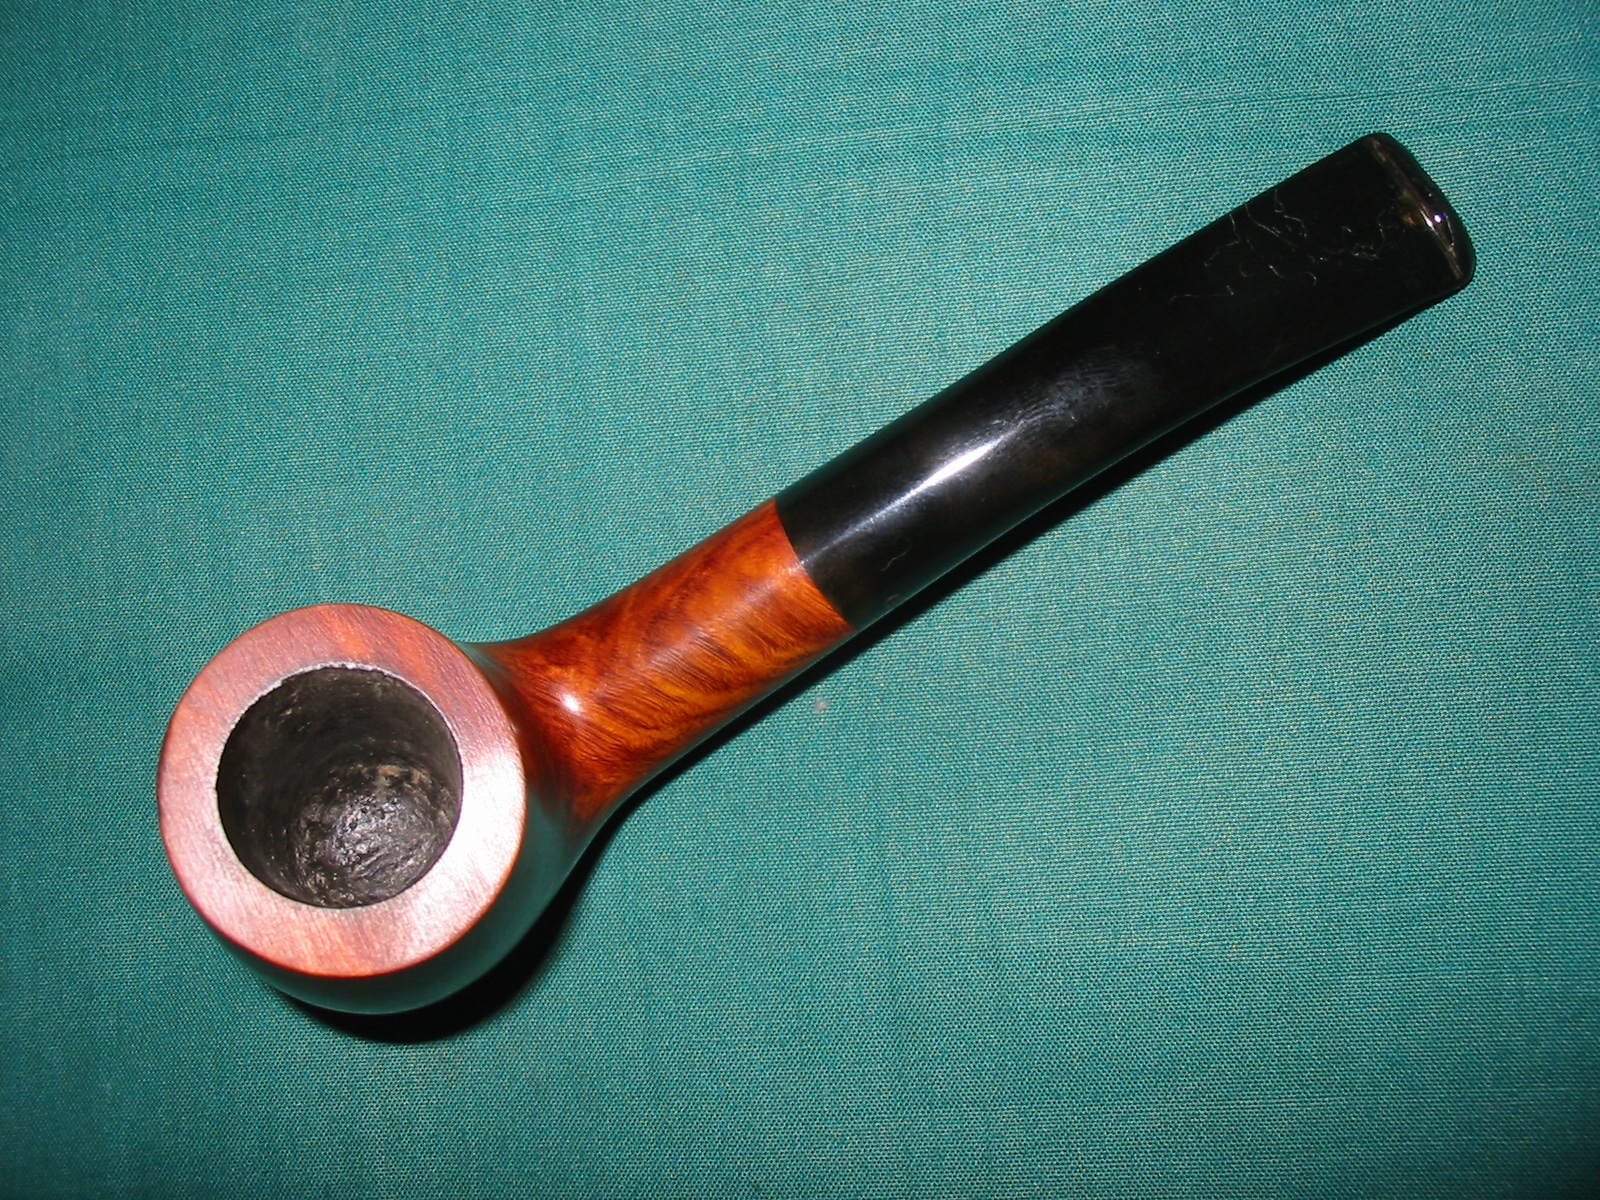
The tooth mark on the top of the stem needed to be heated to lift it as much as possible and then I used some superglue to finish the repair. I sanded it with 220 grit sandpaper to feather it into the surface of the stem. I followed that with a medium and fine grit sanding sponge. I finished the stem with my usual array of micromesh sanding pads – wetsanding with 1500-2400 grit pads and dry sanding with 3200-12,000 grit pads. I rubbed the stem down with Obsidian Oil and then buffed the pipe with White Diamond. I gave it multiple coats of carnauba wax to finish. The completed pipe is shown in the photos below. I also included a photo of the top of the rim to show the repair. The pipe is now ready to join the rest of the ones heading to the Vancouver Pipe Club. It should provide years of service to the pipeman who takes it home.
IMG_4450

IMG_4451

IMG_4452

IMG_4453

IMG_4454

Topping and Refinishing an Evident Super Billiard


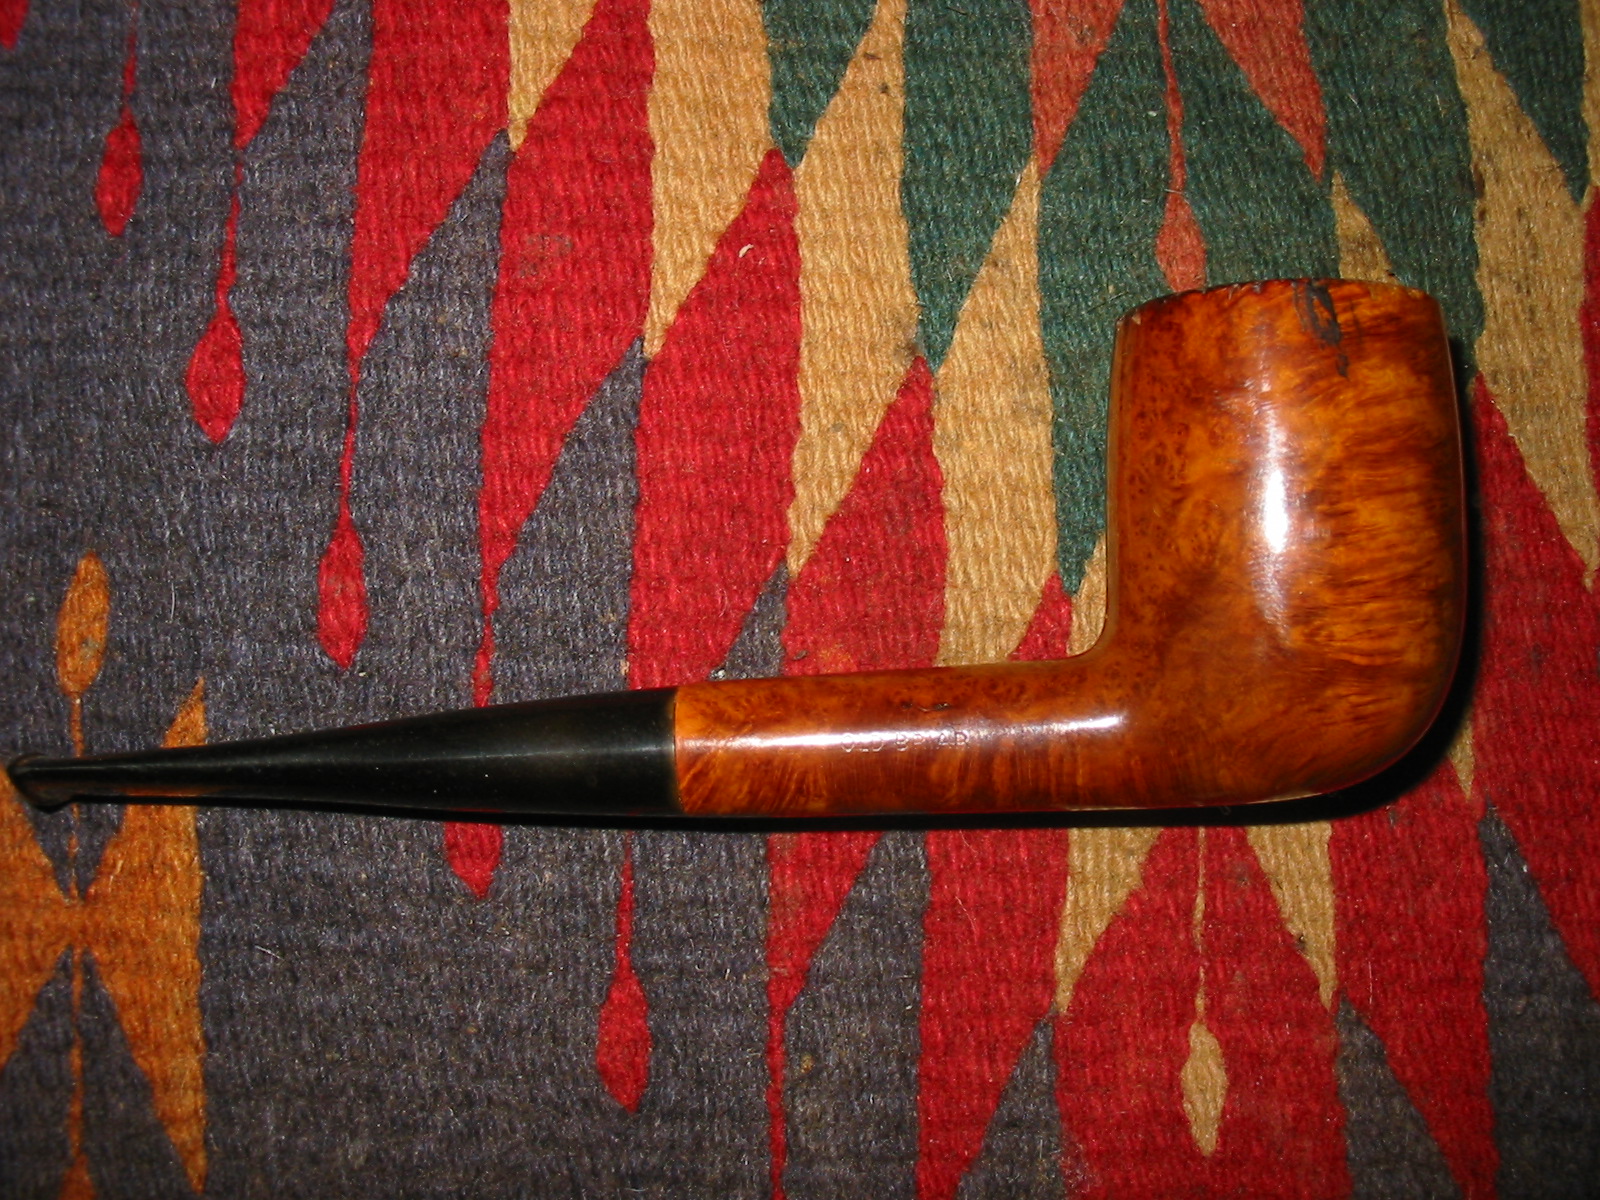
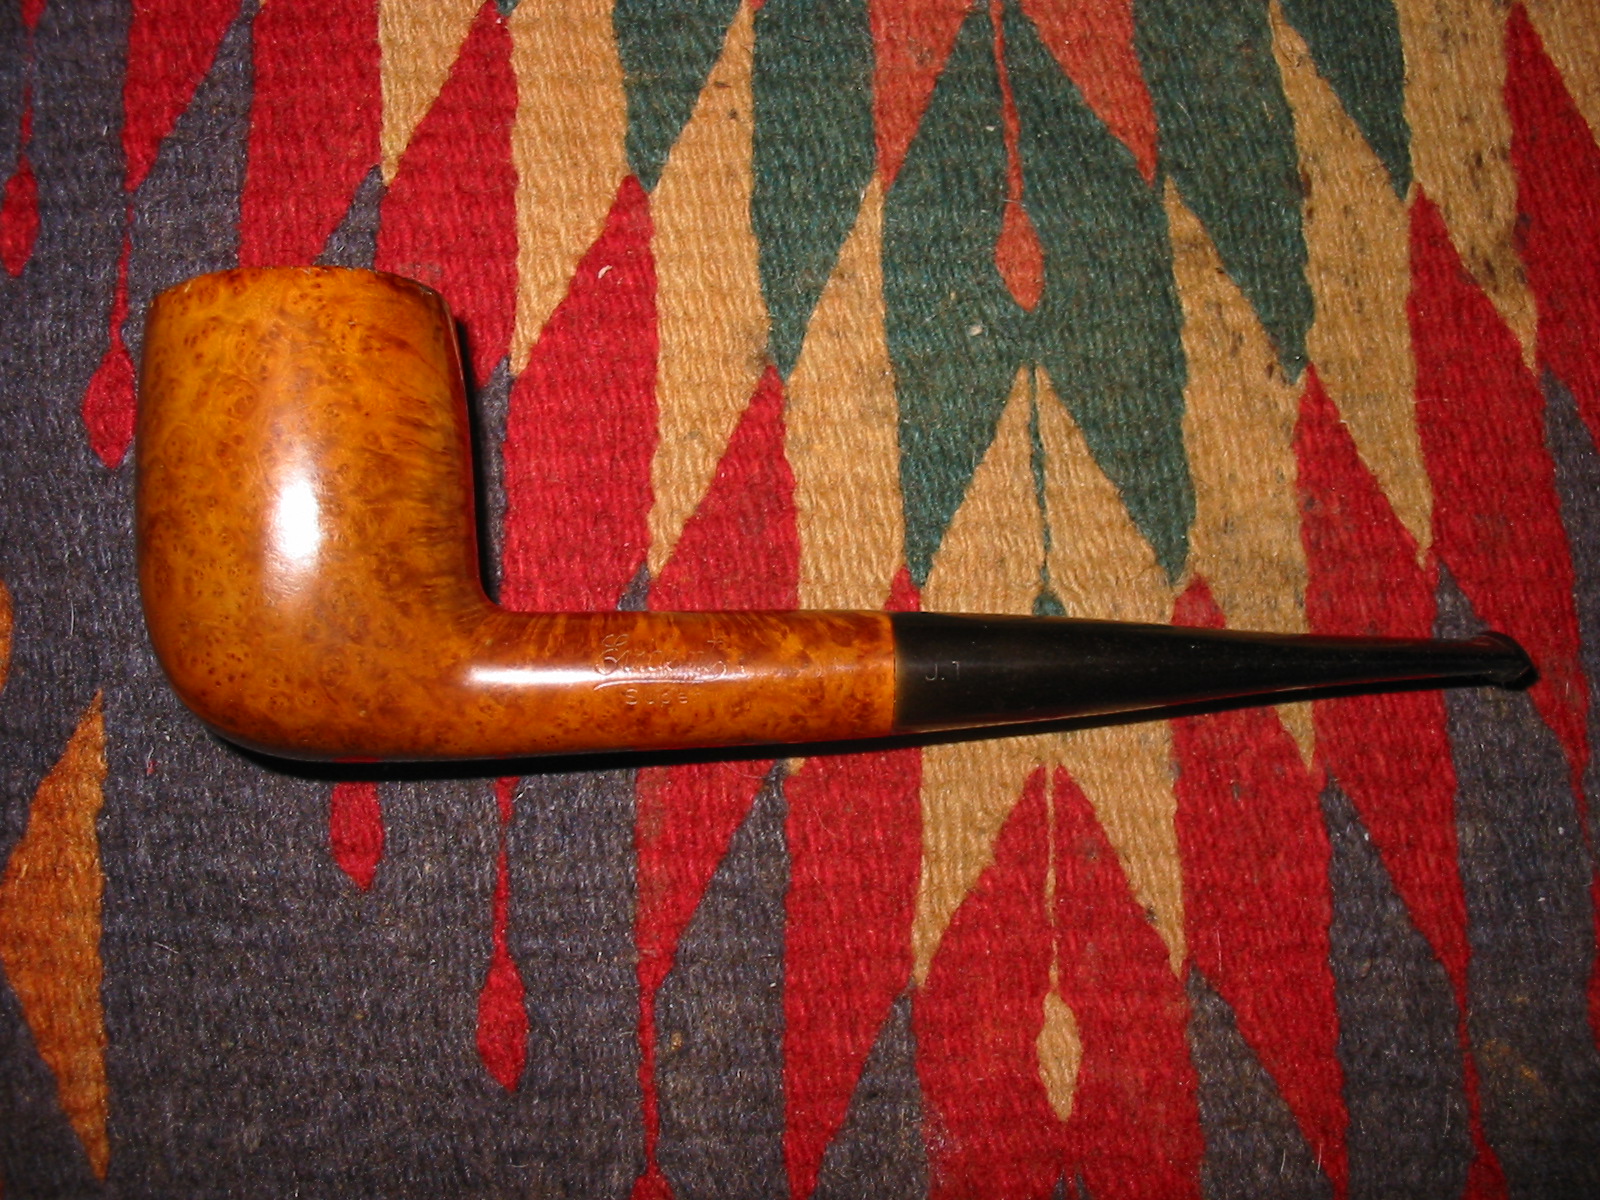
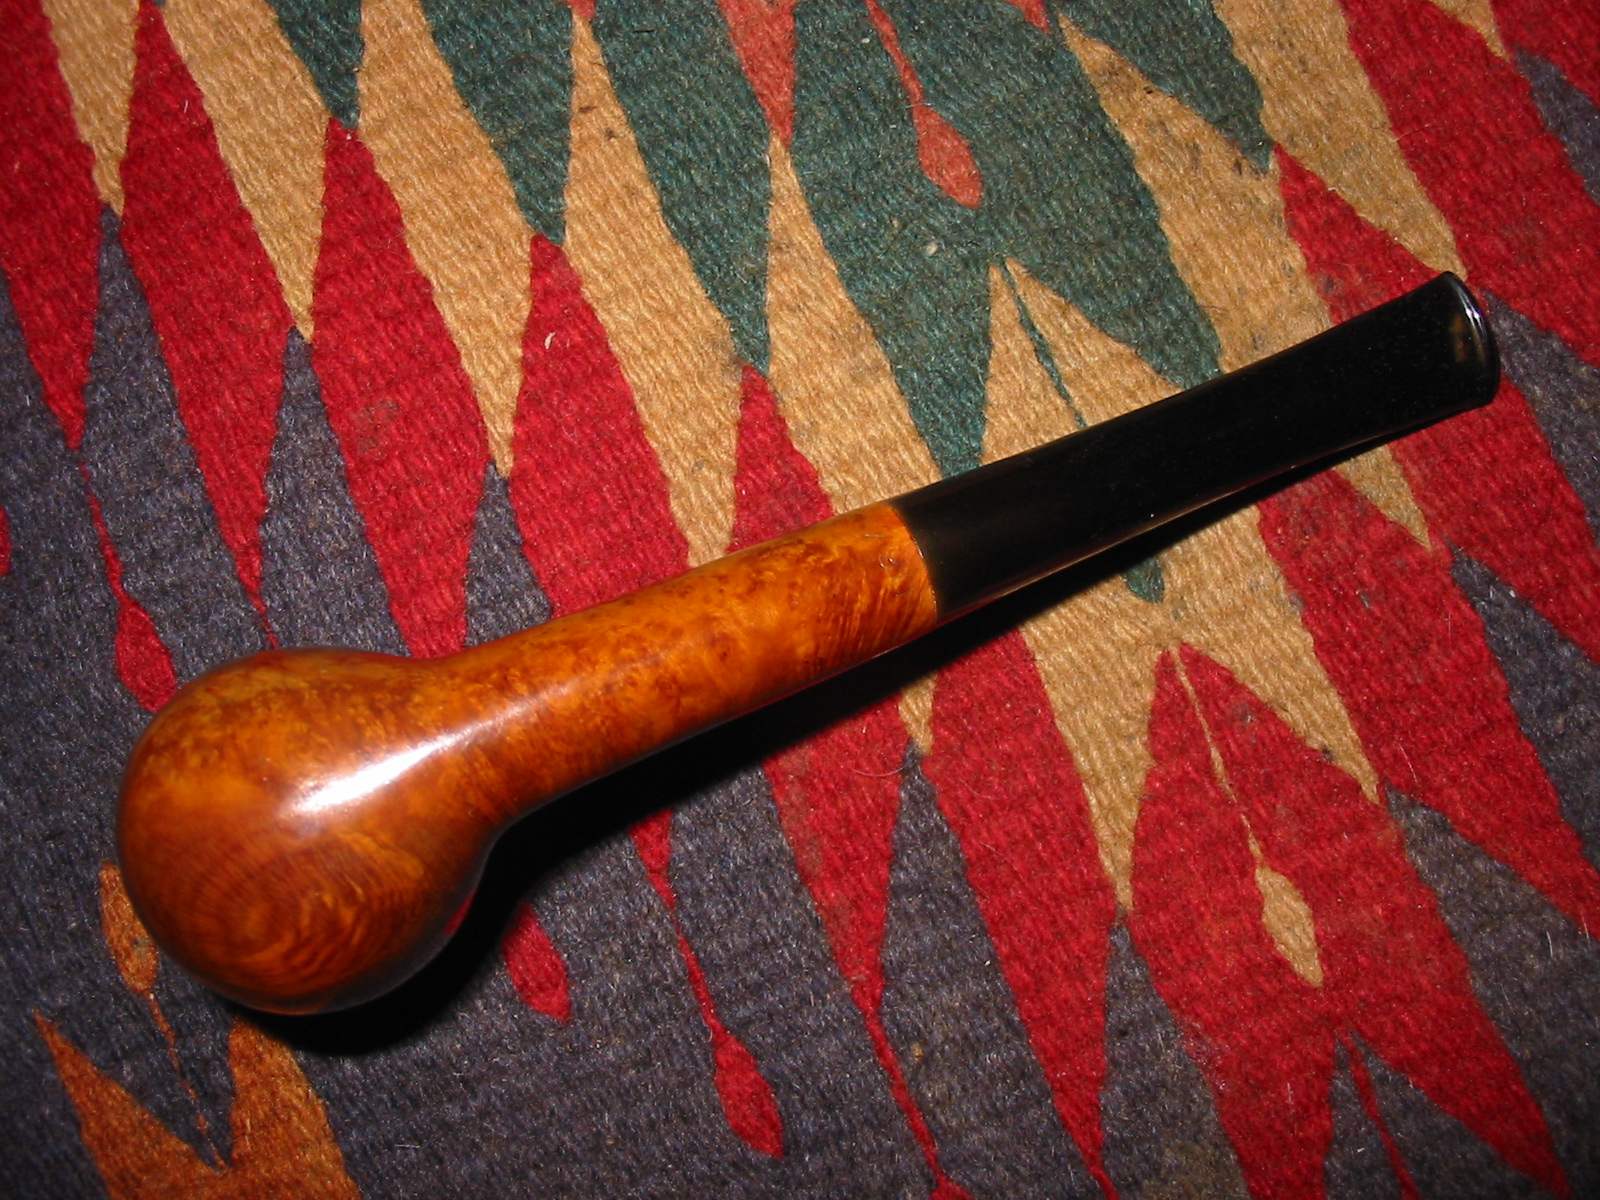
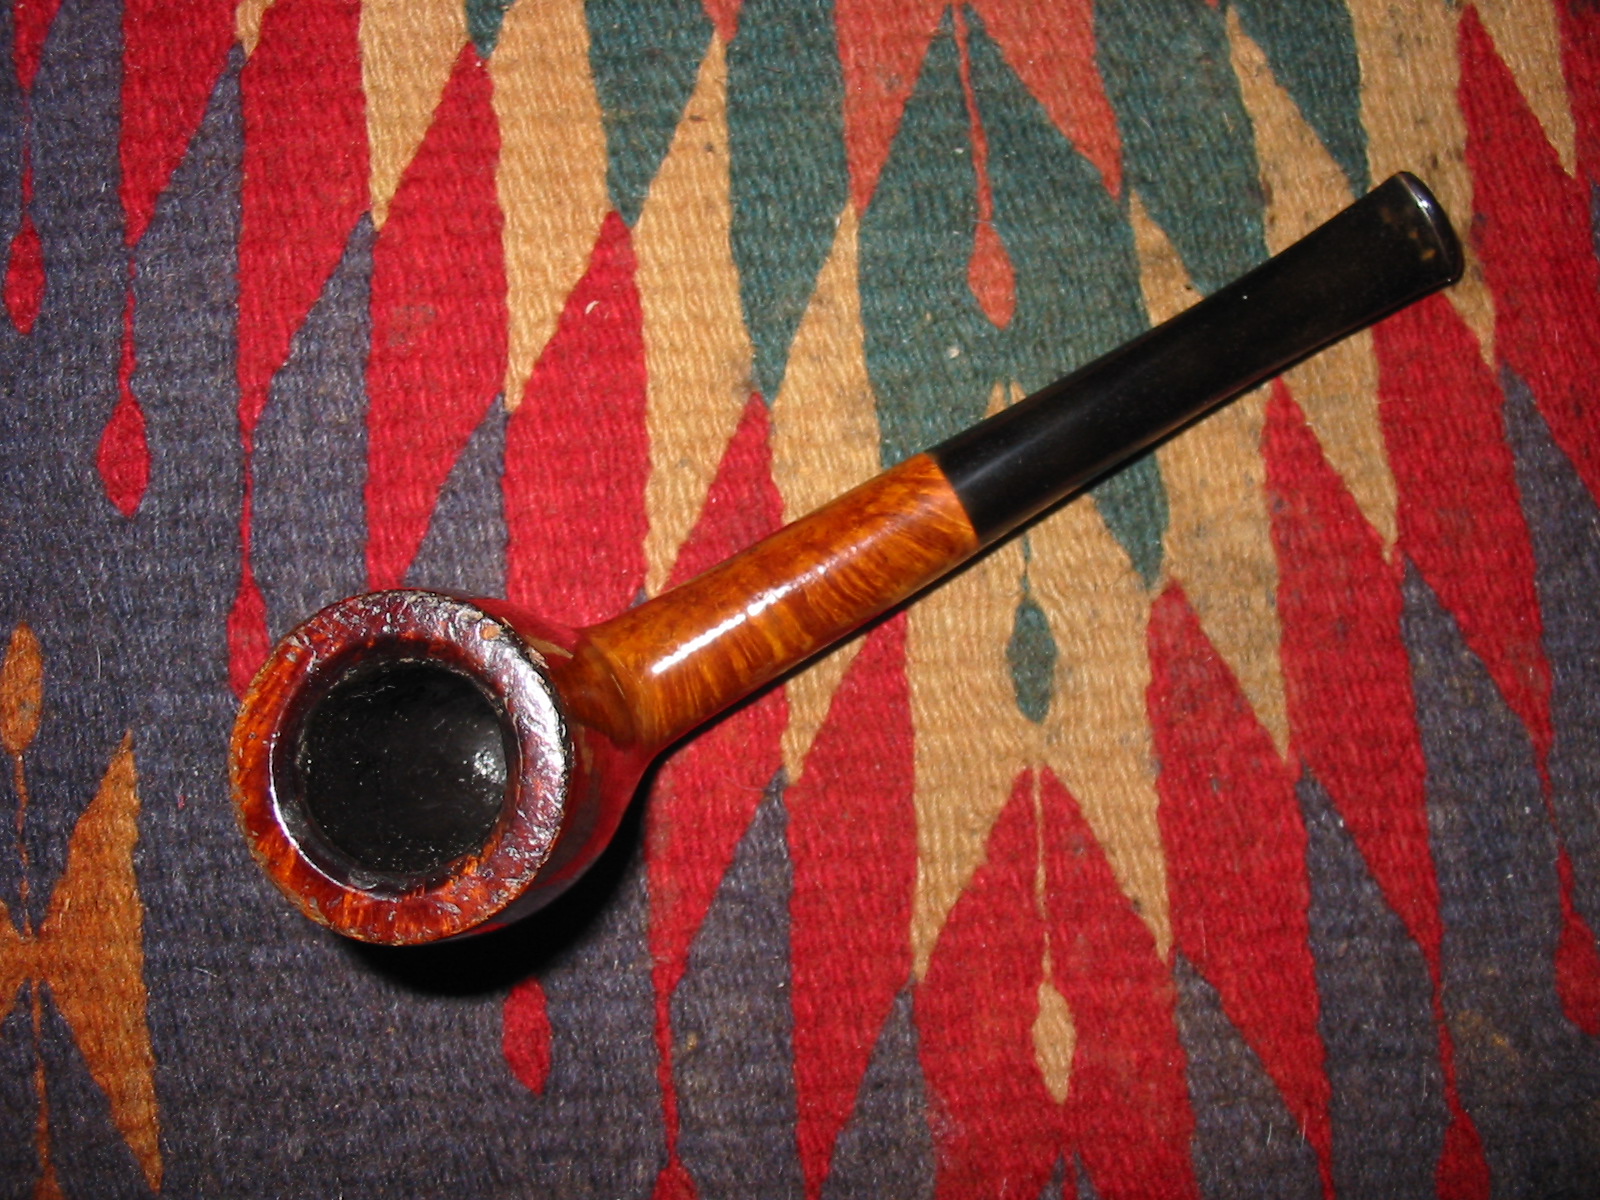
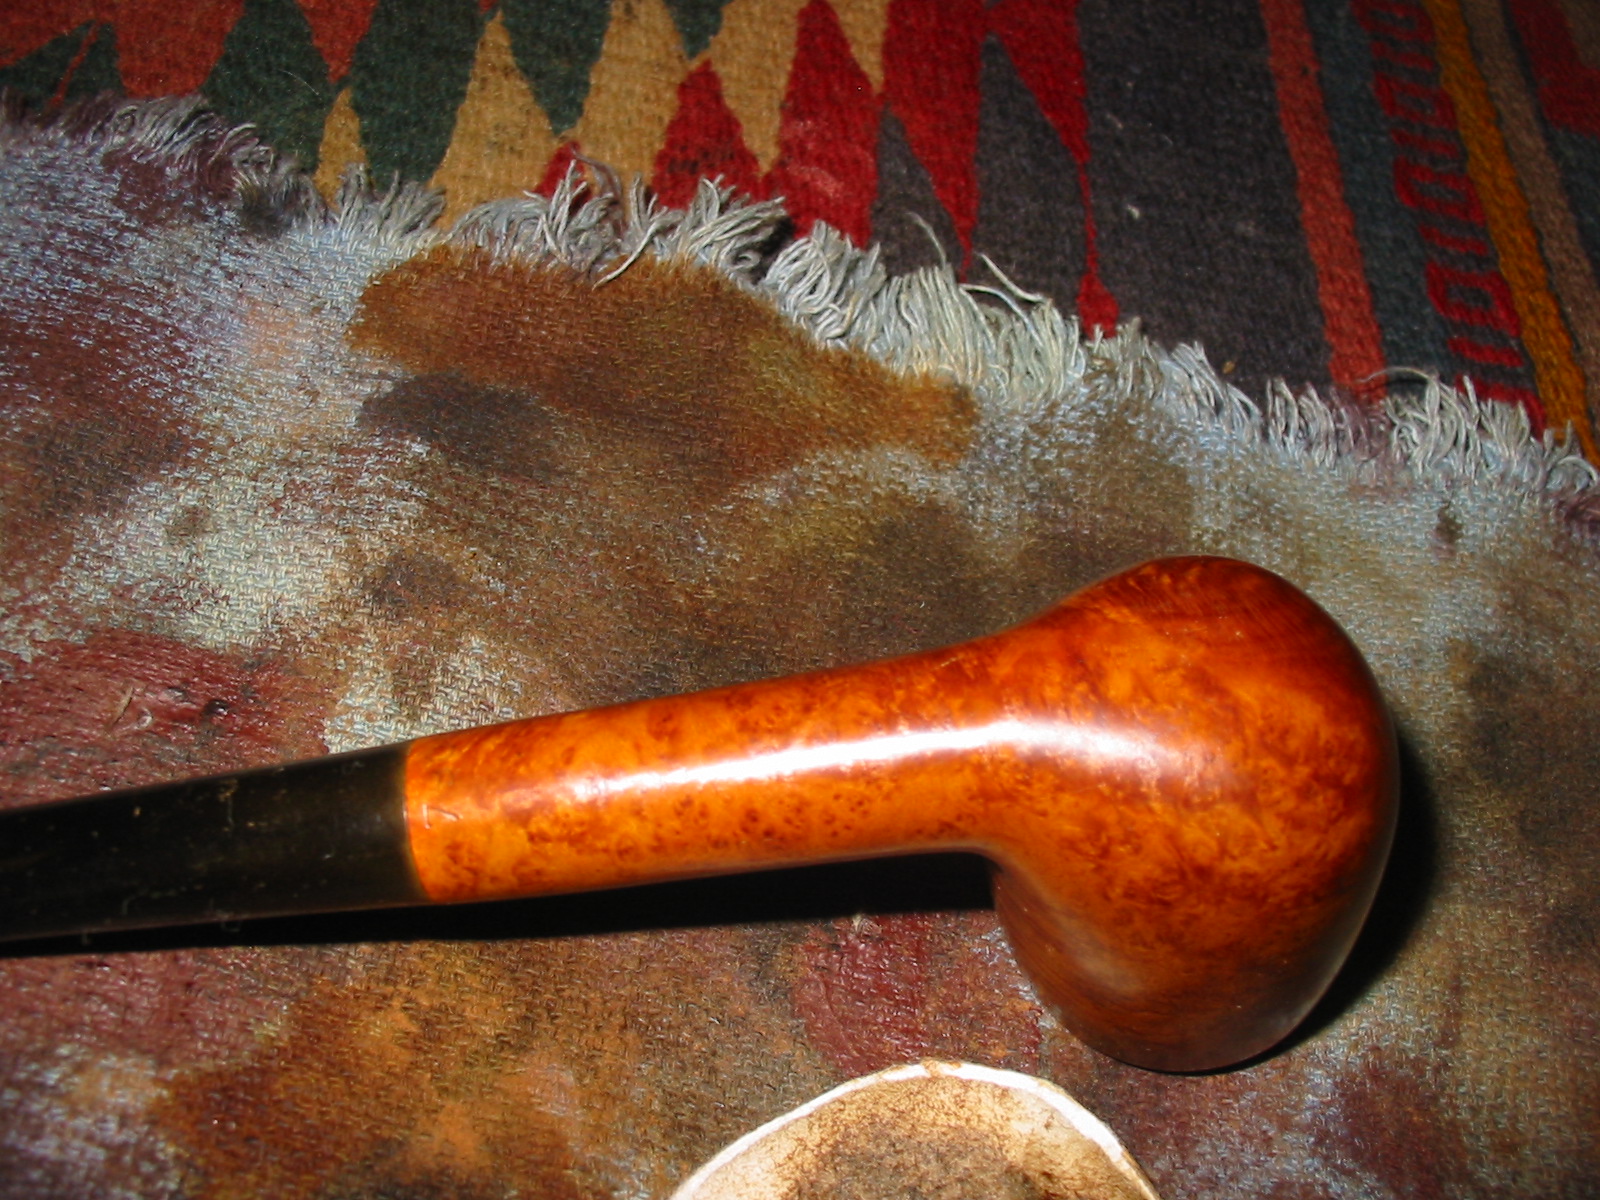
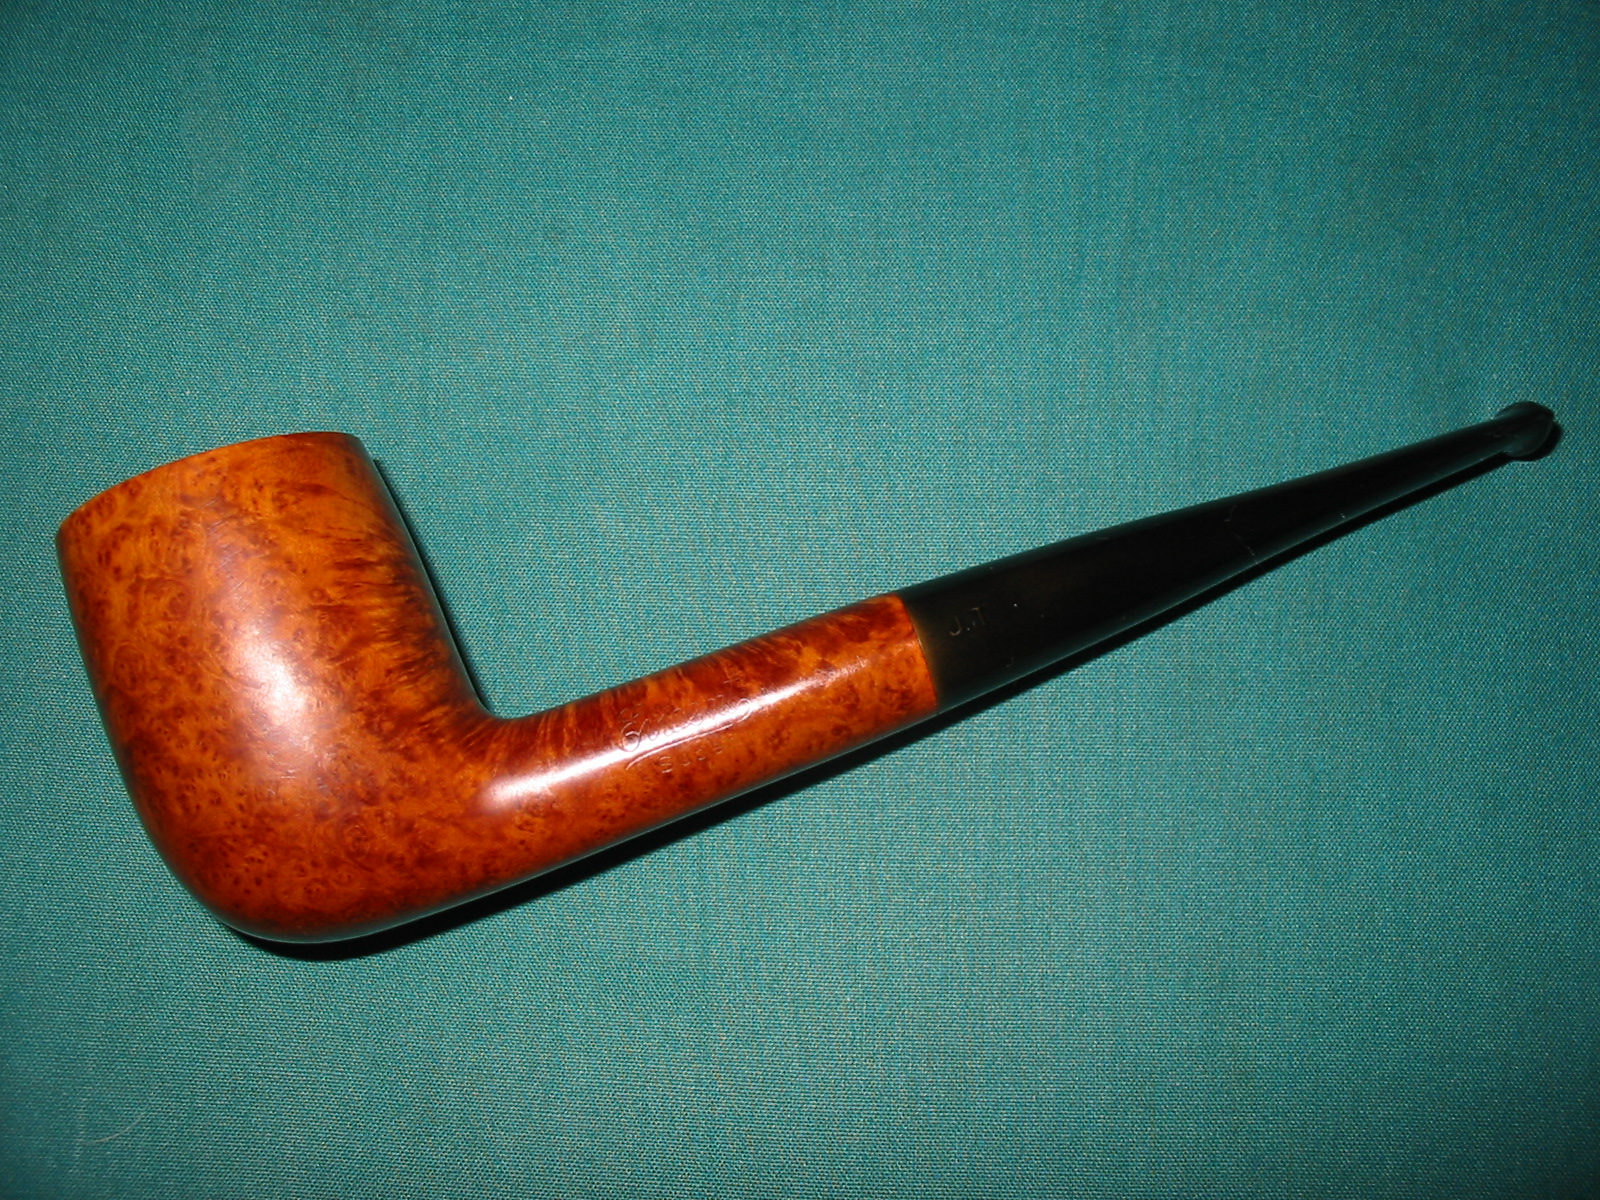
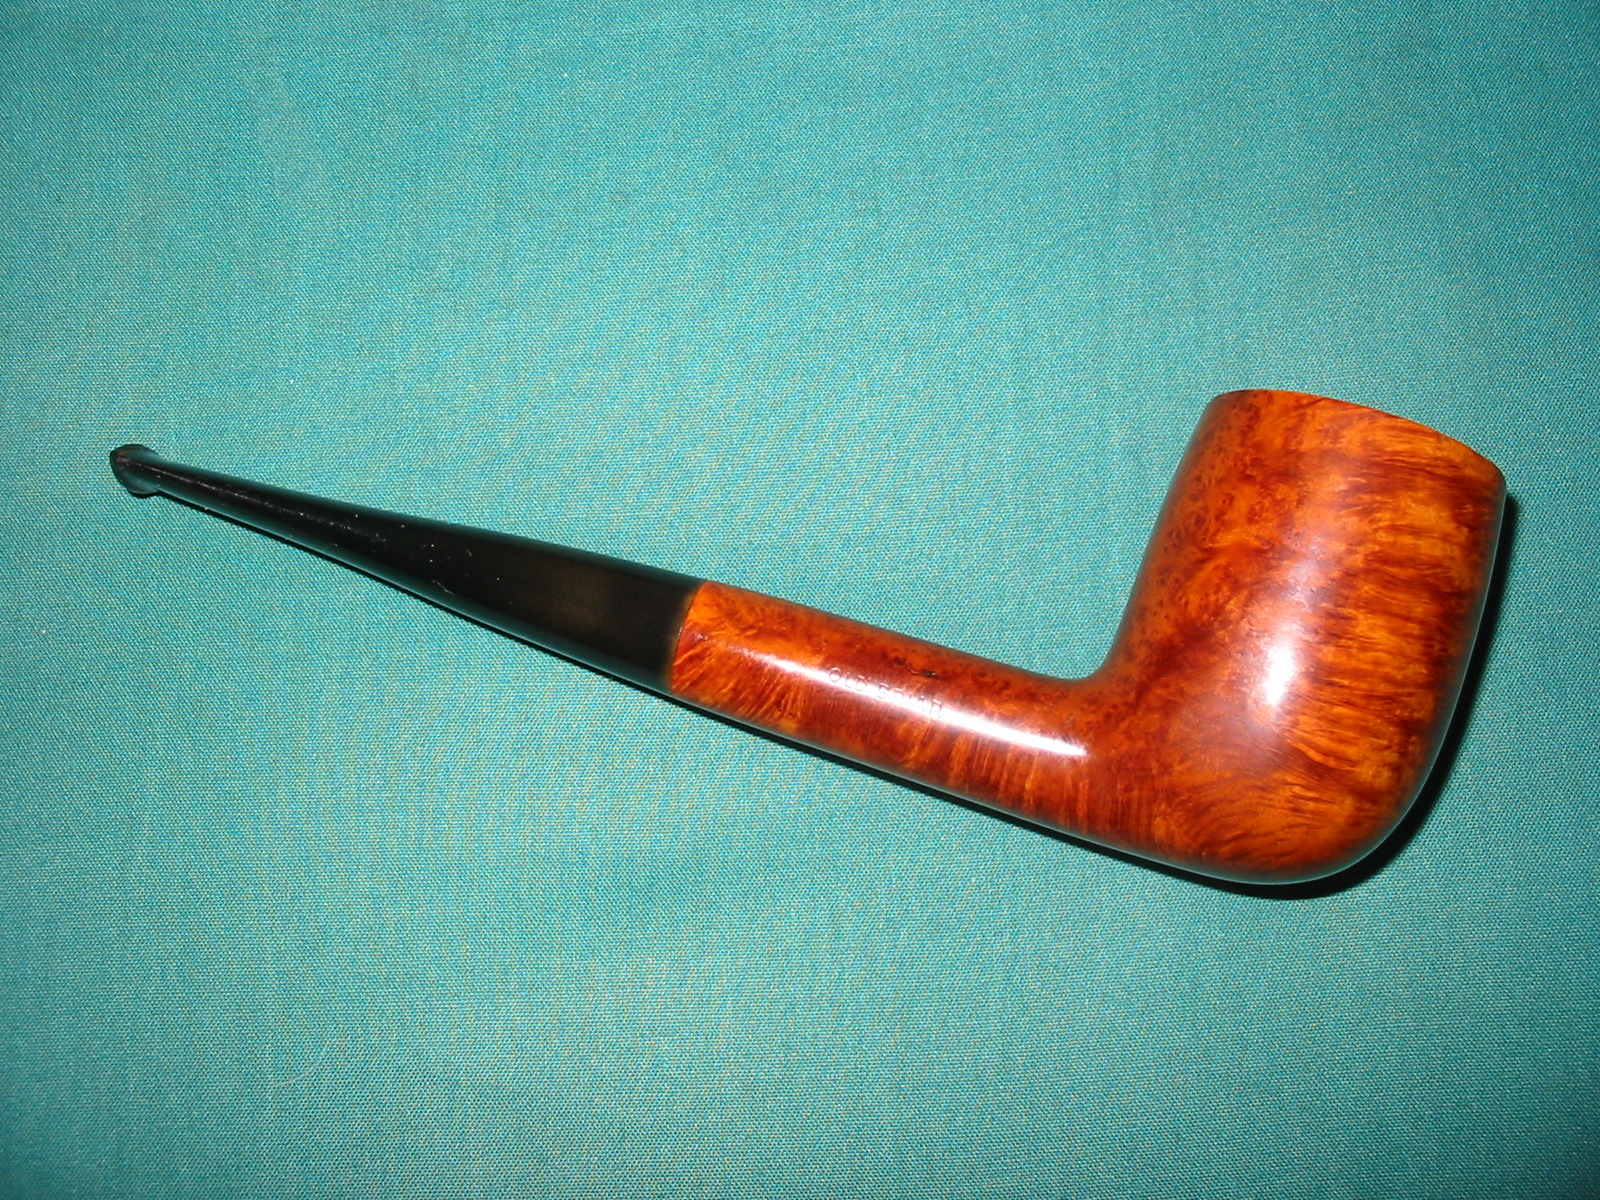
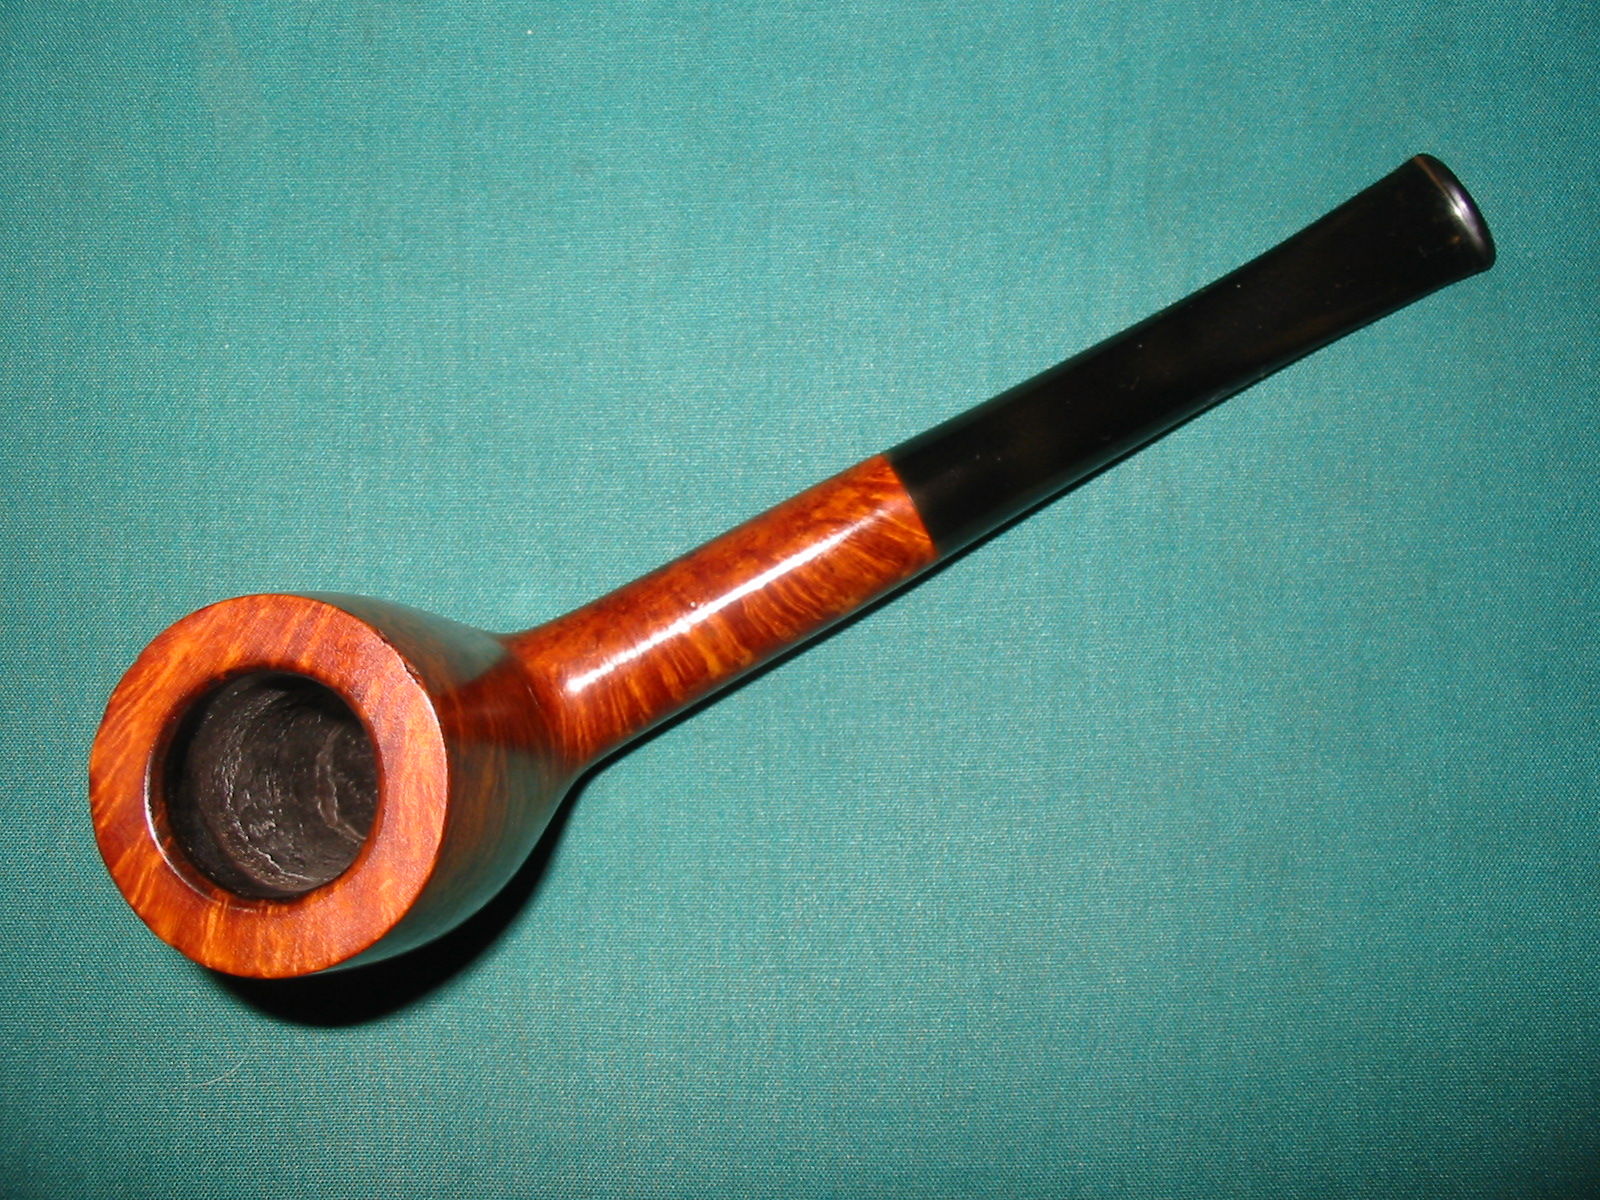
This is yet another of the pipes from the lot of Vancouver Pipe Club pipes that I have been working on. This is not a brand that I have ever heard of and I cannot find any information on the web regarding it. If anyone reading this has any information on the brand please leave a comment and give us a few clues. The pipe is stamped on the left side of the shank Evident in script over Super in block print. On the right side of the shank it is stamped Old Briar. On the underside of the shank next to the stem it is stamped 760. The finish was covered with the standard varnish and the bowl coated with the black rubberized bowl coating. The rim was in very rough shape – the inner bevel was in good shape with minor nicks to it but the outer edge of the bowl had been hammered all around the top. There was also spillage from the bowl coating on the side of the bowl on the back and right side. The stem was clean other than some very minimal tooth chatter near the button. It seems to have a light stamp on the left side – the letters J.T.
IMG_4146

IMG_4147

IMG_4148

IMG_4149

I took some close up photos of the rim and edges of the bowl before and during the time I was topping it to give a clear picture of the damage that had been done to this pipe. The first photo below is a close up of the rim. It was an absolute mess and the edges of the bowl was hammered and broken.
IMG_4150

I set up my topping board and sandpaper and began the process of topping the bowl. I took some photos after I first started to show clearly the edge damage.
IMG_4153

IMG_4154

IMG_4155

IMG_4156

I topped the bowl until the majority of the rim damage was gone. I then used a folded piece of sandpaper to re-bevel the inner edge of the rim. I used a sanding block to smooth out the rough edges that remained after topping the bowl. I decided that if I were to top the bowl to totally remove all of the damage it would change the profile too dramatically so I took the majority of the damage down and then lightly rounded the outer edge of the bowl with the sanding block.
IMG_4157

I wiped the bowl down with acetone on cotton pads to remove the varnish, bowl coating spillage and old stain. I reamed the pipe with the PipNet reamer to remove the black bowl coating and cleaned up the inside of the bowl with some Everclear.
IMG_4158

IMG_4159

IMG_4160

IMG_4161

As mentioned before I have been using a MinWax Medium Walnut stain as it is quick and easy to use on these pipes that I am working through for the club. It does a great job, the colour matches the old original stain quite well and it is a simple application – rub on and off. Each successive coat adds depth and richness to the final colour.
IMG_4162

IMG_4163

IMG_4164

IMG_4165

I sanded the tooth chatter on the stem to remove it and sanded it with micromesh sanding pads to polish the stem. I took the pipe to the buffer and buffed the bowl and stem with red Tripoli and then White Diamond. Once I had finished I rubbed the stem down with Obsidian Oil and rubbed it into the vulcanite. I buffed the stem and bowl one last time with White Diamond and then gave it multiple coats of carnauba wax. I finished with a soft flannel buff on the wheel. The finished pipe is shown in the photos below. It is ready to join the other finished pipes in the box of pipes for the Pipe Club. I look forward to seeing what they do with the lot.
IMG_4167

IMG_4169

IMG_4170

IMG_4171

Cleaning up a Partner Deluxe Fine Briar Lumberman 129


Blog by Steve Laug

The next little pipe that I reworked for Vancouver Pipe Club donation of pipes is a nice lumberman. It is stamped on the left side of the shank Partner over De Luxe and on the right side it is stamped Fine Briar over 129. Further research has led me to information that this pipe was made by Savinelli. The shape number matches the number for a pipe shaped like this one. The finish was spotty with light and dark areas around the bowl and shank. The top of the rim had damage on the flat surface and burn marks all the way around the outer and inner edge of the bowl. The outer edge was rough to the touch. The grain was a nice combination of birdseye and cross grain. There were two repaired fills on the top of the shank. The stem had one tooth mark on the underside of the stem and there was tooth chatter on the top side of the stem.
IMG_4070

IMG_4074

IMG_4076

IMG_4077

The first photo below is a close up of the rim to show the damage to the surface of the rim and the inner and outer edges. The second photo below shows the burn marks around the outer edge of the bowl.
IMG_4078

IMG_4079

I topped the bowl using the method I have written about previously to remove the damage to the rim surface and edges. I used a folded piece of sandpaper to bevel the inner edge of the bowl and smooth out the damage and minimize it in the bowl.
IMG_4080

IMG_4082

IMG_4084

I wiped the bowl down with acetone on cotton pads until I had removed the varnish coat and the stain as much as possible. It always makes matching the freshly topped rim with the rest of the pipe if the briar is as neutral as possible.
IMG_4086

IMG_4087

IMG_4088

IMG_4090

IMG_4092

The tooth mark on the bottom of the stem and the tooth chatter on the top of the stem needed to be sanded. The first photo below shows the damage on the bottom of the stem next to the button. I sanded both surfaces with 220 grit sandpaper and then with a medium grit sanding sponge until the tooth chatter was gone and the tooth mark was minimized.
IMG_4081

IMG_4091

I continued to sand the stem with my usual array of micromesh sanding pads – wet sanding with 1500-2400 grit pads and dry sanding with 3200-12,000 grit pads.
IMG_4093

IMG_4094

IMG_4095

IMG_4096

I rubbed the stem down with Obsidian Oil and then buffed the stem with White Diamond. I took the pipe back to the work table and restained the bowl and shank with MinWax Medium Walnut stain to bring life back to the briar. I stained the light areas on the rim and at the shank stem junction multiple times until they matched the rest of the pipe.
IMG_4097

IMG_4099

IMG_4101

IMG_4102

IMG_4103

I buffed the pipe and stem with White Diamond a final time to remove any remaining scratch marks and then gave the pipe multiple coats of carnauba wax to protect and give it a shine. The finished pipe is shown below. It joins the others I have refurbished for the Vancouver Pipe Club box of donated pipes.
IMG_4104

IMG_4105

IMG_4107

IMG_4109

Reworking a Poorly Done Topping Job on a Bulldog of Unknown Make


This poor old bulldog came in the pipes that were donated to the Vancouver Pipe Club and I decided to work on it and see if I could repair some of the damage that had been done when someone tried to top it in the past. The rim looked as if whoever topped it tried to do it by hand and not on a flat board. Because of that the surface of the rim was wavy with high and low spots and the outer edge was lower than the inner edge in several places. The top was also at a slight angle as the sanding had not been done on a flat surface.

The first two photos below show the damage to the rim from the side profile. Note the wavy surface of the rim. The third photo shows some damage on the underside of the stem next to the button and the fourth photo shows the rim from the top view. In that photo the bowl appears to be seriously out of round and the front edge seems thinner than the rest of the bowl. This is a bit of an illusion due to the poorly executed sanding on the rim. The way the bowl had been sanded left the front of the bowl lower than the back of the bowl thus creating the appearance of a thin wall. The stamping on it had been buffed out on the left side of the shank and on the right side I could still see very faintly London England over 403S. I am uncertain of the maker. I checked the Comoy’s shape number chart, the GBD and the Orlik shape number charts and there is no such number. Perhaps other may have some idea of the maker.
IMG_3999

IMG_4000

IMG_4001

IMG_4002

I took a two close up photos of the top of the rim to show the damage more clearly. There was also significant burn damage to the front inner edge of the rim. Fortunately this damage was only surface and a retopping would take care of most of it.
IMG_4004

IMG_4005

I also took a close up photo of the end of the stem next to the button to show the tooth marks on the underside next to the button.
IMG_4006

I set up my topping board and sandpaper to work on the rim and repair the damage. It took care to keep the high point of the bowl flat against the surface of the paper and sand until the rim flattened out. This took more time than usual as I had to continually check to see if the rounded spots, low dips and angle sanding of the rim surface were being removed. I also wanted to remove the burn damage as much as possible. The next five photos show the process and the results of the sanding. The profile views show the repair of the outer edge to a flat straight surface with a sharp edge. The top view shows the more even distribution of the thickness of the wall and the removed burned area on the front of the bowl.
IMG_4008

IMG_4010

IMG_4011

IMG_4014

I wiped the bowl down with acetone on cotton pads to remove the varnish and the remaining finish on the bowl so that it would be easier to match the colour of the bowl and the newly topped rim.
IMG_4015

IMG_4016

IMG_4017

IMG_4018

I sanded the rim with a fine grit sandpaper and wet sanded with a 1500 grit micromesh sanding pad to remove scratches and prepare the rim for staining. I stained the bowl and rim with MinWax Medium Walnut Stain and rubbed it on to the pipe and rubbed it off until I had achieved the colour and coverage that I wanted.
IMG_4019

IMG_4020

IMG_4021

IMG_4022

I sanded the damaged areas on the topside and the underside of the stem near the button to remove the tooth marks. I started with 220 grit sandpaper and then a medium grit sanding sponge to repair the tooth damage.
IMG_4023

IMG_4024

The mark on the underside was deep and once I had sanded and cleaned it I put a drop of super glue on it to build up the divot. Once it was dry I sanded it again with 220 grit sandpaper and the sanding sponge to blend it into the surface of the stem.
IMG_4027

IMG_4029

IMG_4030

I used my usual array of micromesh sanding pads to polish the stem repair – wet sanding with 1500-2400 grit sanding pads and then dry sanding with 3200-12,000 grit pads. I buffed the stem with red Tripoli and White Diamond and then rubbed it down with Obsidian Oil. When it was dry I rubbed the stem down and reinserted it in the pipe.
IMG_4031

IMG_4033

IMG_4036

I buffed the pipe and stem with White Diamond and then gave it multiple coats of carnauba wax. I finished the buffing with a clean flannel buff to give it a shine. The finished pipe is pictured below. It is ready to go back to the Pipe Club and will make someone a nice pipe.
IMG_4038

IMG_4039

IMG_4040

IMG_4041

Restoring a Comoy’s Tradition Shape 225 Bent Dublin


Blog by Steve Laug

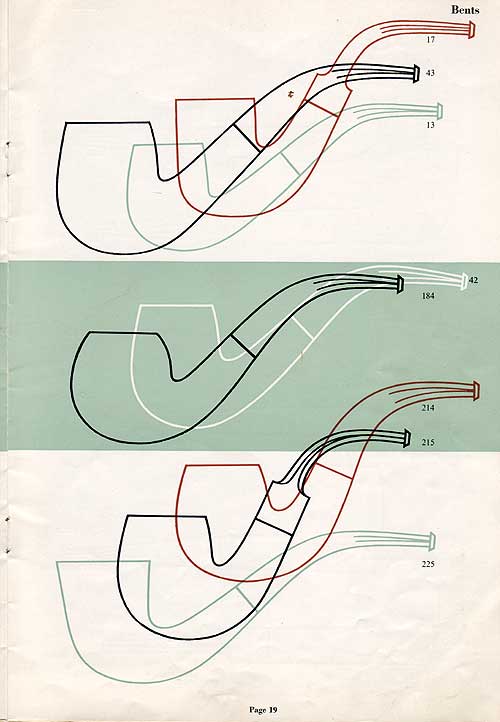
The second Comoy’s I picked up on the recent hunt was a beautifully shaped 225 Tradition. It is a shape that I love for its graceful flow and bend. The stamping on it was weak but visible under a lens. The left side of the shank was stamped Comoy’s over Tradition and the right side was stamped 225. I looked up the shape on Chris Keene’s Pipe Pages and found this page on a 1960’s catalogue http://pipepages.com/64com19s.htm . It is the 225 shape at the bottom of the page.
64com19

When I picked it up the pipe the stain on the briar was slightly faded. The stamping was weak. On the side where Comoy’s Tradition was stamped it is very faint, though still visible with light. On the side of the shank where the shape number was stamped the 2 and the 5 are clear and the middle 2 is very light. The bowl was caked and the rim was caked with tars and carbon build up. The inner bevel was clean and undamaged though dirty with tars and the outer edge was also very clean. The exterior of the pipe had no dents of dings. The stem was a replacement and was missing the usual step down tenon that I have come to expect and the existing tenon was shorter than normal. The stem itself was oxidized and had a large bite through on the underside. Of the six pipes (GBD and Comoy’s) that I picked up all but the little bulldog have the same issue.
IMG_3612

IMG_3613

IMG_3614

IMG_3615

The photo below shows a closer look at the bite through on the underside of the stem. It’s size, the length of the stem and the fact that it was an obvious replacement stem made my decision of whether to try to repair the hole or to cut the stem back quite easy to make.
IMG_3616

I used a Dremel and sanding drum to cut the stem back to solid vulcanite and remove the damaged spot and the button. This would necessitate recutting and shaping a new button on the stem as well as reshaping the slot in the button.
IMG_3617

IMG_3618

After cutting it off I took it back to the worktable to prepare it for the new button. I wiped the stem down to remove the dust from cutting and to clean the surface so that I could get a good clean line on the button.
IMG_3619

IMG_3620

I used files, a wood rasp and various needle files to cut an edge for the new button on both the top and the bottom sides of the stem. I also used the files to cut back the stem on the slope before the new button on both sides of the stem. The stem needed to be thinned down from the button forward to the shank for more comfort in the mouth and to keep the graceful lines of the shape intact. I used the needle files to carve back the stem thickness and smooth out the lines so that the button did not look choked and pinched at the line. Once I had a clean slope on the stem previous to the button I sanded it with 220 grit sandpaper to further highlight the angles of the button.
IMG_3621

IMG_3622

IMG_3623

I sanded the end of the new button to give it a slope toward the slot and to remove the sharp edge look of the new cut. I opened up the button to give it a funnelled shape to the airway and also made it oval. The side profile photos give a clear look at the stem and the angle of the stem previous to the new button.
IMG_3624

IMG_3625

IMG_3626

IMG_3627

IMG_3628

I reamed the bowl with a PipNet reamer to get rid of the cake and to clear away the debris from the inner edge of the bowl. I cleaned the rim with saliva on a cotton pad and scrubbed until I had removed the tars and buildup from both the top and the inner bevel of the rim.
IMG_3630

I sanded the stem to further define the button and shape it using 220 grit sandpaper and a medium grit sanding sponge. When I was happy with the overall shape of the stem, I sanded its entirety to remove the oxidation. I finished sanding it with my usual regimen of micromesh sanding pads. I wet sanded with 1500-2400 grit pads and dry sanded with 3200-12,000 grit pads.
IMG_3632

IMG_3634

IMG_3635

IMG_3636

IMG_3637

IMG_3638

When I had finished sanding with the final grits of pads I put the stem in the shank and buffed it with red Tripoli to remove some of the scratches that still remained on the underside of the stem near the button and then buffed the whole stem with White Diamond. I lightly buffed the pipe as well before taking it back to the worktable to give it a top coat of red mahogany Minwax stain. I rubbed the stain on the bowl to bring back some of the reddish colour that I have found in my other Tradition pipes and used them to match the colour on this pipe.
IMG_3649

IMG_3650

IMG_3651

IMG_3652

I rubbed the stem down with Obsidian Oil to preserve the vulcanite. And when the stain was dry I gave it a light buff with White Diamond. I finished by giving the entire pipe multiple coats of carnauba wax to preserve and give it a shine. The finished pipe is picture below. It is cleaned and ready to continue a life of service.
IMG_3653

IMG_3654

IMG_3655

IMG_3656

Refurbishing a Comoy’s Tradition Shape 4 Bulldog


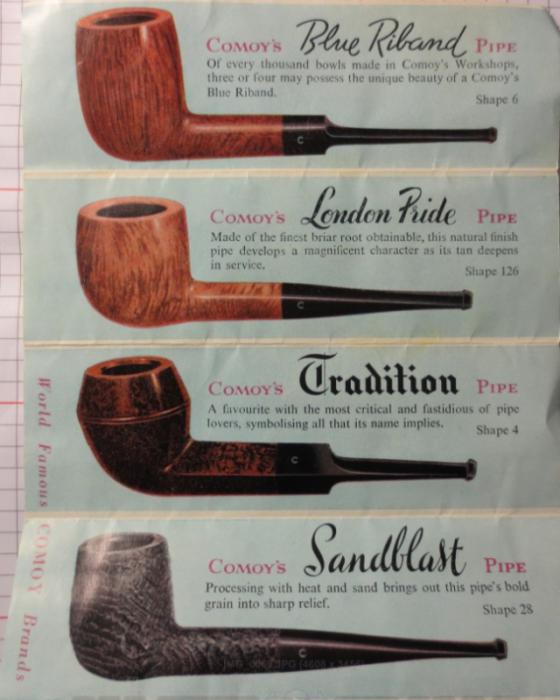
When hunting for estate pipes I always am on the lookout for certain brands that feel like a win when I find them. I have found a few of them over the years. Some of those brands are Dunhill, Comoy’s, GBD and BBB. Added to that are a few older American brands such as CPF and GFB. On a current hunt I did exceptionally well and found four GBD pipes and two Comoy’s pipes. The first one I have been working on is stamped Comoy’s Tradition and is a shape 4 bulldog. In my mind Comoy’s knew how to make the quintessential bulldog so I was glad to find this one. However, the previous owner had modified the shape dramatically and made it almost unrecognizable due to his changes. I bought it anyway and went back to the books to see what the original shape must have looked like. In the brochure photo below it is the third pipe down labeled Tradition.
f0ae64a8d61b130fc0974354f17_prev

Now for the modifications. The next set of four photos show the pipe’s condition when I bought it. The briar is a beautiful piece with no fills or flaws in it. The grain is very nice with a mix of flame, straight and birdseye. The stain is the typical two stage stain that is present on the Tradition pipes that I have seen – a dark understain with a walnut brown stain over that. The bowl when I received it was slightly caked with a small build up of tars and cake that overflowed on the back edge of the top of the rim. There was a slight series of marks on the bevel above the rings where the pipe must have been dropped on concrete or gravel. I don’t believe the stem is an original as the shape is a bit different from the ones I have seen and it is missing the logo. It is also missing the step down tenon that I have come to associate with these pipes. The stamping is weak on the left side though visible. It is not present at all on the right side of the shank. The bottom of the bowl, shank and stem have been sanded flat to make the pipe a sitter. It appeared that the owner merely laid the pipe on a flat sander and never bothered to smooth out the scratches or refinish the bottom of the pipe. He knew what he was doing because he left just enough briar on the bottom of the shank to not go through into the airway and on the bottom of the bowl to leave it still thick enough to protect it from burning out.
IMG_3586

IMG_3587

IMG_3588

IMG_3589

The photo below shows the flattened underside of the pipe and the scratches that are visible in the briar and the vulcanite stem.
IMG_3590

I reamed out the bowl with a PipNet reaming set beginning with the smallest cutting head and progressing to the one that fit the bowl. I cut back the cake to the bare wood so that I could build it up again evenly. It had tended to be thick around the top of the bowl and about half way down the bowl thinned out. I cleaned out the bowl and shank with pipe cleaners, cotton swabs and Everclear
IMG_3591

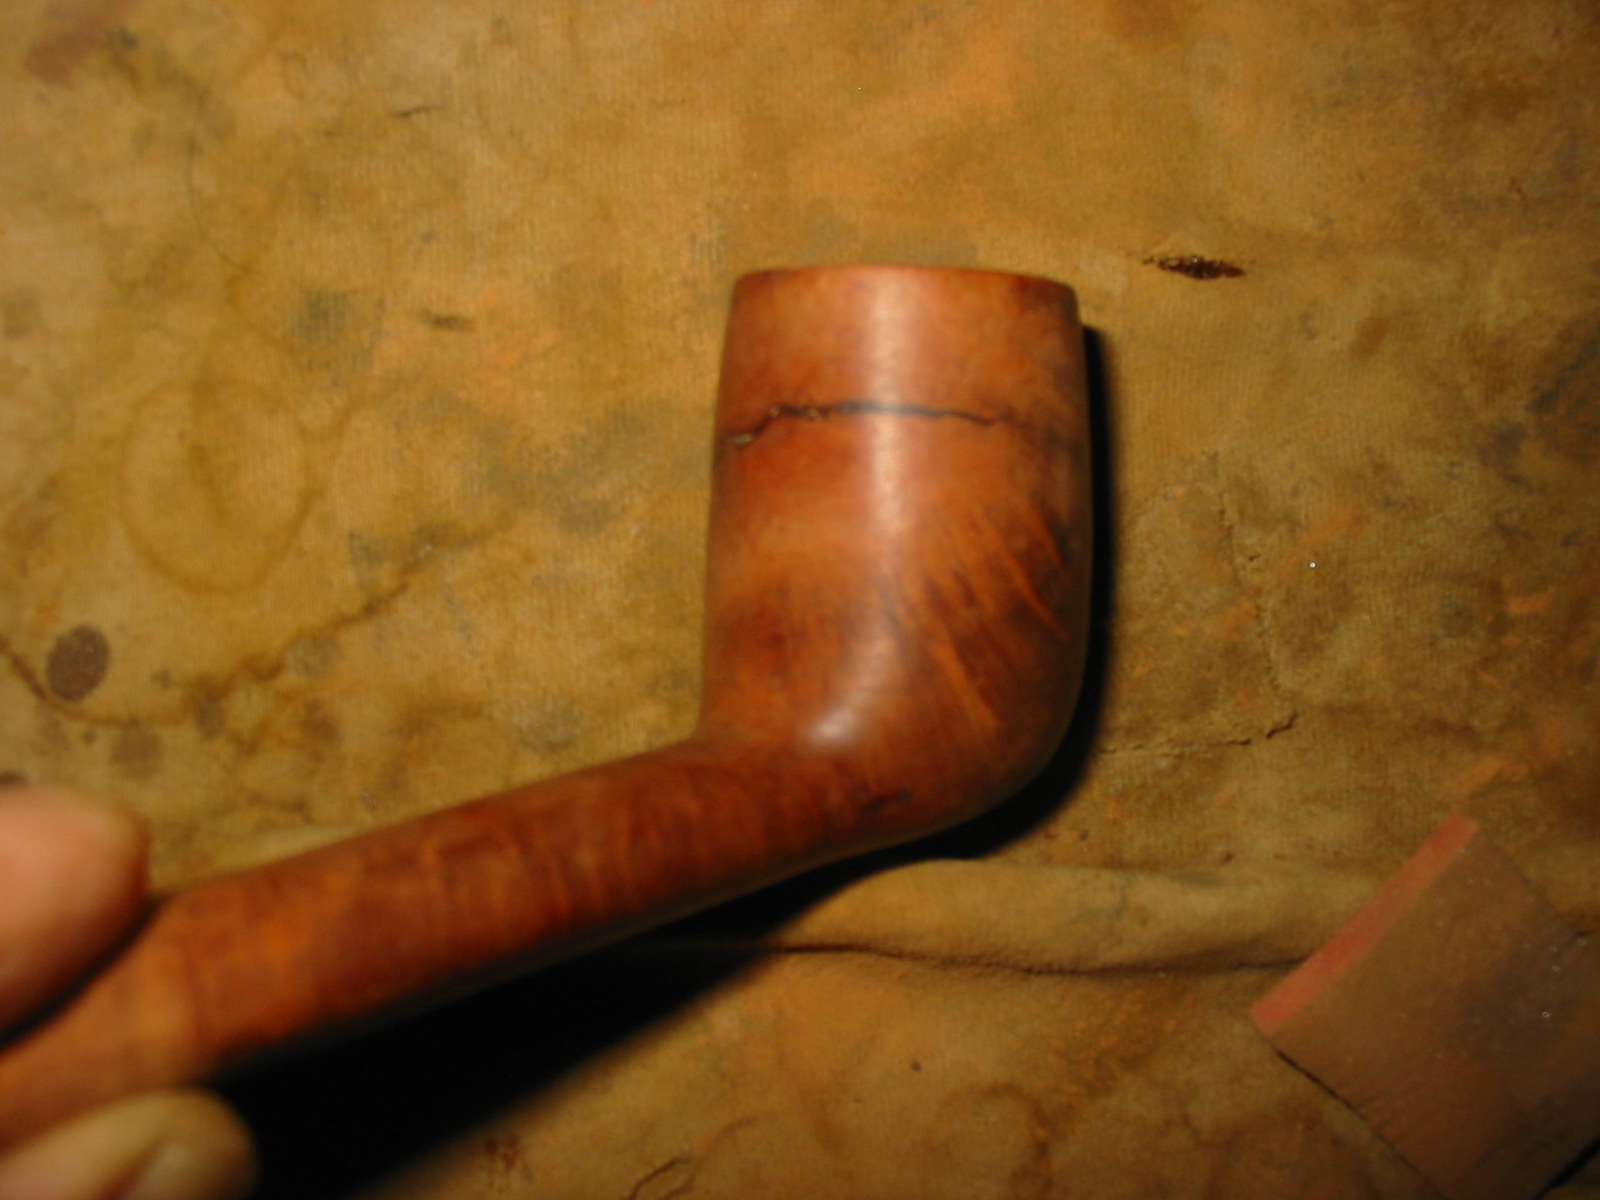
I heated the surface of the stem with a lighter to lift the bite marks on the stem surface. The ones on the topside of the stem lifted quite well and a little sanding repaired them. The ones on the underside were deeper and required more work. Several of them lifted but one in particular was very deep and the fibers of the vulcanite were broken. This required a patch with black superglue. There was also a small divot out of the button on the top side that I repaired with the black superglue. I set the stem aside to dry while I worked on the bowl.
IMG_3592

IMG_3593

I wiped down the bowl and rim with a cotton pad and saliva. I scrubbed the tars and carbon on the rim with the cotton pad and saliva until it was gone. It took a bit of scraping and a lot of elbow grease to remove the buildup but once it was clean the stain was still in very good shape. I also scrubbed the bevel of the inner edge of the rim to clean it and polish it as well.
IMG_3595

IMG_3597

IMG_3599

Once the superglue was dry I sanded it with 220 grit sandpaper to remove the excess and smooth out the surface of the patch. I sanded it until it was well blended into the surface of the stem. The next two photos show the patch after sanding with 220 grit sandpaper and then with a medium grit sanding pad.
IMG_3600

IMG_3601

I sanded and stained the flattened bottom of the pipe with a medium walnut stain to blend it in with the rest of the pipe. I sanded the stem with my usual regimen of micromesh sanding pads from 1500-12,000 grit pads. I buffed the entire pipe with White Diamond and then rubbed in a coat of Obsidian Oil into the stem.
IMG_3602

IMG_3603

IMG_3605

IMG_3607

I buffed the pipe and stem with multiple coats of carnauba wax and finished with a clean flannel buff to bring out the shine. The next series of four photos show the finished pipe. Though the previous owner’s modification certainly changed the profile of this old pipe, I think the finished product still looks very good and should continue to provide a good smoke.
IMG_3610

IMG_3611

IMG_3608

IMG_3609

After reading Al’s comment below, I did a bit more comparison work with Tradition colours both on line and in my own collection. They tended to be slightly more red than the walnut colour of this bulldog. Armed with that information I decided to give it a coat of Minwax red mahogany stain to bring out the reds a bit more in the briar. Below are the updated pictures of the pipe. In real time the addition of red brings the colour into the same spectrum as the other Traditions in my collection. Thanks Al for the nudge.
IMG_3657

IMG_3658

IMG_3659

IMG_3660

Restoring A Craft Briar Volcano/Poker


Finding this old pipe comes with a tale that is just too good not to tell. I have written it up here for your reading and also to help me remember the tale.

Yesterday I paid a visit to the Vancouver Flea Market to see if I could add any more pipes to my stock of pipes to refurbish. I generally have had some good luck there picking up older pipes at a good price. There is one seller at the market that has some pipes that have always caught my eye but her prices have been unreasonable. She would not negotiate on prices at all so I generally walked away from her and bought from other sellers. However, this time I decided to play a bit of her game. I looked at the various pipes and asked her prices. She walked away so I did as well. I made a loop around the market and then came back to her. She had a twinkle in her eye when I came back and she asked, “Are you serious to buy or do you just look?” I laughed and said, “That my dear lady depends solely upon you!” Again she had that same look and she responded, “Which pipe are you wanting?” I started with the one furthest away from the one I wanted and asked her price. It was a Savinelli Autograph in very nice shape. She took it from the case and waxed eloquent about its beauty. Now I knew her price was based on how beautiful the pipe was to her. She spoke of how her father had smoked a pipe in the old country and she had prepared his tobacco for him. She got a faraway look in her eye.

That did not last long and she was back to business. “You want it?” she asked. I asked her price which was far more than I was willing to pay. So I moved her on to the other pipes in her display case. These she said were less beautiful and were priced accordingly. I carefully went over each pipe talking about how I restore them to their original beauty because I was a pipeman. I loved pipes and everything about them. I enjoyed the process of restoration. She was hooked! I finally got around to the pipe that I had had my eye one for quite a while over the past trips I have made to the market. I asked her the price. She replied that it was $49 but the other one she had shown was way better. She said I should not wait and think too long as opportunities move quickly in our world and who knew if it would be there the next time I came back.

While she spoke I checked out the pipe I wanted. It was stamped on the bottom of its triangular shank, Craft in a Germanic Script and next to that Briar. Stamped above Briar was the number 386. It had an unusual rustication patter on it, a smooth rim and smooth lines on the edges of the triangular shank, the end of the shank and around the rounded bowl bottom. The bottom of the shank was smooth as well. The stem was clean and well fit, with slight oxidation around the shank. There were deep tooth marks on the top and bottom of the stem. The bowl was quite clean with a slight cake and the rim was relatively clean as well – a little tarry buildup at the back of the rim. There was no charring or burning. All of this was taken in while she waxed on about taking every opportunity to by the Savinelli.

When she paused for a breath I asked her the price on the pipe in my hands, knowing full well that there was a price tag on the underside of the stem. Without missing a beat she said, “You want that one? I will make a deal”. Ah, now I knew I could make an offer for the pipe. Too low an offer and she would be insulted but too little a variation from her price would insult her. What to do. I quickly came to a price in my mind and spoke it out, “I will pay you $40 cash right now. No tax and no more for this pipe of less beauty than the one you love so much.” She smiled and nodded her head. “We have a deal,” she said and held out her hand for the cash. I was ready and had two brand new $20’s in hand and laid them on her upturned palm. She smiled and told me to enjoy the new pipe but to not let the beautiful one pass without taking it home too.

I walked away and went to the coffee shop. I sipped a coffee while I did a bit of searching on the web regarding the Craft brand of pipes. Somewhere in the recesses of my memory it was a familiar name to me. The “o” logo on the stem looked familiar as well. I had a hunch the pipe was made by Julius Vesz, a Toronto pipemaker selling out of the York Hotel. I found a notation on the web that confirmed that the pipe was made in Toronto and sold out of a shop at the York Hotel. The address given on the site matched Vesz’ shop there. I was fairly certain that my hunch was correct. Another site stated that the Craft Briar Pipe Company’s principal was Julius Vesz. The identity of the carver was certified by the web.
IMG_3525

I still wanted to take one further step in confirming that the pipe did indeed come from Julius Vesz. I googled his website and sent an email via the website to the webmaster. I also emailed him directly from the contact information given on the site. Here is the web address should you want to check out some of his pipes: http://www.juliusvesz.ca/
welcome

I have included our correspondence about the pipe in full below.

On Dec 29, 2013, at 6:44 PM, Steve Laug wrote:
aboutpg

Good evening Mr. Vesz
I came across a pipe that I believe came from your shop if my research is correct. It is stamped Craft Briar and 3B6 and has a white o on the triangular stem. I was wondering if you could confirm that it is indeed one of your pipes. I have several of yours and thoroughly enjoy them and was caught by the “o” logo on the stem and the great shape of this one. Thank you for your time.
Kind regards
Steve Laug

On Dec 30, 2013 Rob Vesz wrote:

Hello Steve
This is Rob Vesz, Julius’ son replying. I take care of my father’s email and website. Thanks for your message and kind words.

Yes, Craft is the name Julius stamped on his very early pipes. It is in fact still the name of his company, but he operates under “Julius Vesz”. That pipe would be around 50 years old. My father stopped stamping Craft around the mid 1960’s.

It would be interesting to see a photo if you don’t mind emailing one.

Thanks again.

Rob Vesz

There is was – the web confirmation was confirmed by Rob Vesz that the pipe was indeed crafted by Julius Vesz and gave a date when the stamping on the pipes changed from Craft Briar in the mid 1960’s. I wrote back to Rob and sent the requested photos of the pipe and asked for clarification on the number stamp on the shank of the pipe. I wondered if it was not a date stamp. Below is that correspondence.

On Dec 30, 2013, at 12:37 PM, Steve Laug wrote:

Hi Rob
Thank you for your prompt reply. I appreciate the information. I am in the process of restoring the pipe now. Soon I will write it up for the rebornpipes blog – a blog I run for refurbishing of pipes.

I have attached three photos of the pipe. It is in pretty good shape other than some deep bite marks on the stem, top and bottom near the button.

One more question – can you interpret the stamping for me? The number on it is 386 – does that give me date information?
Thanks
Steve

On Dec 30, 2013 Rob Vesz wrote:

Steve
The 386 should be a style # that my father used. Will speak to him to see if he has any further thoughts on that.

Rob

Below are three more photos of the pipe showing what it looked like when I brought it home to refurbish.
IMG_3524

IMG_3526

IMG_3527

I took several photos of the end of the stem to show the tooth mark damage that was present. It truly was the only thing wrong with this pipe. The first photo shows the underside of the stem but does not show the size or the depth of the bite mark at the top of the photo.
IMG_3528

IMG_3529

I heated the stem with a heat gun to try to lift the tooth marks. The ones on the top of the stem lifted almost to the surface and a little sanding took care of the remnants there (Photos 1 and 2 below). The ones on the underside were deeper. Two of them lifted to the surface and with sanding disappeared. The one on the left side of Photo 3 was very deep and the surface of the vulcanite was broken so that it did not lift. It left a pit in the surface of the stem. I picked it clean with a dental pick.
IMG_3530

IMG_3531

IMG_3532

I wiped the sanded area of the stem down with Everclear on a cotton pad to clean the surface before using black superglue to repair the deepest bite mark and to also fix a small one to the right of it. The next two photos below show the drops of superglue on the surface of the stem. I set the stem aside for the glue to cure and went on to clean the bowl and rim.
IMG_3534

IMG_3533

I scrubbed the tars on the rim with saliva on a cotton pad until they were gone. The photo below shows some of the buildup still remaining that took a bit more elbow grease to remove. I also wiped down the rest of the bowl with a damp cotton pad to remove grime and dust.
IMG_3535

IMG_3536

IMG_3537

IMG_3538

IMG_3539

I cleaned out the shank with cotton swabs, pipe cleaners and Everclear to remove tars and oils left behind by smoking. I reinserted the stem in the shank and set the pipe down to continue to dry. There were two small marks left behind after I had sanded the top of the stem so I used the black superglue on them as well and set the pipe to rest on a dental pick while the glue on both sides of the stem dried.
IMG_3544

IMG_3545

IMG_3546

IMG_3547

IMG_3548

Once it was dry I sanded the excess with 220 grit sandpaper, a medium grit sanding sponge and then micromesh sanding pads. I wet sanded with 1500-2400 grit sanding pads and dry sanded with 3200-12,000 grit pads. After sanding with each group of three grits I wiped the stem down with Obsidian Oil and went on to sand with the next group of three.
IMG_3574

IMG_3575

IMG_3576

IMG_3577

IMG_3578

IMG_3579

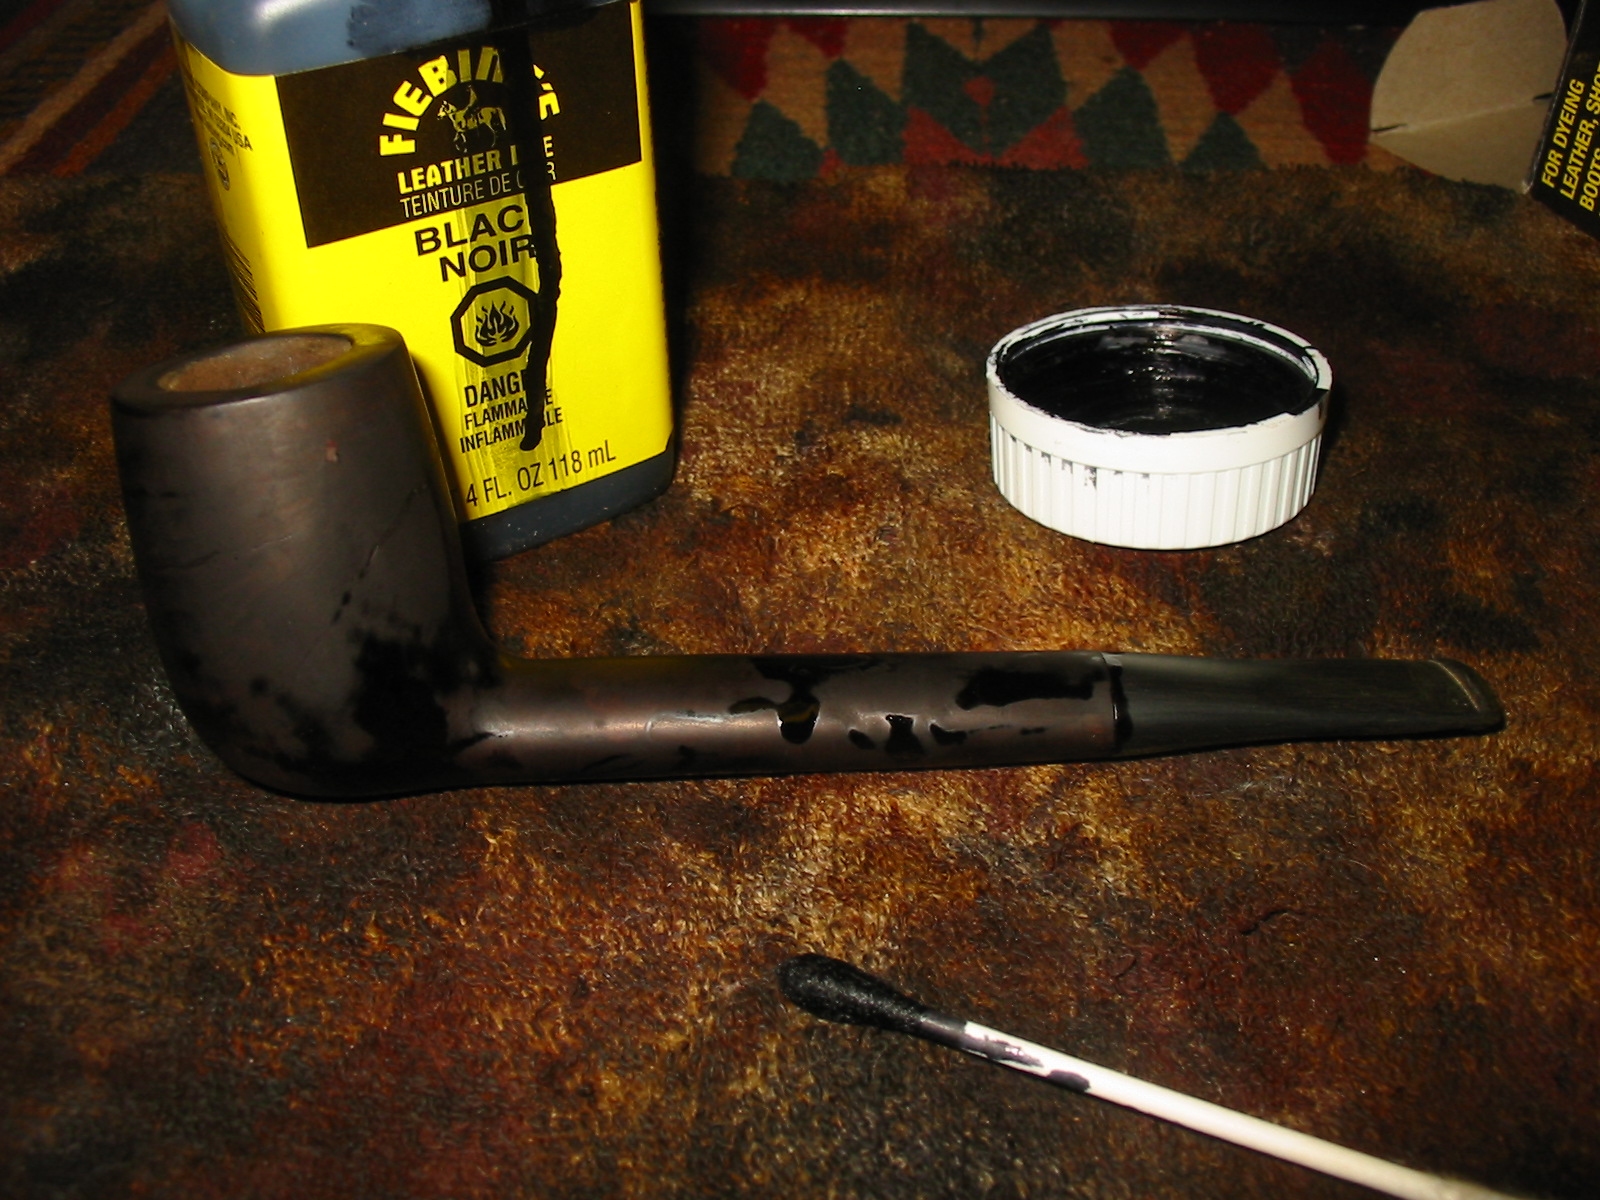
When I had completed the sanding with the micromesh pads I wiped the stem down a final time with the oil and then buffed the bowl and stem with White Diamond on the buffing wheel. I completed the refurbishing with repeated coats of carnauba wax on the buffing wheel applied to the stem and Halcyon II wax hand applied to the bowl. I buffed the bowl and stem with a clean soft flannel buff for a final shine. It is nice to have a bit of history on an old pipe. The added story of the purchase is something that adds colour to the pipe and makes it unique in my collection.
IMG_3581

IMG_3582

IMG_3583

IMG_3585

I received an email from Rob on New Years afternoon giving some more detail on the date and stamping of the pipe. I include Rob’s note in full.

Hello Steve. Happy New Year!

I spoke to my father and have some more information for you. The “386” represents two things. The “3” is the price category. At that time Julius had 1 through 6 for pricing. Your pipe would have been in the middle. The “86” represents the style. I asked my father about the style associated with that number WITHOUT showing him the photos. He was able to describe it in detail, triangular shank/stem and all. He hasn’t made an “86” in a long time. It was his own custom shape. It looks somewhat like “poker” to me. Also, some other interesting bits of trivia- typically the “3” would would have been within a circle (ie- his pipes have been known as Circle 3’s, Circle 4’s etc., and continue to be known as such based on price). Your pipe is very old. Julius only made 200-300 “Craft” stamped pipes. Those that didn’t have circle around price number are even fewer and older. For awhile he didn’t have a circular stamp and that’s where yours fits in. So, you have a real gem and rarity! It looks great in the pictures. My father doesn’t use a computer, so next time I see him I’ll be sure to show him on my iPhone or iPad. He will enjoy seeing it and be glad that it’s in the hands of someone who appreciates it!

Hope this information had been helpful.

Sincerely,
Rob Vesz

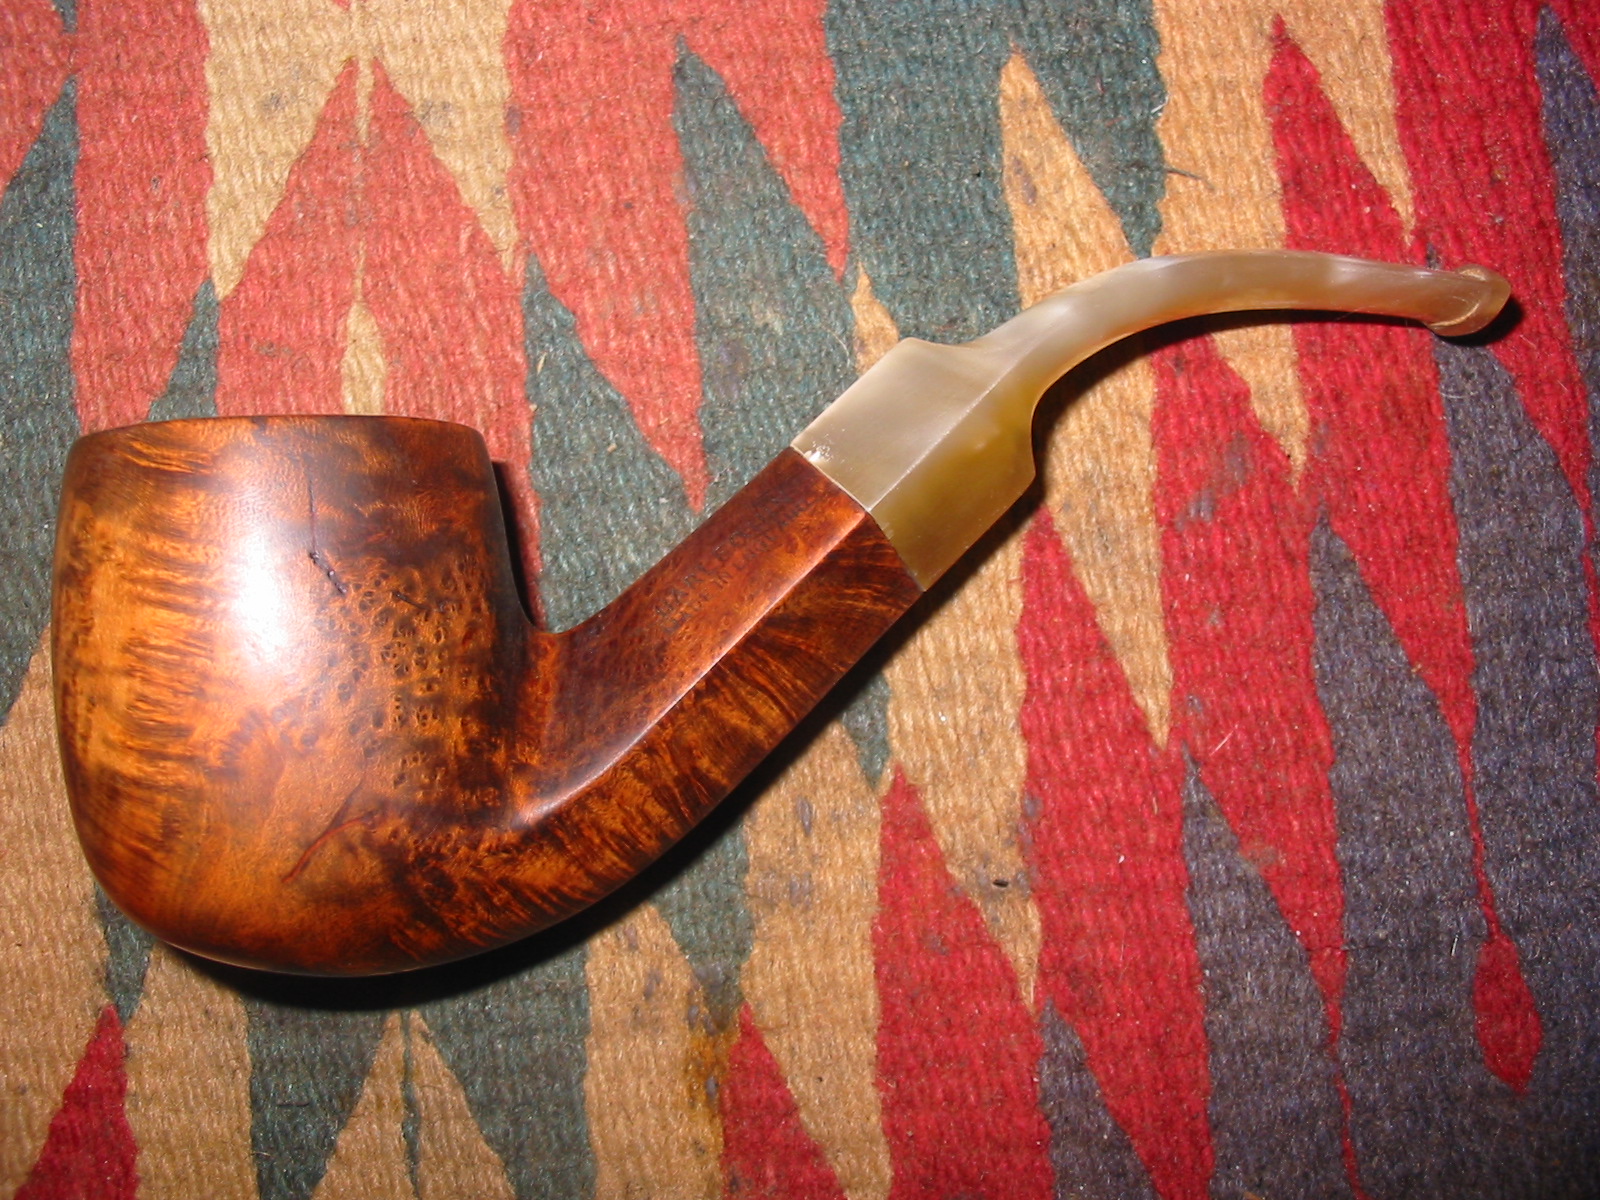
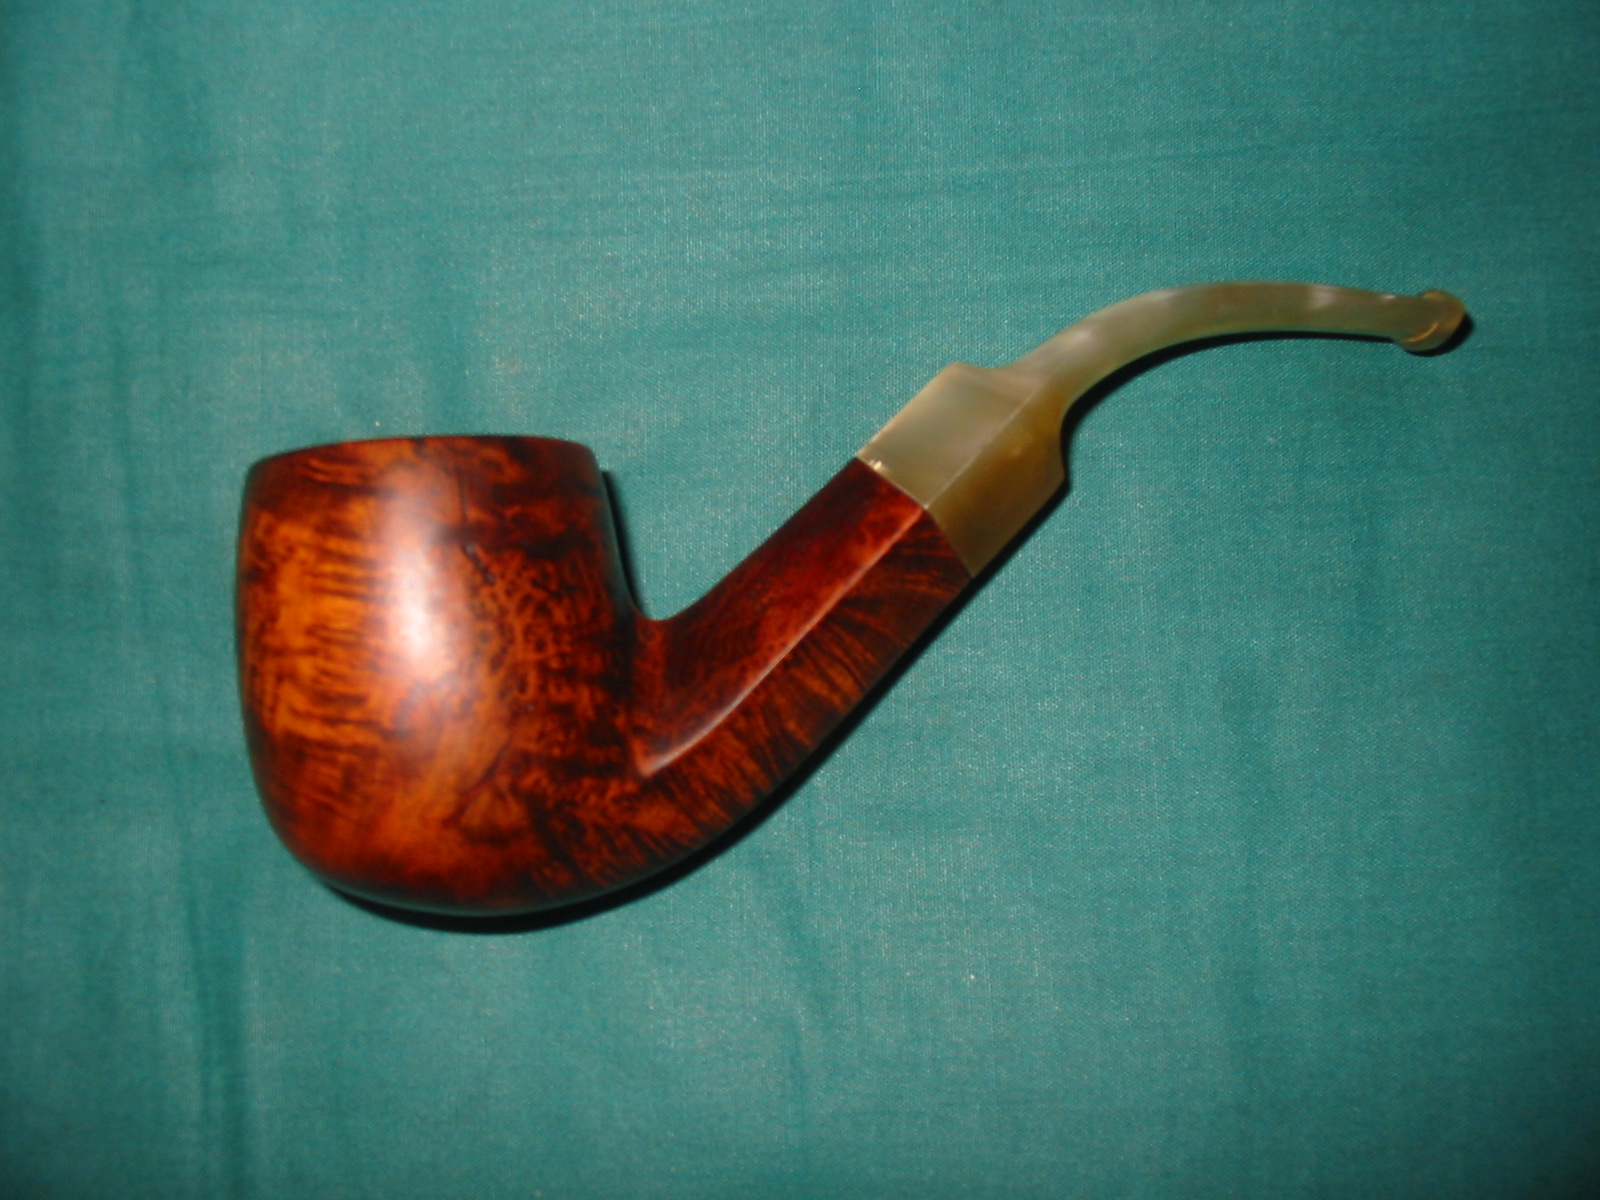
Restoring an Older GFB Three Star Horn Stem Bent Bulldog


Blog by Steve Laug

The pipe below is one I bought off EBay because it looked like a challenge, that and the fact that it was another GFB pipe. This is the third GFB that I have in my collection. I love the way they feel in the hand and the elegant look of the curves and angles they have. I went back and reread my previous two posts on the GFB pipes I had refurbished to remind myself of their history. There I described the process of hunting down information on the brand. I summarize that here for those may not have read the other two posts. (https://rebornpipes.wordpress.com/2013/06/07/restemming-and-reclaiming-an-older-unsmoked-gfb-briar-calabash/ , https://rebornpipes.wordpress.com/2013/04/01/restoring-a-gfb-bent-billiard-another-reclamation-project/)

The first thing I found was information that the GFB brand was an older French Trademark and that it came from Saint Claude, France. A more focused search for GFB French Briar Pipes led to information that the stamping GFB stood for Great French Briar – something about that did not seem right to me so I continued to look and finally came across the following advertisement from a Sears Catalogue. It shows a full page of GFB pipes and the header says GENUINE FRENCH BRIAR. That made much more sense to me, and all three of my GFB pipes match the pipes in the catalogue. It was good to be reminded of the old brand. I am pretty sure that all three of my GFB pipes come from either the late 1890’s or the early 1900’s.
genuine-french-briar-pipes-on-parade

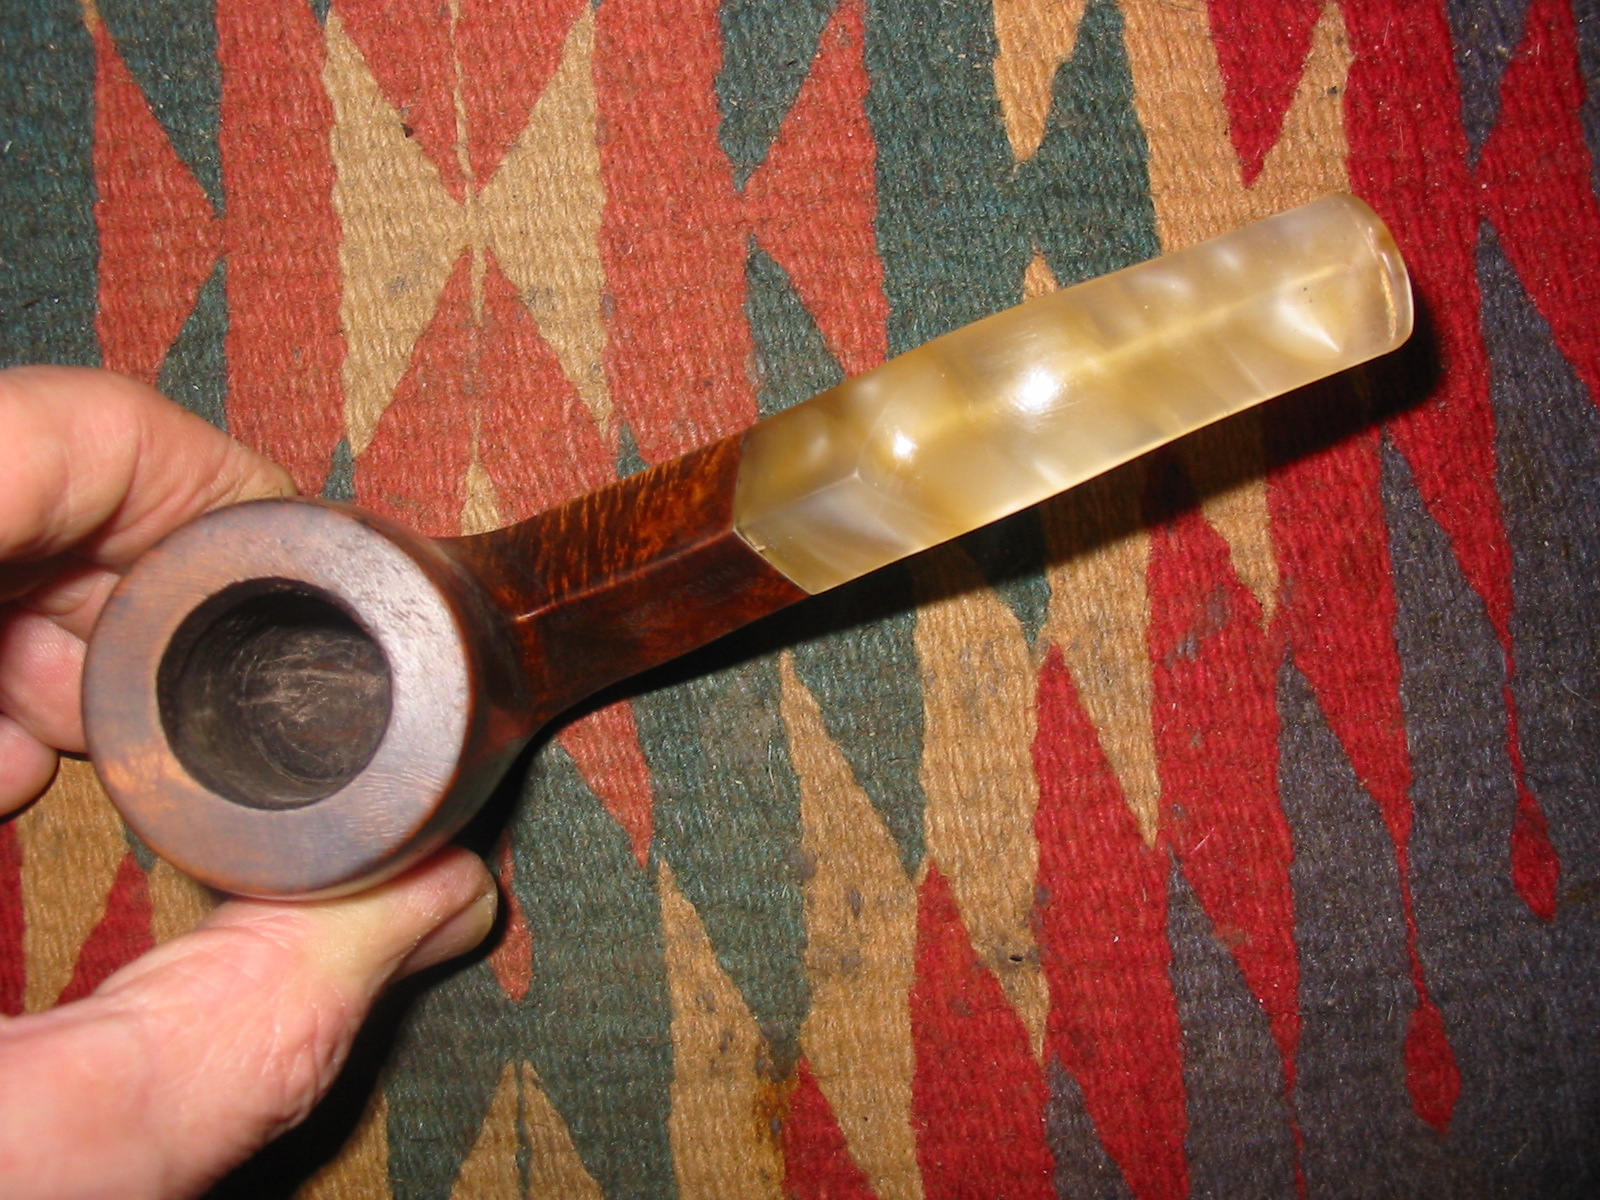
This third pipe was a charmer to me. When I saw the photos I decided I would bid to win it. The elegance of the old pipe caught me. The bowl appeared to be in good shape and it had a horn stem. The striations and colour of the stem was beautiful even in its oxidized state. The three photos below were included in the EBay sale. The third photo shows the underside of the stem and the damage to the underside near the button. It looked to be more than tooth marks or chewing. It actually looked like “worm” damage. From the photos it appeared to be localized to that part of the stem and was worth a chance. Worst case scenario, I would sacrifice the stem and restem the old pipe with a vulcanite stem.
GFB1

GFB2

GFB3

I find that photographing stem damage is difficult and my photos can be out of focus. But I now have a tripod to help with the clarity of the photos (did not get it until after I had started the repairs on this stem. Ah well sorry about the clarity of some of these). When the pipe arrived I took it apart and examined the holes on the end of the stem. Under the lens it was clear that it was not a worm hole at all. Rather it had been bitten and the stem had crumbled in that area. It did not go through into the airway so I think that the previous owner had scraped out the crumbled area of the horn stem for cleanliness and just kept smoking it. That was encouraging to me as it meant that I could repair and not worry about an old “worm” somewhere in the horn stem chewing his way out later! The next two photos show the extent of the damage to the area
GFB4

I cleaned out the open area with cotton swabs and Everclear, careful to not use too much of the alcohol on the horn stem. Once it was clean of debris and dust I decided to fill the area with a superglue gel rather than the usual liquid superglue I generally use (Photo 1). My thinking was that the gel would sit better in the large area without running all over the stem. There were also nicks on the sharp edges near the shank that I also repaired with the superglue gel (Photo 2). I layered the glue into the hole to build it up gradually (Photo 3) as each previous layer dried.
GFB5

GFB6

GFB7

Once the glued cured over night I sanded the area with medium grit emery paper to remove the high spots and smooth out the surface (Photo 1). I refilled the low areas on the fill to further level out the area. There was also a deep nick on the sharp edge of the shank. I cleaned that out and used the superglue to fill that as well. It would dry black but with the staining of the bowl that could be minimized and I wanted it smooth to the touch rather than the sharp cut of the nick that was previously present (Photo 2).
GFB8

GFB10

With everything glued I set the bowl and stem aside and went to work for the day. I would work on the patched areas when I returned home in the evening.

When I returned in the evening, the patches were dry and the pipe was ready to be worked on. I reamed the bowl with the PipNet reamer. On this particular pipe the bowl was conical so it took three different cutting heads on the T handle to ream the bowl to the bottom. With down I cleaned the bowl, shank and stem with Everclear, pipe cleaners and cotton swabs. I wanted the pipe cleaned out before I worked on the exterior.
GFB11

GFB15

The next two photos show the stem after the patches had hardened. Though the photos are a bit blurry, the shininess of the spots where the superglue patches were applied is very clearly visible. Those areas would need to be sanded smooth to match the surface of the surrounding horn.
GFB12

GFB13

I sanded the patch on the shank of the pipe with 220 grit sandpaper and also medium grit sanding sponge to remove the excess glue from the patch. Then I wiped the bowl down with Everclear on a cotton pad. I decided not to use acetone as the stamping on the shank was filled with a gold paint and was still visible. I did not want to damage that stamping. I carefully worked the Everclear around the stamping so as not to get any in the grooves of the stars and GFB stamp.
GFB14

GFB16

GFB17

GFB18

I sanded the patch on the stem with 220 grit sandpaper and then a medium grit sanding sponge to smooth out the patch. I continued to sand it with the micromesh sanding pads. I wet sanded with 1500-2400 grit and dry sanded with the remaining grits up to 12,000.
IMG_2645

GFB19

I buffed the stem with White Diamond on the buffer and the finished stem is shown below. The patch still shows some small holes that need to be repaired with superglue. The sanding and polishing made them very apparent in the first photo below. The patch at the sharp edge near the shank came out very well and is invisible. The horn of the rest of the stem has a deep sheen to it after all the sanding and polishing.
GFB20

GFB21

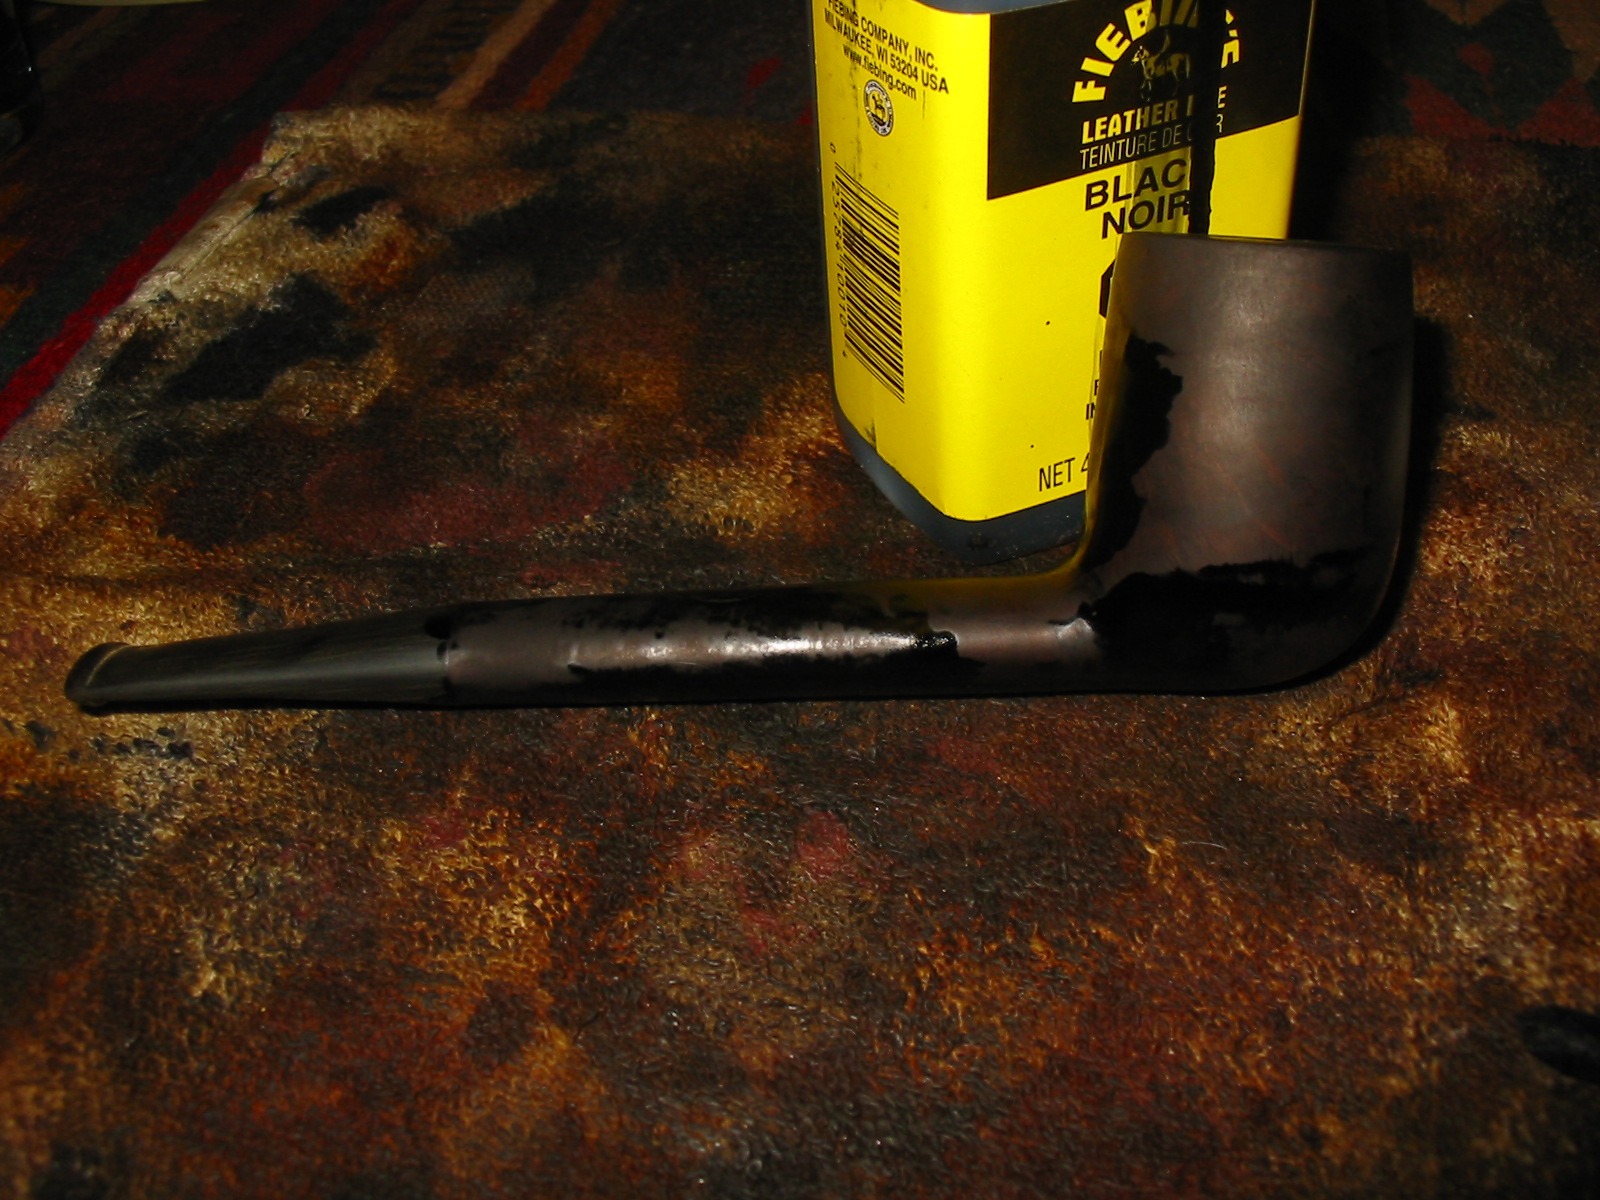
I unscrewed the stem and set it aside while I stained the bowl. I used a medium walnut stain mixed with linseed oil to stain this pipe. The colour is a rich brown with a slight red in certain lights. It matches the colour of the other GFB pipes that are in my collection. I buffed the bowl with White Diamond on the buffing wheel. Then I gave it a coat of carnauba wax and set it aside to work some more on the stem.
GFB22

GFB23

GFB24

GFB25

I was not completely satisfied with the stem patch so I sanded it next to the button some more and cleaned it out. I put some more of the superglue in the low spots and set it aside to cure while I went to work for the day.
GFB26

GFB27

When I returned the glue was hard and the patch a solid bubble on the surface of the stem. I sanded it with the medium grit emery paper and then 220 grit sandpaper to remove the over fill. I always over fill the spots as the glue shrinks as it dries. I have learned that it is easier to remove the excess than to continue to fill and sand repeatedly. I sanded it with a medium grit sanding sponge and then went through the grits of micromesh sanding pads again from 1500-12,000 grit. When I had finished I rubbed the stem down with Obsidian Oil and set it aside to absorb. Once done I buffed it on the wheel with multiple coats of carnauba wax.
GFB28

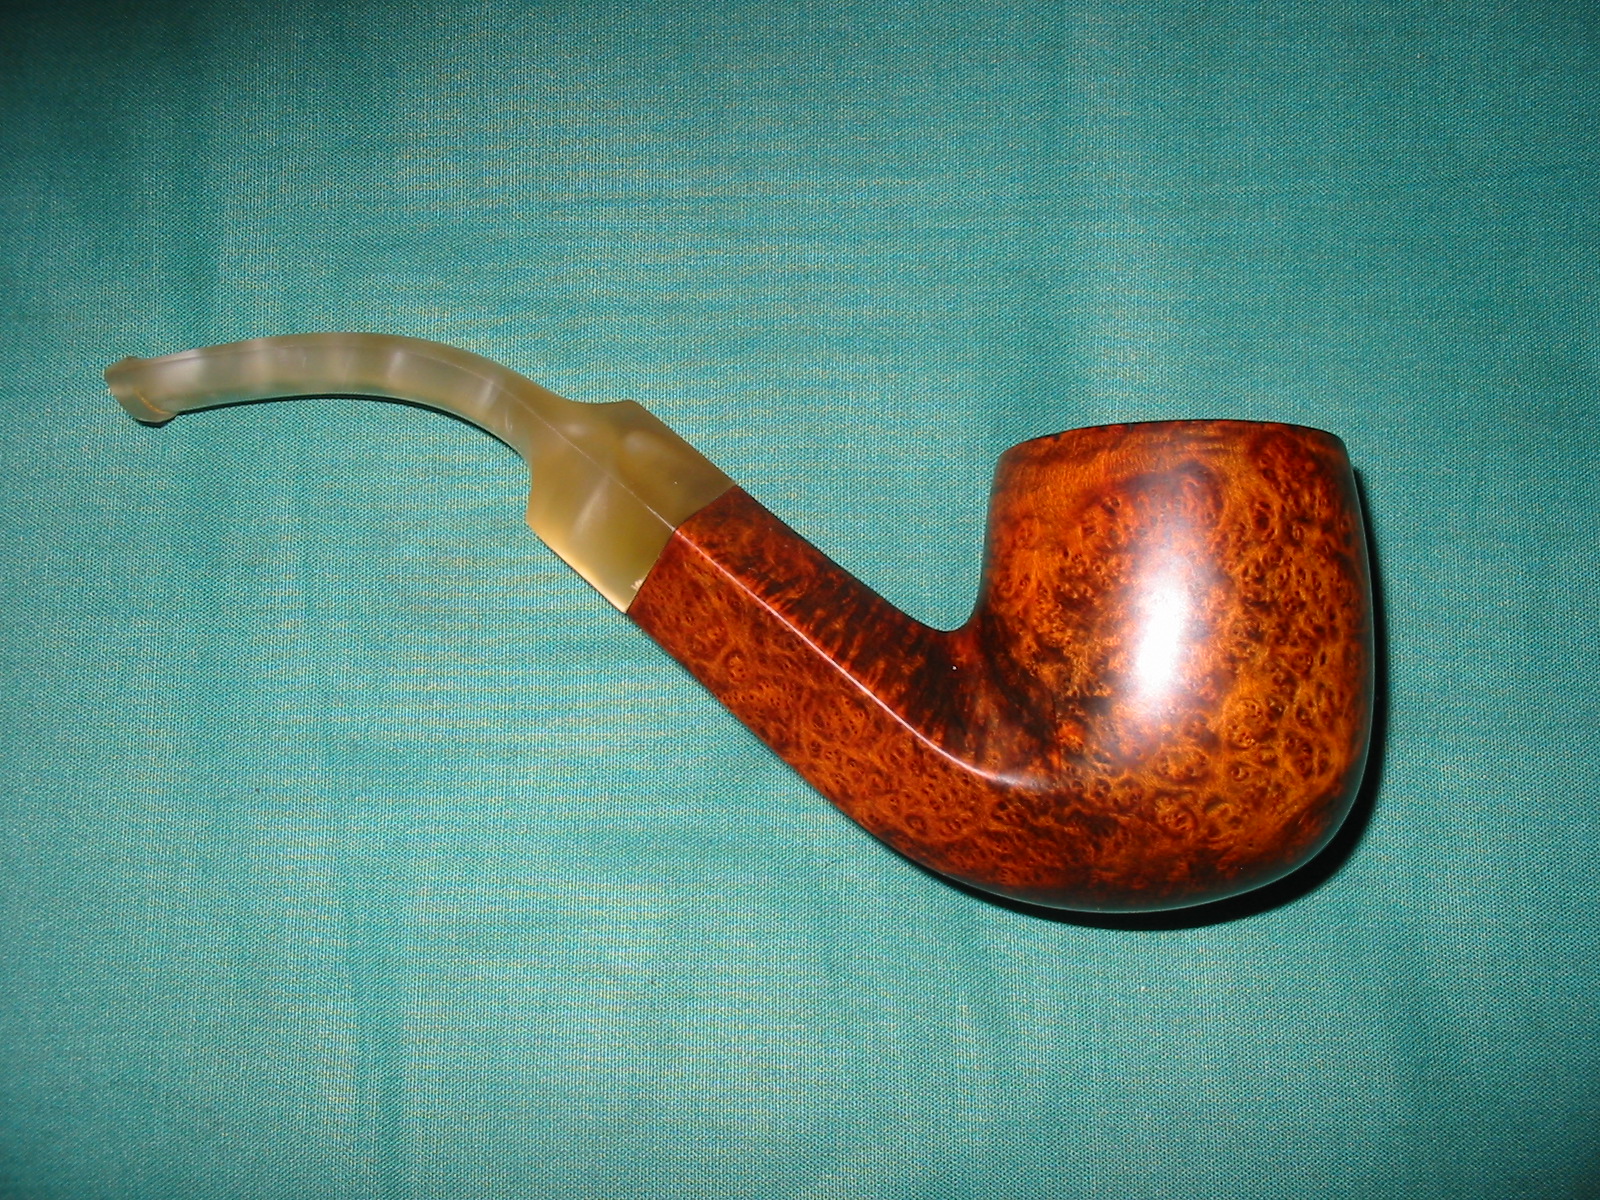
After buffing and polishing the horn stem I buffed the entire pipe with White Diamond on the buffing wheel to polish it then gave it multiple coats of carnauba wax to restore and preserve the shine on the horn and the briar. The finished pipe is back to usable with the stem patch taking care of the deep holes that were previously in the stem. The striated horn stem looks like new and the colouration of the horn goes amazingly well with the medium brown walnut stain. Other than the slightly visible patch the pipe looks like new. I intend to enjoy a bowl of some aged tobacco in a pipe that is far older than I am. I look forward to the day when I pass it on in trust to the next pipeman who will care for and cherish it. Sentimental? I don’t think so, just a realist who knows that this pipe has lived and will live longer than I.
GFB29

GFB30

GFB31

GFB32

Restoring a Bryson Metal Pipe with Two Bowls


I picked up this metal pipe with two bowls in an eBay lot recently. The shank shape and the two bowls intrigued me. I had no idea who had made the pipe but I bid on it because of some other items in the lot.
pipes4

pipes5

I decided to do a bit of research on the metal pipe on the great Smoking Metal website. It is a gift to the pipe smoking community looking for information on particular metal pipes that they come across or may have in their collection. The web address is: http://www.smokingmetal.co.uk/pipe.php?page=57
This is what I found out about the metal pipe pictured above: (credit given to the site above)

“This pipe was made by the Briarwood Corporation, Palo Alto, California; the BRYSON has number D120275 under the Bryson name on the pipe stem. There is a crosshead screw to attach the briar bowl to the stem. The end cap attaches to the mouthpiece by means of a rod through the length of the pipe, in which the air hole is close to the mouth piece. The stem is of polished duraluminum and hexagonal in cross-section.

The bowls are unusual in that they are not briar turned on a lathe, but briar wood, ground to a powder and compressed under very high pressure (no glue, heat or plastics are used, just pressure. It is claimed this produces a perfect bowl of aged briar every time with increased porosity. The varnished finish on the smooth bowl however is often very badly crazed.

Two bowls, one smooth and one rusticated, were supplied with the new pipe. The bowl retaining screw is ‘locked’ onto the bowl by a gasket and metal collar, enabling rapid replacement of the bowls without the need of a screwdriver. The corn cob bowl, in centre image, is another version, not sure if this was manufactured by Bryson, or a home workshop job.

The set here shown was available for $3.50 new, but in what year? Below that are pictures of adverts seen from 1946 magazine. The last photograph was of a possible derivative on eBay in 2003, although US patent D122042 seems to be this pipe, invented by Max Bressler, Chicago Ill 1940.

There are also other derivatives without the Bryson name stamped in the metal and variations on the shape and grooving of the stem. The pipe pictured with Pat Pend under the Bryson name has no grooves forward of the bowl and the front end cap is a larger thread than the other models, including my version with no name. 30 April 1940 US patent # D120275 Inventor Charles Rothman, Cleveland Heights, Ohio, assignor Briarwood Corp, also of Cleveland Ohio at that time.”
Bryson1

Bryson2

Bryson3

When the pipe arrived it was in pretty rough shape. The aluminum was oxidized on the barrel and the bowls were both very dirty and filled with cobwebs and built up grit. The rusticated bowl had not been smoked very much so it was clean on the inside underneath the dust and webs. There was no cake or tars. The smooth bowl was the exact opposite. The bowl was caked and the top of the rim was tarred and dented. In examining it I notice that the grain on the smooth one was peeling and fading in places – it was a decal and not truly grain. I could also see the composite make up of the pipe bowl as described above. This was strange looking material – similar to my Medico Brylon but also a lot like particle board that is used in building. This was going to be a fun piece to clean up and restore. The metal barrel was unstamped but the lines on the barrel match the photos above perfectly.

I was able to take it apart, which sounds normal but I have found that on these metal pipes that are in this condition the end cap and bowl are often welded together with tars that make breaking it free and taking it apart virtually impossible. The four photos below show the state of the parts once the pipe was disassembled. The bowl each had a screw in the bottom of the bowl with a hole in the center and a cap on the bottom of the bowl that was inset. The bowls thus could be quickly interchanged. The apparatus on the inside consisted of an end cap, a long pin that was threaded on both ends – into the cap and into the tenon on the stem, a nylon stem and in this case a paper filter slid over the pin. The pin was not hollow but acted as the connection that held the stem in place in the aluminum barrel. The end cap was inserted on one end with the pin extended the length of the barrel and the stem screwed onto the pin and tightening against the barrel. Without the end cap and pin in place the stem did not stay in place.

The inside of the barrel had a dark lacquer of tobacco juices that had hardened on the walls. The pin and inside the cap and tenon the same dark amber lacquer was hardened. This was going to be a challenge to clean up. The pressed briar bowls would also not be easy to clean as I was afraid of using alcohol on them for fear of decompressing the material with moisture.
IMG_2378

IMG_2379

IMG_2380

IMG_2381

I took apart the smooth bowl in order to ream and clean it. The next two photos show the parts of the bowl. You can see the hollow screw, the insert cap and a small washer. From all appearances the washer was an addition to the set up done by the previous owner. I appeared to me that the bowl had been over tightened and the cap pressed to deeply into the bowl for a tight fit. The washer took up the excess space and allowed the bowl to be tightened. In the second photo the top edge of the rim can be seen with the dents and damage visible.
IMG_2383

IMG_2384

I cleaned the screw and the washers with Everclear and cotton swabs to remove the lacquer buildup. I reamed the bowl with the largest cutting head of the PipNet reamer set as the bowl is quite large. In the first photo below the damaged finish is also visible. Once I had reamed the bowl I topped it with my usual method – a piece of sandpaper on a flat board. I twisted the bowl surface against the sandpaper until the damage was removed. Once done the composite nature of the bowl material was very visible.
IMG_2385

IMG_2386

IMG_2388

Cleaning out the barrel and all of the metal internals was labour intensive. It took many pipe cleaners, cotton swabs and Everclear to get the pipe barrel clean. I used cotton bolls that I twisted into plugs, dipped in Everclear and rammed through the barrel – just like cleaning a rifle. In the photos below you can see some of the plugs and swabs that were used. Once I had scrubbed the surfaces clean inside the barrel I worked on the pin, tenon and end cap. I used 0000 steel wool to clean the aluminum surface and brighten it.
IMG_2389

IMG_2391

IMG_2392

The nylon stem had a deep tooth mark on the top and on the underside of the stem. I sanded the stem with 220 grit sandpaper and then a medium grit sanding sponge to remove the tooth chatter and the calcification on the stem. I wiped it clean with Everclear to remove the sanding dust, cleaned the inside with Everclear and picked out the debris in the tooth dents. Once they were clean and dry I patched the dents with a drop of clear superglue. Because the colour of the stem is more of a grey black the black superglue did not match. The clear superglue was transparent and when dried and sanded was invisible.
IMG_2393

IMG_2394

IMG_2395

IMG_2396

IMG_2397

I set the stem aside to let the superglue spot patches to cure before I sanded them smooth. While it was drying I restained the bowls with a dark brown aniline stain applied with a cotton swab. I applied it and flamed it to set it. I was not sure the stain would take on the smooth bowl as it seemed to have a varnish coat on the surface and the grain pattern was a decal. Once it was dry I would give it a light buff and see if it took.
IMG_2399

IMG_2401

I set the bowls aside and worked on the superglue patches on the stem. I sanded them smooth with 220 grit sandpaper and then followed that by sanding with a medium grit sanding sponge. The next series of four photos show the process of blending in the repair.
IMG_2402

IMG_2403

IMG_2404

IMG_2405

Once I had blended the patch into the surface of the stem it was time to sand it with the micromesh sanding pads from 1500-12,000 grit. I decided to sand both the stem and the aluminum barrel at the same time. I wet sanded with the 1500—2400 grit pads to minimize the scratching on both and then dry sanded with the remaining grits. By the end of the process the patch was invisible and both the stem and the barrel shone.
IMG_2406

IMG_2407

IMG_2408

IMG_2409

IMG_2410

IMG_2411

IMG_2412

Once I had finished with the micromesh sanding pads I reassembled the internals, stem and the barrel. I gave it a light buff with White Diamond. A light touch is necessary in order not to turn the buffing pads black with the metal as it is polished. I took it back to the work table and hand applied wax and hand buffed it with a soft towel. The next two photos show the finished barrel and stem.
IMG_2413

IMG_2414

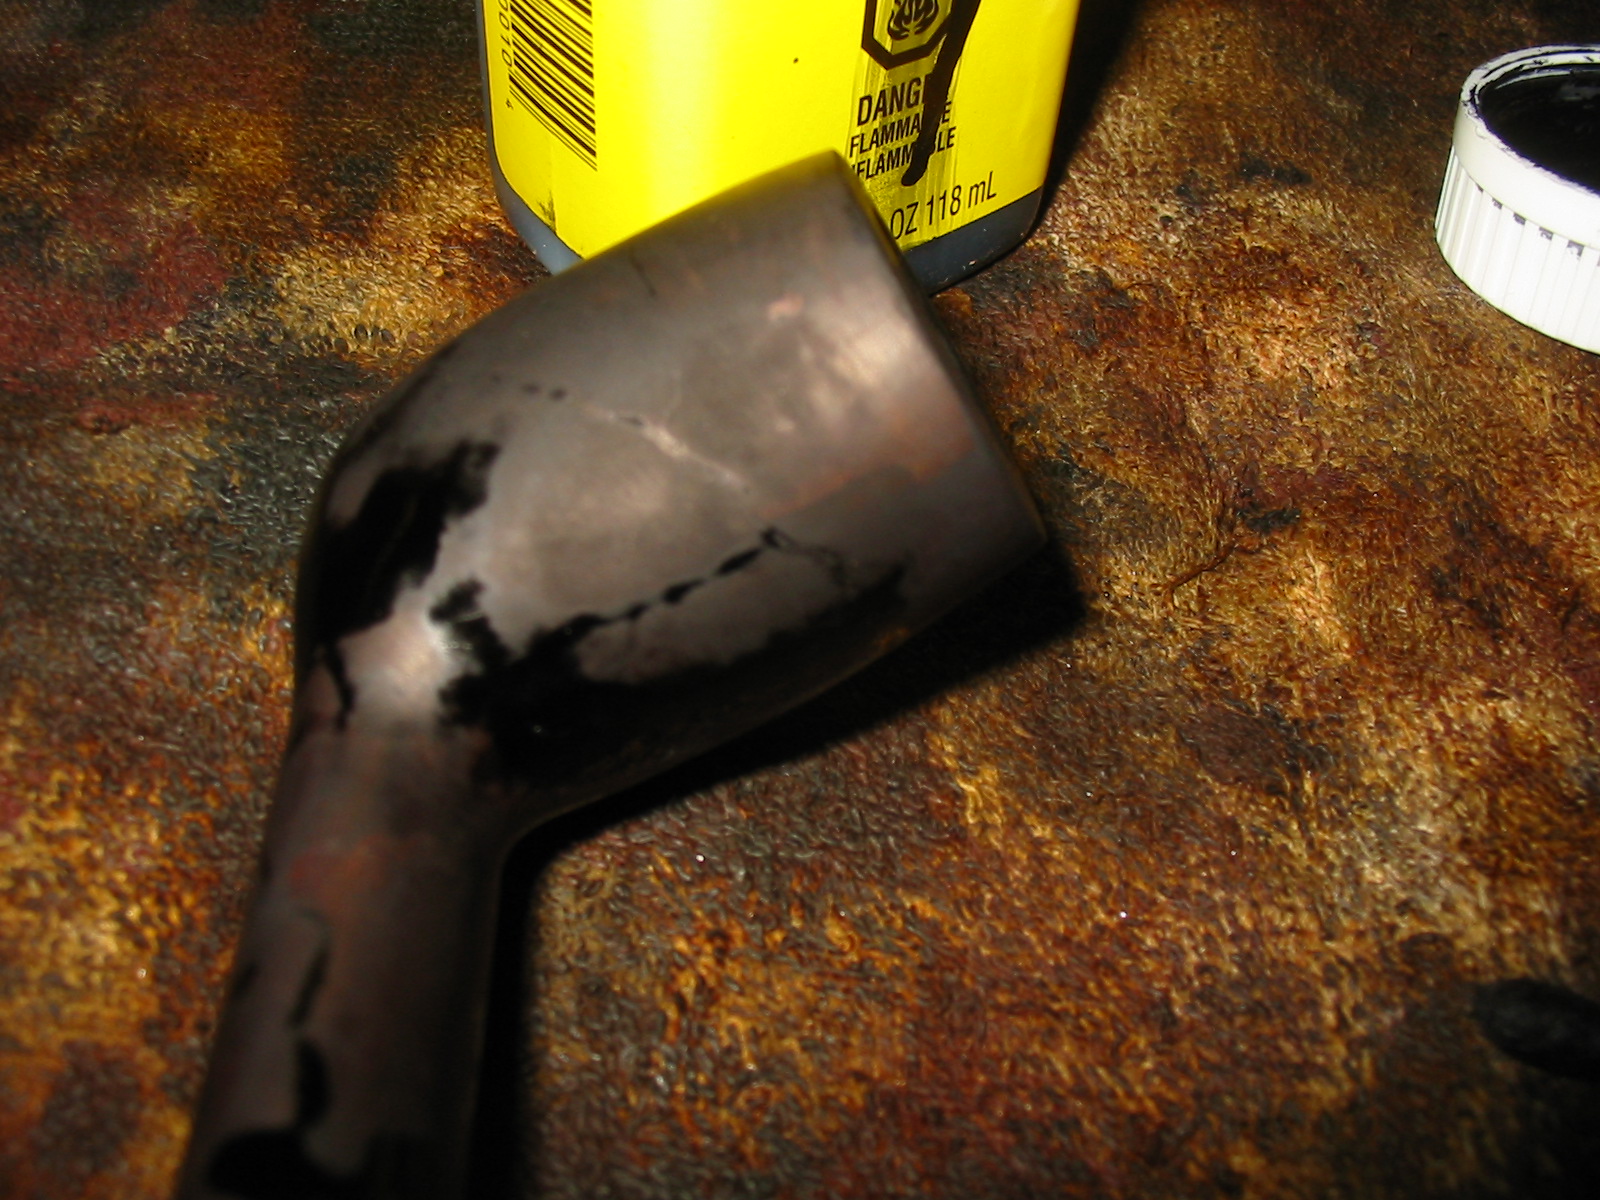
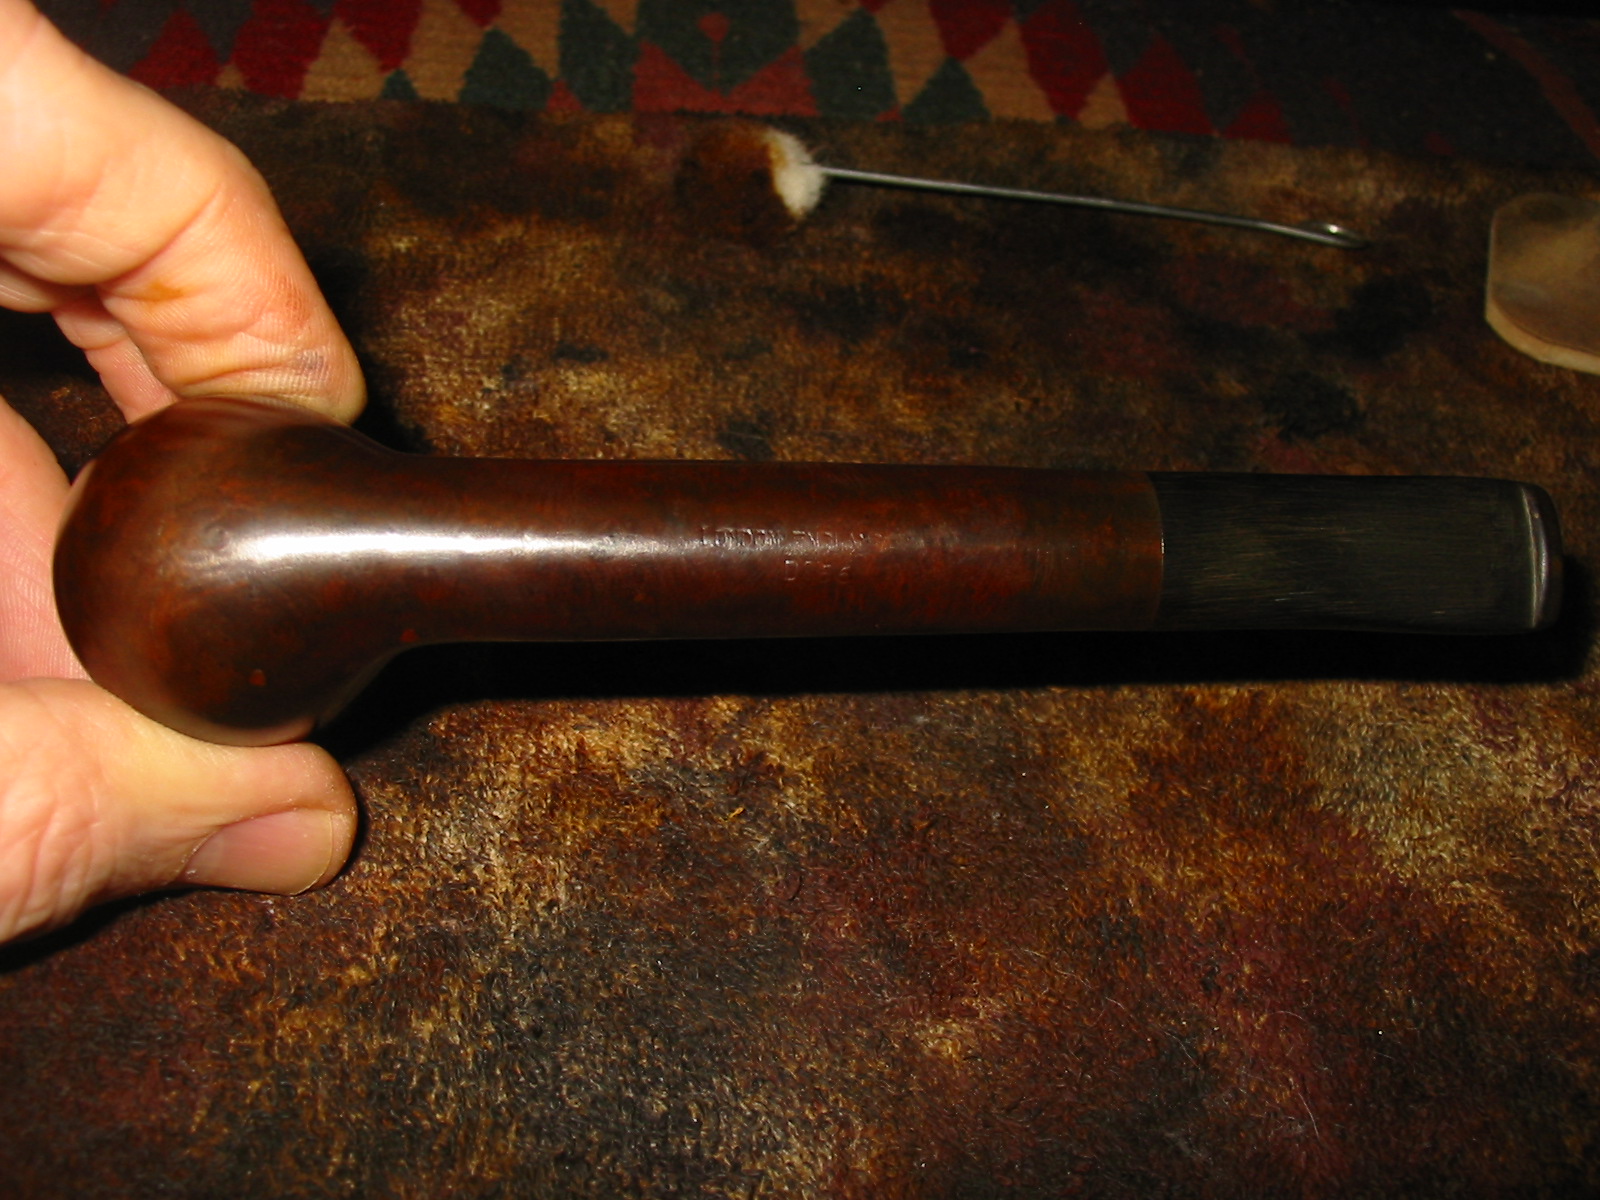
When the bowls had dried I buffed them with White Diamond as well. The rusticated bowl worked well and the shine came up on it with no problem. The smooth bowl was another story altogether. As I buffed it the finish came off in pieces. The varnish coat lifted and along with it the decal. The grain coat disappeared. I then gave it a clean buff with red Tripoli to remove the coat in its entirety. I hand sanded the bowl with the medium grit sanding sponge. Once the surface was clean I wiped it down with an alcohol dampened cotton pad. I then used a permanent black marker to draw grain lines on the surface of the bowl. These looked horrible after I had applied them but with some sanding with micromesh sanding pads and the sanding sponge I was able to lighten them and they began to look more natural. I then restained the bowl with some linseed oil and cherry stain. The photo below shows the finished surface of both bowls.
IMG_2415

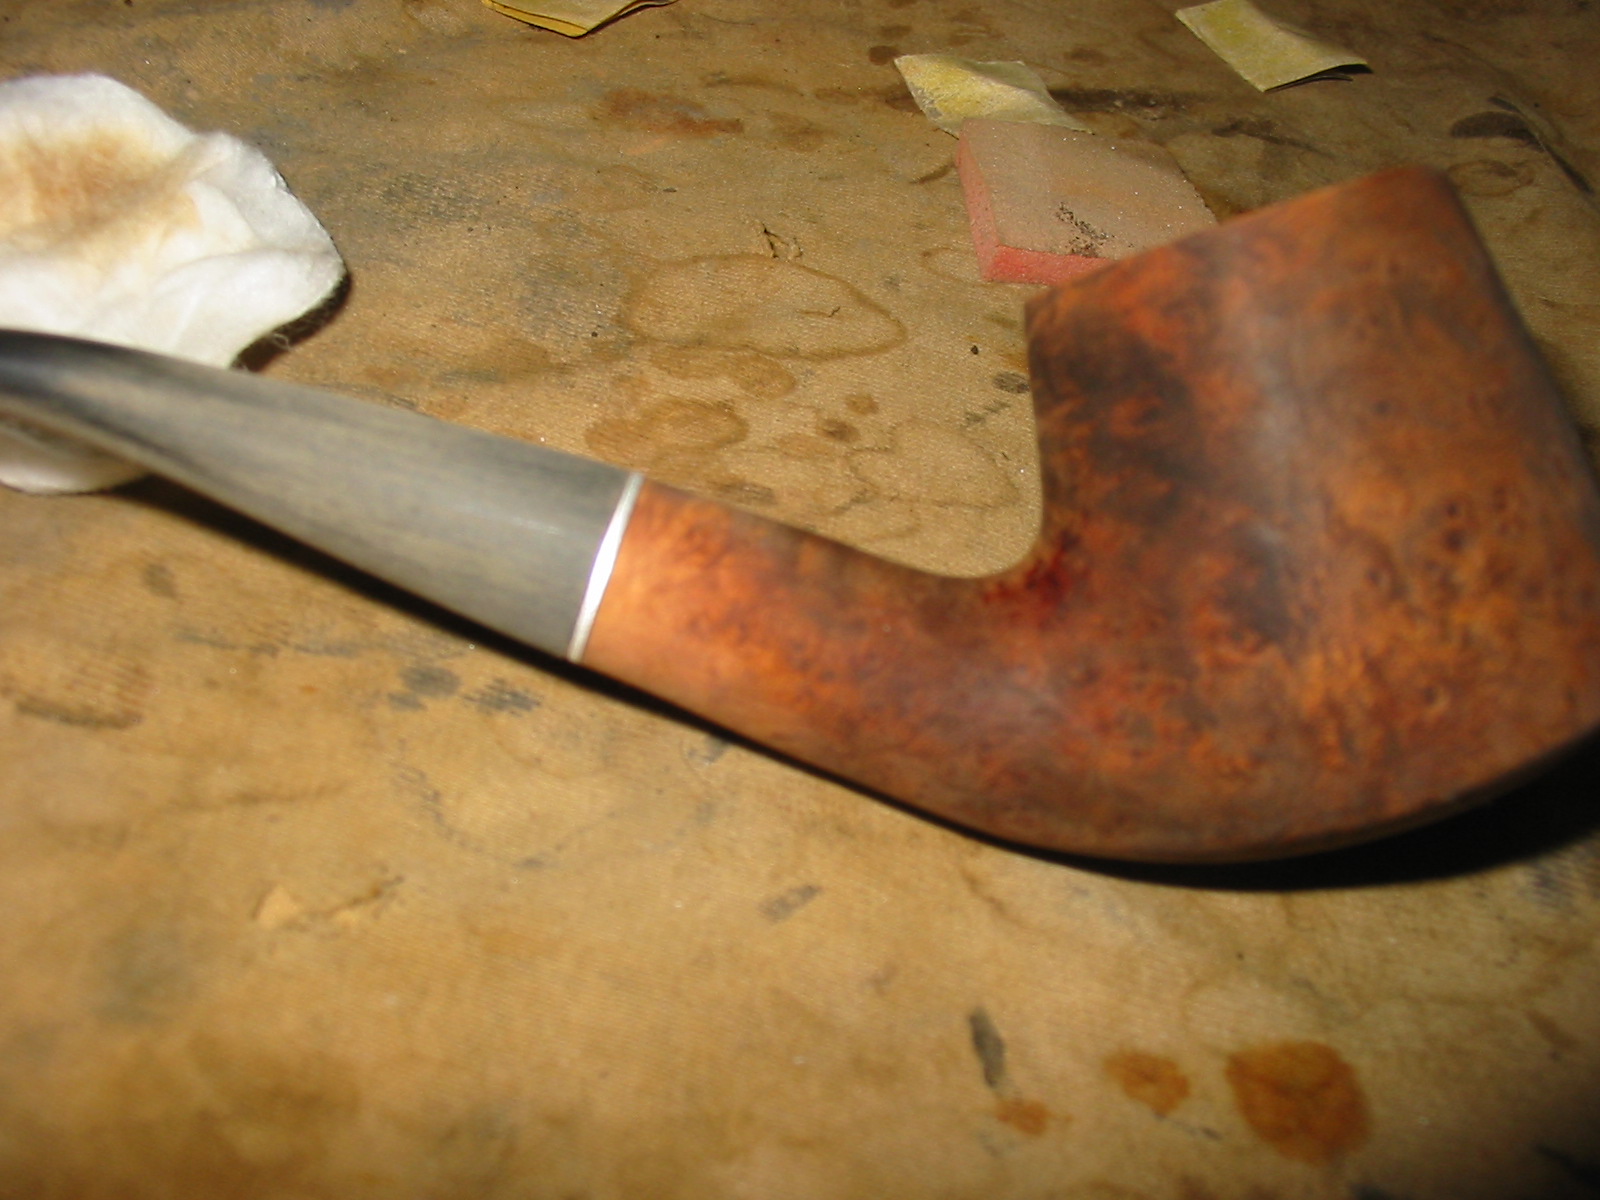
When the bowls had dried I tried screwing each bowl to the barrel to make sure they fit well. I coated the rusticated bowl with Halcyon II wax and gave it a light buff with a clean flannel buffing pad. The smooth bowl I coated with carnauba wax and lightly buffed with the flannel buff as well. The finished pipe is pictured below with each of the bowls in place. I am pleased with how it turned out. In evaluating the amount of work to keep it clean, I am not sure I will ever smoke this one. It may well end up in the display cupboard as part of my oddities collection.
IMG_2416

IMG_2417

IMG_2418

IMG_2420

IMG_2421

IMG_2422

IMG_2423

IMG_2424