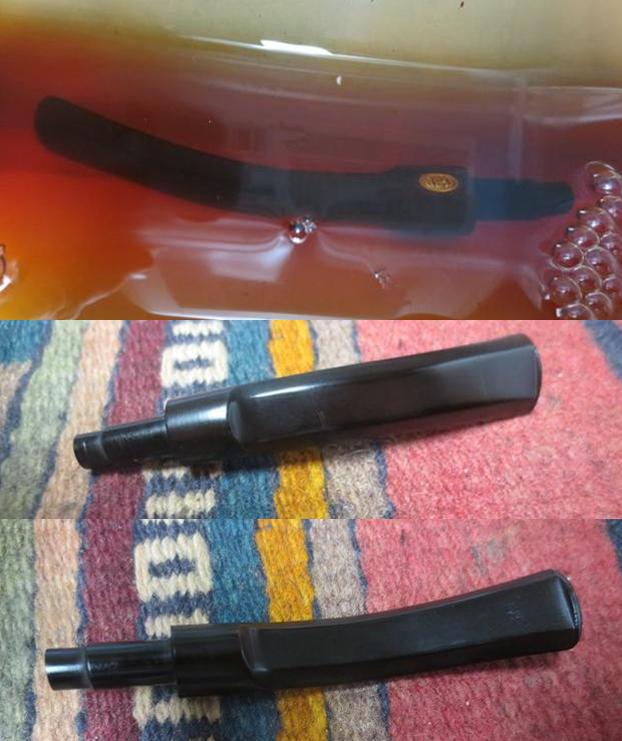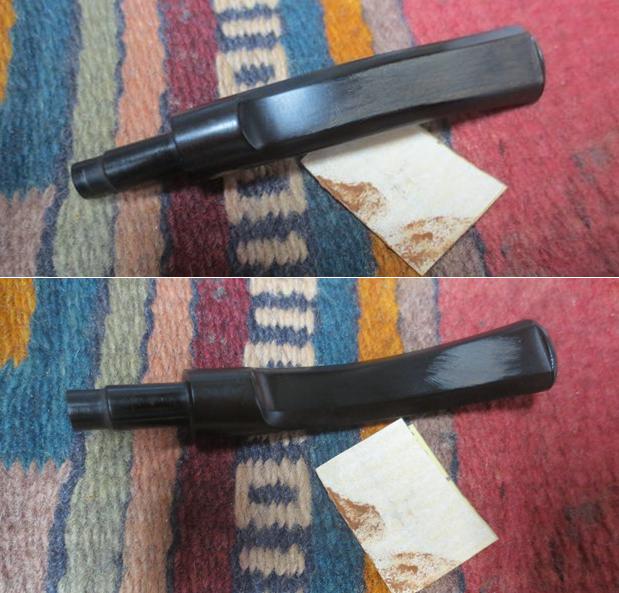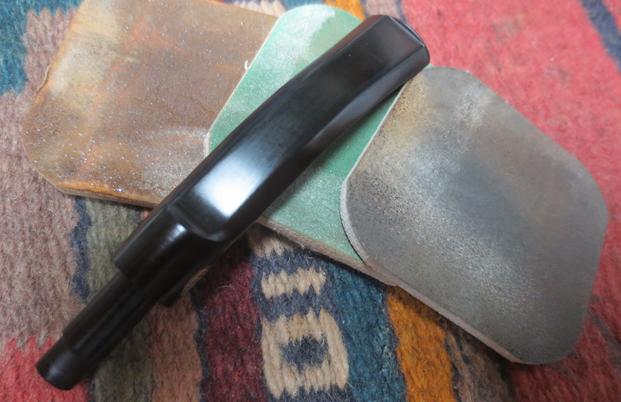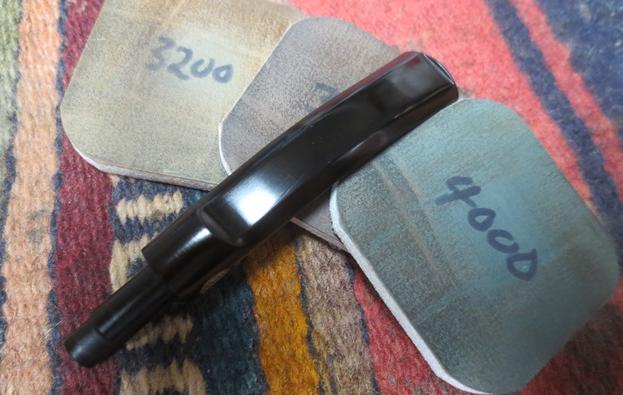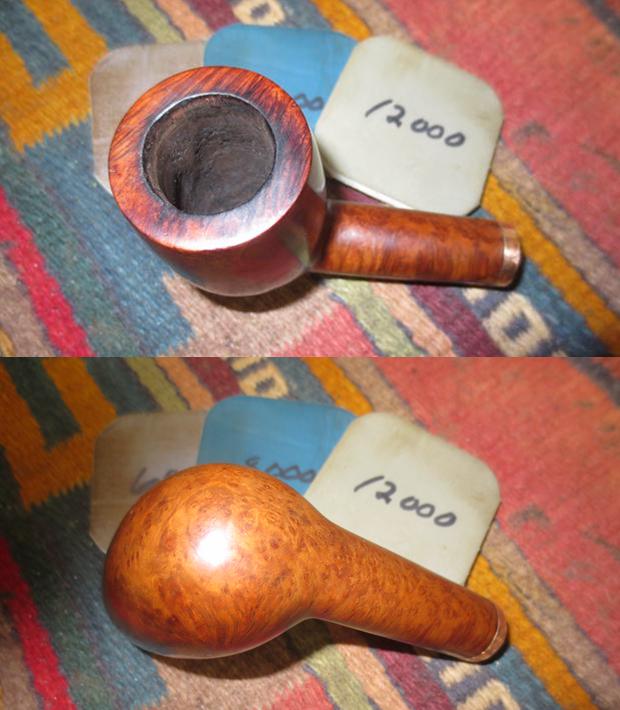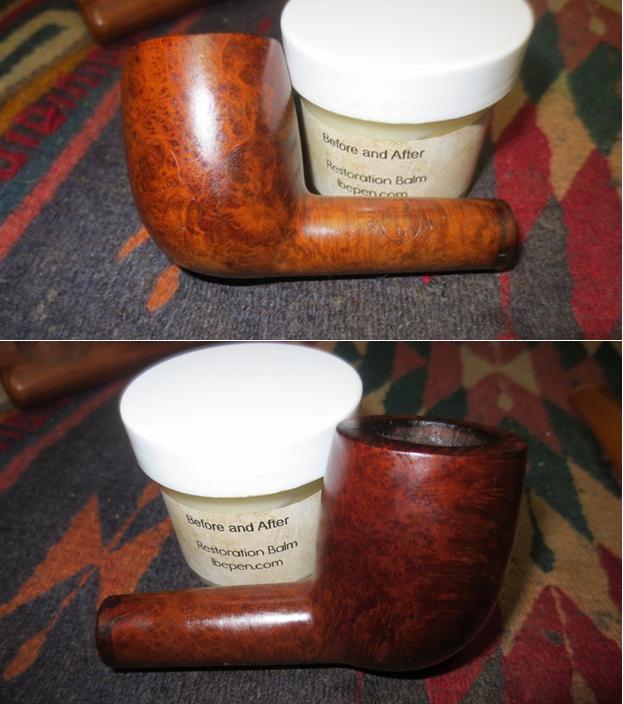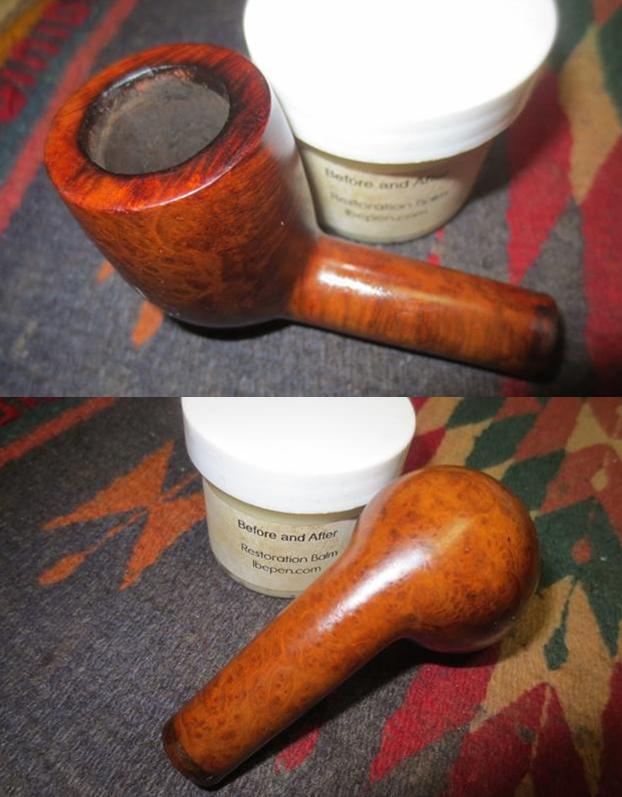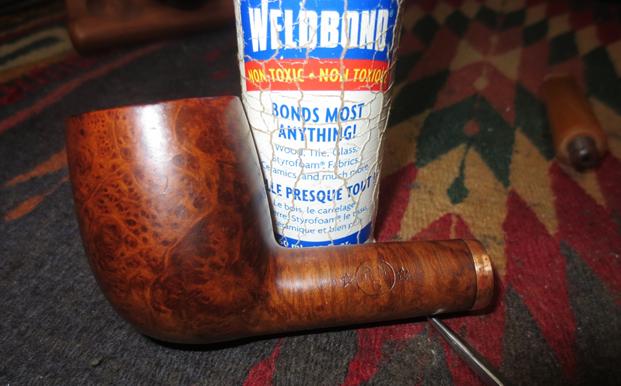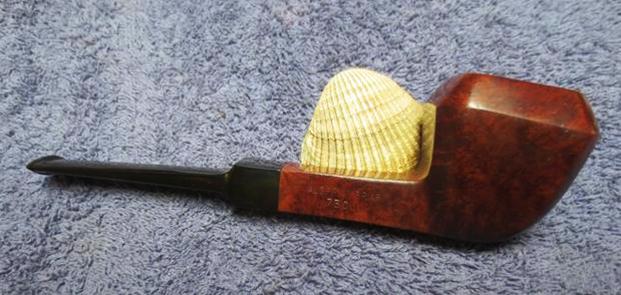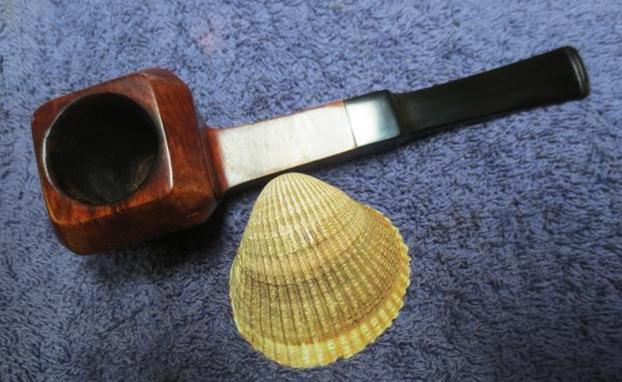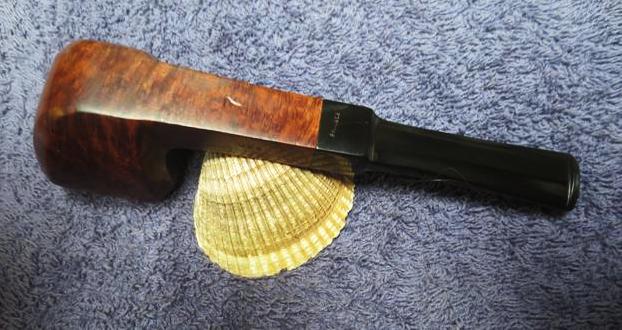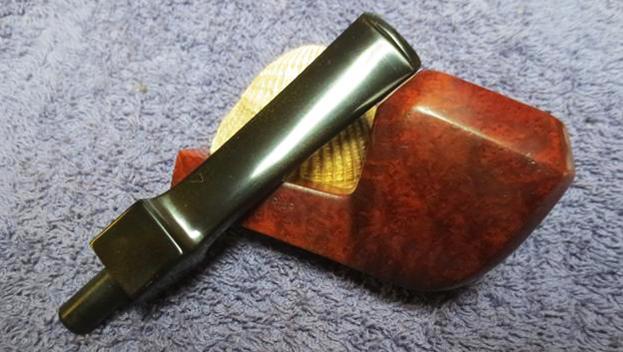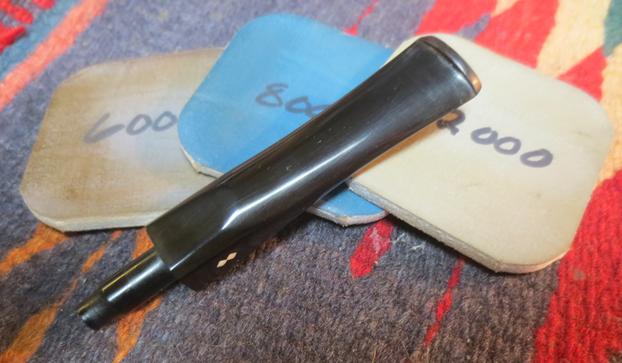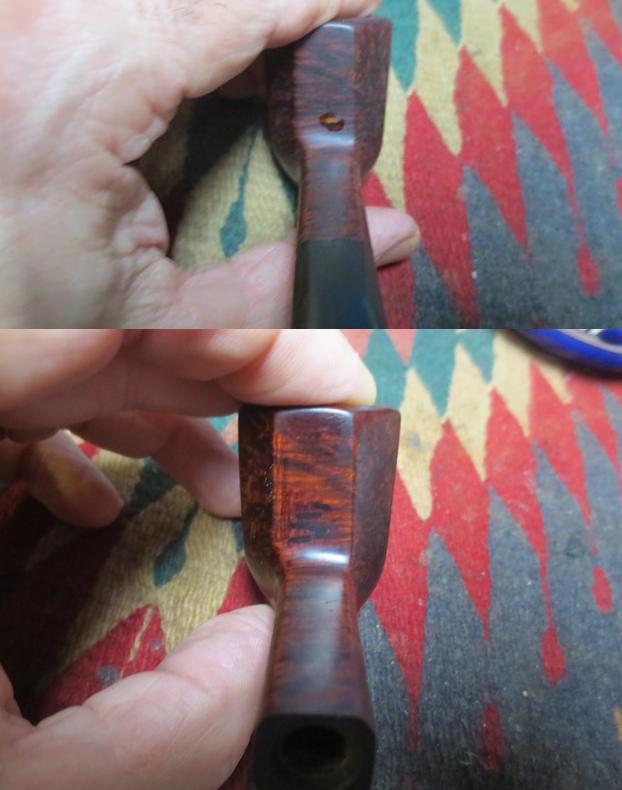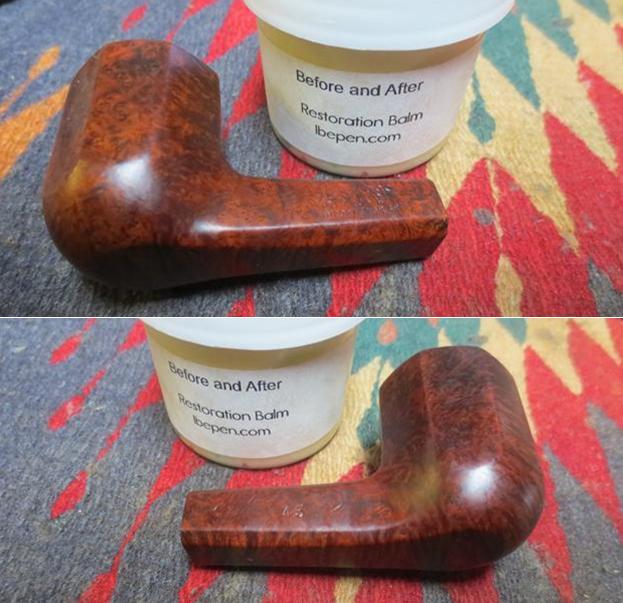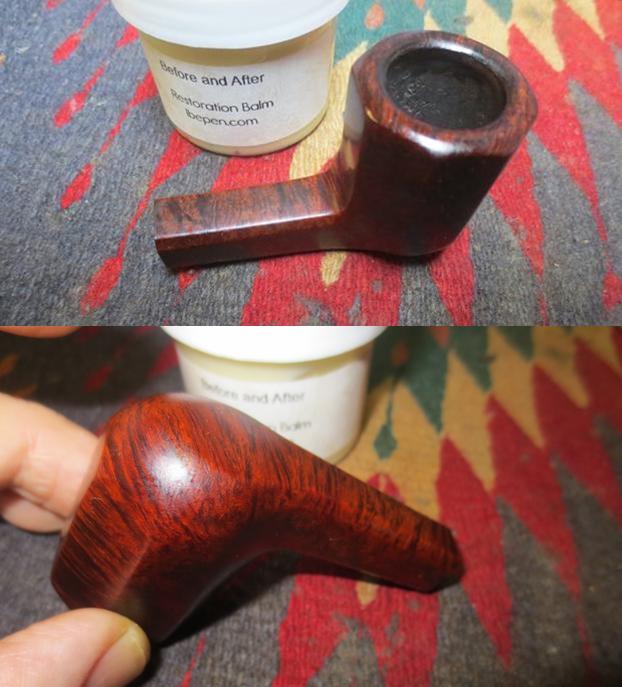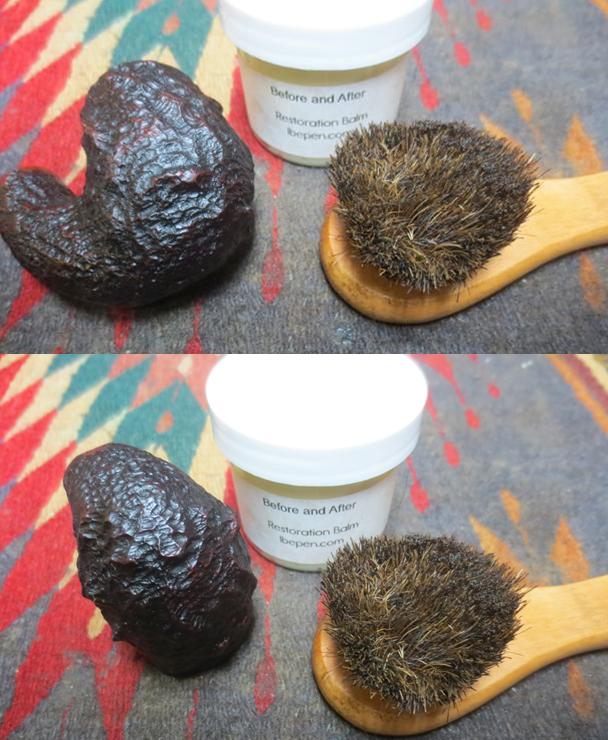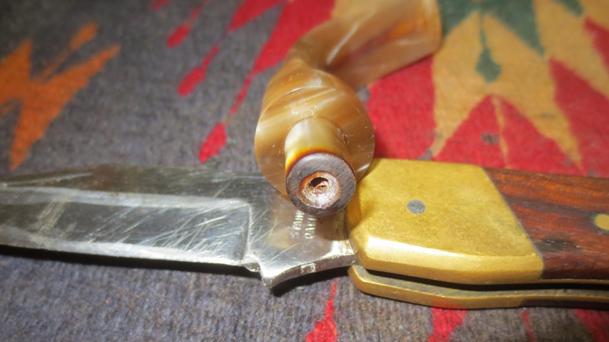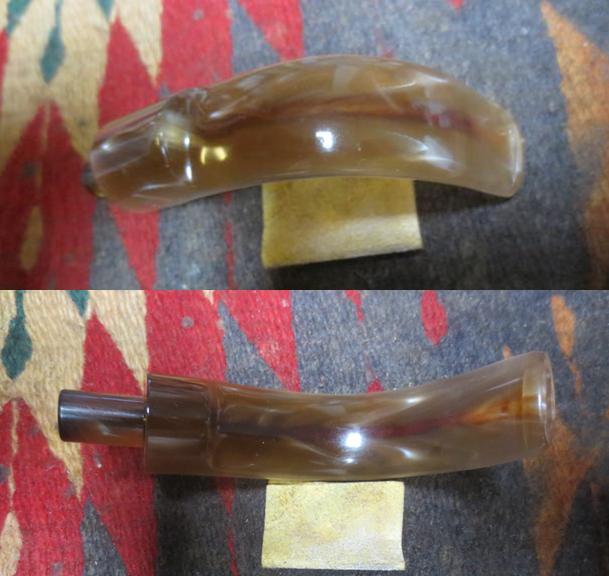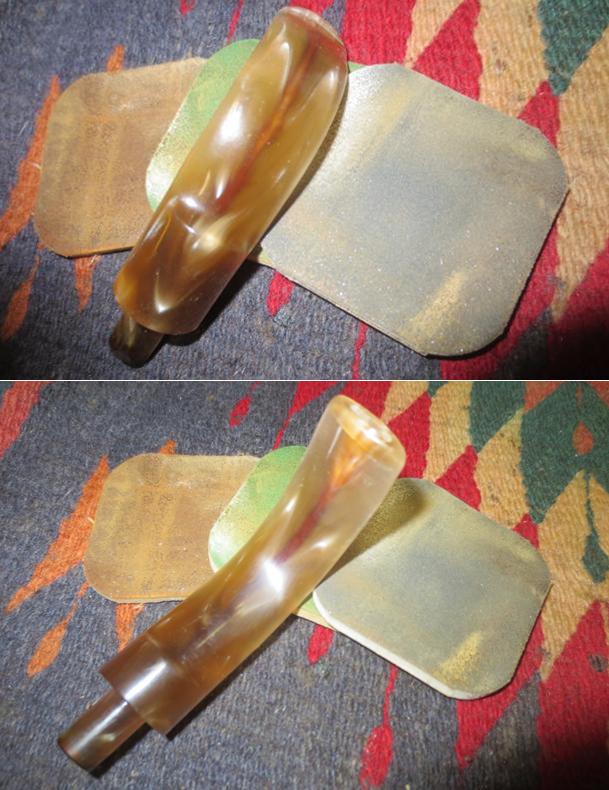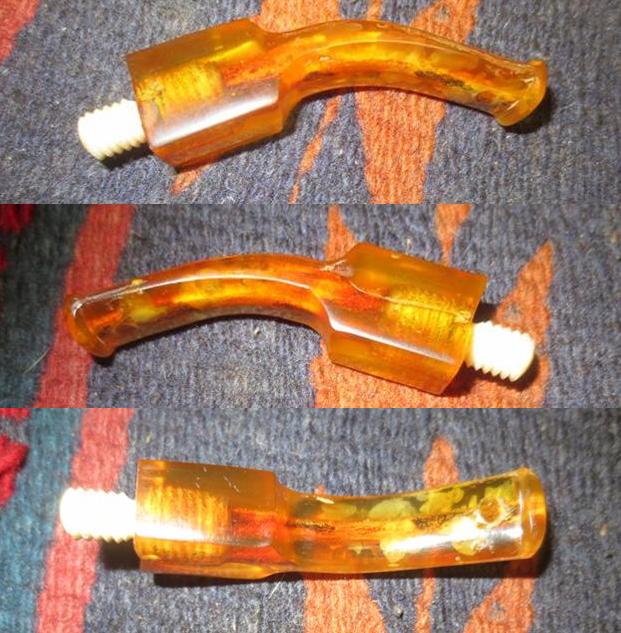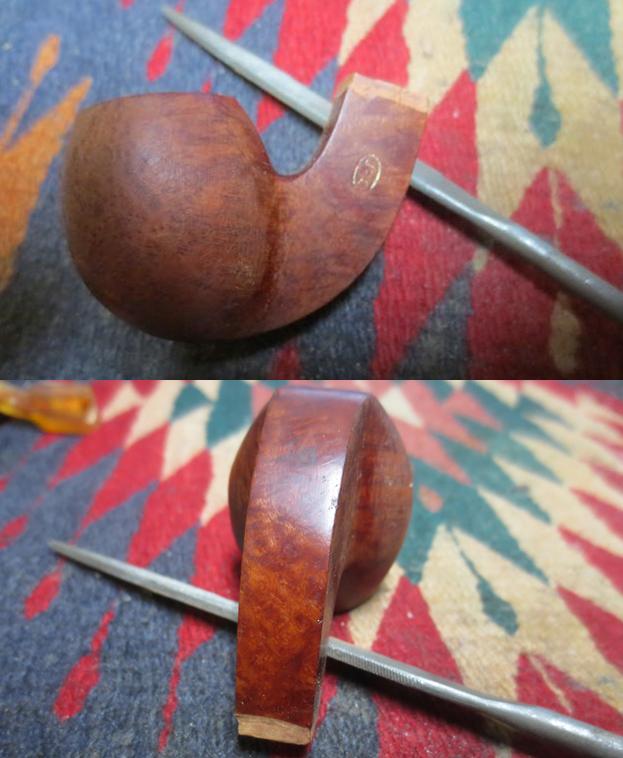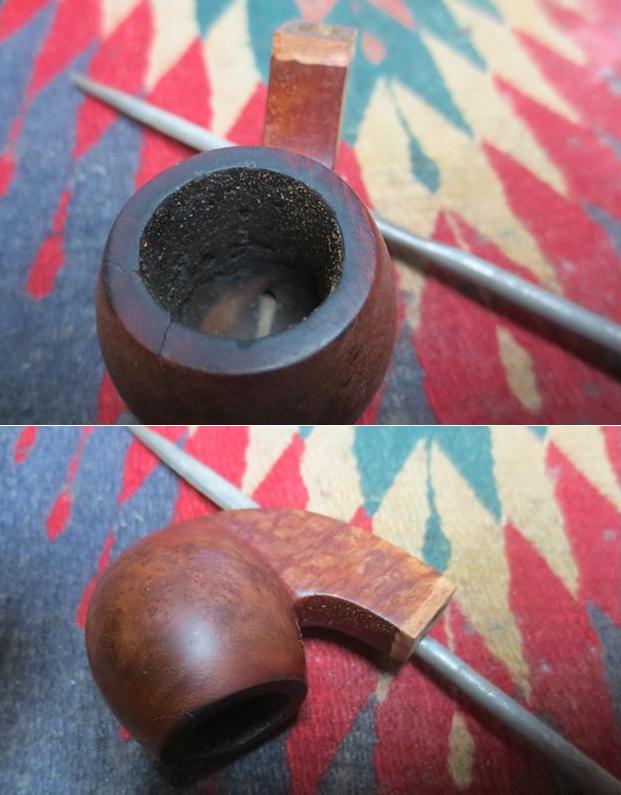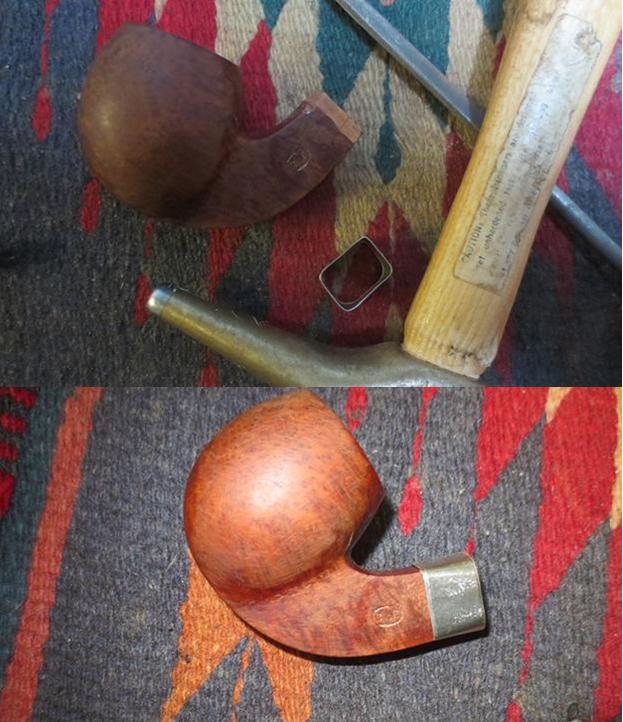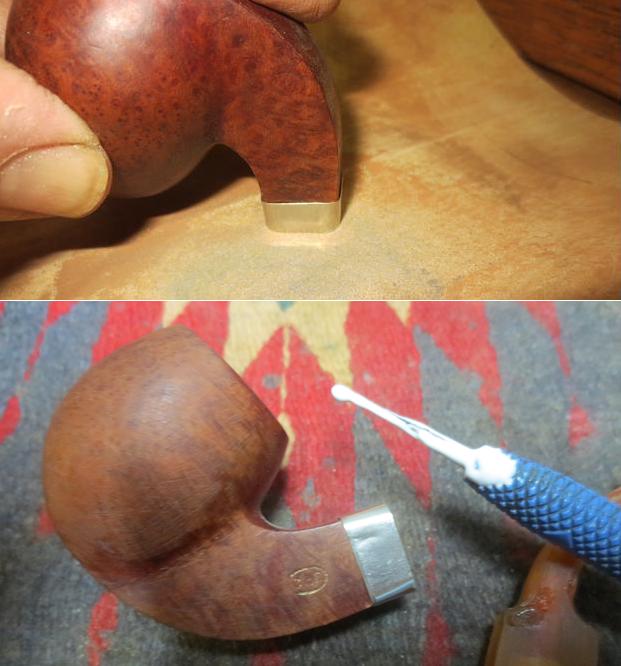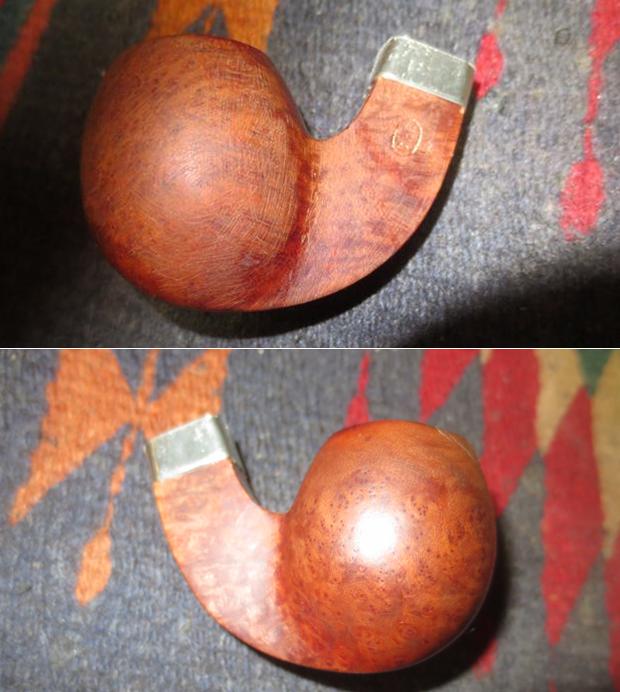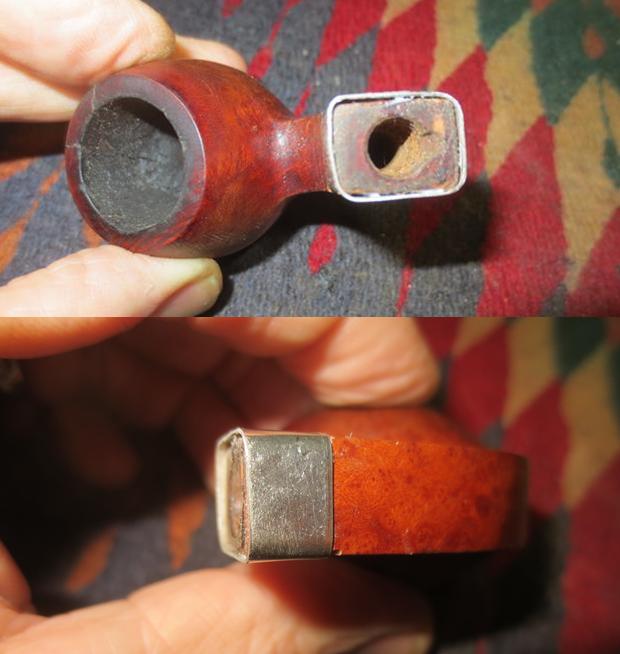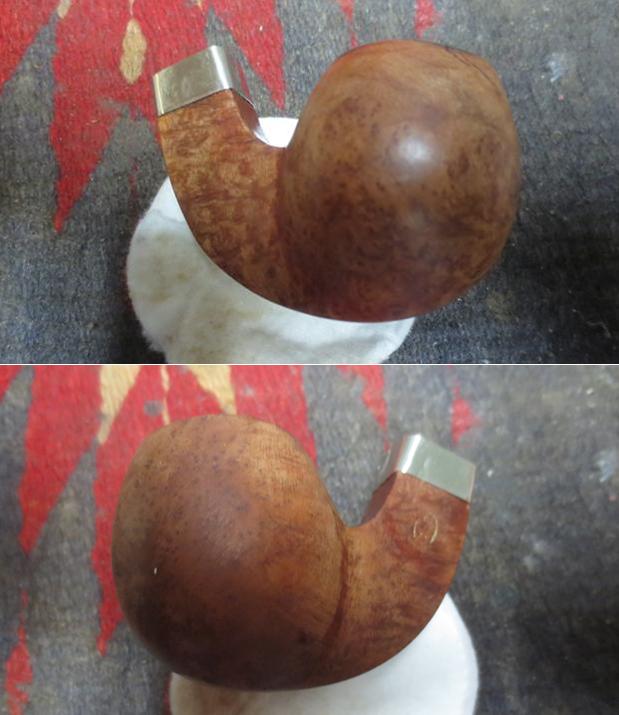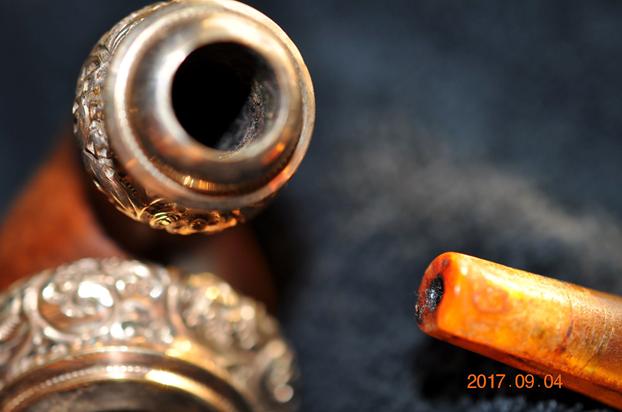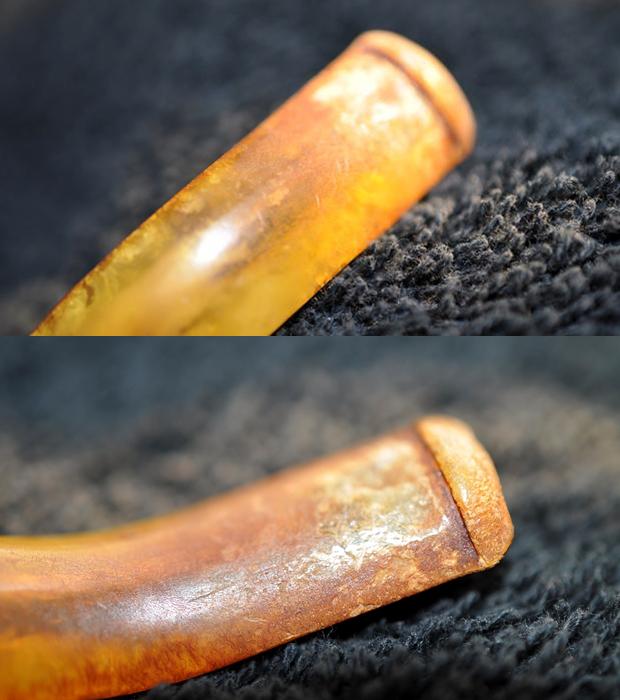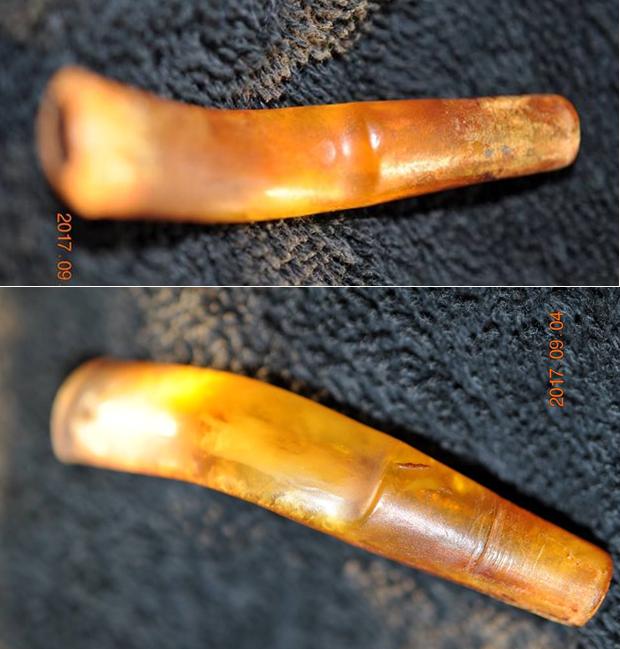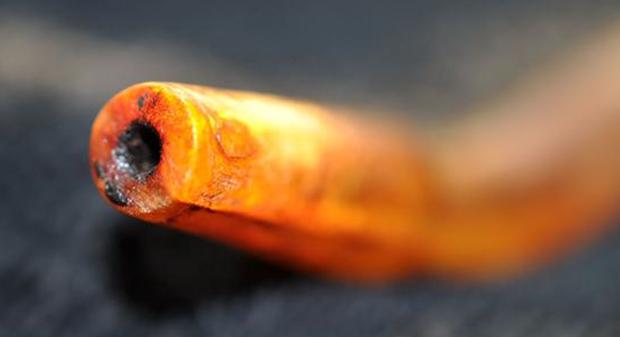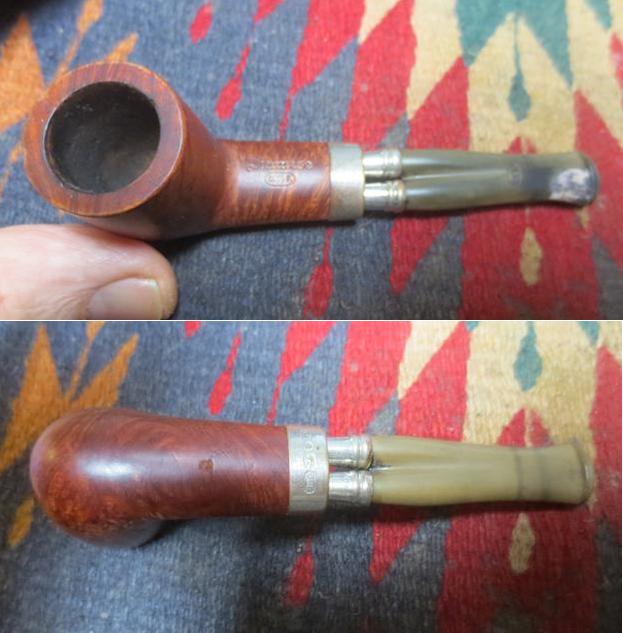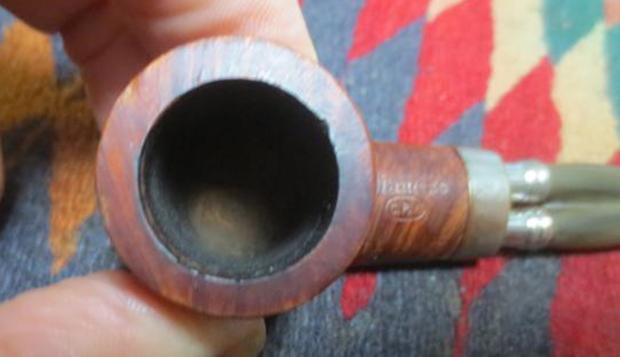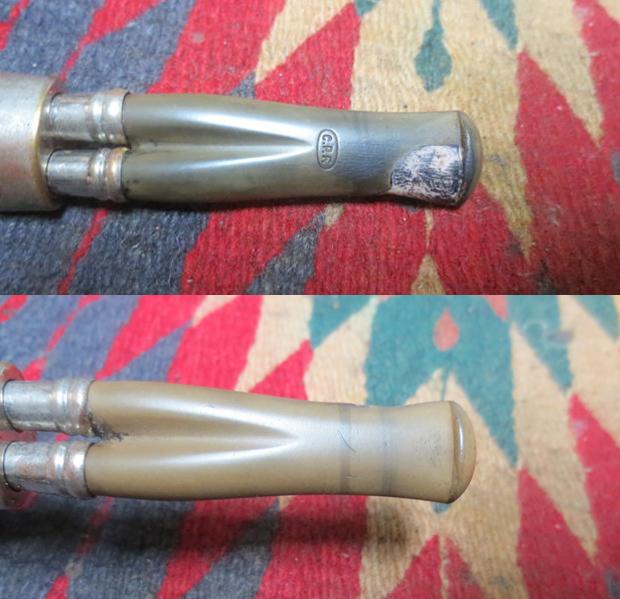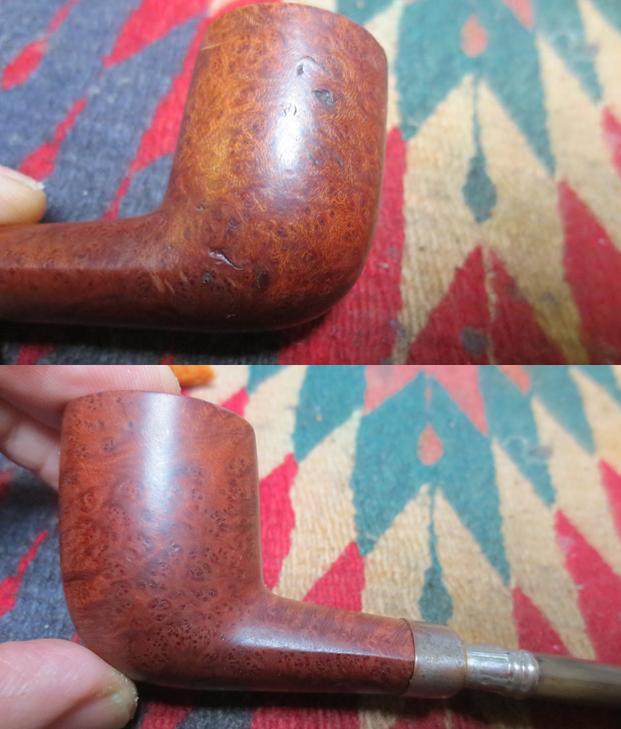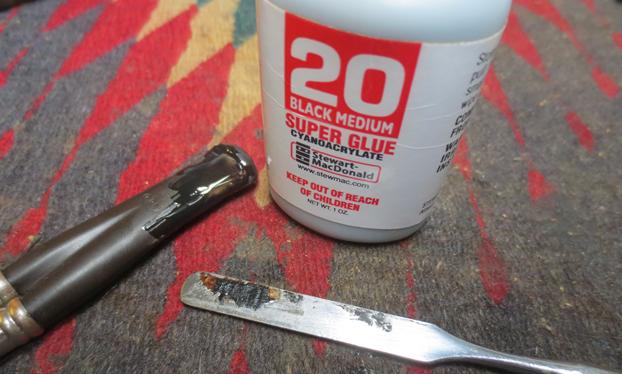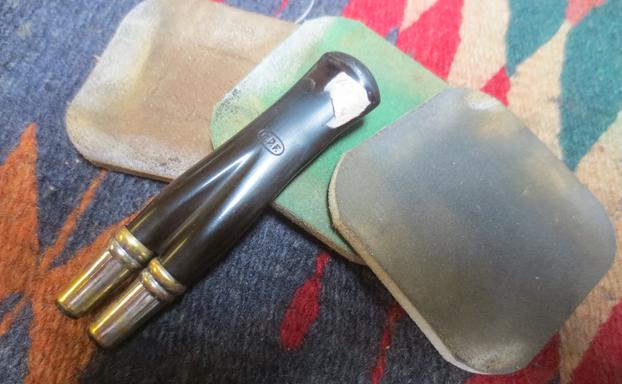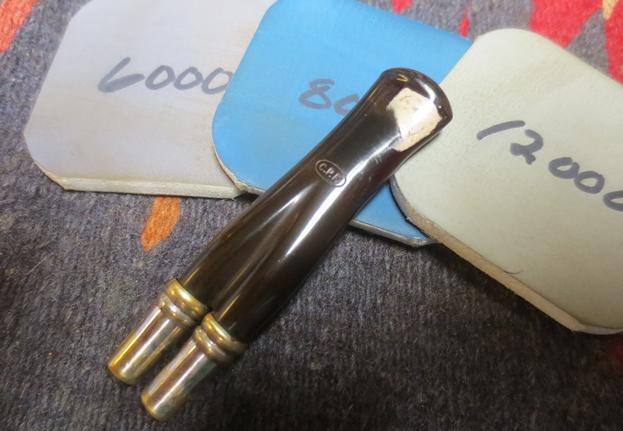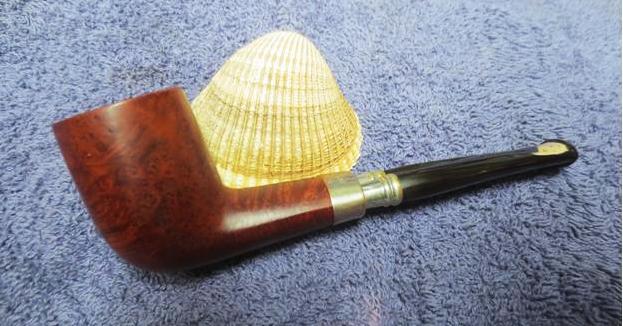
Tag Archives: repairing bite marks

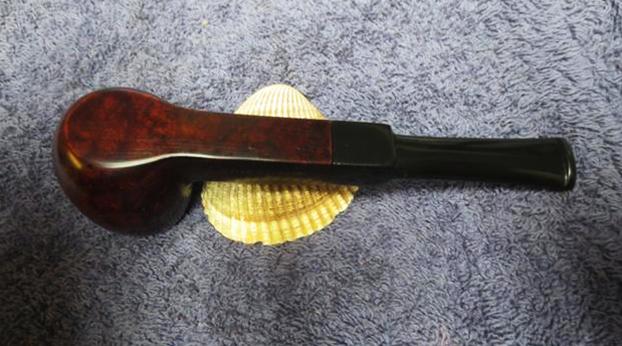
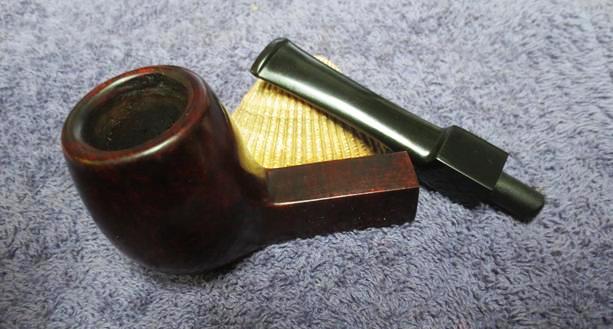
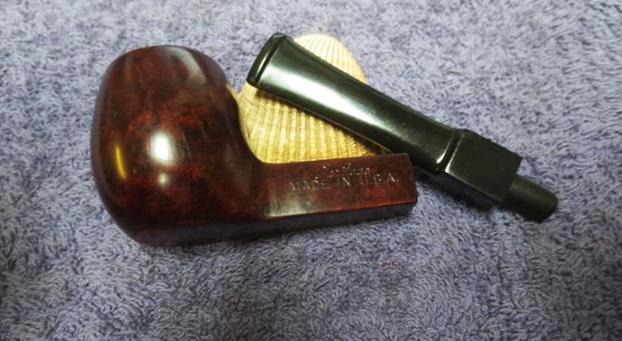
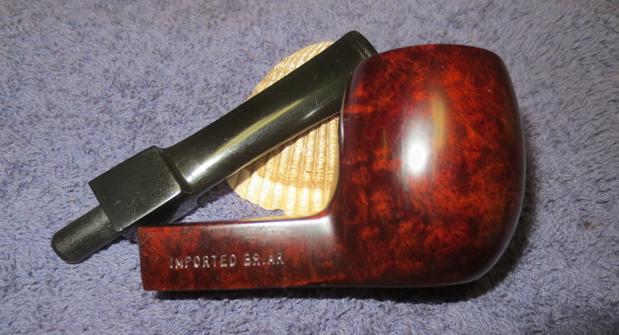
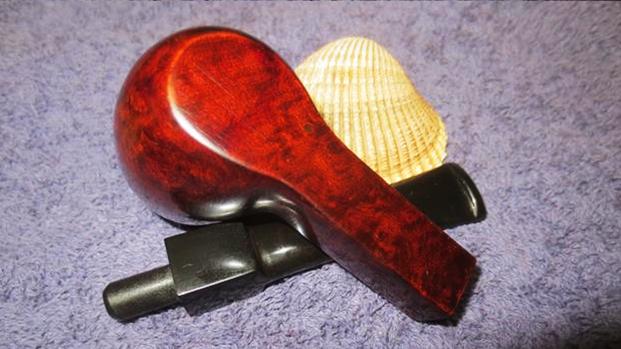
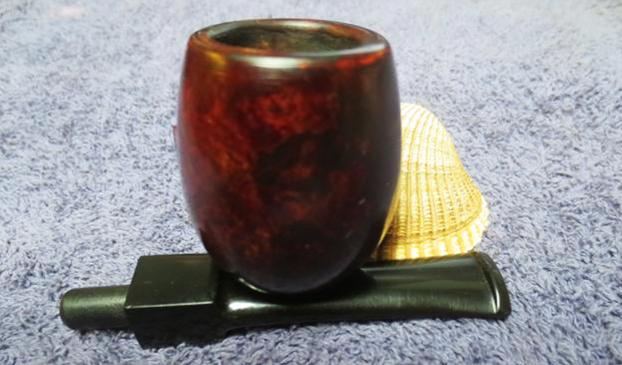
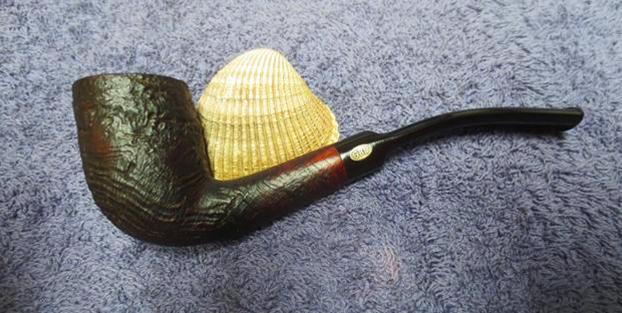
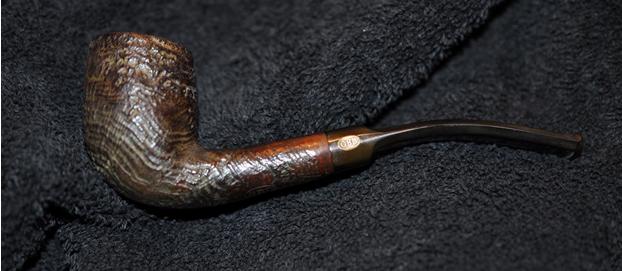
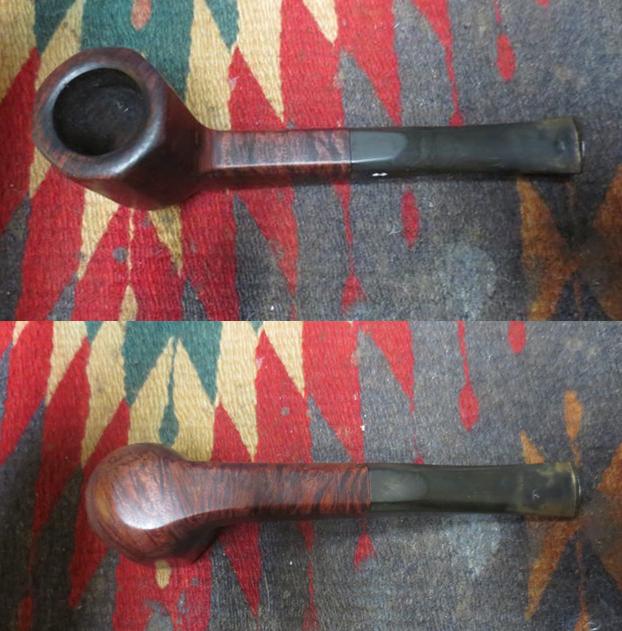
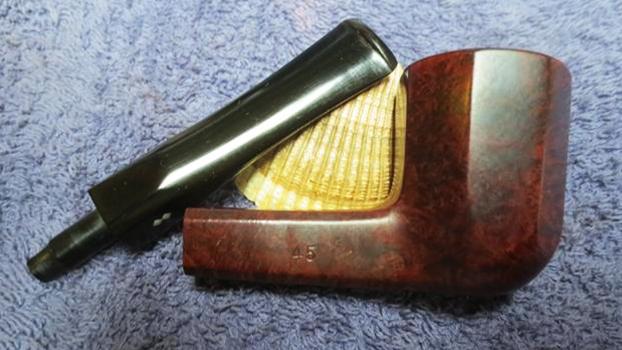
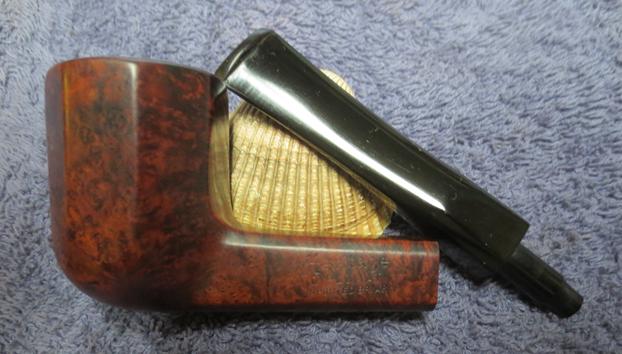
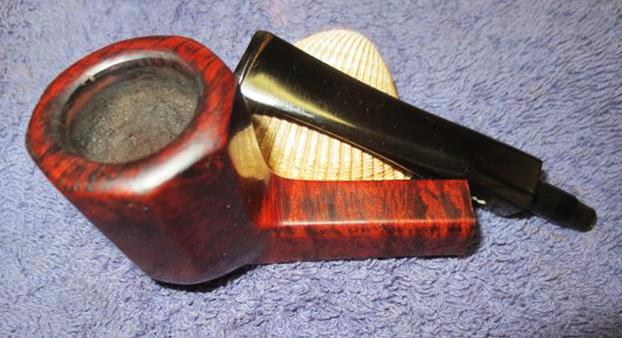
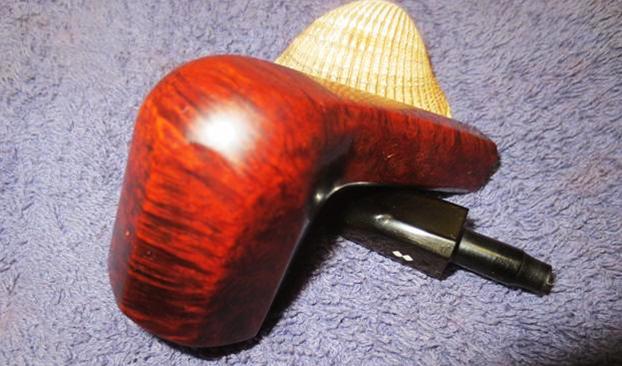
Something is different about this Heritage Square Shank Apple


Blog by Steve Laug

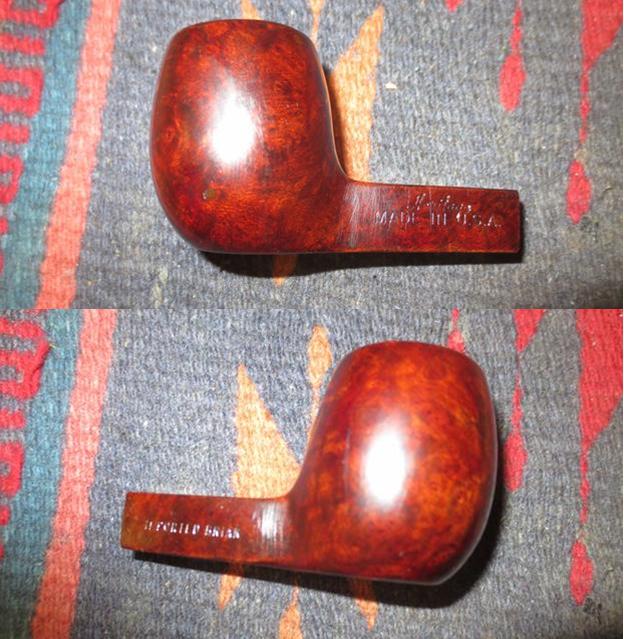
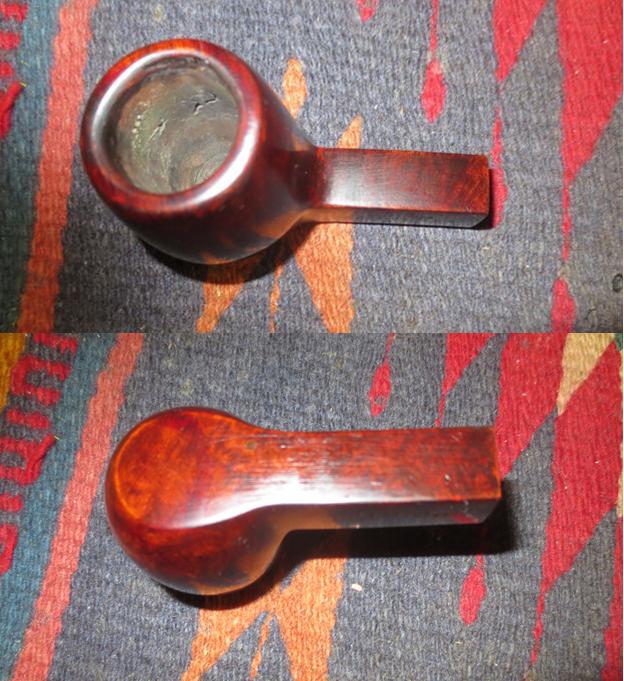
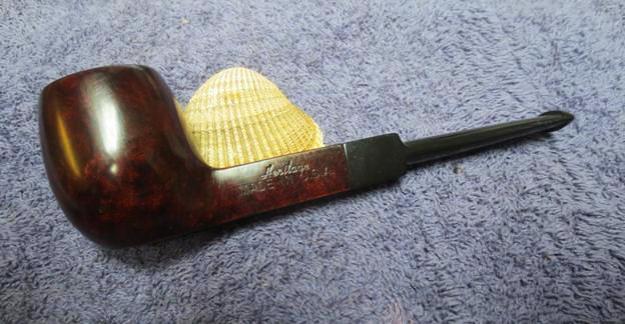
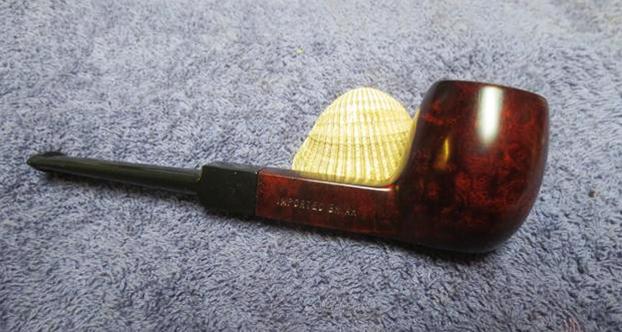
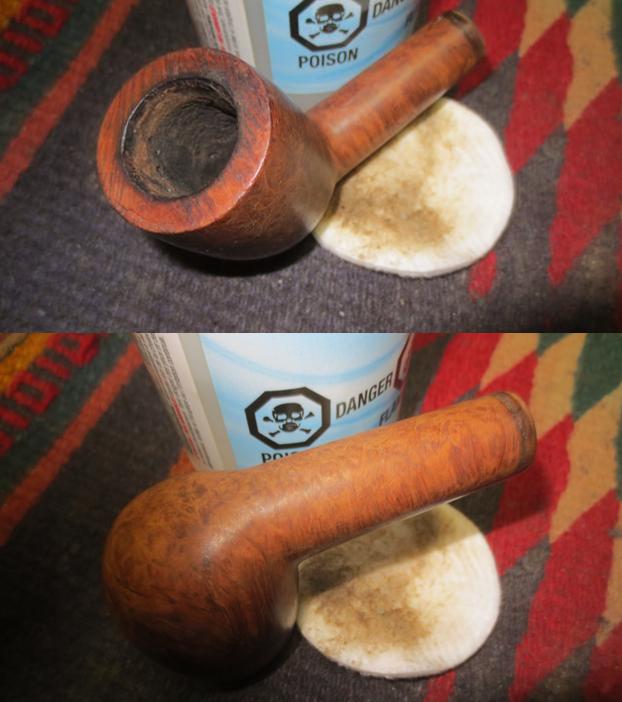
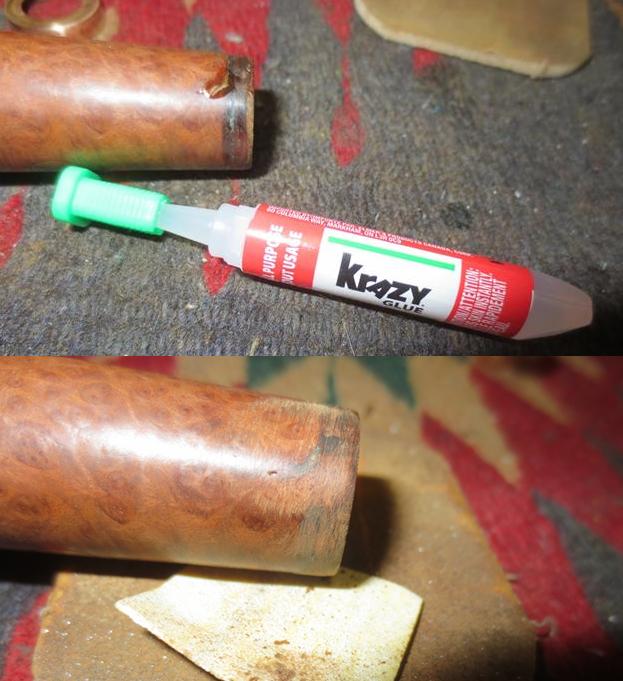
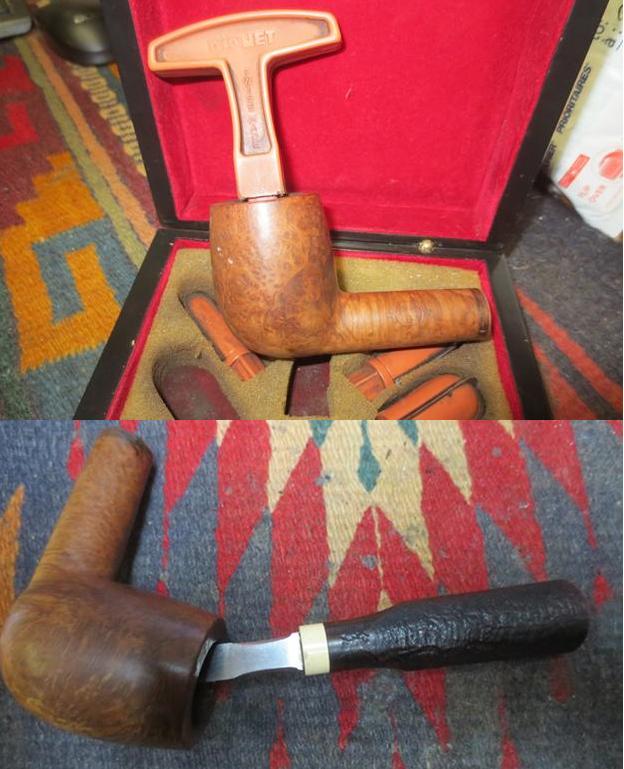
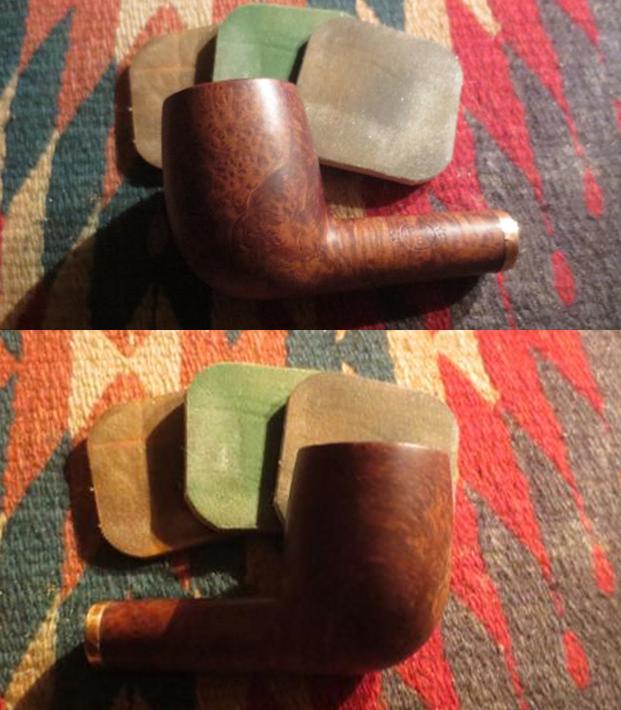
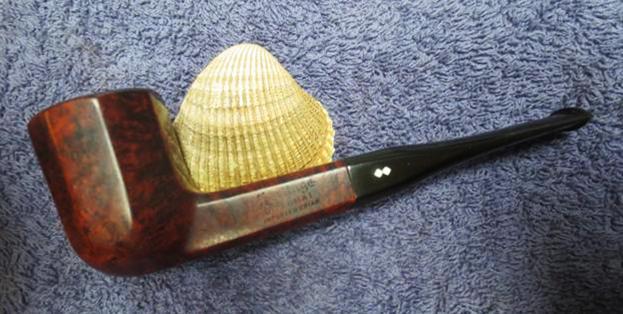
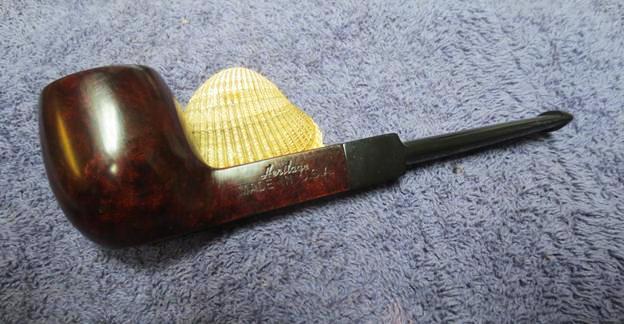
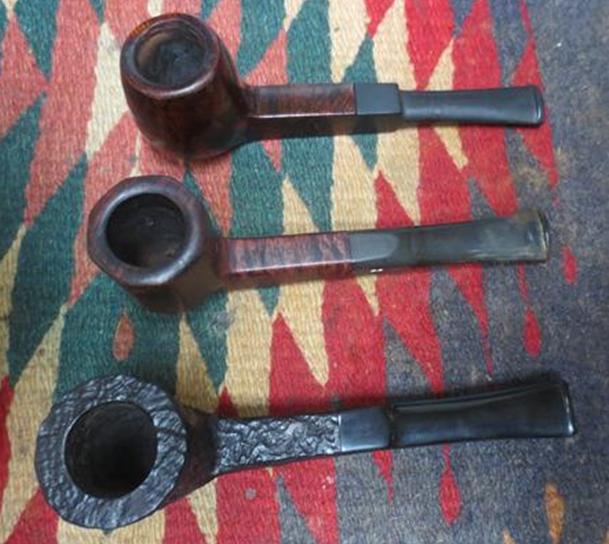
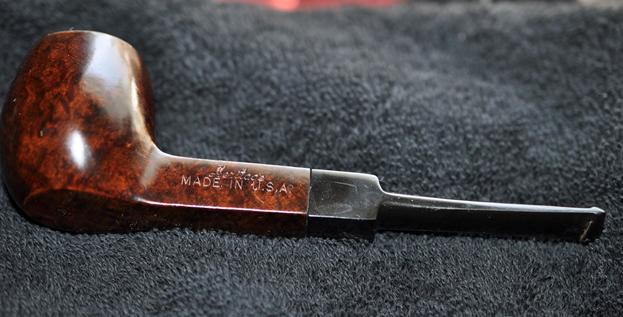
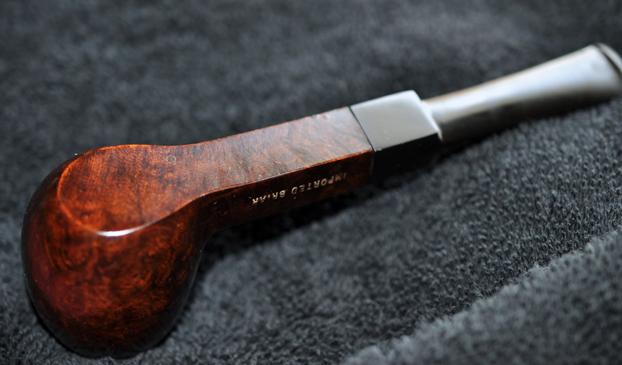
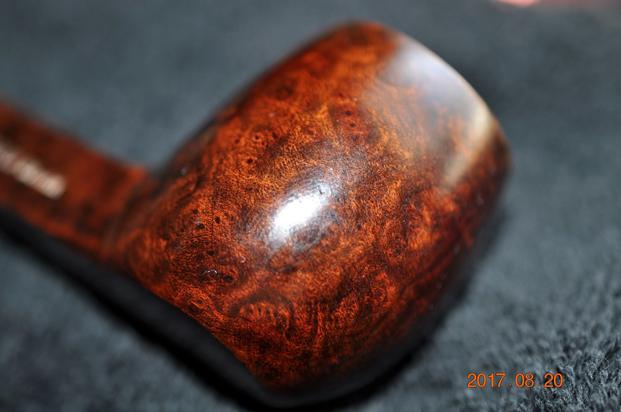
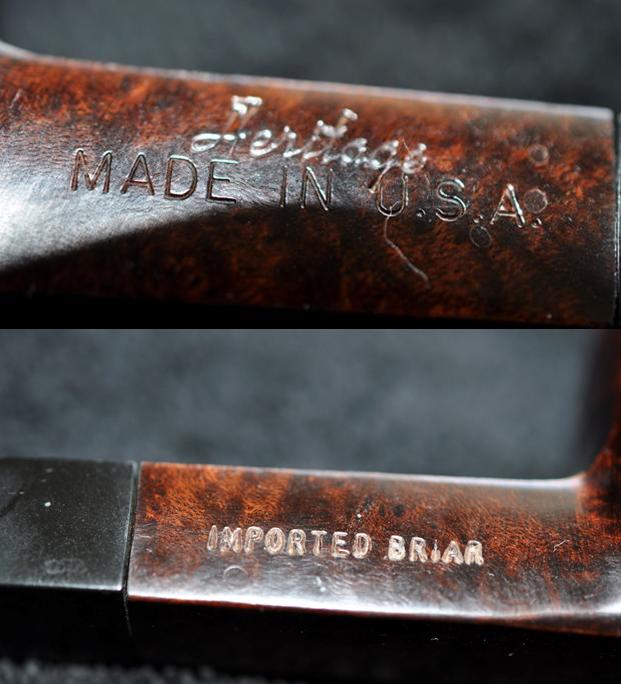
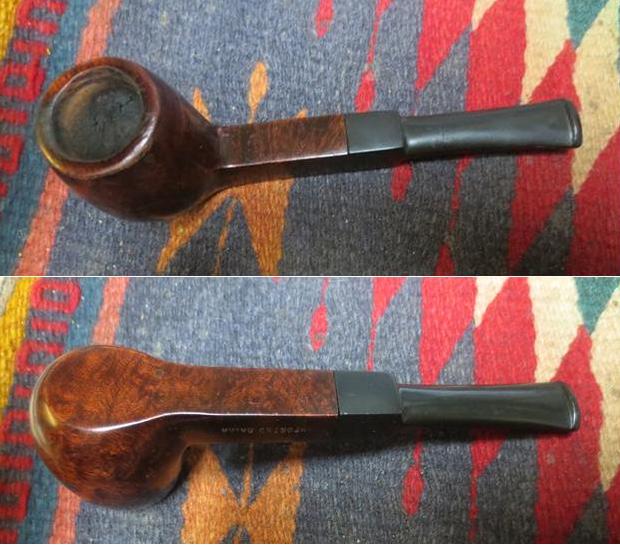
As I mentioned in the first blog I did on the Heritage threesome – the 45S Antique, earlier this summer I was relaxing and surfing Ebay on my iPad and I came across three listings for Heritage Pipes. All were square shank pipes and all were in decent condition. Two of them had original stems while the third had a stem I was not sure about. Several years ago I had learned about the brand through Andrew Selking who writes for rebornpipes. Since then I have kept an eye out for them. There do not seem to be too many showing up on Ebay but every so often there is one. This time there were three. I contacted my brother with the links and he bid and won the threesome. I have finished the middle and bottom pipe and have written blogs about them (The Heritage Antique – https://rebornpipes.com/2017/10/08/cleaning-up-the-first-of-three-heritage-pipes-45s-dublin/, The Heritage Diplomat – https://rebornpipes.com/2017/10/14/new-life-for-heritage-diplomat-8-panel-billiard/). The last of the threesome is what is on the work table now. It the top pipe in the photos below. When I got to looking carefully at this pipe I immediately saw some differences from the other two Heritage pipes. Though it is stamped Heritage with a similar font on the left side of the shank, it also is stamped Made in USA under that. The stamping is more like the Kaywoodie pipes I have worked on. The right side of the shank is stamped Imported Briar. The finish on this pipe is nowhere near as nice as the other two pipes. The quality is good but not stellar like the others. The stem fit and shape is different from the other two and seems to be a stem blank rather than a custom made stem. It is not a replacement as I first thought but is the original stem. I also cannot find it on the Heritage Brochure that Andrew provided. The overall look and feel of the pipe leads me to think that this pipe was made later than the other ones and is probably a Kaywoodie of lesser quality. Even though that is true I think it has value in that it is a historical piece that may be transitional in nature. I am including the next two photos as they show the condition of the pipe when my brother received it and the stamping on the shank. For your reference if you are interested I am including a summary of the history of the brand that Andrew wrote on a previous blog on rebornpipes. I find that it is helpful and clear. There is not a lot of information on the brand available on-line so anything helps fill the gap. Here is the link: https://rebornpipes.com/2014/12/23/refurbishing-a-heritage-heirloom/.
Heritage pipes were Kaywoodie’s answer to Dunhill. According to one of their brochures, Heritage pipes were made from “briar burls seasoned and cured for up to 8 months,” with only “one briar bowl in over 300 selected to bear the Heritage name.” “Heritage stems are custom fitted with the finest hand finished Para Rubber stems. Mouthpieces are wafer thin and concave.”

The Heritage line began in the early 1960’s, with the trademark issued in 1964. The line was started at the request of Stephen Ogdon, (who worked for Kaywoodie in 1962). Mr. Ogdon had previous experience working for Dunhill, either running the New York store or working for Dunhill North America. Mr. Ogden was made President of Heritage Pipes, Inc., Kaywoodie Tobacco Co.,Inc. and Kaywoodie Products Inc. as well as a Vice President of S.M. Frank & Co. Heritage Pipes were produced from 1964 until 1970 (Source Kaywoodie.myfreeforum.org).

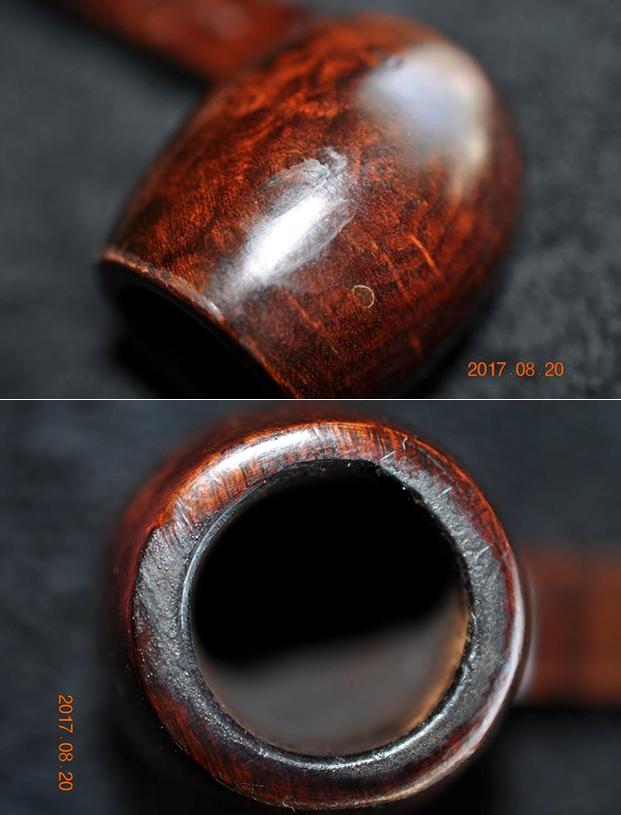
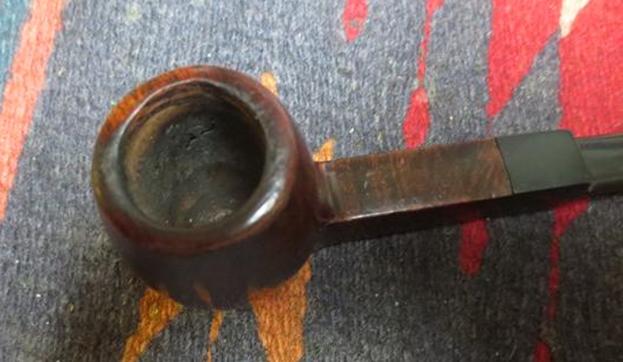
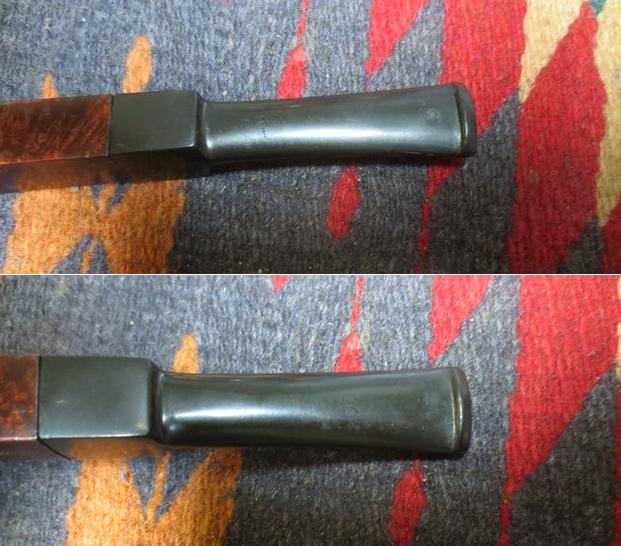
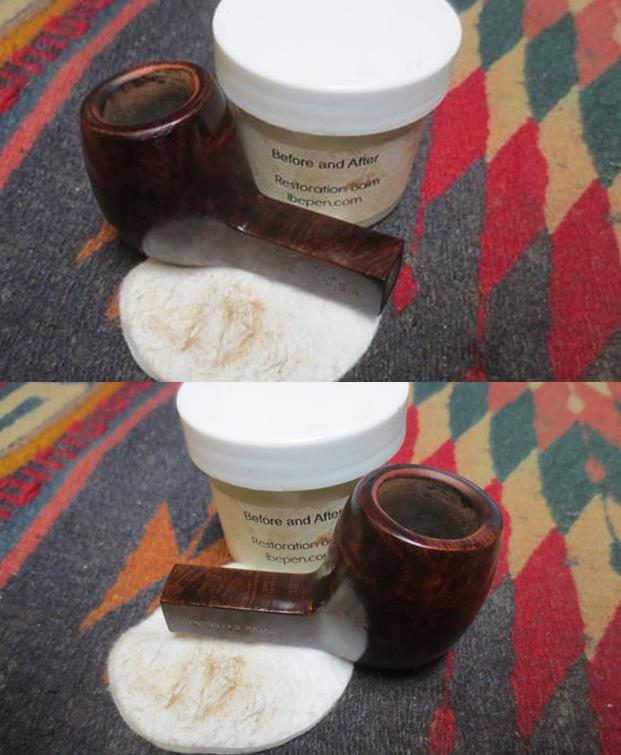
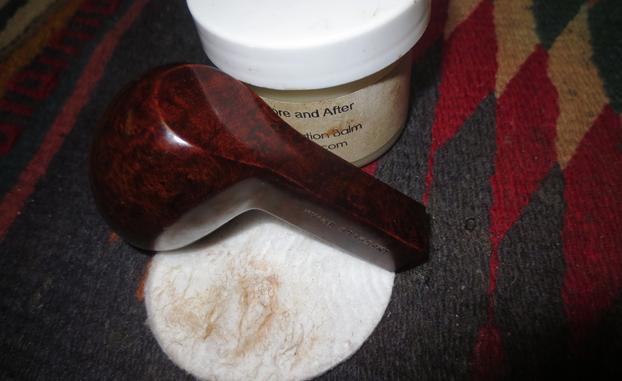
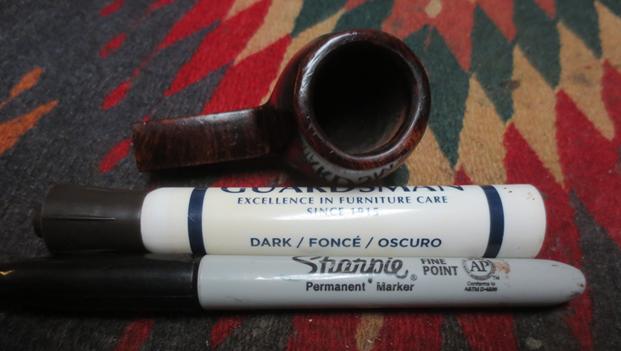
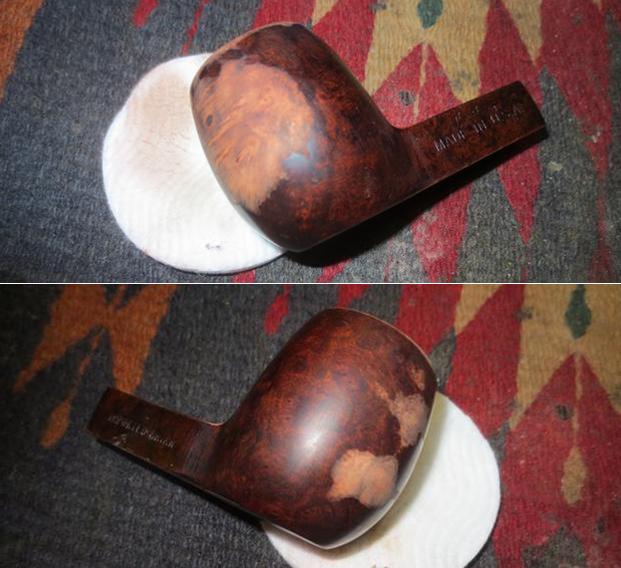
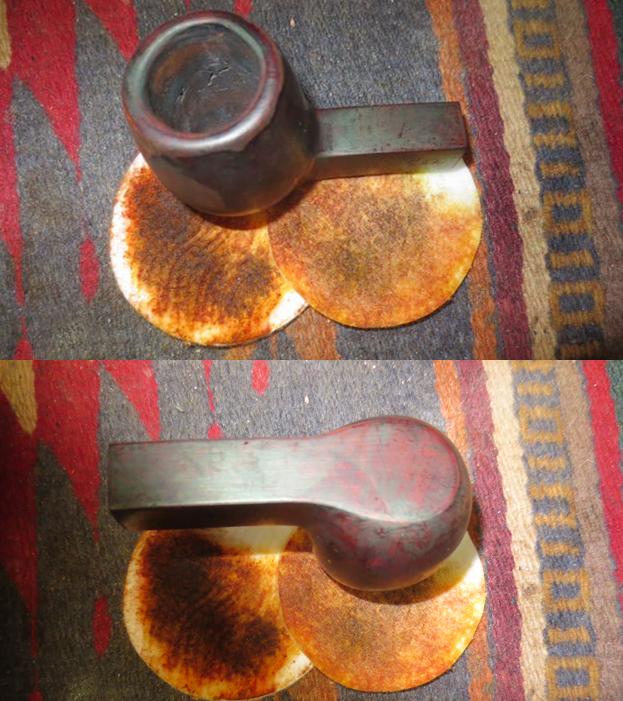
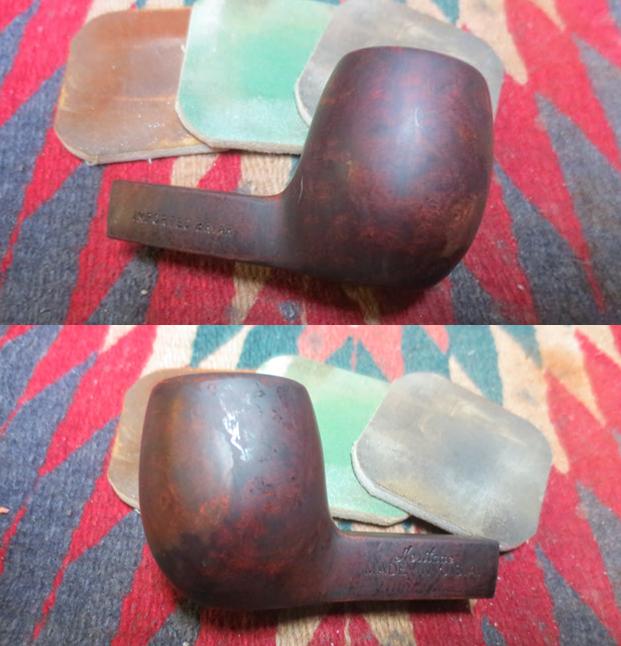
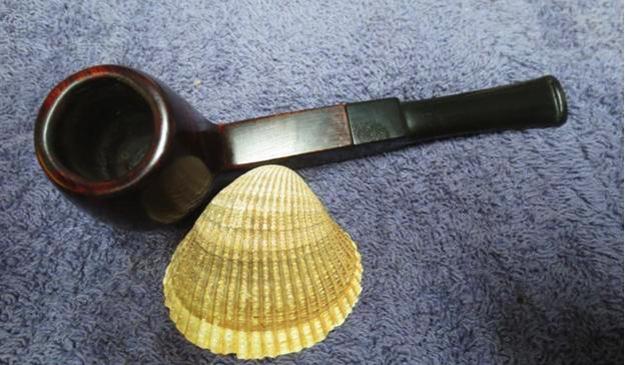
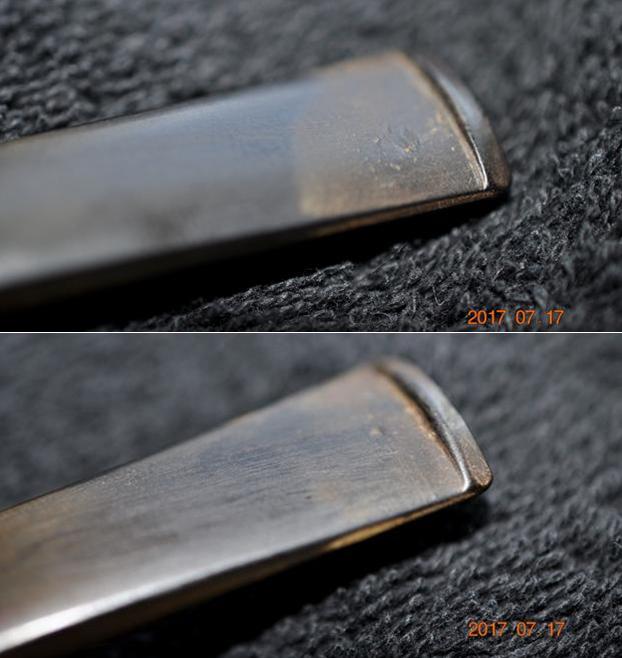
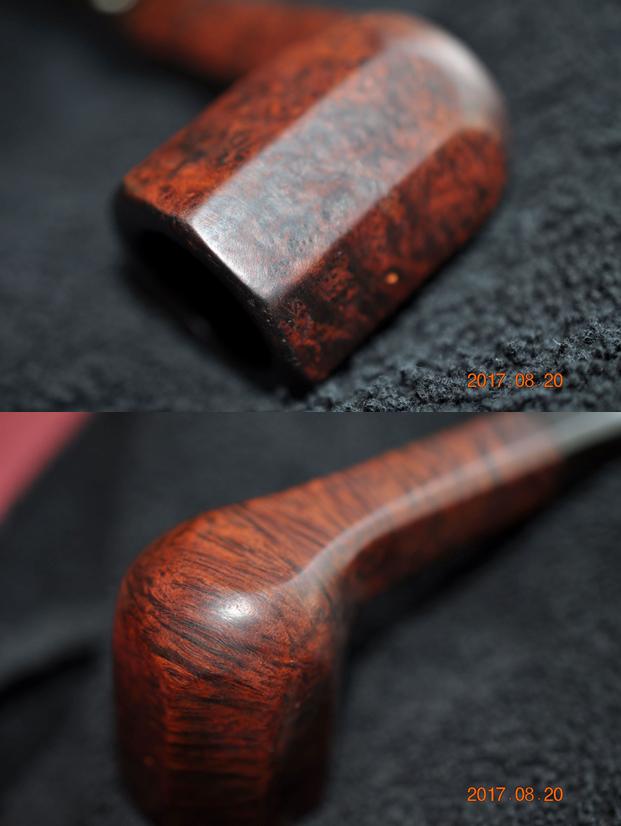
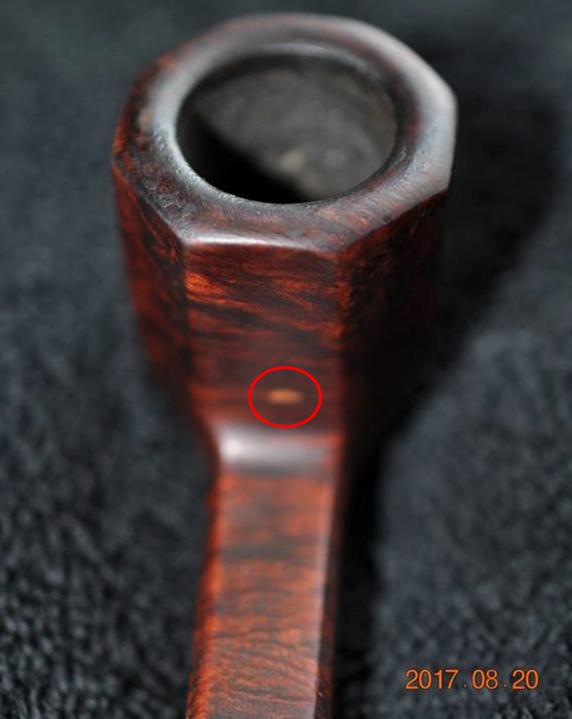
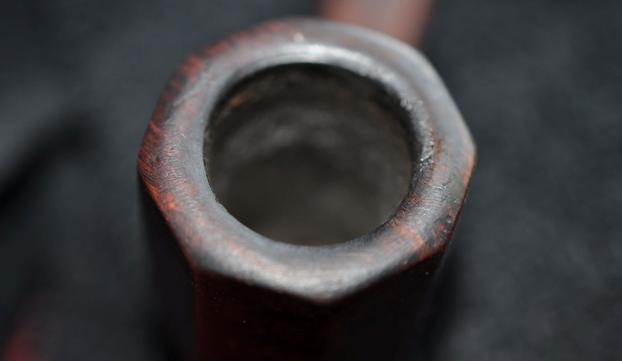
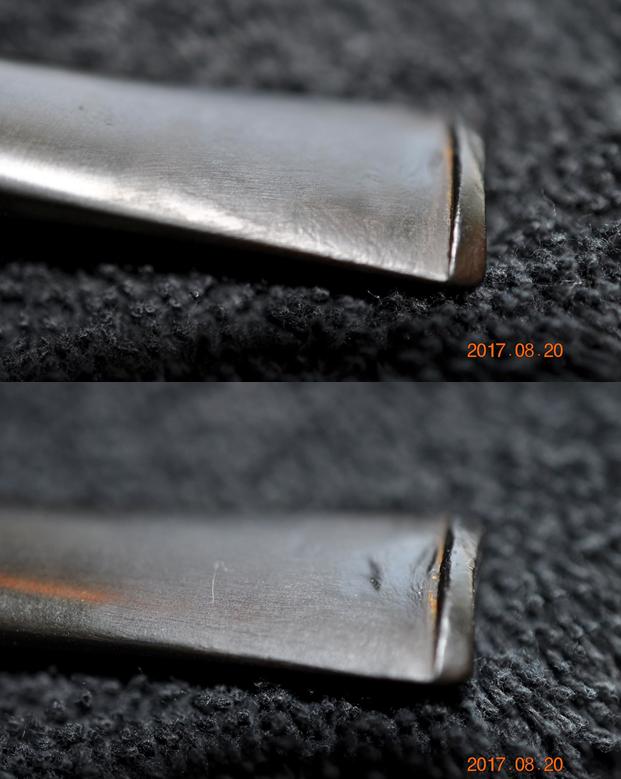
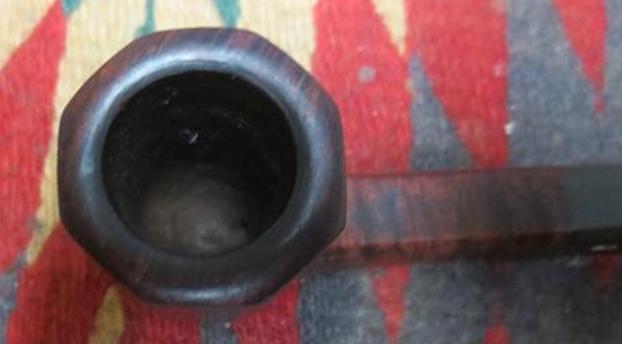
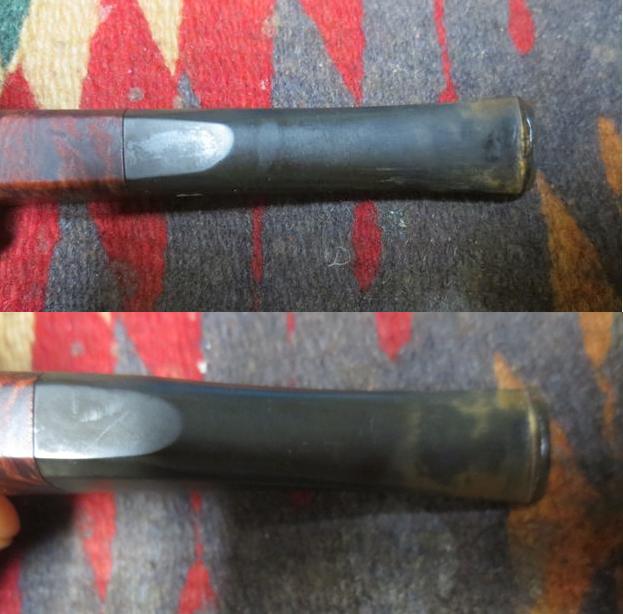
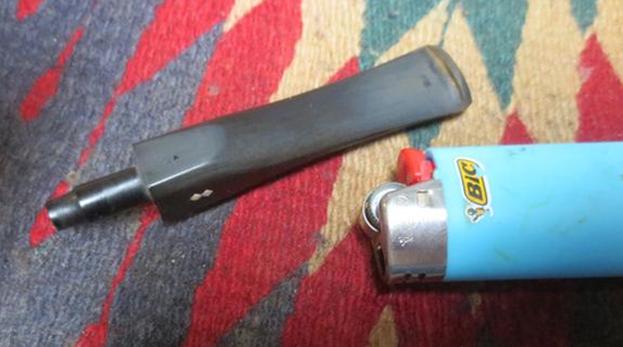
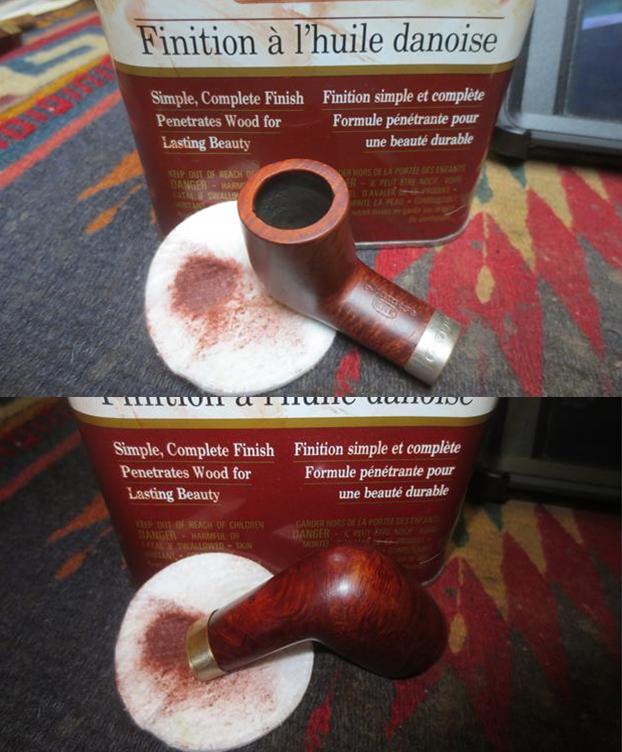
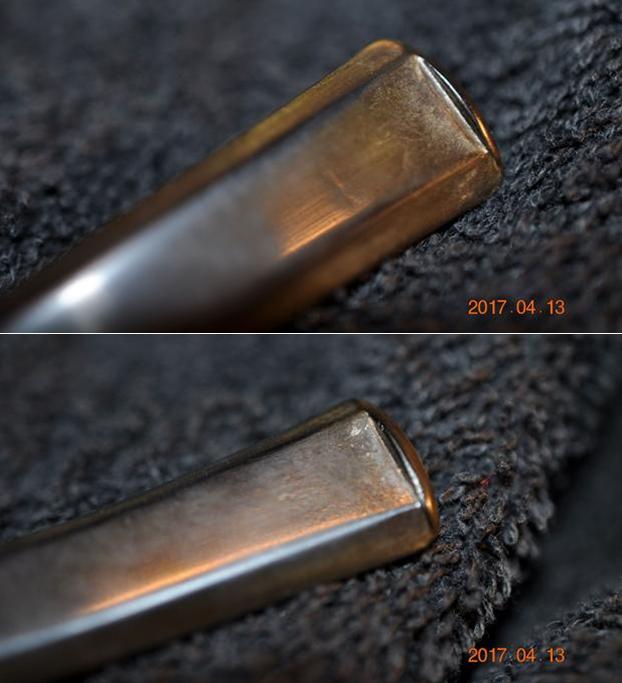
From Andrew’s helpful blog I would put a 1970s date on this one. It may well have been done after the closure of the line. Jeff took photos of the grain around the bowl to give an idea of the quality of the briar. While it was dirty and scratched there was some nice grain on the pipe. The photos show some slight wear on the outer edge of the rim and on the inner edge. The rim top shows some wear and some lava buildup. It is hard to know from these photos how much damage there is to the inner edge of the rim. I will know more once the grime and lava are removed. Time will tell. The next two photos show the stamping on the shank. There are some subtle differences to the Heritage font and the not so subtle differences of the Made in USA and Imported Briar stamp that were not present on the other two pipes of this threesome. The stem did not have the PARA Hard Rubber stamping of the other two and did not bear the Heritage logo on the left side of the saddle. This could either point to a replacement stem (which is possible) or to a later version of the brand that did not include those items. I am not sure which is the case. The stem was good quality rubber and did not show too much oxidation. There was tooth chatter and some tooth marks on both sides of the stem near the button. There was also some wear on the sharp edge of the button on both sides.Jeff worked his magic in cleaning up this pipe. He reamed it with a PipNet reamer and smoothed the walls of the bowl with a Savinelli Fitsall pipe knife. He scrubbed out the mortise and the airway in the shank and the stem with alcohol, cotton swabs and pipe cleaners. He scrubbed the exterior of the bowl, rim and shank with a tooth brush and Murphy’s Oil Soap to the oils and tars on the bowl, rim and shank. He rinsed it under running water. He dried it off with a soft cloth. Once the grime was removed the finish seemed to be coated with a varnish coat. It was peeling around the outer edges of the rim and also there were some damaged spots on the sides of the bowl where the finish was slightly peeling. There was some wear around the edges of the rim top and the inner edge showed some burn damage on the right side. The cleaning of the stem did not raise any oxidation in the vulcanite. The tooth marks were clean but visible. I took photos of the pipe to show its condition before I started my work on it. I took some close up photos of the rim top and the stem to show the condition of both before I worked on them. The photo of the rim top shows the damage on the inner edge of the right side of the rim and the wear on the outer edge around the bowl. Other than the tooth chatter and tooth marks the stem was in good condition with no oxidation that I would need to worry about. I decided to start on the bowl and address the rim damage. I used a folded piece of 220 grit sandpaper to slightly bevel the inner edge of the rim and blend in the damaged area with the rest of the bowl. I wanted to bring it back to round as much as possible and remove the damage. The second photo shows the reshaped rim edge. I think the process worked pretty well!I decided to use Mark Hoover’s Before & After Restoration Balm. I have written a review about the product in an earlier blog. I rubbed it into the surface of the briar and scrubbed it with a cotton pad. Mark has said that the product was designed to pull the dirt off of the briar as well as polish it. He added some anti-oxidants to keep the briar from getting damaged from both UV rays and water. It worked very well as you can see from the following photos that show the cleaned briar and the grime on the cotton pad. Remember that this pipe had already been scrubbed with oil soap and rinsed. It appeared to be clean for all intents and purposes but it still had residual grime in the pores of the briar. I blended black Sharpie Marker and a Dark Brown Stain pen to colour the inner edge of the rim and the repaired area on the rim top. The combination matched the colour of the stain on the bowl perfectly.It is at this point a couple of things caught my eye. There were what looked like water spots on the front and the left side of the bowl. I looked closely and they were very odd. Almost like some of the varnish finish had bubbled and been removed. The longer I looked at it the more ugly it looked. What had looked like an easy restore suddenly looked a lot harder. I was going to have to remove the varnish coat and restain the entire pipe. Just a little discouraging when things were moving ahead so well. But, chin up and do the job!
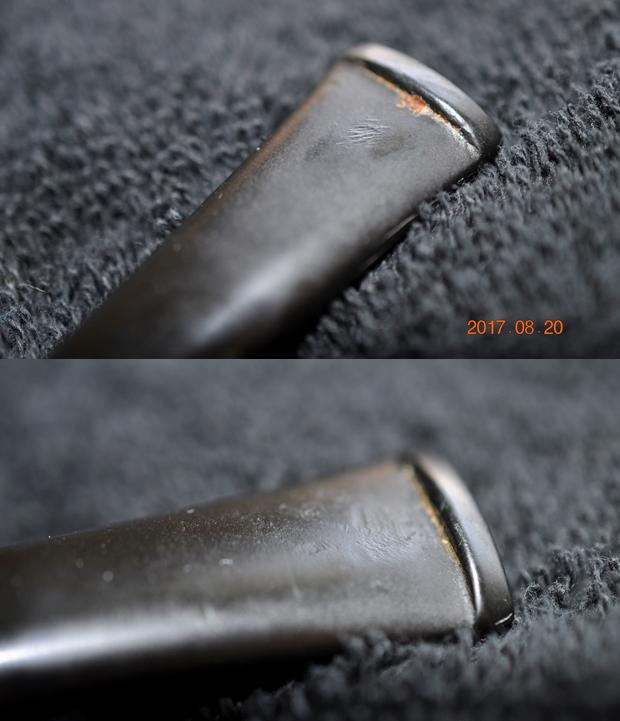
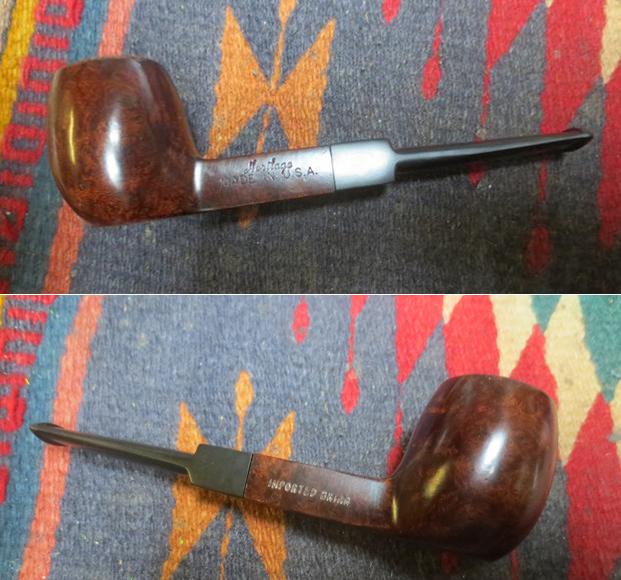
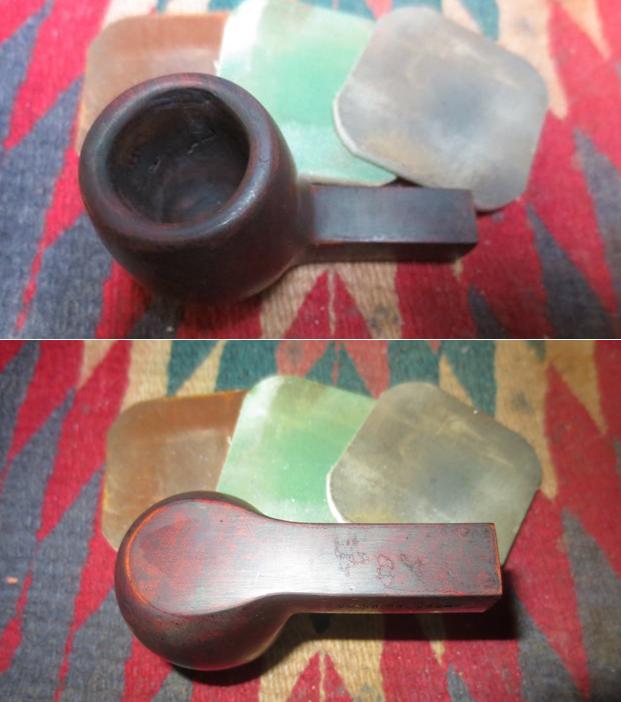
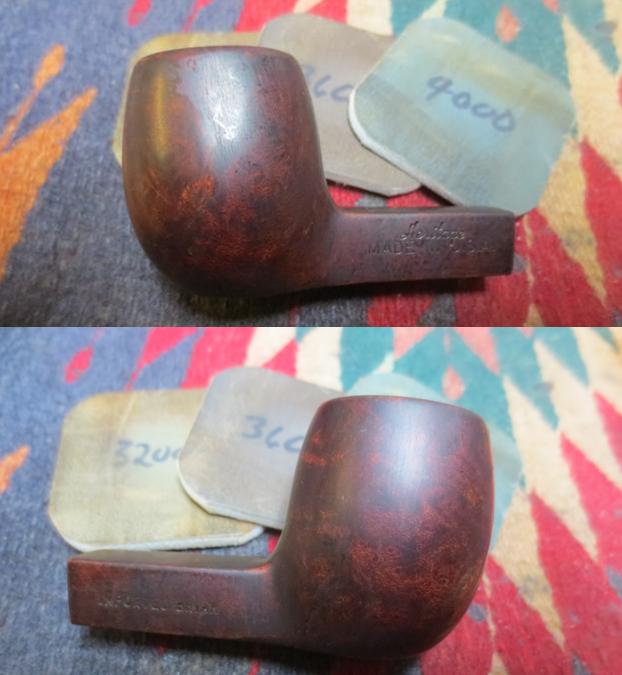
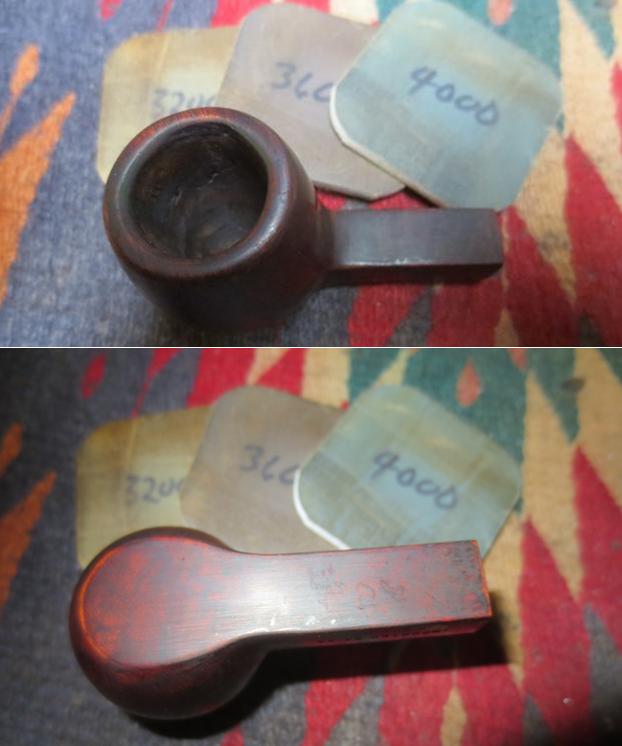
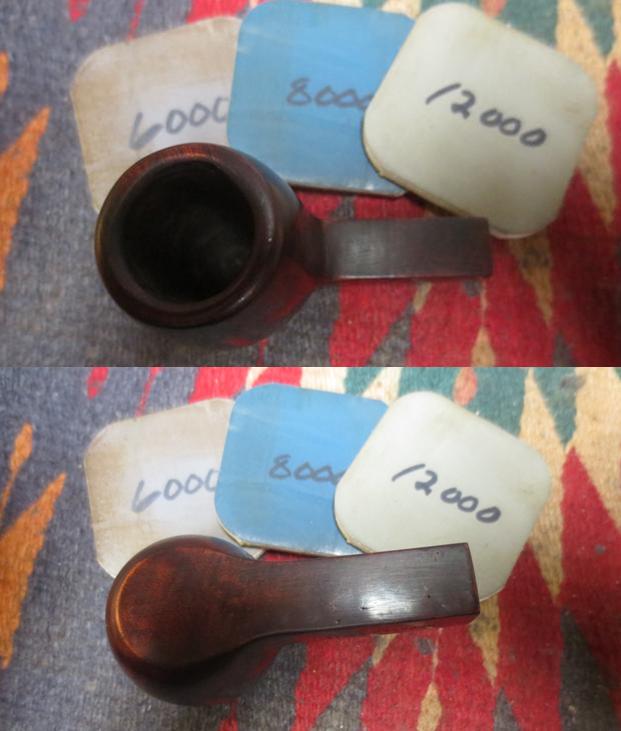
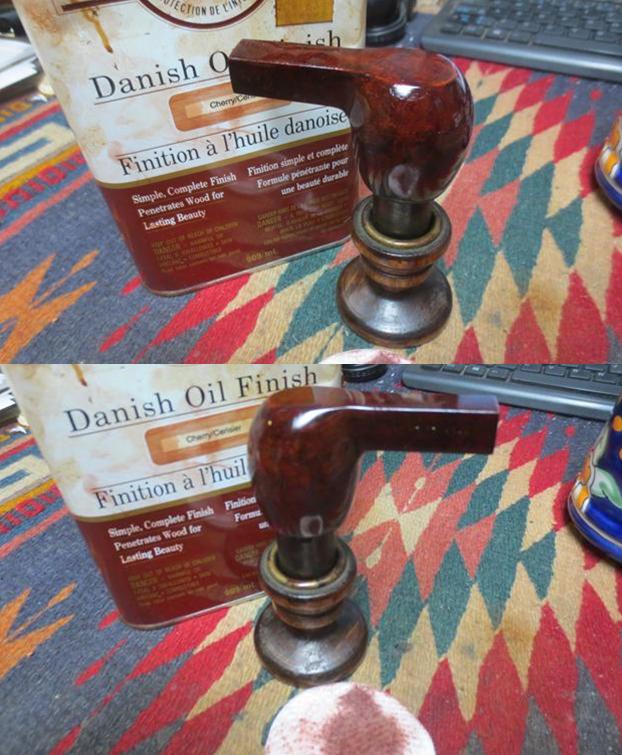
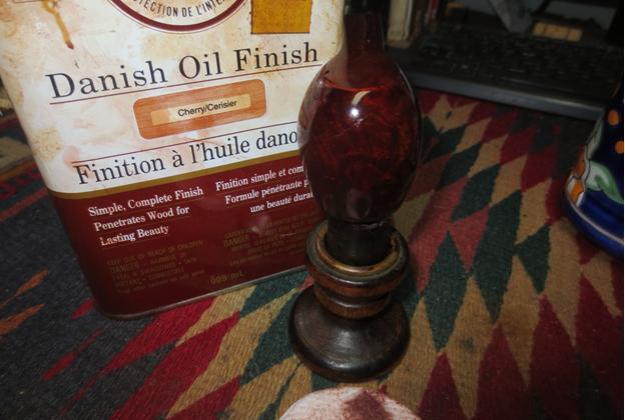
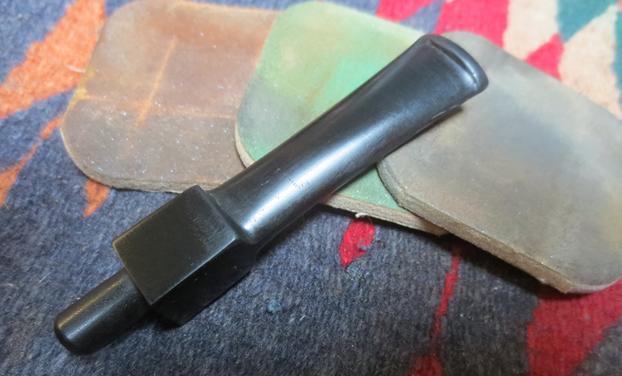
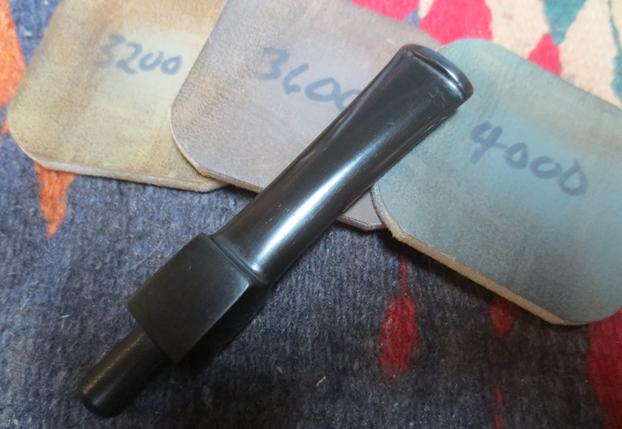
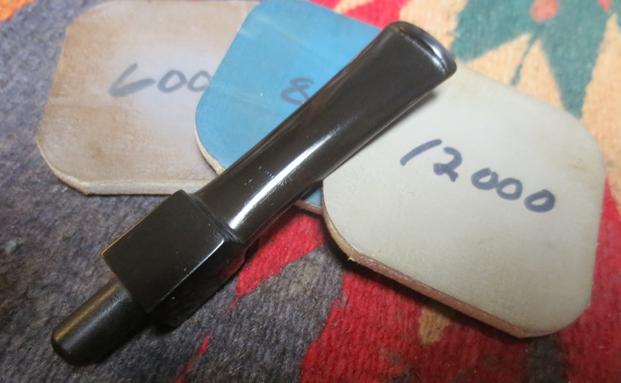
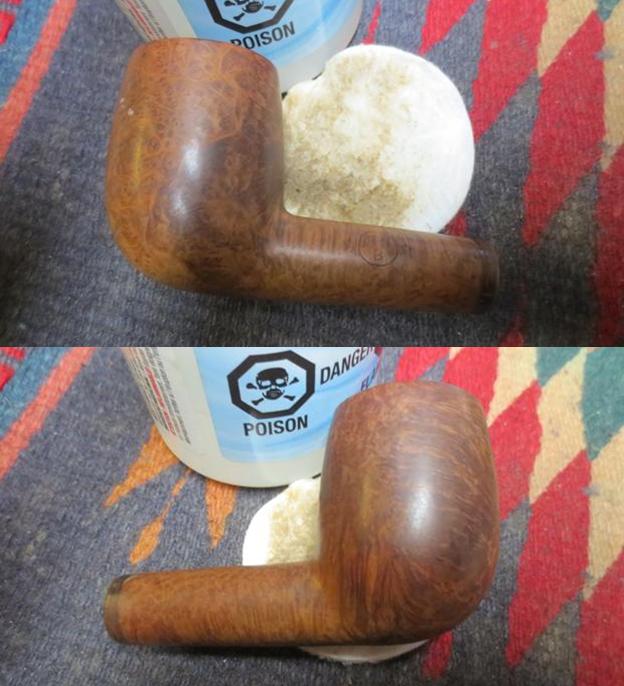
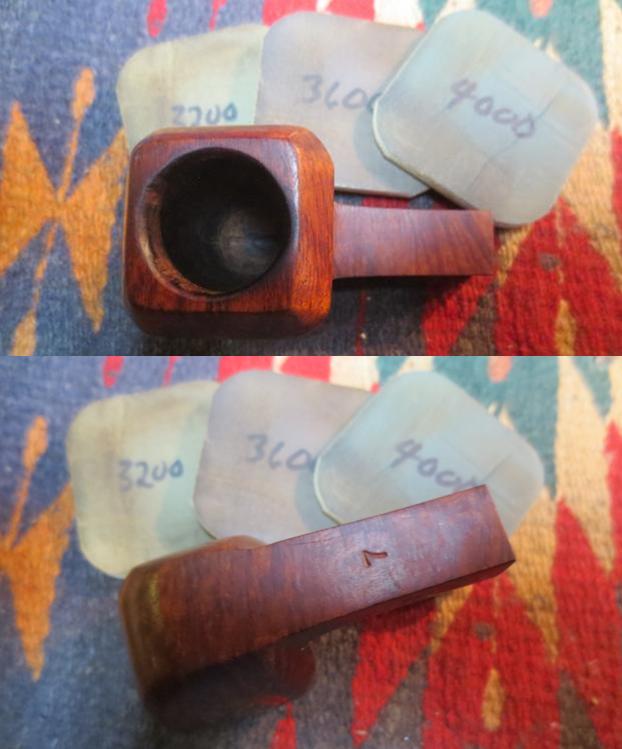
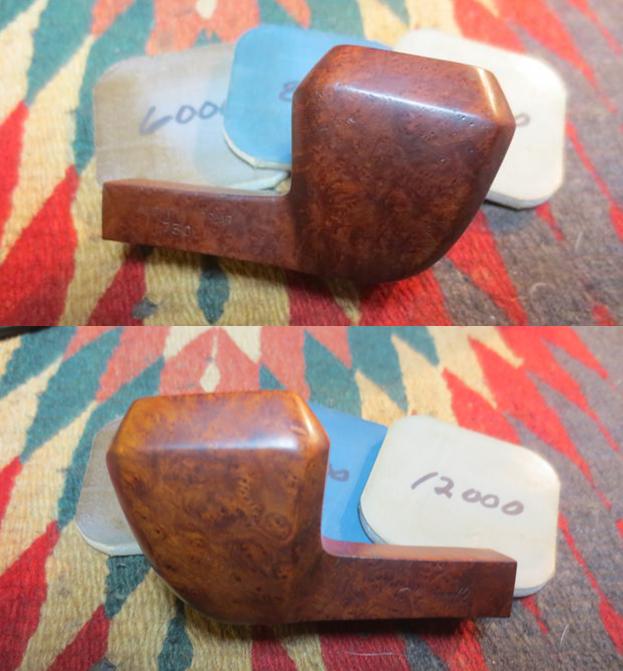
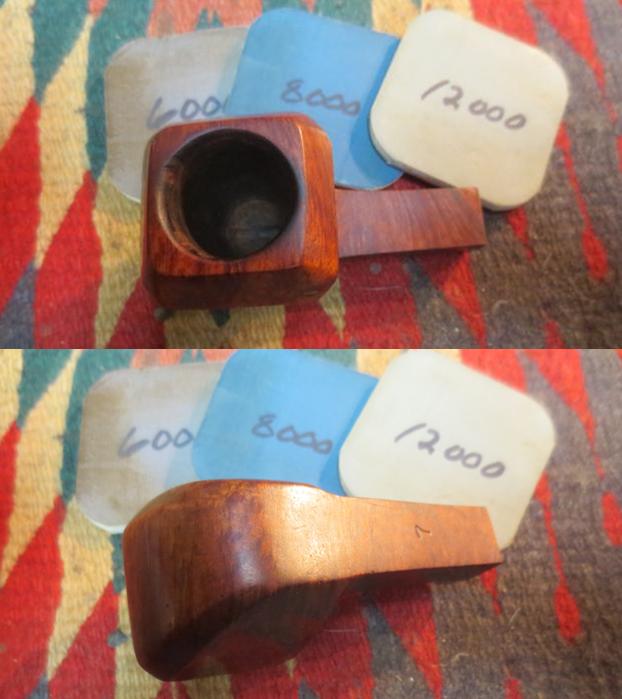
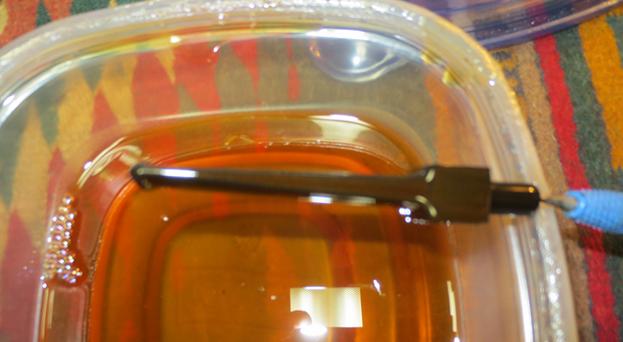
I wiped the bowl down with acetone to try to cut through the finish. It did not budge! Oh man, that meant I was dealing with some kind of plasticized coating and it would be a bit more difficult to remove. I sanded the bowl and shank with 220 grit sandpaper to break through the surface of the topcoat. I wiped it down repeatedly with the acetone to see if I was making progress.  It was slow going. I sanded it with a medium and a fine grit sanding sponge and was able to make more progress. I wiped it down again. The photos below show the pipe when I had removed all of the plastic coating. It was odd in that there were two large spots on the front of the bowl and around the rim edges where the finish came off as well as the plastic. The rest of the finish was deeply set in the grain. I have only seen that on pipes where there was some oil in the briar that was not properly removed before staining and finishing. I wiped the bowl down with acetone a final time scrubbing the unstained portions with extra care. I wiped it down with alcohol in those areas and heated the briar to see if I could open the pores before staining. I used a dark brown stain pen to precolour the briar before restaining the entire pipe. I wanted to get deep coverage on the briar. I warmed the briar once again by painting it with the flame of a lighter. I stained the entire bowl with dark brown aniline stain and set it in the grain with a lighter. I repeated the process particularly on the front, sides and rim top until the coverage was even all around the bowl. I set the bowl aside to cure overnight.Work and general busyness kept me from working on the pipe again for several days. When I finally got a moment I wiped the bowl down with alcohol and cotton pads to even out the finish and give it a bit more transparency. I sanded the newly stained bowl and shank with micromesh sanding pads – wet sanding with 1500-2400 grit pads and dry sanding with 3200-12000 grit pads. I wiped the bowl down after each pad with an alcohol dampened cotton pad. I buffed the pipe with Blue Diamond to further polish out the scratches and then gave it several coats of Danish Oil with a Cherry Stain to give the bowl a rich finish similar to the one on the Heritage Diplomat that I restored earlier. The pipe is beginning to look really good in my opinion and in many ways is far better than when I started. I buffed the bowl with a soft cotton cloth to polish the Danish Oil. I took the following pictures to show the bowl at this point in the process. I still need to buff it again on the wheel and give it multiple coats of carnauba wax. I set the bowl aside and turned my attention to the stem. I sanded out the tooth marks and chatter with 220 grit sandpaper. I carefully blended them into the surface of the vulcanite. I also worked over the sharp edges of the button to clean up the marks that were left behind there. The sanding dust left behind on the sandpaper was a rich, dark black which spoke well of the quality of the vulcanite that was used on this stem. To me it also was further proof of the stem being original rather than a later poor quality replacement.The one oddity to the pipe was that the shank was thinner on the right side than the left. The mortise was drilled straight but it was definitely not centered in the shank. Due to that the tenon on was slightly off to the right side of the shank to match. I polished the stem with micromesh sanding pads. I wet sanded it with 1500-2400 grit pads and wiped it down with Obsidian Oil after each pad. I dry sanded with 3200-12000 grit pads and again wiped it down with Obsidian Oil. I finished the polishing with the pads and gave it a final coat of the oil and set it aside to dry. I put the stem back on the bowl and worked the pipe over on the buffing wheel using Blue Diamond polish to further remove scratches on the bowl and shank. I gave the bowl and stem multiple coats of carnauba wax and buffed the pipe with a clean buffing pad to raise the shine. I hand buffed it with a microfiber cloth to deepen the shine. The finished pipe is shown in the photos below. It looks better than it did in the beginning. I still think it is a transitional piece between the classic higher end Heritage line and the later line that came out when the classic line ended. It is still a beautiful pipe. The finish is good but not nearly as well done as the classics. The dimensions of the pipe are: Length: 5 ½ inches, Height: 1 ¾ inches, Diameter of the bowl: 1 1/8 inches, Diameter of the chamber: ¾ inches. Thanks for looking.

Cleaning up a Delicate French Made GBD Sablee 106 ¼ Bent Billiard


Blog by Steve Laug

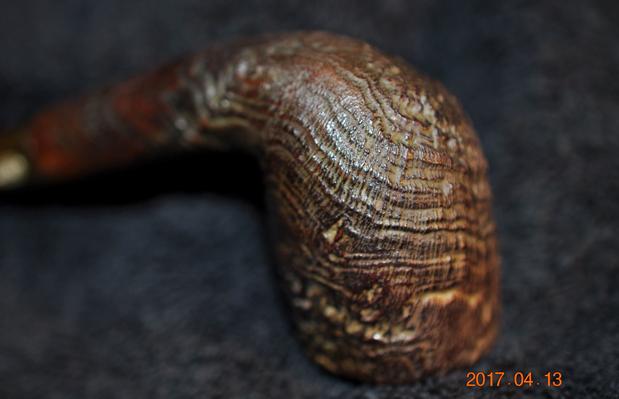
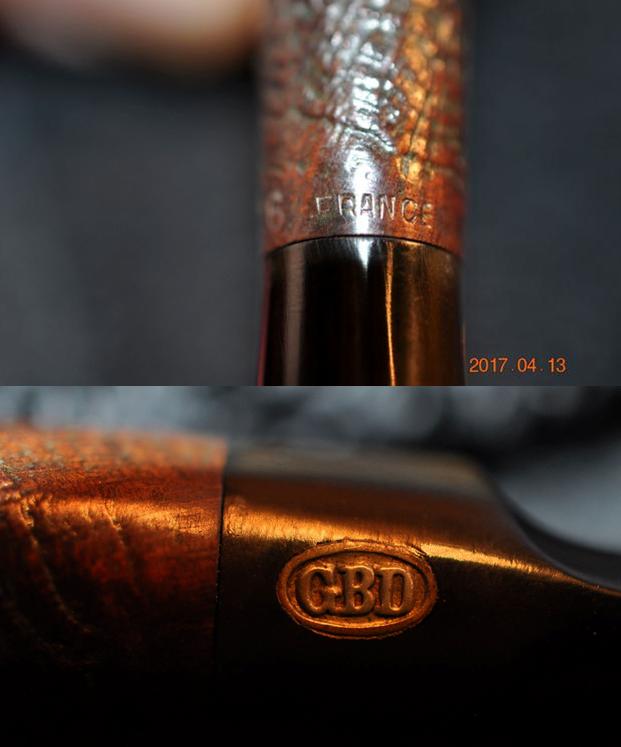
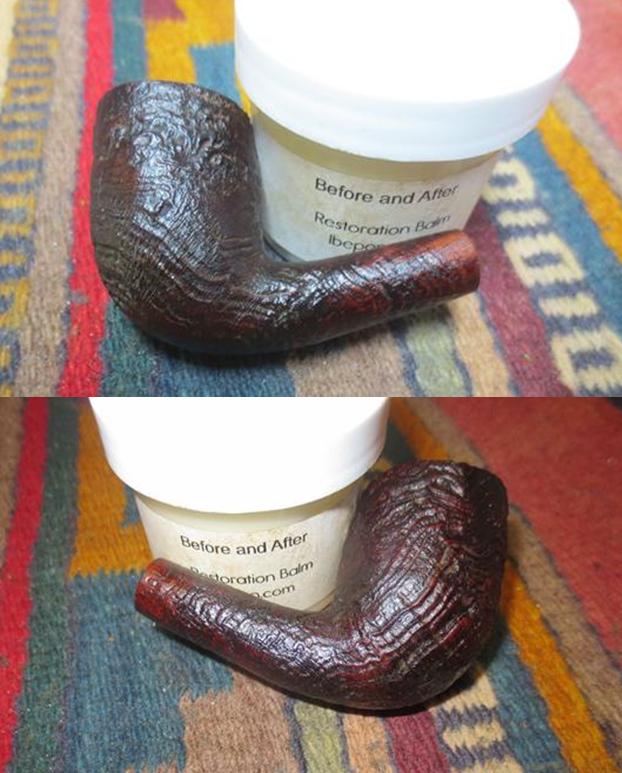
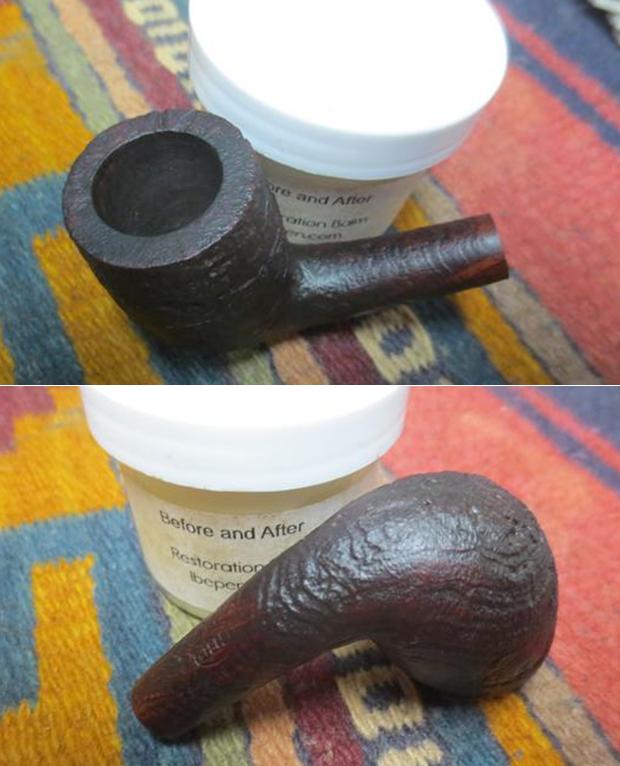
There is something about early GBD pipes that always gets my attention. I don’t know if it is clearly identifiable shapes and finishes or the attention to detail that is obvious in each pipe. Whatever it is I am hooked when I see them. I do know that this one caught my eye the minute I opened the box from my brother Jeff. He found it somewhere along the way in his travels.It is a delicate pipe with a deep sandblasted finish. The rich contrast brown stain works well with the sandblast to give it a touch of elegance. The saddle stem is also delicate and the GBD rondel on the left side of the saddle nicely sets off the black and the browns of the stem and bowl.When Jeff received it the finish was dirty but underneath the grime it appeared to be in good condition. The bowl had a light cake and the rim top was clean. There did not appear to be any damage to the rim edges and there was no lava over flow on the rim top. The stem was lightly oxidized and had some minor tooth chatter on both sides near the button.The next series of photos show the bowl and rim and the beautiful sandblast finish around the sides and bottom of the bowl. The variety of ring grain and birdseye and how it responds to the blasting medium can be seen in these photos. I never tire of spending time turning a sandblast pipe over in my hands looking at the blast from every angle. This is one of those blasts that just demands the time and observation. The shank bears the brand stamping on various sides. The GBD oval and Sablee name is stamped on the underside of the shank in a smooth portion of the briar. It is stamped FRANCE along the stem/shank union on the underside leading me to conclude it is a French made GBD. It has the shape number 106 stamped in the smooth ring around the shank on the right side. The brass rondel inset on the left side of the saddle stem is in excellent condition. The stem shows light oxidation on both sides and some tooth chatter and marks on both near the button. Fortunately there are no deep tooth marks that will need attention.Jeff did a great job cleaning off the debris and grime in the crevices of the blast on this old bowl. He reamed it with a PipNet reamer and smoothed the walls of the bowl with a Savinelli Fitsall pipe knife. He scrubbed out the mortise and the airway in the shank and the stem with alcohol, cotton swabs and pipe cleaners. He scrubbed the exterior of the bowl, rim and shank with a tooth brush and Murphy’s Oil Soap. It removed all of the grime and dust on the bowl, rim and shank. He rinsed it under running water. He dried it off with a soft cloth. Once the grime was removed the finish underneath was in stellar condition. The rich patina of the contrast brown stains in the sandblast looked great. He scrubbed the exterior of the stem and was able to remove the remnants of a price tag from the seller. He cleaned out the airway with pipe cleaners and alcohol until it was clean. When it arrived it looked really good – just dull. I took photos of the pipe to show its condition before I started my work on it. I took some close up photos of the bowl and rim as well as the stem to give an idea of the condition of both before I started my restoration process on the pipe. I put the stem in a bath of Before & After Pipe Stem Deoxidizer and picked up the bowl to begin working on it. I used the Mark Hoover’s Before & After Restoration Balm on the briar. I rubbed it into the nooks and crannies of the sandblast on the bowl sides with my fingers. I wanted it to go deep in the crevices. As I have mentioned in previous blogs, Mark had said that the product can be used on briar or stems – whether vulcanite, acrylic or horn. He said it was designed to pull the dirt off of the briar as well as polish it. I figured this interesting sandblasted GBD would once more put those claims to a test. He said that he had added some anti-oxidants to keep the briar from getting damaged from both UV rays and water. Once I had all the nooks and crannies in the sandblast of the bowl covered I wiped it down with a clean cotton pad and then buffed it with a shoe brush. It seemed to work very well and I took the following photos to show the results. The stem had been soaking in the Before & After Deoxidizer for over three hours while I worked on the bowl and did a few other things around the house. It was time to pull it out and see what the aging soak had done to the oxidation. I removed it and scraped off the excess soak. I pushed pipe cleaners through the airway to remove the soak from the inside of the stem. I dried it off with a cotton cloth to dry off the surface and rub off the oxidation that was now on the surface of the stem. If there had not been tooth chatter on the stem it would have been really clean and ready to polish.I sanded out the tooth chatter and scratches in the vulcanite on both sides of the stem with 220 grit sandpaper. It did not take a lot of sanding to smooth them out.I polished the stem with micromesh sanding pads – wet sanding it with 1500-2400 grit pads and wiping it down after each pad with Obsidian Oil to give the next pad more bite when I sanded. I dry sanded it with 3200-12000 grit pads and again wiped it down with the oil after each pad. After the final pad I wiped it again with the oil and set it aside to dry. I put the stem back on the bowl and buffed it with Blue Diamond on the buffing wheel to polish the stem and lightly polish the briar. I gave the stem multiple coats of carnauba wax buffed it with a clean buffing pad to raise a shine. I gave the bowl multiple coats of Conservator’s Wax and rubbed it into the sandblast finish. I buffed it with a shoe brush and then with a clean buffing pad to raise the shine. I hand buffed the pipe with a microfiber cloth to deepen the shine. The contrast brown finish on the bowl and the black of the stem combine to present a beautiful pipe. The dimensions of this pipe are Length: 5 1/2 inches, Height: 1 3/4 inches, Bowl diameter: 1 1/4 inches, Chamber diameter: 3/4 inches. The finished pipe is shown in the photos below. I will soon be adding it to the rebornpipes store if you are interested in adding to your collection. It is a beauty and will serve someone very well. Email me at slaug@uniserve.com or send me a message on Facebook. Thanks for looking.

Pipe Hunting in the Portabello Market, London – Found a PNB Pipe


Blog by Steve Laug

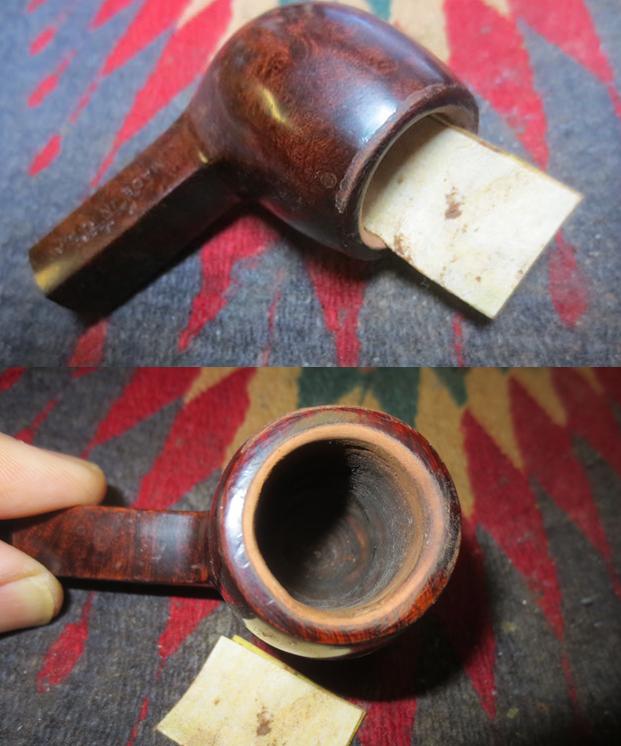
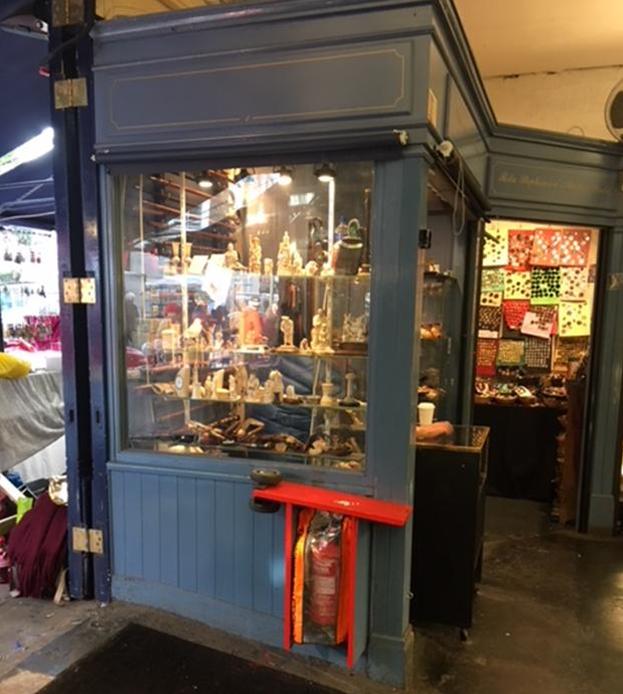
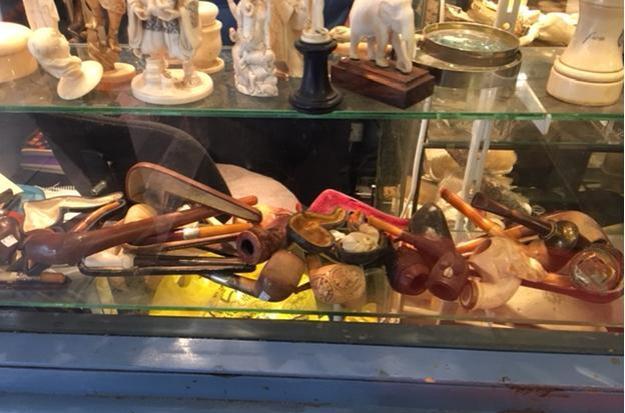
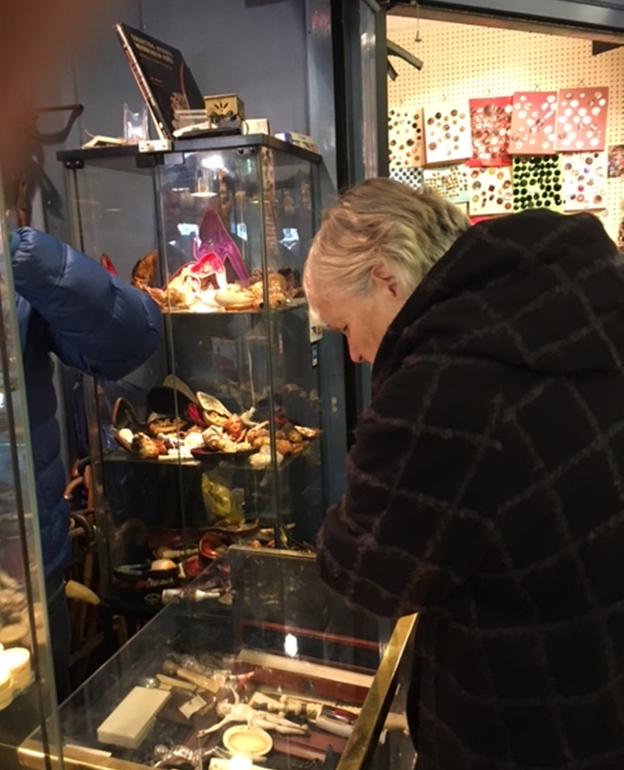
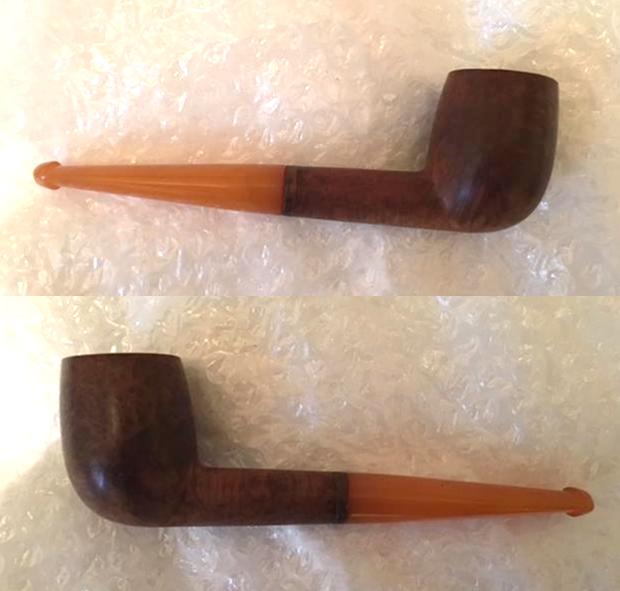
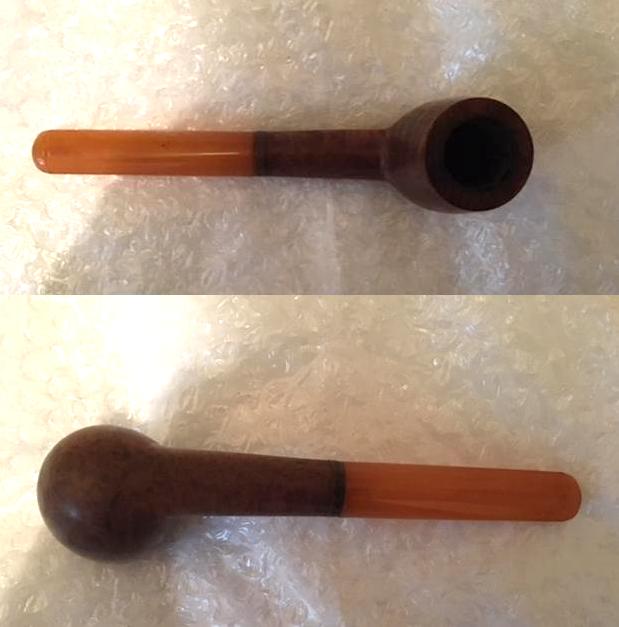
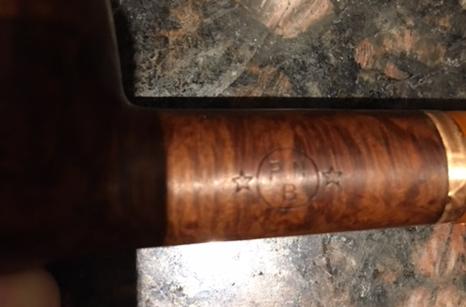
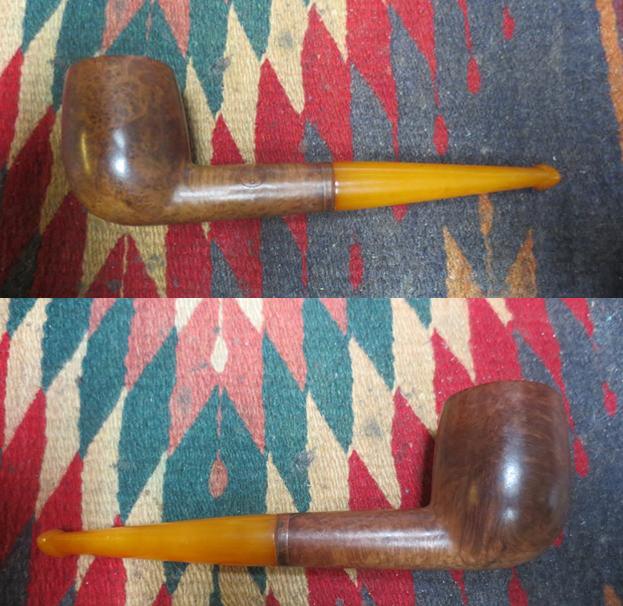
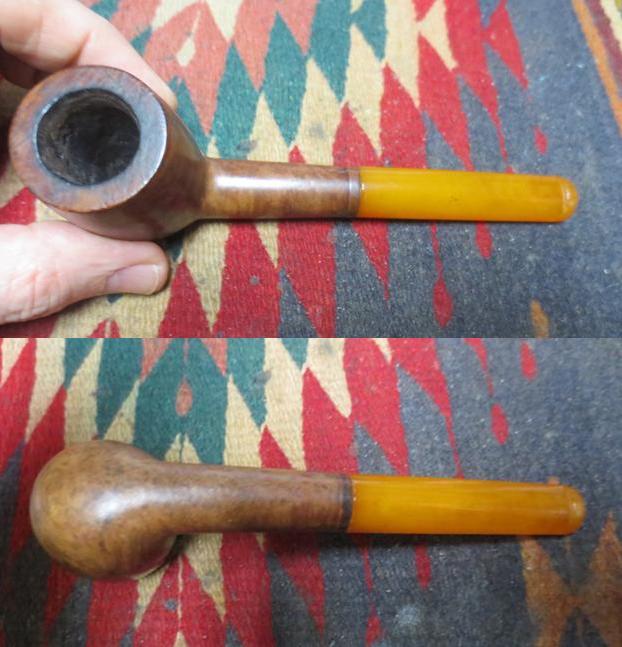
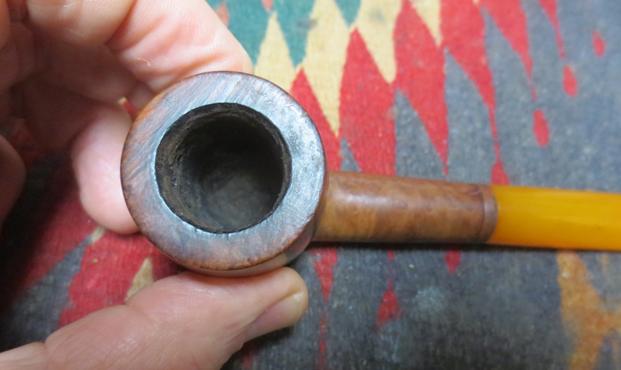
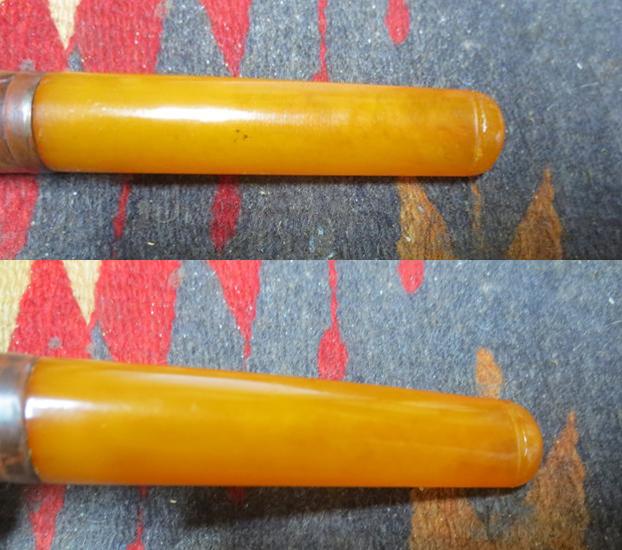
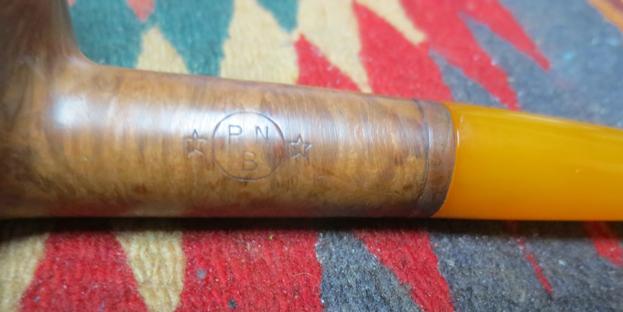
Over the years I had heard and read about the Portobello Road Market – the world’s largest antique market with over 1,000 dealers selling every kind of antique and collectible. On past trips to England I had not been able to take the time to go have a look. On the current trip it looked like I would have time and to top it off we had rented an Air BNB apartment within walking distance of the market. I looked up information about the market so I could be prepared. I want to know what to expect when I went walked to it on the weekend. But I have to tell you, all the preparation I did was not enough to prepare me for what the reality would be like once I turned the corner in the Nottinghill neighbourhood and came out on Portabello Road. The next two photos give you a bit of a feel for what I saw on that Saturday morning. The streets were crowded with people of every size, shape and ethnicity. There were booths lining both sides of the street. There were shops with a variety of wares to sell. I wandered up and down the street of the market looking at the booths and shops along sidewalks and street. As mentioned above, the market is known for its antique sellers and shops so I was hoping to find a few pipes in the windows and shop cases. I walked through several of the antique shops (really like our Canadian antique malls) looking quickly at the cases to identify the ones I would come back to and spend more time at. In one particular shop there was a small corner booth by the door that had display cases around the front and side of the spot. The cases were full or pipes and cheroot holders carved out of meerschaum. There were many old carved meerschaum pipes with shapes of animals and faces. There were some briar pipes as well with different stems – varying from amber to horn to rubber. This was a booth where I needed to take some time to go through the pipes.In the next two photos you can get a bit of an idea of how the pipes were displayed in the cases. They were really a jumble and it would take time to go through them. You can see meerschaum pipes with and without cases and stems. You can see oddly shaped bog oak pipes with amber stems and old pipes with metal shank and bowl caps. There were long pipes and shot pipes and many in between. The prices were surprisingly high so it would be a matter of narrowing the field down to one or two that I would add to my bag.I moved from the side case to the front of the booth to look through some of the pipes displayed there. These too were a jumble and mixed through displays of figurines, crucifixes and antique cutlery. There were even books on collectible meerschaums on display on top of the cases.I finally narrowed down the pipes I was interested in to the one below. It was a large billiard that was in fairly good condition. There was a light cake in the bowl, the rim top had some lava and the stem had tooth marks. The stem had a piece of paper wrapped around the threaded bone tenon to give it enough bite to hold onto the threads in the mortise. The pipe was stamped on the left side of the shank with the letters PNB or PBN in a circle with a star on the right and left, outside of the circle. It also had a thin oxidized brass/gold band on the shank end that would clean up nicely. The stem looked to be Bakelite or Amberoid and had some light tooth marks on the top and underside near the button. I took the photos below when I returned to the apartment after the shopping adventure. The next photo shows the stamping on the left side of the shank. I cannot find any information on the brand either as PNB or PBN. I posted the logo on the Gentlemen’s Pipe Smoking Society on Facebook and Mike Hagley had a suggestion that was a possibility. He said the pipe looks like a Belgian made pipe, so he suggested that PNB stands for Pipier Nationale Belgique. Another friend on the same GPSS group Neville van Niekerk from Germany wrote that the pipe was a Bernstein pipe from Vienna, Austria. He went on to say that they were originally Meerschaum pipe makers until the Turks decided that Meerschaum could not be exported in blocks any more. Thank you both for your suggestions.I wrapped the pipe in bubble wrap and put it in my suitcase until I returned to Vancouver three weeks later. I was looking forward to working on the pipe. When I got home I unwrapped the pipe and brought it to my work table. I took some photos of it to chronicle what it looked like before I started. The photos below show the pipe when I started. I took a close up photo of the bowl and the rim to show the cake and the rim darkening. The inner and outer edge of the rim was in good condition. There was some light scratching on the rim top and some darkening all around the inner edge but it would clean up nicely.The stem was in pretty good condition. There was some light tooth chatter on the button surface and a tooth mark on the right side of the top of the button. There was a deep tooth mark on the underside of the stem near the button as well. I took another photo of the stamping on the shank and was able to get a clearer photo.I unscrewed the stem from the shank and the paper wrapping on the tenon came off easily. The band on the shank was also loose so it fell off as well.I wiped the outside of the bowl and shank down with 99% isopropyl alcohol on cotton pads. I wanted to remove any remnants of the finish and also the grime that was ground into the briar on the sides of the bowl and rim. The pipe has some beautiful grain – a mix of birdseye, cross and flame grain. I polished the brass band with micromesh sanding pads to remove the oxidation that had darkened it. The shine returned and it was a nice golden colour that would work really well with the amber coloured stem and virgin briar.With the band removed from the shank a flaw in the briar was revealed on the right side of shank near the shank end. I filled it in with clear super glue and when it dried sanded it smooth with 220 grit sandpaper and would later polish it with micromesh sanding pads to blend it in with the rest of the briar.I reamed the bowl back to bare briar with a PipNet pipe reamer and finished cleaning it up with a Savinelli Fitsall pipe knife.I pressed the band on temporarily so that I could polish it in place while polishing the briar. I wet sanded the briar and band with 1500-2400 grit micromesh sanding pads and dry sanded it with 3200-12000 grit pads. I wiped it down with a damp cotton pad after each pad. Each micromesh pad brought a deeper shine to briar and band. I removed the band and wiped the briar down with Before & After Restoration Balm. I rubbed it into the briar with my fingers, let it sit for about 10 minutes and then buffed it off with a soft cloth. It really brought the grain to life. I buffed it lightly with a shoe brush and a soft cloth. I wiped down the shank end with some alcohol on a cotton pad to clean it off so that I could reglue the band. I used a dental pick to put glue on the shank end and the inside of the band. I pressed it in place and lined it up. I held it until the glue set.Once the glue dried I decided to address the worn threads in the mortise. The threads on the old bone tenon would not hold onto the threads in the mortise. I painted the threads in both with clear fingernail polish and let them dry.Once the glue dried I decided to address the worn threads in the mortise. The threads on the old bone tenon would not hold onto the threads in the mortise. I painted the threads in both with clear fingernail polish and let them dry.When the fingernail polish had dried I worked on the tooth marks on the stem. I sanded the tooth chatter with 220 grit sandpaper and reshaped the button to remove the tooth marks.  I filled in the tooth marks with amber super glue. I purposely overfill the areas so that as the glue dries and shrinks it still fills in the dent. I set the stem aside to let the glue cure.Once the repairs had dried I sanded them smooth with 220 grit sandpaper. I polished the stem with micromesh sanding pads – wet sanding with 1500-2400 grit pads and dry sanding with 3200-12000 grit pads. I rubbed the stem down with Obsidian Oil after each sanding pad. I cleaned up the threads a bit on the old bone tenon and turned it in place into the mortise. It fit snuggly and held tightly in the shank. I buffed the pipe and stem with Blue Diamond on the buffing wheel and then gave the bowl and stem multiple coats of carnauba wax to shine and protect. I buffed the pipe with a clean buffing pad to raise the shine and hand buffed it with a microfiber cloth to deepen the shine. The finished pipe is shown in the photos below. It is quite a large pipe. The dimensions are, Length: 6 ½ inches, Height: 2 inches, Diameter of the bowl: 1 3/8 inches, Chamber diameter: 7/8 inches. I am pleased with the way the pipe turned out. Thanks for looking.


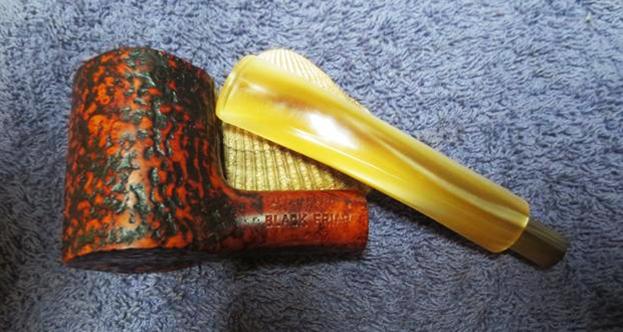
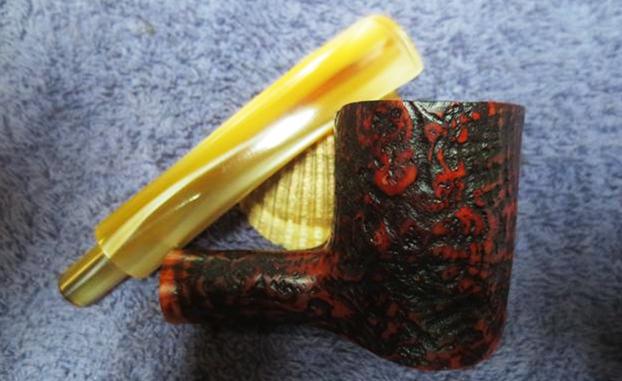
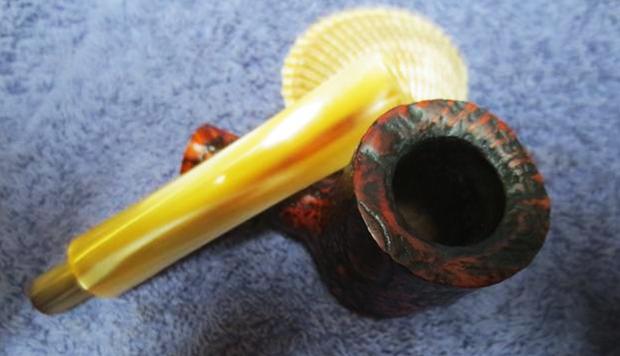
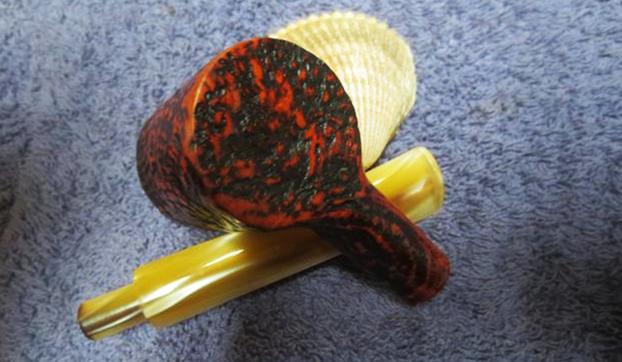
A Nice Relaxing Refurb – A Churchill’s Black Friar 407 Poker


Blog by Steve Laug

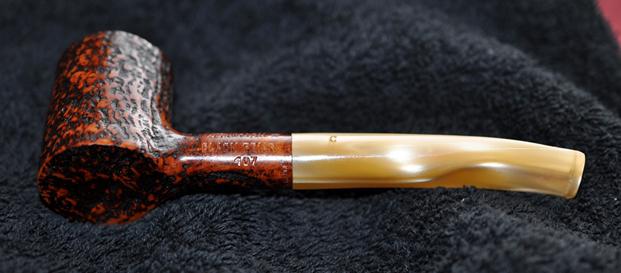
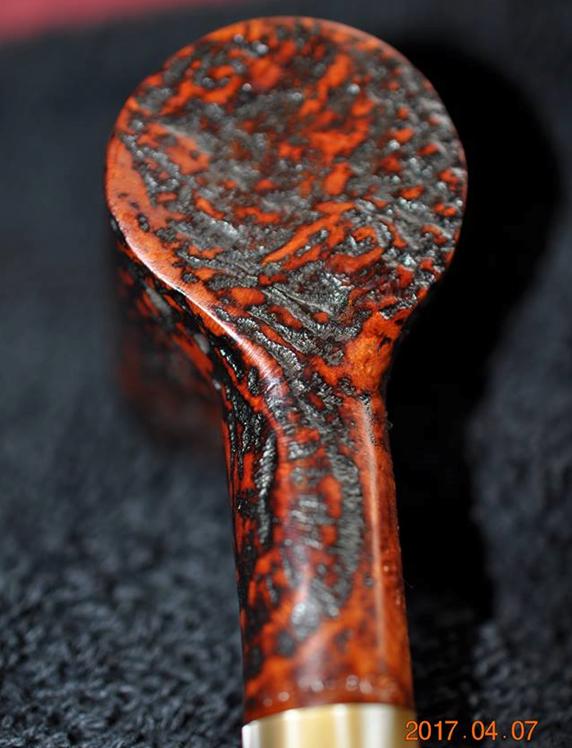
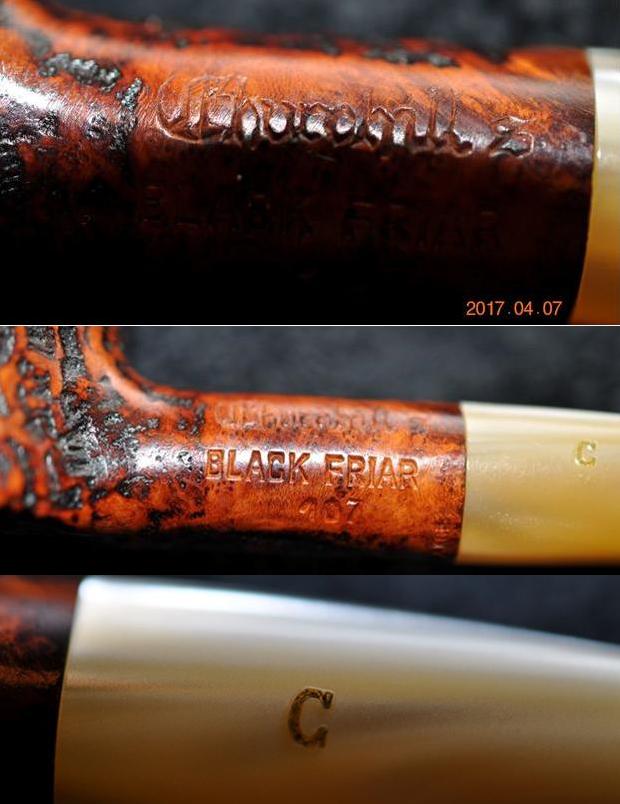
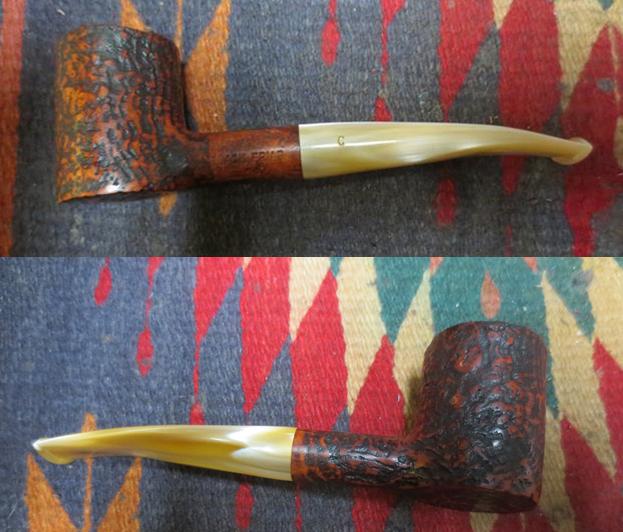
I have cleaned up a few Churchill’s pipes over the years and found them to be well made pipes. Several of the ones I have worked on were English-made pipes but the one on the table now is a French made pipe. I have a few hours to kill before I head to the airport and needing something a bit relaxing to work on. This pipe fit the bill for me. It is stamped on the left side of the shank with the word Churchill’s in old English script and underneath that it is stamped Black Friar over the shape number 407. The number makes me think it is a French made Comoy’s pipe. It is stamped on the underside of the shank at the stem/shank junction FRANCE. The pipe is a rusticated bowl with a contrast finish of dark and medium browns. The stamping on the shank is in excellent condition as is the stamping of the C on the Lucite stem. The finish is in good condition with little wear or tear and only showing the dust of sitting around in disuse. Jeff took the next series of photos before he cleaned the pipe and stem.From previous blogs I have written I remembered that the brand was named for a pipe shop in Norwich, England that was called Churchills of Norwich. They evidently had shop pipes made for them by various makers. I found the following information Pipephil’s Pipes,Logos and Stampings website http://pipephil.eu/logos/en/logo-c4.html. I quote: “Churchill’s Tobacco shop is situated in St Andrew’s Street at the corner of Bridewell Alley in Norwich, England. The shop was next to a church and at the bottom of two hills, and that’s how it became “Churchill’s”. Former manager: John Elvin (retired on May, 31 2008). Current owner (2008): Keith Garrard.”

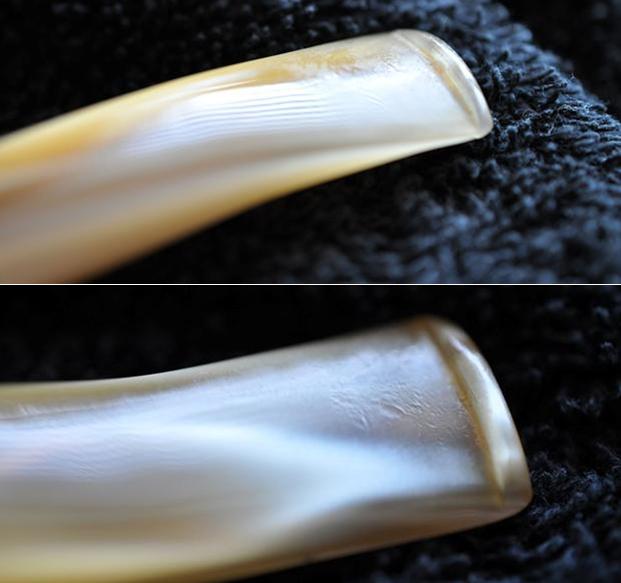
I then turned again to Churchill’s own website to see if I could find any more information. The site gave me some background information that adds colour to the history of a brand and makes it more personal for me. According to their website the shop is the last remaining specialist tobacconist in Norwich, originally standing at 32 St Andrews Street for over 23 years. http://www.churchillsofnorwich.com/index.php?_a=viewDoc&docId=1. The site also notifies the shop’s clients that Keith Garrard, who had a wealth of knowledge and was an avid pipe and cigar smoker himself, passed away on 23rd March 2012. His wife Coral continues to maintain the business in his honor.The bowl had a thick cake and an overflow of lava onto the top of the rim. The lava had filled in much of the rustication on the rim top. It looked as if the inner edge of the rim was undamaged but I would not know for sure until it was cleaned. The back of the rim had a much thicker coat of lava than the front side. The rustication patter on the bowl – top, bottom and sides is unique and the stain chosen makes it really stand out in contrast. The contrasting browns work really well with the golden swirls of the Lucite stem.The next two photos show the stamping on the left side of shank curling over on to the top of the shank. The third photo shows the stamped C on the left side of the stem.The golden swirled Lucite stem was clean other than having tooth chatter on both the top and underside near the button.Jeff out did himself on the clean up of this pipe. He reamed the bowl with a PipNet reamer and smoothed the walls of the bowl with a Savinelli Fitsall pipe knife. He scrubbed out the mortise and the airway in the shank and the stem with alcohol, cotton swabs and pipe cleaners. When he had finished, the bowl looks almost new on the inside (I actually don’t think it has ever been smoked to the bottom of the bowl as it is raw briar in the bottom third).  He scrubbed the exterior of the bowl, rim and shank with a tooth brush and Murphy’s Oil Soap to  remove the oils and tars on the bowl, rim and shank. He rinsed it under running water. He dried it off with a soft cloth. The lava mess on the rim and deep in the rustication was thoroughly removed without harming the finish underneath it. Once the grime was removed the finish actually looked to be in excellent condition I took photos of the pipe to show its condition before I started my work on it. I took a photo of the rim top to show the great condition it was in after the clean up.The stem looked really good other than the tooth chatter on both sides at the button. The chatter is hard to see in the photos but I was thankful that none of it was too deep.I once again used the Mark Hoover’s Before & After Restoration Balm on the briar. I rubbed it into the rustication on the rim, bowl and shank with my fingers. I wanted it to go deep in the rustication pattern to continue my test of the effectiveness of the product. As I have mentioned before Mark had said that the product can be used on briar or stems – whether vulcanite, acrylic or horn. He said it was designed to pull the dirt off of the briar as well as polish it. I figured this was a totally different type of finish that would once again put those claims to a test. He said that he had added some anti-oxidants to keep the briar from getting damaged from both UV rays and water. Once I had all the grooves and surfaces of the bowl covered I wiped it down with a clean cotton pad and then buffed it with a shoe brush. It seemed to work very well and I took the following photos to show the results. I set the bowl aside and turned my attention to the tooth chatter on the stem. I sanded out the chatter with 220 grit sandpaper until it was gone.It was time to polish out the scratches on the stem left behind by the 220 grit sandpaper with micromesh sanding pads. I wet sanded it with 1500-2400 grit pads and wiped it down after each pad with a damp cloth to wipe off the dust. I dry sanded it with 3200-12000 grit pads and again wiped it down with the damp cloth after each pad. The polishing of the stem removed all of the scratches and the tooth chatter. Each photo shows it progressively getting a shine. I put the stem back on the bowl and buffed it with Blue Diamond on the buffing wheel to polish the stem and lightly polish the briar. I gave the stem multiple coats of carnauba wax buffed it with a clean buffing pad to raise a shine. I gave the bowl multiple coats of Conservator’s Wax and rubbed it into the rusticated finish. I buffed it with a shoe brush and then with a clean buffing pad to raise the shine. I hand buffed the pipe with a microfiber cloth to deepen the shine. The variegated brown stained finish on the bowl and gold swirled Lucite stem combine to present a beautiful pipe. The dimensions of this pipe are Length: 5 1/2 inches, Height: 1 3/4 inches, Bowl diameter: 1 1/4 inches, Chamber diameter: 3/4 inches. The finished pipe is shown in the photos below. I will soon be putting it on the rebornpipes store if you are interested in adding to your collection. It is a beauty and will serve someone very well. Email me at slaug@uniserve.com or send me a message on Facebook. Thanks for looking.

Restoring an Edwards 730 – 4 Panel Rhodesian with a Square Shank


Blog by Steve Laug

When my brother sent me this Edwards Panel Rhodesian (at least that is what I would call it), I immediately thought of William and wondered if he would be interested in it. He had earlier purchased an Edwards paneled pipe from me so it was not a far stretch to wonder if he might be interested in this one as well. I set it aside and pretty much forgot about my initial thought. However, not long afterward, William wrote about a pipe he wanted to send me to clean up for him. He sent the package to me and when it arrived, I opened it to find an Edwards Octagon shaped paneled Dublin that he wanted reworked. When I saw that, I remembered the other pipe I had that might interested him. I wrote and sent him photos of this pipe to see if he had any interest in adding it to his collection. He wrote back and said he was definitely interested in it. I figured I would restore it the same time I worked on his other pipe and could save postage by mailing them both back to him in the same package. With that in mind, I worked on the pair at the same time. I have already written about the restemming and the restoration of his Octagon shaped pipe (https://rebornpipes.com/2017/10/17/restoring-an-edwards-hexagon-dublin-sitter-97/).

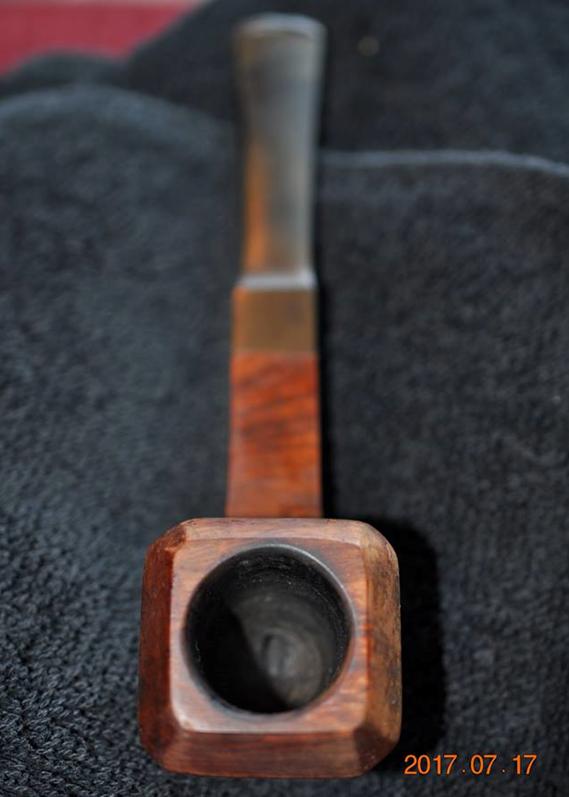
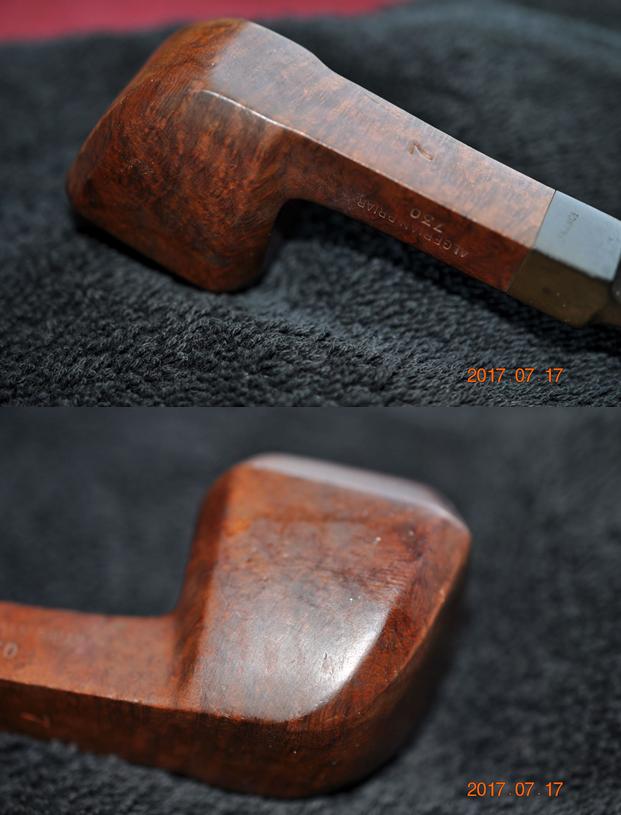
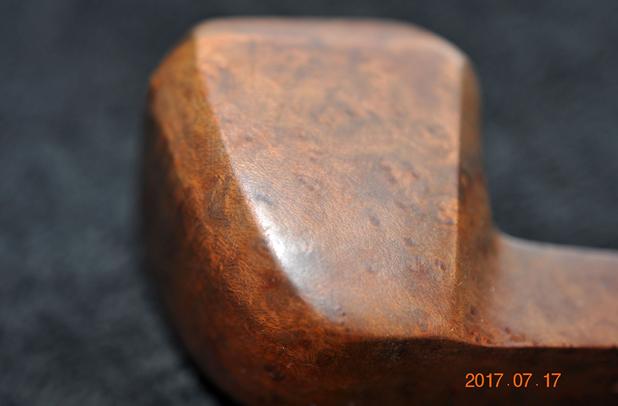
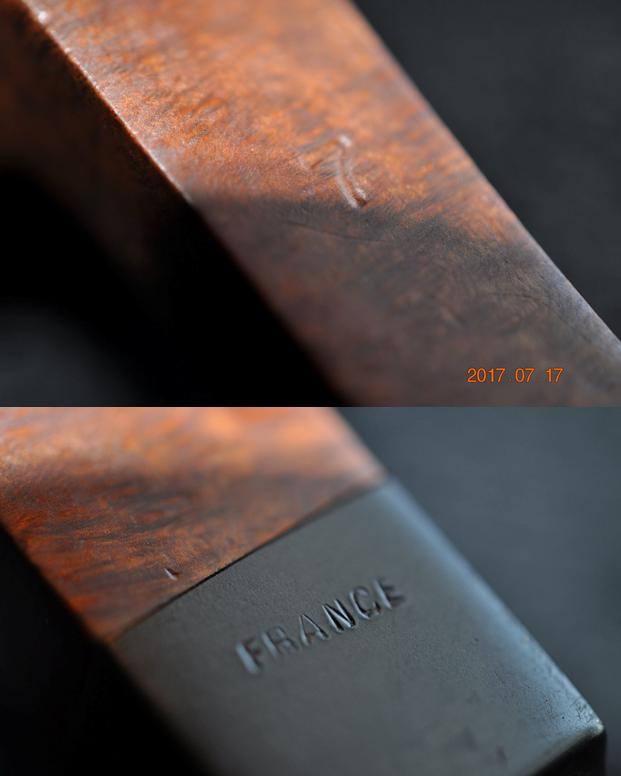
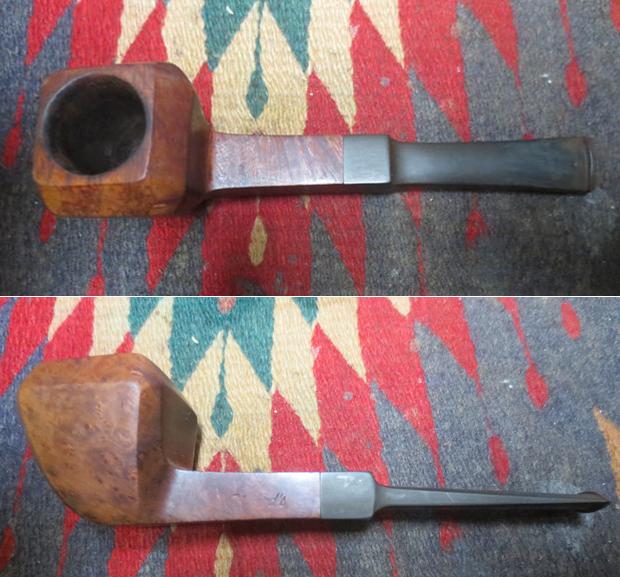
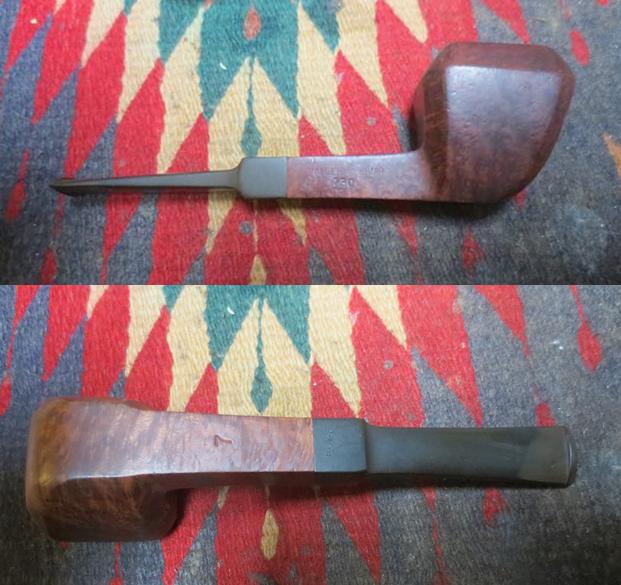
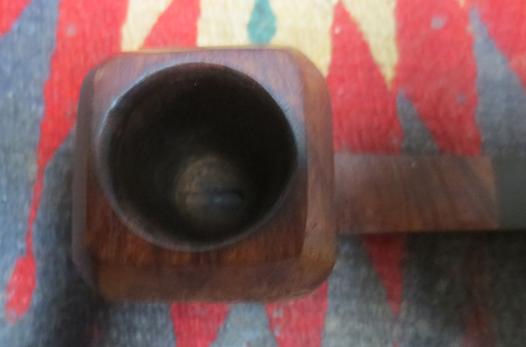
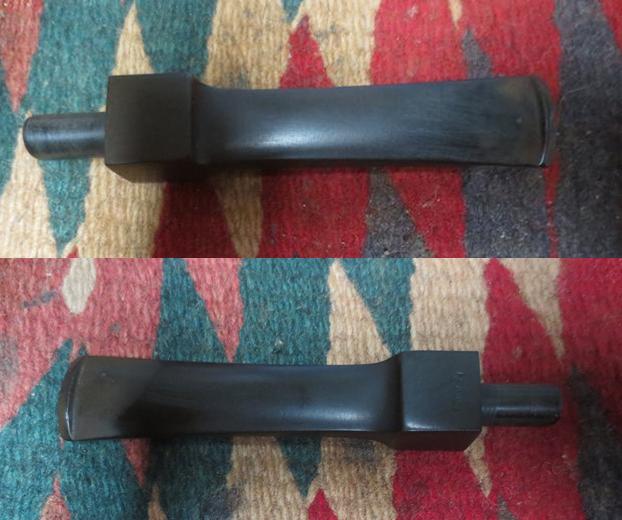
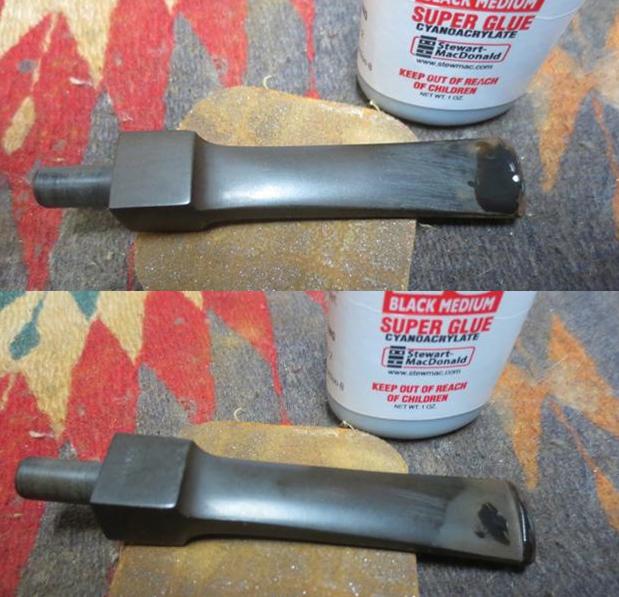
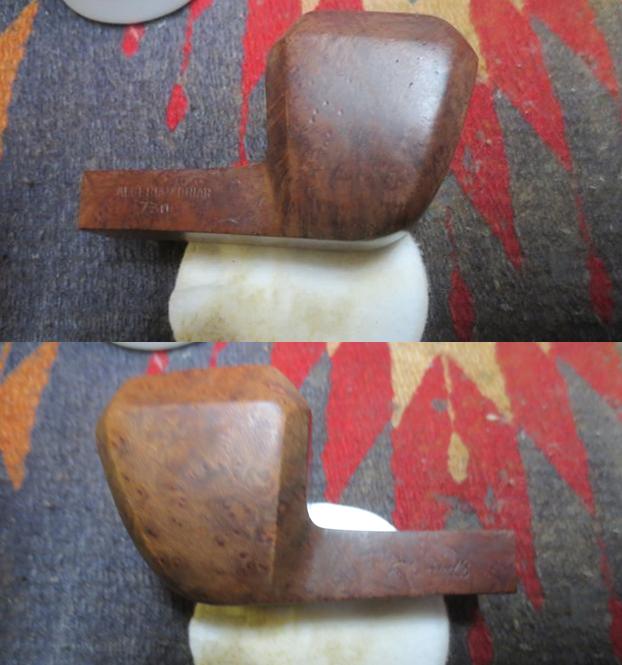
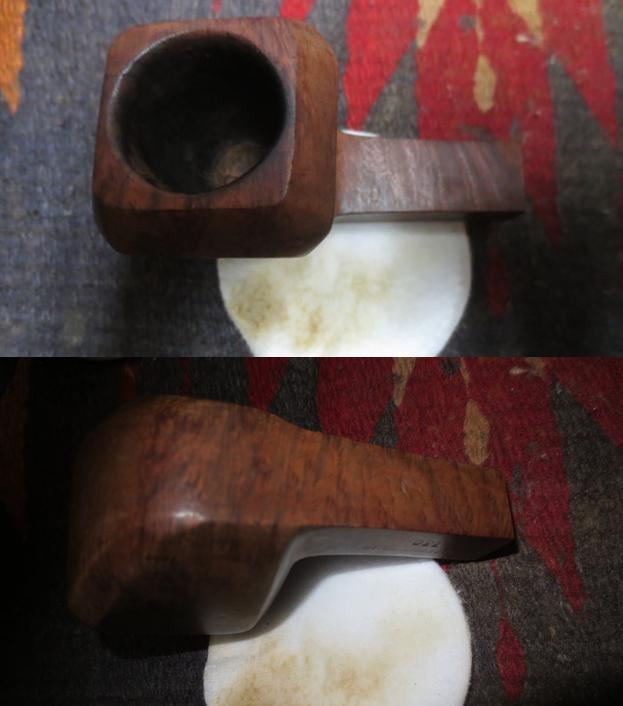
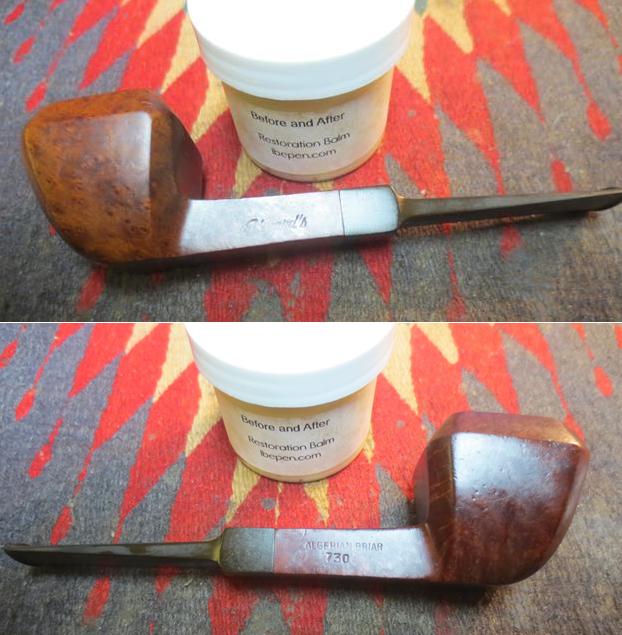
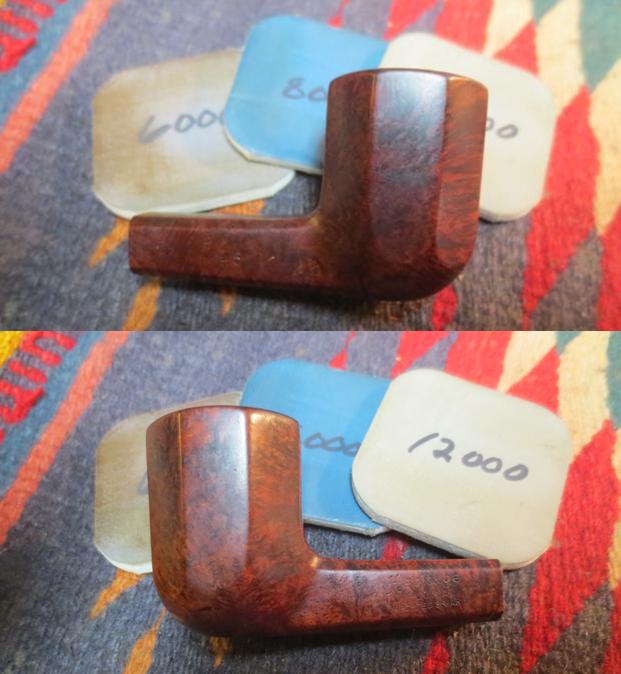
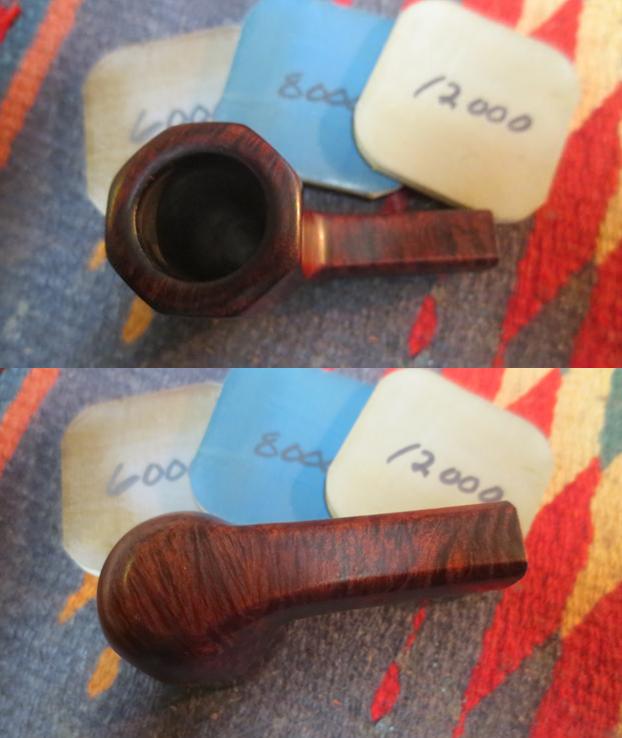
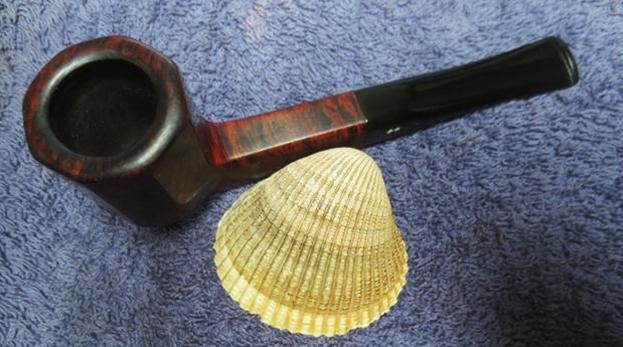
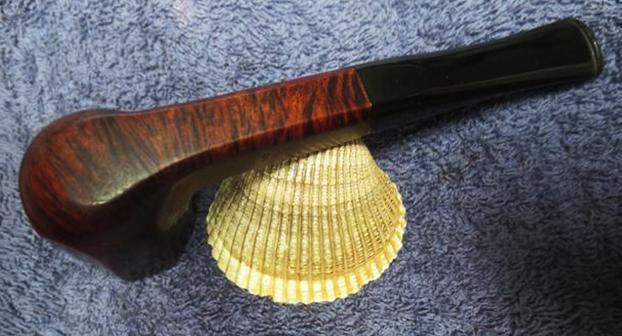
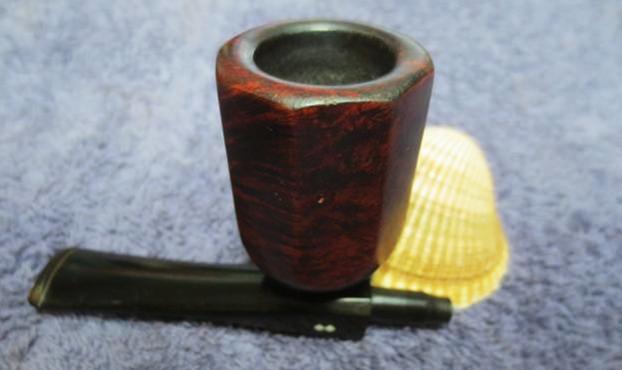
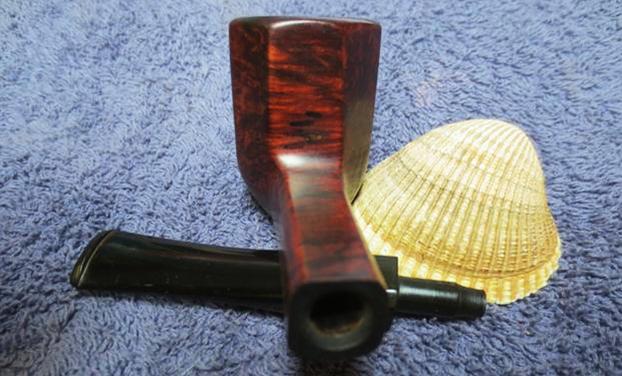
The pipe is stamped Edwards on the left side of the shank and on the right it reads Algerian Briar over the shape number 730. The underside of the shank bears as a large number 7. The Edwards stamp while readable was faint in the middle. The pipe was in pretty decent shape for an estate. There was a light cake in the bowl and some darkening on the rim top but nothing thick or horrible. Even the inner beveled edge of the bowl was in good shape. The finish has some nicks and scratches on the sides and front of the bowl. There were a few small fills in the briar on the rim cap but the pipe was in very god condition. The next series of photos show the condition of the finish on the bowl. The old oiled finish that Edwards put on their pipes was worn but the grain still showed through. There was a mix of grains on the sides and bottom of the bowl and shank – cross grain, birdseye and mixed. The next photos show the stamping on the shank of the pipe. All of it is readable. The last picture shows the France stamp on the underside of the saddle stem. The stem was oxidized and had tooth chatter and tooth marks on both sides near the button. There was some damage to the top edge of the button as well from being chomped.Jeff did his usual impeccable job cleaning off the debris and grime on this old bowl. He reamed the light cake from the bowl with a PipNet reamer and smoothed the walls of the bowl with a Savinelli Fitsall pipe knife. He scrubbed out the mortise and the airway in the shank and the stem with alcohol, cotton swabs and pipe cleaners. He scrubbed the exterior of the bowl, rim and shank with a tooth brush and Murphy’s Oil Soap to the oils and tars on the bowl, rim and shank. He rinsed it under running water. He dried it off with a soft cloth. Once the grime was removed the finish underneath was in decent condition. The rich patina on the grain of the older briar really stood out after the pipe was cleaned. I took photos of the bowl to show its condition before I started my work on it. The condition of the bowl and rim was good. There was a little damage on front right of the inner edge that I had not seen before that would need to be address but otherwise it was clean.The stem had some oxidation around the saddle portion of the stem and the tooth chatter and marks would need to be addressed.I decided to start working on the stem first. I lightly sanded the tooth chatter and marks out of the surface of the stem on both sides at the button. I heated the stem with a lighter to try to raise the marks. While many of them responded well to the heat some of them remained. I have found that if the marks are dents they respond well to heat and typically return to a flat condition. If however, they have any sharp edges on then the heat only works minimally well. I filled in the larger tooth mark and the damage to the top edge of the button with black super glue. I also filled in the lighter, smaller mark on the underside at the same time.While the stem repair was drying I worked on the bowl itself. I wiped down the surface with acetone on cotton pads to remove any remnants of debris and grime that had escaped my brother’s attention or had been picked up in the shipping wrappers. I lightly sanded the inner edge of the bowl to take care of the light damage on the front right edge. By this time the repair on the stem was dry. I recut and reshaped the button with a needle file and smoothed out the surface repairs. I sanded the stem with 220 grit sandpaper to blend the repairs into the rest of the stem. I sanded the stem to remove the oxidation that is visible in the next photos. I put the stem on the bowl and rubbed the bowl down with Before & After Restoration Balm. As part of my ongoing experiment I thought it would be good to use it on an oil finished bowl and this one was a prime candidate. I rubbed it in (using the stem for a handle) and wiped it off with a cotton pad. I removed the stem and dropped it in a bath of Before & After Pipe Stem Deoxidizer to attack the oxidation. My bath is getting older and it is not as effective as it was when I first started using it but it would help minimize the work on the stem for me. (I am waiting for a new jar of the deoxidizer to replace this one. I have cleaned between 80-90 stems with the product so it is tired.) I put the lid on the bath and left it to soak until morning.Before calling it a night I worked on the finish on the bowl some more. I lightly buffed the bowl with red Tripoli to remove as many of the surface scratches and nicks as I could. Doing that got rid of a lot of them and polishing it with micromesh would minimize what remained. I hand polished the briar with micromesh sanding pads – wet sanding with 1500-2400 grit pads and dry sanding with 3200-12000 grit pads. I worked on the beveled inner edge of the bowl to clean it up the damage and the darkening a bit more. I wiped the bowl down with a damp cloth after each pad. I hand buffed it with a microfibre cloth after the 12000 grit pad. The pictures below show the progress of the polishing on the briar. In the morning I took the stem out of the bath and let the excess product drain off into the bath before wiping it down with a cotton pad to remove the oxidation that was attached to the product. I ran a pipe cleaner through the airway with alcohol to remove the remnants of the bath. The stem looked good but more work would need to be done before the final black gleam was back. I buffed the stem with red Tripoli to remove the remaining oxidation. I polished the stem with micromesh sanding pads – wet sanding it with 1500-2400 grit pads and wiping it down after each pad with Obsidian Oil to give the next pad more bite when I sanded. I dry sanded it with 3200-12000 grit pads and again wiped it down with the oil after each pad. After the final pad I wiped it a final time with the oil and set it aside to dry. I put the stem back on the bowl and buffed the entire pipe with Blue Diamond on the buffing wheel to polish the stem and the bowl. I used a soft touch around the stamped areas as I did not want to flatten them or polish them away. I buffed stem hard to work over the remaining scratches in the rubber. It took some work but they are smoothed out. I gave the bowl and the stem multiple coats of carnauba wax buffed it with a clean buffing pad to raise a shine. I hand buffed the pipe with a microfiber cloth to deepen the shine. The four panel Rhodesian shaped bowl, and the square shank and saddle stem combine to present a beautiful pipe. I find these interesting shaped Edwards four sided, six sided and eight sided Dublin shaped pipe a real pleasant variation on the normal classic shapes. The combination of grains and the natural oil finish give the pipe a rich patina that is highlighted by the black of the polished vulcanite stem. The finished pipe is shown in the photos below. I think William is going to really like this new pair of Edwards pipes. They are both ready to pack up and head back to him in the mail. Thanks for looking.

New Life for Heritage Diplomat 8 Panel Billiard


Blog by Steve Laug

As I mentioned in the first blog I did on the Heritage threesome – the 45S Antique, earlier this summer I was relaxing and surfing Ebay on my iPad and I came across three listings for Heritage Pipes. All were square shank pipes and all were in decent condition. Two of them had original stems while the third had a well done replacement stem. Several years ago I had learned about the brand through Andrew Selking who writes for rebornpipes. Since then I have kept an eye out for them. There do not seem to be too many showing up on Ebay but every so often there is one. This time there were three. I contacted my brother with the links and he bid and won the threesome. I am working on the middle pipe in the threesome now. If you missed the first blog on the Heritage Antique I thought I would once again summarize a bit of the history of the brand that Andrew wrote on a previous blog on rebornpipes. Here is the link: https://rebornpipes.com/2014/12/23/refurbishing-a-heritage-heirloom/. I am including a brief summary of what he found in the next two short paragraphs to set the stage for the pipe on my work table.

Heritage pipes were Kaywoodie’s answer to Dunhill. According to one of their brochures, Heritage pipes were made from “briar burls seasoned and cured for up to 8 months,” with only “one briar bowl in over 300 selected to bear the Heritage name.” “Heritage stems are custom fitted with the finest hand finished Para Rubber stems. Mouthpieces are wafer thin and concave.”

The Heritage line began in the early 1960’s, with the trademark issued in 1964. The line was started at the request of Stephen Ogdon, (who worked for Kaywoodie in 1962). Mr. Ogdon had previous experience working for Dunhill, either running the New York store or working for Dunhill North America. Mr. Ogden was made President of Heritage Pipes, Inc., Kaywoodie Tobacco Co.,Inc. and Kaywoodie Products Inc. as well as a Vice President of S.M. Frank & Co. Heritage Pipes were produced from 1964 until 1970 (Source Kaywoodie.myfreeforum.org).

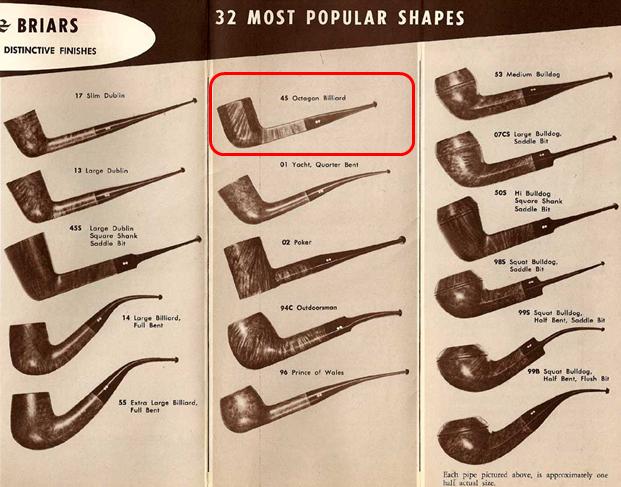
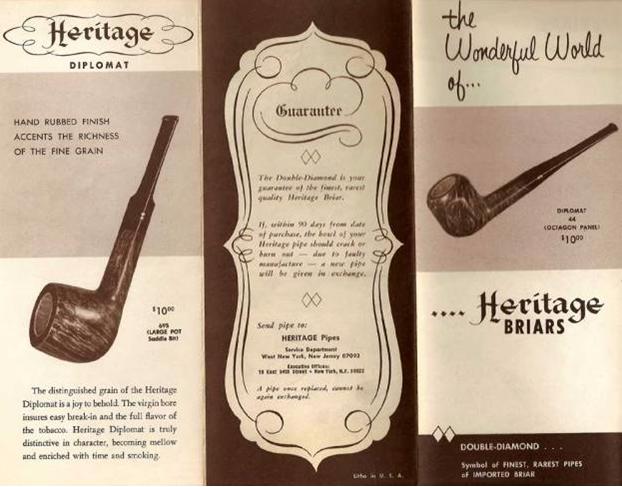
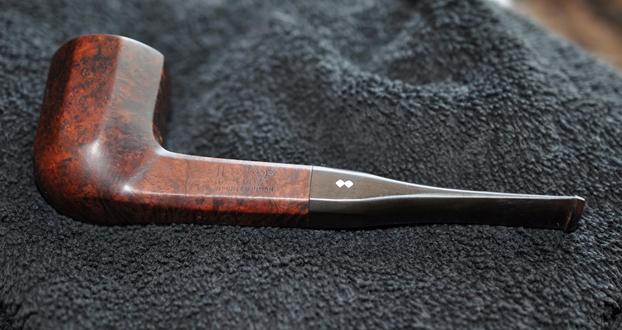
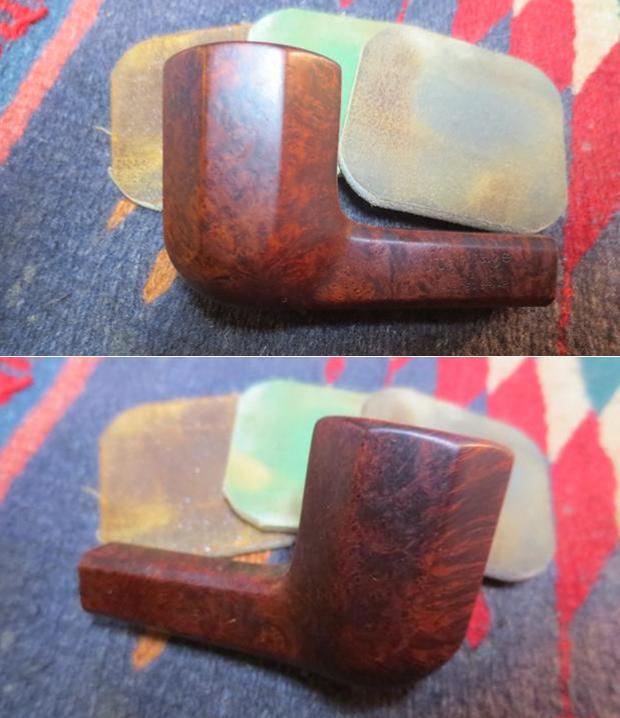
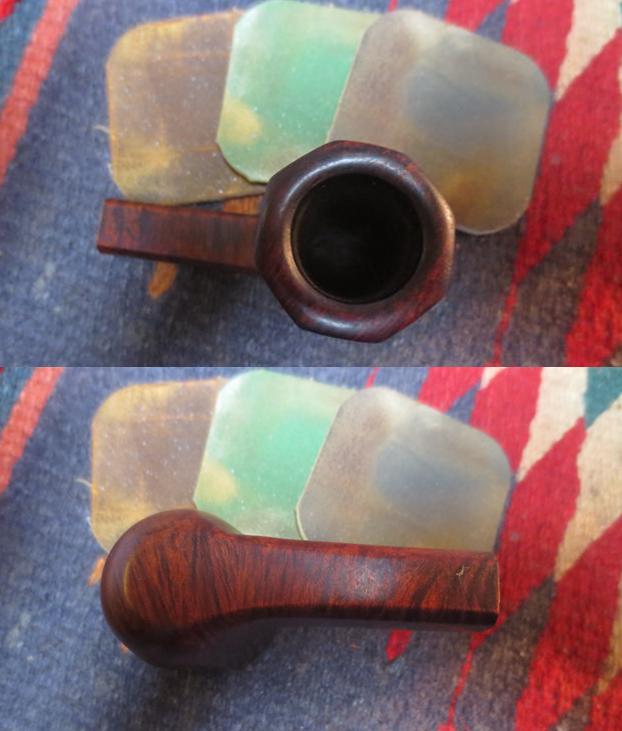
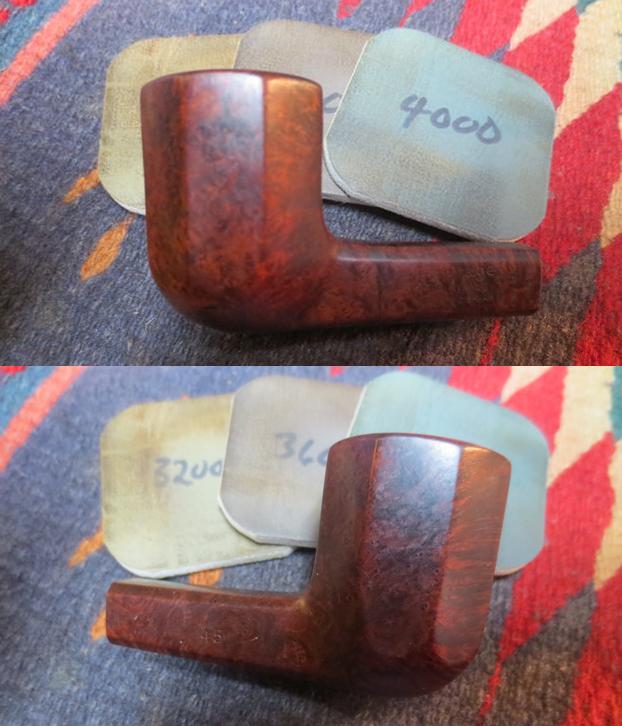
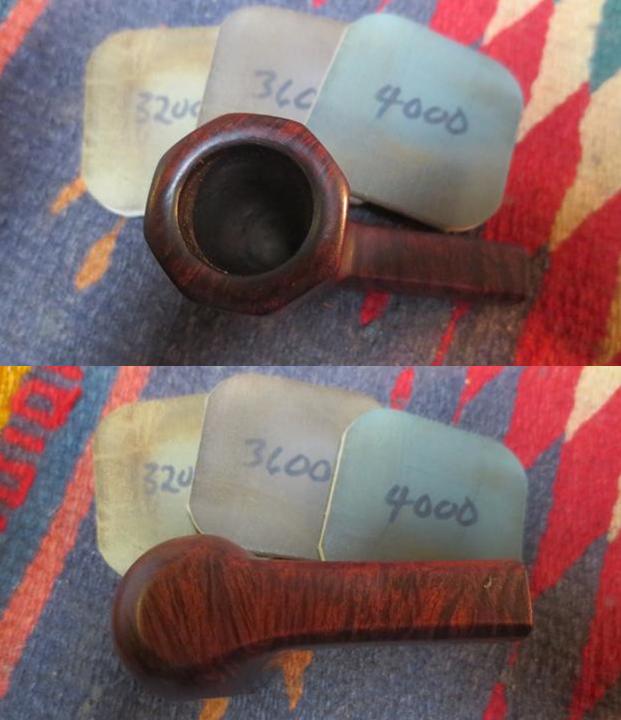
The second pipe I chose to work on first from the threesome I had on the table was the number 45 an Octagon, Square Shank, Taper stem billiard. I have circled it in the page below. Interestingly, the one thing the Heritage line shared with Kaywoodie was the size and shape numbers. Unlike Kaywoodies, the Heritage pipes are normal push tenons.I am also including another page from Andrew’s blog post that highlights the line of Heritage pipes that the Octagon Billiard comes from. It is a Heritage Diplomat which is described in the page below. Its “Hand rubbed finish accents the richness of the fine grain”.  The brochure goes on to describe it in these terms, “…The distinguished grain of the Heritage Diplomat is a joy to behold. The virgin bore insures easy break-in and full flavor of the tobacco. Heritage Diplomat is truly distinctive in character, becoming mellow and enriched with time and smoking.”When the pipes arrived in Idaho, Jeff took photos of them before he did his cleanup work. The 45 Octagon Billiard was in good condition. There was a light cake in the bowl and a light overflow of lava on the rim. The grain on the eight sides of the bowl is quite interesting being a combination of cross grain, birdseye and mixed. The finish was dirty but appeared to be in good condition under the grime and grit the years. The bowl and square shank were clean and undamaged. There was a small fill on the back side of the bowl just above the bowl/shank junction and one on the front of the bowl. It was stamped Heritage over Diplomat over Imported Briar on the left side of the shank and has the shape number 45 on the right side of the shank. The stem had light oxidation and some tooth chatter and some light tooth marks on both sides of the stem just ahead of the button. The double diamond logo on the left side of the stem was in good condition. The quality vulcanite had held up well through the years.Jeff took some photos of the sides and bottom of the bowl and shank to show the condition of the pipe, the rich stain on the pipe and the lovely grain all around.The next two photos show the condition of the rim and the bowl. They are surprisingly clean with only a light cake and lava overflow. They should clean up nicely. The first photo also shows the fill on the back side of the bowl. I have circled it in red so it is readily identifiable. The next two photos show the stem. There is minor tooth chatter on both sides of the stem at the button. There at tooth marks on the top side of the stem are quite deep.Jeff once again worked his magic in cleaning up this pipe. He reamed it with a PipNet reamer and smoothed the walls of the bowl with a Savinelli Fitsall pipe knife. He scrubbed out the mortise and the airway in the shank and the stem with alcohol, cotton swabs and pipe cleaners. He scrubbed the exterior of the bowl, rim and shank with a tooth brush and Murphy’s Oil Soap to the oils and tars on the bowl, rim and shank. He rinsed it under running water. He dried it off with a soft cloth. Once the grime was removed the finish underneath was in stellar condition. The rich patina of the older briar was a mix of grain around the bowl and shank. The cleaning of the stem left a light oxidation in the vulcanite. The tooth marks were clean but visible. I took photos of the pipe to show its condition before I started my work on it. The rim top and edges are very clean. There is some darkening and light scratching on the top and inner bevel of the rim that will need to be taken care of but otherwise it looks good.The stem was clean but needed to be worked on in terms of the bite marks and chatter. The light oxidation needed to be polished out. The square stem and shank were also eight sided which gave the pipe an interesting appearance.I “painted” the stem with the flame of a lighter to lift the tooth marks and dents in the rubber. I was able to raise the dents considerably. Some of them disappeared. Others would need to be sanded out and repaired. The stem certainly looked better after heating.I used the Savinelli Fitsall Knife to clean up the small bit of remaining cake on the backside of the bowl a little more.Three of the marks on the top side of the stem were deep enough that I could not sand them out. I used some clear super glue to fill in the marks. Once the repairs dried I used a file to smooth out the repairs and bring them down even with the surface of the stem. I sanded it with 220 grit sandpaper to further smooth it out.I polished the stem with micromesh sanding pads – wet sanding it with 1500-2400 grit pads and wiping it down after each pad with Obsidian Oil to give the next pad more bite when I sanded. I dry sanded it with 3200-12000 grit pads and again wiped it down with the oil after each pad. After the final pad I wiped it down with a damp cloth and set it aside while I finished the bowl. I turned my attention back to the bowl. I repaired the fill in the back of the bowl with clear super glue. I sanded out the repaired area to blend it into the surface of the briar. Once it was smooth to touch I used a black Sharpie to blend in the light coloured fill.I am continuing to test out Mark Hoover’s new product that he calls Before & After Restoration Balm. I have used it on rusticated, sandblast and smooth briar bowls. Mark is the creator of the Before & After Pipe Stem Deoxidizer and Polishes that I have written about in earlier blogs and reviewed. I am including Mark’s description of the product once more so that if you have not read this you will have an idea of the rationale for the product.  He says that the product can be used on briar or stems – whether vulcanite, acrylic or horn. He said it was designed to pull the dirt off of the briar as well as polish it. He added some anti-oxidants to keep the briar from getting damaged from both UV rays and water. I rubbed it into the finish on the bowl and shank with my fingers and worked it into the finish with a cotton pad to see if it pulled out the dirt. It seemed to work very well and I took the following photos to show the results. I will continue using it for a while and see how it works in a variety of settings before I give an opinion of the product. I lightly buffed the bowl with Blue Diamond to polish it to see where I needed to do some work before the final buff. I hand polished the briar with micromesh sanding pads – wet sanding with 1500-2400 grit pads and dry sanding with 3200-12000 grit pads. I worked on the beveled inner edge of the bowl to clean it up some more. I wiped the bowl down with a damp cloth after each pad. I hand buffed it with a microfibre cloth after the 12000 grit pad. The pictures below show the progress of the polishing on the briar. I put the stem back on the bowl and buffed it with Blue Diamond on the buffing wheel to polish the briar. I used a soft touch around the stamped areas as I did not want to flatten them polish them away even more that they already were. I gave the stem and bowl multiple coats of carnauba wax buffed it with a clean buffing pad to raise a shine. I hand buffed it with a microfiber cloth to deepen the shine. The octagonal shaped bowl, shank and stem combine to present a beautiful pipe. The pipe looks fresh and new. The dimensions of this pipe are Length: 5 1/2 inches, Height: 1 3/4 inches, Bowl diameter: 1 1/4 inches, Chamber diameter: ¾ inches. The finished pipe is shown in the photos below. I will soon be adding it to the rebornpipes store if you are interested in adding to your collection. It is a beauty and will serve someone very well. Email me at slaug@uniserve.com or send me a message on Facebook. Thanks for looking.
Restoring a Savinelli Made Estella 614 Full Bent


Blog by Steve Laug

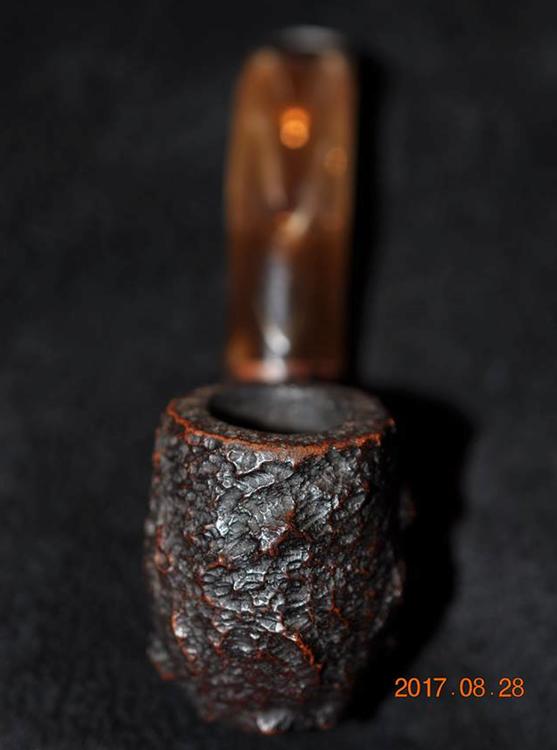
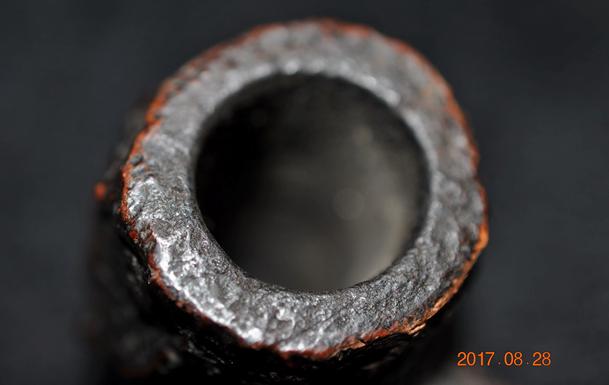
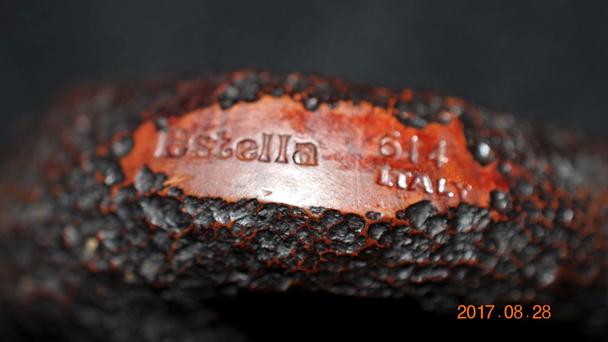
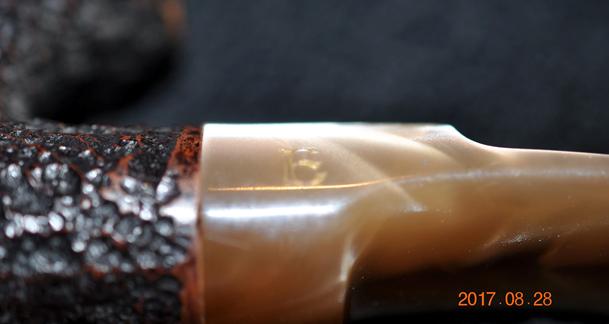
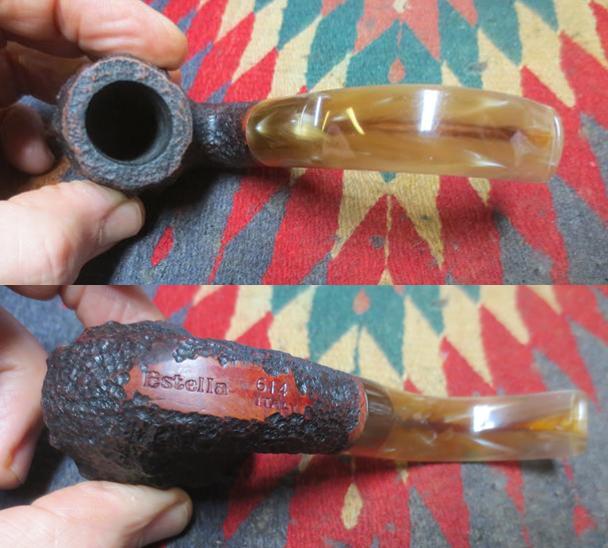
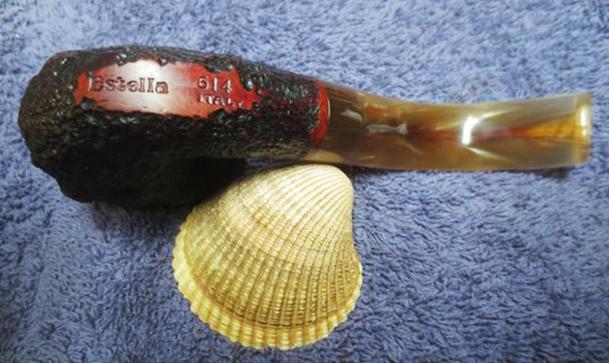
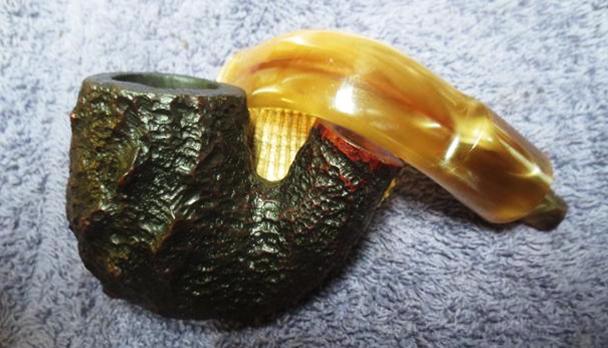
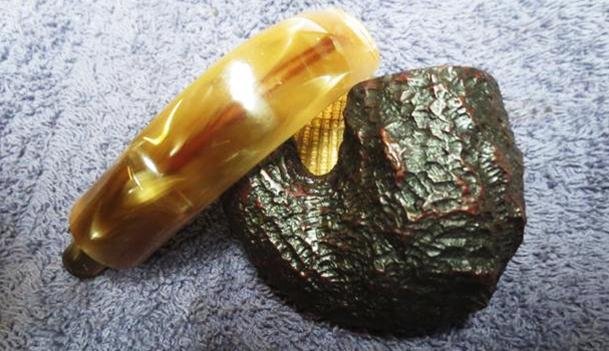
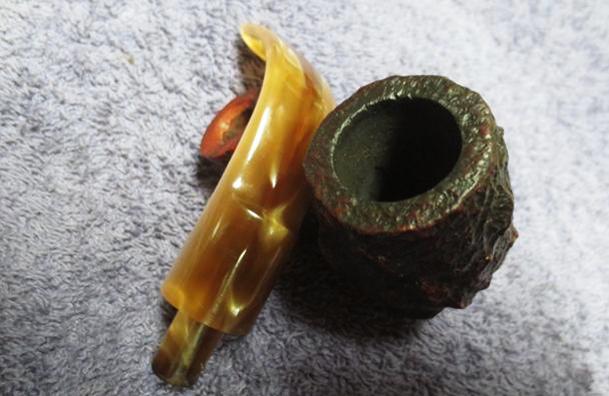
I have always liked the rocky rusticated finish on the Savinelli Made Estella pipes. I have worked on many of them over the years and by and large they seem to have been a well-loved, good smoking and almost indestructible pipe. The finish is a rustication that almost looks like a “blastication” (rustication then sandblasted). It is knobby and very tactile. It feels good in the hand. I have worked on panels, billiards and bulldogs but never a full bent. This one was in good shape. The finish was dirty but was undamaged. The inner edge of the rim was clean and the outer edge had some wear from knocking it out against hard surfaces. There was a light cake in the bowl and the rustication on the rim top was covered with a thick coat of lava. The Lucite stem had tooth marks on the top and the underside of the stem at the button. There was a dark tar stain in the airway in the stem.  The button was in great shape. Jeff took the next series of photos to show the condition of the pipe before he cleaned it. The next photo shows the rim top and you can see the tar buildup in the rustication of the rim. It is almost smooth there is so much tar.The next photo shows the stamping on the underside of the bowl and shank. It reads Estella followed by the shape number 614 over Italy. Often there is a Savinelli Shield logo but it is not on this pipe. There is also an E stamped on the left side of the staggered saddle stem. The next two photos show the tooth marks on the top and underside of the stem at the button. There was one deep mark on each side of the stem at the button.Jeff did an amazing job cleaning up the light issues on this pipe. He reamed it with a PipNet reamer and cleaned up the remnants with a Savinelli Fitsall pipe knife. He scrubbed out the mortise and the airway in the shank and the stem with alcohol, cotton swabs and pipe cleaners. He scrubbed the exterior of the bowl, rim and shank with a tooth brush and Murphy’s Oil Soap to remove the dust of the years. He removed the lava coat on the rim surface so that it was clean. He was able to clean up the outer edges of the rim so that the damage was removed and matched the rest of the rustication. He rinsed it under running water. He dried it off with a soft cloth. Once the dust was removed it was clear that the finish underneath was in stellar condition. The random style of the rustication and the high spots gave it a very rough feel that was like rock. Very well carved. I took photos of the pipe to show its condition before I started my work on it. The rim looked really good. The grooves and carved surface was very clean and the lava that had filled in all of them was gone. The bowl was clean as well.The stem cleaned up well. The majority of the tar stains in the airway came out with the scrubbing with alcohol. What was left was probably not going anywhere. The tooth marks on both sides were dents that were not too deep and could be sanded out.I stained the rim top and the outer and inner edges of the bowl with a dark brown stain pen to blend it in with the colour of the rest of the pipe. There was ring of smooth briar at the end of the shank where the stem sat against it.In my ongoing experiment with Mark Hoover’s new product that he calls Before & After Restoration Balm I used it on the blastication of the bowl and shank. Mark is the creator of the Before & After Pipe Stem Deoxidizer and Polishes.  He says that the product can be used on briar or stems – whether vulcanite, acrylic or horn. He said it was designed to pull the dirt off of the briar as well as polish it. He added some anti-oxidants to keep the briar from getting damaged from both UV rays and water. I chose to use it on this pipe because of the roughness of the rusticated finish on this bowl. I rubbed it into the finish on the bowl and shank with my fingers and worked it into the finish with a shoe brush to see if it pulled out the dirt. It seemed to work very well and I took the following photos to show the results. I will continue using it for a while and see how it works in a variety of settings before I give an opinion of the product. I used a sharp knife to bevel the airway in the tenon. Funneling the airway at that point adds to the smooth flow of air to the button.I sanded the tooth marks on the stem with 220 grit sandpaper until they disappeared into the surface of the stem. When I finished sanding the stem it was smooth and there were not any damaged areas on the stem at the button.I polished the stem with micromesh sanding pads – wet sanding it with 1500-2400 grit pads and wiping it down after each pad with Obsidian Oil to give the next pad more bite when I sanded. I dry sanded it with 3200-12000 grit pads and again wiped it down with the oil after each pad. After the final pad I wiped it down with a damp cloth and set it aside while I finished the bowl. I put the stem back on the bowl and buffed the pipe with Blue Diamond on the buffing wheel to polish the briar. I used a soft touch on the rusticated areas as I did not want to flatten them or fill in the grooves with polishing compound. I gave the stem multiple coats of carnauba wax and I gave the rusticated bowl several coats of Conservator’s Wax. I buffed it with a clean buffing pad to raise a shine. I hand buffed it with a microfiber cloth to deepen the shine. The rough rusticated finish with its dark brown and medium brown highlights works well with the golden swirled Lucite stem. The pipe looks fresh and new. The dimensions of this pipe are Length: 5 1/2 inches, Height: 2 inches, Bowl diameter: 1 1/8 inches, Chamber diameter: 3/4 inches. The finished pipe is shown in the photos below. It is one that will be going on the rebornpipes store shortly. It will make a nice addition to someone’s pipe rack. If you are interested email me at slaug@uniserve.com or send me a message on Facebook. Thanks for looking.


Restoring a Wreck of a C.P.F. Rectangular Shank Bent Egg


Blog by Steve Laug

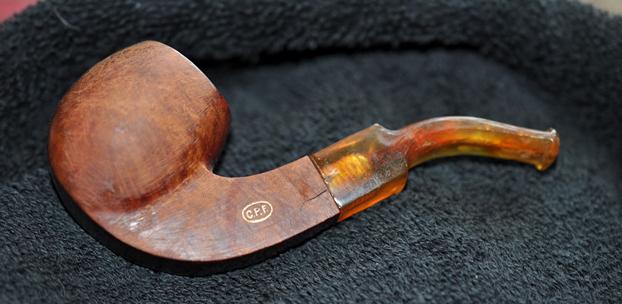
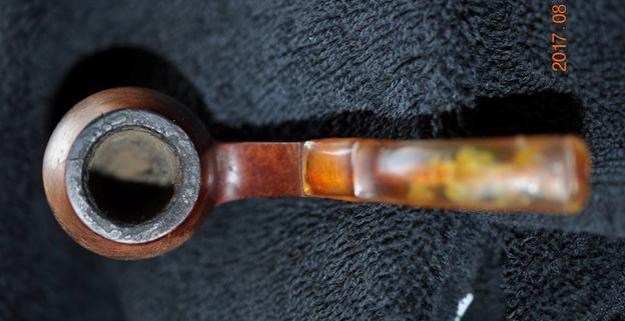
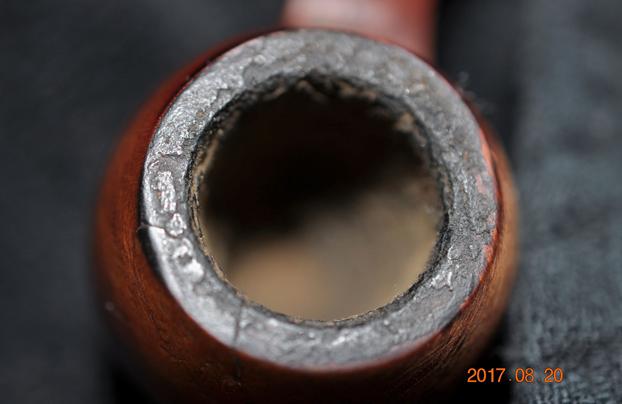
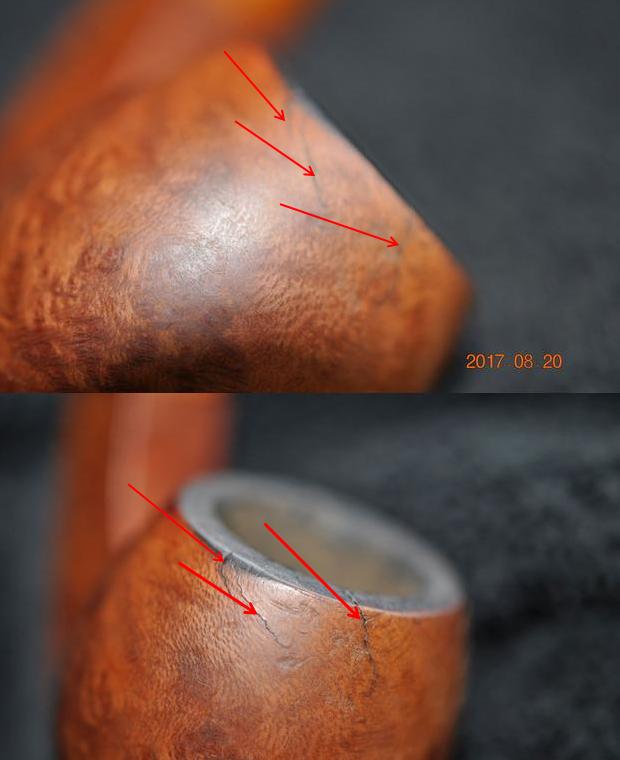
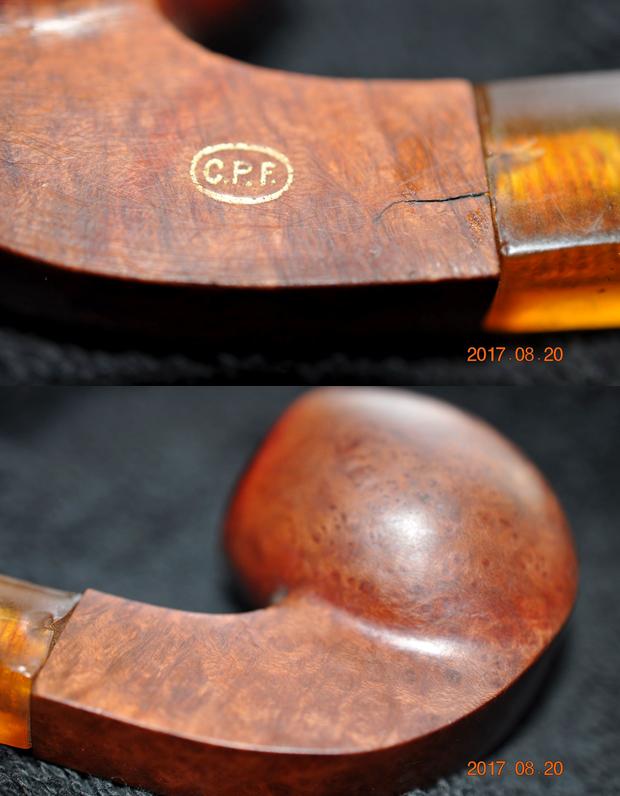
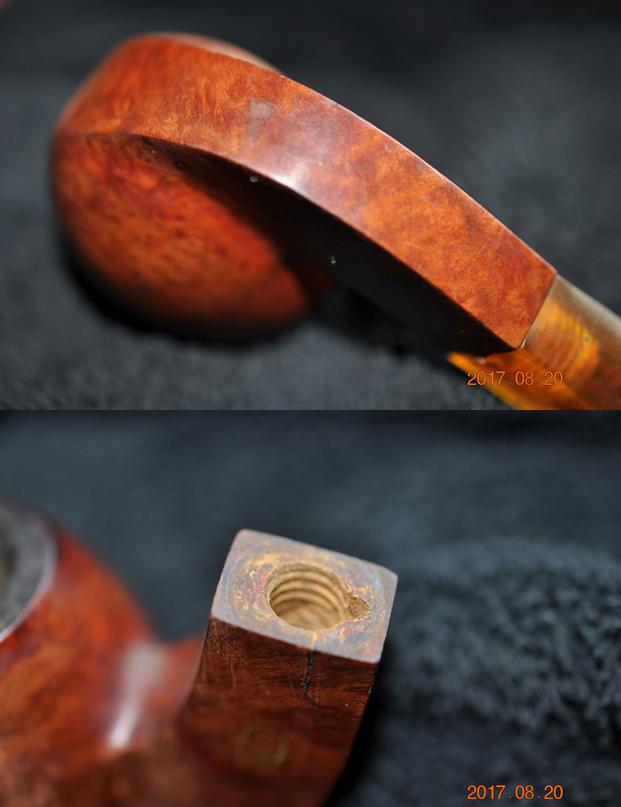
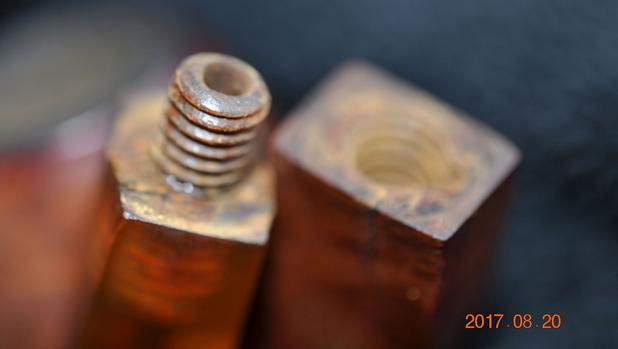
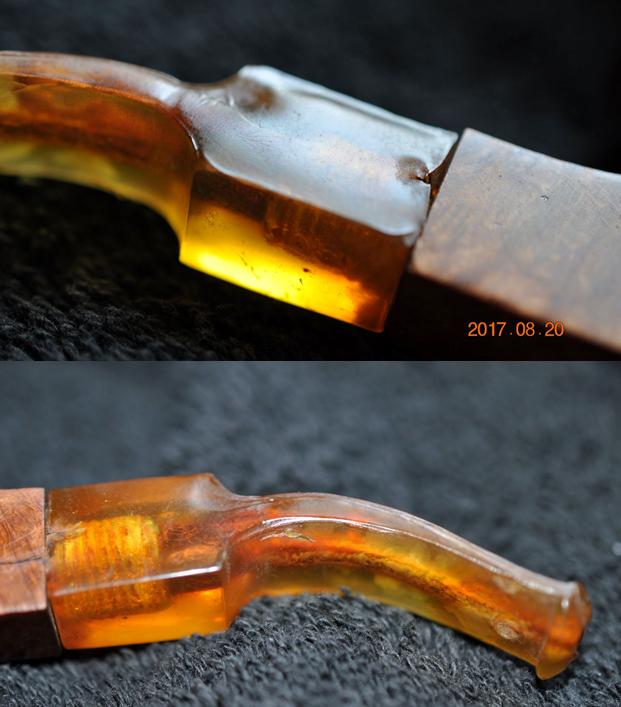
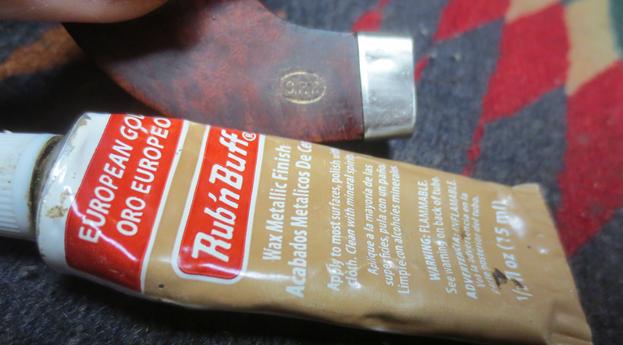
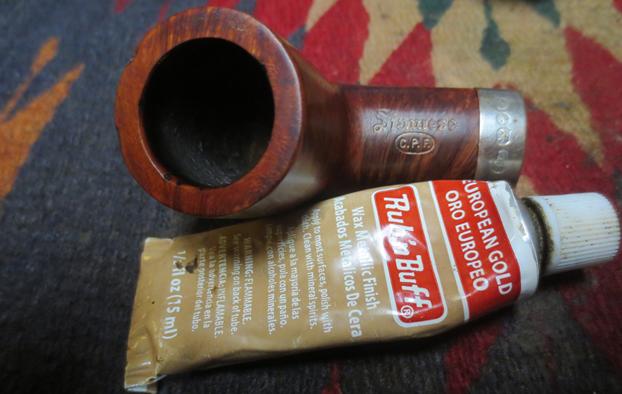
This poor old C.P.F. rectangular shank bent egg was in rough shape when it arrived in Vancouver. Not only was the tenon broken but the stem was in pretty damaged. There were tooth marks and chatter on the top and underside of the stem. The sides of the rectangular saddle portion of the stem were very damaged with deep casting marks and gouges. I think the stem is made of Bakelite but it was really a mess. Add to that the condition of the bowl – three cracks running down the front right side from the rim down and across the bowl, a cracked shank, no band, a scratched and damaged finish and you have a clear picture of the condition of the tired old pipe. There was a day when I would have retired this one and moved on to a different pipe but today it is a challenge worth taking and seeing what I can do with it. Jeff took various photos of the pipe to show what it looked like when he picked it up.The rim top was a mess. There was an overflow of lava that had hardened on the rim top. There was an average cake in the bowl that would need to go in order to repair the damaged areas. The inner edge of the rim was probably damaged though it was hard to tell at this point. There were to cracks on the right side of the rim toward the front of the bowl. I have included two photos to show the cracks in the same area from the rim down and across the bowl on the top right side. I have used red arrows to point them out in both photos.The crack in the shank is very obvious in the photo below. It was quite deep and had begun to separate. You can also see the damage to the stem at the stem/shank junction. But even with all of the damage there was still some charm to the briar. The grain was interesting – a combination of birdseye and cross grain all around the bowl. The flat bottom portion had nice cross grain that would stand out once the pipe was restained. The threads in the mortise were in excellent condition. The U-shaped divot at the bottom of the mortise shows how the airway was drilled into the bowl. The threads on the tenon looked good at this point. The next photos show the extensive damage to the sides of the saddle stem. It was rough. It almost looked as if someone had tried to pry it free from the shank rather than unscrewing it. There were some deep tooth marks and a lot of chatter on both sides of the stem in front of the button. Once again when the pipe arrived in Vancouver, I could see that Jeff had done his magic in cleaning and scrubbing it. He had reamed the bowl with a PipNet pipe reamer and a Savinelli Fitsall Pipe Knife. He cleaned up the rim and the exterior of the bowl with Murphy’s Oil Soap to remove the grime and debris on the briar itself. He had exercised care around the gold stamping on the left side of the shank. He had cleaned out the mortise and the airway in the shank and the stem with alcohol, cotton swabs and pipe cleaners. The stem damage was clearly visible and the gouges on the sides of the saddle stem stood out in clarity. There were some deep tooth marks on both sides of the stem at the button. When I brought the pipe to my work table I took some photos of it as I opened the case. It really was a beautiful old pipe. I took a photo of the rim top and bowl to show the issues there. The bowl was very clean. The rim top photo shows the cracks very clearly and the scars on the inside edge of the rim. The right side photo also shows the cracks.The stem has some beauty still, but the deep tooth marks would need a lot of work to bring them back to a smooth condition.This is where some of the issues show up. The tenon had broken when Jeff was cleaning it up. Fortunately it had not broken off in the shank or the stem so it was a clean repair. I would need to fit a new threaded tenon in the shank and stem. The gouges and nicks in the sides of the saddle are very clear in the next photos.Since the stem was such a mess and would take time to work on I started with it. I sanded the sides and top of the stem and filled in the damaged areas with amber super glue. In the next photos you can see the extent of the damage from the size of the glue repairs. I set the stem aside to dry and went for lunch with my wife and daughters. When I returned the repairs would have cured and I could continue. When I returned I used a needle file to smooth out the repaired areas and flatten out the sides of the saddle. I sanded the stem with 220 grit sandpaper to further blend in the repaired areas. I fit a new threaded tenon in the stem and set it in place. I sanded the stem more, to smooth things out. In the first photo below there looks like a crack runs along the middle of right side of the saddle. It was not a crack but a flaw in the stem material. There was still a lot of sanding to do before the stem was acceptable. I sanded the stem surfaces until they were smooth and the repairs were unnoticeable. It took quite a bit of sanding to achieve this. I polished the stem with micromesh sanding pads – wet sanding it with 1500-2400 grit pads and dry sanding it with 3200-12000 grit pads. I rubbed the stem down with Obsidian Oil after each pad to give traction to the next pad and also bring a little life to the Bakelite stem. With the work on the stem complete I set it aside and turned my attention to the issues with the bowl and shank. I decided to address the cracked shank first. I would need to fit a band on the shank. I did not have any brass bands so a nickel one would have to suffice. I used a needle file to work on the shank end to get it ready for the band. I started with the file and finished with the Dremel and sanding drum. Making a band that would fit took some work. I only had round bands so I needed to shape one that would work. I used a small nail hammer and the square edges of the needle file to make the round band rectangular. It was tedious but the finished band is shown in the photo below. I pressed it onto the shank of the pipe. It was still too large and if pressed all the way onto the shank would look awkward. I used the Dremel and sanding drum to cut the height of the band in half. It takes time and care to slowly grind the metal away. I used the topping board to smooth out the sharp edges of the band. I used an all-purpose glue to repair the crack and to anchor the band on the shank. I pressed the band in place on the shank. I took photos of the banded shank to remind myself of what it looked like at this point in the process. I still needed to polish the metal but it was looking better. The bowl still had remnants of the old varnish coat in the angles and on the shank bottom. I wiped it down with acetone on a cotton pad to remove the rest of the finish in preparation for the repairs that I needed to do on the cracks. I topped the bowl to remove the damaged areas on the rim top and to clean up the inner edge damage.I marked the ends of the cracks with a black Sharpie pen and drill the spots with a microdrill bit on my Dremel. I put these pin holes at the end of each crack to stop it from spreading further. I filled in the drill holes with clear super glue and smeared the glue over the cracks themselves. When the repairs dried I sanded them smooth with 220 grit sandpaper to blend into the surface of the briar. I also sanded the inner edge of the rim to minimize the damage there. With the repairs completed it was time to stain the bowl and blend them into the rest of the briar. For me the staining process on this pipe would be done in several steps. I stained the bowl with a dark brown aniline stain, flamed it and repeated the process to ensure an even coverage over the bowl. I wiped the bowl down with alcohol on cotton pads to make the stain more transparent. I sanded the bowl down with 1500-4000 grit micromesh sanding pads to make the grain more transparent and polish it in preparation for the next contrast coat of stain. I wiped it down with alcohol once more and then gave it a coat of Danish Oil Cherry stain for the top coat. I really like the way it brings out the reds in the grain of the briar. I touched up the gold stamping with Rub’n Buff European Gold. I rubbed it on and off leaving it in the light C.P.F. oval logo. It is faint in some places but it is readable. I gave the bowl several coats of Conservator’s Wax and buffed it with a microfiber cloth. The photos below show the renewed stamping and the waxed finish on the bowl. I used the Savinelli Fitsall Pipe Knife to clean up the remnant of the cake on the wall that is shown in the above photos. I buffed the pipe bowl and stem independently with Blue Diamond on the buffing wheel to polish them both. I worked over the briar around the bowl with the Blue Diamond. I carefully gave the briar several coats of carnauba wax and then Conservator’s Wax in the hard to reach spots. I buffed the waxed briar with a clean buffing pad to a raise a shine. I gently buffed the stem with Blue Diamond so as not to melt it or cause damage. I gave the stem multiple coats of carnauba wax and buffed it with a clean buffing pad to raise the shine. I hand buffed bowl and stem with a microfibre cloth to deepen the shine. I put the stem in the shank and hand buffed it once more. I am quite happy with the finished pipe. It is a beautiful piece of briar and the stem picked up a nice shine that brought it back to life. The damage on the stem is almost invisible now and the amberlike Bakelite looks translucent. The repairs to the cracks in the briar on the side of the bowl and the shank have disappeared into the contrast stain. The nickel band works alright with the finished look of the pipe and takes care of the shank damage. The finished pipe is shown in the photos that follow. Thanks for putting up with my passion for these old C.P.F. pipes from another time. Thanks for looking.


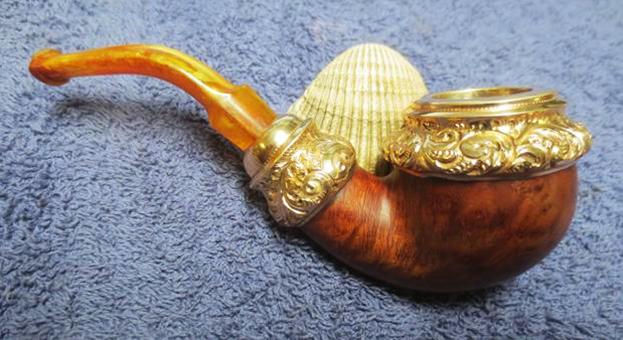
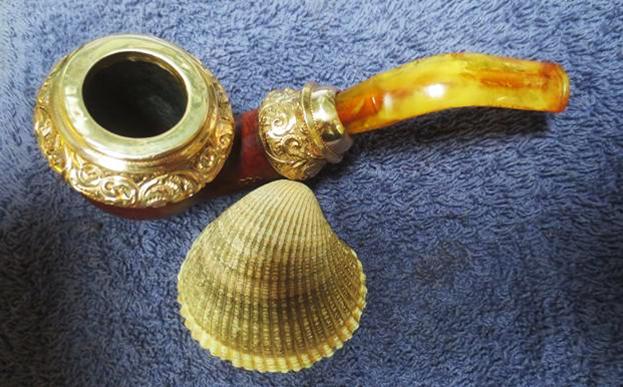
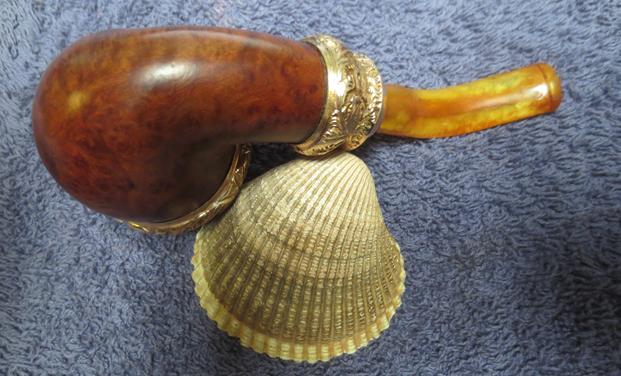
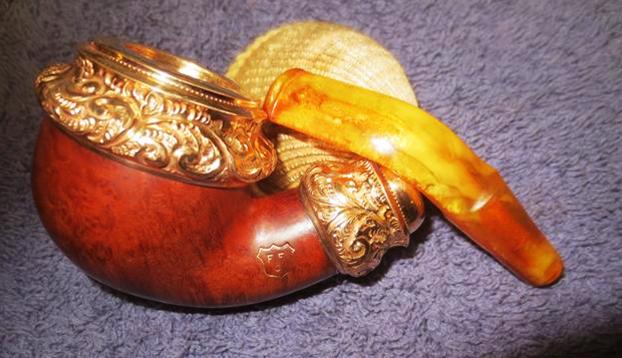
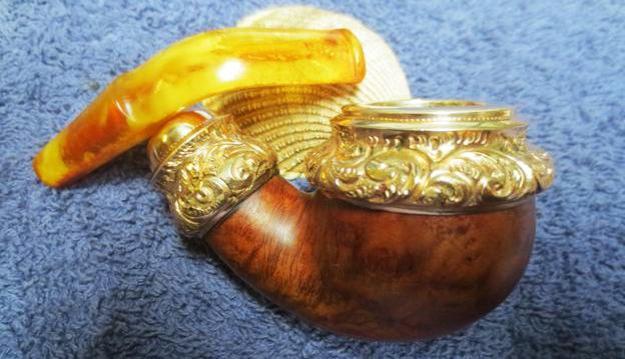
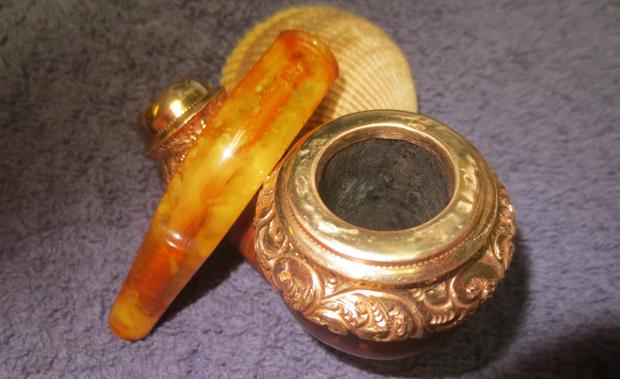
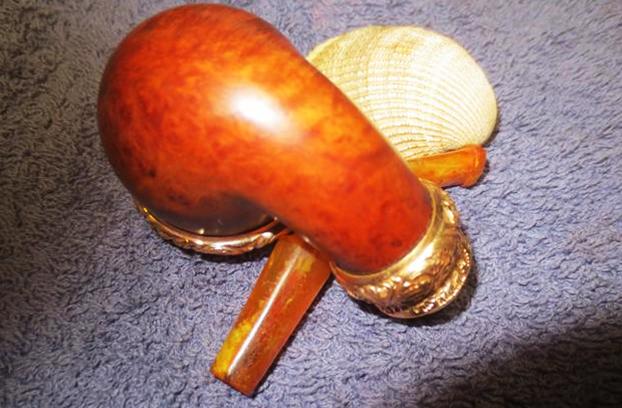
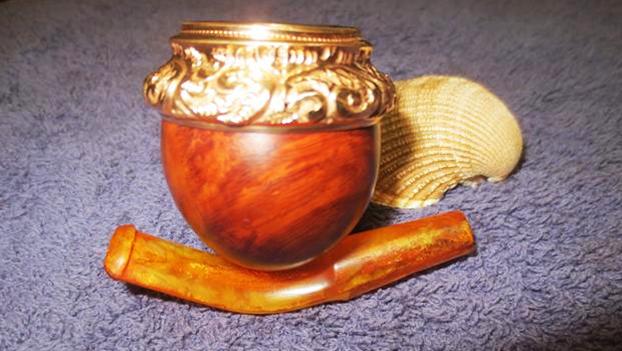
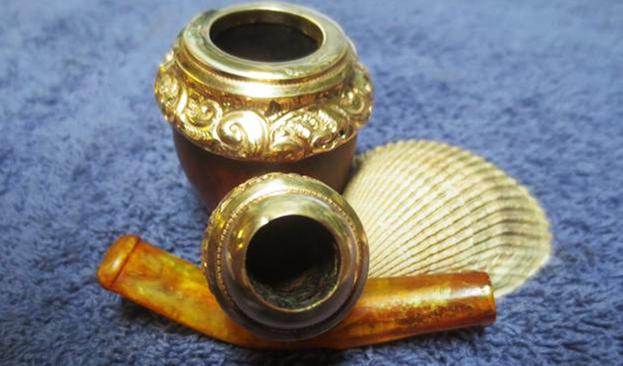
An Interesting Find – An FEC Cased Briar with a lot of Bling


Blog by Steve Laug

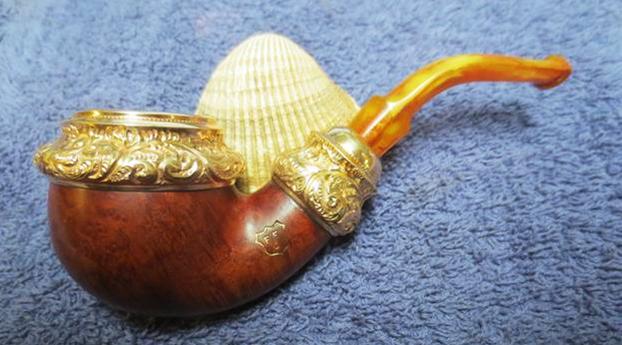
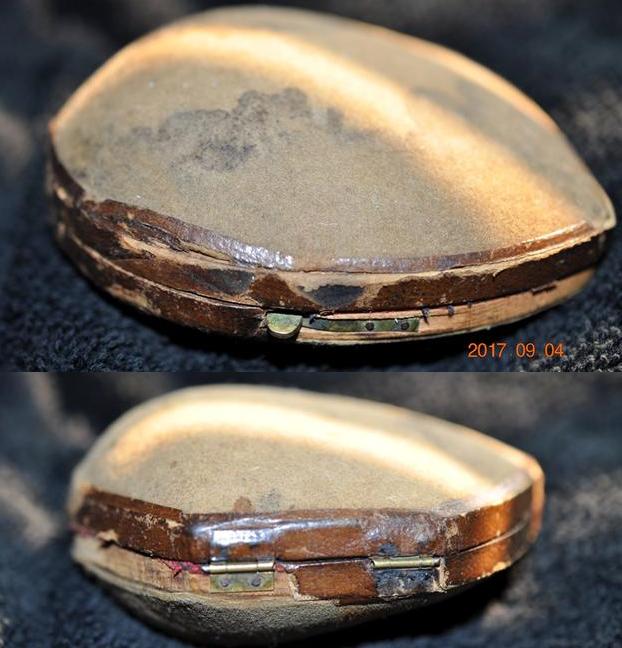
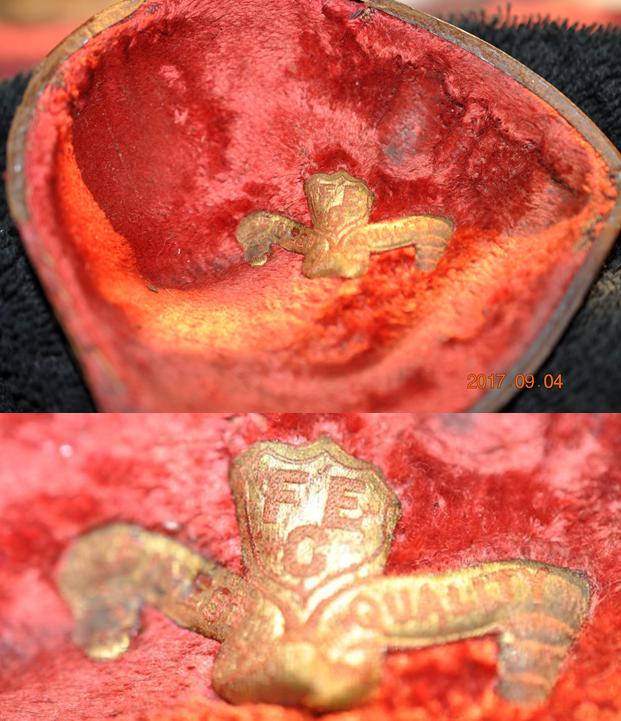
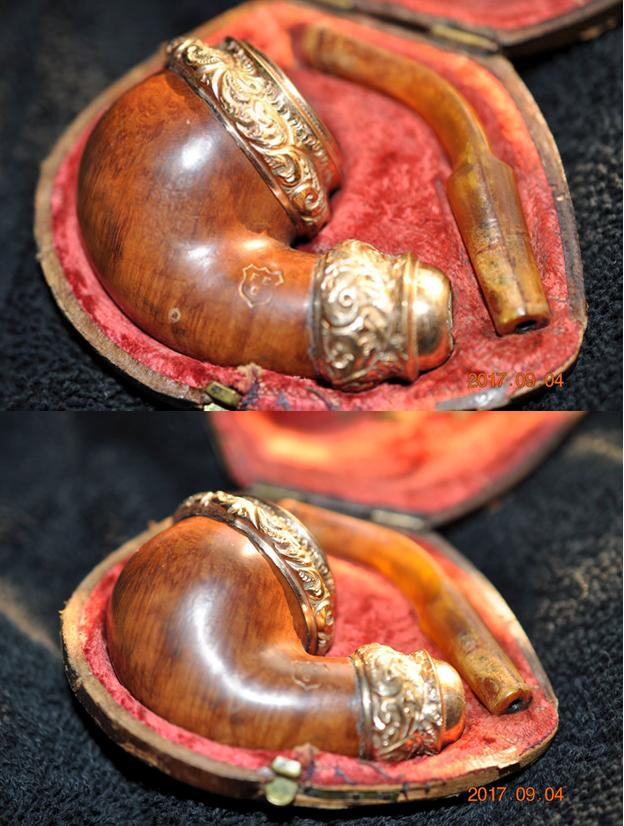
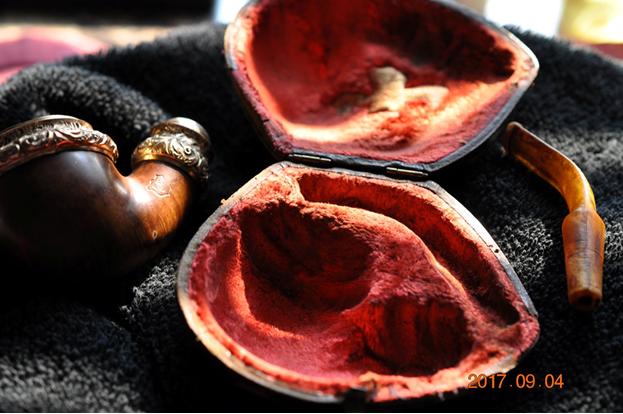
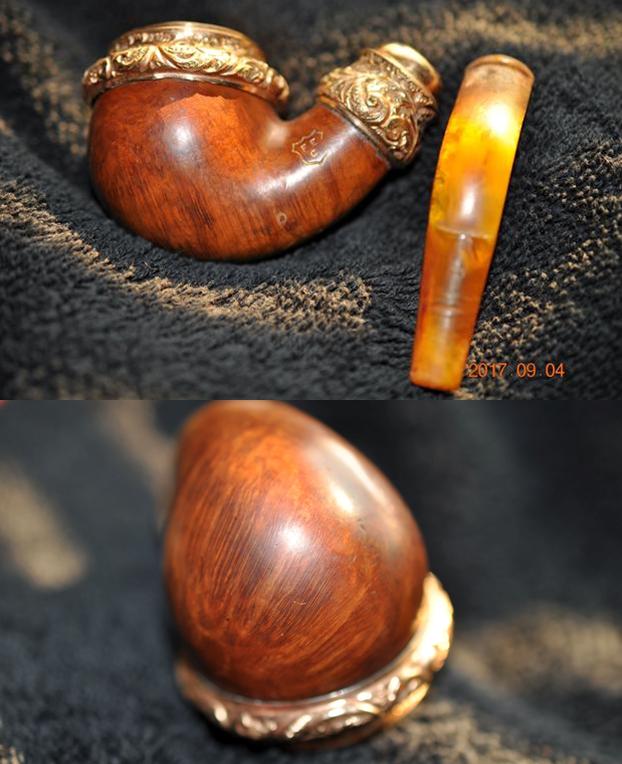
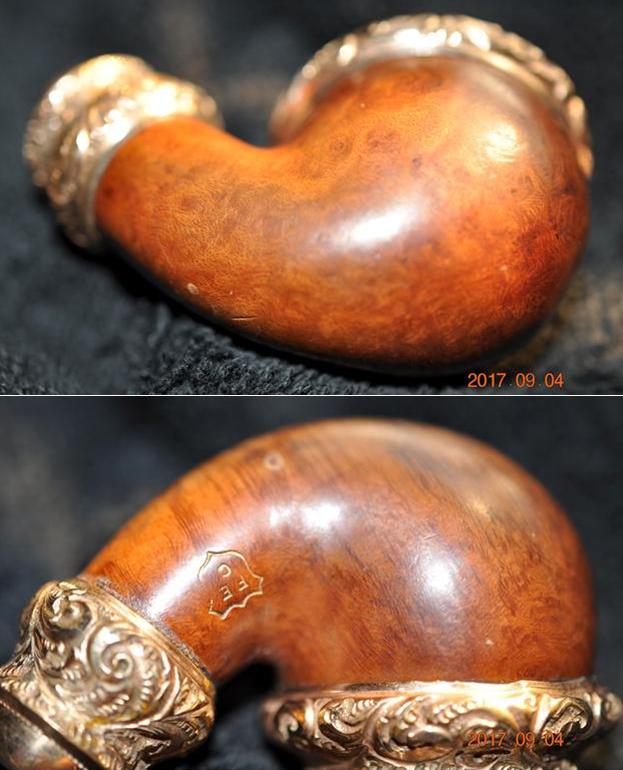
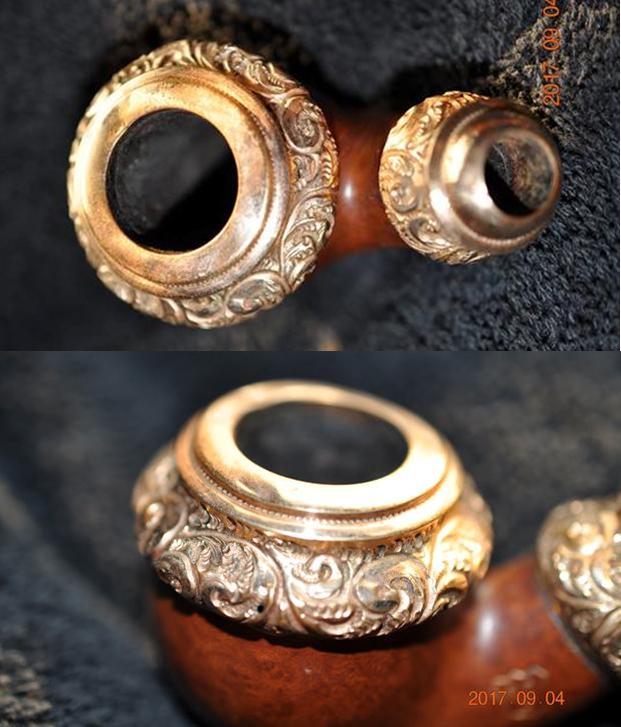
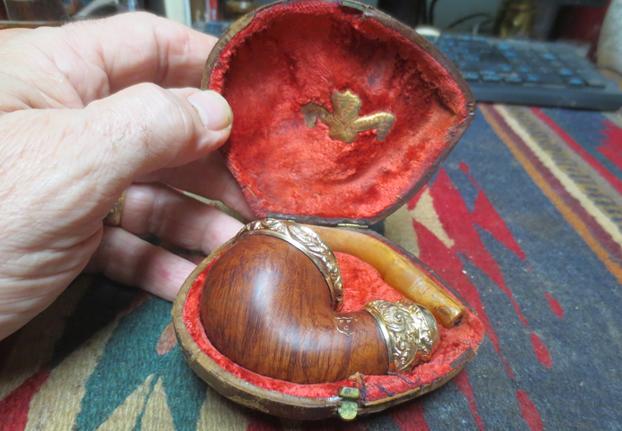
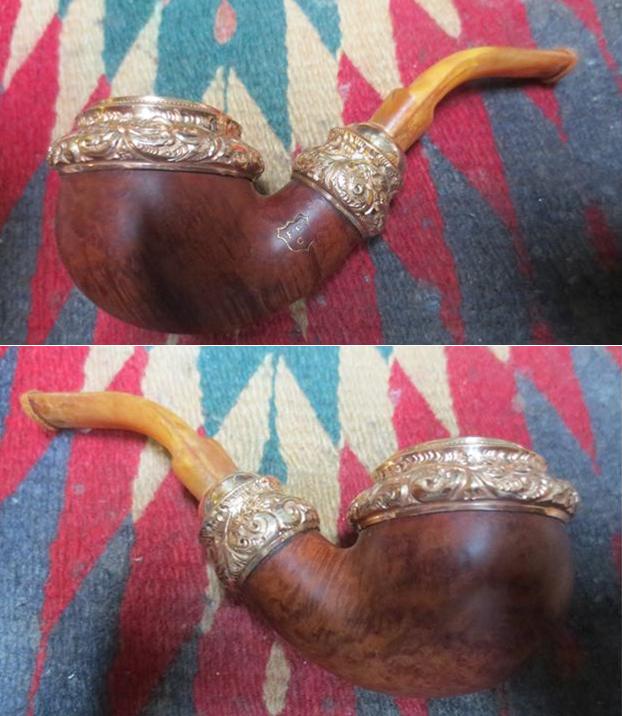
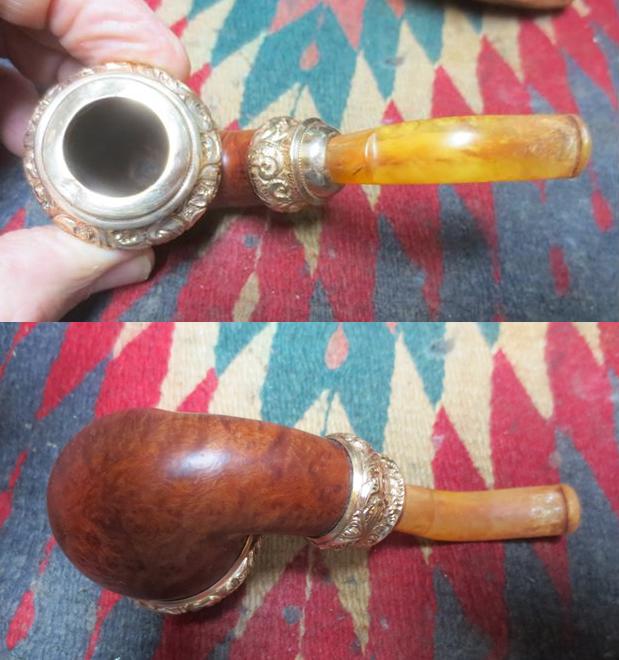
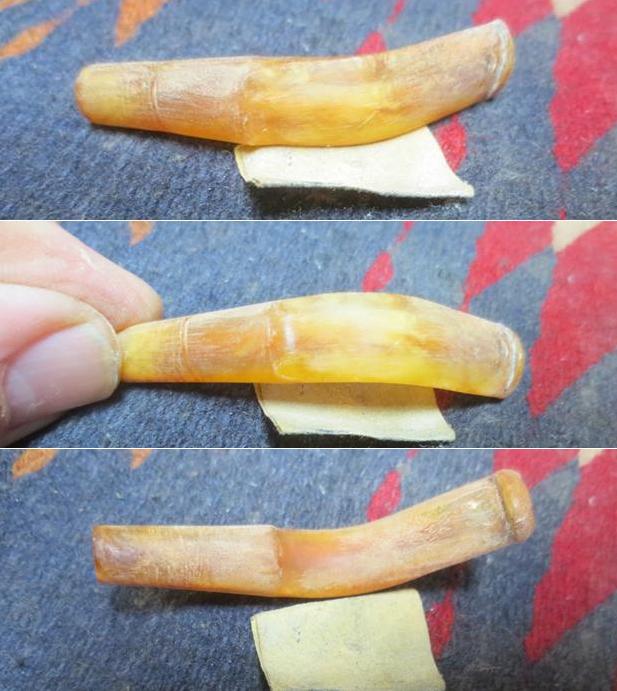
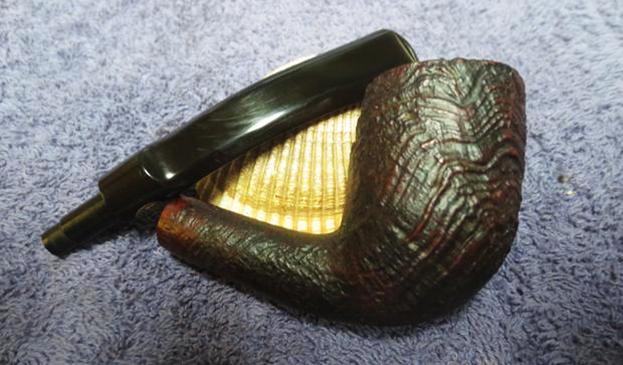
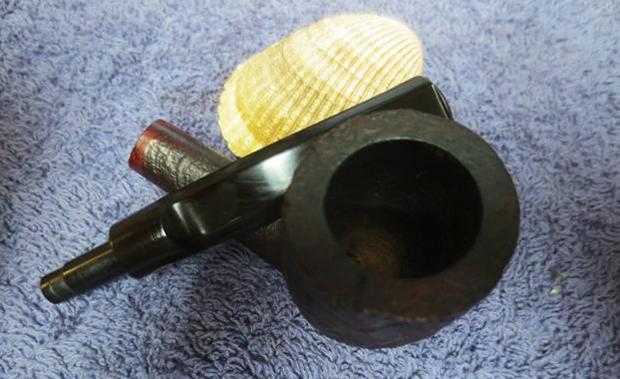
My brother Jeff sent me a link to a pipe he thought might interest me on eBay. He was right; we bid on it and won. The shape of the clamshell case (even though it is worn and tired looking) caught my attention. At its widest point it is 4 inches long, it is 3 ¼ inches wide and 2 inches tall. It is the perfect size case to put in a coat pocket with not too much of a bulge. The brass catch/latch was visible and was attached with nails to the front of the bottom half of the case. The wooden case is visible under the worn leather. On the back side of the case you can see the hinges, also attached with nails. (He took photos of the case and the pipe before he cleaned it up.)The plush red lining covered entire inside of the case. While it was worn and a little soiled it still showed some of its original glory. The top half of the case had a gold banner with FEC in a shield and two ribbons unfurled below the shield that read “FINEST QUALITY”. The bottom half the plush lined case had been form fitted to hold the bowl and stem separated but safely held in place. Then the pipe itself was intriguing. It looked to be in decent condition and was a brand with which I was unfamiliar. It looked very old and clean for a pipe of this age.Jeff took a photo of the inside of the case to show the form of the underside without the pipe and stem in place. It is obvious the case was made especially for this pipe and stem. The fit is perfect and the forms match the shape of the bowl with its bling and the saddle stem.Jeff took photos of the pipe and stem from various angles to capture the condition of the pipe. Other than some grime and dirt from sitting and the normal cake and tars in the bowl and shank the pipe was in really good shape. There were some scratches and dings in the briar and in the Bakelite stem but nothing too serious. The first and last photos below show the FEC shield on the left side of the shank. It was worn on the right side of the shield but it was very clear. The filigree shank and rim adornments were in really good condition with no chipping or scratching. There were also no nail caps showing that held both in place on the rim and the shank. The flat portion of the gold rim top was dented and there was some darkening. The next photos show the rim top and sides of both the rim cap and shank cap. There was grime and grit in the swirls of the gold but other than being dirty it was in good condition.  The next photo is a view of the pipe looking down the end of the shank. The build up of tars and oils on the walls of the mortise are very clear. The debris flowing out of the end of the tenon is also visible in this photo.The stem was a bit of a wreck with tooth chatter, tooth marks and nicks all around the top and underside. The airway in the stem is black with tars and oils. The third and fourth photos below show the nicks and scratches in the tenon of the Bakelite stem. The fifth photo below shows the airway at the end of the tenon – note how dirty the airway is. As I mentioned above I had no idea of who made the FEC brand or even what country it came from. In many ways it looked like an older American pipe of the same ilk as CPF or WDC. The gold filigree on the cap and shank made me think of both of those but hunting for an American brand with those initials turned up absolutely nothing. I looked in the index of my copy of “Pipes, Artisans and Trademarks” by Jose Manuel Lopés’ and found a listing. It was short and to the point but now I had my information.
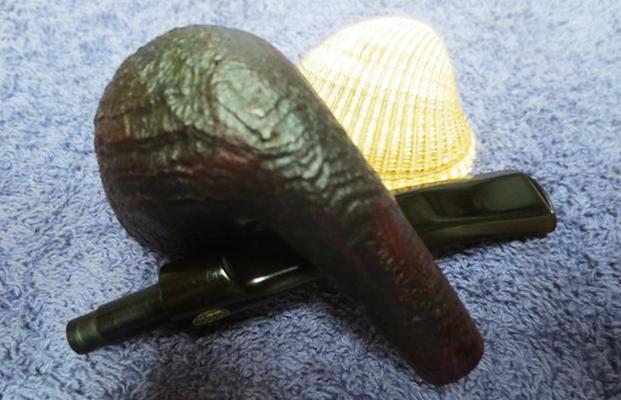
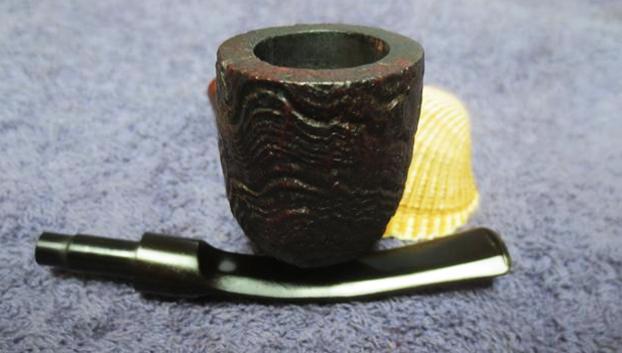
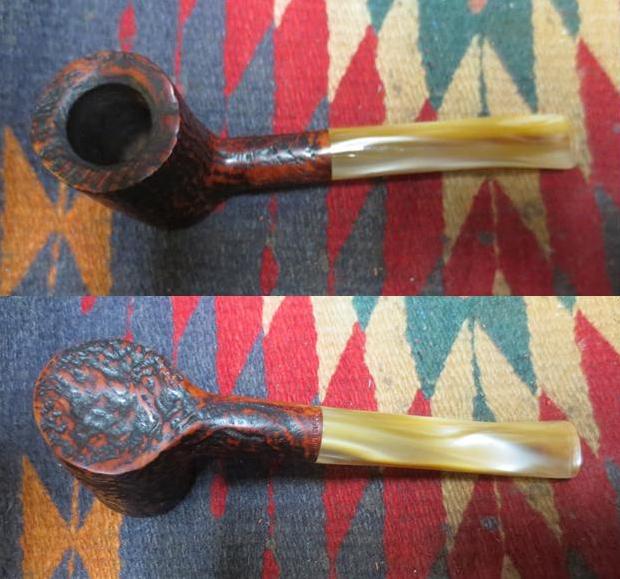
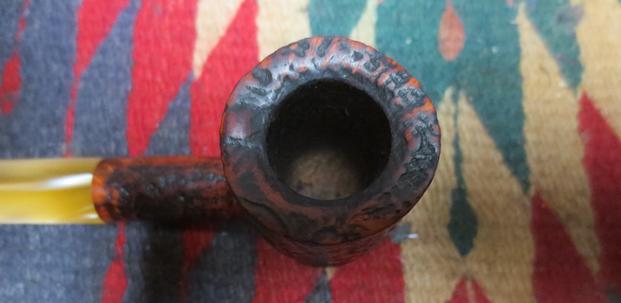
FEC is the old English brand of Friedrick Edwards & Co., established in London around 1884, and which mainly produced meerschaum and calabash pipes. The company was bought in 1904 by S. Weingott & Sons, but continued separately until 1916.

Armed with the company name behind FEC I went back to the web and did some more searching. I found the same information as quote above on Pipedia. I also found a Briar Pipe Makers in London Directory on Pipedia. There was a listing for FEC. https://pipedia.org/wiki/Briar_Pipe_Makers_in_London_Directories. It read as follows:
Edwards, Friedrich & Co. – 25 Gingshouse St., W [at this point in time, John Solomon Weingott was a full partner of F. Edwards & Co. who were primarily meerschaum pipe makers]

Now I had some idea of the age and provenance of the pipe in my hands. It was made in the FEC factory at 25 Gingshouse St., W in London, England. Since Friedrich Edwards & Co. made primarily meerschaum and calabash pipes before joining with S. Weingott & Sons in 1904 I was pretty confident that this pipe came out after that merger. I knew that the brand continued separately until it was subsumed by S. Weingott & Sons in 1916. That gave me the dating parameters for the pipe. It was made between 1904-1916 which certainly fit the style of the pipe and its ornamentation.

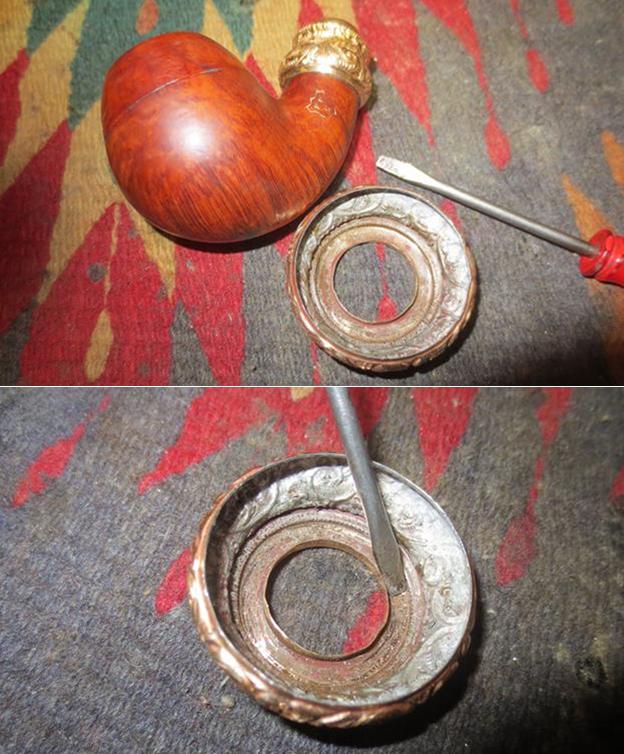
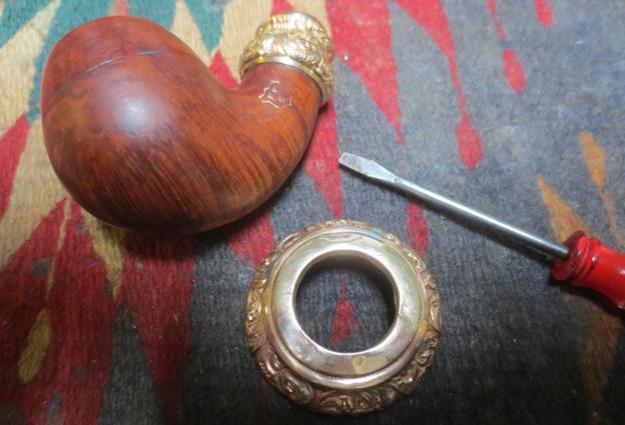
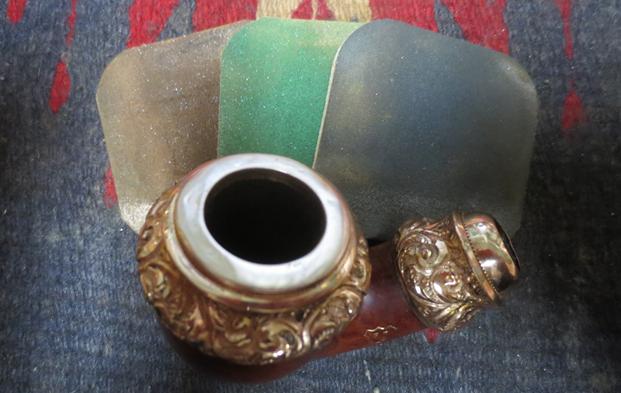
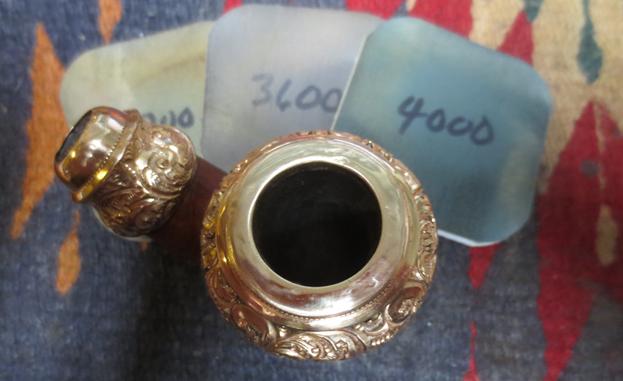
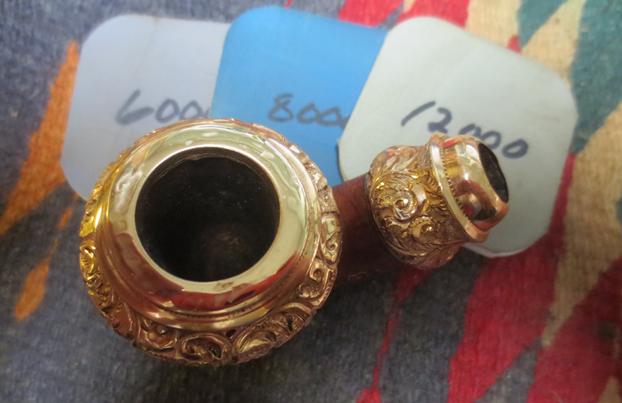
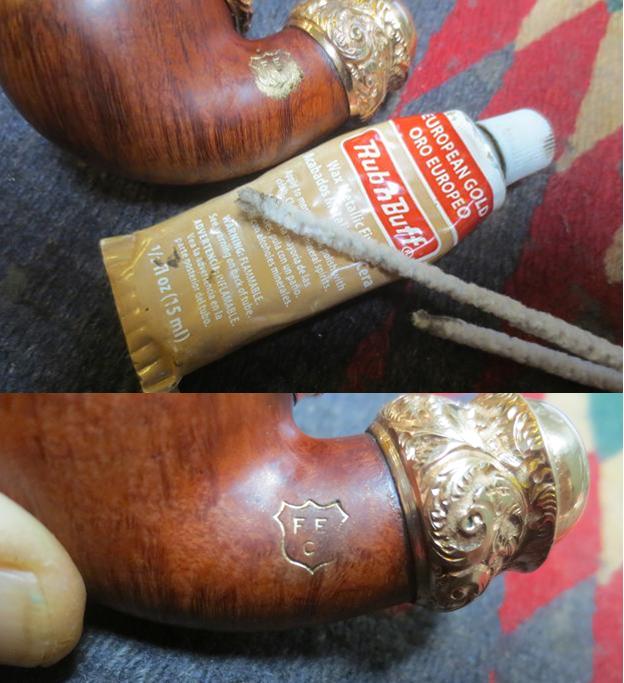
When the pipe arrived in Vancouver, I could see that Jeff had done a lot of cleaning and scrubbing on before he sent it to me. The scrubbing of the gold filigree would have been a labour of love in that it was so intricate and detailed that the grit and grime would have fought hard to remain in all of the crevices. He had reamed the bowl with a PipNet pipe reamer and a Savinelli Fitsall Pipe Knife. He cleaned up the rim and the exterior of the bowl with Murphy’s Oil Soap to remove the grime and debris on the briar itself. He exercised care around the gold stamping on the left side of the shank. He had cleaned out the mortise and the airway in the shank and the stem with alcohol, cotton swabs and pipe cleaners. The stem damage was clearly visible and the nicks and marks stood out in clarity. There were some deep tooth marks on both sides of the stem at the button and the slot in the button still had some tars and dark spots in the corner of the slot. When I brought the pipe to my work table I took some photos of it as I opened the case. It really was a beautiful old pipe. I took it out of the case and put it together to get a feel for its size and appearance. While it was petite it still have a full sized bowl. The briar had some great grain patterns around the bowl and shank. Jeff had done a great job cleaning up the gold filigree on the rim cap and shank cap. It looked amazing and had a rich shine to those spots on the pipe. The dents on the top of the rim can be seen in the photo below as can the clean bowl. I took a picture of the FEC Shield on the left side of the shank to show the condition of the stamping.When it arrived I could see that he had really worked over the stem and the airway from the top and bottom looked clean. The tooth chatter and marks on the top and underside are shown in the photos below.I decided to start working on the stem as it was the part of this pipe that needed the most work. I sanded down the tooth chatter with 220 grit sandpaper and was able to remove all of the chatter and some of the lighter tooth marks. I sanded the scratches and nicks on the rest of the stem and the tenon end and was able to smooth most of them out.I wiped off the stem with a cotton pad to remove the sanding dust and filled in the deep tooth marks on both sides near the button with amber super glue.When the glue repairs had cured I sanded them flat with 220 grit sandpaper to blend them into the rest of the surface of the stem. I was really happy with the blend achieved by the amber super glue and the Bakelite stem.I cleaned out the remaining dark spots in the slot in the button and the tenon area of the stem with pipe cleaners and warm water. I was able to remove all of the left over darkening and the stem looked better.I polished the stem with micromesh sanding pads – wet sanding with 1500-2400 grit pads and dry sanding with 3200-12000 grit pads. I rubbed the stem down with Obsidian Oil after each pad and then proceeded through the pads. After the 12000 grit pad I gave it a final coat and let it dry. I spoke with Jeff this morning and he told me that the top cap was not glued or pinned to the top of the bowl and could easily be removed. I wiggled it free without doing and damage to the edges. I used a small flat blade screw driver that fit perfectly in the last ring before the opening. It worked to smooth out much of the dents and damage to the top of the rim. While I was not able to remove all of it I was able to minimize it in this manner. I decided to pressure fit the rim cap back on the top of the bowl rather than glue it or pin it. I figured that way if I wanted to try smoothing out the rim cap some more I could do so in the future. I polished the top of the rim cap with micromesh sanding pads to further minimise the scratching on the top. I wet sanded with 1500-2400 grit pads and dry sanded with 3200-12000 grit pads. I wiped it down afterwards with a soft cotton pad to raise the shine. I touched up the FEC Shield stamp on the left side of the shank with Rub’n Buff European Gold. I applied it with the tip of a pipe cleaner and worked it into the grooves of the stamp. I removed the excess with a damp cotton swab and polished the finished shank with a soft cotton pad. I was able to fill some of the grooves toward the top right of the shield and a bit of the letters. The stamping on the bottom right side of the shield was too shallow to hold the gold.I buffed the pipe bowl and stem independently with Blue Diamond on the buffing wheel to polish them both. I worked over the briar around the bowl with the Blue Diamond and lightly buffed the gold rim and shank cap. I carefully gave the briar several coats of carnauba wax and then Conservator’s Wax in the hard to reach spots. I buffed the briar and caps with a clean buffing pad to a raise a shine. I gently buffed the stem with Blue Diamond so as not to melt it or cause damage. I gave the stem multiple coats of carnauba wax and buffed it with a clean buffing pad to raise the shine. I hand buffed bowl and stem with a microfibre cloth to deepen the shine. I put the stem in the shank and hand buffed it once more. I am quite happy with the finished pipe. It is a beautiful piece of briar and the stem picked up a nice shine that brought it back to life. The dents in the rim cap while still present look much better. The finished pipe is shown in the photos that follow. Thanks for looking and enduring my obsession with these pipes from another time.

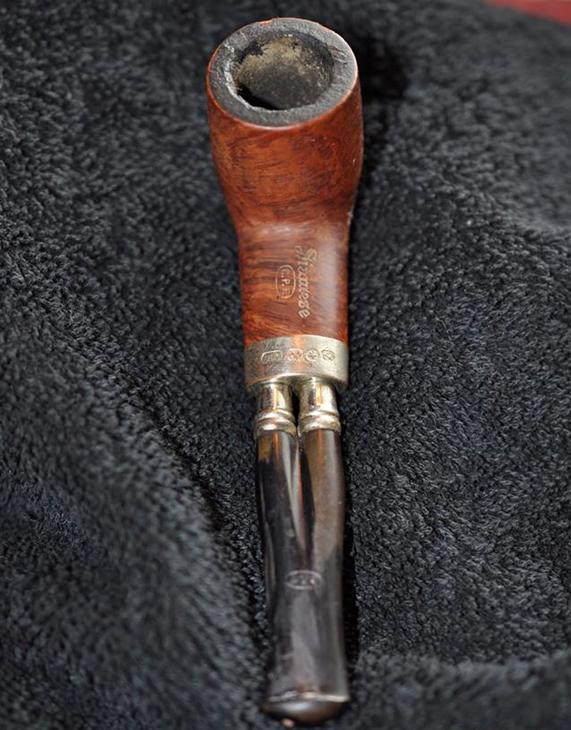
Bringing New Life to a C.P.F. Siamese Parallel Twin Stem Billiard


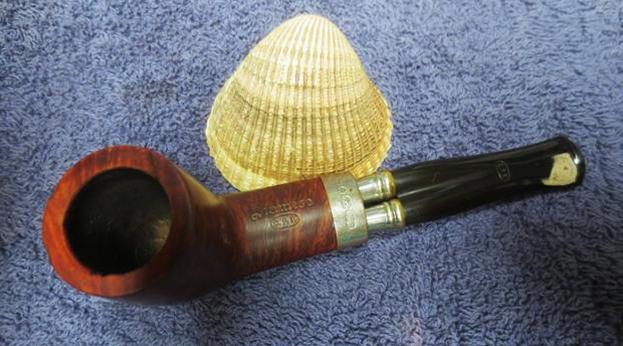
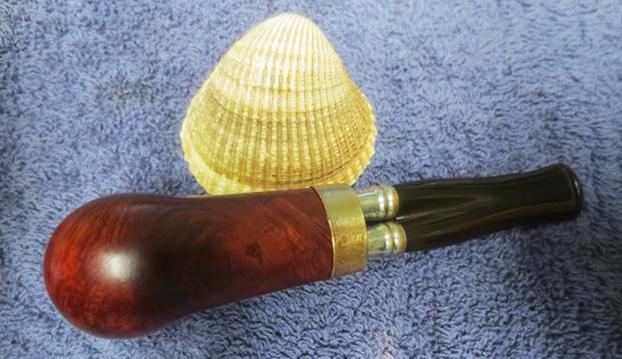
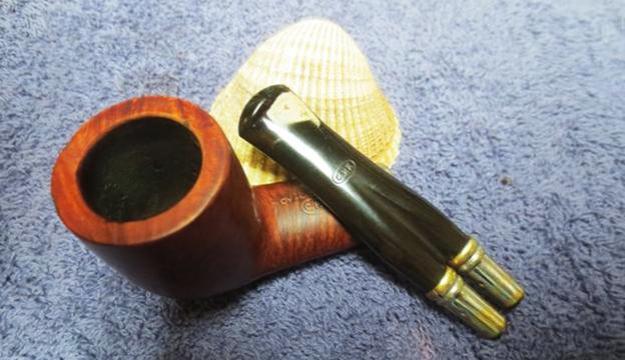
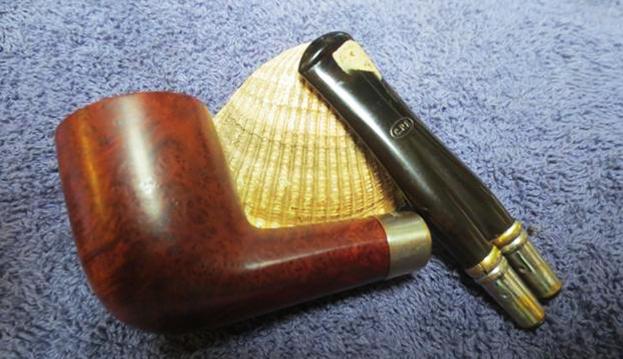
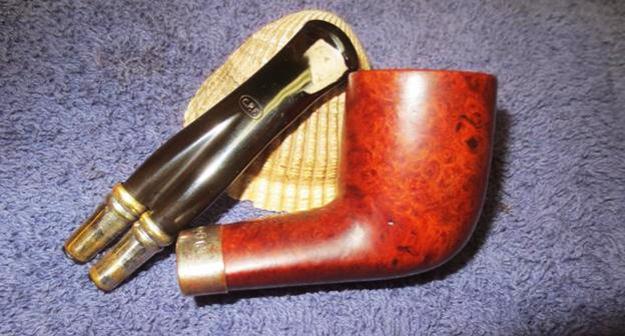
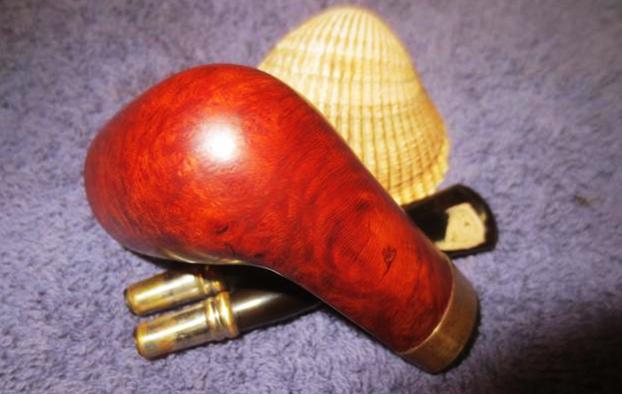
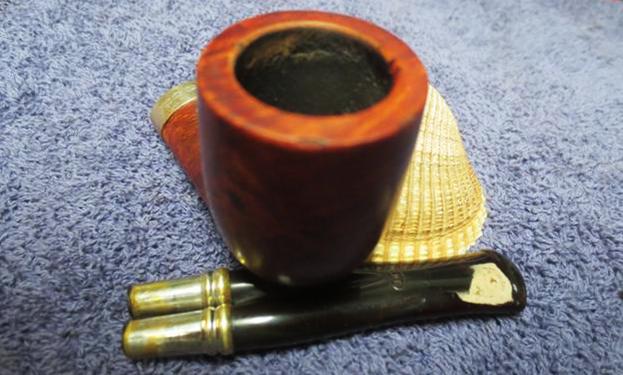
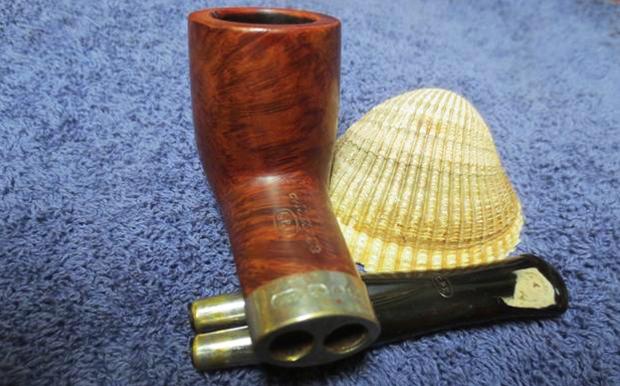
Blog by Steve Laug

Like other older C.P.F. pipes I have in my collection this one has some real charm. It is another pipe on the petite side of things – 4 ½ inches long and 1 ½ inches tall. It is not a bad piece of briar, a mix of grains. The finish was worn with some gouges in the right side and the bottom of the shank and bowl, but the pipe looked like it still had some life in it. This older C.P.F. may well show a bit of the tongue and cheek humour of the era in the name that is stamped on the shank – Siamese = conjoined stems. The top of the shank bears the name Siamese in worn gold leaf over the logo of C.P.F. in an oval. The silver plated ferrule on the shank bears a series of faux hallmarks and the C.P.F. in an oval logo on the top side. The top of the stem is stamped the C.P.F. in an oval logo. The stem is unusual in that it has two silver plated spigot tenons that fit into openings in the silver collar. The conjoined, twin stems match the dual airways in the shank and in the bowl. Looking down the end of the shank I could see both airways all the way to the bottom of the bowl. When I looked in the bowl there were twin holes at the back just above the bottom of the bowl. The stem shares some of the same damage as other pipes that came from the Virtual Pipe Hunt in Montana (https://rebornpipes.com/2017/04/26/a-virtual-pipe-hunt-a-new-way-to-experience-the-joy-of-a-pipe-hunt/). The left side of the twin stem has a large piece of the vulcanite missing that has been replaced by hard putty that is painted black. Jeff took photos of the pipe from a variety of angles to show its uniqueness and condition.The next photo Jeff took shows the overall condition of the pipe from a top view. It gives a clear picture of the conjoined twin stems from which I assume the pipe derives its name.The bowl was thickly caked and there was also a thick lava coat on the top of the bowl rim. It was impossible to see if the inner edge of the rim was damaged because of the cake. More would be revealed once the cake and lava were removed. To me these were signs of a much loved and often smoked pipe. Judging from the other pipes in this collection I would love to have met the pipe man who owned them and worked the repairs on the stems to keep his pipes smokable.The next series of photos show the condition of the sides and the heel of the bowl. There were a few deep nicks and gouges that would need to be repaired. The nicks on the right side of the pipe appeared to have been repaired prior with a coat of glue as can be seen in the first and second photos below. (Note the twin silver end caps entering the ferrule in the photos below.) The next three photos show the identifying stamping on the shank top, silver band and stem. The first shows the top of the shank and the stamping is very readable. The second shows the stamp on the silver band – faux hallmarks that I have come to expect on C.P.F. pipes along with the C.P.F. oval logo. The third photo shows the same logo on the twin stem. The rest of the photos that Jeff took of the pipe before he cleaned it show the condition of the stem. Note the repair on the top left side in front of the button (I have circled the area in red for ease of reference). The third and fourth photos below show the repair quite clearly. The filled in area seems to be hard putty that is then painted black. After the black paint a coat of varnish seems to have been applied to protect the repair. The underside of the stem looks quite good. The twin bore openings in the stem are shown in the last photo. Jeff did a lot of cleaning and scrubbing on the pipe and in the process, we learned that like the earlier C.P.F. Cromwell we had worked on, the repair was a hard putty fill. The top side of the stem had been coated with what appeared to be black paint to hide the repair. On top of the paint a varnish coat had been applied to protect the repair. The oxidation seemed to be on the areas that had not been covered with the varnish coat. That led to some really strange patterns in the oxidation. Jeff reamed the bowl with a PipNet pipe reamer and a Savinelli Fitsall Pipe Knife. He cleaned up the rim and the exterior of the bowl with Murphy’s Oil Soap and removed the grime and debris of the years as well as the glue repair on the right side of the bowl. The silver ferrule on the shank and the metal military style tenon ends looked better. He had cleaned out the twin mortises and the airways in the shank, into the bowl and in the stem with alcohol, cotton swabs and pipe cleaners. I took the following photos of the pipe before I started my work. These photos are kind of a


benchmark for me to compare the finished pipe with the original. The bowl and the rim top were very clean. There was a little damage on the inner edge of the rim toward the back right side and some roughness around the front left edge. The bowl itself was internally in excellent condition.The stem was quite oxidized and the putty repair is very visible now. I checked it with a dental pick and it is very hard. There is no give or softness to the putty. I will probably leave it and work at turning it black to match the stem and smoothing it out. I was glad to see that my initial assessment of the patch being only on the top side of the stem was correct. They underside was solid.The nicks and sand pits in the underside and right side of the bowl were very clear and would need to be addressed. They are obvious in the photos below. There were also some small sand pits on the left side of the bowl as well. I put the stem in the Before & After Pipe Stem Dexodizer bath and left it to soak while I worked on the bowl. I am pretty pleased with the deoxidizer and even after about 35-40 stems it is still working its magic.The band was loose on the shank so I slipped it off before I started to work on the repairs to the sand pits and nicks in the briar.Since the nicks and sand pits were not too deep I decided to use clear super glue and not mix it with briar dust on these repairs. I filled them each with a bubble of super glue and set the bowl aside so the glue could harden. It does not take too long as those of you who use the technique have learned so I did not need to wait long. I decided to leave the small pits on the left side of the bowl as they were and did not repair them. When the glue dried I sanded the repaired areas with 220 grit sandpaper to blend them into the surface of the briar. I have yet to figure out how to avoid the way the glue makes dark spots when it cures. To me it is the price for having a smooth surface. I keep experimenting but have not found the solution. I wiped the bowl down with a damp cloth and dried it off. I applied some all-purpose glue to the surface of the shank where the band would sit. I pressed the band in place and wiped off the excess glue with a damp cotton pad. Before staining the repaired areas I turned to address the damaged areas on the inner edge of the rim. I used a folded piece of 220 grit sandpaper to smooth out the edge. I chose not to bevel it as it was not beveled originally. Once it was smooth I used a dark brown stain pen to colour in the repaired areas on the bowl sides, bottom and rim top. I don’t worry too much about streaks at this point because they will buff smooth when I am finished. I lightly buffed the stained areas of the bowl and gave the entire bowl a coat of Danish Oil Cherry stain to blend the colours to match what was originally there. I really liked the finished look of the contrasting stain. The grain stood out really well and the repairs blended in as well as could be expected. They were smooth to the touch and felt good in the hand. I then used a Rub’n Buff European Gold to touch up the gold stamping on the top of the shank. I applied the product with a cotton swab and rubbed off the excess with a pad.I called it a night and turned off the lights in the shop and went to bed. In the morning I took the stem out of the Before & After bath and dried it off. It had done its magic on the oxidation on the stem and the putty repair was clear and hard. I cleaned out the airway with alcohol and pipe cleaners to remove the deoxidizer from the stem internals.I sanded the surface of the stem particularly around the patch in preparation for repairing it further with black super glue. I wiped off the dust and used a black Sharpie pen to stain the putty black. It was porous so I was hoping that the putty would stay black. I applied a coat of black super glue on top of the stained putty, smoothing it out with the dental spatula. I set it aside to dry and headed out to work. I polished the stem with micromesh sanding pads – wet sanding with 1500-2400 grit pads and rubbing the stem down after each pad with Obsidian Oil. In doing so I learned that the black stain I had put on the putty repair did not work. I had a decision to make at this point. Did I keep the repair as it was or did I remove it and refill it in my own way – that was the question.  I buffed it with Tripoli after that because of the stubborn oxidation in the groove between the twinned stems. In doing so the black was totally removed from the repaired area on the stem. As I looked at it I made my decision. The repair would stand as a memorial to the nameless repair person who had concocted this repair on the stem. It had lasted at least 100 years and it was solid. I decided to leave it alone. I would try to darken it a bit but I was not hopeful. I dry sanded it with 3200-12000 grit pads to polish it even more. After each pad I rubbed it down with Obsidian Oil. After the 12000 grit pad and rubdown I set it aside to dry. I certainly wish that the black stain would have sunk deep into the putty repair on the stem but it did not. I may one day pick it out and replace it but I figured that it is still workable the way it is. I buffed the pipe and stem with Blue Diamond on the buffing wheel. I gave the stem and the bowl multiple coats of carnauba wax to give it a shine. I hand buffed it with a microfiber cloth to deepen the shine. The finished pipe is shown in the photos below. It is really a nice looking pipe. The mixed grain on the bowl and the silver ferrule and tenon caps on the twin military mount stem look good with the black (well almost all black) of the stem. I think this is one that will enjoy. Thanks for looking.