Blog by Steve Laug
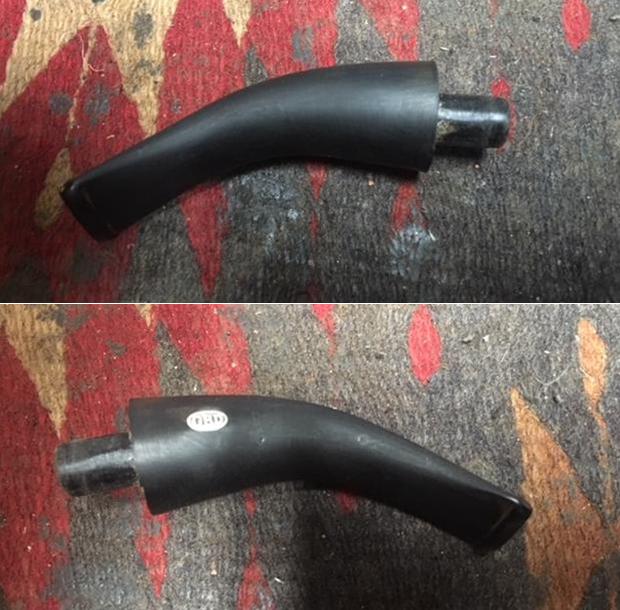
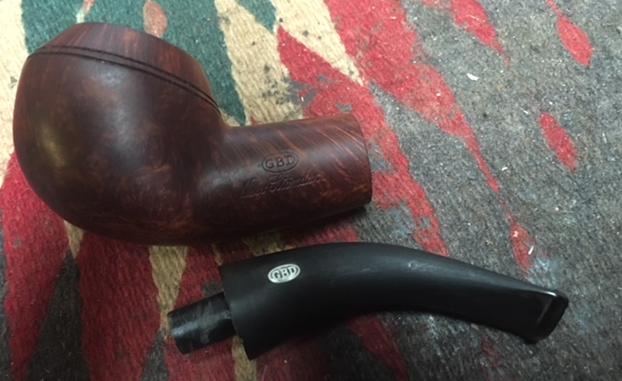
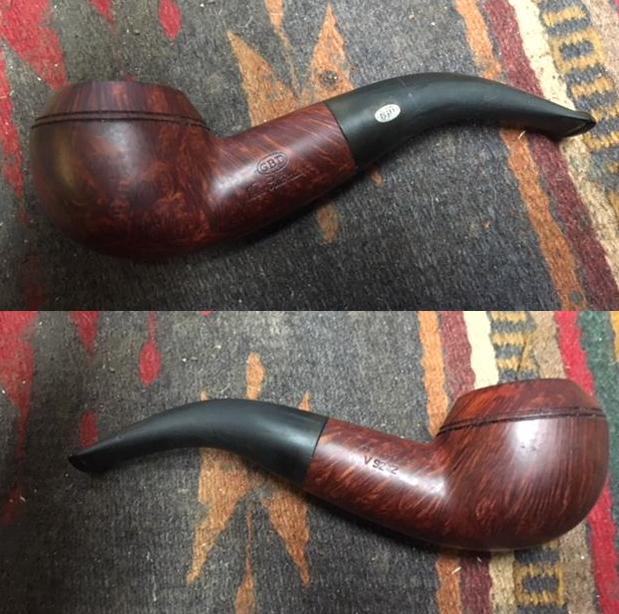
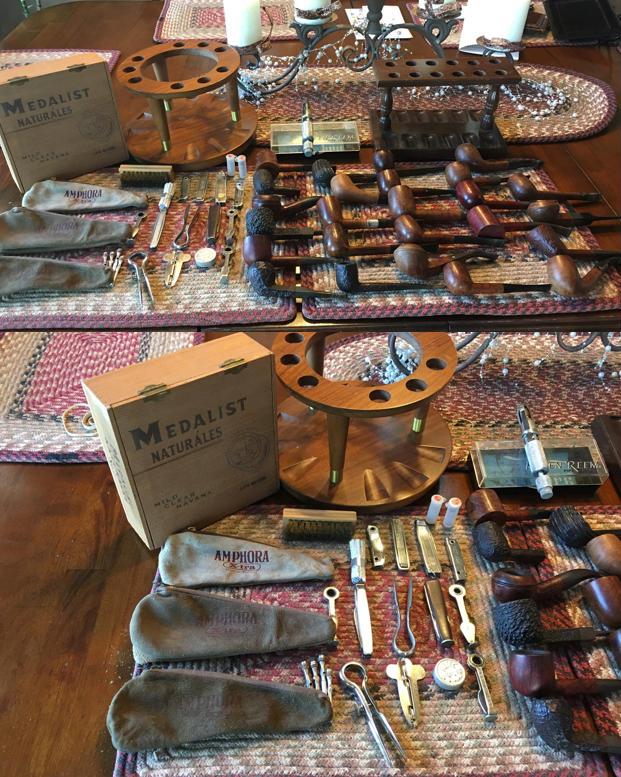
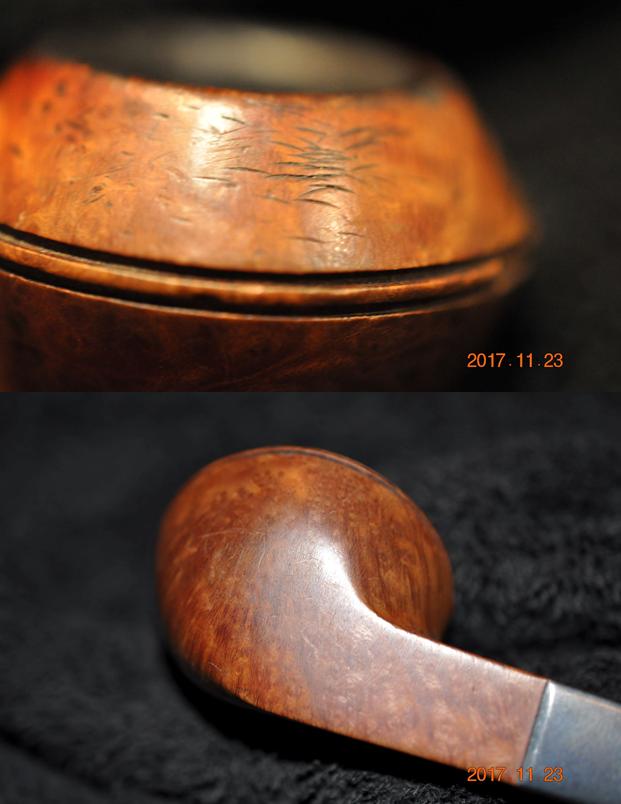
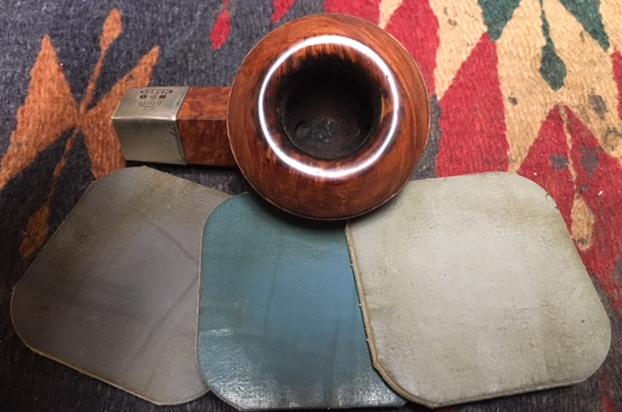
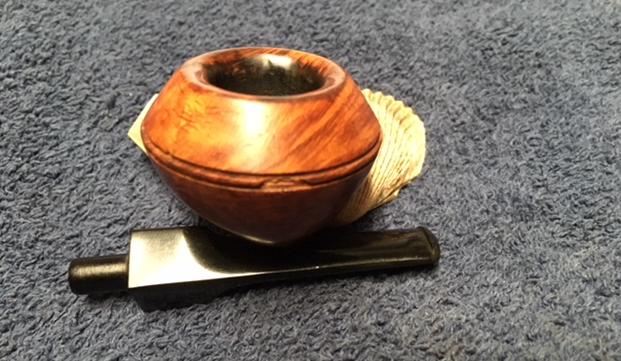
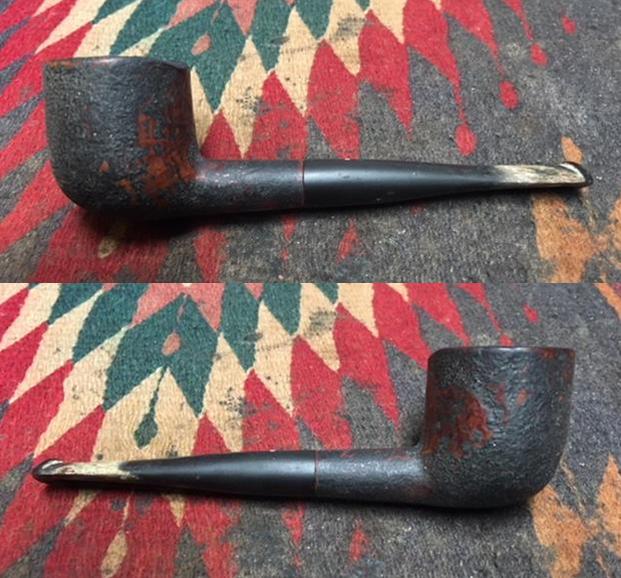
I finished the restoration work on Mark’s uncle’s pipes and a few of his own and sent them back to him in late January of this year. I wrote a blog on each of the restorations. They were a fun batch of pipes to restore for him. He sent me another package a few weeks ago that had just three pipes in it – A GBD Classic Straight Bulldog, a GBD 9242 Rhodesian (one of my holy grail pipes) and a long Churchwarden pipe that had originally belonged to his uncle. Each pipe had a different set of issues that would provide a variety of challenges. The Bulldog was in excellent condition other than the first ½ inch of the stem missing in chunks. The Churchwarden had a broken tenon that was still stuck in the shank. By far the worst of the lot was the 9242 pipe. When I saw it in the bag I was excited. When I took it out of the bag I was saddened at the condition of the pipe. The bowl was dirty and there was some lava and rim darkening on the top. There were a few nicks in the edges of the bowl. The finish was dirty but the grain on the pipe was really nice. If I had stopped my observation at this point I would have been quite happy.
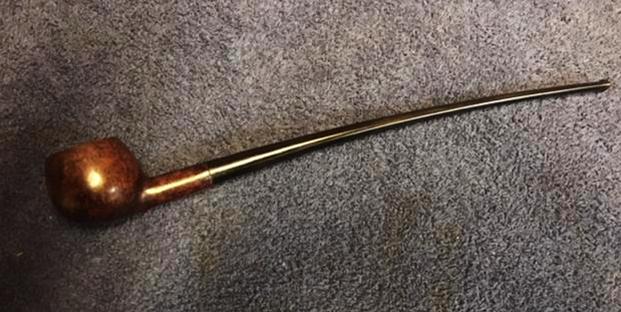
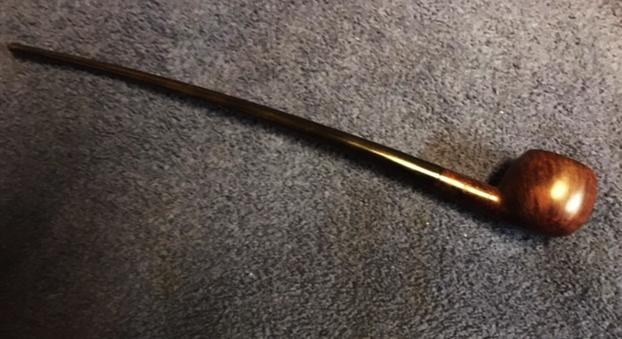
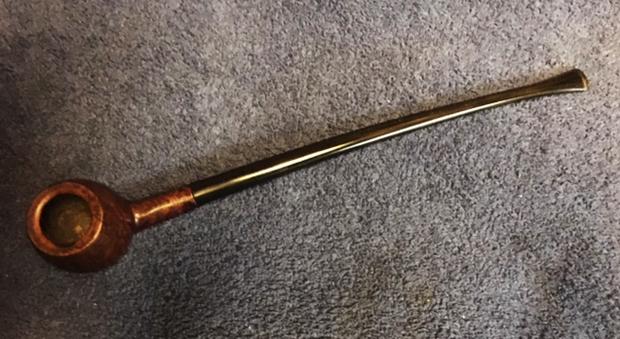
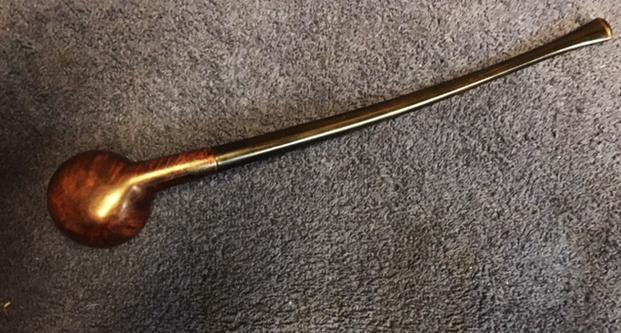
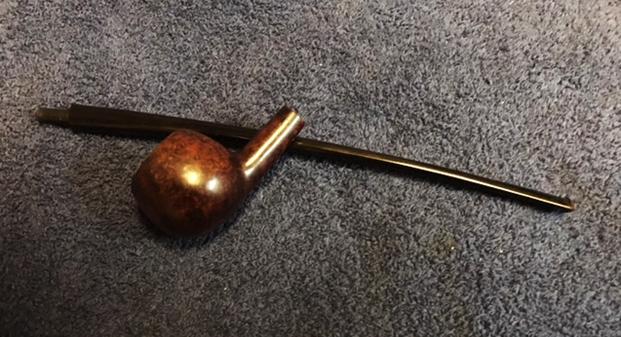
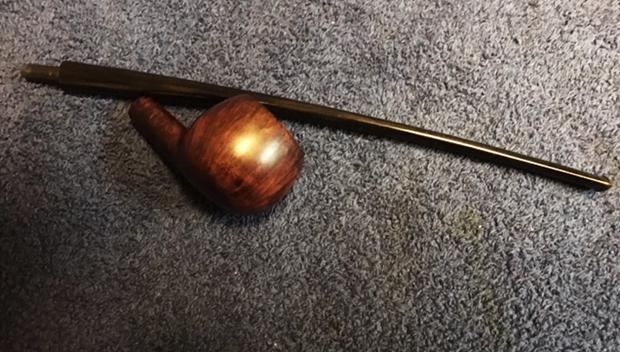
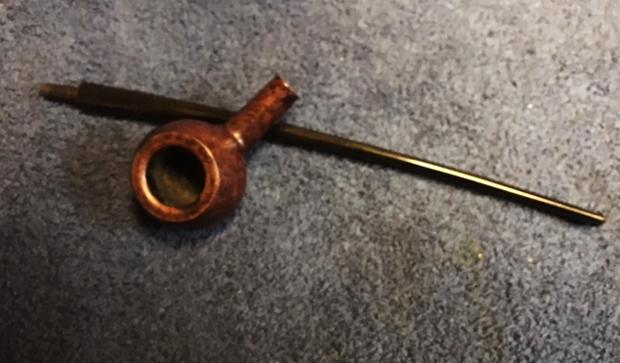
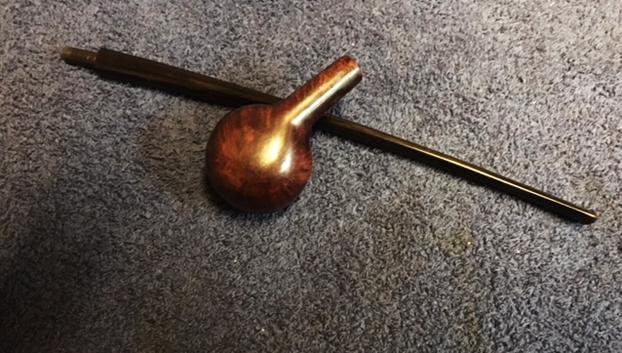
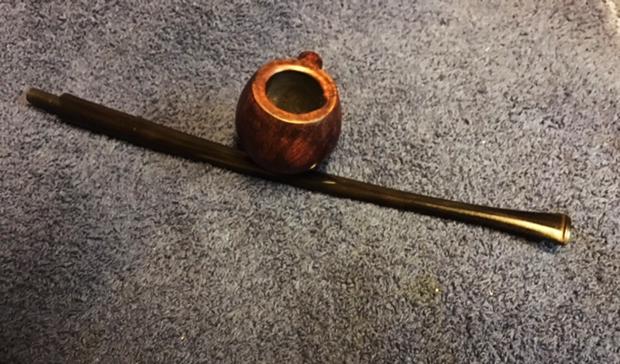
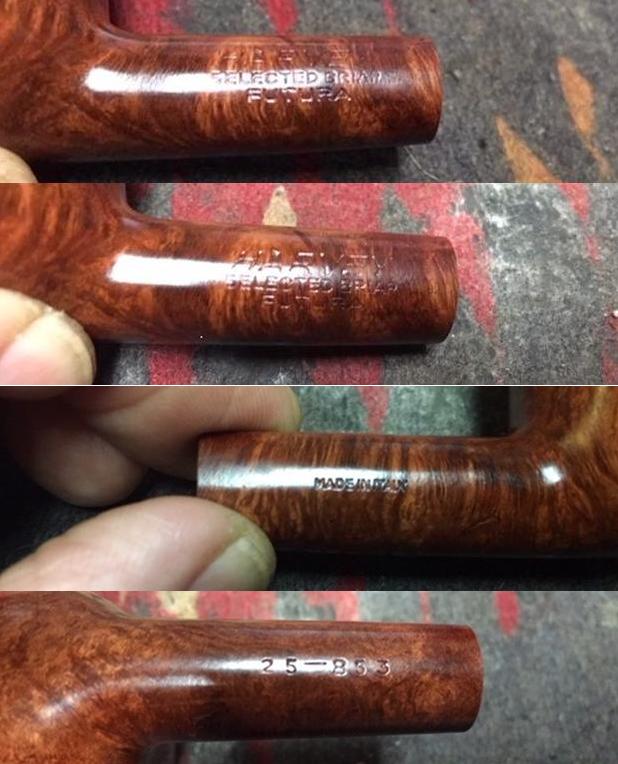
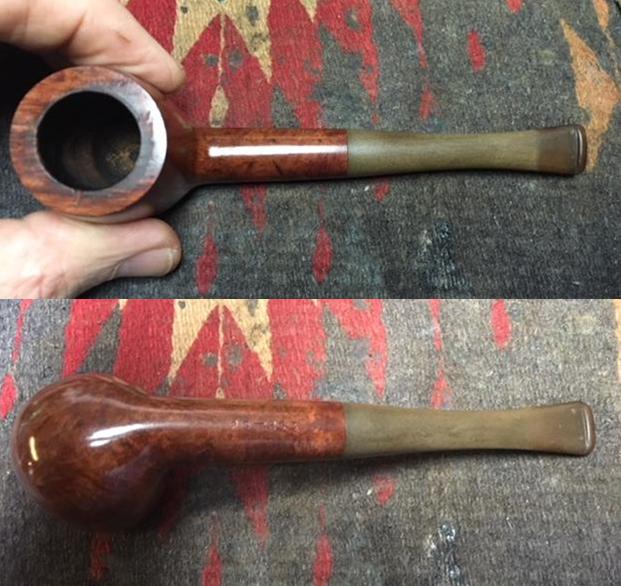
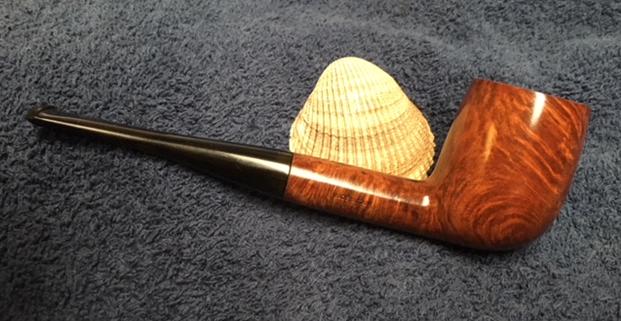
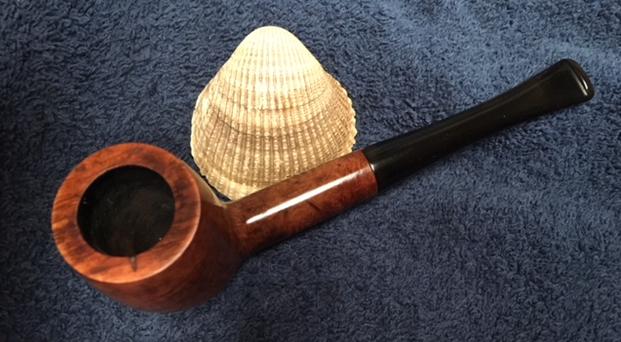
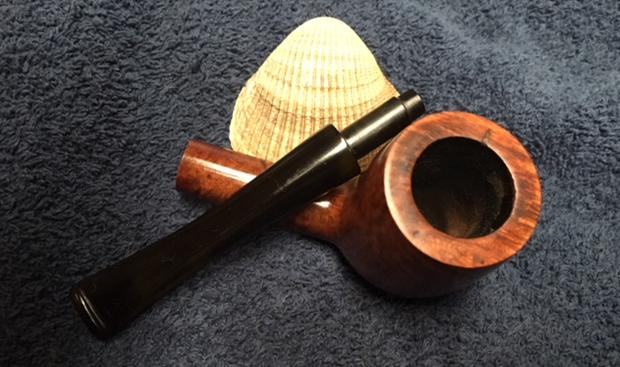
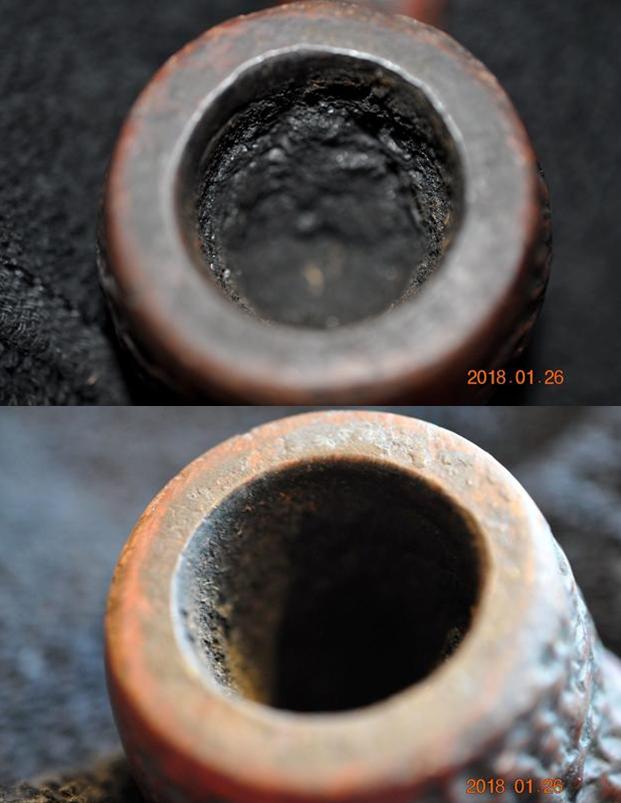
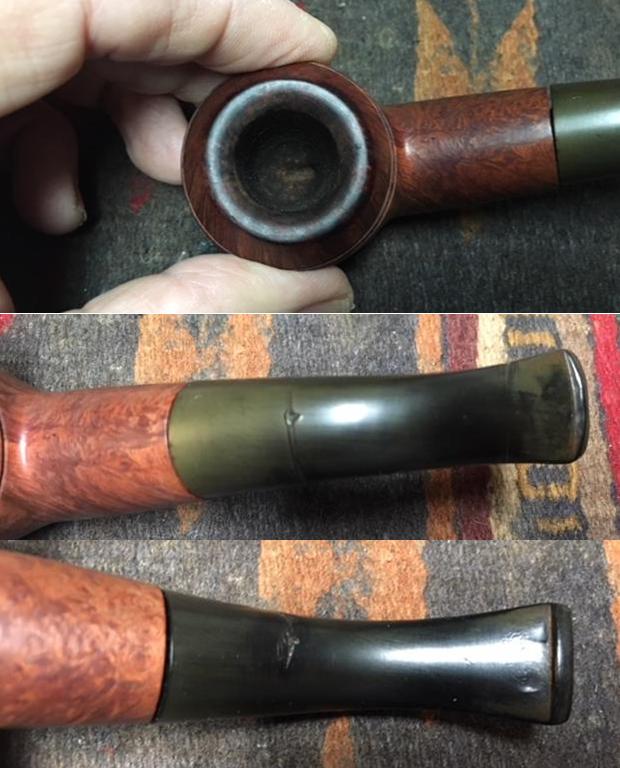
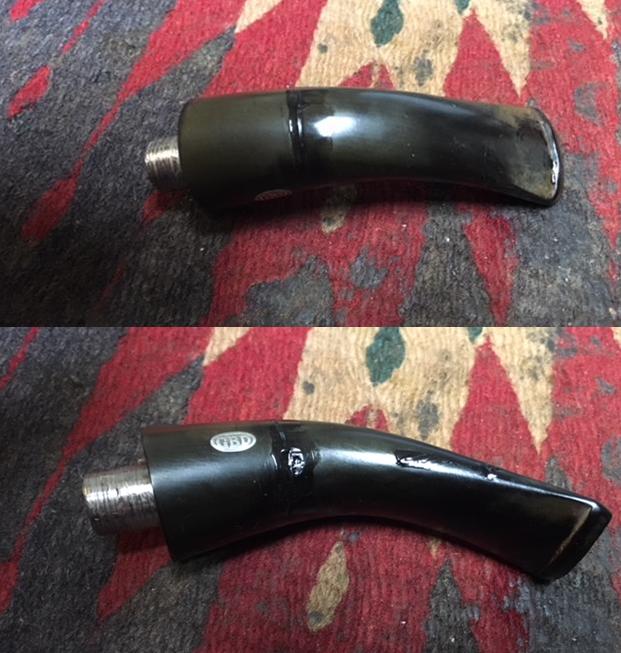
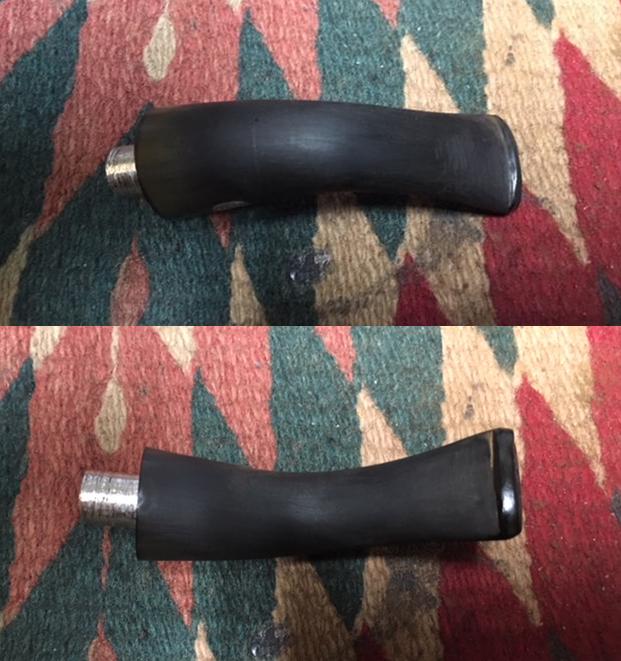
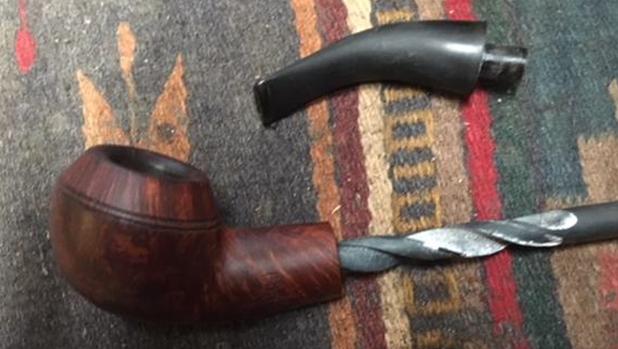
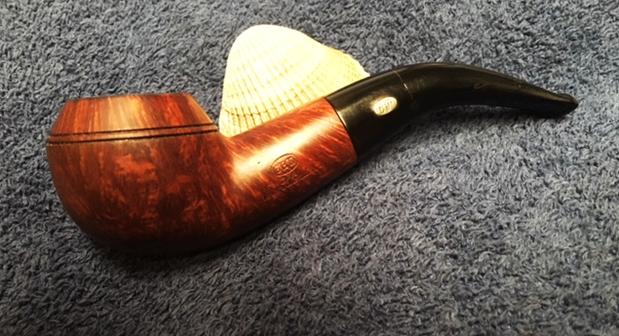
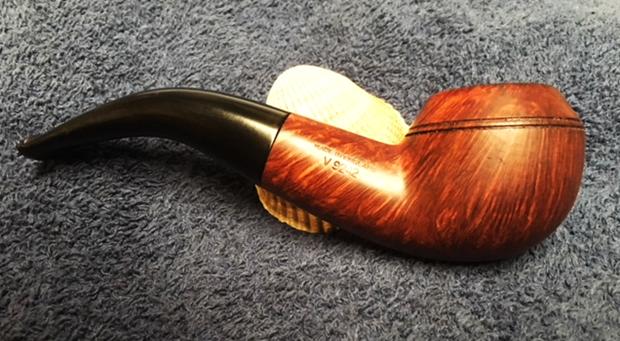
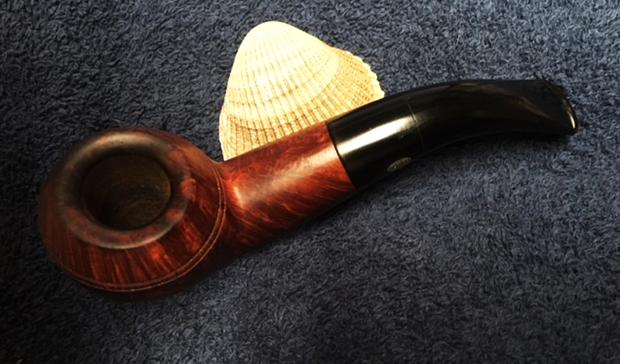
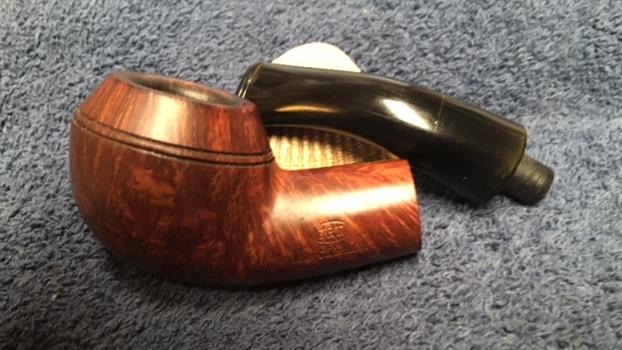
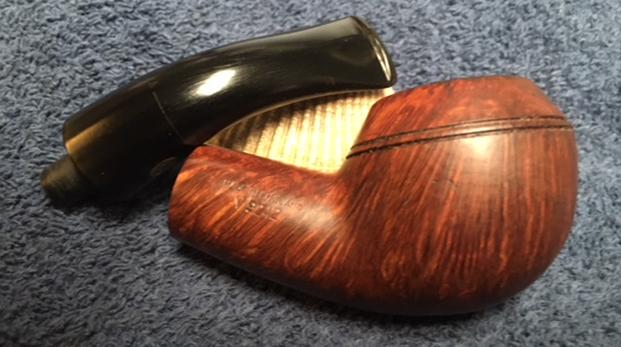
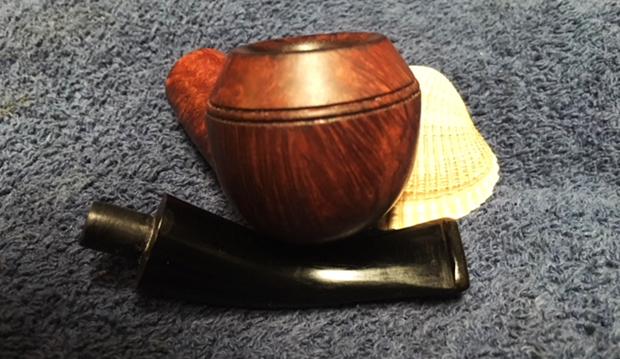
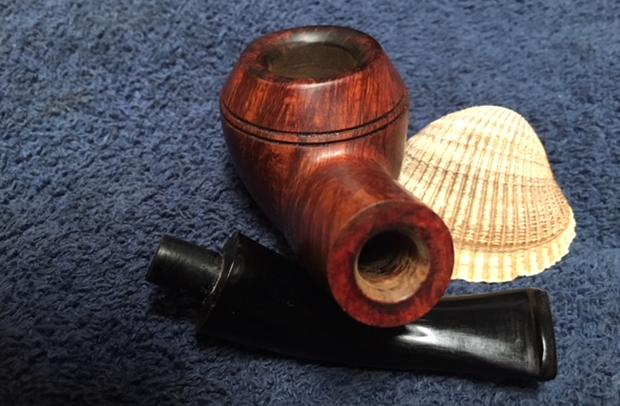
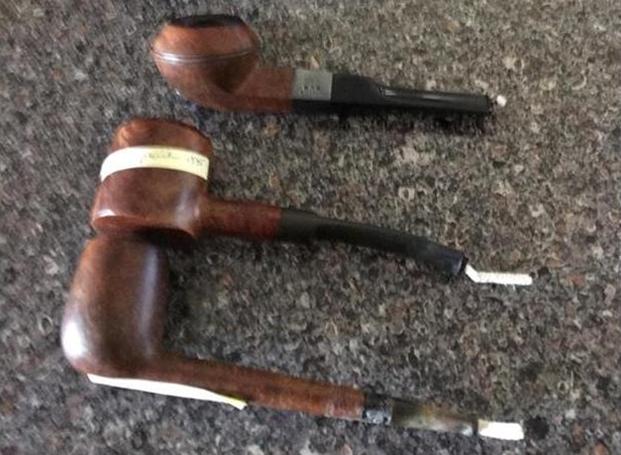
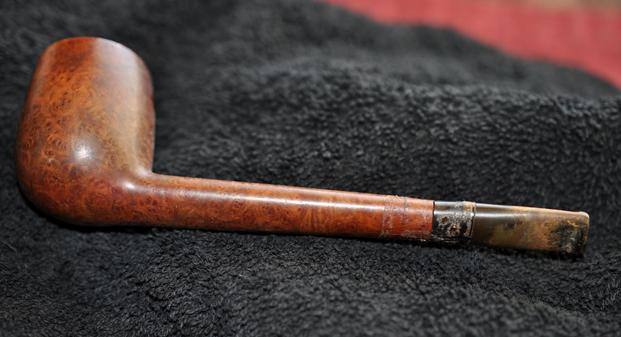
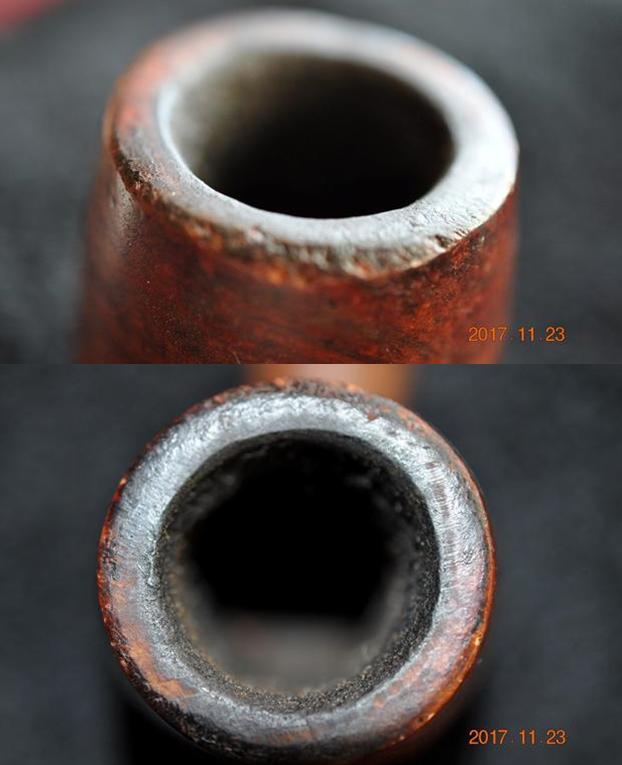
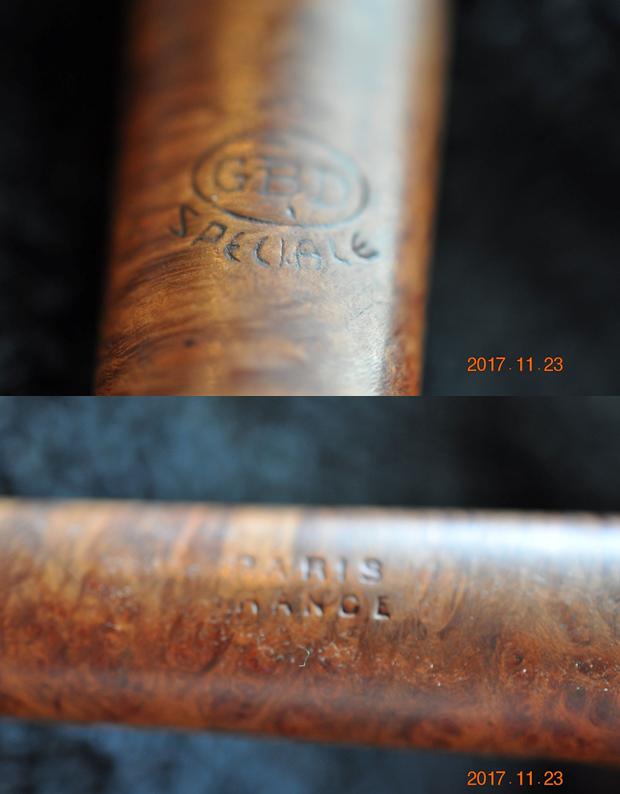
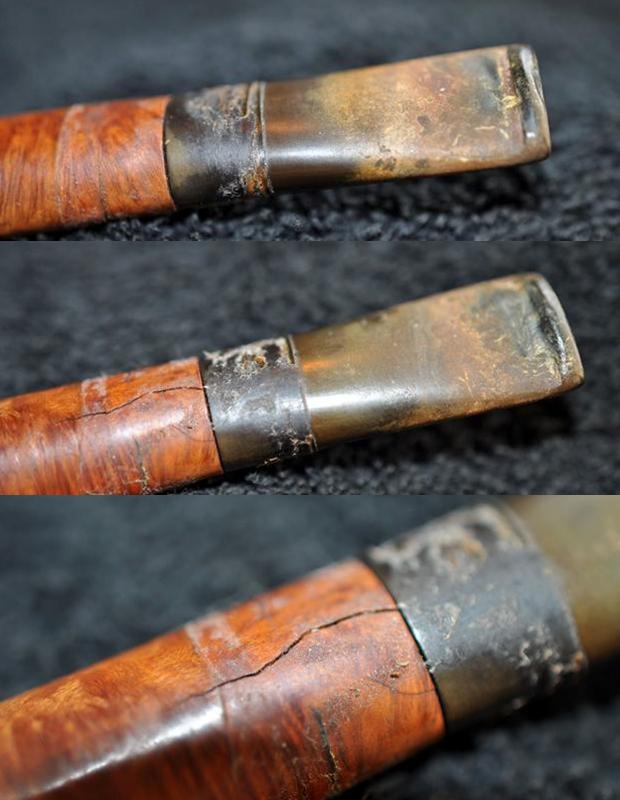
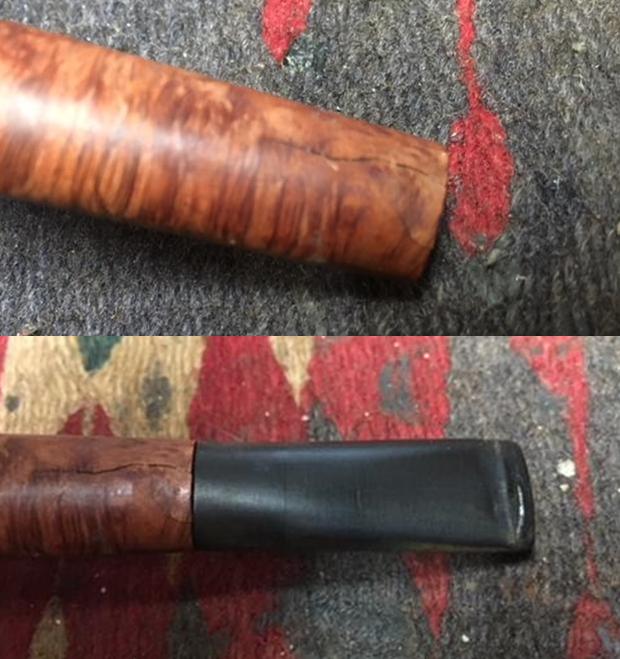
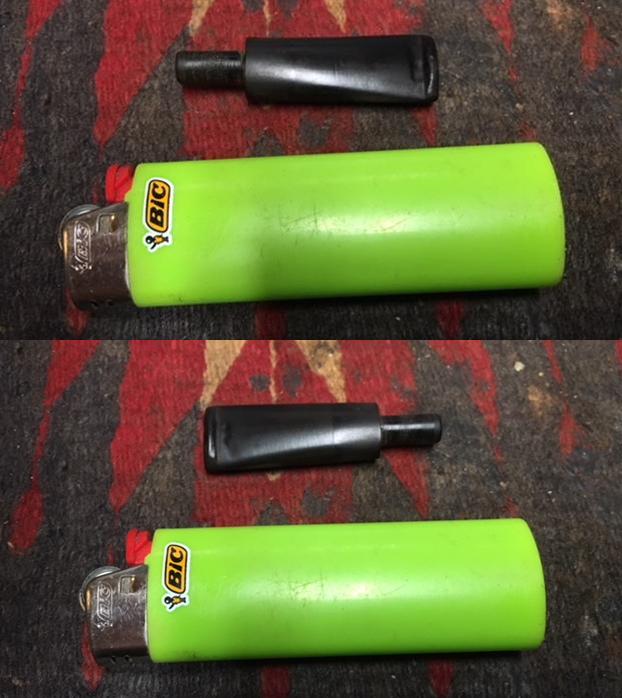
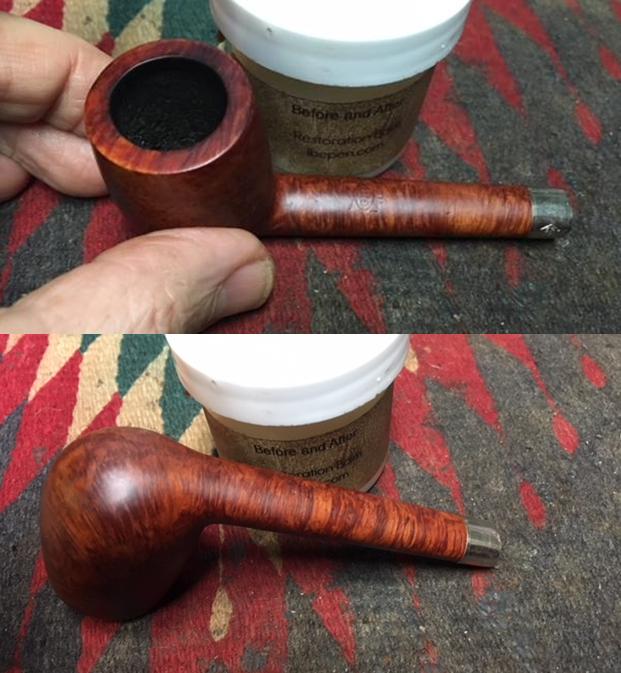
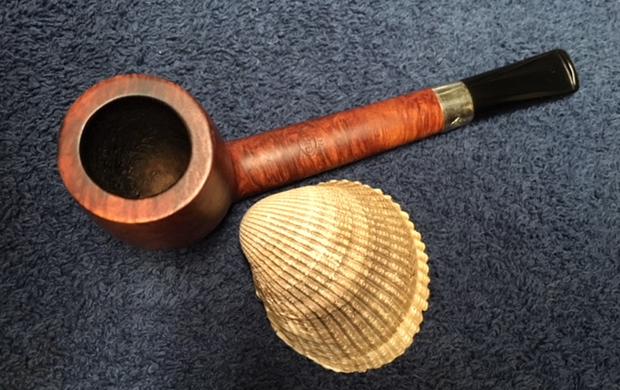
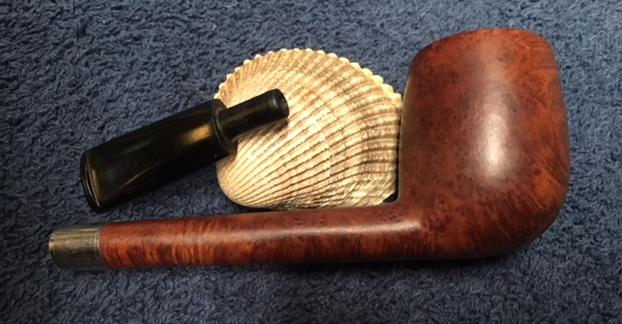
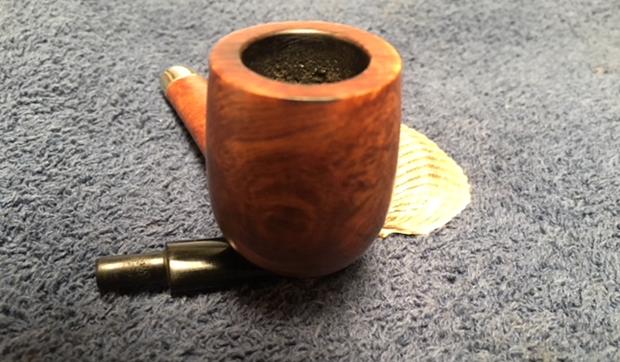
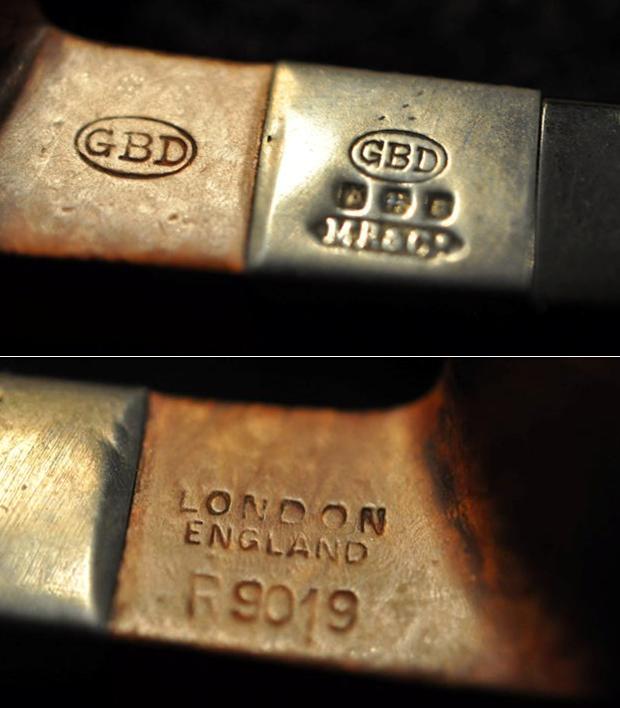
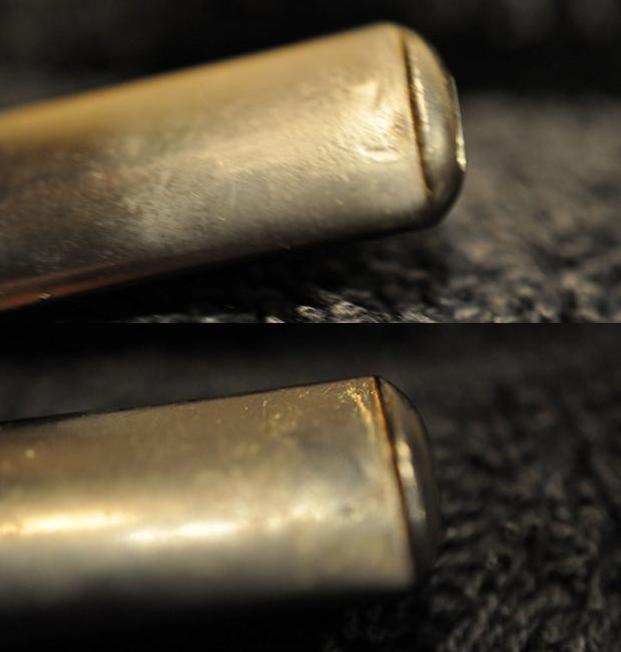
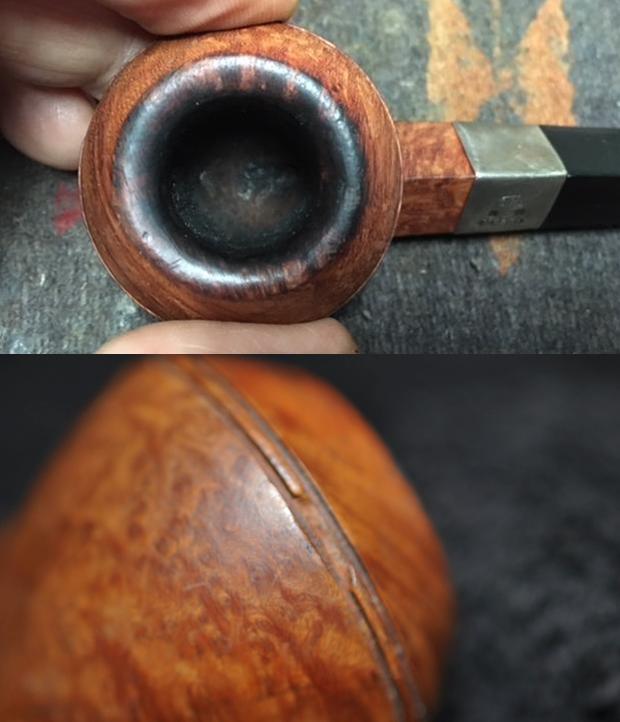
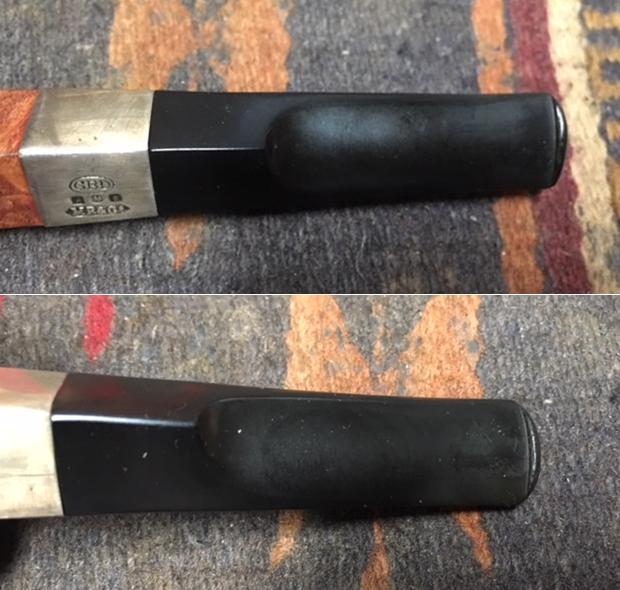
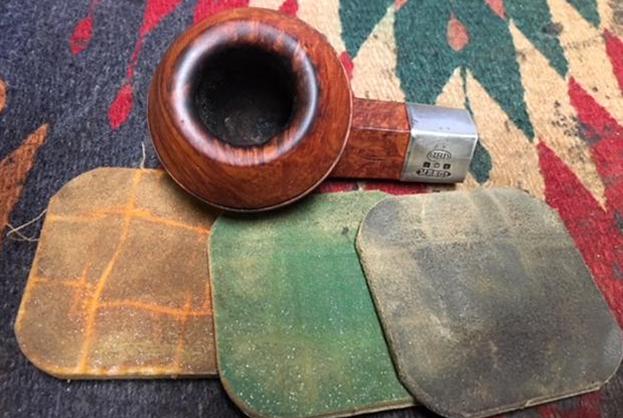
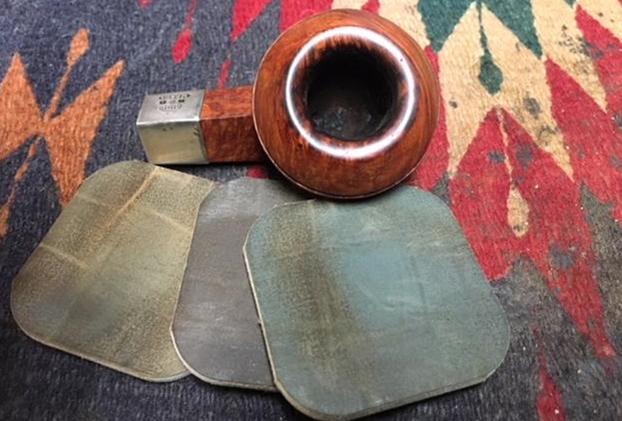
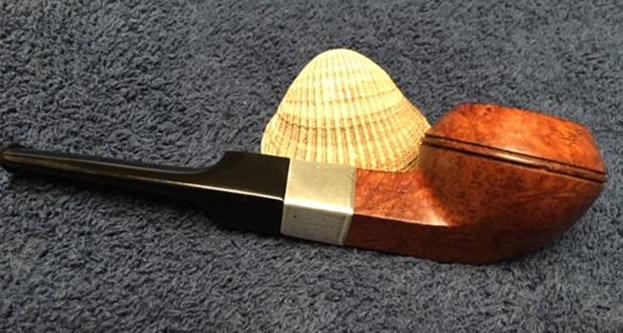
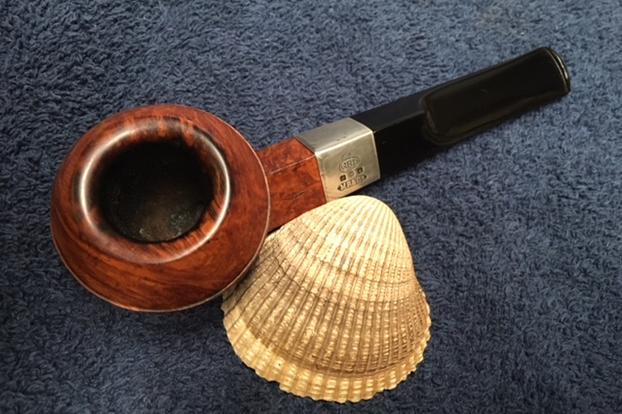
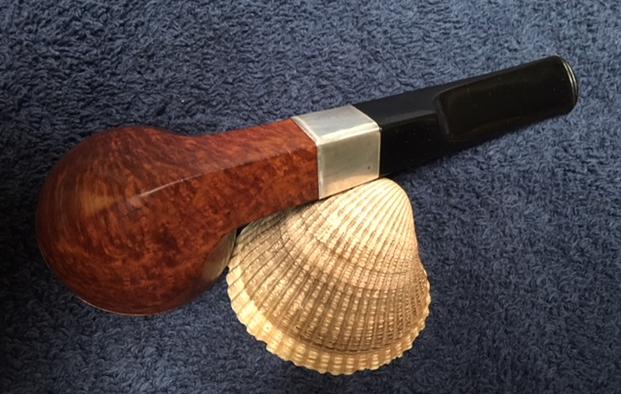
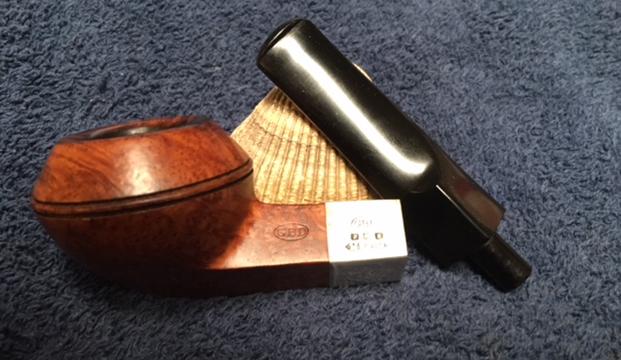
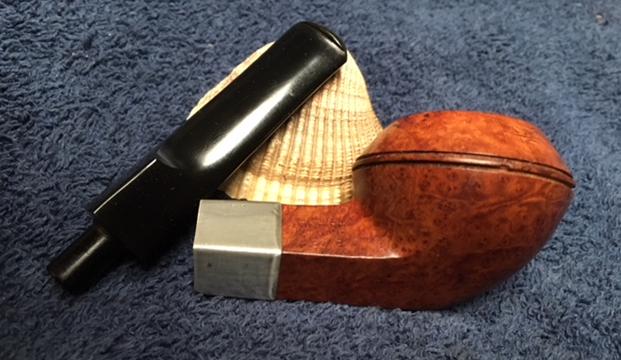
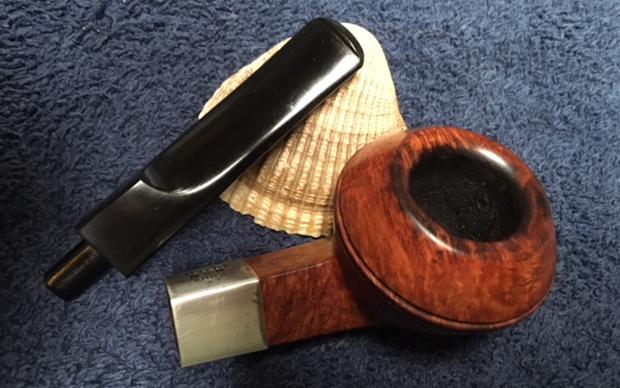
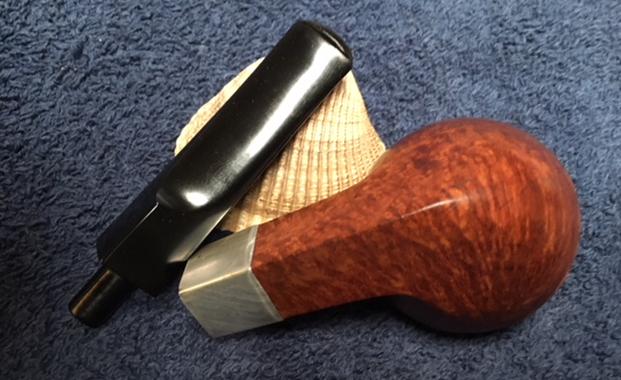
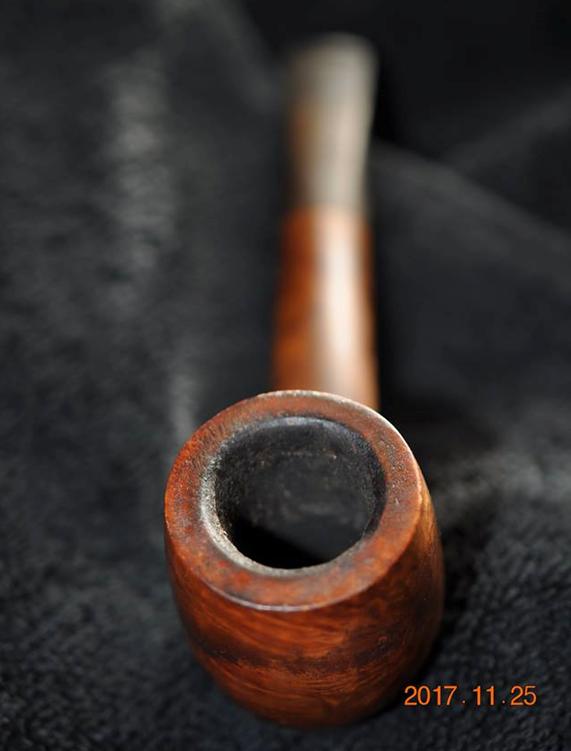
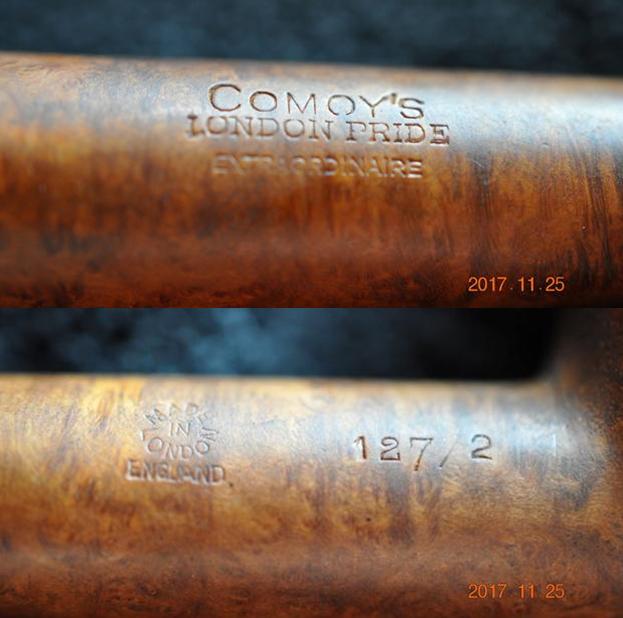
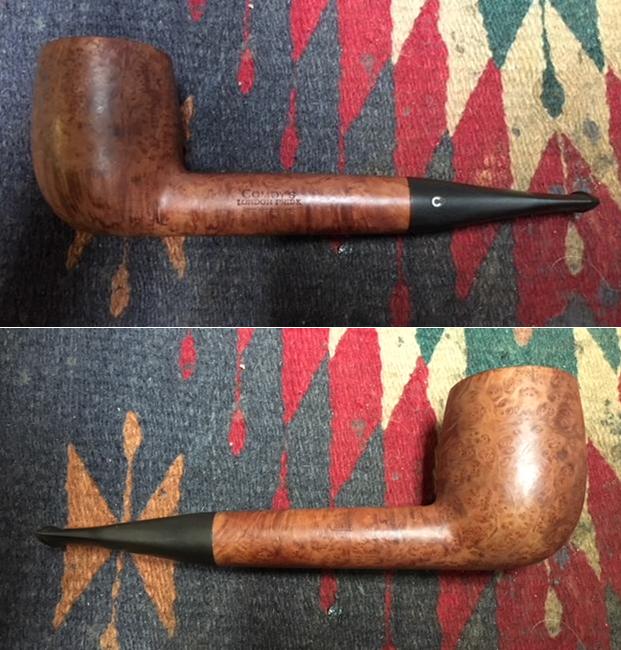
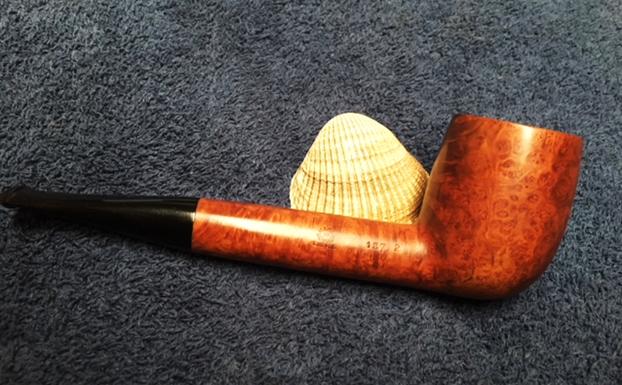
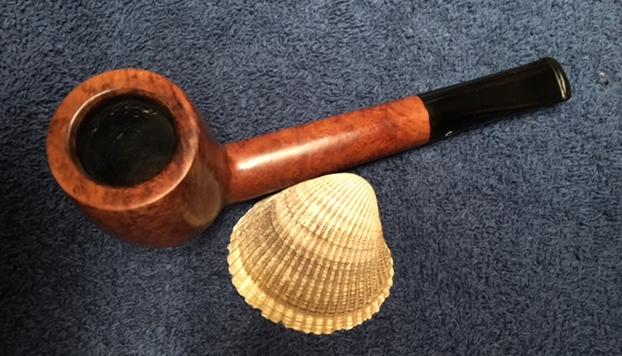
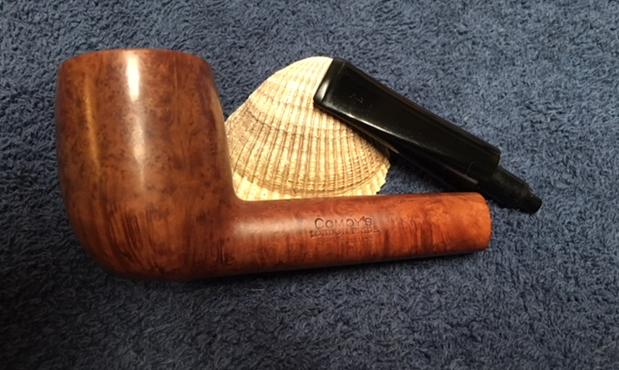
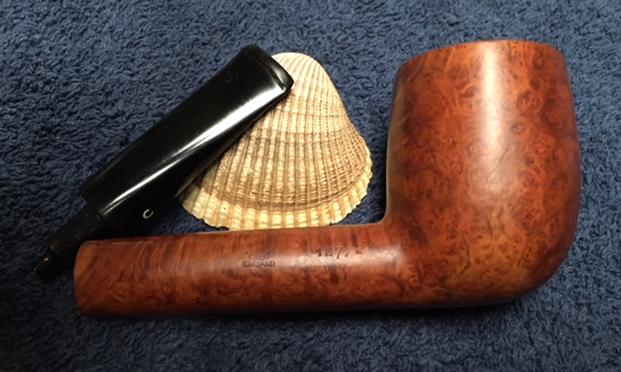
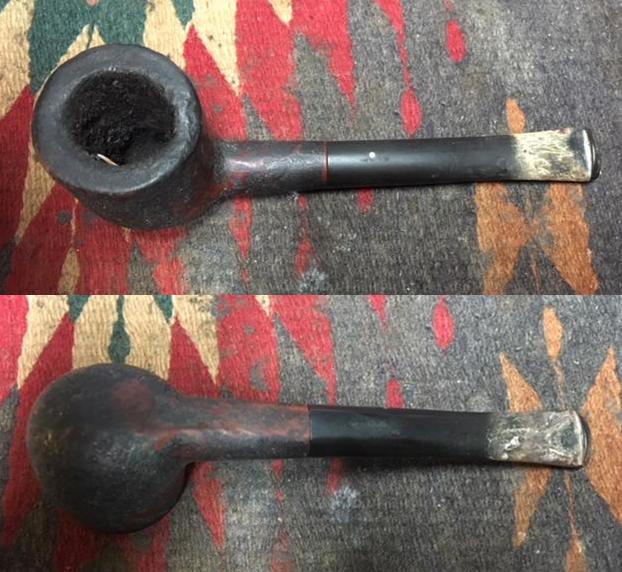
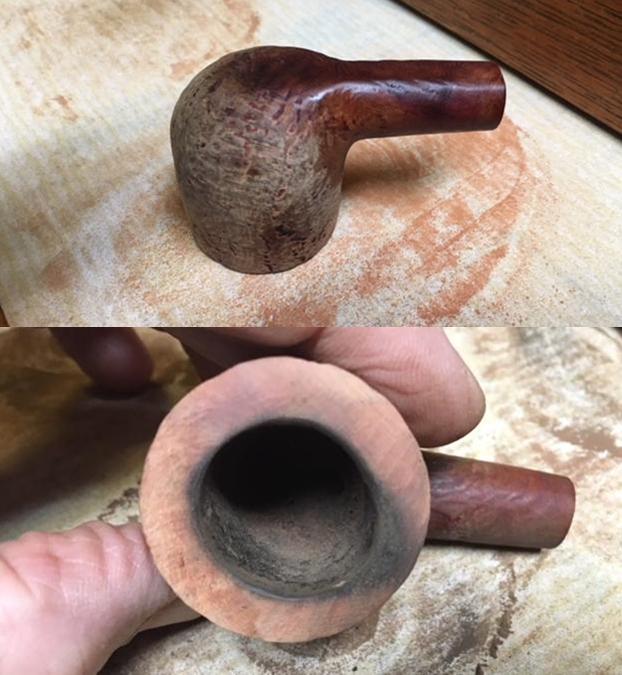
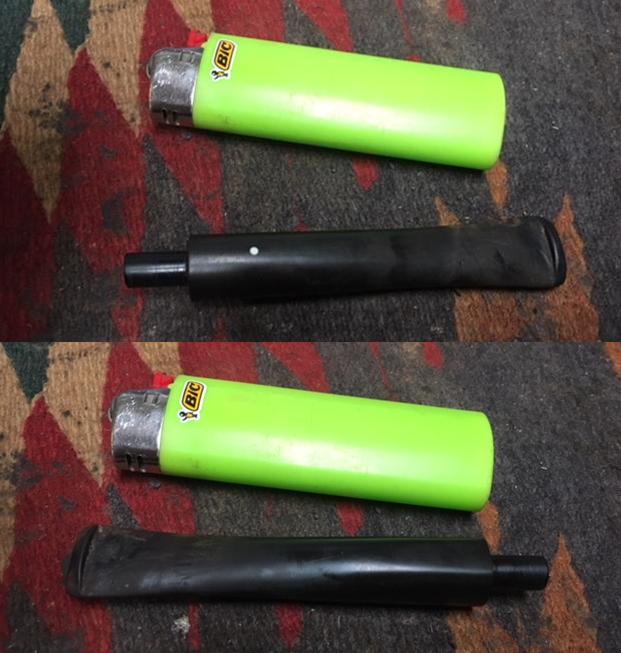
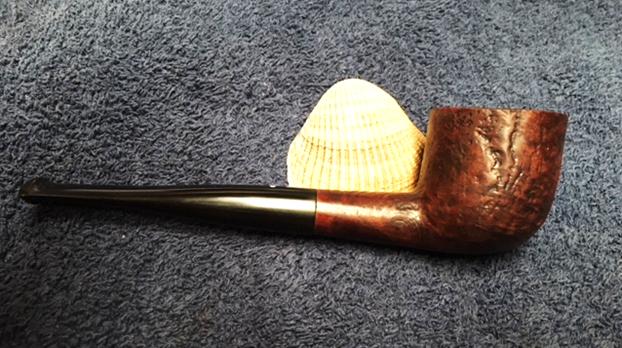
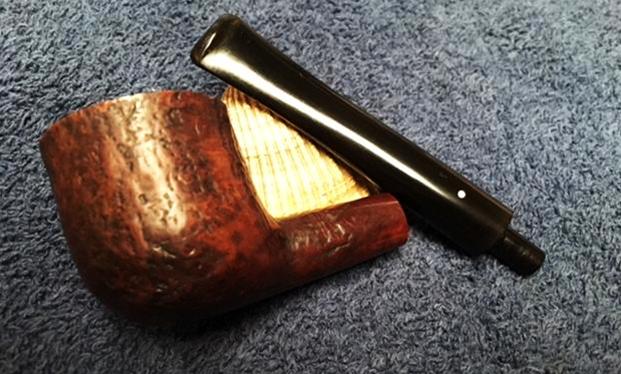
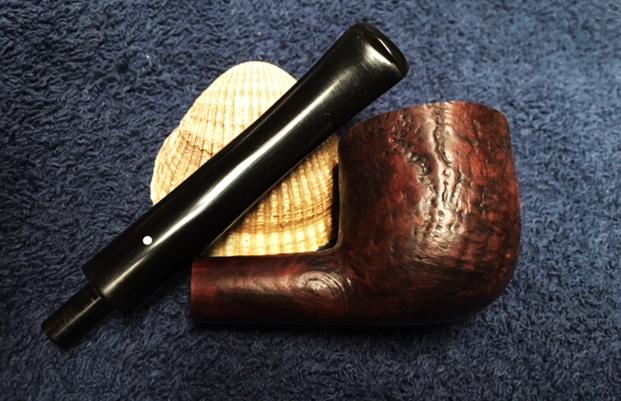
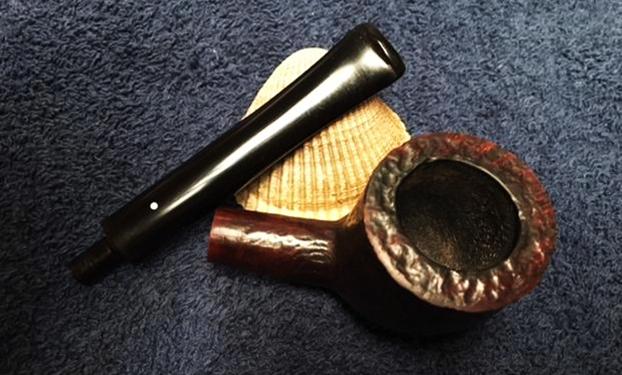
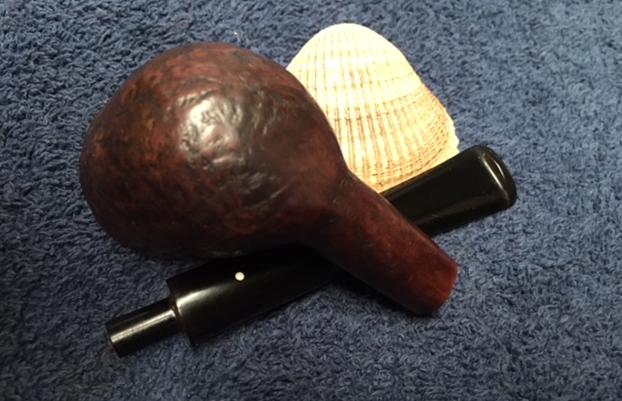
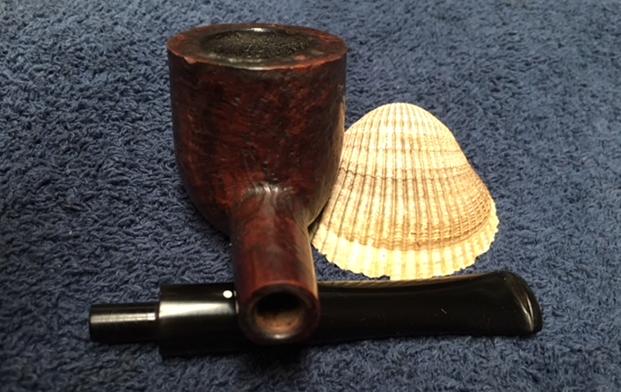
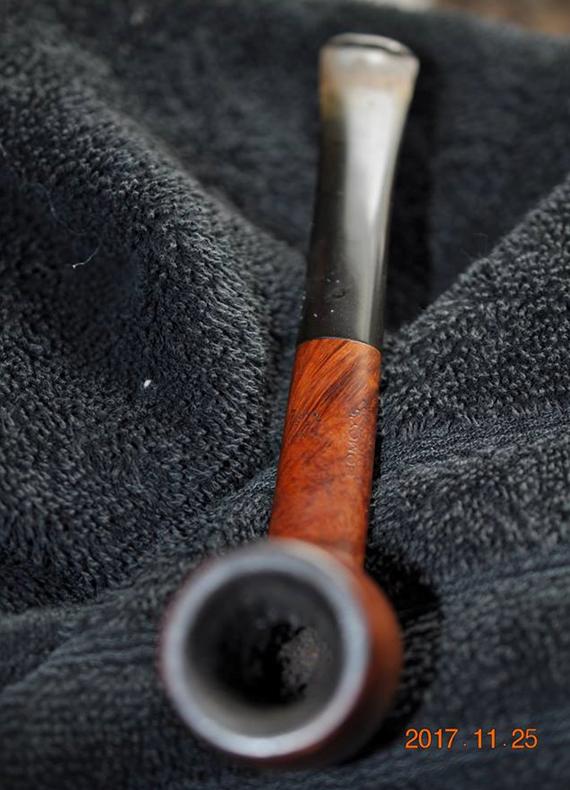
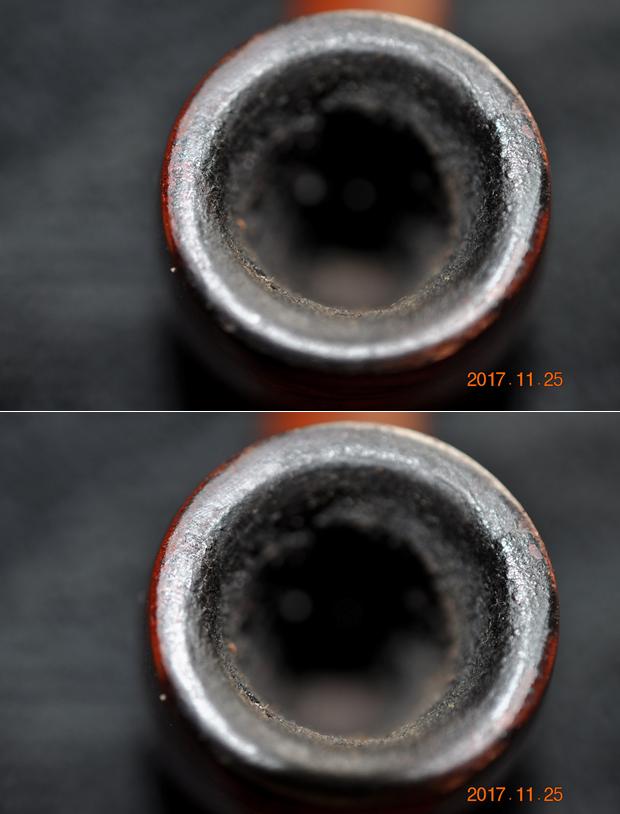
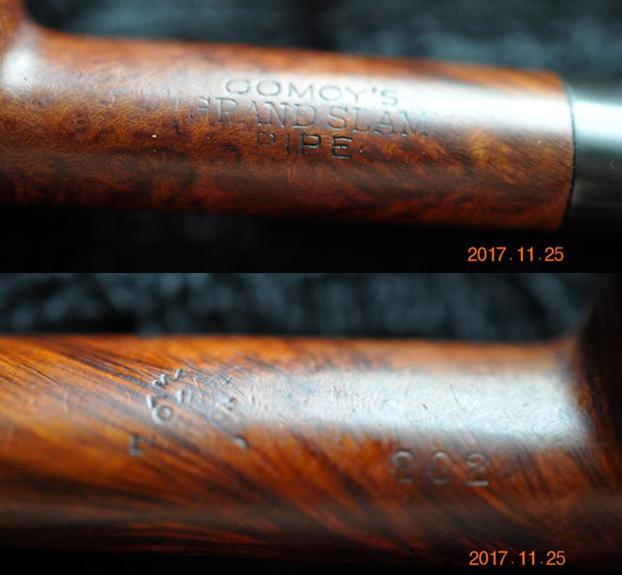
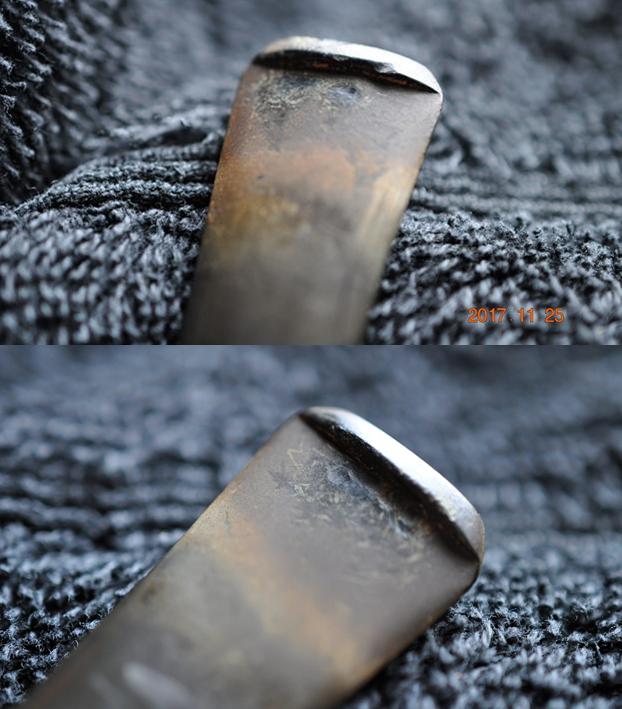
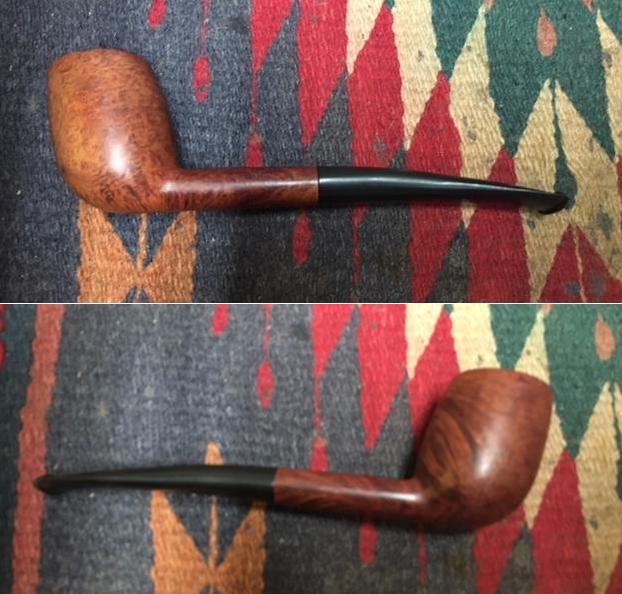
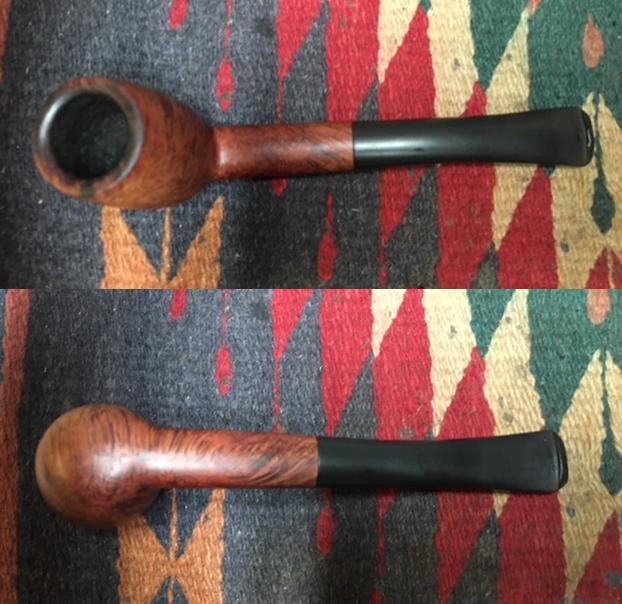
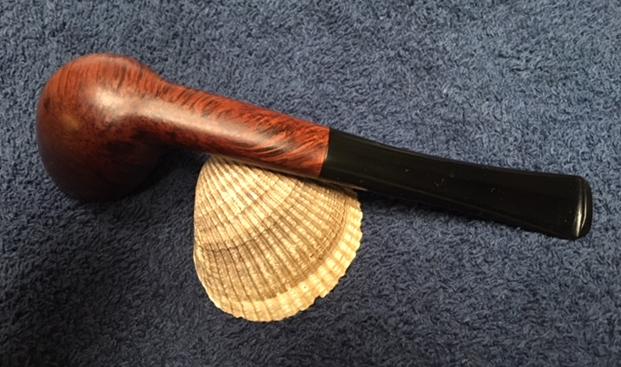
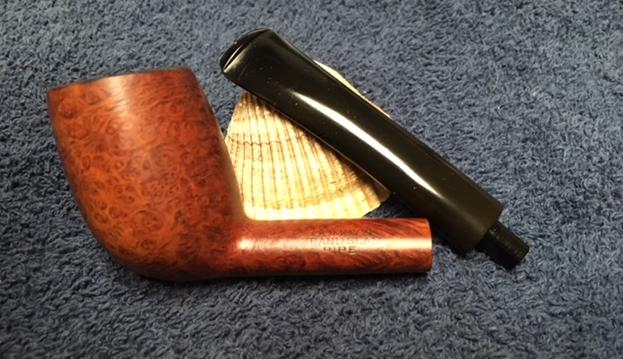
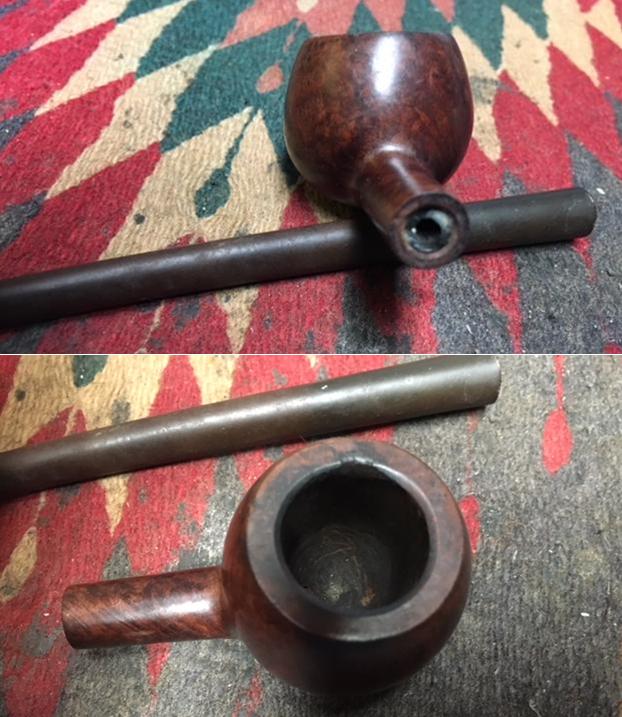
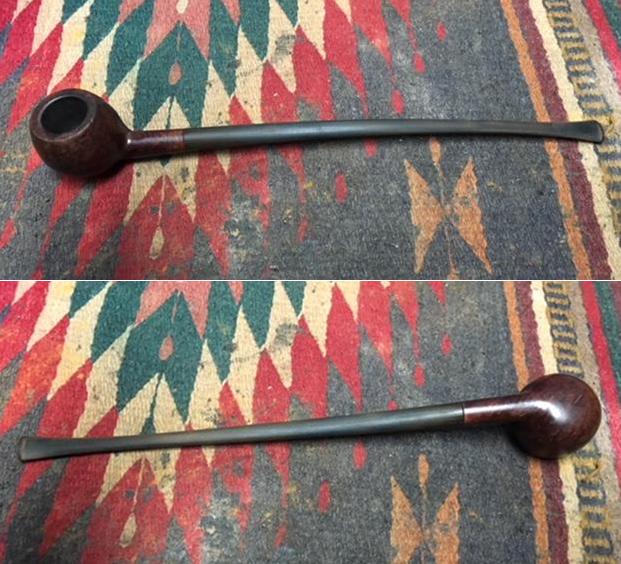
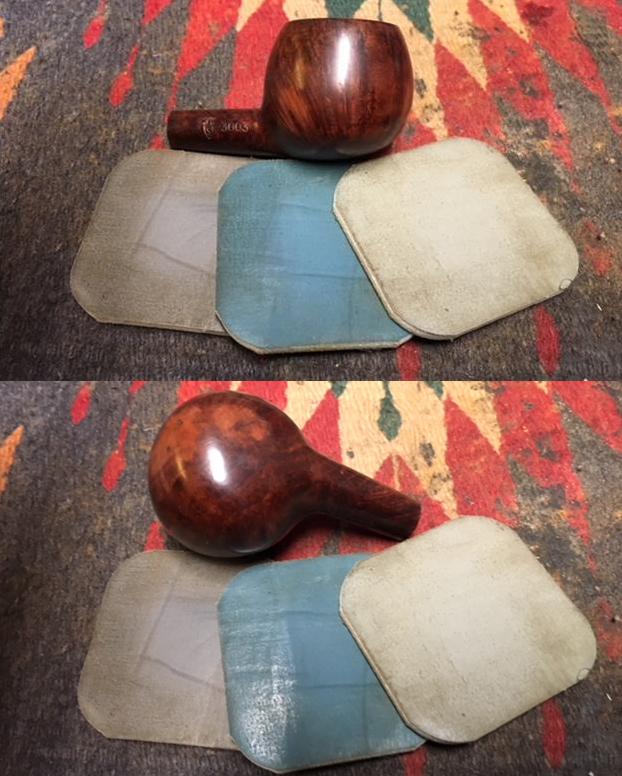
The second pipe I chose to work on from the batch of pipes was the Churchwarden that had belonged to his uncle. The Prince shaped bowl was in decent condition. The bowl was actually quite clean on the inside but the drilling where the airway entered the bowl was slightly off to the right side of the bowl. Other than having the tenon stuck in it; the shank looked pretty good as well. The rim top was dirty and there was a burn mark on the inner bevel of the left side. The finish was dirty and there were quite a few nicks and dents on the surface of the briar. The shank was stamped on the left side with the words Churchwarden over Aged Briar. On the right side of the shank it is stamped with the shape number 3003 and next to that was the Savinelli S shield. The underside of the shank is stamped Savinelli over Italy. The stem was quite oxidized and pitted. There were tooth marks and chatter on both sides of the stem at the button. The broken tenon remnants were on the end of the stem. It was broken pretty close to the stem/shank junction.
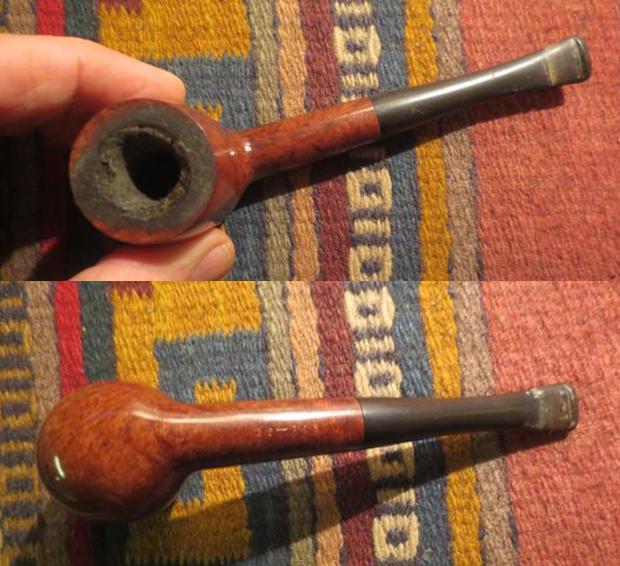
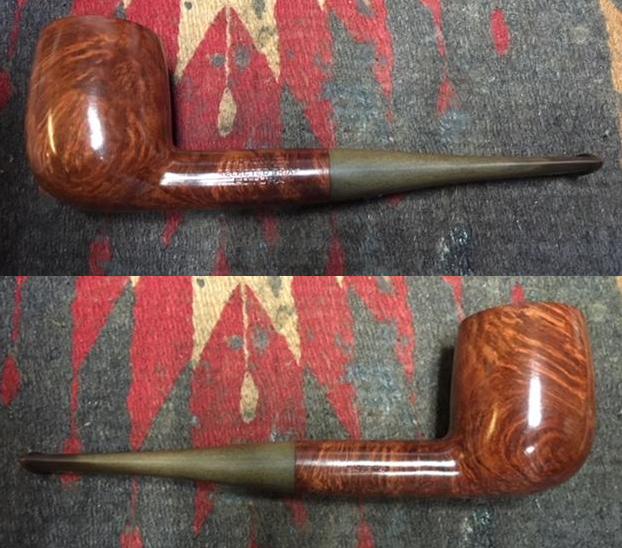
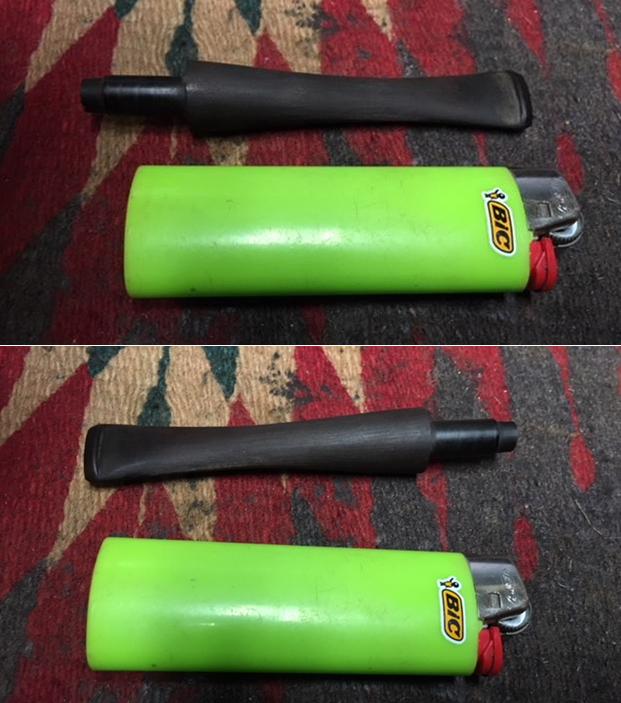
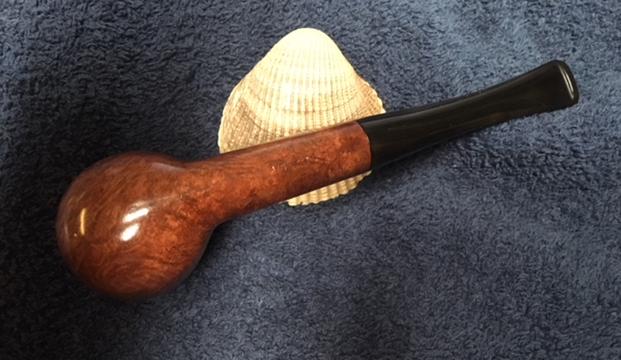
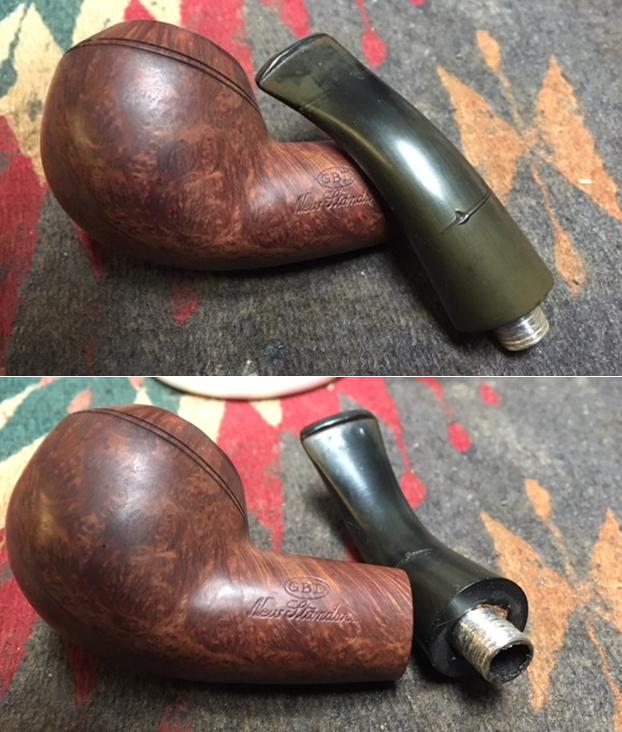
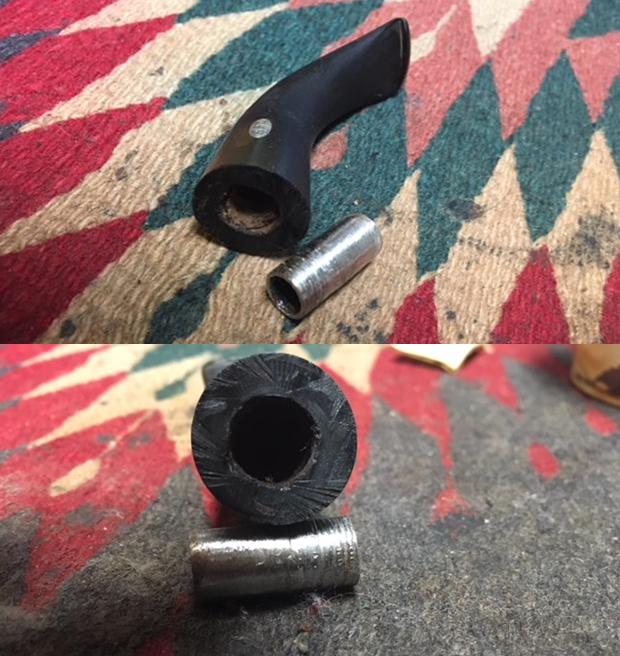
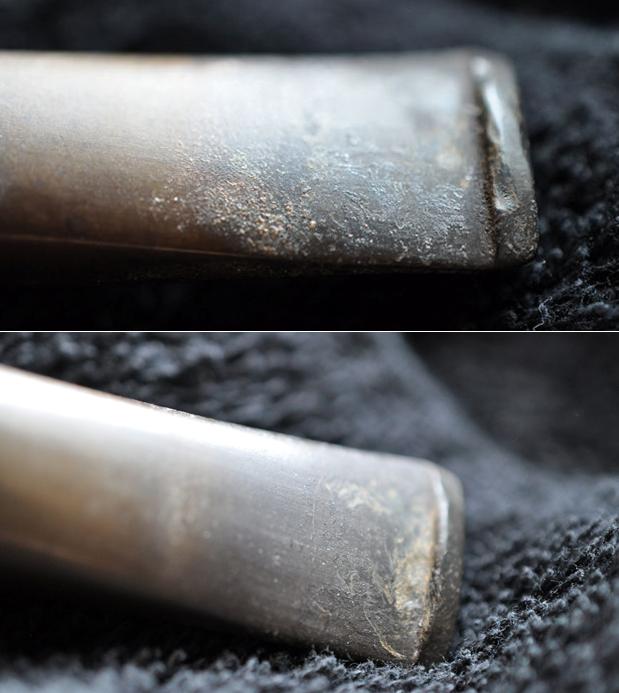
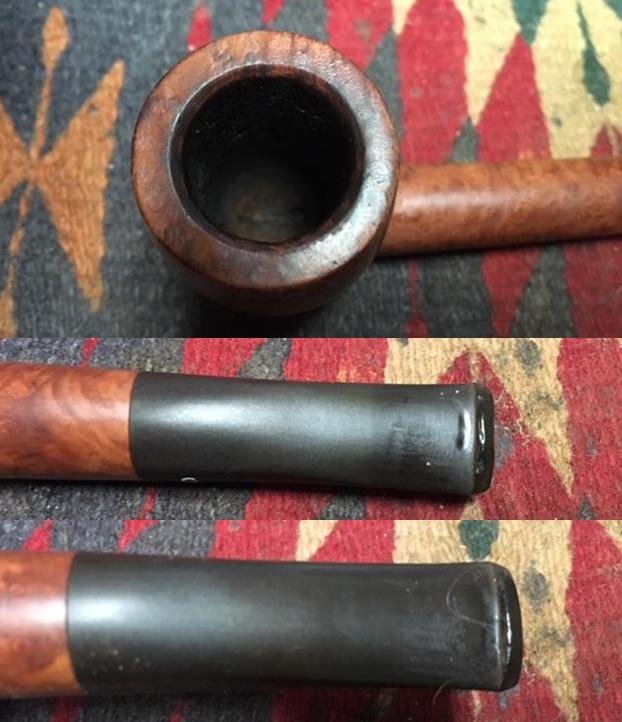
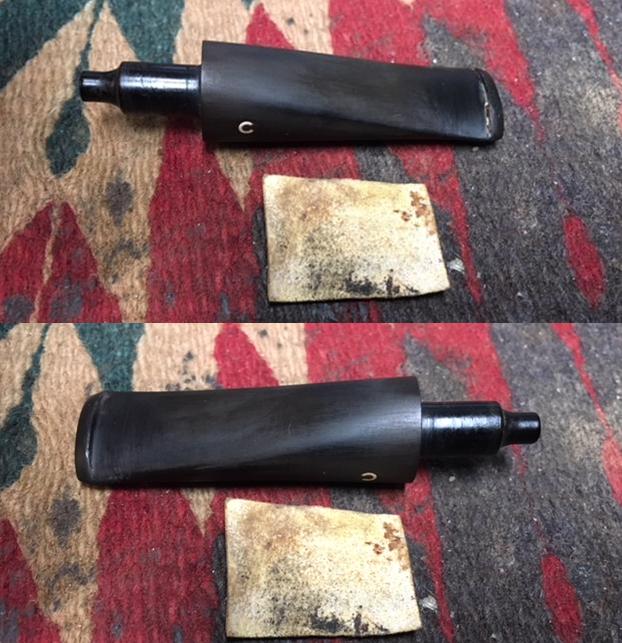
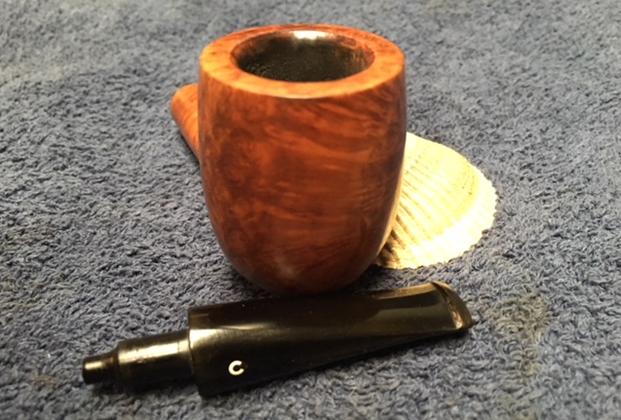
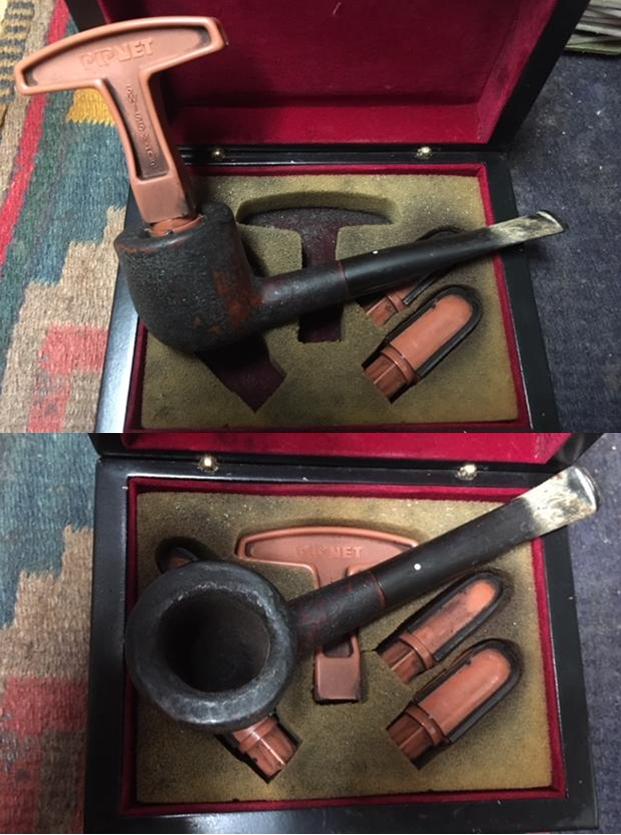
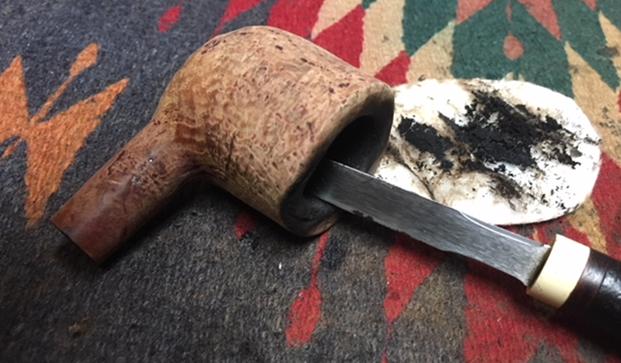
Sooo… here we go on the second of Mark’s restoration projects. I took photos of the pipe to show what it looked like when it arrived in all of its tattered splendour. The bowl had some beautiful grain underneath the grime. The photos show the stem the broken tenon and how close to the shank it was snapped off.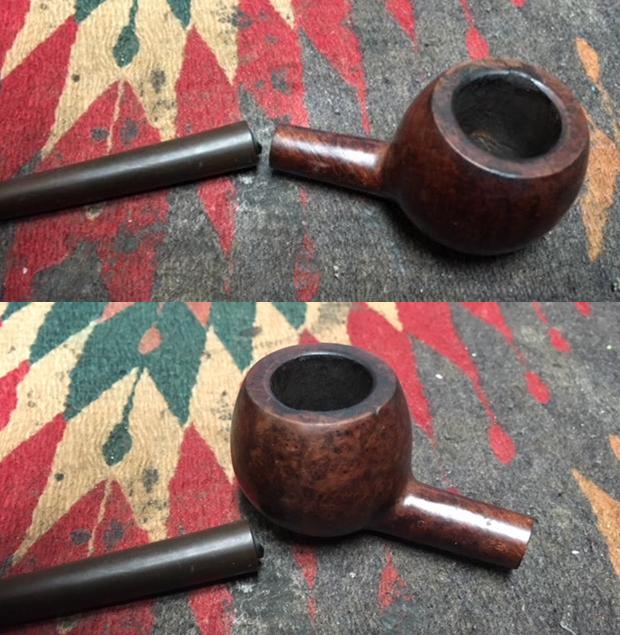
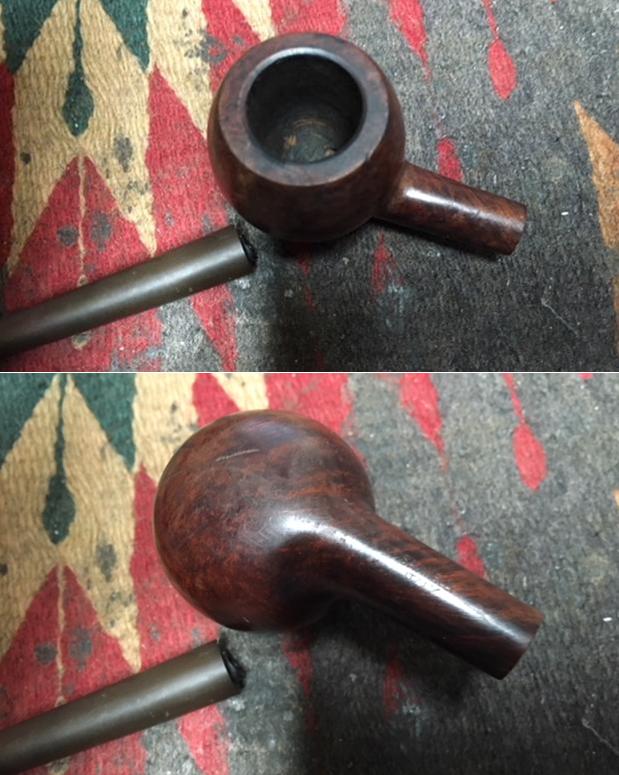
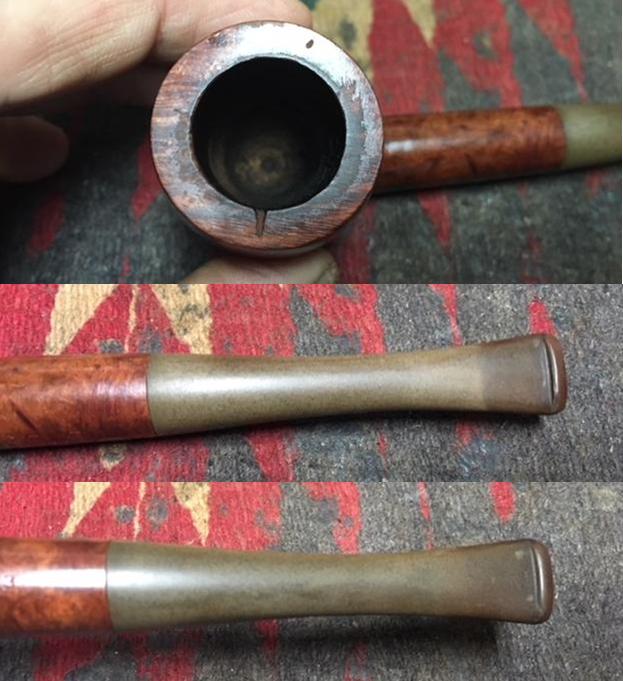
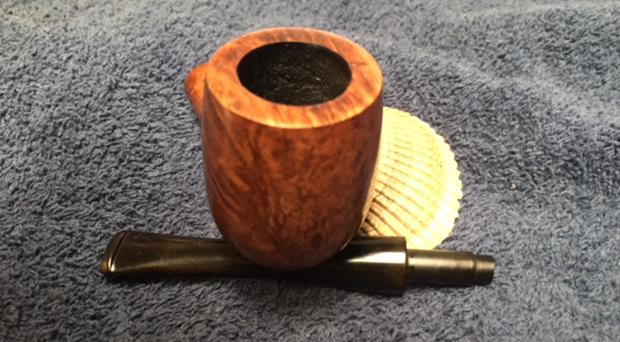
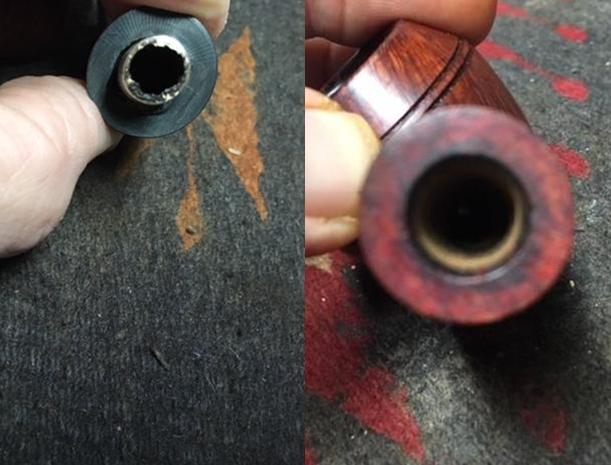
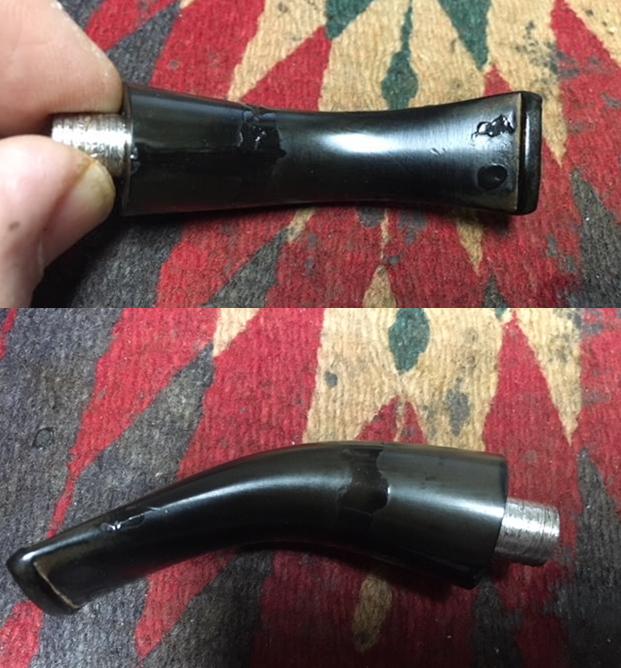
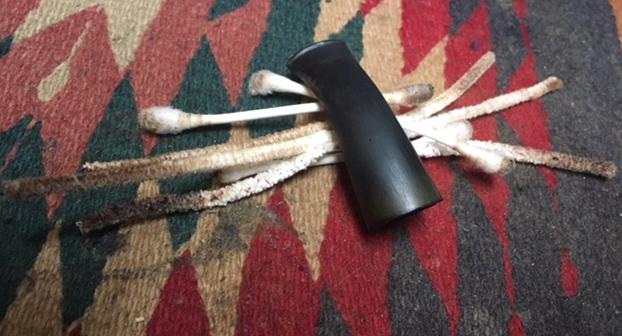
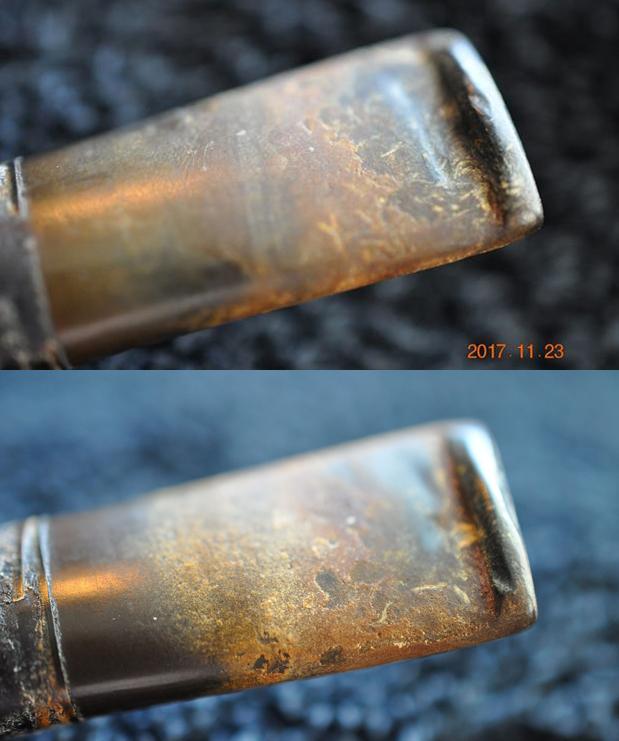
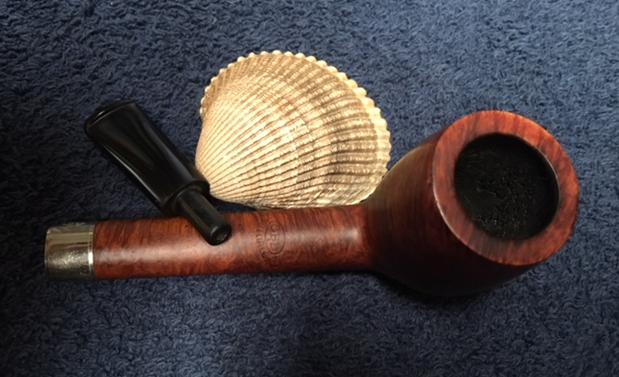
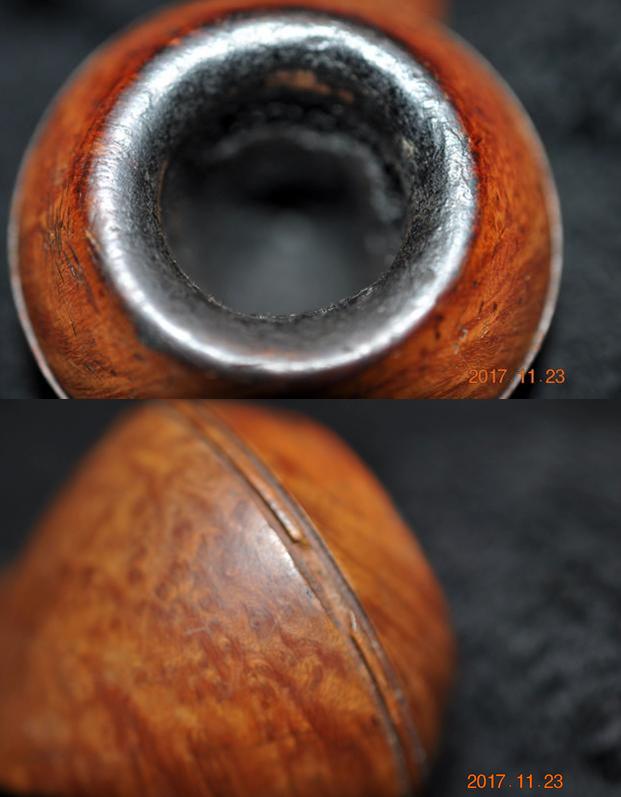
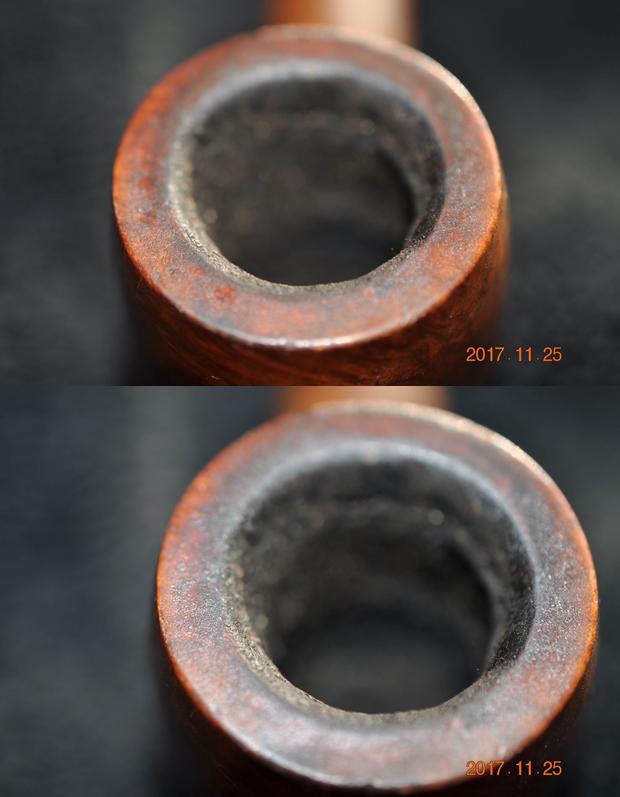
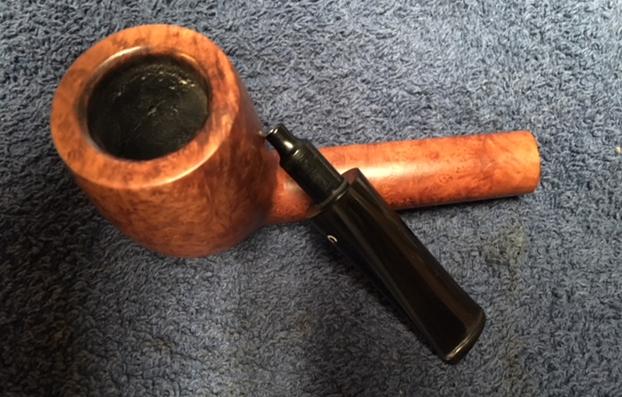
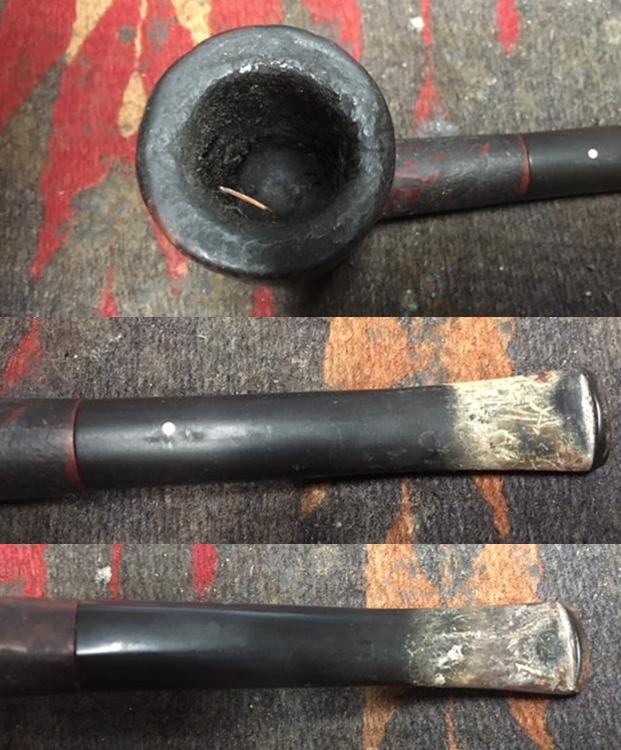
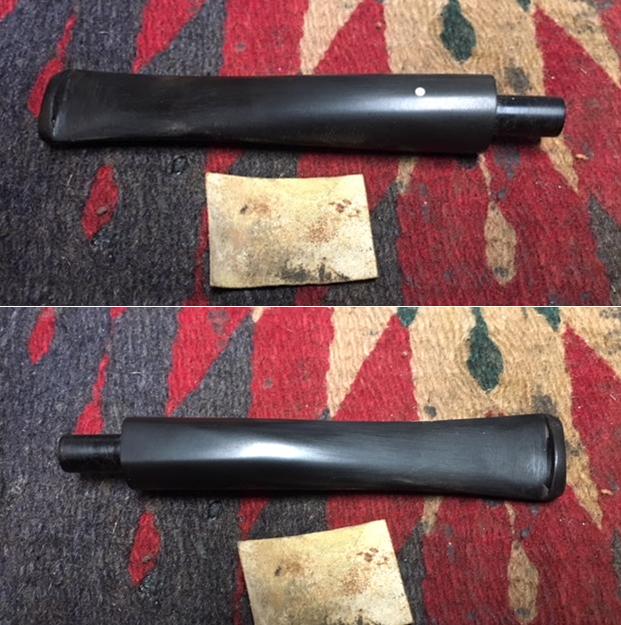
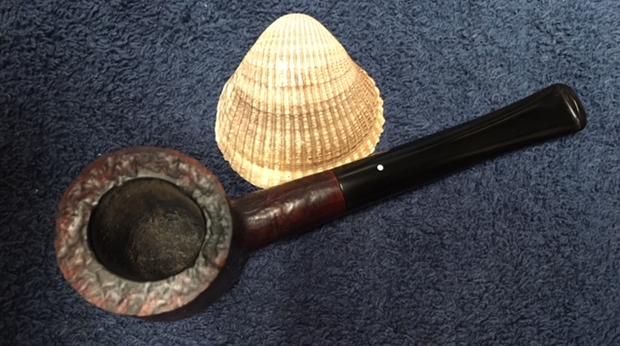
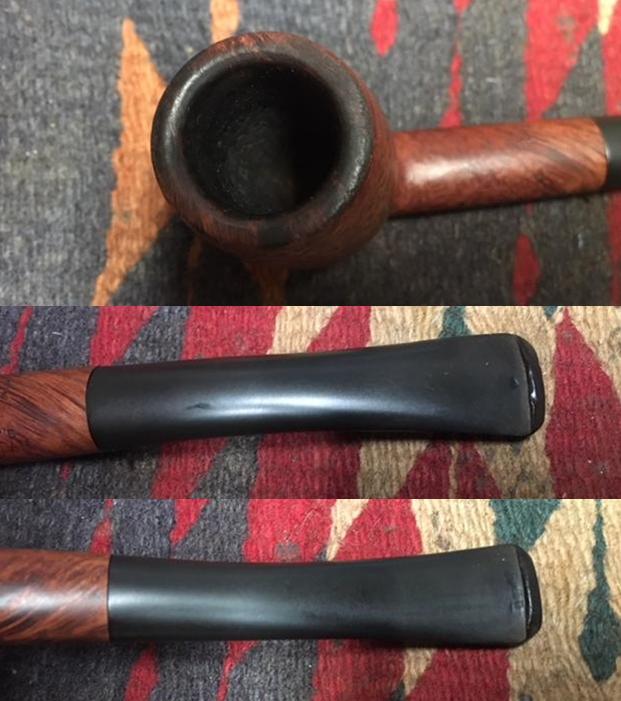
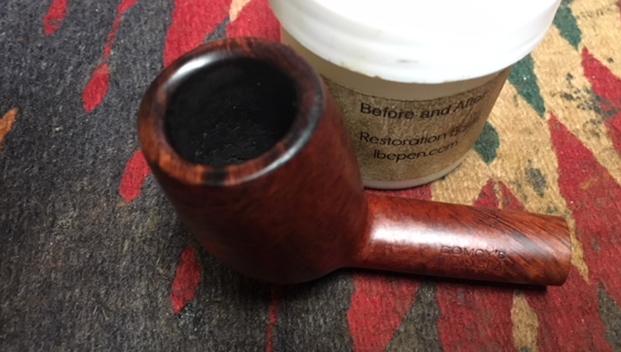
 The above photo shows the damage on the rim top to the inner edge. It is a burn mark from repeated lighting of the pipe in that spot. The photos below show the chatter and tooth marks on both sides of the stem at the button.
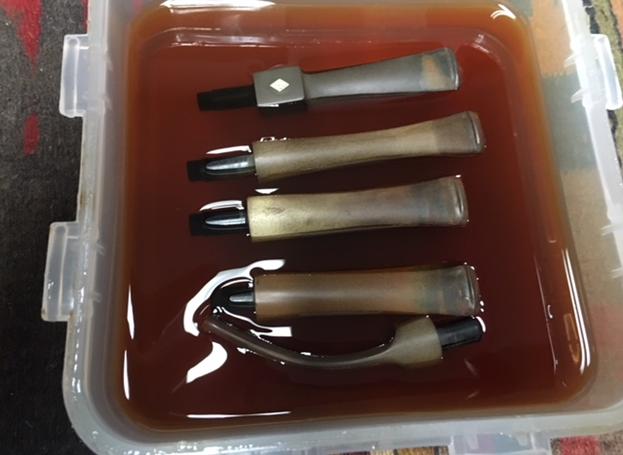
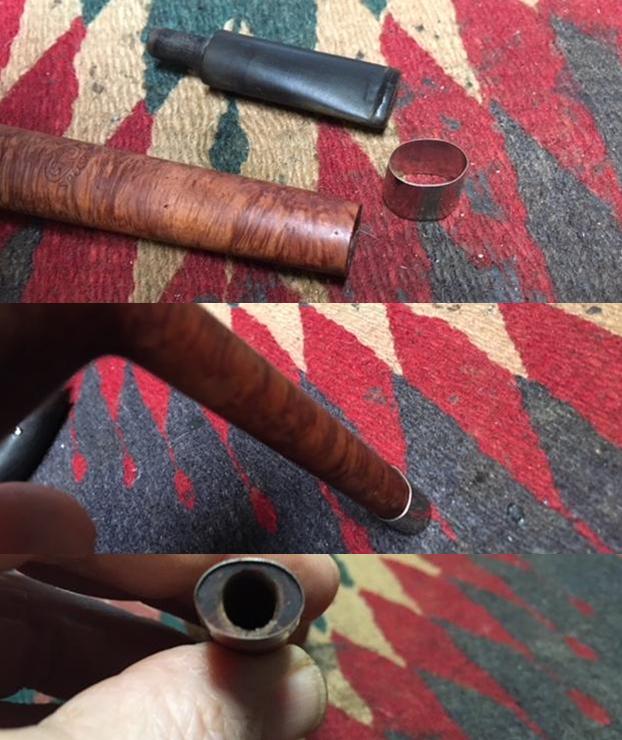
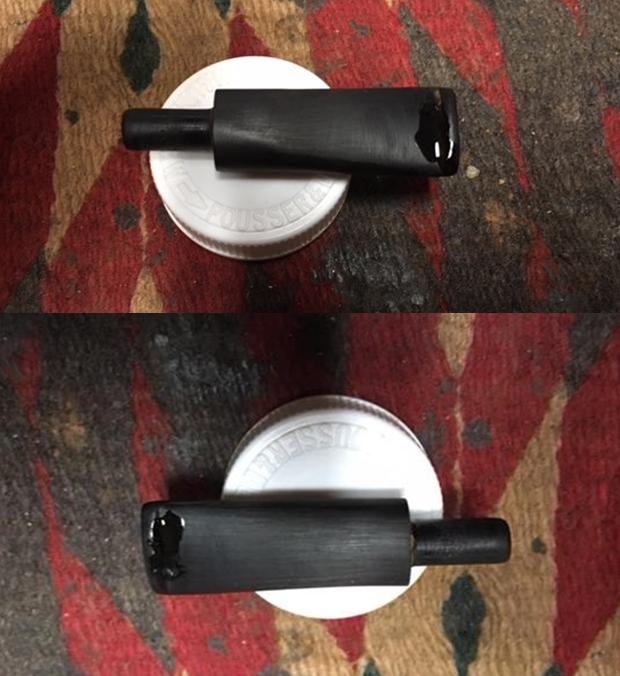
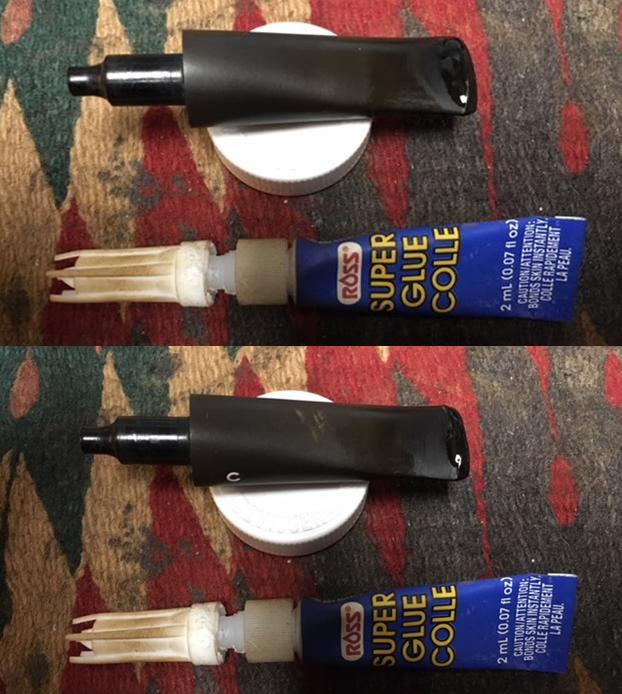
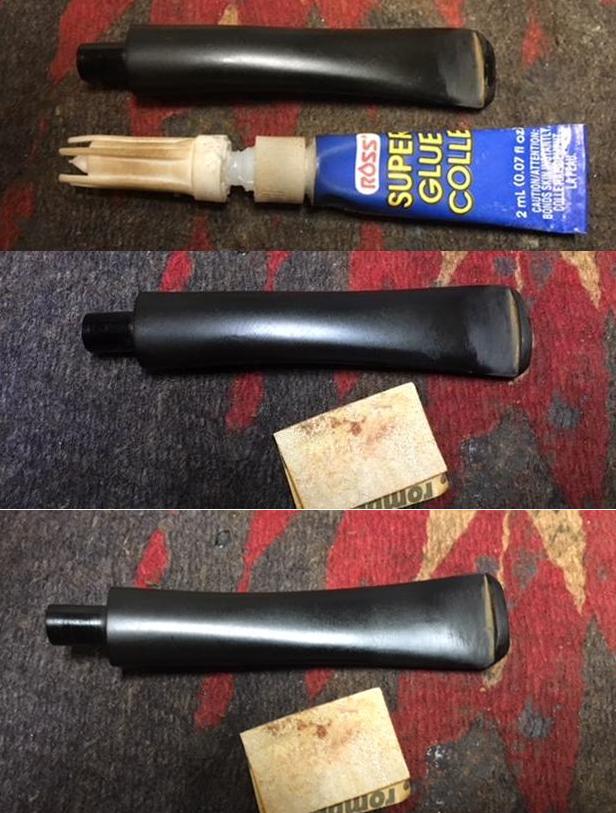
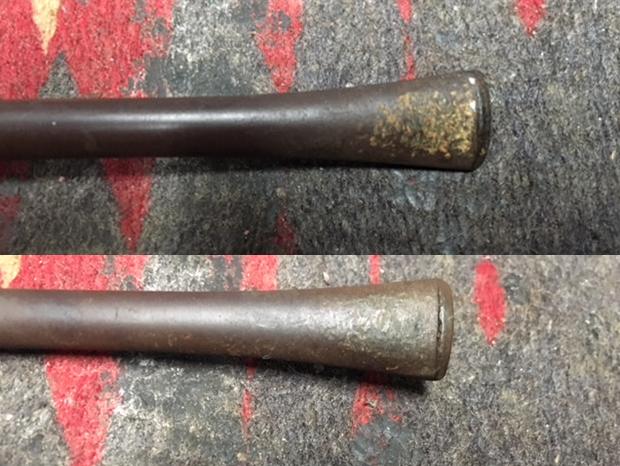 The broken tenon was stuck in the shank when I first tried to pull it so I put it in the freezer for 30 minutes. I tried again using a long drywall screw and was able to get it free with the first try. I went through my jar of replacement tenons and found one that I thought would work. It is a threaded Delrin replacement tenon. Once I had the broken tenon out of the shank I compared them and found that the diameter was the same on both. I tried it in the mortise and found that it was a perfect fit. Even the length was correct.
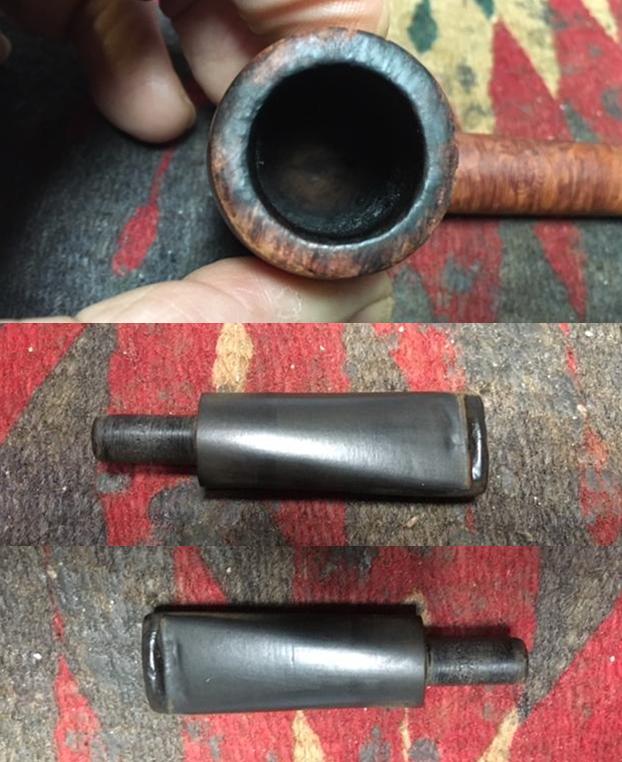
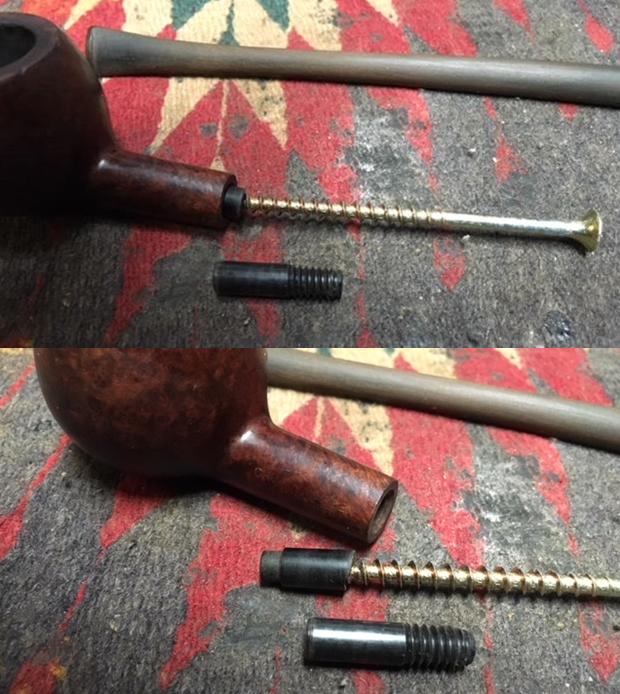
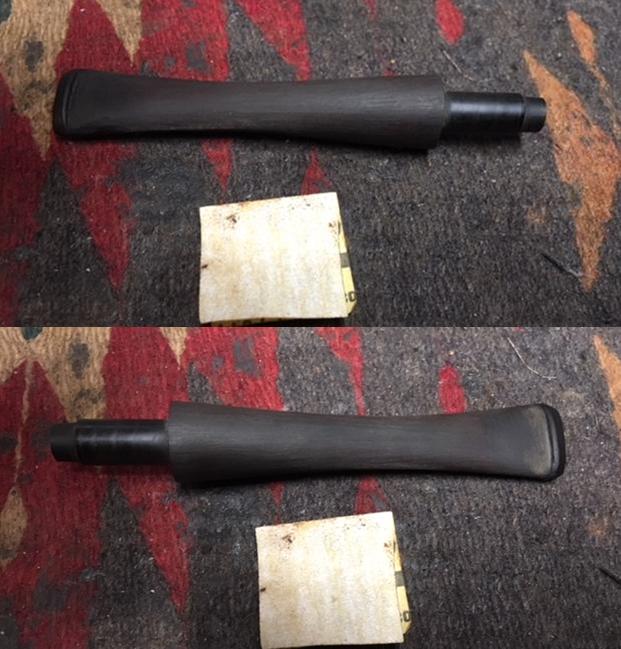
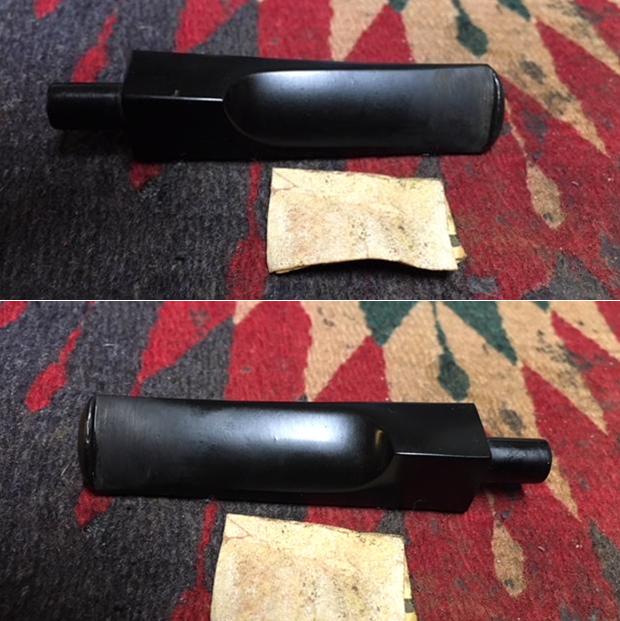
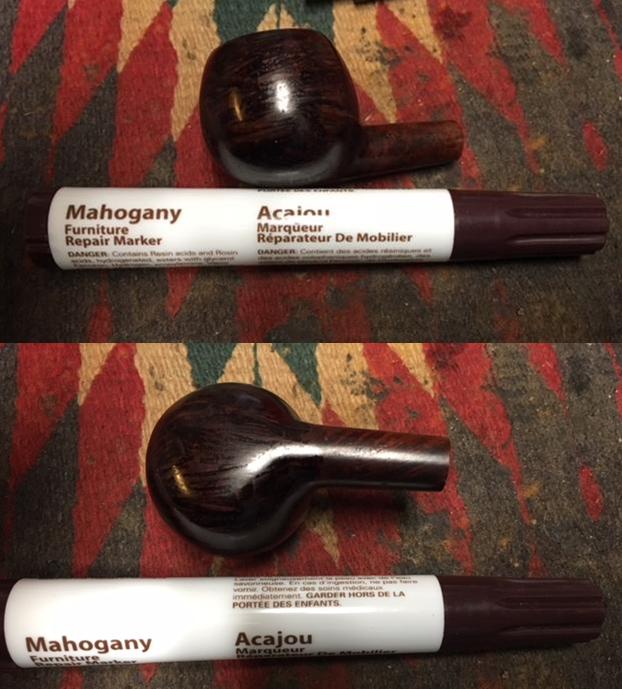
 I flattened the broken pieces on the end of the stem with a Dremel and sanding drum and then on the topping board. I wanted a flush surface to mount the new tenon on and also to have a snug fit against the shank. The airway was not centered in the stem so I had to do a bit of fussing with it to get it ready for the new tenon. I used a sharp pen knife to flare the side of the airway that was off to get it more centered before I drilled. Once I had done that I drilled the airway with a bit slightly larger in diameter than the airway and worked to keep it both straight and centered. This is yet another time I wished I had a drill press.
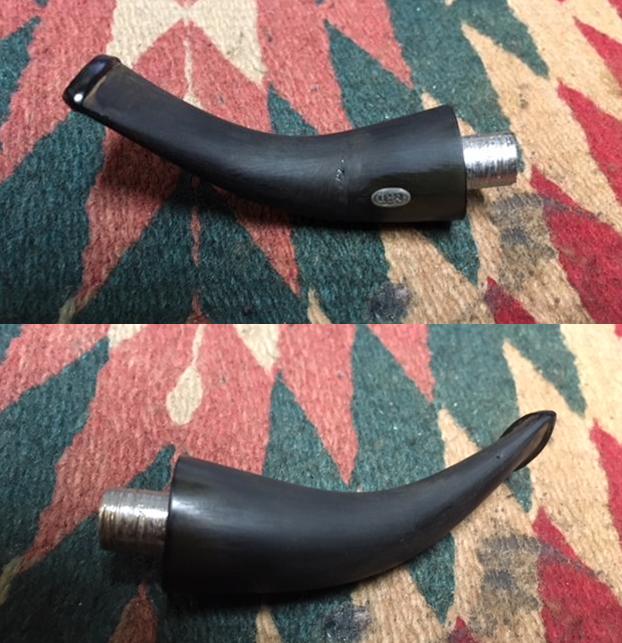
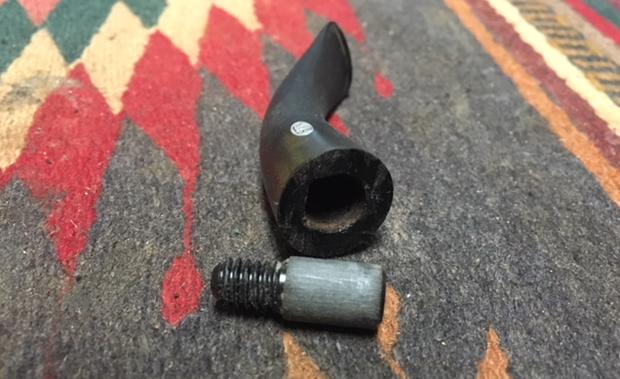
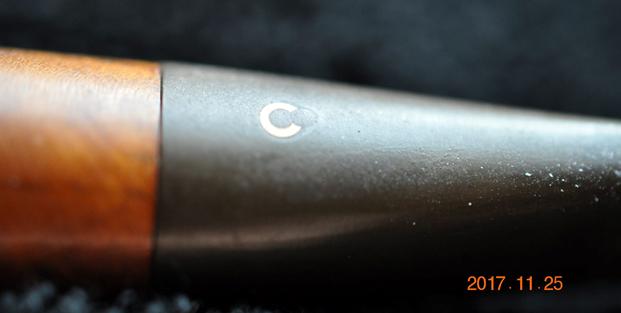
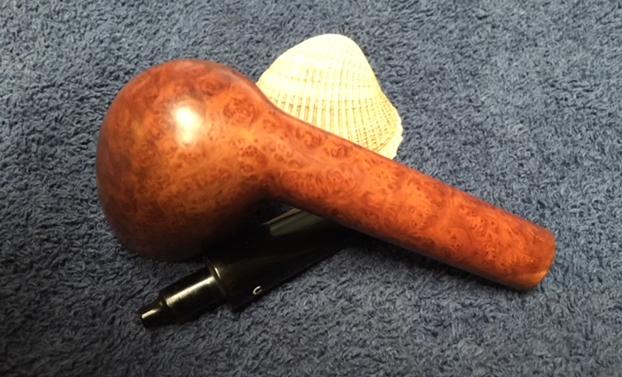
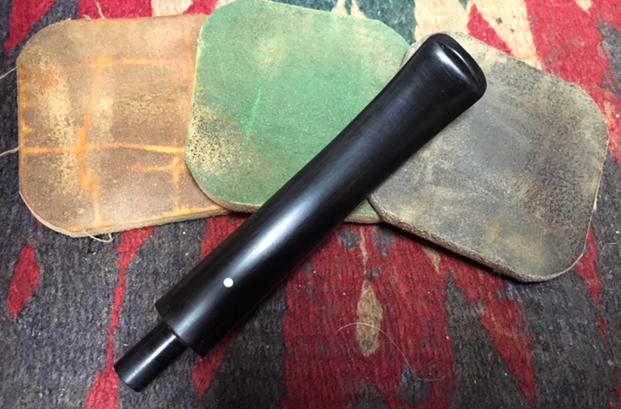
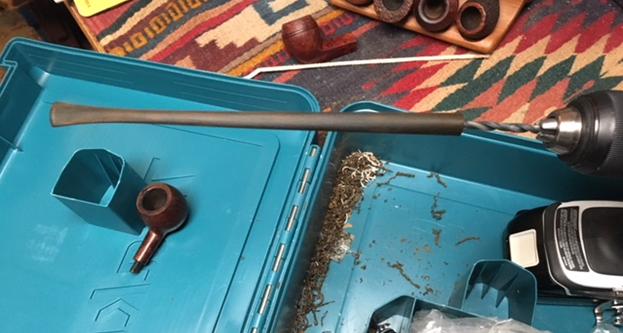 I followed that drill bit with one that was the same diameter as the threaded portion of the new tenon. I sanded the threads to slightly reduce the diameter and pressed it into the stem. The fit was very good. I took a photo of the stem at this point to show the look of the new tenon.
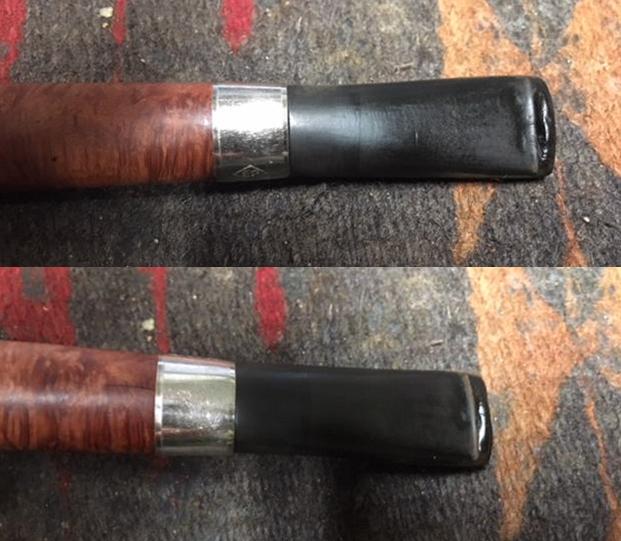
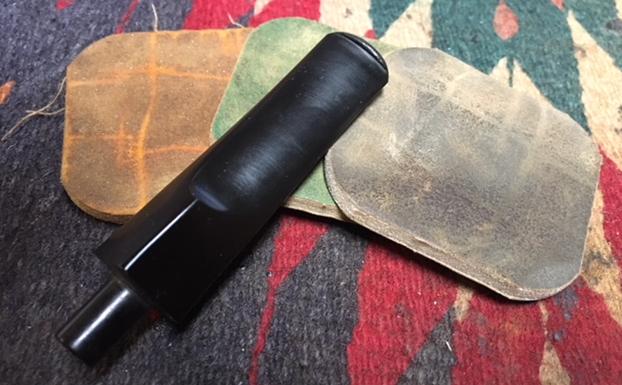
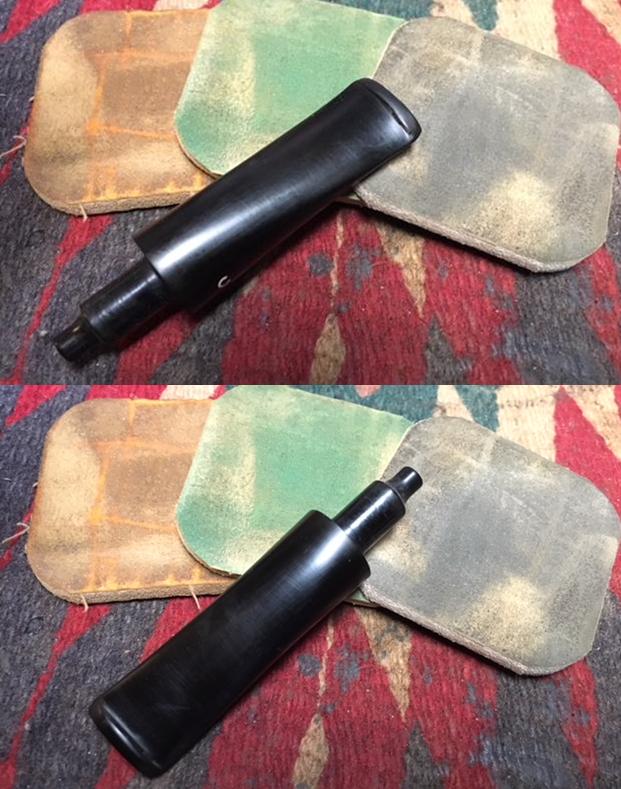
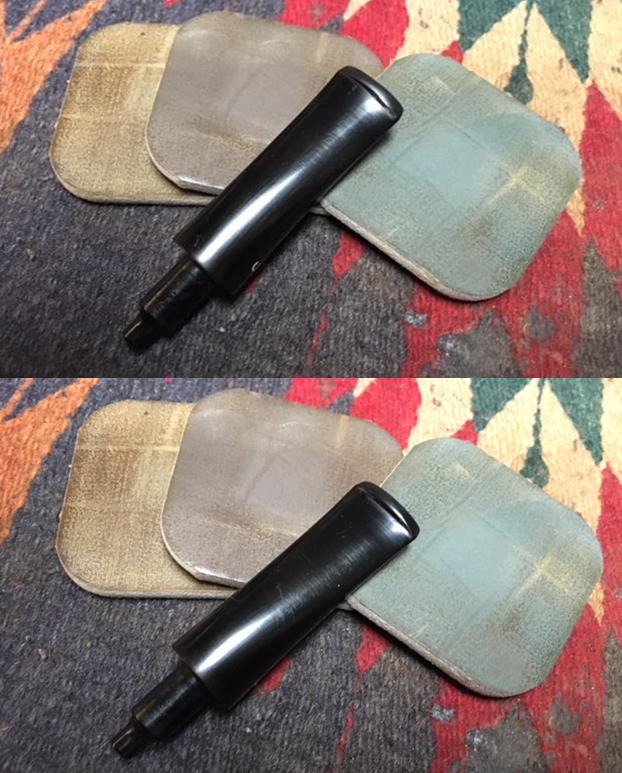
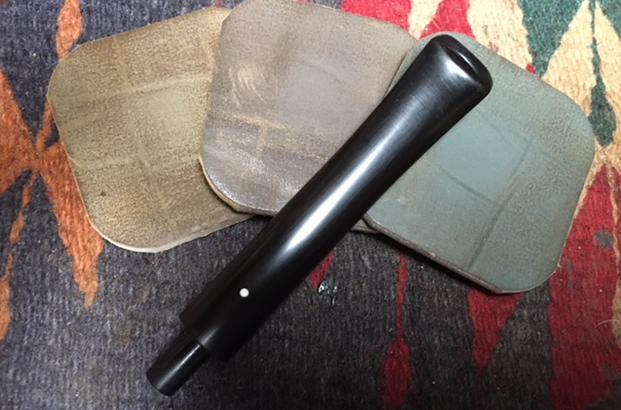
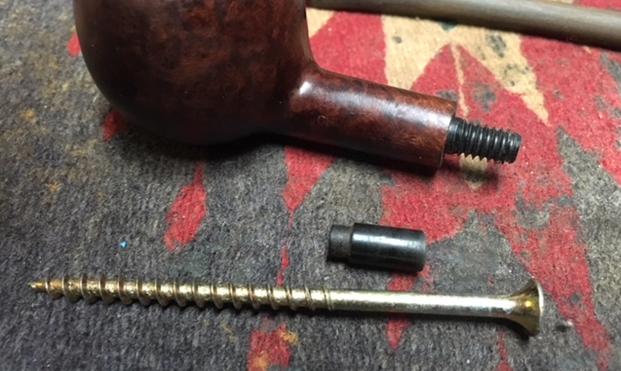
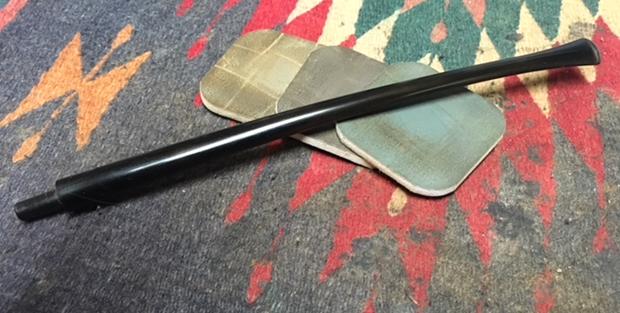
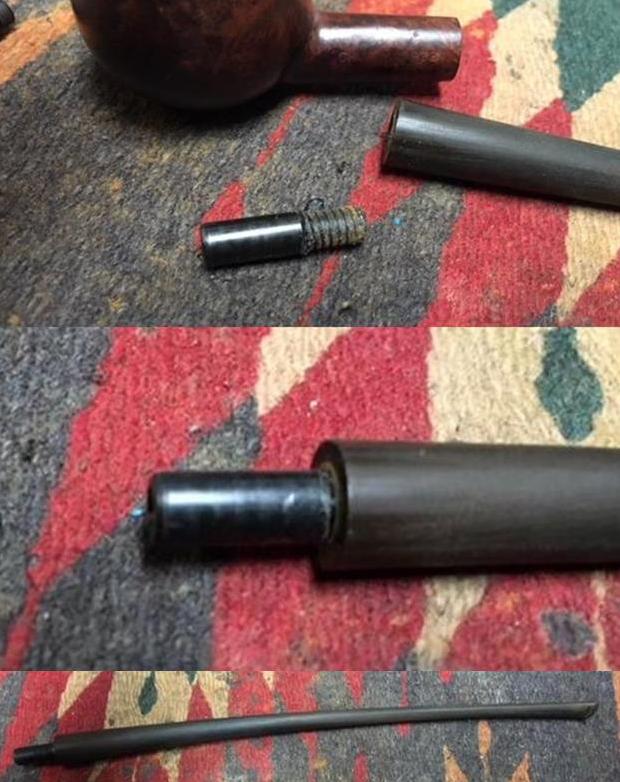 I used black super glue that had a medium viscosity so that I had time to align the stem and the shank before the glue set. Once it was aligned I took a few photos of the fit of the stem to the shank. I would need to make a few minor adjustments but considering how off the airway was the fit was quite good.
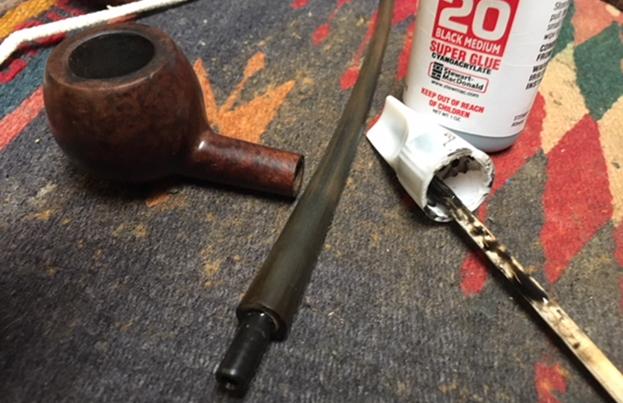
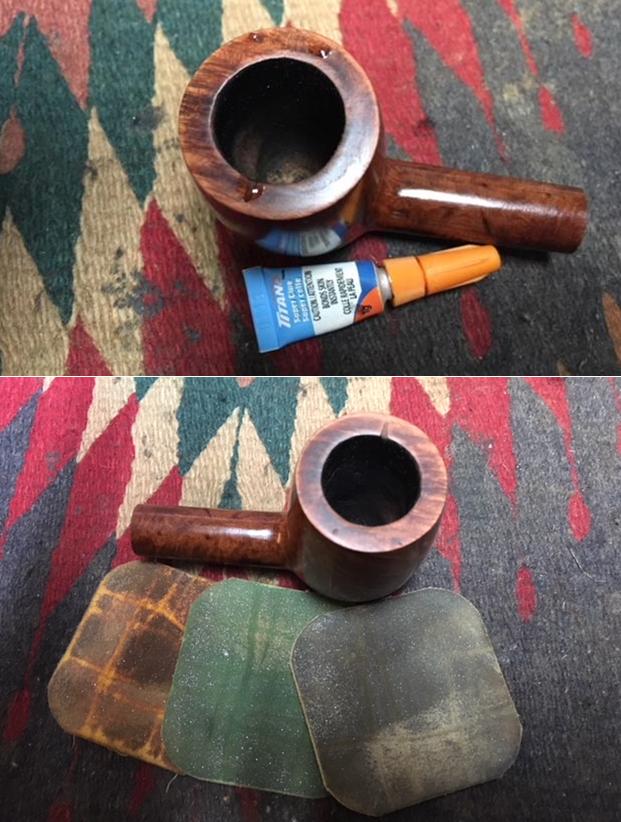
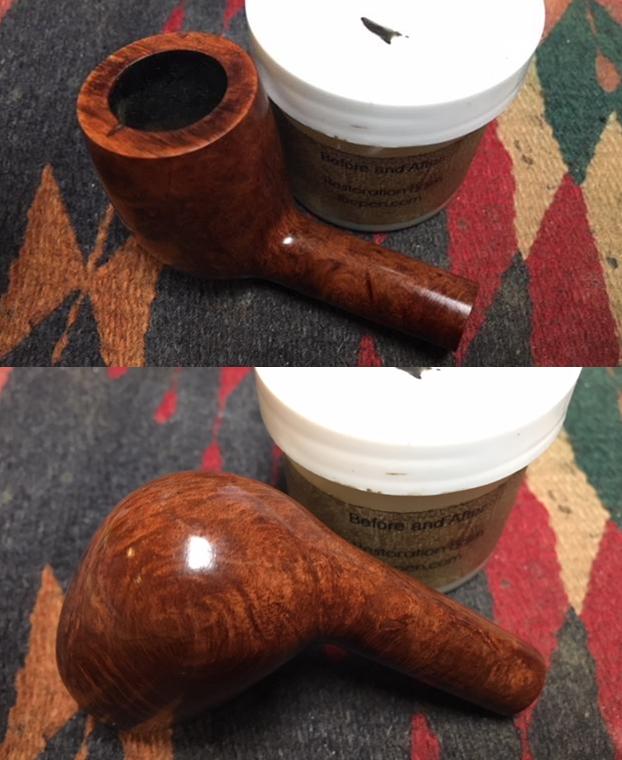
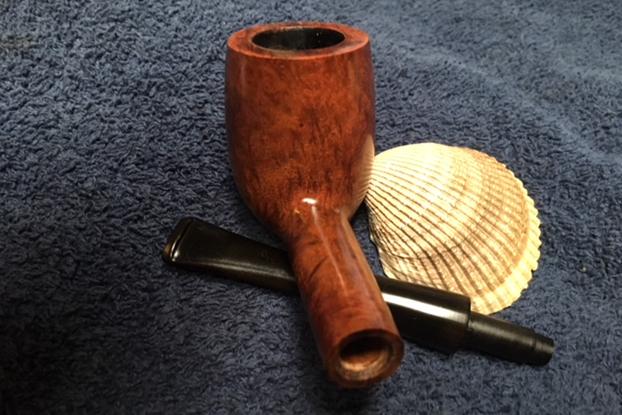
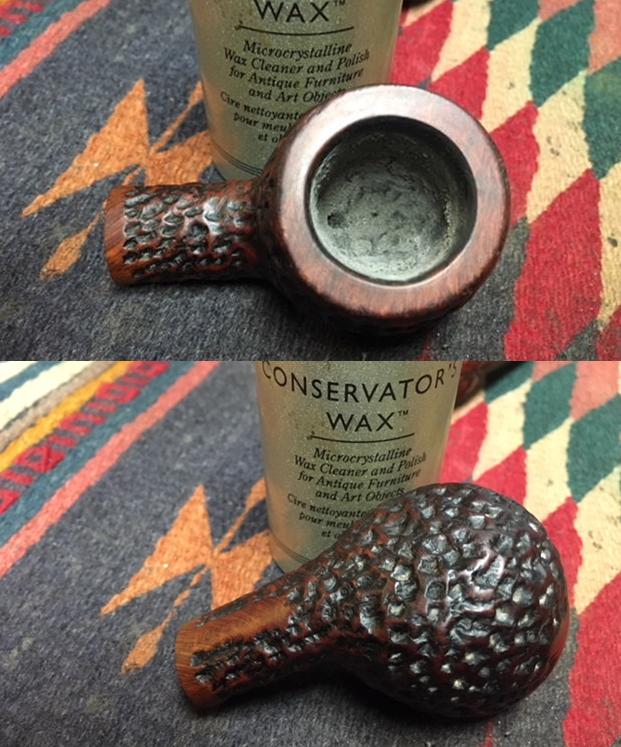
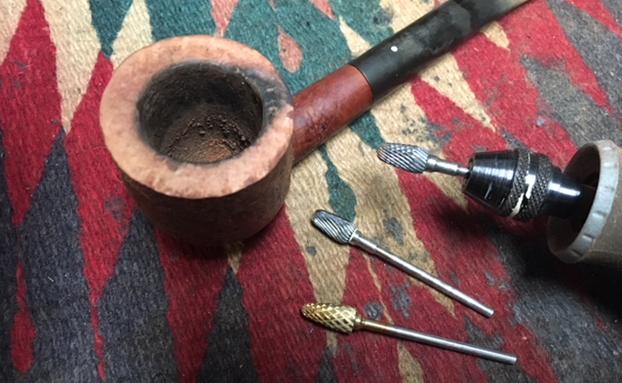
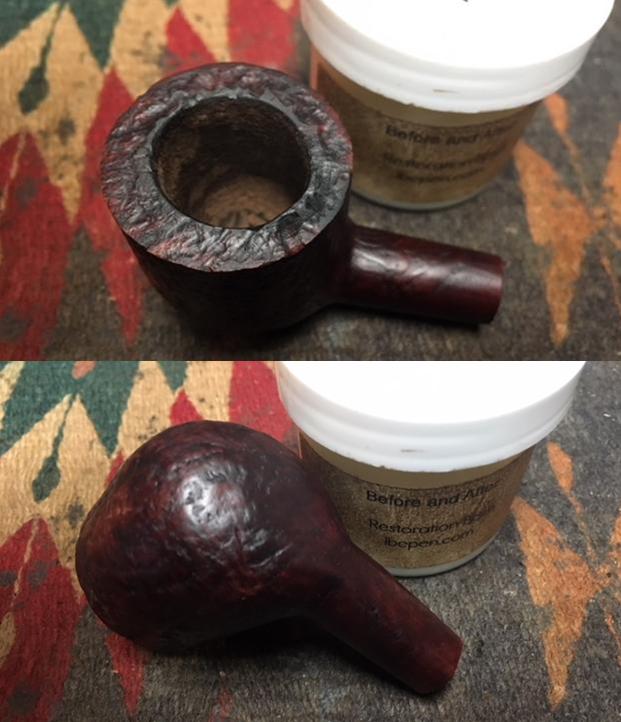
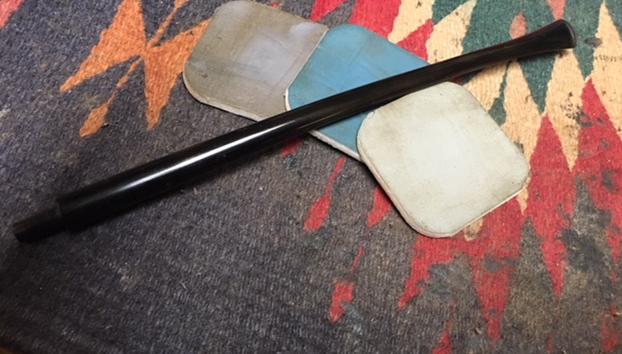
 I carefully removed the stem and set it aside to let the glue on the tenon set firmly. I turned my attention to the bowl. The first item of business for me was to work on the rim top. I cleaned up the flat surface of the rim with 1500-2400 micromesh sanding pads and then shaped the inner bevel of the rim with a folded piece of 220 grit sandpaper to minimize the damage on the right inner edge. When I finished it definitely looked better. I would do a bit of finessing it once I worked on it with the micromesh pads.
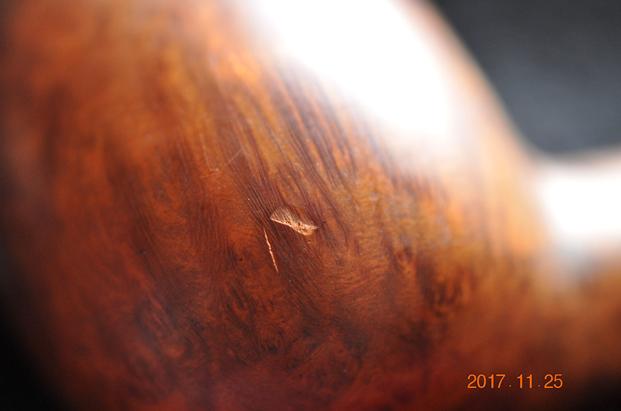
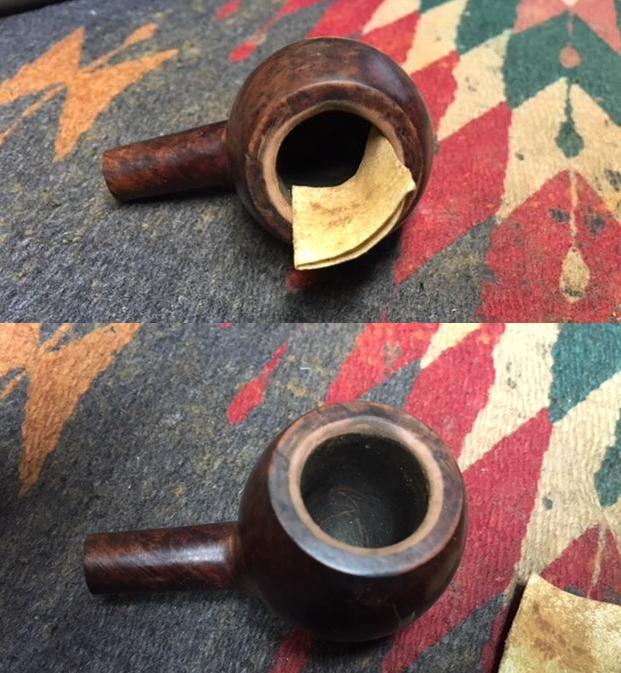 I decided to address the many nicks, scratches and cuts in the surface of the finish by filling them in with clear super glue. The next series of photos show the many spots on the front and bottom of the bowl.
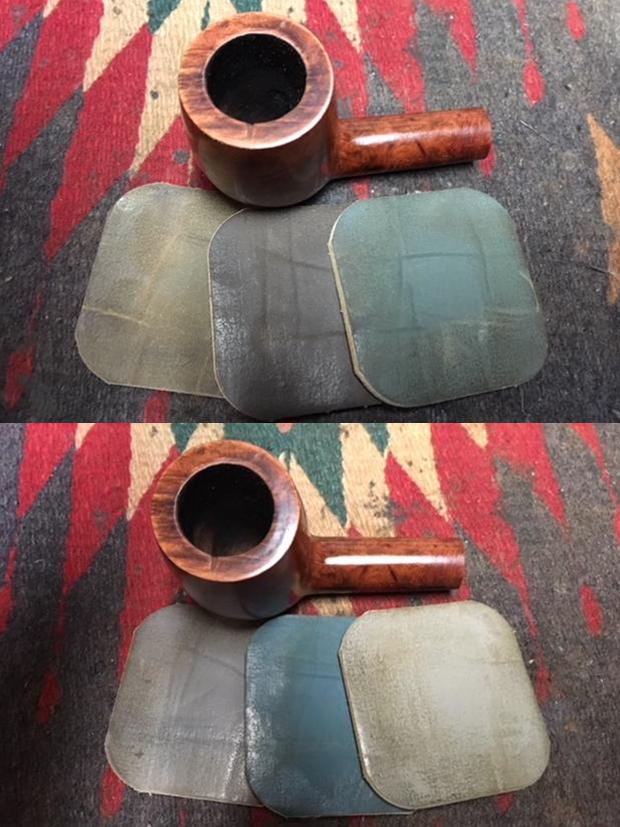
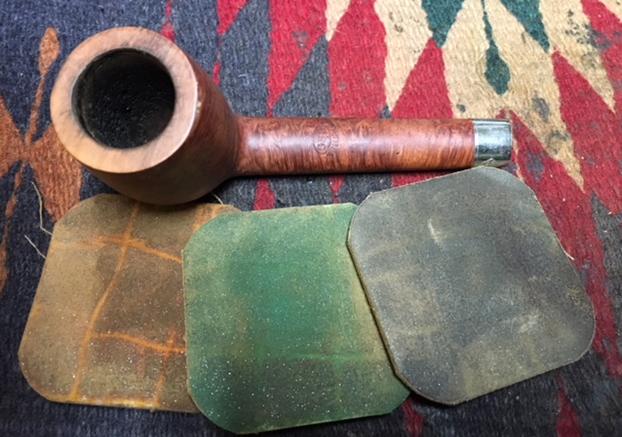
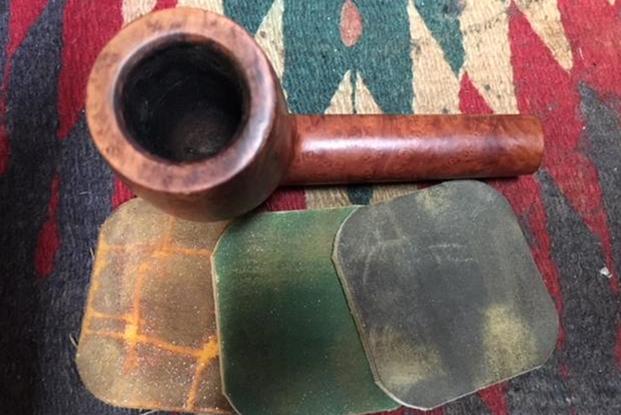
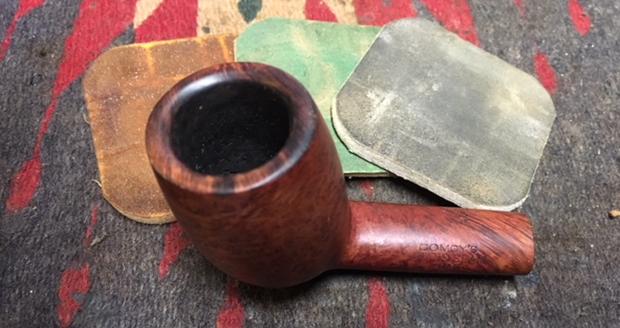
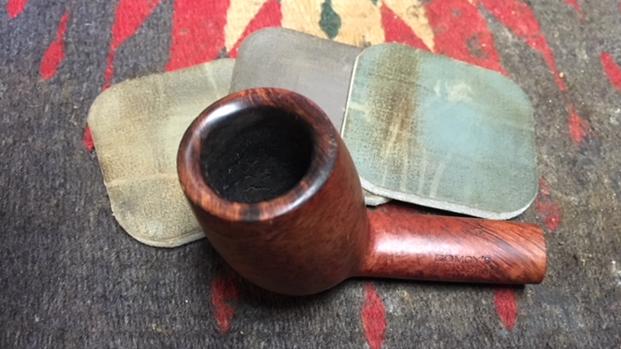
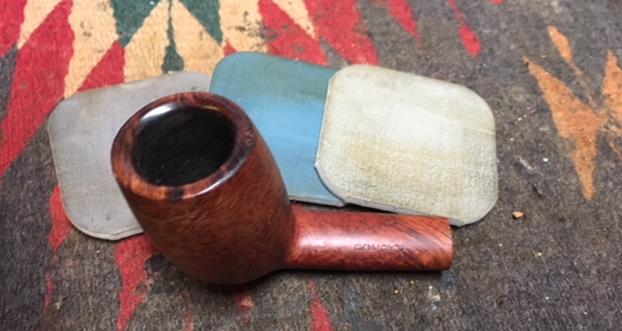
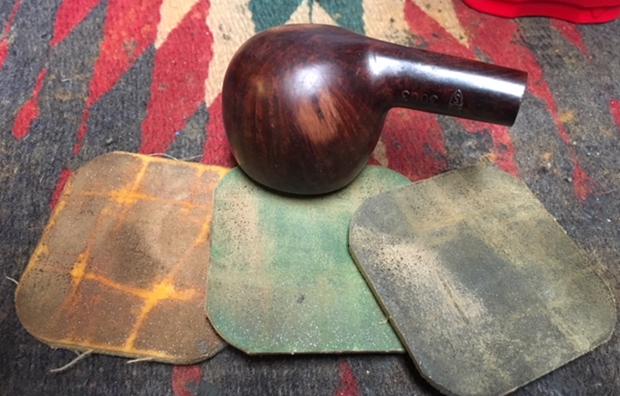
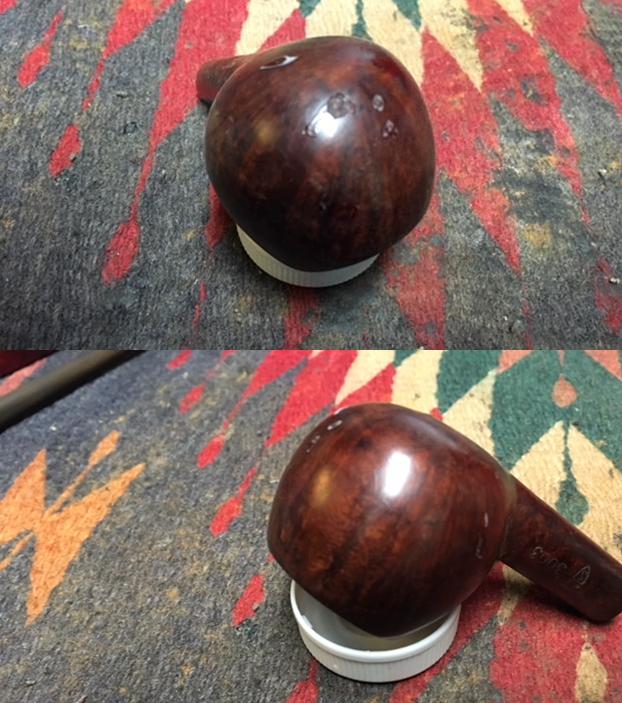 Once the repairs had dried I sanded them smooth with 220 grit sandpaper to blend them in with the surface of the bowl. I then wet sanded the entire bowl and rim with 1500-2400 grit micromesh pads and dry sanded it with 3200-12000 grit pads until the rim and the surface of the bowl was smooth and polished. I wiped down the surface of the bowl with a damp cloth to remove the sanding dust between each pad.
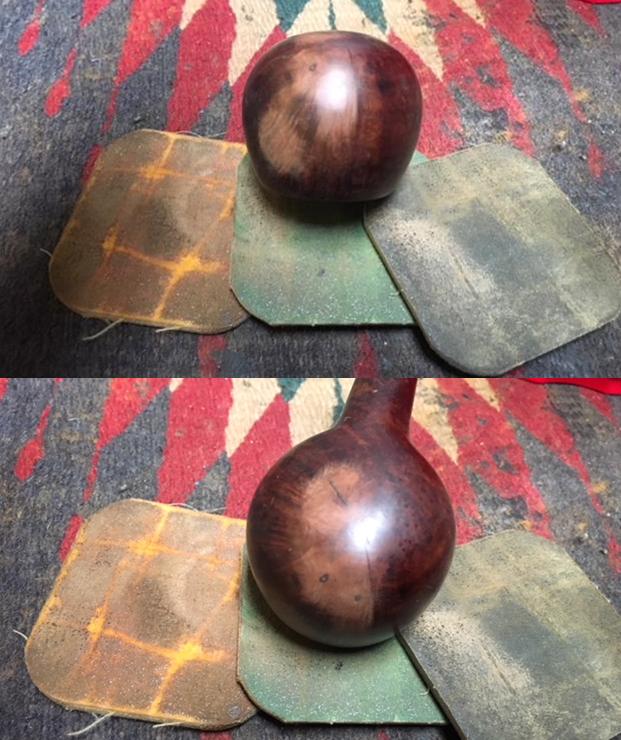
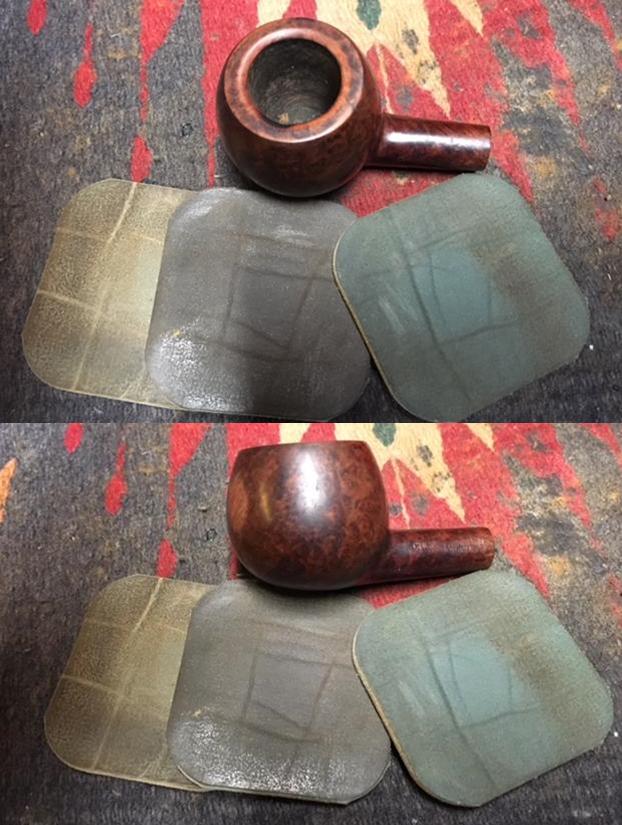

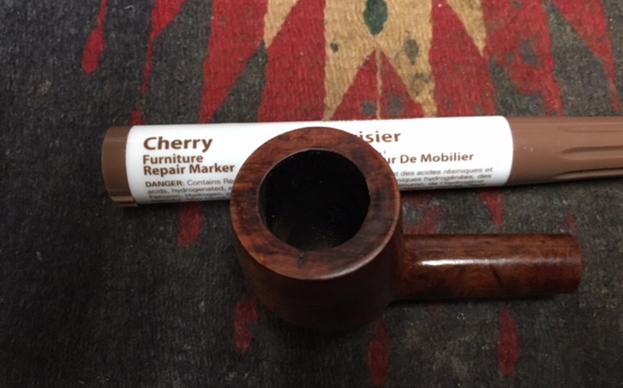
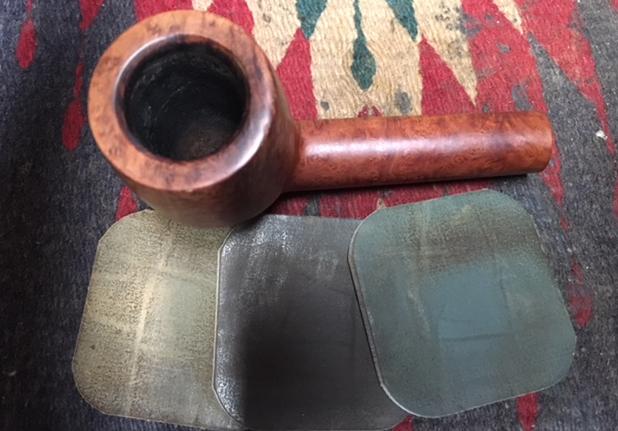
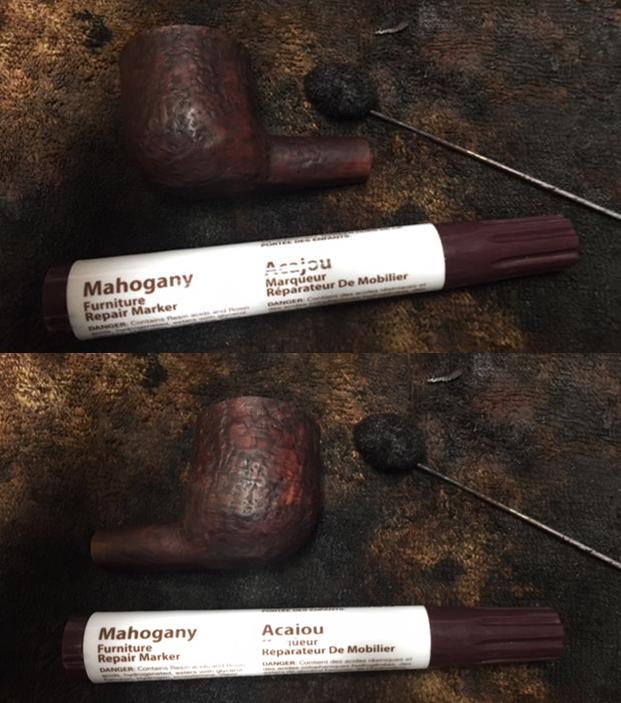
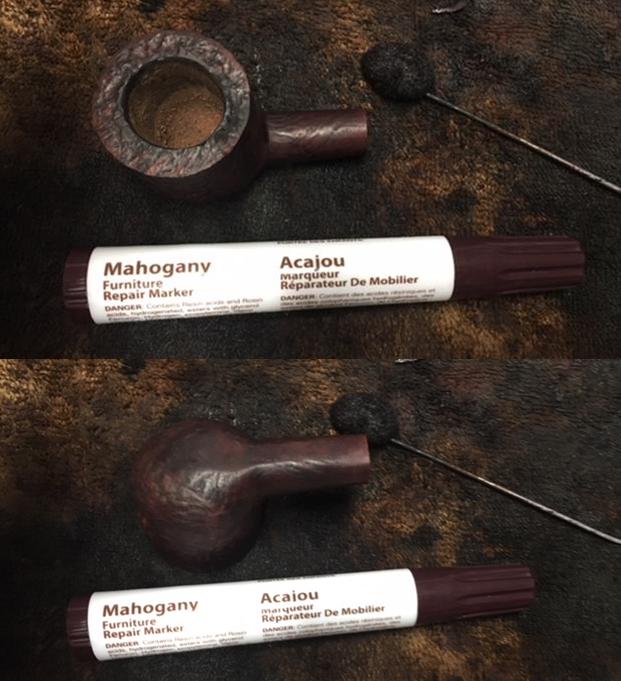
 I decided to highlight the reds in the briar and finish so I stained it with a mahogany stain pen. It looks streaked and poorly applied in the photos but the story is not over yet. I am more interested in getting the bowl covered with a stain that is transparent so when I take the next step the grain will come through the finish.
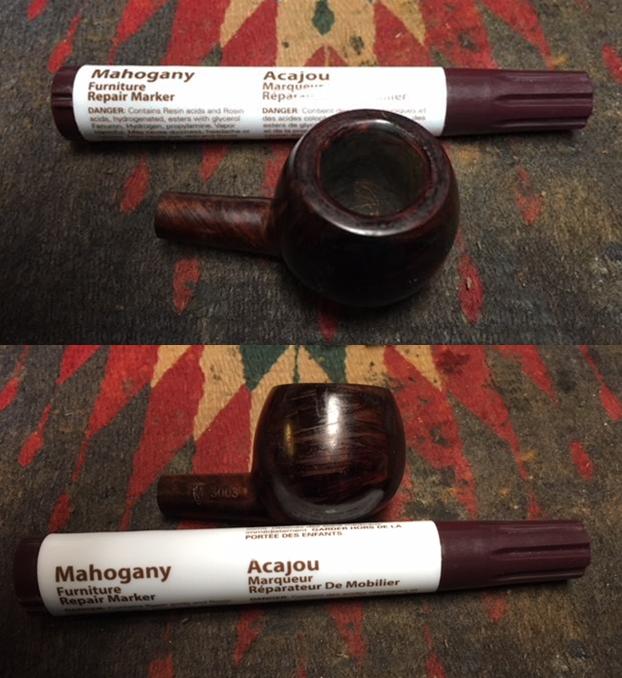
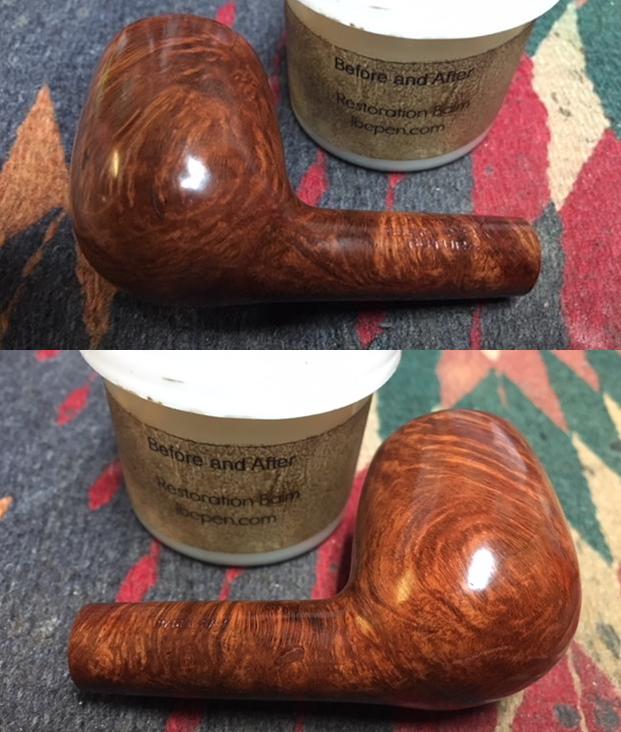
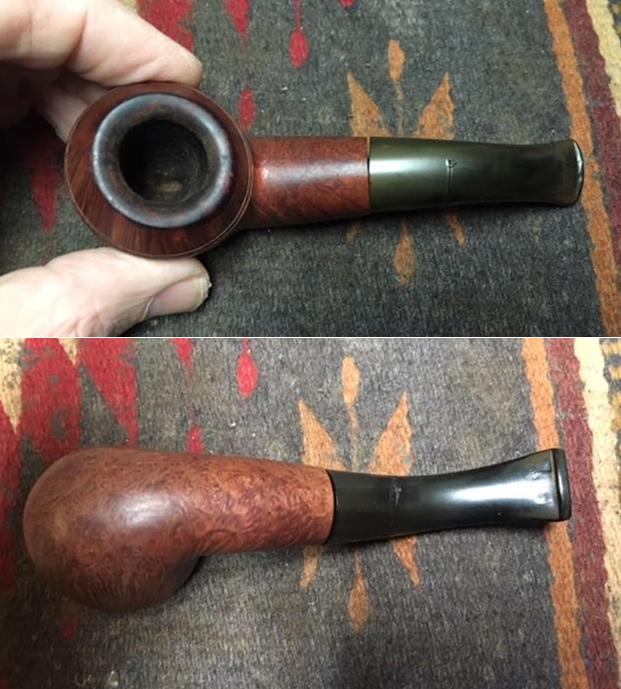
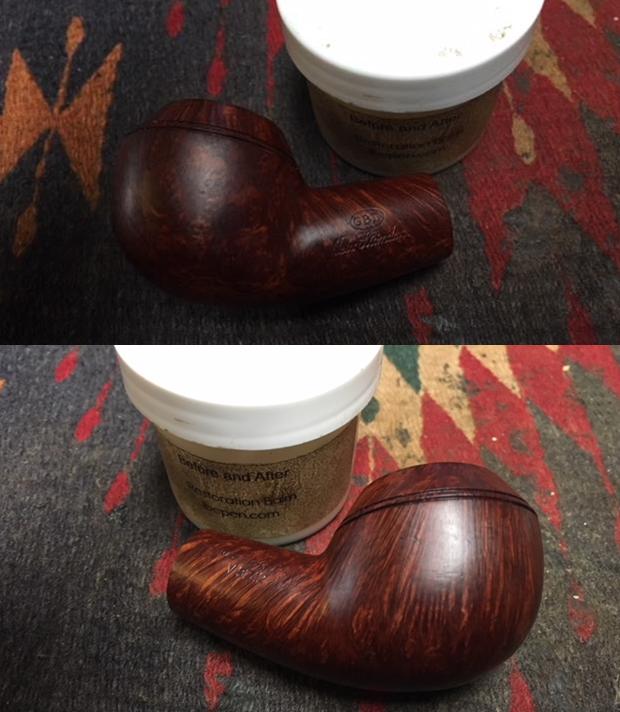
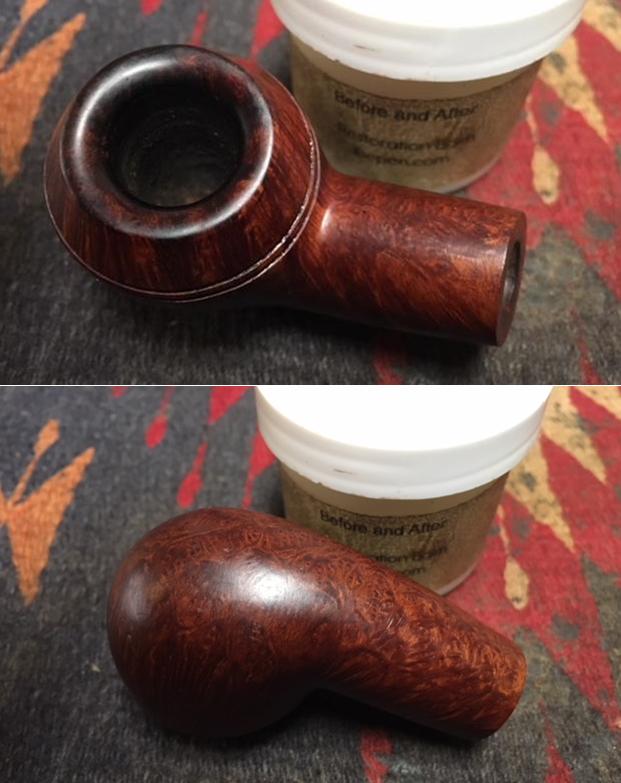
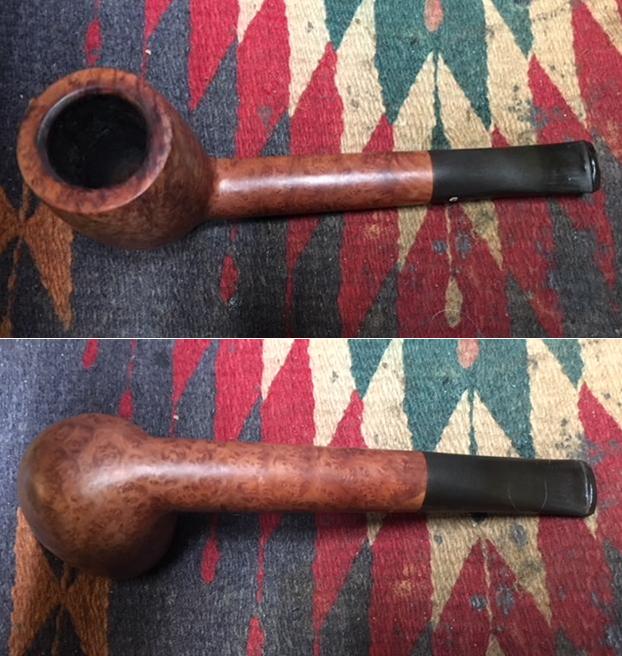
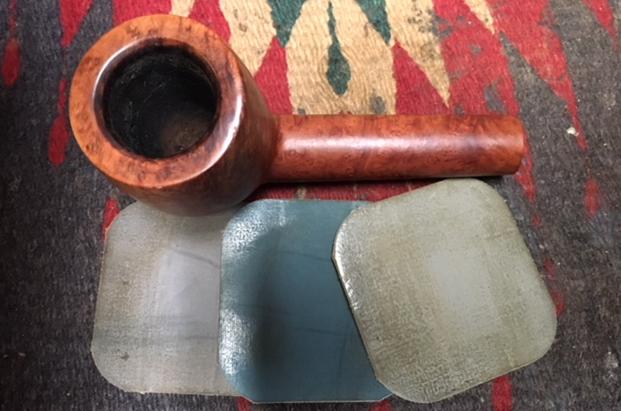
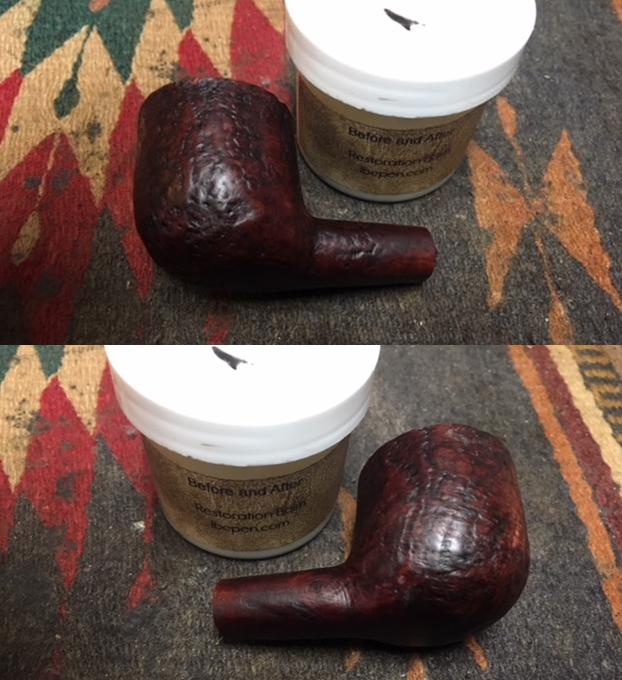
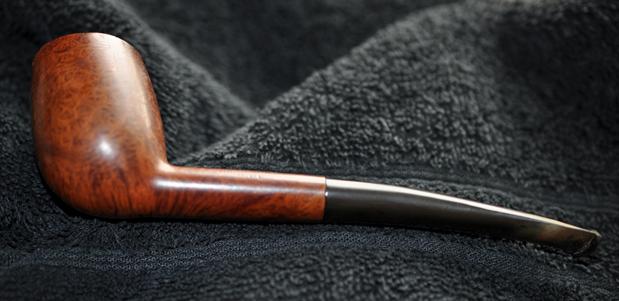
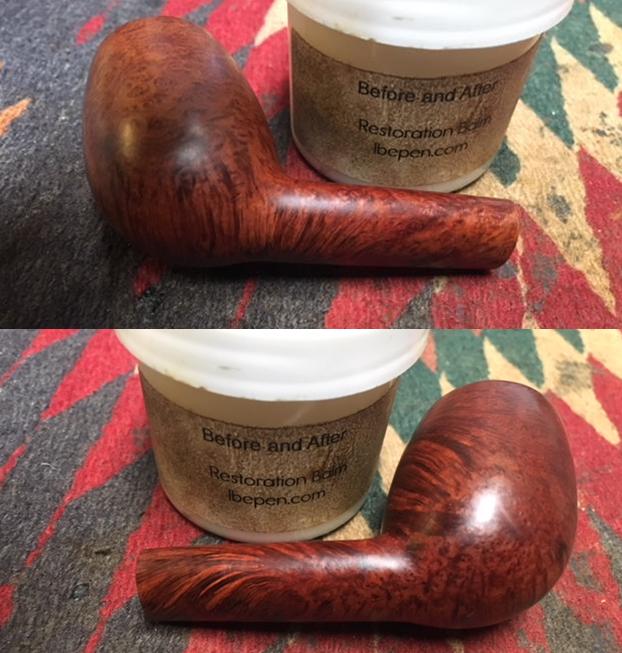
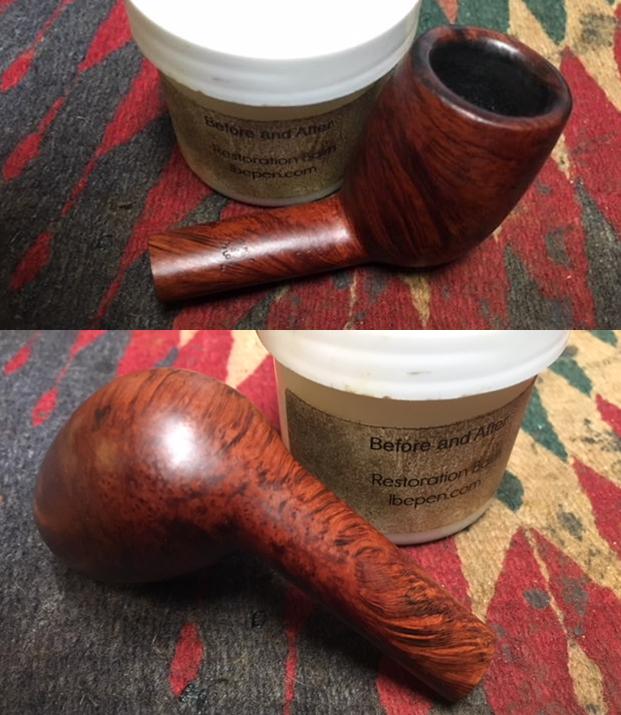
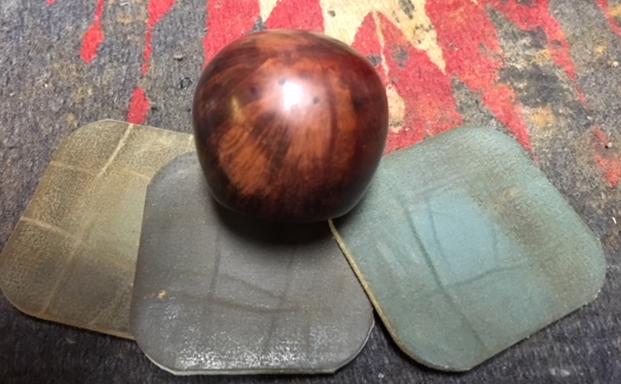
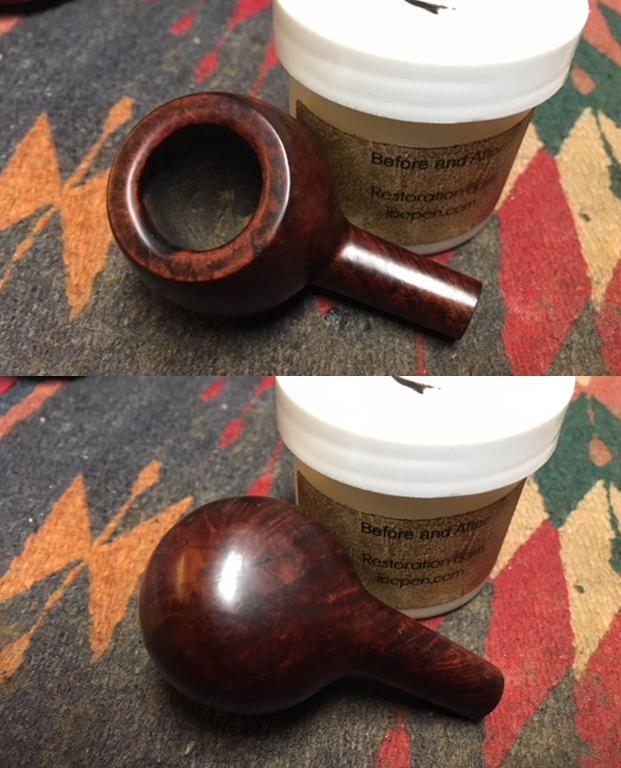
 Of course I was in a hurry at this point to call it a night so I forgot to take pictures of the next step. I wiped the bowl down with a cotton pad and isopropyl alcohol to spread the stain and wipe away the excess. When the grain stood out and the repairs remained hidden I rubbed the bowl down with Before & After Restoration Balm. I rubbed it into the finish to clean, enliven and protect the finish. I let it sit for a few moments and buffed it off with a cotton cloth. The photos below show the bowl at this point.
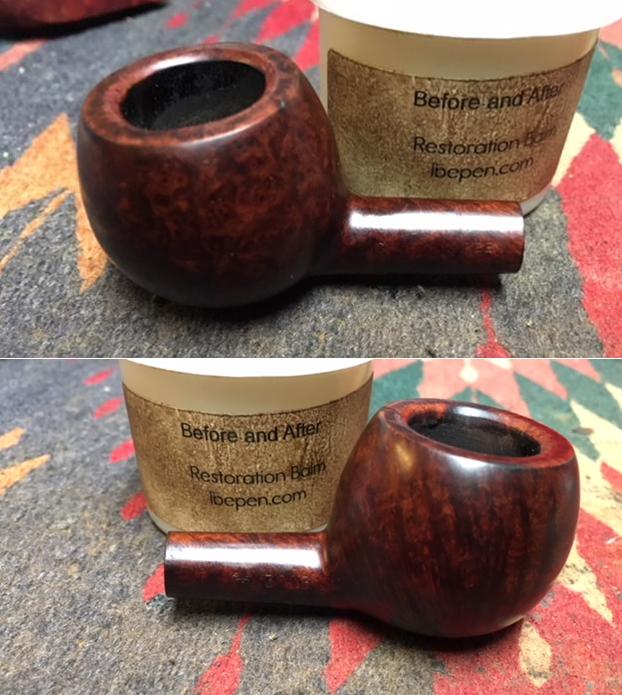
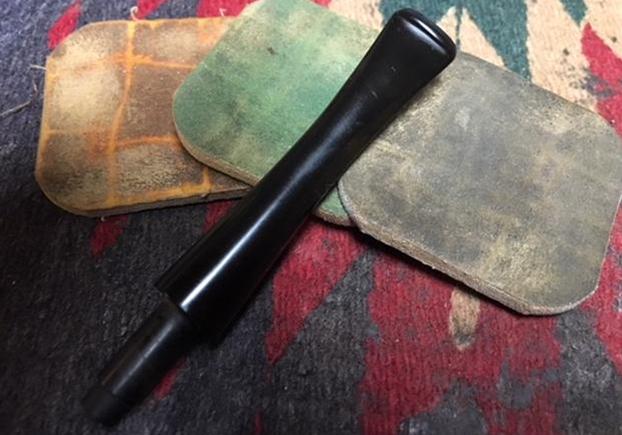
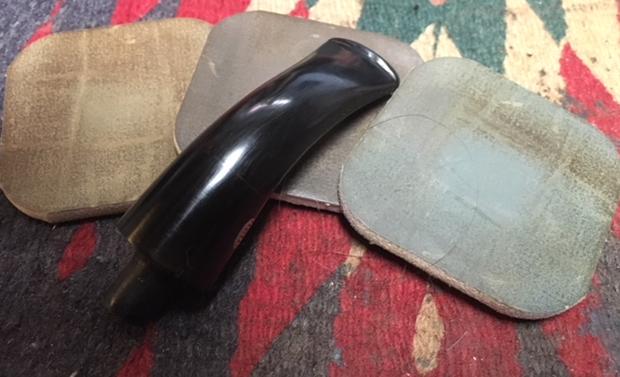
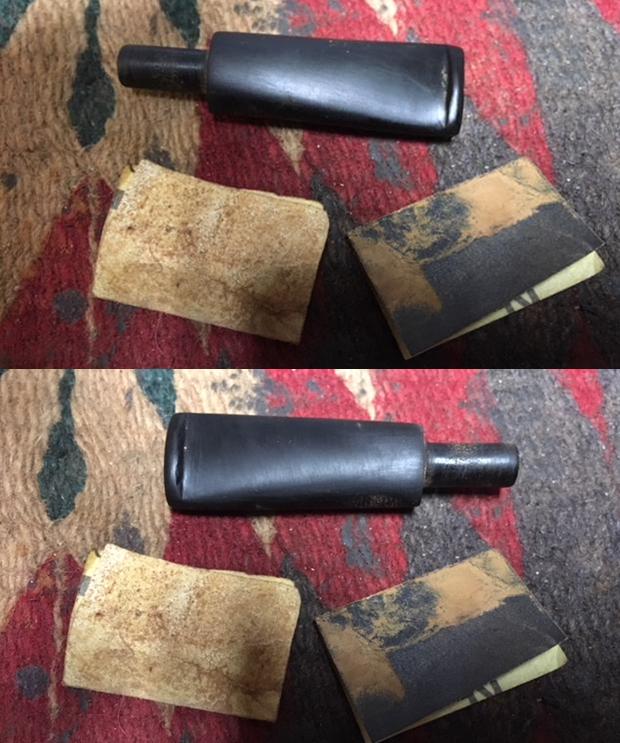
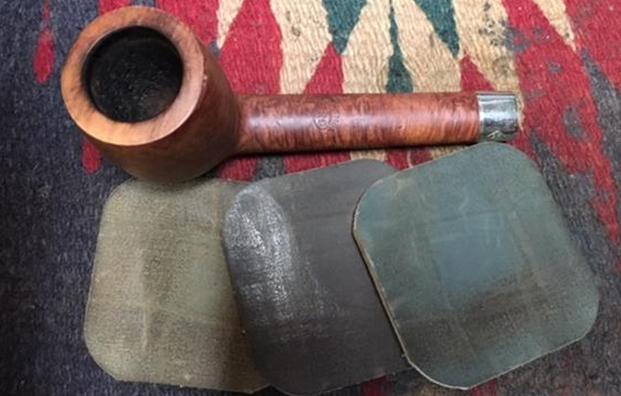
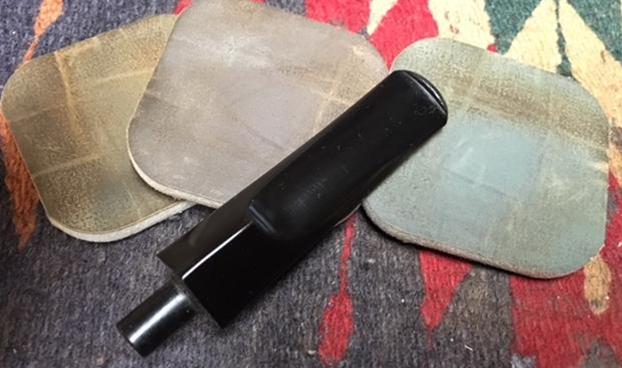
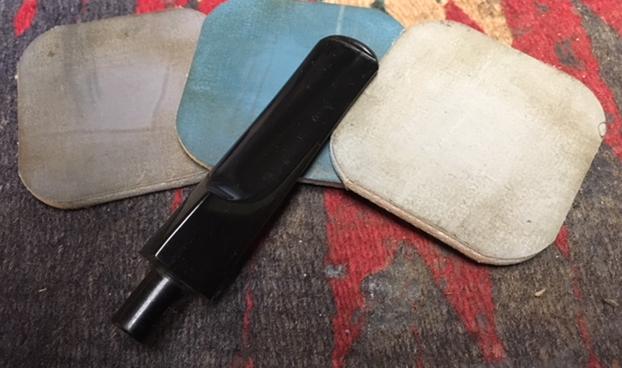
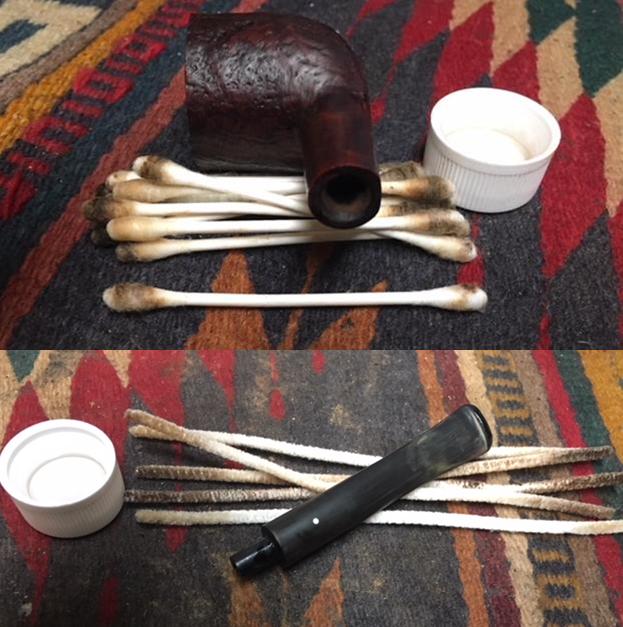
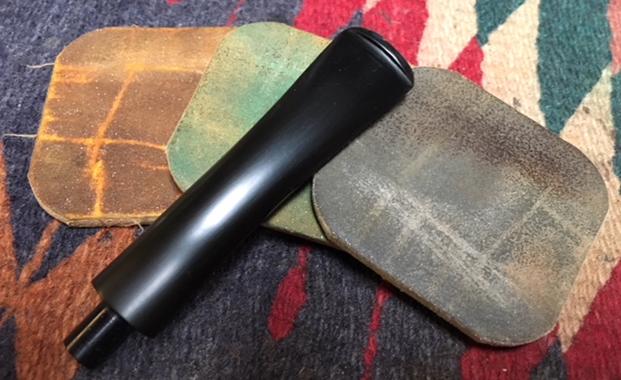
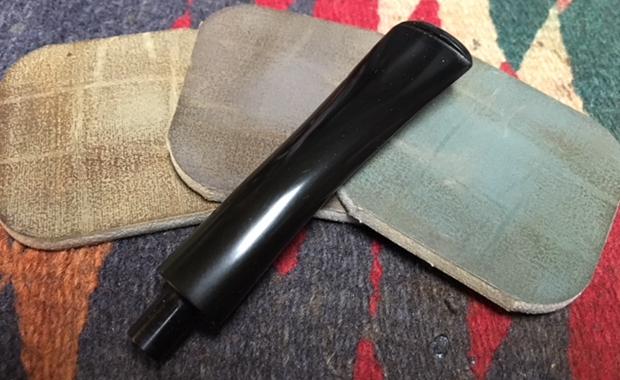
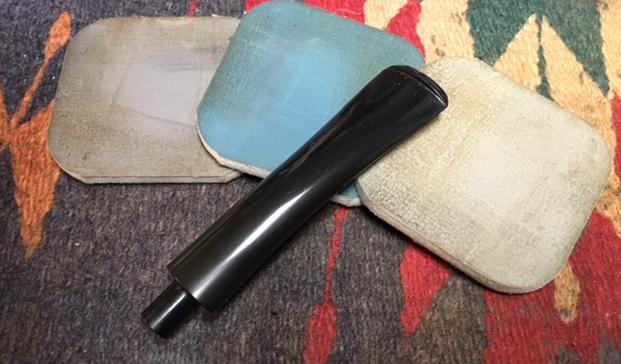
 Once the bowl was finished I set it aside to work on the stem. I sanded out the tooth marks and chatter on the top and underside of the stem at the button. I sanded the entire stem with 220 grit sandpaper to remove the damage and oxidation.
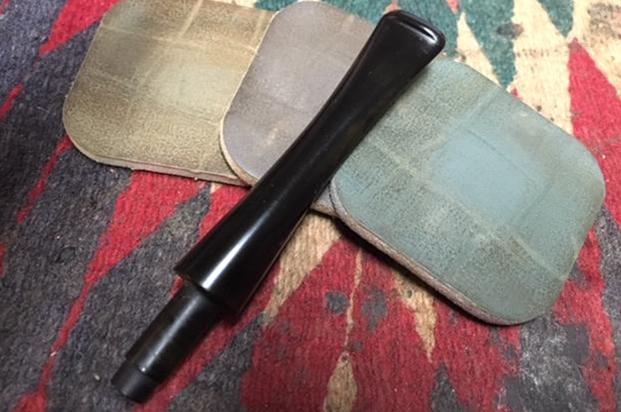
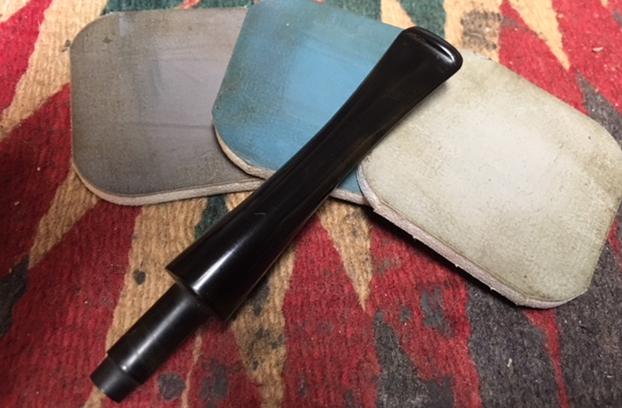
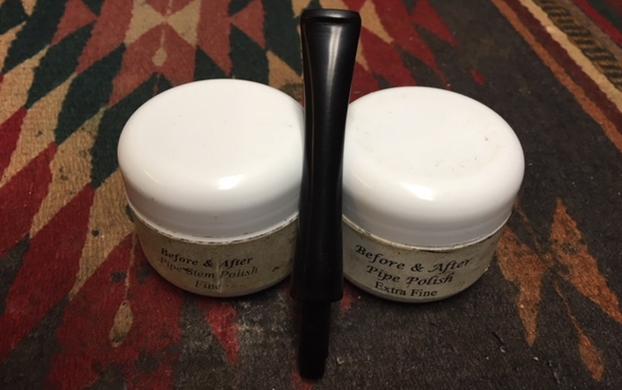
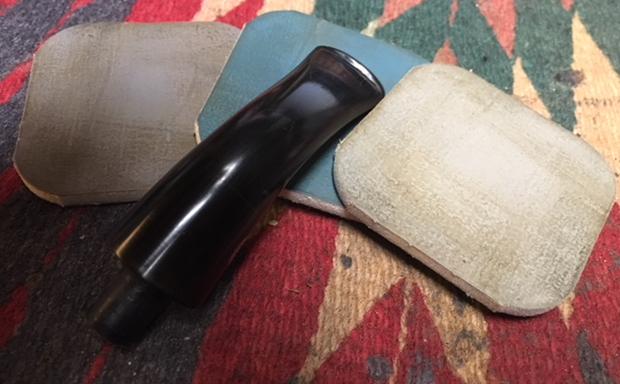
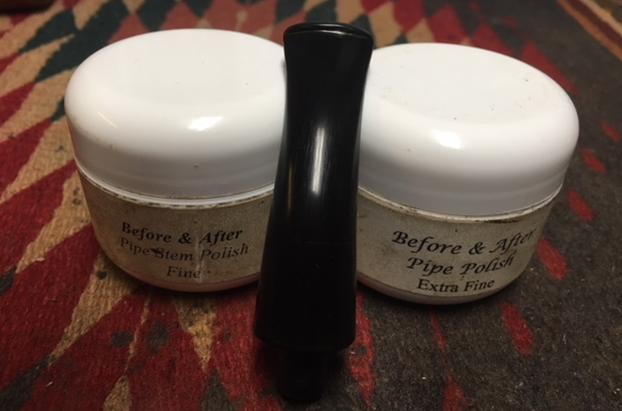
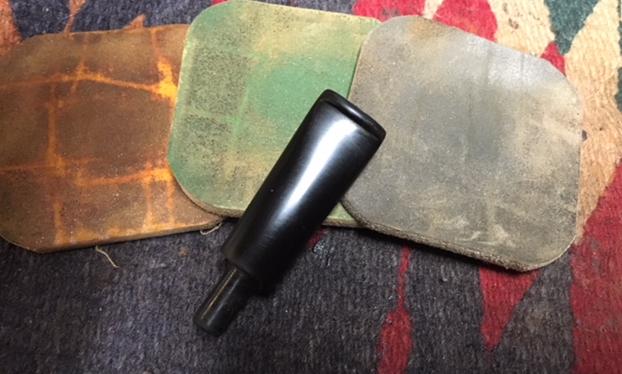
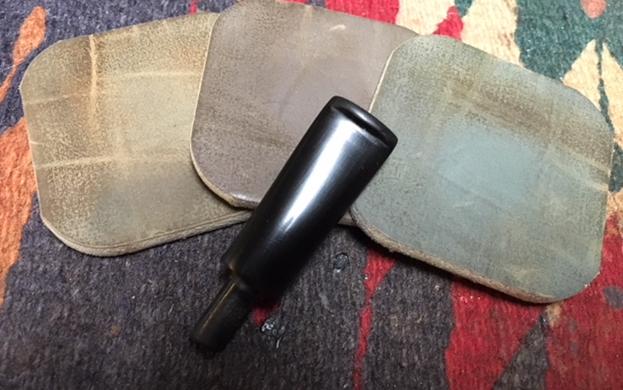
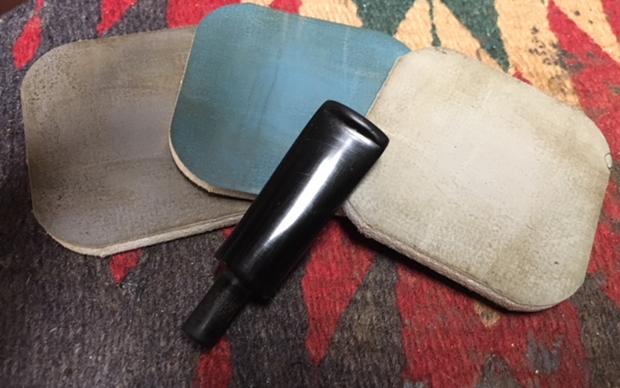
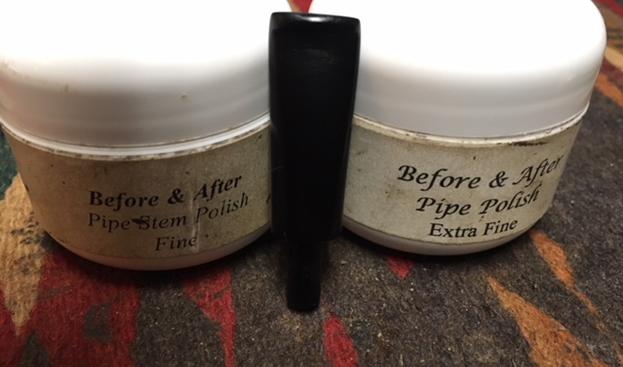
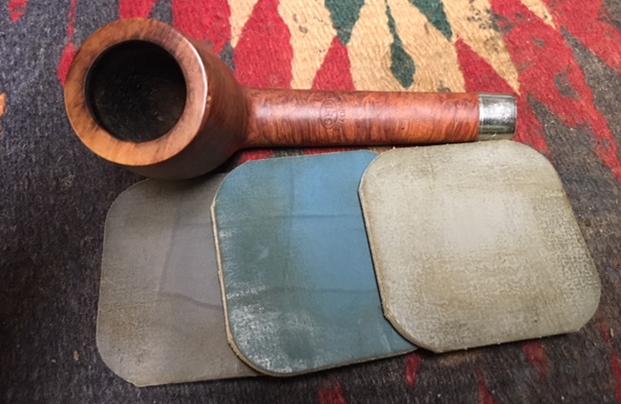
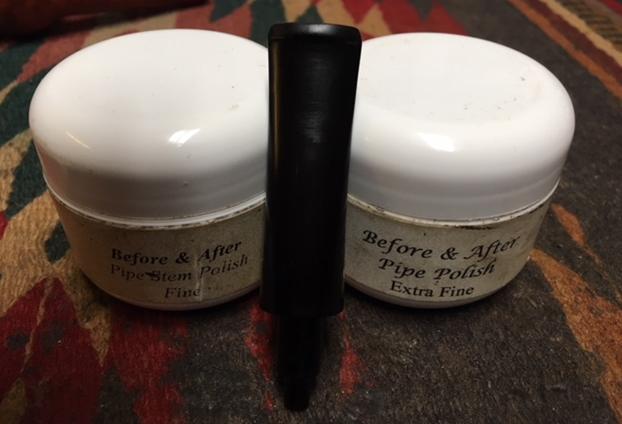
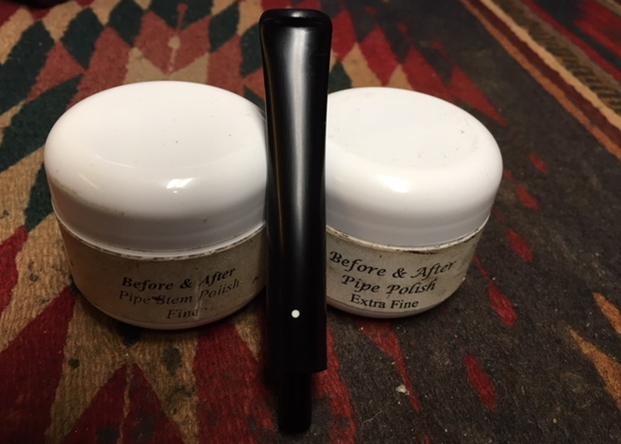
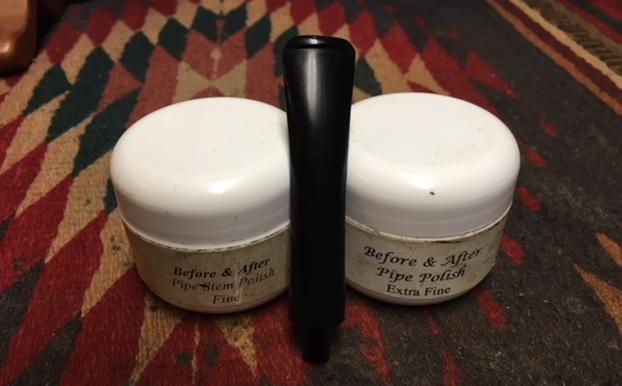
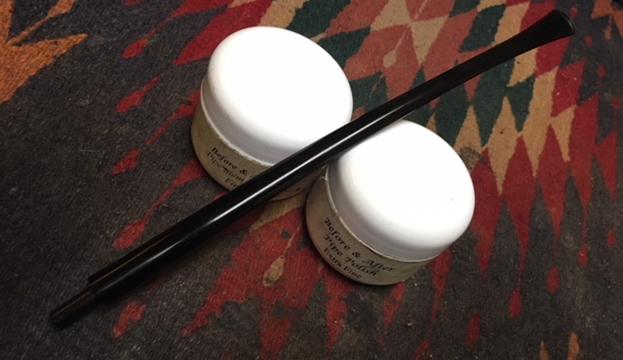
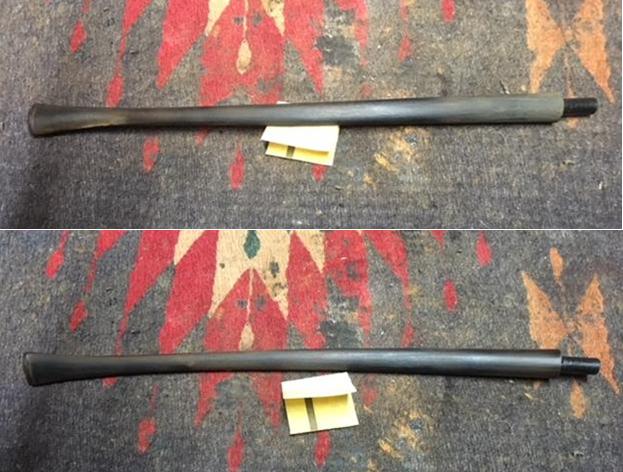 I polished the vulcanite with micromesh sanding pads to remove the scratching and remaining oxidation. I wet sanded it with 1500-2400 grit pads and dry sanded it with 3200-12000 grit pads. I wiped the stem down with Obsidian Oil after each pad to remove the dust. I finished polishing the stem with Before & After Pipe Stem Polish – both Fine and Extra Fine to remove the rest of the scratches in the hard rubber surface.
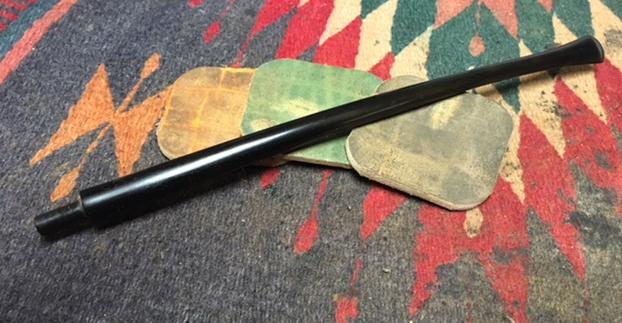
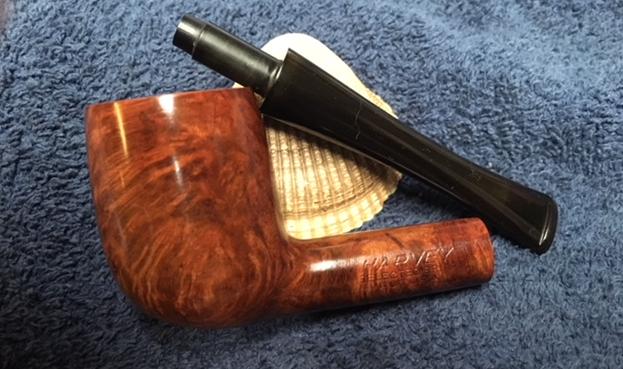
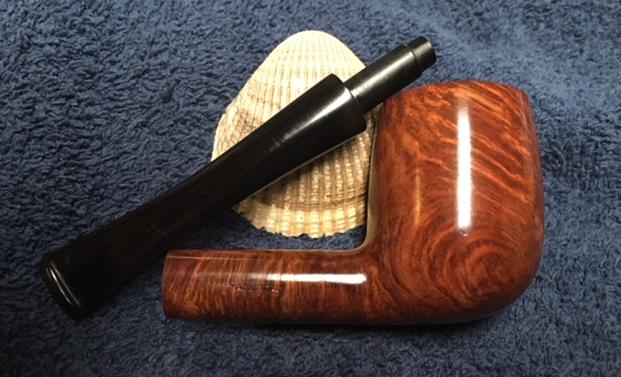
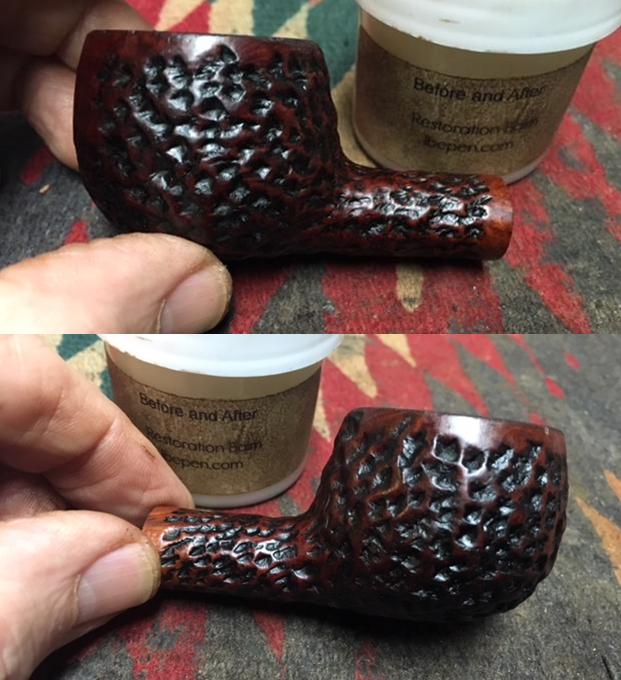
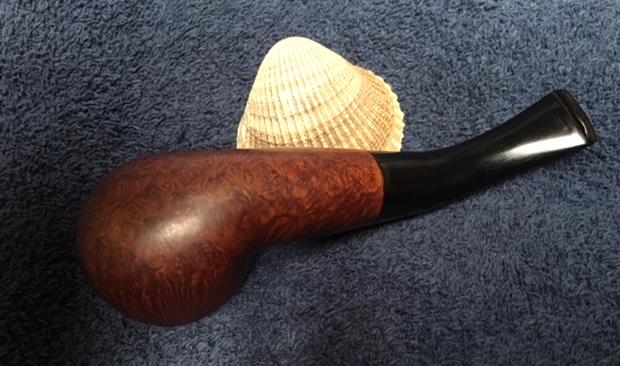
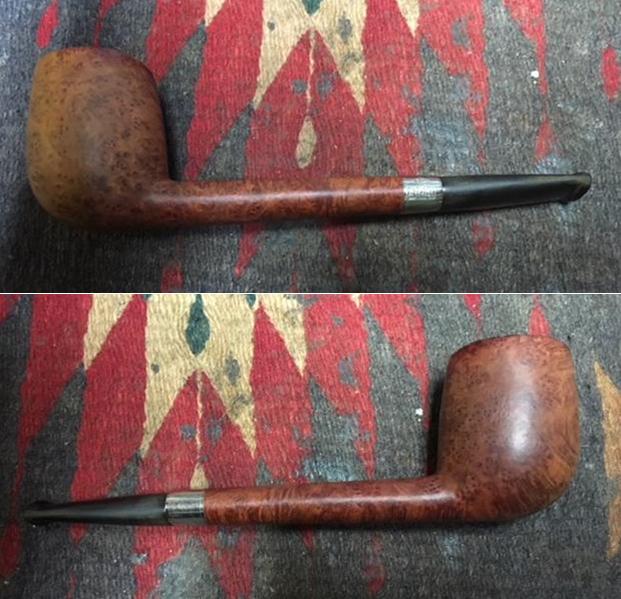
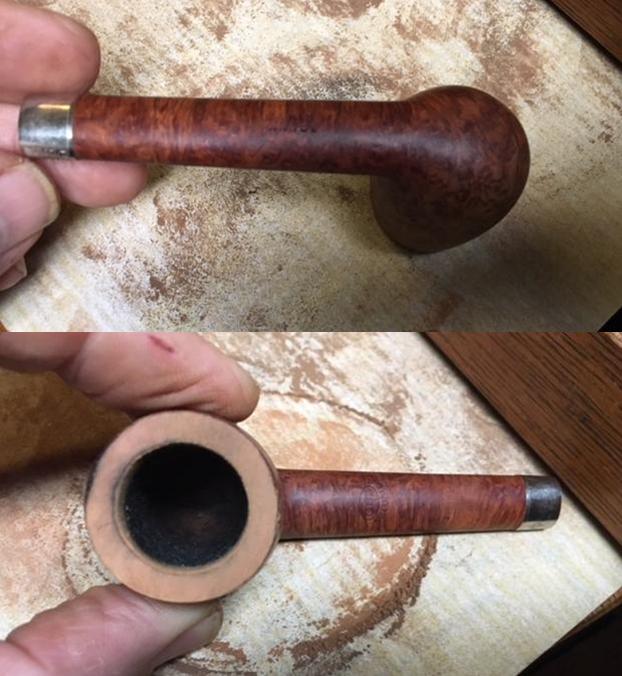
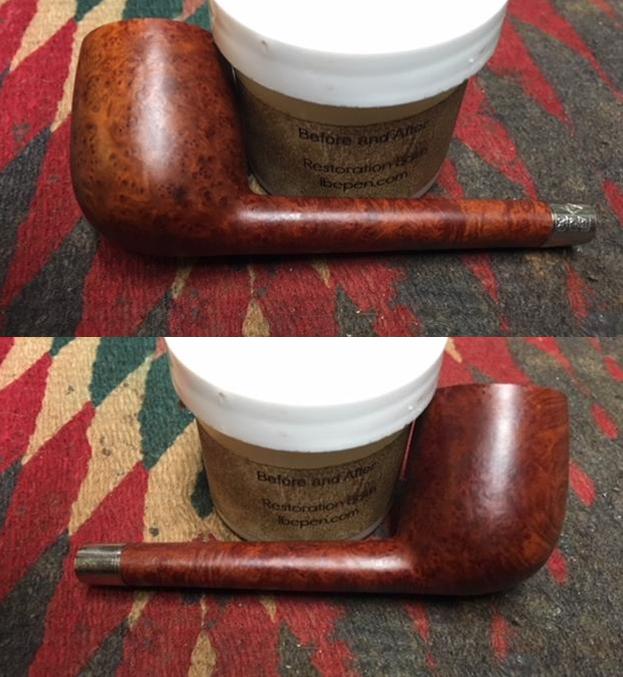
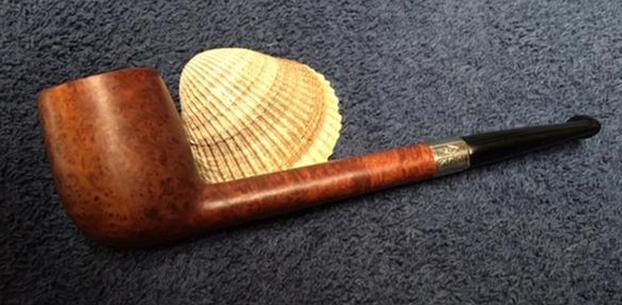
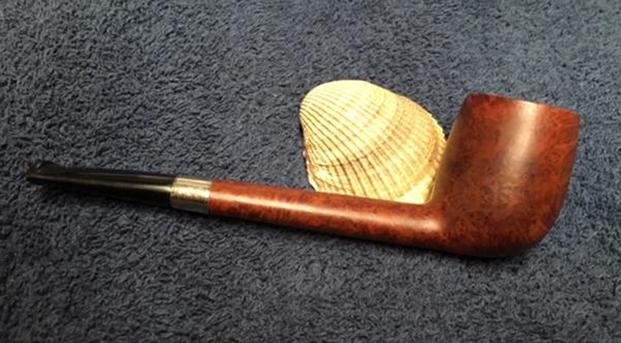
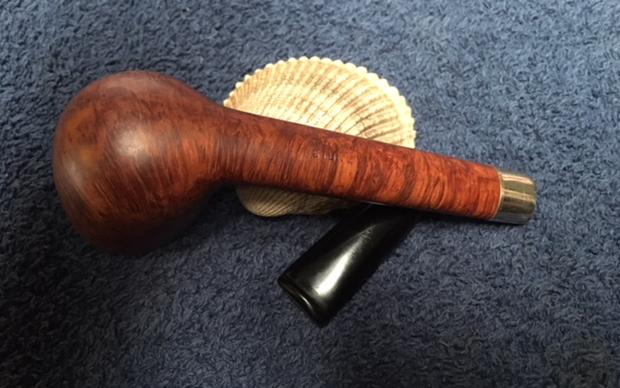
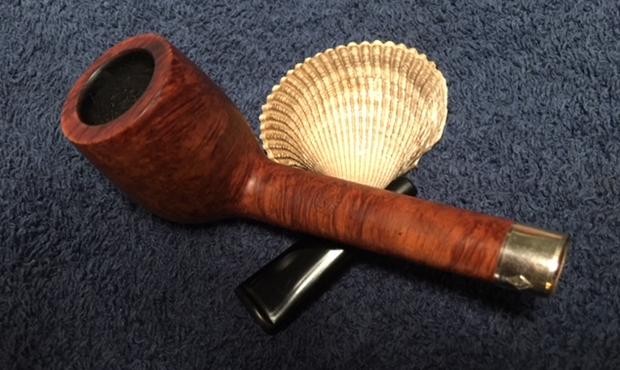
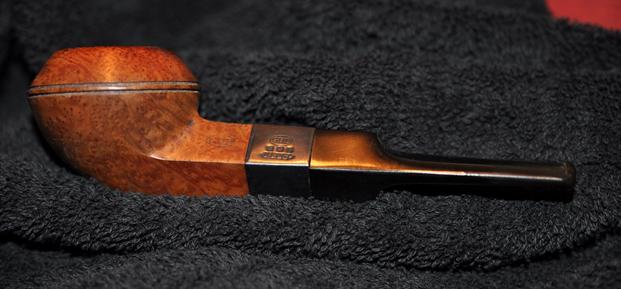
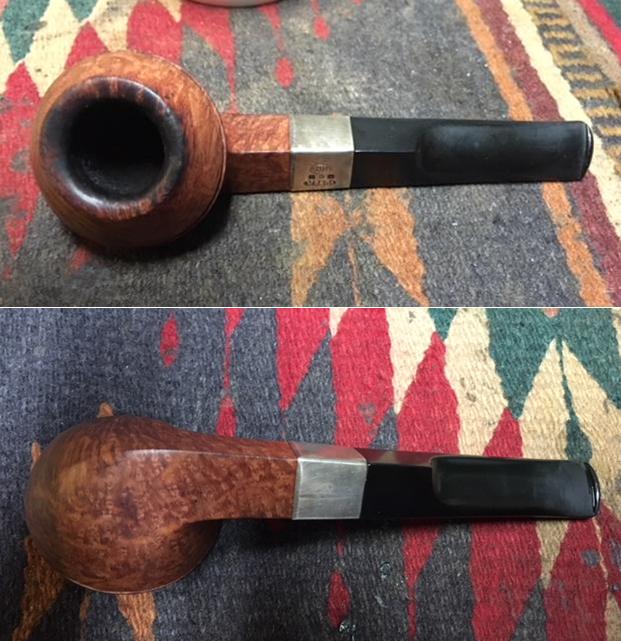
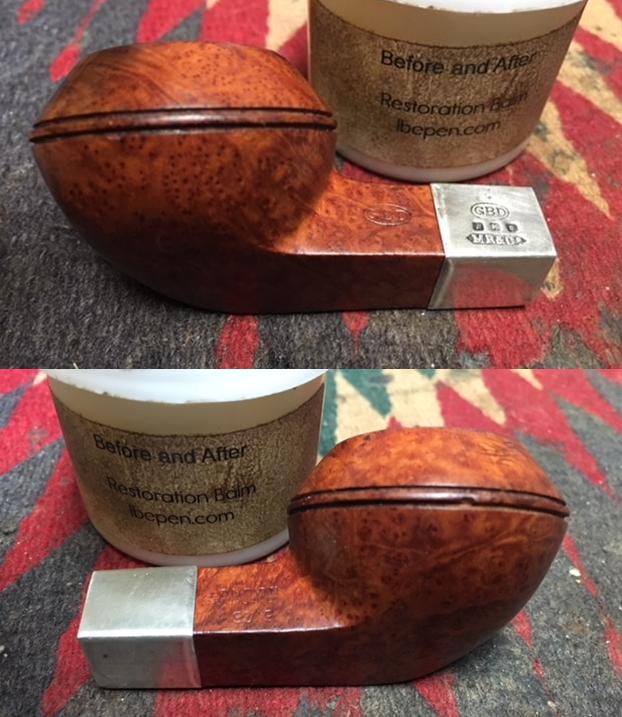
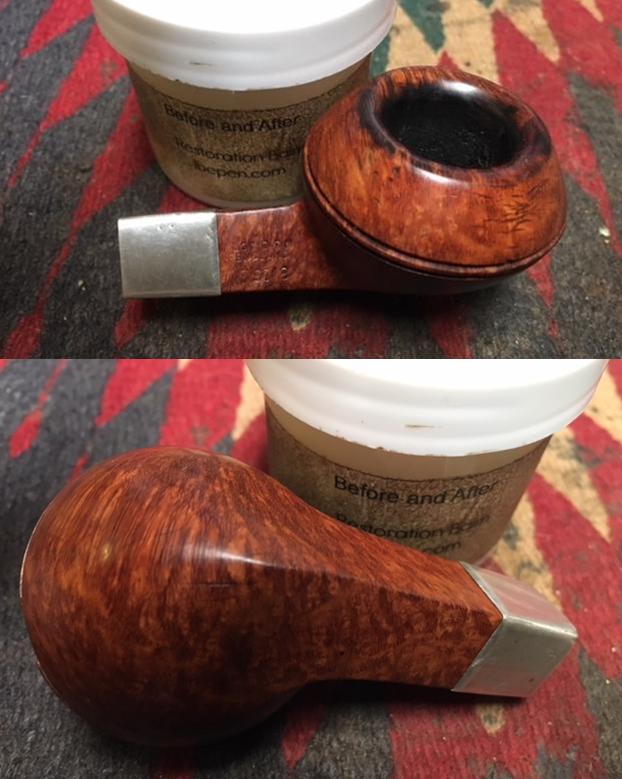
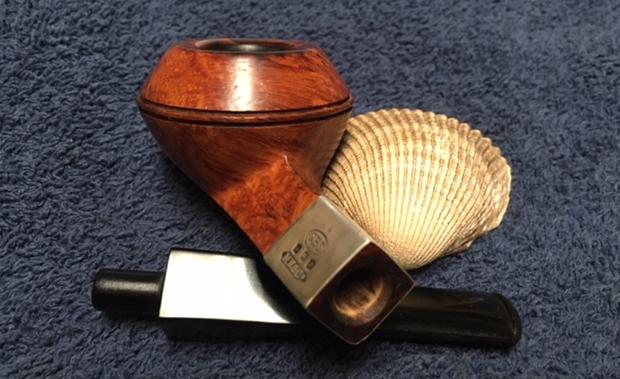
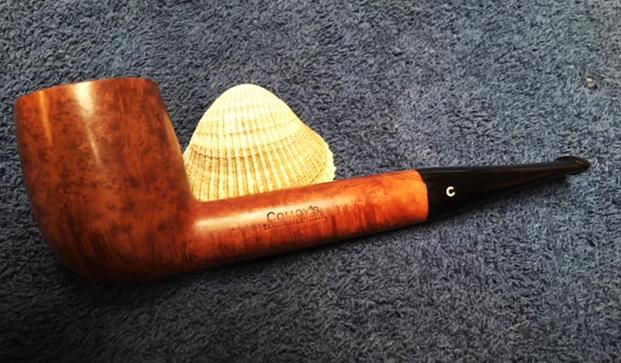
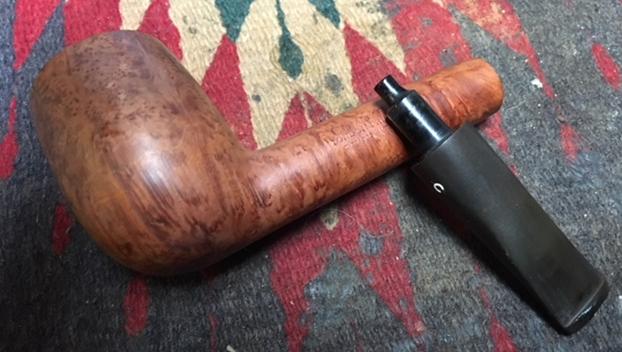
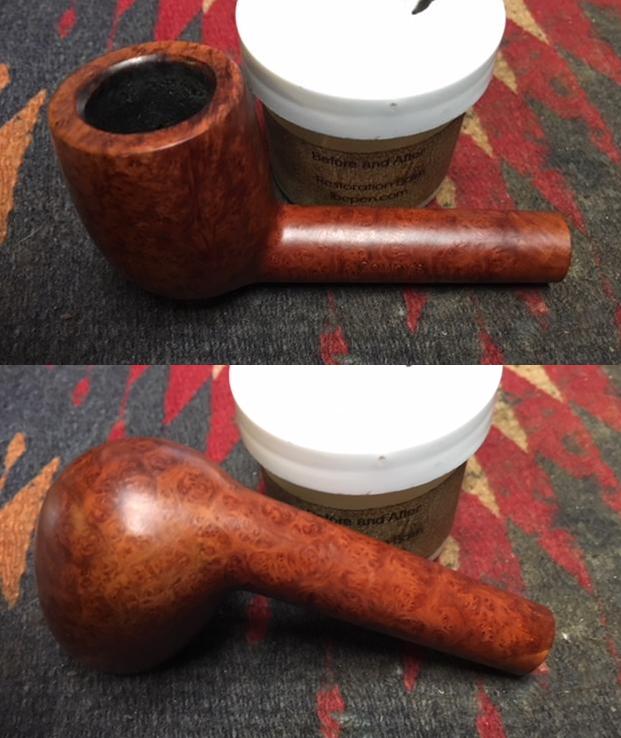
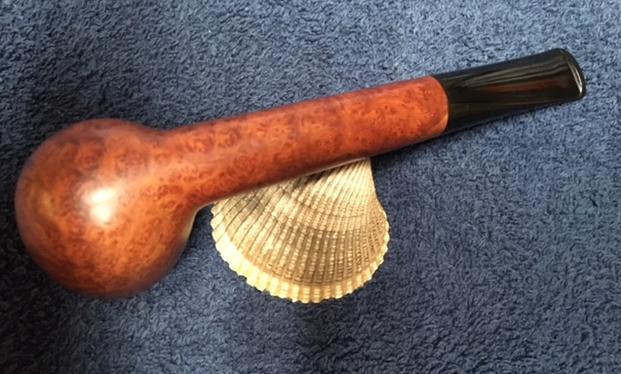
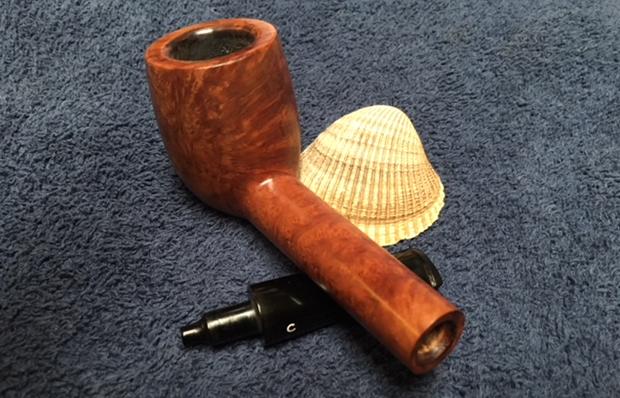
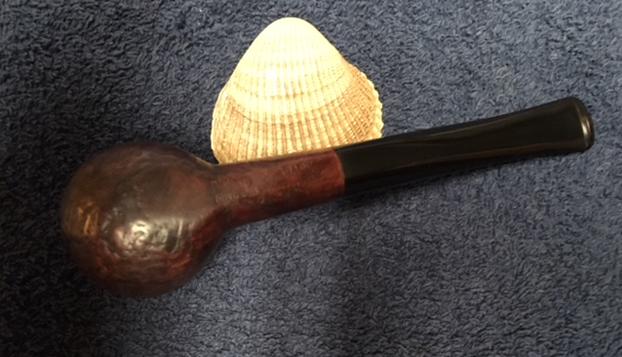
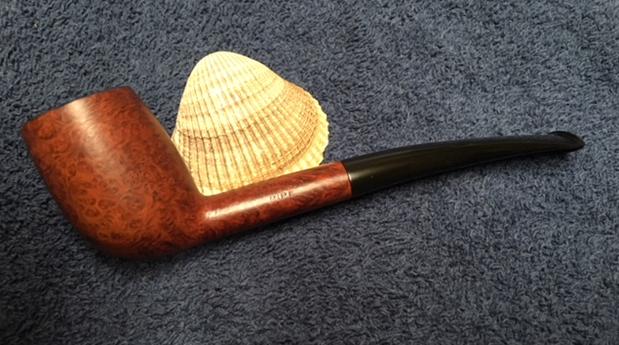
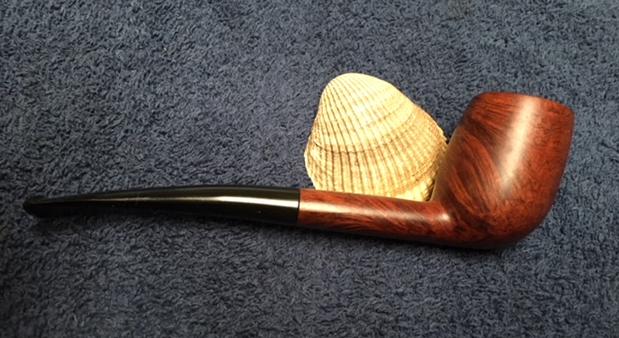
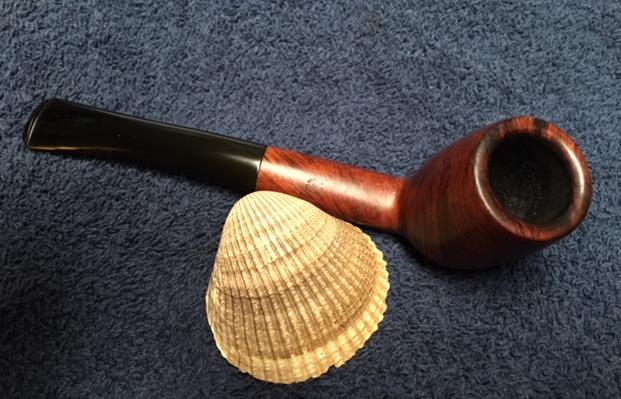
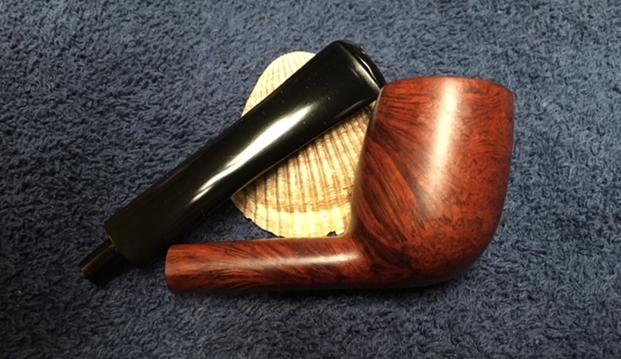
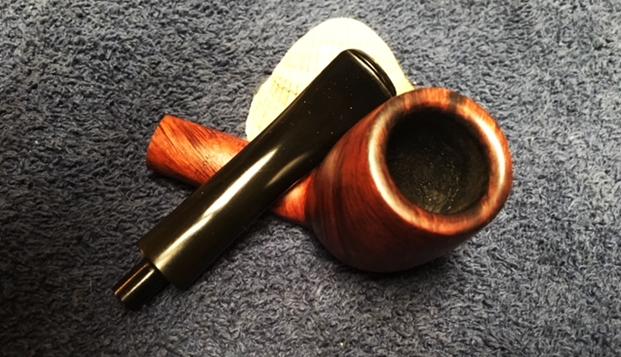
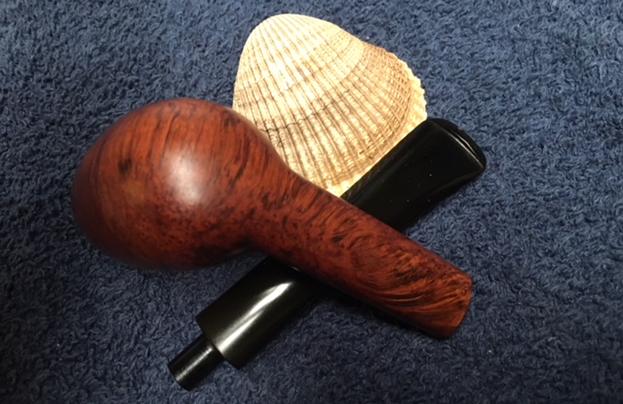
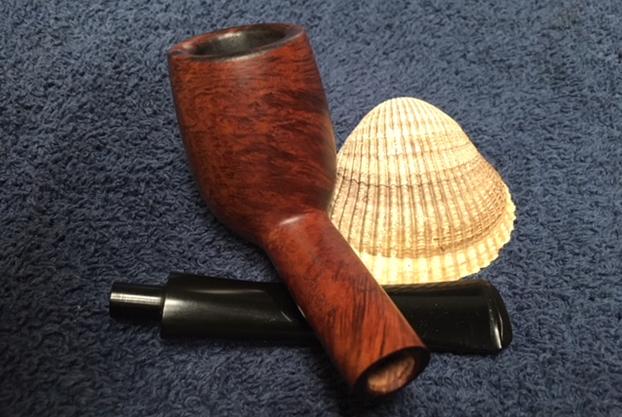
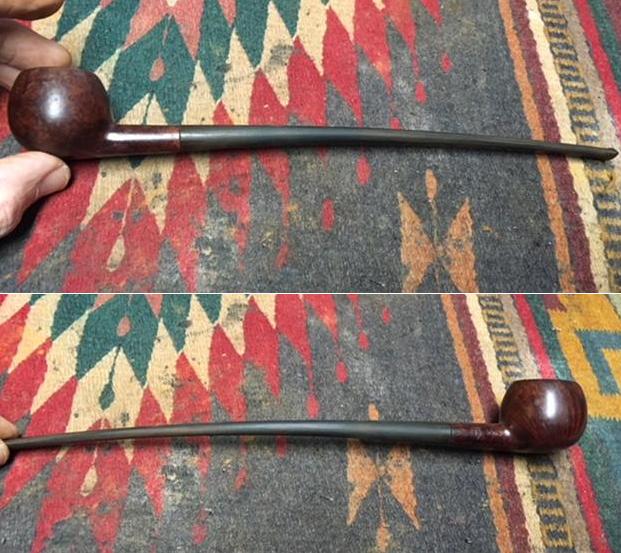
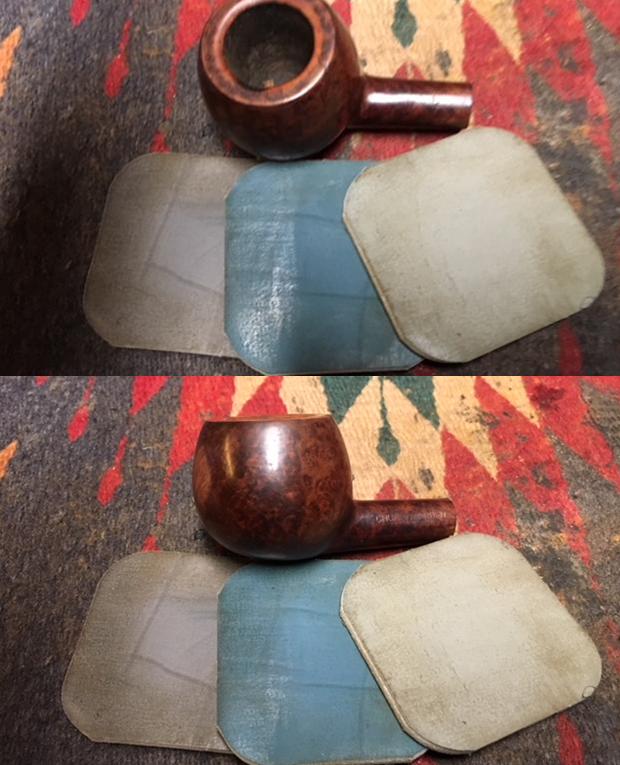
 I put the stem back on the bowl and buffed the pipe with Blue Diamond on the buffing wheel. I gave it several coats of carnauba wax and buffed it with a clean buffing pad to raise a shine. I hand buffed it with a microfiber cloth to deepen the shine. The finished pipe is shown in the photos below. The repairs on the finish blend in really well with the overall finish of the pipe. The new tenon on the stem works very well and is a snug fit in the mortise. It really is a nice looking Savinelli Churchwarden. There is some nice grain on the bowl. This is the last of Mark’s uncle’s pipes and it is ready to head back to Mark for his smoking pleasure. I have one more pipe to fix for him then this one and the others will be in the post back to Mark. I think it is better than it was… thanks for looking.