Blog by Steve Laug
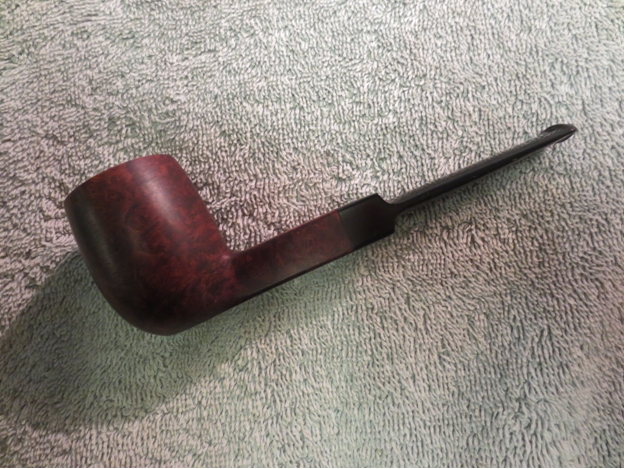
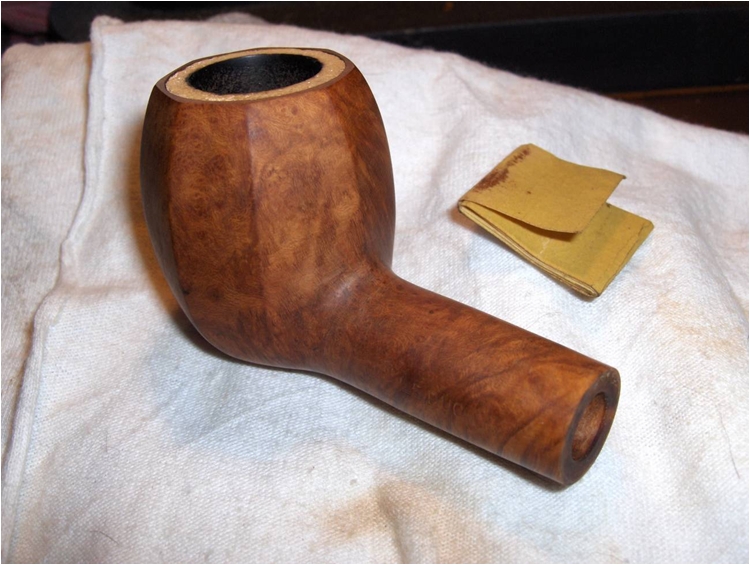
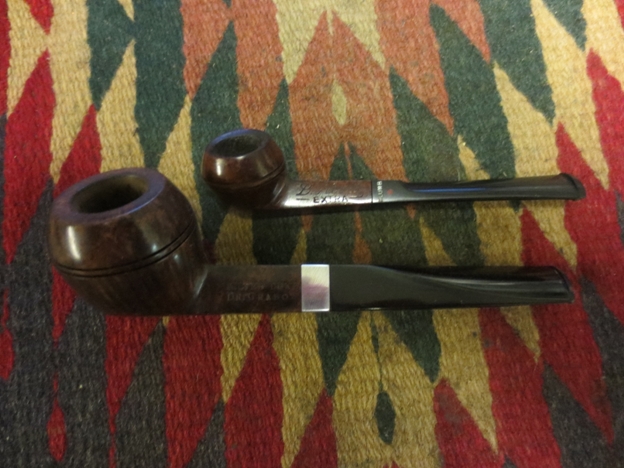
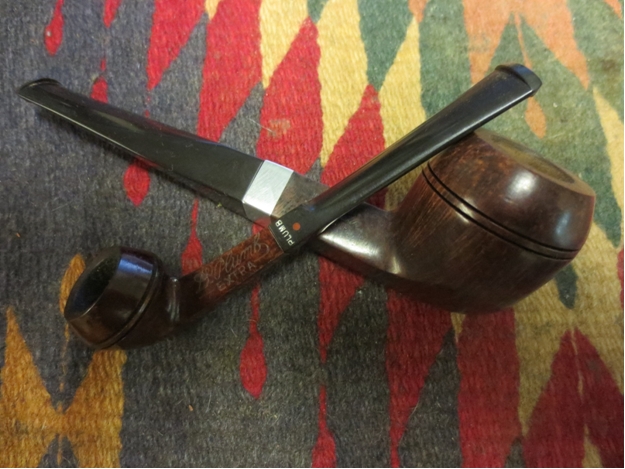
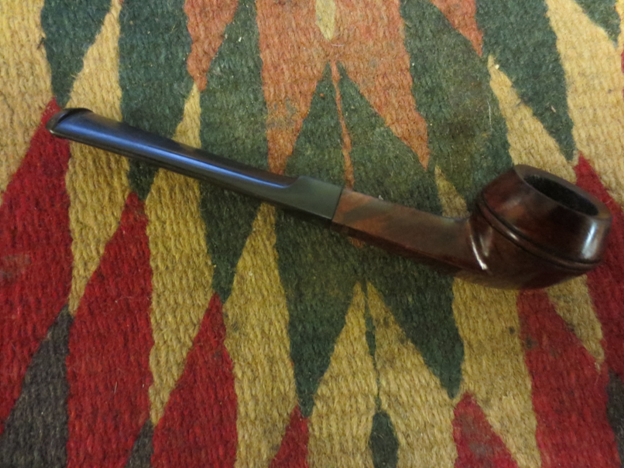
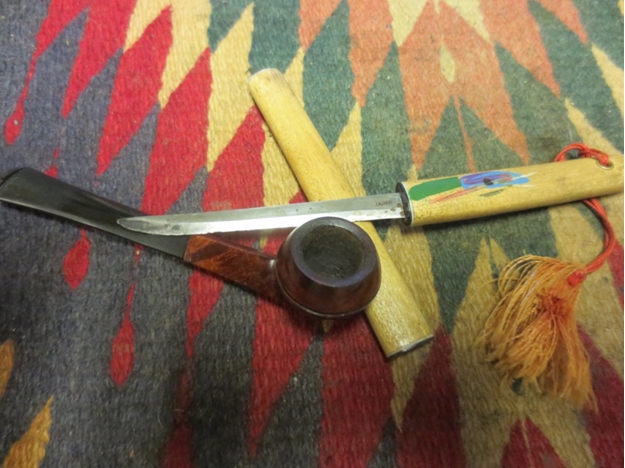
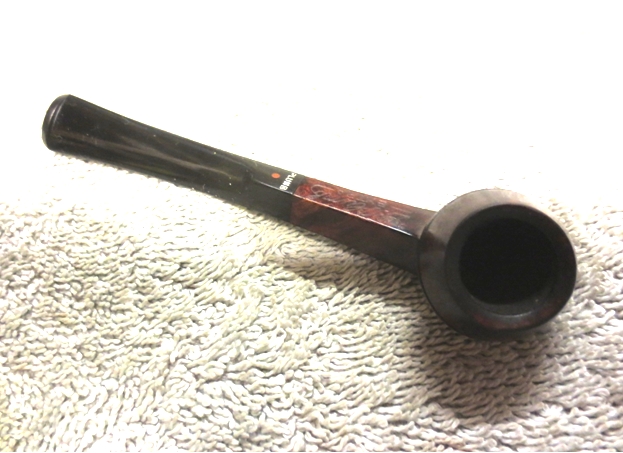
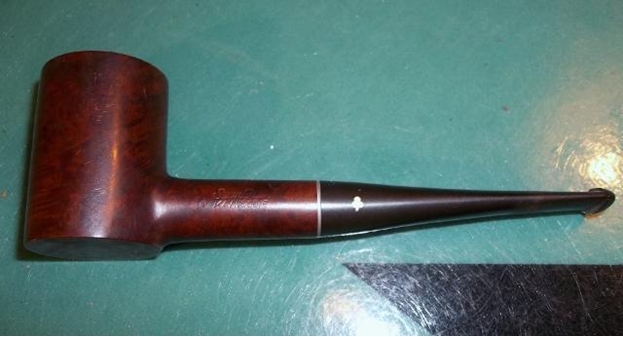
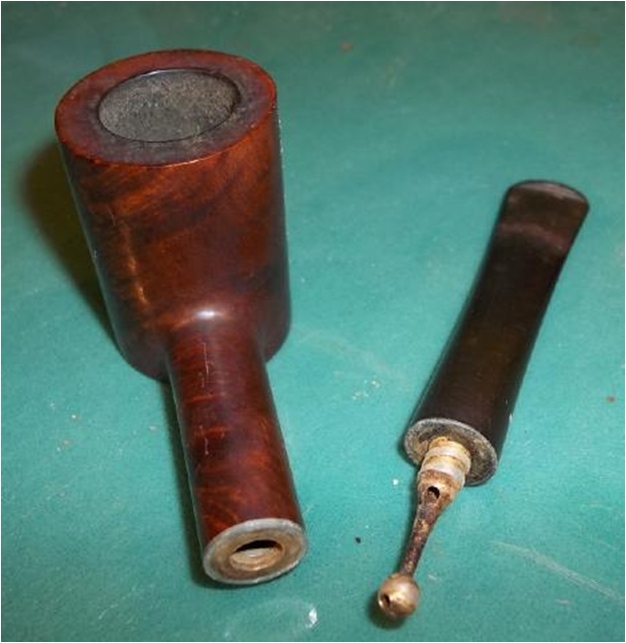
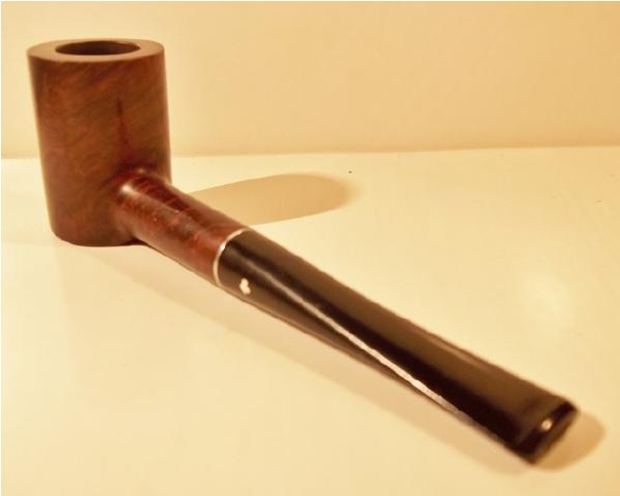
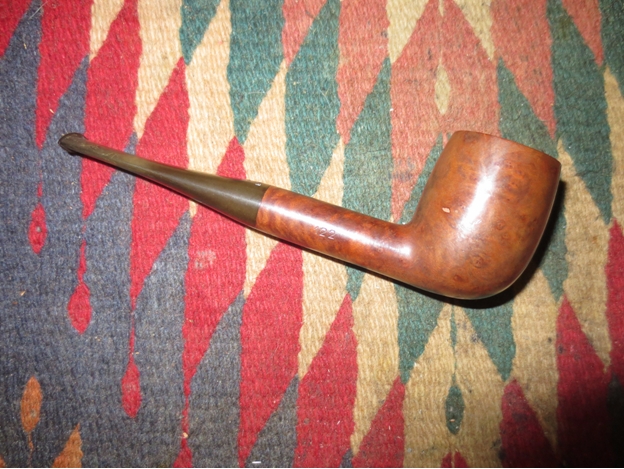
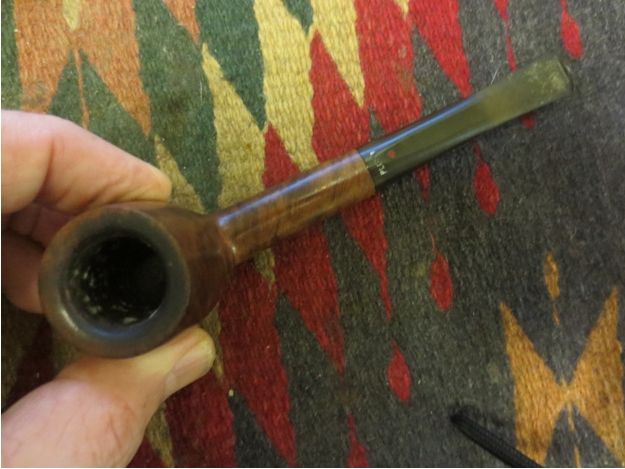
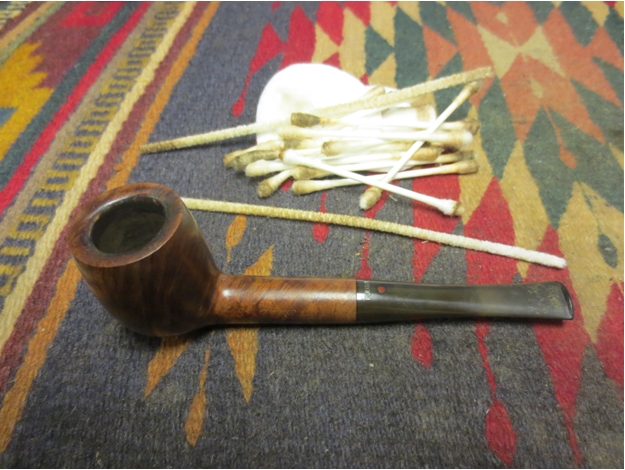
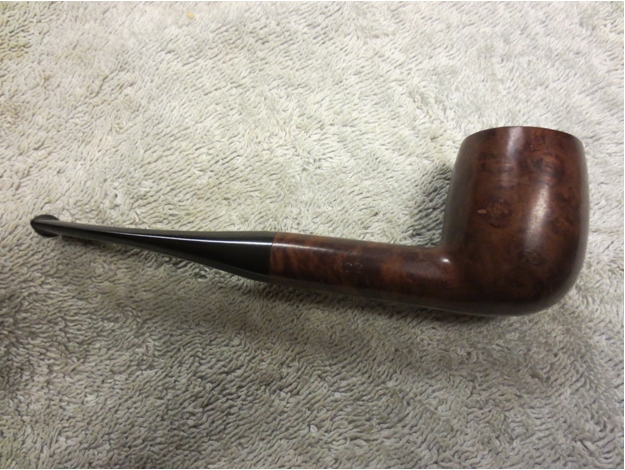
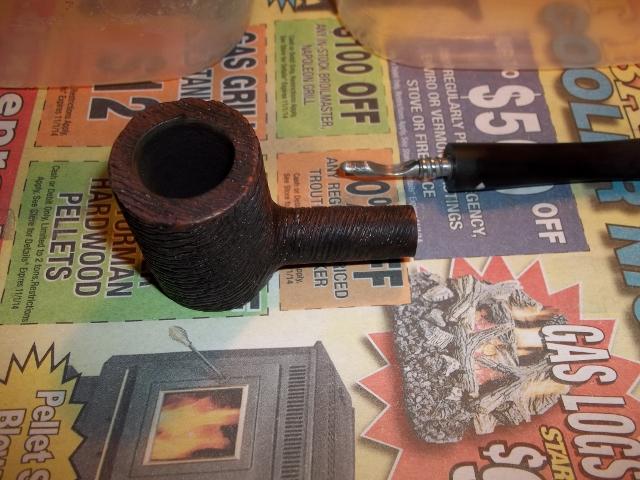
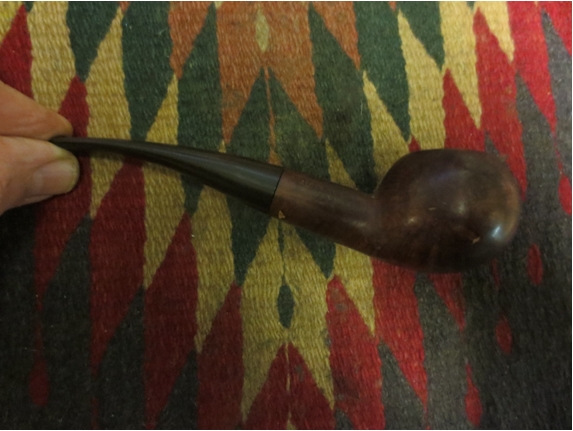
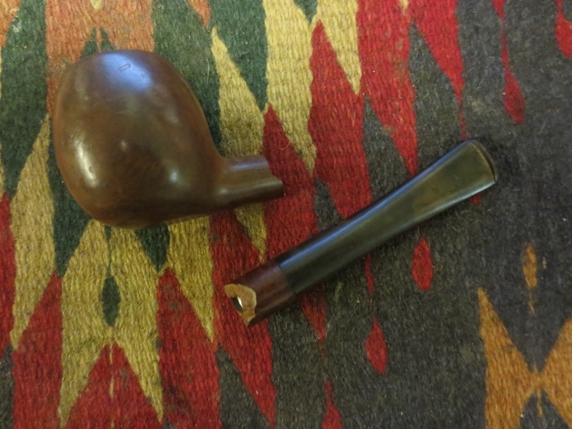
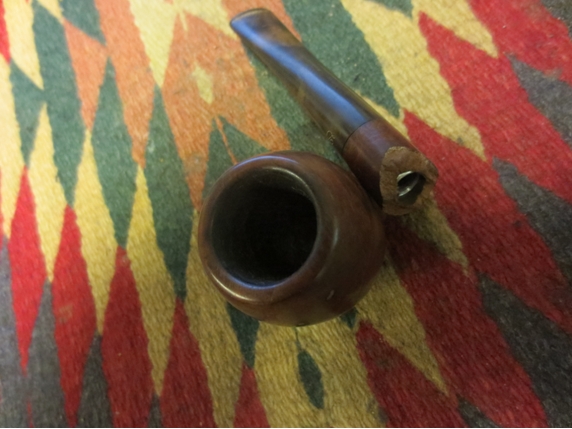
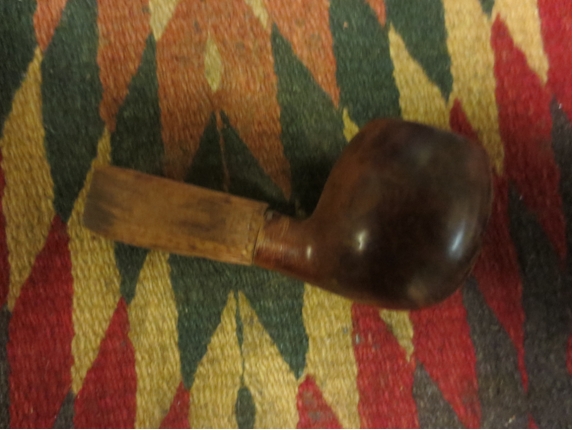
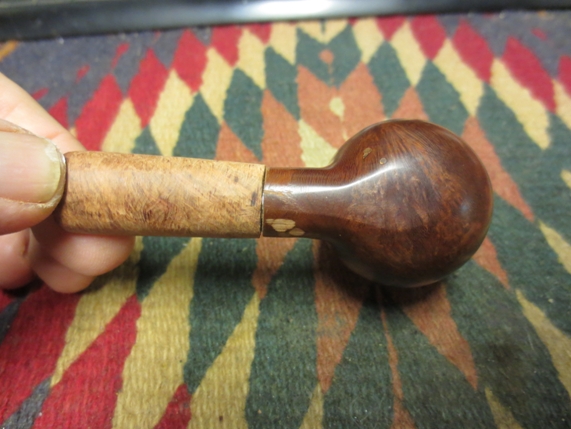
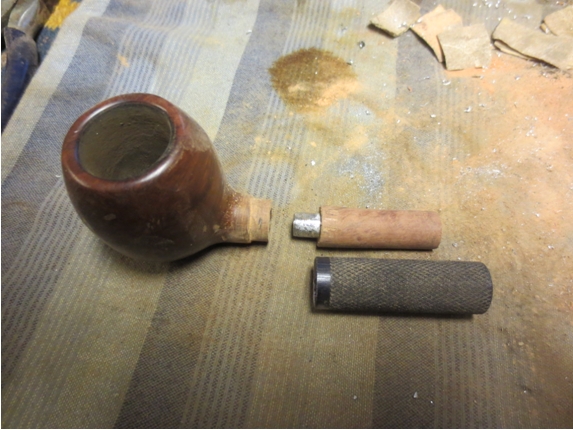
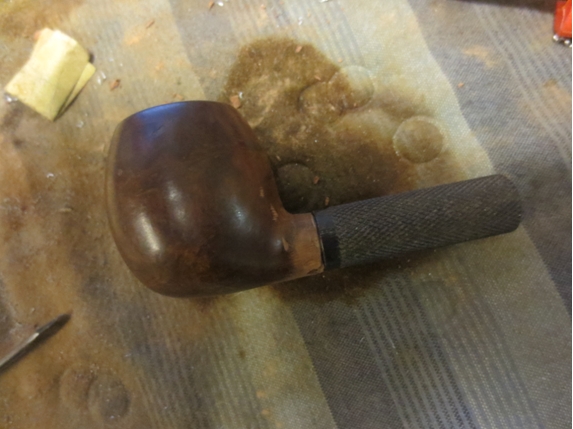
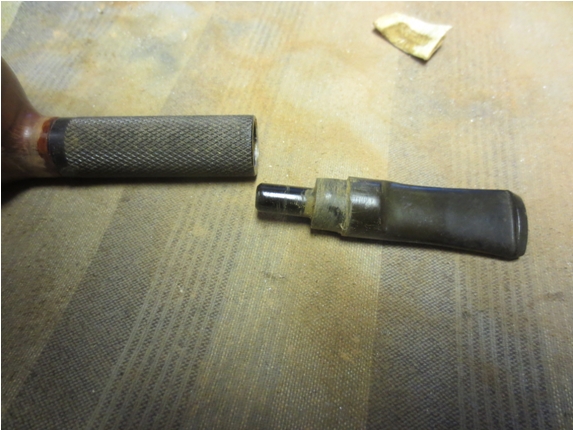
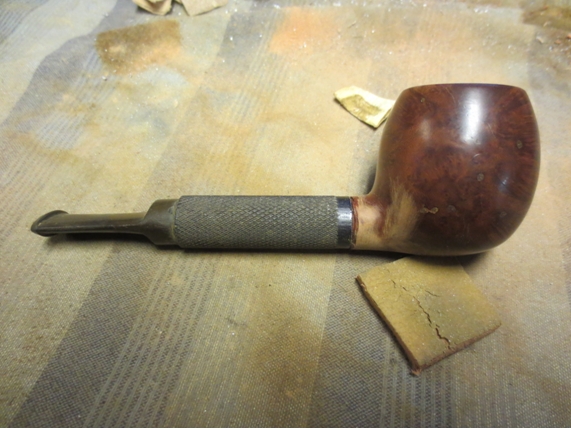
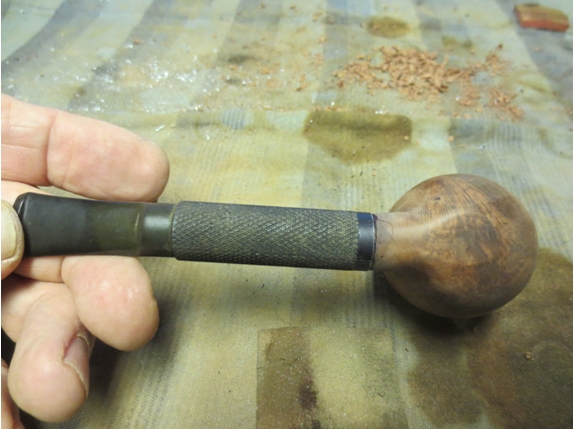
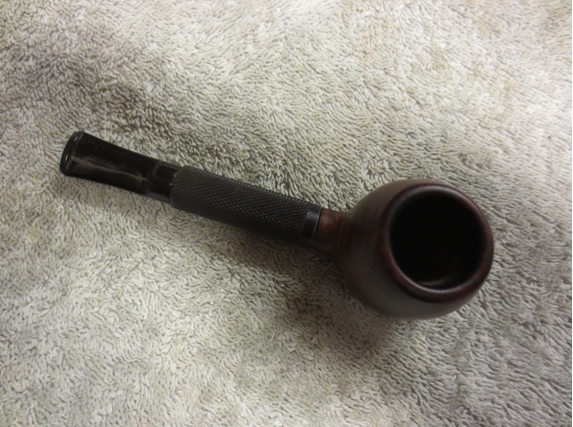
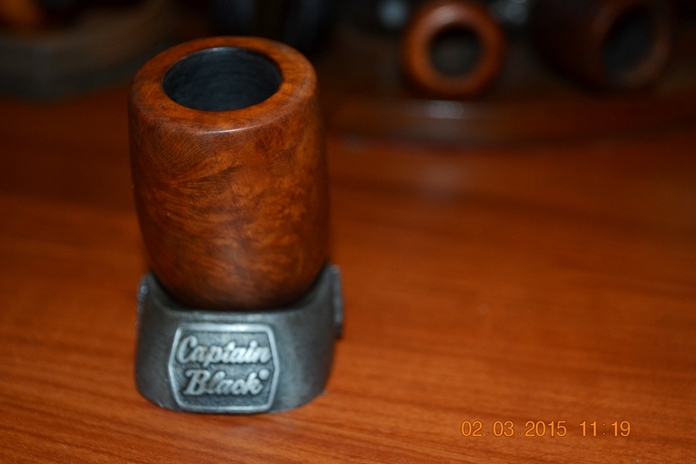
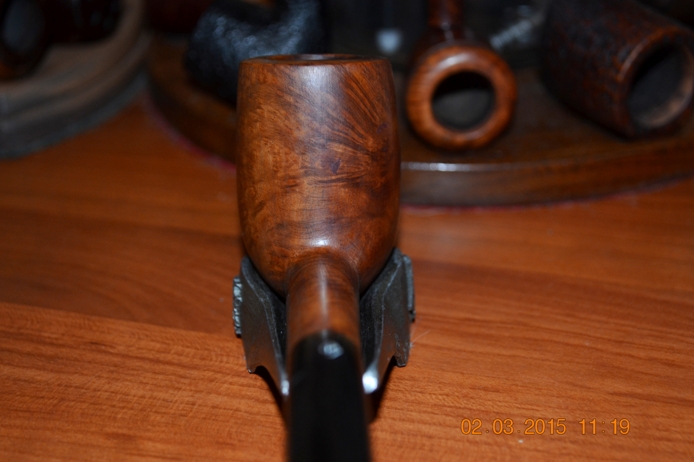
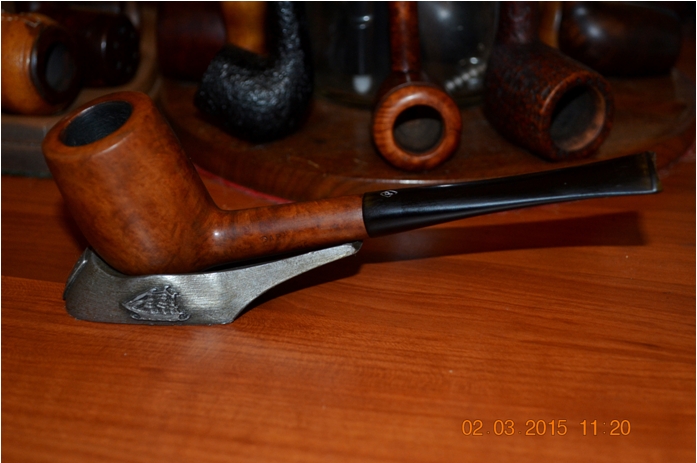
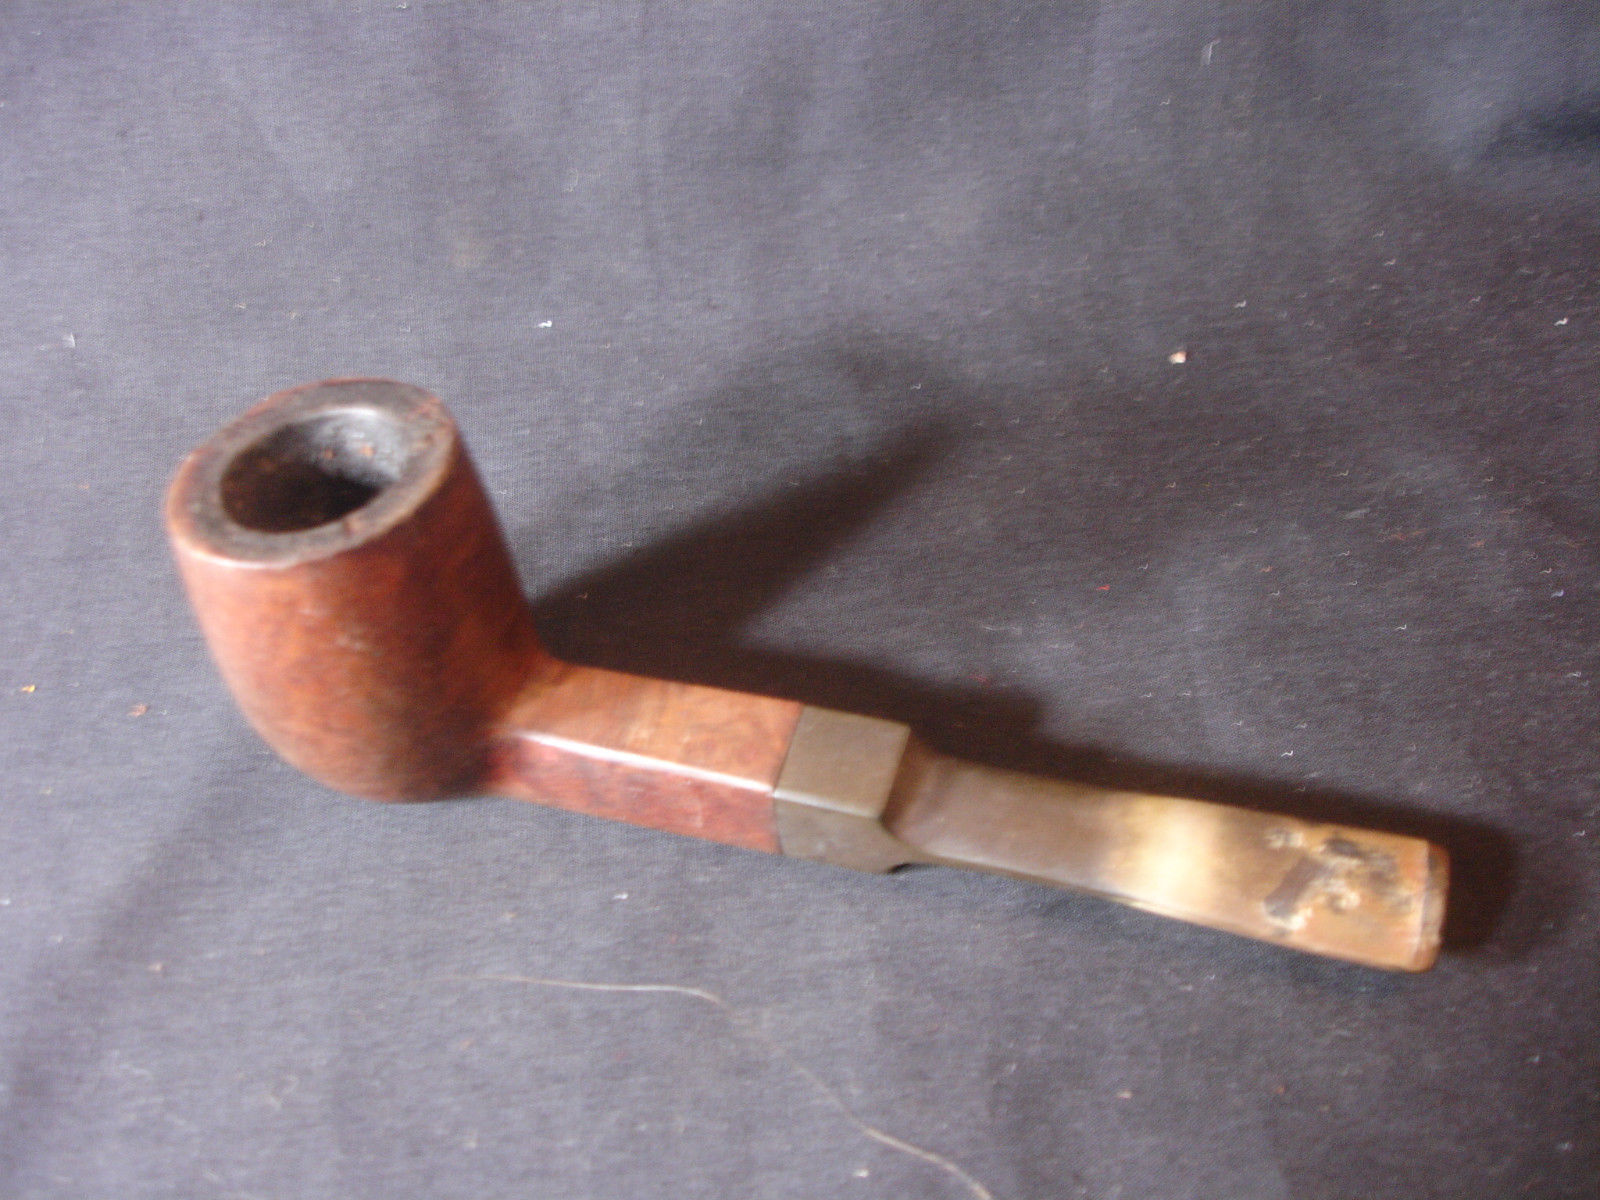
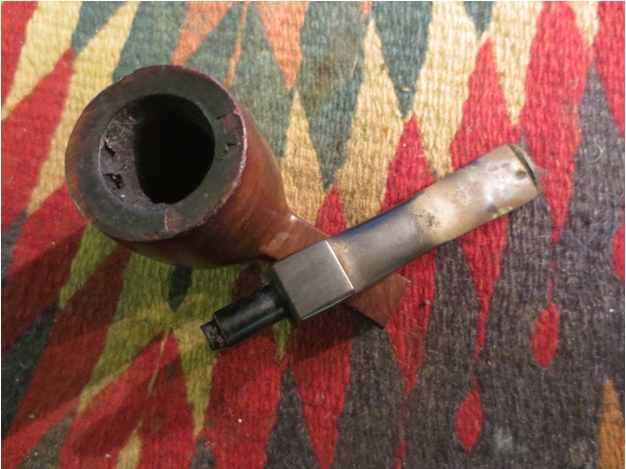
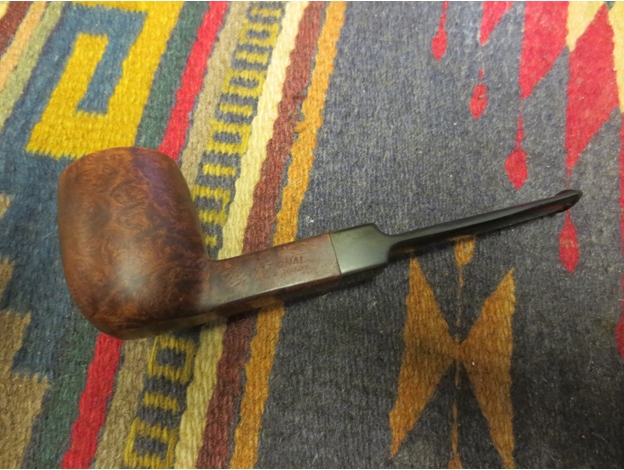
I picked up this little square shank billiard in a foursome I purchased on EBay. I wanted the Rhodesian in the lot and the others were really just a bonus. This one was in the group but there was no information on it in the advert. When I saw it in the listing I thought it had a bit of a look like an older Comoy’s or even an old GBD square shank. There was no stamping visible in the photos. The stem had some heavy calcification and tooth marks in the photo and what appeared to be a bite through on the topside of the stem. Once it arrived I would have a better idea of what I had purchased.
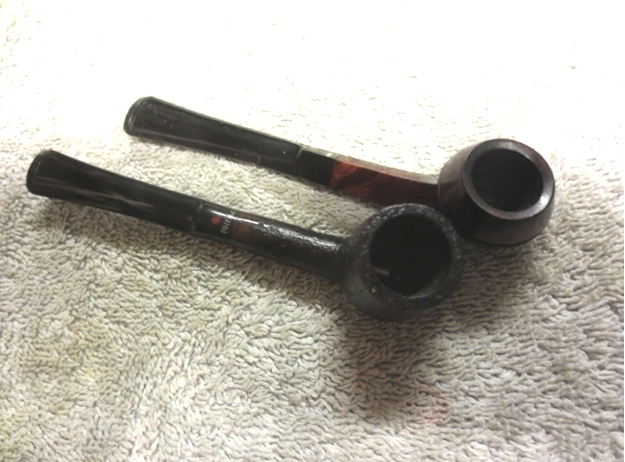
 When I opened the box, of course I went for the BBB Rhodesian first and it was the first pipe I cleaned up. The apple shaped pipe at the top was a Bertram and it was my second cleanup. I pretty much ignored the little square shank billiard as the stem was a mess that I did not feel like tackling at the moment. Shortly after receiving this one I got a gift box of more pipes so this one was pushed to the bottom of the refurb box.
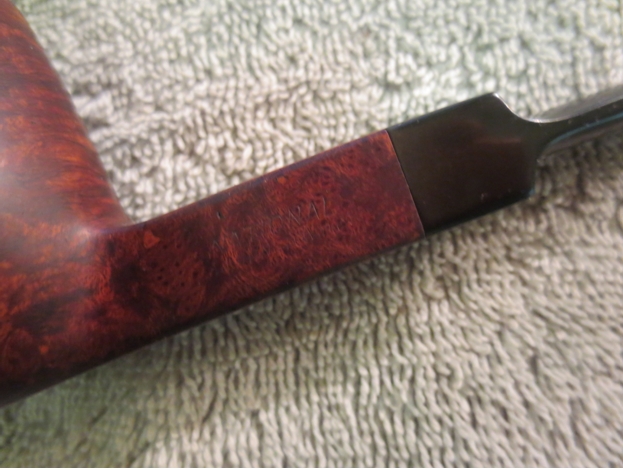
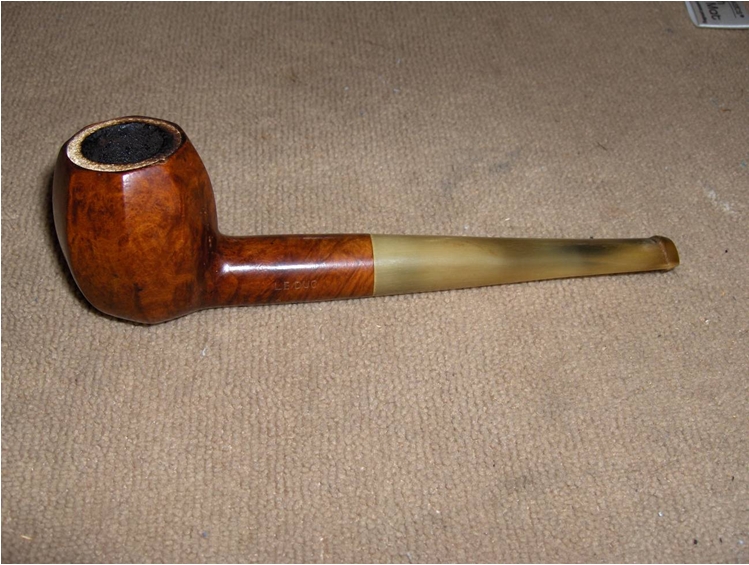
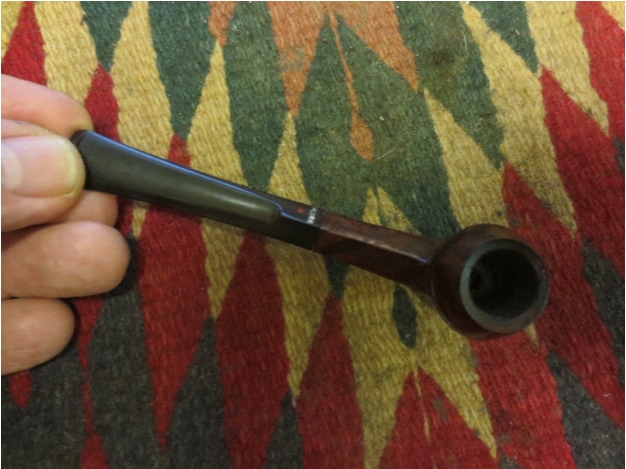
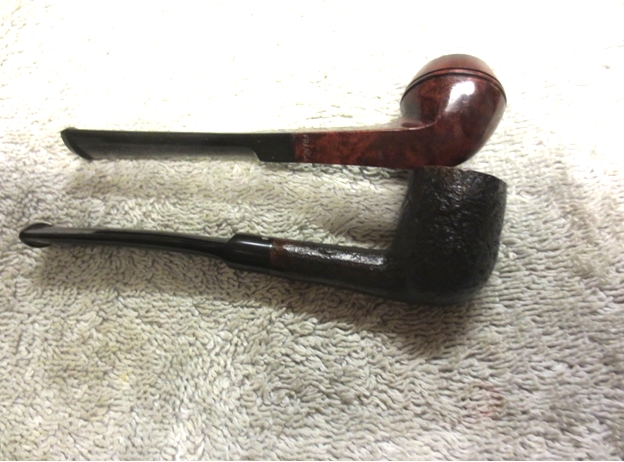
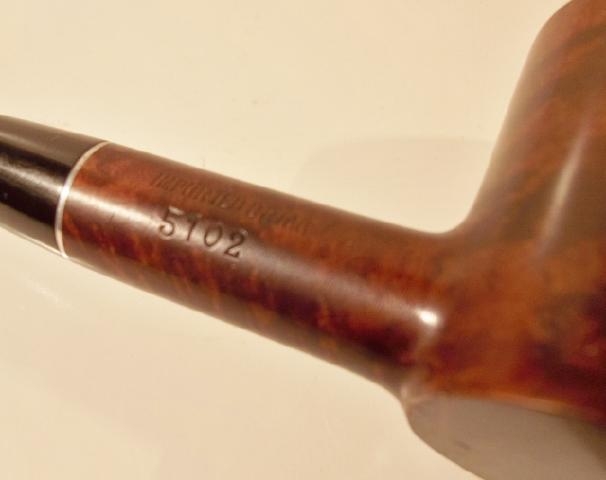
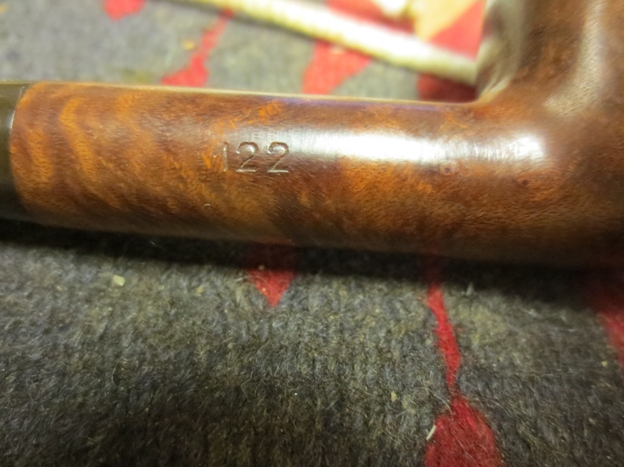
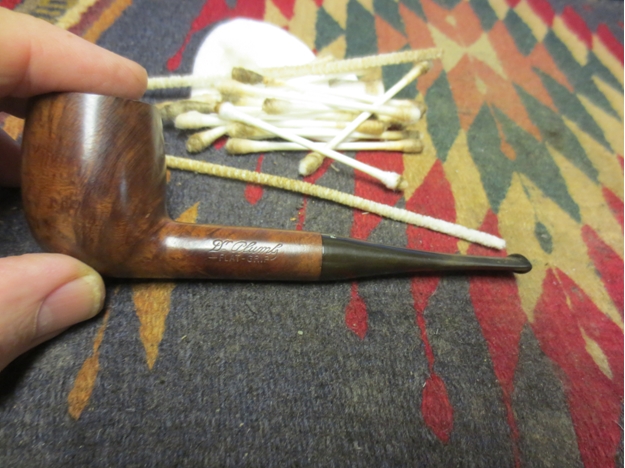
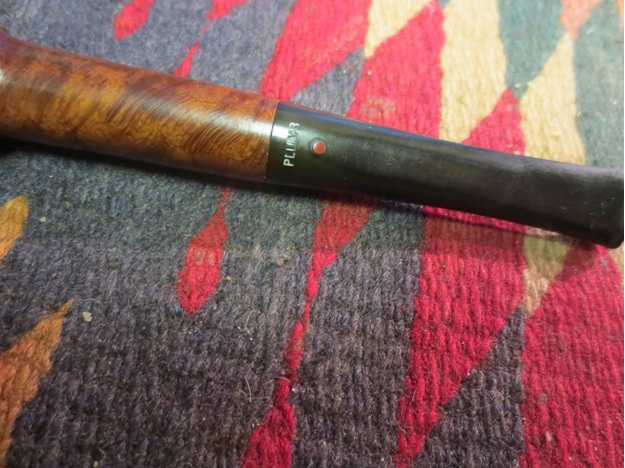
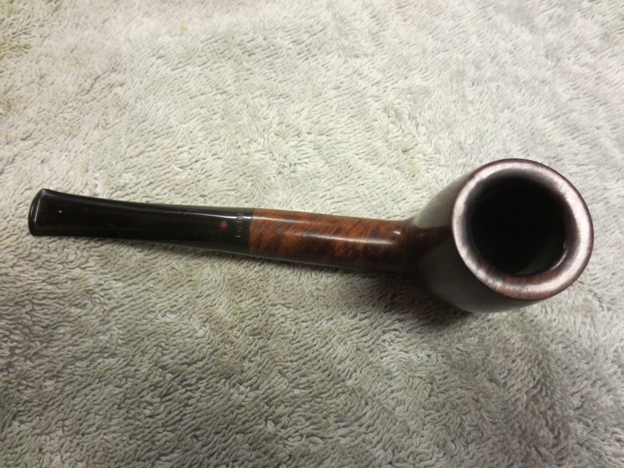
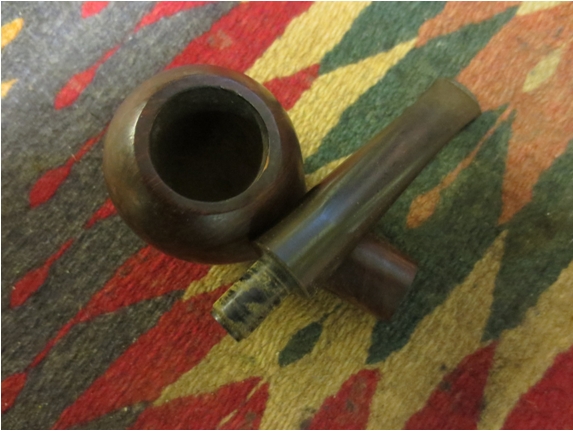
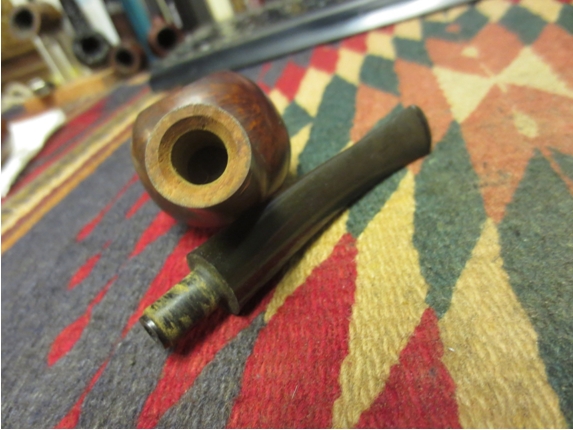
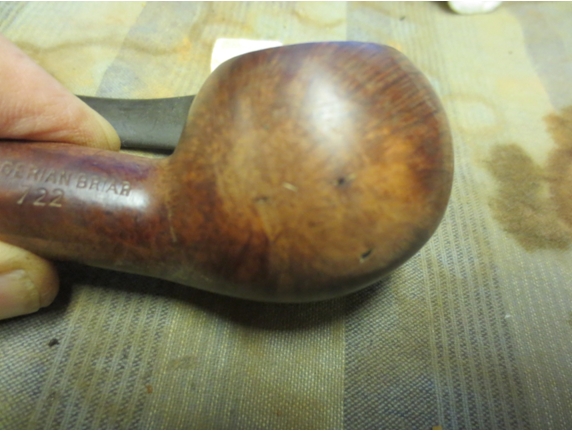
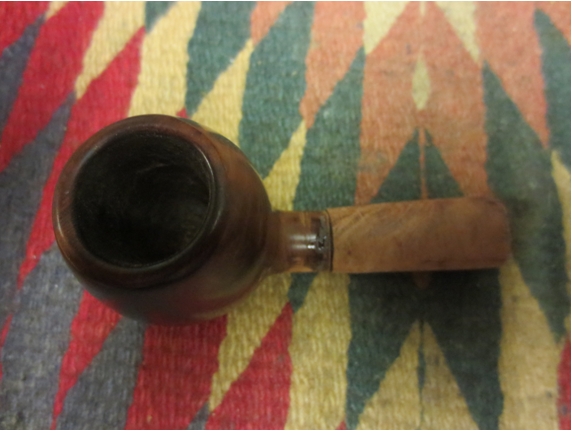
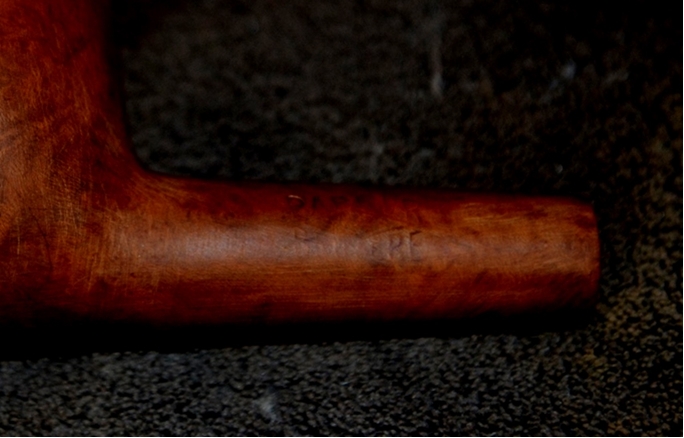
Finally last evening I decided to take it out of the box and examine it more closely. It had faint stamping on the left side of the shank that read NATIONAL over WASHINGTON DC. In many ways it reminded me of the stamping on the Bertram apple that is shown above. It read Bertram in script over WASHINGTON DC. There was no other stamping on the sides, top and bottom of the pipe.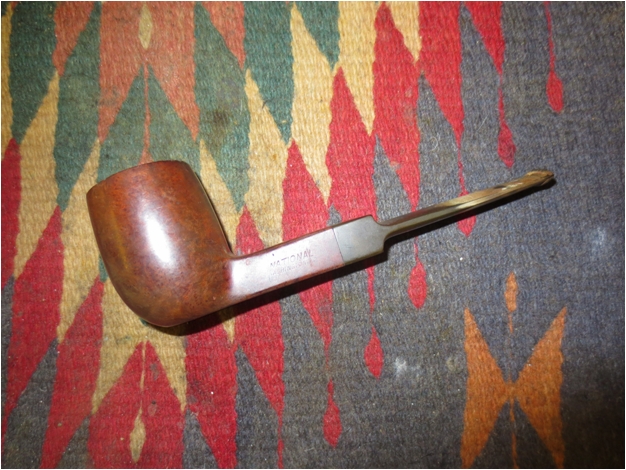
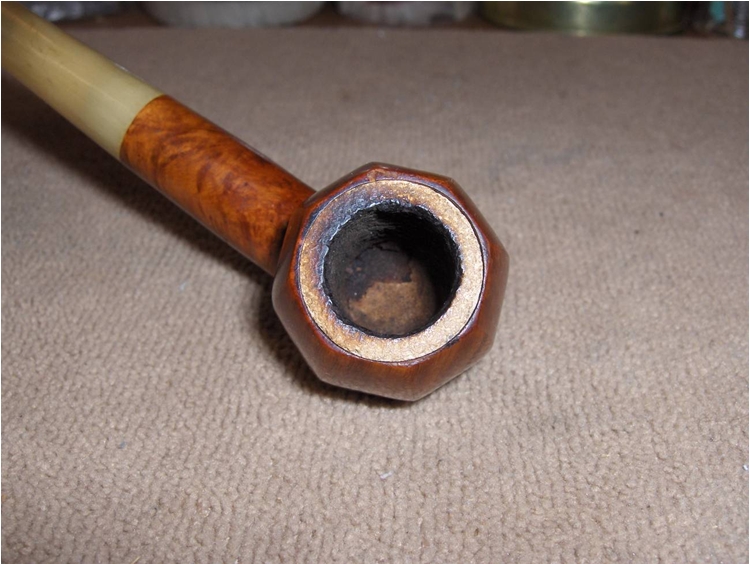
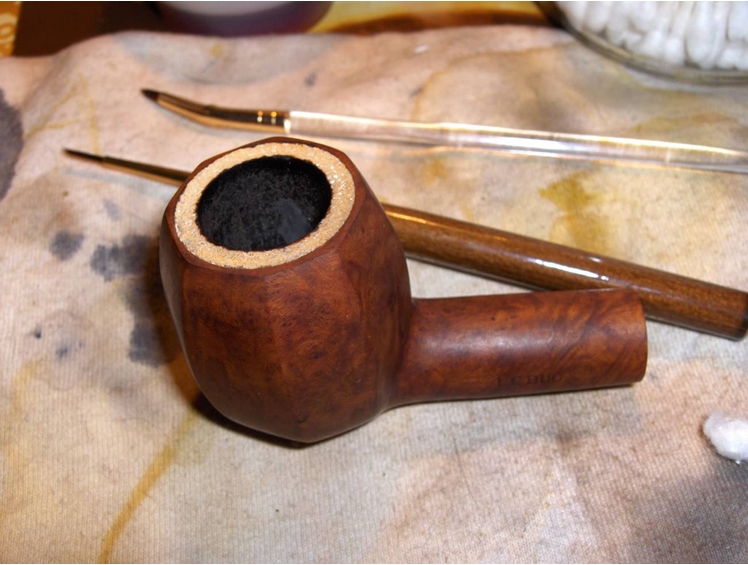
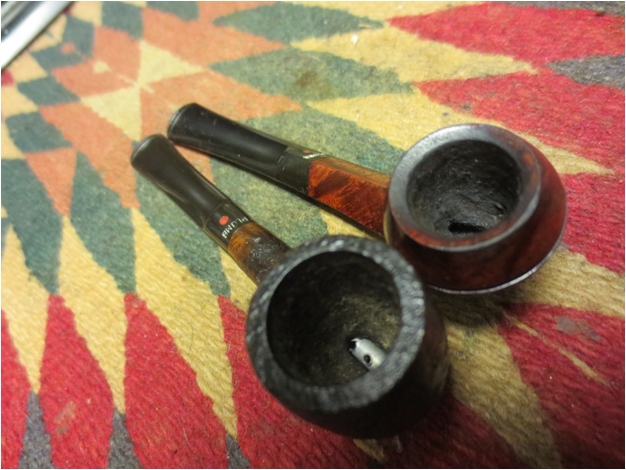
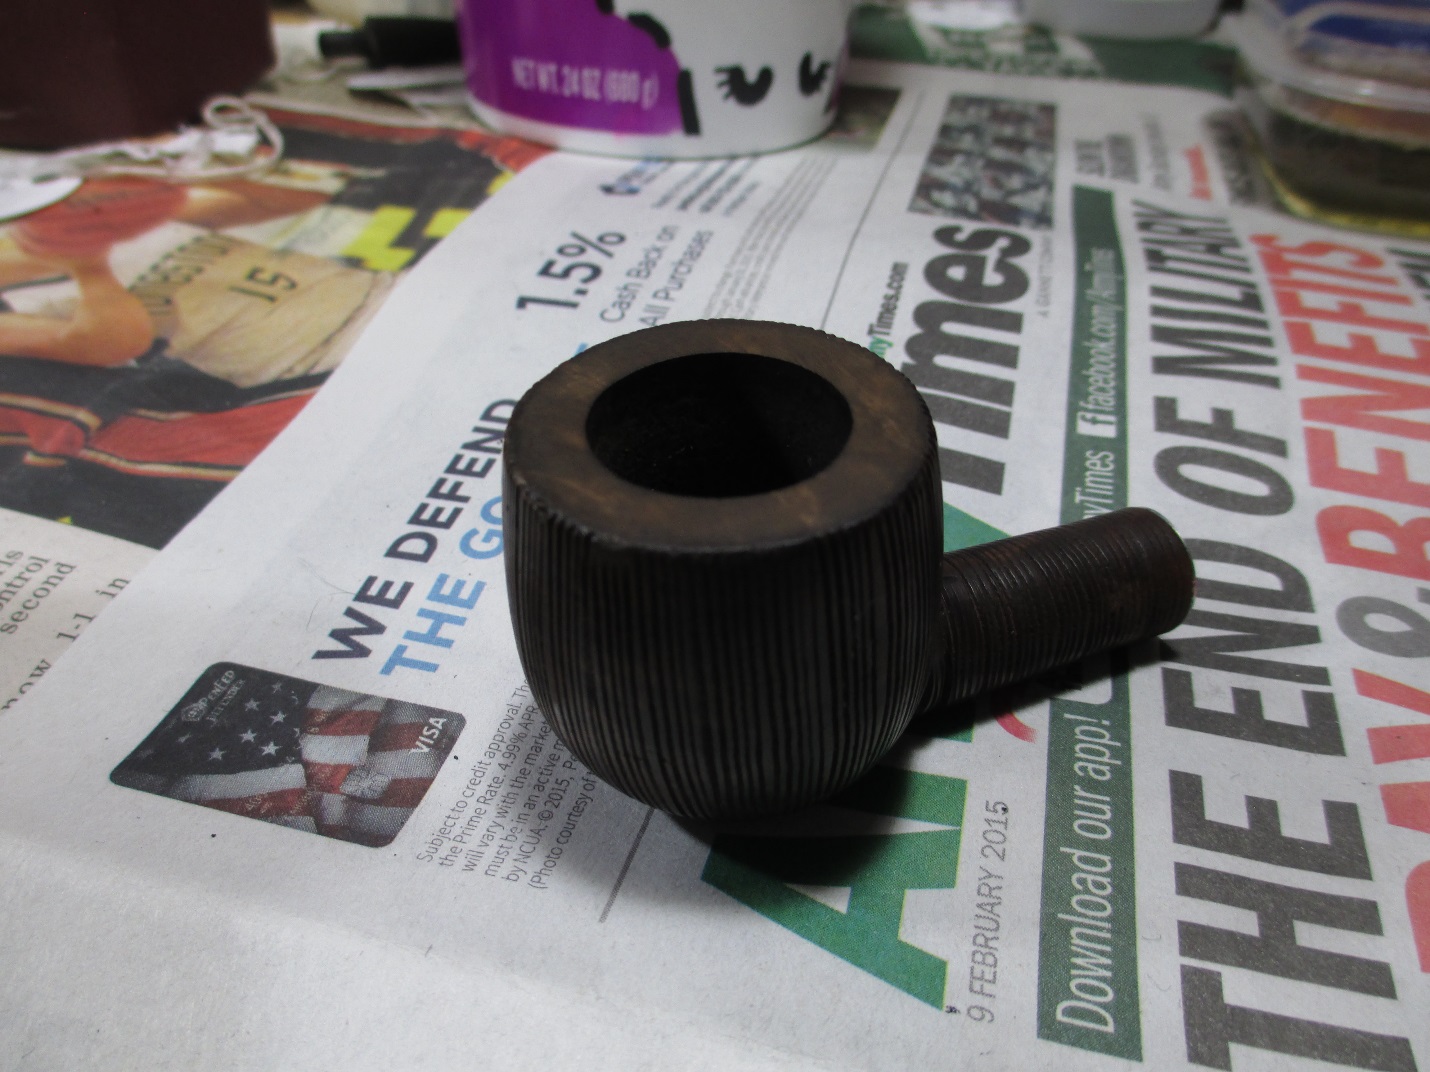
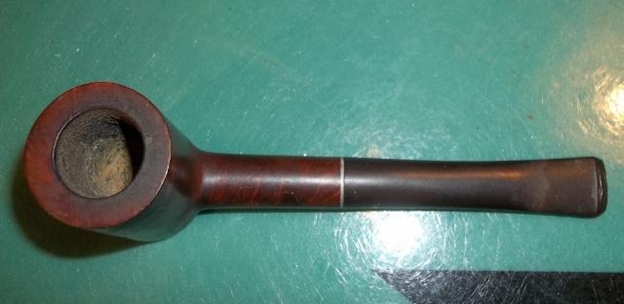
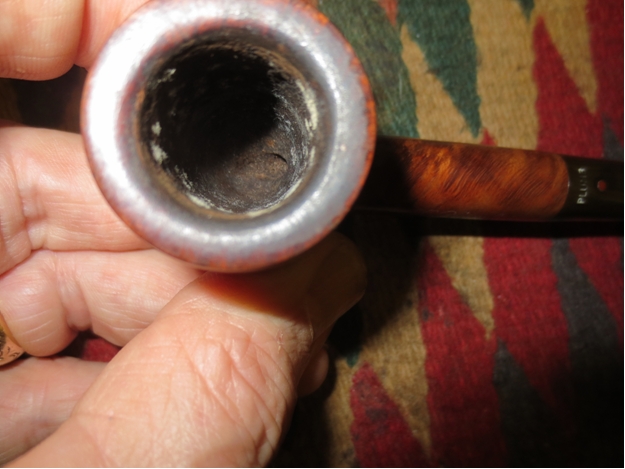
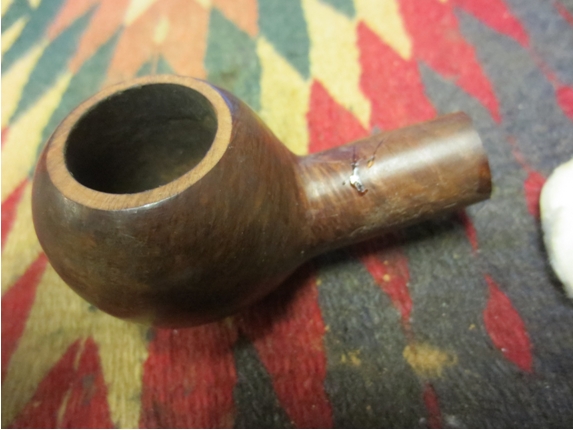
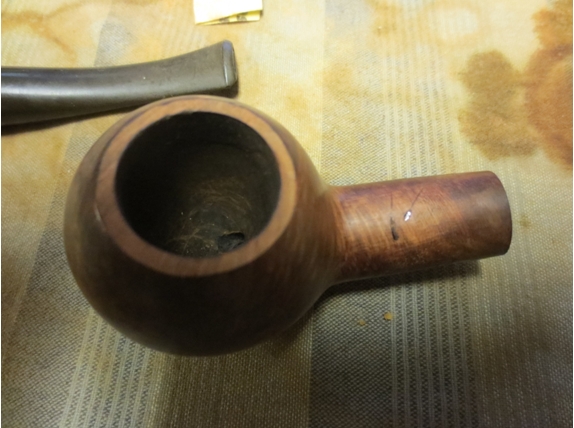
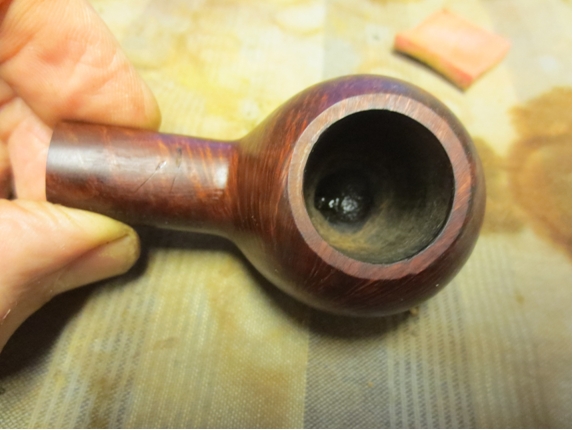
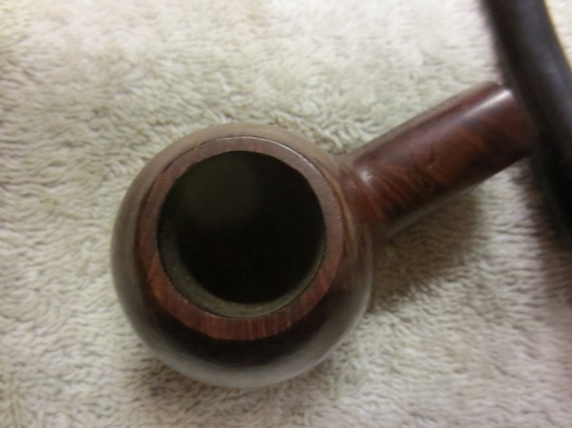
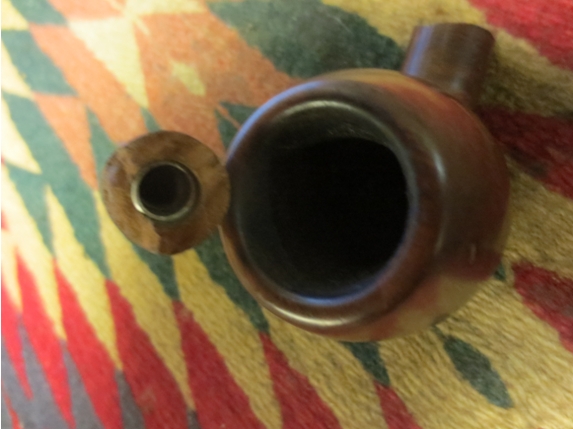
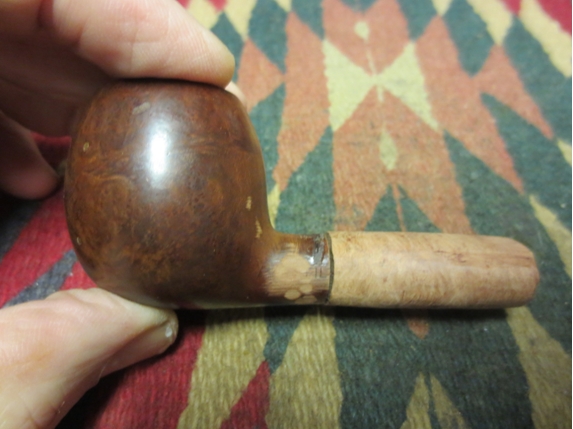
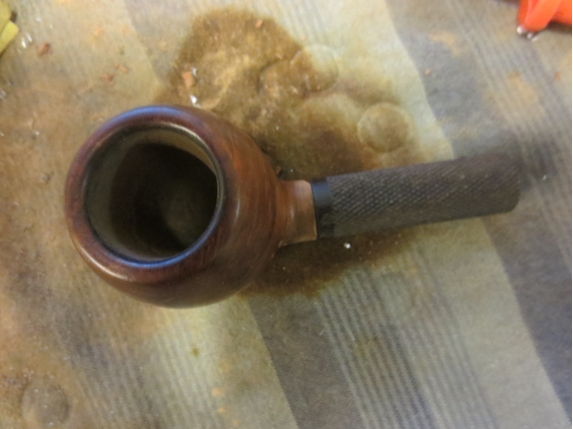
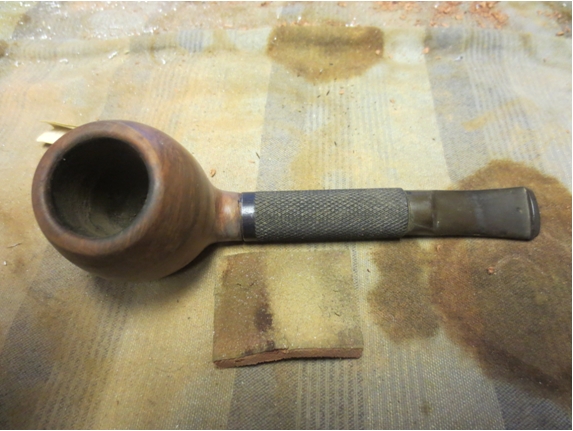
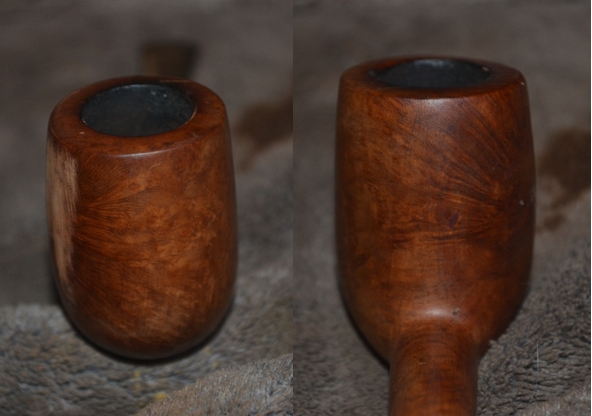
 The bowl had a heavy, hard cake that had chunks missing out of it in the bowl sides. The rim was heavily caked and tarred and also had cuts in the top of the rim and dents and chips in the outer edge of the rim.
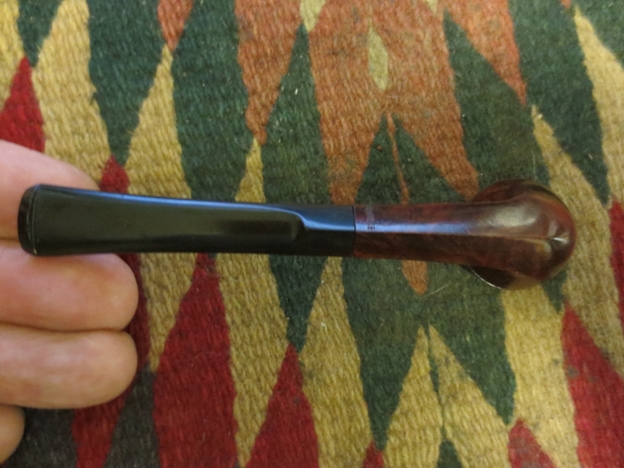
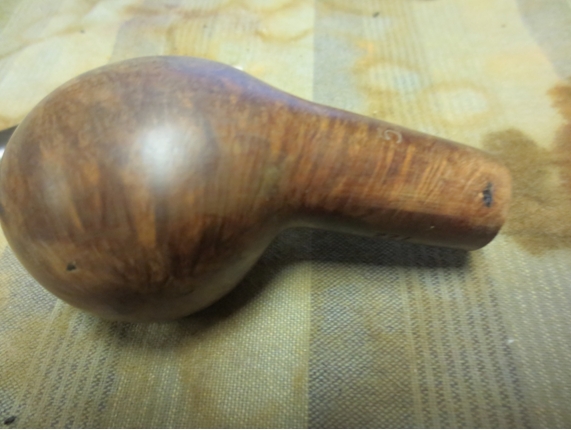
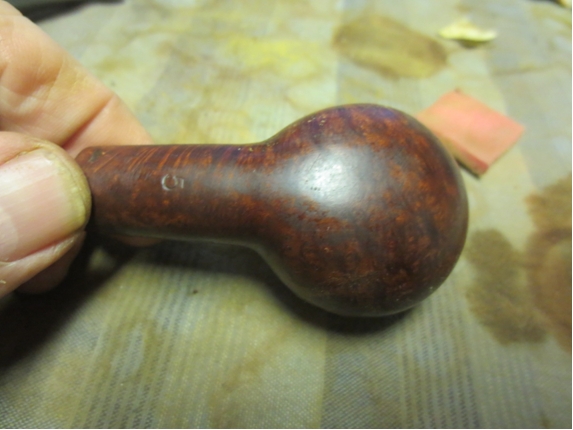
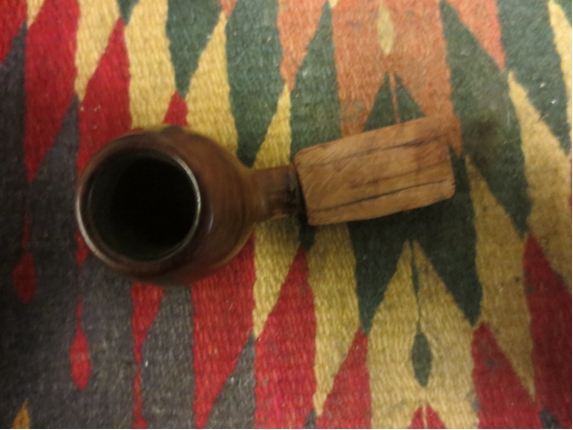
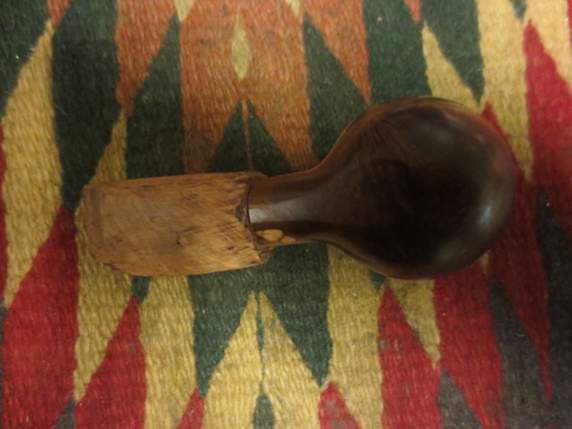
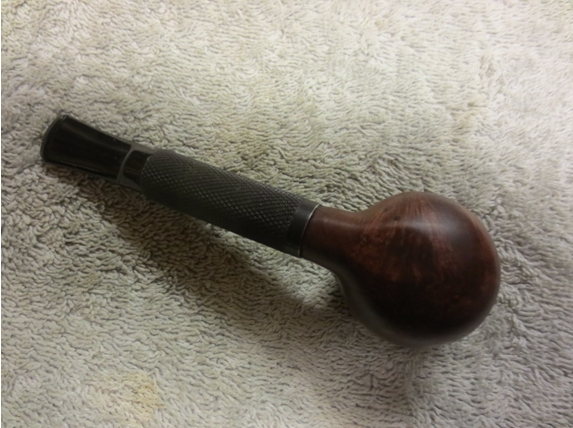
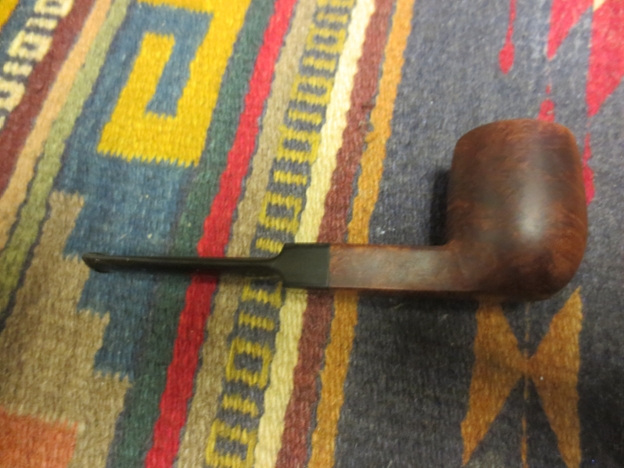
 The underside of the bowl and shank had been flattened to create a sitter. There were scratches and dents in the finish of the bowl. The bowl had evidently been finished like the Bertrams as well in that it did not have a stain coat. It had picked up a patina in the finish over the years that had some red overtones that would come out nicely once the bowl was cleaned up.
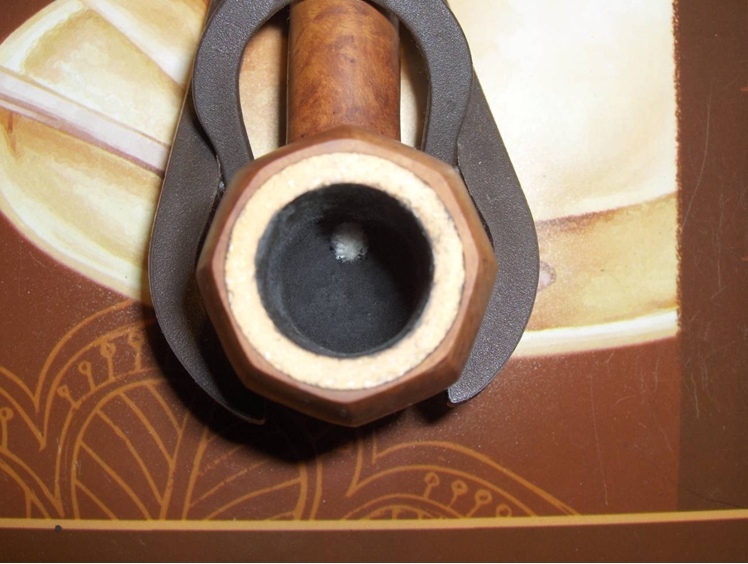
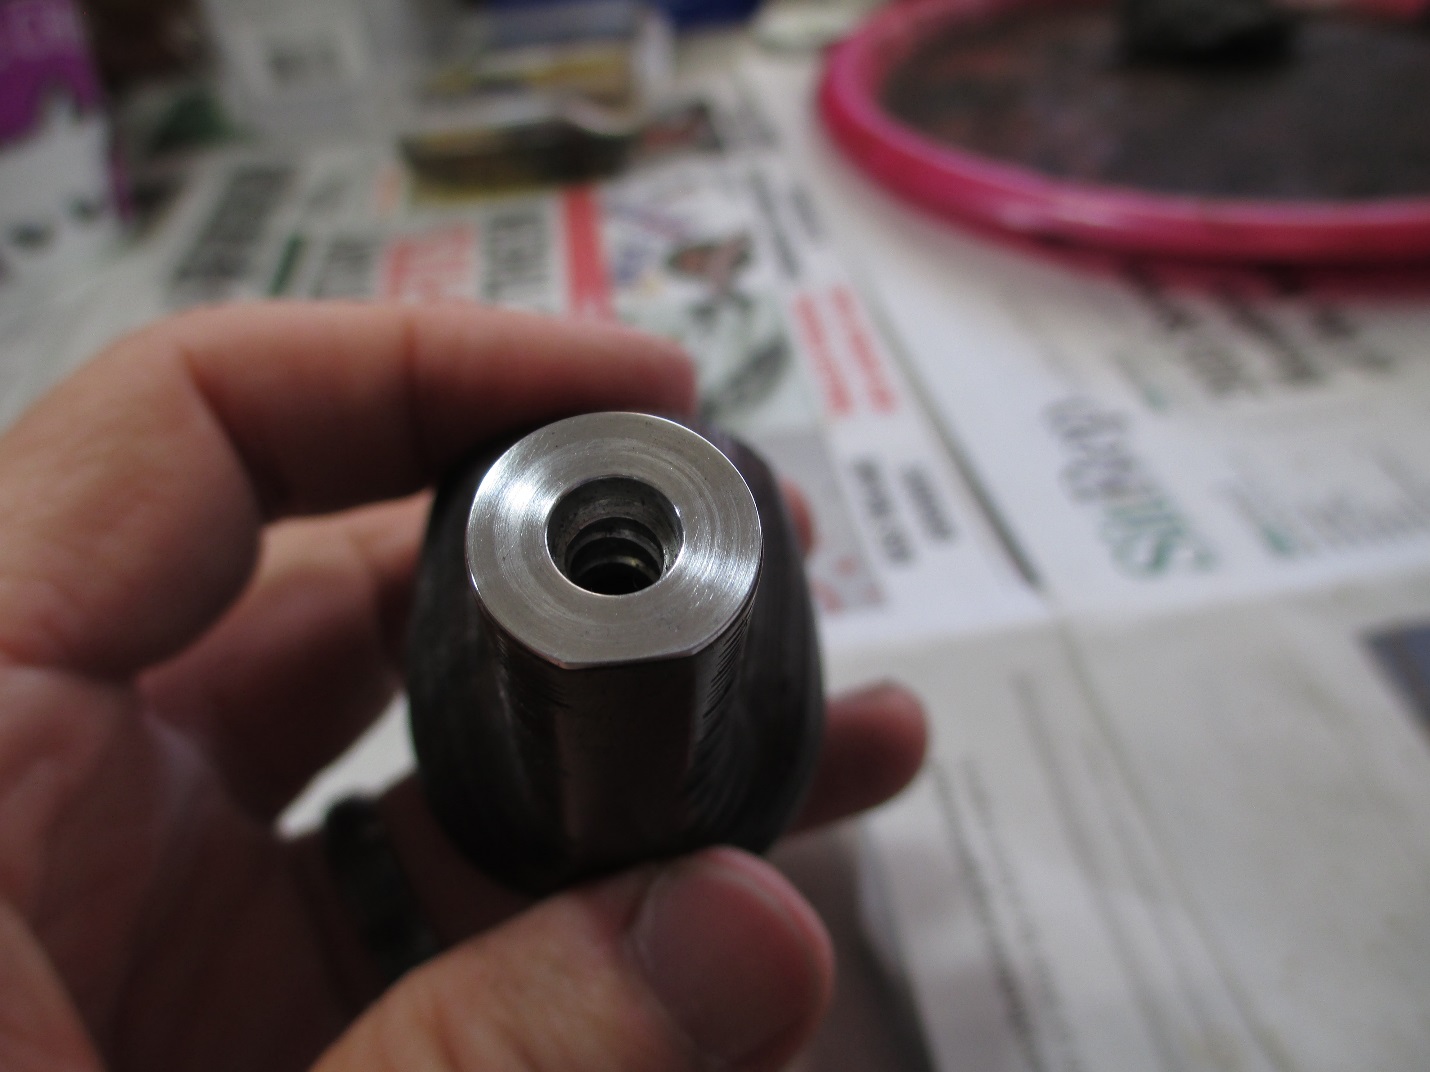
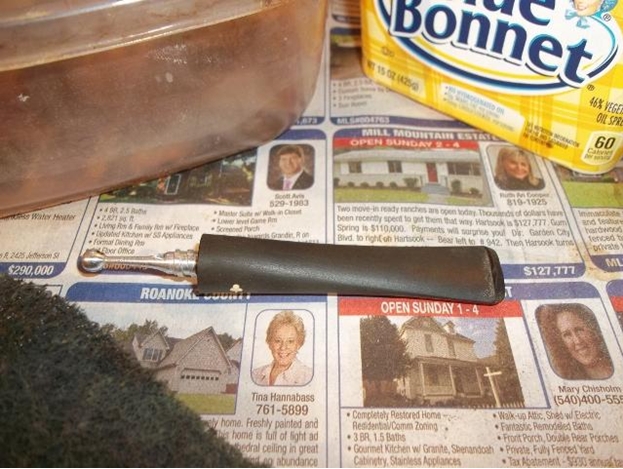
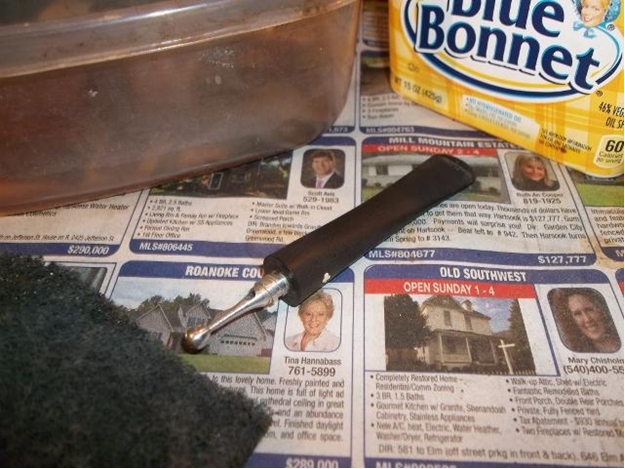
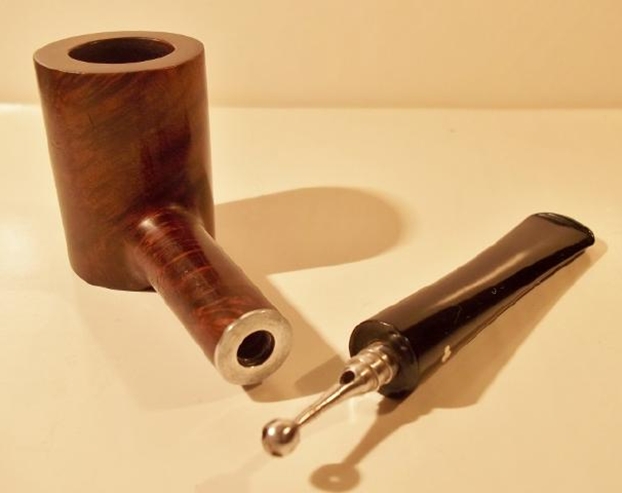
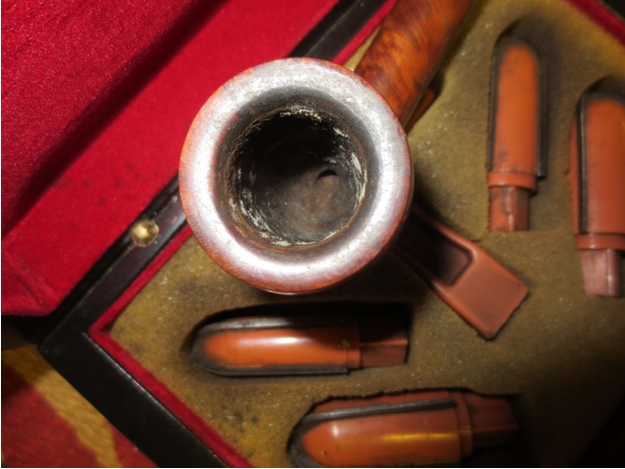
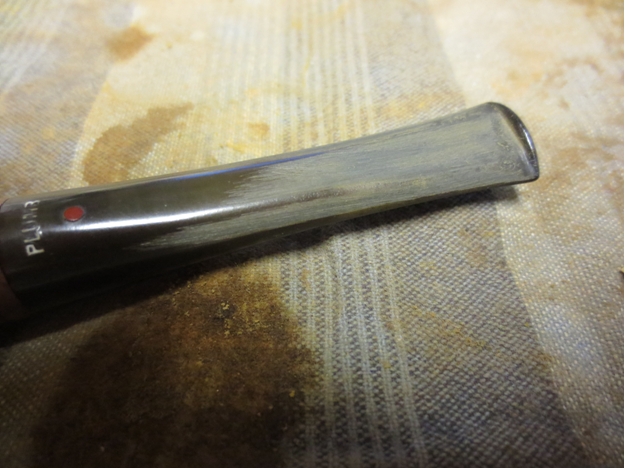
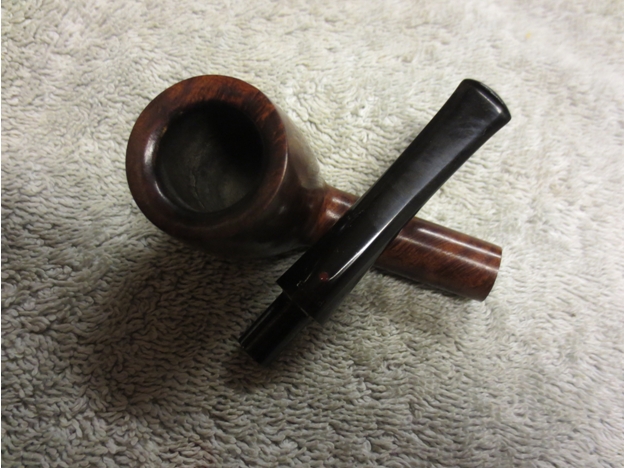
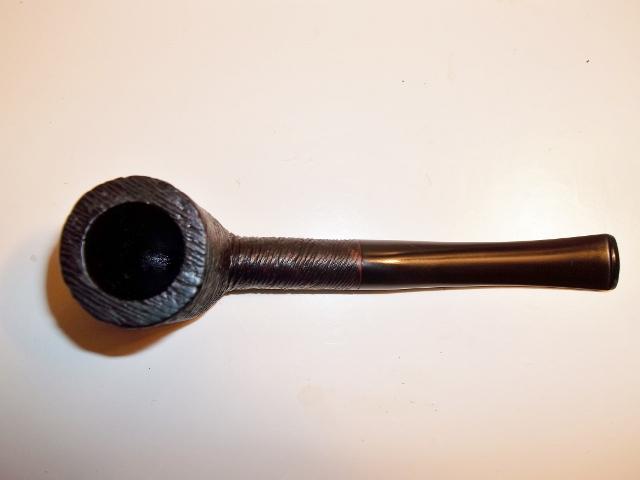
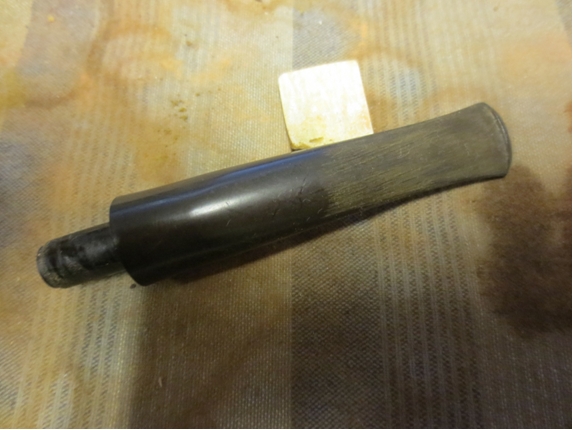
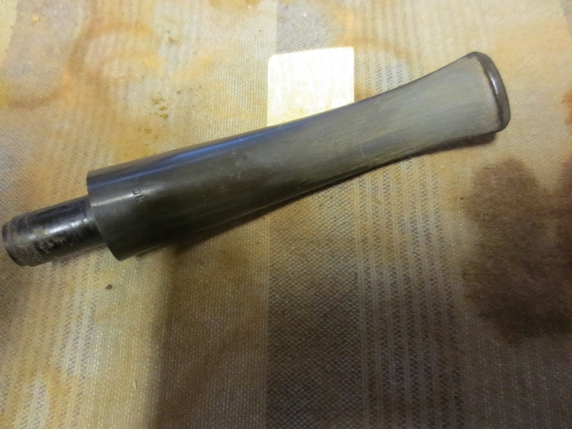
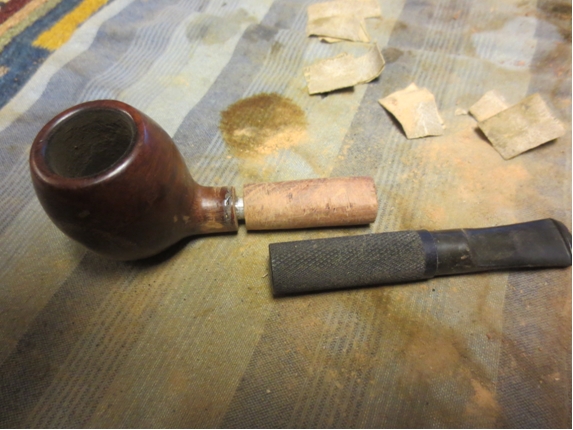
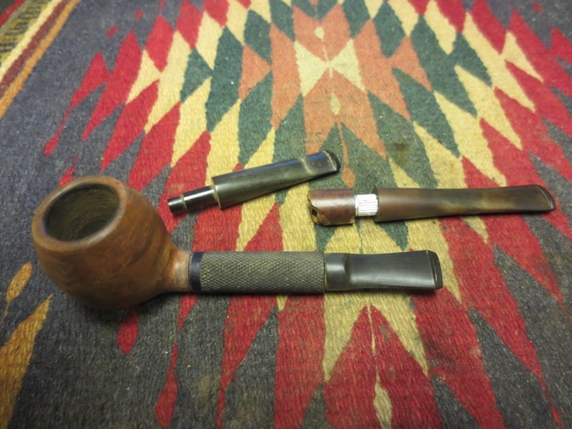
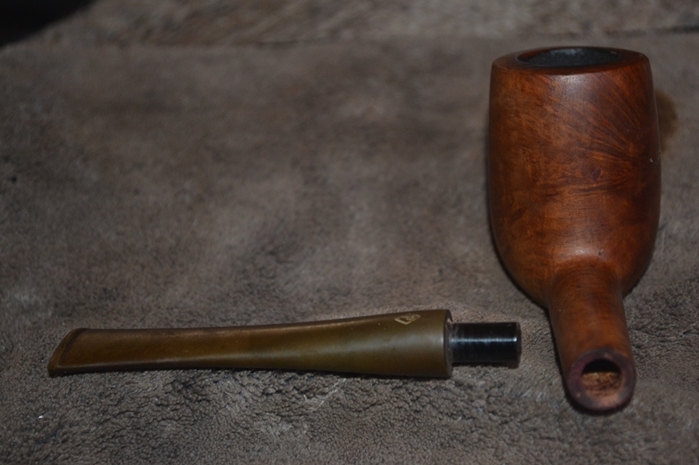
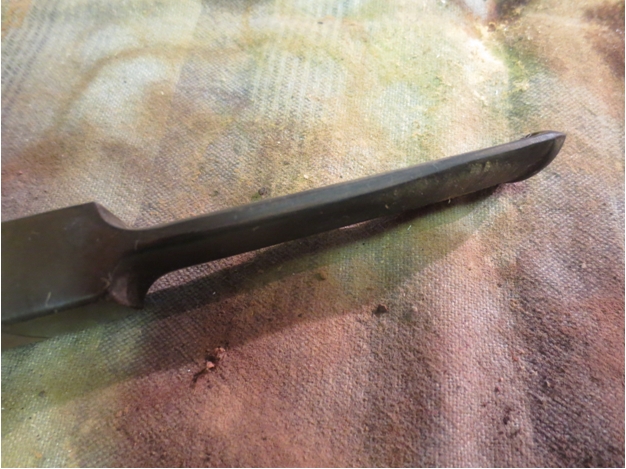
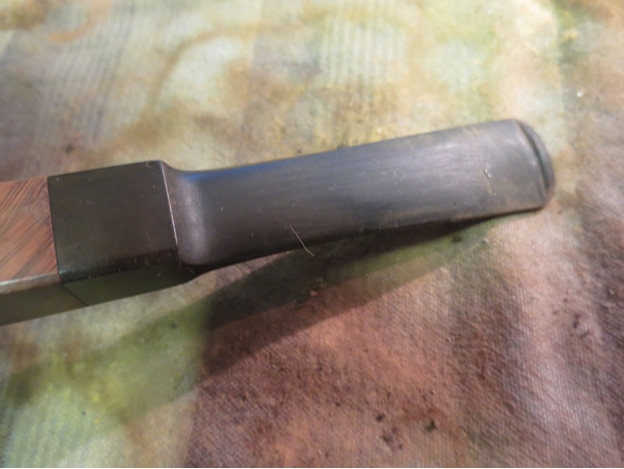
 The stem was in rough shape. With a buildup of white calcification that went half way up both sides of the stem. There were also a lot of tooth marks on the top and bottom sides of the stem. The stem was upside down in the photos and did not align properly with the square shank. I turned it over and everything fit very well. The stem had a pinhole like bite through in the surface that would need to be repaired. The stem itself had a slight cant to the right when it was manufactured and that could not be changed without drastically reworking the stem. The slot in the airway was clogged to an airhole the size of a pin that allowed minimal airflow and would not take a pipe cleaner.
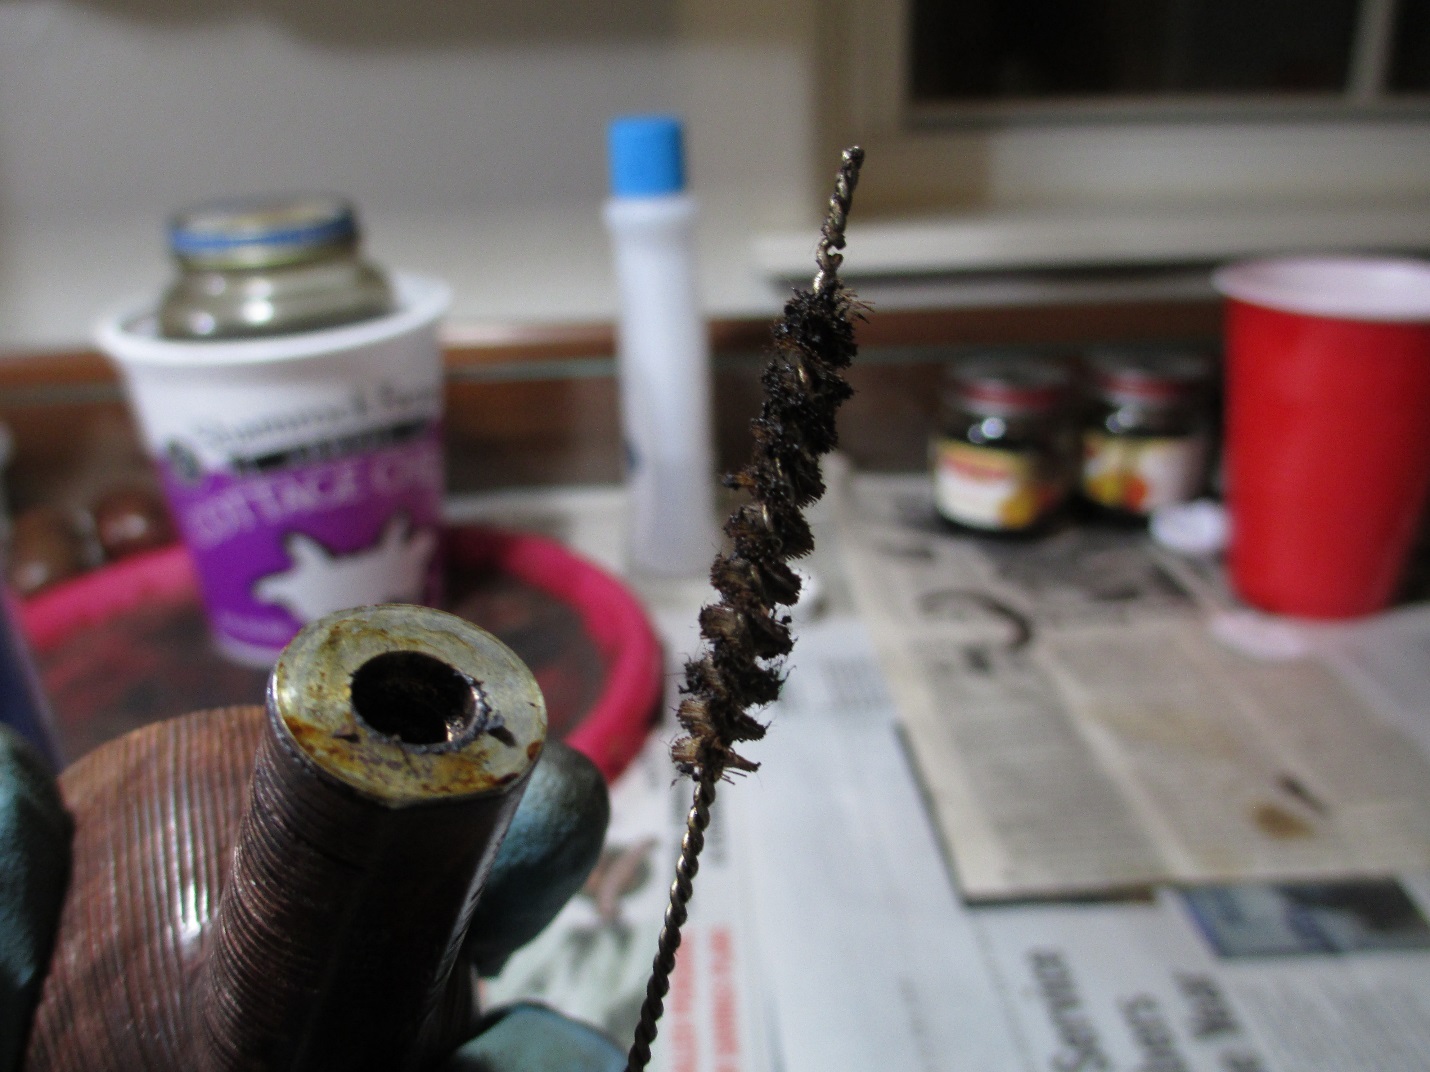

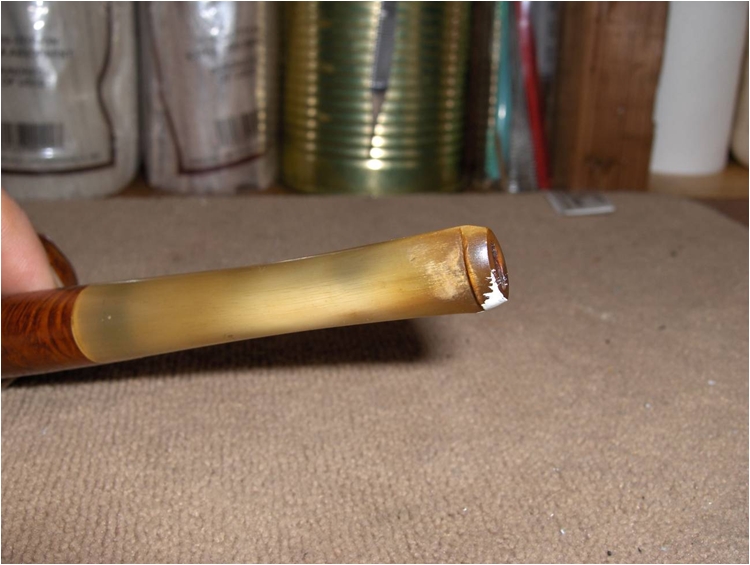
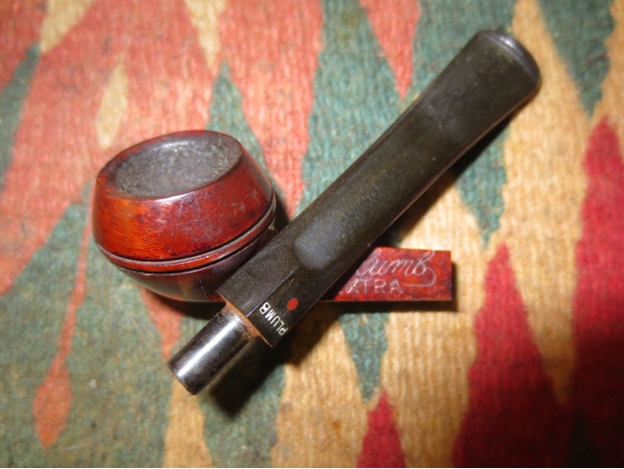
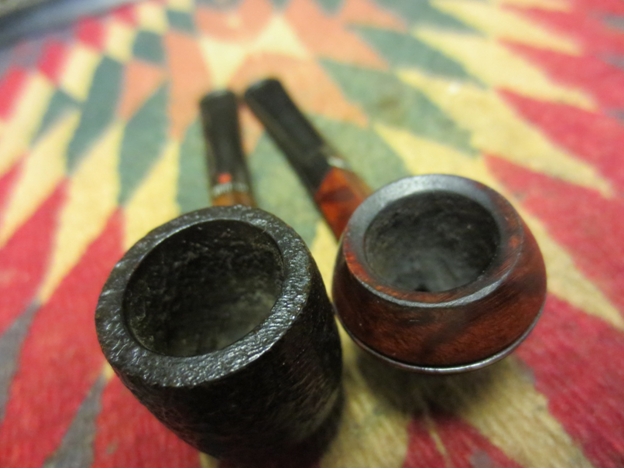
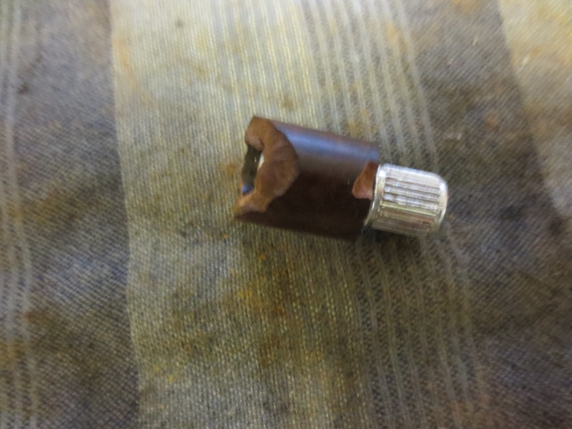
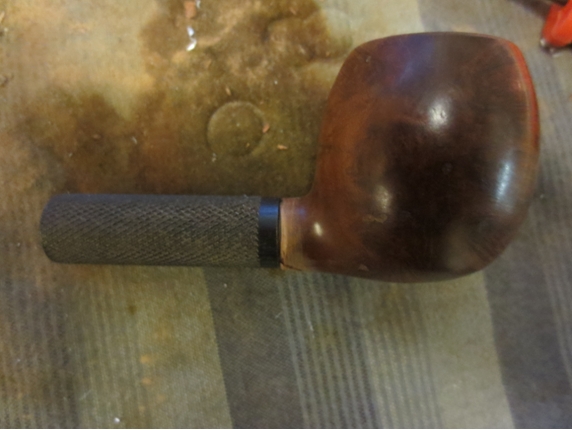
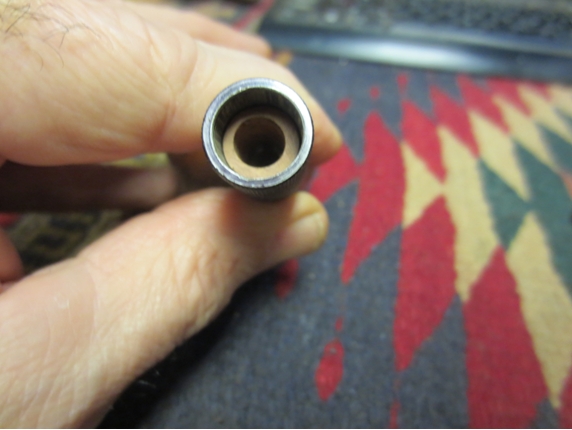
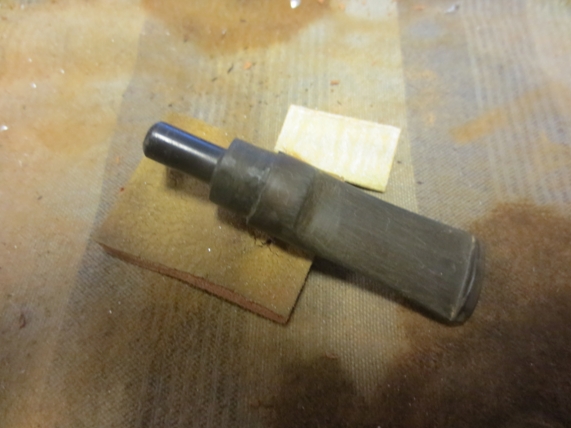
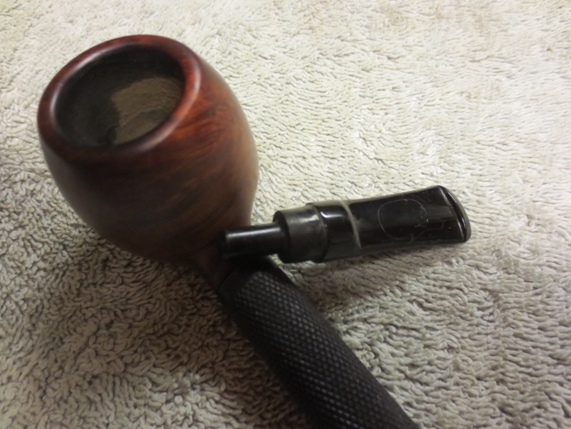
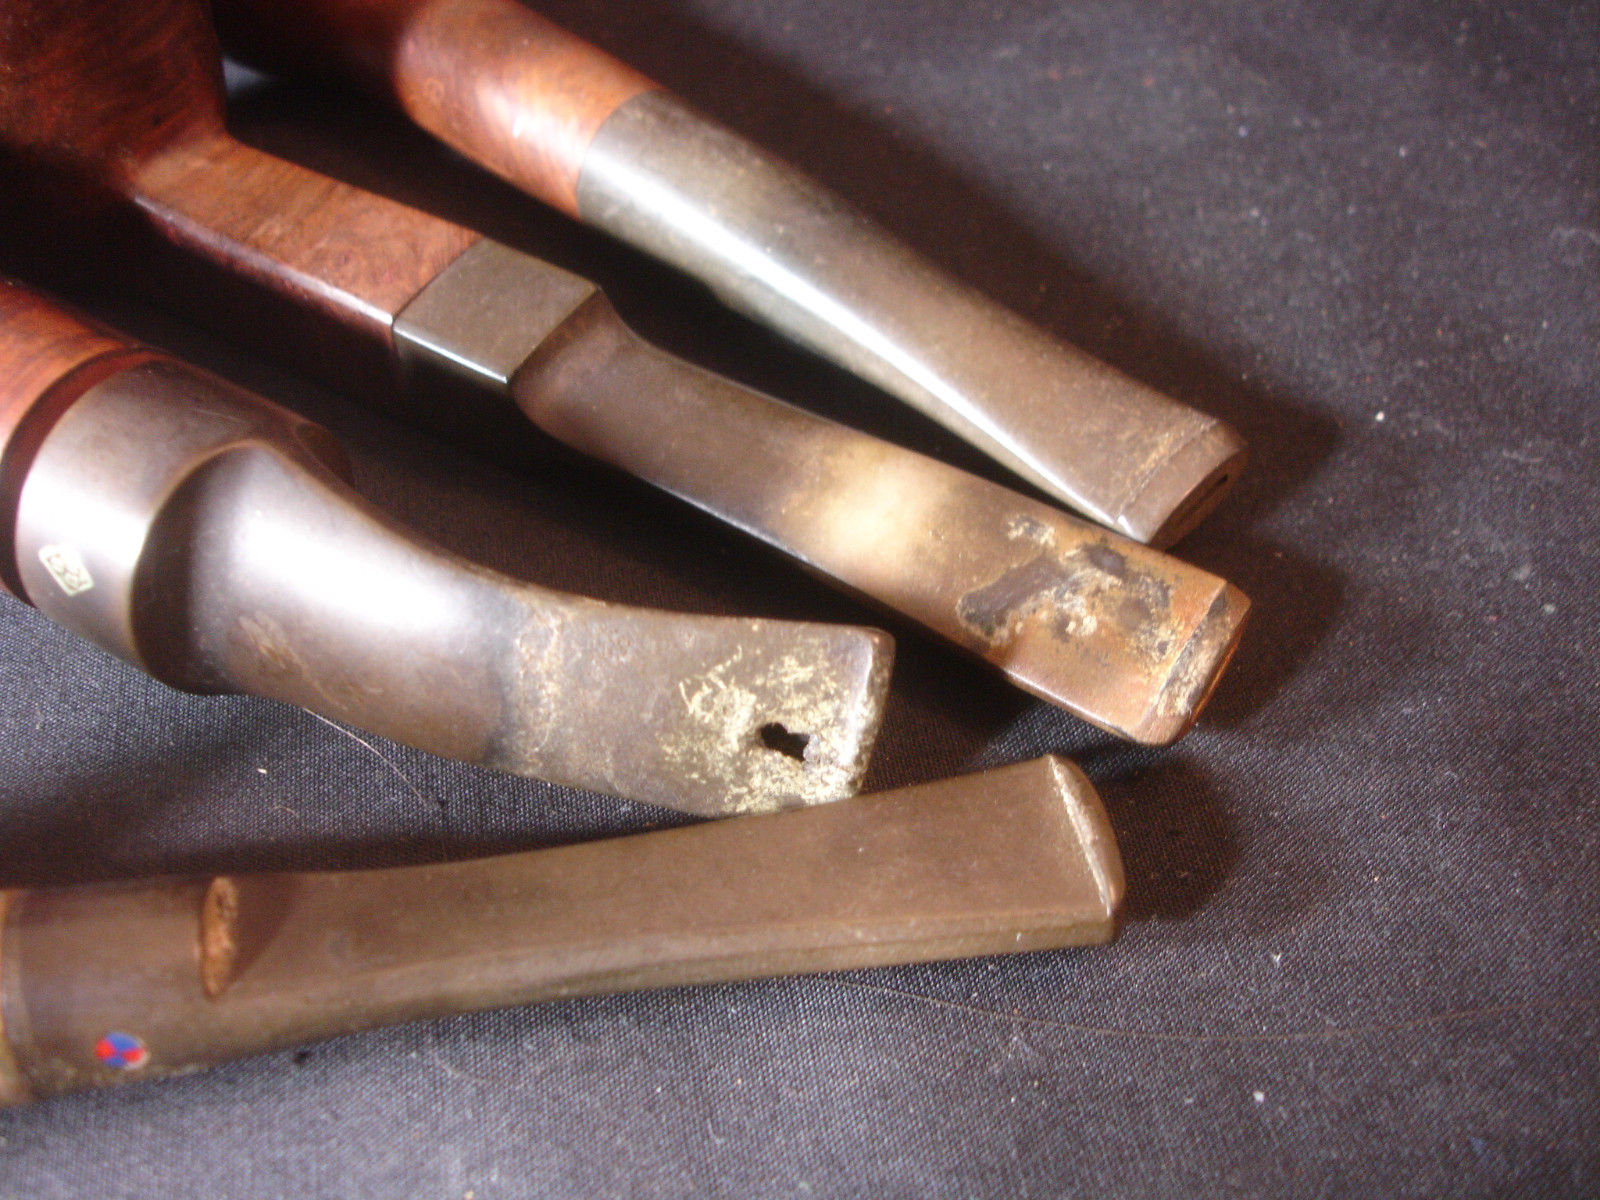
Topside of the stem

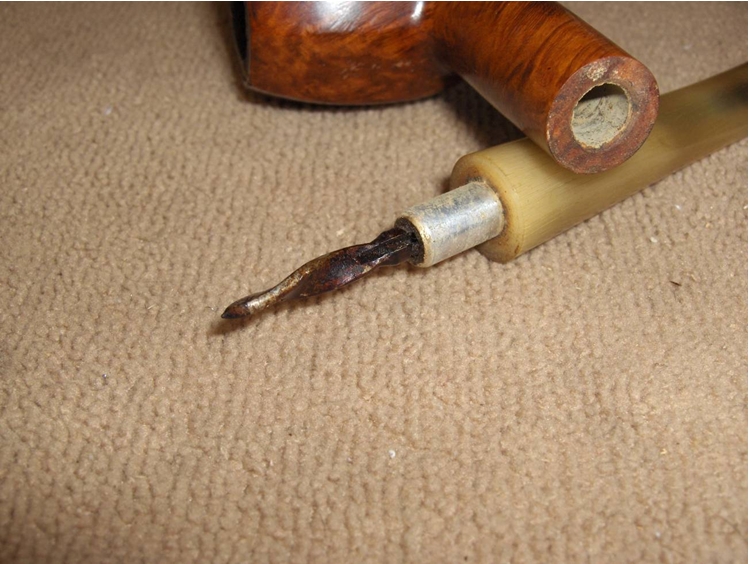
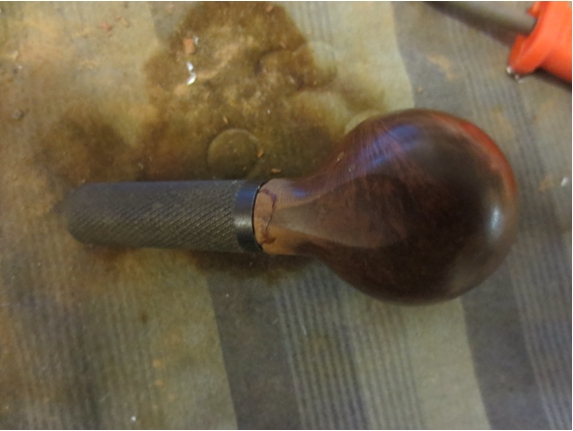
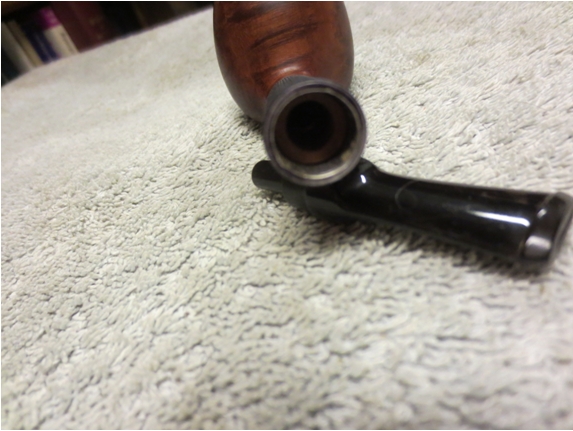
Underside of the stem
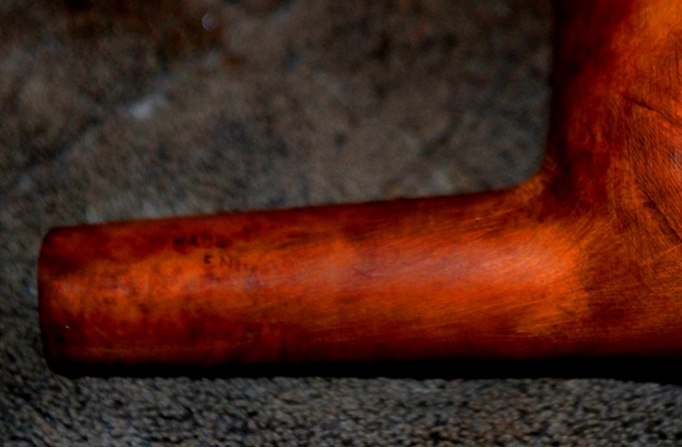
 I had a gut feeling that the pipe had some connection to Bertram Pipe Company of Washington DC but only the vaguest memory of that connection. I could not remember where I picked that up but just had the memory. I did some searching on the Internet and found a National Briar Pipe Company of Jersey City, New Jersey with no clear ties to Washington DC on the Pipedia site. This was the company that purchased the Doodler after Tracy Mincer died. I could see that the Jersey City pipes were stamped differently and all had line names stamped on them. On the Pipephil site I found an English version that had very different stamping on the left side of the shank as well as Made in England on the right side of the shank.
I also posted a question on Smokers Forum and Pipe Smokers Unlimited regarding the brand. I received several responses that gave me information. One of them on SF came from Ed Klang and provided me with some confirmation regarding my memory of the connection with Bertram. I quote him in full, “In the history of the Bertram company, after the fire at the Washington facility and the decision was made to discontinue Bertram production a group of employees and a few investors wanted to buy the rights to the Bertram name, which was turned down and it was then proposed that they would rebrand the pipes as National, no mention was made whether anything ever came of that proposal. Supposedly this group did produce pipes for a while but the effort was finally abandoned and I have never been able to reliably confirm this. Just bits and pieces here and there.” Thanks Ed. This is the random memory that I was trying to dig up.
I also received a reply on SF from Radiobob that read as follows: “National Pipe and Tobacco was located on the 1700 block of Pennsylvania Avenue in Washington, D.C., just about a block from where I worked. I still have two Canadians that I bought there, as well as a Comoy’s Patina Apple. In my recollection, it closed down–much to my regret–in the mid to late 1980s.”
Those responses gave me the kind of details that I always find helpful in my restoration work. I will continue to do some digging on the company and see what I can find but that bit confirmed the visual tie to the Bertram Company of DC. Thank you for your help Ed and Bob.
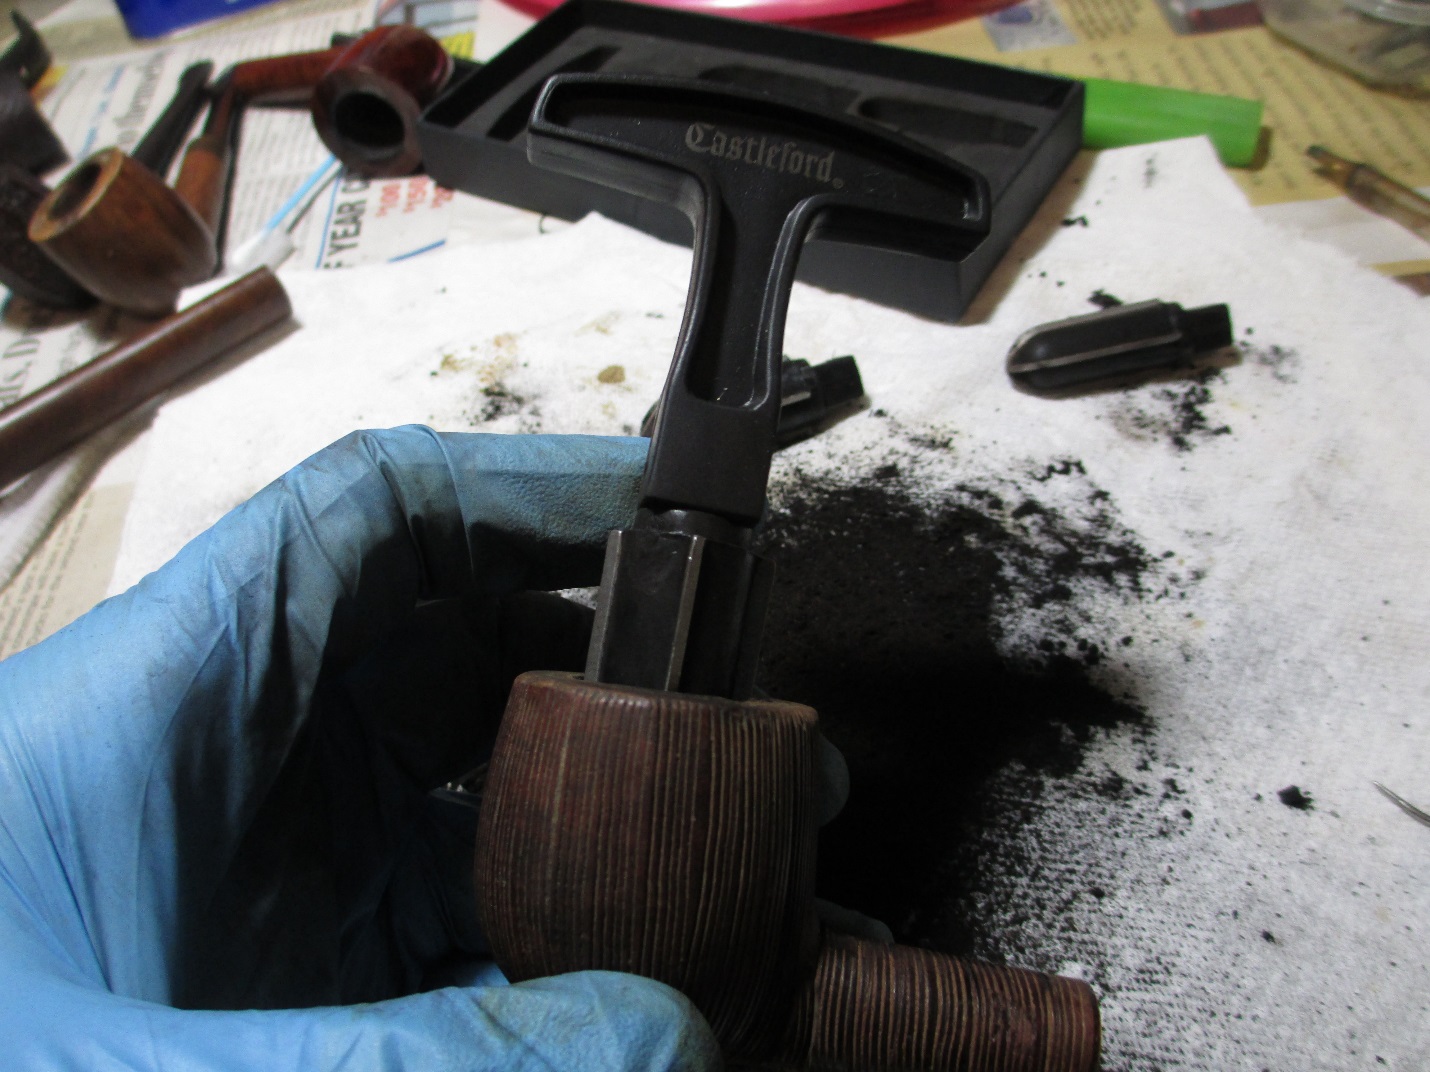
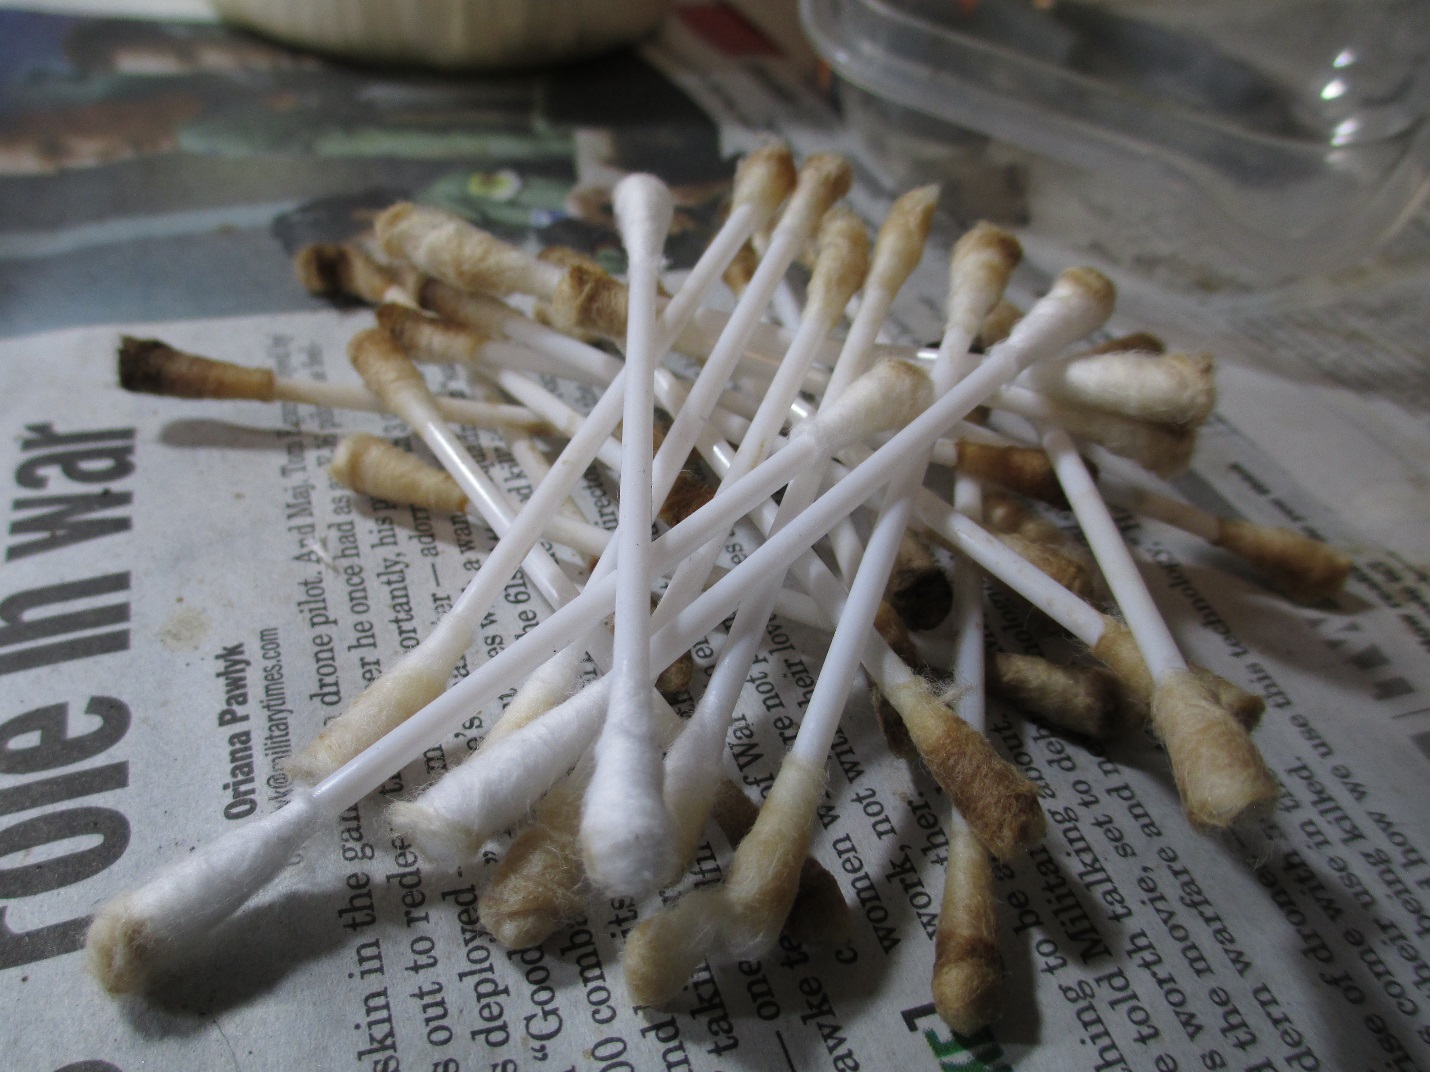
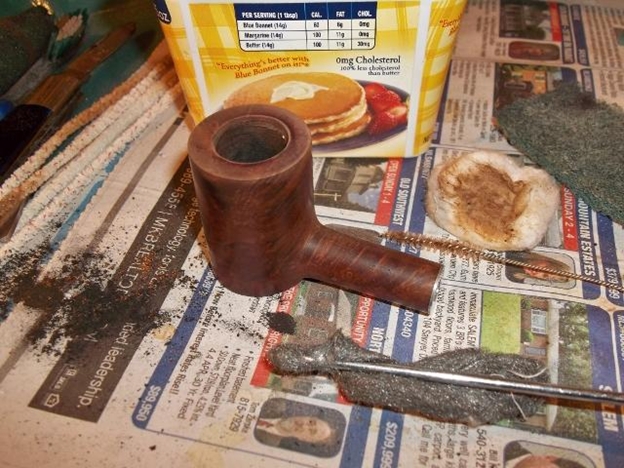
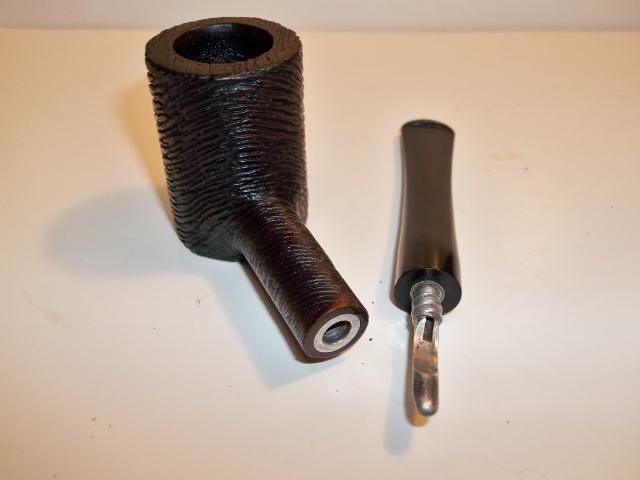
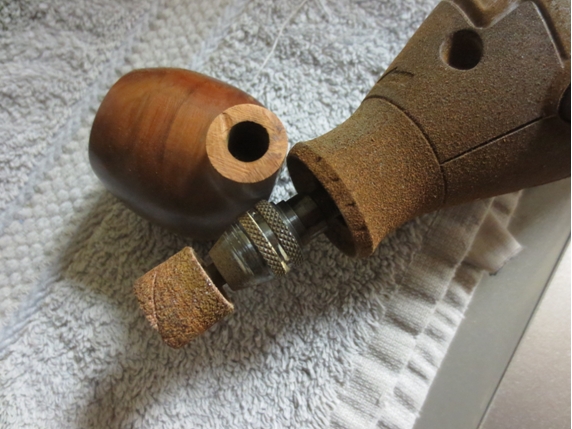
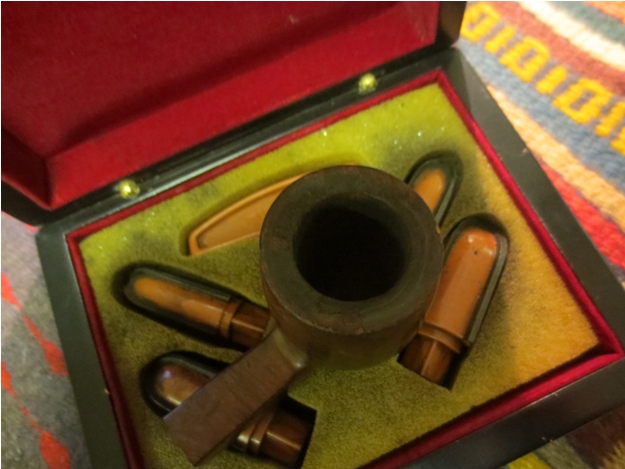
I started work on the pipe by removing the stem and then reaming the bowl. The cake was hard as a rock but by beginning with the smallest cutting head of my PipNet reamer and working up to the third cutting head I was able to ream the bowl back to bare briar.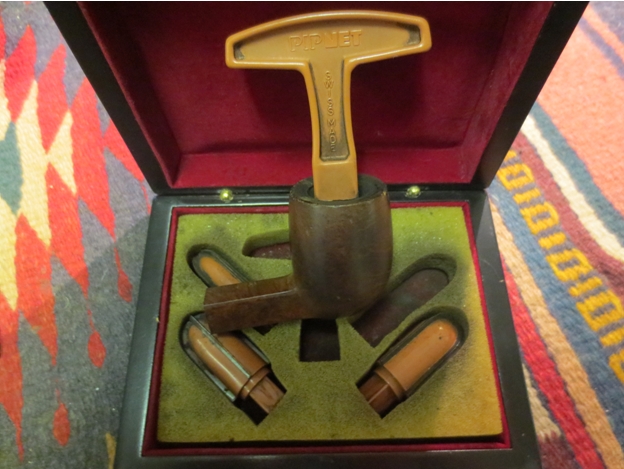
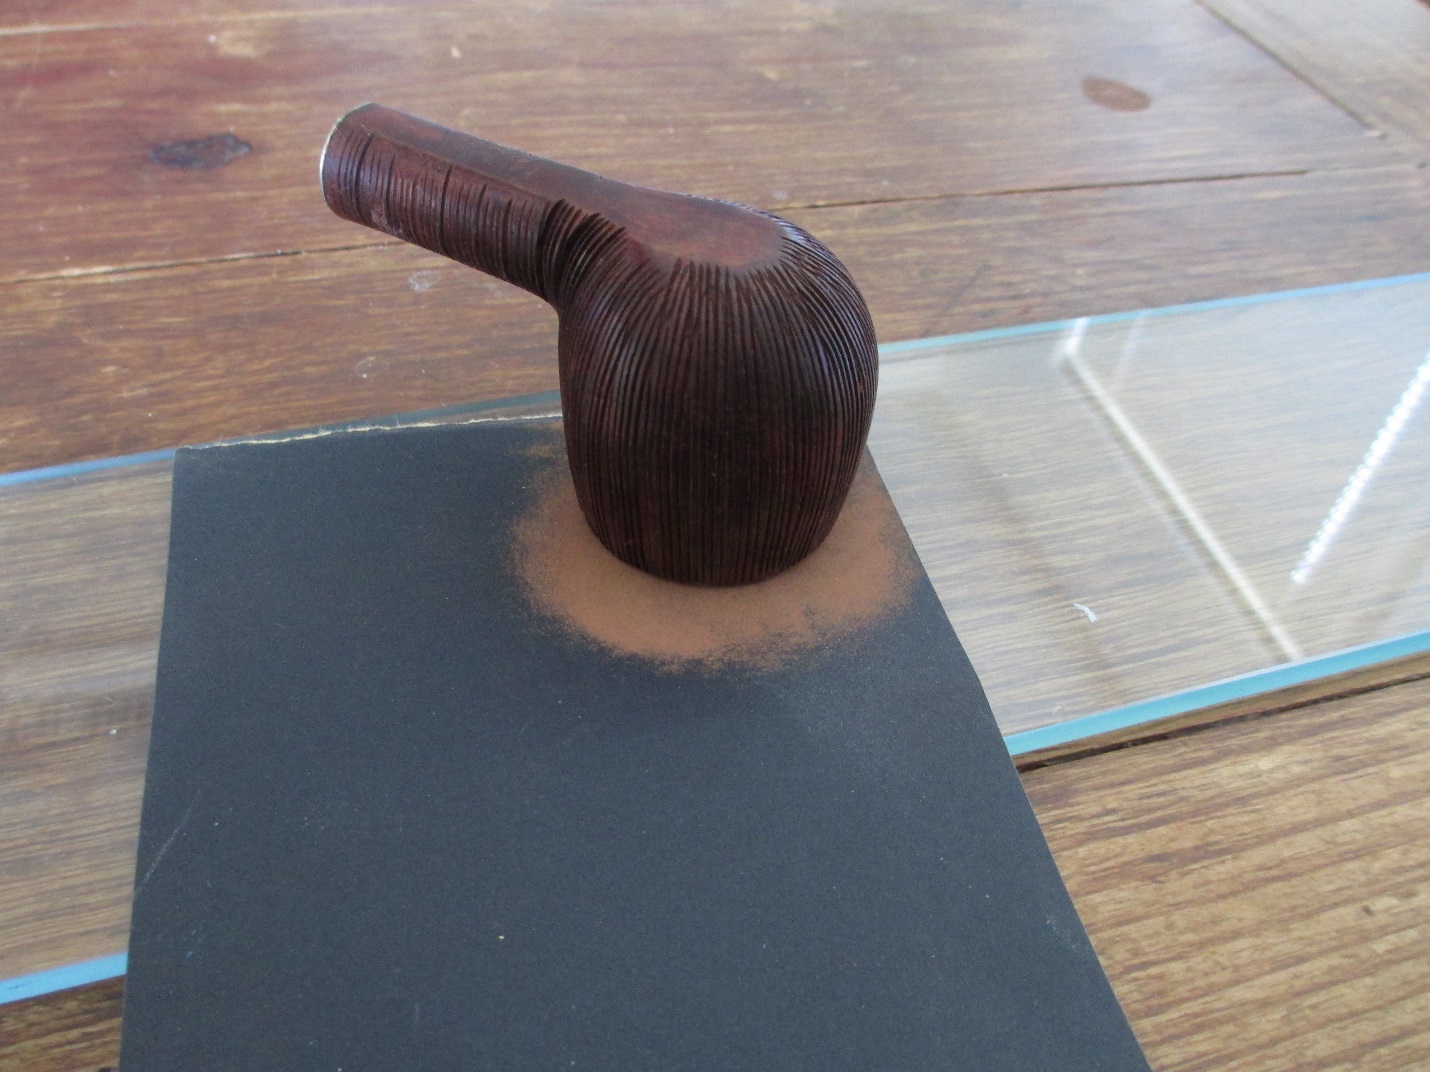
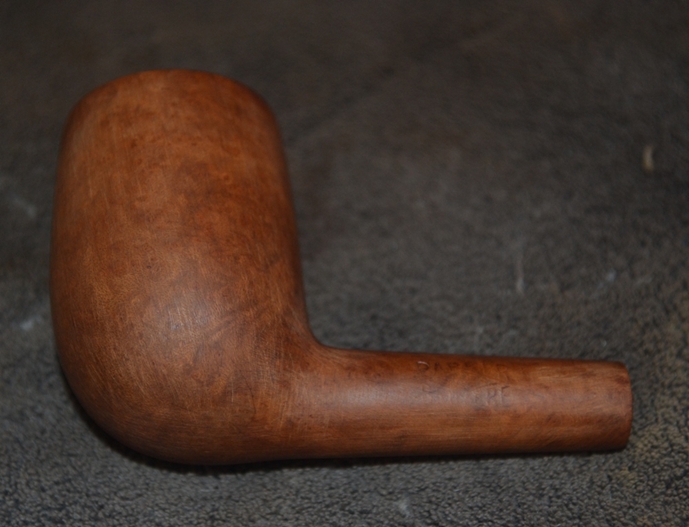
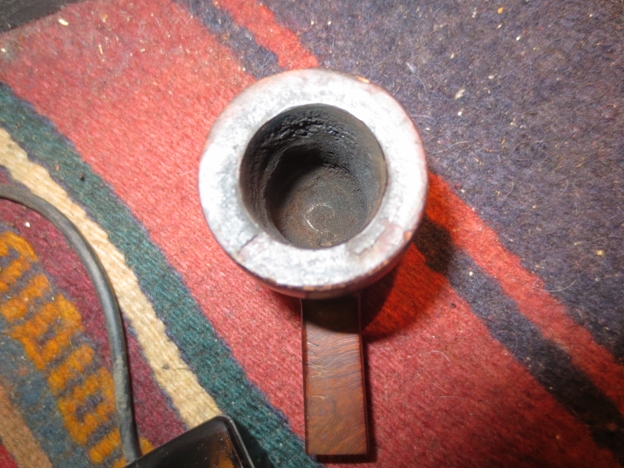 You can see in the photo above that there were still some rough places on the side of the bowl that needed more attention. I used a pen knife/letter opener that I keep in my refurb tool kit to carefully scrape away the remnant of cake.
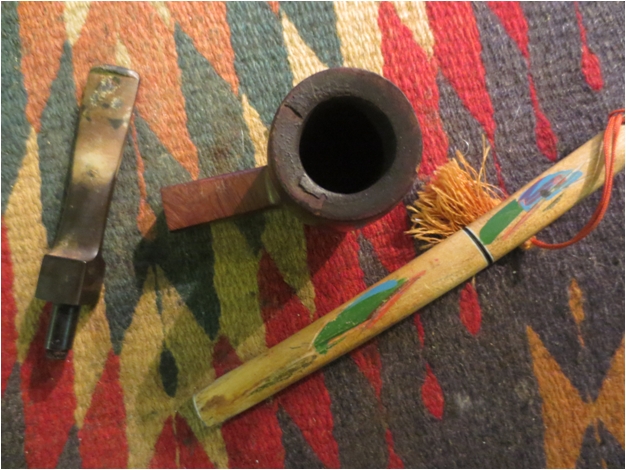 I started to slowly sand the top of the rim with a folded piece of sandpaper but found the damaged areas significant enough that I decided to top the bowl and reshape the top of the rim by hand afterwards.
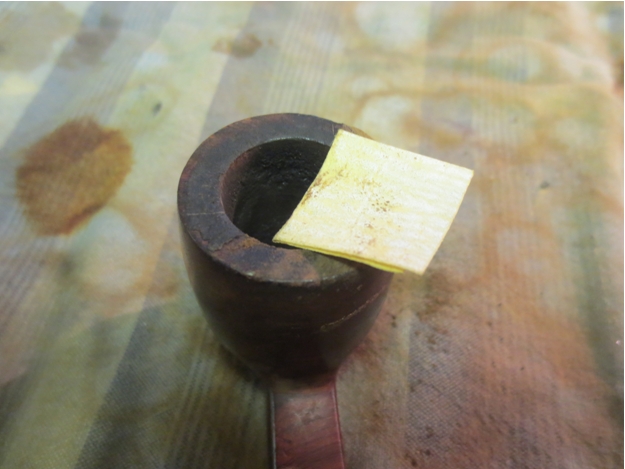
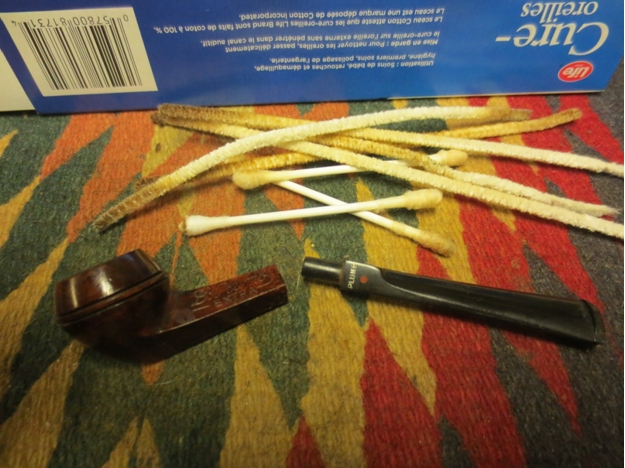
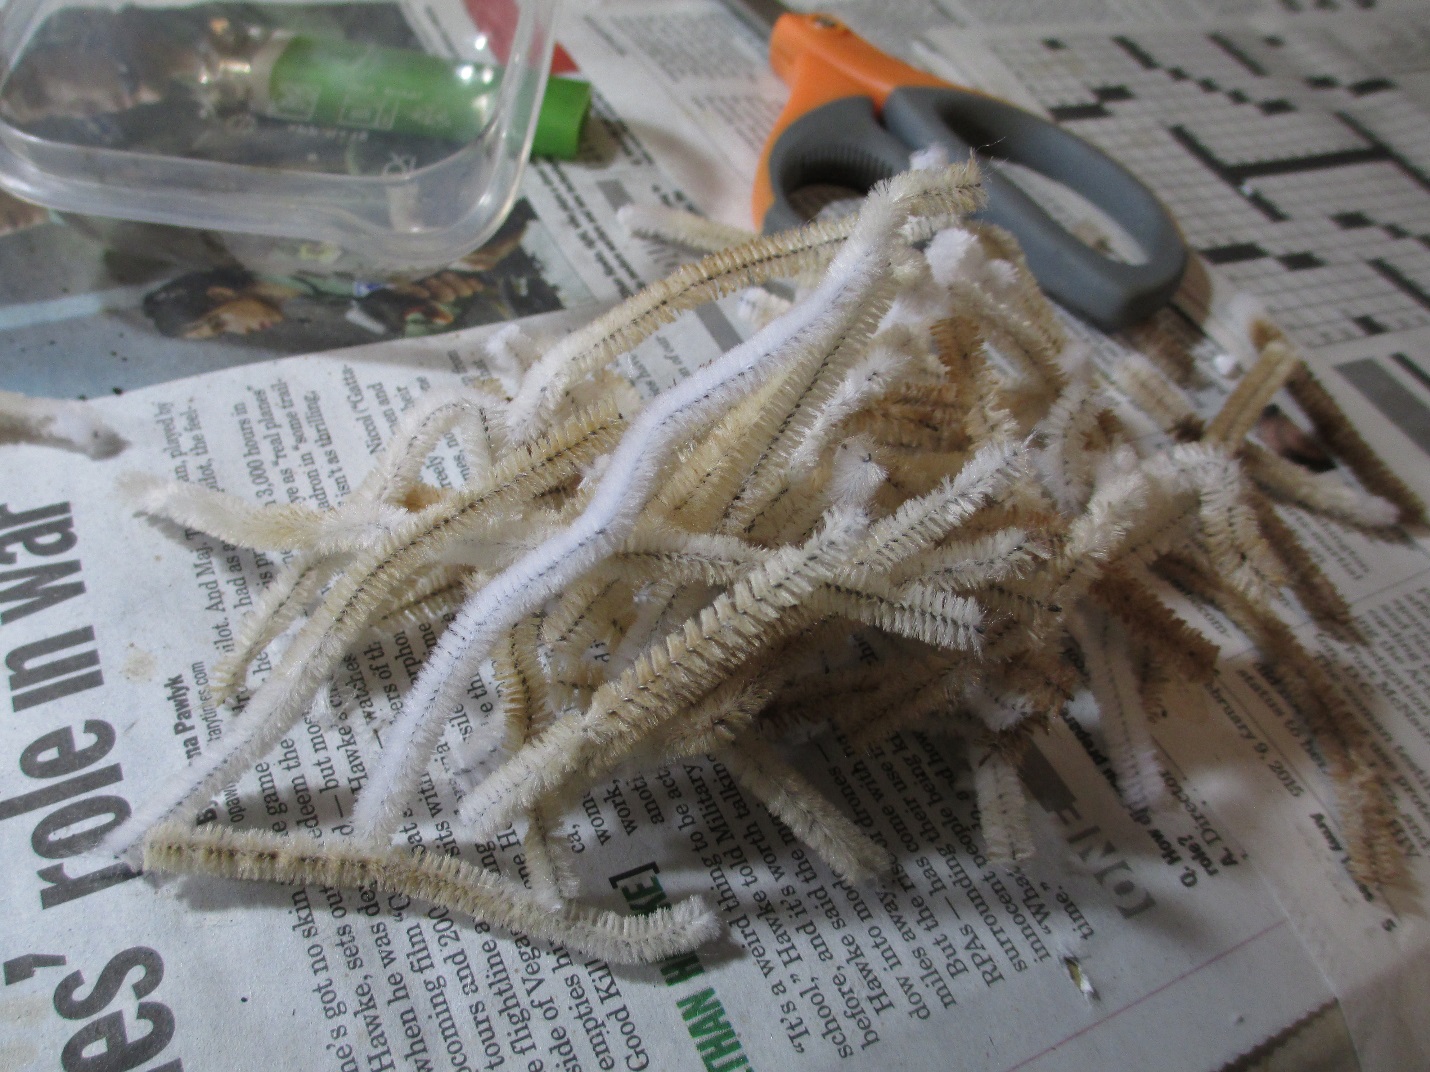
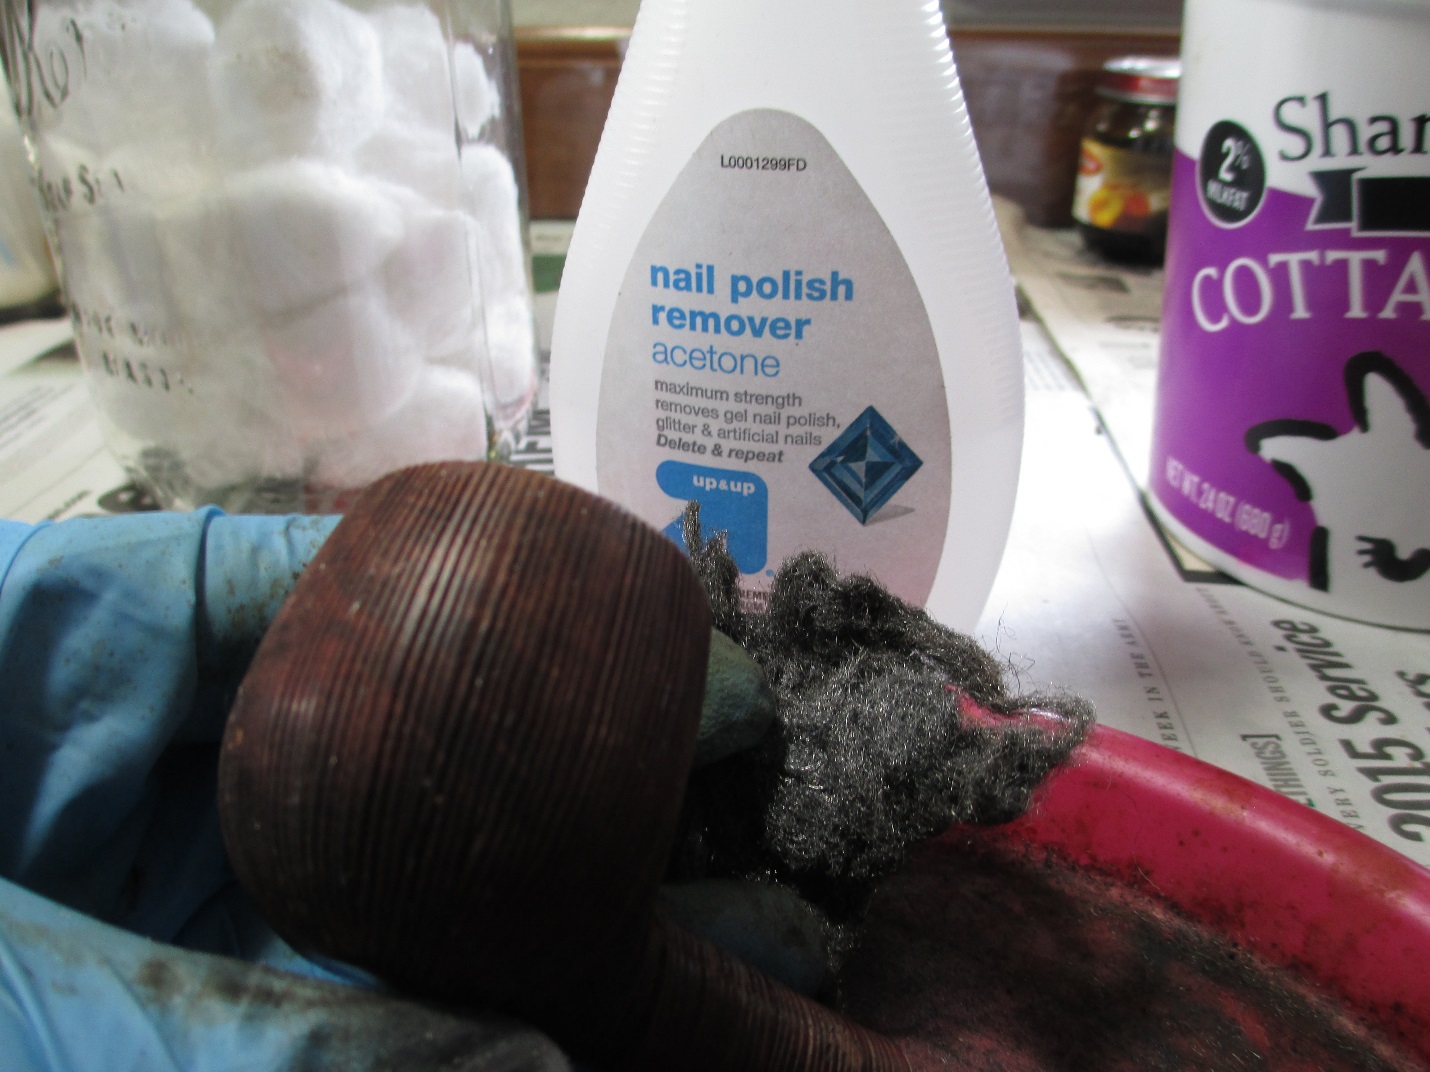
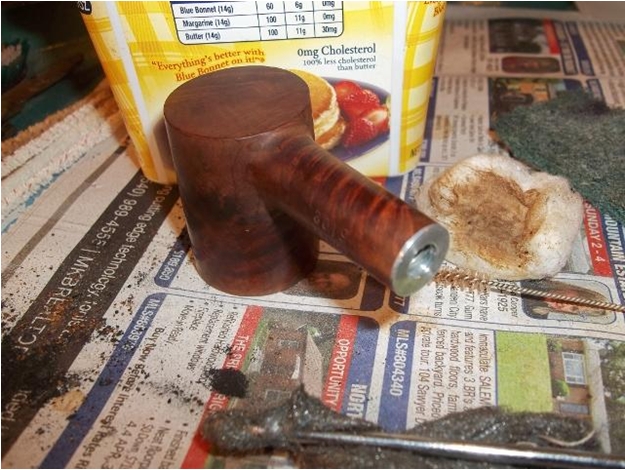
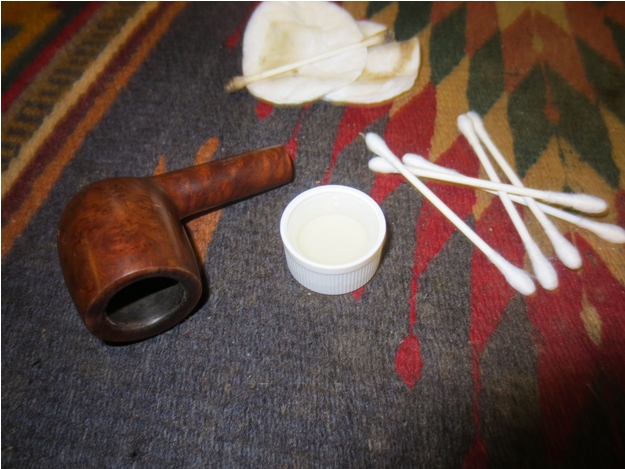
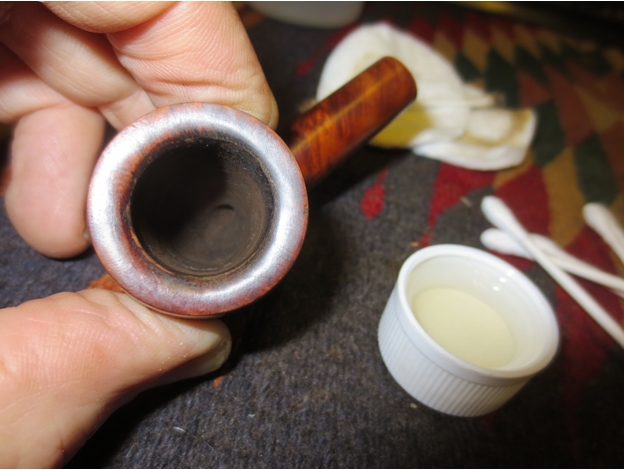
 I scrubbed the bowl down with acetone on cotton pads to remove the grime that had been rubbed into the bowl sides and shank. There were a few fills present but I figured that once I oiled the bowl these would blend into the reddish finish of the briar.
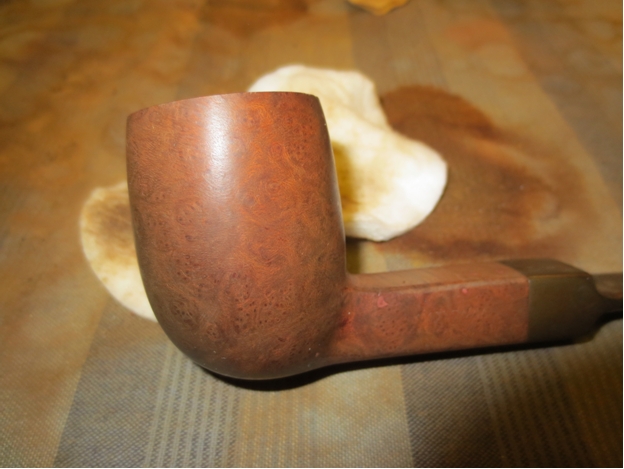
 I reshaped the rim with a folded piece of sandpaper to smooth out the rough spots on the outer edge and to give the rim a slight bevel toward the inner rim edge. I wiped it down with acetone and cotton pads as well.
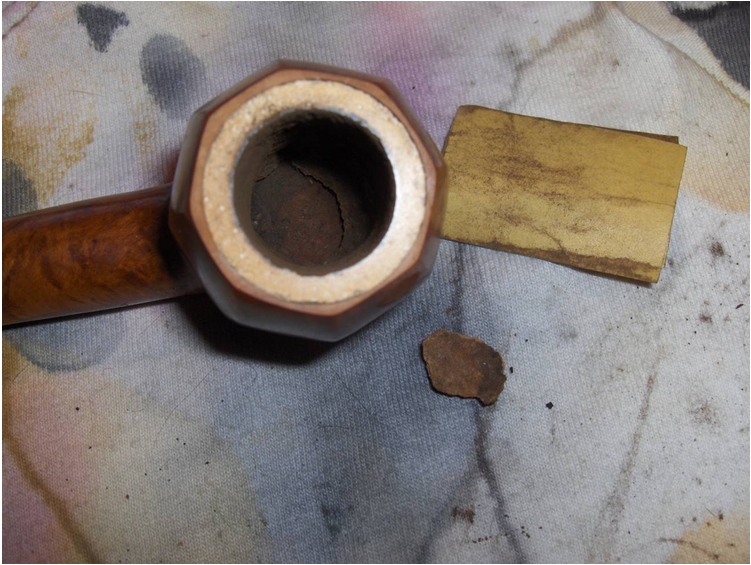
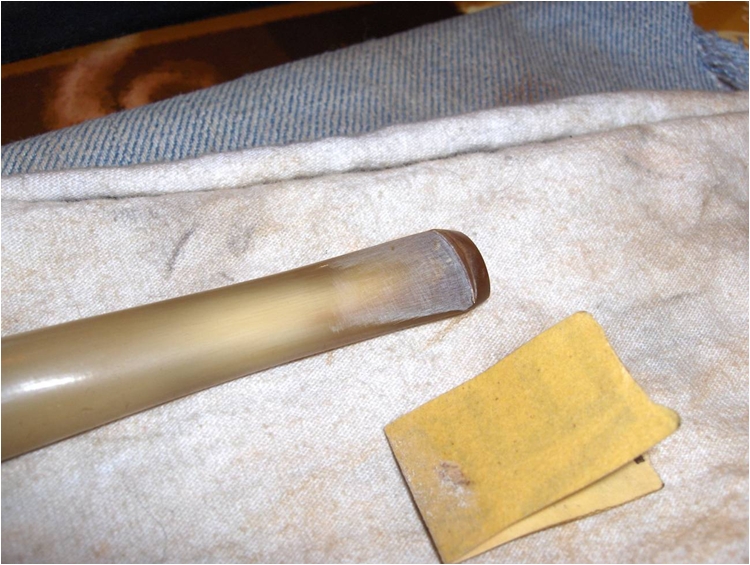
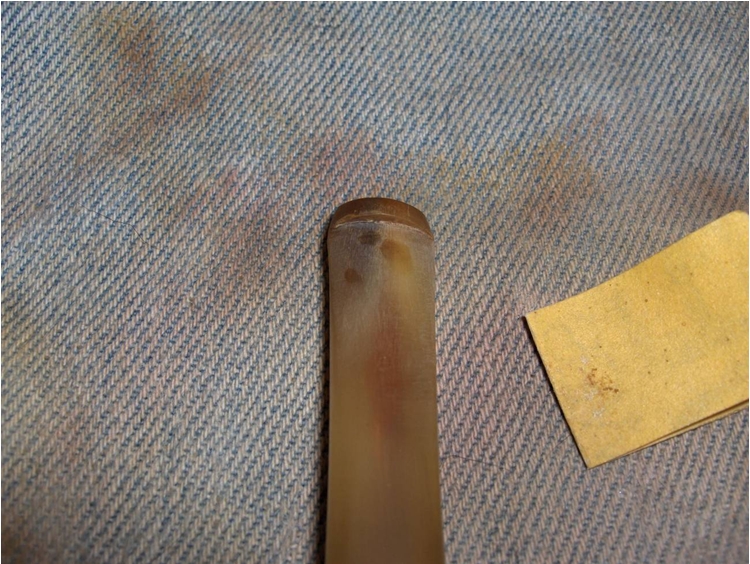
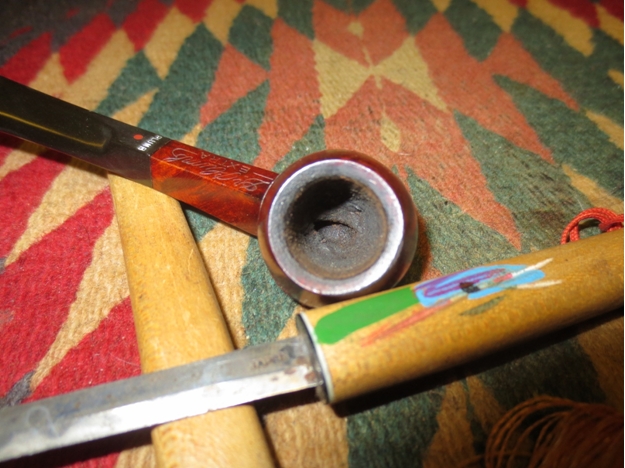
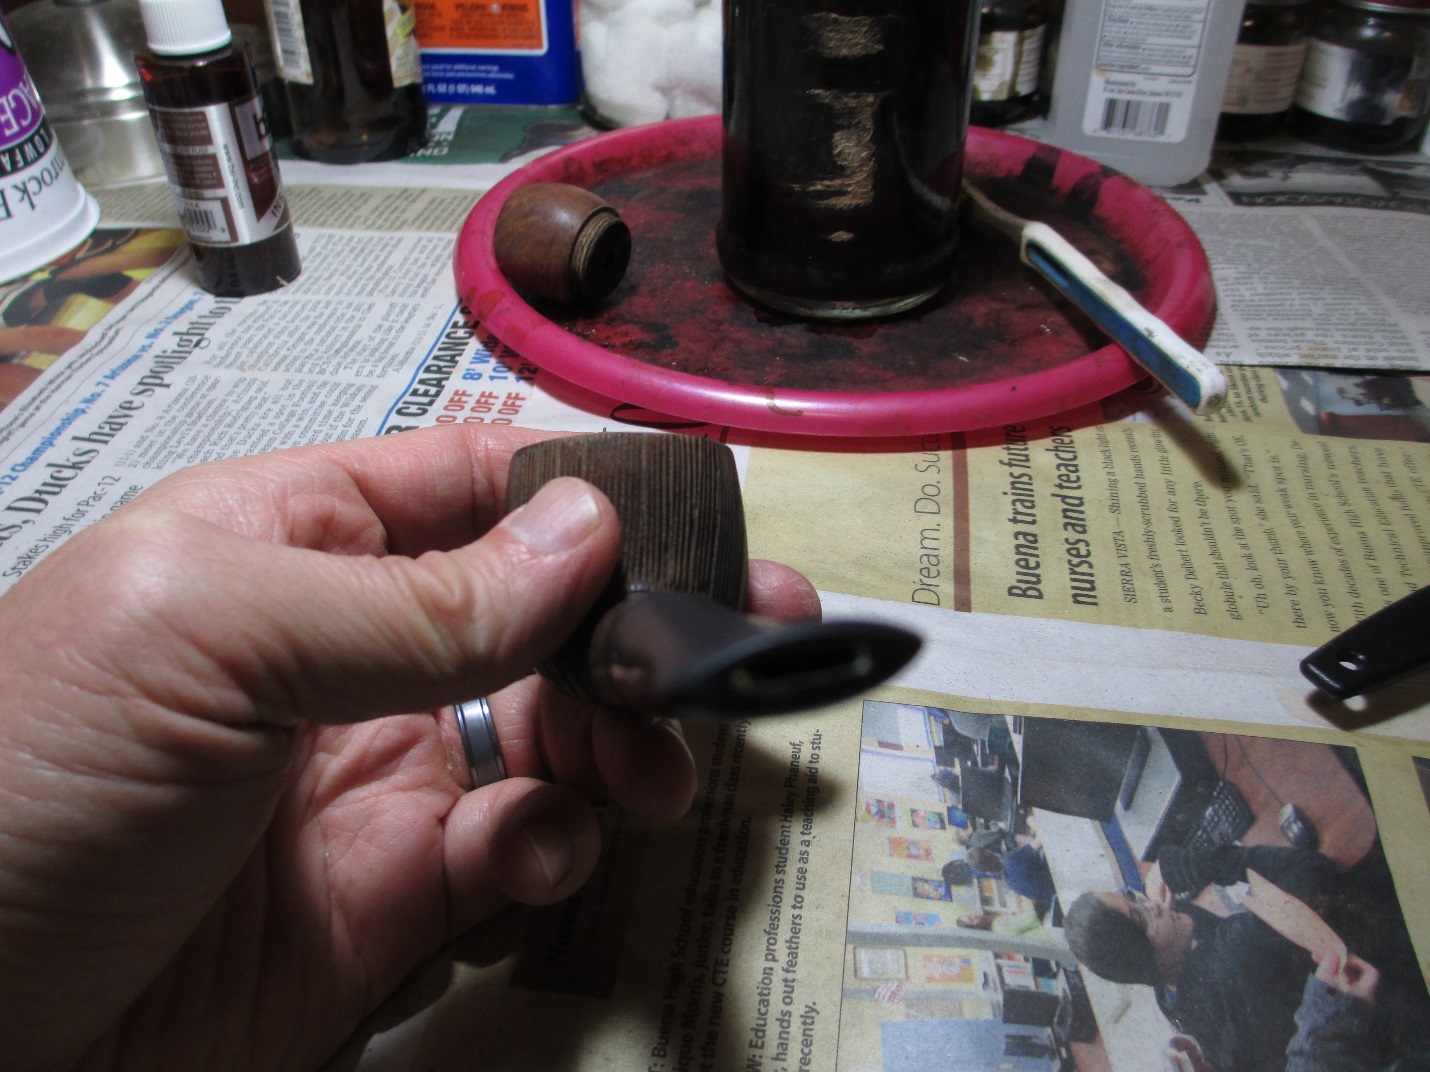
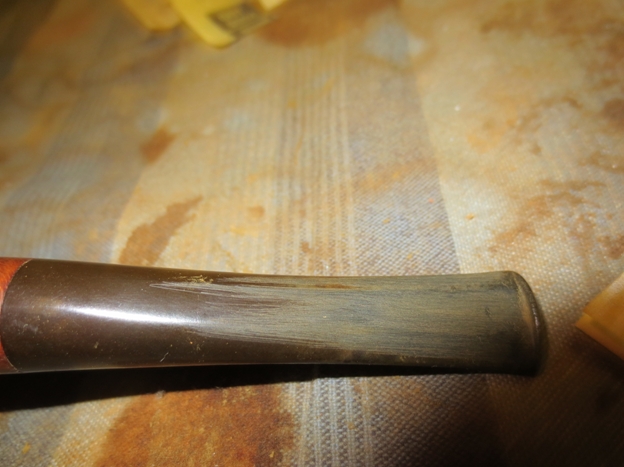
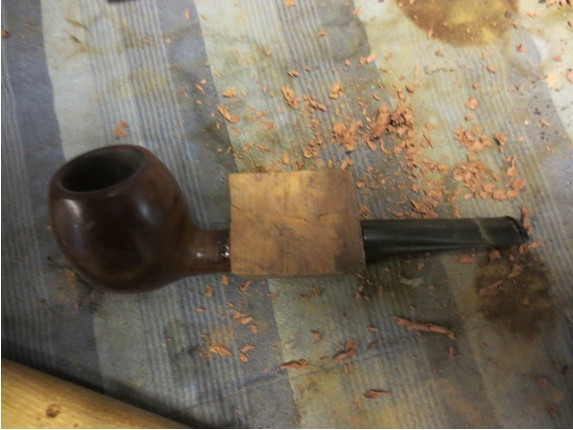
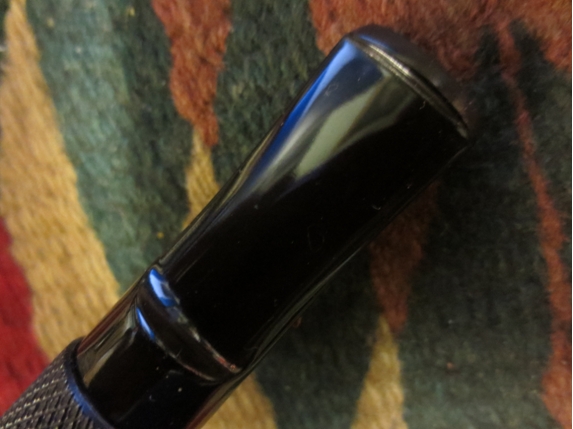
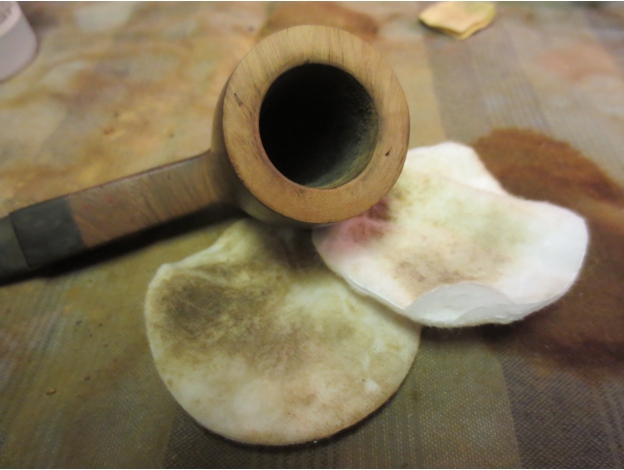 I set the bowl aside for a bit and worked on the stem. I sanded the stem surface to remove the tooth marks and the calcium buildup. I also wanted to remove the light oxidation that was underneath that and to also clean up the stem enough that I could see the extent of the damage around the bite through on the topside. The first photo below is enlarged to show the hole. It was not huge but there were small cracks radiating around the hole. There were no holes on the bottom side of the stem or tooth marks along the sides.
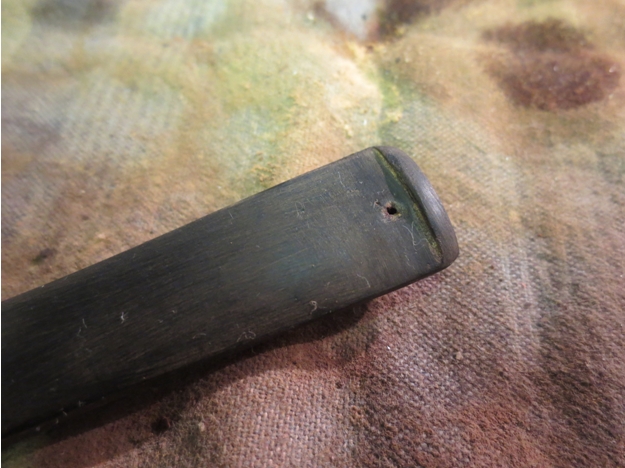
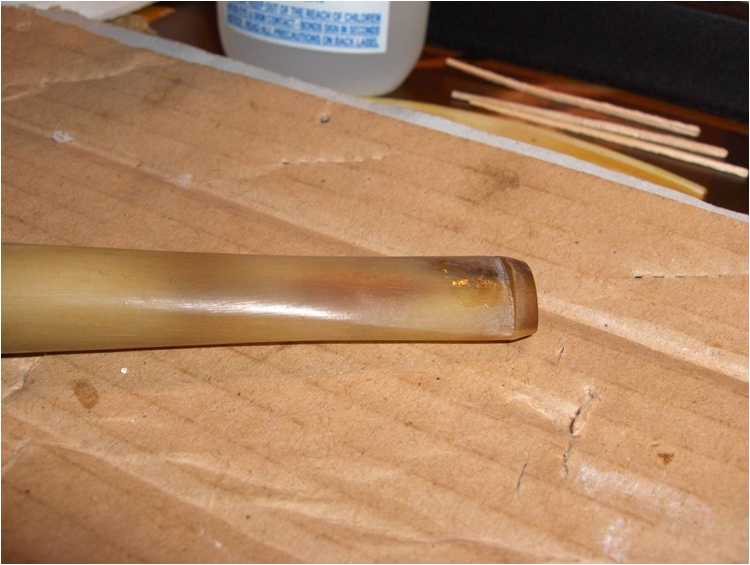
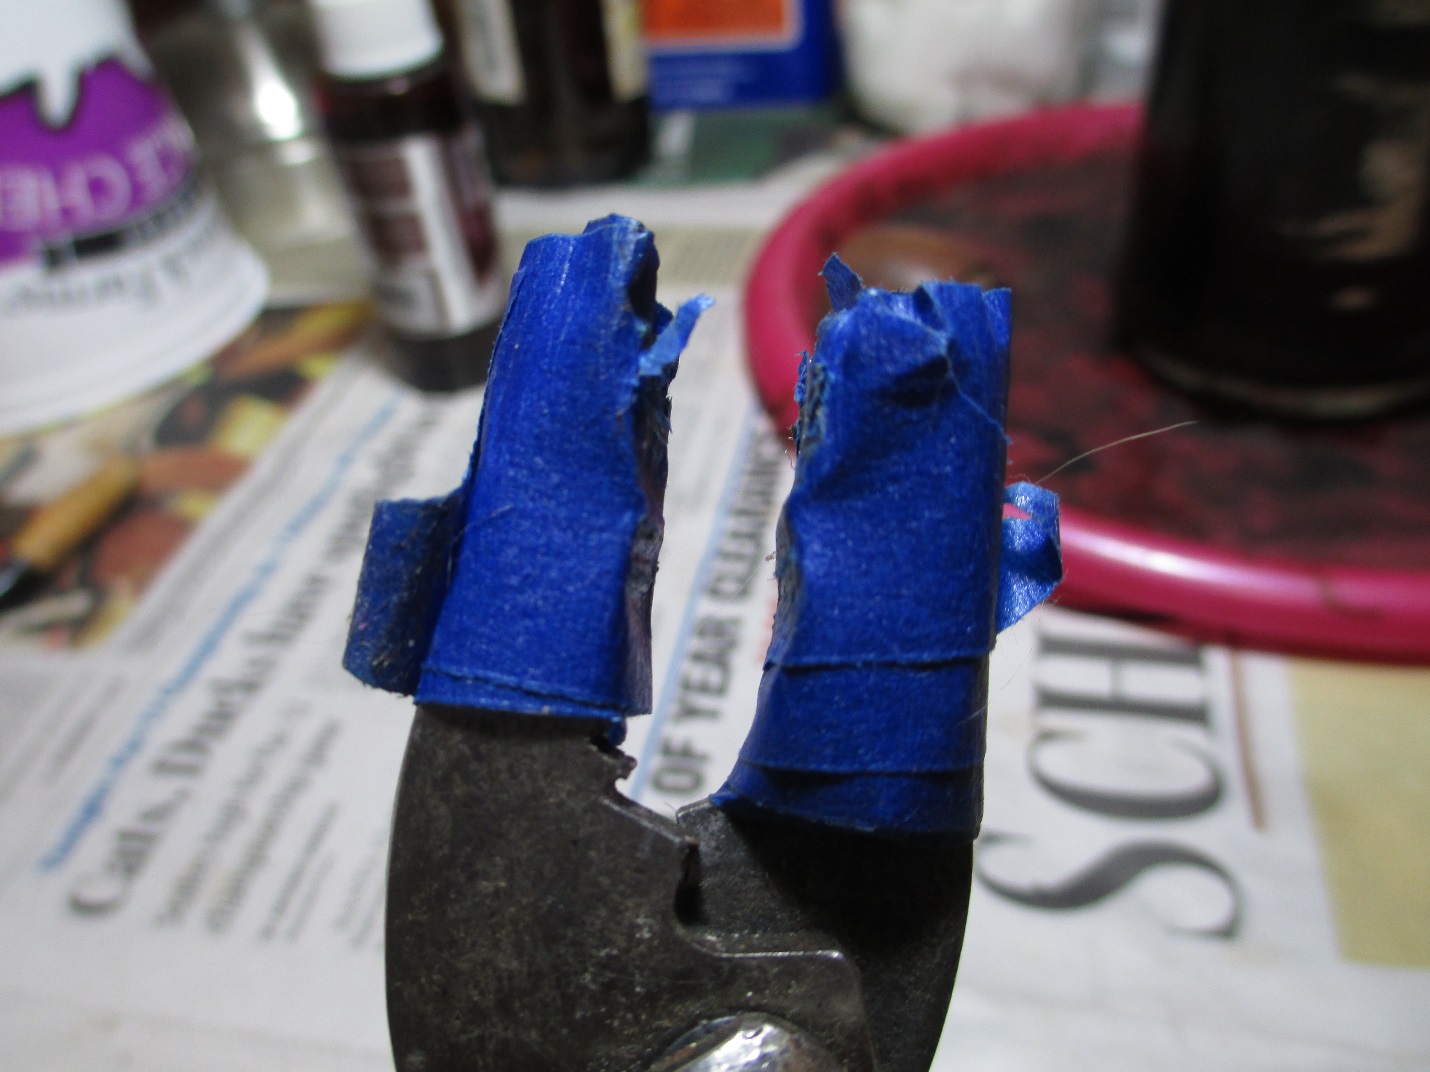
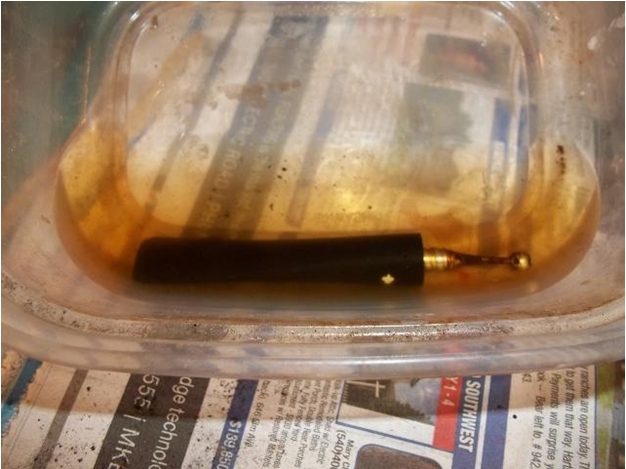
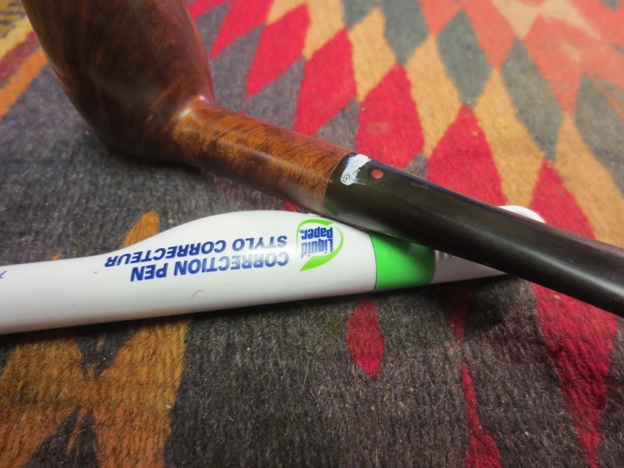
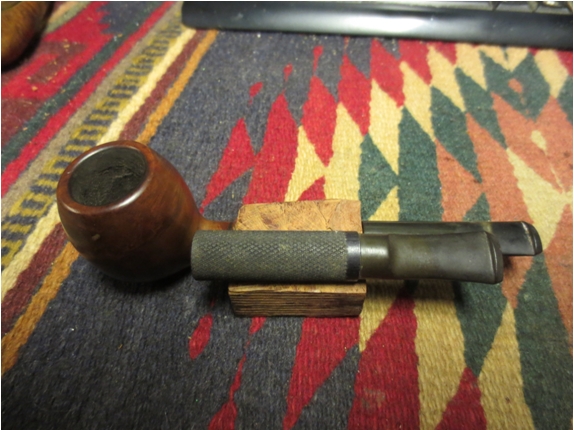
 I picked the area around the small hole with a dental pick to remove any loose pieces of vulcanite that were present and then scrubbed down the area on the top of the stem with alcohol to clean it up for the repair. I greased a pipe cleaner with Vaseline Petroleum Jelly and inserted it in the airway under the hole. I filled the hole with a large drop of black super glue, intentionally overfilling it in order to have the glue go into the spidering cracks around the edges. I set the stem aside for the evening and let it cure.
 In the morning when the glue had cured I used a needle file to redefine the button and then sanded the repair with 220 grit sandpaper to remove the excess and feather it into the surface of the stem.
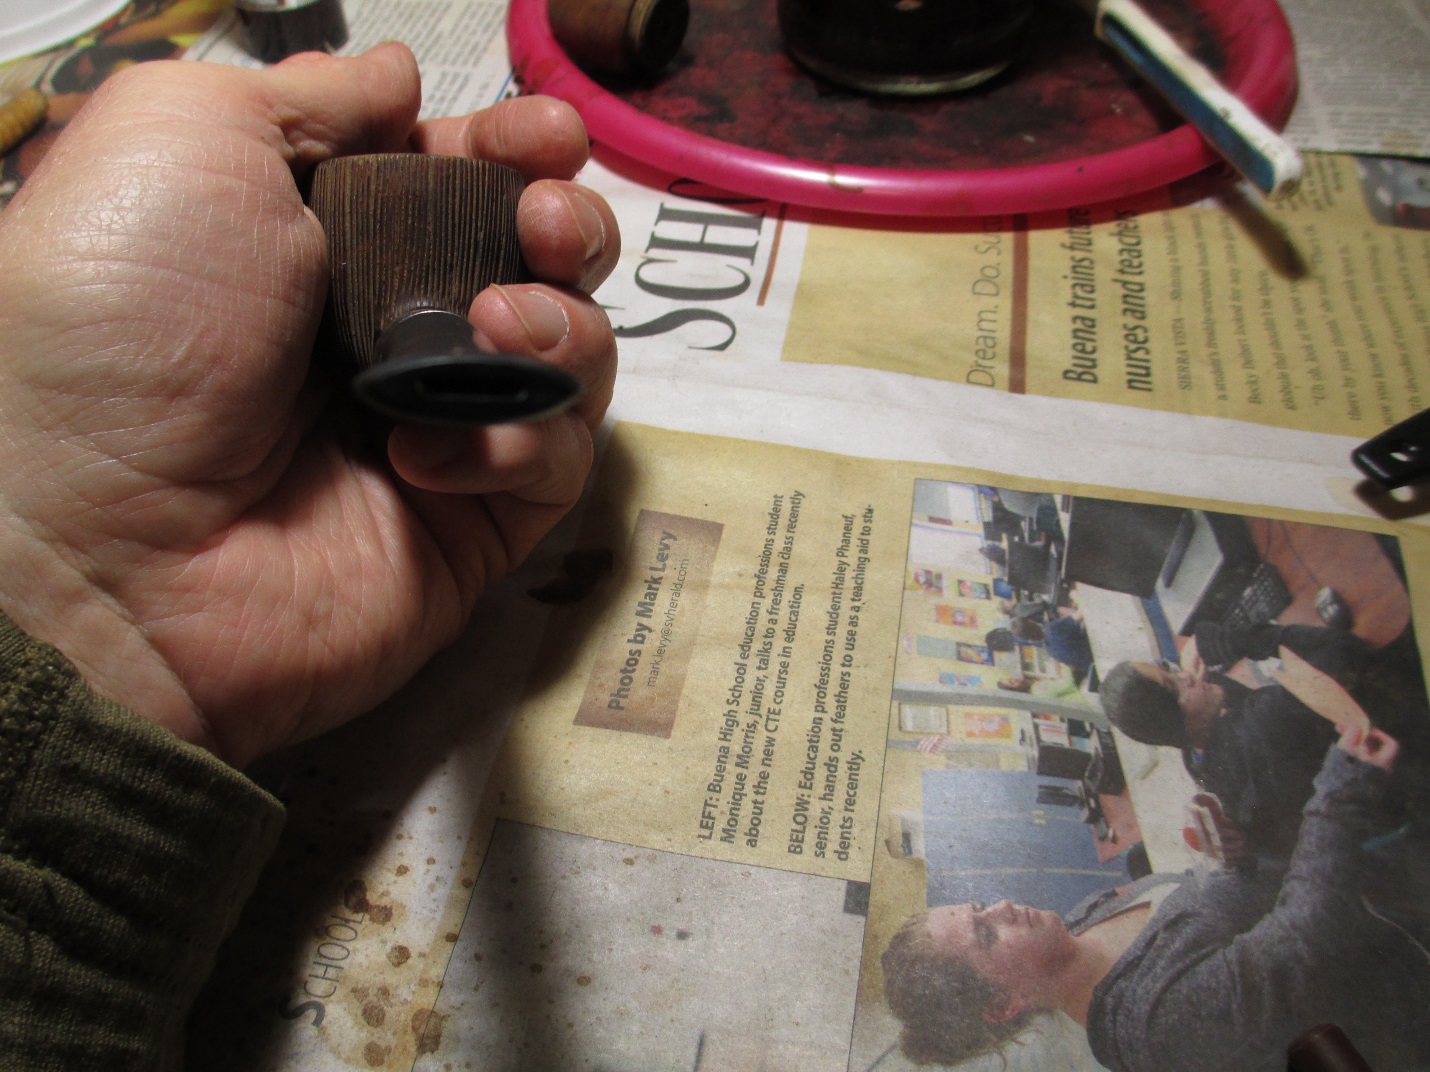
 I sanded the stem with a medium and fine grit sanding sponge and found that while the major hole was filled and solidly repaired there was a small air bubble that once sanded produced a small hole that also needed to be fixed. It was right next to the newly shaped button. I used a drop of clear super glue to repair that. It dries quickly so I could easily sand it and blend it into the stem.
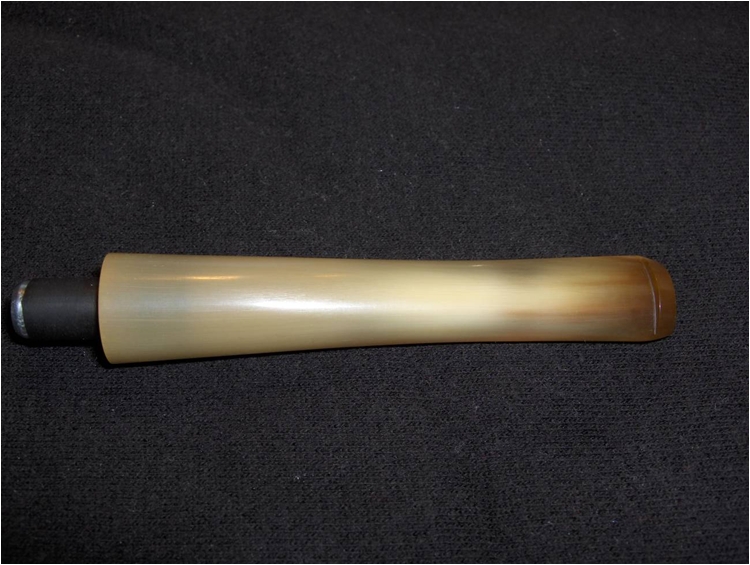
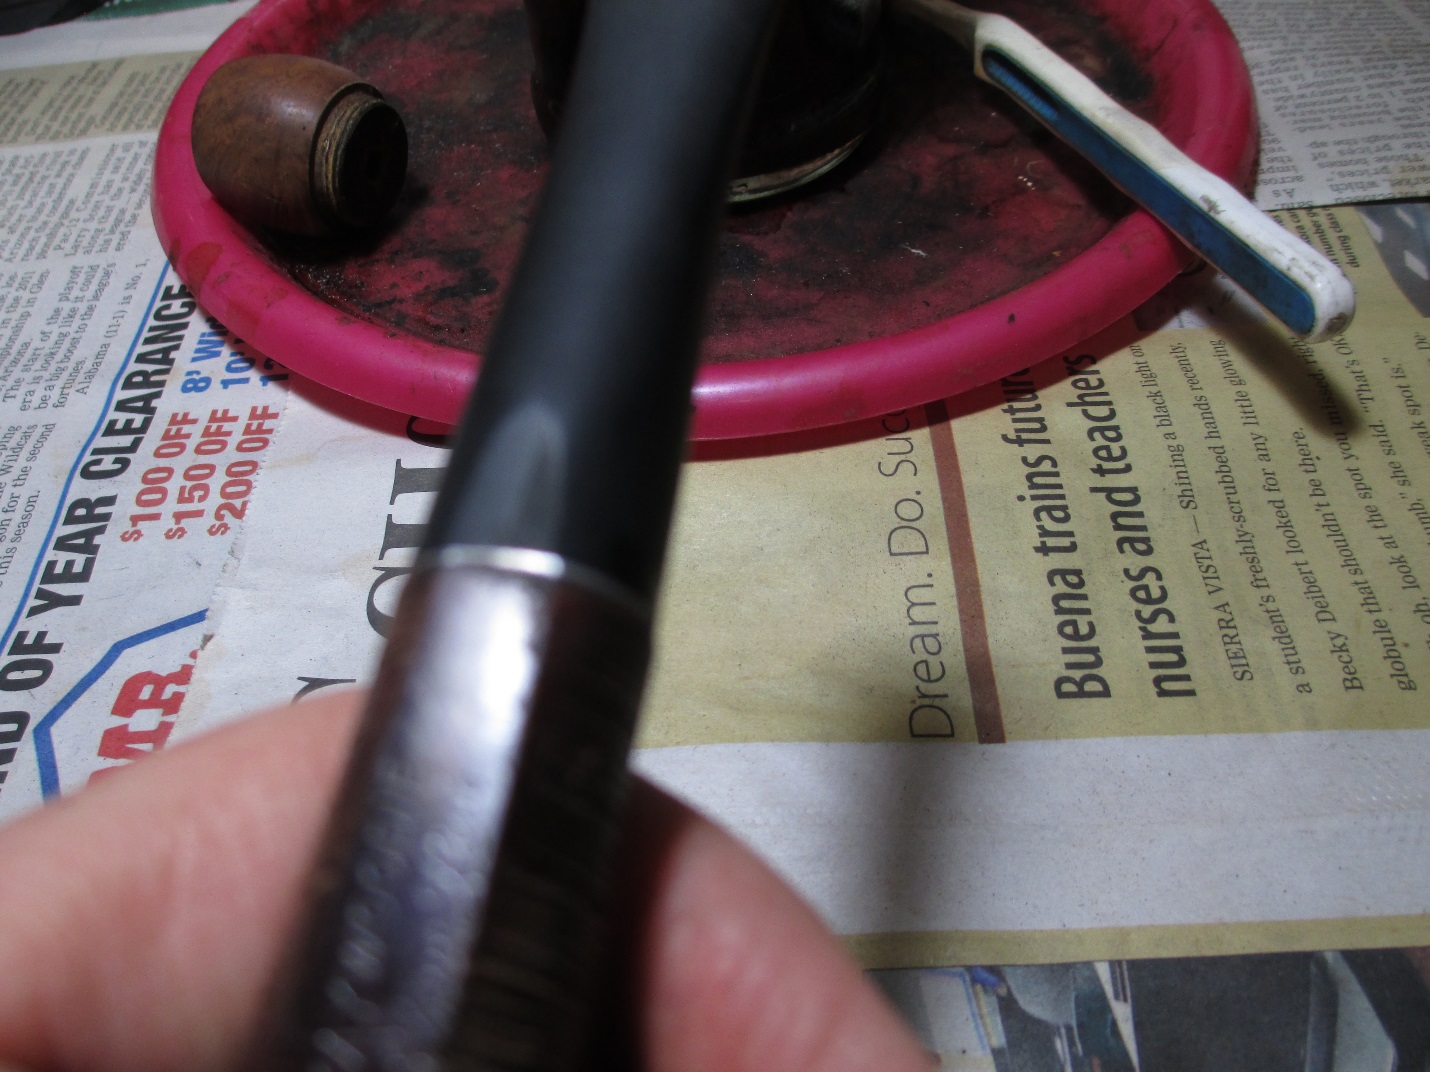
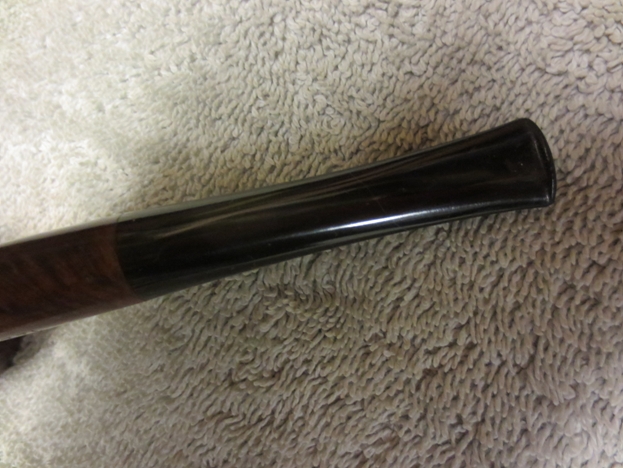
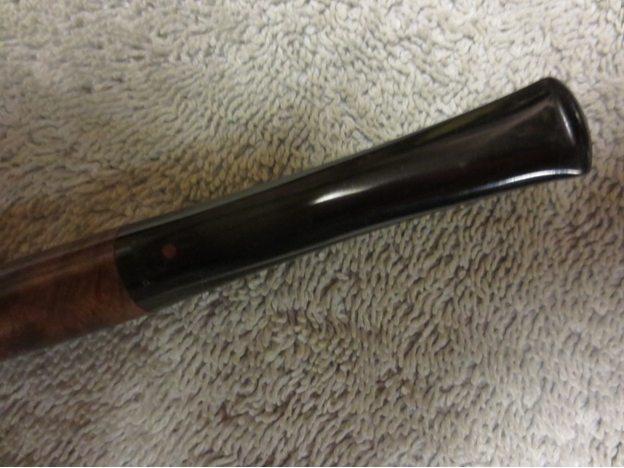
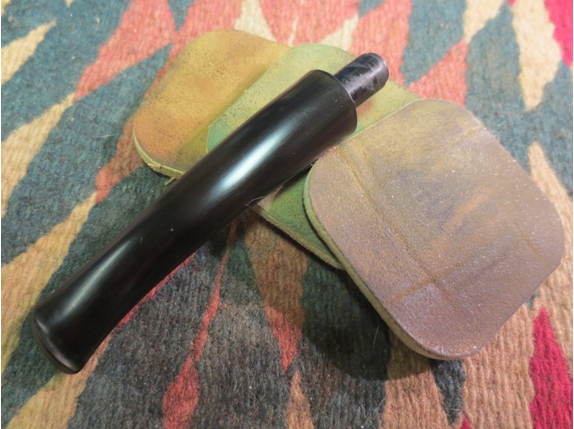
 I sanded the patch and the stem with a medium and fine grit sanding sponge. The results can be seen in the photos below. The hole is gone and the stem is ready for polishing.
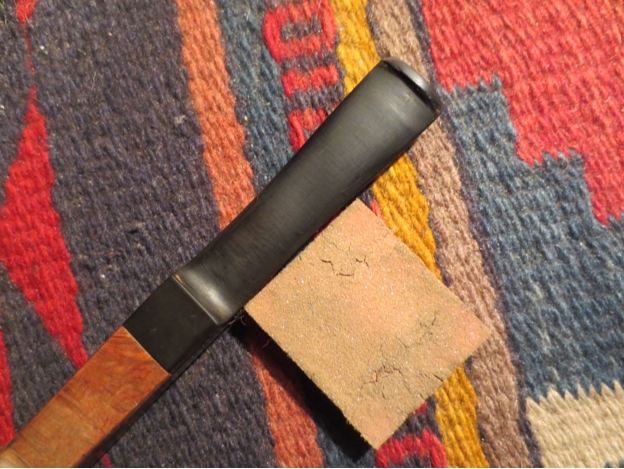

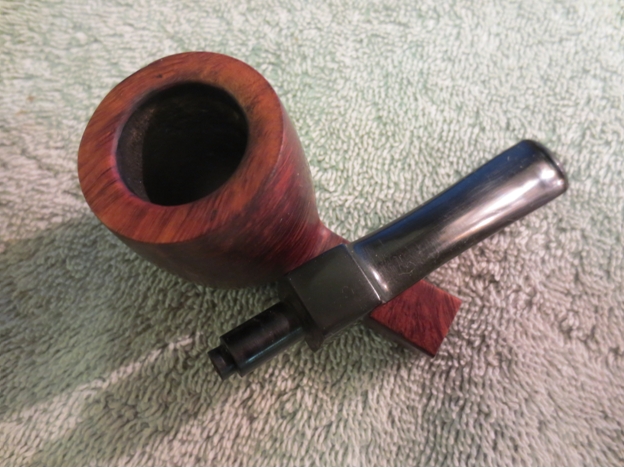
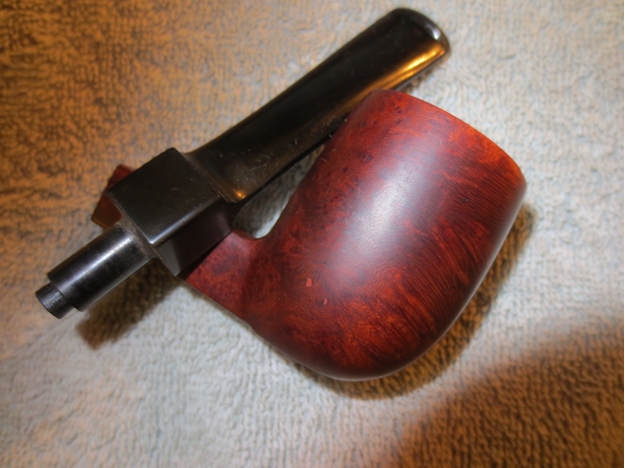
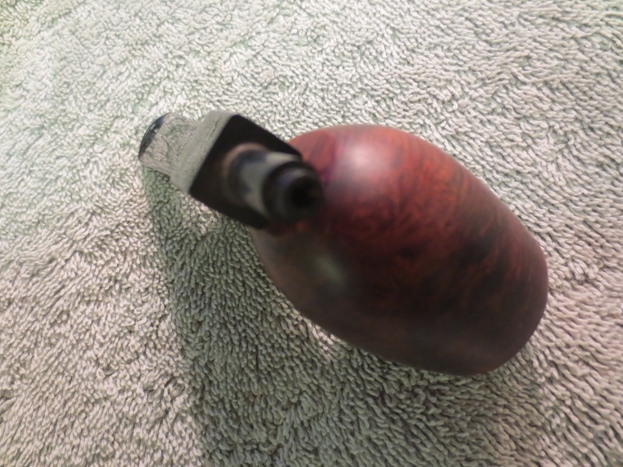
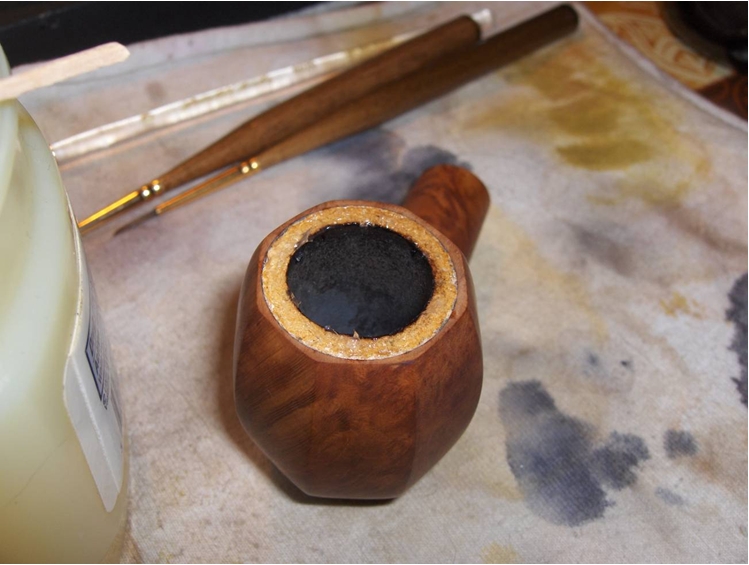
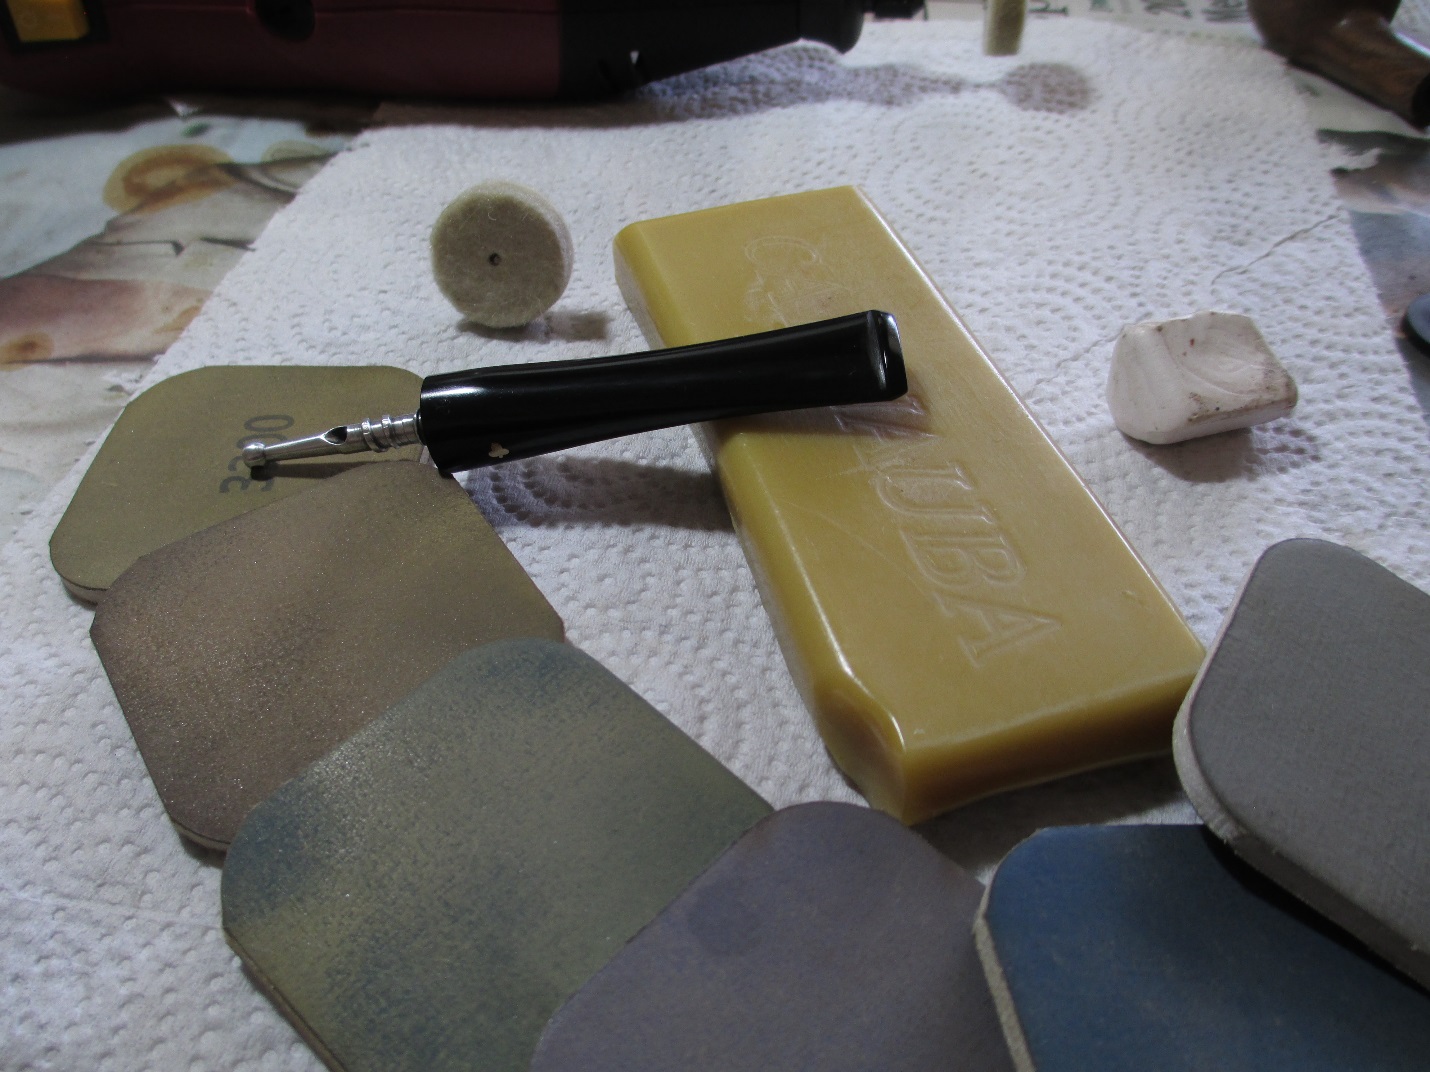
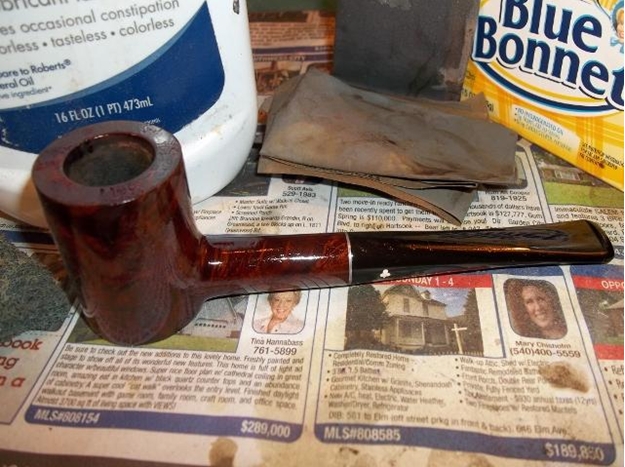
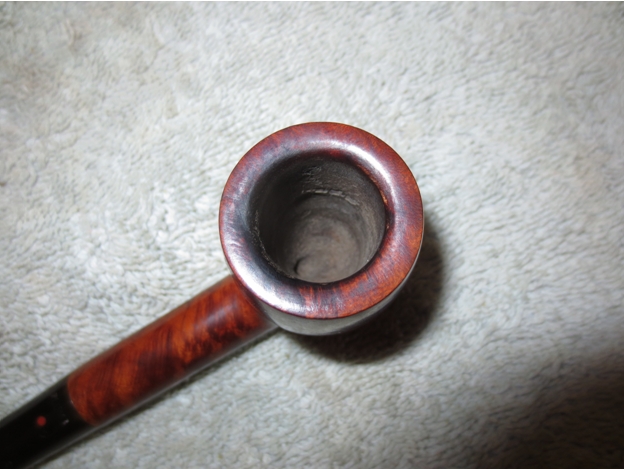
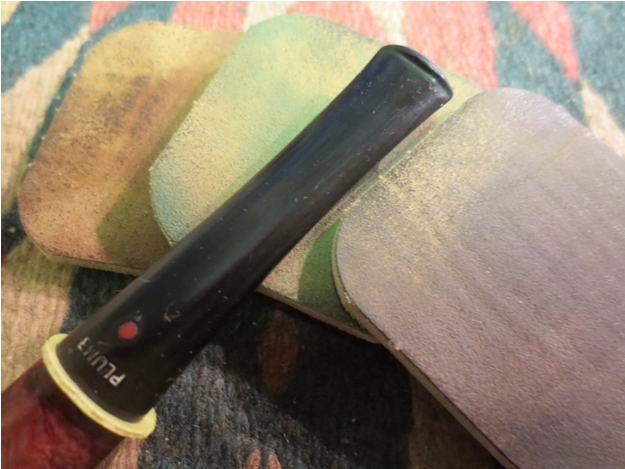
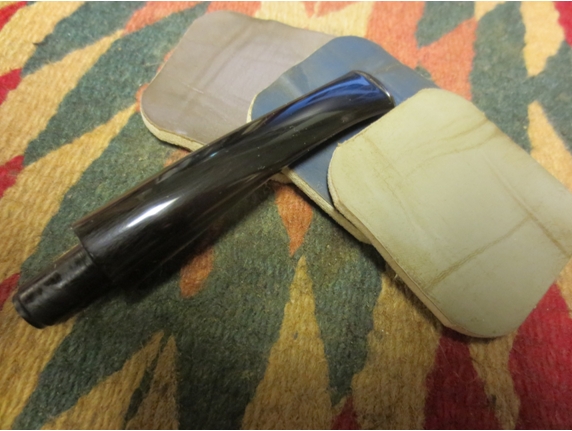
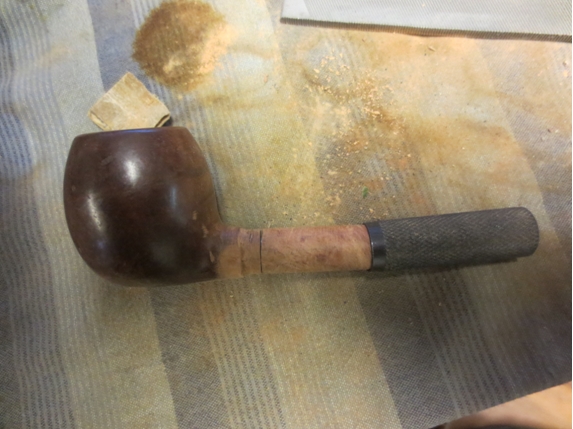
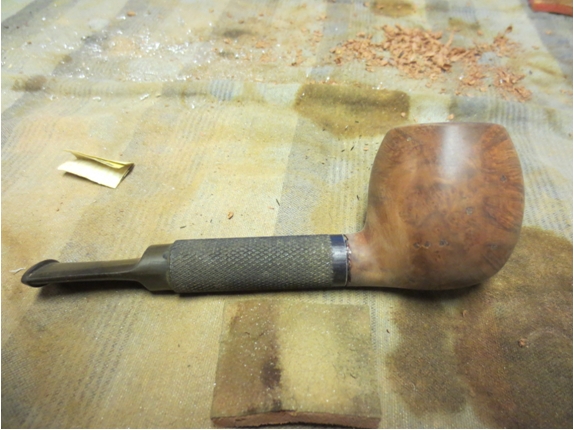
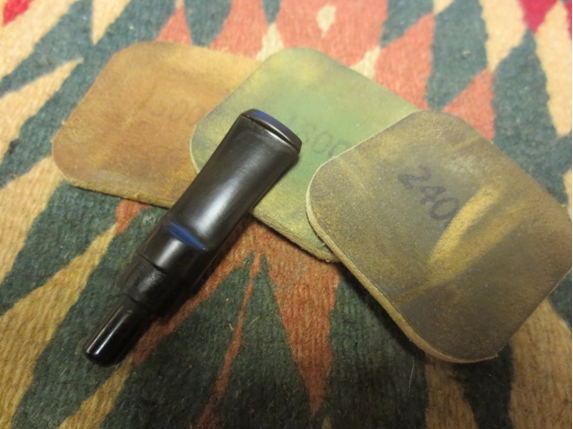
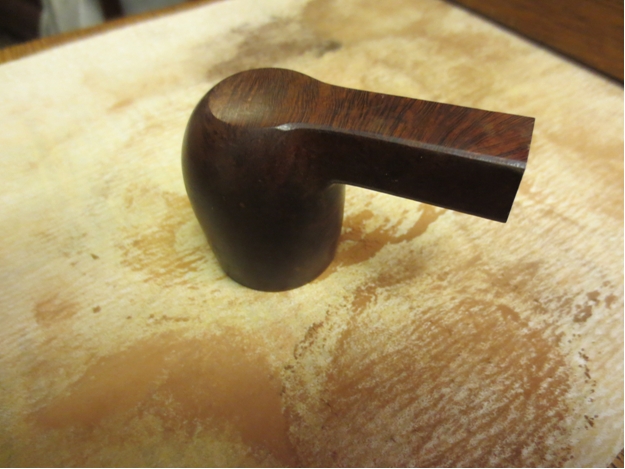
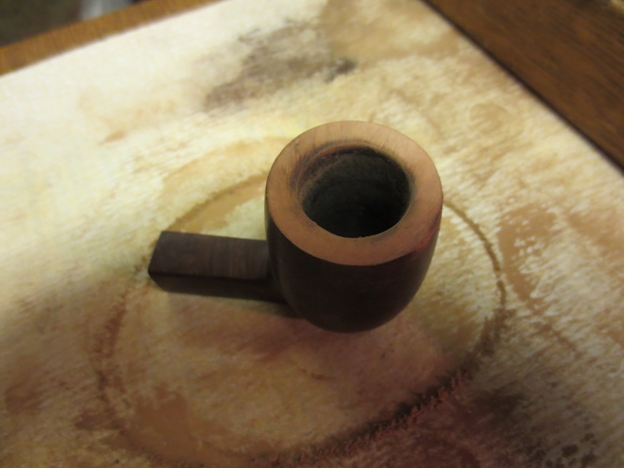
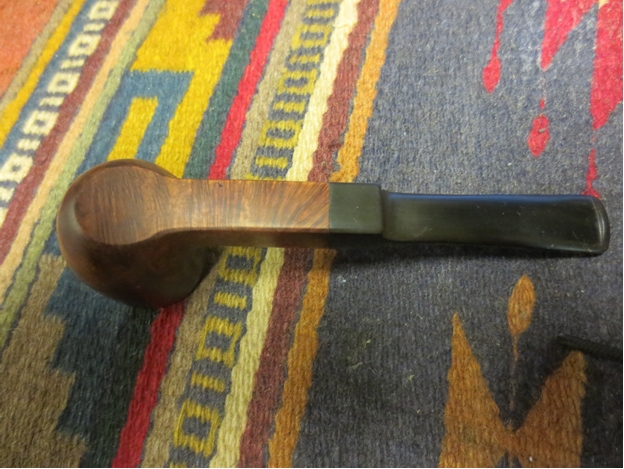
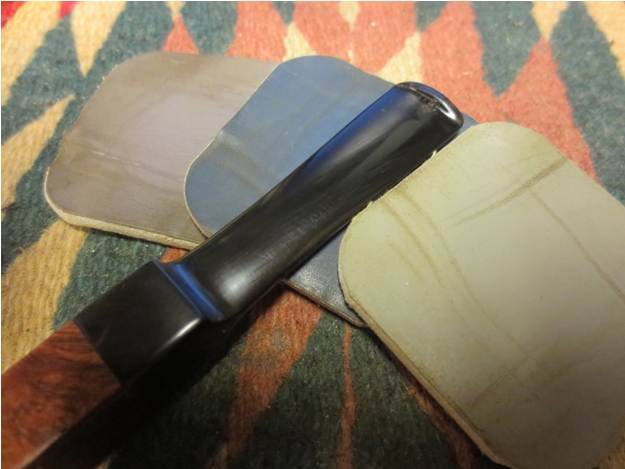
 I sanded the bowl, shank and stem with micromesh sanding pads – wet sanding with 1500-2400 grit pads.
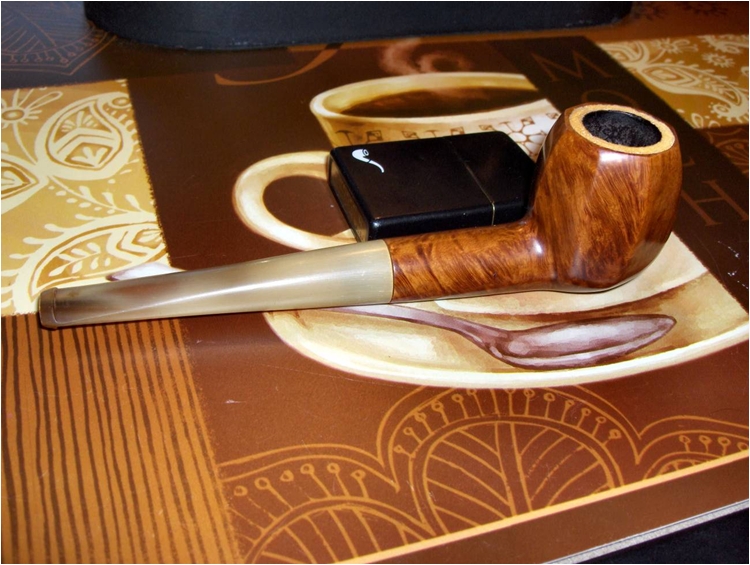
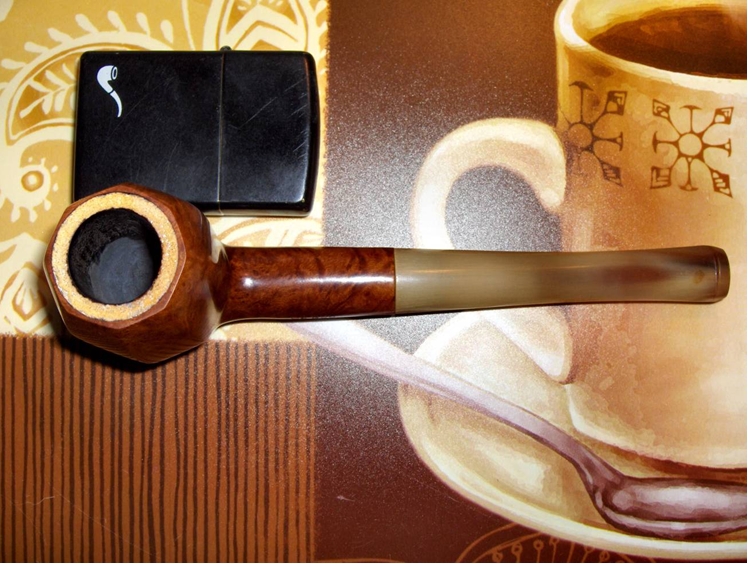
 I rubbed down the stem with Obsidian Oil and while it dried I decided to rub down the bowl with a light coat of olive oil. It serves to highlight the grain and brings out the red in the briar. The next four photos show the pipe at this point in the refurb.
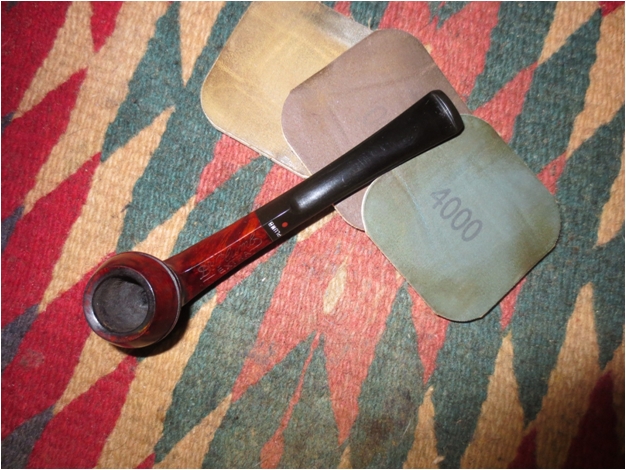
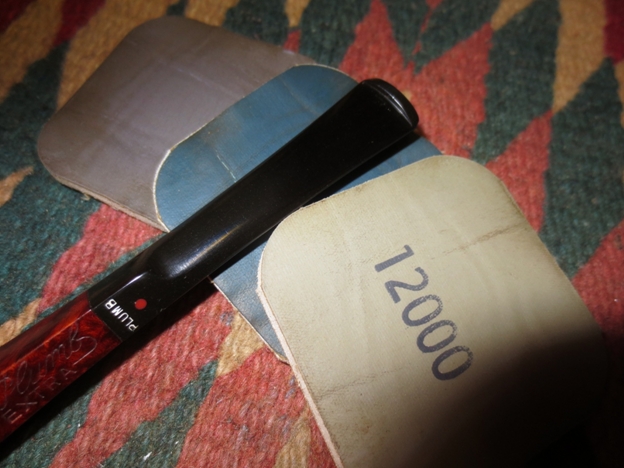
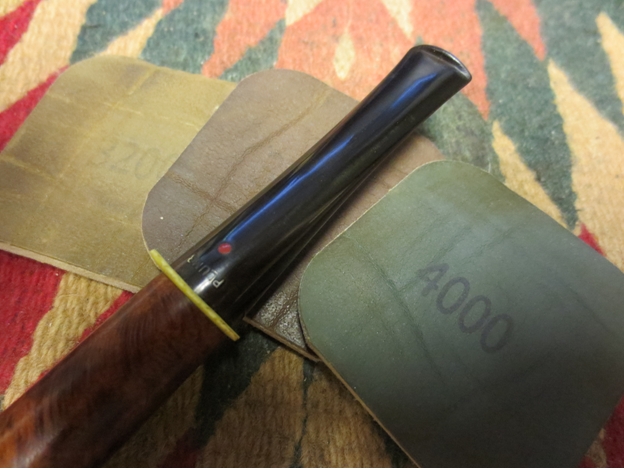
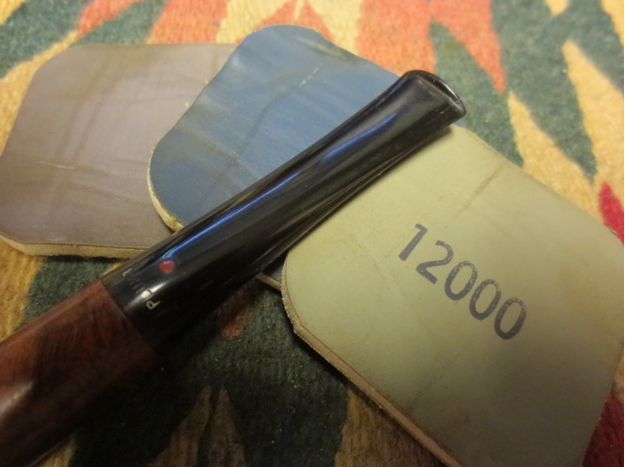
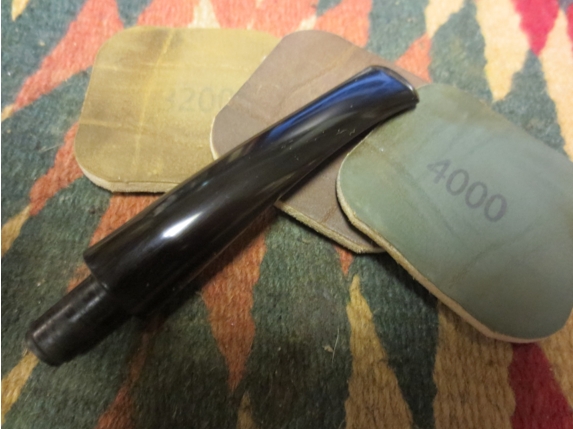
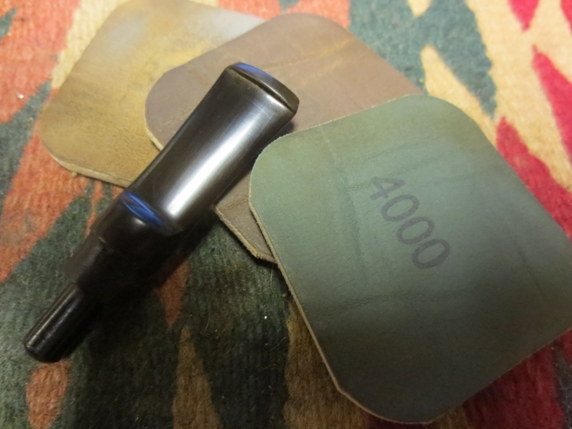
 I dry sanded the stem, bowl and shank with 3200-12,000 grit pads. I rubbed the stem down with Obsidian Oil between each set of three pads and gave the stem a final coat of the oil after the 12,000 grit pad.
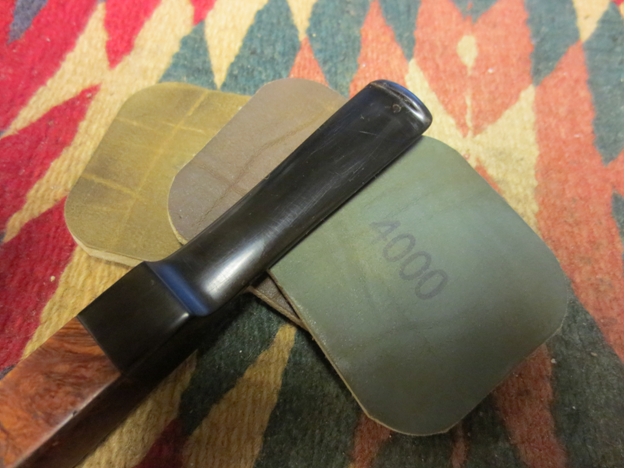
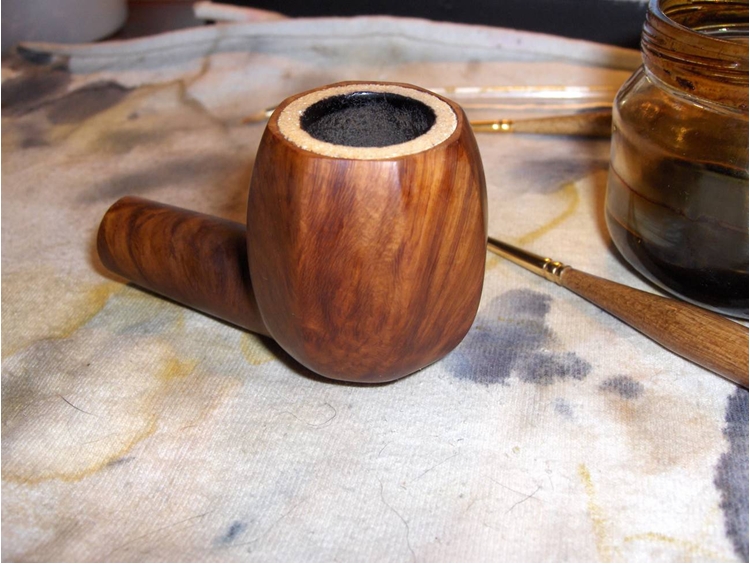
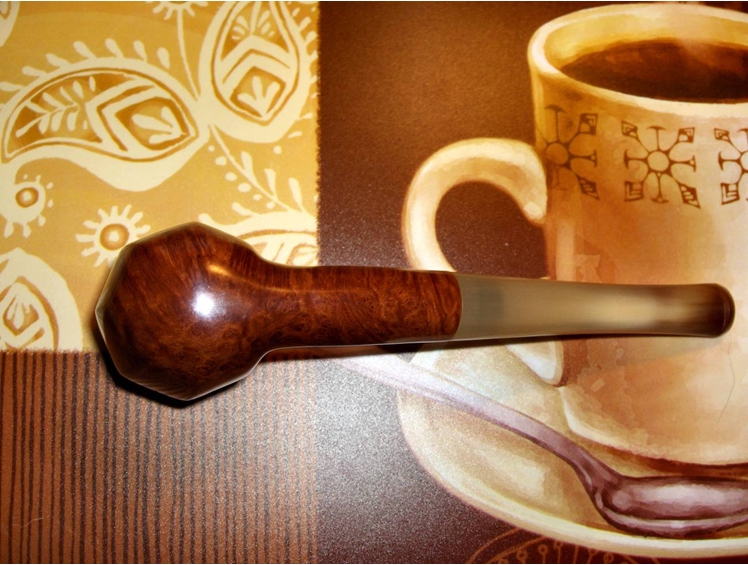
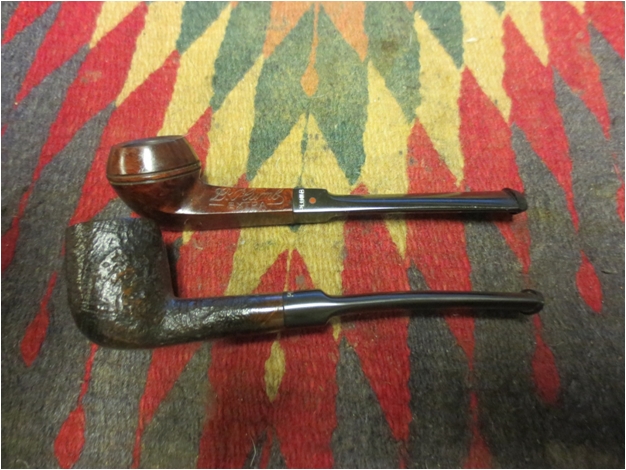
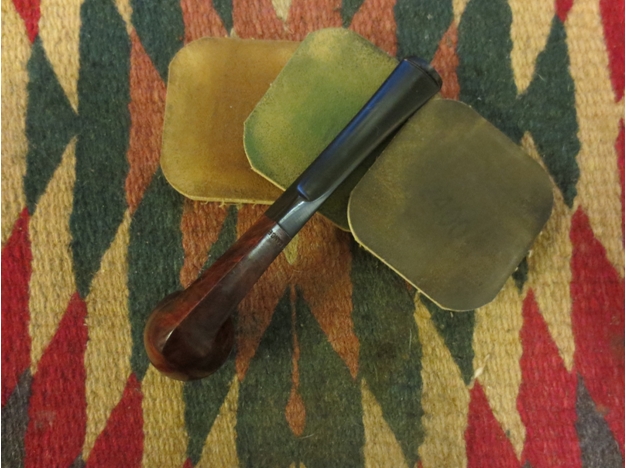
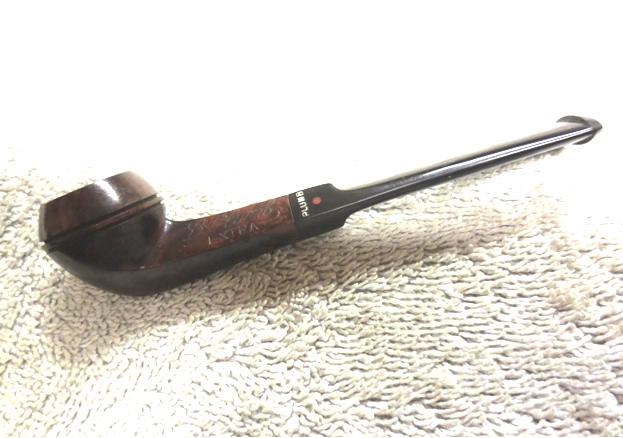
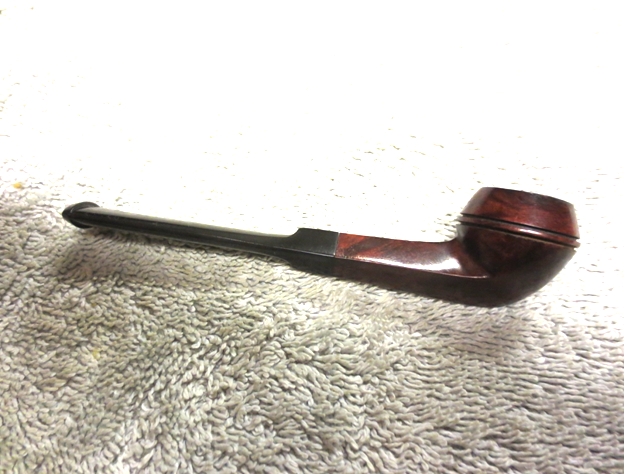
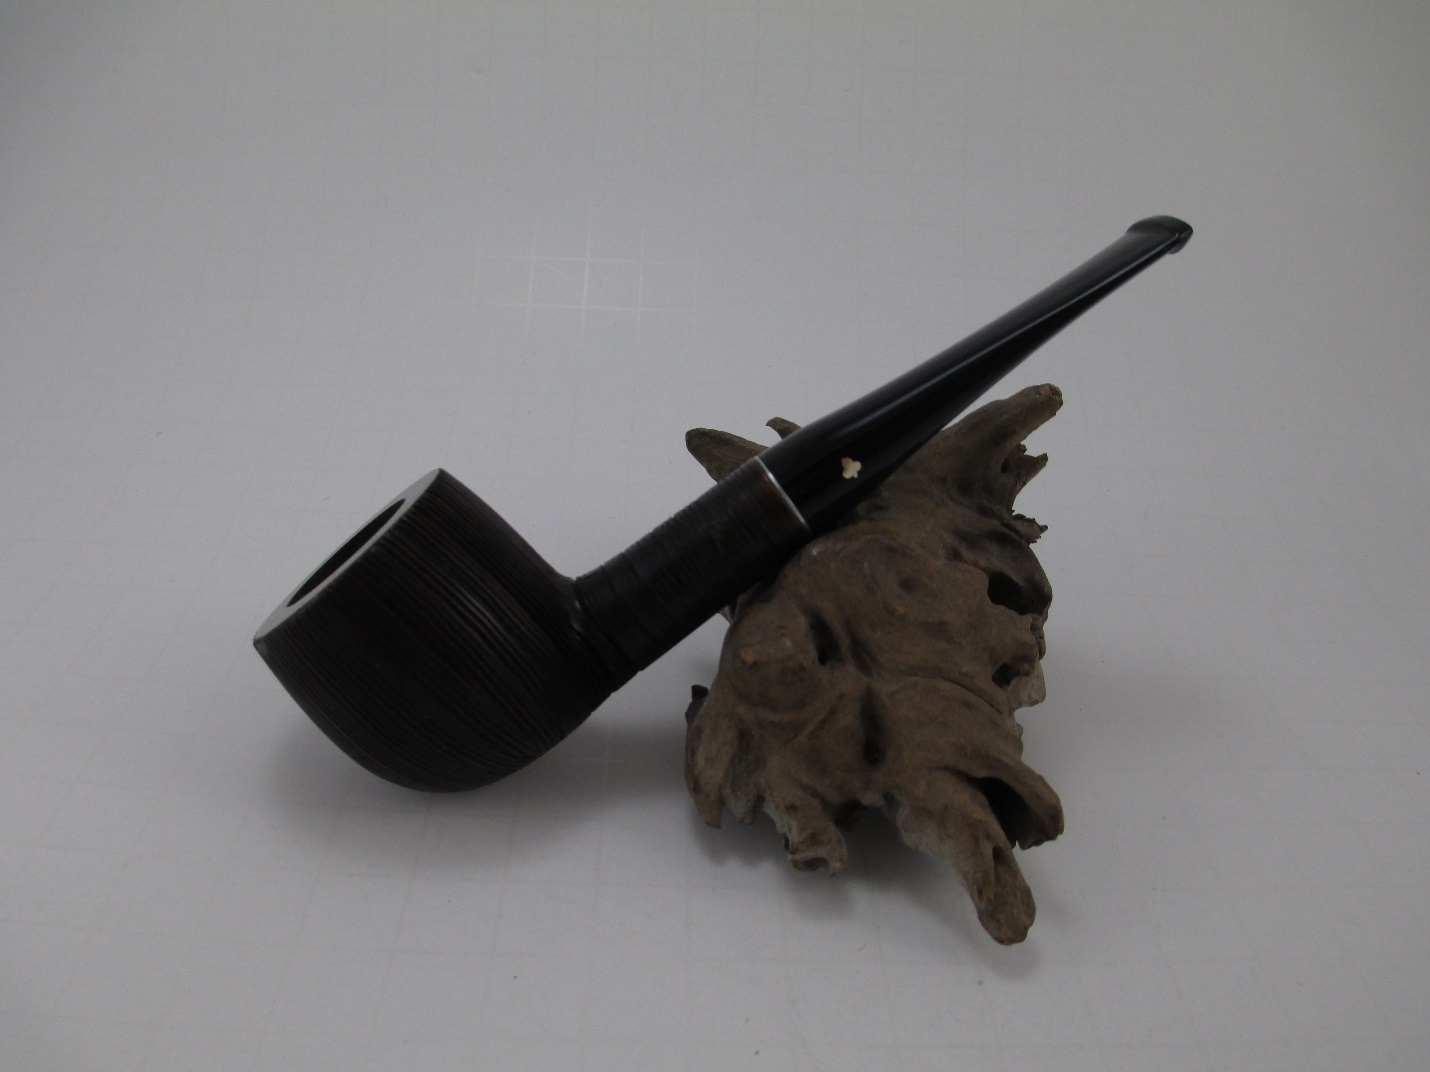
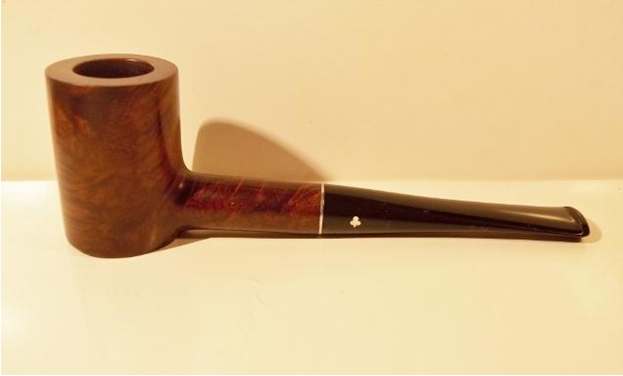
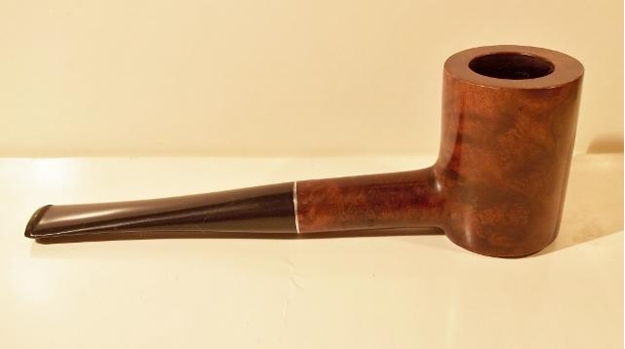
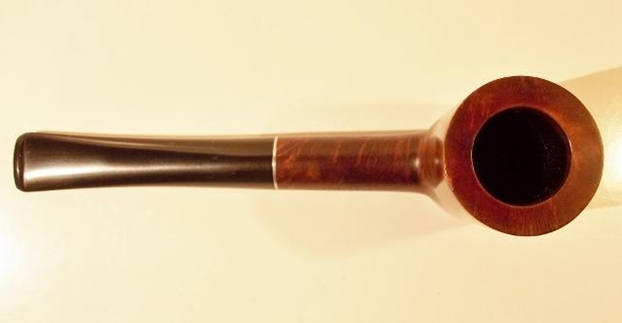
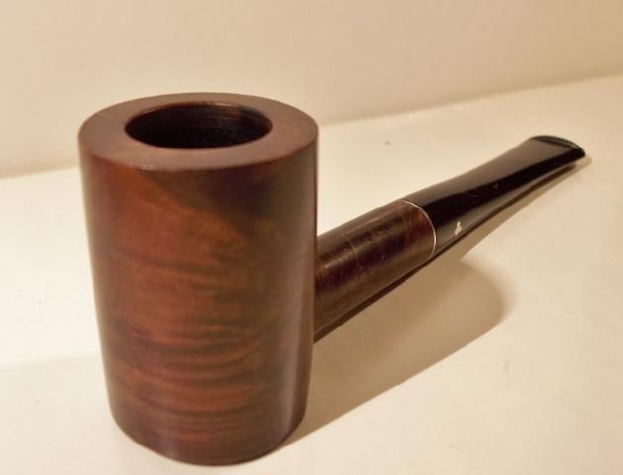
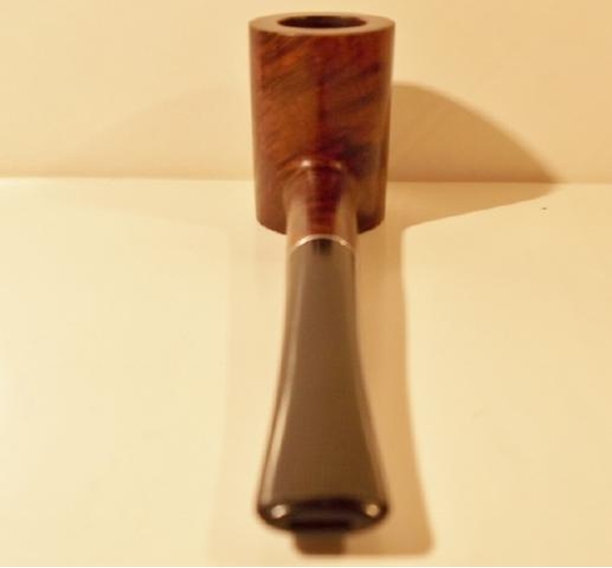
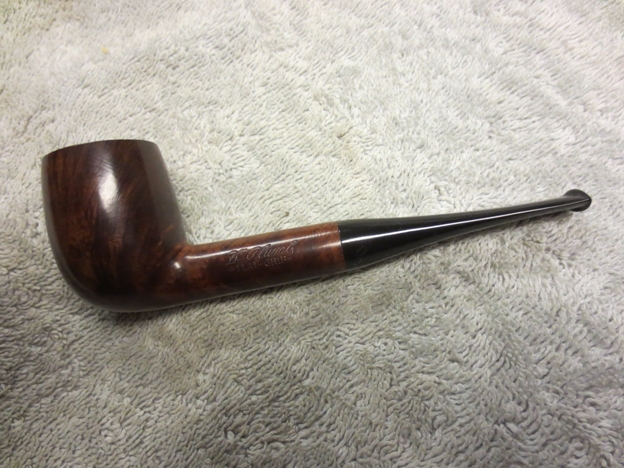
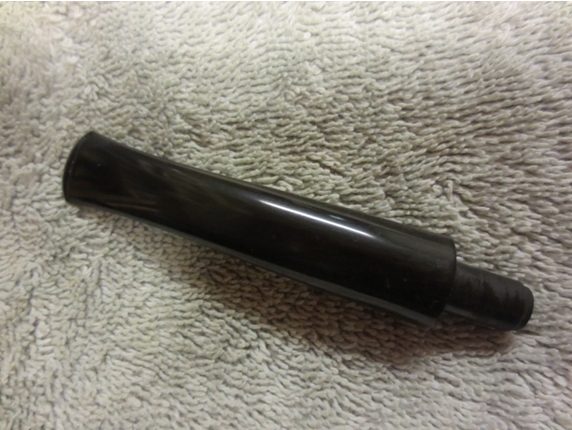
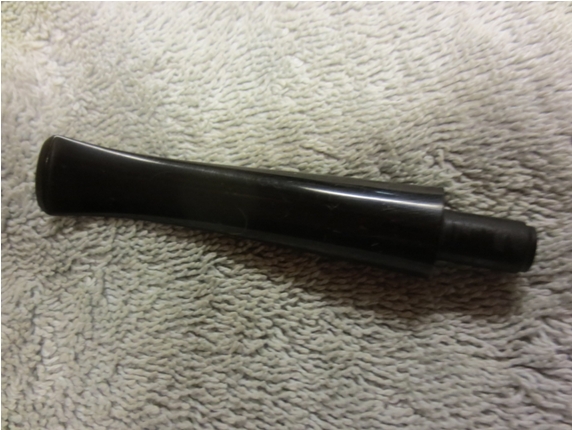
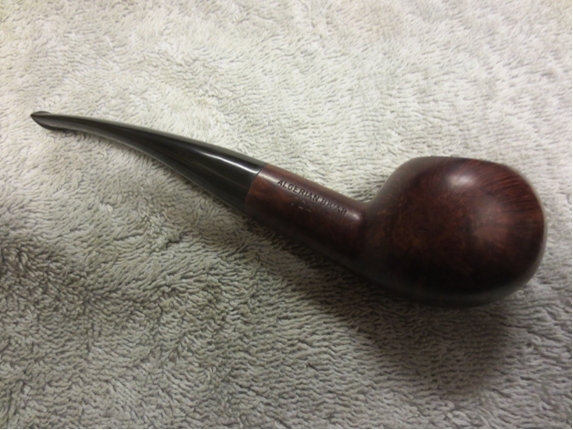
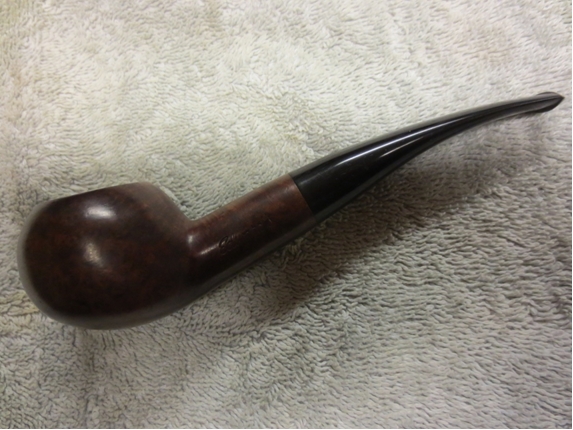
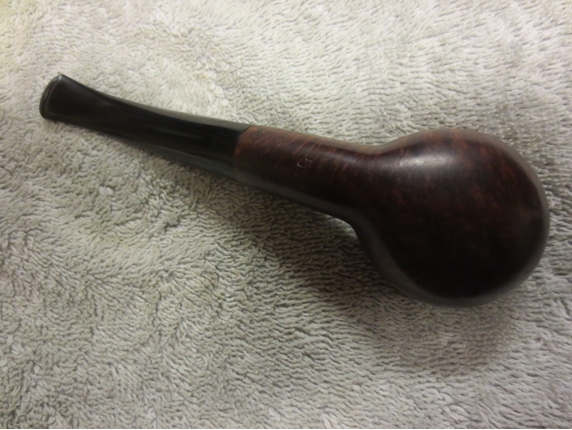
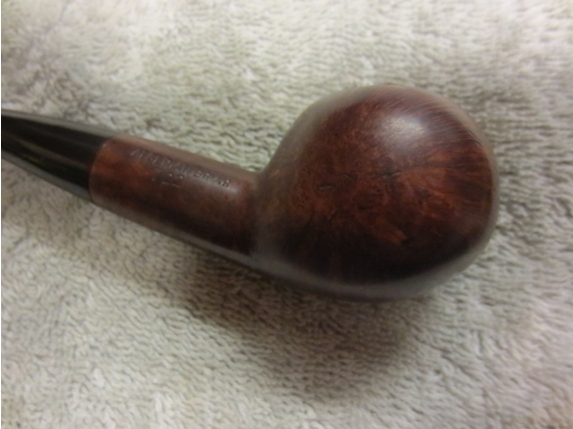
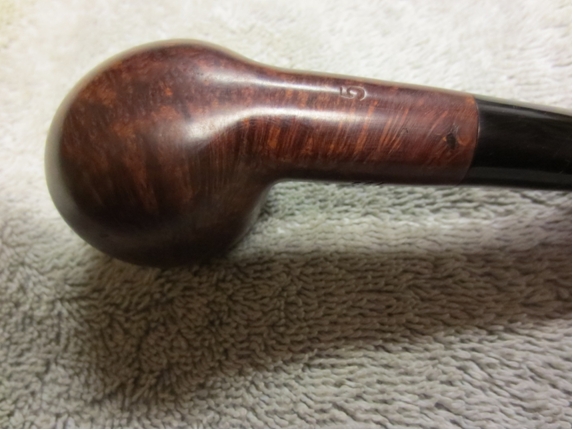
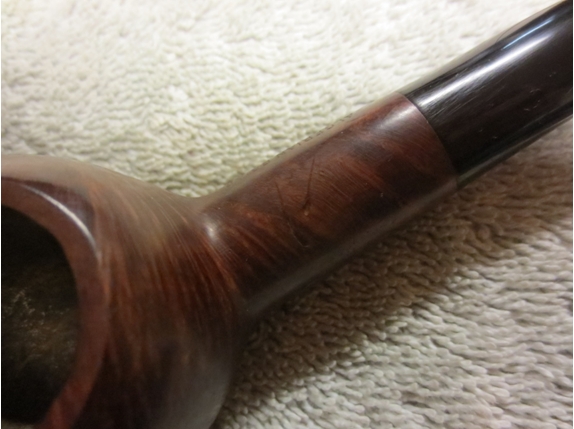
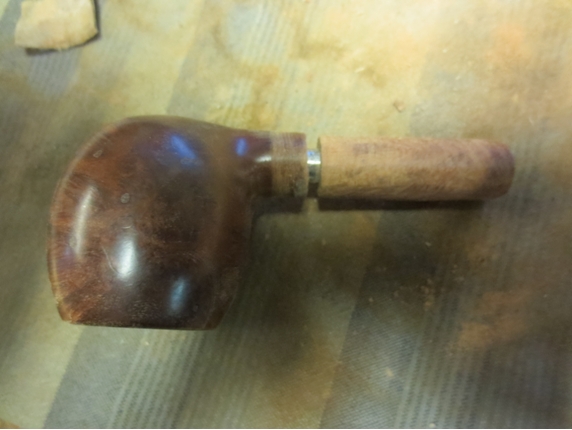
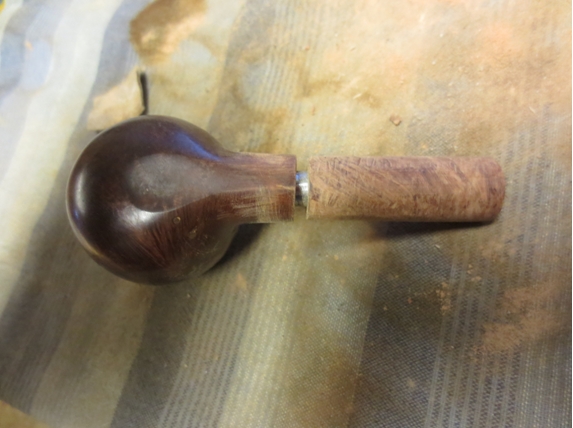
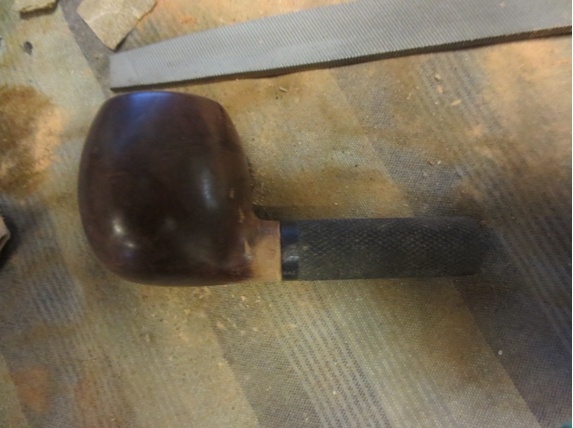
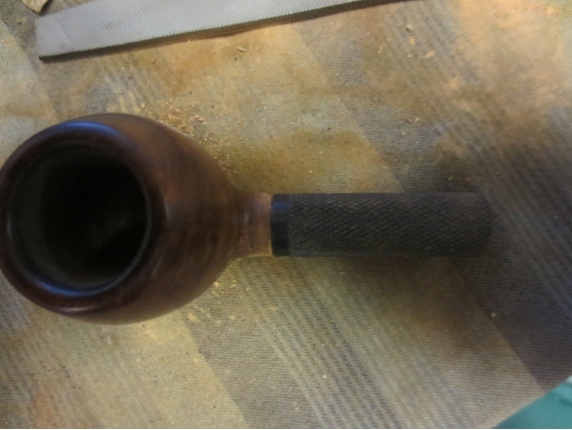
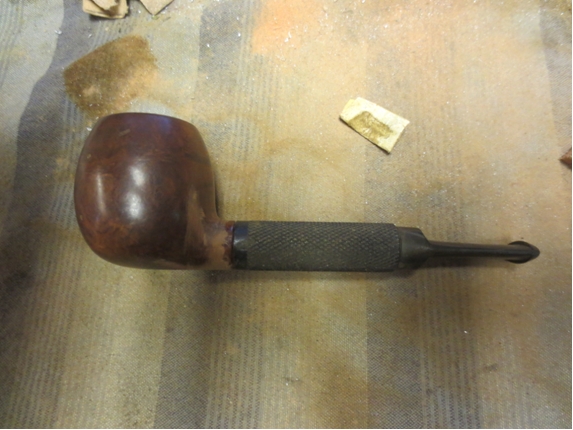
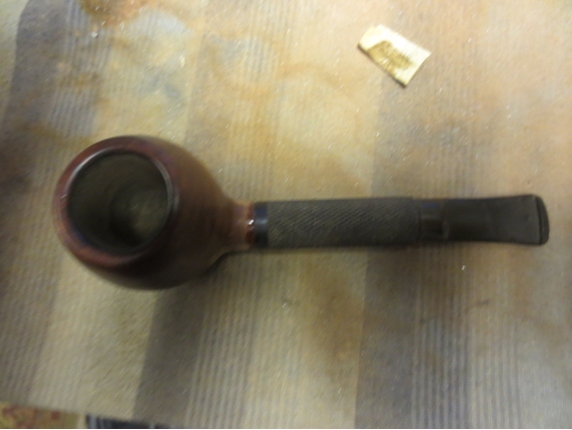
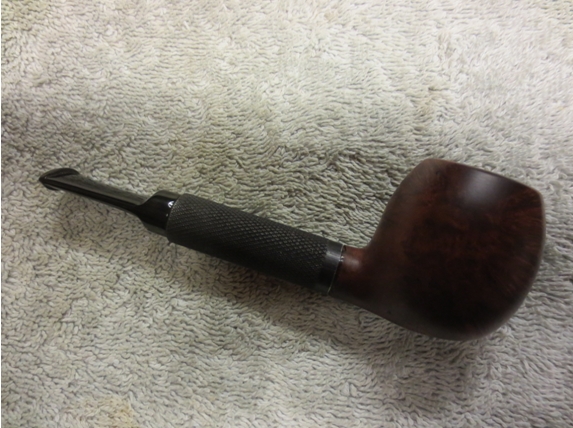
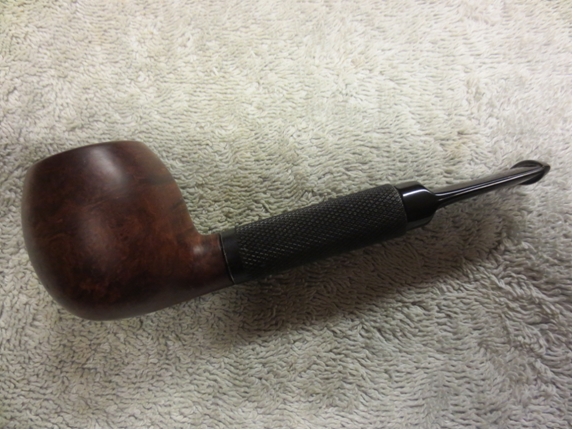
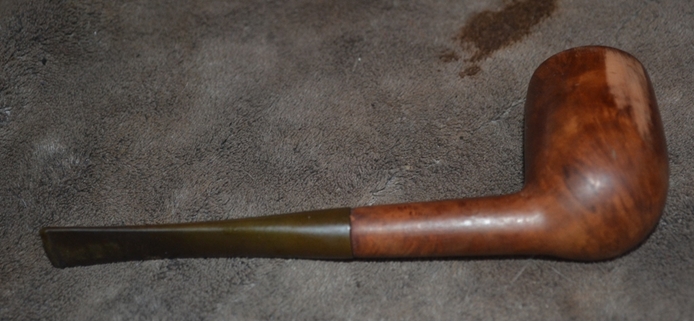
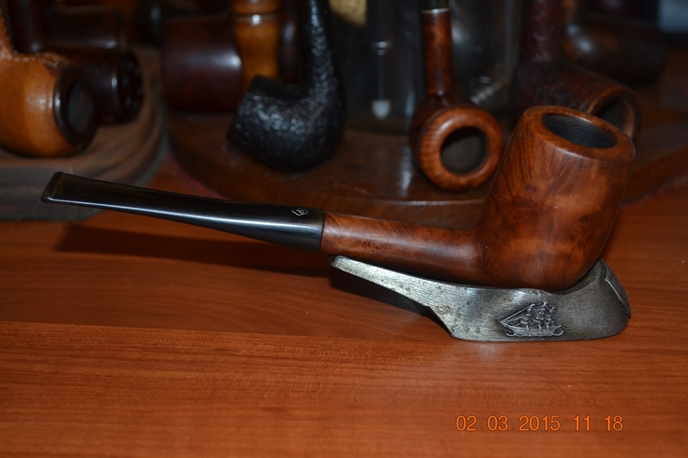
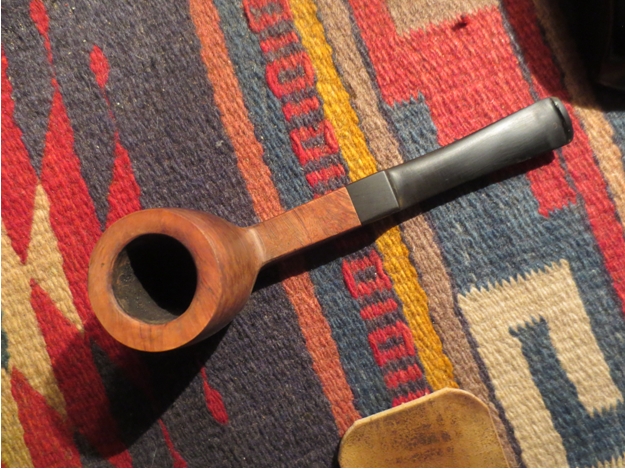
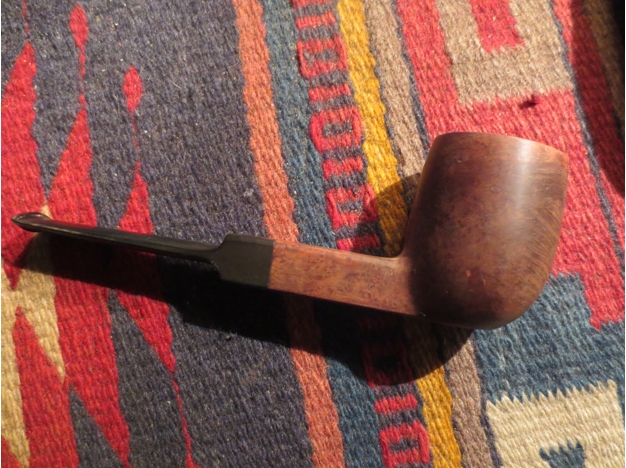
 I buffed the pipe and stem with White Diamond and gave them both multiple coats of carnauba wax. I buffed it with a soft flannel buff to raise the shine. The finished pipe is shown in the photos below. The olive oil really highlights the red tints in the briar and shows the contrast between the birdseye and the background briar as well as the grain on the front, back, top and bottom of the shank and bowl. It truly is a beautiful pipe – the briar is well grained and the fills disappear into the red colour of the briar.