Blog by Steve Laug
Just a warning up front – this is one of the longest blogs I have posted on rebornpipes. I made a decision to post the work on each pipe in the Matched Grain Seven Day set of Kaywoodies in the same blog. They were brought into this world together, kept together for at least 60+ years and I figured it only right to keep them together in the restoration. If you can’t wade through all the details you can scroll through each section and look at the finished pipes individually. Thanks for your patience. Enjoy the read.
Jeff sent me some links to a Matched Grain 7 Day Set of Kaywoodies he had found listed at an estate auction. He wanted to know what I thought. I was pretty excited to hear that he had found such a set as I had heard of them but never seen one. I had heard of the high quality of the pipes and the idea of a matched set of seven pipes was intriguing to me. This set was available and there were several other bidders on the sale. He ended up winning the auction and got the set at what turns out to be a decent price for the quality of pipes that it contained.
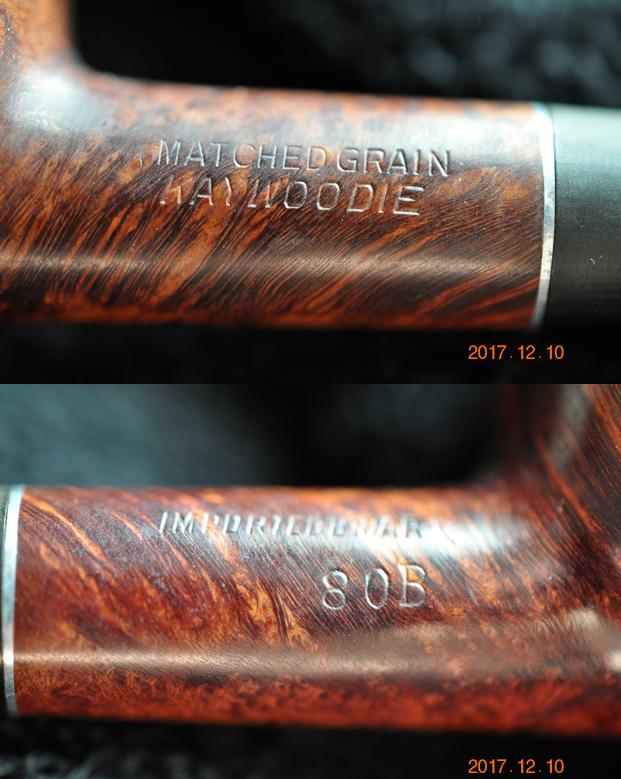
The seven pipes were stamped on the left side of the shank with Matched Grain over Kaywoodie and on the right side of the shank with Imported Briar and below that with the shape number for each pipe. The numbers included were: 80B, 67, 53, 59, 11, 13 and 14. The two digit shape number on each pipe helps to narrow down the dates to the time period between 1939-1953. Looking at Pipedia’s article on Kaywoodies there is a dating list by shape. Here is the link to the article: https://pipedia.org/wiki/Kaywoodie_Shape_Numbers
Using that link I was able to match the shape numbers to the shape of each pipe in the seven day case that my brother found.
80B is a medium sized Apple with a long stem. The shape was made between 1938-1970.
67 is a small billiard with a long shank and a short stem. I would call the shape a Lumberman. The shape was made between 1927-1928, and again between 1935-1970.
53 is a medium square bulldog (diamond shank) with a taper stem. This shape was made between 1932-1972.
59 is called a Boswell (Chubb billiard) that was made between 1936-1937. It could also be a 59 and come from a later manufacture date and it is called a Chubb billiard. That rendition was made between 1947-1955.
11 is a large billiard and was made between 1935-1972.
13 is an extra large Dublin and was made between 1927-1972.
14 is a full bent medium billiard with a taper stem and was made between 1927-1972.
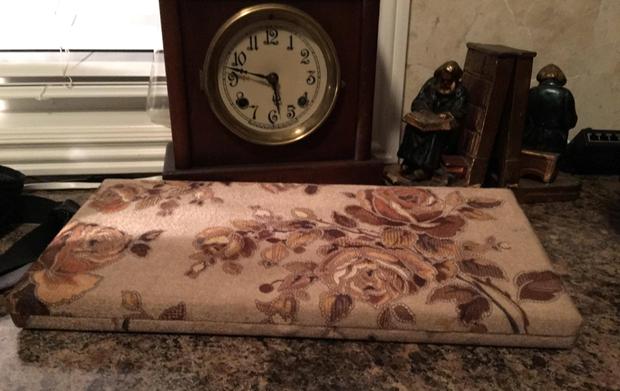
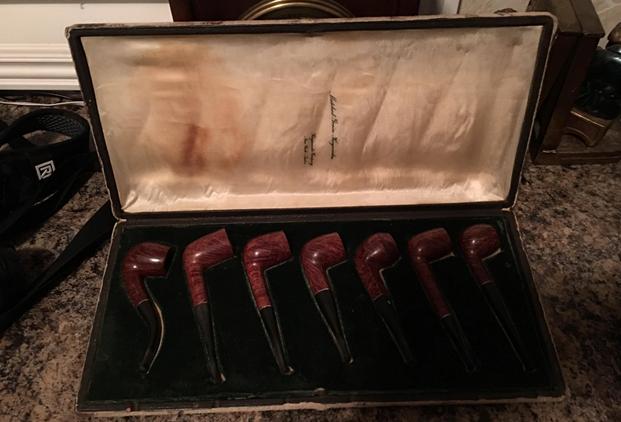
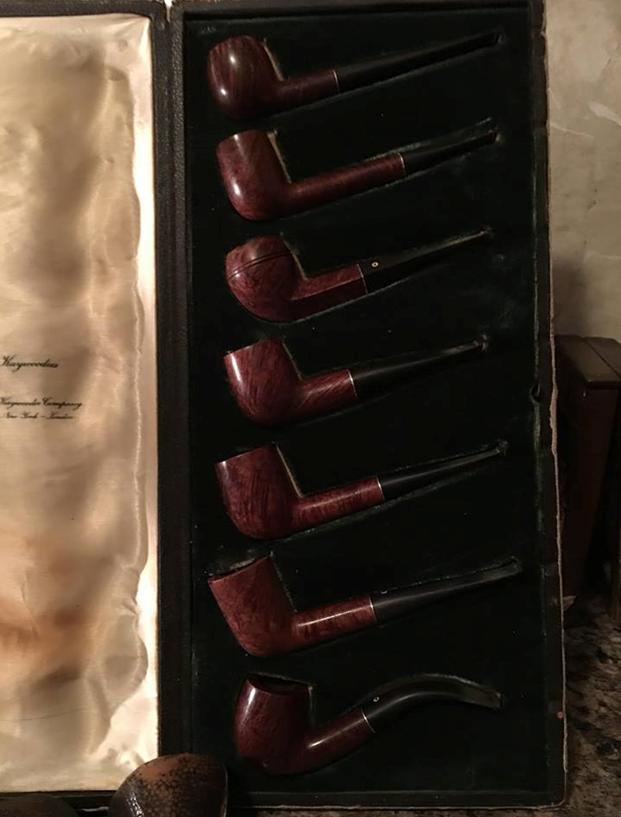
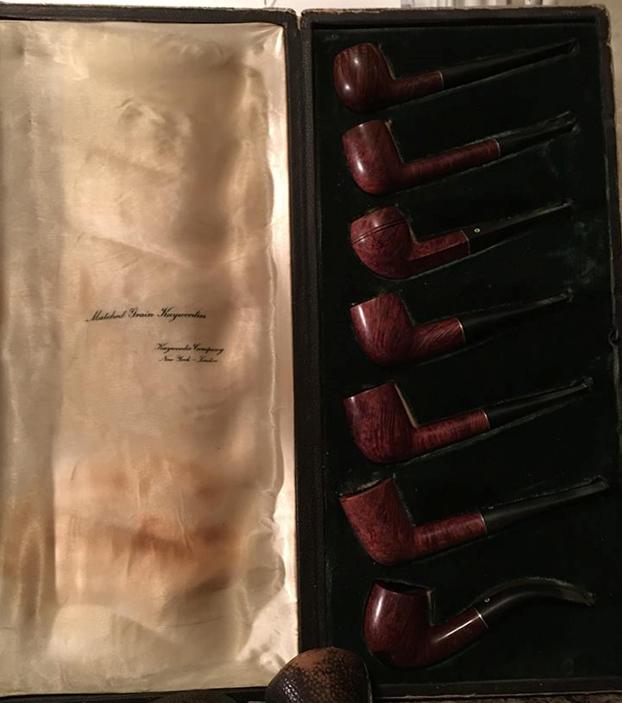
Jeff took photos of the set when he brought it home from the auction. His photos enabled me to see the set as he saw it – from the closed floral pattern fabric covered case to the embossed lettering on the satin lining on the inside of the lid on the left side of the case to the photos of the pipes inside in molded positions on the right side of the opened case. The embossed lettering on the cover read: “Matched Grain Kaywoodies” and under that it read “Kaywoodie Company” over “New York – London”. It was really a beautiful set of pipes. All of them had been smoked but were in good condition. There was lava build up on the obvious favourite shapes but the finish on each and the stems were in excellent condition. They would clean up very well. I have decided to post all of the pipes in the same blog for reference sake. This will be a long blog by necessity of covering all of the pipes. Thanks for your patience.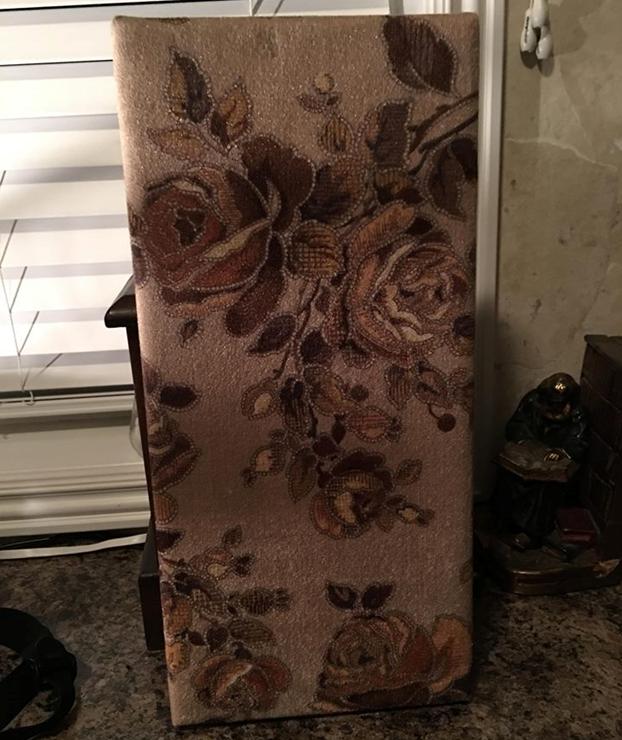

 While I waited for the set to arrive in Vancouver I did some more research on the brand. I read the entry on Pipephil’s site and got more information on the composure of the Matched Grain sets that Kaywoodie put together (http://www.pipephil.eu/logos/en/infos/kaywoodie-matchedgrain-7.html). I also looked on Google to see if I could find any magazine advertising or other information on the sets. I did find a vintage advertisement in a Sunday paper from 1937 that included similar pipes to the ones in the set we picked up at the sale. The Google link follows:
https://books.google.ca/books?id=kj8EAAAAMBAJ&pg=PA75&lpg=PA75&dq=Kaywoodie%207%20day%20sets&source=bl&ots=OmZO3t6SuA&sig=Wmi8KP7FfJaxGj5qnPsCYALJXJo&hl=en&sa=X&ved=0ahUKEwjt3Me9-fjXAhUX3mMKHY0uAdM4ChDoAQg5MAQ#v=onepage&q=Kaywoodie%207%20day%20sets&f=false
I also found the same advertisement on a blog. The Google photo was much clearer so I am including that photo here. The link to the blog is: http://blogonomicon.blogspot.ca/2008/01/sunday-vintage-pipe-ad-1937-kaywoodie-7.html.
The writer of the blog included some interesting comments on the set and I have included them in full below:
The “seven-day matched set” is, I think, the absolute pinnacle of pipe collecting. It is very difficult to create, and therefore much more expensive than simply the cost of all the pipes added together.
The briar must be carefully selected for matching grain, color and texture. As always, in the process of carving a pipe, some flaws will be found that necessitates discarding the burl and starting over again with yet another carefully-selected burl that matches all the other burls.
The “seven-day set” concept came from the idea of having a set of matching pipes, with one for each day of the week, so you could smoke one per day and be able to give it an entire week to rest before smoking it again. In reality, seven-day sets are far too rare and valuable to smoke. Unless you really want to completely destroy any collectible value, of course.
This set sold for $100 in 1937. Adjusted for inflation, that’s more than $1,400 today. Of course Kaywoodie was not the only one to create seven-day sets. Other pipe makers who are known for more expensive pipes have created sets that sold for much more than that.
Shapes, from top: acorn, Liverpool, Dublin, apple, bulldog (with a saddle bit), another Dublin, and lastly a simple bent billiard. You may dispute me on the names of the top two. The first one looks more acorn-ish than apple-ish to me. Number two looks to me like it has a round shank, which would make it a Liverpool instead of a Canadian.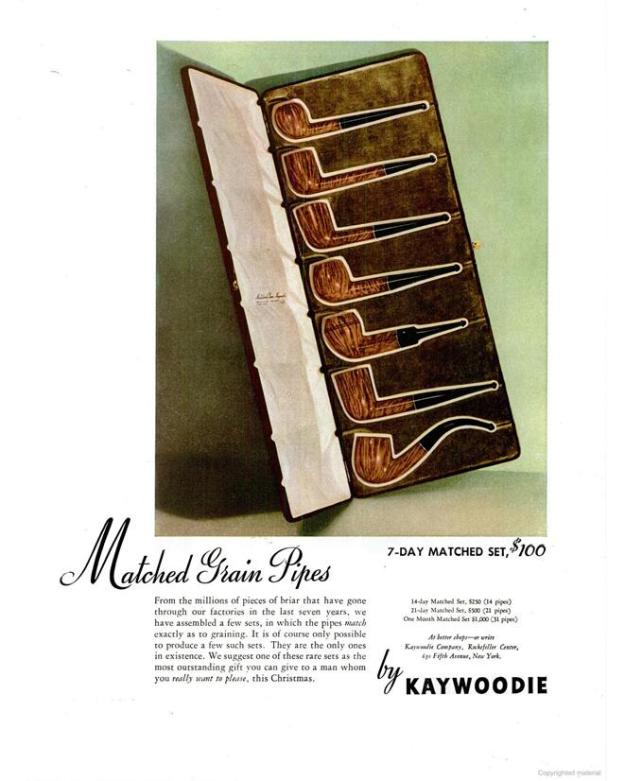 Jeff took photos of each pipe before he did any cleaning work on them. Pay attention to the grain on each pipe. It is remarkable how closely they matched each other.
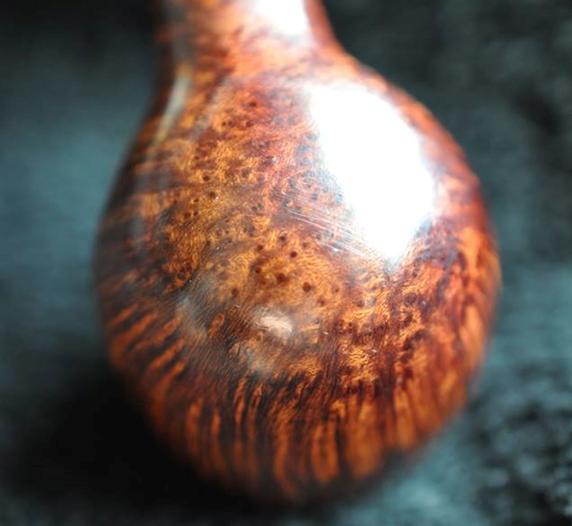
The first pipe in the set was marked with the shape number 80B. Kaywoodie designated it as a medium sized Apple with a long stem. The shape was made between 1938-1970. The finish was in great condition with dust and some grime on the exterior of the bowl. The bowl had been lightly smoked and there was some darkening around the rim top. There was no thick buildup of tars or carbon on the bowl or rim. The finish on the bottom of the bowl was lightly scratched and dirty. The stem was oxidized and had some tooth chatter and marks near the button on both sides. 
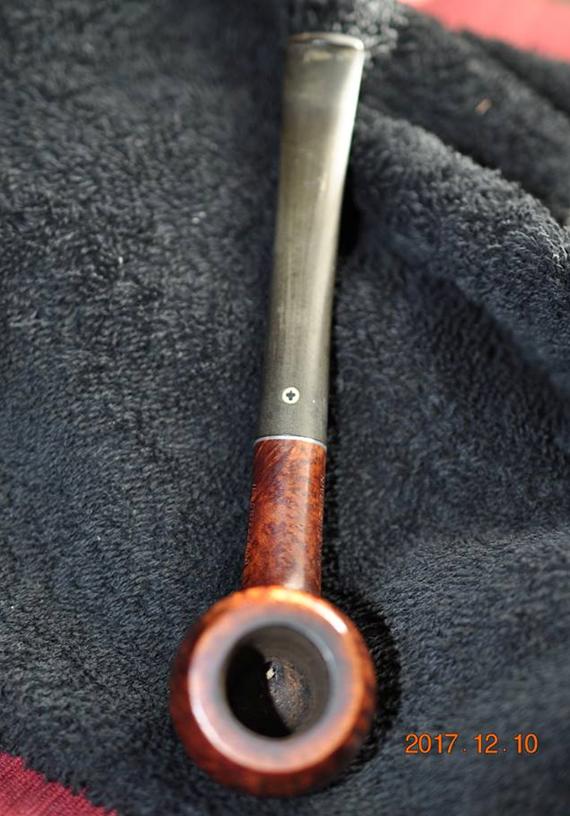

 The stamping on the pipe was very clean and readable. The first photo shows the left side of the shank reading Matched Grain over Kaywoodie. While the second photo shows the stamping on the right side reading Imported Briar and the shape number 80B.
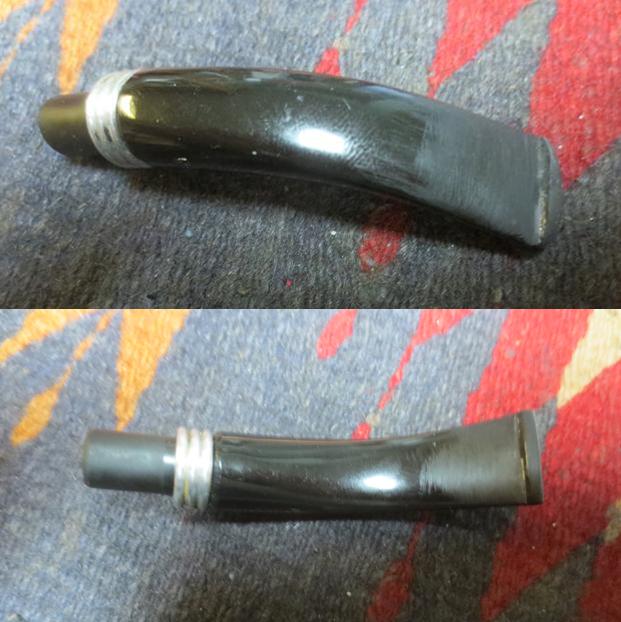
 The stem shows some oxidation and scratch marks in the vulcanite. There was also some light tooth chatter near the button on both sides.
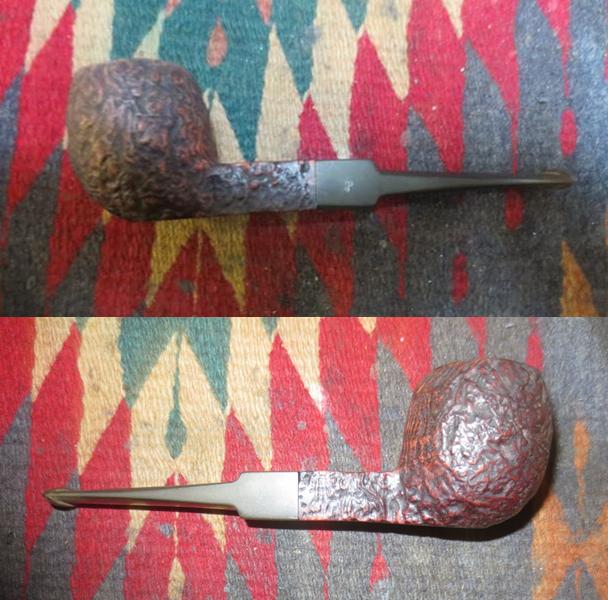
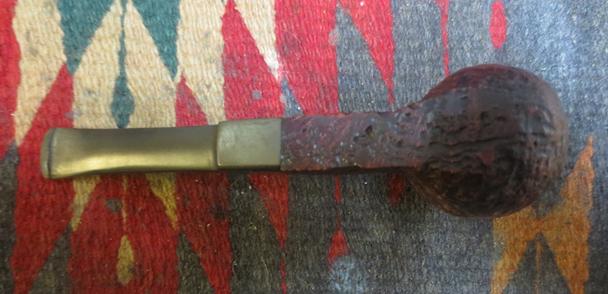
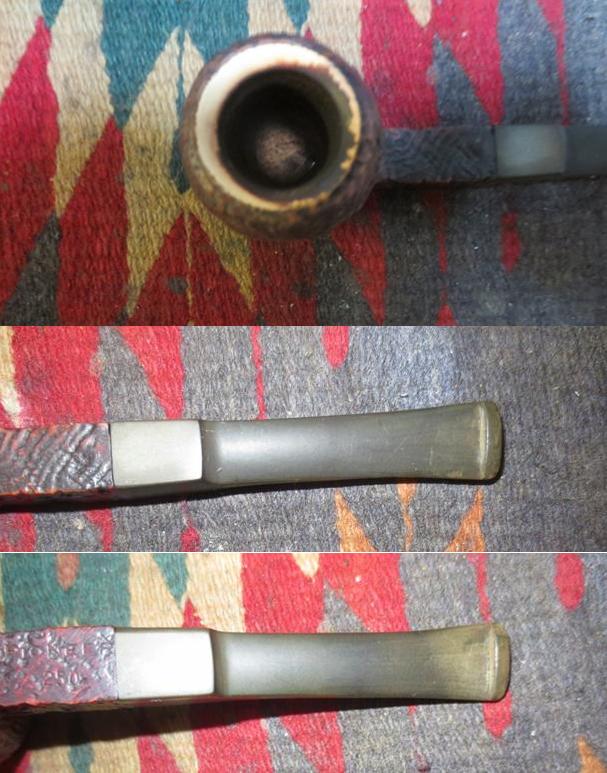
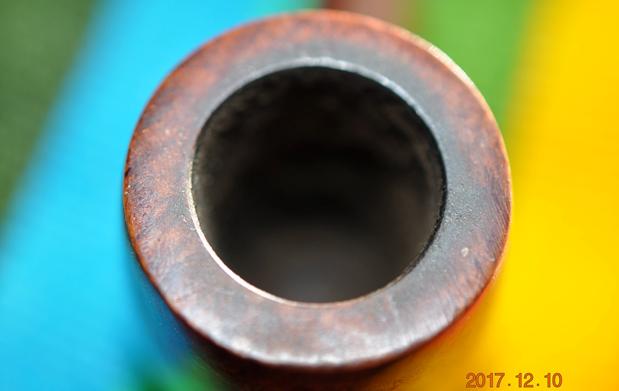
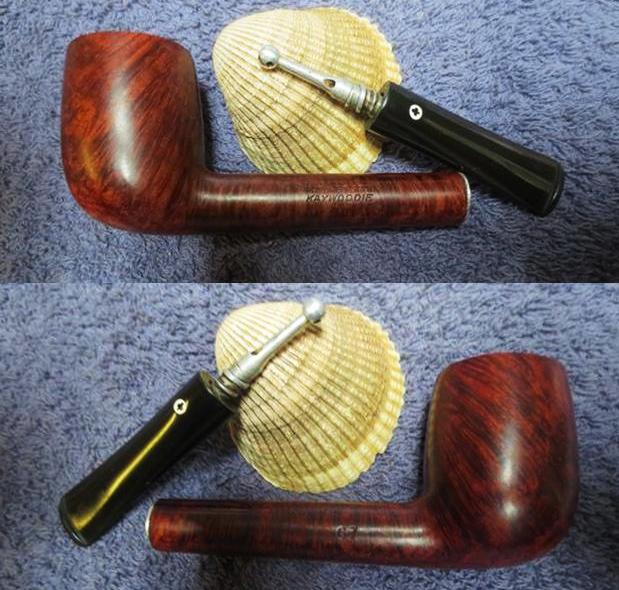
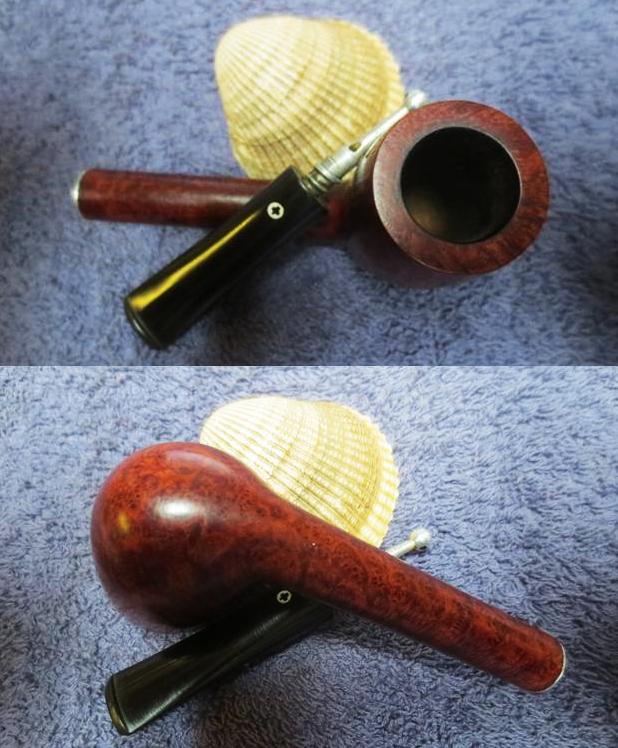
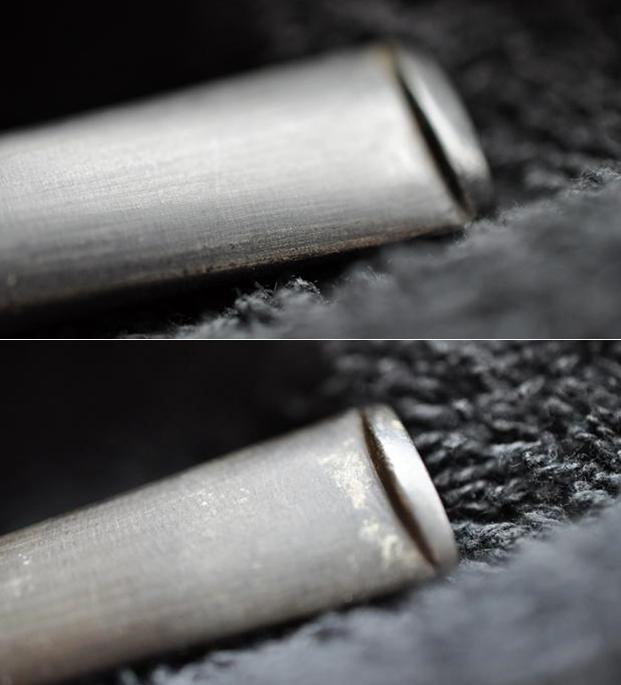 The second pipe in the set was marked with the shape number 67. Kaywoodie designated it as a small billiard with a long shank and a short stem. I would call the shape a Liverpool. The shape was made between 1927-1928, and again between 1935-1970. The finish was in great condition with dust and grime on the exterior of the bowl. The bowl on this one was also lightly smoked and there was some darkening around the rim top. There was a light cake in the bowl but no thick buildup of tars or carbon on the bowl or rim. This pipe had the most damage. The metal fitment in the shank end was scarred and damaged with what looked like marks from a pair of pliers. This made me wonder what the stinger looked like. The finish on the underside of the bowl looked good. The stem was oxidized and had some tooth chatter and marks near the button on both sides.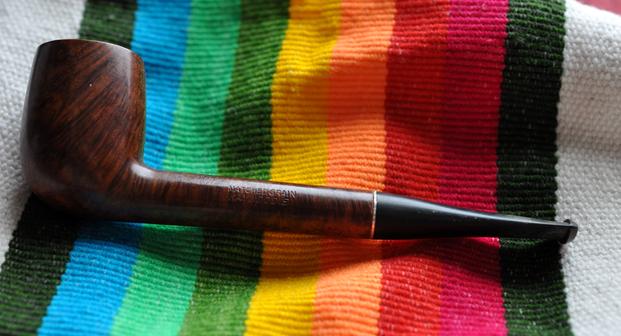
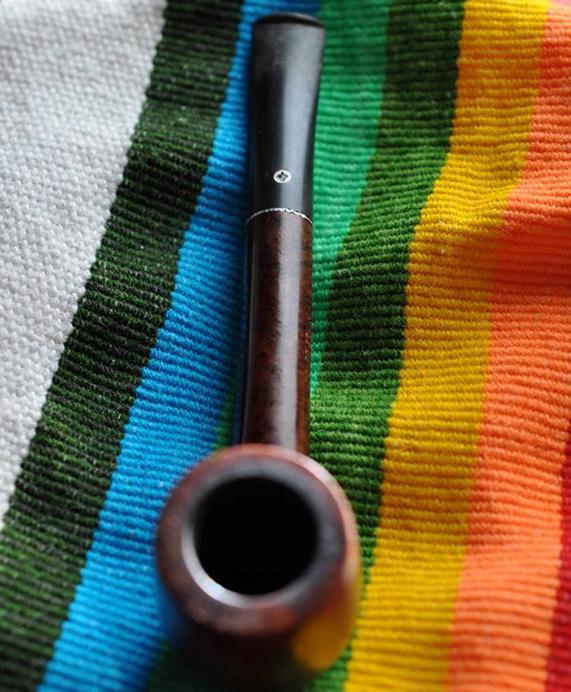
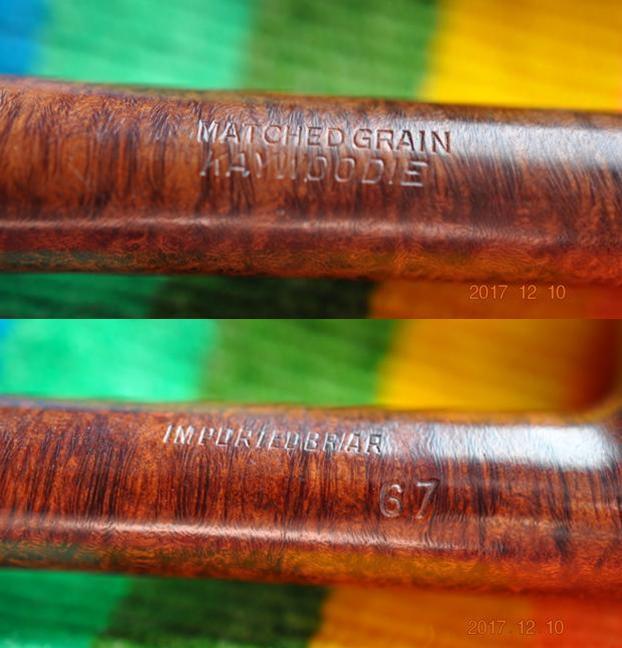
 The stamping on the pipe was very clean and readable. The first photo shows the left side of the shank reading Matched Grain over Kaywoodie. While the second photo shows the stamping on the right side reading Imported Briar and the shape number 67.
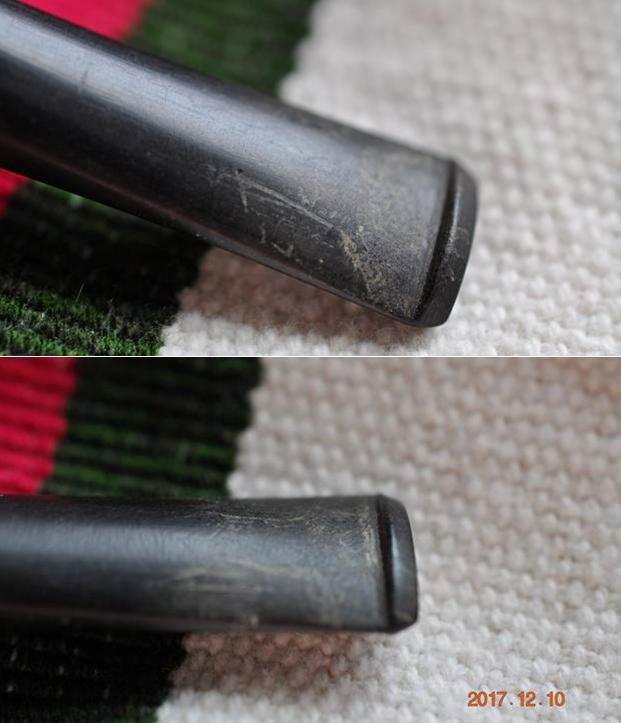
 The next two photos show the damage to the metal fitment in the shank/mortise of the pipe. There were a lot of scars on the metal from what appeared to be someone trying to remove it from the shank.
 The stem was scratched and lightly oxidized with tooth chatter on the top and underside near the button.
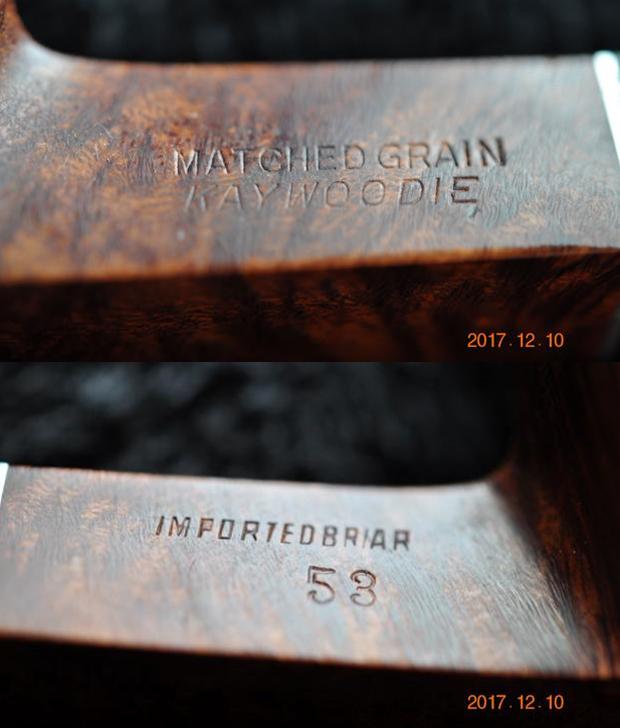
 The third pipe in the set was marked with the shape number 53. Kaywoodie designated it as a medium square bulldog though I would say that the shank is a diamond shape as is the stem. The shape was made between 1932-1972. The finish on this one was in excellent condition with a little dust and grime on the exterior of the bowl. The bowl on this one was also lightly smoked and there was some darkening around the rim top. There was a light cake in the bowl but no thick buildup of tars or carbon on the bowl or rim. The finish on the underside of the bowl looked good. The stem was oxidized and had some tooth chatter and marks near the button on both sides.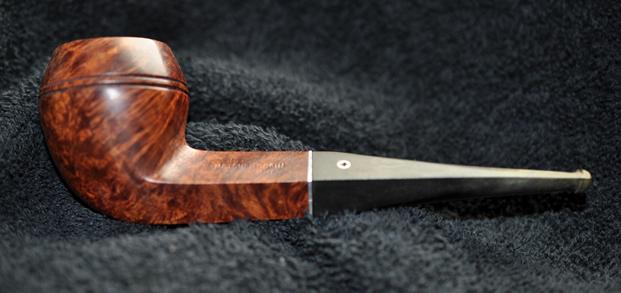
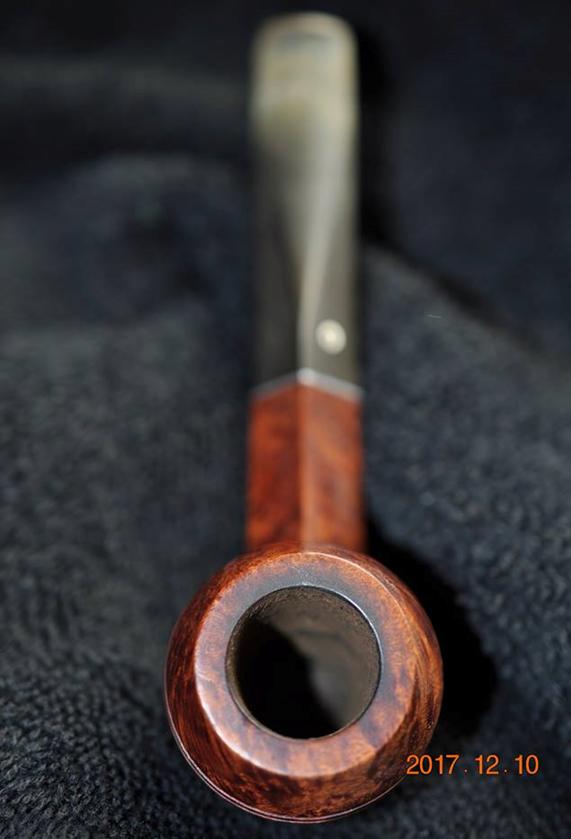
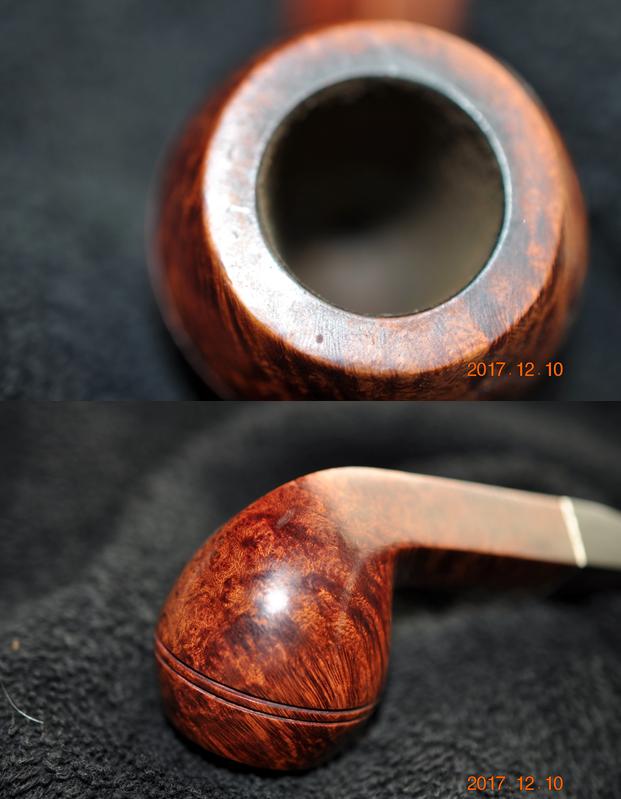 The stamping on the pipe was very clean and readable. The first photo shows the left side of the shank reading Matched Grain over Kaywoodie. While the second photo shows the stamping on the right side reading Imported Briar and the shape number 53.
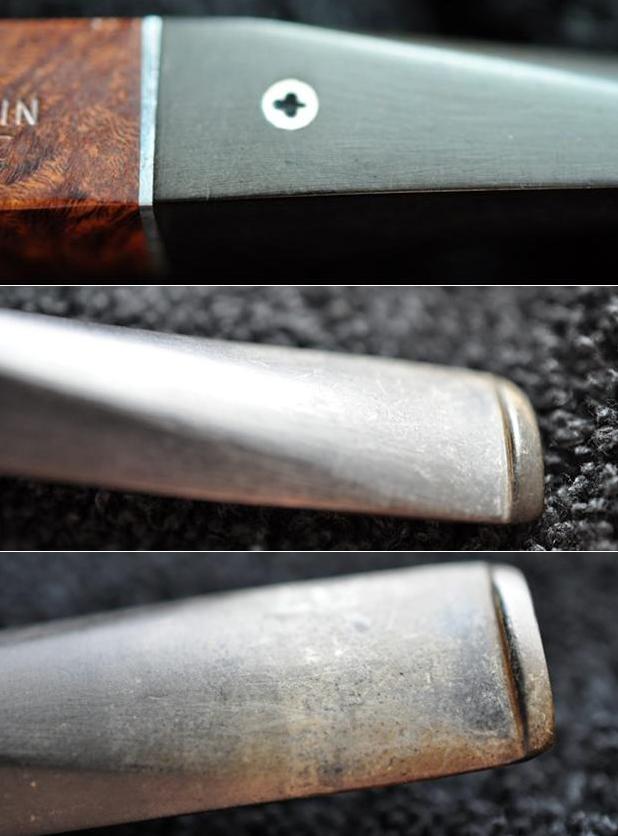
 Like the other pipes in the set that I have shown above the Kaywoodie Club logo is black and inset in a white circle. In all the pipes it is in excellent condition. The stem is scratched and lightly oxidized. There is some light tooth chatter on both sides of the stem near the button.
 The fourth pipe in the set was marked with the shape number 59. Kaywoodie designated it as a Boswell shape or a Chubb Billiard. The shape was made between 1936-1937. There was a later edition of the shape 59 pipe that was called a Chubb billiard that was made between 1947-1955. I am pretty certain that the one I am working on is from the earlier time period. The finish on this one was also in excellent condition with a little dust and grime on the exterior of the bowl. The bowl was lightly smoked as were the previous pipes. There was some darkening around the rim top. There was a light cake and some fragments of tobacco in the bowl but no thick buildup of tars or carbon on the bowl or rim. The finish on the underside of the bowl looked good. The stem was oxidized and had some tooth chatter and marks near the button on both sides.
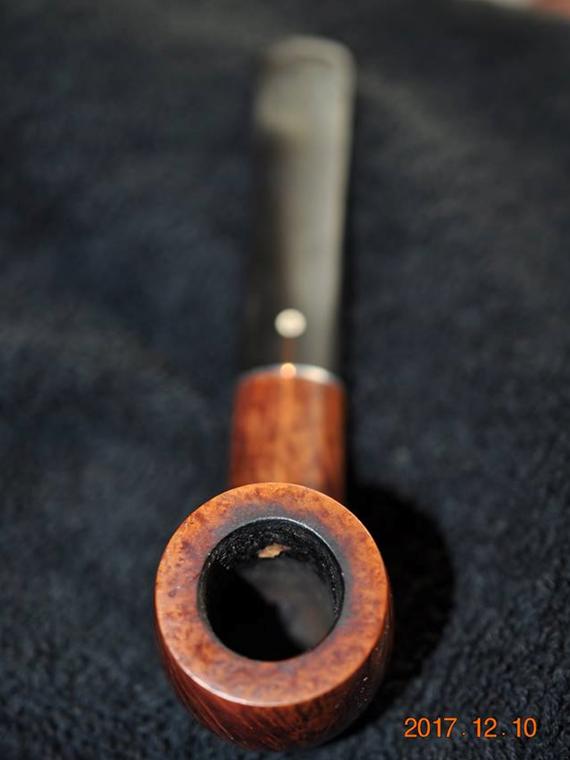
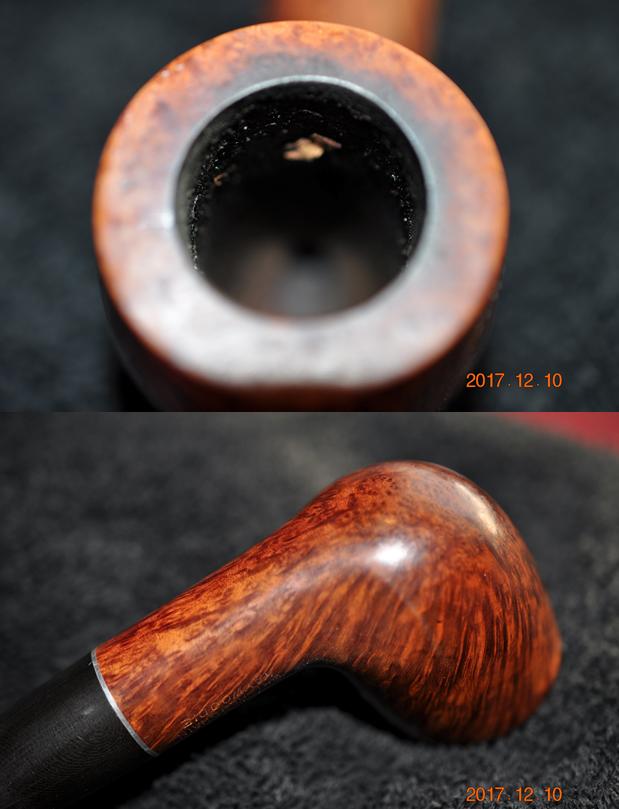 Like the other pipes in the set that I have shown above the Kaywoodie Club logo is black and inset in a white circle. It was in excellent condition. The stem is scratched and lightly oxidized. There is some light tooth chatter on both sides of the stem near the button.
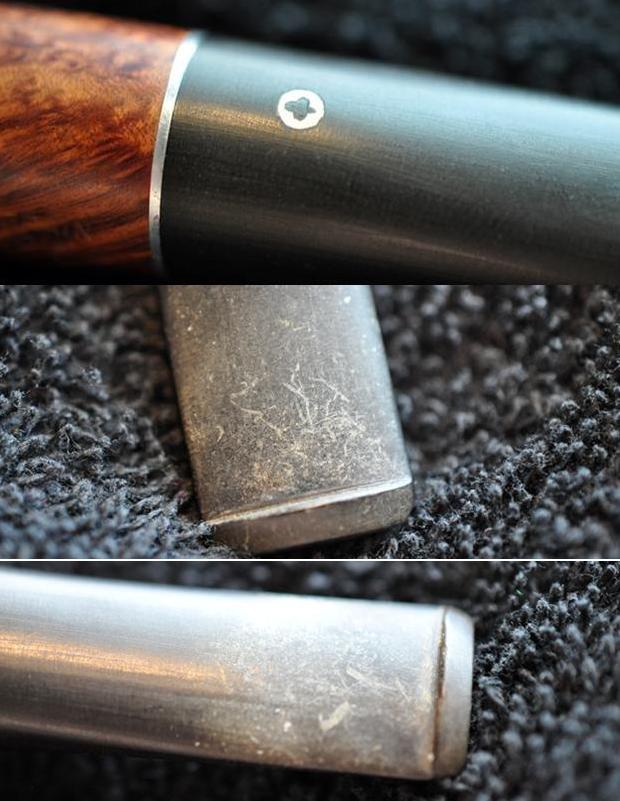 The fifth pipe in the set was marked with the shape number 11. Kaywoodie designated it as a large billiard. The shape was made between 1935-1972. The finish was in excellent condition with the same dust and grime on the exterior of the bowl as the rest of the set. The bowl was lightly smoked as were the previous pipes. There was some darkening around the rim top. There was a light cake and some fragments of tobacco in the bowl but no thick buildup of tars or carbon on the bowl or rim. The finish on the underside of the bowl looked good. The stem was oxidized and had some tooth chatter and marks near the button on both sides.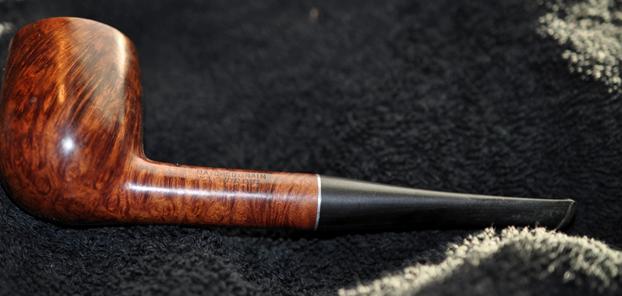
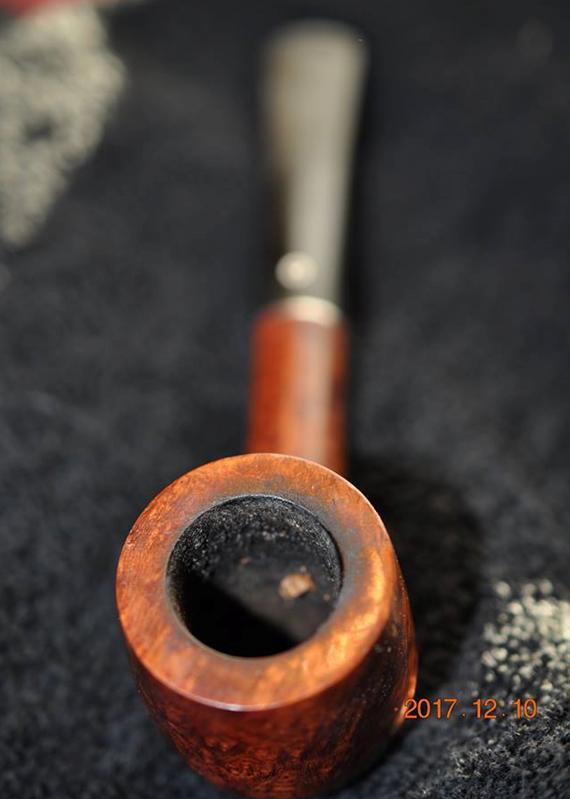
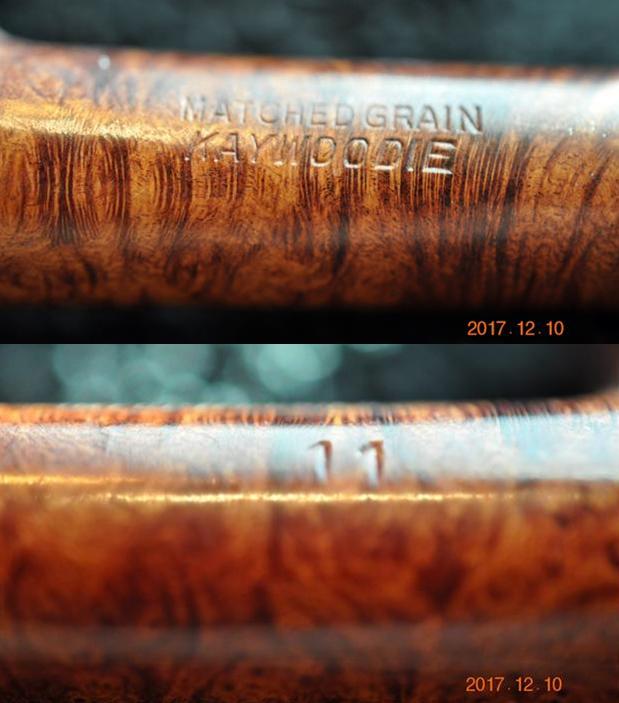
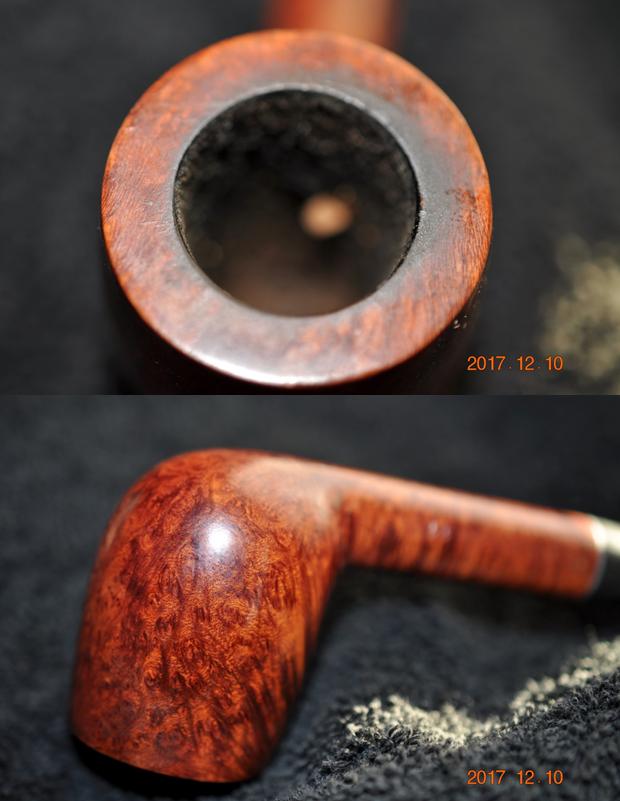 The stamping on the pipe was very clean and readable. The first photo shows the left side of the shank reading Matched Grain over Kaywoodie. While the second photo shows the stamping on the right side reading Imported Briar and the shape number 11.
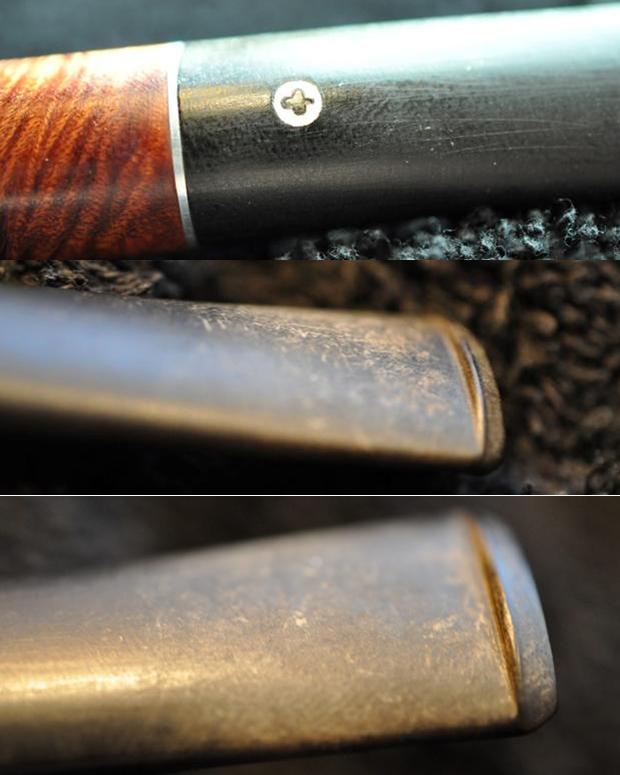
 Like the rest of the pipes in the set that I have shown so far, the Kaywoodie Club logo is black and inset in a white circle. It was in excellent condition. The stem is scratched and lightly oxidized. There is some light tooth chatter on both sides of the stem near the button.
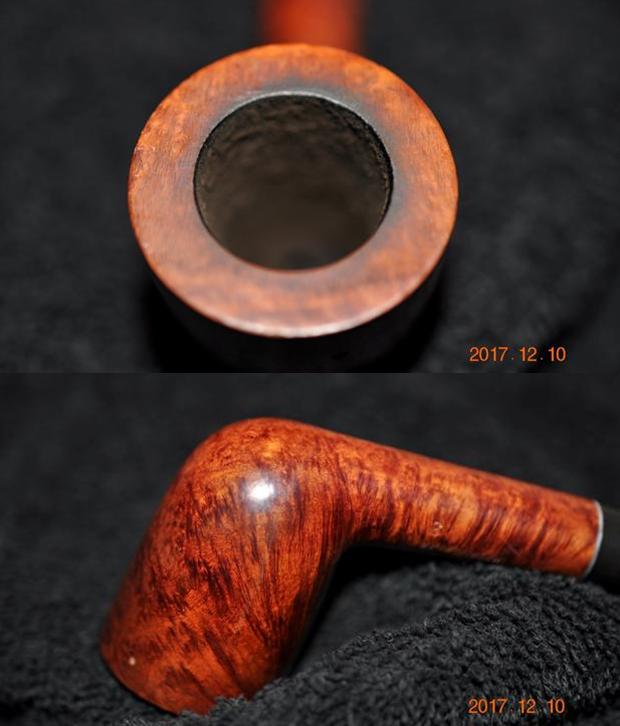
 The sixth pipe in the set was marked with the shape number 13. Kaywoodie designated it as an Extra Large Dublin. The shape was made between 1927-1972. The finish was in excellent condition with the same dust and grime on the exterior of the bowl as the rest of the set. The bowl was lightly smoked as were the previous pipes. There was some darkening around the rim top. There was a light cake in the bowl but no thick buildup of tars or carbon on the bowl or rim. The finish on the underside of the bowl looked good.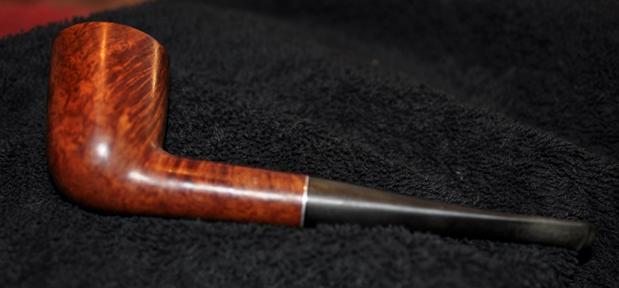

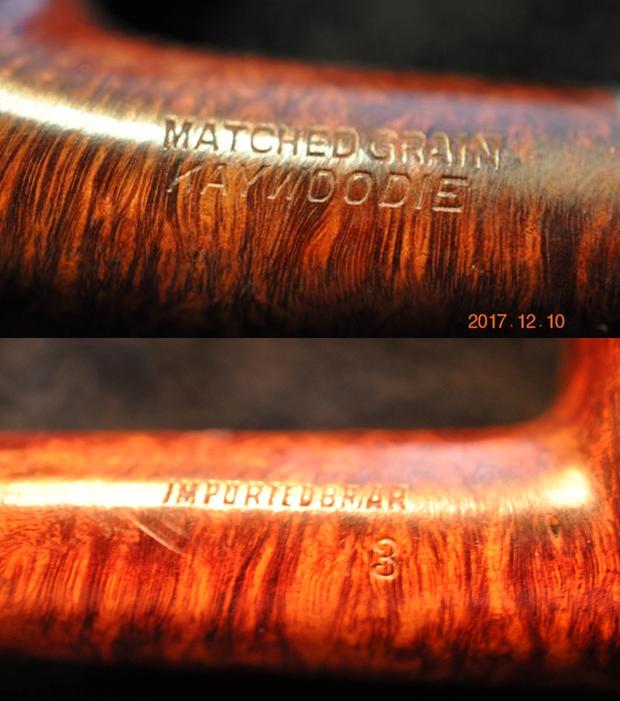
 The stamping on the pipe was very clean and readable. The first photo shows the left side of the shank reading Matched Grain over Kaywoodie. While the second photo shows the stamping on the right side reading Imported Briar and the shape number 13.
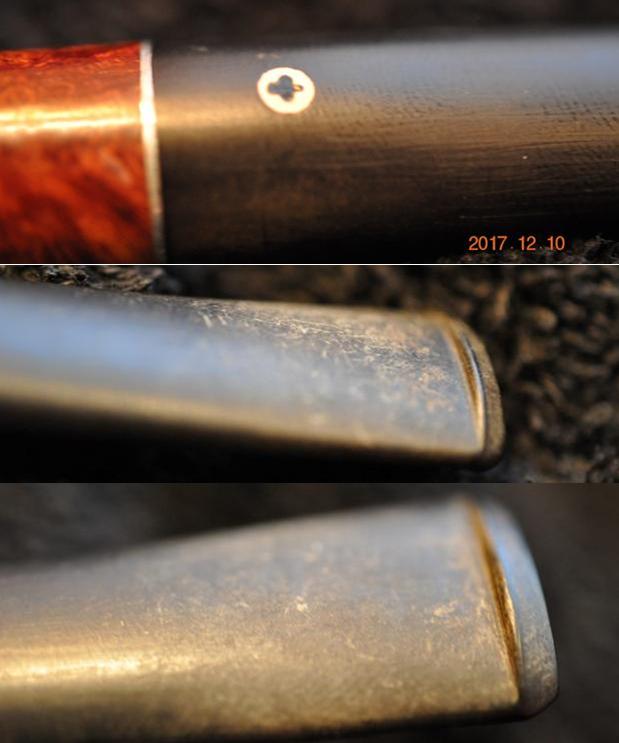
 Like the rest of the pipes in the set that I have shown so far, the Kaywoodie Club logo is black and inset in a white circle. It was in excellent condition. The stem is scratched and lightly oxidized. There is some light tooth chatter on both sides of the stem near the button.
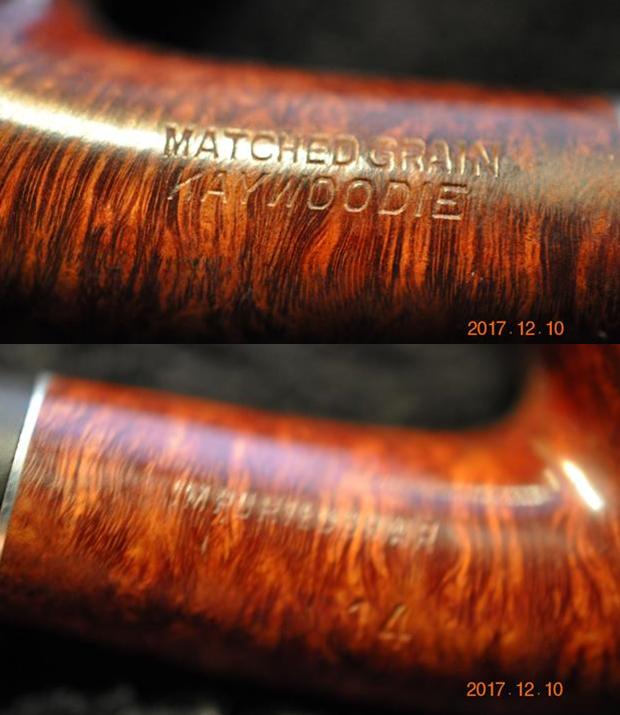
 The seventh and final pipe in the set was marked with the shape number 14. Kaywoodie designated it as a Full Bent Medium Billiard with a Taper stem. The shape was made between 1927-1972. The finish was in excellent condition with the same dust and grime on the exterior of the bowl as the rest of the set. The bowl was lightly smoked as were the previous pipes. There was less darkening around the rim top than on the other pipes in the set. There was a light cake in the bowl but no thick buildup of tars or carbon on the bowl or rim. The finish on the underside of the bowl was in good condition as well.

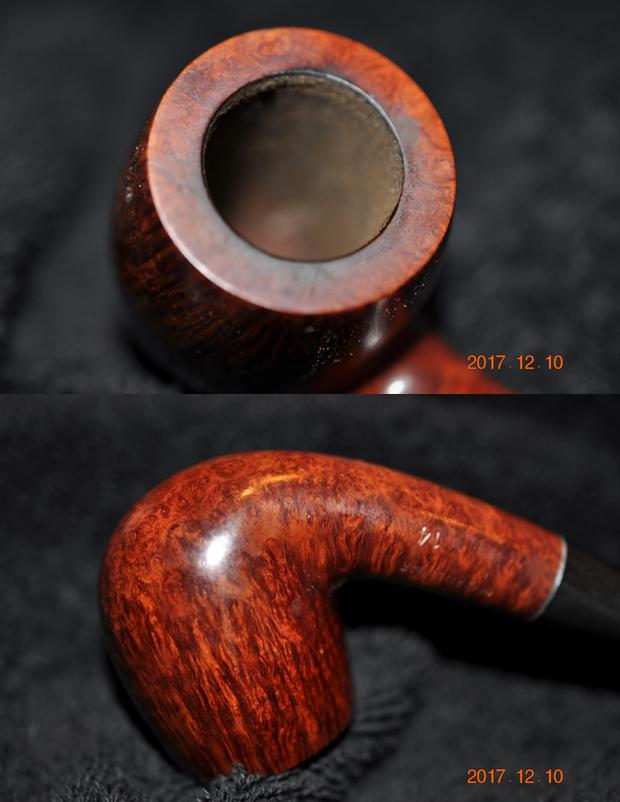 The stamping on the pipe was very clean and readable. The first photo shows the left side of the shank reading Matched Grain over Kaywoodie. While the second photo shows the stamping on the right side reading Imported Briar and the shape number 14.
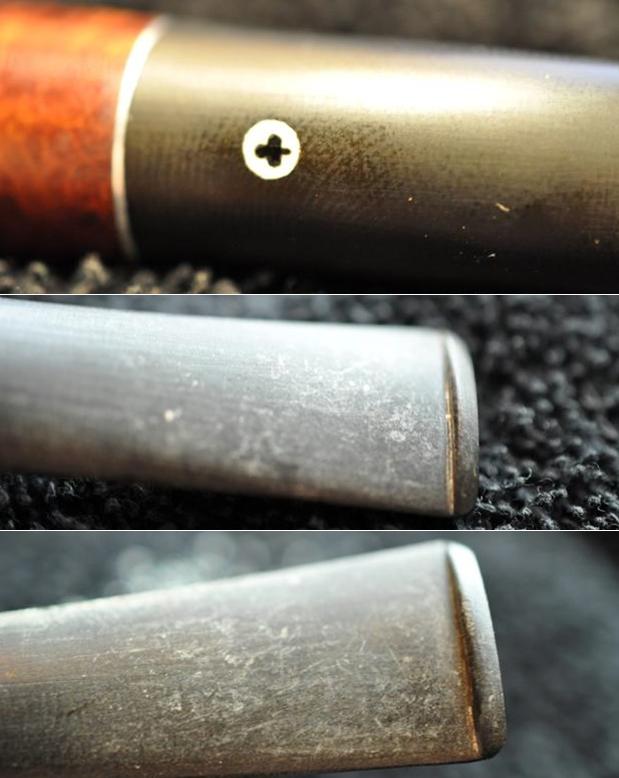
 The stem on the final pipe in the set showed the same Kaywoodie Club logo is black and inset in a white circle. It too was in excellent condition. The stem was scratched and lightly oxidized. There is some light tooth chatter on both sides of the stem near the button.
 Jeff did a thorough cleanup on each of the bowls and stems in the set. He reamed each bowl back to bare briar with a PipNet pipe reamer and cleaned up the remnants with a Savinelli Fitsall reamer. He cleaned the internals with alcohol, pipe cleaners and cotton swabs – scrubbing out the mortise as it was dirty. He scrubbed the exterior of the pipes with Murphy’s Oil soap and a tooth brush and was able to remove all of the oils and dust in the smooth finish on the briar. He was able to remove all of the grime from the rim tops and left them looking very clean. The rim tops and outer edges were very clean and the inner and outer edges were in good shape. He soaked each stem in an Oxyclean bath to raise the oxidation to the surface of the vulcanite. When the set arrived I took some photos of each pipe to show how each one looked before I did the restoration. I worked through the pipes in the order they were in the case.
The first pipe I worked on was marked with the shape number 80B. It was what Kaywoodie designated as a medium sized Apple with a long stem. Jeff’s work on it had left the finish very clean and the rim top and bowl were spotless. He had cleaned off much of the oxidation of the vulcanite stem. What remained was still lightly oxidized and there was some visible tooth chatter and marks near the button on both sides. I took photos of each pipe before I started my work.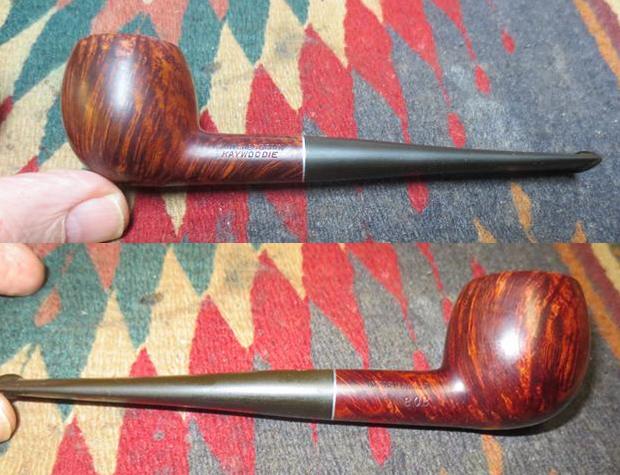
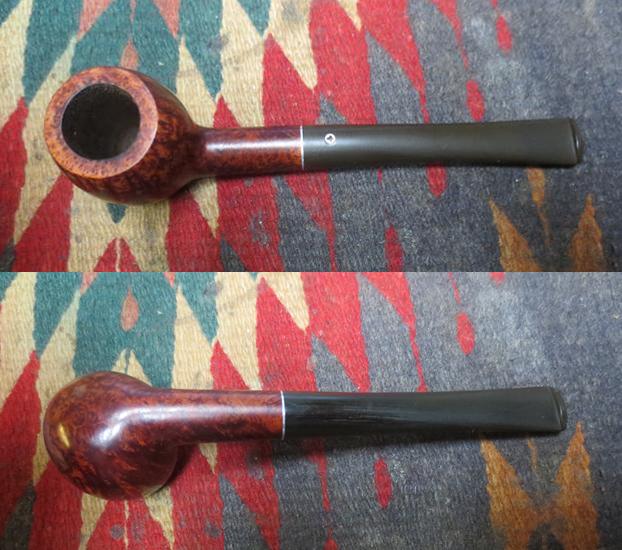 The rim top and bowl looked really good. The finish was in great shape and the bowl was ready to load and smoke again. It was really clean. The Oxyclean soak had really raised the oxidation to the surface of this stem. The topside of the stem was more oxidized than the underside but both had a lot of scratches in the vulcanite. The stem was internally very clean but the surface was heavily oxidized when it arrived.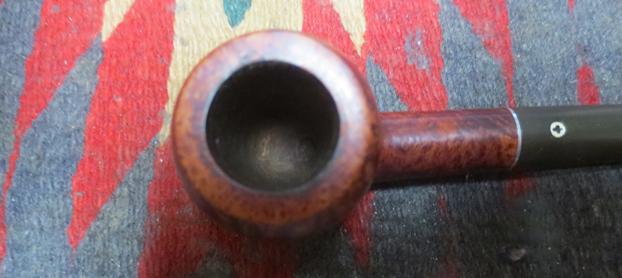
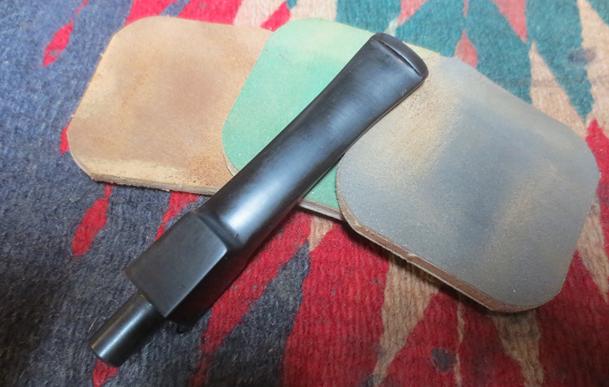
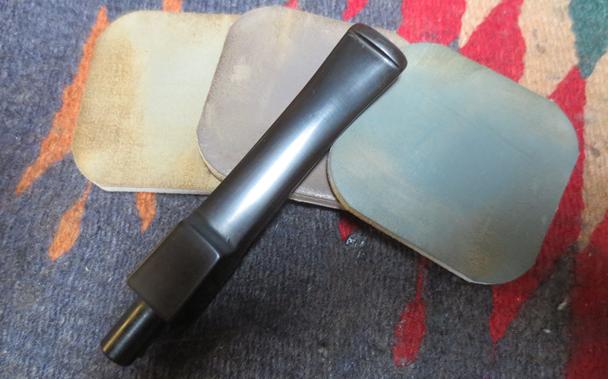
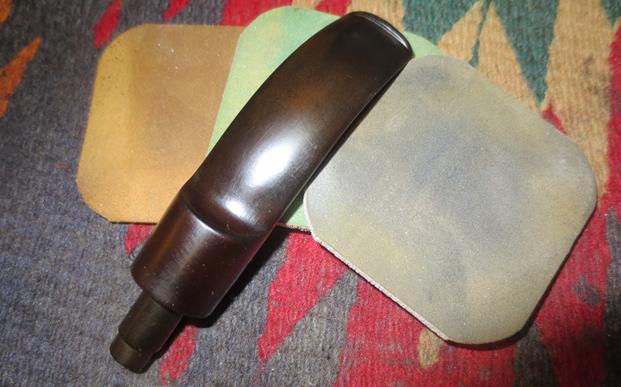
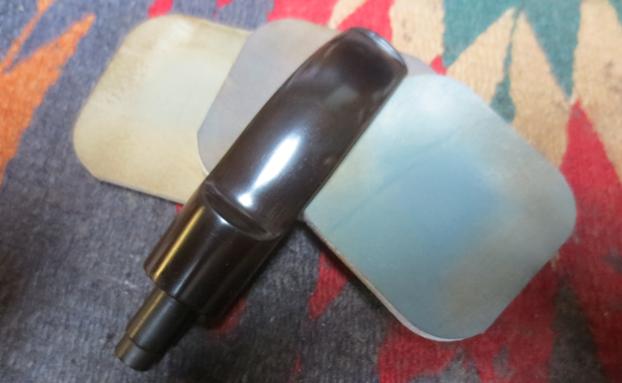
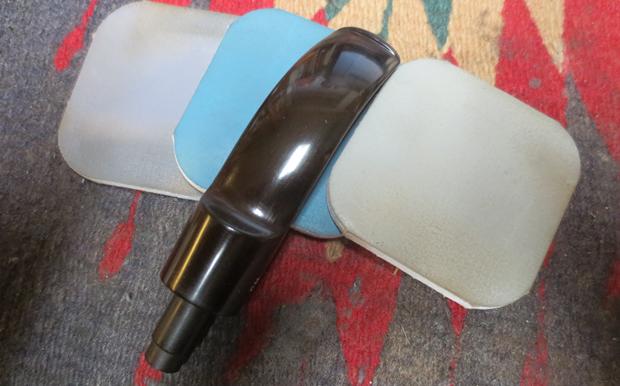
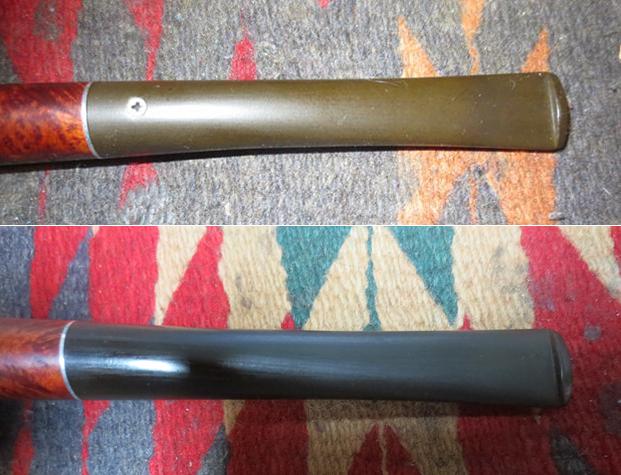 Since the oxidation was quite minimal I decided to work over the stem with micromesh sanding pads. I polished out the sanding scratches and marks in the vulcanite – wet sanding it with 1500-2400 grit pads and dry sanding it with 3200-12000 grit pads and wiped it down with Obsidian Oil after each one. When I finished with the 12000 grit pad I gave it a final coat of oil and set it aside to dry.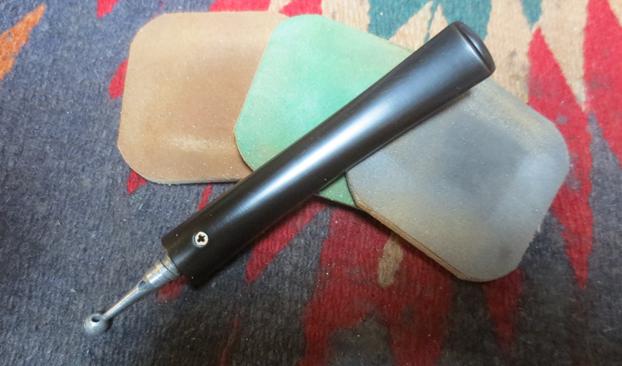
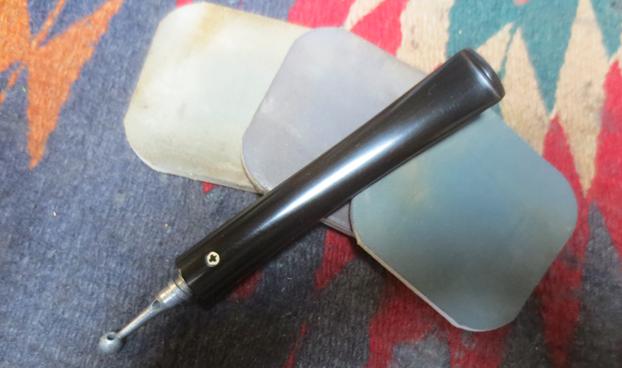
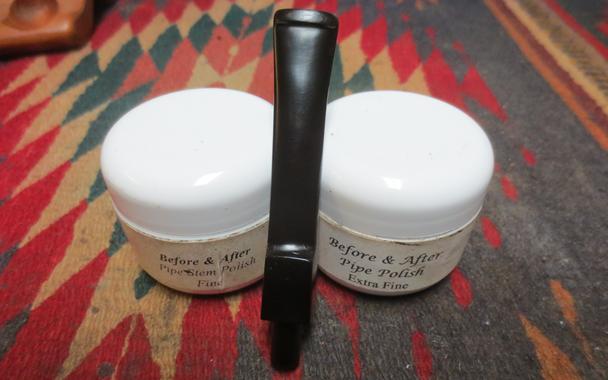
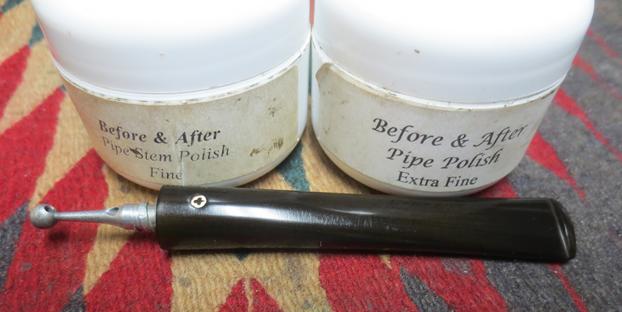
 I am revisiting the Before & After Pipe Stem polishes on this set of pipes. I polished it with the Fine Polish and wiped it down. I followed that by polishing it with the Extra Fine Polish. I buffed it with a microfiber cloth to raise the shine.
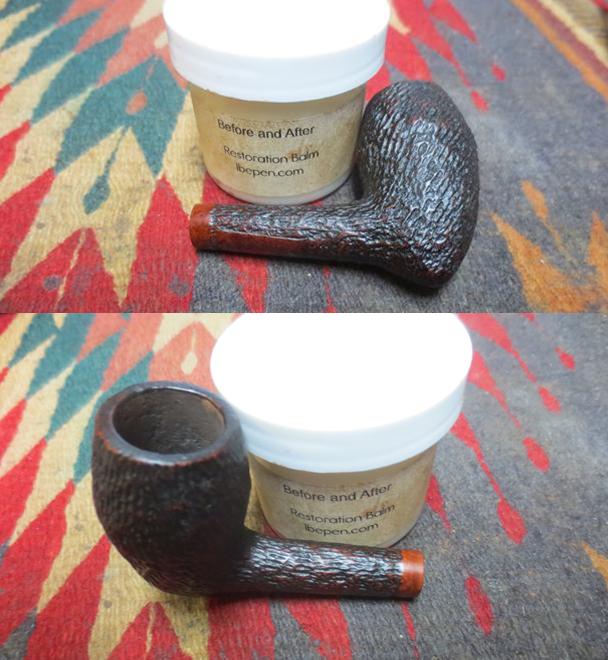
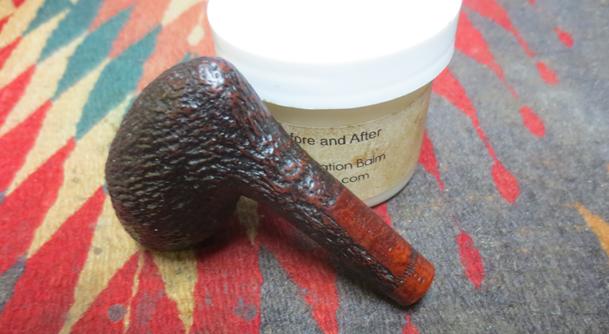
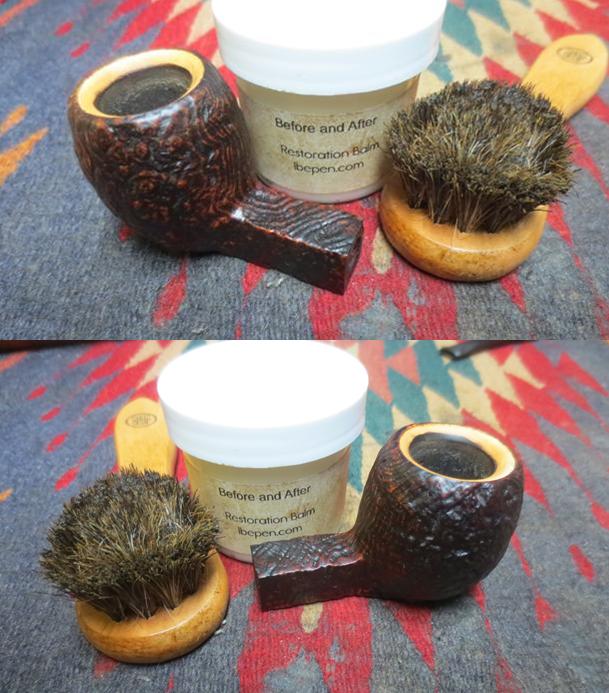
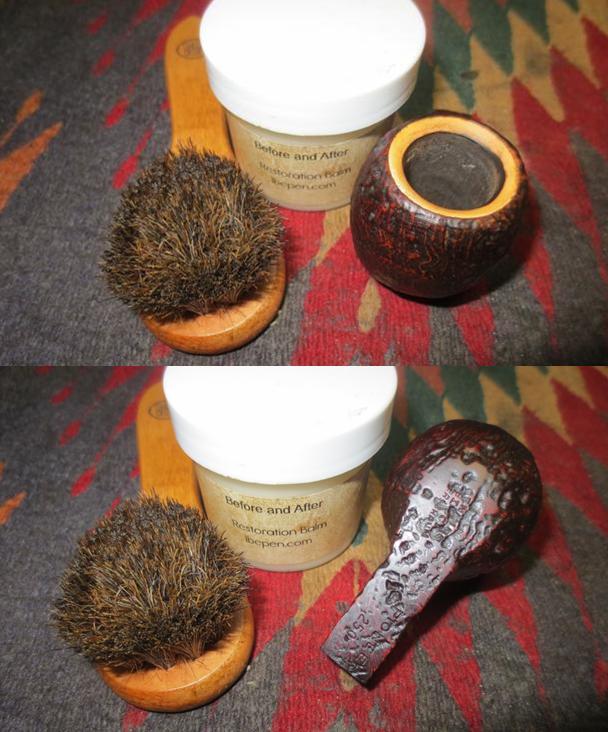
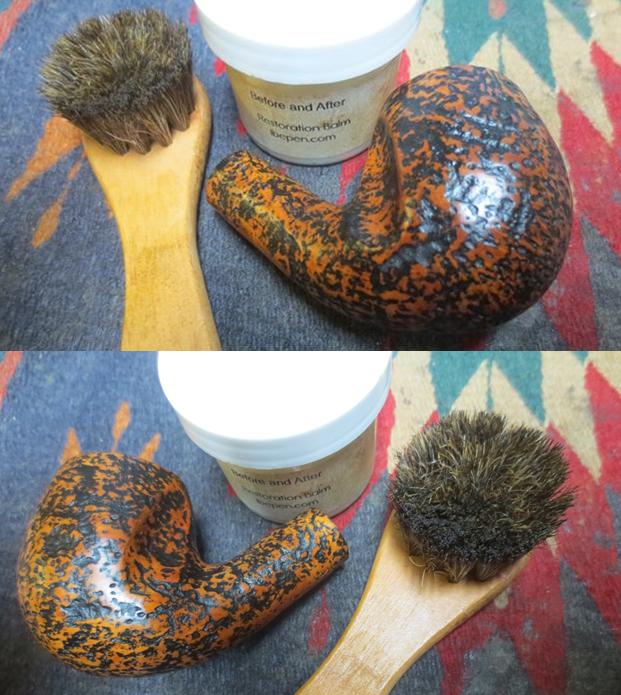
 I set the stem aside and rubbed the bowl down with Before & After Restoration Balm to deep clean the smooth finish, enliven and protect the briar. I hand rubbed it with my fingers, let it sit for a few minutes and then wiped it off with a soft cloth. The briar really began to have a deep shine. I took some photos of the bowl at this point to mark the progress in the restoration.
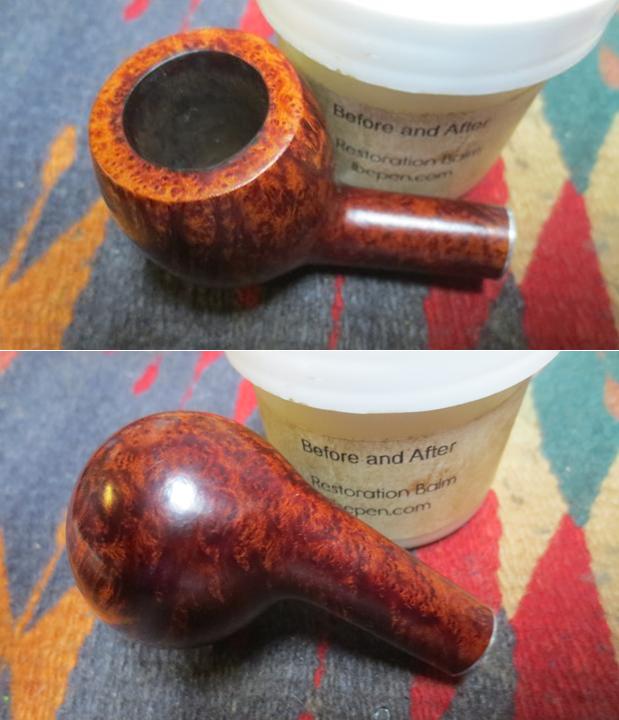 I put the stem back on the bowl and took the pipe to the buffing wheel to work it over. I carefully buffed it with Blue Diamond. I buffed the stem at the same time to raise the gloss on the vulcanite carefully working around the inset KW Club logo on the stem top. I gave the bowl and stem several coats carnauba wax. I buffed the entire pipe with a clean buffing pad to raise the shine. I hand buffed it with a microfiber cloth to deepen the shine. The finished first pipe of the matched grain set is shown in the photos below.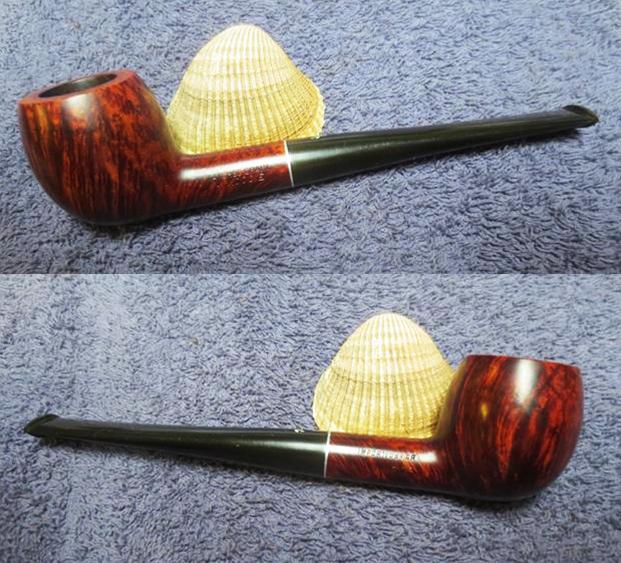

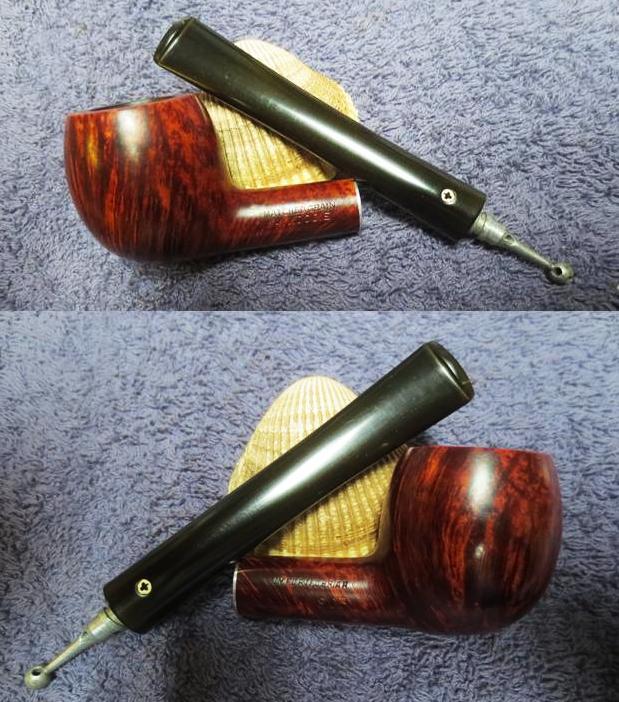
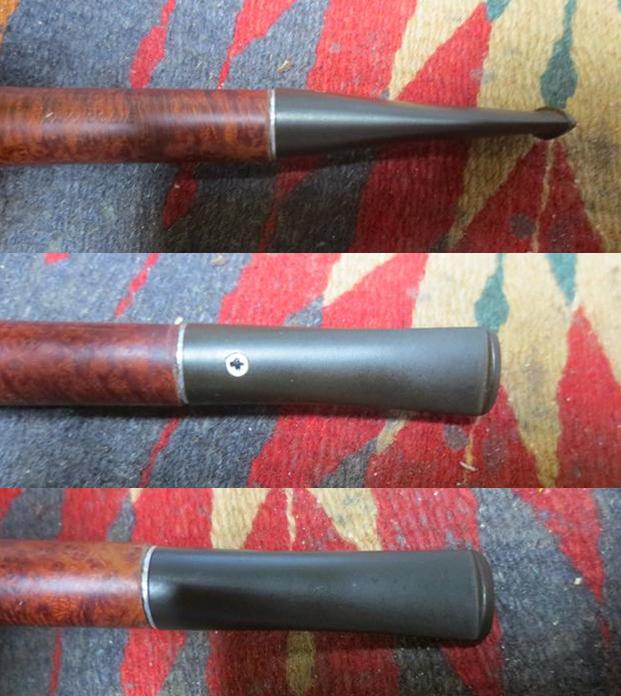
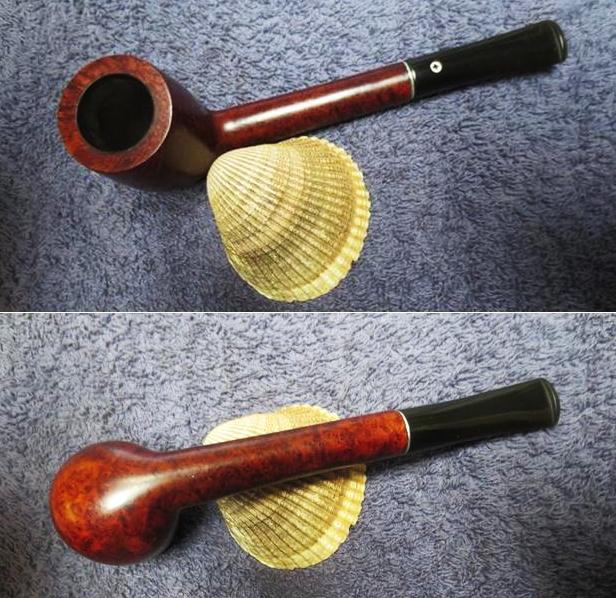
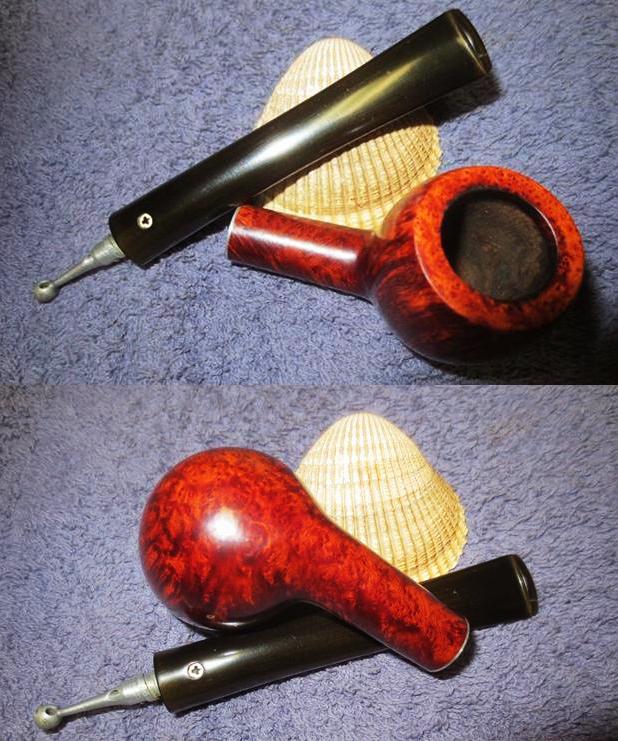 The second pipe I worked on was marked with the shape number 67. Kaywoodie designated it as a small billiard with a long shank and a short stem but to me the pipe is a Liverpool. I was anxious to start working on the pipe so I completely forgot to take photos of it before I started my restoration. It was in similar condition to the first pipe and the rim and bowl were very clean. The stem had light oxidation but it was not an issue. Since the damage to the pipe was on the metal fitment in the shank end. It was scarred and damaged with marks from a pair of pliers. When I removed the stem I found that the threaded metal tenon was stuck in the metal fitment. When I unscrewed the stem the fitment came out of the shank. The shank end was marked the same way as the fitment and would take some work. The next two photos show the damage around the edge of the fitment and the fact that the end of the stinger had been clipped off.
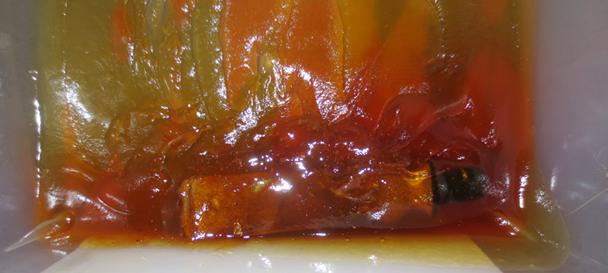
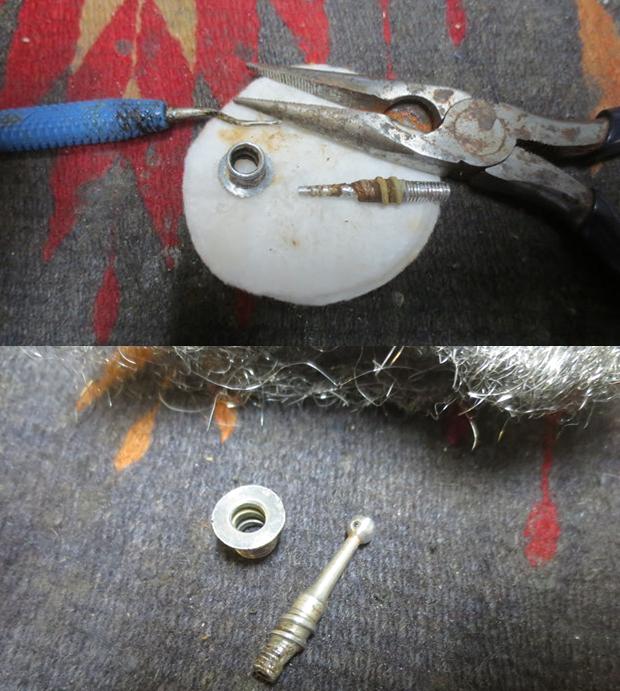
 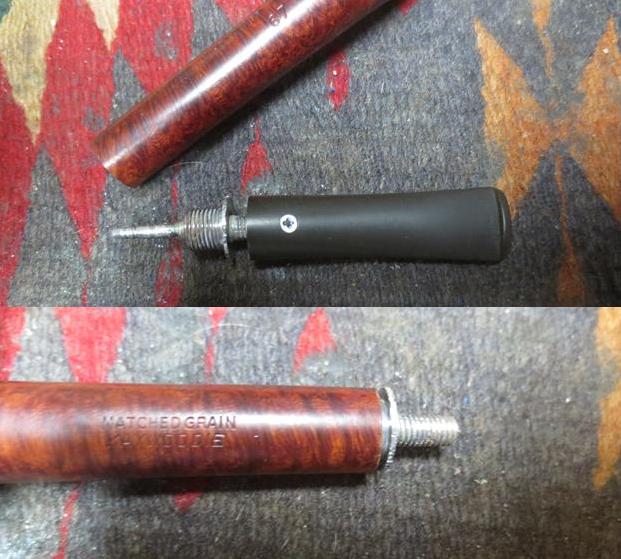 The stinger and threaded tenon was stuck in the metal fitment. The corrosion had caused it to be welded together. I could not budge it no matter how much heat I applied to it or how much alcohol I scrubbed it with. I decided to put it in an alcohol bath to let it soak. I came back to it after several hours and I was able to hold the tenon with pliers and unscrew the fitment from the tenon. The photo below shows the corrosion and buildup that held the two parts together. I went through my jar of stingers and found a Drinkless stinger that matched all of the other stingers in the Matched Grain set. I cleaned it up with 0000 steel wool to remove all of the tars. I cleaned out the fitment with alcohol and cotton swabs until it was spotless. I smoothed out the scratched surface with 220 grit sandpaper and 1500-4000 grit micromesh sanding pad.
 I used a cotton swab to apply all purpose glue to the threads on the fitment and turned it into the threaded mortise. I turned it in to the shank as far as it would go and let it dry. I put the same glue on the threads of the stinger and turned it into the airway in the stem. I aligned the stem in the shank and let the glue harden. I carefully turned the stem out of the shank and let it cure. Once it had hardened I put the stem on the shank of the pipe and took photos.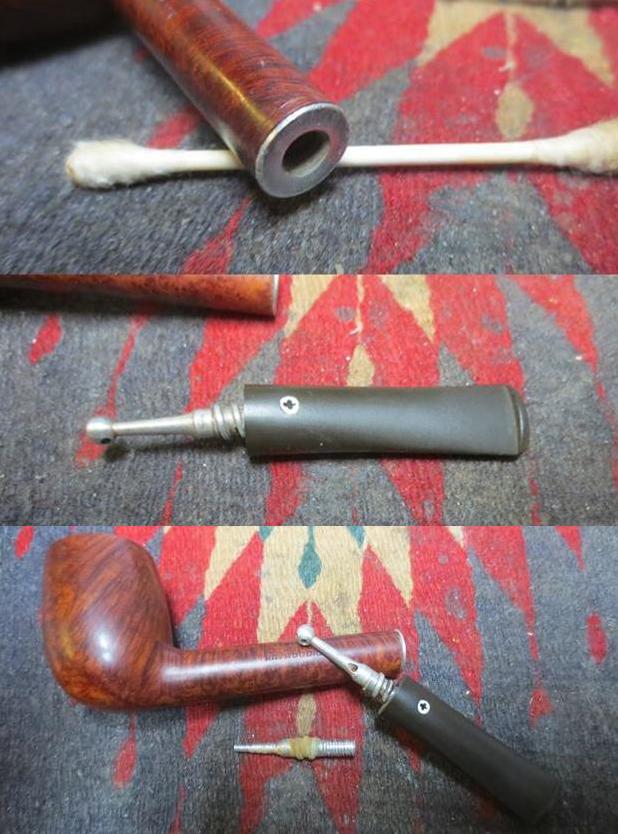
 I set the stem aside and polished the damaged areas around the end of the shank with micromesh sanding pads. I restained the damaged area with a dark brown stain pen. I polished the repaired area to smooth out the briar. I rubbed the bowl down with Before & After Restoration Balm to deep clean the smooth finish, enliven and protect the briar. I hand rubbed it with my fingers, let it sit for a few minutes and then wiped it off with a soft cloth. The briar really began to have a deep shine. I took some photos of the bowl at this point to mark the progress in the restoration.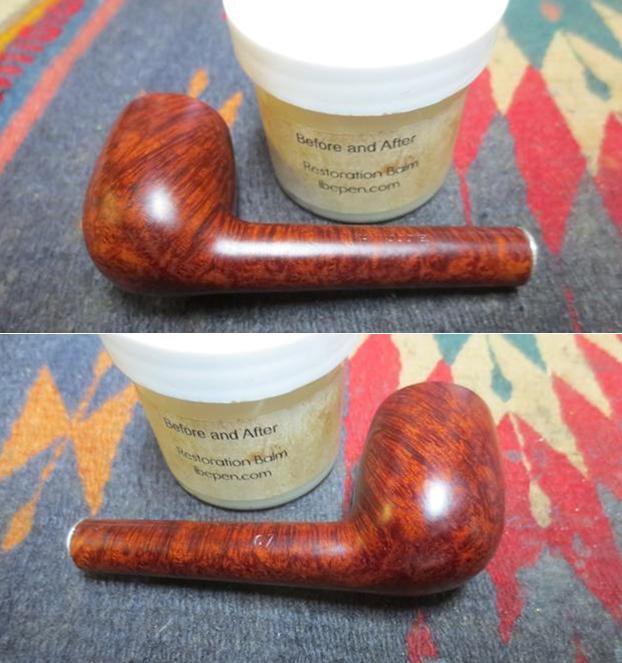
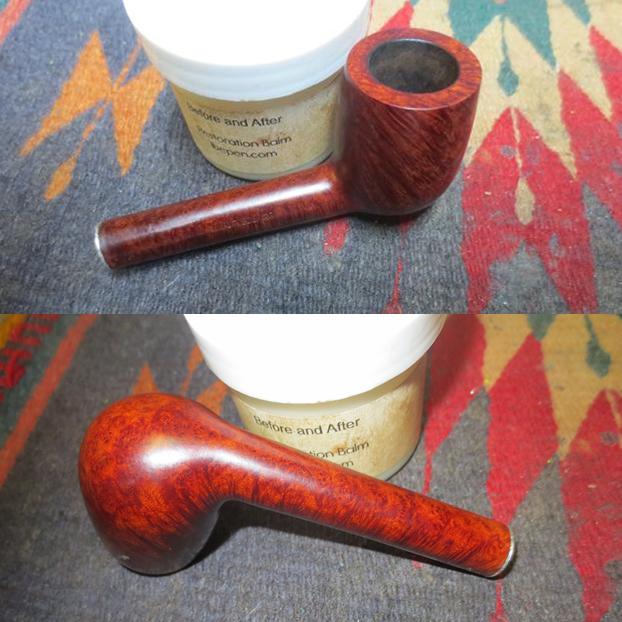 Since the oxidation was quite minimal I decided to work over the stem with micromesh sanding pads. I polished out the sanding scratches and marks in the vulcanite – wet sanding it with 1500-2400 grit pads and dry sanding it with 3200-12000 grit pads and wiped it down with Obsidian Oil after each one. When I finished with the 12000 grit pad I gave it a final coat of oil and set it aside to dry.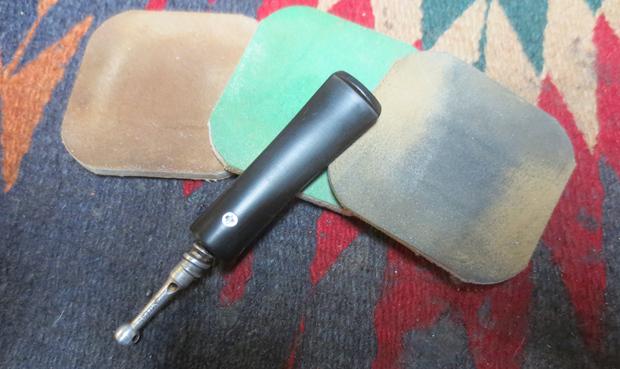
 I put the stem back on the bowl and took the pipe to the buffing wheel to work it over. I carefully buffed it with Blue Diamond. I buffed the stem at the same time to raise the gloss on the vulcanite carefully working around the inset KW Club logo on the stem top. I gave the bowl and stem several coats carnauba wax. I buffed the entire pipe with a clean buffing pad to raise the shine. I hand buffed it with a microfiber cloth to deepen the shine. The finished pipe is shown in the photos below.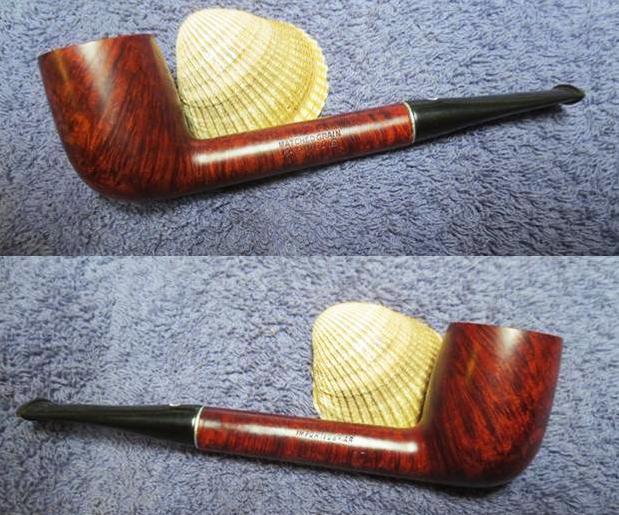
 The third pipe I worked on was marked with the shape number 53. It was what Kaywoodie designated as a medium square bulldog. With the diamond shank and stem I would call it a classic bulldog. Jeff’s work on it had left the finish very clean and the rim top and bowl were spotless. He had cleaned off much of the oxidation of the vulcanite stem leaving behind a very light oxidation and some tooth chatter and marks near the button on both sides. I took photos of each pipe before I started my work.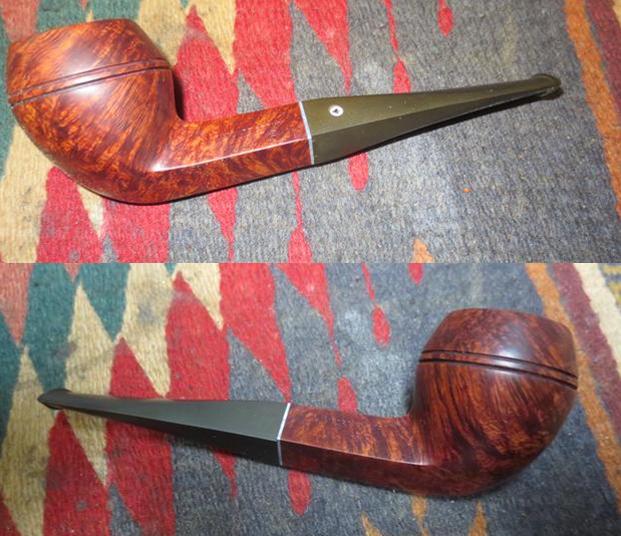
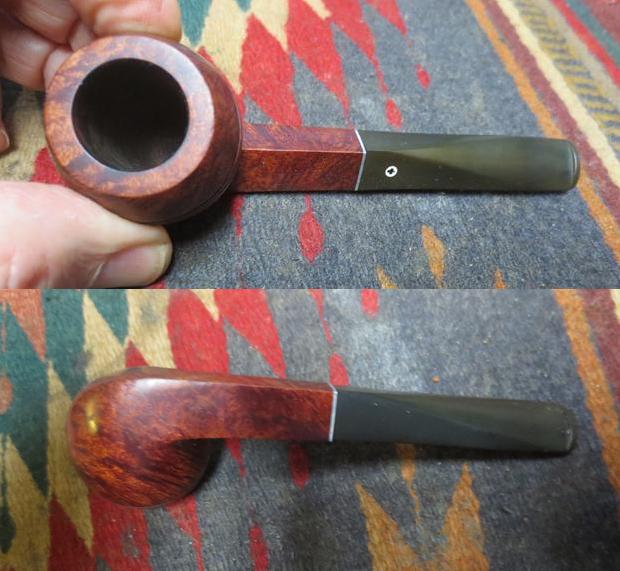 The rim top and bowl looked really good. The finish was in great shape and the bowl was ready to load and smoke again. It was really clean. The Oxyclean soak had really raised the oxidation to the surface of this stem. Both sides of the stem had a lot of scratches in the vulcanite. The stem was internally very clean but the surface was heavily oxidized when it arrived.
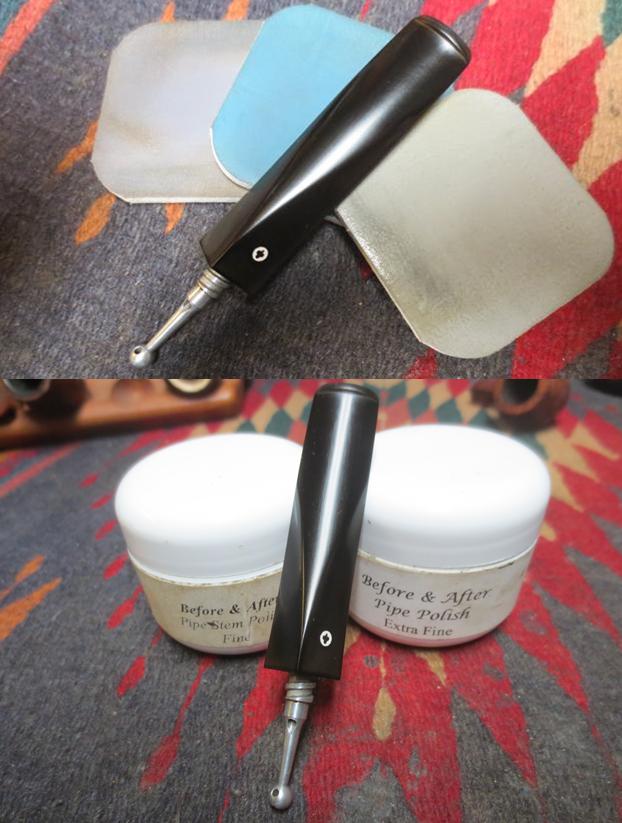
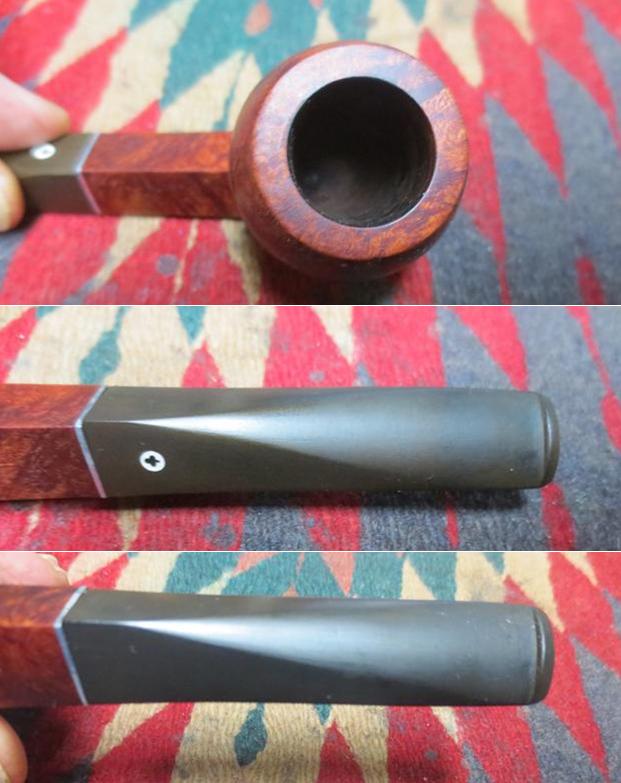 Since the oxidation was quite minimal I decided to work over the stem with micromesh sanding pads. I polished out the sanding scratches and marks in the vulcanite – wet sanding it with 1500-2400 grit pads and dry sanding it with 3200-12000 grit pads and wiped it down with Obsidian Oil after each one. When I finished with the 12000 grit pad I gave it a final coat of oil and set it aside to dry. I rubbed the stem down with Before & After Pipe Stem polishes. I polished it with the Fine Polish and wiped it down. I followed that by polishing it with the Extra Fine Polish. I buffed it with a microfiber cloth to raise the shine.
 I set the stem aside and rubbed the bowl down with Before & After Restoration Balm to deep clean the smooth finish, enliven and protect the briar. I hand rubbed it with my fingers, let it sit for a few minutes and then wiped it off with a soft cloth. The briar really began to have a deep shine. I took some photos of the bowl at this point to mark the progress in the restoration.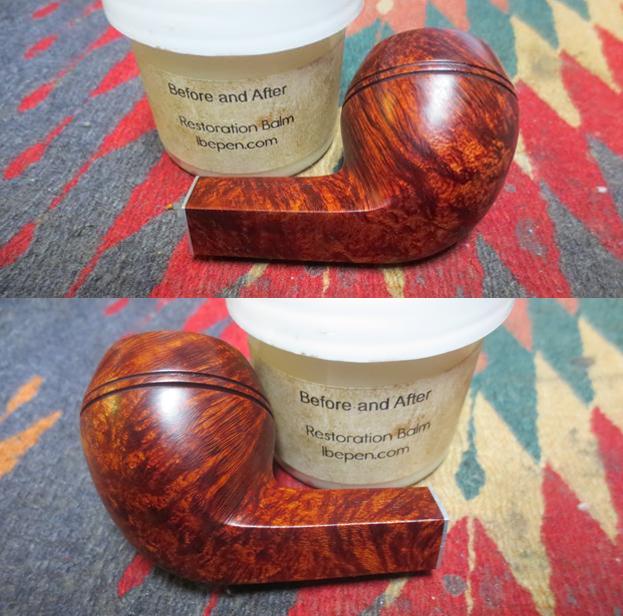
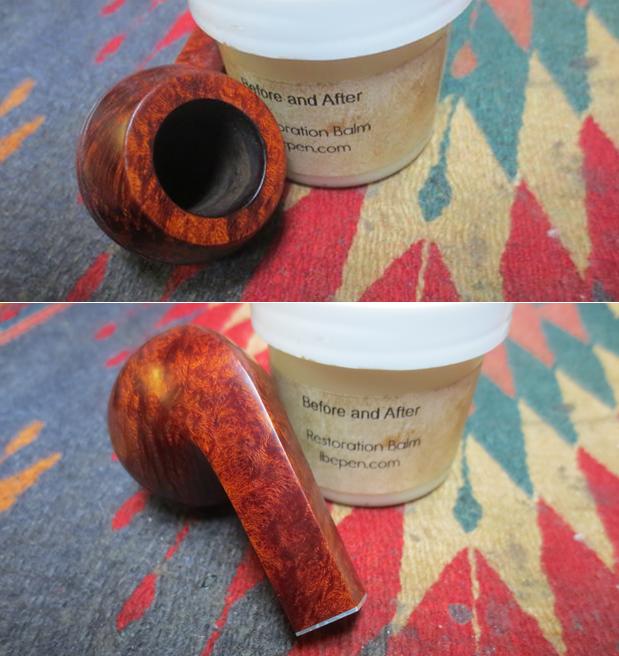 I put the stem back on the bowl and took the pipe to the buffing wheel to work it over. I carefully buffed it with Blue Diamond. I buffed the stem at the same time to raise the gloss on the vulcanite carefully working around the inset KW Club logo on the stem top. I gave the bowl and stem several coats carnauba wax. I buffed the entire pipe with a clean buffing pad to raise the shine. I hand buffed it with a microfiber cloth to deepen the shine. The finished pipe is shown in the photos below.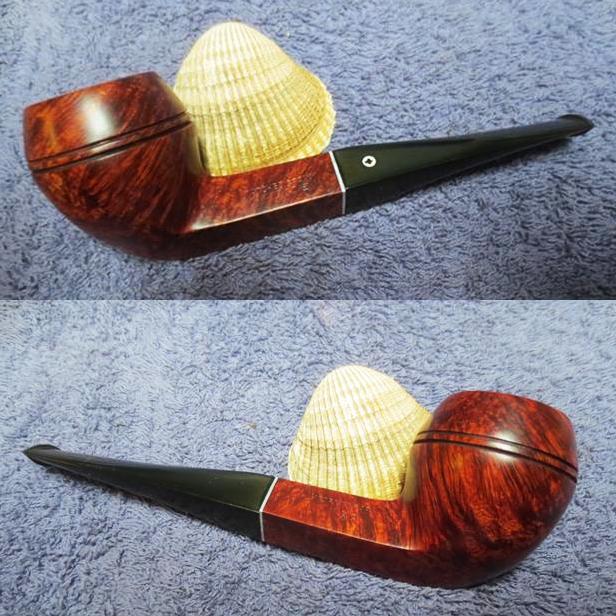
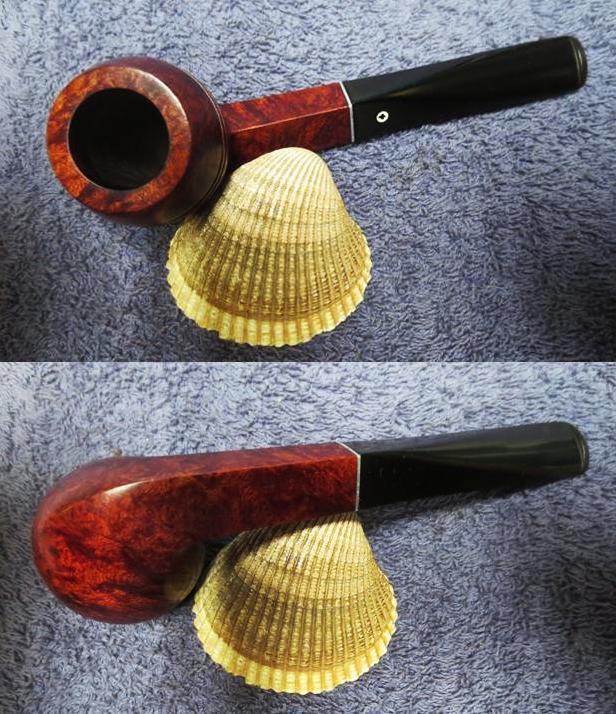
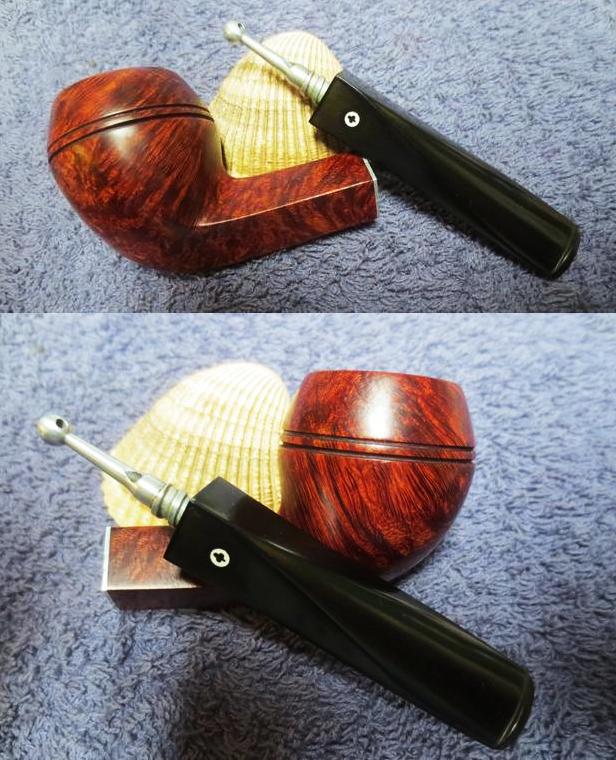
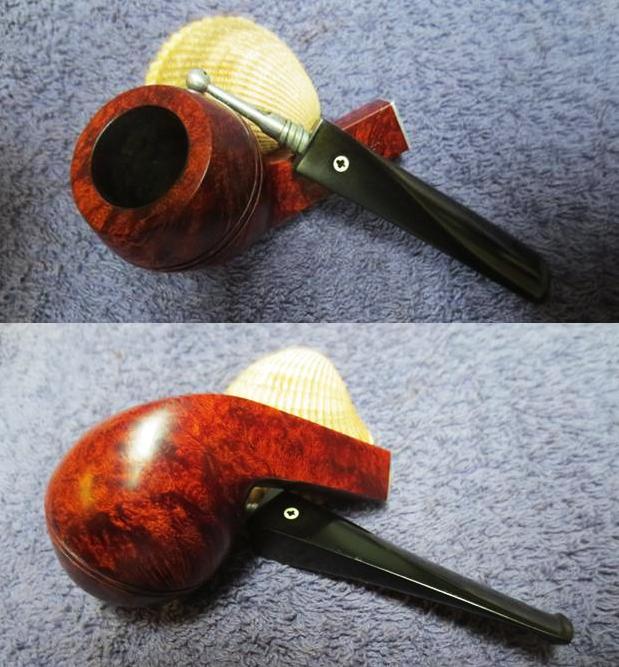 The fourth pipe on my work table was marked with the shape number 59. It was what Kaywoodie designated as a Boswell Shape or a Chubb Billiard. Jeff did his usual thorough work on the pipe and it had left the finish very clean and the rim top and bowl were spotless. He had cleaned off much of the oxidation of the vulcanite stem leaving behind a very light oxidation and some tooth chatter and marks near the button on both sides. I took photos of each pipe before I started my work.
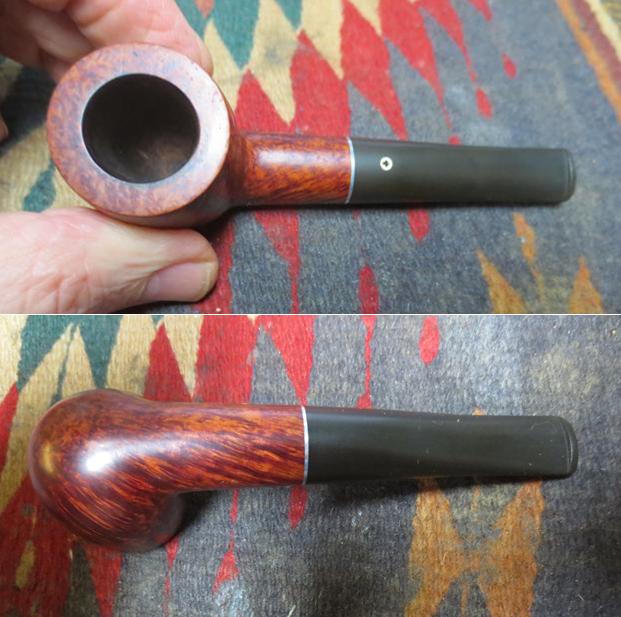 The rim top and bowl looked really good. Once again the finish was in great shape and the bowl was ready to load and smoke again. It was really clean. The Oxyclean soak had really raised the oxidation to the surface of this stem. Both sides of the stem had a lot of scratches in the vulcanite. The stem was internally very clean but the surface was heavily oxidized when it arrived.
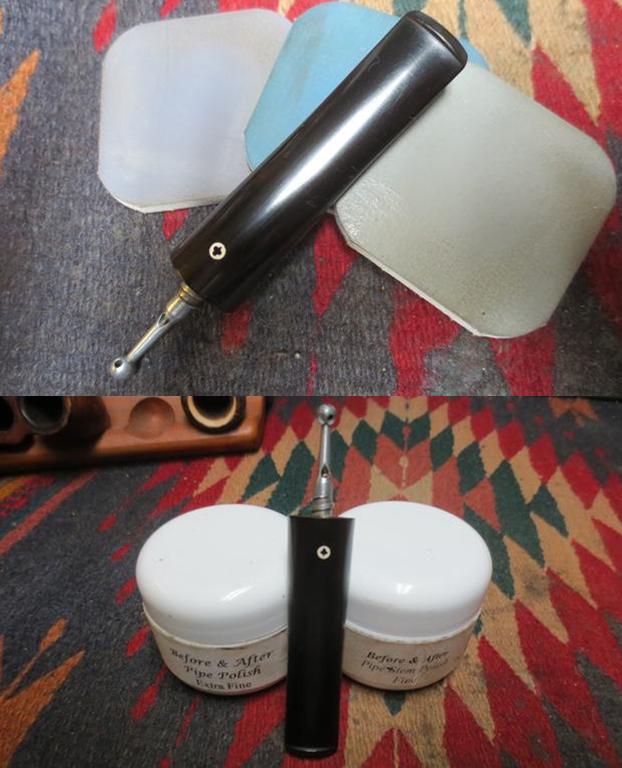
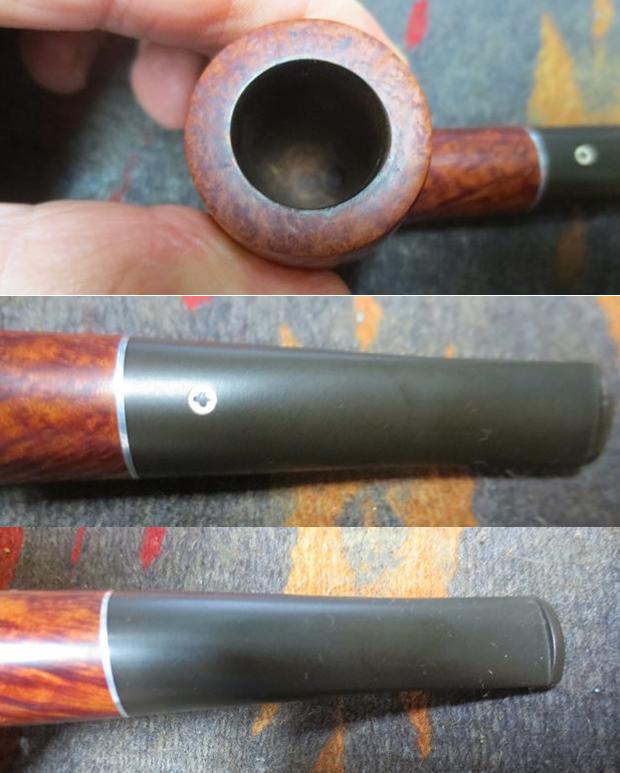 Once again the oxidation was quite minimal so worked over the stem with micromesh sanding pads. I polished out the sanding scratches and marks in the vulcanite – wet sanding it with 1500-2400 grit pads and dry sanding it with 3200-12000 grit pads and wiped it down with Obsidian Oil after each one. When I finished with the 12000 grit pad I gave it a final coat of oil and set it aside to dry. I rubbed the stem down with Before & After Pipe Stem polishes. I polished it with the Fine Polish and wiped it down. I followed that by polishing it with the Extra Fine Polish. I buffed it with a microfiber cloth to raise the shine.
 I set the stem aside and rubbed the bowl down with Before & After Restoration Balm to deep clean the smooth finish, enliven and protect the briar. I hand rubbed it with my fingers, let it sit for a few minutes and then wiped it off with a soft cloth. The briar really began to have a deep shine. I took some photos of the bowl at this point to mark the progress in the restoration.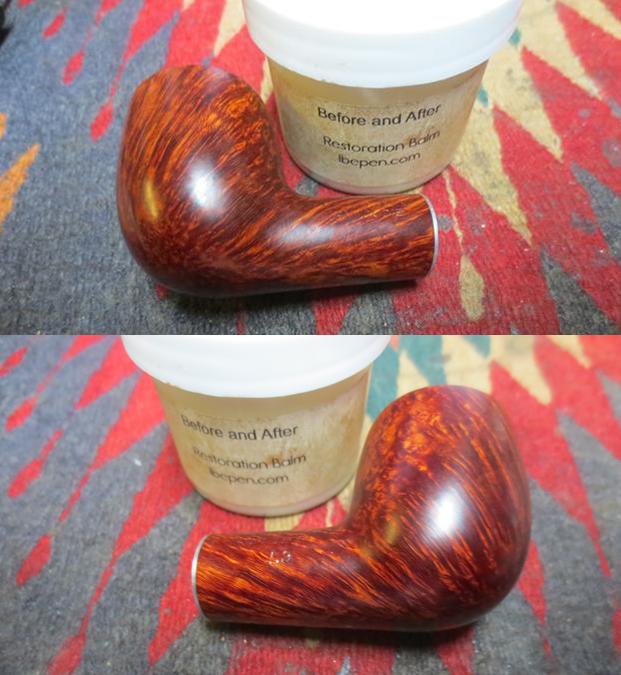
 If you have stuck with me this far in the blog then you know that I put the stem back on the bowl and took the pipe to the buffing wheel to work it over. I carefully buffed it with Blue Diamond. I buffed the stem at the same time to raise the gloss on the vulcanite carefully working around the inset KW Club logo on the stem top. I gave the bowl and stem several coats carnauba wax. I buffed the entire pipe with a clean buffing pad to raise the shine. I hand buffed it with a microfiber cloth to deepen the shine. The finished pipe is shown in the photos below.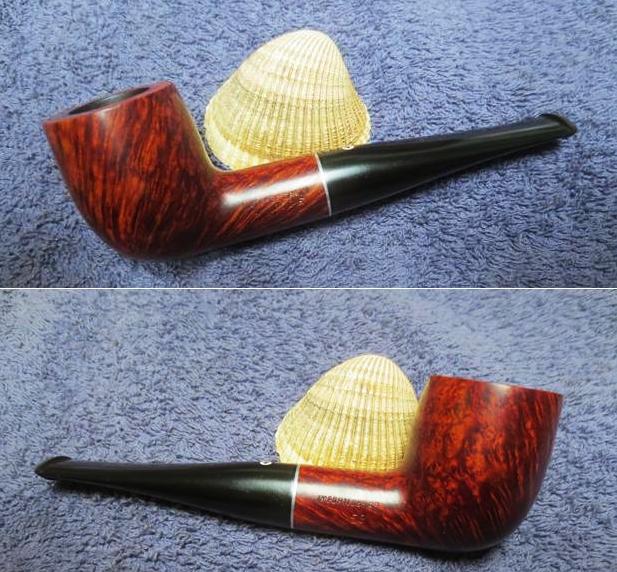
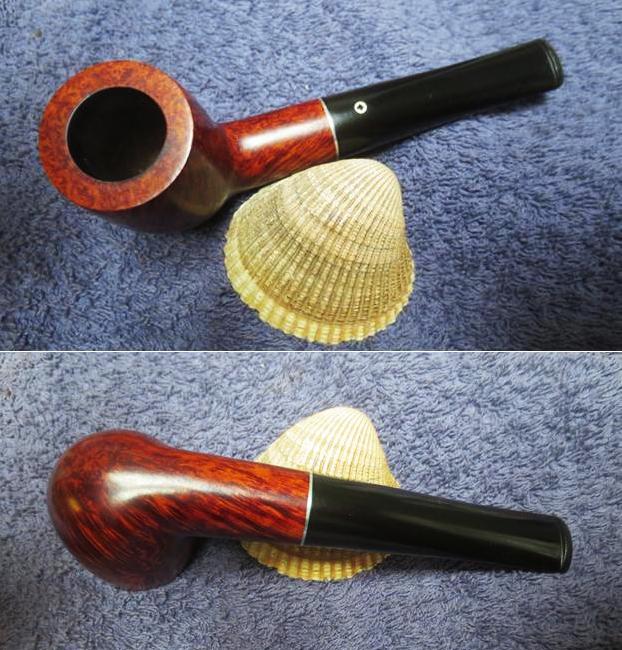
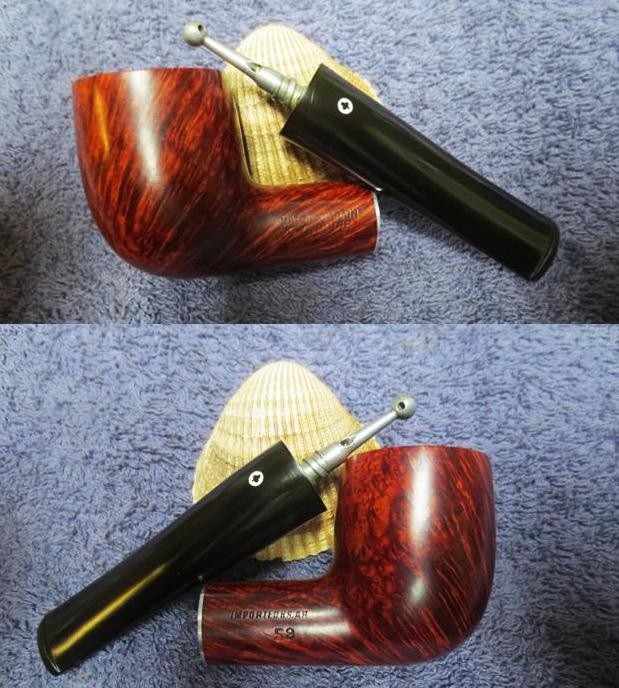
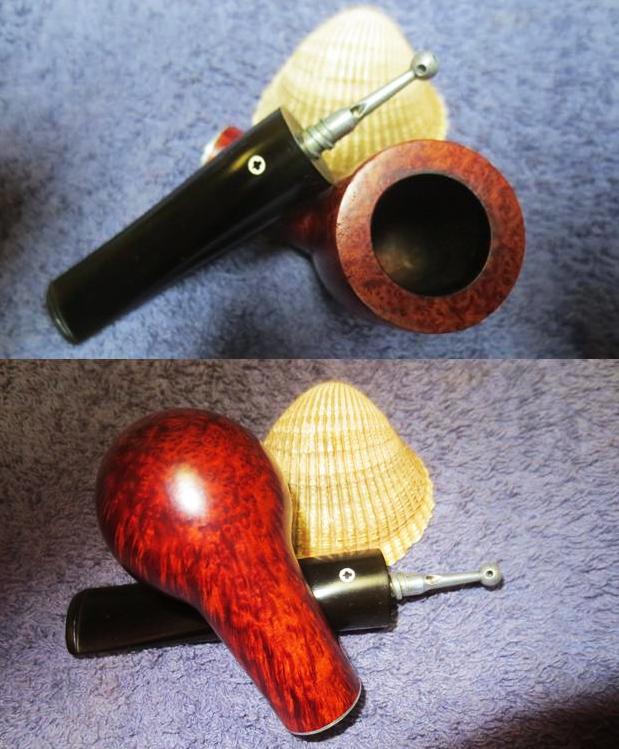 The fifth pipe on my work table was marked with the shape number 11. It was what Kaywoodie designated as a Large Billiard. Jeff had repeated his usual thorough work on the pipe and it the finish very clean and the rim top and bowl were spotless. He had cleaned off much of the oxidation of the vulcanite stem leaving behind a very light oxidation and some tooth chatter and marks near the button on both sides. I took photos of each pipe before I started my work.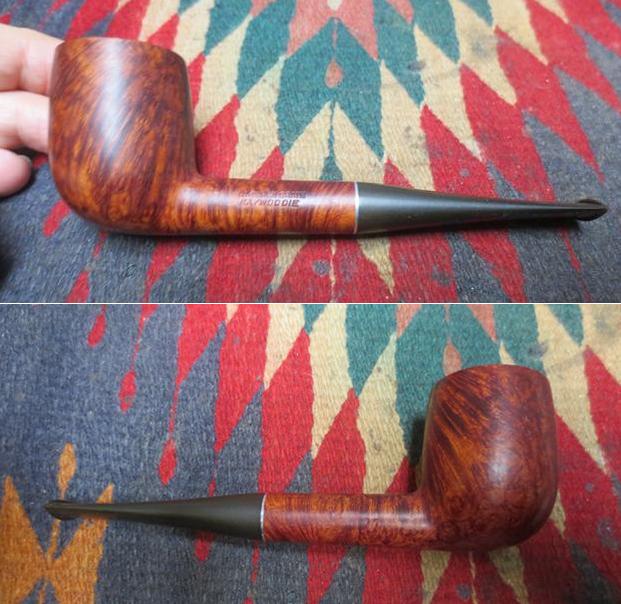
 The rim top and bowl looked really good. The finish was in great shape and the bowl was ready to load and smoke again. It was really clean. The Oxyclean soak had really raised the oxidation to the surface of this stem. Both sides of the stem had a lot of scratches in the vulcanite. The stem was internally very clean but the surface was heavily oxidized when it arrived.
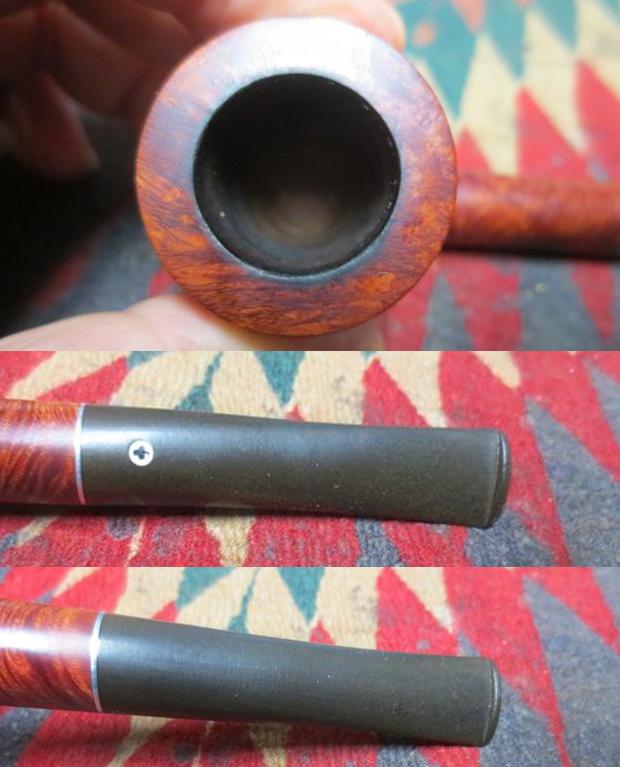 Like the rest of the set, the oxidation was quite minimal so I worked over the stem with micromesh sanding pads. I polished out the sanding scratches and marks in the vulcanite – wet sanding it with 1500-2400 grit pads and dry sanding it with 3200-12000 grit pads and wiped it down with Obsidian Oil after each one. When I finished with the 12000 grit pad I gave it a final coat of oil and set it aside to dry. I rubbed the stem down with Before & After Pipe Stem polishes. I polished it with the Fine Polish and wiped it down. I followed that by polishing it with the Extra Fine Polish. I buffed it with a microfiber cloth to raise the shine.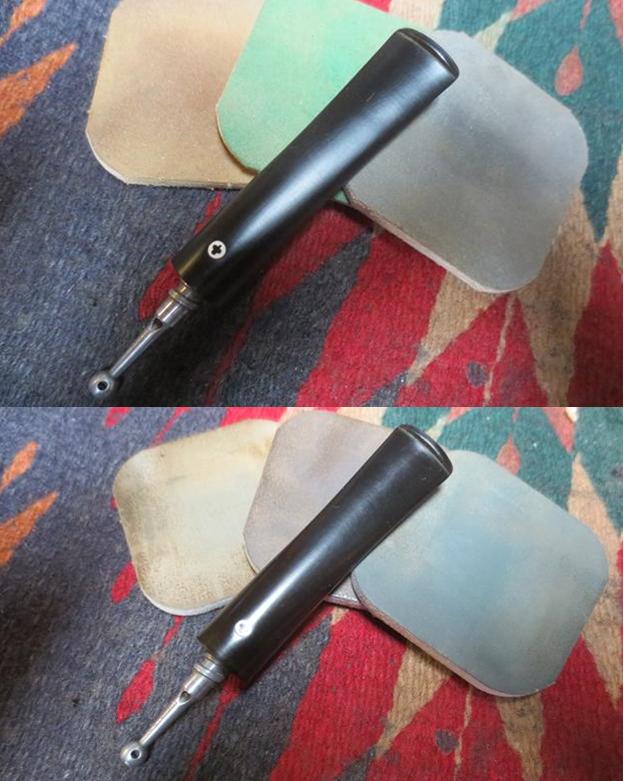
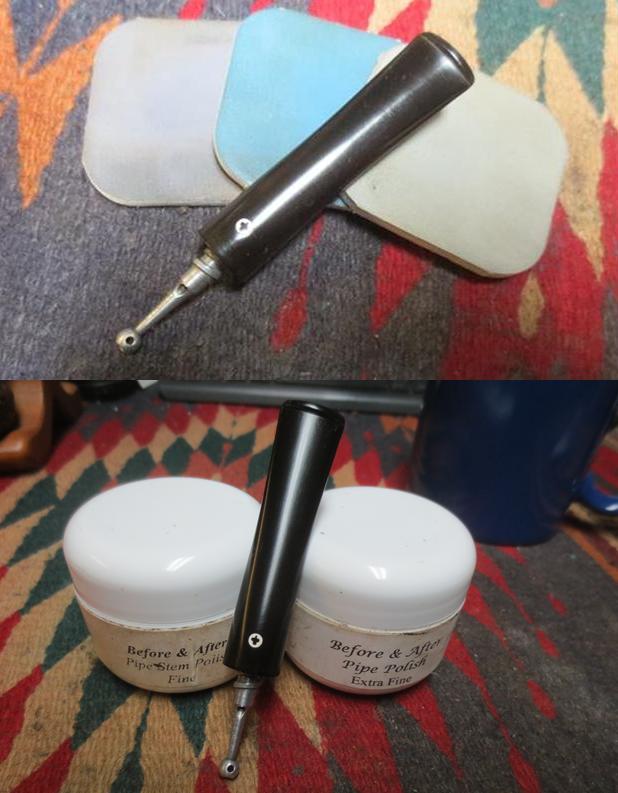 I set the stem aside and rubbed the bowl down with Before & After Restoration Balm to deep clean the smooth finish, enliven and protect the briar. I hand rubbed it with my fingers, let it sit for a few minutes and then wiped it off with a soft cloth. The briar really began to have a deep shine. I took some photos of the bowl at this point to mark the progress in the restoration.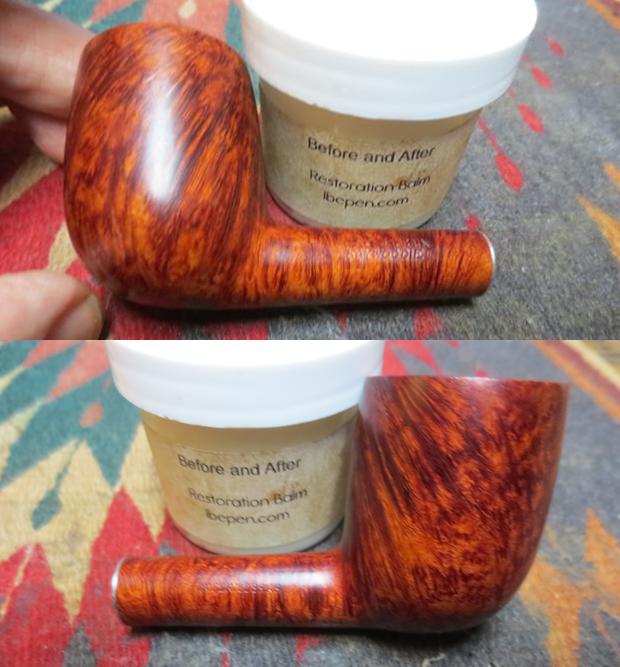
 On this fifth pipe I used the same process I have used on all the pipes I work on. I put the stem back on the bowl and took the pipe to the buffing wheel to work it over. I carefully buffed it with Blue Diamond. I buffed the stem at the same time to raise the gloss on the vulcanite carefully working around the inset KW Club logo on the stem top. I gave the bowl and stem several coats carnauba wax. I buffed the entire pipe with a clean buffing pad to raise the shine. I hand buffed it with a microfiber cloth to deepen the shine. The finished pipe is shown in the photos below.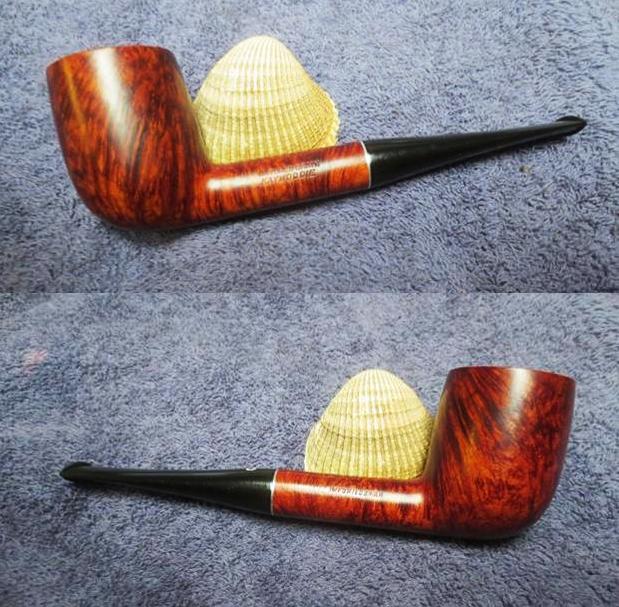
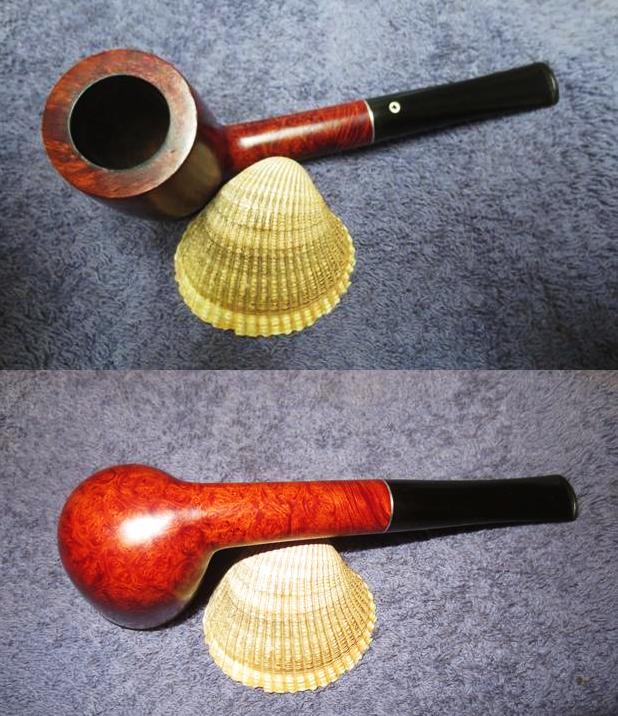
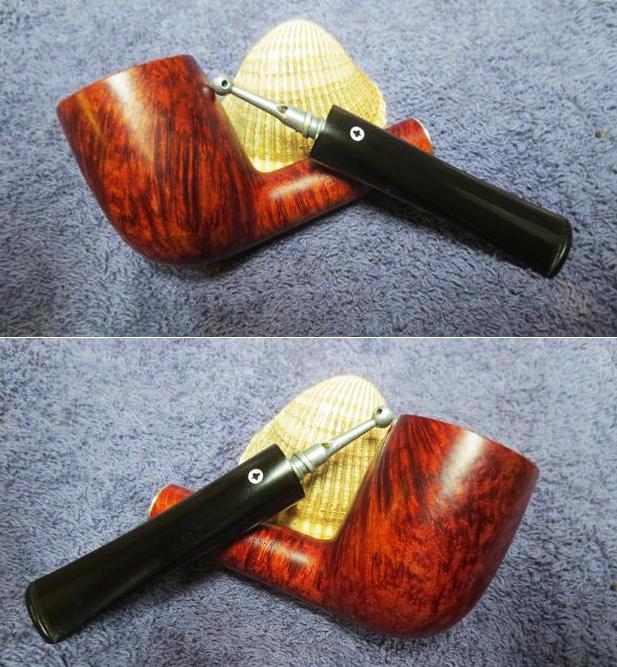
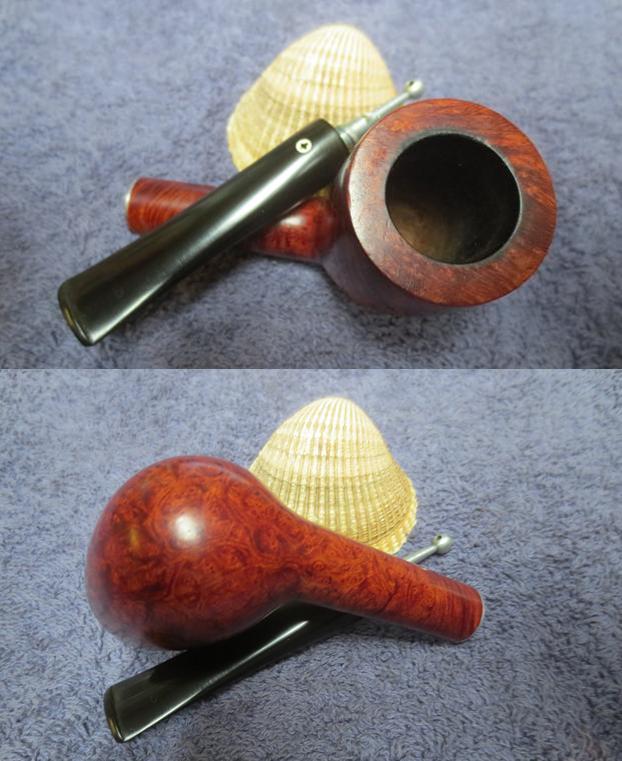 The sixth pipe on my work table was marked with the shape number 13. It was what Kaywoodie designated as an Extra Large Dublin. Jeff had thoroughly cleaned the pipe inside and out. The finish very clean and the rim top and bowl were spotless. He had cleaned off much of the oxidation of the vulcanite stem leaving behind a very light oxidation and some tooth chatter and marks near the button on both sides. I took photos of each pipe before I started my work.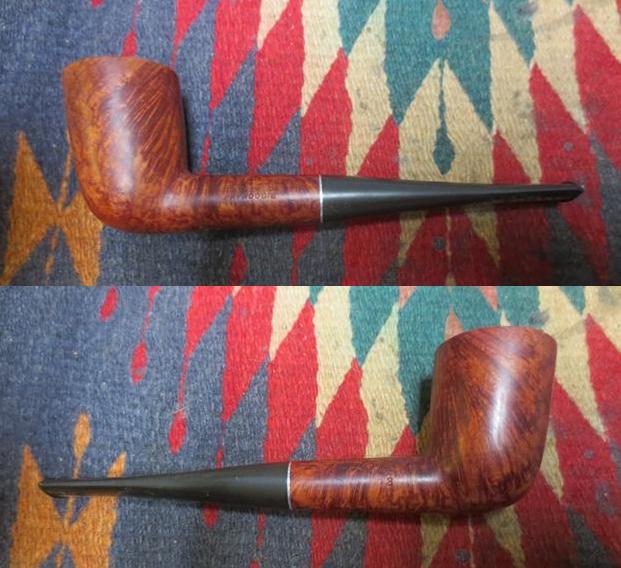
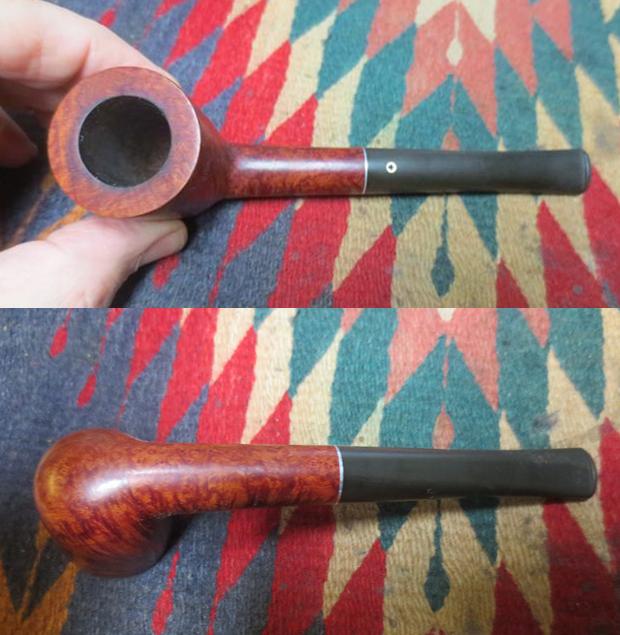 The rim top and bowl looked really good. The finish was in great shape and the bowl was ready to load and smoke again. It was really clean. The Oxyclean soak had really raised the oxidation to the surface of this stem. Both sides of the stem had a lot of scratches in the vulcanite. The stem was internally very clean but the surface was heavily oxidized when it arrived.
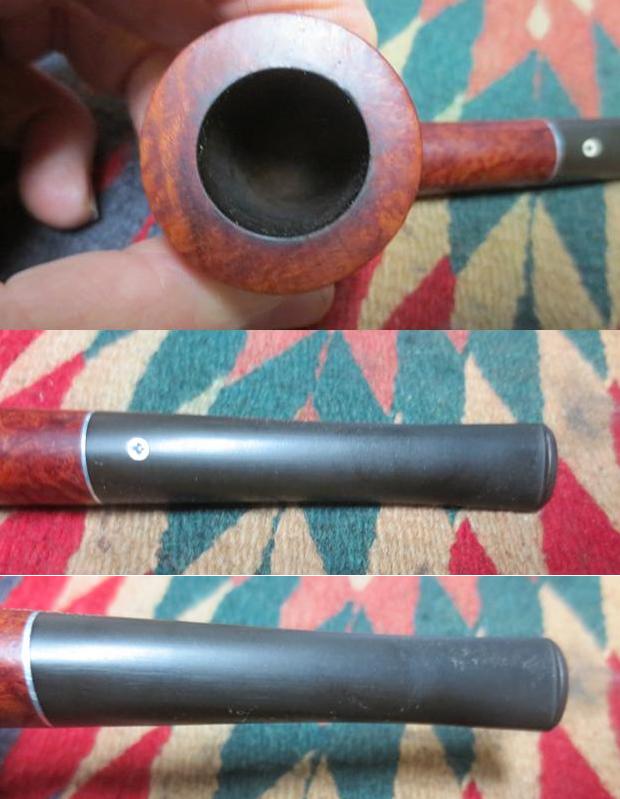 Once again the oxidation was quite minimal so I worked over the stem with micromesh sanding pads. I polished out the sanding scratches and marks in the vulcanite – wet sanding it with 1500-2400 grit pads and dry sanding it with 3200-12000 grit pads and wiped it down with Obsidian Oil after each one. When I finished with the 12000 grit pad I gave it a final coat of oil and set it aside to dry. I rubbed the stem down with Before & After Pipe Stem polishes. I polished it with the Fine Polish and wiped it down. I followed that by polishing it with the Extra Fine Polish. I buffed it with a microfiber cloth to raise the shine.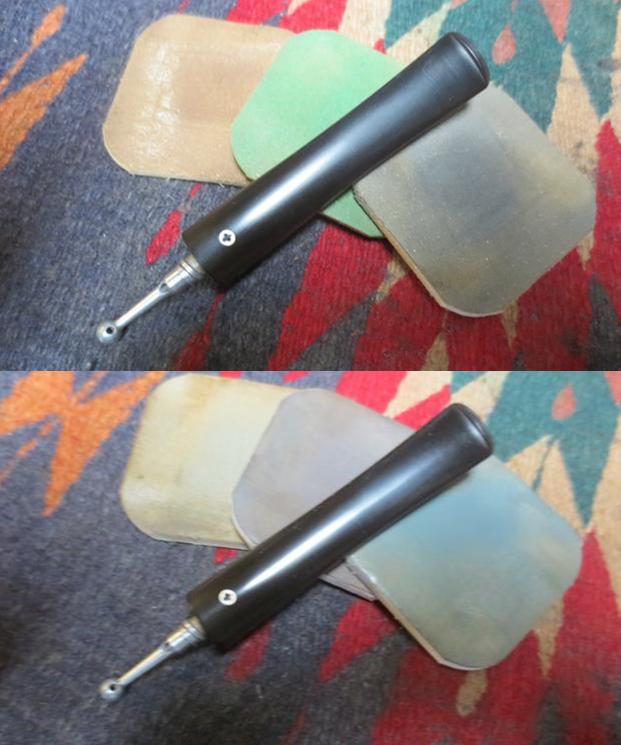
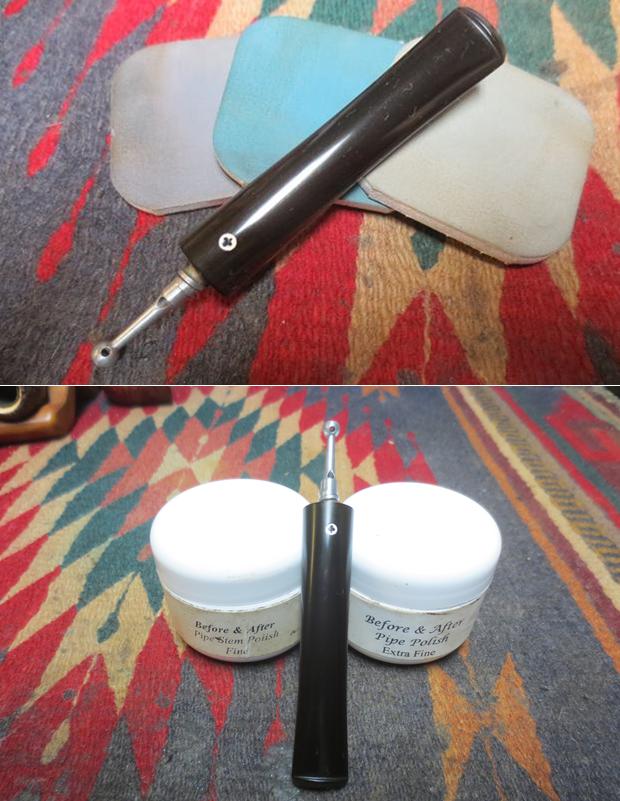 I set the stem aside and rubbed the bowl down with Before & After Restoration Balm to deep clean the smooth finish, enliven and protect the briar. I hand rubbed it with my fingers, let it sit for a few minutes and then wiped it off with a soft cloth. The briar really began to have a deep shine. I took some photos of the bowl at this point to mark the progress in the restoration.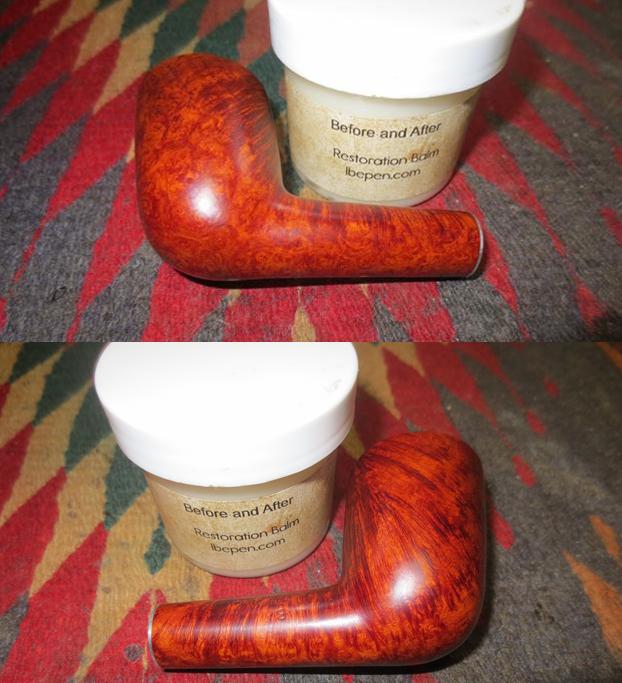
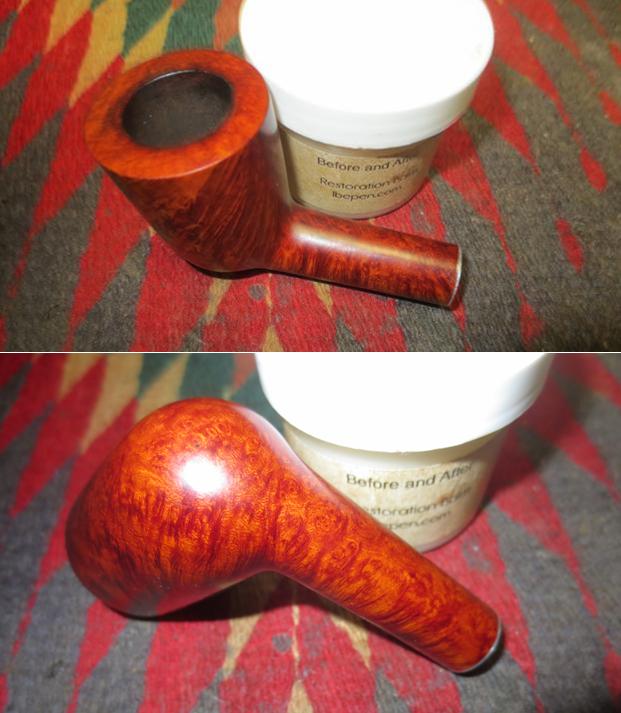 On this sixth pipe I used the same process I have used on all the other pipes. I put the stem back on the bowl and took the pipe to the buffing wheel to work it over. I carefully buffed it with Blue Diamond. I buffed the stem at the same time to raise the gloss on the vulcanite carefully working around the inset KW Club logo on the stem top. I gave the bowl and stem several coats carnauba wax. I buffed the entire pipe with a clean buffing pad to raise the shine. I hand buffed it with a microfiber cloth to deepen the shine. The finished pipe is shown in the photos below.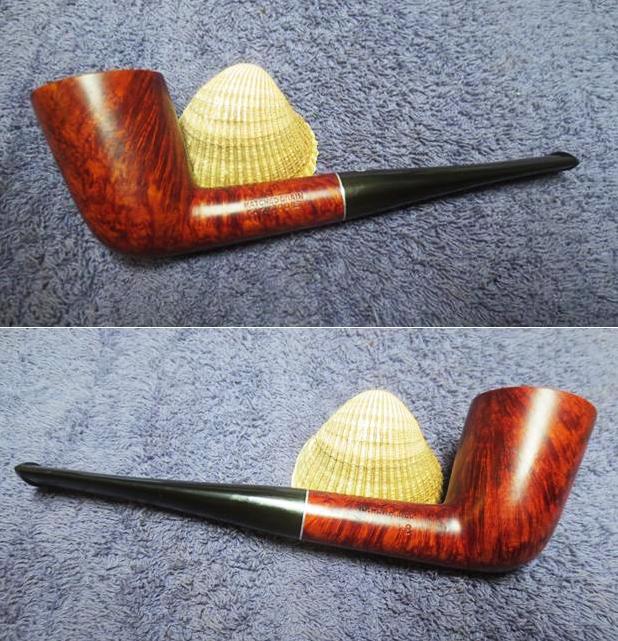
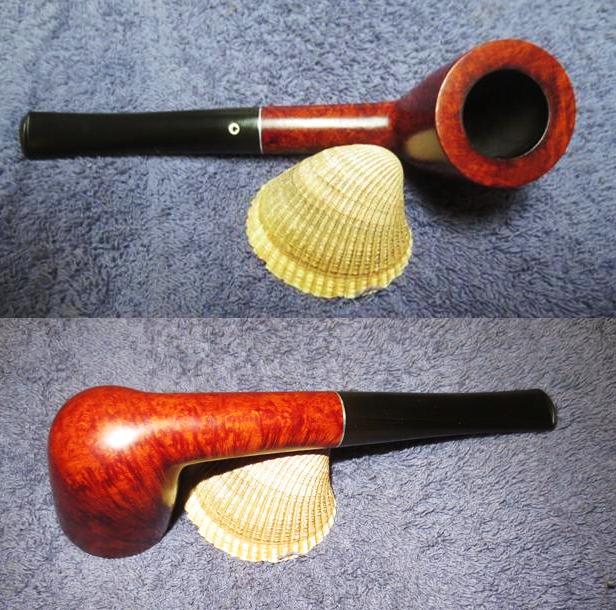

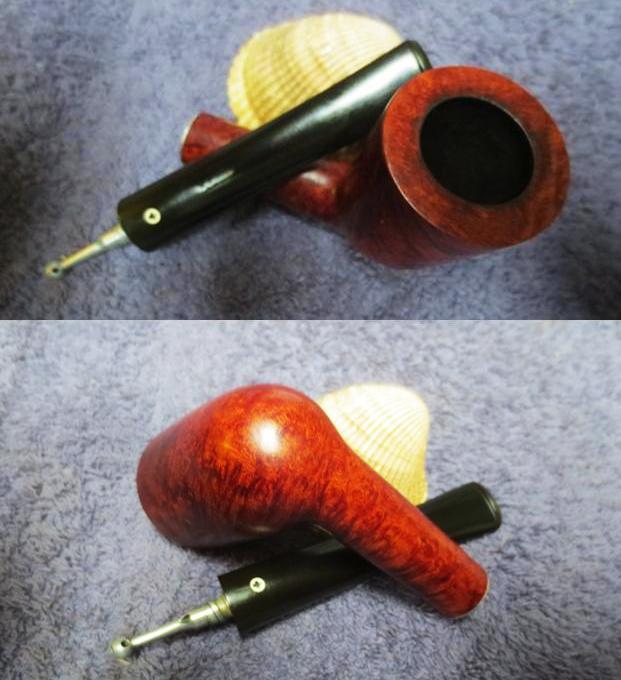 The seventh and final pipe on my work table was marked with the shape number 14. It was what Kaywoodie designated as a Full Bent Medium Billiard with a Taper Stem. Jeff had thoroughly cleaned the pipe inside and out. The finish very clean and the rim top and bowl were spotless. He had cleaned off much of the oxidation of the vulcanite stem leaving behind a very light oxidation and some tooth chatter and marks near the button on both sides. I took photos of each pipe before I started my work.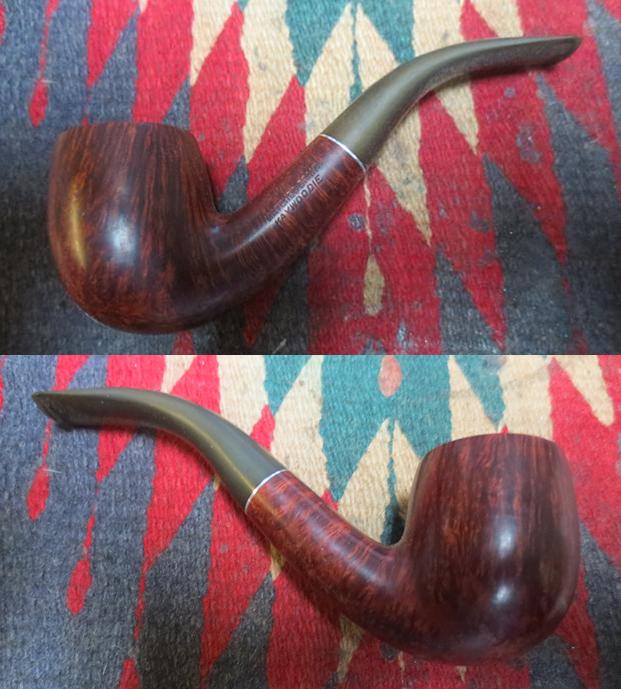
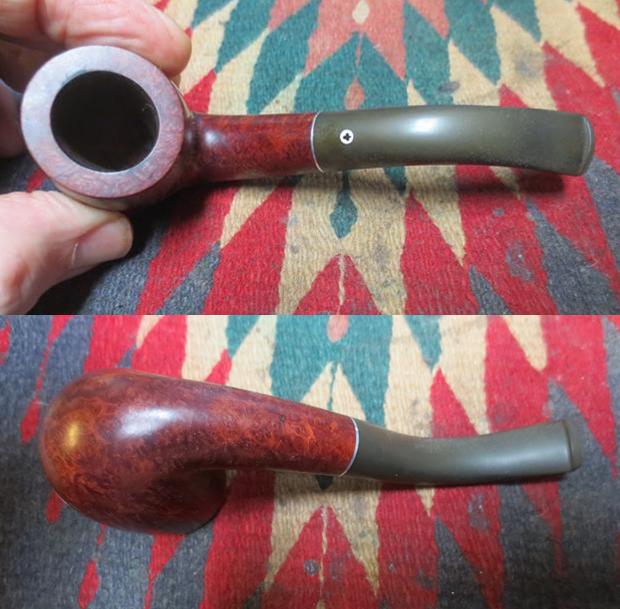 Just like the rest of the pipes that were in this set, the rim top and bowl looked really good. The finish was in great shape and the bowl was ready to load and smoke again. It was really clean. The Oxyclean soak had really raised the oxidation to the surface of this stem. Both sides of the stem had a lot of scratches in the vulcanite. The stem was internally very clean but the surface was heavily oxidized when it arrived.
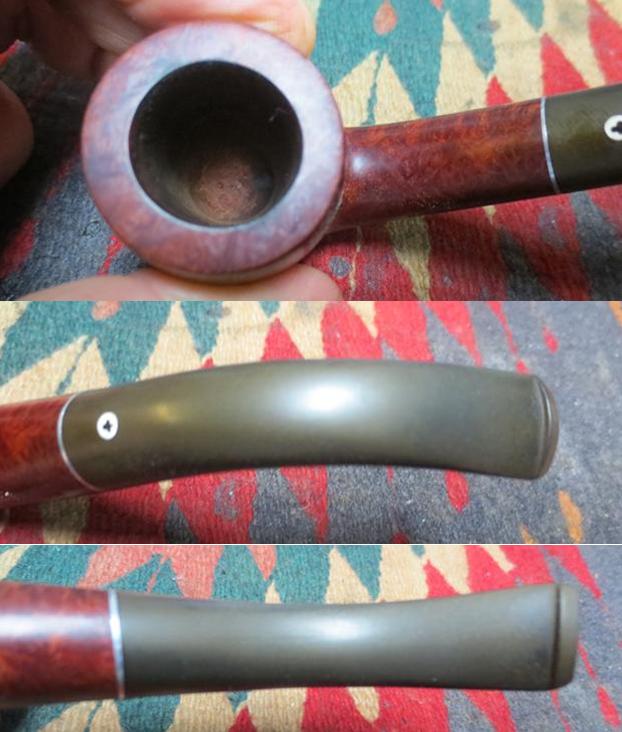 Like the rest of the set the oxidation on the seventh pipe was quite minimal so I worked over the stem with micromesh sanding pads. I polished out the sanding scratches and marks in the vulcanite – wet sanding it with 1500-2400 grit pads and dry sanding it with 3200-12000 grit pads and wiped it down with Obsidian Oil after each one. When I finished with the 12000 grit pad I gave it a final coat of oil and set it aside to dry. I rubbed the stem down with Before & After Pipe Stem polishes. I polished it with the Fine Polish and wiped it down. I followed that by polishing it with the Extra Fine Polish. I buffed it with a microfiber cloth to raise the shine.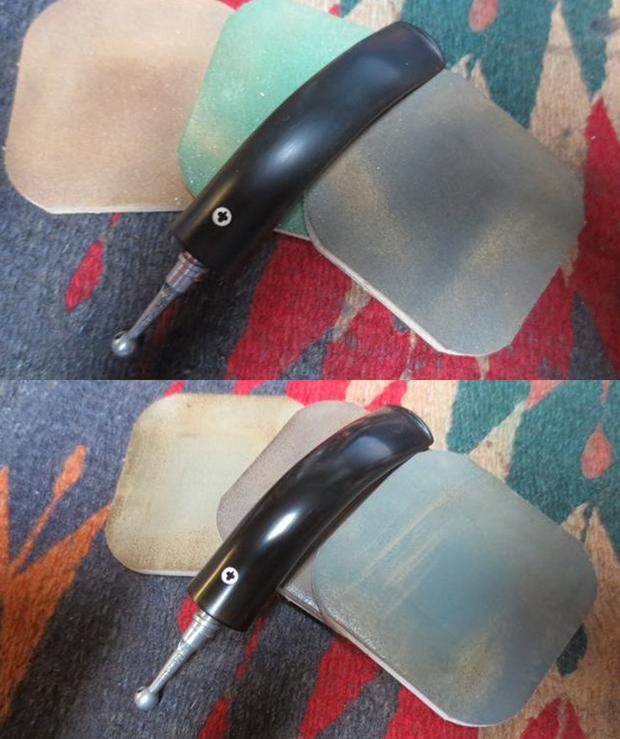
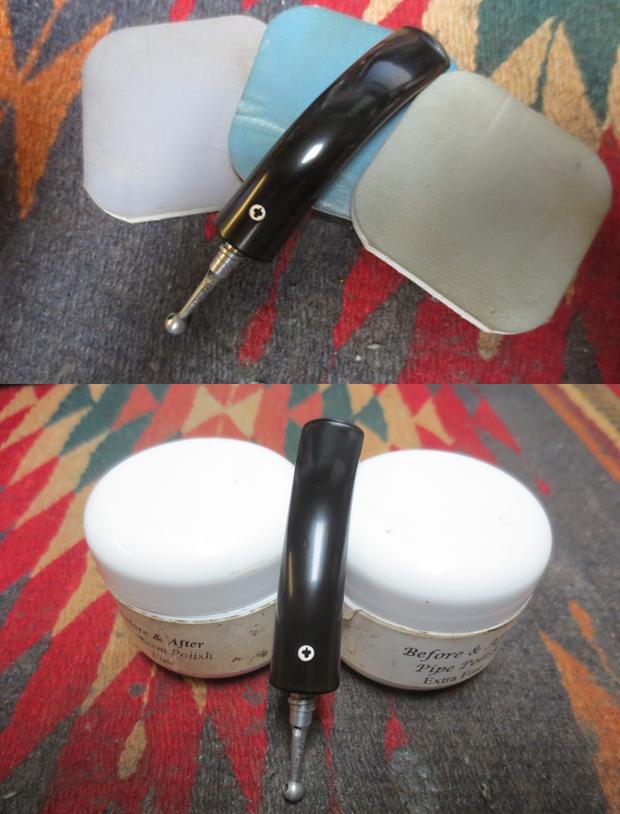 I set the stem aside and rubbed the bowl down with Before & After Restoration Balm to deep clean the smooth finish, enliven and protect the briar. I hand rubbed it with my fingers, let it sit for a few minutes and then wiped it off with a soft cloth. The briar really began to have a deep shine. I took some photos of the bowl at this point to mark the progress in the restoration.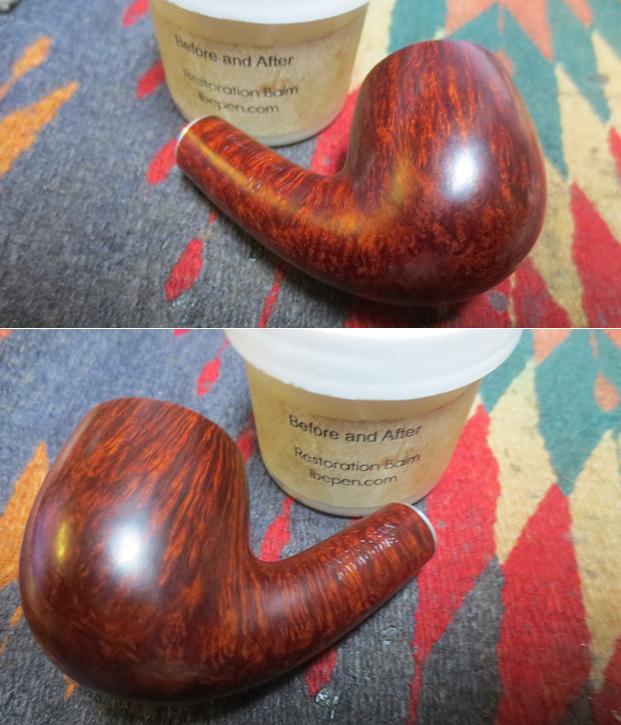
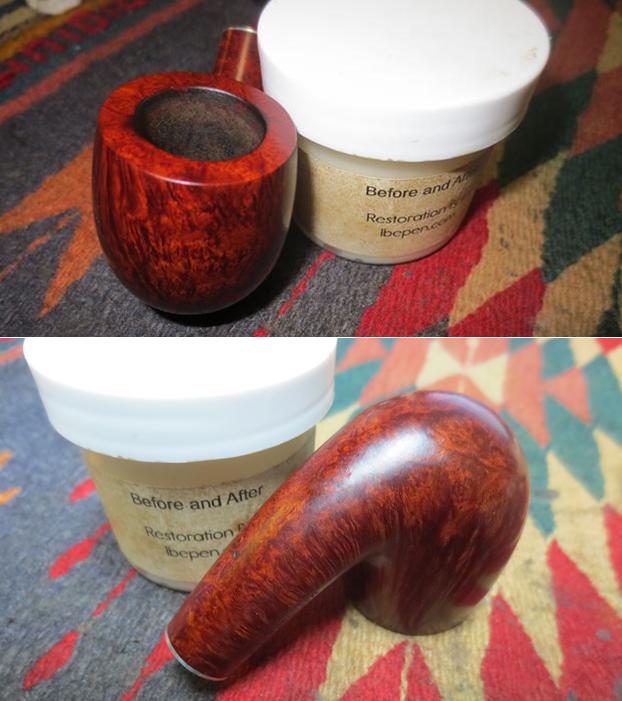 On this final and seventh pipe I used the same process I have used on all the other pipes. I put the stem back on the bowl and took the pipe to the buffing wheel to work it over. I carefully buffed it with Blue Diamond. I buffed the stem at the same time to raise the gloss on the vulcanite carefully working around the inset KW Club logo on the stem top. I gave the bowl and stem several coats carnauba wax. I buffed the entire pipe with a clean buffing pad to raise the shine. I hand buffed it with a microfiber cloth to deepen the shine. The finished pipe is shown in the photos below.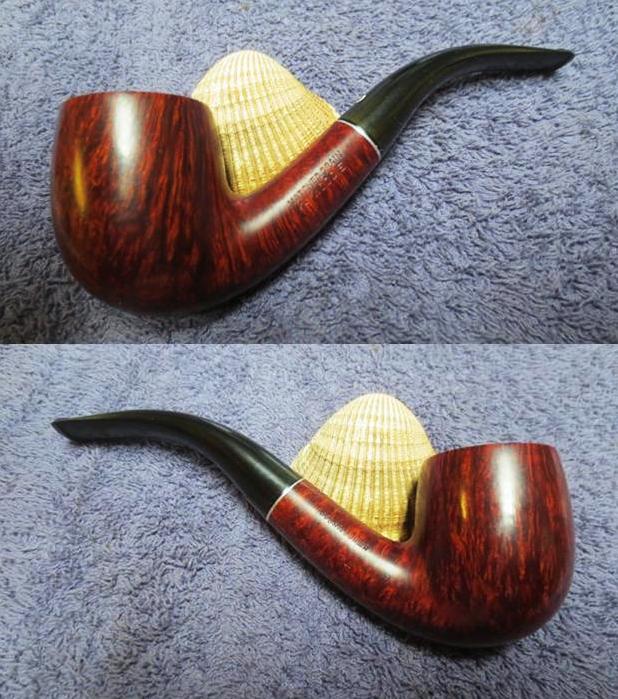
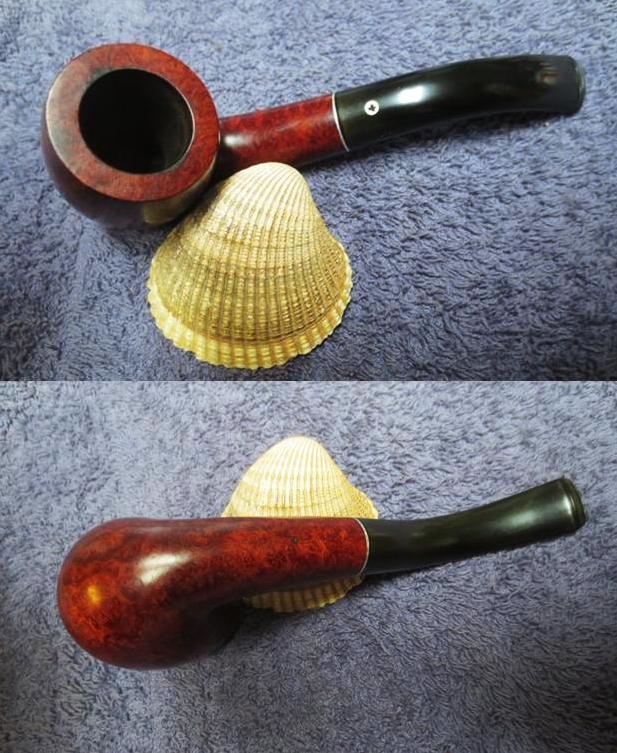
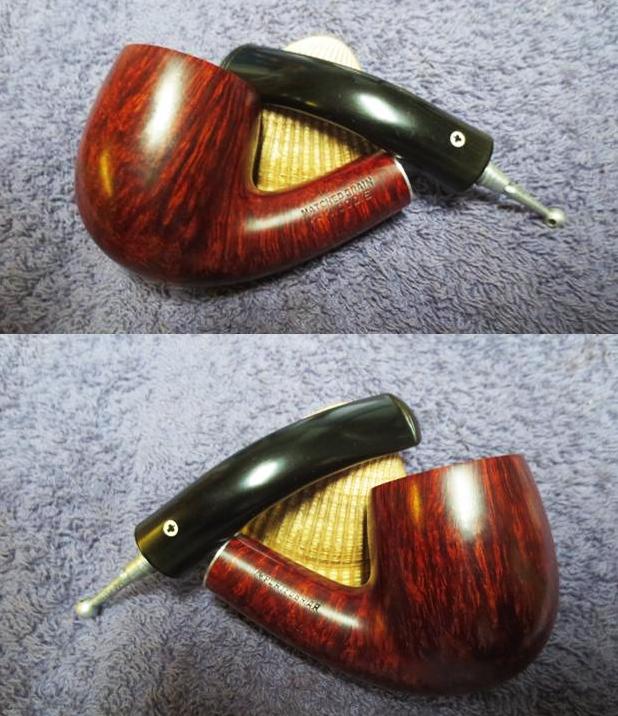
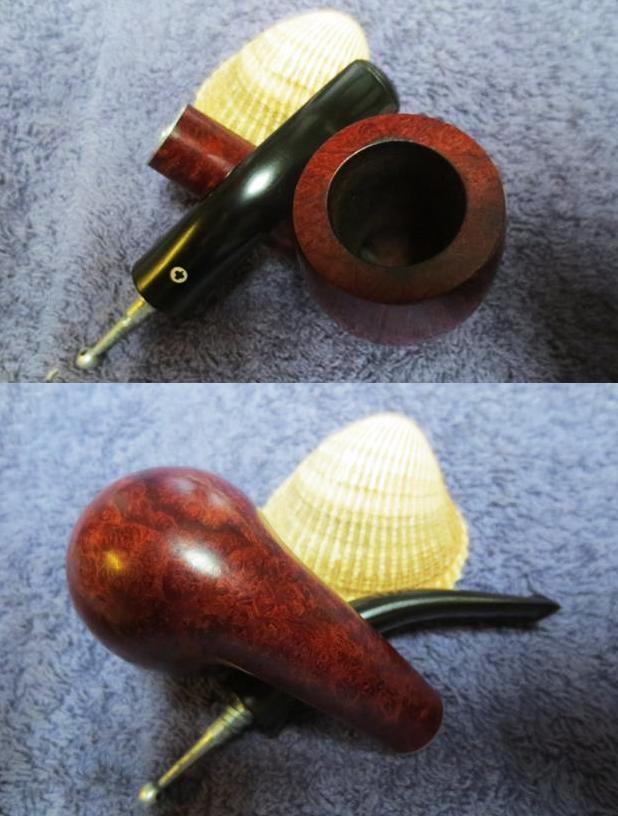
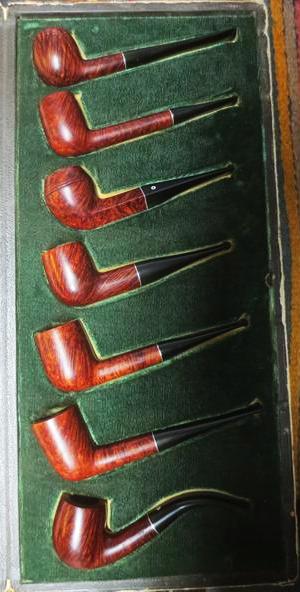 I wiped down all the pipes in the set with a cloth impregnated with Briar Wipe and put them back in the case. Before I place them in the case I cleaned up the inside of the case and put all of the seven restored pipes in their prospective slots on the right side of the case. The grain on them is quite matched and the combination of the seven pipes looks really good. The case has been reupholstered somewhere along the path of its long life with a furniture fabric that is in very good condition. It appears to have been put over the original case material. On the inside, the green right side of the case is in excellent condition. The slots where the pipes fit have been form cut and are lined with a cream coloured material. The green and the cream coloured fabric is in very good condition. On the right side of the case the lining is a pillowed satin type of material that is cream coloured and has the writing on the left side that came with the original cases set. It is in good condition. The lower portion of the pillowed fabric is stained with water or coffee stains but is otherwise undamaged.
The picture to the left shows the pipes after restoration in their appropriate spots in the case. The second photo shows the case as a whole opened to display the pipes and the case. It is a beautiful and what I can find out a very rare set of pipes. The likelihood of me finding another one in my life time is quite low and to find one that has all of the original pipes in matched grain is even more unlikely. It was a privilege to work on this set of pipes. Thanks for reading the process of this labour intensive and long blog. I wanted to post the entire set as a whole and not break up the parts. If you have made it through the entire blog at this point you have done well and I thank you for your perseverance. 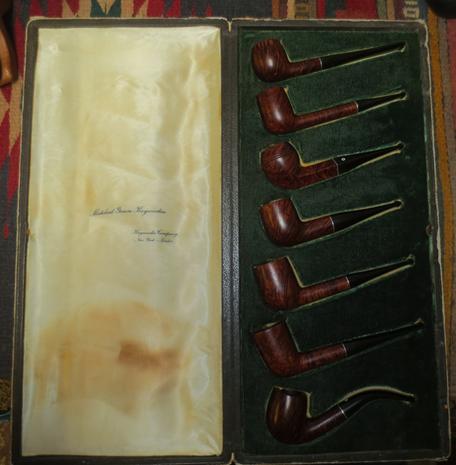

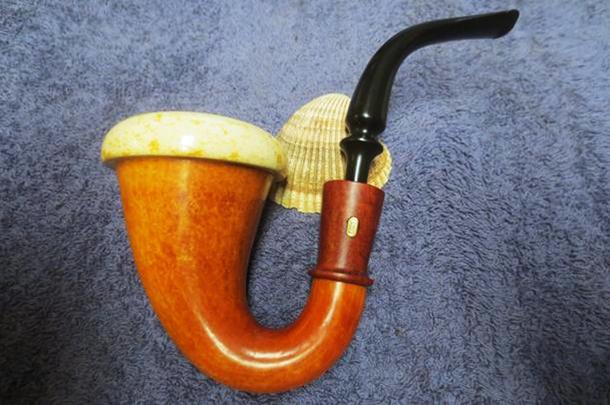
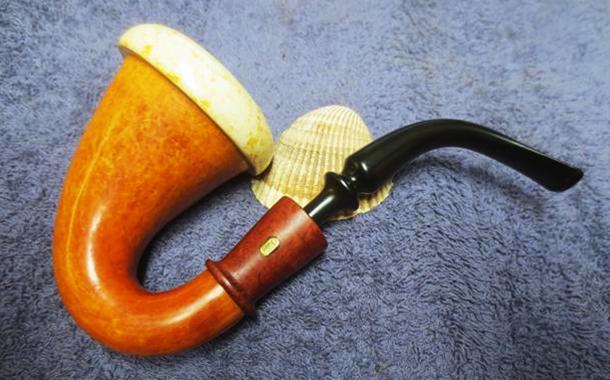
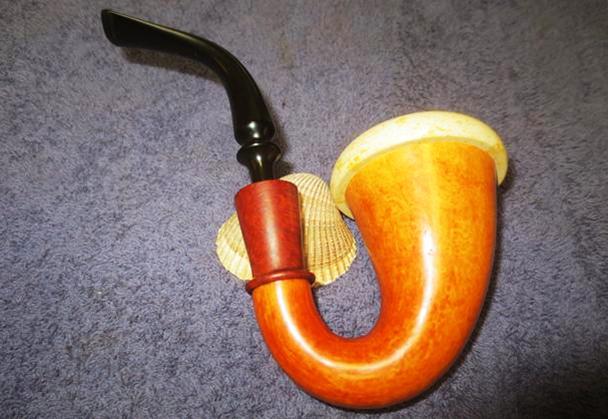
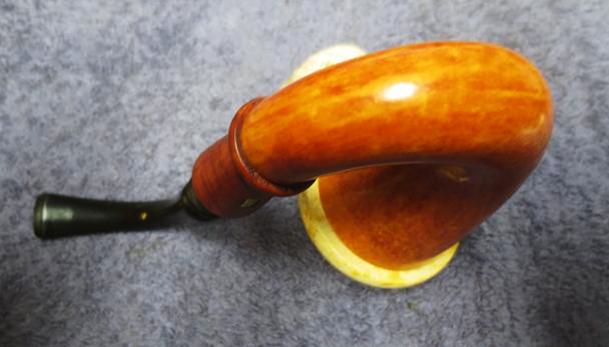
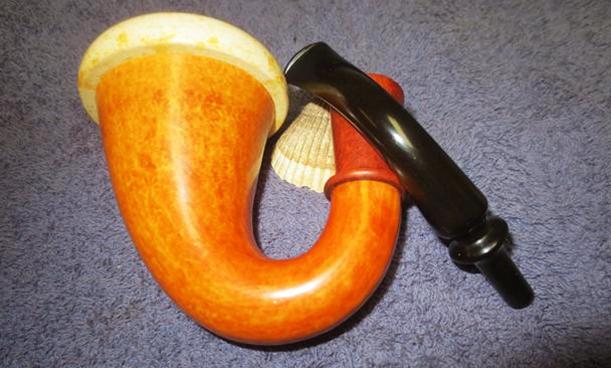
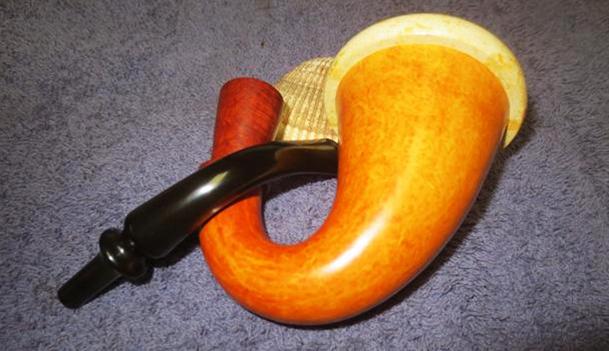
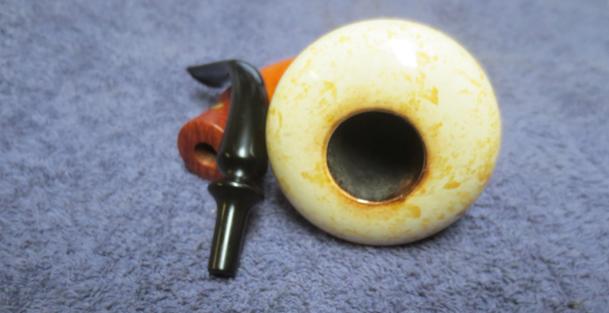
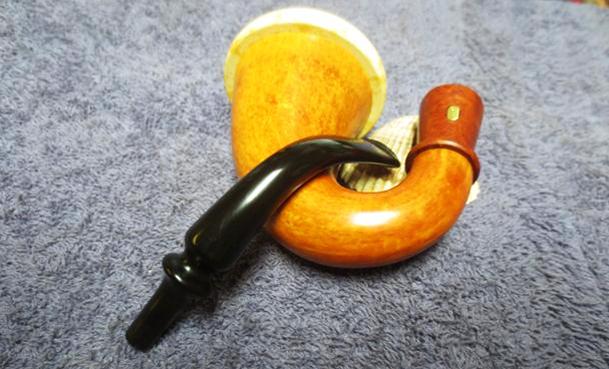
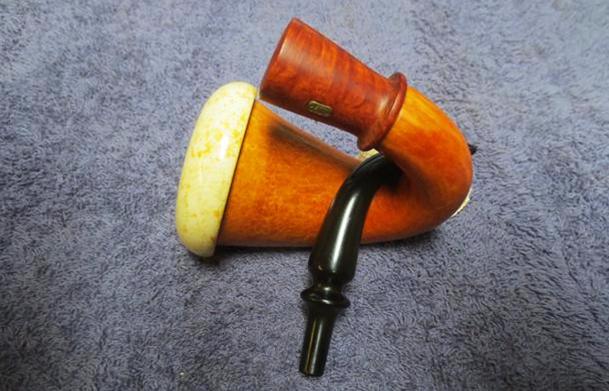
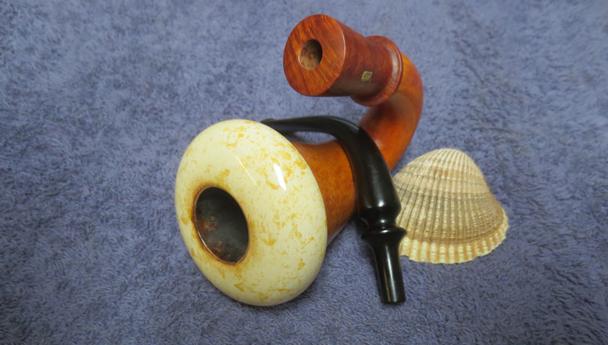
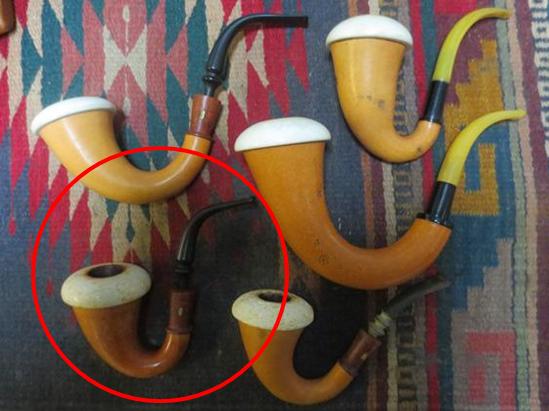
 My brother Jeff has really gotten good at finding Gourd Calabash pipes on his recent “treasure” hunts. He picked up this batch recently. I posted about the large calabash in the middle of the right hand column recently and it is available on the rebornpipes store. It is by far the largest of the five calabash pipes that he found. The one I have chosen to work on it the one on the left side at the bottom circled in red. It is a unique looking Calabash to me in that it is a well bent and shaped gourd with a briar shank extension on the end of the gourd. It bears the Jobey brass oval logo on the side of the briar extension. When I first looked at it I wondered if it had the Jobey system tenon that I have come to expect on the Jobeys that I have in my own collection and the ones that I have worked on. However, this was not the case on this or the other two Jobey Gourd Calabashes in the bunch. All of them have the mortise drilled in the briar extension and is made for a push stem. I have never seen Jobey Gourd Calabashes before and frankly had no idea that the company even made them.
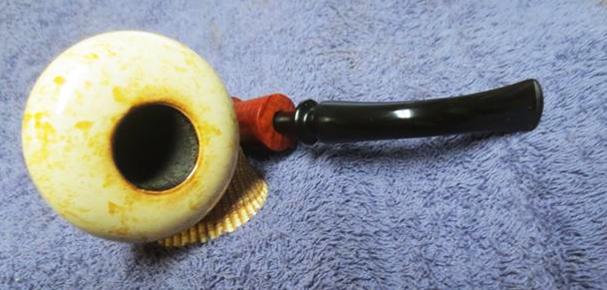
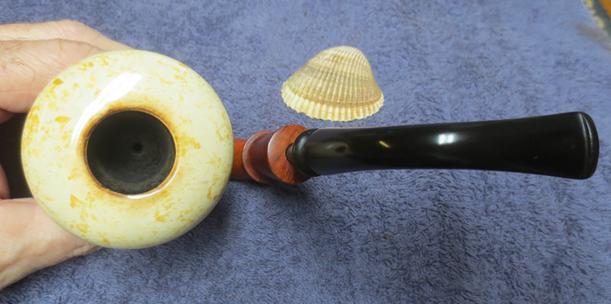
 Jeff took some photos of the pipe before he did his cleanup work on it. The photos below show it in the condition he found it in on one of his hunts. The gourd was dull looking and generally dirty. It had spots of sticky label material on the sides of the bowl. The briar shank extension was also dull and lifeless looking and there was a gummy substance in the brass logo on the shank extension. The meerschaum bowl was quite unique it is light weight and appeared to be block meerschaum but I am not certain as it had flecks of colour shot throughout the entirety of the bowl. There was a thick cake in the bowl and the rim had a coat of lava that went almost all the way around the inner edge of the chamber onto the rim top. The stem was oxidized and dirty. There were tooth marks and tooth chatter on both sides of the stem at the button.
 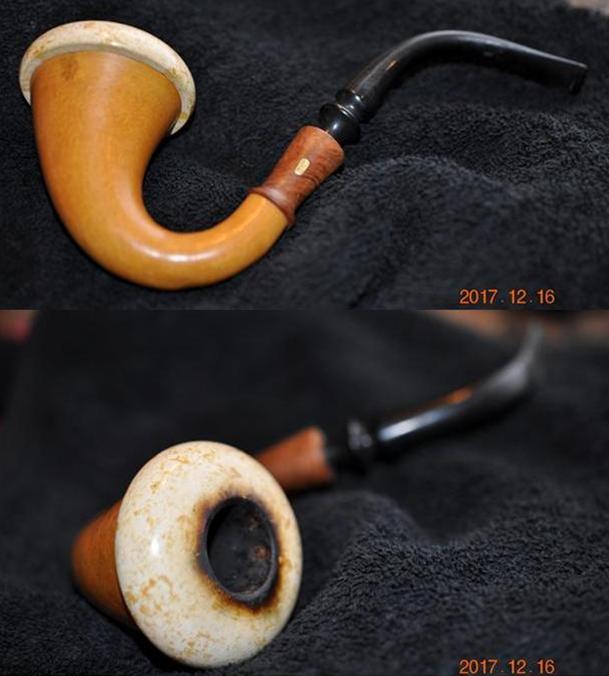 The next two photos give a clear picture of the sticky label glue on the gourd and the dirty condition of the gourd. It also shows the flecks of colour throughout the meerschaum cup. The colour in the meerschaum matches the colour of the gourd.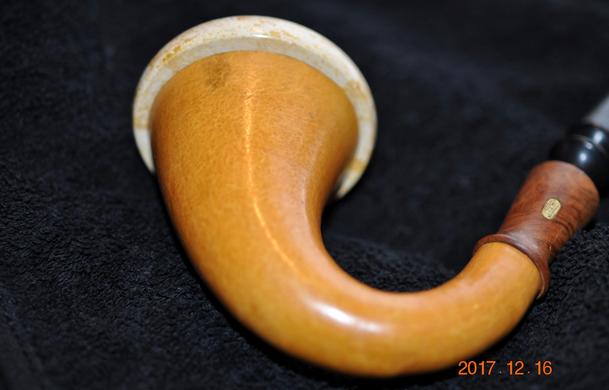
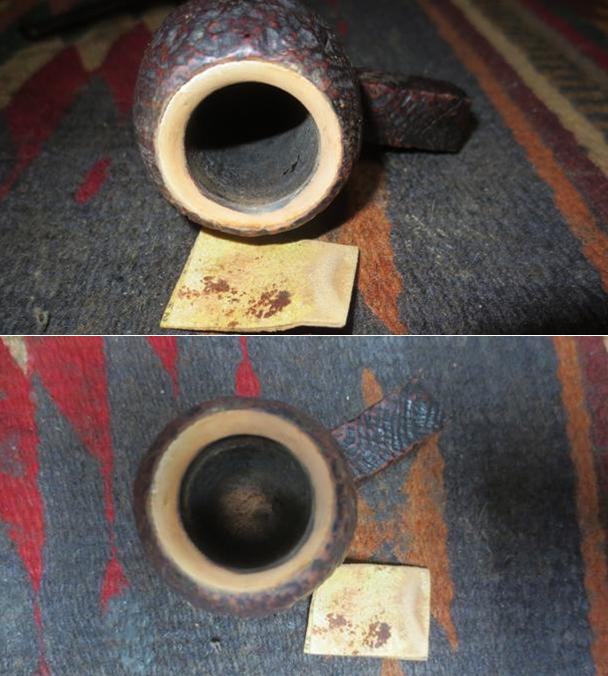
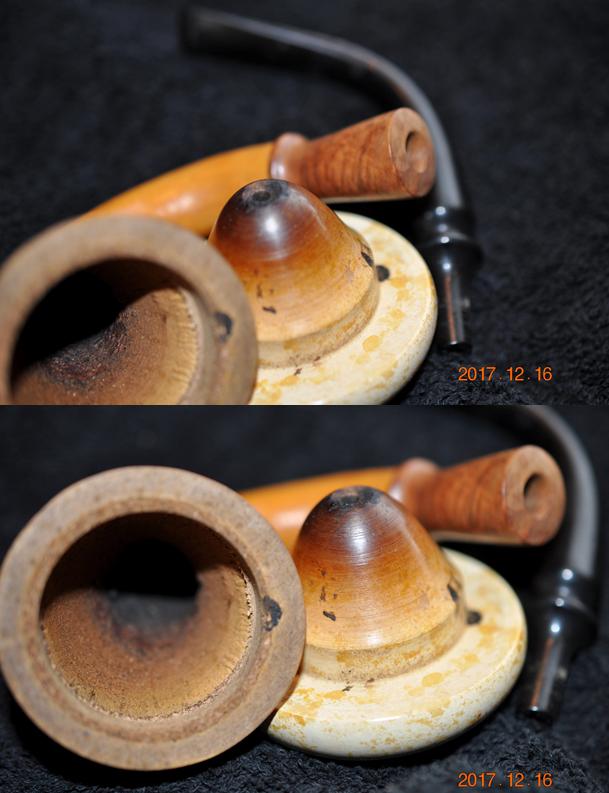
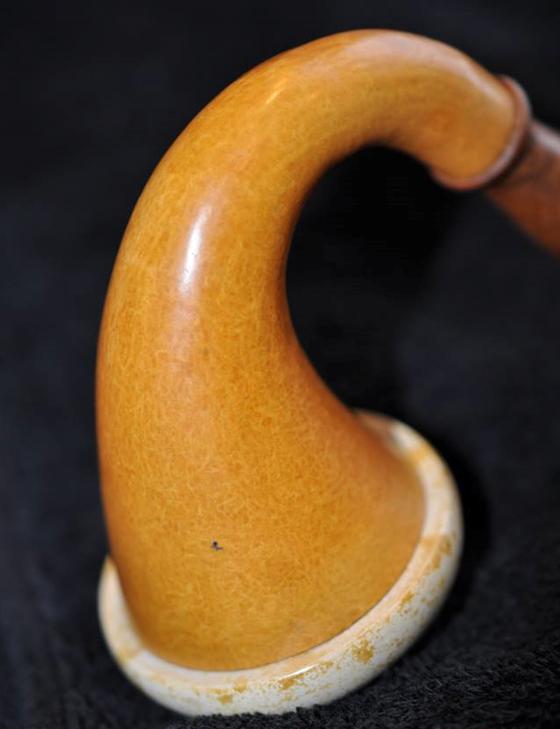 The next photo shows the condition of the meerschaum cup. The rim top of the meer had scratches in the surface and a heavy overflow of tars on the top of the rim. There is also darkening around the inner edge of the bowl and a thick cake in the bowl itself. It was hard to know if there was damage to the rim but once it was clean that would be clear. The two pictures following that show the condition of the inside of the bowl and the tars and oils on the walls of the gourd. The underside of the meerschaum cup is in good condition. There is some darkening on the underside of the bowl. There were some tars and oils spotted on the underside of the bowl. The cork gasket on the inside edges of the gourd was in good condition but dried out. It needed some grease to liven it up. The briar shank extension is dried out and has water spots.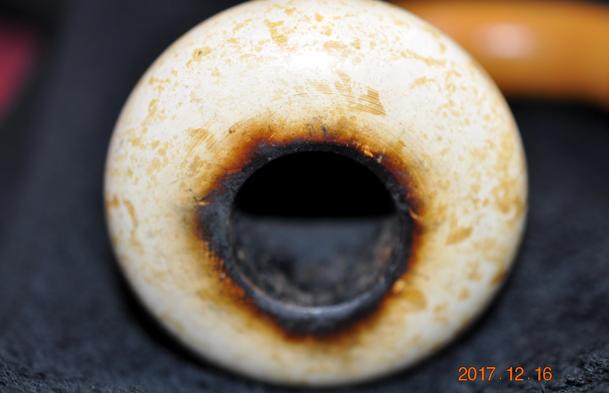
 The next photo shows the brass Jobey oval insert inset in the left side of the briar shank extension. There is grime and a gummy substance in the lettering and around the edges of the insert. The briar was dirty and in need of a deep cleaning.
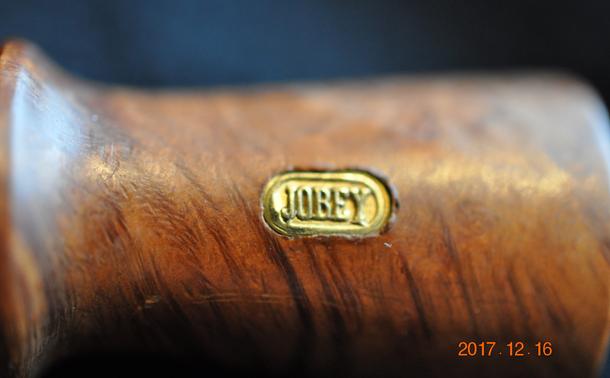 The stem had light oxidation and tooth marks and chatter on both sides near the button. It also had the same price tag glue on the top and underside of the stem.
 I did some digging to see if I could find out about the connection between the calabash maker and Jobey. I found a bit of history of the brand on the Pipedia website at the following link. https://pipedia.org/wiki/Jobey . The section I am quoting is entitled Possible Jobey Origin. I quote it in its entirety.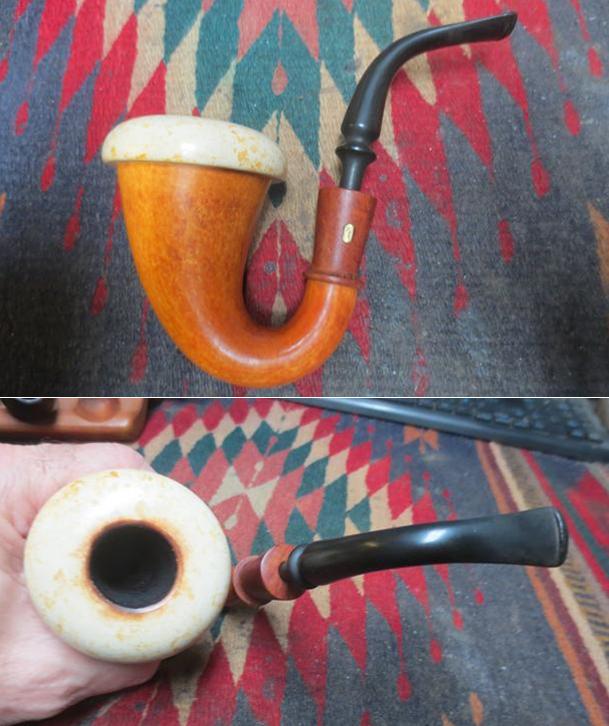
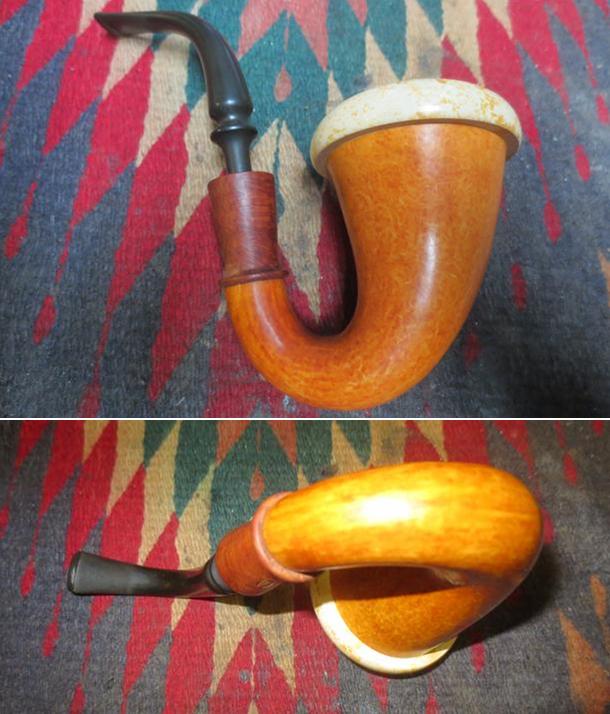 I took the bowl off the gourd to have a look at the inside of the pipe. The gourd was very clean. The cork gasket was dry but that could be remedied easily enough. The mottle appearance of the meerschaum bowl can also be seen in the photos.
 The stem had cleaned up nicely with relatively little oxidation. The tooth marks on the top and underside along with the chatter were still present.
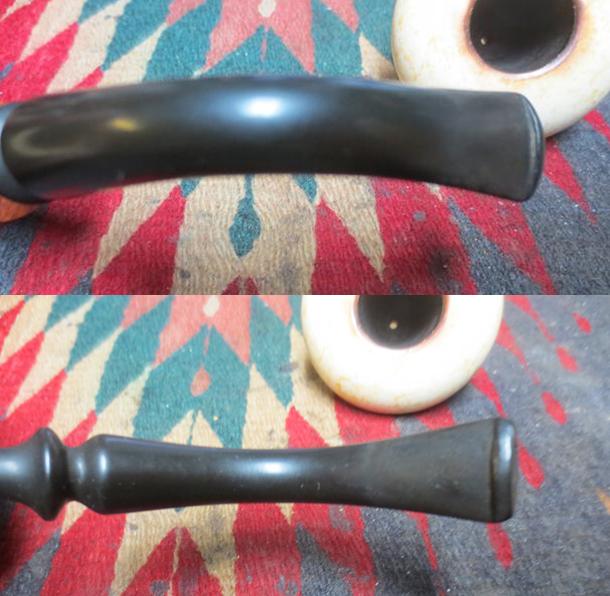 The wooden shank extension (which looks like briar to me) is very clean and ready for polishing.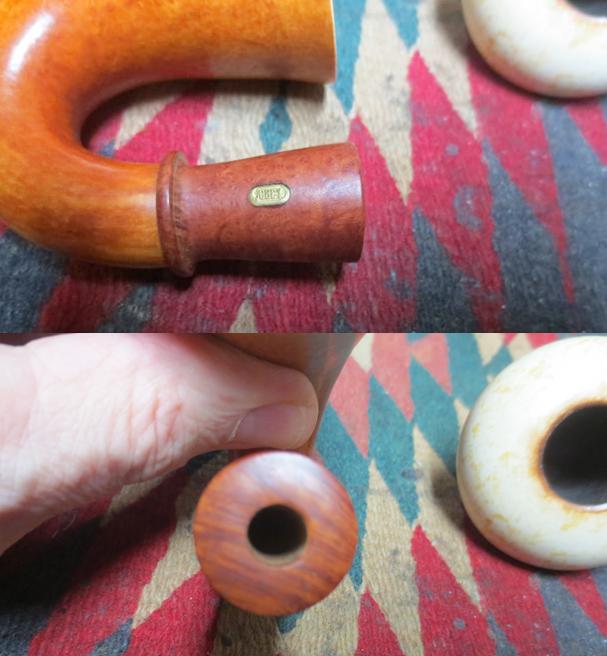
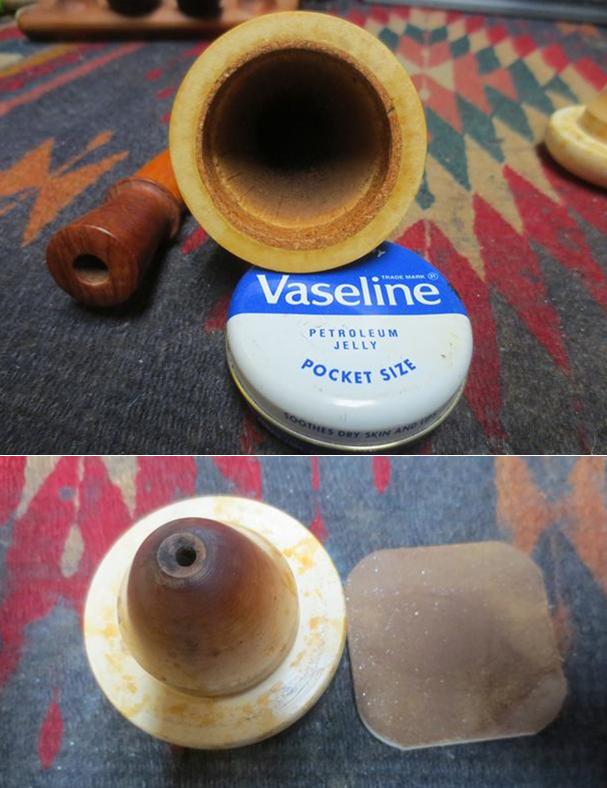
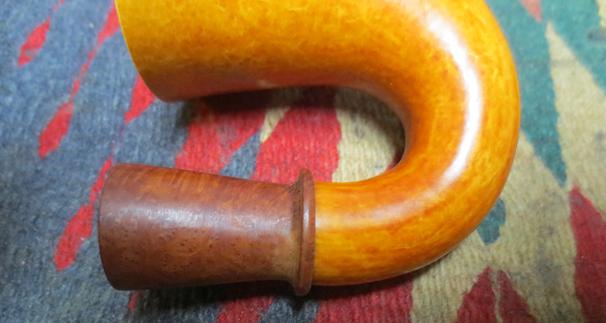 I used some Vaseline petroleum jelly to lubricate the cork gasket and soften it. I have done this for years and I really like the effect of the jelly on the cork. I used 1500 grit micromesh sanded off the spots along the surface of the meerschaum cup where it sat against the cork and the top of the gourd to ensure a smooth fit.
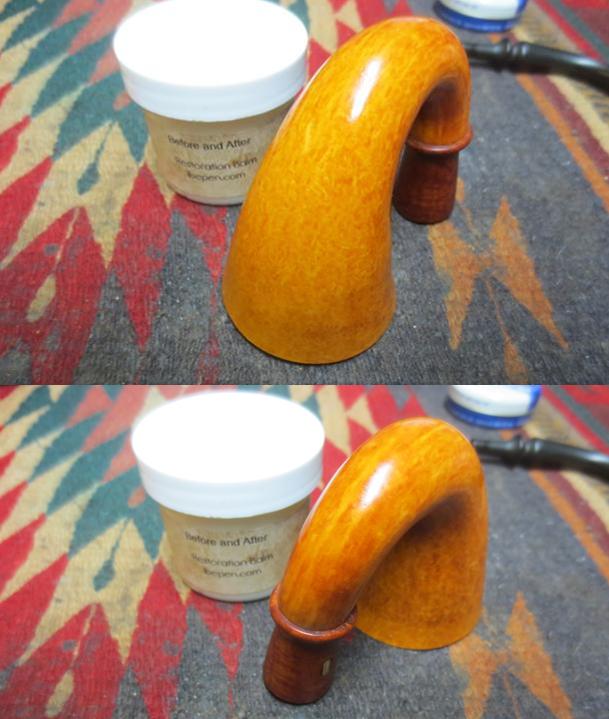
 I used my fingers to rub the gourd and briar extension down with Before & After Restoration Balm to bring life to both and to remove any residual dust or dirt in the surface of the calabash. I wiped it off with a cotton cloth and buffed it with a shoe brush. The next few photos show the gourd at this point in the process.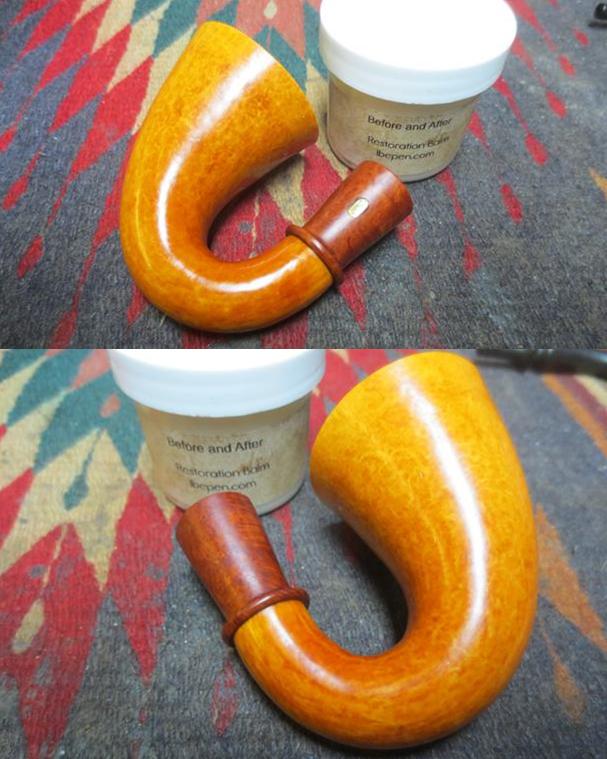
 I polished the rim top, inner edge and underside of the meerschaum bowl with micromesh sanding pads – wet sanding with 1500-2400 grit pads and dry sanding with 3200-12000 grit pads. I wiped the surface of the cup down with a damp cloth after each sanding pad. When I finished sanding with the last pad I wiped it down again and set it aside.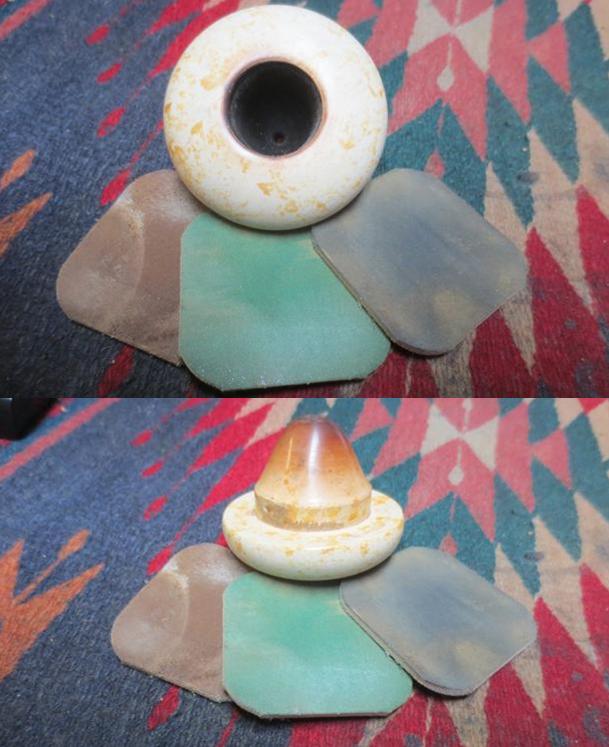
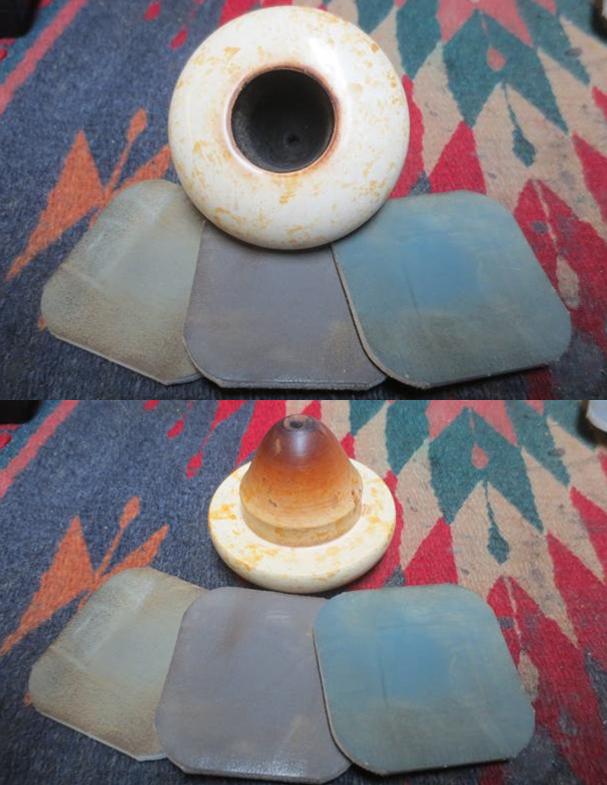
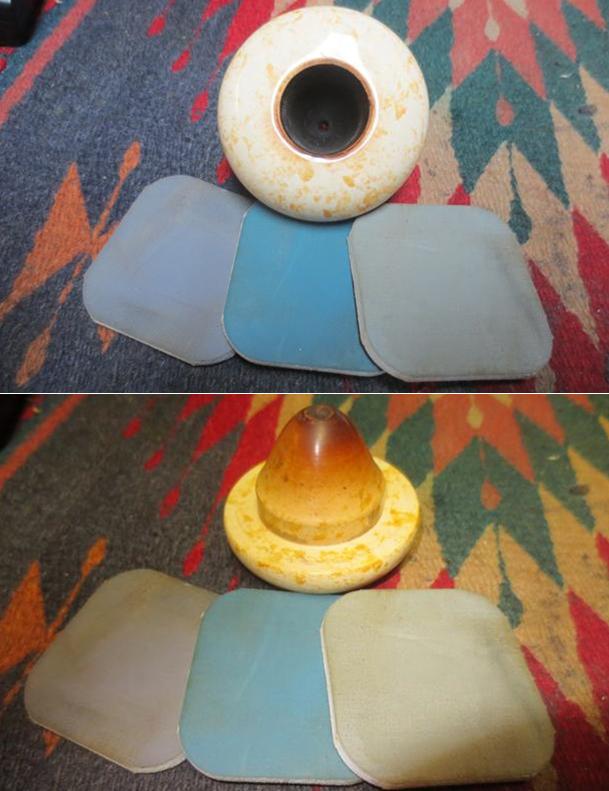 I checked the pliability of the cork gasket, rubbed a little more Vaseline into it and put the bowl back on the gourd. The fit of the cup against the gasket was snug but not hard to insert. It was perfect. The pipe was beginning to look finished. The shine on the gourd and the rim looked good. The briar extension had its own shine as well.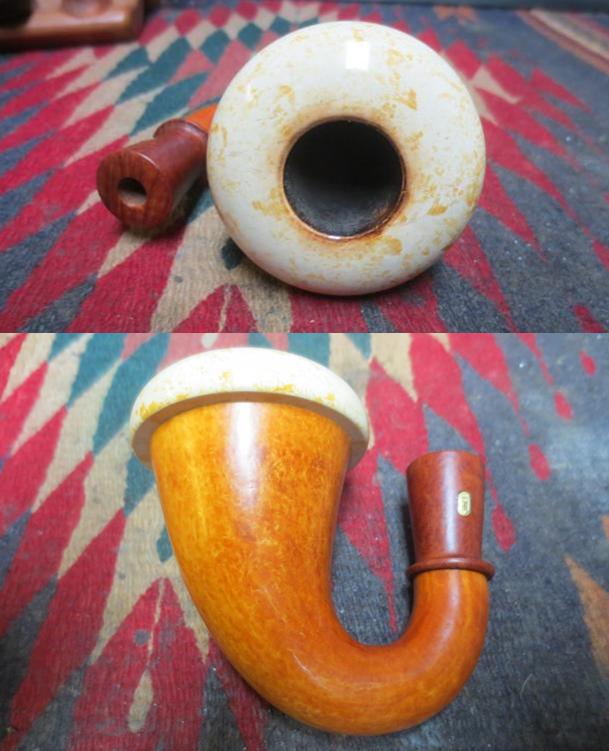
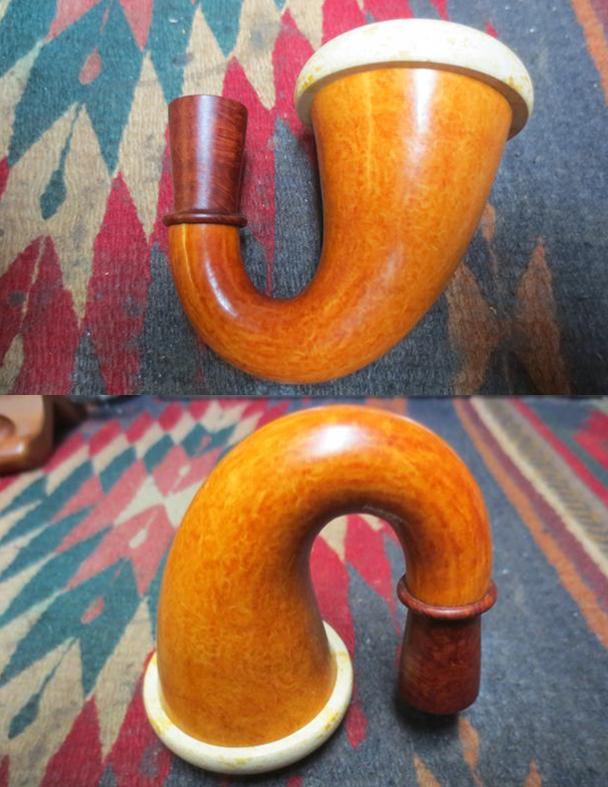
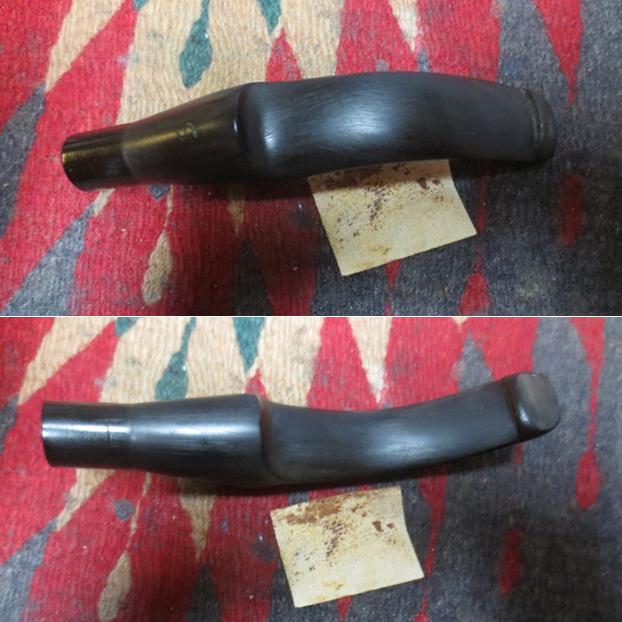
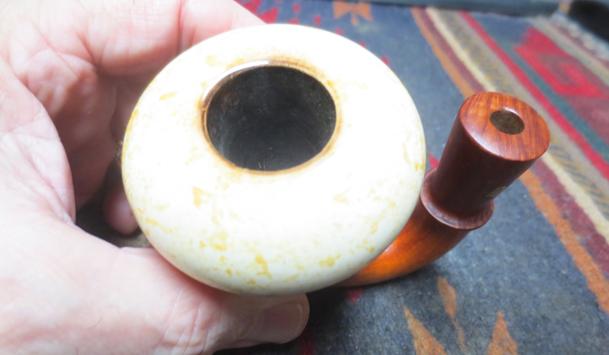 I sanded the stem with 220 grit sandpaper to remove the tooth chatter on the top and underside near the button. I also found as I examined the underside that there was a strange rippling to the vulcanite almost like it had some heat damage. I sanded that area to clean up the ripples and smooth them out.
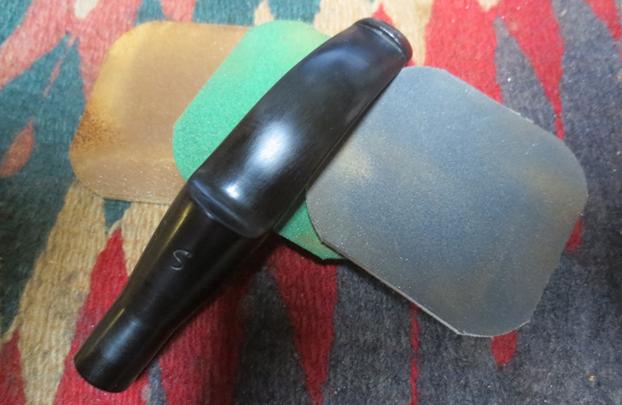
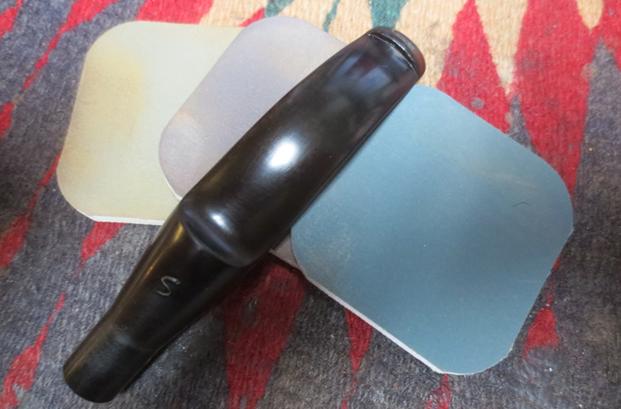
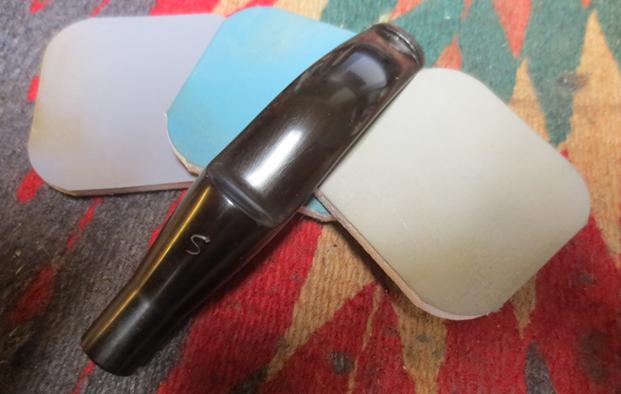
 I polished the vulcanite stem with micromesh sanding pads – wet sanding with 1500-2400 grit pads and dry sanding with 3200-12000 grit pads. I rubbed the stem down with Obsidian Oil between each sanding pad. After using the 12000 grit pad I buffed the stem with Blue Diamond to give a deep and rich shine.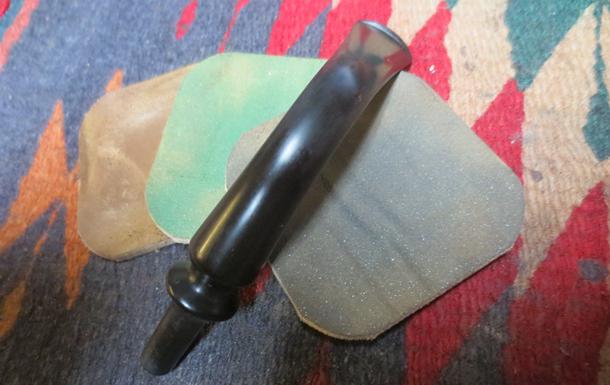
 Normally at this point I put the stem back on the bowl and take the pipe to the buffing wheel to work it over. This time I took the parts to the buffing wheel. I gently buffed the meerschaum cup and rim with Blue Diamond to polish the meer. I carefully buffed the gourd base and briar shank extension with Blue Diamond being cautious about the pressure I put on the gourd. I buffed the stem with Blue Diamond to raise the gloss on the vulcanite. I took the pipe back to the work table and gave the gourd multiple coats of Conservator’s Wax. I gave the stem several coats carnauba wax. I buffed the parts of the pipe with a clean buffing pad to raise the shine. I hand buffed it with a microfiber cloth to deepen the shine. The finished pipe is shown in the photos below. This one is already spoken for and I think that the pipeman that it is going out to will really enjoy the unique look of his new pipe. Thanks for looking.