Blog by Steve Laug
At a recent Estate sale Jeff picked up a boxed Kaywoodie Filter Pipe set. It was a brown leatherette covered hard case with a yellow satin lining in the lid that was printed in red ink with the Kaywoodie Club logo and read Kaywoodie over World’s Finest Since 1851. The cotton lining in the bottom compartmental part of the case was in good condition. It came with three bowls, the pipe and four unopened tubes of Kaywoodie Ceramic Filters. Each tube had an instructional brochure folded into the top. The box still had the labeling inside. There was the label that went with the original pipe with a $9.50 price tag. There was a label that was originally attached to the top of the stem that read “Spring Action Bit – Non-Detachable”. There was also the set label that read $20.50 over Kaywoodie, New York & London. This was a gold label that sat on the front edge of the box when the lid opened. Probably one of the most interesting pieces with box was the original sales receipt. The set was sold at Goose AR Exchange – a US Military Base Exchange. I found a Goose Creek, South Carolina Naval Base so I am thinking this may have been the location. The set was sold on October 21, 1955 to a Captain Richard B. Blood for the price of $12.25 well below the retail price of $20.50 on the case label.  The outside of the box was in good condition. There was a damaged spot on the top right corner where a price tag must have been stuck and removed. The set was well cared for and smoked. Each bowl had been used but none of them were oversmoked or heavily caked. The metal base on each bowl was in decent condition. The coin slot for removing the base and changing the ceramic filter was still very useable. The filters in the tubes on the right side of the box were all unopened. The metal spring loaded Kaywoodie base was clean but the stem was lightly oxidized.
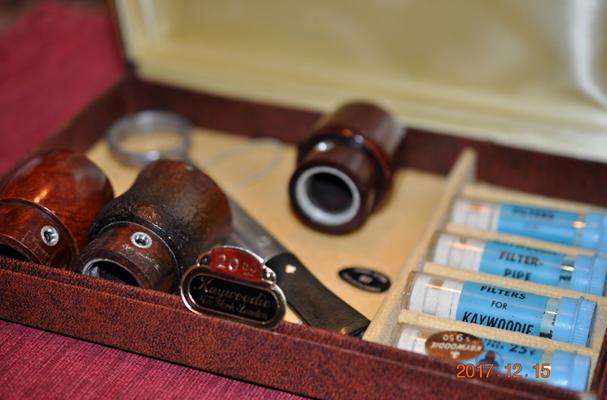
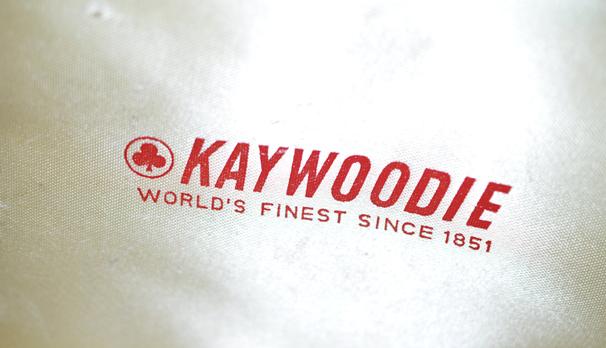
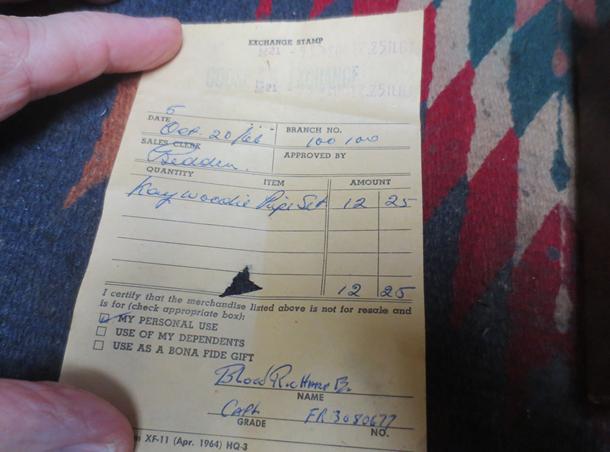 Jeff took quite a few photos of the content of the set. It really is an interesting piece with all of the parts intact in the box.
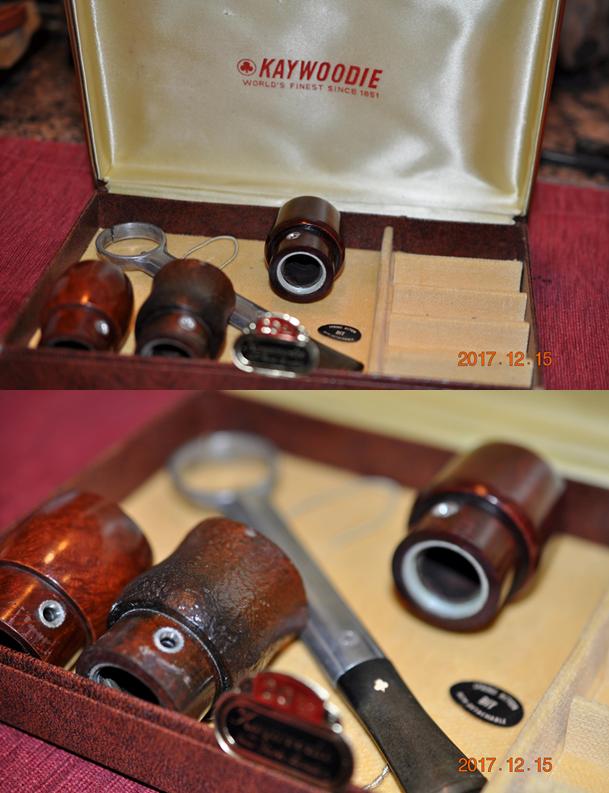
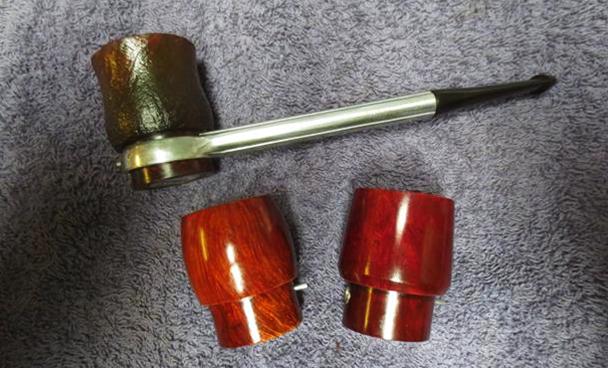
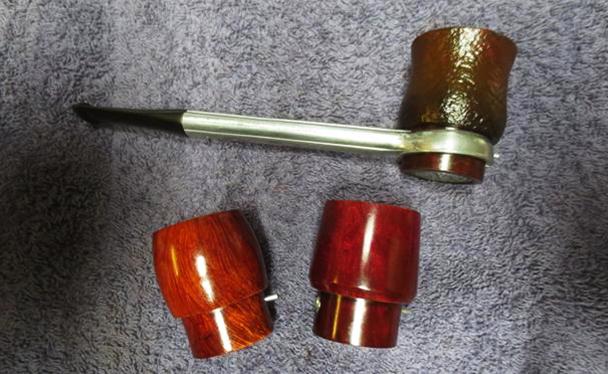
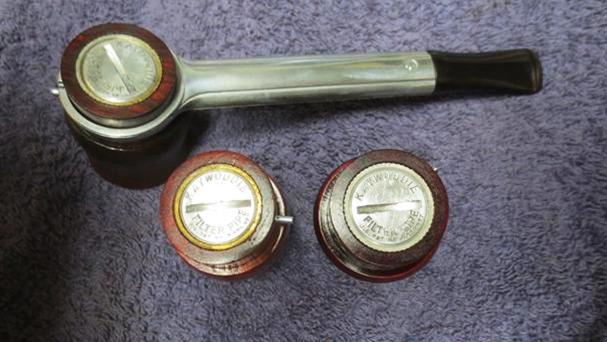
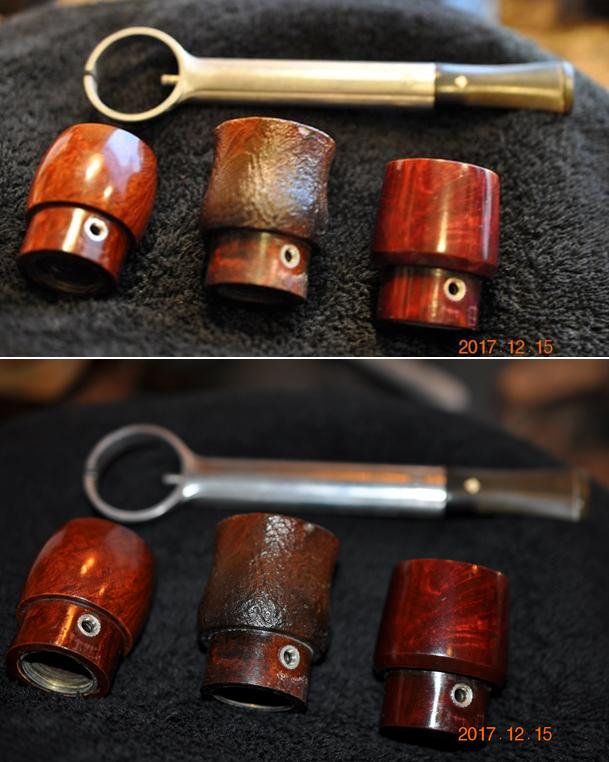
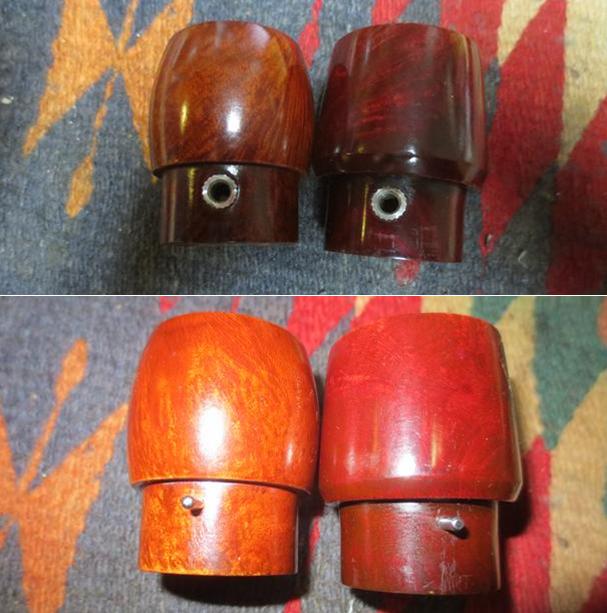
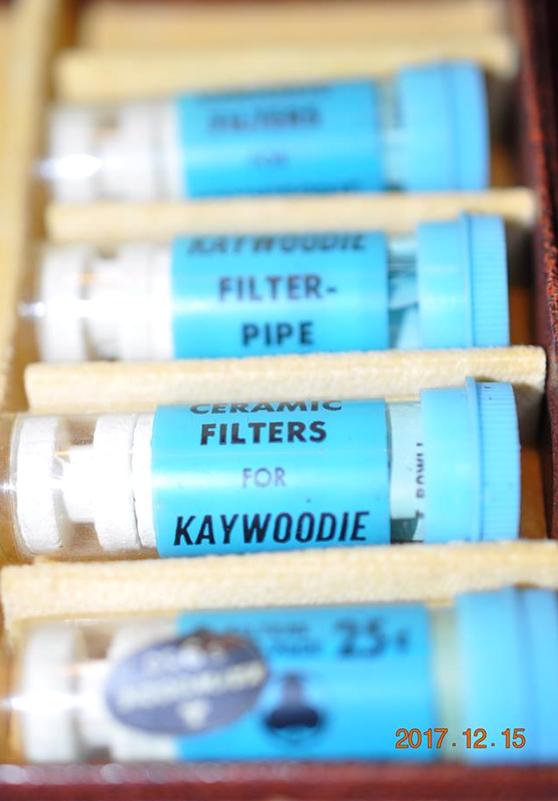 Jeff took the pipe base and bowls out of the box and took photos of them from different angles. The three bowls are different. I would tend to call the one on the left and apple, the middle an urn and the one on the right a billiard.
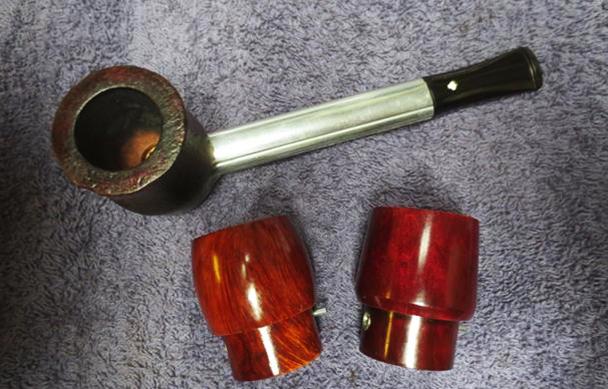
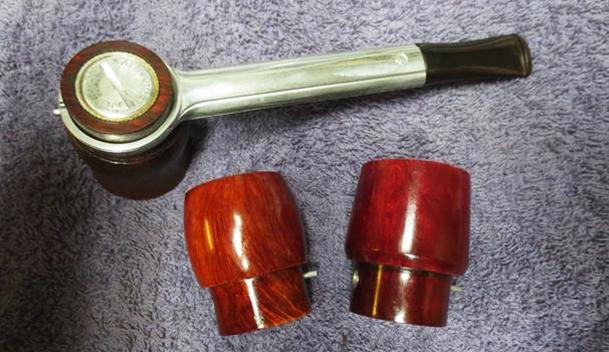
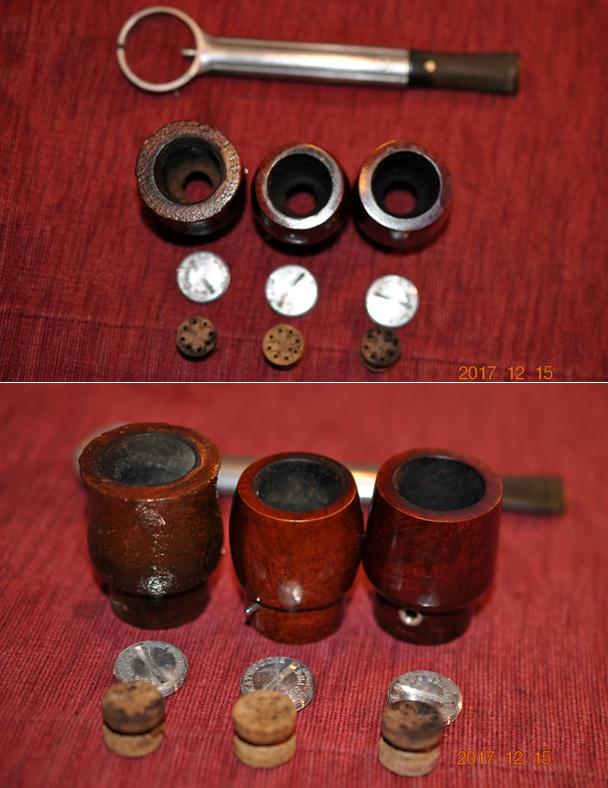
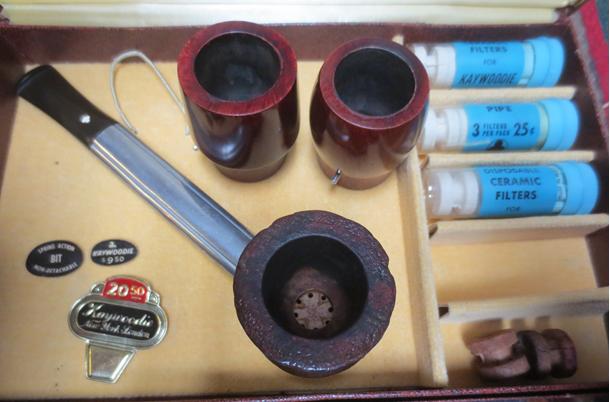
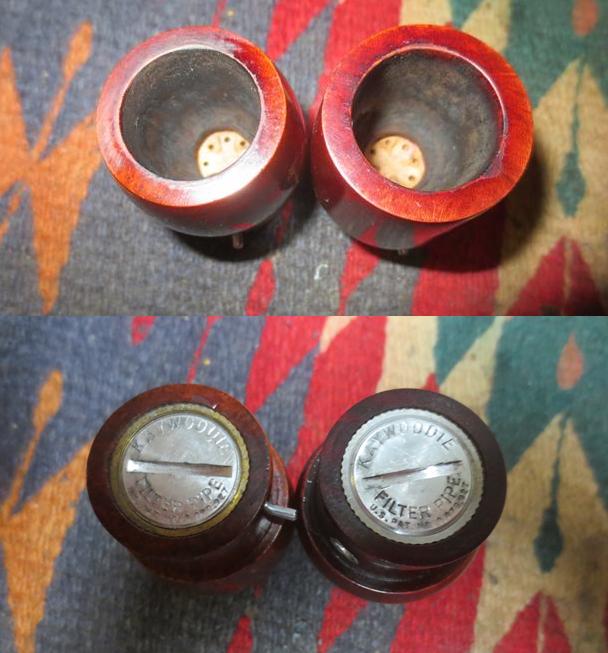
  Jeff took all of the bowls apart. He removed the base from the bowl and took out the ceramic filter. The photos show all of the parts of the pipe.
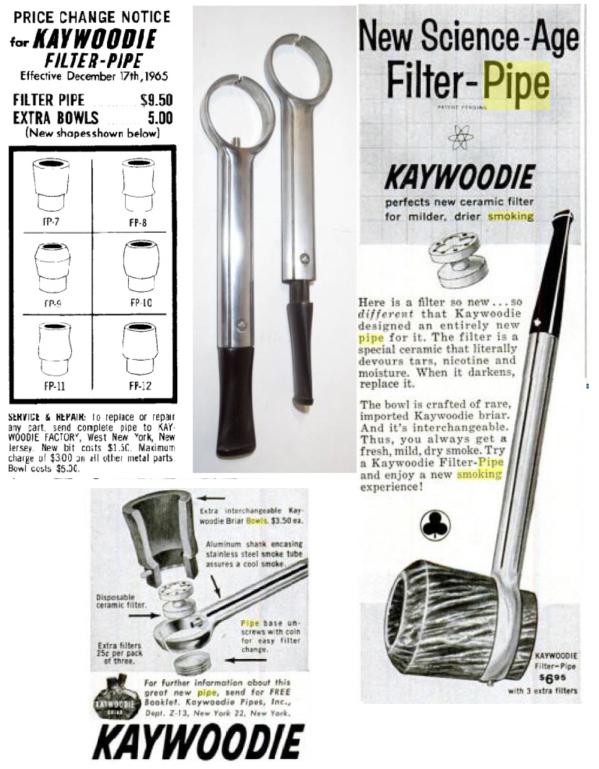
 I have worked on one of these in the past but I have never seen a full set of the pipes in a case (https://rebornpipes.com/2016/01/30/it-was-a-kaywoodie-metal-pipe-that-i-had-never-seen-before/). In that blog I included the following advertisement and I thought it would be helpful here as well so I have included it again.
I think Jeff had a little more fun cleaning up this set. It came with some history and he always enjoys that part of the process. He did an amazing job on the cleanup on the bowl and stem. He worked on the dismantled bowls as this was the easiest way to clean this batch. He reamed each of the bowls back to bare briar. He started with a PipNet Pipe Reamer and followed up with a Savinelli Fitsall Pipe Knife. He cleaned the internals of the bowl and stem with alcohol, pipe cleaners and cotton swabs – scrubbing out the metal shank and the base plate to remove the light buildup in those areas. He scrubbed the exterior of the pipe with Murphy’s Oil soap and a tooth brush and was able to remove all of the varnish coat and grime from the smooth and sandblast finish on the briar. The inner and outer edges of each of the rim tops looked very good. He soaked the stem in an Oxyclean bath to remove the light oxidation. When the set arrived I took some photos to show how it looked before I did the restoration. This set has both a story and some age attached to it. It will look really good once it is polished. 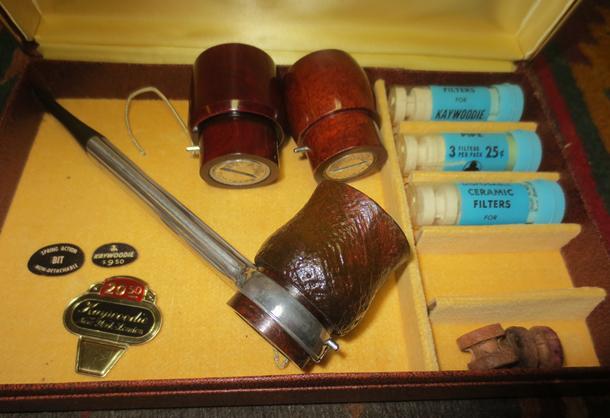
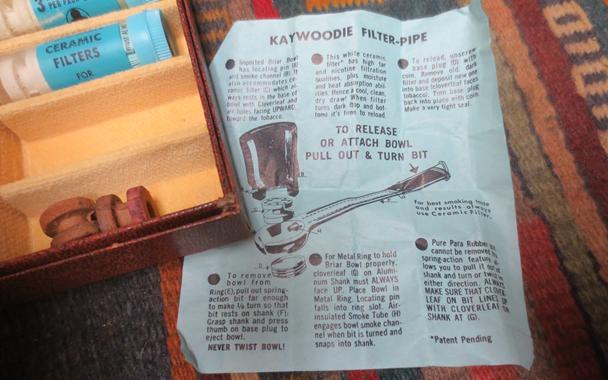
 I took a photo of the pamphlet that had been folded into each of the ceramic filter tubes. It is a nice addition in that it explains how the filters work and how to change them.
 I took some photos of the bowls. He had done a great job cleaning them up. Each bowl had been taken apart and cleaned and a new ceramic filter installed in the base. They had been reamed, cleaned and polished.
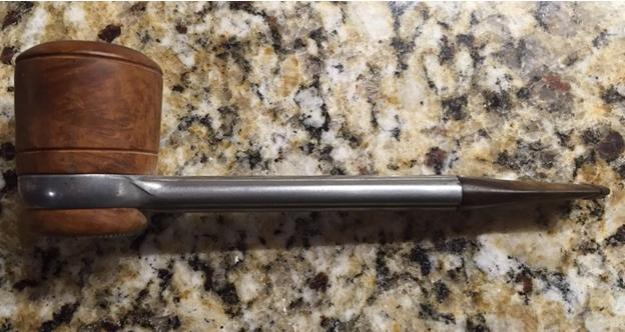
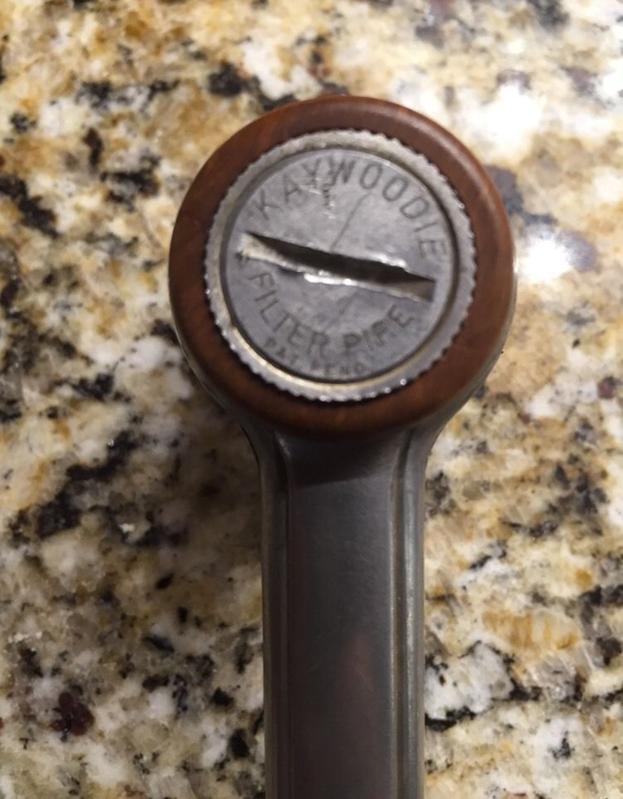
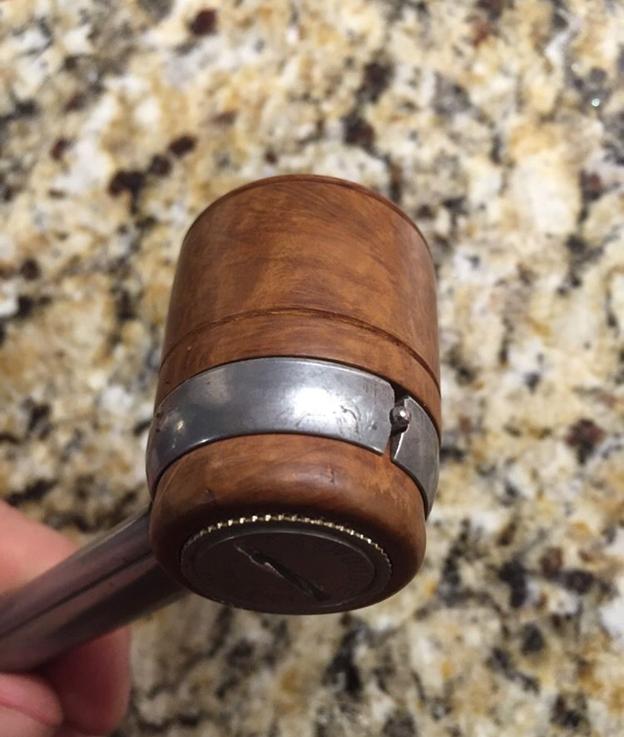
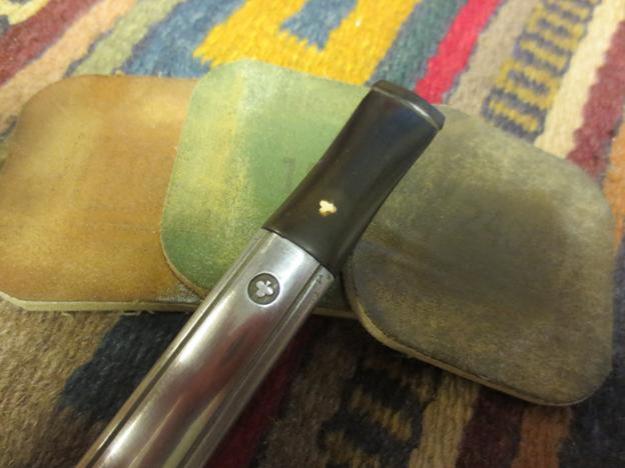
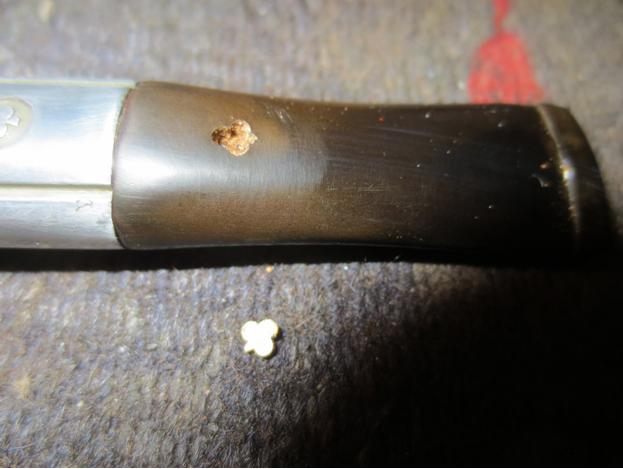
 Jeff put the sandblast cauldron like bowl on the pipe base so I left it on for the photos. It was in good condition. The base has no marks on the top of the shank but on the underside is a cast Kaywoodie Club. The stem is not removable and is spring loaded and it has the Kaywoodie inset club on top.
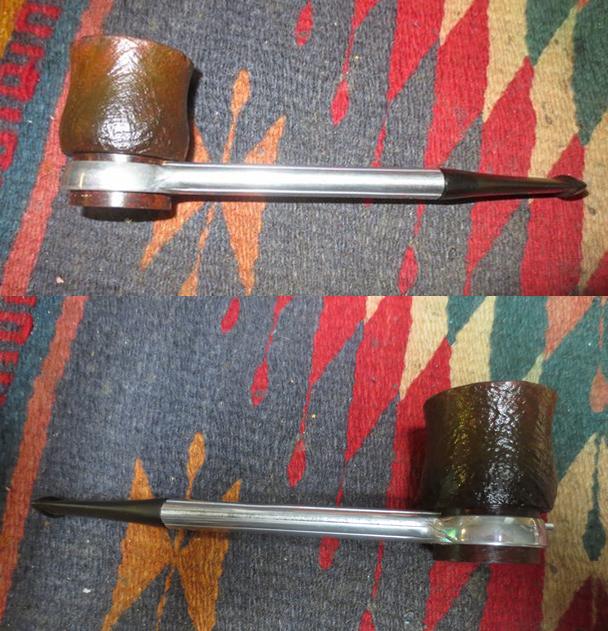
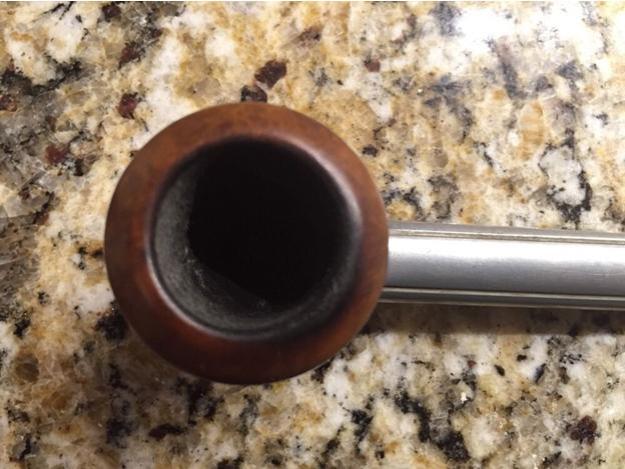
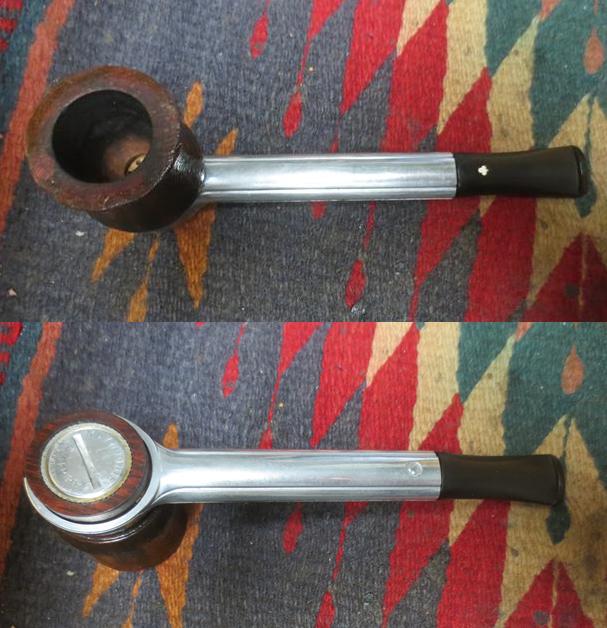 All of the bowls needed to be waxed and polished. This close up photo of the rim top and bowl show how clean he was able to get them. The base and stem also needed to be polished but they were also clean and free of tooth marks.
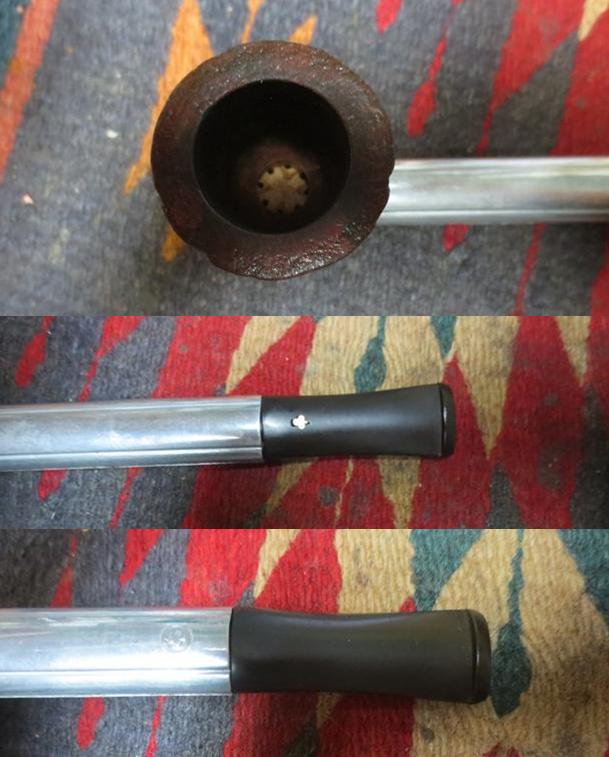 I took the bowl off the base and took a series of photos to show the pipe as a set. It is a unique and in its own way, beautiful set of bowls and base.
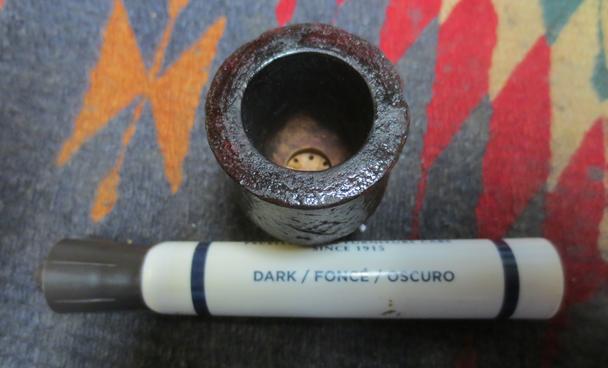
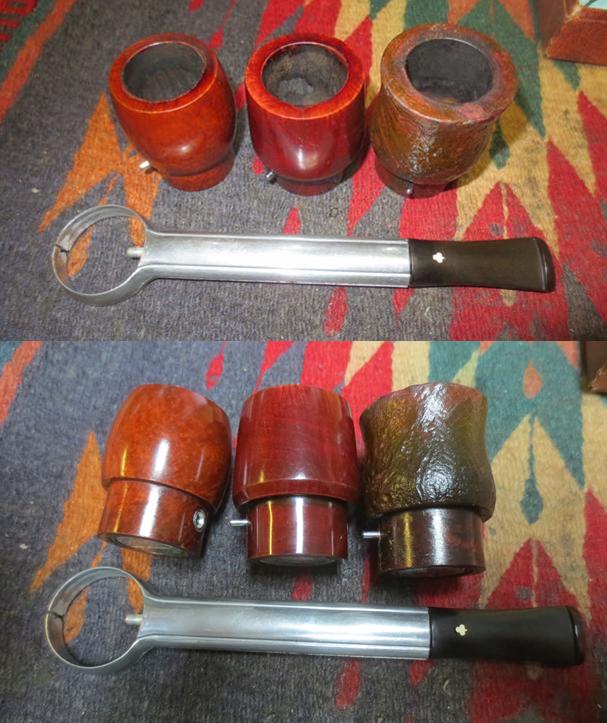 The rim top on the two smooth bowls was in good condition. I polished it with 1500-4000 grit micromesh sanding pads to polish them. The rim top on the sandblast bowl had some spots where the finish had been rubbed free and there were some nicks. I used a brass bristle wire brush to clean off the surface of the rim and then restained it with a dark brown stain pen. I set it aside and let the stain dry. Once it had dried I buffed it to polish the restained rim and the bowl.
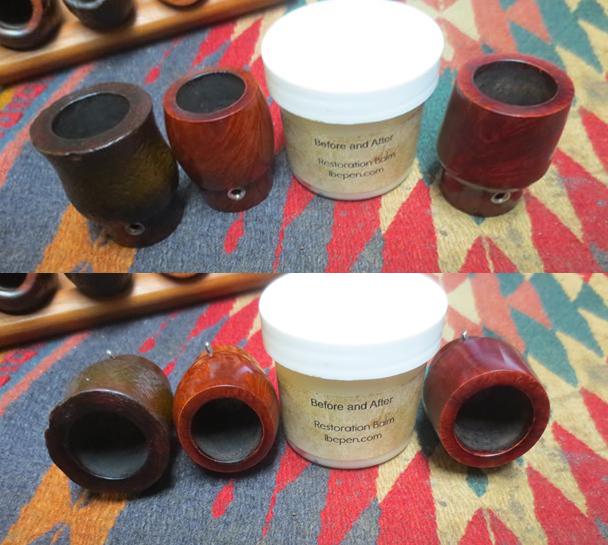
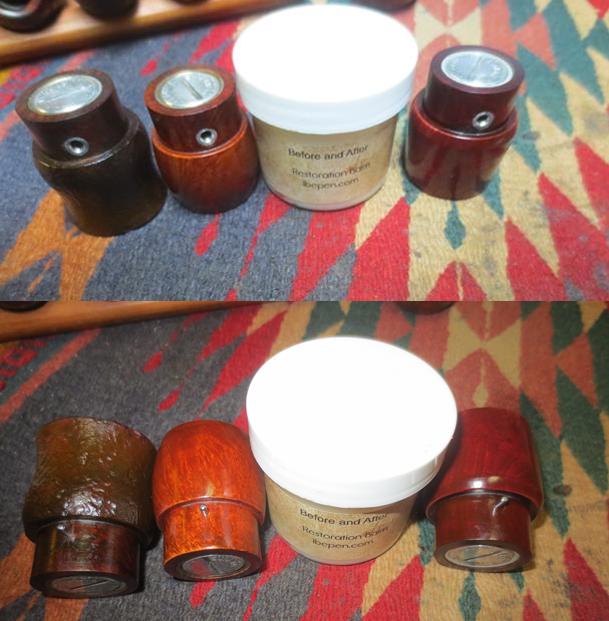
 I worked some Before & After Restoration Balm into the surface of each of the briar bowls with my finger tips to deep clean, enliven and protect the briar of the smooth and the sandblast finishes. I let each bowl sit for a few minutes and then buffed them with a cotton cloth. The grain of the briar on each bowl really began to show through at this point and there was a rich shine to the briar. I took some photos of the bowl at this point to mark the progress in the restoration.
 I worked over the stem with micromesh sanding pads. I polished out the scratches and marks in the vulcanite – wet sanding it with 1500-2400 grit pads and dry sanding it with 3200-12000 grit pads and wiped it down with Obsidian Oil after each one. When I finished with the 12000 grit pad I gave it a final coat of oil and set it aside to dry.
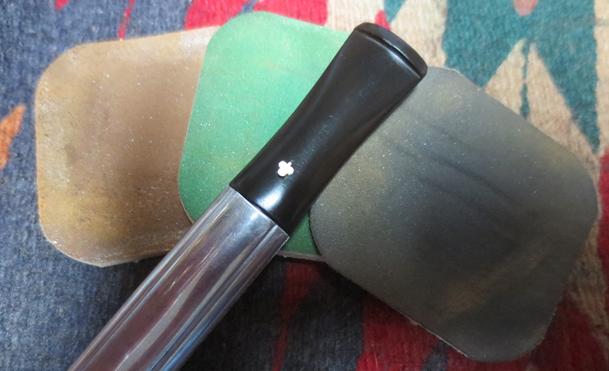
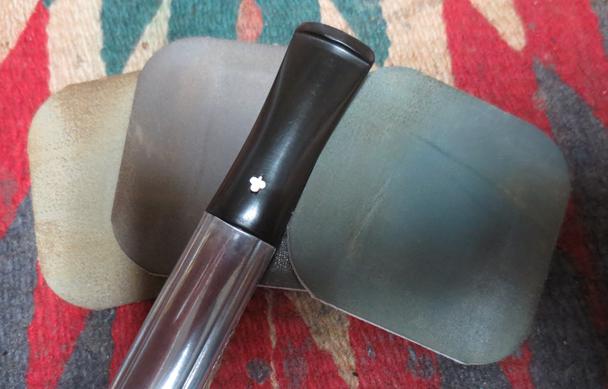
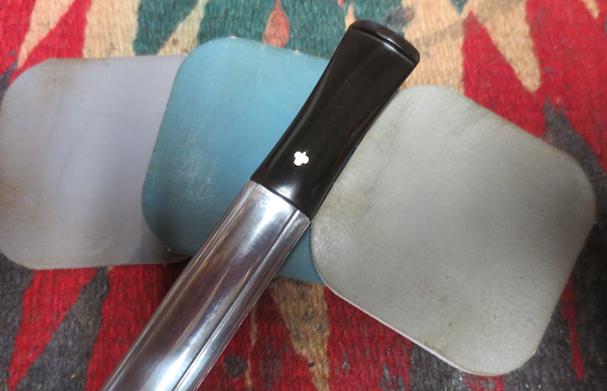 I polished the metal base and shank with a jeweler’s polishing cloth to bring some shine to the aluminum and to take away the tarnish. I find that a jeweler’s cloth impregnated with some anti tarnish compounds works really well on the metal used in aluminum pipes and also nickel, silver and gold bands used on shanks.
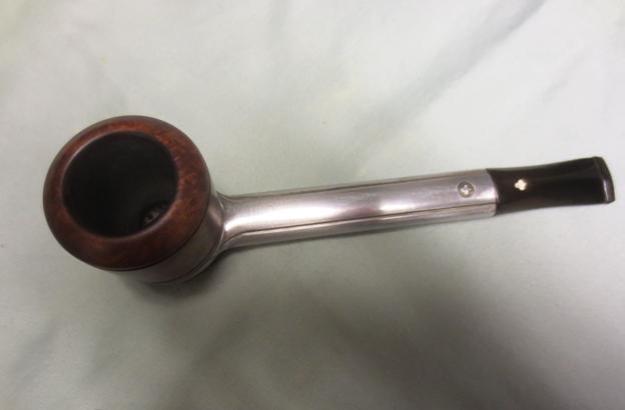
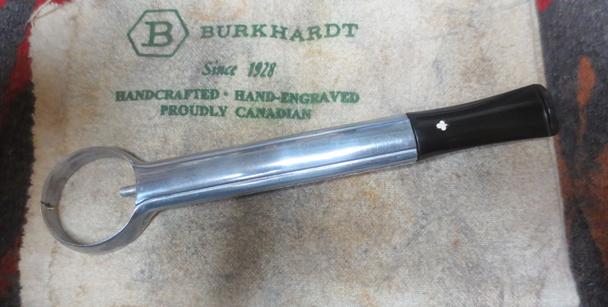 I put the bowl back on the metal base and took the pipe to the buffing wheel to work it over. I buffed the bowl and stem once again with Blue Diamond to polish it. I gave the bowl and the stem multiple coats carnauba wax. I buffed the entire pipe with a clean buffing pad to raise the shine. I hand buffed it with a microfiber cloth to deepen the shine. I also buffed the other two bowls with Blue Diamond and gave them each multiple coats of carnauba wax to polish and protect them. I buffed them each with a clean buffing pad as well to raise the shine and hand buffed them with the microfiber cloth. The finished set of bowls and base along with the case, the paper work and the extra tubes of filters are all included in this beautiful set. The finished pipe (without the case) is shown in the photos below. The bowls have some nice grain on each of them and each is not only a unique shape and finish but also in grain patterns. The pipe looks great like it must have when it came out of the factory. It is light weight and feels comfortable in the hand. The medium brown stain on the smooth bowls and the darker stain on the sandblast bowl works well with the polished metal base and the black vulcanite stem. It has a very elegant look to it and it is eye catching. This older Kaywoodie Filter Pipe Set will make a great addition to your collection. It looks good and if it like the one I have smokes very well. The dimensions of the pipe are: Length: 6 inches, Height: varies from 1 ¾ inches with the sandblast bowl and 1 ¼ inches for the apple bowl, Outer Diameter of the Bowl: 1 3/8 inches, Diameter of the Chamber: 3/4 inches. I will be adding this set to the rebornpipes store shortly if you are interested in adding it to your collection. If you are interested email me at slaug@uniserve.com or send me a message on Facebook. Thanks for looking.