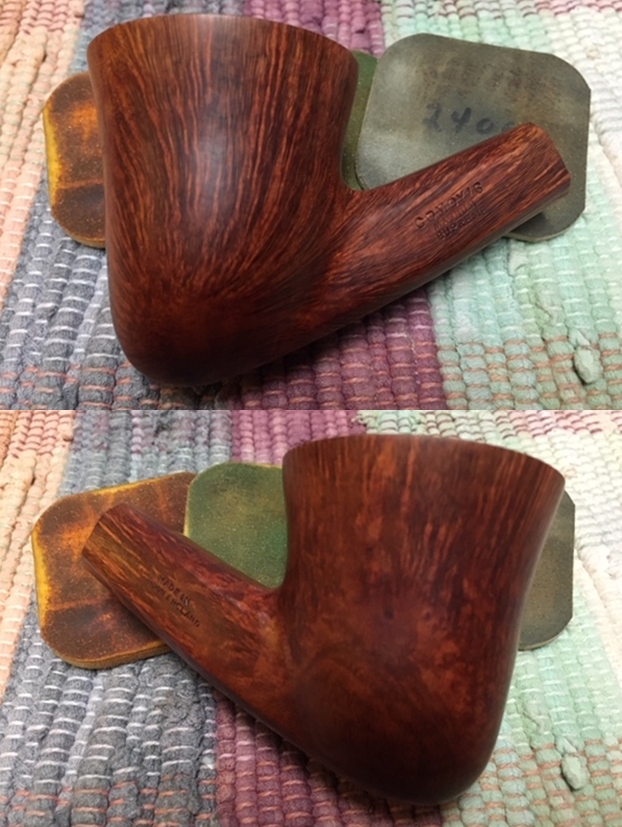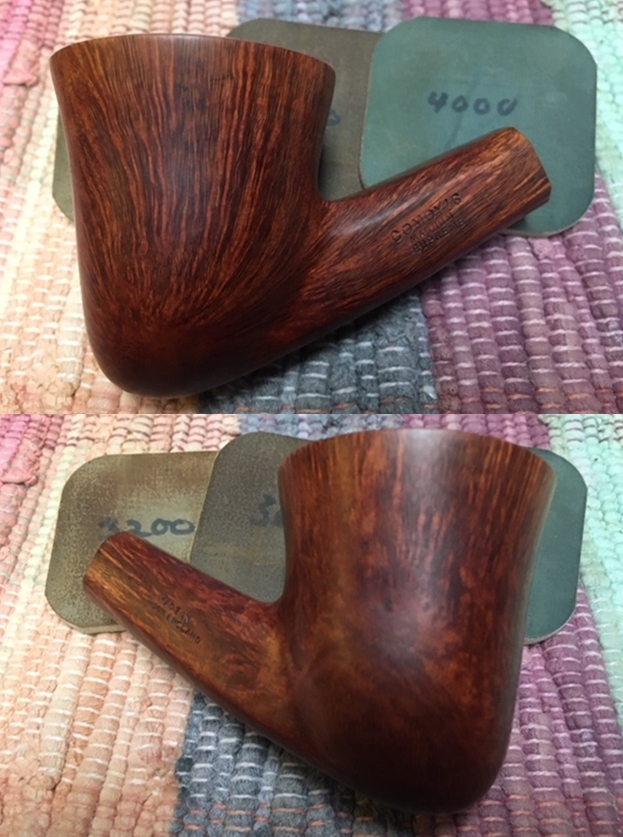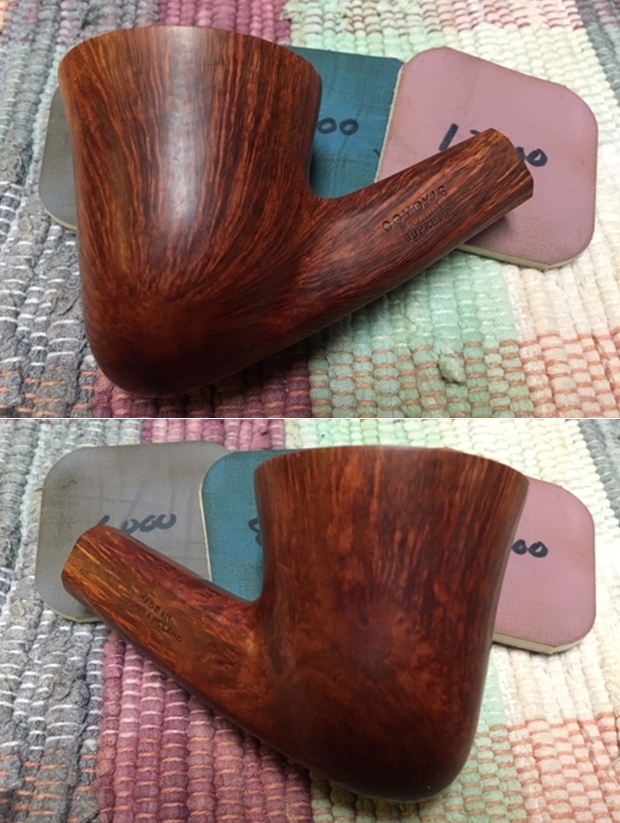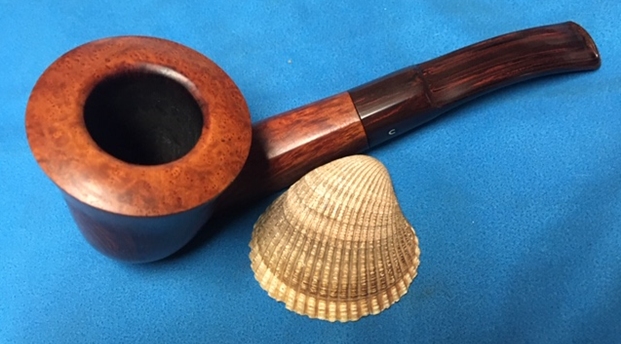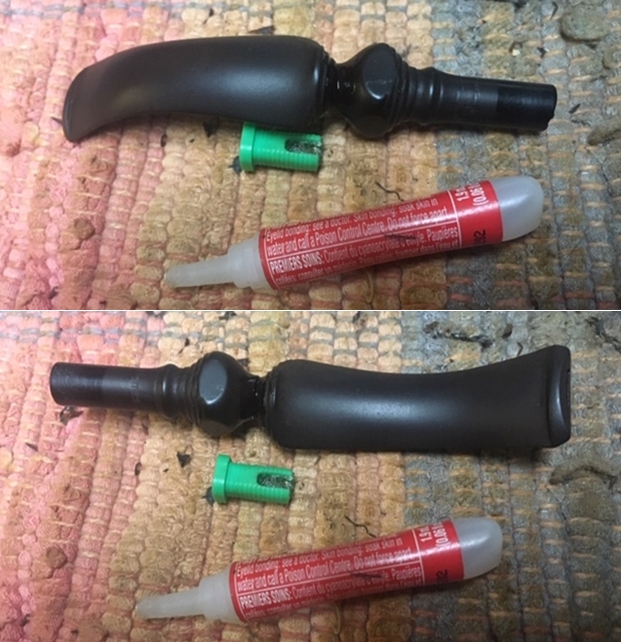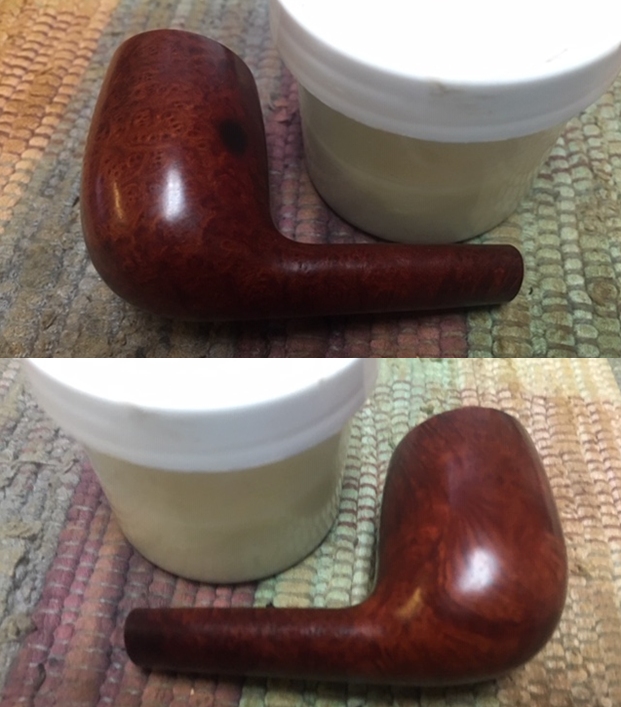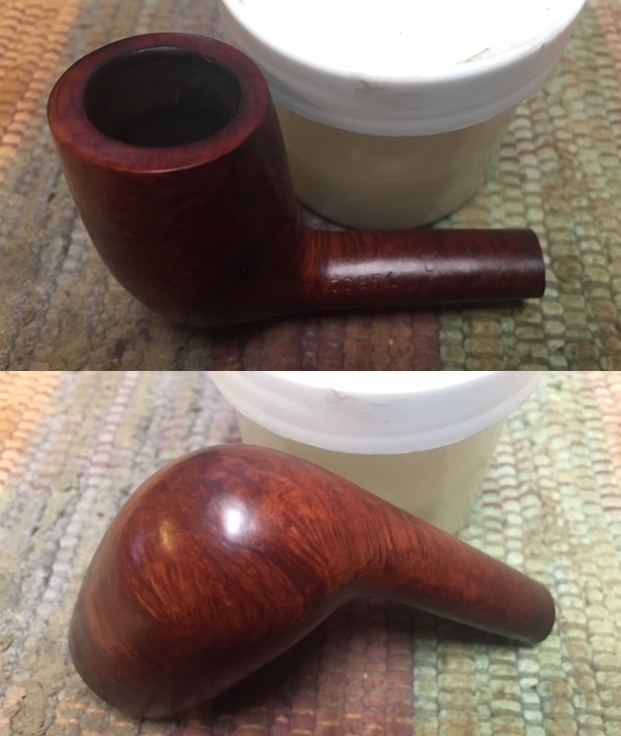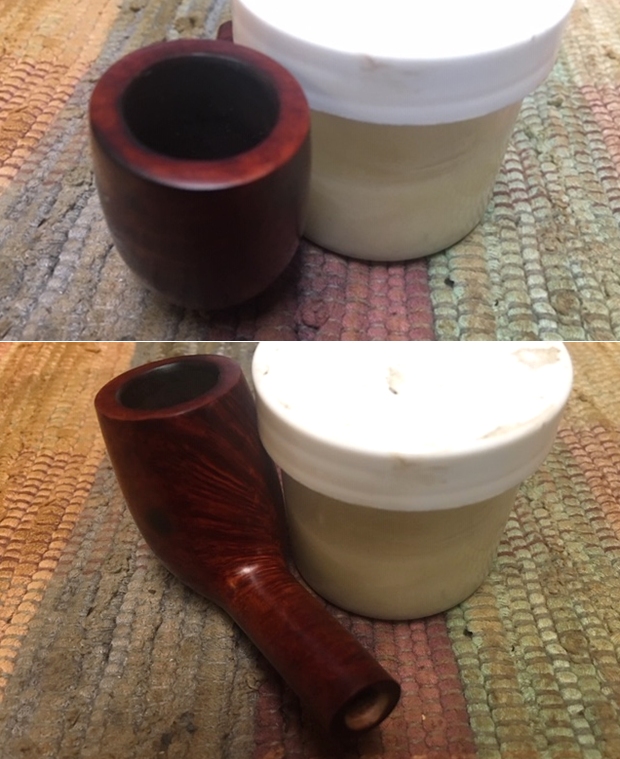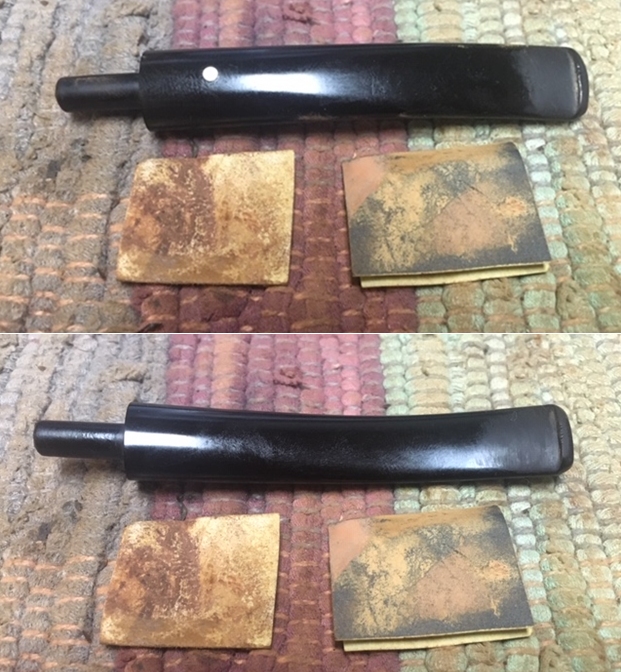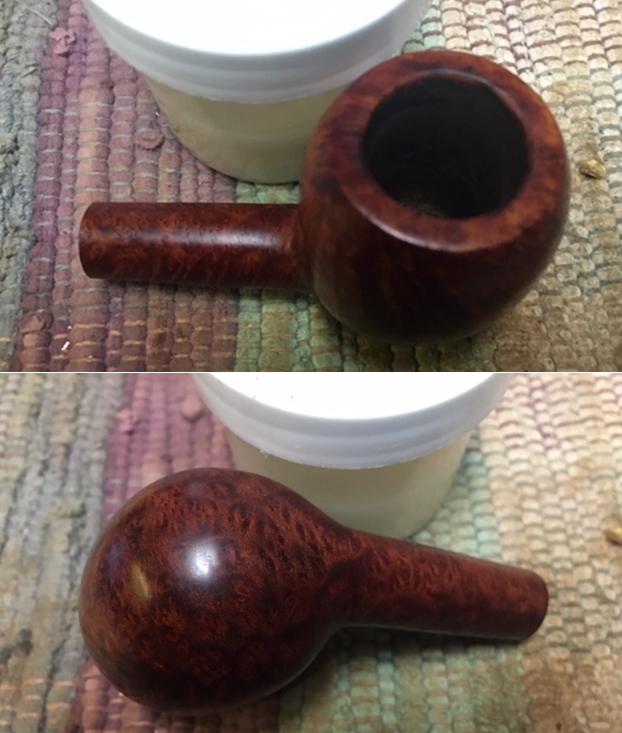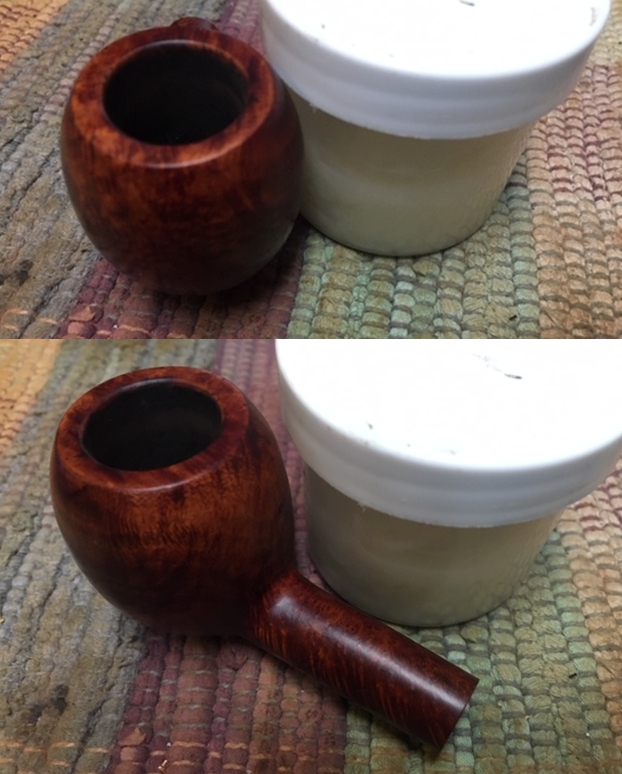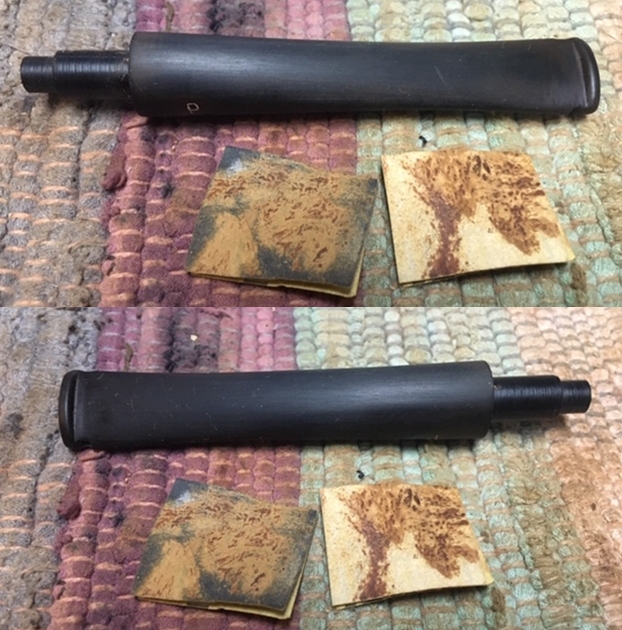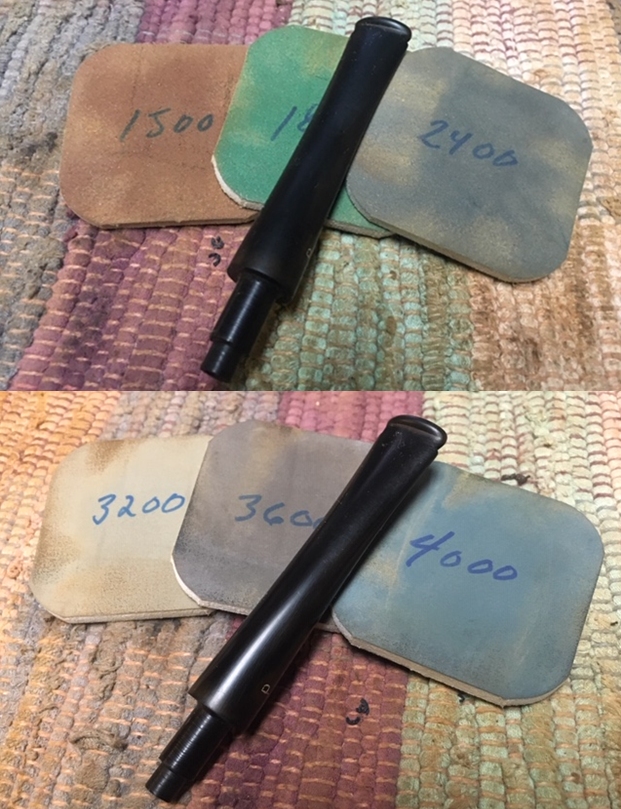
Tag Archives: removing oxidation

Wow – Restoring a Huge Mario Grandi Blowfish!


Blog by Steve Laug

I have finished many of the pipes on my desk for refurbishing or repair and decided it was time to do something a little different that was a lot less work. I turned again to the group of 42 pipes that Jeff and I purchased from a pipeman who can no longer smoke because serious illness. It is a pleasure to be able to support this Brother of the Briar in this very hard season of his life. He had some beautiful pipes in his collection and with some work we will get them cleaned up and into the hands of other pipemen and women who can carry on the legacy of the briar.

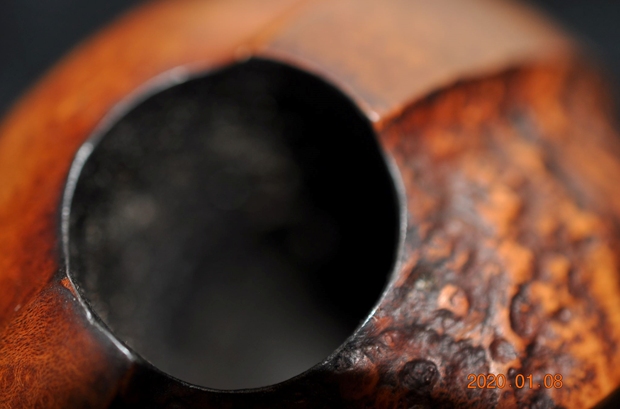
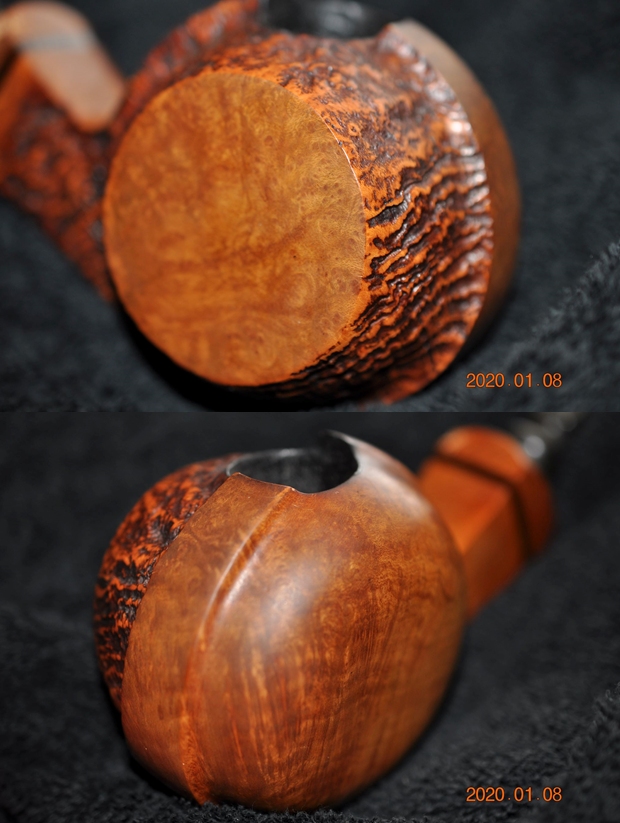
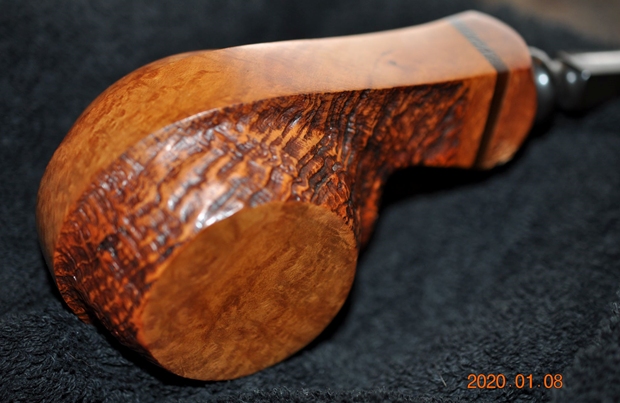
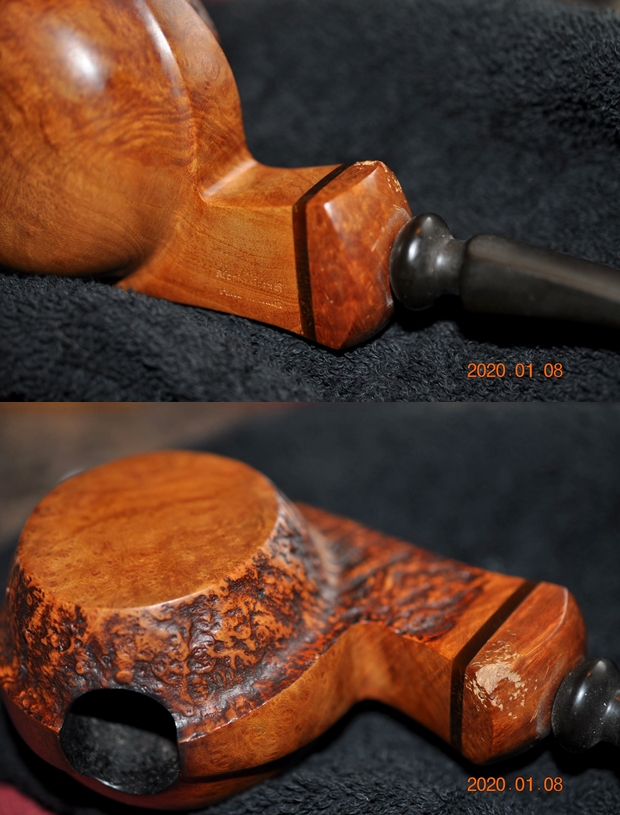
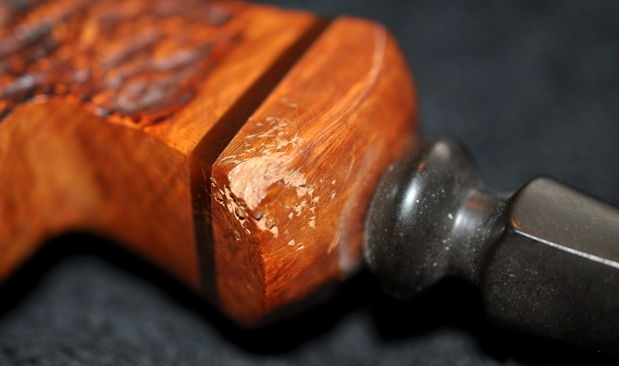
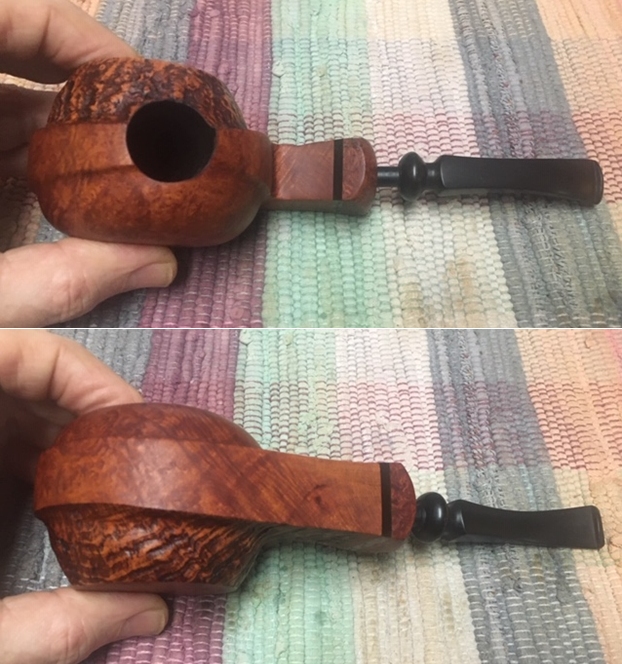
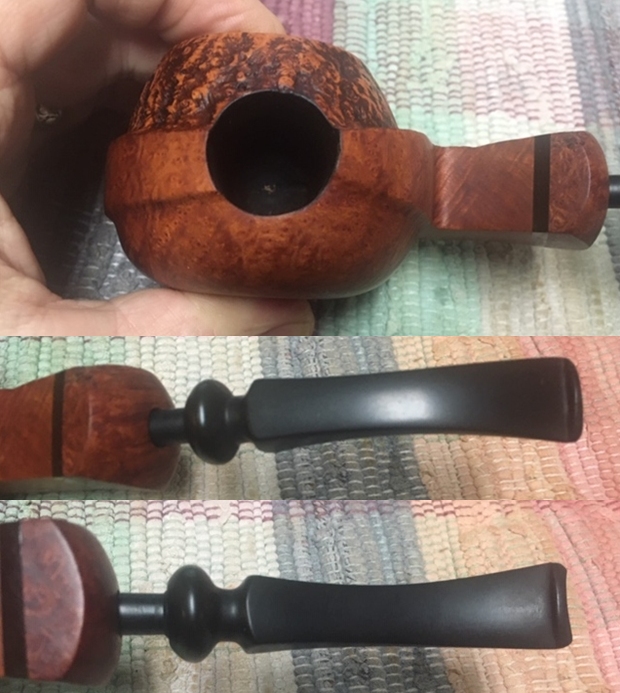
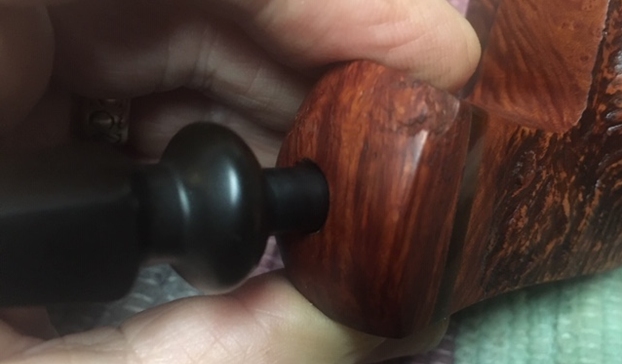
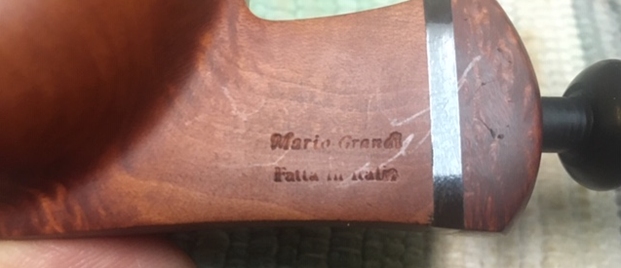
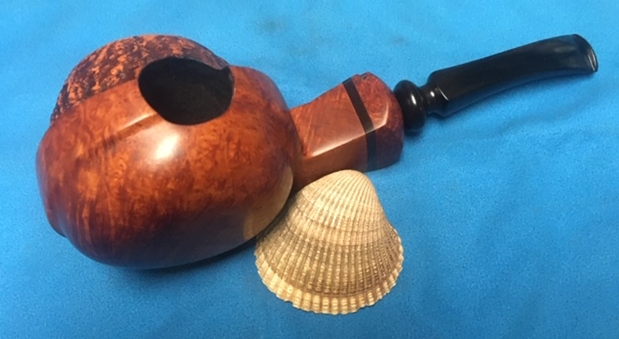
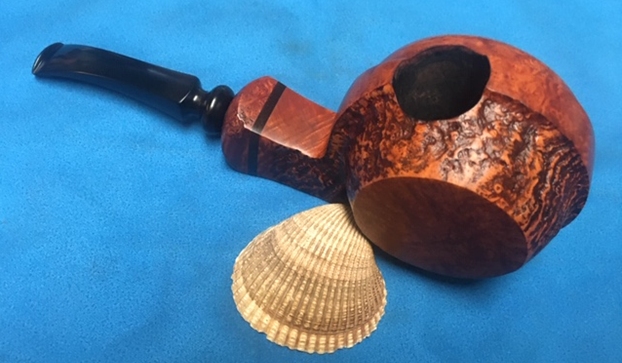
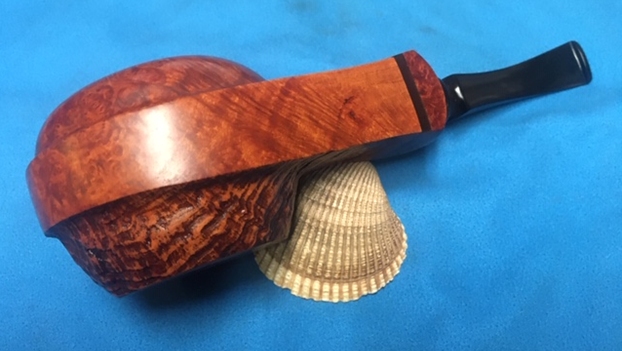
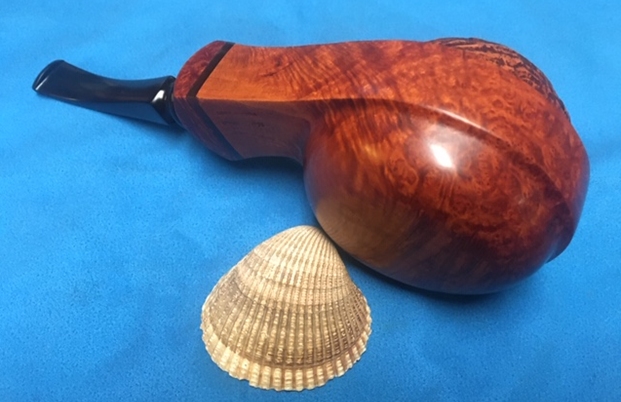
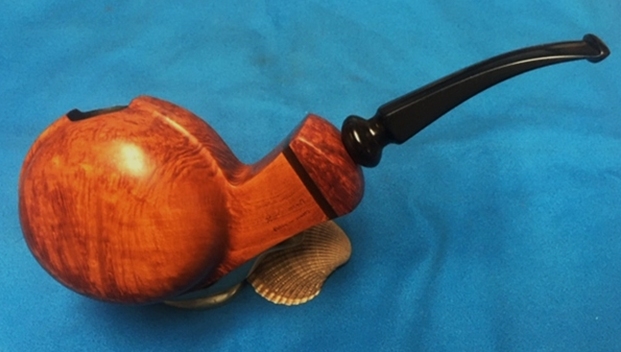
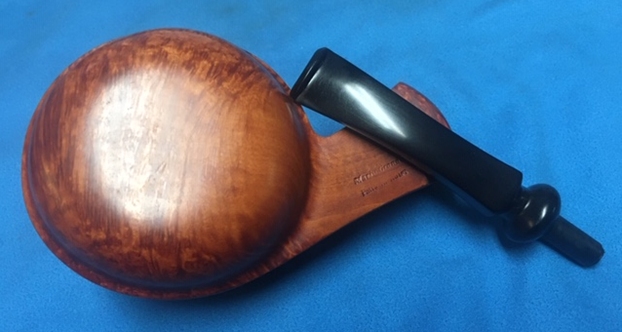
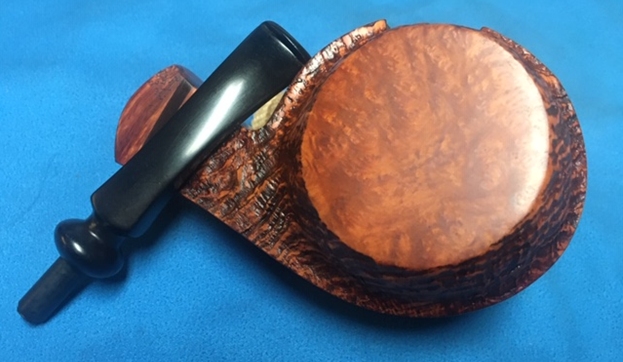
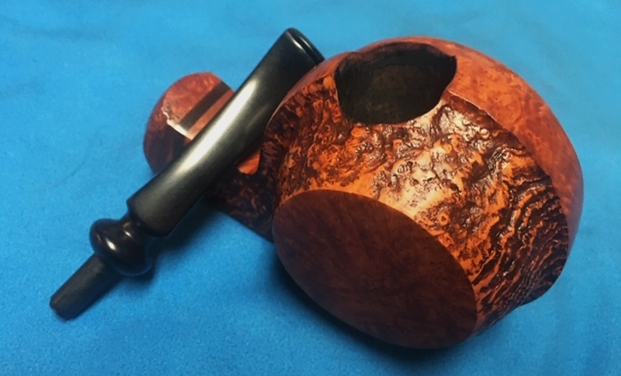
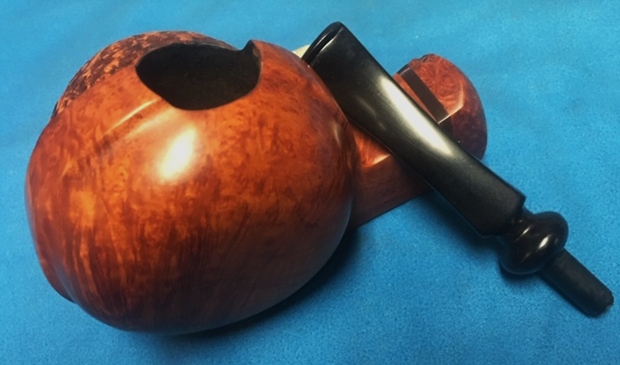
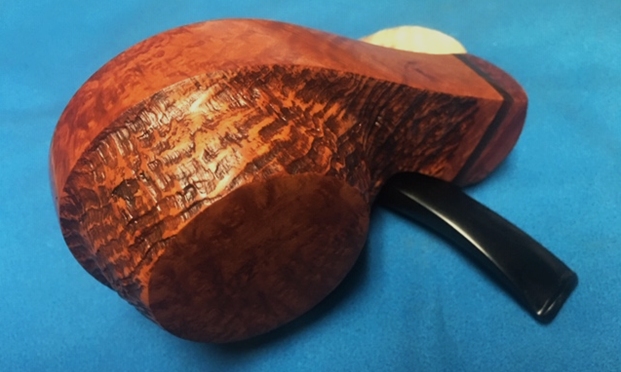
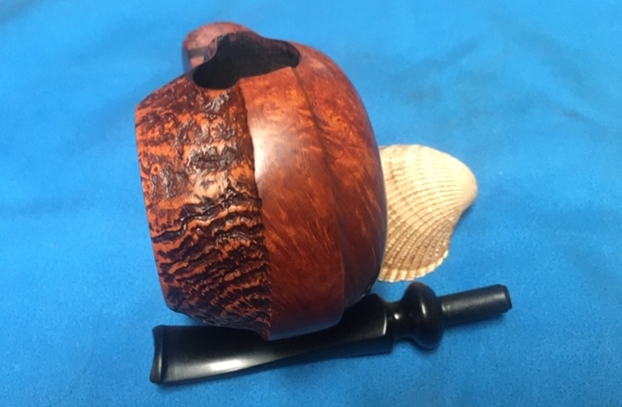
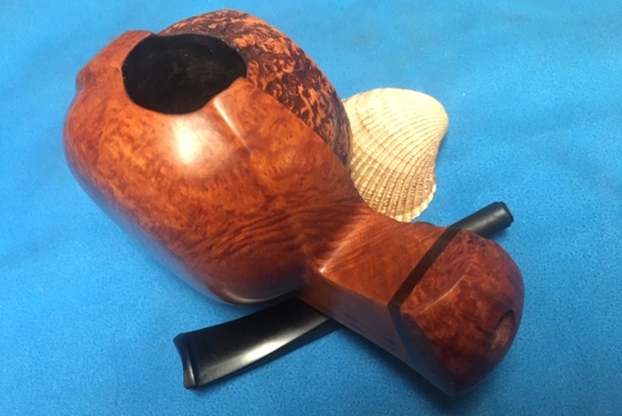
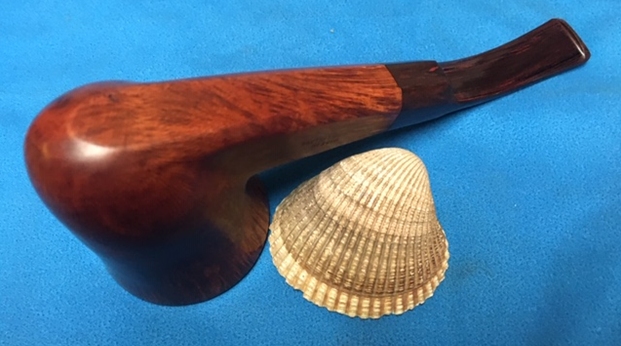
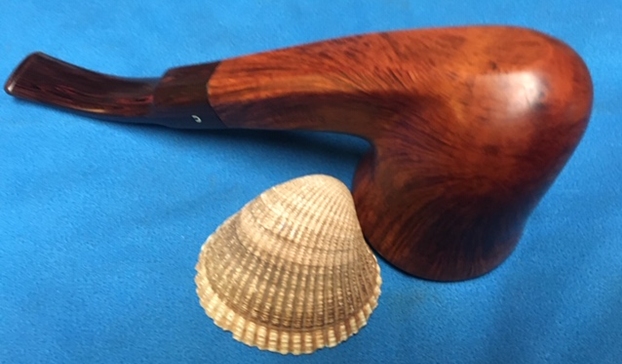
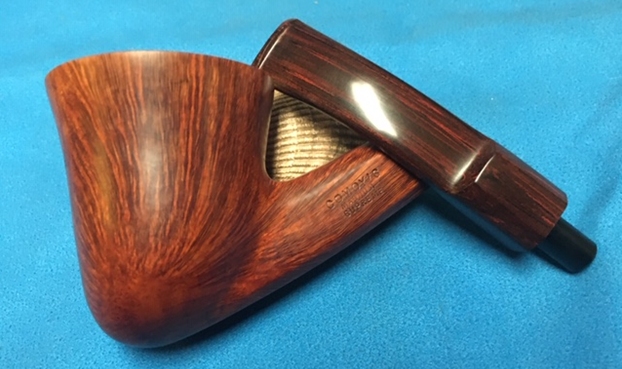
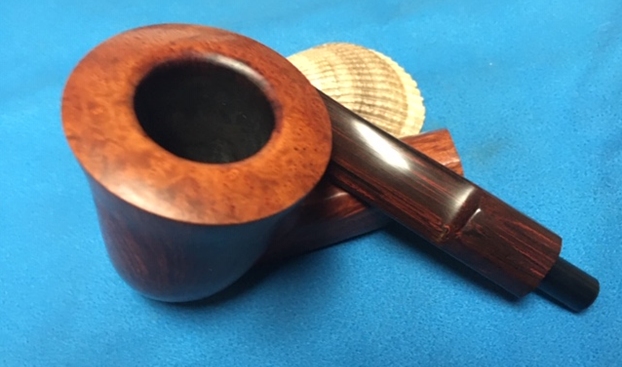
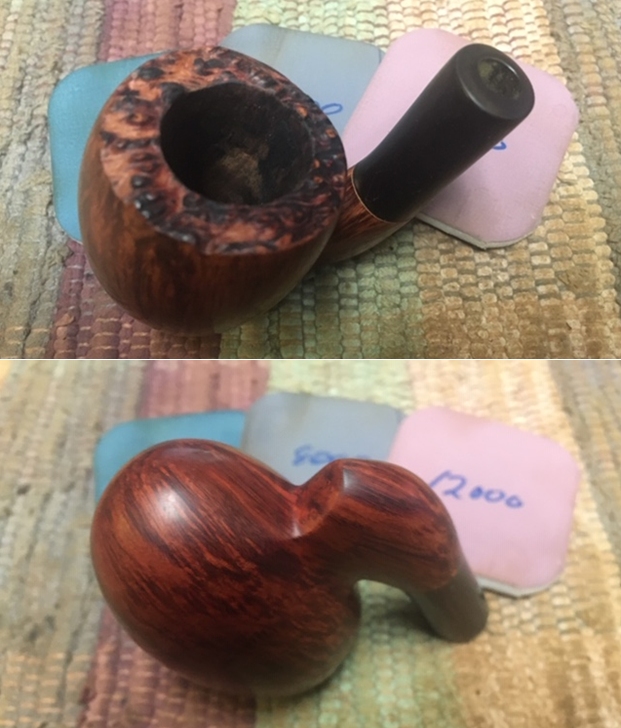
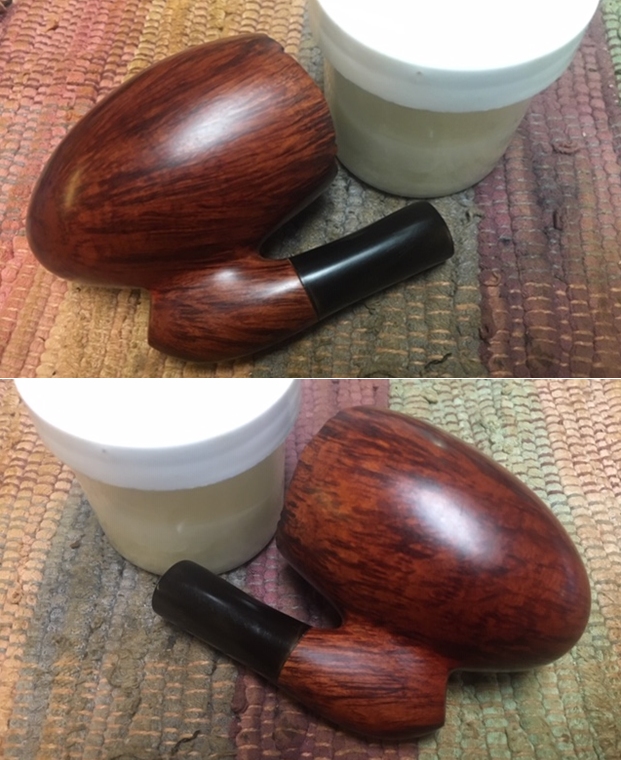
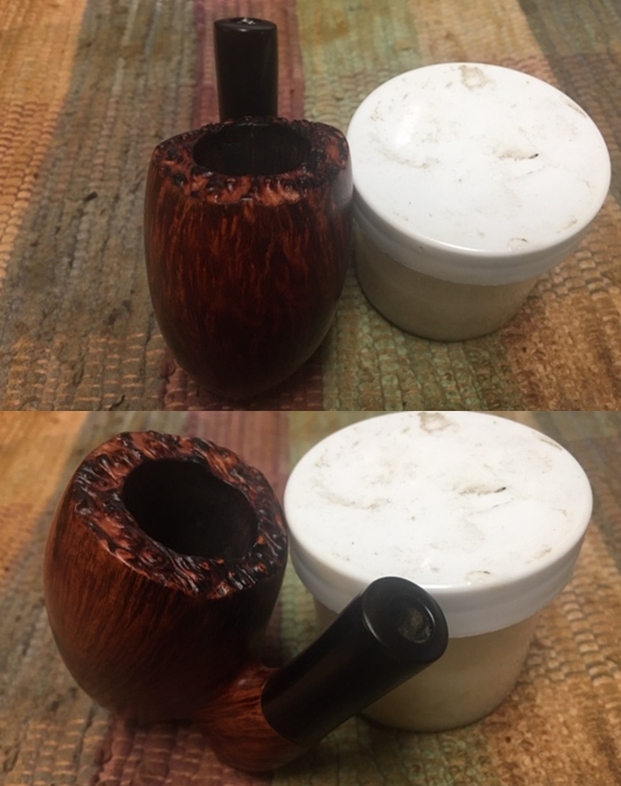
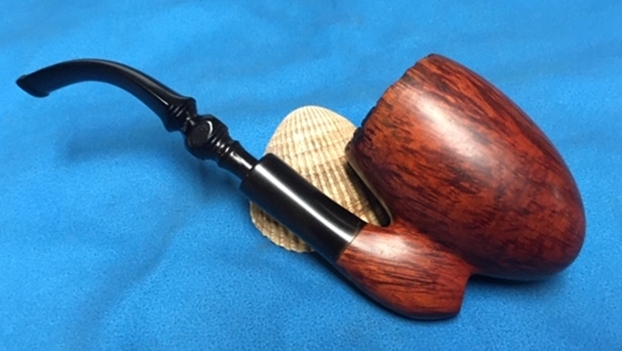
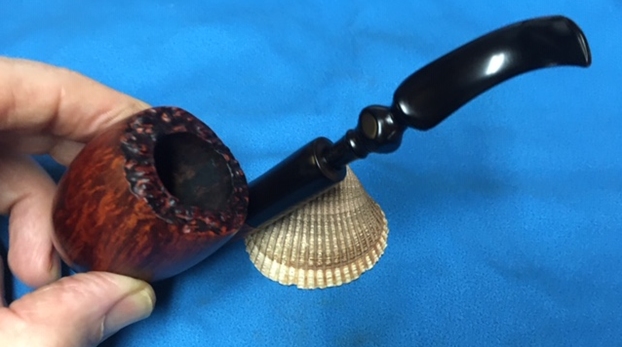
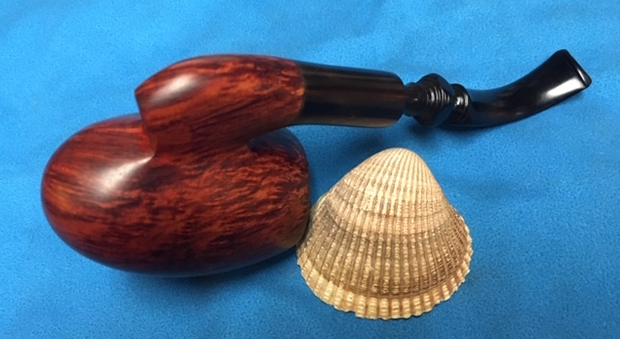
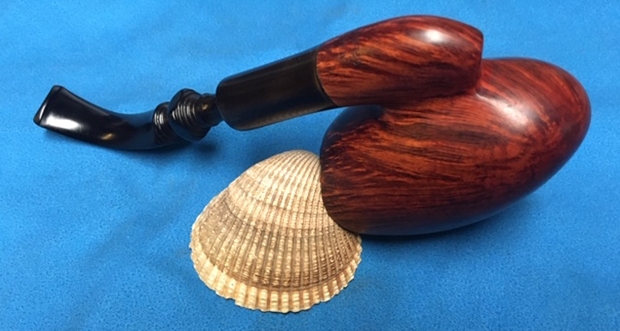
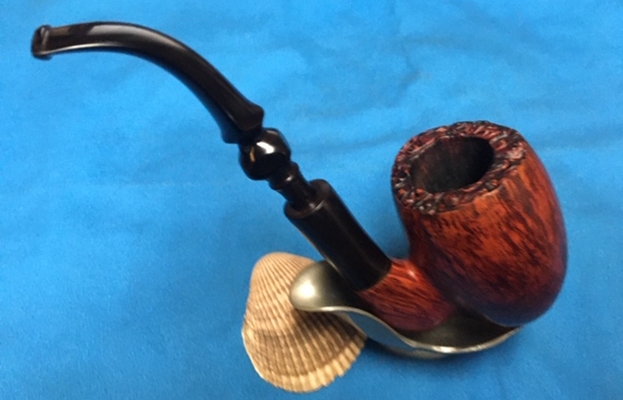
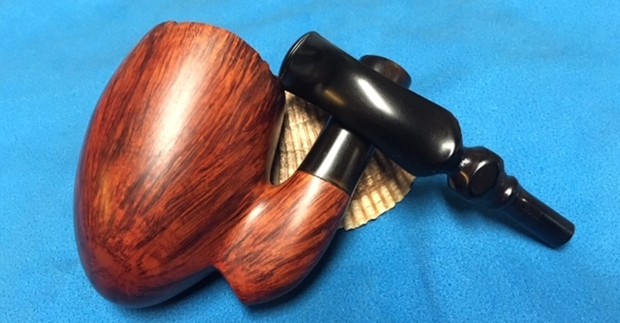
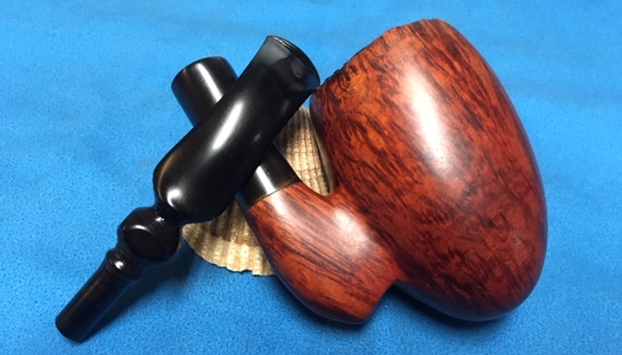
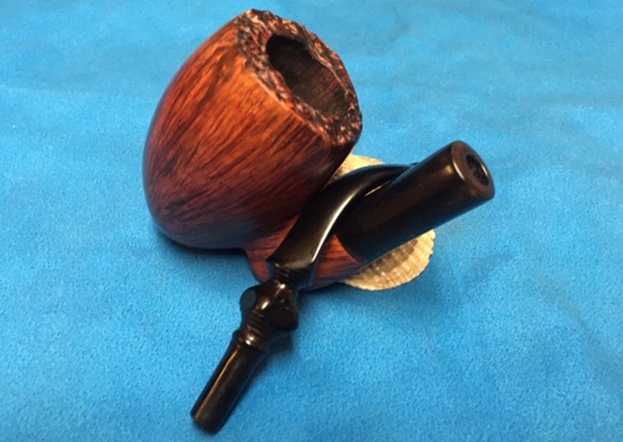
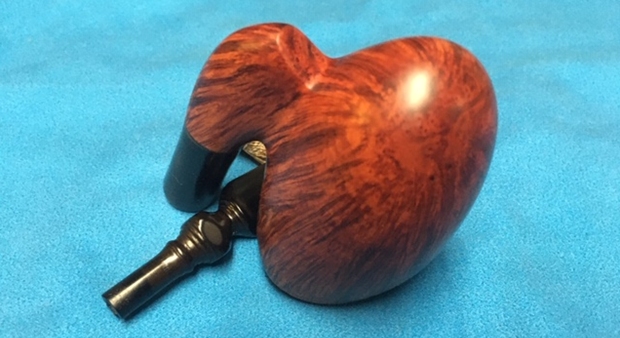
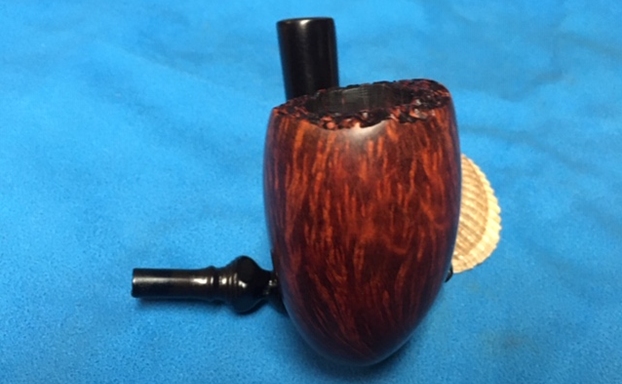
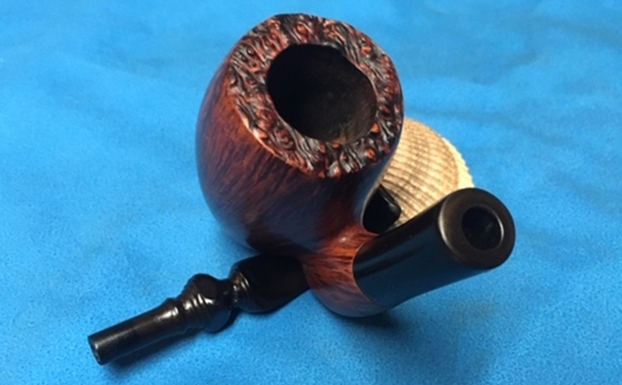
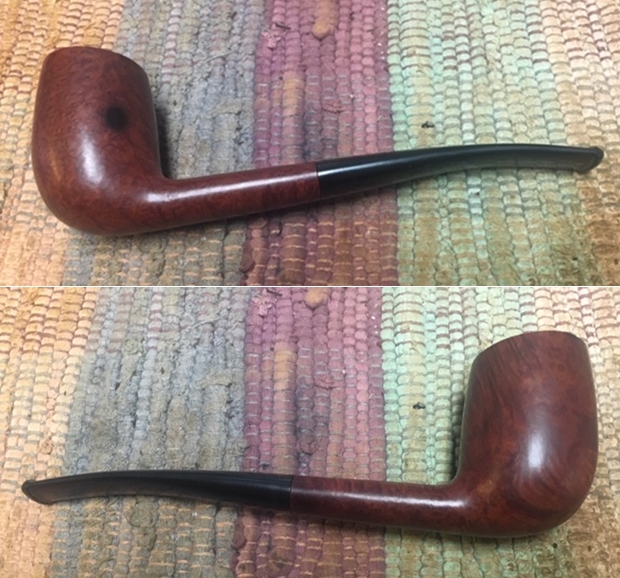
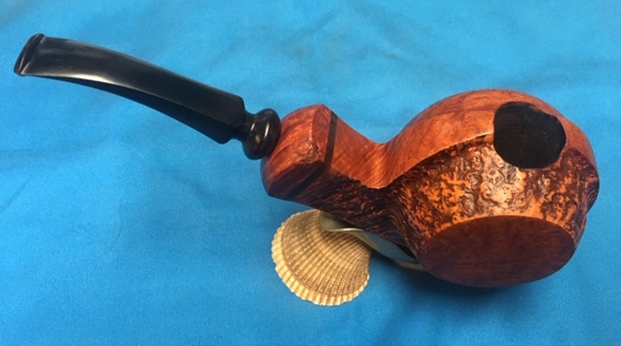
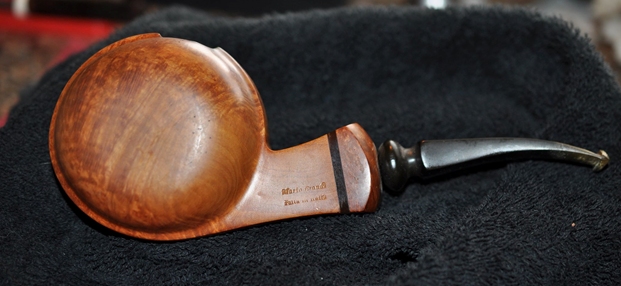
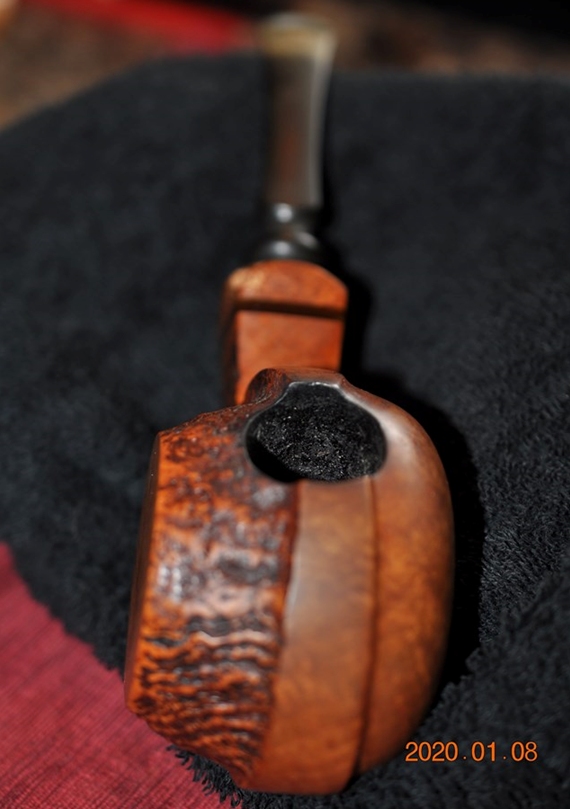
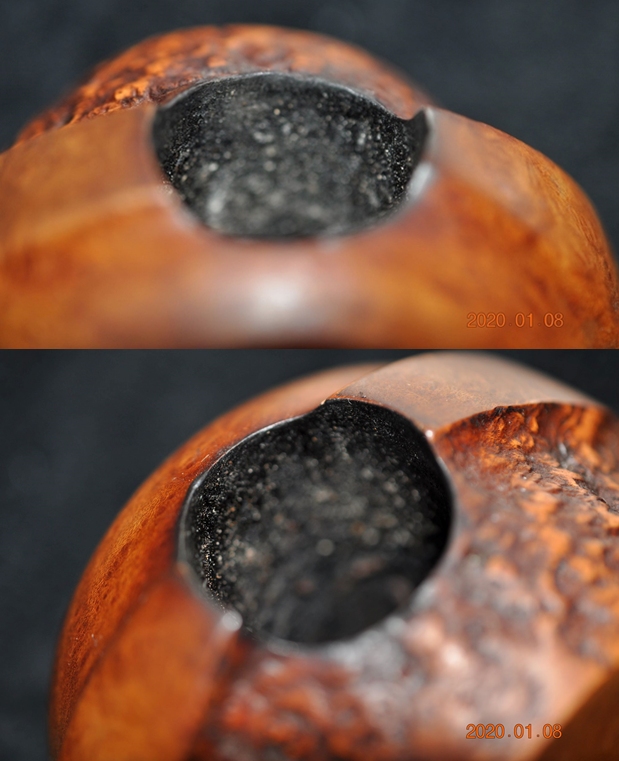
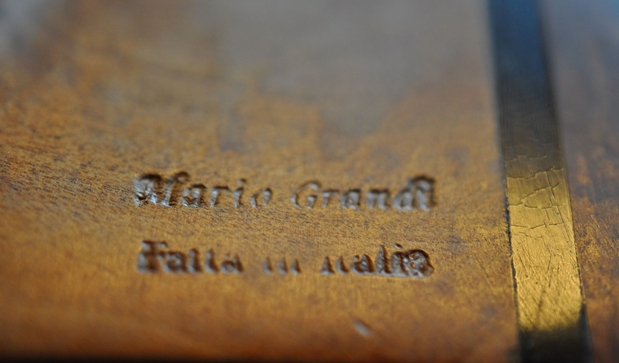
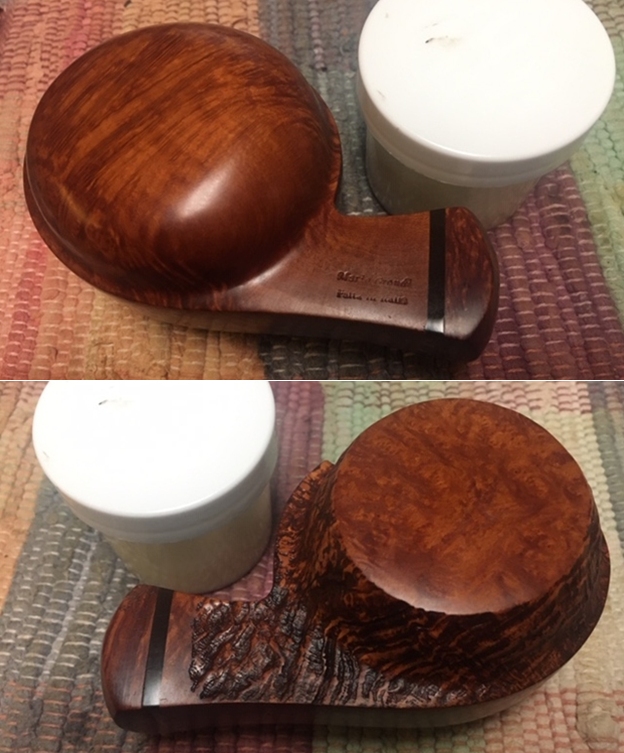
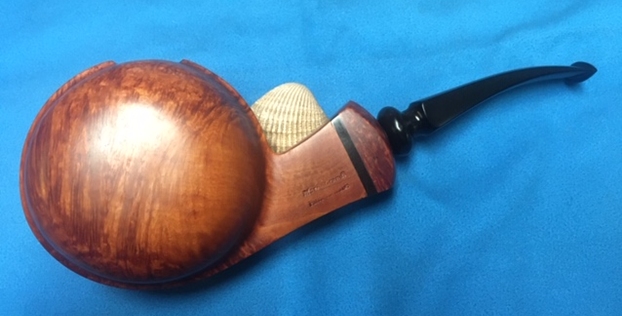
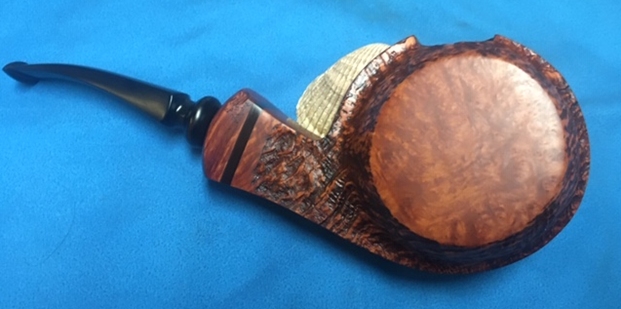
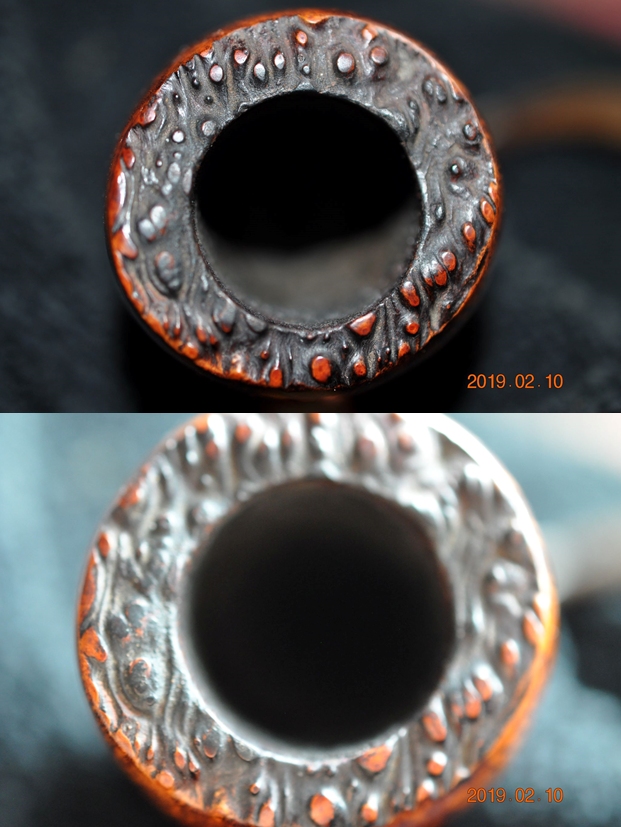
The fifth of the pipes that I am working on is a monstrously large Mario Grandi Blowfish with a dual finish of smooth and sandblast. The smooth portions have great grain and the sandblast portion on the right side adds depth to the shape. The sandblast portion has some darker brown stain in the valleys of the blast that really are a nice touch. There is an acrylic black insert in the shank and a smooth shank cap. It is stamped on the left side of the shank Mario Grandi over Fatta in Italia. It is another nice piece of briar that the carver accommodated the shape to highlight. The turned fancy, vulcanite stem shifts shape from the round bead to a four sided panel in the blade of the stem. When it arrived at Jeff’s house and he opened the box he could see it was a beautifully grained piece of briar and an interestingly carved pipe. The pipe was dirty but there was little damage to the bowl or stem. There was some chipping on the right side of the shank extension – almost like tooth marks. Perhaps it had fallen prey to a dog’s attention. The rim top had darkening and tars flowing up from the thickly caked bowl. But it did not appear to be burned or charred. The stem was in good condition – just lightly oxidized and a little dirty. There was calcification and tooth chatter on both sides of the stem near the button. Overall the large unique pipe was a beautiful piece that must have been enjoyed by the previous pipeman who had held it in trust. Jeff took photos of the pipe before he started his clean up work. Jeff took photos of the bowl and the rim top to show the condition of the bowl and rim. You can see the lava and darkening on the rim top. You can also see the cake in the bowl and the tobacco debris stuck to the walls.   Jeff took photos of the sides and heel of the bowl to show the condition of the finish – the pipe looked pretty good and the grain on the sides and bottom of the bowl was very pretty. The contrast between the smooth and the sandblast portions was quite nice. The next three photos show the damage to the shank extension. It almost looks the pipe was bitten by a dog or dropped on a rough surface without the stem in place. He took photos of the stamping on the left and underside of the shank. He missed the number on the right side of the shank. The stamping was very readable as noted above. It is a beauty!  He took some photos of the fancy vulcanite stem surfaces to show their condition. There were not any deep tooth marks just some calcification and light chatter ahead of the button on both sides.I turned then to Pipedia to see what I could find out about Mario Grandi pipes. I read through the page to gather some information. Here is the link (https://pipedia.org/wiki/Mario_Grandi). I will quote from the article.
The Mario Grandi line was created in late 2006 by Aldo Pierluigi and his family as a sub-brand of their mainstay brand Mastro Beraldi.

Mario Grandi often show unusual and imaginative shapes – some really take getting used to. Every now and then you may find a pipe with some minor negligence concerning the workmanship. To give an example: the shank /stem junction sometimes shows a little split. Even though the quality is generally very high and you will hardly find any other (mainly) hand-crafted pipes at such affordable prices.

Outside Italy Mario Grandi pipes are officially offered by *futurepipes* on eBay. More than 2,000 pipes have been sold since December 2006. The offers change almost daily.

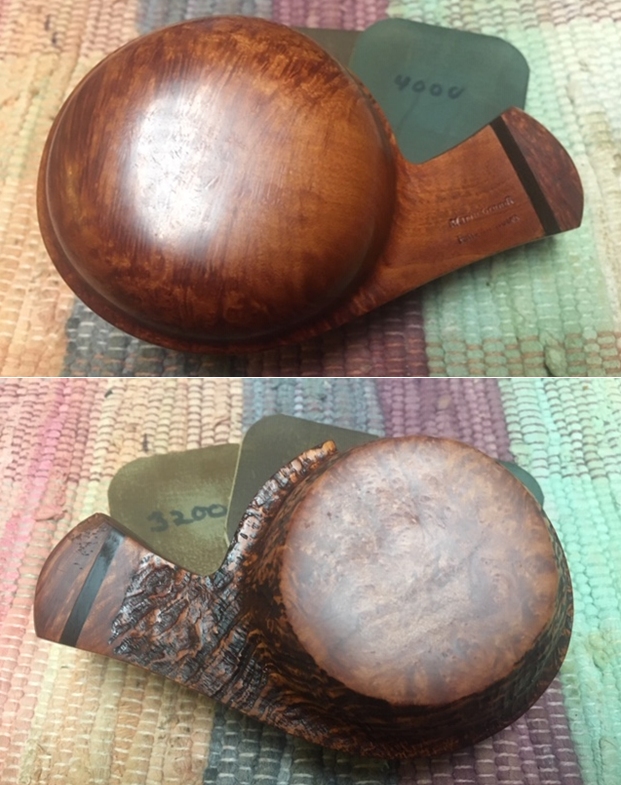
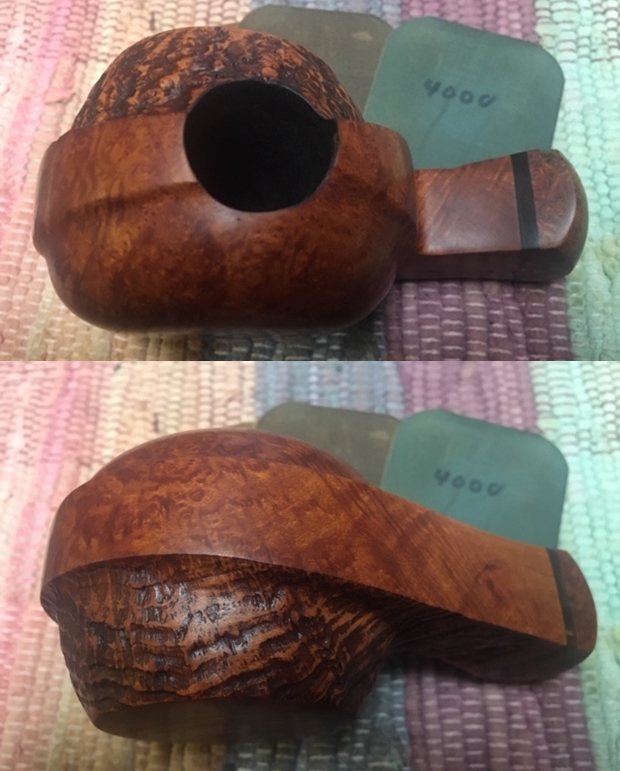
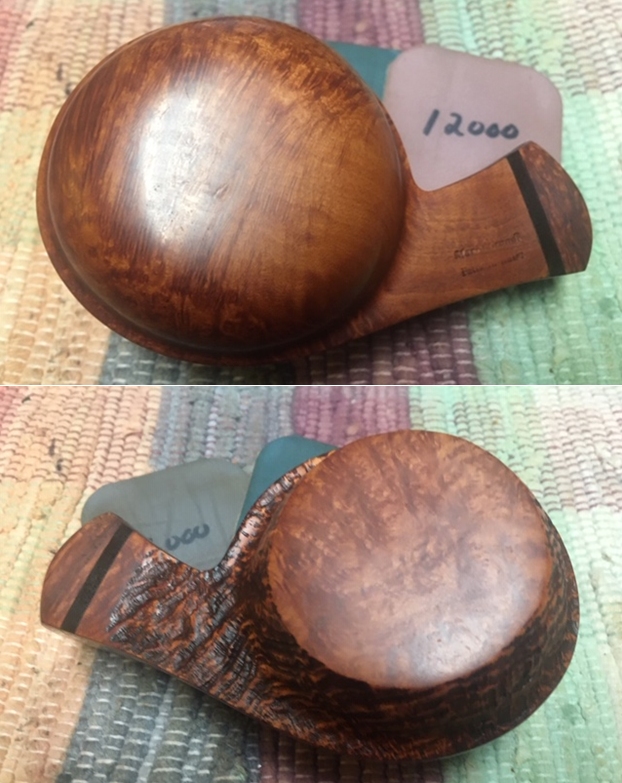
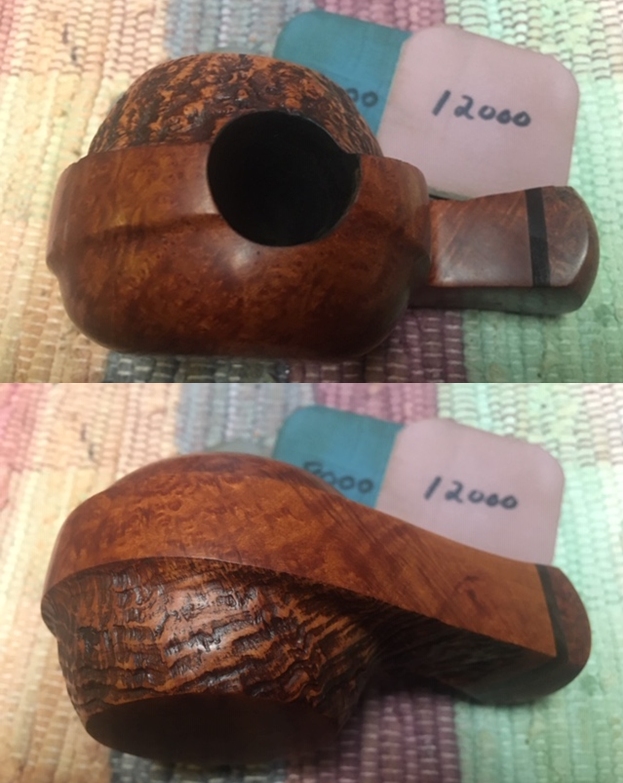
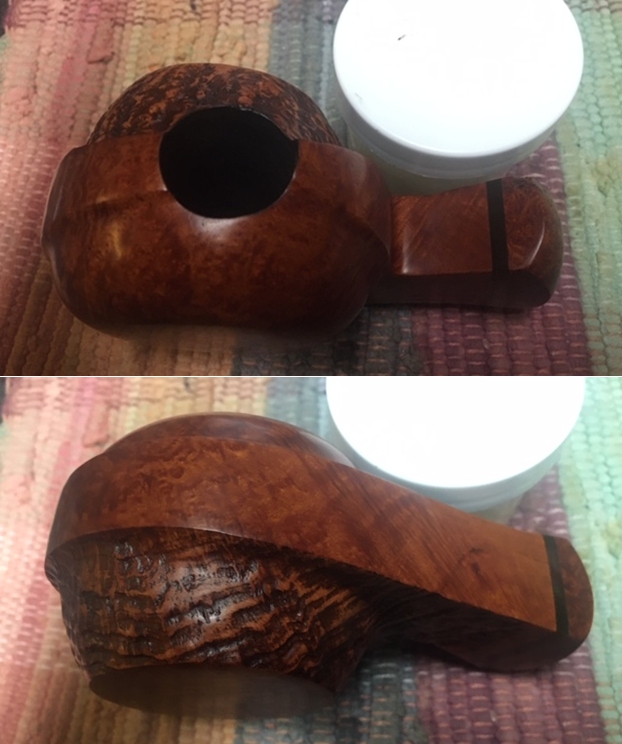
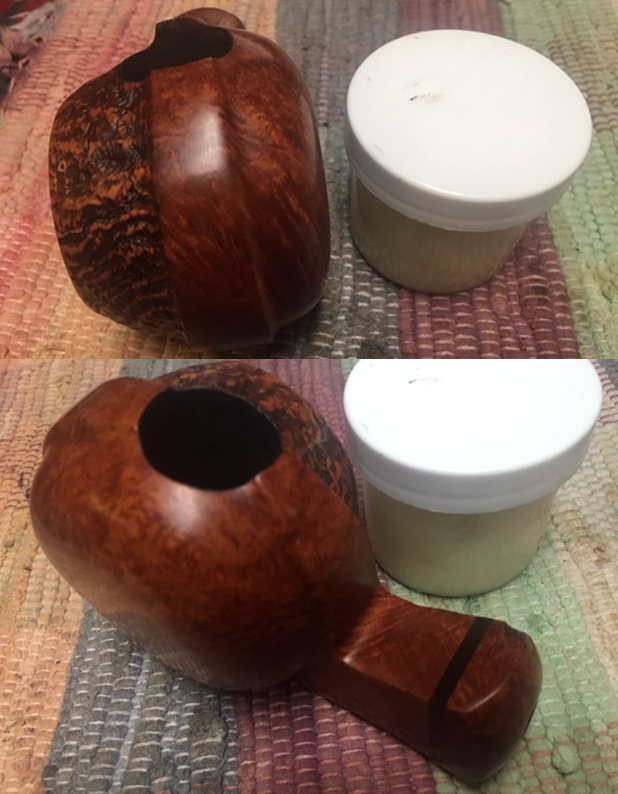
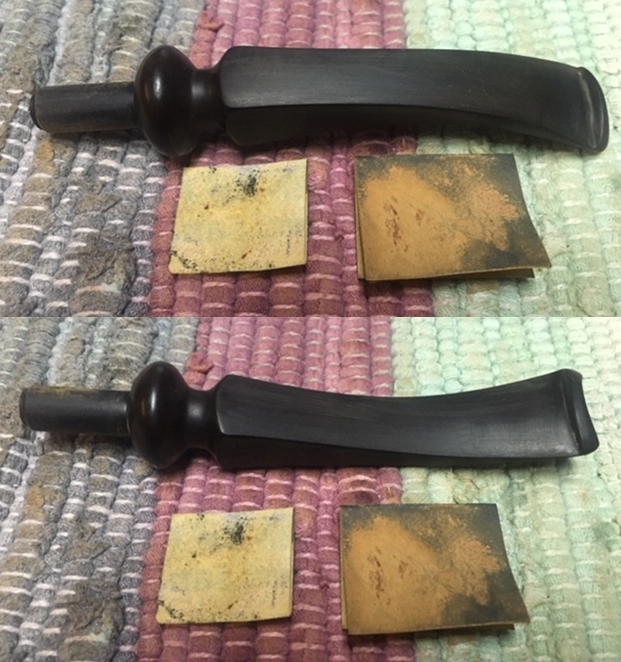
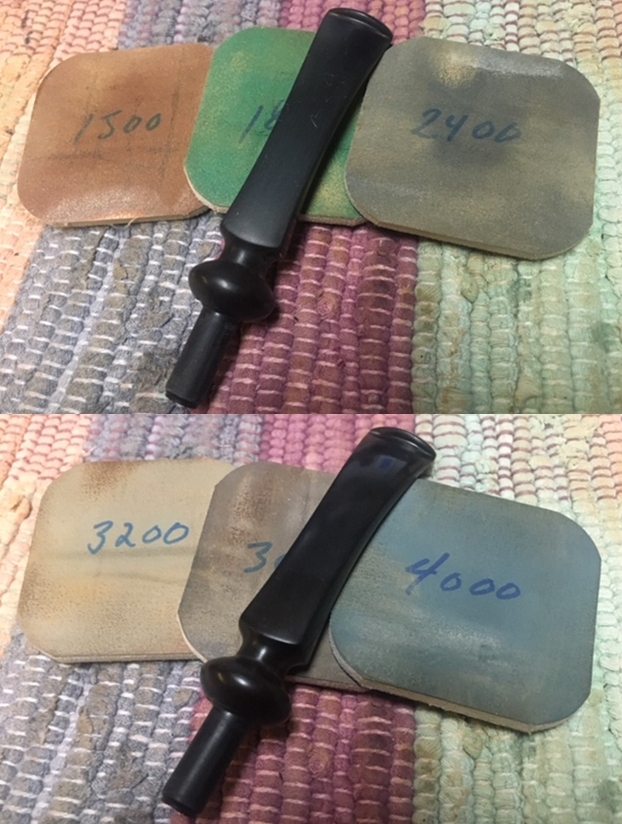
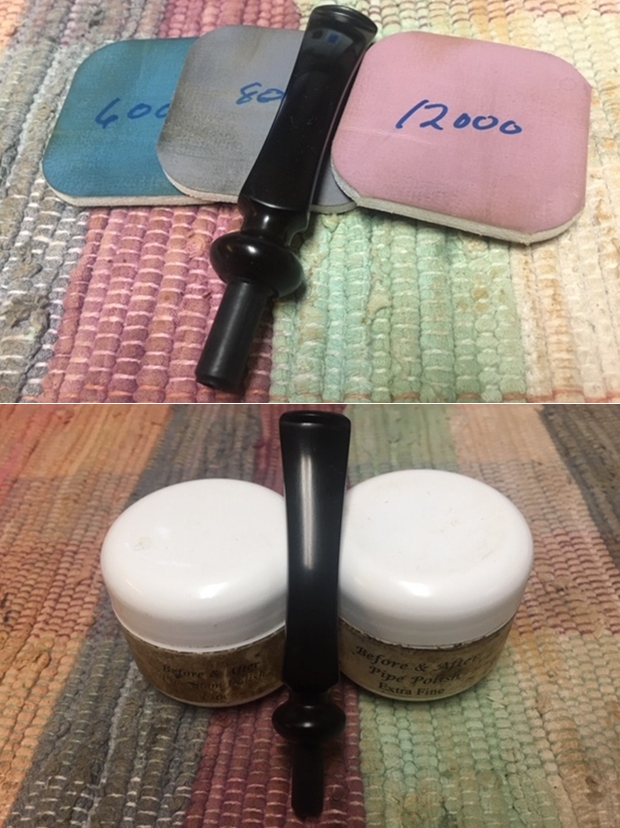
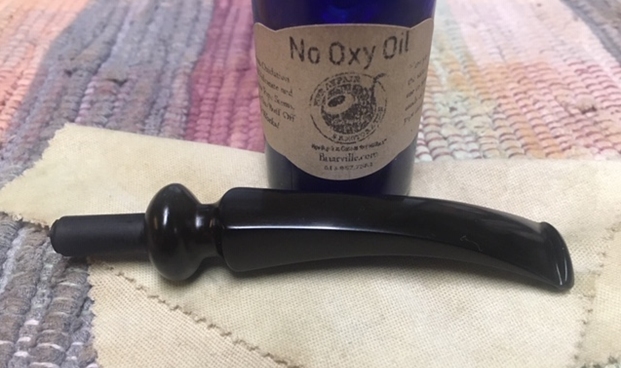
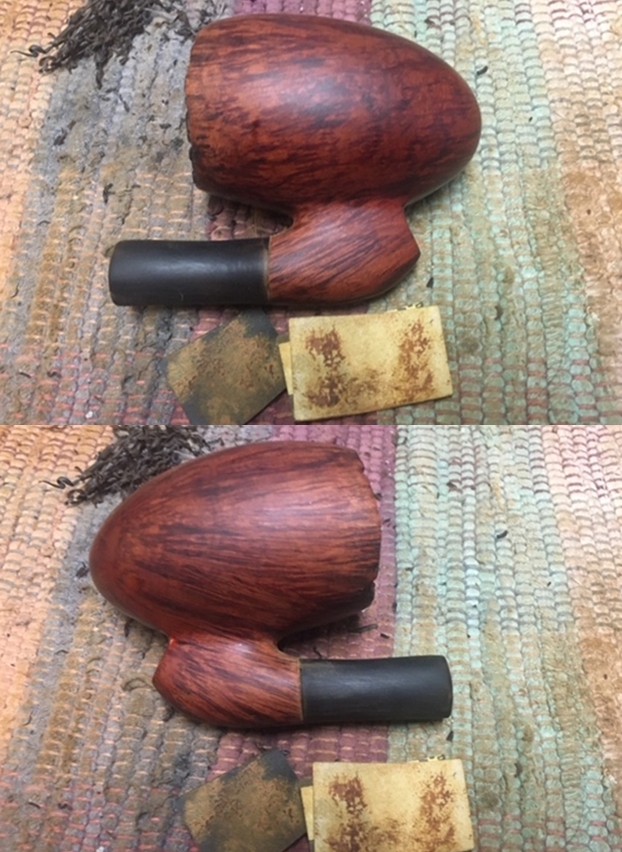
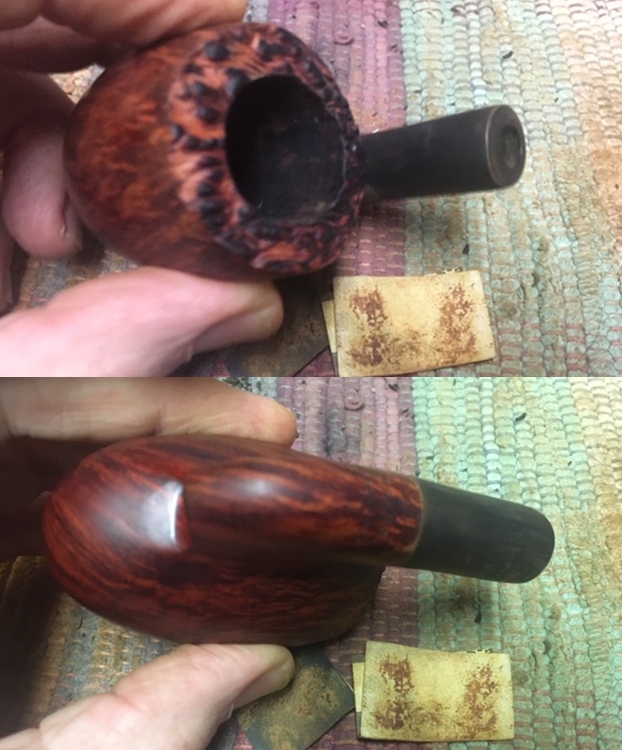
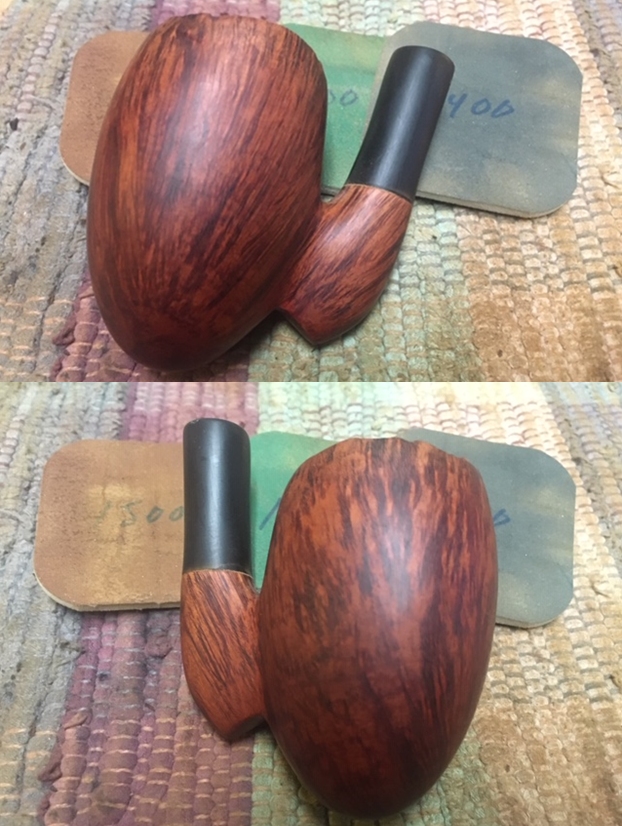
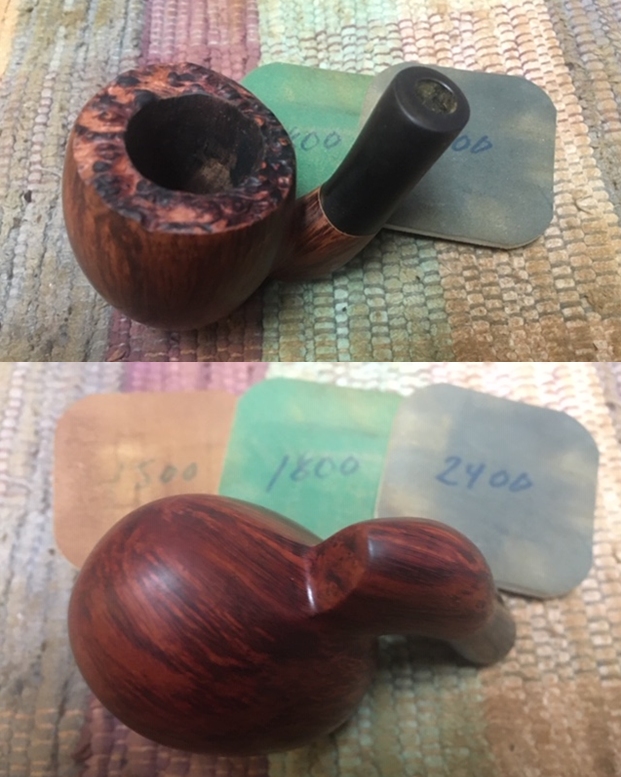
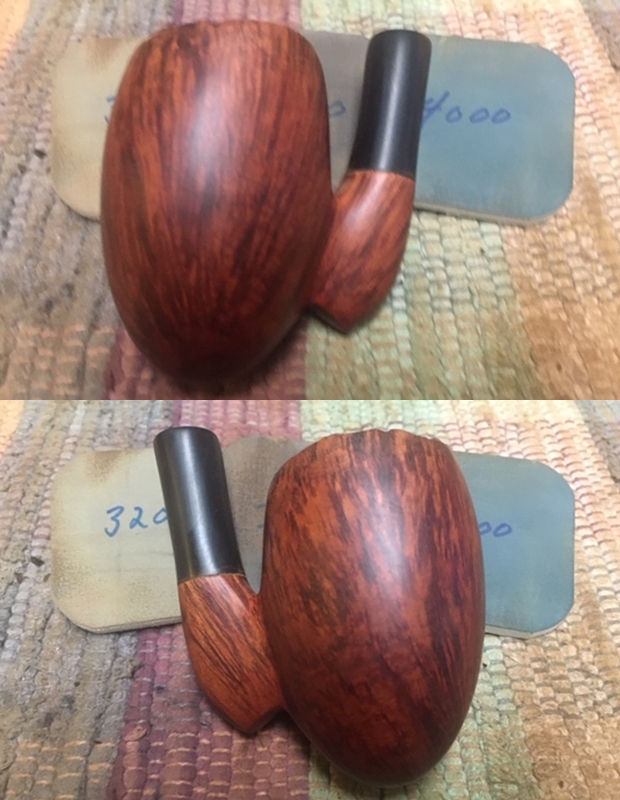
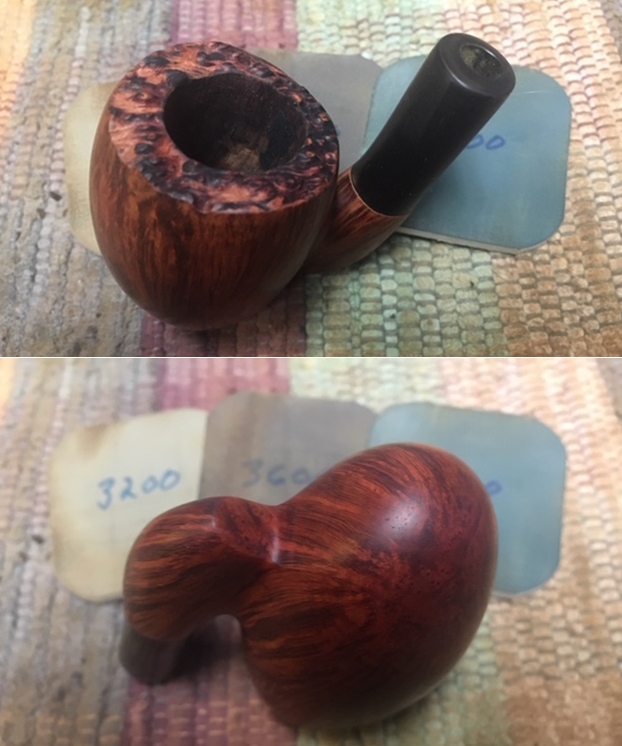
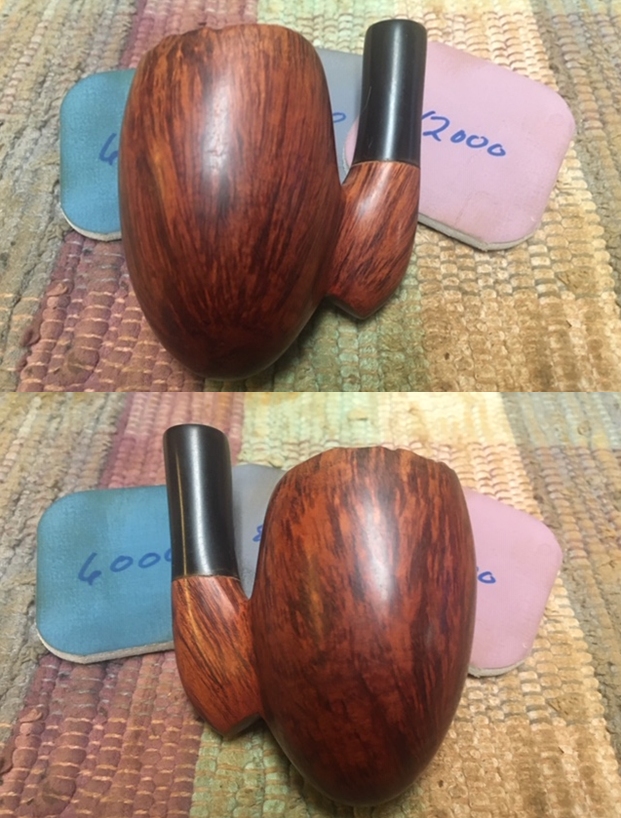
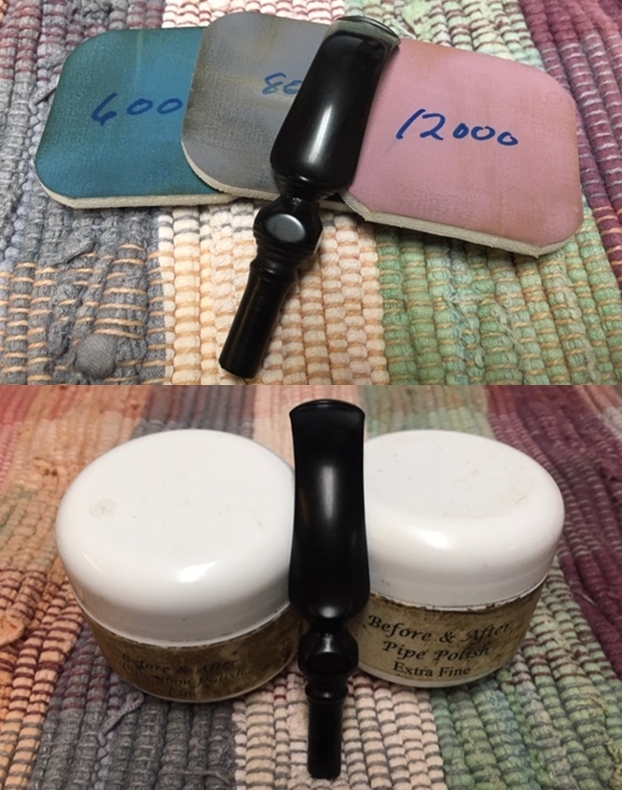
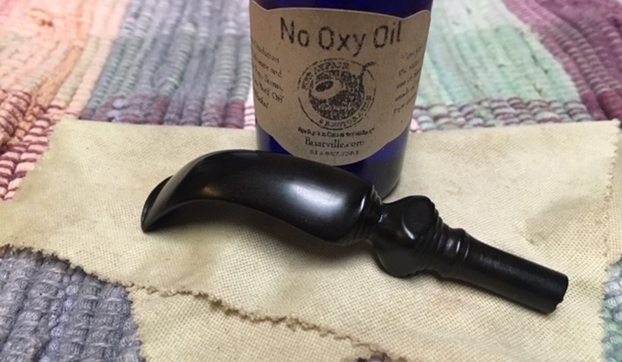
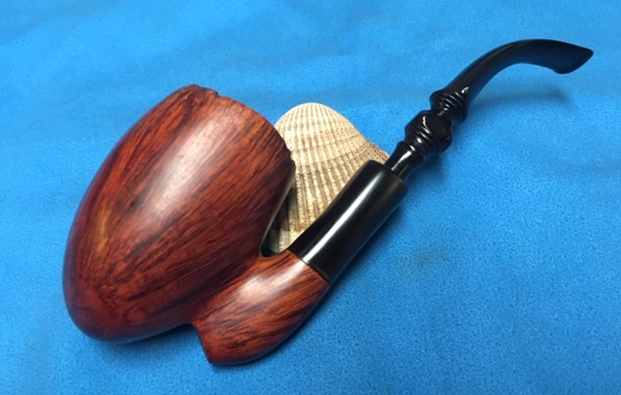
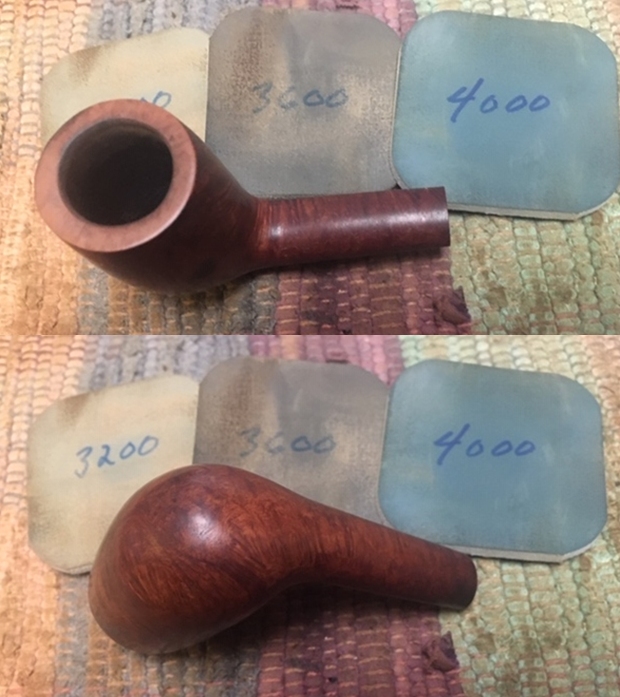
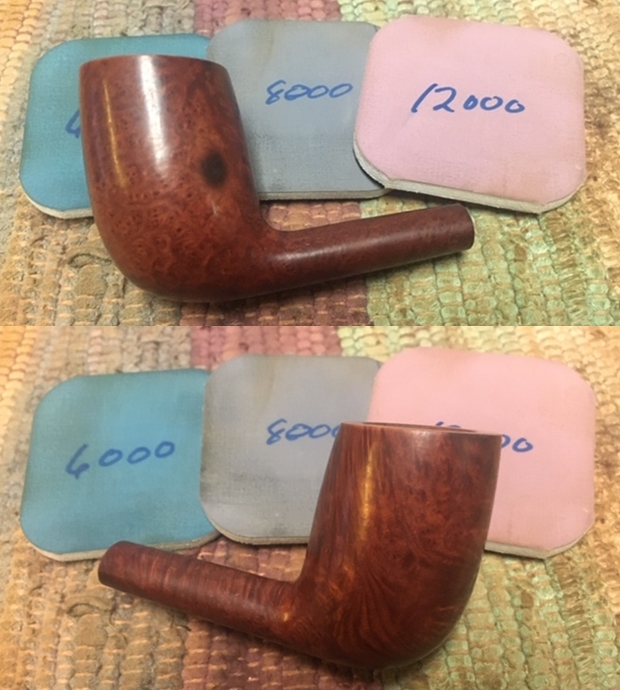
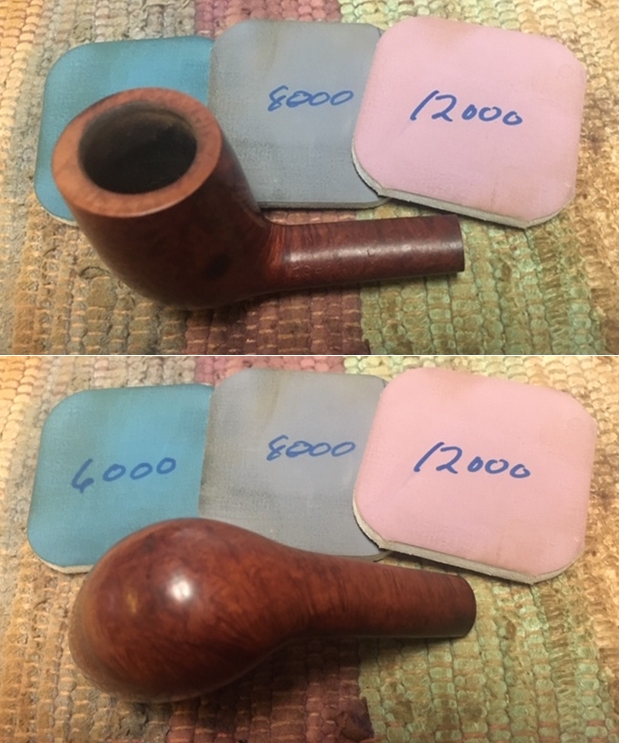
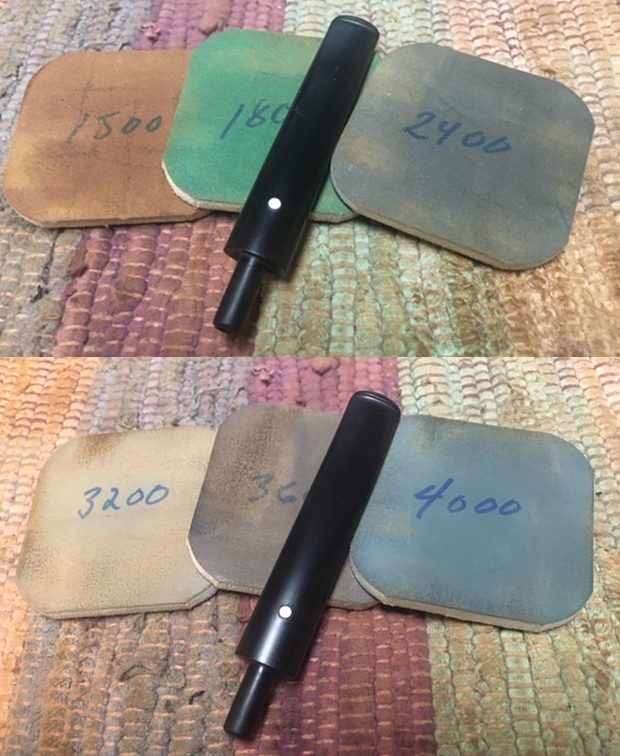
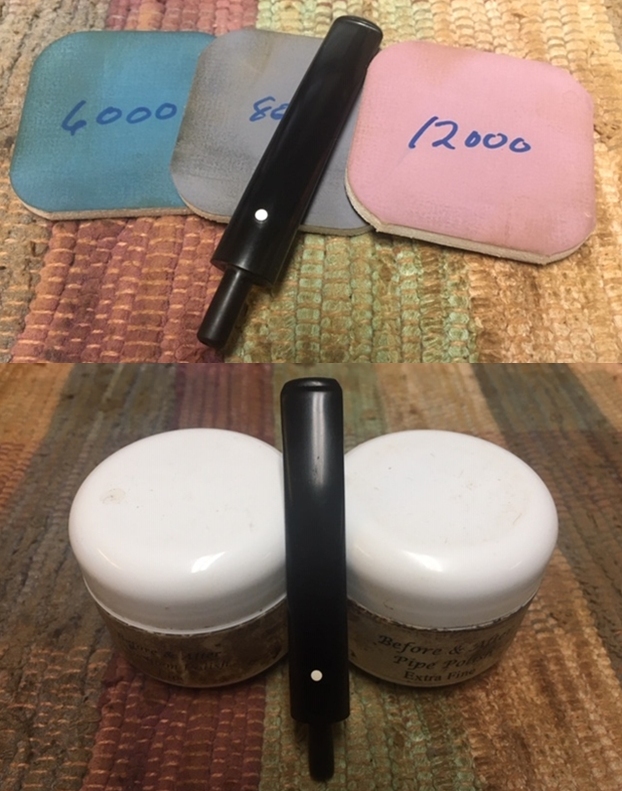
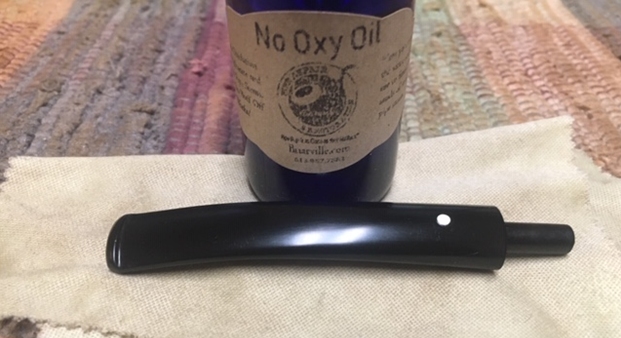
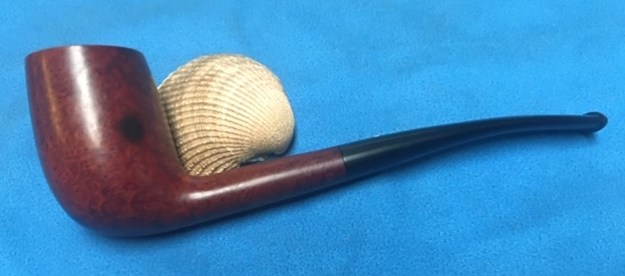
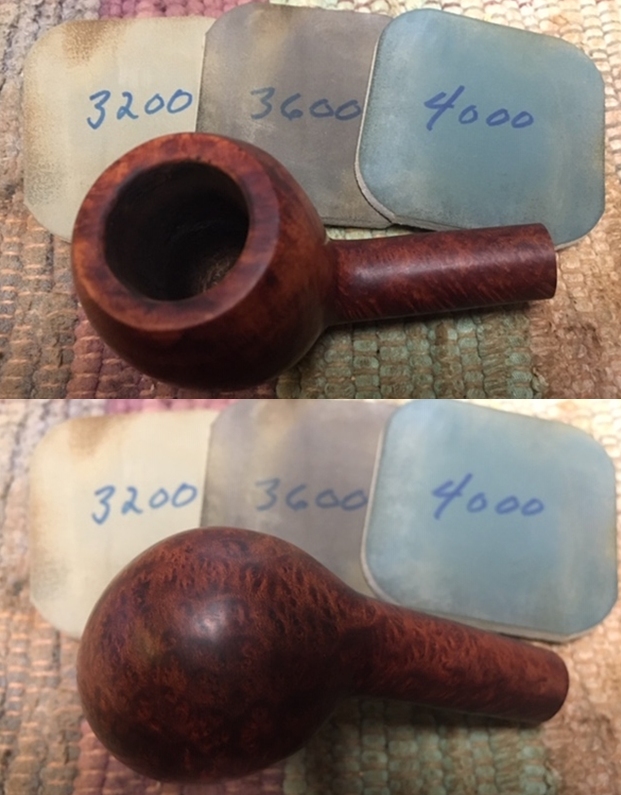
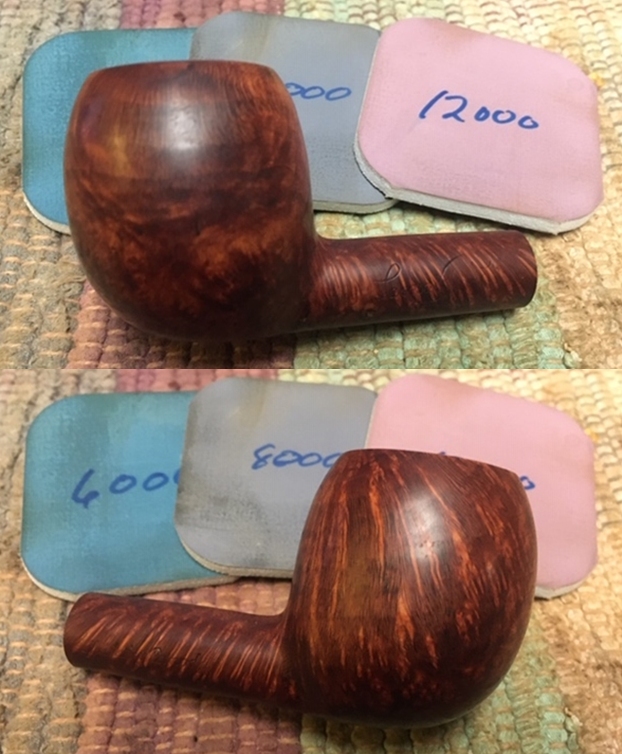
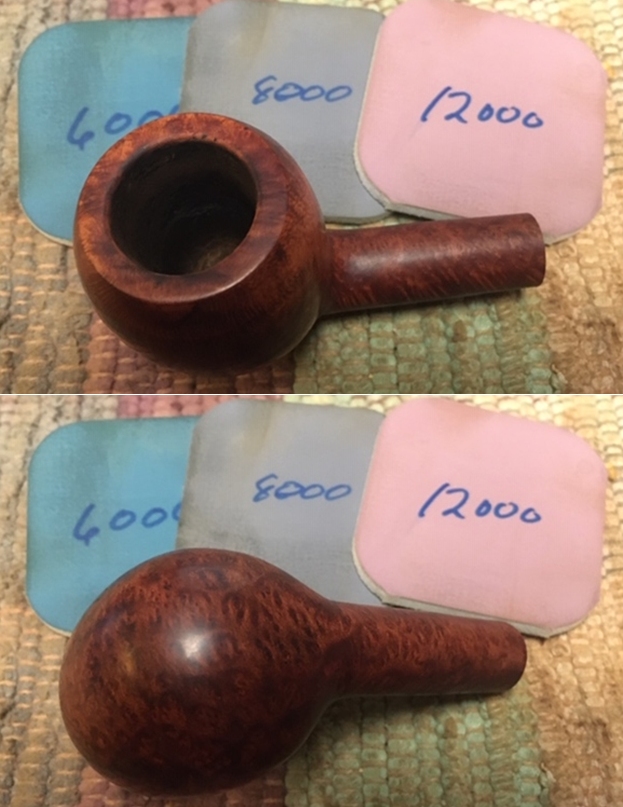
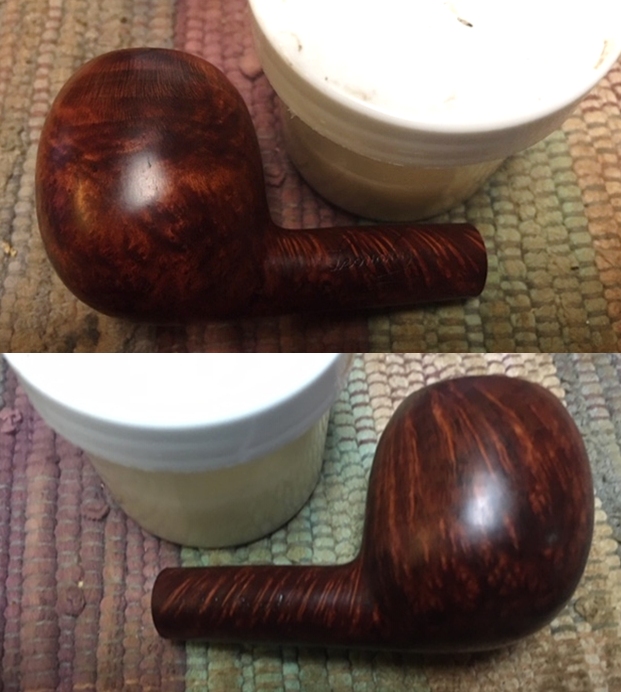
Now I had the information I wanted to know on the brand it was time to begin to work with it and clean it up. It really is a beautiful pipe. I am getting more and more used to Jeff cleaning up the pipes before I work on them. So much so that when I have to clean them it is a real chore! This pipe was dirty just like the other ones in the collection. I did not know what to expect when I unwrapped it from his box. He reamed it with a PipNet pipe reamer and cleaned up the reaming with a Savinelli Fitsall Pipe Knife. He scrubbed out the internals with alcohol, pipe cleaners and cotton swabs until the pipe was clean. He scrubbed the exterior of the bowl with Murphy’s Oil Soap and a tooth brush to remove the grime and grit on the briar and the lava on the rim top. The finish looked really good once it was clean. There was no damage and the sandblast stood out with stark contrast around the bowl. The rim top showed some beautiful sandblasted birdseye on the beveled surface. He cleaned the stem internals and scrubbed the exterior and the result looked very good. When the pipe arrived here in Vancouver for the second stop of its restoration tour it was impressive. I took photos before I started my part of the work. I took some close up photos of the rim top and also of the stem surface. I wanted to show what the cleanup of the rim top looked like. It was a real beauty. The sandblast and the contrasting smooth areas on the rim really highlighted the grain patterns on the rim top and they were very clean! I also took close up photos of the stem to show condition it was in. It would not take a lot of work – just sanding out the light tooth chatter and polishing with micromesh sanding pads.I took a photo of the chipped/chewed area on the shank extension. It had cleaned up nicely and did not actually look too bad. In fact in many ways it matched the sandblast on the right side of the bowl. I would probably leave it as it is as a fill would definitely detract from the beauty of the pipe.I took a photo of the stamping on the shank of the pipe. On the left it read Mario Grandi over Fatta in Italia. I started my work on this pipe with the bowl. I polished the bowl and rim with worn micromesh sanding pads. I sanded it with 1500-12000 grit pads and wiped it down between pads with a soft cotton cloth. You can see the progress in the shine as you go through the photos.  I worked some Before & After Restoration Balm into the briar with my fingertips and a horsehair shoe brush to clean, enliven and protect it. I find that the balm really makes the briar come alive again. The contrasts in the layers of stain really made the grain stand out. I let the balm sit for a little while and then buffed with a cotton cloth to raise the shine. The pipe really looks good at this point. I am very happy with the way the pipe is looking at this point in the process.  I set the bowl aside and turned my attention to the stem. I sanded it with 220 grit sandpaper and 400 grit wet dry sandpaper to remove the remaining oxidation and tooth chatter on the surface of the stem on both sides.I polished the stem with micromesh sanding pads – wet sanding it with 1500-12000 grit pads. I wiped it down with a damp cloth after each pad to remove the sanding debris. I polished it further with Before & After Pipe Stem Polish – both fine and extra fine. I hand buffed it with a cloth. I gave it a coat of Briarville’s No Oxy Oil to protect and preserve the newly cleaned and polished stem.  This was another fun pipe to work on since Jeff had done the heavy work in cleaning it. Once I was finished I put the fancy vulcanite stem back on the bowl and polished the bowl and stem with Blue Diamond polish on the buffing wheel. I gave the bowl and the stem multiple coats of carnauba wax. I buffed the pipe with a clean buffing pad to raise the shine. I hand buffed it with a microfiber cloth to deepen the shine. The depth and look of the sandblast portion stands out in real contrast to the smooth portions and makes the pipe vibrant. The pipe polished up really well. The polished stem looked very good after the buffing. This is a big pipe and it feels great in my hand and I am sure that it will feel even better radiating the heat of a good smoke. It must have been a fine smoking pipe judging from the condition it was when we received it from the pipeman who we bought it from. Have a look at it with the photos below. The dimensions of this large blowfish are Length: 8 inches, Height: 3 inches, Outside diameter of the bowl: 2 ¼ inches, Chamber diameter: 7/8 of an inch. This is one is a unique beauty that is eye catching. I will be putting it on the rebornpipes store shortly. If you are interested in adding it to your collection email or message me. Thanks to each of you who are reading this blog. Remember we are not pipe owners; we are pipemen and women who hold our pipes in trust until they pass on into the trust of the next pipeman or woman.

A Resurrection for a C.P.F. Fancy Bulldog


Blog by Steve Laug

Back in November of 2019 I received an email from a fellow pipe man and restorer who I regularly communicate with regarding a C.P.F. pipe. He keeps an eye out for these as he knows that I have a love of the old American brand. He sent the email below and piqued my interest in the pipe.

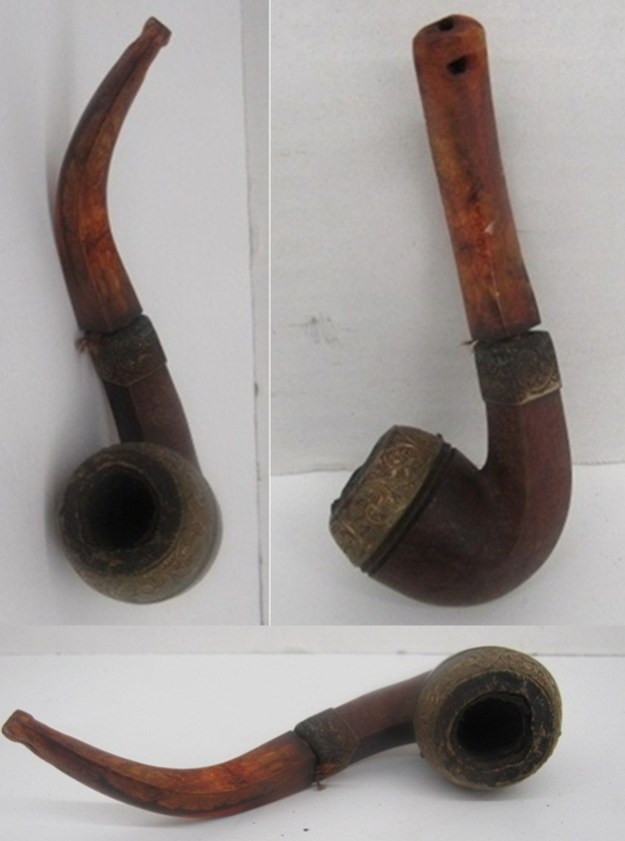
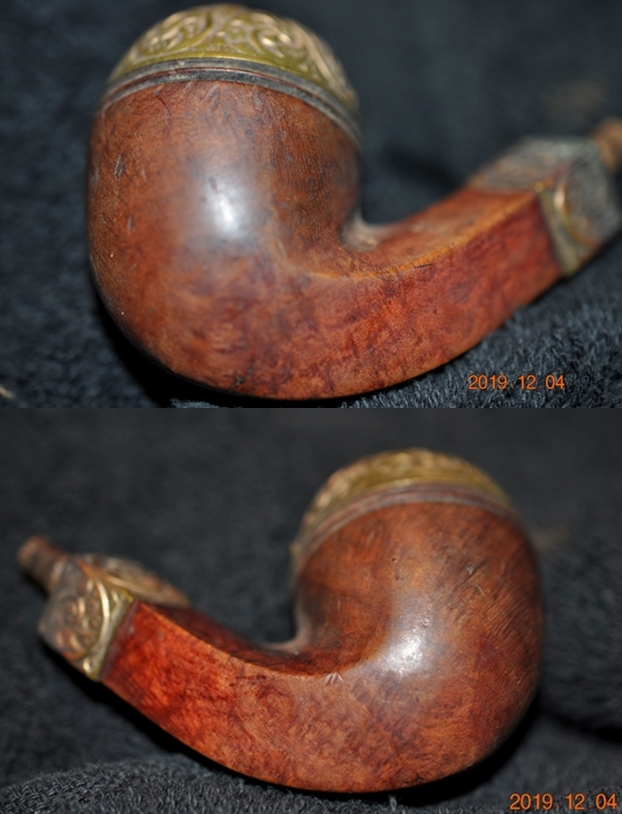
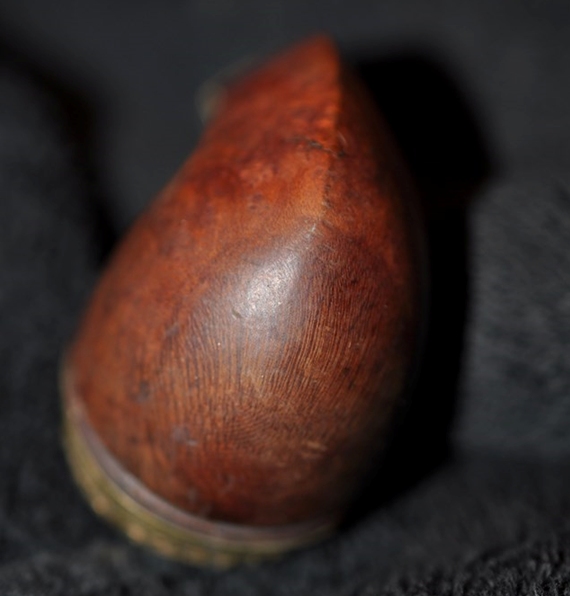
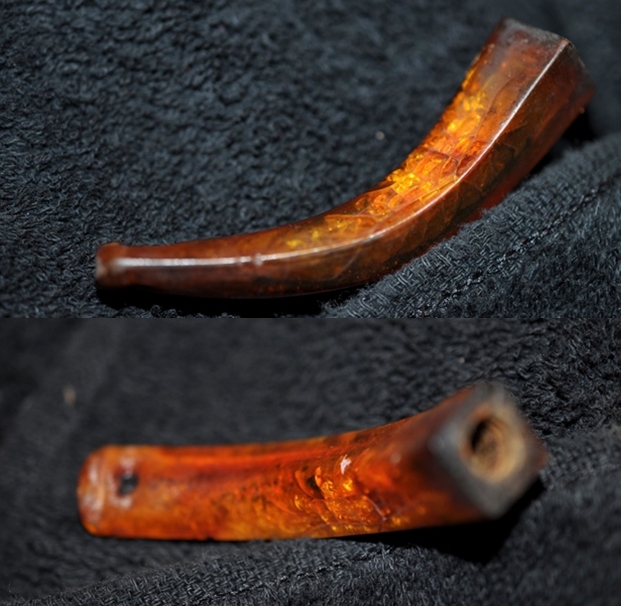
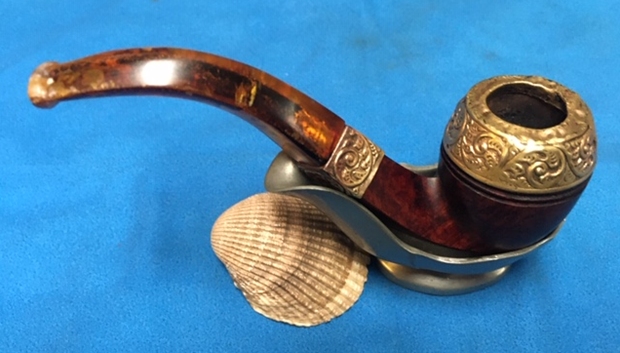
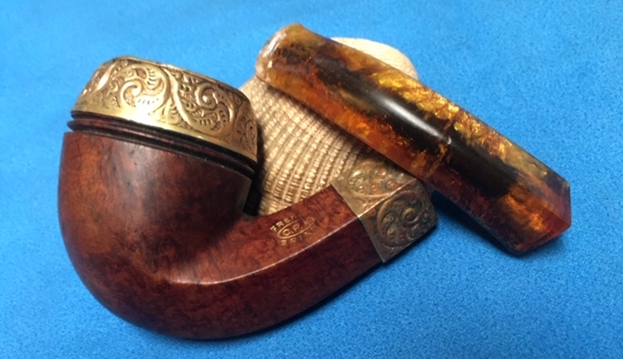
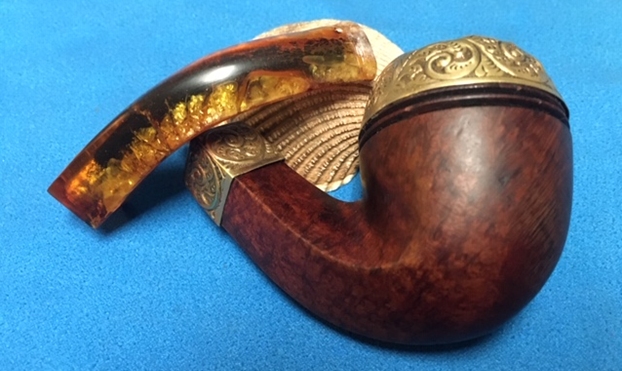
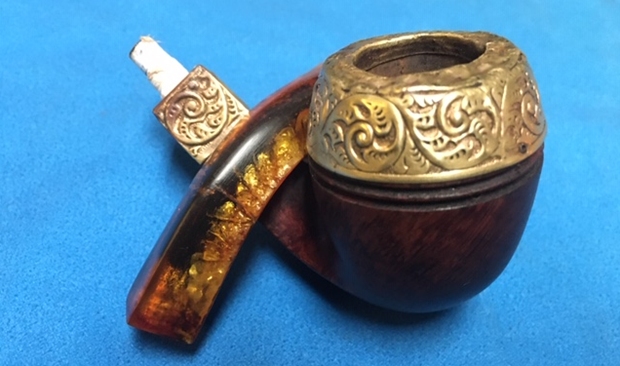
Steve, I just picked up a CPF pipe that needs some TLC.  Will send to you if you are interested.  No strings attached.  Marked French Briar CPF with some Brass fitments.  Half-3/4 bent bulldog shape.  Bowl looks solid from the outside but can’t really tell what it looks like from the inside.  Might have an amber stem that is pretty much shot – complete, but has problems that probably cannot be repaired – holes near button, crack near shank. – Curtis

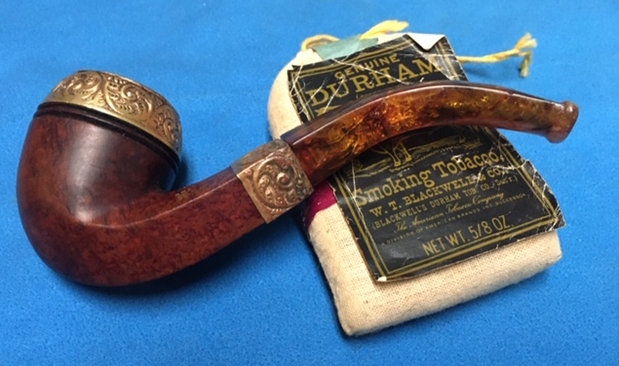
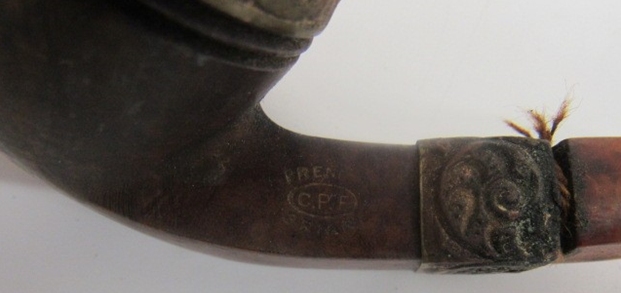
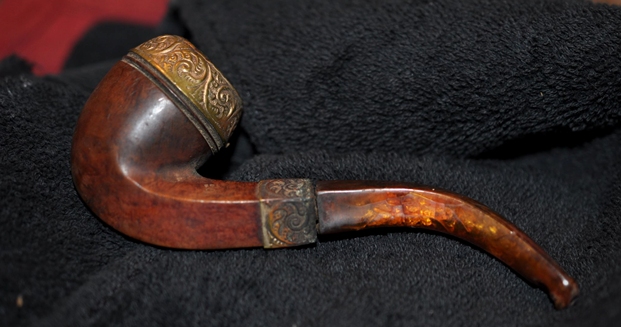
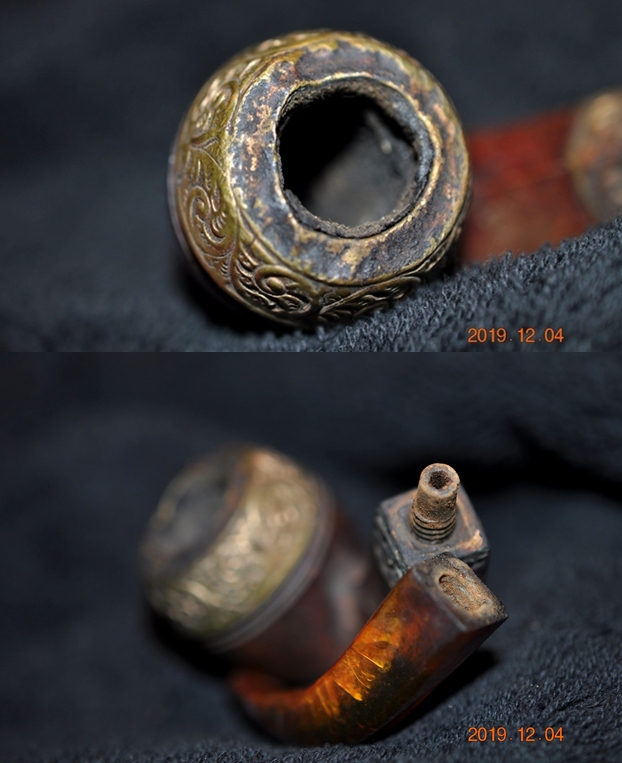
I asked him to send me some photos of the pipe but he had already put it in the mail to my brother Jeff. He did however send the photos from the EBay seller that I have included below. Curtis certainly has a gift for understatement… TLC is definitely not all that will be needed with this old timer. But I have a soft spot for hopeless old pipes and this was a C.P.F. as well so it would need to get some attention. At least it could be an ongoing project for me to fiddle with while working on pipes for others. It would be one that stayed in my C.P.F. collection so there was no rush.

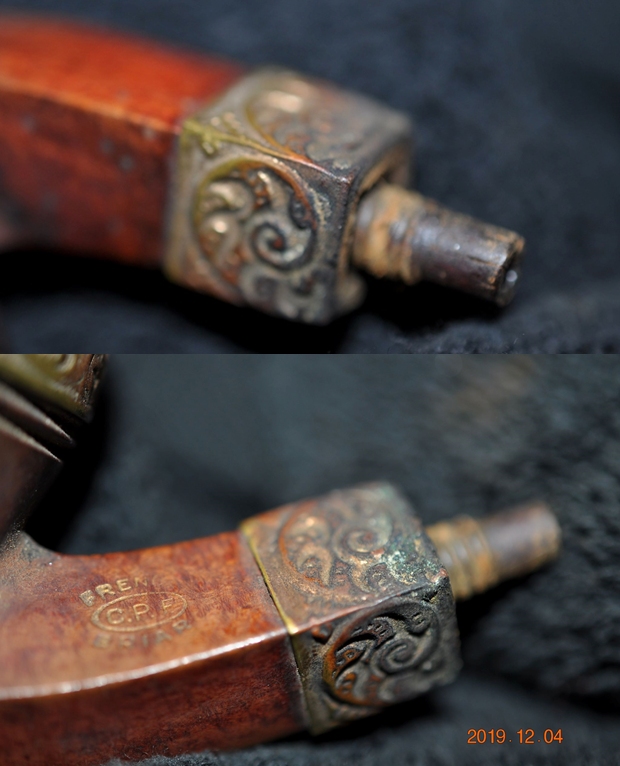
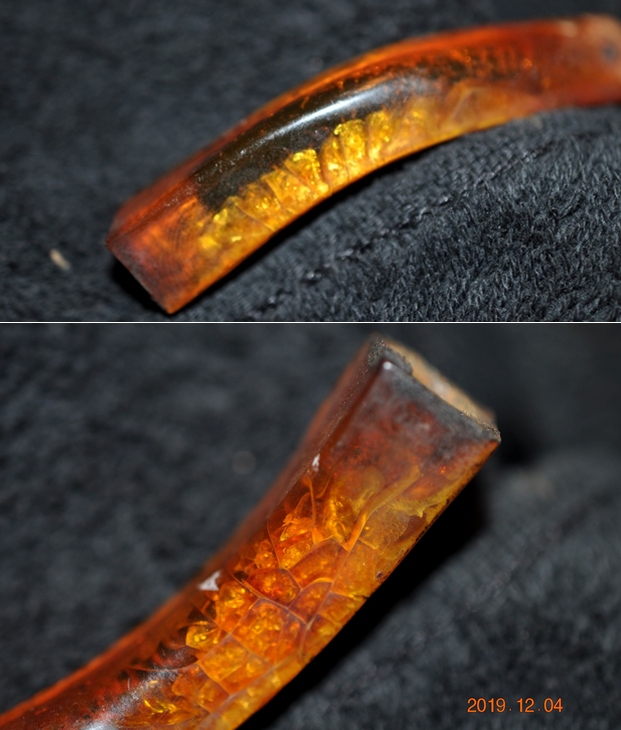
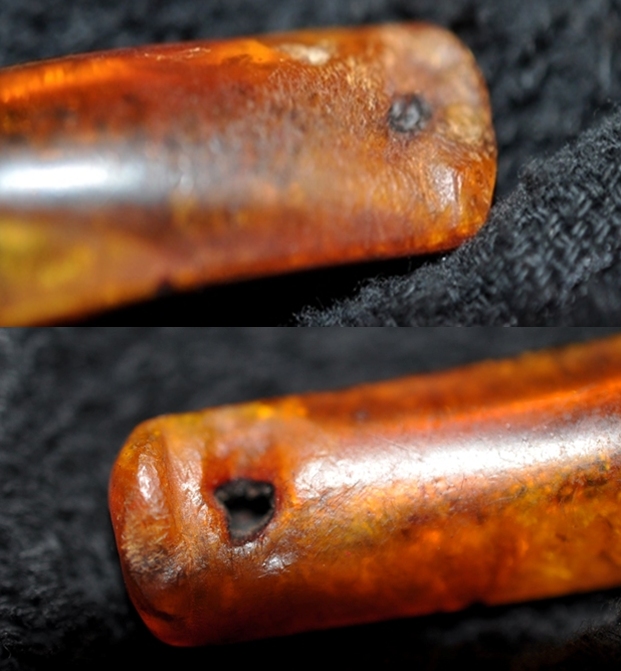
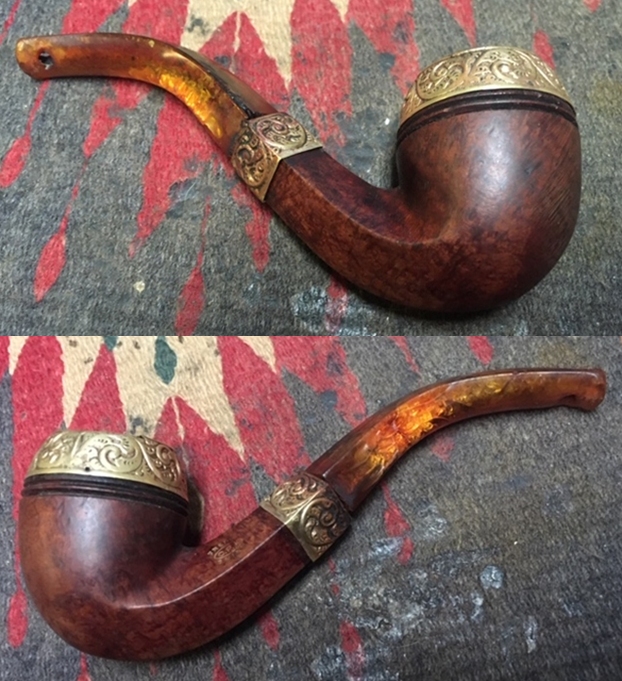
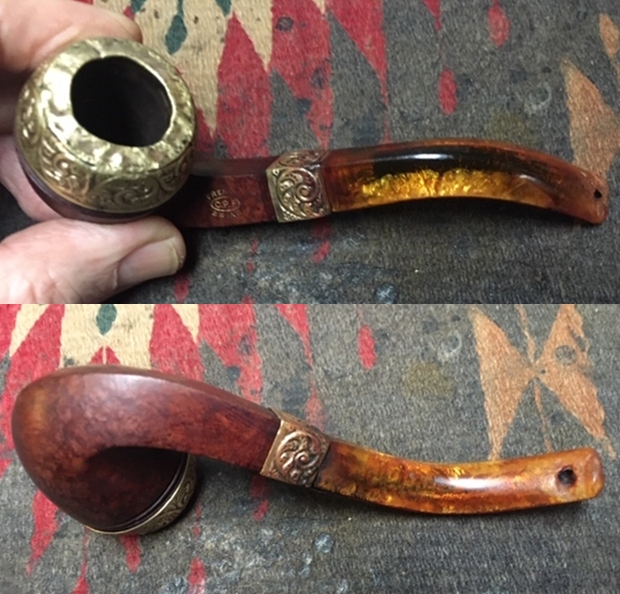
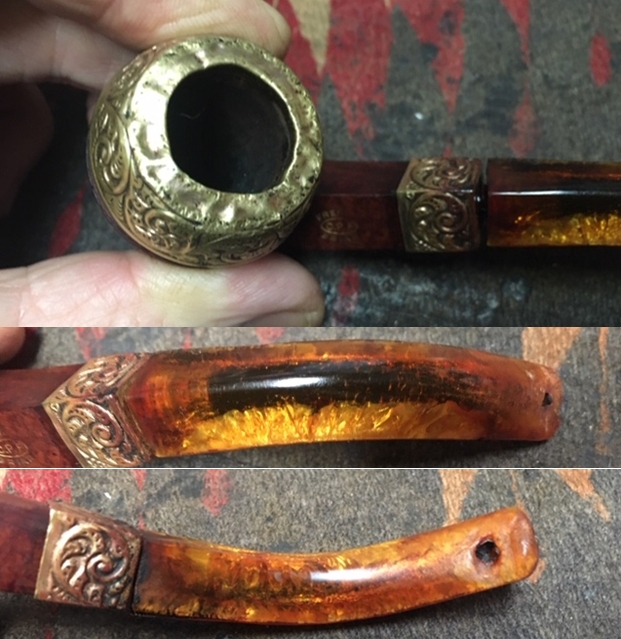
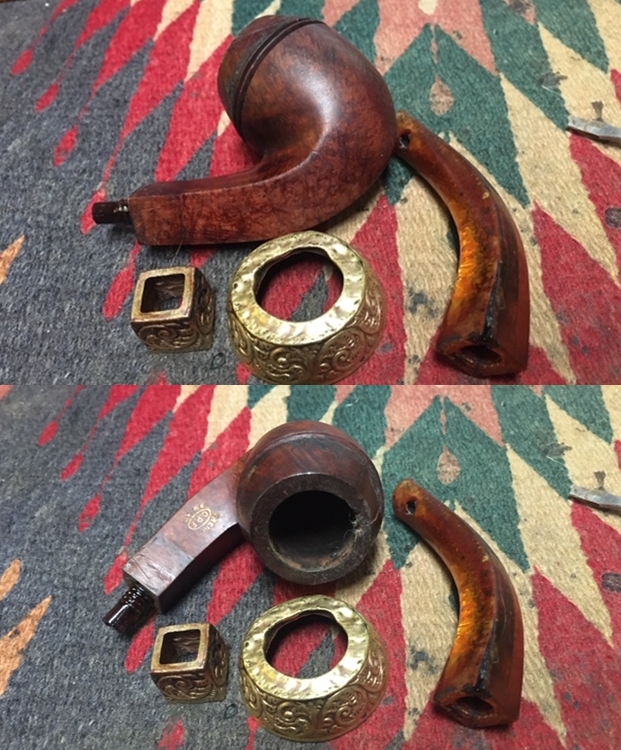
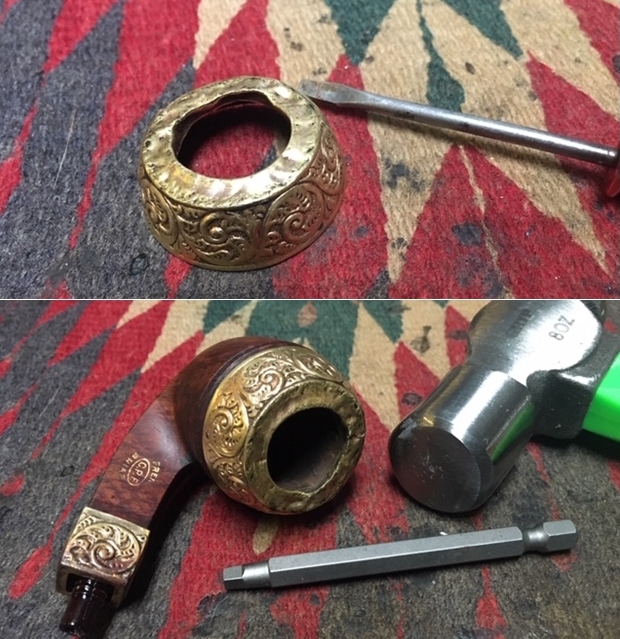
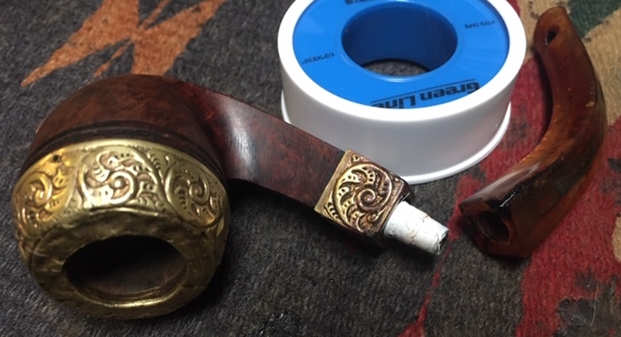
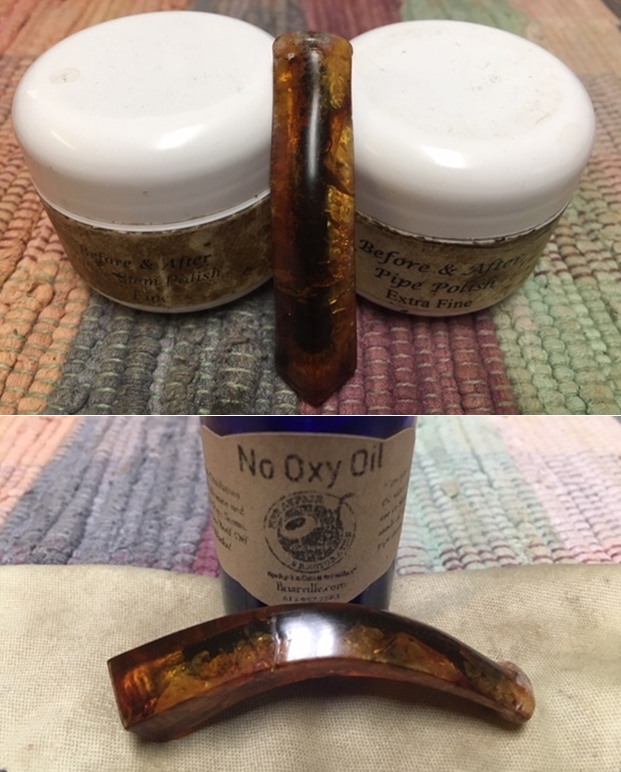
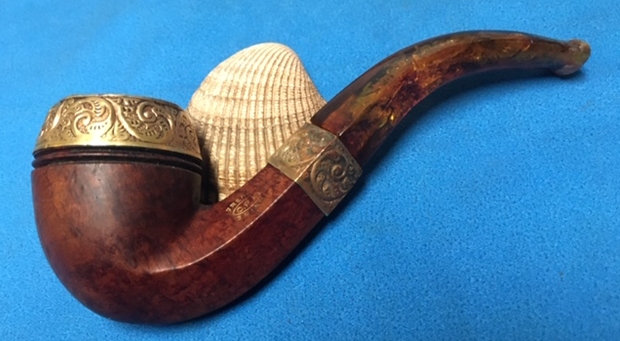
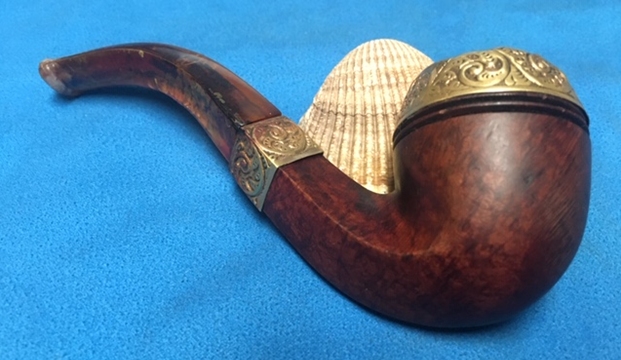
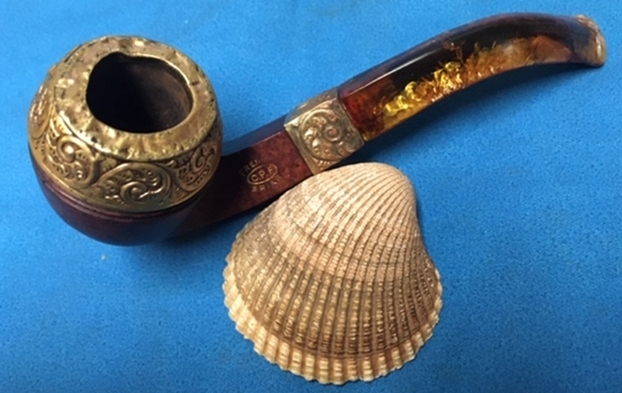
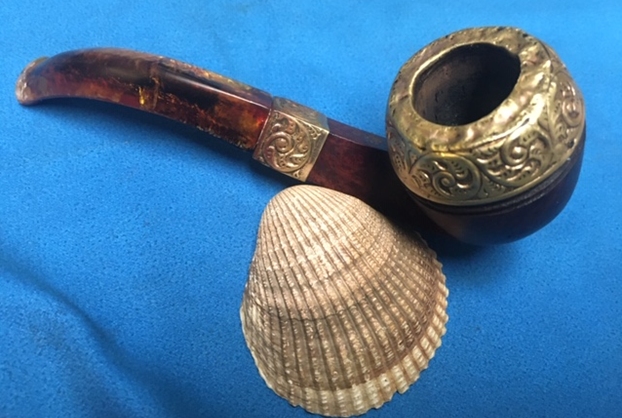
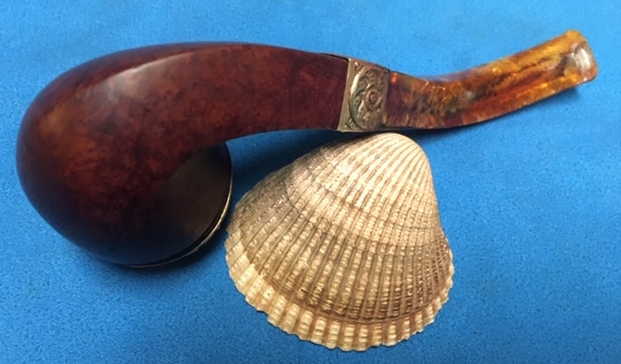
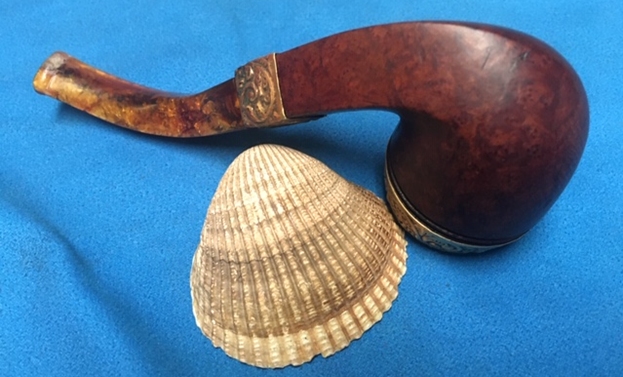
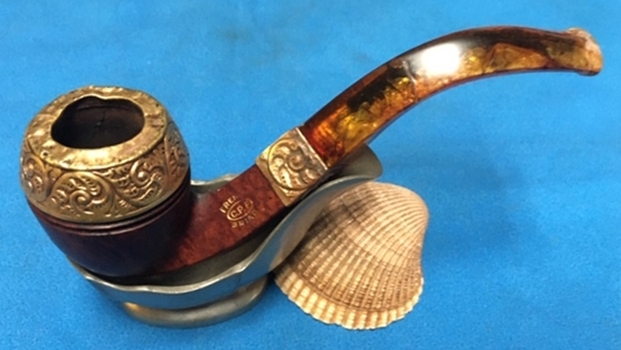
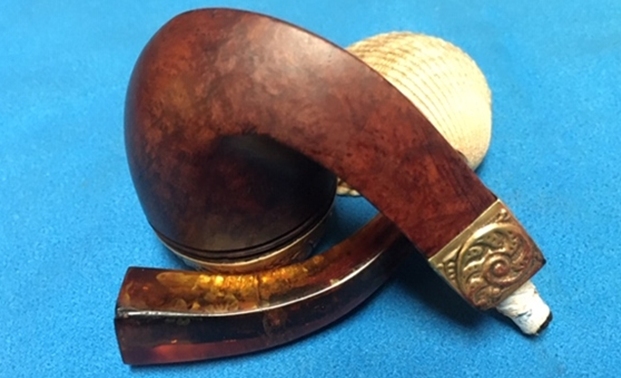
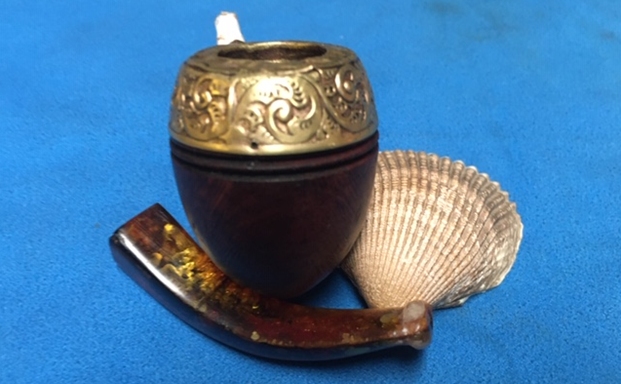
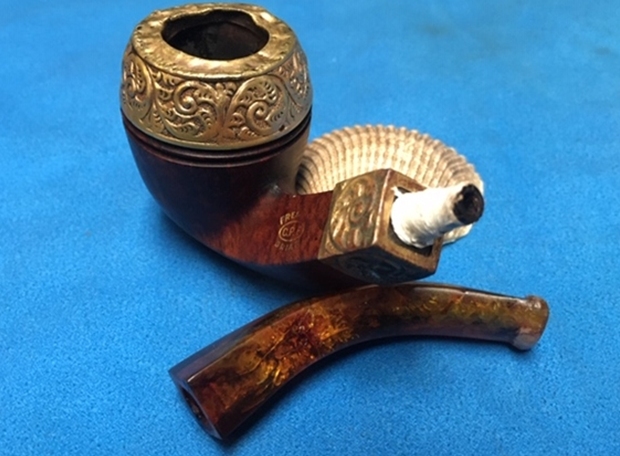
You can see some of the issues that came with this old pipe in the photos below. The rim cap and shank end cap are brass and they were oxidized and the grooves and filigree of the pieces were filled in with grime and some rust as well. The rim cap had been hammered almost completely out of shape which will show up later in the photos Jeff took when he received the pipe. The bowl itself had a thick cake in it and an overflow of lava onto the rim cap. The finish was tired and dirty with many small scratches. The C.P.F. oval with French Briar around the oval was still readable but worn. The issues with the stem were many. First appearances show that it is held onto the tenon with thread wound around the tenon. The amber is crystallized and cracked. There is a split on the right side of the shank end. There are two bite throughs – one on the top and one on the bottom. These bite throughs do not align. Patching them will be a challenge. The button itself is worn as well with chips and nicks. The airway is filled with tars that have caused it to turn black. This old pipe will need a lot of work but I can see potential. Curtis shipped it to Jeff so that he could do the cleanup work on it before sending it on to me in Canada. Jeff took photos of the pipe to give me a better idea of the condition before he started his cleanup. The first photo shows the look of the pipe and for me shows the promise I saw in the tired old timer.Jeff also took a photo of the rim top and bowl to show the thick cake and the damage to the brass cap. The second photo shows the bone tenon in the shank and the stem with the string wrap removed to show the issues with the size of the airway into the stem that would have originally been threaded to accommodate the tenon. The threads were long gone and the opening was now cavernous.He took some photos of the sides and heel of the bowl to shows the scratches and nicks in the finish and gives a good picture of what will need to be done to bring the finish back to life. Jeff took photos of the shank cap to give an idea of the condition of the oxidation and the darkening on the surface of the carvings in the brass. It was still solid even with the debris and oxidation.He took a series of photos of the stem to show the crystallization and cracks in the surface as well as the bite through areas and damage to the airway. The stem almost looked to be a lost cause but I had a few ideas and nothing to lose. I am getting more and more used to Jeff cleaning up the pipes before I work on them. So much so that when I have to clean them it is a real chore! The above photos told the story of the condition of the pipe when Jeff received it so I did not know what to expect when I unwrapped it from his box. II was pretty amazed at what I saw. Yes it had a lot of issues but it was CLEAN! He removed the bowl cap and reamed the bowl with a PipNet pipe reamer and cleaned up the reaming with a Savinelli Fitsall Pipe Knife. He scrubbed out the internals with alcohol, pipe cleaners and cotton swabs until the pipe was clean. He scrubbed the exterior of the bowl with Murphy’s Oil Soap and a tooth brush to remove the grime and grit on the briar and the lava on the rim brass rim cap and shank cap. The finish looked surprisingly good once it was clean. The brass rim cap showed its damage clearly and I was not sure how much of that I could remove but I would give it a try. He cleaned the stem internals and scrubbed the exterior and the result looked very good. The airway and bite through holes were clean but the crystallization was very evident. I have to say that when the pipe arrived here in Vancouver for the second stop of its restoration tour it was impressive. I took photos before I started my part of the work. I took some close up photos of the rim cap and shank cap. I wanted to show what an amazing job Jeff did in the cleanup of the caps. Even though they were damaged there were quite nice. The briar also cleaned up very nicely and you could see the grain! I also took close up photos of the stem to show condition it was in. It would not take a lot of work – stabilizing the crazing or crystallizing of the amber and also repairing the bite throughs.I took the pipe apart so I could work on the various components. You can see the bowl, the rim and shank cap and the stem in the photos. Each piece needed special attention.I used a small ball-peen hammer and a screwdriver and a Robertson head to tap out as many of the dents as I could.I used a brass bristle wire brush to polish the shank and rim cape and then glued them both in place on the shank and rim top respectively. I tapped the top of the rim cap with the hammer and was able to flatten it slightly. I knew that I would never get the bone tenon out of the shank and that the interior of the stem was far too big to receive the tenon. I wrapped the end of the tenon with Teflon tape to get a good fit on the stem.I coated the exterior of the stem with clear Krazy Glue to stabilize the crazing of the amber. I let it dry and then the stem was ready to sand. I tried to repair the bite through marks on both side of stem with the normal procedure of a greased pipe cleaner in the airway and building the hole up with the glue. It did not work this time at all.I used my Dremel and sanding drum to take off the damaged button. I was able to remove the majority of the bite through on the top side. Having that completed, I then was able to repair the one on the underside. I put the greased pipe cleaner in the stem and filled in the hole on the underside. This time it held. I also was able to build up the area just ahead of where the button had been on the topside. It truly looks ugly at this point in the process but would look better when I was finished.I sanded the surface on both sides of the stem with a folded piece of 220 grit sandpaper and then filled in some of the pits in the repair with more Krazy Glue.With that repair done I started to build up the glue around the stem end to make a new button. I layered on the glue and sprayed it with an accelerator and re-layered and resprayed until the button edge was present. I used a needle file to cut a sharp edge on the new button. Once it was clearly defined I sanded the button and stem surface with 220 and 400 grit wet dry sandpaper to smooth out the surface and blend it into the stem.I polished the stem with micromesh sanding pads – wet sanding it with 1500-12000 grit pads. I wiped it down with a damp cloth after each pad to remove the sanding debris. I polished it further with Before & After Pipe Stem Polish – both fine and extra fine. I hand buffed it with a cloth. I wiped it down with Briarville’s No Oxy Oil to protect and preserve the stem. The progress on both sides of the stem is clear in the next series of photos. Curtis was correct in telling me that this would be a challenging pipe to work on. Jeff had done the heavy work in cleaning it so that was a major boost for me. Once I was finished I put the repaired amber stem back on the bowl and polished it by hand with a microfiber cloth. I gave the bowl and stem multiple coats of Conservator’s Wax and buffed the pipe with a shoe brush to raise the shine. I hand buffed it again with a microfiber cloth to deepen the shine. The pipe has come a long way from where it was when Jeff received it. Thank you Curtis, for believing that I could do something with this one. That kept me moving forward during some rough moments with the restoration. The pipe polished up really well. The polished amber stem seemed to truly come back to life with the buffing. This little pipe feels great in my hand and I am sure that it will feel even better radiating the heat of a good smoke. It must have been a fine smoking pipe judging from the condition it was when we received it. Have a look at it with the photos below. The dimensions are Length: 5 inches, Height: 2 inches, Outside diameter of the bowl: 1 ¼ inches, Chamber diameter: ¾ of an inch. This is interesting piece of late 1890s early 1900s history and even with the warts and wrinkles has beauty that is eye catching. I will be putting it in my C.P.F. Collection. Thanks to each of you who are reading this blog. Remember we are not pipe owners; we are pipemen and women who hold our pipes in trust until they pass on into the trust of the next pipeman or woman. This is the push behind the work I do.

Restoring an Amazing Looking Comoy’s Magnum Supreme


Blog by Steve Laug

I have finished many of the pipes on my desk for refurbishing or repair and decided it was time to do something a little different that was a lot less work. I turned again to the group of 42 pipes that Jeff and I purchased from a pipeman who can no longer smoke because serious illness. It is a pleasure to be able to support this Brother of the Briar in this very hard season of his life. He had some beautiful pipes in his collection and with some work we will get them cleaned up and into the hands of other pipemen and women who can carry on the legacy of the briar.

The third of the pipes that I am working on is a large Comoy’s. It has an octagonal shank that is a really nice touch. The bottom of the bowl and shank are flat so the pipe is a sitter. It is stamped on the left side of the shank Comoy’s over Magnum over Supreme. On the right side of the shank it is stamped Made in over London England. It is a stunning piece of briar with beautiful straight, flame and birdseye grain around the bowl. The saddle stem is Cumberland and has a C inset in clear acrylic inlaid in the left side of the saddle. When it arrived at Jeff’s house and he opened the box he could see it was a beautifully grained piece of briar and an interestingly carved pipe. The pipe was dirty but there was no significant damage to the bowl or stem. The rim top had darkening and tars on the bevel of the inner edge. But it did not appear to be burned or charred. There was a thick cake in the bowl. The Cumberland stem was in great condition – just a little dirty and tooth chatter on both sides of the stem near the button. Overall the pipe was a beautiful and a dirty pipe that must have been a favourite smoker. Jeff took photos of the pipe before he started his clean up work. Jeff took photos of the bowl and the rim top to show the condition of the bowl and rim. You can see the light oil and darkening on the inner edge of the beveled rim top. You can also see the cake in the bowl and the tobacco debris stuck to the walls.   Jeff took photos of the sides and heel of the bowl to show the condition of the finish – the grime and grit all over the sides and bottom of the bowl. The overall dullness of the finish looks lifeless. It is a dirty pipe but the grain is absolutely stunning.   He took photos of the stamping on the octagonal shank. It is both artfully and tastefully done. The stamping was very readable as noted above. It is a beauty!  The Cumberland stem has an inset acrylic encased C inlaid on the left side of the saddle and is stamped faintly on the right side of the saddle with the words Hand Cut.  He took some photos of the Cumberland stem surfaces to show their condition. There were not any tooth marks just some calcification and light chatter ahead of the button on both sides.  I turned then to Pipedia to see what I could find out about this particular line of Comoy’s pipes. I read through the main Comoy’s page and looked at the page on dating the pipes by the stamping on both sides and neither one had any reference to the Comoy’s Magnum Supreme. I then turned to the article by Derek Green on Pipedia to see if there was any reference to the line there. Low and behold about half way down the article under the section entitled, The Names or Grades I found some information on the Magnum line. Here is the link to that page on Pipedia (https://pipedia.org/wiki/A_History_Of_Comoy%27s_and_A_Guide_Toward_Dating_the_Pipes#The_Names_or_Grades). I will quote from the section on the line below.
Extraordinaire. This designation was given to any pipe that was out of the ordinary in size or grain. The E/O was introduced in the 1930s, and “Extraordinaires” can be found with no other designation or also stamped, for instance, “Blue Riband” or “London Pride.” The 1936 advertisement lists the “Extraordinaire” at $13 to $23, and the 1965 catalogue also lists a “Specimen Straight Grain Extraordinaire” at $60, though I cannot imagine many of these were made! There seem to be two distinct-sized pipes that were called “Extraordinaire.” The very large or Magnum-sized variety are unique and were given shape numbers in the 800 series. My 1939 panel example is 803 and is 9 inches long, with a bowl 2 3/8” high and 1 ¾” wide. I understand that BBB, Comoy and Dunhill made these Magnum-sized pipes in the 1920s and 30s and that Dunhill purchased the bowls for their Magnums from BBB when they started producing them in 1921. Other Extraordinaires are somewhat larger than a Dunhill LBS, for instance 6 ½” long with a bowl height of 2” and 1 ½” wide. These are given normal shape numbers and are illustrated in the 1965 catalogue.

The Extraordinaire was reintroduced in 1979 as the “Extraordinaire 1,” which was priced at $100 in the 1979 catalogue in a light natural finish, and the “Extraordinaire 11,” a light two-tone walnut finish. Neither of these was as large as the 800 series.

Magnum. As mentioned above, the 800 series are “Magnum” sized, but I also have one pipe that is stamped “Magnum,” with the shape number 802 and is the same shape and size as my Extraordinaire 802. It dates from the 1960s, and Comoy’s may have used this name as a marketing exercise to supersede the 800 series. The name Magnum was re-introduced by Cadogan in the 1990s, but these were not really magnum sized.

From the site I determined that the pipe in my hand was most like made during the Cadogan time frame as it does not bear any shape number. It is large but I do not know that I would call it a Magnum sized pipe. That would make it a pipe from the 1990s which also goes along with the interesting acrylic encased C that is inlaid in the Cumberland stem.

Now I had the information I wanted to know on the brand it was time to begin to work with it and clean it up. It really is a beautiful pipe.

I am getting more and more used to Jeff cleaning up the pipes before I work on them. So much so that when I have to clean them it is a real chore! This pipe was dirty just like the other ones in the collection. I did not know what to expect when I unwrapped it from his box. He reamed it with a PipNet pipe reamer and cleaned up the reaming with a Savinelli Fitsall Pipe Knife. He scrubbed out the internals with alcohol, pipe cleaners and cotton swabs until the pipe was clean. He scrubbed the exterior of the bowl with Murphy’s Oil Soap and a tooth brush to remove the grime and grit on the briar and the lava on the rim top. The finish looked really good once it was clean. There was no damage and the grain just popped around the bowl. The rim top was bursting with birdseye grain and was beautiful. He cleaned the stem internals and scrubbed the exterior and the result looked very good. When the pipe arrived here in Vancouver for the second stop of its restoration tour it was impressive. I took photos before I started my part of the work. I took some close up photos of the rim top and also of the stem surface. I wanted to show what an amazing job Jeff did in the cleanup of the rim top. It was a real beauty. The layout of the pipe absolutely captured the birdseye grain on the pipe. I also took close up photos of the stem to show condition it was in. It would not take a lot of work – just sanding out the light tooth chatter and polishing with micromesh sanding pads.I took photos of the stamping on the left, right and underside of the shank. The stamping reads as noted above.   I polished the bowl and rim with worn micromesh sanding pads. I sanded it with 1500-12000 grit pads and wiped it down between pads with a soft cotton cloth. You can see the progress in the shine as you go through the photos.  I worked some Before & After Restoration Balm into the finish of the bowl, the rim top and shank with my fingertips to clean, enliven and protect it. I find that the balm really makes the briar come alive again. The contrasts in the layers of stain really made the grain stand out. I let the balm sit for a little while and then buffed with a cotton cloth to raise the shine. The pipe really looks good at this point. I am very happy with the way the pipe is looking at this point in the process.  I set the bowl aside and turned my attention to the stem. I sanded the light tooth chatter on both sides of the stem with micromesh sanding pads – wet sanding it with 1500-12000 grit pads. I polished it further with Before & After Pipe Stem Polish – both fine and extra fine. I finished by wiping it down with Briarville’s No Oxy Oil and set it aside to dry. This was another fun pipe to work on since Jeff had done the heavy work in cleaning it. Once I was finished I put the Hand Cut Cumberland stem with a Delrin tenon back on the bowl and polished the bowl and stem with Blue Diamond polish on the buffing wheel. I gave the bowl and the stem multiple coats of carnauba wax. I buffed the pipe with a clean buffing pad to raise the shine. I hand buffed it with a microfiber cloth to deepen the shine. The grain just pops and is almost multidimensional it is so deep. The pipe polished up really well. The polished Cumberland stem seemed to truly come alive with the buffing. This is a big pipe and it feels great in my hand and I am sure that it will feel even better radiating the heat of a good smoke. It must have been a fine smoking pipe judging from the condition it was when we received it from the pipeman who we bought it from. Have a look at it with the photos below. The dimensions are Length: 6 ½ inches, Height: 2 ½ inches, Outside diameter of the bowl: 2 inches, Chamber diameter: 1 inch. This is one beauty that is eye catching. I will be putting it on the rebornpipes store shortly. If you are interested in adding it to your collection email or message me. Thanks to each of you who are reading this blog. Remember we are not pipe owners; we are pipemen and women who hold our pipes in trust until they pass on into the trust of the next pipeman or woman.
Rebirthing a Stem for Jennifer’s Dad’s Second Champ of Denmark 4 Freehand


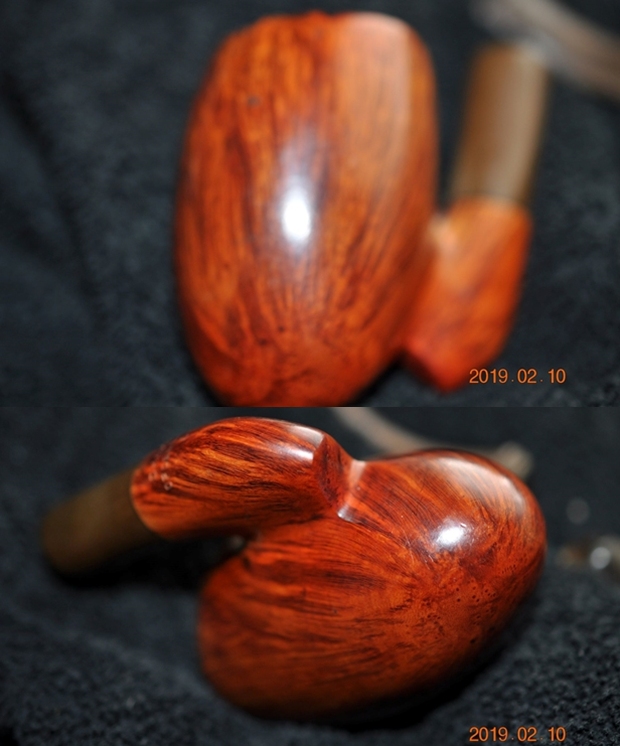
I decided to change things up a bit and work on another of Jennifer’s Dad’s pipes. For the next pipe from the estate of George Rex Leghorn I have chosen a nicely shaped Champ of Denmark Freehand. This one has been sitting for a while now while I debated what to do about the broken stem. I find that sometimes the best solutions come to me when I wait! You may not have read about this estate before, so I will retell the story. I received an email from Jennifer who is a little older than my 64+ years about whether I would be interested in her Dad’s pipes. My brother Jeff and I have been picking up a few estates here and there, so I was interested. Here is the catch – she did not want to sell them to me but to give them to me to clean up, restore and resell. The only requirement she had was that we give a portion of the sales of the pipes to a charity serving women and children. We talked about the organization I work for that deals with trafficking and sexual exploitation of women and their children and she decided that would be a great way to carry on the charitable aspect of her Dad’s character. With some great conversation back and forth she sent the pipes to Jeff and he started the cleanup process on them. Once he had finished cleaning them all he sent them to me to do my work on them.

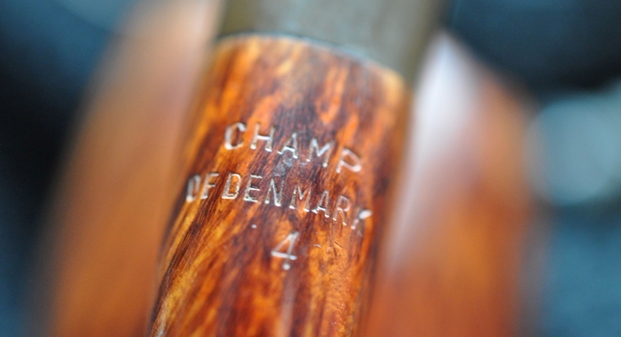
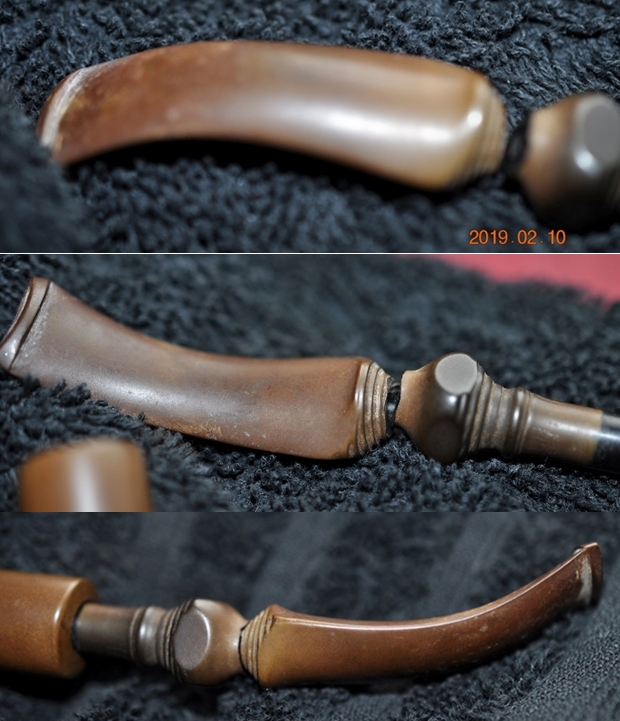
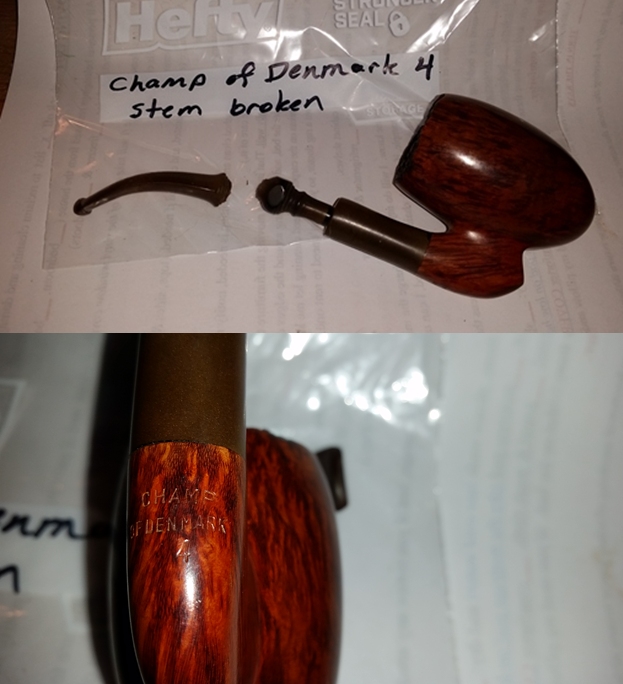
The Champ of Denmark pipe is stamped on the underside of the shank CHAMP over of Denmark and below that is the number 4. It came to us with a broken stem about an inch, inch and ½ above the tenon. The beautiful straight and flame grain around the bowl and up the shank is visible through the very thick coat of grime. It seemed like it had a dark stain but hard to tell. There were oil stains from George’s hands on both sides of the bowl obscuring the grain. It was so dirty that it was hard to see the colour well. There was a thick cake in the bowl and it had overflowed with lava into the plateau on the bowl top and shank end. It was a dirty and tired looking old pipe. The stem was badly oxidized but there were not any tooth marks or chatter on the surface. The button was in good shape. It had been sitting in boxes for a lot of years and it was time to move ahead with the restoration. Jennifer took photos of the pipes she was sending. I have included two she included from this pipe. I had some decisions to make regarding this stem. Should I replace it or should I fiddle with a repair? I would have to think that through.When the box arrived from Jennifer, Jeff opened it and took photos of each pipe before he started his cleanup work on them. There were two Champ of Denmark Freehands in the box – both were in bags and both had broken tenons and stems. There is something about classic Danish Freehands that is intriguing and I like working on them. The shapes seem to really capture the flow of the grain on the briar and this second pipe is no exception. The briar appeared to be in good condition underneath the grime. The finish looked intact under the grime. The bowl had a thick cake that had hardened with time. The lava overflow on the plateau rim but it could very well have protected the rim from damage. We won’t know what is under it until Jeff had cleaned it off. The stem was broken in the middle between the turned four sided decorative bead and the blade. It looked as if it had snapped when George was trying to remove a stuck stem. But that was a piece of the history of the pipe I would never know for certain. Jeff took photos of the pipe before he started working on it. I include those below.Jeff took photos of the bowl and rim top to show the cake in the bowl and the lava build up on the plateau rim top and on the shank end as well. It was thick and hard but hopefully it had protected the rim and edges from damage. The lava coat looks horrible but it points to a well-used, favourite smoking pipe. George must have enjoyed this old timer and when the stem broke he must have been frustrated.Jeff took photos of the sides and heel of the bowl to show the condition of the finish – the grime and grit all over the sides and flat bottom of the bowl. It is a dirty pipe. Jeff took a photo of the stamping on the underside of the shank. It is very clear and readable. It reads as noted above.Jeff took photos of the top and underside of the broken stem showing the scratching, oxidation and tooth chatter on the stem surface. You can also see where the stem snapped – it is a very clean break and it is totally fixable. I will need to see if I have a small piece of tenon that can serve to join the two parts of the stem.When I worked on the previous Champ of Denmark back in June of 2019 I had done some research on the brand (https://rebornpipes.com/2019/06/22/restoring-jennifers-dads-champ-of-denmark-4-freehand/). I turned to that previous blog and quote that here in full:

I looked on the Pipephil site to get a quick overview of the brand. In the back of my mind I remembered a connection to Karl Erik. I could not remember the details of the connection (http://www.pipephil.eu/logos/en/logo-c4.html). I did a screen capture of the section on the brand that was shown on the site. I have included it below.In summary it says that the brand was distributed by Larsen & Stigart a tobacconist in Copenhagen, Denmark. The warehouse had a workshop that had such famous carvers as Soren Eric Andersen, Karl Erik Ottendahl and others.

I turned then to Pipedia (https://pipedia.org/wiki/Champ_of_Denmark) to see if I could get a bit more information. I quote in full from that site:

“Champ of Denmark” were made for and distributed by Larsen & Stigart by Karl Erik Ottendahl. Larsen & Stigart had some indoor carvers at certain times, too (e.g. Søren Eric Andersen) and among other things they managed to supply Dunhill with wild Danish fancy pipes.

In an endnote under the article on Karl Erik (https://pipedia.org/wiki/Karl_Erik) I found some more information. I quote the endnote in full.

¹ It is almost impossible to draw a sharp line between some of these brands… Larsen & Stigart – once a famous Copenhagen pipe shop, now almost forgotten – offered pipes produced by KE stamped “Larsen & Stigart” as well as pipes stamped “Larsen & Stigart” + “Champ of Denmark” or “Larsen & Stigart” + “Shelburne”. Almost needless to say, there are pipes stamped “Champ of Denmark” or “Shelburne” only. And the only reason is inconsistent stamping??? (BTW Larsen & Stigart employed own indoor carvers for appr. one decade – e.g. Søren Eric Andersen. They even managed to supply Dunhill with wild Danish fancy pipes.)

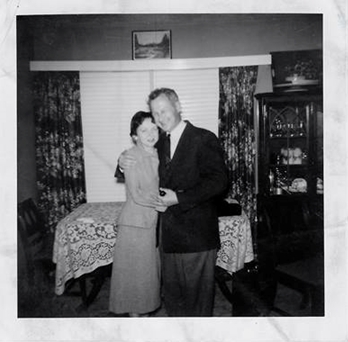
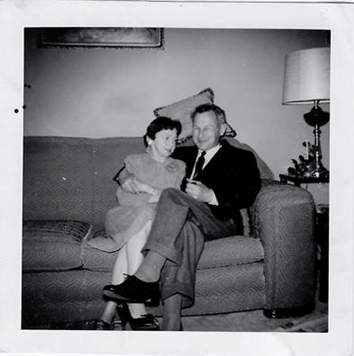
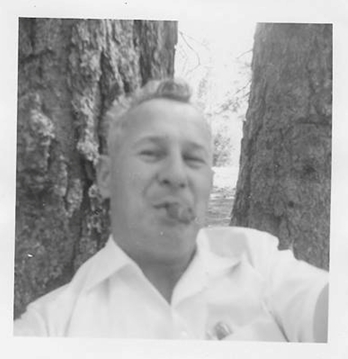
Now I had the verification of the link to Karl Erik Ottendahl. The pipe was most probably made by him for the pipe shop in Copenhagen. Before I get on to cleaning up the pipe I thought I would once again include the tribute that Jennifer wrote to her Dad for the blog. She also sent some photos and an article that her Dad wrote for Jeff and me to be able to get a feel for him. I have included those below. Note in each of them that he is holding a pipe in his left hand. I asked her to also send me an email with a brief tribute to her Dad. Here is her tribute from an email to me.

Steve, I want to thank you again for accepting my dad’s pipes.  They were so much a part of my dad’s life that I could not simply discard them. But as his daughter, I was not about to take up smoking them either. *laughing* I think my dad would like knowing that they will bring pleasure to others.  I know that I do.

I’m not sure what to say about his pipes. I always remember Daddy smoking pipes and cigars.

First a bit about my dad. Though my father, George Rex Leghorn, was American (growing up in Alaska), he managed to join the Canadian Army at the beginning of WWII, but in doing so lost his American citizenship.  He was fortunate to meet a Canadian recruiting officer who told him the alphabet began with “A” and ended with “Zed” not “Zee”, and also told him to say that he was born in a specific town that had all its records destroyed in a fire.  When the US joined the war my dad, and thousands of other Americans who had made the same choice*(see the link below for the article), were given the opportunity to transfer to the US military, and regain their citizenship.

After WWII, my dad, earned his degree at the University of California Berkeley and became a metallurgist. There is even a bit about him on the internet.

He loved taking the family out for a drive, and he smoked his cigars on those trips. (As a child, those were troubling times for my stomach.)

I most remember my father relaxing in his favorite chair with a science fiction book in one hand and a pipe in the other… Sir Walter Raleigh being his favorite tobacco… and the pipes themselves remind me of him in that contented way.  If I interrupted his repose, he’d look up, with a smile on his face, to answer me.

It seemed he smoked his Briarwood pipes the most, though he had others.  At the time, it was only the Briarwood I knew by name because of its distinctive rough shaped bowl.  And it was the Anderson Free Hand Burl Briar, made in Israel, which I chose for his birthday one year, because I thought he might like that particular texture in his hand.

At least two of his pipes, he inherited from his son-in-law, Joe Marino, a retired medical laboratory researcher (my sister Lesley’s late husband)… the long stemmed Jarl (made in Denmark), and the large, white-bowled, Sherlock Holmes style pipe.  I believe Joe had others that went to my dad, but Lesley was only sure about those two.

The Buescher, corncob pipe my older sister Lesley bought for Daddy while on one of her travels around the States.

A note on the spelling of my sister’s name…

My dad met my mother, Regina, during WWII and they married in Omagh, Ireland.  My mother was English and in the military herself.  The English spelling of Lesley is feminine, and Leslie masculine, in the UK… just the opposite of here in the United States.  I guess my mom won out when it came to the spelling of the name.

I’ll send you photos of my dad soon, along with his WWII experience story.

Jennifer

*https://www.thestar.com/news/world/2013/10/22/the_americans_who_died_for_canada_in_wwii.html

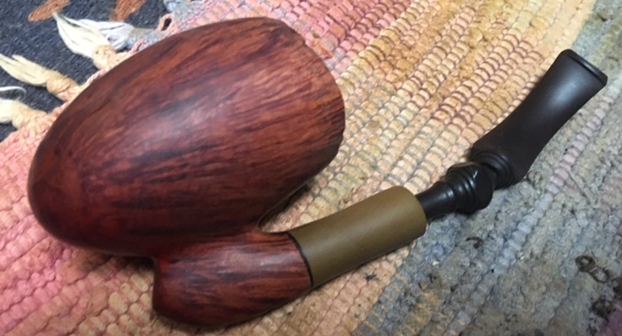
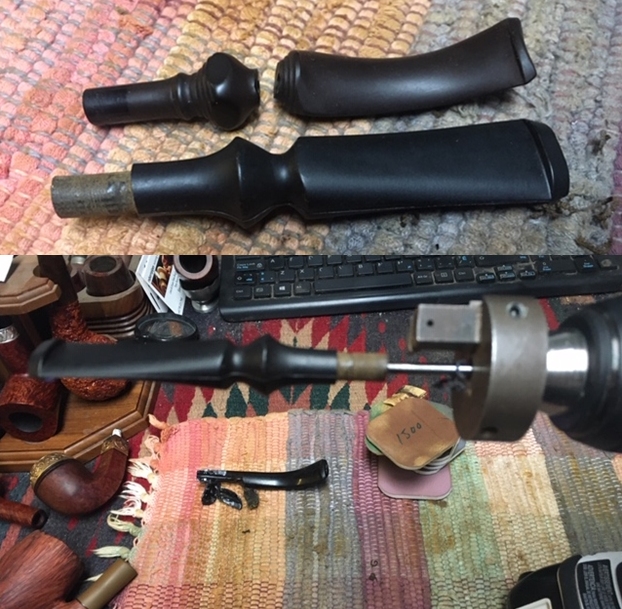
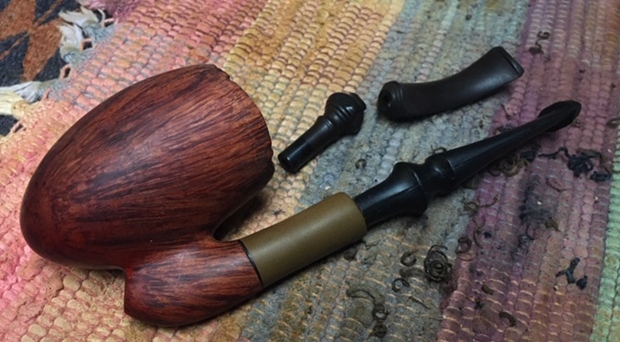
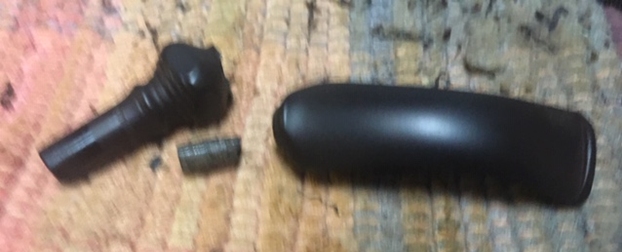
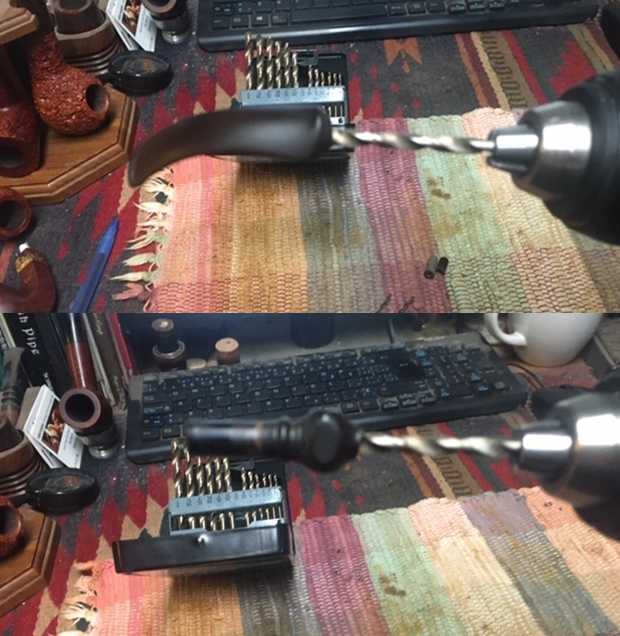
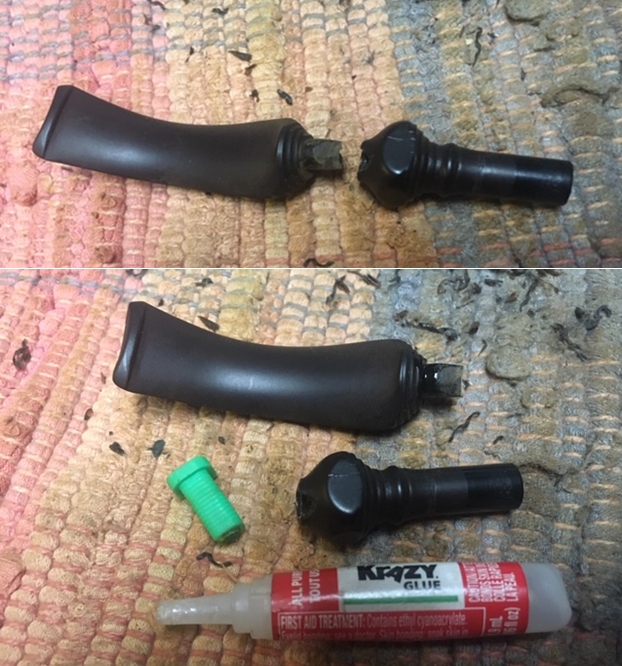
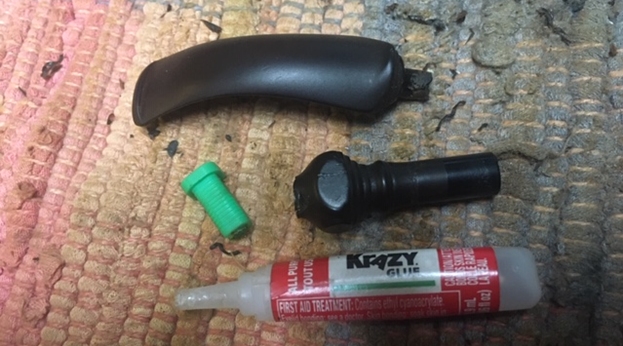
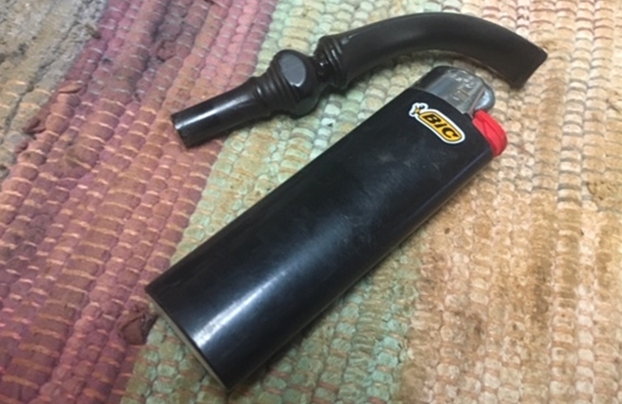
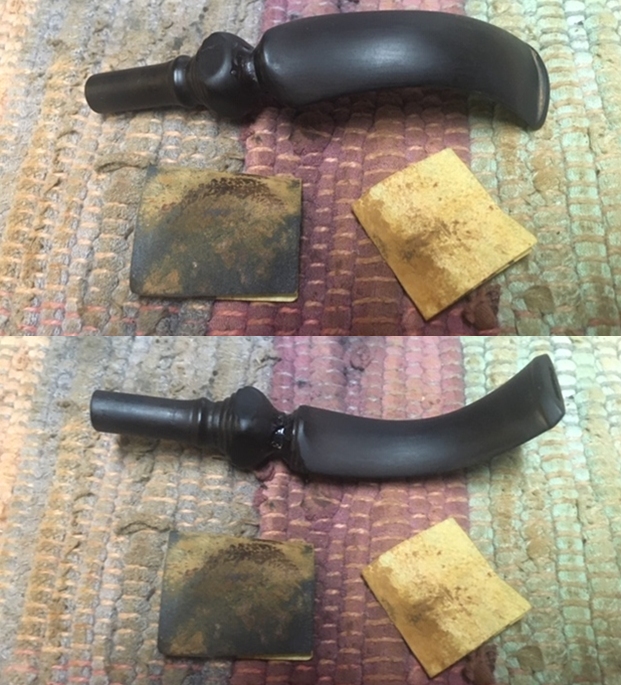
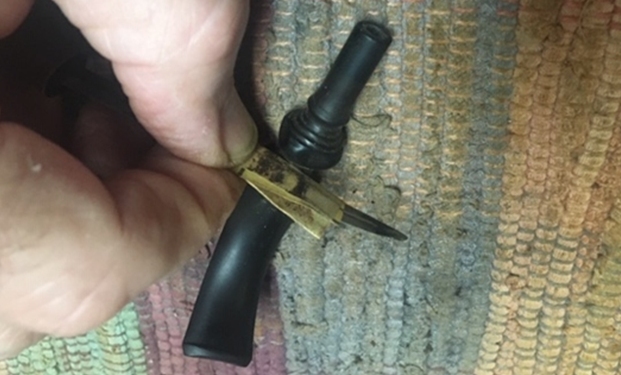
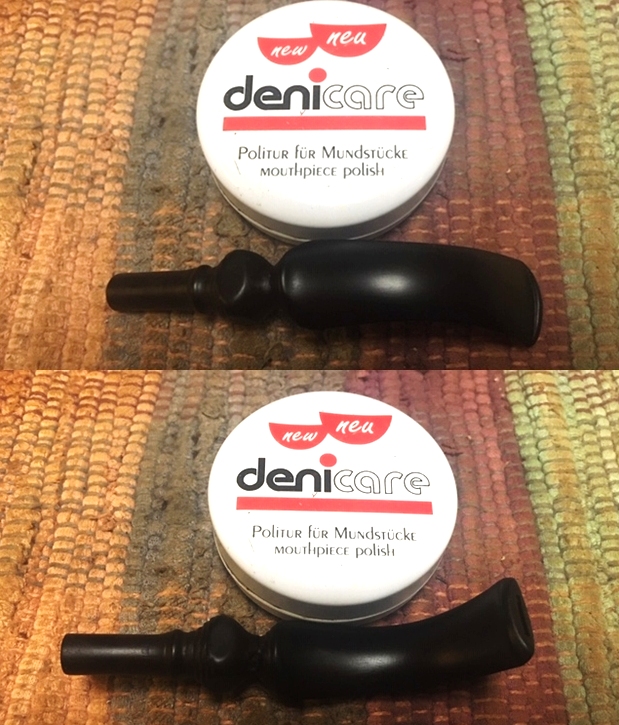
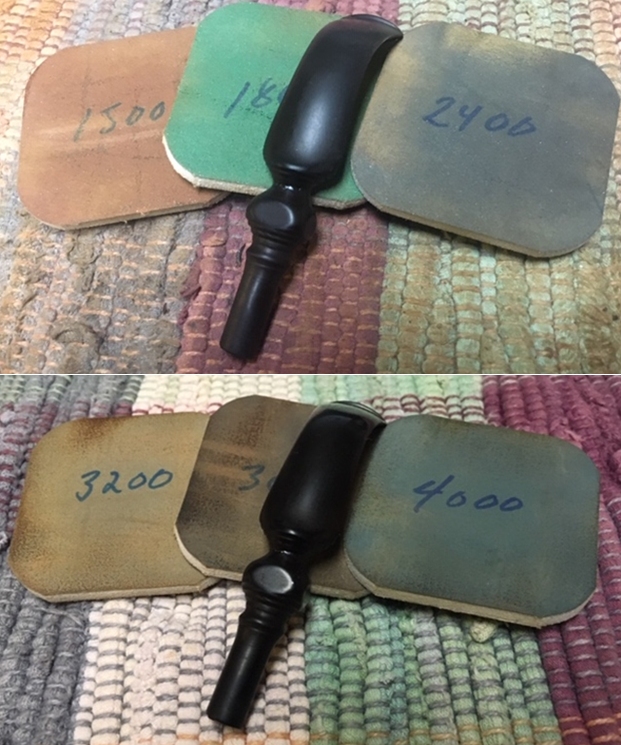
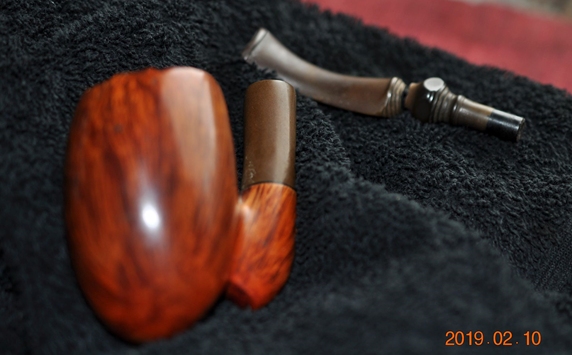
I am getting more and more spoiled on working on pipes that Jeff cleaned up. So much so that when I have to clean them it is a real chore! This pipe was a real mess just like the other ones in the collection. I did not know what to expect when I unwrapped it from his box. He reamed it with a PipNet pipe reamer and cleaned up the reaming with a Savinelli Fitsall Pipe Knife. He scrubbed out the internals with alcohol, pipe cleaners and cotton swabs until the pipe was clean. He scrubbed the exterior of the bowl with Murphy’s Oil Soap and a tooth brush to remove the grime and grit on the briar and the lava on the rim top. The finish looked really good when I got it. The rim top plateau looked lifeless but clean. We were not sure what I would do with the stem so Jeff cleaned the internals and scrubbed the exterior in case I chose to try to repair it. When the pipe arrived here in Vancouver for the second stop of its restoration tour it looked very good. I actually forgot to take many photos before I started my part of the work but I did have one with the pipe and the broken stem. The briar is beautifully grained and clean. The rim top plateau is cleaned as well. It looked good. The shank extension was vulcanite and it was badly oxidized and would need to be sanded and polished.My first thought was to replace the broken stem with another freehand stem. I went through my stems and chose the one that is shown in the photo below. The length was right and the tenon was close. I set up my cordless drill with the PIMO tenon turner and adjusted the diameter of the tenon to fit the shank extension. I put it in the pipe and took a photo of the pipe to get a sense of how it looked. I actually did not like the shape of the stem or the way it looked. I would need to think through how to address the snapped stem. I was not happy with the look of the new stem. It was too think and clunky looking to me to fit the style of the pipe. I decided not to use it so I did not even bother bending it. I turned back to the broken stem and thought long and hard about it. I went upstairs and had a coffee and a short nap before I finally came up with a plan. I headed back downstairs and dug through my parts boxes for broken tenons. I even keep those around when I pull them from a shank. I have a good assortment of them in various diameters. I picked two possibilities and laid them out. From the two I chose the smaller one. Now the plan was beginning to take shape. I was going to drill out the two parts of the stem and rejoin them together with the piece of tenon. (Forgive the blurry photo but you get the idea. I would drill a hole in each end and use the tenon to rejoin them.I started opening the airway in both halves of the stem with a drill bit slightly larger than the airway. I worked my way up to the bit that is shown in the photos. It was the slightly smaller than the piece of tenon that I was going to use for the joint.I reduced the diameter of the short tenon piece with a Dremel and sanding drum. I worked on it until the fit in the drilled airway was perfect. Once that was done I used the Dremel and sanding drum to take down the diameter a bit more on the second half of the tenon. I topped it on the topping board using the blade side as a handle. Once the fit was right on both sides I glued it in the blade side with clear Krazy Glue and pressed it into the hole.  I cleaned up the end of the tenon and coated it with a layer of clear Krazy Glue. I pressed the second half of the stem in place on the tenon insert and aligned the four sided bulb on the tenon end of the stem.I set the stem aside to let the repair cure and turned my attention to the oxidized shank extension. I sanded the oxidation off with a folded piece of 220 grit sandpaper. I started the polishing with 400 grit wet dry sandpaper. The third photo shows the plateau top and how the nooks and crevices look on the rim top. I polished the bowl and rim with micromesh sanding pads. I wet sanded it with 1500-12000 grit pads and wiped it down between pads with a soft cotton cloth. You can see the progress in the shine as you go through the photos. I worked some Before & After Restoration Balm into the finish of the bowl and the plateau on the rim top and shank end with my fingertips and a horsehair shoe brush to clean, enliven and protect it. I find that the balm really makes the briar come alive again. The contrasts in the layers of stain really made the grain stand out. I let the balm sit for a little while and then buffed with a cotton cloth to raise the shine. The pipe really looks good at this point. I am very happy with the way the pipe is looking at this point in the process.  Jeff’s clean up of the rim top looked very good. I decided to leave the darkened areas and darken the remaining valleys in the plateau with a Black Sharpie Pen to give the rim top a contrast look with the high smooth spots. It also gives the plateau more definition and gives it a clean look. The finished rim top looks very good.I set the bowl aside and turned my attention to the stem. I inserted a pipe cleaner in the stem to protect the airway from collapsing when I heated it. I painted the surface of the stem with the flame of a BIC lighter until the vulcanite was soft. Once it was pliable I bent it to match the angle of the bowl top. I held it at that angle and cooled it under cool water to set it.I sanded the stem with 220 grit sandpaper and 400 grit wet dry sandpaper to smooth out the repair in the middle of the stem and to remove the oxidation that remained on the stem surface. I smoothed out the repair in the mid-section of the stem with a piece of 220 grit sandpaper on the edge of my pen knife blade. I followed that with the 400 grit wet dry sandpaper.  I rubbed the stem down with Denicare Mouthpiece Polish and a cotton pad to remove remnants of oxidation and to further blend in the sanding. The stem was showing some promise at this point in the process.I polished the stem with micromesh sanding pads – wet sanding it with 1500-12000 grit pads. I polished it further with Before & After Pipe Stem Polish – both fine and extra fine. I finished by wiping it down with Obsidian Oil after each pad and set it aside to dry. I carefully buffed the stem with Blue Diamond on the buffing wheel and did the same for the bowl and vulcanite shank extension. I gave the bowl and the stem multiple coats of carnauba wax separately as the angle of the stem and shank made buffing this a bit tricky. I buffed the pipe with a clean buffing pad to raise the shine. I hand buffed it with a microfiber cloth to deepen the shine. The polishing of the briar makes the grain really pop. The polished black vulcanite bit seemed to truly come alive with the buffing. This Freehand feels great in my hand and is what I would call and Egg/Oom Paul. It is one that could be clenched and smoked while doing other things as it is very light weight for a pipe this size It must have been a fine smoking pipe judging from the condition it was when we received it from Jennifer. There should be a lot of life left in this Champ of Denmark by Karl Erik. Have a look at it with the photos below. The dimensions are Length: 6 ¼ inches, Height: 2 ½ inches, Outside diameter of the bowl: 1 ½ inches, Chamber diameter: 7/8 of an inch. This is one that will go on the rebornpipes online store shortly. If you want to carry on the pipe trust of George Leghorn let me know. Thank you Jennifer for trusting us with his pipes. Thanks to each of you who are reading this blog. Remember we are not pipe owners, we are pipemen and women who hold our pipes in trust until they pass on into the trust of the next pipeman or woman.
Refreshing a Dunhill Root Briar 708 F/T Oval Shank Canted Stack for Alex


Blog by Steve Laug

Around Christmas time I got together with Alex to enjoy some great hot cocoa, smoke our pipes and talk about all things pipes. I always have a great time when we get together and this time was no exception. He greeted me at the door with slippers and an old smoking jacket. I took my seat in the living room among his latest pipe finds and was handed a great cup of cocoa. I set it down and we both loaded out pipes with some new Perretti’s tobacco that he had picked up. We touched the flame of the lighter to the tobacco and sat back and blissfully enjoyed the flavour. As we did Alex walked me through his latest finds. There were some amazing pipes to look at and savor. He had found several really nice pipes – 3 different Dunhill pipes that he wanted me to work on for him. I have already written a blog on the Dunhill Wanghee Tan Shell Briar with a Bamboo shank (https://rebornpipes.com/2020/01/08/refreshing-a-dunhill-tanshell-w60-t-1962bamboo-lovat-for-alex/). I have also written a blot on the reconstruction of a nice little Shell Briar Lovat(https://rebornpipes.com/2020/01/11/breathing-life-into-a-worn-and-beat-up-dunhill-shell-briar-ec-canadian-for-alex/). The third Dunhill he had picked up is a shape number I could find little information on – a shape 708F/T Root Briar. For lack of a better title for the shape I have called it a canted stack.

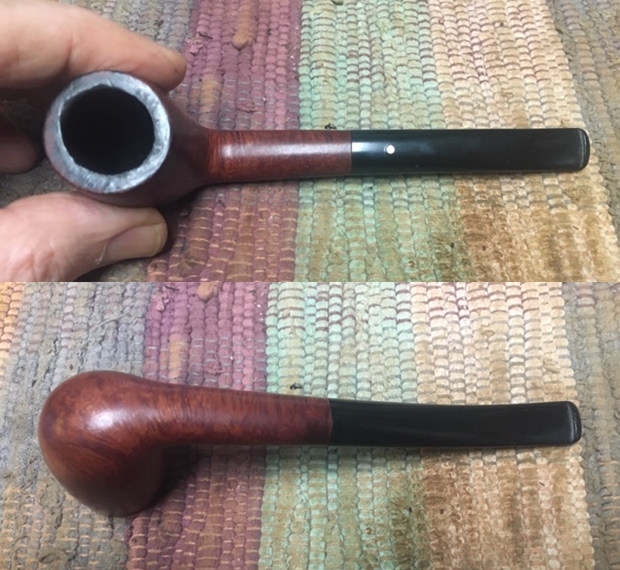
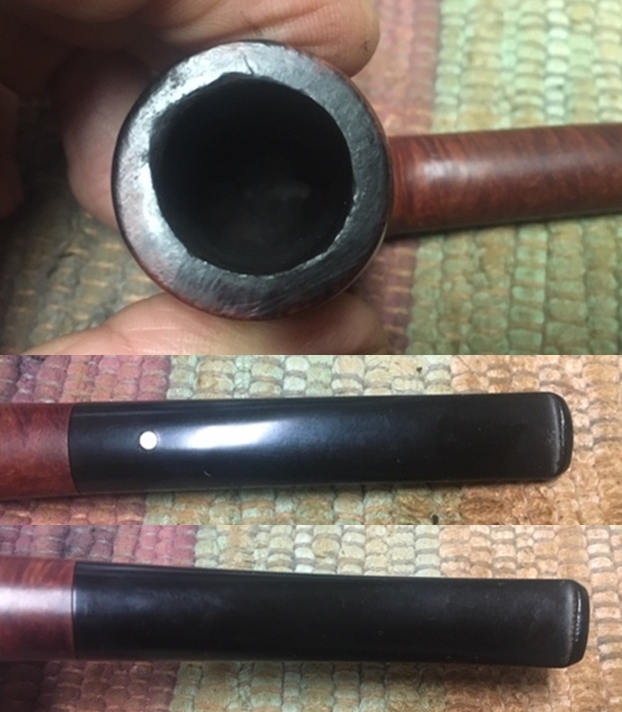
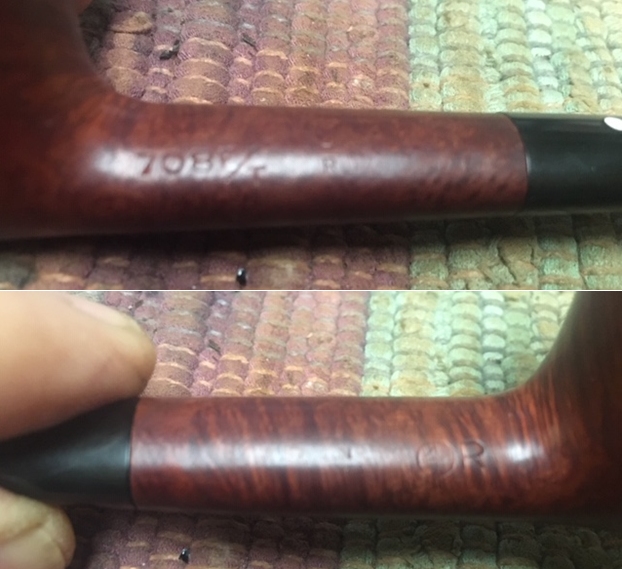
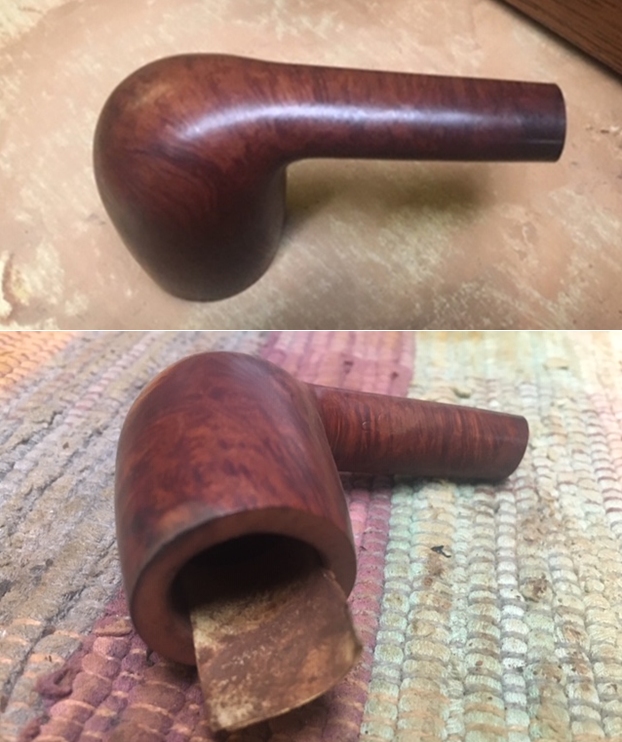
Alex had reamed the pipe and cleaned the pipe very well. The bowl was clean. The rim top had a lot of damage including burn marks and dents. The bowl was also very far out of round with damage around inner edge. There were burn marks on the inner and outer edge toward the right front side of the bowl. The finish looked very good around the bowl other than the burn mark on the left side where it looked like the bowl had been laid in an ash tray against a hot ash. He had already enjoyed smoking it and was hooked on it. He asked if I could take it home with me and see what I could do about the rim top damage and the burn mark on the bowl. I told him I would take it home and have a go at it. The pipe was stamped on the left side of the shank with the following nomenclature: 708F/T at the bowl shank junction followed by Dunhill over Root Briar. The Dunhill Root Briar stamp is faint but readable with a lens and light. The right side reads Made in England followed by what looks like a 2 (another 1962?) and a Circle 4 A. The 4 is the size of the pipe and the A is the designation for Root Briar. The stamping on the right side of the shank is also faint.
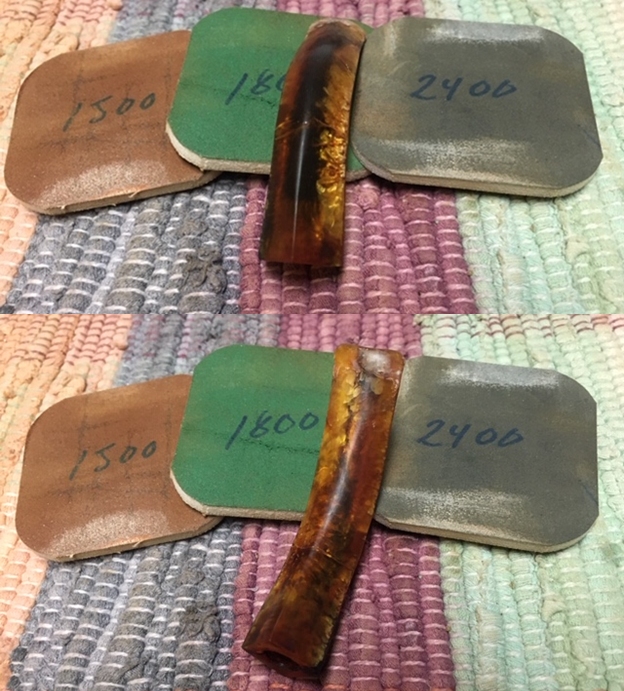
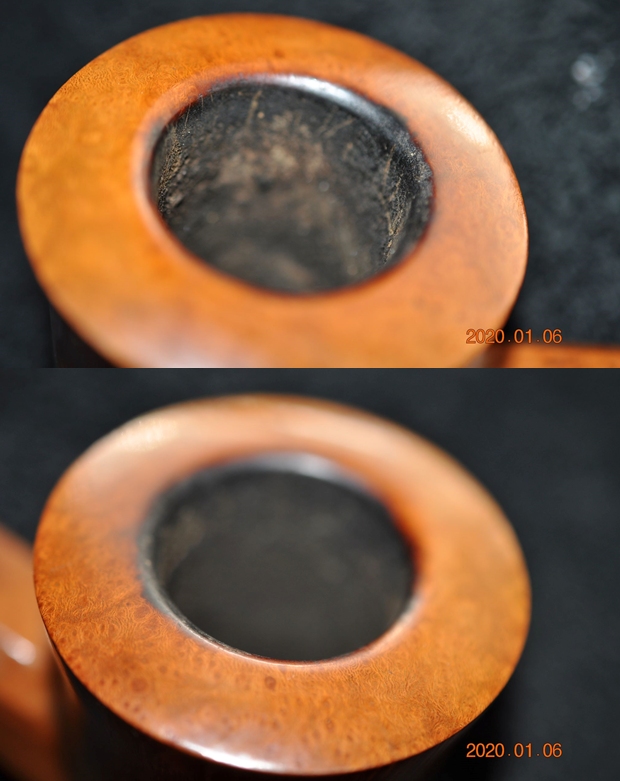
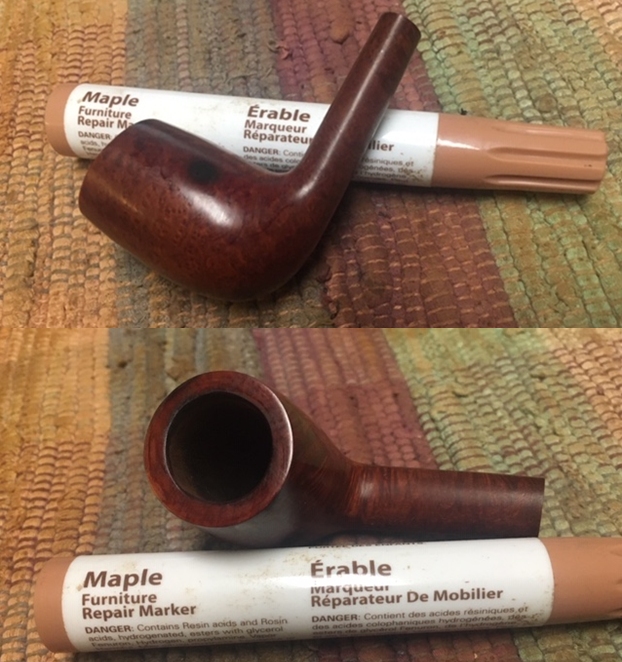
When I got home I laid it aside and today took it up to work on it. I examined the pipe to see what I was working with and took some photos. You can see from the first photo below that there was a burn mark on the left side mid bowl. It was a cosmetic burn marks in the finish but not too deep. It was like the pipe had been laid down in an ashtray. The rim top had significant darkening and damage. The stem was in good condition other than tooth chatter on both sides just ahead of and on the top of the button. Overall the pipe was in good condition. I took a close up photo of the rim top. You can see the darkening on the rim top and the damage on the front inner and outer edge of the bowl. The inner edge was hacked up like it had been poorly reamed with a pocket knife. There were also nicks and deep scratches in the rim top. It was in rough shape. The stem looked pretty good. There was tooth chatter on the top and underside of the stem and on the button surface itself. Otherwise the stem was in very good condition.I took a photo of the stamping on the underside of the bowl. You can see that it reads as noted above. It is indeed faint but with a lens and light it is very readable.I decided to start the refurbishing by addressing the issues with the rim top and inner edge of the bowl. I lightly topped the bowl on a topping board with 220 grit sandpaper. Once it was smooth I worked on the inner edge of the bowl with a folded piece of 220 grit sandpaper. I also cleaned up the burned outer edge on the rim front. I sanded the burn mark on the left side of the bowl with the 220 grit sandpaper and was able to minimize the burn a bit. It was deeper than I initially thought. I polished the rim top and bowl with micromesh sanding pads – wet sanding it with 1500-12000 grit sanding pads. I wiped the bowl down after each sanding pad with a damp cloth to remove the dust and debris left behind by the sanding. I used a Maple Stain Pen to blend the sanded area on the side of the bowl and the rim top with the rest of the finish on the bowl. I have found that this particular stain pen works well to match the stain on the Root Briar.With the finish cleaned I rubbed it down with Before and After Restoration Balm. It is a product developed by Mark Hoover to clean, enliven and protect briar. I worked it into the briar with my fingertips. I let it sit while I went and had some lunch. When I came back I buffed it off with a cotton cloth. You can see the results below. While the burn mark did not disappear it is significantly lighter than when I started. The rim top also looks much better. I set the bowl aside and turned to address the tooth chatter on the stem surface. The stem was in excellent condition other than that so it did not take a lot of work. I used a folded piece of 220 grit sandpaper to sand out the tooth marks and then started the polishing with 400 grit sandpaper.I polished it further with Denicare Mouthpiece Polish – a red paste that does a great job in removing the oxidation remnants in the crease of the button and also polish out some of the lighter tooth chatter.I finished the stem with micromesh sanding pads – wet sanding it with 1500-12000 grit pads and wiping it down after each pad with a damp cotton pad to remove the dust. I polished it with Before and After Pipe Polish – both fine and extra fine. I finished by wiping the stem down with some No Oxy Oil that I received from Briarville Pipe Repair to experiment with. Once I finished I put the stem back on the shank and carefully buffed the pipe and stem with Blue Diamond polish. I wanted to polish out the minute scratches in the briar and the vulcanite. I gave the bowl and the stem several coats of carnauba. I buffed the pipe with a clean buffing pad and hand buffed it with a microfiber cloth. The finished Root Briar pipe is shown in the photos below. It is a great pipe and certainly looks better than when I began the process. The dimensions of the pipe are Length: 5 ½ inches, Height: 1 7/8 inches, Outer Bowl Diameter: 1 1/8 inches, Chamber Diameter: ¾ of an inch. The pipe will soon be heading back to Alex so he can continue to enjoy it. This is a beauty that he can enjoy as he carries on the trust of these Dunhill pipes. Thanks for walking with me through the restoration.
Comoys Supreme Grain Bent Billiard Restoration


By Al Jones

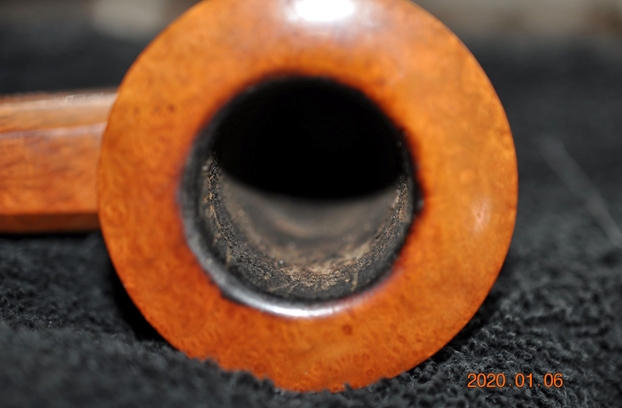
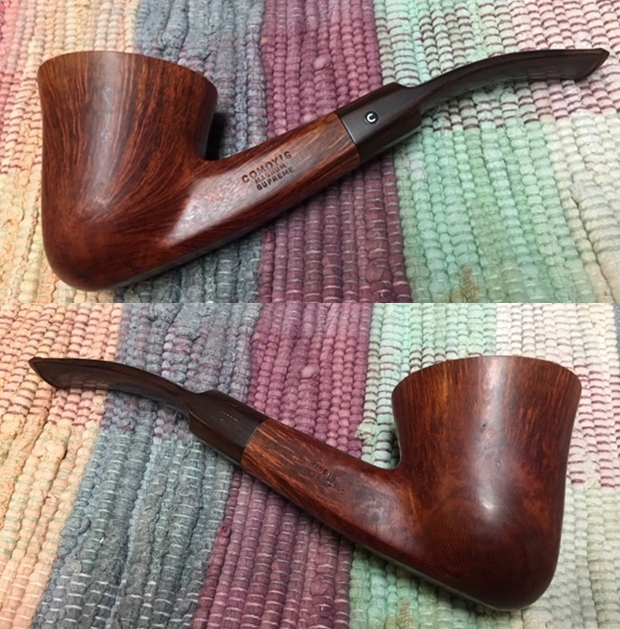
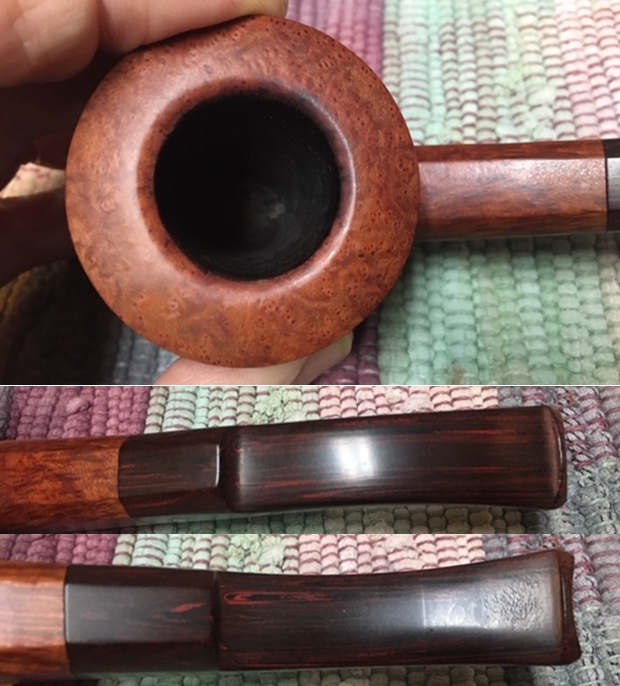
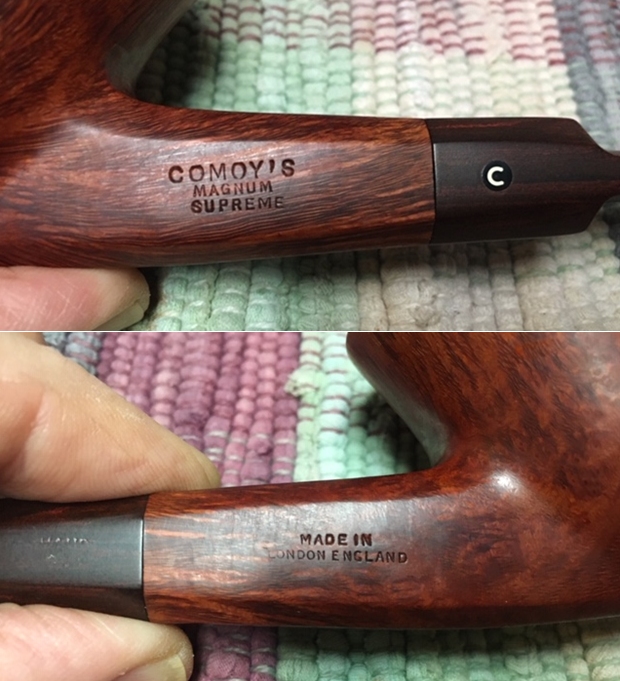
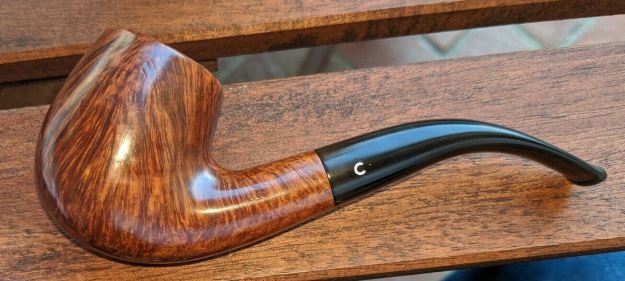
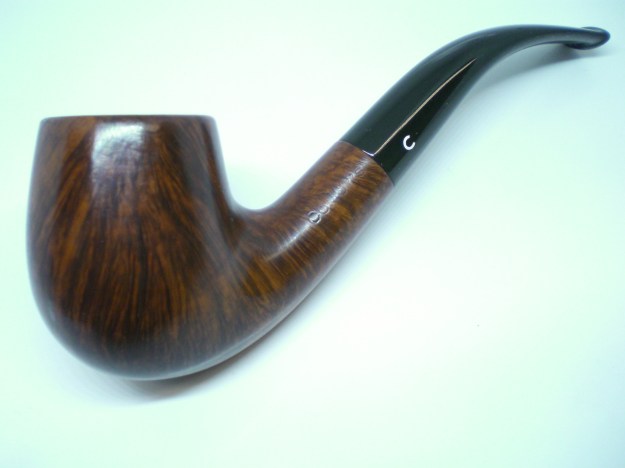
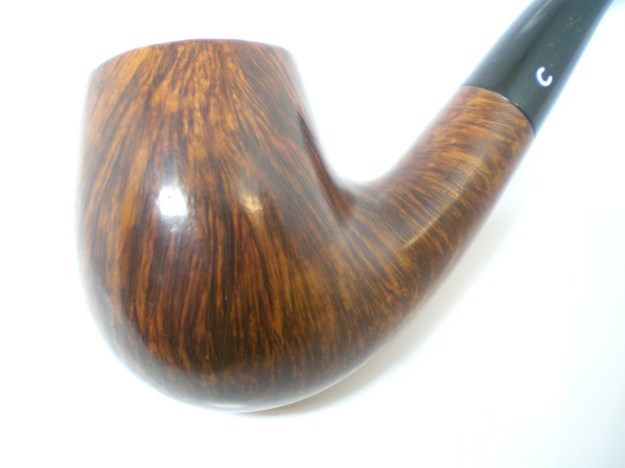
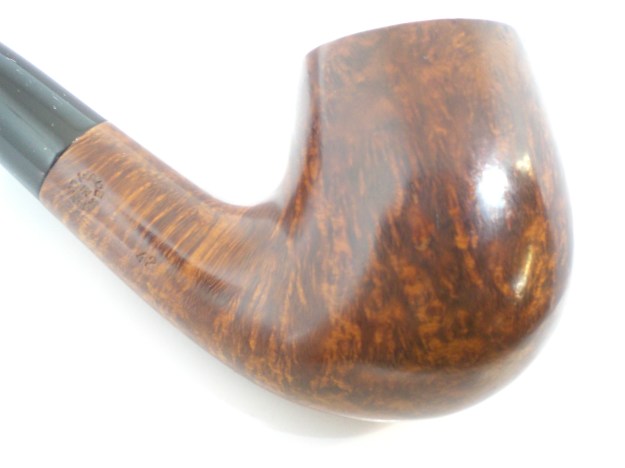
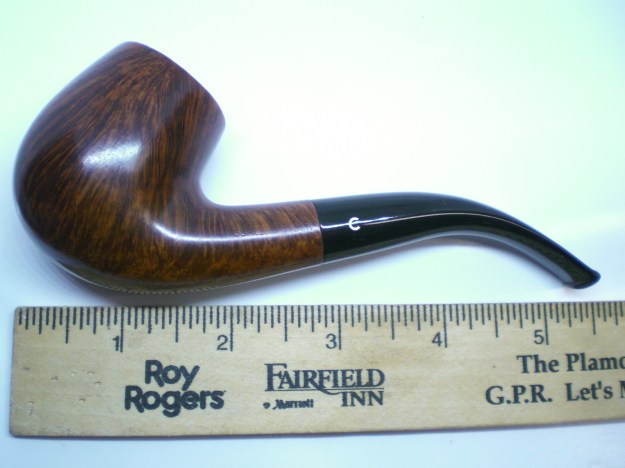
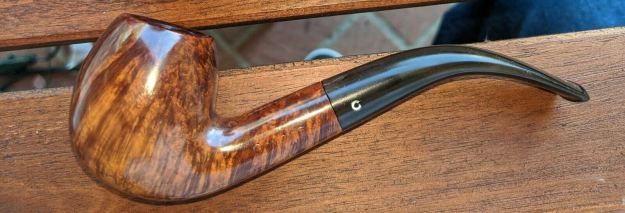
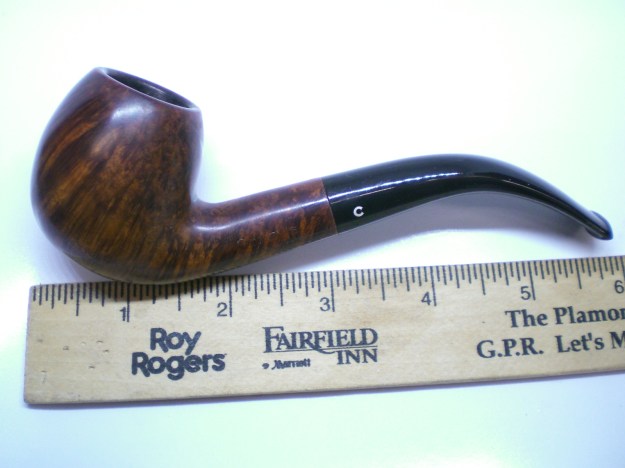
This is the 2nd Comoys that I restored this weekend.  And, the first “Supreme Grain” that I’ve ever seen.  I found a few examples on the web.  The pipe was in very solid condition.  Unfortunately, I also lost the before pictures of this pipe and only have the sellers.  As you can see, it is aptly named, and better grain than some Blue Ribands that I’ve seen.

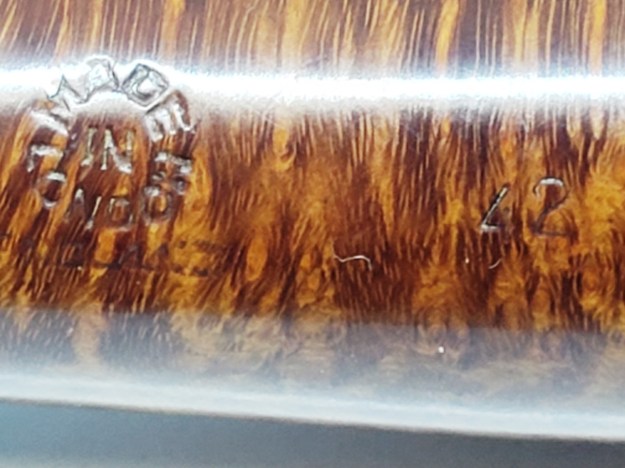
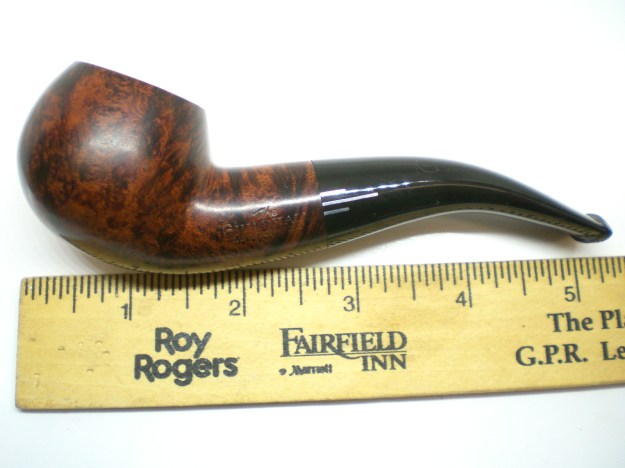
The pipe had very light oxidation and a few dings and bruises in the briar.  The shape 42 is the larger of the two Comoy’s bent billiards.

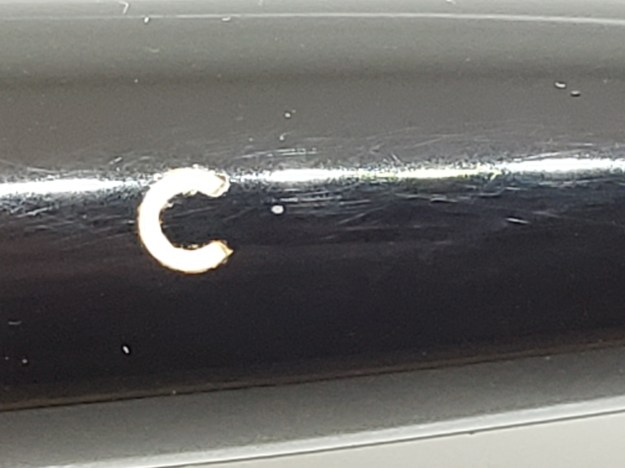
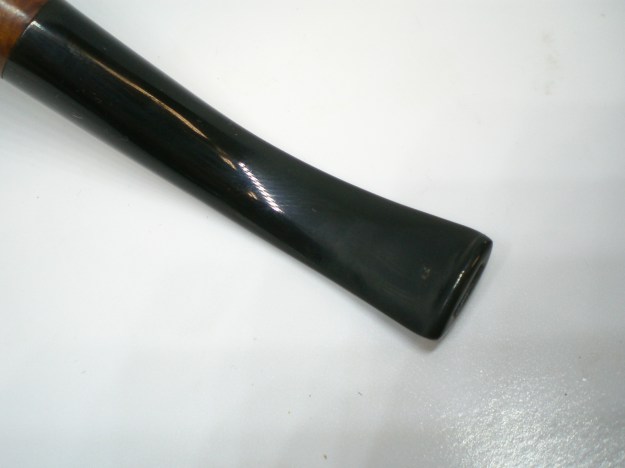
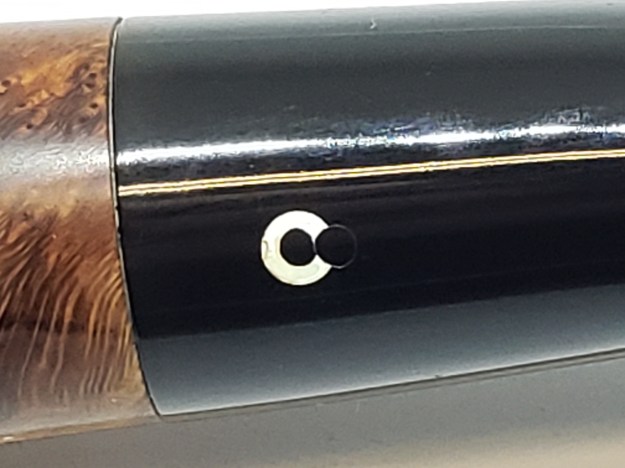
I initially thought it had a drilled C and started restoration the restoration with my usual regiment, which involves sanding right over the very durable logo.  I was horrified on closer examination to find out that the logo was not drilled.  However, it is seemingly quite deep and almost looks like an insert of sorts.  I’ve done a lot of Comoys pipes from every era, but not yet encountered one quite like this one.

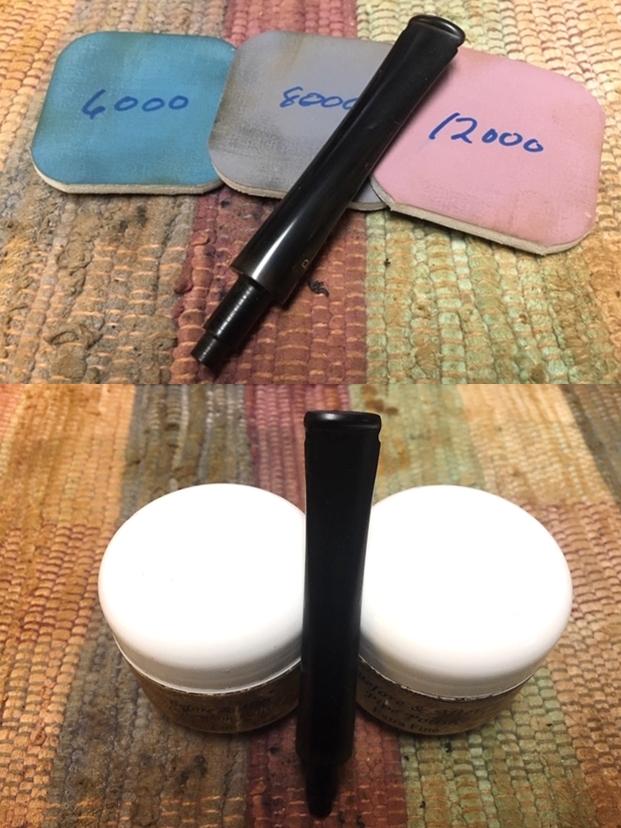
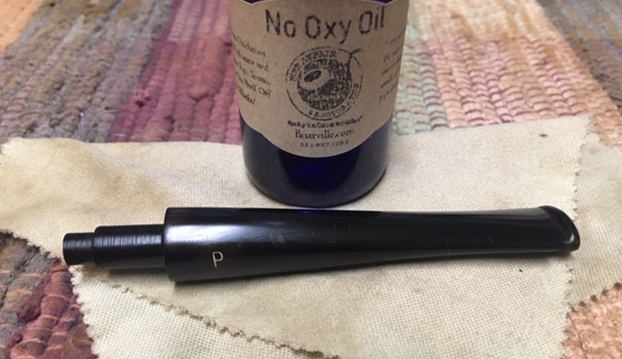
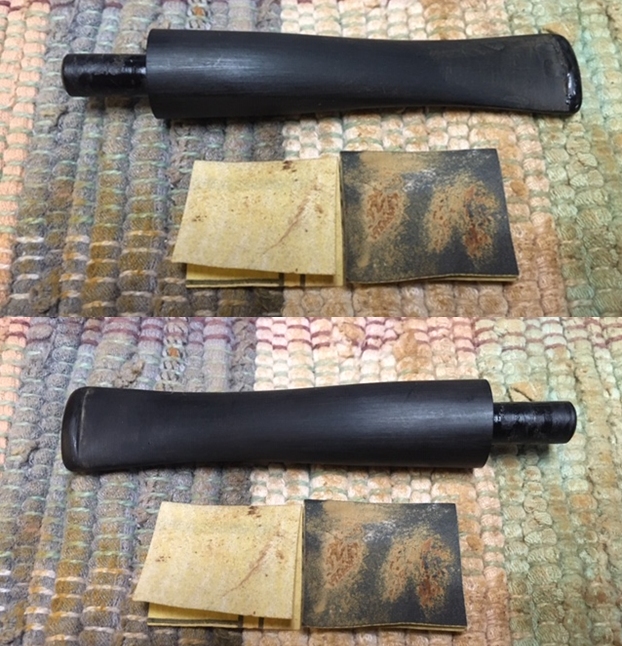
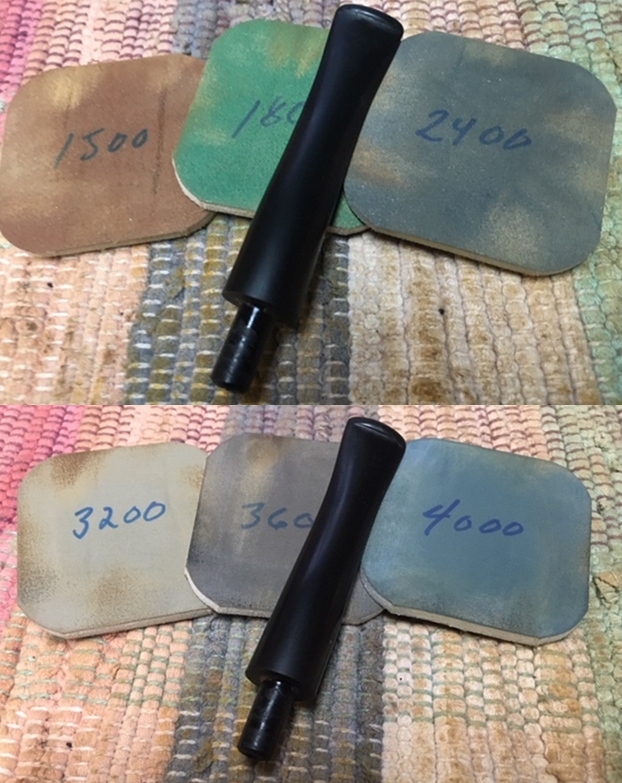
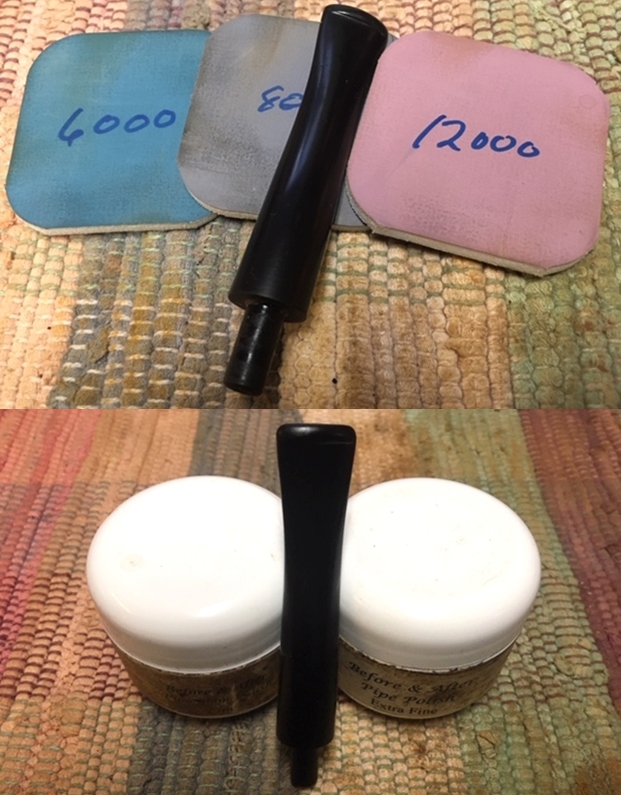
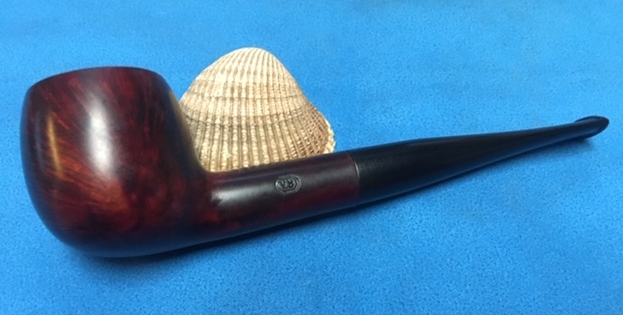
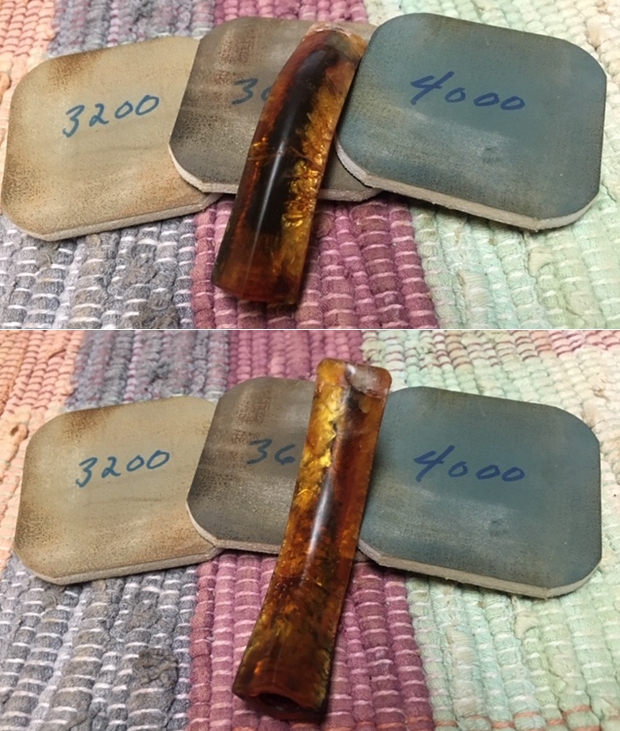
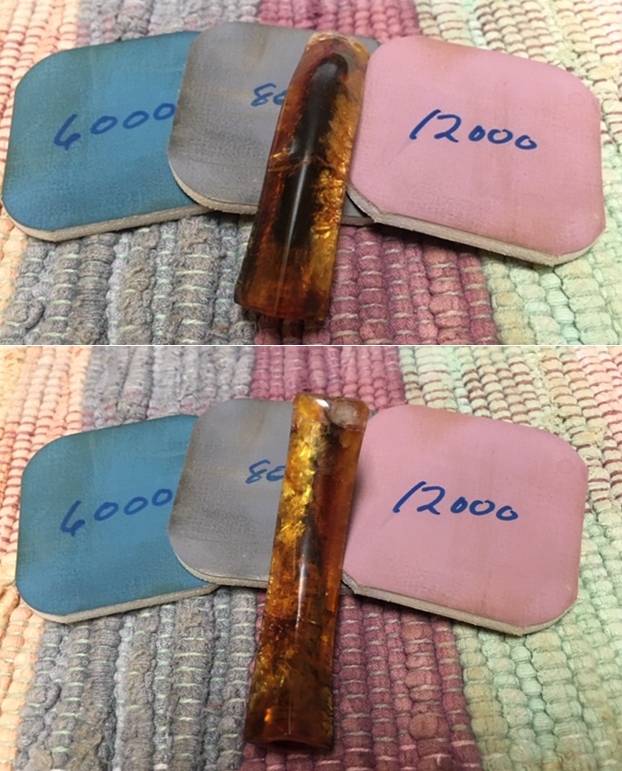
I removed the very light oxidation with 800, 1,500 and 2,000 grit wet paper, this was followed by 8,000 and 12,000 micromesh. The stem was then buffed with White Diamond and Meguiars Plastic Polish.

The bowl was reamed and soaked with alcohol and sea salt.  I used an electric iron on high with a wet cloth to steam out most of the dings around the bowl.  The bowl was then buffed with White Diamond and several coats of Carnuba wax.

Below is the finished pipe.

Comoys 184 Golden Grain Restoration


By Al Jones

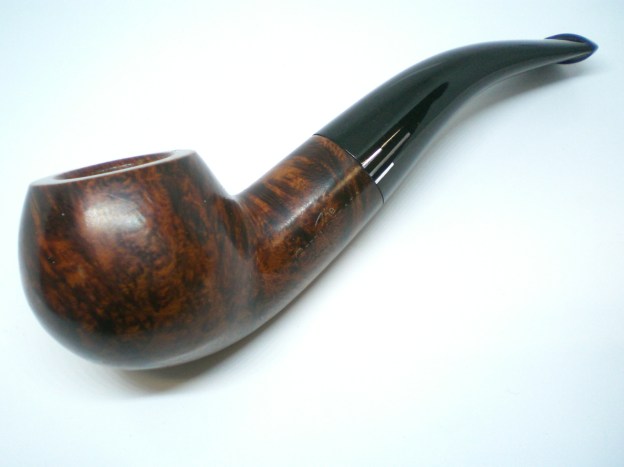
This looked like an easy restoration, but once in hand, it presented a few challenges.  I somehow deleted the “before” pictures, so I can’t share them.  This sellers picture shows that it was in pretty decent shape.  The shape 184 is listed as a Bent Apple on the Comoys shape chart and catalogs.

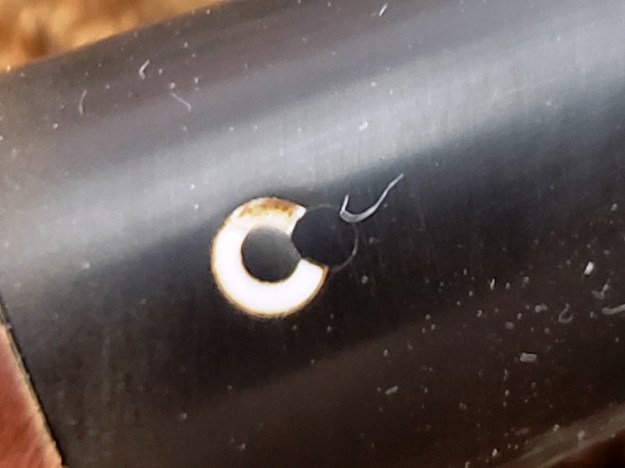
There was a white piece of the drilled, C stem logo and the button had what appeared to be a very poorly done hole repair.

The briar only needed to be reamed and soaked.  There were a few dents that I steamed out with an electric iron and cloth.

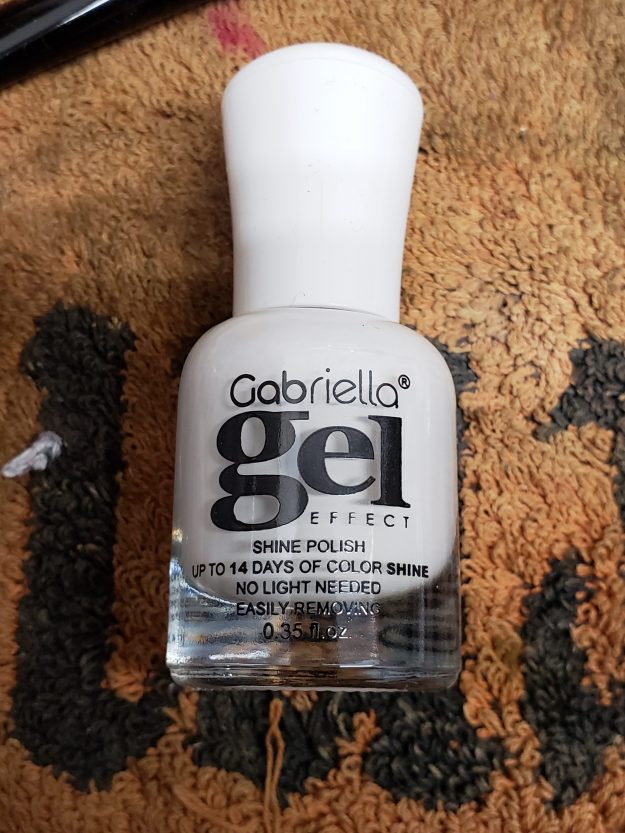
For the C logo fix, I entered a local beauty shop for the first time in my life and they recommended a white gel nail polish.  I applied the polish,let it sit overnight, than sanded smooth with 800 grit paper, it worked quite well and to the naked eye, is invisible.

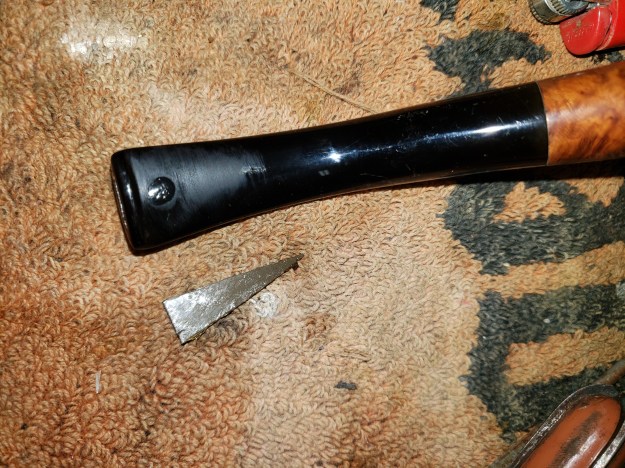
I removed the very light oxidation with 800, 1,500 and 2,000  grit wet paper, this was followed by 8,000 and 12,000 micromesh.  This removed the poor repair job to a tiny pin hole underneath the bottom. I used the black superglue and accelerator to make that repair.  I cut a small v-shaped piece from an old credit card, coated that in grease and inserted it into the button to keep glue from sealing the draft hole.  Once the glue set, the plastic card is removed.

The stem was buffed with White Diamond and Meguiars Plastic Polish.

The briar was buffed lightly with White Diamond and several coats of Carnuba wax.

Below is the finished pipe.

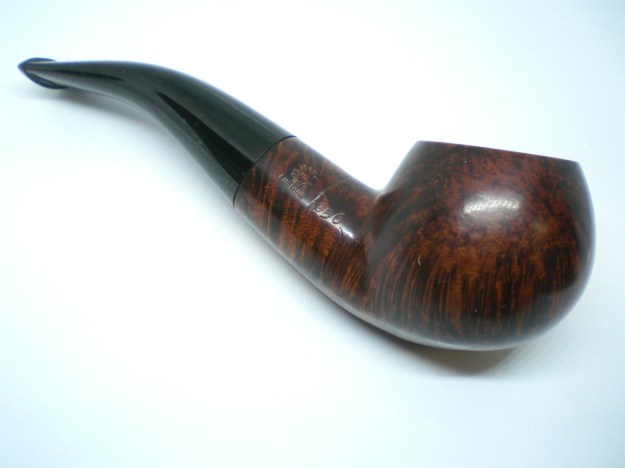
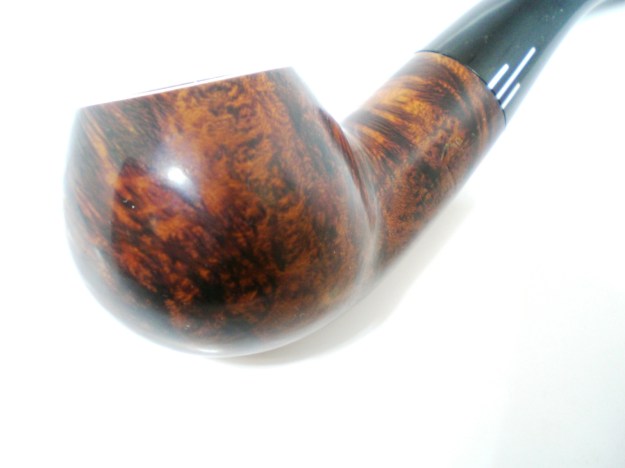
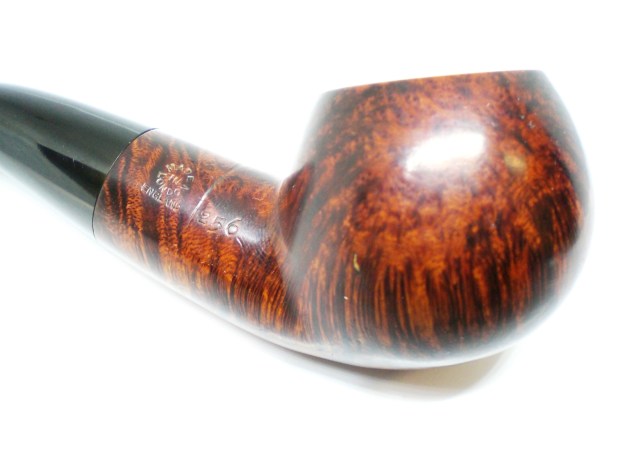
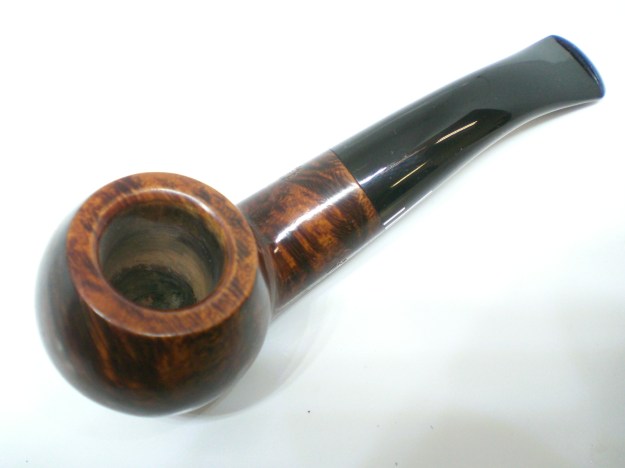
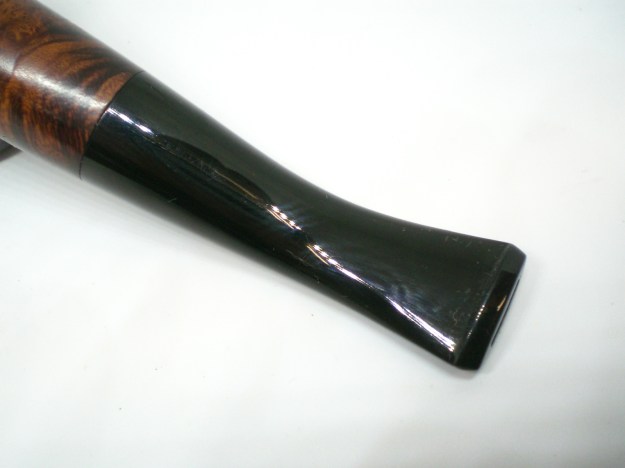
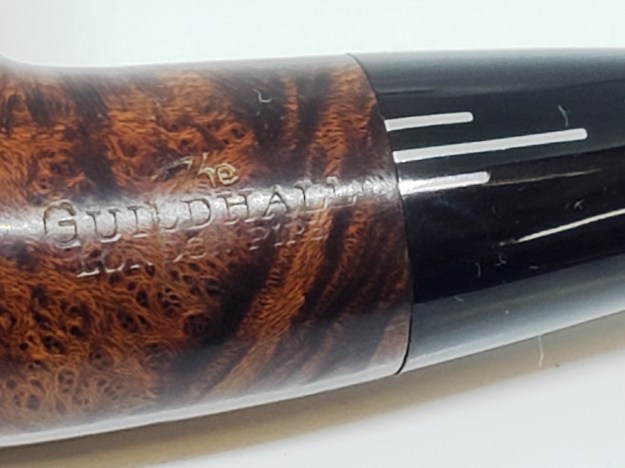
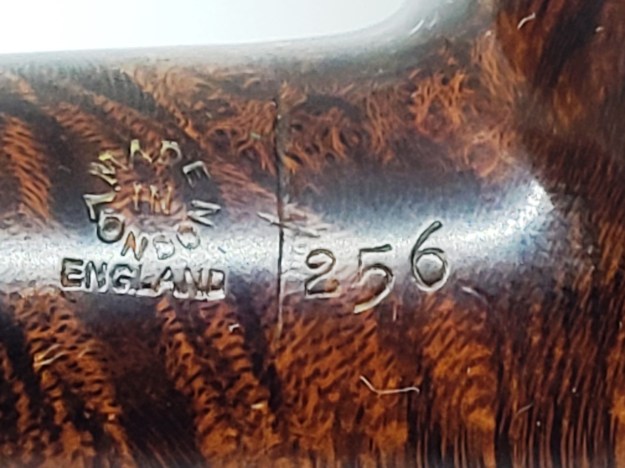
The Guildhall Shape 256 Restoration


By Al Jones

The Comoy’s Author shape, the 256 is one of my favorites and quite rare.  I’ve never been able to find this shape in any Comoy’s catalog, perhaps that contributes to it’s rarity. Three years ago, I was fortunate to find an Old Bruyere finish 256, and detailed that restoration here:

https://rebornpipes.com/2017/05/13/finally-comoys-old-bruyere-256-restoration/

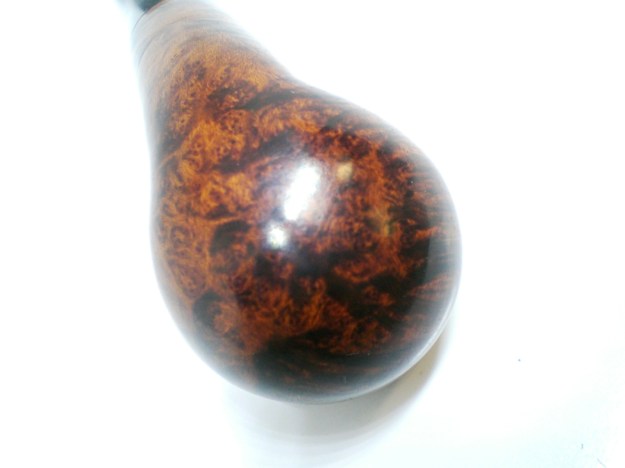
This pipe, is a Comoy’s second-line “The Guildhall”, instantly recognizable by the metal strats stem logo, which always captivates me.   The pipe arrived, with a one surprise, there were some deep circular marks in the briar, right around the shank.  I can’t imagine what created those marks, but I knew it was going to be a challenge to remove or minimize them.    Otherwise, it looked like a straightforward restoration.  There was minimal build-up on the bowl top and the stem was in very good condition.  Below is the pipe as it was received.

I used a piece of worn 2,000 grit wet paper to remove the build-up on the bowl top.  The bowl was then reamed and treated to an alcohol and sea salt soak.  While the bowl was soaking, I soaked the stem in a mild solution of Oxy-Clean.  Following the bowl soak, I cleaned the shank with a bristle brush dipped in alcohol and worked in some twisted paper towel, until it came out clean.
The stem was mounted and I used a lighter to lift the slight dents around the button.  The slight oxidation was removed with 800, 1,500 and 2,000 grit wet paper, followed by 8,000 and 12,000 micromesh sheets.  The stem was then buffed with White Diamond and Meguiars Plastic Polish.
I then turned my attention to the briar and marks.  I used a wet cloth and an electric iron set on high to steam out some of the deep marks on the bowl.  I had some success, lifting nearly all on the bottom of the bowl but some remain on the other areas.    The bowl was then buffed with White Diamond and several coats of Carnuba wax.

Below is the finished pipe.


Restoring a Beautifully Grained Leonard Payne Original Apple with a Unique Stem


Blog by Steve Laug

After brief foray into restoring a couple of other pipes I am back to Bob Kerr’s estate (his photo is to the left). If you have not “met” the man and would like to read a bit of the history of the pipeman, his daughter has written a great tribute that is worth a read. Because I have included it in over 60 restorations to date I thought that I would leave it out this time. Be sure to check out some of the recent Dunhill restoration blog (https://rebornpipes.com/2020/01/01/restoring-the-last-of-bob-kerrs-dunhills-a-1962-dunhill-bruyere-656-f-t-bent-billiard/).

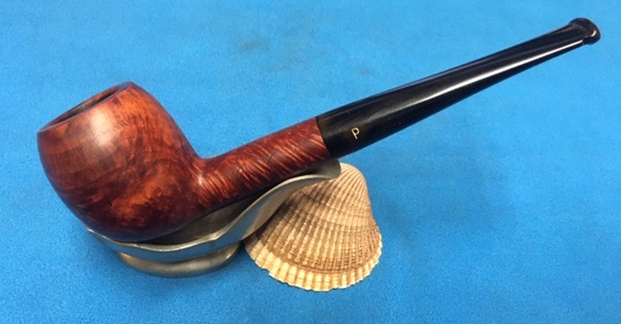
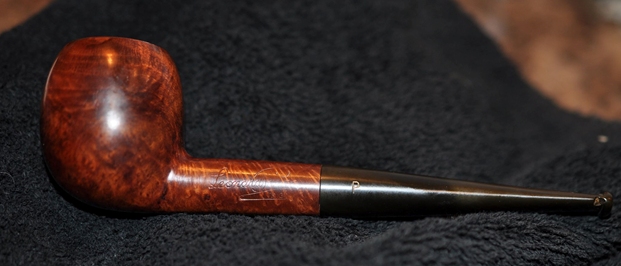
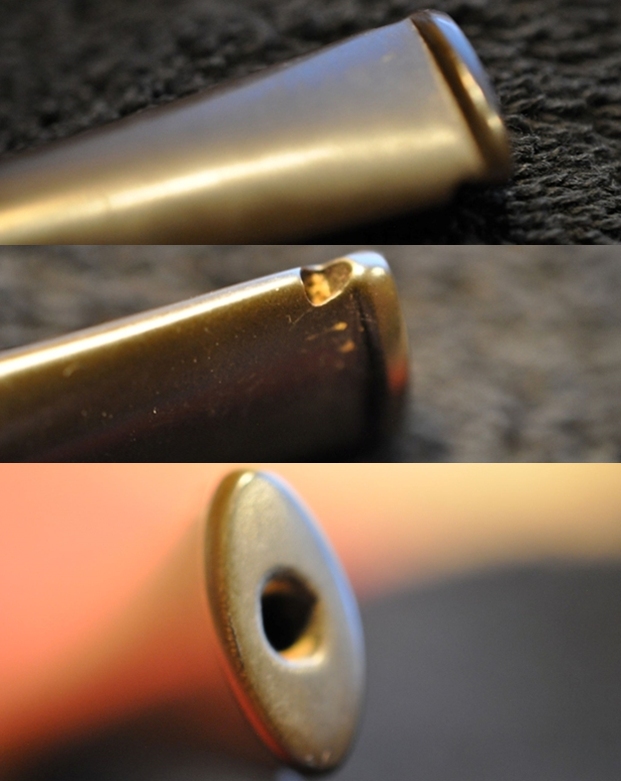
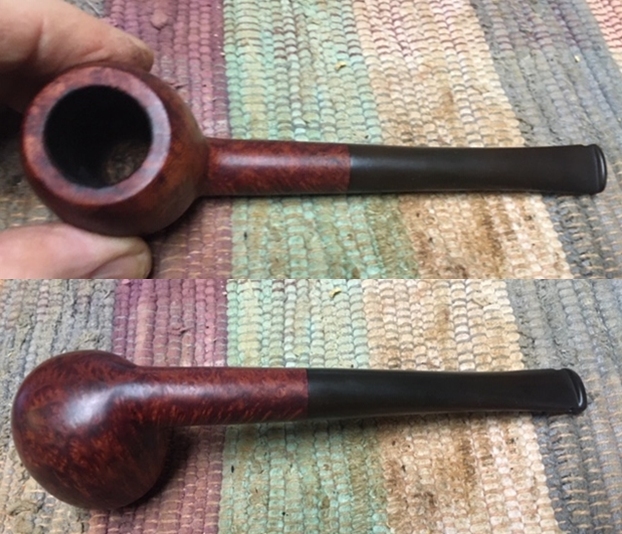
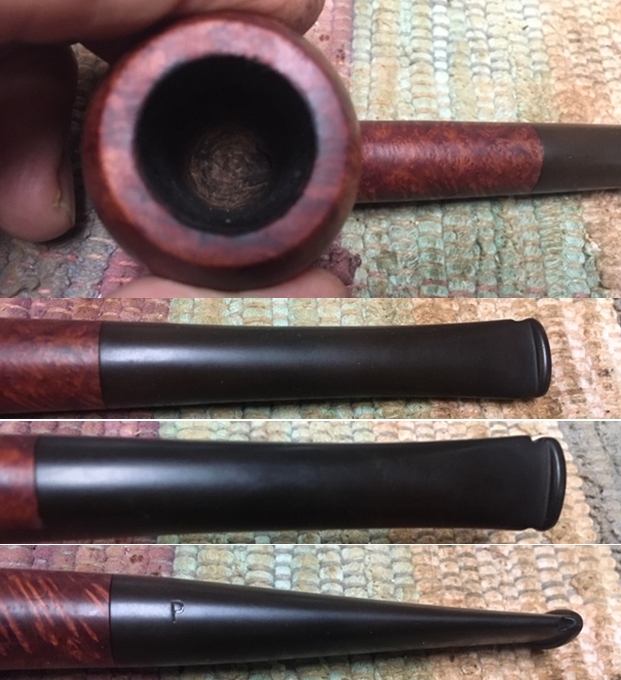
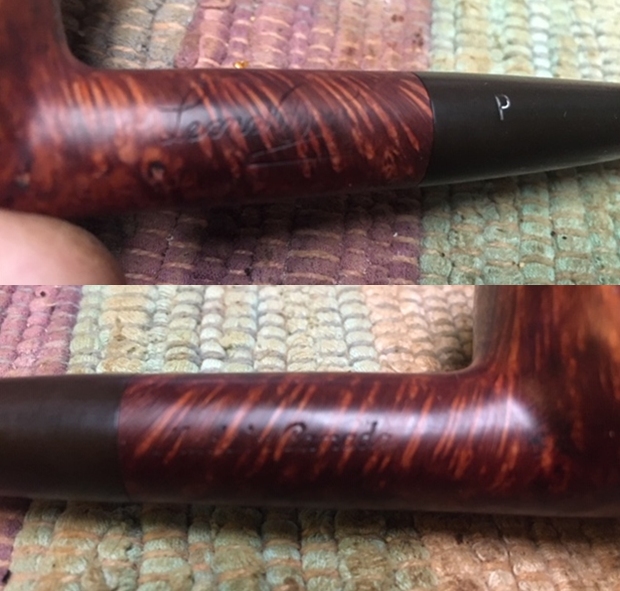
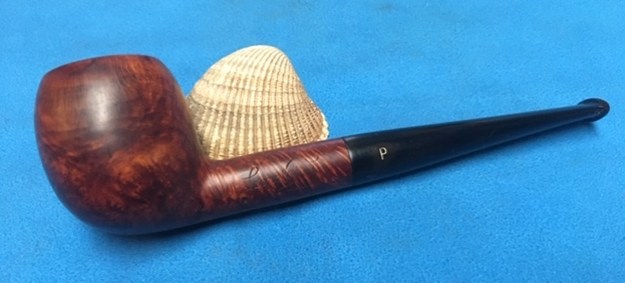
Bob Kerr seemed to enjoy collecting Canadian pipes as much as I do. He had quite a few Canadian made pipes including some nice older Brigham pipes and some specific pipes made by Peterson’s of Dublin for import into Canada. When I was cataloging Bob Kerr’s Estate and came across this pipe I examined it with a light and lens and could read the stamping. On the left side of the shank it read Leonard Payne in his characteristic looped signature. Under that it was stamped Original. On the right side of the shank it is stamped Made in Canada. The finish on the bowl was dirty but undamaged. There was some lava build up on the front edge of the rim top. There was darkening around the inner edge of the bowl and there was some damage on the inner edge. The bowl had a thick cake on the walls and there were shards of tobacco stuck in the cake. The stem was lightly oxidized and there was some tooth chatter on the top and underside of the button. The button end of the stem was quite unique. There was an airway coming out of either side of the stem and a round slot in the end of the button. Jeff took photos of the pipe before he started the cleanup work. Jeff took photos of the rim top and bowl to show its condition. The rim top was covered with a coat of thick lava that overflowed the bowl. It was primarily on the front side of the bowl. The bowl itself had a thick cake with flecks of tobacco stuck in the cake on the sides. Jeff took photos of the sides of the bowl to give a better feel for the beautiful grain around the sides and heel of the bowl. It is truly a beautiful pipe. He took a photo of the left and right sides of the shank. The stamping is clear and reads as noted above. The tapered stem has a capital ‘P” on the left side.The stem was lightly oxidized and seemed to be high quality vulcanite. There were no tooth marks or chatter which was unusual for Bob’s pipes. It is a unique stem in that there was an airway exiting on both sides of the stem at the button. The main slot on the button end was an oval hole so in essence the stem seemed to introduce air from the sides to the main airway to deliver a cool smoke. I turned to a previous blog that I had written on the first Leonard Payne pipe that I worked on to gather the information on the brand and remind myself of the background of this pipe. Here is the link (https://rebornpipes.com/2013/11/16/a-pipe-maker-i-had-never-heard-of-leonard-payne-pipes/). I quote the pertinent parts of that blog below:

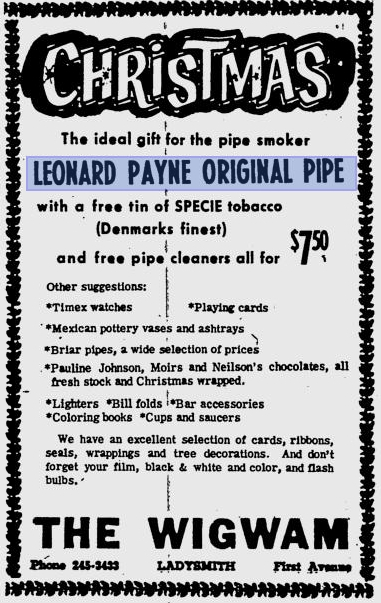
The stamping was Leonard Payne on the left side of the shank and Made in Canada on the right side. The stem bears a green dot in the centre of a white circle on the left side of the stem. I decided to do a bit of research on the web and found the following advertisement that highlighted the pipes. Further digging with Google came up with this short note from alt.smokers.pipes forum. It was written by Mike Glukler of Briar Blues. I quote it below in full. (https://groups.google.com/forum/#!topic/alt.smokers.pipes/RrICLiVgE2o) “Leonard Payne was based in B.C. for many years. He came to Canada from England. He had shops in Surrey, B.C. and Kelowna, B.C.Interesting fellow. Gruff as the day is long. When you bought a pipe it was handed to you in a paper bag. No sock, no box. Most of his pipes carried a “carburetor” system at the shank / stem junction.Another Payne idea was his shanks. Almost all his pipes were two pieces. He’d turn the bowl and shank, then cut off the shank and reattach with glue (not always with the same piece of briar, so many did not match grains). His thinking was that the shank being the weakest link, if cut and glued would never break and thus “correcting”the weakest link.You may find his pipes on E-Bay on occasion listed as a Len Cayne. The P in his stamping looks more like a fancy upper case C.”

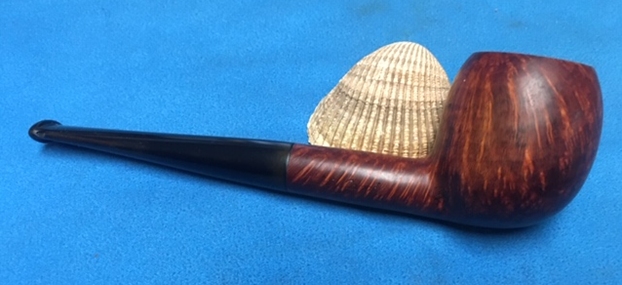
Turning now to the restoration of this beautifully grained Leonard Payne smooth apple. Jeff cleaned this filthy pipe with his usual penchant for thoroughness that I really appreciate. This one was a real mess and I was looking forward to seeing what he had done with this one when I took it out of his box. It looked amazing and CLEAN and other than the stem work needing very little effort on my part. He reamed it with a PipNet pipe reamer and cleaned up the reaming with a Savinelli Fitsall Pipe Knife. He scrubbed out the internals with alcohol, pipe cleaners and cotton swabs until the pipe was clean. He scrubbed the exterior of the bowl with Murphy’s Oil Soap and a tooth brush to remove the grime and grit on the briar and the lava on the rim top. The finish looks good with great looking grain around the bowl and shank. The rim top and front of the bowl was severely damaged with burns. The condition of the inner and outer edges was rough. The stem looked a lot better but damage was evident on the button. Jeff soaked the stem in Before & After Deoxidizer to remove the oxidation on the rubber. The pipe was ready for me to carry on the next part of the process.  I took some close up photos of the rim top and also of the stem surface. I wanted to show how well it had cleaned up. The rim top was clean and undamaged.  The inner edge had some damage that left it rough and slightly out of round. The outer edge of the bowl looked good.  I also took close up photos of the stem to show the tooth marks on the stem and the button surface.  The last photo shows the twin bore stem with the twin airways coming out in the button.I took a photo of the stamping on the sides of the shank. It reads Leonard Payne with a curled L and P and under that is stamped Original. There is a P stamped on the left side of the taper. The right side of the shank reads Made in Canada.I decided to start my restoration work on this one by dealing with the rough inner edge of the bowl. The rest of the pipe looked very good and some polishing would give it some depth and life. I used a folded piece of 220 grit sandpaper to give the inner edge a light bevel and bring the bowl back to round.I wet sanded with 1500-12000 grit micromesh sanding pads to polish the bowl. I wiped the bowl down after each pad with a damp cloth to remove the dust and debris from sanding. I worked some Before & After Restoration Balm into the surface of the briar with my fingertips to get it deep in the briar. The product works to clean, enliven and protect the briar. I let the balm sit for a little while and then buffed with a cotton cloth to raise the shine. The photos show the bowl at this point in the restoration process. I set the bowl aside and turned my attention to the stem. I sanded both sides of the stem with 220 grit sandpaper to remove the remaining oxidation. I followed that by sanding them with a folded piece of 400 grit wet dry sandpaper to begin the polishing.I polished the stem with micromesh sanding pads – wet sanding it with 1500-12000 grit pads. I polished it further with Before & After Pipe Stem Polish – both fine and extra fine. I wiped the stem down with Briarville’s No Oxy Oil to preserve and protect the stem. I am so glad that I went back to work on a pipe that Jeff had cleaned up for me. It certainly makes things go faster and easier for me. I put the stem back on the bowl and polished the bowl and stem with Blue Diamond polish on the buffing wheel. I gave the bowl and the stem multiple coats of carnauba wax. I buffed the pipe with a clean buffing pad to raise the shine. I hand buffed it with a microfiber cloth to deepen the shine. The bowl looks really good. The contrast between the browns of the briar and the polished black vulcanite stem work very well. The pipe feels great in my hand and I am sure that it will feel even better radiating the heat of a good smoke. It must have been a fine smoking pipe judging from the condition it was in when I received it from Bob’s estate. Have a look at it with the finished photos below. The dimensions are Length: 6 inches, Height: 1 ¾ inches, Outside diameter of the bowl: 1 ¼ inches, Chamber diameter: ¾ of an inch. A fellow in Eastern Canada sent me a message on Facebook saying he was looking for a Leonard Payne pipe and wondering if I had one. This was one of those times when I could say YES. I am looking forward to what he thinks of his “new” pipe. I think he will enjoy it for many years to come and perhaps it will pass to the next pipeman who will hold it in trust. Thanks to each of you who are reading this blog.

Cleaning Up a Third Wrecked Pipe for a Fellow Pastor in Vancouver – A VB Apple


Blog by Steve Laug

Lately I am not taking on more work for repairs from email or online requests as I am just too busy. I still get the odd referral from the local cigar and pipe shop that I feel obligated to repair or restore. They tend to be spread out a bit so I can fit them in among the other work that I am doing for estates. Earlier this week I received a phone call from a fellow who had been referred to me by the shop. In our conversation he said that he had some pipes that the stems were all loose on and he wanted to know if I would be able to help him. I have learned to not make any arrangements until I have the pipes in hand and have examined them. He came over Friday afternoon to let me have a look at the pipes. He handed me a bag and inside there were four or five extra stems that he had brought for my use. There were also three old and tired pipes. They were in very rough shape. Two were apple shaped pipes stamped VB and one was a Croydon billiard. The stems were indeed loose on two of the pipes and stuck on the third pipe. The bowls were clogged with a thick cake to the degree that I could not even get my little finger in them. The stems had a thick layer of calcification and some tooth marks. They needed a lot of work.

We talked about the pipes and that he had held them for a long time hoping for a repair. He had spoken with the cigar and pipe shop and they had led him to me. Now he could actually have a hope of smoking them again. In the course of the 30 minute or so conversation he asked me what I do for work. I told him I was a Presbyterian minister working with an NGO dealing with the sexual exploitation and trafficking of women and children in 7 countries and 12 cities around the world. We talked about that a bit then he laughed and told me he was a United Church Minister who had taught in a variety of schools as well as pastored various parishes. We had a great conversation and I took the pipes and told him we would connect again once I had them finished.

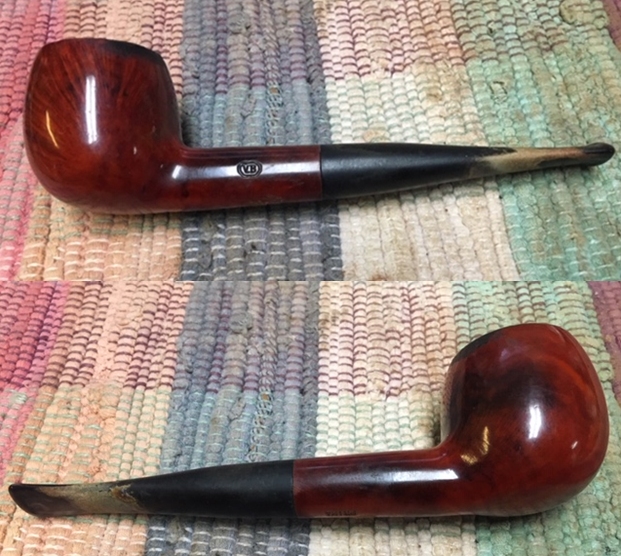
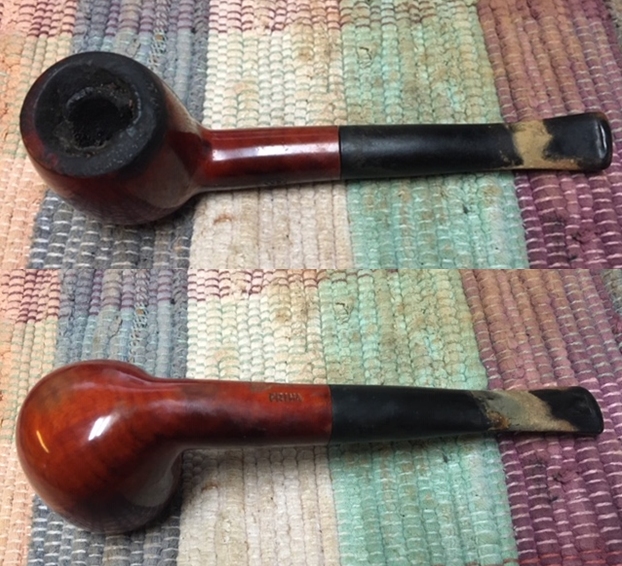
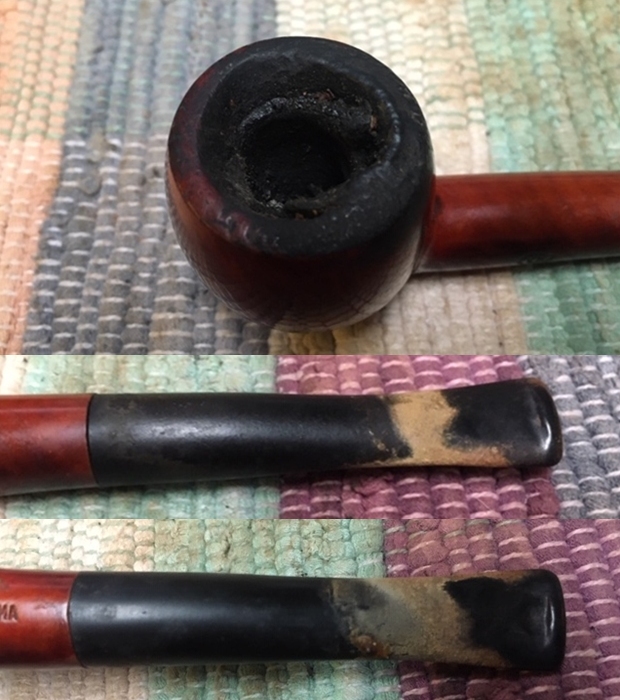
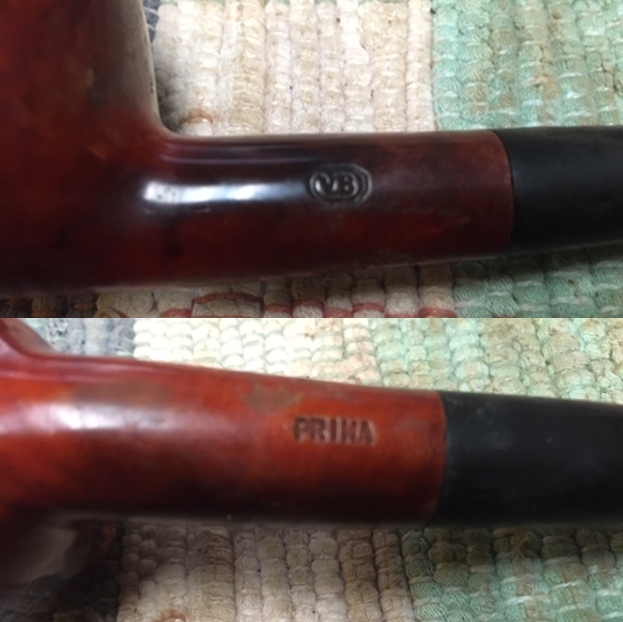
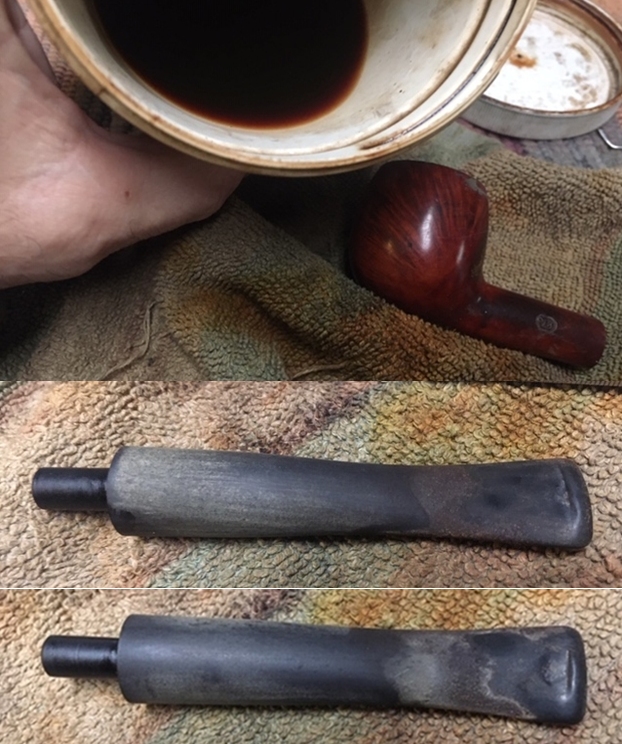
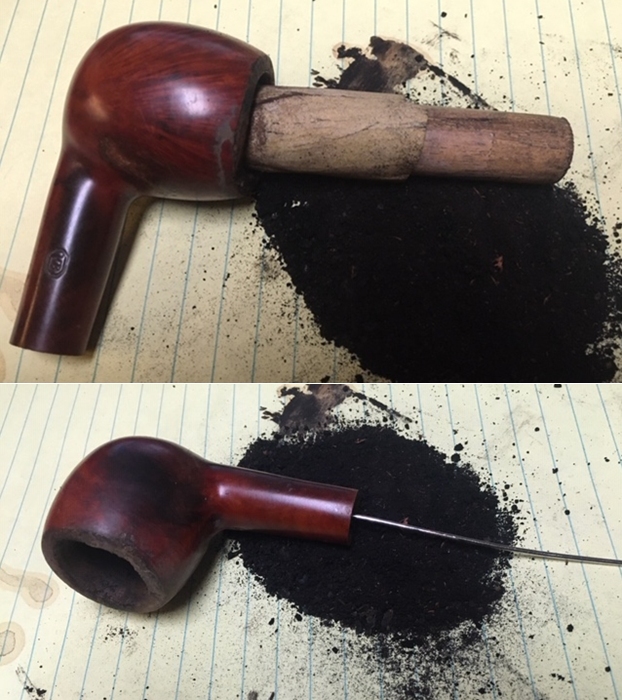
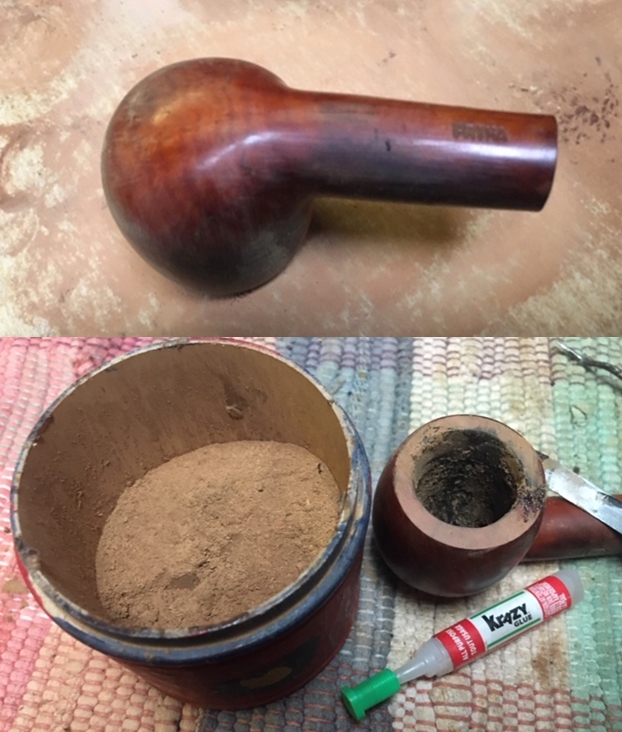
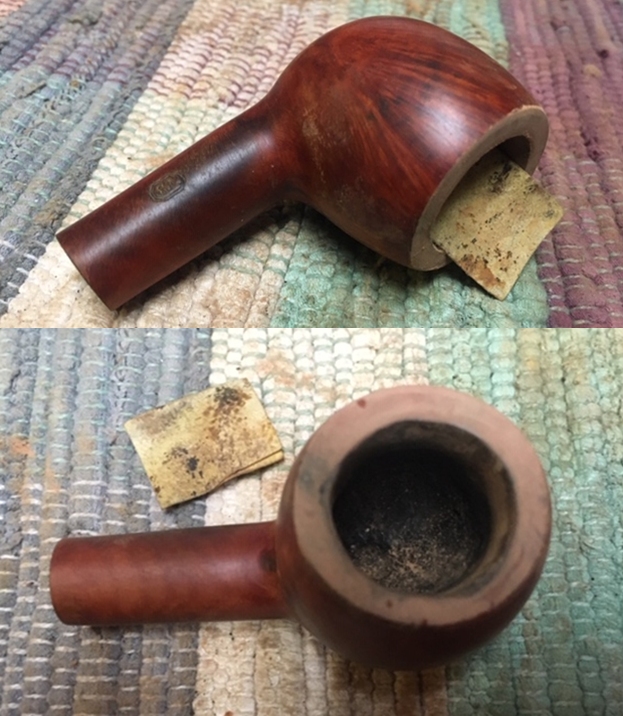
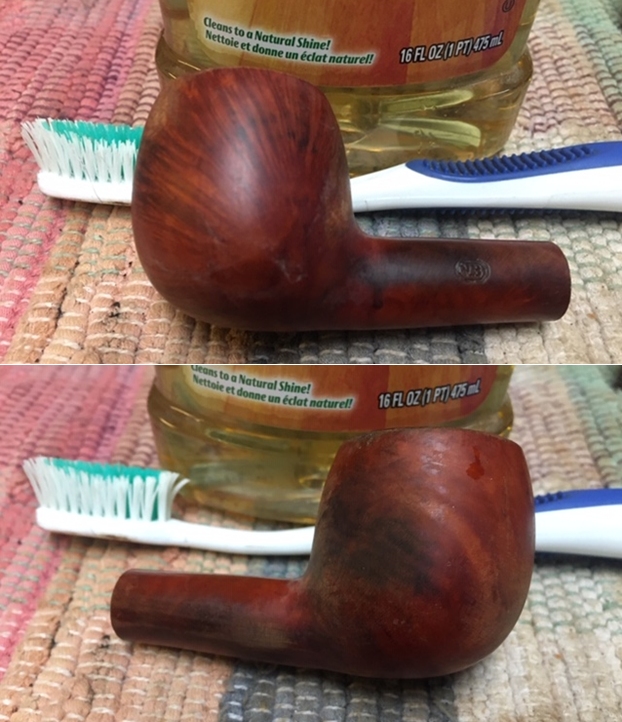
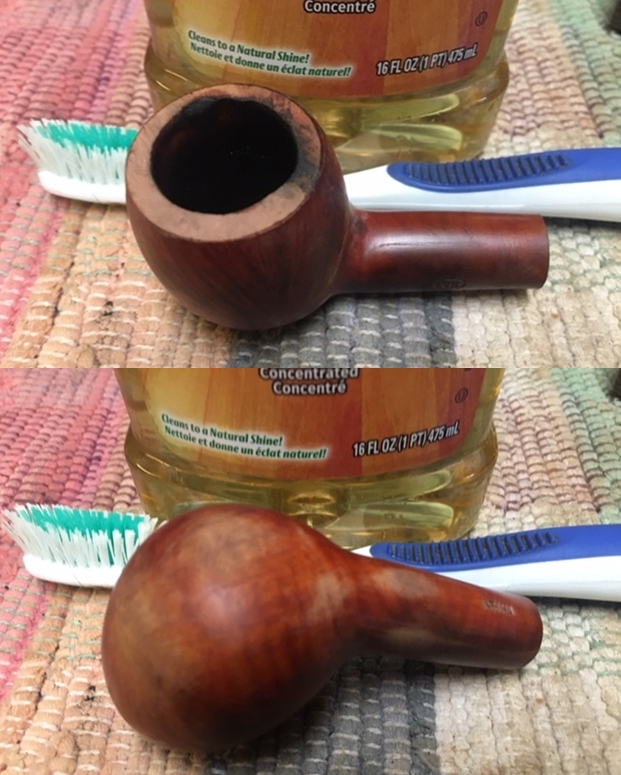
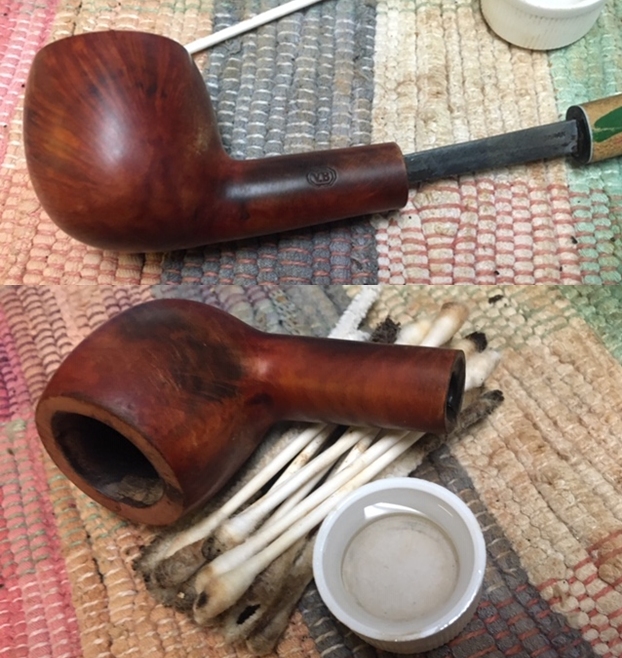
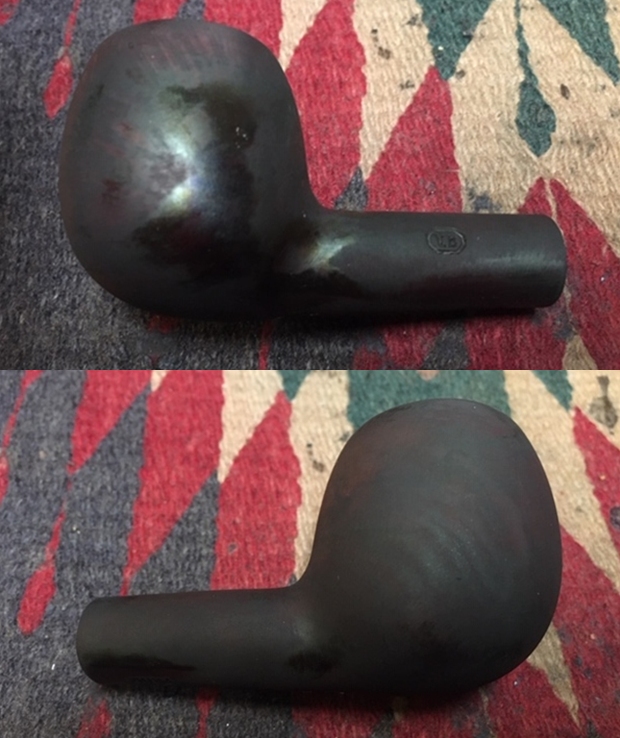
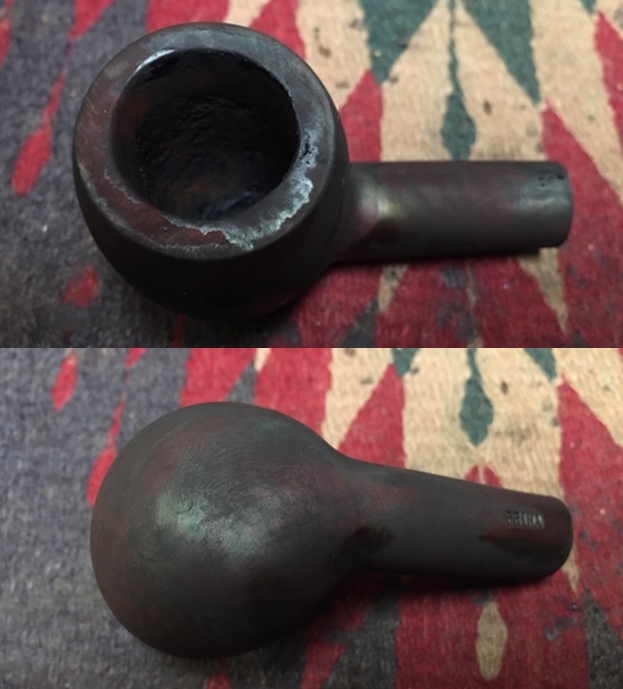
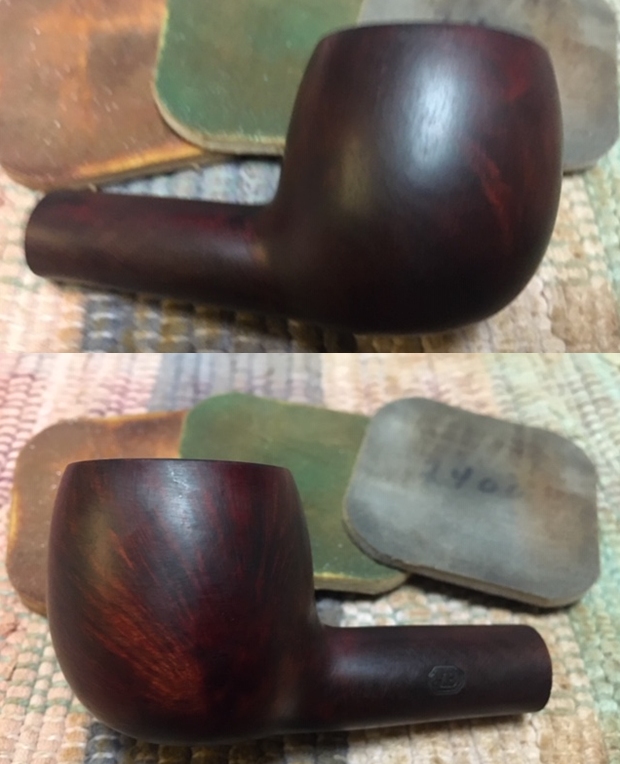
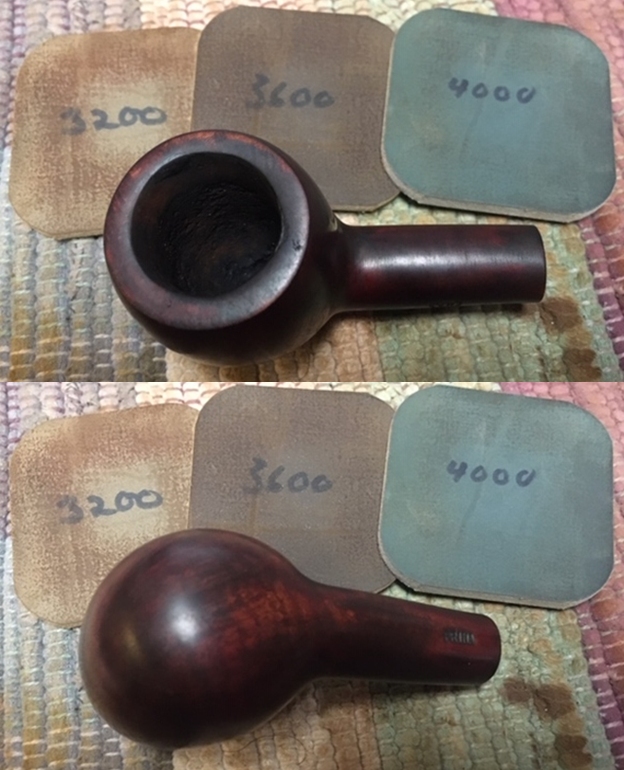
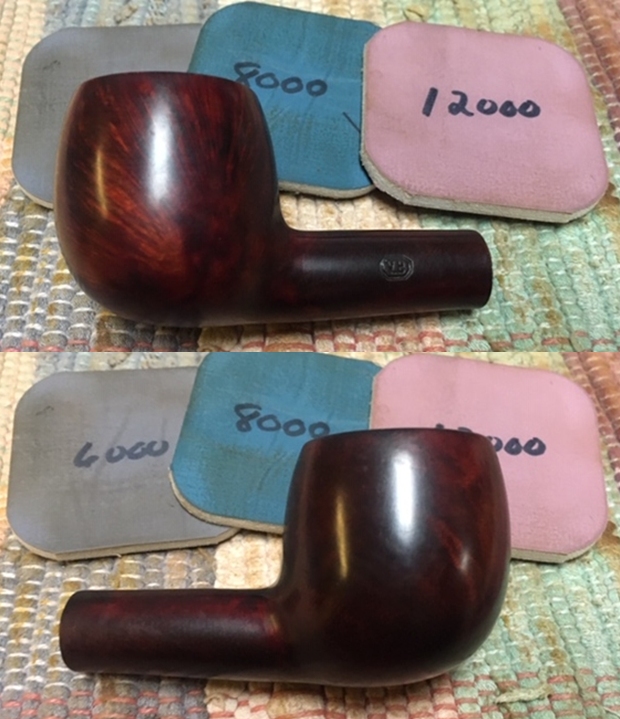
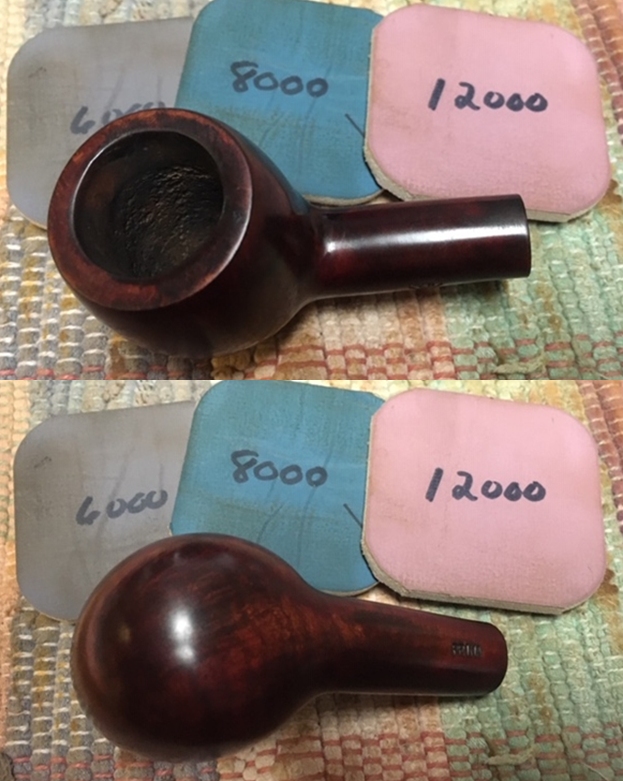
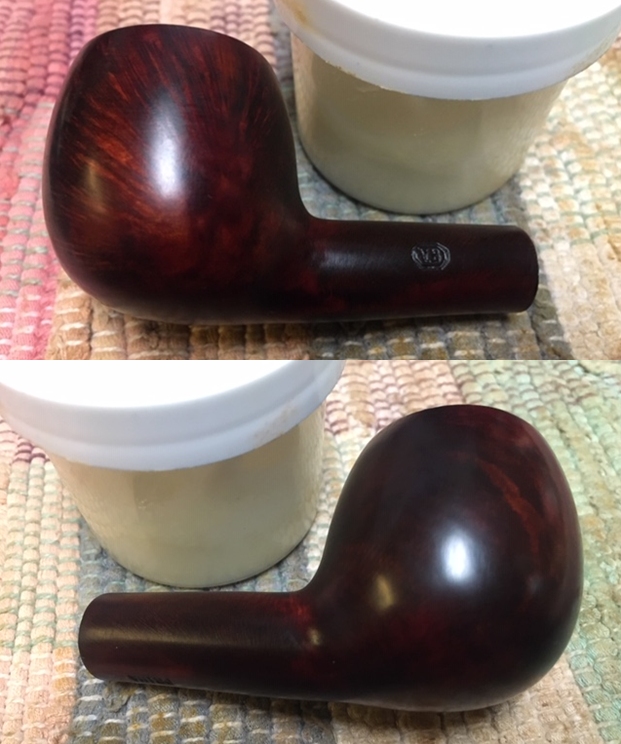
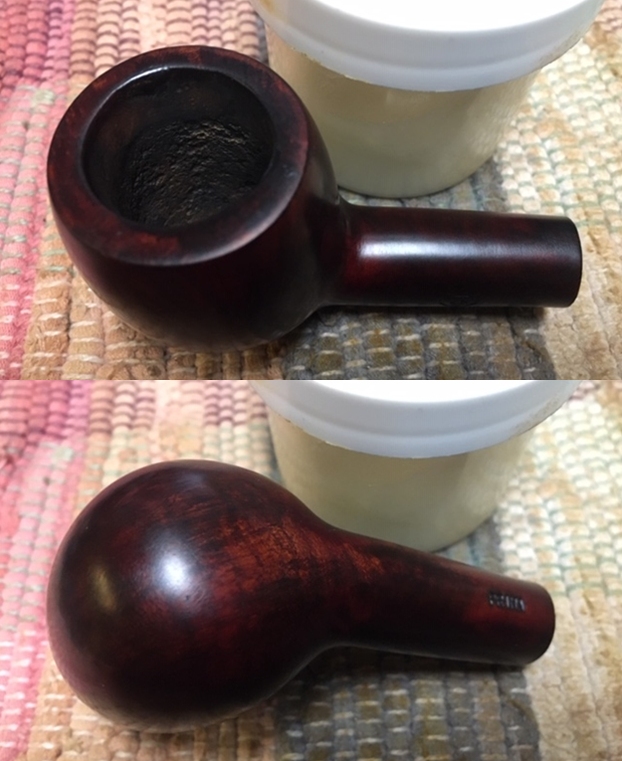
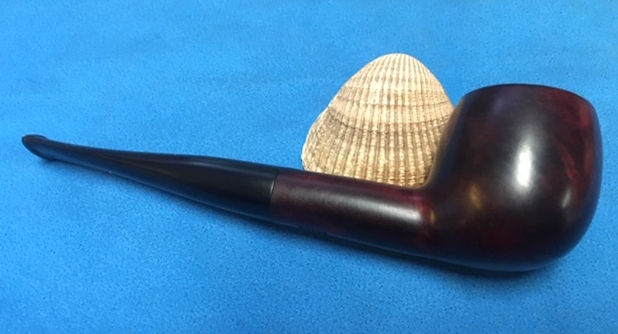
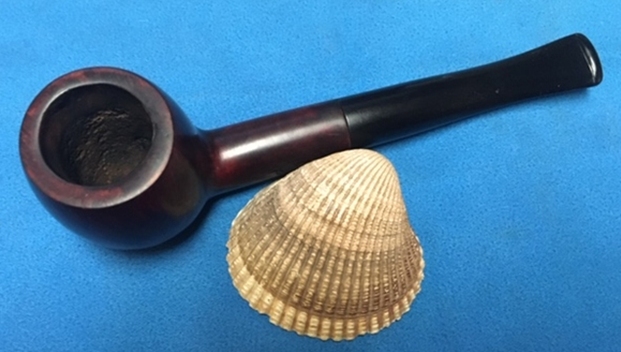
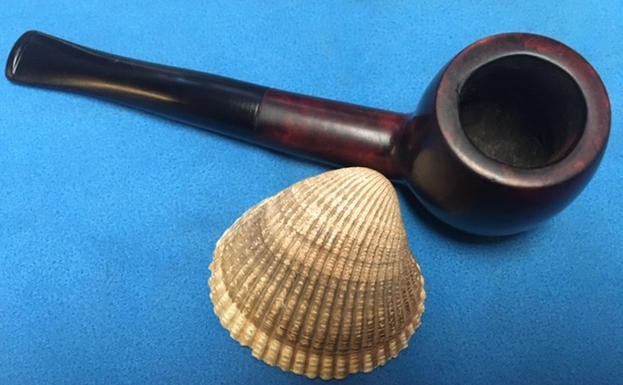
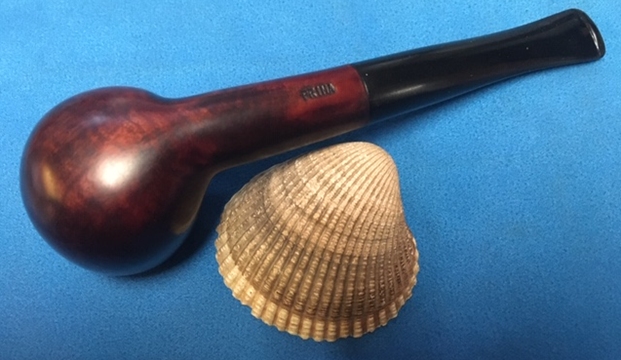
The last pipe from the threesome is on the table now. It was probably in the best shape of the three pipes. It was in rough condition but not as bad as the previous two pipes. The bowl was clogged in precisely the same manner – a thick hard cake and no air would pass through the shank. The finish was shiny with varnish and worn and spotty with blackening on the right side of the bowl and both sides of the shank. It appeared to be an oily black not a burn. The rim top was a real mess with thick hard lava overflowing all around the bowl onto the rim. The stem was loose in the shank and was oxidized with calcification extending for about an inch up the stem from the button. In the midst of the calcification were the same deep tooth marks that appeared to be rounded rather than sharp so I may well be able to lift them out with a lighter flame. The slot in the button was plugged with a pin hole sized airway going through it. This third pipe is exactly like the others and I honestly do not know how this pipe was smoked the last time it was used. This was another of those pipes that I really dreaded working on because I just sensed that one thing would lead to another and the restoration would be almost endless. I took photos of the pipe before I started to record this anxious moment! I took some close up photos of the bowl and stem to show what I was dealing with on this pipe. You can see the density of the cake. It is not totally clear in the photo but the bowl is filled on the second half of the bowl and packed solid. This bowl appeared to be the only one that he had not reamed with a knife. The bowl was not slanted and the cake was evenly heavy all the way around the bowl. The rim top is rough as noted above and looking at the photos it too appears to have been used as a hammer. It is very rough to touch. The stem is a mess as can be seen. There is some oxidation and a thick coat of calcification from the button forward. That too is rock hard. Both the stem and the shank are plugged with no air passing through them.I took a photo of the stamping to show the brand on the pipe. It is a brand I have never heard of or worked on. There is little information available on it. It is stamped VB on the left side of the shank and Prima on the underside.Fortunately it was the same brand as the second pipe that I worked on. The only difference was the stain and the PRIMA stamping on the underside of the shank. I did some digging on the brand to see what I could find out with this additional information and there was nothing more to be found. I am including what I found on the previous VB pipe on Pipephil’s index page (http://www.pipephil.eu/logos/en/index-en.html) I found my first and only clue. Under the section called logos with two letters I found the VB listed. It took me to a listing under Holiday pipes. There was no further information on the country of origin or on the maker other than Holiday. I checked on pipedia as well and there was nothing. I have included a copy of the screen capture of the listing on Pipedia (http://www.pipephil.eu/logos/en/logo-h3.html#holiday).After posting the first VB pipe I received two comments on the blog regarding the stamping. I really appreciate getting information like this so if you ever have info please do not hesitate to send it. Here is what the first commenter, Liebaart sent me:

The VB logo is from the Vinche Company, a Belgian distributor. See their page: https://www.v-k.be/documents/catalog.xml?lang=en&open=NAV%5CPIJPEN%5CVINCHE&from=0

The second commenter, Joris D. Sutter (may be the same gentleman) sent the same information. The V.B logo refers to the company Vinche, a Belgia distributor. Have a look at their website here : https://www.v-k.be/documents/catalog.xml?lang=en&open=NAV%5CPIJPEN%5CVINCHE&from=0

This was very definitive information for me. I now knew that the pipe was from the Vinche Company a Belgian distributor. I am still wondering though if the pipe was made in Holland as suggested previously… the new information does not negate that possibility!

Once again I could no longer postpone starting the work on this old pipe. It was the last of threesome and I could return them to the old pastor. And besides that this is what I do – I am a pipe refurbisher. It was time to get started on this beast. I learned from the previous two pipes in the lot that the cake and calcification were very hard. I dropped the stem in a Oxyclean bath and the bowl in an alcohol bath. I figured while I worked on other pipes the cake and calcification would begin to soften a bit.When the pipe and stem had been soaking for about 4 hours I pulled them out of the respective baths. The bowl looked better externally. The alcohol had cut the shiny finish and removed some of the grime on the bowl. The cake in the bowl was definitely softer so I think it would be easier to remove. The stem came out and the bath had removed much of the oxidation and calcification. It had also softened what remained. The photos below show what I saw.The alcohol bath had softened the hard cake enough that I could directly ream it with the PipNet pipe reamer using the third cutting head. It easily worked through the cake and I was able to take it back to the bare walls of the bowl. I wanted to check and see if there was damage like there had been on the other two pipes. The good news was it was free of damage. I cleaned up the edges and bottom of the bowl with a Savinelli Fitsall Pipe Knife. I sanded the inside of the bowl with 220 grit sandpaper wrapped around a piece of dowel to further smooth out the bowl. I broke through the clogged airway in the shank with a piece of stiff wire. I topped the bowl on a topping board with 220 grit sandpaper and removed the damaged areas on the surface. Once I had finished the rim top was flat now I could deal with the edges of the bowl. I filled in the damage on the edges of the bowl with clear Krazy Glue and Briar dust. Once it dried I cleaned up the topping once again and then used a folded piece of 220 grit sandpaper to smooth out the inner and outer edge of the bowl. With the bowl reamed and the rim top repaired and clean I decided to work on the exterior of the bowl. It was unbelievably grimy and sticky. I scrubbed it with a tooth brush and undiluted Murphy’s Oil Soap. I rinsed it under warm running water to wash away the soap and debris. I repeated the process until the exterior was as clean as I was going to get it at this point. I dried it off with a cotton cloth and took photos to show the result. I cleaned the mortise and the airway in the shank and stem with pipe cleaners, cotton swabs and alcohol. I used the drill bit on a KleenReem tool to clean out the “crud” (hardened tars and oils) in the airway in the shank. I scraped the inside of the mortise with a pen knife. I opened the slot in the button with a dental pick and pushed pipe cleaners through the debris in the stem. I scraped away the majority of the calcification with the pen knife while I was cleaning the stem. Once I had finished – many pipe cleaners and cotton swabs later the airway was unobstructed to the bowl and the pipe had begun to smell clean. I sanded the exterior of the bowl and rim with a medium grit sanding sponge to remove the nicks, scratches and remnants of the original finish. I sanded the strange dark stains on the right side of the bowl and both sides of the shank at the same time. While I w not able to remove them I reduced them enough that I was hoping the stain I was going to use would cover them. I stained the bowl and shank with a Fiebing’s Tan Stain. It has a nice reddish tint to it that shows up once I have buffed and sanded it. I applied the stain, flamed it with a lighter and repeated the process until I was happy with the coverage. I would carry on with the bowl in the morning. The stain would dry overnight.In the morning when I got up I took photos of what the bowl looked like after the stain had cured all night. There are wet looking patches but they are not wet…just shiny! I wet sanded with 1500-12000 grit sanding pads to smooth out the finish on the bowl and prepare it for staining. I wiped the bowl down after each pad with a damp cloth to remove the dust and debris from sanding. I worked some Before & After Restoration Balm into the finish of the bowl, the rim top and shank with my fingertips to clean, enliven and protect it. I find that the balm really makes the briar come alive again. I let the balm sit for a little while and then buffed it with a cotton cloth to raise the shine. The pipe really looks good at this point. It looks much better than when I took it out of the bag. I set the bowl aside and turned my attention to the stem. I “painted” the surface of the stem with the flame of a Bic light to raise the tooth marks. It raised them all some but two small dents remained on both sides of the stem.I filled in the remaining tooth marks with clear Krazy Glue and let it cure. I like the clear glue on this kind of stem as it dries clear and the black of the stem shows through making for a very good blend with the existing material.Once the repairs cured I reshaped the button edge with a needle file. I flattened out the repaired spots at the same time. The stem was beginning to take shape.I sanded the repaired areas on both sides of the stem with 220 grit sandpaper to blend them into the surface of the stem. I followed that by sanding them with a folded piece of 400 grit wet dry sandpaper to begin the polishing.I polished the stem with micromesh sanding pads – wet sanding it with 1500-12000 grit pads. I polished it further with Before & After Pipe Stem Polish – both fine and extra fine. I wiped the stem down with Briarville’s No Oxy Oil to preserve and protect the stem. This was another challenging pipe to work on and I did the heavy work without Jeff. I put the stem back on the bowl and polished the bowl and stem with Blue Diamond polish on the buffing wheel. I gave the bowl and the stem multiple coats of carnauba wax. I buffed the pipe with a clean buffing pad to raise the shine. I hand buffed it with a microfiber cloth to deepen the shine. The grain pops through enough to let us know it is there and my repairs to the rim of the bowl blend in really well. I am pleased with the look of the pipe. It really has exceeded my expectations for it when I first took it out of the bag it was in when dropped off. The contrast between the reddish, tan stain of the briar and the polished black vulcanite stem look very good together. The pipe feels great in my hand and I am sure that it will feel even better radiating the heat of a good smoke. It must have been a fine smoking pipe judging from the condition it was when I received it from the pipeman who dropped it off. Have a look at it with the photos below. The dimensions are Length: 5 ¾ inches, Height: 1 ¾ inches, Outside diameter of the bowl: 1 ¼ inches, Chamber diameter: ¾ of an inch. I am looking forward to what the old clergyman thinks of his second “new” pipe. I think he will enjoy it for many years to come and perhaps it will pass to the next pipeman who will hold it in trust. Thanks to each of you who are reading this blog.