Blog by Steve Laug
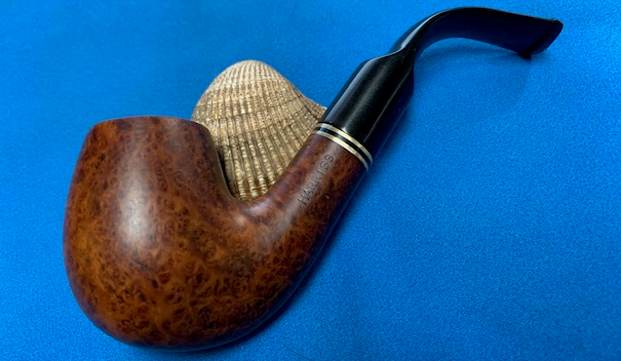
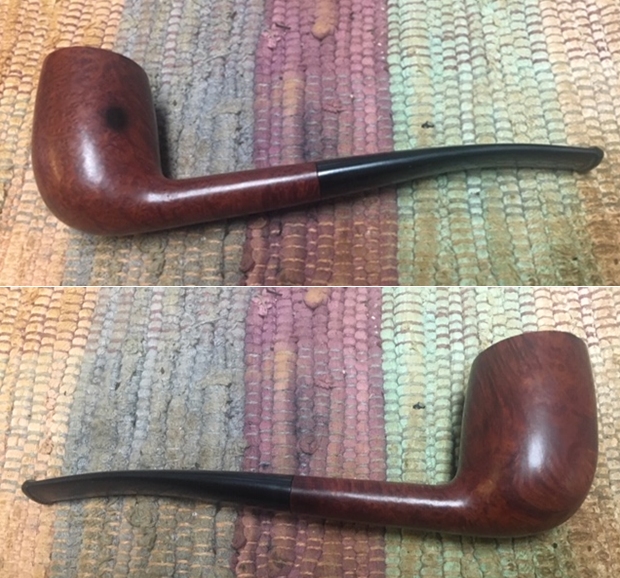
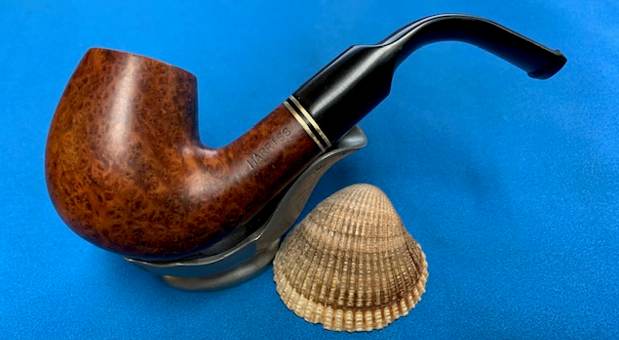
This is another pipe that I have taken out of my personal collection as I just do not use enough to warrant keeping it. This pipe was one that I purchased on a pipe hunt many years ago. I honestly can’t remember when or if I even smoked it. But I know from its condition it has not been smoked much. The airway in the shank and the mortise were quite clean. The smooth finish and rim top were in good condition. There was some damage to the inner edge of the bowl and it was slightly out of round. The stamping on the pipe is very simple on the left side of the shank it is stamped Harriss in block letters. On the underside it is stamped with a shape number 863. There nothing stamped on the stem on either side or the top. The rich brown finish goes well with the vulcanite saddle stem. It is in good condition with some light tooth chatter and some tooth marks ahead of the button on both sides. I took photos of the pipe before I did my clean up work on it. 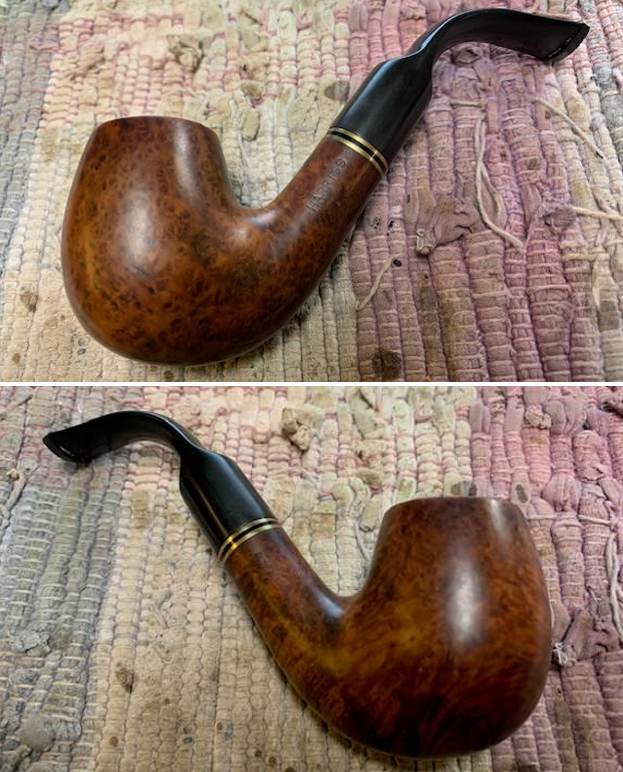
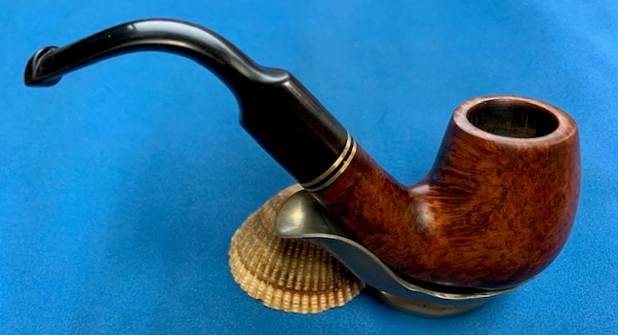
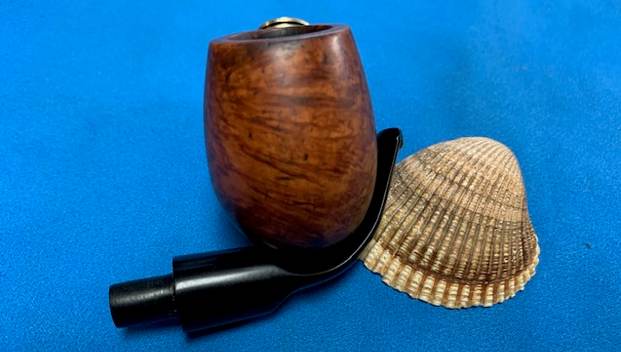
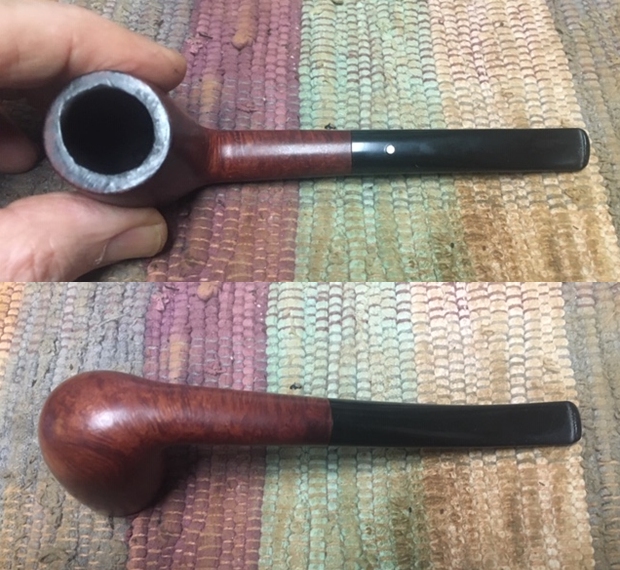
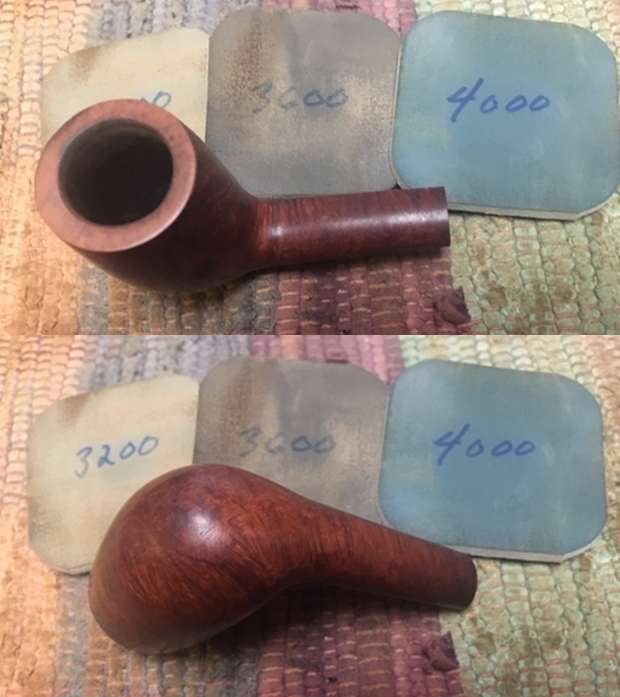
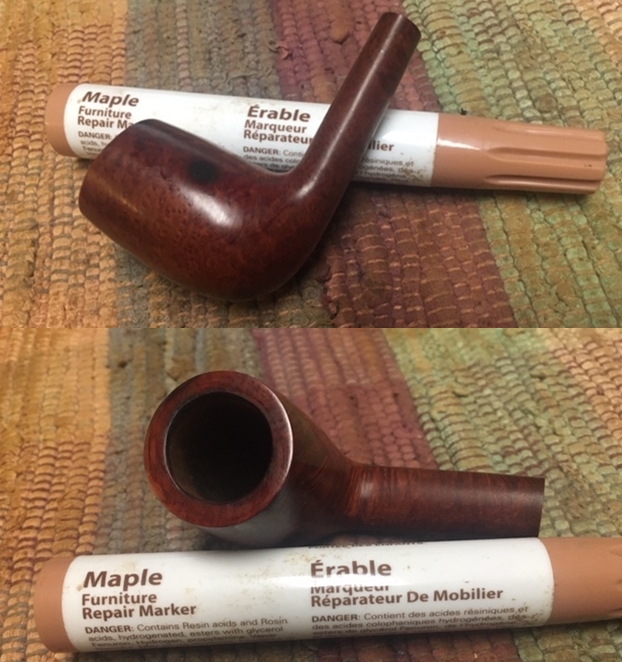
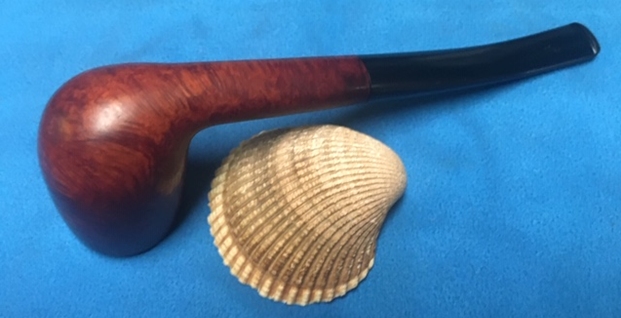
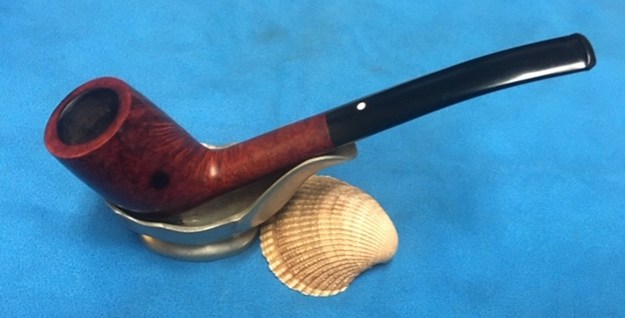
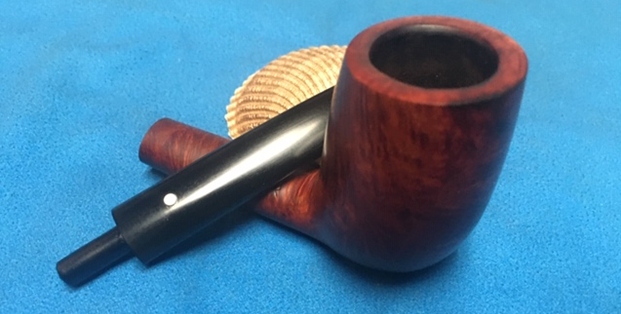
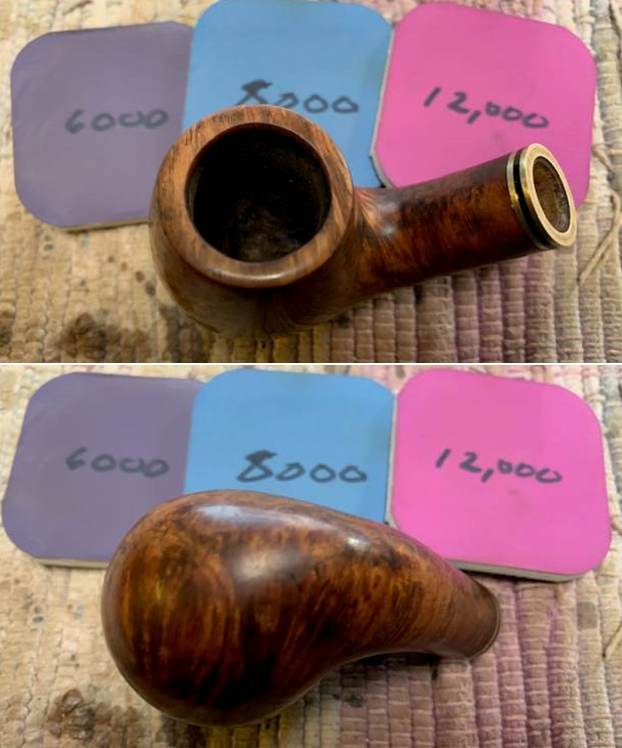
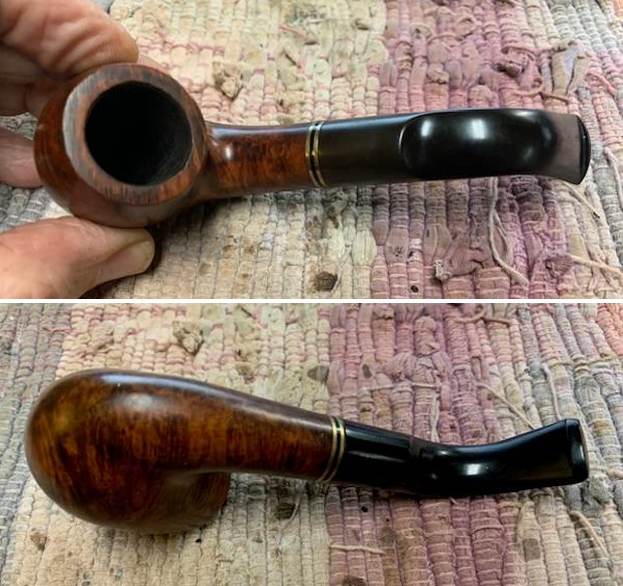 I took a photo of the bowl and rim top to verify the description above. I also took photos of the stem surface showing the light chatter and tooth marks on both side.
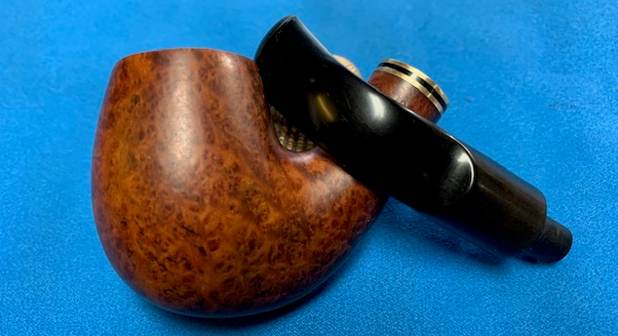
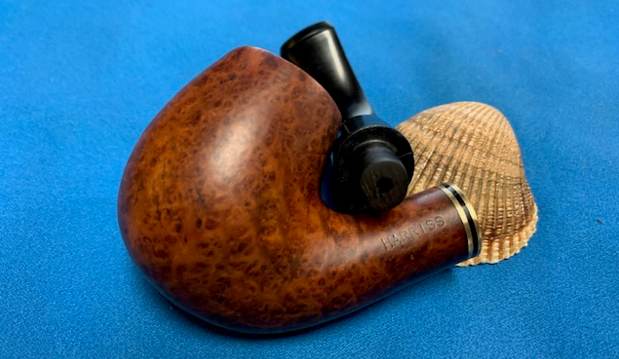
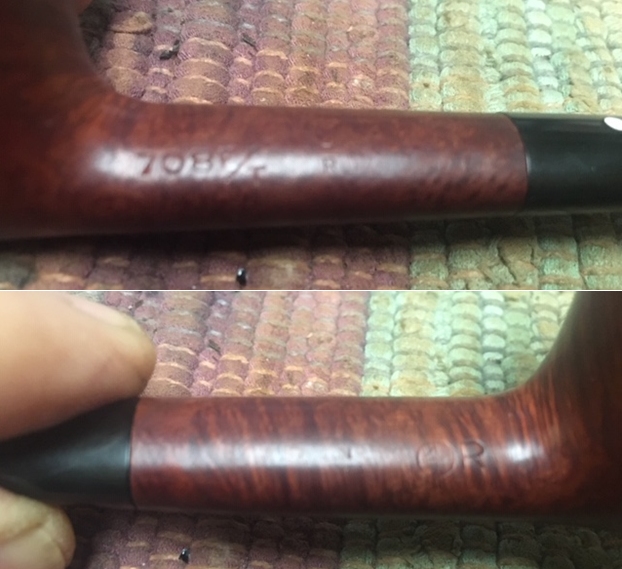
 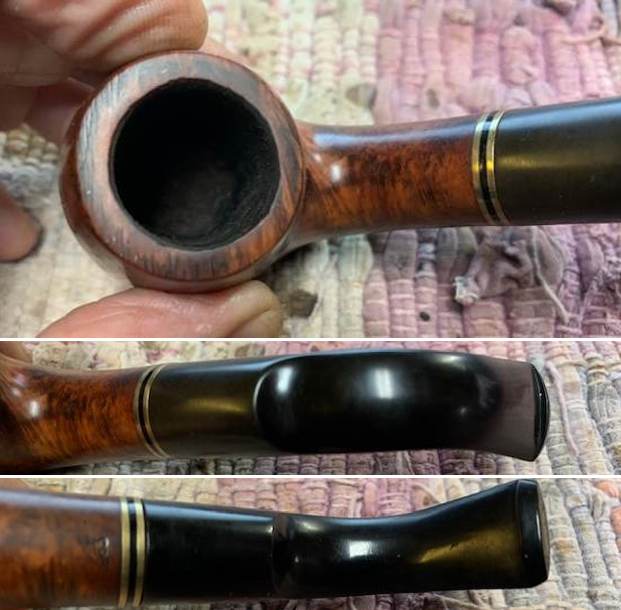 I took a photo of the stamping on the sides of the shank. It is clear and readable as noted above.
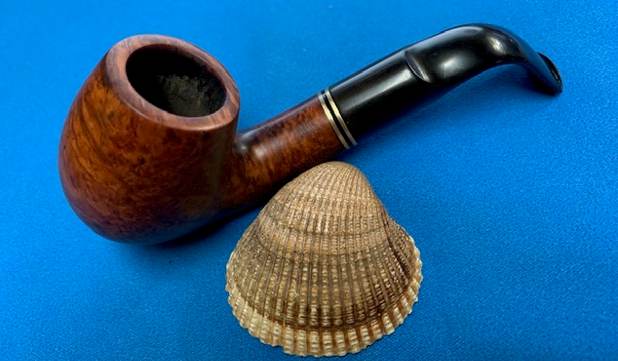
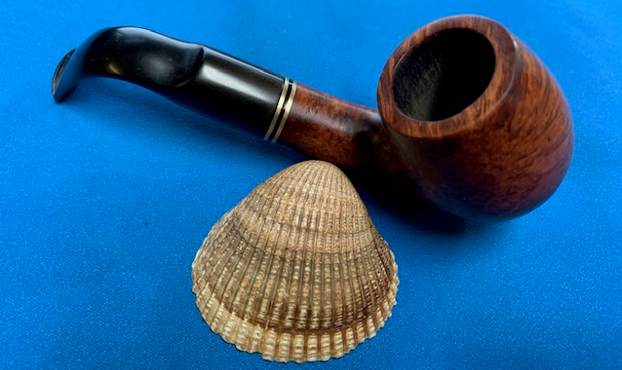
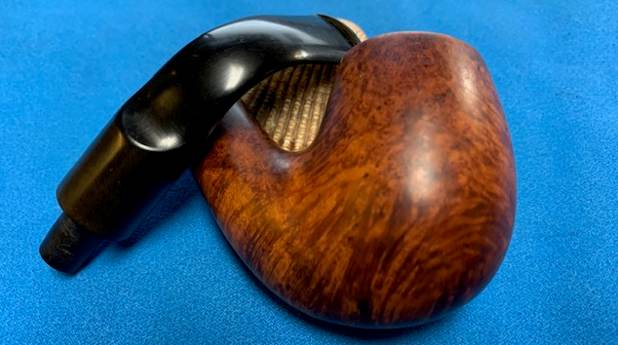
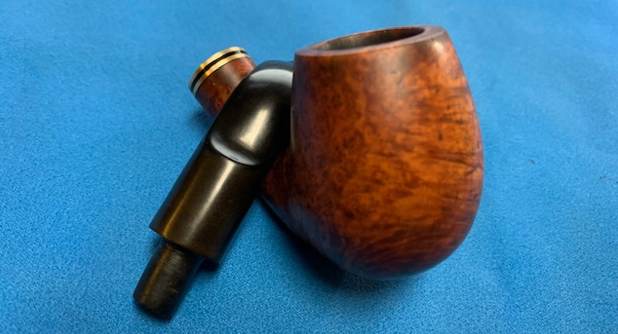
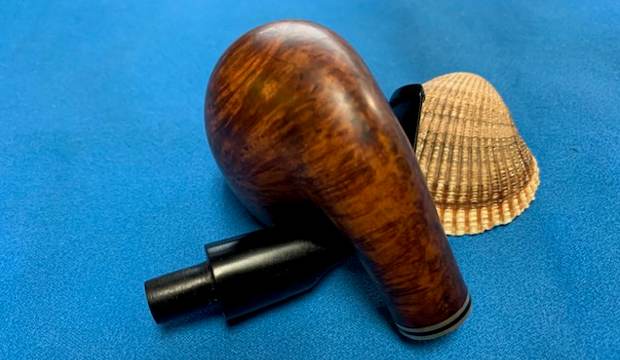
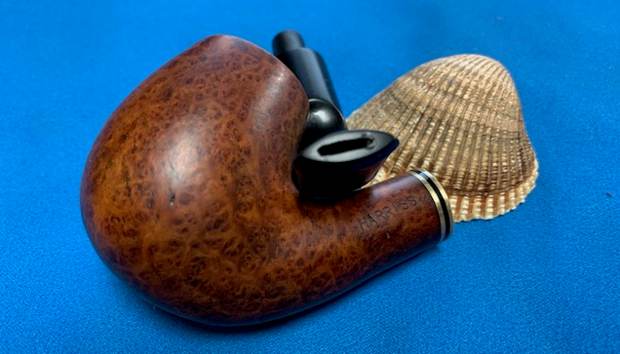
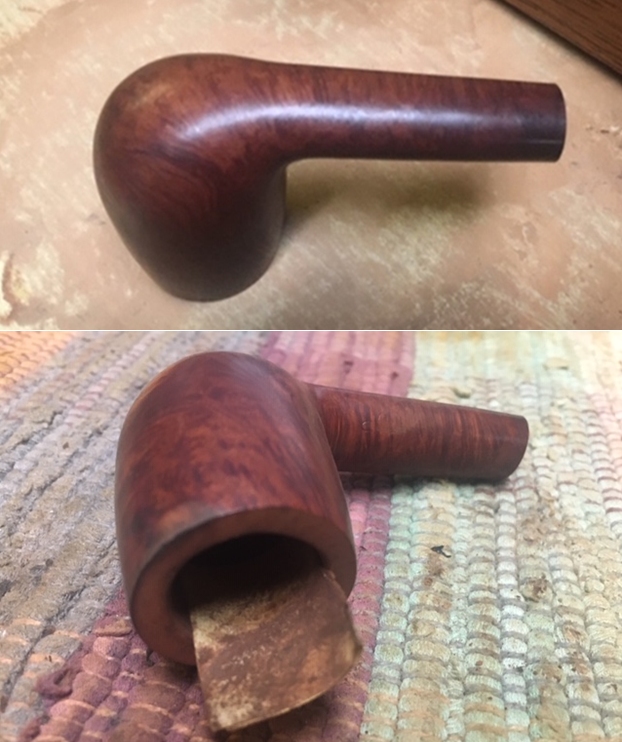
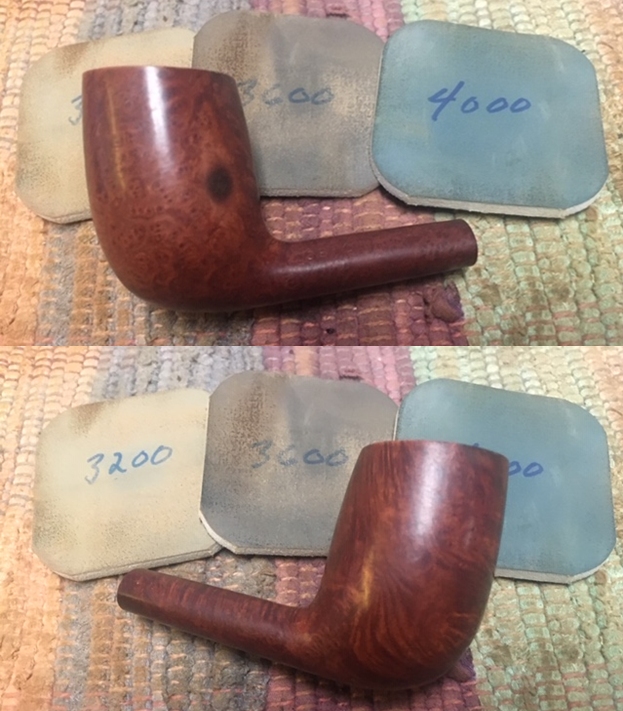
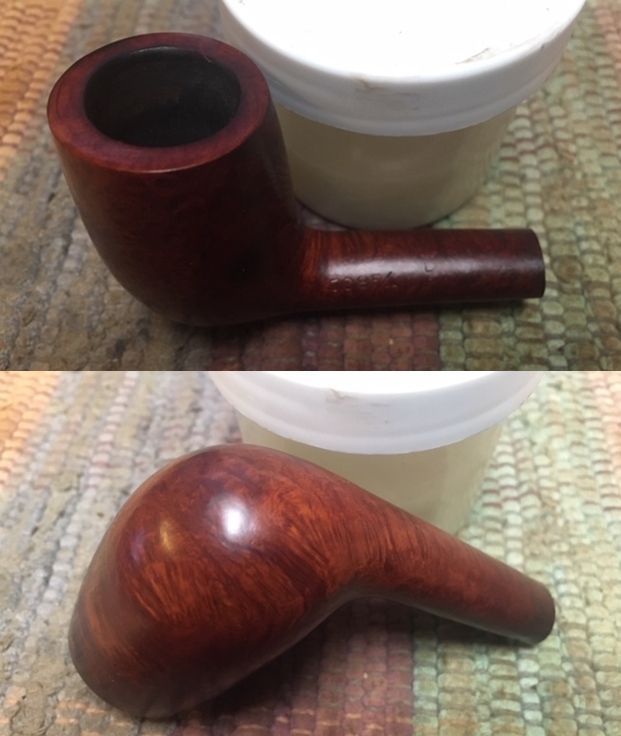
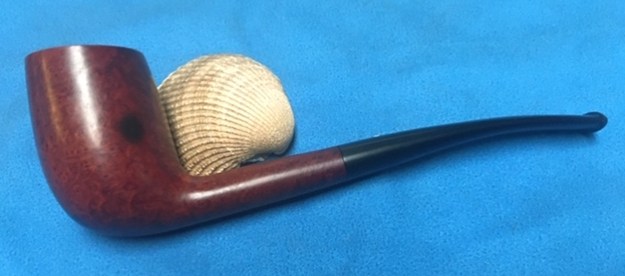
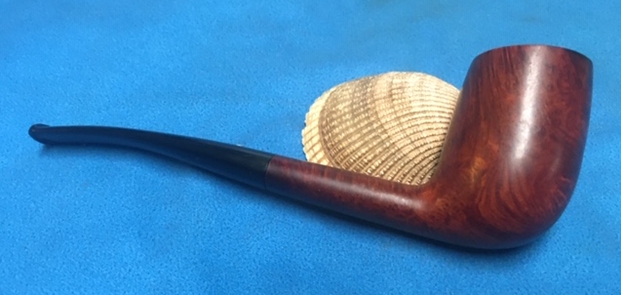
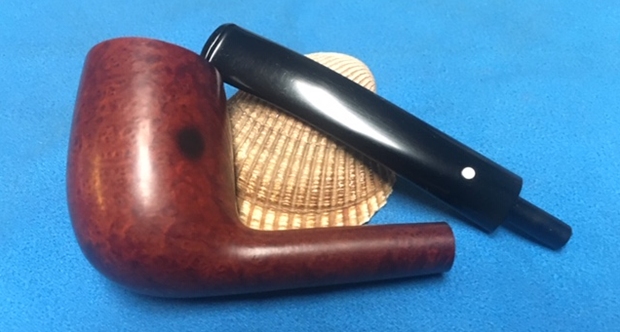
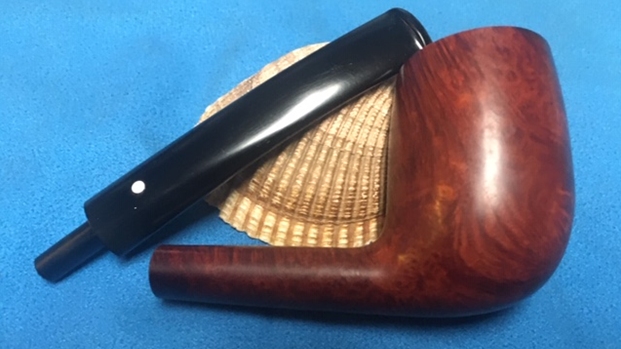
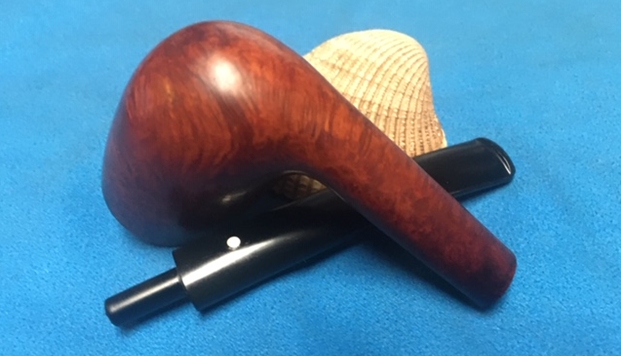
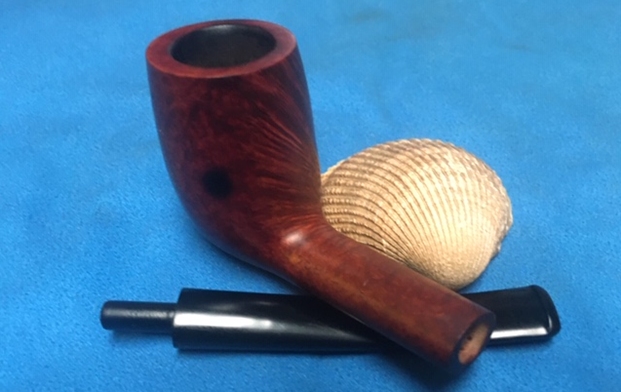
 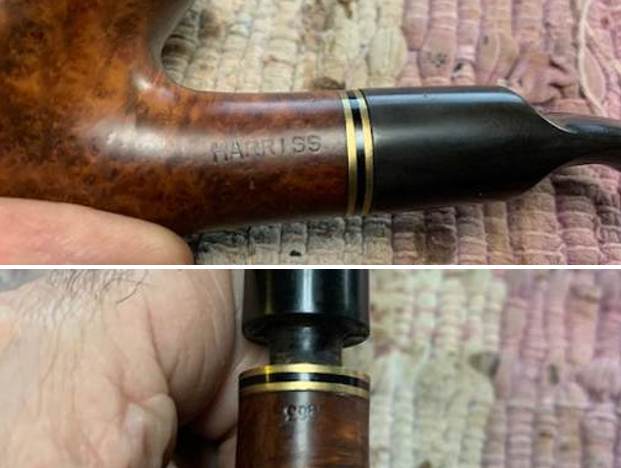 I took the stem off the bowl and took a photo of the pipe to give a sense of proportion of the pipe. You can also see the deep and rugged rustication on the briar and it is a beauty.
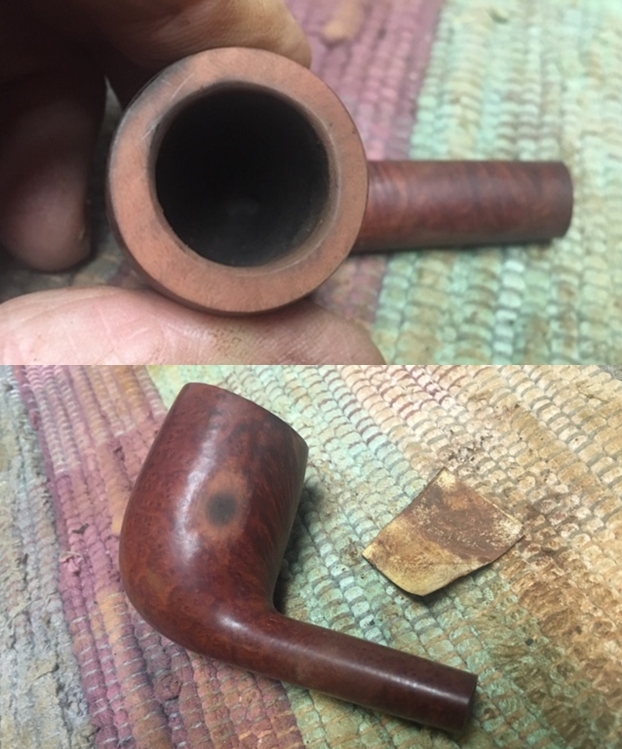
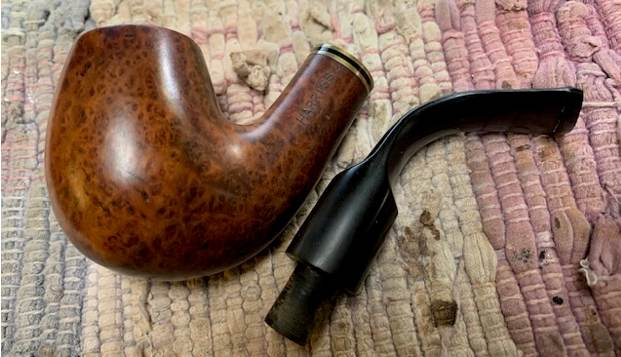 Now it was time to work on the pipe. I worked on the inner edge of the bowl 220 grit sandpaper to give the inner edge a slight bevel and clean up the damage that was present there. The rim came out looking quite good.
 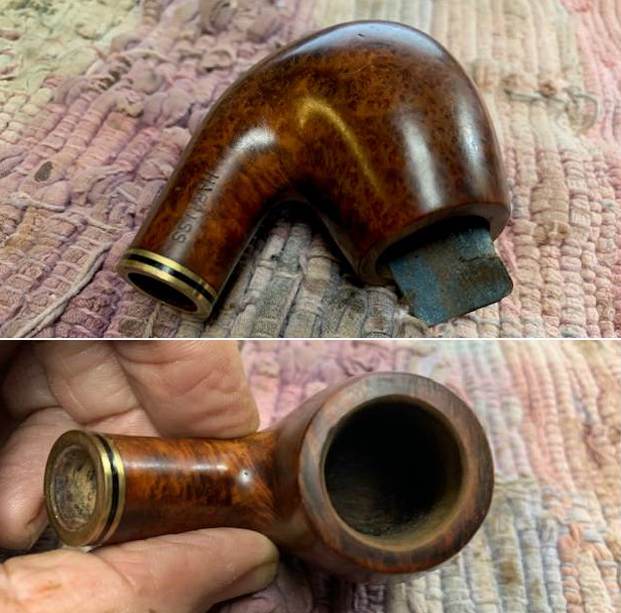 I reamed the light cake in the bowl with a Savinelli Fitsall Pipe Knife. I sanded the walls of the bowl to smooth them out with a piece of 220 grit sandpaper wrapped around a dowel.
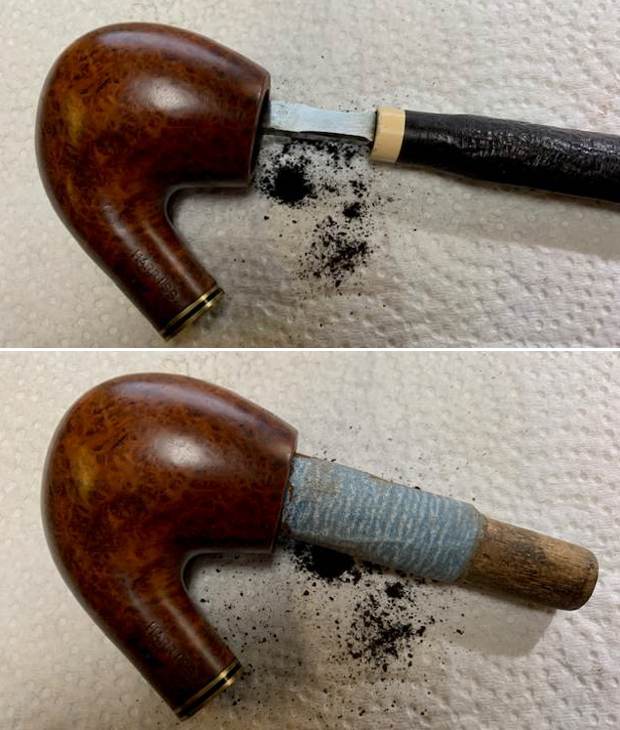 I cleaned the mortise and airways in the shank and stem with cotton swabs, pipe cleaners and isopropyl alcohol to remove the debris and tars from my smoking. You can see that it was not too bad as I tend to keep my pipes clean.
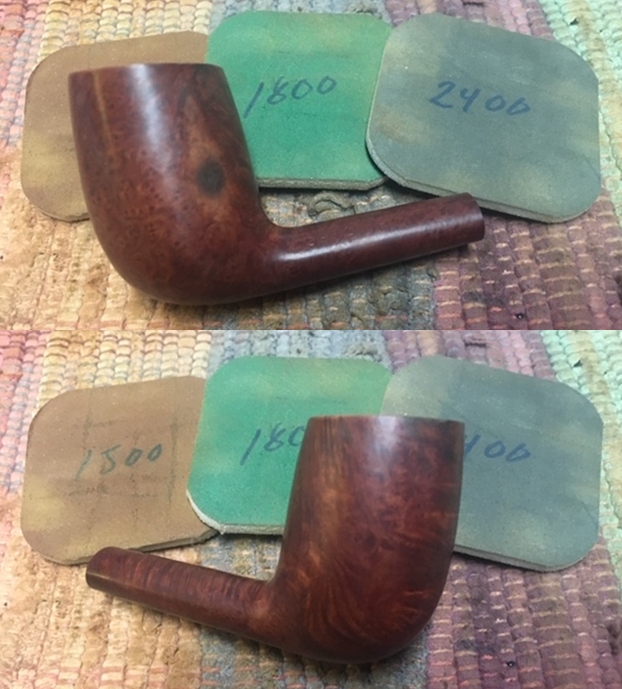
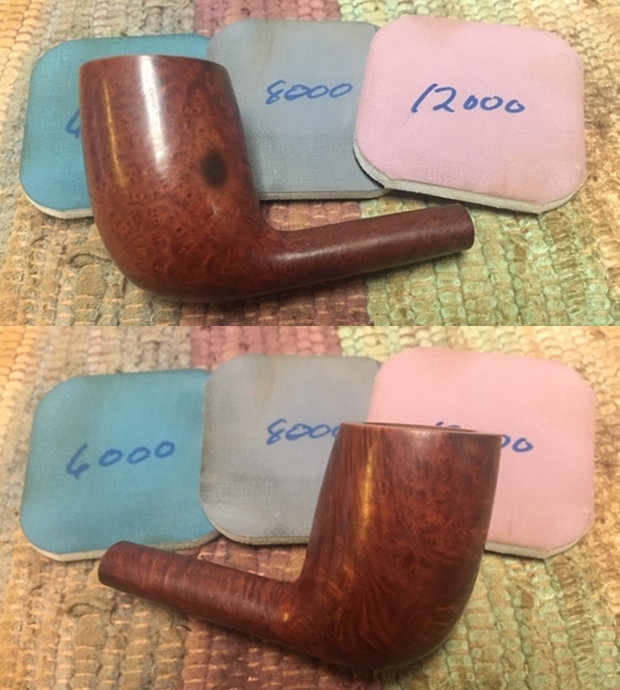
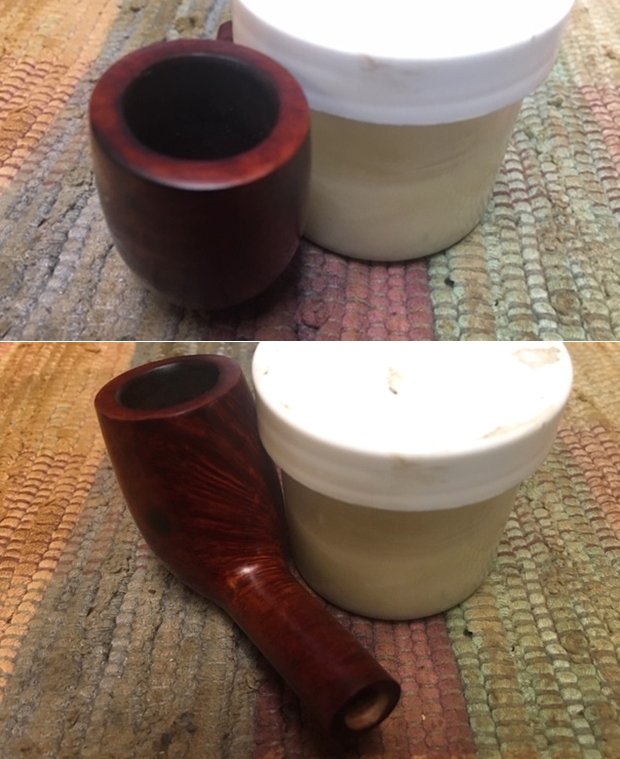
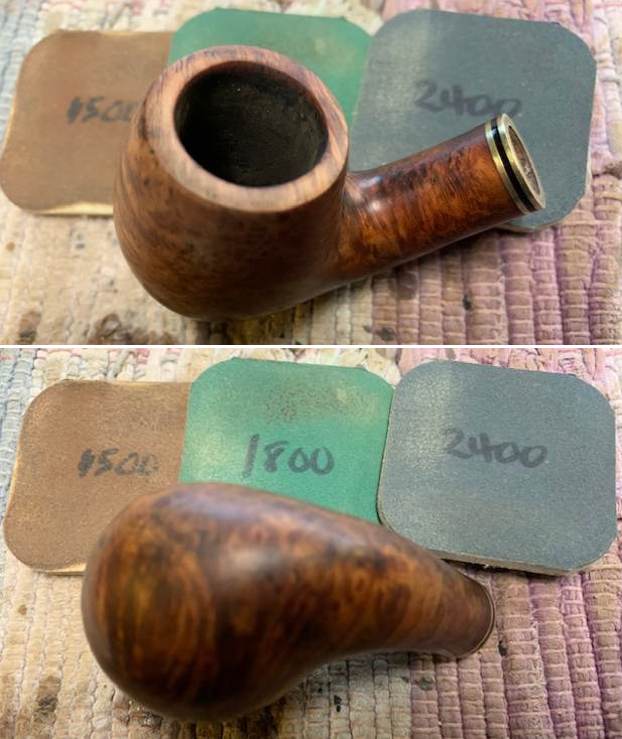
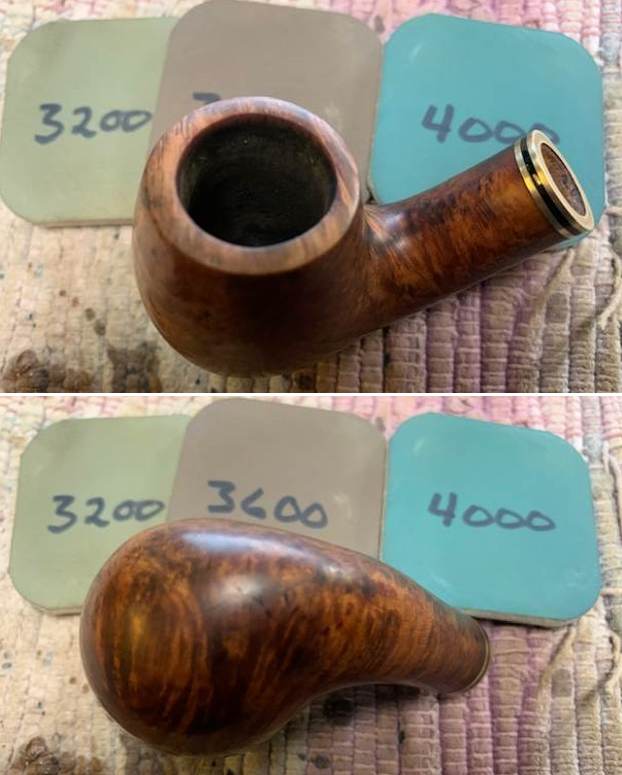
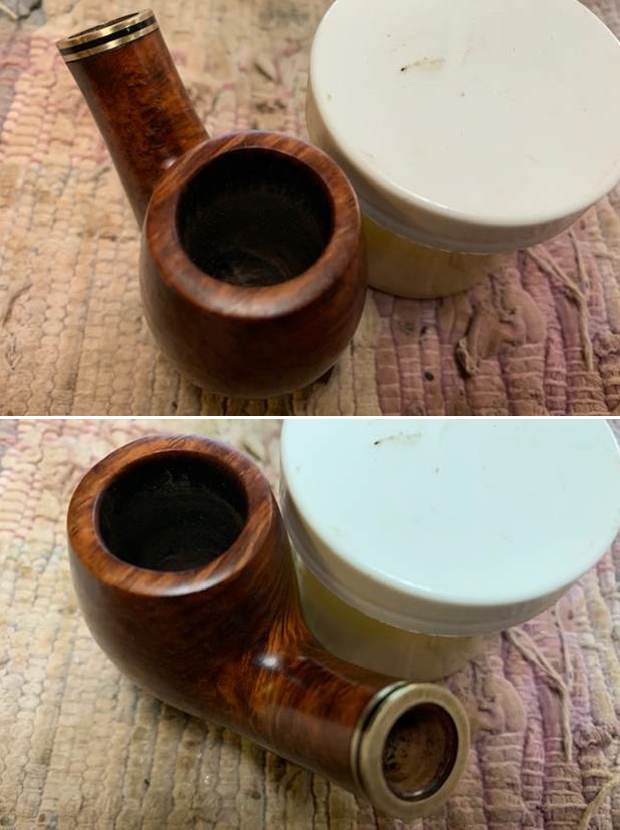
 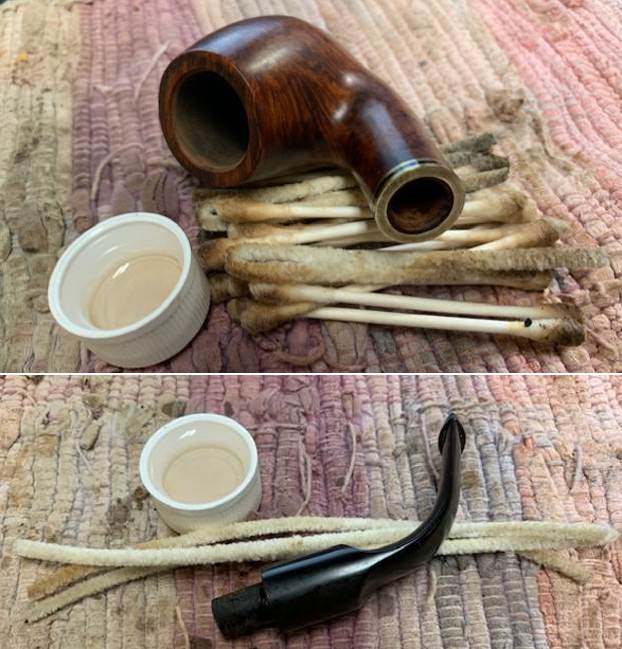 I polished the rim top and the briar with micromesh sanding pads – dry sanding with 1500-12000 grit pads. I wiped the bowl down with a damp cloth after each sanding pad to remove the dust and debris. The rim top polished out and matched the oil cured look of the bowl and shank.

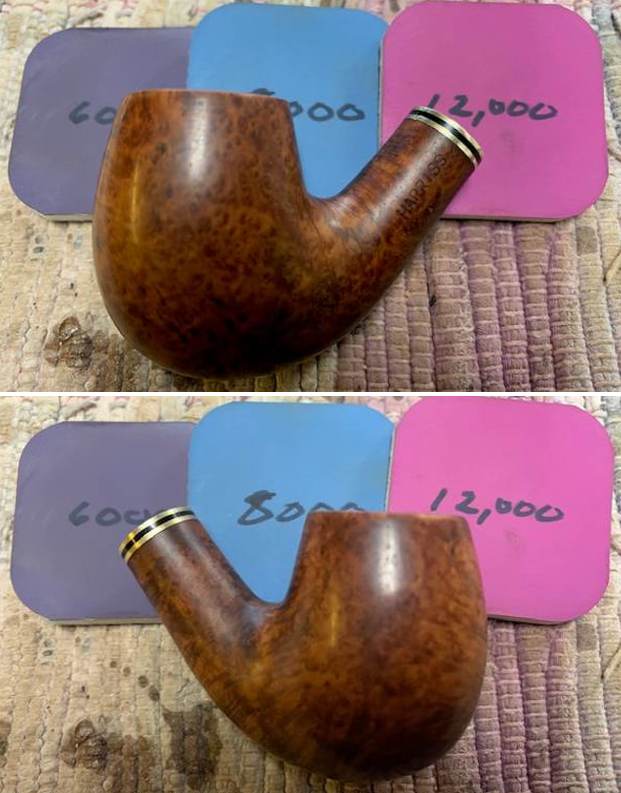
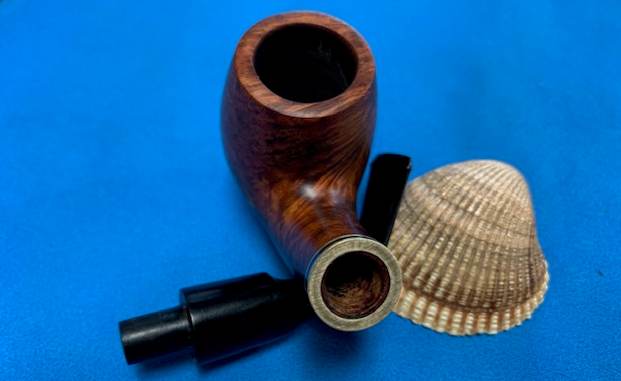
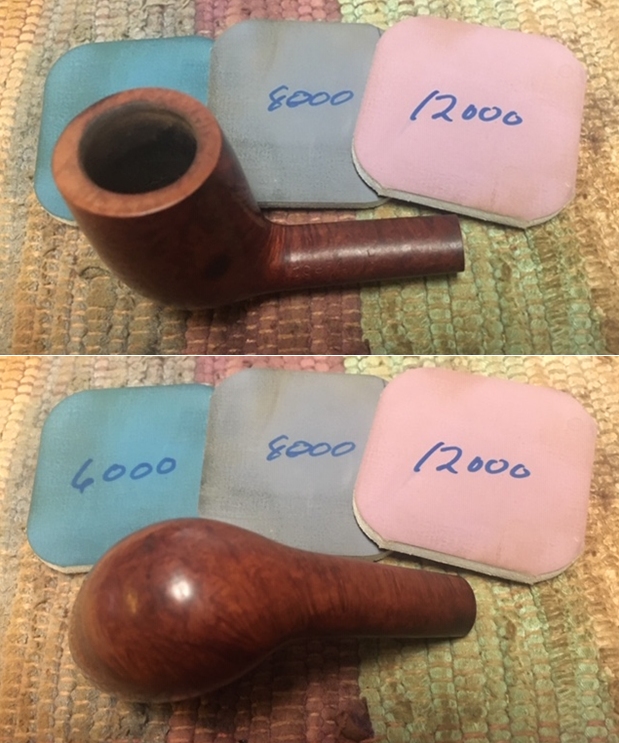
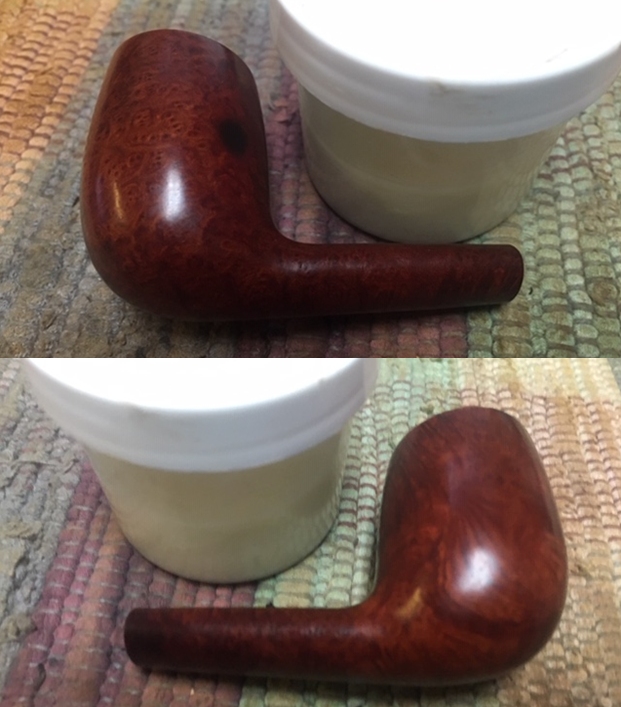
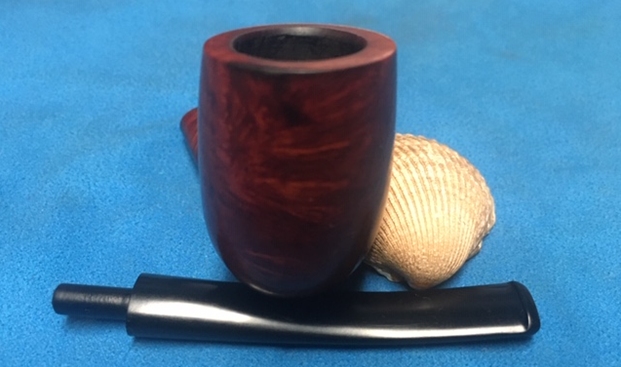
 The bowl was in such good condition that decided to give the bowl and shank a coating of Before & After Restoration Balm. I worked it into the surface of the briar with my fingertips to clean, enliven and protect the briar. I let the balm sit for 15 minutes and then buffed with a cotton cloth to raise the shine. The photos show the bowl at this point in the restoration process.
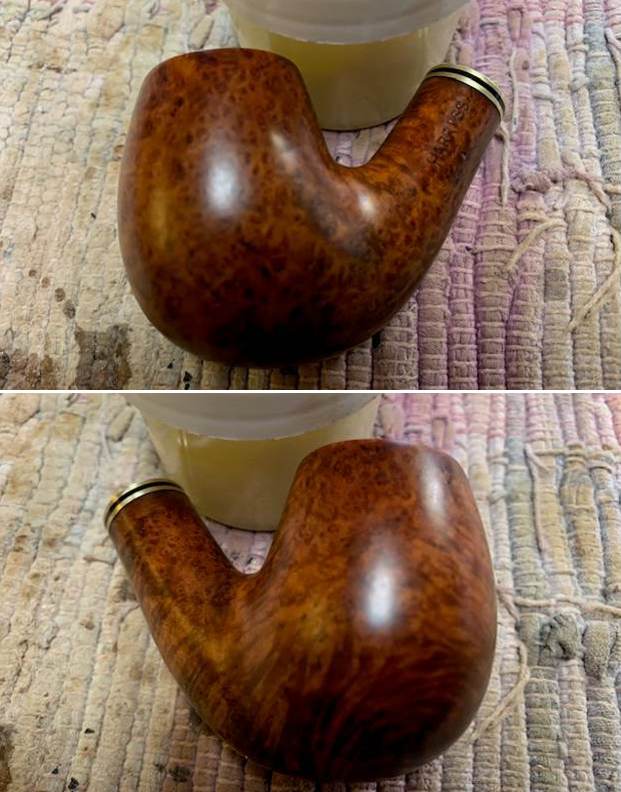

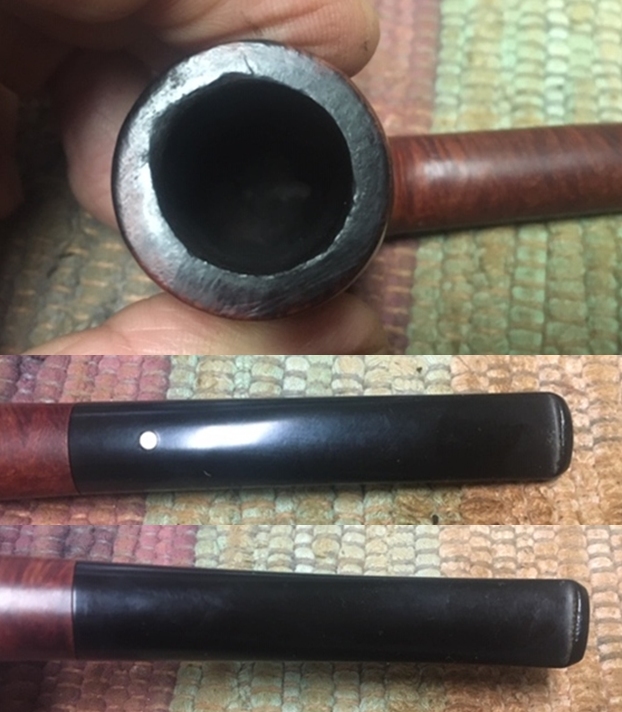
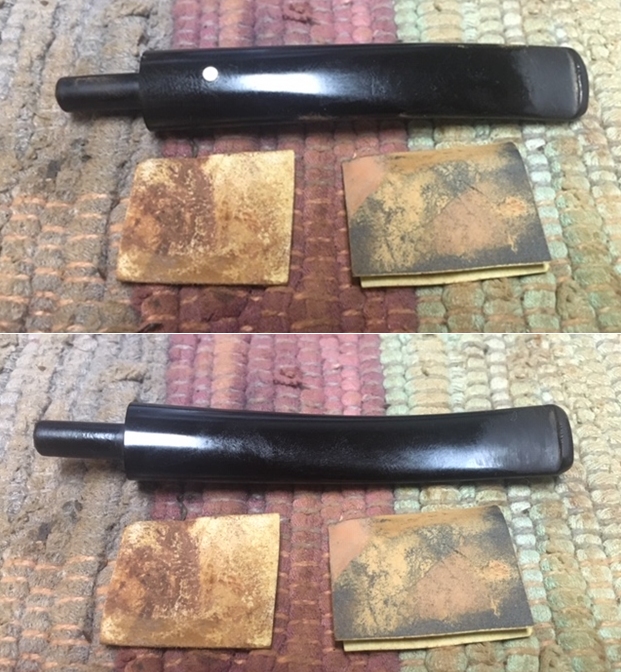
 I set the bowl aside and sanded out the tooth marks and chatter on the stem surface and button with 220 grit sandpaper. I started polishing the stem with 400 grit wet dry sandpaper. I was able to smooth out the marks on the surface of both sides.
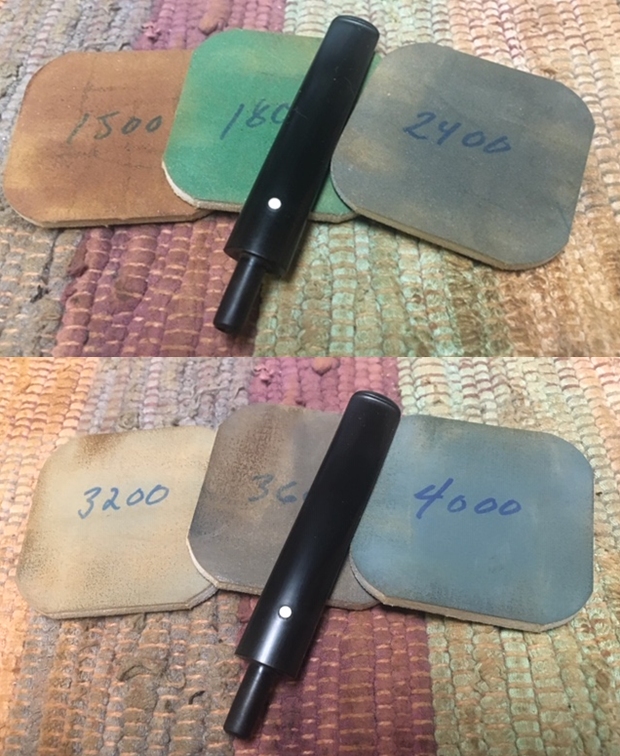
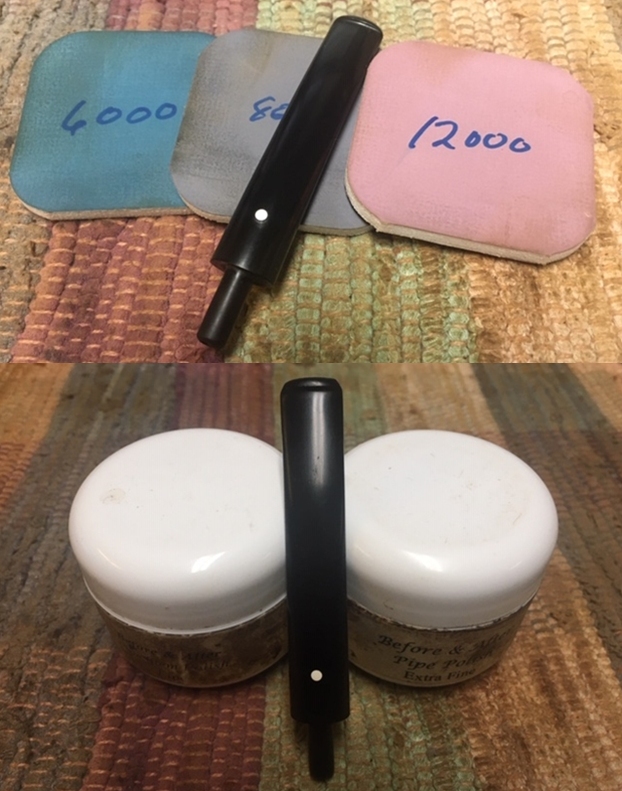
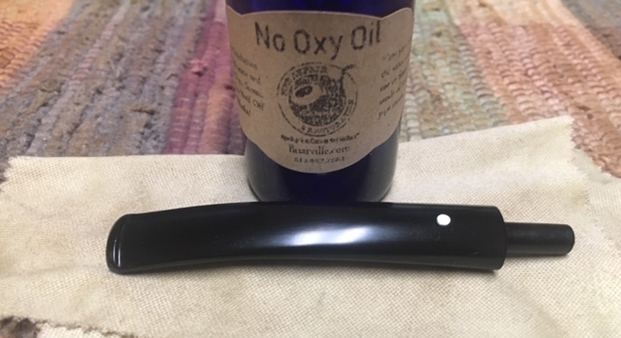
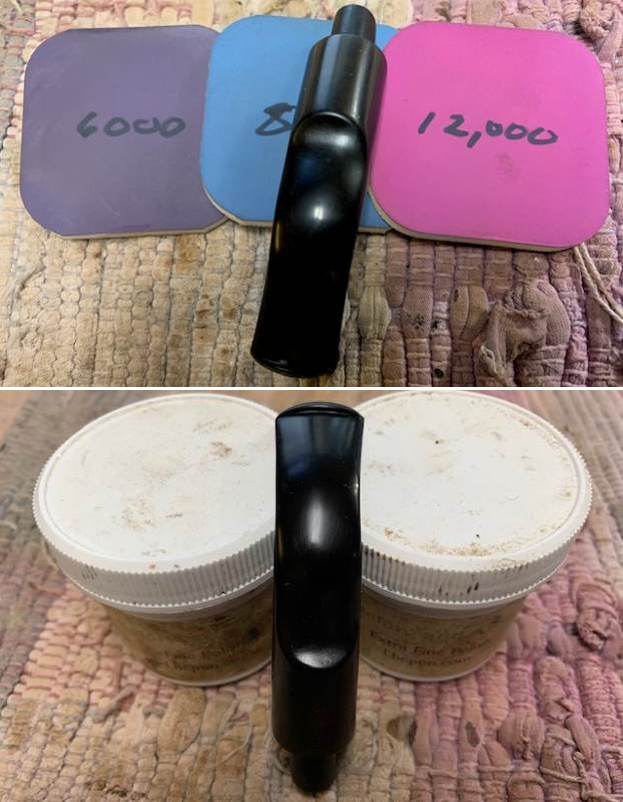
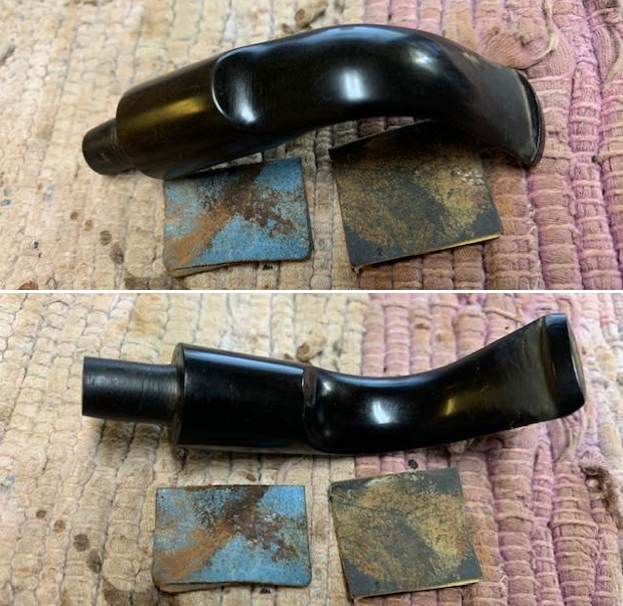 I polished the stem with micromesh sanding pads – dry sanding with 1500-12000 grit pads. I rubbed it down between pads with Obsidian Oil. I polished it with Before & After Fine and Extra Fine Pipe Stem Polish. I wiped it down with some Obsidian Oil and buffed it off. It is a beautiful stem.
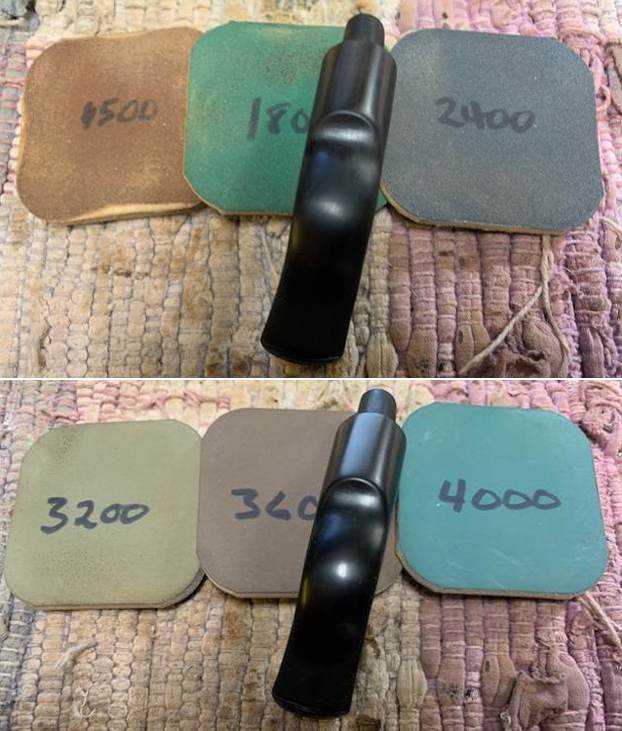
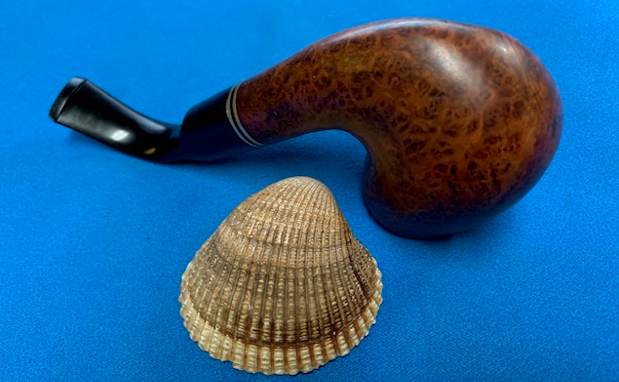
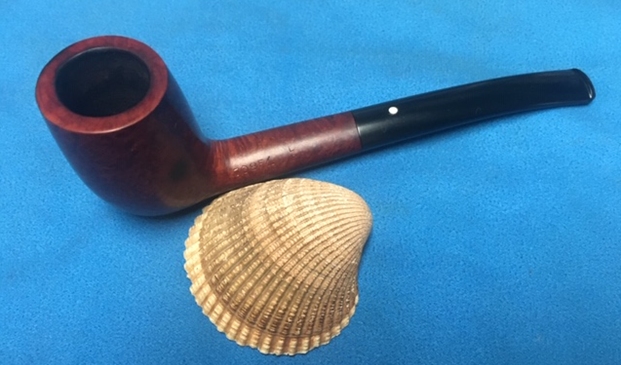
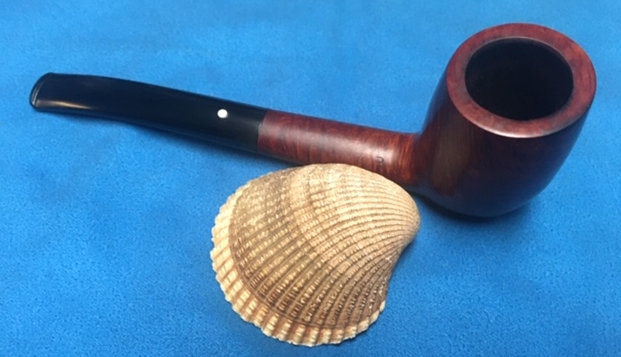
 I am excited to put the final touches on the Harriss 863 Bent Billiard. I put the pipe back together and buffed the stem with Blue Diamond on the buffing wheel. I gave the bowl and the stem multiple coats of carnauba wax. I hand buffed the pipe with a clean buffing pad to raise the shine. It is fun to see what the polished bowl looks like with the beautiful grain, the triple sandwiched brass and black acrylic band on the shank end and the polished vulcanite saddle stem. This smooth Harriss Bent Billiard is great looking and the pipe feels great in my hand. It is light and well balanced. Have a look at it with the photos below. The dimensions are Length: 5 inches, Height: 2 inches, Outside diameter of the bowl: 1 1/8 inches, Chamber diameter: ¾ of an inch. The weight of the pipe is 52 grams/1.80 ounces. It is a beautiful pipe that I will soon be putting on the rebornpipes store in the English Pipe Makers Section. If you are interested in adding it to your collection send me an email or a message. Thanks for walking through the restoration with me as I worked over this pipe. Thanks to each of you who are reading this blog.