Blog by Steve Laug
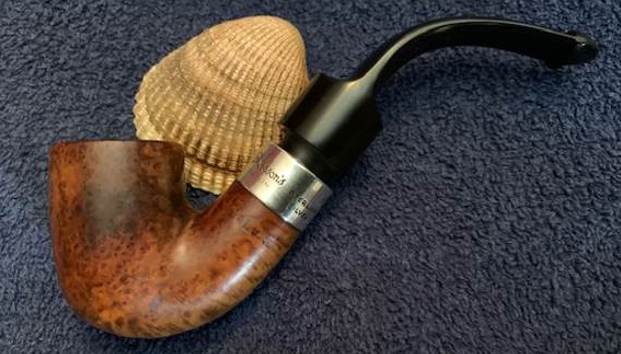
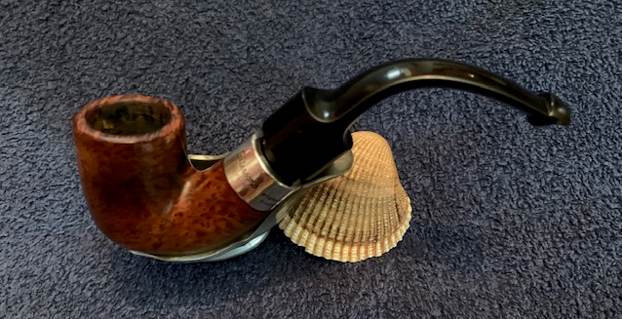
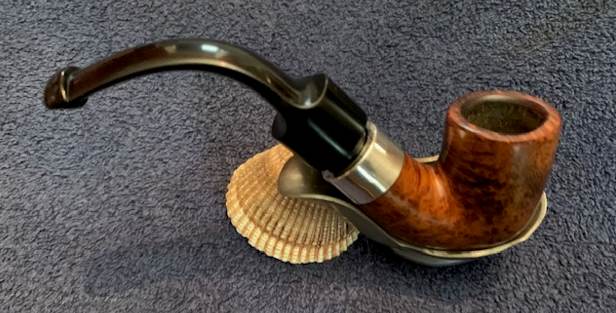
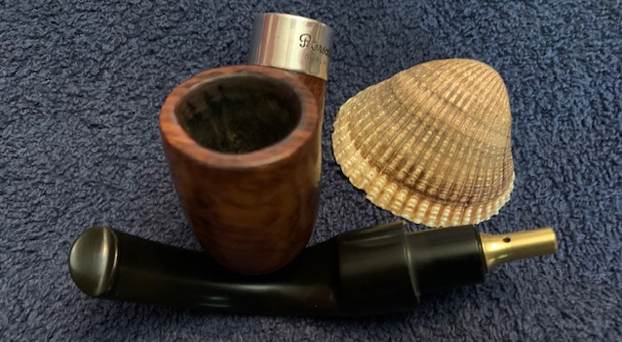
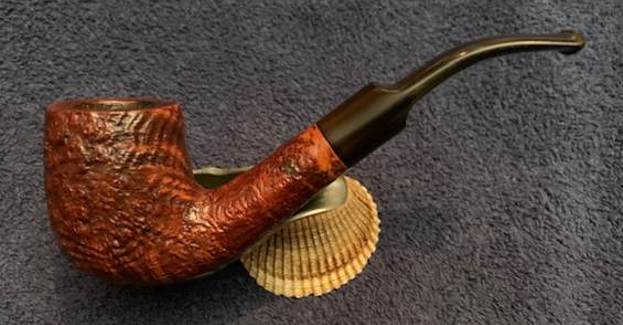
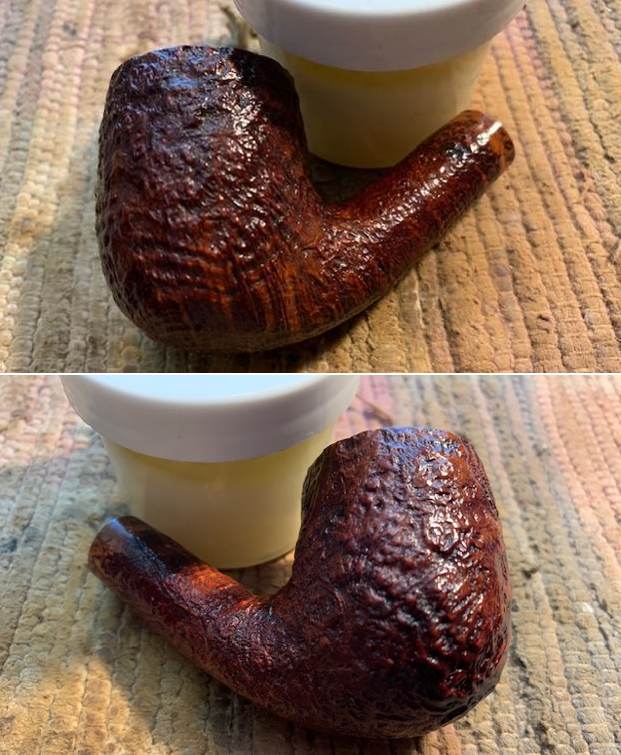
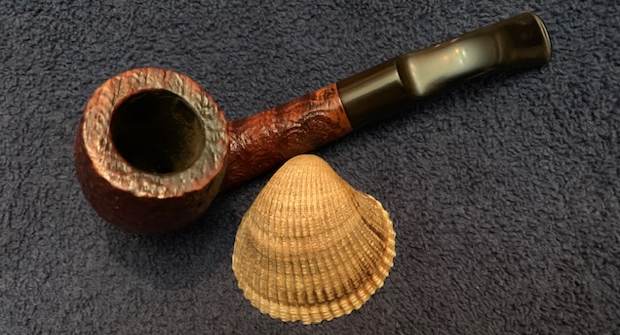
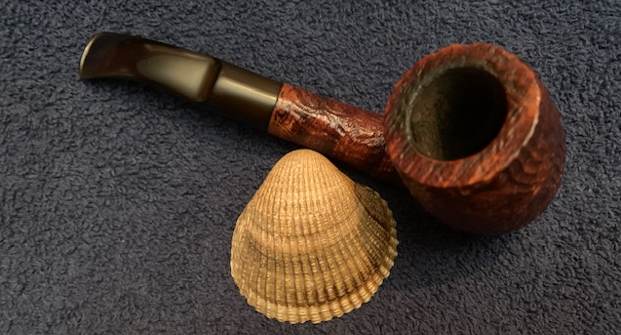
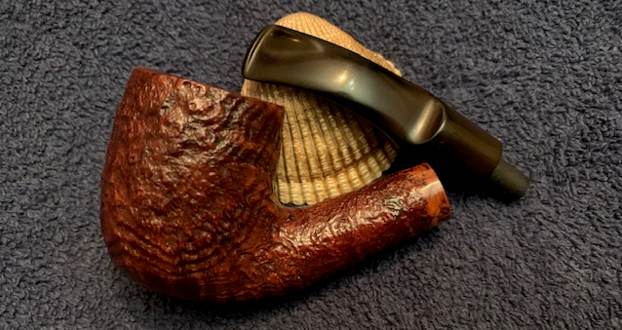
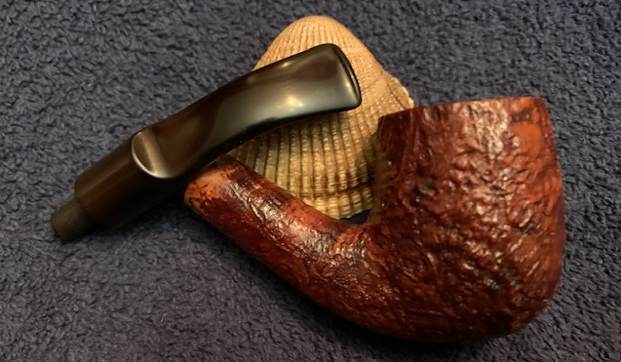
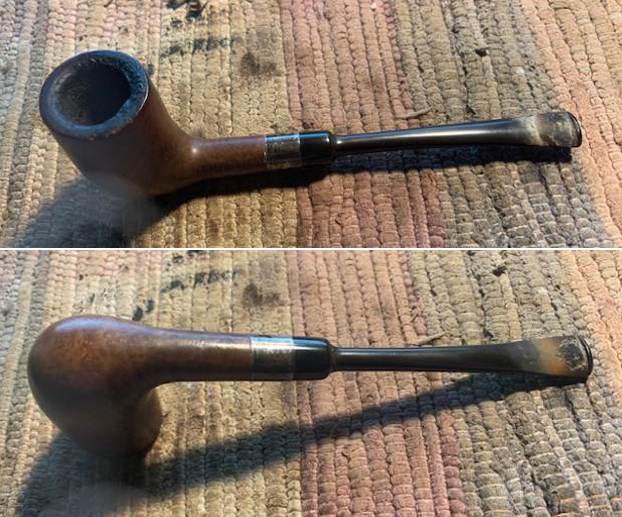
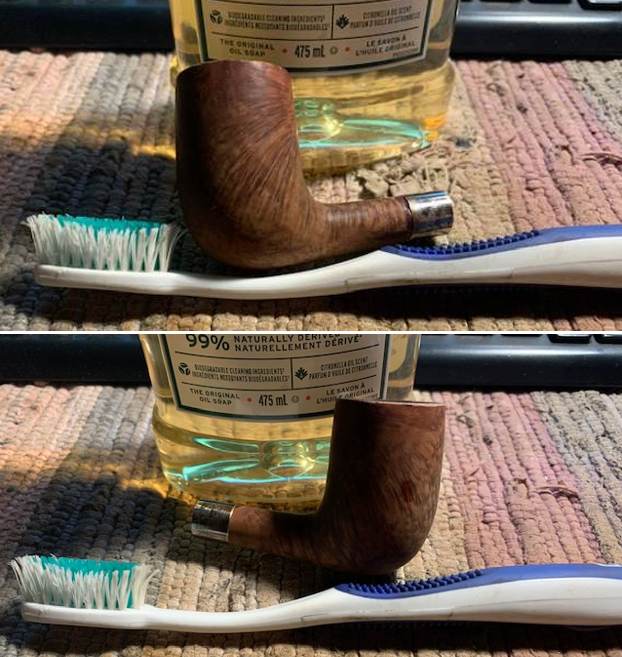
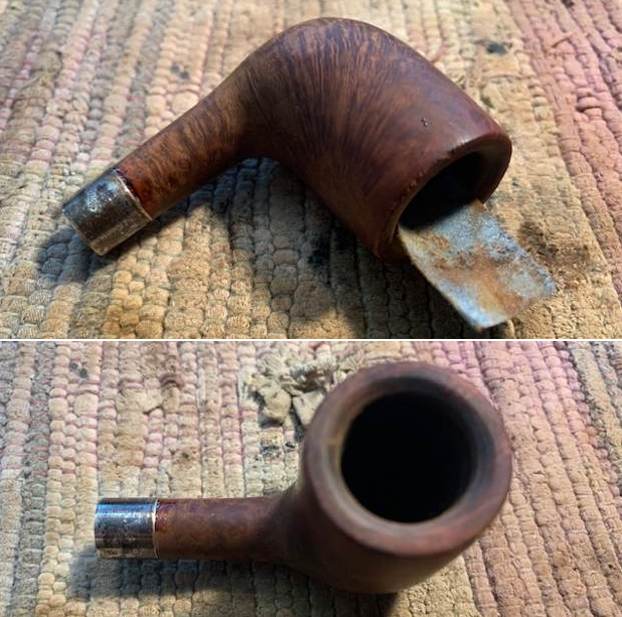
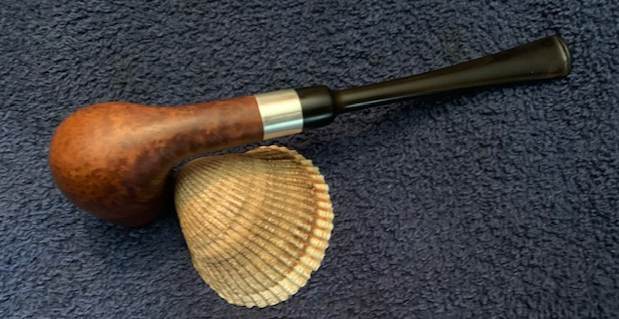
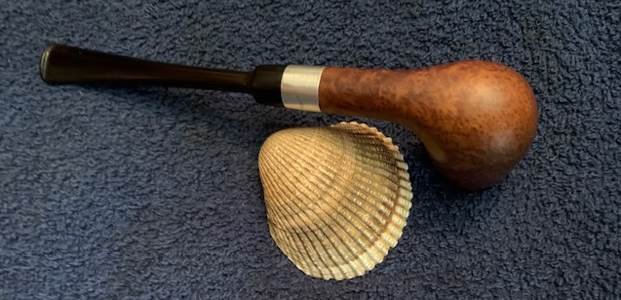
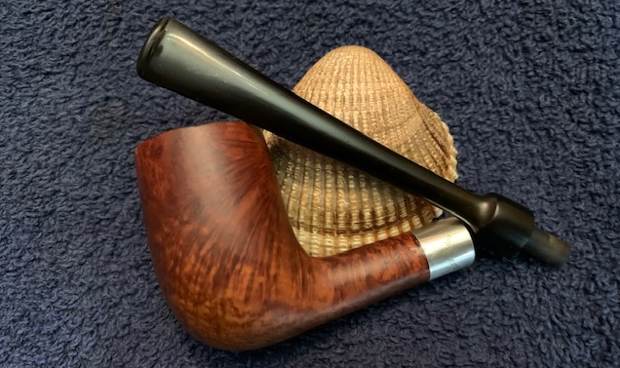
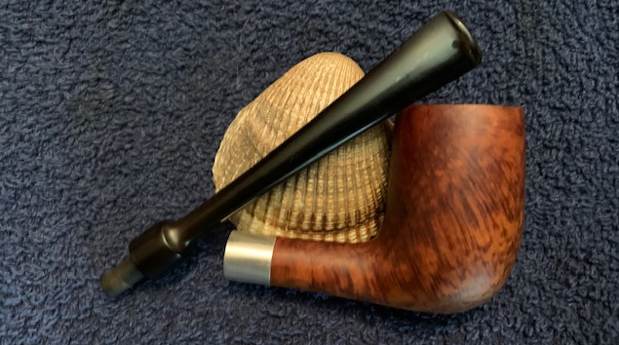
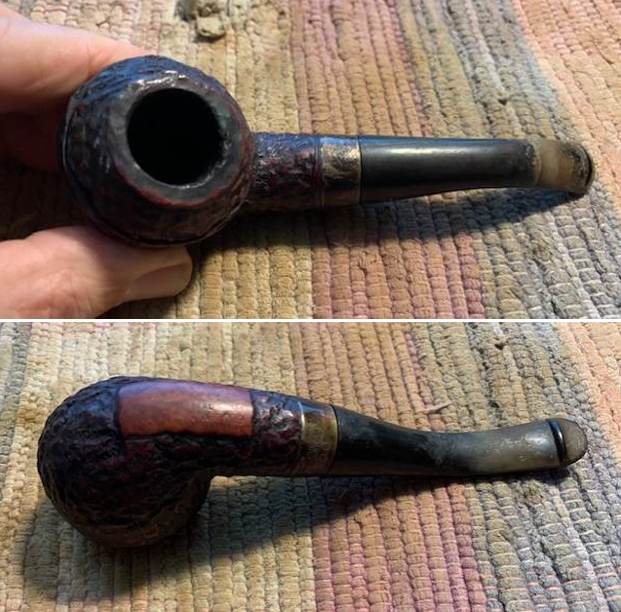
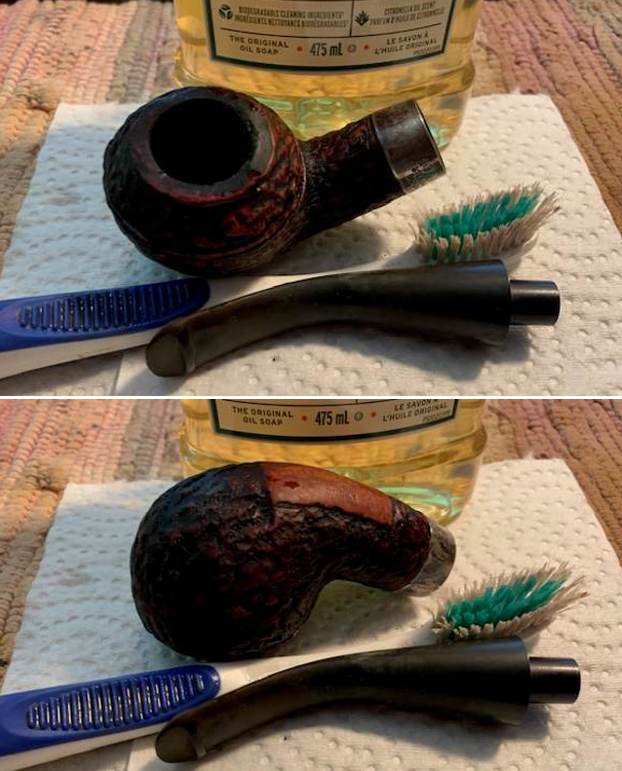
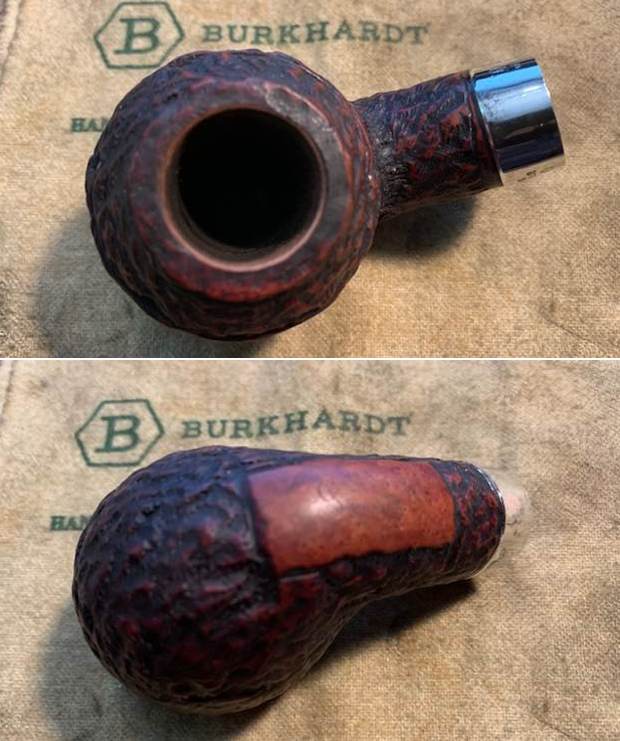
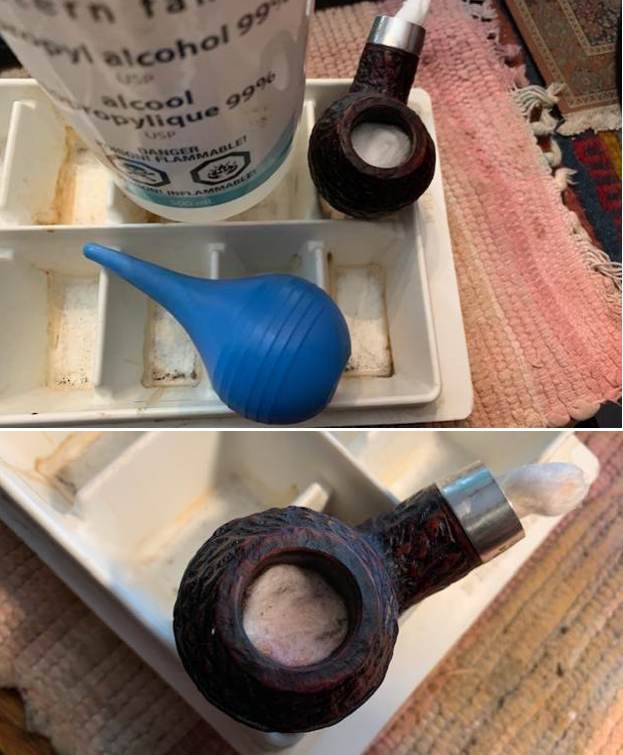
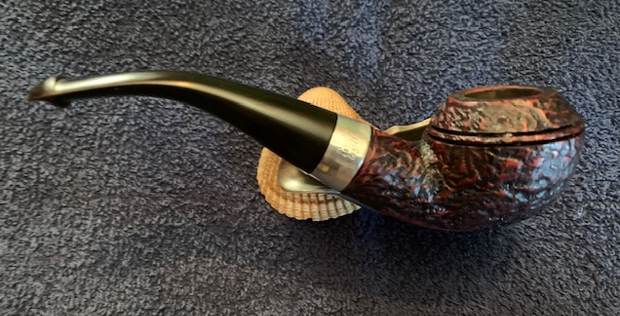
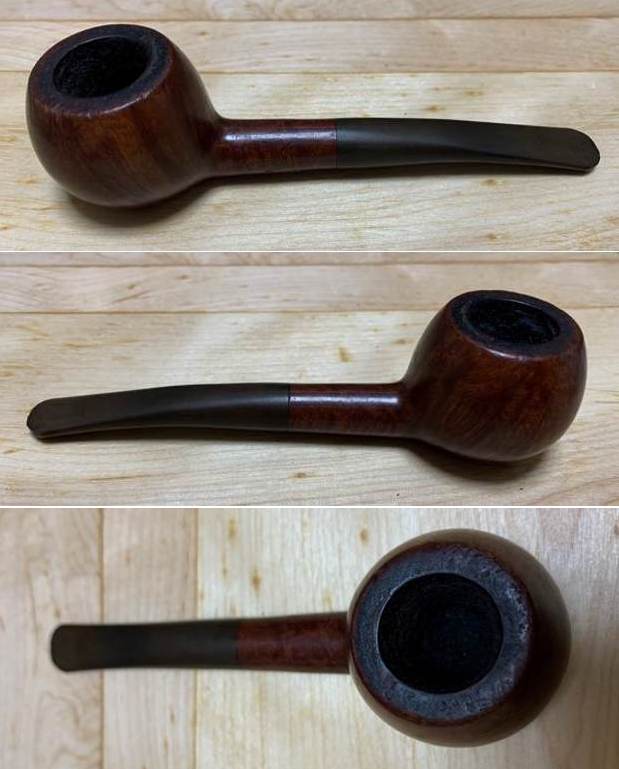
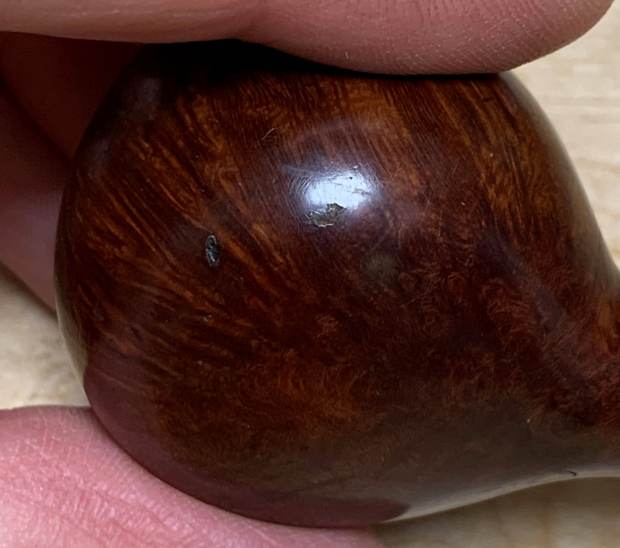
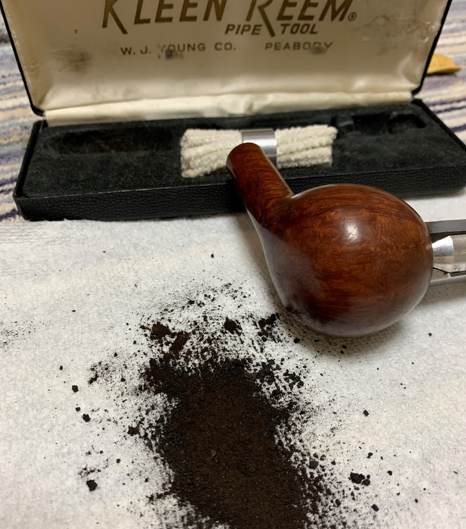
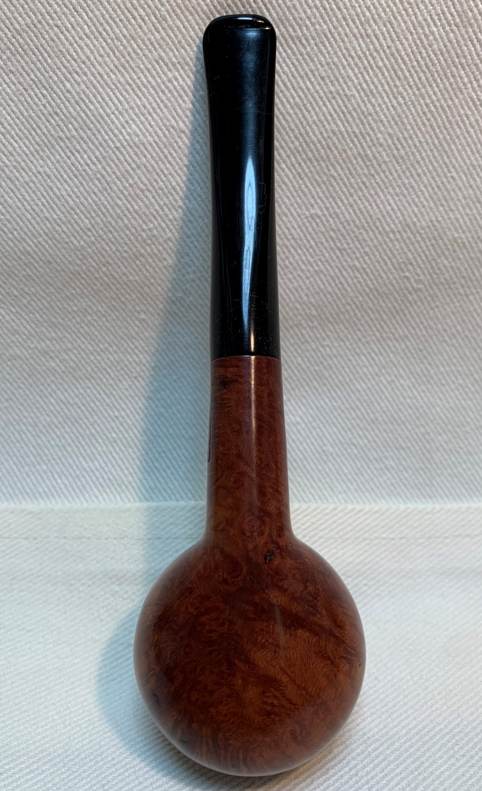
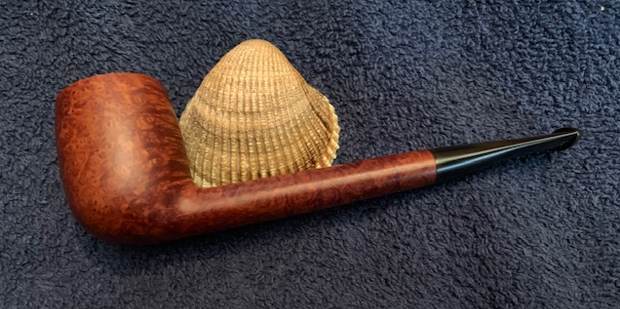
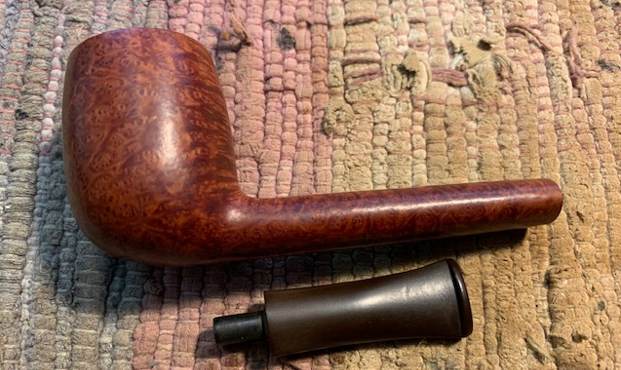
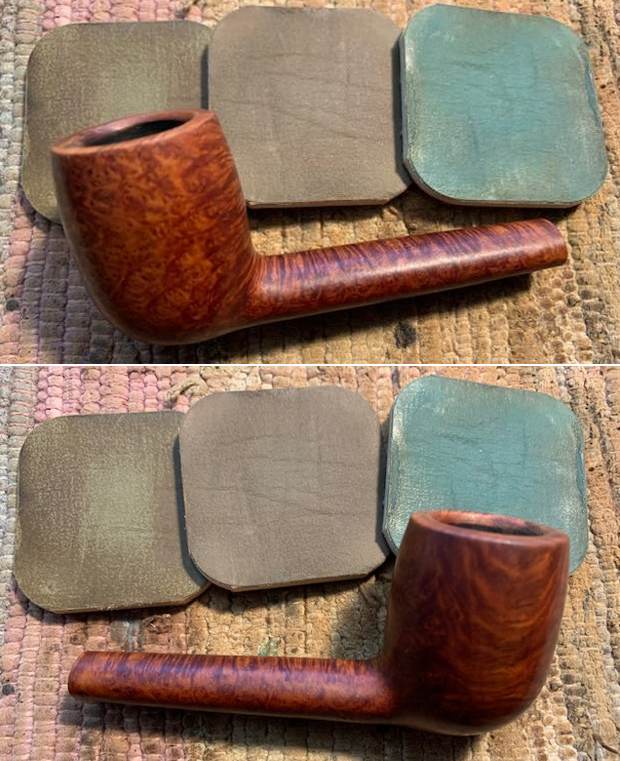
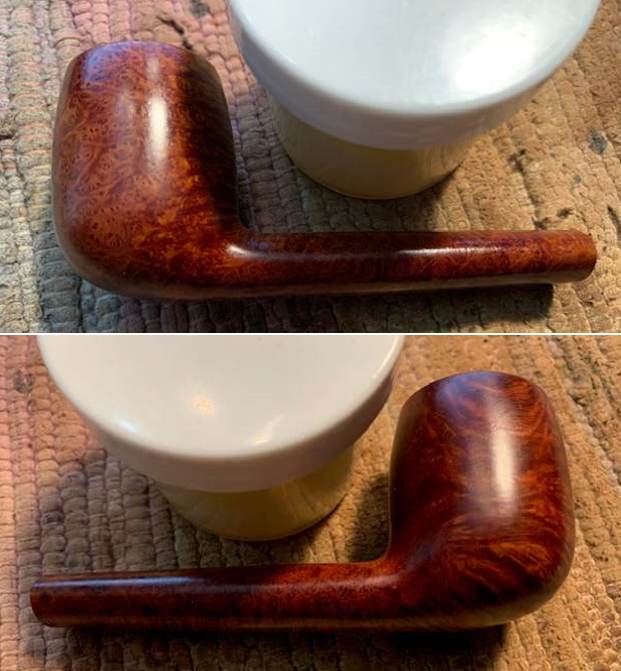
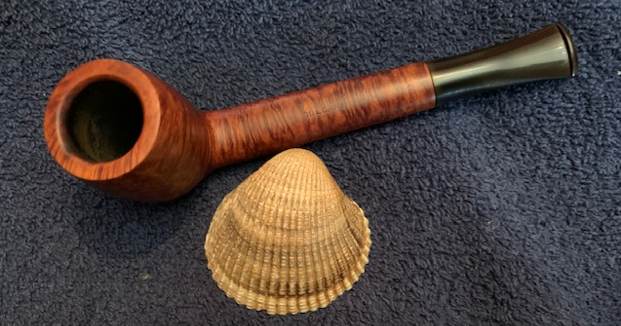
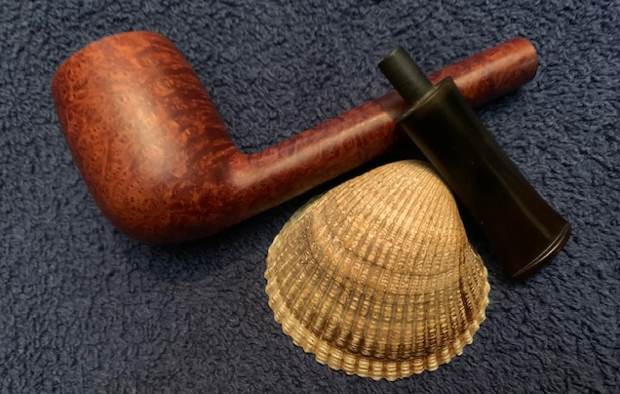
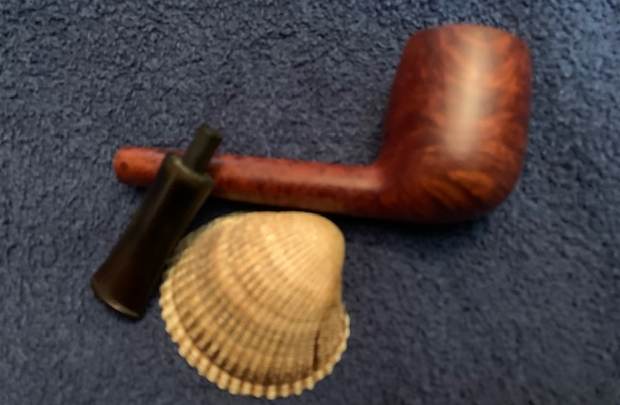
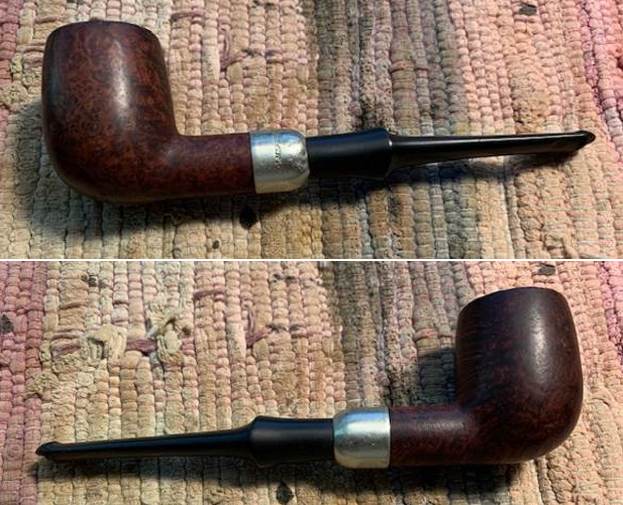
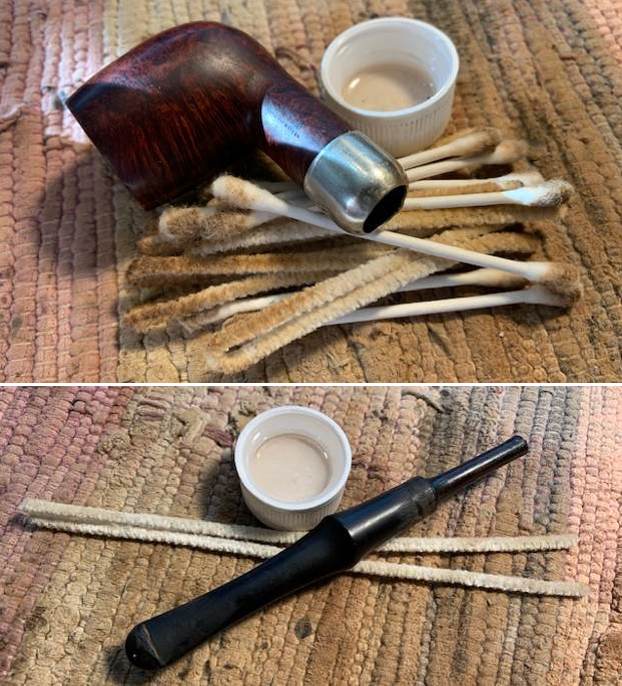
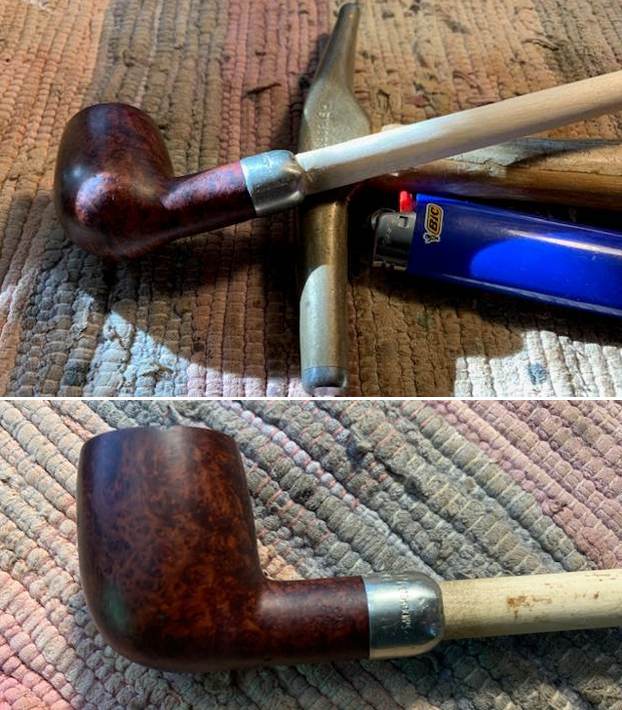
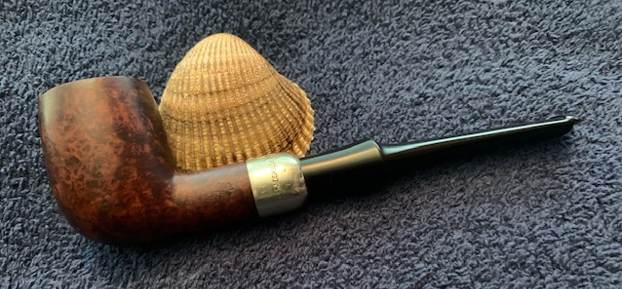
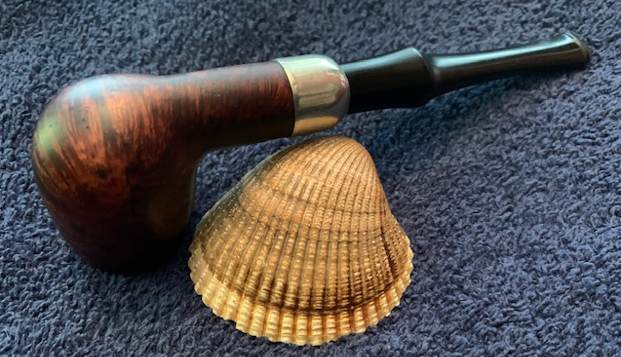
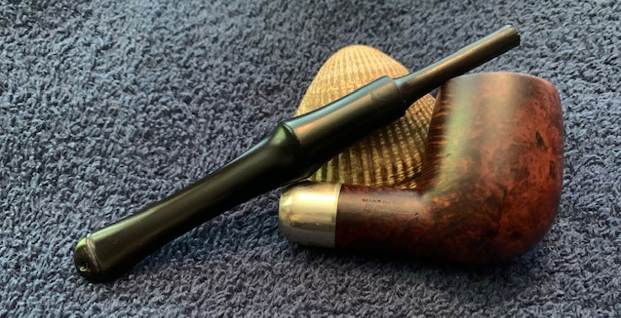
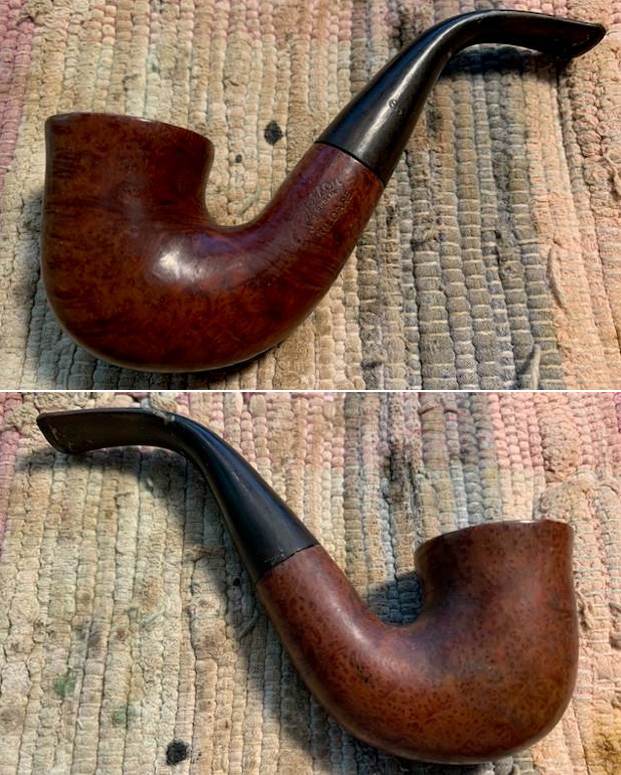
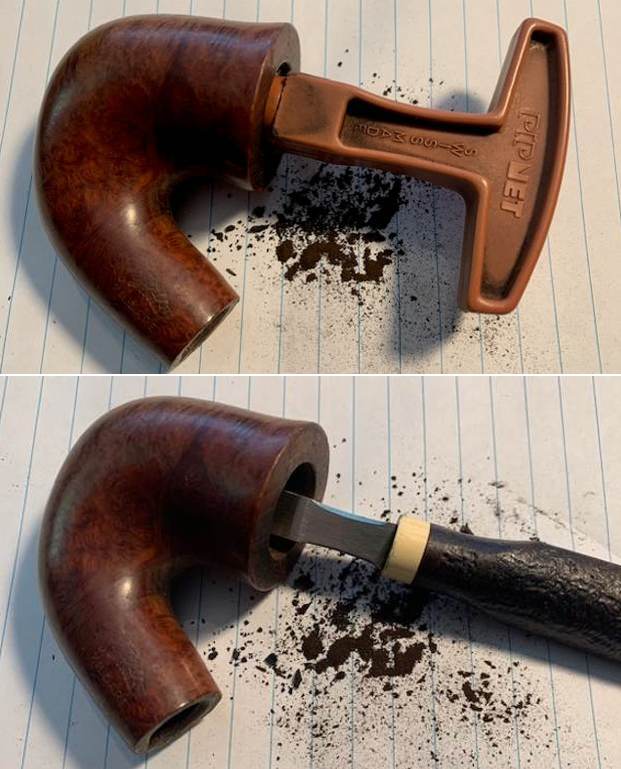
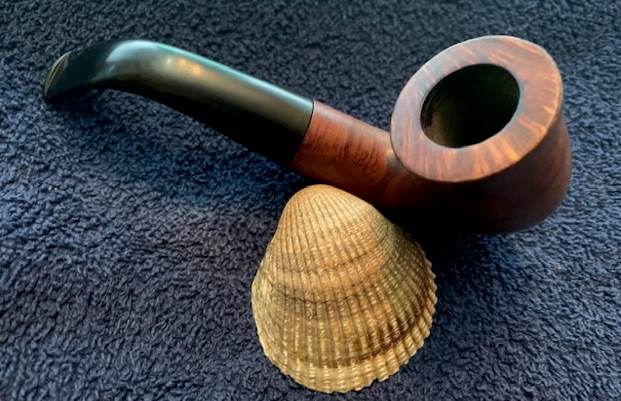
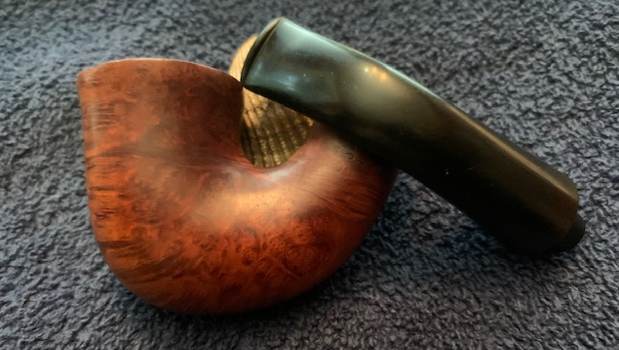
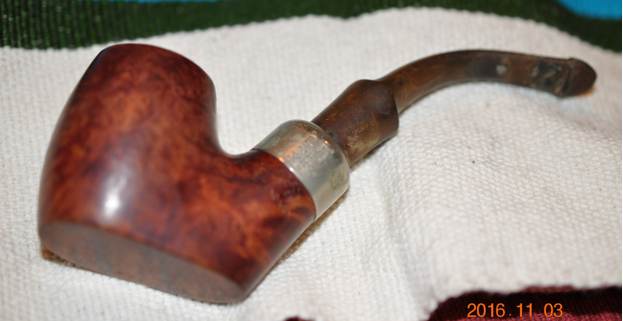
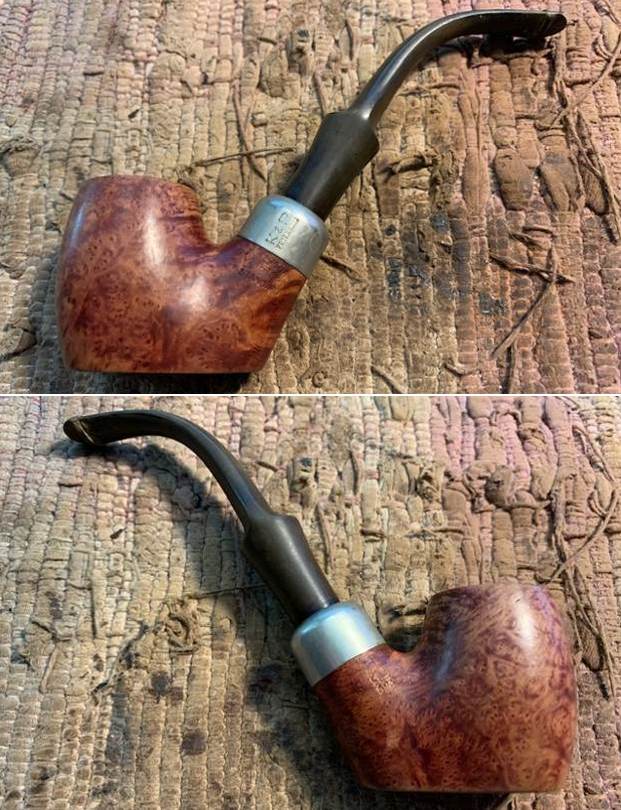
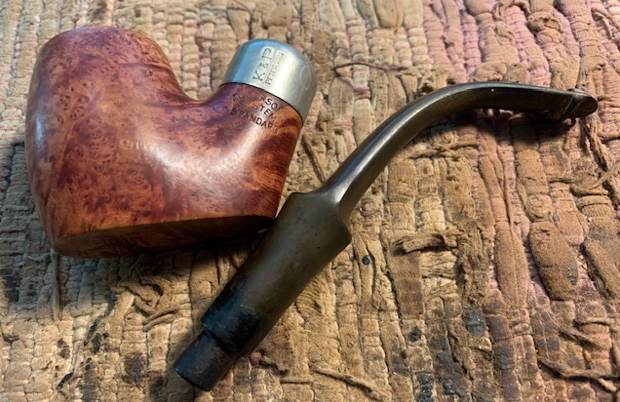
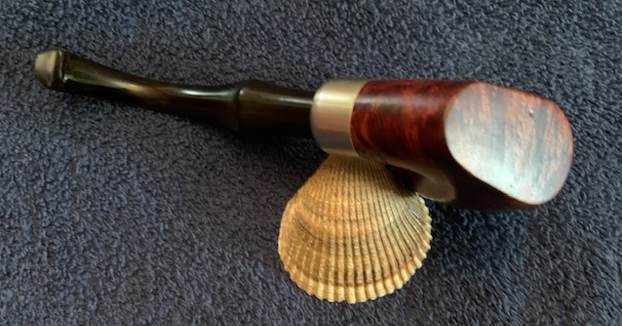
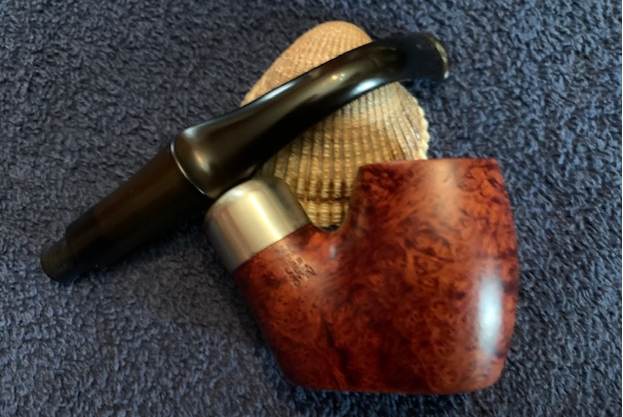
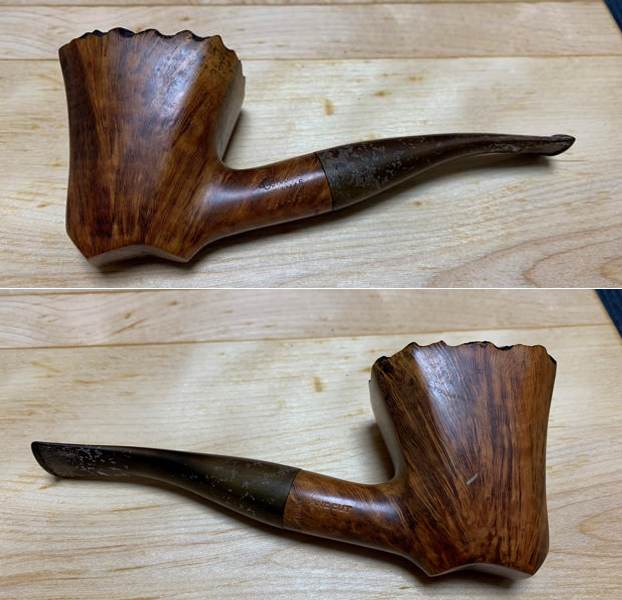
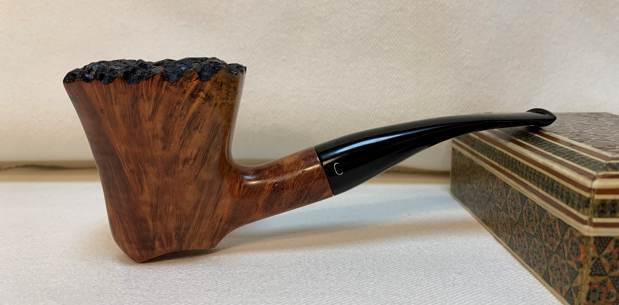
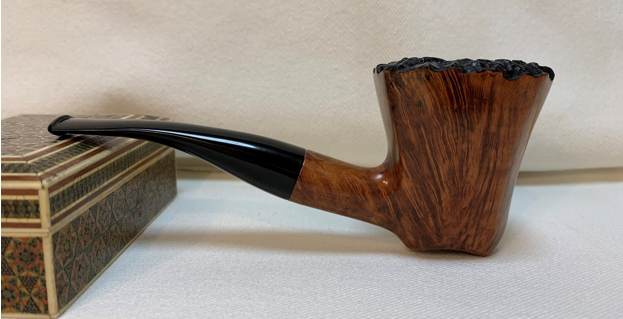
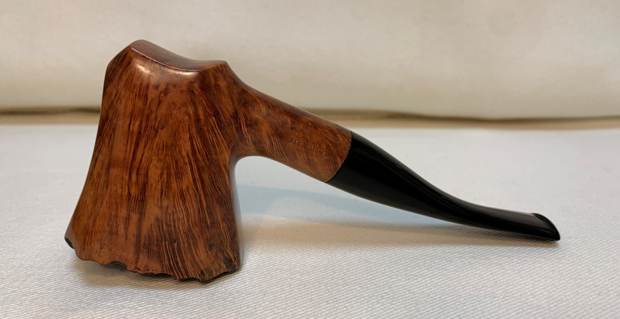
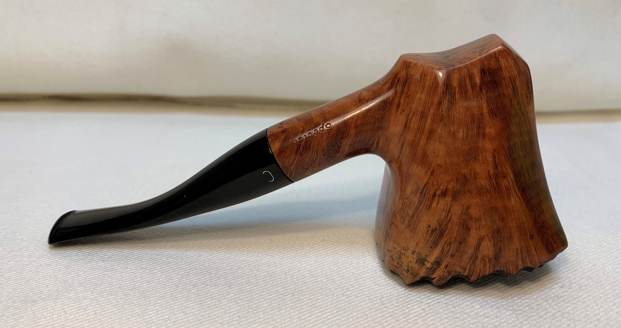
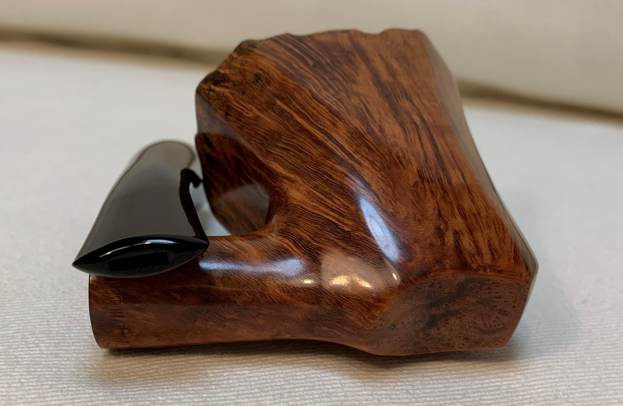
I have a few pipes that I am working on for local folks who either have dropped them off or who are friends that I am catching up with. The next pipe on the worktable is the second of two that belongs to an old friend of mine who is in the process of moving. He stopped by and asked me to clean up a couple of his favourite pipe. This first one I worked on was a Savinelli de luxe Milano 607KS (https://rebornpipes.com/2022/10/23/new-life-for-a-savinelli-de-luxe-milano-sandblast-607ks-bent-billiard/). This second on is a Peterson Deluxe with a Sterling Silver Ferrule. It is stamped faintly on the left side of the shank and reads Peterson’s [over]De Luxe. The stamping on the right side was buffed off. The ferrule on the shank is clear and readable under the tarnish. It reads Peterson’s [over] Dublin. That is followed by Sterling [over] Silver. That was followed by three hallmarks – The Hibernia stamp, the Crowned Harp stamp and finally the letter “m”. It has some stunning grain around the bowl and shank under the grime. There was a thin cake in the bowl and the top and edges of the rim had some scratches and damage on both. The stem was lightly oxidized but there were no tooth marks on the surface. I took some photos of the pipe before I started my work.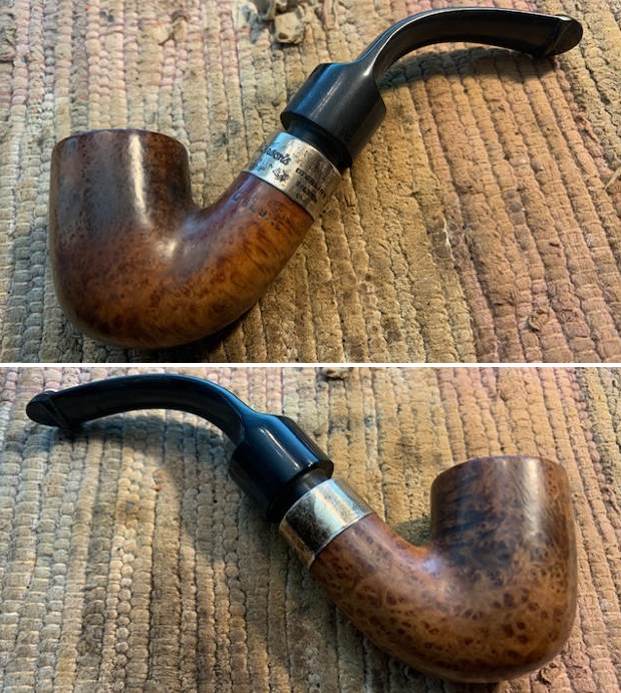
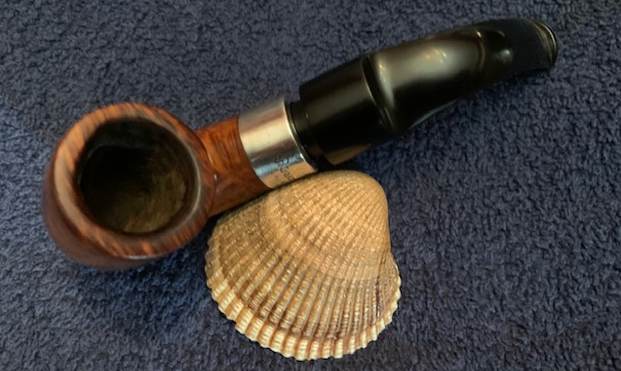
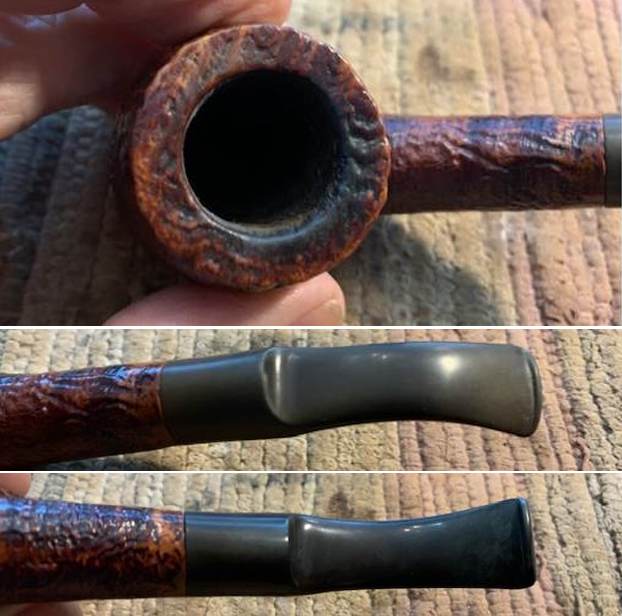
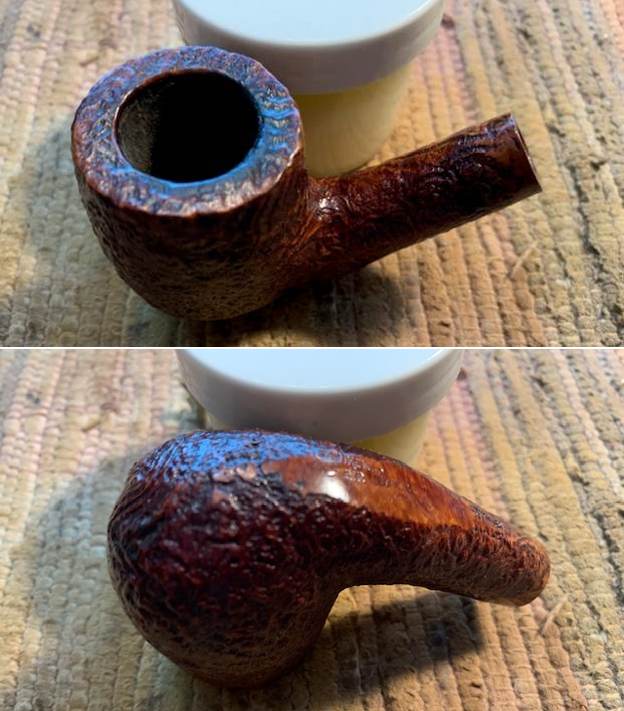
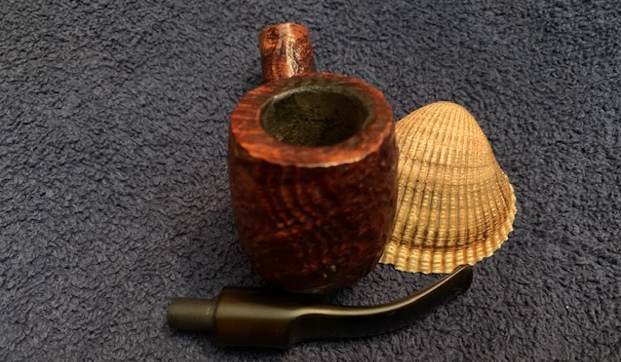
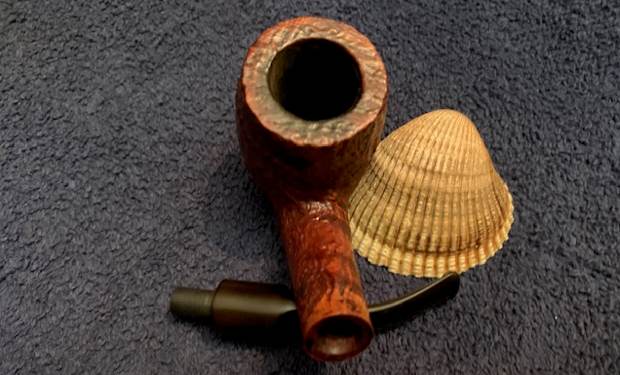
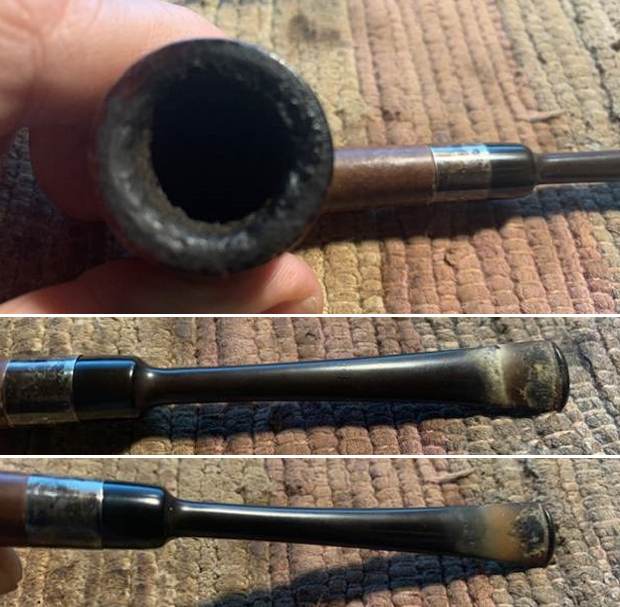
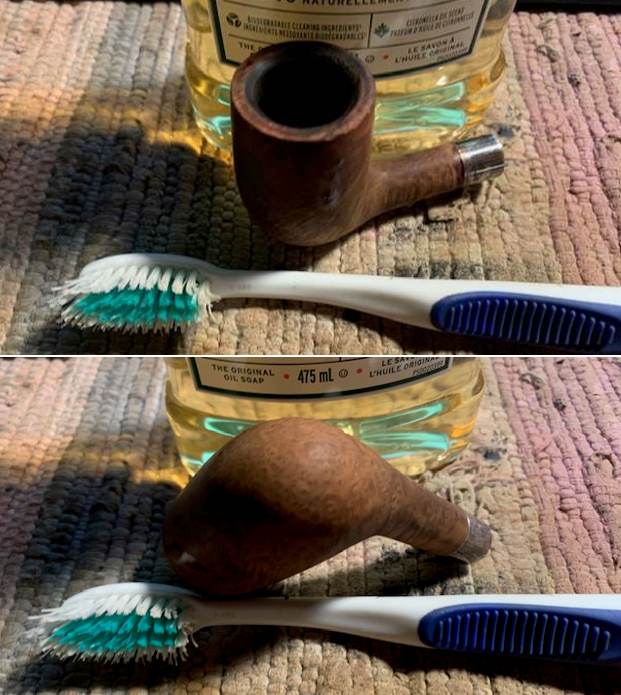
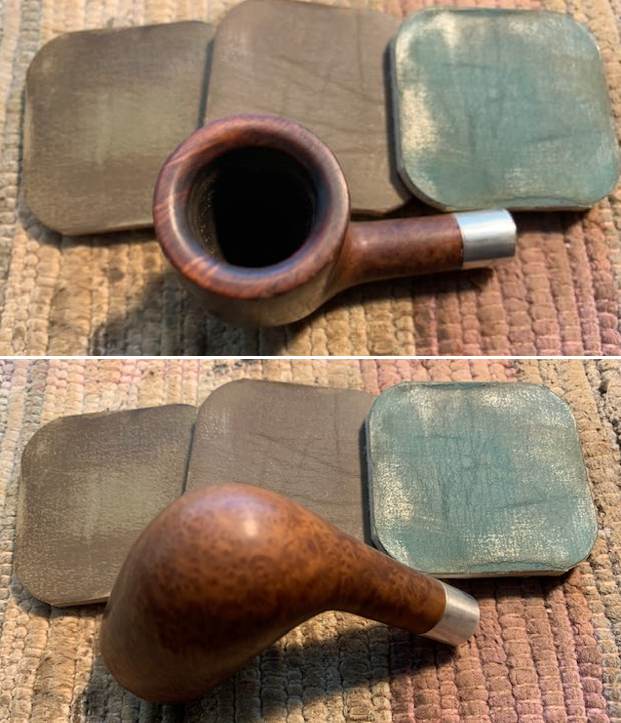
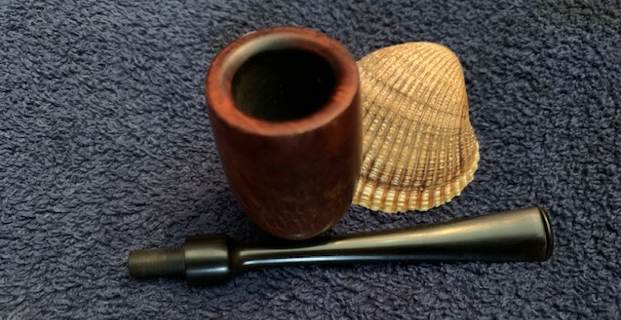
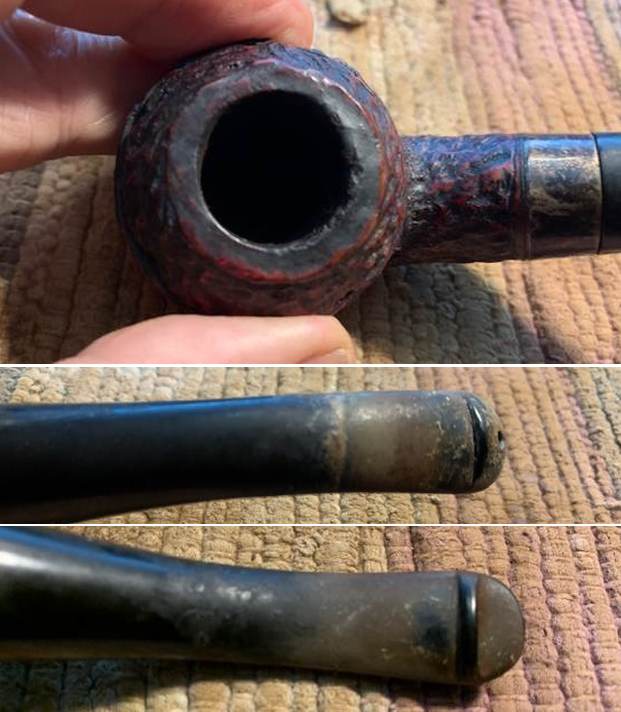
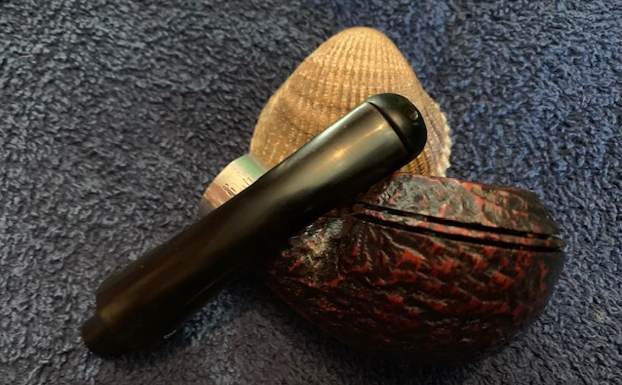
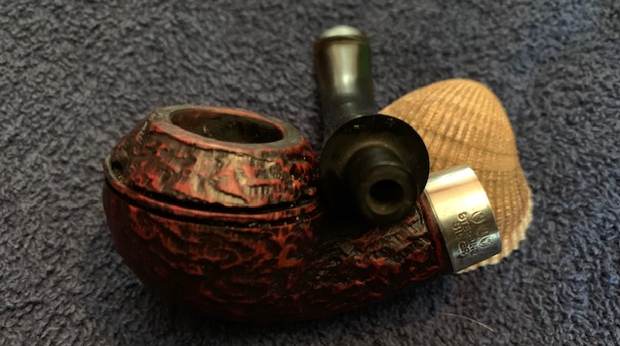
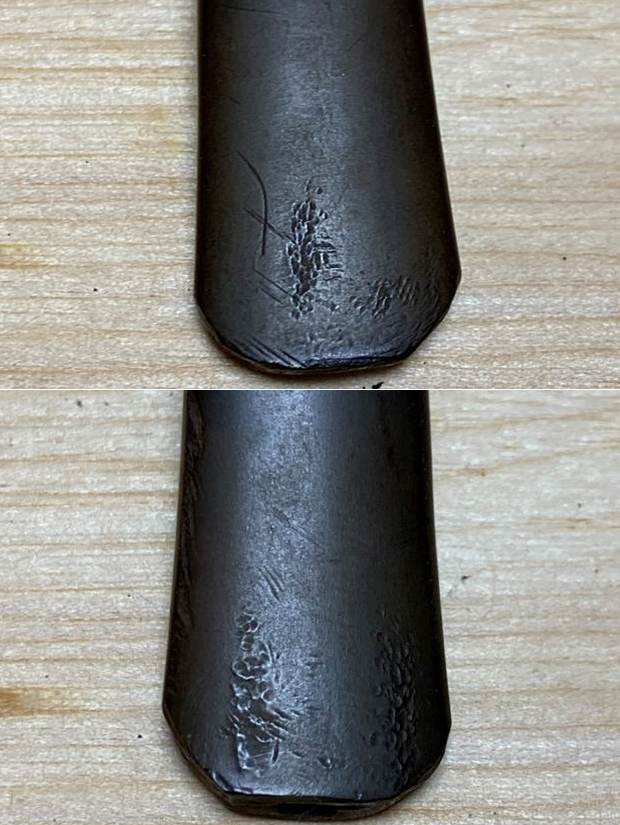
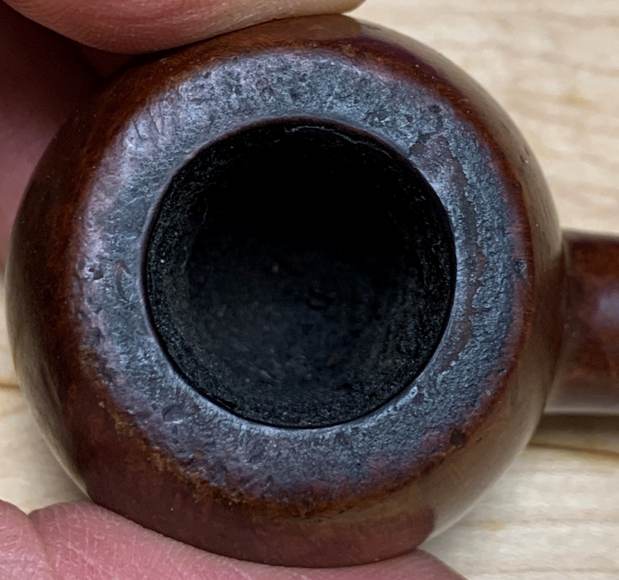
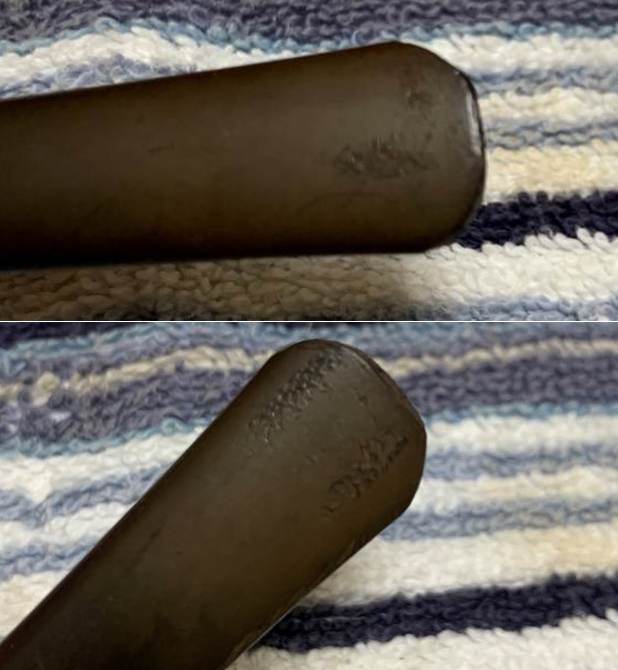
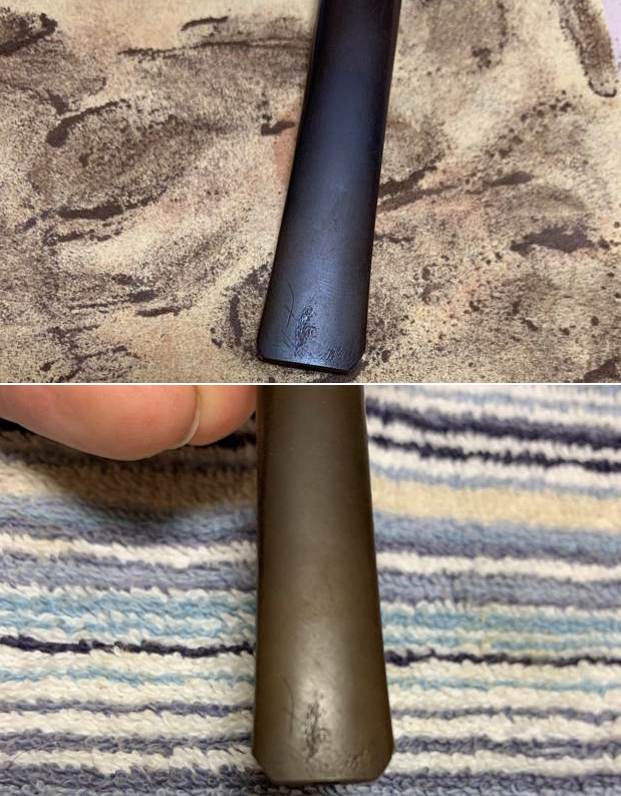
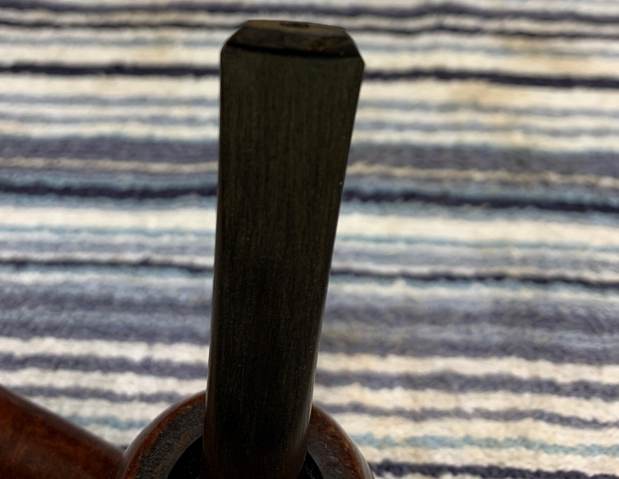
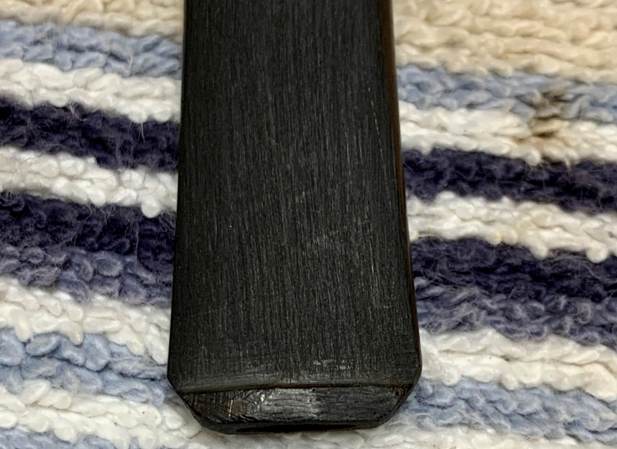
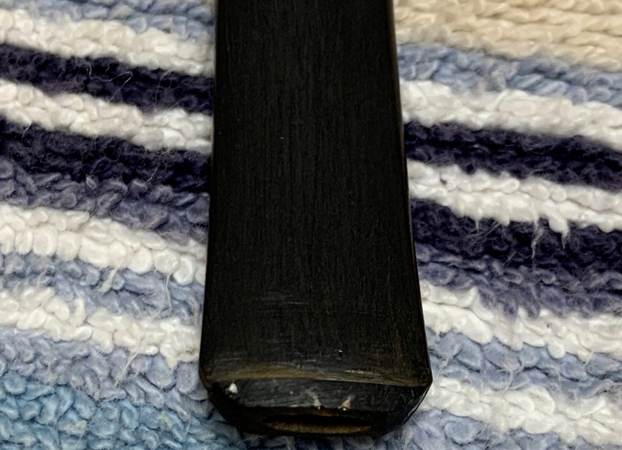
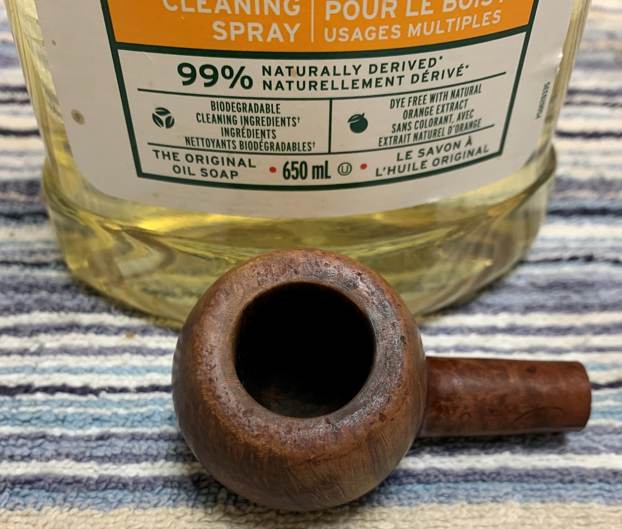
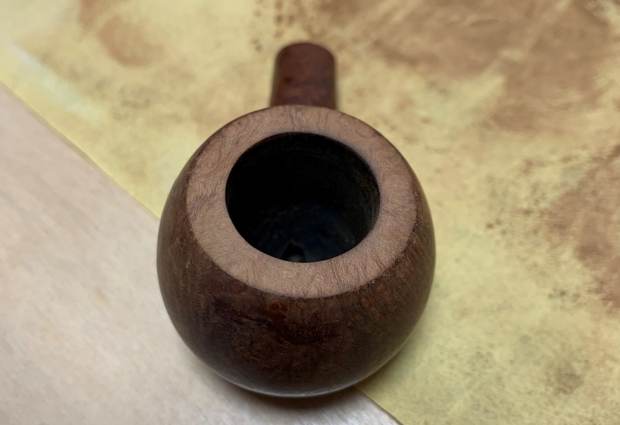
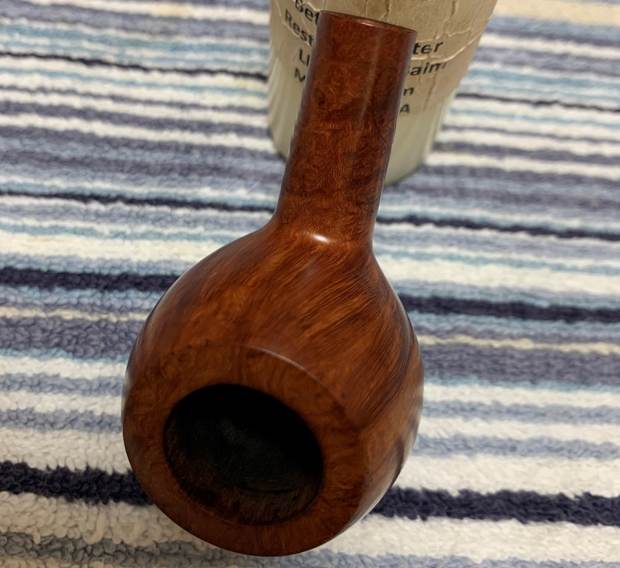
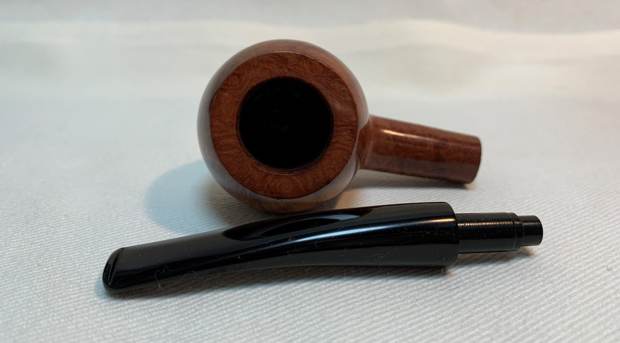
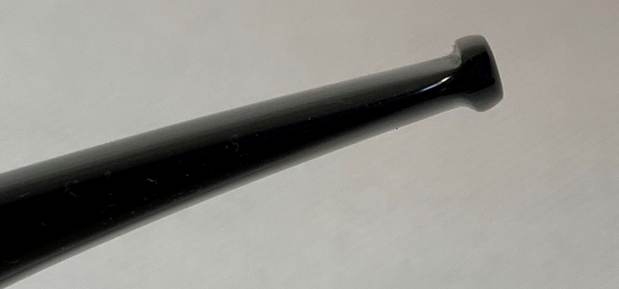
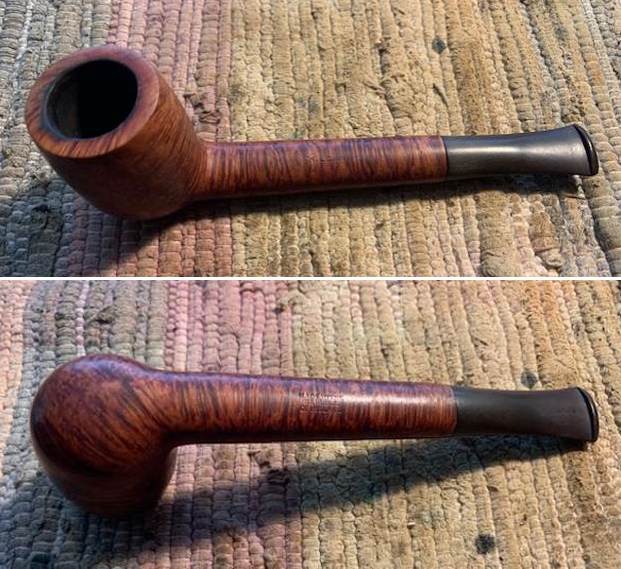
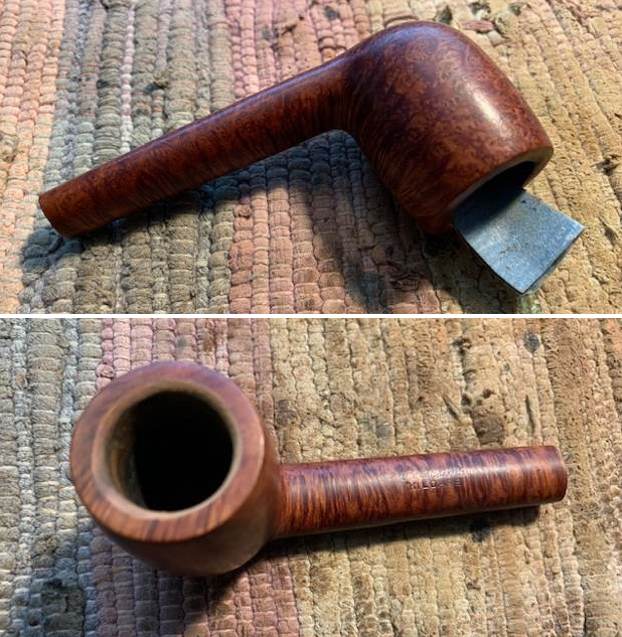
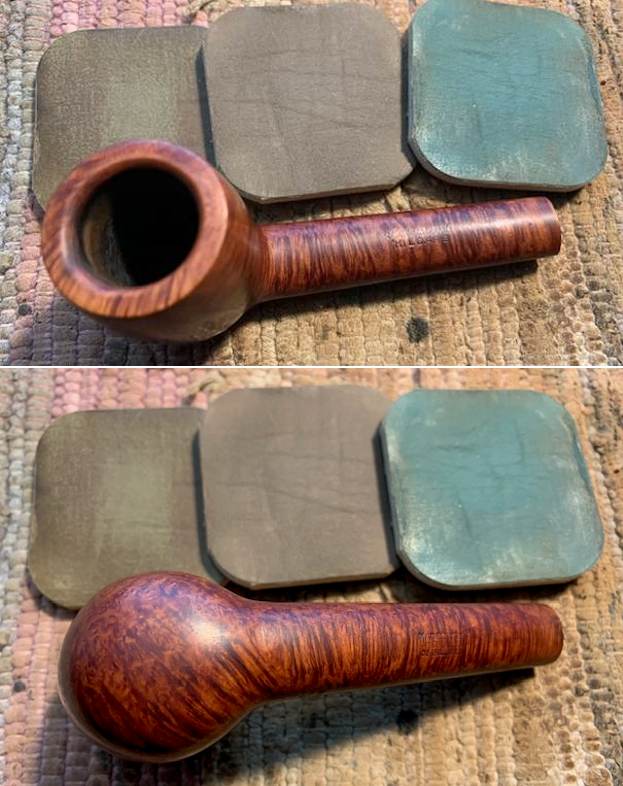
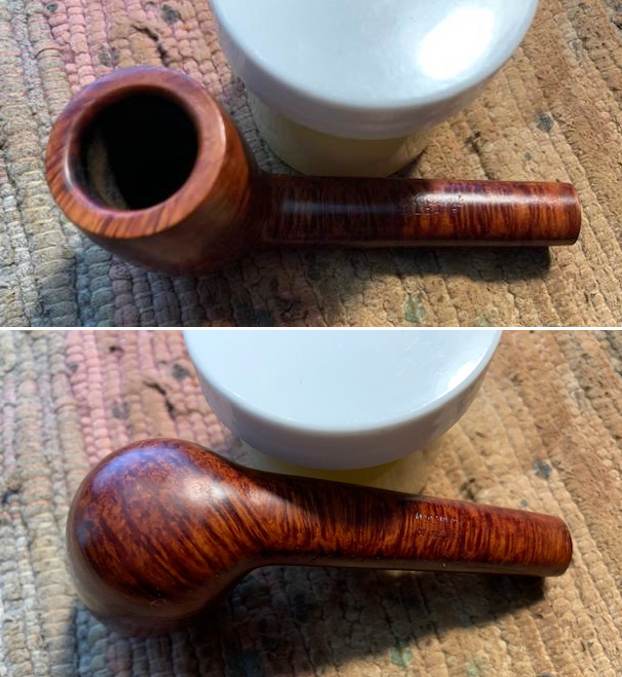
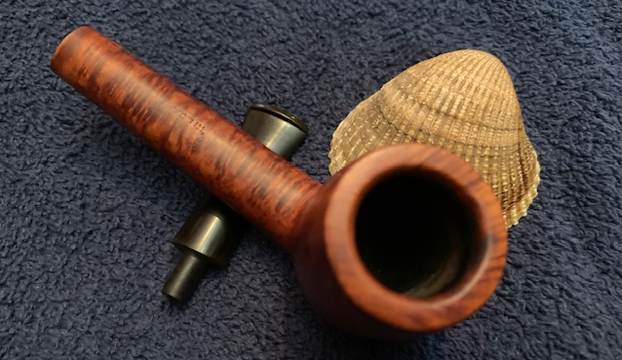
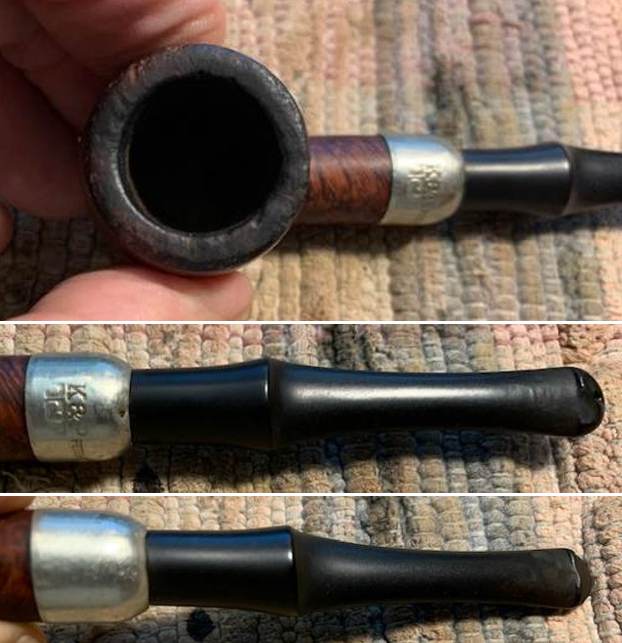
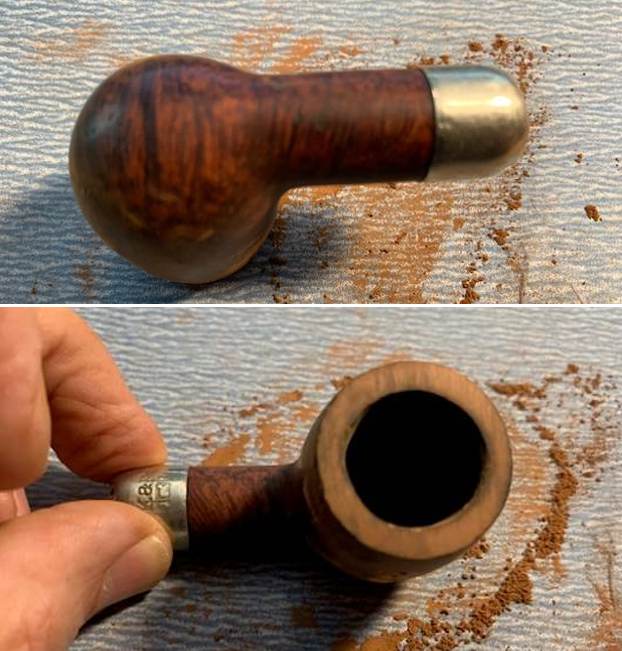
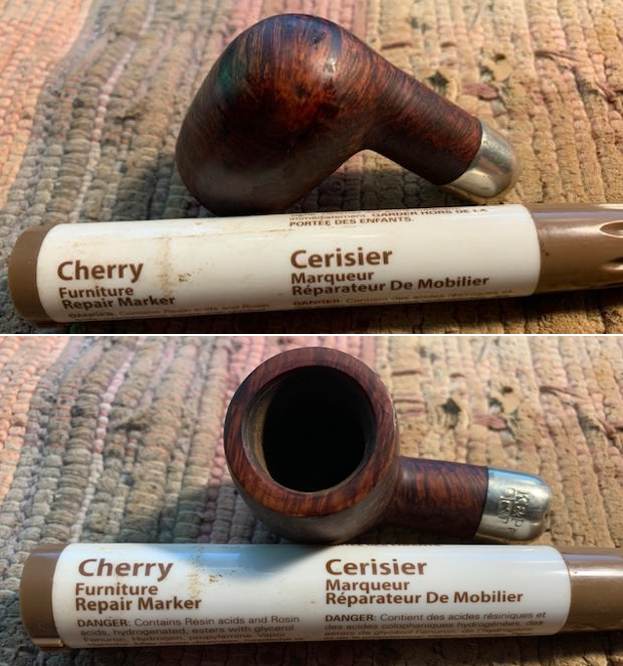
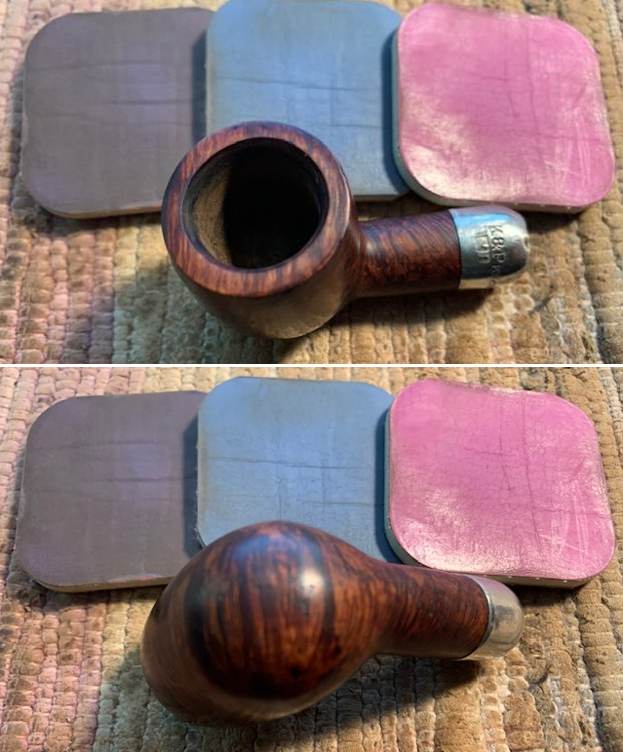
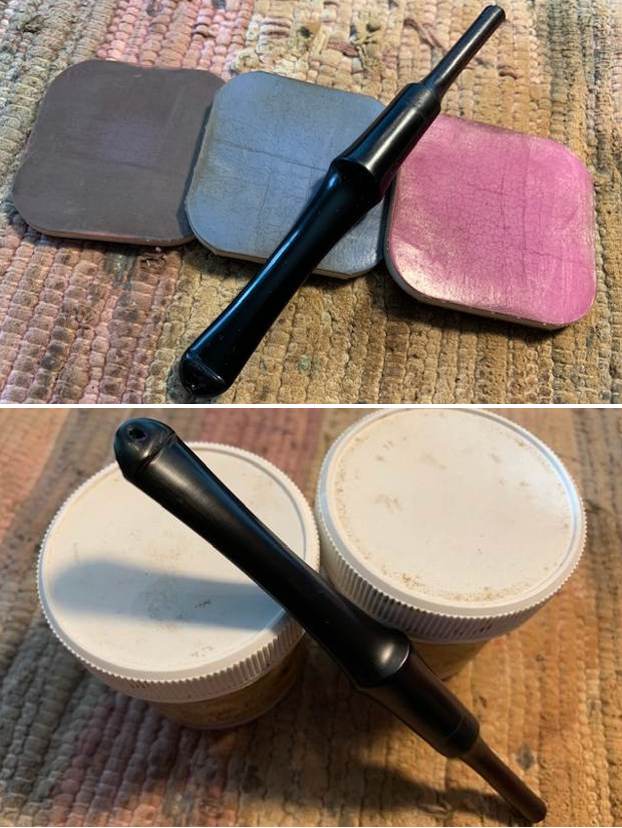
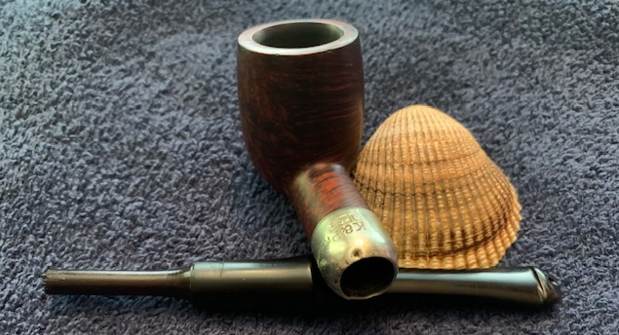
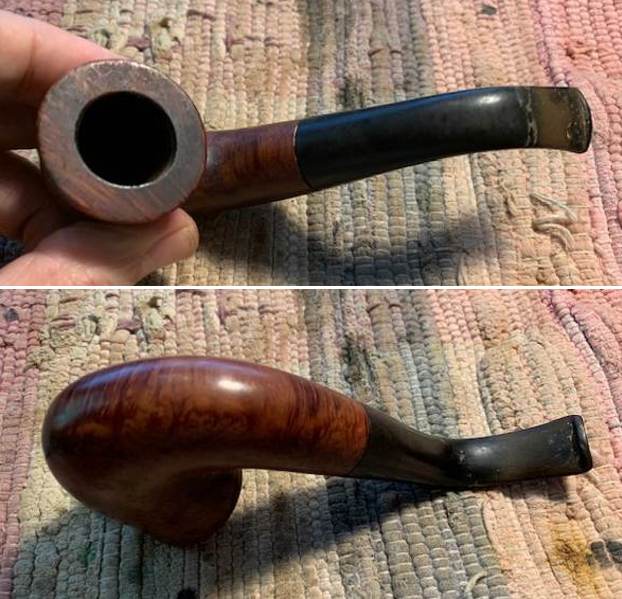
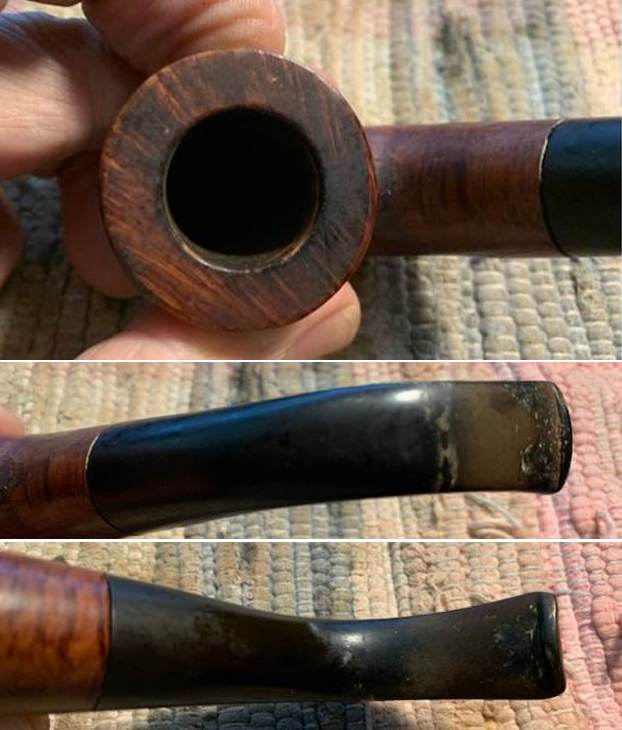
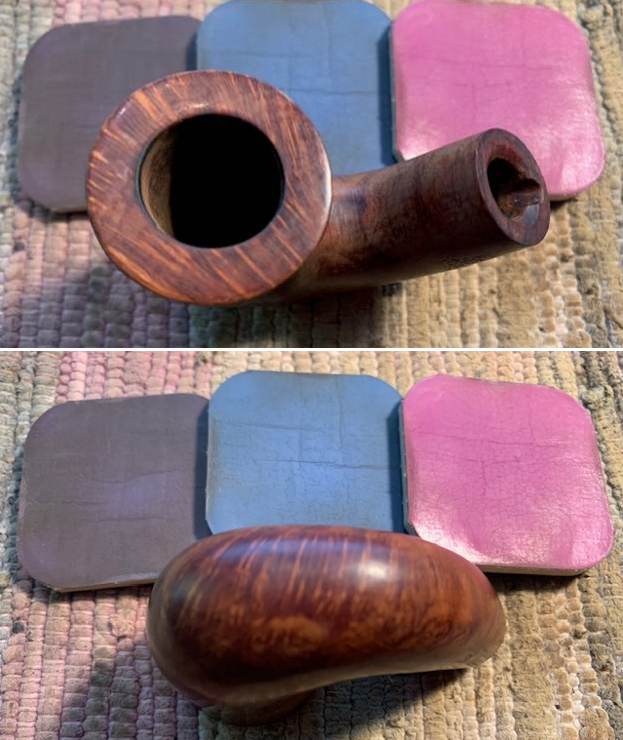
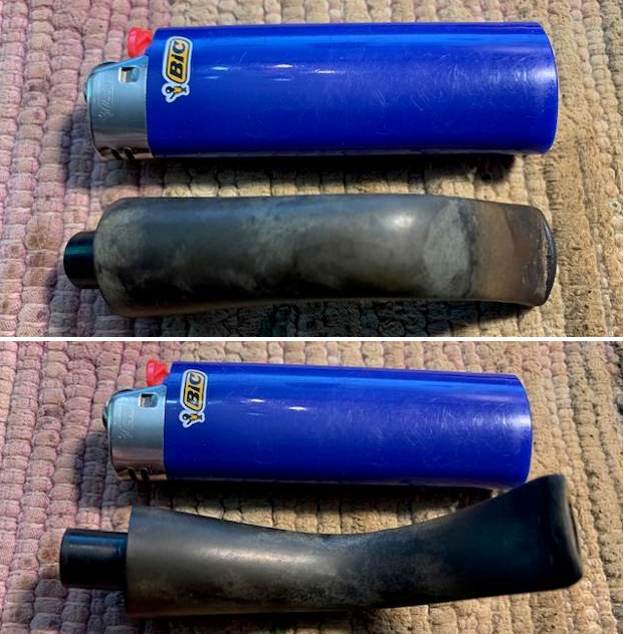
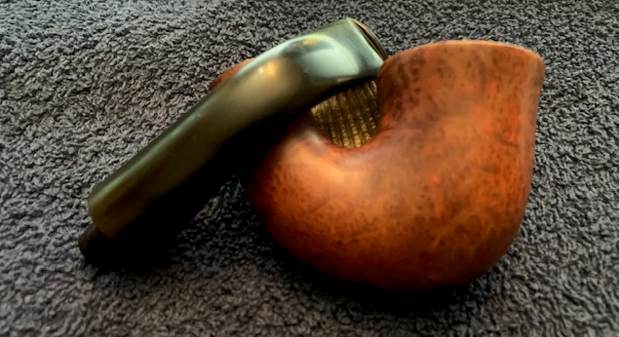
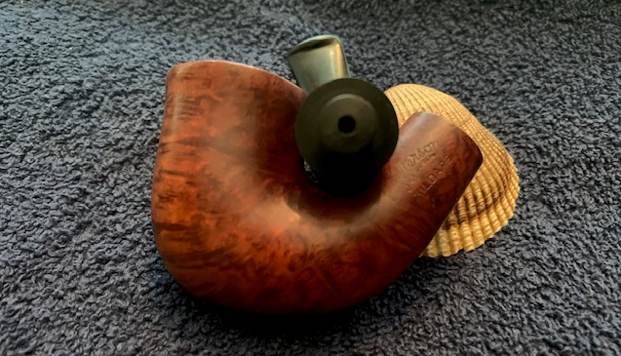
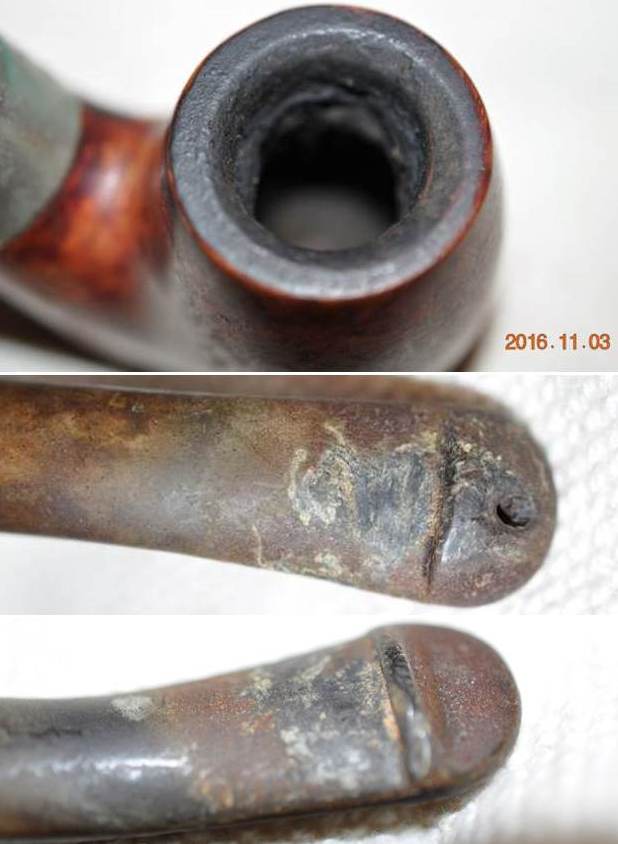
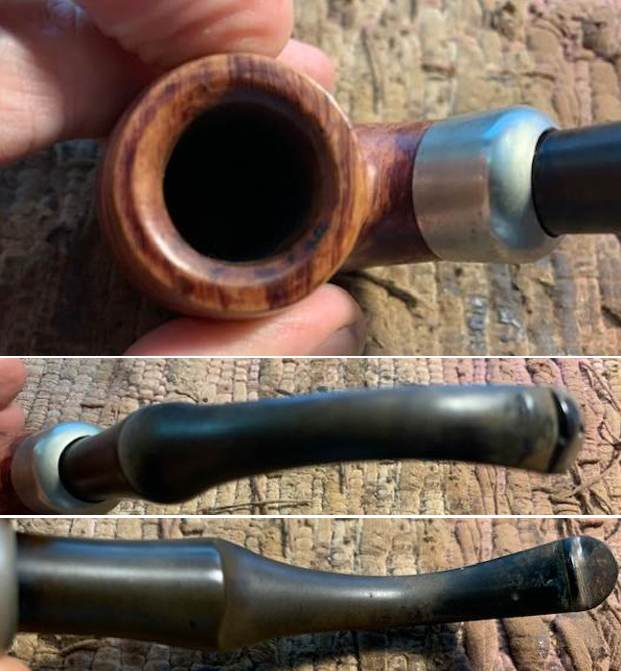
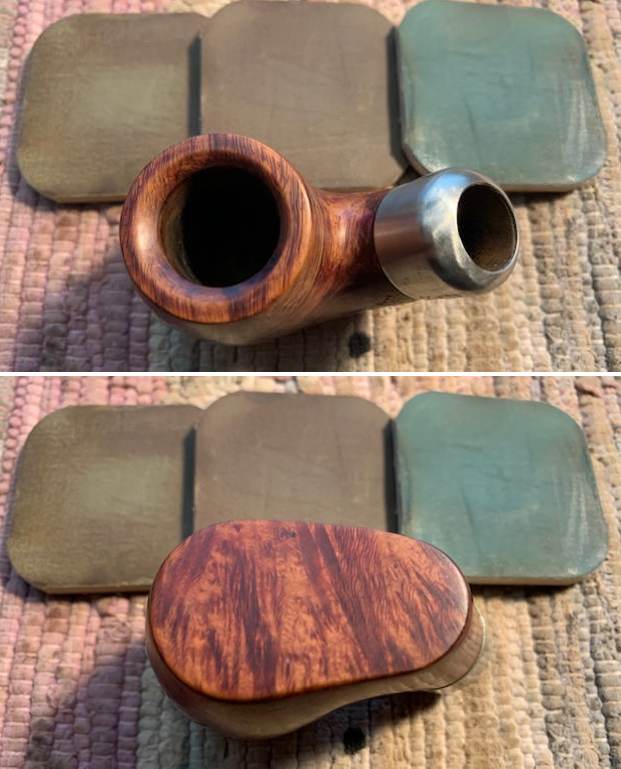
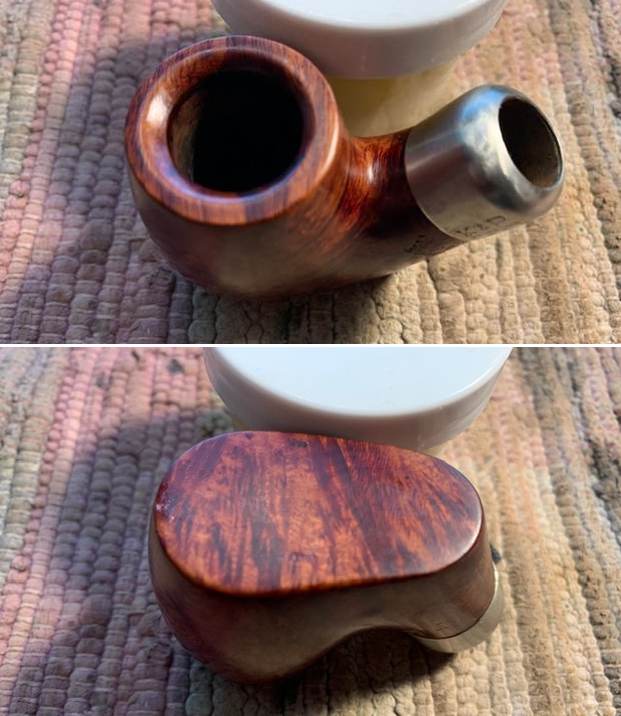
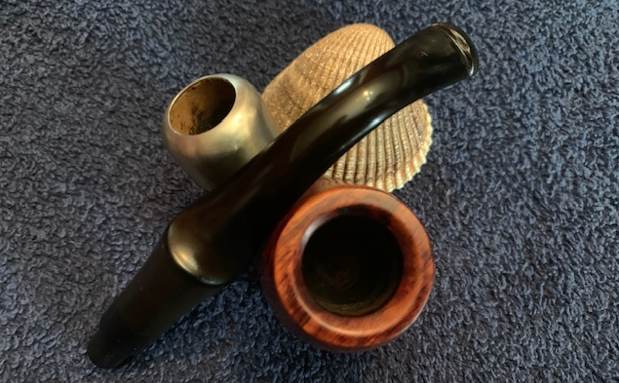
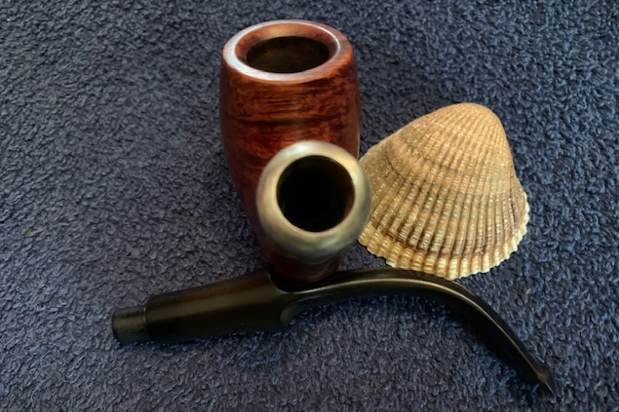
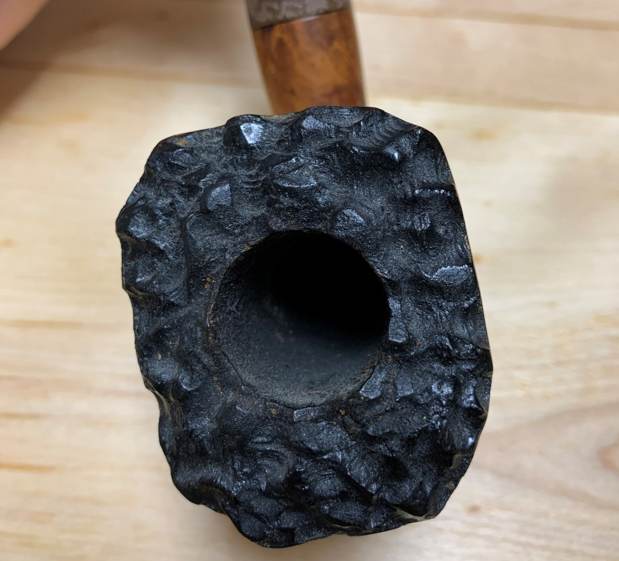
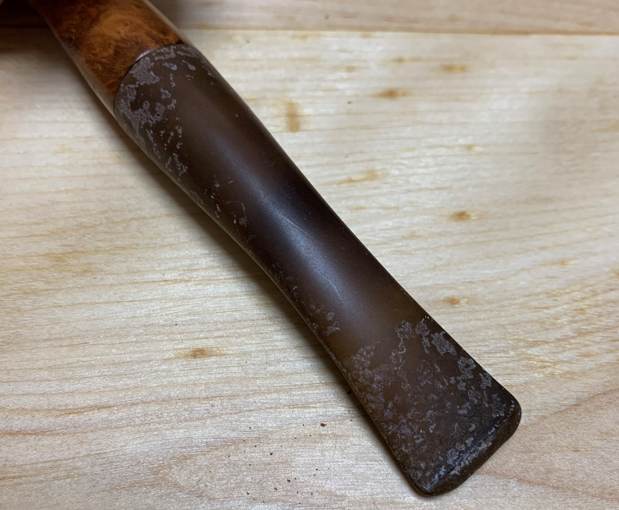
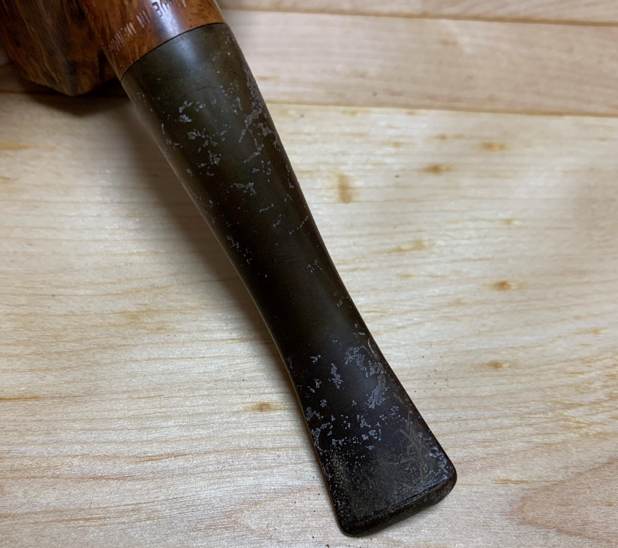
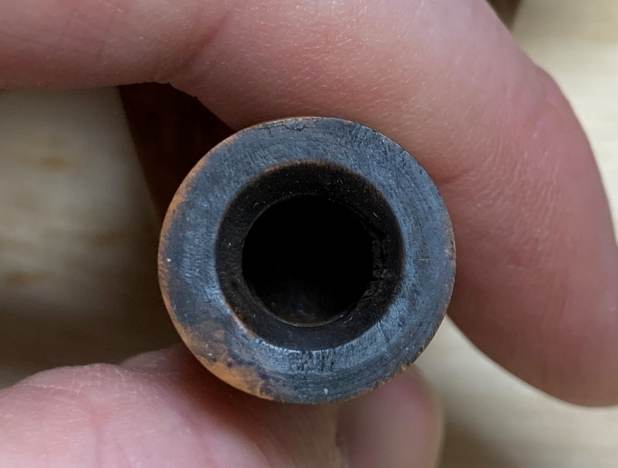
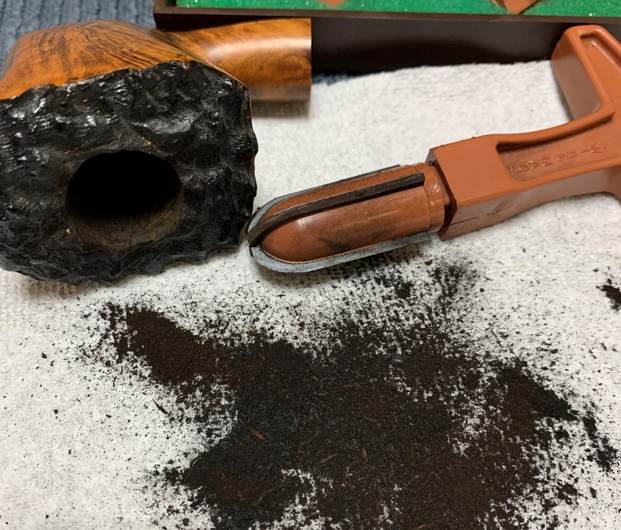
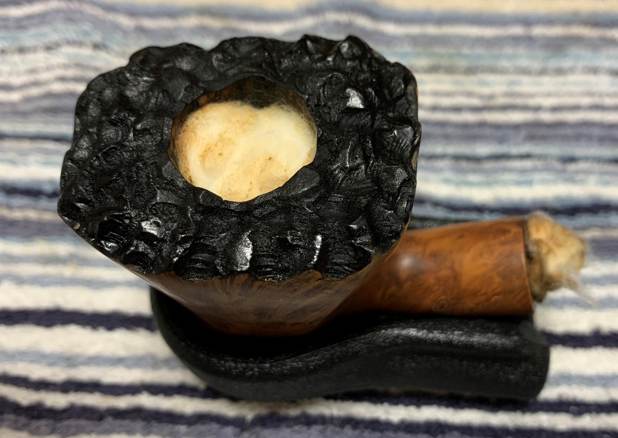
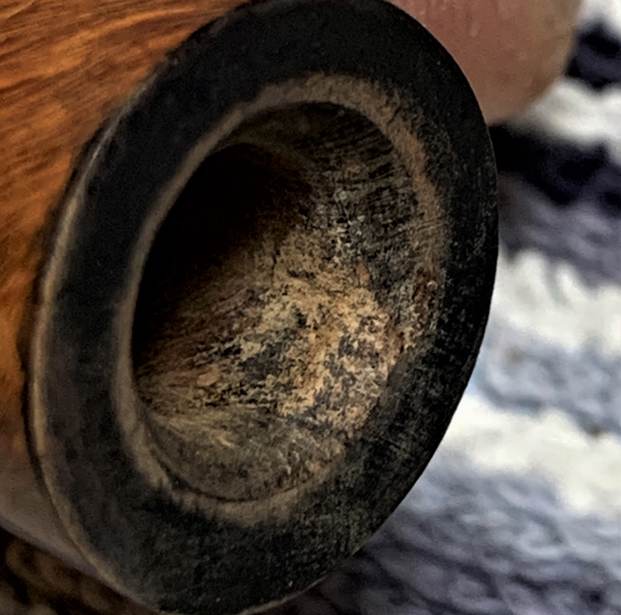
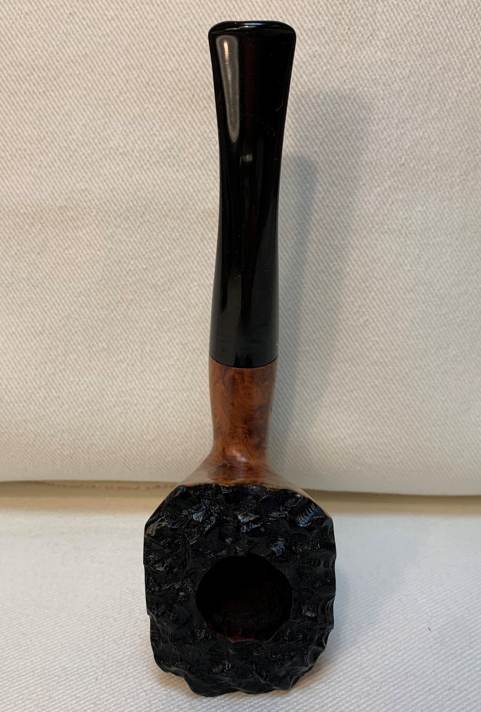
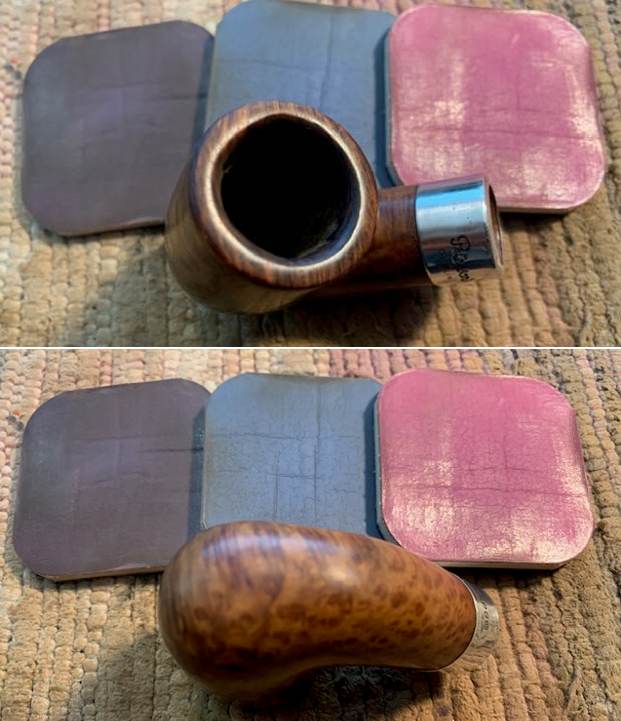
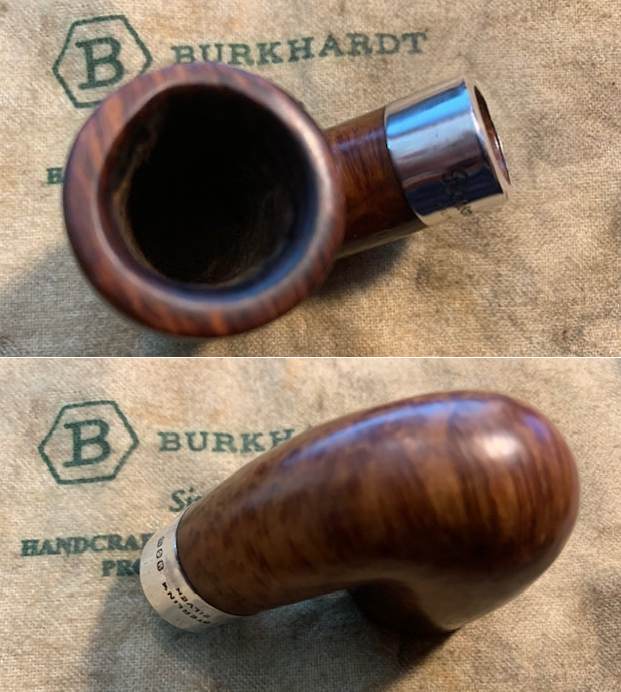
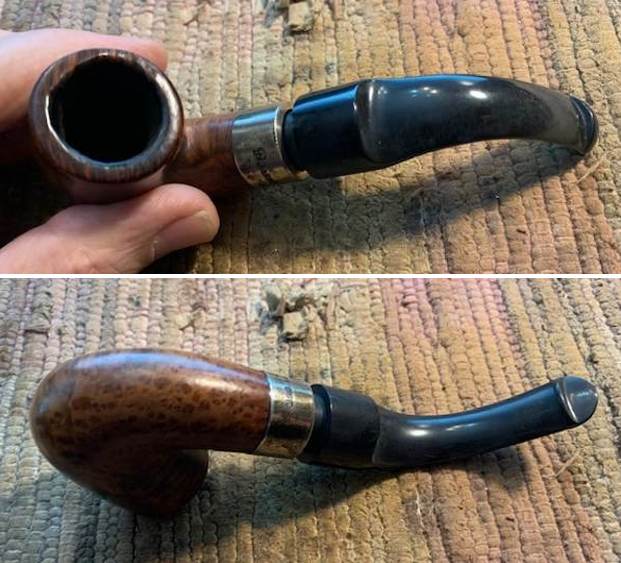 I took photos of the rim top and the stem to show their condition. The top and edges showed some damage and was out of round and had darkening. The stem had oxidation though there was not any tooth marks of damage on the surface.
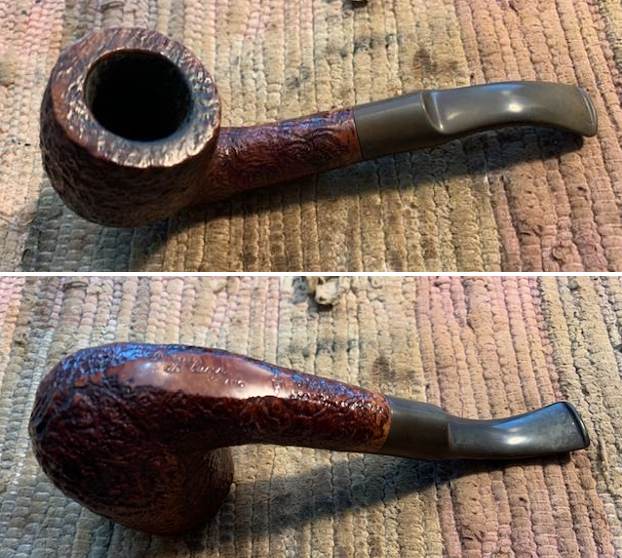
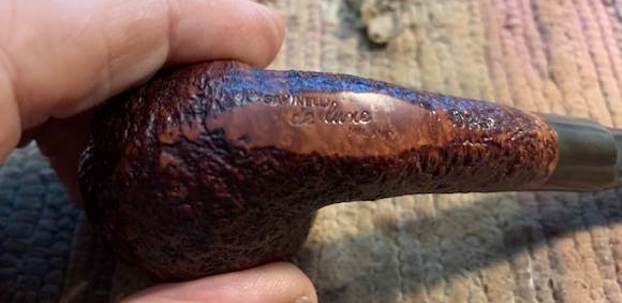
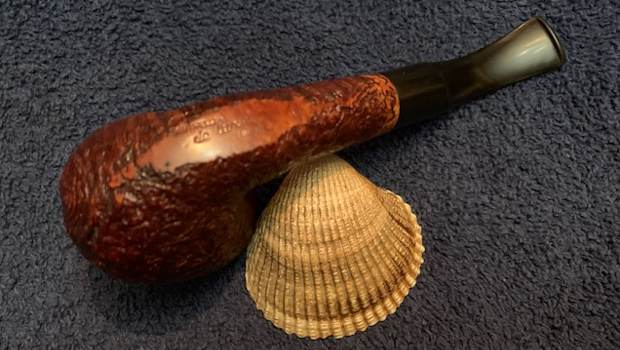
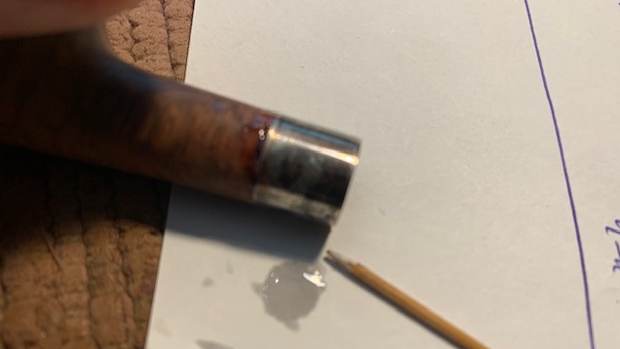
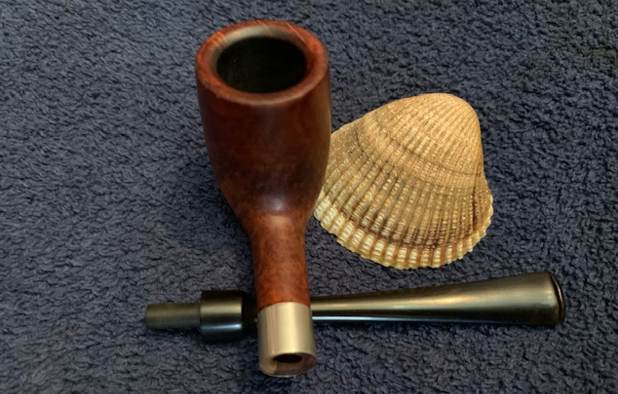
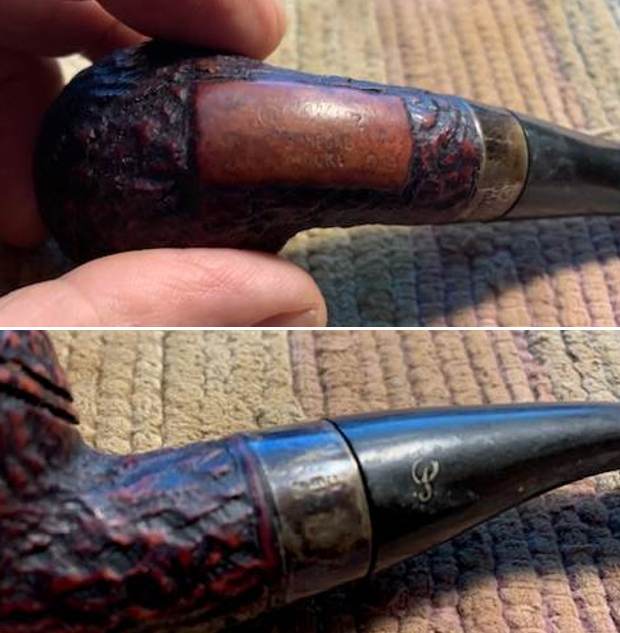
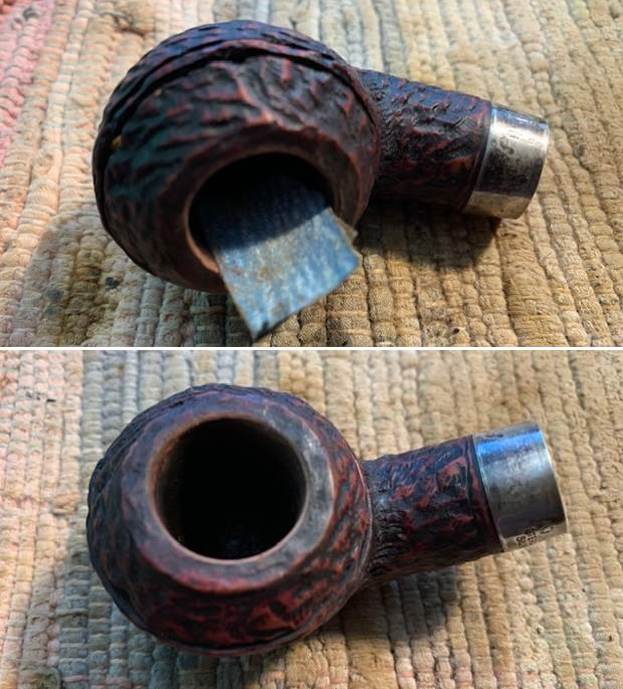
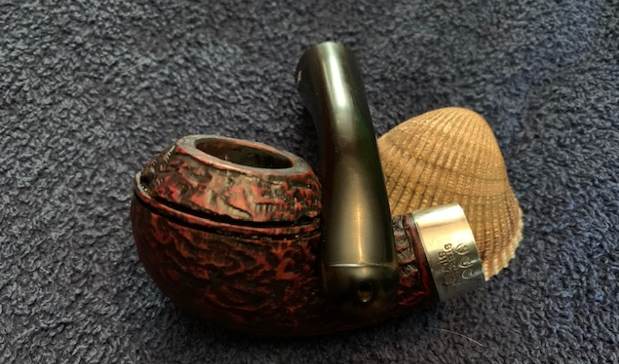
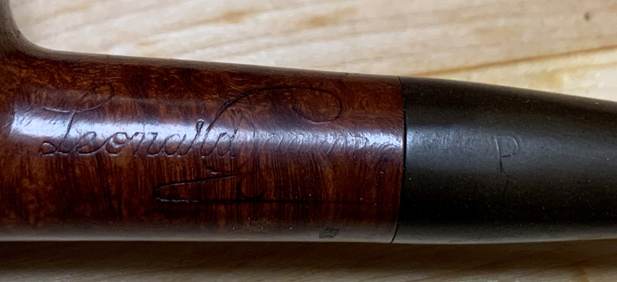
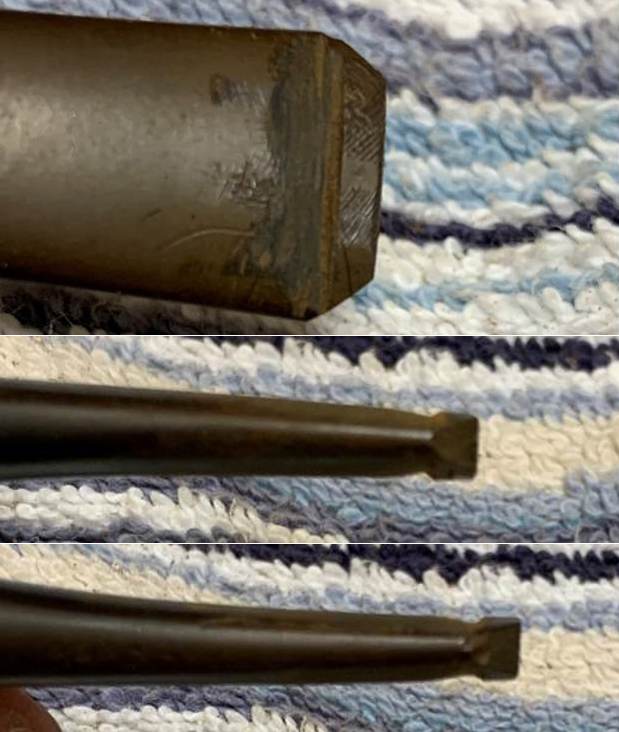
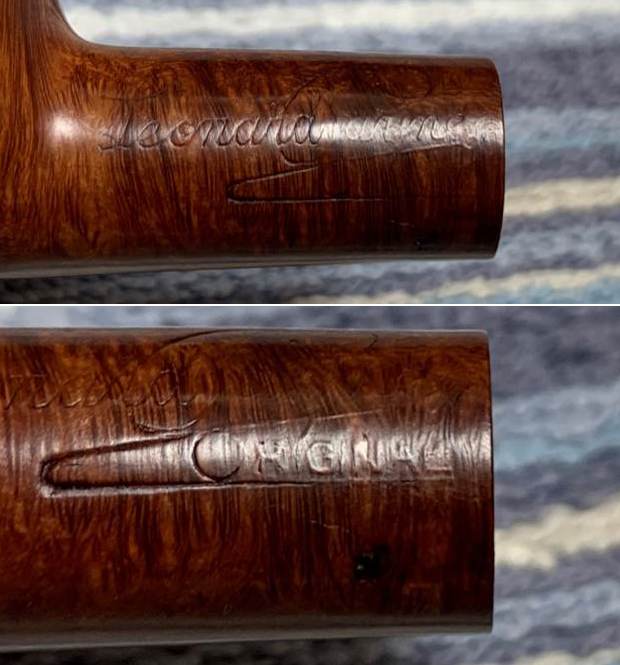
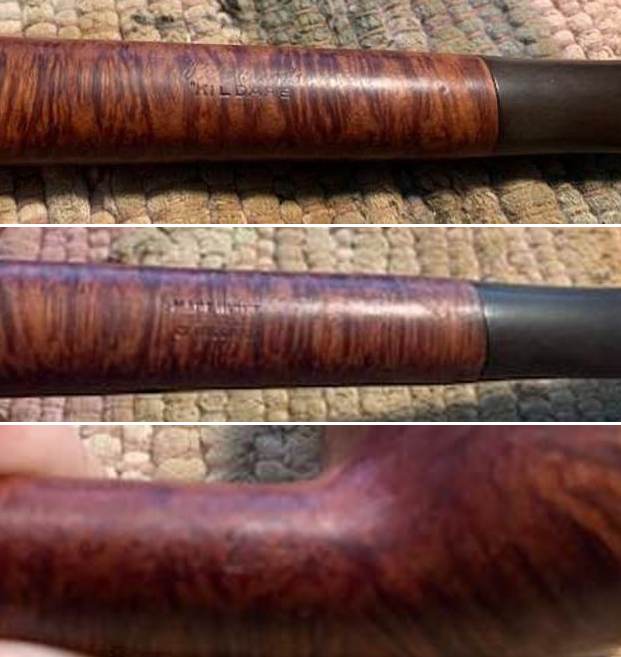
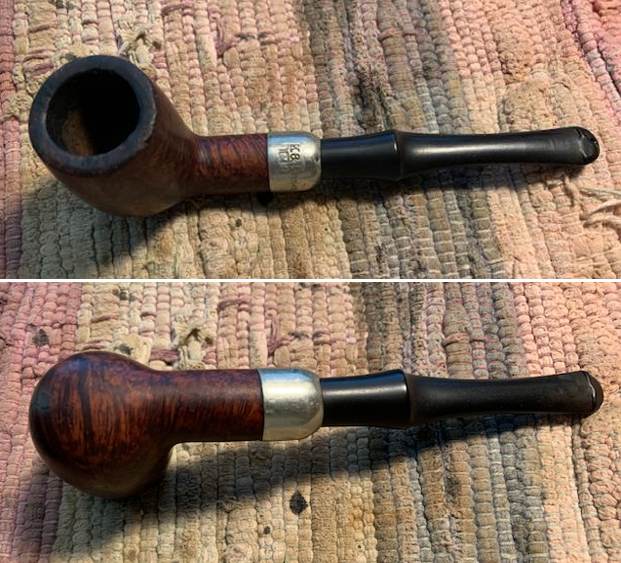
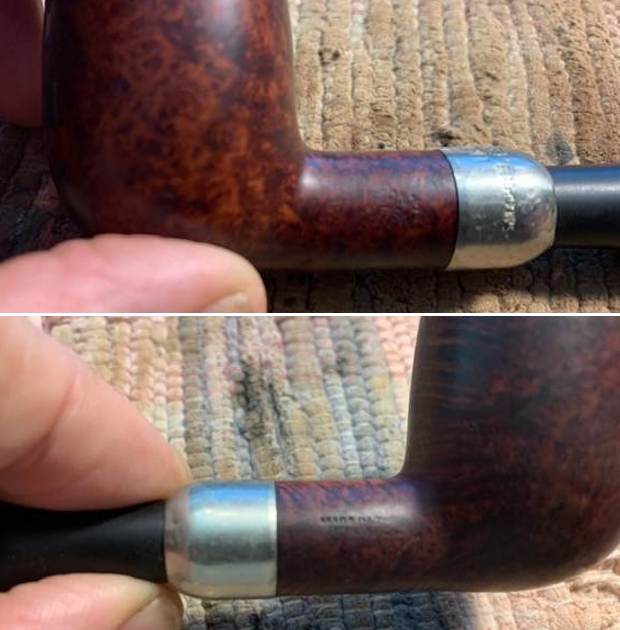
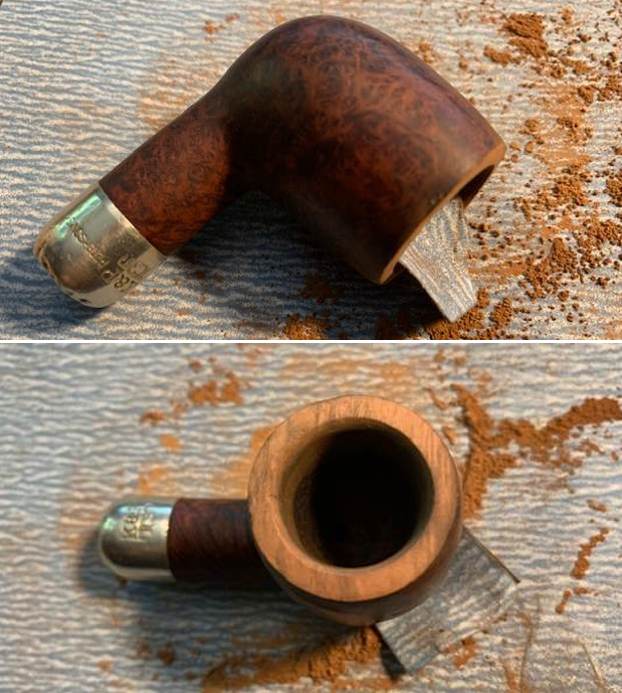
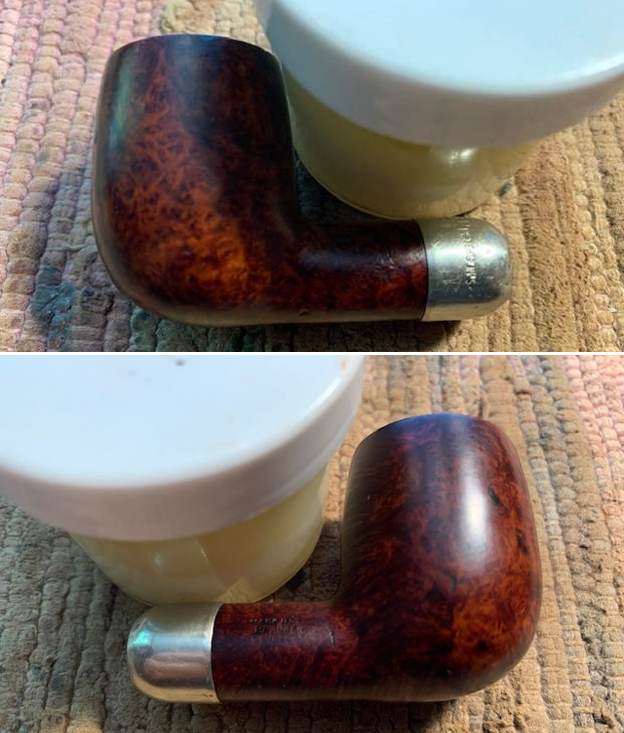
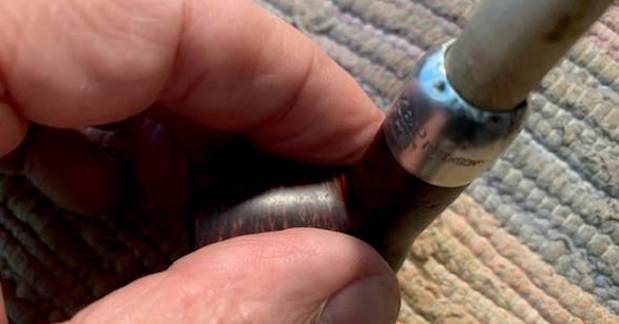
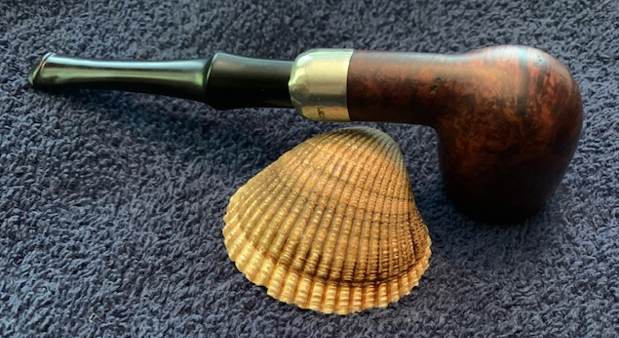
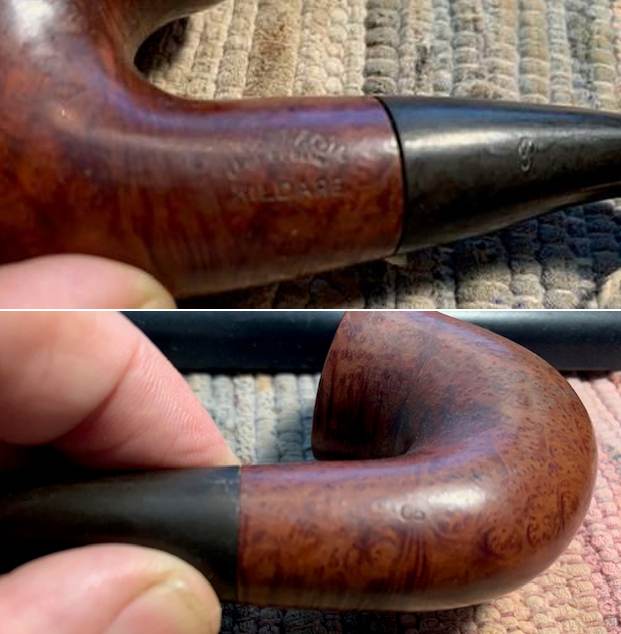
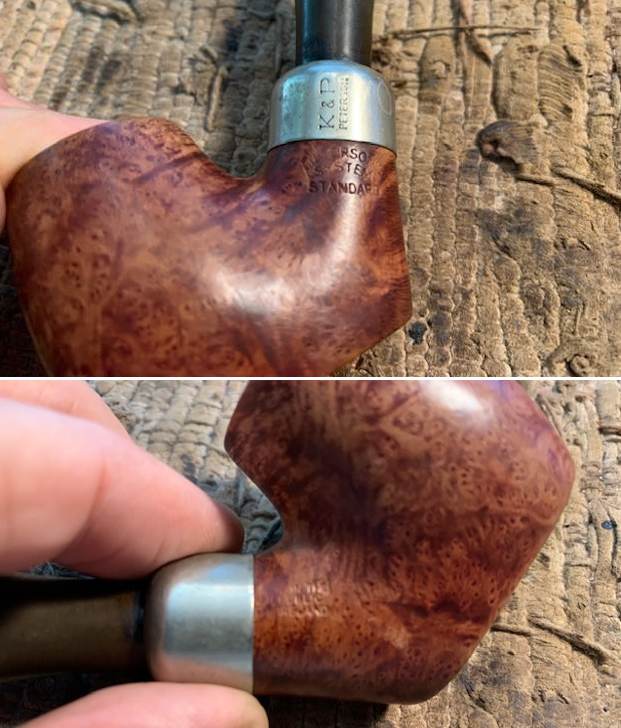
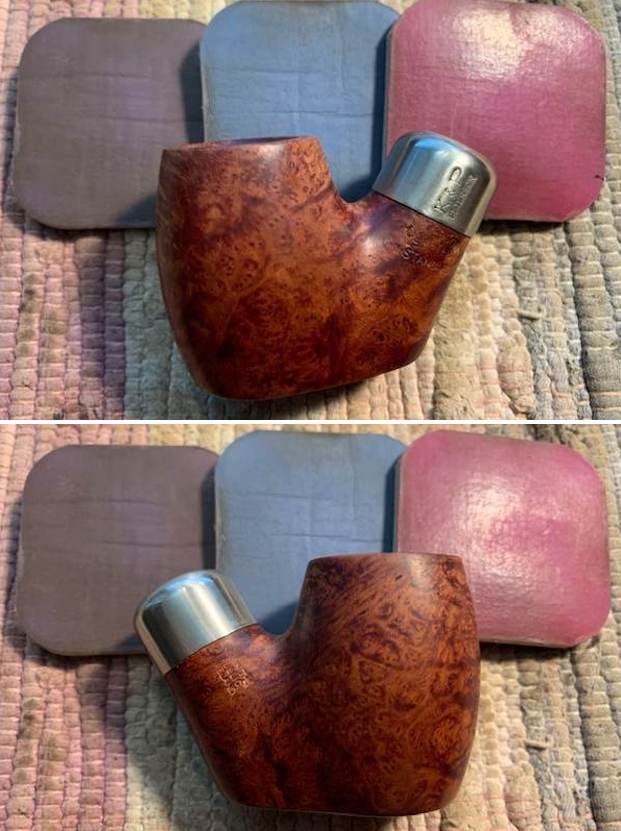
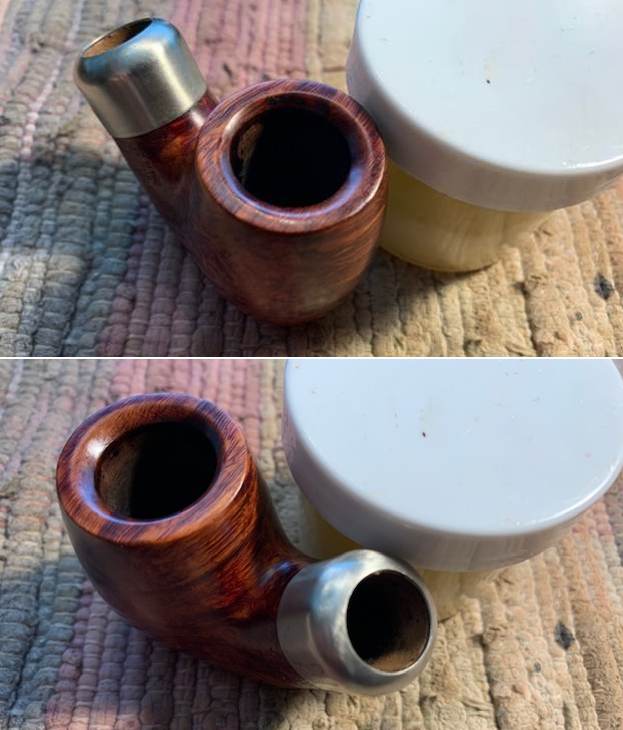
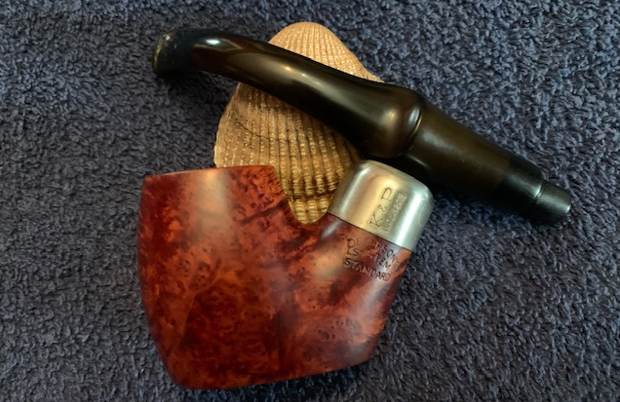
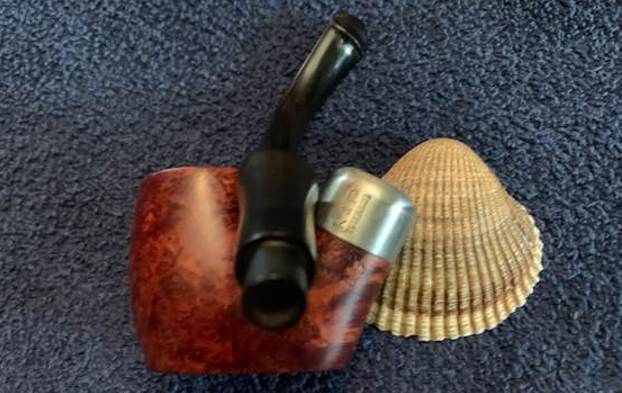
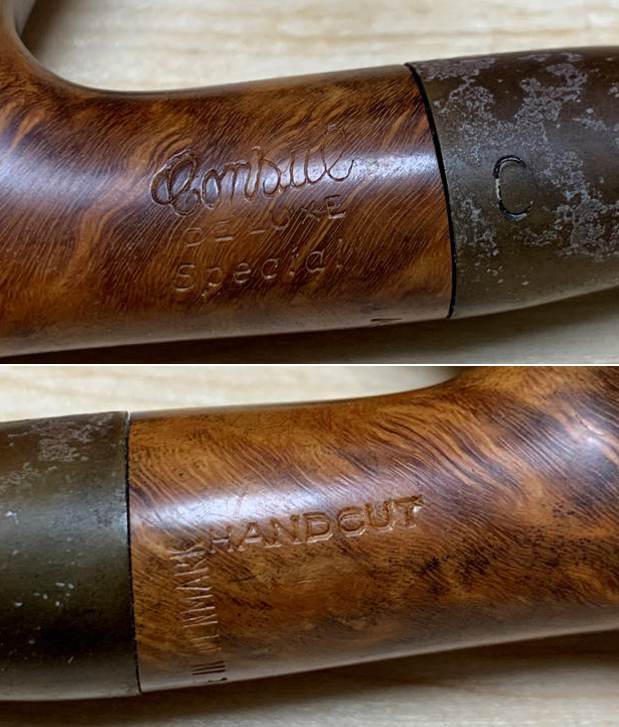
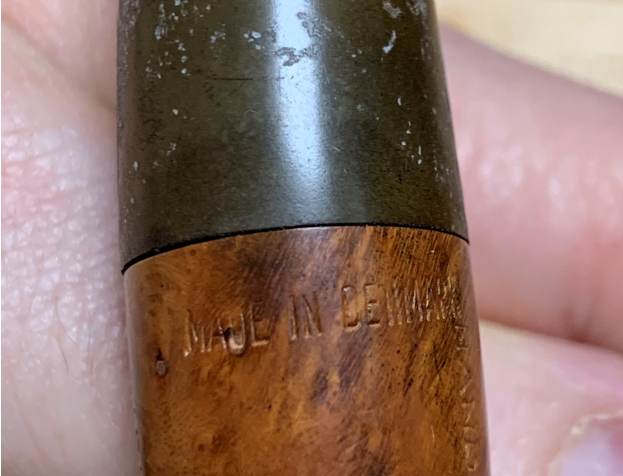
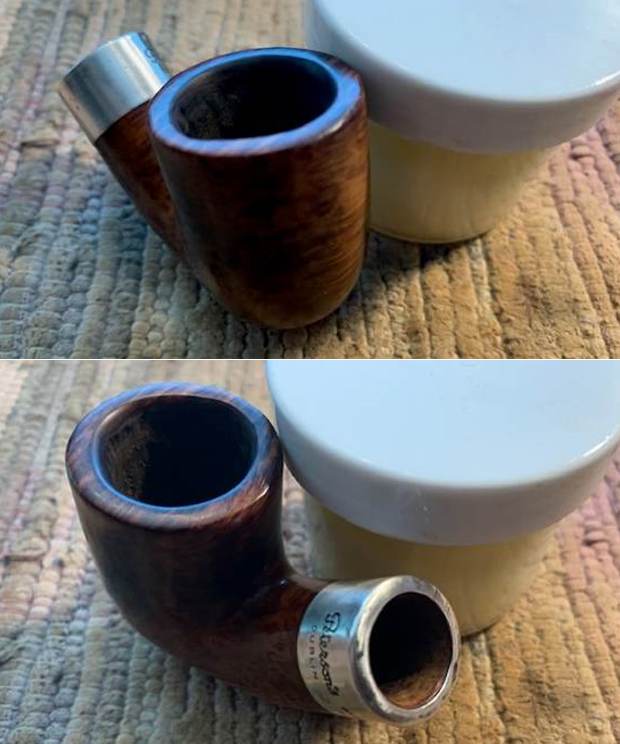
 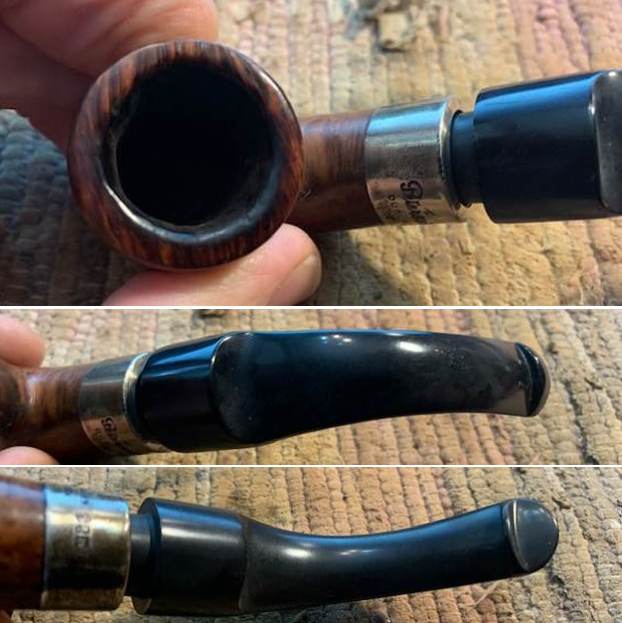 I took photos of the stamping on the shank and the Sterling Silver ferrule to capture its condition. The stamping on the shank is faint but readable as noted above. The stamping on ferrule is clear and readable as noted above.
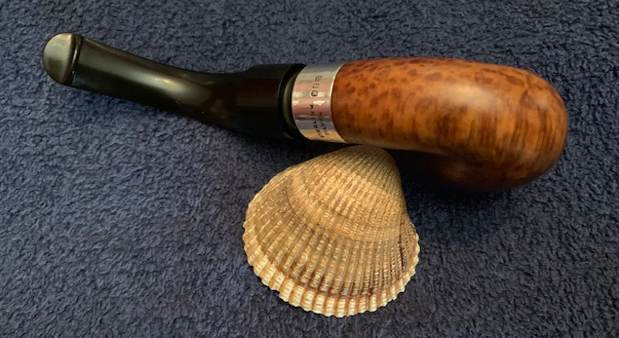
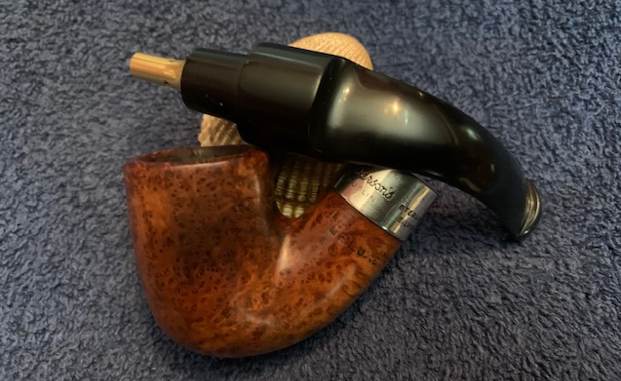
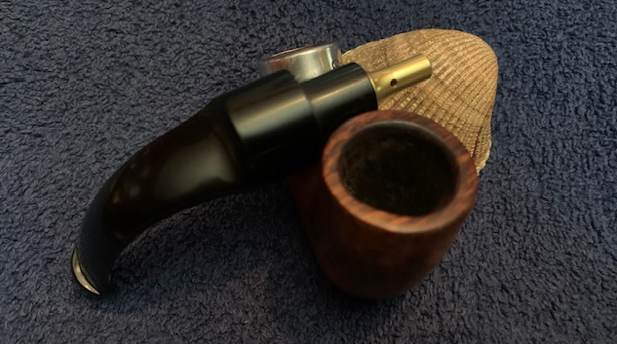
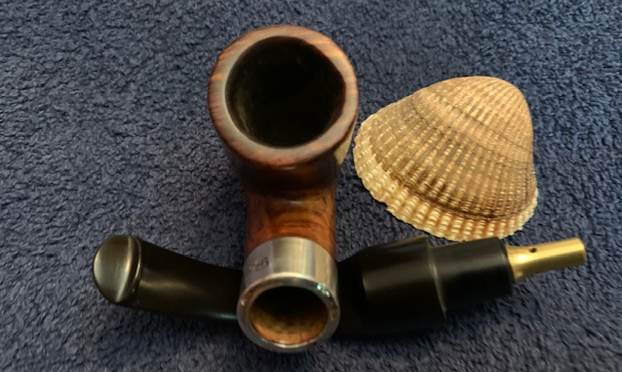
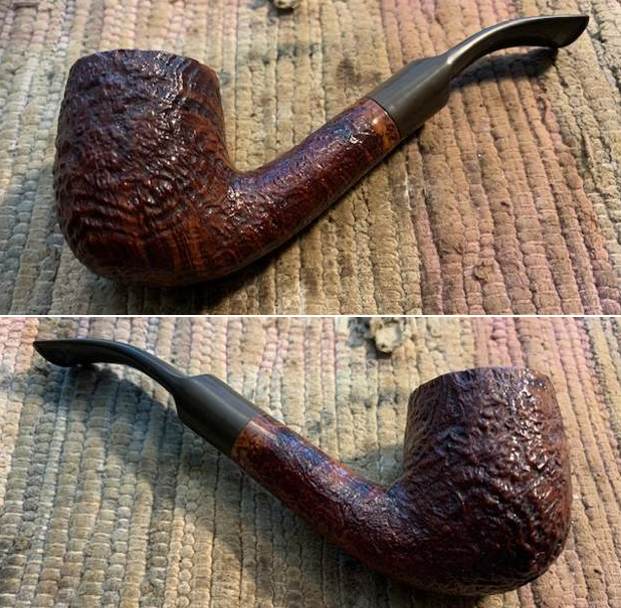
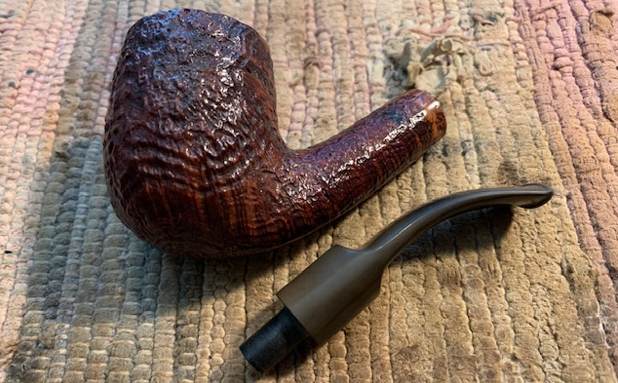
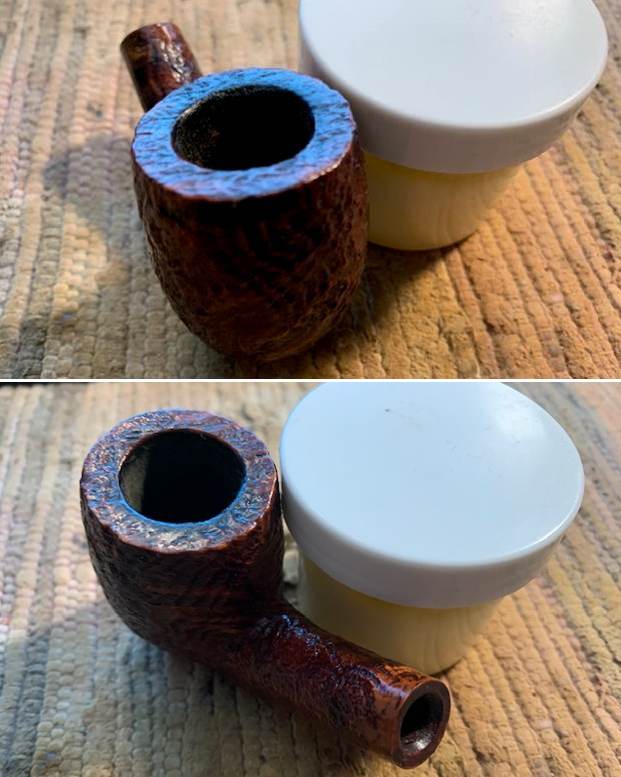
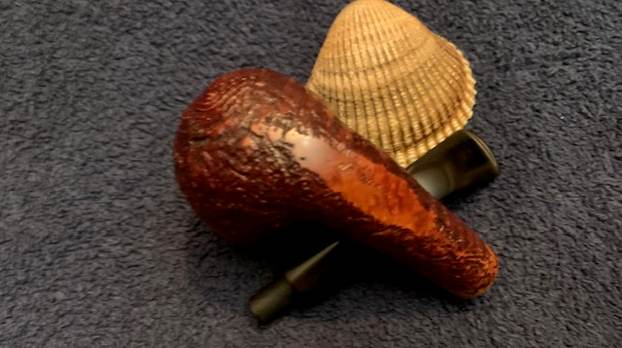
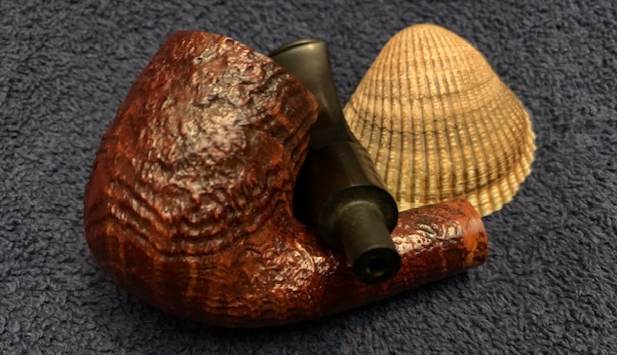
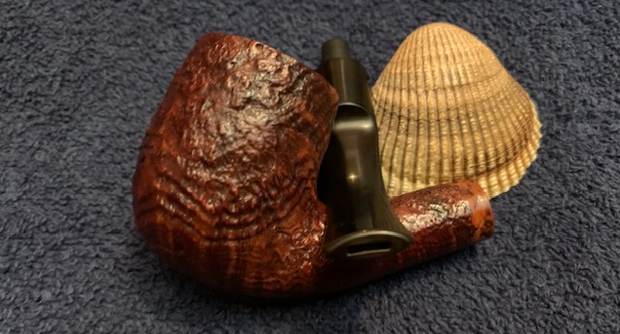
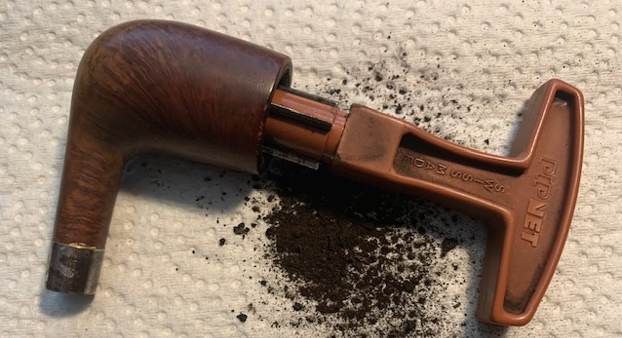
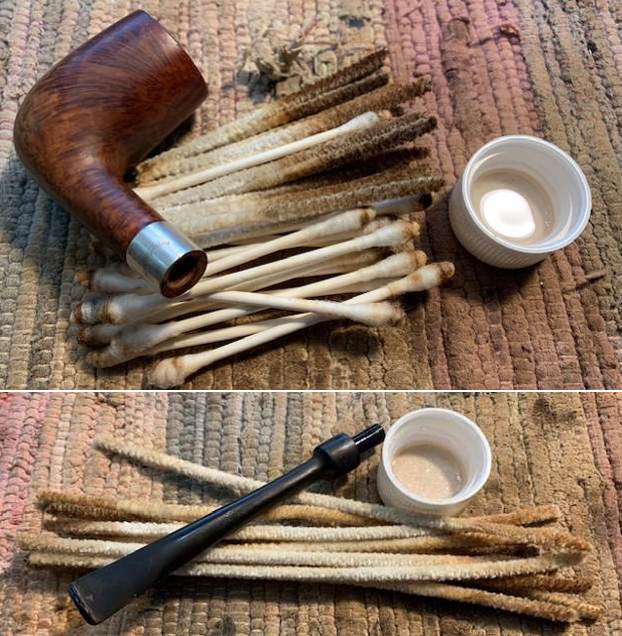
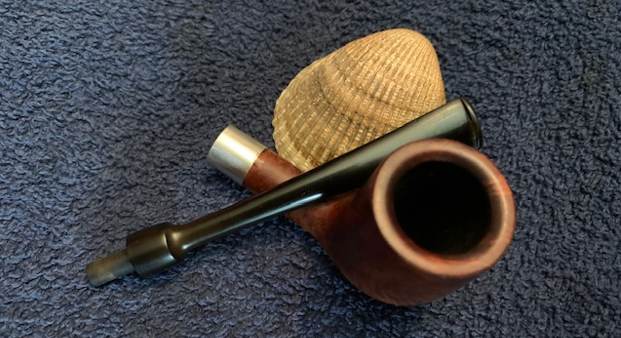
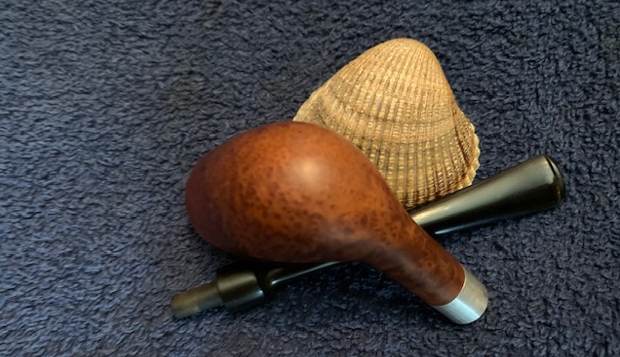
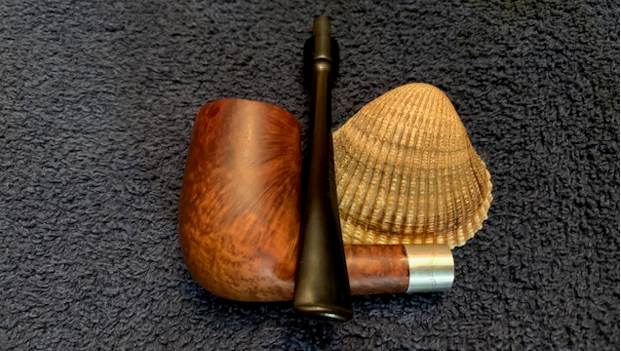
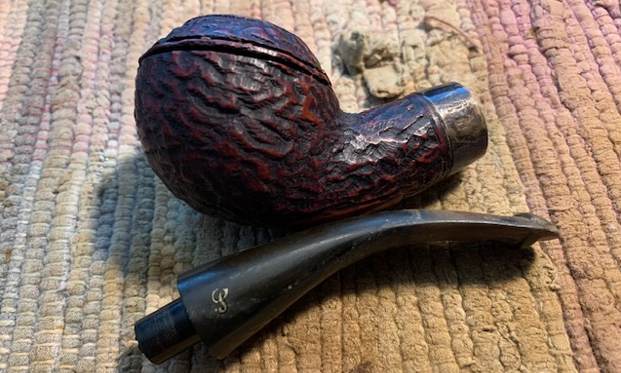
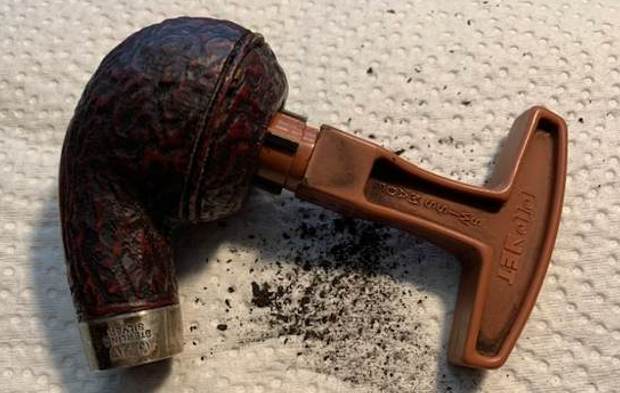
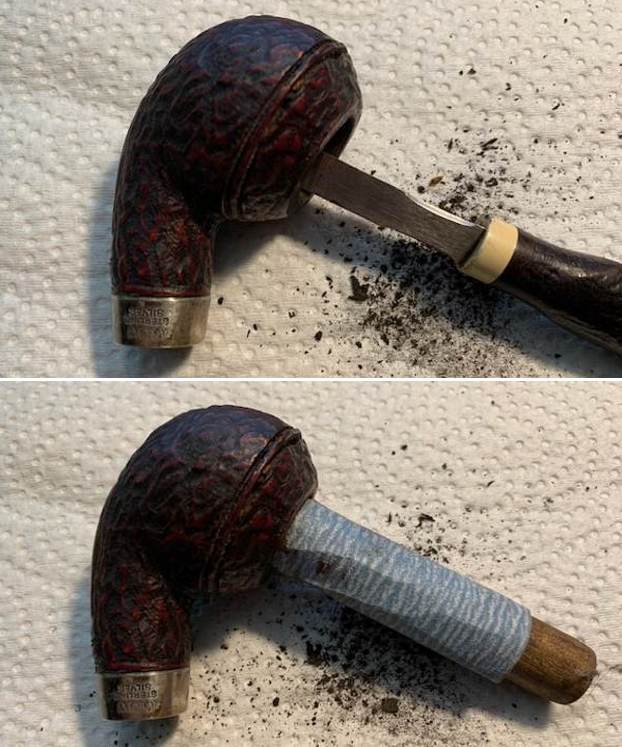
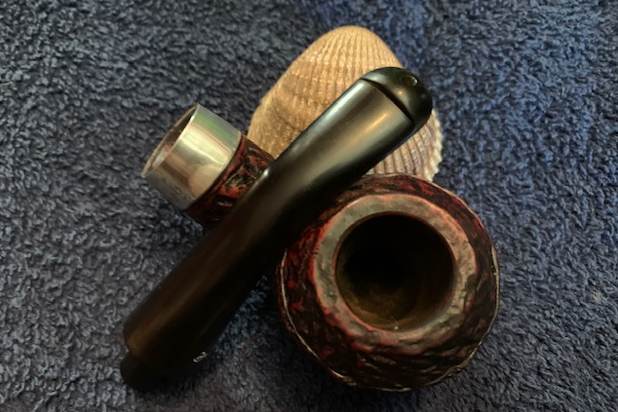
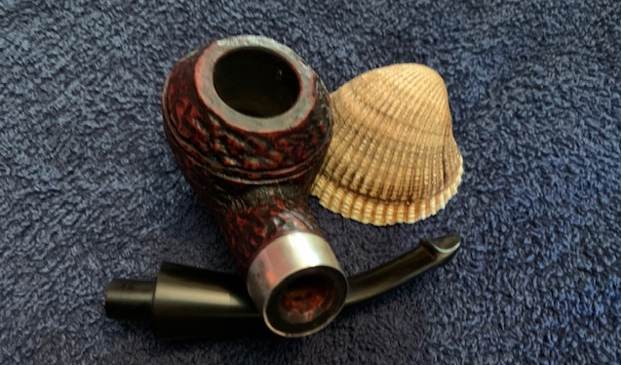
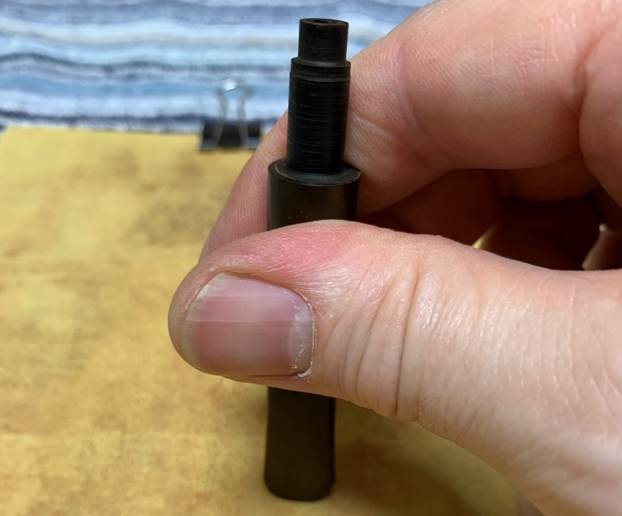
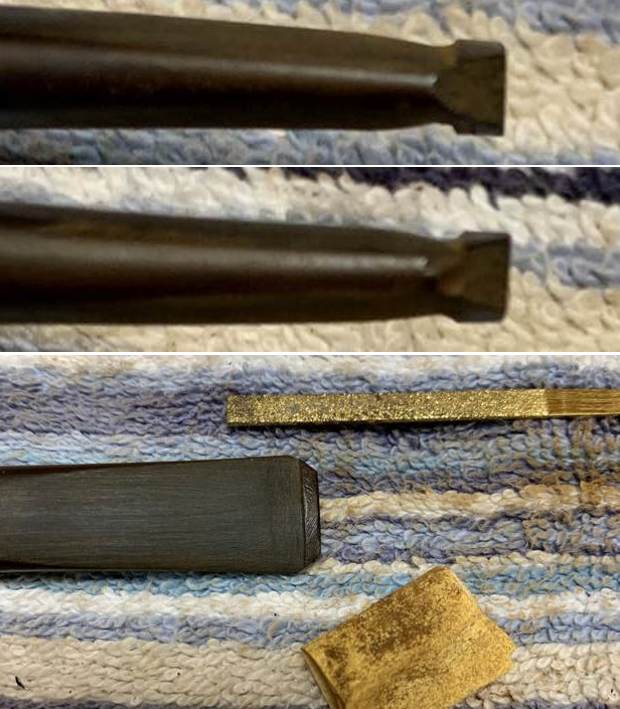
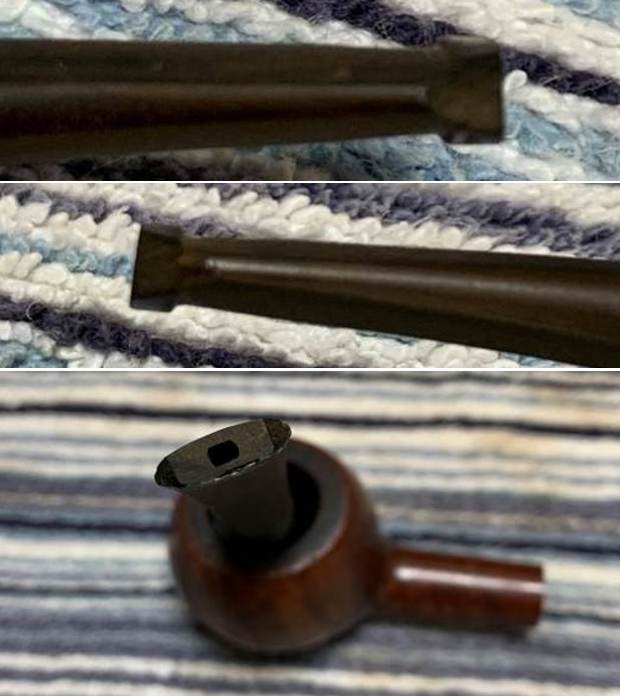
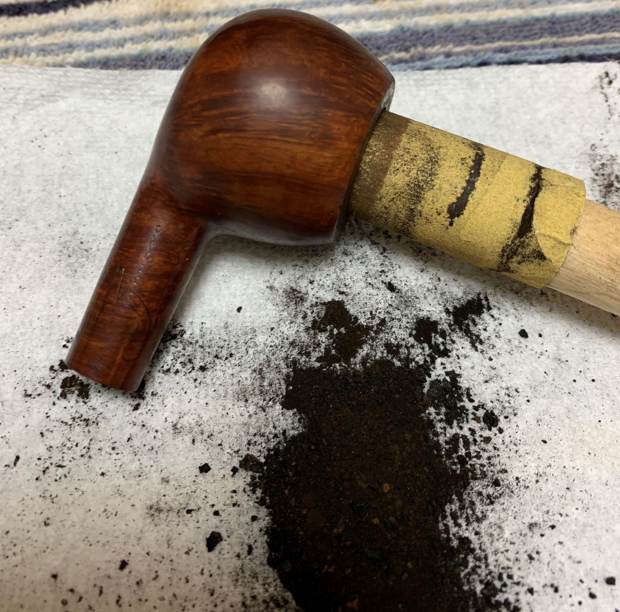
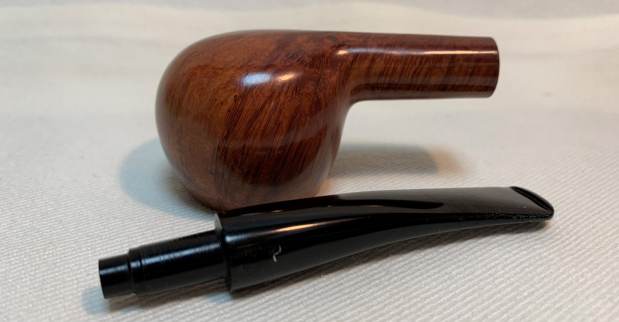
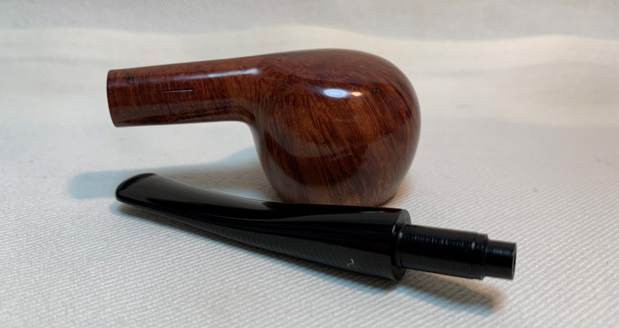
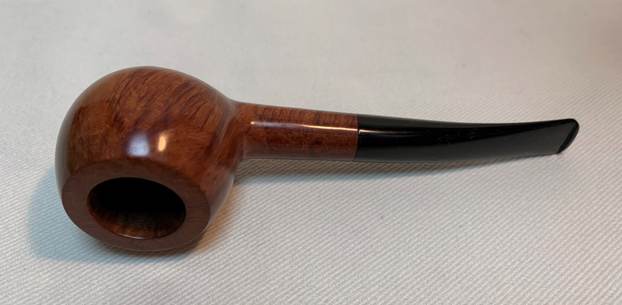
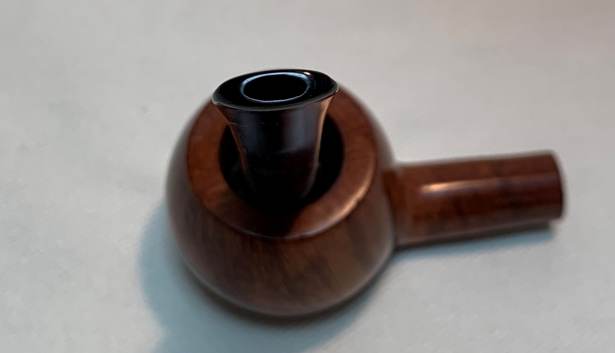
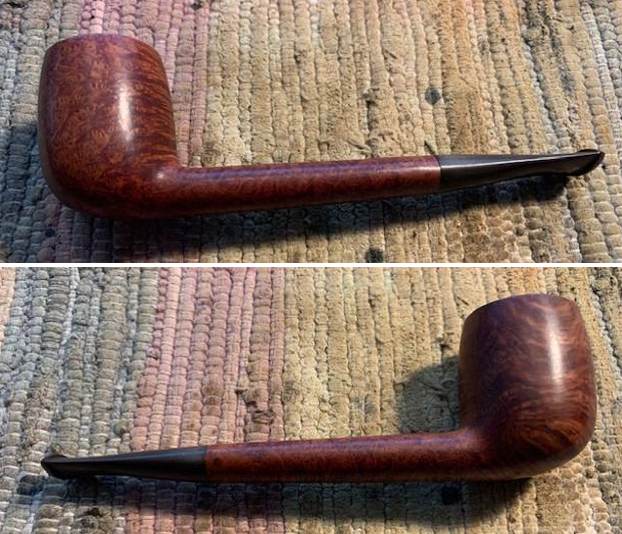
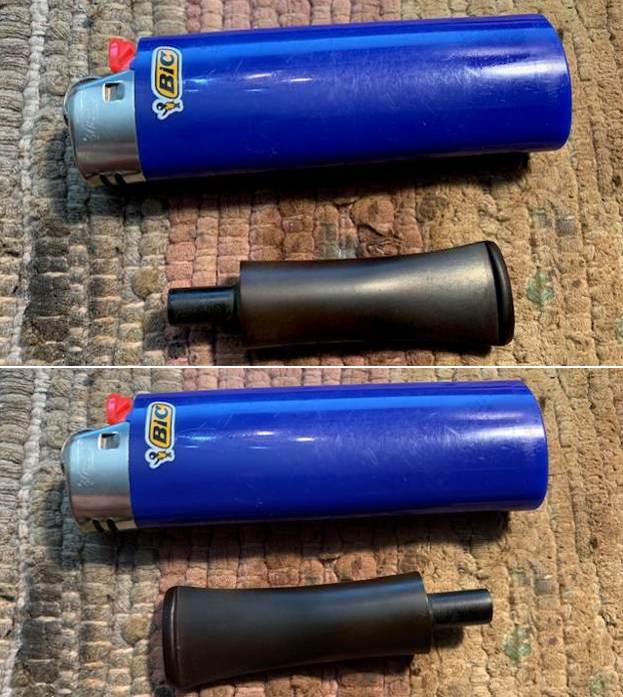
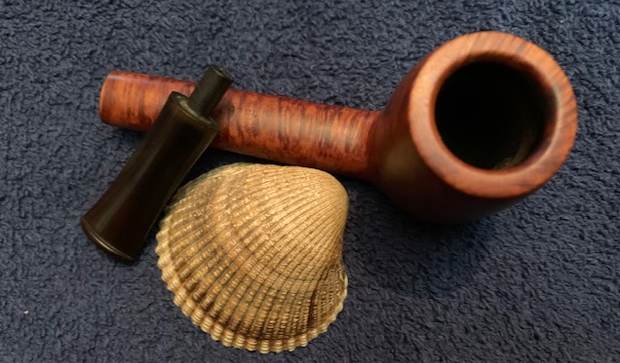
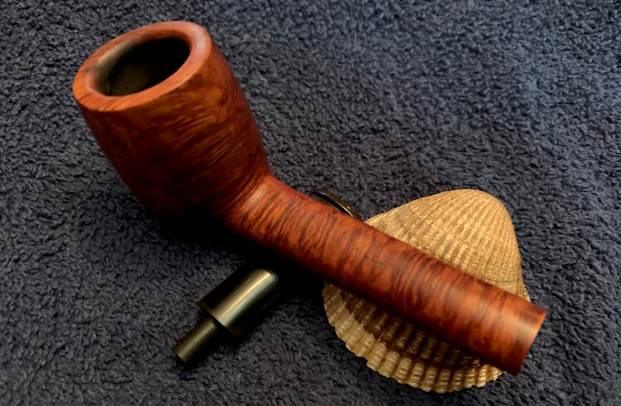
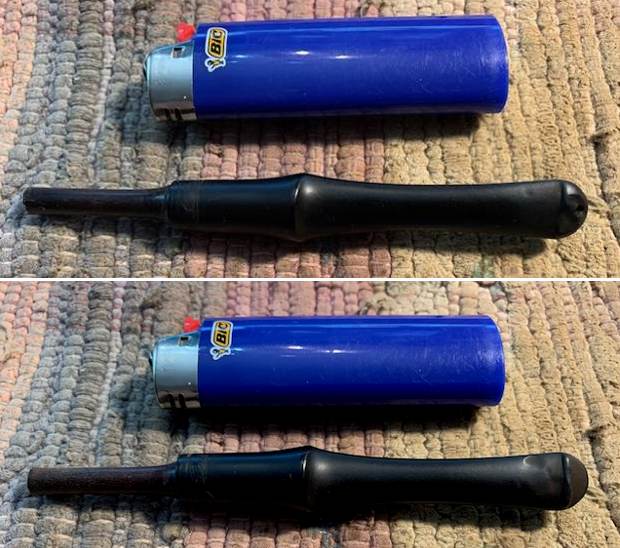
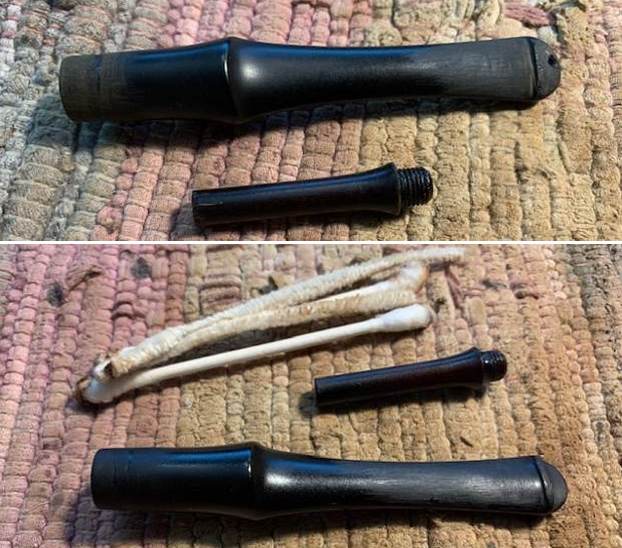
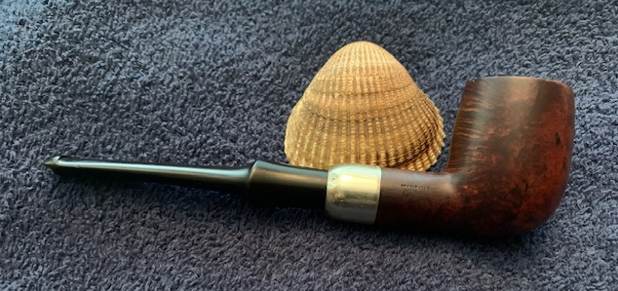
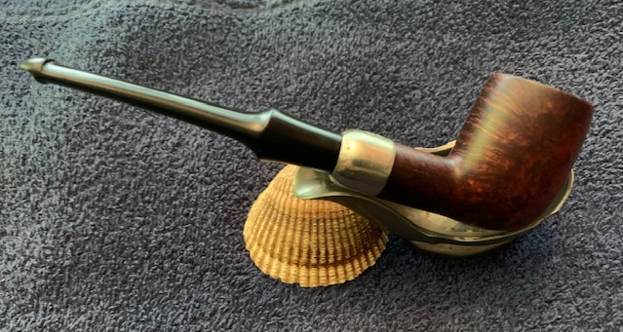
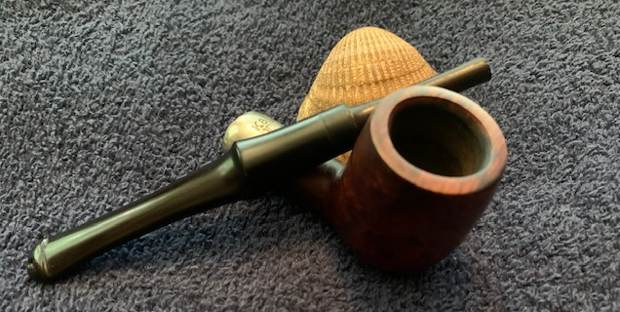
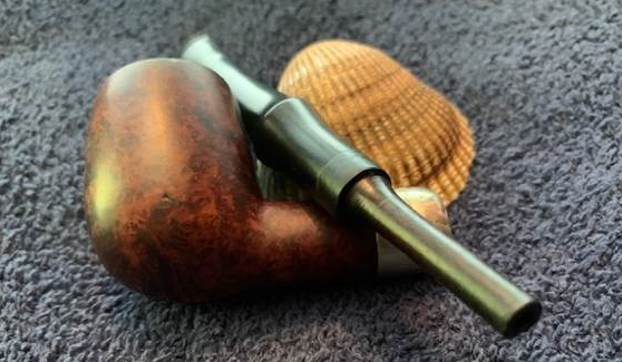
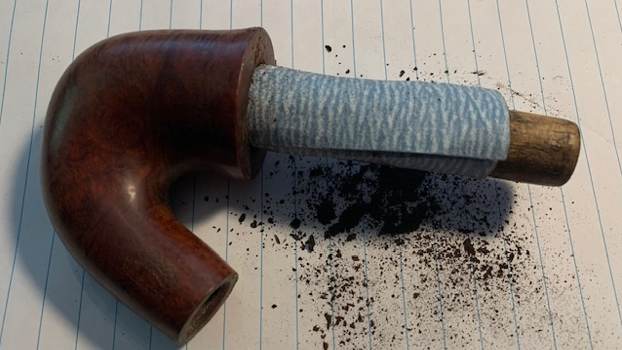
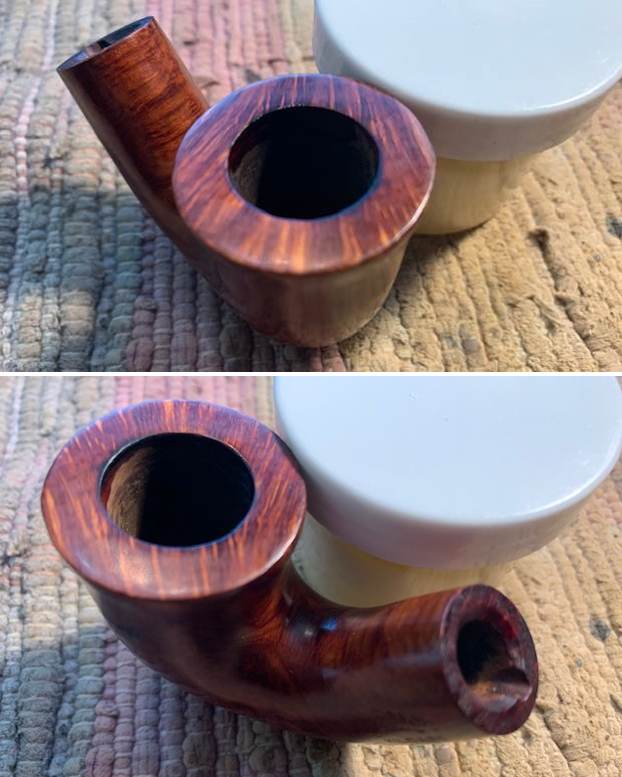
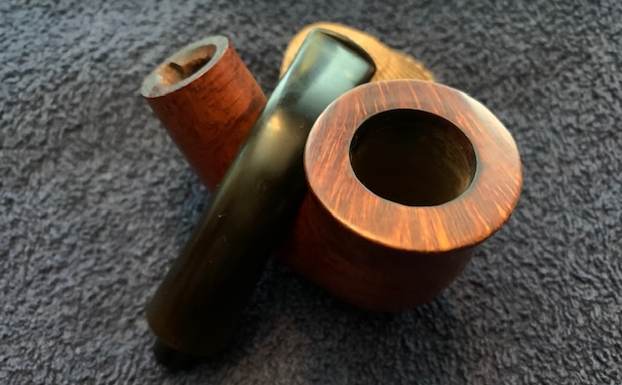
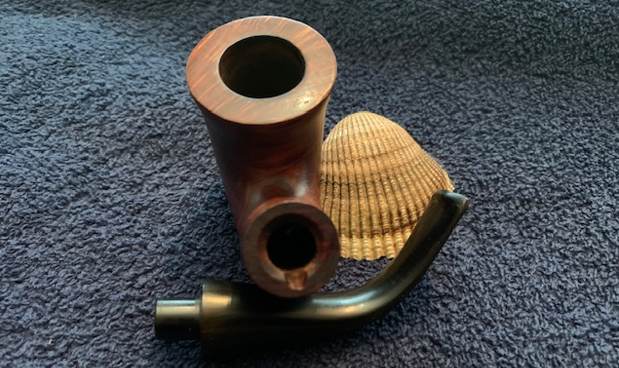
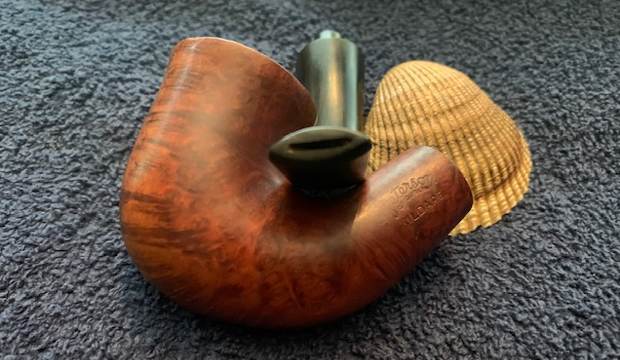
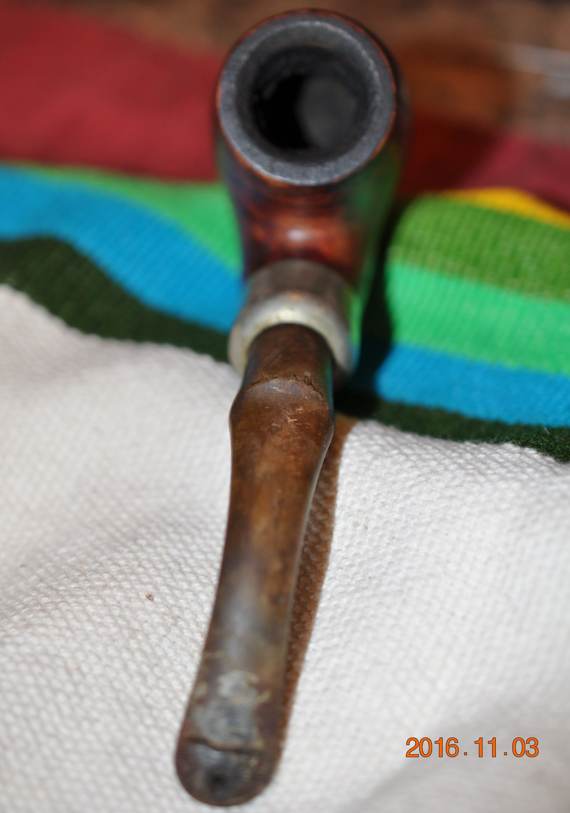
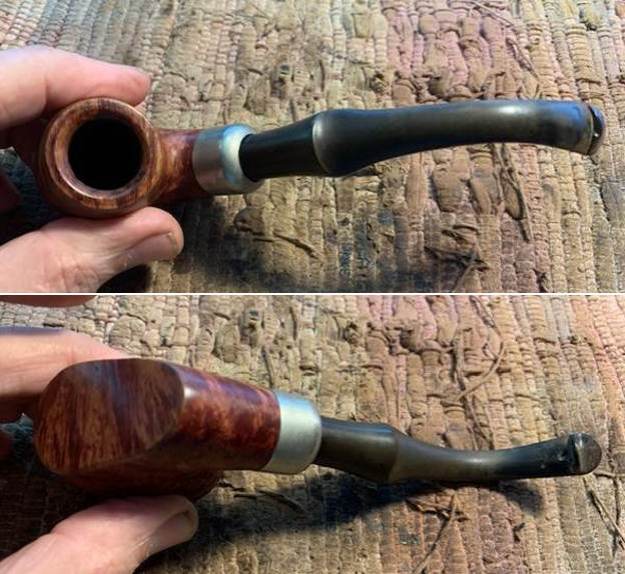
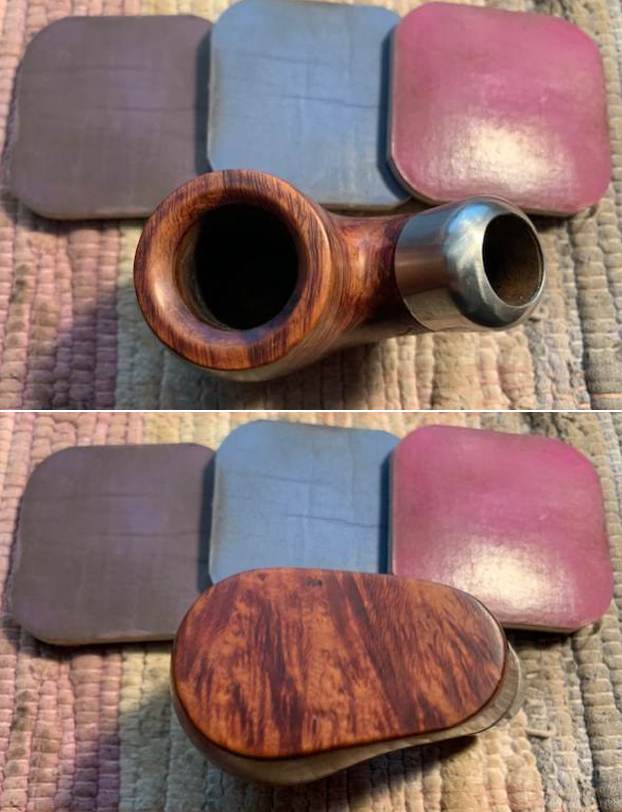
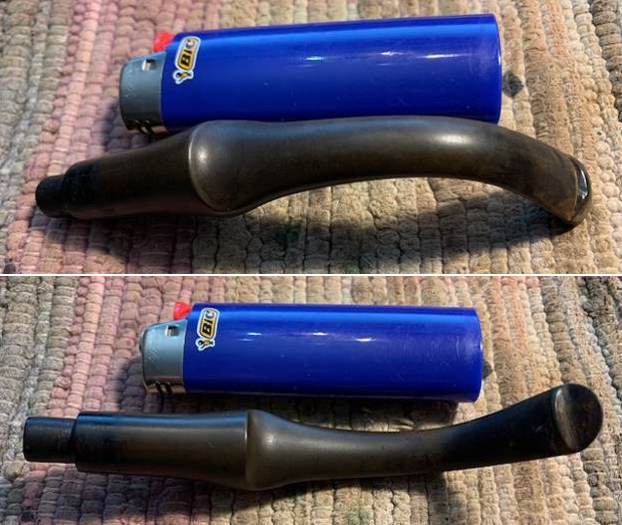
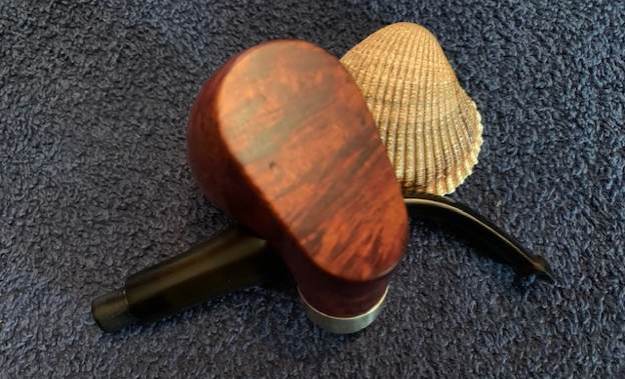
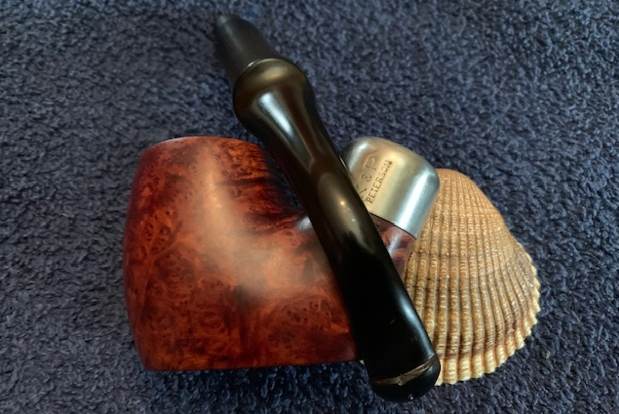
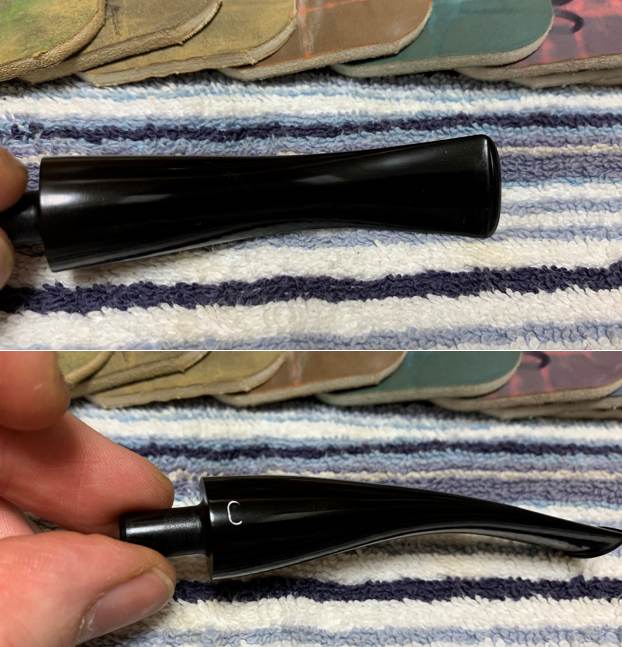
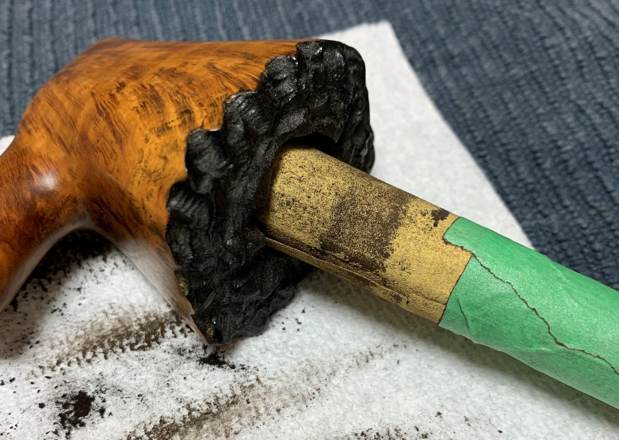
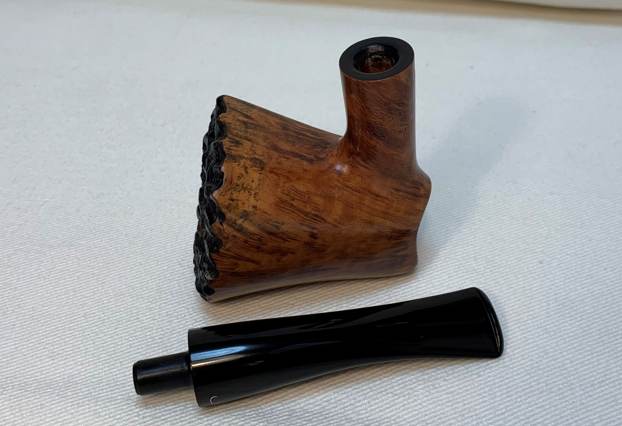
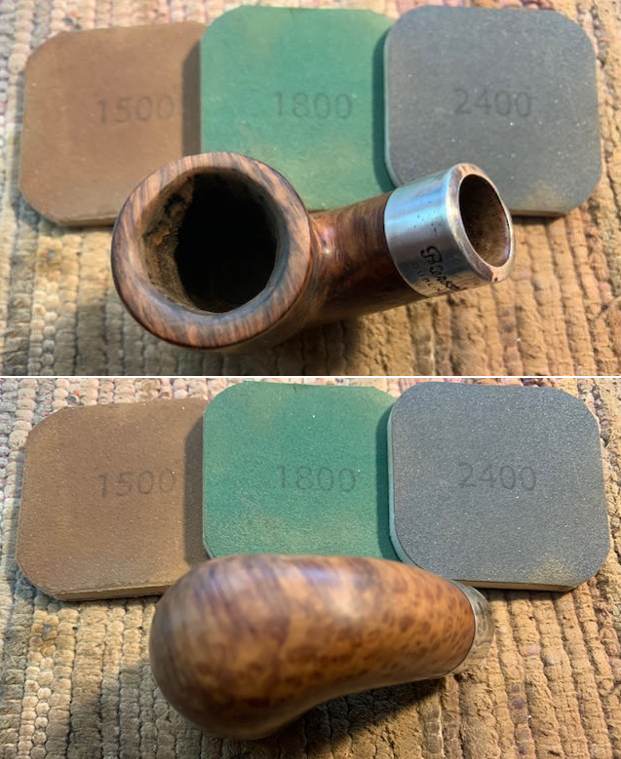
 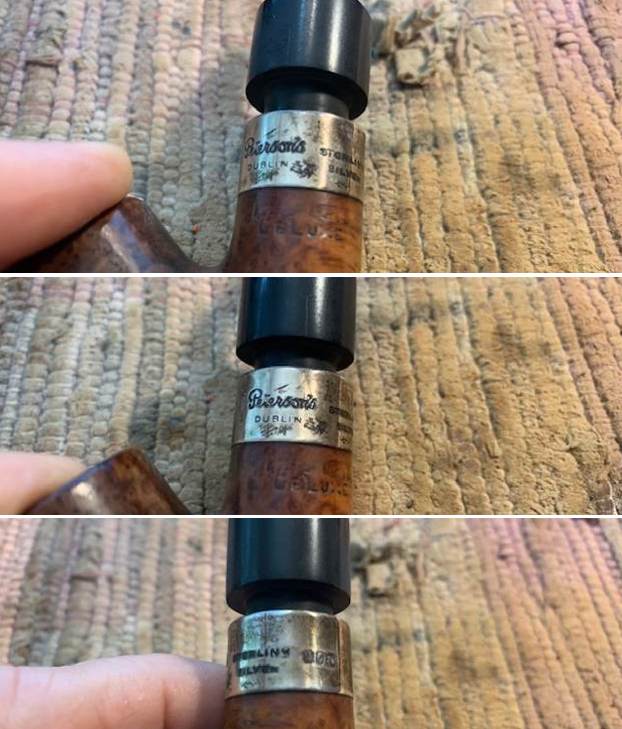 I removed the stem from the bowl and took a picture of the pipe to show the general look and proportion of the pipe. It also shows the metal condenser tube in the tenon end.
 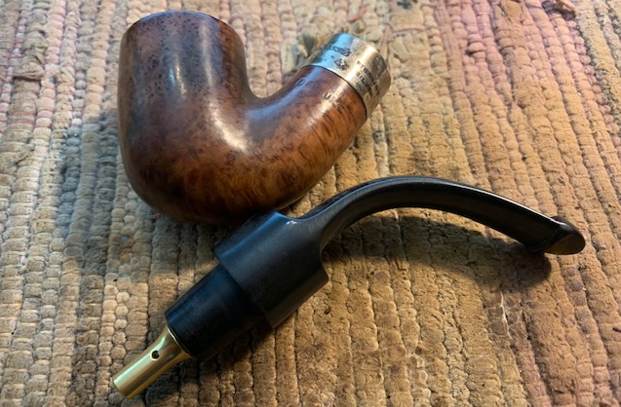 To help identify the shape number that had worn off I turned to a Peterson Catalogue that I have on rebornpipes and looked up the System Deluxe pipes (https://rebornpipes.com/tag/peterson-hallmark-chart/). I compared the shape of the pipe in hand with the shape chart show below. I have put a red box around the 8S pipe shown in the catalogue page shown below. So now I knew it was an 8S Bent Billiard.
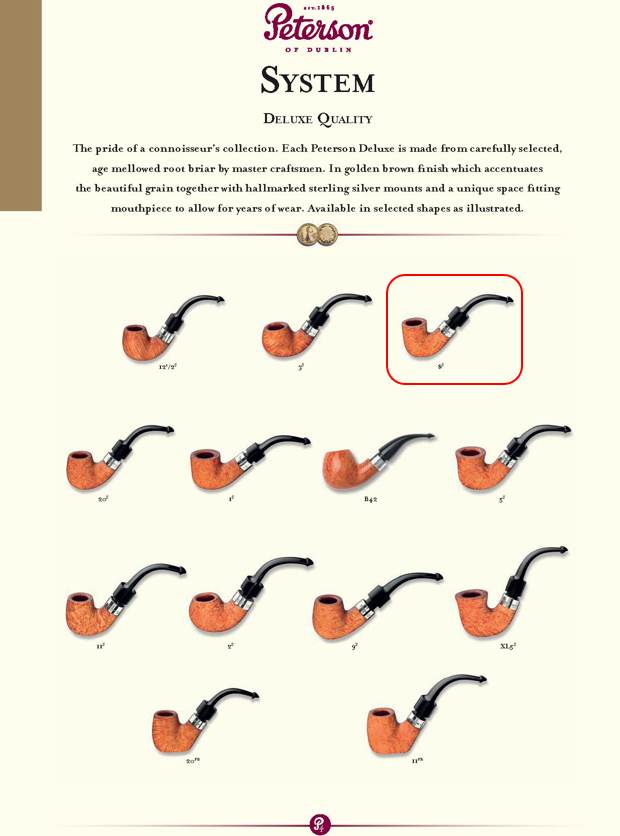
 I turned first to Pipephil’s site to reacquaint myself with the DeLuxe. Unfortunately there was no information to be found on this specific line. I then turned to Pipedia’s article on Peterson pipes to see what I could garner from that information. It is a great read in terms of the history of the brand (https://pipedia.org/wiki/Peterson). I have included a bit of the pertinent history here.
1950 – 1989 The Republic Era – From 1950 to the present time, the stamp for this era is “Made in the Republic of Ireland” in a block format generally in three lines but two lines have been used with or without Republic being abbreviated…
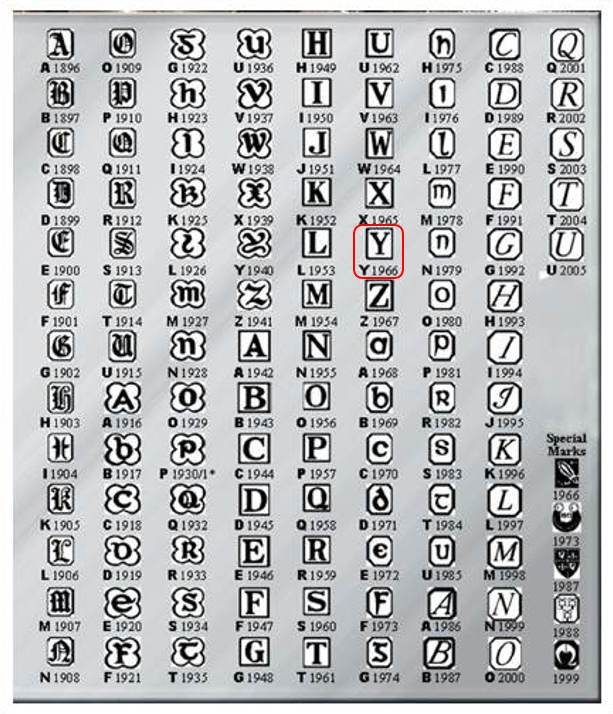
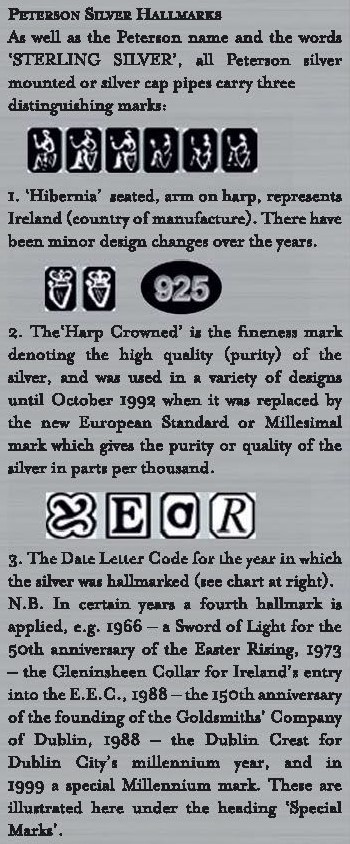
…With that information in hand I knew what I was dealing with in terms of the stamping on the pipe. It is a 1978 Republic Period pipe. I also wanted to be able to interpret the hallmarks on the silver band. I have captured a portion of the chart that include below that helps to clarify the meaning of each of the three hallmarks. I like the Hallmark feature on the higher end Peterson pipes with Sterling silver bands. It helps to pin down the date even further.
- “Hibernia” seated, arm on harp represents Ireland (country of manufacture). There have been minor design changes over the years.
- The “Harp Crowned” is the fineness mark denoting the high quality (purity) of the silver, and was used in a variety of designs until October 1992 when it was replaced by the new European Standard or Millesimal mark which gives the purity or quality of the silver in parts per thousand.
- The Date Letter Code for the year in which the silver was hallmarked (see the chart below). In certain years a fourth hallmark is applied – for example 1966 – a Sword of Light for the 50th anniversary of the Easter Rising 1973. There were also other marks used for the fourth hallmark.
The pipe on my table had the Hibernia seated mark (Ireland) followed by the Harp Crowned signifying Sterling Silver percentage and finally in this case a lower case “m”. Each of the hallmarks was in an octagonal cartouche. The chart below helps me identify the date mark to 1978. I have drawn a red arrow to point out the 1978 mark in the chart below.
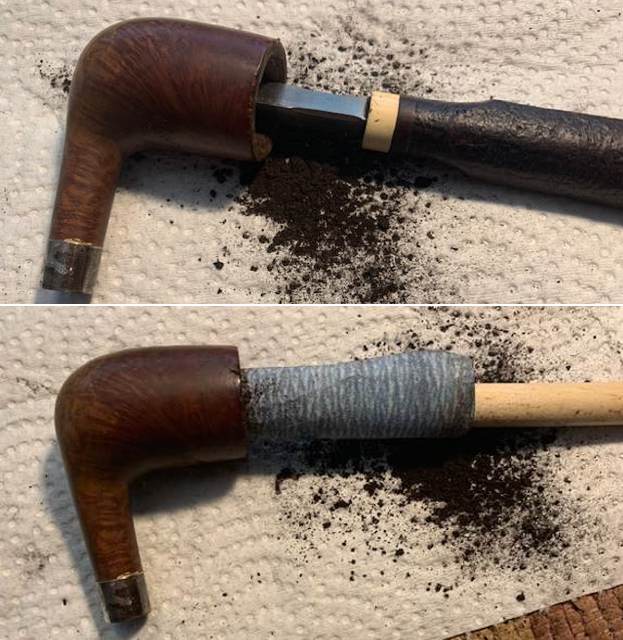
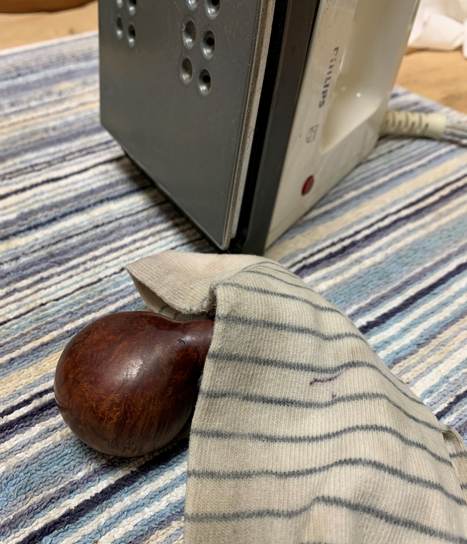
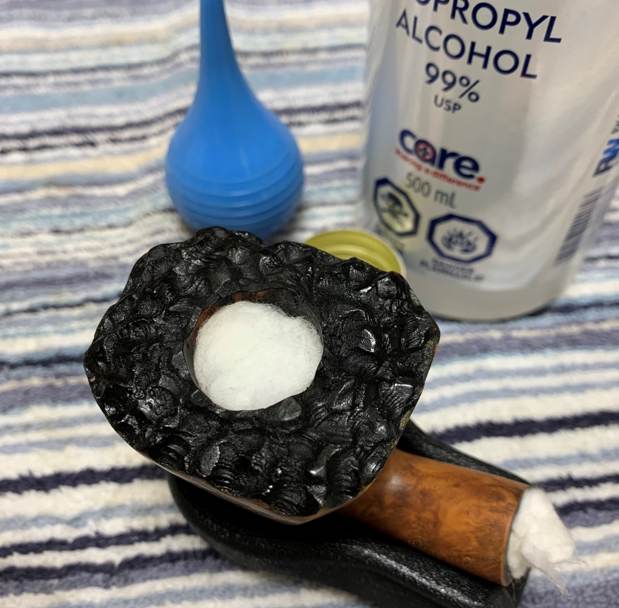
I have included the entire Hallmark chart for ease of reference show any of you be looking to date the pipes that you are working on at present.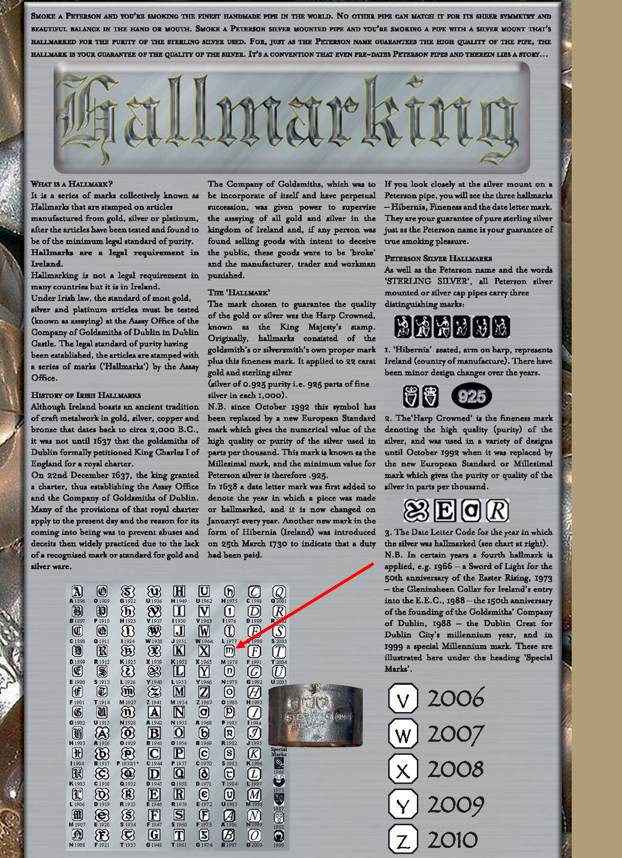 I worked over the rim top and the inner edge with a folded piece of 220 grit sandpaper to smooth out the damage and to bring the bowl back to round as much as possible.
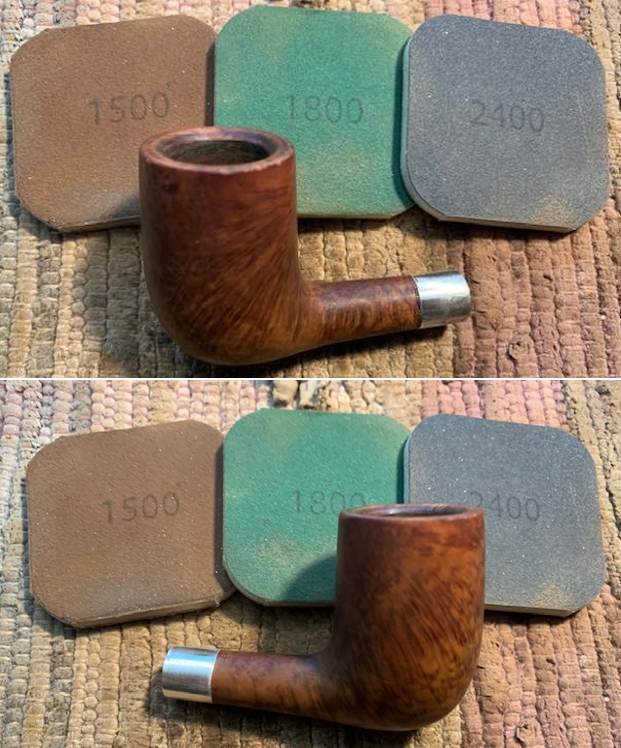
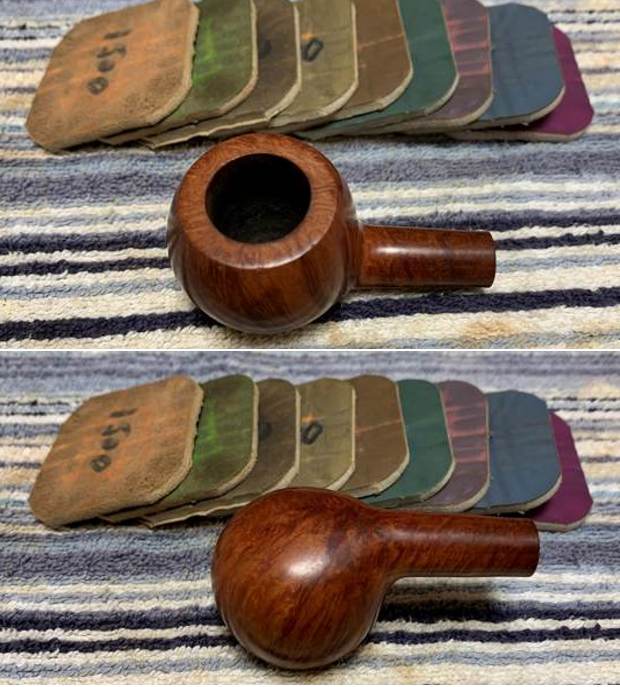
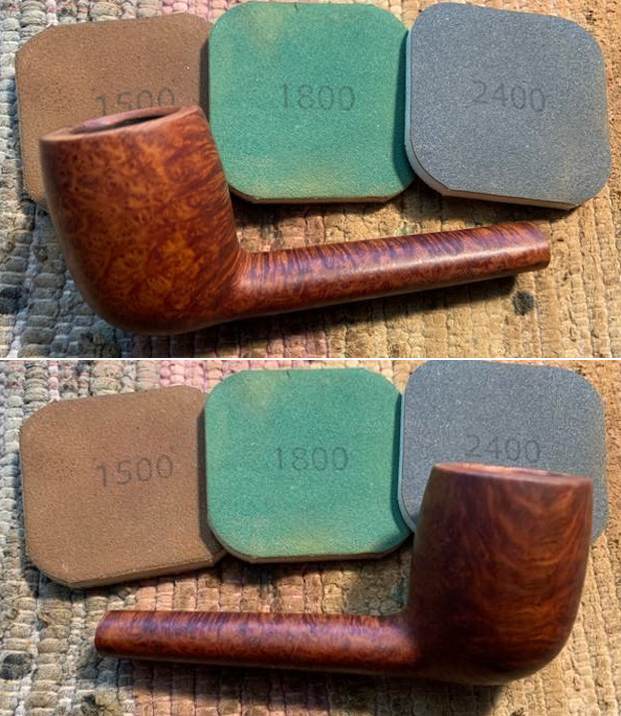
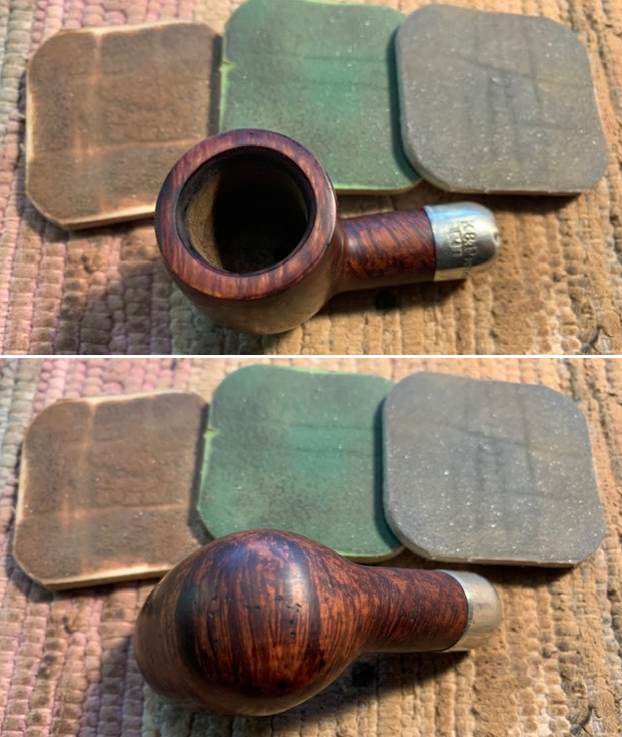
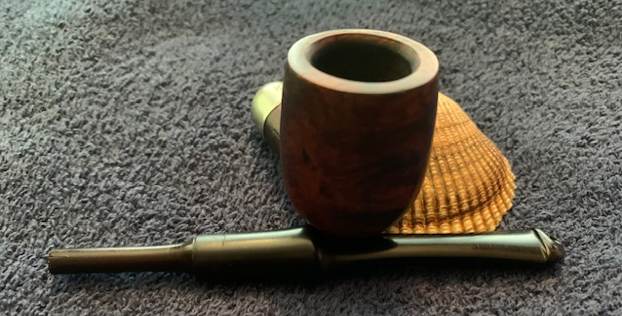
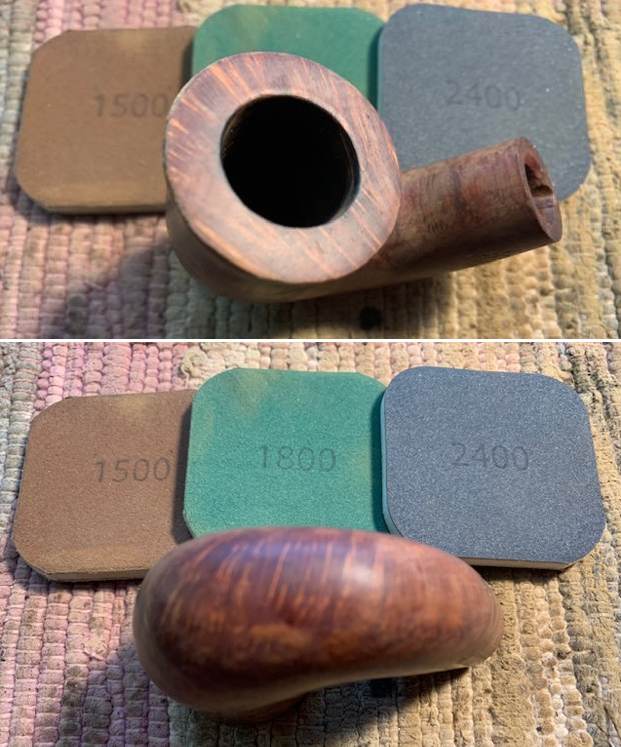
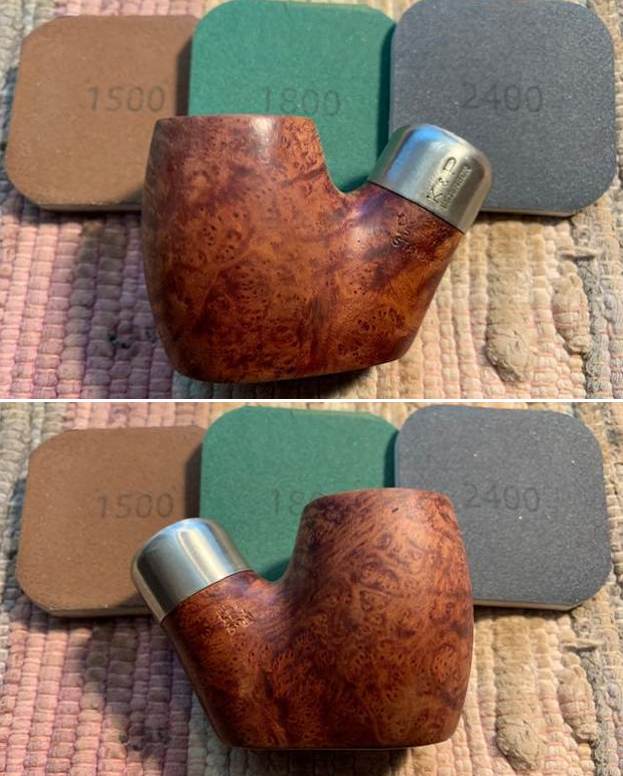
  I polished the briar with micromesh sanding pads – polishing it with 1500-12000 grit pads. I rubbed down the Sterling Silver with a silver polishing cloth. By the time I was finished both the briar and the silver ferrule they both had a great shine. The grain on the pipe is quite beautiful.
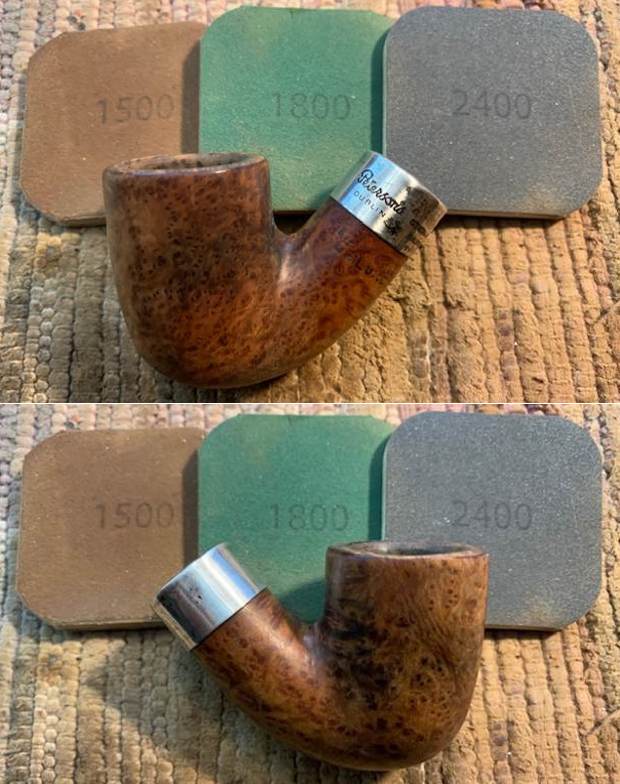
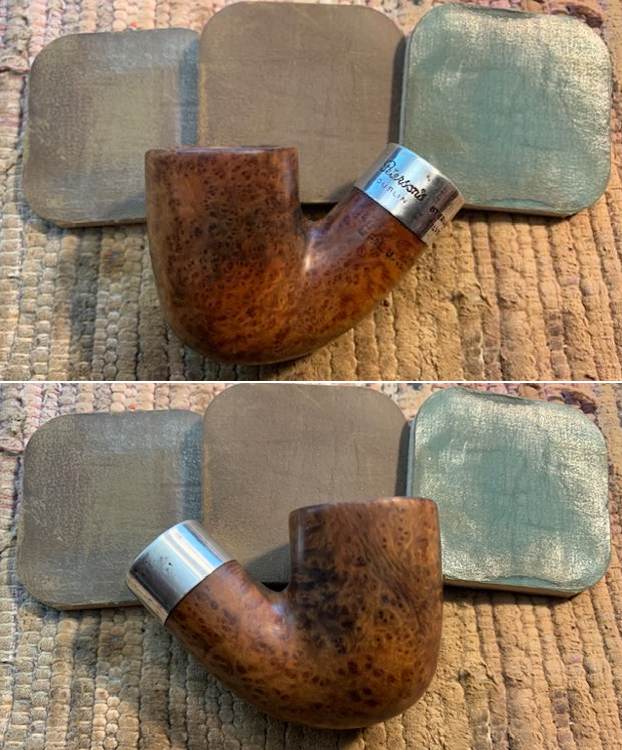

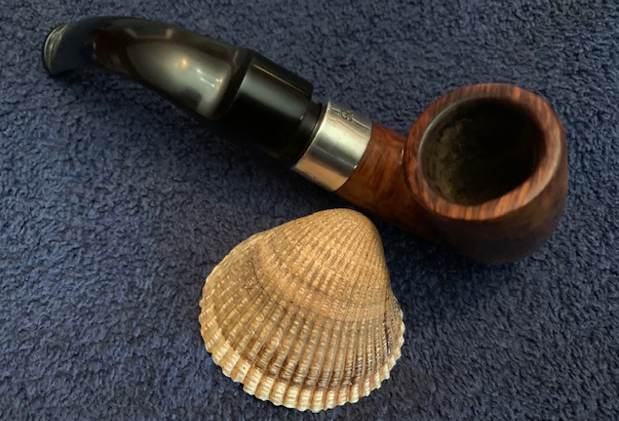
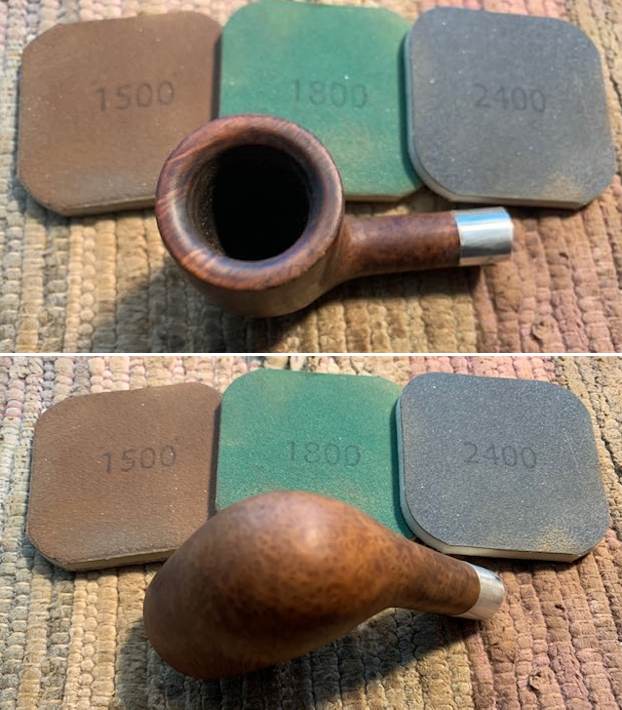
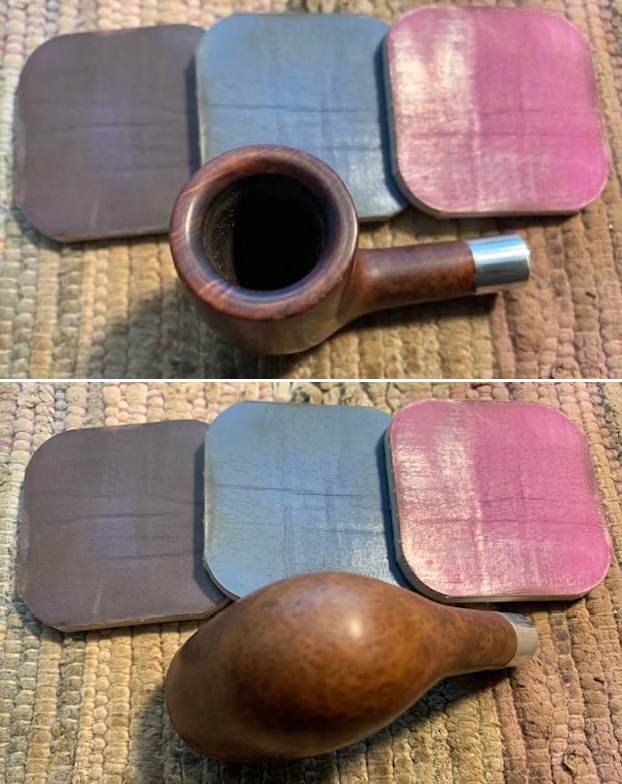
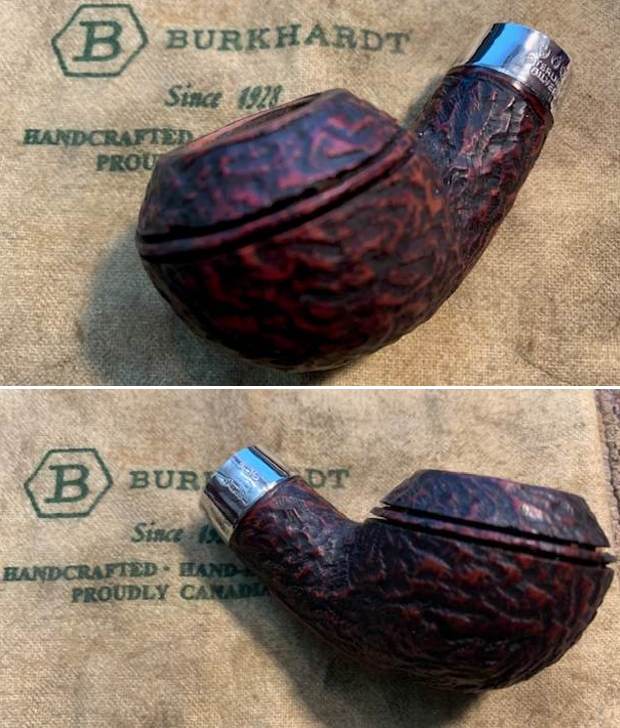
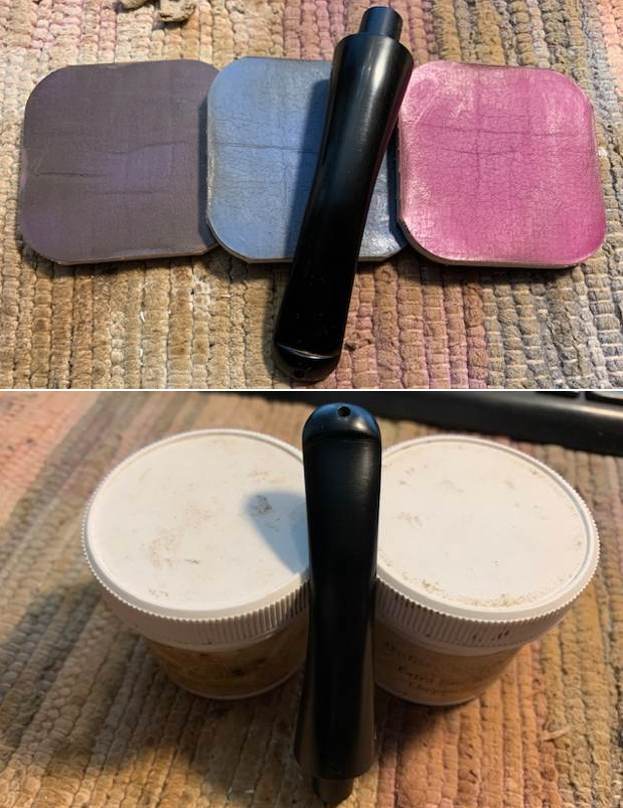
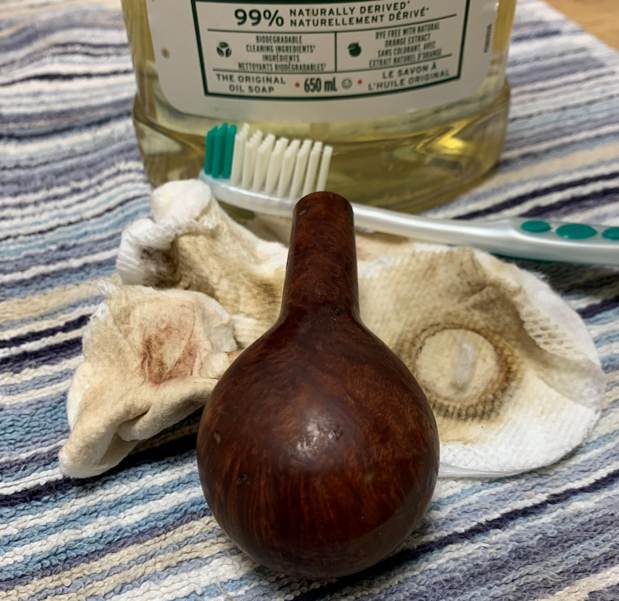
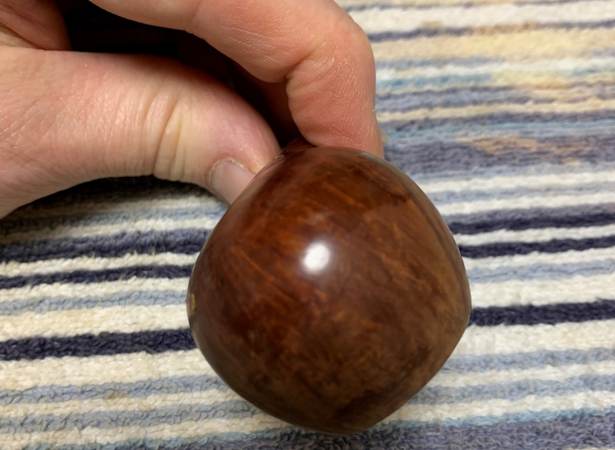
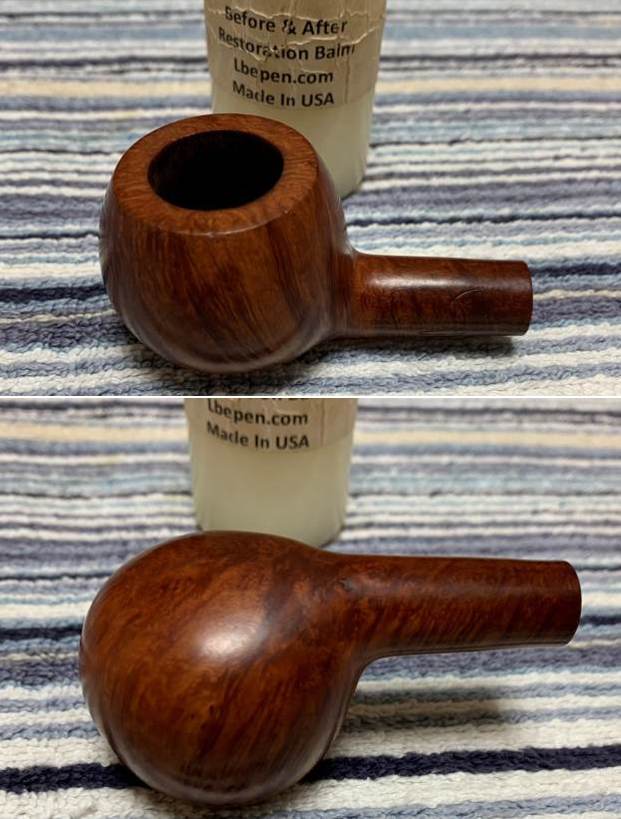
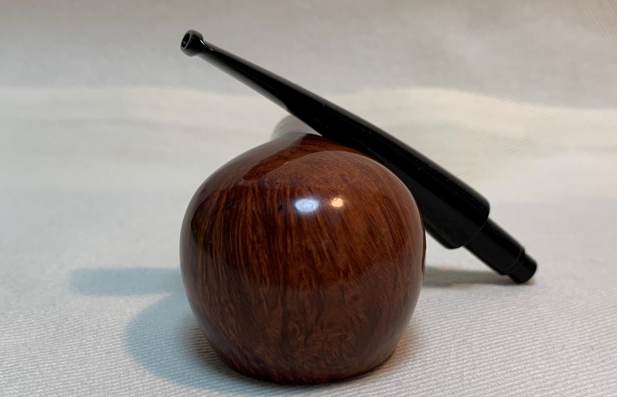
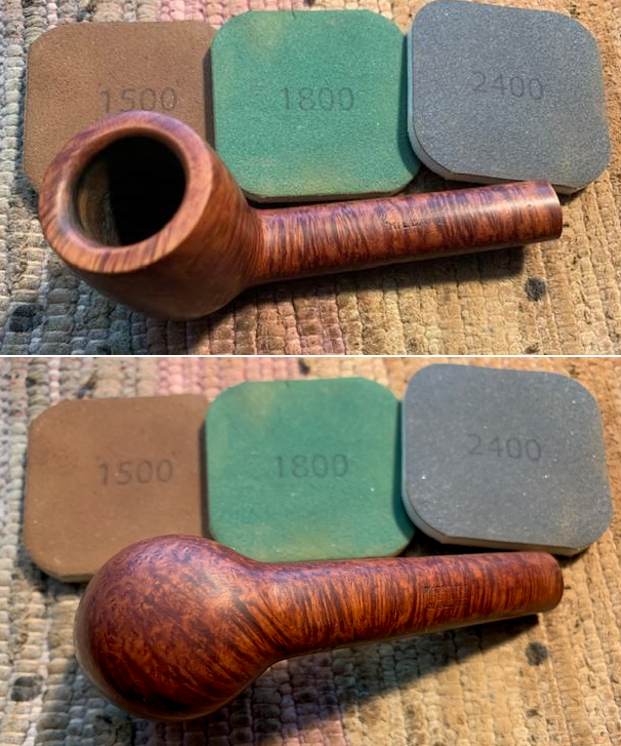
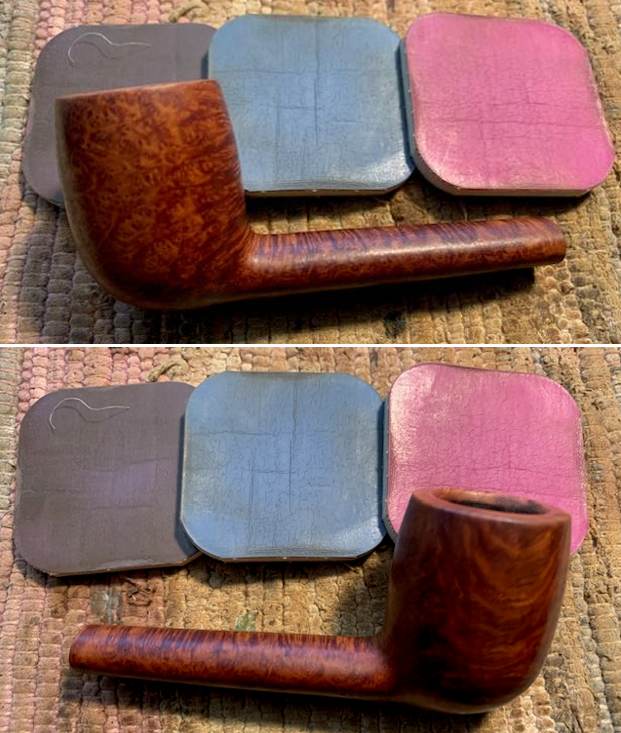
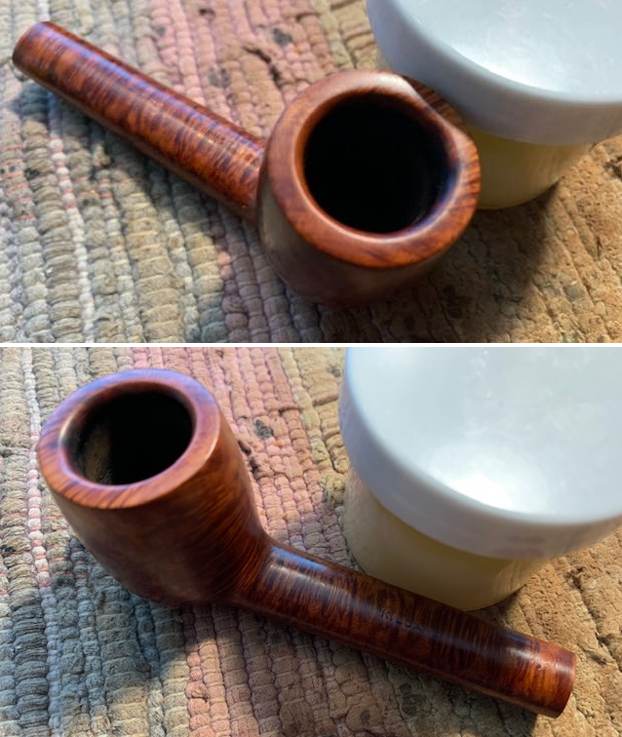
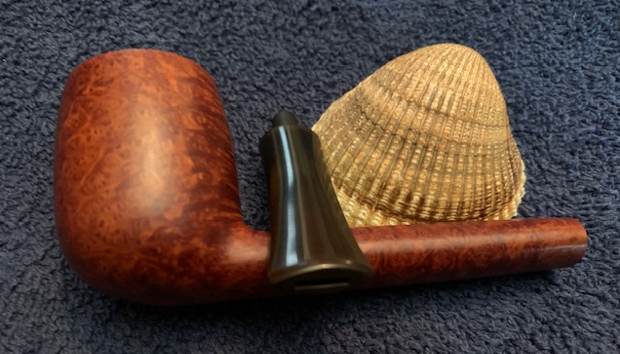
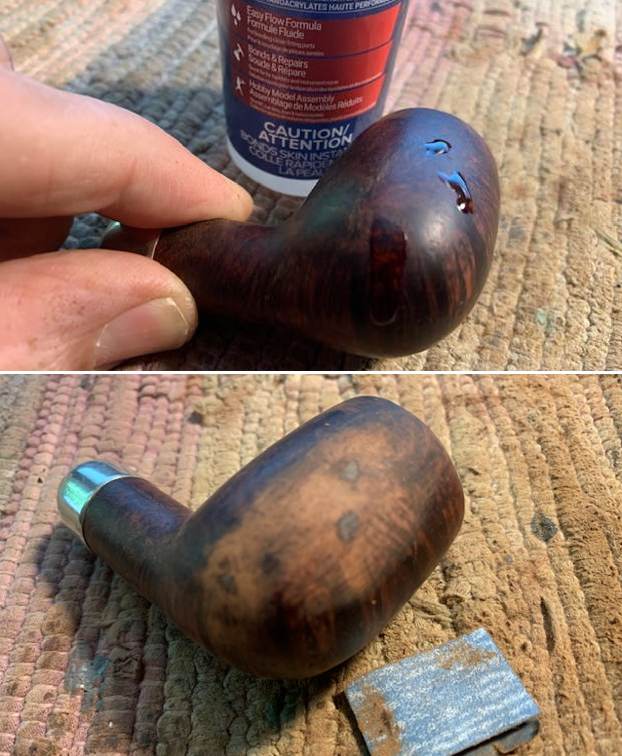
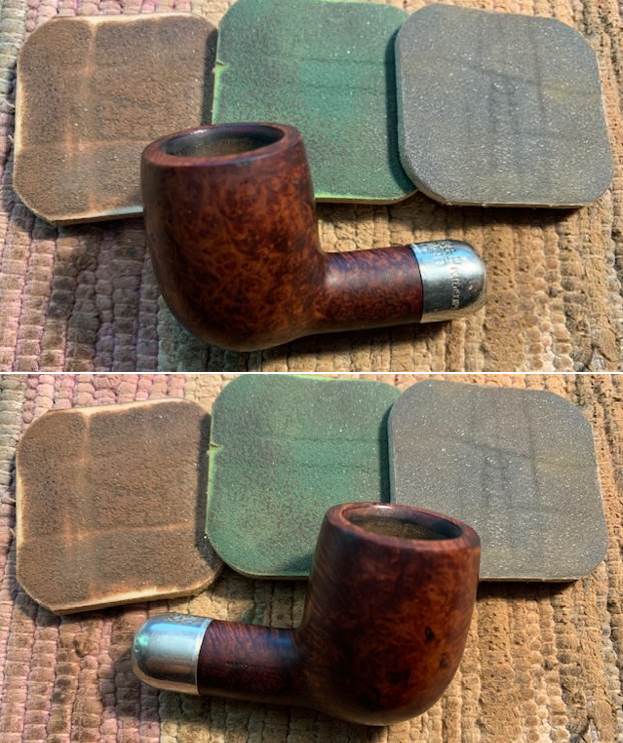
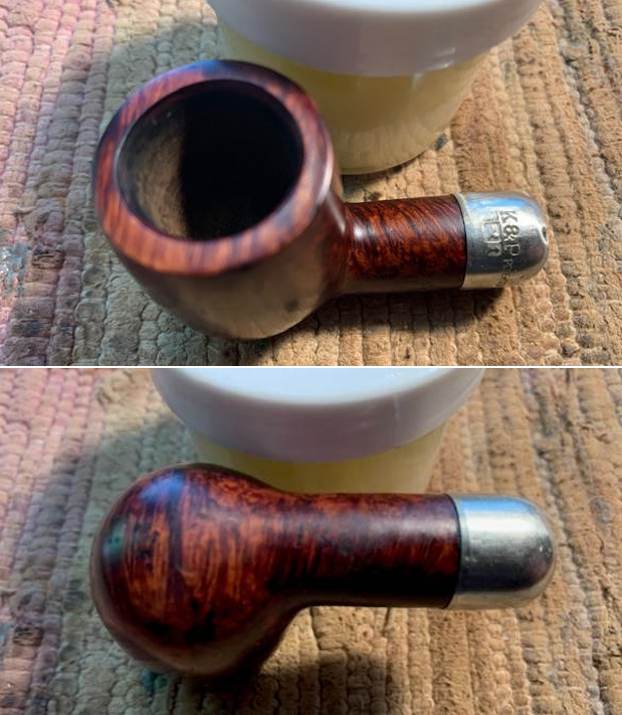
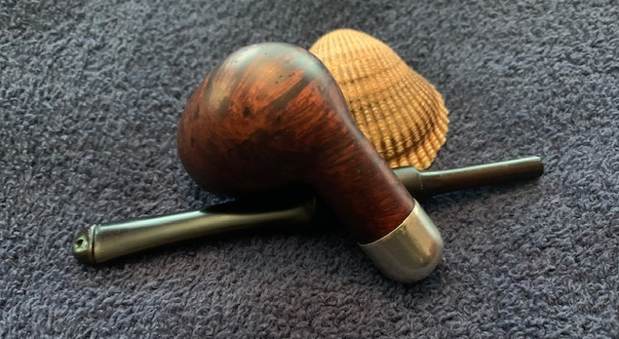
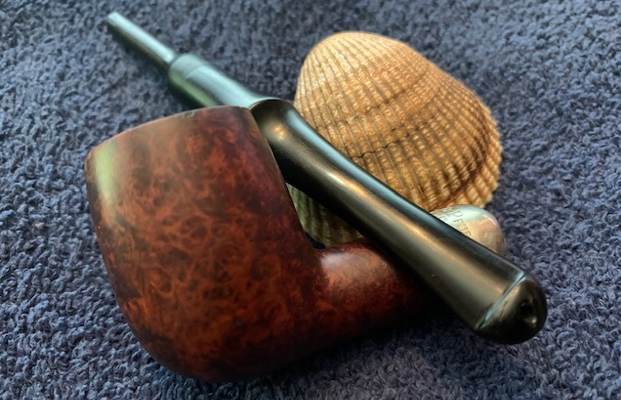
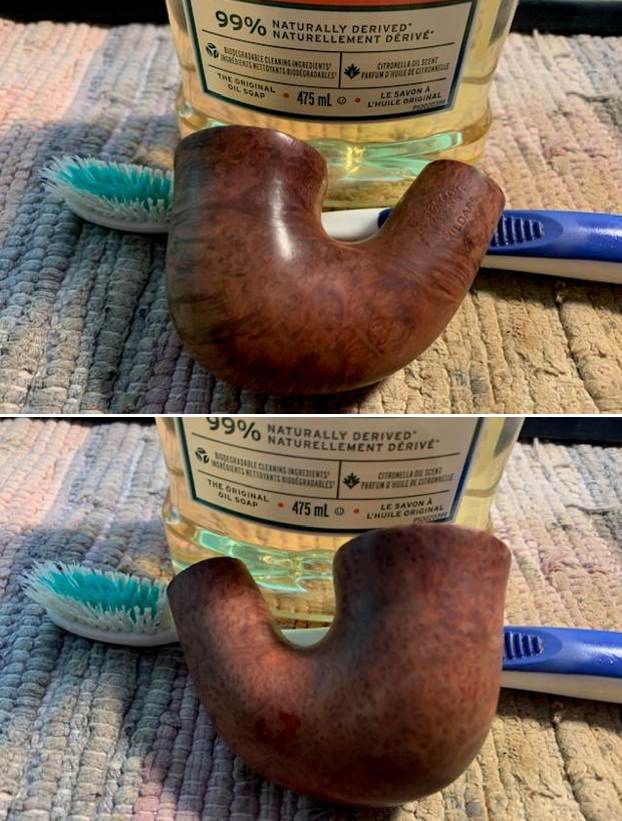
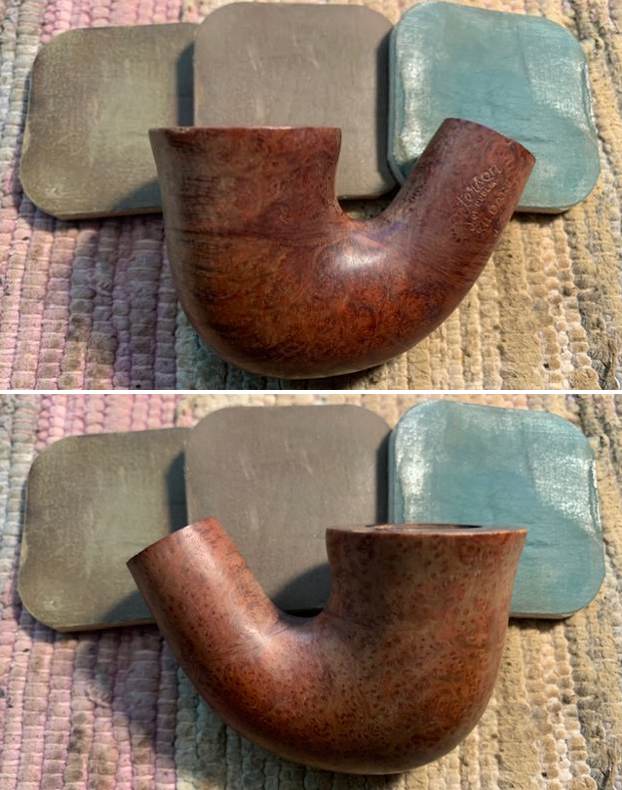
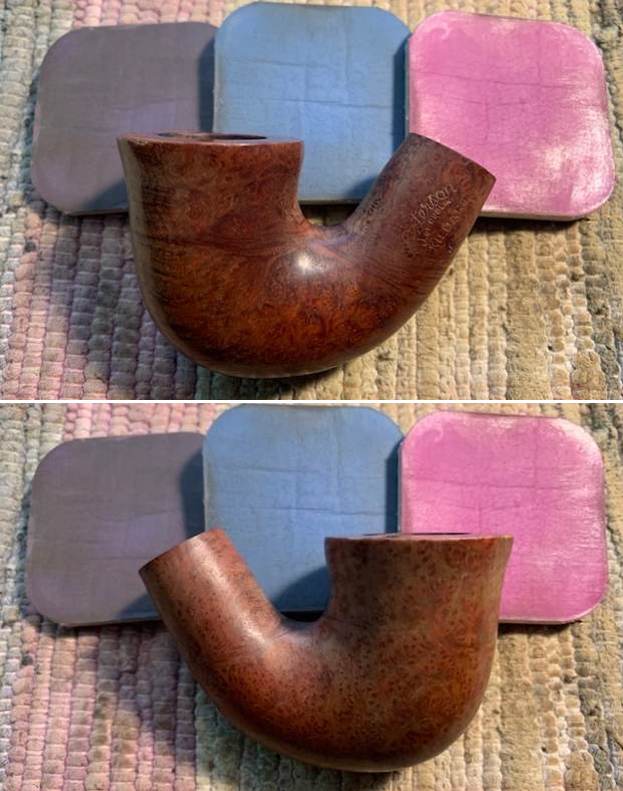
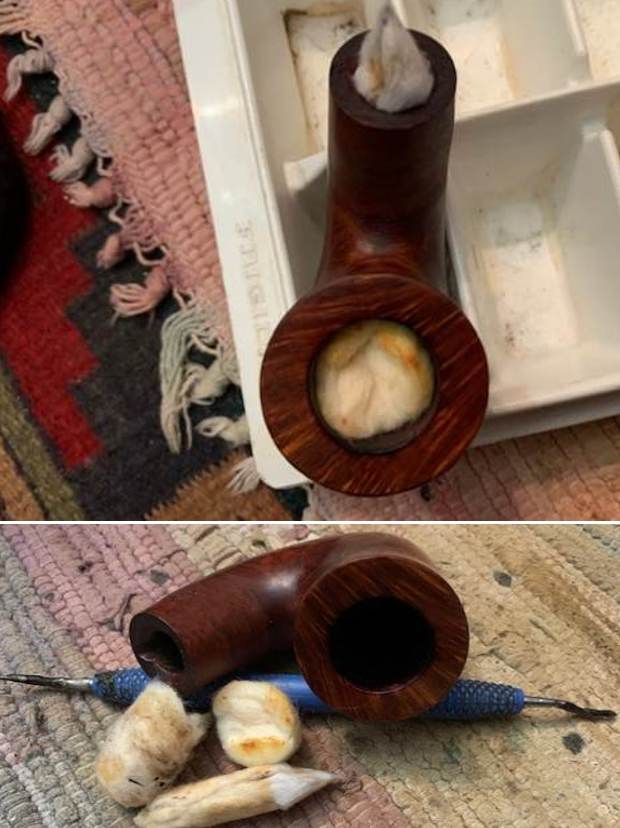
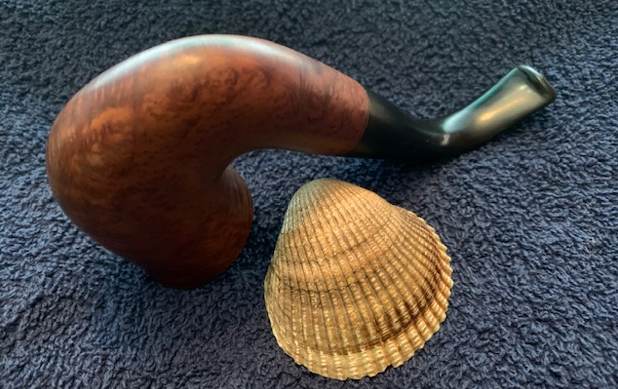
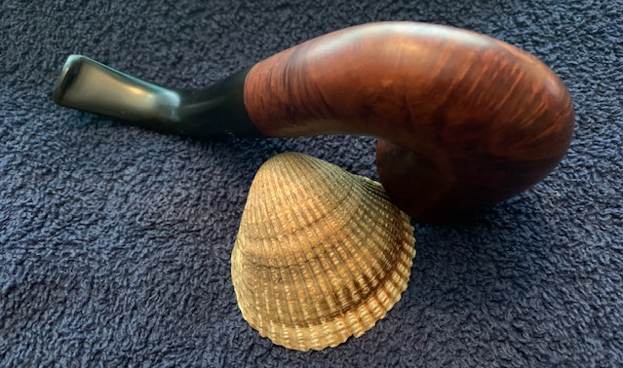
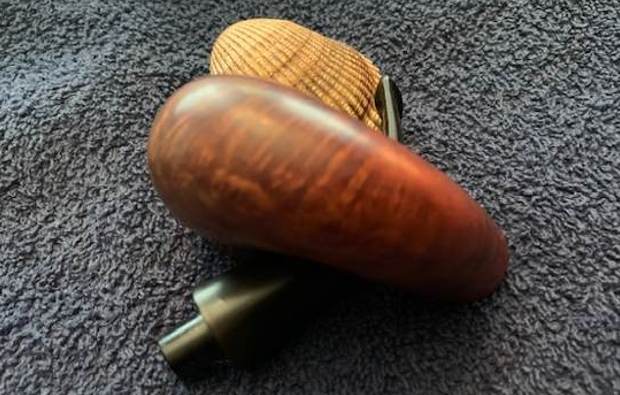
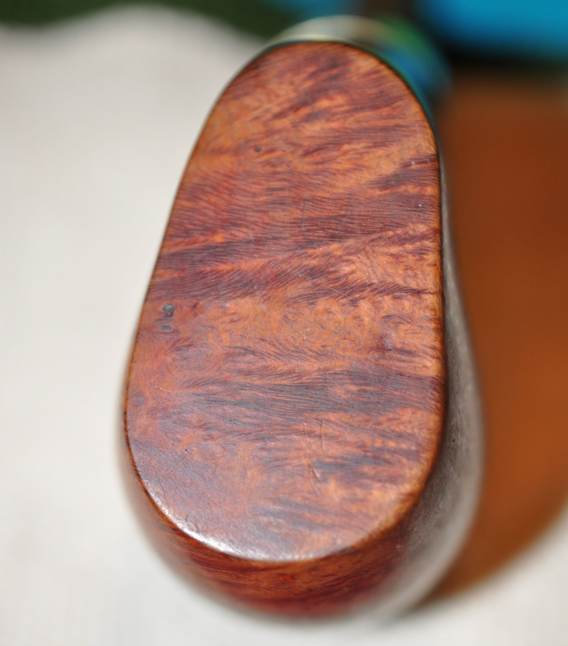
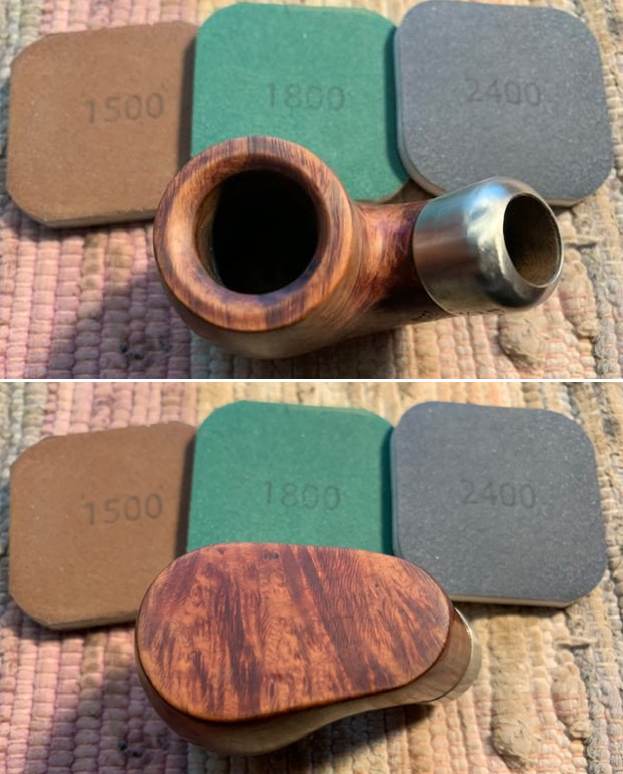
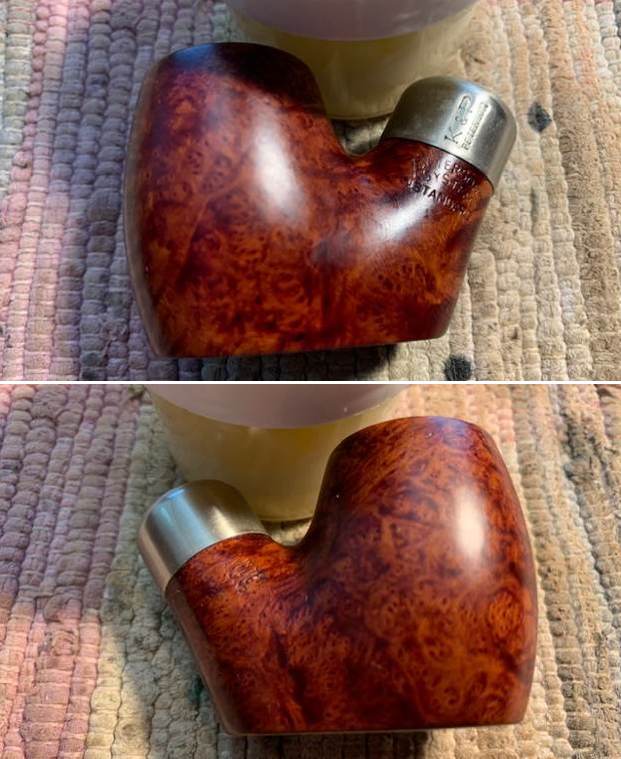
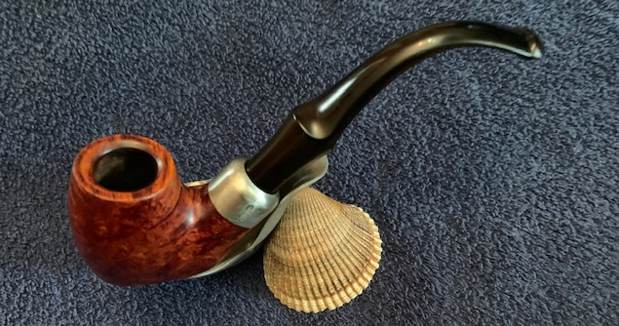
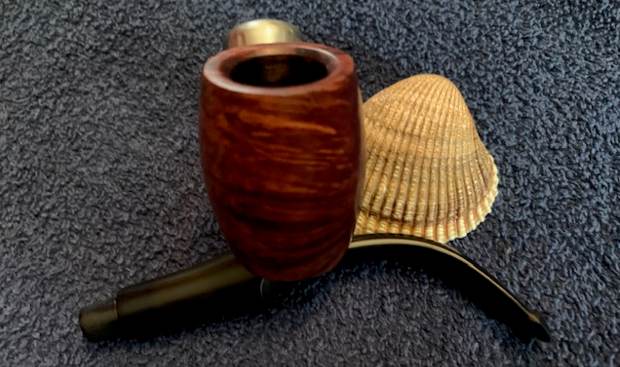
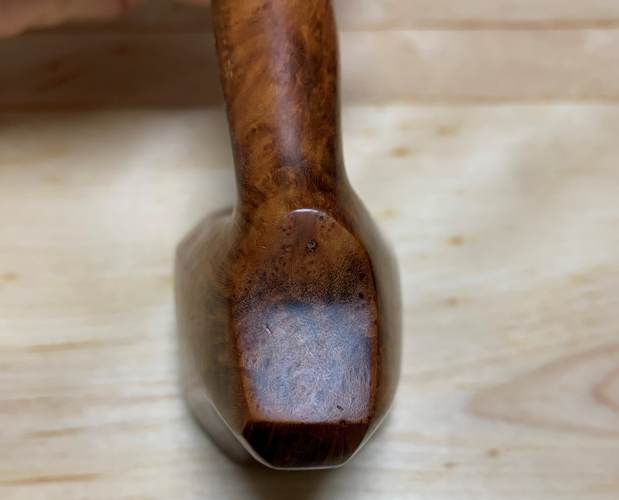
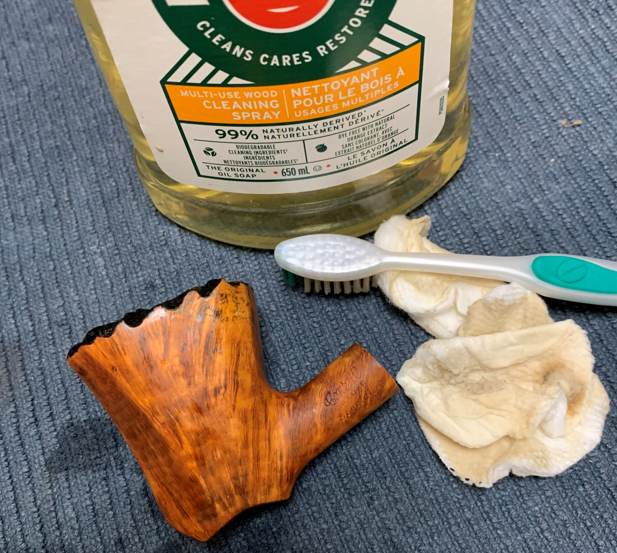
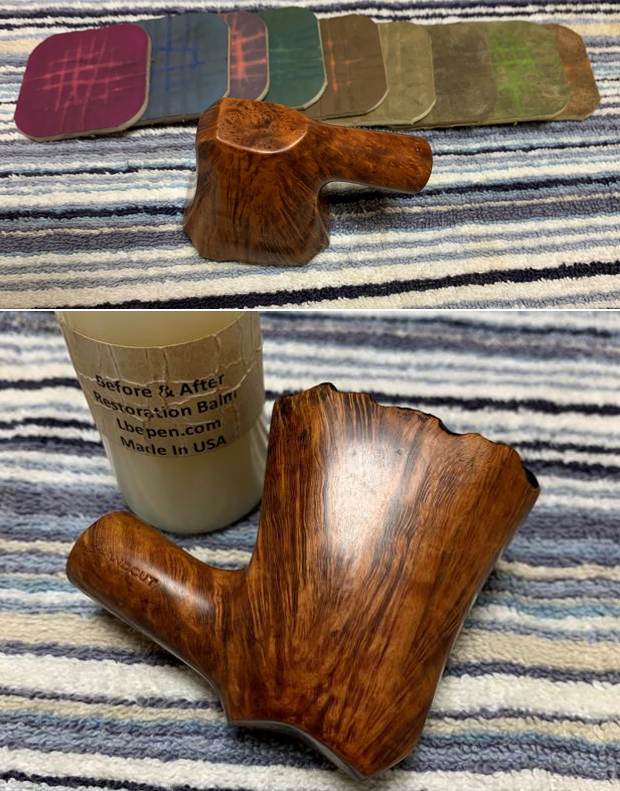
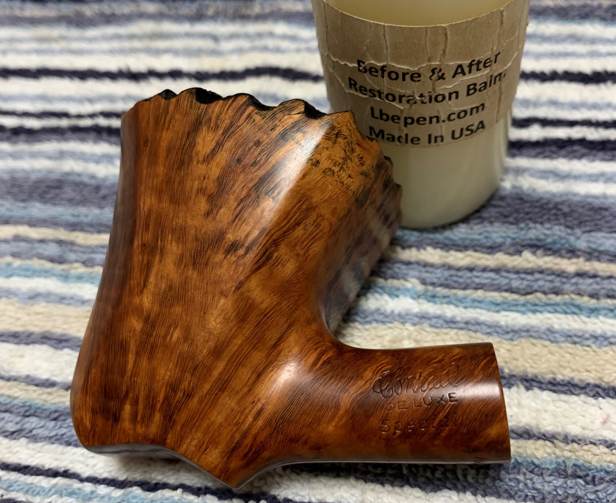
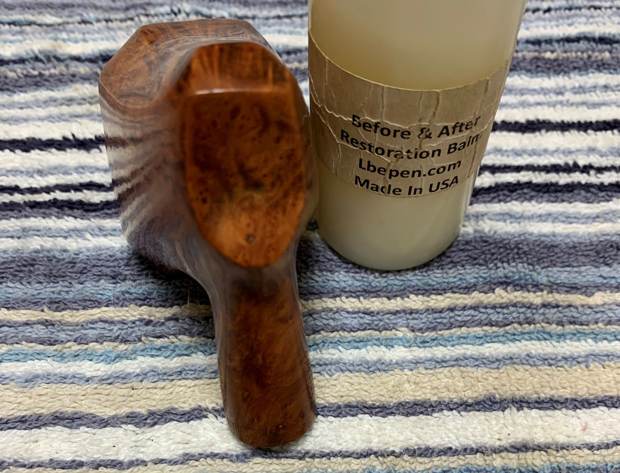
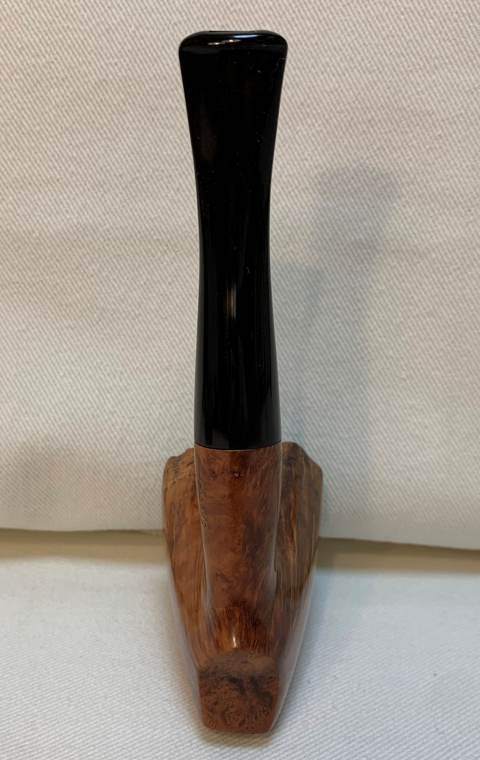
 I rubbed the bowl and shank down with Before & After Restoration Balm to deep clean the finish on the bowl and shank. The product works to clean, enliven and protect the briar. I worked it into the finish with my fingers. After it sat for 15 minutes I wiped it off with a soft cloth. The briar really began to have a rich shine. I took some photos of the bowl at this point to mark the progress in the restoration. It is a beautiful bowl.
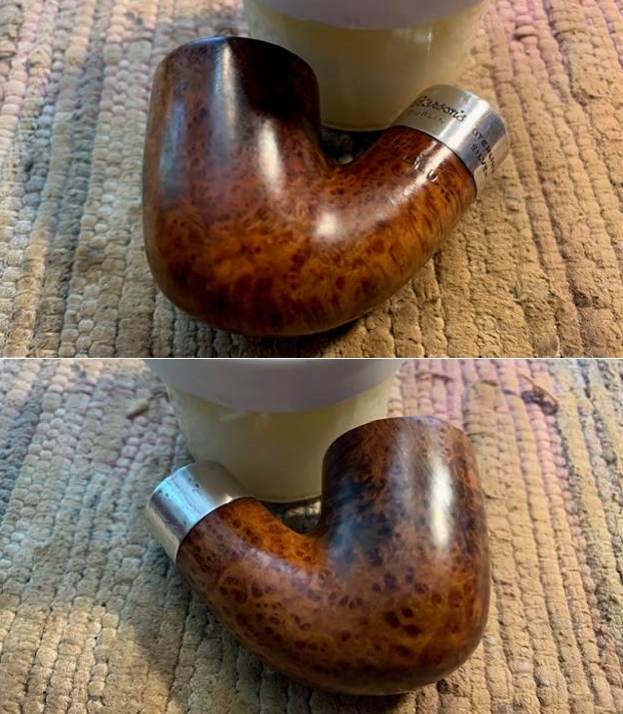

 I polished the silver ferrule with a jeweler’s cloth to remove the rest of the tarnish on the silver. It is treated with a product that protects the silver and removes the remaining tarnish. It has a rich, beautiful shine.
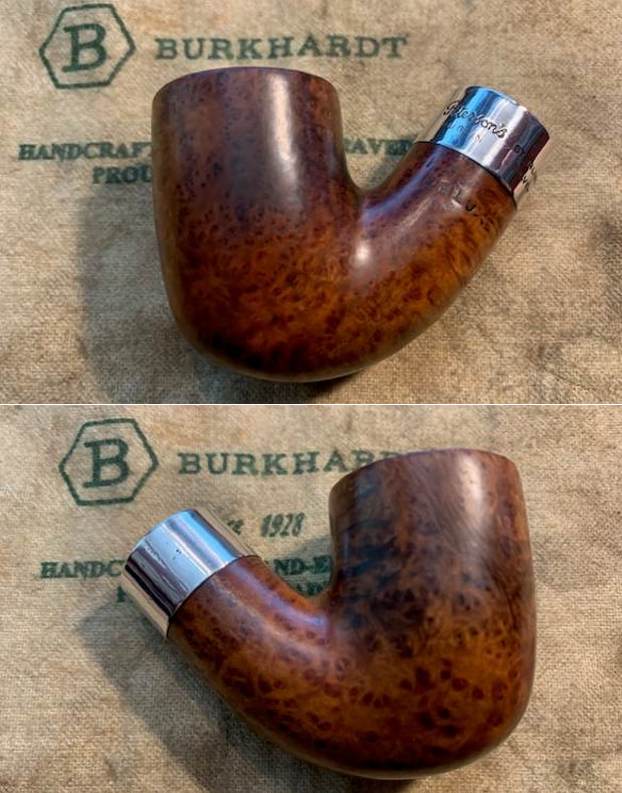
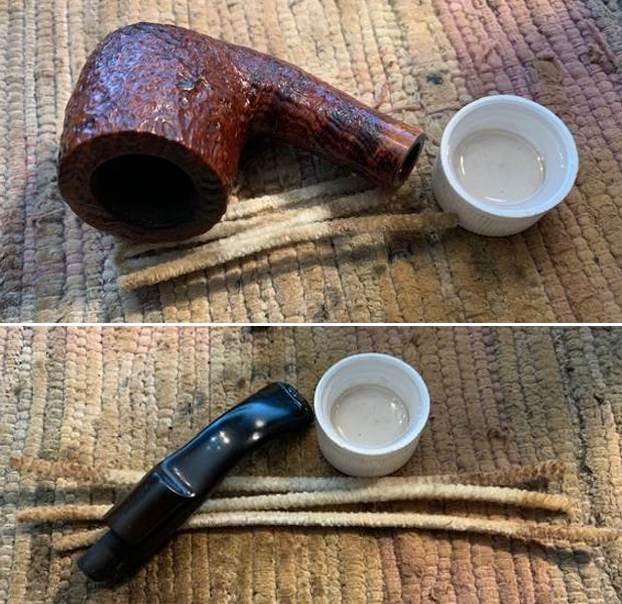
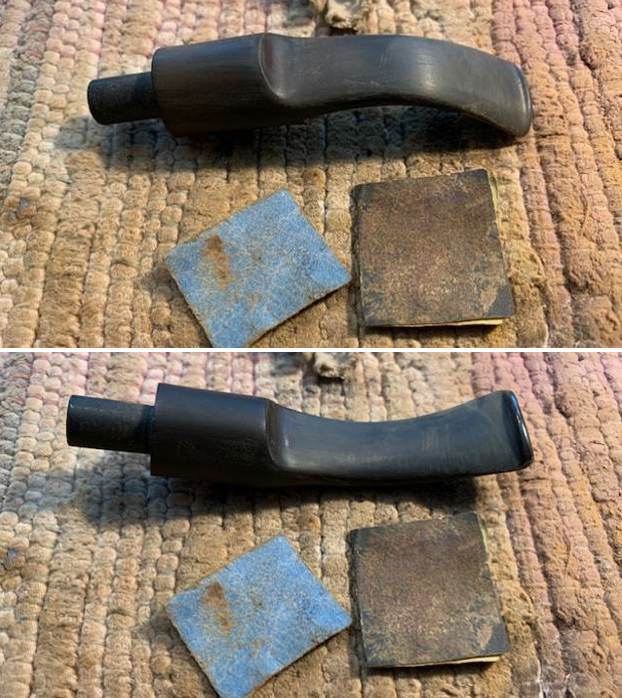
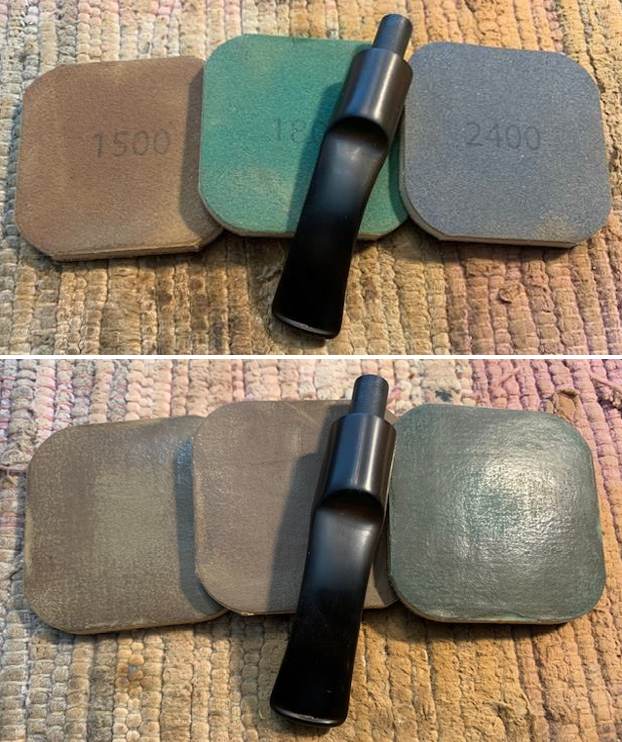
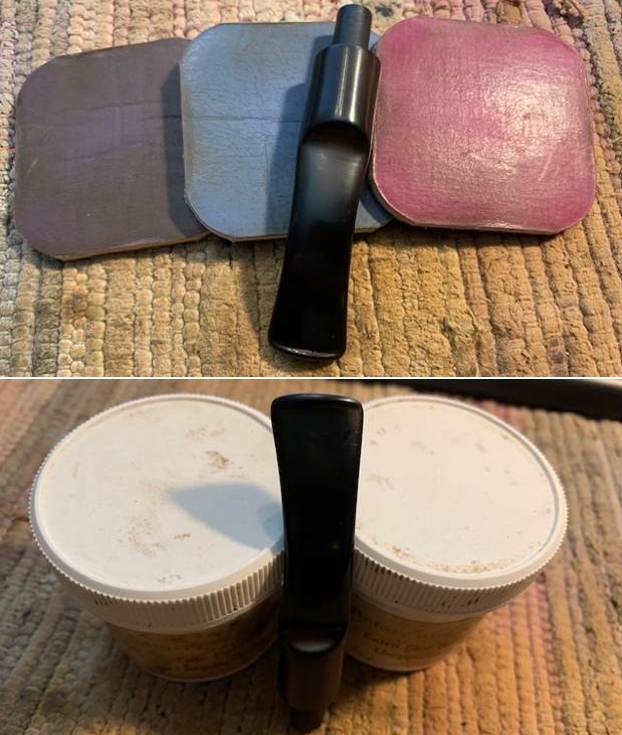
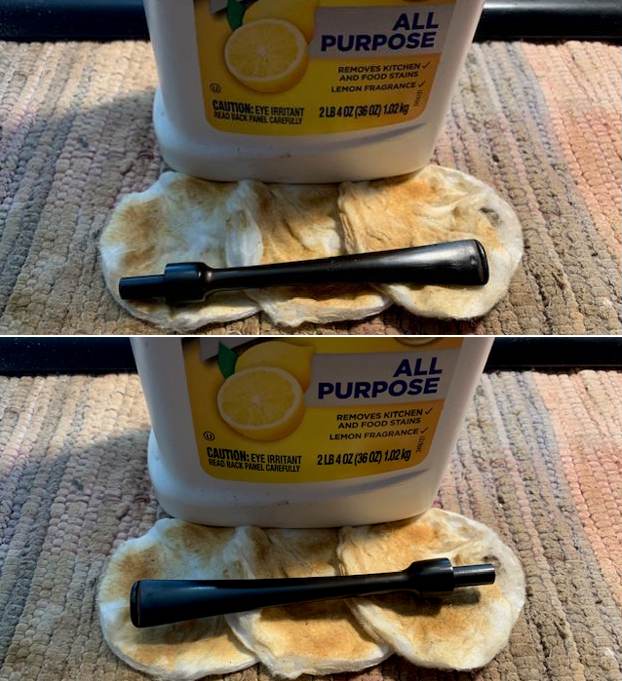
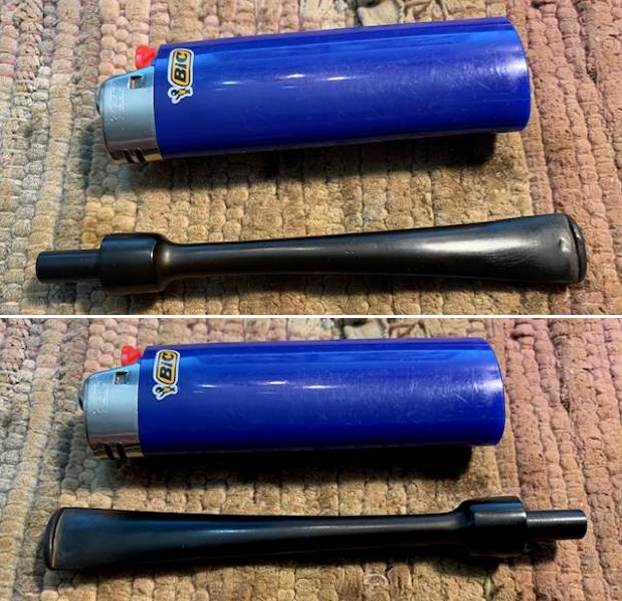
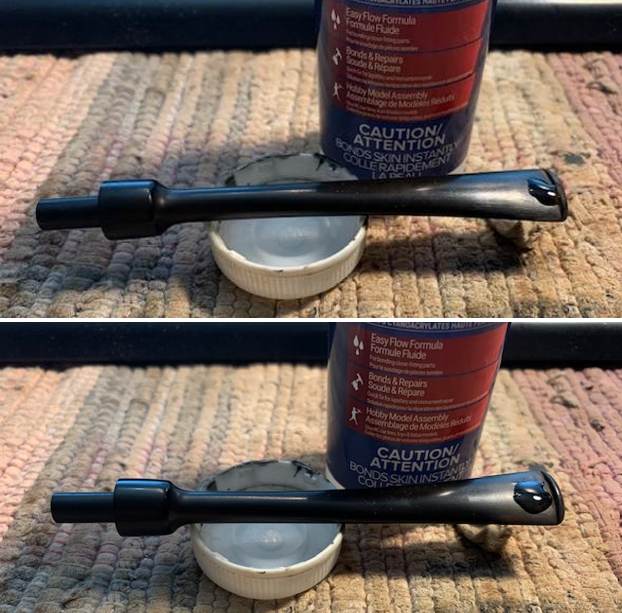
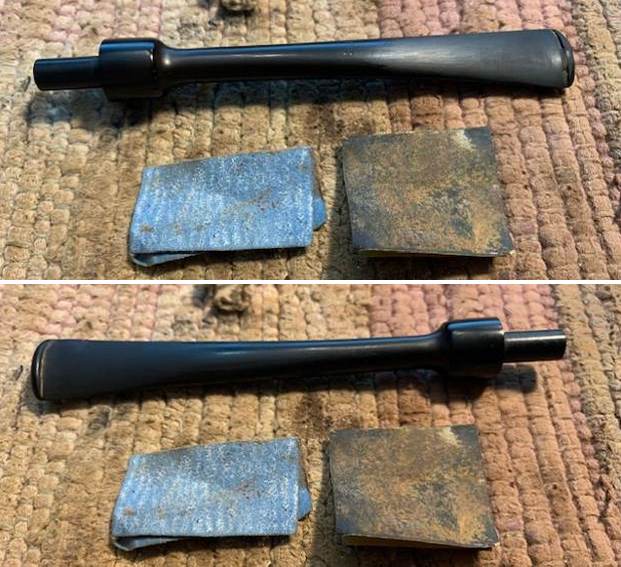
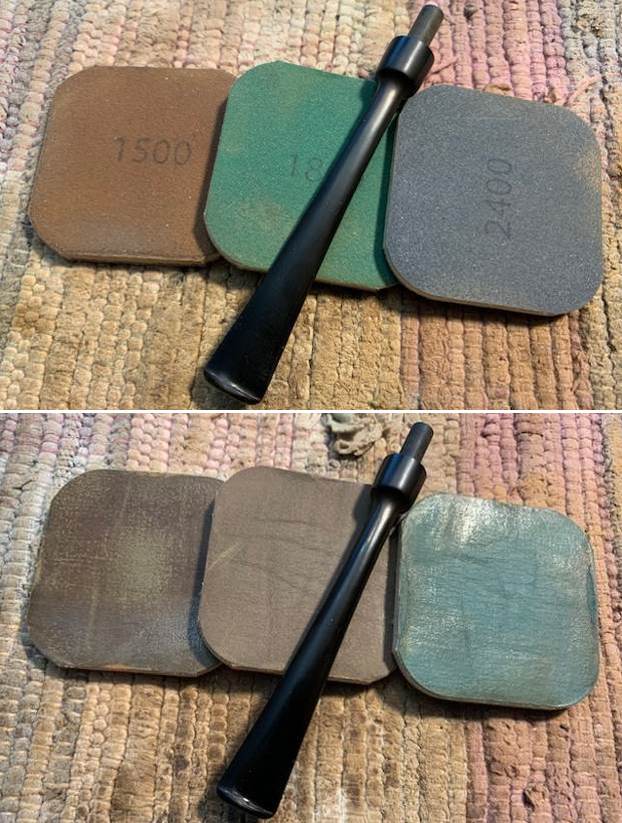
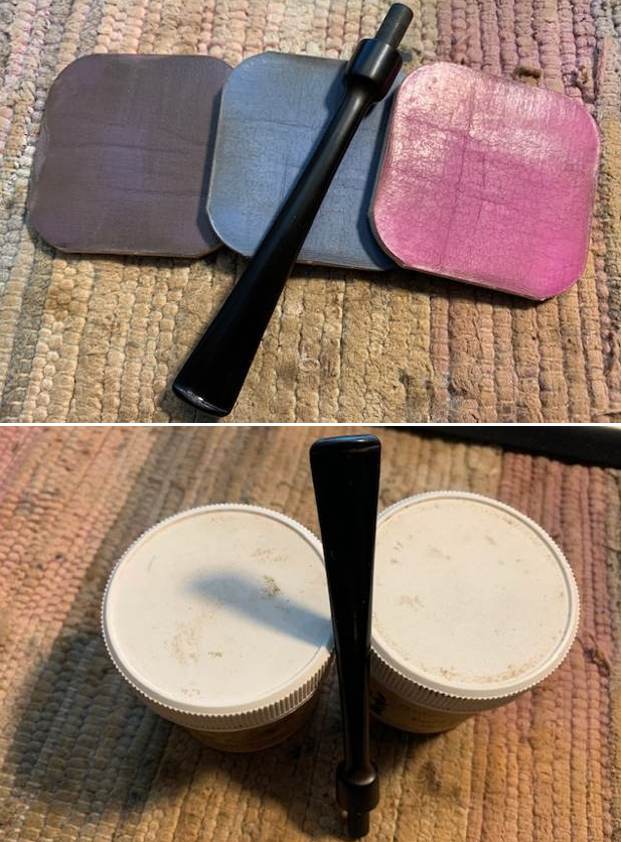
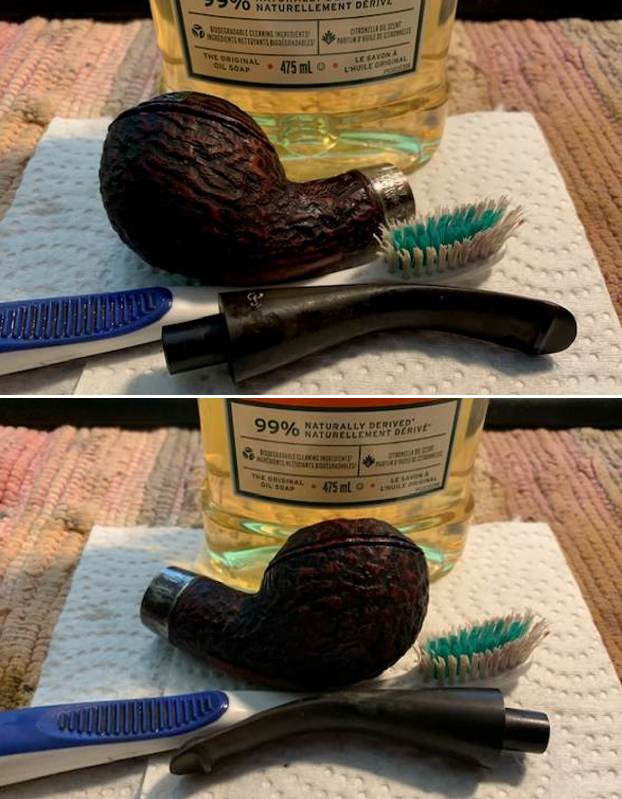
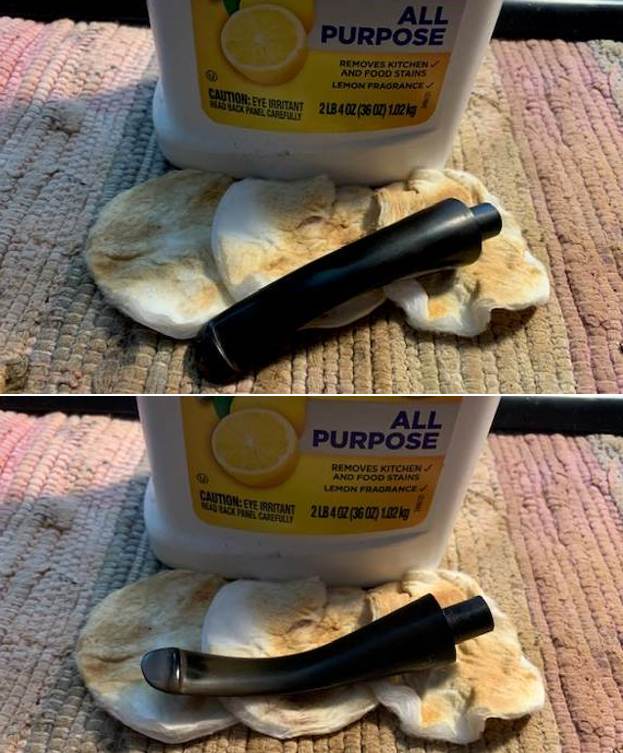
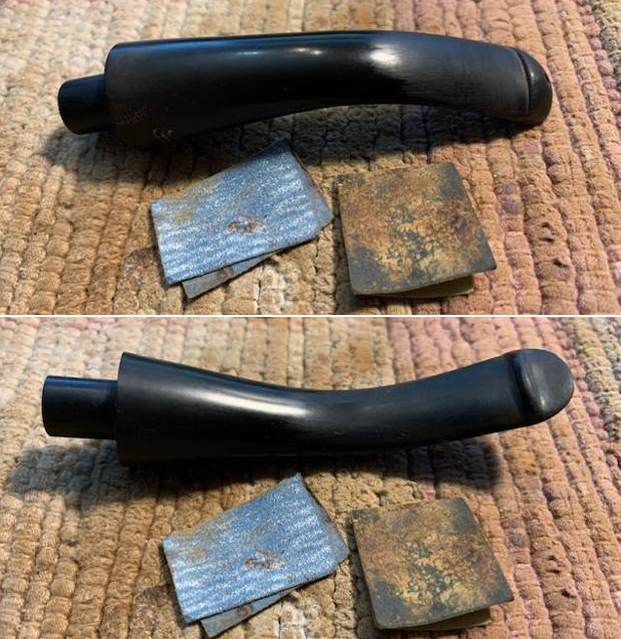
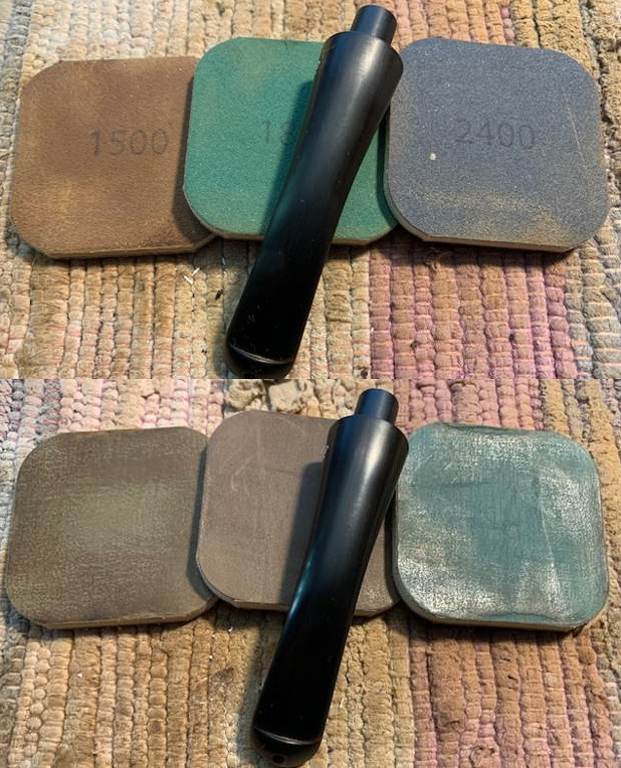
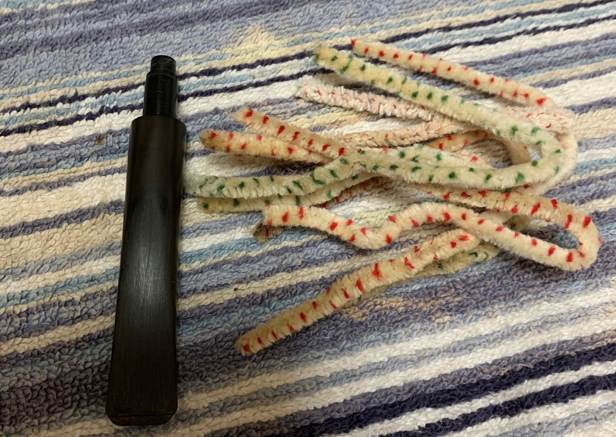
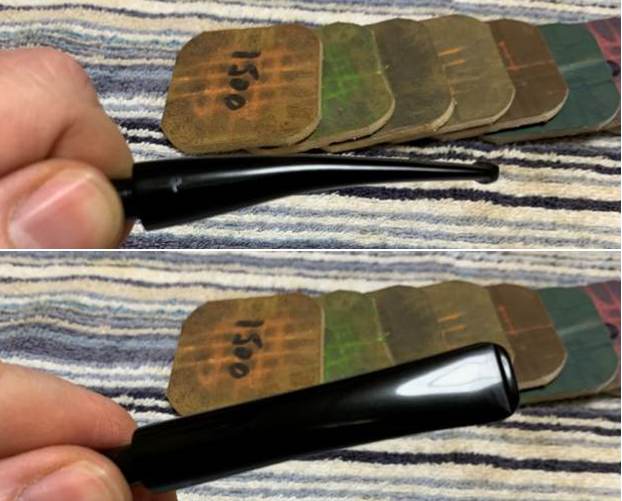
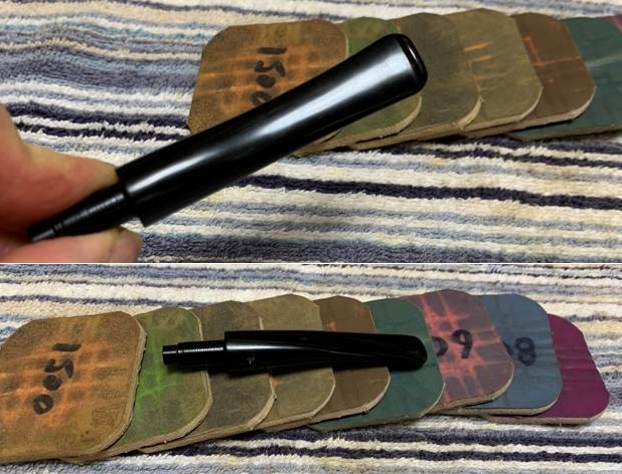
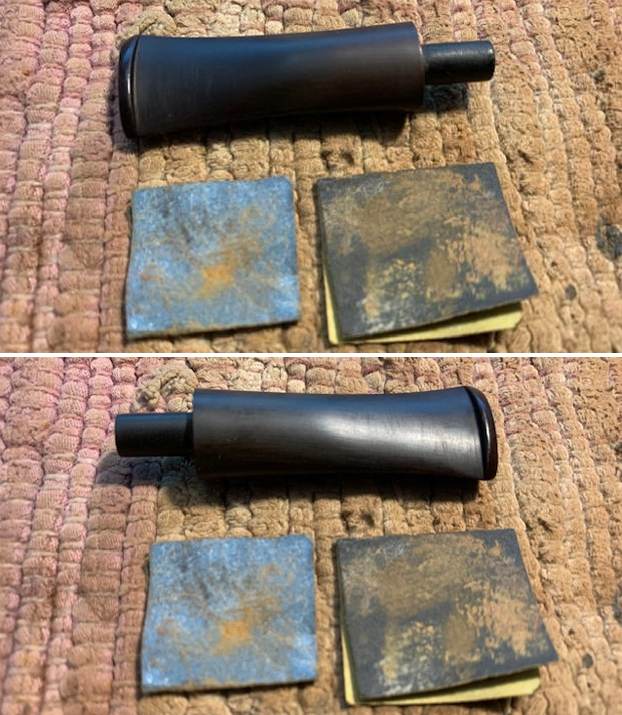
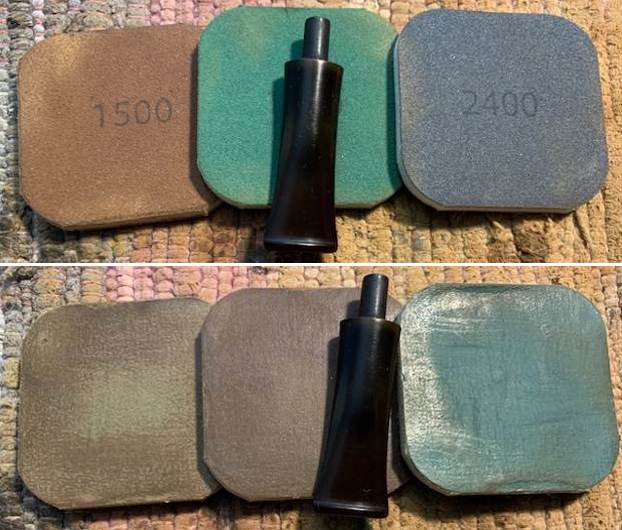
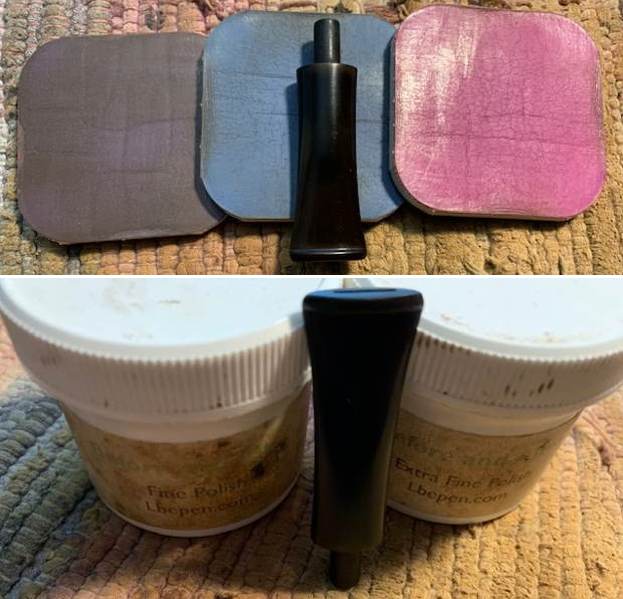
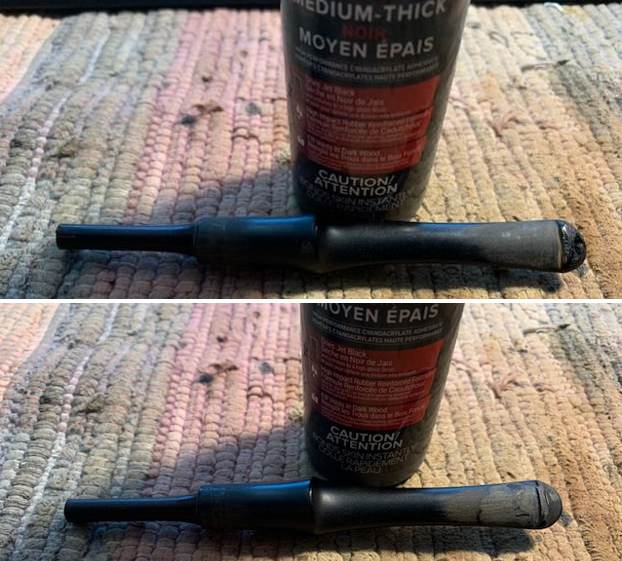
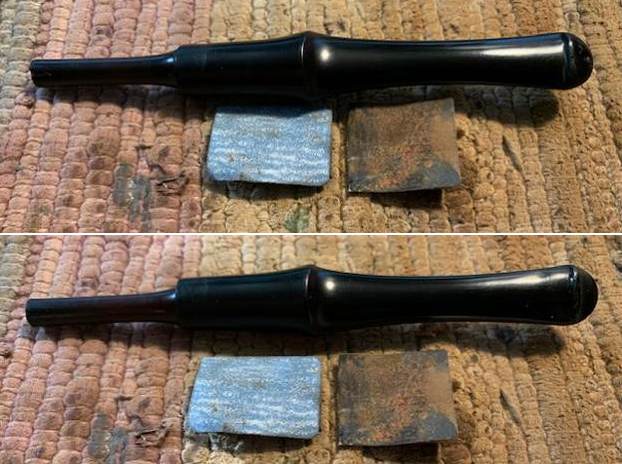
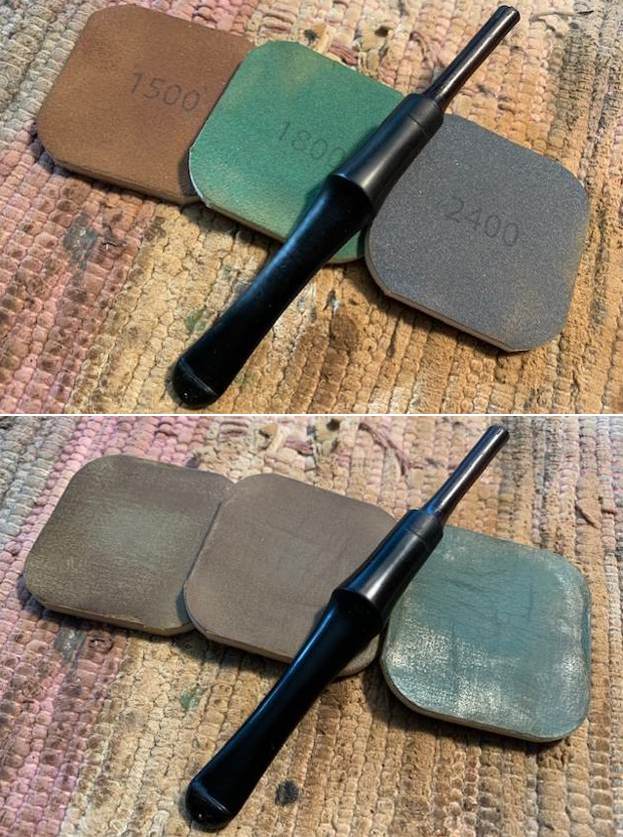
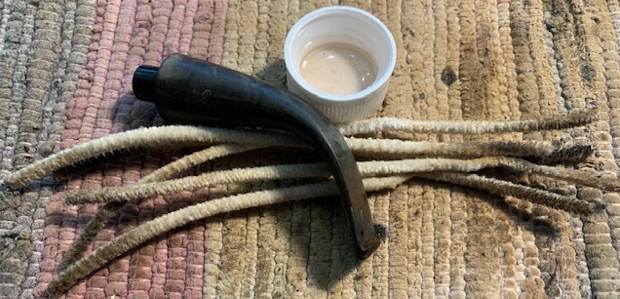
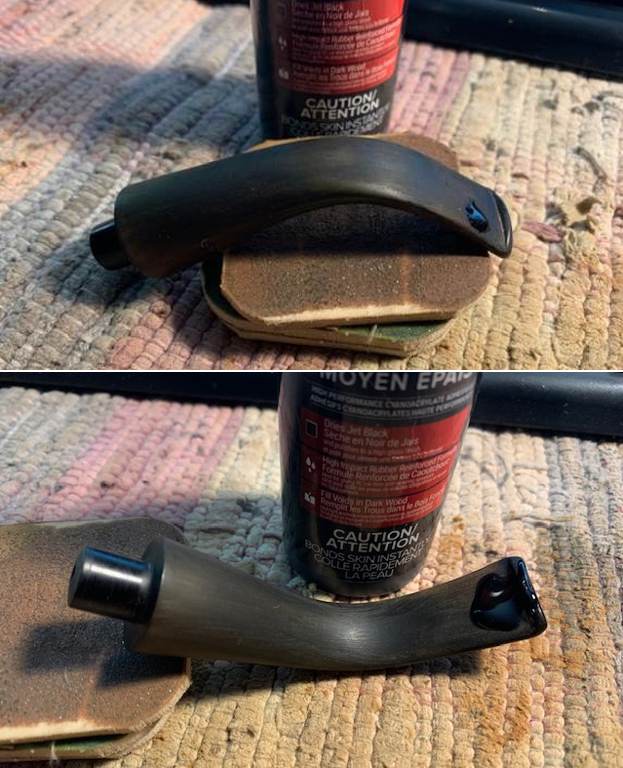
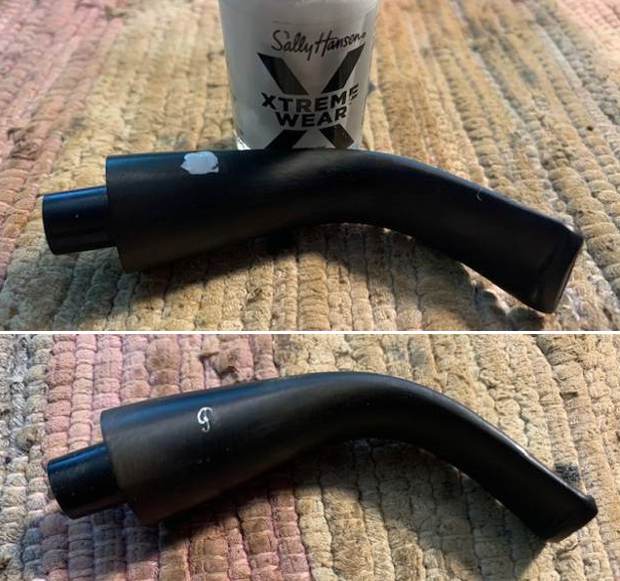
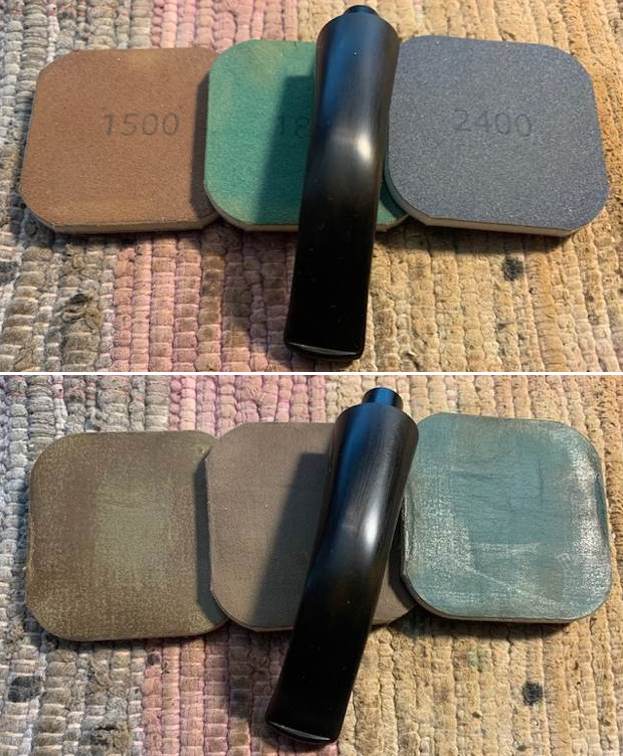
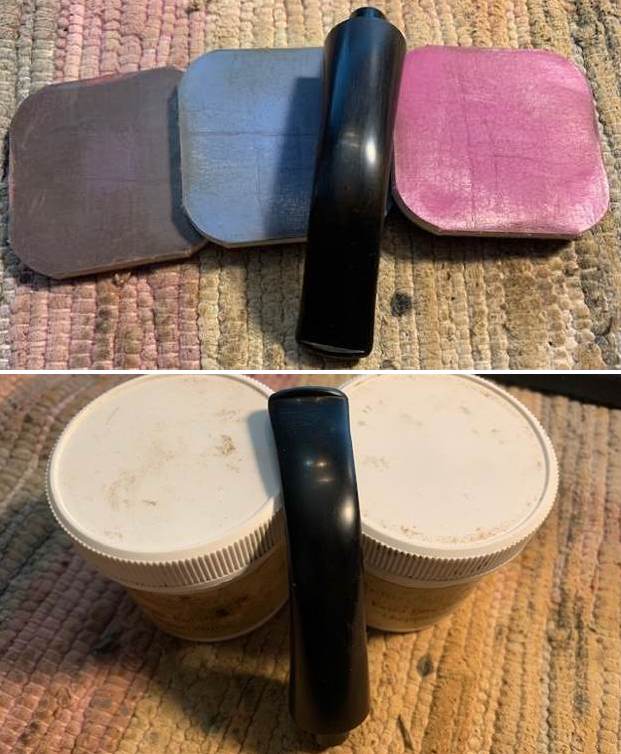
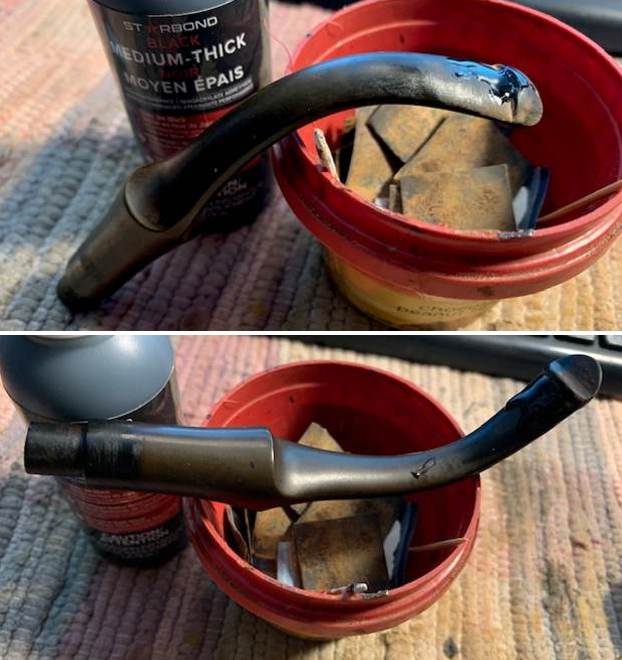
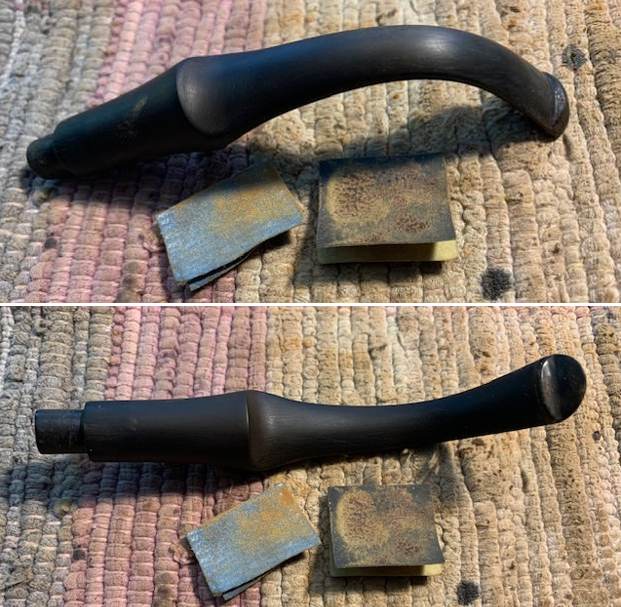
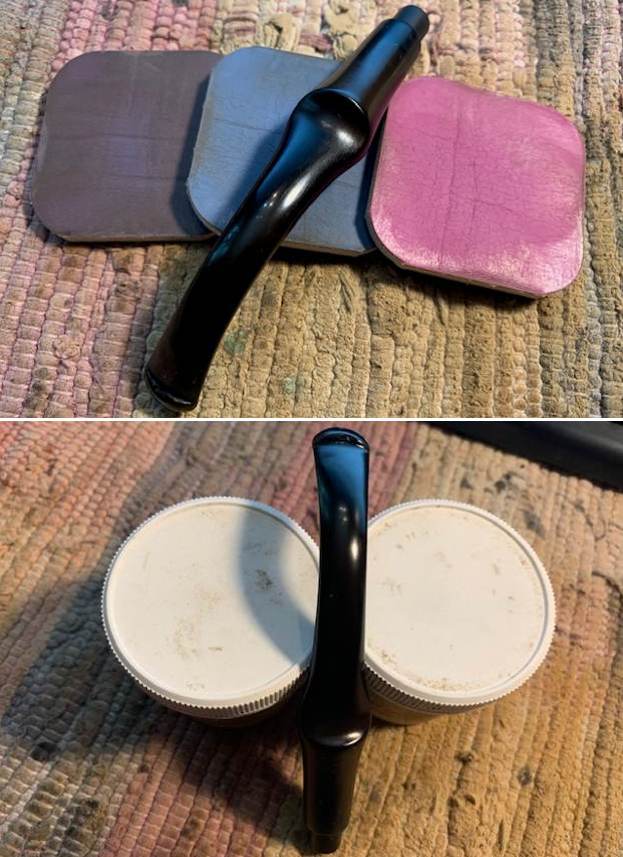
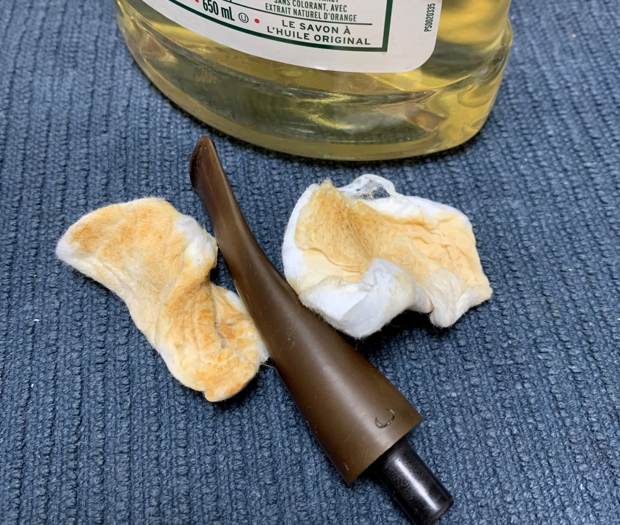
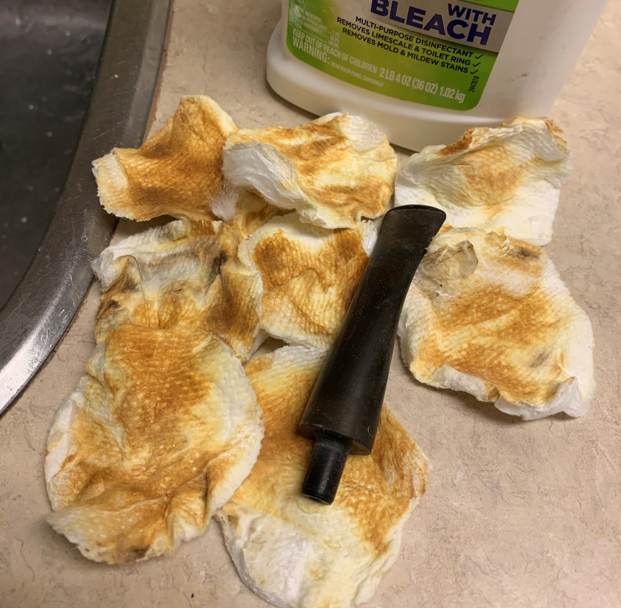
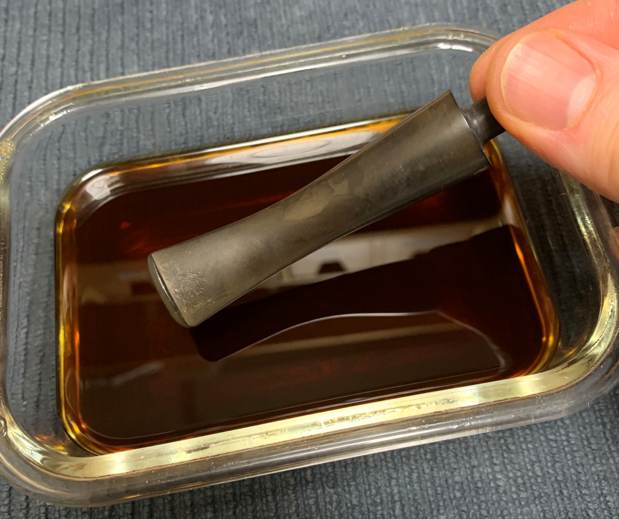
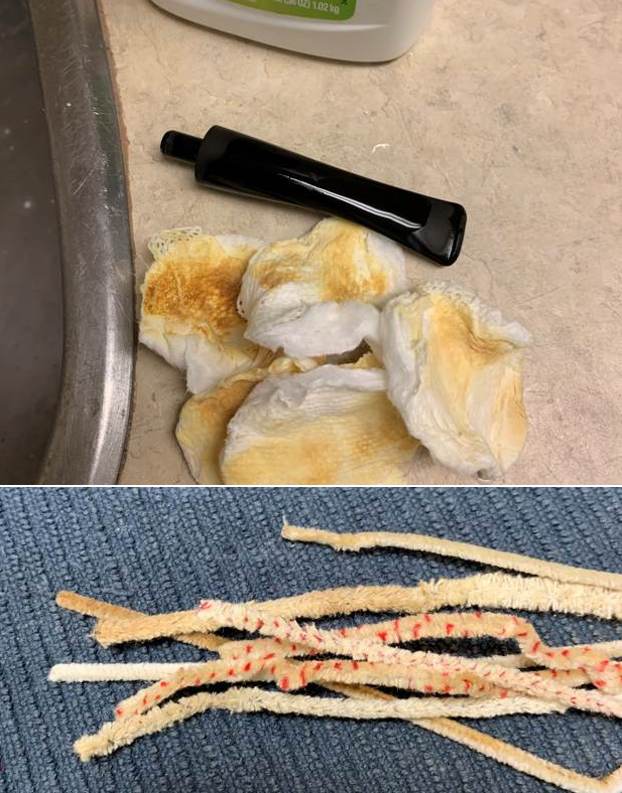
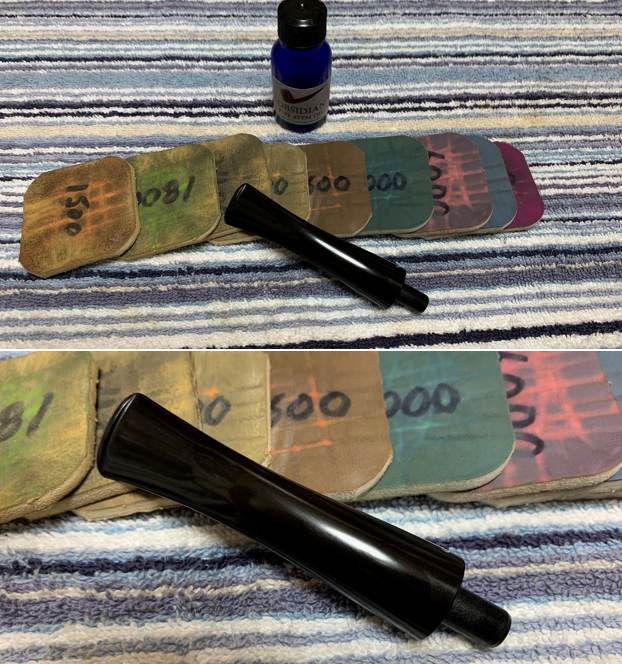
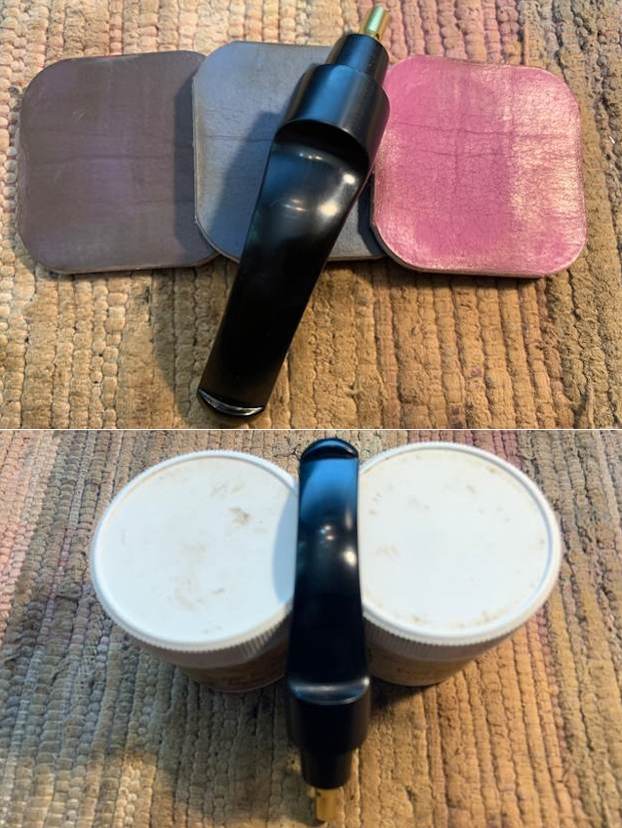
 I polished the stem with micromesh sanding pads – wet sanding with 1500-2400 grit pads and dry sanding with 3200-12000 grit pads. I wiped the stem down after each pad with a damp cloth to remove the sanding dust. I used the Before & After Pipe Polish to remove the small minute scratches left in the vulcanite. I finished by wiping the stem down with a final coat of Obsidian Oil and set it aside to dry.
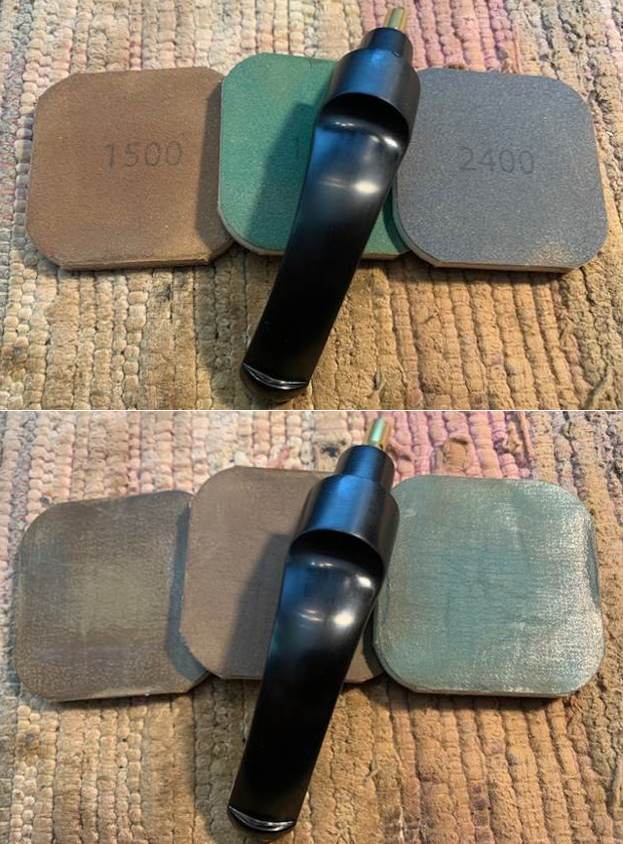
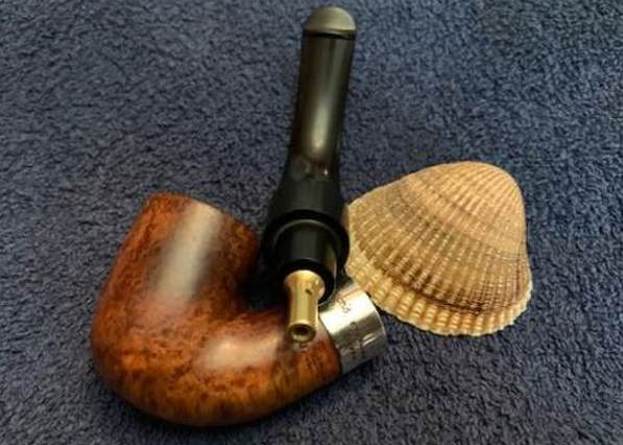
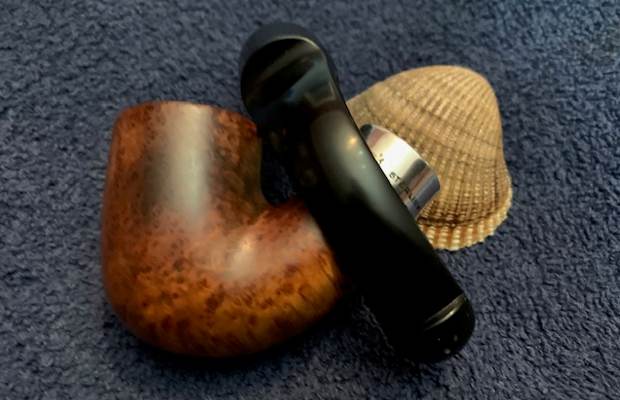
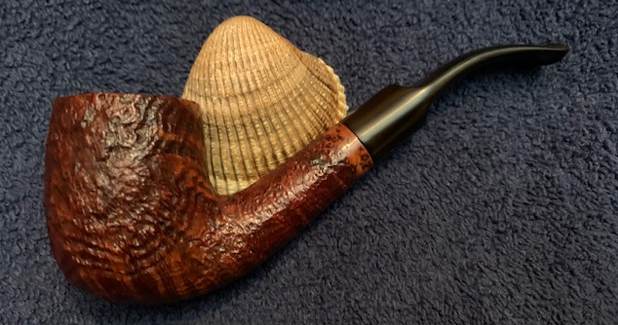
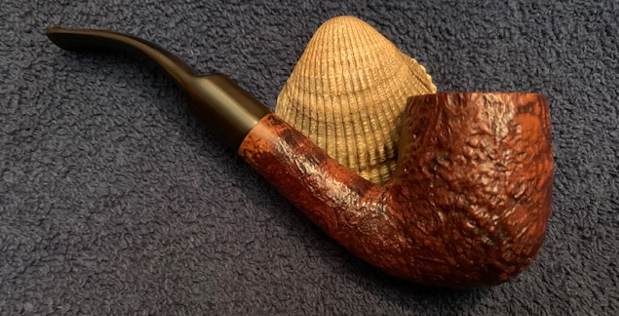
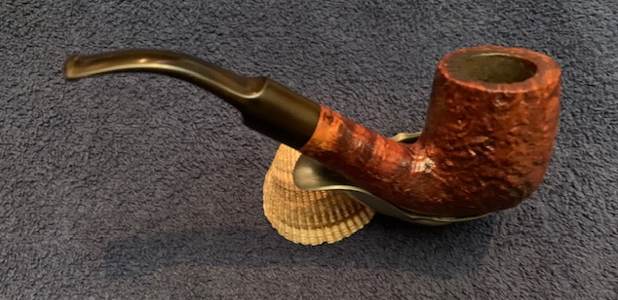
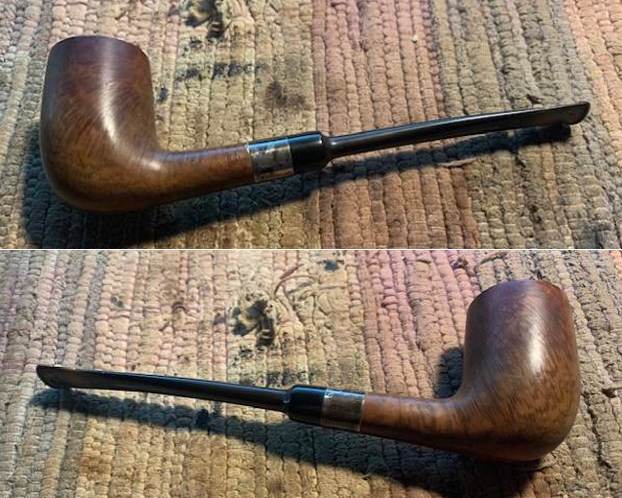
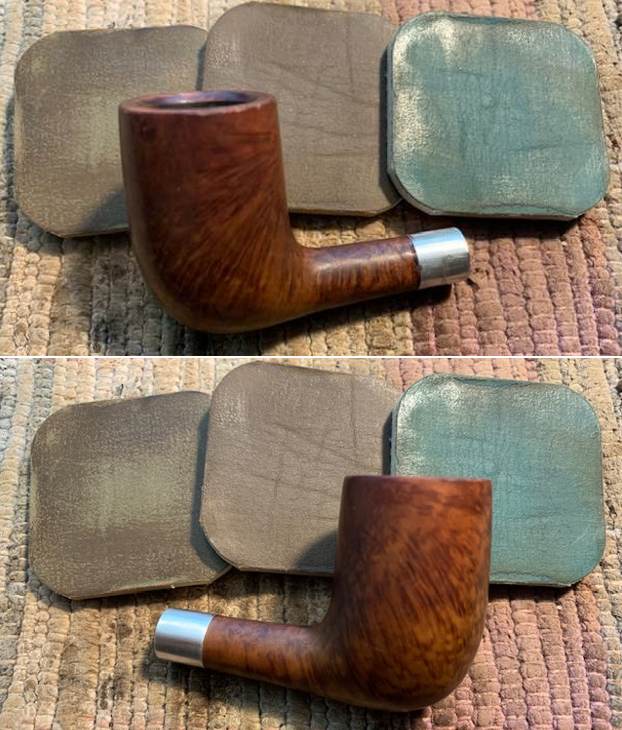
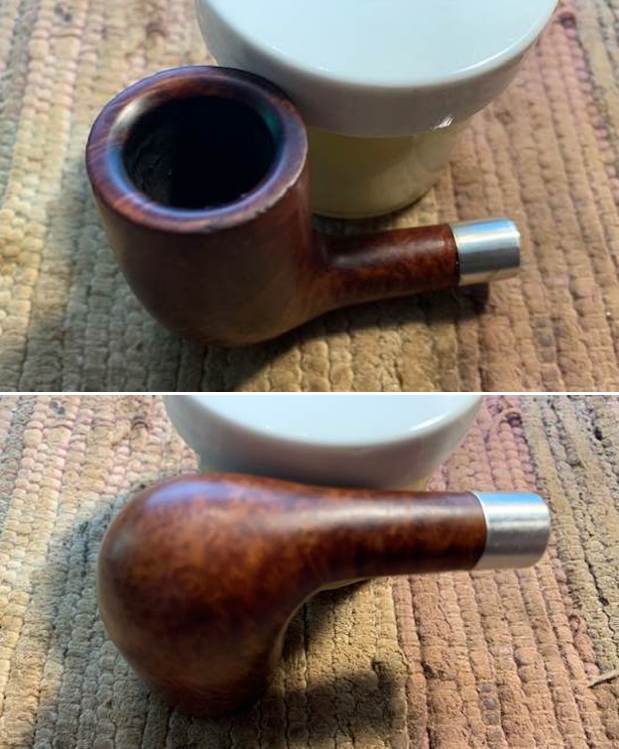
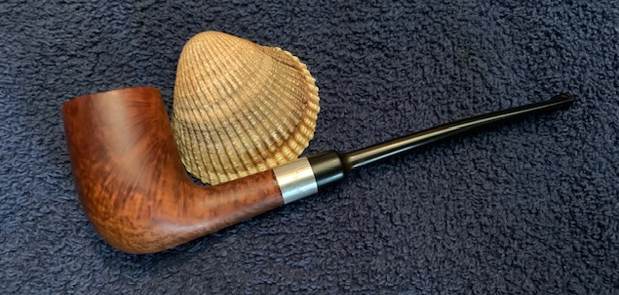
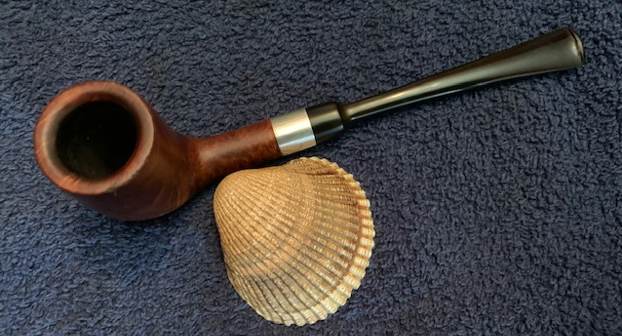
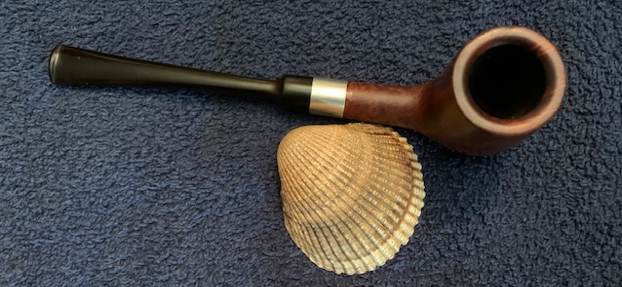
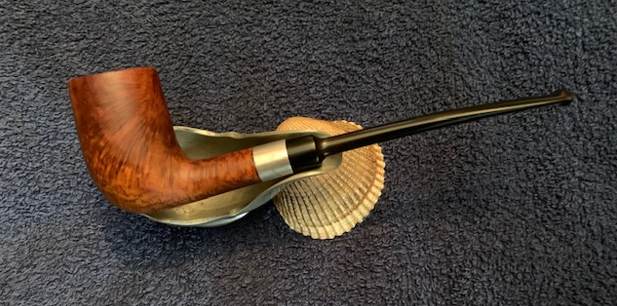
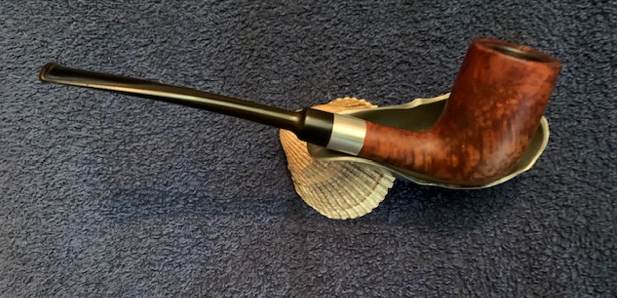
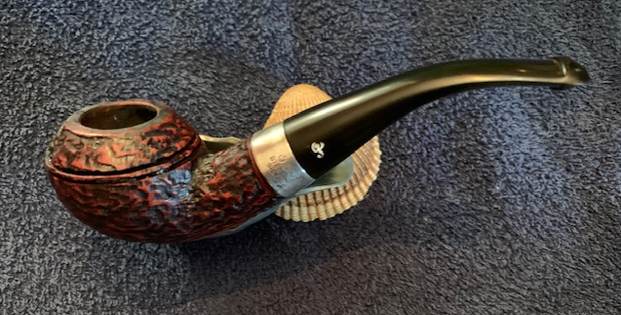
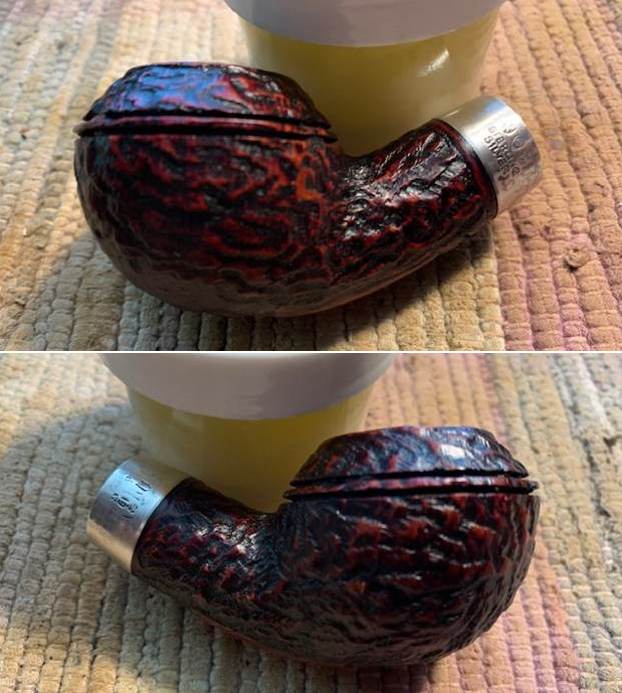
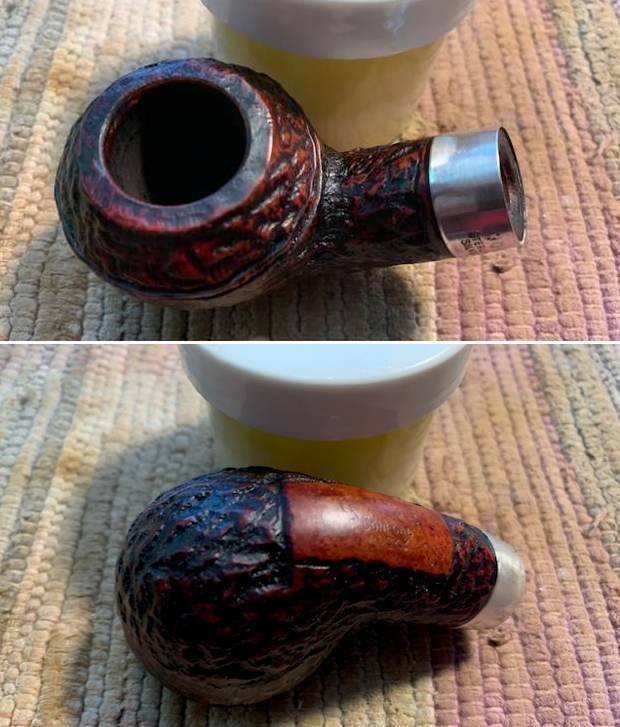
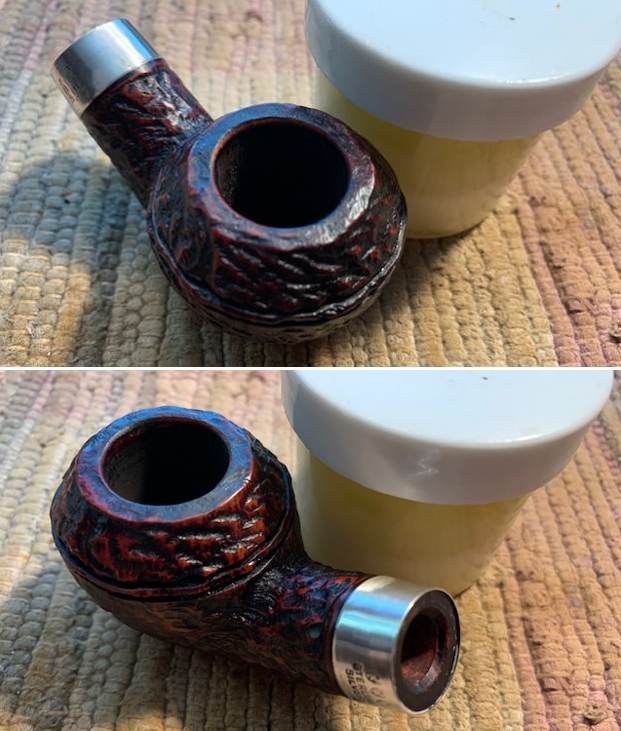
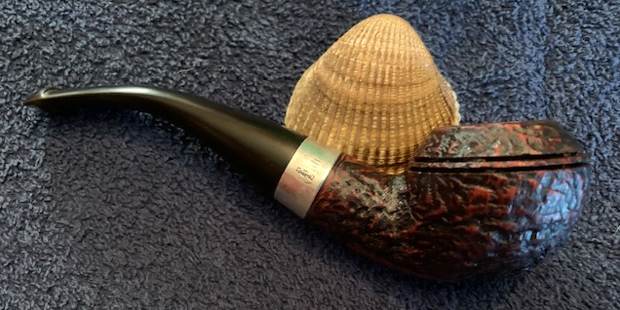
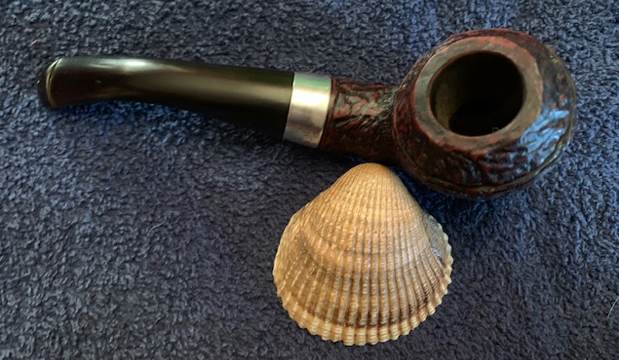
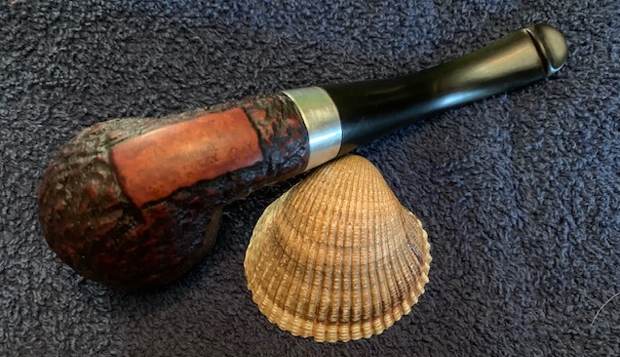
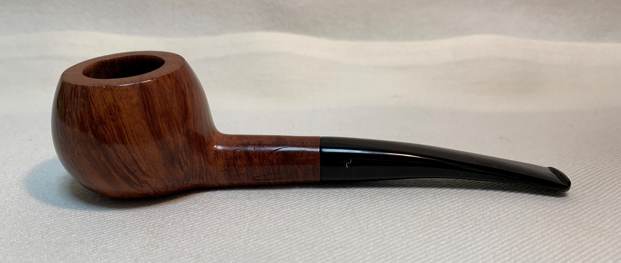
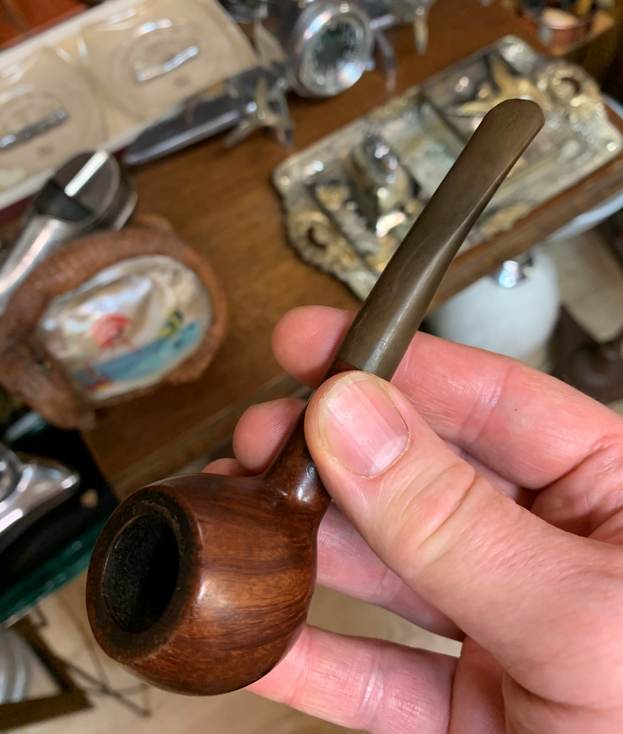
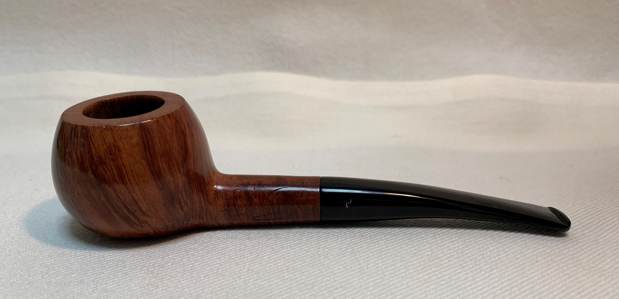
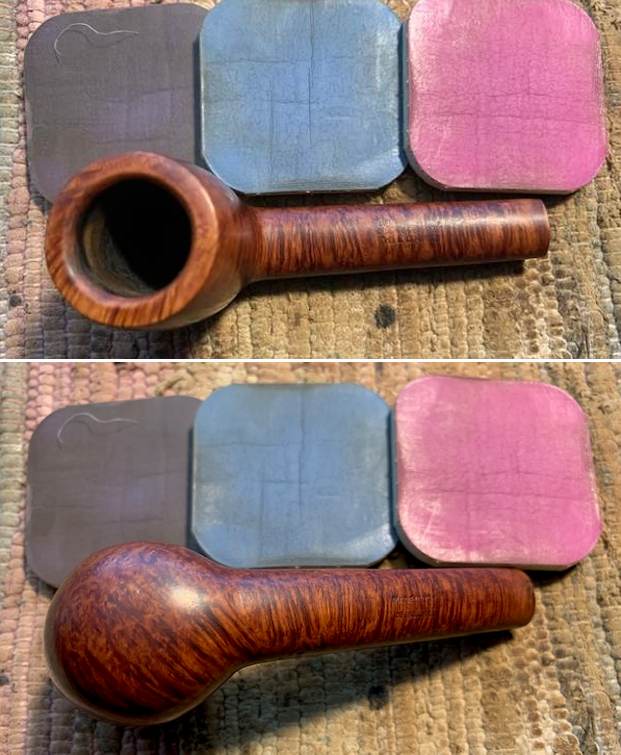
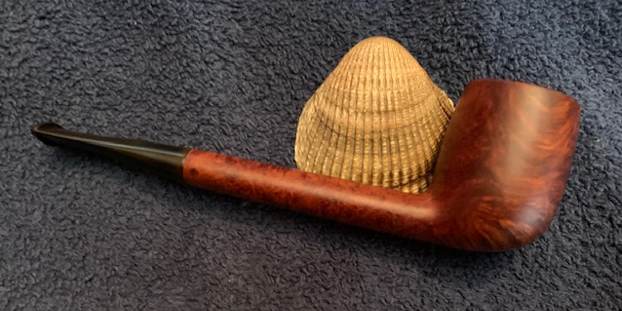
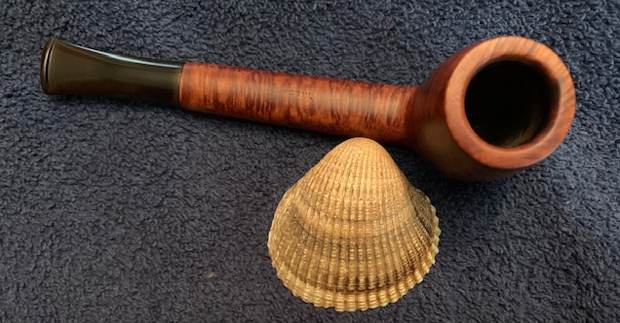
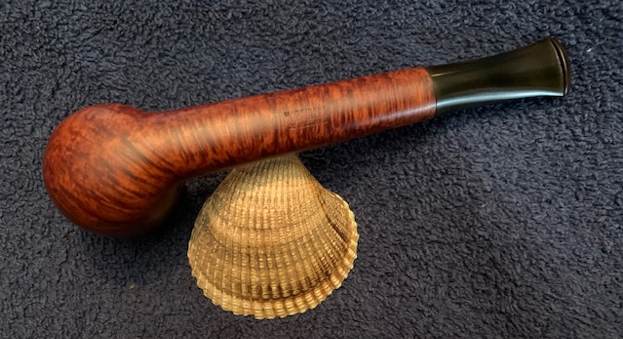
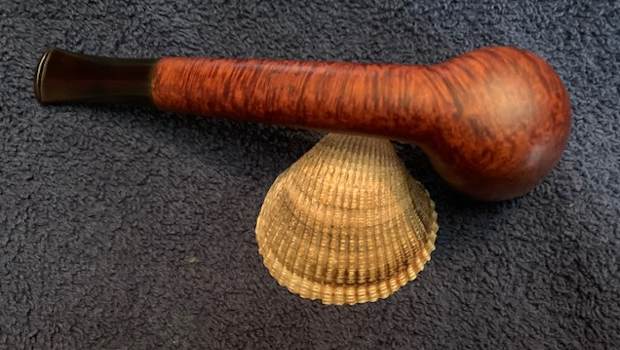
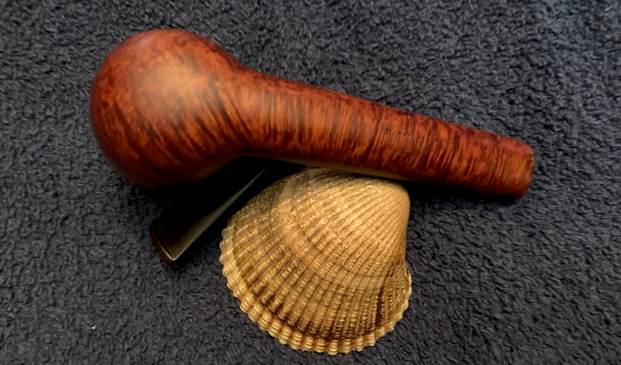
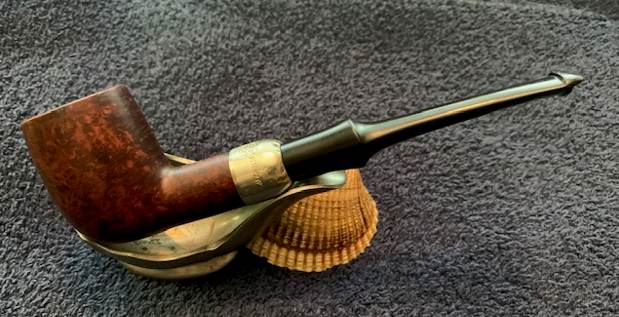
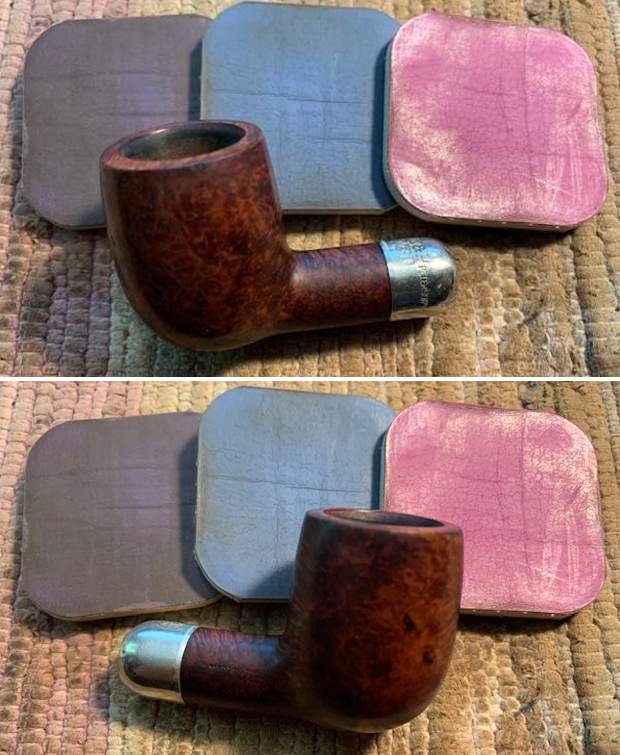
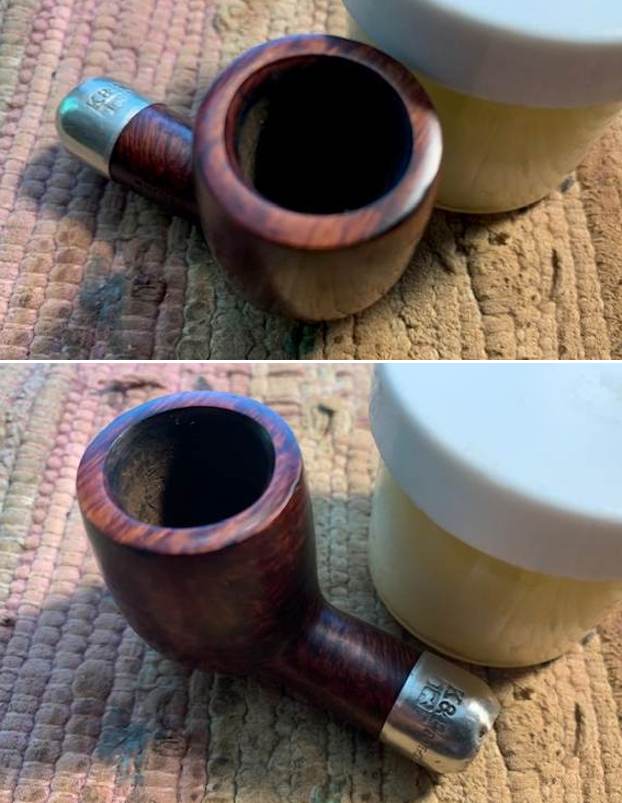
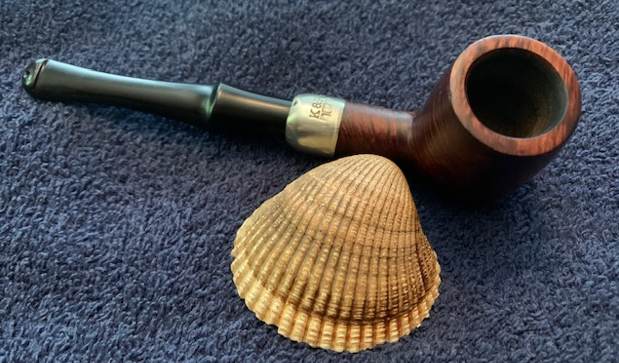
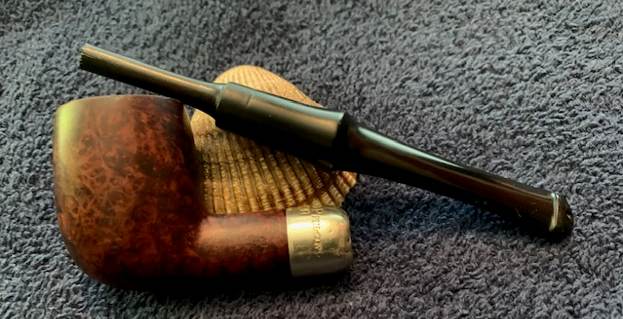
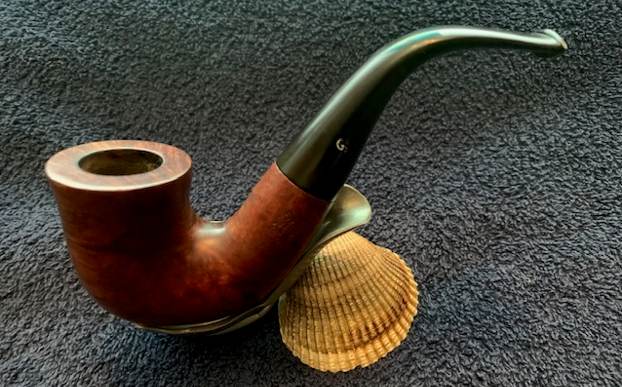
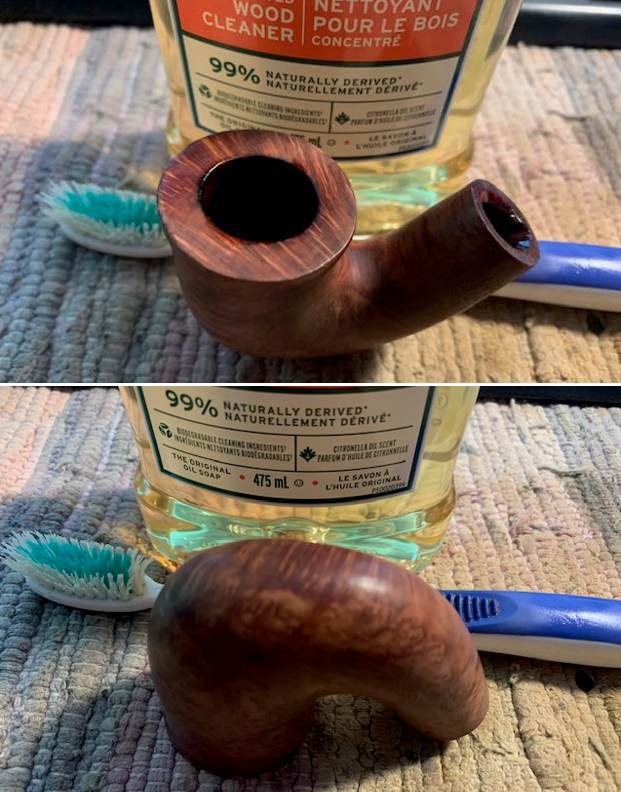
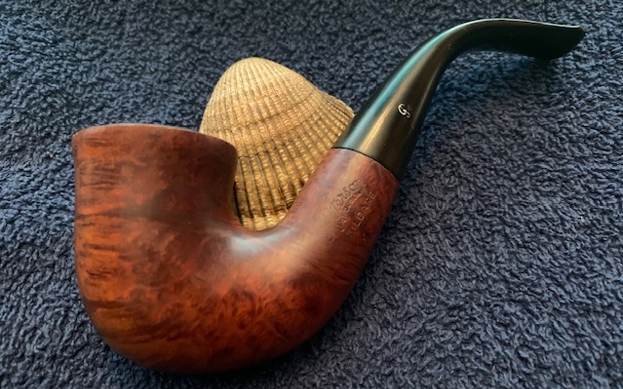
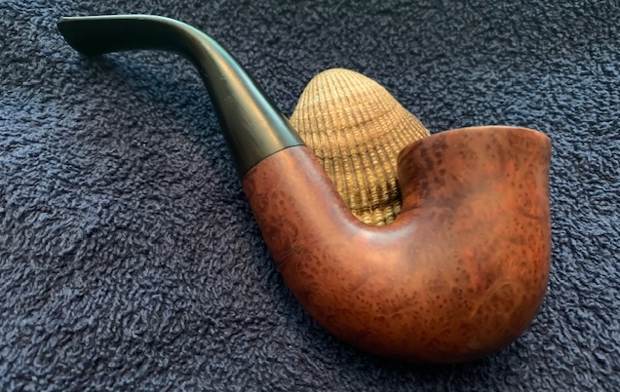
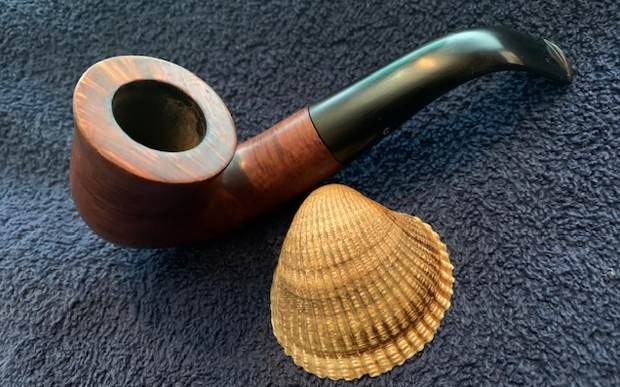
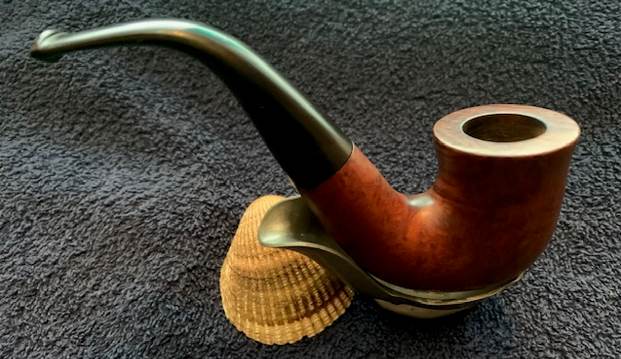
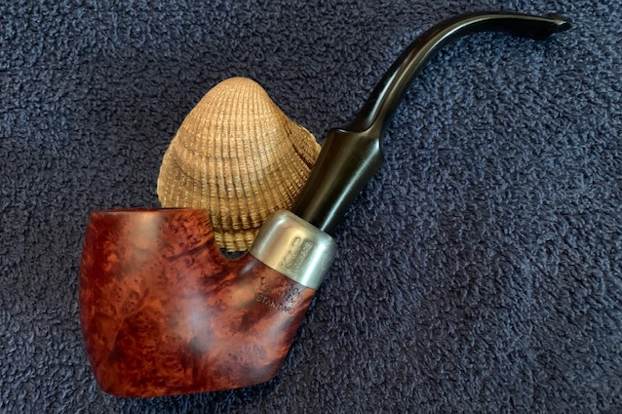
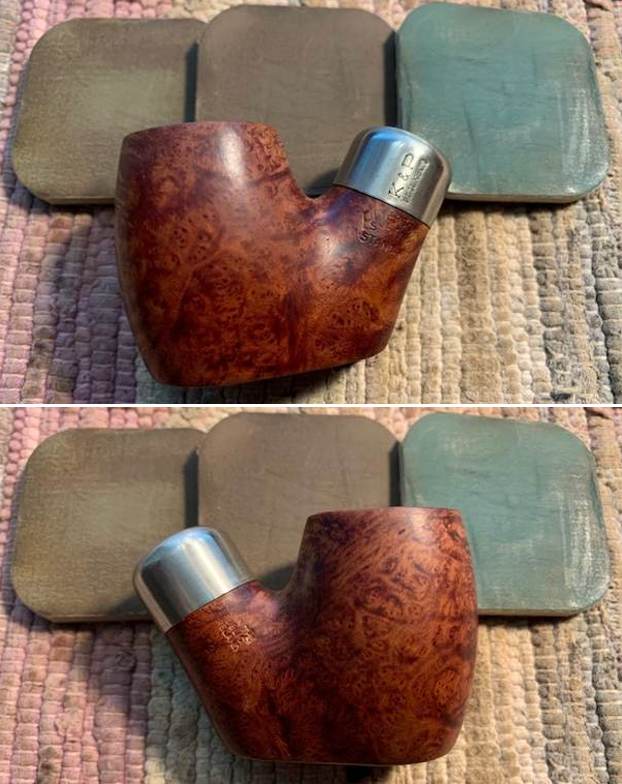
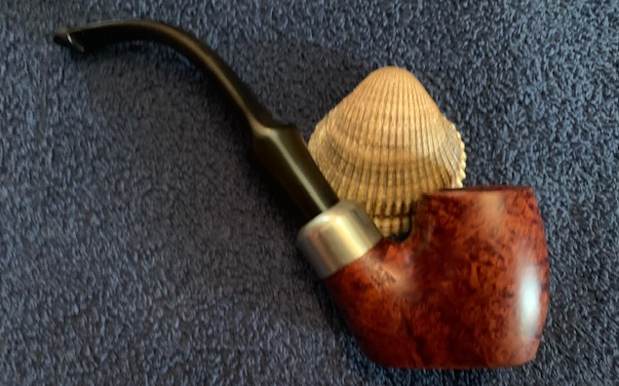
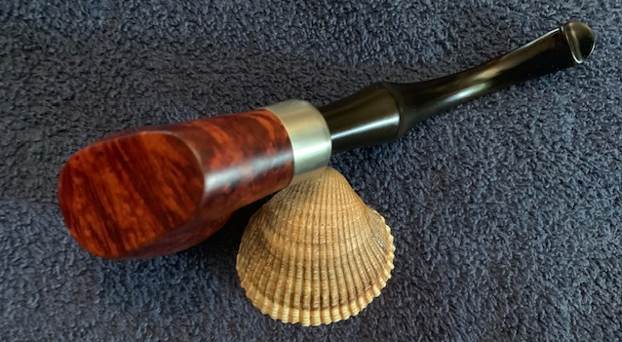
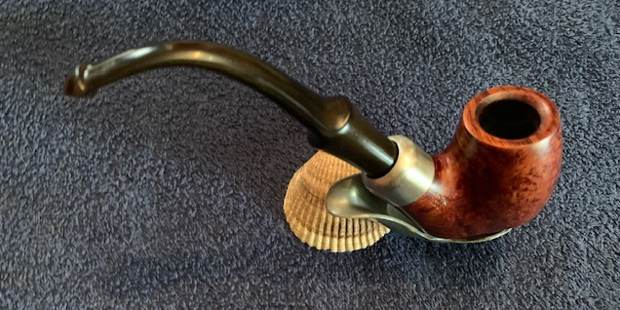
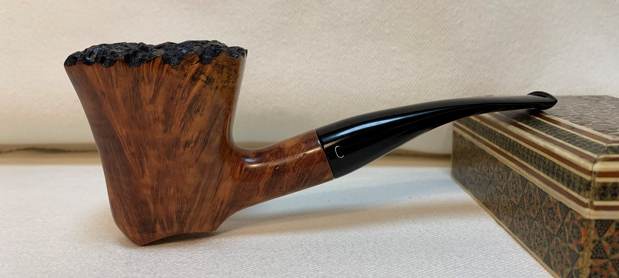
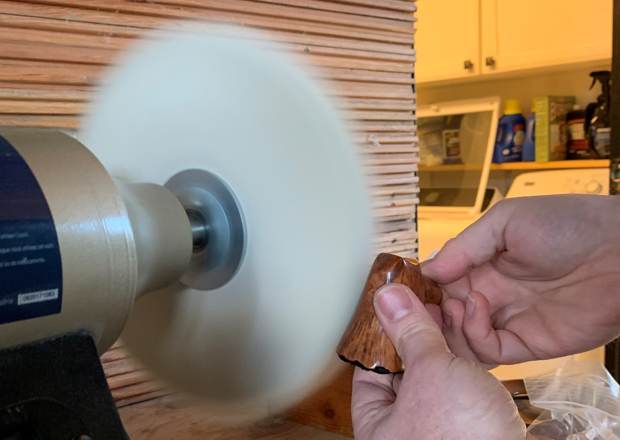
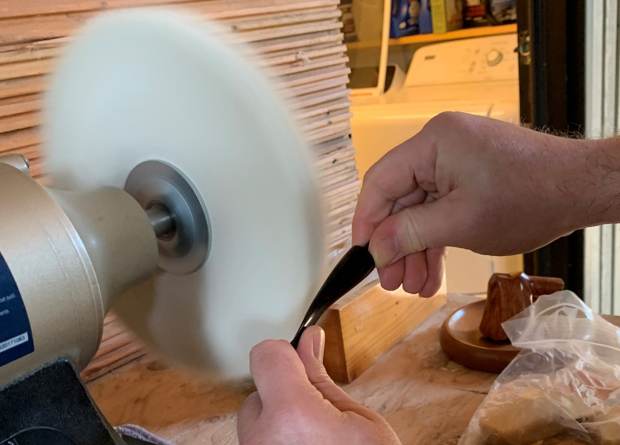
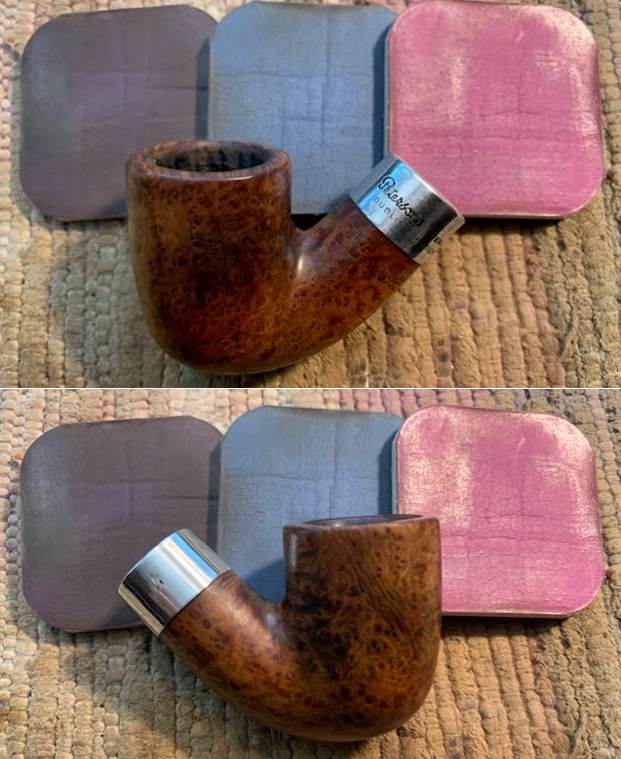
 As usual at this point in the restoration process I am excited to be on the homestretch. I look forward to the final look when it is put back together, polished and waxed. I put the bowl and stem back together. I polished the bowl and stem with Blue Diamond to polish out the scratches in the briar and the vulcanite. I gave the bowl and the stem multiple coats of carnauba wax. I buffed the pipe with a clean buffing pad to raise the shine. I hand buffed it with a microfiber cloth to deepen the shine. The pipe polished up pretty nicely. The grain really pops with the wax and polish. The shiny black vulcanite stem is a beautiful contrast to the browns of the bowl and thick shank. This Peterson’s DeLuxe 8S Bent Billiard was another fun pipe to work on. The Sterling Silver Ferrule works as a contrast between the stem and the briar and binds it all together. It really is a quite stunning piece of briar whose shape follows the flow of the briar. The pipe is comfortable pipe to hold in the hand. The finished pipe is shown in the photos below. The dimensions of the pipe are Length: 5 ½ inches, Height: 1 ¾ inches, Outside diameter of the bowl: 1 1/8 inches, Chamber diameter: ¾ of an inch. The weight of the pipe is 1.52 ounces/44 grams. This beautiful pipe will be going back with the Savinelli De Luxe Milano to my friend. He will enjoy smoking it once again in his new place. Thanks for reading this blog and my reflections on the pipe while I worked on it.