Blog by Steve Laug
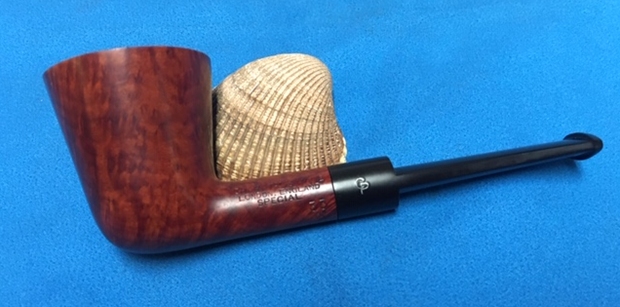
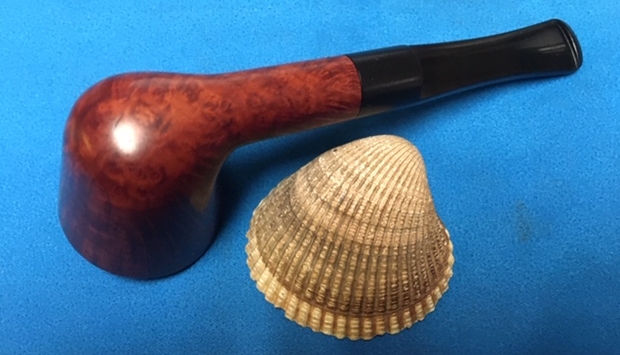
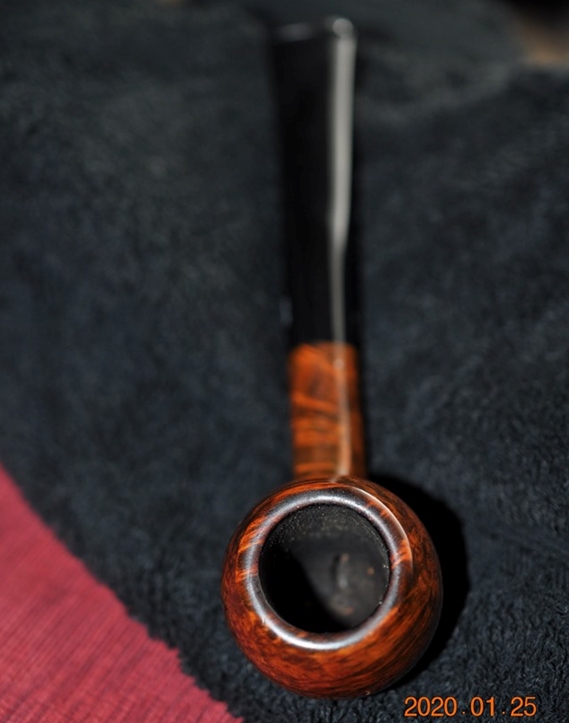
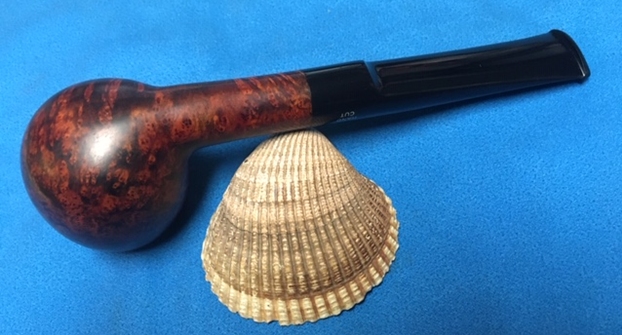
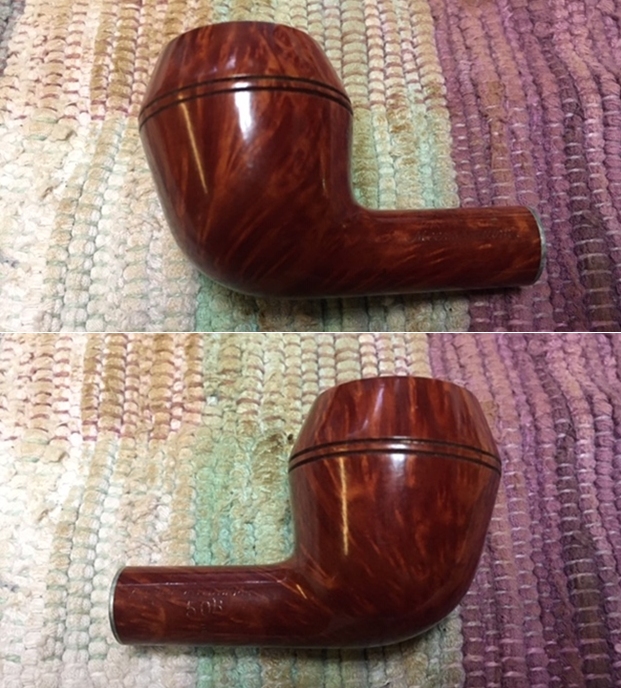
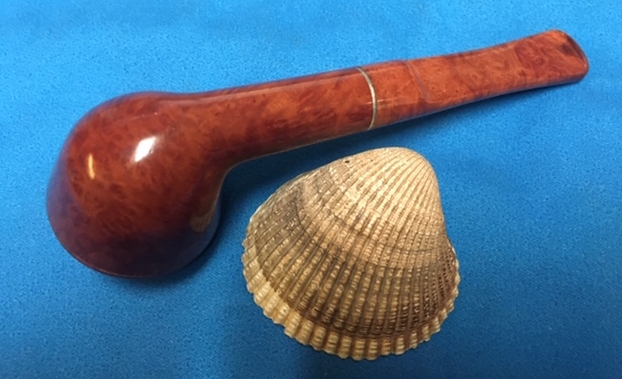
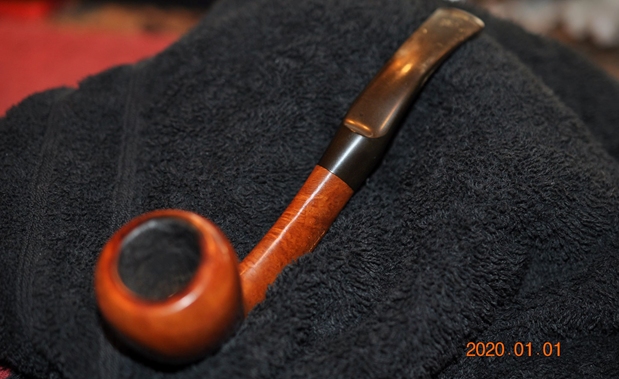
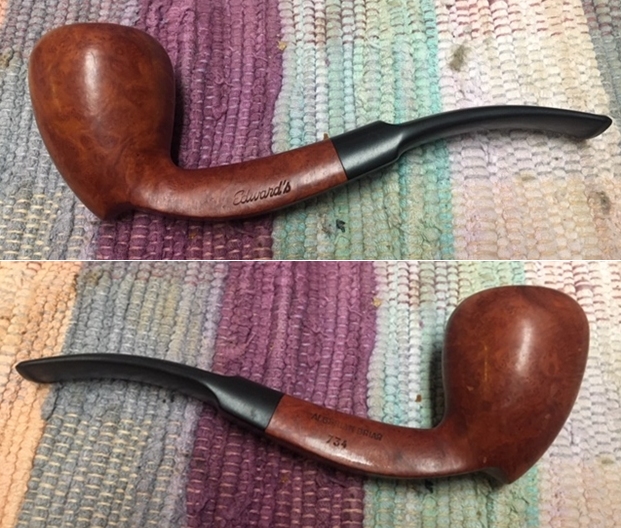
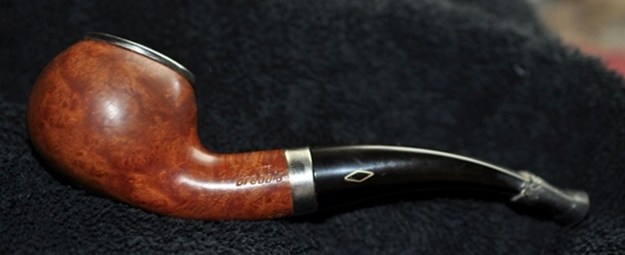
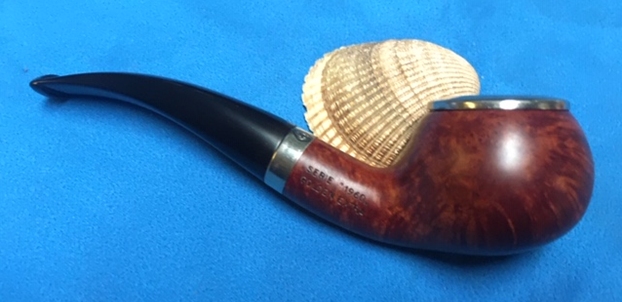
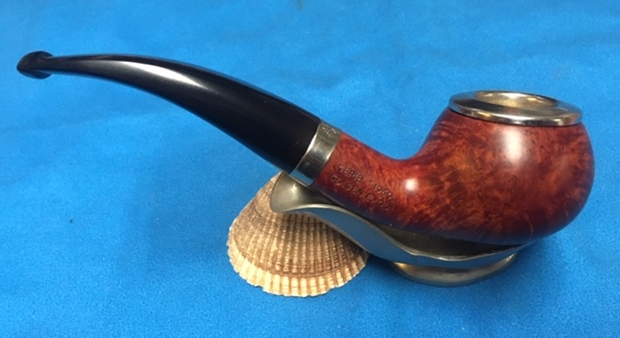
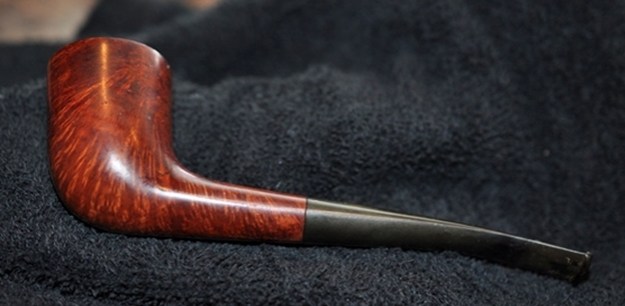
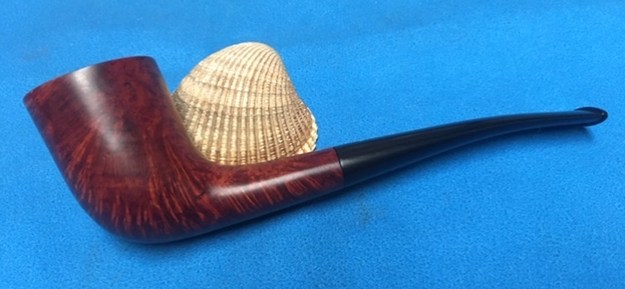
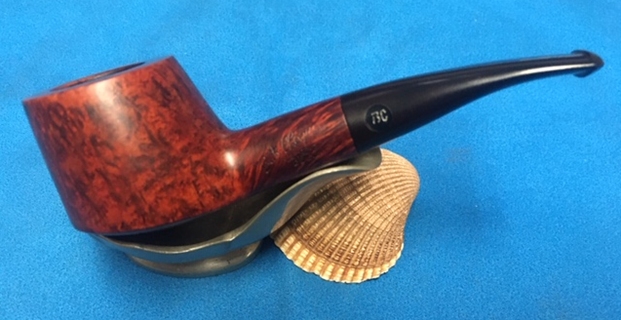
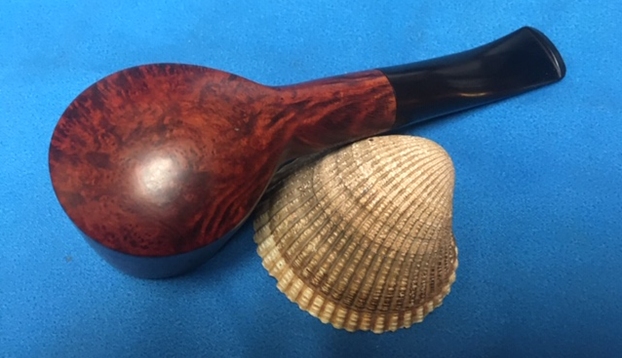
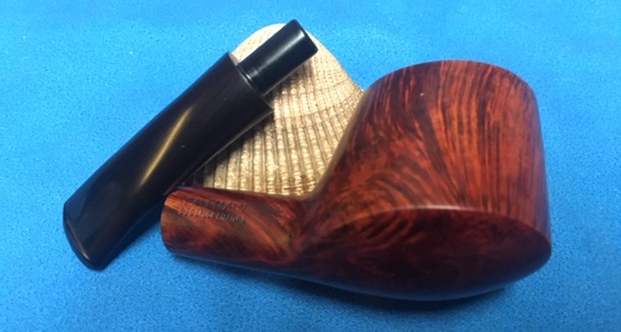
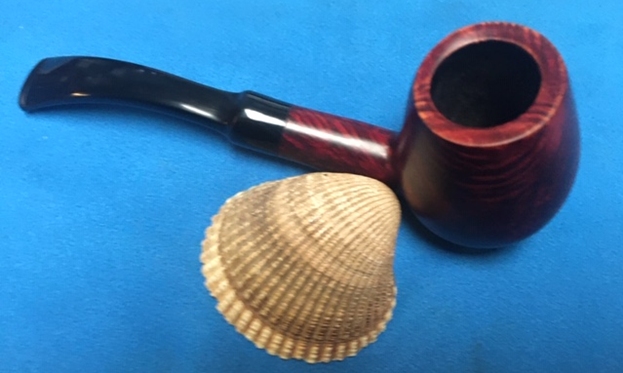
I still remember the first Charatan pipe I picked up over 25 or so years ago. I remember finding it in an Antique Shop that is no longer around. It was Charatan’s Make Bell 33X with a Double Comfort (DC) bit on it and probably the craggiest looking sandblast I had seen to date when I found it. I still have that pipe and still fire it up with a good bowl of 5100. It is a smoking machine. So when I when I moved on to choose the next pipe to work on it was not a far stretch to pick the Charatan’s Make Special Bell 33X smooth that was in my box. It is a nice looking Dublin shaped pipe that Charatan called a Bell. All of the stamping is on the left side of the shank. It reads Charatan’s Make [over] London England. Under that it reads Special with the shape number 33X. The CP logo on the left side of the vulcanite saddle stem is clear and readable. It was dirty and was another well-loved pipe when we received it. The bowl had a thick cake and the lava overflow on the inner edge of the bowl a heavy on the back side of the rim top. It was hard to know the condition of the inner edge of the bowl. The pipe had a rich medium brown stain that highlighted nice grain on the bowl sides under the grime and the finish appeared to be in good condition. A lot would be revealed once Jeff had worked his magic on it. The vulcanite saddle stem was in good condition with light tooth chatter and marks on both sides ahead of the button and on the button surface itself. Jeff took photos of the pipe before he started his cleanup work.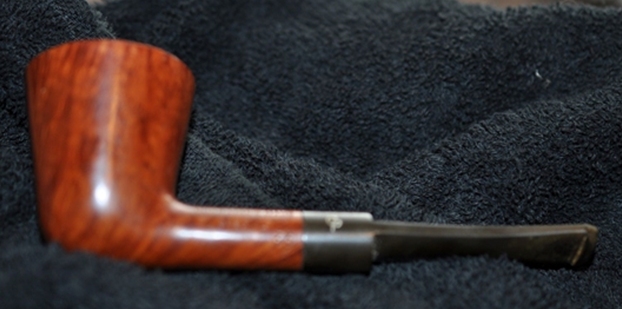
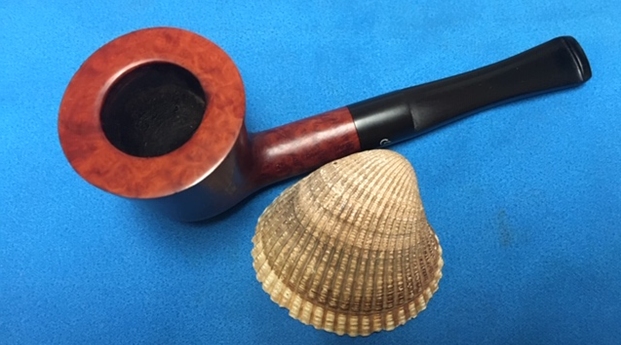
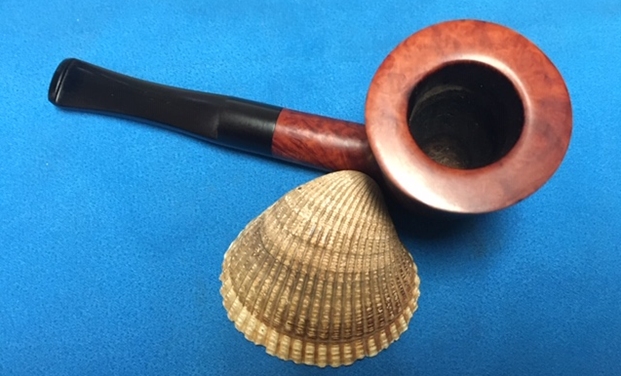
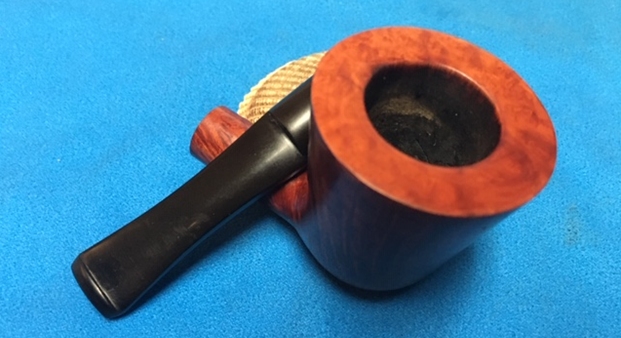
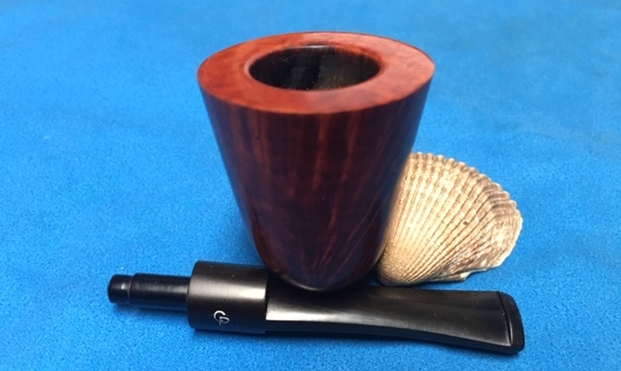
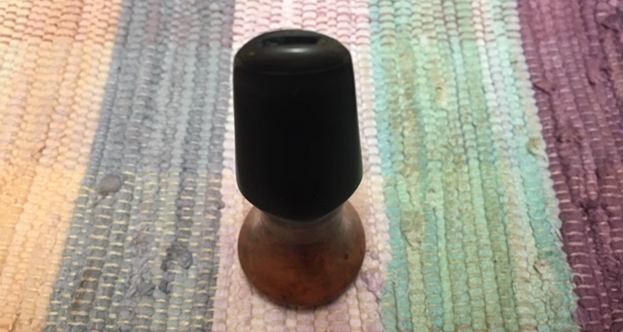
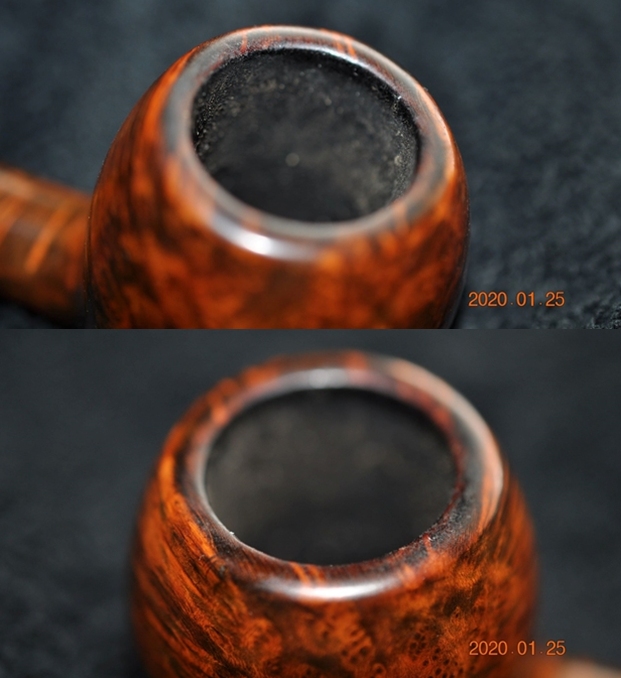
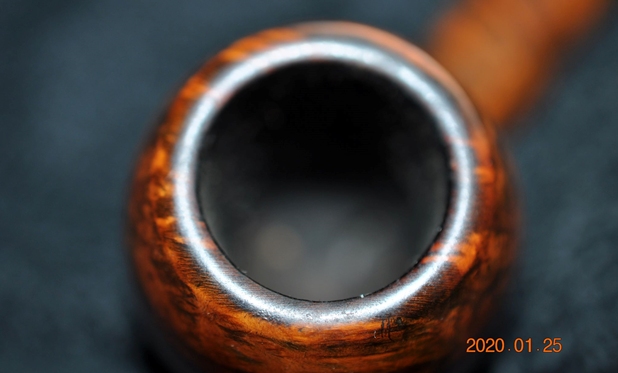
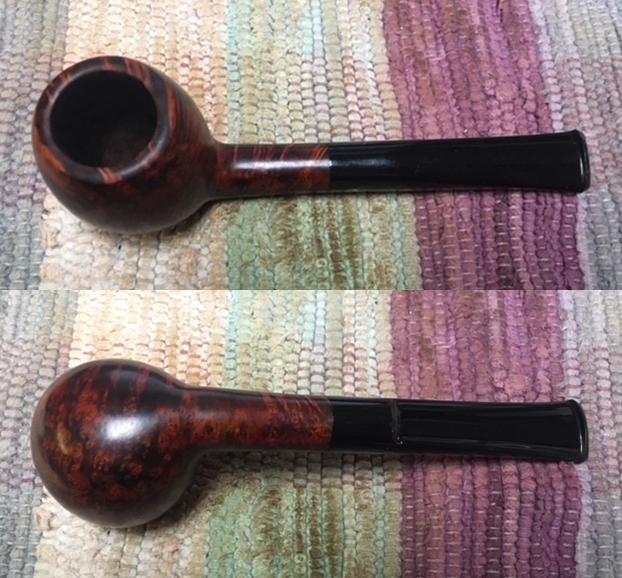
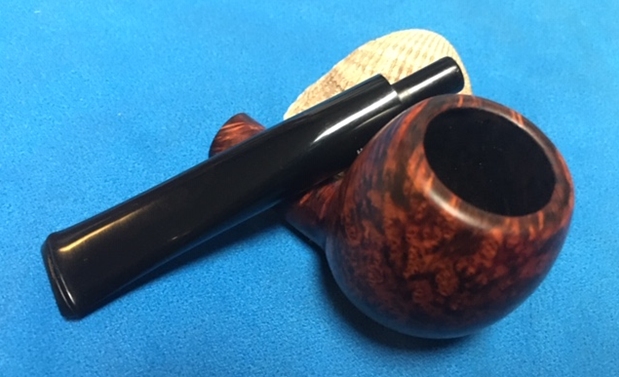
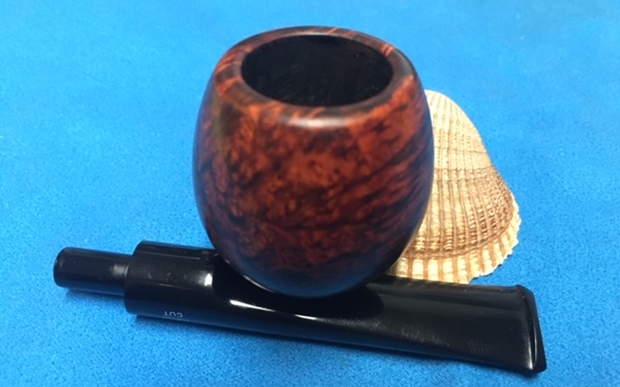
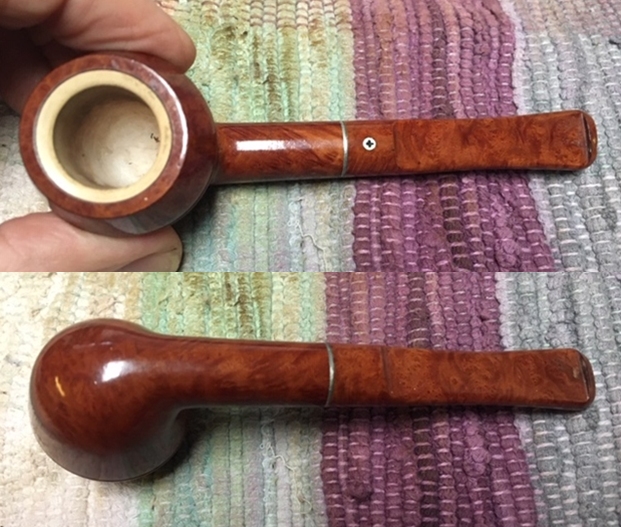
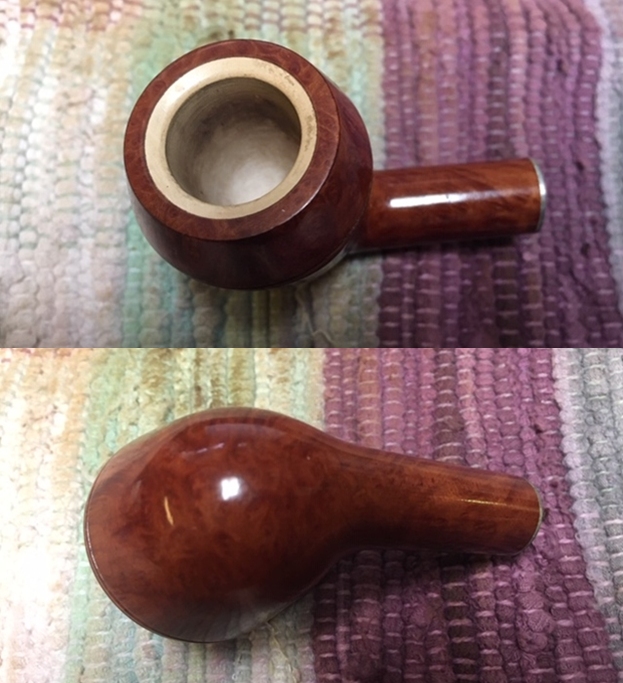
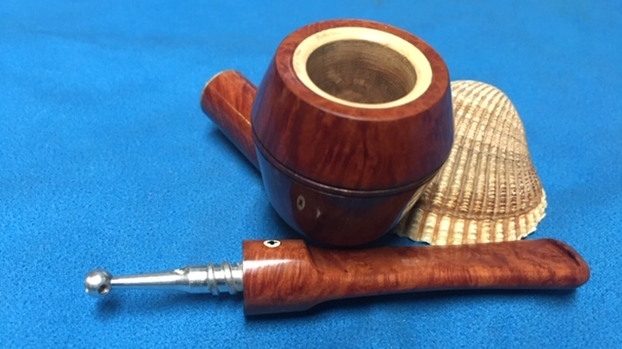
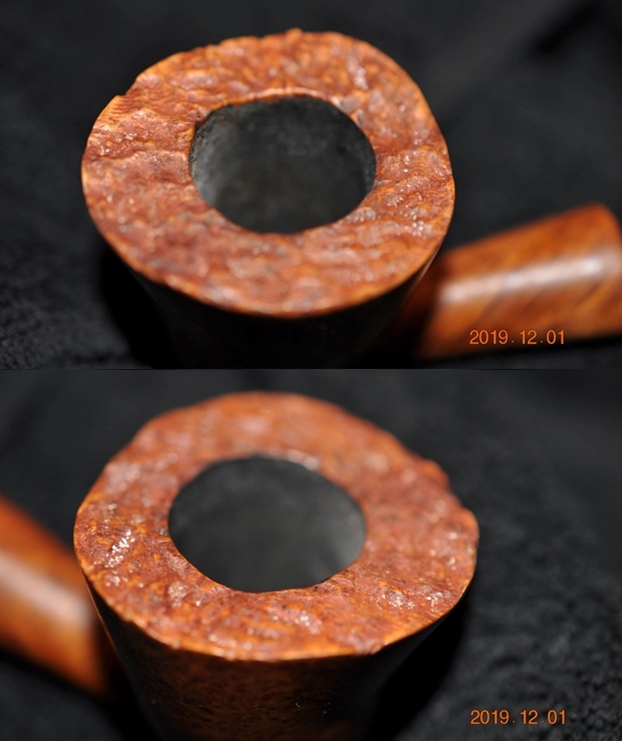
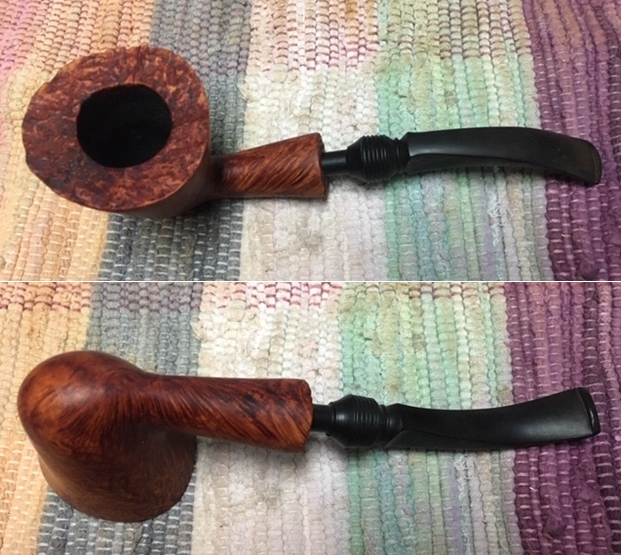
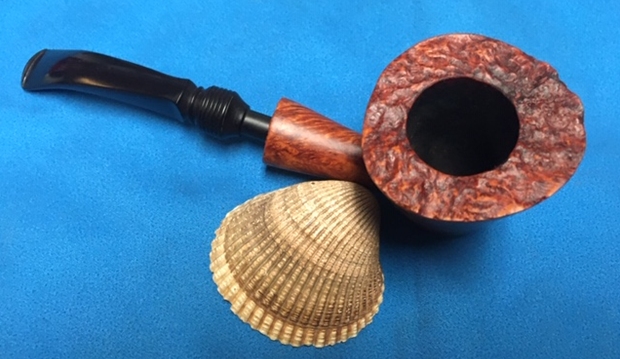
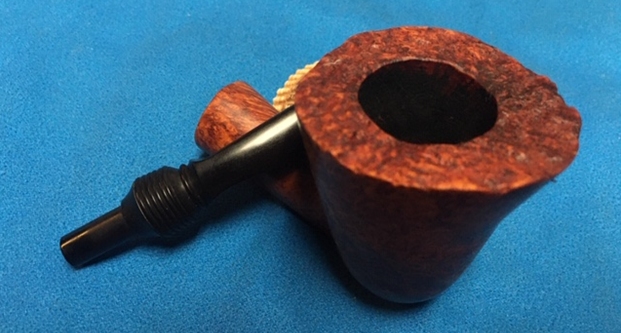
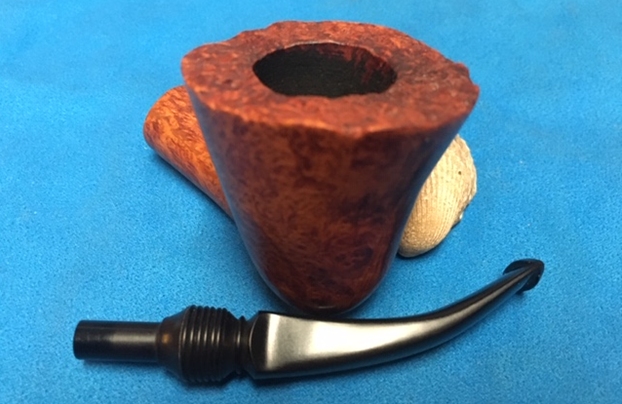
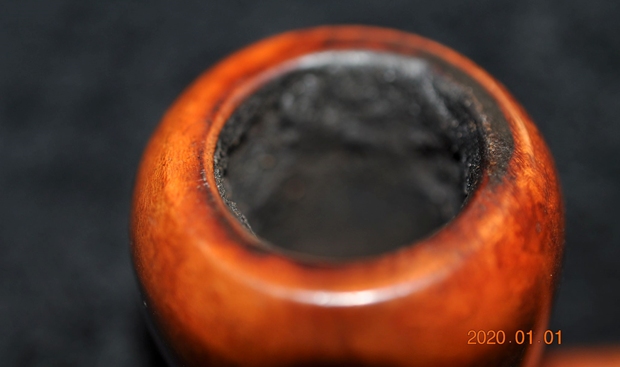
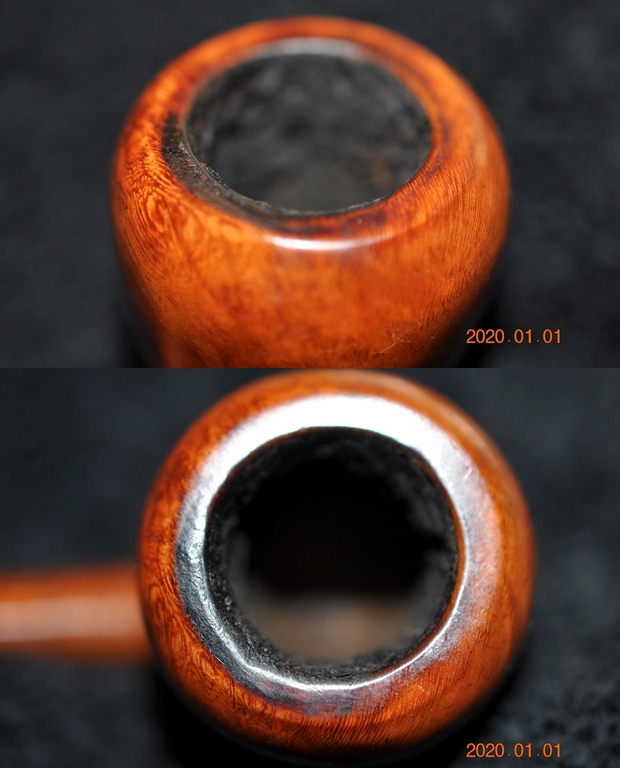
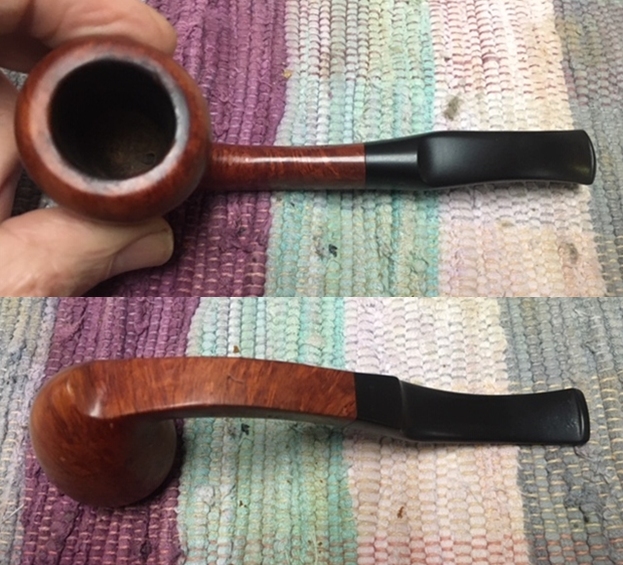
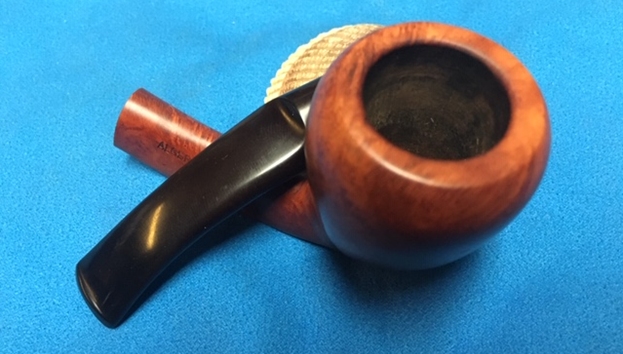
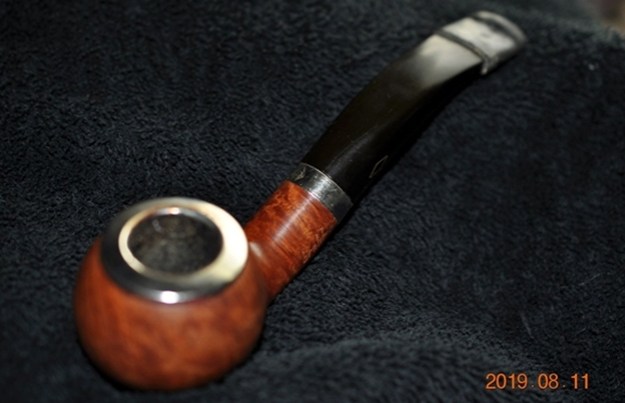
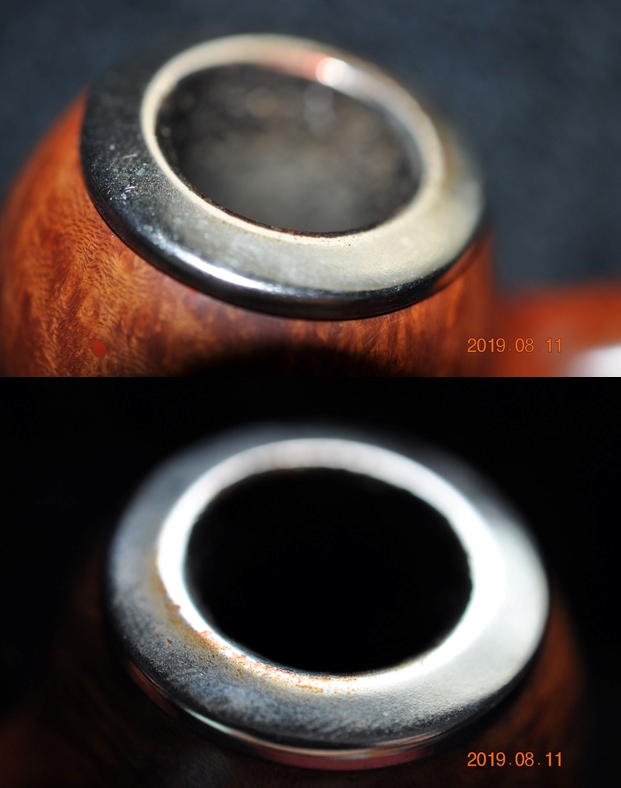
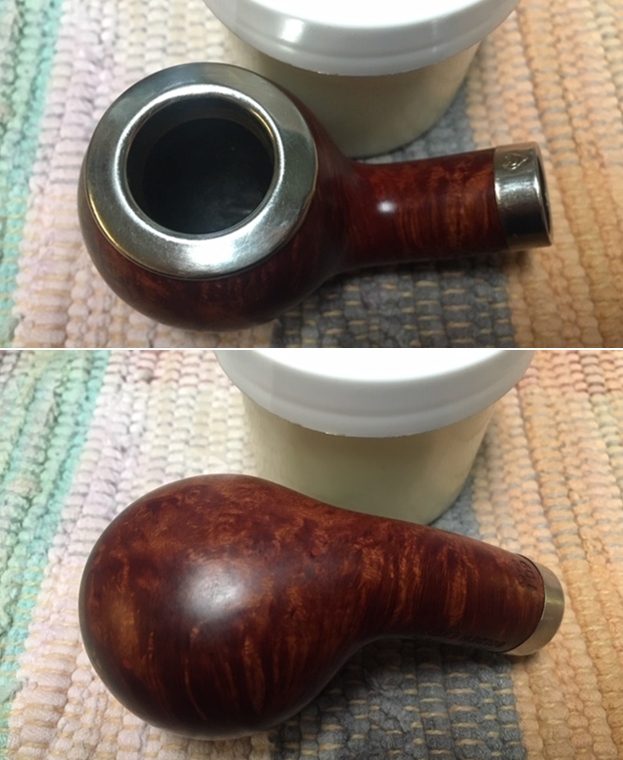
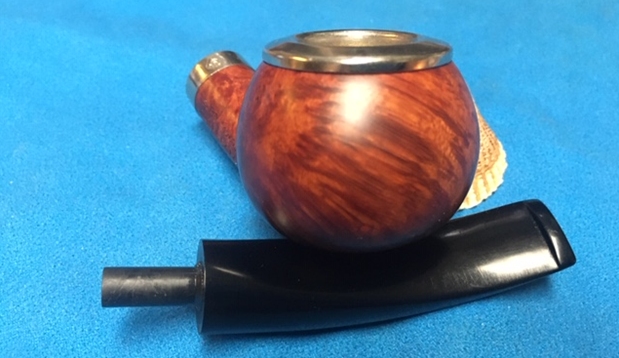
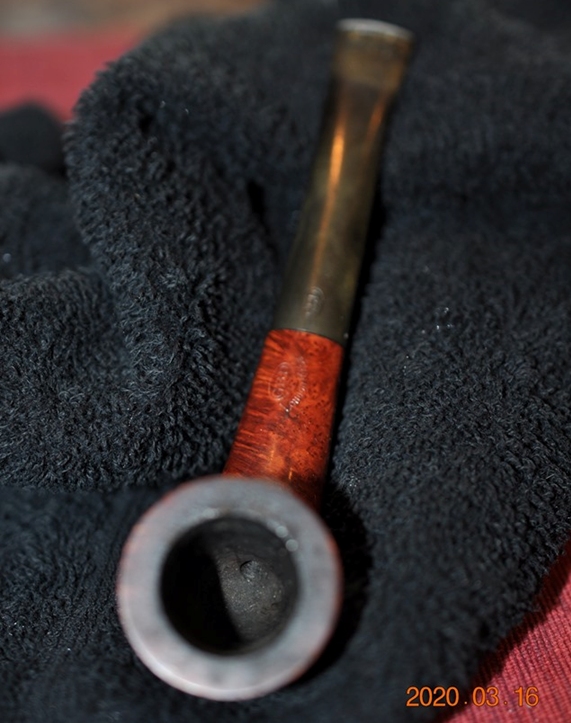
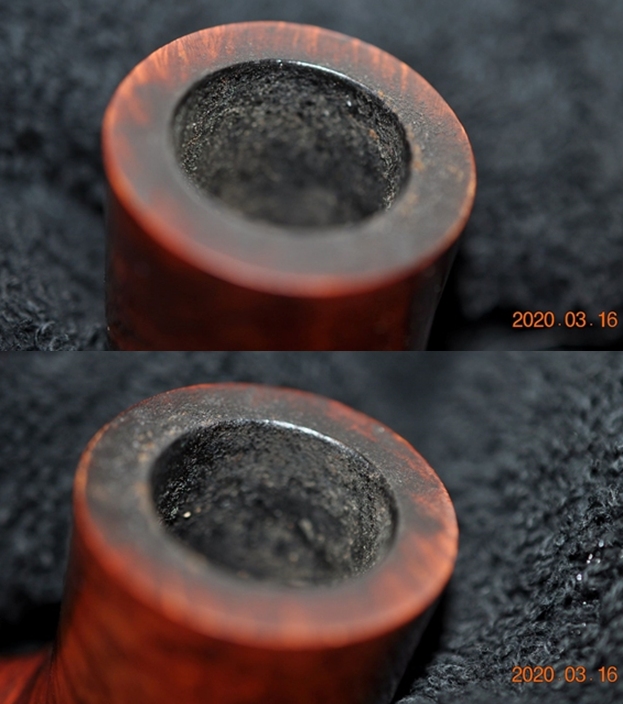
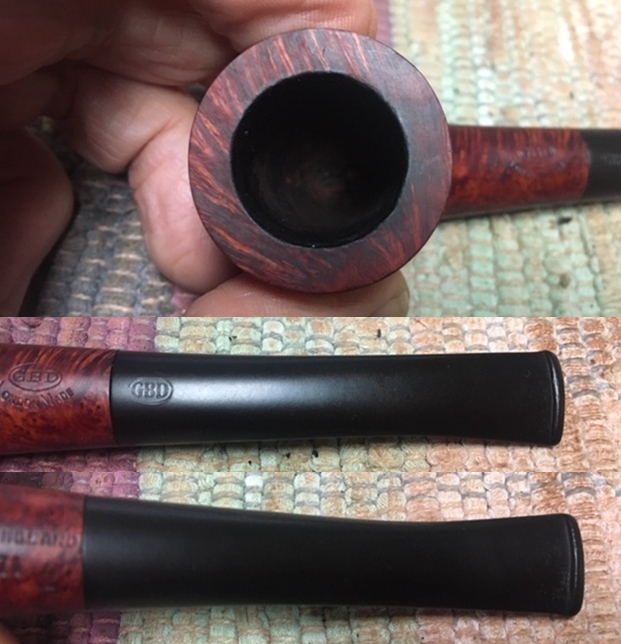
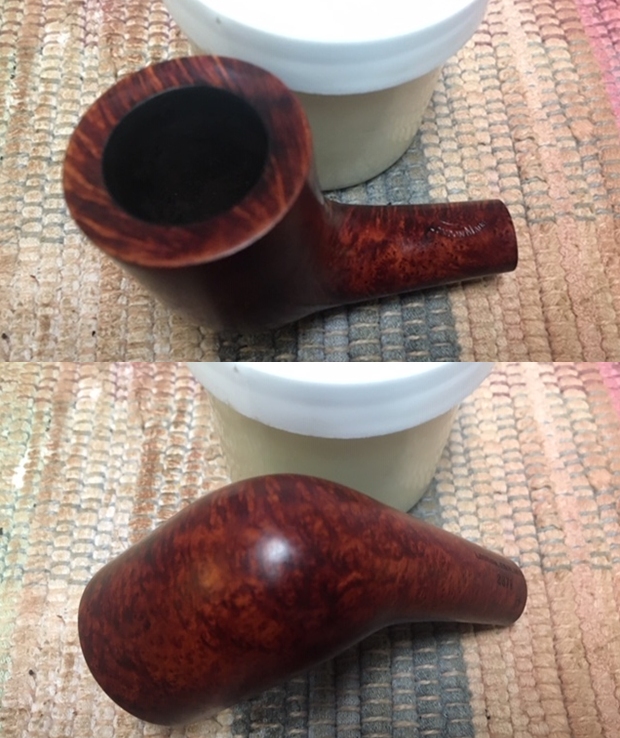
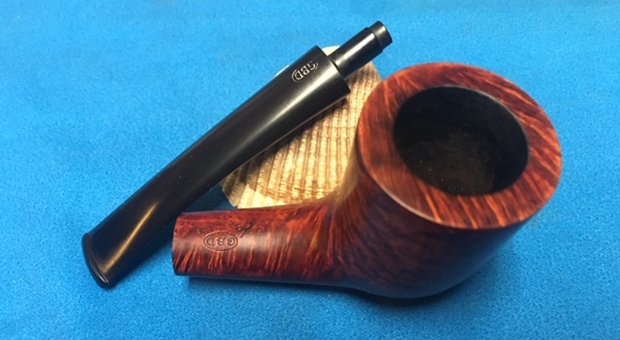
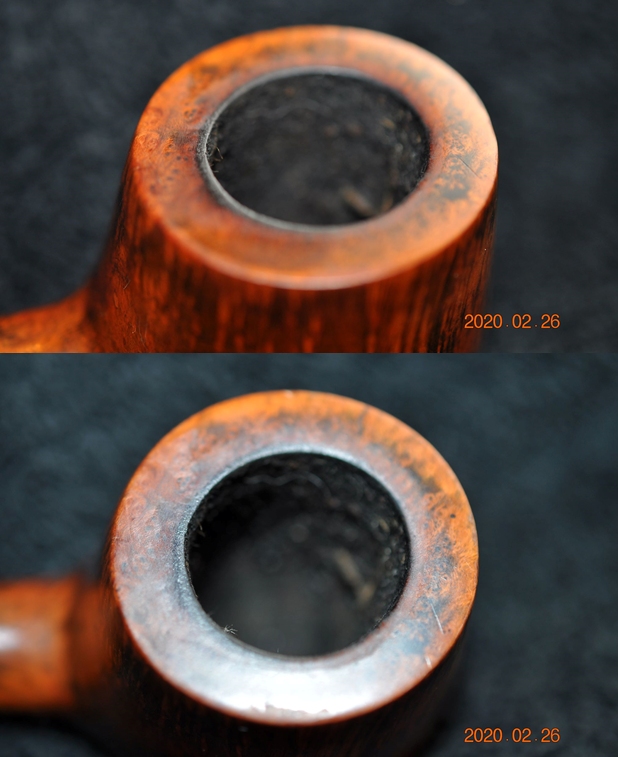
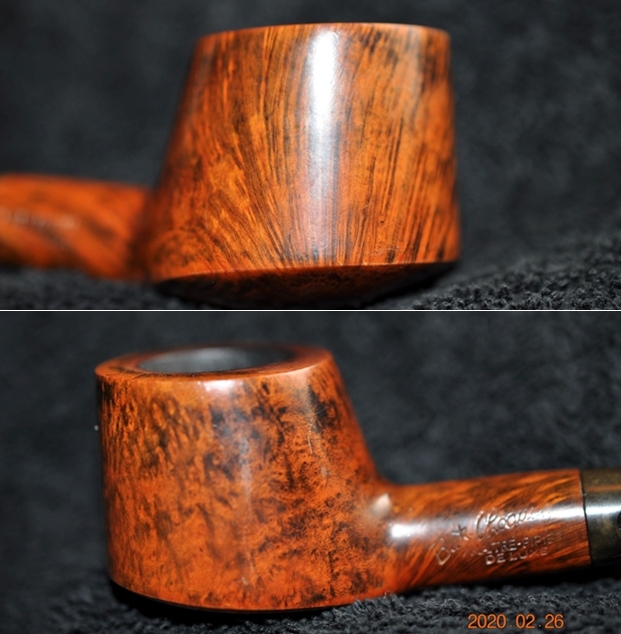
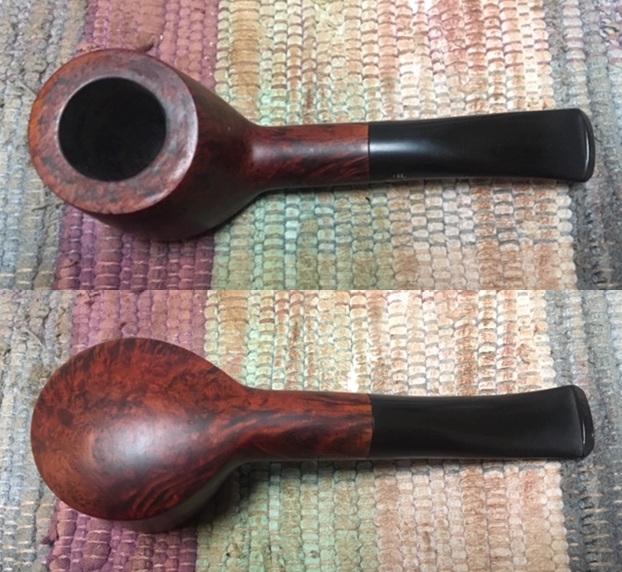
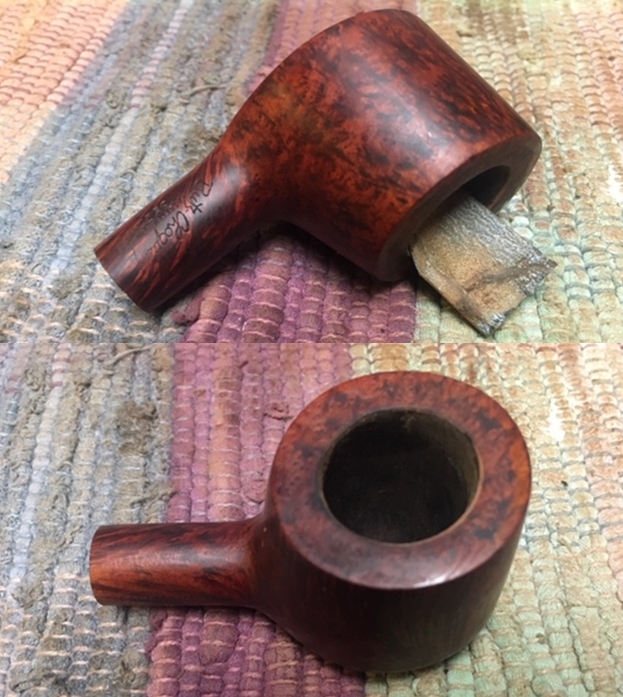
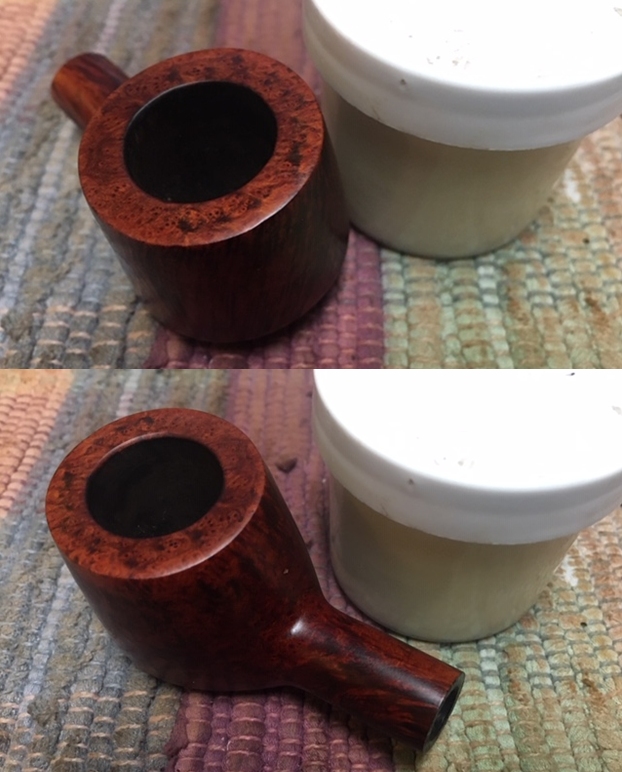
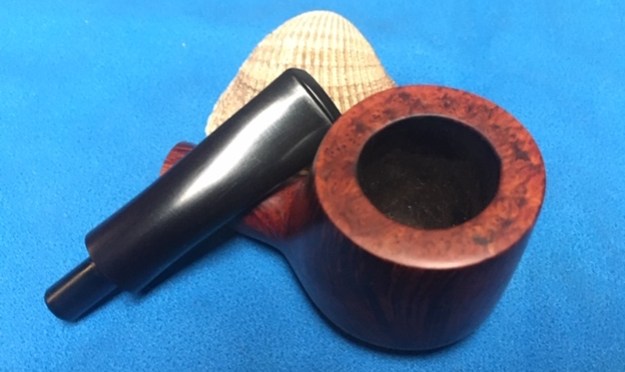
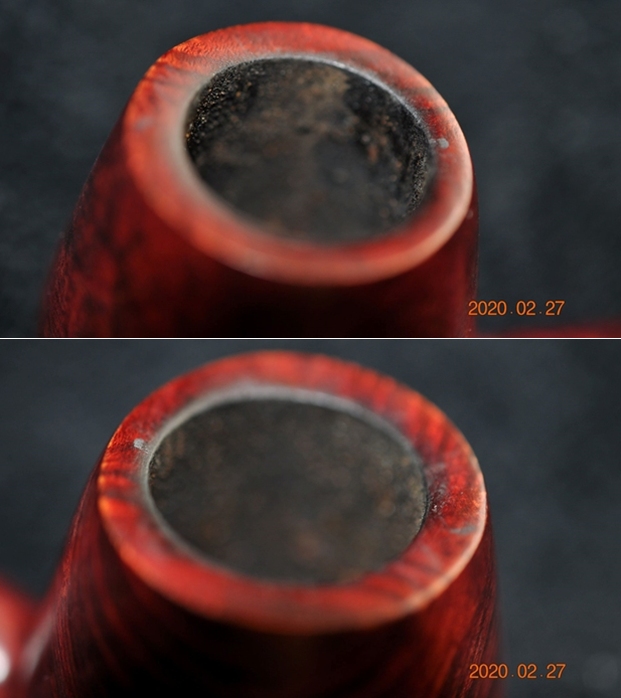
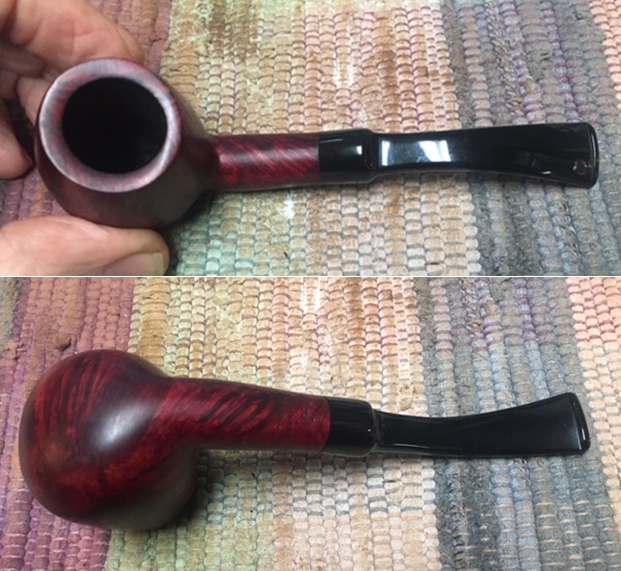
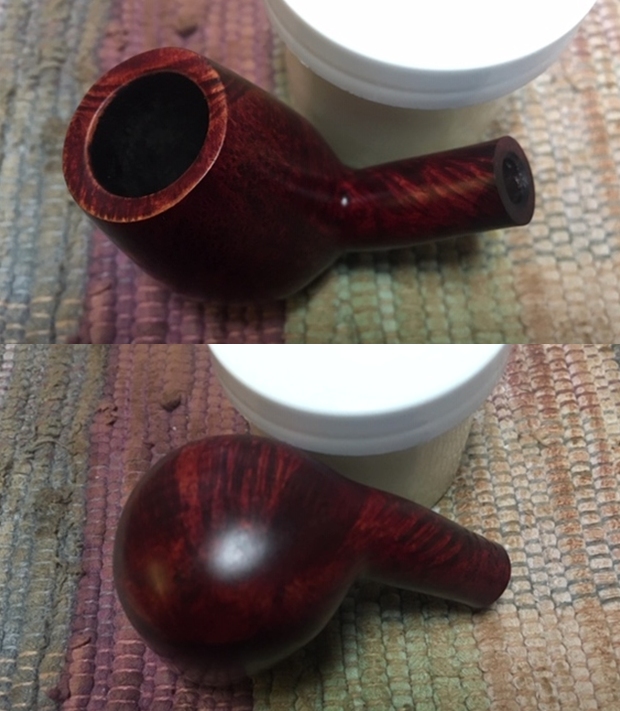
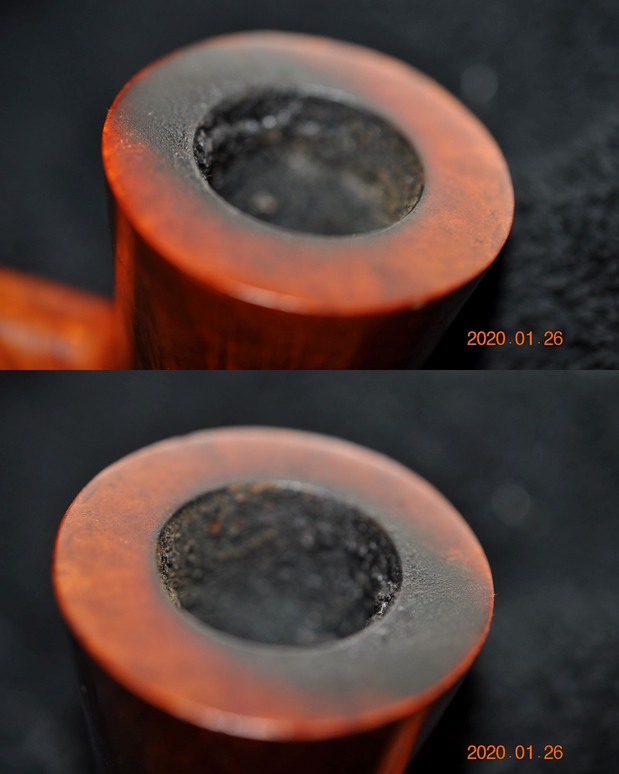
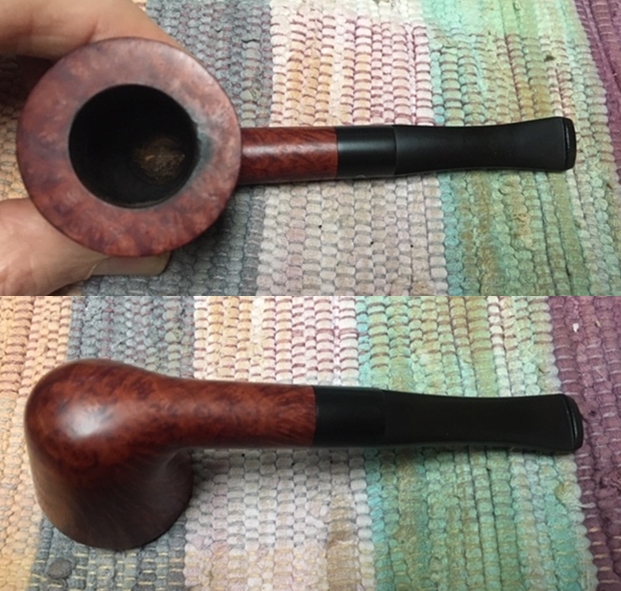
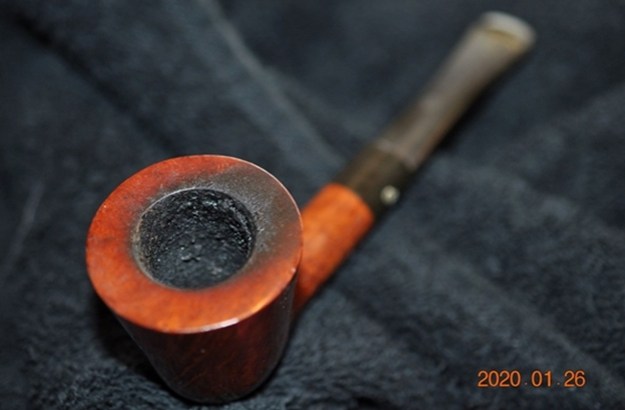 Jeff tried to capture the condition of the bowl and rim top with the next series of photos. You can see the work that is ahead of us there.
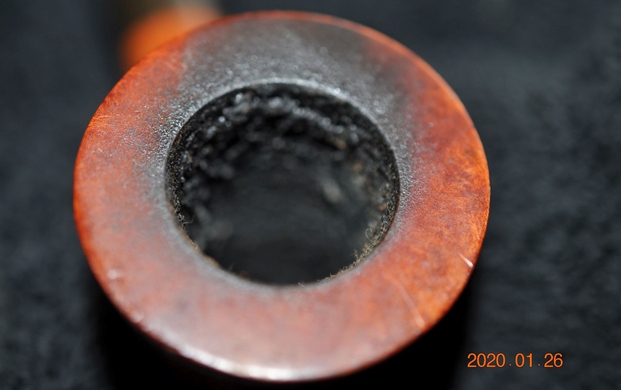
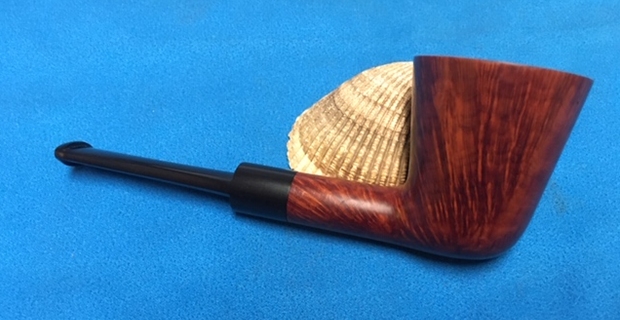
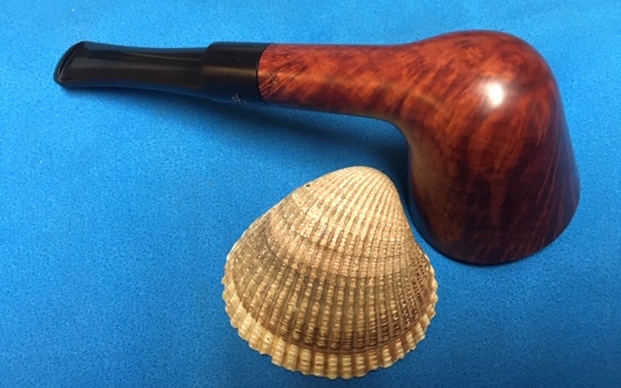
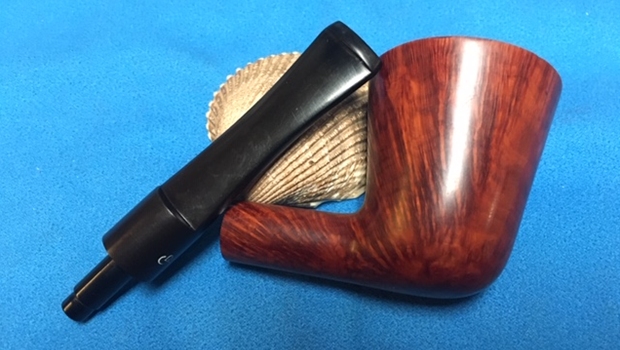
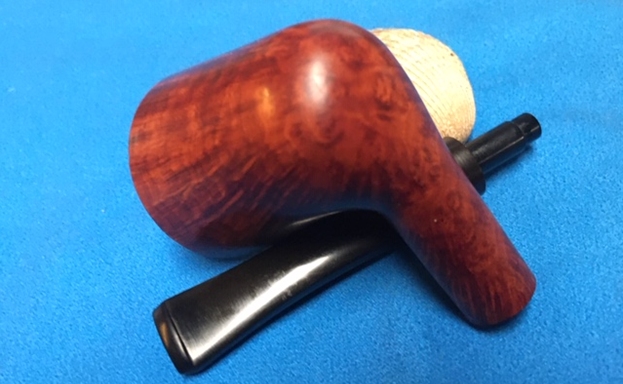
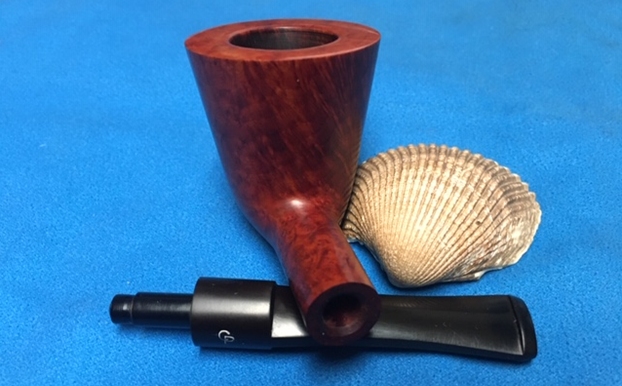
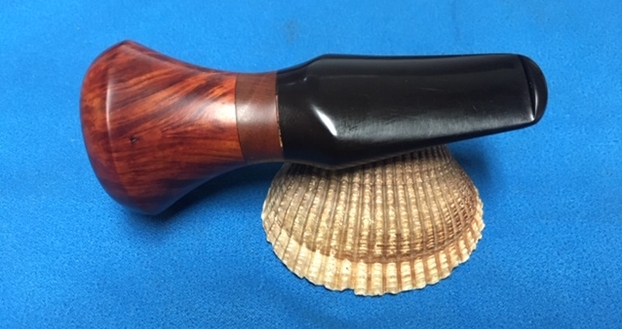
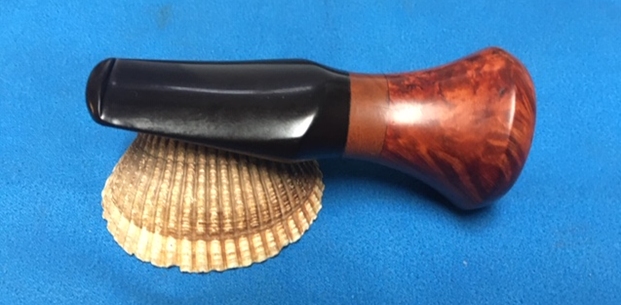
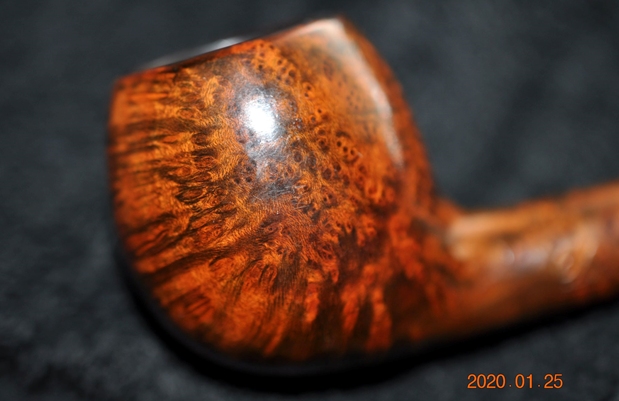
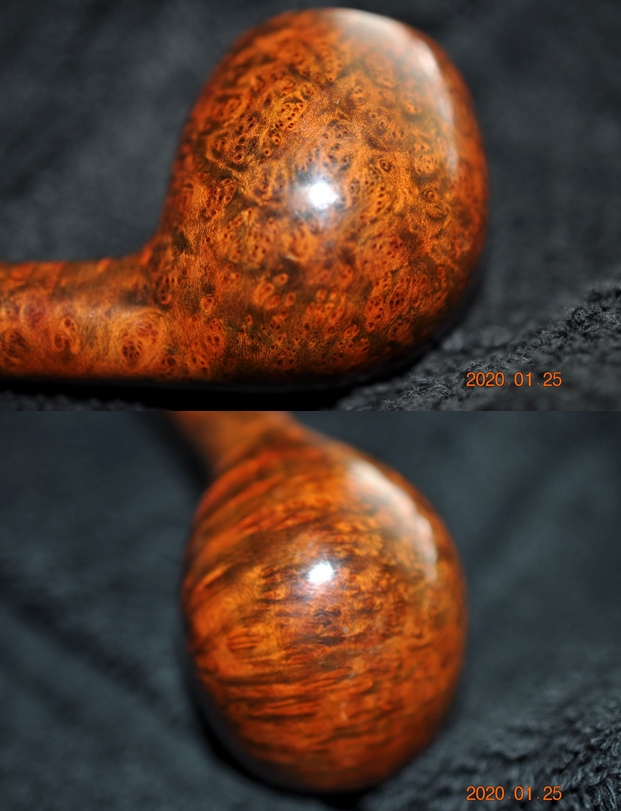
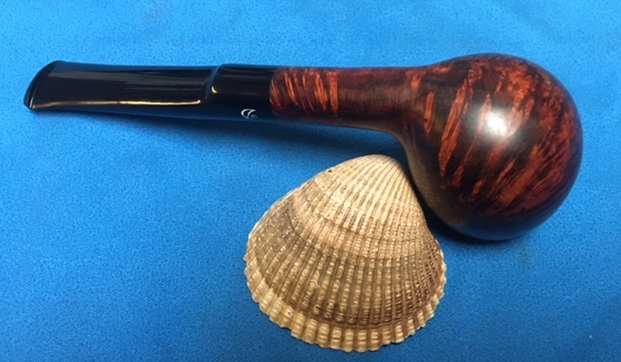
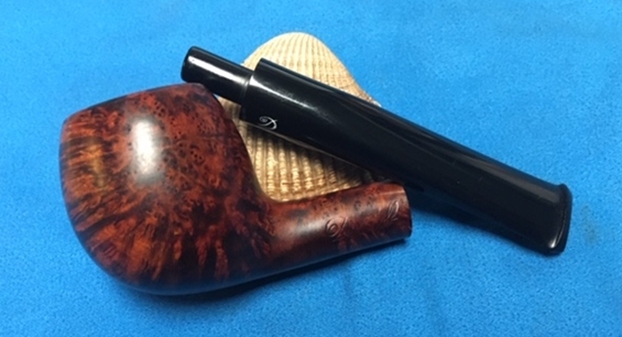
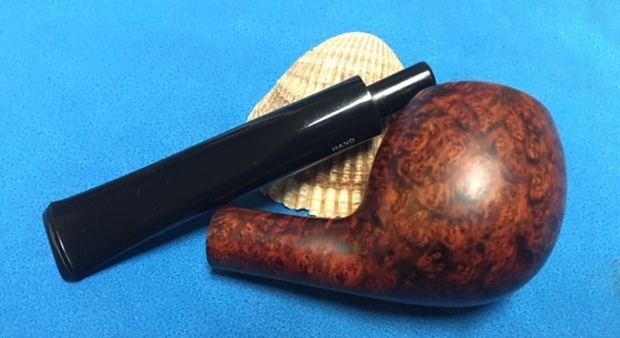
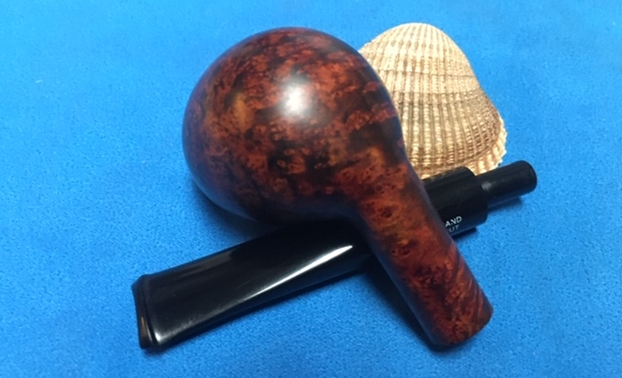
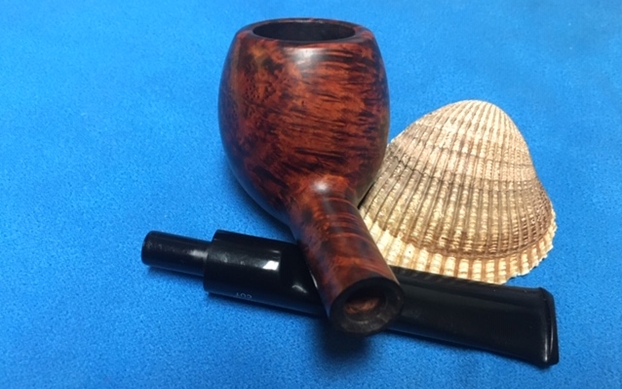
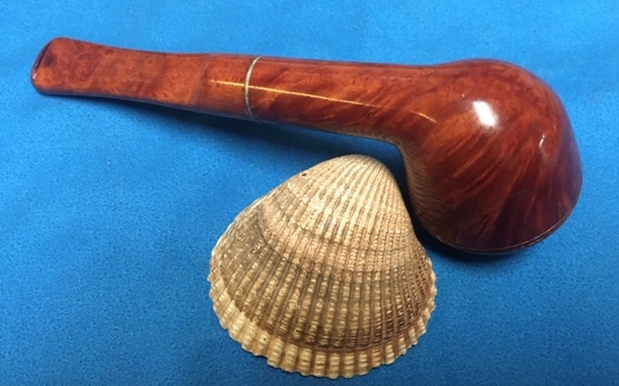
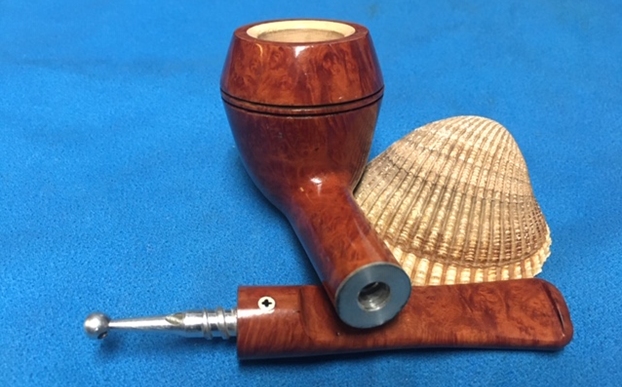
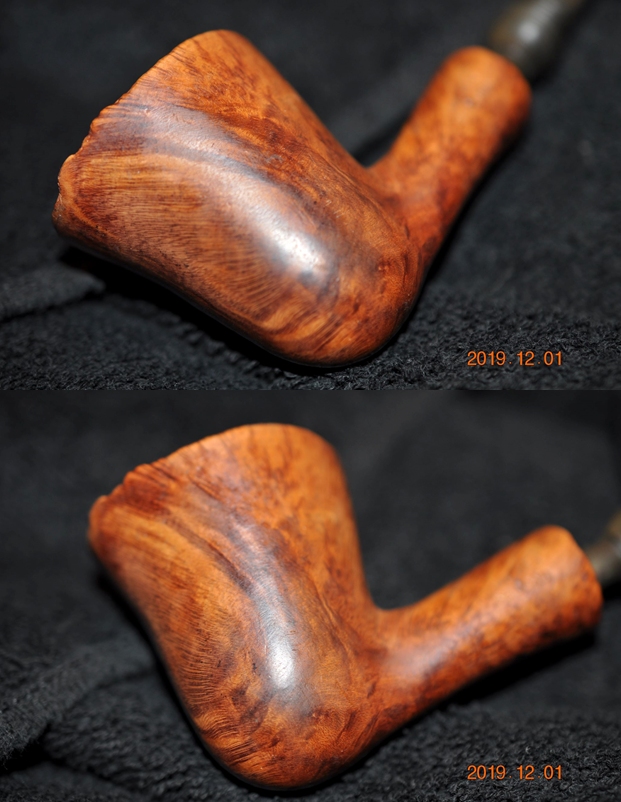
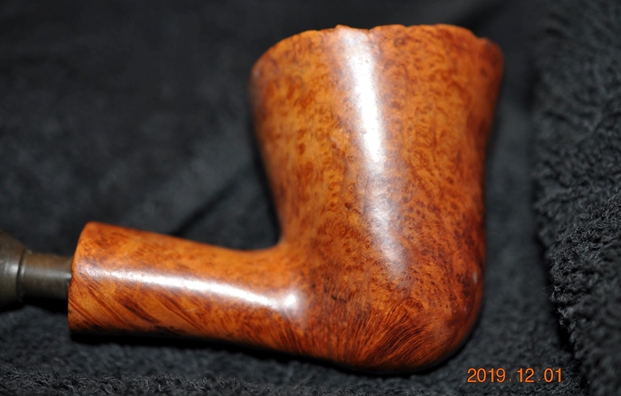
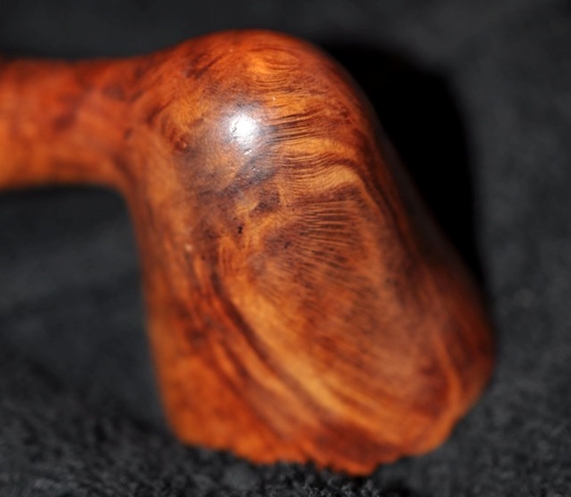
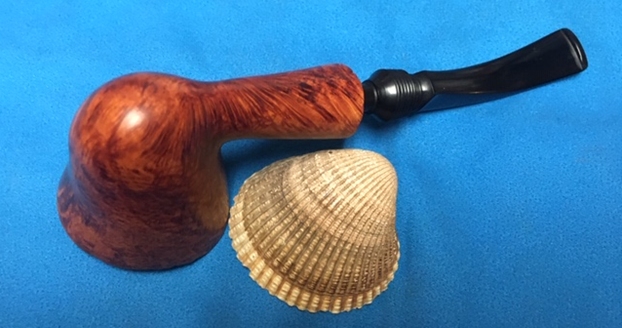
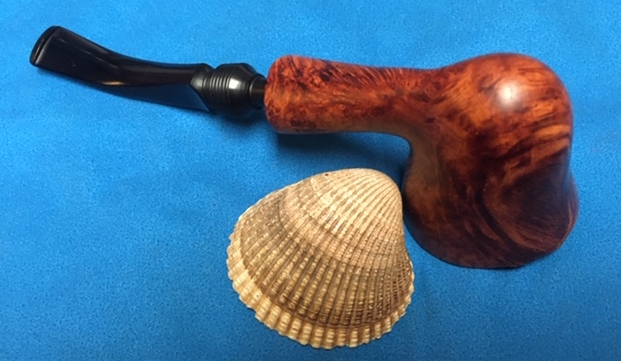
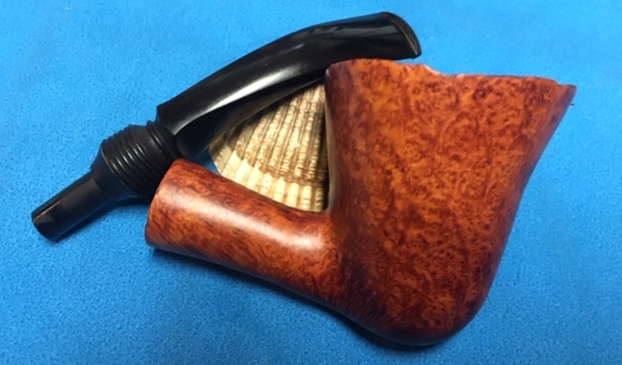
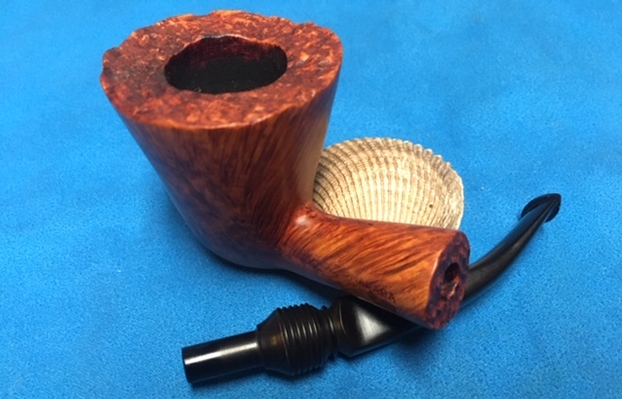
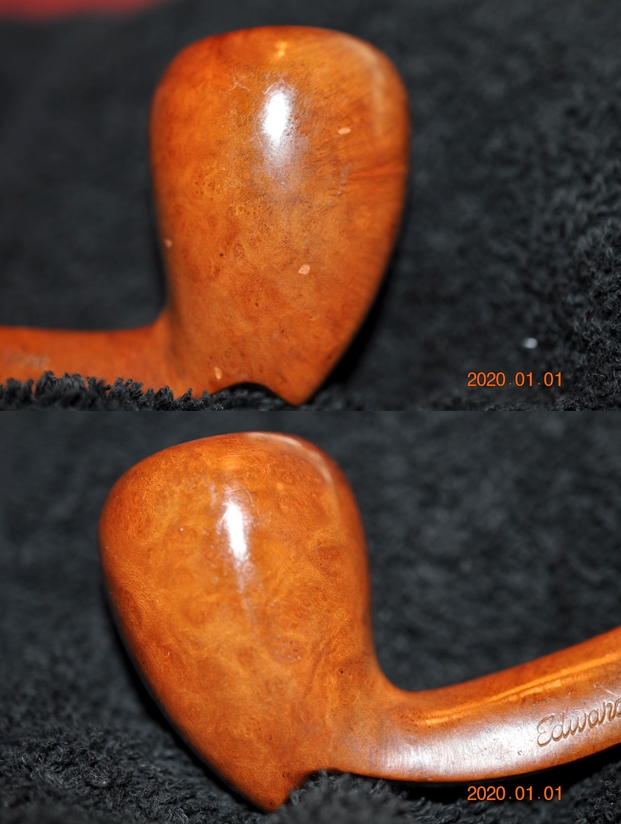
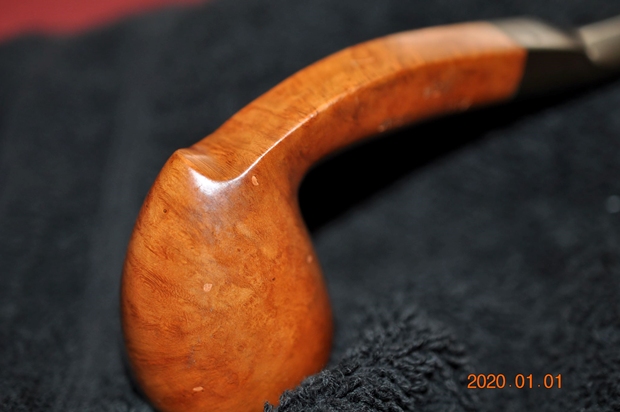
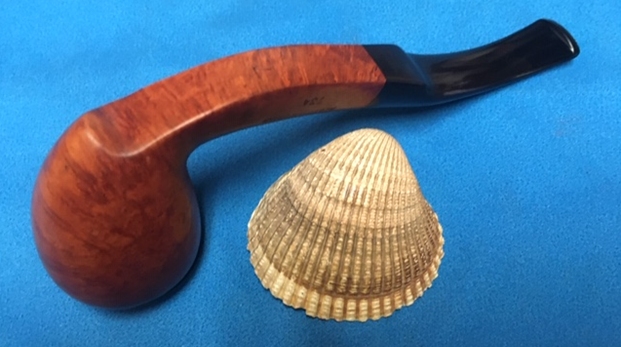
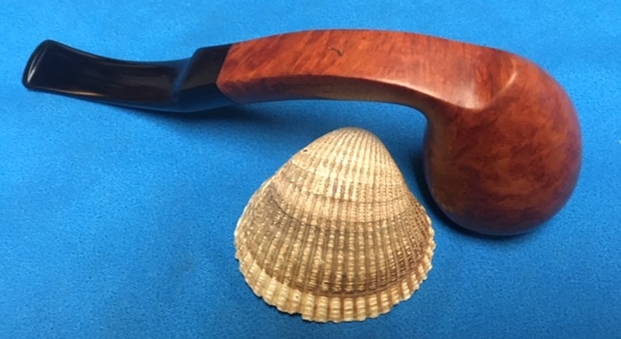
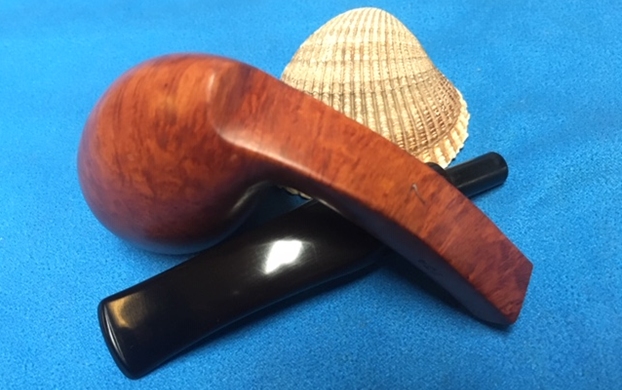
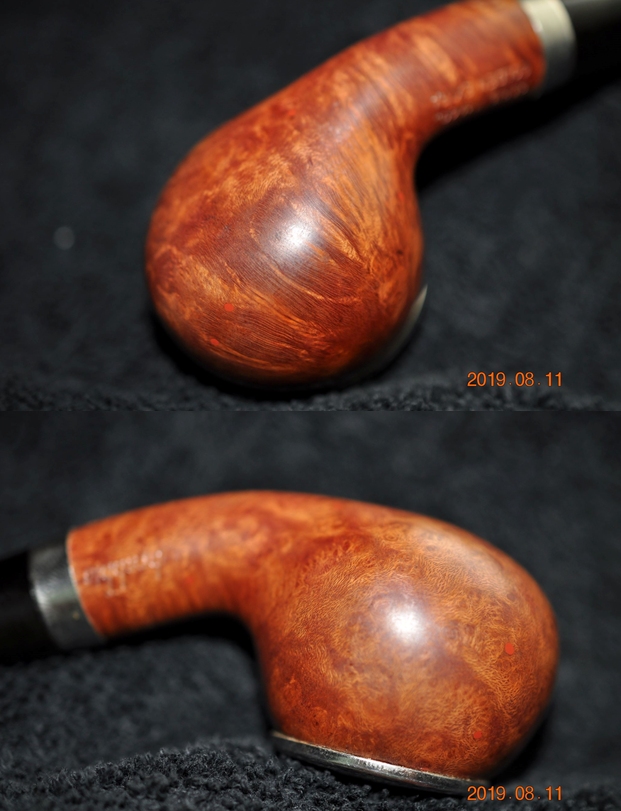
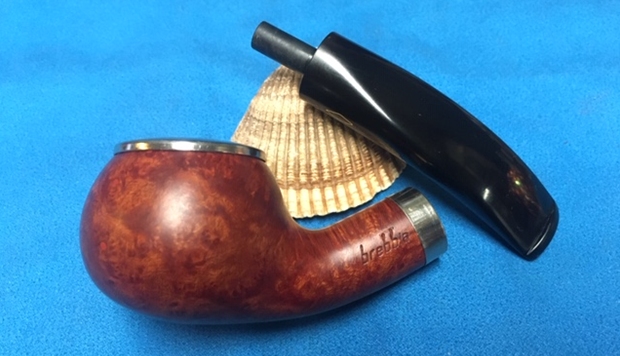
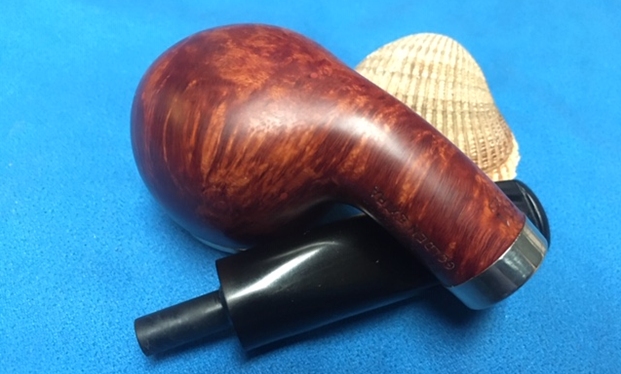
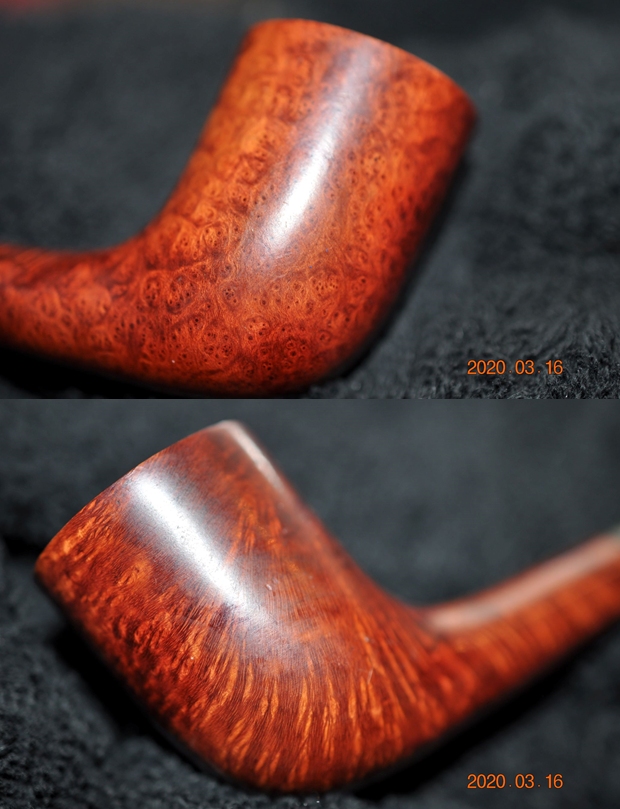
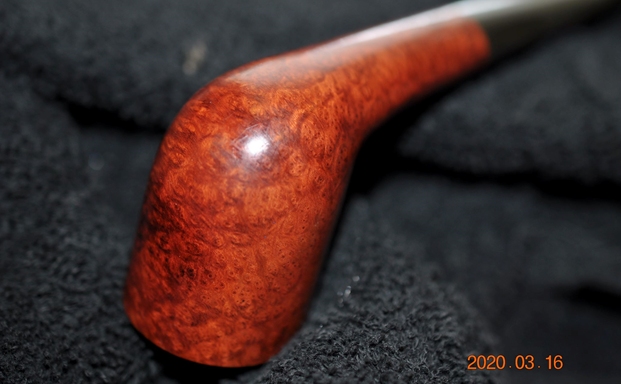
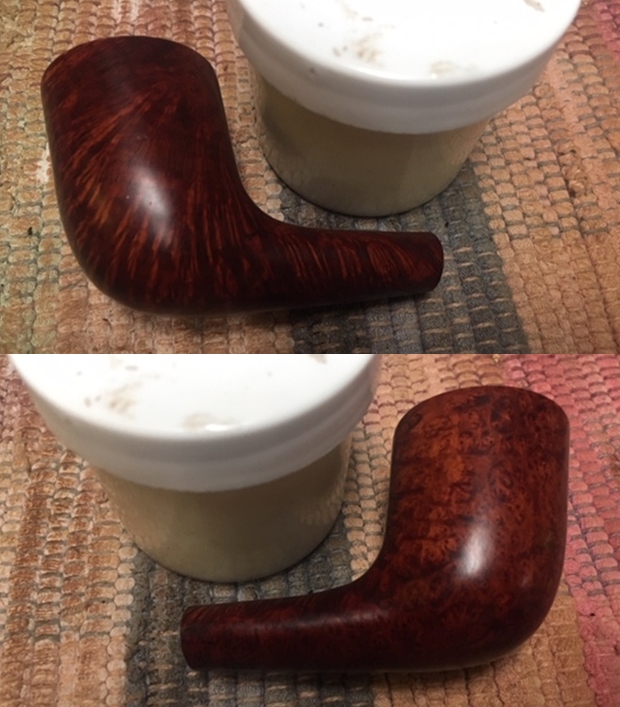
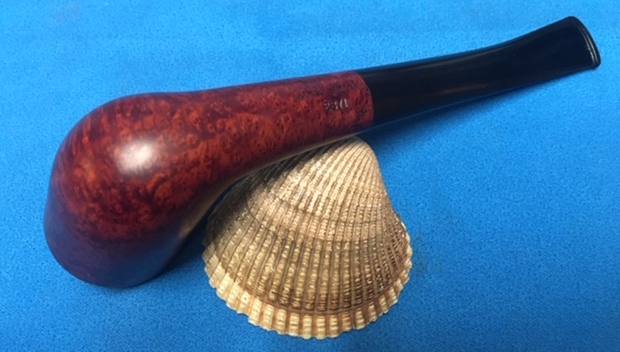
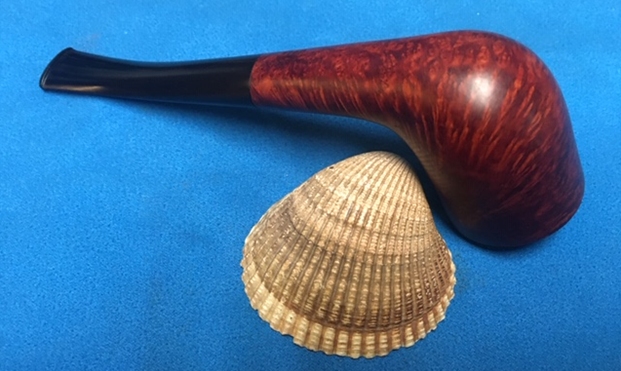
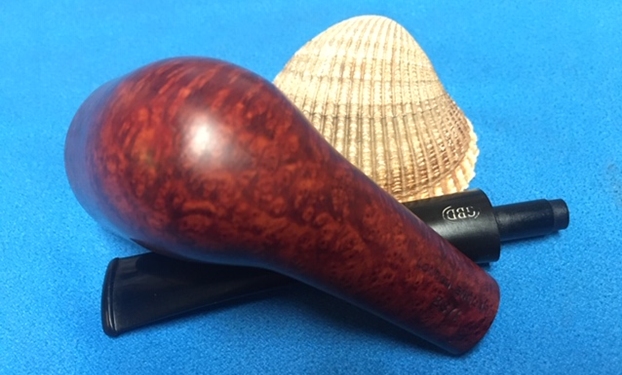
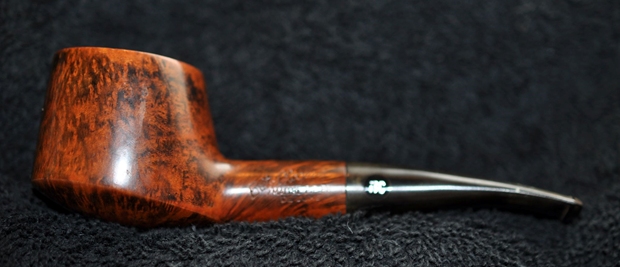
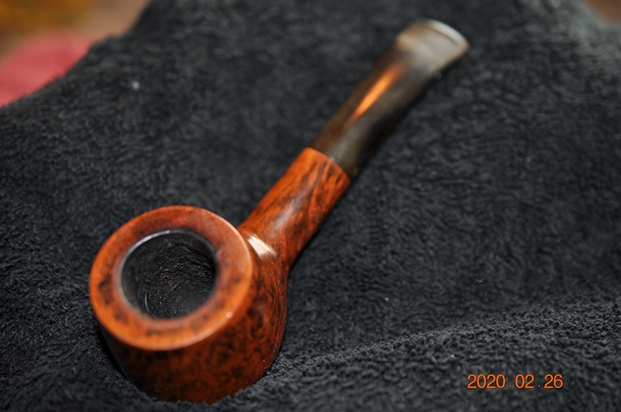
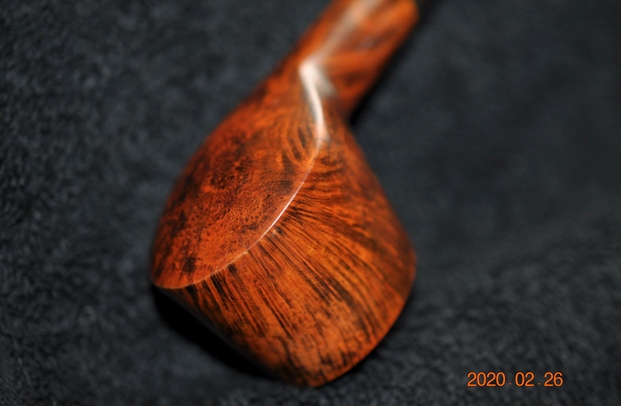
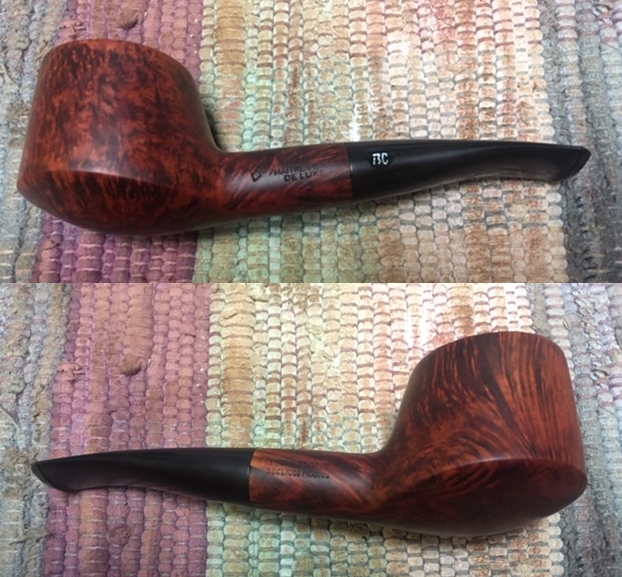
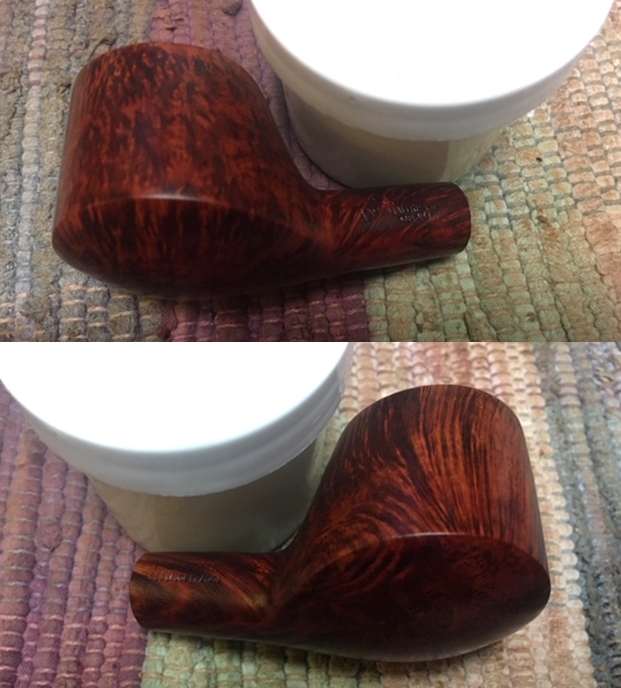
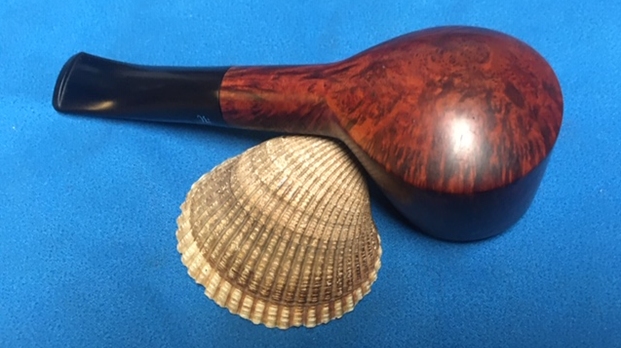
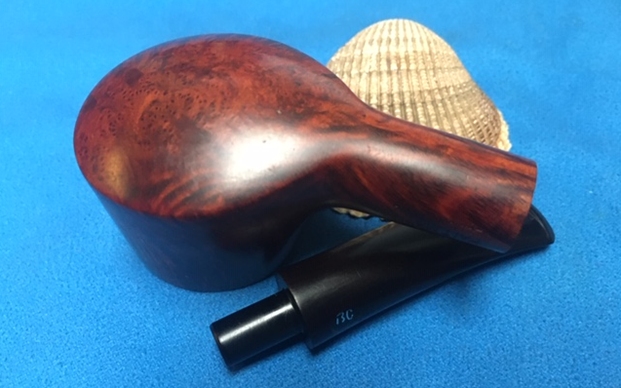
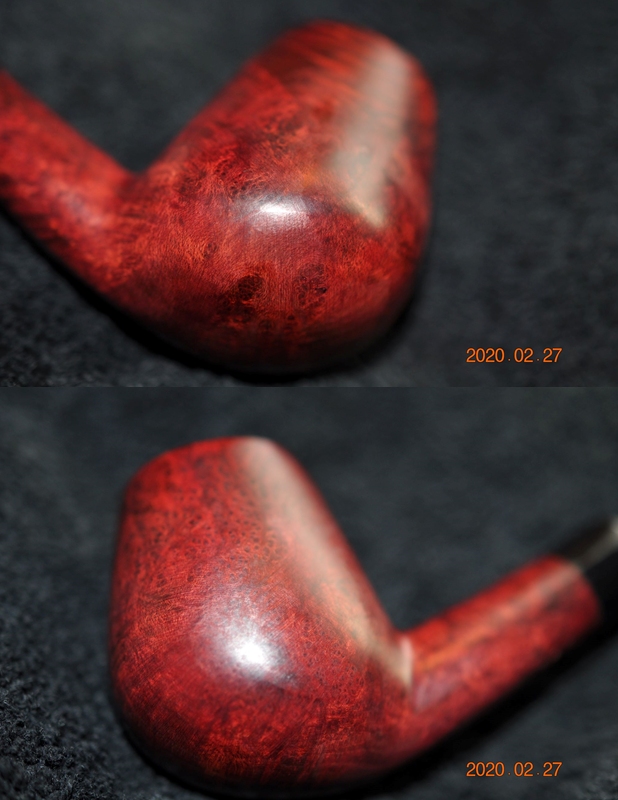
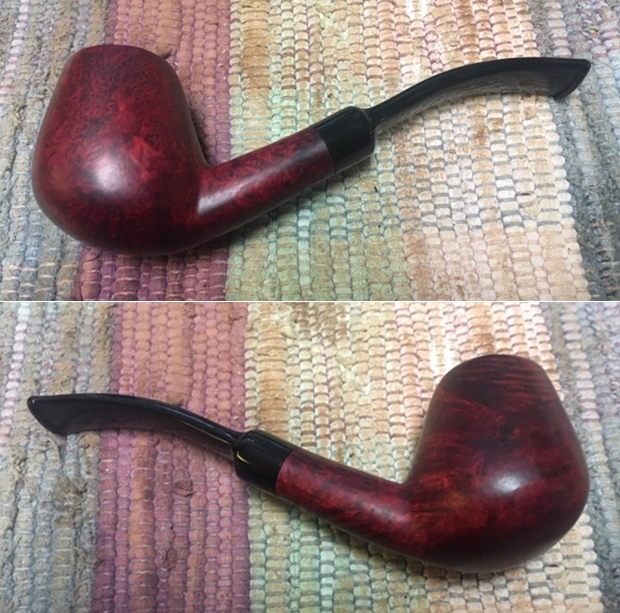
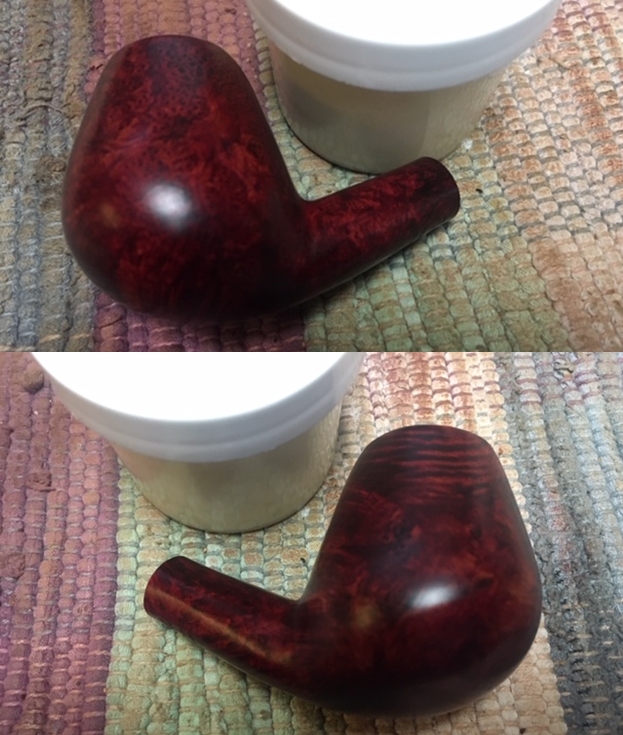
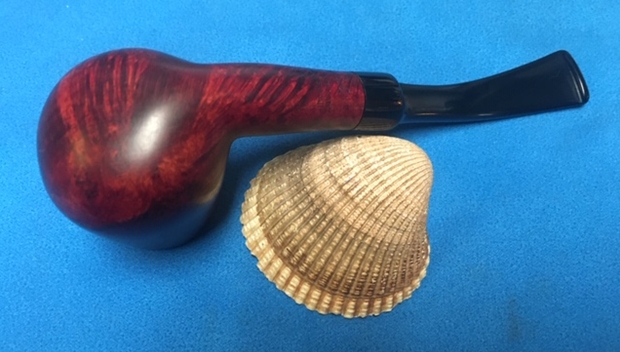
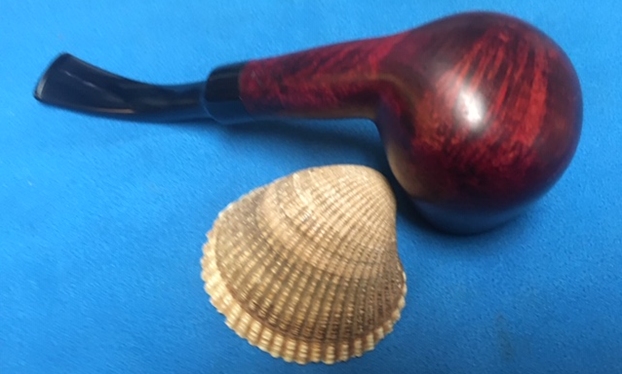
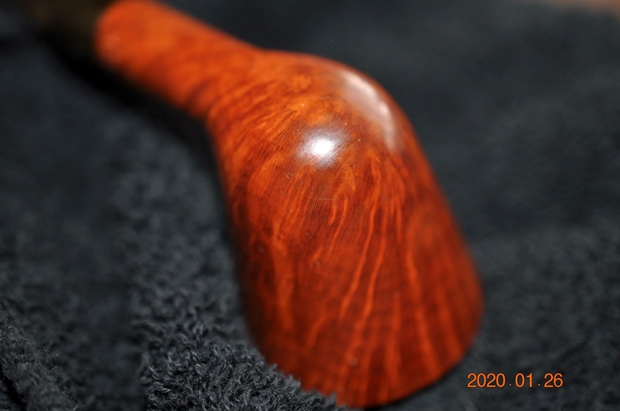
 The grain around the bowl is quite stunning. Jeff took some great photos showing what is underneath the grime and debris of time and use.
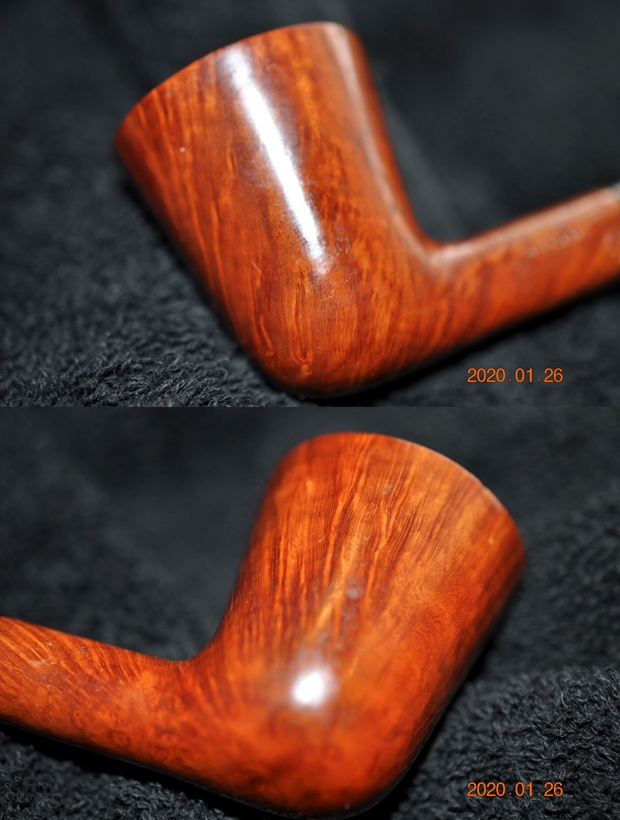
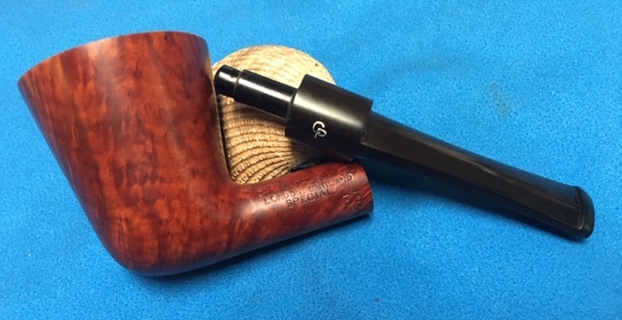
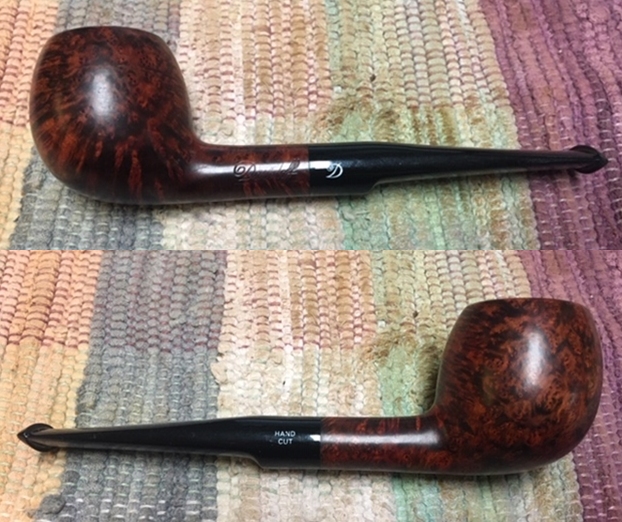
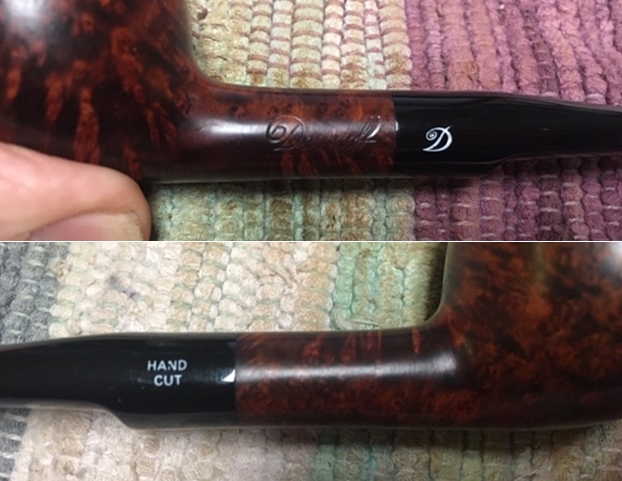
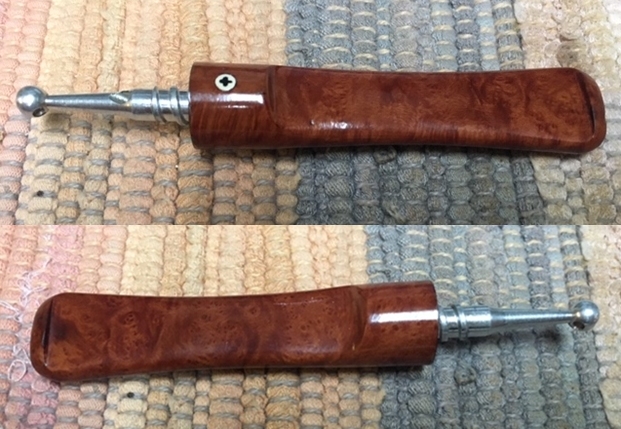
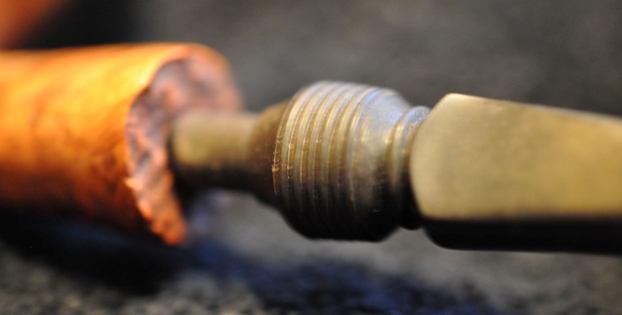
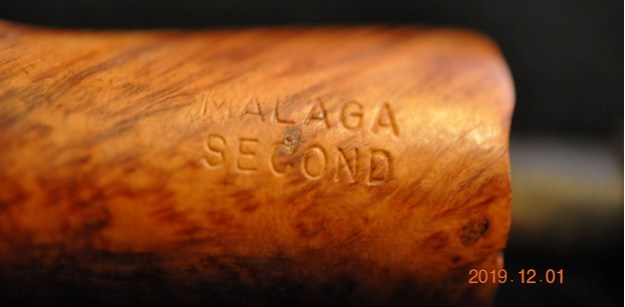
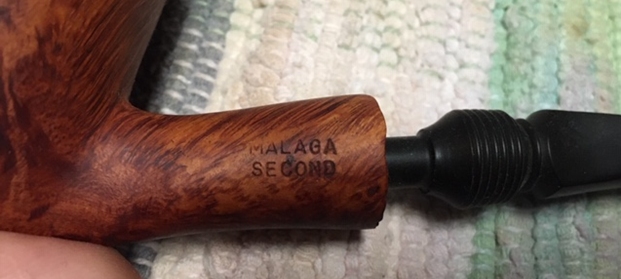
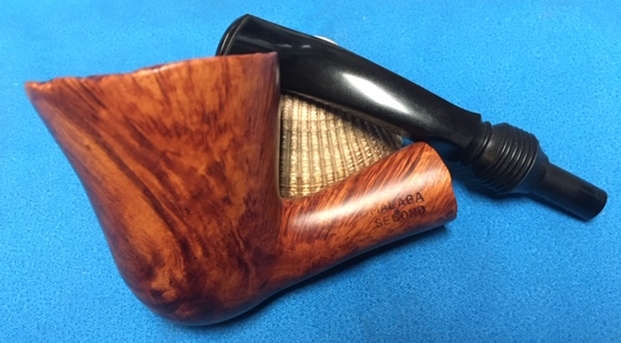
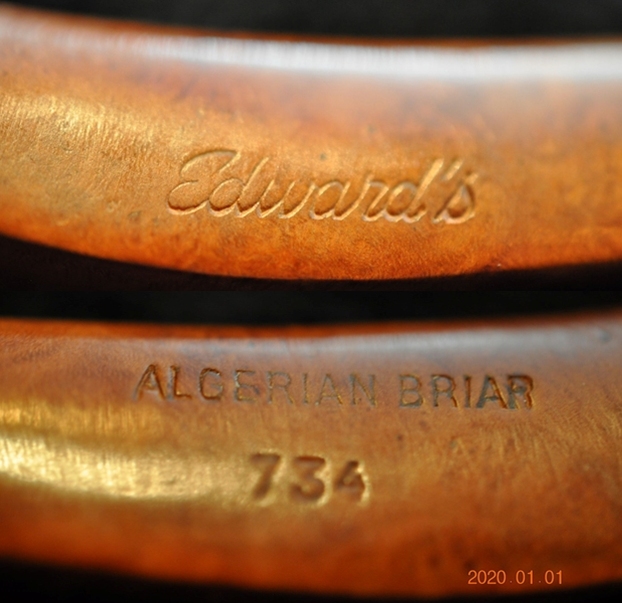
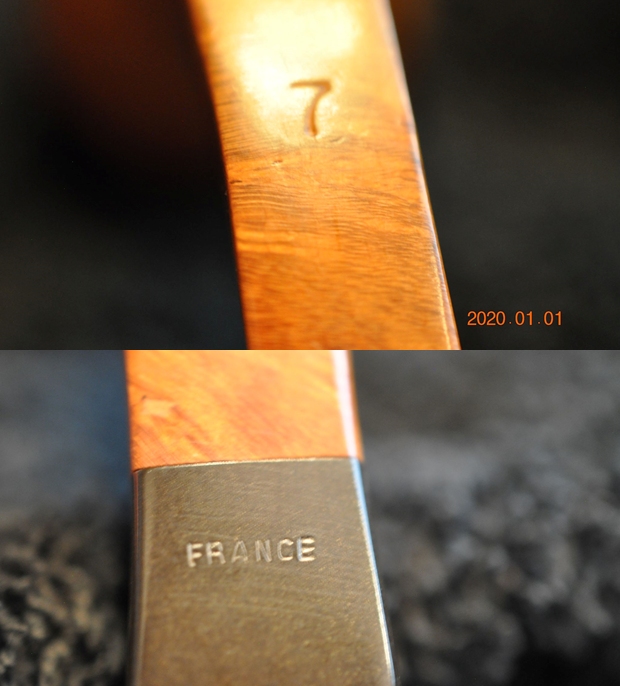
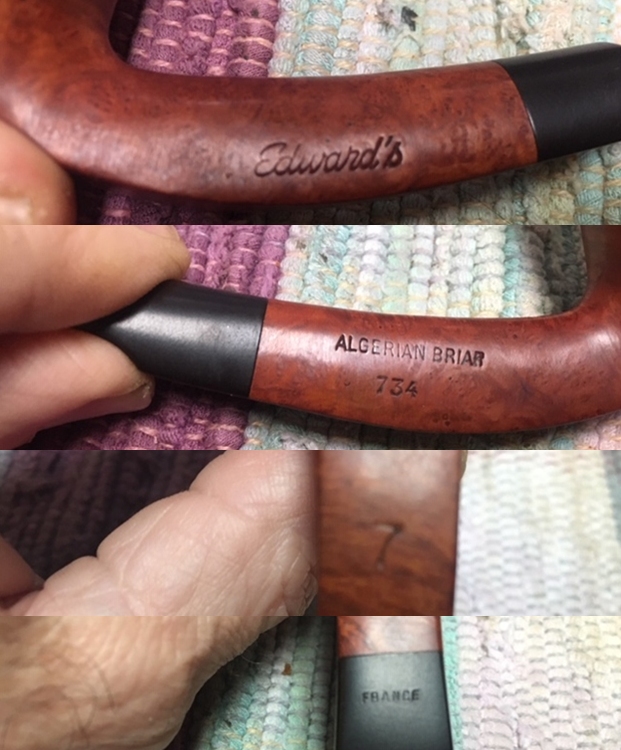
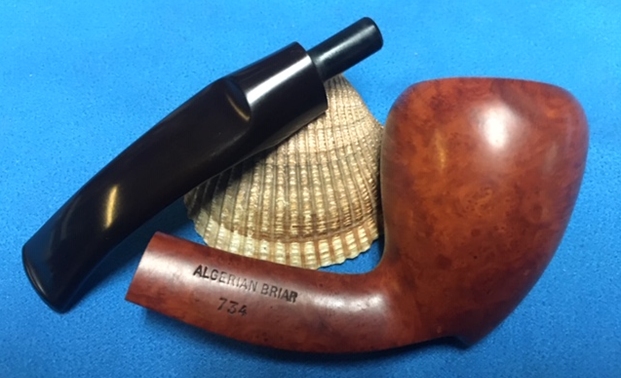
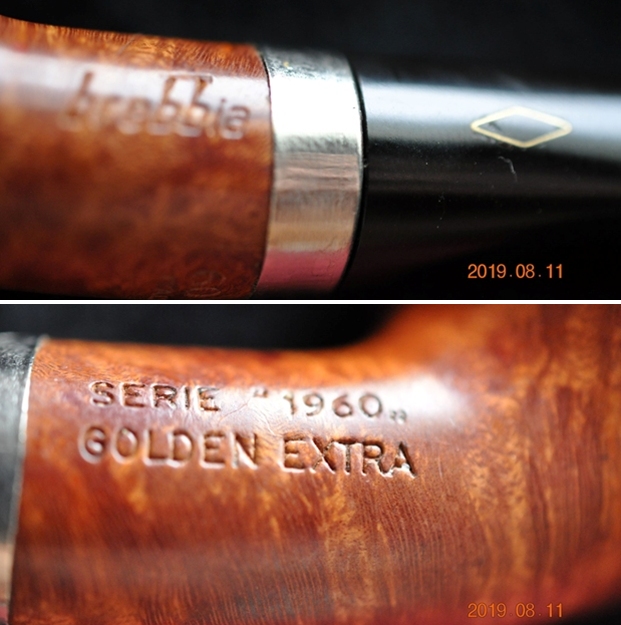
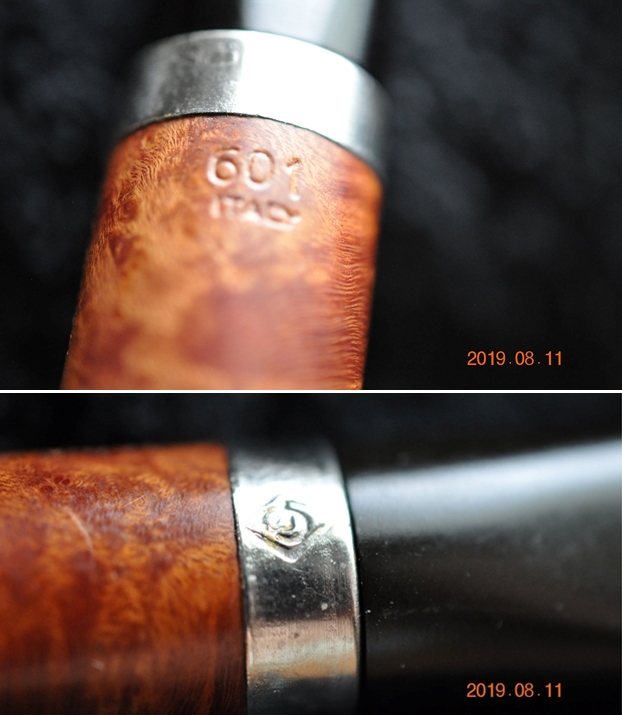
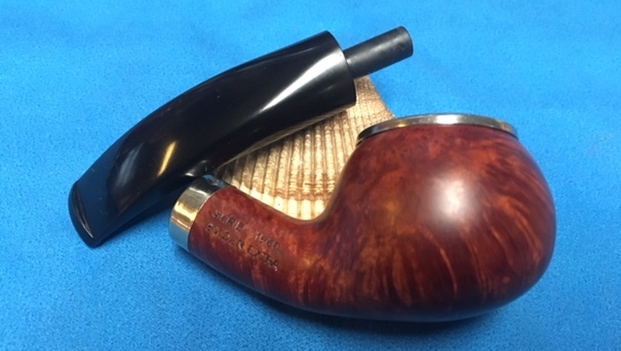
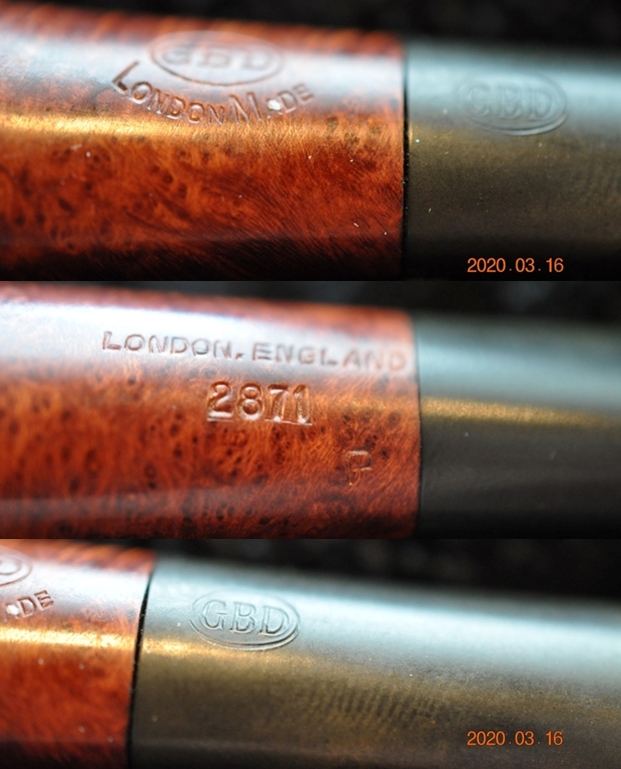
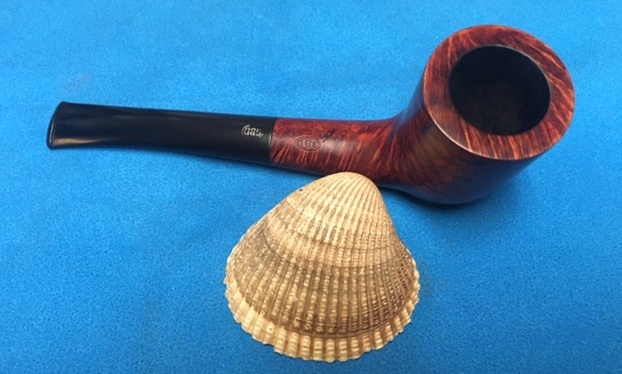
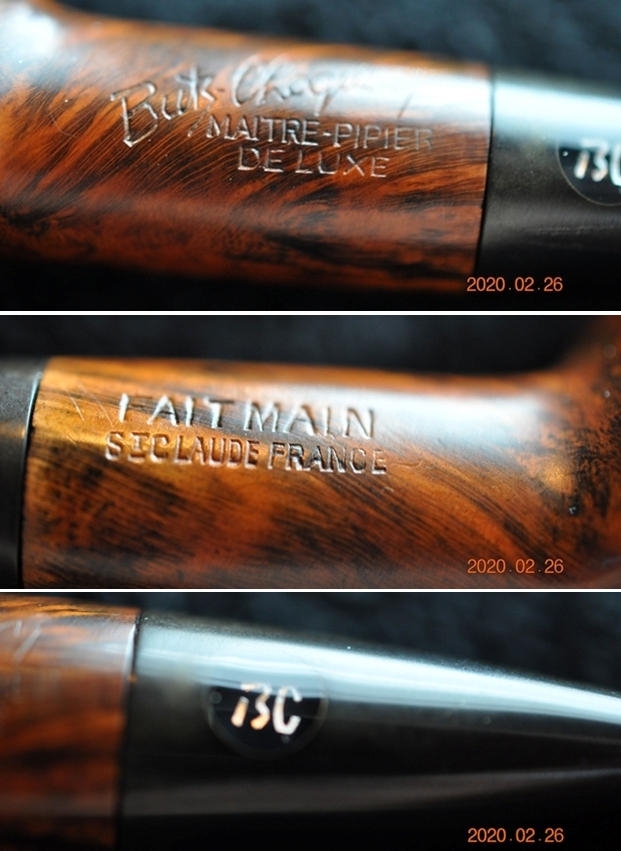
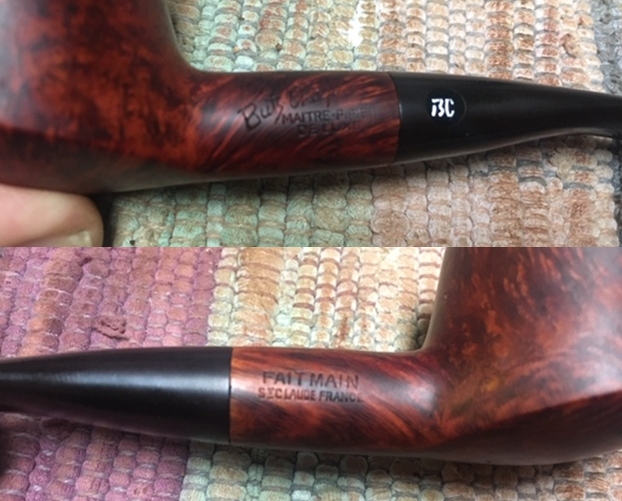
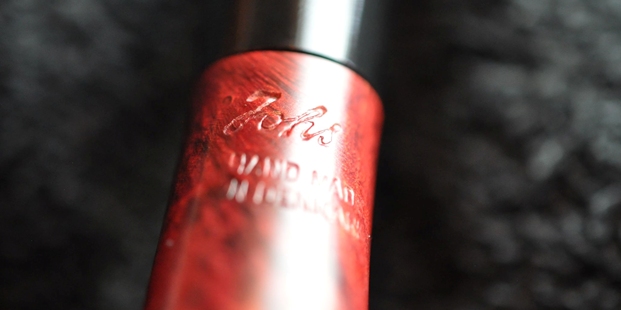
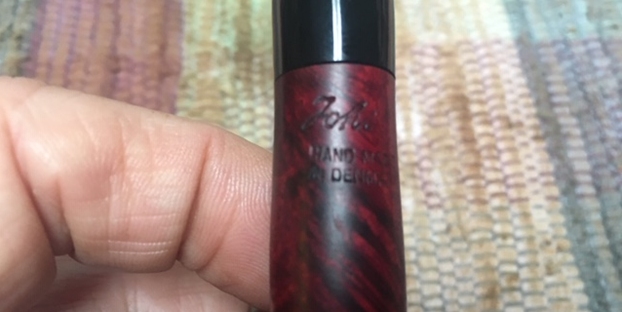
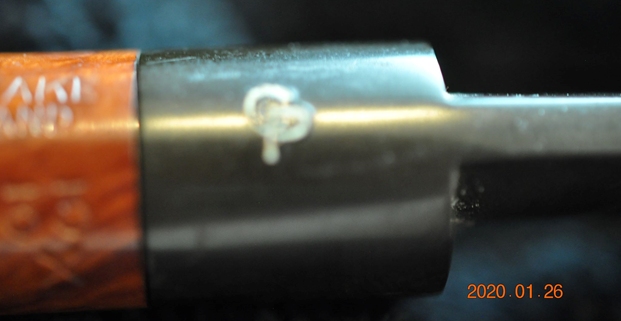
 He captured the stamping on the left side of the shank and both sides of the half saddle acrylic stem. They are clear and readable. It read as noted above.
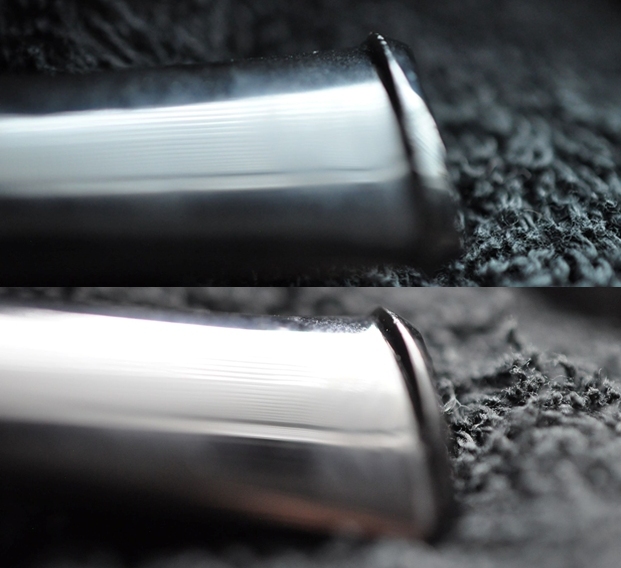
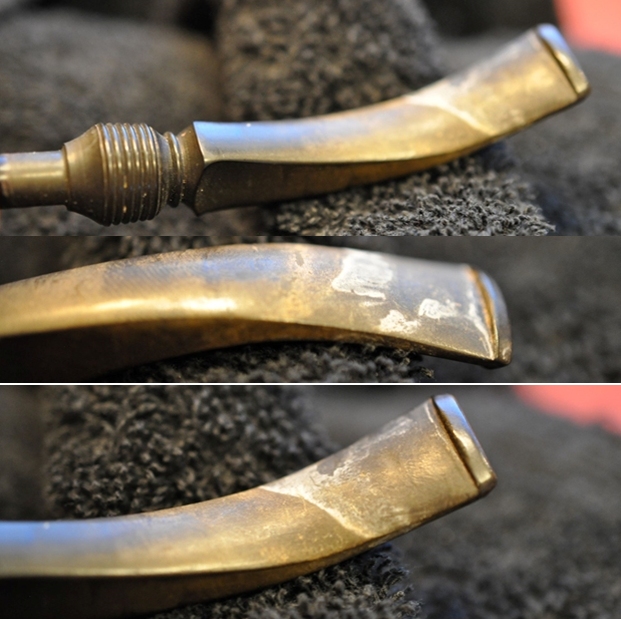
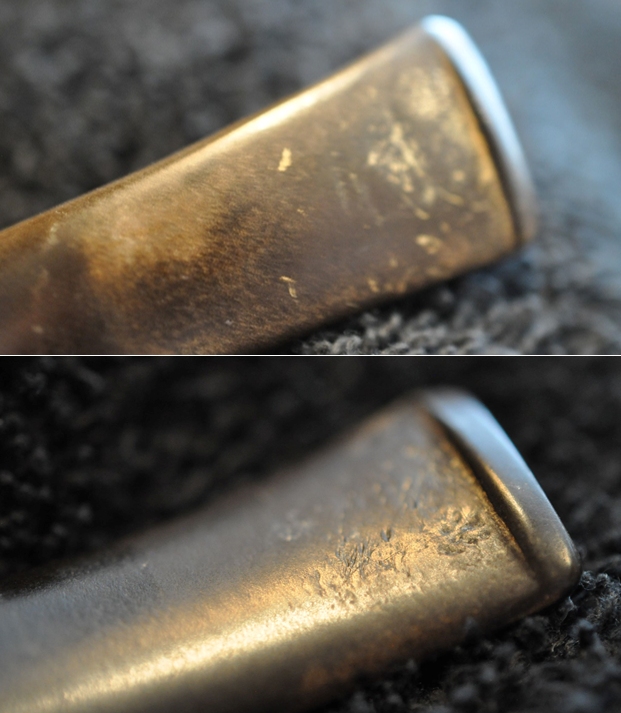
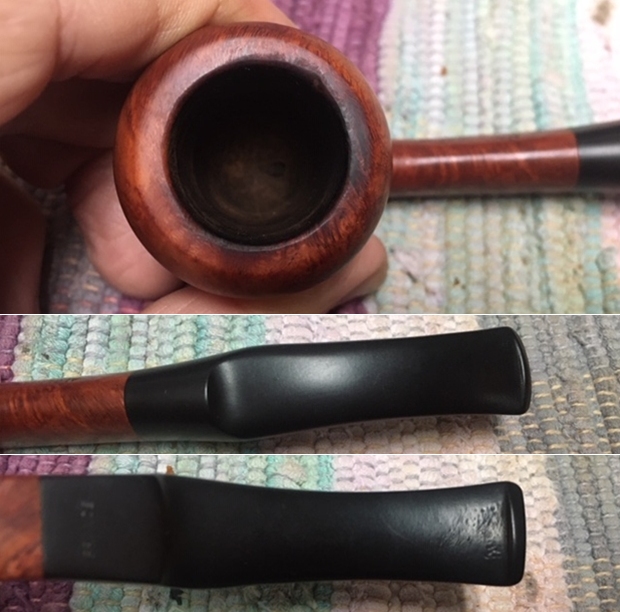
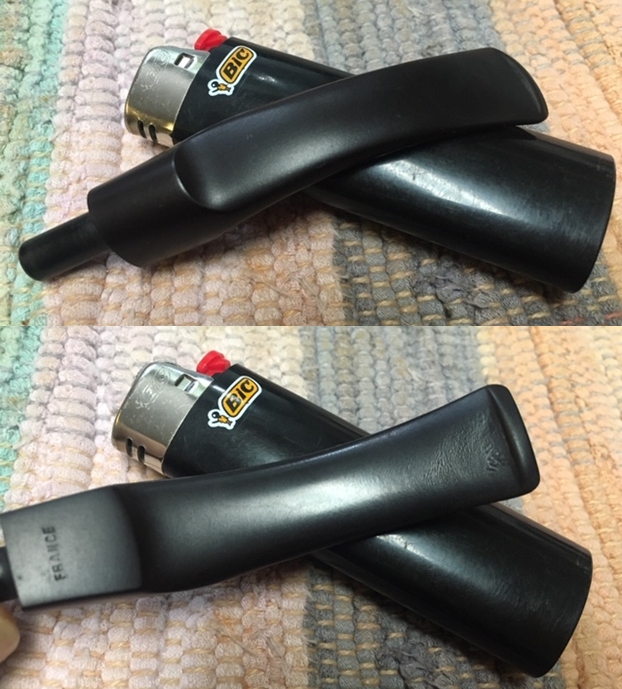
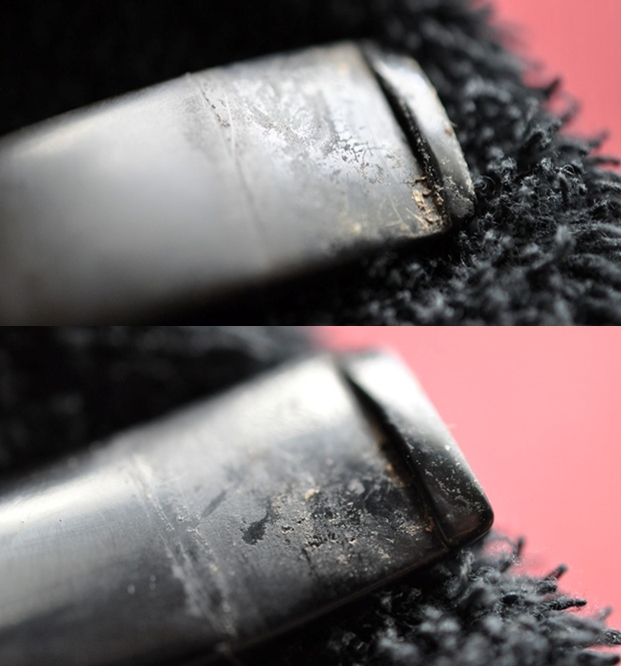
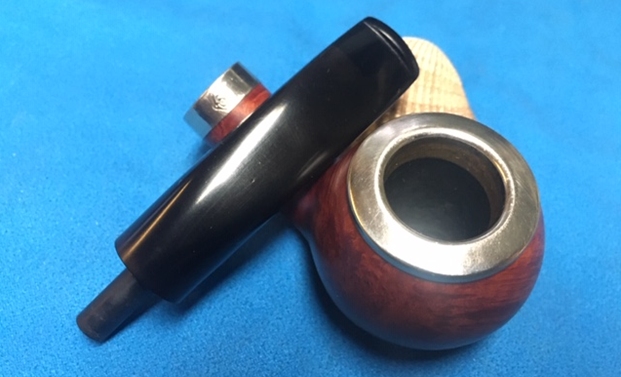
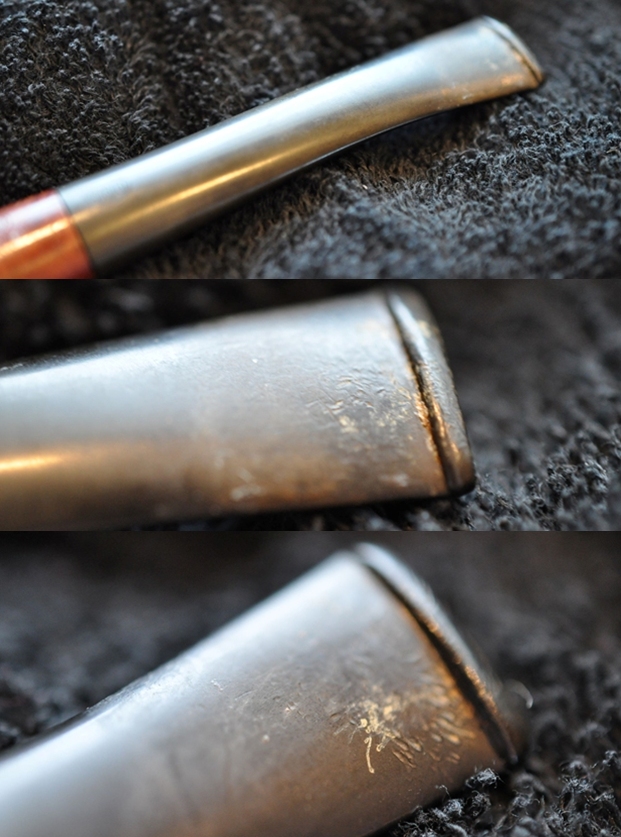
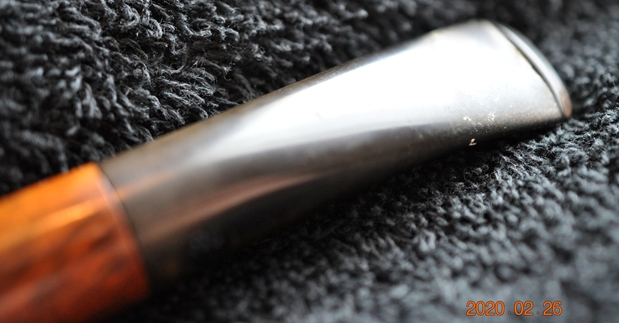
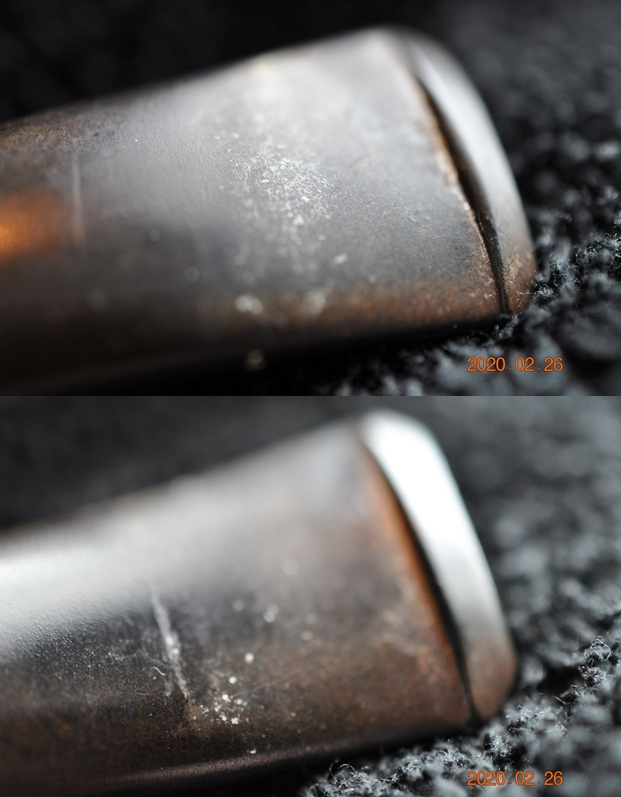
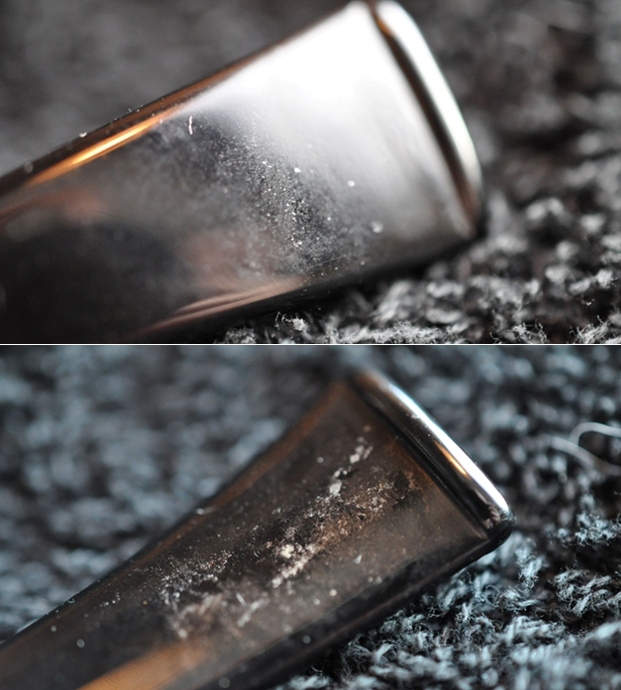
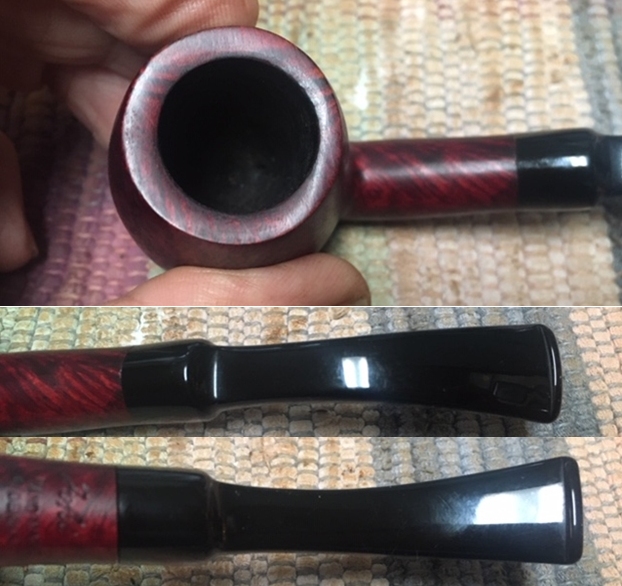
 The photos of the stem show the stem surface. It is dirty and has light tooth marks and chatter on both sides ahead of the button.
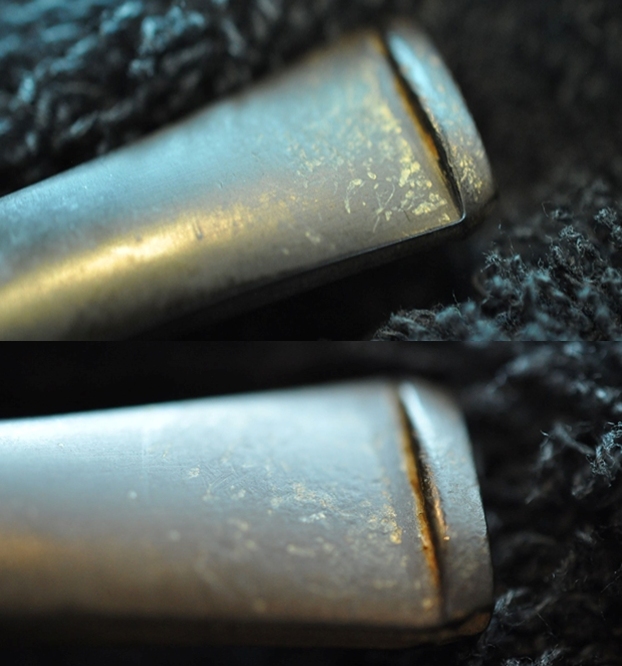 I turned to Pipephil to get a quick overview on the brand to refresh me in a quick overview of the history of the Charatan’s Make Brand (http://www.pipephil.eu/logos/en/logo-charatan.html). I quote a pertinent summary of the information I found there.
Short history of the brand. Brand founded in 1863 by Frederik Charatan. When his father retired in 1910, Reuben Charatan took over the family business. All the pipes were handmade until 1973. The brand name has been overtaken by Dunhill in 1978 and sold in 1988 to James B. Russell Inc. (NJ, USA). During the period 1988-2002 Charatans were crafted by Butz Choquin in St Claude (France). Dunhill re-purchased Charatan brand name in 2002 and Colin Fromm (Invicta Briars, Castleford) follows up on freehand production.
I turned to Pipedia to the specific section on Dating Charatans to fill in more of the gaps (https://pipedia.org/wiki/Dating_of_Charatans). I was hoping to be able to solidify the time period that the pipe was made. In reading through the material I am pretty confident that the pipe is a Third Era Pipe. I have included the section from the article that helped me arrive at this conclusion.
Identification of a third era pipe (First Lane era, 1961-1965)
Pipes of this period are quite common.
1) The mouthpiece is frequently double comfort, rarely saddle without the double comfort, never tapered. If the stem is not a double comfort but a saddle one, it is characterized by the letter X on the right of the shape code (e.g. 2502X), naturally in this case the letters DC are not displayed.
2) In the CP logo, the C enters the P
3) Presence of £ on the shank (note that from 1955 all the pipe imported in the USA by Lane has it, however that stamping is not synonymous of the Lane era)
4)Presence of the letter DC just after the shape number (e.g. 2502 DC) or of the letter X only if the stem is not a double comfort one
5) Presence in some models of the stamp “MADE BY HAND” on the shank (introduced for the first time in 1958)
6) Presence of the writing “CHARATAN’S MAKE LONDON ENGLAND” on 2 lines
7) The CP logo is thicker than in previous eras
I am also including a photo from the article that shows the same stamping as the one I am working on. The one I have has a different shape number (33X) and also does not have the Lane’s L stamp visible on the left side of the shank in the photo below. I posted the stamping on the Tobacco Pipe Restorers Group on FaceBook and Paige Simms and I dialogued a bit about it. Michael Stanley responded first and echoed my thinking. Paige Simms followed up with the rest of the dialogue. It was a very helpful conversation.
Michael Stanley: The “X” denotes a non DC mouthpiece. And imho, that, was a good move!
Steve Laug: Thanks Michael I would agree.
Paige Simms: I beg to differ my friends. The ‘X’ denotes a ‘special’ pipe in grain, size or maybe shape. I have several DC stemmed pieces stamped ‘X’
Paige Simms: No ‘Lane stamp’ may mean made before 1958ish…….or they forgot to stamp it. LOL. But the shape number ’33’ probably dates it pre1968. How is it stamped on the right side of the shank? IMPORTANT
Steve Laug: Nothing on the right side Paige… Everything is on the left
Paige Simms: Meaning then, the pipe was made before 1955 or 1960. The nomenclature change after the ‘blank right shank’ was in block letters “MADE BY HAND”. That stamp started in 1956 or 1961. (And ran for 5 years only). I was a founding member and I learned well from ‘The International Charatan Pipe Smokers Society’. That’s a Great pipe!!!
Steve Laug: What is the 1968 referring to above?
Paige Simms: The first year of the “Lane stamping”
With that information in hand Pipedia informed me that I was dealing with an era of Charatans pipes that were quite common. It was known as a third era pipe (First Lane era, 1961-1965). According to the information from Pipedia the pipe was made in the early 1960s. From Paige Simms information it pushed it back a bit further to being made before 1955 or 1960. The nomenclature change after the ‘blank right shank’ was in block letters “MADE BY HAND”. That stamp started in 1956 or 1961. (And ran for 5 years only). I now had an idea of the age of the pipe and a bit of its story – it had been made between 1955-1961. Now it was time to work on the pipe itself.
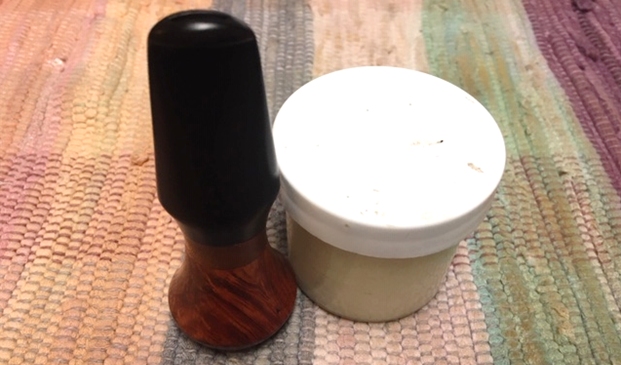
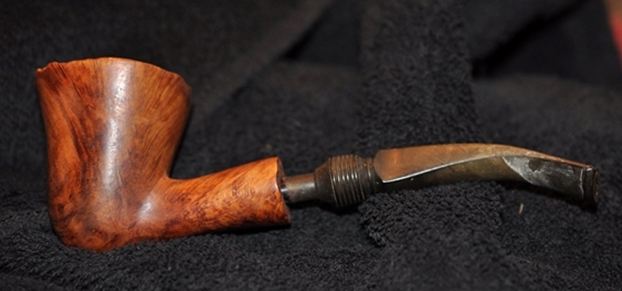
Jeff cleaned the pipe with his usual penchant for thoroughness that I really appreciate. This one was a real mess and I did not know what to expect when I unwrapped it from his box. He reamed it with a PipNet pipe reamer and cleaned up the reaming with a Savinelli Fitsall Pipe Knife. He scrubbed out the internals with alcohol, pipe cleaners and cotton swabs until the pipe was clean. He scrubbed the exterior of the bowl with Murphy’s Oil Soap and a tooth brush to remove the grime and grit on the briar and the lava on the rim top. The finish looks very good with good looking grain around the bowl and shank. Jeff scrubbed the stem with Soft Scrub and then soaked it in Before & After Deoxidizer to remove the oxidation on the rubber. When the pipe arrived here in Vancouver for the second stop of its restoration tour it looked very good. I took photos before I started my part of the work.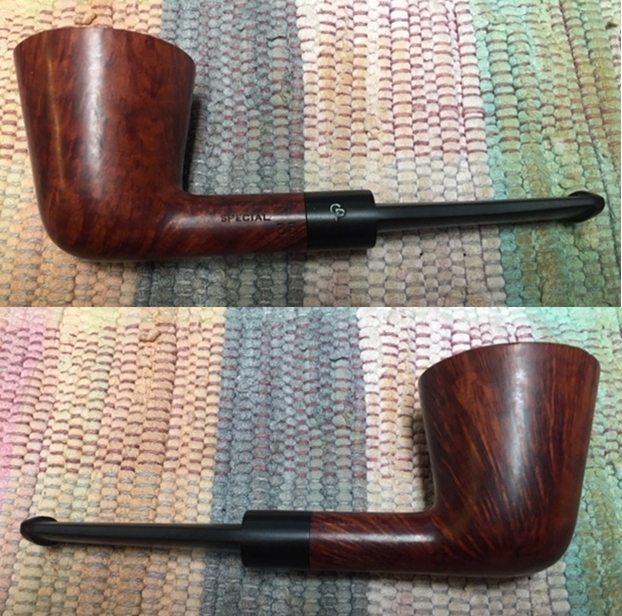
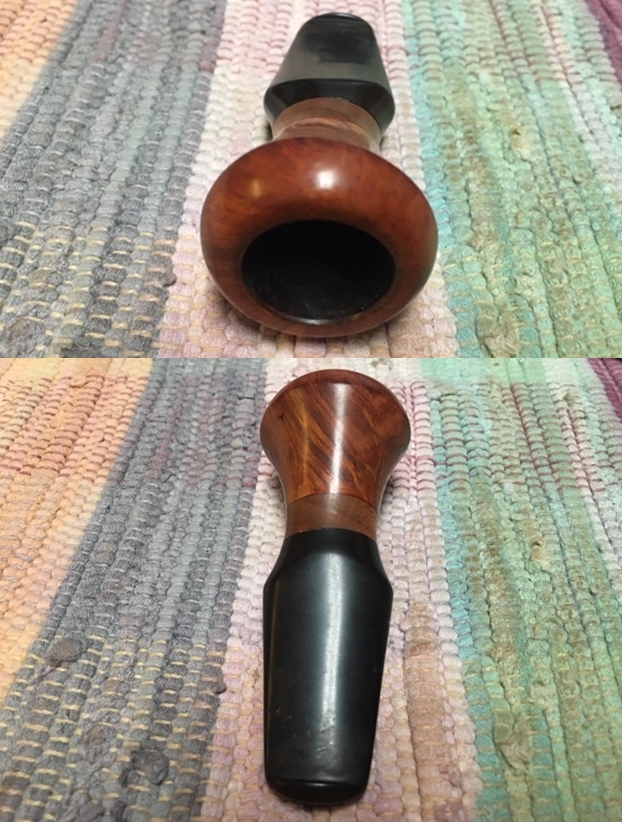
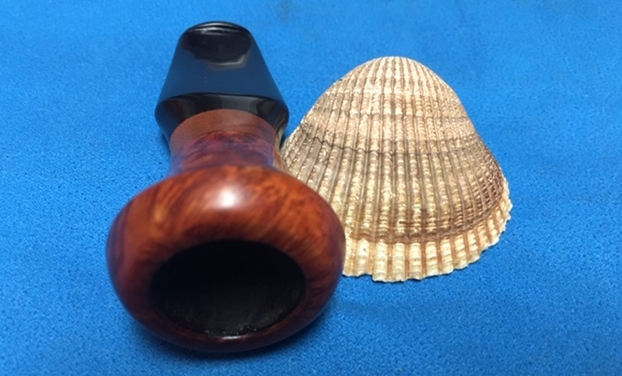
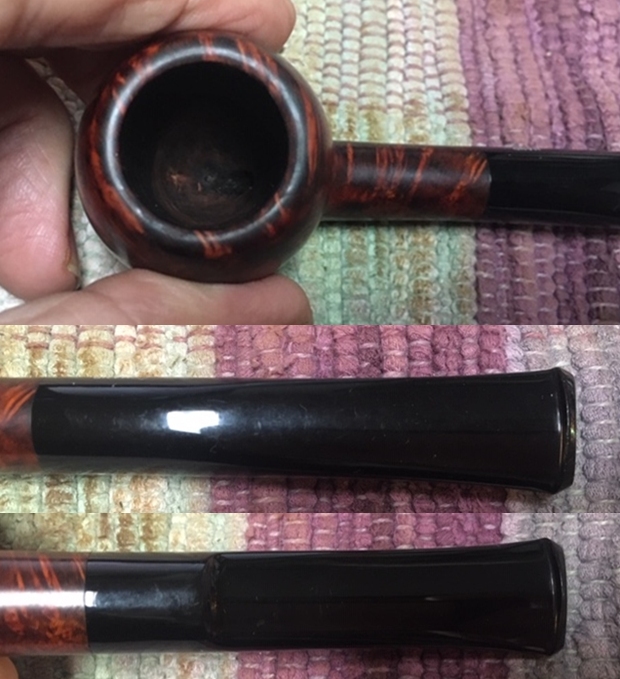
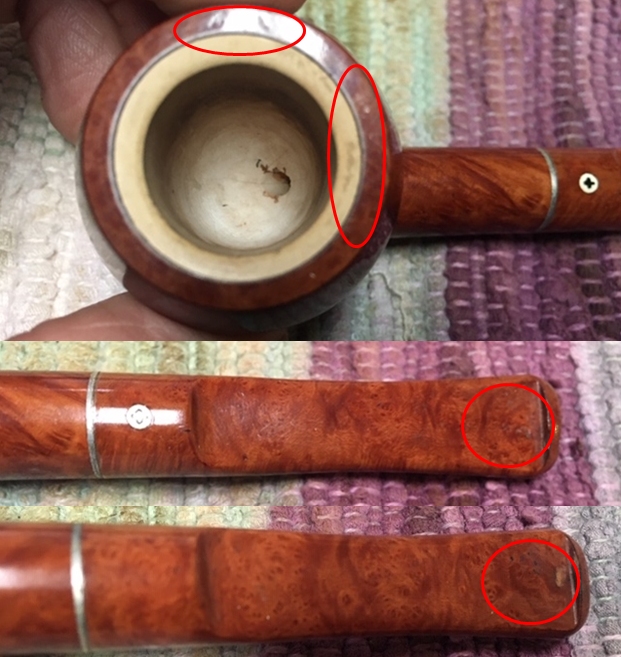
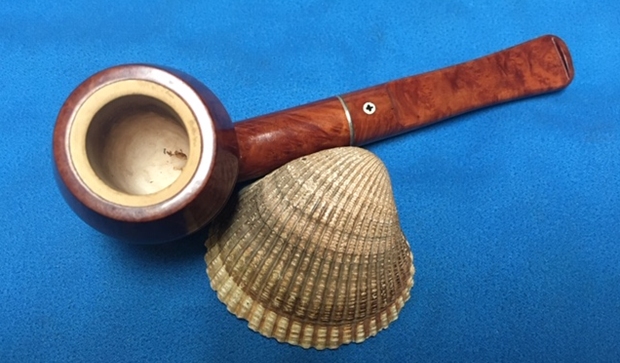
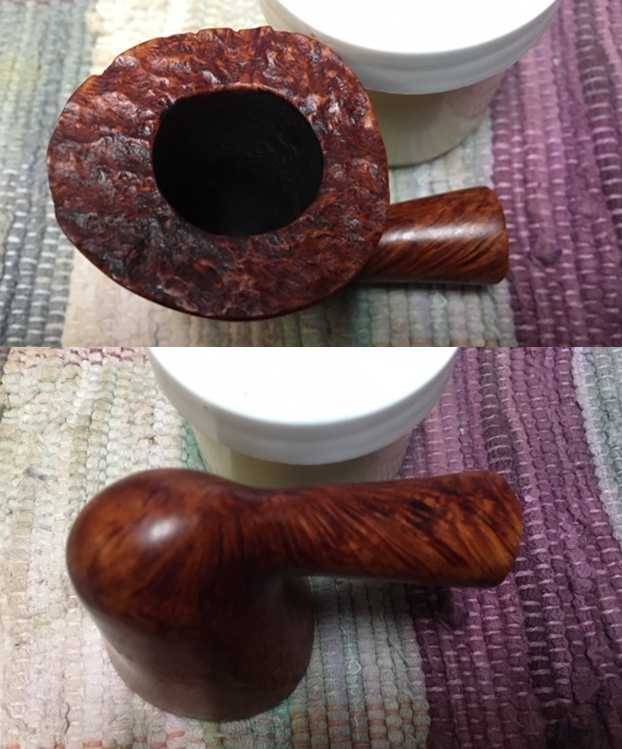
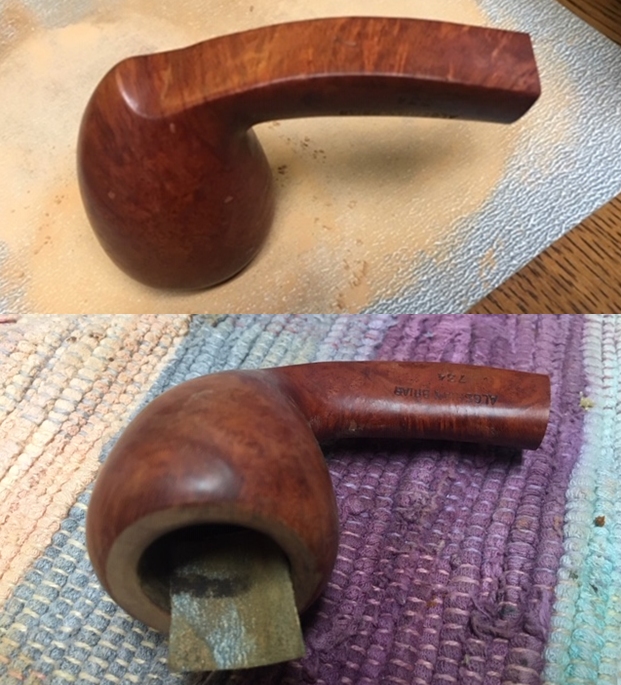
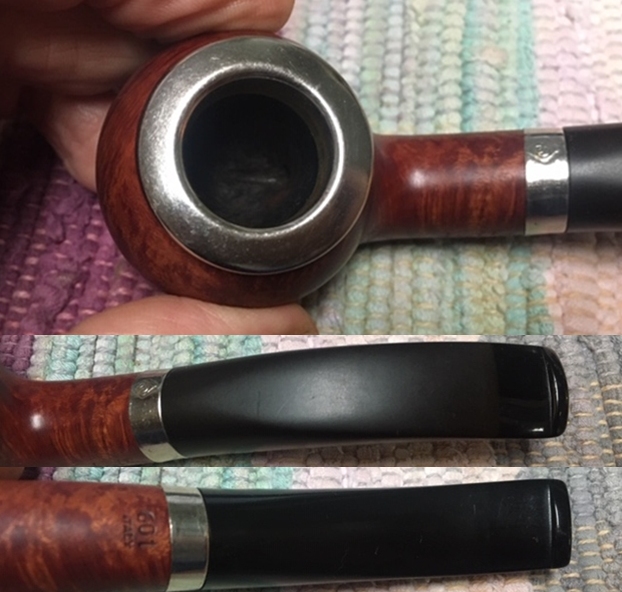
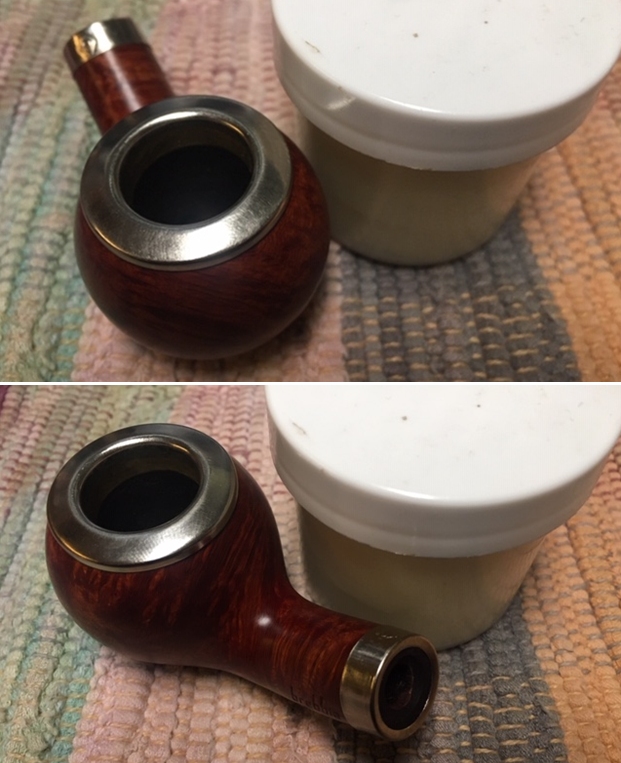
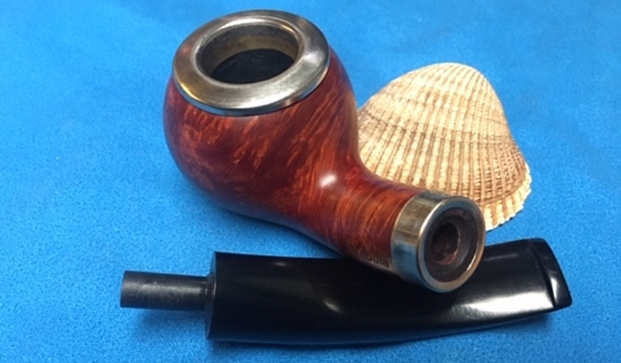
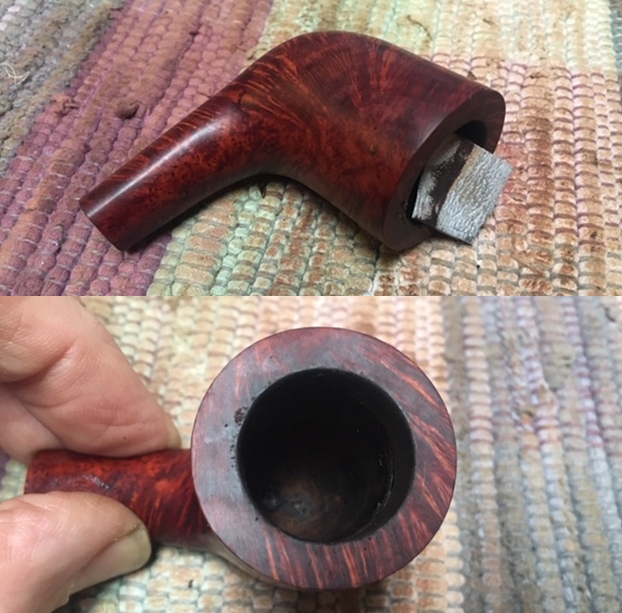
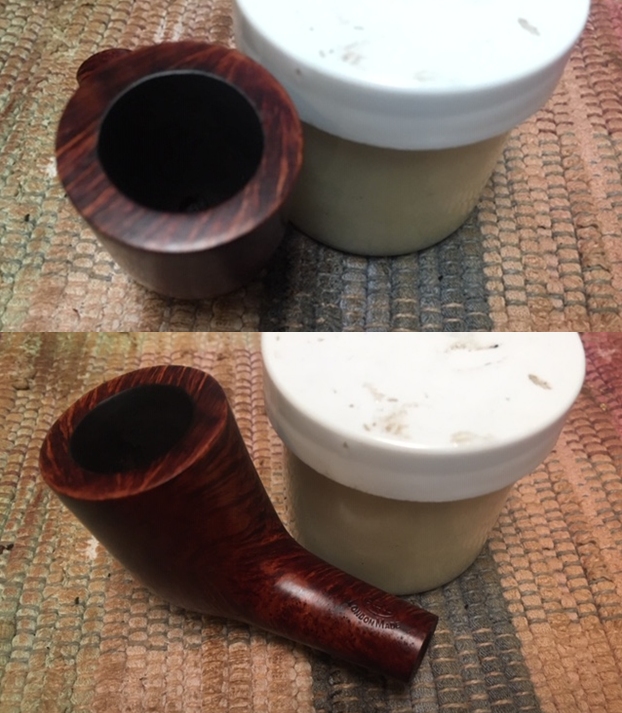
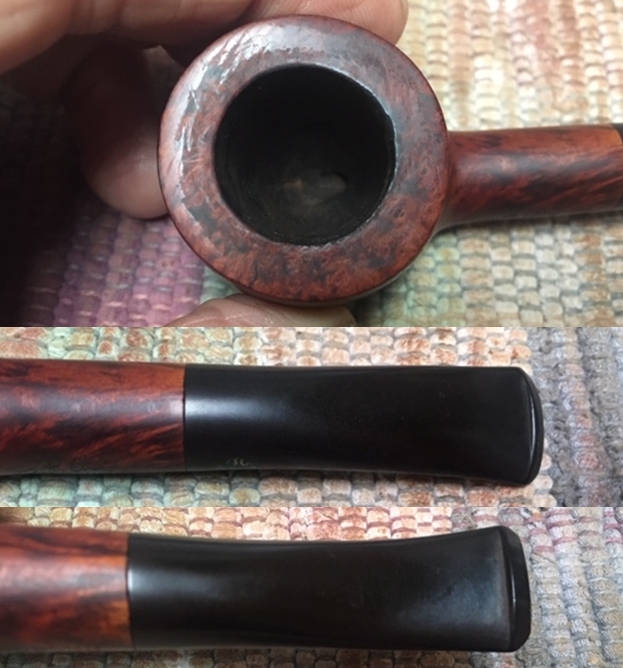
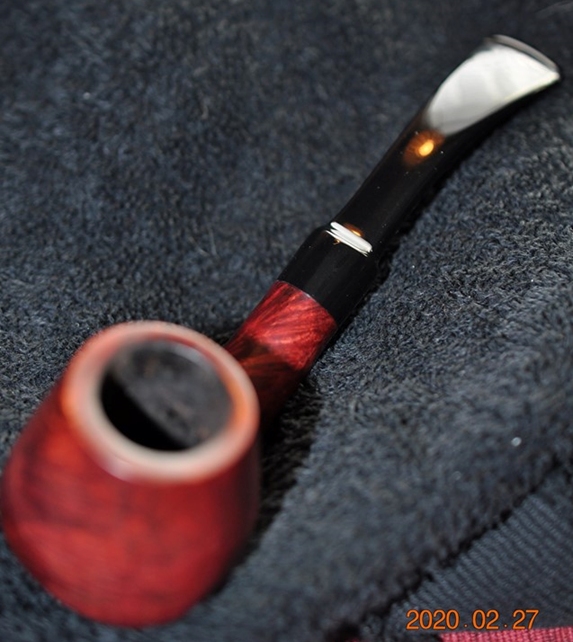
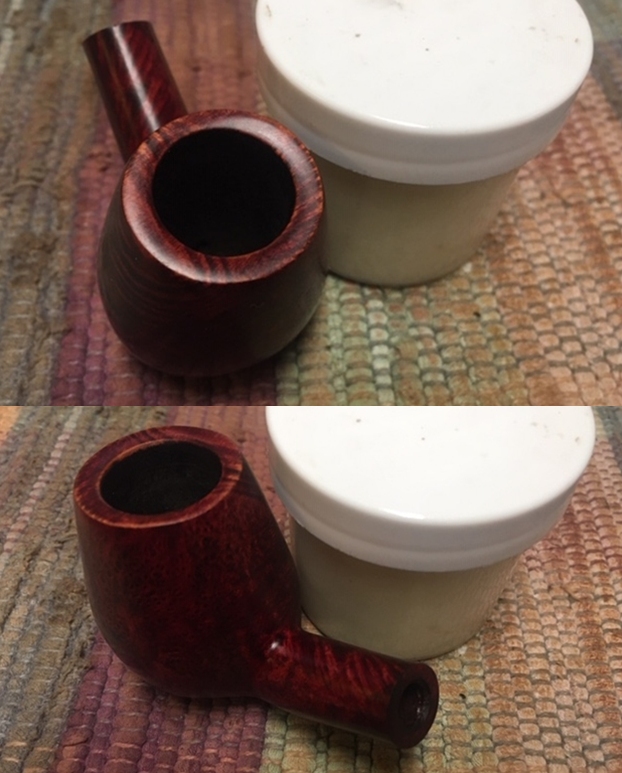
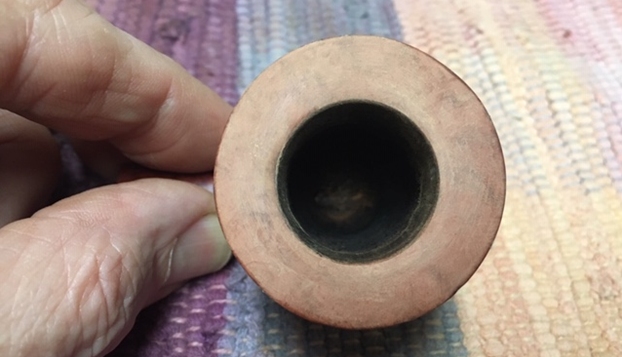
 I took some photos of the rim top and stem. Once Jeff removed the lava on the back side of the rim top and inner edges the damage became evident. There was some significant damage on the back inner edge of the bowl that included chipping and burning of the surface. The outer edge of the bowl looks very good. The close up photos of the stem shows that is it very clean and there is some minimal tooth chatter and marks on the button and surface just ahead of the button.
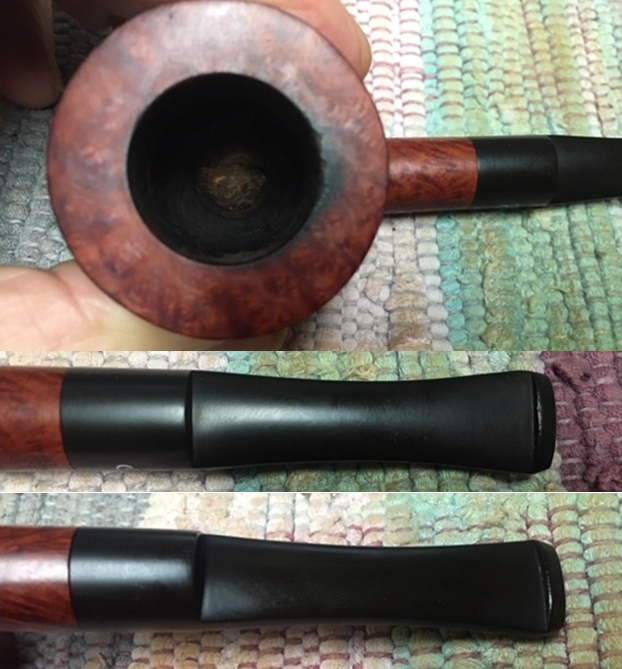 I took photos of the stamping on the stem and shank of the pipe. It is clear and readable.
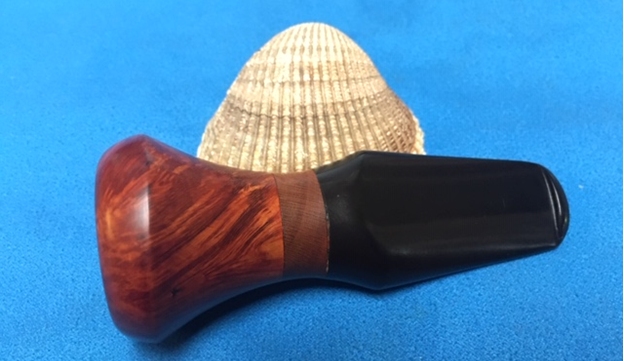
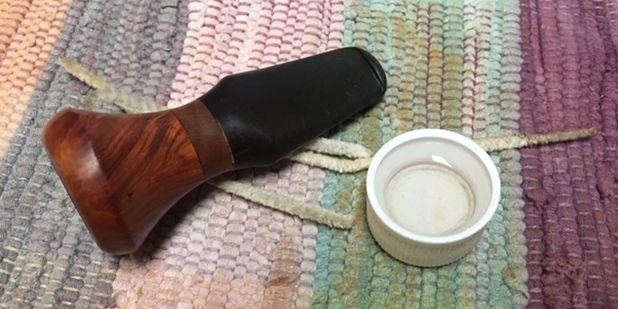
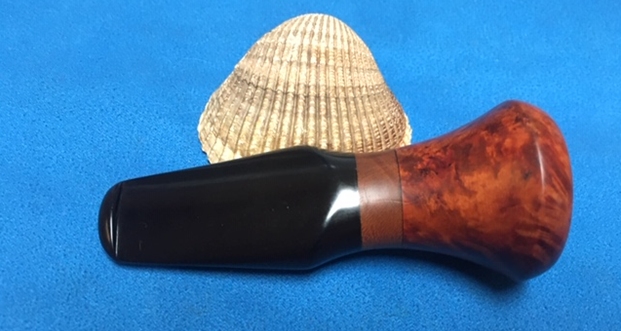
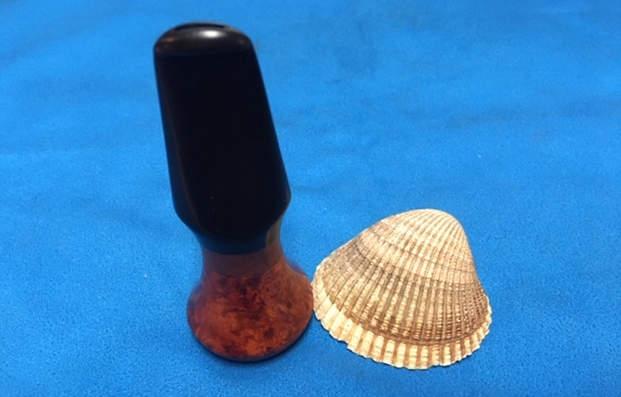
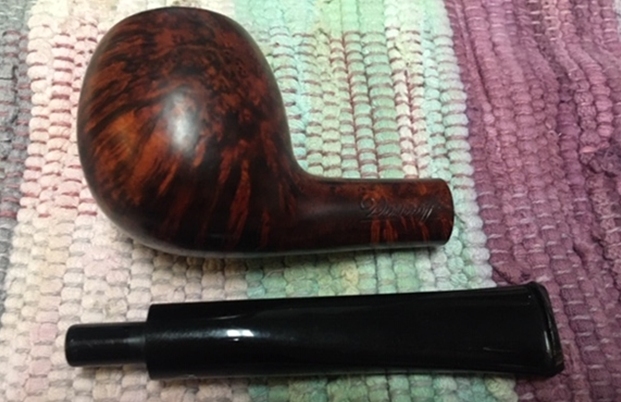
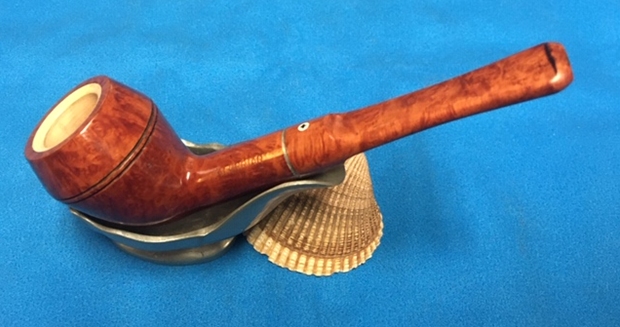
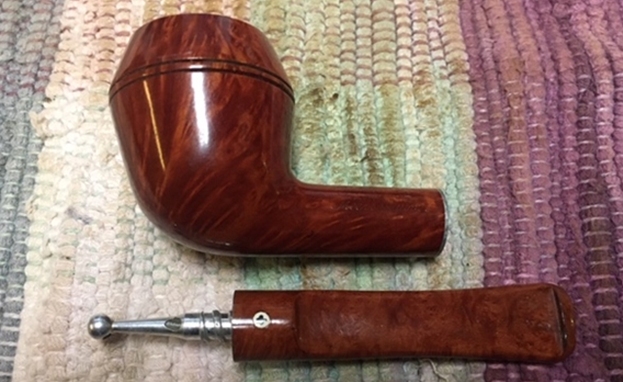
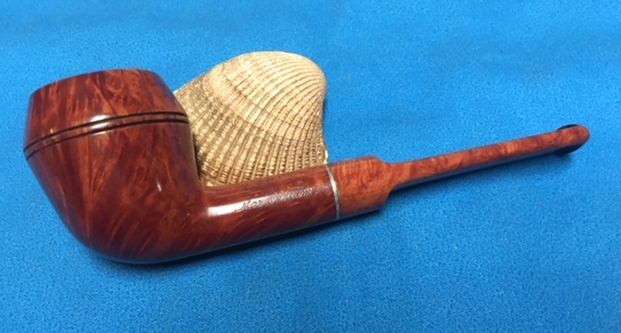
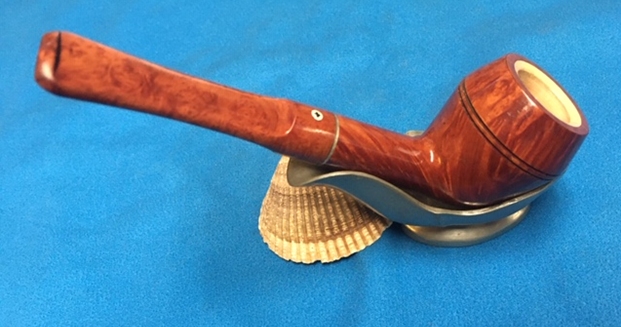
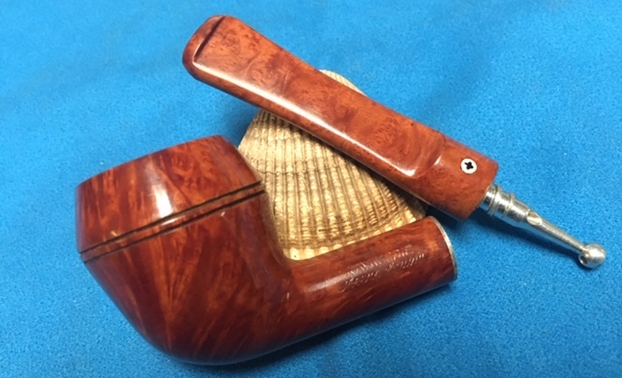
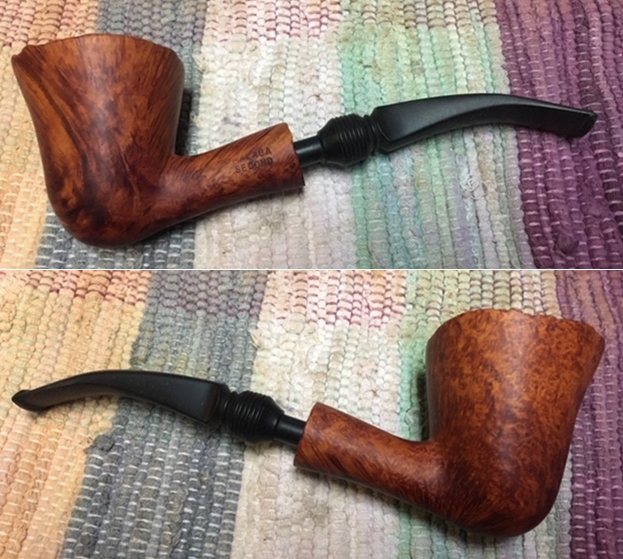
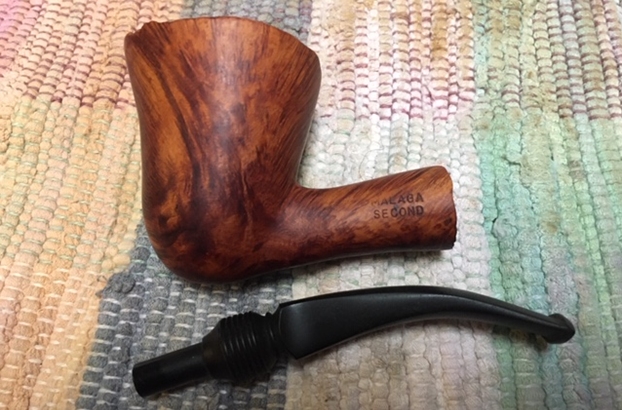
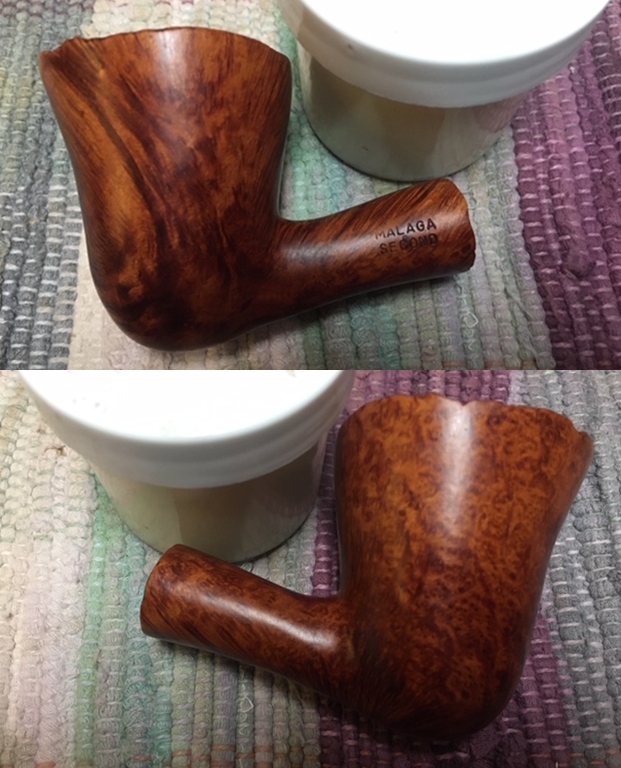
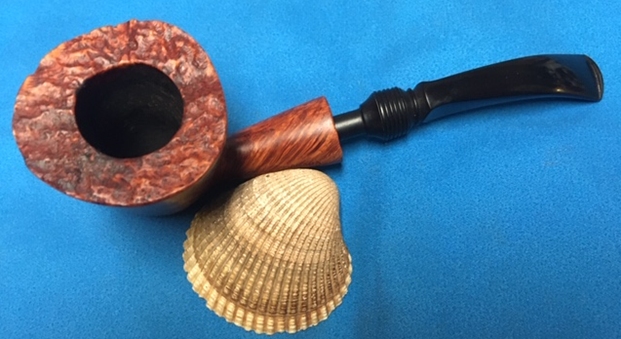
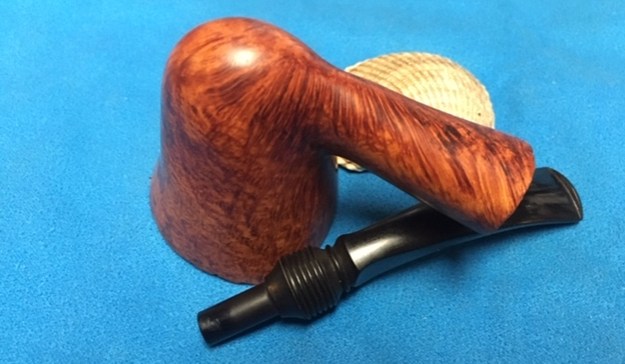
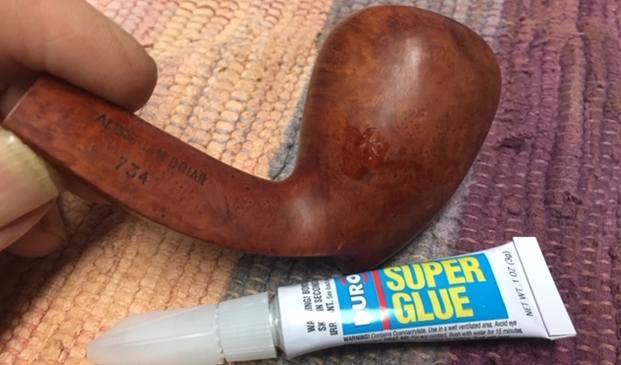
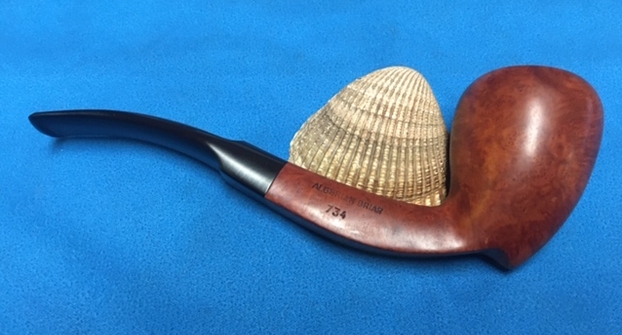
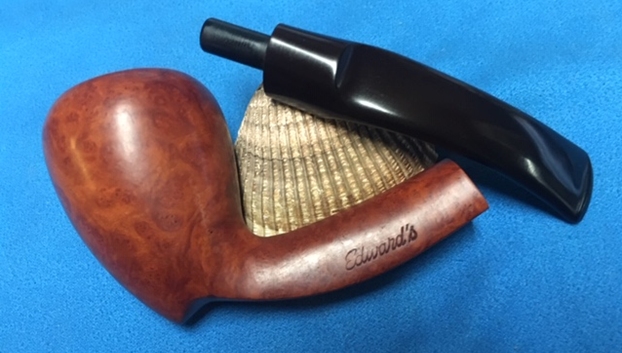
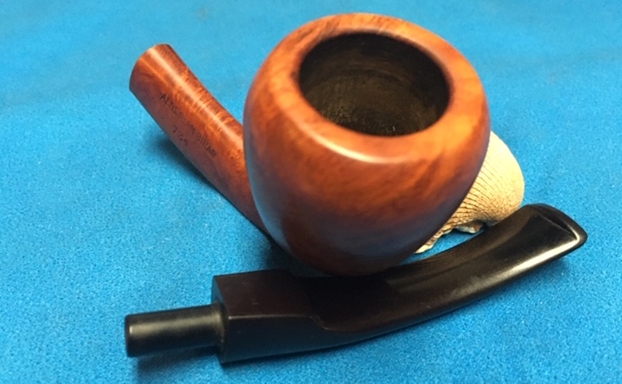
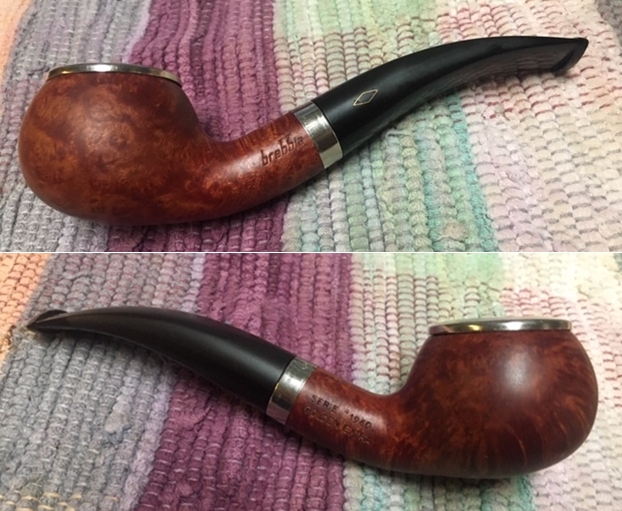
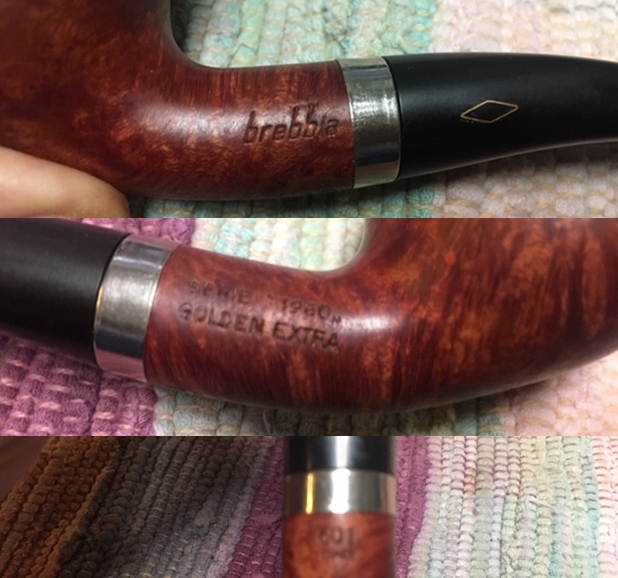
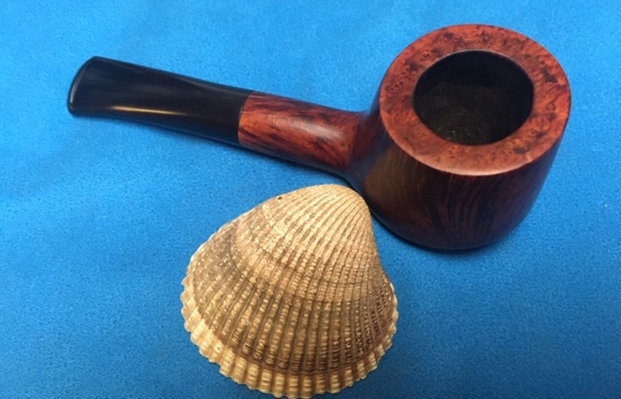
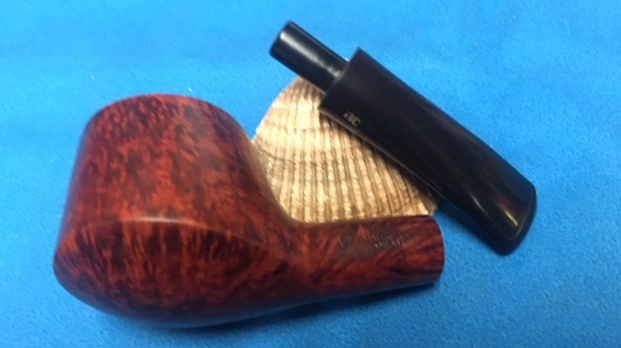
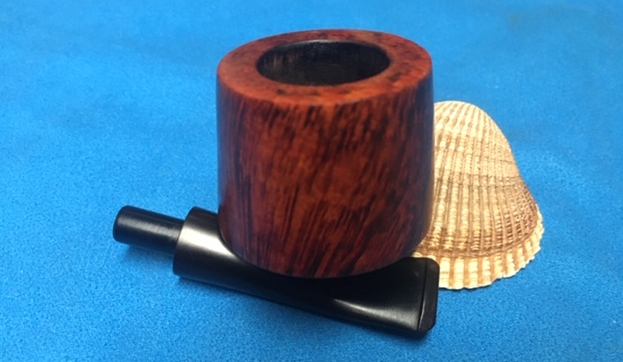
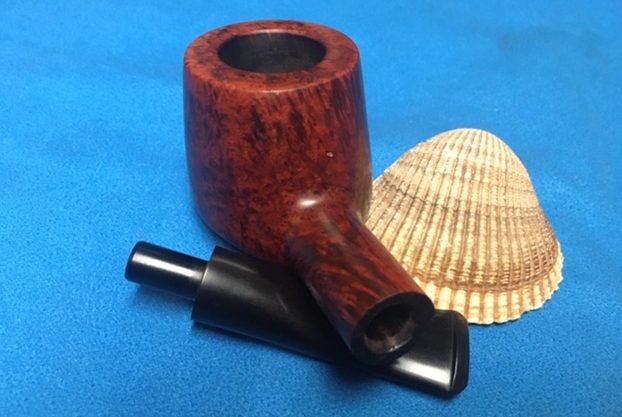
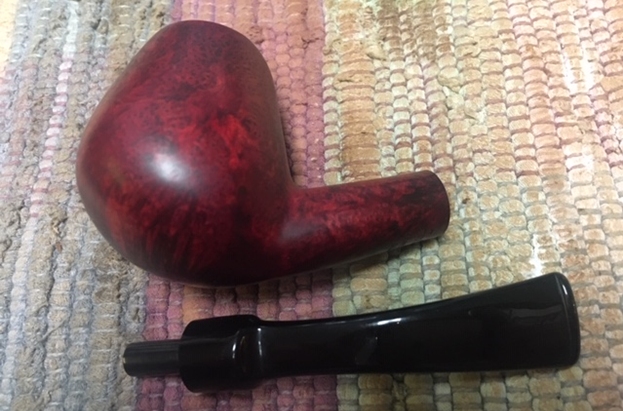
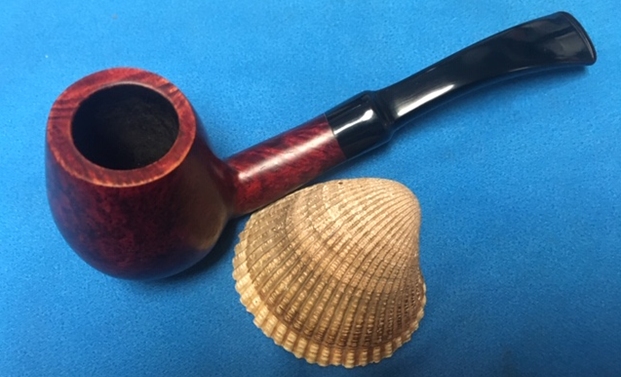
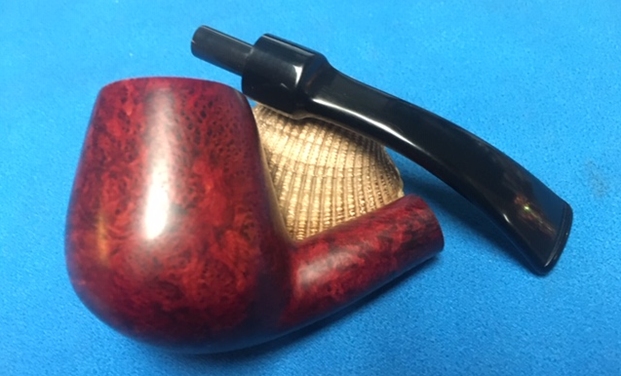
 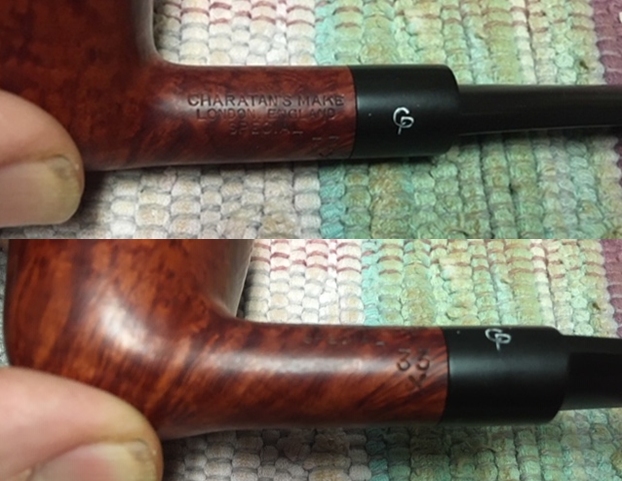 I took the stem off the shank and took a picture of the pipe. It really is a nice looking pipe with great lines.
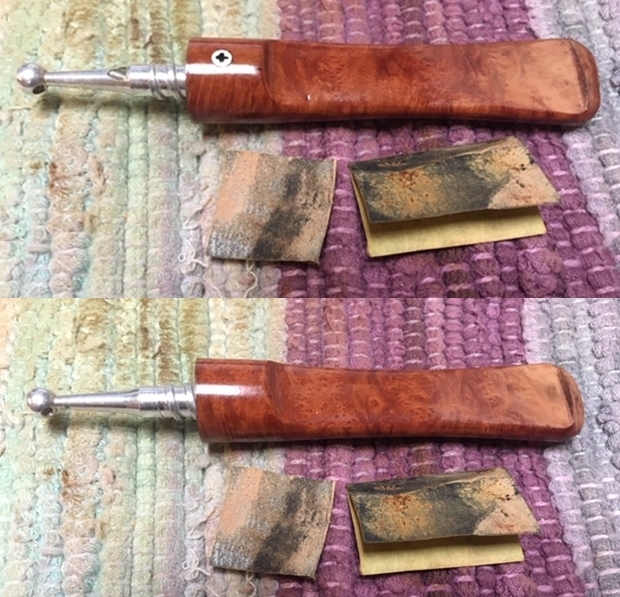
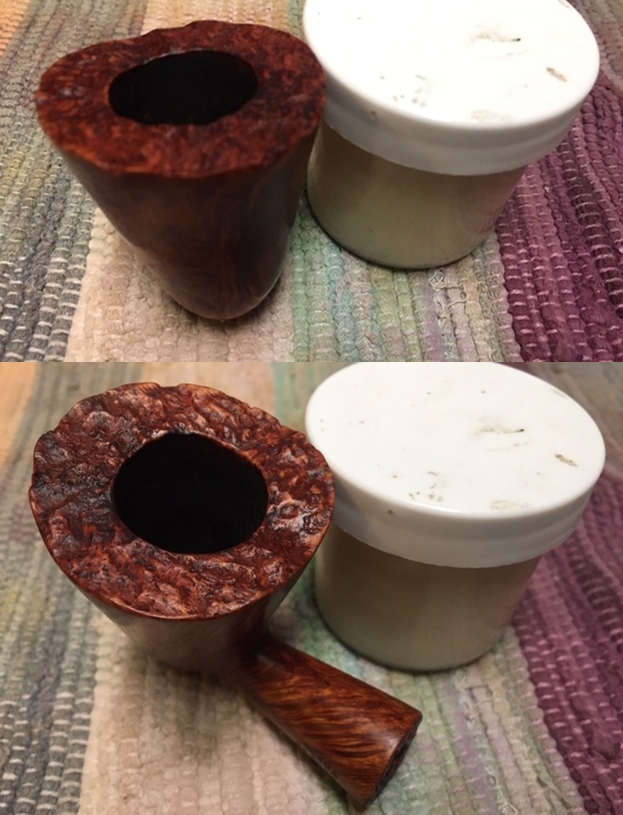
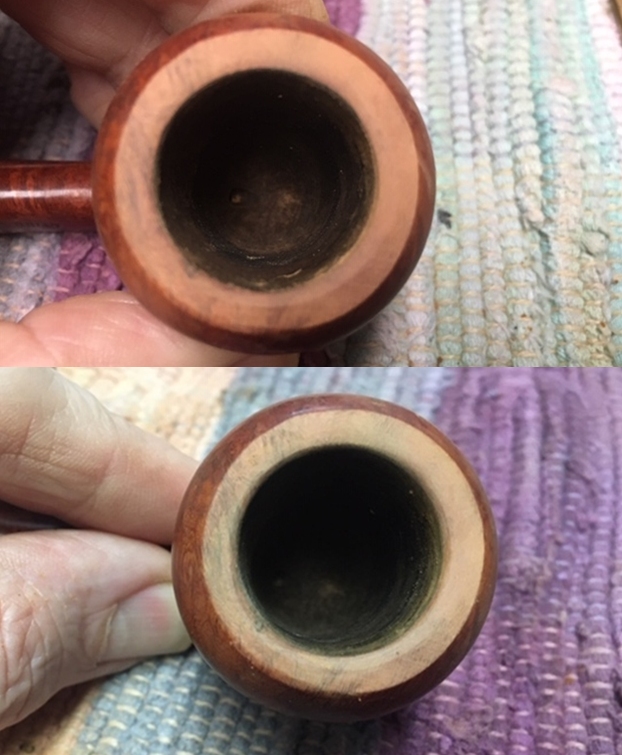
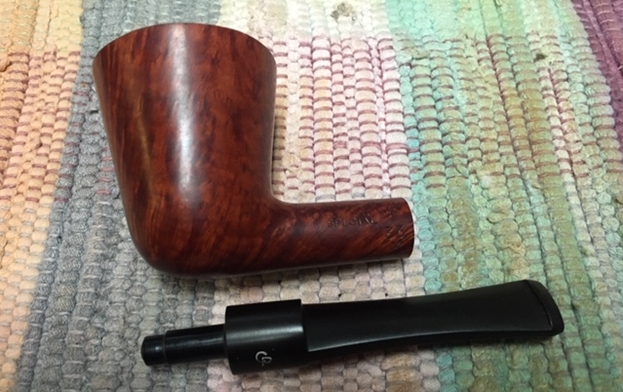 I started my part of the restoration work on the pipe by trying to address the burn damage on the back inner edge of the rim. The least invasive method was where I started. I used a folded piece of 220 grit sandpaper to try and smooth out the edge while keeping the bowl in round. While I was able to smooth out the edge and keep it round the burn damage on the back of the rim top needed something a little more invasive. This is probably a step that some will find unnecessary but I feel somewhat compelled to try to bring it back as close as possible to the original look. I topped it on a topping board with 220 grit sandpaper. Once I finished it I smoothed out the inner edge again. The third photo below shows the newly shaped rim top without the burn damage. Fortunately it was not too deep and the topping was minimal.
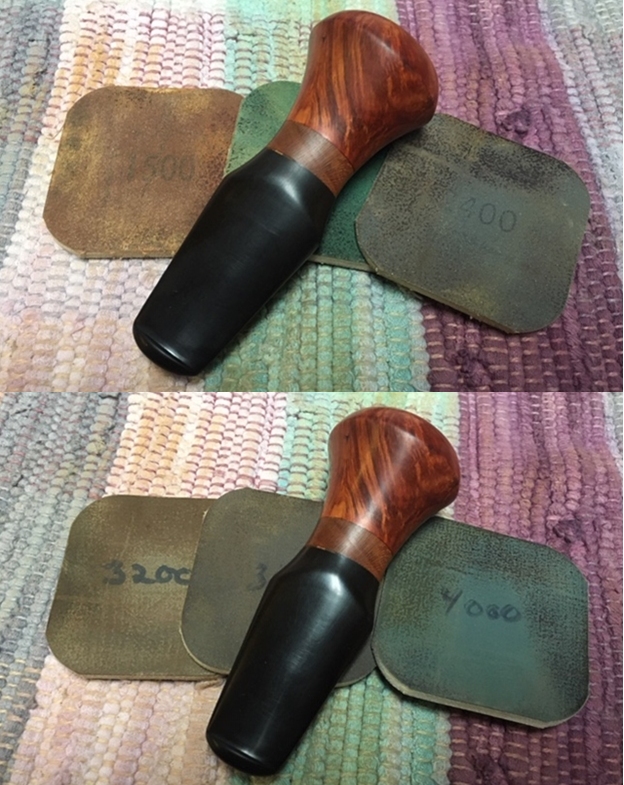
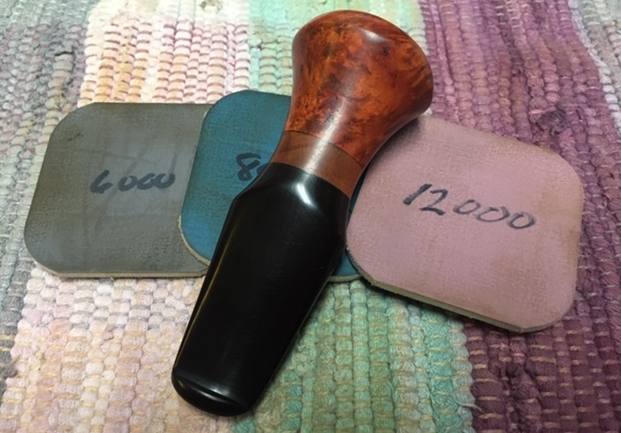
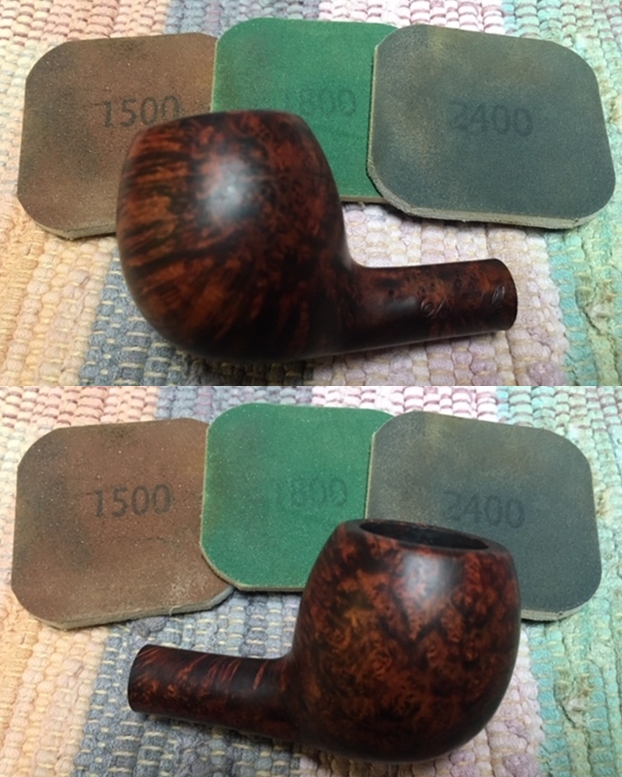
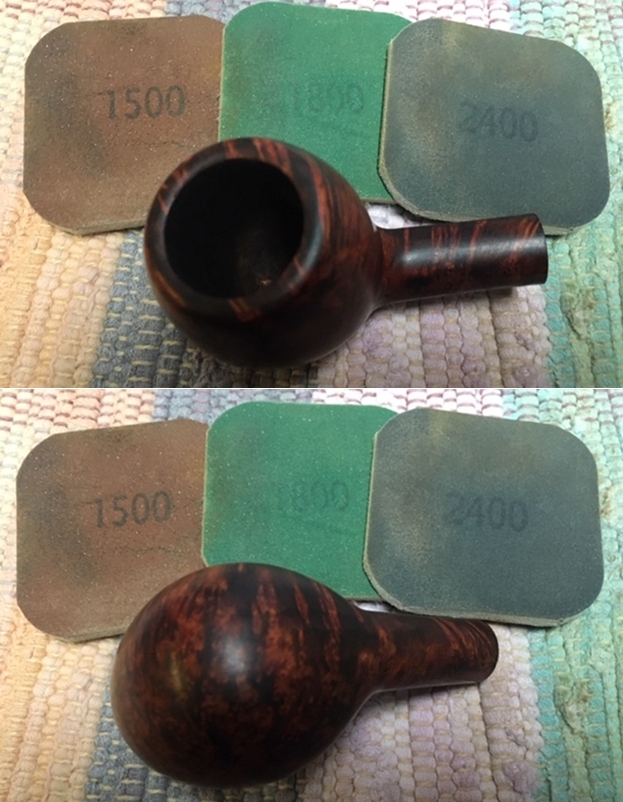
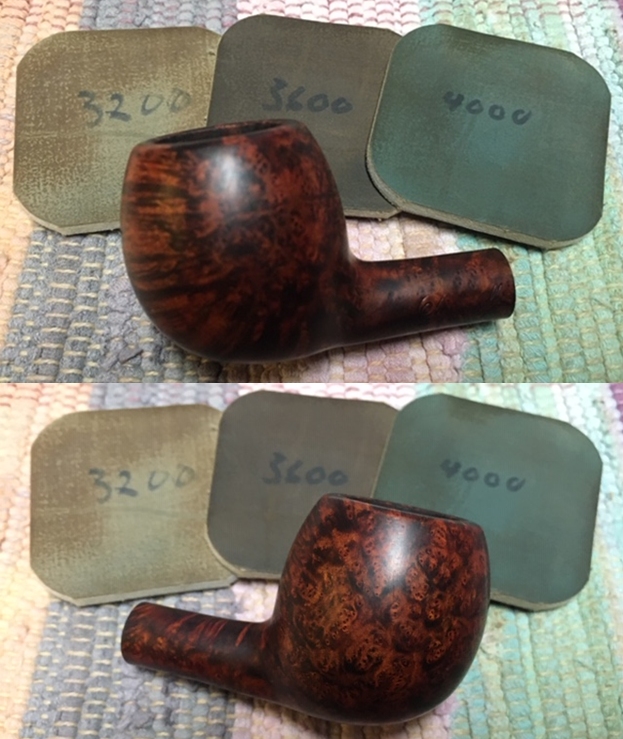
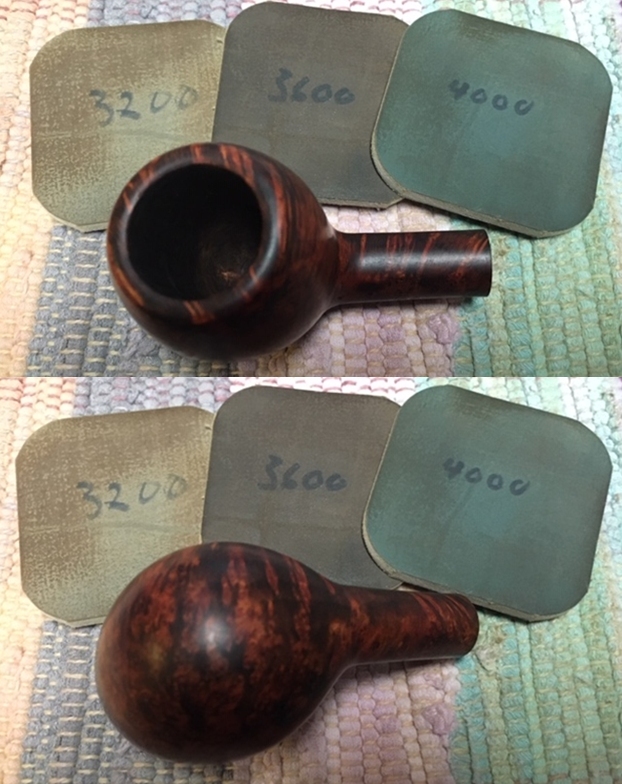
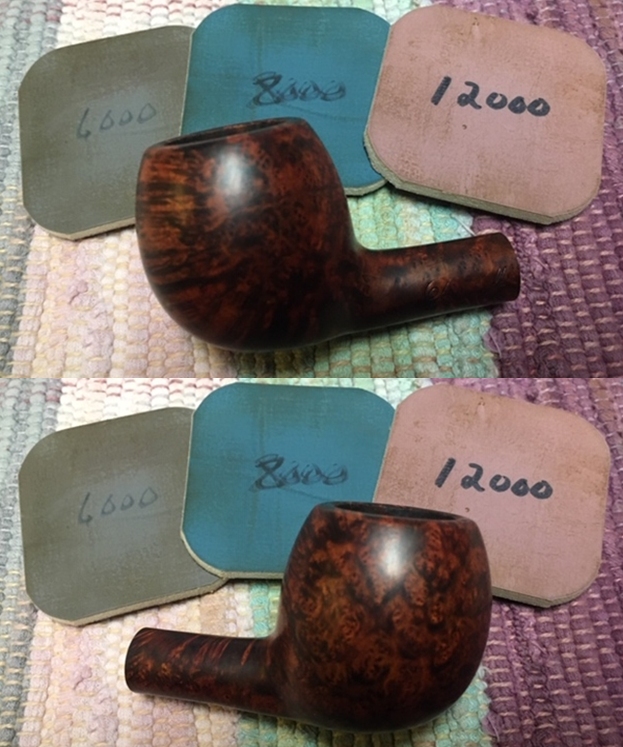
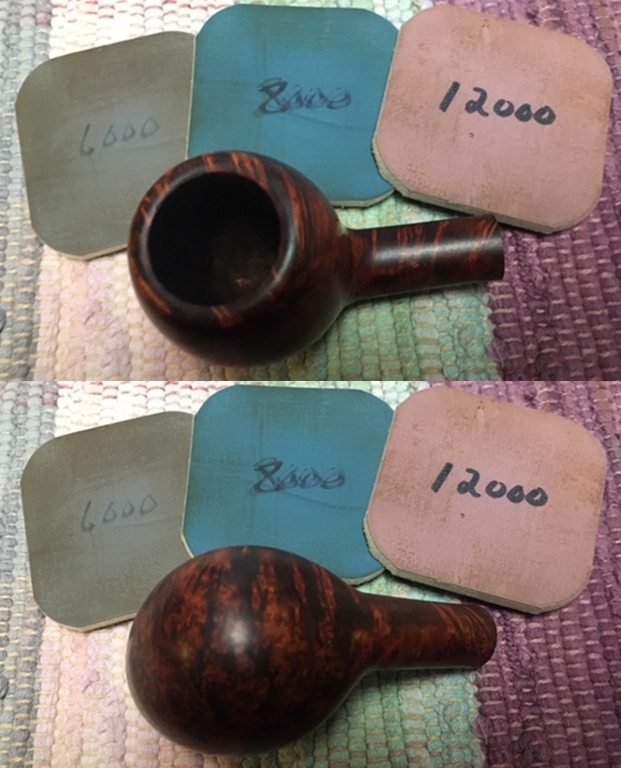
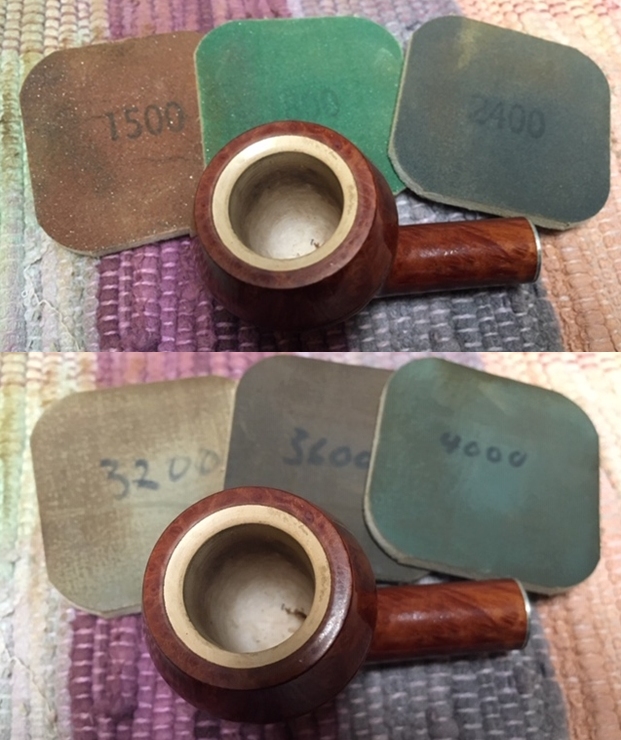
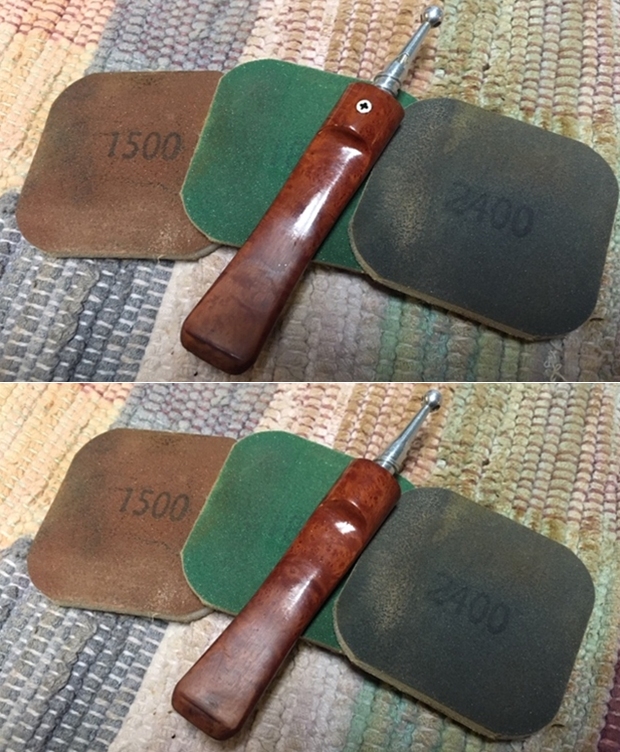
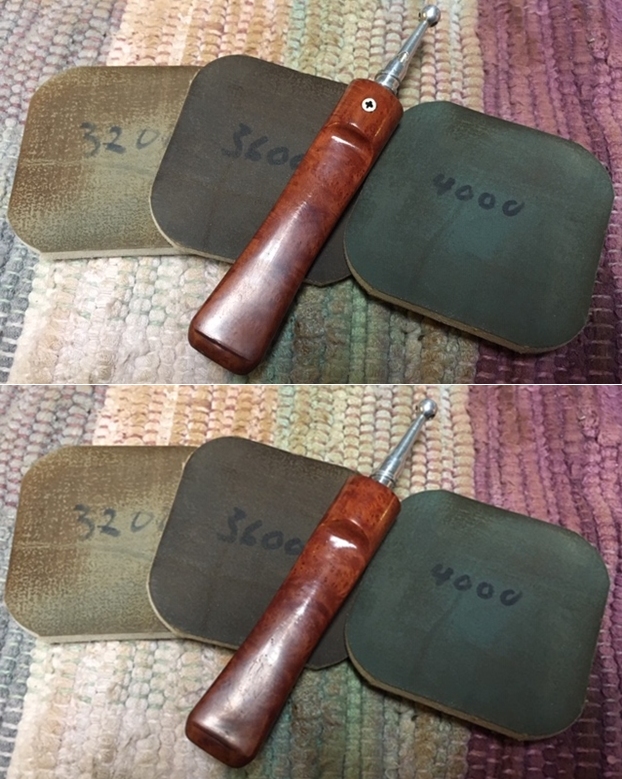
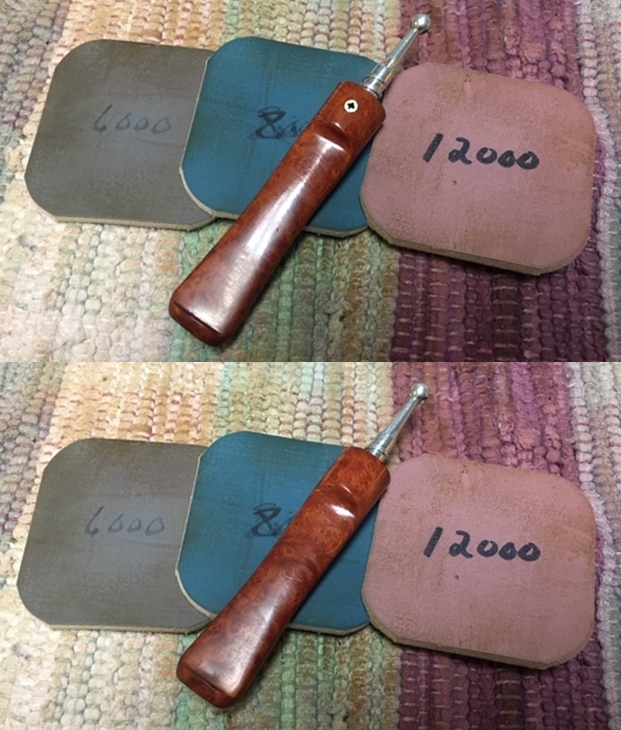
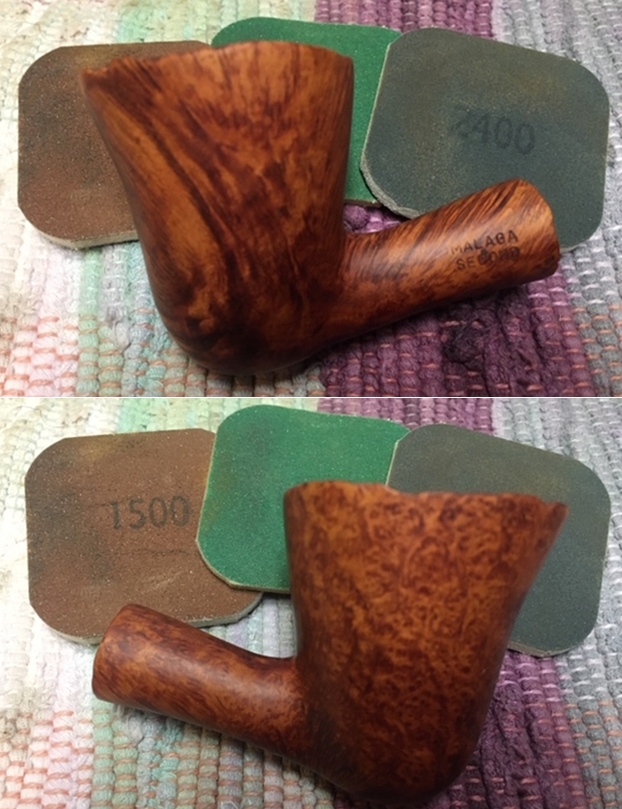
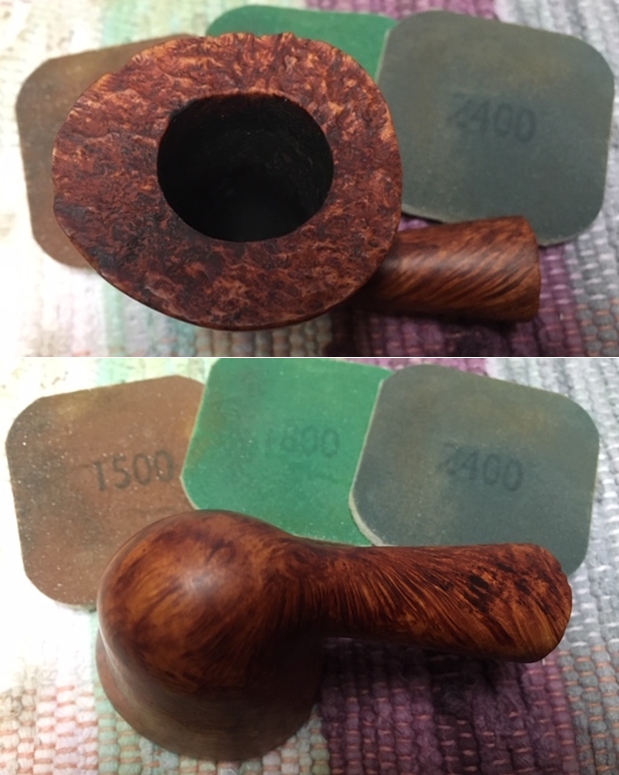
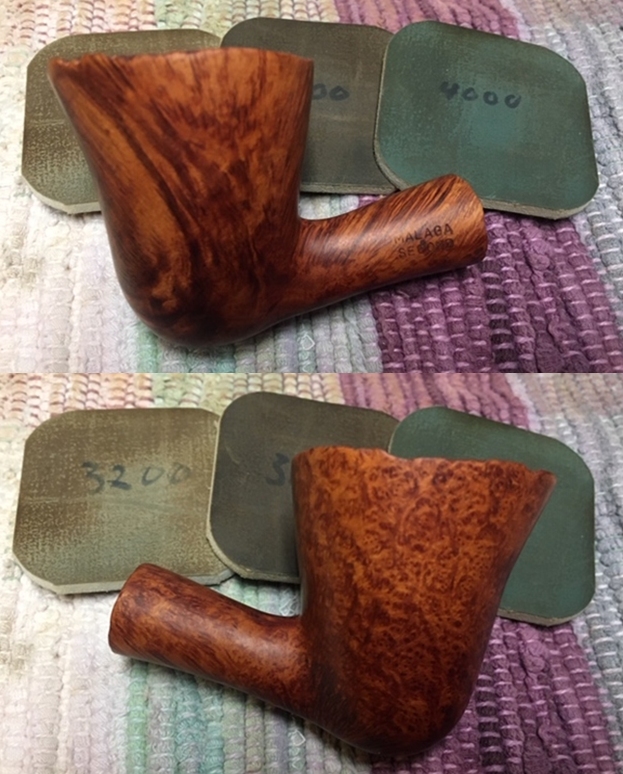
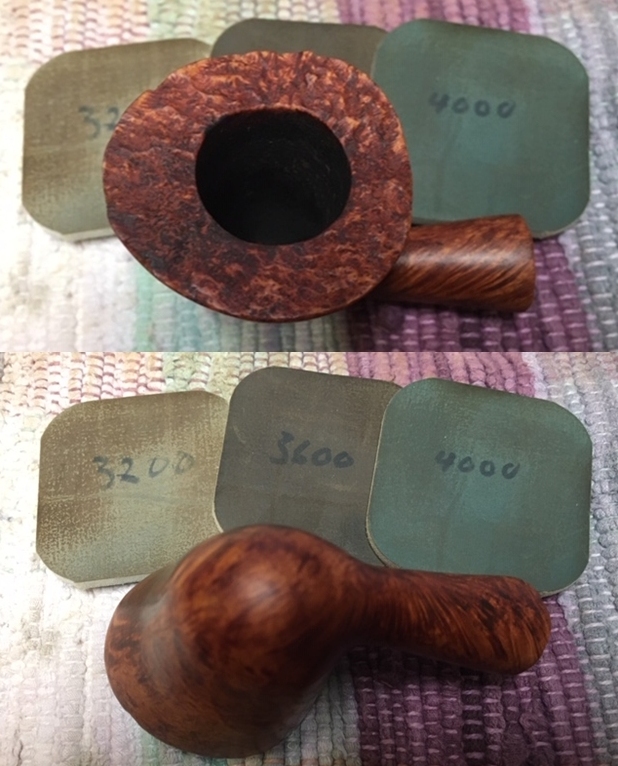
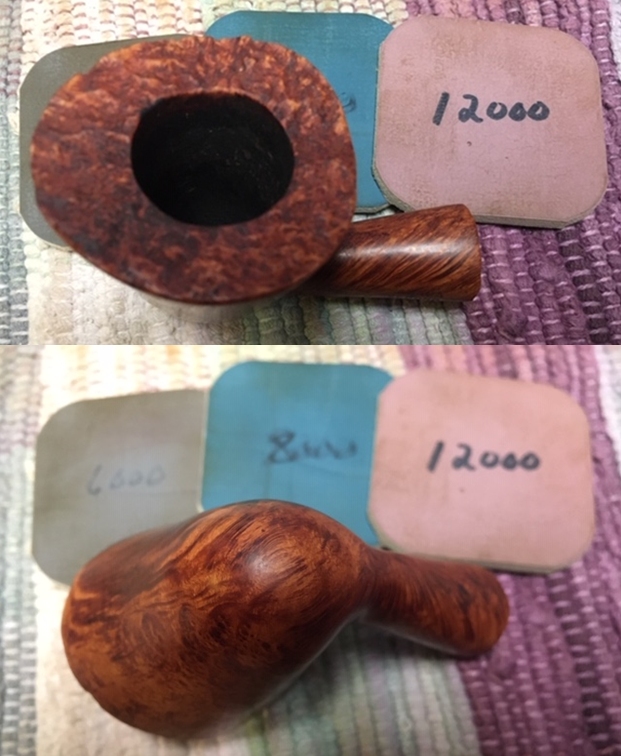
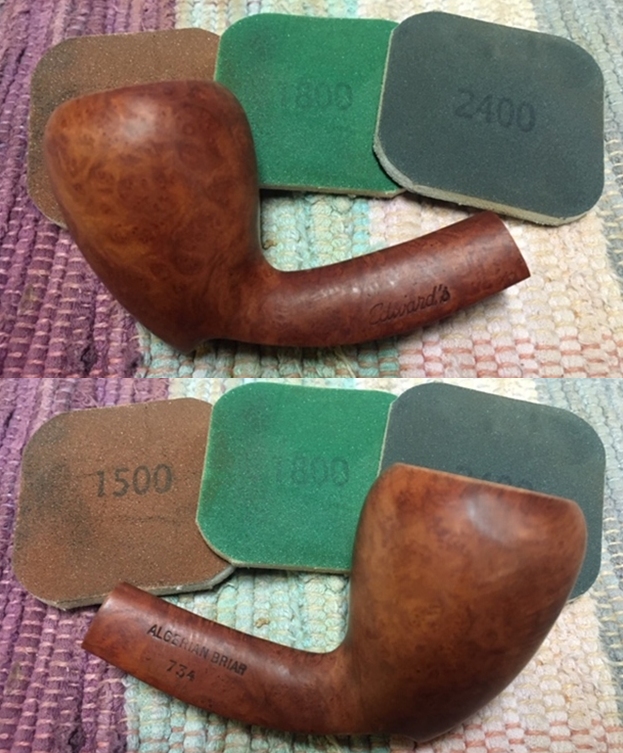
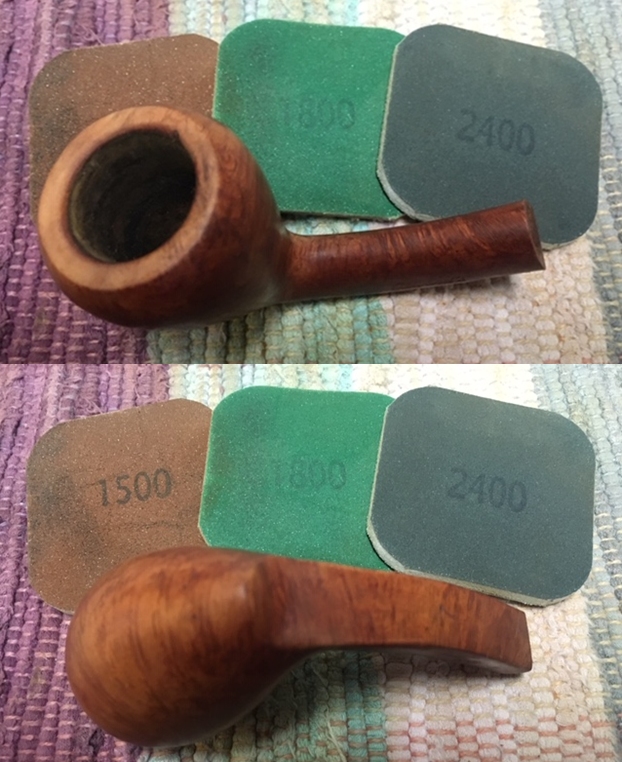
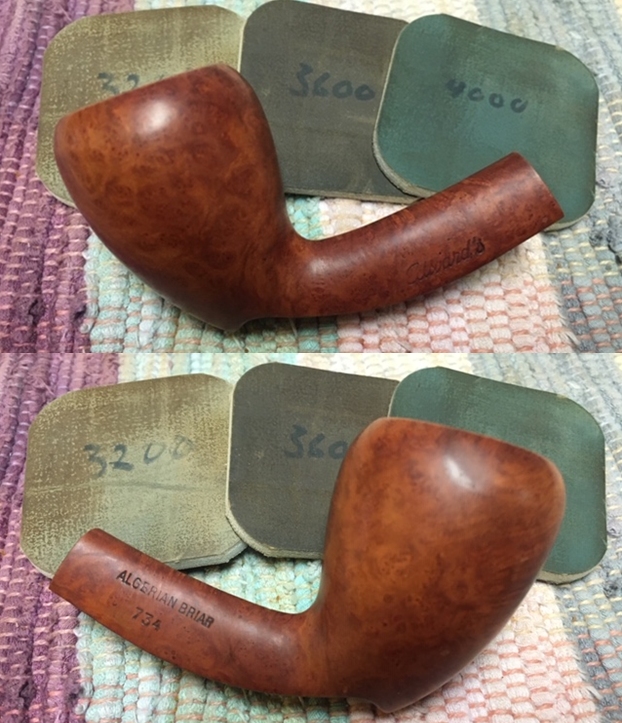
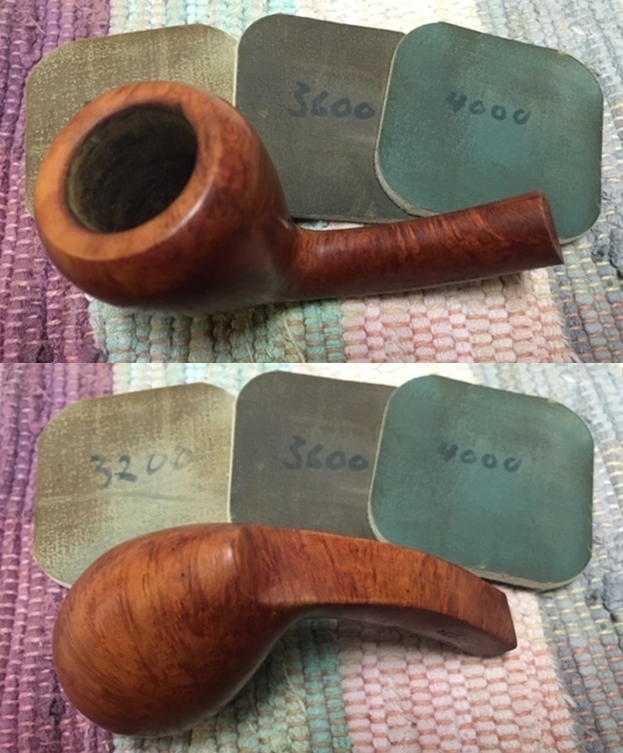
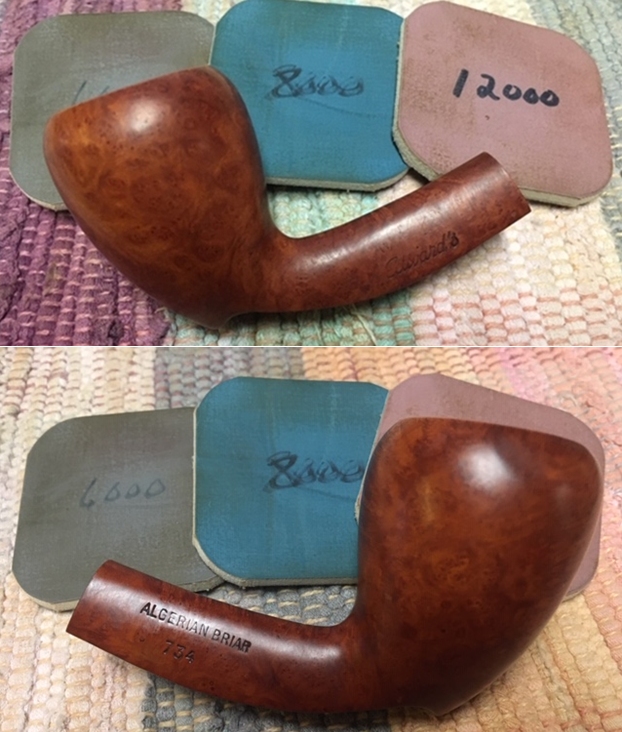
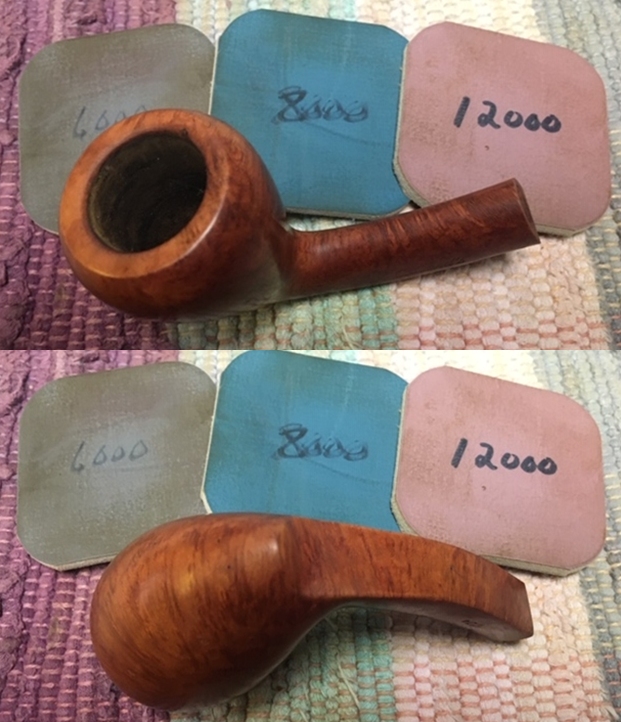
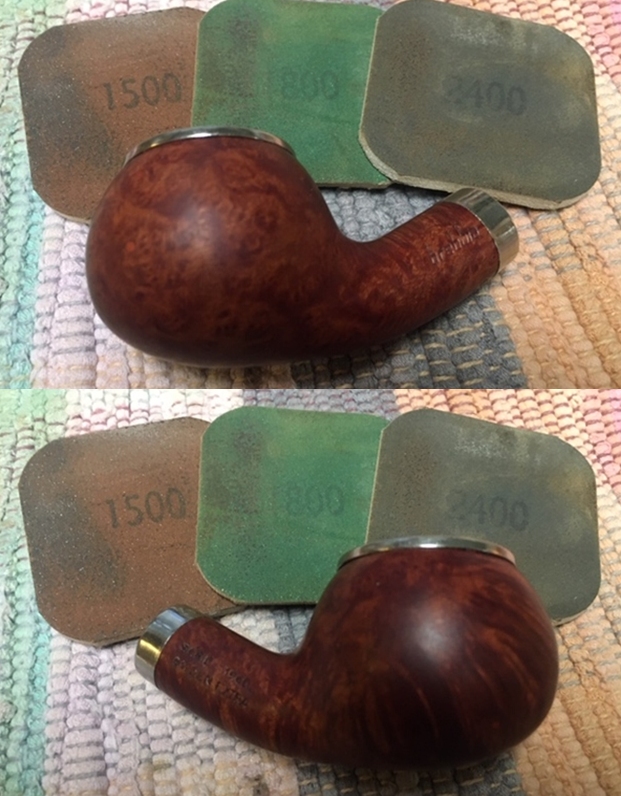
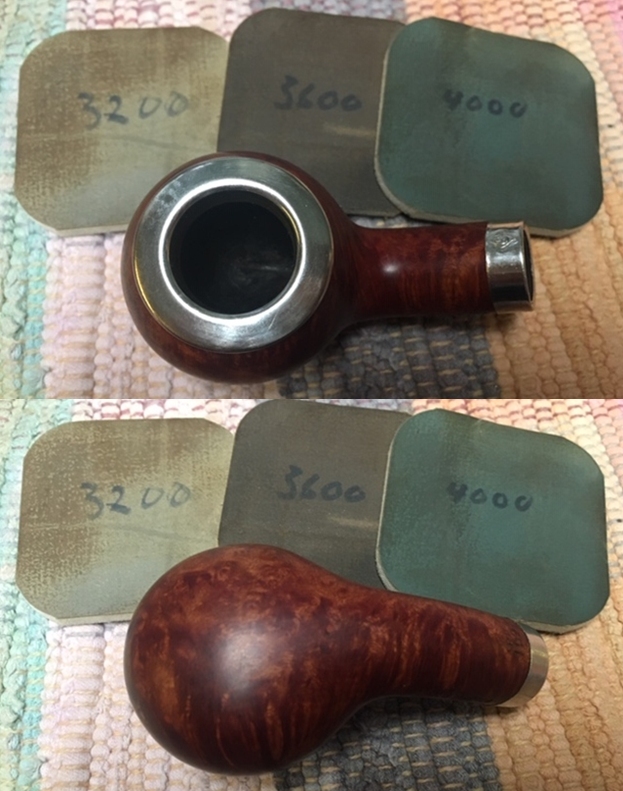
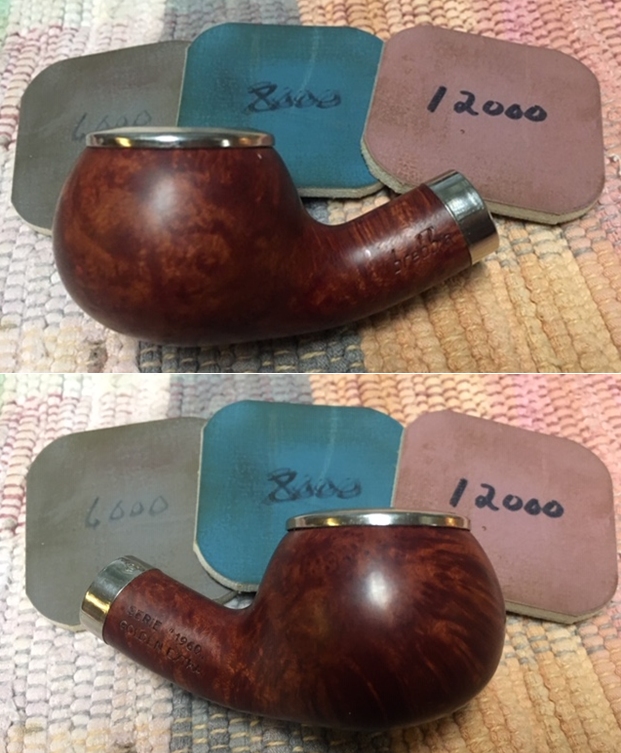
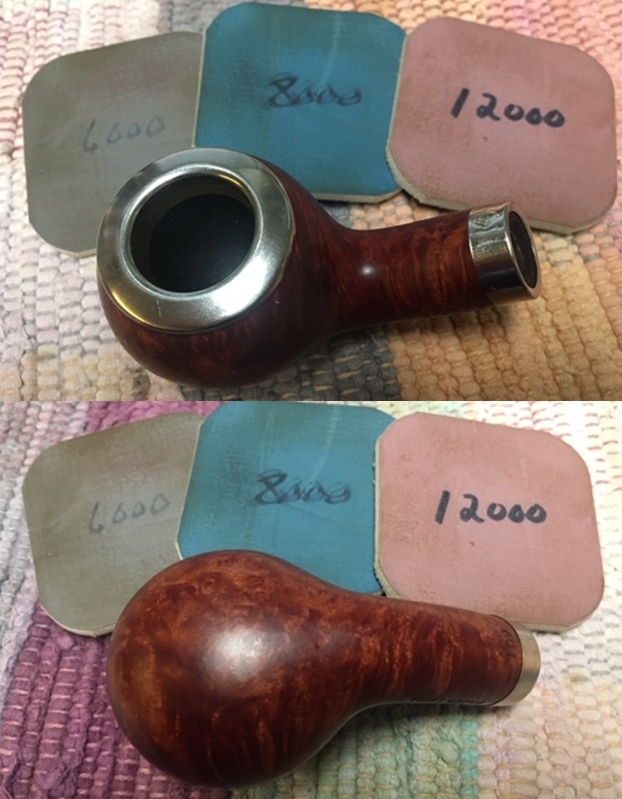
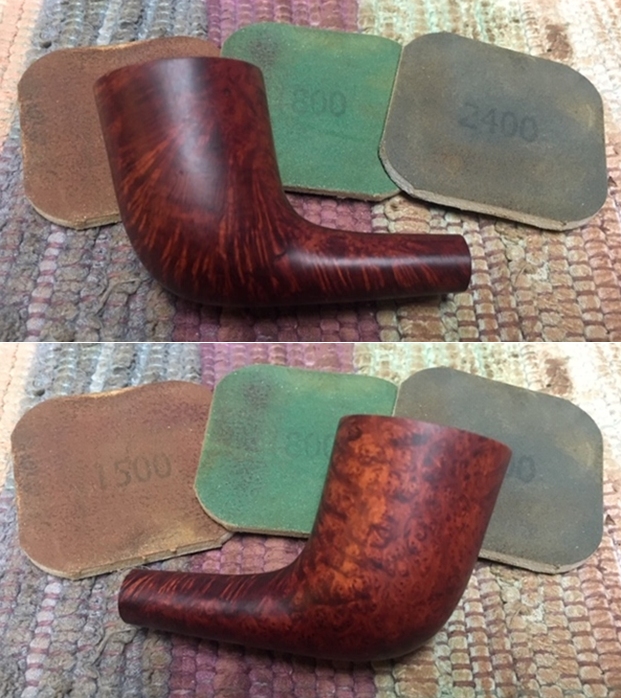
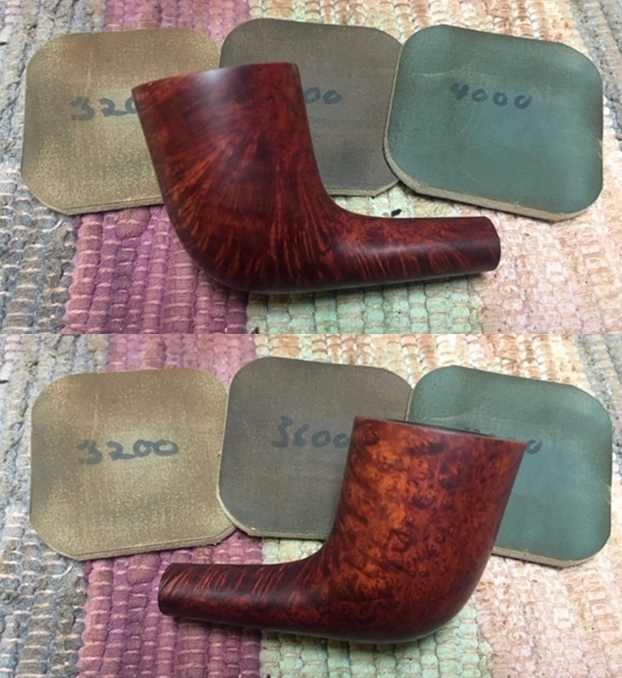
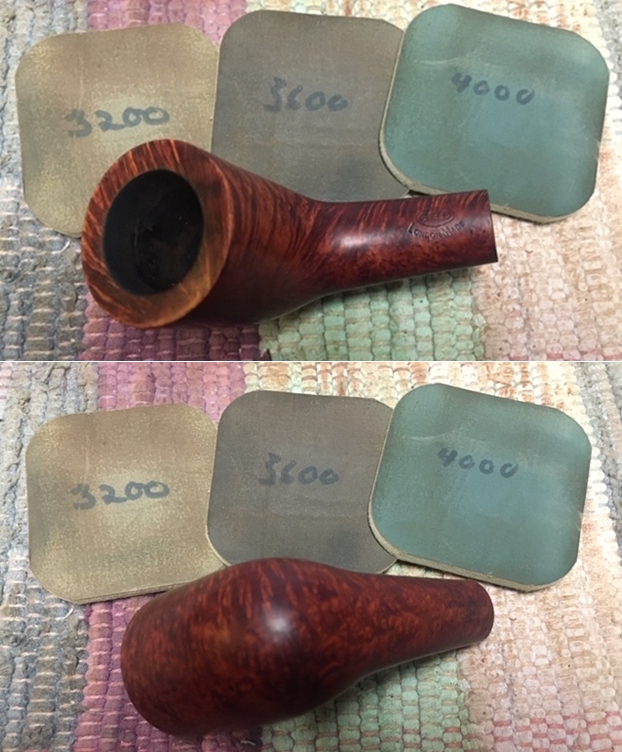
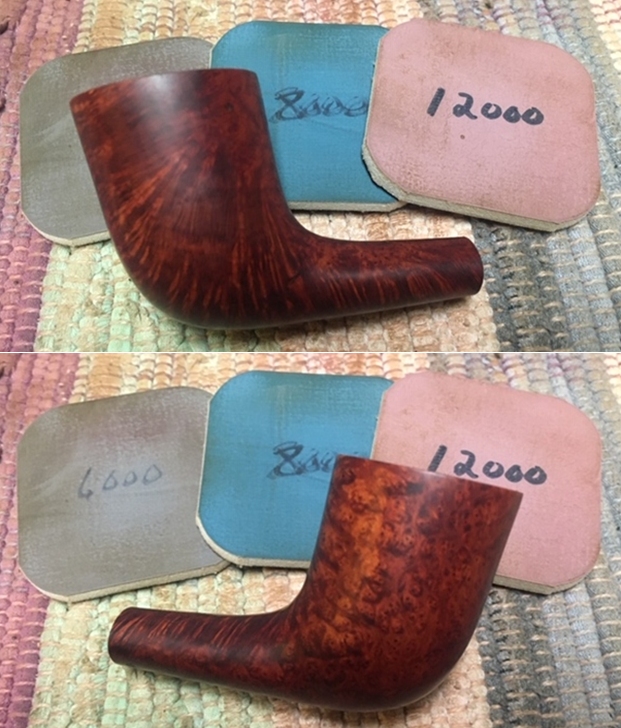
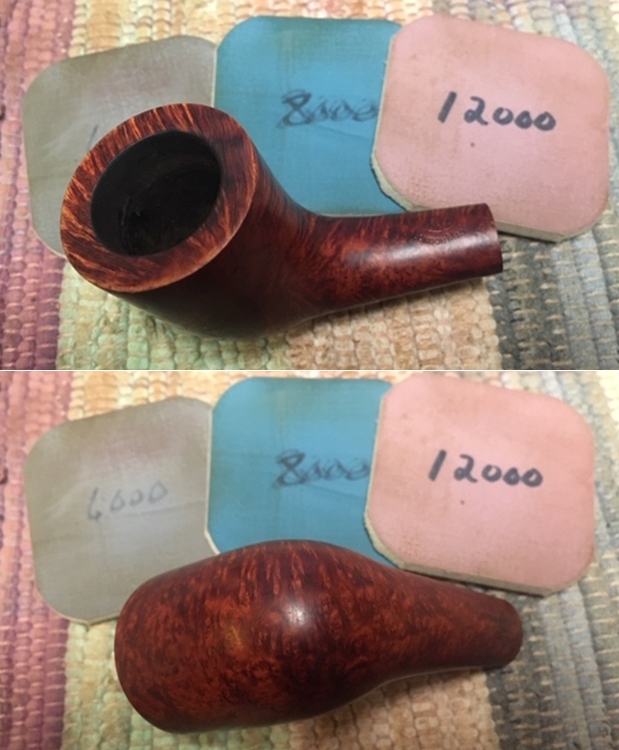
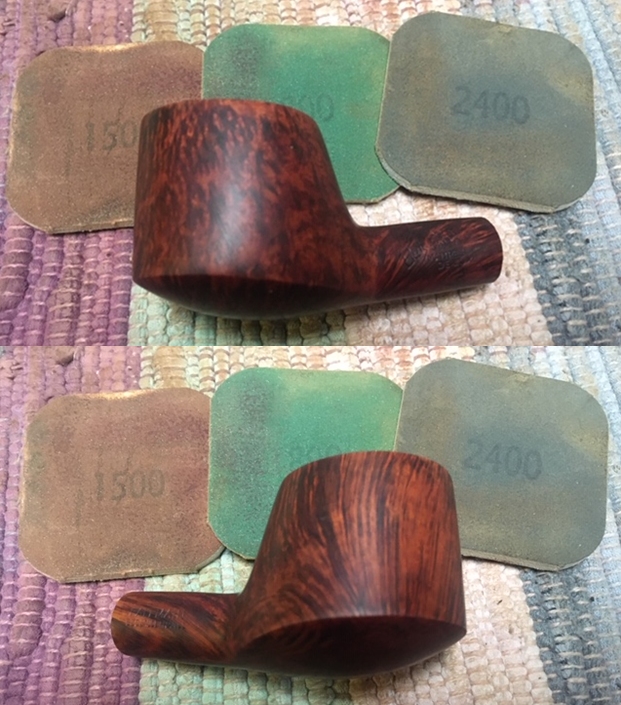
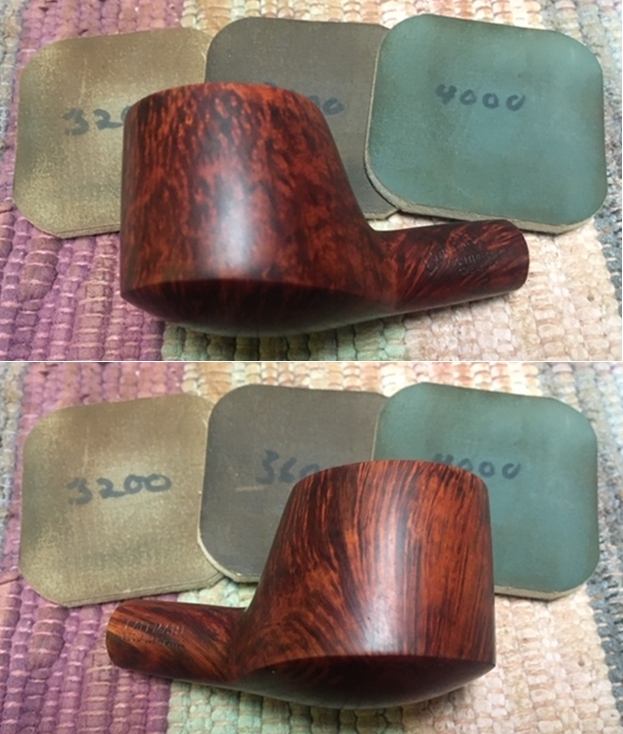
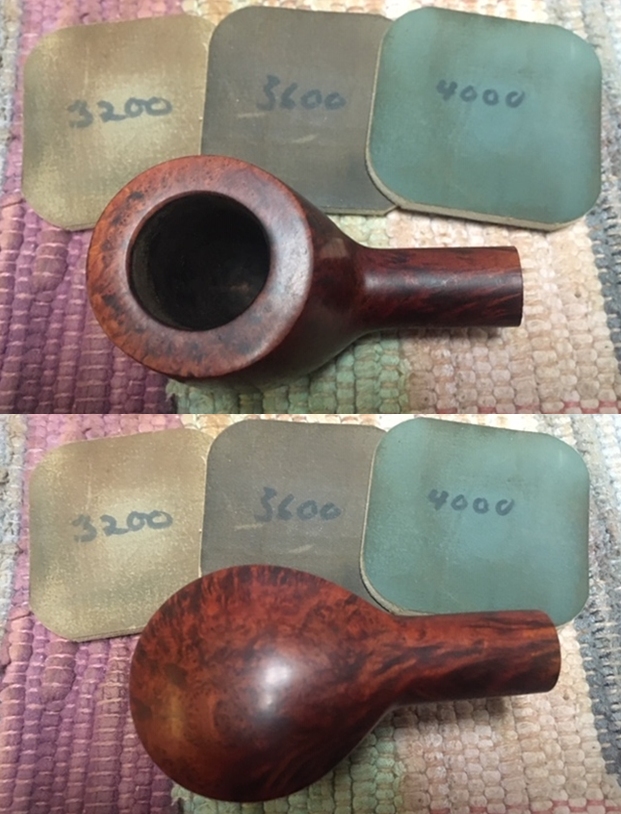
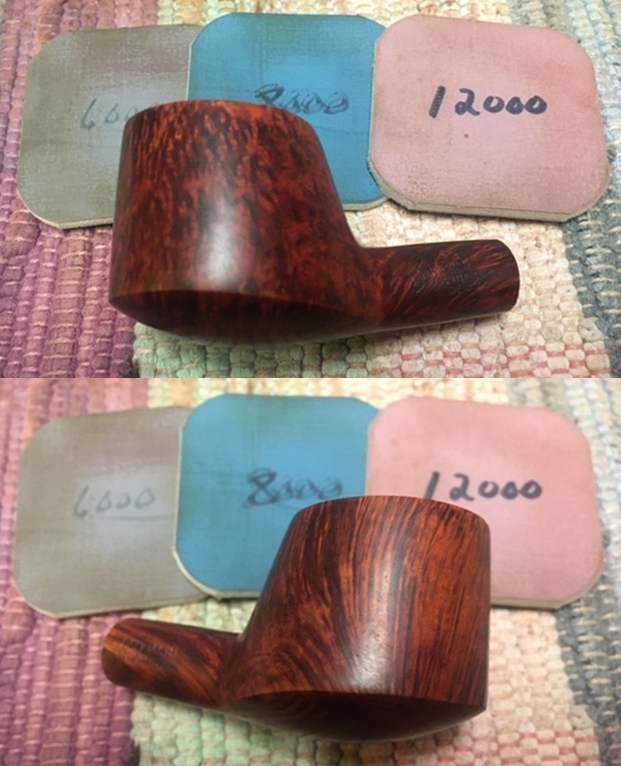
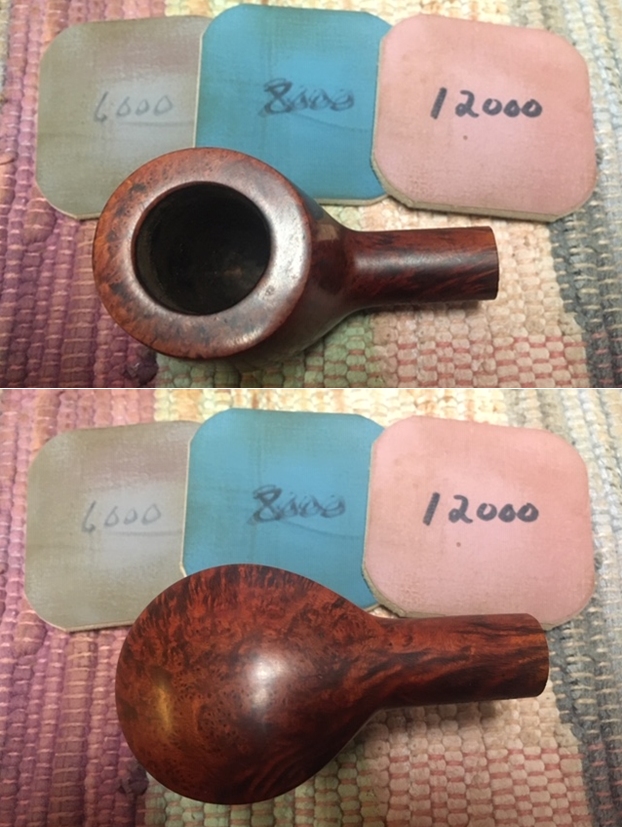
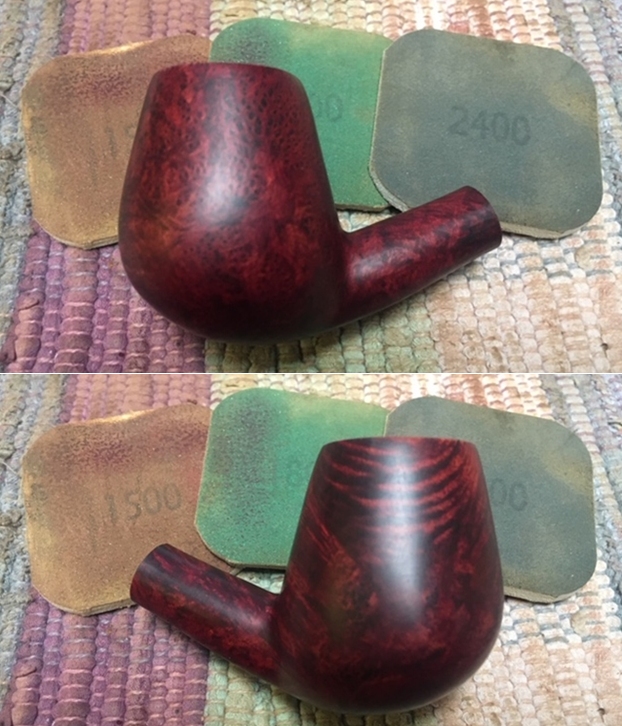
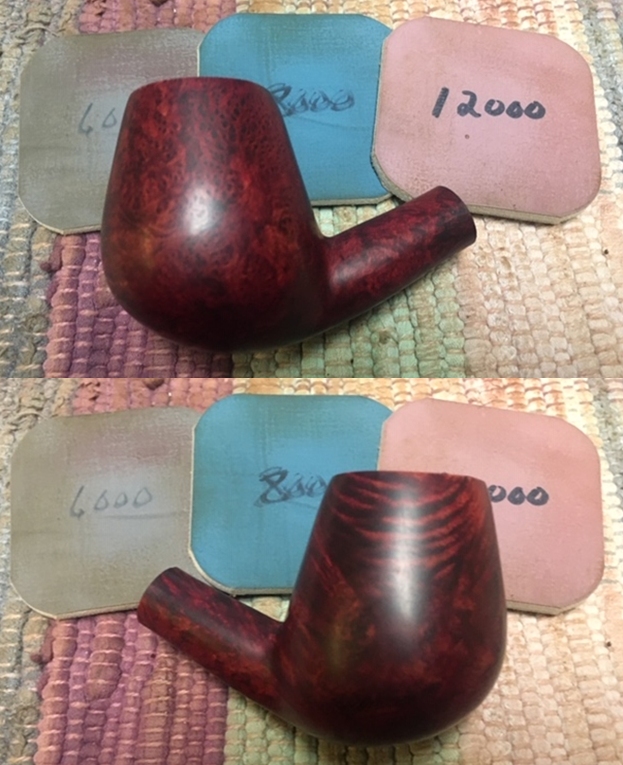
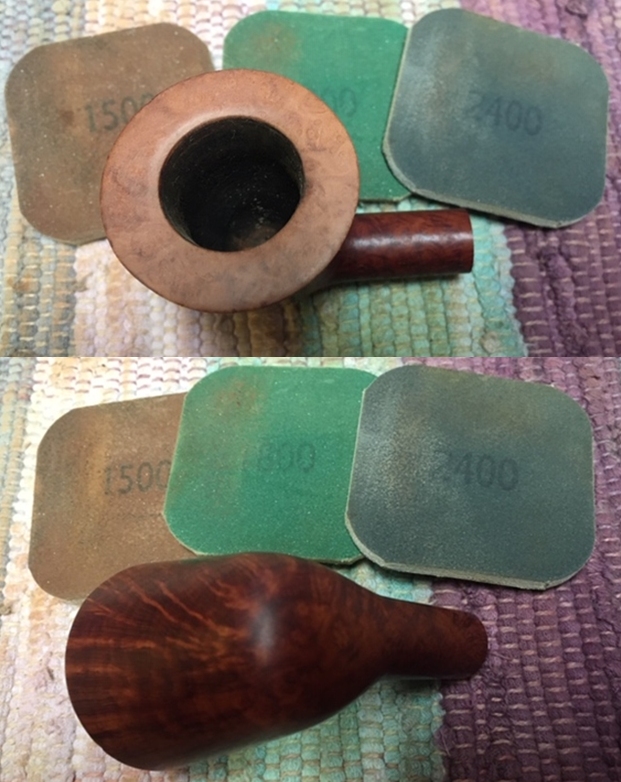
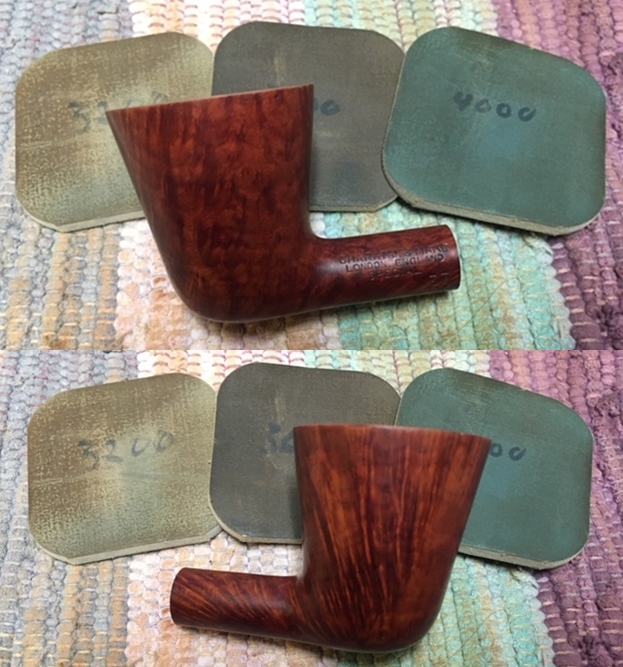
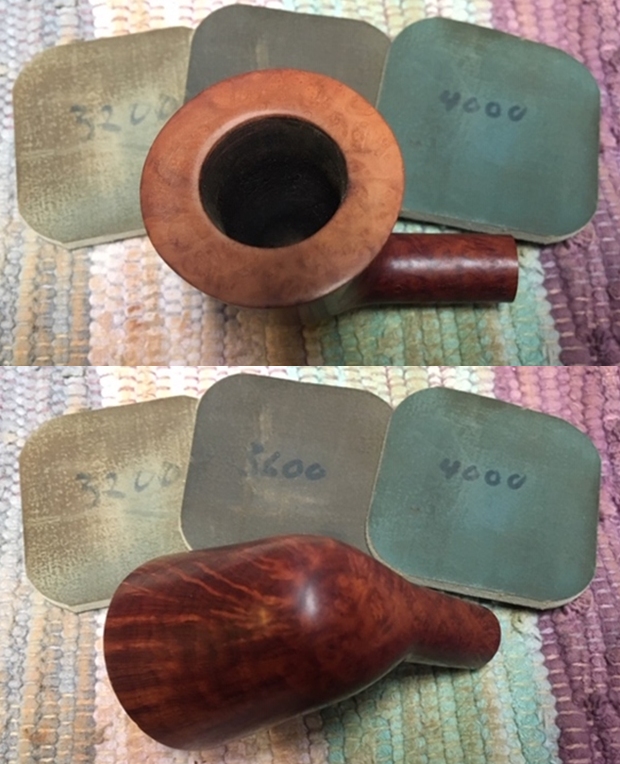
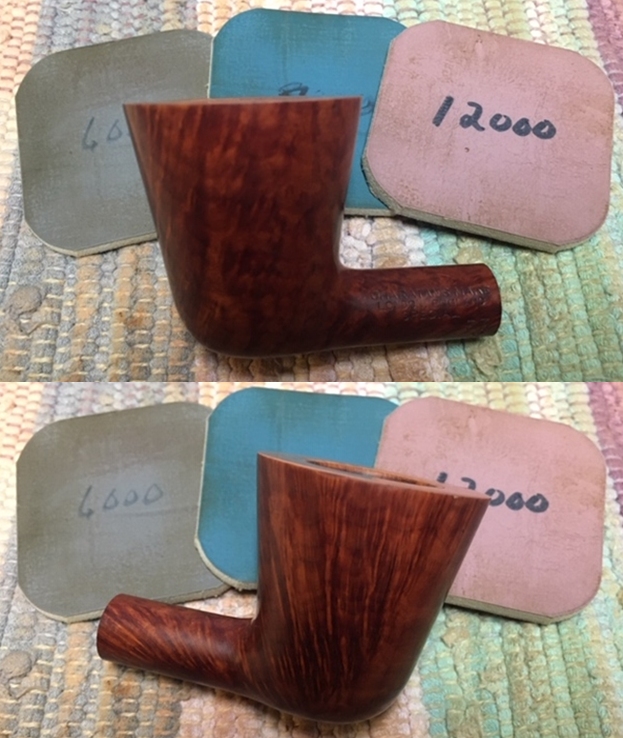
 I was happy with the rim top and edges now so it was time to polish the briar with micromesh sanding pads – dry sanding with 1500-12000 grit pads. I wiped the bowl down after each pad with a damp cloth. I was also hoping to blend the newly topped bowl into the finish of the rest of the pipe. The grain really began to stand out and the finish took on a shine by the last sanding pad. The photos tell the story!
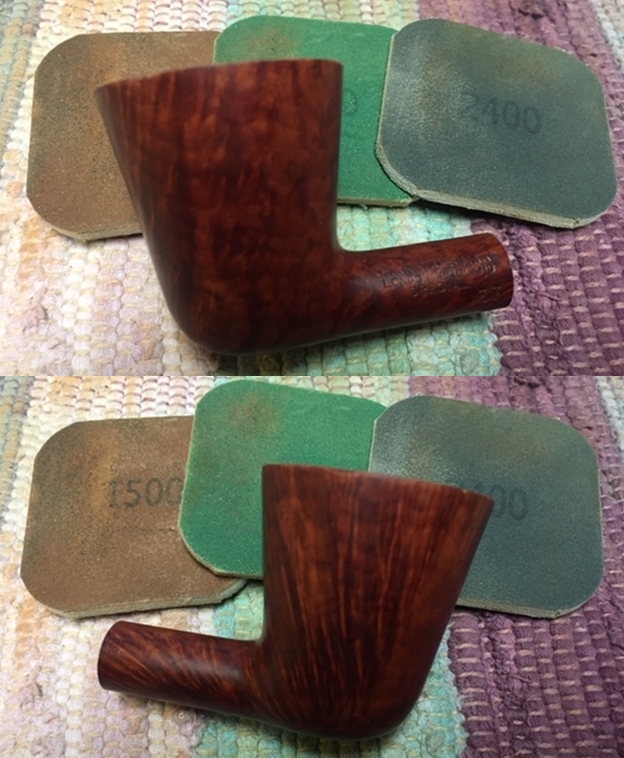
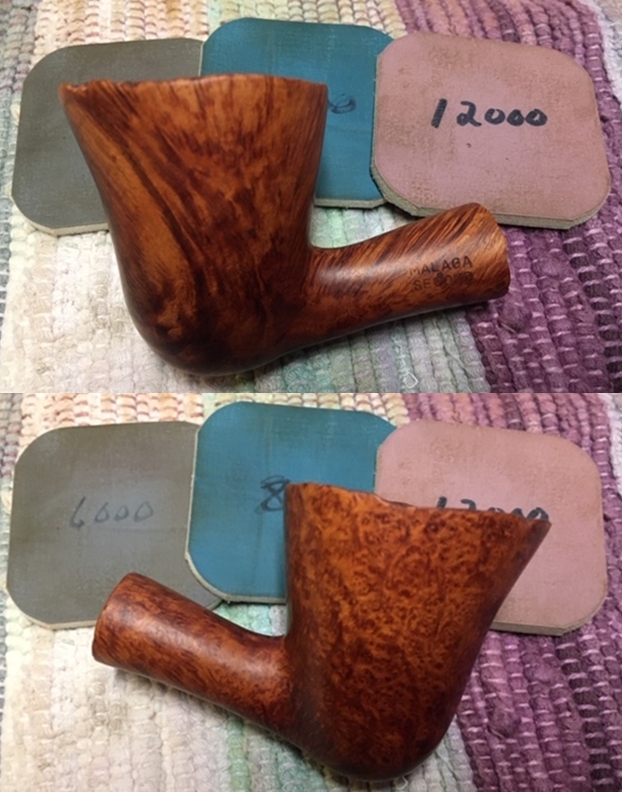
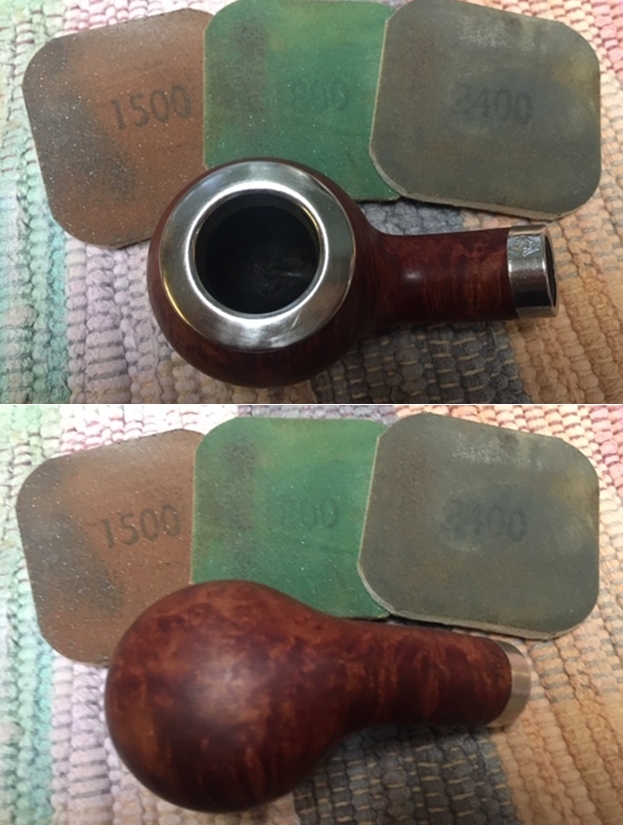
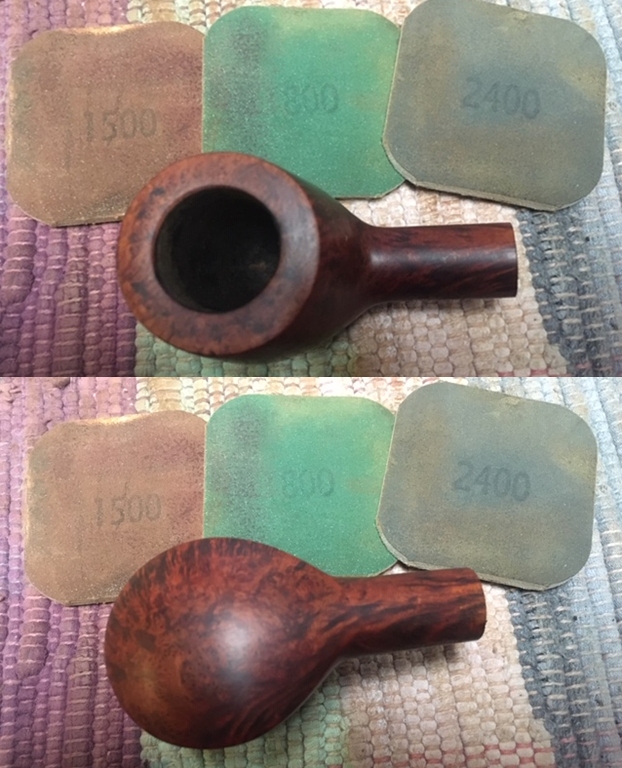
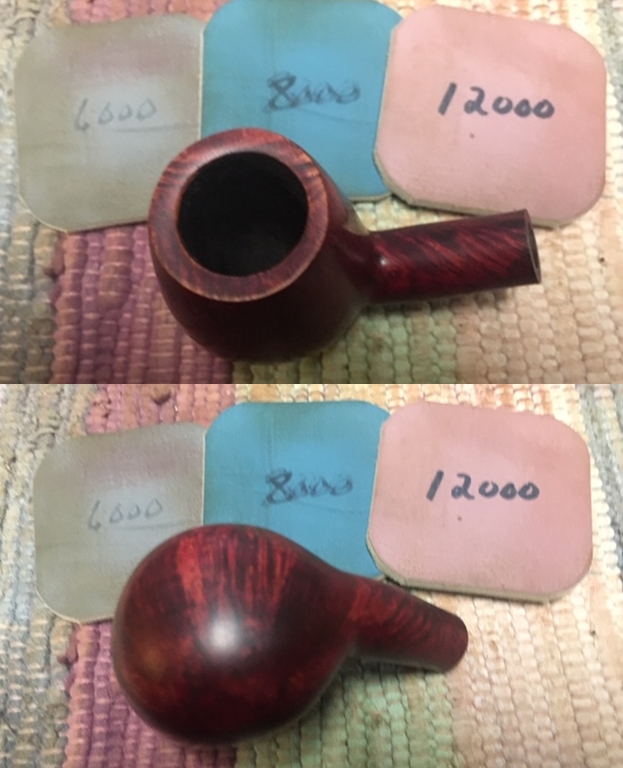
 I apologize for the next photo but I did not catch it until later in the process when it was too late to go back and retake the photo.
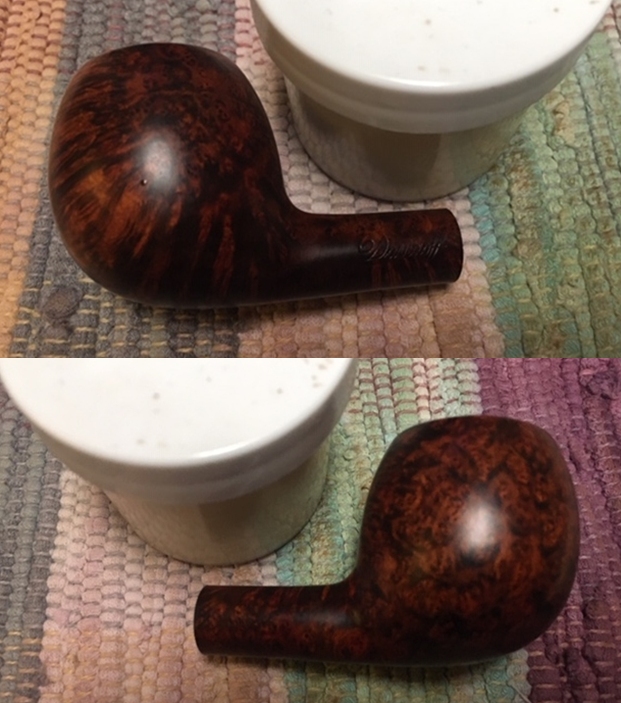
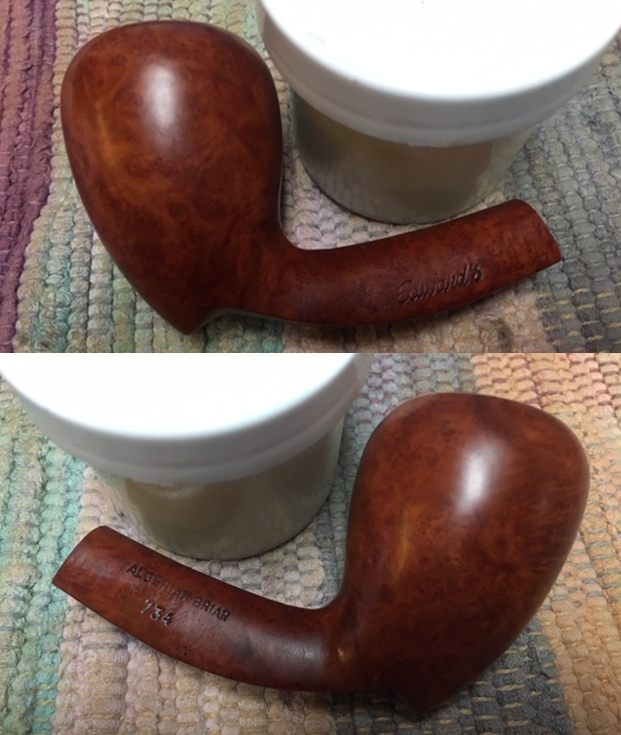
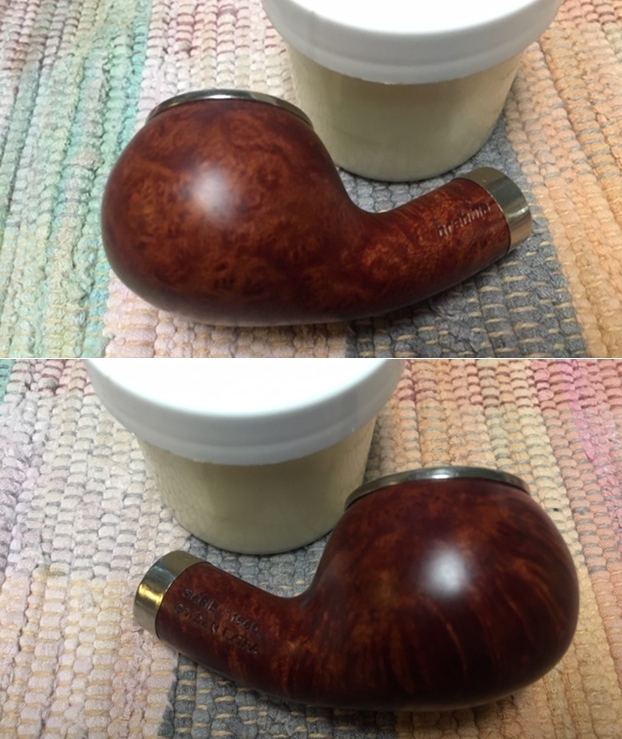
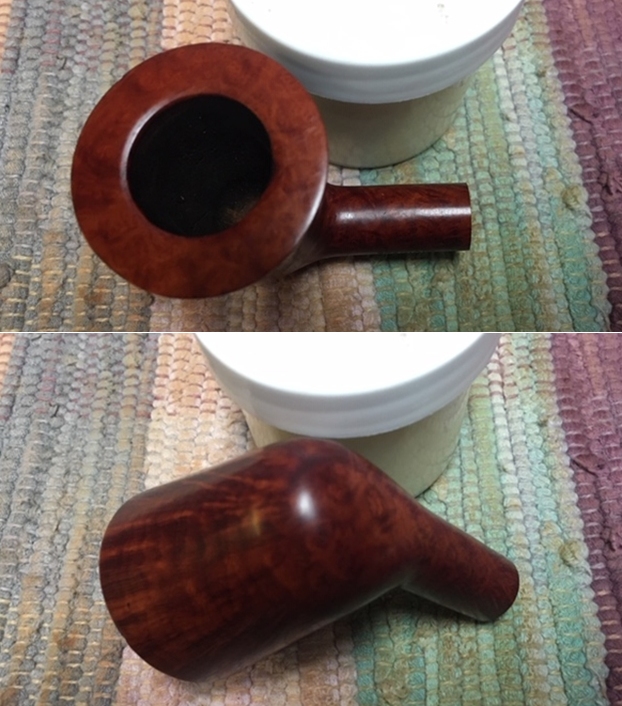
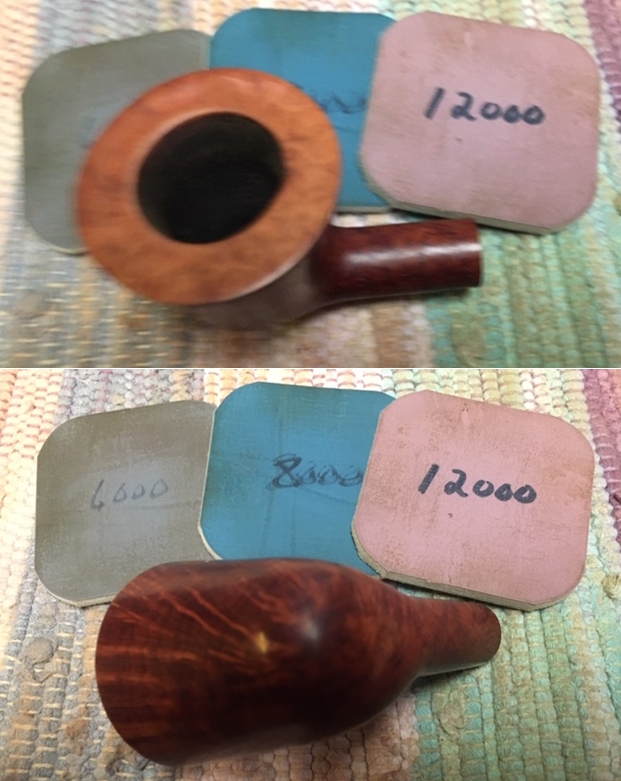 I touched up the rim top up with a blend of oak and maple stain pens to match the rest of the bowl. I forgot to take a photo of that. When the stain was cured I worked some Before & After Restoration Balm into the surface of the briar with my fingertips. The product works to clean, enliven and protect the briar. I let the balm sit for about ten minutes and then buffed with a cotton cloth to raise the shine. The photos show the bowl at this point in the restoration process.
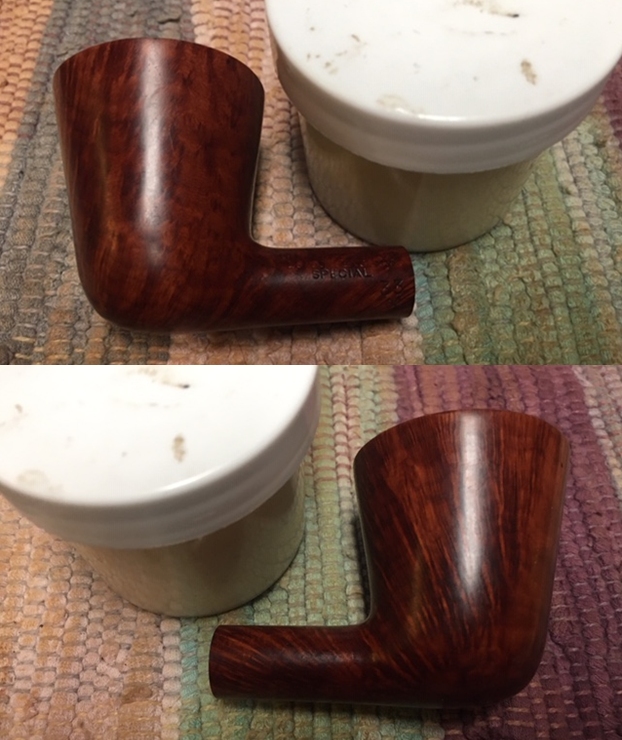
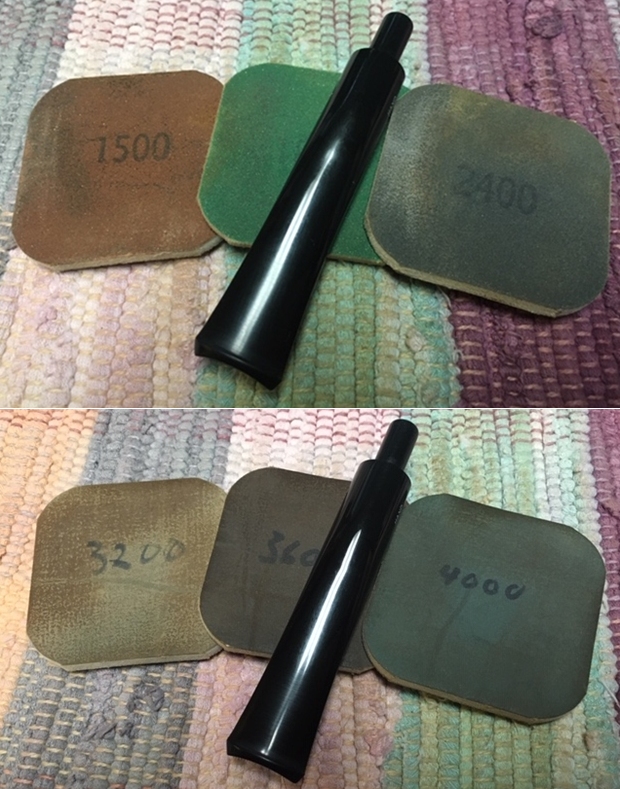
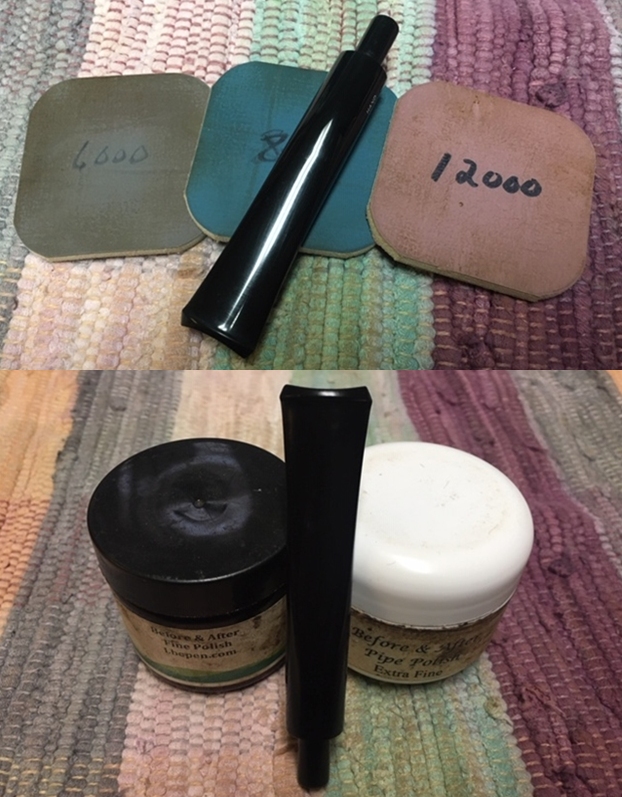
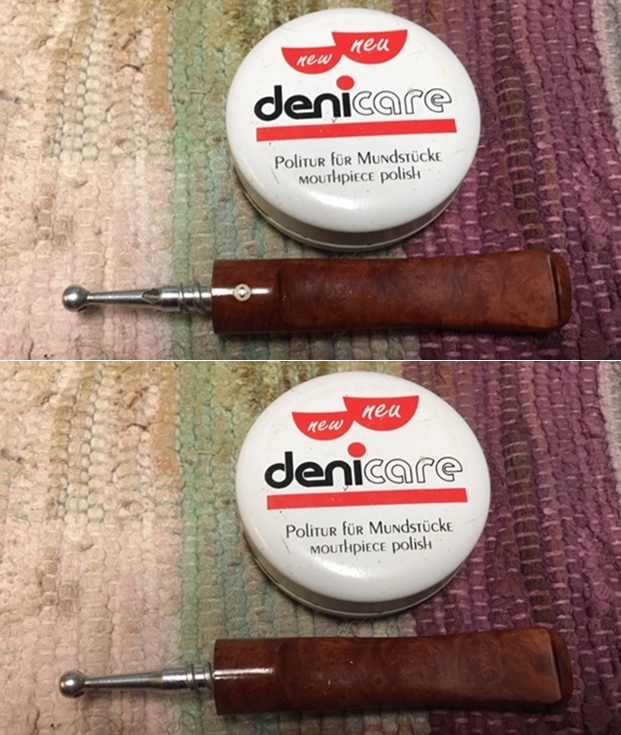
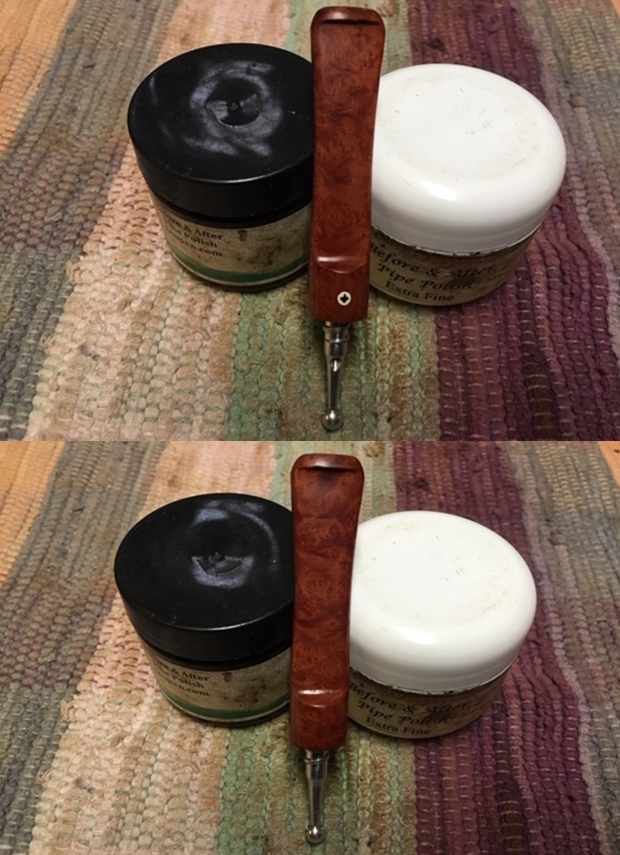
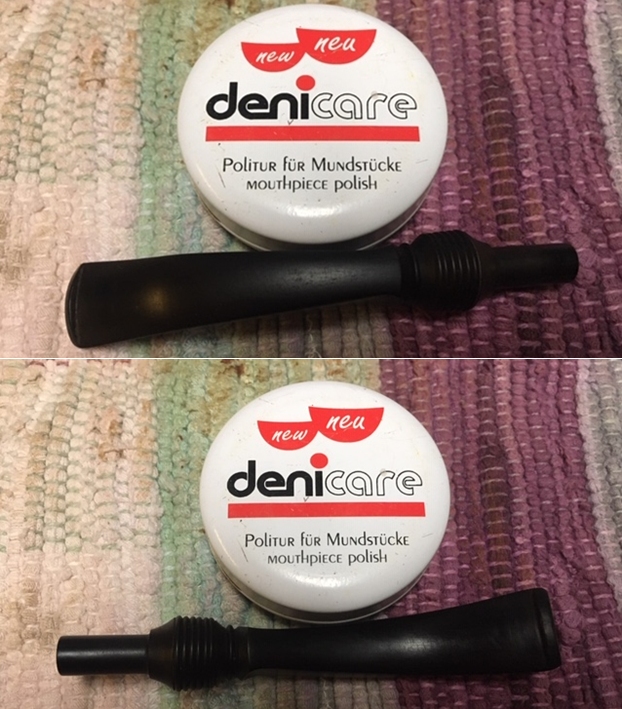
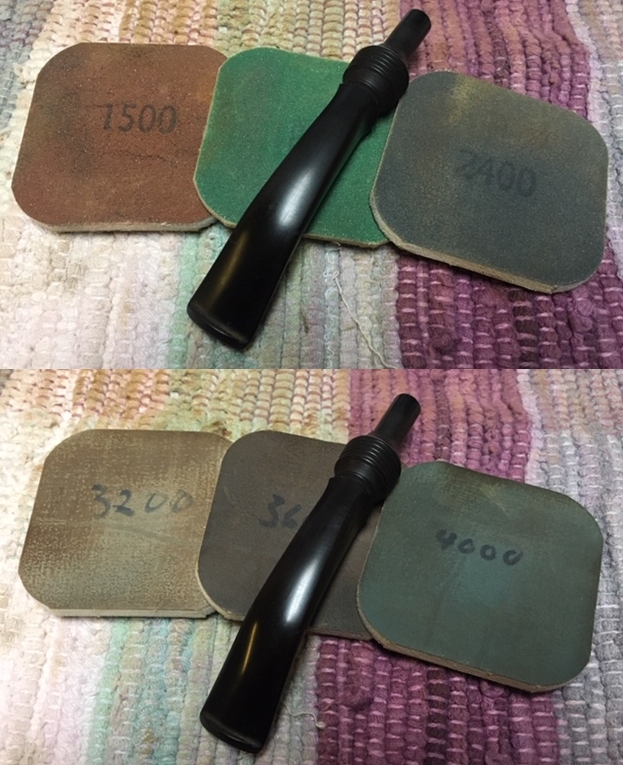
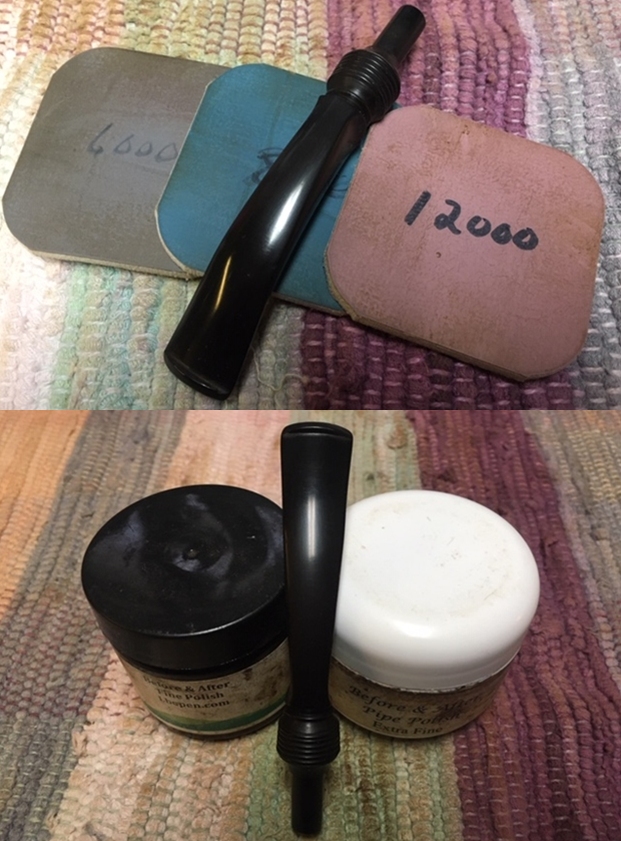
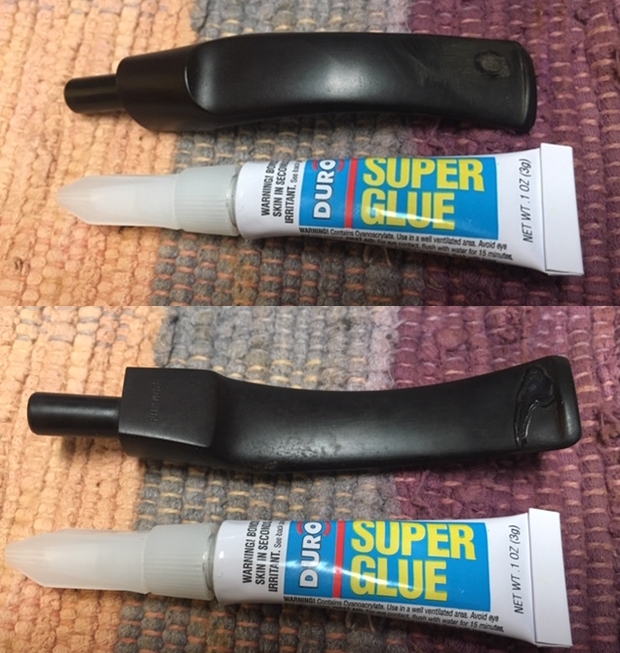
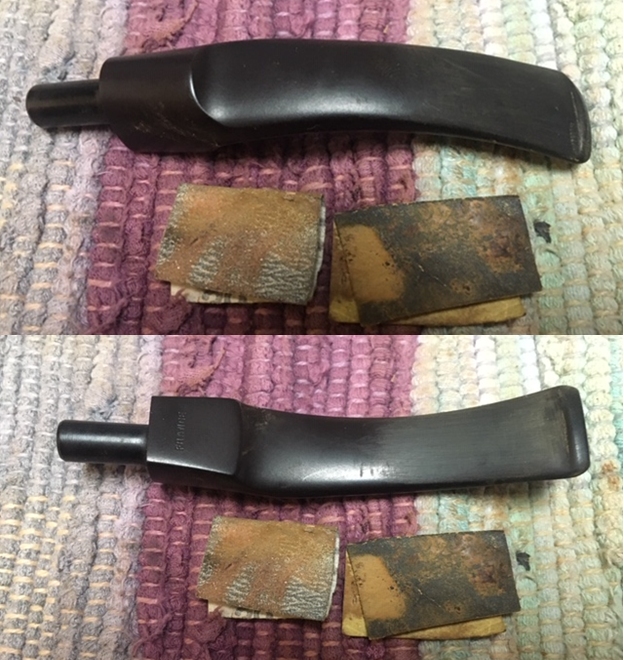
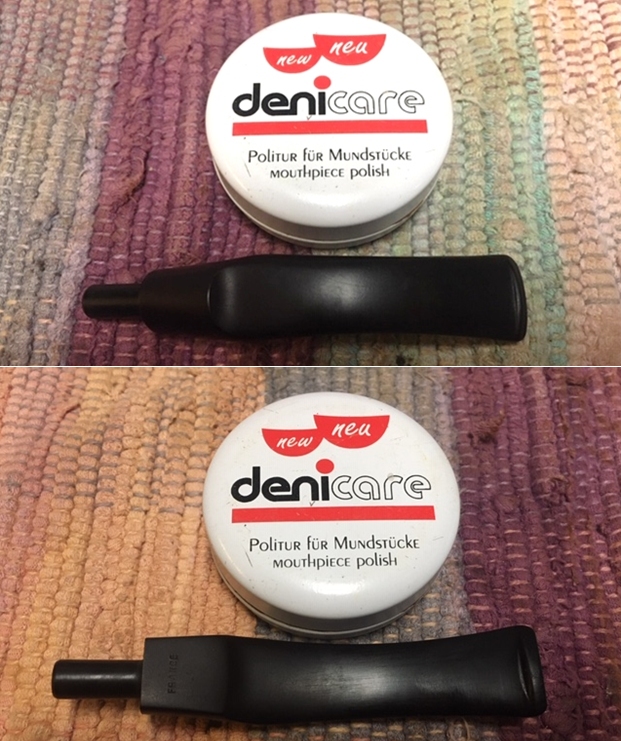
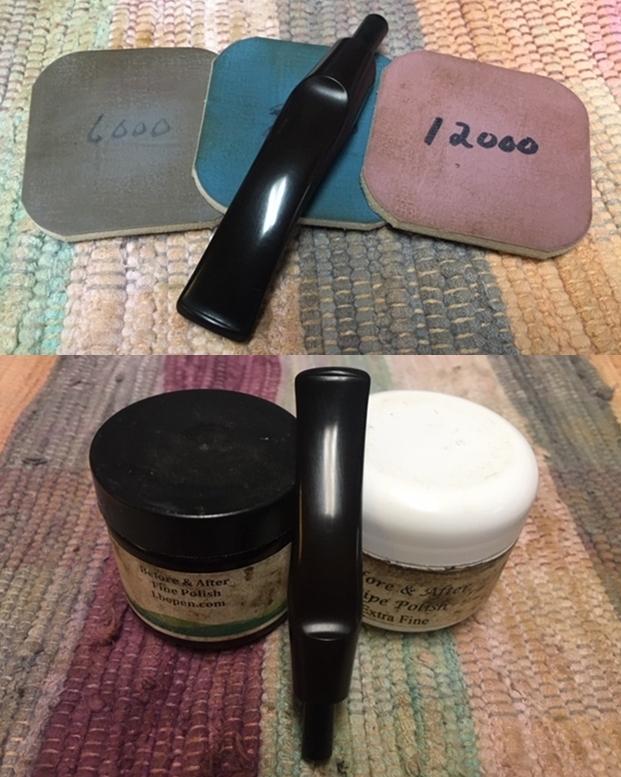
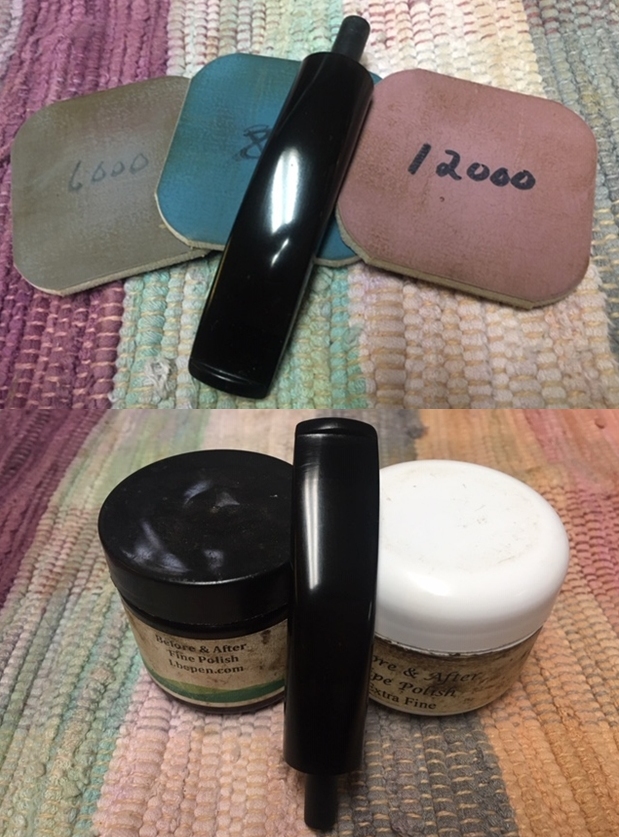
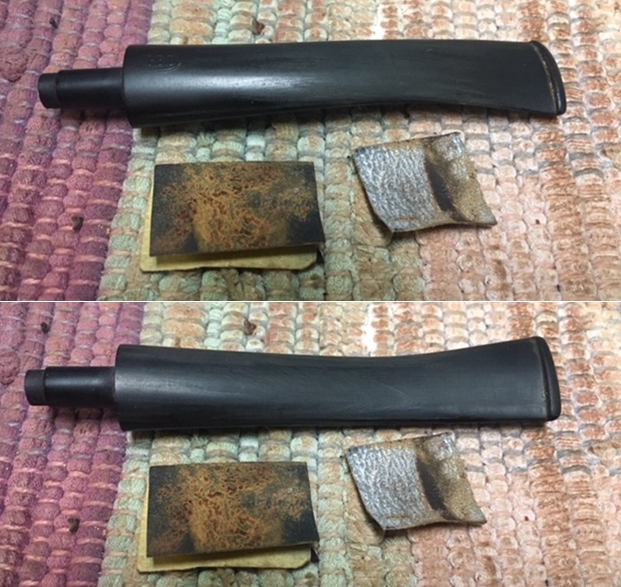
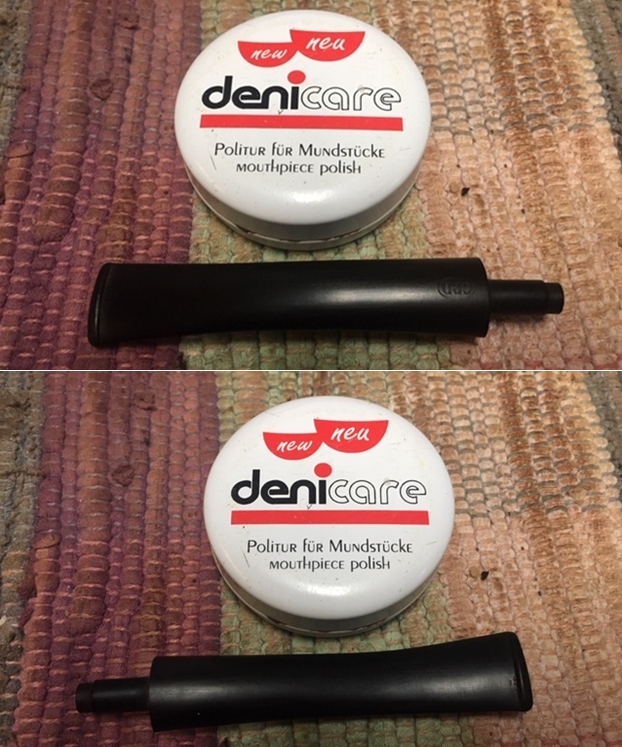
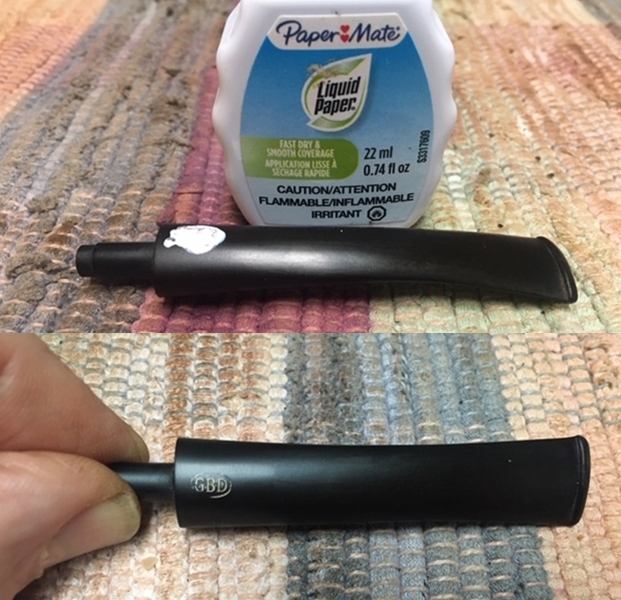
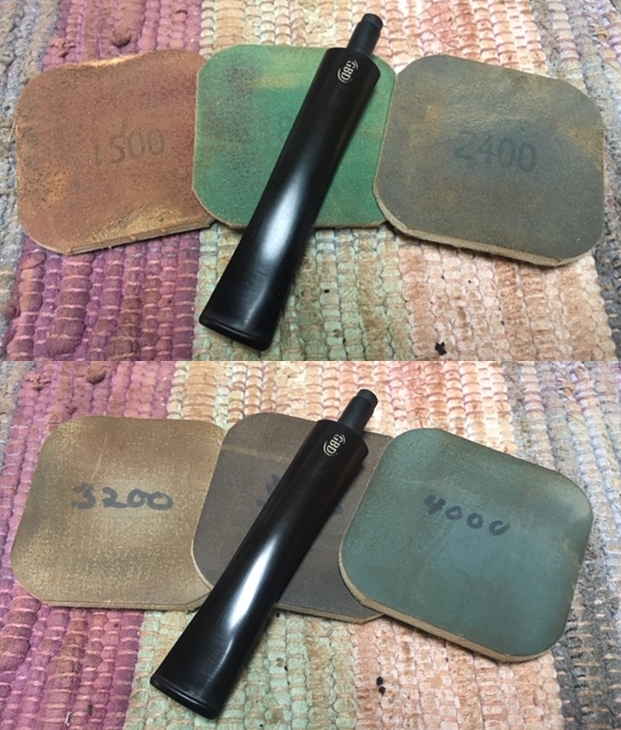
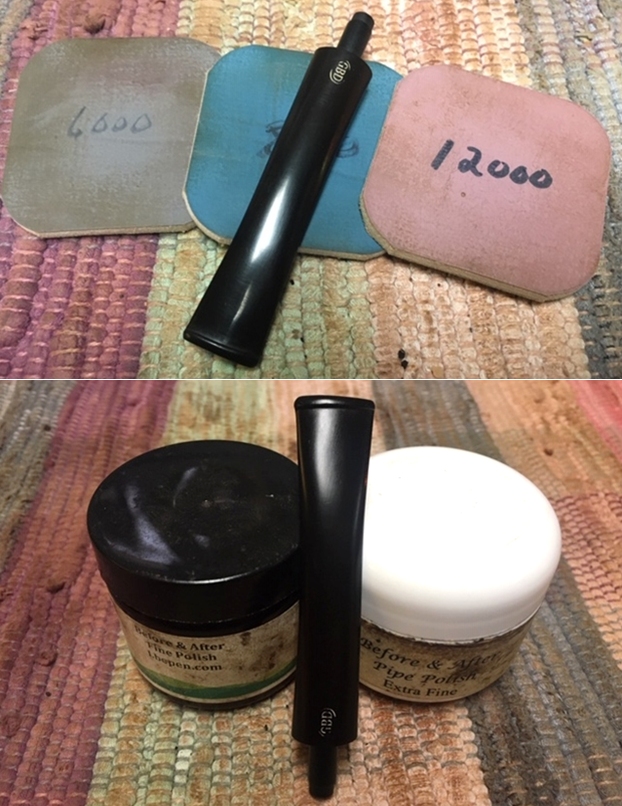
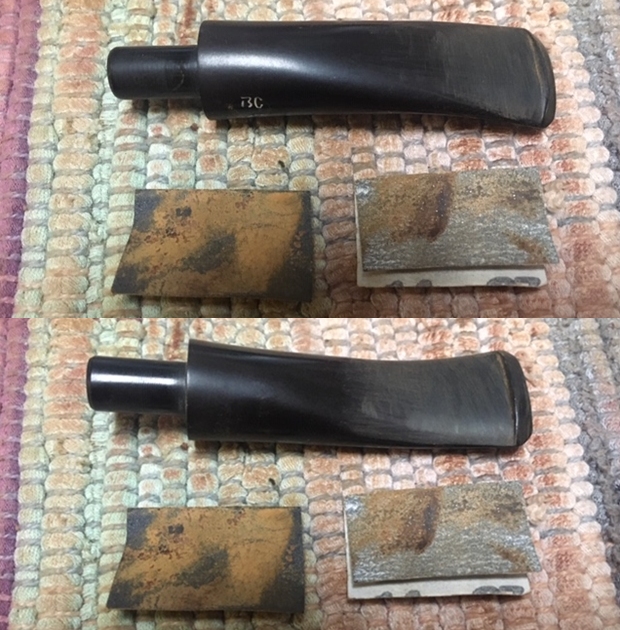
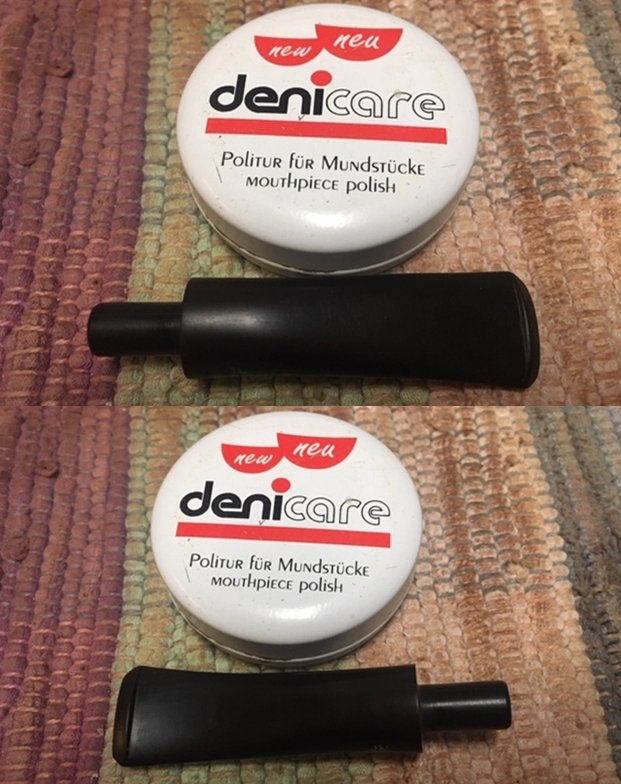
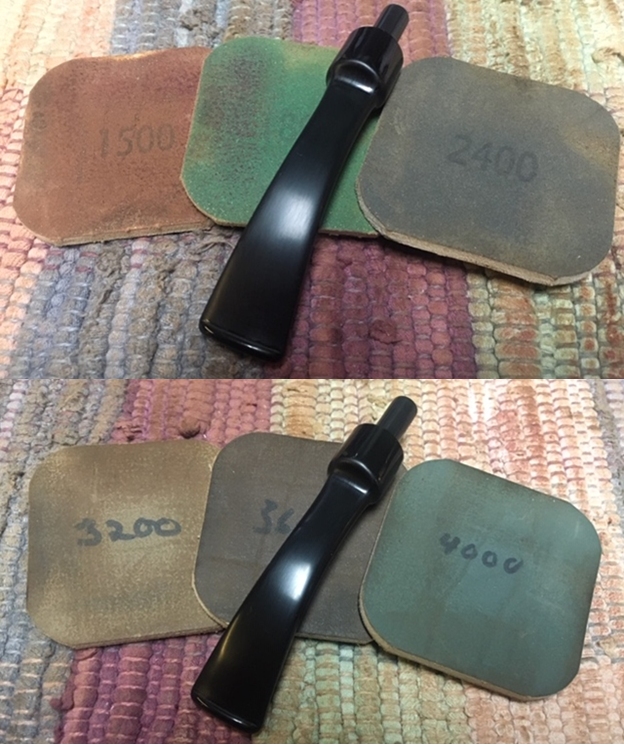
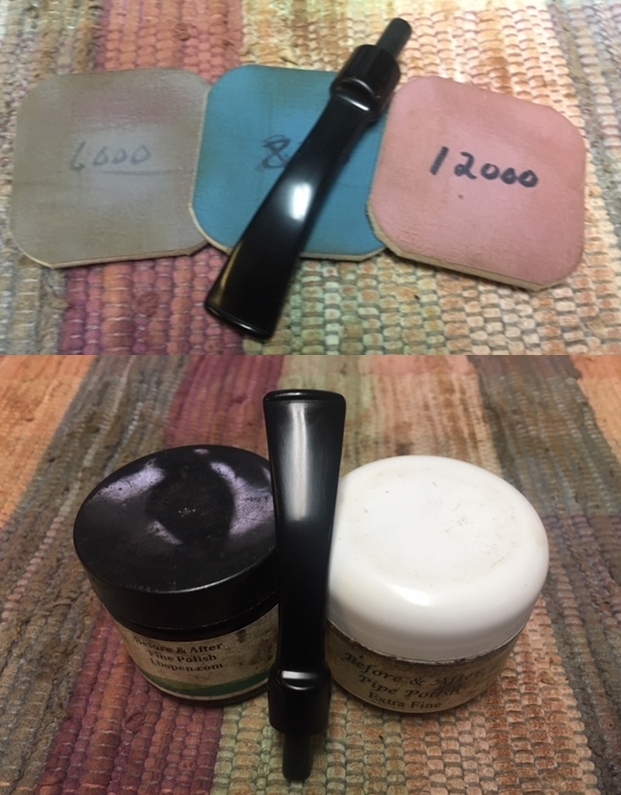
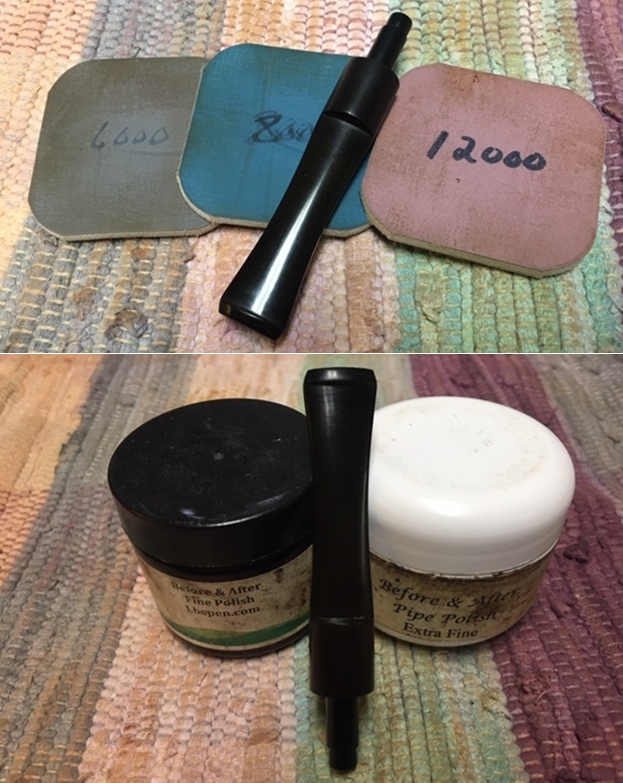
 I laid the bowl aside and turned to deal with the stem. The tooth marks and chatter on the stem were not deep. I polished the stem with micromesh sanding pads – dry sanding with 1500-12000 grit sanding pads. I wiped it down after each sanding pad with a cloth containing some Obsidian Oil. I finished polishing it with Before & After Pipe Stem Polish – both Fine and Extra Fine and buffed it off with a cotton cloth.
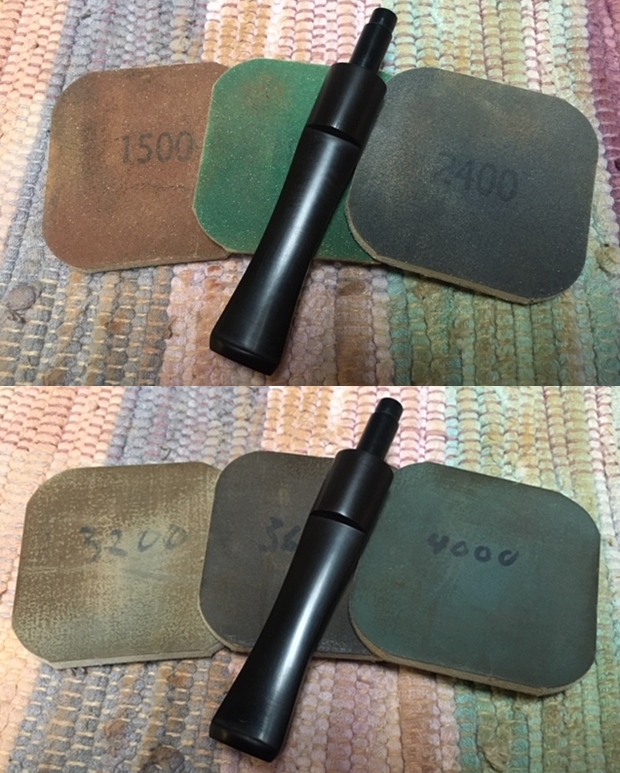
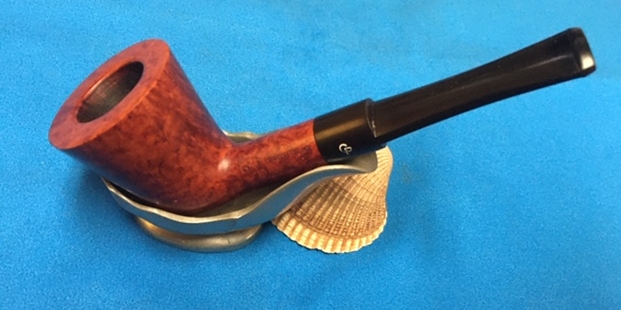
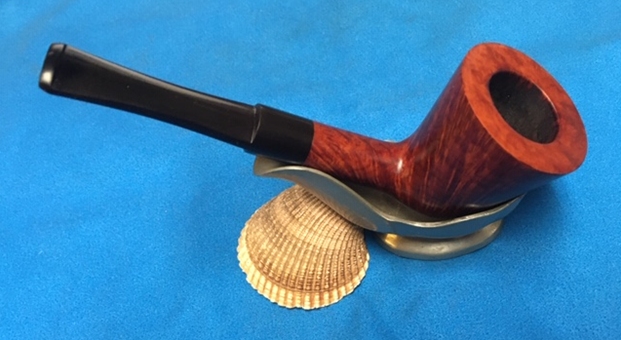
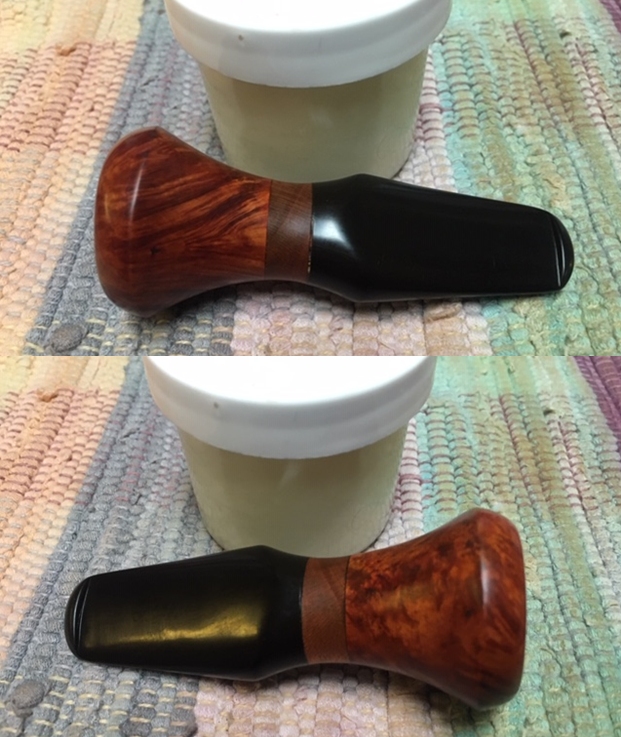
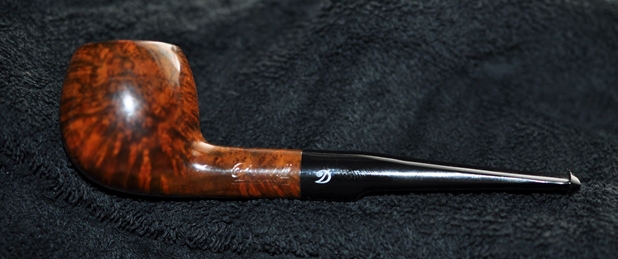
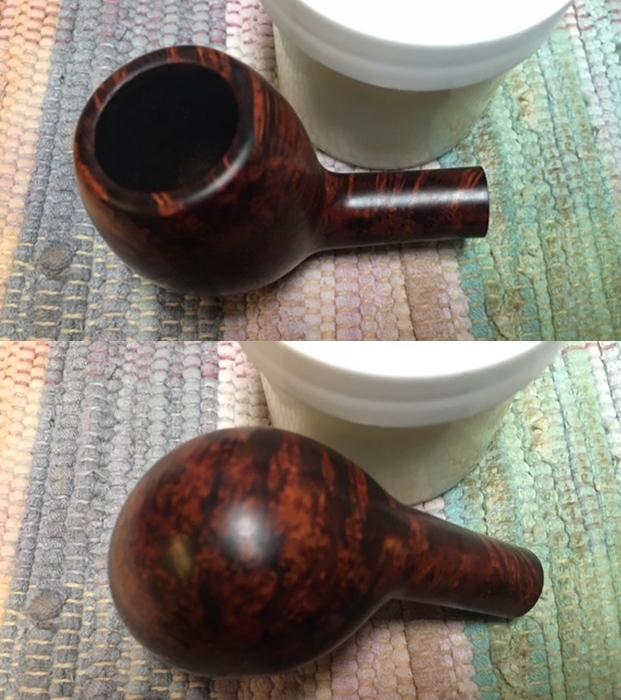
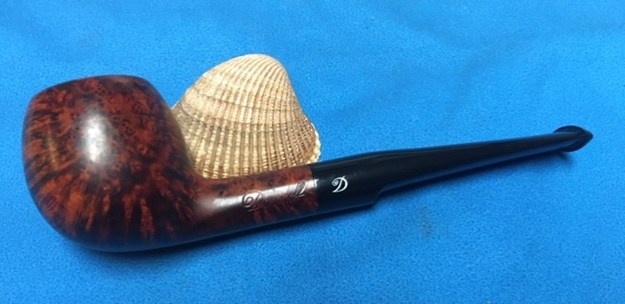
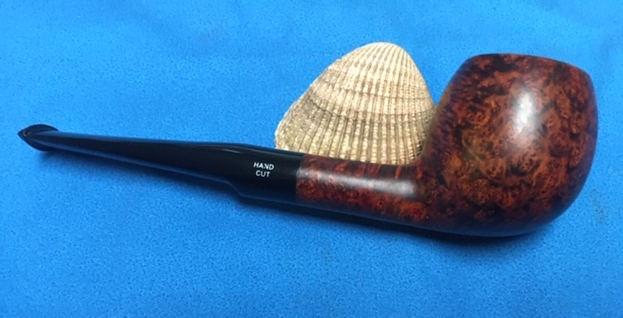
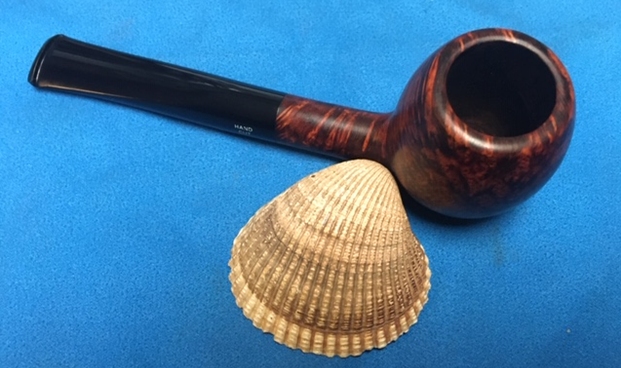
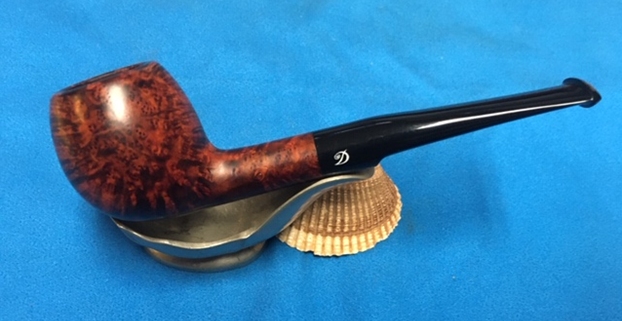
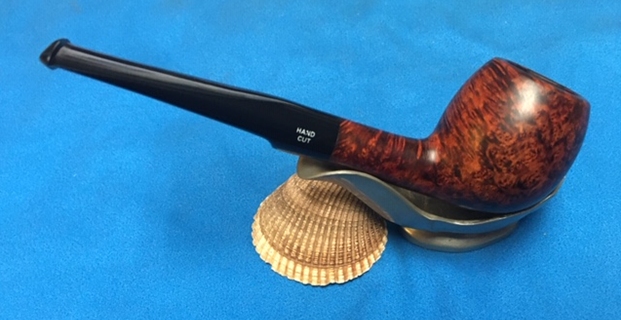
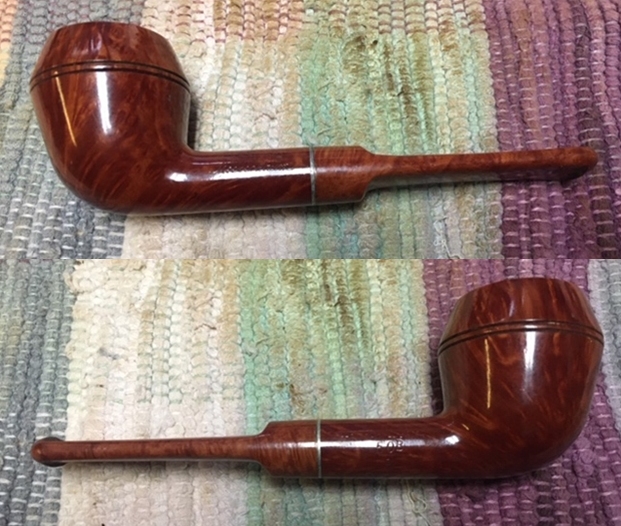
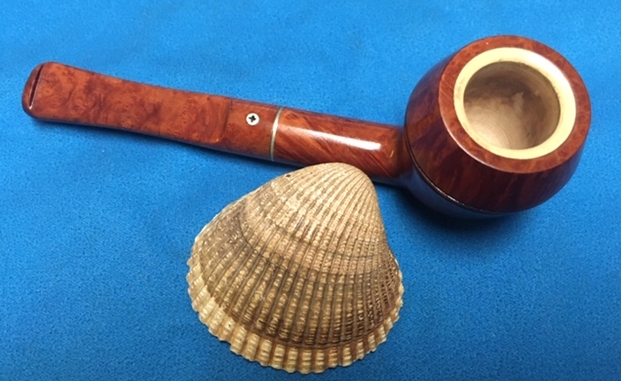
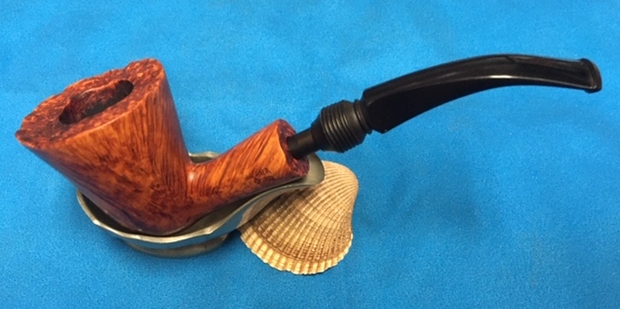
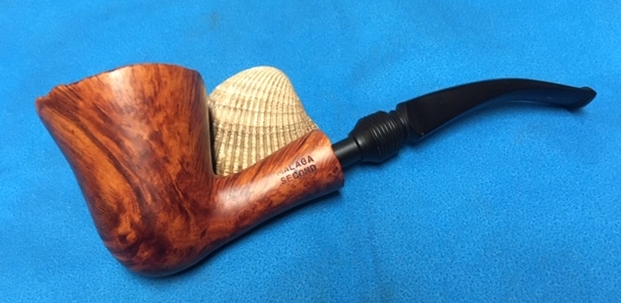
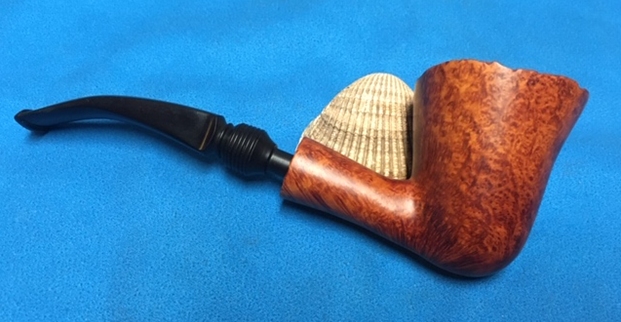
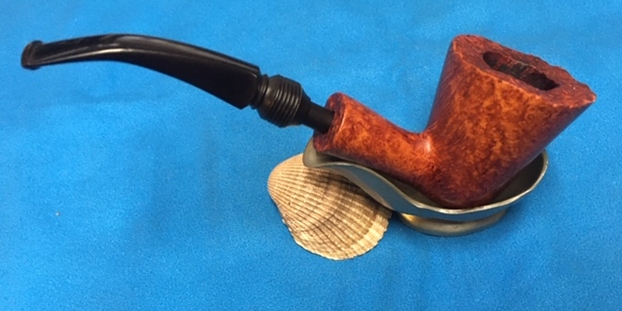
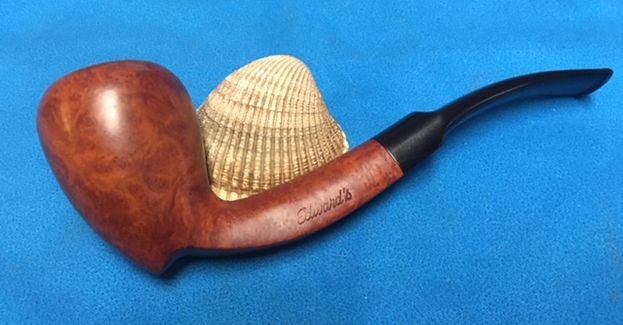
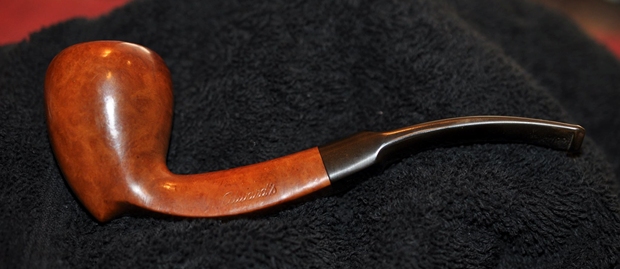
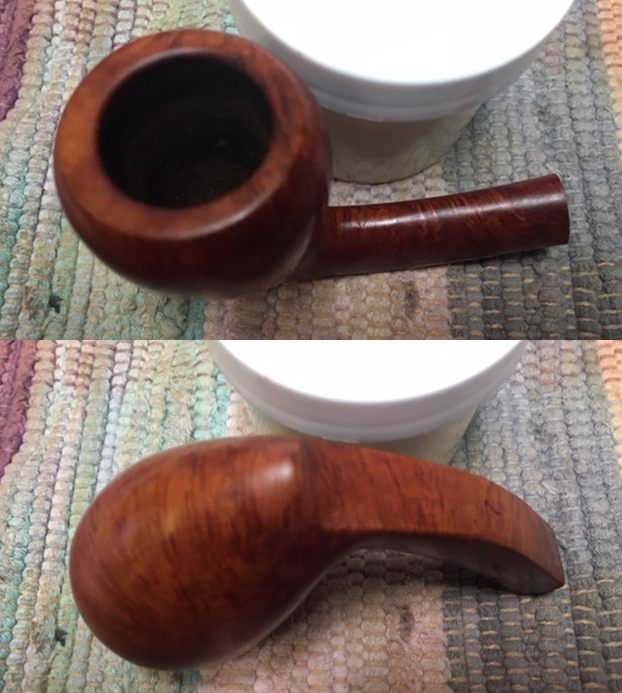
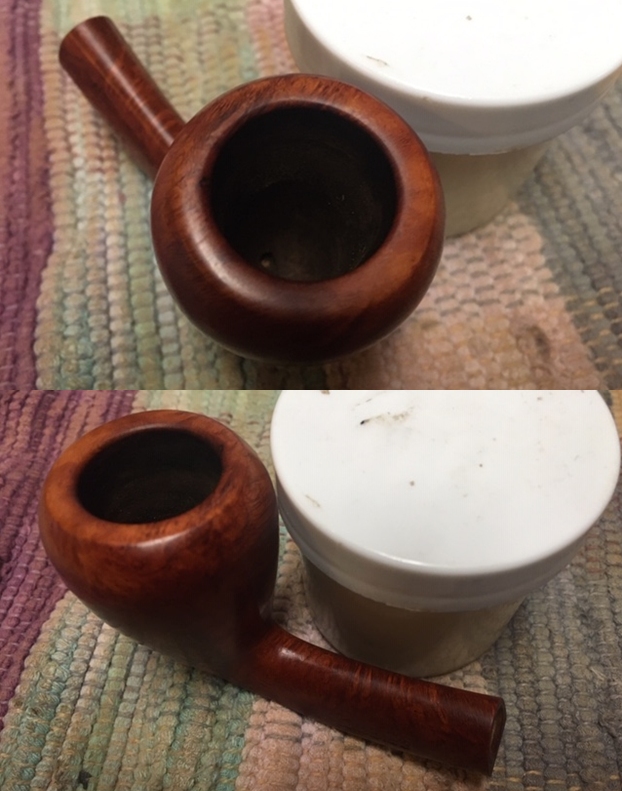
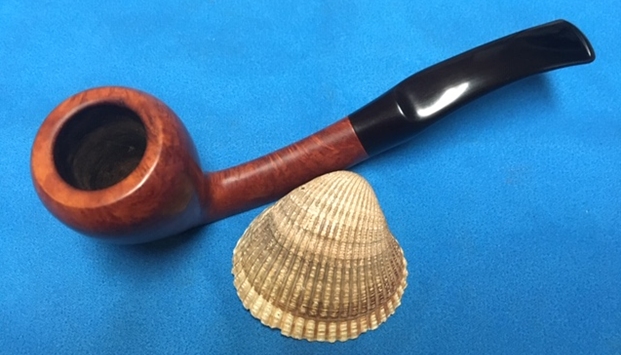
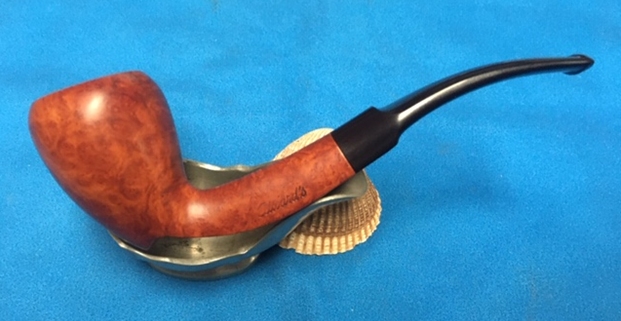
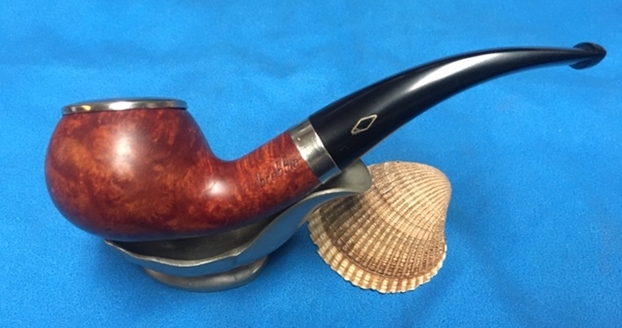
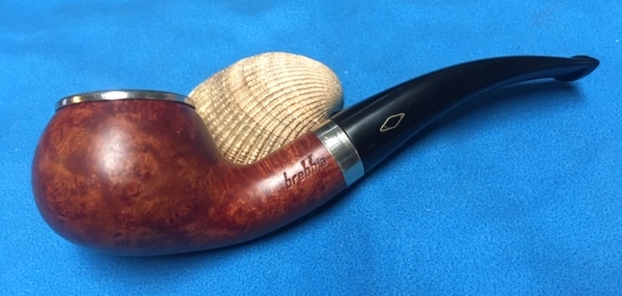
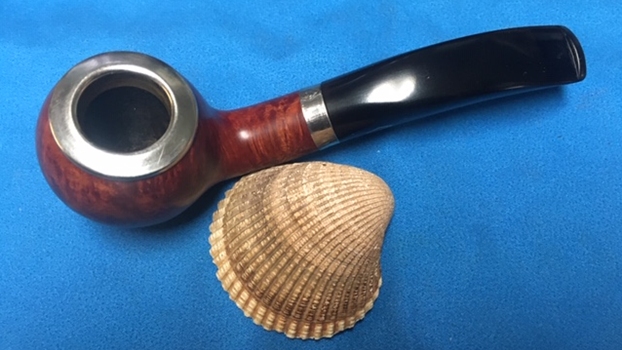
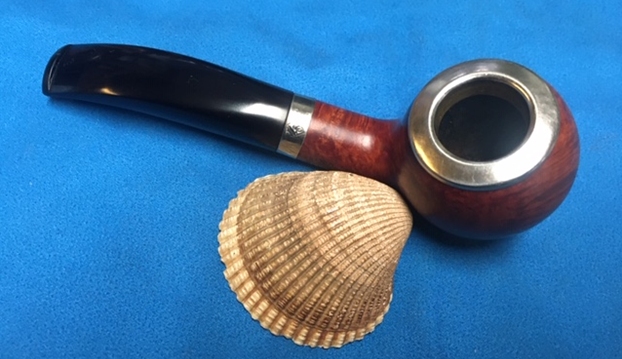
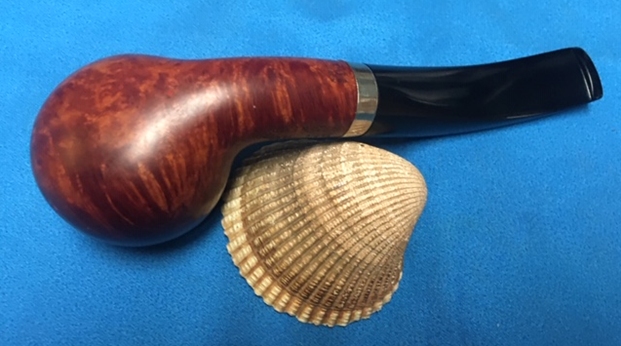
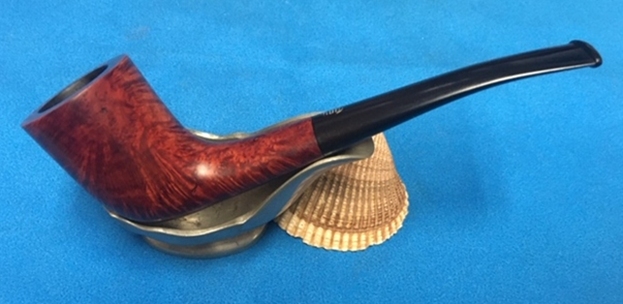
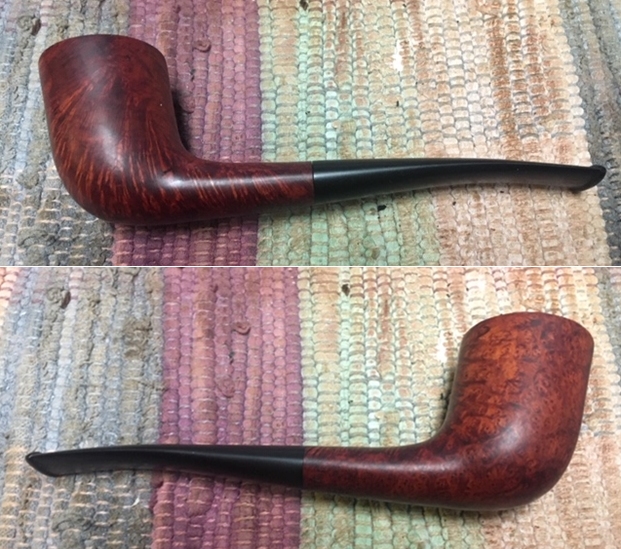
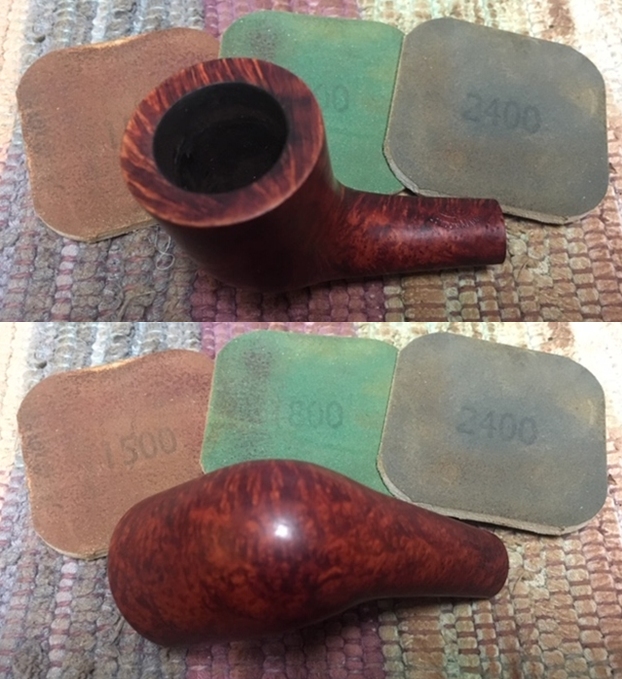
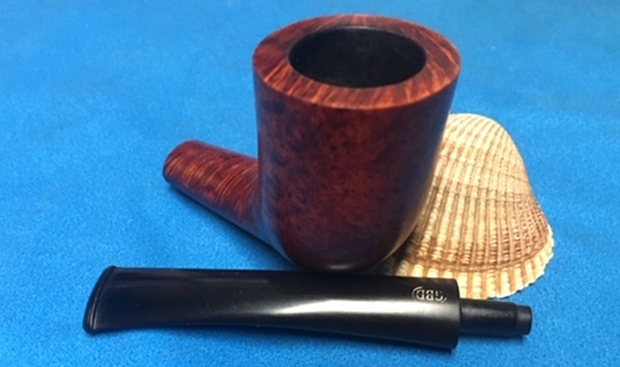
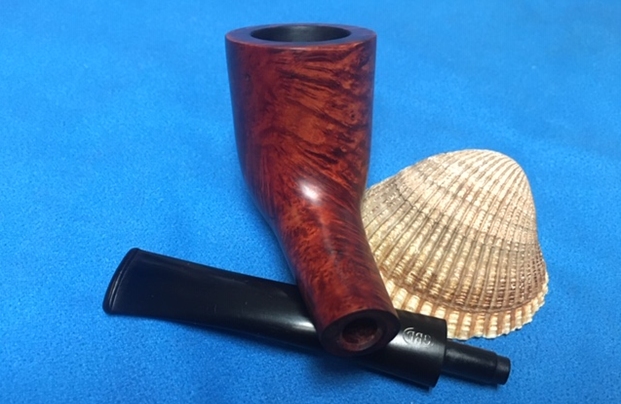
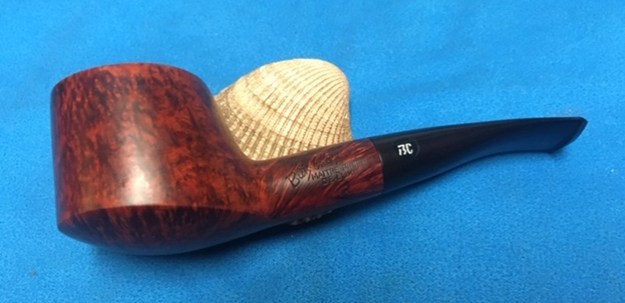
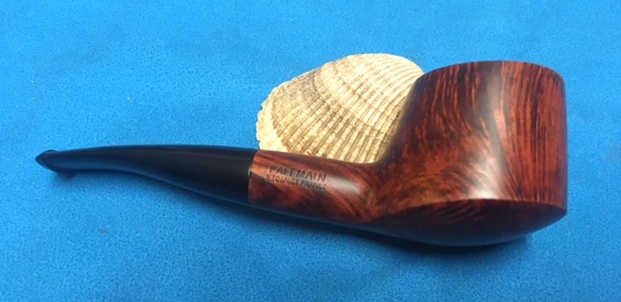
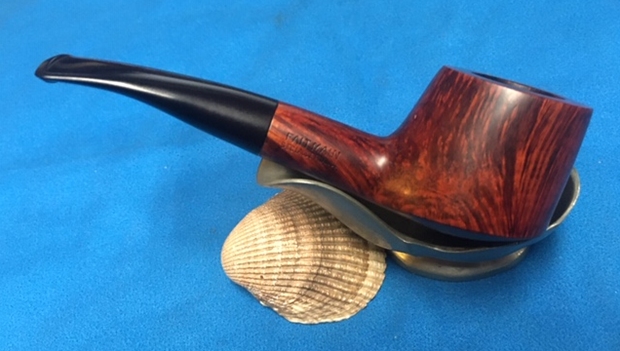
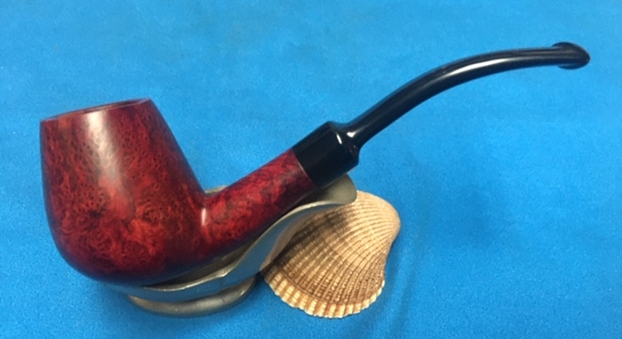
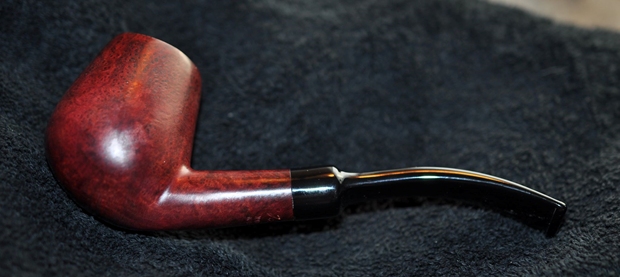
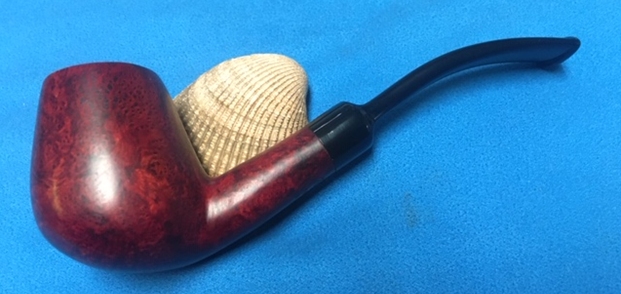
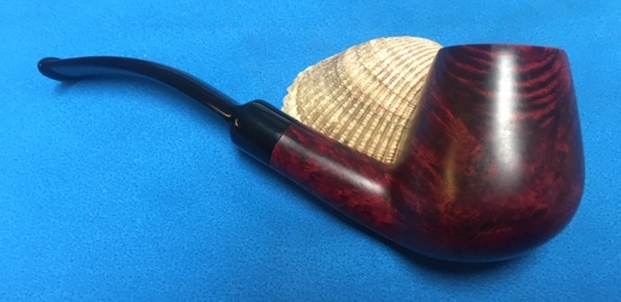
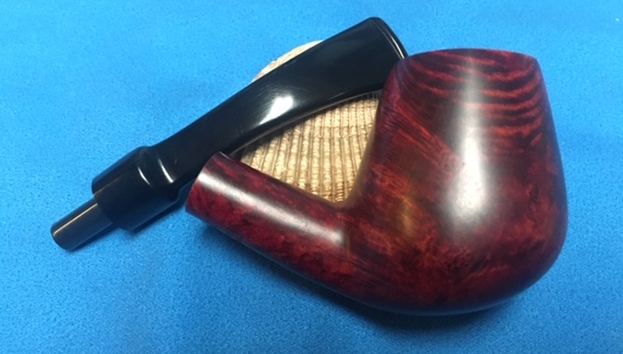
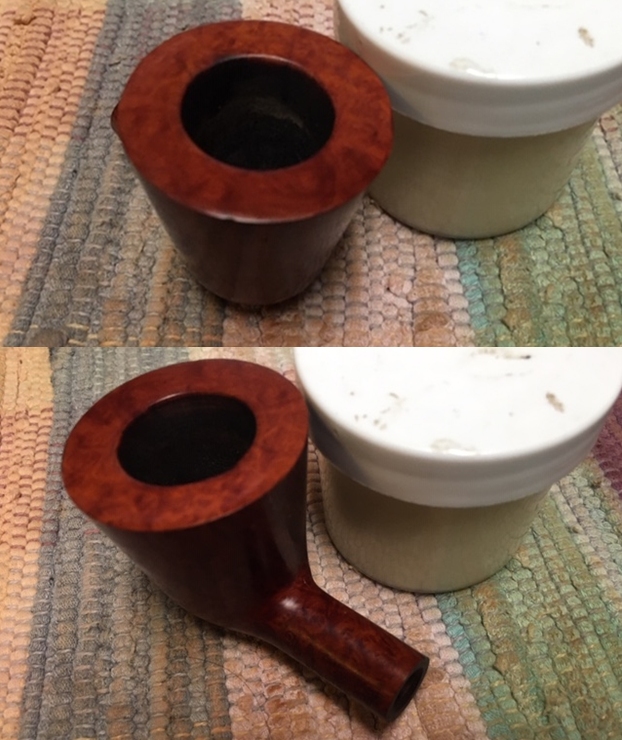
 This older Charatan pipe came together quite well. The finish on the pipe is in excellent condition and the contrasting stains work well with the black vulcanite saddle stem. With the grime and debris gone from the finish and the bowl it was a beauty and the grain just pops at this point. I put the stem back on the bowl and buffed the pipe with Blue Diamond on the buffing wheel. I carefully avoided the stamping on the shank and stem during the process. I gave the bowl and the stem multiple coats of carnauba wax on the buffing wheel and followed that by buffing it with a clean buffing pad on the buffer. I hand buffed the pipe with a microfiber cloth to deepen the shine. The finished Charatan’s Make Special 33X is quite beautiful and is a lovely Bell shaped pipe. The finish on the bowl combines various stains to give it depth. It is very well done. Give the finished pipe a look in the photos below. I can only tell you that it is much prettier in person than the photos capture. The dimensions of the pipe are Length: 5 inches, Height: 2 inches, Outside diameter of the bowl: 1 5/8 inches, Chamber diameter: ¾ of an inch. I really like this Bell shaped Charatan’s Make Special pipe and it really does remind me of one of my first pipe finds. This is a great looking pipe in great condition. Thanks for walking through the restoration with me as I worked over another beautiful pipe. Thanks for your time.