Guest Blog by Robert M. Boughton
Member, International Society of Codgers
Member, North American Society of Pipe Collectors
http://www.naspc.org
http://www.roadrunnerpipes.biz (Coming soon)
http://about.me/boughtonrobert
Photos © the Author
For there are moments in life, when the heart is so full of emotion,
That if by chance it be shaken, or into its depths like a pebble
Drops some careless word, it overflows, and its secret,
Spilt on the ground like water, can never be gathered together.
― From “Priscilla” in The Courtship of Miles Standish (1858), by Henry Wadsworth Longfellow (1807-1882), U.S. poet and author
INTRODUCTION
I suppose I should consider myself fortunate to have had many such moments in life as Longfellow described, and can only hope to be blessed with frequent more, yet when each occurs, the awareness never fails to strike like a suffering pleasure. Call me a sentimentalist, or a romanticist as were the poets who influenced Longfellow, or make of it what you will.
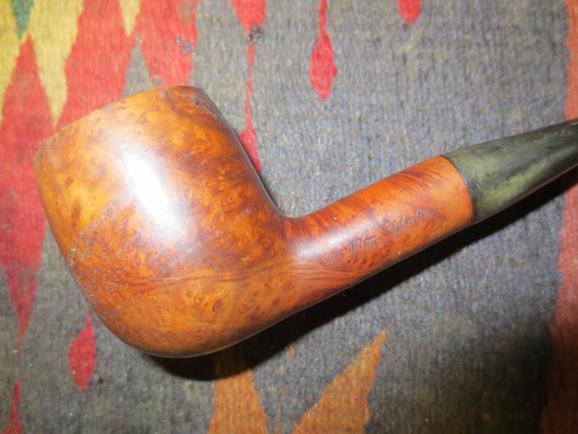
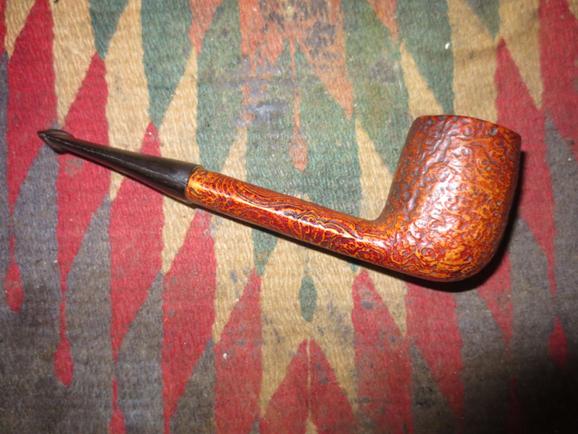
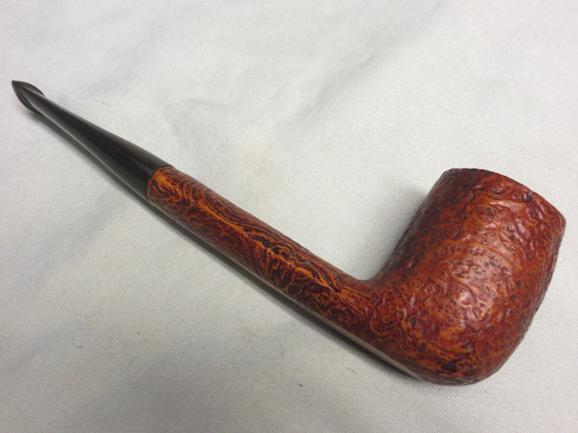
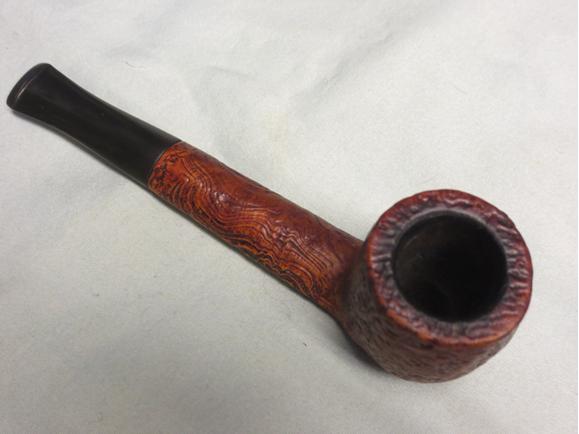
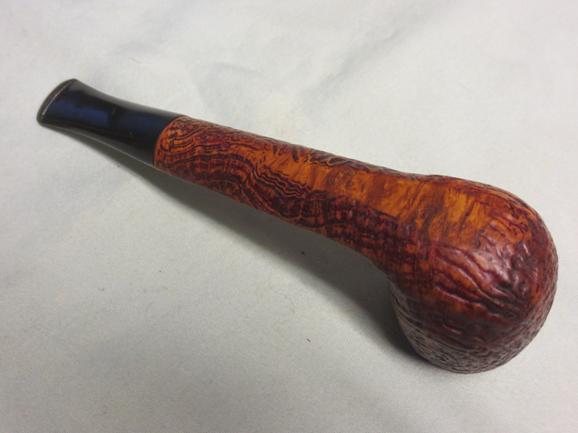
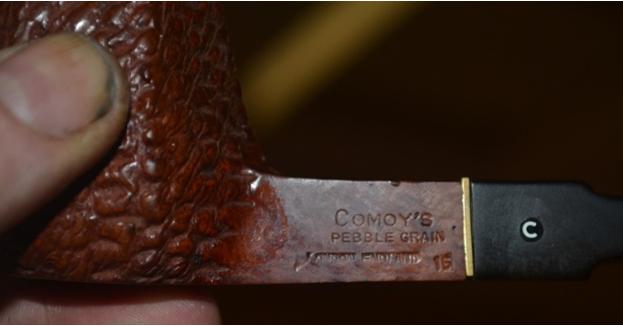
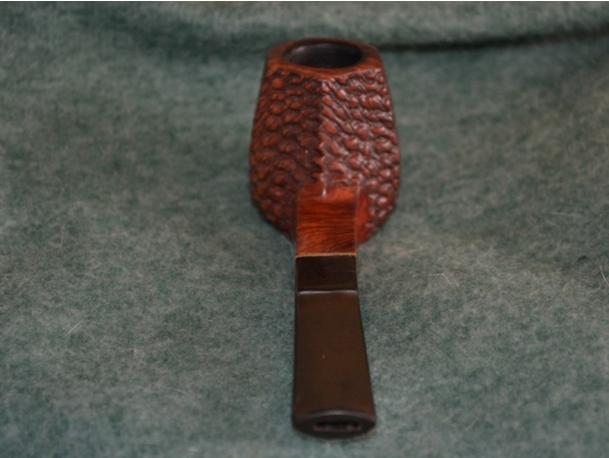
Several years ago, when I first began buying up numerous fine examples of restored pipes by my friend and mentor, Chuck Richards, I fell in love with the beautiful Comoy’s Pebble Grain Panel featured in this exercise in refurbishing. As I might as well admit at this point, my reaction to the coloring and fine pebbles adorning the panels and the unusual shapeliness of the pipe itself was as the great American poet described. Many other works of art created for the enjoyment of pipe tobacco, some of which I have had the pleasure of acquiring and quite a few more remaining on my wish list, affected my sensibilities (in the philosophical sense) in a similar manner.
Still, the persistence of my attraction to this singular pipe has never lessened. Perhaps this reaction was a result of the fact that, in a moment of largess, I promised the special pipe to a friend who prefers cigars but was interested in taking up the fairer form of smoking – and on frequent occasions since then, I have been able to appreciate its allure, albeit in the hands of another man.
With that chemistry in mind, I have on a few occasions, with permission from my friend of course, again held the full-figured darling in my own appreciative embrace to ensure that she has been given the care and respect deserved. I am happy to report that the lovely creature has received excellent if frequent attention.
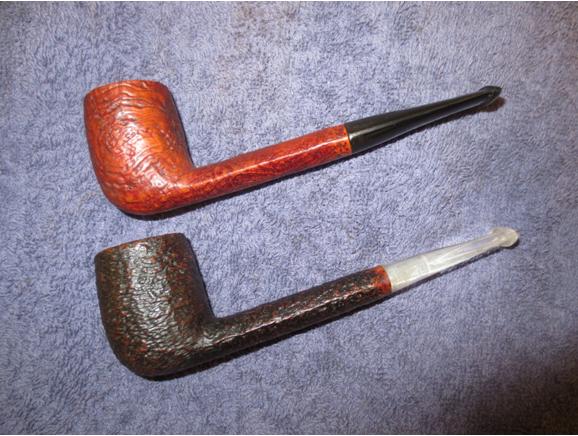
That said, and recognizing that when I first cleaned the Comoy’s a few years back for my friend, Mike Brasel, I knew even less about restoration and refurbishing than I do now, I knew I could make the lovely pipe better than when I gave it away. If anyone detects a touch of regret in those last words, it is only because… well, it’s the truth! There. I got that confession out of the way. I also had taken no photos of the pebble grain before I turned it over to the care of Mike, and concluded that one easy way to correct that mistake was to get it back in my hands long enough to give the pipe a little needed cleaning. Machiavellian? Somewhat. Sneaky? Definitely. Regrets? None.
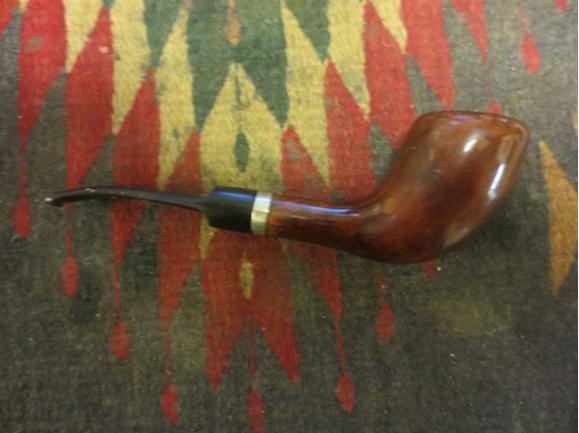
My primary solace for the loss of the pebble grain is two-fold: other than getting to see it on a regular basis, I can observe its regular upkeep. I knew Mike was in the good habit of running bristly cleaners through it but had no idea he must do so after every smoke until I at last was able to convince Mike to entrust me with the Comoy’s a few days ago. He actually paid me for a sweet, vintage Kaywoodie Signet bent smooth billiard I restored about a year ago (my first experience cleaning a pipe properly with a retort). I believe it dates to the 1960s if not a little earlier. Mike therefore had a substitute to use in the other pipe’s absence.
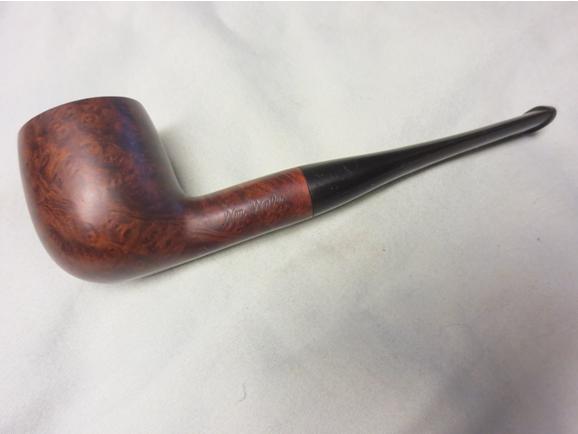
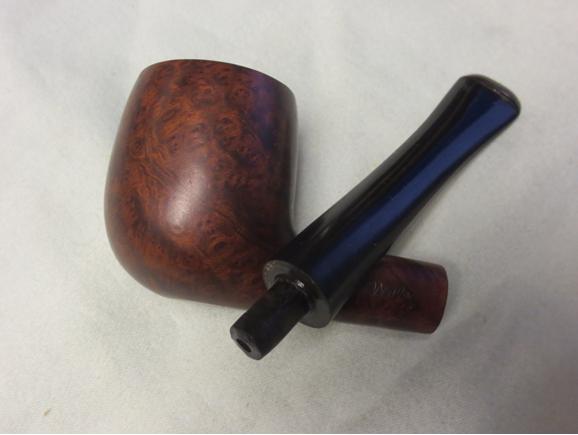
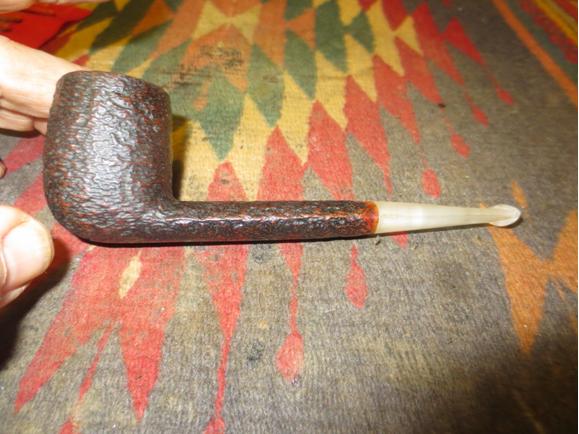
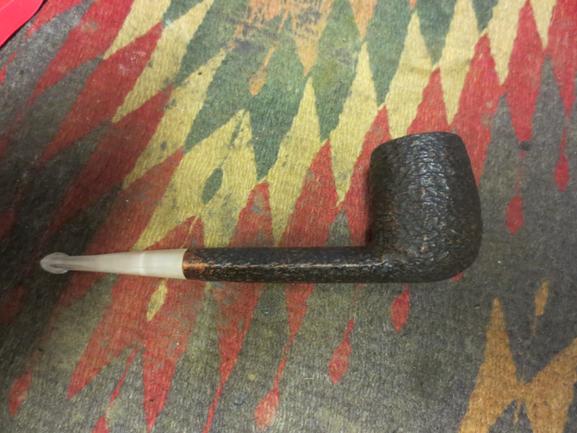
The reason I chose the Comoy’s for Mike in the first place was his comment that he had been unable to find a big, thick, sturdy enough pipe that would never overheat at a price he could afford. I knew the pebble grain would be perfect for his needs and fit his personality at the same time. But based on his standards for appreciating the thick-skinned Comoy’s, I was surprised and more than a little concerned when he picked the Kaywoodie from my restores available for sale. Nevertheless, while enjoying his first bowl of McClellands 2015 Christmas Cheer in his new Signet, Mike told me it smokes great and is easier to control without holding. The photo below was snapped just as he was about to remove it from his mouth.

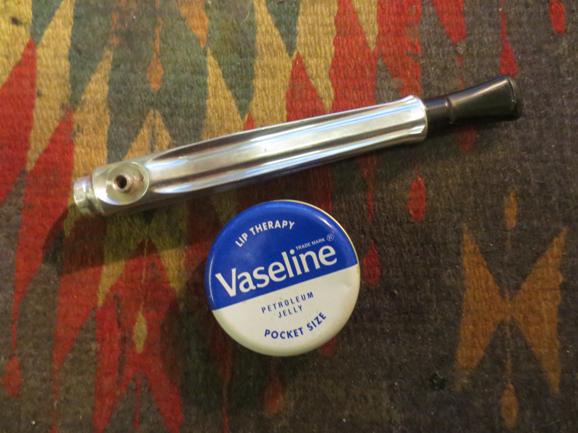
Mike trying out his Kaywoodie the first time
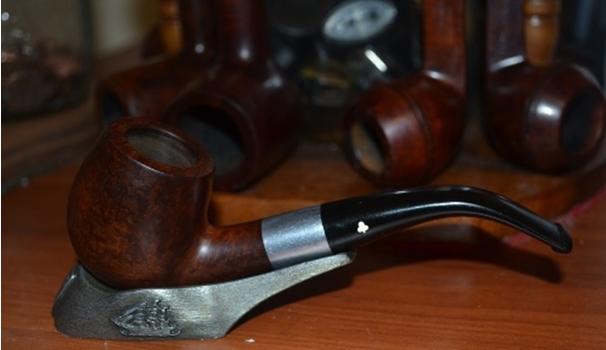
Mike’s new pipe

 AN ASIDE
I see Mike at our local tobacconist almost every time I’m there, and for the most part he smokes the cigars he still loves. On occasion, I’ll even buy one and light it up myself. It’s true, I enjoy a good candela on special occasions, in particular when I can get my hands on a genuine Havana, which is a treat I have savored only five times: twice on trips to visit my mother when she lived in Cozumel, Mexico; once with another onto which I slipped a Nicaraguan band and smuggled back to the States (although the Customs agents at the border picked it right out from the little humidor box I handed them, which otherwise had legal varieties, and smiled at each other before letting me get away with my attempt at subterfuge); again with a gift from a former co-worker in grocery store deli merchandising, this one being, I was certain, a fake – until I held it and noted the unique paleness and skin-like suppleness of the green wrapper, and the last that I bought from a friend in England who was a true gentleman to mail to me along with three more I purchased for Mike and a couple of other cigar aficionados I know. All of the Cubans I’ve smoked required hours to finish and left me with an almost illicitly pleasant, light-headed giddiness.
BACK TO THE REFURBISH
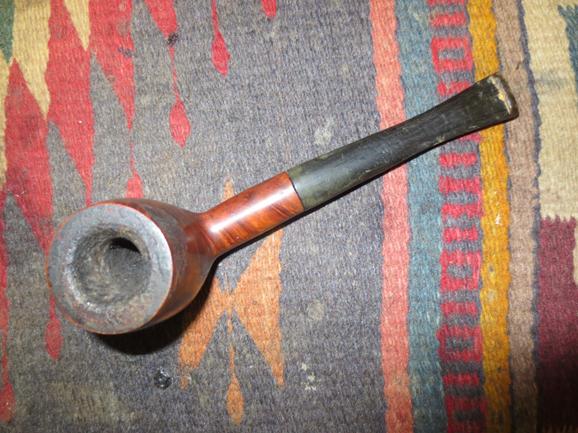
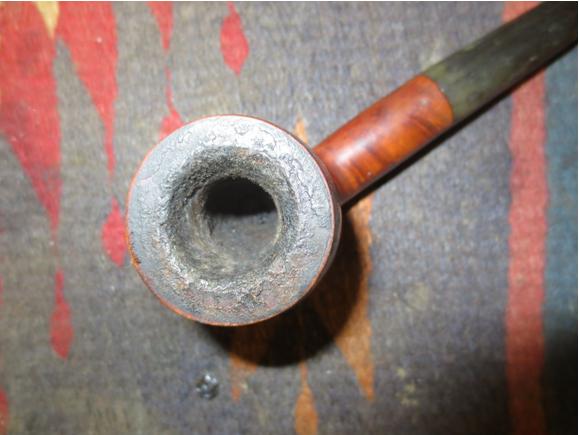
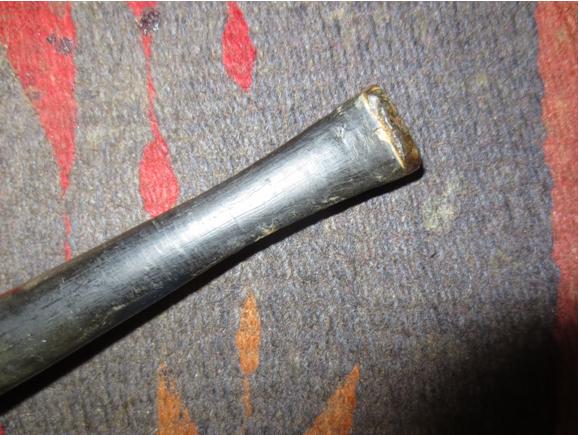
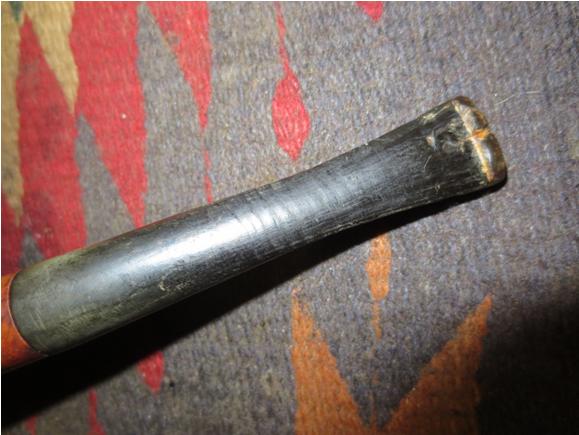
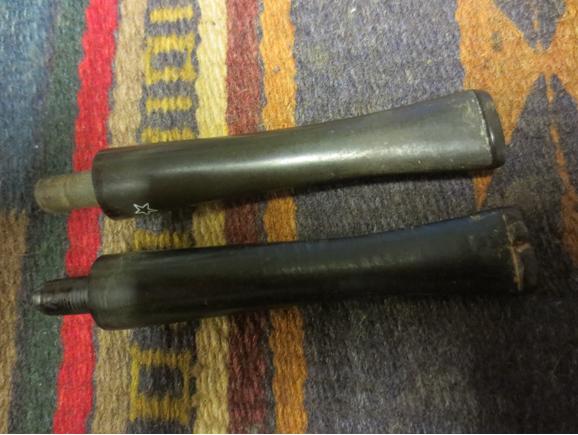
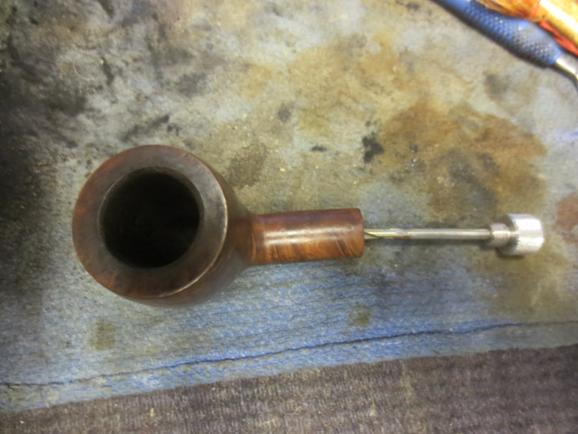
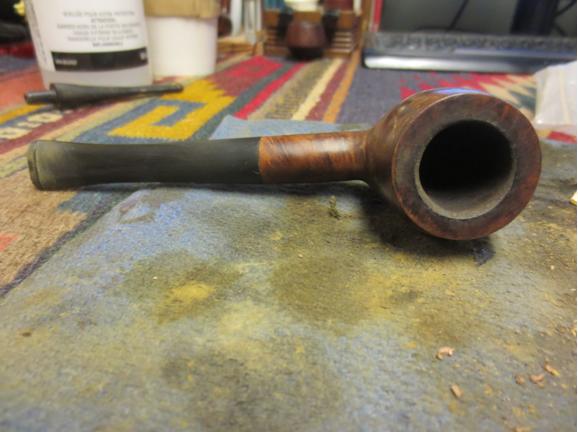
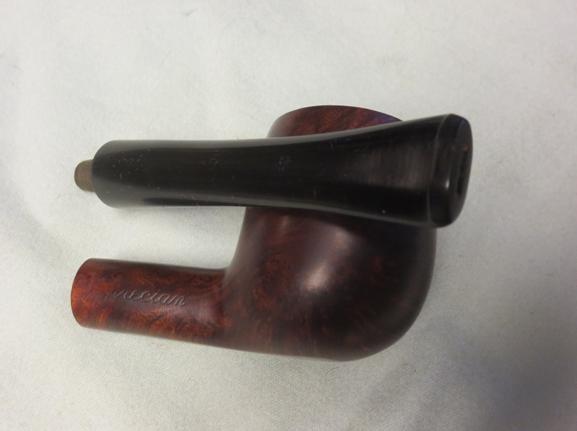
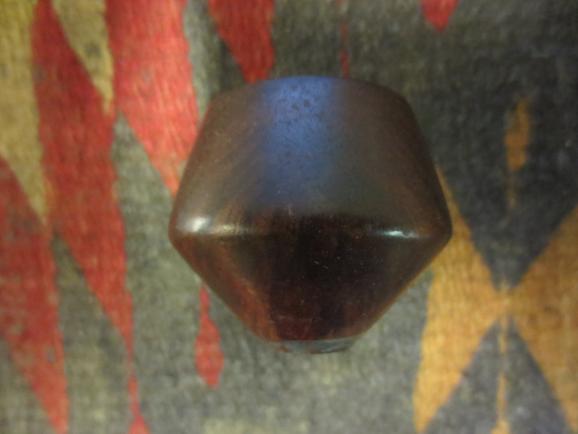
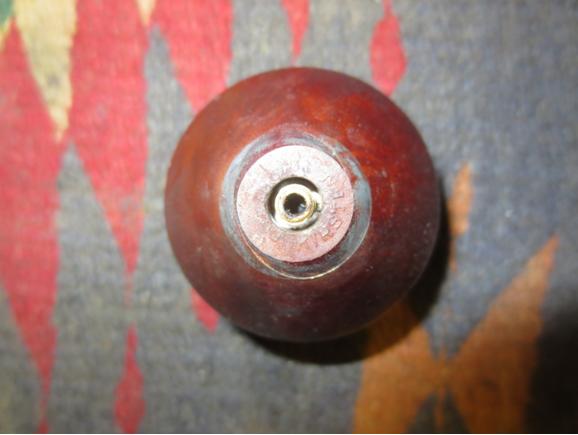
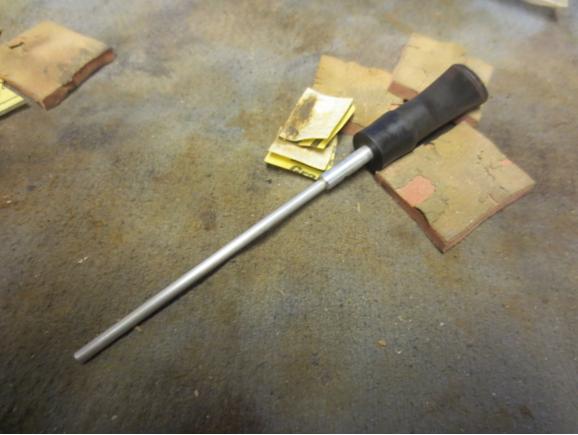
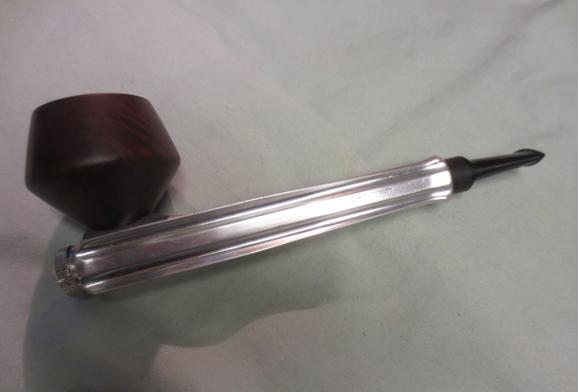
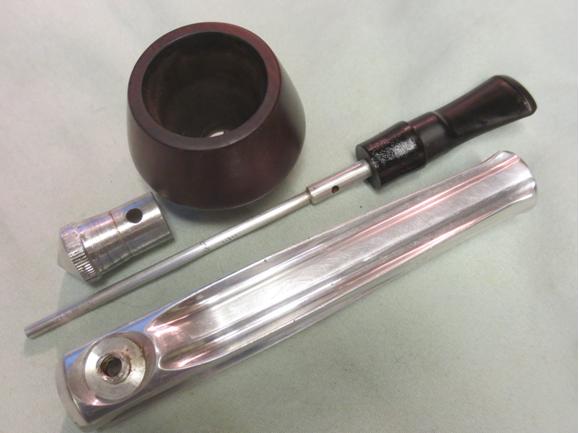
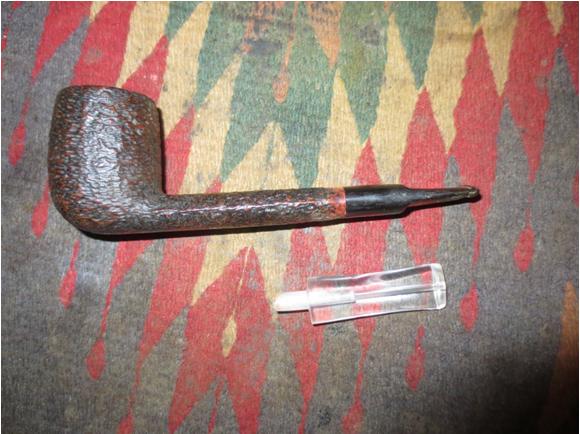
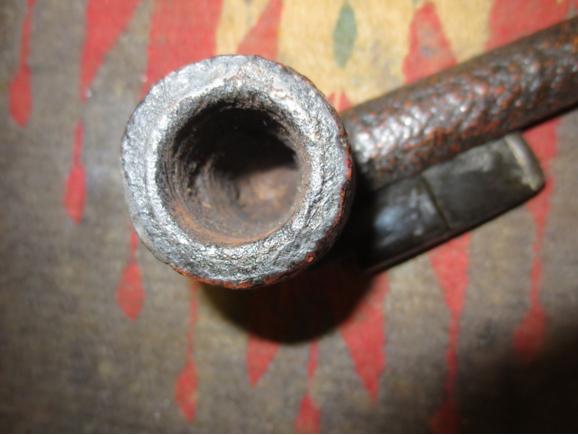
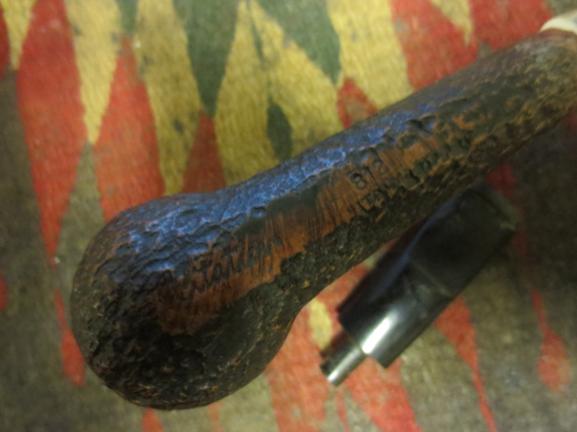
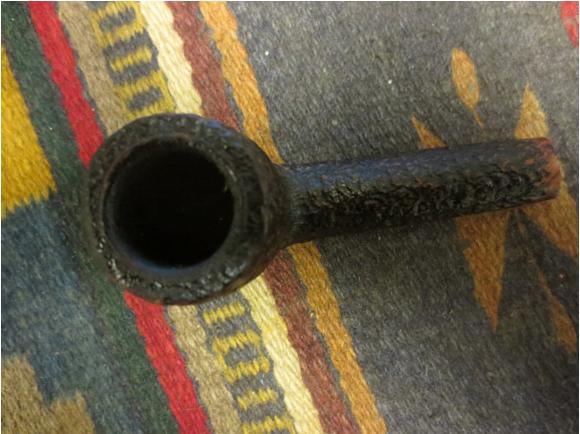
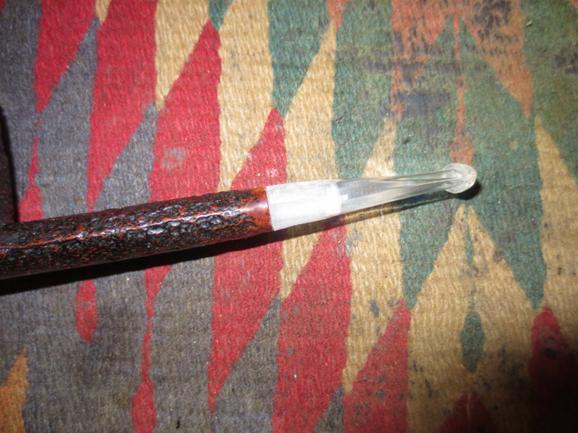
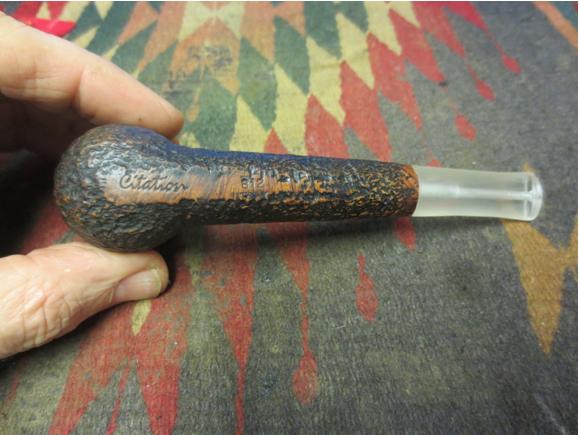
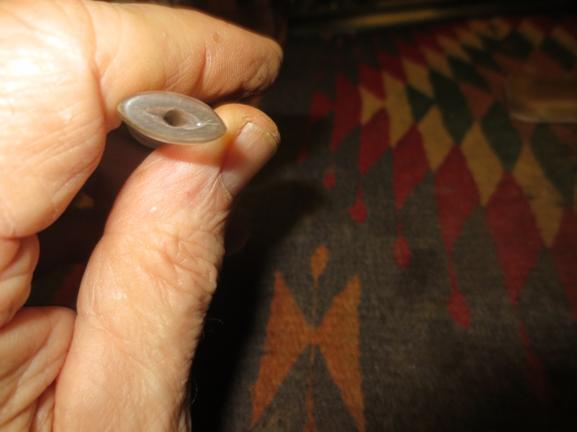
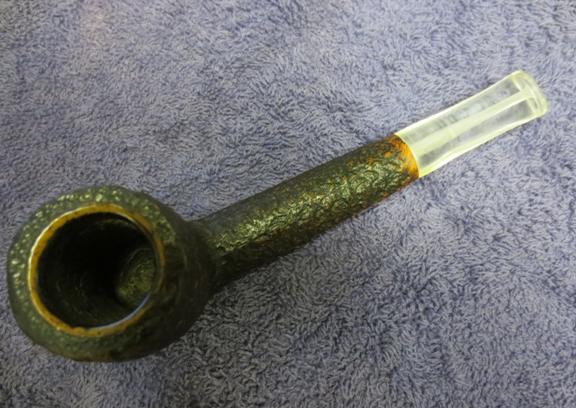
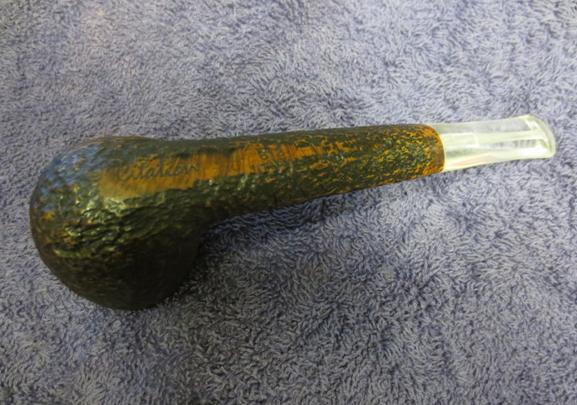
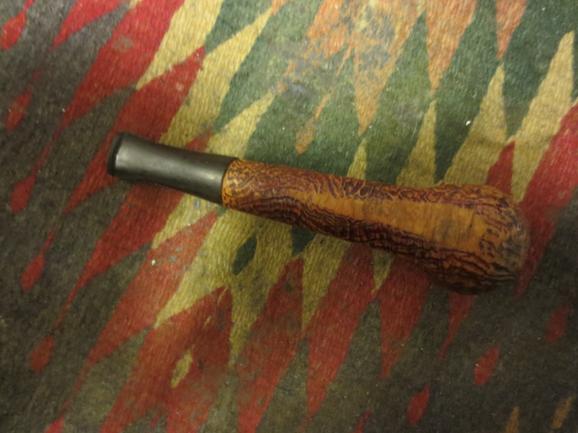
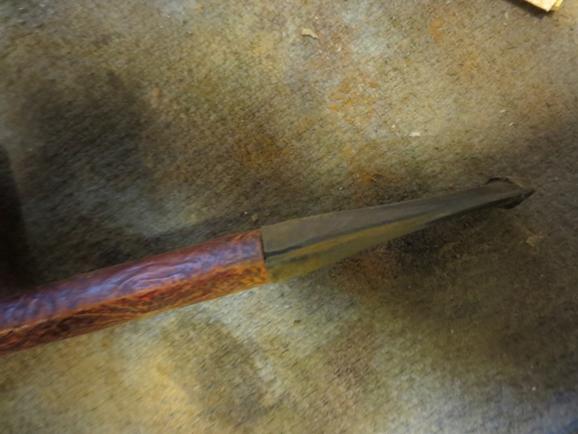
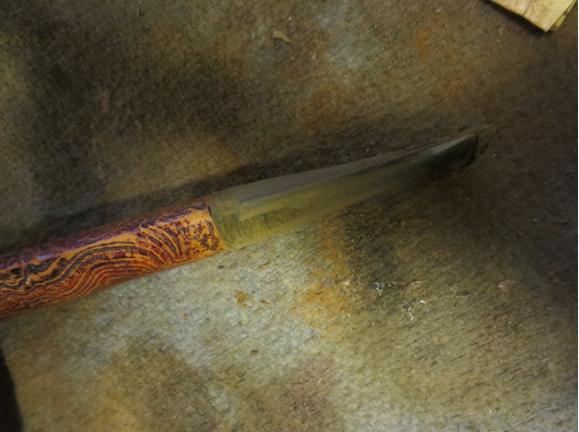
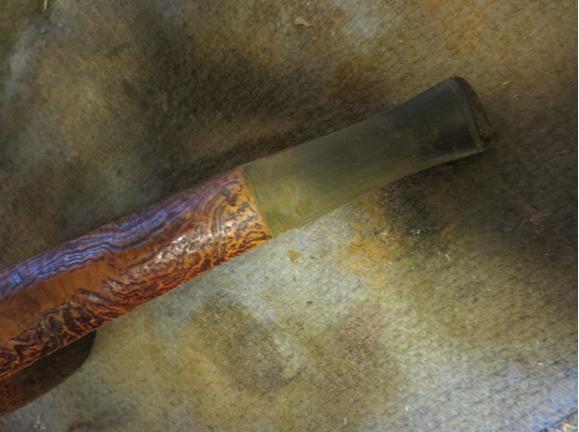
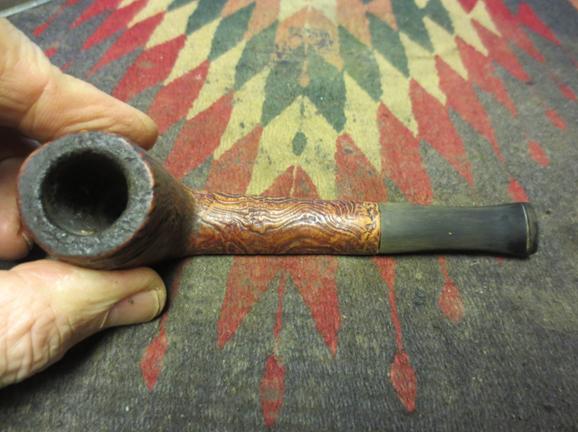
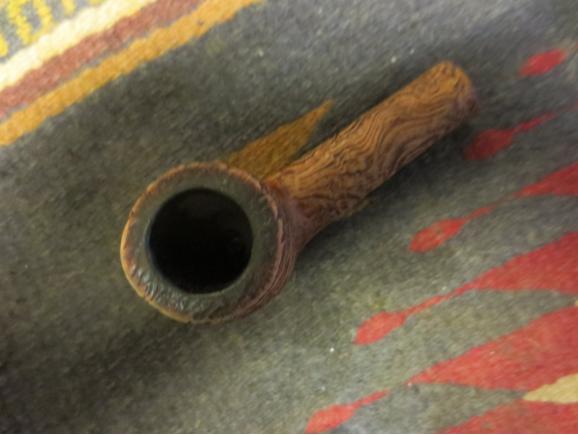
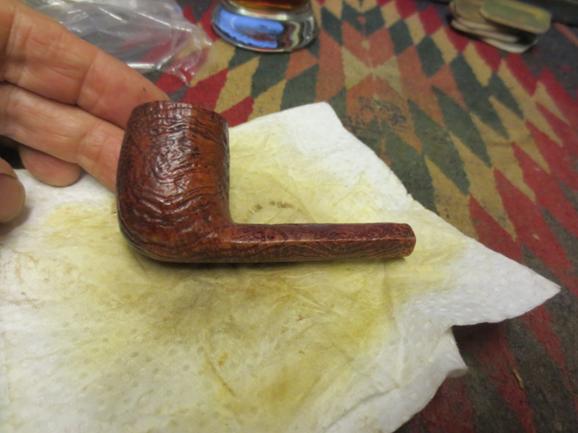
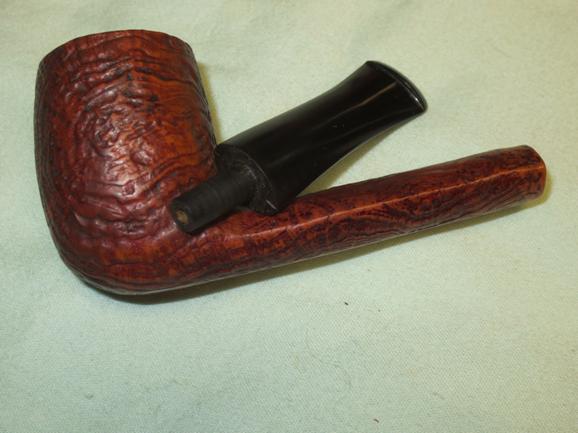
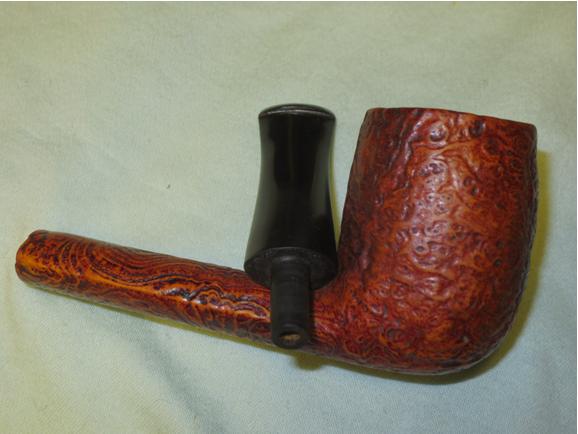
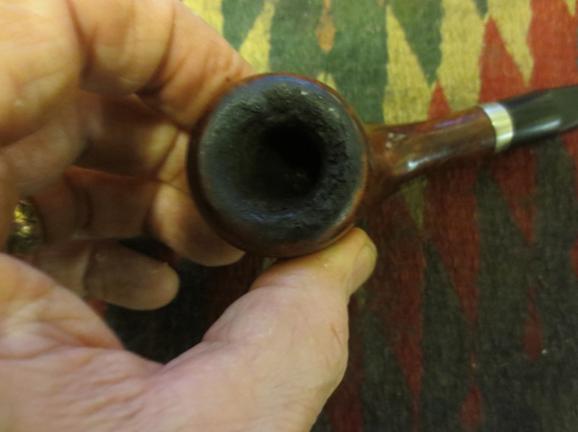
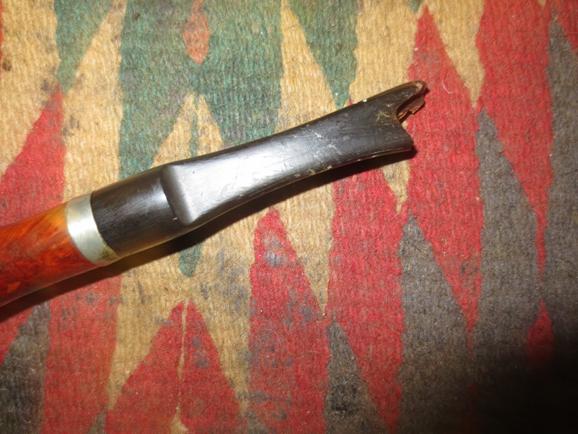
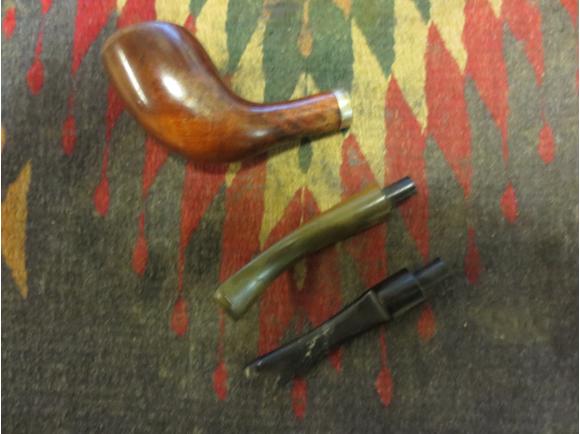
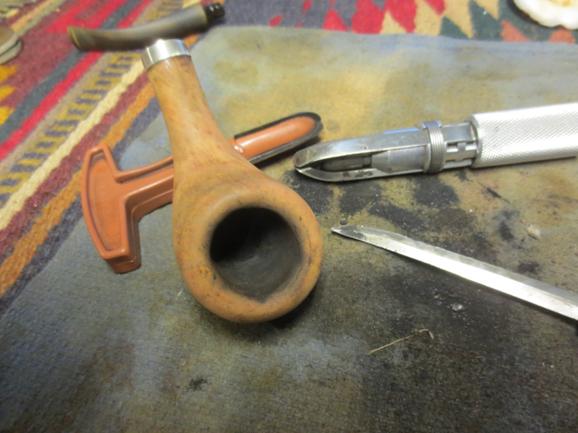
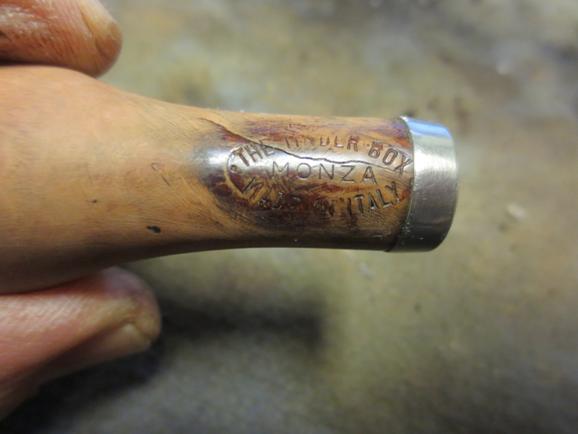
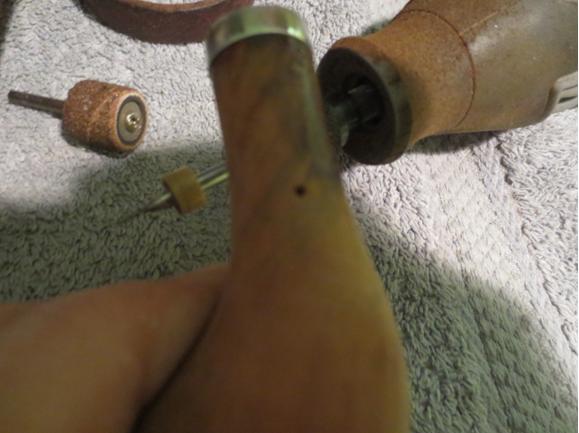
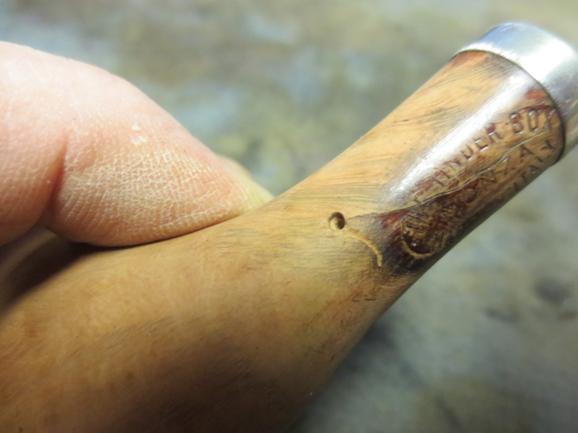
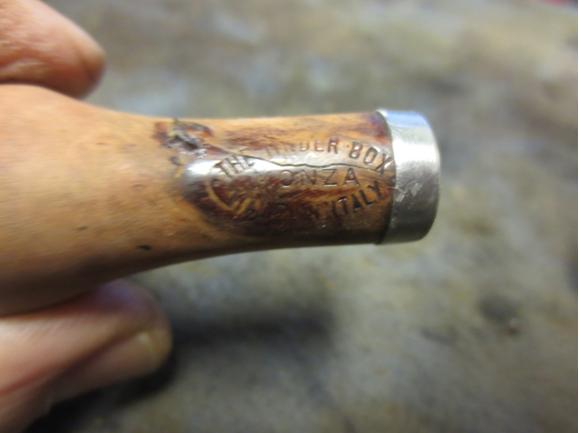
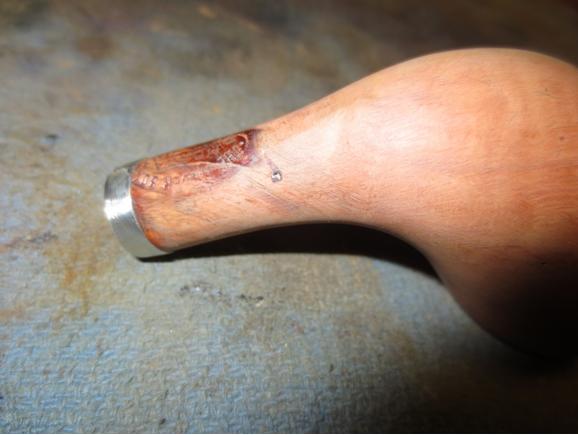
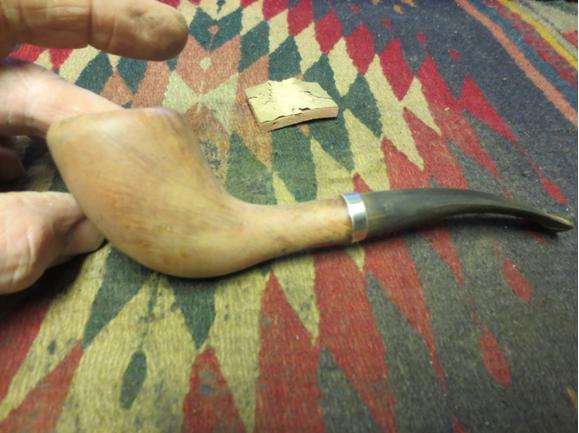
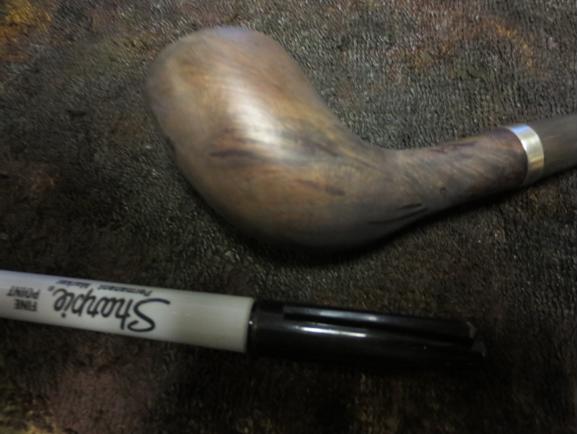
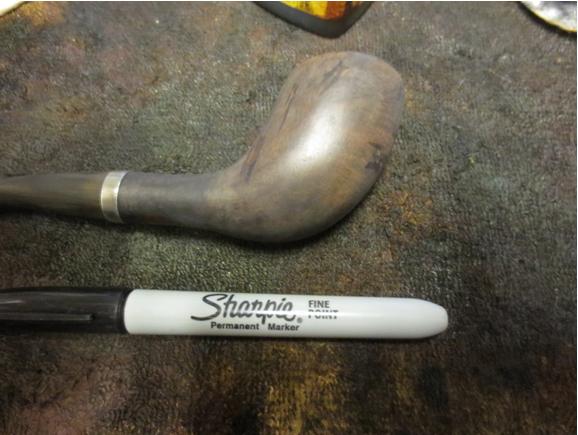
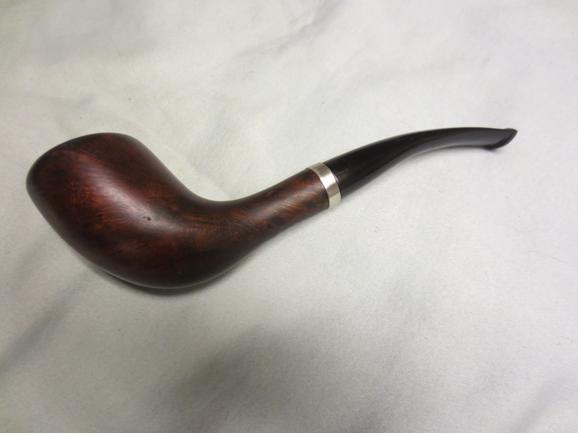
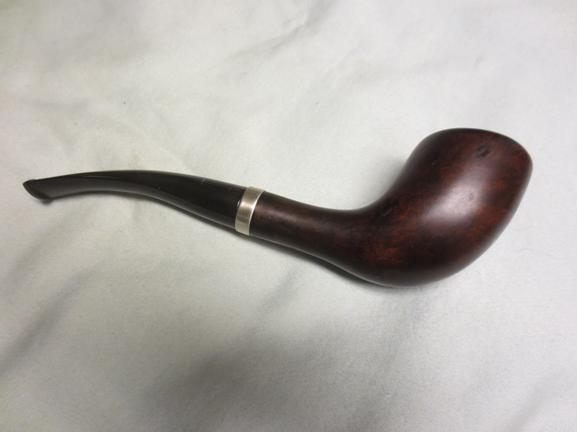
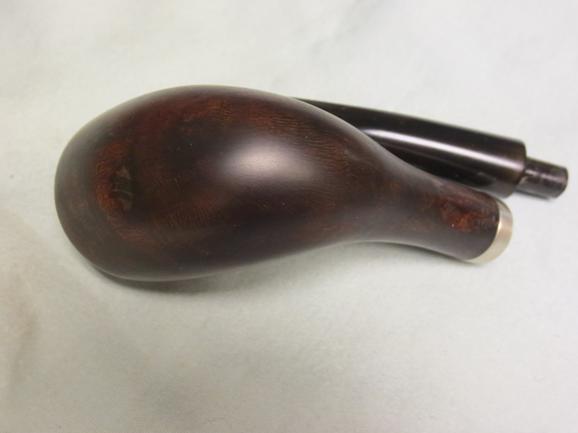
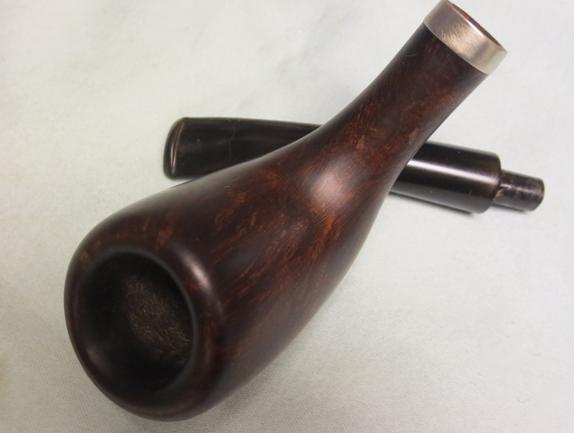
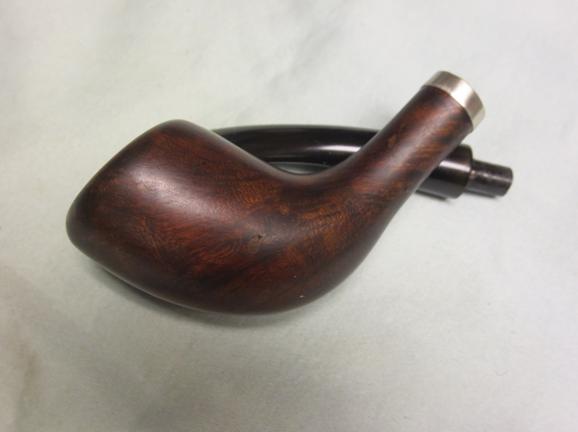
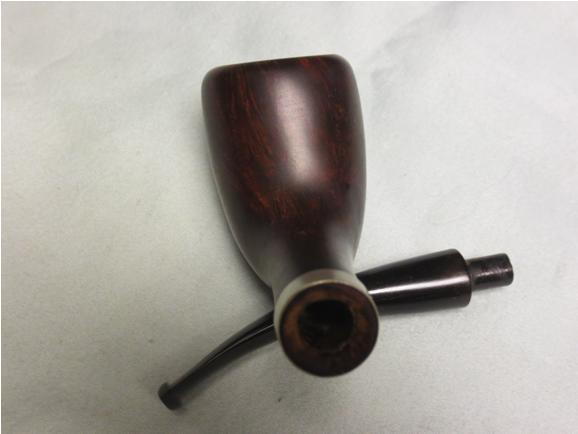
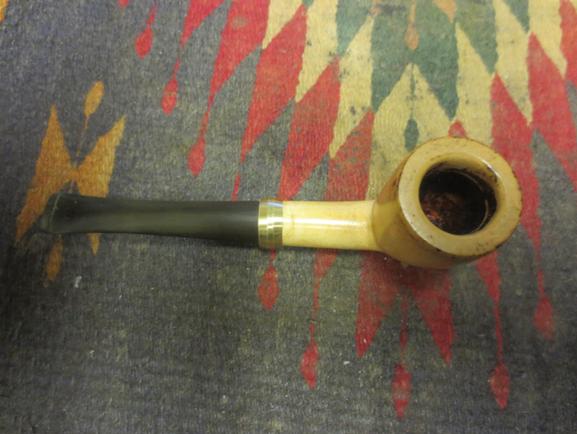
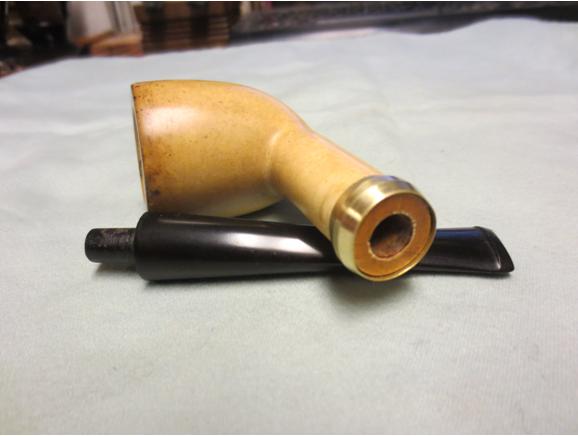
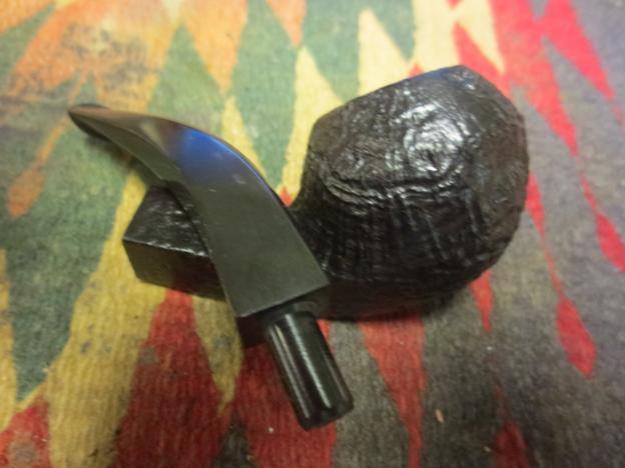
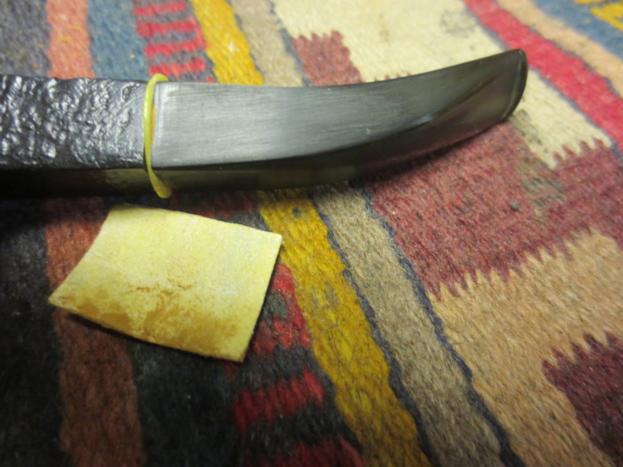
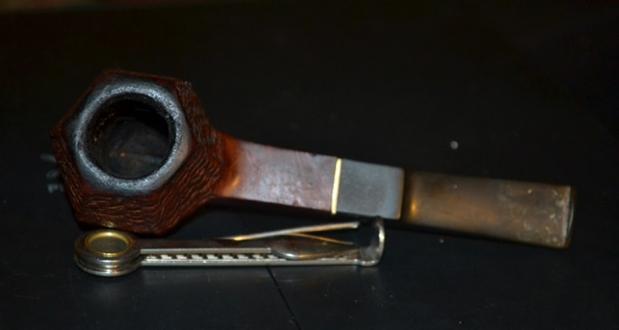
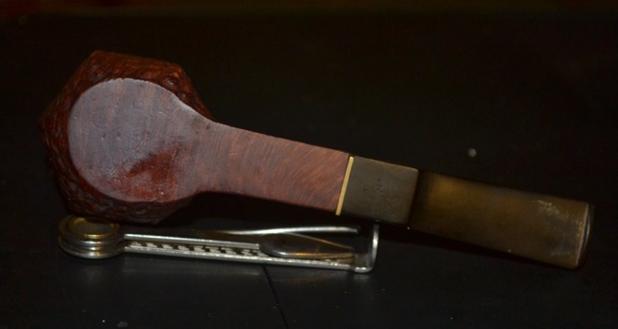
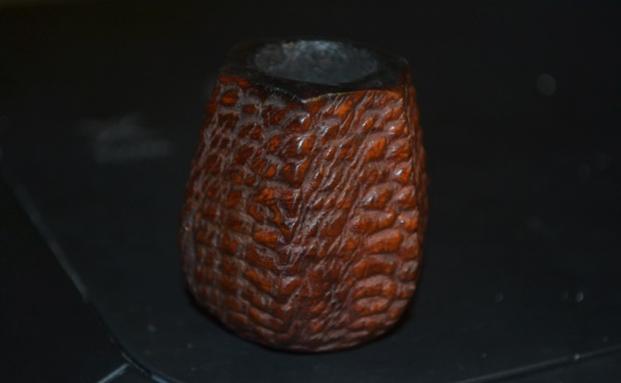
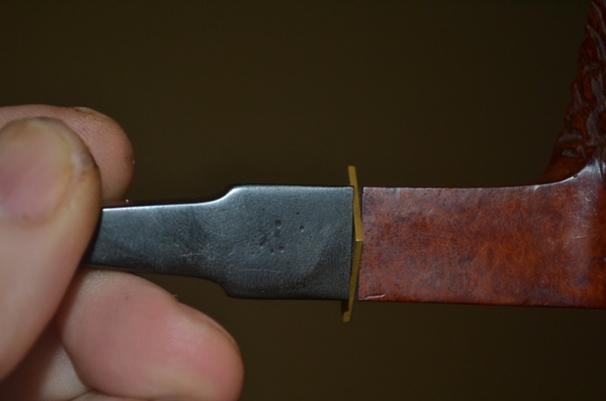
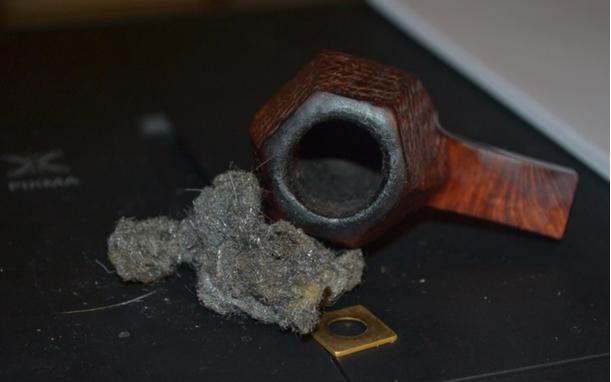
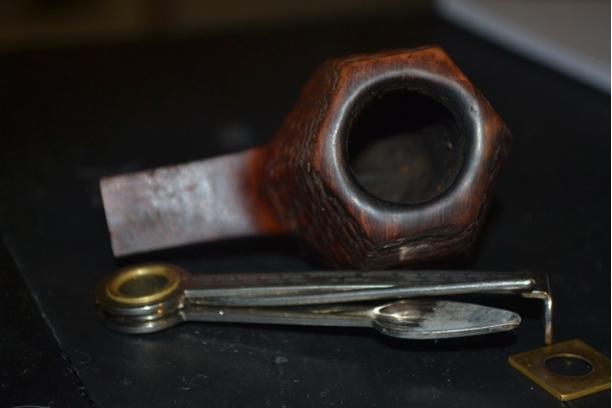
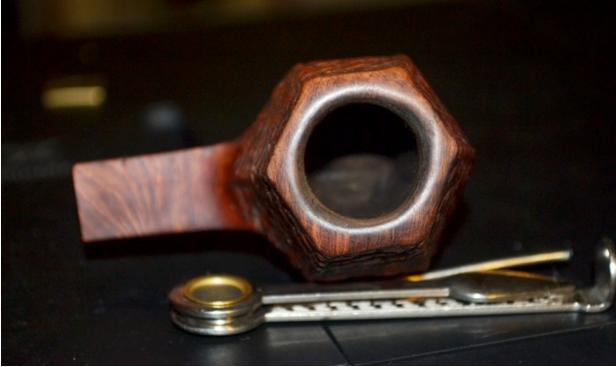
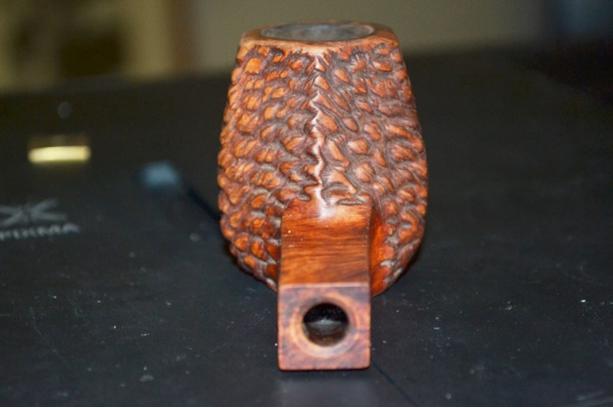
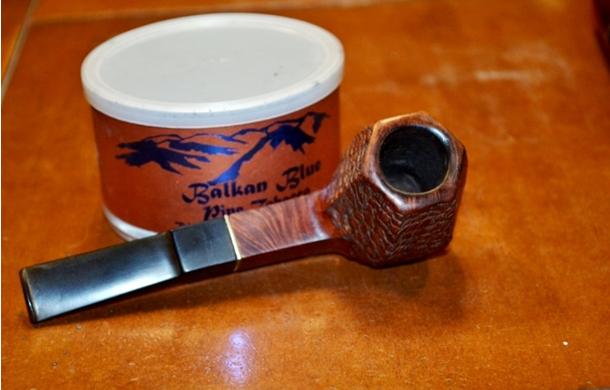
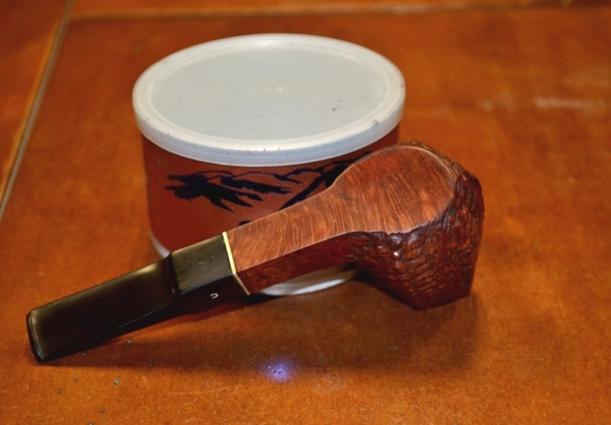
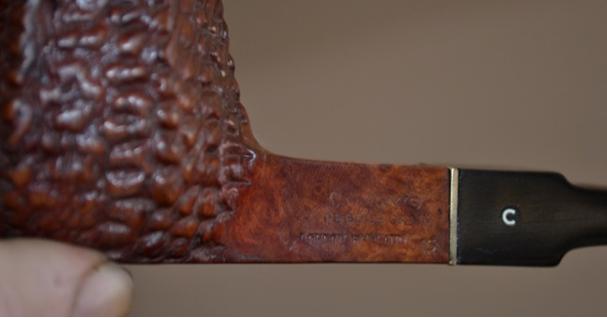
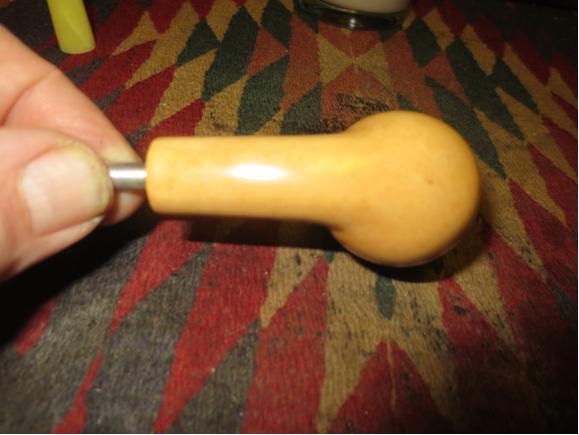
And so I was somewhat amazed to see from tell-tale signs on the Comoy’s that it had been used far more often than I suspected. The rim, of course, was the first hint, blackened as it was. Then there were the slight dents on both sides of the top of the shank, visible in the third photo above, and some minor scratches on the rest of the wood. However, the most revealing symptoms of frequent use were the general grime on the outer briar and the lip end of the bit. I also discovered, without even removing the bit from the shank, that the thin brass band that had been connected to the bit had come loose.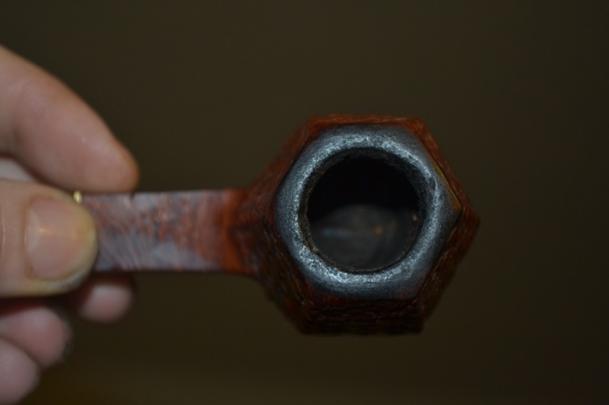
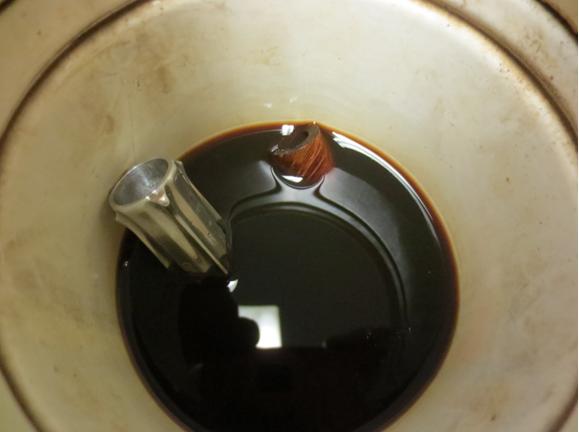
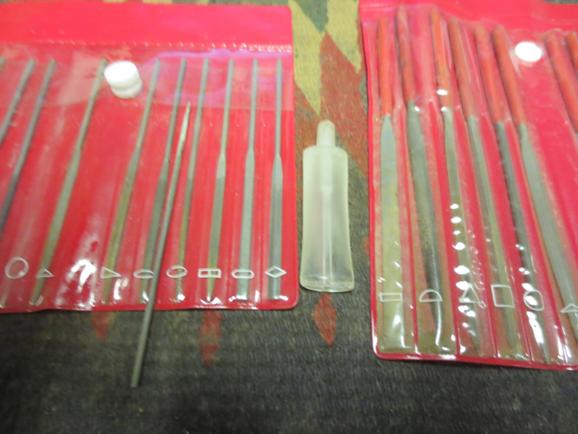
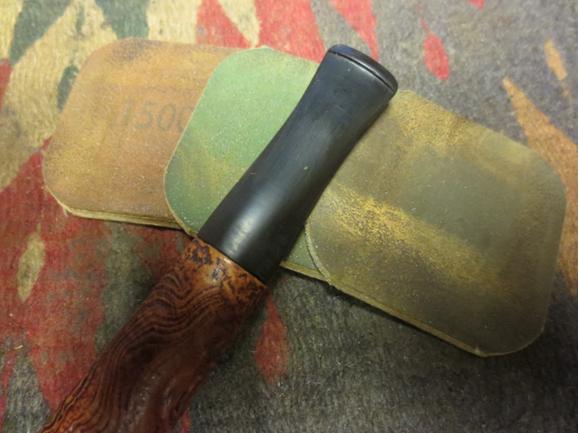
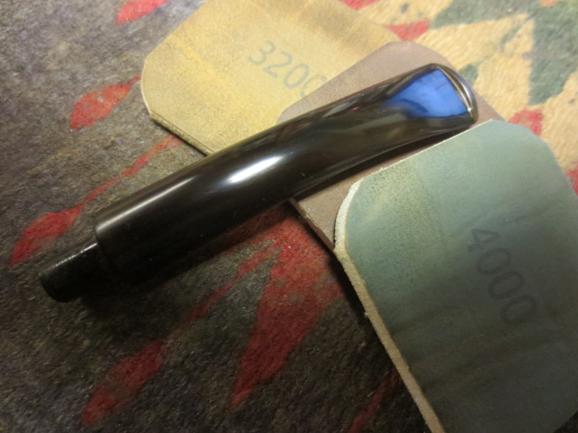
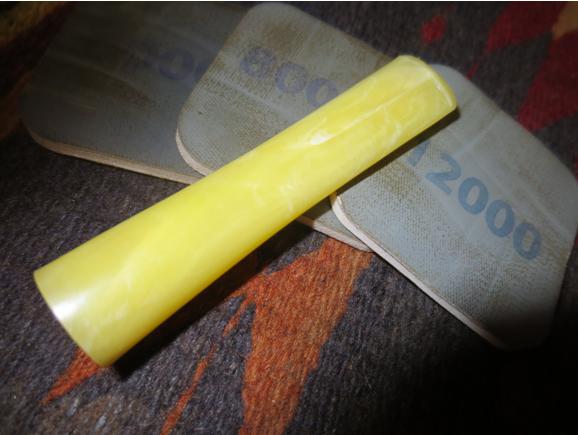
 That was a repair I never had to ponder before. Tossing the bit into an OxiClean solution for a nice long soak, I decided to tackle the rim first. I was able to remove the majority of the charring safely with superfine steel wool before shifting to micromesh, using 1800, 2400 and 3200. The rim as shown in the last shot below, I knew, was not finished, but more about that later, in its order.
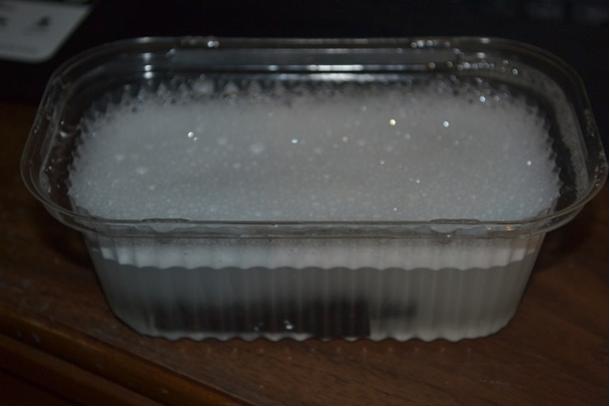
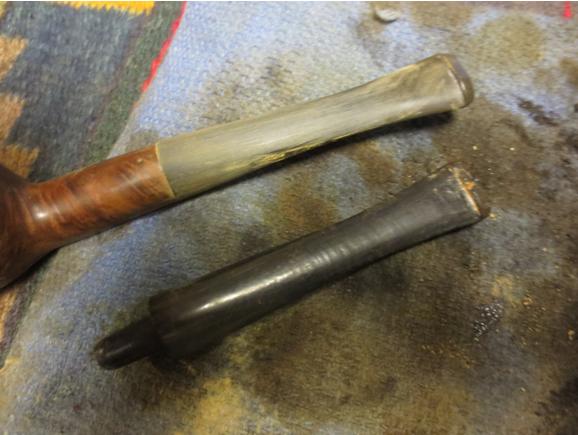
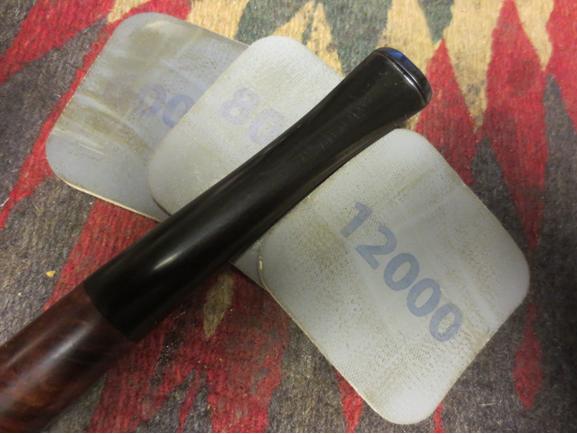
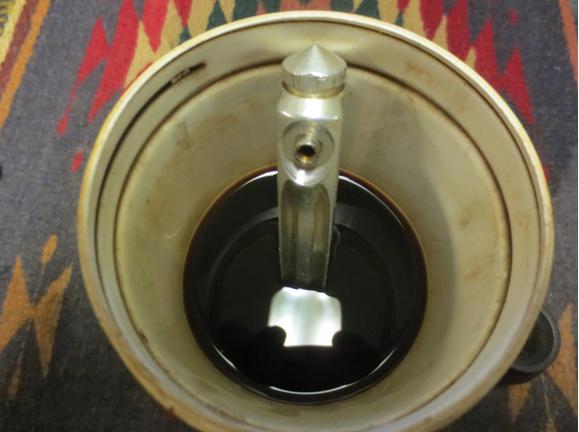
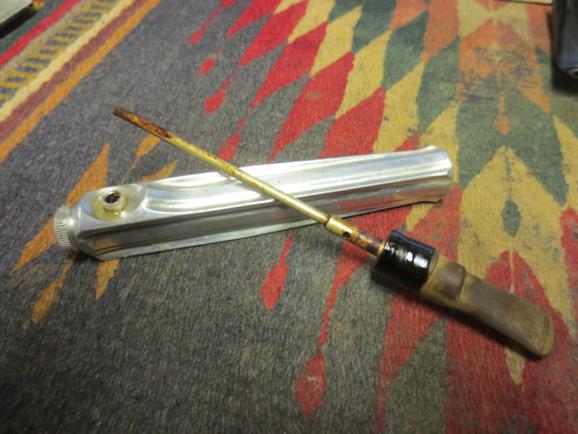
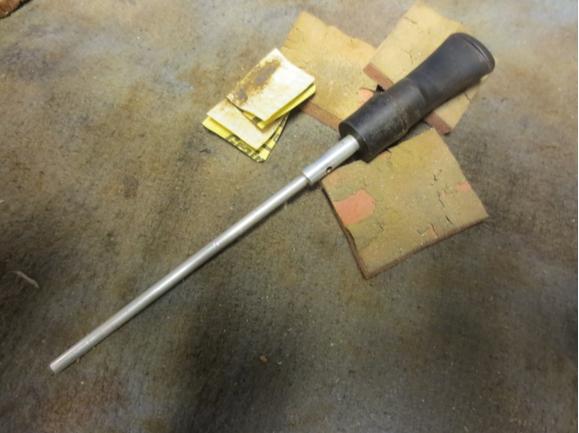
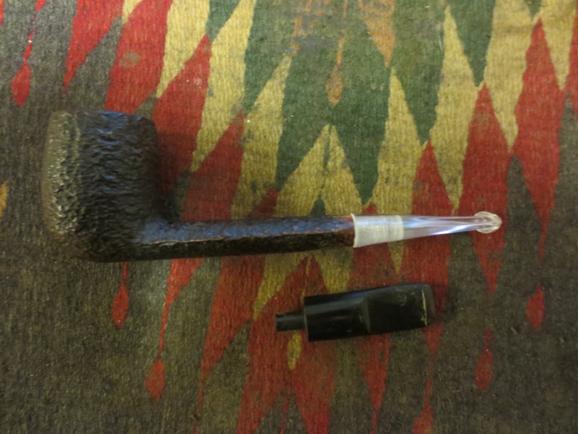
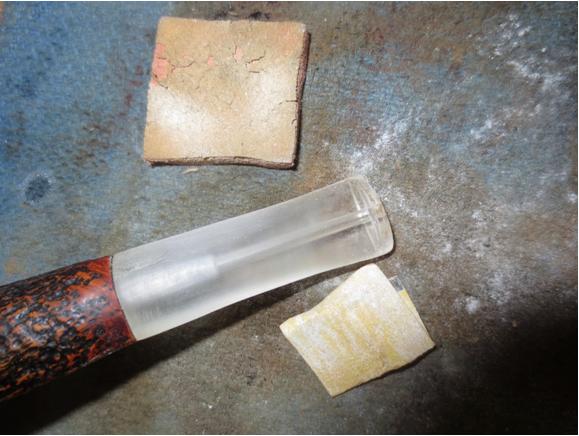
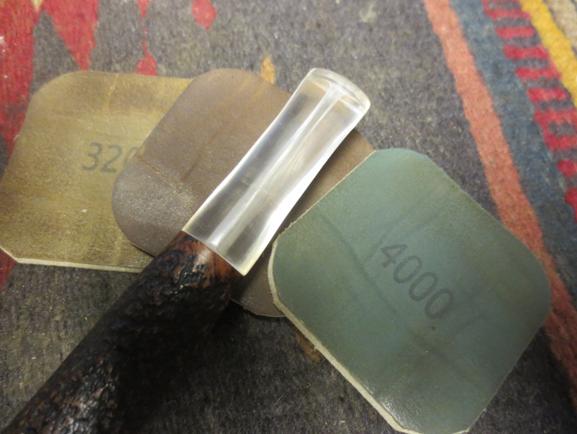
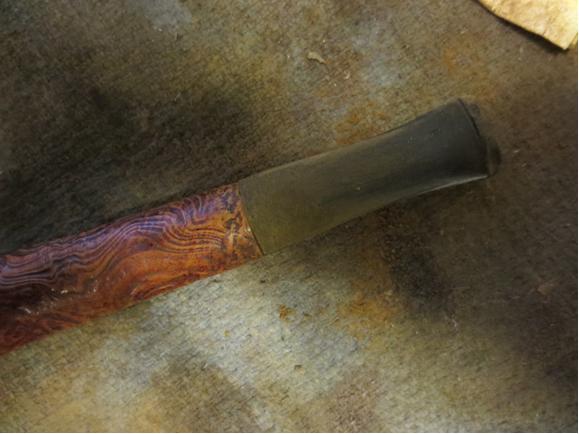
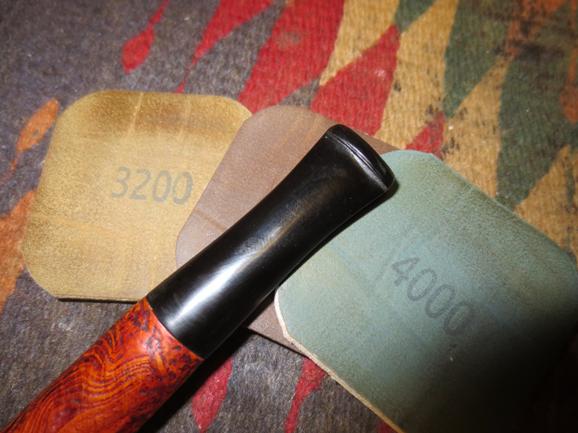
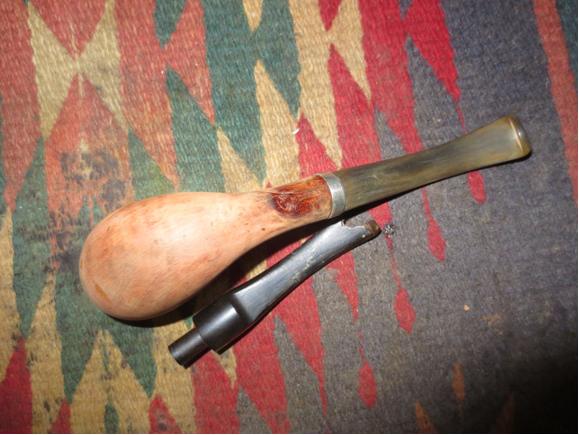
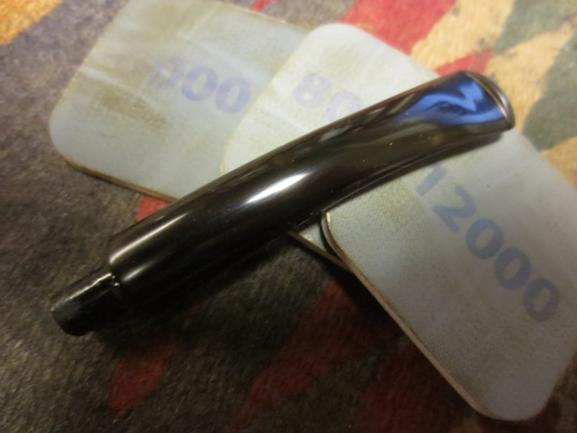
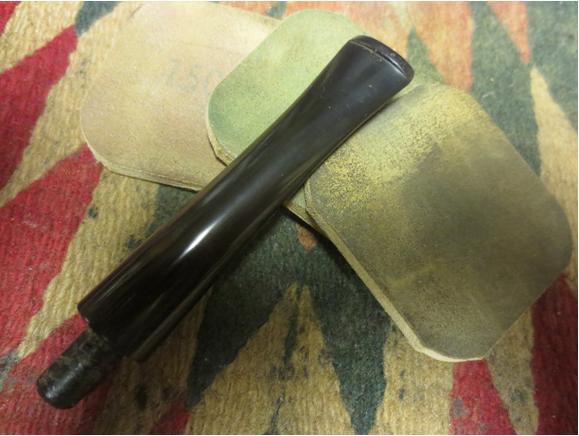
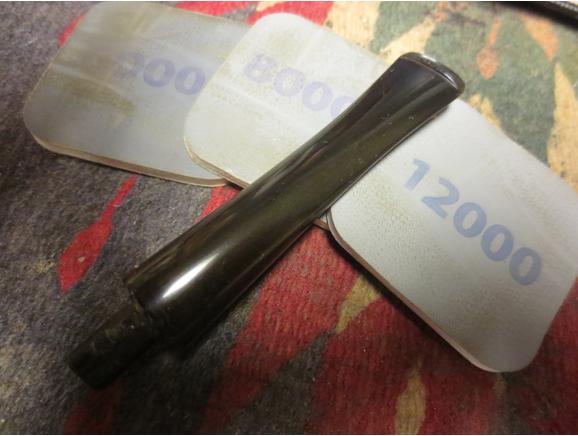
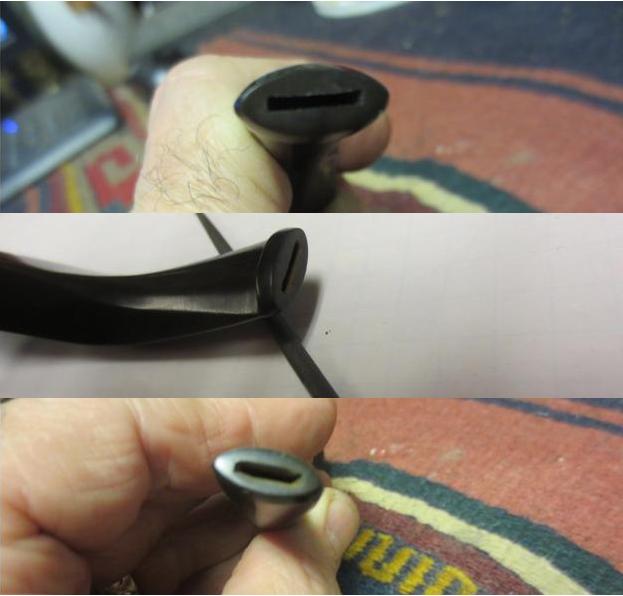
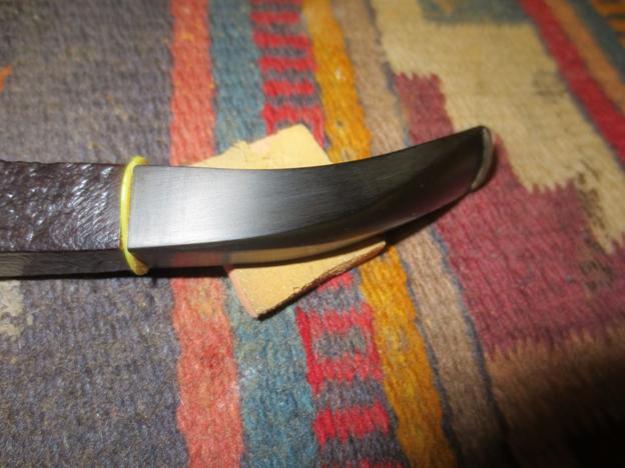
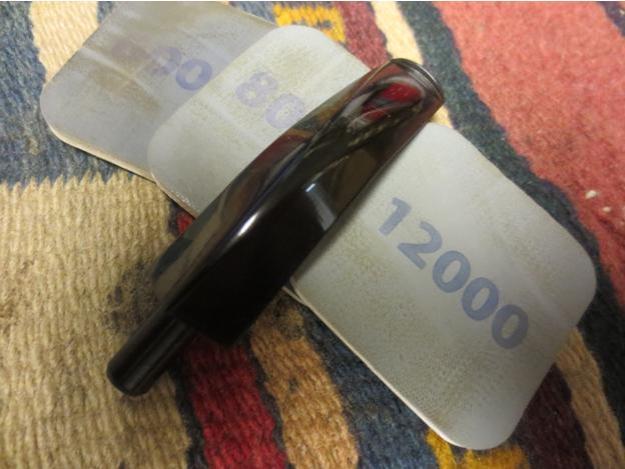
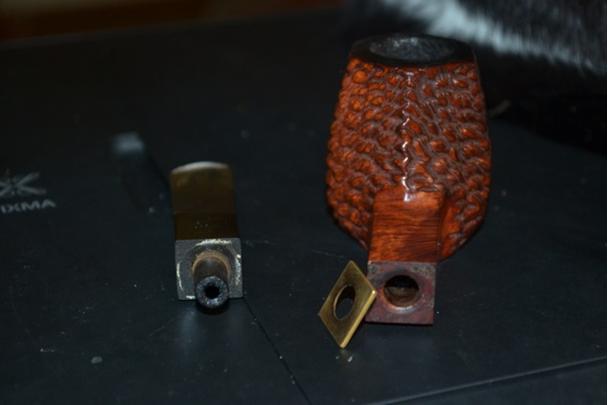
 Removing the bit from the OxiClean wash, I rinsed it and with haste, while it was still wet, started micro-meshing, from 1500-12000. There was no need for sandpaper, other than the narrow edge around the tenon where the thin brass band still needed to be replaced. To eliminate the residue of the original adhesive, I made fast work of it with 150-grit paper followed by 320, then micro-meshed all the way through my pack of pads. Not having to sand any of the regular surface of the bit was such an extremely rare event that I was truly struck by Mike’s high degree of care for the Comoy’s. Here is the band before I cleaned it up easily with my steel wool, and after I reattached it with a small amount of Super Glue.
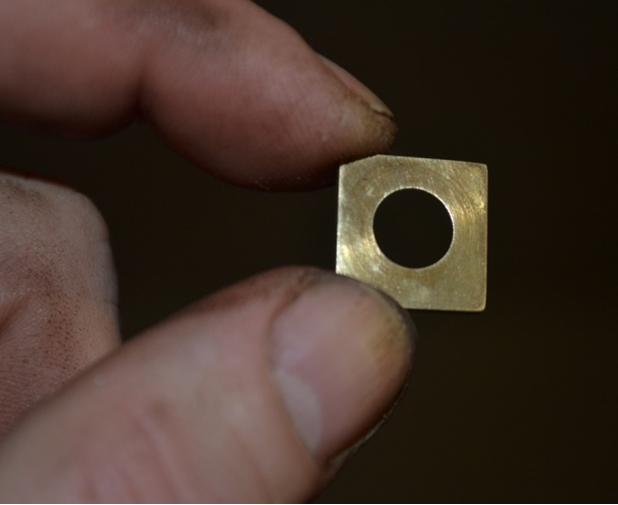
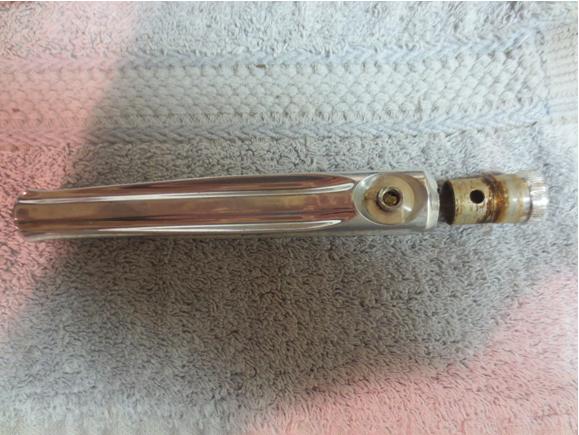
 Less than a minute’s more work with the steel wool made the tenon opening like new.
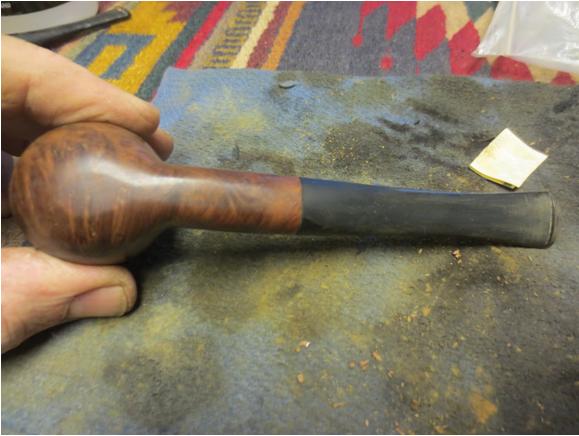
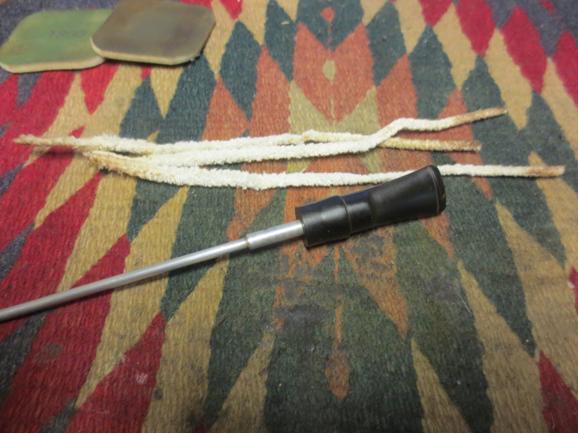
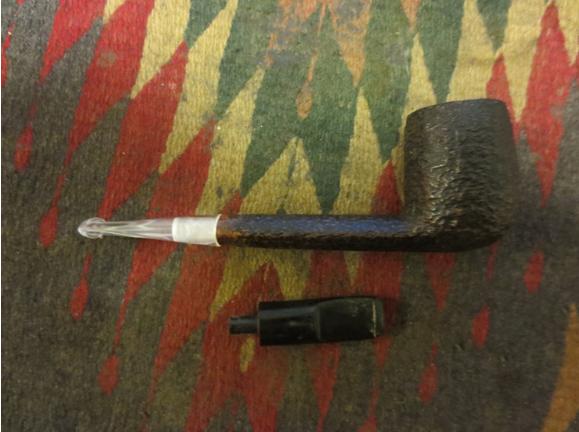
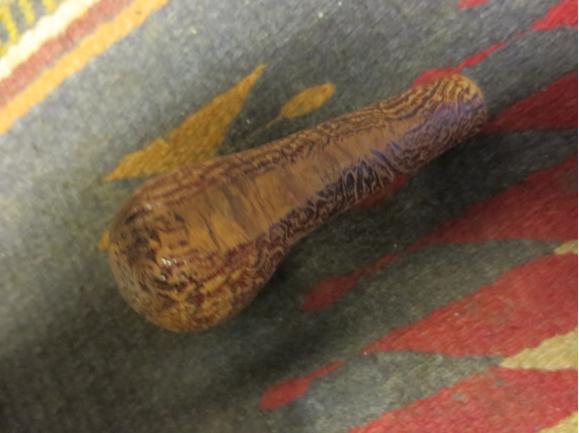
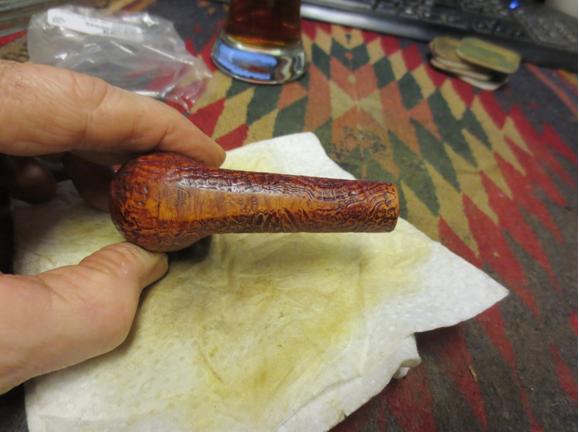
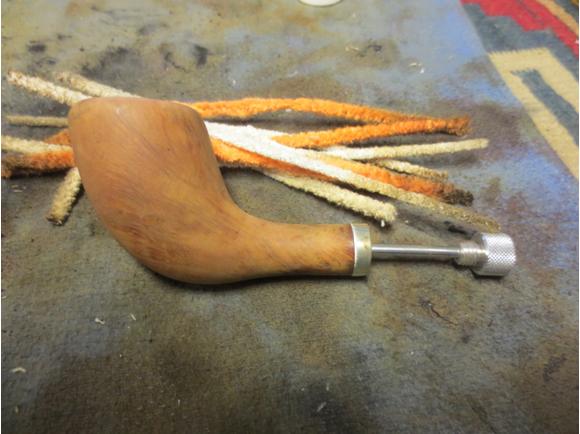
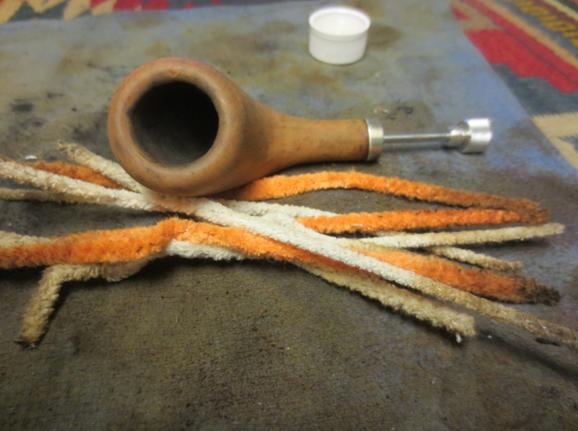
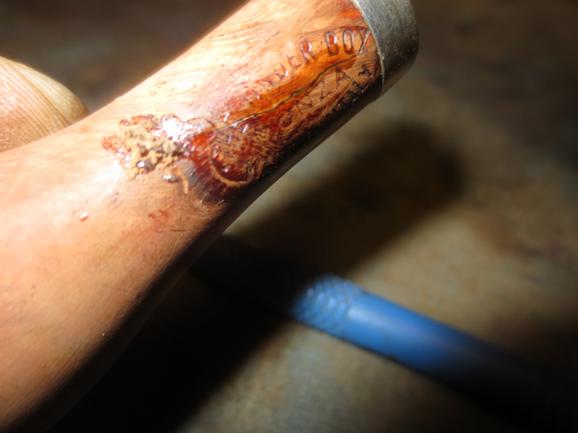
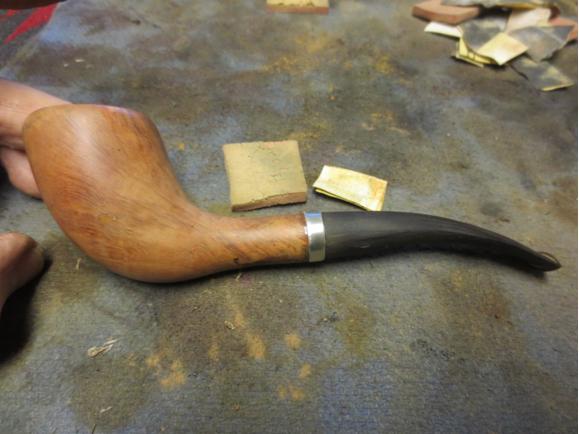
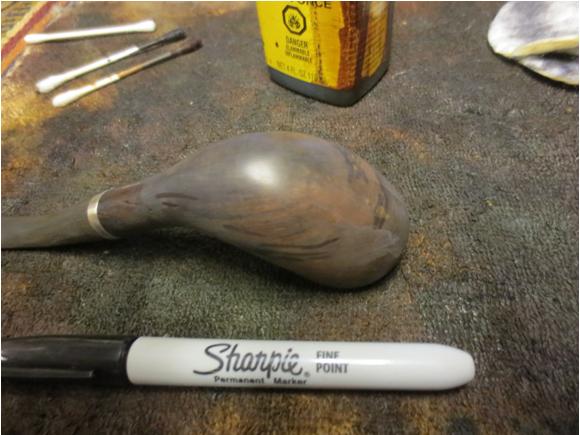
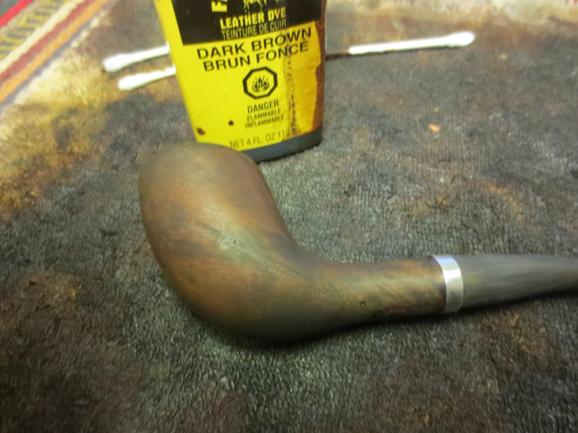
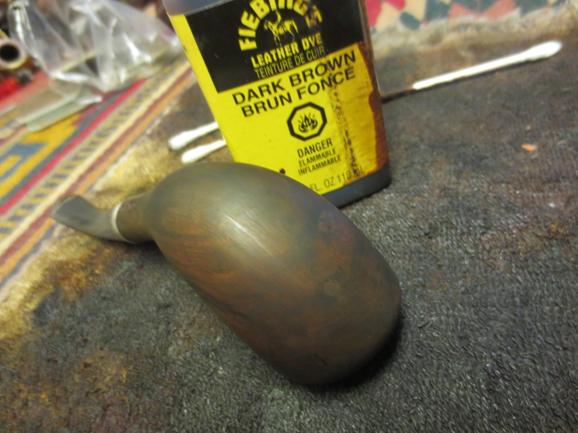
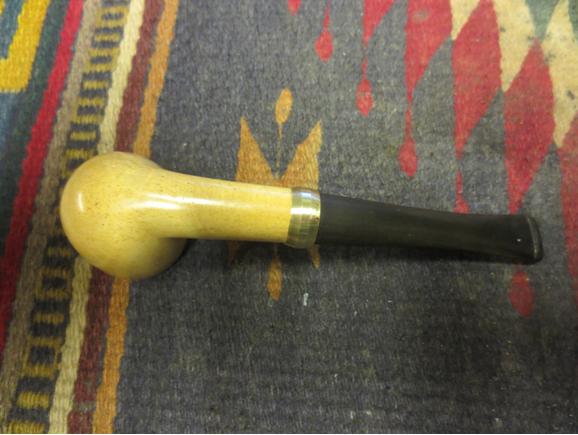
I considered the bowl and shank and how to clean them. Six small, thin cotton squares, used two-ply and wetted with purified water, took off much of the dirt with serious scrubbing both vertically and horizontally to get around the pebbles as thoroughly as possible, but that was not enough. With the wood wet, I returned to the three micromesh pads and made more progress, but the task called for something else. After serious consideration, I opted to go all-out with a couple more two-plies using Everclear, again rubbing both directions. At last I found the exact lighter shade I sought.
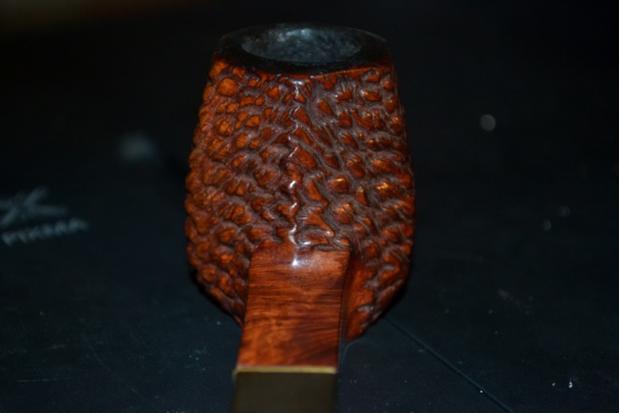
At this point, I finished the rim, using 320-grit paper with two of the gentlest swipes possible, one around the top and the other covering the rounded inside where it borders with the beginning of the actual chamber. I finished that step with the same micromesh progression as before.
While I still had the 320-grit paper and micromesh pads out, I saw no reason not to tackle the two dings in the shank and the sundry scratches. Again, most of these blemishes were mended with the micromesh. Almost all of the very slight imperfections remaining came off with light, focused application of the 320-grit followed by – you probably guessed – the same three micromesh pads. With an uncommon sense of caution, given that this pipe already belonged to my friend Mike – someone I had reason to suspect I never want to see really mad – I settled for the results I had achieved, except for a quick turn or two of 150-grit paper followed by 320-grit on some excess cake buildup in the chamber, and to clean out the loose soot from the sanding, a wipe with another cotton cloth piece wet with purified water.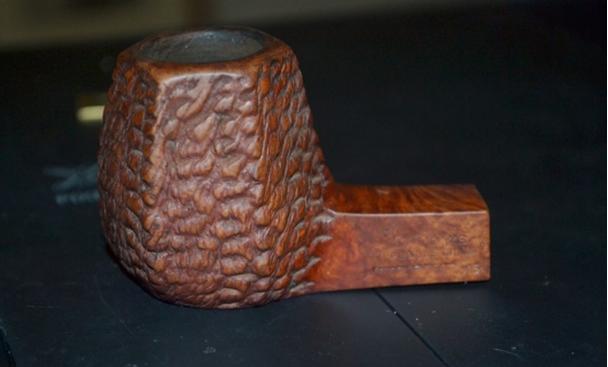

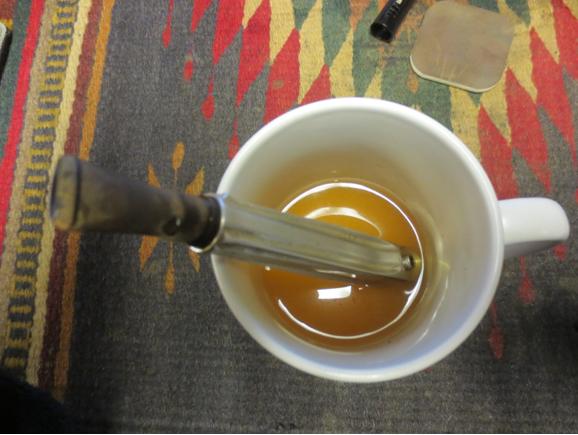
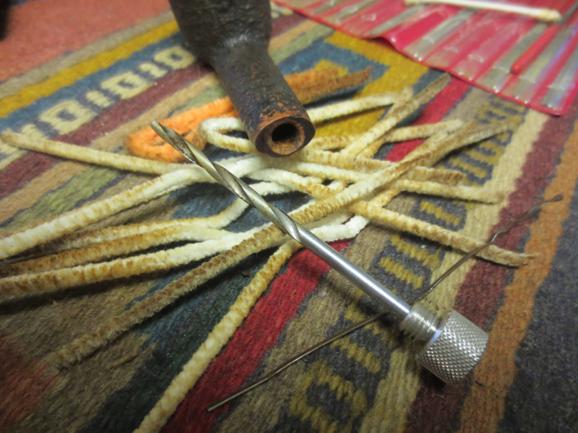
 I only needed a few seconds to consider a retort and dismiss the notion, realizing it would remove too much of the cake that I had promised Mike I would not ruin. But I did dip a bristly cleaner in Everclear and ran it through the shank, turning it briskly as I did so, and saw it came out filthy. After using a dry cleaner that brought out more grime, I repeated the process, still finding some unnecessary old smoke, tobacco and other accreted matter. The third cleaner soaked with Everclear was almost white.
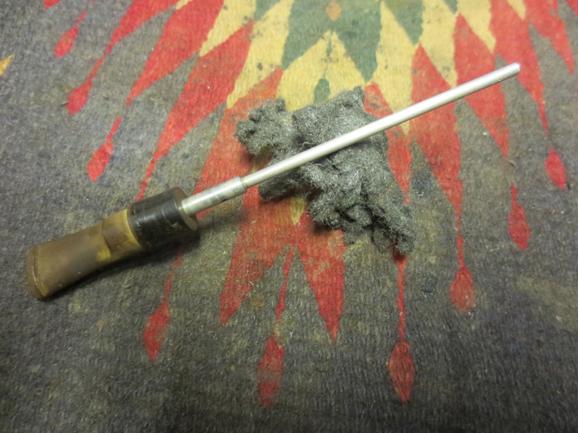
I left the shank as it then was and proceeded to the bit’s air hole, at which point I was amazed to find that one alcohol-soaked cleaner came back with minimal blackness. One more dry cleaner paved the way for another dipped in Everclear, which was clean, ending that step.
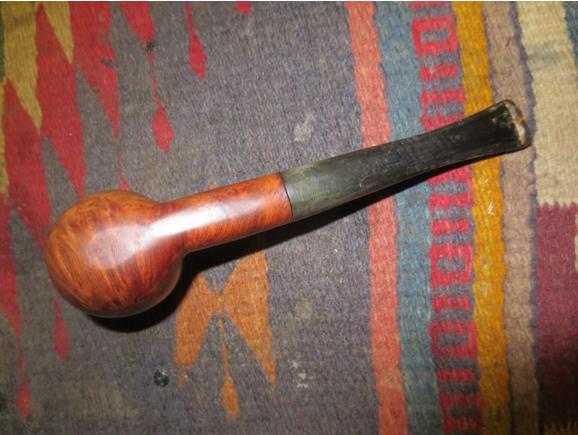
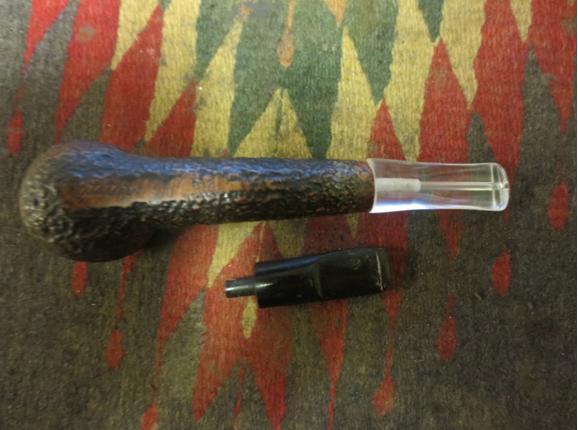
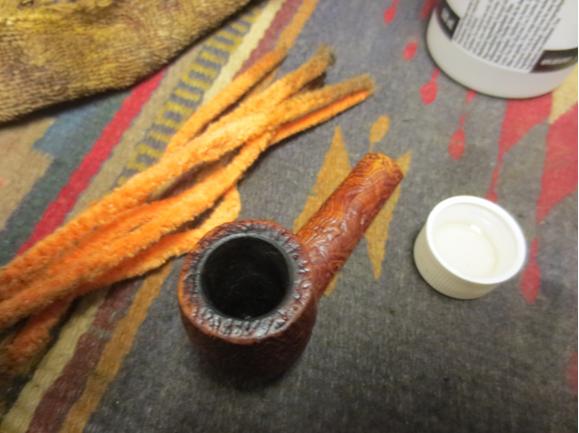
The hard parts of the job complete, the time came to open my jar of Halcyon II wax and dip a finger in for a dab of the stuff. The single dab was enough to coat the bowl and shank until they shone with a wet brightness and set it aside for about 15 minutes while it soaked into the smooth rim, bottom of the bowl and shank, and every crevice of the pebbled area.
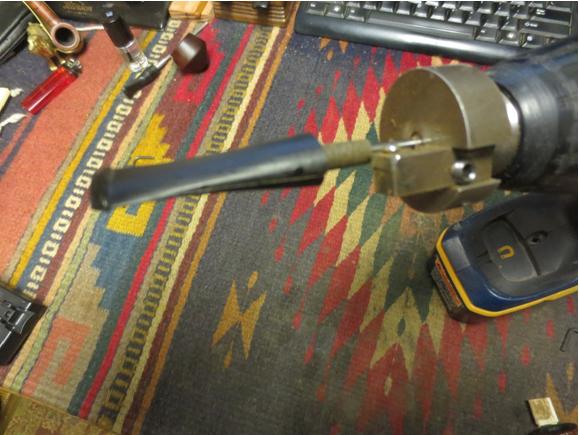
When I could stand the wait no longer, I carried the two pieces of the pipe into the spare bedroom of my new apartment that I will use as an office/shop when it is furnished. Of course, I had already set up my buffers on their sturdy stand and had only to plug them in for the first time in that setting. I buffed the bit with red Tripoli, white Tripoli and White Diamond, using the clean cloth wheel after each, and wiped it down with a big soft cotton cloth. Setting it aside and taking a deep breath, exhaling slowly, I stuck my left index finger in the chamber and, with complete calm and a firm grip on the precious briar, buffed the Halcyon II on the clean wheel. Rubbing it down with the cotton cloth, I concluded a final run with the carnauba wheel and then the clean buffer was in order.
Studying every angle of the briar while I rubbed it with the cloth, I was a tad disappointed that the waxing and buffing process had made it almost as dark as it started. I had wanted to finish with a lighter shade of wood and a high sheen of wax, but decided against another coat of Halcyon II.

 CONCLUSION
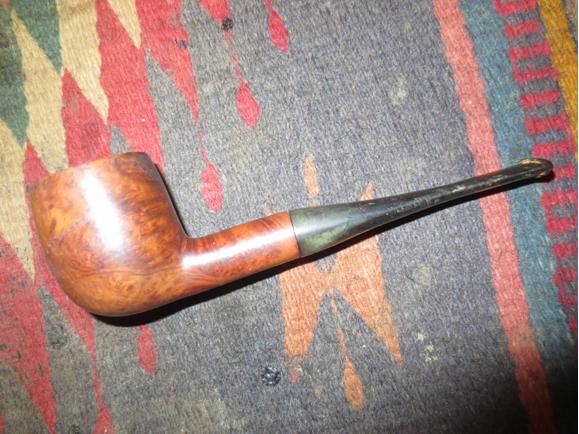
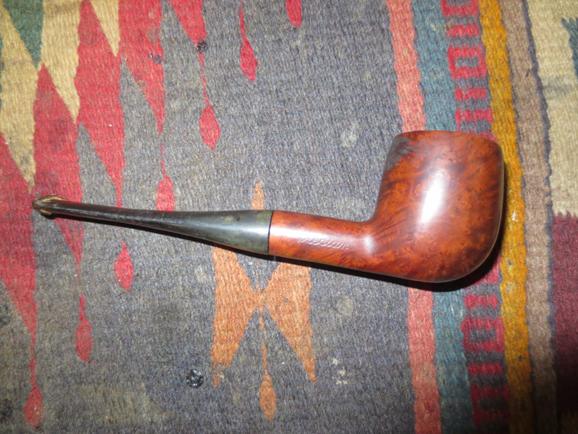
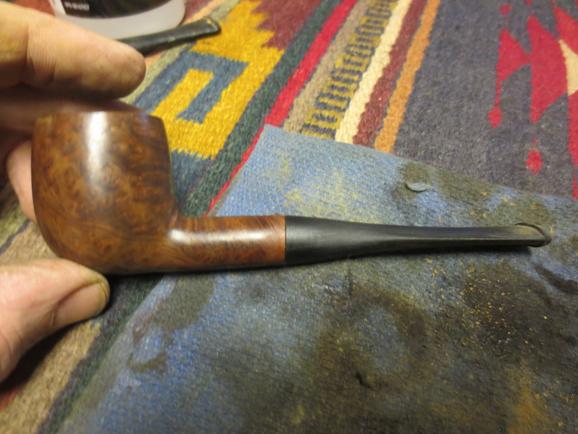
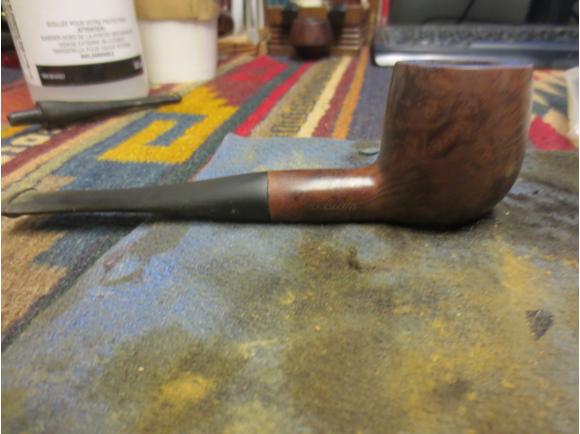
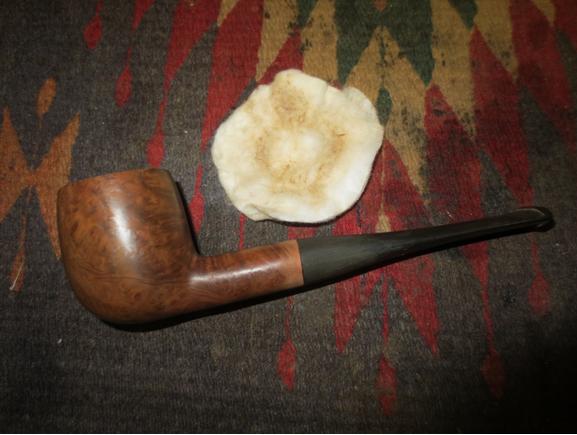
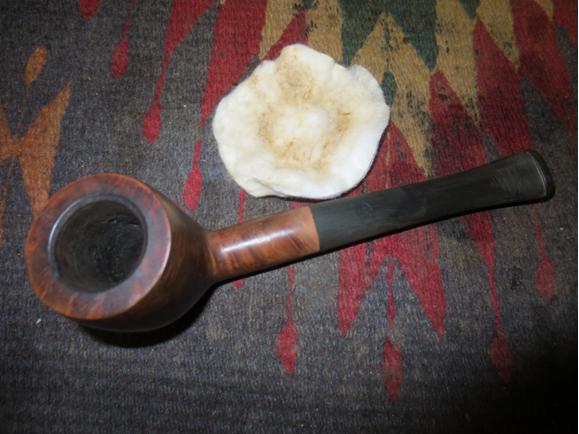
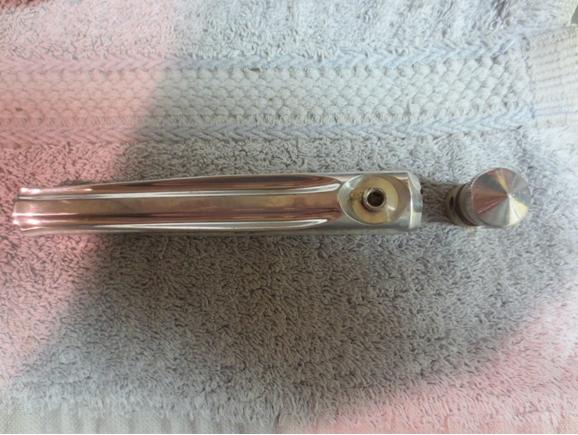
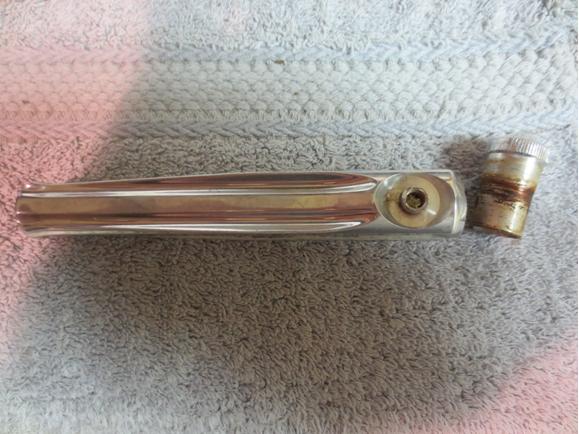
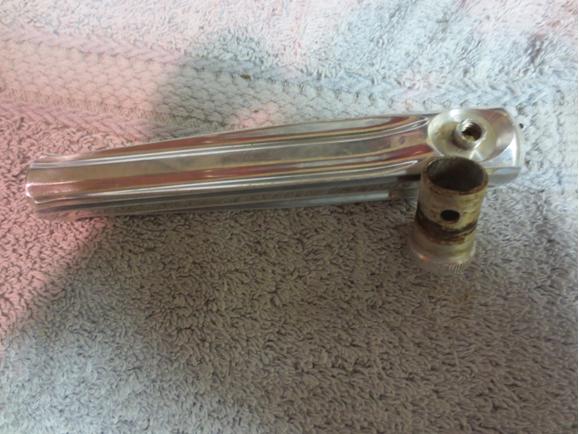
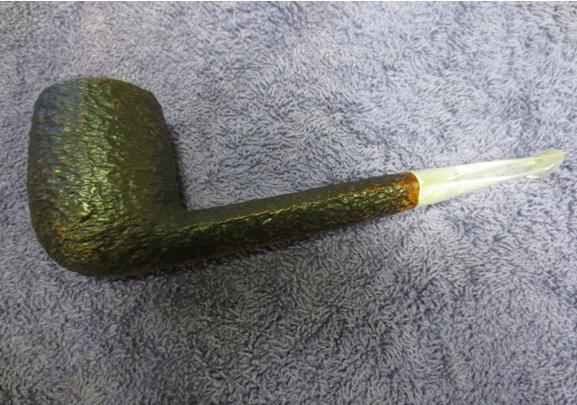
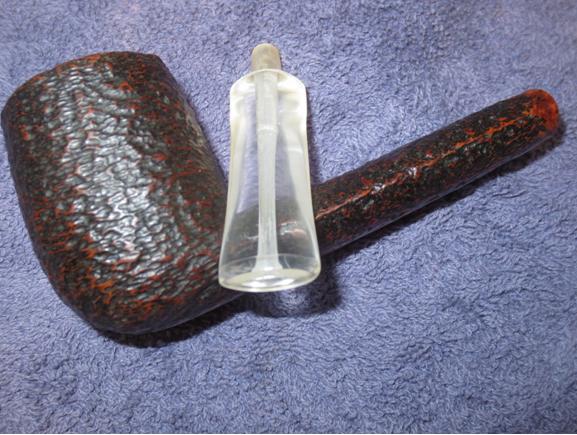
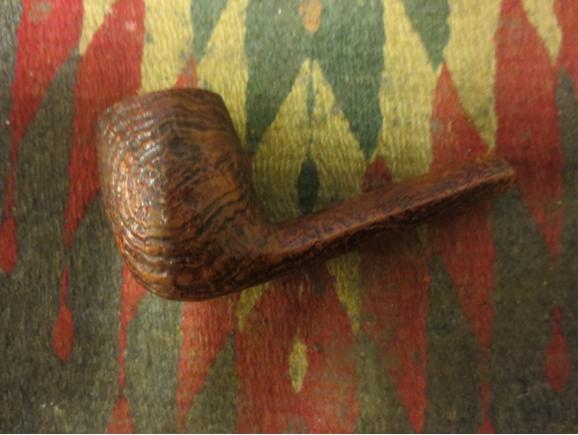
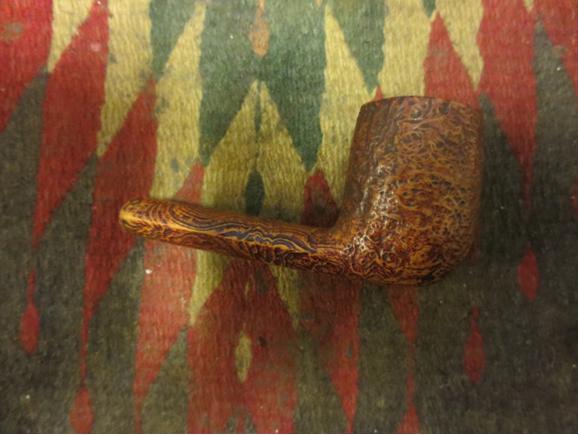
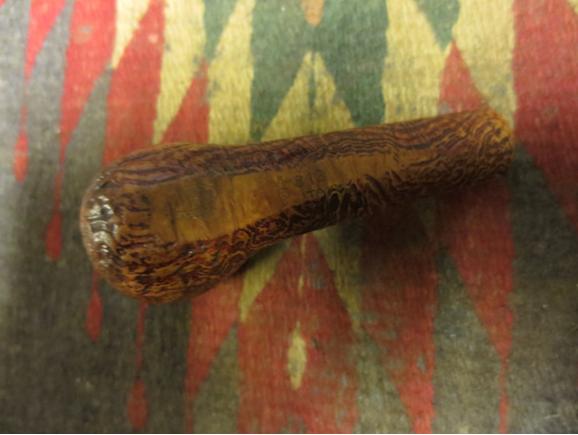
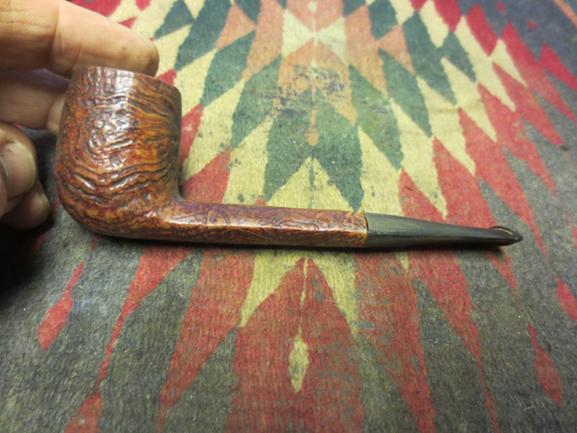
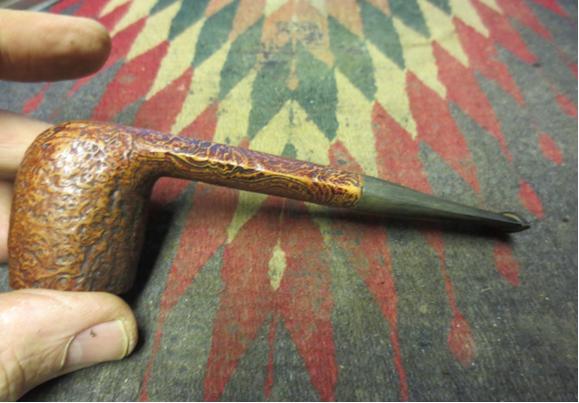
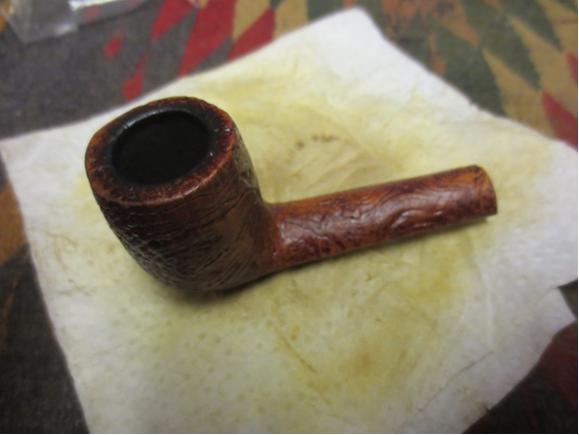
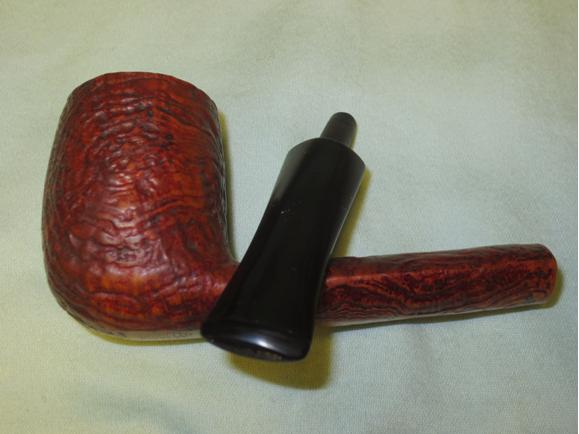
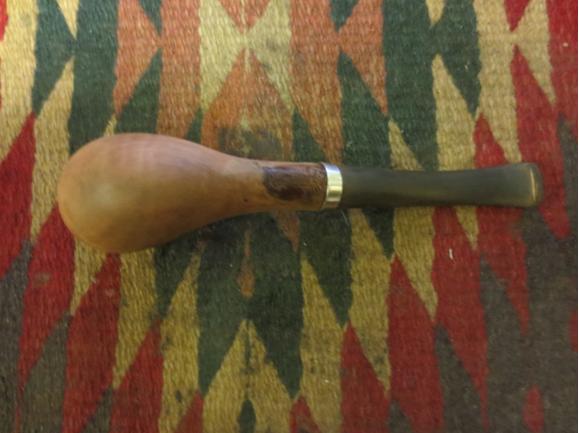
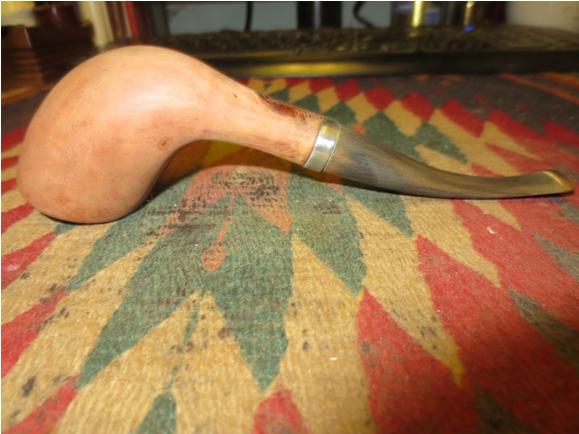
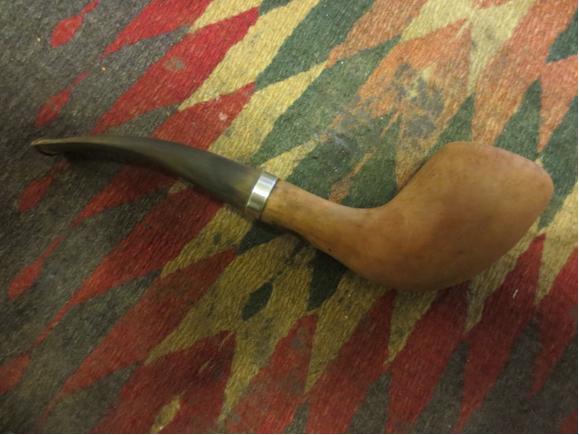
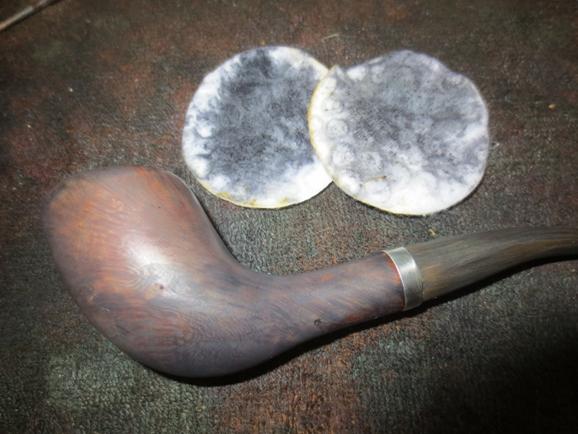
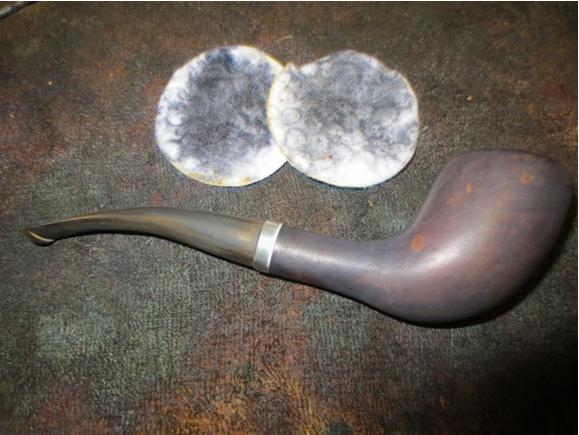
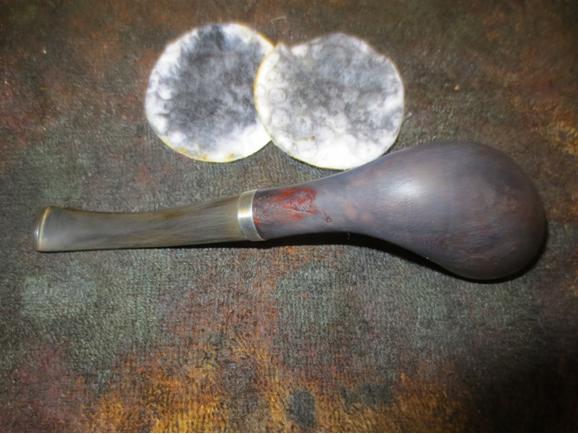
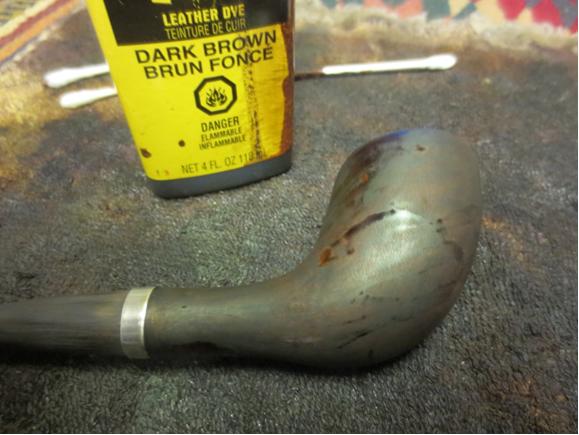
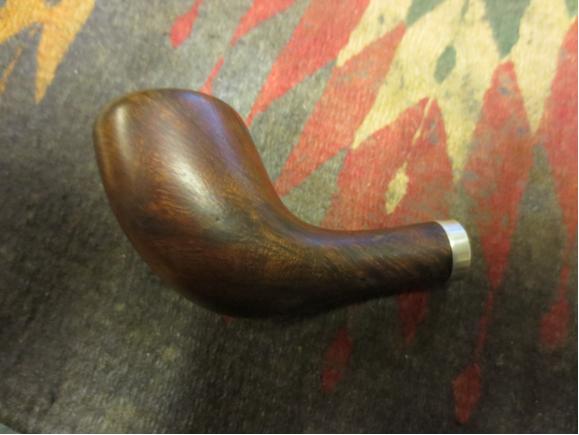
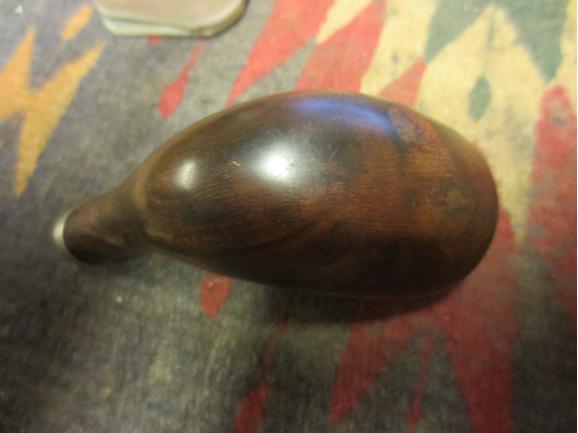
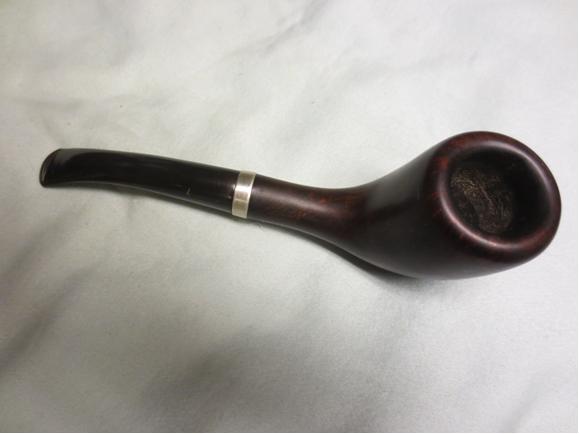
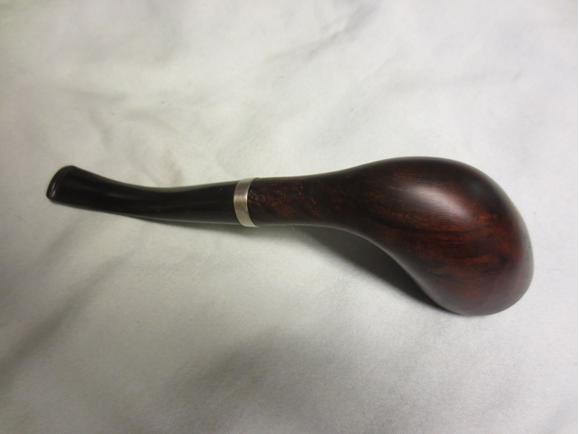
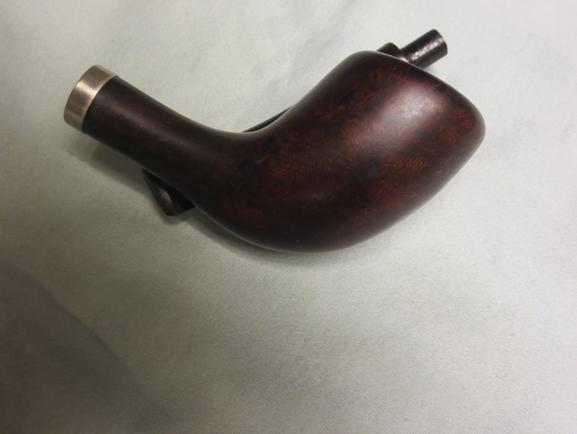
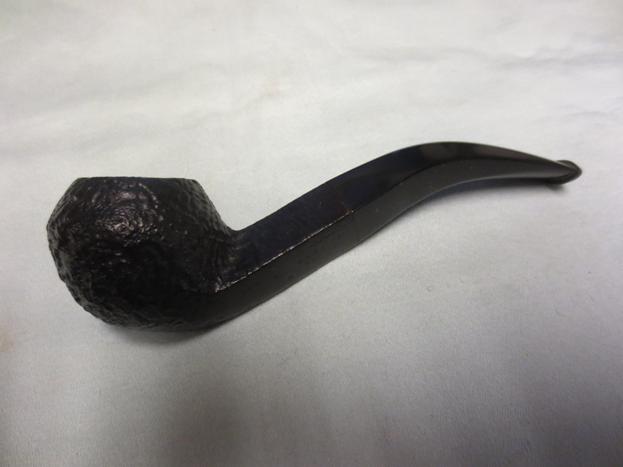
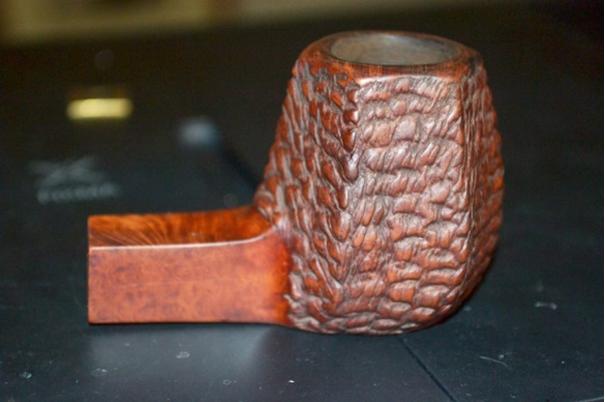
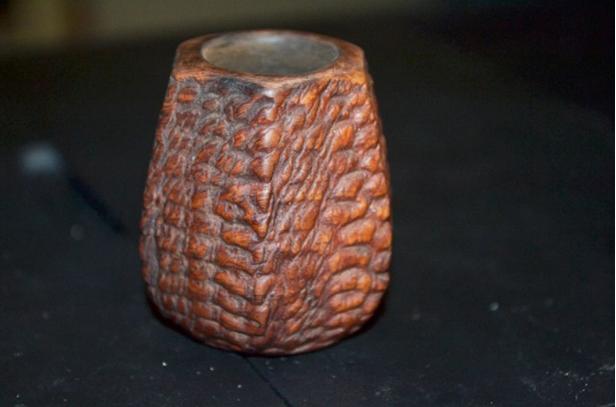
A few words about why the first three photos of the finished Comoy’s Pebble Grain have a different background: when I went to the tobacconist to see if Mike was there, he wasn’t, and I sat down to enjoy a bowl while I took the pipe out for what I thought would be a final quick exam. I was horrified to see what appeared to be bad blemishes on the right side of the bit and shank, and on the top and bottom of the bit. Fortunately, I had my cotton cloth with me and discovered that the problems were only smudges of excess wax. And so I wrapped the rag around the entire pipe and gently turned it round and round for five minutes or so, while I puffed away at one of the tobacco samples on hand.
When I at last stopped rubbing the pipe, I handled the pipe as I would if I were checking out a new purchase, and found no more smudges. Relieved, I wiped it quickly one last time before taking the pictures of the first three angles again.
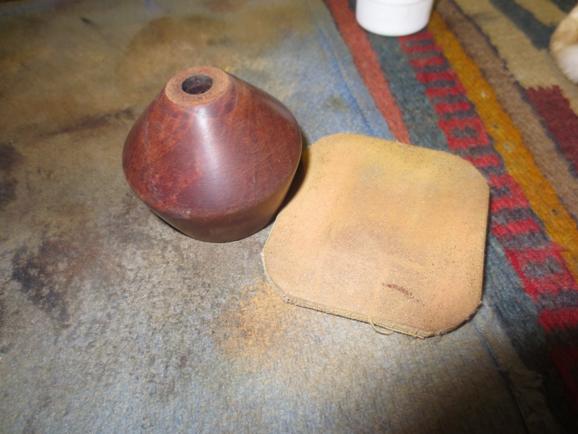
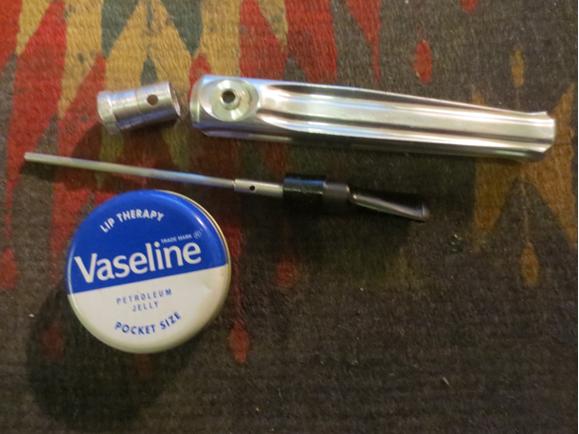
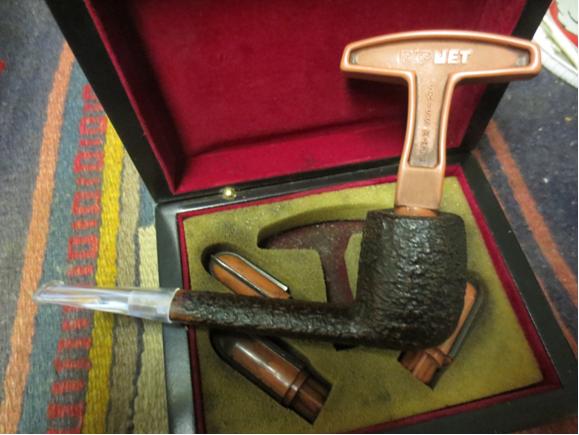
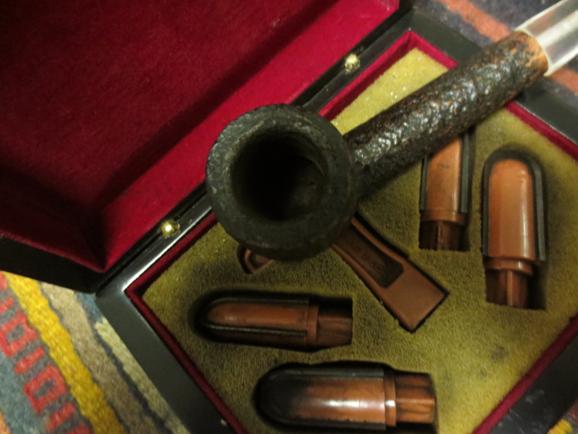
Knowing I couldn’t take it home with me, I put it back in the leather pouch I included for Mike, so that he could carry it with him with added protection, and left the Comoy’s of which I remain so fond with Chuck at the counter.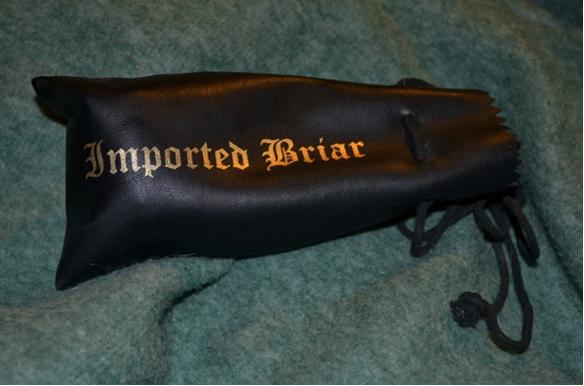 Cheers, then, old gal.
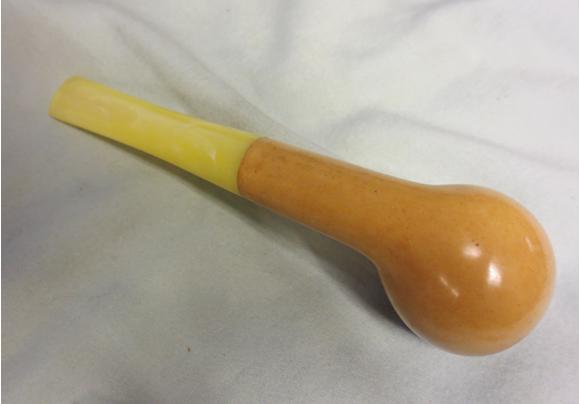
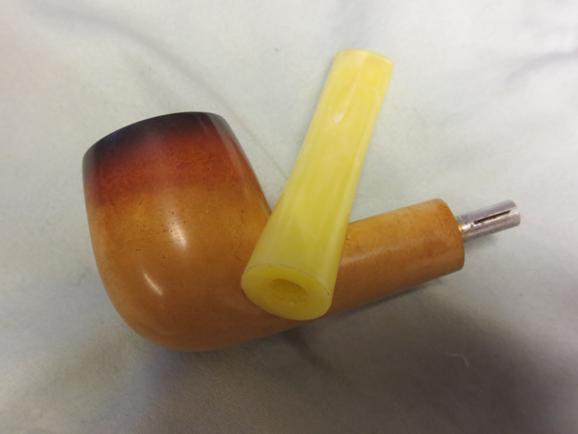
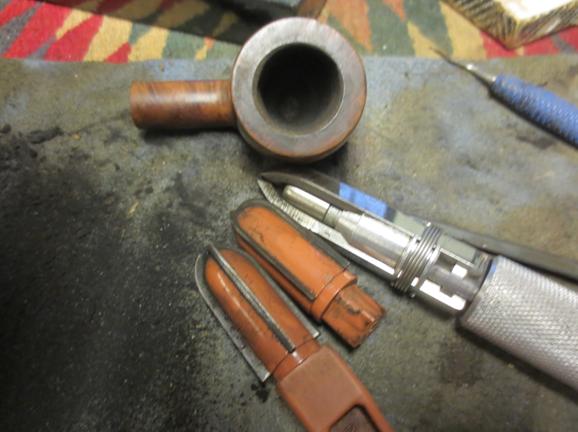
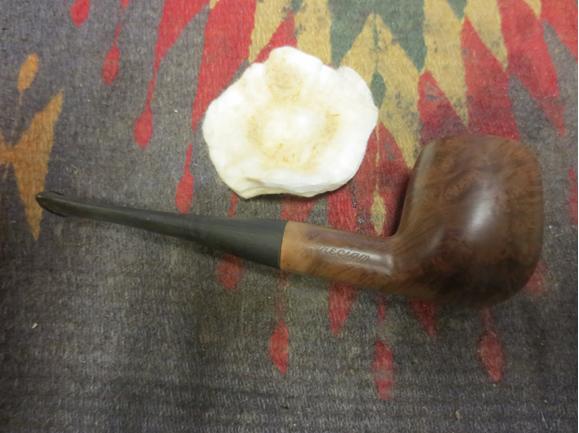
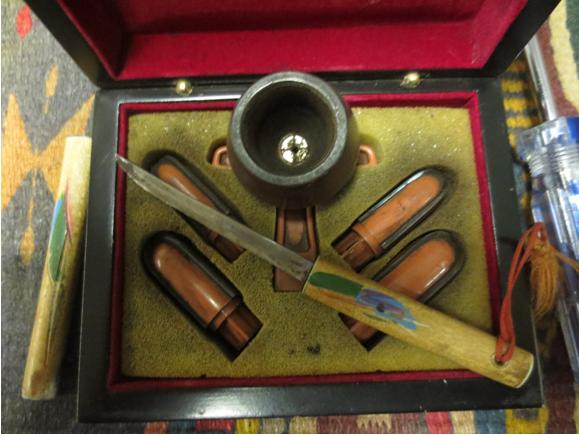
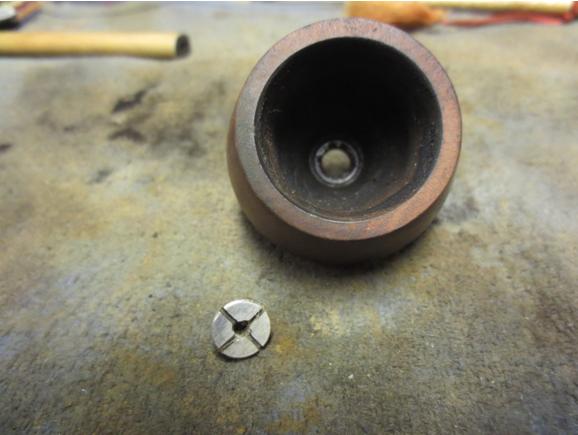
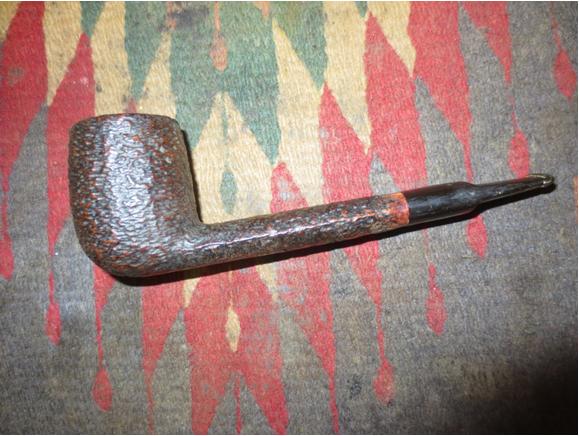
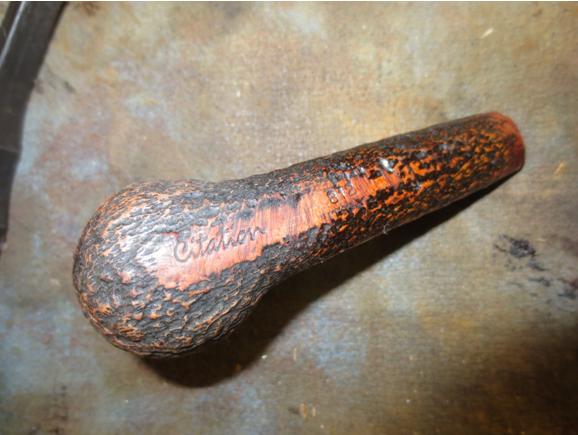
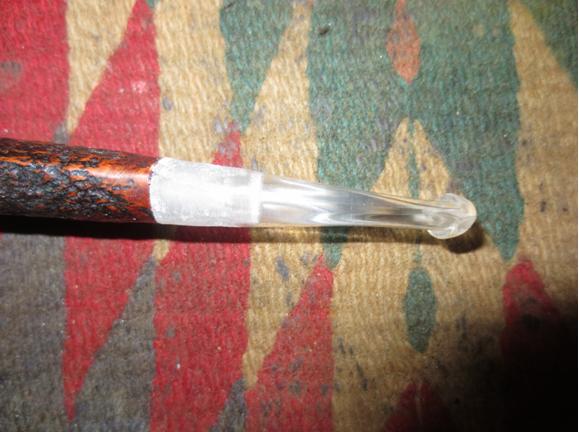
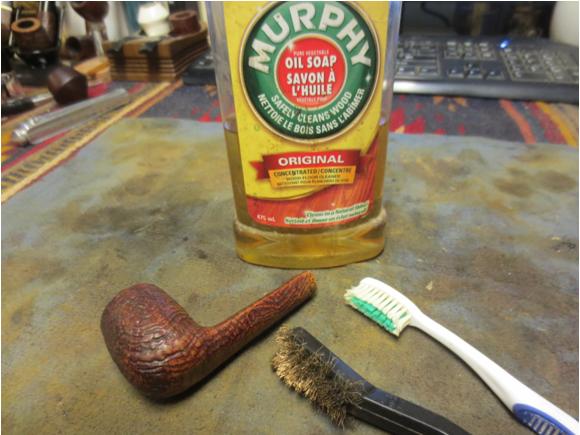
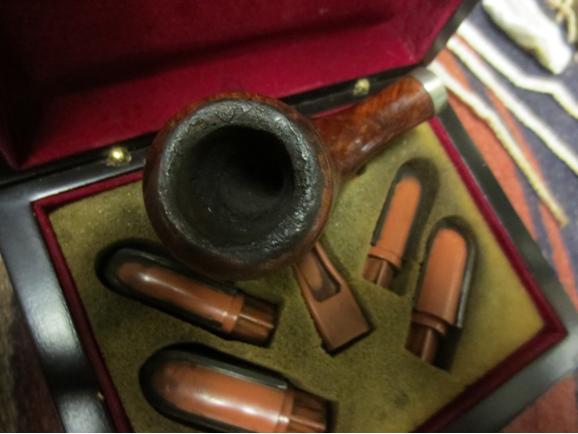
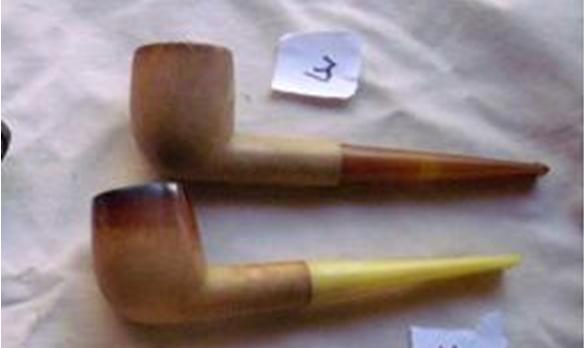
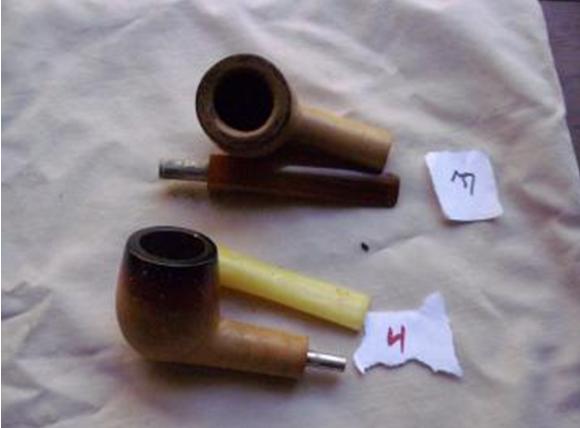
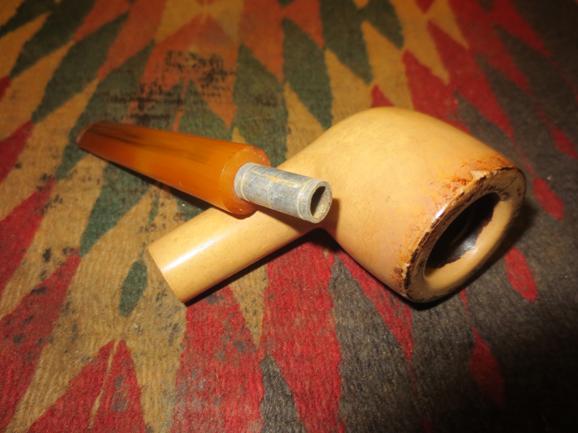
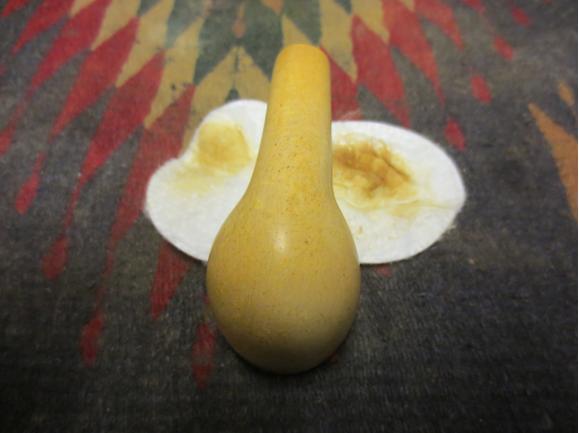
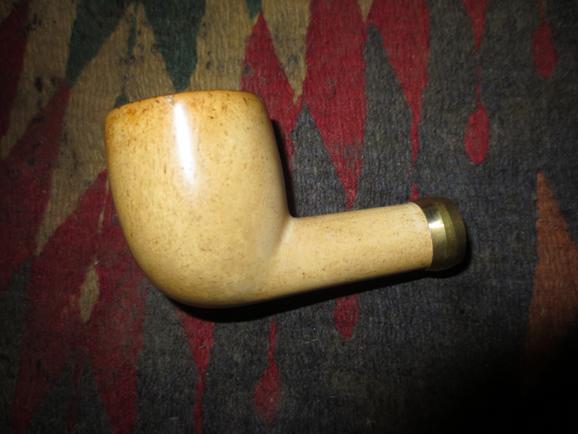
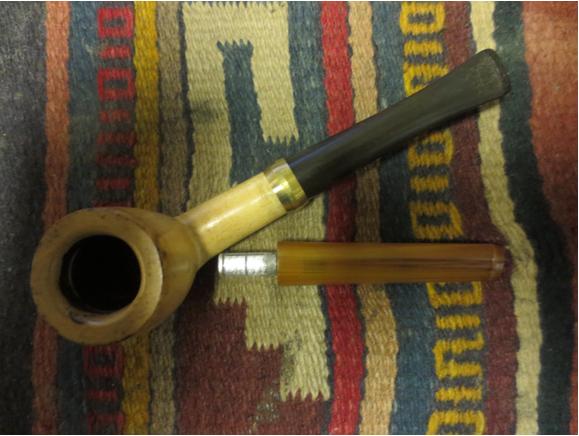
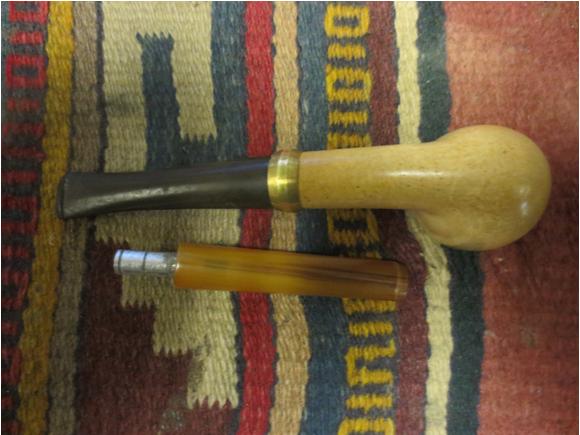
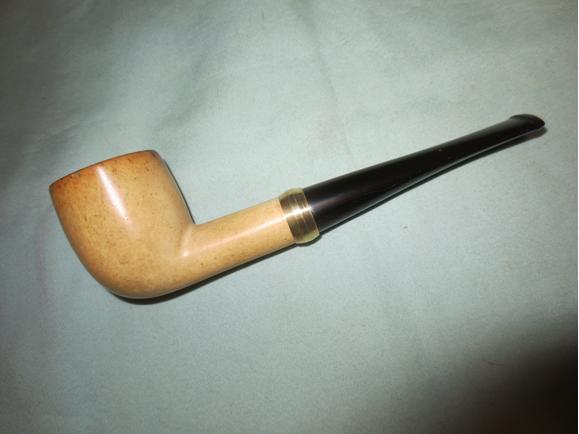
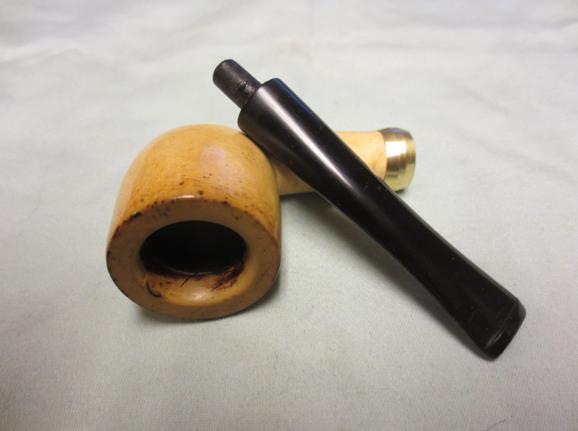
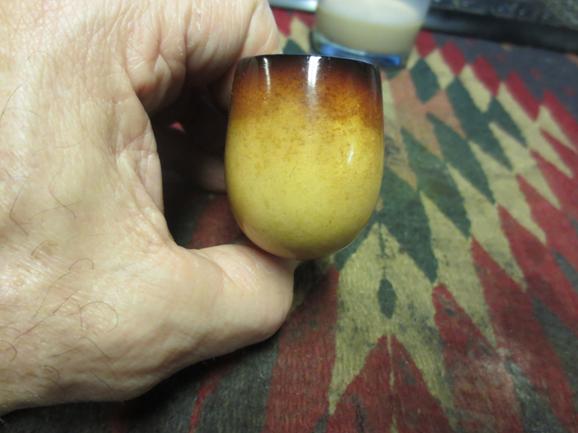
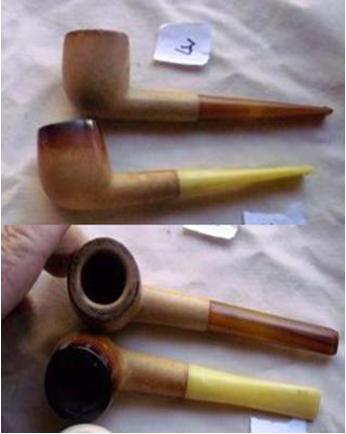 I picked up two meerschaum pipes – neither bearing any stamping or markings that give a hint to the carver. The one I am working on now is the second one in the two photos to the left. It has a flumed bowl (darkening on the top and the top third of the bowl fading as it goes down the sides. The second third is a bit lighter and the bottom third is natural). It had a metal reverse tenon – the tenon was set in the shank of the pipe and the stem is pushed over that. In this case the stem is similar cheap nylon/plastic as the ones I replaced in the two previous blog articles noted below.
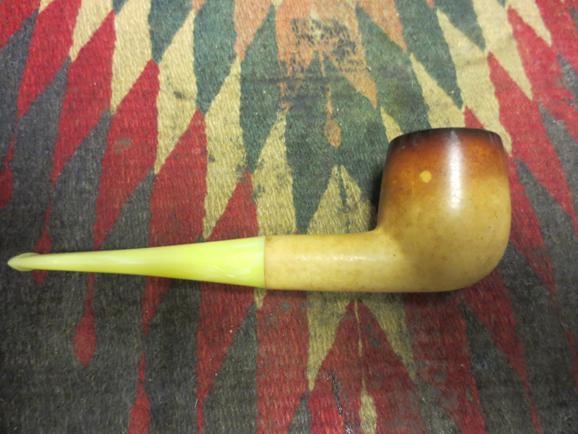

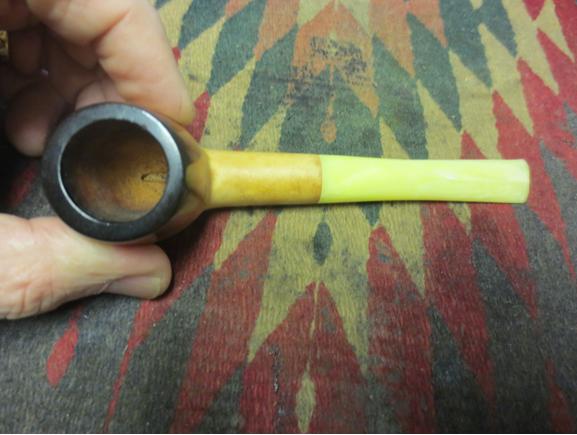
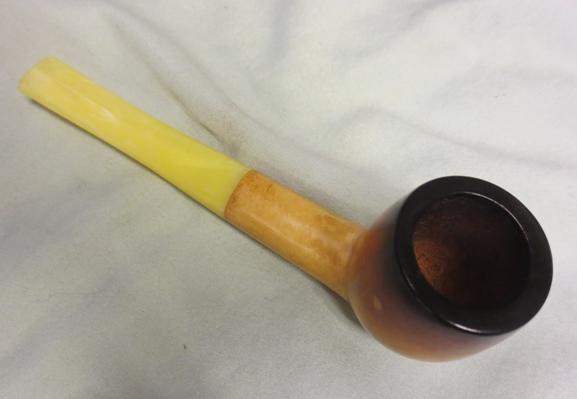
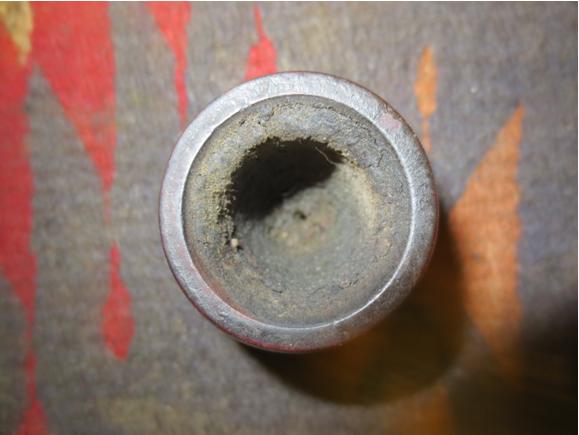
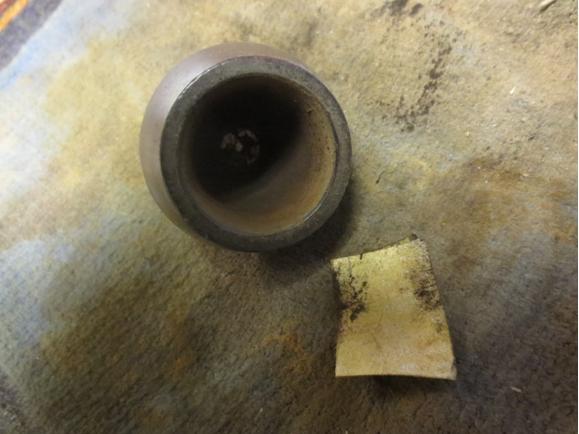
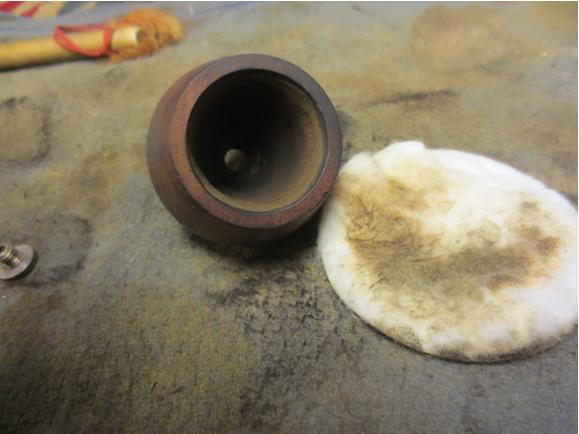
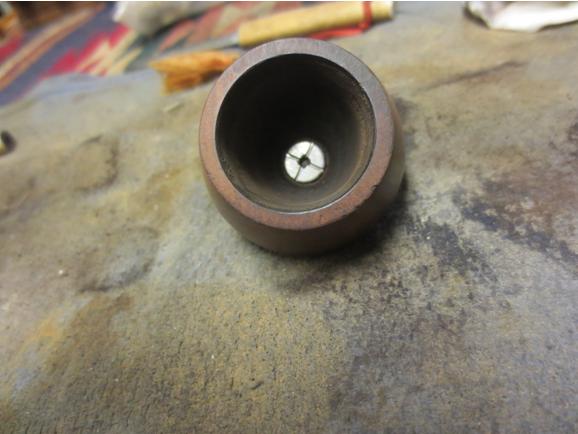
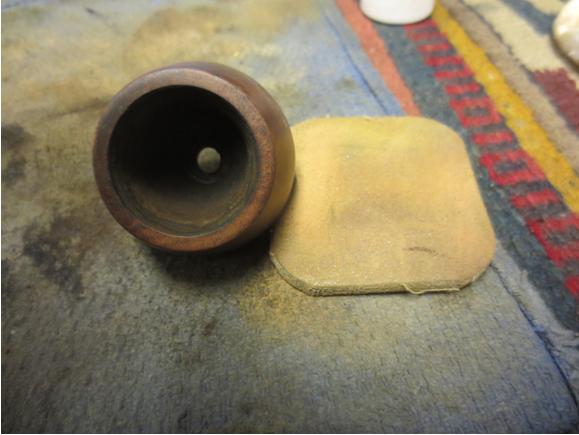
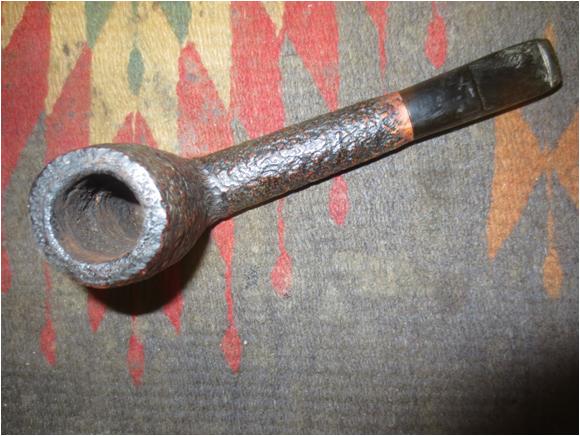
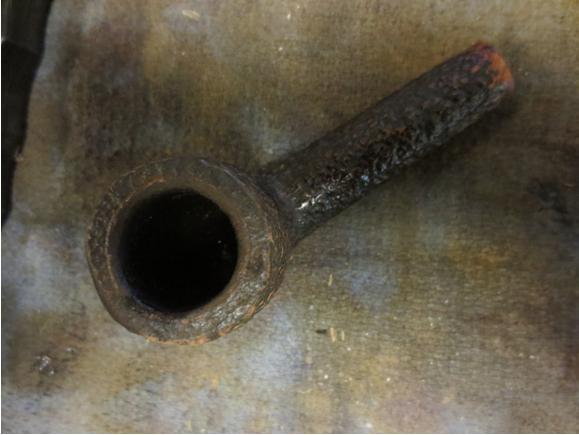
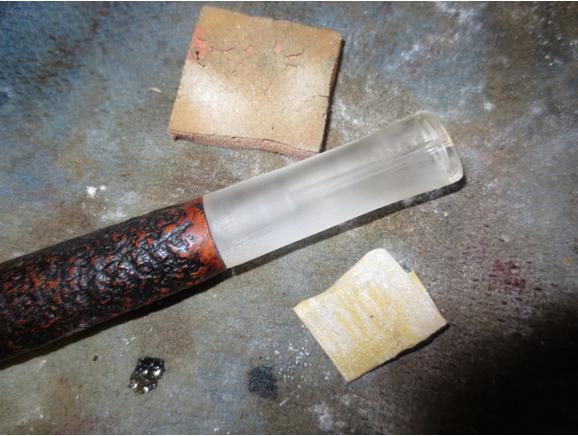
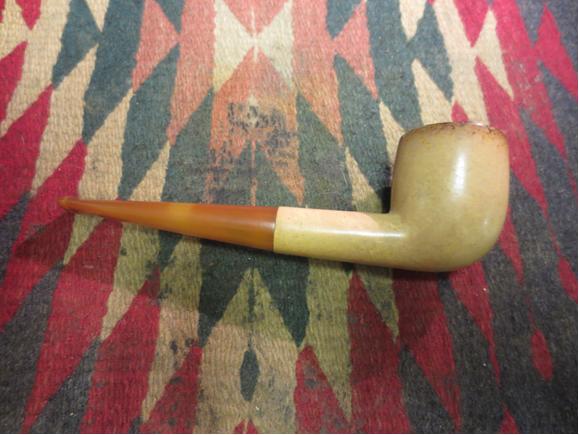
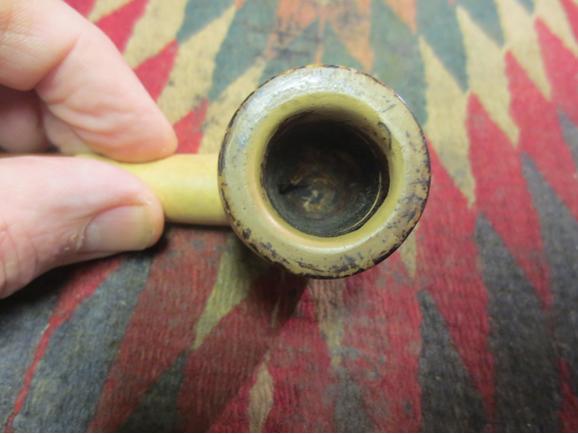
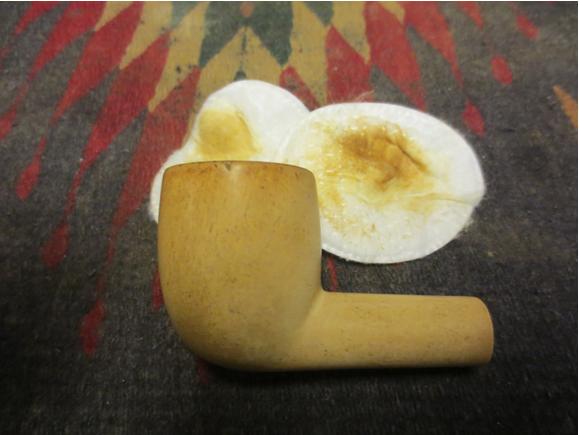
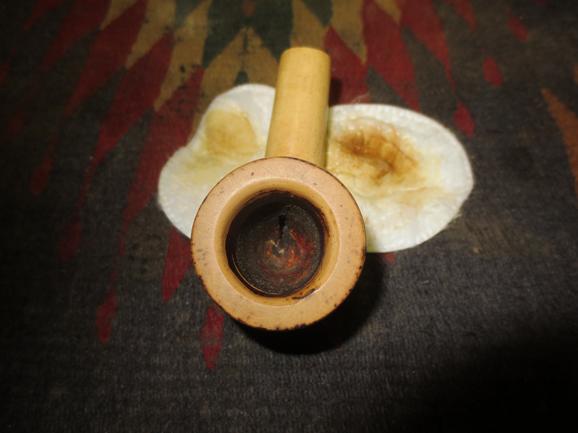
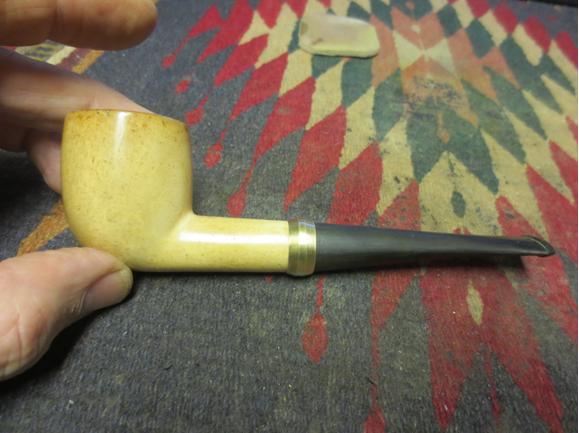
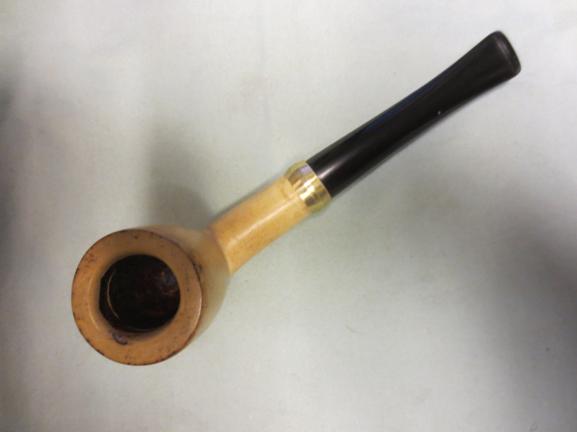
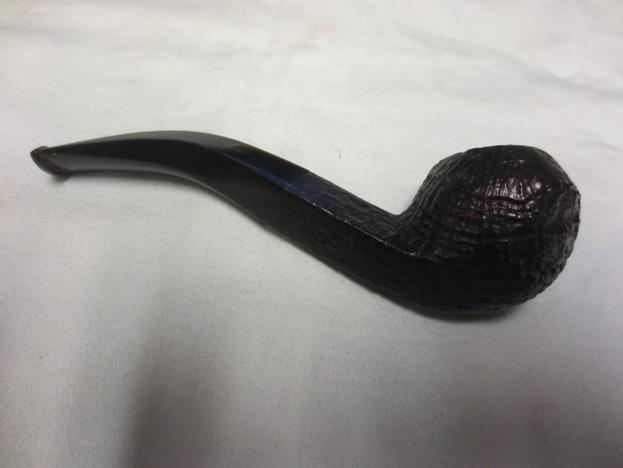
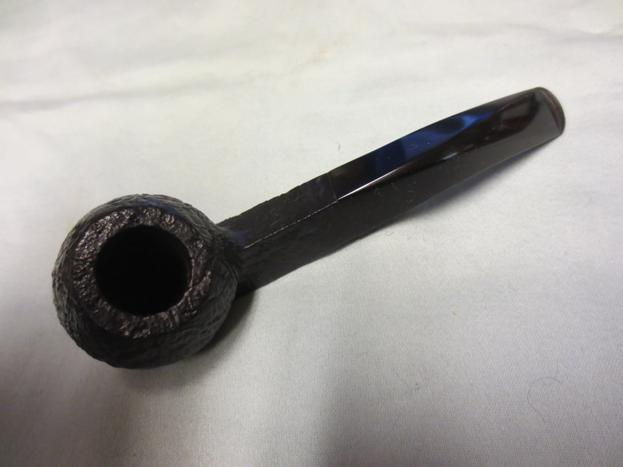
 I took a close-up photo of the rim and the bowl to give an idea of the state of both. The bowl is darkened from sitting but has not been smoked. The rim has some of the nicks I spoke about on the inner edge and the top.
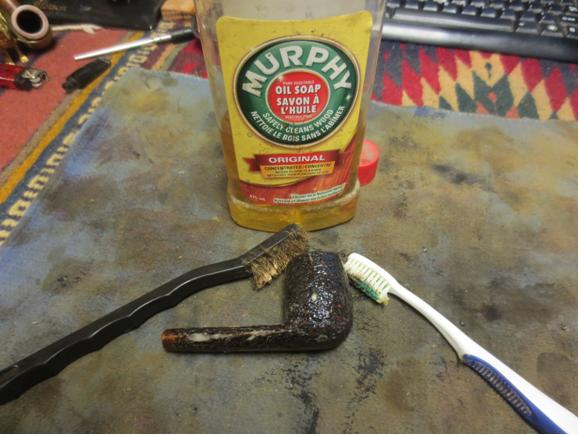
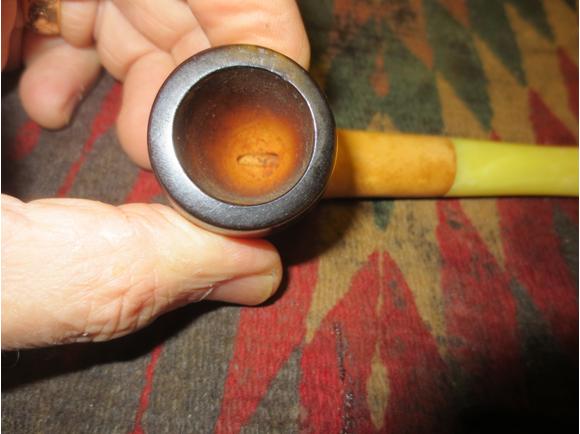 I scrubbed the meerschaum with cotton pads and Murphy’s Oil Soap to clean off the grime. I rinsed the bowl with warm water to remove the soap. I dried it with a cotton cloth.
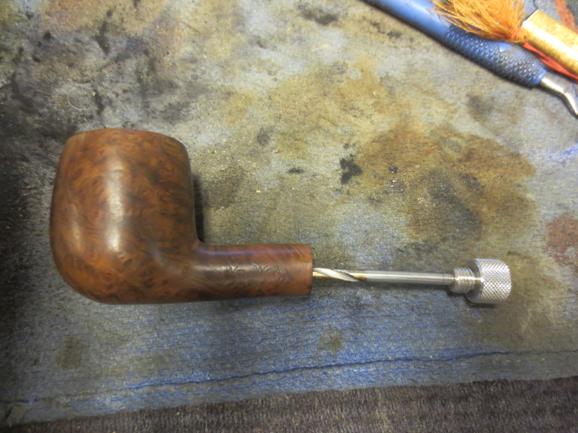
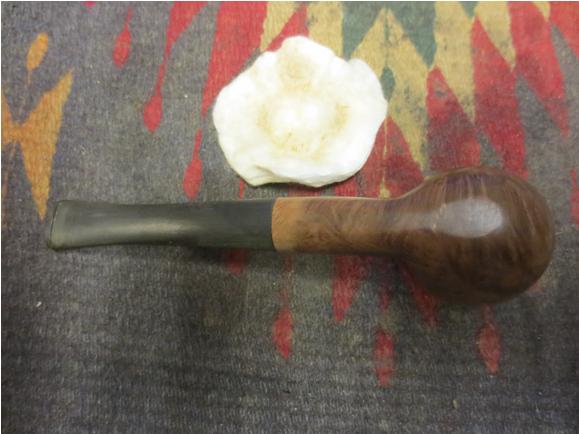
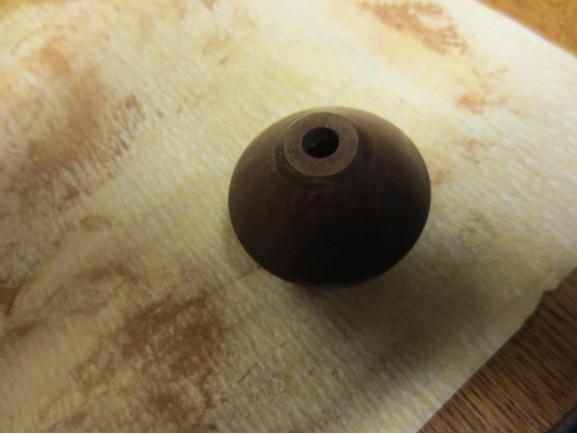
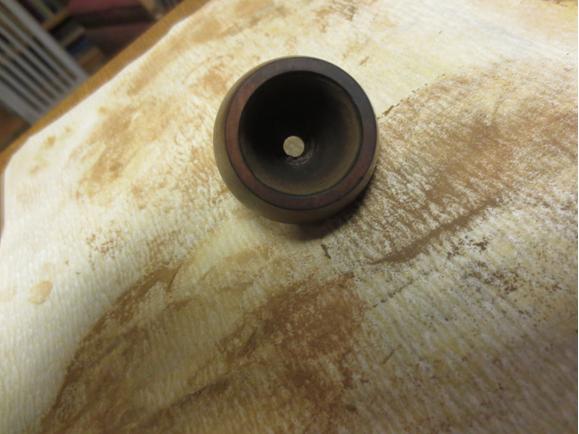
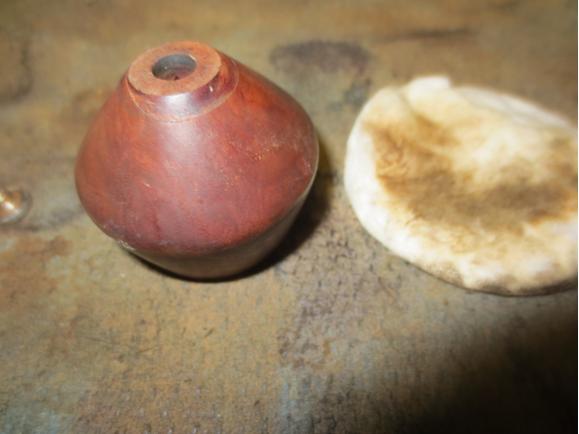
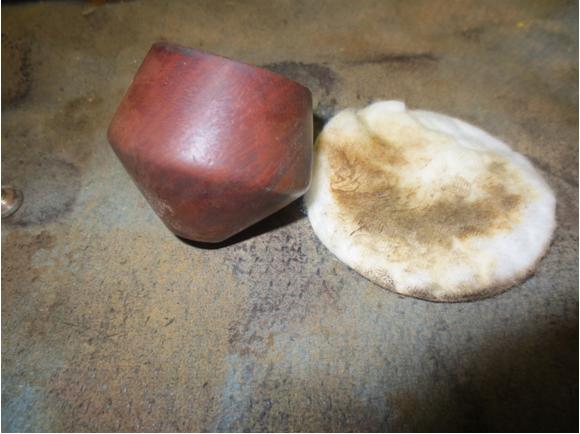
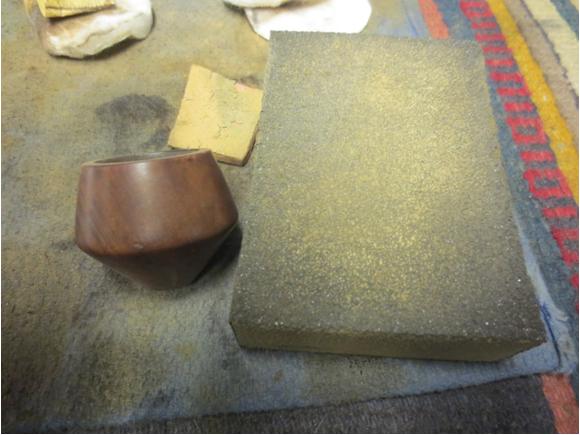
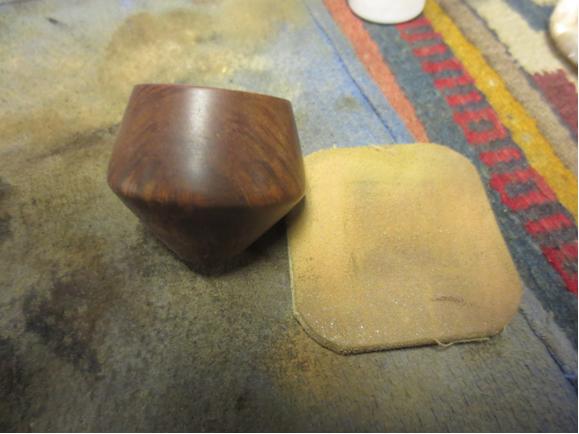
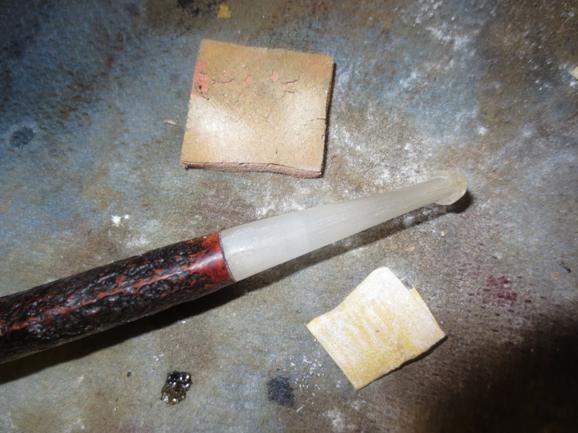
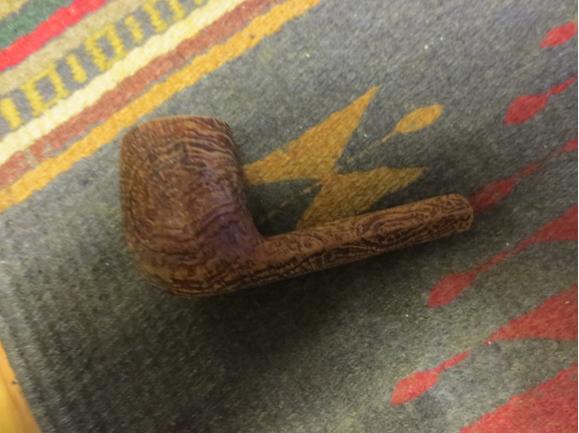
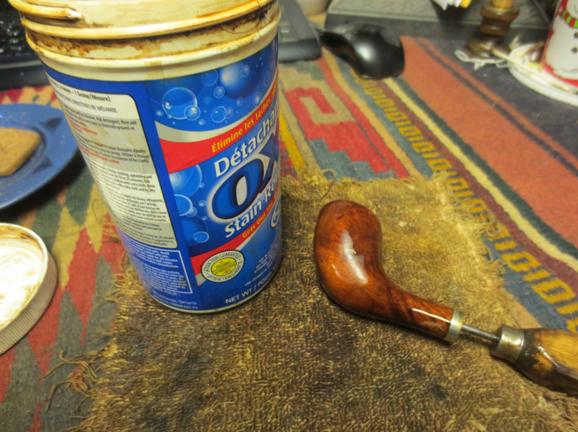
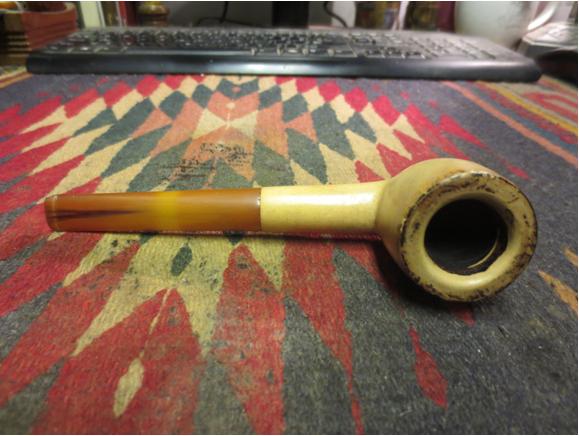
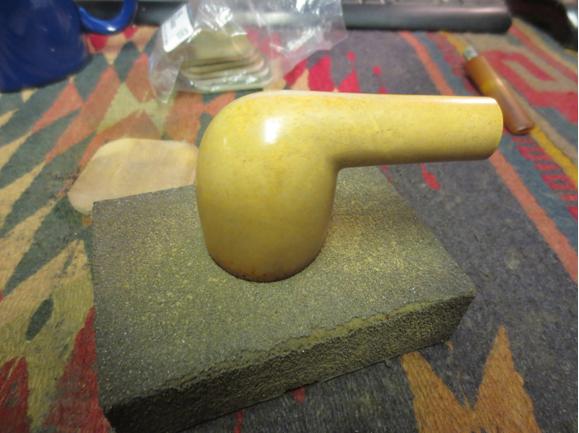
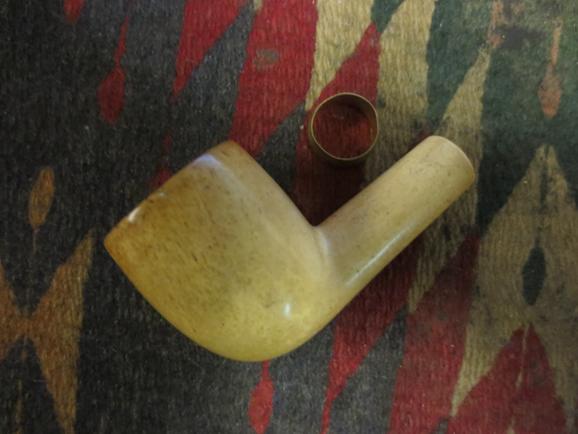
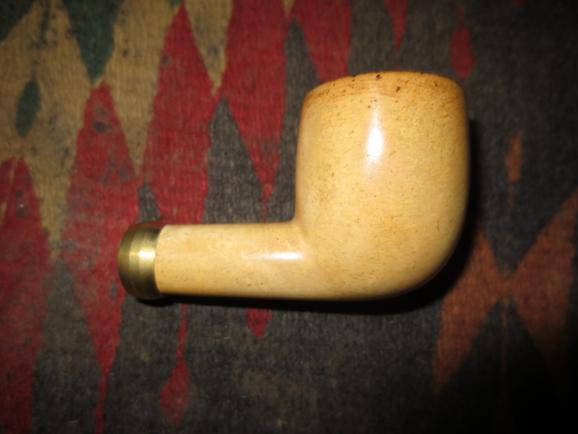
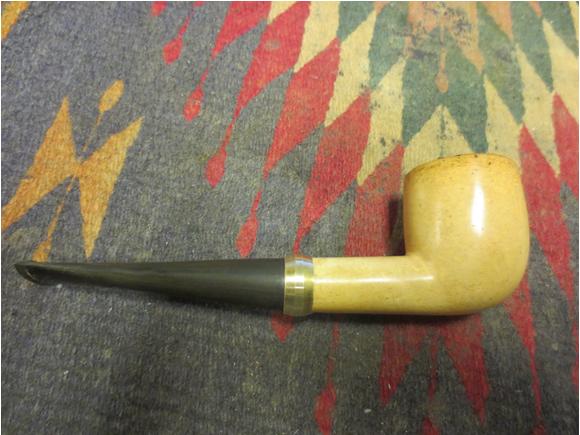
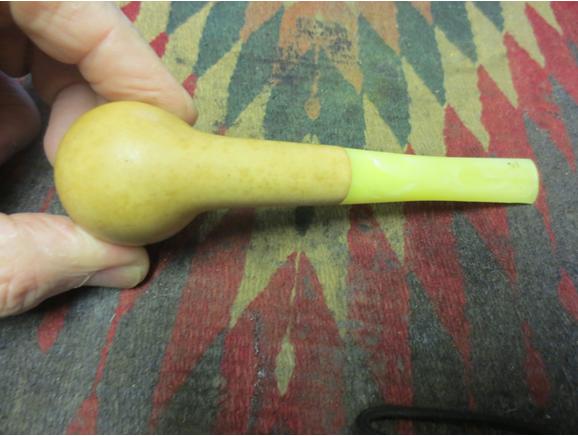
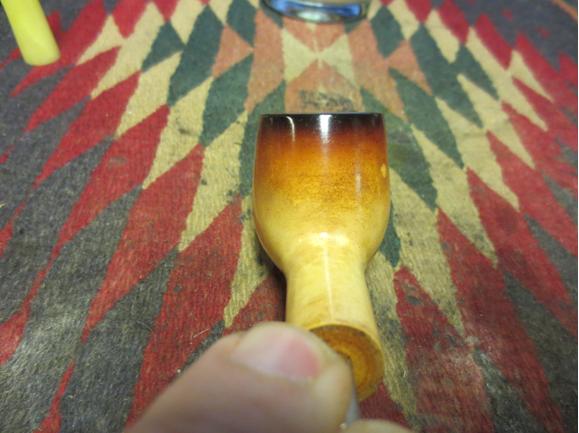
 I sanded the bowl with micromesh sanding pads – wet sanding with 1500-2400 grit pads to remove some of the scratching on the top of the shank and some of the ground in dirt on the sides of the bowl. I dry sanded with 3200-4000 grit pads. I buffed the bowl with Blue Diamond on the wheel and then gave it several coats of soft white beeswax and buff it with a soft flannel buff. The photos below show the cleaned and polished bowl. I was careful in how much of the patina I removed in the process of cleaning the bowl. I wanted it clean but it still needed to look its age.


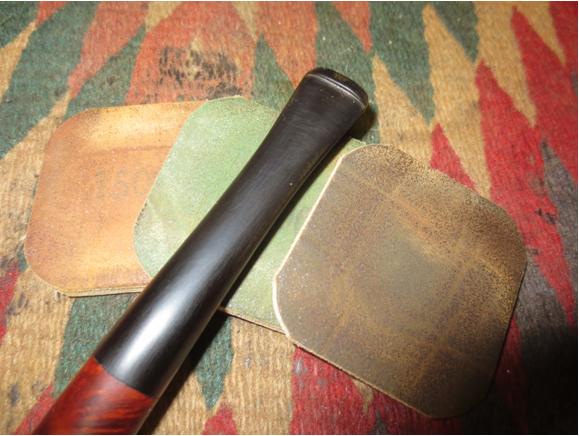
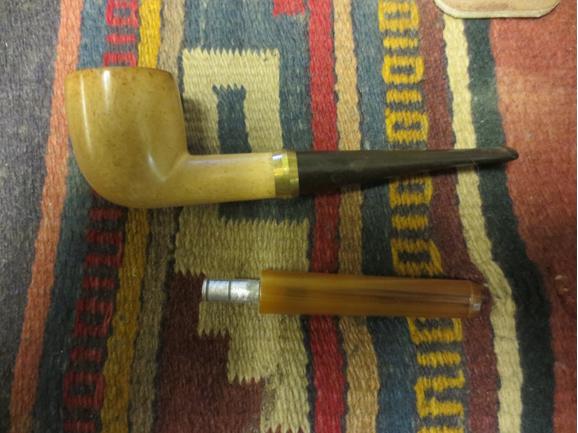
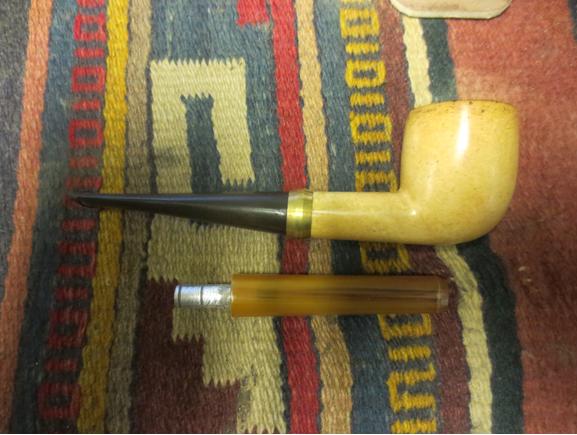
 To polish the dullness of the plastic stem I wet sanded it with 1500-2400 grit micromesh and dry sanded it with 3200-12000 grit pads. I gave it several coats of Paragon Wax and hand buffed it with a microfibre cloth.
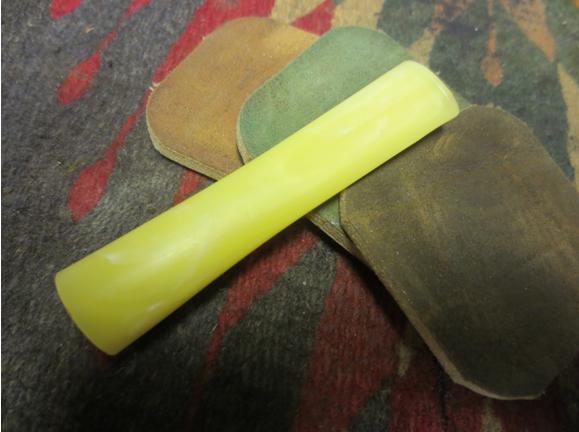

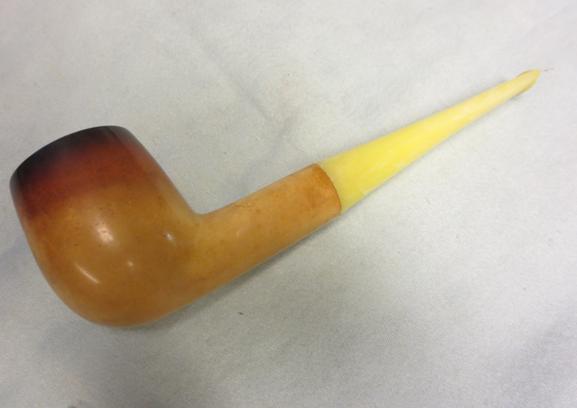
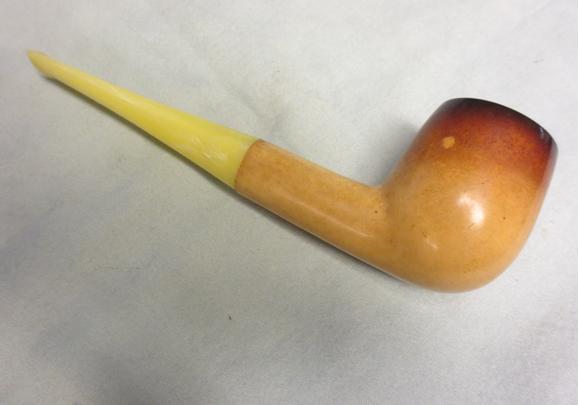
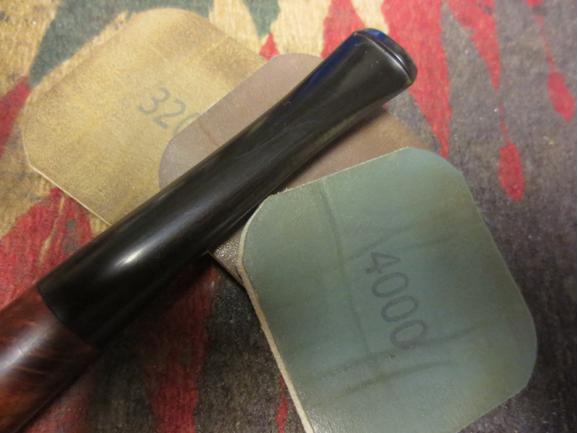
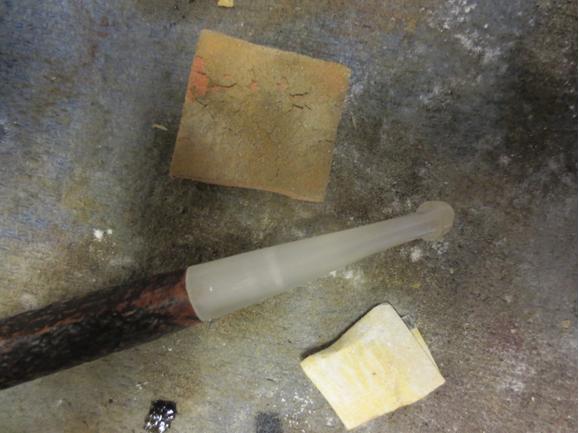
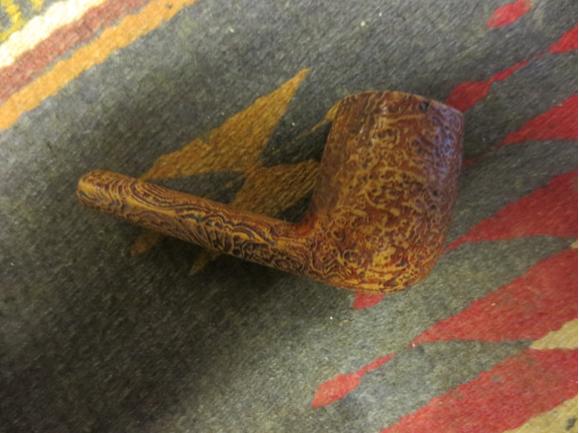
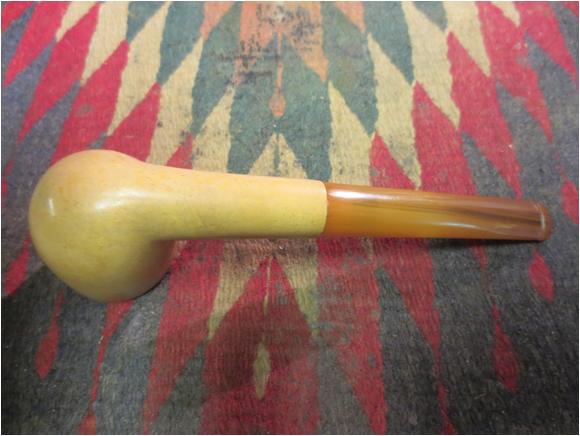
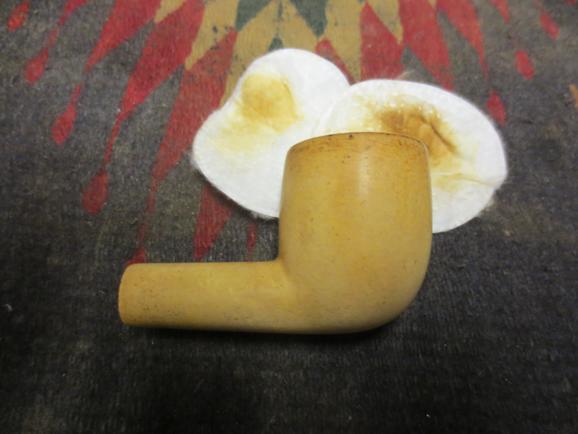
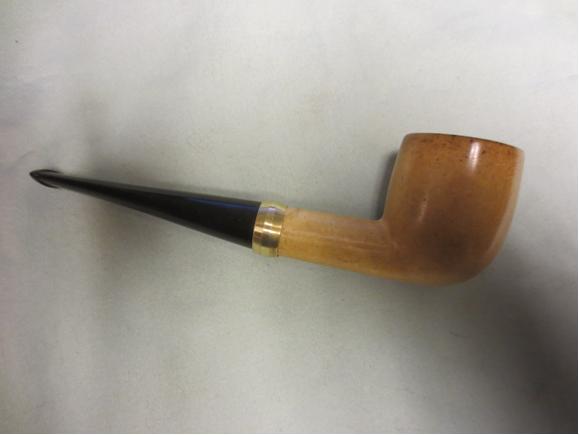
 I put the stem on the bowl and buffed the bowl and stem by hand with the microfibre cloth to give it a shine. The finished pipe is shown in the photos below. This was a simple clean up which is greatly appreciated after the last few hard jobs. Thanks for looking.