Blog by Steve Laug
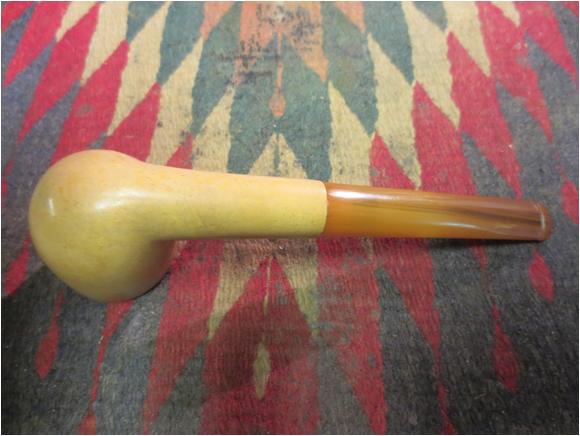
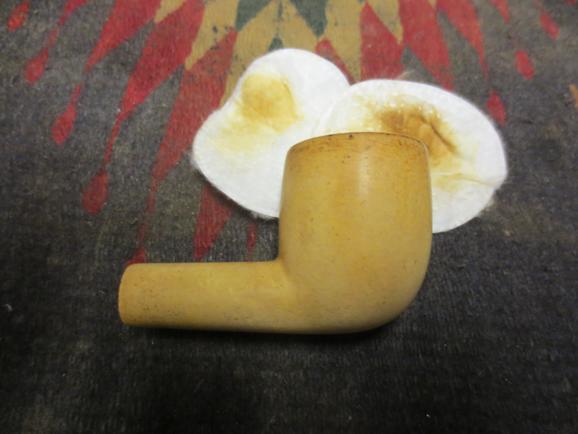
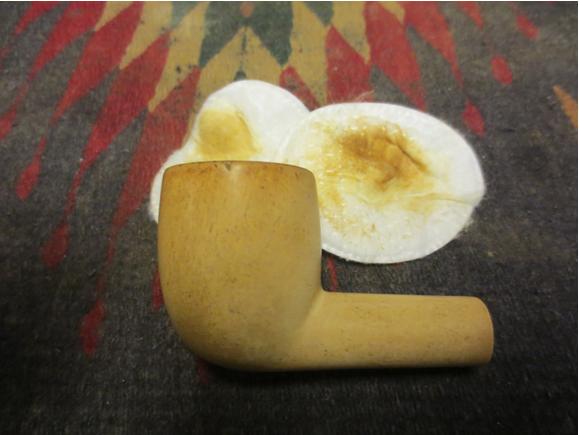
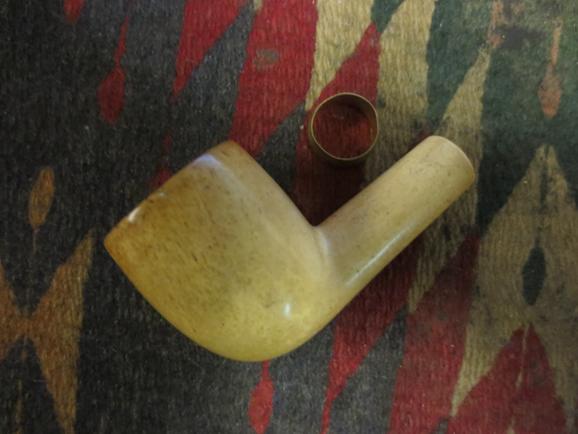
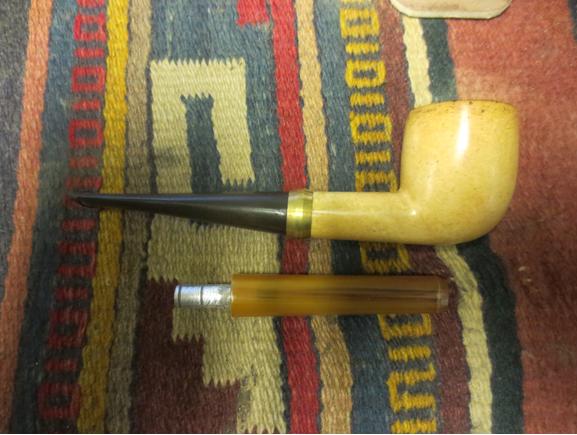
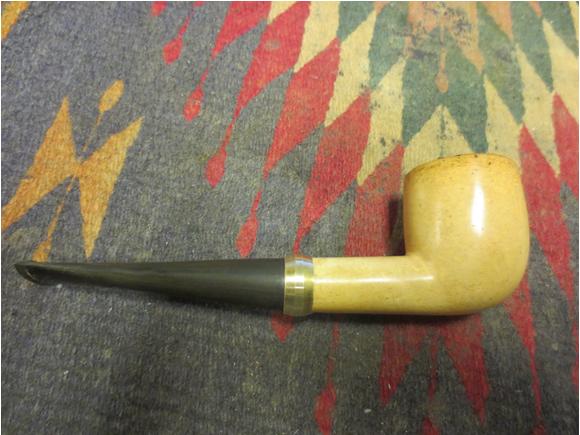
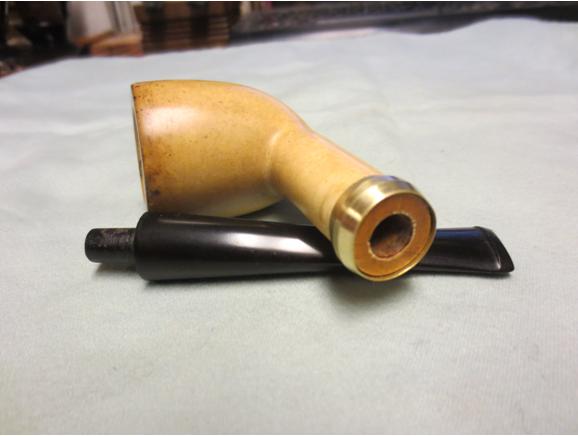
I found these two no name meerschaum billiards on one of the web forums that I frequent. The seller gave me a decent price on the two. The top pipe was older than the bottom one and I chose to work on it first. The stem was Bakelite and had a metal tenon. It did not fit in the shank either in terms of the diameter of the tenon or the diameter of the stem. It fit very loosely and wobbled in the mortise. The stem itself was about 1/8 inch in some places and 1/16 inches in others smaller than the shank of the pipe. The pipe was dirty and in need of some effort to clean it up and restore it. The next three photos show the pipe from different vantage points.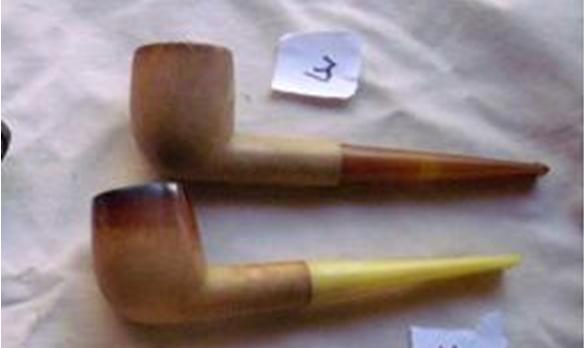

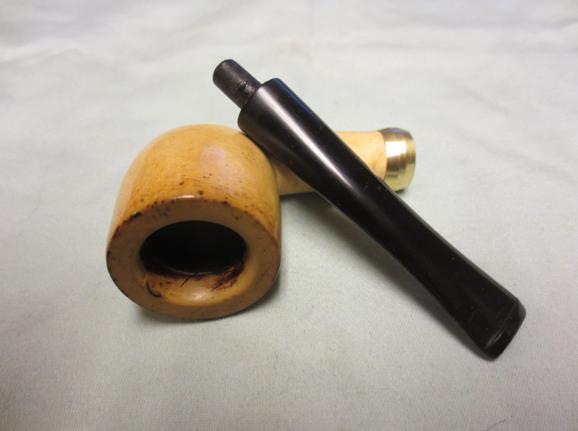
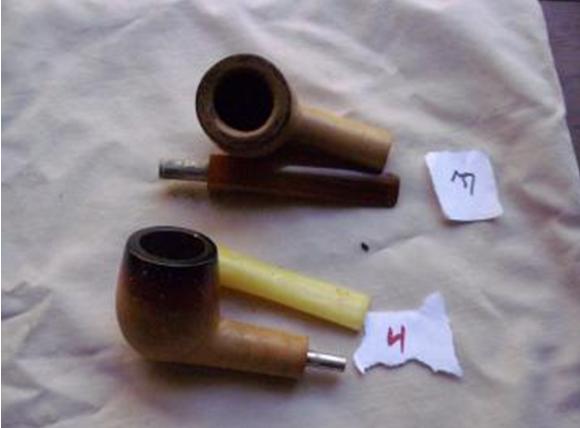 Once the pipe arrived I was able to have a clear look at it. The rim on the bowl was tarred and the outer edge was chipped. The bowl surface itself was dirty and spotty looking. It had a light brown patina under the dirt. The tars on the rim ran down the outside of the bowl. The shank also was dirty on the outside. The inside of the bowl had been reamed and cleaned. There was some wax in the bottom of the bowl. The airway entering the bowl was damaged and had been worn upward about ½ an inch to form a trough along the back wall of the bowl. The inside of the shank was clean and still undarkened by smoke. There were no threads or marks on the inside of the shank so I was pretty sure that the original stem had been a push stem. It may even have been a Bakelite stem like the one that had been substituted on this pipe. But I was pretty certain that I was working with a replacement stem and poorly fitting one at that.
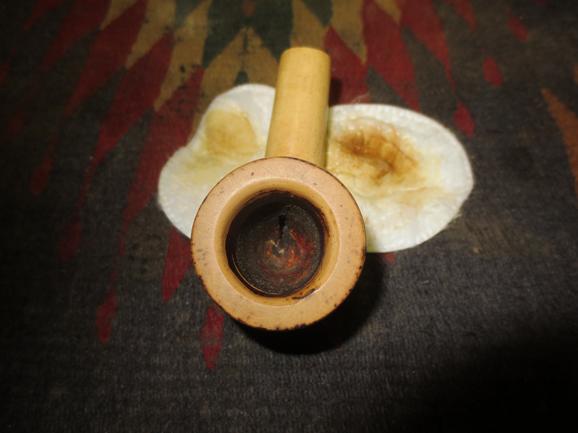
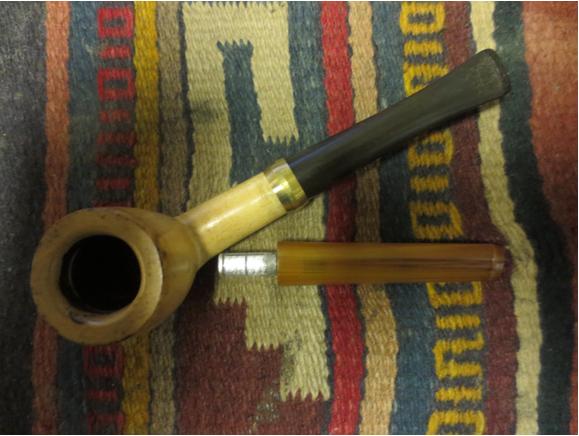
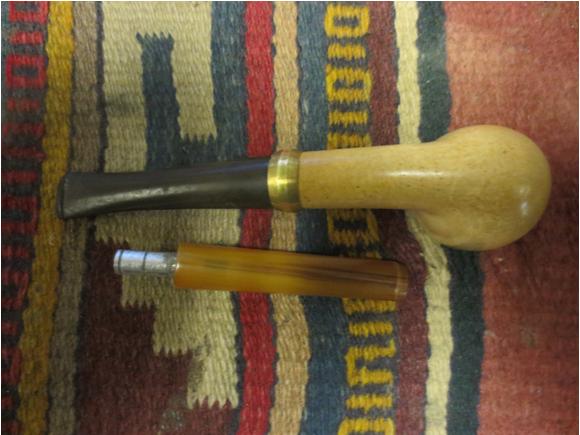
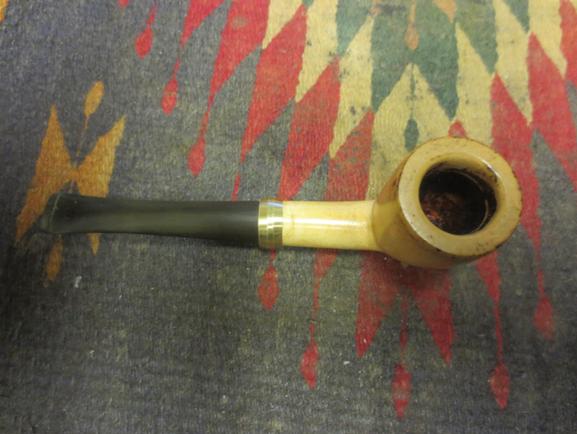
 The close up photo of the rim shows the rim damage and the damaged airway in the bottom of the bowl.
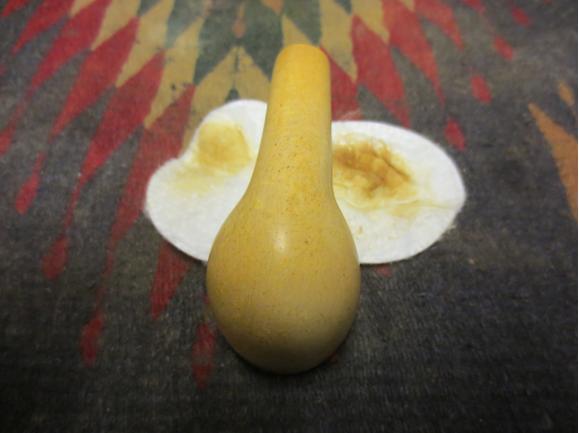
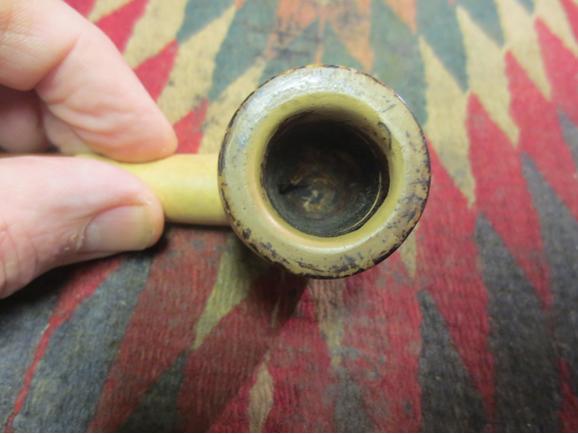 The next photo shows the oxidized aluminum tenon on the stem. I thought about adding a coating of superglue to the tenon to tighten the fit but that would not do anything for the diameter issue. I was pretty sure that I would have to restem this pipe to get a good fit on the stem and shank union. In the mean time I cleaned up the bowl. I should have paid attention to my initial thoughts here and just set the stem aside but I did not and would regret it soon enough.
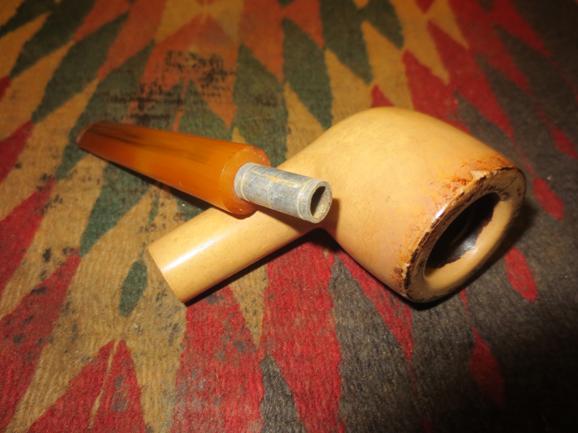 In the mean time I cleaned up the bowl. I used a medium grit and a fine grit sanding block to remove the tars and deposits on the rim. I scrubbed the bowl with Murphy’s Oil Soap to remove the grime on the surface and leave as much of the patina intact as possible.
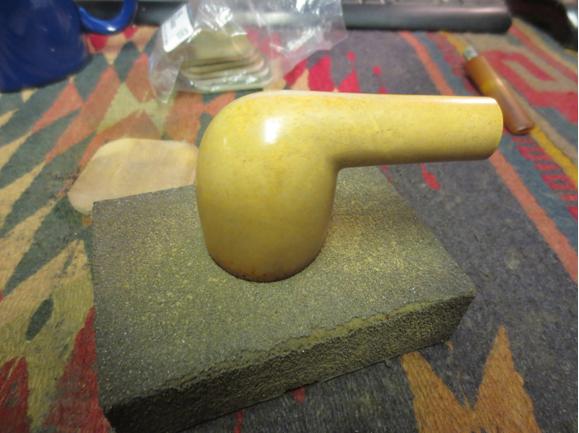
 I decided to put a coat of superglue on the tenon and see if I could build it up for a snug fit. I should have left well enough alone. Needless to say my “quick fix” did not work. I got the fit correct or what I thought was correct and when I removed it from the shank I heard a popping sound and noticed that I a small chunk of meerschaum had cracked and come out of the shank. I was sick with having broken a chunk out of the shank because I had not gone with my first instinct of cutting a new stem. Now I had made work for myself. I glued the chunk back in place on the shank with some epoxy and then cleaned up the repair so I could band it. I had used some brass pressure fittings on some meerschaum pipes I had restemmed earlier and like the look of them so I found one that was the right diameter for this shank as well. I heated it with a heat gun and pressed it in place on the shank. I covered the majority of the repaired shank and protected it from breaking further.
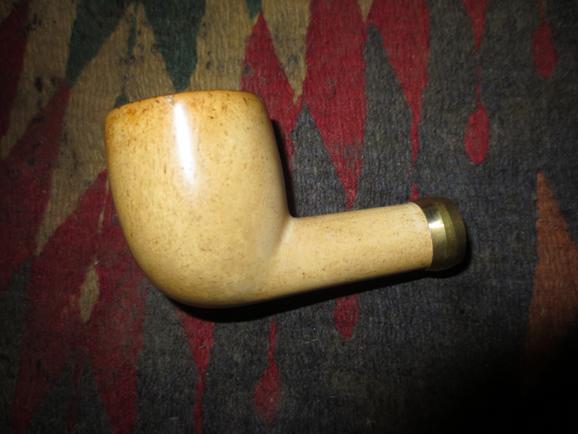
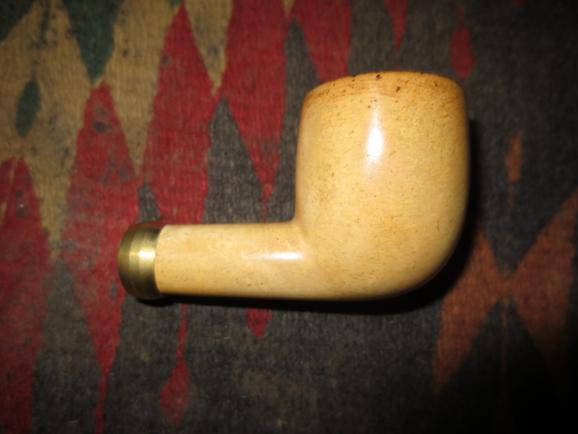 I found a stem that was the right diameter for the shank of the pipe in my can of stems. I sanded the tenon to get a snug fit in the shank and put it in place. The photos below show the stem before I had put the finishing touches on it and cleaned it up. They do give a good idea of how the new stem will look with the band.
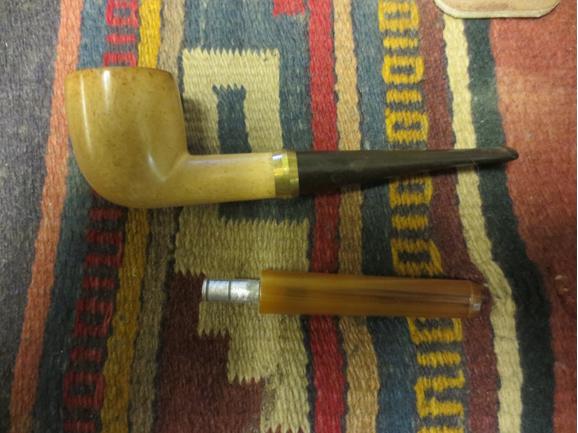
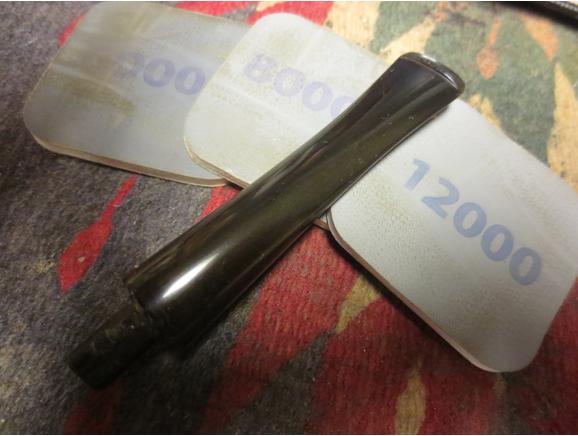
 The stem style is wide at the button and more tapered than the one that had probably graced the pipe originally but I liked the new look of it. I sanded it with 220 grit sandpaper to remove the tooth chatter and tooth marks at the button. I also sanded to remove the oxidation. I sanded it with a medium and a fine grit sanding sponge. I sanded the bowl with micromesh sanding pads- 1500-12000 grit and polished it by hand.
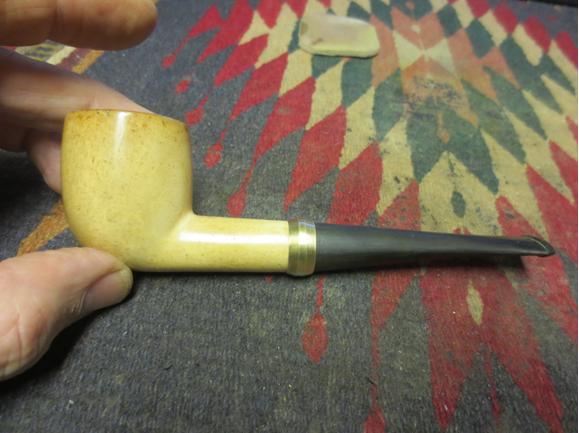
 I sanded the stem with micromesh sanding pads – wet sanding with 1500-2400 grit sanding pads and dry sanding with 3200-12000 grit pads. I rubbed the stem down after each set of three pads with Obsidian Oil and then kept sanding. When I finished with the 12000 grit pad I gave it a final coat of oil and let it dry.
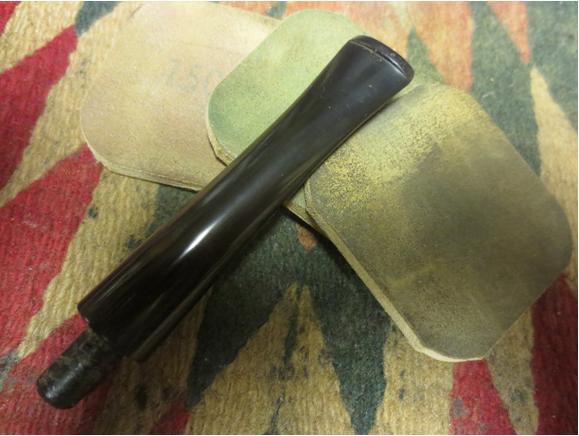

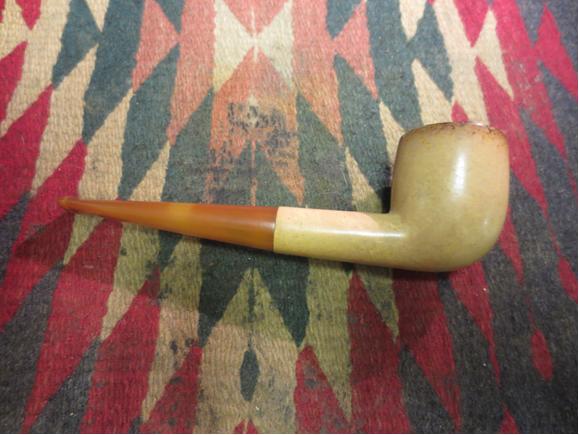
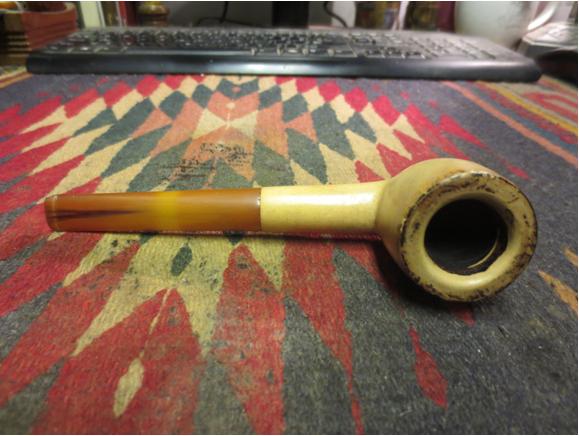
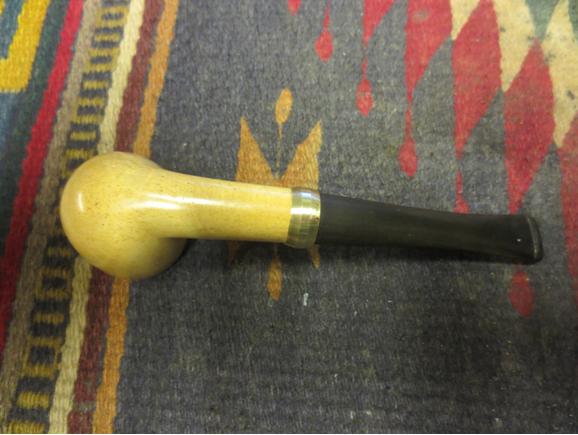
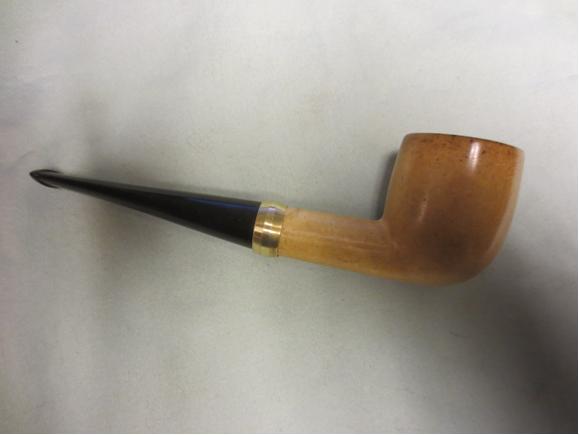
 When it was dry I buffed the stem with Blue Diamond on the buffing wheel until it shone. Then I gave it multiple coats of carnauba wax and buffed it by hand with a microfibre cloth. I gave the bowl several coats of white beeswax paste that I have here and then buffed it as well. The finished pipe is shown in the photos below. I am actually happy how the finished pipe turned out. The issues that arose during the clean up worked out better than I had expected. For that I am thankful.
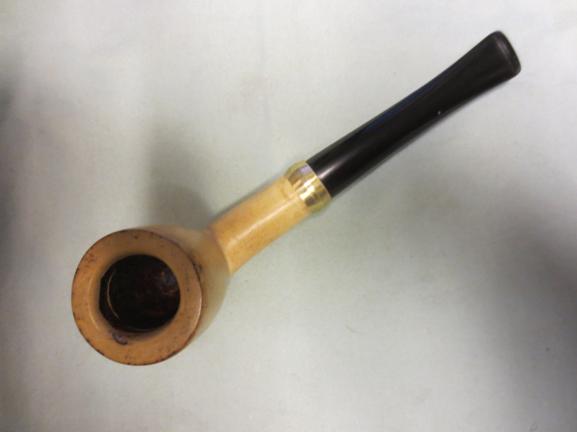
The meer polished up nicely and the spotty brown colouring was a nice contrast with the brass and the black vulcanite. I like the look of the band on the shank and only wish that I had not cracked the shank and made it necessary and not just cosmetic. Ah well it is nearly invisible and it will still give a good smoke. I need to figure out some way to repair the airway on the inside of the bowl. I am still puzzling over several options but will probably use a natural plaster of Paris to build up the groove on the back wall of the bowl. Time will tell. I will add that repair to the end of this blog once I decide how to do it. Thanks for looking.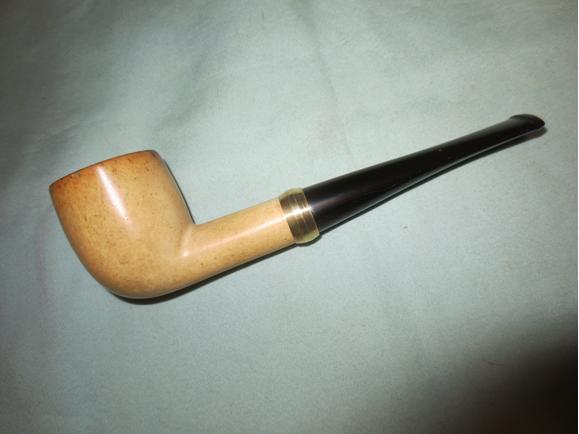


I like the look of the band!
LikeLike
It’s always frustrating when something like this happens and you know you have only yourself to blame. I’ve got a few pipes like that too! The re-stem, however, turned out just fine, Steve. Looking forward to seeing how you address the interior of the bowl.
LikeLike