Blog by Steve Laug
This pipe caught my eye as I was browsing through the for sale section of the Dr.Grabow Collectors Forum. It was in very clean condition. The finish on the bowl and rim were like new. The pipe was stamped Made in England in a circle on top of the shank next to the stem and in the center of the shank it was stamped Litewate over De Luxe. On the underside of shank near the stem was the shape number 71F. The pipe was barely smoked and was very clean. The stem was obviously a replacement Lucite stem in a bright yellow swirl pattern. In the photos it looks more green than it truly is. In reality it is very yellow.


 I looked up the brand on the pipedia site and found that the Litewate was produced by Parker and also sold by R.M. Littaur & Co. Ltd. It was also made by Sasieni. The circular com stamp on the shank and the shape number identified this particular pipe as a Sasieni made pipe. http://pipedia.org/index.php?title=Litewate I copied the next photos from the PipePhil stamping and logos site. The stamping on the pipe I have is exactly like that on these photos. He also noted there that brand was solely distributed in the US Market.
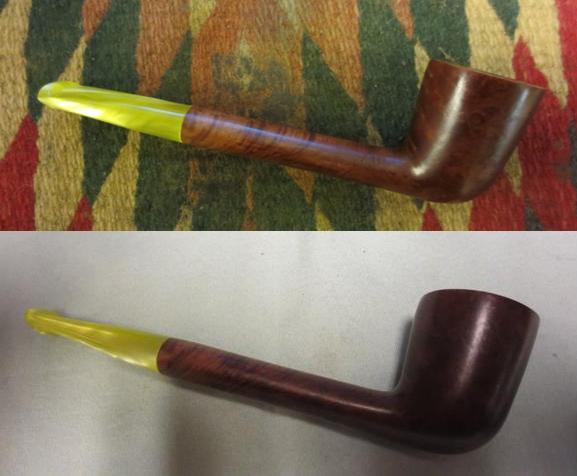
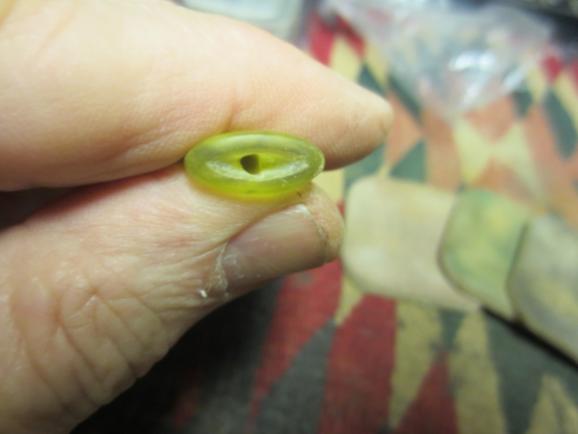
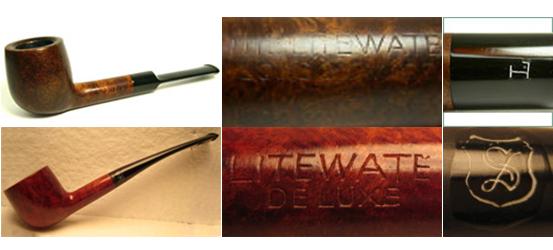 When the pipe arrived I was surprised by the sheer size of it – I knew it was small but I had no idea that it would be this small. It was very light weight and reminded me in both the size and the weight of the Stanwell Featherweight series. I unpack it and looked over the stem. It was chunky and thick. The descent of the slope to the button was not even and had a slight flat spot about ½ inch from the stem/shank joint. The button was sloppily cut and the stem was very thick in front of the button. The button itself was thick both in terms of height and in terms of width from the outer edge to what should have been a sharp angle to the slope of the stem. It did not have that angle but was rather another slope to the top of the button. Where there should have been a slot in the stem there was merely an airway – a single hole in the end. This is the way that stem blanks arrive before they have been shaped and fit to the pipe. Overall it looked like a quickly done stem to make the pipe useable. I took some photos of the pipe when it arrived.
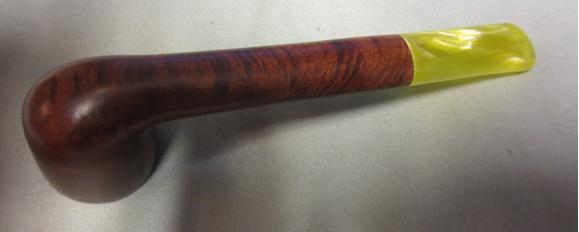
 The next photos show the stamping on the top of the shank and the rim. Whoever did the restem did a great job fitting the stem against the shank. It is a great snug fit that shows no light. The bowl is clean and lightly smoked.
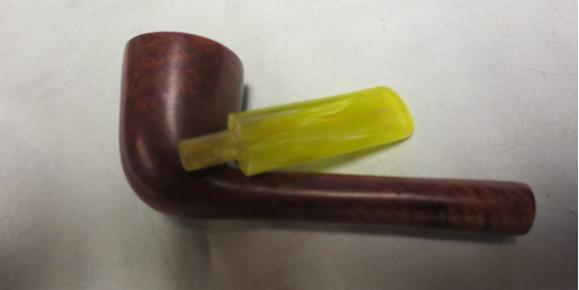
 I took a few photos of the stem that shows the chunkiness of the button and the thickness of the angle from shank to button. The third photo below shows the single hole airway in the end of the button.
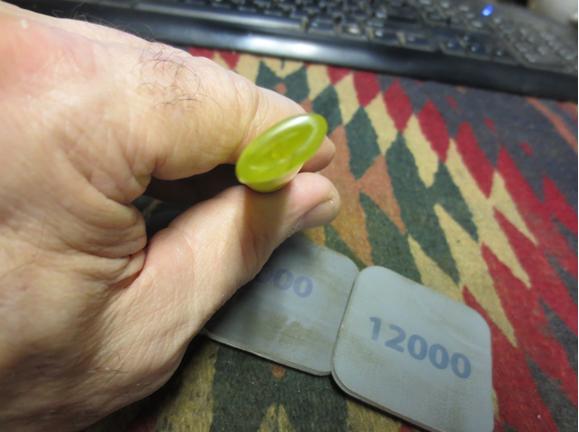
 I used three different needle files to cut a slot in the end of the button and shape it and the Y in the airway. I used a round, a slight oval and a flat oval file to cut and shape the slot.
 I straightened the edge on the button and thinned out the button with a flat needle file. I wanted a 90 degree angle rather than the slope that was there originally.
 I sanded out the newly cut slot with a folded piece of 220 grit sandpaper. I reworked the taper on the stem and thinned it out with 220 grit sandpaper. In the photo above you can see the overall thickness of the stem and the short taper from the hip of the stem to the button. This needed to be thinned and the taper increased. I sanded and shaped the button and cleaned up the straight edge against the stem body.
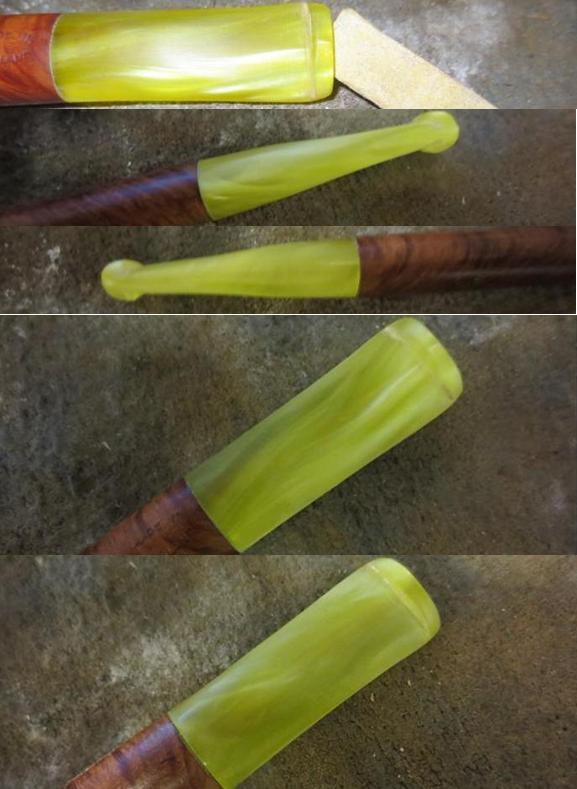 I sanded the stem with a medium and a fine grit sanding sponge and finish the initial reshaping with 400 grit sandpaper.
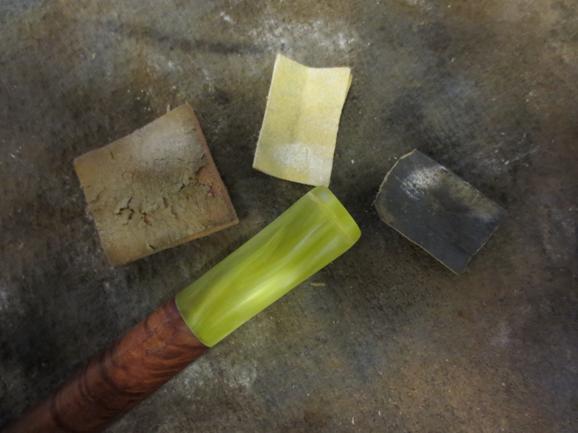 I sanded out the inside of the slot with a folded piece of 400 grit wet dry paper.
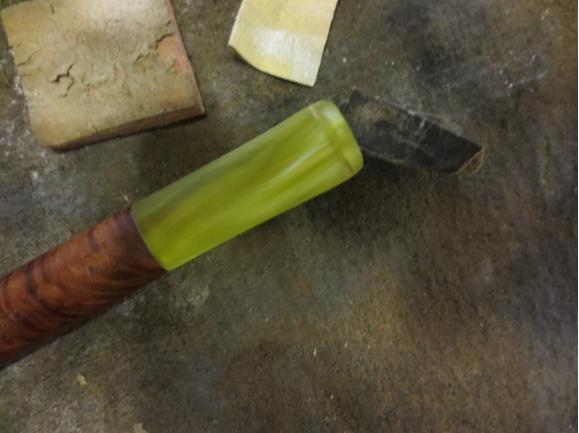
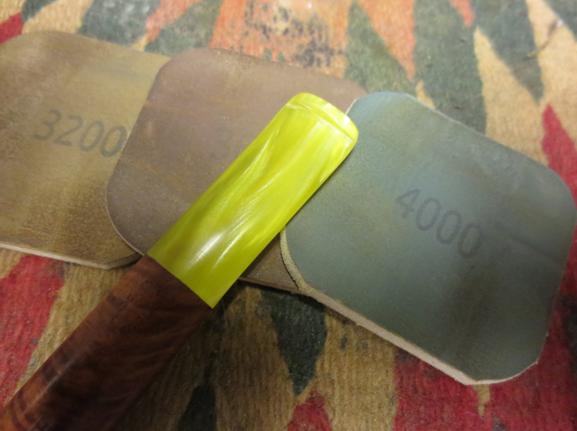
 I polished the Lucite with micromesh sanding pads – wet sanding with 1500-2400 grit pads and dry sanding with 3200-12000 grit pads.
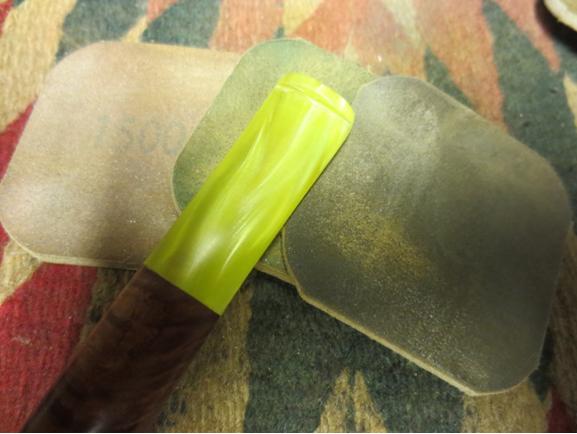
 I buffed the pipe and stem with Blue Diamond on the buffing wheel and then gave the pipe several coats of carnauba wax. I buffed it with a clean flannel buff and then by hand with a microfiber cloth. The finished pipe is shown in the photos below. The newly shaped stem is far more comfortable in the mouth now that the taper is more flattened and the thickness reduced. Thanks for looking.