Blog by Steve Laug
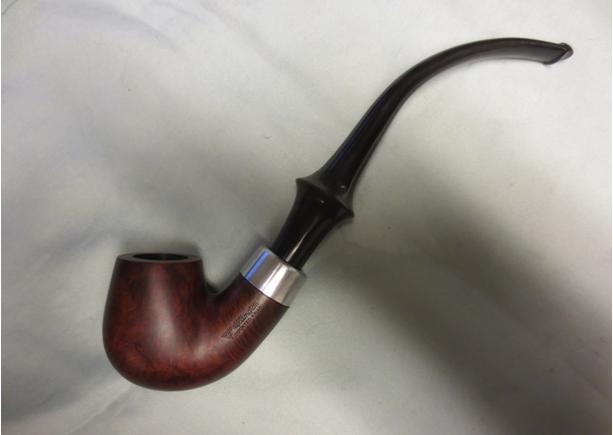
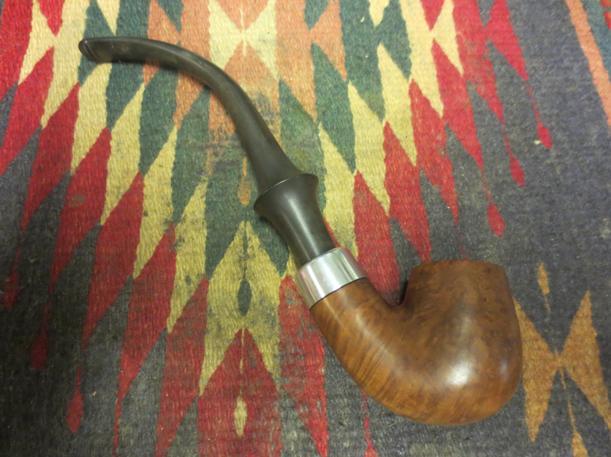
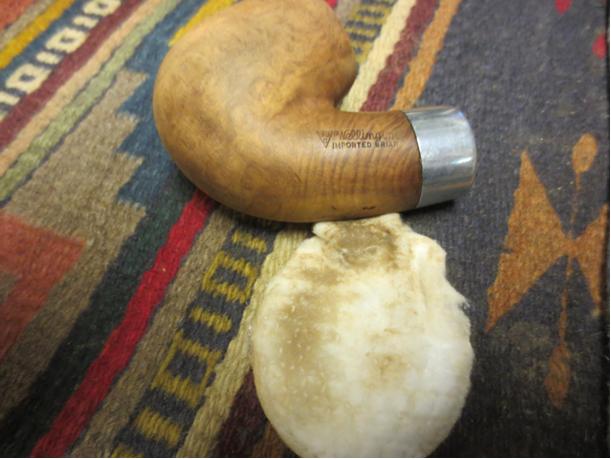
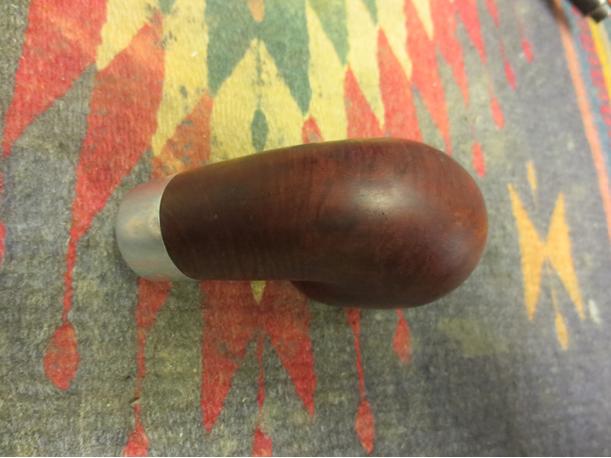
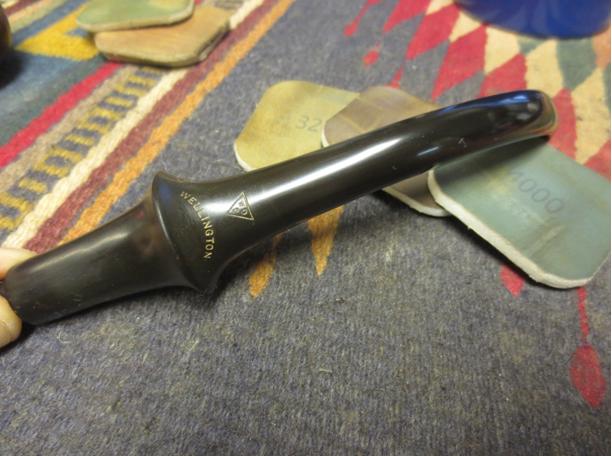
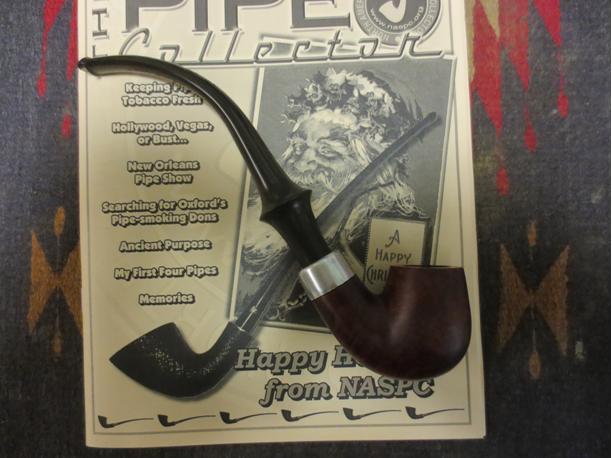
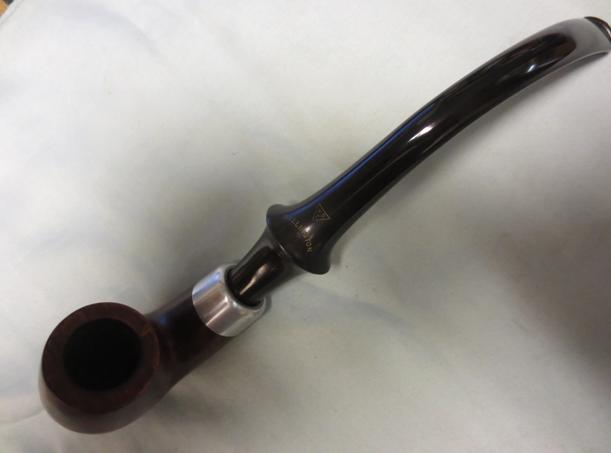
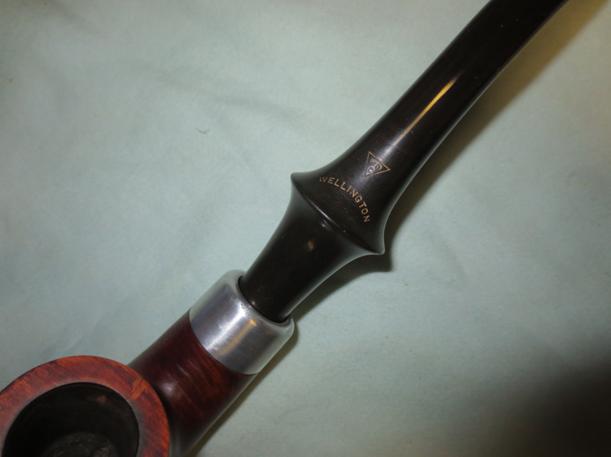
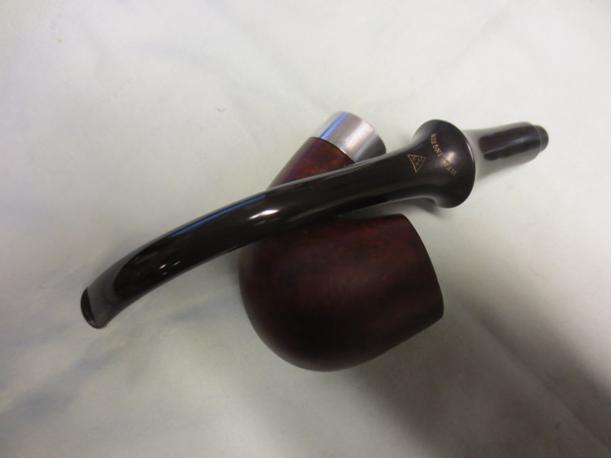
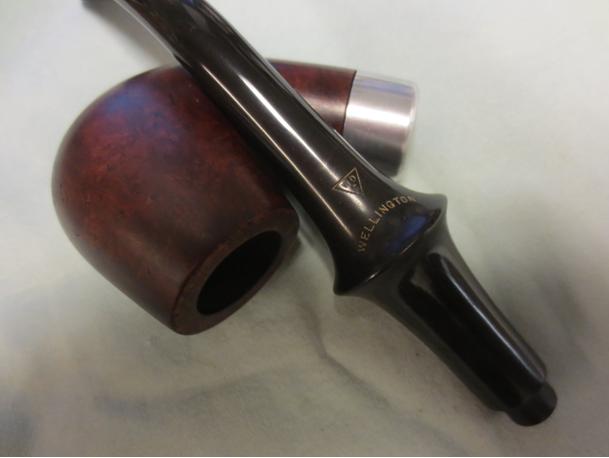
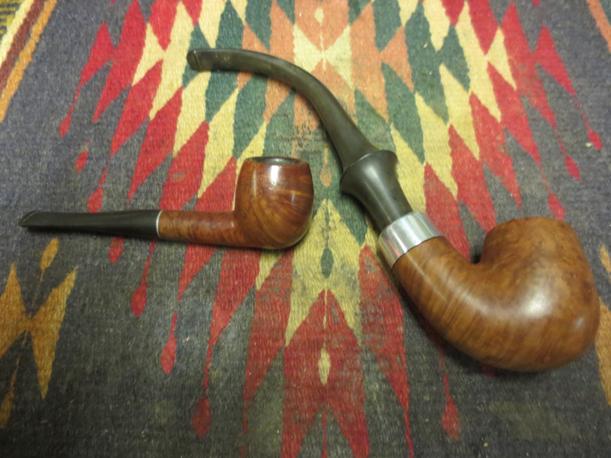
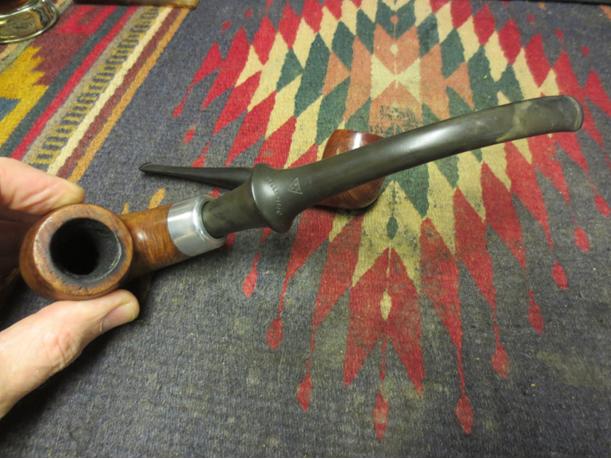
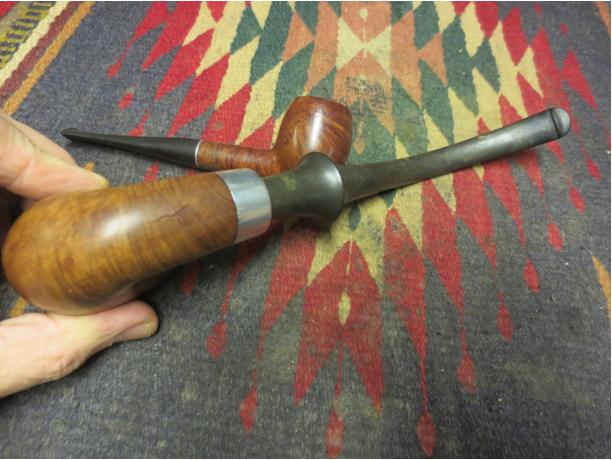
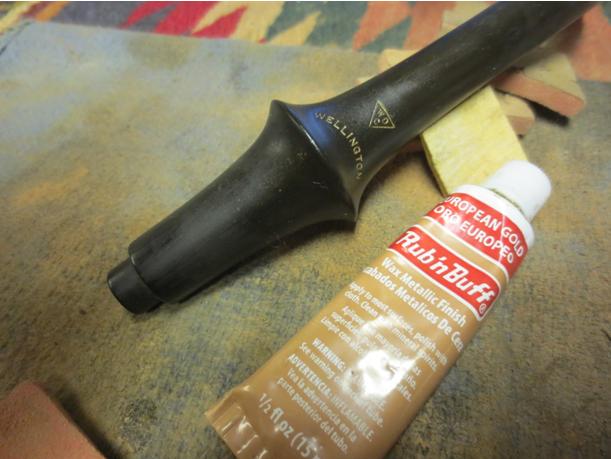
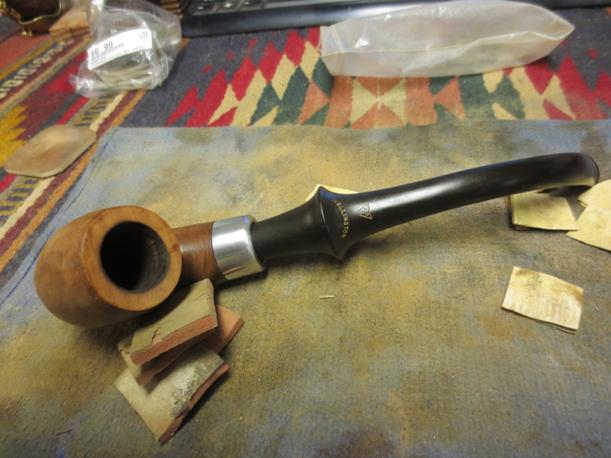
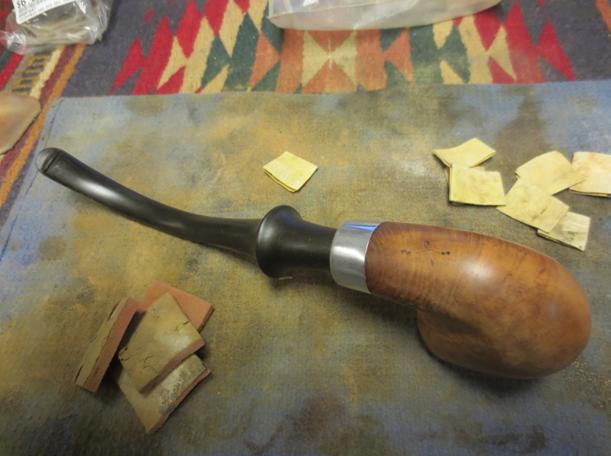
Through Facebook I connected with a new friend Warren. He wrote me about how to repair a crack in a pipe that he was reworking for a friend of his. As I described the process he asked if he could send it to me to work on. At that point my refurbishing box was getting low as I had repaired and moved out a lot of the pipes that had been there. So I agreed. Last week it arrived here. A funny side note is that I have a stem for the same pipe and have been looking for a bowl for the stem for a while now. Now I get the opportunity to work on a pipe with the same stem. It is stamped WDC in a triangle on the stem with Wellington arced below the triangle. It is also stamped on the left side of the shank with the WDC triangle and Wellington in script to the right of the triangle. Underneath the script it reads Imported Briar. There is no other stamping on the pipe. It is a large pipe with a length of over 10 inches and a bowl height of 2 inches. The diameter of the bowl is 7/8 inches. The third picture below shows a comparison of a 5 ½ inch long pipe and average bowl so you can see how big this pipe truly is.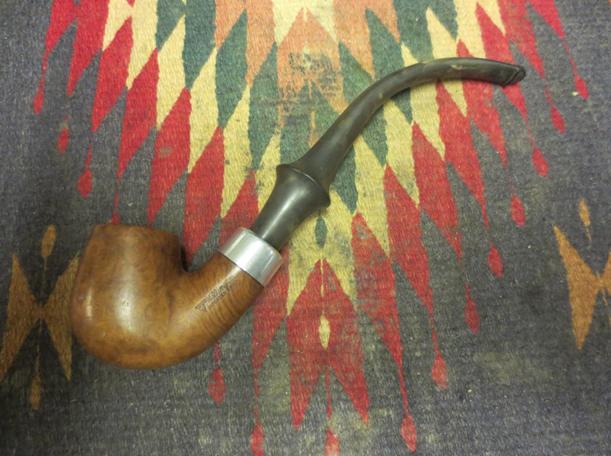
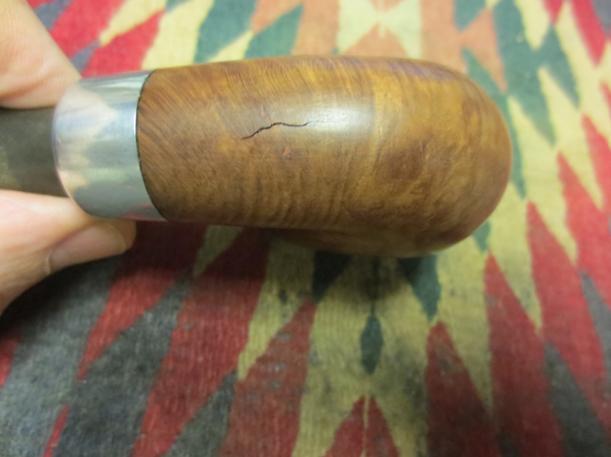
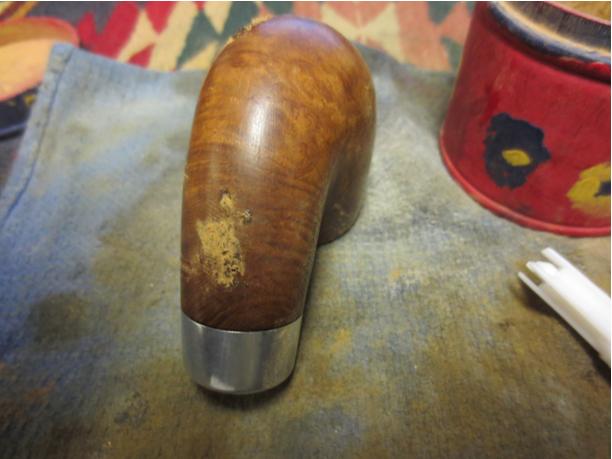
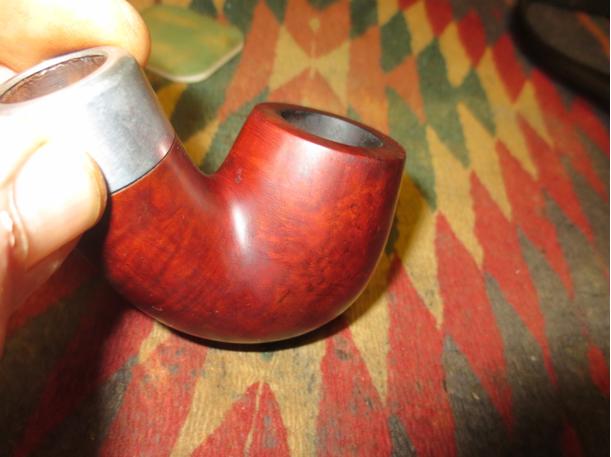
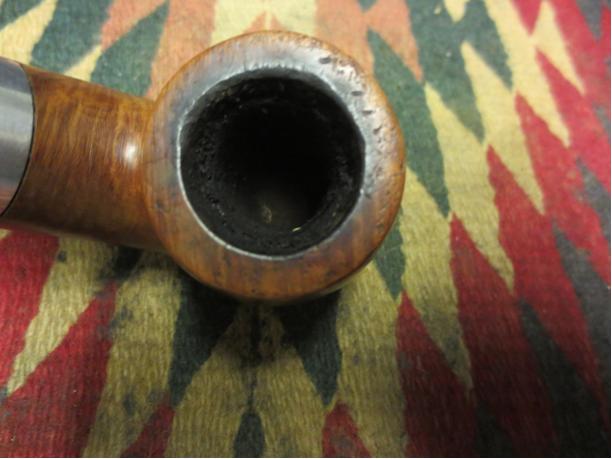
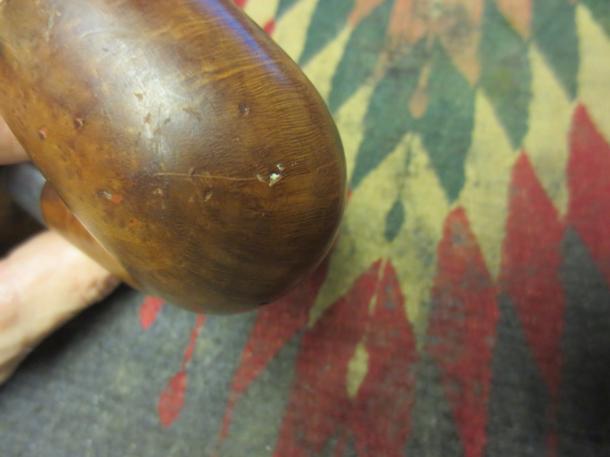
 The briar had some attractive grain in it but there were some issues as well. It had a lot of fills on the front left, front right and bowl front. There was some damage to the surface of the rim that looked as if the pipe had been dropped on concrete. The outer edge of the rim on the front had some damage and was rounded over and the inner back edge of the rim had burn damage that made that portion out of round. Fortunately it was not a deep burn and would be relatively easy to address. There was also a ¾ inch crack on the underside of the shank that had one ¼ inch branch going toward the left side of the shank.
 I took a series of close up photos to show the damaged areas of the pipe. The first shows the damage to the rim surface and edges. The second shows the crack in the shank. The third photo shows the missing fills and divots in the bowl sides.
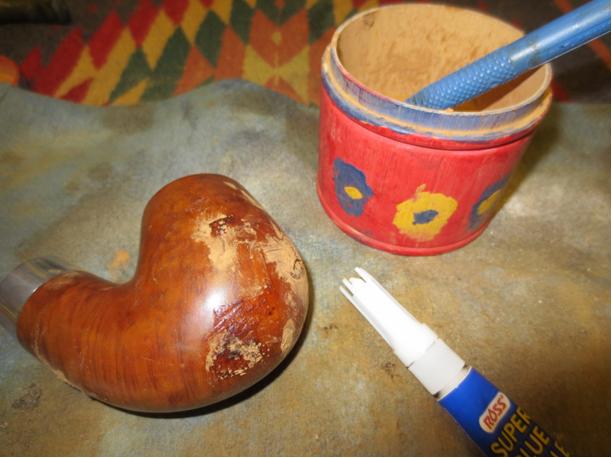
 I decided to address the crack in the bottom of the shank first. I used a micro drill bit on my Dremel to drill some small holes at the end of the crack and the branches of the crack to stop the damage from spreading further. The bit is very tiny as can be seen from the holes that are left behind after drilling. I drill two holes on each end because after the first hole I examined it with a lens and could see that extended slightly beyond my first hole. I picked out the damaged putty fills with a dental pick and wiped the bowl down so that I could repair the crack and the fills. I used a clear super glue and fine briar dust to replace the fills and to fill in the drill holes on the shank bottom. In each case I over filled the holes so that as the glue and dust were sanded I would not need to repeat the process due to shrinkage.
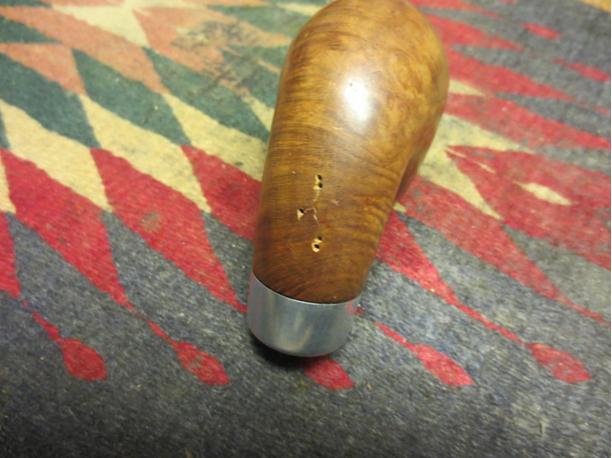
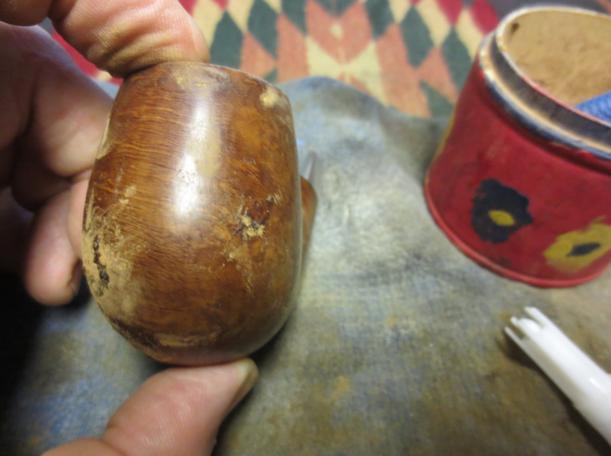 My intention was to restain the entire bowl so I sanded the bowl and the repairs with 220 grit sandpaper to smooth out the repairs. I followed that by sanding the bowl and repairs with a medium and a fine grit sanding sponge.
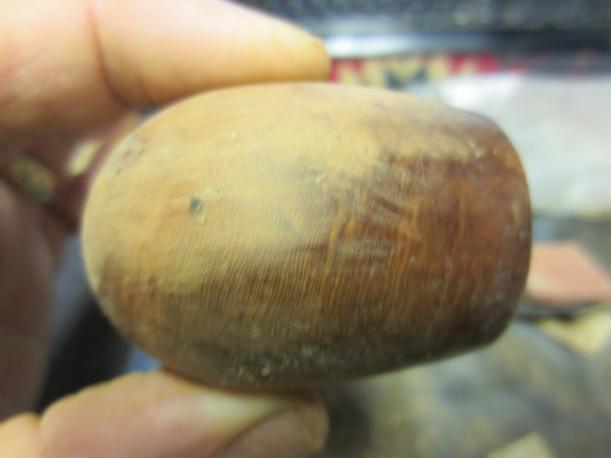
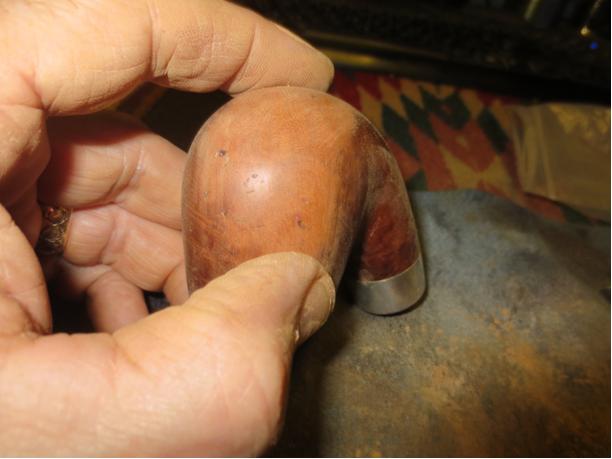
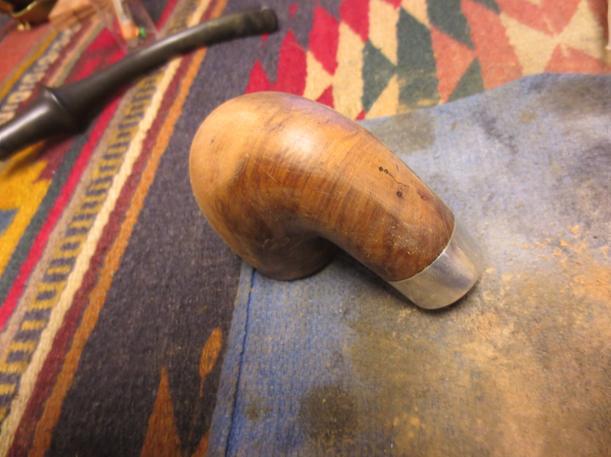 I reamed the bowl with a PipNet reamer starting with the head that would fit and working up a head that took the cake back to bare briar. In looking at the back side of the bowl I could see a small hairline crack and I wanted to know if it went all the way through.
 I topped the bowl with the topping board and took off all of the damage to the inside and outside rim as well as the rim surface. I sanded it with the medium and fine grit sanding sponge as well to smooth out the scratches.
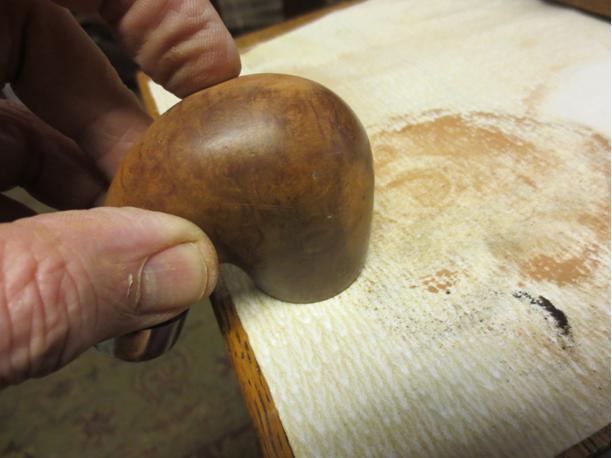
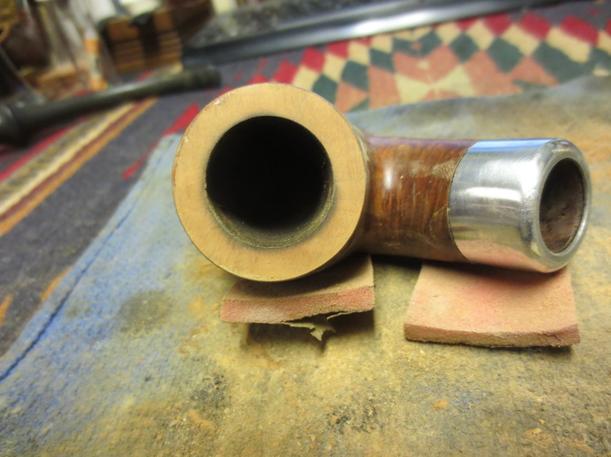 After sanding and topping the bowl I could see that indeed there was a hairline crack that went across the rim at 5 o’clock and went down the back side of the bowl about ¾ of an inch. It was small and did not separate. It looked like it went all the way through to the inside of the bowl but upon examination appeared to only extend about 1/16th of an inch into the bowl. I topped it a little bit more to take care of the internal crack. I drilled the back side of the bowl at the bottom of the crack to stop it from going further down the bowl.
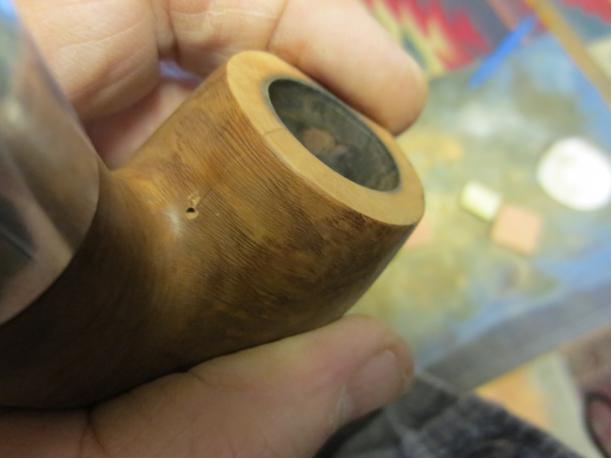 I wiped down the bowl side and then picked out the crack with a dental pick. I filled it with super glue and briar dust and sanded it down with 220 grit sandpaper and the medium and fine grit sanding sponges until it blended into the surface of the bowl. I picked out the rim crack as well and filled it with the same mix. I sanded it with the topping board once again and then with the medium and fine grit sanding sponge.
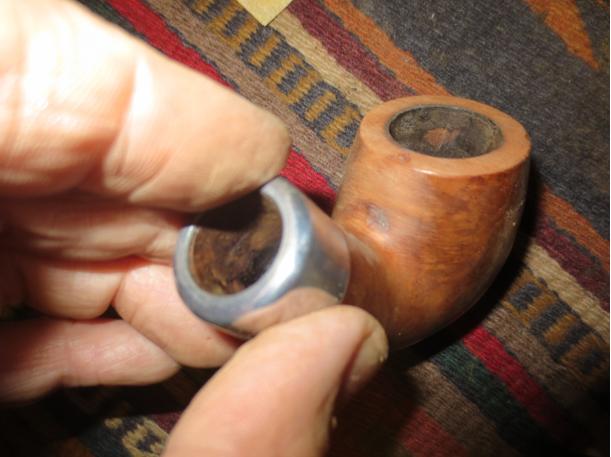
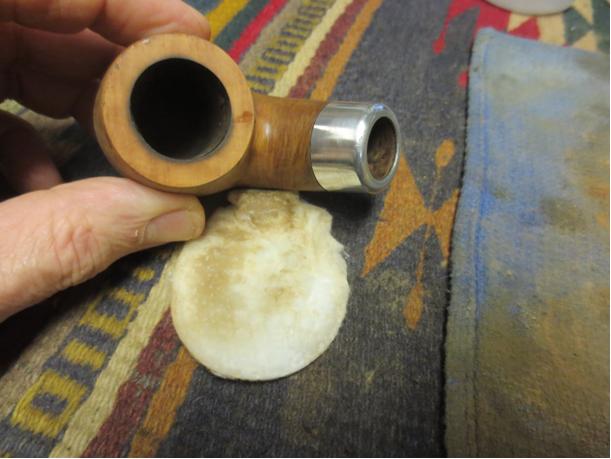
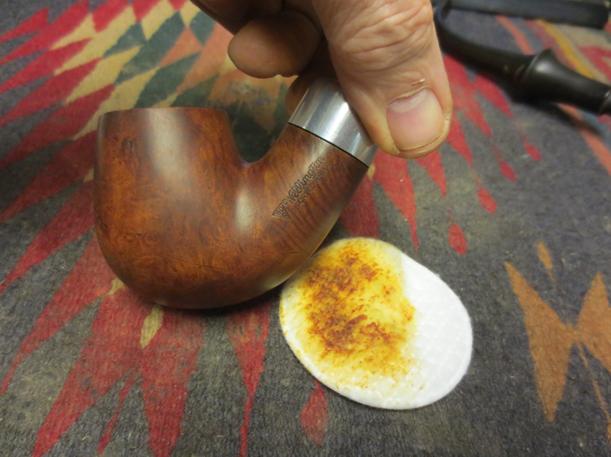
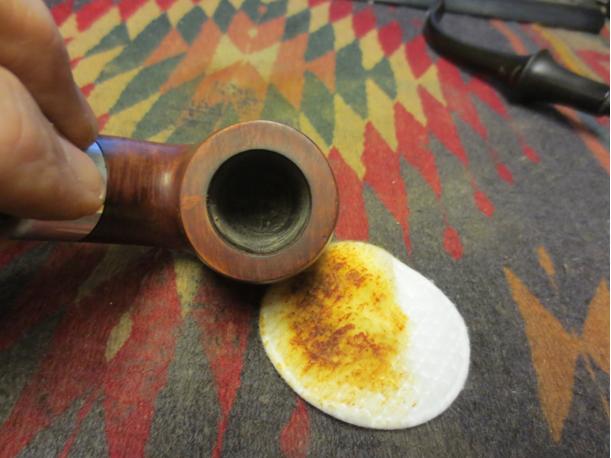
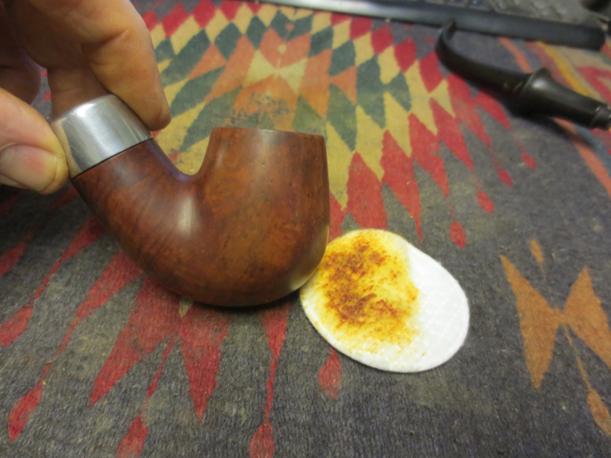
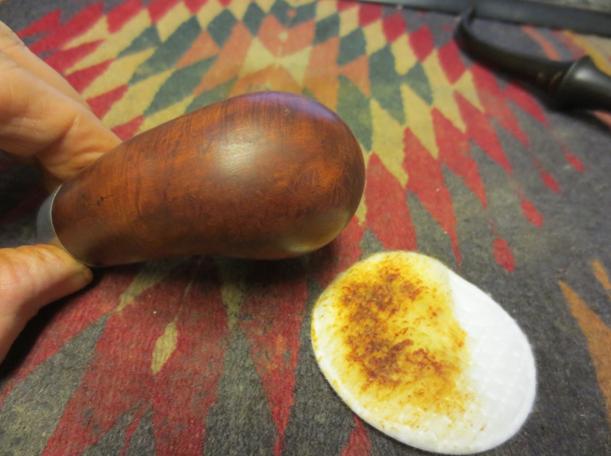
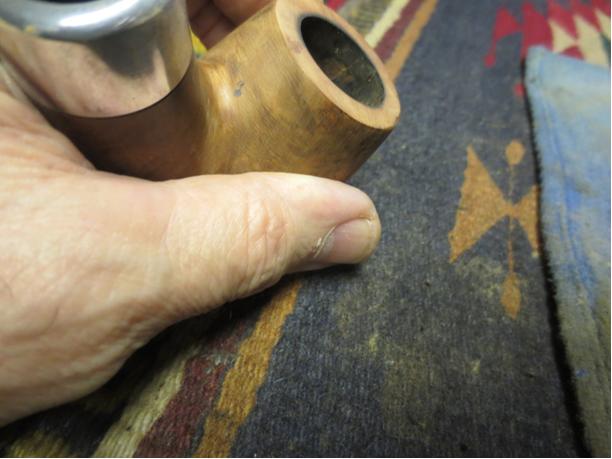 I scrubbed the bowl with acetone on cotton pads to remove the remaining finish on the briar and to clean up the dust from all of the sanding of the fills. There was some beautiful grain that was showing through. The patches and fills actually looked much better.
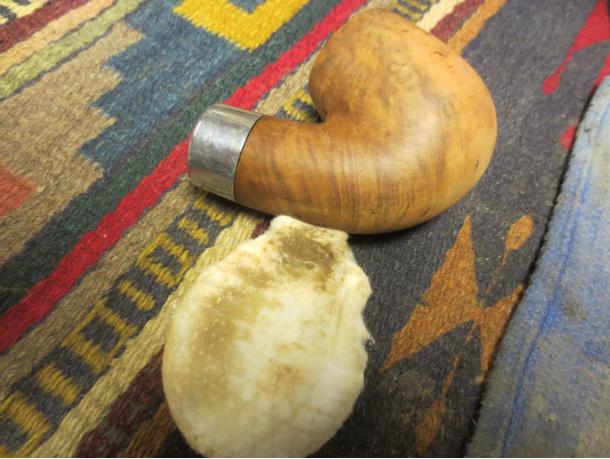
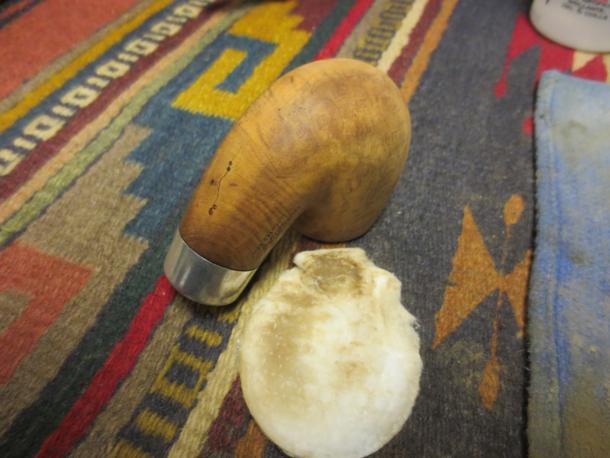 I cleaned out the shank, bowl and airway in the shank and stem with alcohol, cotton swabs and pipe cleaners.
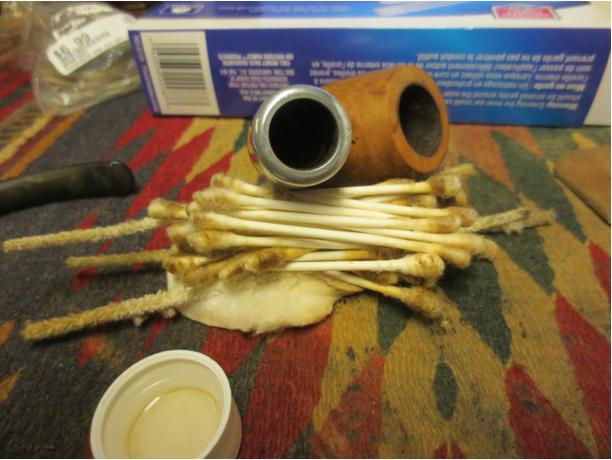
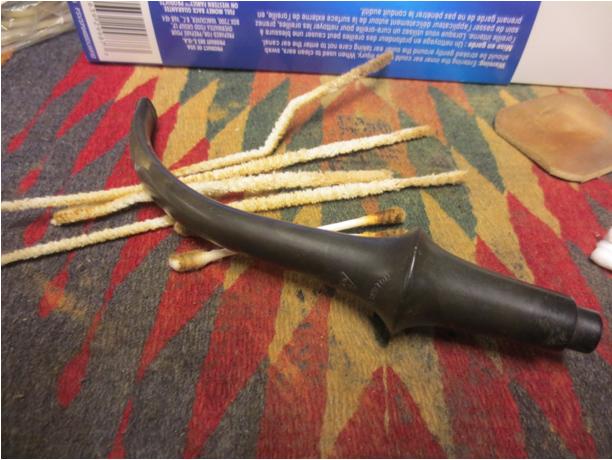 I sanded the stem with 220 grit sandpaper and a medium and fine grit sanding sponge being careful not to damage the stamping. I went over that area with a 1500 grit micromesh pad. I then use an antique gold oil based product called Rub and Buff to fill in the stamping. The next photo shows the finished rework of the gold in the stem stamp.
 I put the stem in place on the bowl to get an idea of the improvement that the repairs, fills and stem work had done. I wanted to see what the pipe would look like as I finished.
 I wiped the bowl down with a final wash of isopropyl alcohol and then heated it so that I could give it a stain coat. I stained it with a dark brown aniline stain thinned by 50% with isopropyl alcohol. I applied it and flamed it. I reapplied the stain and flamed it again and then set it aside to dry.
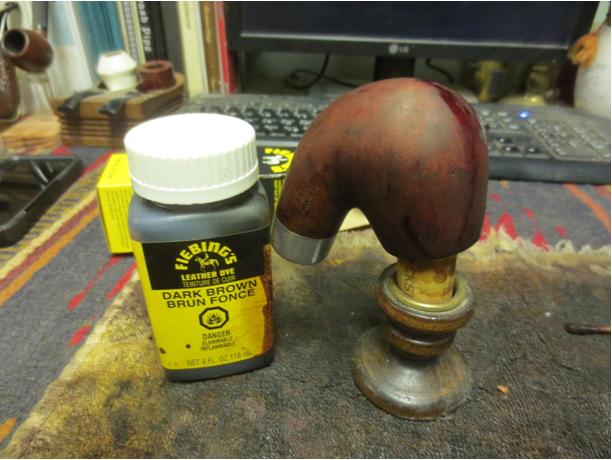
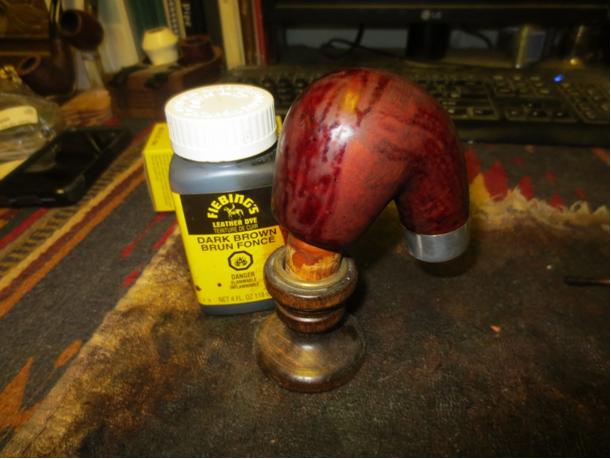 When it had dried I gave it a light buff with a microfibre cloth to see what the colour looked like. It was still a bit dark to my liking but the coverage was good. The repairs and fills while visible looked far better than when I started.
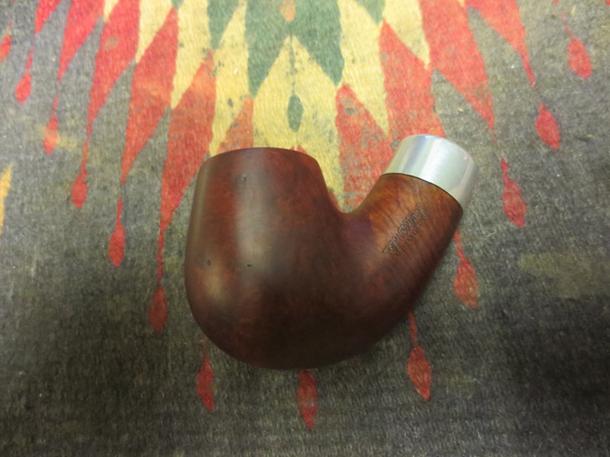
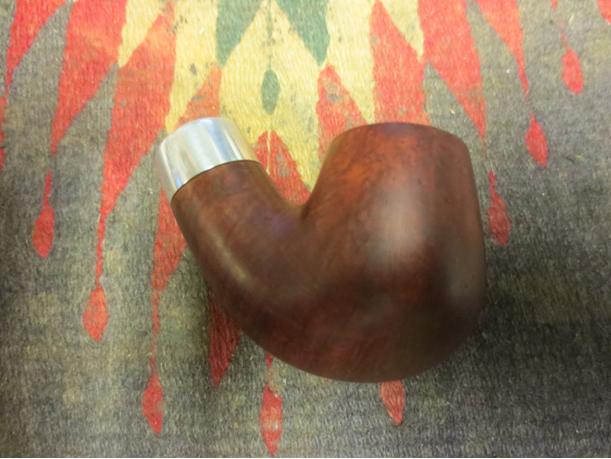
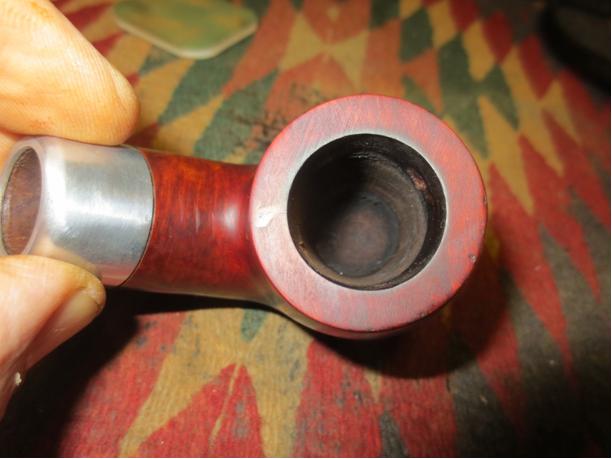 I wiped the bowl down with alcohol on a cotton pad to make it a bit more transparent and make the grain shine through. It did not take much to coax the grain to the surface and highlight the beauty of the pipe.
 I worked on the long stem. To clean it thoroughly I had to wrap pipe cleaners together to extend the length of the stem. I wet sanded it with 1500-2400 grit micromesh sanding pads to clean up the oxidation and scratches in the stem. I rubbed it down with Obsidian Oil afterwards and then dry sanded with 3200-4000 grit micromesh pads. I gave it another coat of oil and then finished sanding it with 6000-12000 grit pads. I gave it a final coat of the wax and set aside to dry.
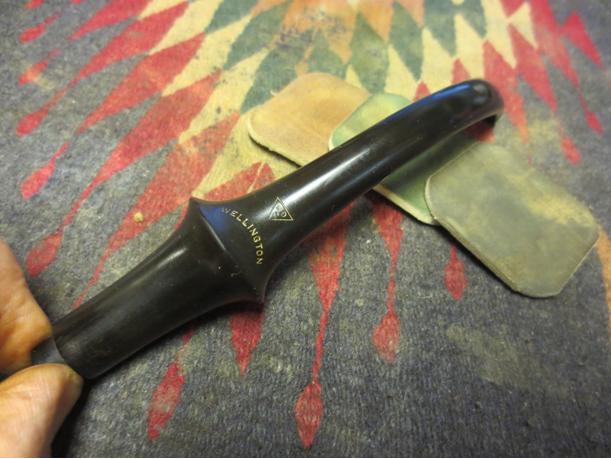
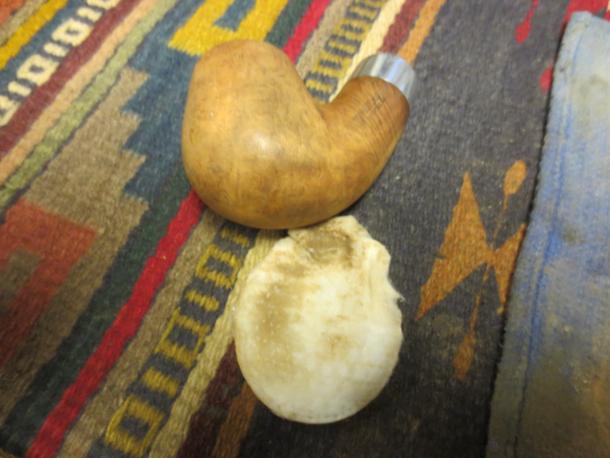
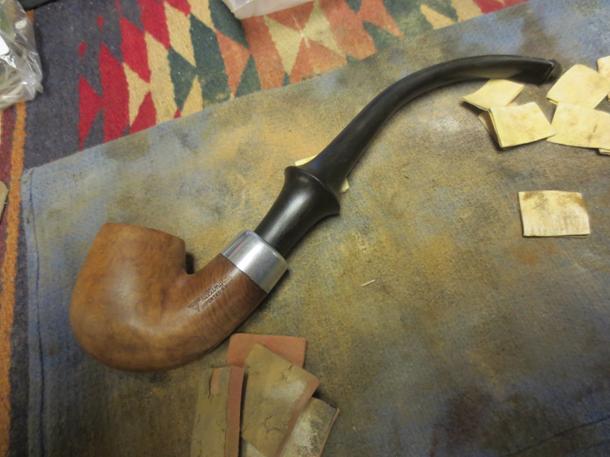
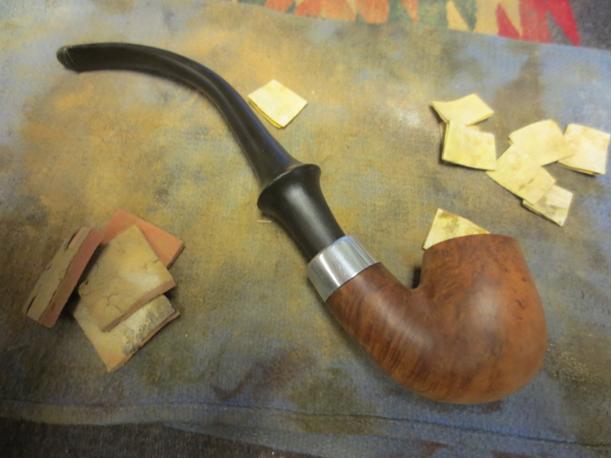
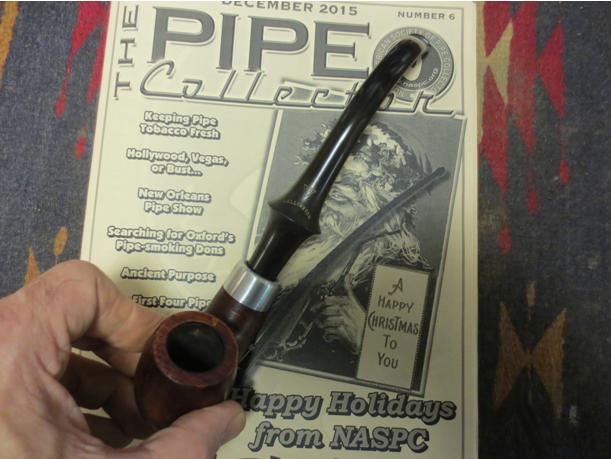
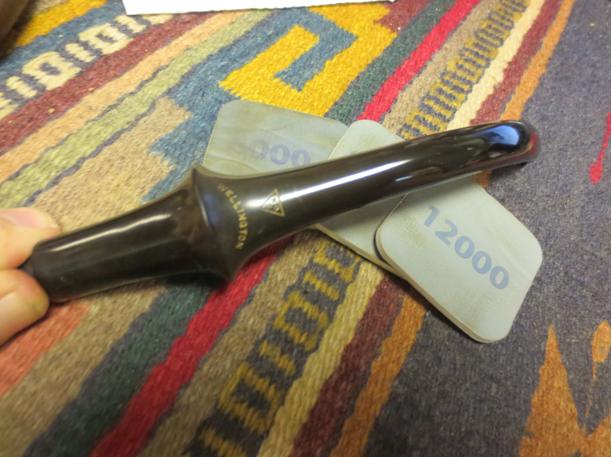 At this point I laid the pipe on top of the current issue of the Pipe Collector and took a series of photos to show it before I buffed it.
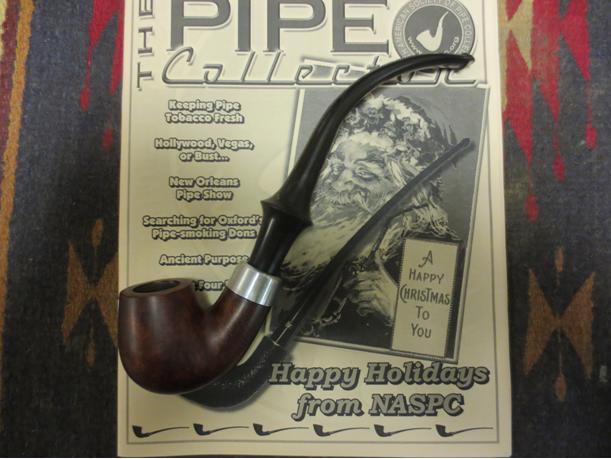
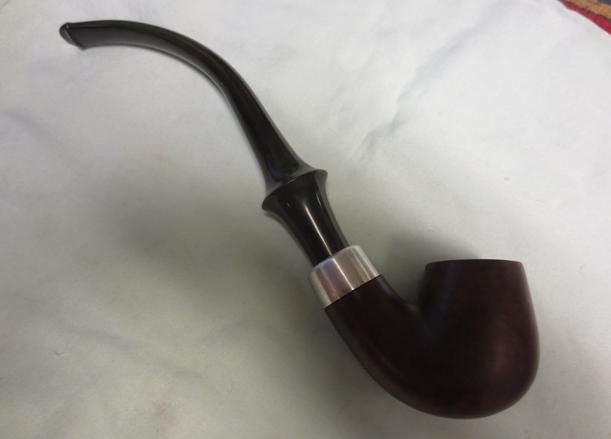
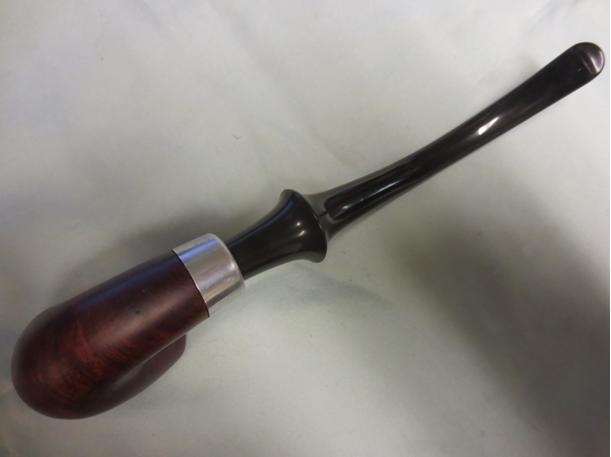
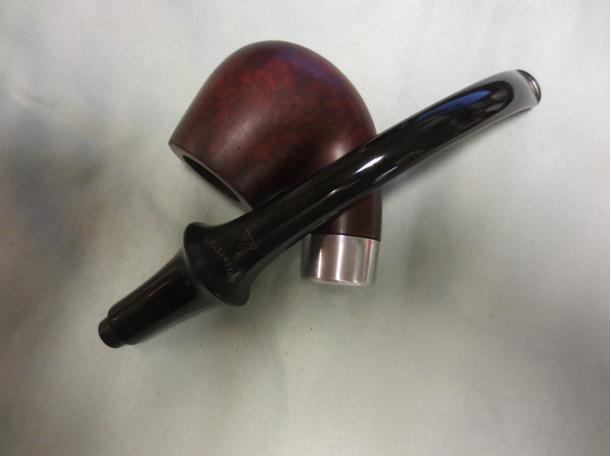
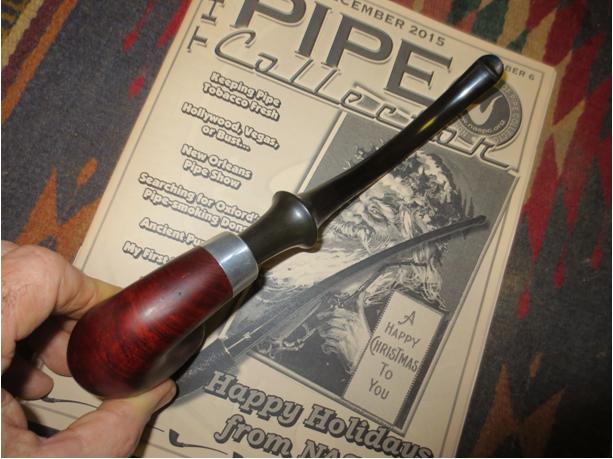 I polished the nickel ferrule with a silver polishing cloth and gave it and the bowl several coats of carnauba wax. A light touch is imperative on the nickel as it will darken the buffing pad and then transfer to the bowl. I hand buffed the bowl and ferrule with a microfibre cloth. I buffed the stem with Blue Diamond polish on the wheel and then gave it several coats of carnauba as well. I buffed the stem with a clean flannel buff and then with the cloth as well. The finished pipe is shown below. It is repaired and serviceable for many years to come. Thanks for looking. Thanks for the challenge Warren.