Blog by Steve Laug
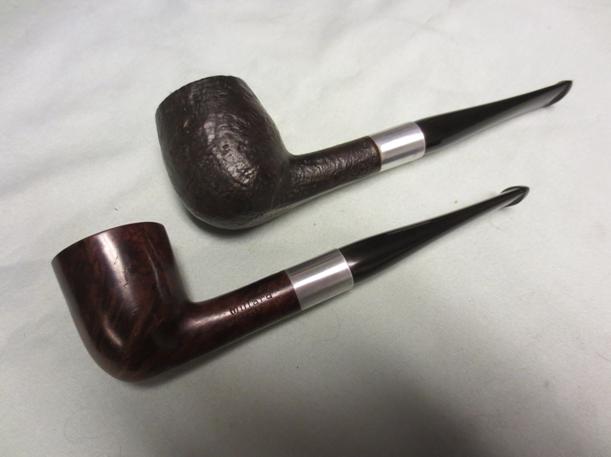
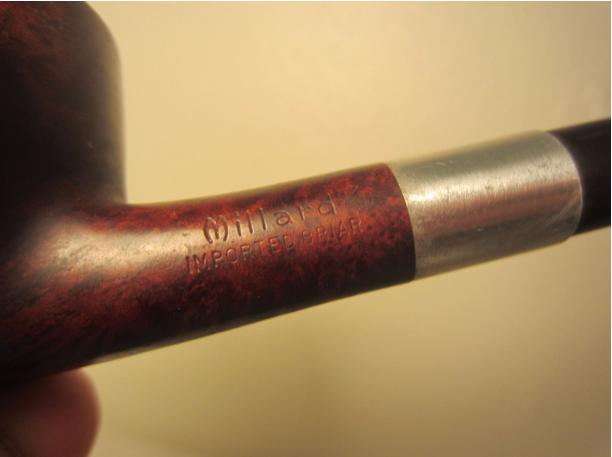
When I came across the Millard – the Perfect Pipe coupon in the two boxes of Kentucky Club that I found I was fascinated with the look of the pipe. It reminded me of the Keyser Hygienic pipes that I had restored over the years. The stem that fit into the metal mortise shank insert and the tubes on the inside of the stem and the shank were similar. While the Keyser tubing in the shank looked identical the one in the stem was different. Keyser was directed downward while the Millard was two straight tubes that met in the mortise. They did not touch but the metal chamber became a condensing chamber, or as they call it an Action Trap, for the smoke and collected the moisture before it continued through the tube in the stem. I looked up the brand online and found the following advertisement postcard that shows the way the system works. I found that the stems were interchangeable between the shapes that the pipe came in. The straight stems could be easily transferred from pipe to pipe. In fact the pipe originally came with an extra or replacement stem. The pipe came in a sandblast and a smooth finish in six shapes – apple, Dublin, billiard, pear, pot and bent. It came in two sizes: medium or large. In the advertisement below you can see that the pipe cost $3. I also found that Mastercraft supplied the pipes through the coupon sales. Knowing a bit of history about the company I know that they did not make pips so they were sourced from the original manufacturer.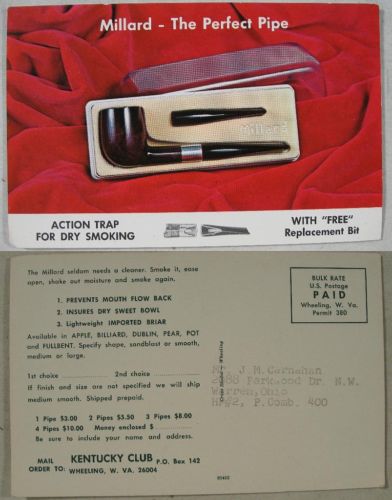 I mentioned in the Kentucky Club Blog that I would love to get my hands on one of these. I received a comment from one of the readers, Pam who offered to send me one. She had picked one up in a lot of pipes she was working on restoring. I could have it. I thanked her and she sent me the following photos of the pipe. It is a little (or what Kentucky Club called Medium in the advertisement above). It was a sandblast apple. It was in decent shape and would clean up quite nicely. The finish was spotty and the stain was lightened and missing in some spots. The rim had some buildup of tars. The cake was quite thick. The inner rim edge was out of round. The stem was oxidized and had some calcification in front of the button.
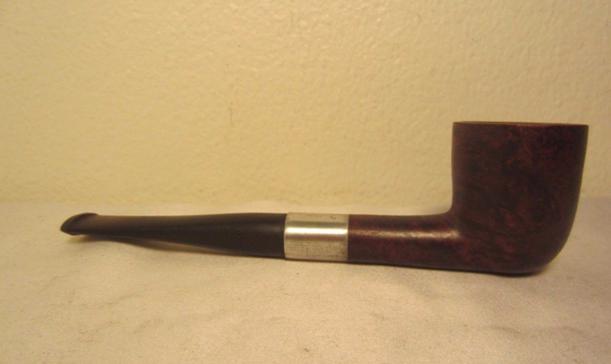
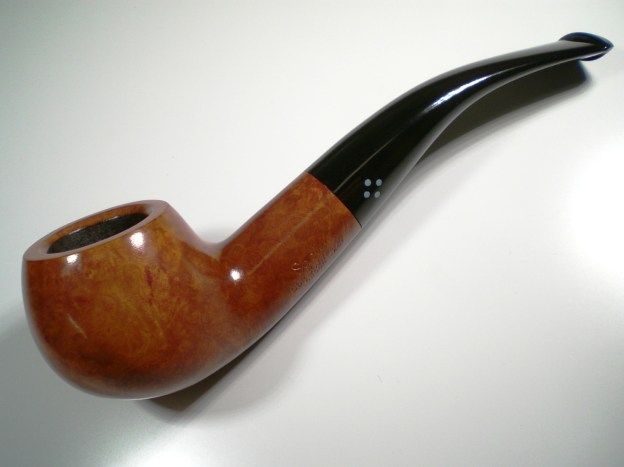
 While I awaited the arrival of Pam’s gift I took a look on eBay and found that the pipe that I had pictured in the Kentucky Club Blog was for sale. The seller wanted $12 for the pipe. It was a Dublin shaped pipe with a smooth finish. It looked to be a Medium sized Millard as well. On a whim I put a bid on it and won. The seller said that it was restored but my past experience with these kinds of sales made me pretty certain that all that it meant was that it was polished. Now I went from no Millard pipes to two in a matter of days. The photos that follow were from the seller. The pipe looked sound. The finish was pretty decent though there were ripples and dents on the bowl sides. The beveled rim was not clean and there were still spots where the tars had been left and polished. The inside of the Action Trap was dirty with tars and oils. The stem had some tooth chatter and dents. Once the pipe arrived I would have a better idea of what I had to work with on this one.
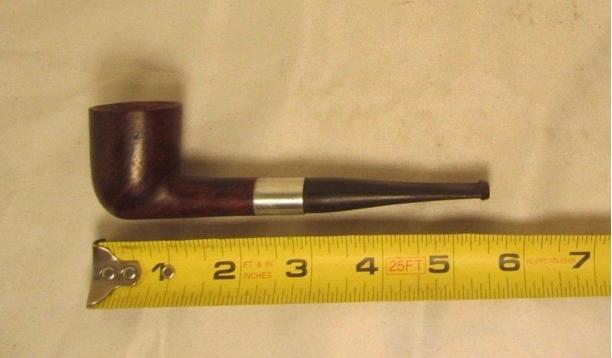
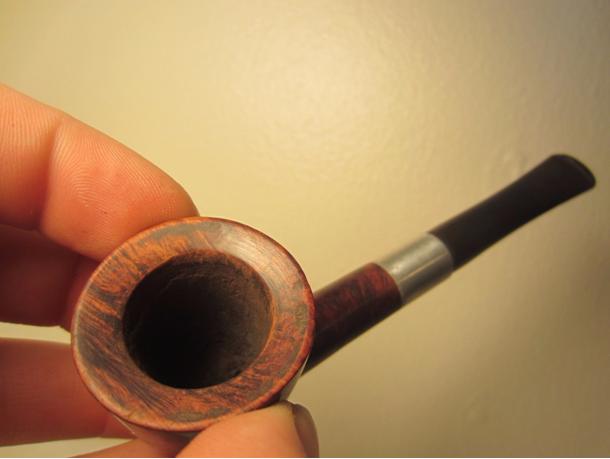 Pam’s gift pipe arrived first. It was a beautiful smaller sized apple (even though the advertising from Millard called it a Medium). The length was 6 inches. My original assessment from the photos proved to be pretty accurate. The finish was worn but the sandblast was quite nice – shallow but still tactile. The light spots on the top of the shank were spots where the finish was gone but the blast was still present. The cake was thicker than I thought it would be, particularly in the bottom of the bowl. The bowl was more out of round than I had guessed and had a burn spot on the back middle inner edge that contributed to the misshapen inner edge. The tar build up was deep and there appeared to be a burn spot on the top of the rim at the front right side. The inside of the shank, the Action Trap, was dirty and had tar, oil and tobacco shellac. The airway was tight and constricted when I blew air through it. The stem was oxidized and under the calcification there were some deep tooth marks and cuts that would need to be addressed. The inside of the stem has a chamber with the tube in the middle and that area was dirty with tars and oils. The airway was constricted even more than the one in the shank. I was pretty sure that something was clogging it and causing the constriction. The slot had been reduced by half with the buildup of grime.
The second pipe arrived at my home a short time after Pam’s. It too proved my original conjecture about the concept that some people have of what “restored” means. This pipe had been given a light polish on the briar and the stem. The polish had merely wiped over the dents, dings and scratches on the briar. There were ripples along the top of the shank. The rim still had spots of tarry buildup that had been polished and there were scratches from what looked like a quick scrub with a coarse scrubber. The bowl had a slight ridge around the inside just below the rim from an incomplete reaming. The inside of the Action Trap was dirty and the oils and tars had hardened. The airway was constricted and dirty and the opening in the bowl bottom was plugged with grit. The aluminum mortise insert was oxidized and dull. The stem was oxidized and there were ripples in the surface from where someone had either buffed hard or tried to remove tooth chatter or tooth marks. The inside of the stem chamber was dirty with tars and oils and the inside of the stem looked as if it had never seen a pipe cleaner. So much for the term “restored”.
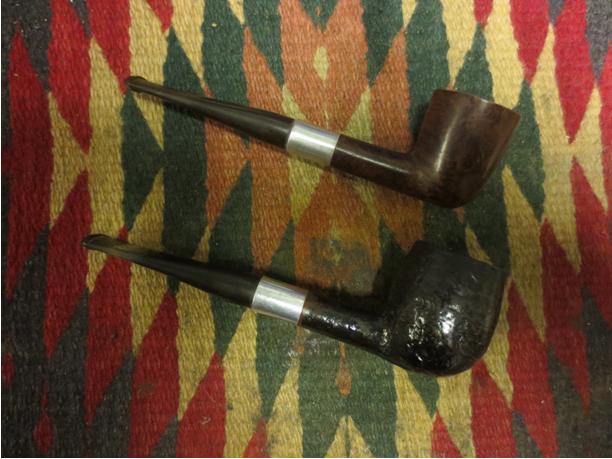
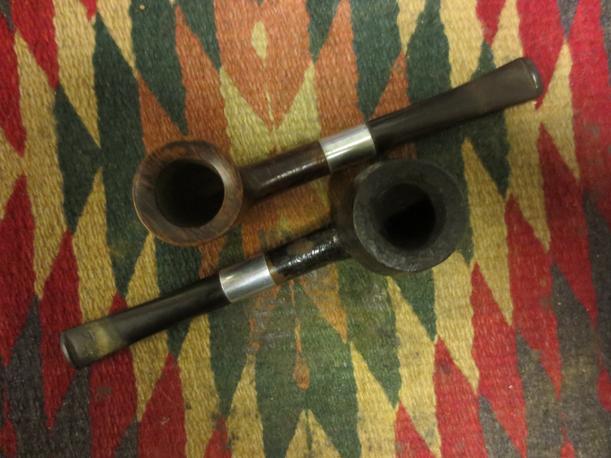
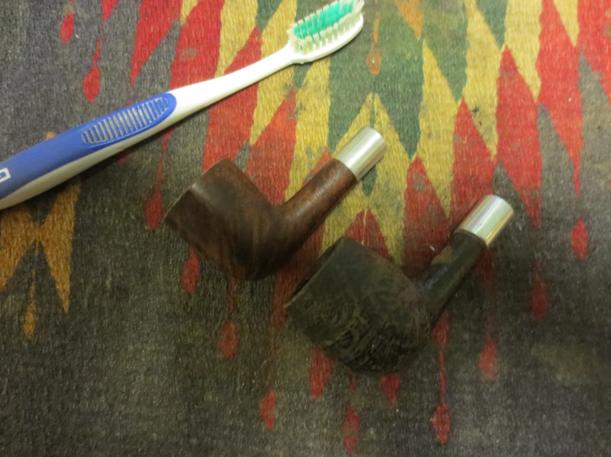
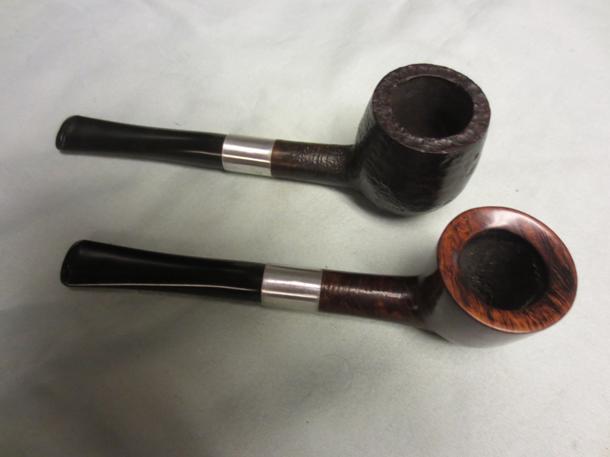
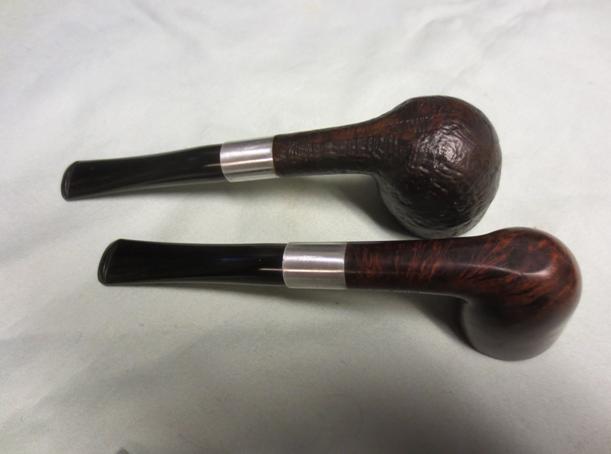
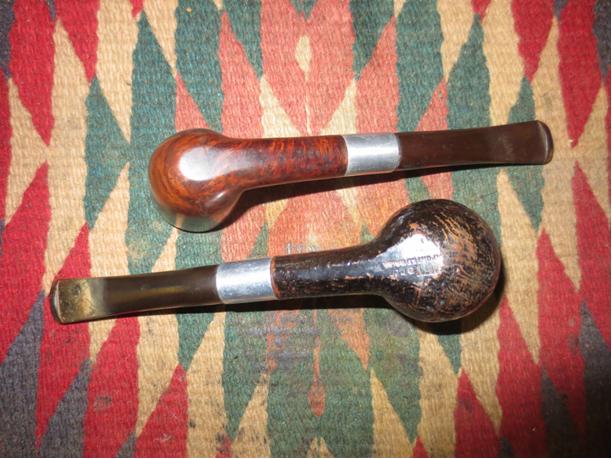
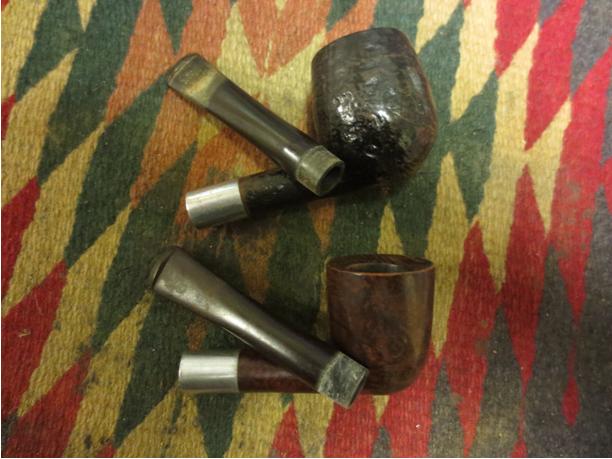
I decided to work on both pipes at the same time so that I could compare the internals and the briar on them. It would be a fun project to do them both together and watch the truly restored pipes emerge from the tired pipes that had arrived at my work table. The next four photos show the pair together.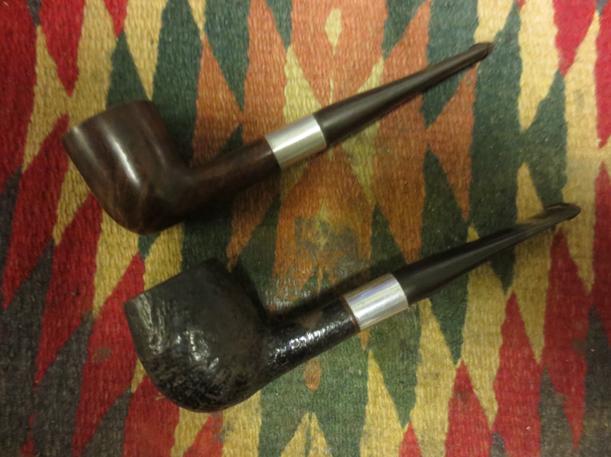
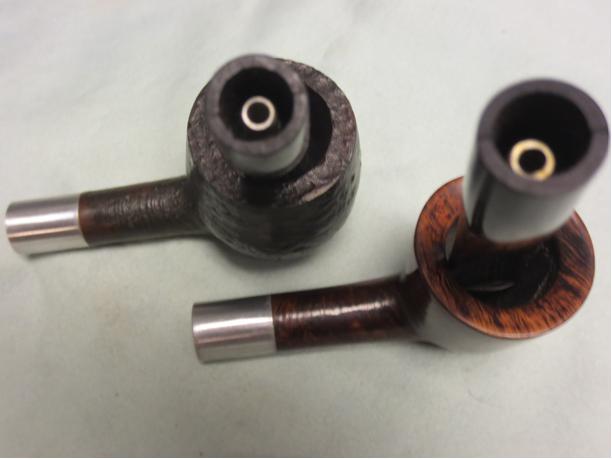
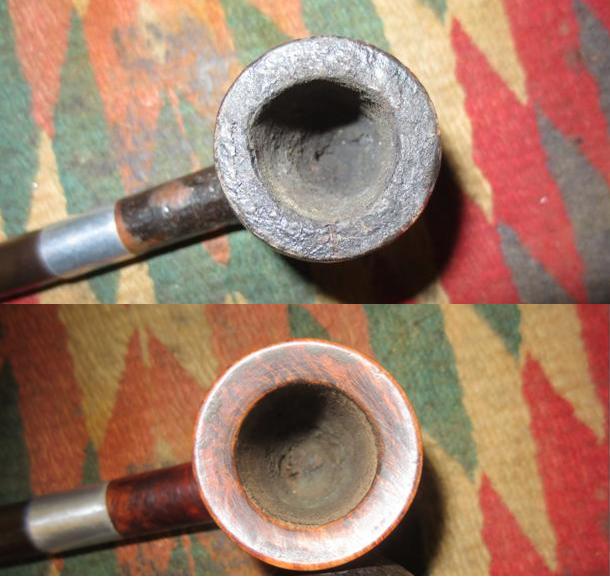
 I took some close up photos of the two bowls to show what I would be working on. The first photo shows the bowl of the apple shaped pipe. You can see the cake and the damage to the top of the rim. The bowl is out of round. The second photo shows the rim of the Dublin and you can see the scratches and the incomplete cleaning of the rim tars.
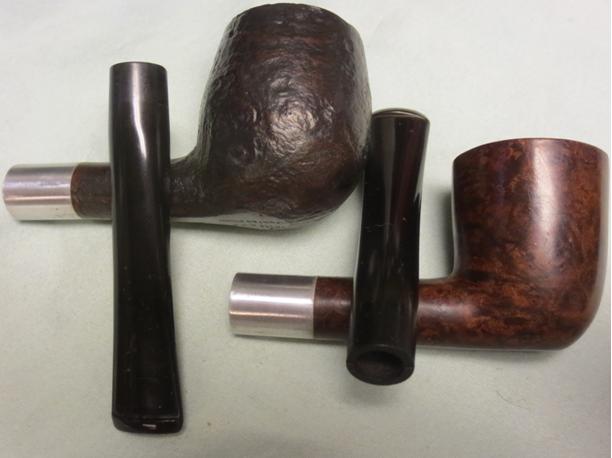
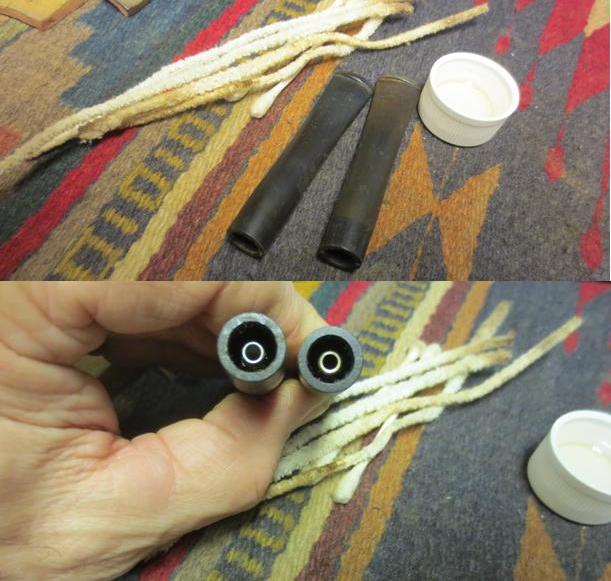
 The next photo shows the stems removed from the shanks. The stems are interchangeable so as I had expected from the advertisement shown above one stem size and shape could be used interchangeably on any of the straight pipes.
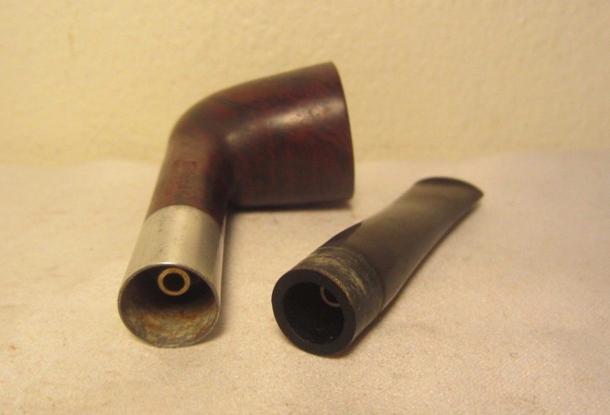
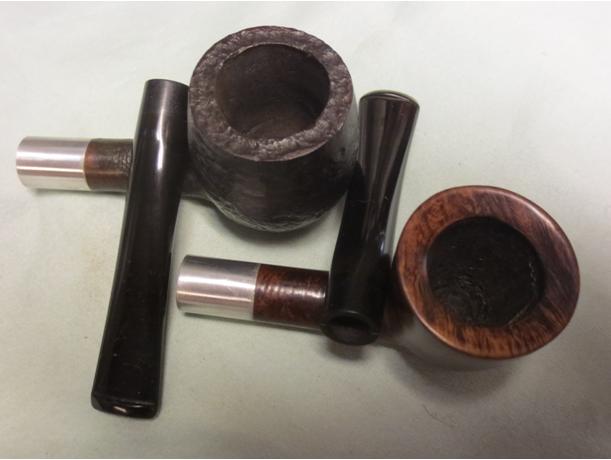
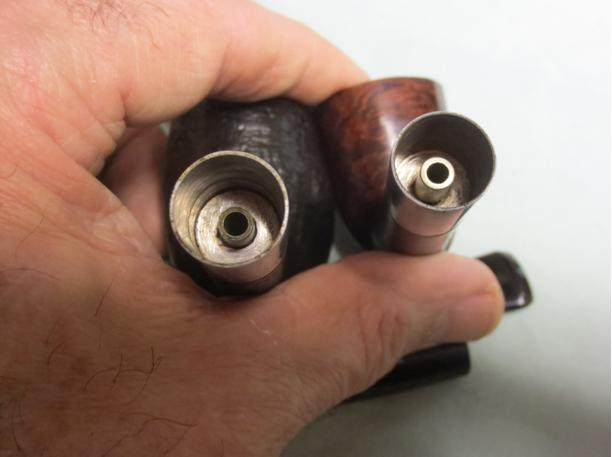
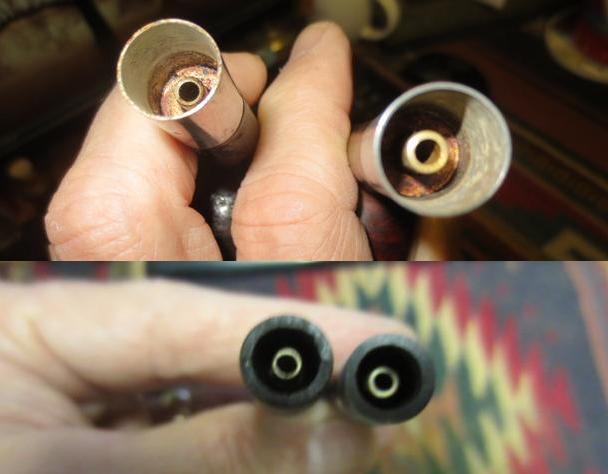
 I took a photo of the internals of the mortise insert to show the tube inset in the middle of the aluminum chamber. This is the Action Trap that the adverts spoke of. The “restored” Dublin was just as dirty inside as the untouched apple sent by Pam. While both look the same the tube in the Dublin extends further into the Trap than the one in the apple. The second photo shows the end view of the two stems. You can see the tube inset in the middle of the stem. Again the tube in the Dublin stem is shorter than the one in the apple. I am not sure the reason for this as when both are interchangeably inserted in the bowl the draw and fit is identical so it may well be just inconsistency in the manufacture.
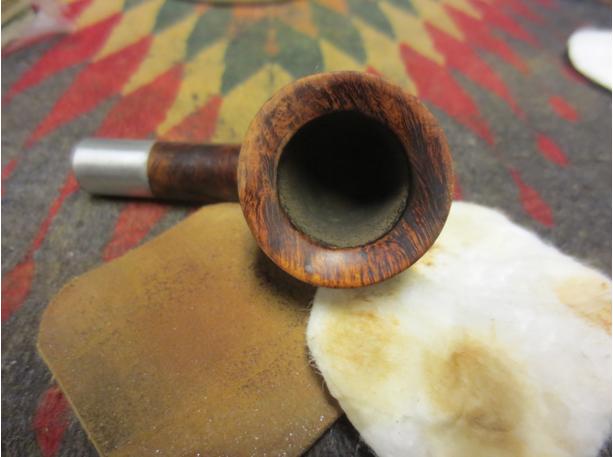
 I cleaned up the inside of the Dublin bowl with a PipNet reamer to remove the ridge along the top portion of the bowl just below the beveled rim. I scrubbed the rim with saliva and cotton pads to work on the tars left behind. I found that they were hard so I used a 1500 grit micromesh pad to sand and work on the deposits until they were gone and the rim was smooth. It also worked to remove the scratching on the rim that had been left behind by the previous “restoration”.
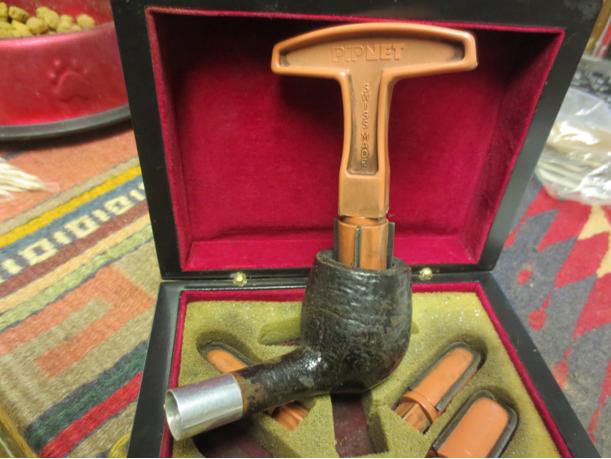
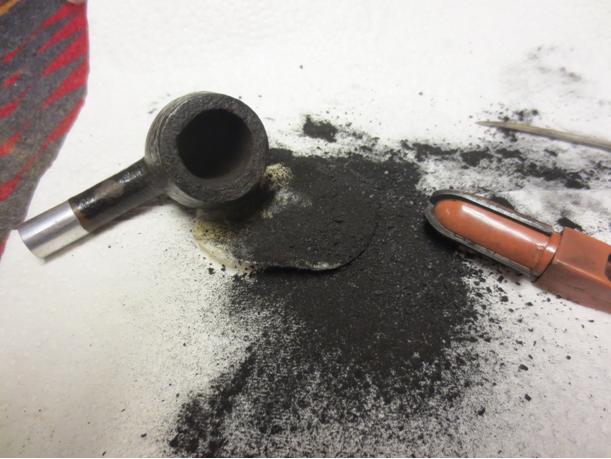
 I reamed the bowl on the apple with the PipNet reamer and took the cake back to bare briar. The second photo shows the large amount of carbon that I removed from the bowl.
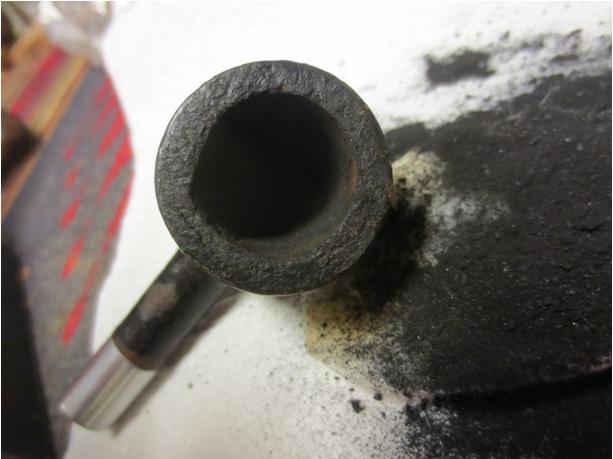
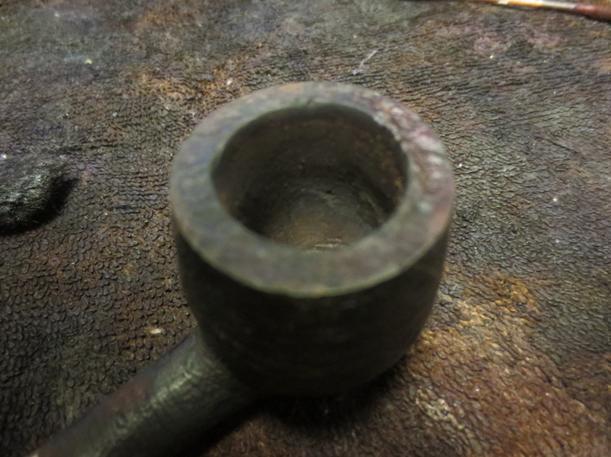
 With the bowl reamed you can see the damage to the inner edge that left the bowl out of round. There was a burned area on the rim at that point that did not go too deeply into the bowl but it was present. I scrubbed the rim with a brass bristle tire brush to remove the overflow of cake on the rim.
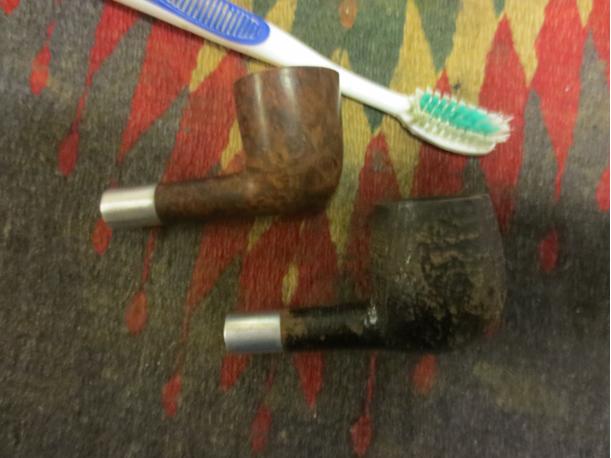
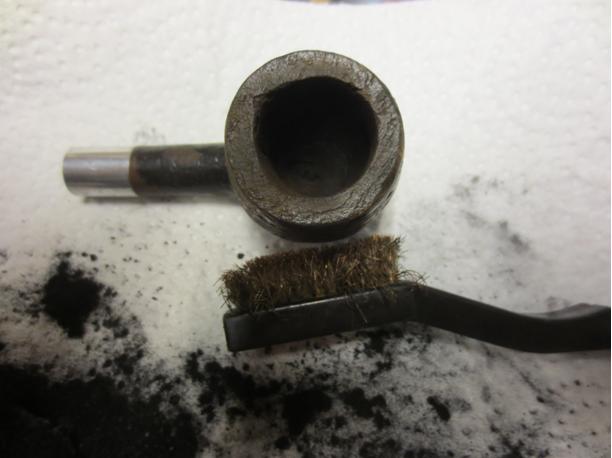 I scrubbed both bowls with a tooth brush and Murphy’s Oil Soap to remove the spotty finish on the apple and the grime on both bowls. I also removed the polish that had been applied to the Dublin so I could work on the scratches and dings. After scrubbing them I rinsed them under warm water in the sink to remove the soap and the grime that had been loosened.
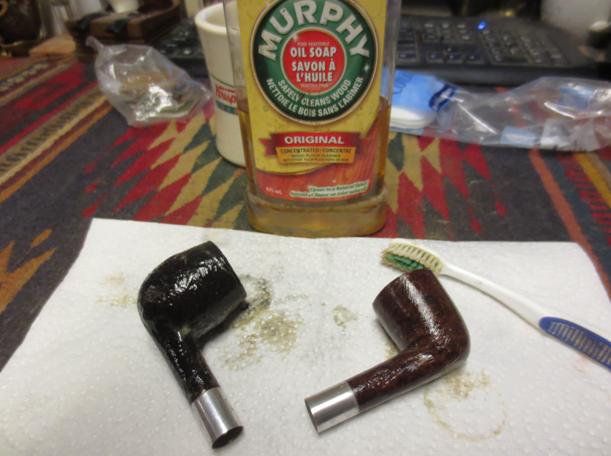
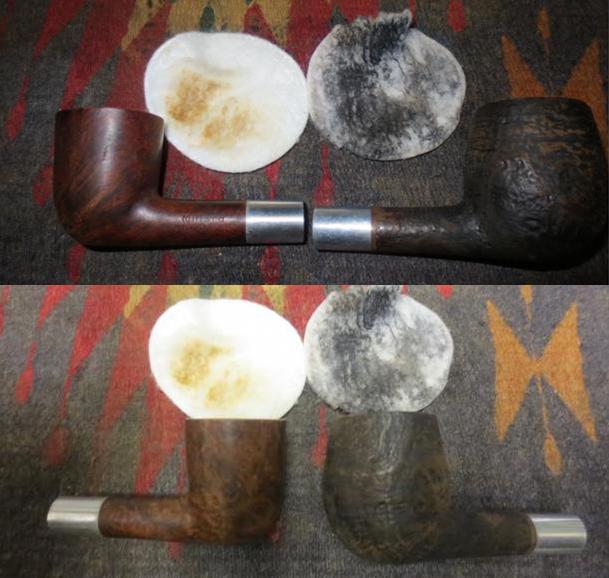
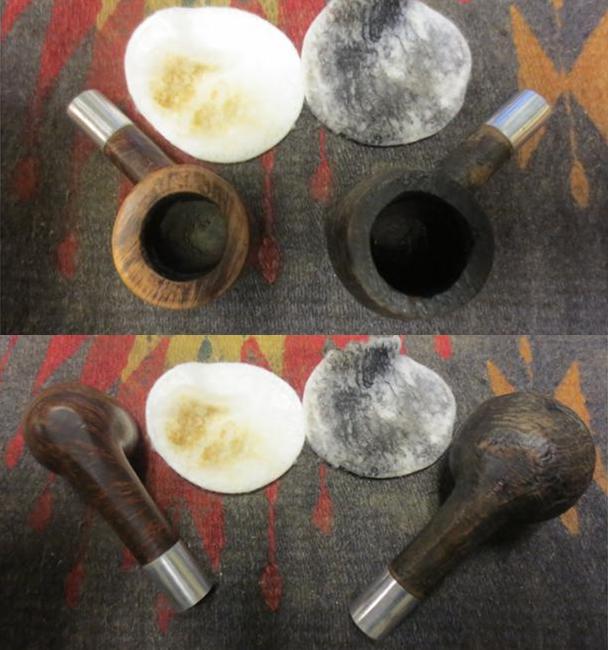
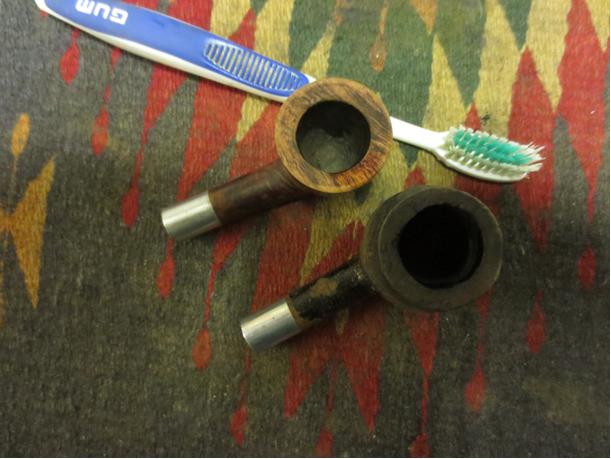 I scrubbed both bowls with acetone on a cotton pad to remove the remaining finish and clean up the briar. The finish on the Dublin was pretty clean. The one on the apple came off with the scrubbing and the remaining finish was removed.
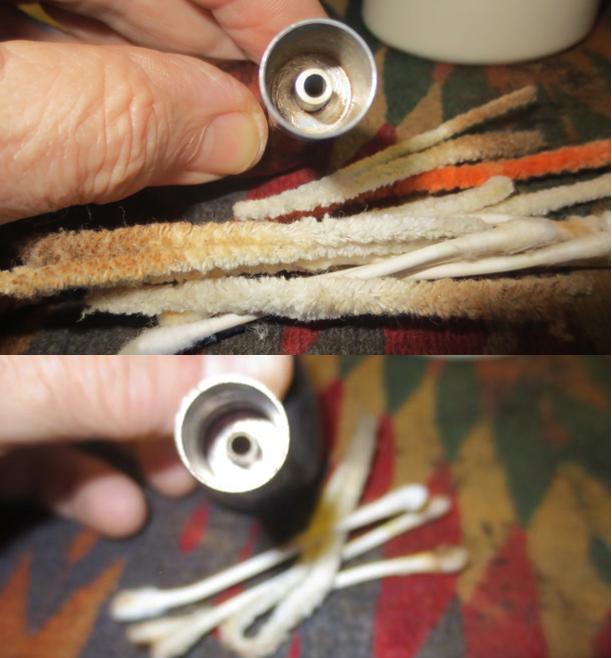
 With the bowls and finish cleaned up it was time to address the internals. I used pipe cleaners, cotton swabs and alcohol to clean out the debris in the shank and the mortise of both pipes. I used a folded pipe cleaner and a cotton swab that I thinned the cotton on to get inside of the mortise to clear out the build up there.
 To address the damaged rim on the apple I decided to top the bowl. I set up the topping board and a piece of 220 grit sandpaper and worked on the rim to flatten it and remove the damaged areas. In doing this I found another burned spot on the front right top of the rim. I worked on the inner edge of the rim with a folded piece of sandpaper to correct the out of round condition. When I was finished the rim looked far better. Now I needed to work on rusticating the rim to match the sandblast on the finish of the pipe.
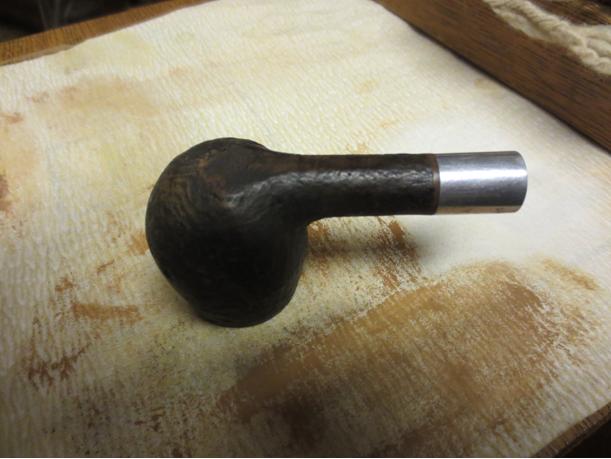
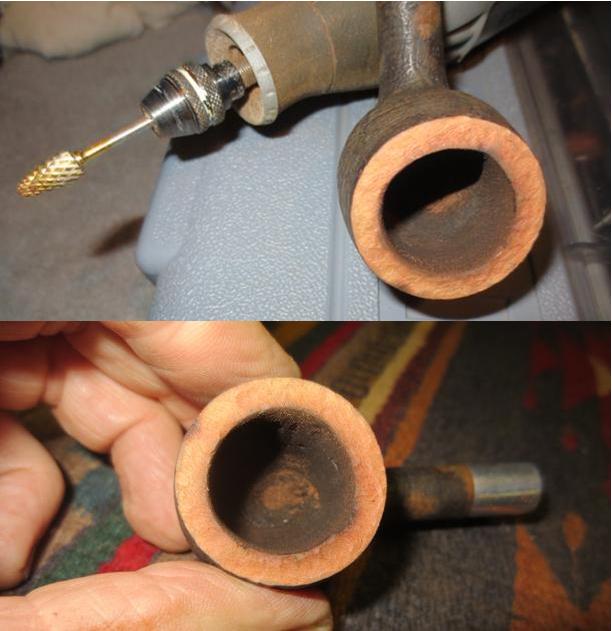
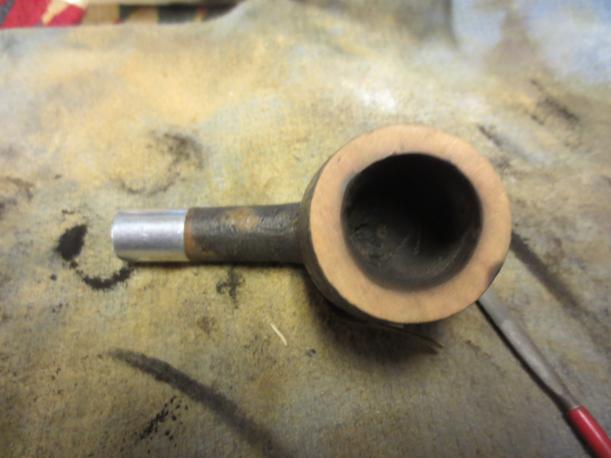 To rusticate the rim I used a dental burr in my Dremel and carefully worked it over the surface of the bowl rim. It had to be deep enough to show, tight enough to look like a sandblast and somehow blend into the bowl finish. I carefully worked the Dremel over the surface being careful to keep it on the flat rim and not damage the edges of the inside or outside of the bowl. The next two photos show both the burr and the work done on the rim. Though it is a little hard to see the rustication came out really well. It will become clear in later photos.
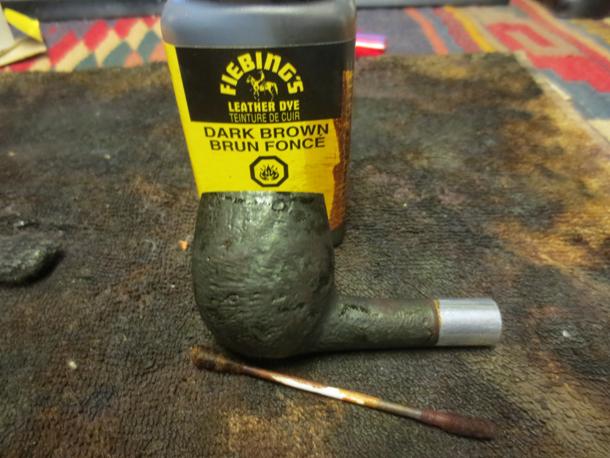
 I stained the bowl and rim with a dark brown aniline stain. I applied the stain and flamed it. I reapplied it and reflamed it.
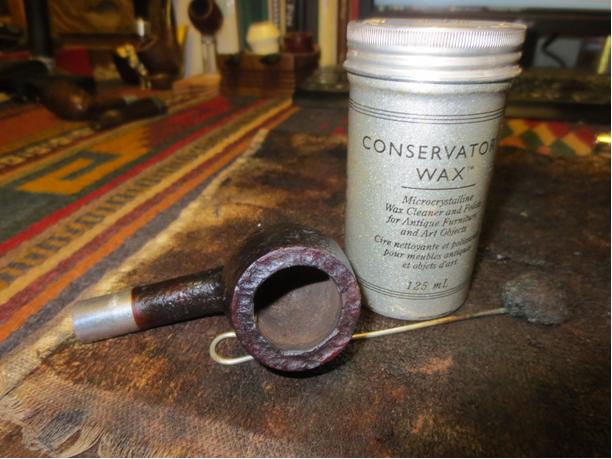
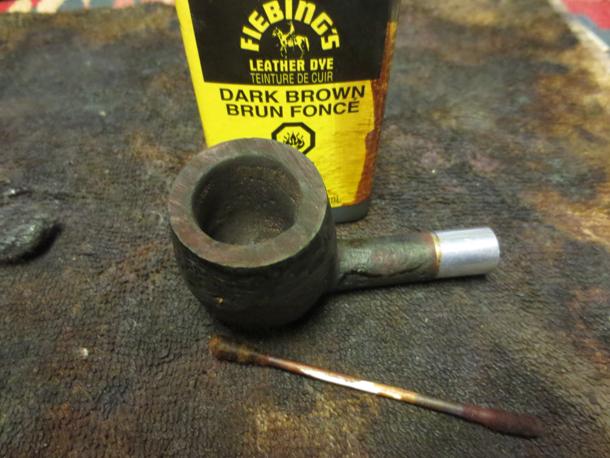 The next photo shows the rustication very clearly. I touched it up with a dark brown stain pen and then waxed the bowl and rim with a microcrystalline Conservators Wax. The bowl was looking far better.
 With the basic work done on the bowls and rims I turned my attention to the stems. I cleaned both stems with pipe cleaners, alcohol and cotton swabs until they were clean. I picked out the slots on both stems with a dental pick to make sure they were wide open. The stem on the Dublin had a very tight draw. I ran a straightened paper clip through the stem and a large chunk of tar and cotton from pipe cleaners dropped out of the end. The draw was unconstricted and the airflow was clear in both stems.
 I sanded both stems with 220 grit sandpaper to remove the oxidation and also clean up the tooth marks and ripples in the surface of the vulcanite. I sanded them with a medium and fine grit sanding sponge to remove the scratches left behind by the sandpaper. I repaired the tooth damage and the cuts in the surface of the stem for the apple with black super glue. After the repair had dried I sanded it with 220 grit sandpaper and the sanding sponges once again.
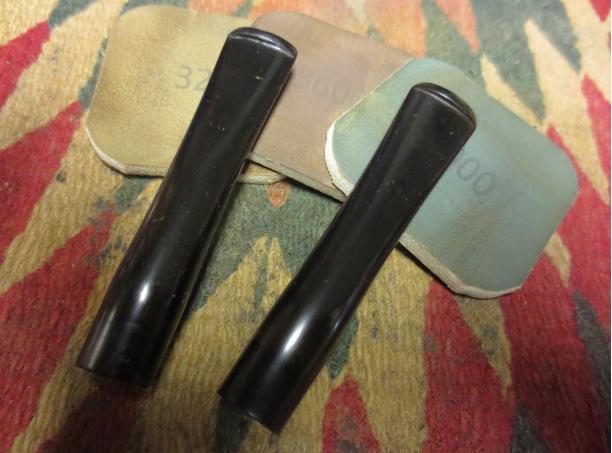
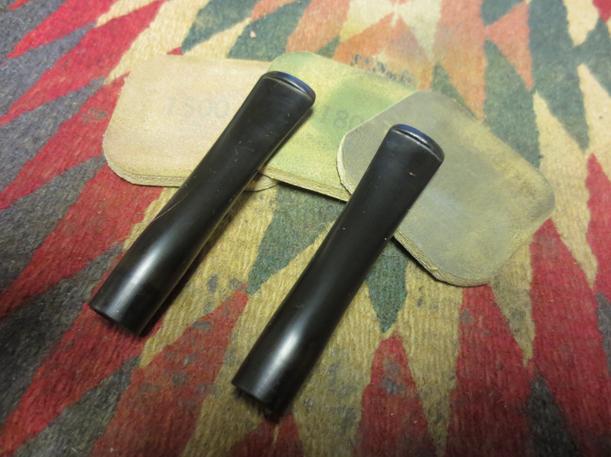
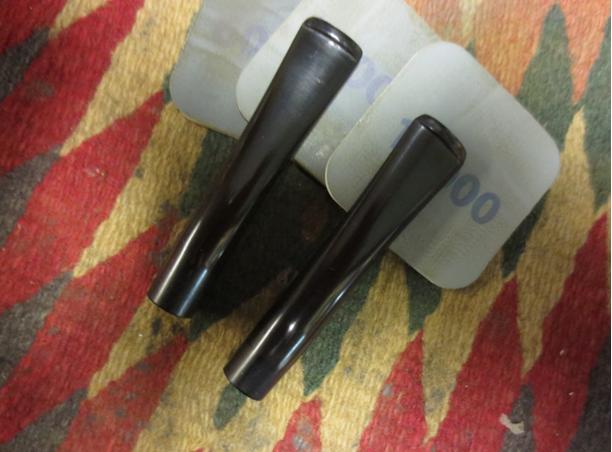
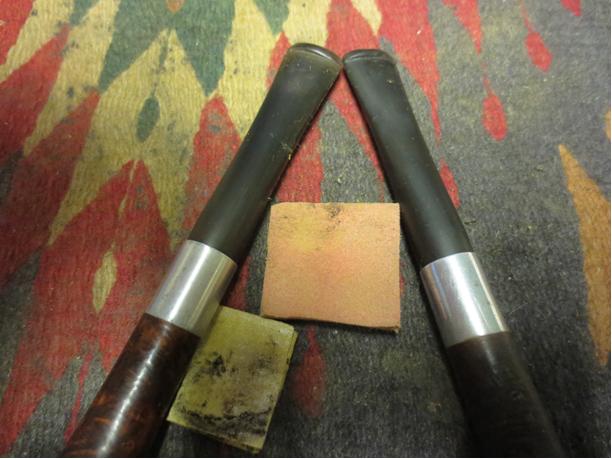 I wet sanded the stems with 1500-2400 grit micromesh sanding pads. I rubbed the stems down with Obisidian Oil and then dry sanded with 3200-4000 grit pads. I gave the stems another coat of oil and dry sanded with 6000-12000 grit pads. I buffed the stems with Blue Diamond on the buffing wheel and then gave them several coats of carnauba wax. I buffed them with a clean flannel buffing pad and then a microfibre cloth.
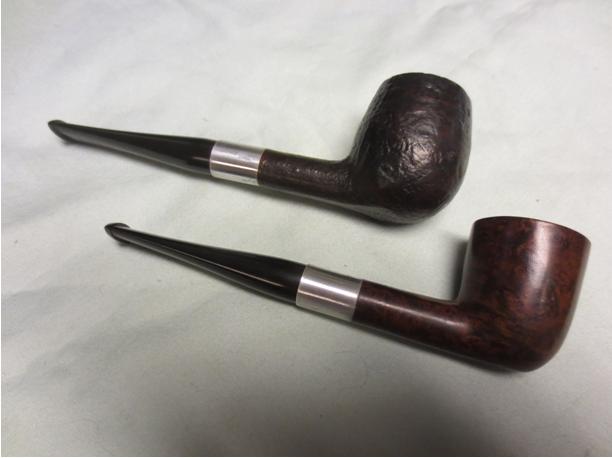
 I polished the aluminum ferrule/mortise inserts on the shanks with the last three grits of micromesh sanding pads and then rubbed them down with a jeweler’s cloth. I lightly buffed the stems and bowls with Blue Diamond and then gave the entire smooth pipe several coats of carnauba wax. I buffed the two pipes with a clean flannel buff and then with a microfibre cloth to raise the shine. The inside of the Active Trap is stained but it is clean. These are a couple of great looking pipes now. The rusticated rim worked really well with the finish on the bowl and gives the apple a clean look. The clean beveled rim on the Dublin has a rich shine that shows the grain off very well. The finished pipes are shown in the photos below. Thanks for looking.