Blog by Steve Laug
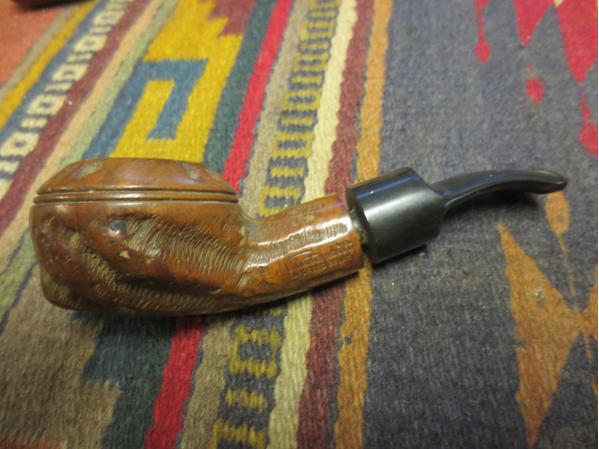
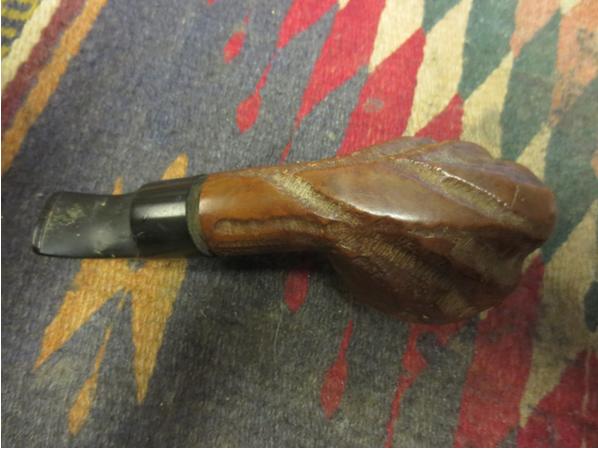
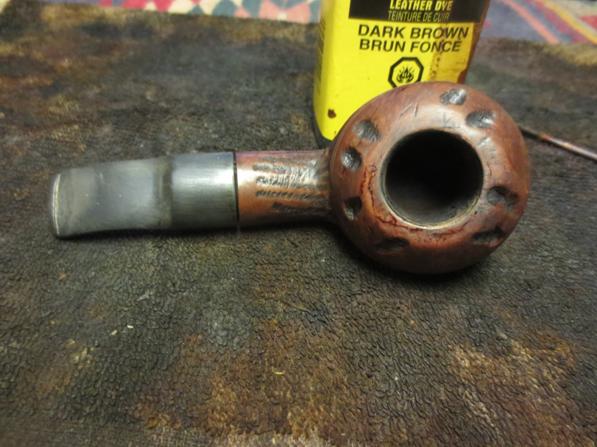
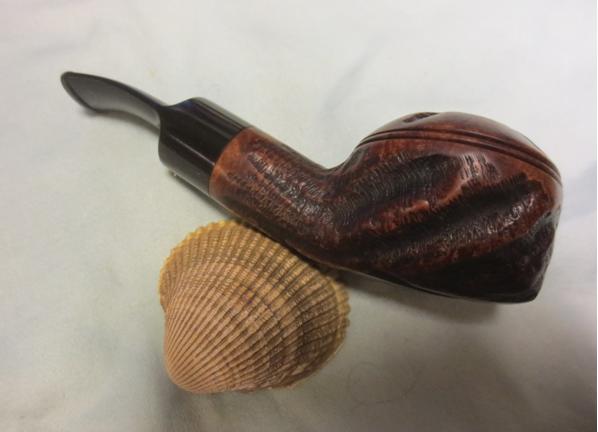
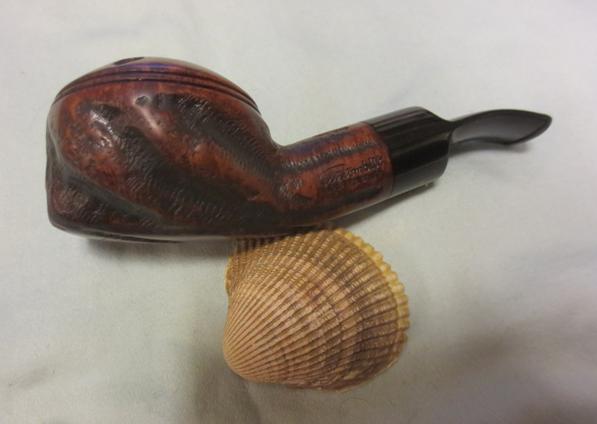
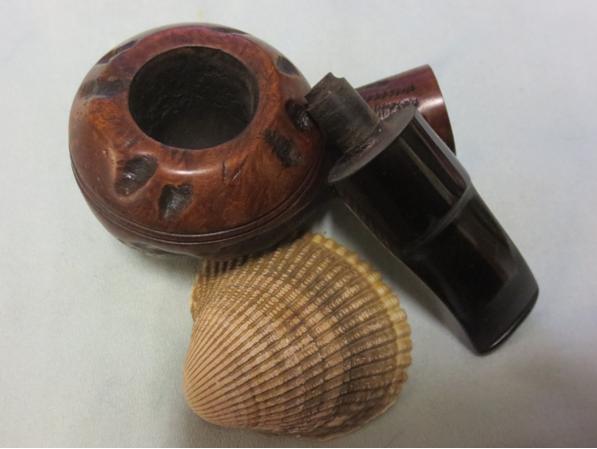
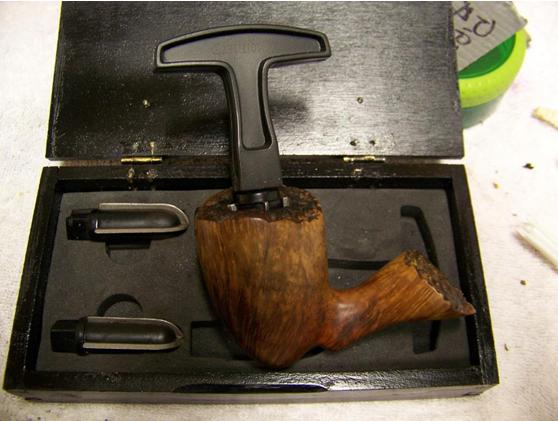
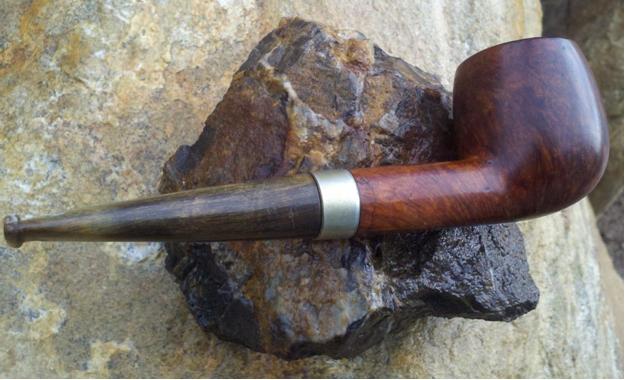
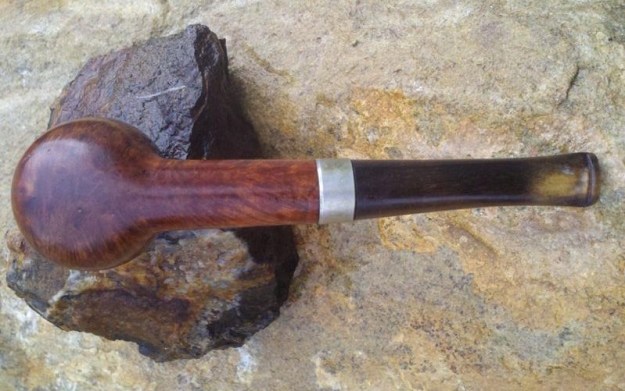
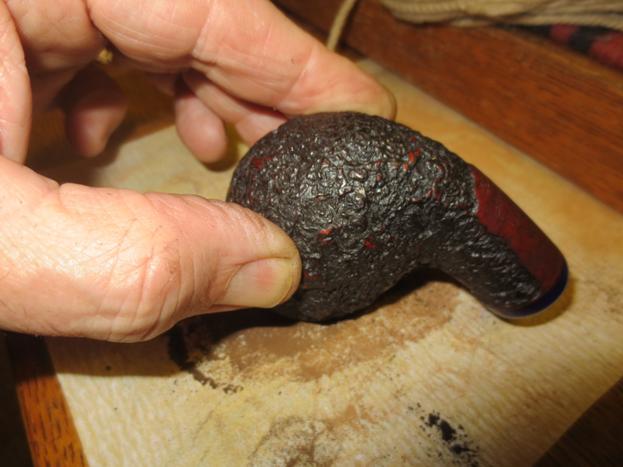
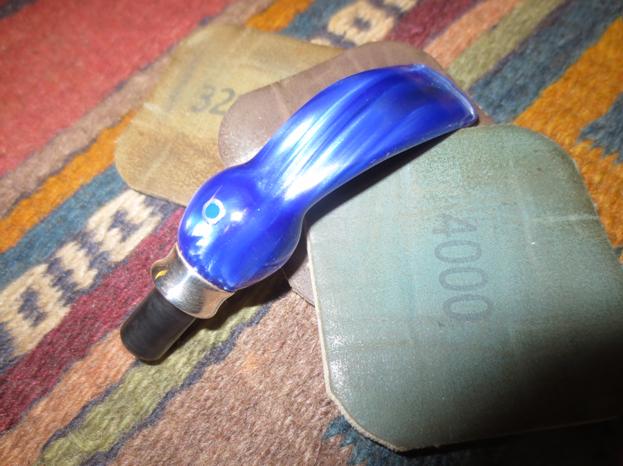
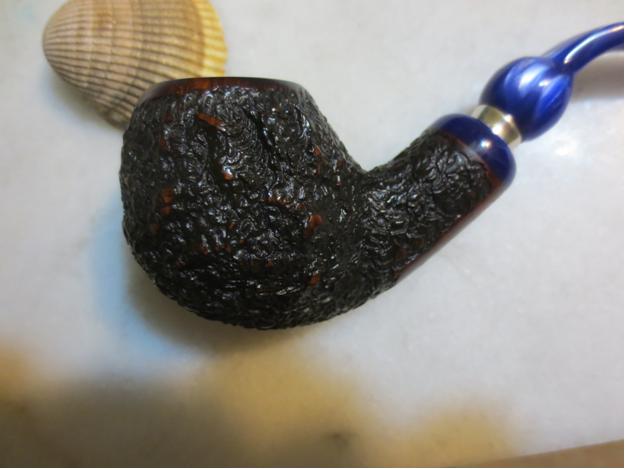
When I found this pipe on Ebay I wanted it. It actually does not happen too much anymore as it is becoming rarer that I want a pipe for myself. Generally I purchase pipes to repair that can teach me something or that I can repair and sell to someone I know is looking for a particular pipe. My brother will show me pipes that he finds and I look at them in terms of saleability or marketing. Rarely do I see one that I go “I want that one”. When I saw this one I wanted it. I don’t know what it is about the pipe but the combination of the blue Lucite stem and end cap, the flow and bend of the stem, the rusticated finish of the bowl and my favourite shape captured my imagination. Not even the chunk missing out of the right hand side rear top of the bowl deterred me from sending him a message to place a bid on it for me. That missing chunk would provide me with a challenge that I could imagine fixing. The pictures below came from the seller and gave a pretty accurate picture of the condition of the pipe.
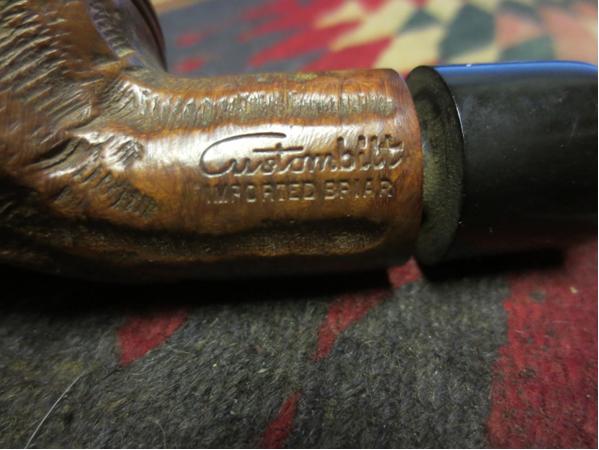
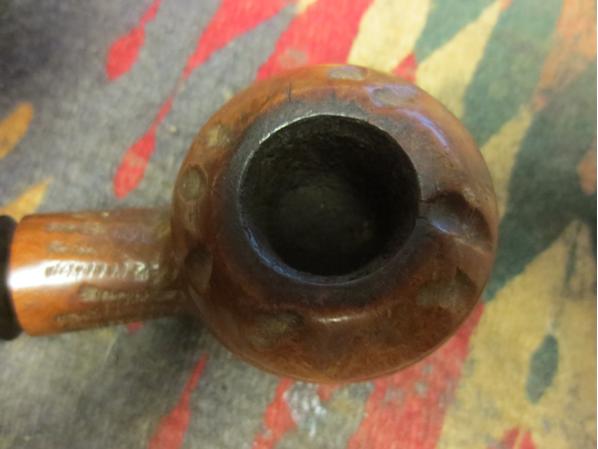
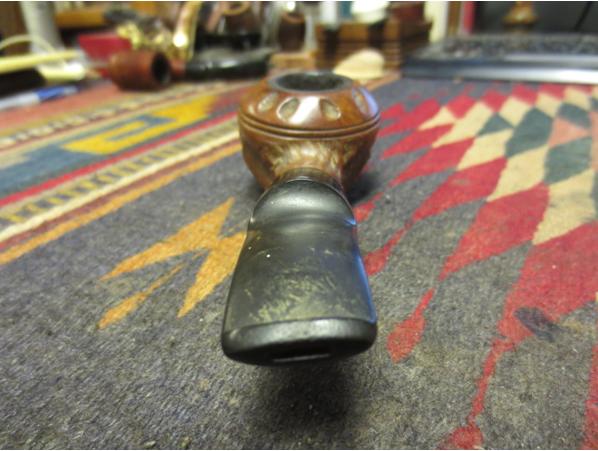
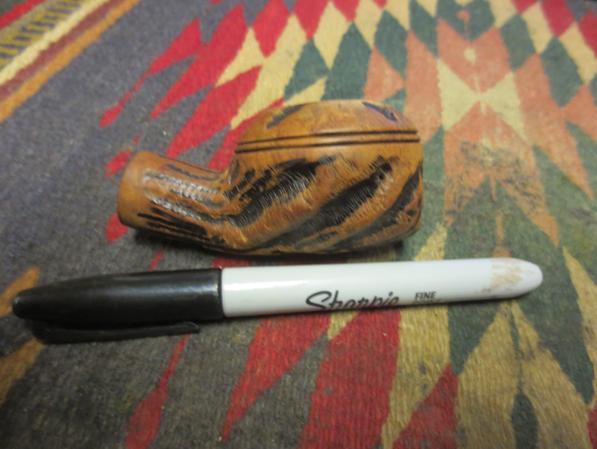
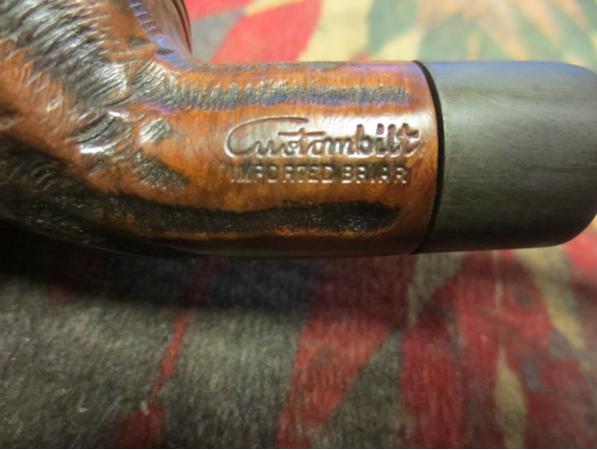
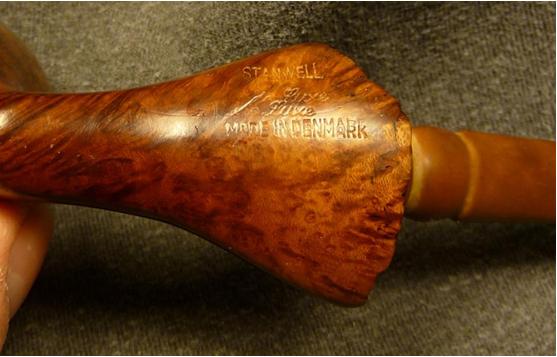
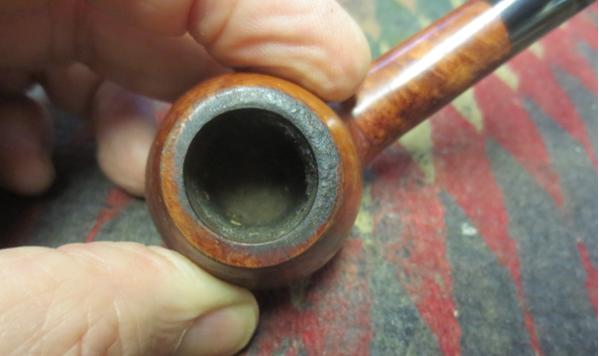
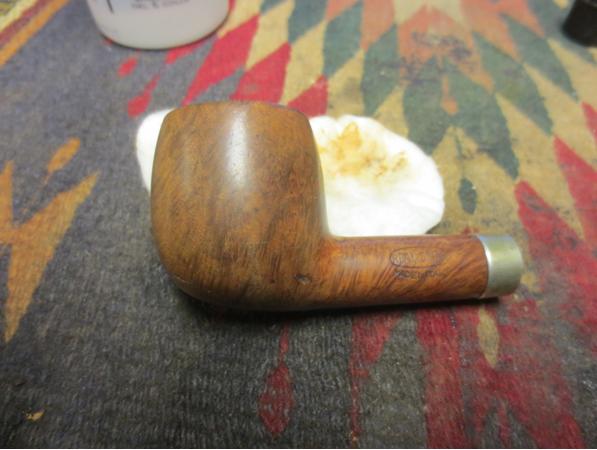
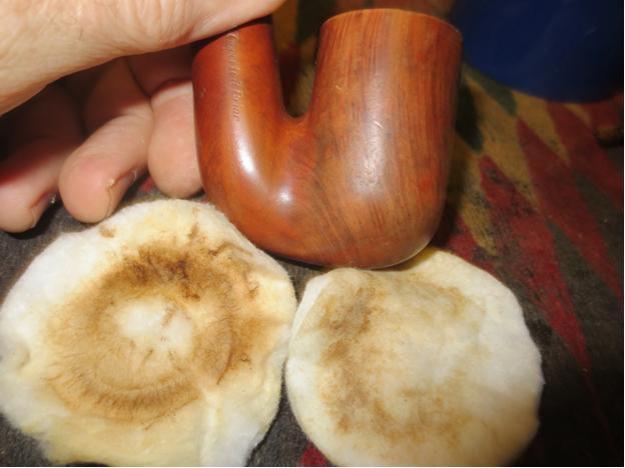
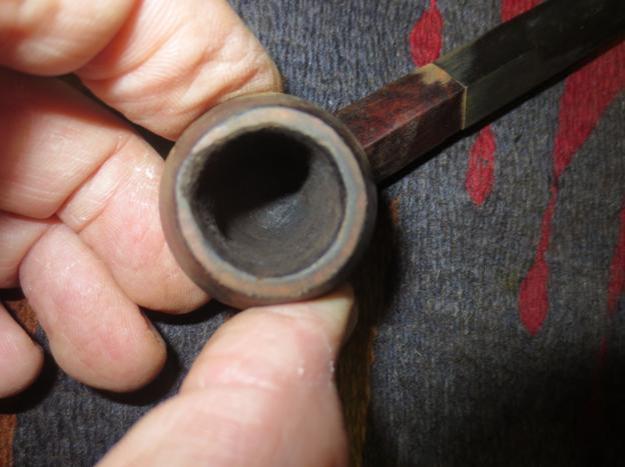
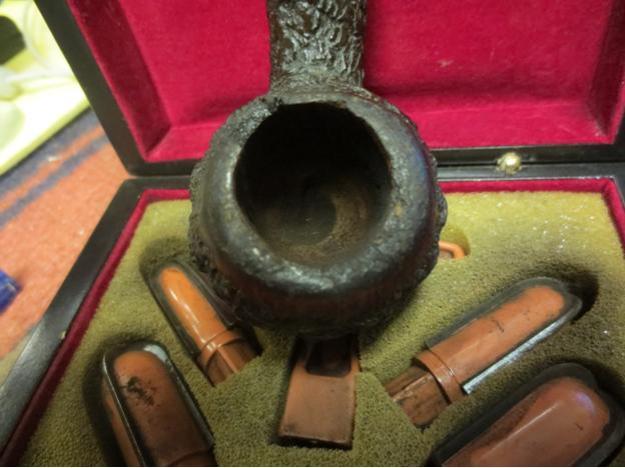
 The bowl had a thick cake that filled the bottom half of the bowl and closed it off. The top half of the bowl had an uneven thick cake and looked like the pipe man who had the pipe before had continued to smoke it even after the chunk came out of the bow side. It would be hard to know what the condition of the inner edge of the rim without removing the cake. The rim had a tarry buildup and overflow of lava. The stem had a lot of tooth marks and wear on the top and bottom surfaces and also on the top and bottom sides of the button. The stem was oxidized and dull. The finish was actually in quite decent shape and was pretty clean other than the rim. The stamping on the bowl was very clear. It was stamped in a column on the smooth underside of the shank DR in script over Ardor over Urano over Italy over Fatta A Mano over Fantasy. The stamping was clear and distinct.
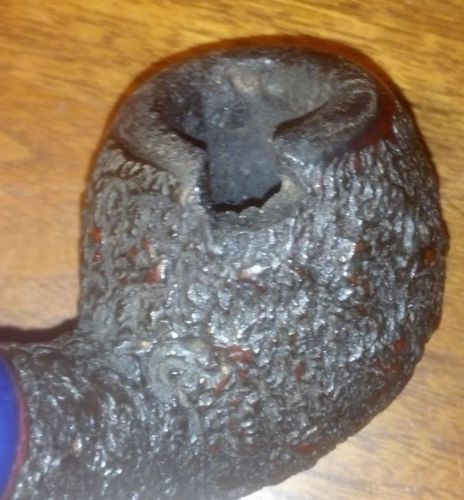

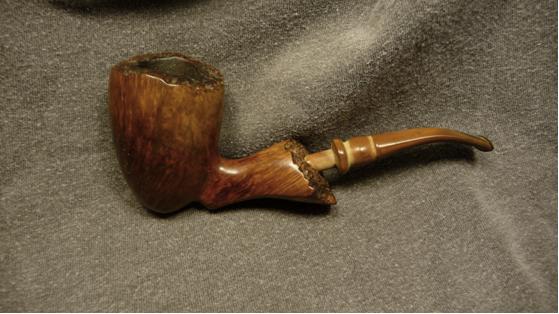
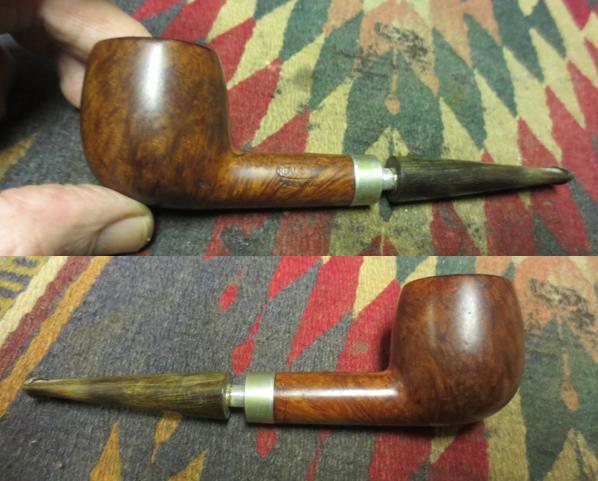
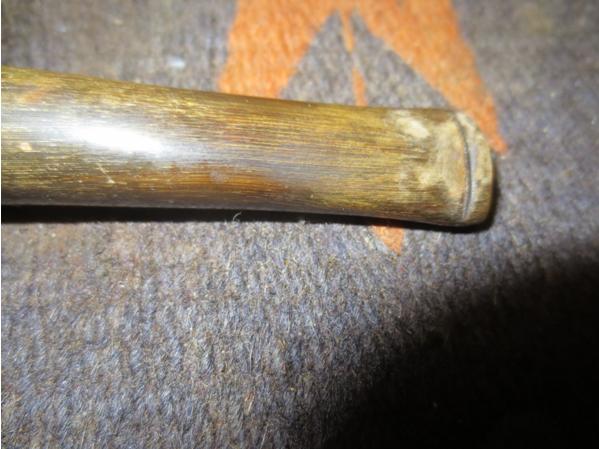
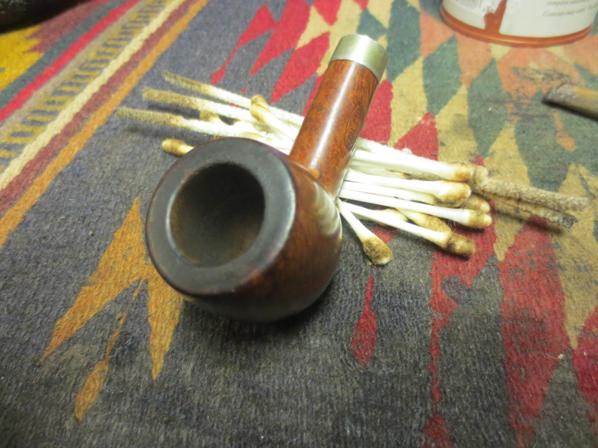
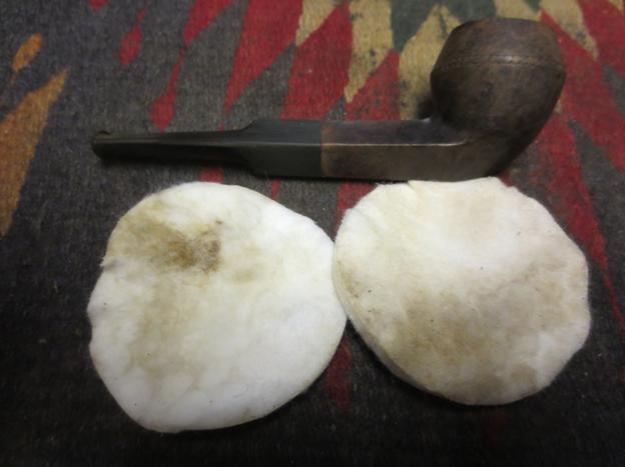
 When I got home from work I was excited to find that the package from my brother arrived while I was away. I had been looking forward to working on this one. When I removed it from the bubble wrap packaging that my brother had used there were no surprises. Things were pretty much as they had been described by the seller and shown in the photos. The stem had quite a few tooth marks and the sharp edge of the button was worn on both sides. The thin button would be comfortable but it needed to be cleaned up.
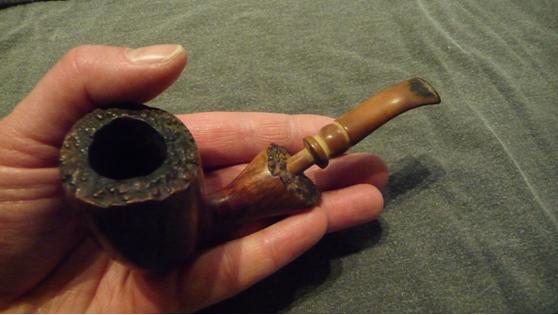
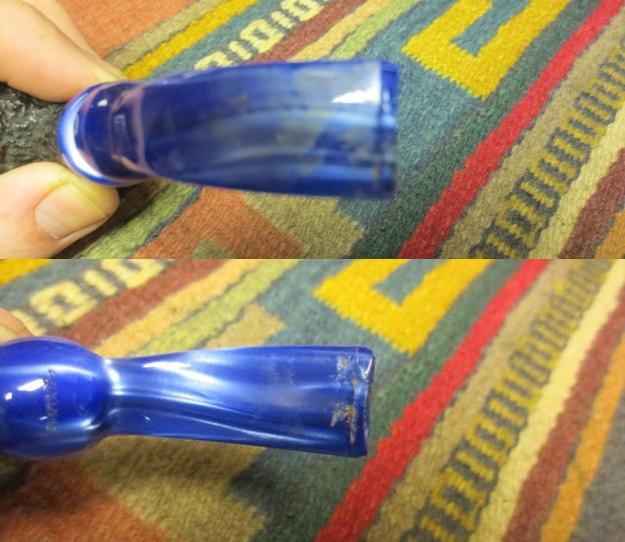 Cleaning up the bowl and rim was going to be an interesting challenge. I wondered what I would find behind the thick cake. To have a chunk of briar break free like it had on this pipe made me wonder what was under the cake. I expected to find a fairly thin wall on the back of the pipe and around the broken area. I also wanted to see if there were any cracks running away from the broken area or if the break was clean.
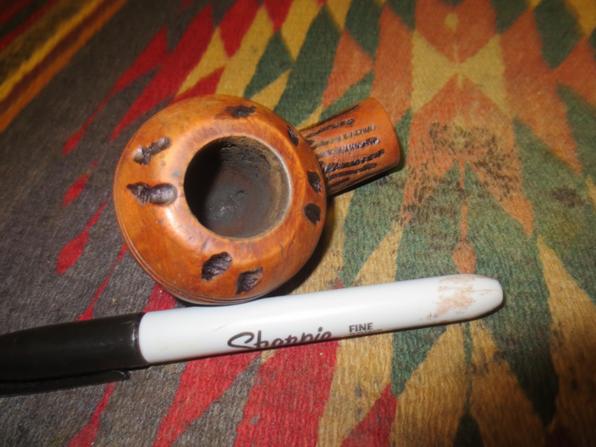
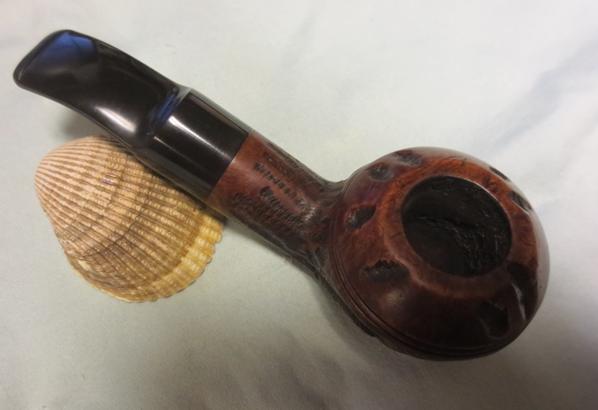
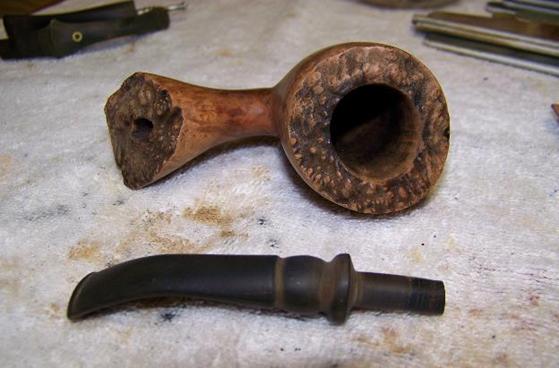
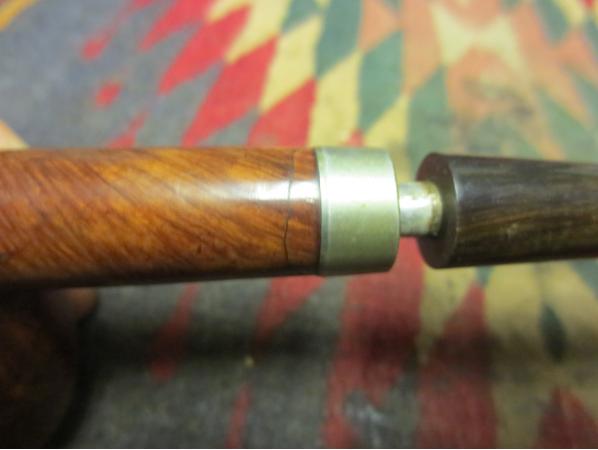
 The interior of the shank looked pretty clean. The band on the end of the stem was oxidized and I wondered if it was brass or silver.
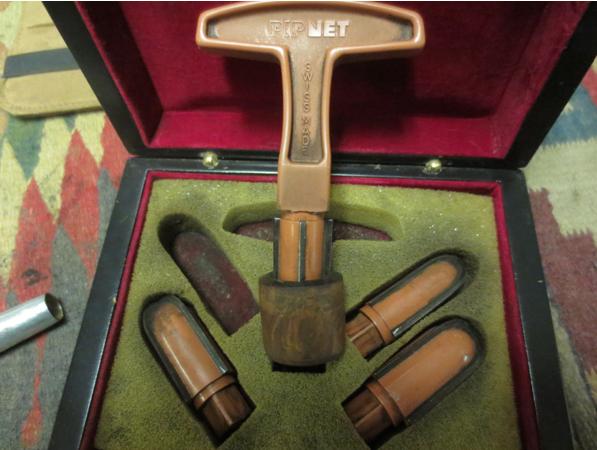
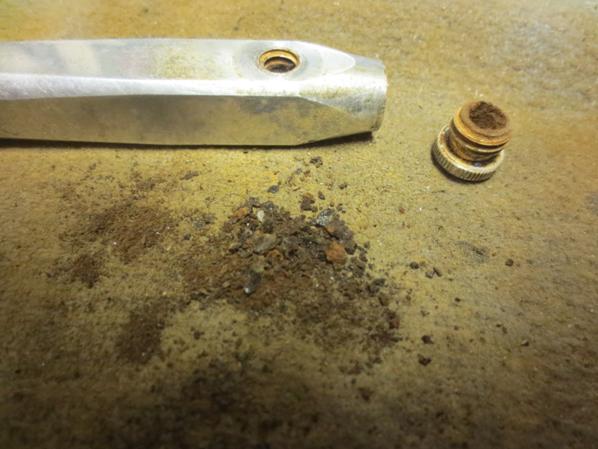
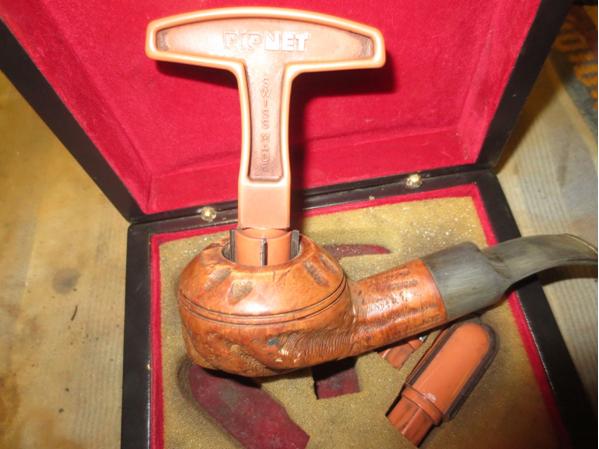
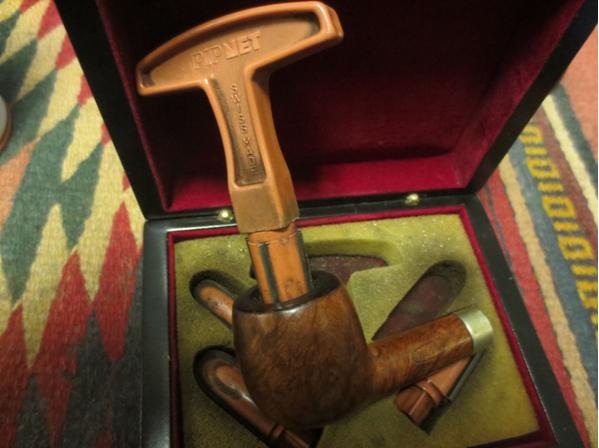
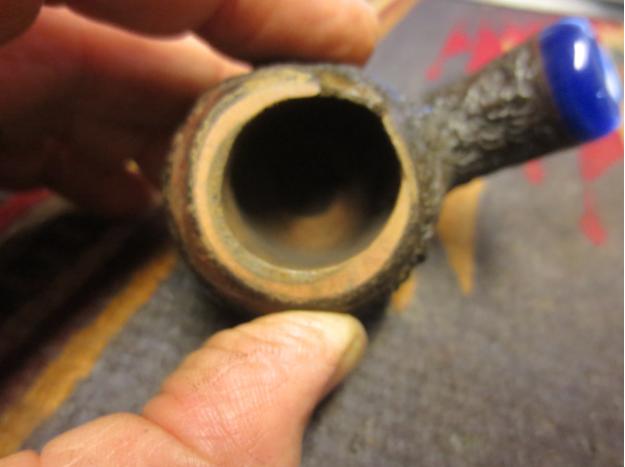
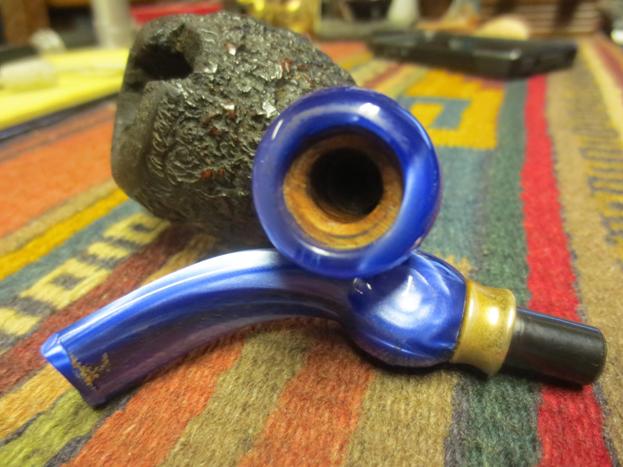 I decided to start working on the bowl almost immediately. I needed to clean it up and see what I was dealing with. I reamed it using all four of the cutting heads on the PipNet pipe reamer. With the cake removed I could see the extent of damage to the rear wall of the bowl. The area on the left of the broken spot was thin and scored by what looked like a knife blade when it had been reamed before I got it. The top of the rim disappeared at the back of the bowl to the left of the break. The bowl was significantly out of round at the front as well.
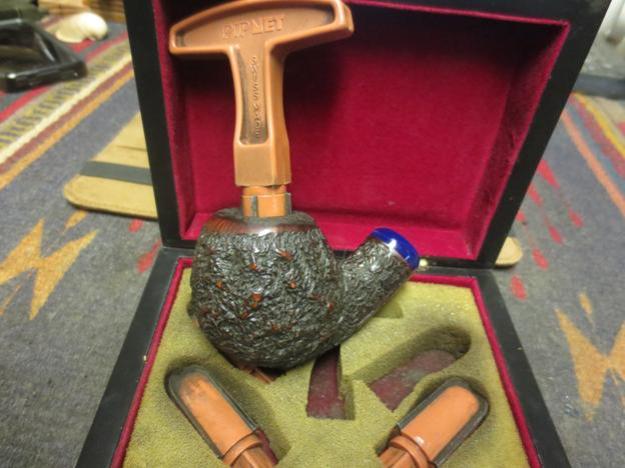
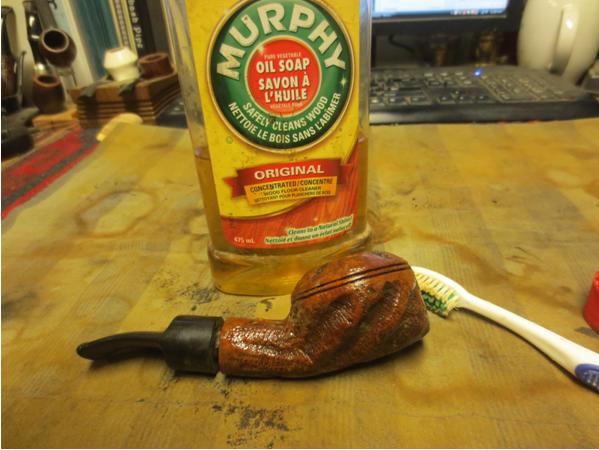
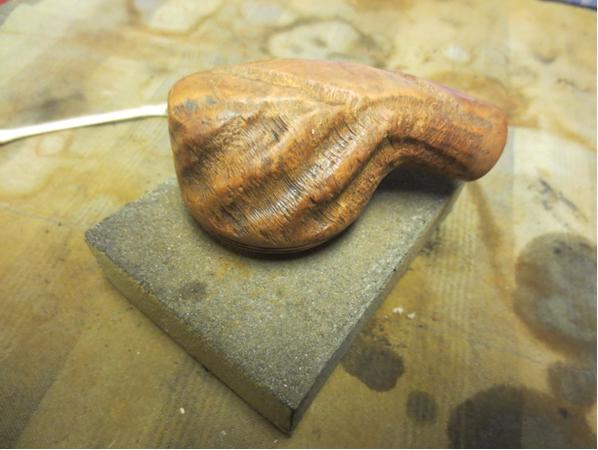
 In preparation for the bowl repair I sanded the inside of the rim with 220 grit sandpaper. I topped the bowl on the topping board to square up the rim. I cleaned out the edges of the break with a dental pick and then washed it with alcohol and cotton swabs.
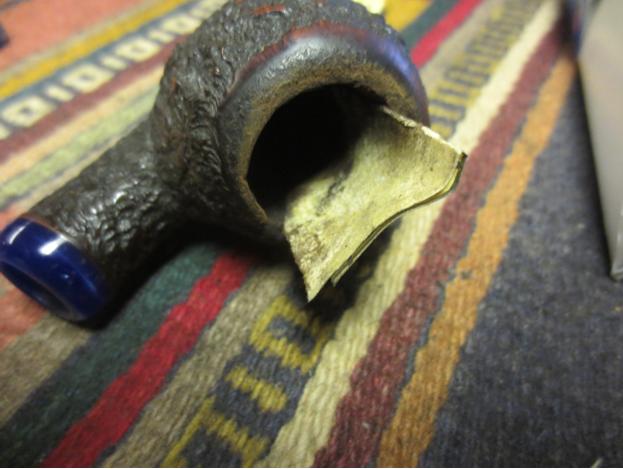
 I cut a piece of briar from an old broken bowl that I keep around for this purpose. I used the Dremel and sanding drum to shape the piece of briar to fit in the broken notch. It was still too tall for a good fit but you can see it in place in the next photo. I held it place and used the Dremel and sanding drum to shorten the plug to the same height as the bowl rim. It was too thick for the shape of the bowl so I sanded it with the Dremel to reduce the thickness.
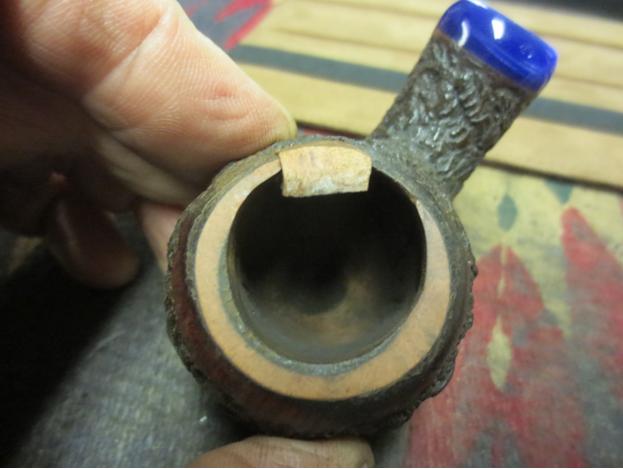
 I held it place and used the Dremel and sanding drum to shorten the plug to the same height as the bowl rim. It was too thick for the shape of the bowl so I sanded it with the Dremel to reduce the thickness.
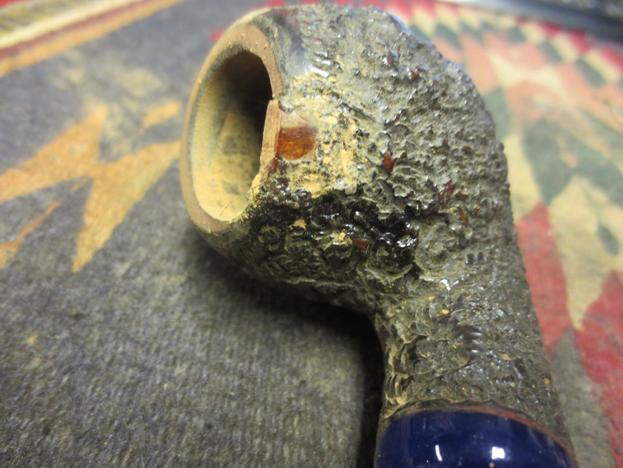


 I sanded the inside of the bowl with the Dremel and sanding drum to smooth out the inside edge of the repair.
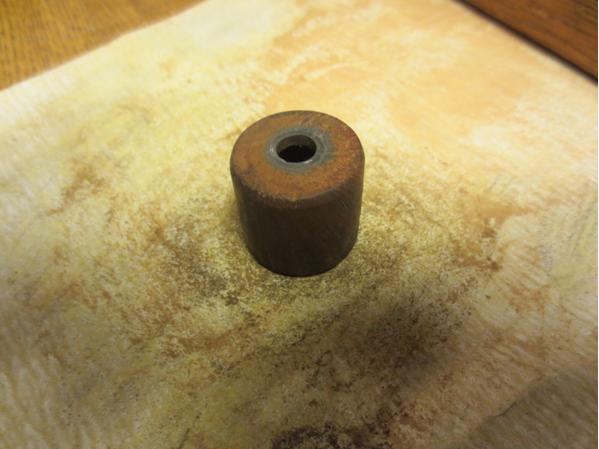
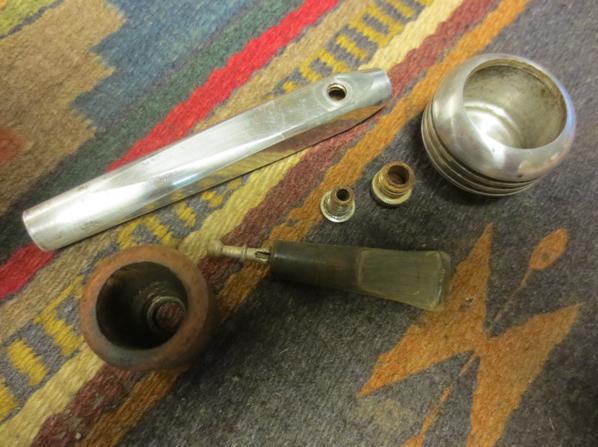
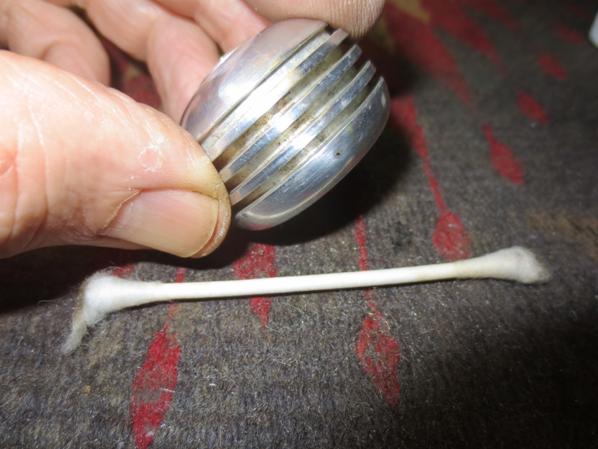
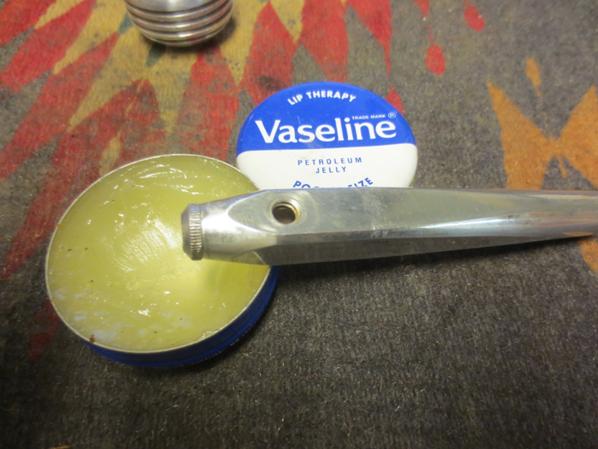
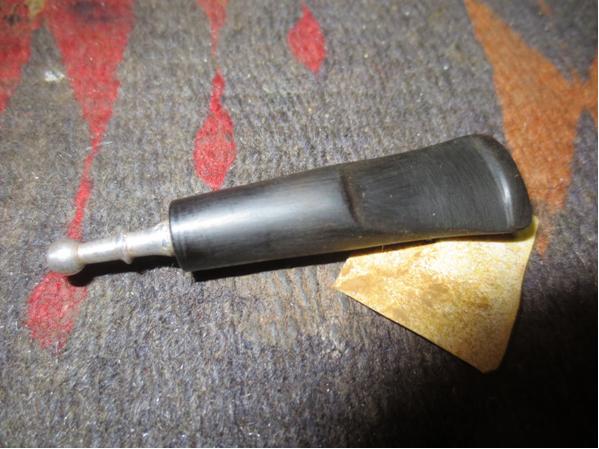
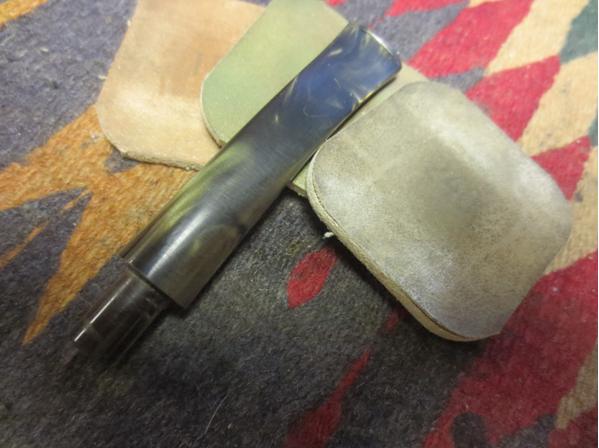
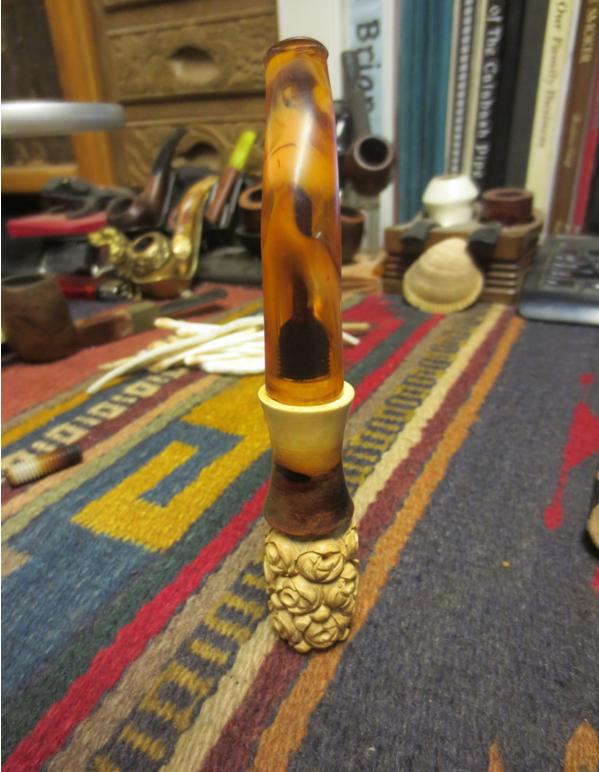
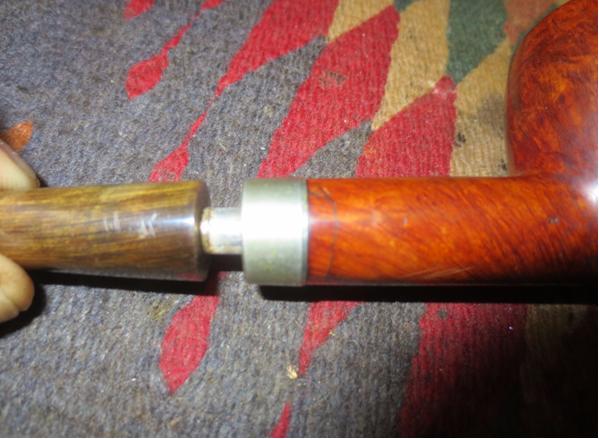
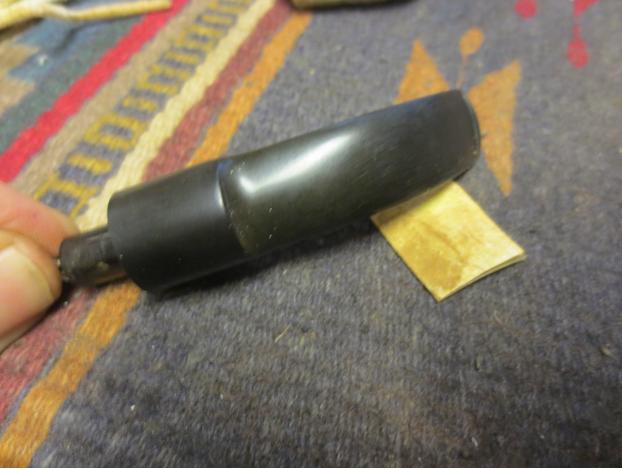
 At this point in the process I set the bowl aside for a bit and worked on the stem. I cleaned the band on the stem with silver polish and the tarnish and brass look disappeared and underneath was a beautiful silver band with an oval 925 stamp.
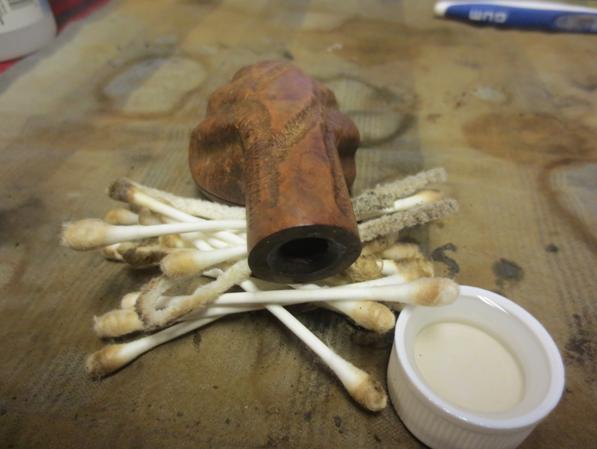
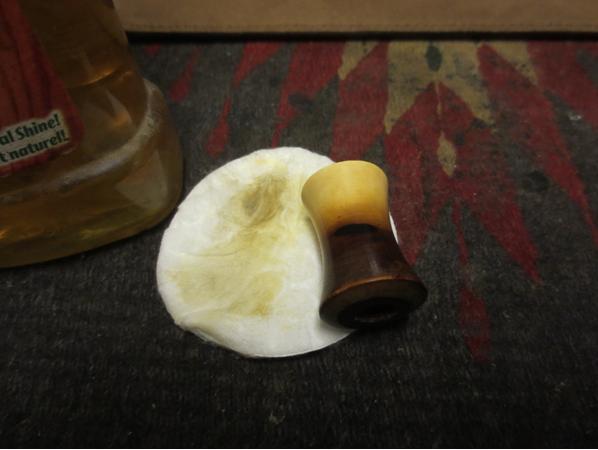
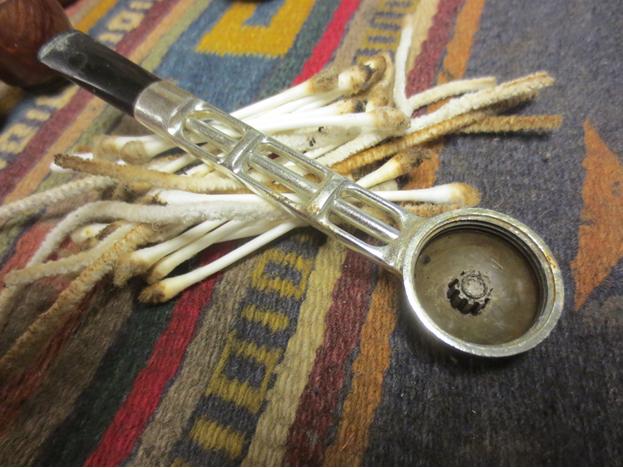
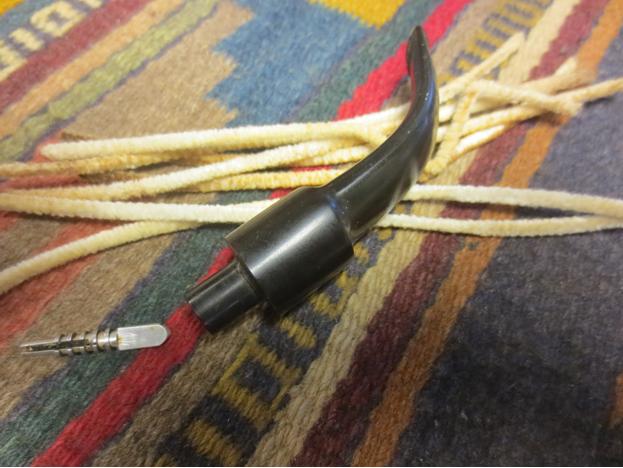
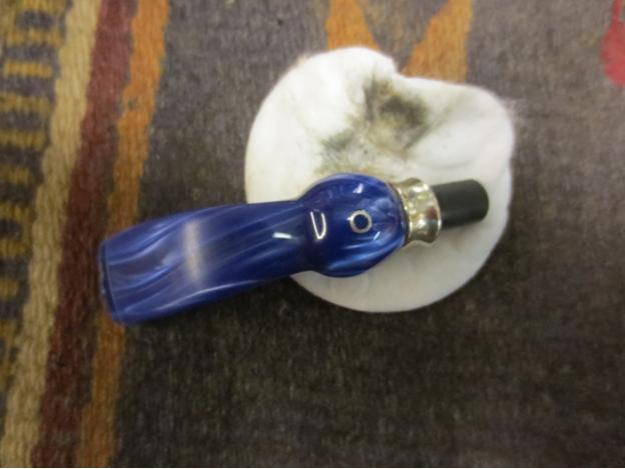 I cleaned out the inside of the stem with alcohol and pipe cleaners. It did not take too long before it was clean.
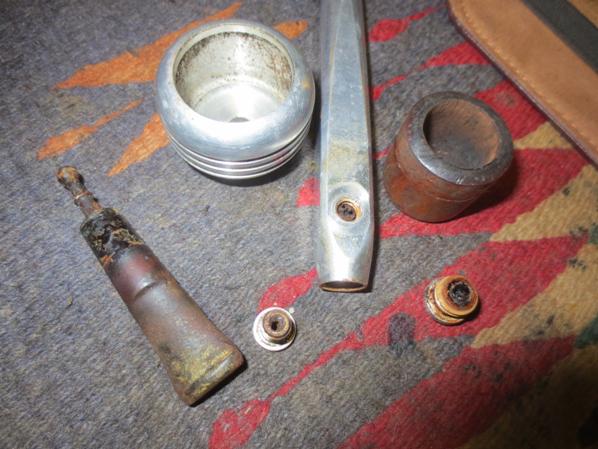
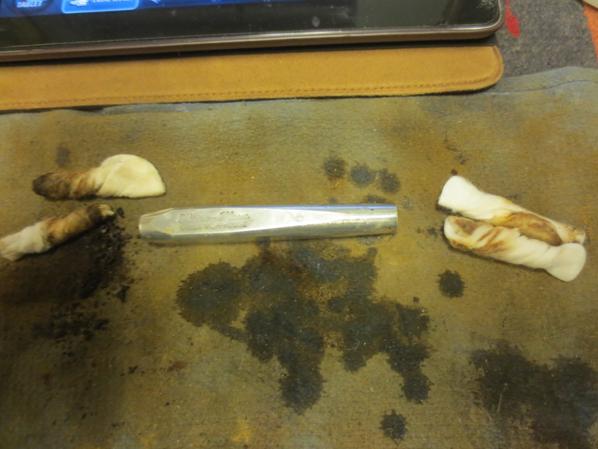
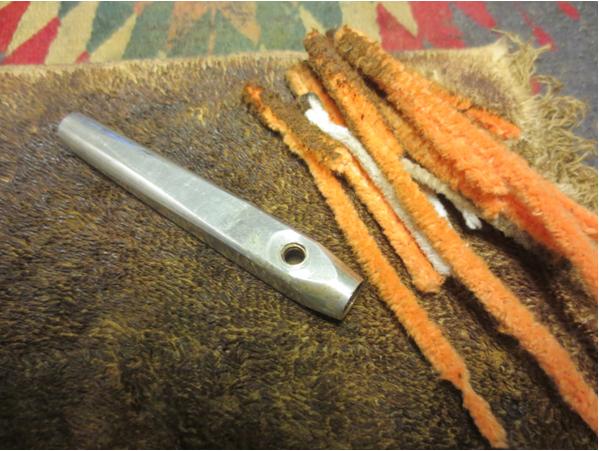
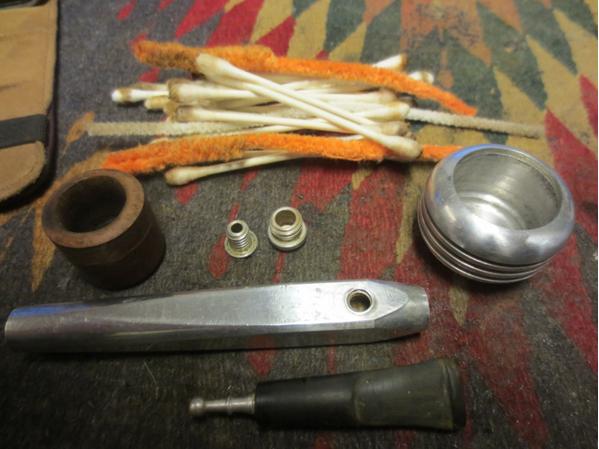
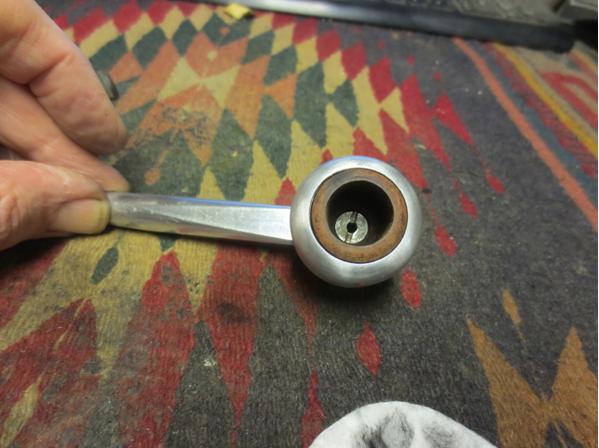
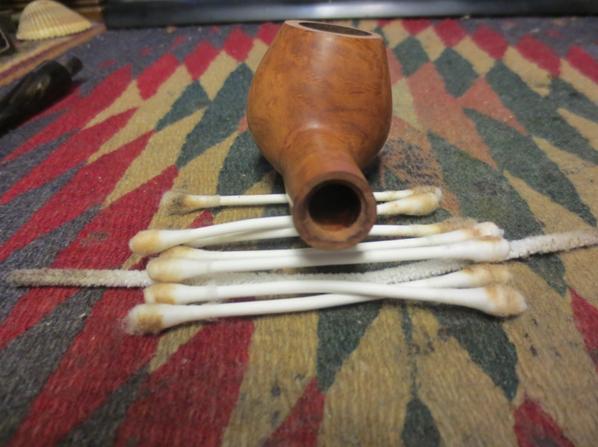
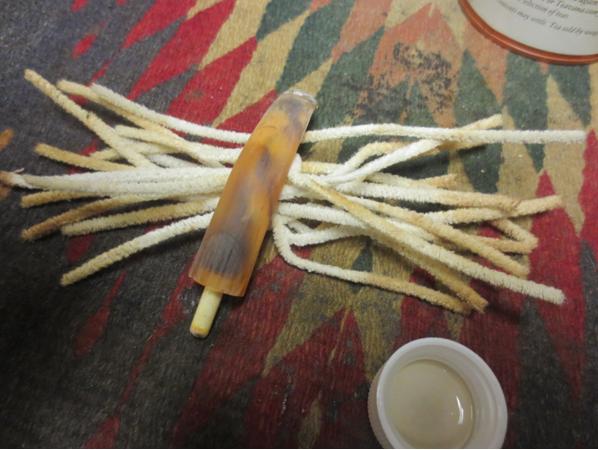
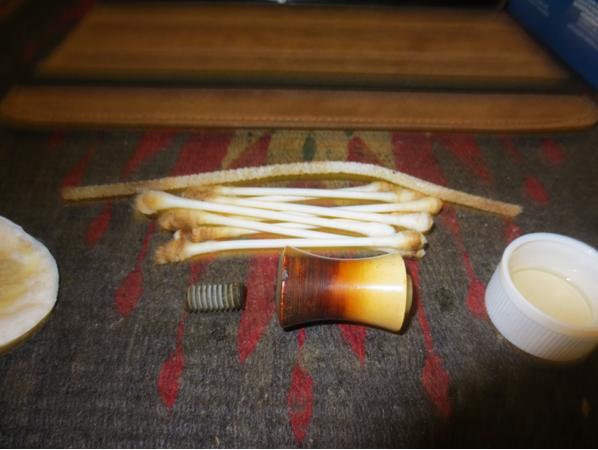
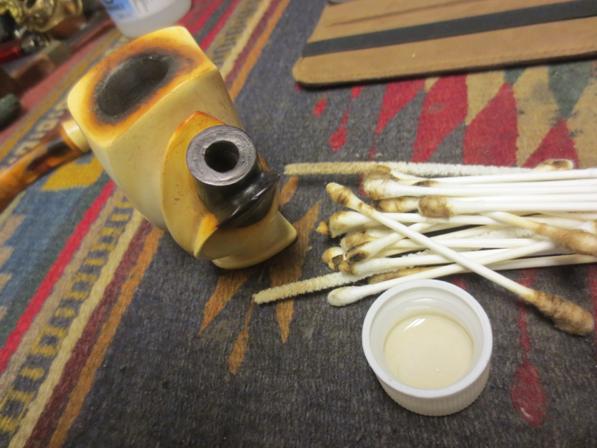
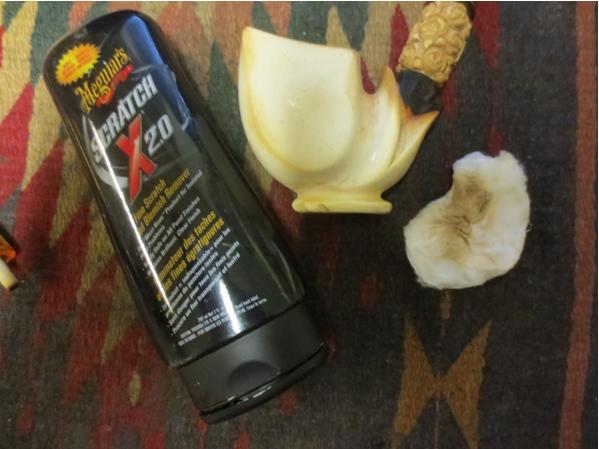
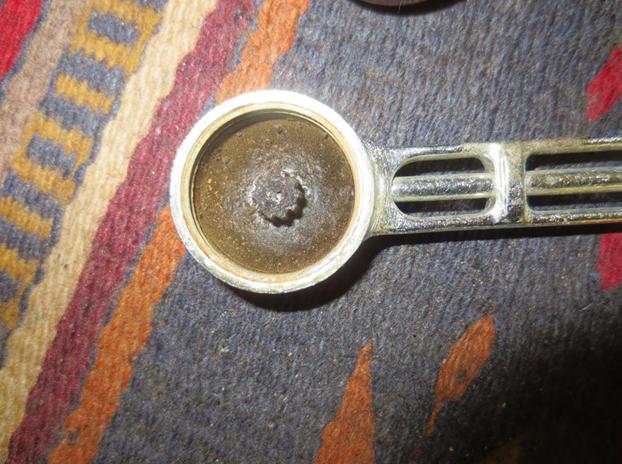
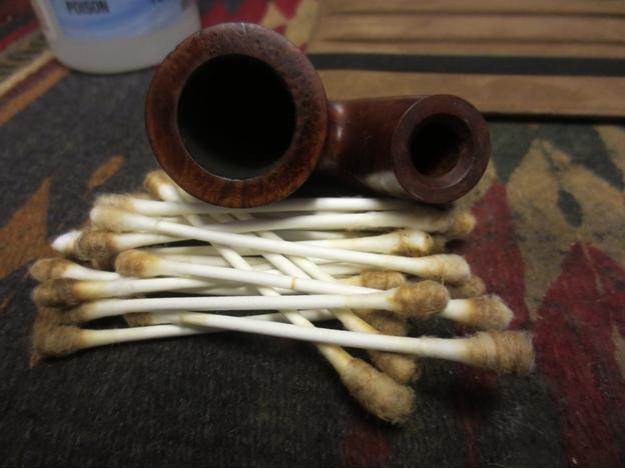
 I cleaned out the mortise and airway in the shank with alcohol, cotton swabs and pipe cleaners. I also used the drill bit from the KleenReem pipe reamer and cleared out the airway to the bowl. Once I ran the drill bit through the shank I cleaned it again with the pipe cleaners and alcohol. The finished pipe smelled clean.
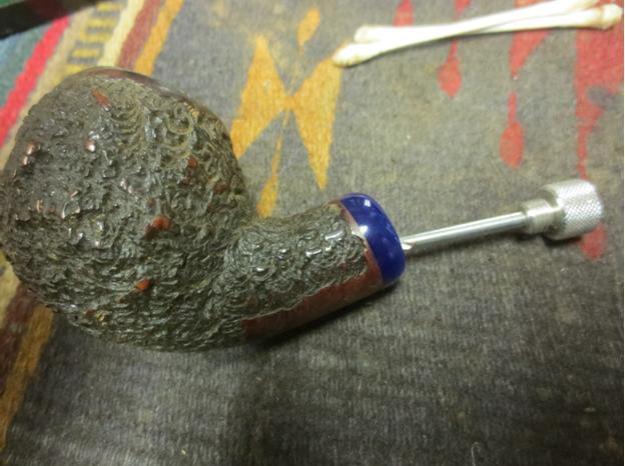
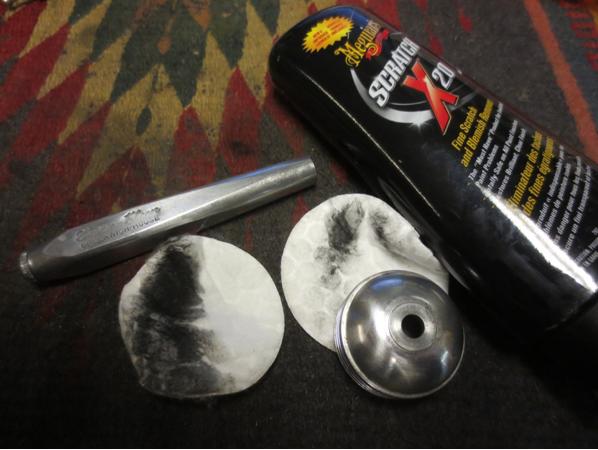
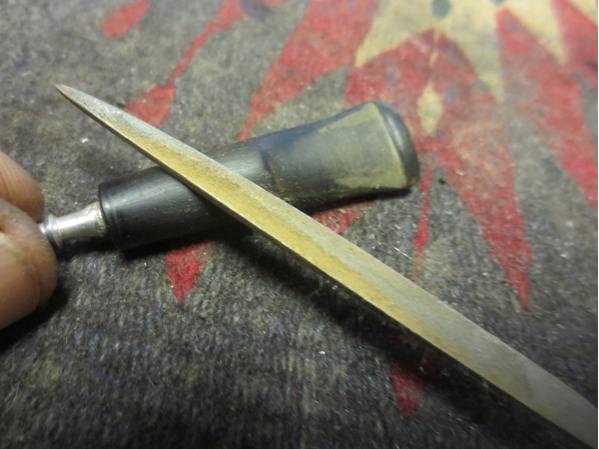
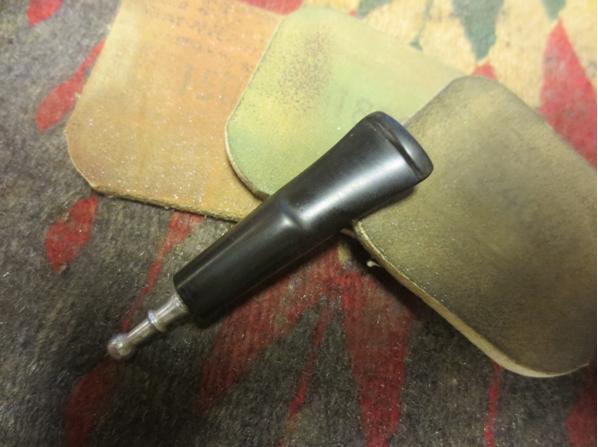
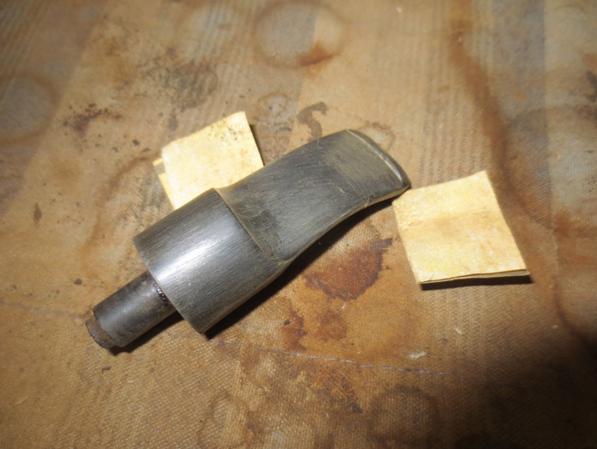
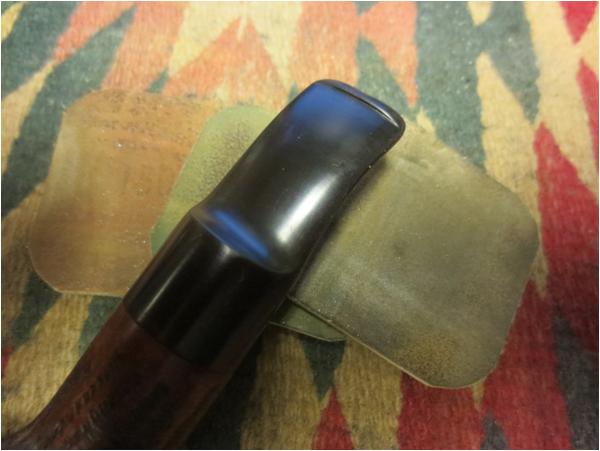
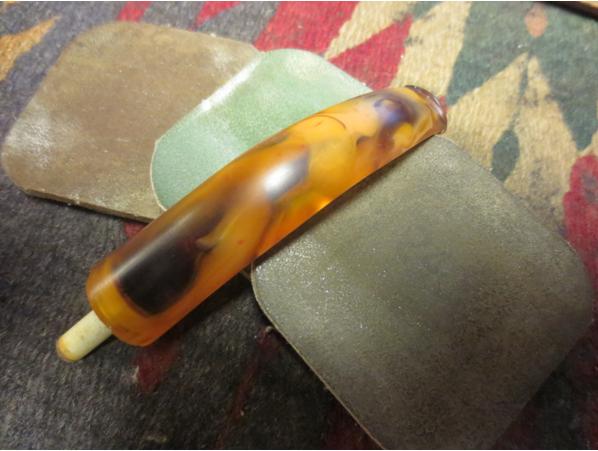
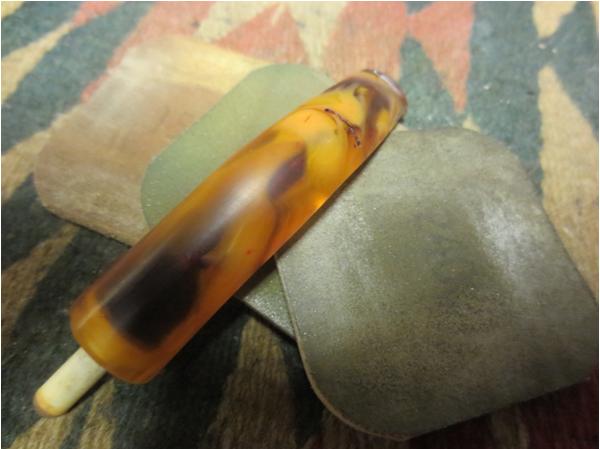
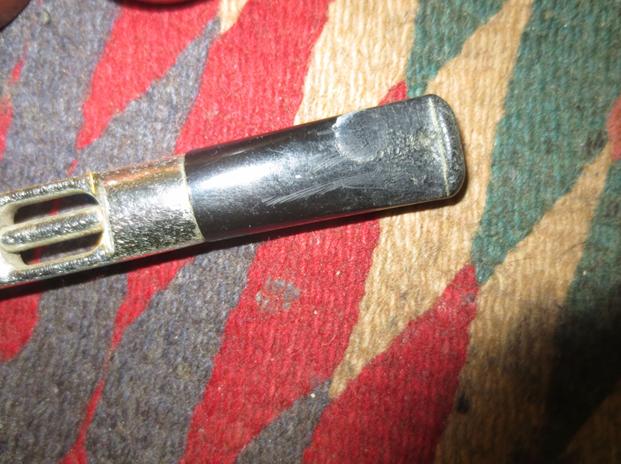
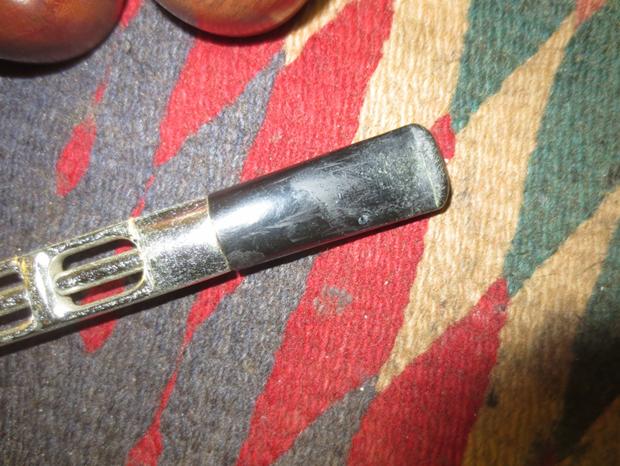
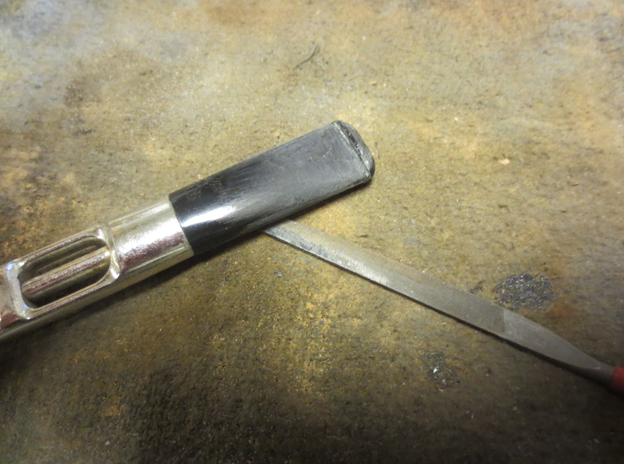
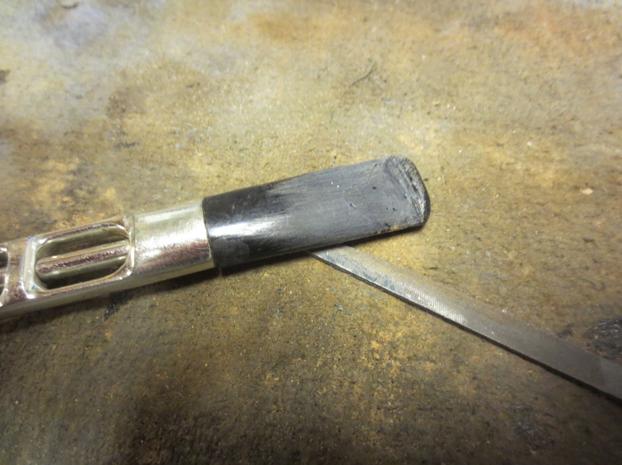
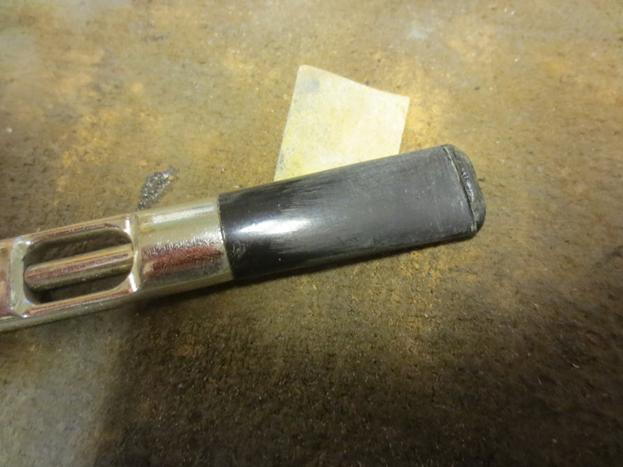
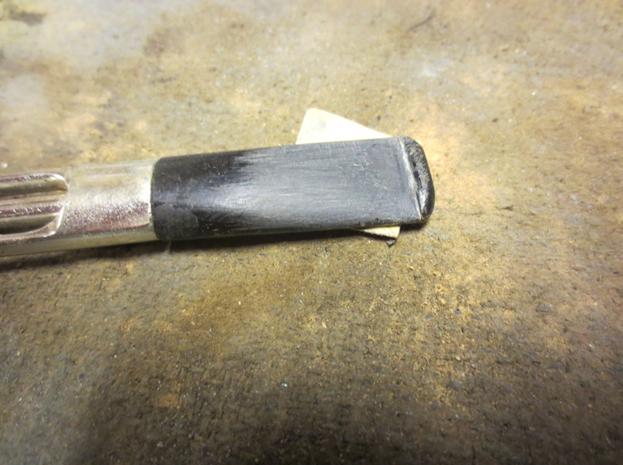
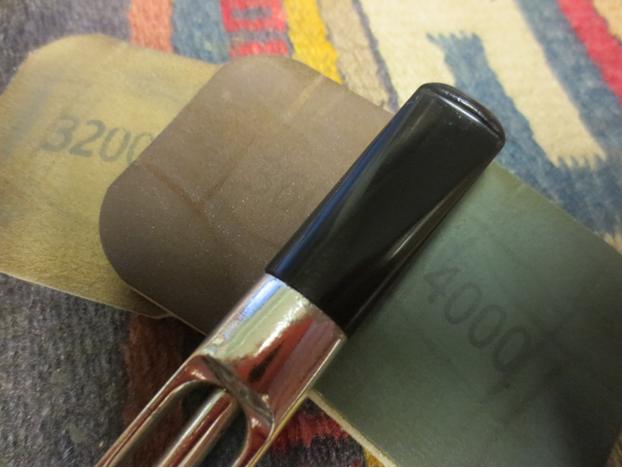
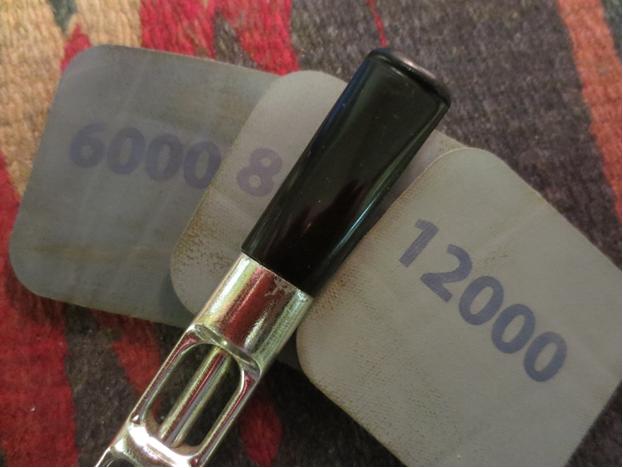
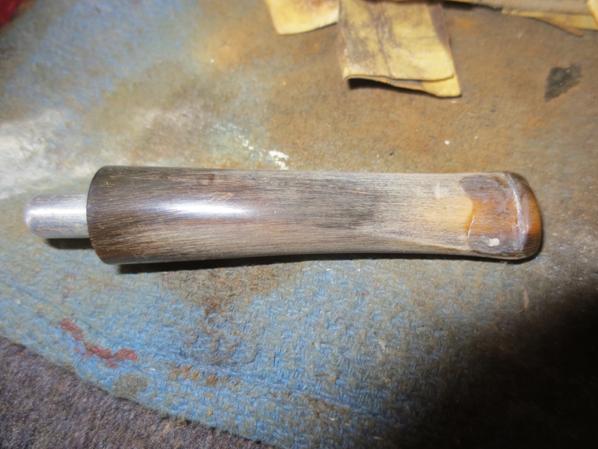
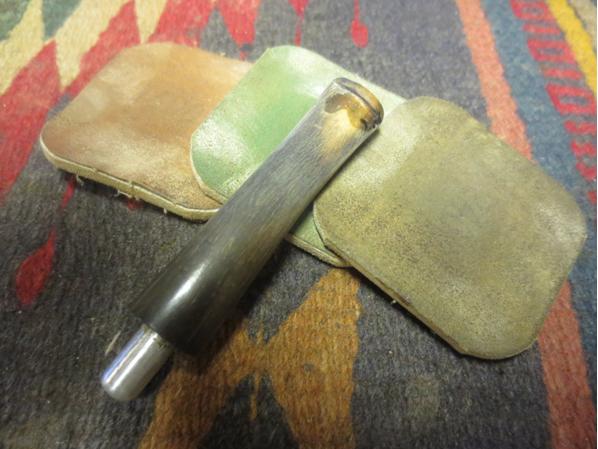
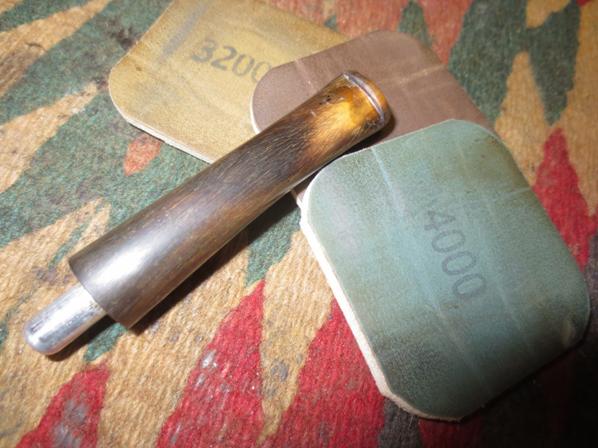
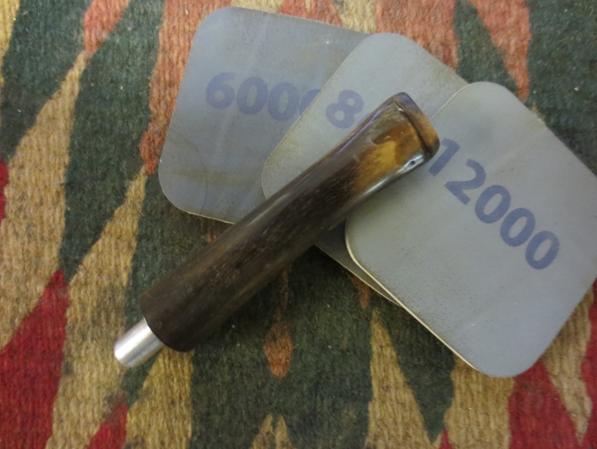
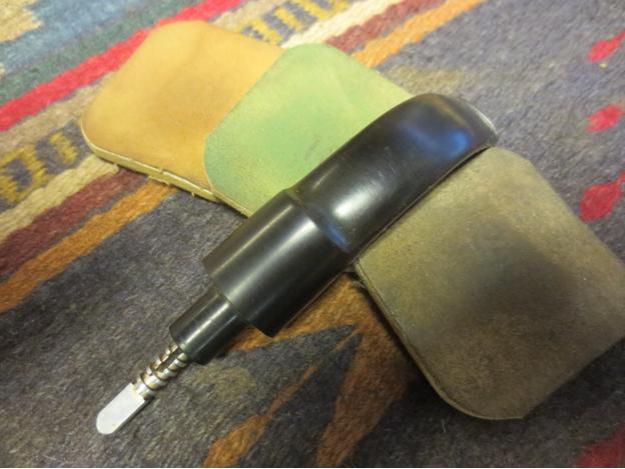
 I wet sanded the stem with 1500-2400 grit micromesh sanding pads. I dry sanded with 3200-4000 grit pads. I used a needle file to reshape the edge of the button and redefine the curve of the button from the end. I cleaned up the slot. I finished sanding the stem with 6000-12000 grit micromesh pads and then buffed the stem with Blue Diamond on the wheel.
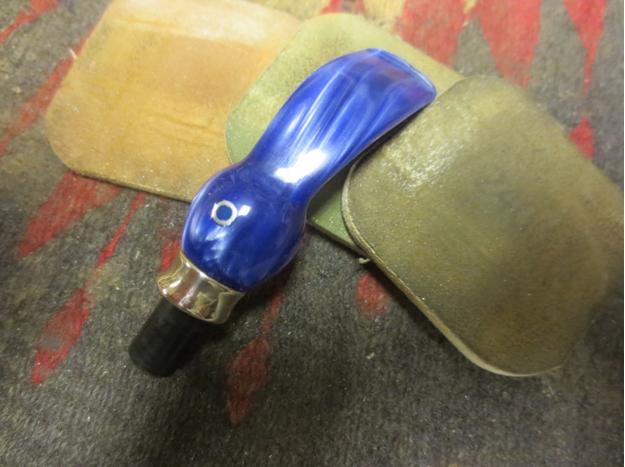
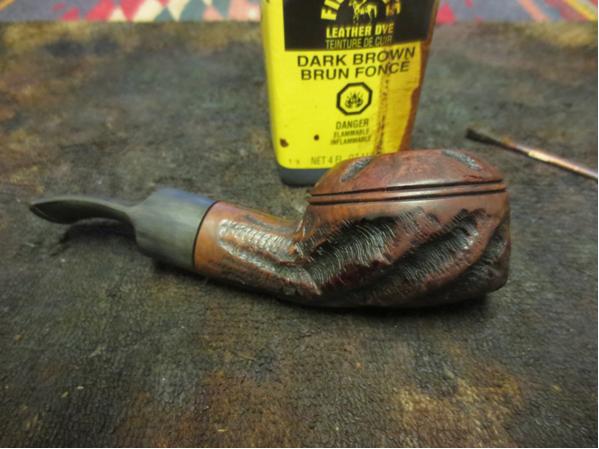
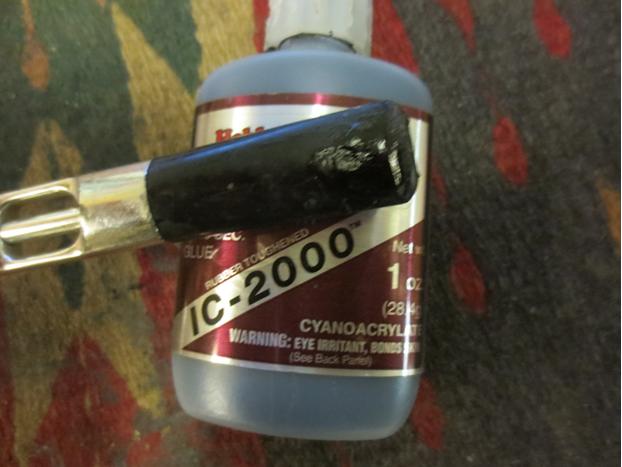
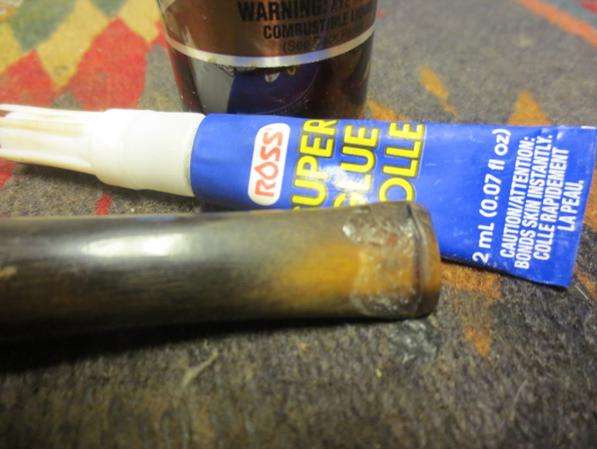
 With the stem finished I turned my attention to the rim and the thin inner wall of the bowl at the back of the pipe. I used clear super glue and briar dust to build up the inner edge of the rim. My thinking at this point was that this would be my base coat. From here I would build it up until I was satisfied with the thickness.
 Once the glue dried I sanded it and took a picture of the rim to this point.
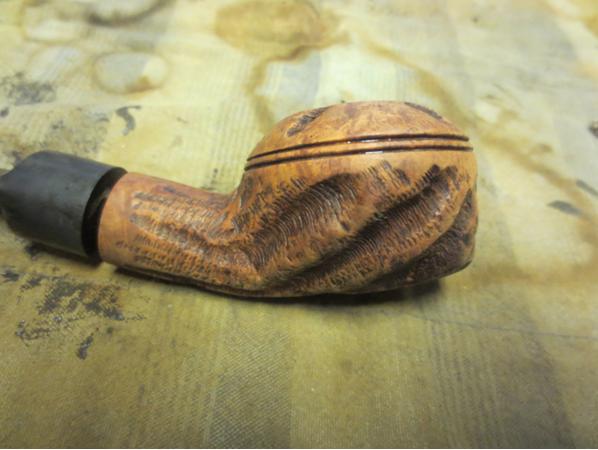
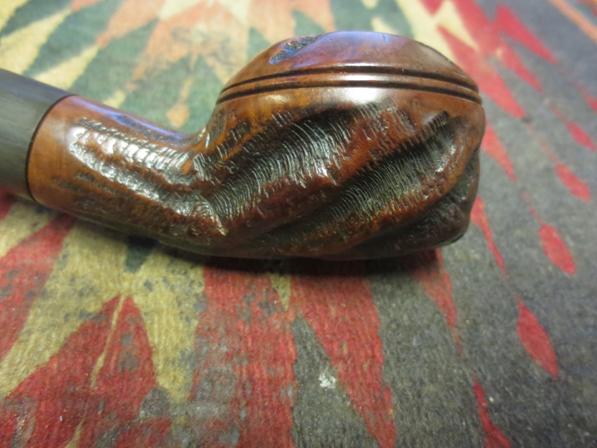
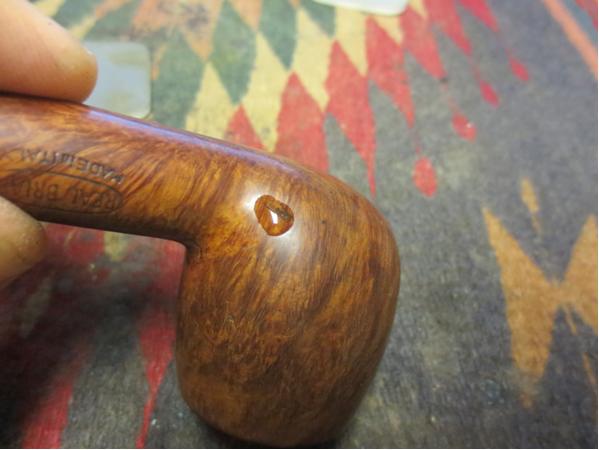
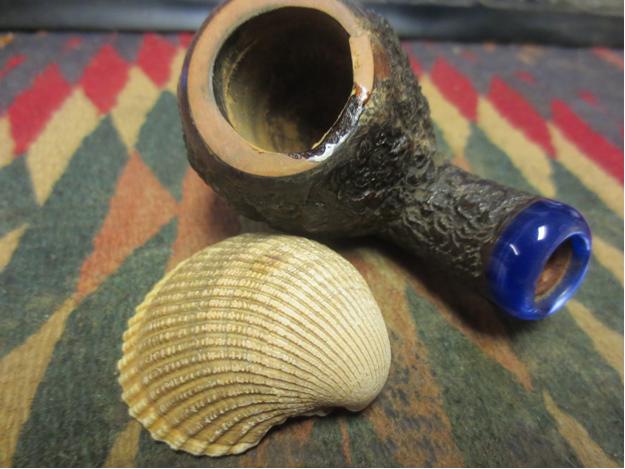 I used a Dremel with several different burrs to rusticate the patch on the outside of the bowl. I was aiming to match the cuts and random pattern of the rustication on the rest of the bowl. It took several cylindrical burrs, pointed burrs and a ball burr to get the pattern I wanted. The photo below shows the finished rustication. I needed to clean it up and then stain it.
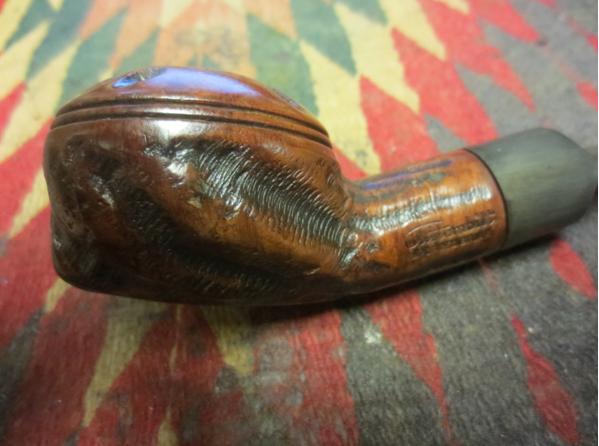
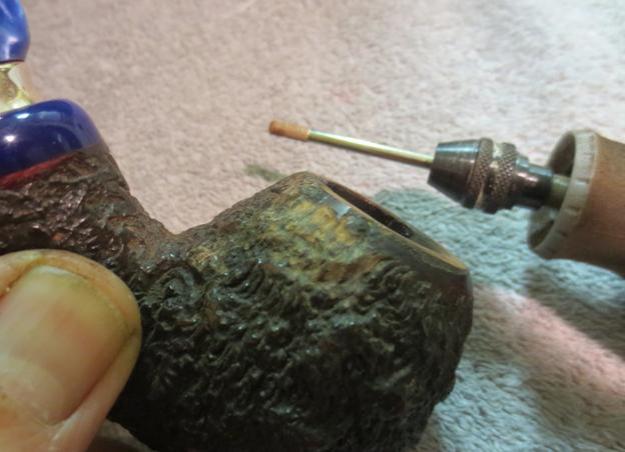 The next two photos show the clean up and the staining process. I used a black Sharpie permanent marker to fill in the deeper grooves in my rustication and then went over the whole thing with a dark brown stain pen. I finished by touching it up with a medium brown stain pen.
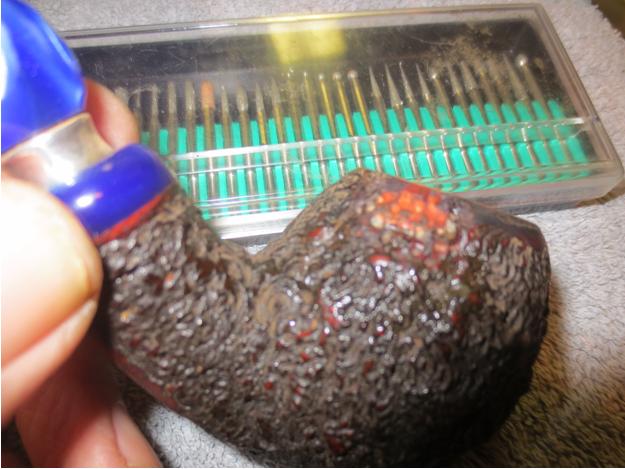
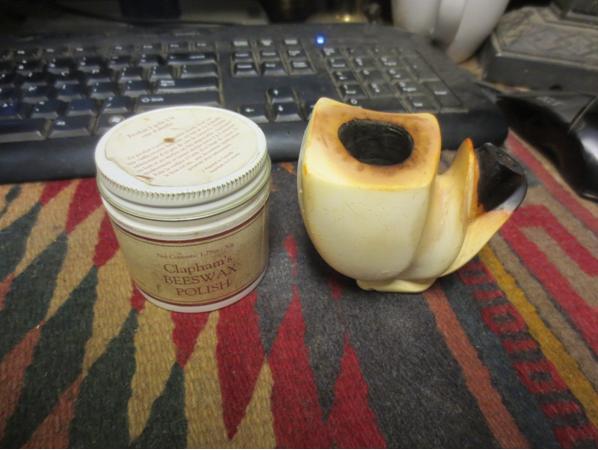
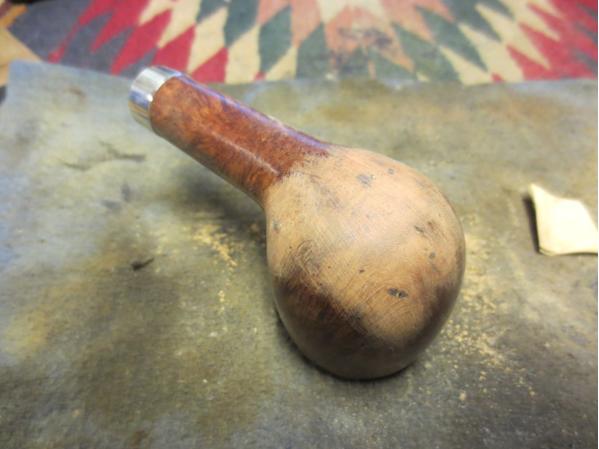
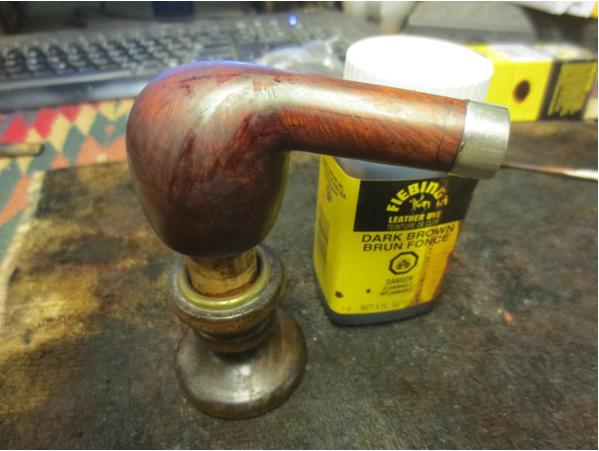
 I waxed the bowl with Conservator’s Wax and buffed it with a shoe brush. The next photo shows the bowl at this point in the process. All that remains is to work on the rim and the inner edge.
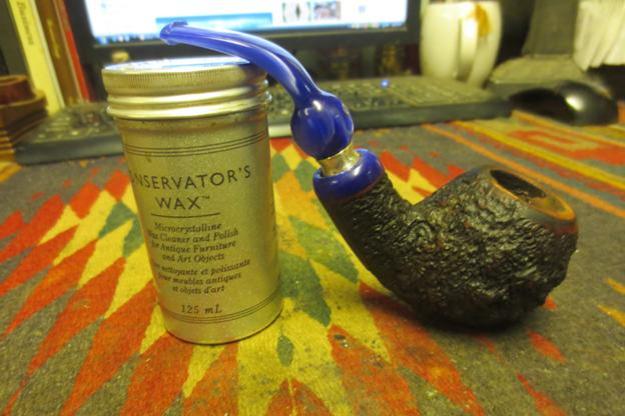 At this point I have not done any work on the rim. I still need to clean up the rim top and the smooth edge on the outside of the bowl but it is getting there.
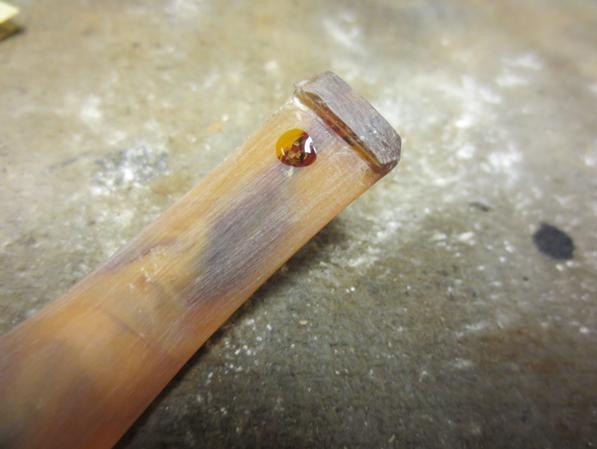
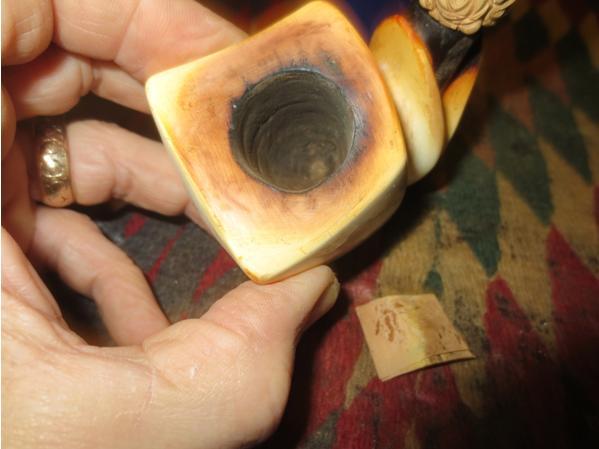
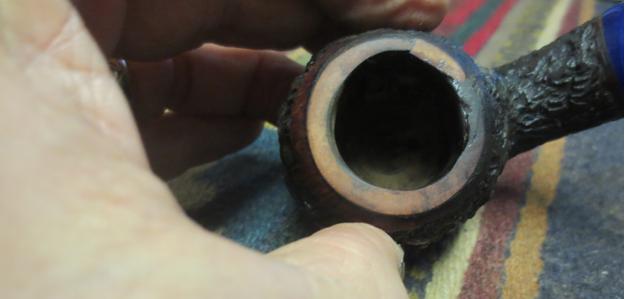 I built up the inner edge with some JB Weld. I used a dental spatula to lay the mixture on the inner wall of the bowl. Once it is dry JB Weld is impermeable and does not disperse chemicals. My intention is to use this and then finish with a coat of pipe mud and a finish coat of bowl coating.
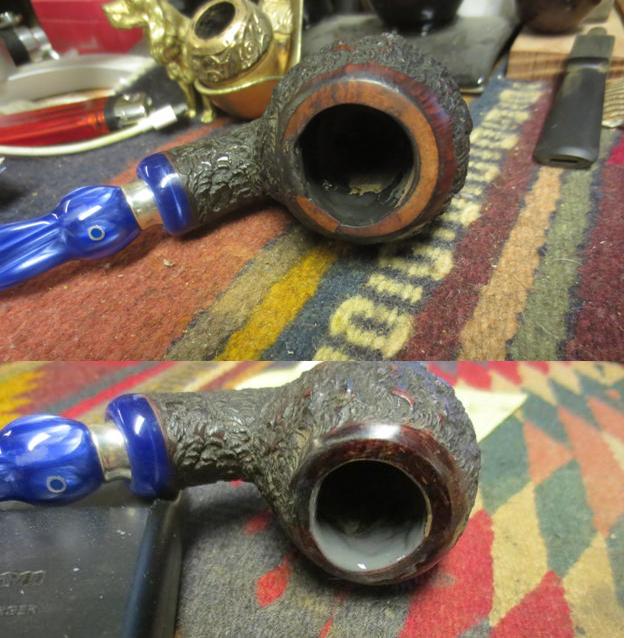 I lightly topped the bowl once the JB Weld dried and gave the inner edge of the rim a light bevel. The bowl is slightly out of round but it far better than it was.
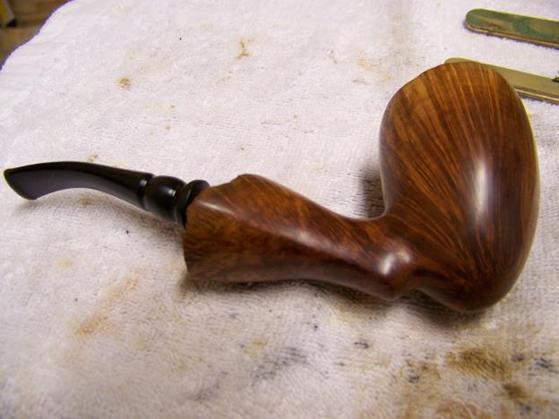
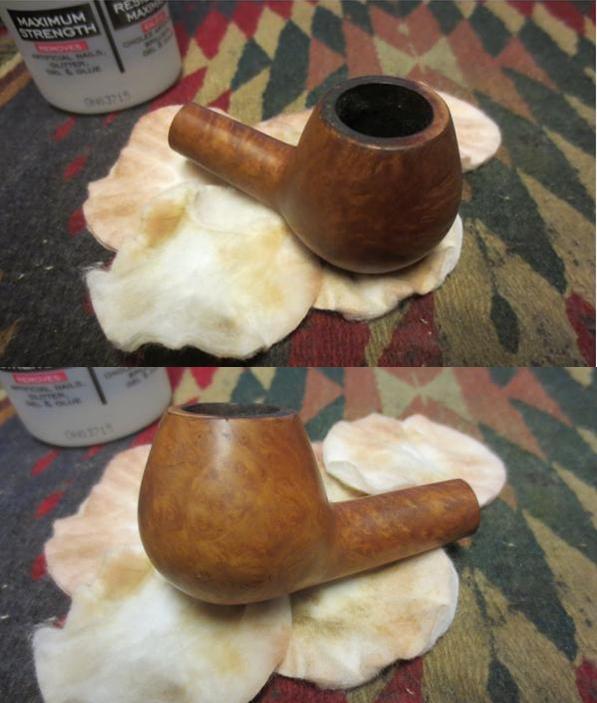
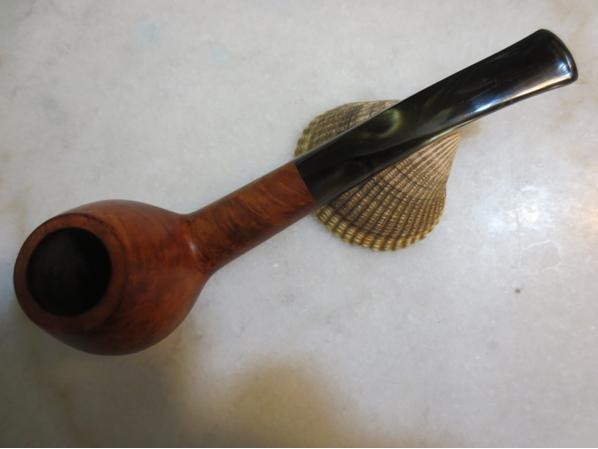
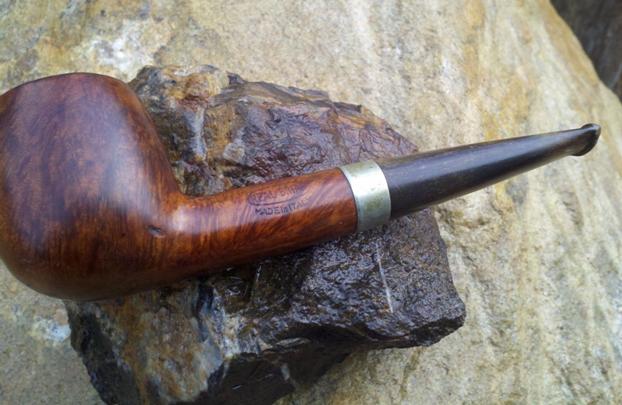
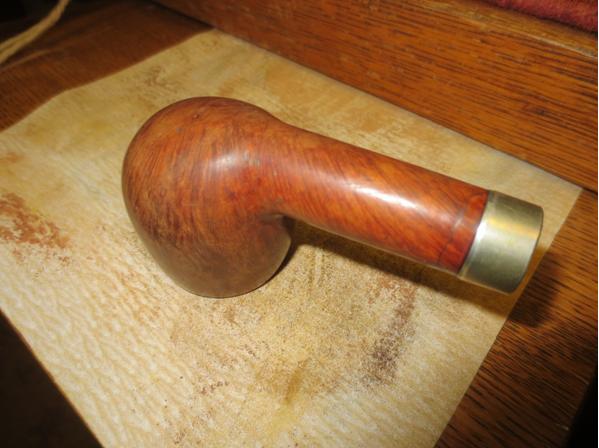
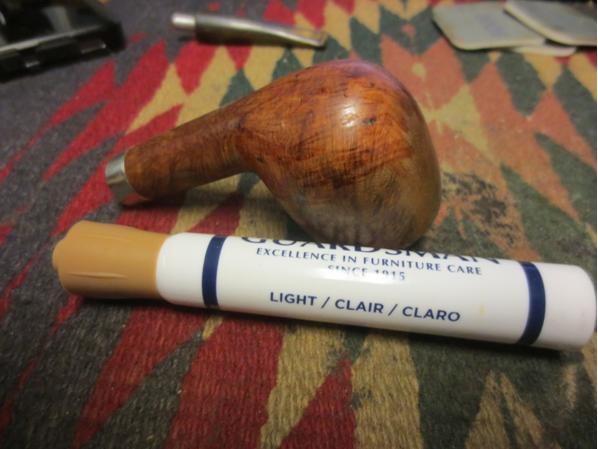
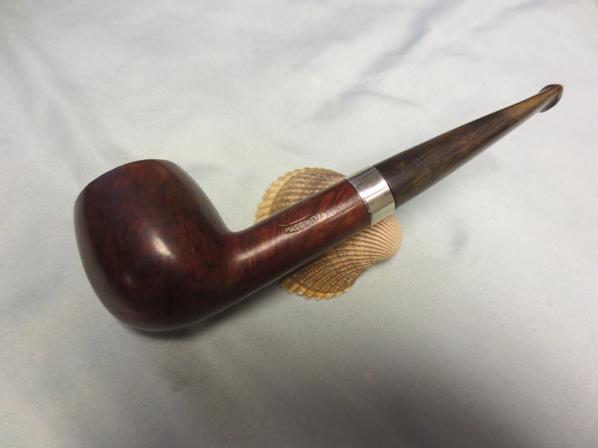
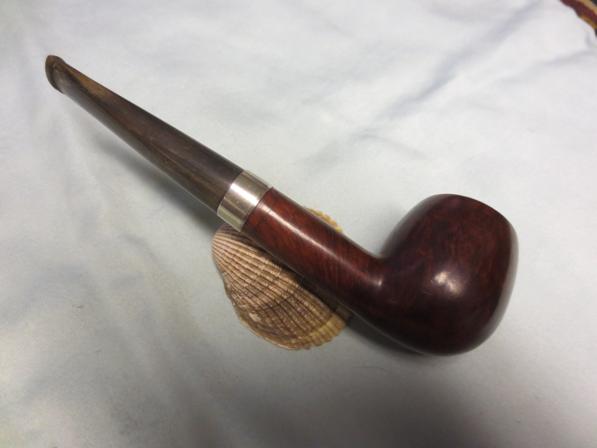
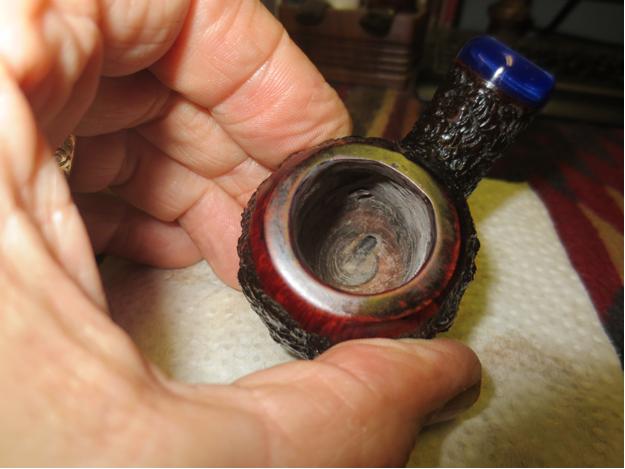 I gave the bowl a hand buff with a shoe brush and a light rub down with olive oil. Once the oil was absorbed into the finish I hand buffed the bowl once more with the shoe brush. The finished pipe is shown in the photos below. The outside of the bowl looks excellent. The damage on the rim and the inner bowl wall made it very difficult to bring the bowl back to round. By and large considering where I started I am happy with the finished product. I am going to let the repair cure for another 24 hours before giving it a coat of pipe mud and then a bowl coating.
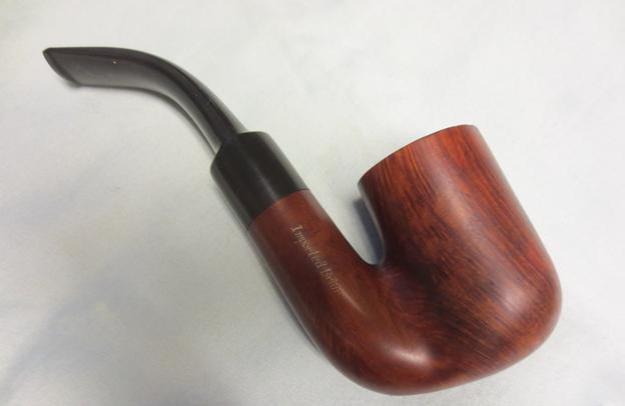


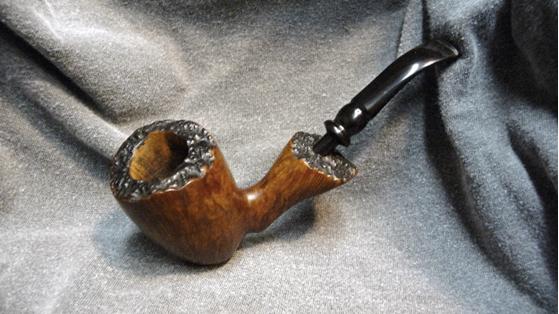
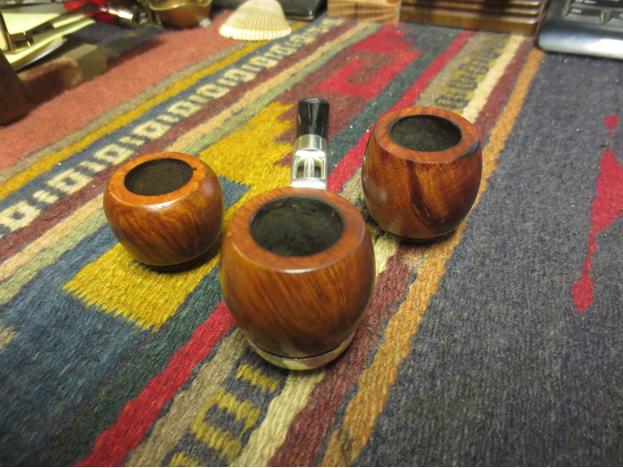
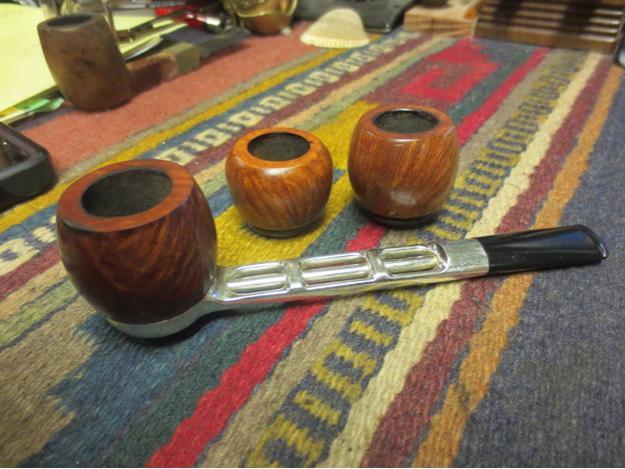
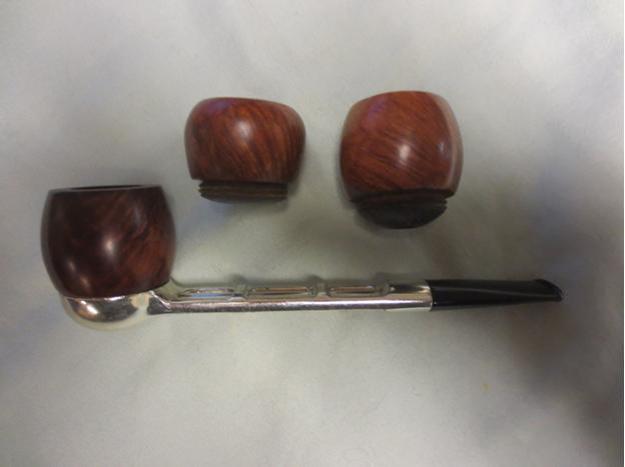
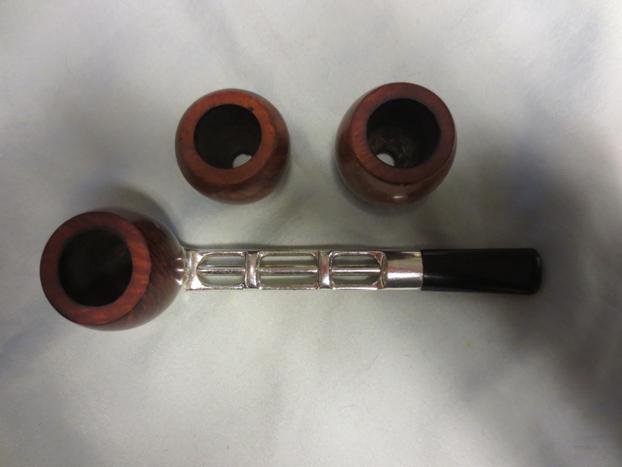
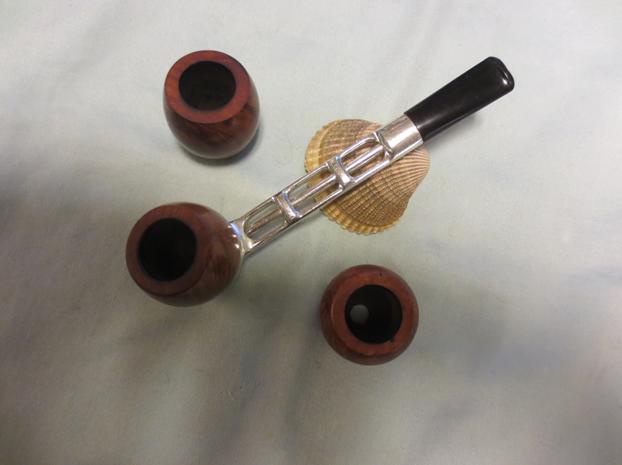
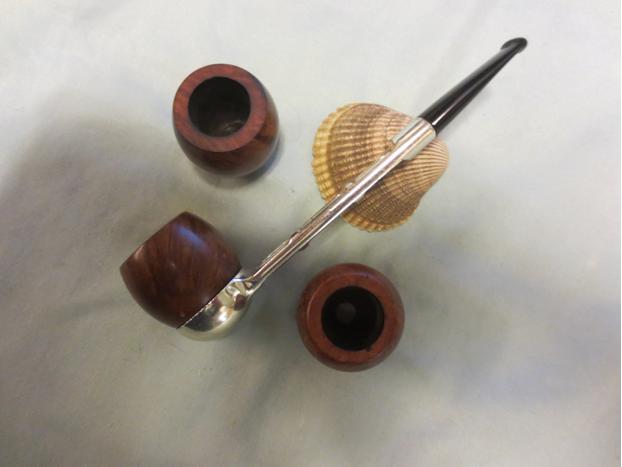
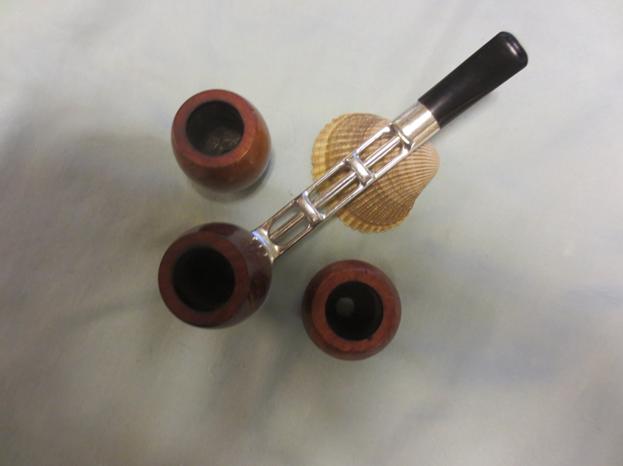
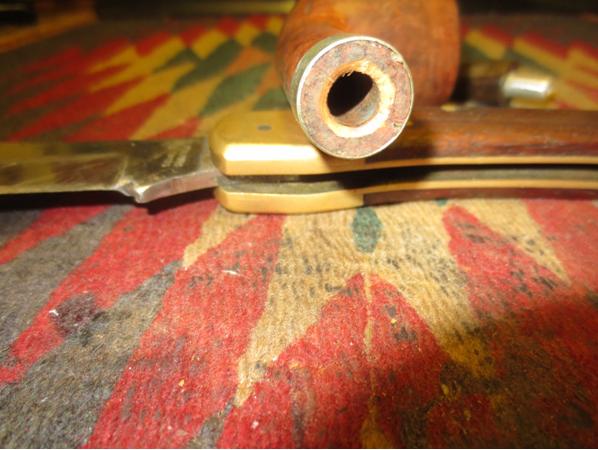
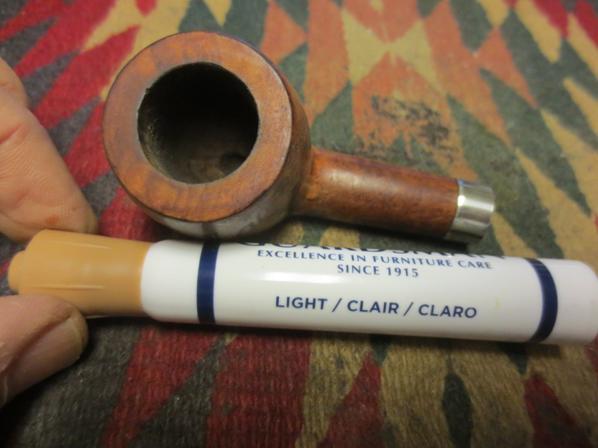
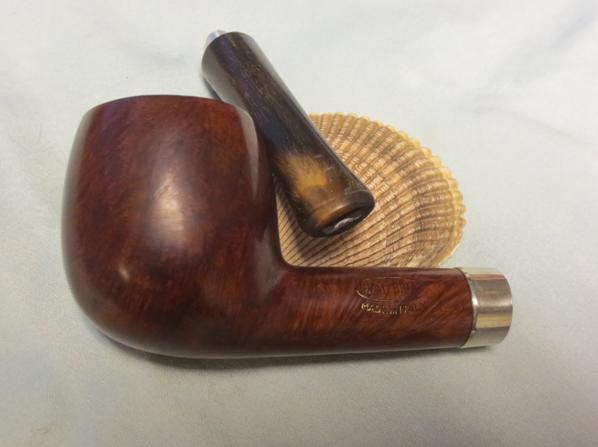
 I took a few close-up photos of the repaired area so you can have a closer look at the repair. The first photo below is the right side. The repair is toward the back of the right side. The second photo shows the left side for comparison sake. The third photo is a top view of the rim repair. The final photos show the bowl with the stem out. Thanks for looking.
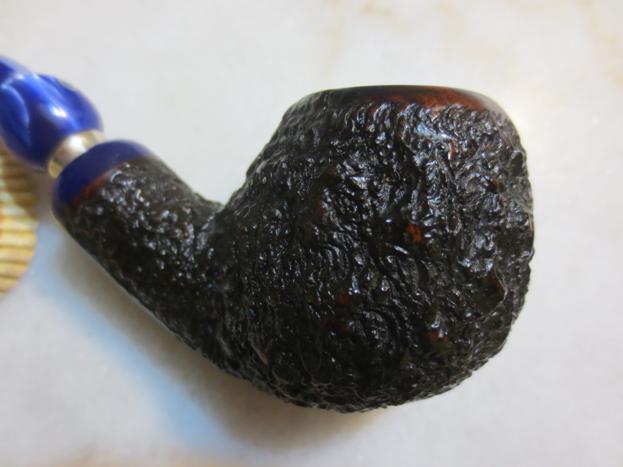


***ADDENDUM – I just finished a morning cigar and mixed a batch of pipe mud. I coated the inside of the bowl with a thick layer of pipe mud. It is now drying. Here is a photo.