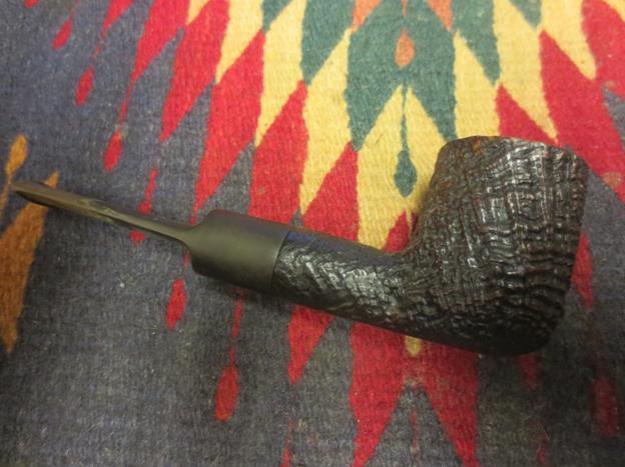
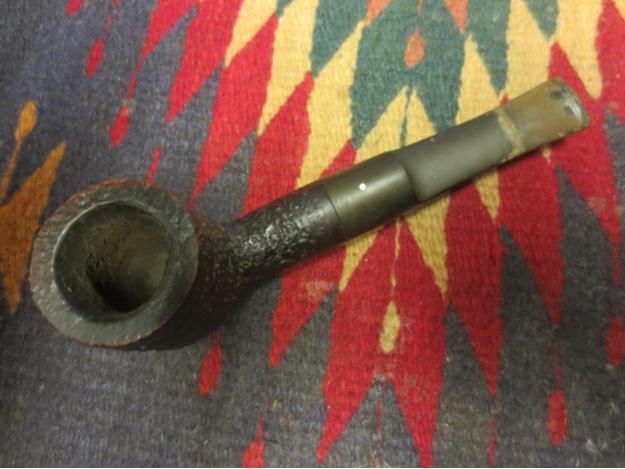
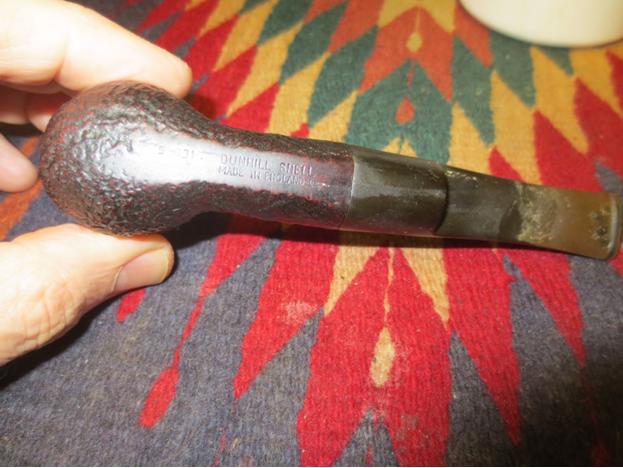
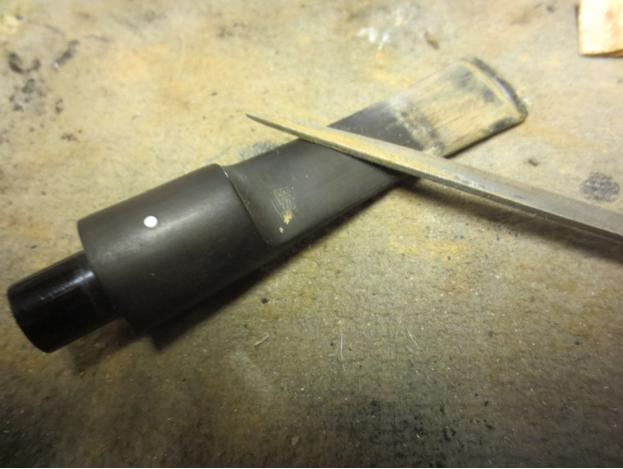
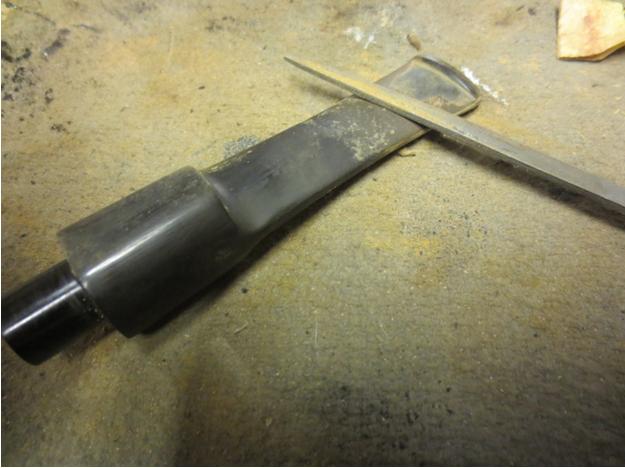
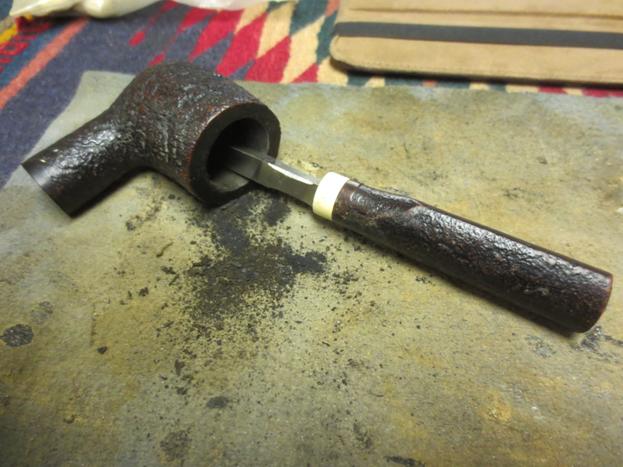
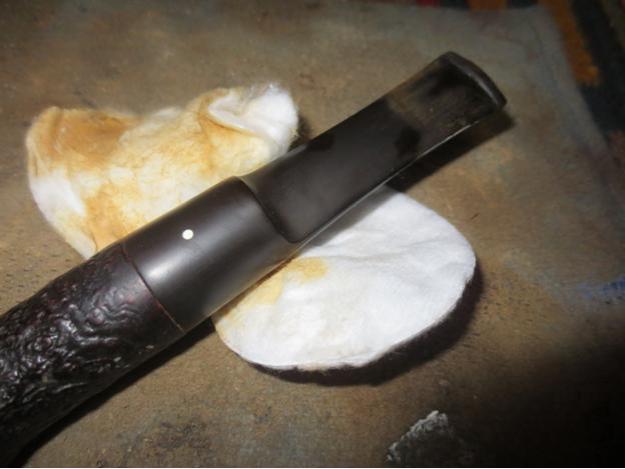
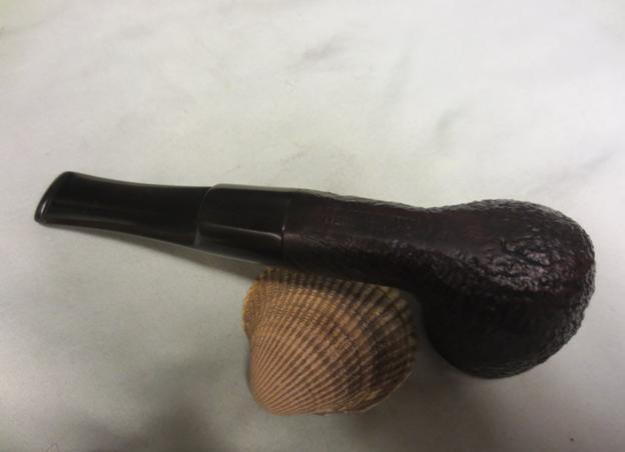
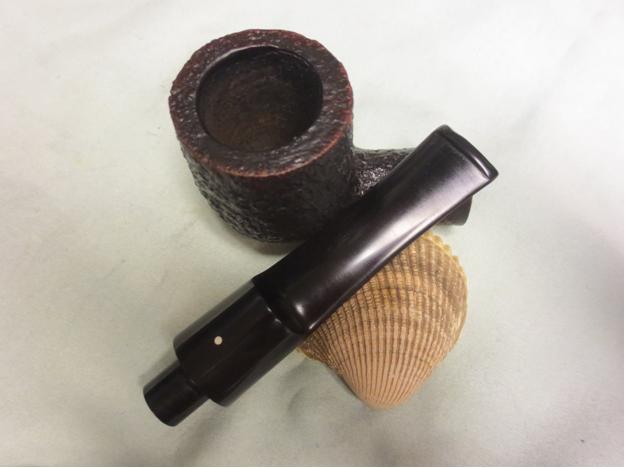
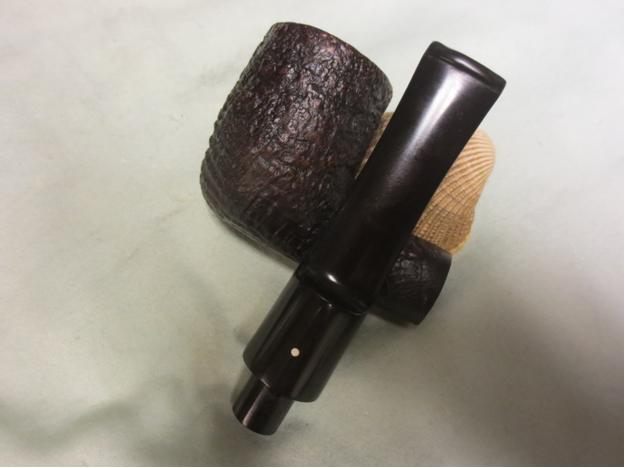
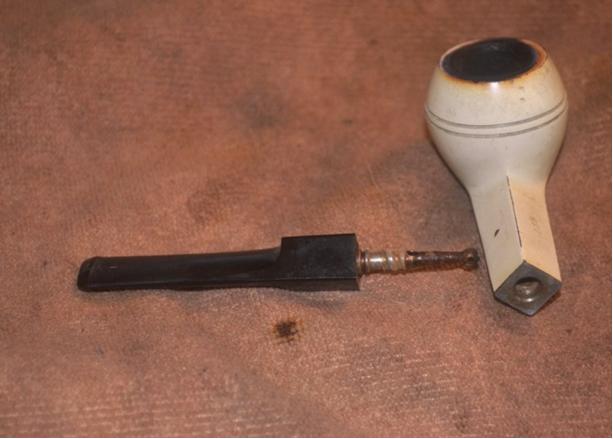
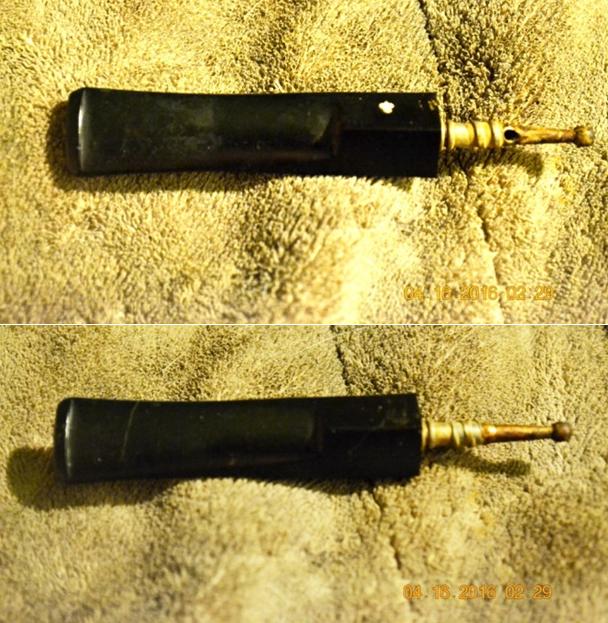
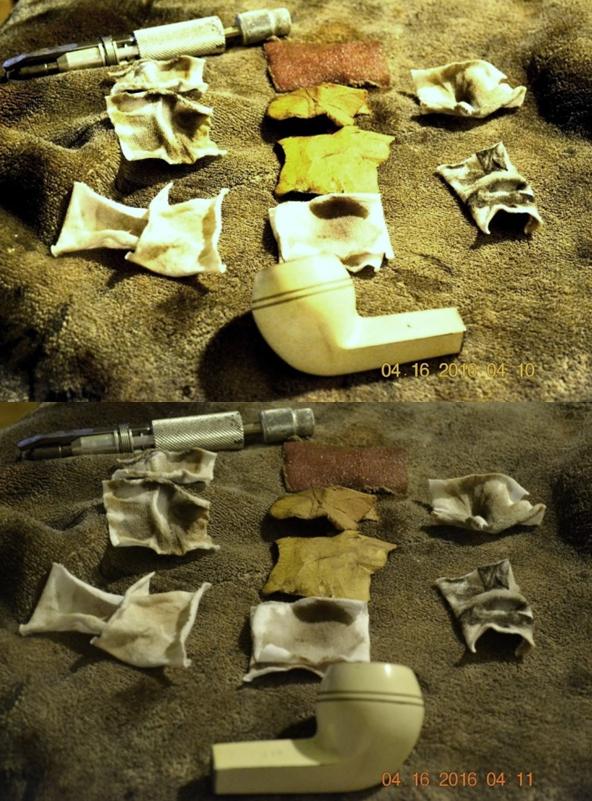
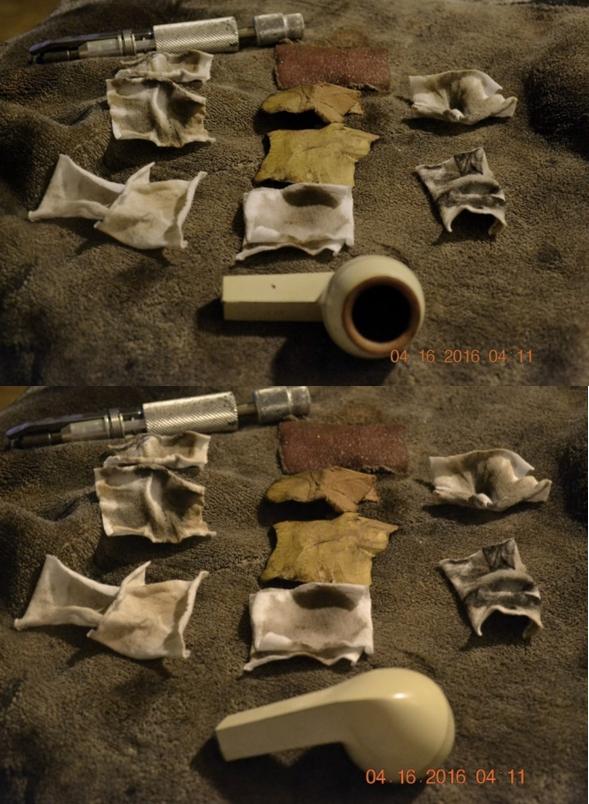
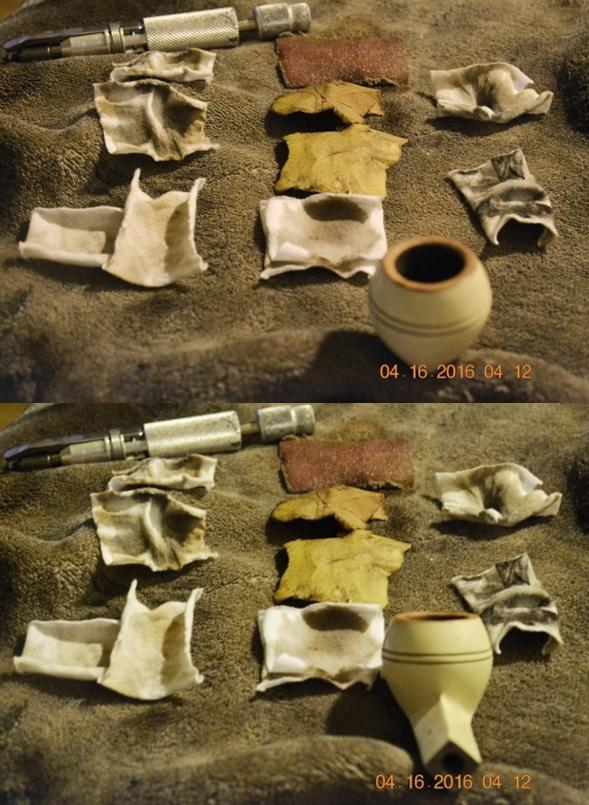
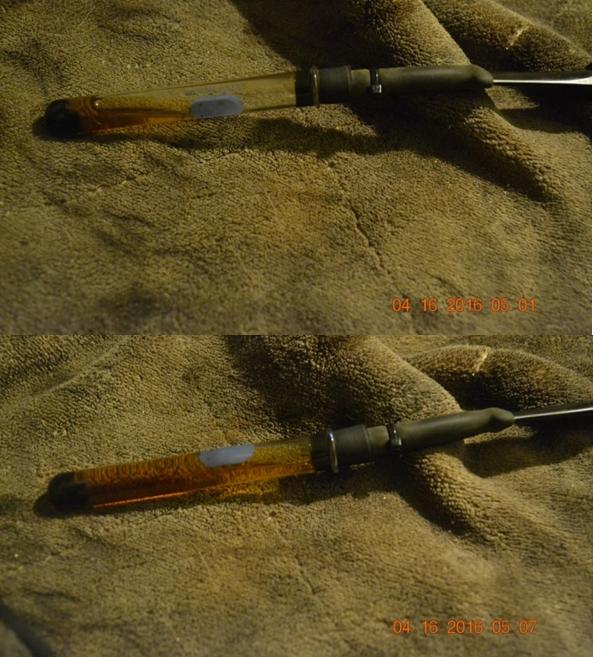
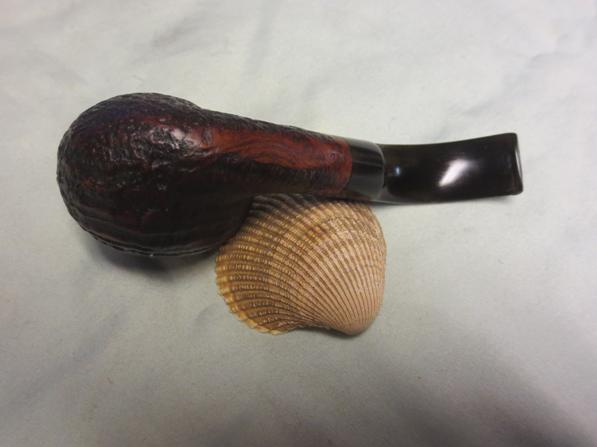
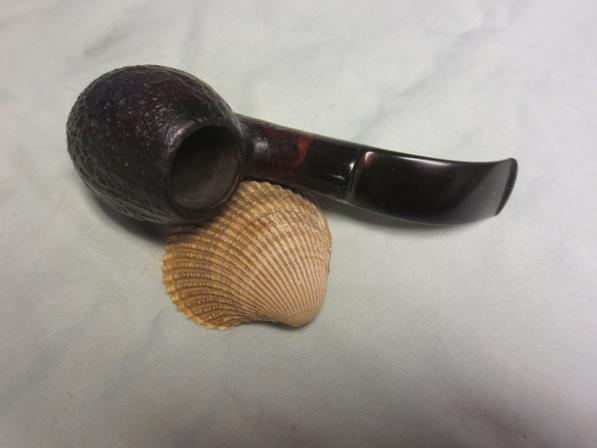
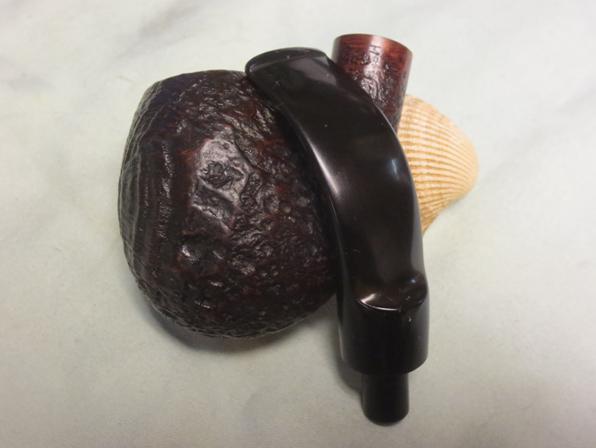
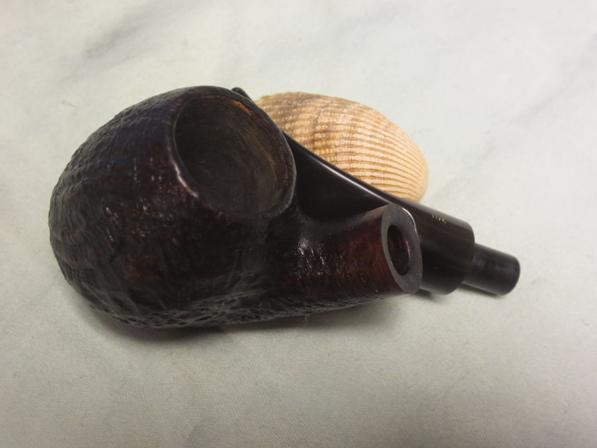
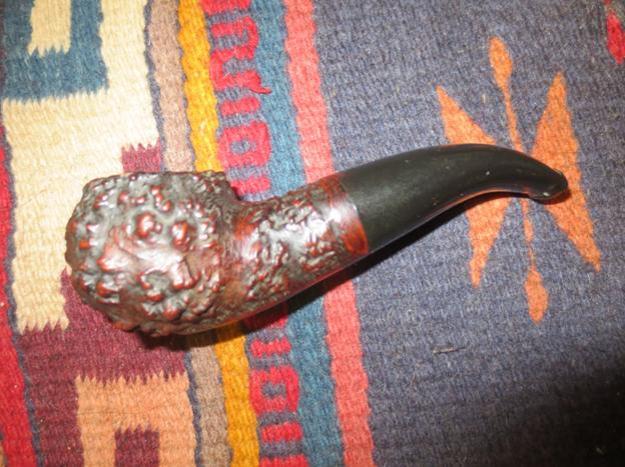
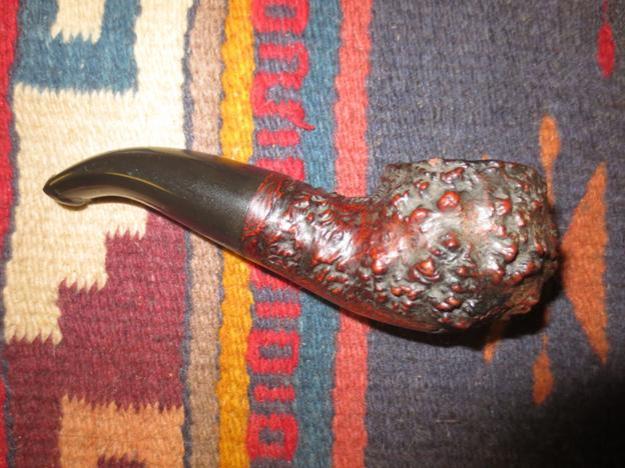
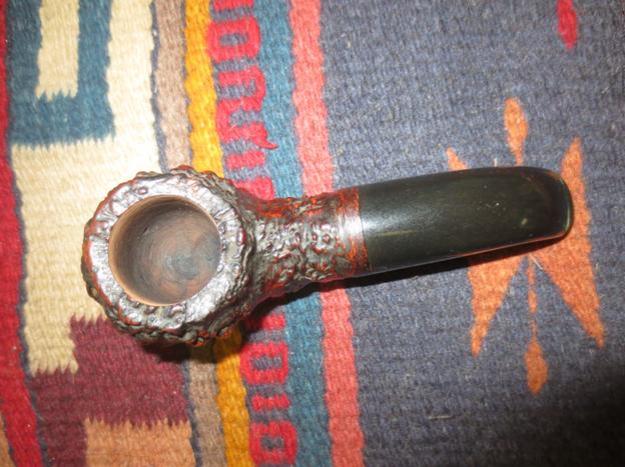
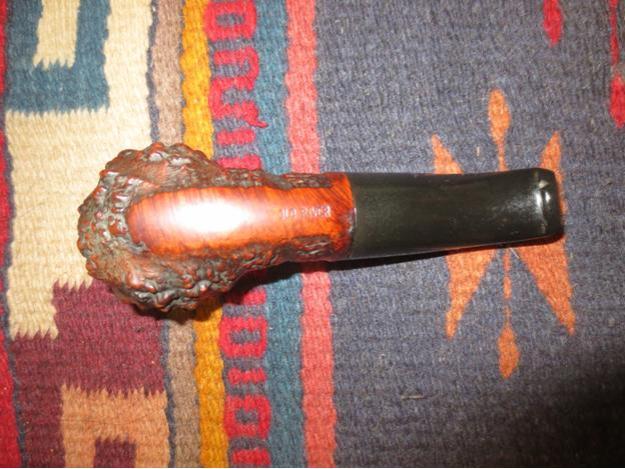
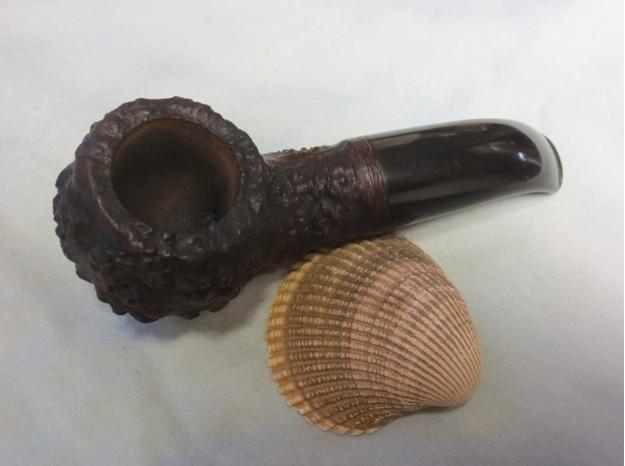
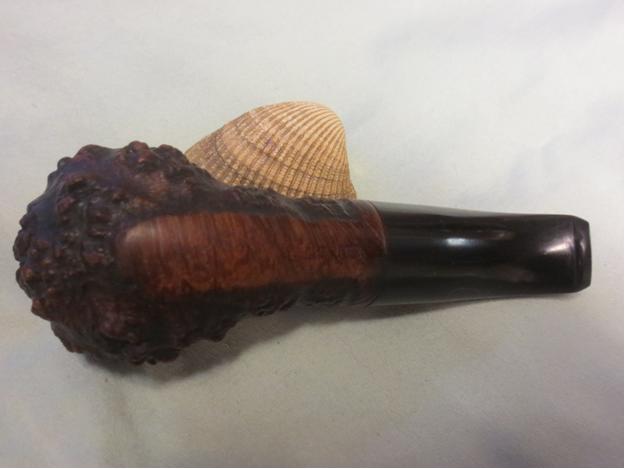
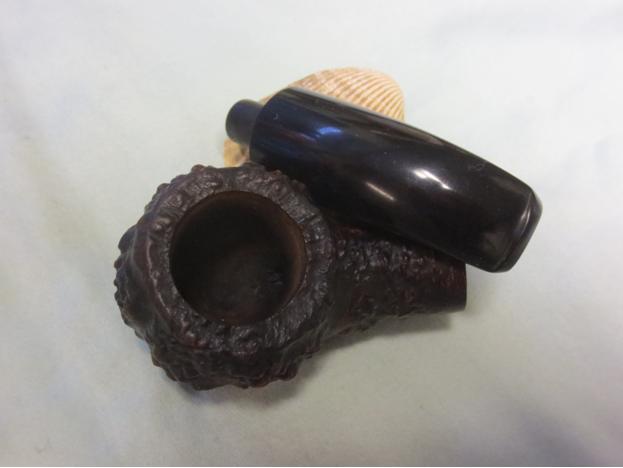
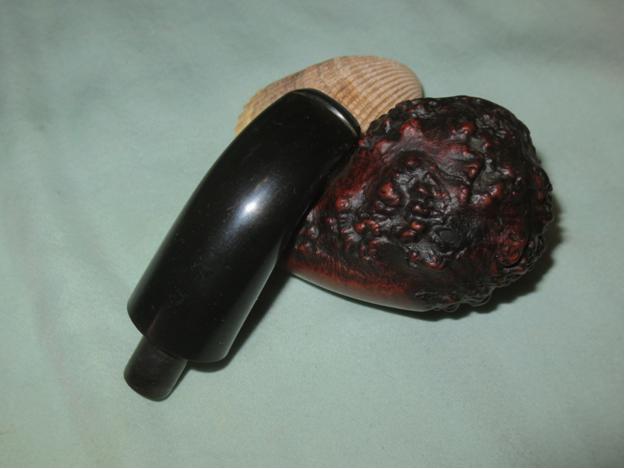
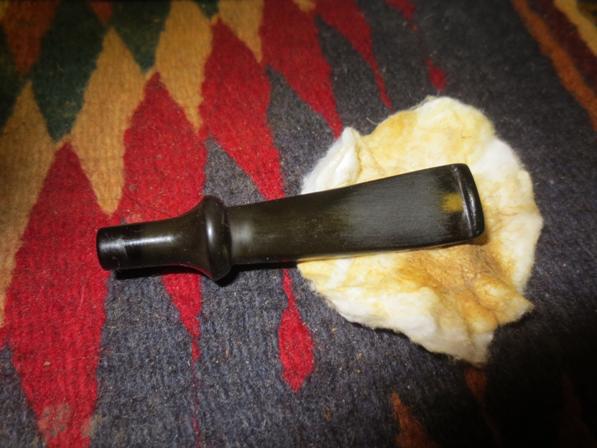
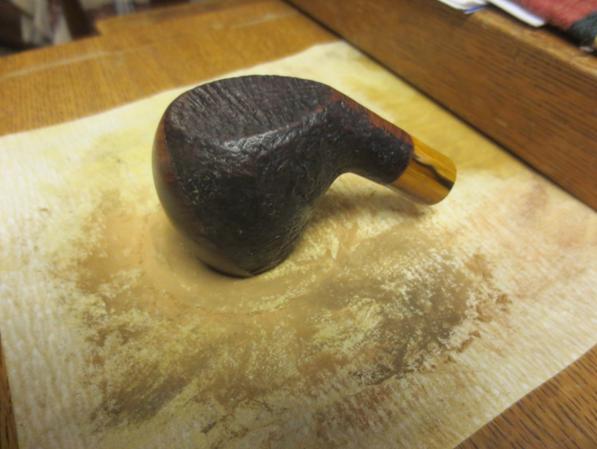
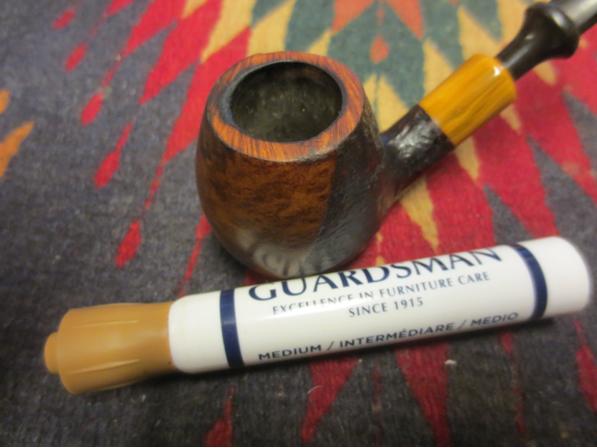
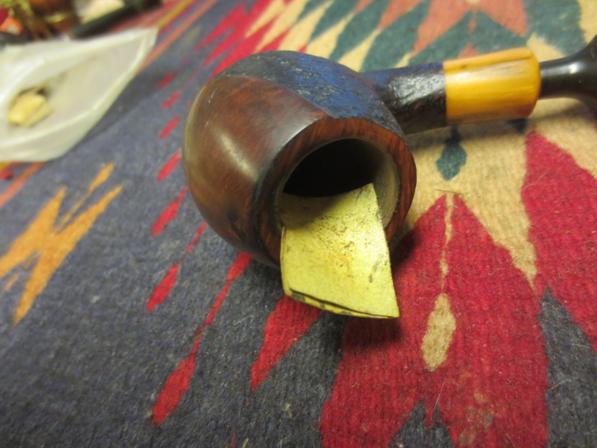
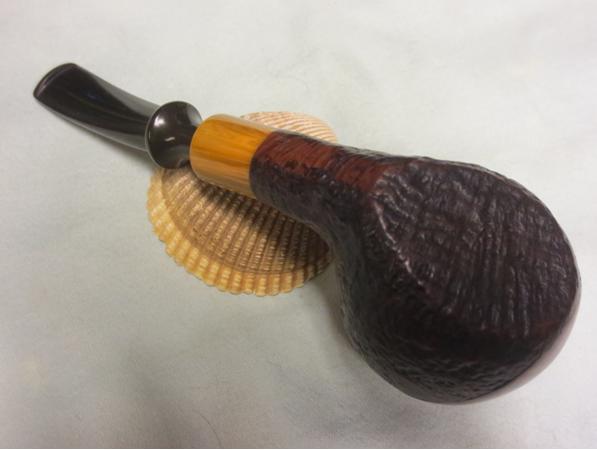
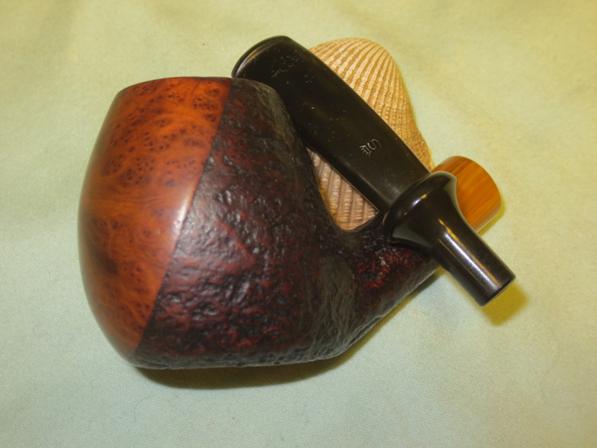
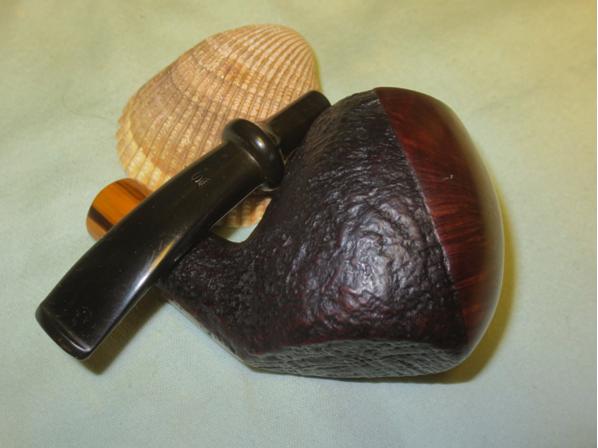
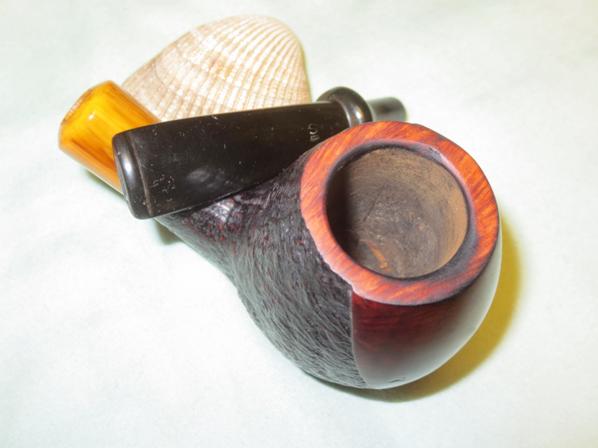
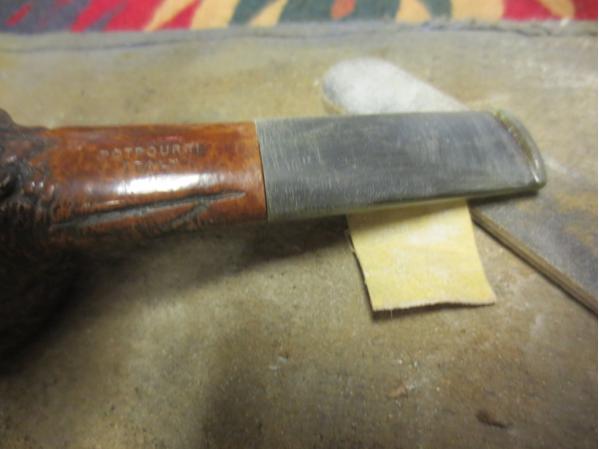
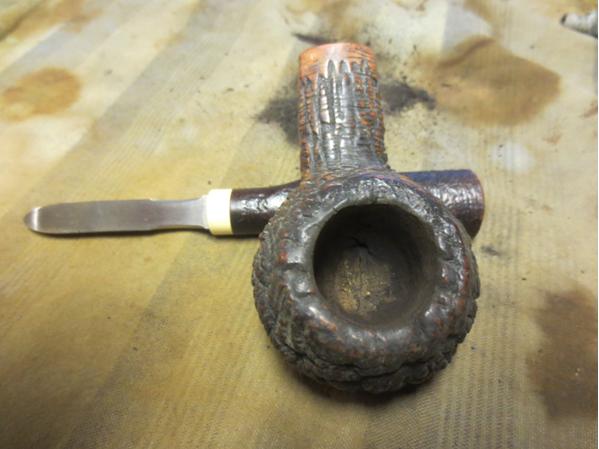
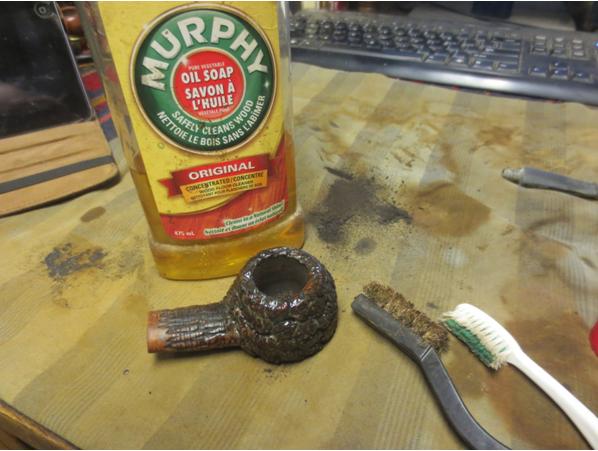
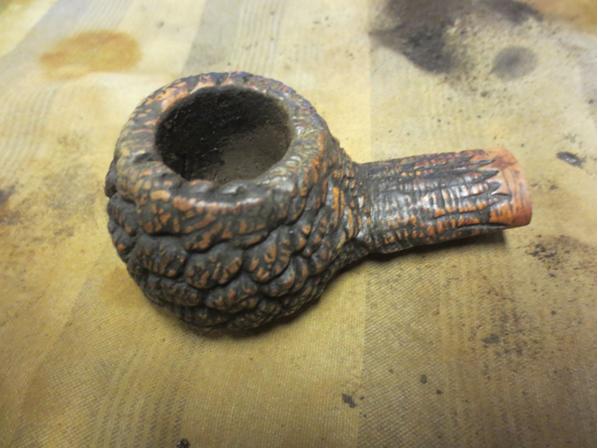
Tag Archives: polishing a stem

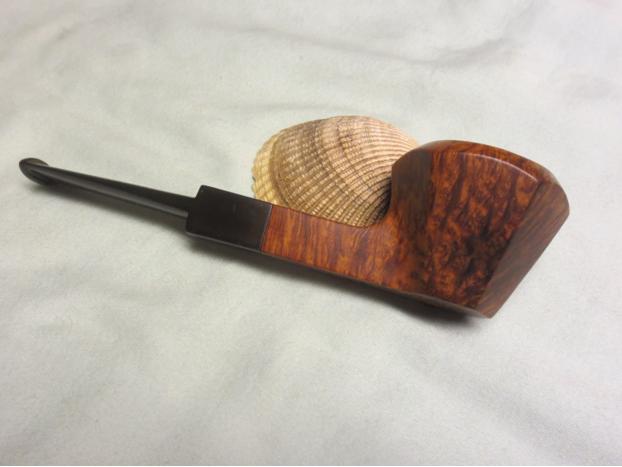
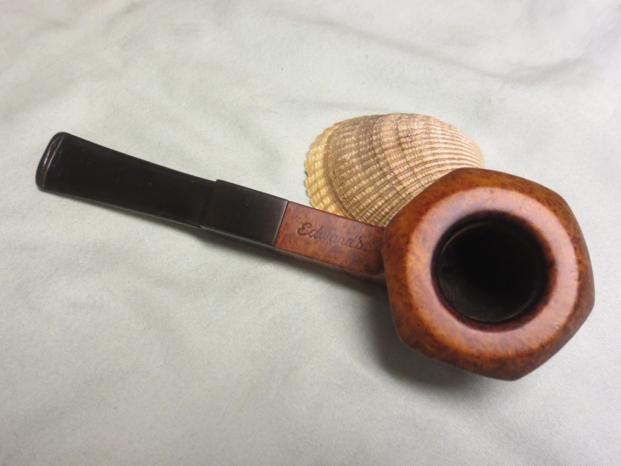
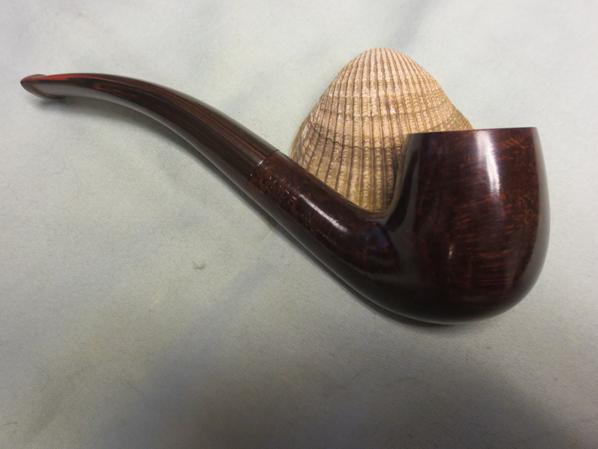
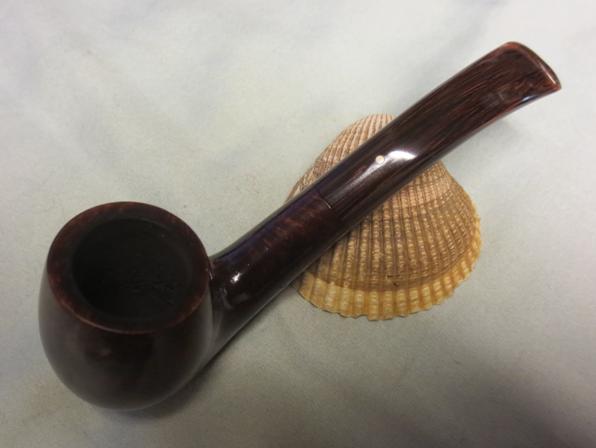
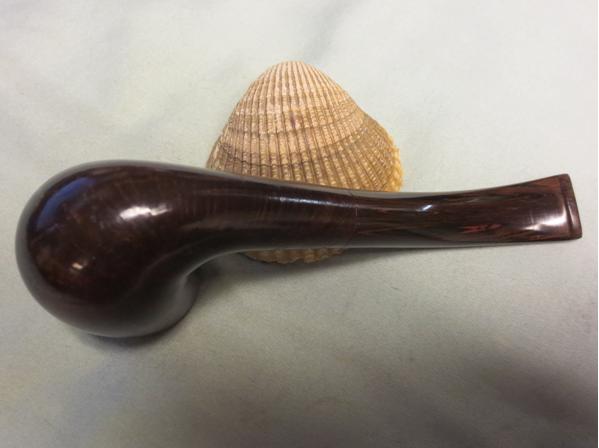
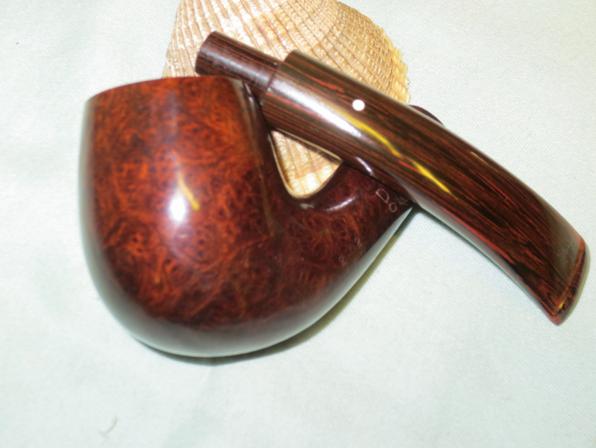
Cleaning up an Edwards Unique – Hexagonal Straight Dublin


Blog by Steve Laug

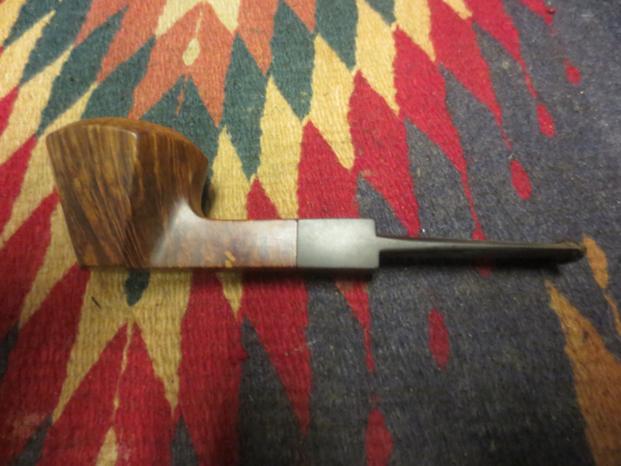
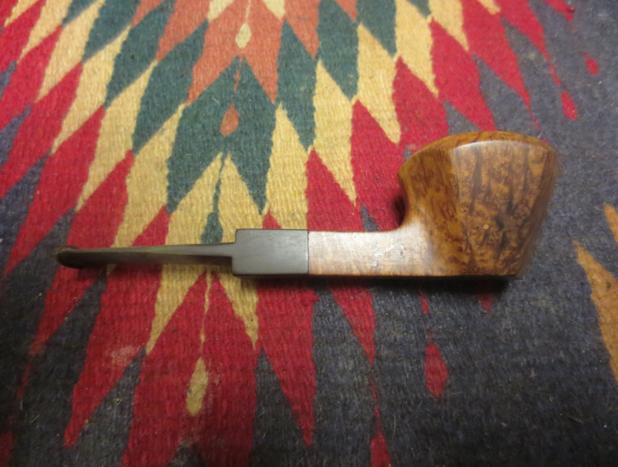
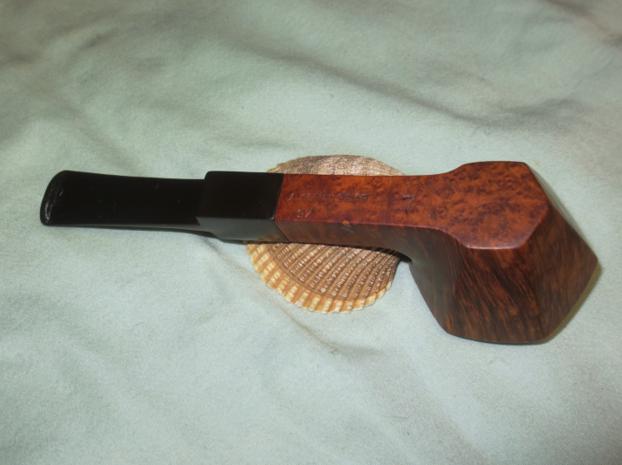
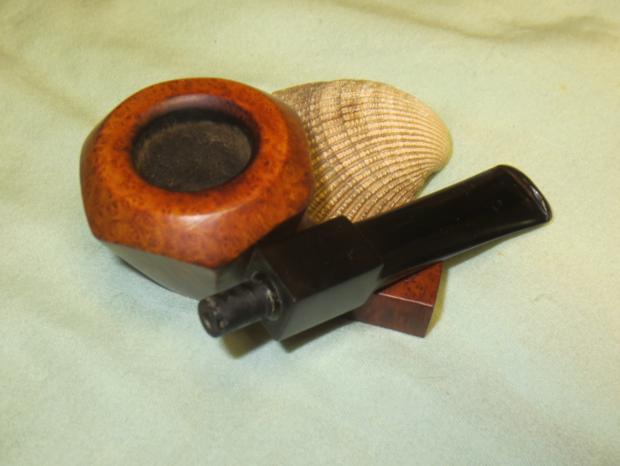
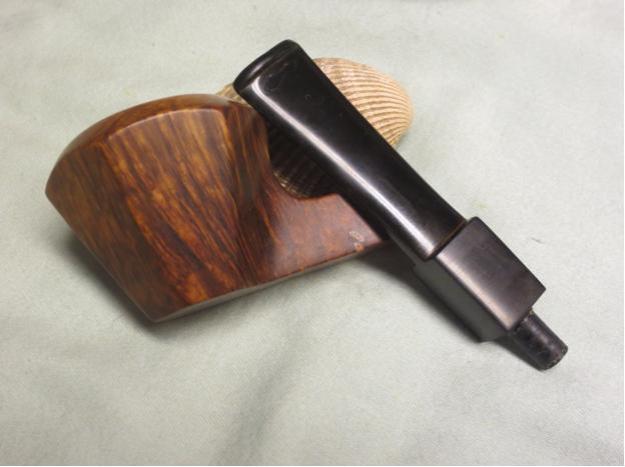
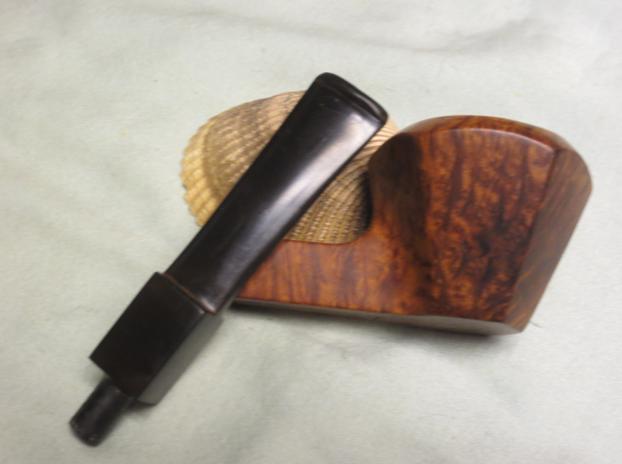
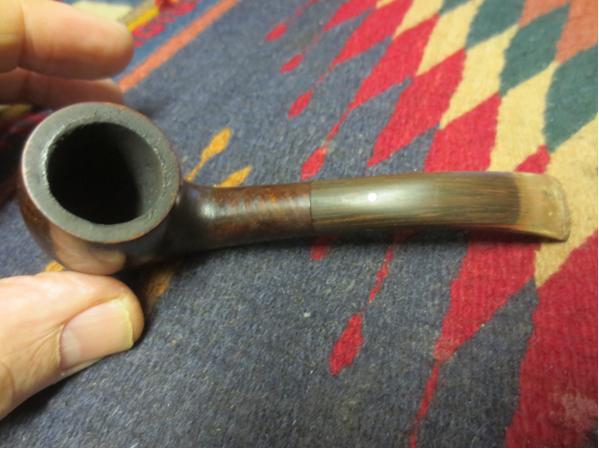
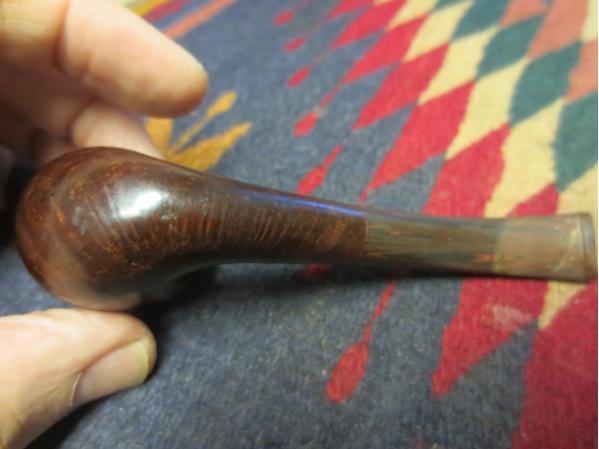
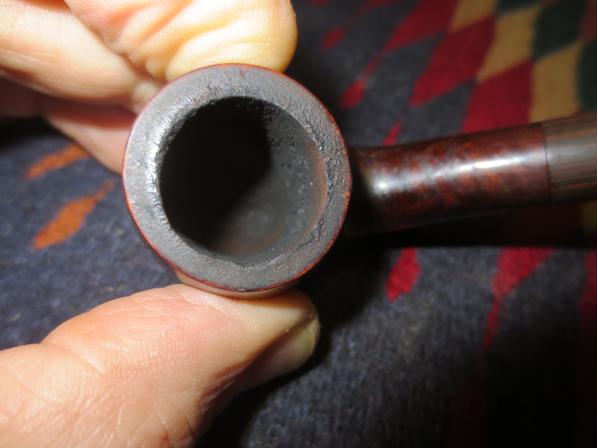
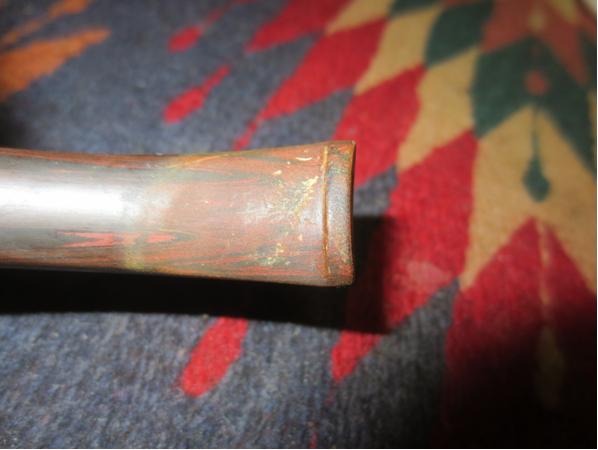
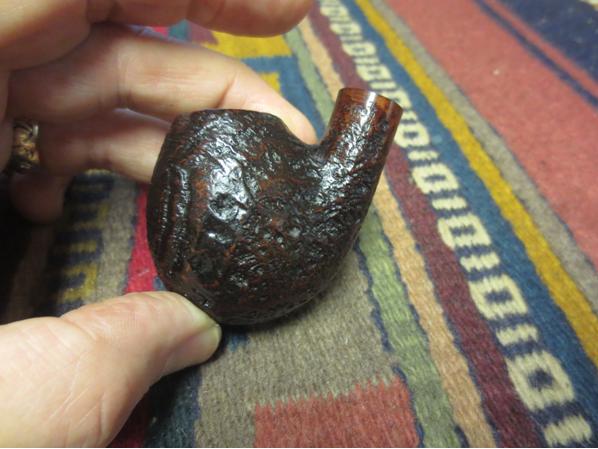
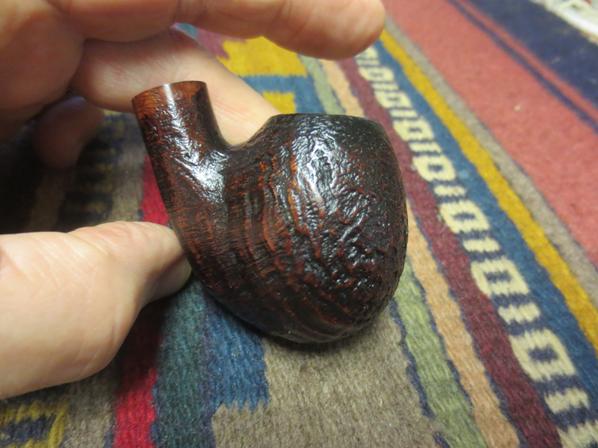
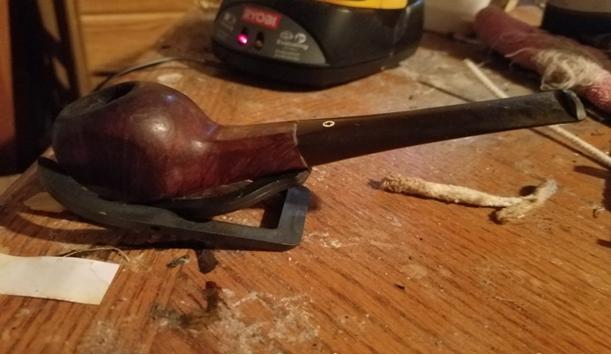
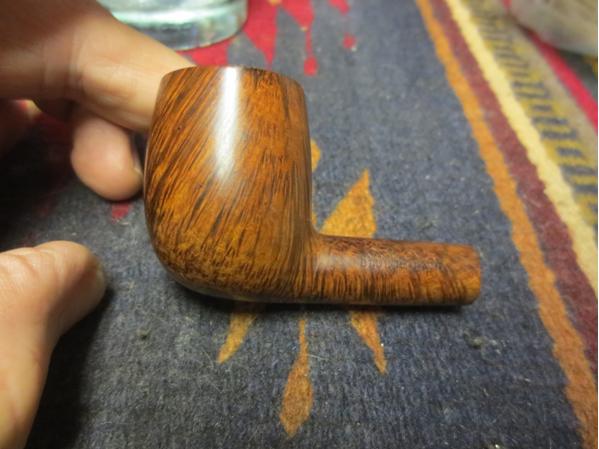
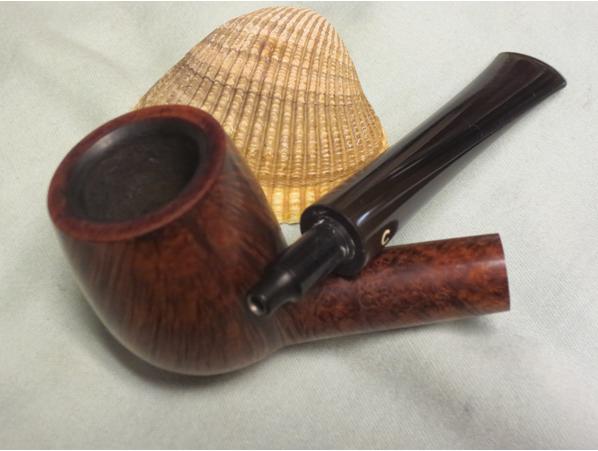
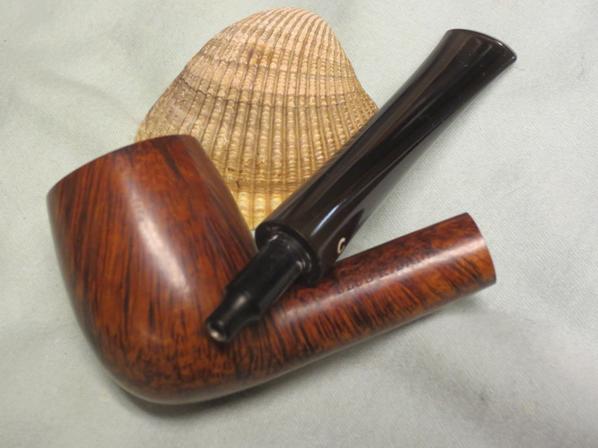
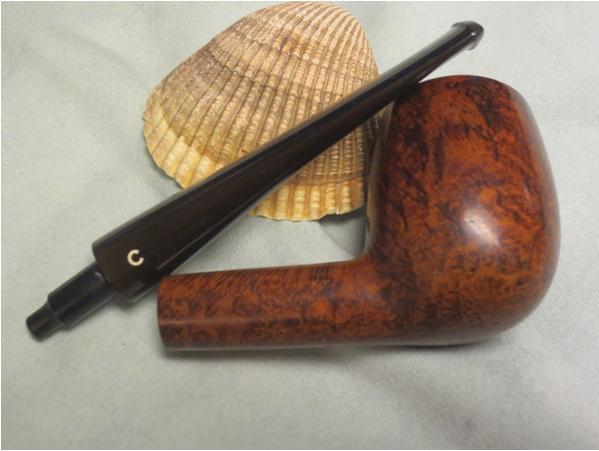
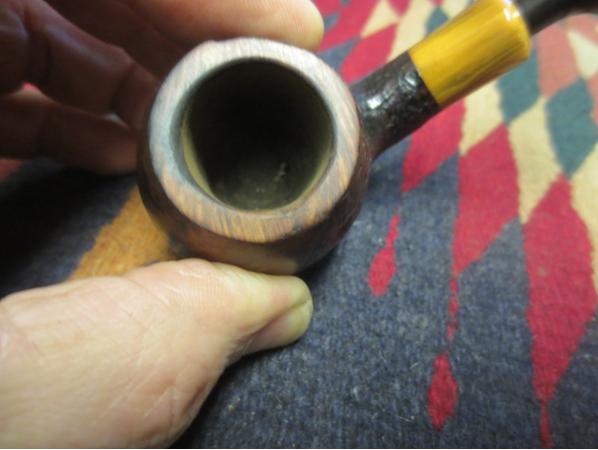
Over the years I have cleaned up, traded or kept many Edwards smoking pipes. The natural finish briar has always made these pipes attractive to me. The briar is always light weight and beautiful. Many have had a few fills in them but that in no way detracted from the beauty of the pipe. This one from my brother Jeff is different than any of the others that I have had pass through my hands. It is a square shank hexagonal Straight Dublin that has a shape that I have never seen before. The grain on it is quite stunning even though there are some small fills on the shank and on the right side of the bowl. The finish was in decent shape under the light grime on the surface. The beveled inner edge of the rim had some lava build-up and it spilled over to the flat portion of the rim toward the back side. I had field reamed the cake while I was staying with my brother in Idaho. The bowl was pretty clean and the inner edge of the rim was round. There were no dings or dents in the rim or the curved cap on the bowl. The stem was oxidized and had some fairly deep tooth marks at the button.Ed1Ed2Ed3
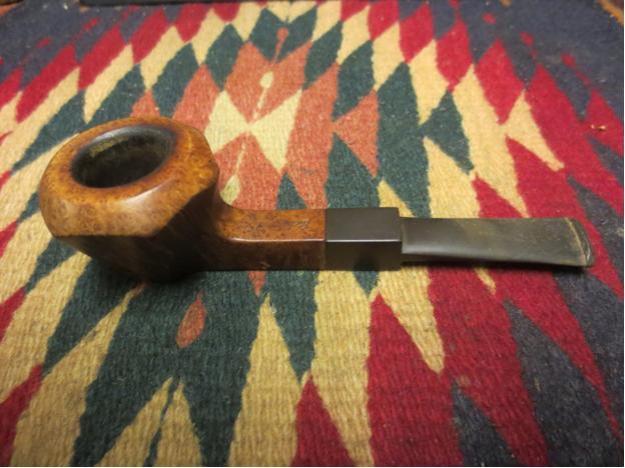
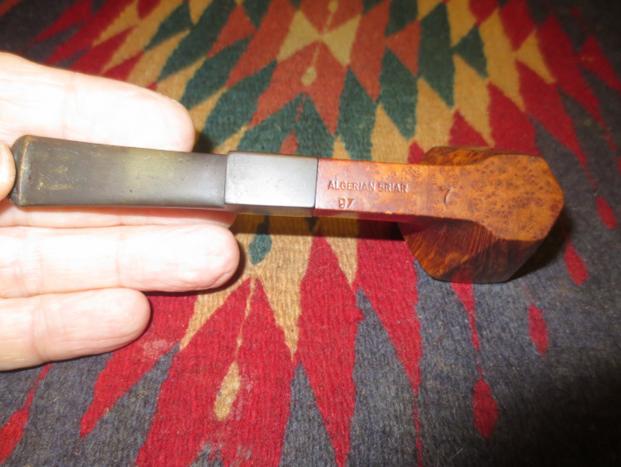
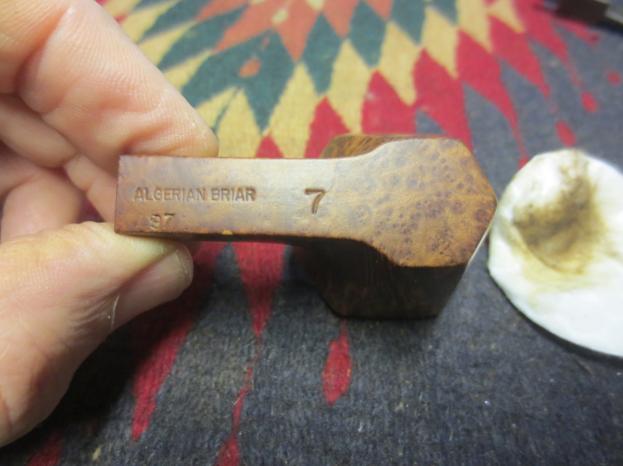
The shank was stamped on top with the word Edward’s and on the underside Algerian Briar with the shape number 87 underneath. There was a large #7 near the flat bowl bottom.Ed4Ed5

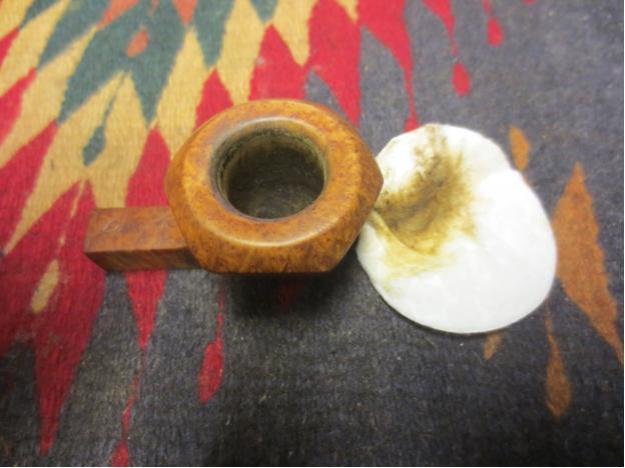
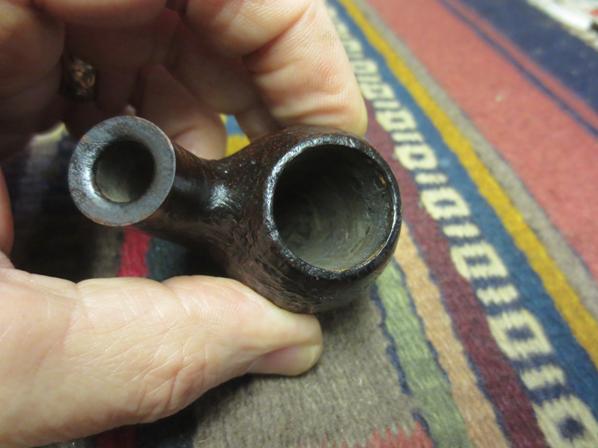
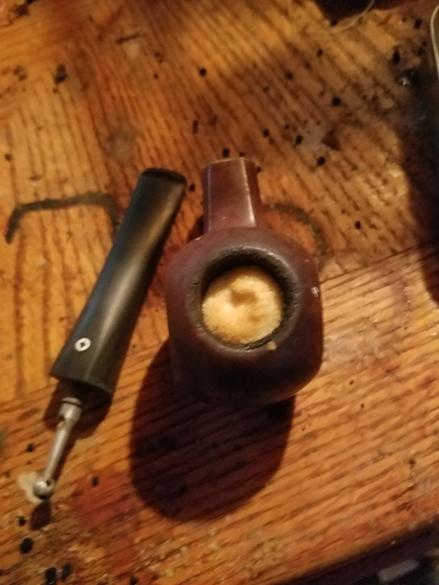
I took a close-up photo of the bowl and the rim to highlight the cleanness of the bowl and the lava on the bevel.Ed6
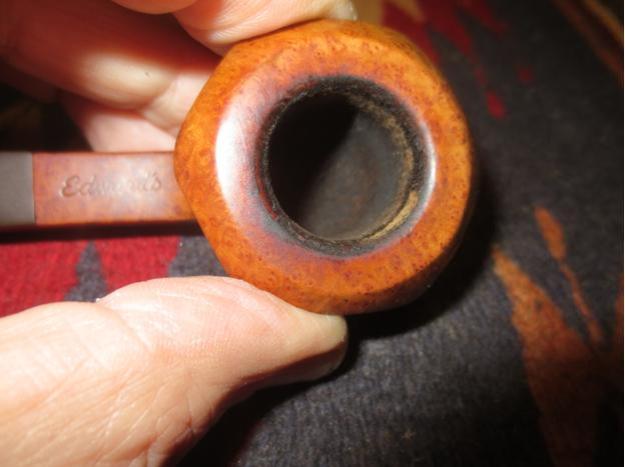
I sanded the rim with a worn piece of 220 grit sandpaper to remove the lava on the rim surface and also to rework the inner bevel.Ed7
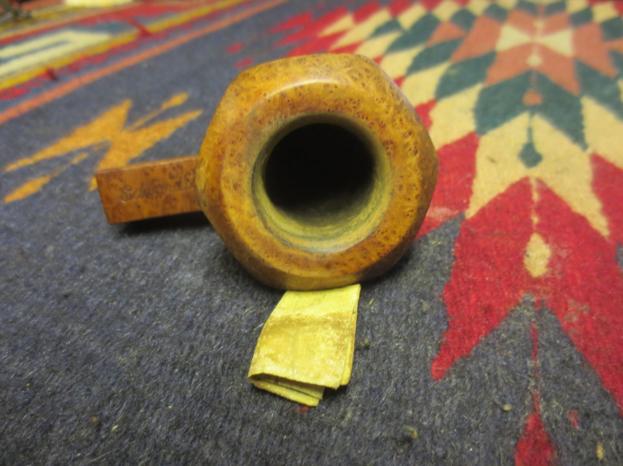
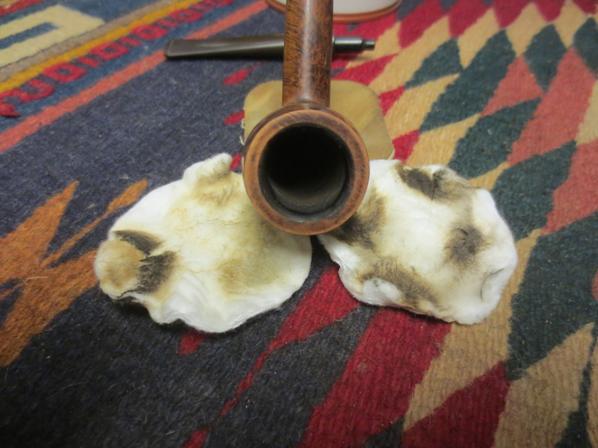
I scrubbed the bowl with Murphy’s Oil Soap and cotton pads to remove the grime. I scrubbed around the rim surface as well. I sanded the rim with 1500-2400 grit micromesh sanding pads and then scrubbed it again. I was amazed at how well the rim came out.Ed10Ed9Ed10Ed11
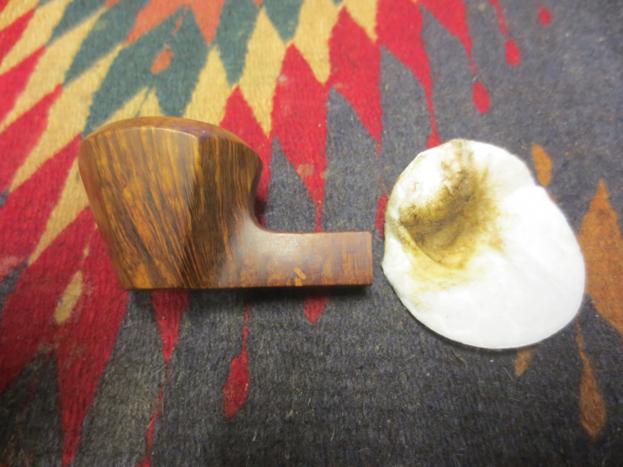
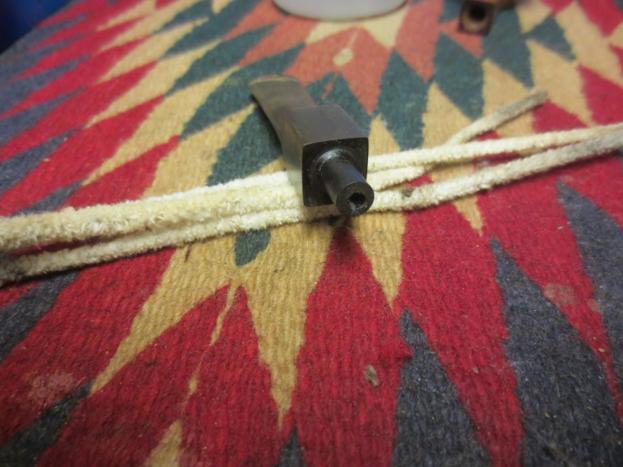
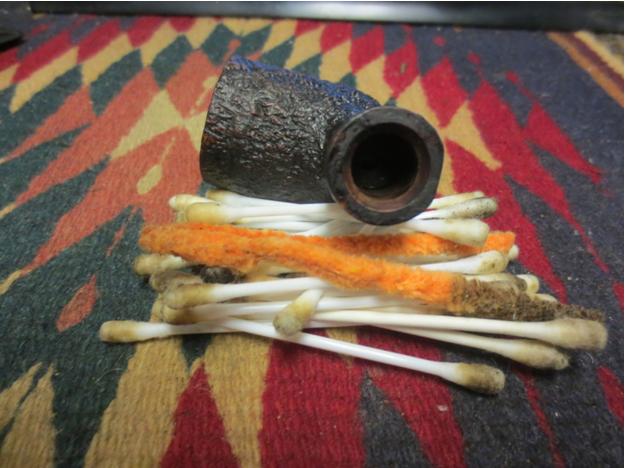
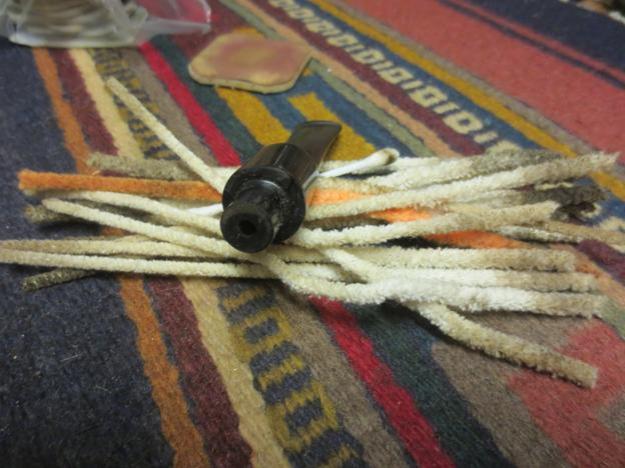
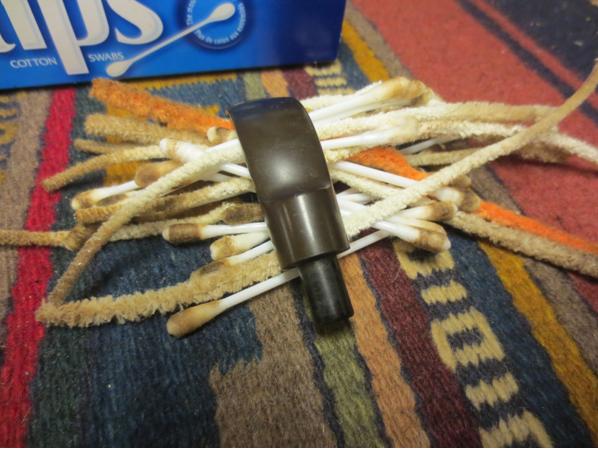
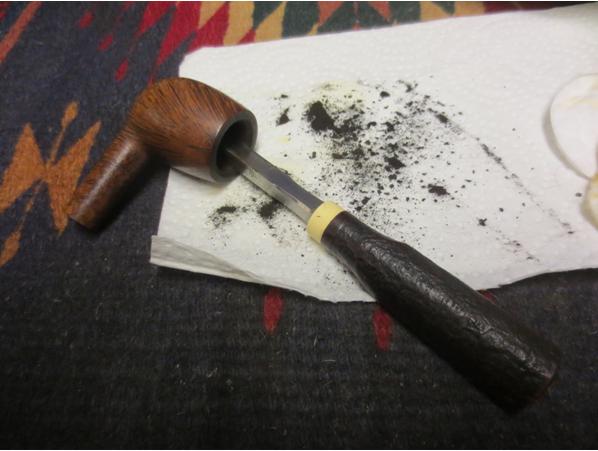
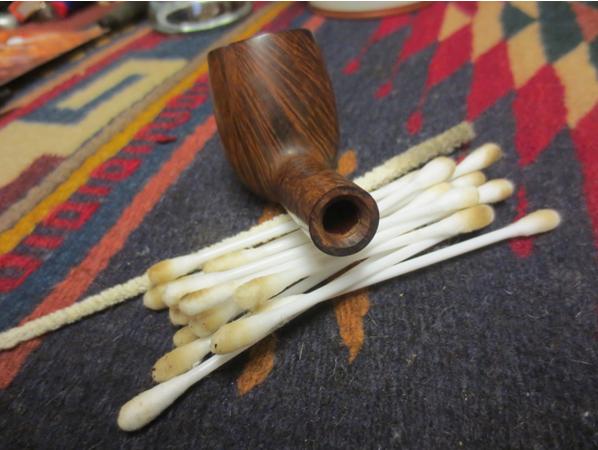
With the externals clean I scrubbed the airway and the mortise and the stem with cotton swabs, pipe cleaners and alcohol. I used a dental pick to clear out the slot in the button.Ed12Ed13
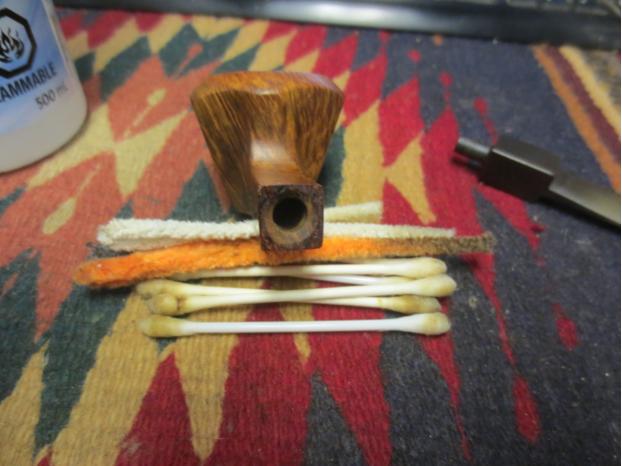
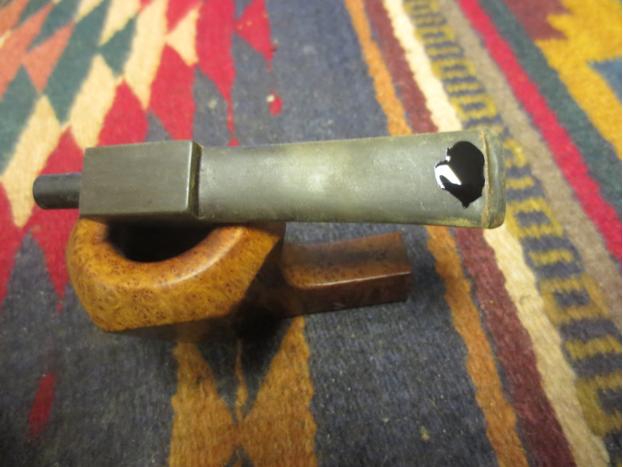
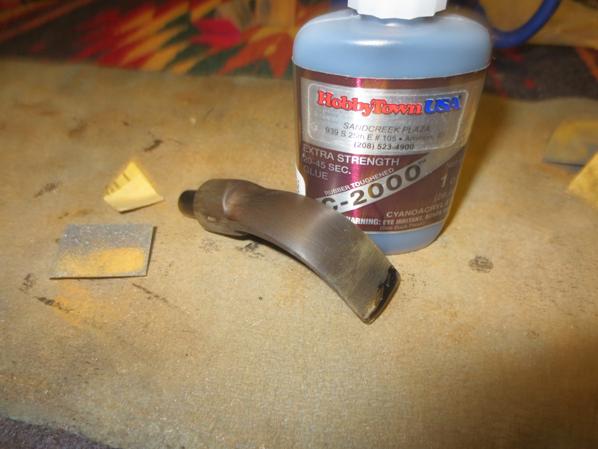
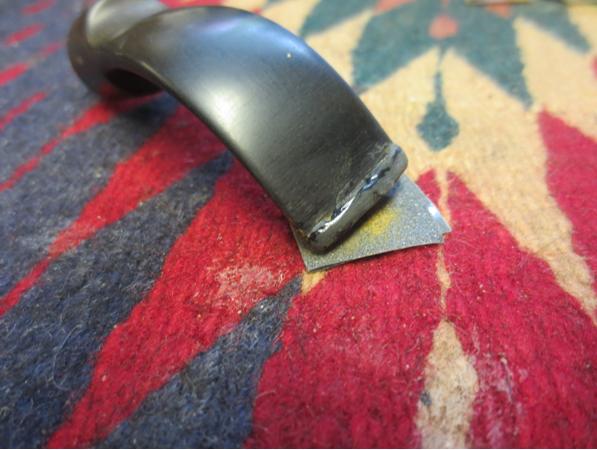
I sanded the stem with 220 grit sandpaper to remove the oxidation. I worked on the area around the tooth marks next to the button on both sides. I scrubbed out the tooth marks with alcohol and once they were clean prepared them for the patch. I patched the tooth marks with black super glue and set the stem aside so the glue would cure.Ed14Ed15
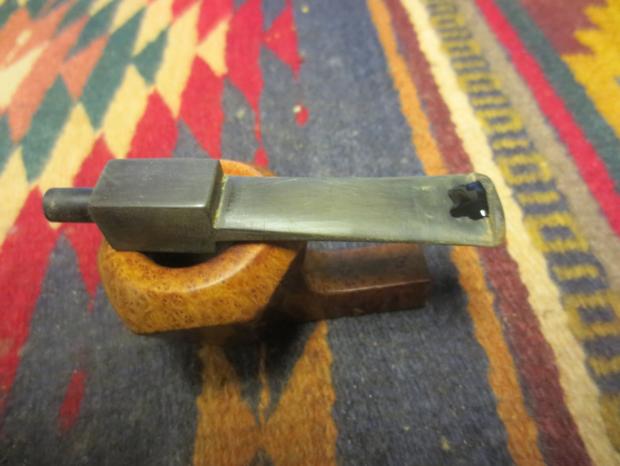
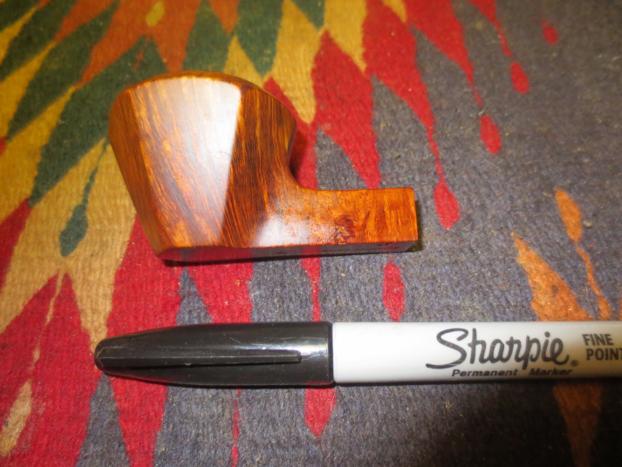
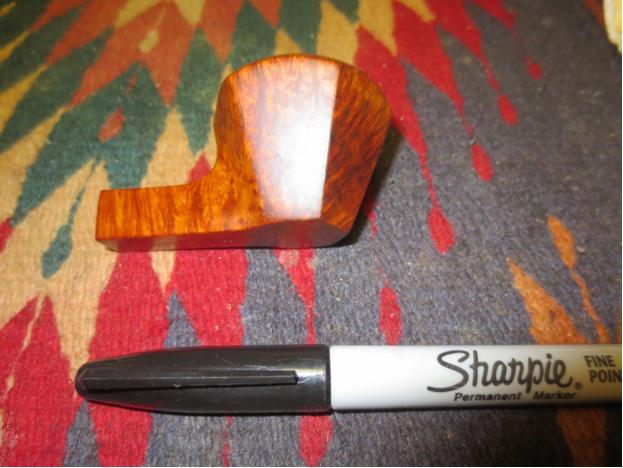
While the glue dried I decided to work on masking the fills on the shank and the bowl of the pipe. I used a Black Sharpie and lightly drew lines across the fills on the right side of the bowl and the middle of the left side of the shank, working to blend them into the surrounding grain.Ed16Ed17
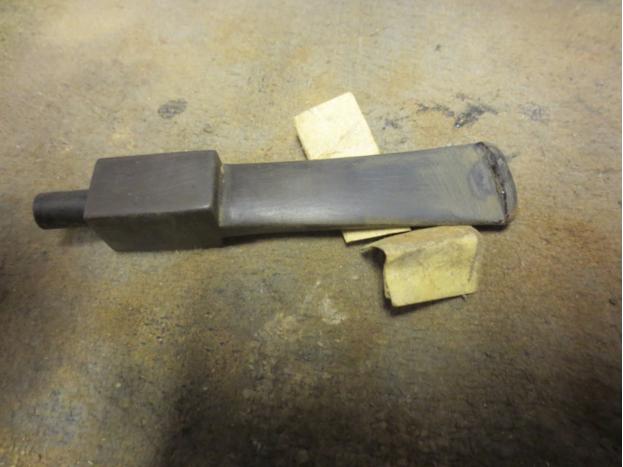
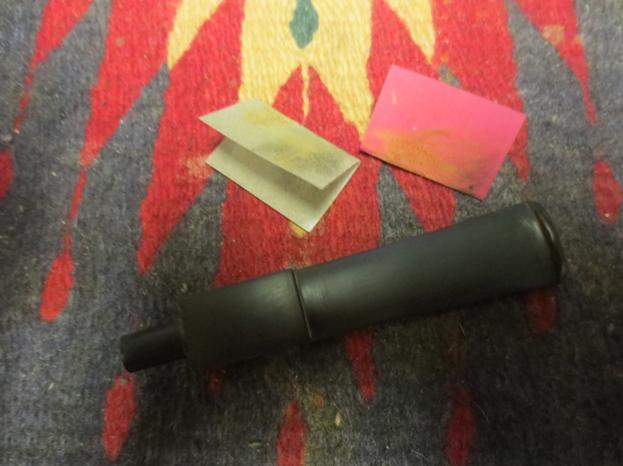
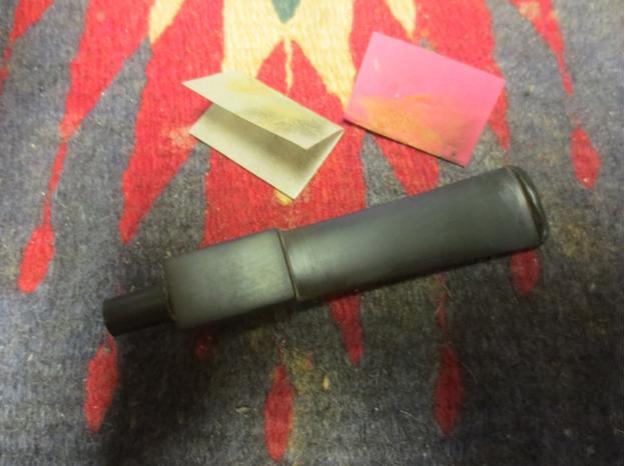
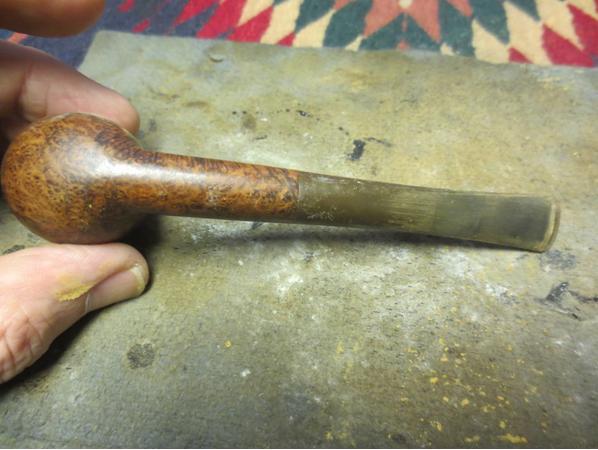
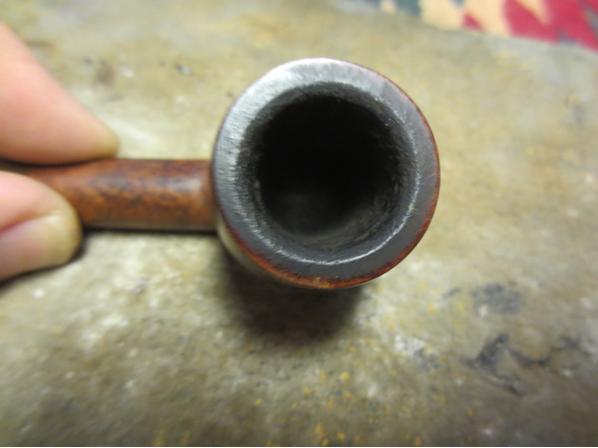
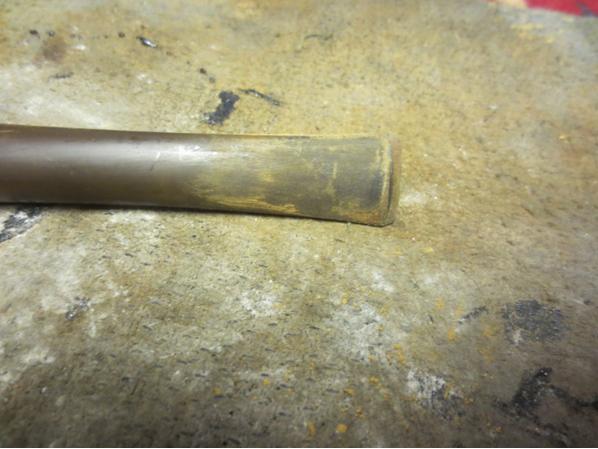
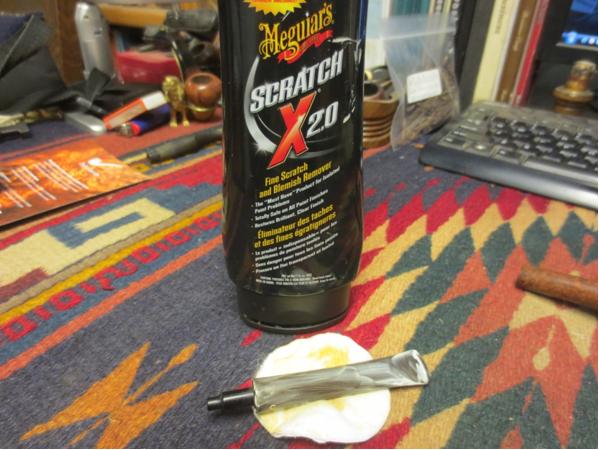
Once the patches on the stem had cured I sanded the stem with 220 grit sandpaper to blend the patch into the stem material. I sanded it with 280-600 grit sandpaper to smooth out the scratches and used a medium grit sanding stick to sand in the angles of the saddle. The oxidation on this stem was stubborn. I scrubbed it with Meguiar’s Scratch X2.0 and then spent a significant amount of time wet sanding it with 1500-1800 micromesh pads. Finally I got through the oxidation. It was not deep in the stem it was just stubbornly hard so breaking the surface took a lot of sanding. Ed18Ed19Ed20Ed21Ed22
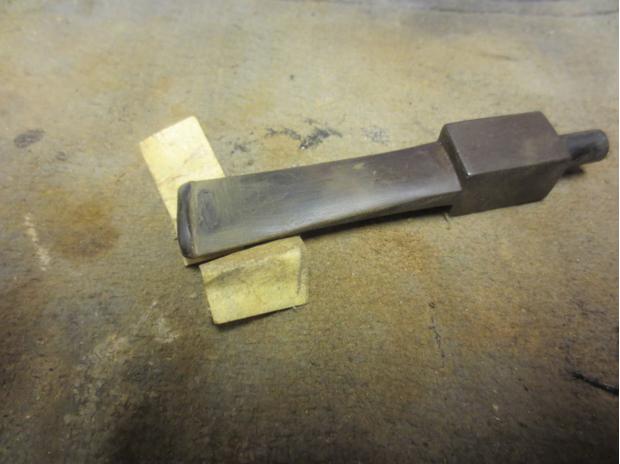
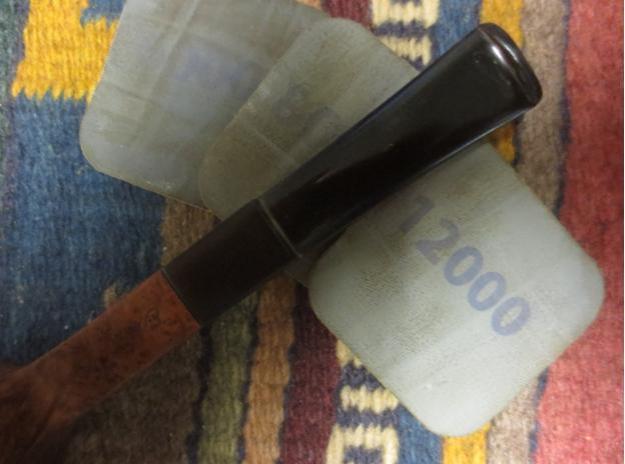
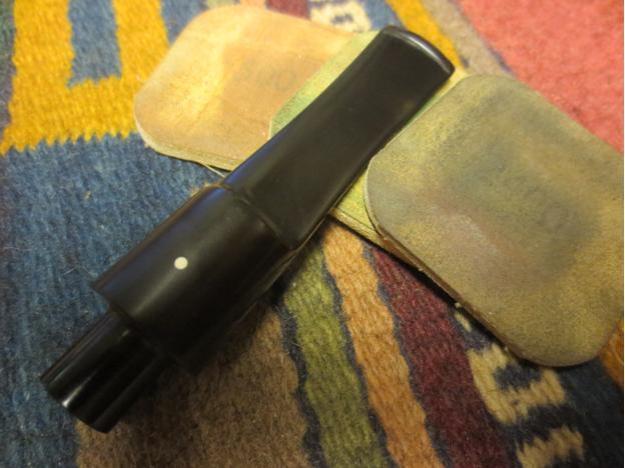
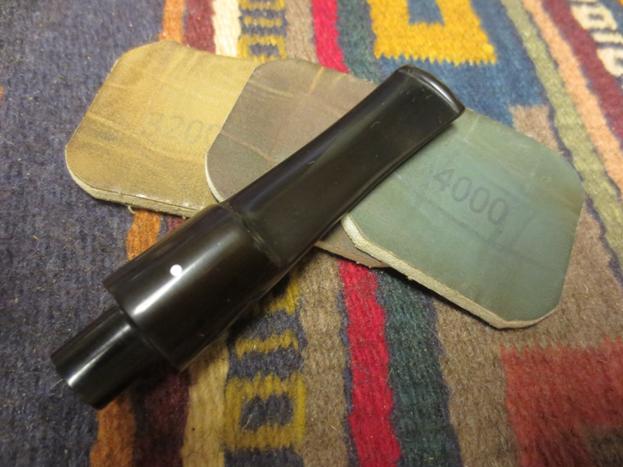
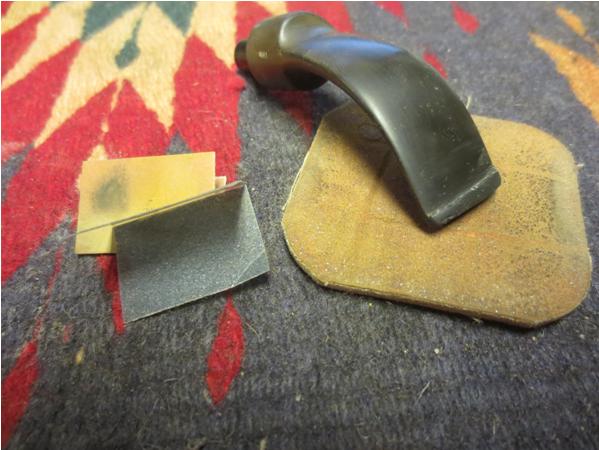
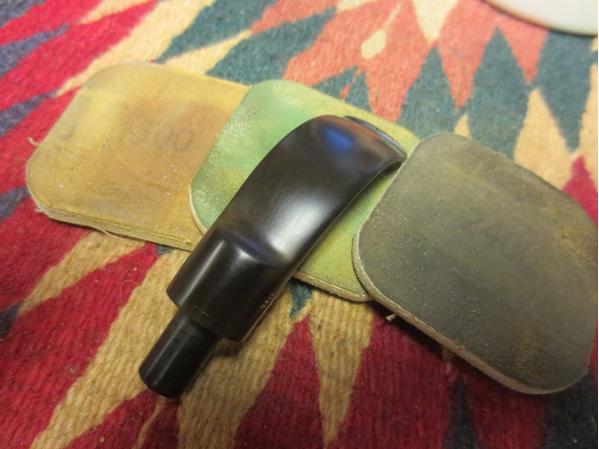
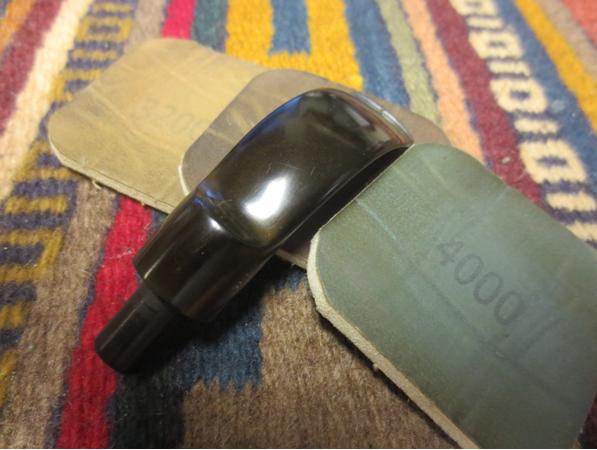
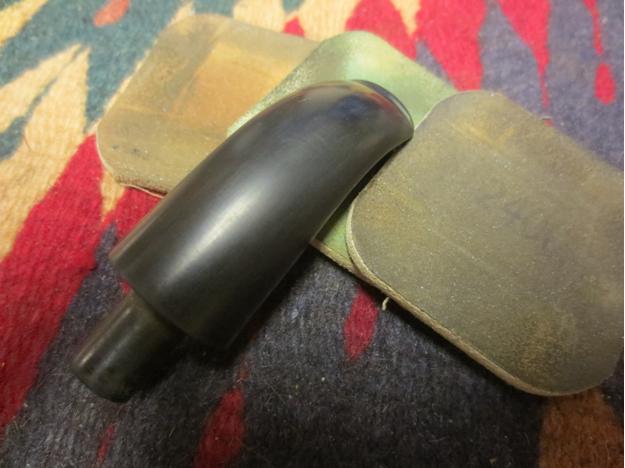
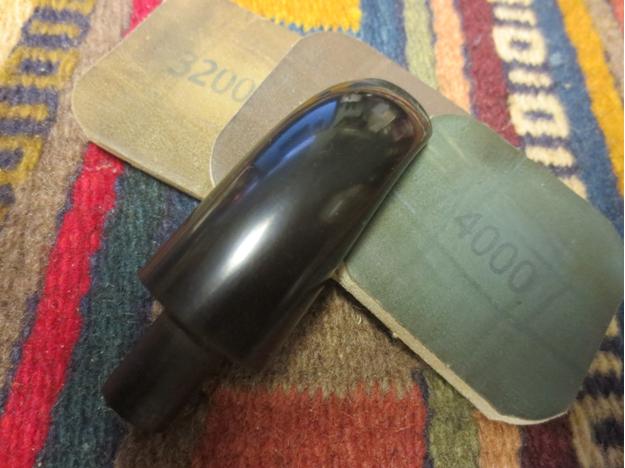
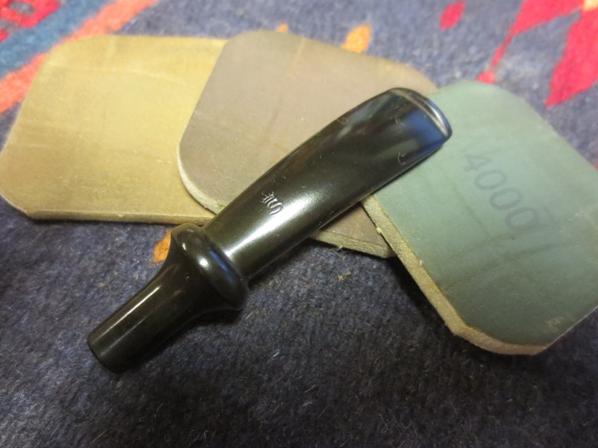
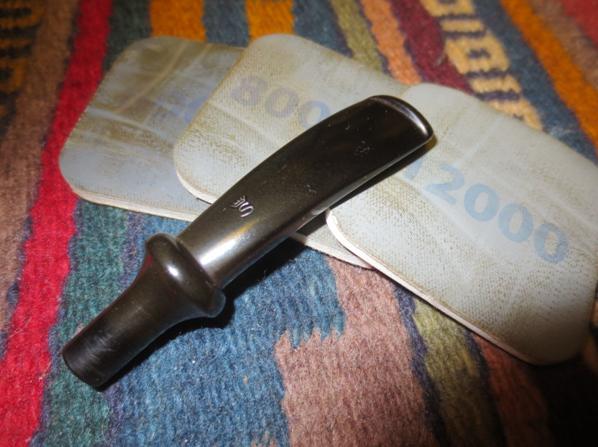
With the oxidation finally conquered and the patches blended in I sanded the stem with 1500-2400 grit micromesh some more – this time working to polish the stem. I gave the stem a coat of Obsidian Oil and sanded it with 3200-4000 grit pads. I gave it another coat of oil and sanded it with 6000-12000 grit pads. I gave it a final coat of oil and let it dry.Ed23Ed24Ed25
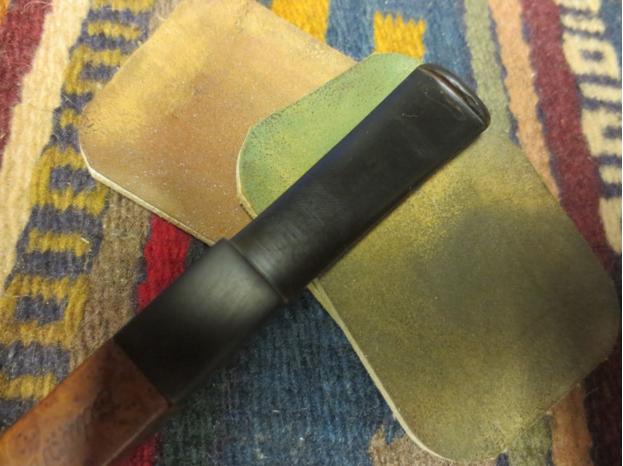
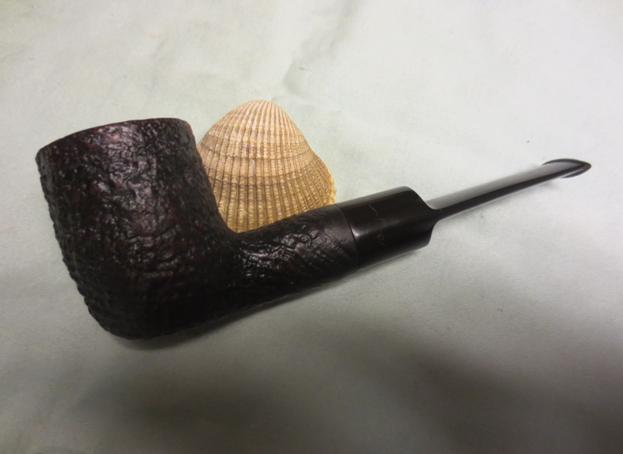
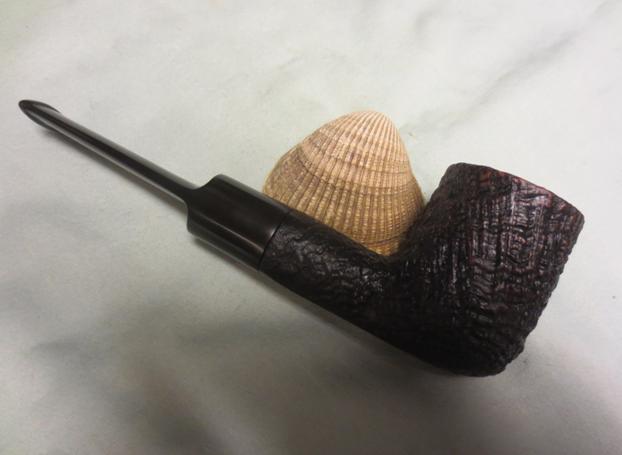
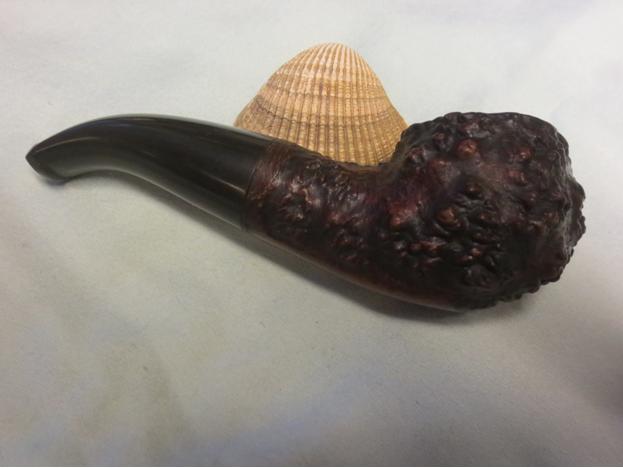
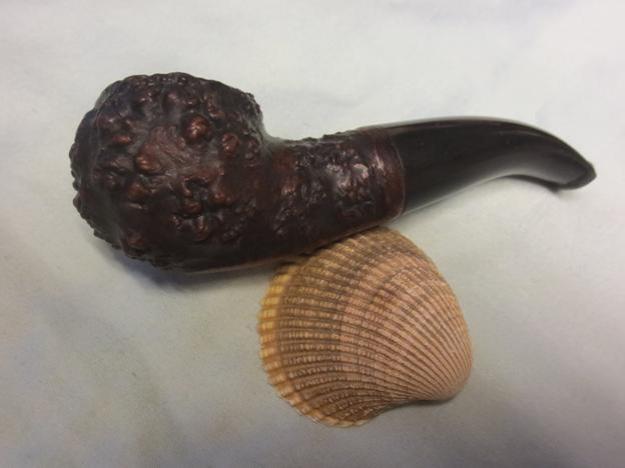
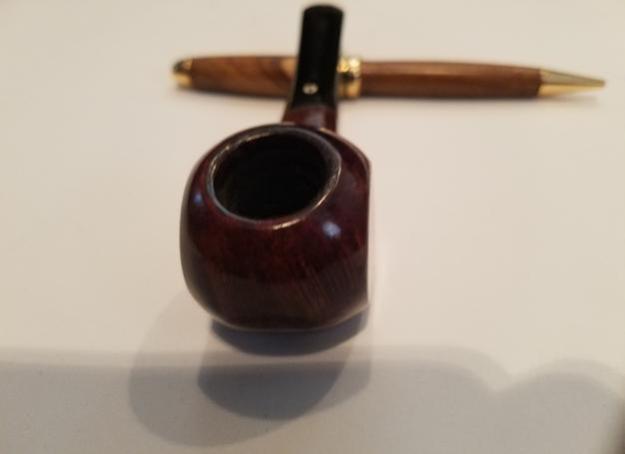
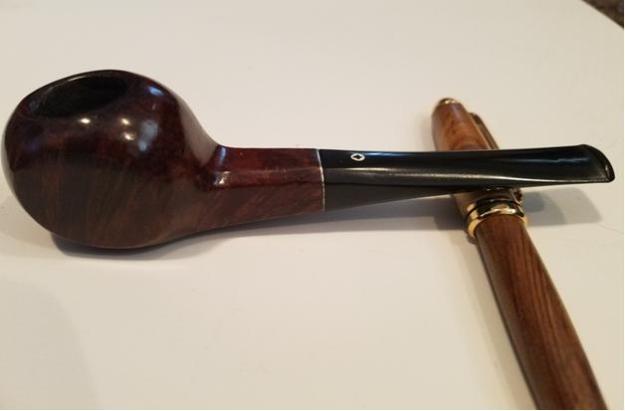
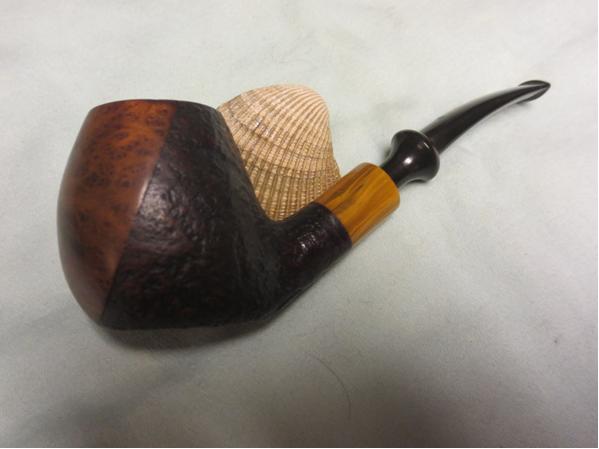
I buffed the pipe with Blue Diamond on the wheel and gave the bowl and stem multiple coats of carnauba wax. I buffed it with a clean buffing pad and hand buffed it with a microfibre cloth. The finished pipe is shown in the photos below. I was able to clean up the rim so it looks almost new – little darkening on the inside bevel toward the back. The fill on the side of the bowl disappeared and the one on the shank is less glaring. The stem repairs look good and I was finally able to remove the oxidation. All in all it is a beautiful pipe with lovely grain and it should provide many more years of service. Ed26Ed27Ed28Ed29Ed30Ed31Ed32

A Surprise Find – A 1980 Dunhill Shell Group 5 Saddle Billiard


Blog by Steve Laug

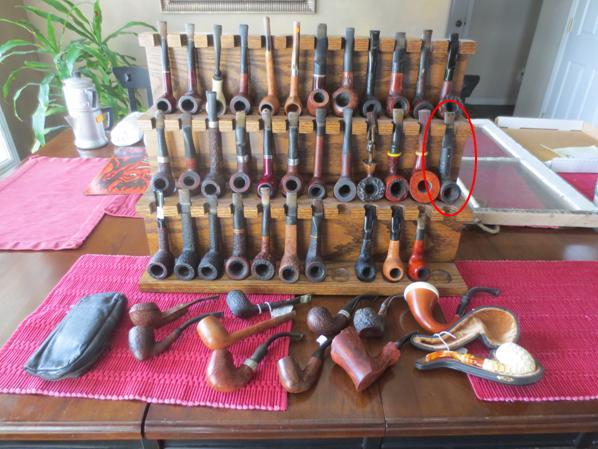
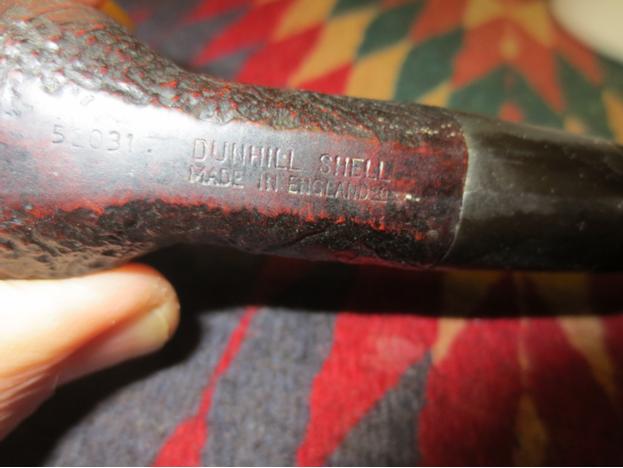
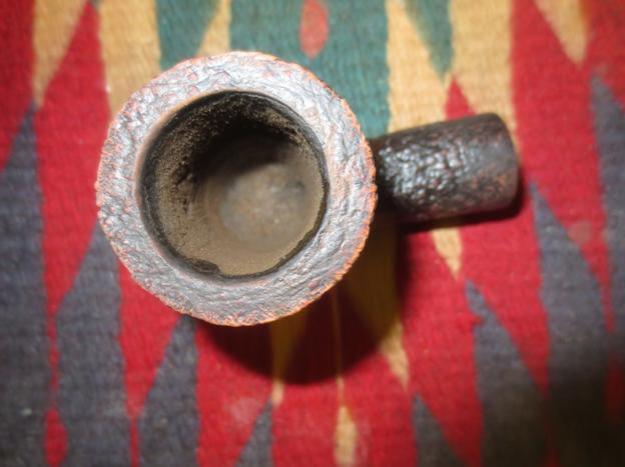
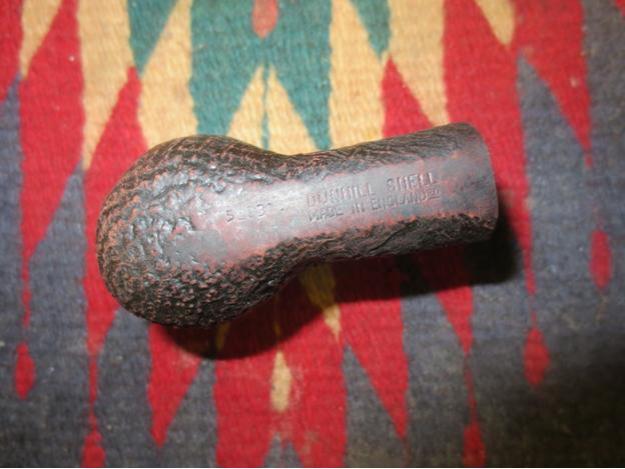
When my brother and I went to visit the “older than me” pipeman on a recent trip to Idaho to buy estate pipes from him he had this rack of pipes on his counter top. I picked through them and my attention was caught by the White Spot stem that shows up on the right side of the rack in the photo below circled in red. It was a large pipe and when I picked it up and examined the underside of the shank it was stamped 52031 followed by Dunhill Shell over Made in England with a superscript 20 next to the d of England. That told me I was dealing with a pipe from 1980. The blast on it was quite stunning and the finish was in decent shape. The bowl was caked with a thick aromatic cake and smelled exactly like the pipe the man was smoking while we were there – Lane 1Q. There was lava spilled over the back side of the rim top and inner edge but the edges of the bowl were still in round. The bowl had a bit of an odd shape to it – kind of asymmetrical. That may be because of the sandblast. It has a good thick bowl and the shank is quite large. The saddle stem was oxidized and had some calcification on the back-end near the button from a rubber softee bit. There were some tooth marks and chatter on both sides of the stem. The slot in the button was half clogged with debris. The fit of the stem against the shank was snug but the underside where it had been flattened to match the bowl was slightly off. The finish was good so I would not touch that area but it was interesting to note. I did know that under the grime and dirt there was a beautiful large Dunhill residing that with just a little effort would come to light.Dunhill1I took some photos of the pipe once I got home to Canada and was going to work on it. You can see the beautiful grain in the blast and the state of the stem and finish in the photos.Dunhill2 Dunhill3 Dunhill4 Dunhill5I took some close-up photos of the bottom of the shank to show the stamping and of the rim to show what the overflow looked like. Most of the blast on the rim was filled in with lava and the cake was uneven in the bowl. Dunhill6 Dunhill7I used a needle file to clean up and sharpen the edge of the button and to remove the tooth marks on the stem.Dunhill8 Dunhill9I had field reamed the pipe in Idaho using a PipNet Reamer to remove the majority of the cake. When I worked on it in Vancouver I scraped out the bowl with the Savinelli Pipe Knife and took the remaining cake back to bare briar.Dunhill10To clean up the oxidation and calcification on the stem I used some Meguiar’s Scratch x2.0 and scrubbed the stem with cotton pads. It took the majority of the oxidation off and removed the calcification around the button.Dunhill11 Dunhill12I scrubbed the briar with Murphy’s Oil Soap and a tooth brush to clean out the grooves in the blast finish. I also used a brass bristle brush to scrub the rim surface and remove the lava. I had to use a dental pick to clean out the deeper grooves after the bristle brush.Dunhill13I rinsed and dried off the bowl with a cotton towel. The dried and dull pipe is shown in the photos below. It is clean on the outside and the rim is “lava-less”.Dunhill14 Dunhill15 Dunhill16 Dunhill17I used a dark brown stain pen to touch up the edges of the rim and blend it in with the rest of the bowl. I scrubbed the airway and mortise in the bowl and the airway and slot with alcohol, cotton swabs and pipe cleaners. I picked out the slot with a dental pick and ran pipe cleaners through the grooves to clean out the debris.Dunhill18 Dunhill19I wetsanded the stem with 1500-2400 grit micromesh sanding pads as is usual and then dry sanded with 3200-12000 grit pads. I rubbed the stem down with Obsidian Oil between each set of three pads. When I finished sanding I gave it a final coat of the oil and let it soak into the rubber.Dunhill20 Dunhill21 Dunhill22I buffed the stem with Blue Diamond and then gave it multiple coats of carnauba wax. I hand applied some Conservator’s Wax to the bowl and then hand buffed it with a shoe brush. I finished buffing with a clean buffing pad and a microfibre cloth to raise the final shine on the bowl and stem. The finished pipe is shown in the photos below. If you are interested in this one it will be for sale on the blog soon. Contact me and it can be yours. Thanks for looking.Dunhill23 Dunhill24 Dunhill25 Dunhill26 Dunhill27 Dunhill28 Dunhill29

Kaywoodie White Briar Bulldog 12B


Guest Blog by Robert M. Boughton
Member, International Society of Codgers
Member, North American Society of Pipe Collectors
http://www.naspc.org
http://www.roadrunnerpipesnm.biz
http://about.me/boughtonrobert
Photos © the Author

INTRODUCTION
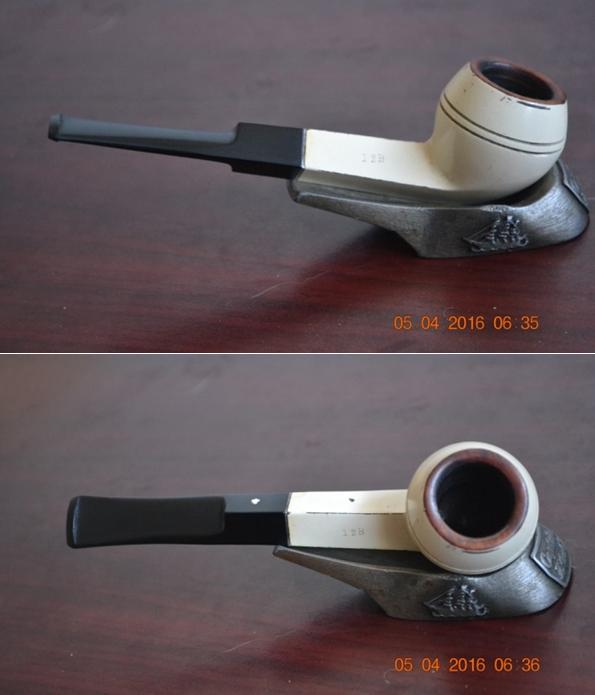
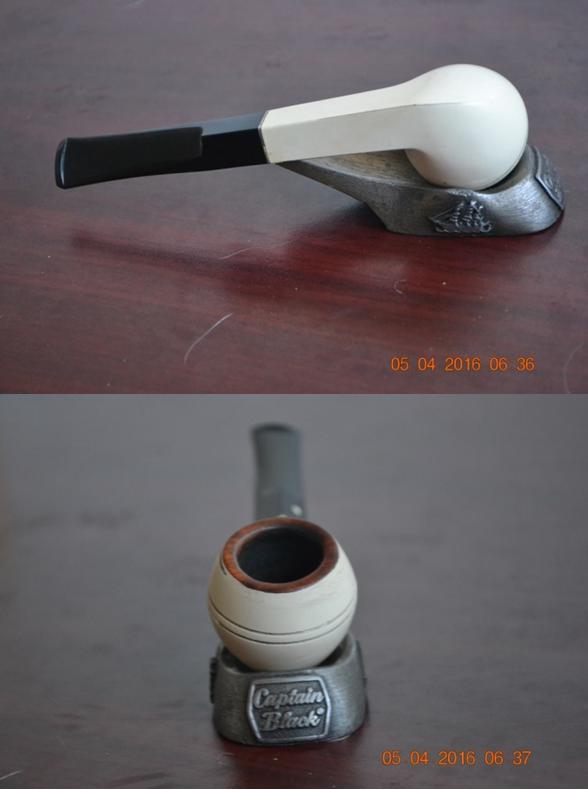
The Kaywoodie White Briar line lasted from 1951-1989. Some elusive quality, including perhaps its rough condition and the fact that I can’t find the same shape shown anywhere online, makes me suspect my bulldog is c. 1960-1970. It’s alright, I’m aware of the virtual non sequitur I just committed, and stand by it as a sort of literary tool if nothing else. Call it a hunch. Maybe I’m just a romantic. No doubt about the last part, at least.KW1 KW2 KW3 KW4RESTORATION
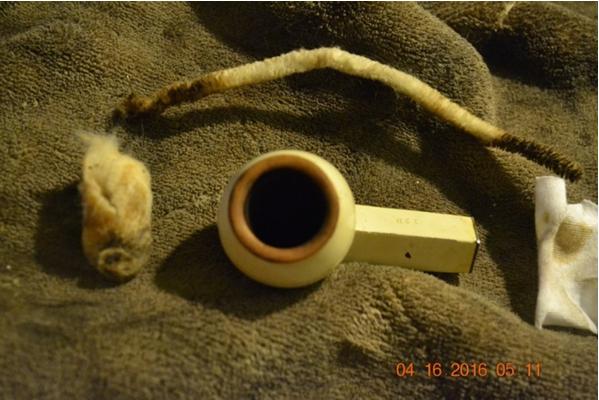
The bit was mostly just dirty.KW5I put it in an OxiClean bath and began the process of cleaning the rest of the pipe by using my Senior Reamer to remove the fair amount of char from the chamber. I followed the reamer with 150-, 200- and 320-grit papers, and removed the excess soot with soft cotton cloth squares soaked in purified water. Then I applied a little purified water to the outside of the stummel with more soft cotton cloth squares, getting rid of considerable grime.

My main concern was the rim, which appeared to be scorched to the point of no return. I used still more soft cotton cloth squares with purified water to work away at the char before switching to 1800, 2400 and 3200 micro-mesh – and just as I thought it was coming clean realized to my horror that the blackened parts of the rim, which had turned a creamy brown color, were down to the briar! In hindsight, I don’t know if I should have left the tiny amount of the original finish that was left on the rim as it was, but I saw no reason. With sadness and reluctance, I removed it for uniformity.KW6 KW7 KW8I replaced the bit, which I had removed from the OxiClean bath and used wet micro-mesh from 1500-12000 to return to a nice black smoothness, and retorted the pipe.KW9 KW10All that was left to do was an unexpected stain of the rim using Feibing’s Brown and flaming it, then buffing with white Tripoli, White Diamond and Carnauba. I buffed the bit as usual, with red and white Tripoli, White Diamond and Carnauba.KW11 KW12 KW13CONCLUSION
I’m always willing to face the music as far as responsibility for mistakes goes, but I honestly don’t know if the “mishap” I had with the rim is common with white briar restores. I didn’t use sandpaper – not until after it was already too late. But it was my restore, and so I will own it. As well as the pipe, most likely, unless anyone out there wants a good deal on a unique Kaywoodie White Briar Bulldog 12B with a brown briar rim!

The Lot arrived and in it was a Small Dunhill Chestnut Bent Billiard


Blog by Steve Laug

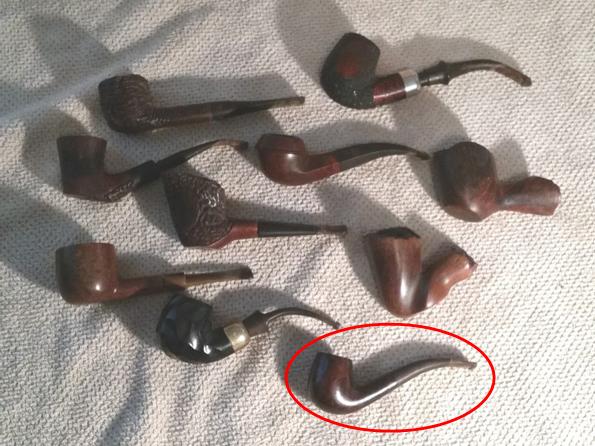
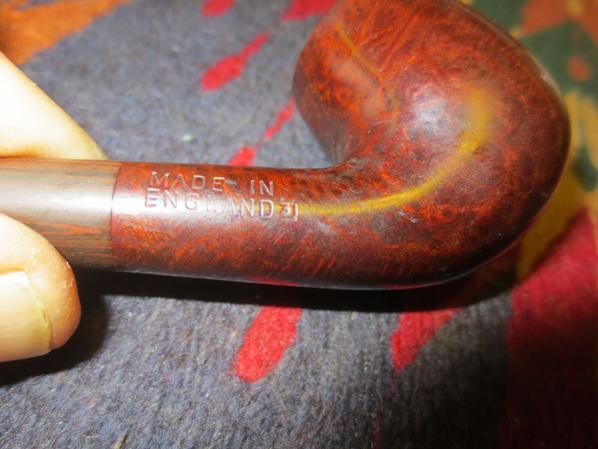
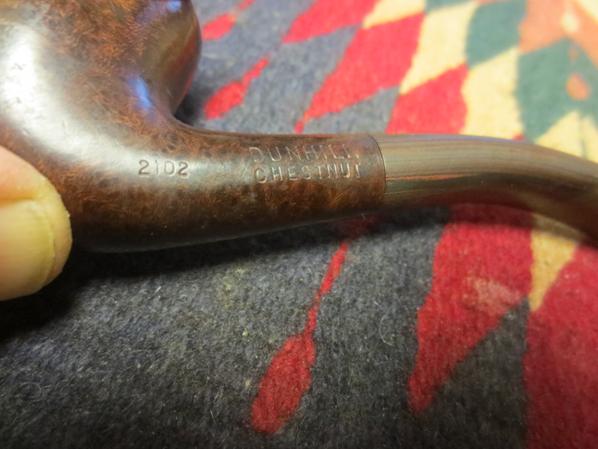
My brother sent me a link to a lot of pipes on Ebay and I loaded and viewed the pictures in full size. There in the lot was a small bent billiard. In the photo below it pipe at the bottom of the photo circled in red. To my eye it looked for all things like a small Dunhill pipe. There were some other nice pipes in the lot but that is the one that caught my eye and made me suggest that we go for the lot. It was a bit of a bidding war and at the end the pipes were ours. When I was recently in the states to visit my mom and dad I stayed with my brother. The pipes came in the mail and I could not wait to open it.Dunhill1I could not believe my eyes when I unpacked the pipes. Sure enough the little pipe in the photo was a Dunhill. It was stamped 2102 next to Dunhill over Chestnut on the left side of the shank. The four digit numeric code tells a lot about the pipe. The first digit, in this case a 2 tells me that the pipe is a Group 2 sized pipe. The second digit, in this case 1 tells me that the stem was originally a tapered stem. The third and fourth number, in this case 02 tells me the shape of the pipe – a bent billiard. The Chestnut finish also had a Cumberland stem and there under the grime on the stem was Cumberland. On the right side it was stamped Made In over England with a superscript underscored 31 after the D. From my calculations that made it a 1991. I arrived at that date by at the superscript number to 1960. The Chestnut finish with the Cumberland stem was first released by Dunhill in 1982 so this is a later version of the finish.

I took some photos of the little pipe once I got it to the work table back home in Canada. It was a beauty. The Chestnut finish was dull and dirty but looked good under the grime. The rim had a coating of lava and was slightly out of round. The bowl had a cake that was soft and broken. The stamping on the shank was crisp and distinct. The stem fit perfectly and was oxidized. The first inch of the stem from the button forward looked as if the stem had sported a rubber softee bit. There was a thick coat of calcification and crud (technical term) where the rubber bit had been. The oxidation on the stem pretty well hid the Cumberland material – the striations of colour on the stem were almost invisible. The inside of the pipe was dirty and tarred. The slot was filled in partially with debris.Dunhill2 Dunhill3 Dunhill4 Dunhill5I took a close-up photo of the bowl and rim. The picture below shows the tars and lava on the rim. I had reamed the bowl when I was staying at my brother’s so I have no picture of the cake. I would need to clean up the reaming with the Savinelli Pipe Knife. You can also see damage to the inner edge of the bowl where it is out of round. I also took two photos of the stem – the topside and the underside near the button.Dunhill6 Dunhill7 Dunhill8The next two photos show the stamping on the right and the left sides of the shank.Dunhill9 Dunhill10I scrubbed the stem with Meguiar’s Scratch X2.0 on cotton pads and removed a lot of the oxidation and the calcification. The area under the calcification was lighter than the rest of the stem so I would need to polish and sand it to blend it into the stem.Dunhill11 Dunhill12I sanded the stem with 220 grit sandpaper to blend the areas of the stem. Once I had sanded away the tooth marks and the damage on the stem it was ready to polish with micromesh.Dunhill13I cleaned out the airway in the shank and the stem with pipe cleaners and alcohol. I also cleaned out the mortise with pipe cleaners, cotton swabs and alcohol. The fit of the stem in the shank was very tight so cleaning it out would make it fit well.Dunhill14 Dunhill15To repair the out of round inner bowl edge I wrapped a piece of 220 grit sandpaper around my KleenReem pipe reamer and sanded the bowl. The size of the reamer and sandpaper was the same size as the bowl and twisting it around the inside of the bowl quickly brought the bowl back into round and cleaned it up.Dunhill16I wet sanded the stem with 1500-2400 grit micromesh sanding pads and then rubbed it down with Obsidian Oil. I dry sanded it with 3200-4000 grit pads and gave it another coat of oil. I finished sanding it with 6000-12000 grit pads, gave it a final coat of oil and set it aside to dry.Dunhill17 Dunhill18 Dunhill19I carefully scraped the surface of the rim with a sharp knife blade to remove the lava and then scrubbed the rim with a cotton pad and saliva to remove the darkening and smooth out the rim. I did not want to top the bowl but try to preserve the finish. I scrubbed until the surface was smooth and clean. I touched it up with a stain pen along the outer edge to even out the colour. I hand buffed it with a cloth. I buffed the bowl and stem with Blue Diamond on the buffing wheel and smoothed out all of the marks on the finish. I buffed with multiple coats of carnauba wax and then buffed it with a clean buffing pad. I hand buffed the pipe with a microfibre cloth. The finished pipe is shown below. It is a beauty. Thanks for looking.Dunhill20Dunhill21Dunhill22Dunhill23Dunhill24Dunhill25Dunhill26Dunhill28

Breathing Some Life into a Bari Squash Full Bent 7811


Blog by Steve Laug

Bari1When my brother sent me a picture of this Bari Squash there was something about it that reminded me of the teardrop shape that Julius Vesz, a Canadian pipemaker, carved. It was more egg-shaped however but the similarity caught my attention. He was able to pick it up on Ebay for a decent price and it only remained for me to get it in hand and work on it. Once I got the pipe to the work table I could see that it really was in decent shape. The pipe fit nicely in the hand and is 4 3/4 inches long, the bowl is 1.875 inches tall, inside diameter of bowl is 3/4 inches. The stamping on the smooth portion on the bottom is unevenly stamped and reads: Bari over Squash. Next to that is reads Made in Denmark with the shape number 7811 at the end. Bari2 Bari3I know next to nothing about the Bari brand so I looked it up on Pipedia. Here is the link: https://pipedia.org/wiki/Bari. I summarized the material that I found there as it gives a clear picture of the brand. I found several pipes in my latest hunt by Viggo Nielsen so this was very interesting information.

Pipedia states that Bari Piber was founded by Viggo Nielsen in Kolding, Denmark around the turn of 1950/51. His sons Kai and Jørgen both grew into their father’s business from a very young age and worked there till 1975. Both have become successful pipe makers. Bari successfully adapted the new Danish design that had been started mainly by Stanwell for its own models. Bari was sold in 1978 to Van Eicken Tobaccos in Hamburg, Germany though the pipes were still made in Denmark. From 1978 to 1993 Åge Bogelund and Helmer Thomsen headed Bari’s pipe production. Helmer Thomson bought the company in 1993 re-naming it to “Bari Piber Helmer Thomsen”. The workshop moved to more convenient buildings in Vejen. Bogelund, who created very respectable freehands of his own during the time at Bari got lost somehow after 1993. Bari’s basic conception fundamentally stayed the same for decades: series pipes pre-worked by machines and carefully finished by hand – thus no spectacular highgrades but solid, reliable every day’s companions were what they turned out. The most famous series are the smooth “Classic Diamond” and the blasted “Wiking”.

The finish on the Bari Squash that I was working on was dirty and tired looking but the blast was really nice. The rim was clean and both the inner and outer edges were in great shape. I had reamed the pipe back to bare briar while I was traveling. It looked to be in excellent shape. There was some wear on the front outer edge of the rim that would need a touch up of stain. The stem was oxidized and scratched. The top of the button had a tooth mark that indented it mid button along the sharp edge but not on the outer curve. The stamping on the left side of the stem read BARI and was light and uneven. After reading about the factory I wonder what era of the Bari life span this pipe came from. Bari4 Bari5Once I got home to the workshop I cleaned up the “field” reaming with a Savinelli Pipe Knife to smooth out the walls of the bowl.Bari6I cleaned out the shank and airway in the bowl and the stem with alcohol, pipe cleaners and cotton swabs. The darkening on the cotton was a combination of tobacco juices and brown stain. It looked as if the inside of the shank had some stain.Bari7 Bari8I scrubbed the exterior of the bowl with Murphy’s Oil Soap and then rinsed it off and dried it. I gave it several coats of Conservator’s Wax and hand buffed it with a shoe brush.Bari9I gave the bowl a light buff on the wheel with a clean buffing pad to raise the shine.Bari10 Bari11 Bari12 Bari13 Bari14With the bowl finished it was time to work on the stem. There was a bite mark on the top of the button that needed to be addressed. I used some black super glue to fill in the divot on the top and smooth out the damage.Bari15Once the glue dried I sanded and shaped the button with needle files and sandpaper. The photos below show the shape developing from the repair to the finished look. Much polishing still needed to happen but it was shaped and ready.Bari16 Bari17 Bari18I wet sanded the stem with 1500-2400 grit micromesh sanding pads. I gave it coat of Obsidian Oil and then dry sanded the stem with 3200-4000 grit pads. I gave it another coat of oil and then buffed it with Blue Diamond on the wheel. I took it back to the table and sanded it with 6000-12000 grit pads and gave it a final coat of Obsidian Oil. I set it aside to dry.Bari19 Bari20 Bari21I buffed the pipe stem with Blue Diamond and then with multiple coats of carnauba wax. I buffed the pipe with a clean buffing pad to raise the shine. I hand buffed it with a microfibre cloth and took the final photos below. I love the shape of this little pipe and the feel of it in hand. It came out beautifully in my opinion. Thanks for looking.Bari22 Bari23 Bari24 Bari25 Bari26 Bari27 Bari28 Bari29 Bari30
Restoring an Old Sea Slug or an Old River Chubby Bent Apple


Blog by Steve Laug

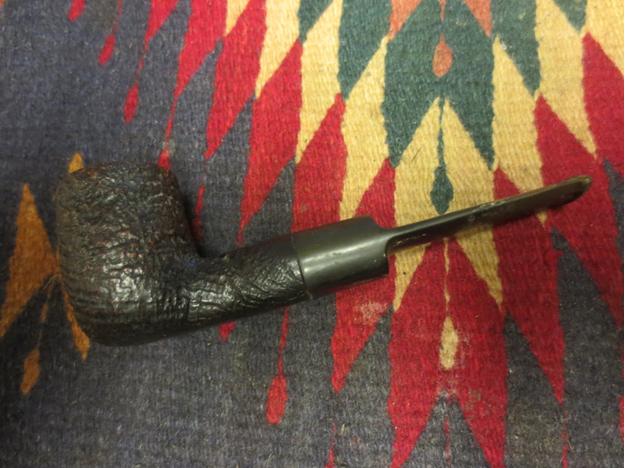
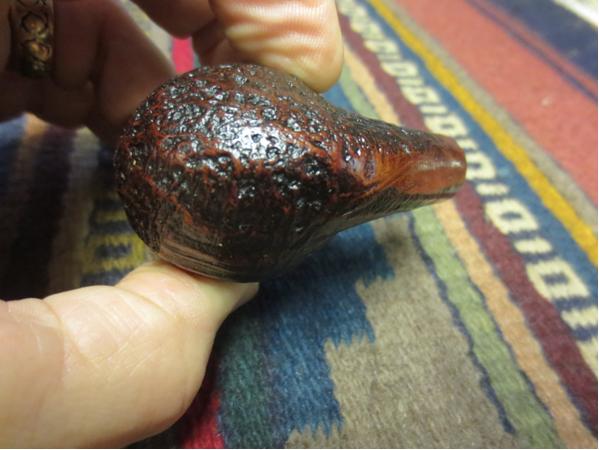
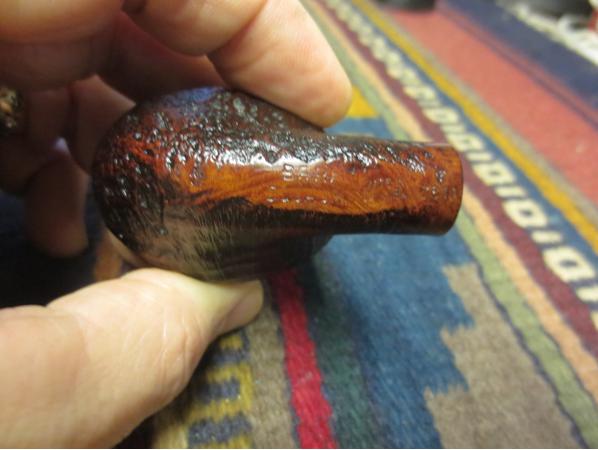
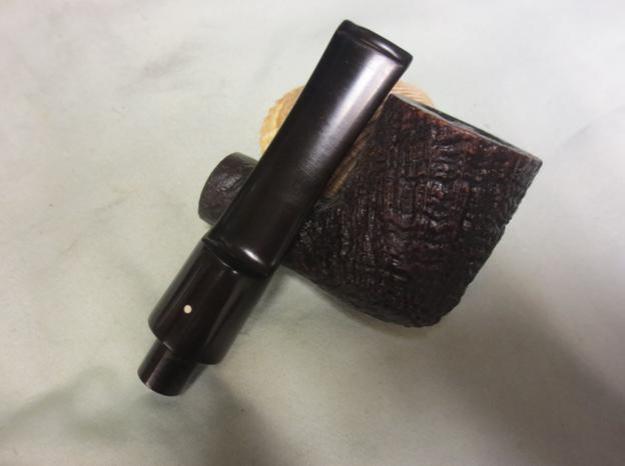
My brother Jeff picked up a pipe that is in one of my favourite shapes – the chubby apple. I love the feel of this pipe shape in the hand. It just fits perfectly and sits right in my opinion. This one was stamped on the underside of the shank with the words OLD RIVER. There is no shape number or country of origin stamped on the pipe. The rusticated finish is very tactile and feels great in the hand. To me it has the look and shape of a sea slug. Living in Vancouver, near on the ocean I have seen a lot of sea slugs and always found something endearing in their sheer ugliness. The finish on this one reminds me of those ugly sea slugs and yet the look captures me. The stem is a solid rubber of high quality as it was only minimally oxidized and it was very hard. I took the following photos when the pipe arrived to show you its condition. The finish is unique to my mind. It is almost a combination of sandblast and rustication. The deep grooves on the pipe were dirty with dust and debris lodged in them. The high spots were quite shiny and clean. The stem had mild oxidation on the surface but nothing deep. The shape of the stem was old style with a slot in the button but highly tapered as it made its way to the button.old1 Old2The rim was clean with nothing more than the same dust as the sides of the bowl. There was no build up on the flat surface of the rim and the inner and outer edges were in good shape. Someone had reamed it out and it looked to have been sanded clean. They did well in terms of keeping the inner edge of the bowl round and the distance between the inner and outer wall of the rim equidistant all the way around the bowl.old3 old4I searched on the internet to see if I could find any information on the brand or the maker of the pipe. I found many pictures of virtually the same pipe I had but little or no information. Finally looking at one photo of a pipe that is the obvious brother of the one I have on Smokershaven.com I found some information. I was dubious about the information as the pipe I have is certainly an older pipe and one that has an older style stem but the connection was worth checking out. Here is the link: https://www.smokershaven.com/old-river-estate-pipe-carved-chubby-bent-apple/. In the description of the pipe on the site it says that the Old River brand was made by Oliver Camphausen. Because of the uncertainty I wrote to Mr. Camphausen in Germany and asked him directly if he made that brand. His response is below.

Dear Mr. Laug,
No you’ re gone wrong. I’ m sorry but I never carved this pipe. Also never used this brand stamping my pipes.
Best regards
Oliver Camphausen

With that answer my sole clue as to the identity of the pipe was gone. Not only do I not know any information on the maker but I am not even certain if there were other shapes made under this name. Every picture of the brand that I have seen on the web was virtually identical in shape to the one I have. There is variation of course in the bend and shape of the stem (some had a replacement stem). There is also variation in the rustication pattern as all were done individually by hand but the overall bumpy chubby look of the pipe is the same. So the mystery remains and I will just enjoy the pipe.

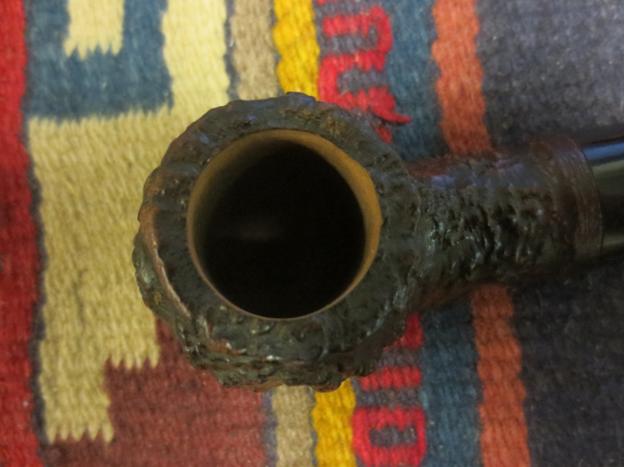
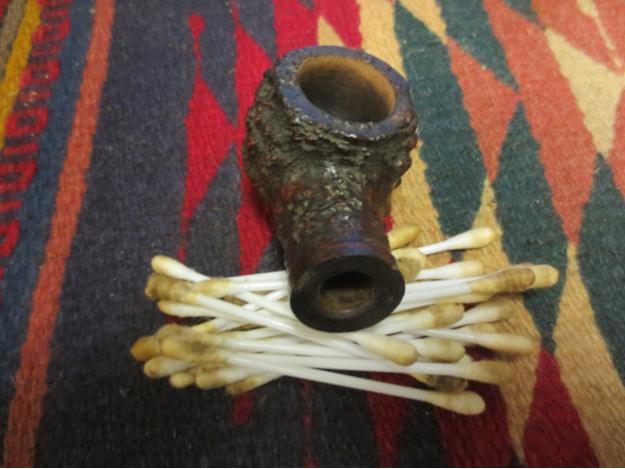
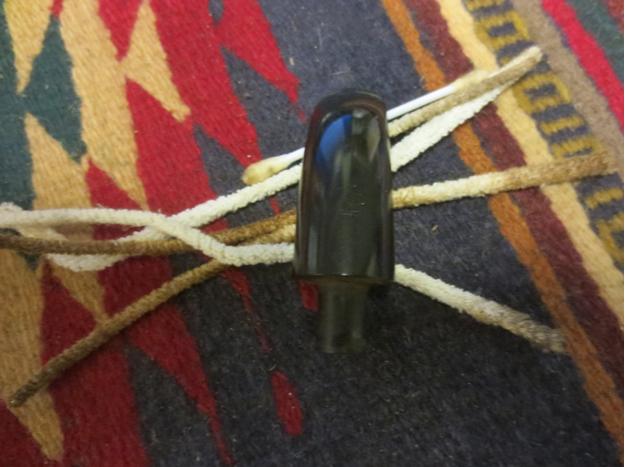
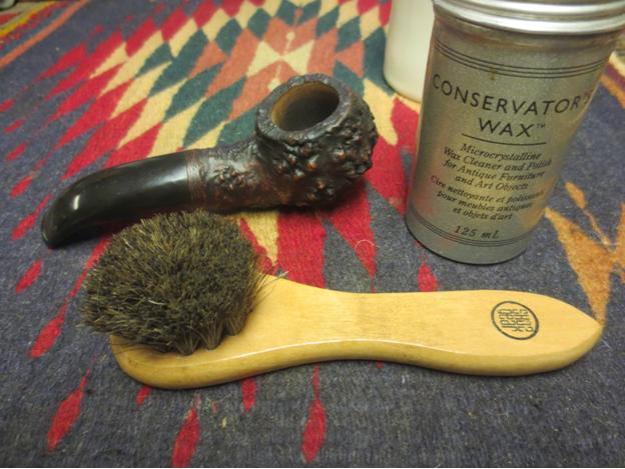
I took two close-up photos of the pipe. The first is a photo of the underside of the shank with the stamping. The second is of the bowl and the rim.old5 old6The pipe was filthy inside the shank and airway in both the bowl and the stem. I cleaned out both with alcohol, cotton swabs and pipe cleaners until they were spotless and the pipe smelled sweet once again.old7 old8I scrubbed down the bowl with Murphy’s Oil Soap, rinsed and dried it to give it a good cleaning and remove the dust and debris from the crevices. I gave the bowl several coats of Conservator’s Wax and then buffed it by hand with a shoe brush.old9I sanded the stem with some 600 grit sandpaper to remove the surface oxidation and marks on the surface. I wet sanded it with 1500-2400 grit micromesh sanding pads and rubbed it down with Obsidian Oil. I dry sanded with 3200-4000 grit pads and gave it another coat of oil. I finished by dry sanding it with 6000-12000 grit pads and gave it a final coat of Obsidian Oil and let it sit until it was absorbed then hand buffed it.old10 old11 old12I buffed the pipe lightly with Blue Diamond and gave the stem multiple coats of carnauba wax. I gave the bowl several more coats of Conservator’s Wax and then buffed the pipe with a clean buffing pad on the wheel. I gave it a final hand buff with a microfibre cloth to raise a deeper shine. The finished Sea Slug is shown in the photos below. There is just something endearing about the sheer ugliness of the slug. I like it! Thanks for looking.old13 old14 old15 old16 old17 old18 old19
Restoring a Unique Kaywoodie Flame Grain 23C


Blog by Bill Hein

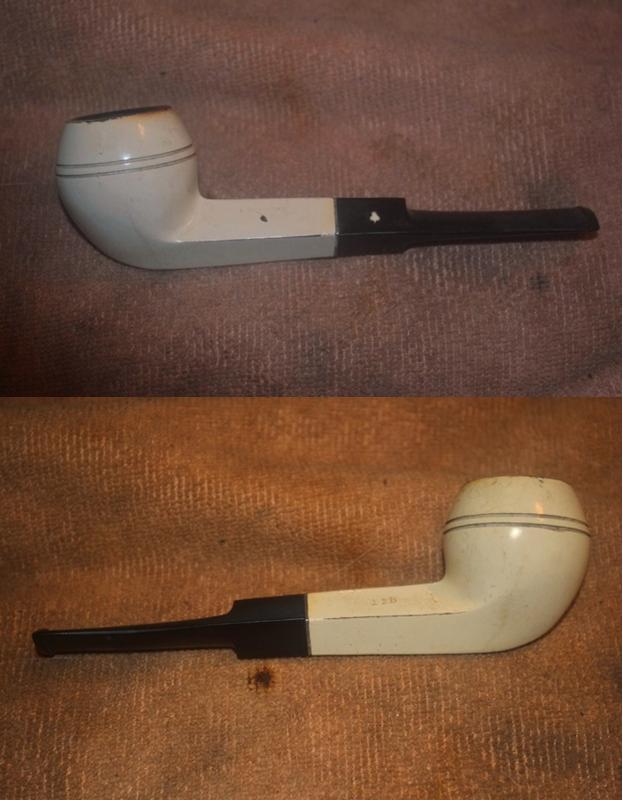
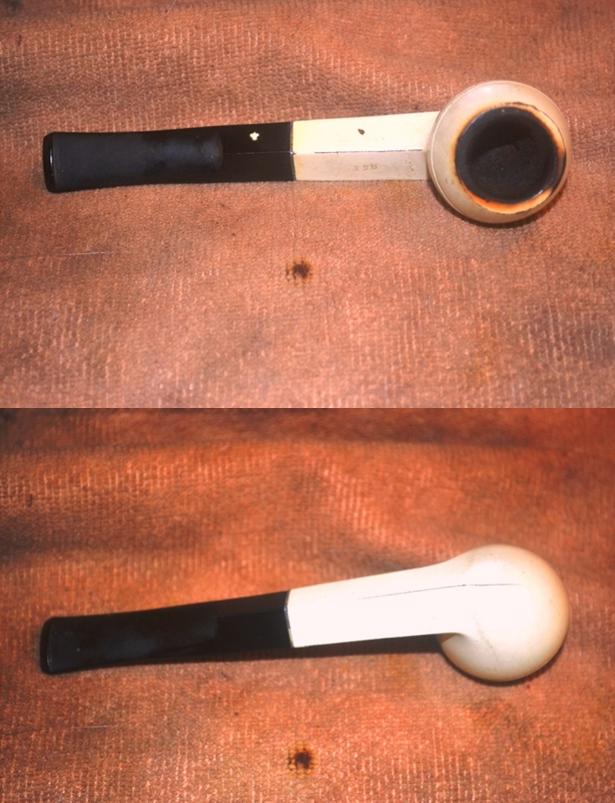
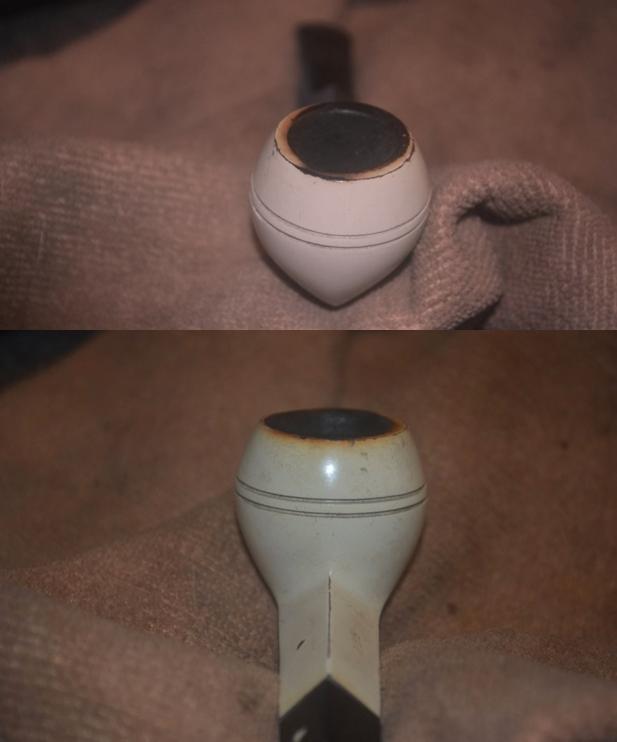
Today I have an interesting Kaywoodie on the bench. This particular pipe is an early Flame grain. It has a shape number of 23C. This is interesting because 23C was used for two different pipes in the same era. 23C is a two panel apple shape. One is half bent, the other is a square shank. The one on my bench is a square shank. I imagine it is quite rare as this style was only made in 1947. This still has its 4 hole stinger. Below are the before pictures.KW1 KW2Starting off I disassembled the pipe and tossed the stem into a oxiclean bath. While the stem was soaking I reamed out the bowl and filled it with salt and alcohol. After a few hours I removed the stem from the oxiclean bath and rinsed it off. To my surprise there wasn’t much oxidation. I knocked the salt out of the bowl and gave it a good rinse before setting it aside to dry.

Kw3While the bowl was drying out I ran alcohol soaked pipe cleaners through the stem until they came out clean. This can be tricky with Kaywoodie pipes as quite a bit of sludge builds up inside the stinger. The ball on this pipe wasn’t too nasty but I found a very narrow pipe cleaner, a piece of wire, or even a toothpick can come in handy cleaning out the holes. I took some heat and 500 grit wet sandpaper to remove the oxidation and lift the few tooth marks near the bit.

I buffed the stem, stinger, and metal shank insert with white diamond. I then buffed the bowl and stem with carnauba wax. I finished the pipe up by buffing by hand with a microfibre cloth until I achieved a near mirror like shine. Below is the finished pipe.KW4 KW5 KW6


Taking a Minimalist Approach on Restoring a Comoy’s Blue Riband 340 Billiard


Blog by Steve Laug

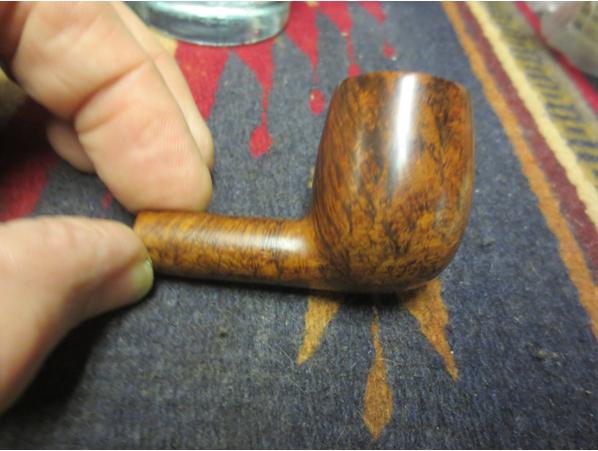
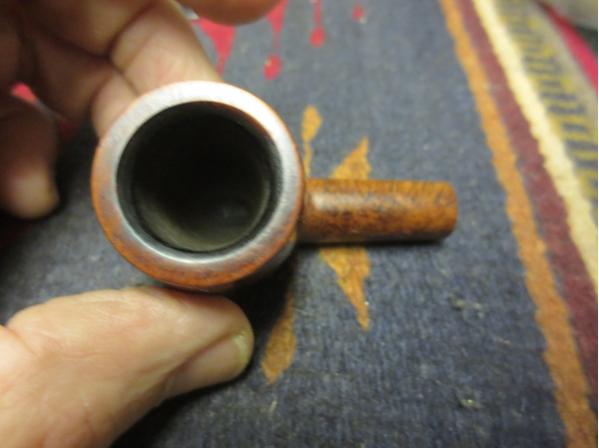
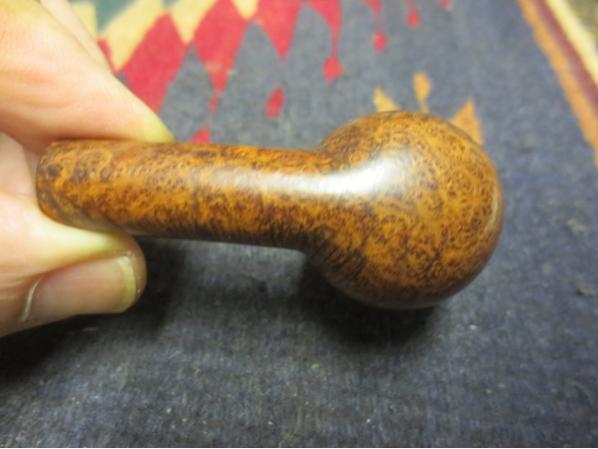
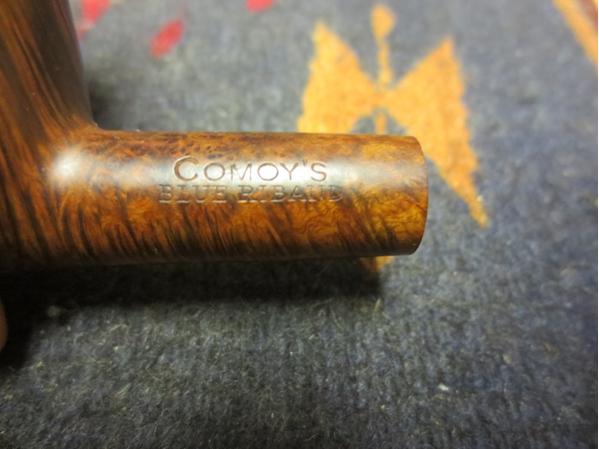
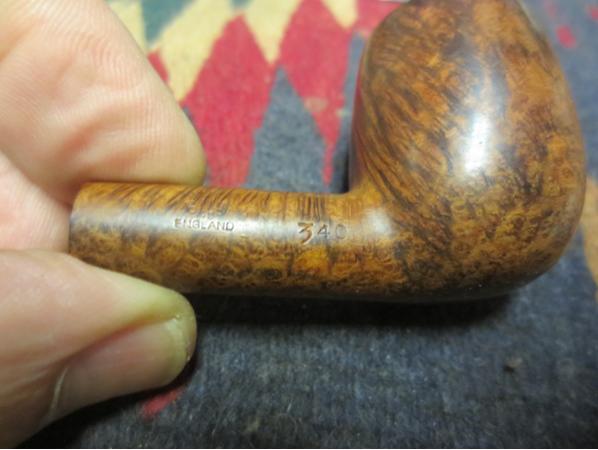
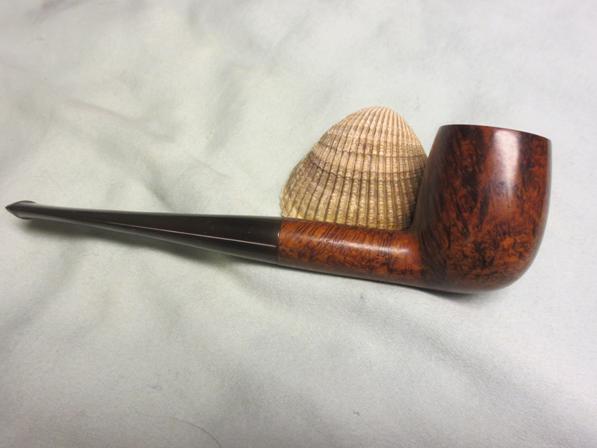
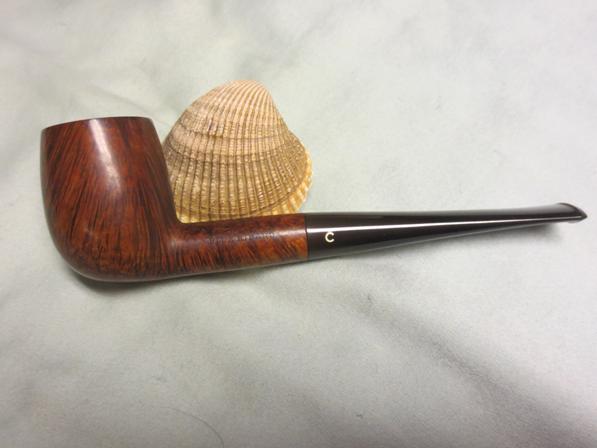
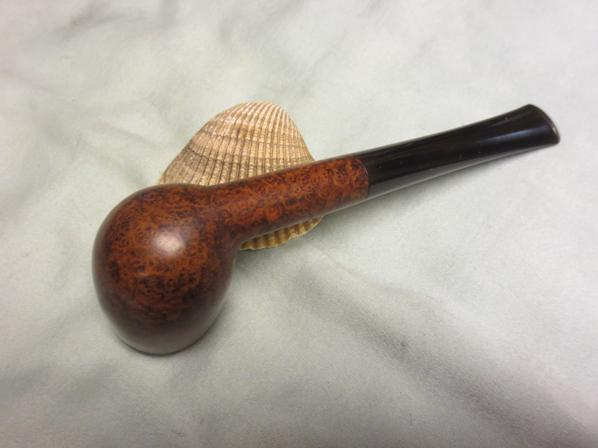
A reader and friend in Texas and I had been corresponding about this pipe for a long time. When he picked it up and sent it to me for a restoration I was excited to see it. The Comoy’s Blue Riband has long been a favourite pipe of mine and I looked forward to seeing what the one he was sending looked like. From the photos I could see that it was dirty and tired with an oxidized stem but otherwise in decent shape. When I arrived I took it to the shop and opened the box. The next photos show the condition of the pipe before I started the clean up process. The stem was oxidized as well as having some calcification around the button end that someone had scraped off. It did not have any tooth marks and minimal tooth chatter. The rim was dirty and sported a coat of lava that hid the inner beveled edge and the top but it did not seem to have been burned or damaged. The bowl had an uneven cake build up inside that would need to be reamed. The finish was dirty but in really good shape. The grime on the surface obscured the stellar grain that showed on all sides of this pipe.Blue1 Blue2 Blue3 Blue4I took some close up photos of the rim and the stem to give a better idea of the condition of the pipe.Blue5 Blue6I decided on a minimalist approach to cleaning this stem. I did not want to remove too much of the surface of the vulcanite or change the fit to the shank in any way. I scrubbed the stem with Meguiar’s Scratch X2.0, a plastic polishing compound. The second photo below shows the stem after one application of the polish.Blue7 Blue8I used the Savinelli Pipe Knife to clean out the uneven cake from the bowl.Blue9I cleaned out the shank with pipe cleaners, cotton swabs and alcohol until it was fresh. I did the same with the stem.Blue10I scrubbed the rim with saliva on cotton pads to remove the lava build up without damaging the finish. It took some elbow grease but I was able to remove all of the grime.Blue11I gently cleaned off the briar with Murphy’s Oil Soap to remove the grime and make the grain stand out once again. I use the soap undiluted and in this case very sparingly. I applied it with a cotton pad and quickly wiped off the surface. I did not want to remove the stain just clean the surface. The photos below show the bowl after the scrubbing.Blue12 Blue13 Blue14 Blue15With the bowl clean I took some photos of the stamping on the shank. The first photo shows the left side of the shank with the Blue Riband stamping. It is sharp and clear. The second shows the right side of the shank with the Made in London stamp and the shape number.Blue16 Blue17I continued to scrub the stem with the Meguiars polish until the vulcanite began to shine with a rich black glow. I sanded it with 1500-12000 grit micromesh sanding pads and rubbed it down with Obsidian Oil. It took a lot of elbow grease but it worked and the stem shone. I buffed the bowl and stem with Blue Diamond and then gave the full pipe multiple coats of carnauba wax. I buffed with a clean buffing pad and then by hand with a microfibre cloth. The finished pipe is shown in the photos below. I mailed it out to my friend in Texas and look forward to hearing what he thinks of the pipe now. Thanks for looking.Blue18 Blue19 Blue20 Blue21 Blue22 Blue23 Blue24
An Interesting Multi-Finish Stanwell Buffalo Sitter 606


Blog by Steve Laug

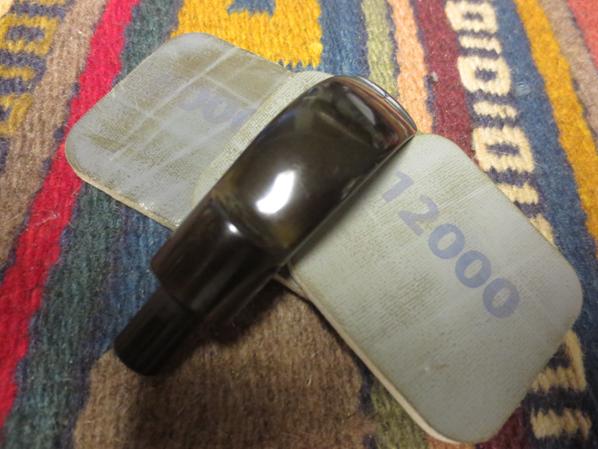
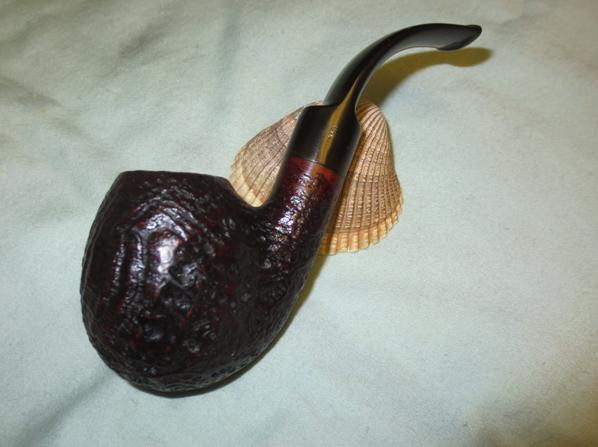
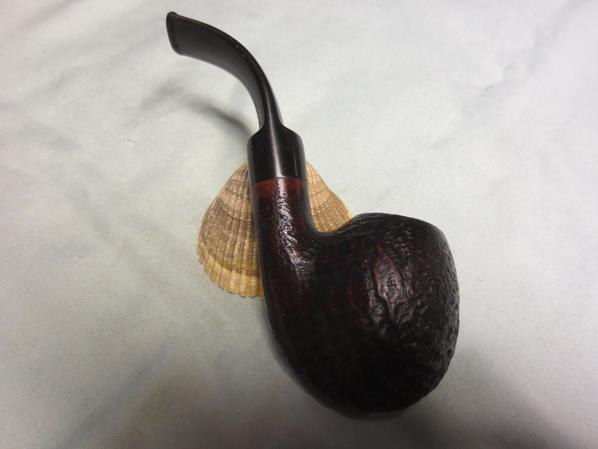
This pipe came to me in the last box of pipes that my brother sent me. It is a Stanwell as can be seen from the shape and finish. From my research I came to understand that it came from the Stanwell Buffalo line. It is stamped on the smooth underside of the shank with the words Stanwell Made in Denmark and the shape number 606. The shape number is very visible and I was unable to locate that number on the internet shape charts.The front of the bowl was smooth and there was an acrylic horn-like material as a shank extension. The bowl had a light cake and looked as if it had been reamed recently. The rim of the pipe was really dirty with lava overflow from the bowl but underneath I could see that it was originally smooth like the front of the bowl and the portion where the stamping was on the underside of the shank. There was some burn damage on the outer and the inner edges of the rim that would need to be addressed. The pipe was a mix of medium and dark brown stains and the finish had a light sand blast on the surface of the sides, back and bottom of the bowl and the top and sides of the shank. The finish was dirty with lots of grime in the grain of the blast. The stem is a military style stick bit. The stem was in good shape with only one tooth mark on the underside toward the right side of the pipe. The fit in the shank was snug. The stamping on the stem showed the Stanwell Crown and S and it was faint but visible.Buff1 Buff2 Buff3 Buff4I took a close up photo of the rim to show the state of things when I started. You can see the buildup on the surface and the burn damage on the front inner edge of the rim.Buff5I cleaned up the reaming with the Savinelli Pipe Knife and then cleaned out the internals of the bowl, shank, mortise and airway in the stem. I used pipe cleaners, cotton swabs and alcohol to remove all of the oils.Buff6 Buff7I scrubbed the stem with Meguiar’s Scratch X2.0 plastic polish to remove the oxidation. I sanded the tooth marks on the underside of the stem with 220 grit sandpaper until the stem was smooth.Buff8 Buff9I lightly topped the bowl on the topping board. I wanted to remove the damaged surface and clean up rim edges. I also wanted to expose the burn marks so that I could address them.Buff10I sanded the rim top with 1500-2400 grit micromesh sanding pads to smooth out the scratching. I then stained it with a medium brown stain pen to match the smooth portions of the pipe. You can see the burn damage on the inside edge of the front of the bowl.Buff11I folded a piece of sandpaper and worked on beveling the inside edge all the way around the bowl to minimize the damaged area on the right front edge. While the damage is still visible it is much more subtle than it was before the beveling.Buff12 Buff13I set the bowl aside and worked on the stem. I sanded it with 220 grit sandpaper to clean up some of the oxidation and then worked on it with micromesh sanding pads. I wet sanded the stem with 1500-2400 grit sanding pads and then rubbed the stem down with Obsidian Oil. I dry sanded with 3200-4000 grit pads and gave it another coat of oil. I finished sanding with 6000-12000 grit pads and gave it a final coat of oil. I set it aside to dry.Buff14 Buff15 Buff16I buffed the pipe with Blue Diamond (lightly on the bowl except for the smooth areas and the rim top and more concentrated on the stem). I gave the stem several coats of carnauba wax and buffed with a clean buffing pad. I hand waxed the bowl with Conservator’s Wax. I hand buffed the bowl with a shoe brush. I finished buffing the pipe with a microfiber cloth. The finished pipe is shown in the photos below. I am still debating rusticating the rim to match the bowl and stain it darker to blend with the sandblast but not sure… time will tell. Thanks for looking.Buff17 Buff18 Buff19 Buff20 Buff21 Buff22 Buff23

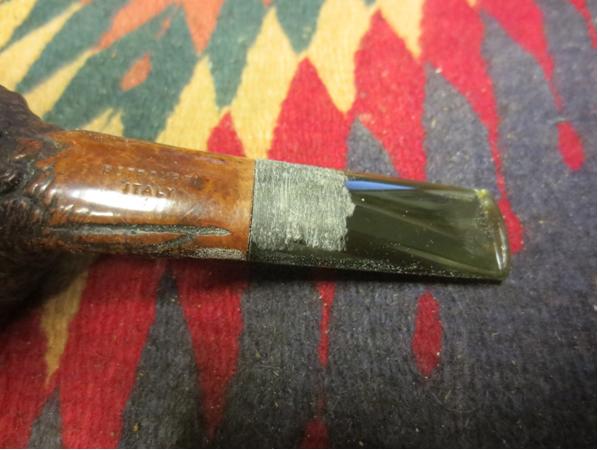
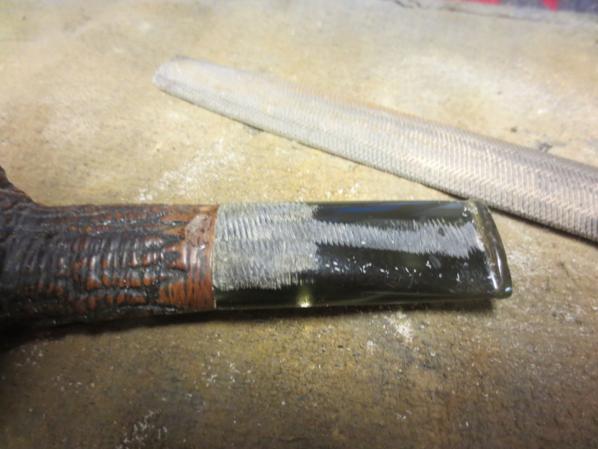
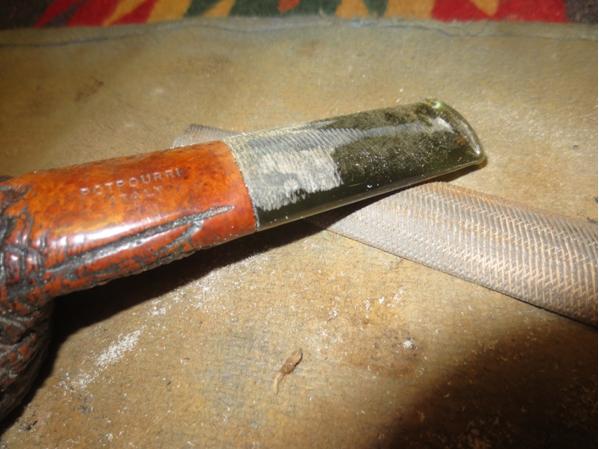
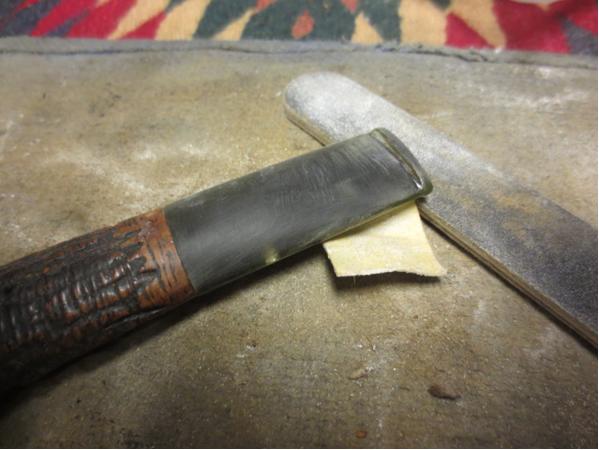
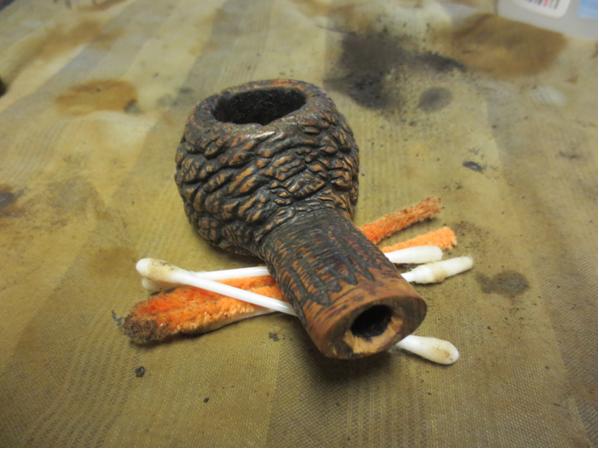
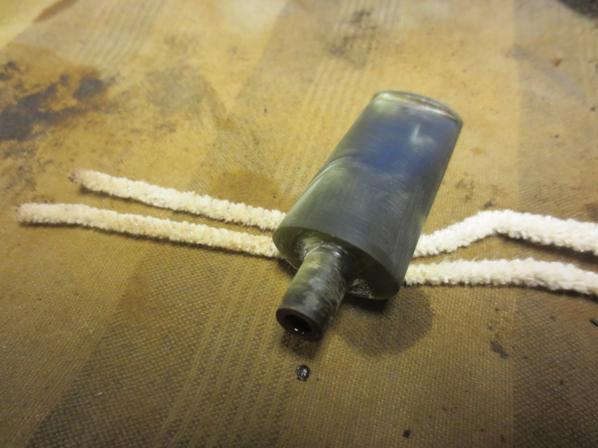
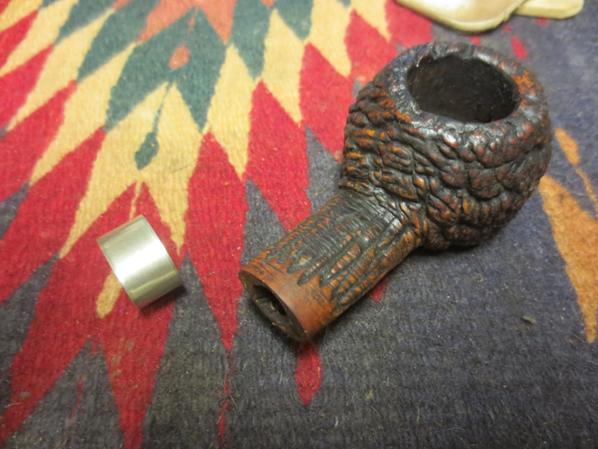
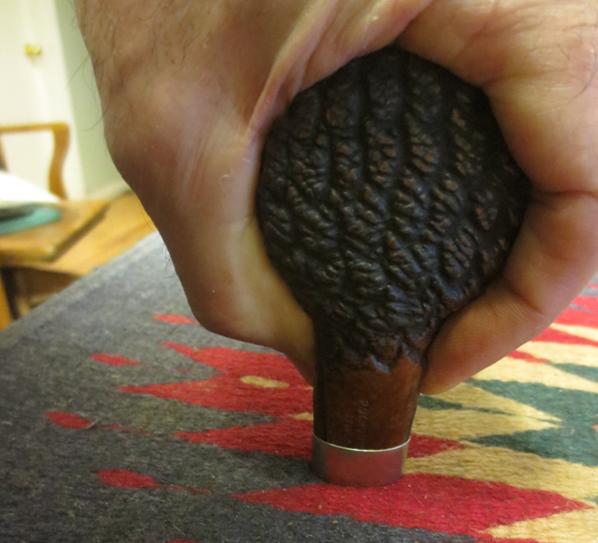
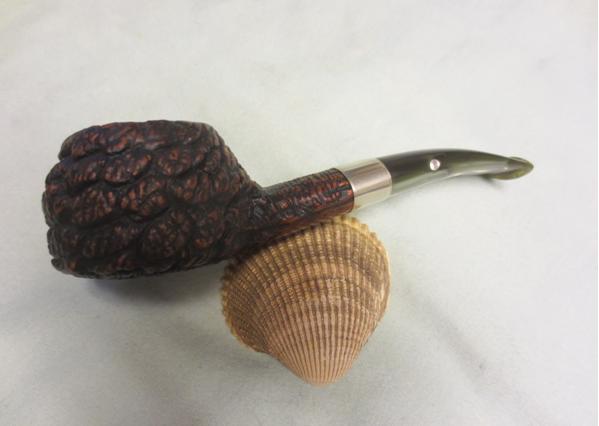
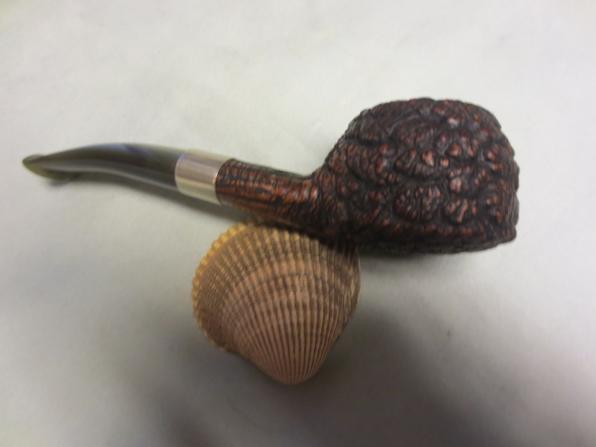
Restemming and Restoring a Potpouri Author


Blog by Steve Laug

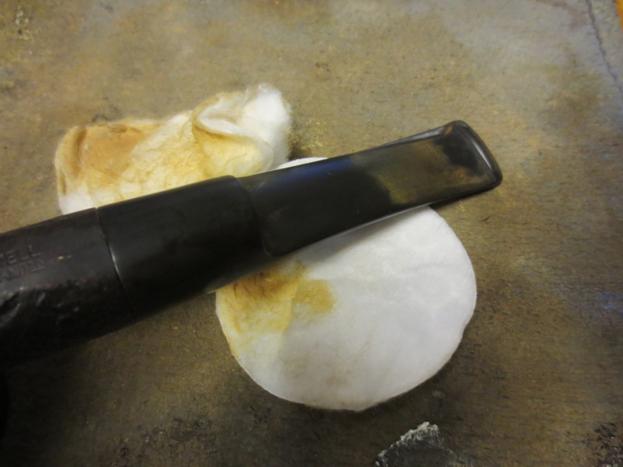
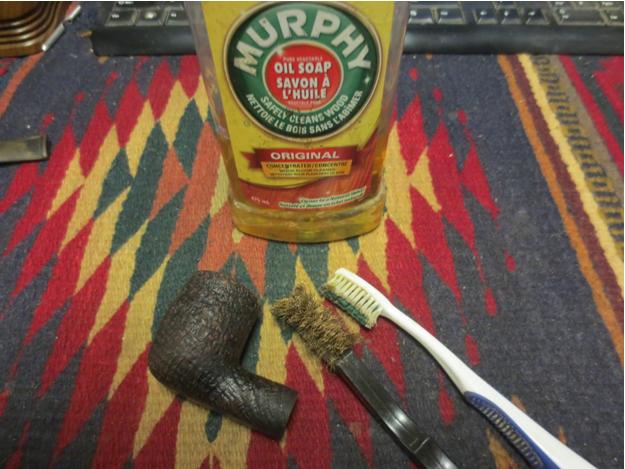
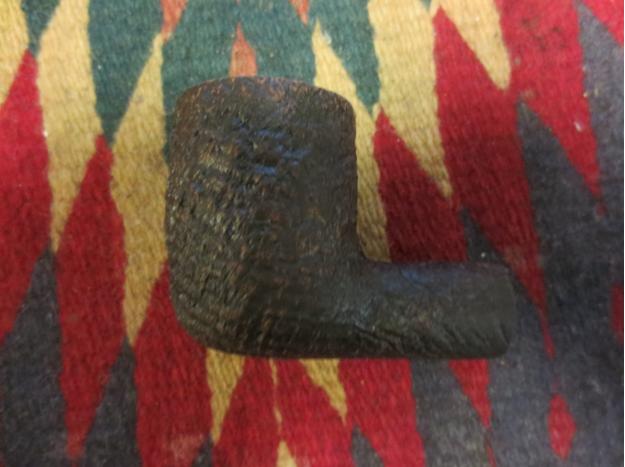
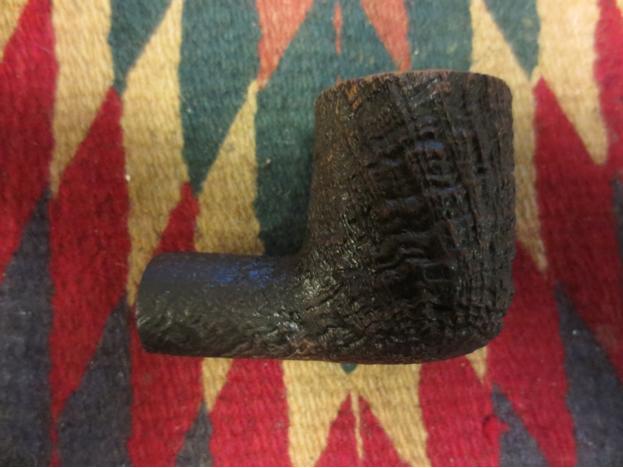
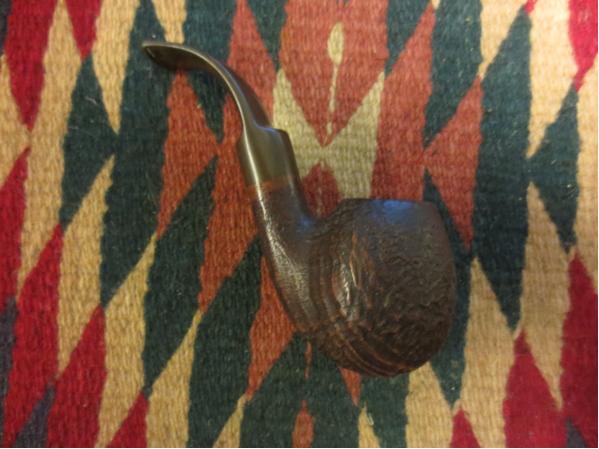
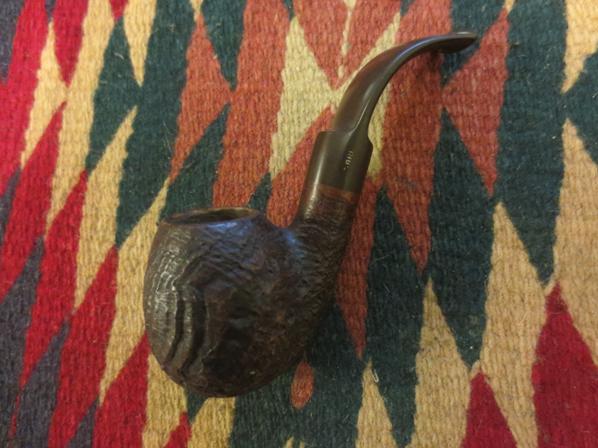
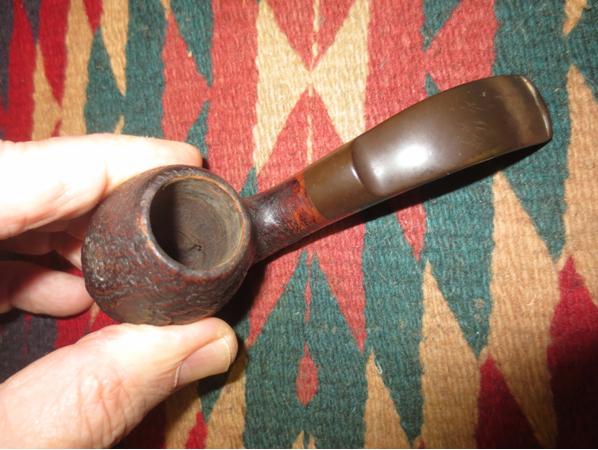
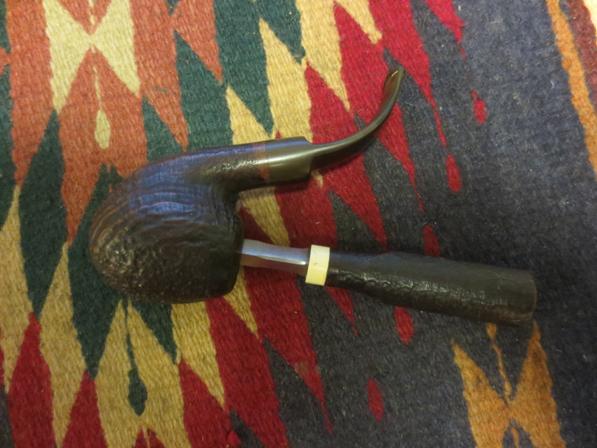
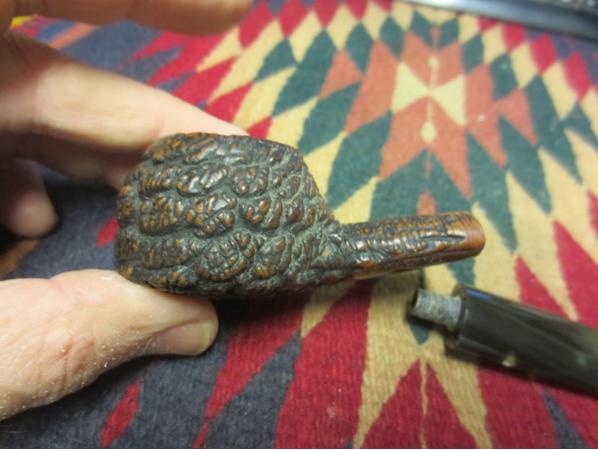
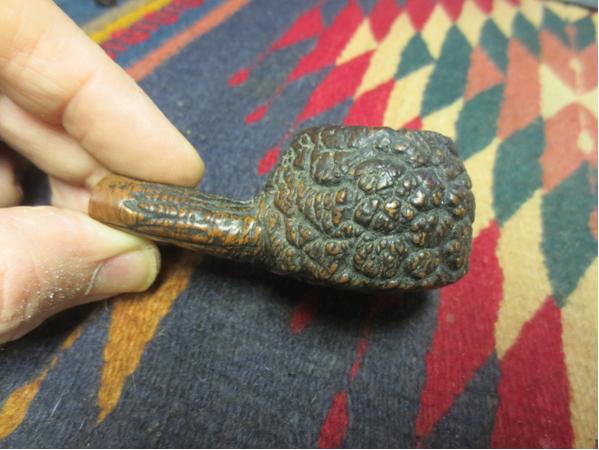
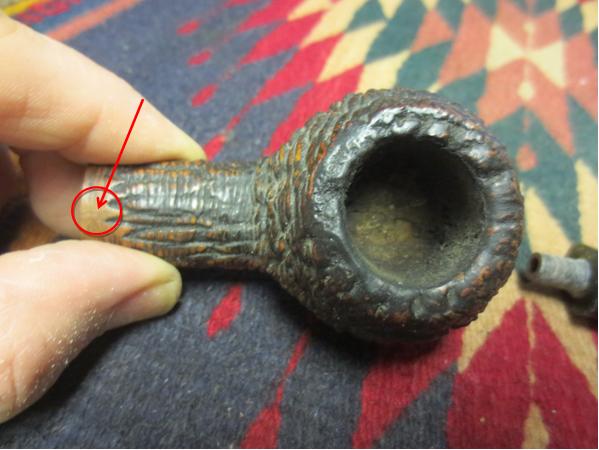
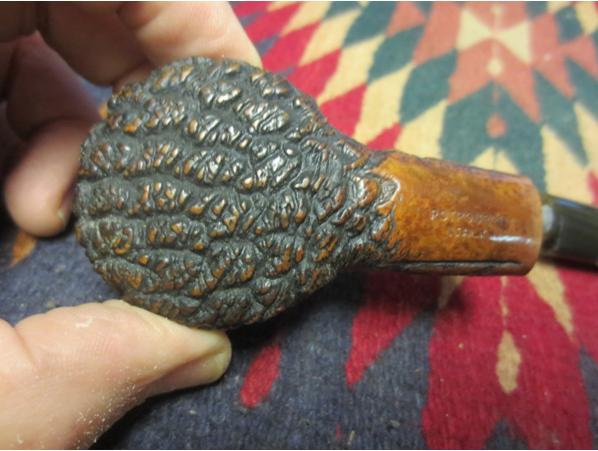
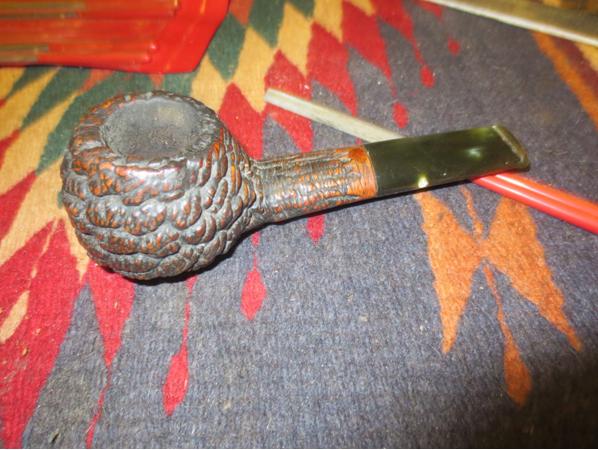
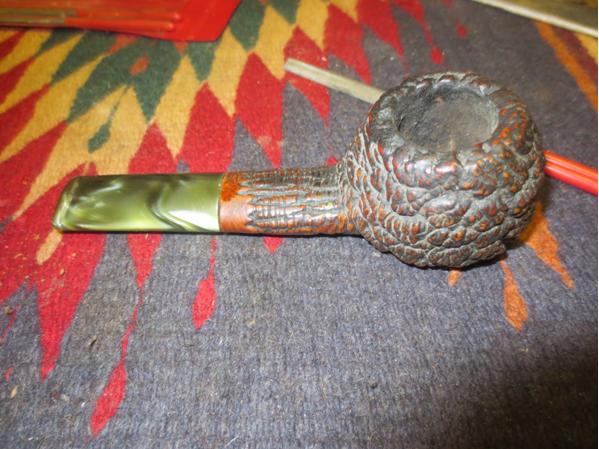
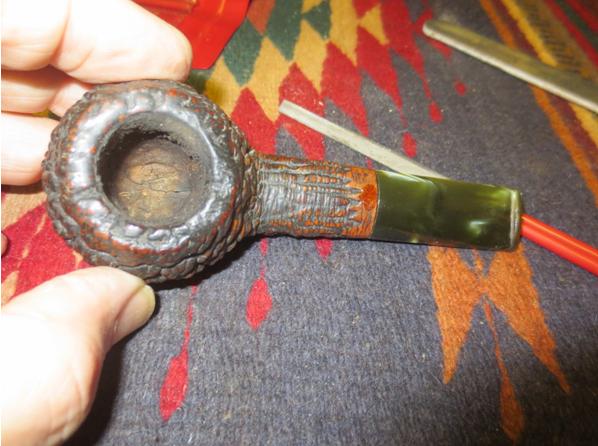
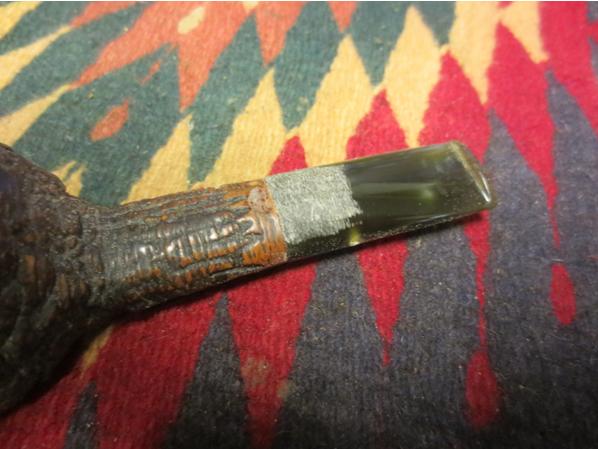
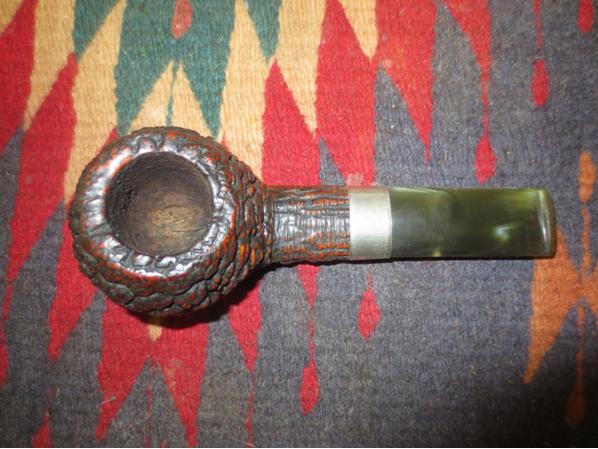
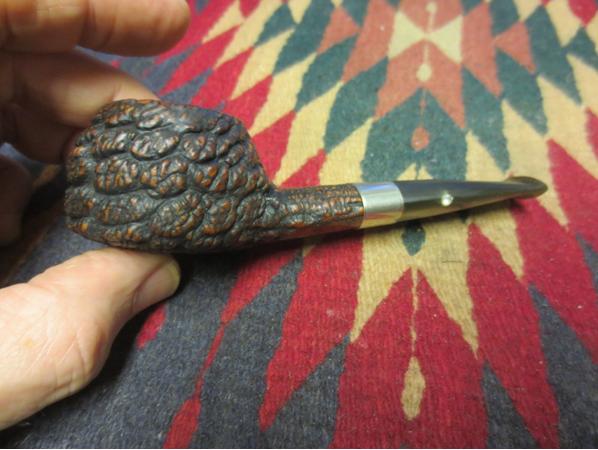
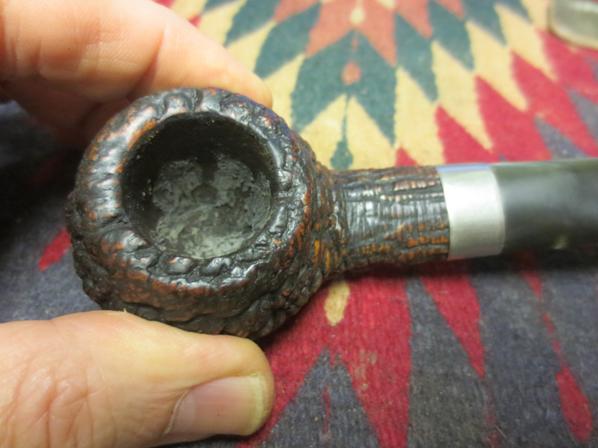
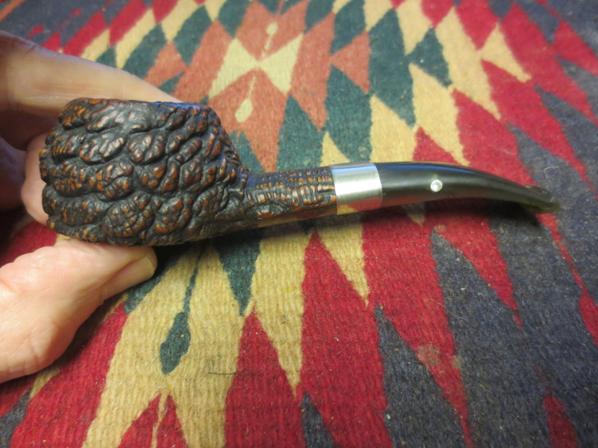
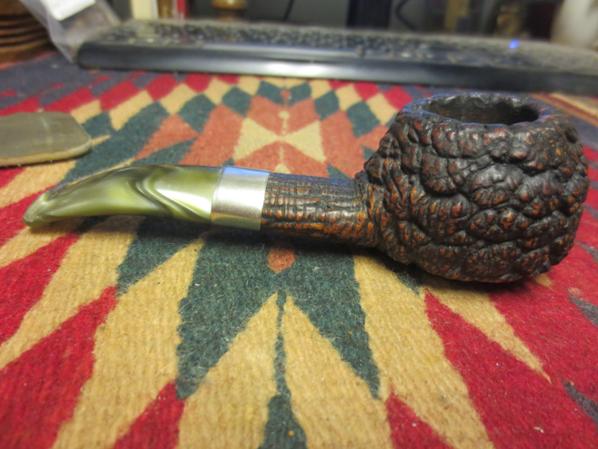
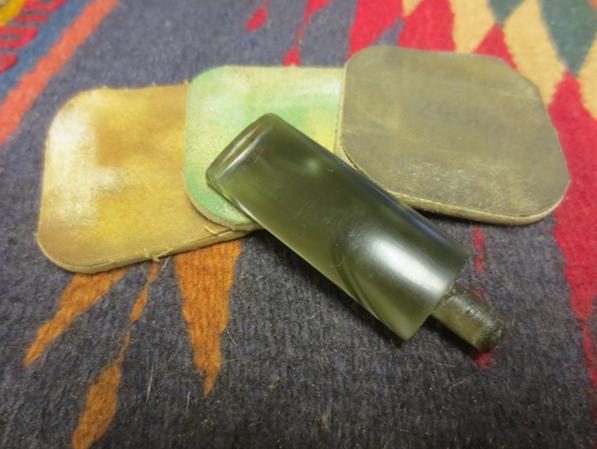
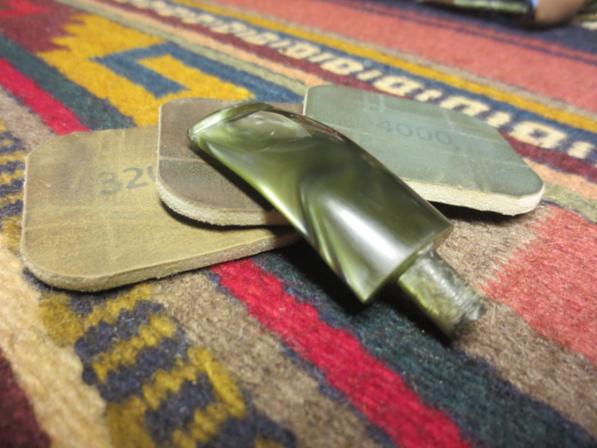
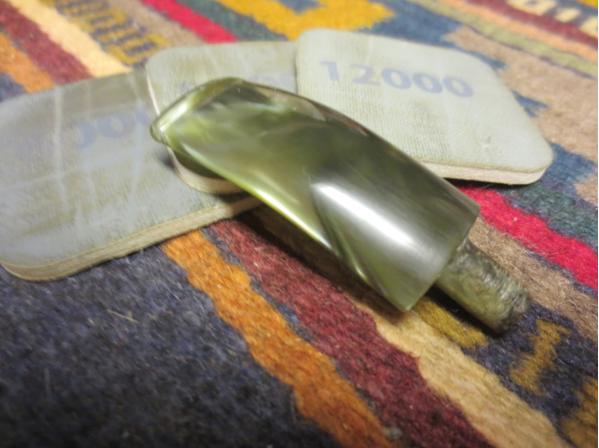
I have a growing box of bowls that came to me without stems. It seems each time I clean it out and restem the pipes I inherit more of them. This is not a complaint as I actually enjoy restemming pipe bowls. It is always a challenge to get a new stem to align properly with the shank and to deal with cracks or damages to the bowl or the shank. This bowl came to me and I immediately fell for the rustic rocklike features of the rustication. It was gnarled and rough looking and felt great in the hand. The bowl was dirty and the deep grooves of the rustication had a lot of dirt and grime build up in them. The rim was caked and the rustication pretty much filled in the grooves making the rim surface smooth. The bowl had a rough cake in it and looked as if someone had started reaming the bowl but did not finish. There were some small fissures like cracks in the sides of the bowl near the entrance of the airway and on the bottom and the top of the airway. Someone had cleaned out the shank so it was not too dirty. There was a small crack on the top of the shank that was about 1/8 long. I could open it slightly with a wedge so it would need to be glued and banded. The pipe showed a lot of promise though and I could see it come alive if I had the correct stem for it.Pot1 Pot2In the photo below there is a small crack barely visible in the middle of the shank end between my fingers. I have circled it with red to focus your eye on it. The tip of the red arrow is on top of the crack in the shank. It extends about 1/8 to ¼ inch.Pot3 Pot4I took a close-up photo of the bowl and rim to give you an idea of the state of things when I started. It is hard to see but at this point I could see some small cracks around the entrance of the airway to the bowl.Pot5I went through my can of stems and found a green acrylic stem that would do the trick on this pipe. It would go well with the rustication and the length and width of the stem would carry through the thickness of the bowl. I sanded the tenon with the Dremel and sanding drum until it was a close fit to the shank. I finished sanding by hand with 220 grit sandpaper. It fit well in terms of the width of the shank but it was slightly thicker on the top and the bottom where it met the shank. I was careful inserting it as I did not want to crack the shank further.Pot6 Pot7 Pot8I used the Dremel and sanding drum to remove much of the excess thickness on the top and the bottom of the stem at the shank junction. I do this carefully with the stem in place in the shank so that I can get it as close as possible without damaging the finish on the shank. You can see in the next two photos that the junction is pretty smooth now and the thickness is almost a match.Pot9 Pot10I finished the fit with a file and took off the remaining thickness that had to go. I also used the file to remove the tooth indentations on both sides of the stem near the button.Pot11 Pot12With the fit nearly perfect it was time to sand out the filing marks and smooth out the stem. I have a medium grit sanding stick that works perfect for this application and I sanded with it until all of the file marks were gone and the transition between the shank and the stem was smooth.Pot13 Pot14With the stem fit roughed in I turned my attention to the bowl and shank. I wanted to have the shank and bowl clean so I could deal with the repairs to the airway in the bowl and the crack on the top of the shank. I reamed the bowl with a PipNet reamer using the largest cutting head. I cleaned up the remaining cake with the Savinelli Pipe Knife.Pot15 Pot16I scrubbed the exterior of the bowl with Murphy’s Oil Soap and a tooth brush on the sides, shank and the bowl of the bowl. I scrubbed the rim with a brass bristle brush until all of the lava that filled the rustication was gone.Pot17I rinsed off the soap with warm water and dried the bowl with a soft towel. The cleaned and reamed pipe is shown in the photo below.Pot18With the bowl reamed and the finish clean I turned to the internals. I cleaned out the mortise and airway into the bowl with pipe cleaners, cotton swabs and alcohol. It did not take too much to clean out the pipe. I cleaned the stem the same way and used a dental pick to clean up the slot in the end of the button.Pot19 Pot20I lightly sanded the crack on the top of the shank and spread it open with a dental pick. I used a tooth pick to push super glue into the crack and then held the crack together until the glue set. Once it was dry I found a round band that had the right circumference to fit the shank and heated it with a lighter and pressed it onto the shank of the pipe.Pot21 Pot22With shank repair complete and the bowl cleaned and ready I put the stem in place in the shank and took some photos of the pipe. I really liked the look of the band breaking up the rustic bowl and the smooth green stem. The band fit perfectly and did not cover the stamping on the underside of the shank. I still needed to sand the stem some more to get a shine but you can see what the pipe will look like at this point. Pot23 Pot24I mixed a batch of pipe mud (cigar ash and water) and used a dental spatula to apply it to the bottom of the bowl. I inserted a pipe cleaner in the airway and used the spatula to apply the mud to the small cracks and fissures around the airway. Once the mud cured the pipe bowl would be in good shape until a new cake was built.Pot25I heated the stem in a cup of water in the microwave until it was pliable and then put a gentle bend in it to give it a more elegant look and comfortable feel.Pot26 Pot27I wet sanded the stem with 1500-2400 grit micromesh sanding pads to remove the scratches. I dry sanded with 3200-4000 grit pads and then finished with 6000-12000 grit pads. I rubbed away the sanding dust with a damp cloth.Pot28 Pot29 Pot30I gave the pipe a light buff with Blue Diamond on the wheel to bring some deep shine to the stem. I then gave the stem several coats of carnauba wax and buffed it with a clean buffing pad. I finished by hand buffing it with a microfibre cloth. The finished pipe is shown in the photos below. The green acrylic stem works well with the rough finish on the bowl. I like the finished look. What do think? Thanks for looking.Pot31 Pot32 Pot33 Pot34