Blog by Bill Hein
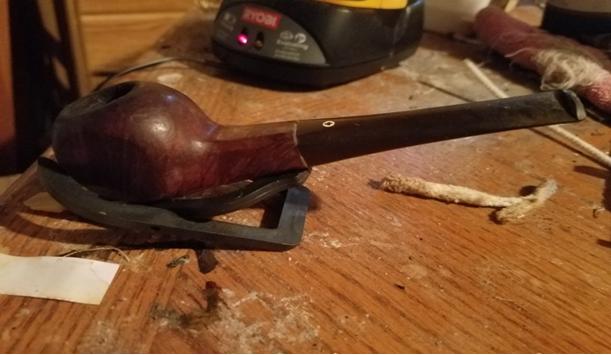
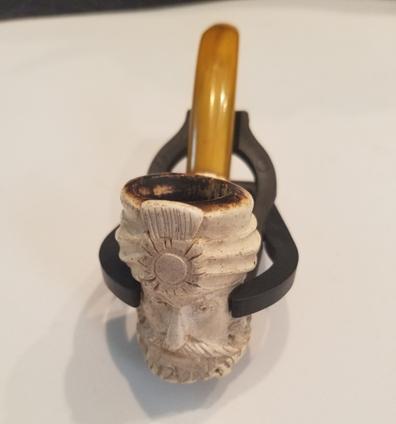 I don’t remember exactly how I got this pipe. I believe it came in a lot off of ebay. I had taken it to show a friend of mine and tossed it in my glovebox. That was a few months ago and I just recently refound it. This guy was treated pretty rough. It was scratched, had some cracks in the shank, and the bowl is actually a bit out of round which I have never seen in a meerschaum before.
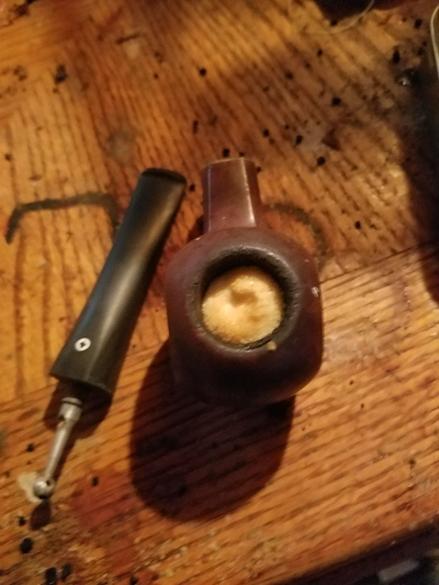
Tearing it apart, I found the tenon was metal, again something I haven’t seen on a meerschaum before. I sanded out the cake in the bowl and took a wire brush to the tenon to knock all the crud off. I decided not to mess with the crack as the metal shank looked like it went past the cracks and they didn’t seem to be growing. I figure the glue holding the tenon is also stopping the cracks from getting worse. I couldn’t really do anything about the bowl roundness or I would have lost the top of the turban.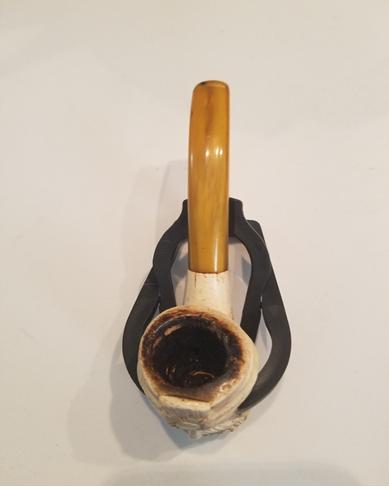 I took the stem off and cleaned the airway with both bristled and soft pipe cleaners and alcohol until they came out clean. The threads inside the stem were pretty full of gunk. I used q tips and alcohol to clean them up as best as I could. I did the same with the shank. I also dampened a paper towel with alcohol and wiped the inside of the bowl. It helps to take the old pipe smell out of the bowl. I then wet sanded the stem with 1500 and 2000 grit sandpaper to polish it up a bit.
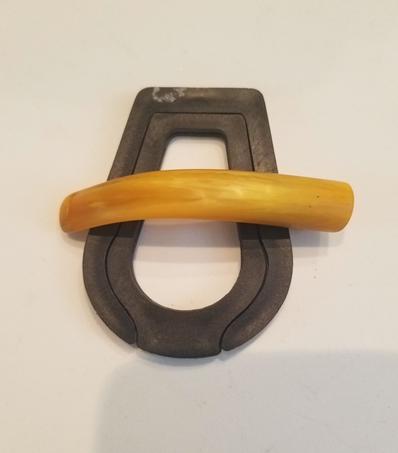 I set the stem aside and prepared the outside of the bowl for cleaning. I filled a pot with water and set in a jar of my home wax. It’s a mixture of beeswax and medical grade mineral oil. It’s good for many things. I use it on stems as well as my wooden pipe stands and cutting boards (You could use straight beeswax but this mix is what I had on hand). I also set my oven to 170 degrees Fahrenheit. While I waited for the wax to melt and oven to heat up I started cleaning the outside of the bowl. I poured a bit of rubbing alcohol in a small bowl and using a toothbrush, cotton balls, and qtips I scrubbed all the nooks and crannies on the outside of the bowl. Not only does this get the old wax off but much of the grime as well.
I then put the bowl upside down in the oven for 10 minutes. I wanted to warm the bowl and open the pores.  I pulled out the bowl and stuffed a cotton ball in it. Paper towels also will work. I also put a pipe cleaner in the shank to use as a handle. I then dipped the pipe in the melted wax mixture. The cotton ball doesn’t keep all the wax out but it helps. I let the excess wax drip off and then put the bowl back in the oven. Again I placed it upside down.
 I let the bowl bake for another 10 minutes to allow the wax to seep into the bowl. I removed it from the oven and hand buffed it with my wax mixture and a microfiber cloth. Finally I took the stem to the buffer and gave it a coat of carnauba wax.
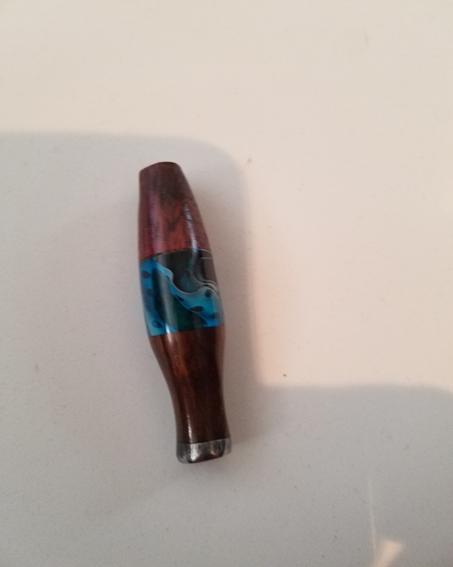
 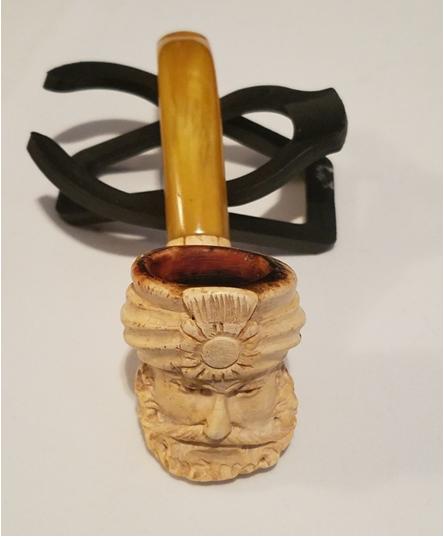 In this final picture you can see the re waxing darkened the bowl a bit. I have found many times this will bring out hidden colors or darken the colors already shown on the outside of the pipe. I do this to just about every meerschaum pipe I come across.