Blog by Steve Laug
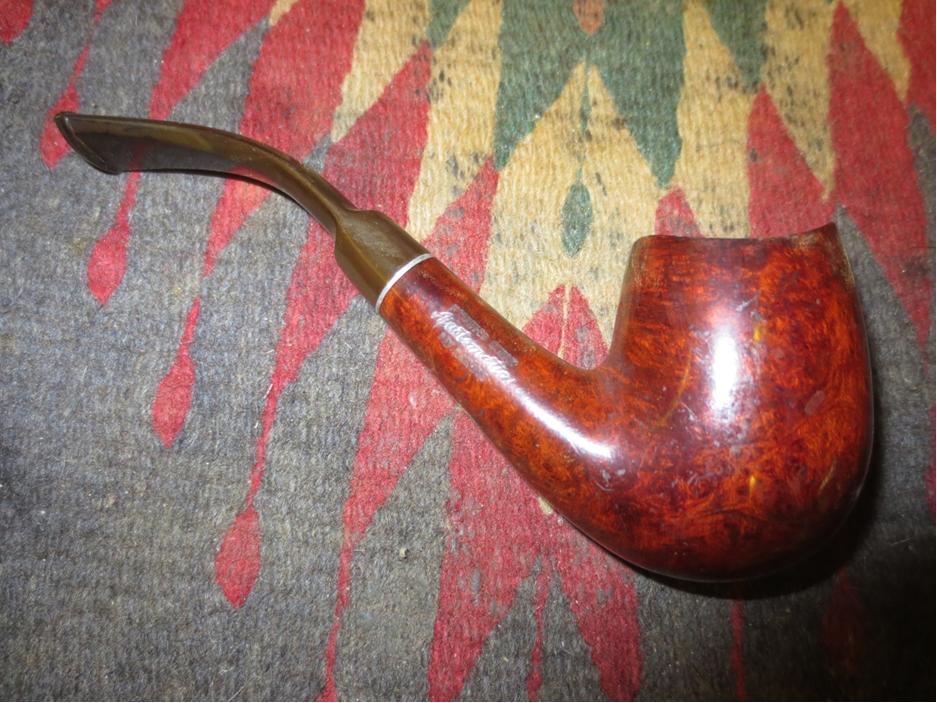
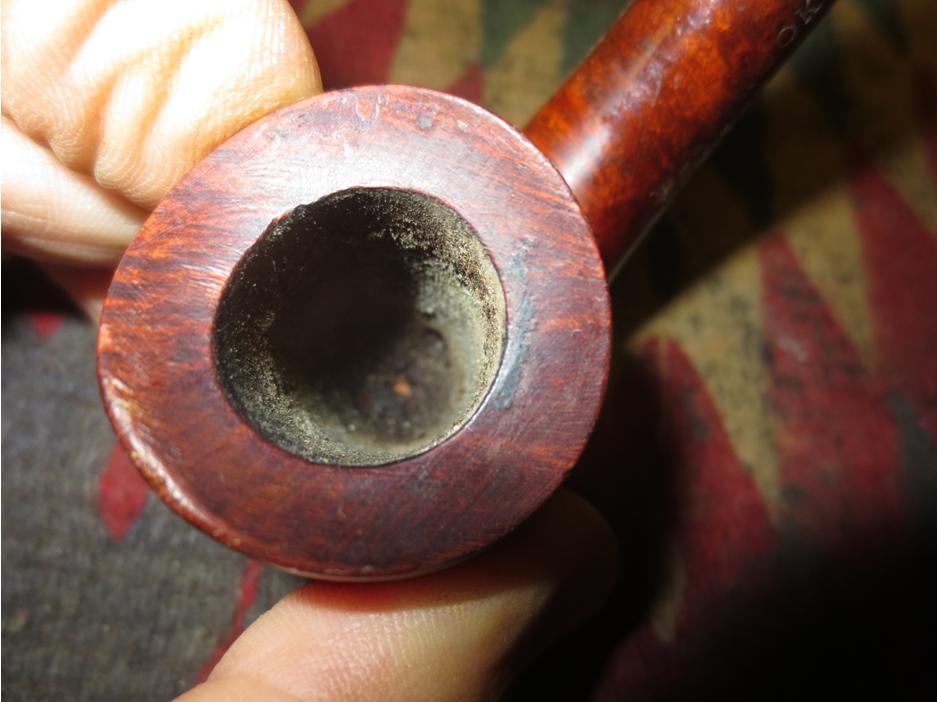
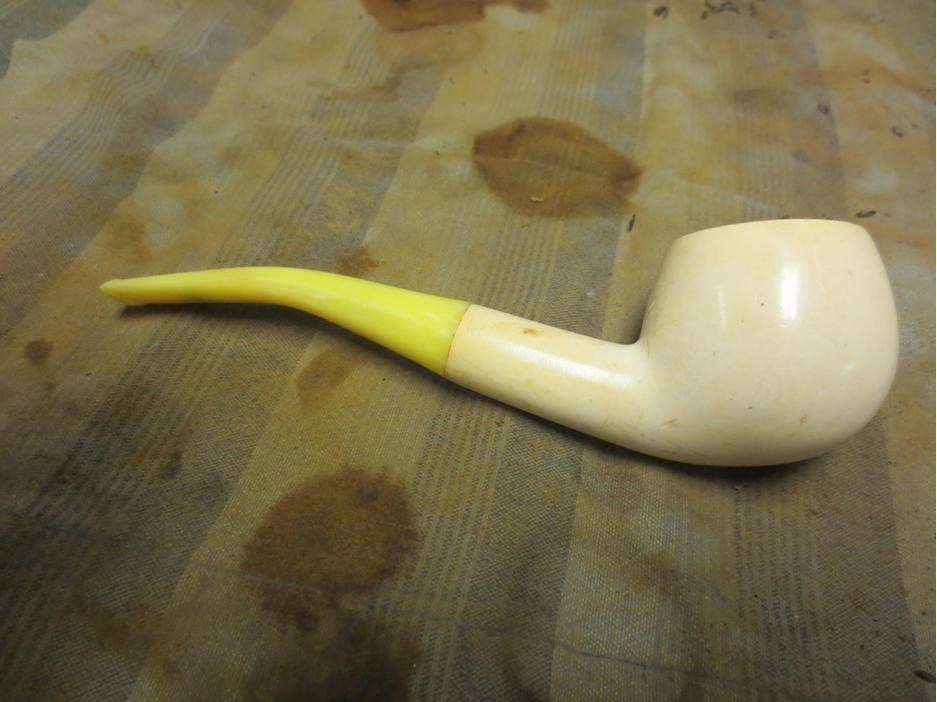
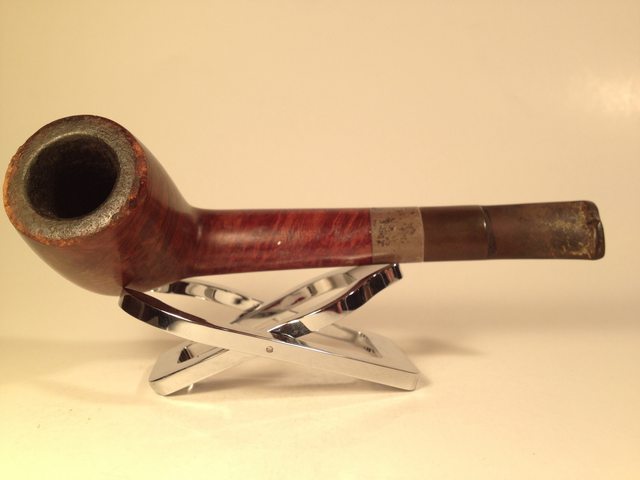
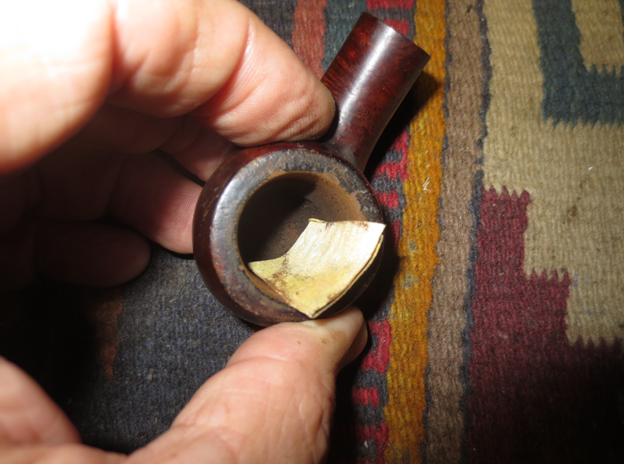
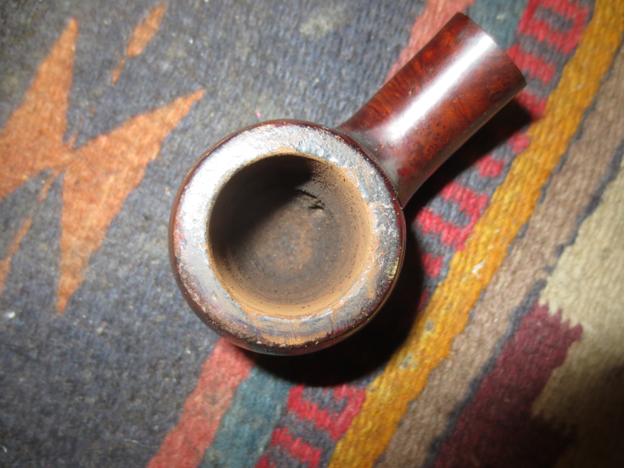
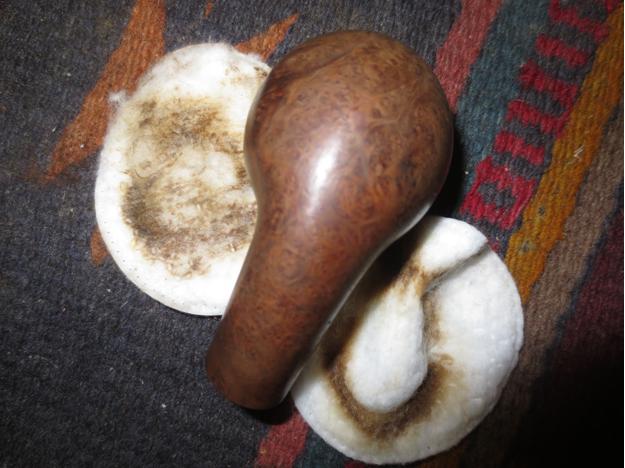
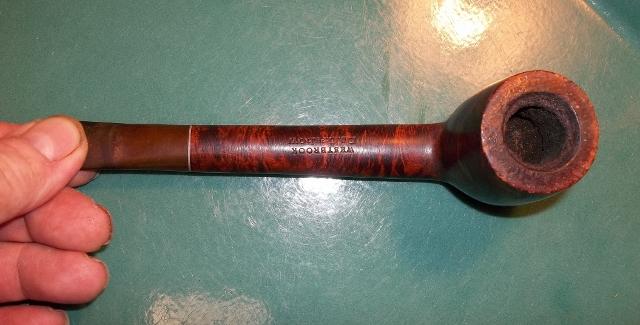
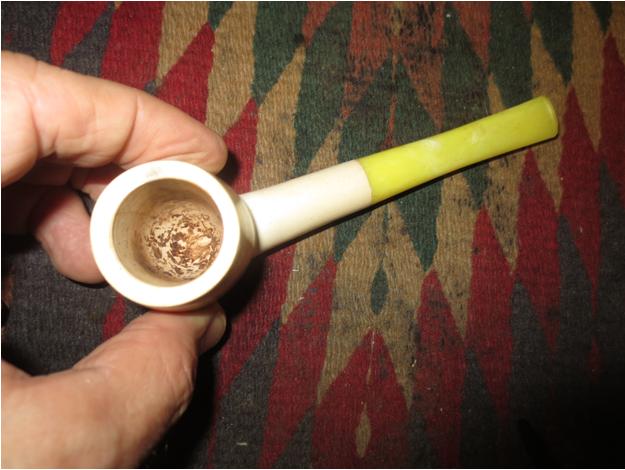
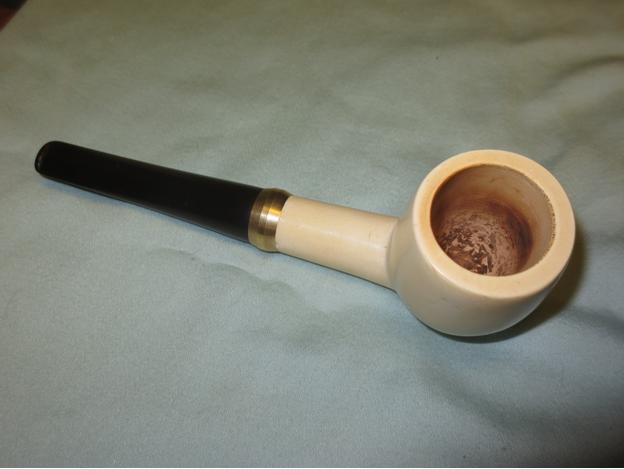
In the box of pipes to experiment with and refurbish as I can I had the mate to the little meerschaum apple that I restored a few days ago. https://rebornpipes.com/2015/08/28/prom-night-dressing-up-a-cheap-meerschaum-apple/ This one is a Meerschaum billiard. It had the same plastic (nylon) stem (it is not acrylic – way too soft). It had been smoked about the same amount as the other one – in fact the detritus in the bowl was identical. The stem had a crack on the underside from the button forward about 1 ½ inches. The finish had some dings and scratches in the surface but was very redeemable. I thought since I had to restem it anyway I might as well make it a match to the apple.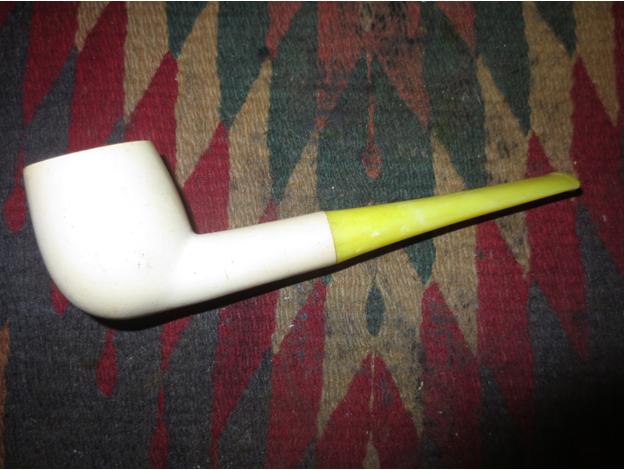
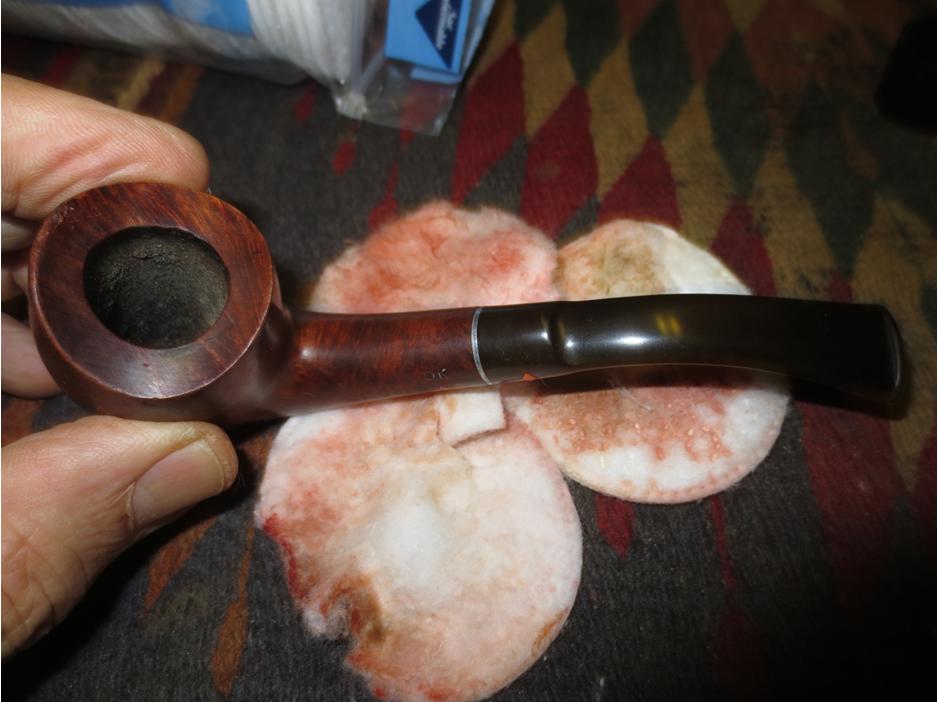
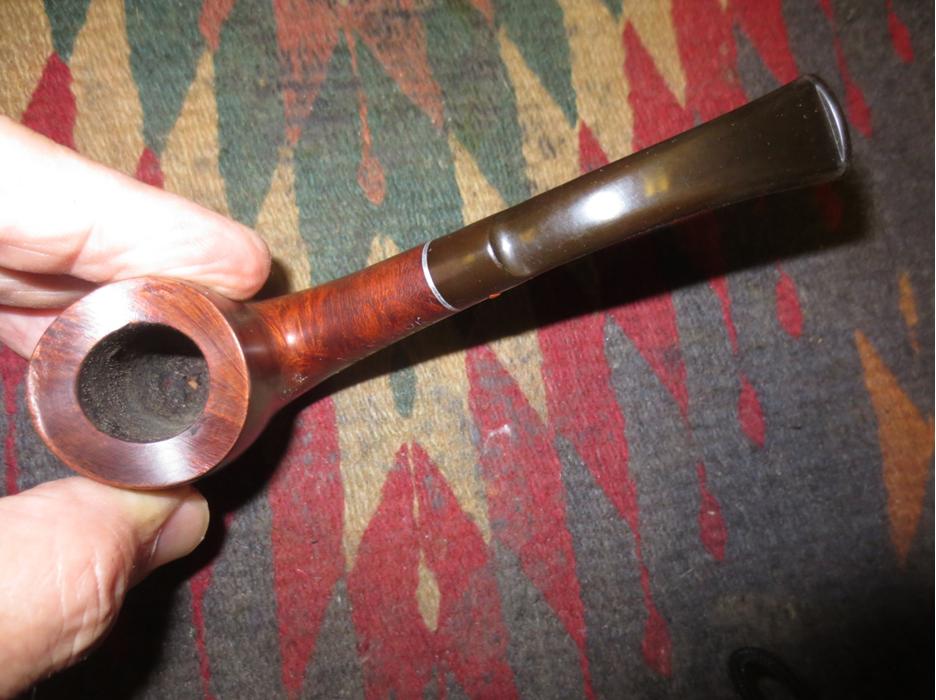
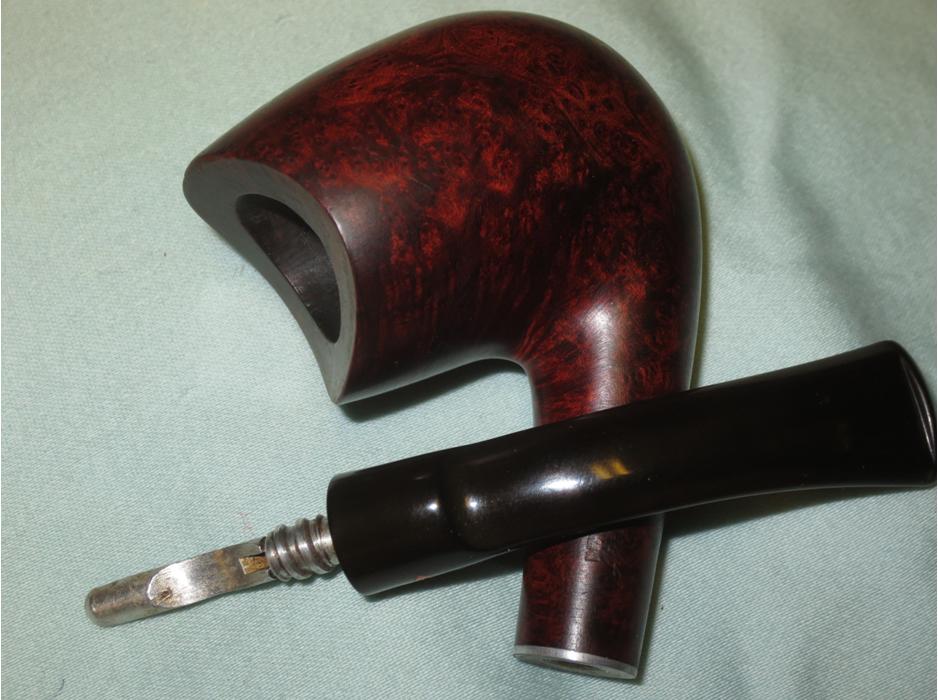
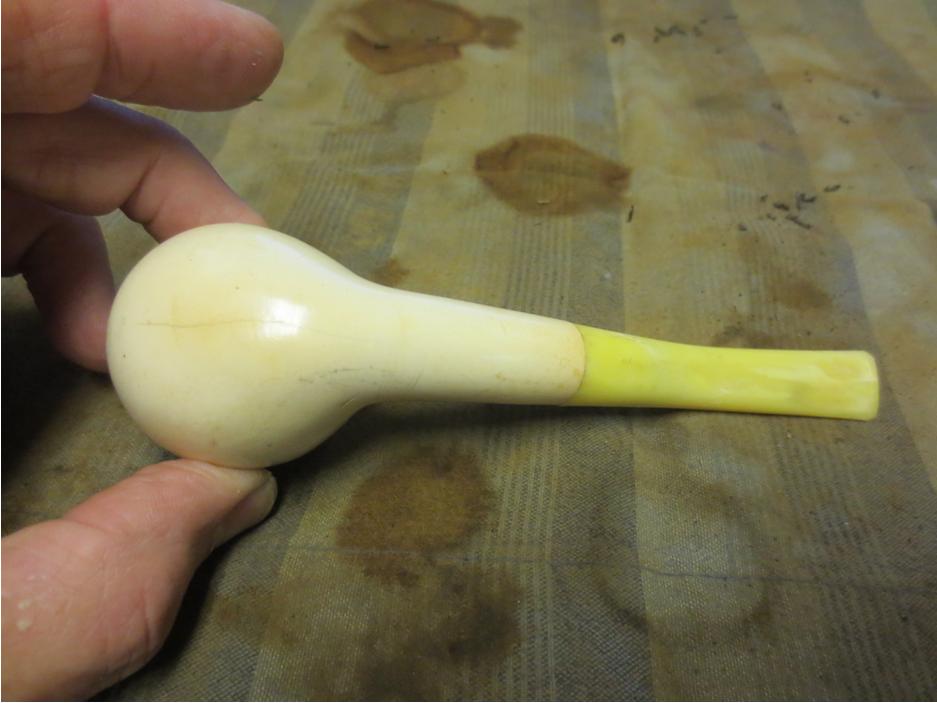
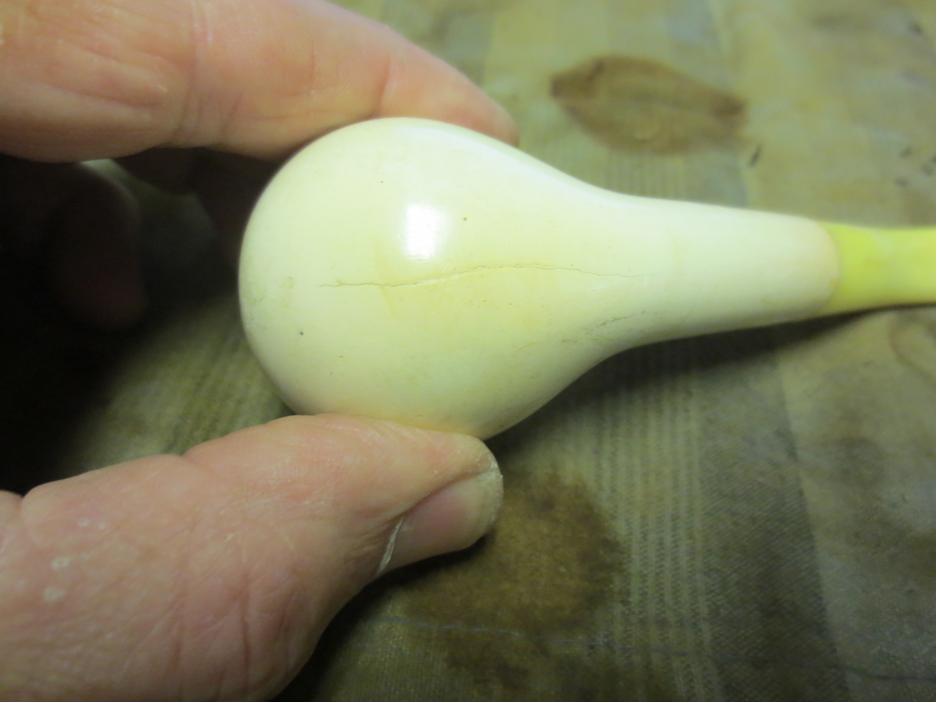
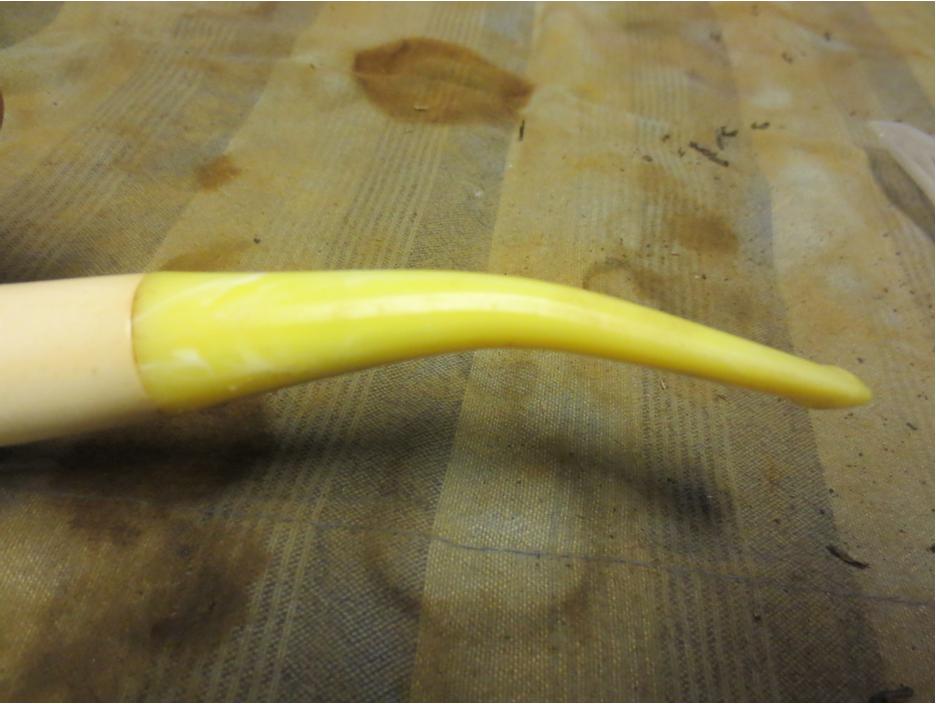
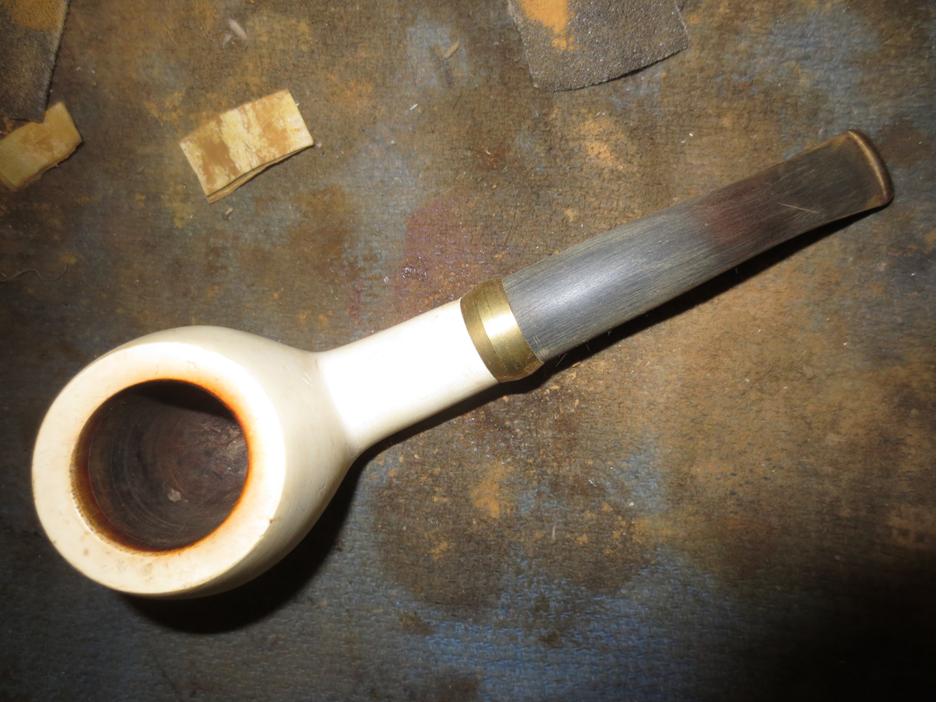
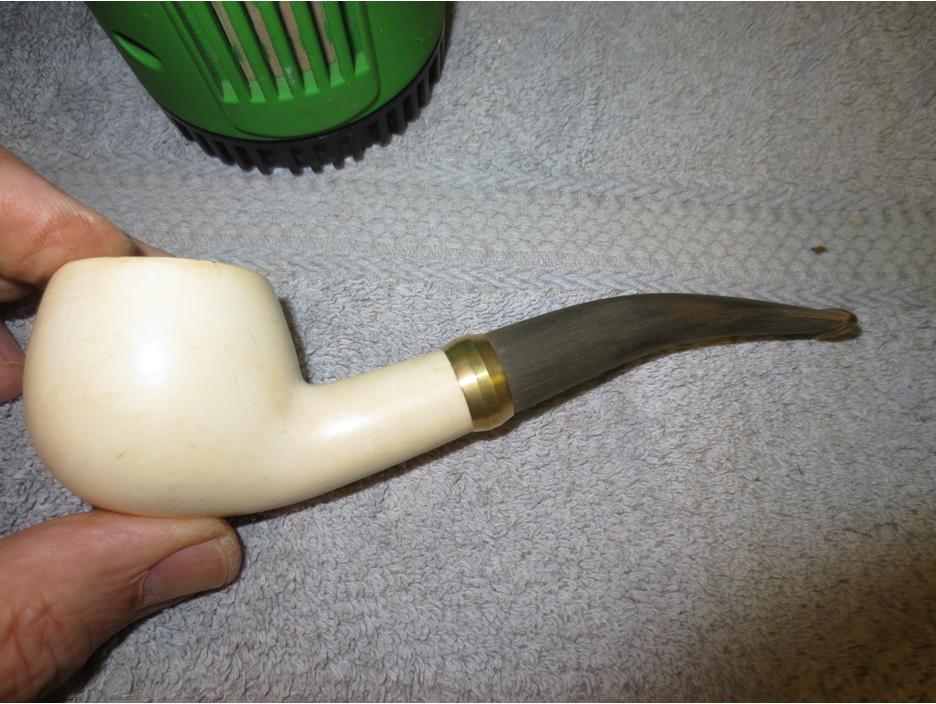
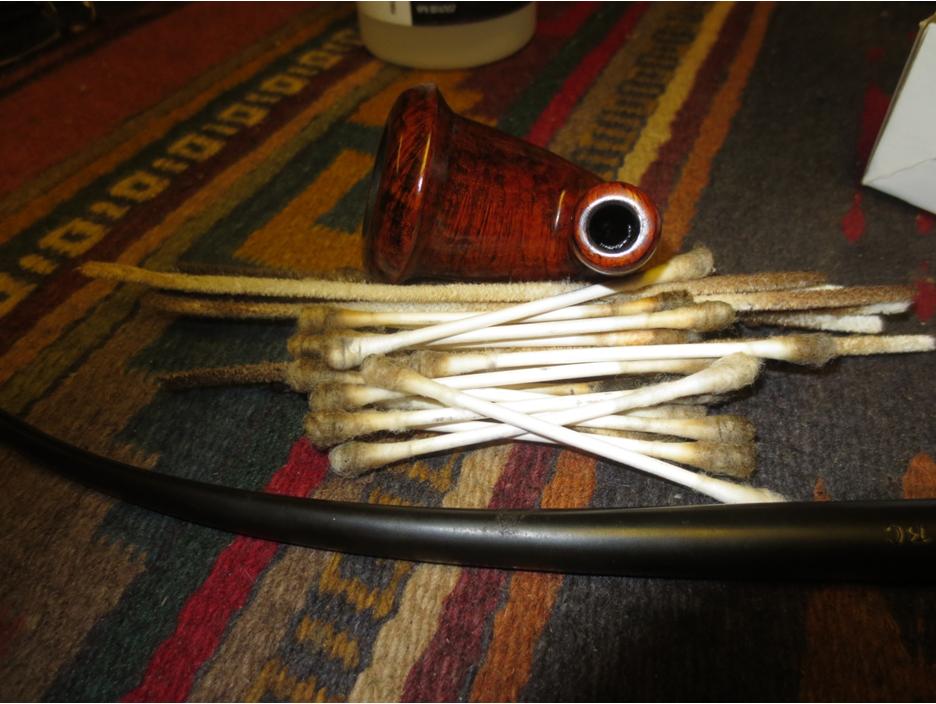
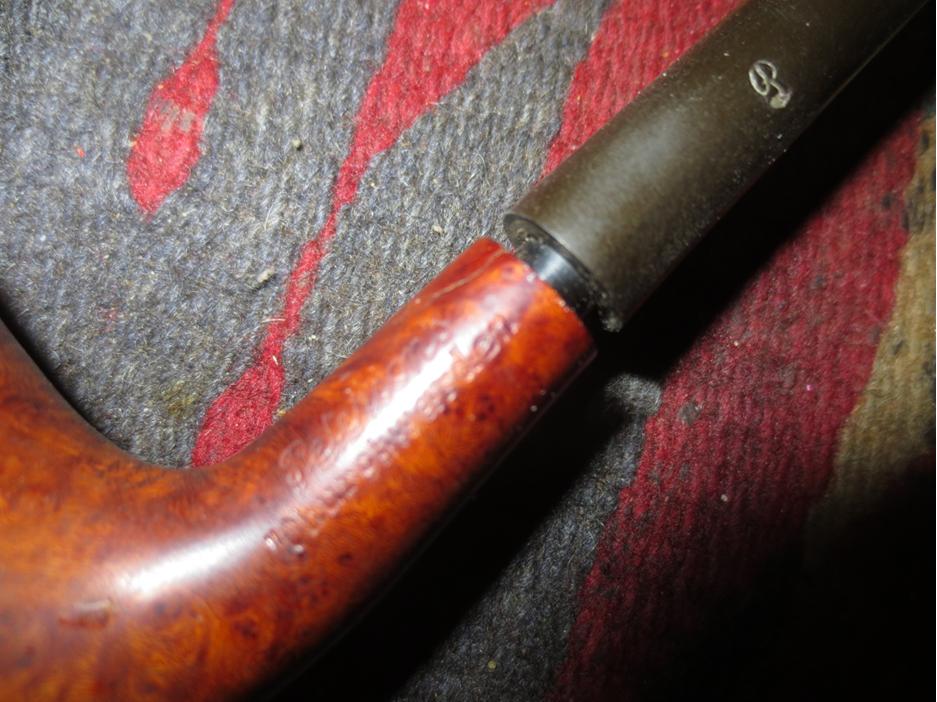
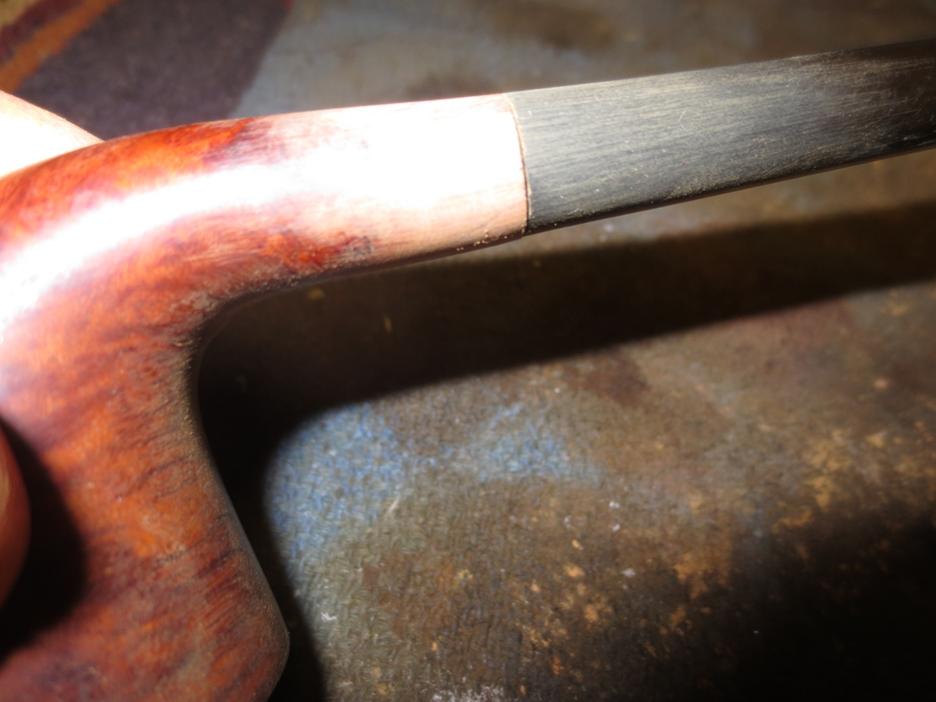
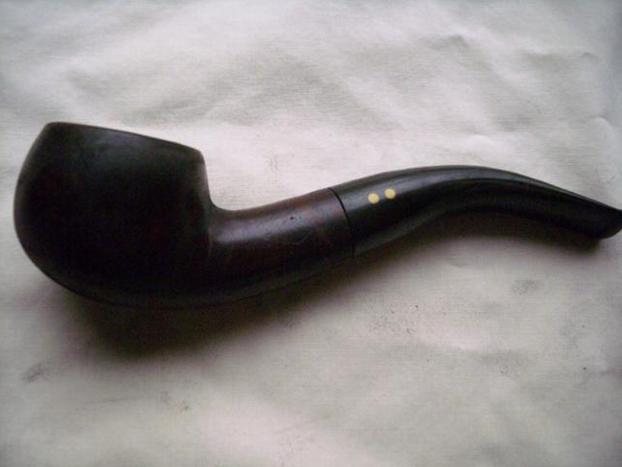
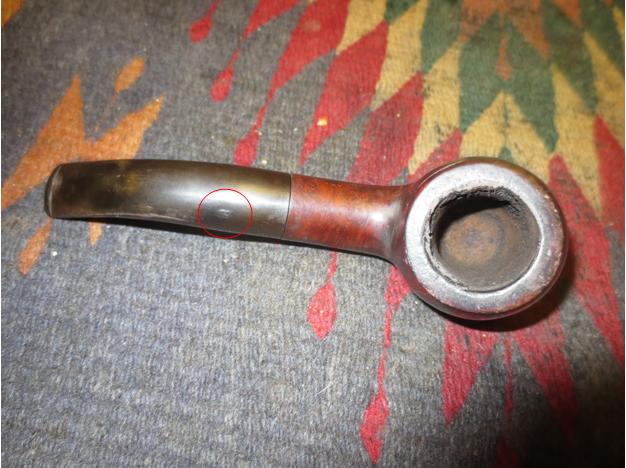
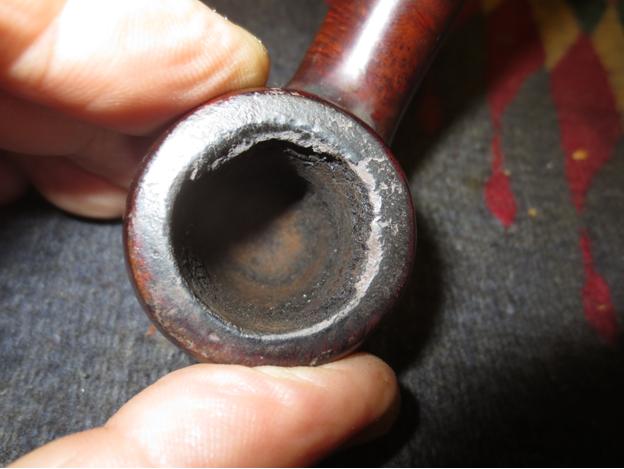
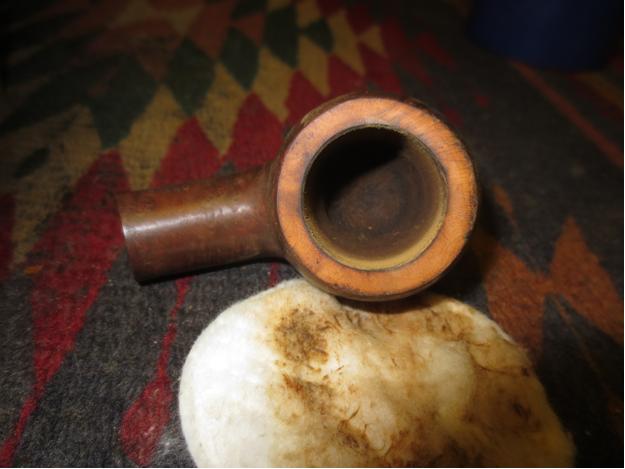
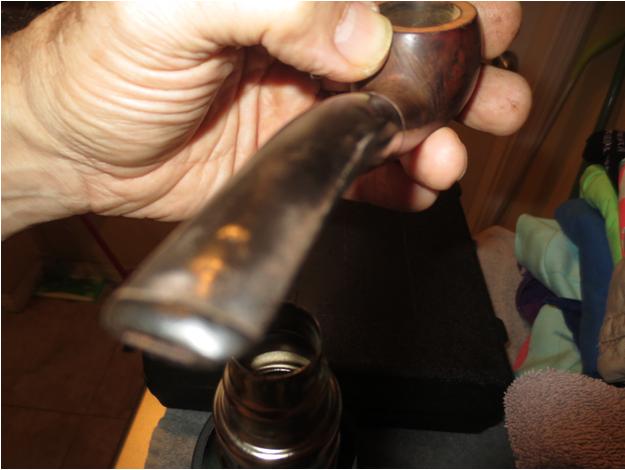
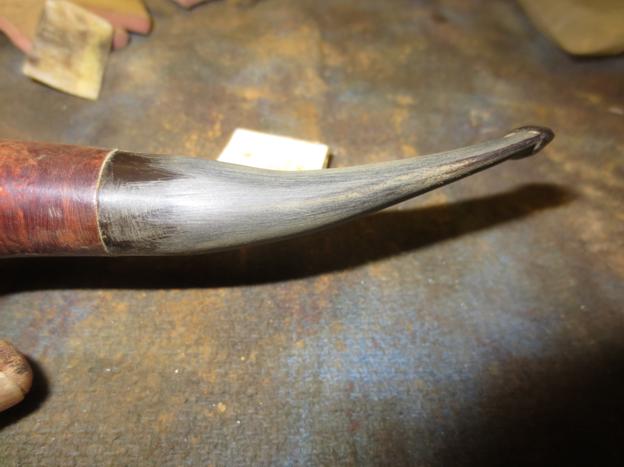
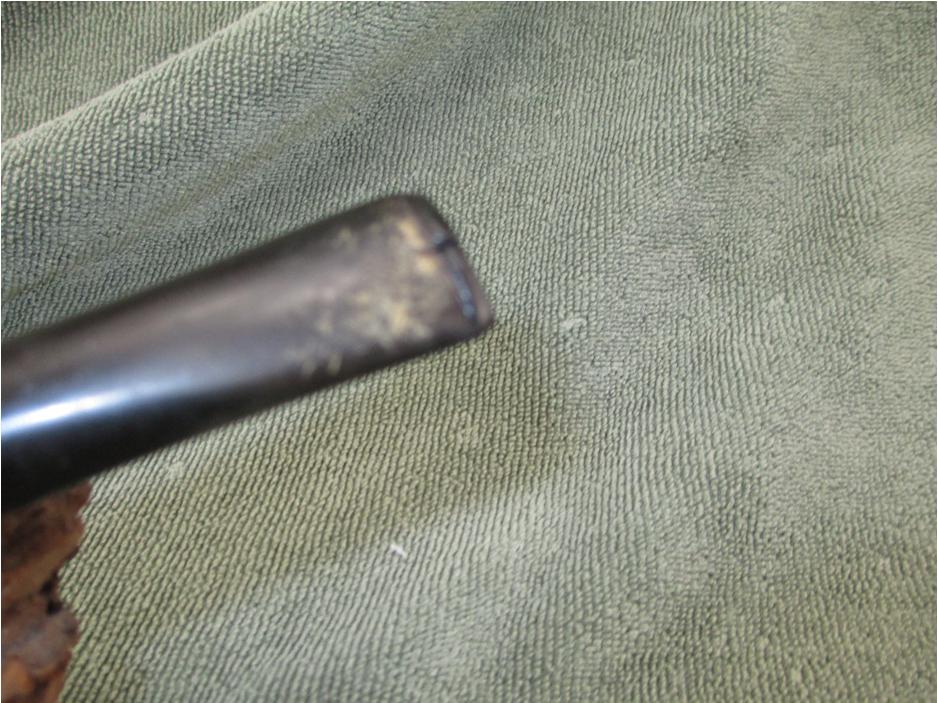
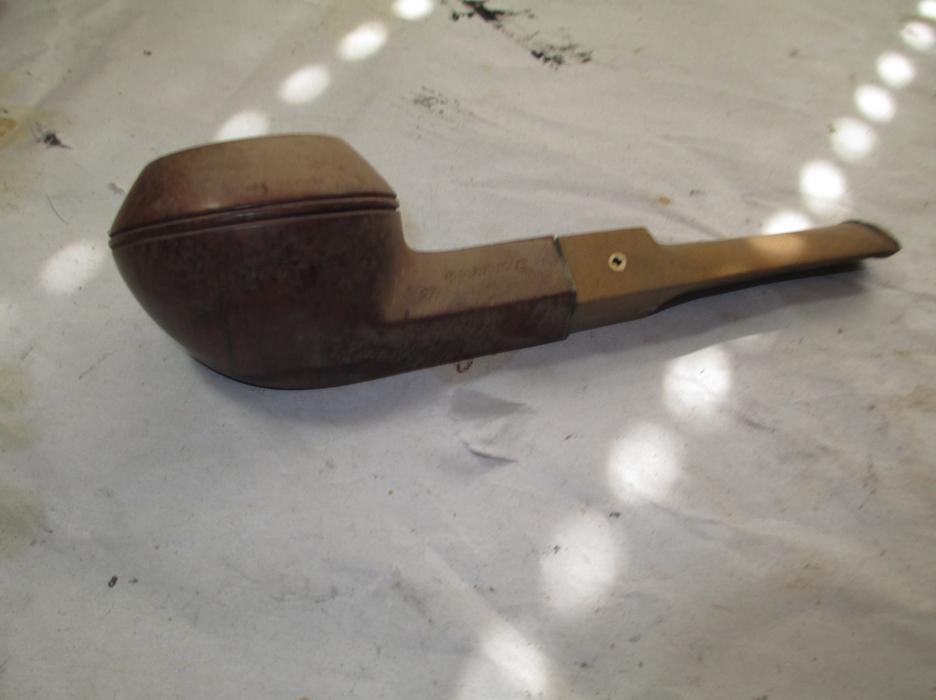
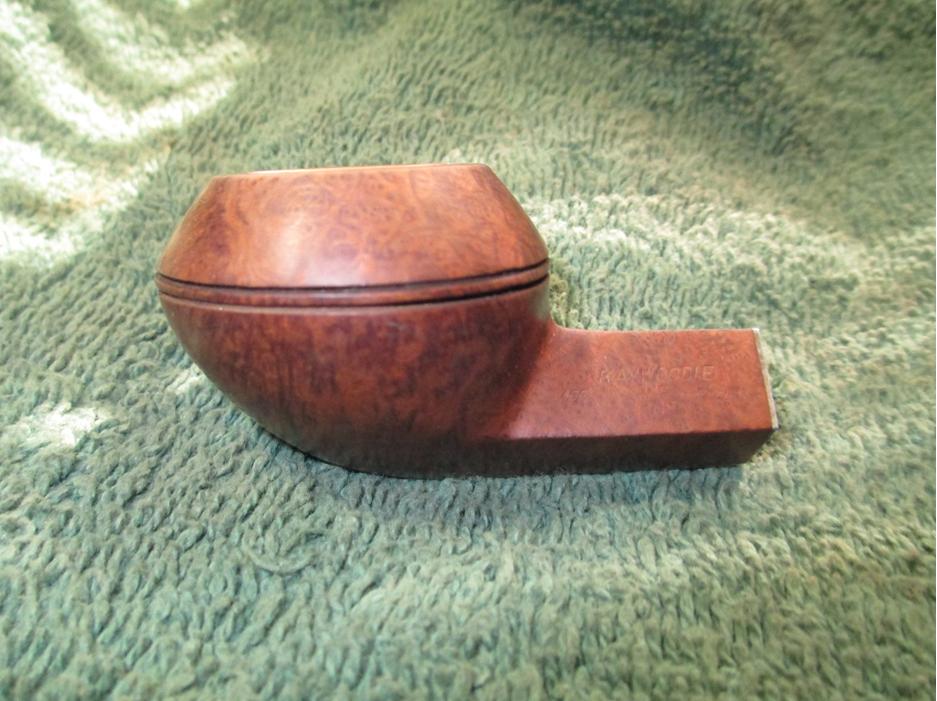
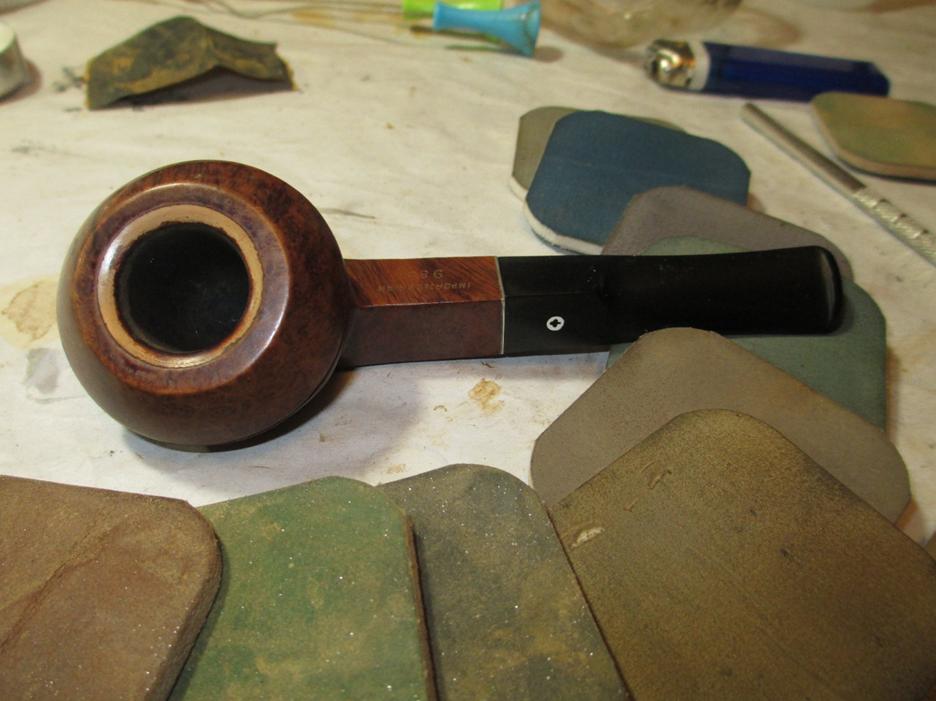
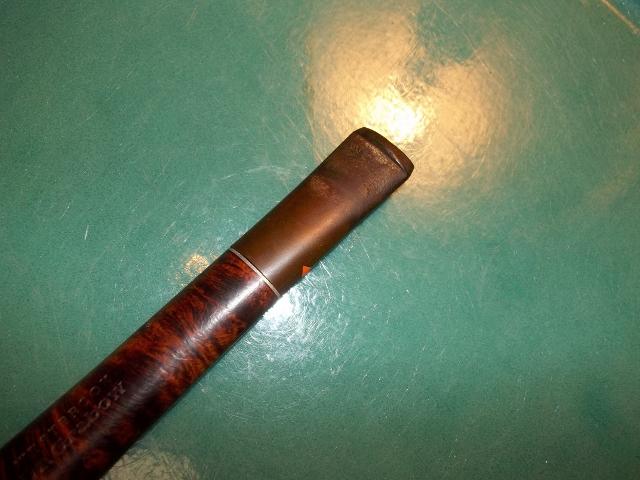
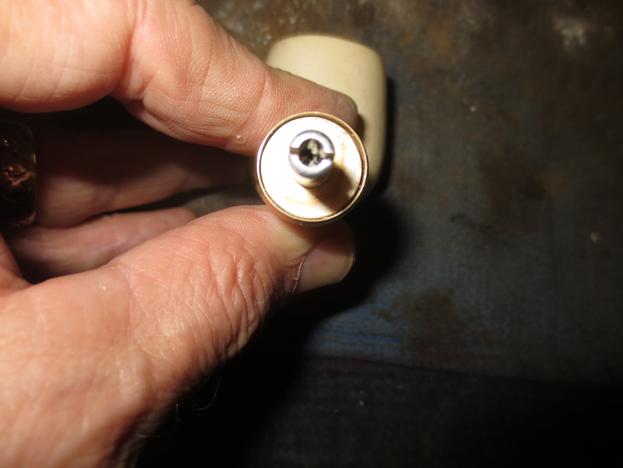
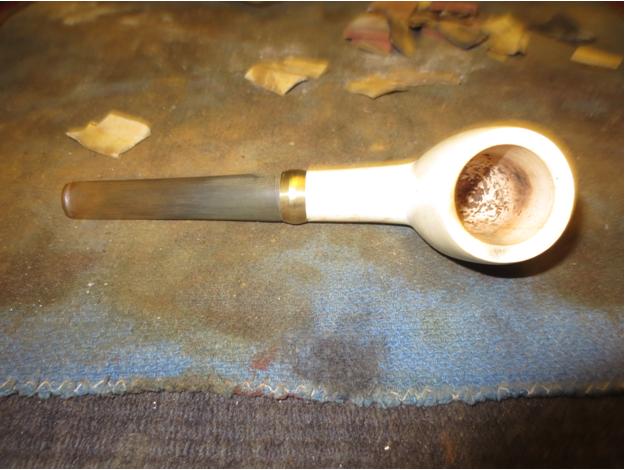
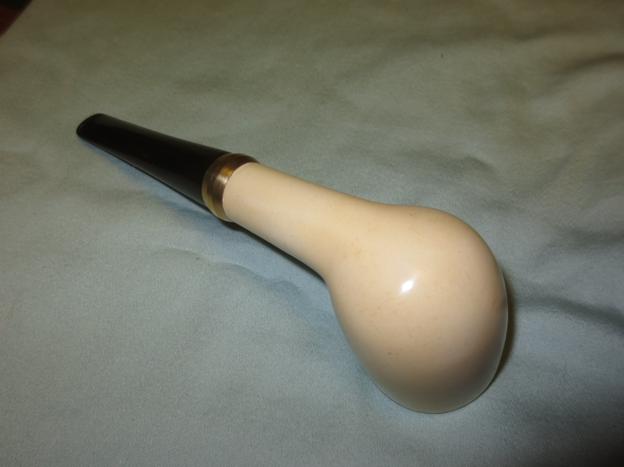
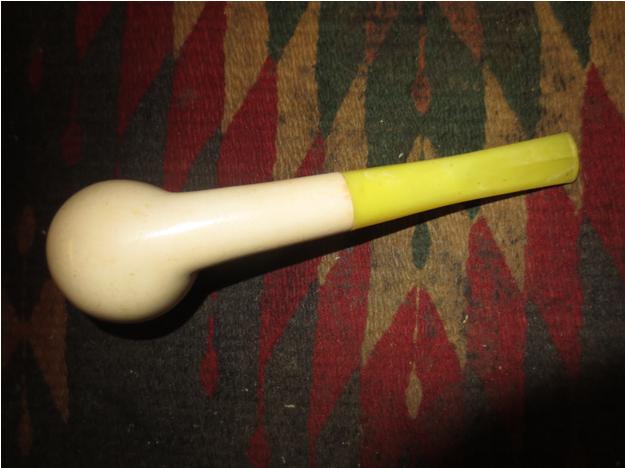 I took the next close-up photo to show the fit of the stem to the shank and also the crack in the underside.
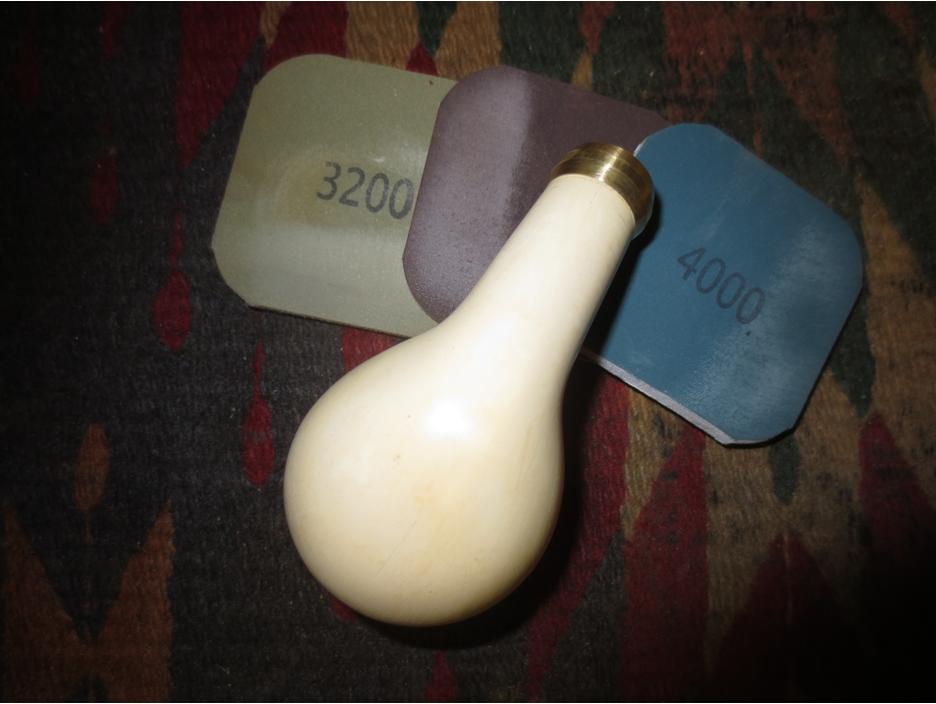
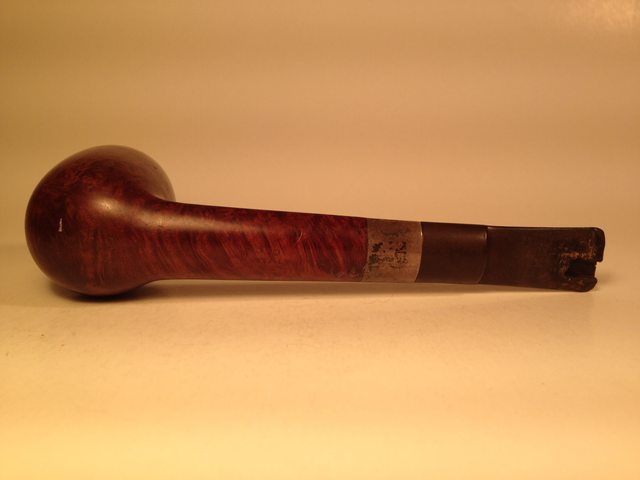
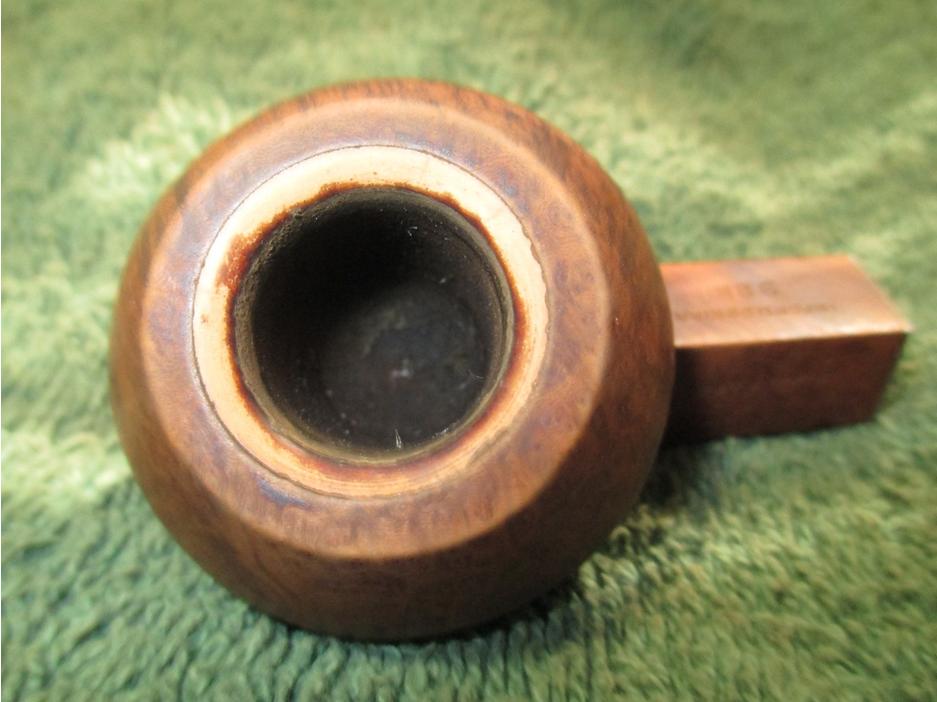
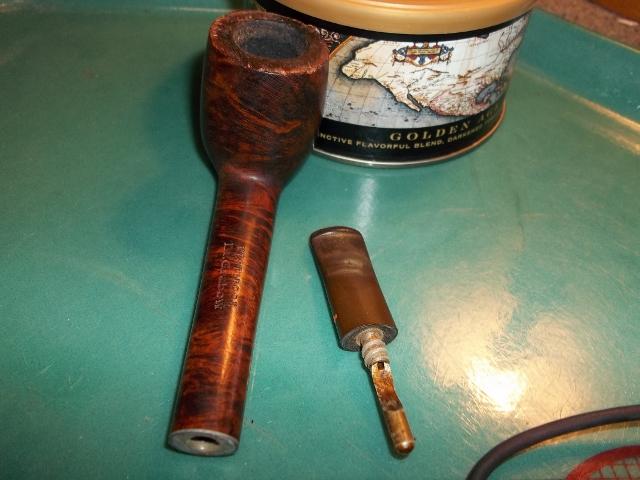
 The next series of photos show the brass band that I chose to put on this one to match the other. It is a pressure ferrule and I have used them a lot in the past as they make a great looking band. Sometimes I grind out the rings and other times I leave them as I did in this case. Note the different tenon set up on this stem. The other stem had been drill out and the shank had a Delrin insert to accommodate a push stem. This one has a stainless steel tube glued solidly in the shank of the pipe. I heated it and pulled it but I am not able to remove it so I decided to leave it alone.
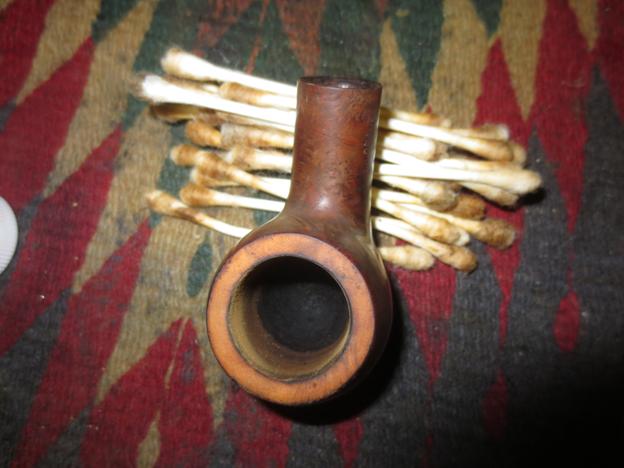
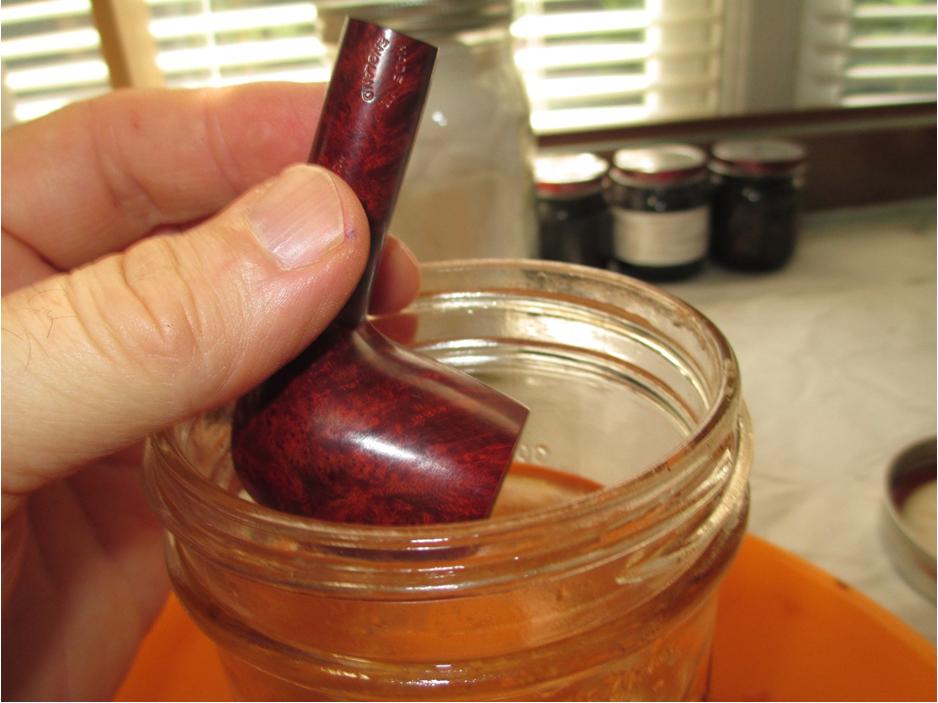
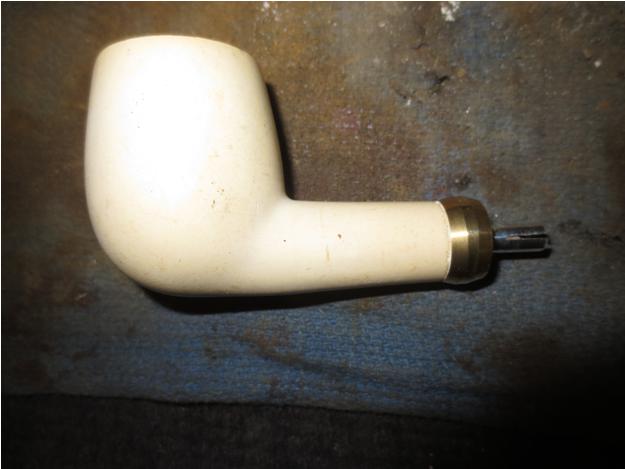
To make the shank ready for the band I needed to sand it back the width of the band. I used 220 grit sandpaper and carefully worked it back evenly to make fitting the band simpler. My normal pressure fit method of pressing a band would need to be modified on this one because of the metal tenon locked in the shank. It would still work but just need modification. I heated the band with a lighter and then pressed in place a little bit at a time working my way around the tenon.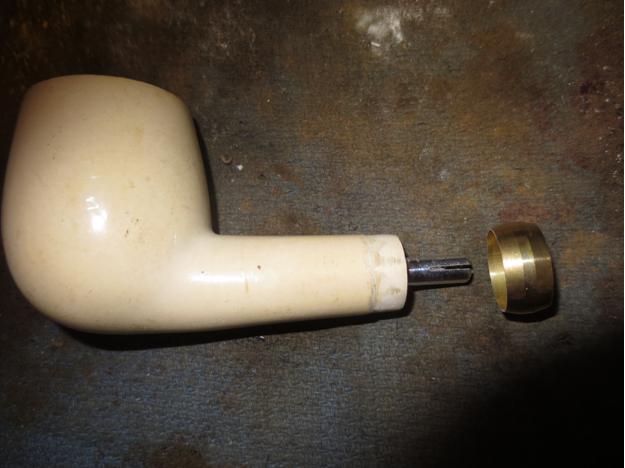
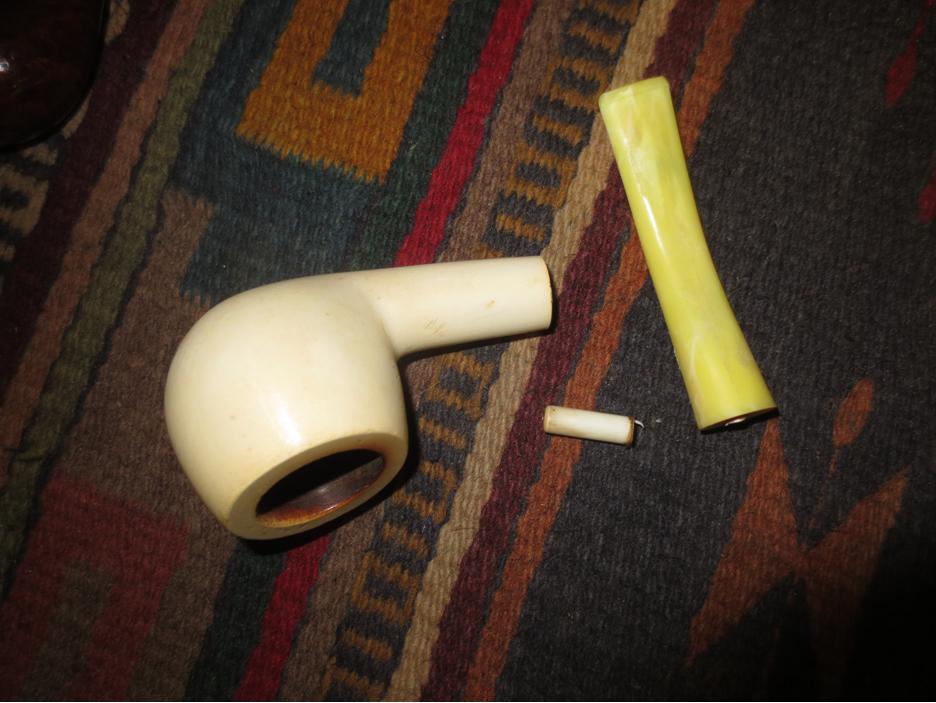
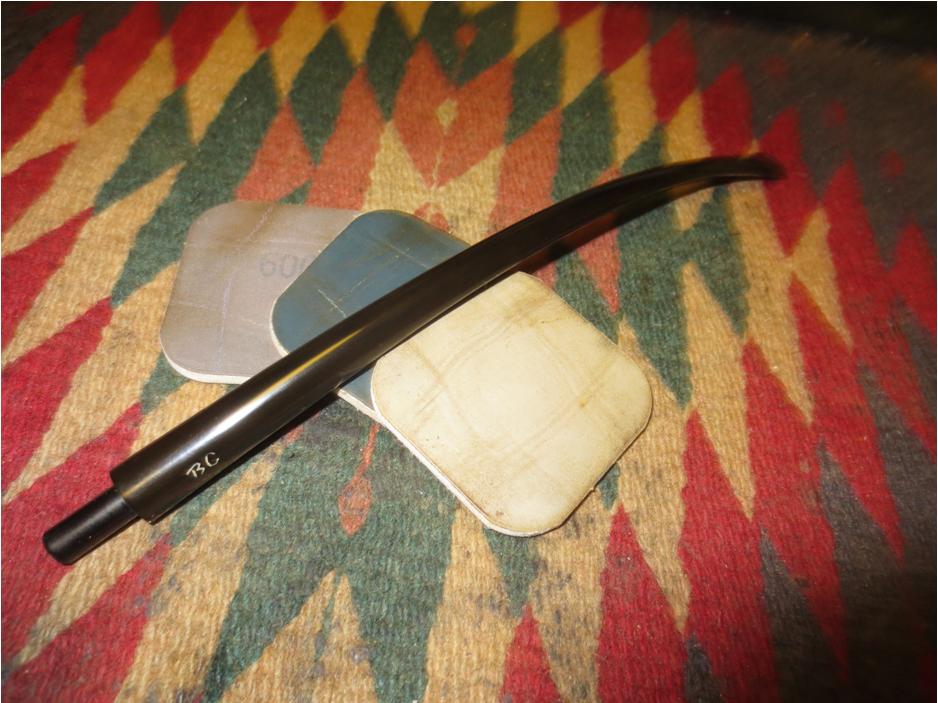
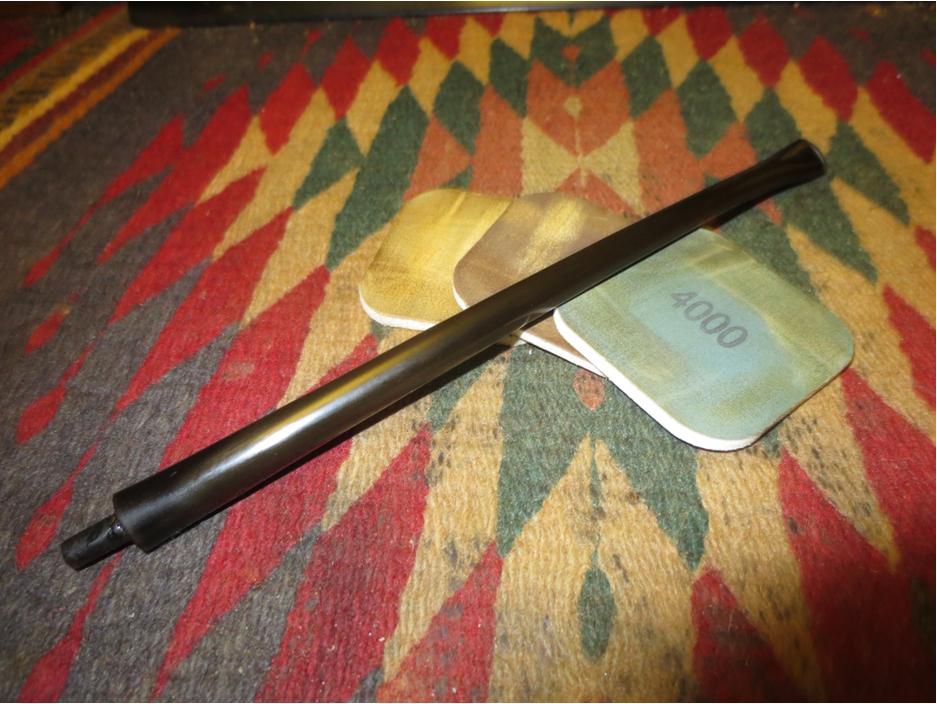
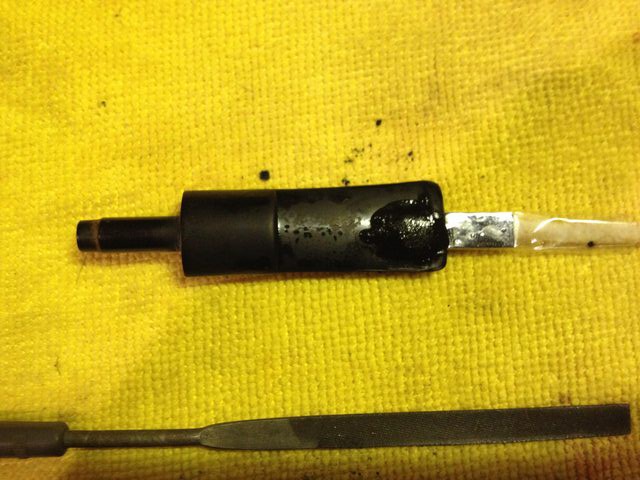
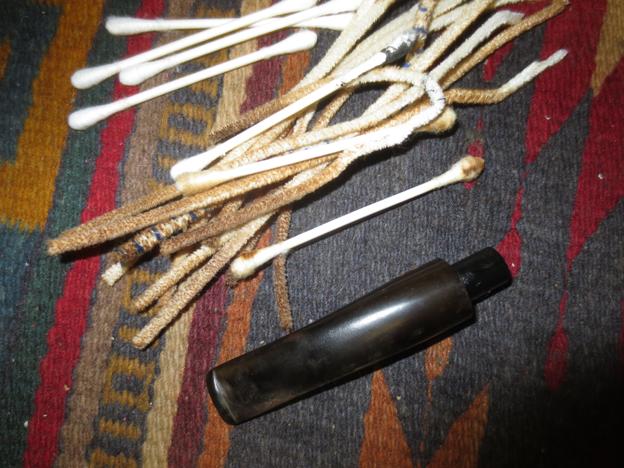
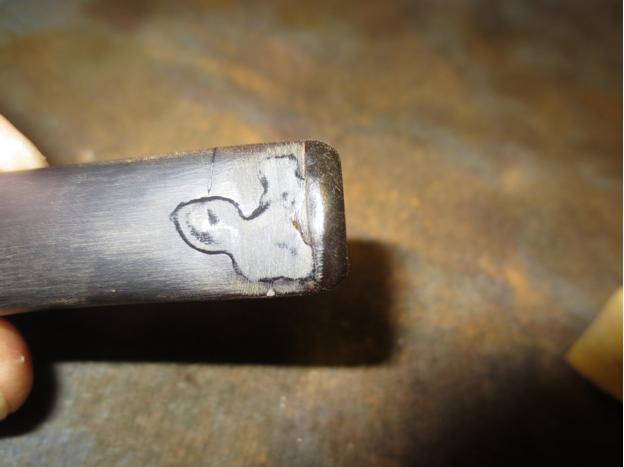
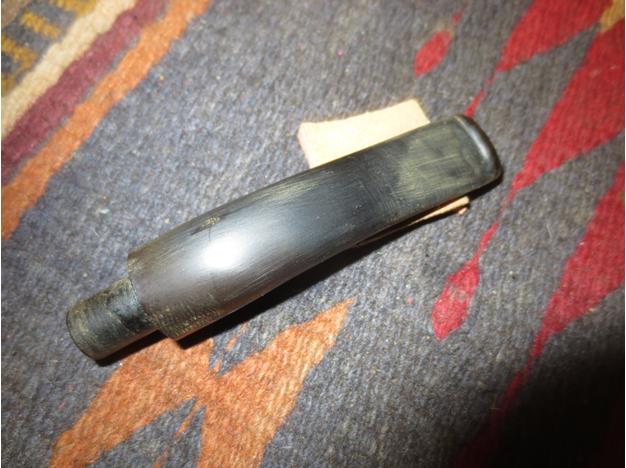
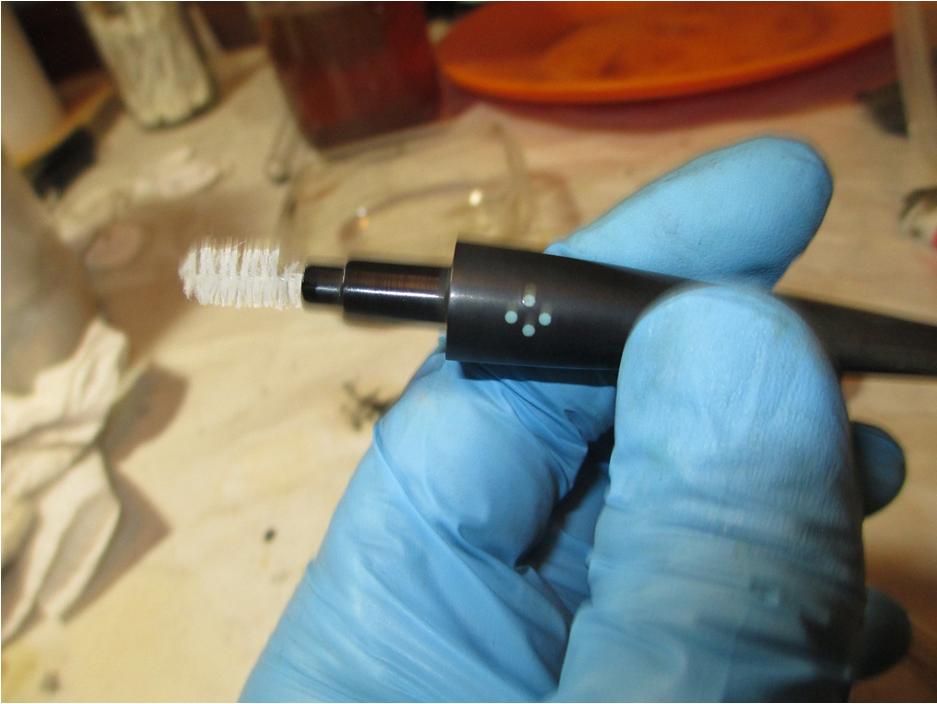
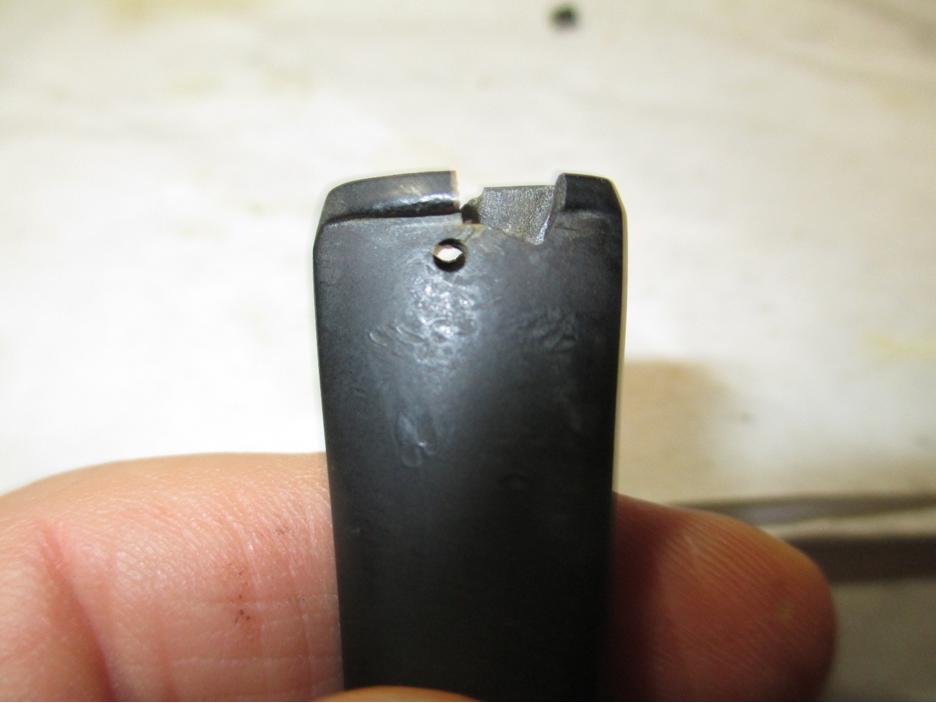
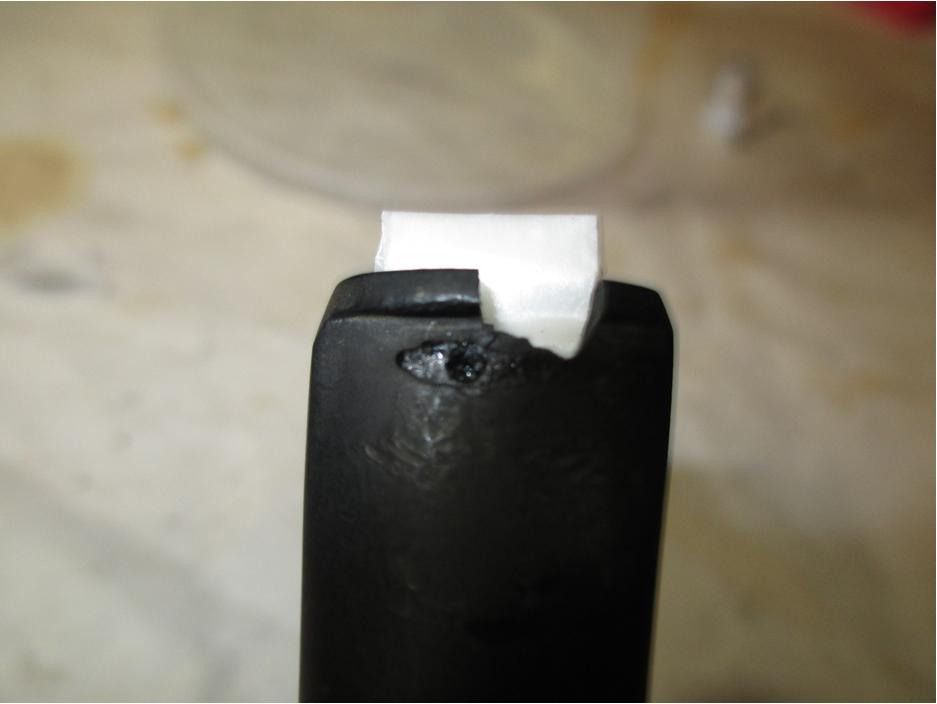
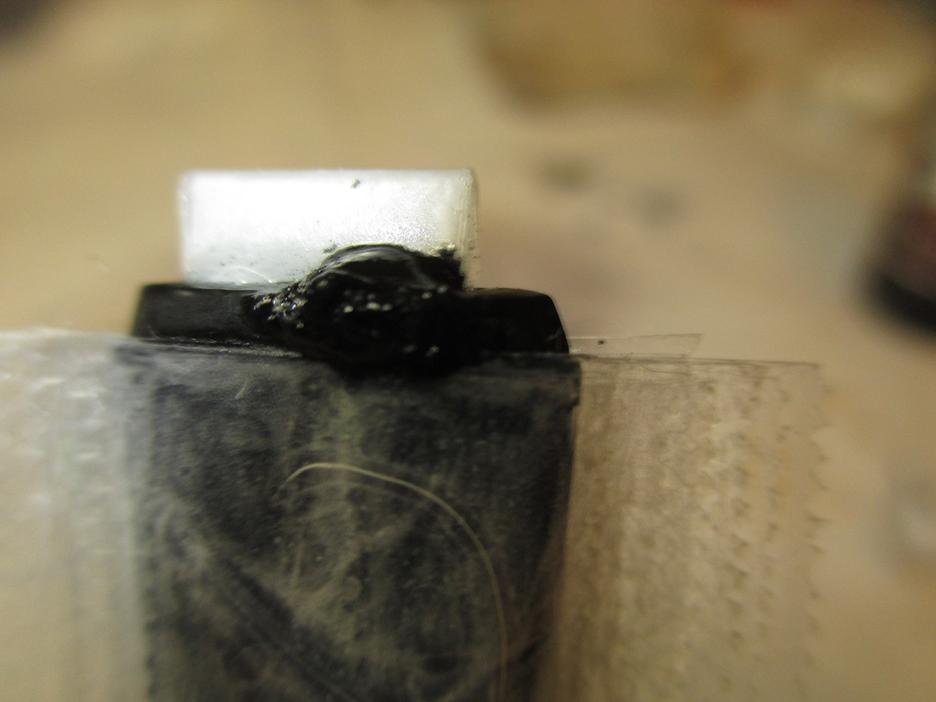
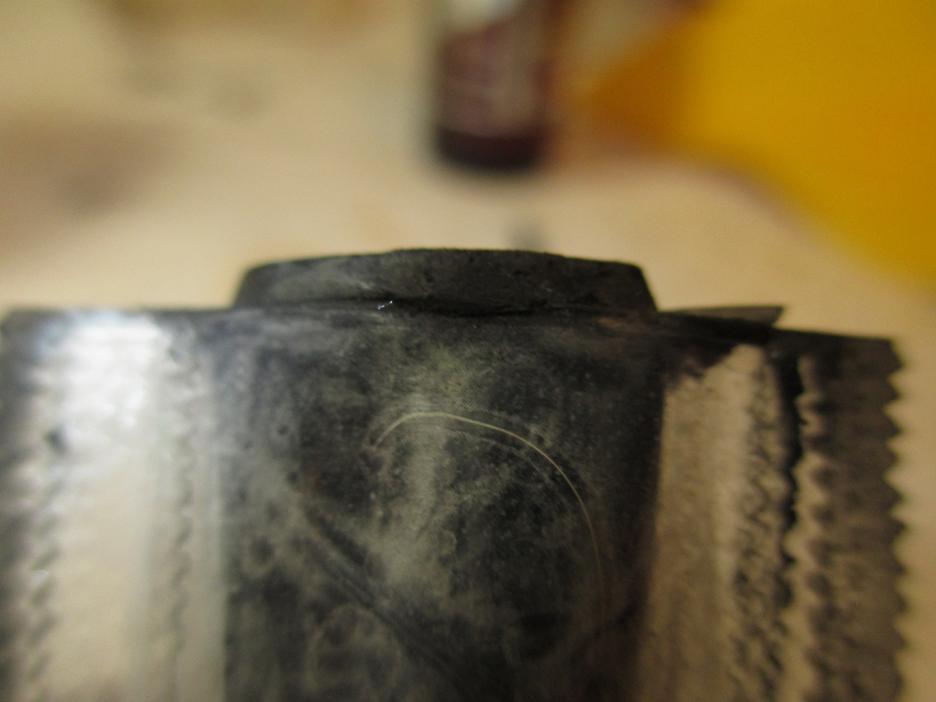
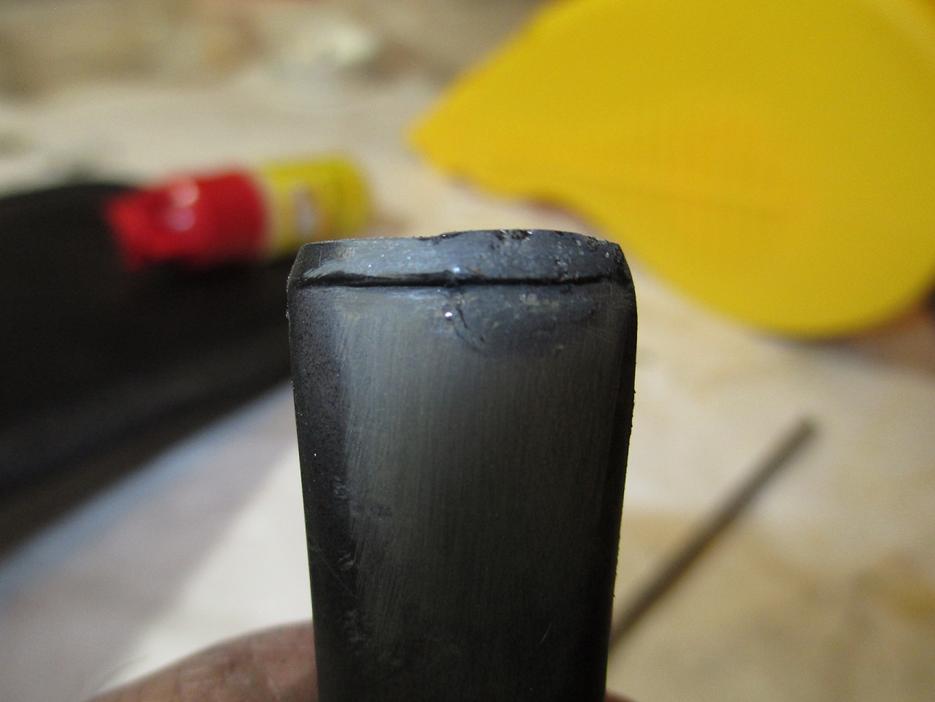
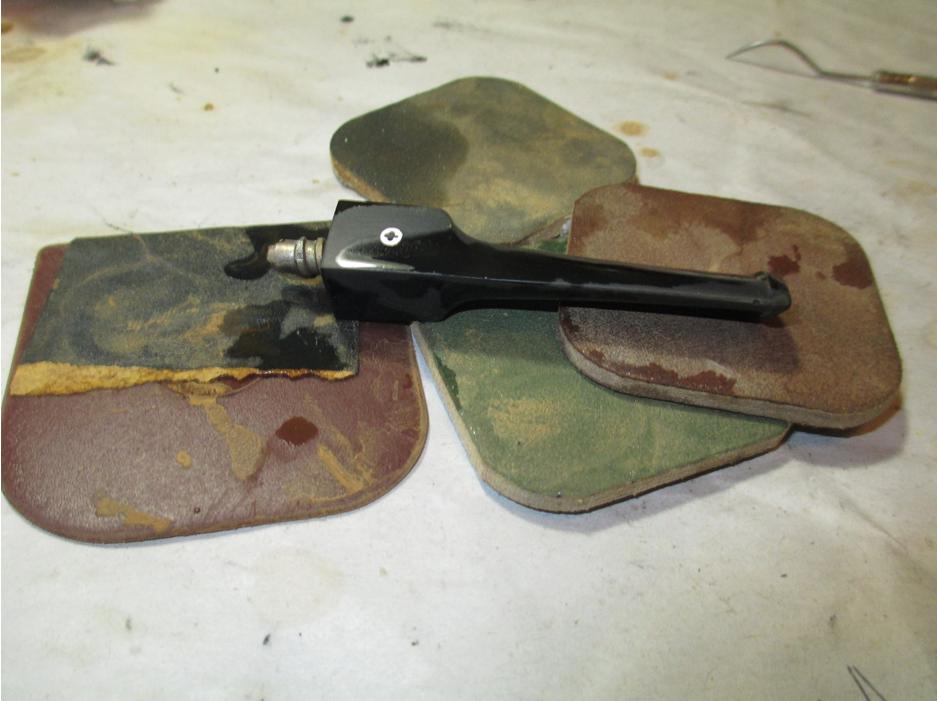
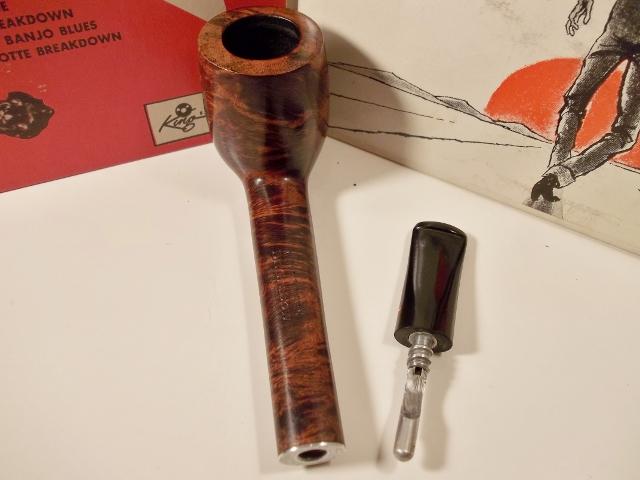
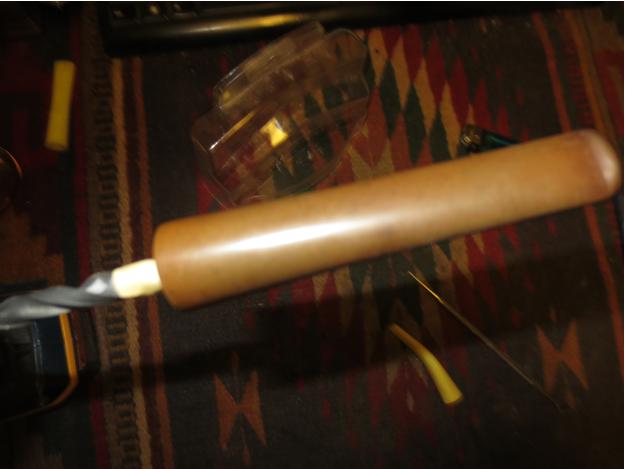
 With the newly banded shank finished it was time to work on a new stem. I toyed with the idea of using the nylon one from the other pipe. It did not take me long to put that idea aside. I had a stem in my can of stems that would do the job – an old taper vulcanite with a very straight profile would look great on this meer billiard. I used the Dremel and sanding drum to take back the existing tenon and flatten it against the face. I forgot to take a photo of the stem to begin with so I stopped mid stream after I had removed about half of it to take the photo below.
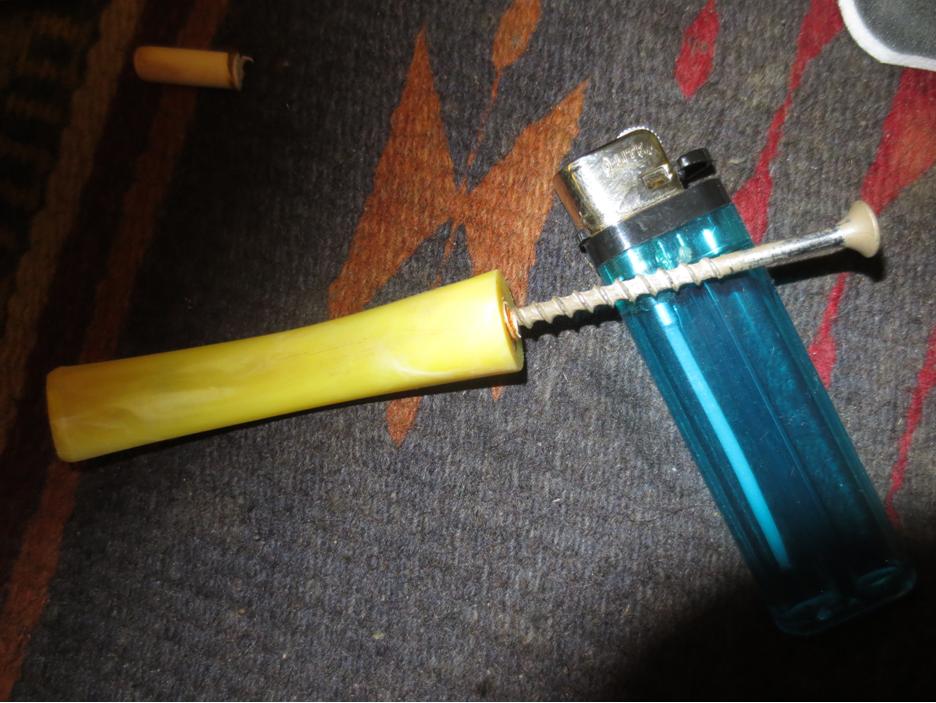
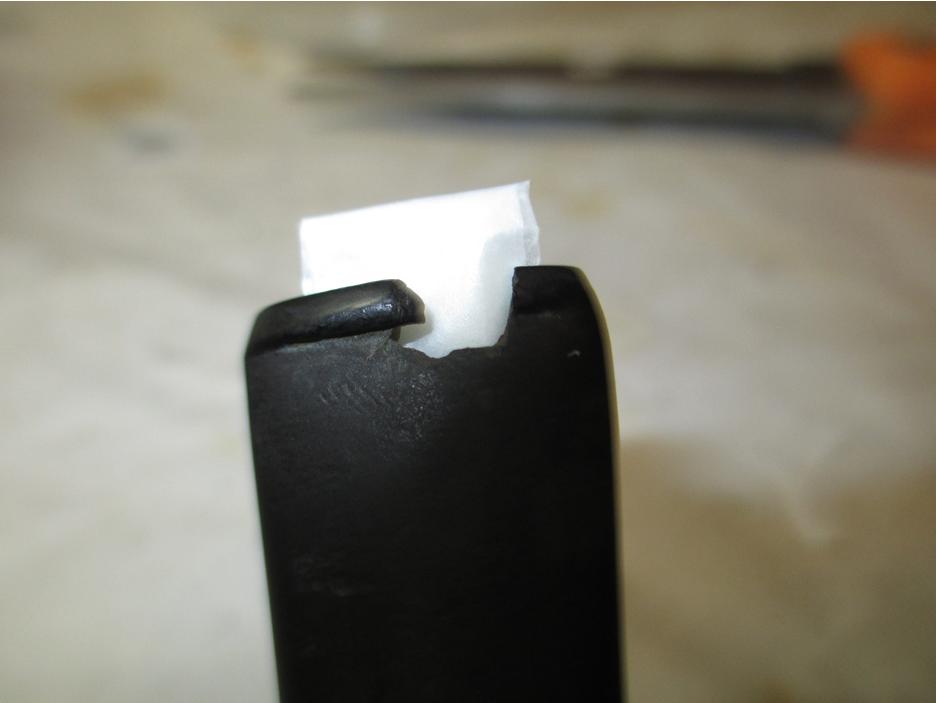
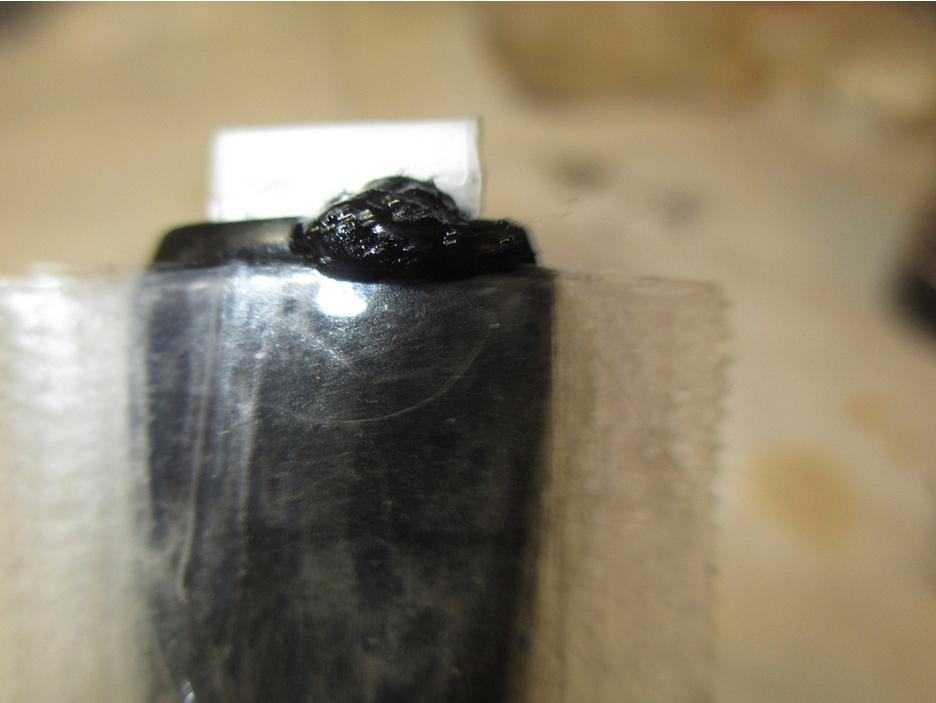
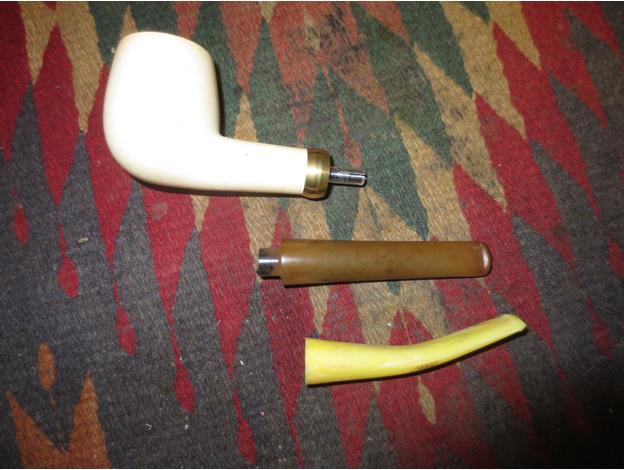 Once I had removed the tenon I needed to drill out the airway to accommodate the metal tenon. I would in essence make a reverse tenon set up on the stem. I started with a drill bit slightly larger than the airway and hand twisted the stem onto the bit. I have found this is far safer that using a power drill to do this finicky work. I worked my way up to a bit the same diameter as the tenon and hand turned the stem onto the bit. I put a piece of tape on the bit so I would know when to stop turning the stem. That marked the depth of the tenon. Once I got to that place the stem would push onto the tenon flush against the shank end in the band.
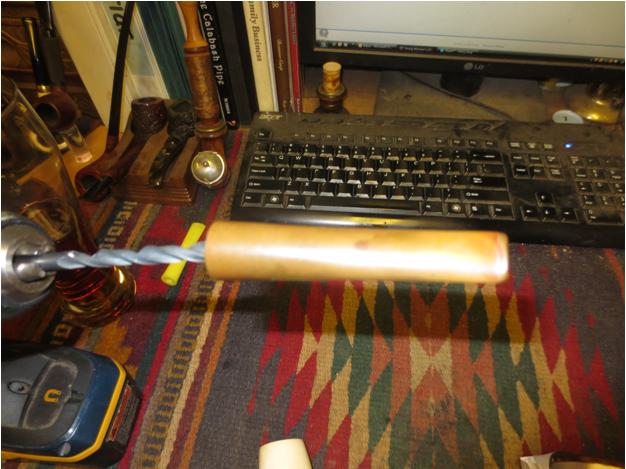
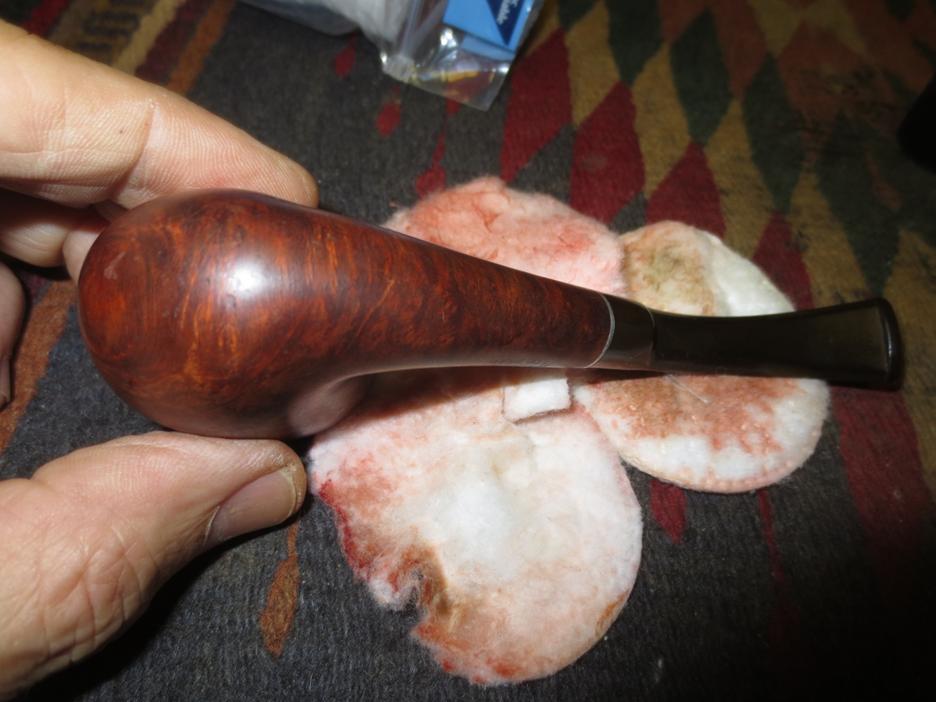
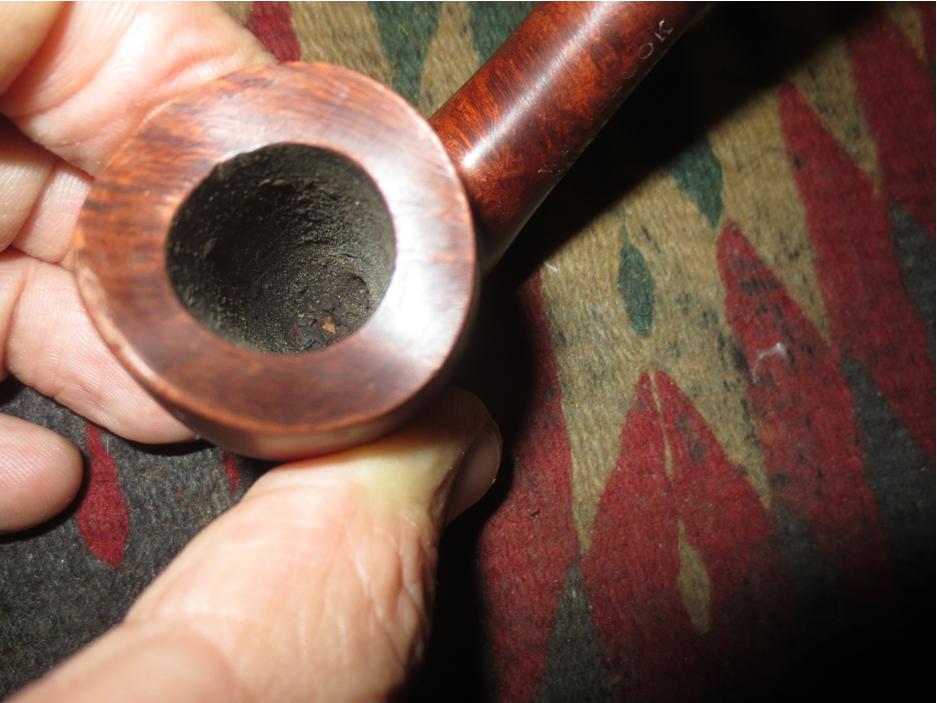
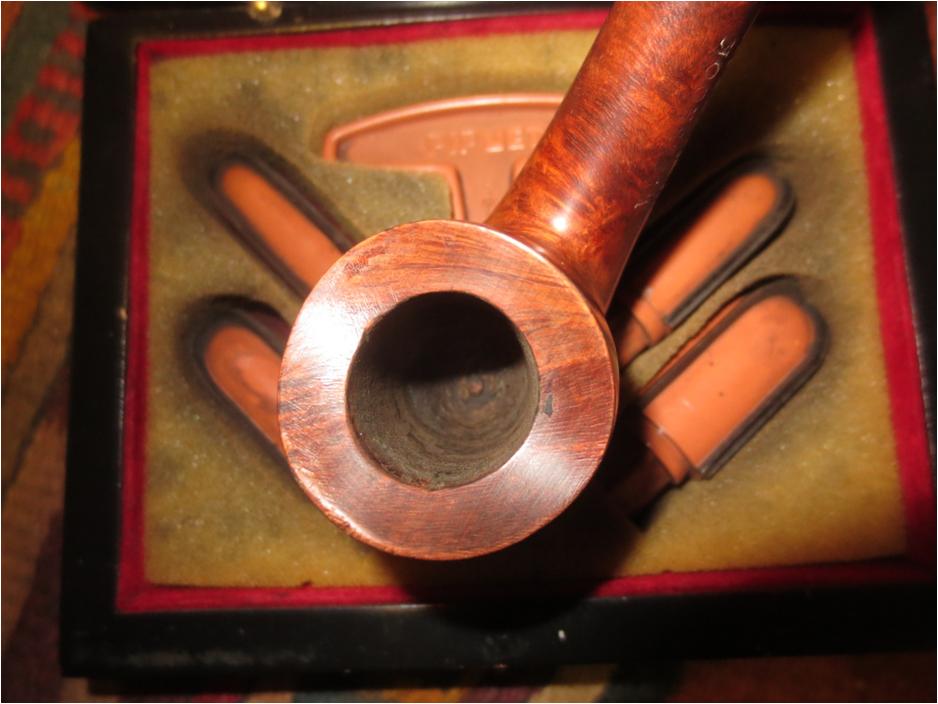
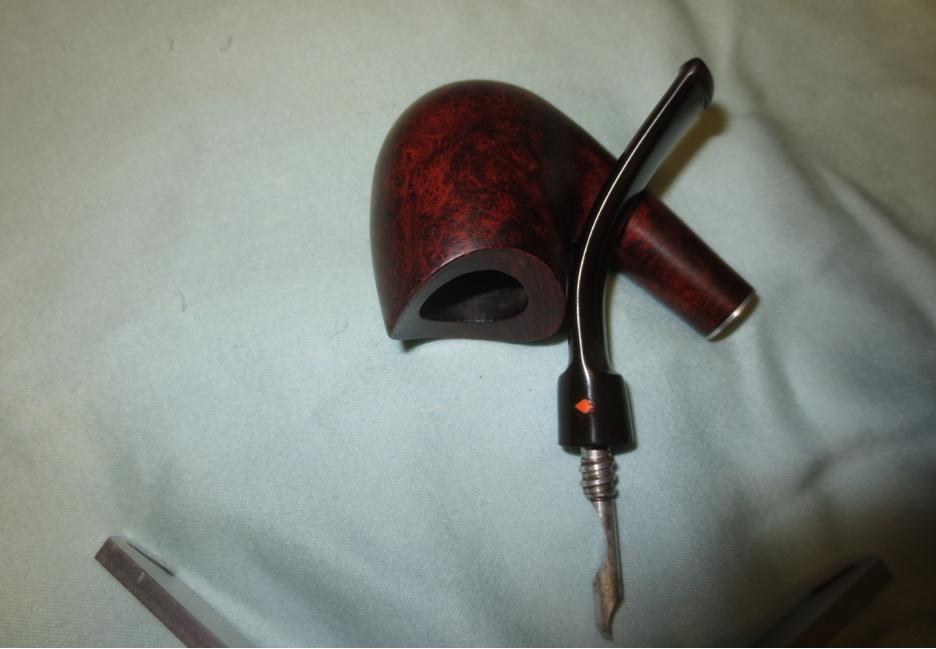
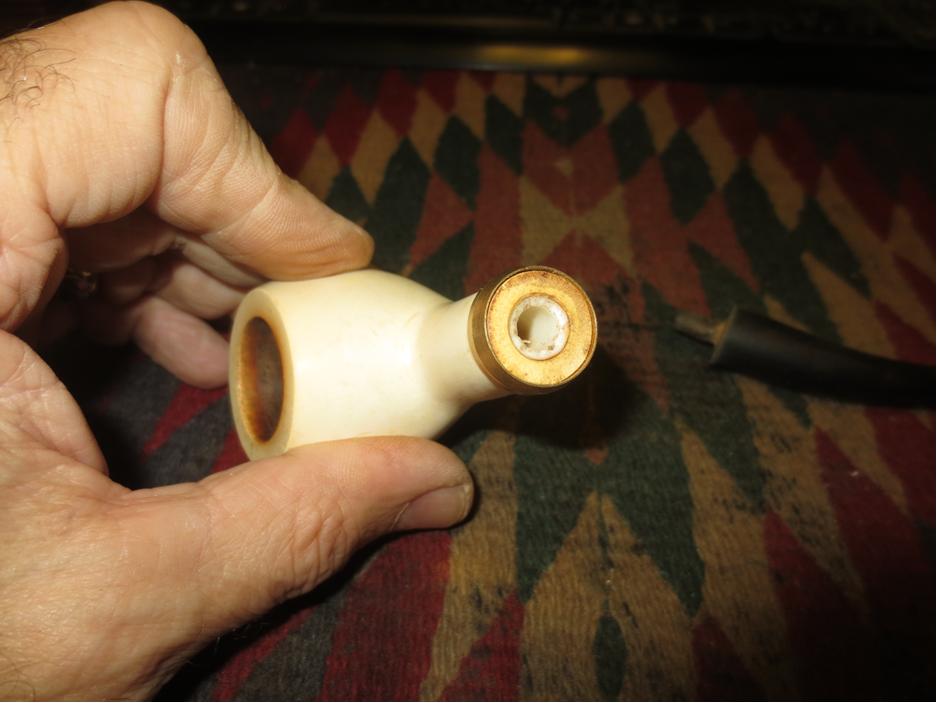
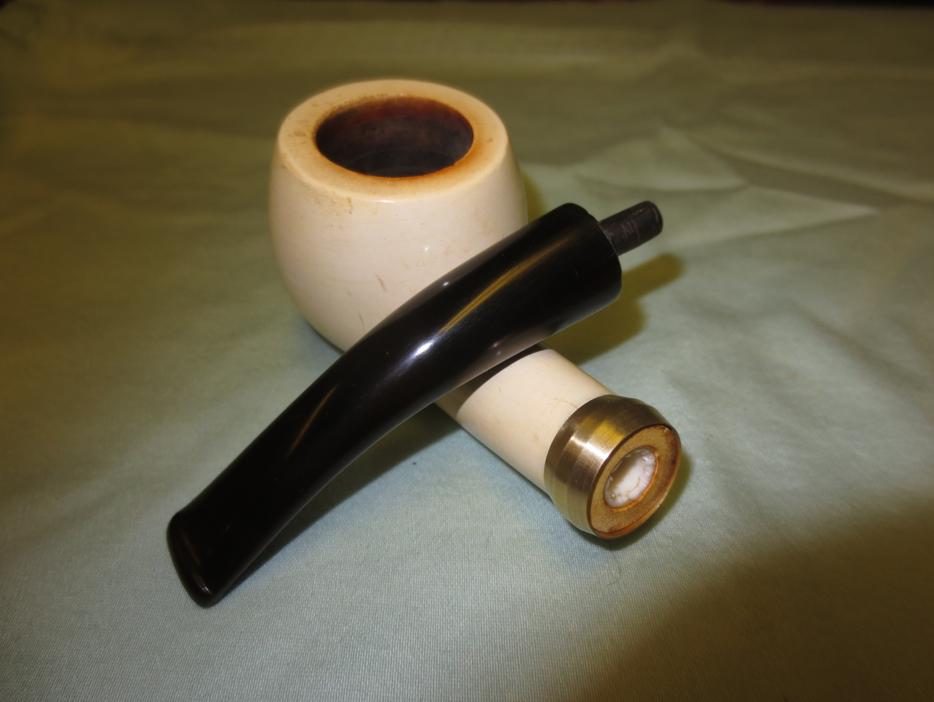
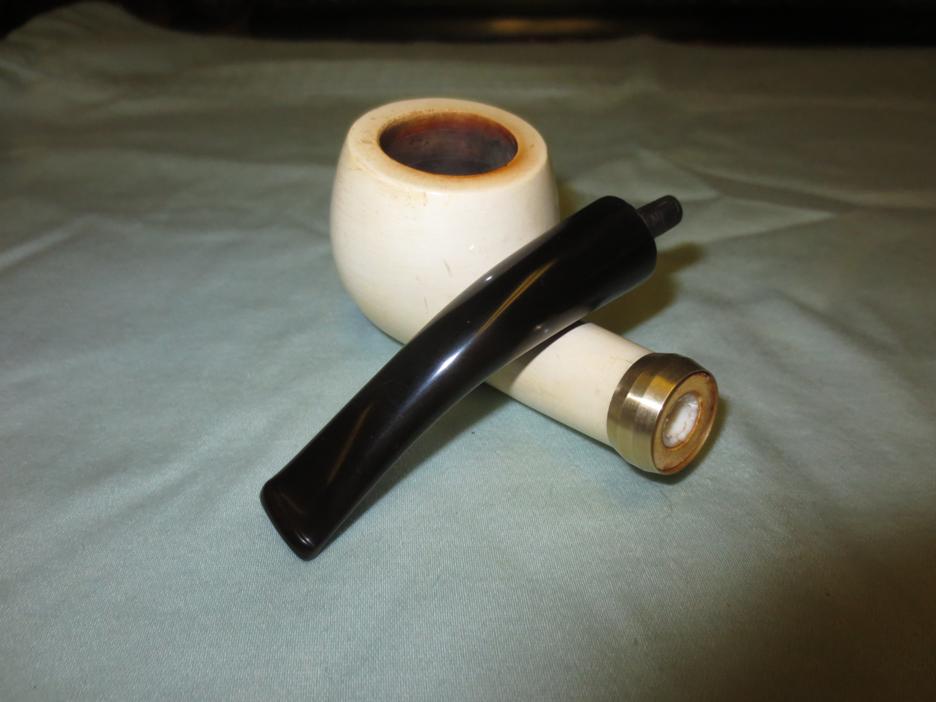
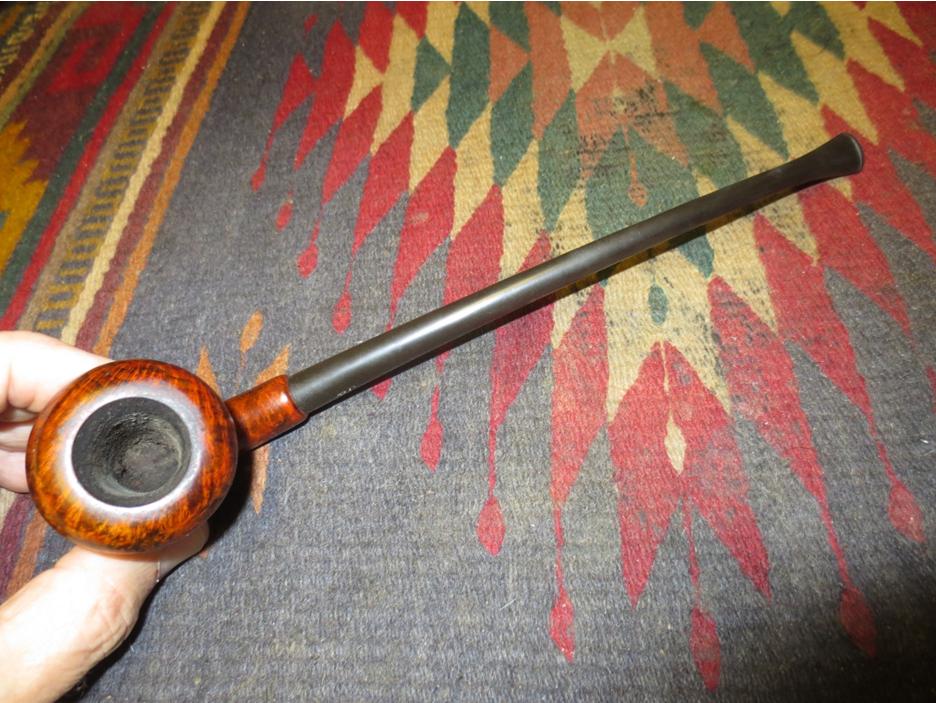
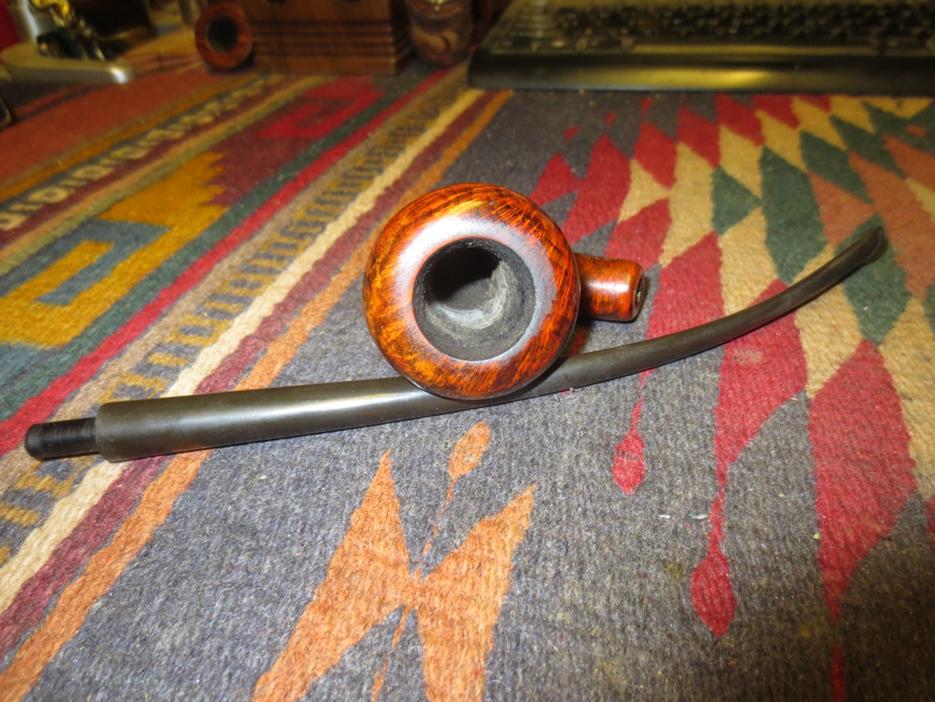
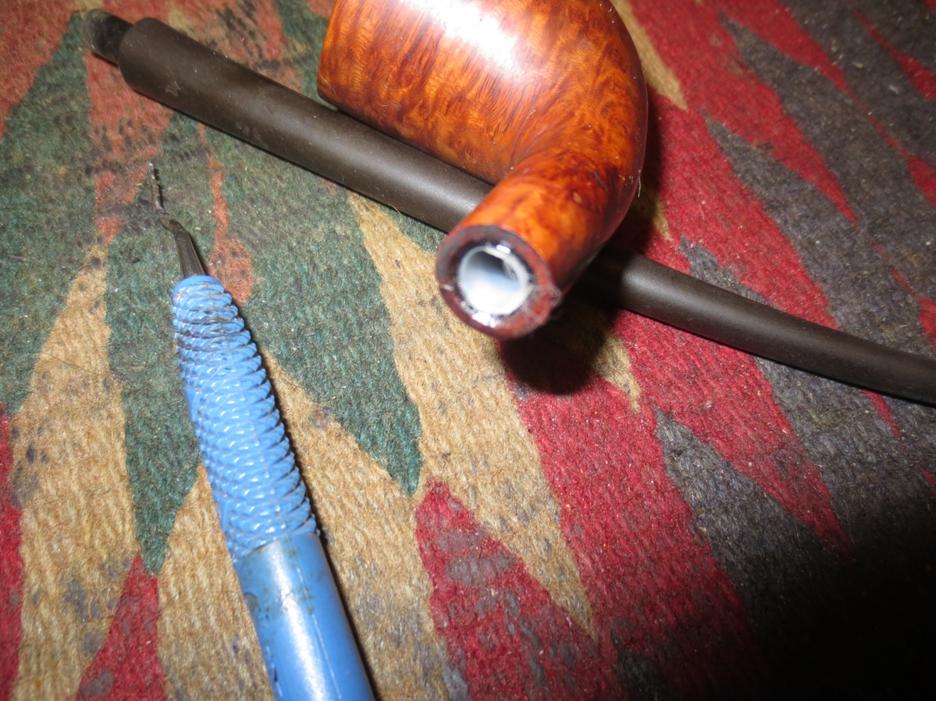
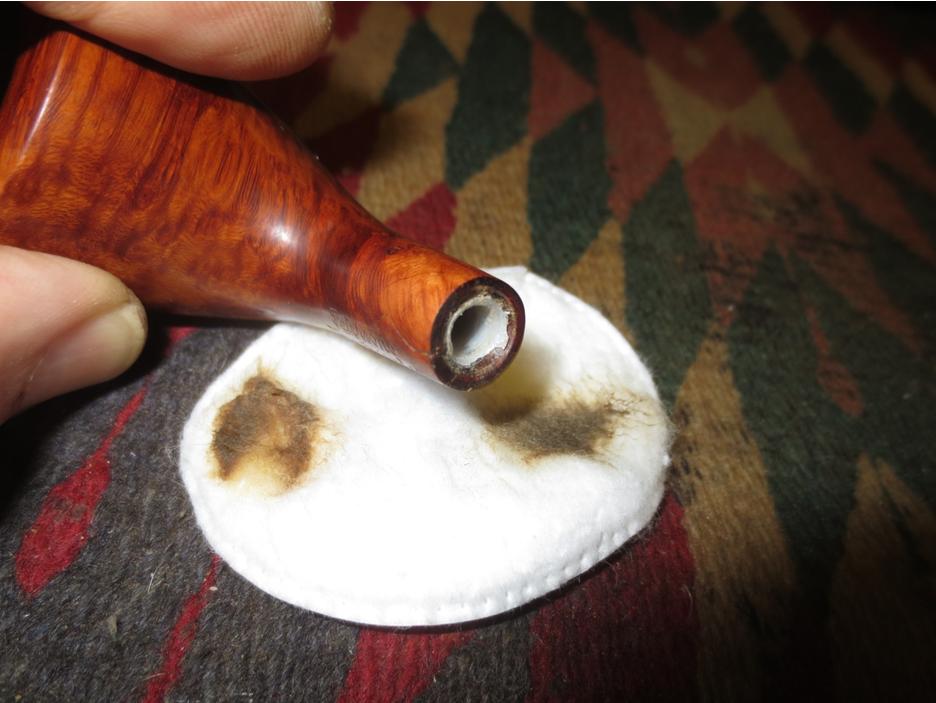
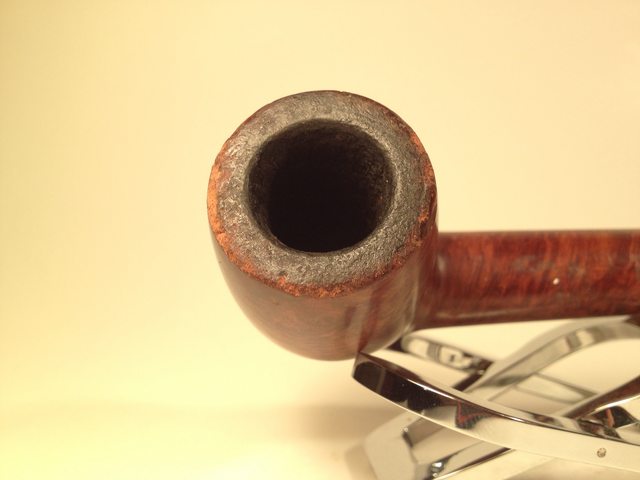
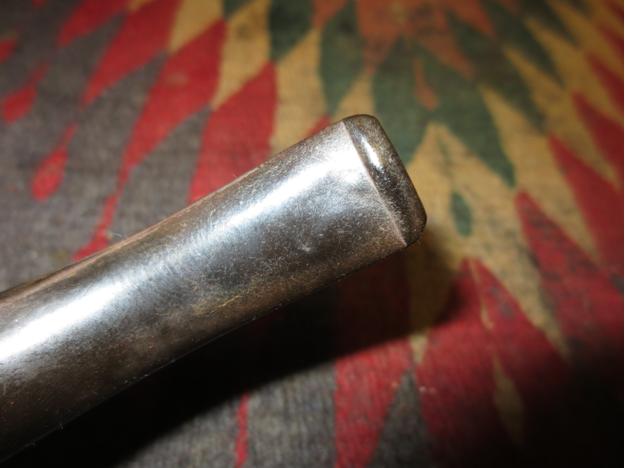
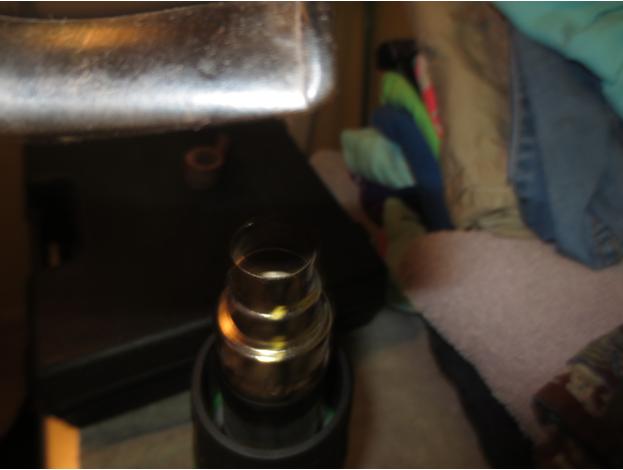
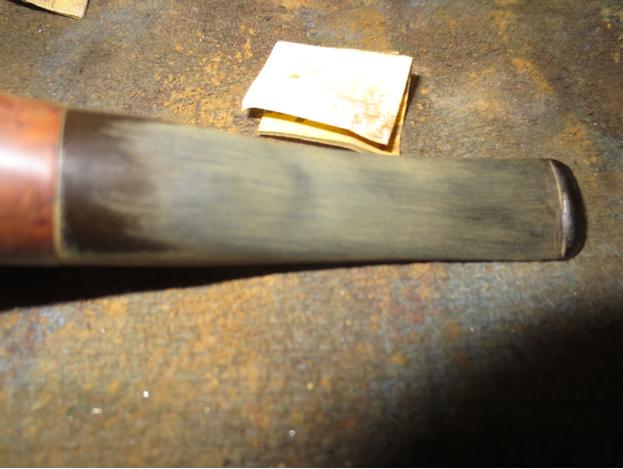
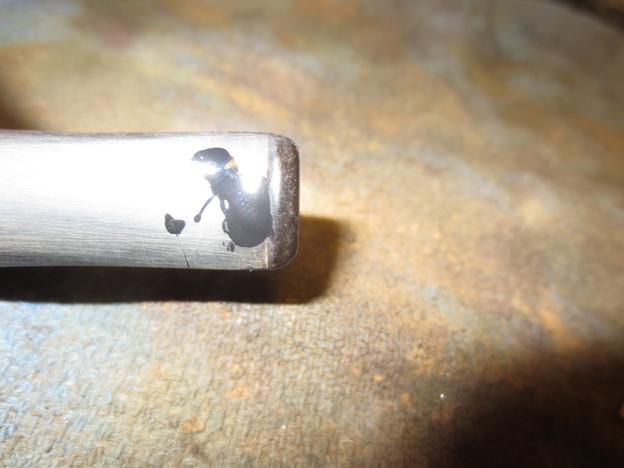
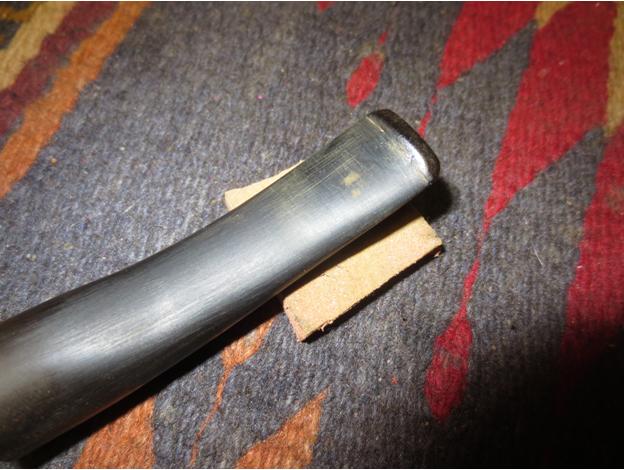
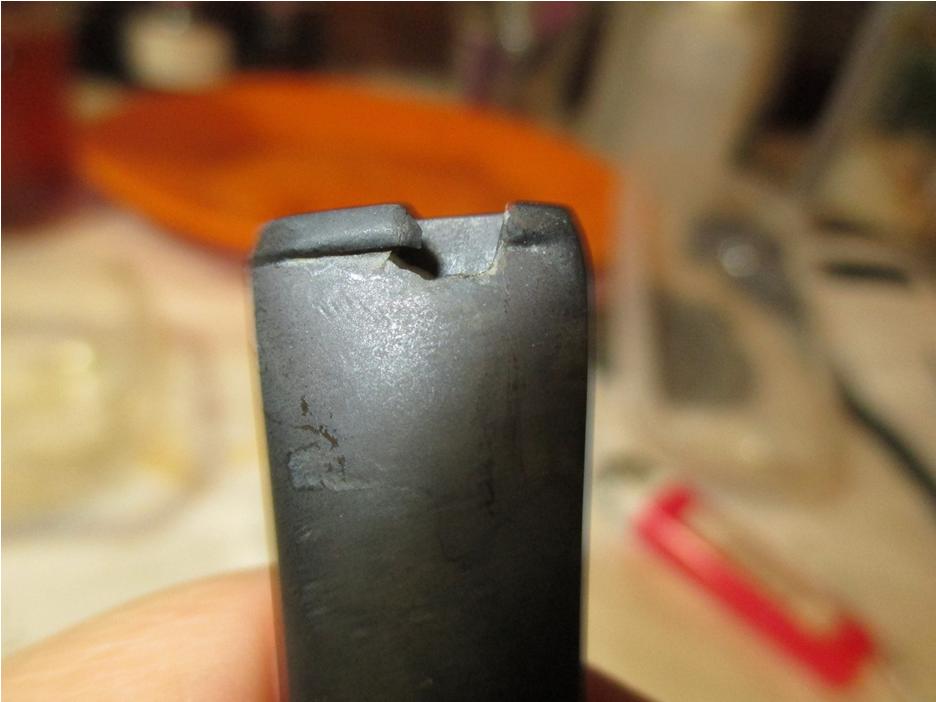
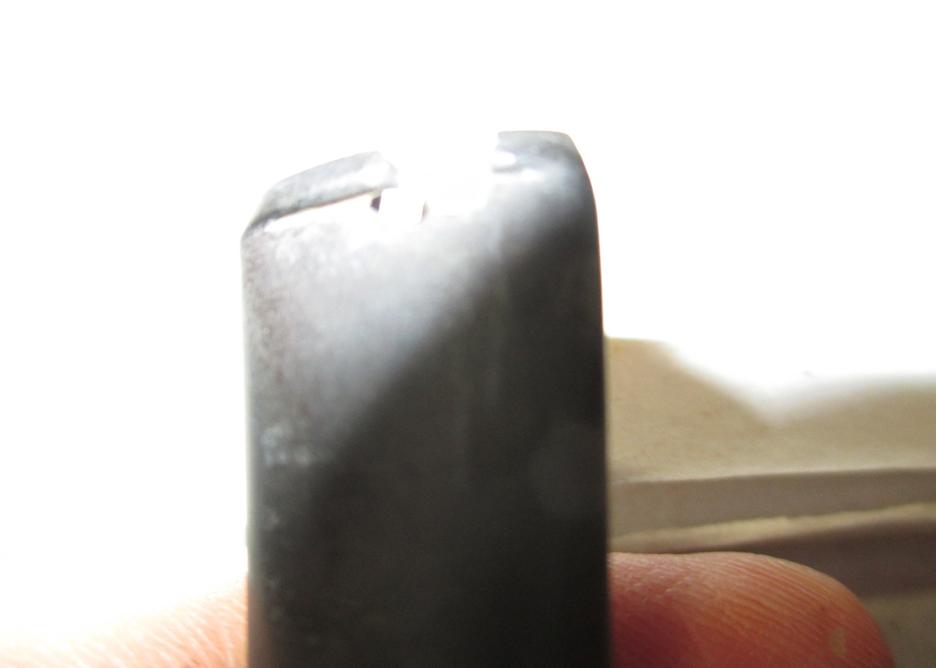
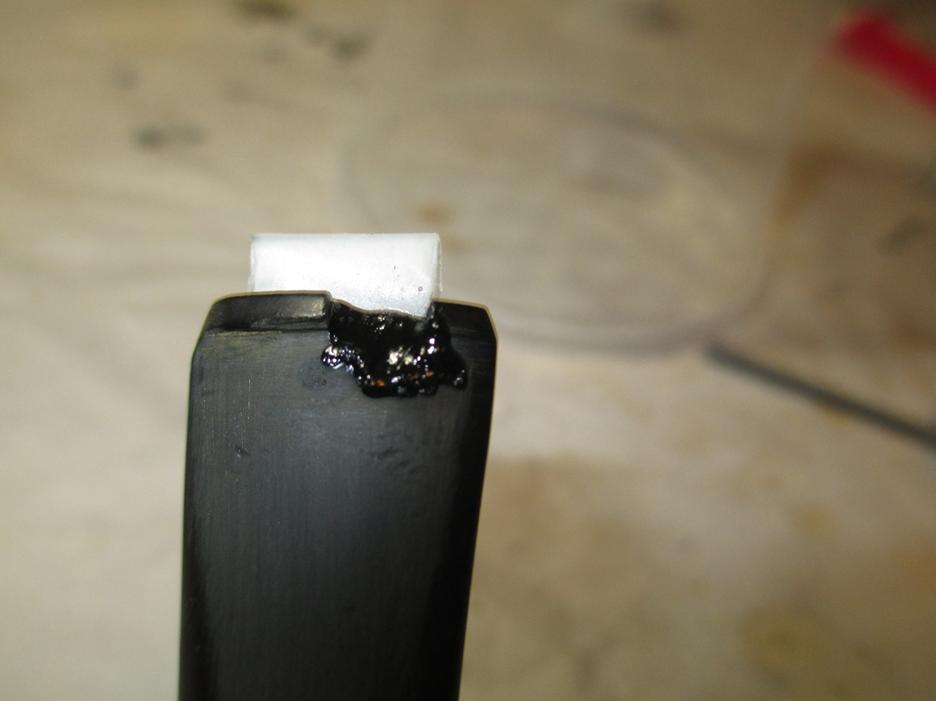
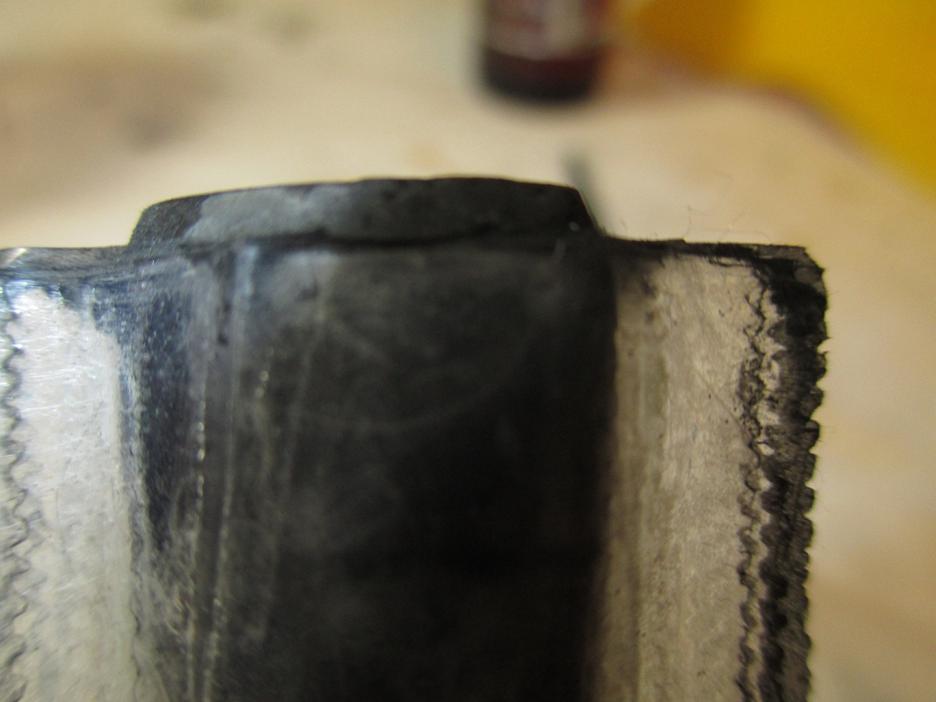
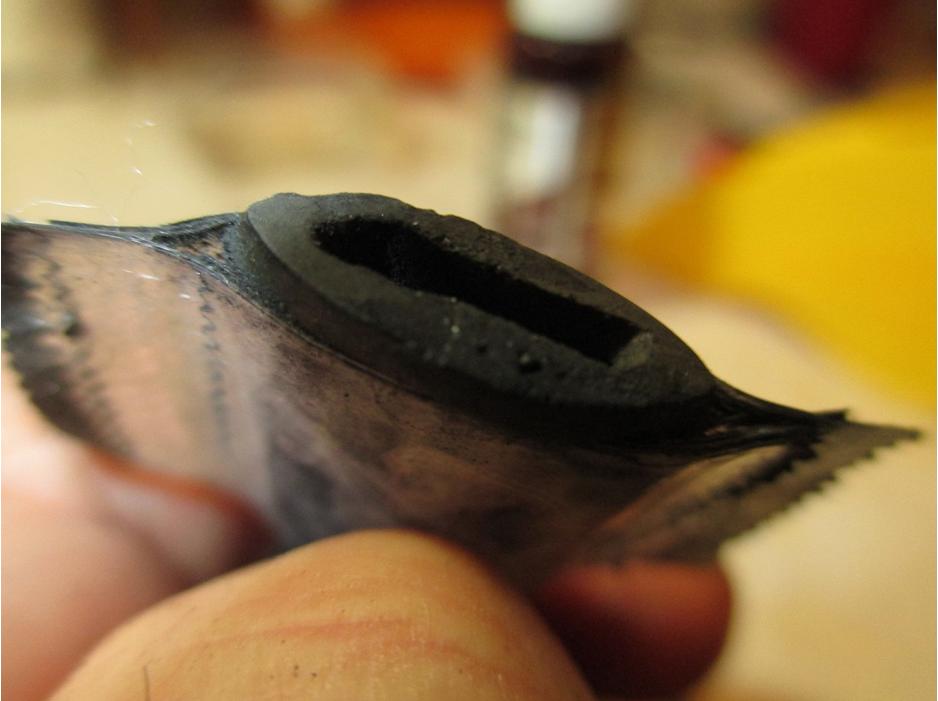
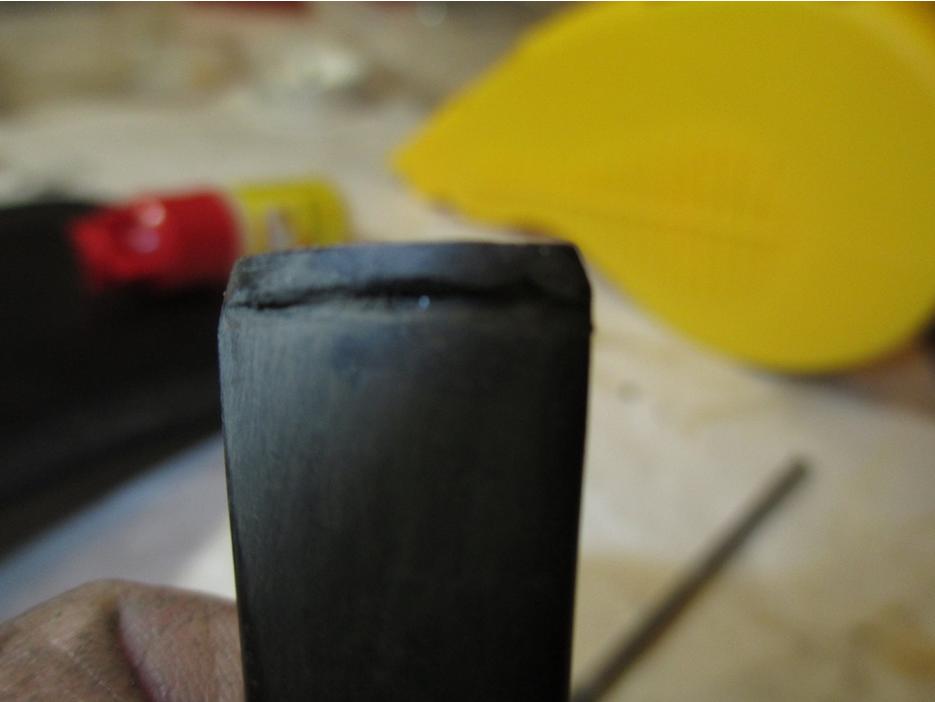
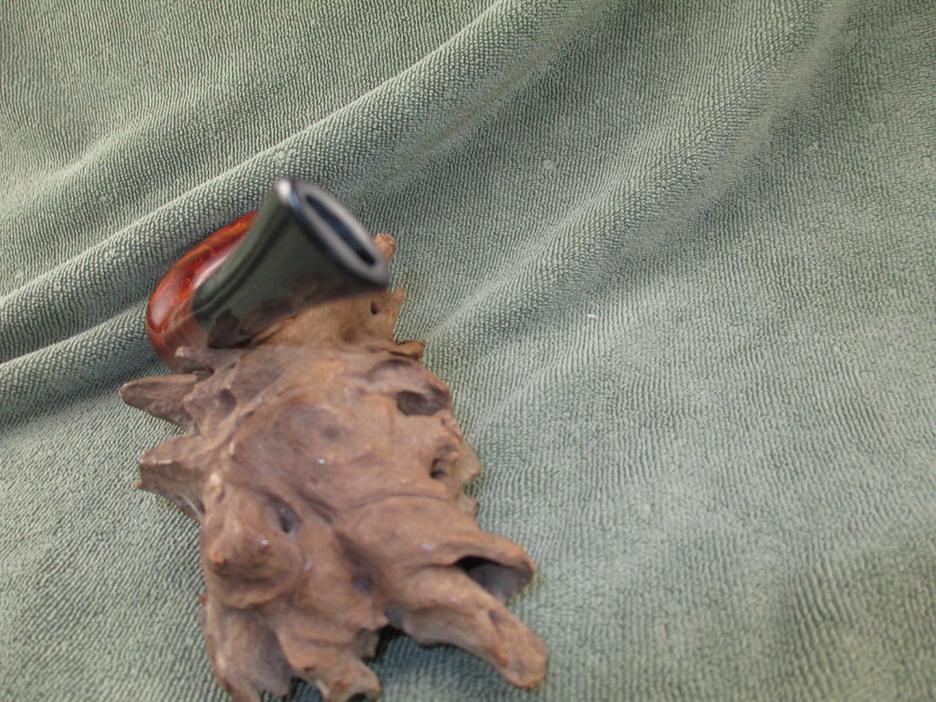
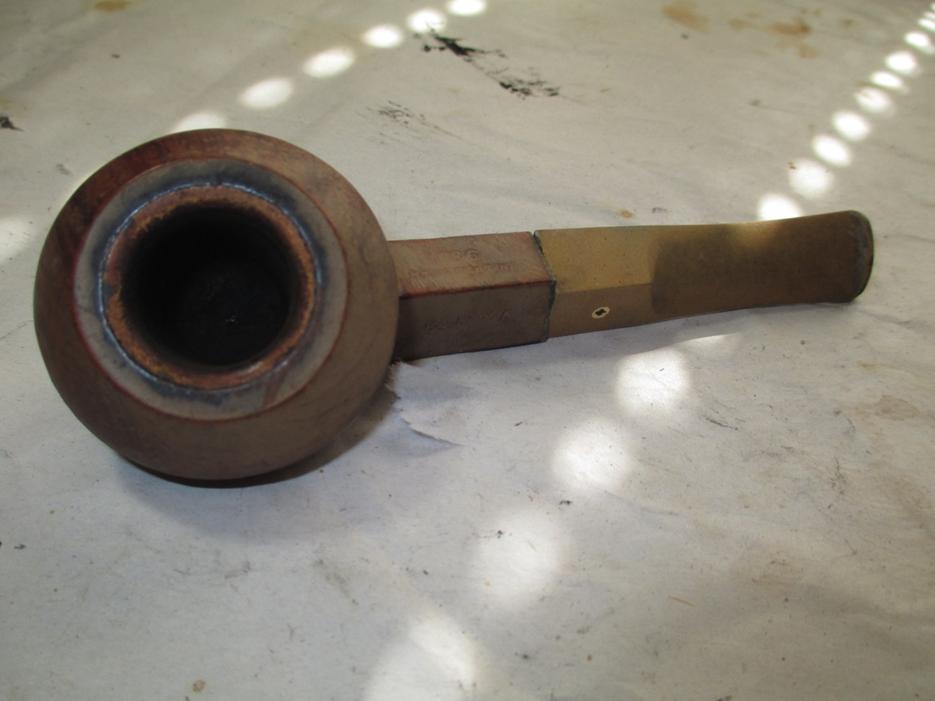
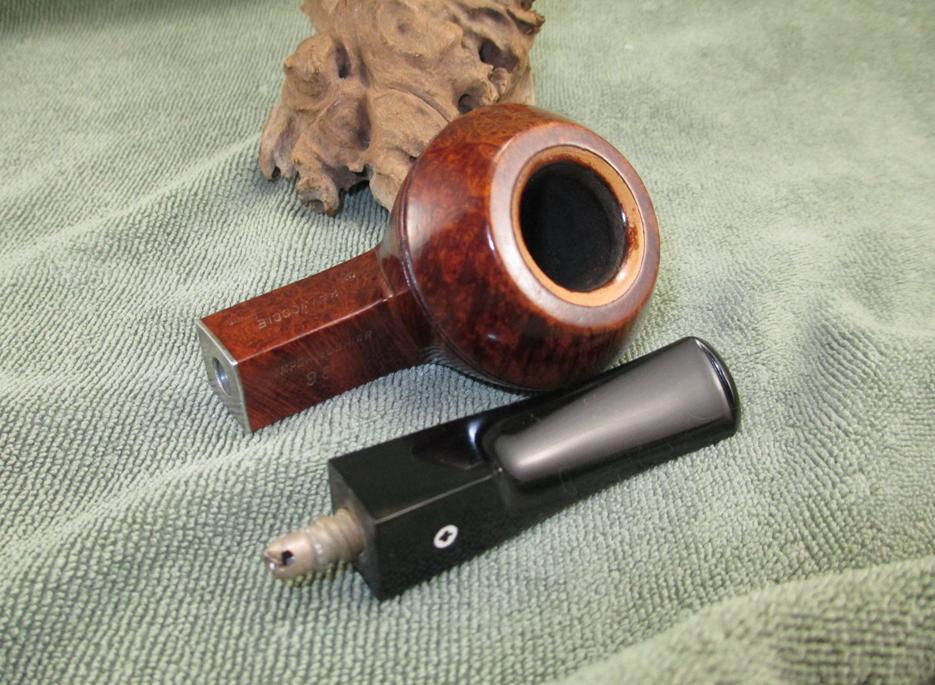
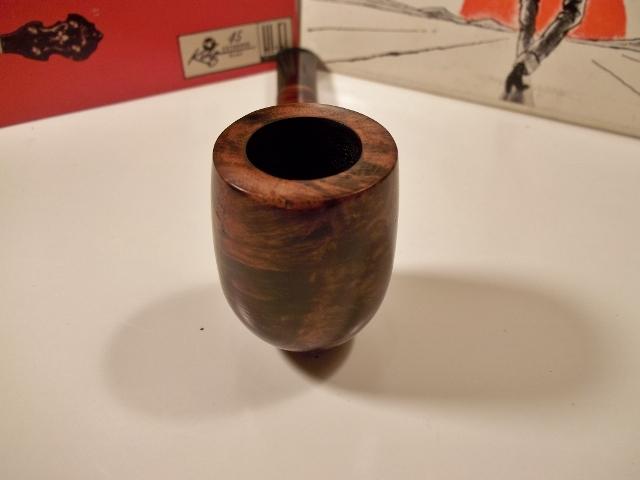
 The next photo is an end view of the newly drilled airway. It is a little rough and will need to be sanded smooth to remove all of the scratches.
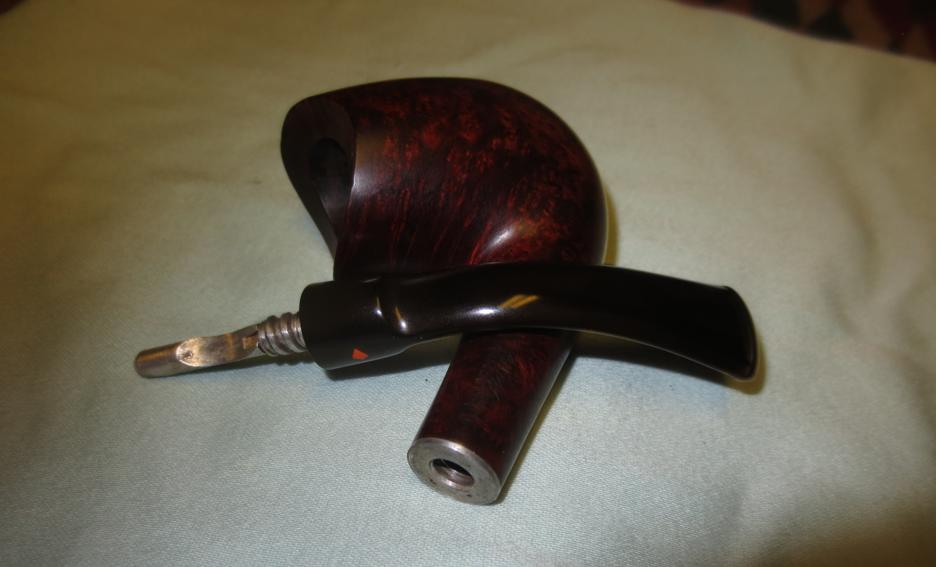
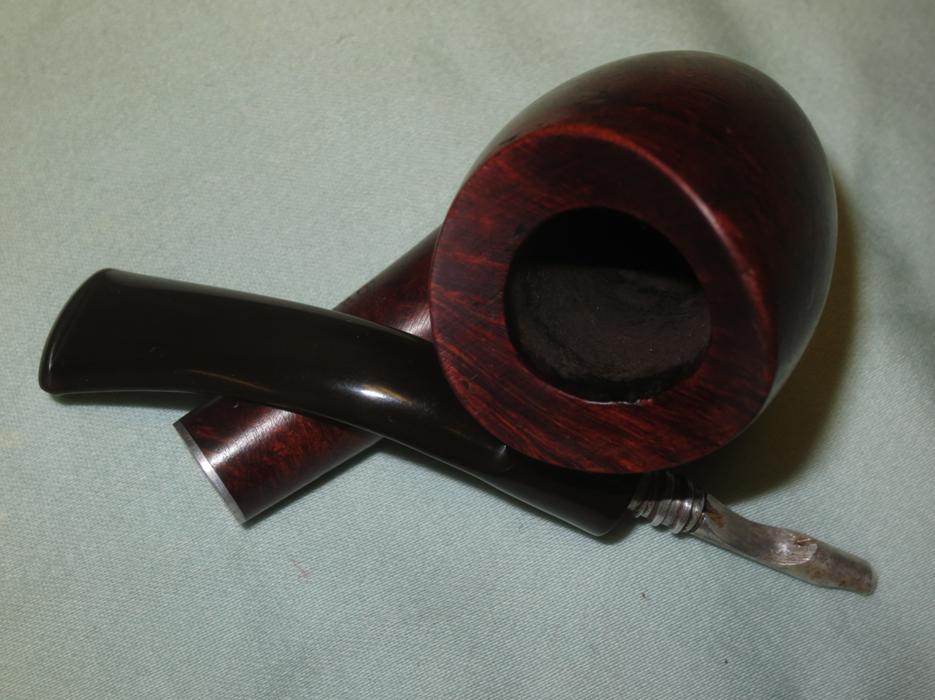
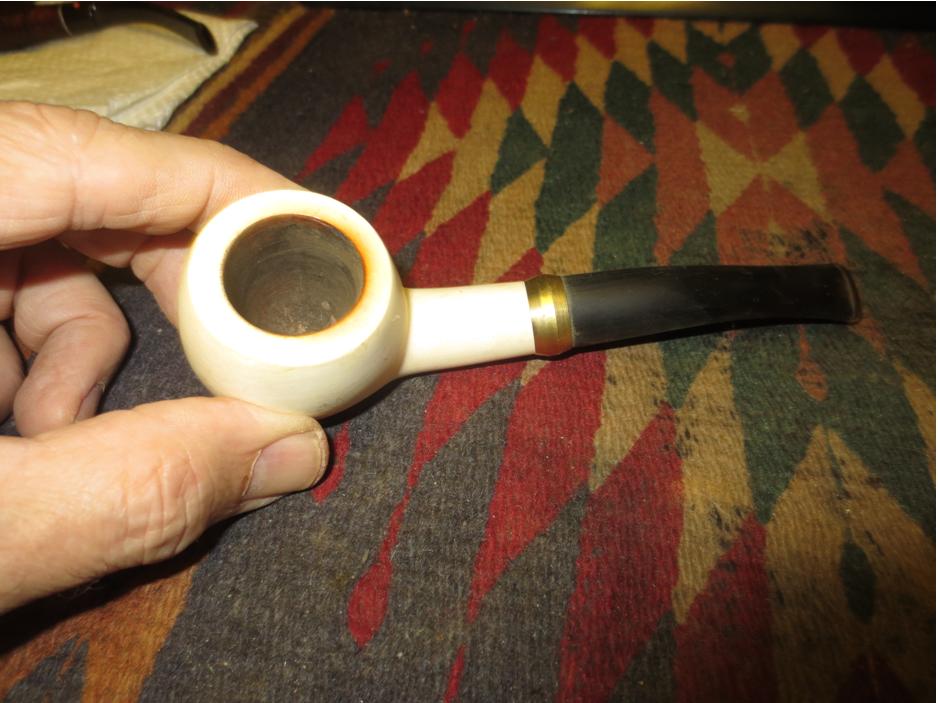
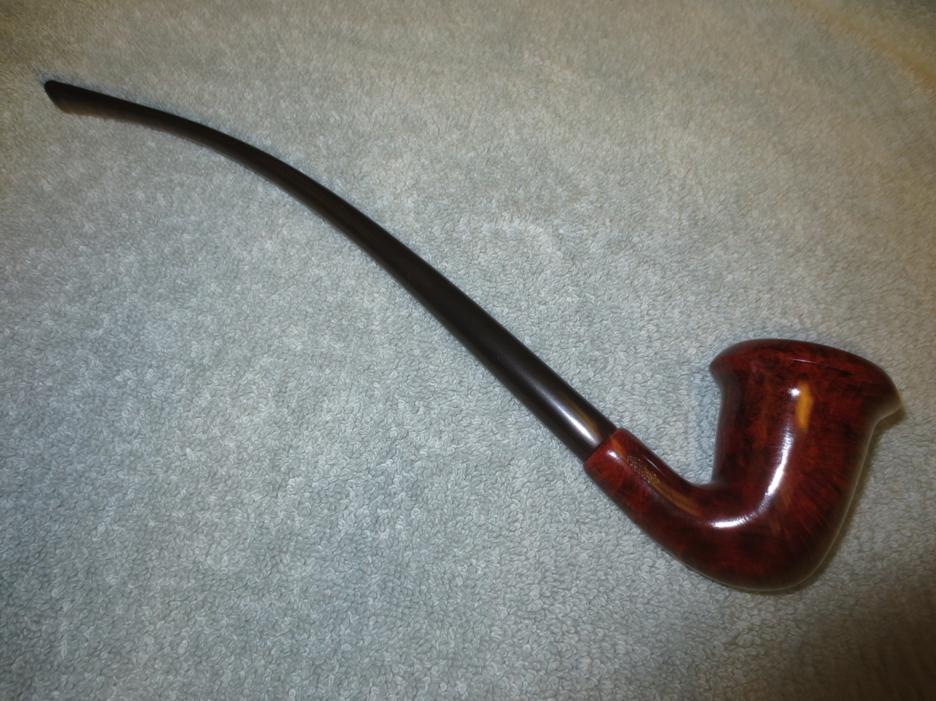
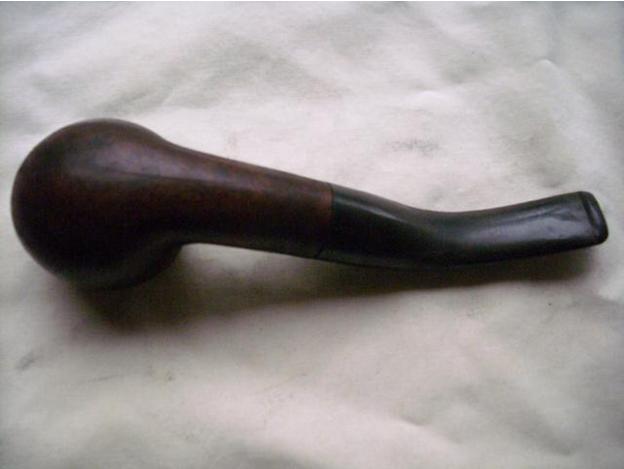
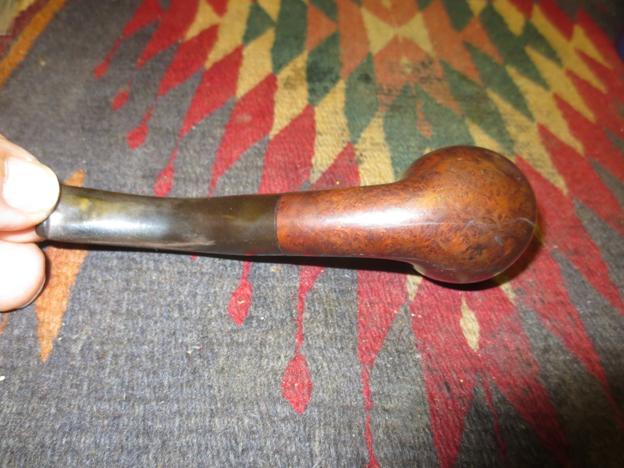
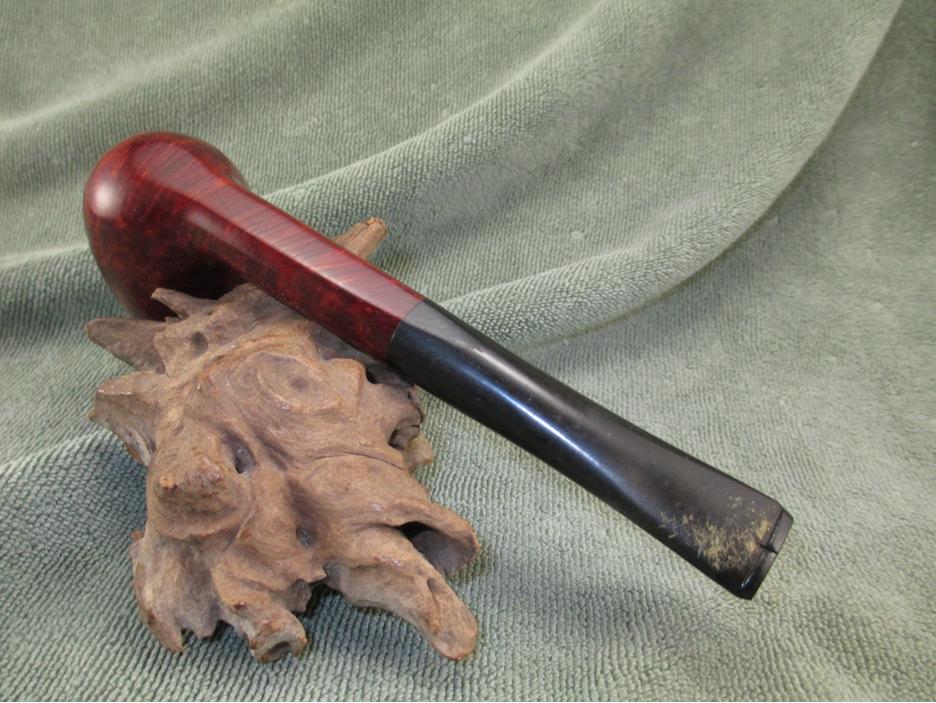
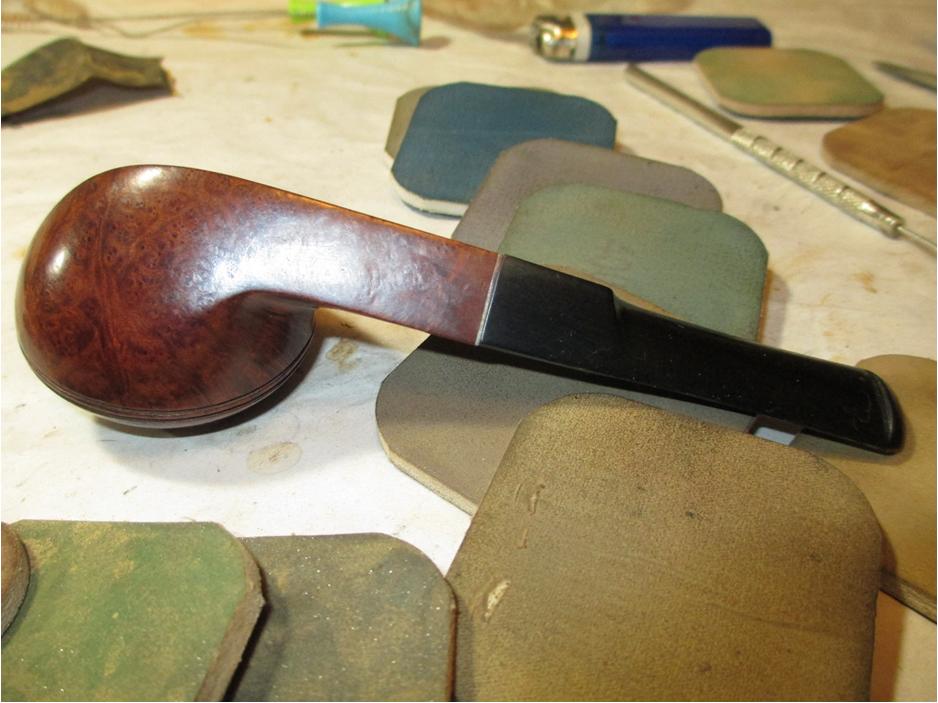
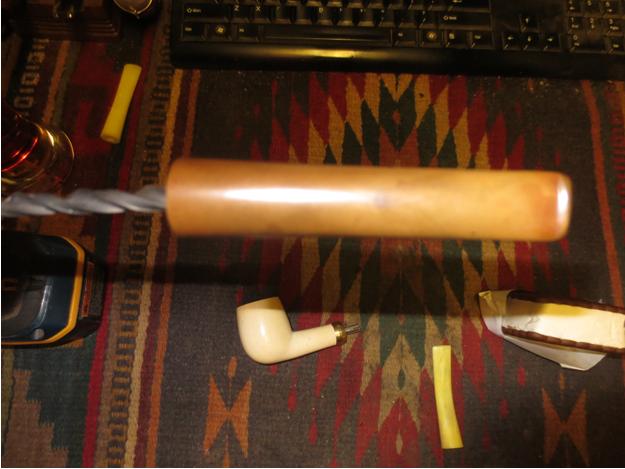
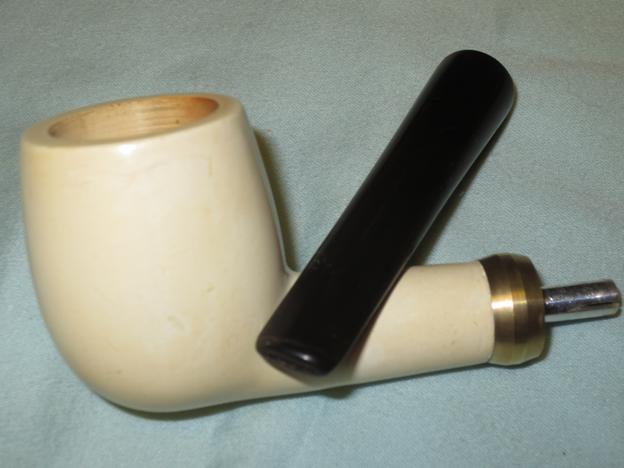
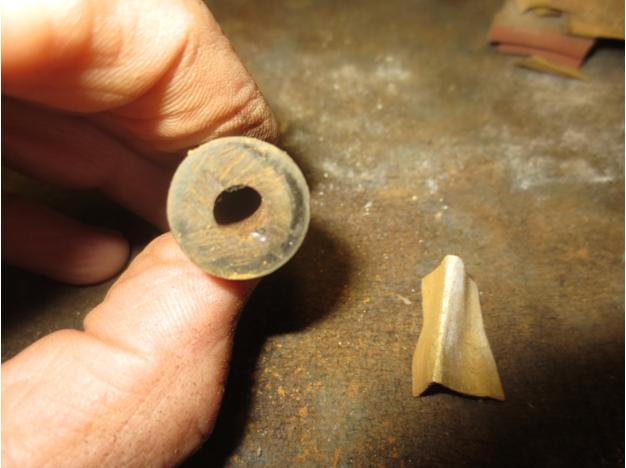 I pushed the stem in place on the pipe to get an idea of the final look of the newly dressed prom king. The photos below show the stem before I did the final adjustments to the diameter and flow.
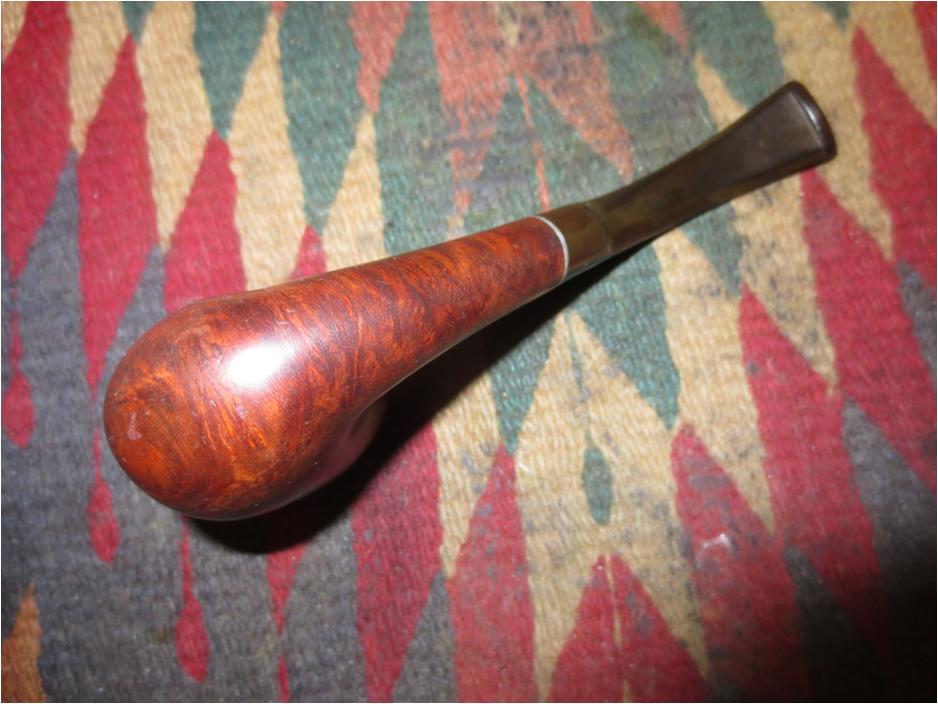
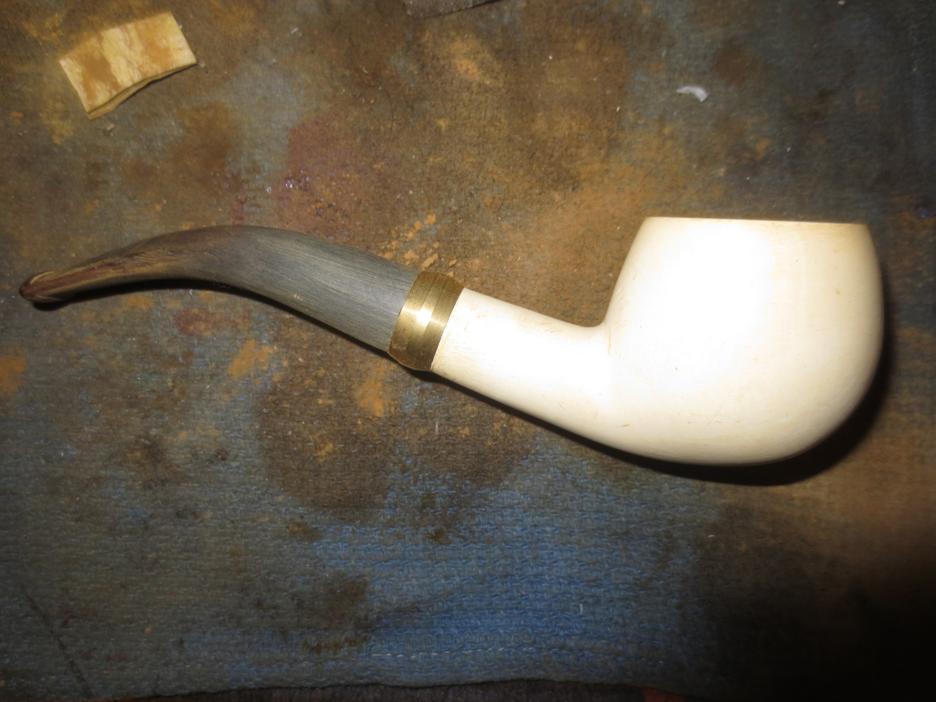
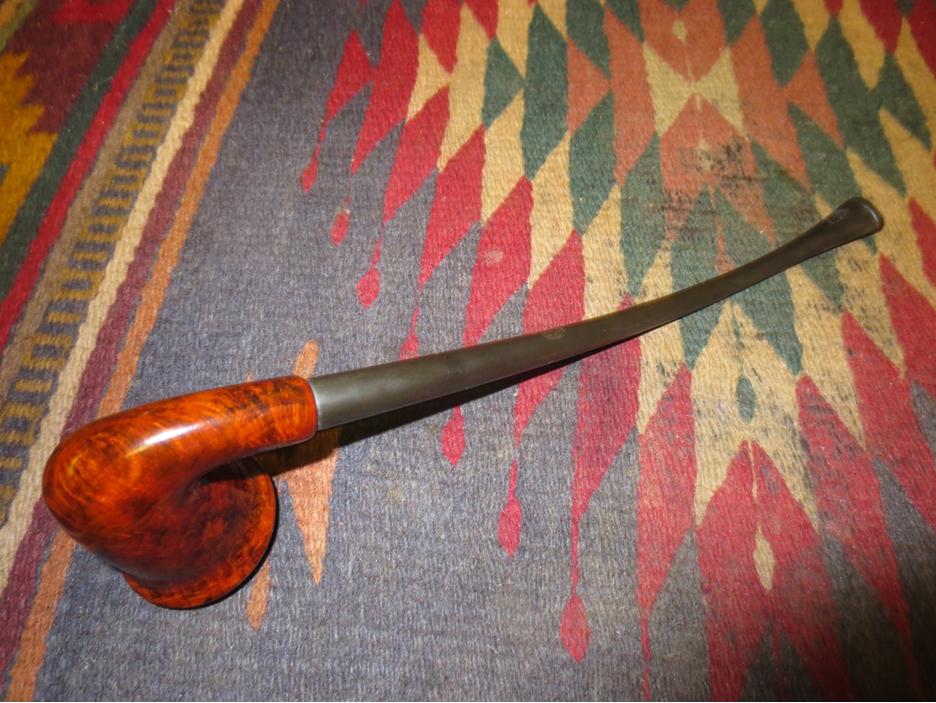
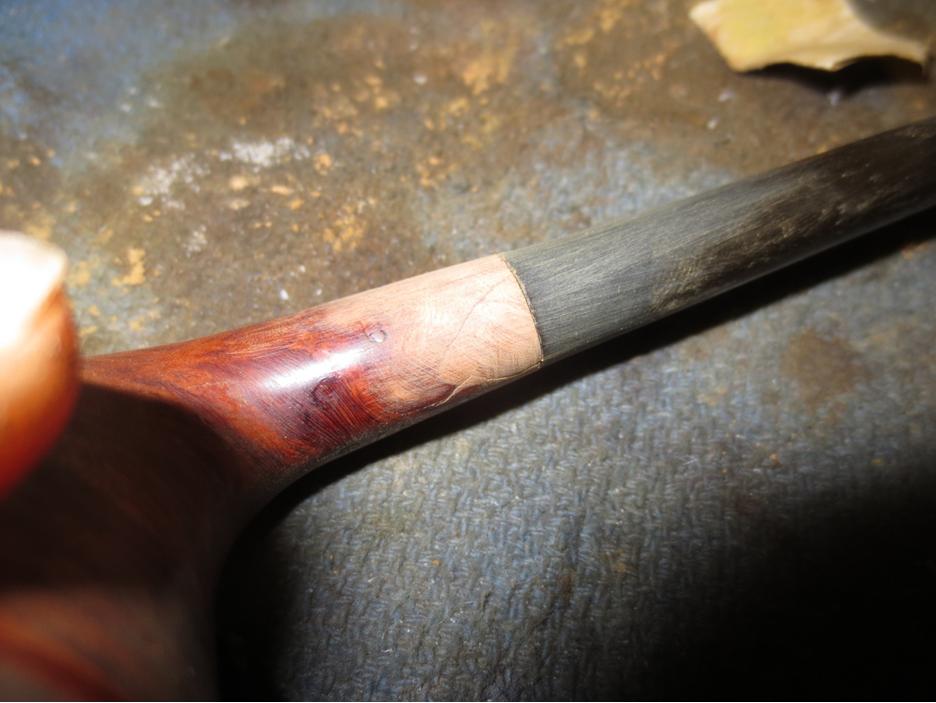
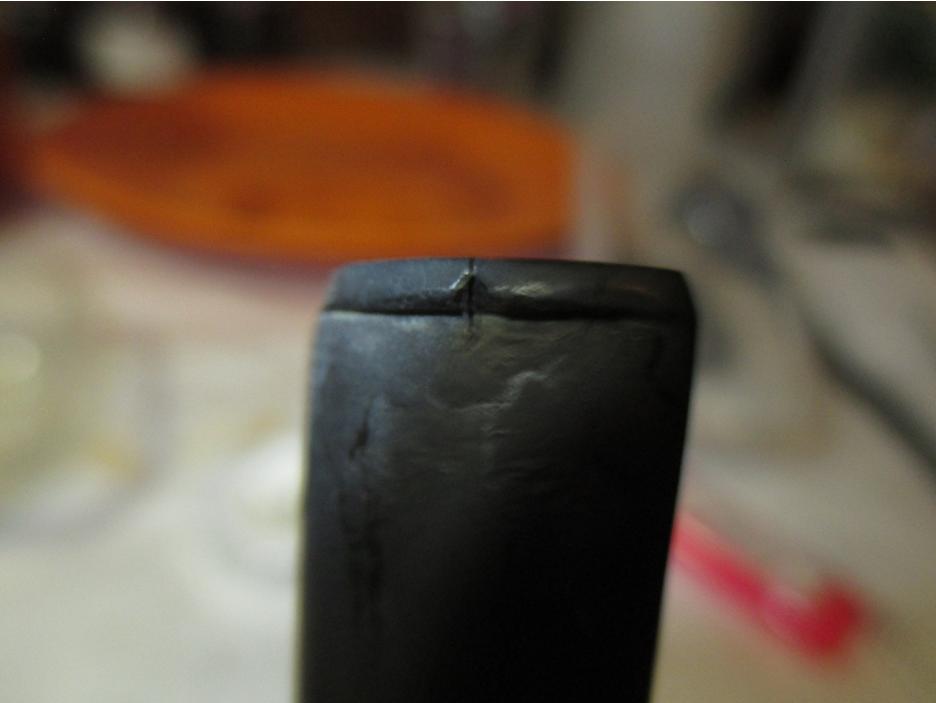
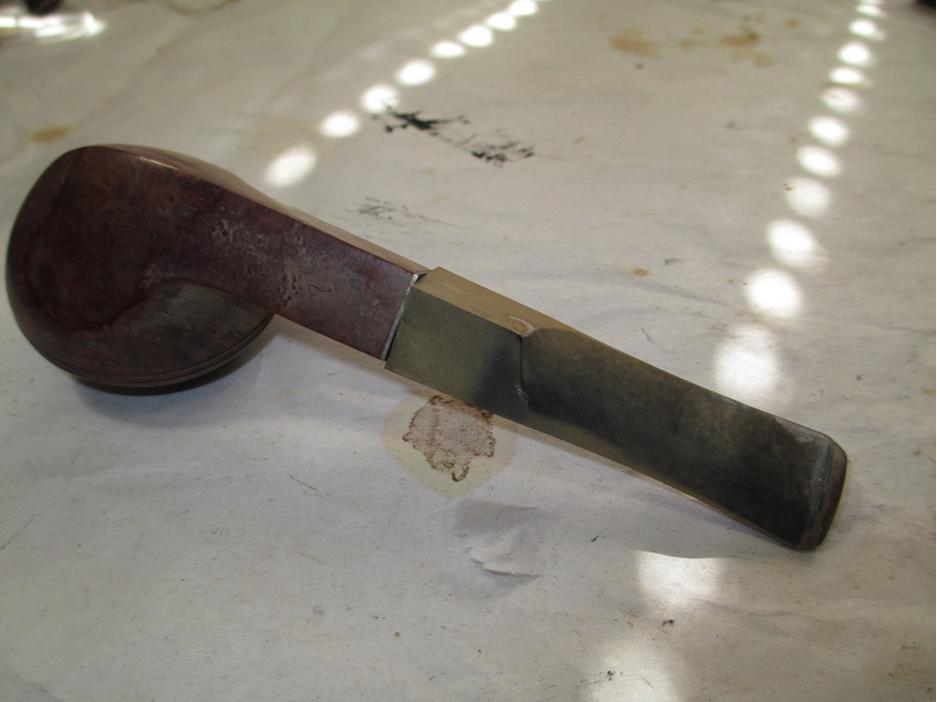
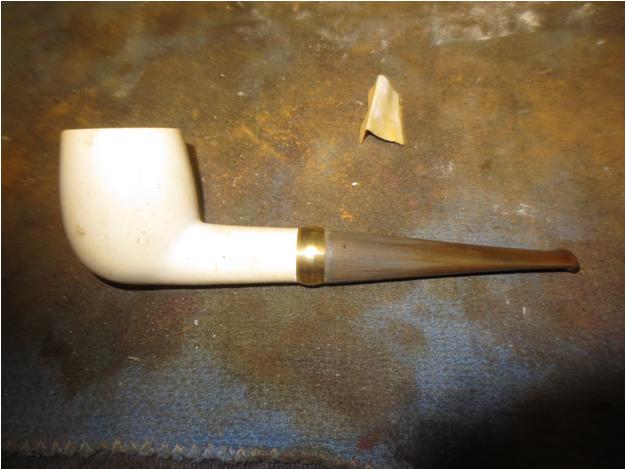

 I liked the new look a lot. It had the same touch of class as the meerschaum apple does. It would come out looking pretty slick once it was finished. I sanded the diameter of the stem with the Dremel and sanding drum to take off a fraction so that it would sit flush in the band with no gap around the edges. I then hand sanded it with 220 grit sandpaper to further fine tune the fit.

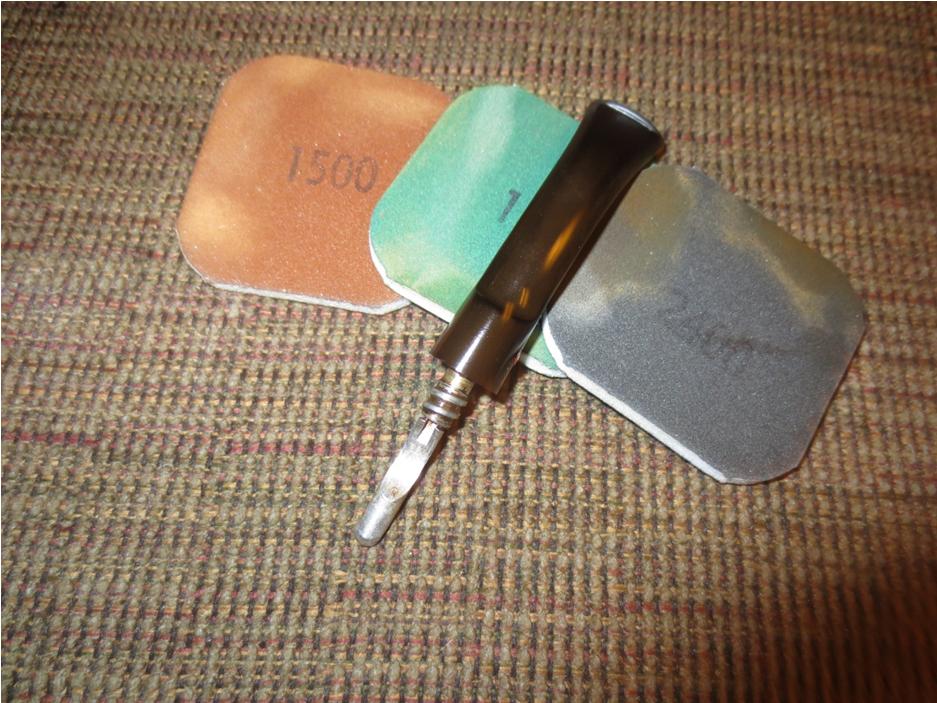
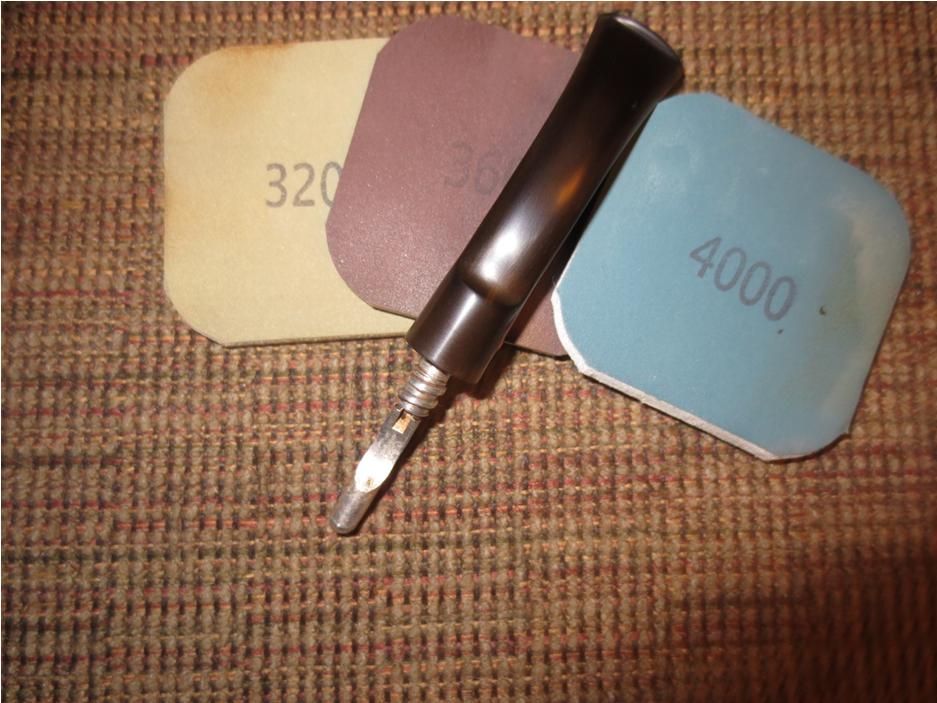
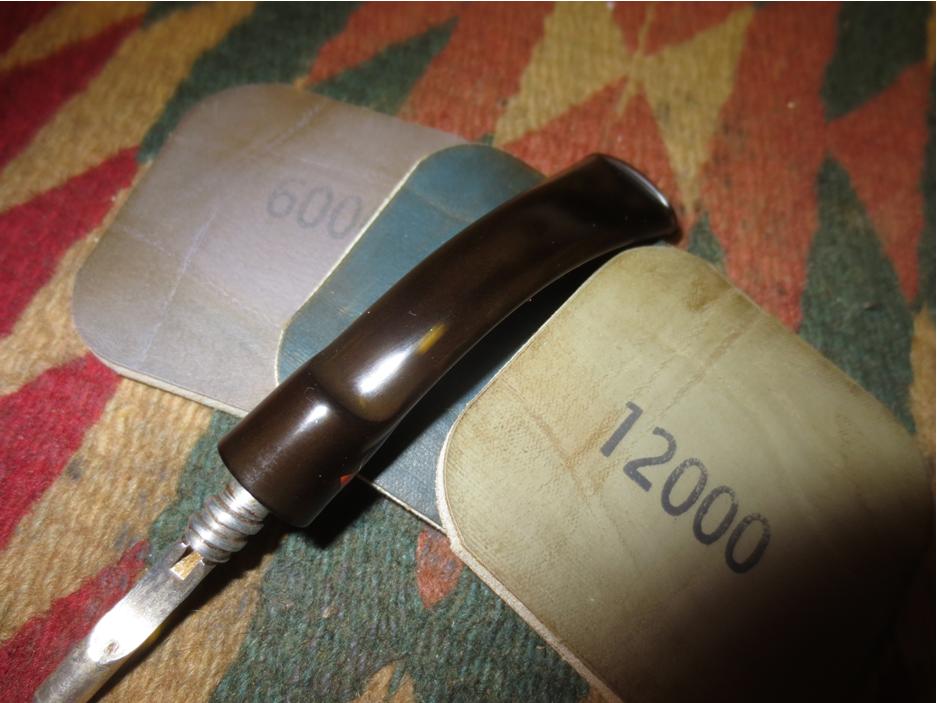
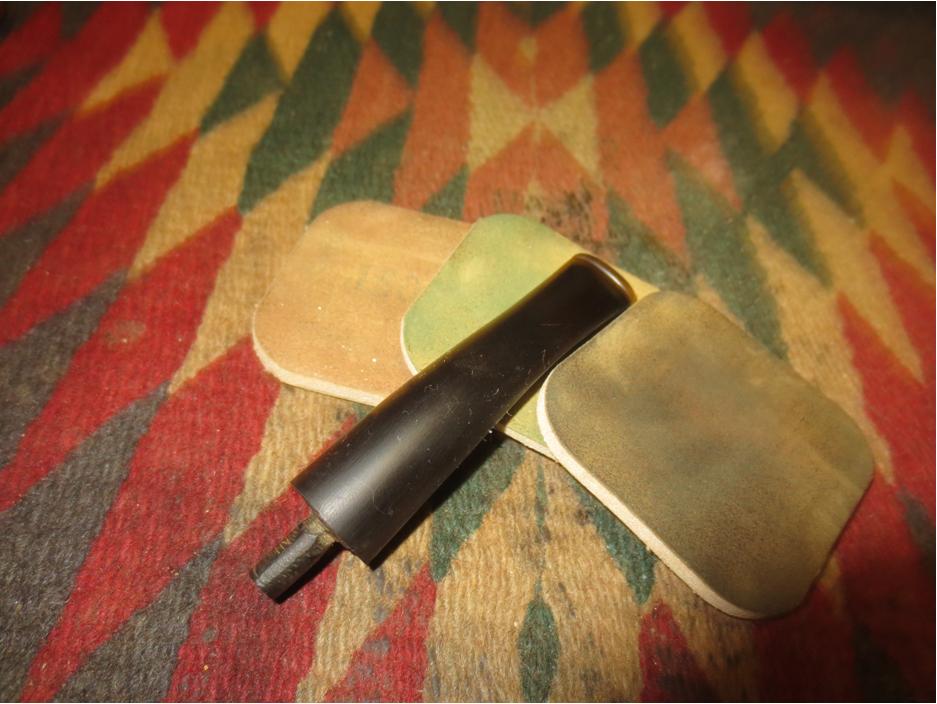
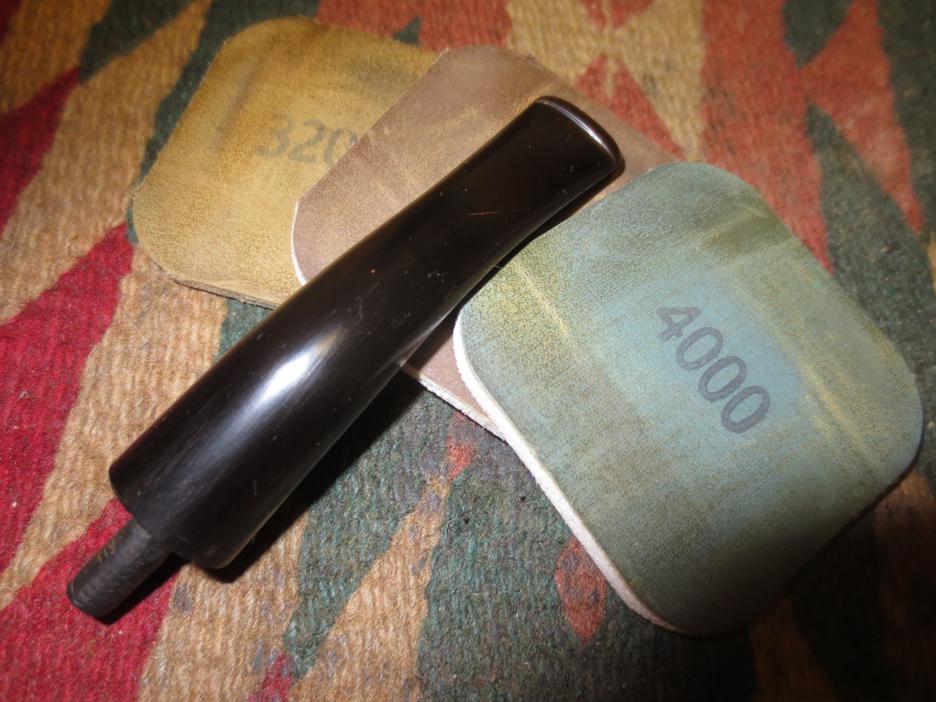
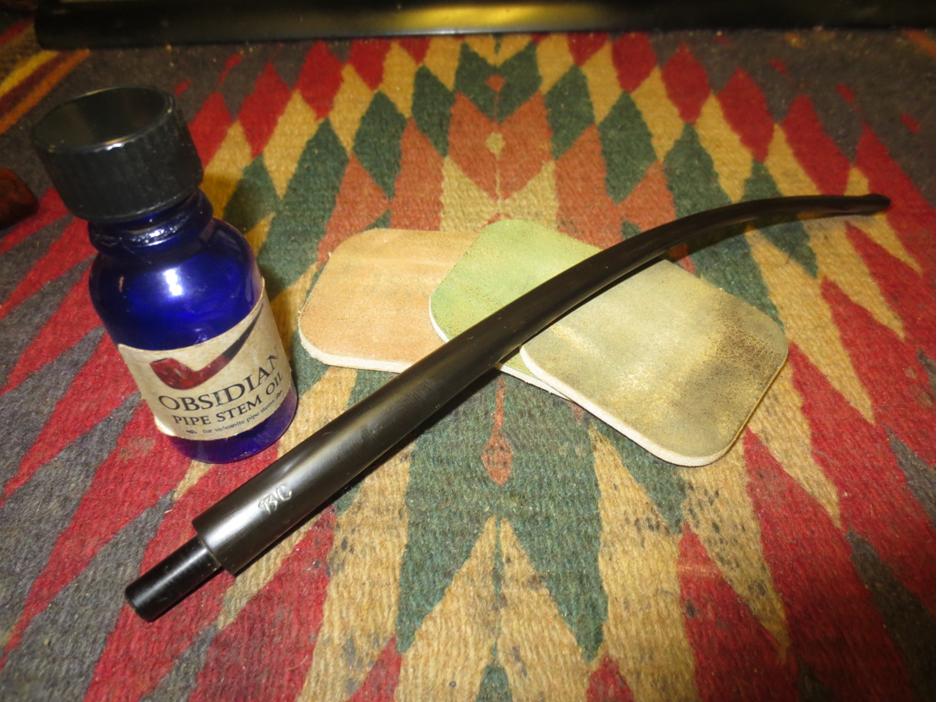
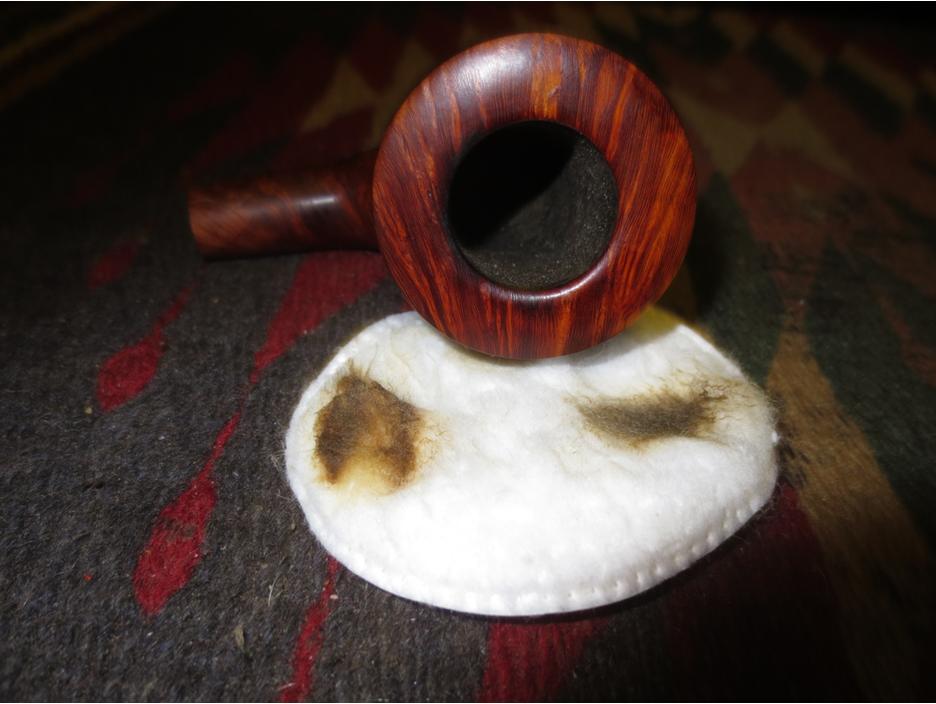
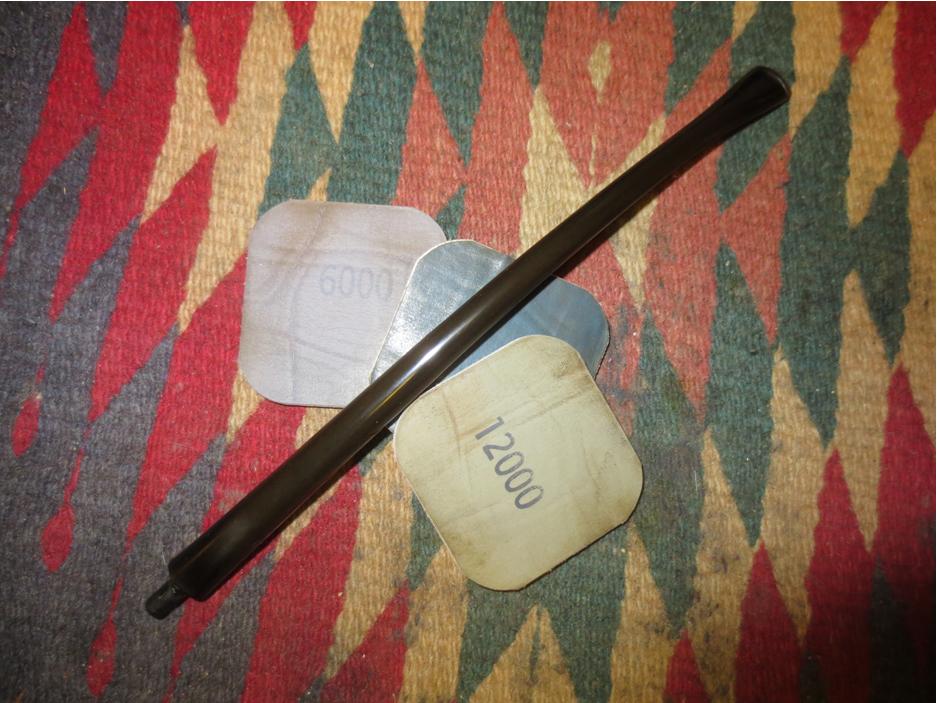
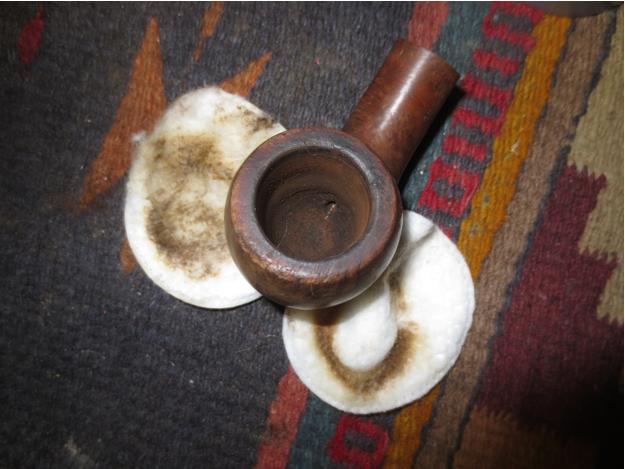
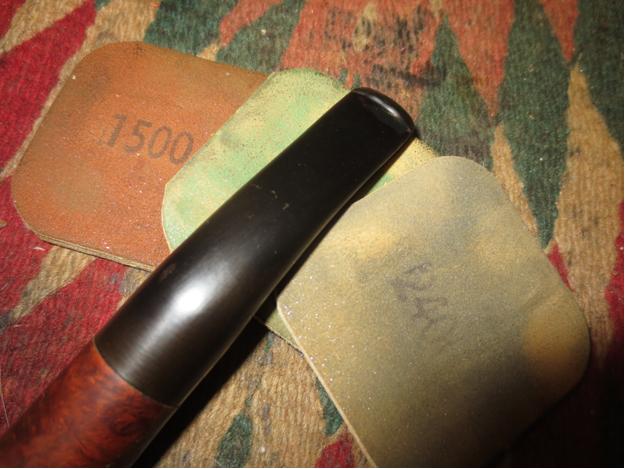
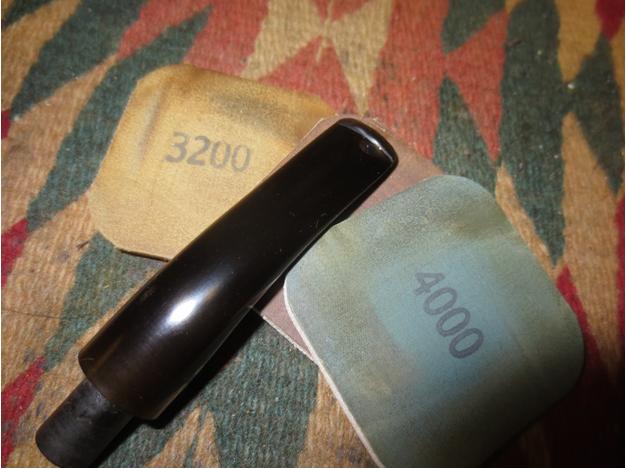
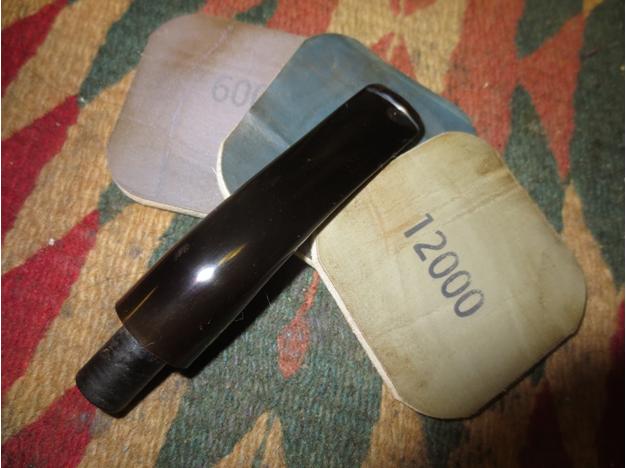
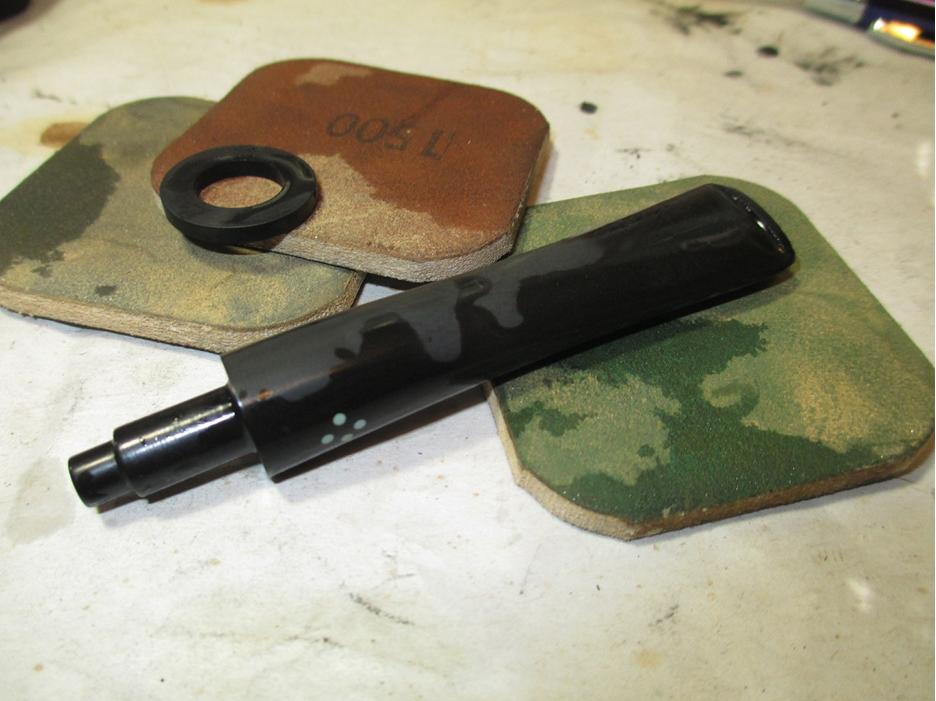
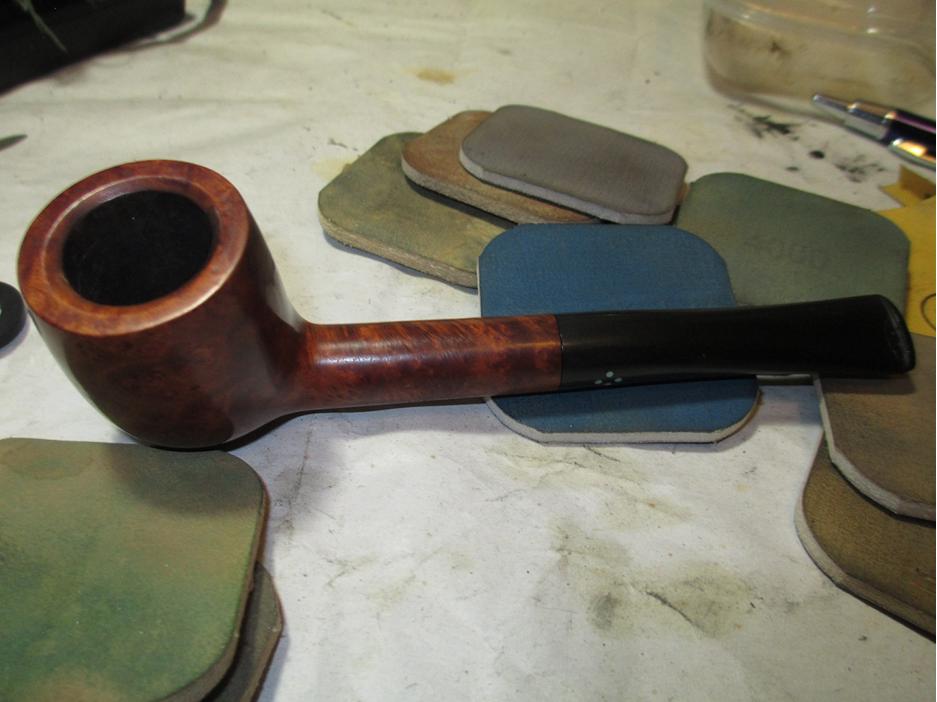
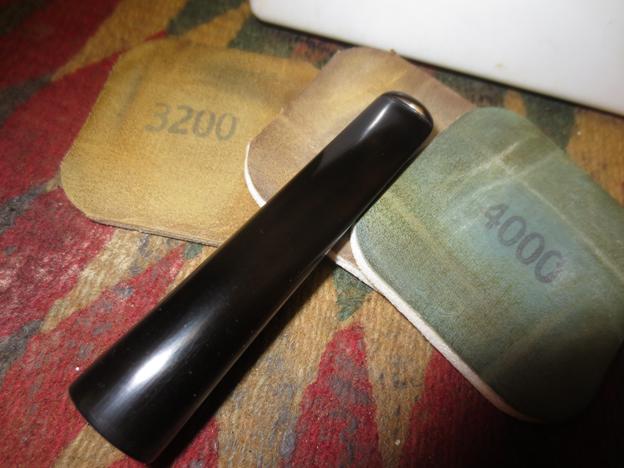
 I sanded the newly fit stem with a medium and a fine grit sanding sponge to clean up the vulcanite and remove all of the scratches from the sanding drum and 220 grit sandpaper. I sanded it with micromesh sanding pads – wet sanding with 1500-2400 grit pads and dry sanding with 4000-12000 grit pads. I rubbed it down with Obsidian Oil between each set of three pads and then after the 12000 grit pad I let it dry before going to the buffer. I also sanded the bowl with the micromesh pads to polish the meerschaum.
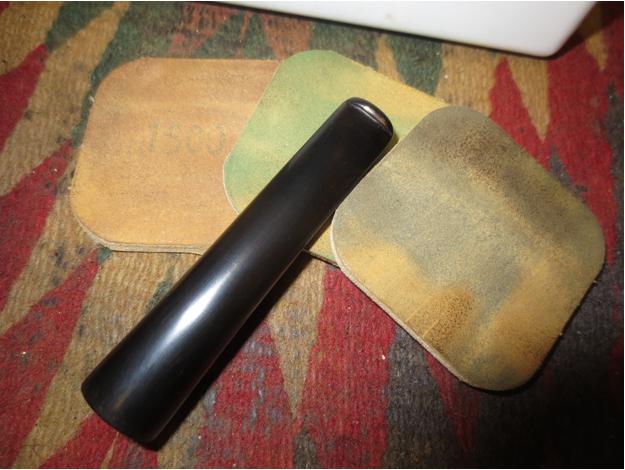
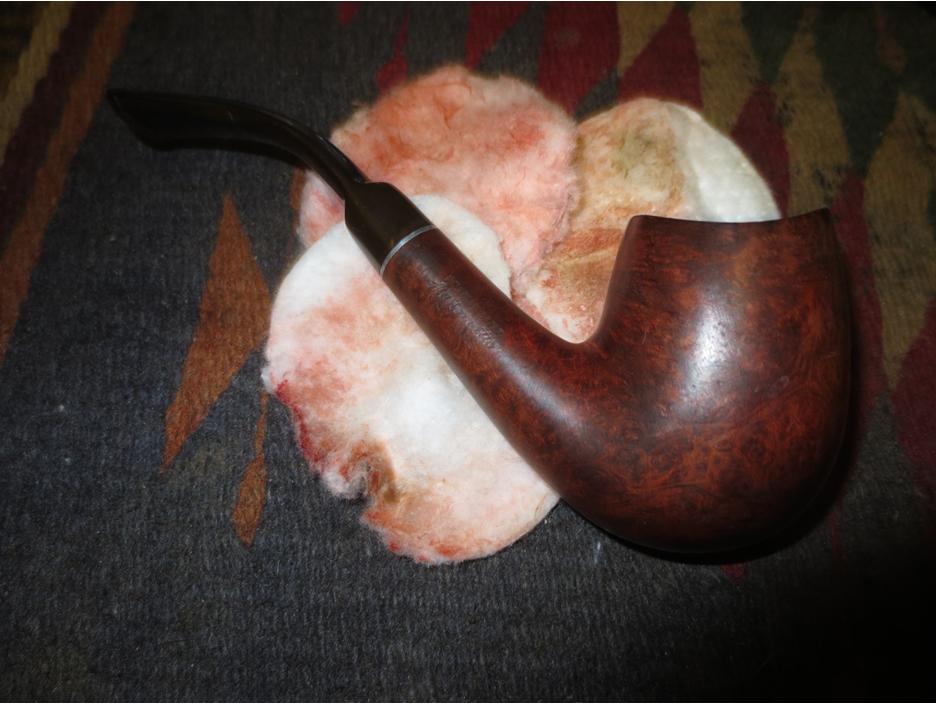
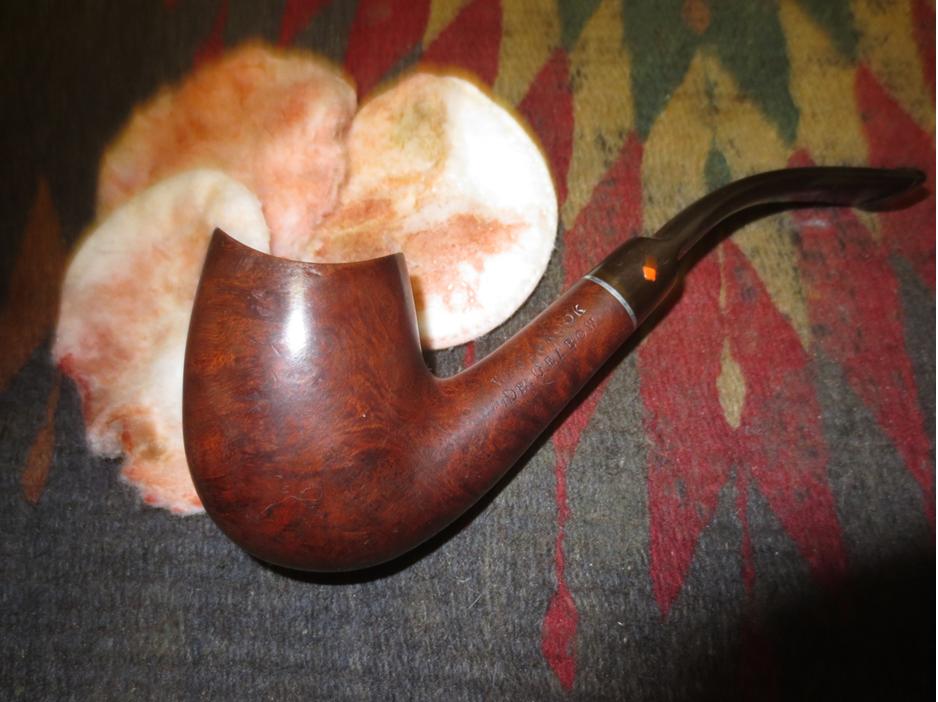
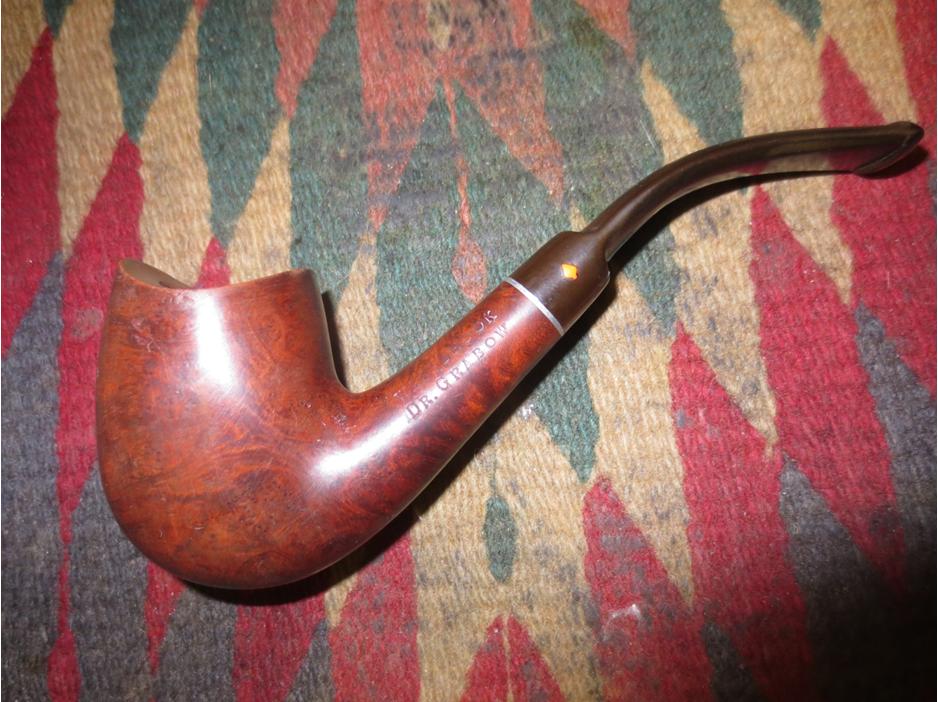
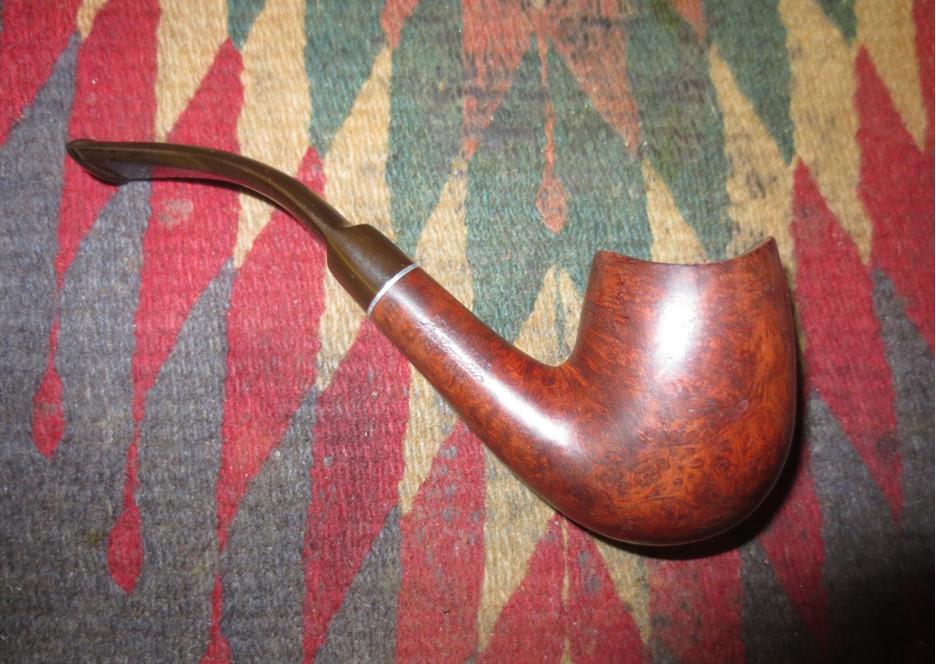
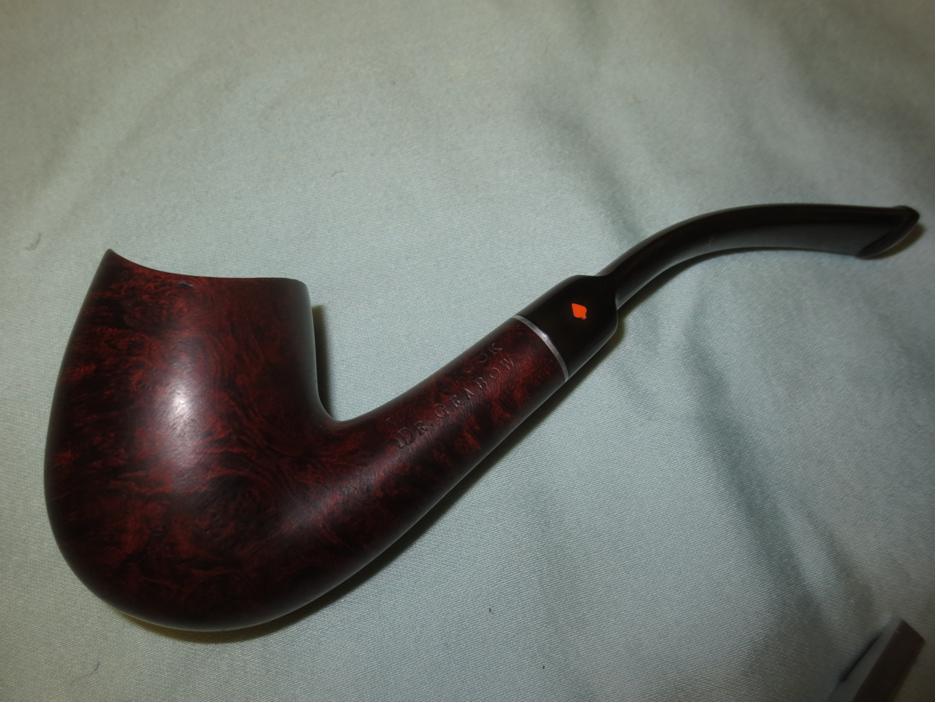
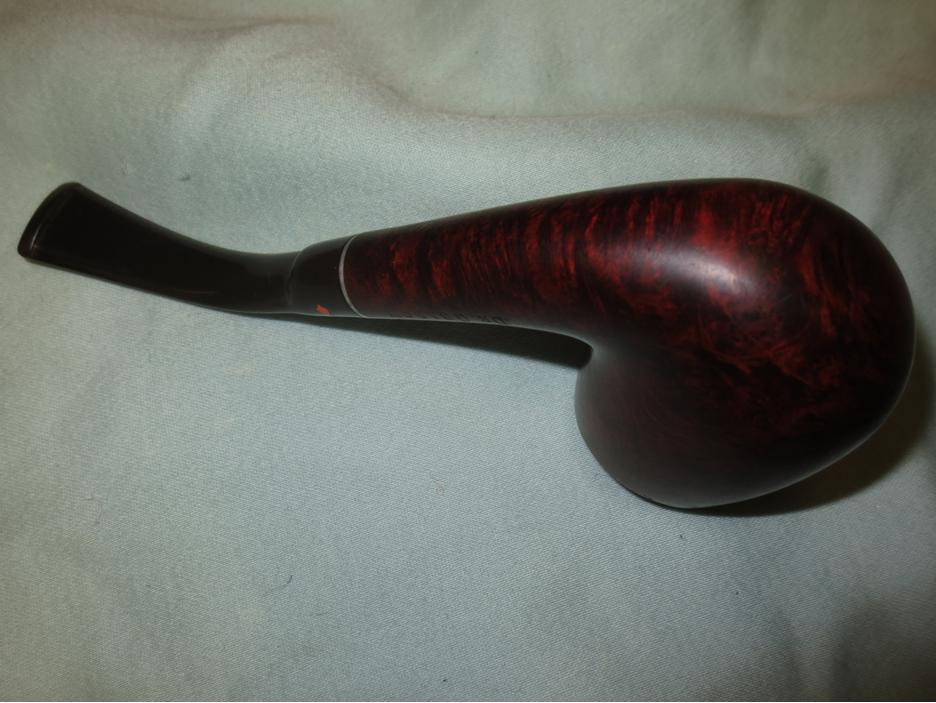
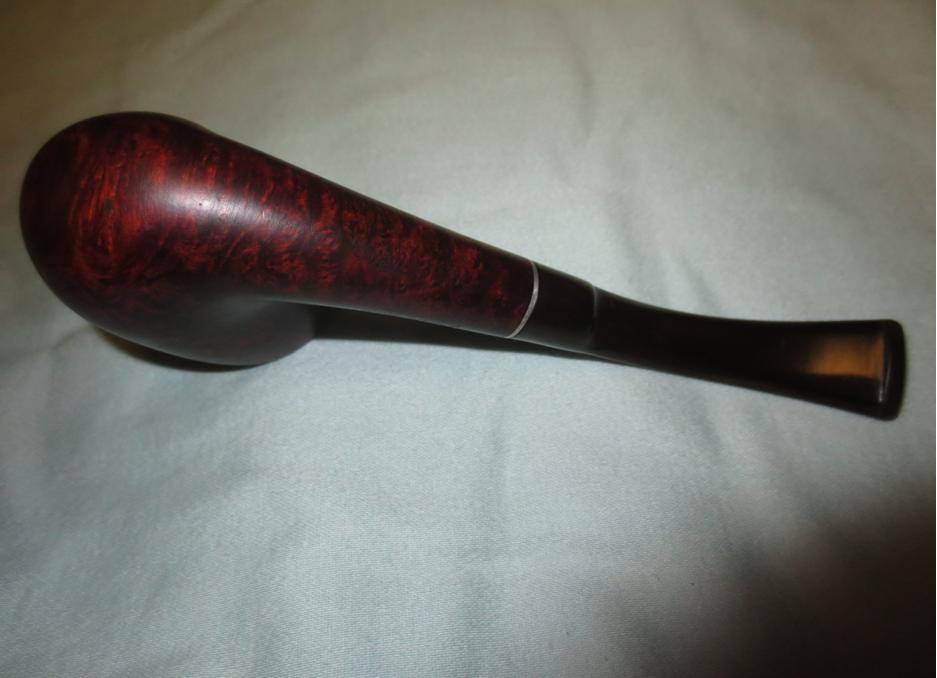
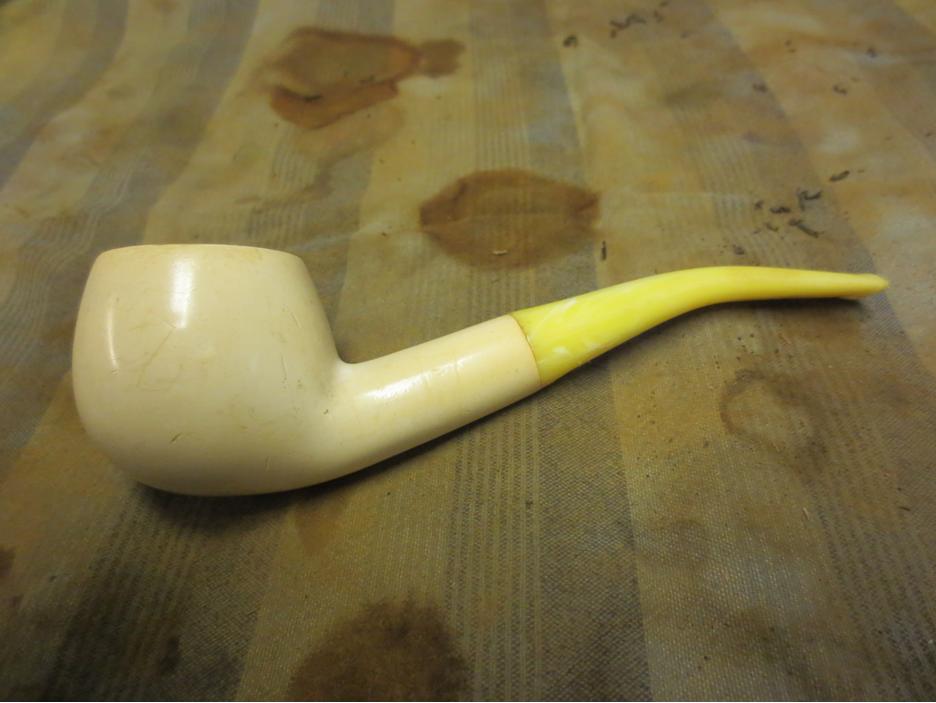
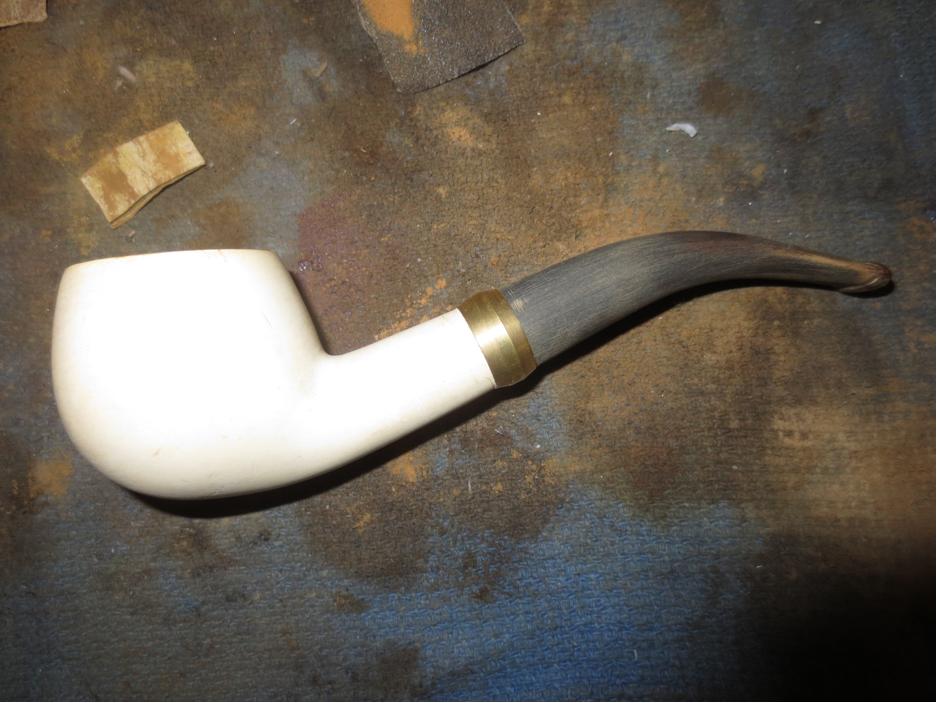
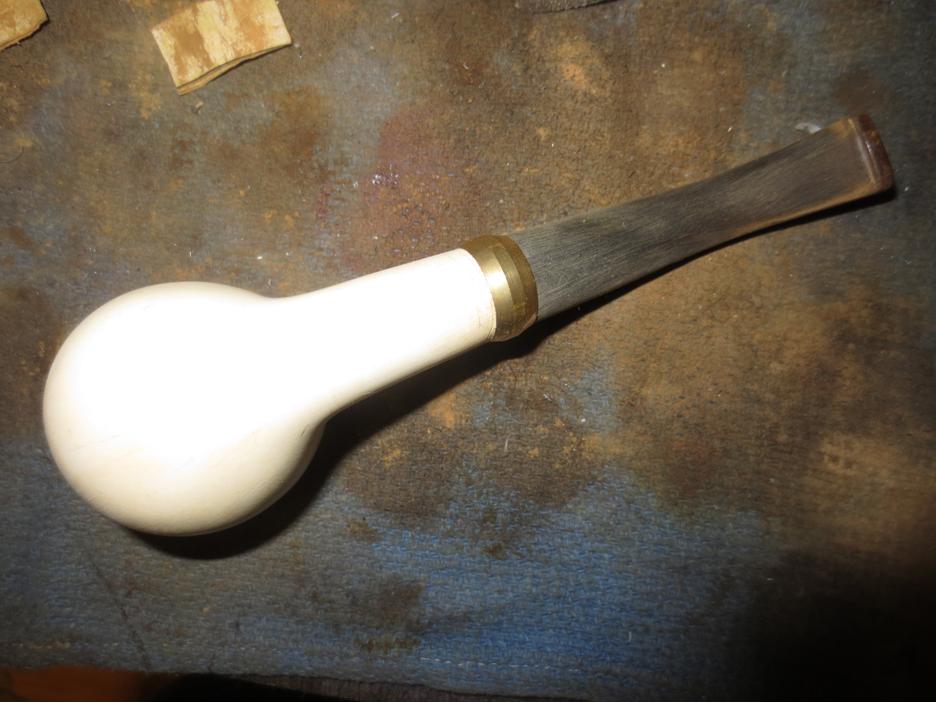
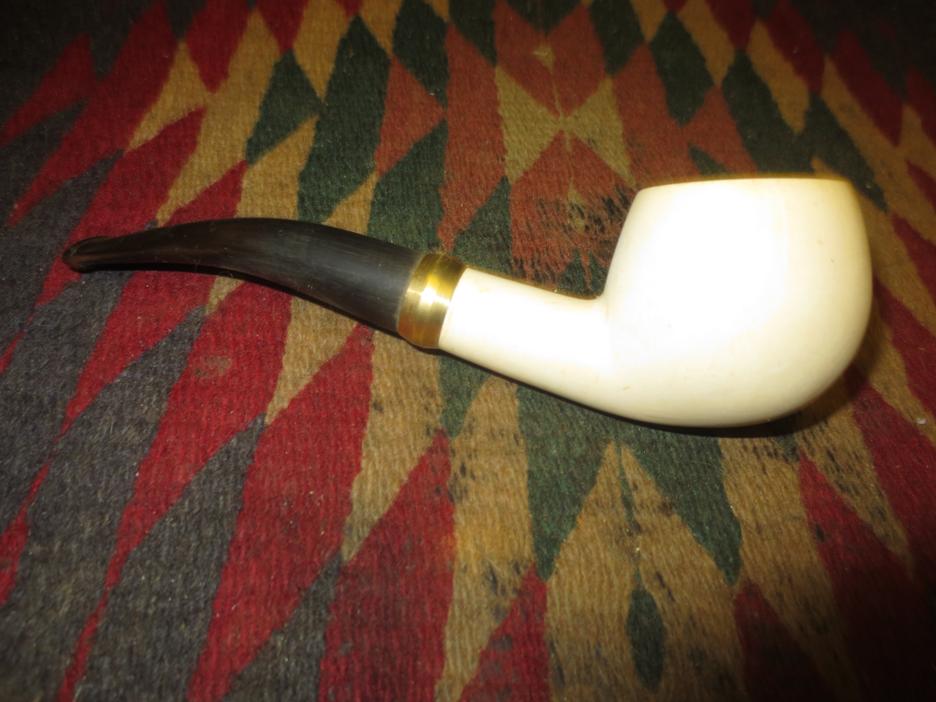
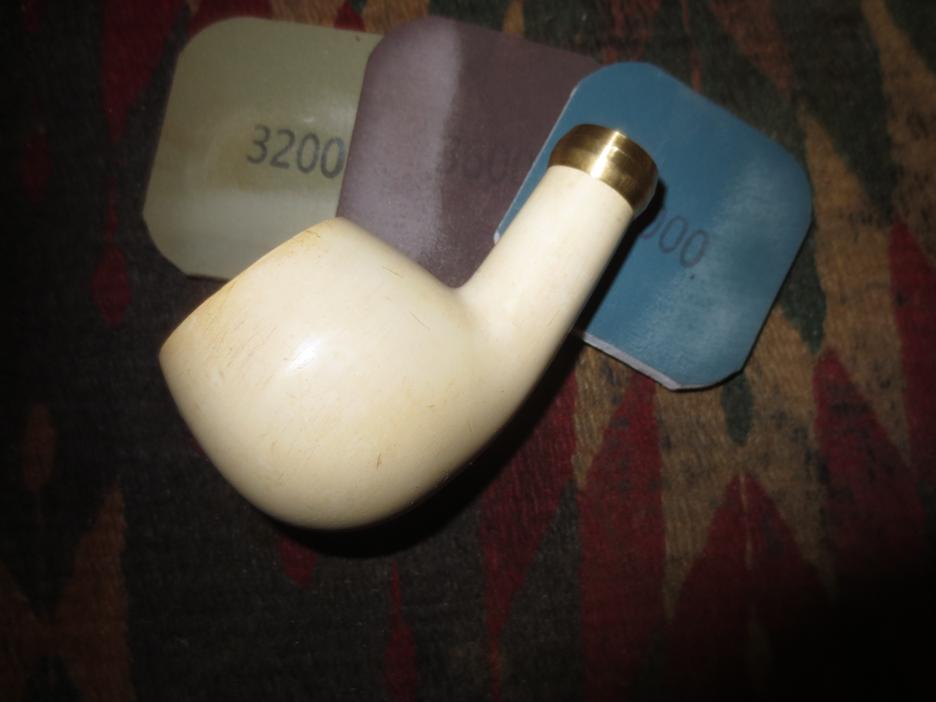
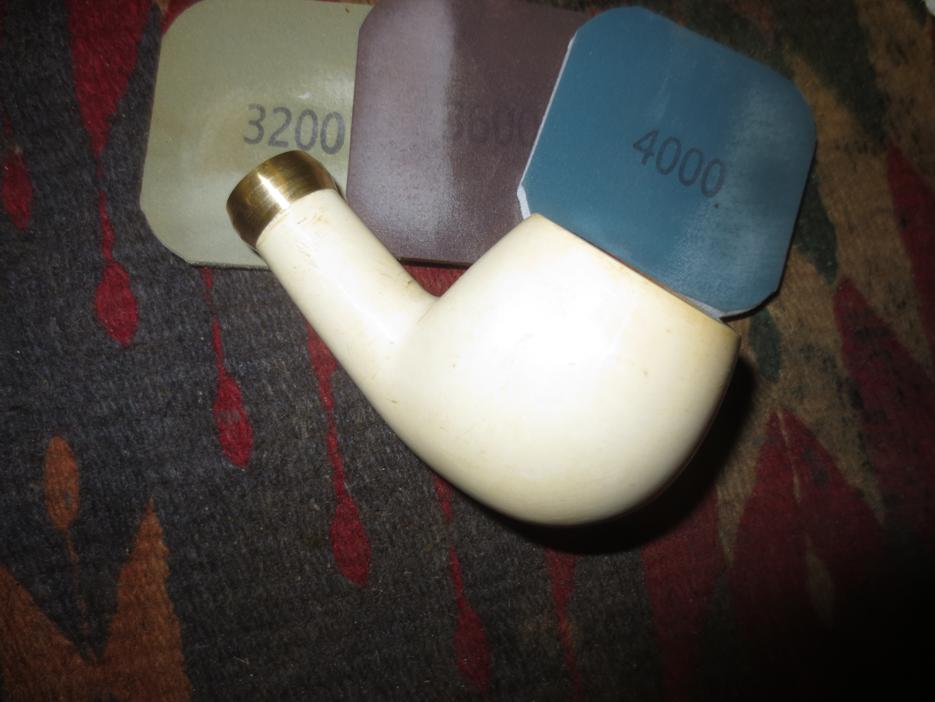
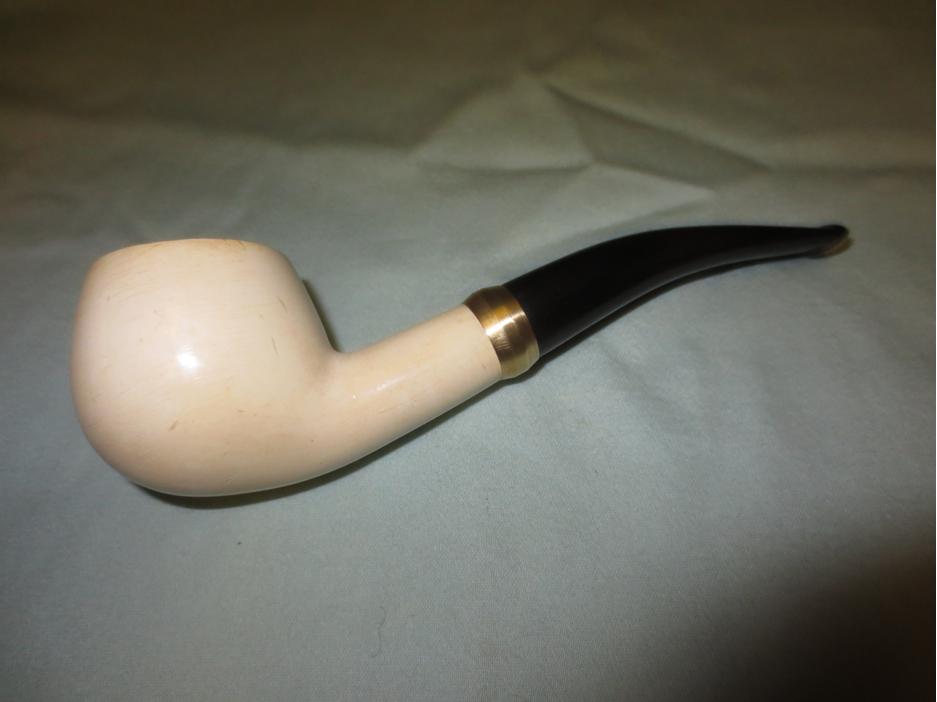
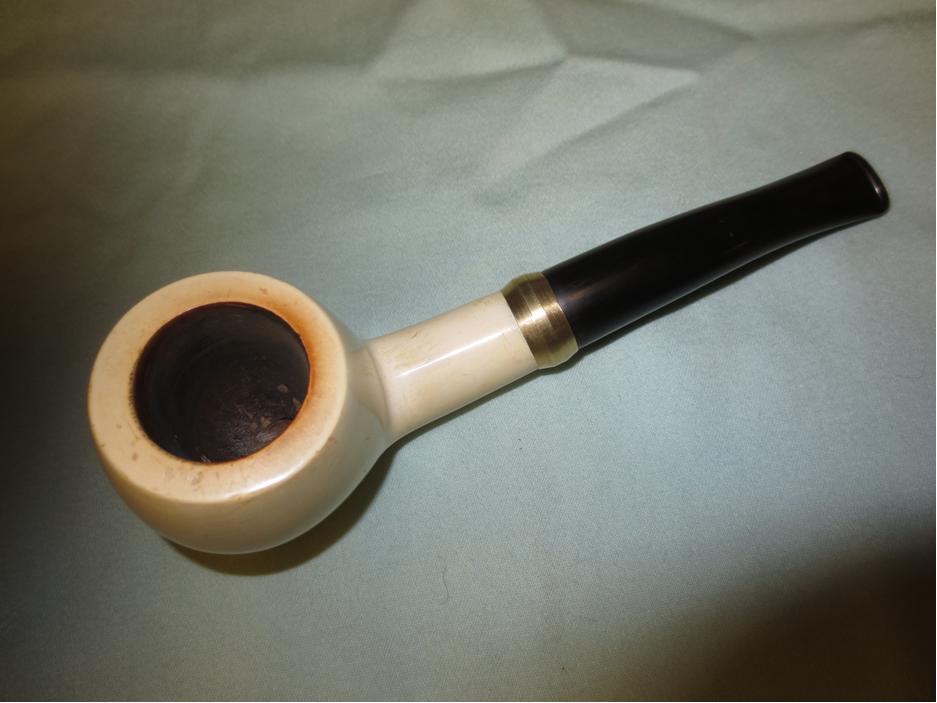
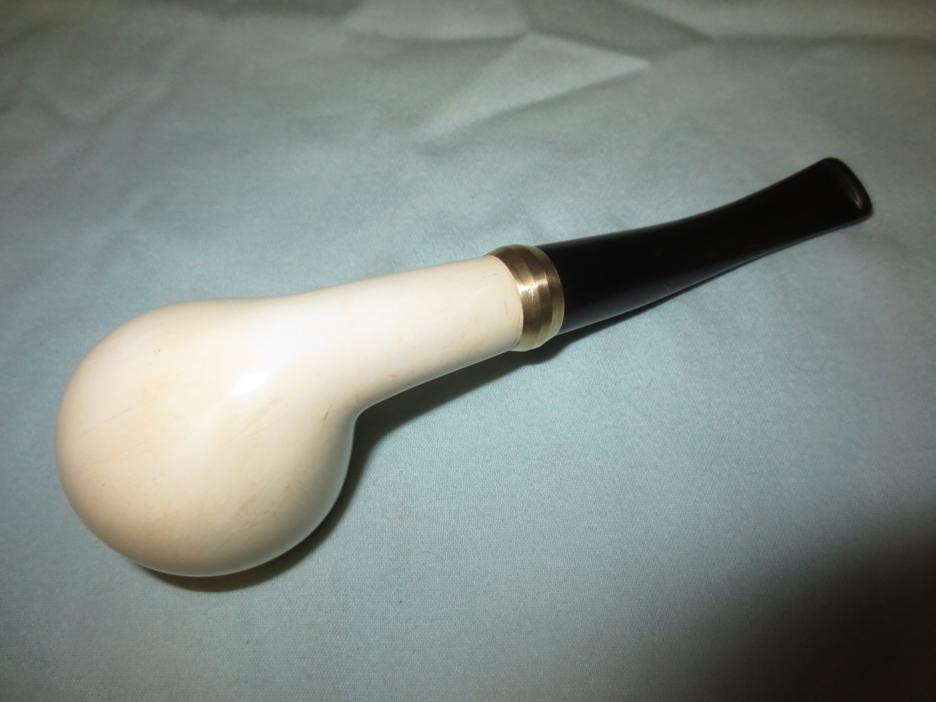
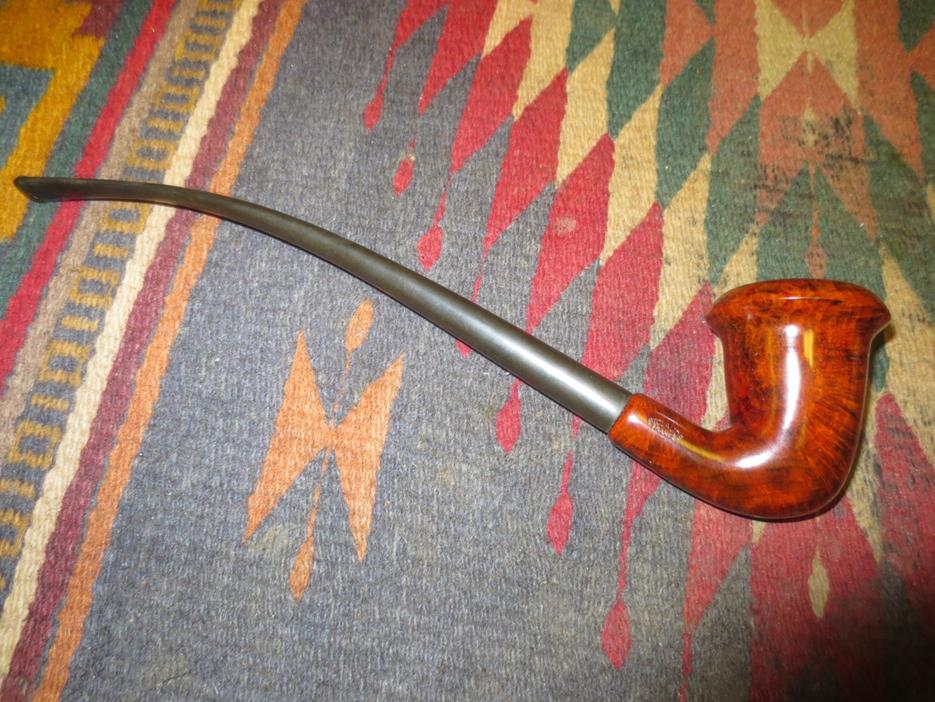
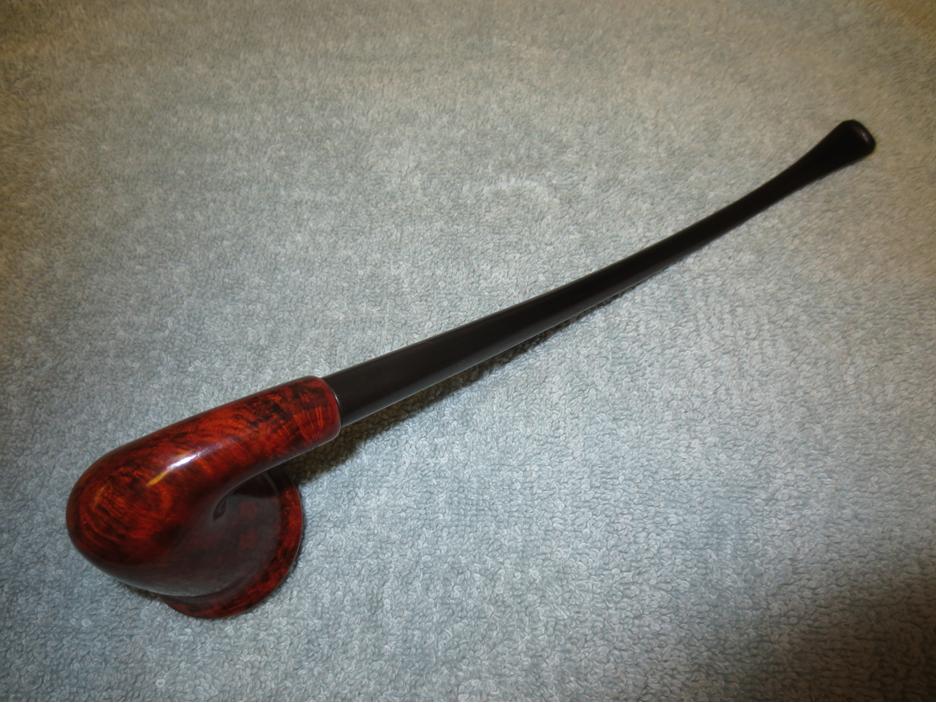
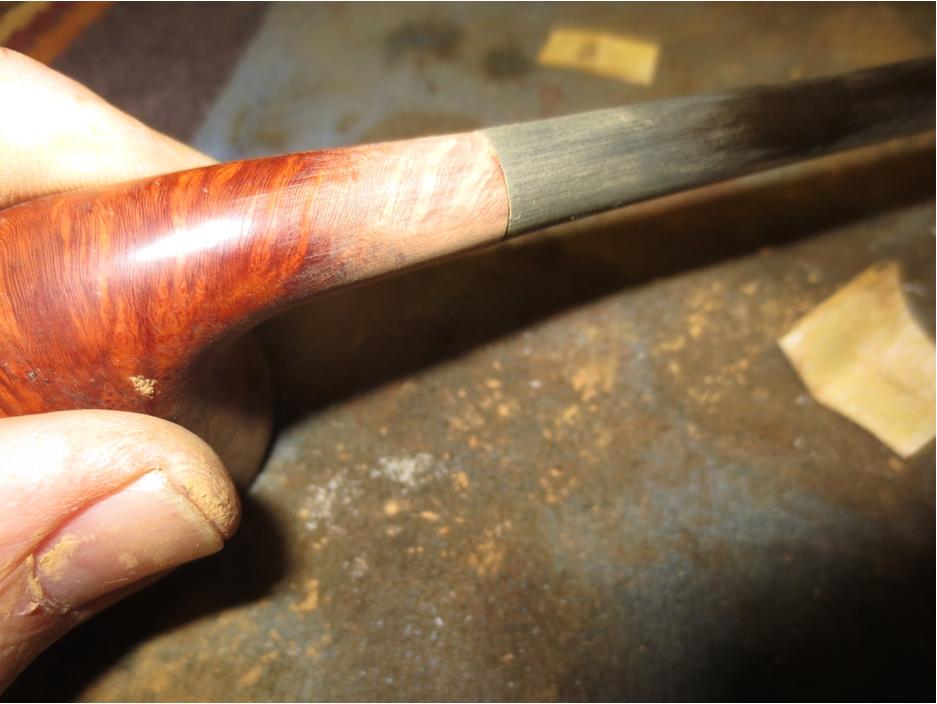
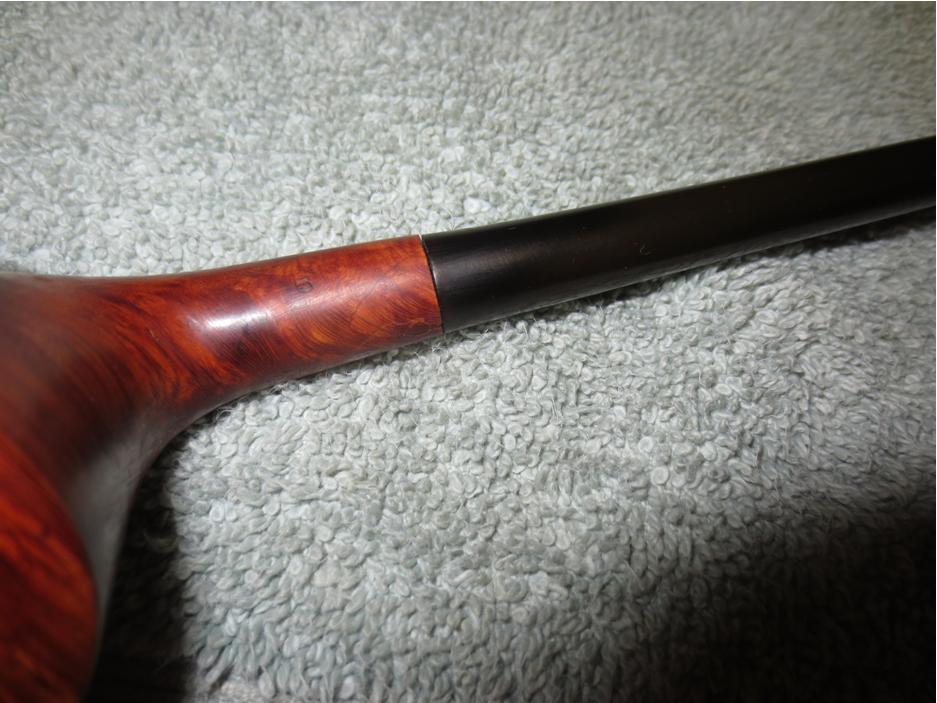
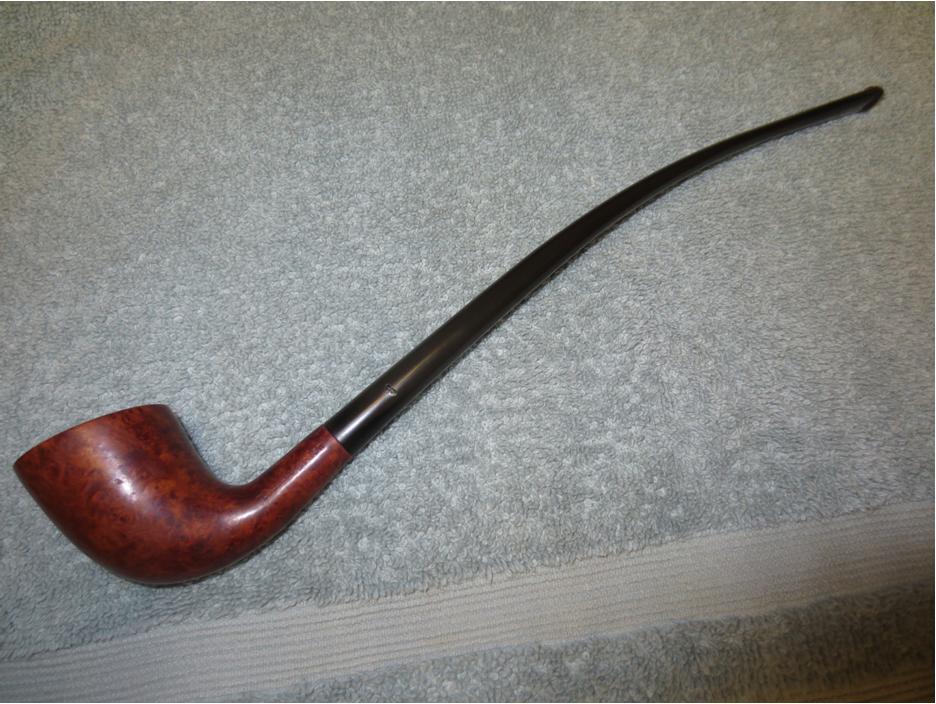
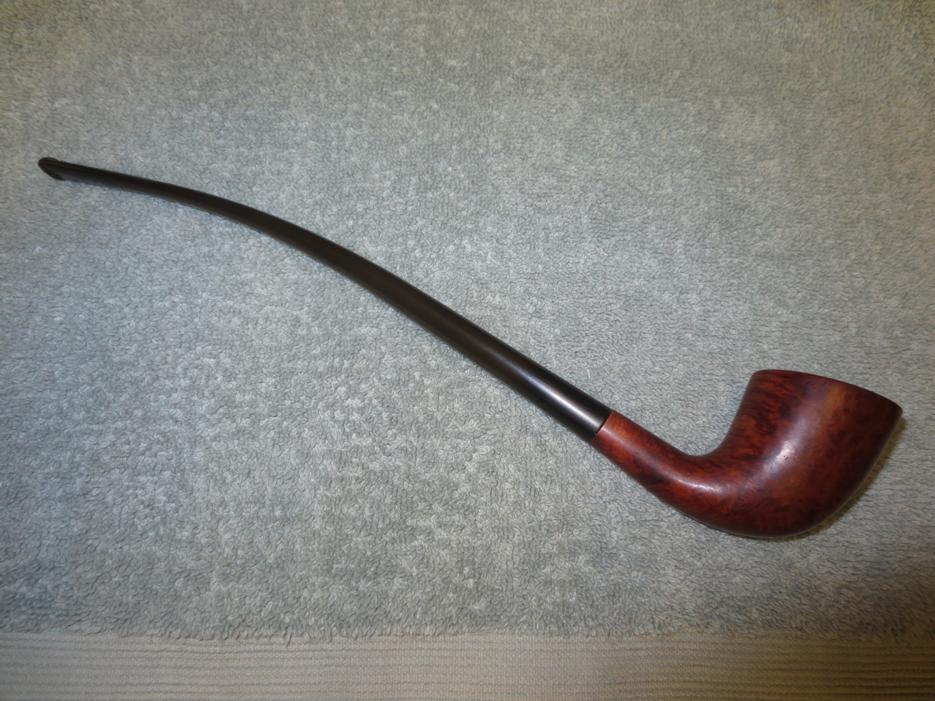
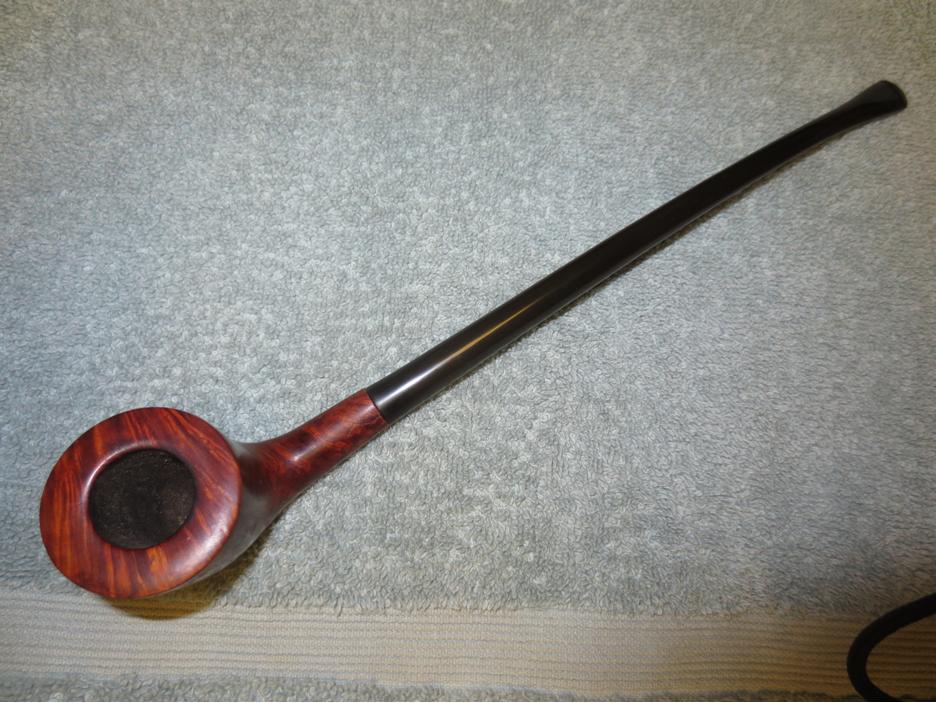
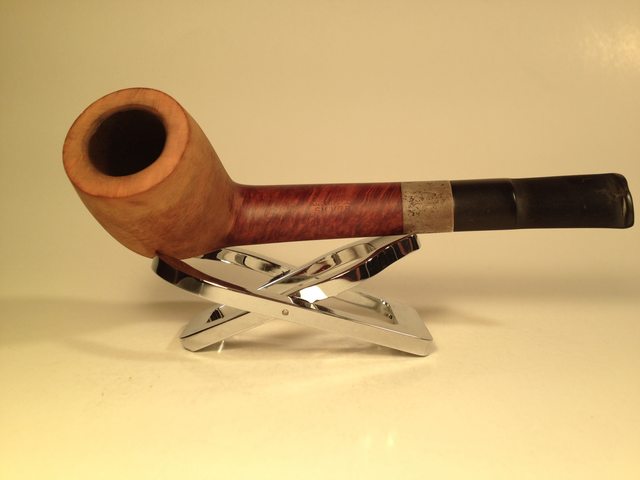
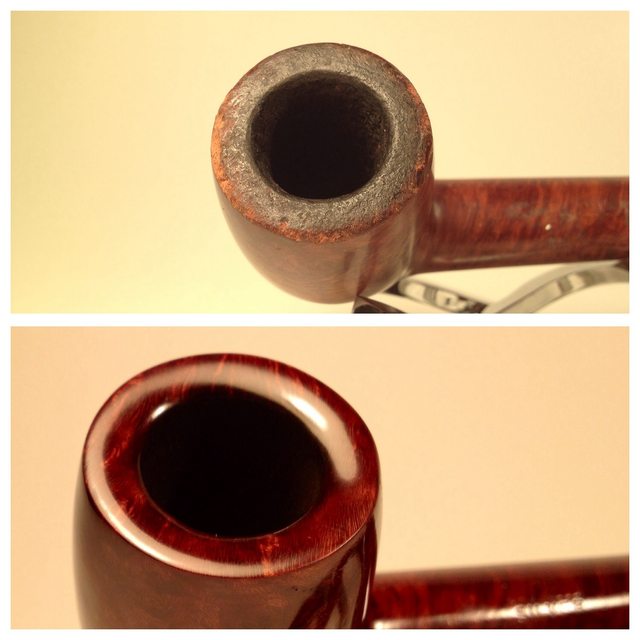
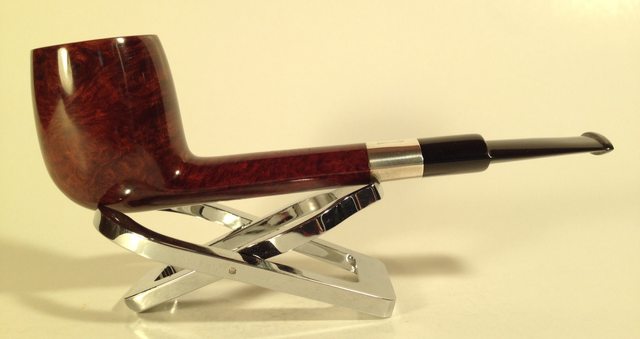
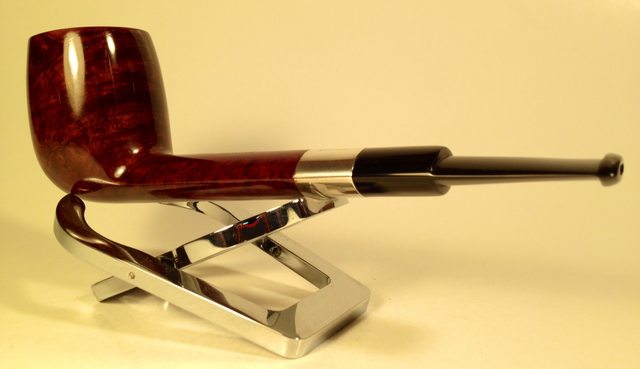
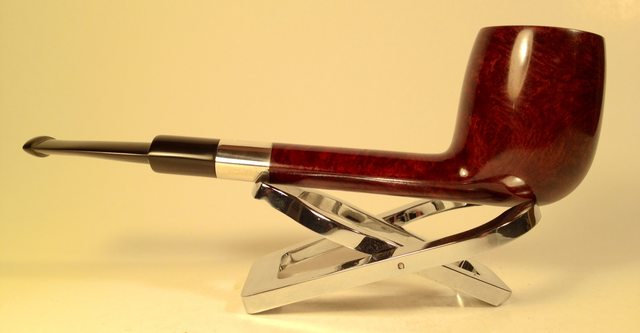
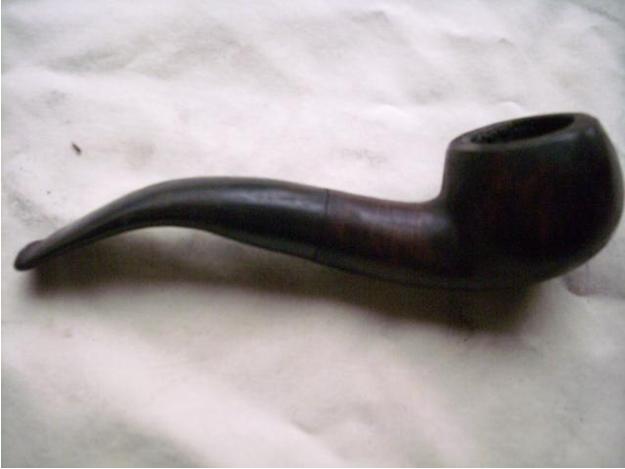
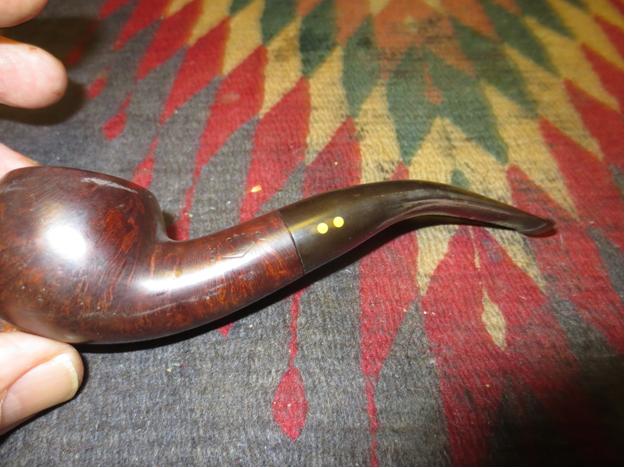
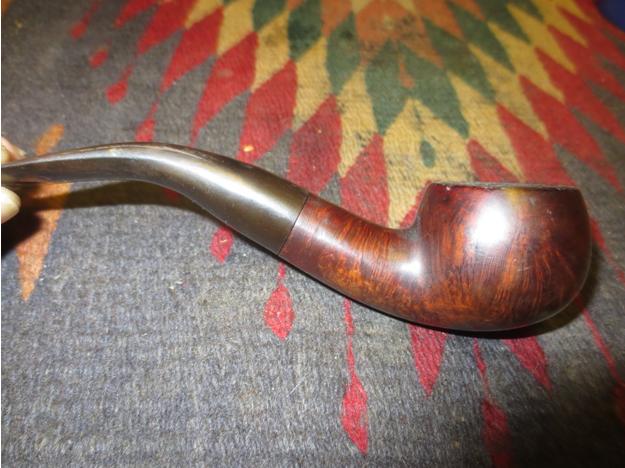
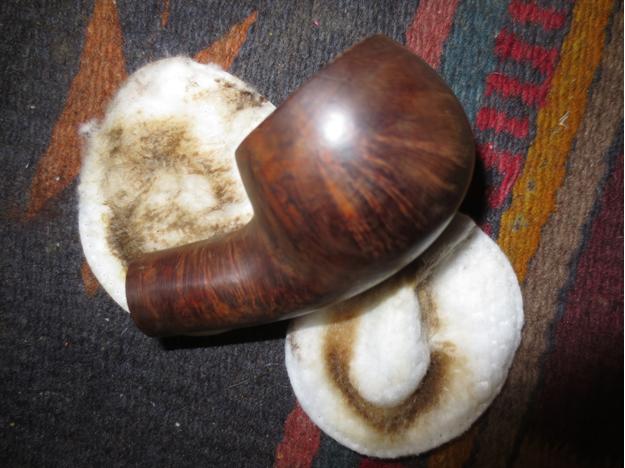
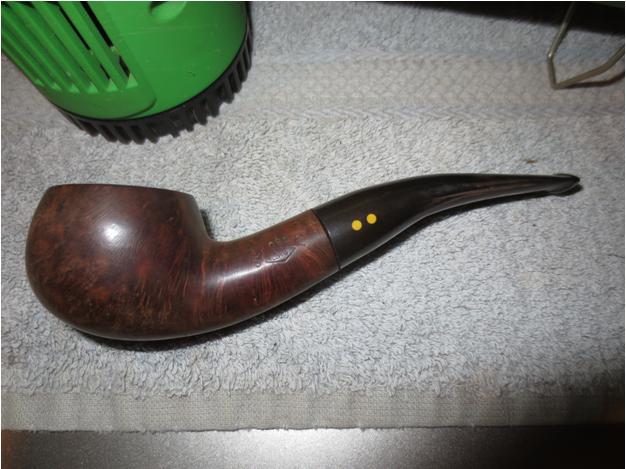
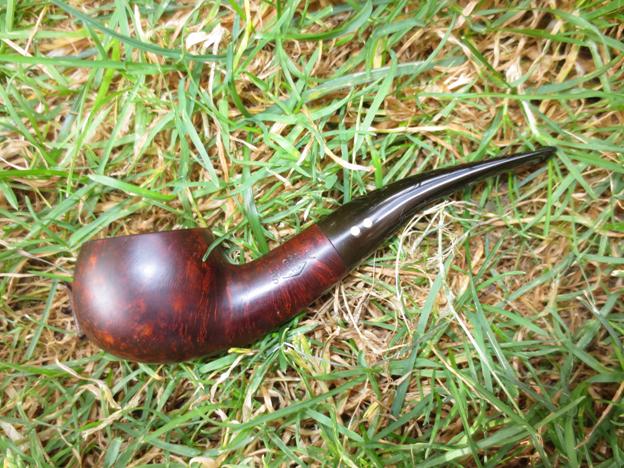
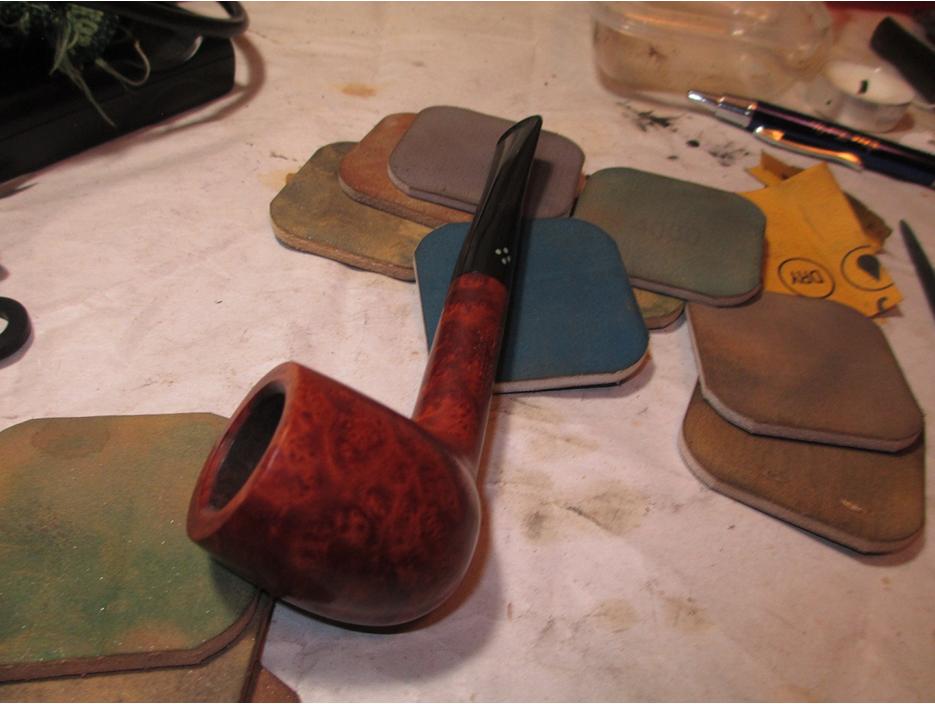
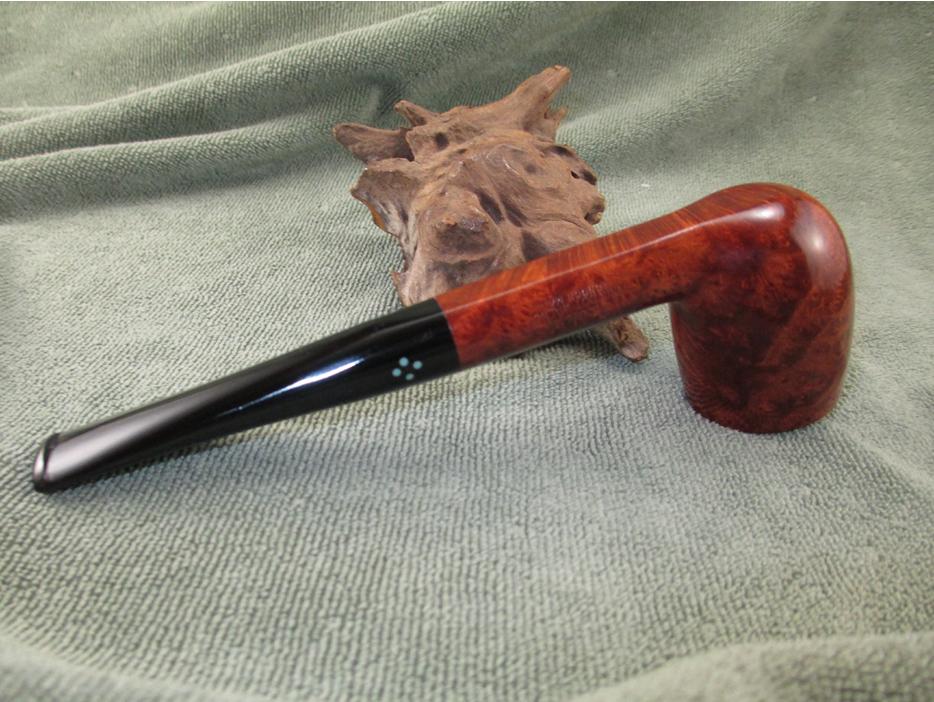
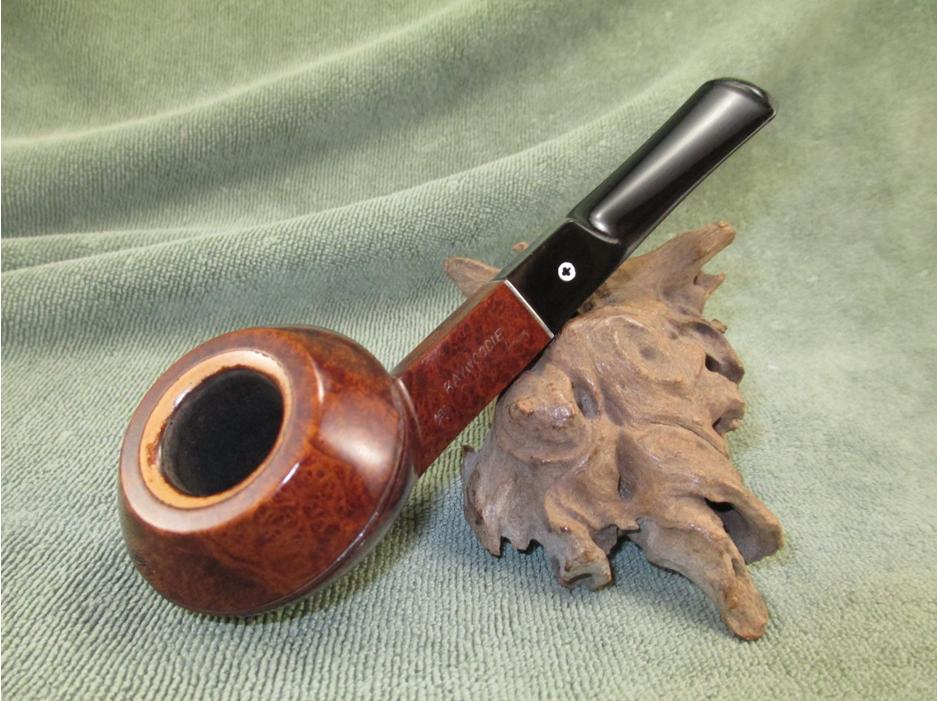
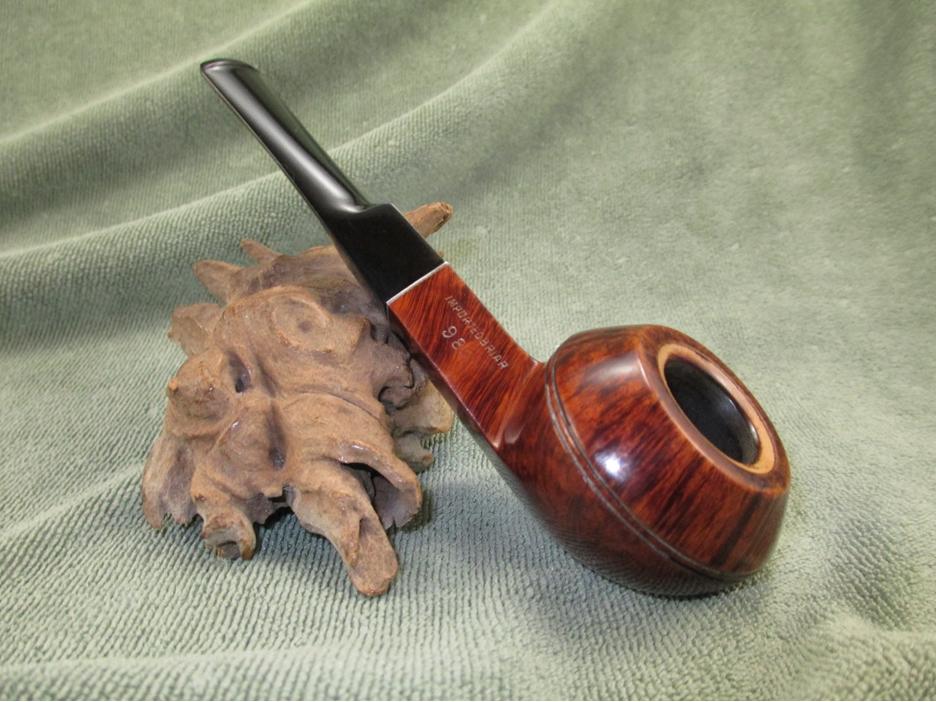
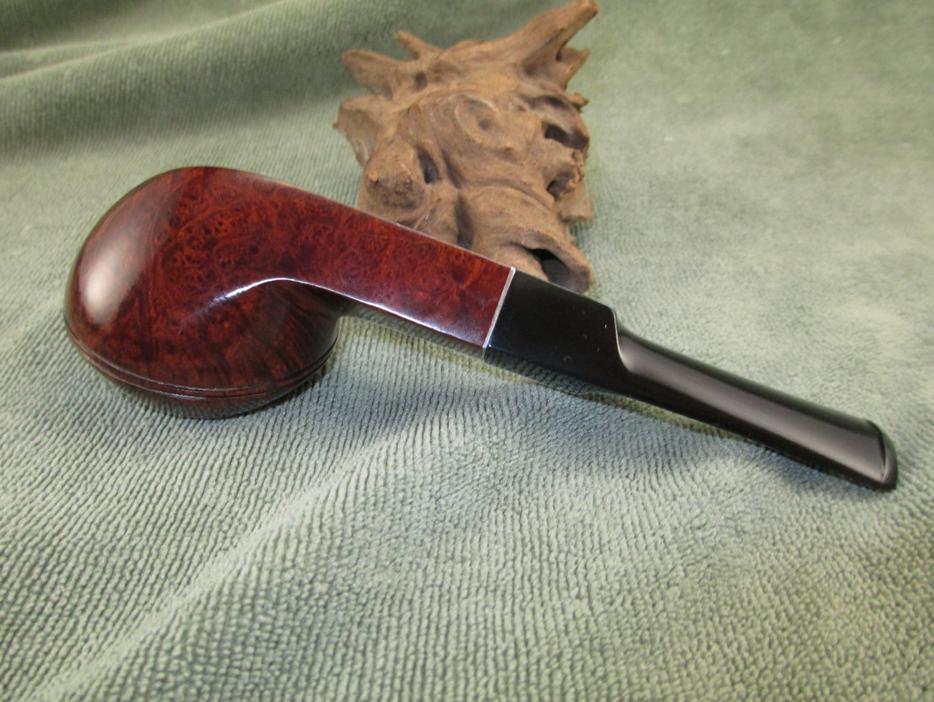
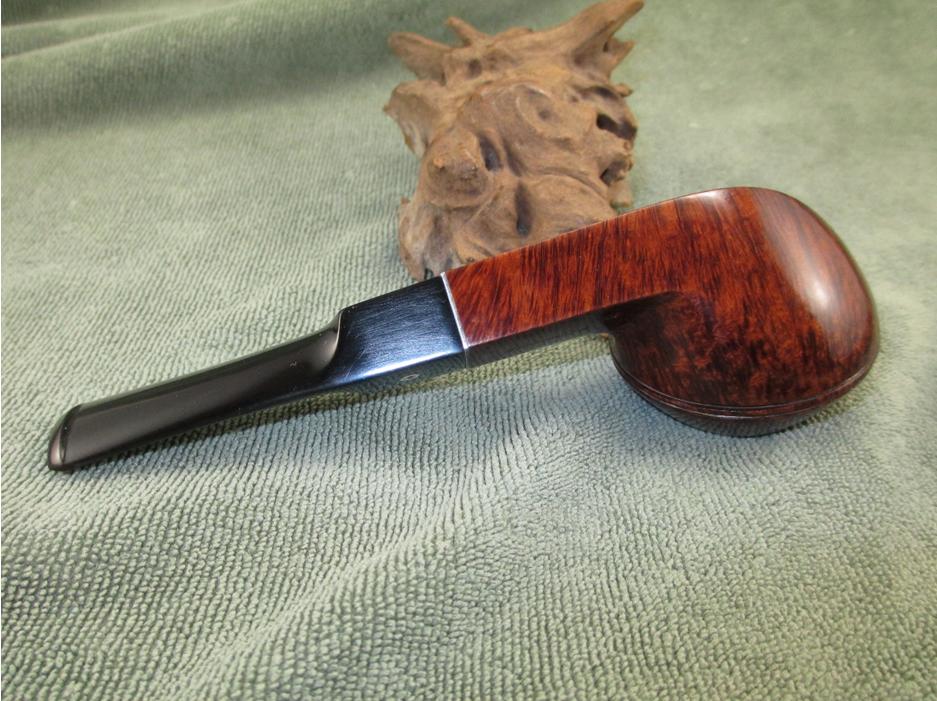
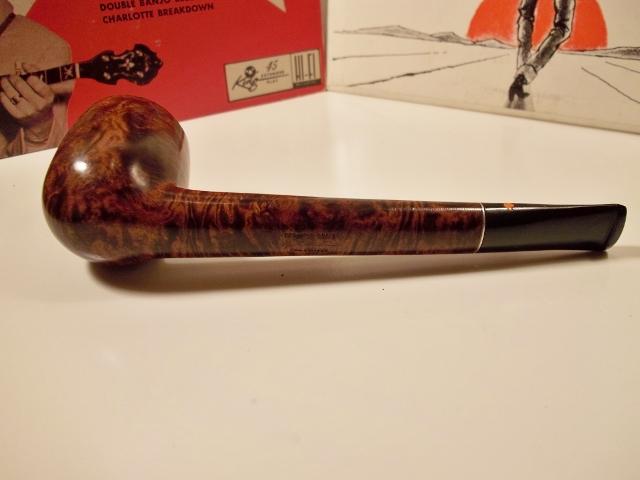
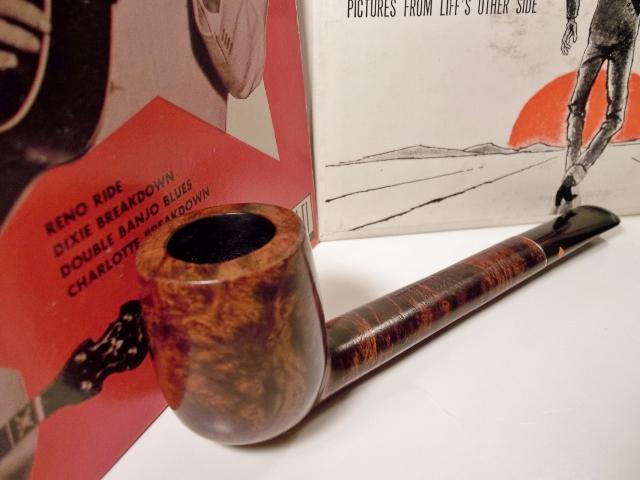
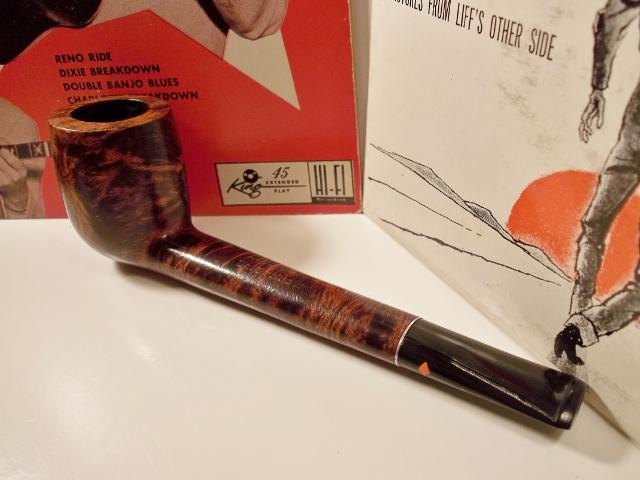
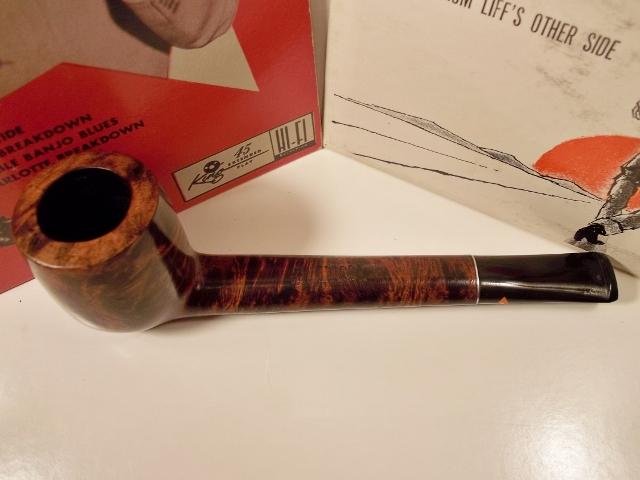
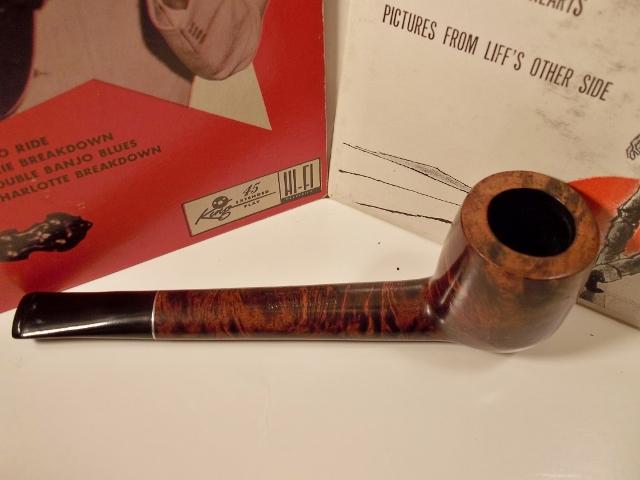
 I buffed bowl and stem with Blue Diamond and then gave the stem multiple coats of carnauba wax. I buffed it with a clean flannel buff to raise a shine and then hand buffed it with a microfibre cloth to put on the final touches. The finished pipe is shown below.
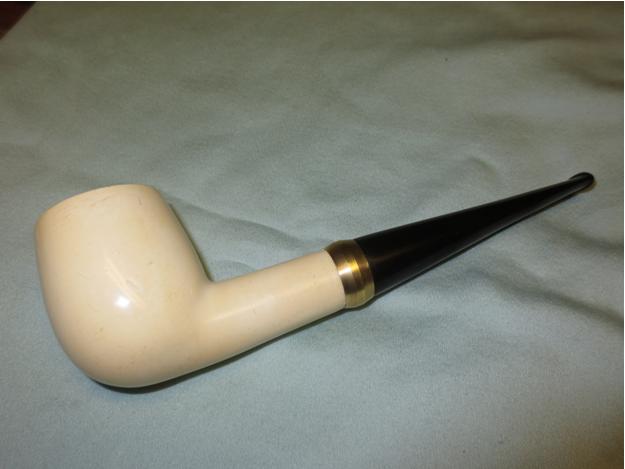

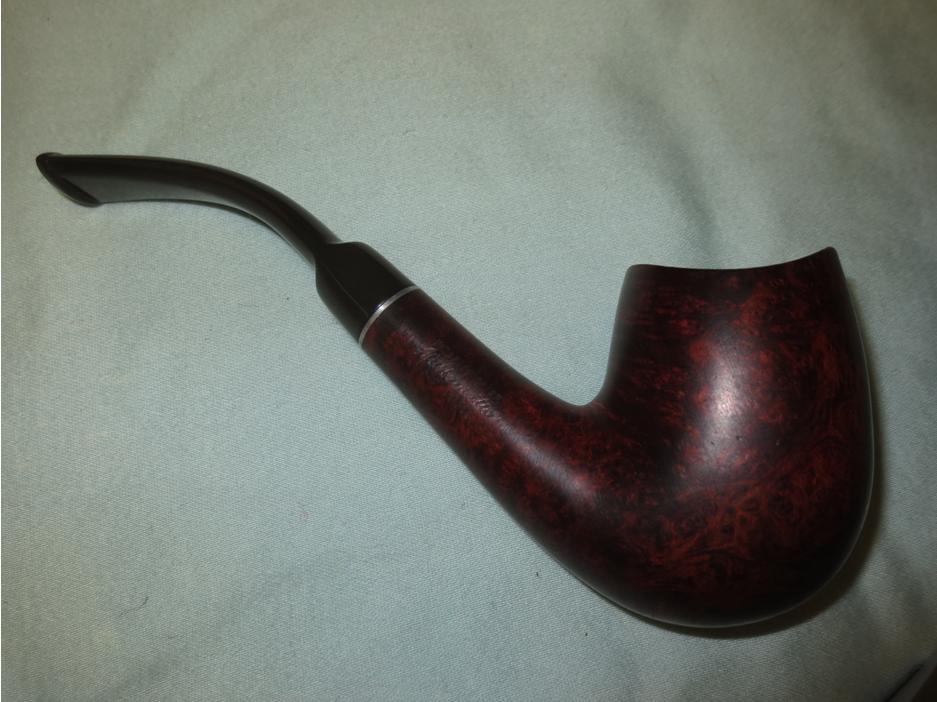
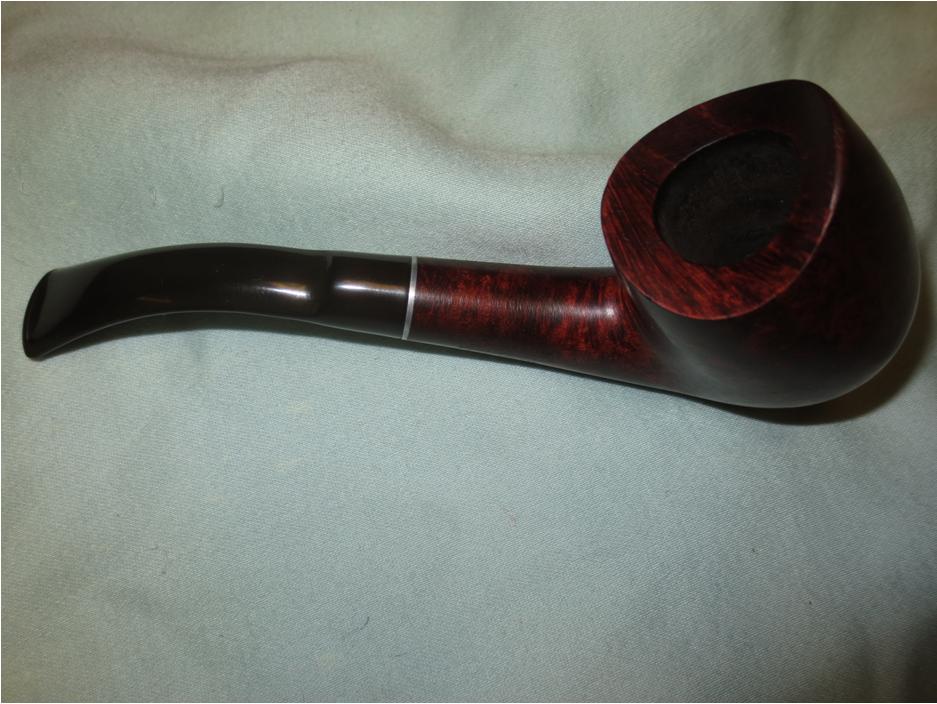
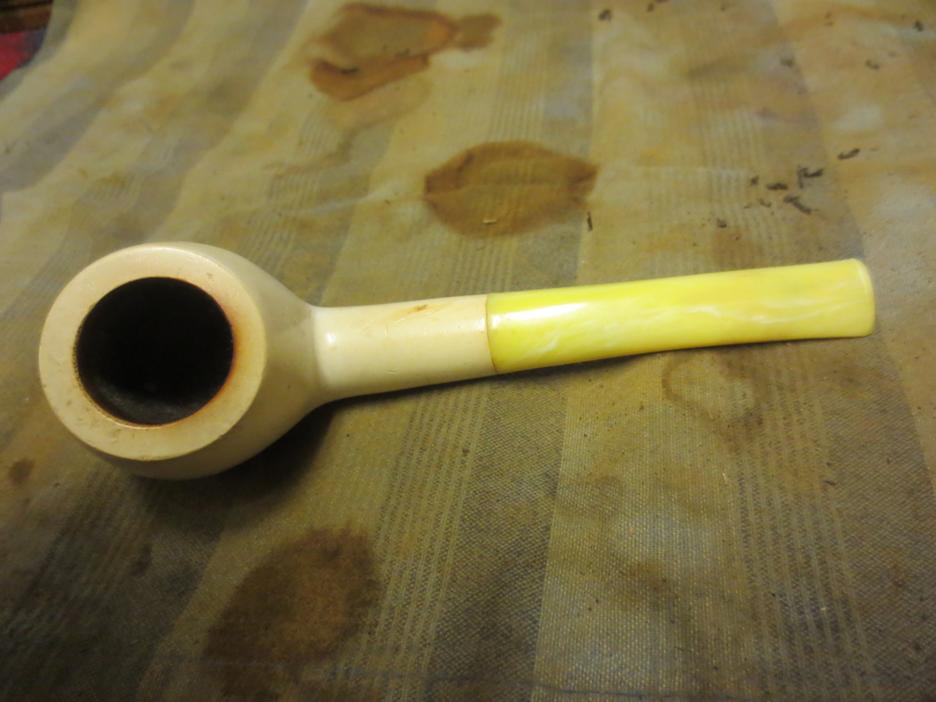
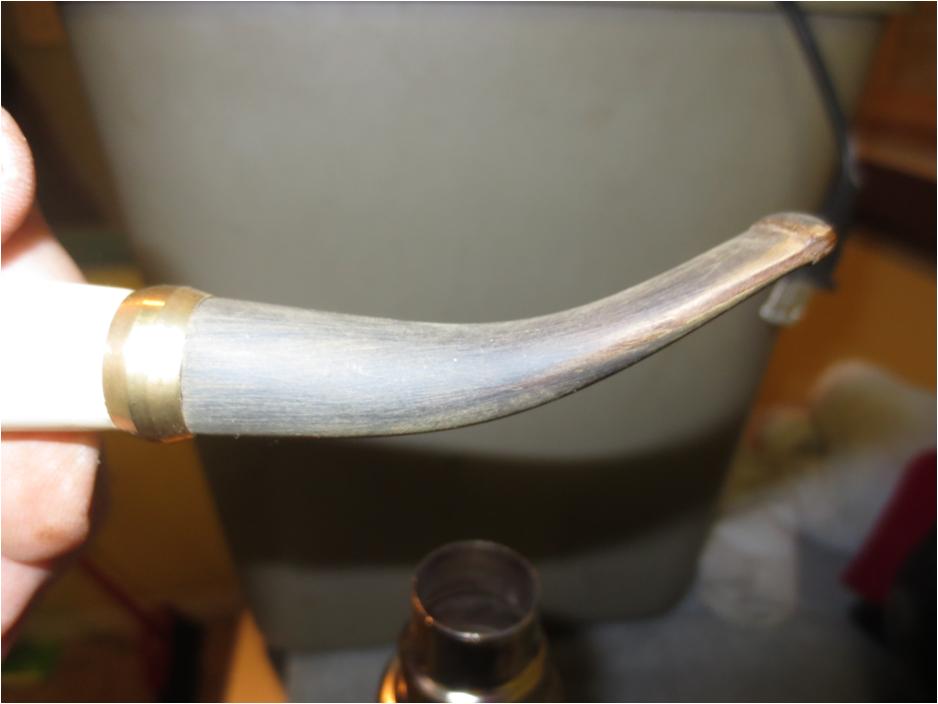
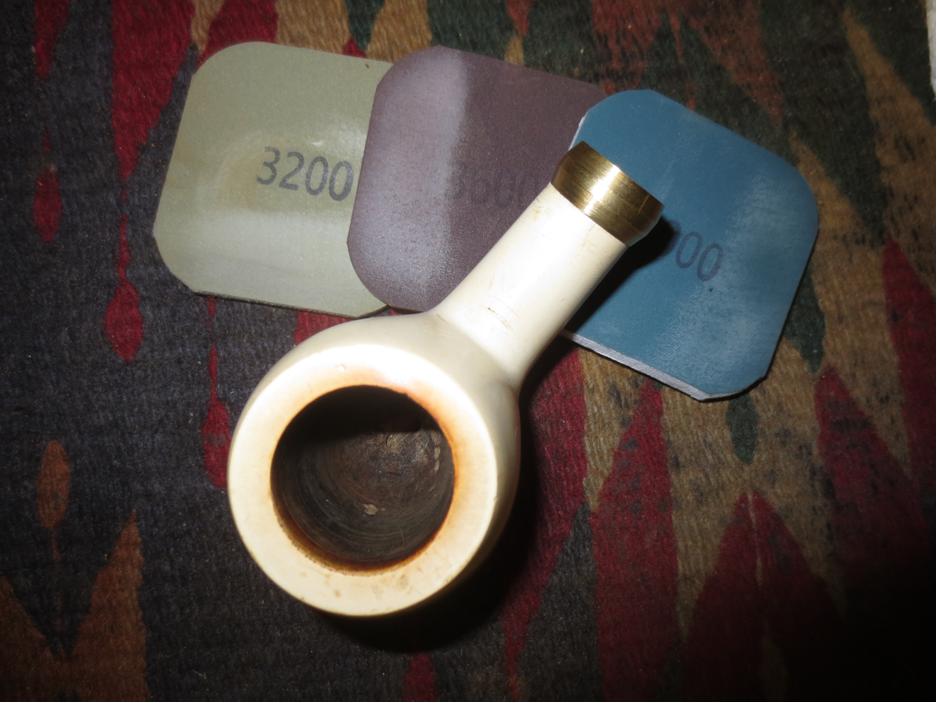
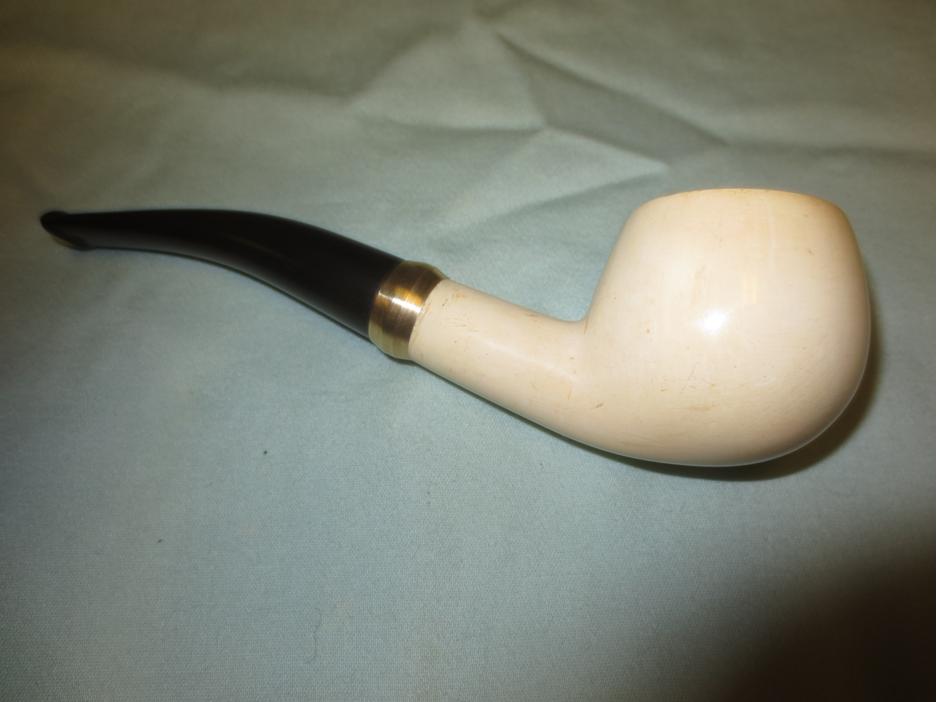
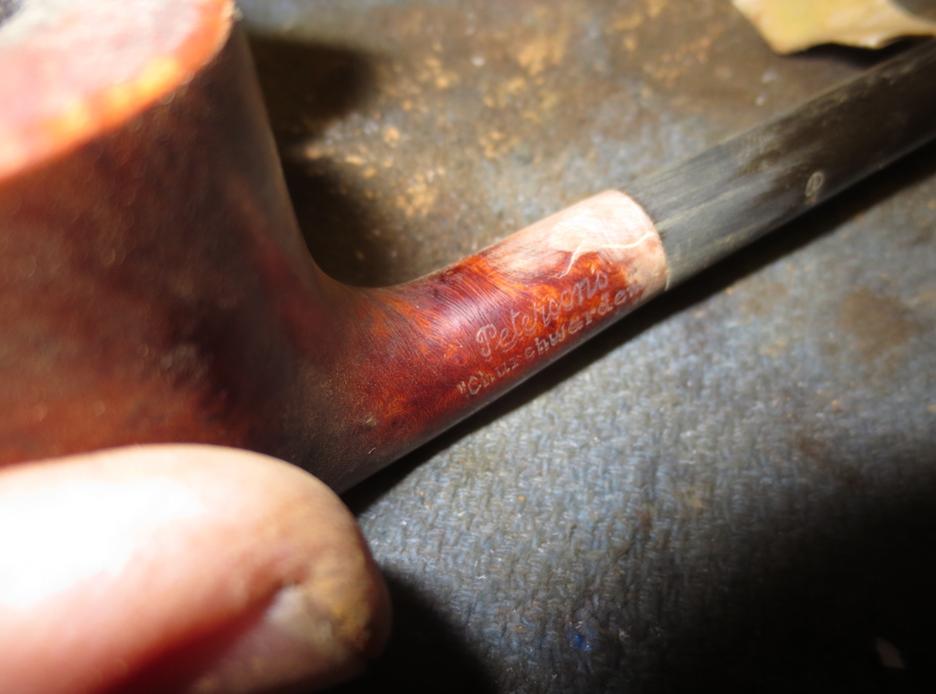
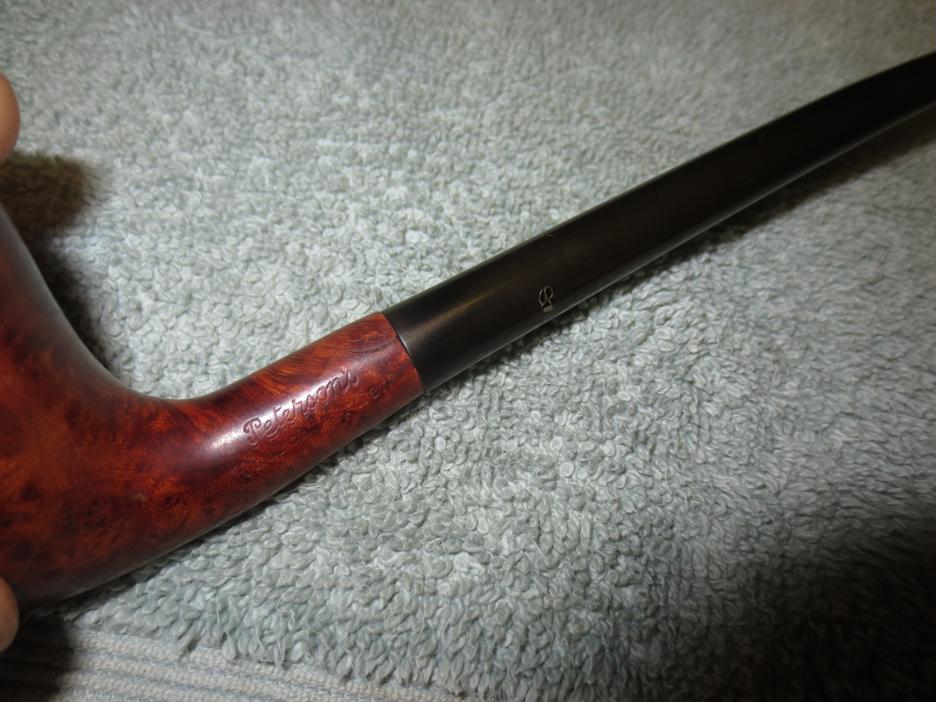
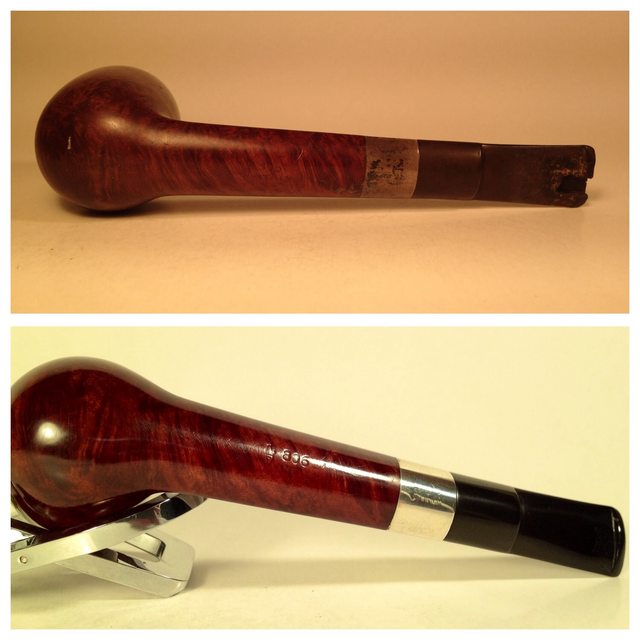
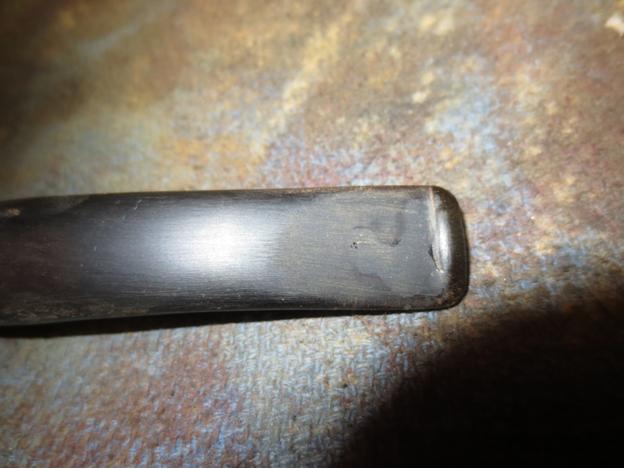
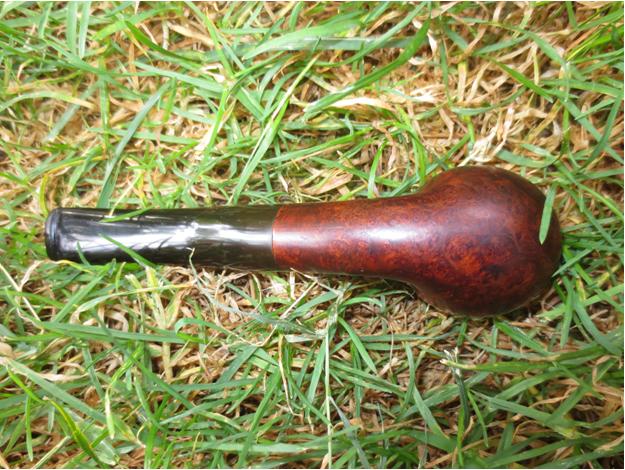
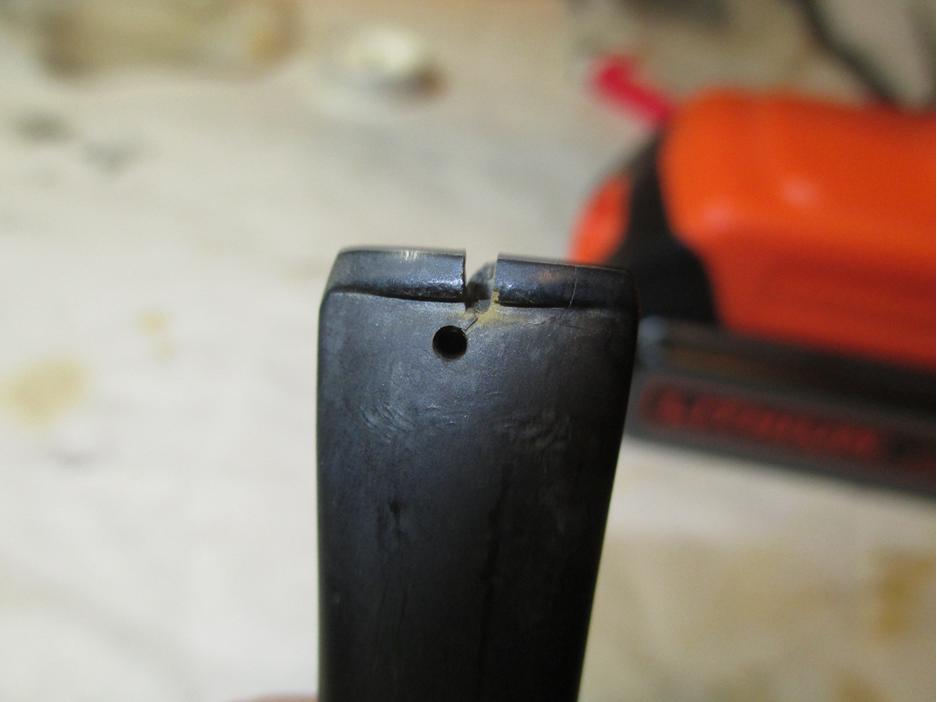
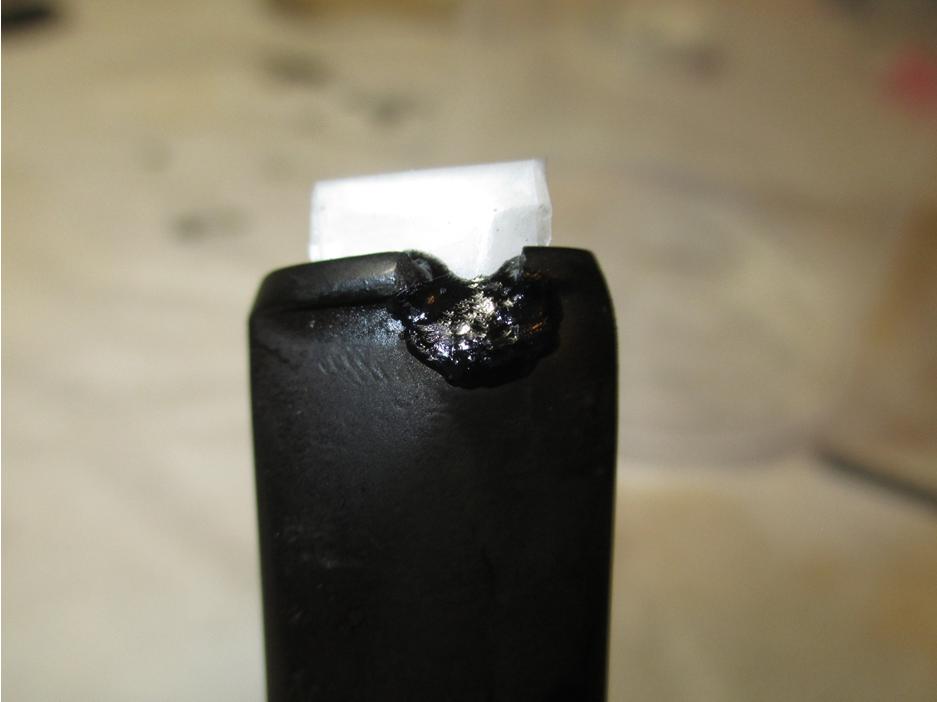
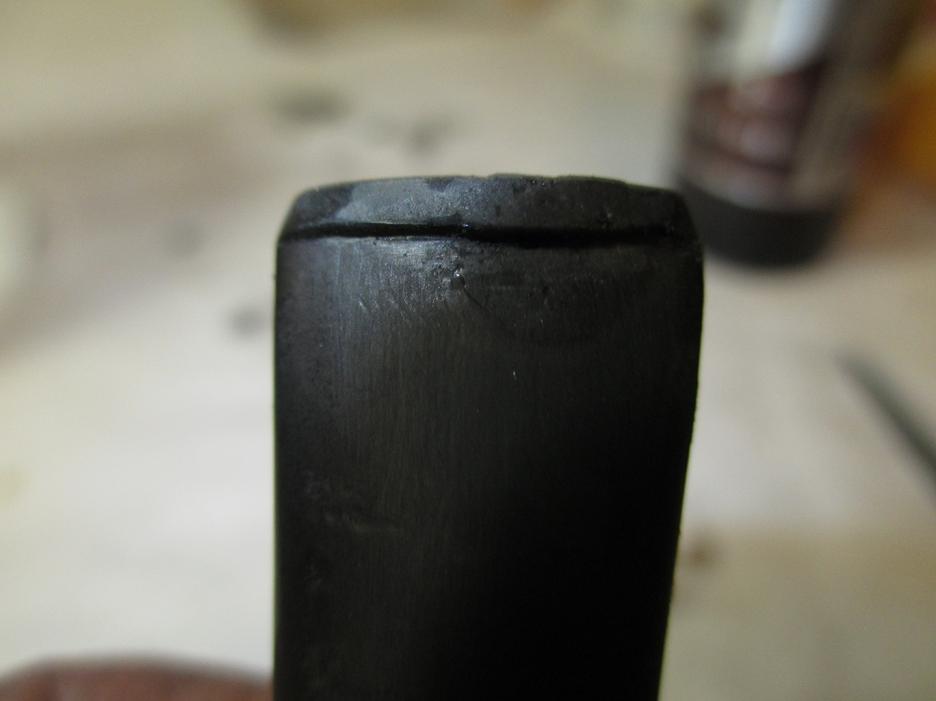
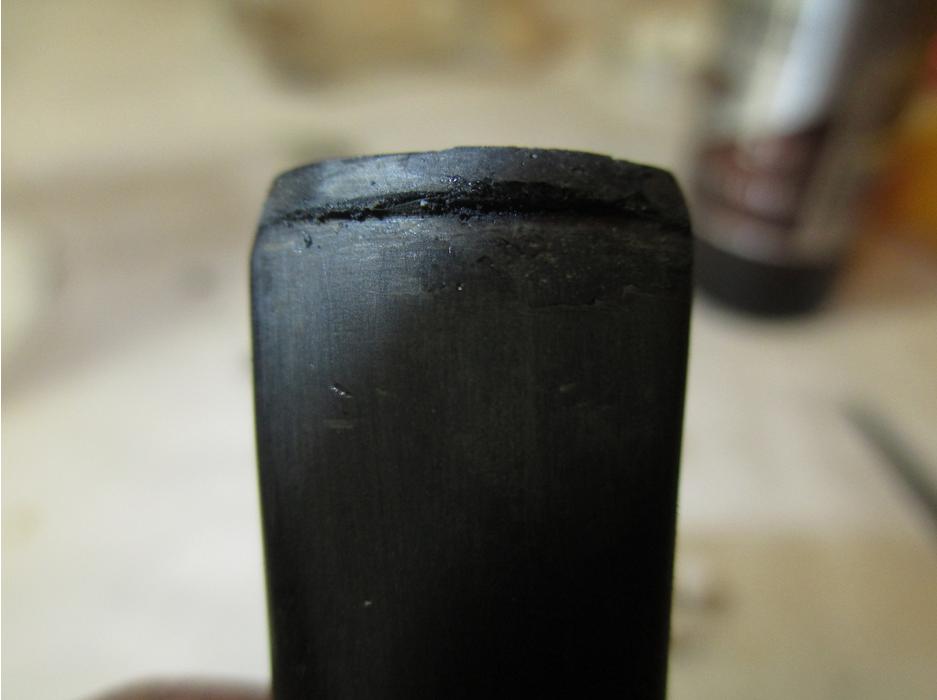
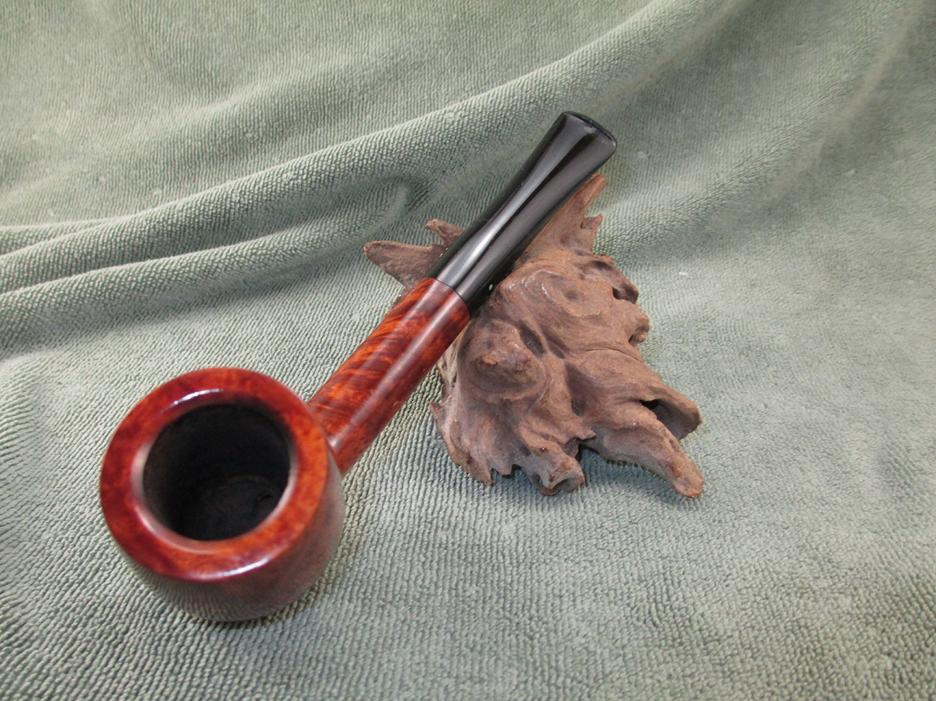
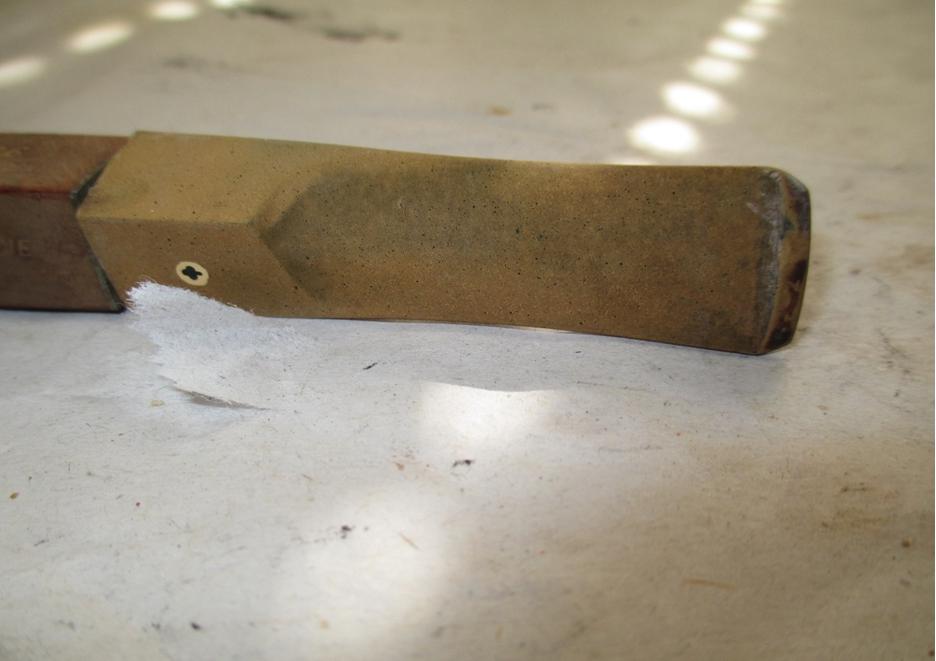
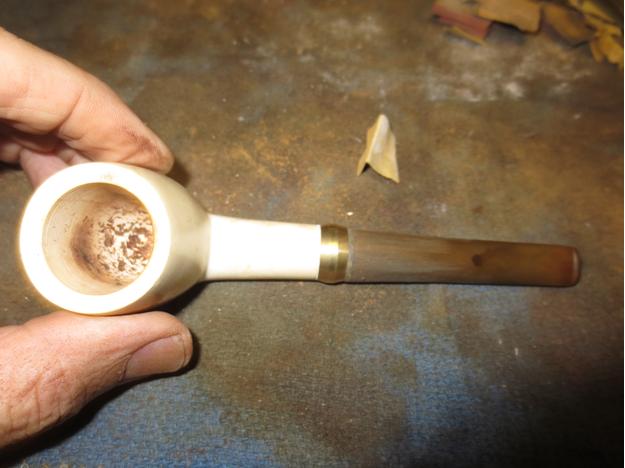
 The next two close up photos show the detail of the stem. They also show the way the air hole has been opened to accommodate the metal tenon.
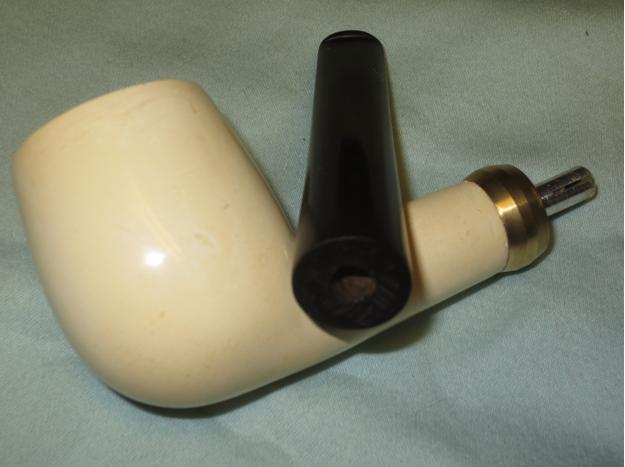
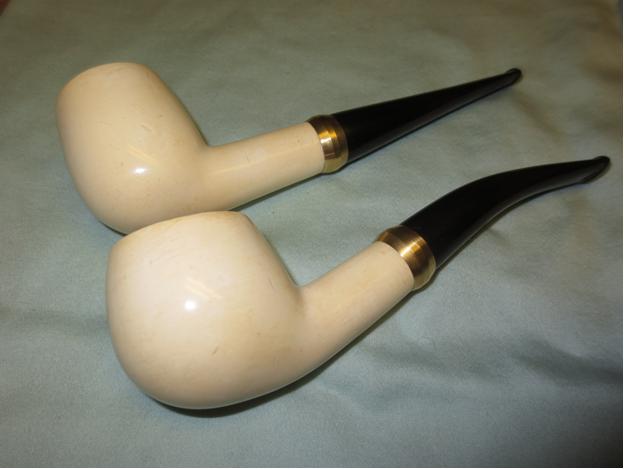
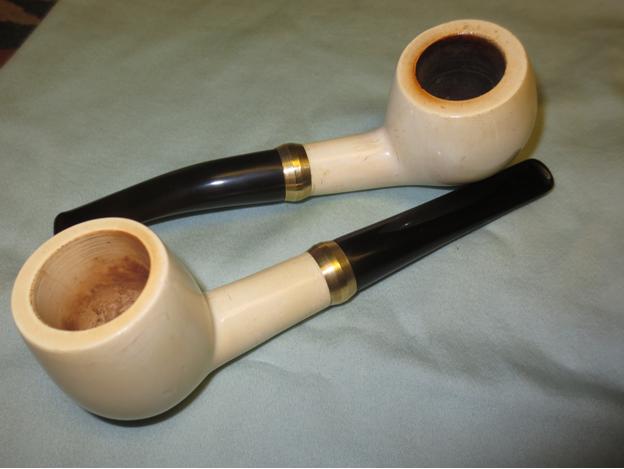
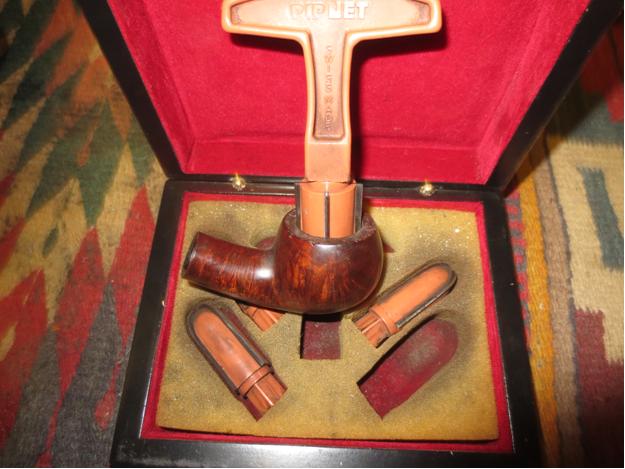
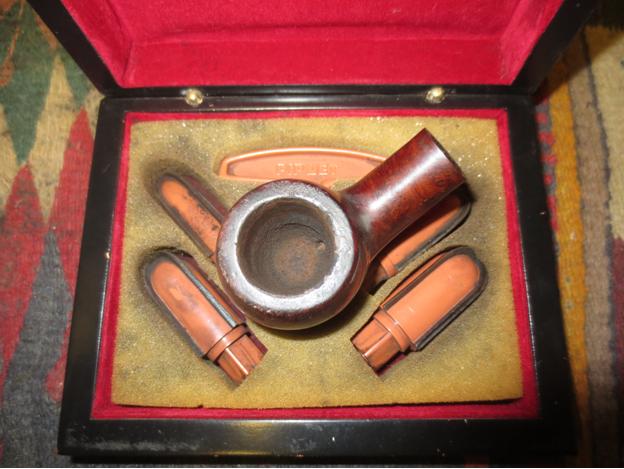
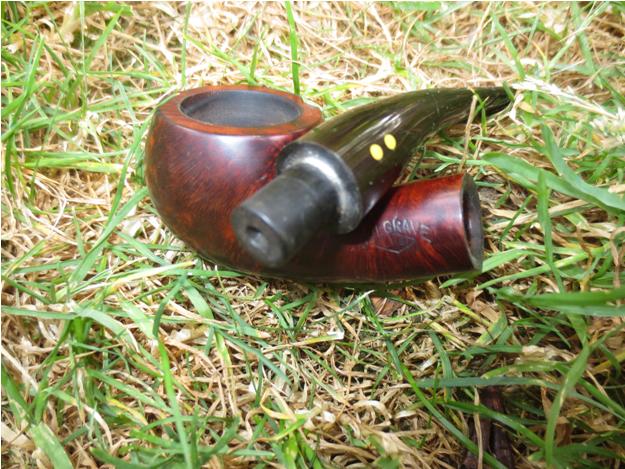
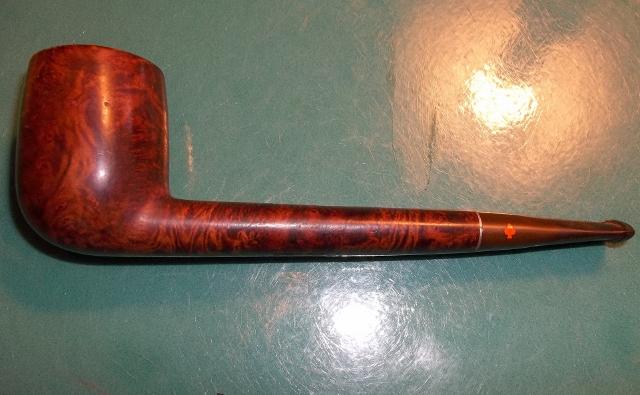
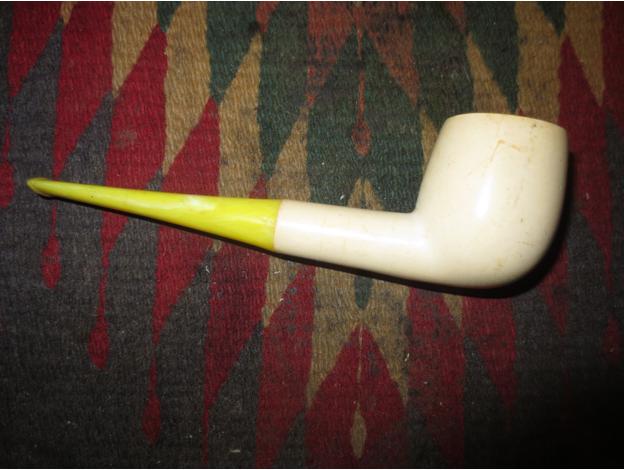
 The final two photos show the two meers, dressed and ready to head out to the Prom. They look like royalty – maybe Prom King and Queen. Ah well so much for an old guys memory of things long past in the recesses of the high school years file.