Blog by Steve Laug
 My brother Jeff sent me these photos of an old carved meerschaum that he picked up. He said he had to have it as it was the perfect likeness of his brother. I don’t know if that is a compliment of not but this is certainly an amazing carving. There is no sign of who carved it. The bowl is in really good shape in terms of not having any really bad scrapes or scars in it. There are no chips on the edges of the hood and cowl or on the beard of the old fellow. From the photos it is really hard to tell what size the pipe was but I was intrigued. It looked like it would be fun to work on and with a carved head like that and the supposed likeness to yours truly it was even more of a challenge. I could not wait for it to arrive so that I could begin to work on it.
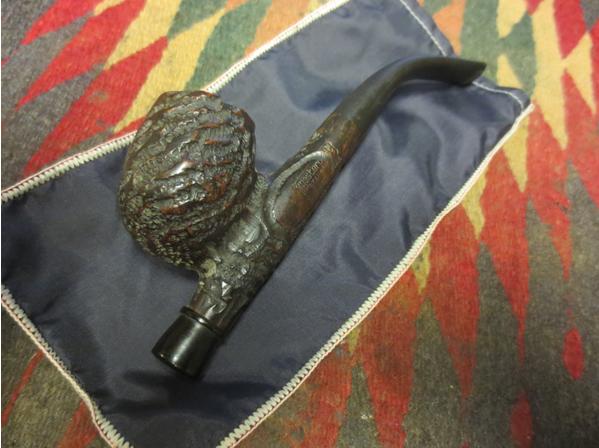
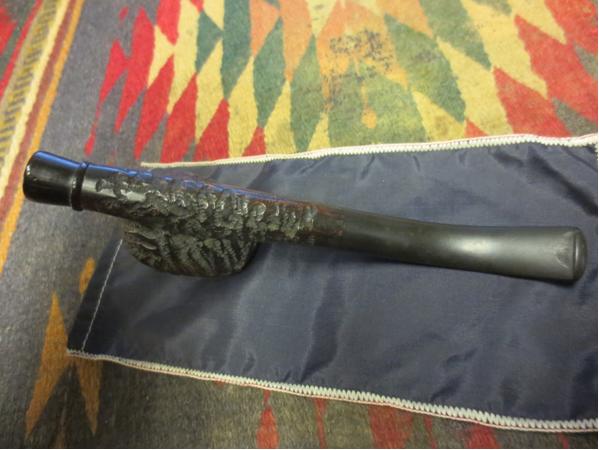
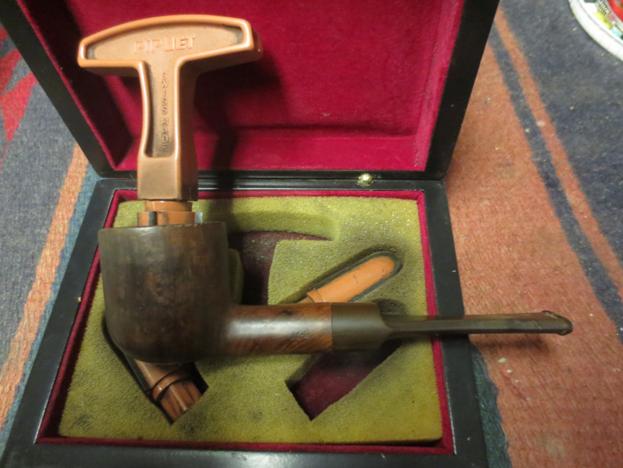
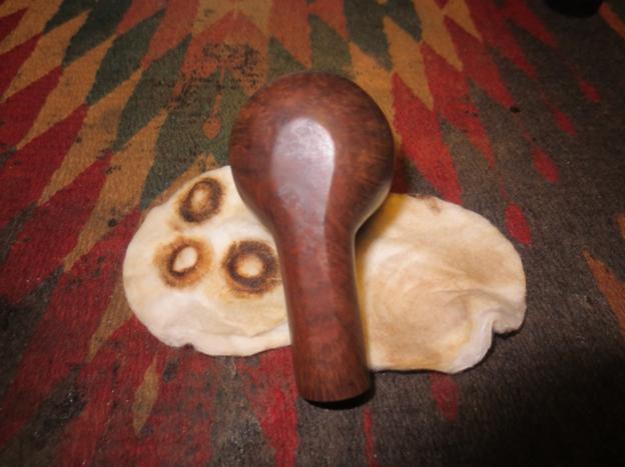
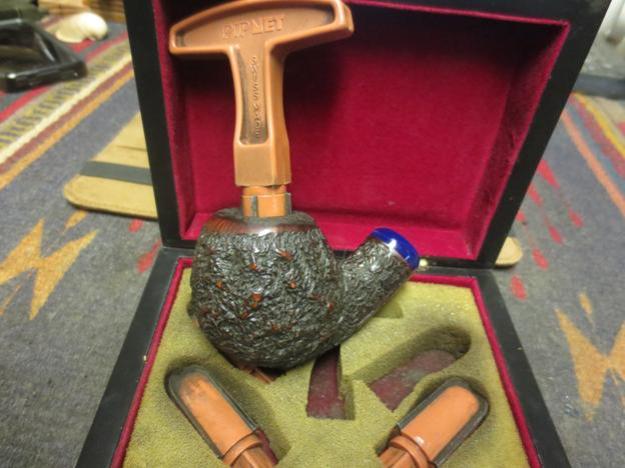
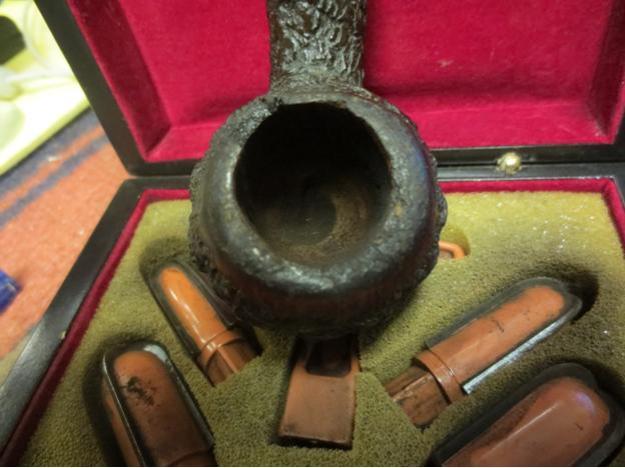
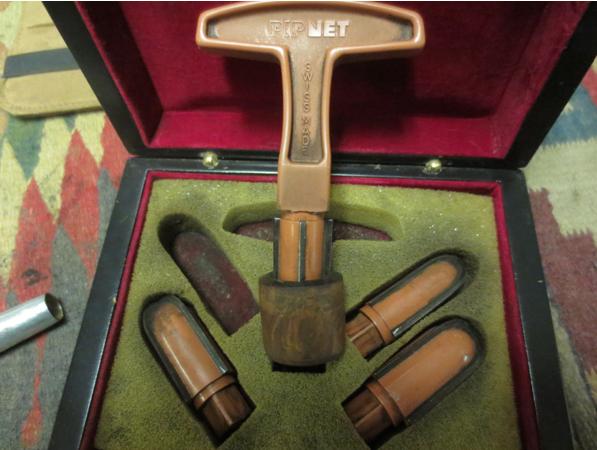
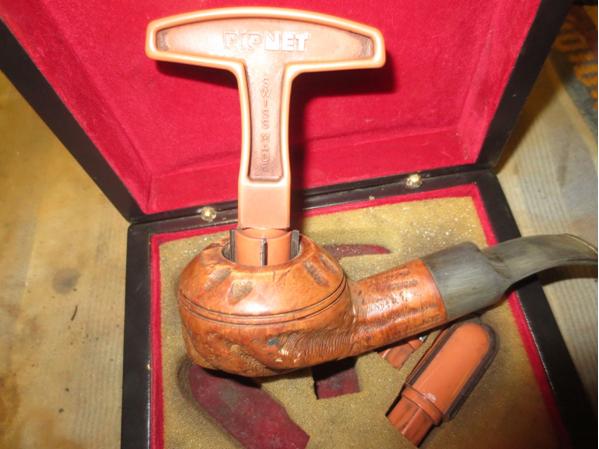
Looking at the photos while I awaited its arrival from Idaho I was curious about the size. I wondered if the pipe might not be a cheroot pipe rather than a full-sized pipe. When I asked my brother about that he assured me that it was too big for that. I forgot to get the measurements on the pipe before he shipped it out to me so that would need to wait until I saw it. The as I looked at the photos I wondered if the bowl in the top of the head was not a colouring bowl. Maybe it was not an integral part of the pipe but an addition that was used to facilitate the colouration of the bowl. I would not know that until I had it in hand. These and other questions ran through my head each time I looked at the photos and really none of them could be answered until I held the pipe in hand. The photos below were included by the original seller. The first gives a front view. The second and third photos show the side views of the pipe.

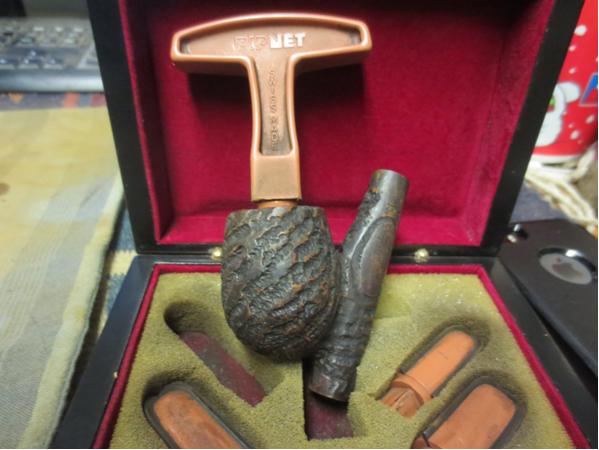
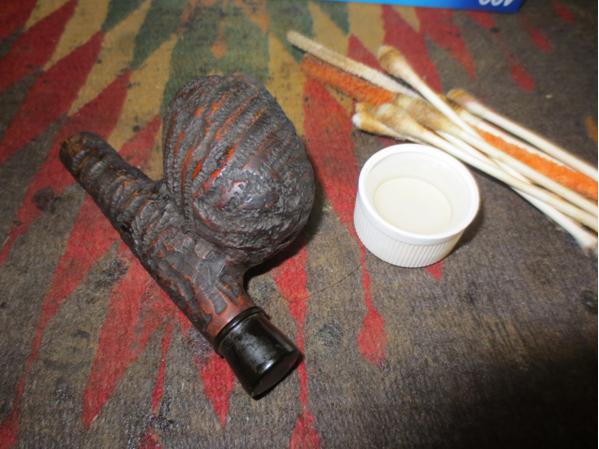
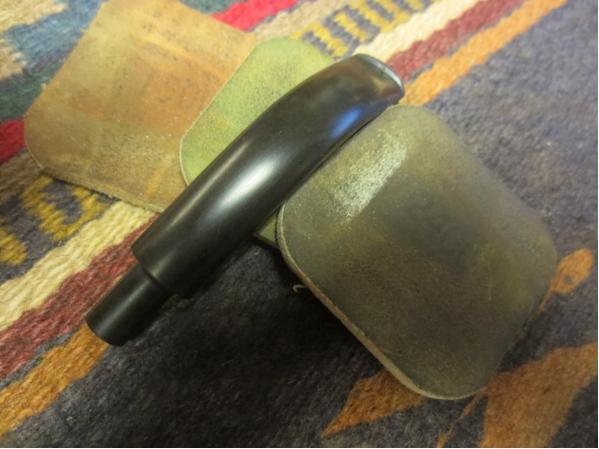
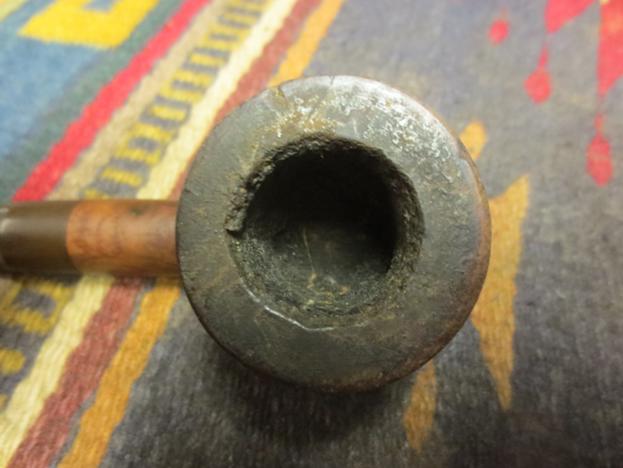
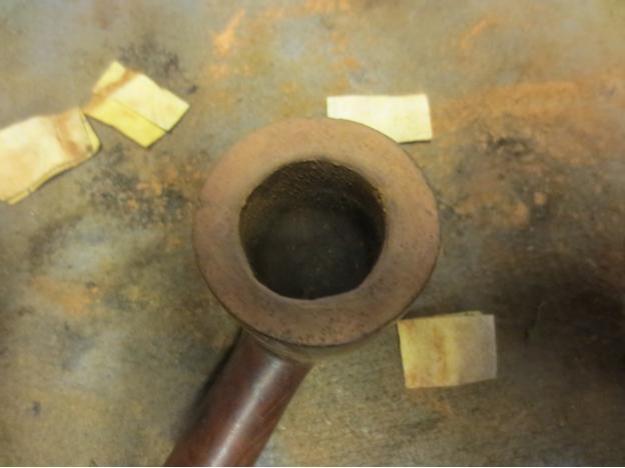
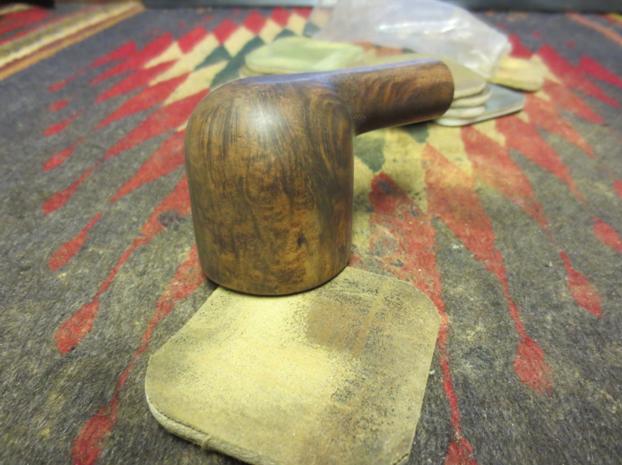
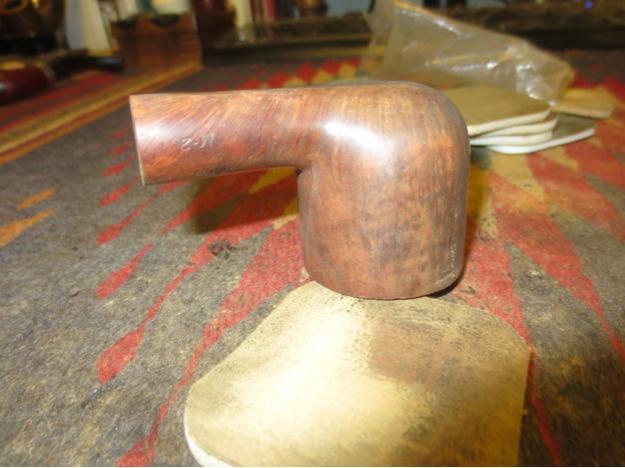
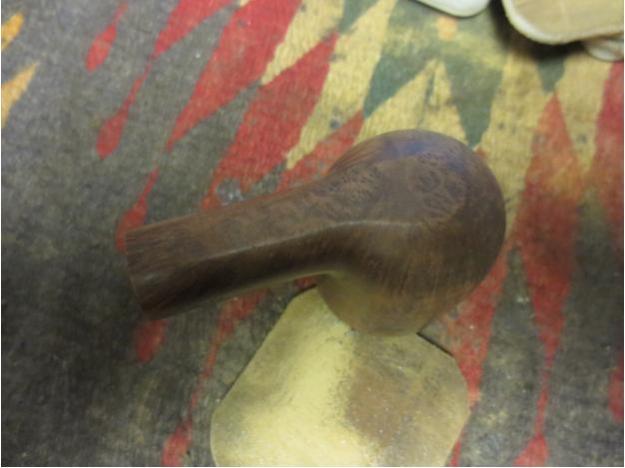
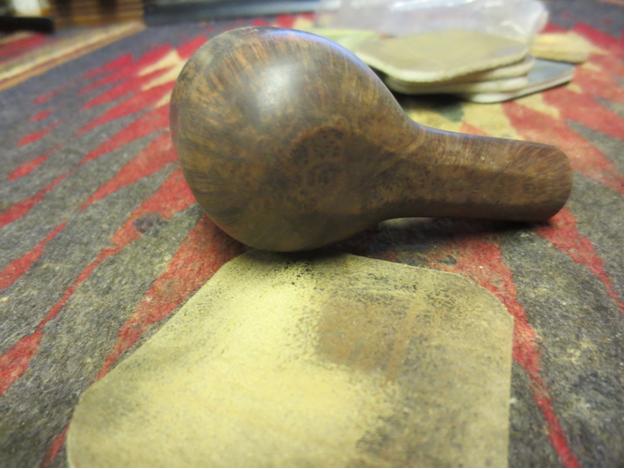
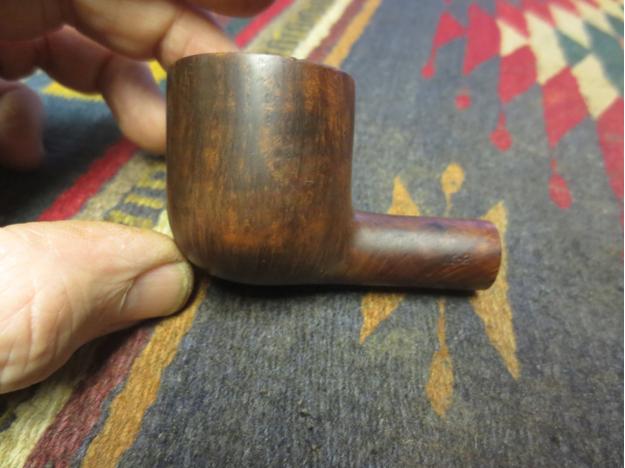
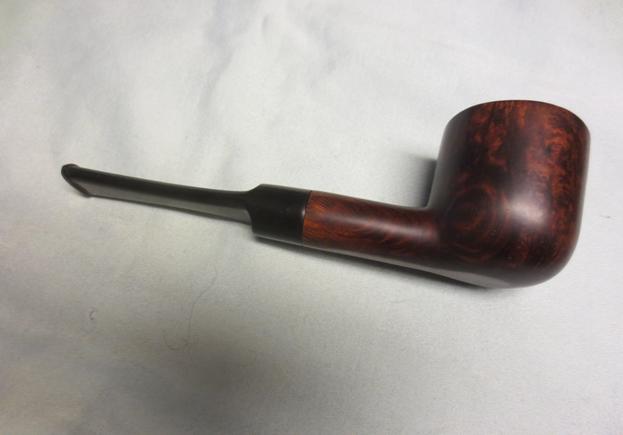
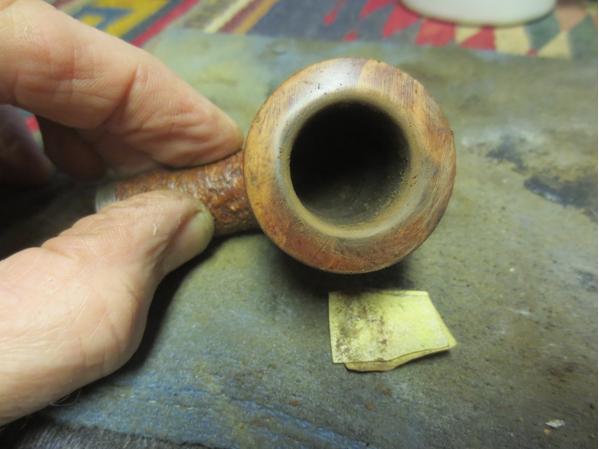
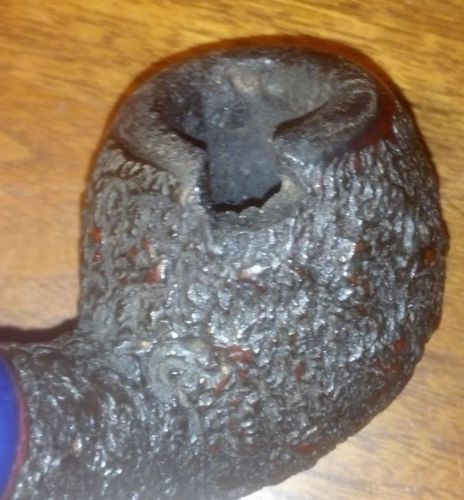
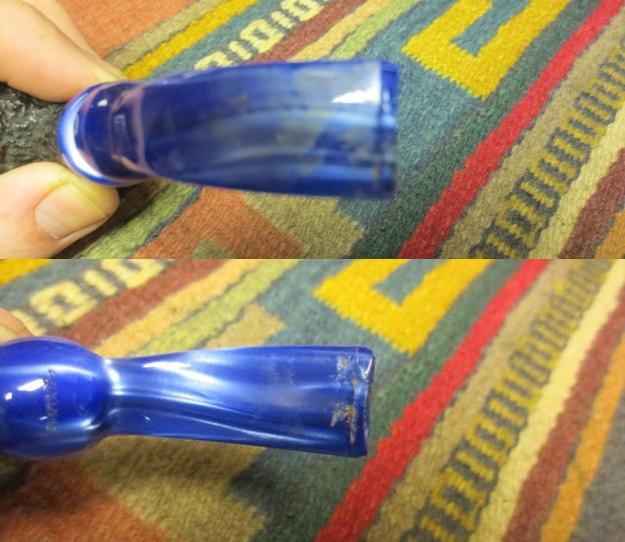
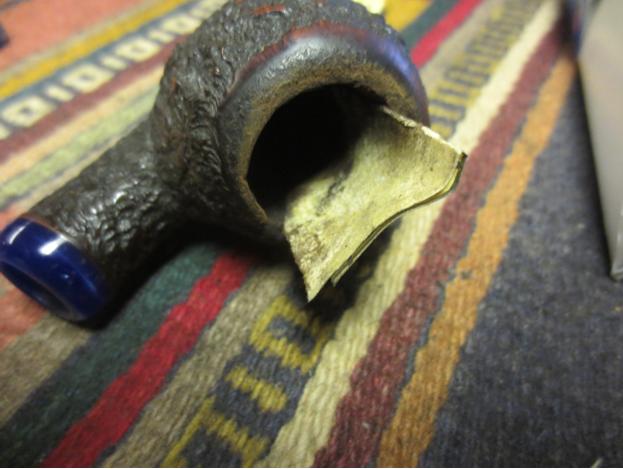
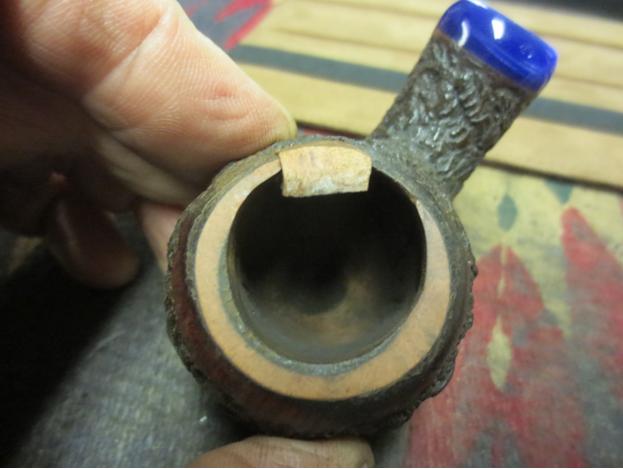
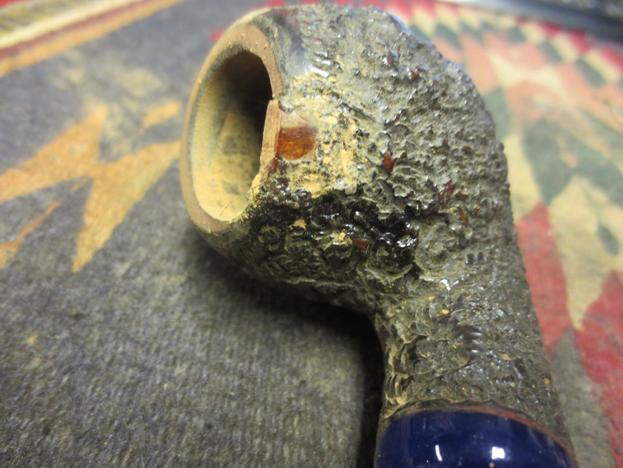
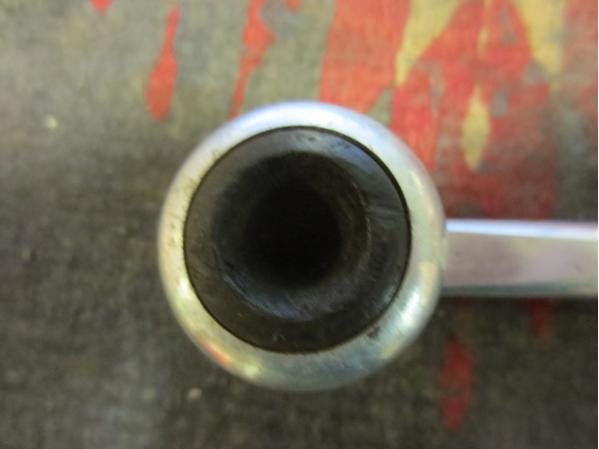
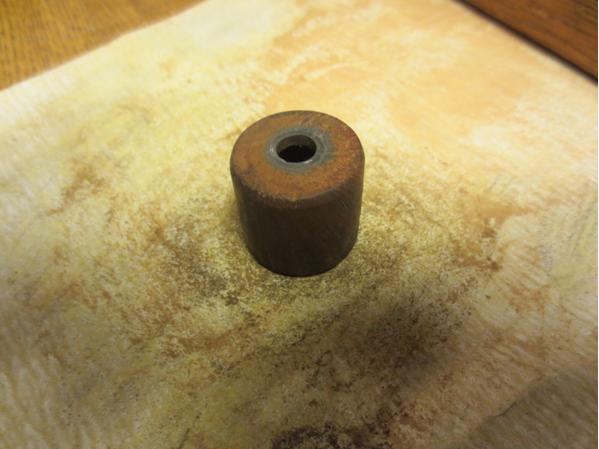
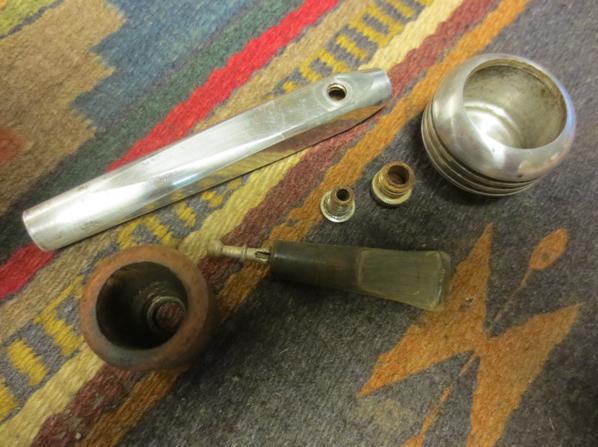
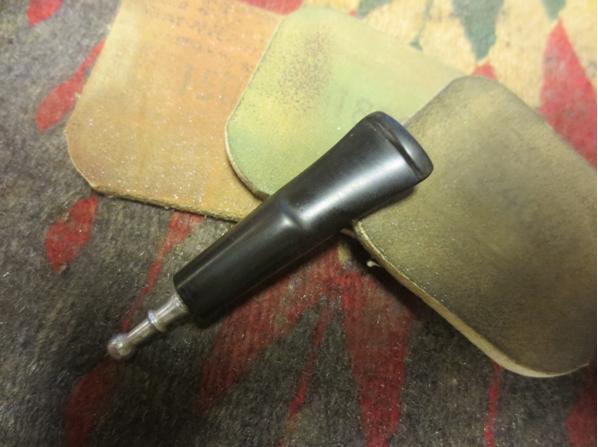
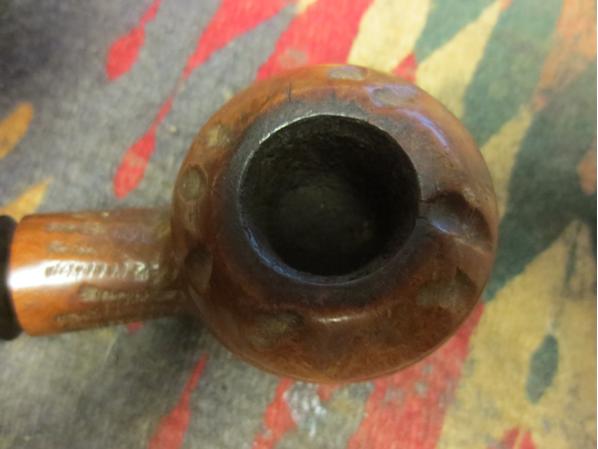
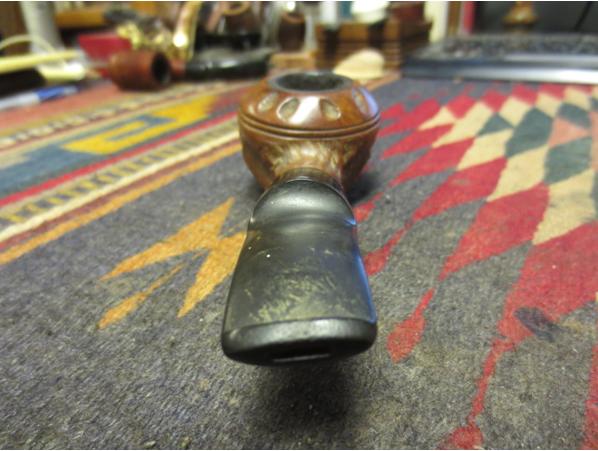
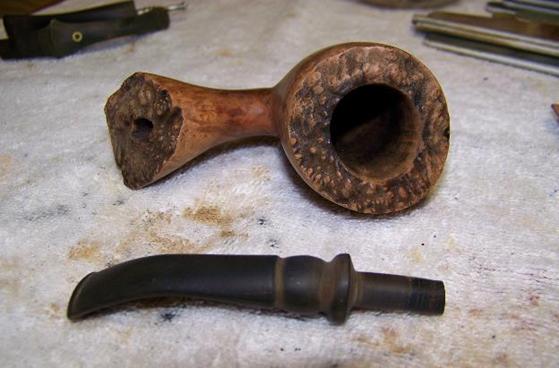
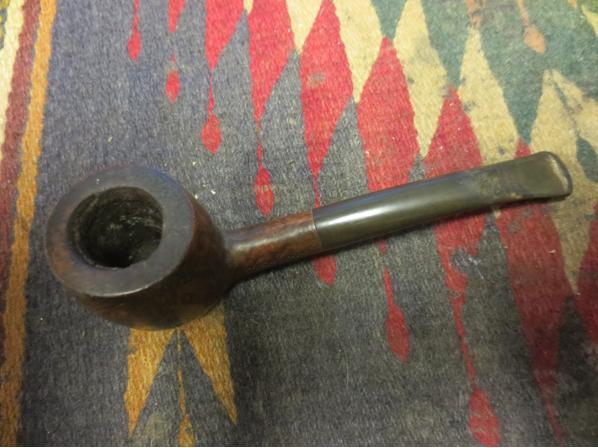
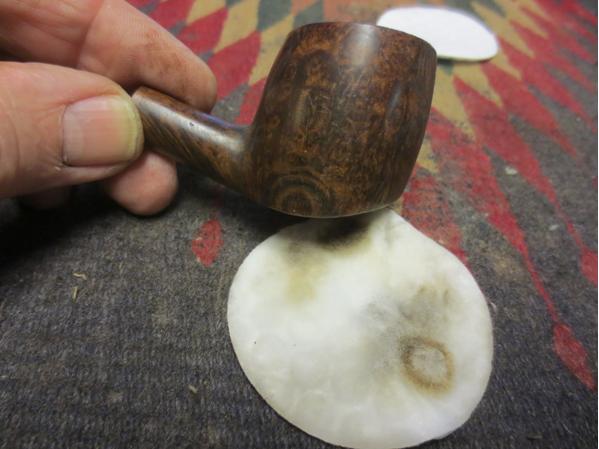
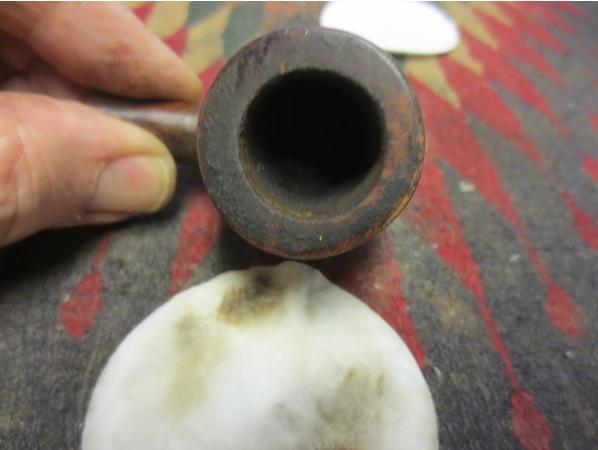
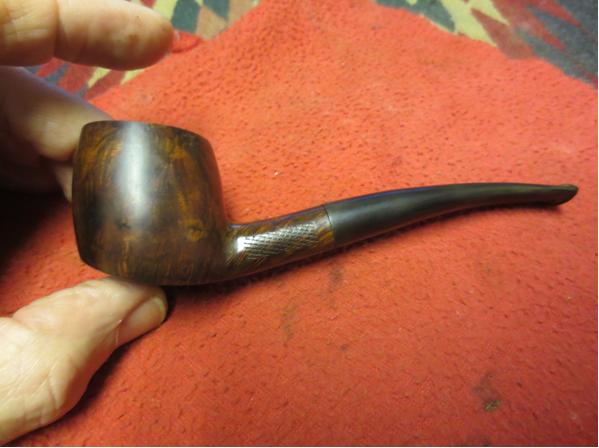
 The case was in two parts in the photos. It appeared to be in decent shape otherwise. When the pipe arrived I was blown away be the size of it. It was a full-sized pipe. In the photo below you can see it next to a regular tooth brush. Later there will be photos of it in my hand it is a big pipe. It appeared that the bowl in the top of the pipe was part of the pipe. It was the most worn part of the pipe. It had tars built up on the top of the rim. There were some small nicks in the surface of the outer edge. The underside of the bowl was dirty and worn and it appeared that the finish was gone. The bowl itself had surprisingly few scratches in the surface. There was darkening and wear where it had been held but it was not bad. The grooves of the cowl and hood as well as those in the beard had a lot of dust and debris in them. The mouth piece was Bakelite and had a slot in the end of the button. There were some tooth marks on the underside. The stem was also slightly overturned. The metal tenon was anchored in the shank of the meer and the stem screwed onto the tenon. It appeared to me that the threads in the stem were worn and that accounted for the overturn.
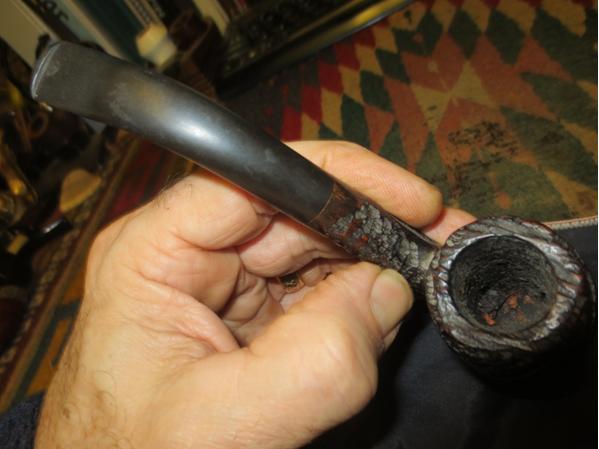
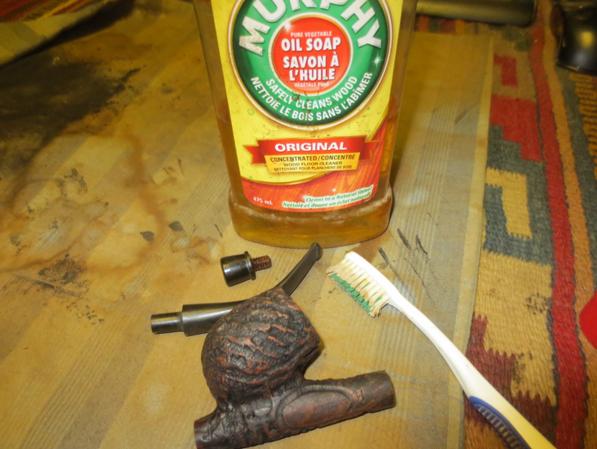
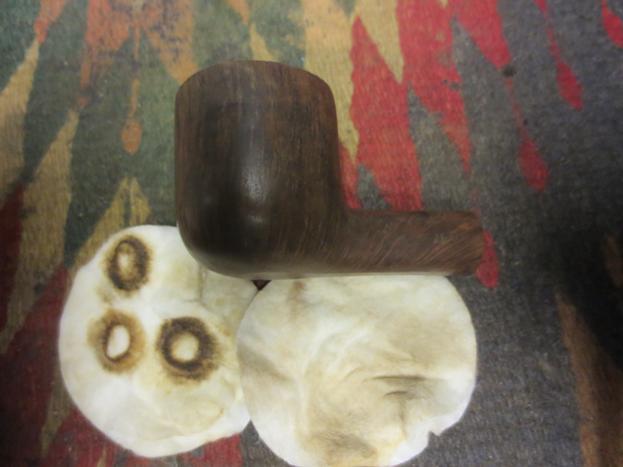
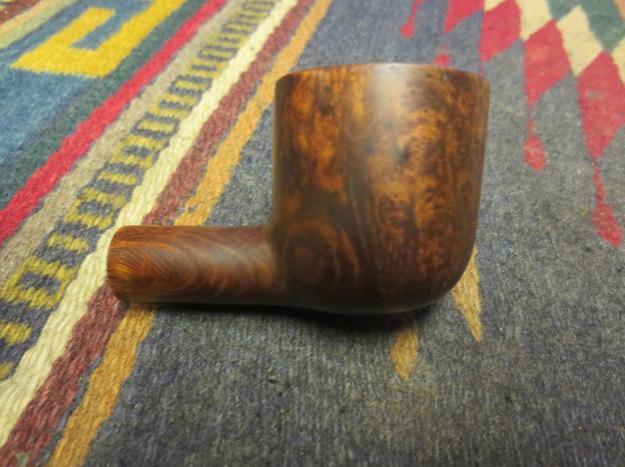
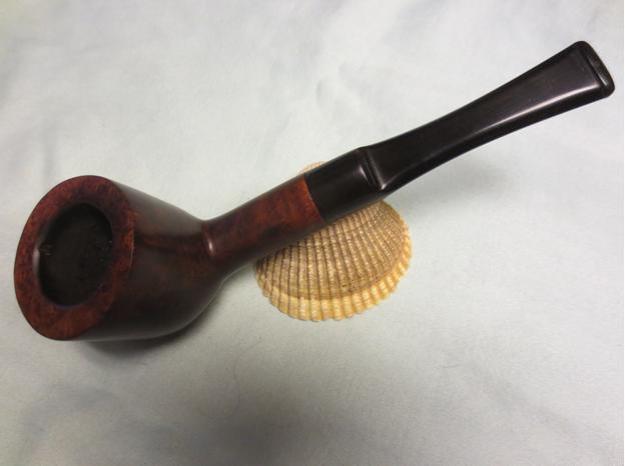
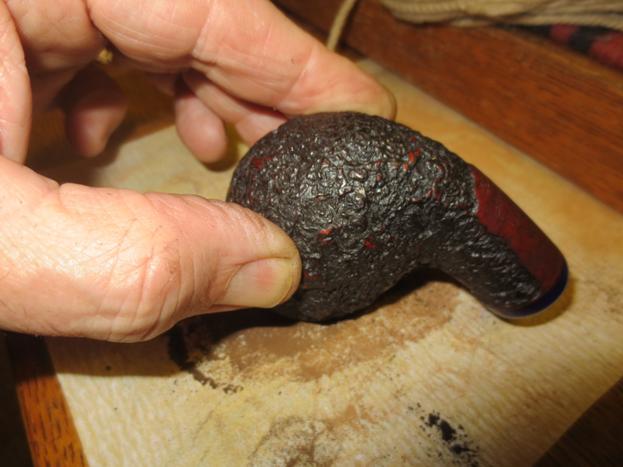
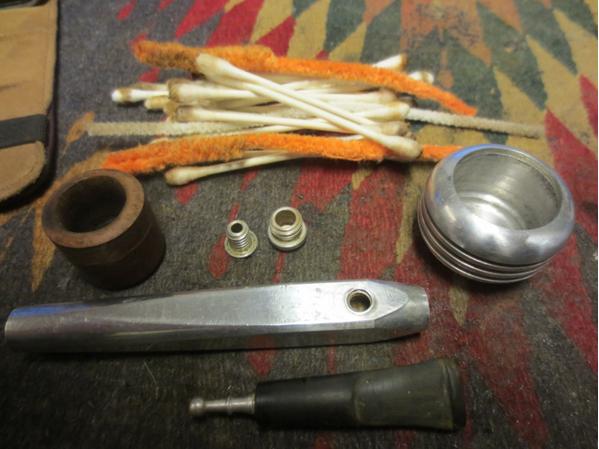
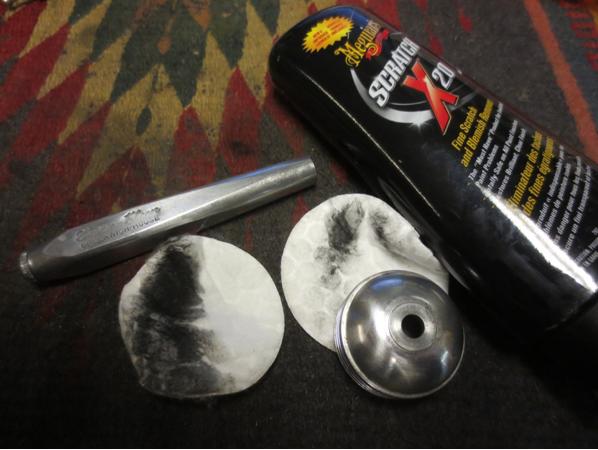
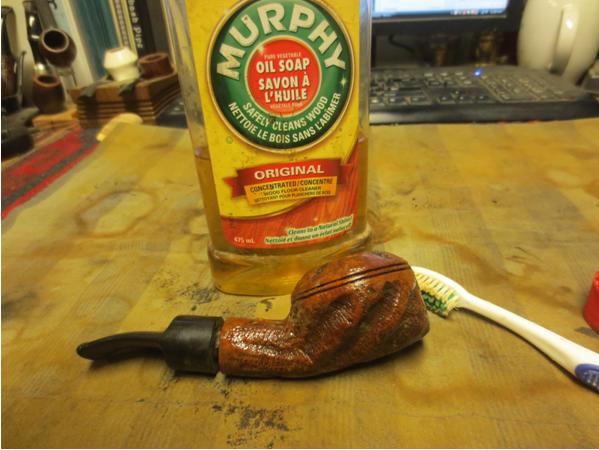
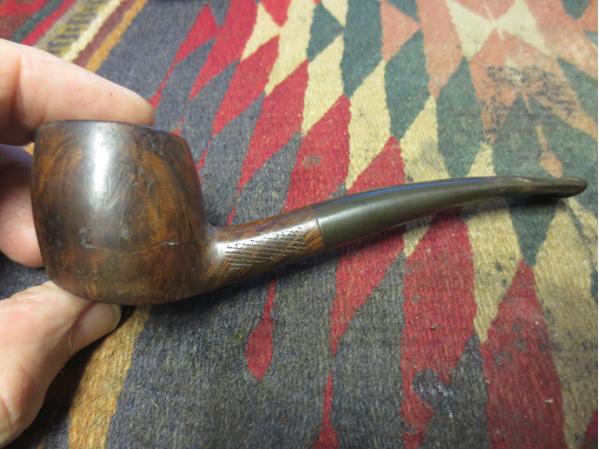
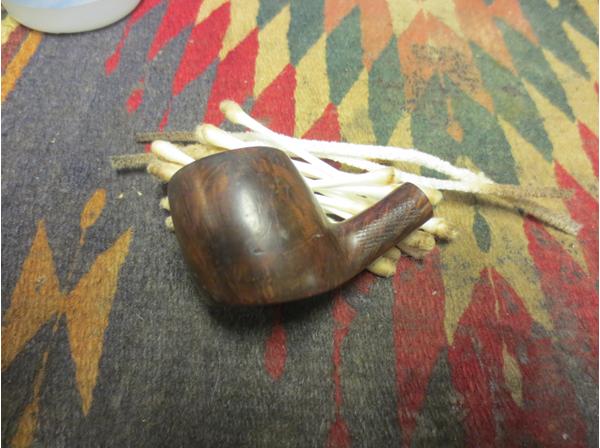
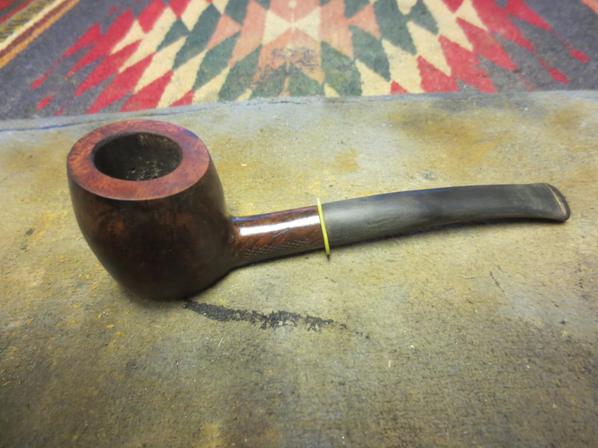
I scrubbed the surface of the meer with a tooth brush and Murphy’s Oil Soap. I wanted to clean the meerschaum and the grooves but not harm the patina of the pipe. I scrubbed to make sure that all the grime and dust was gone. I worked on the rim to soften the tars and oils there. I scrubbed the underside of the beard and the rest of the pipe. Once it was clean I rinsed the pipe under warm running water to remove the soap and grime. I dried it off with a soft cotton towel. The photos below show the scrubbed and dried pipe. You can also get an idea of the size of the bowl in comparison to my hand in several of the photos. I love the expression on the face of the character. The carver masterfully captured the charm and character of the old man.


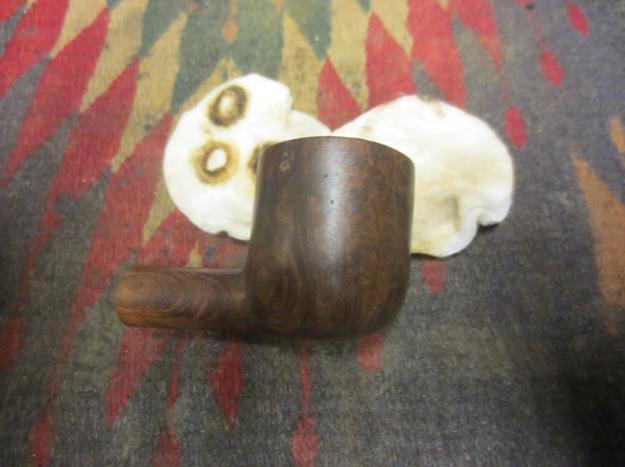
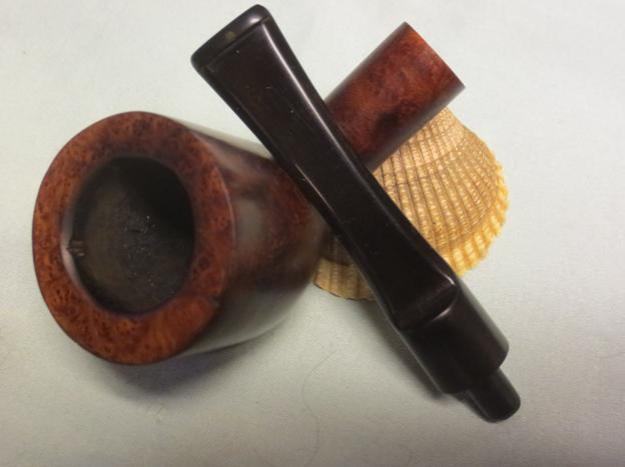
 The next photo, though it cuts off a part of the hood still gives a clear picture of the charm of the old fellow. You can see the amusement in his face and the squint of his eyes. The face makes me wonder what he was thinking about. There is some good colouration on his face, beard and hood.
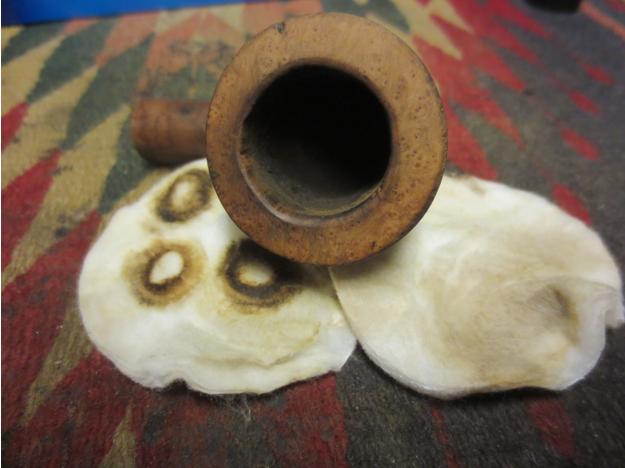
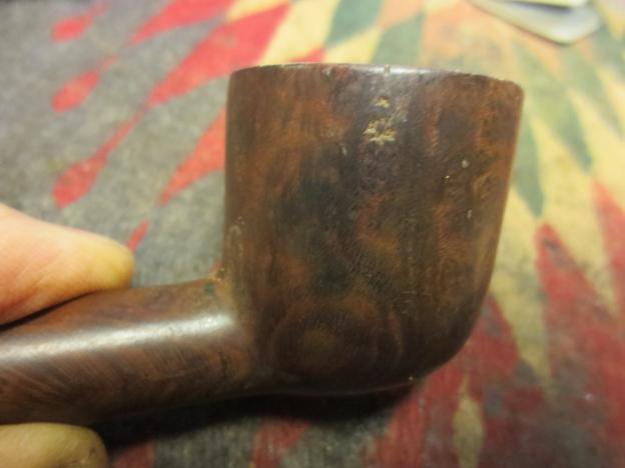
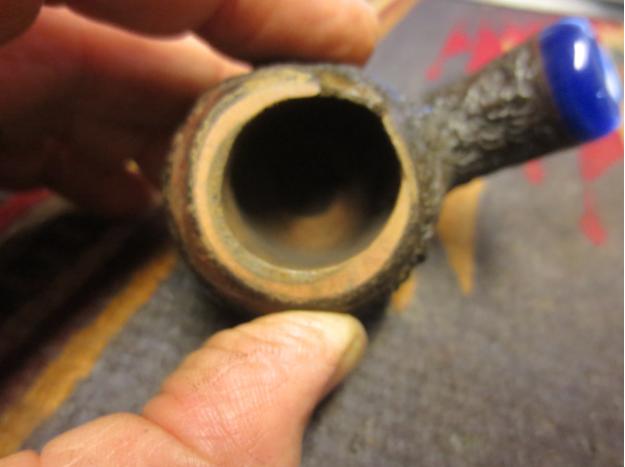
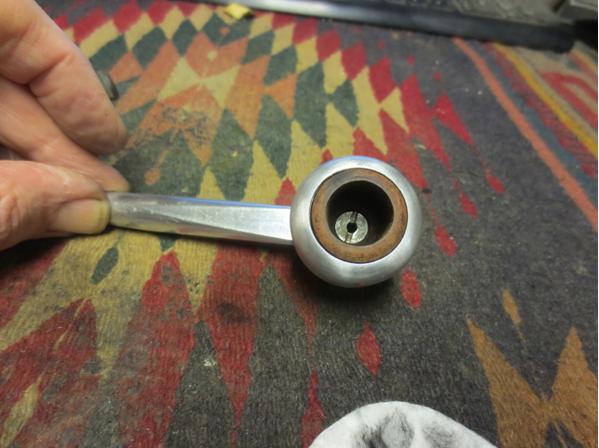
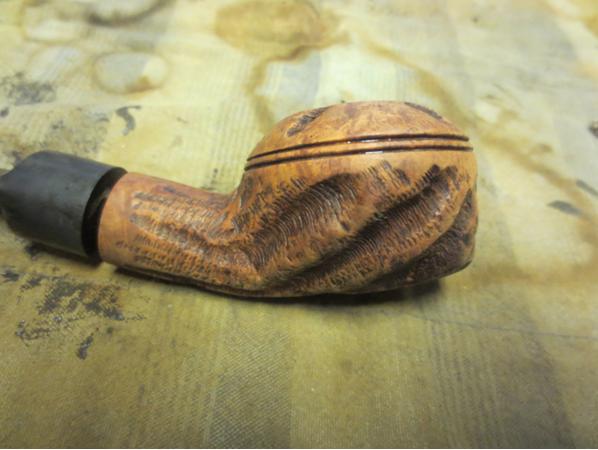
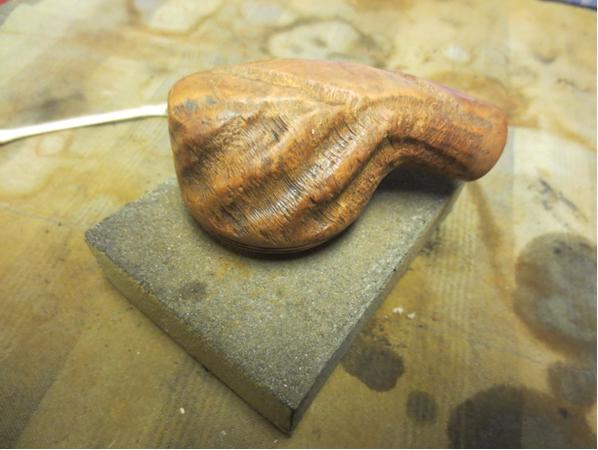
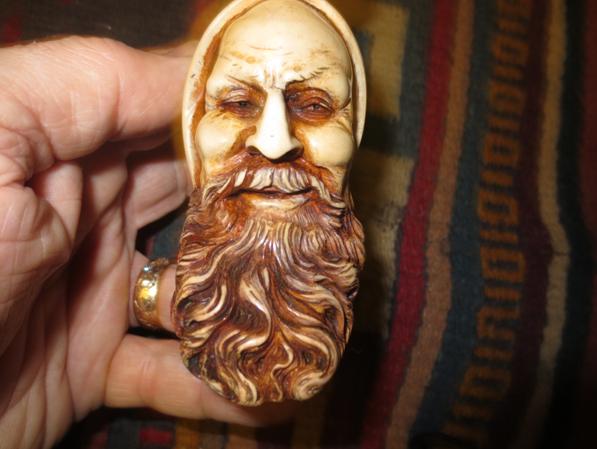 I sanded the top of the bowl with a medium grit sanding block to remove the tars and oils and bring it back to the original meerschaum surface. The buildup came off with very little work and the rounded rim of the bowl shone with the colour of a well smoked bowl. I scraped the bowl with a pen knife to clean out the thin cake that was forming on the inside.
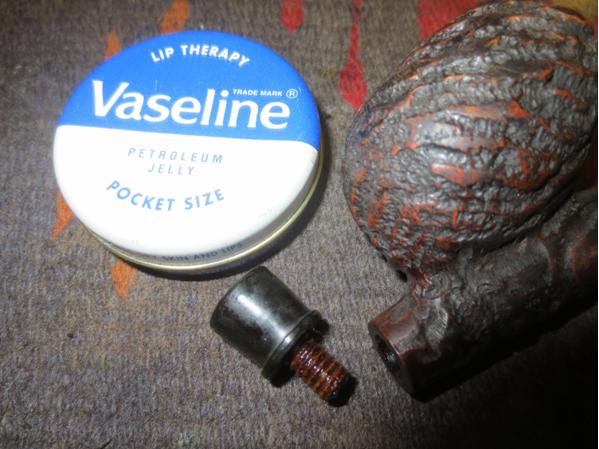
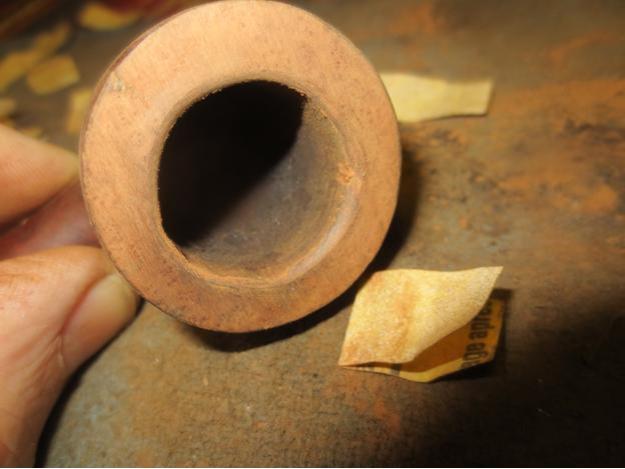
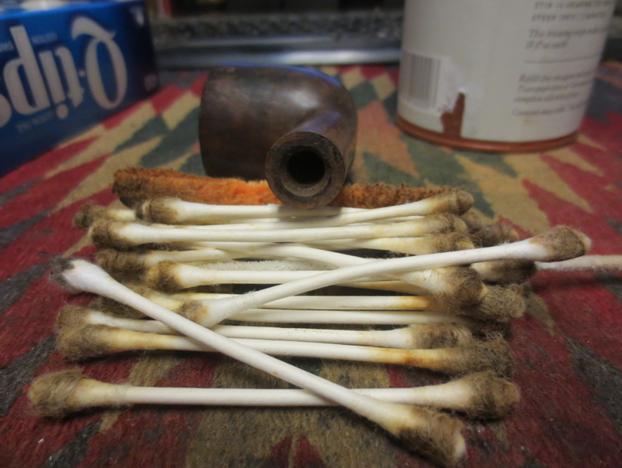
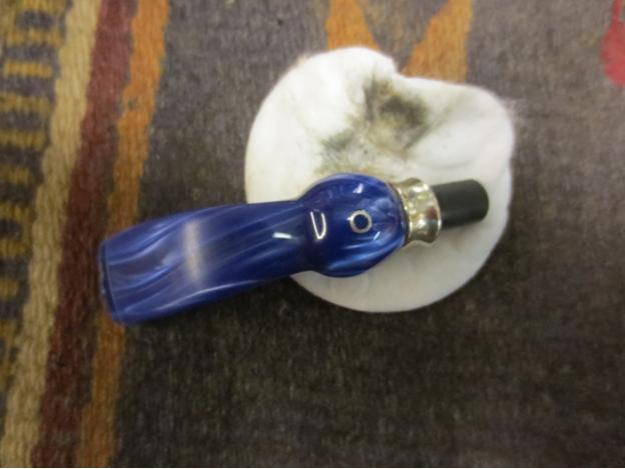
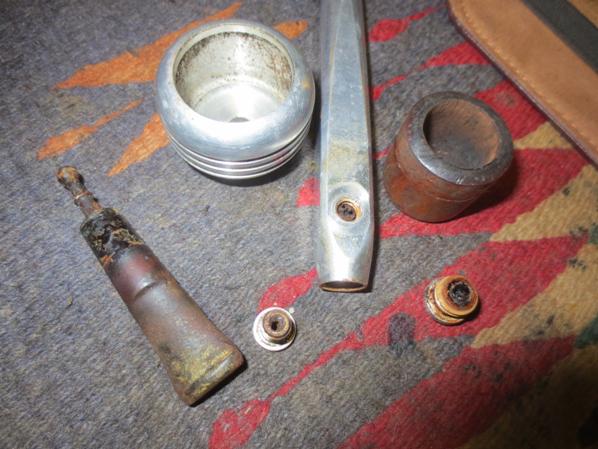
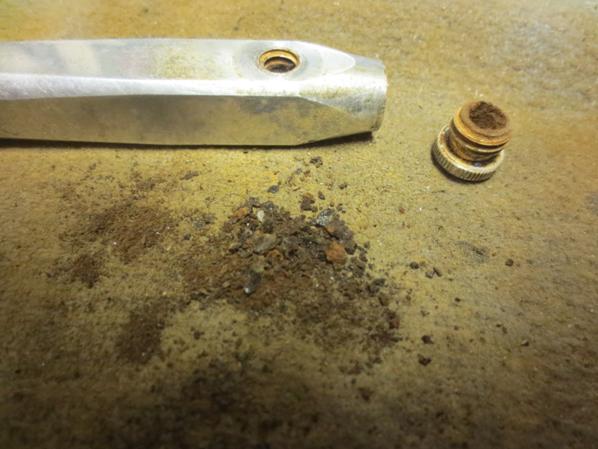
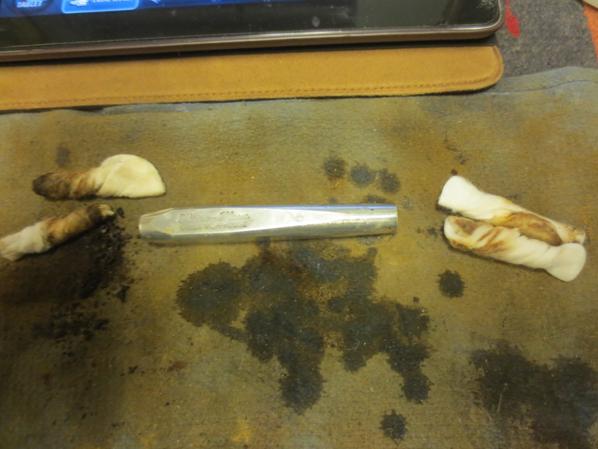
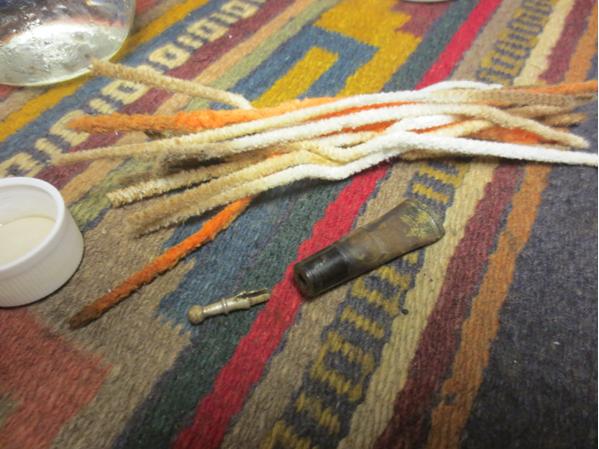
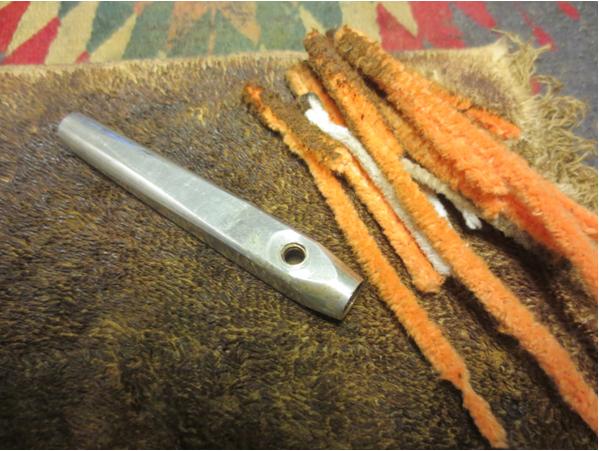
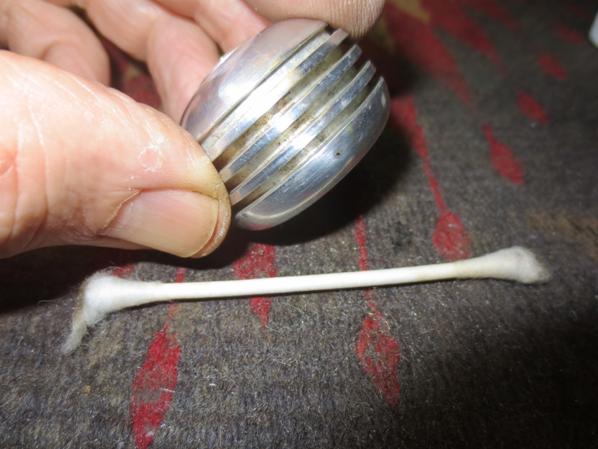
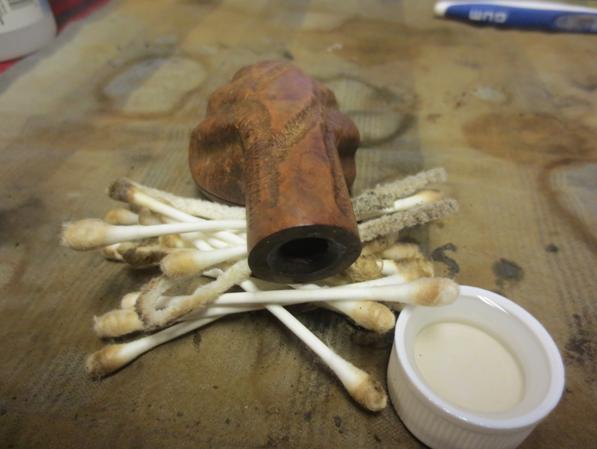
 The stem was clogged and no air could be blown through it. I used a dental pick to clean out the slot and then tried to push a pipe cleaner through it. The pipe cleaner bent and the clog would not budge. I tried it from both ends of the stem with no luck. I used a straightened pipe cleaner and curved it to the bend of the stem and was able to push it through the clog and poke the debris free of the stem. I ran both bristle and regular pipe cleaners through the airway until they came out clean and the airway was unobstructed.
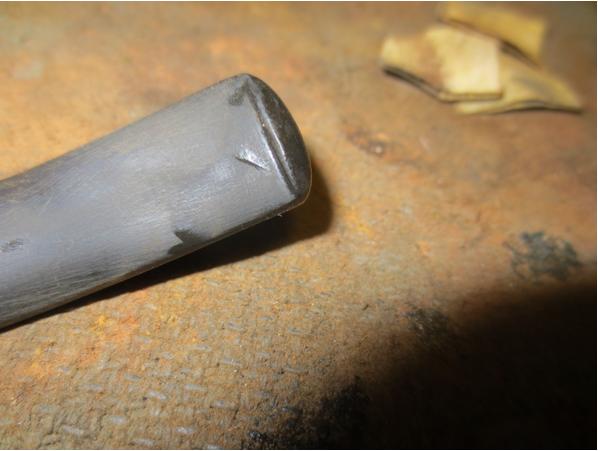
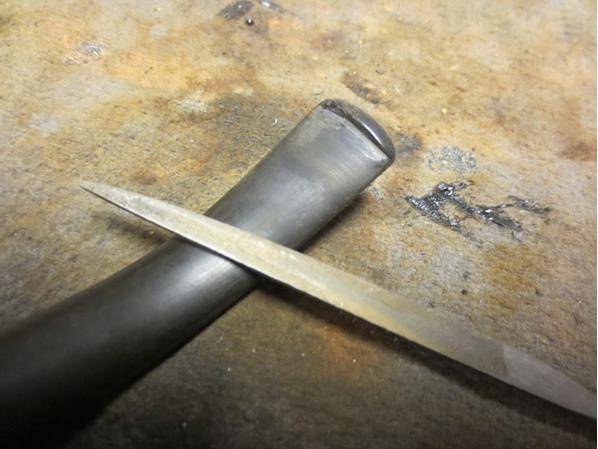
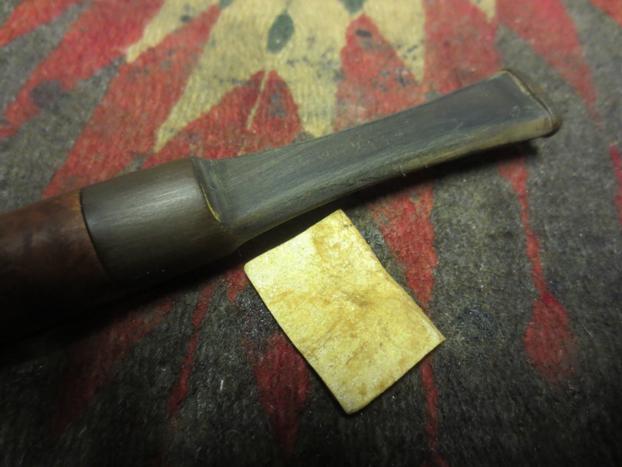
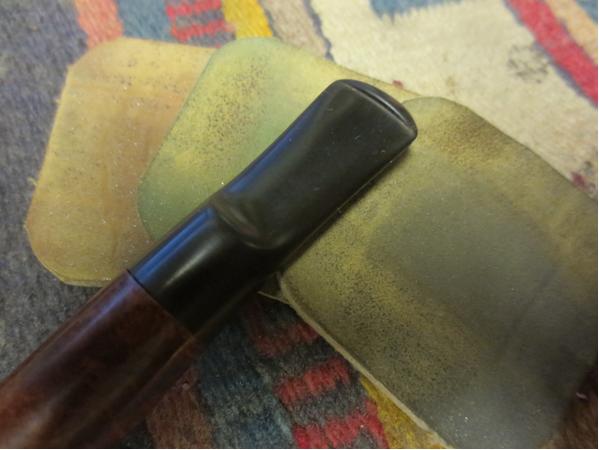
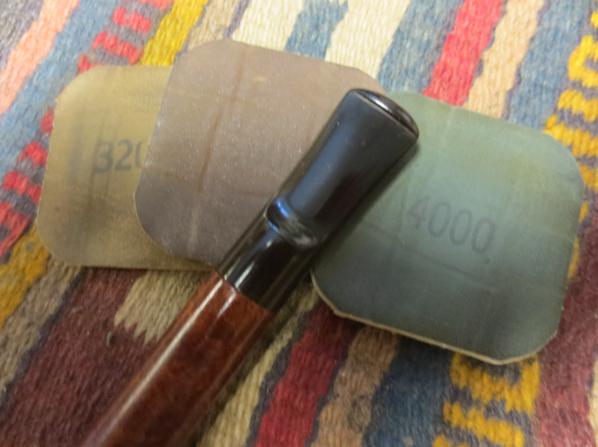
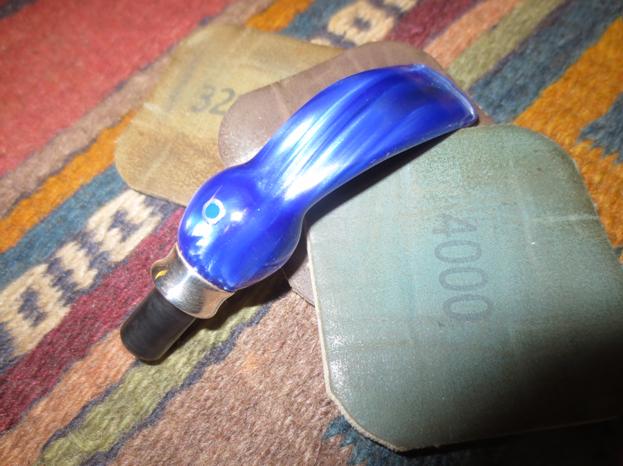
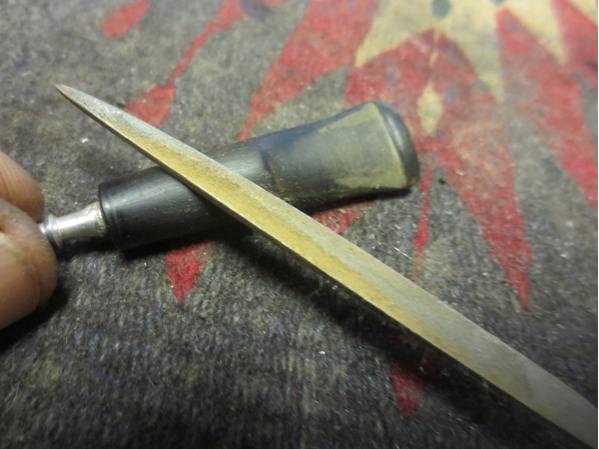
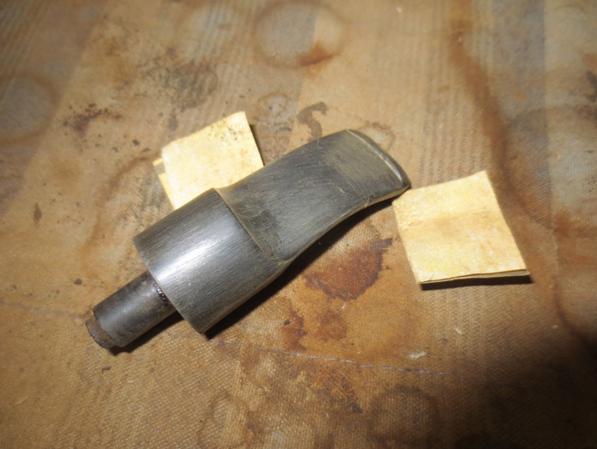
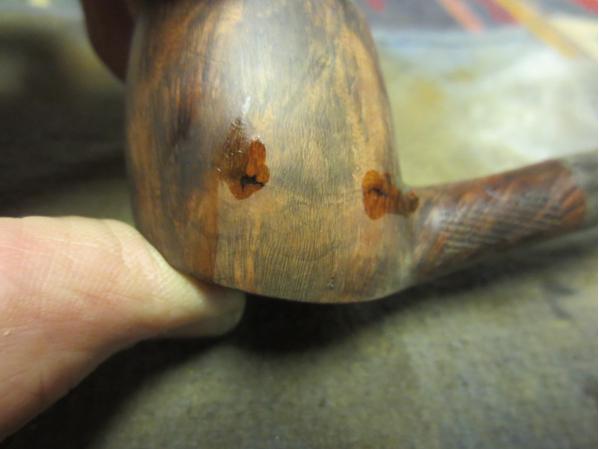
 I sanded the tooth marks near the button on the top and underside of the stem with 220 grit sandpaper until they were smooth.
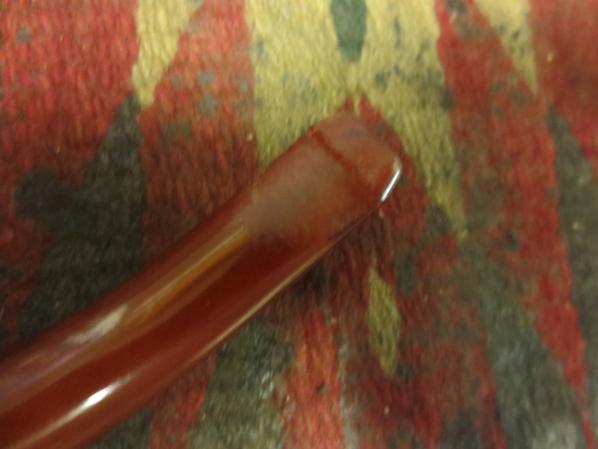
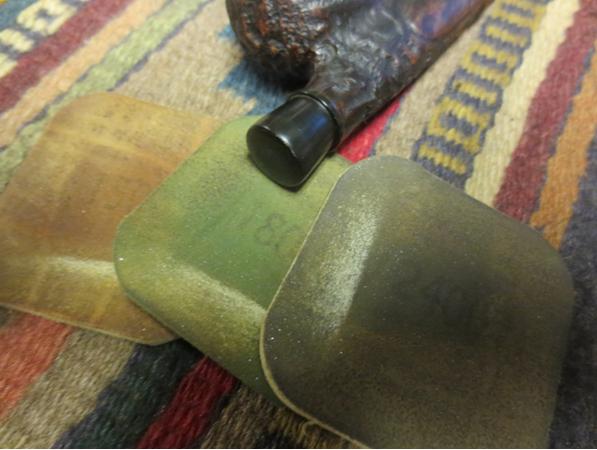
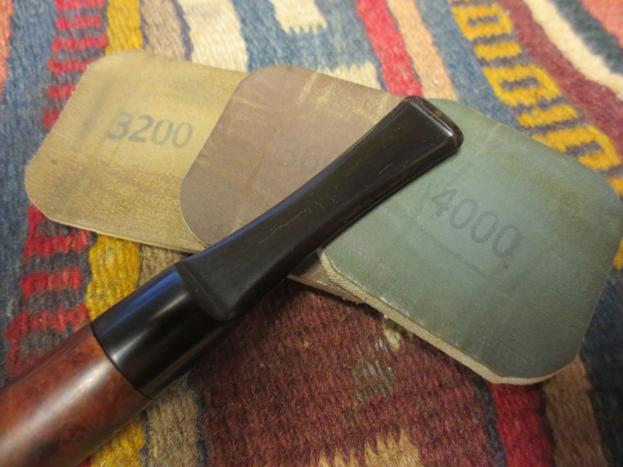
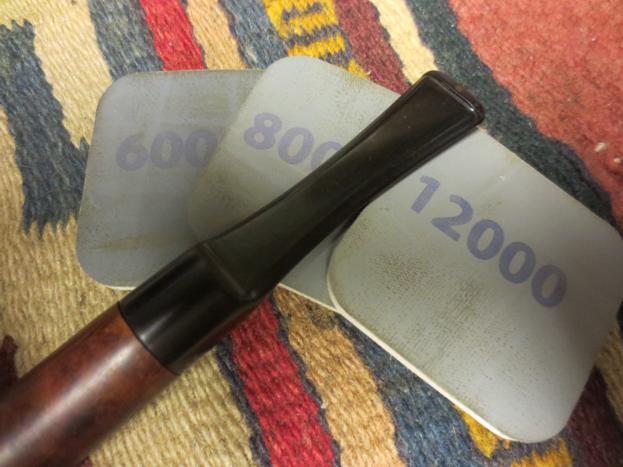
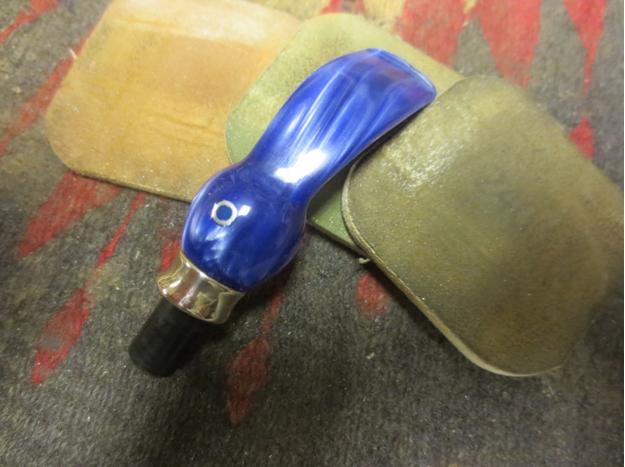
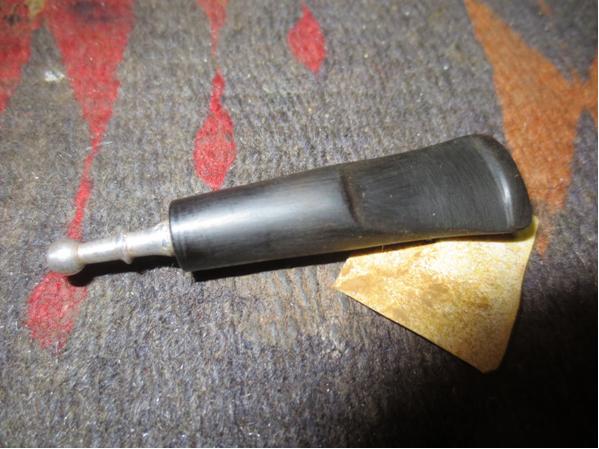
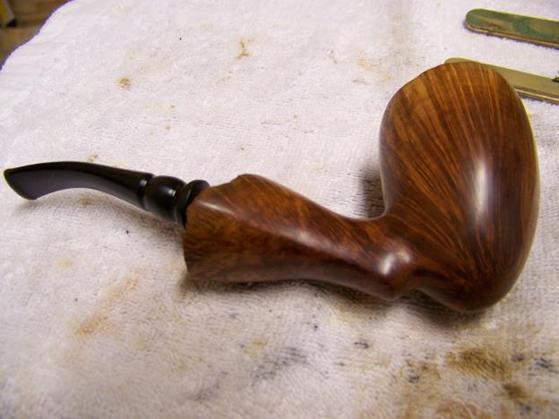
 I wet sanded the stem with 1500-2400 grit micromesh pads. I rubbed the stem down with Obsidian Oil. I dry sanded with 3200-4000 grit pads and gave it a second coat of oil. I finished with 6000-12000 grit pads and then buffed the stem with Blue Diamond on the wheel. I gave it multiple coats of carnauba wax and buffed it with a clean buffing pad.

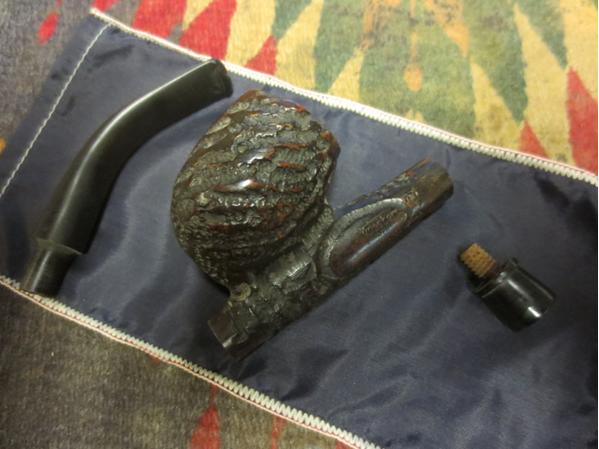
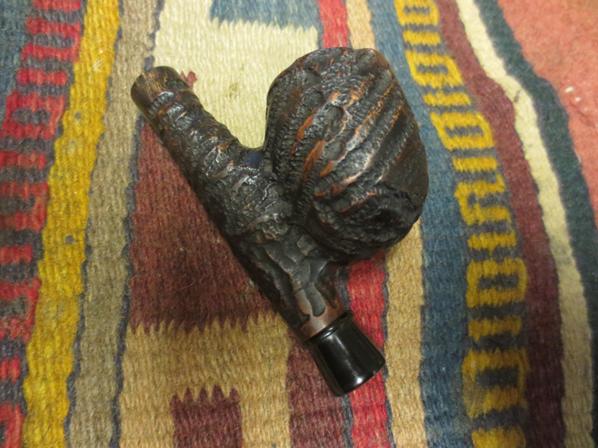
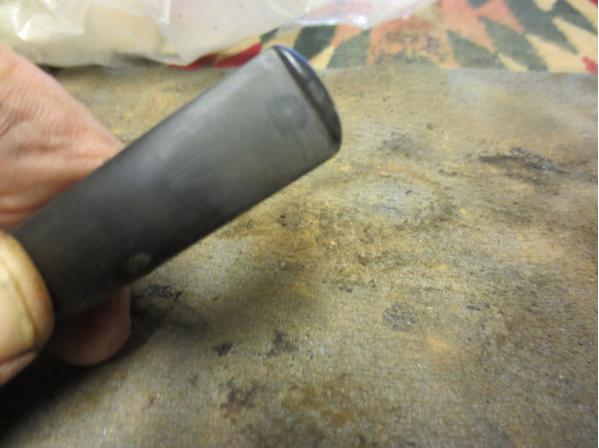
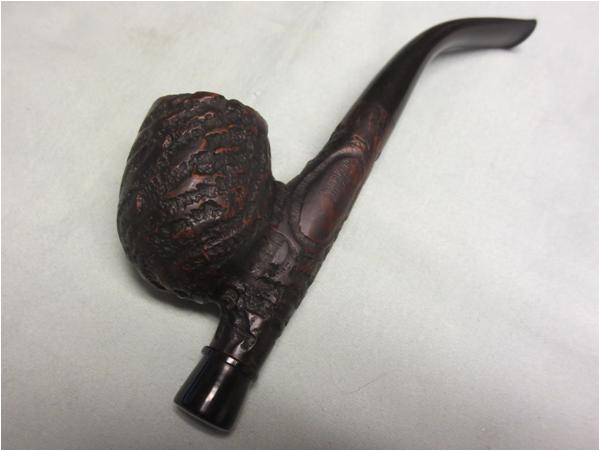
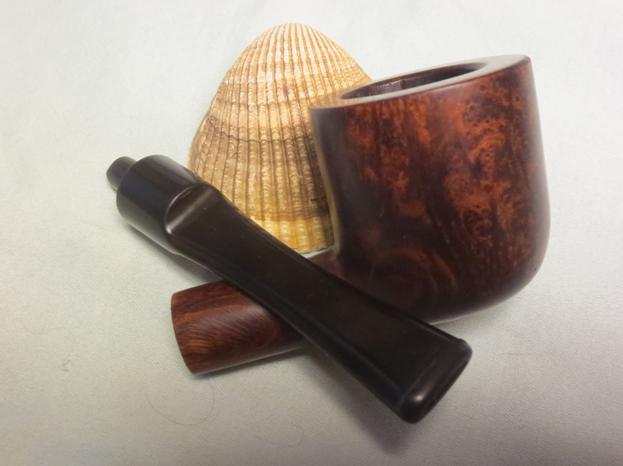
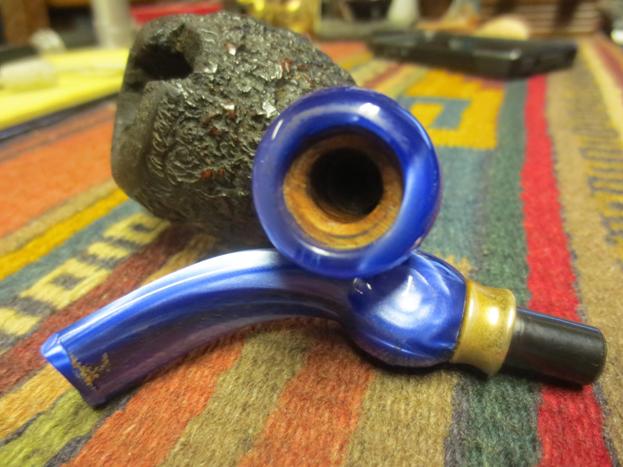
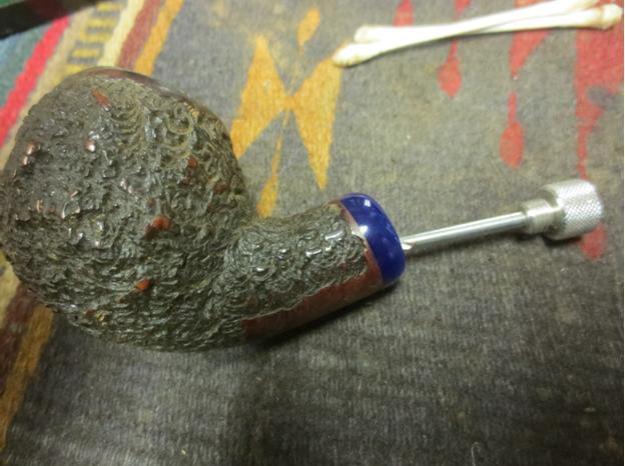
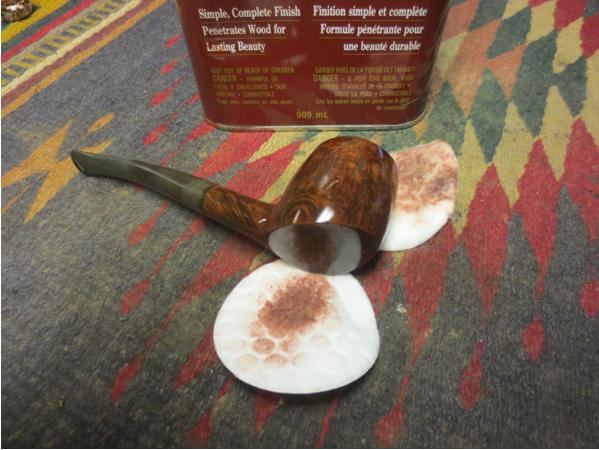
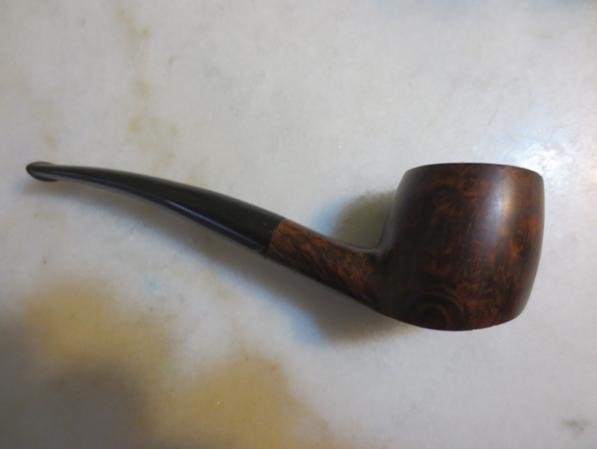
 The rich butterscotch colour of the stem contrasts beautifully with the cleaned and aging meerschaum. The old man seems to give a quirky smile saying that his life is good now. He is cleaned and ready to use. The bowl on the top has been cleaned and the airway in the shank to that bowl is also cleaned and blown out with air to remove the debris that may have collected I the bottom of the under bowl. I will have to get some white beeswax and give it a new coat of wax and then buff it to a shine. In the mean time I buffed it with a shoe brush and raised a shine in the meerschaum. The finished pipe is shown in the photos below. I am glad my brother sent it my way.


 I am not sure what my brother is talking about seeing a resemblance the pipe and me. Do you see any resemblance in the pictures of the two old men? Hmmm makes me wonder what he sees when he looks at me. Now even my kids are calling in my mini-me. Ah well things could be worse.
Thanks for looking.