Blog by Steve Laug
When my brother Jeff sent me the photos of this pipe I could see what had attracted him to purchasing it. The unique sitter shape with the angled bottom, the interesting grain patterns and the clean though oxidized stem all pointed to a pipe that would clean up very well. The stamping on the left side of the shank was XXXX’d out so he could not read it to see who had made the pipe. There was something about it however, that niggled at my memory and the shape had a quintessential British made pipe look. When it arrived I examined it under a bright light and was able to make out the stamping under the XXX’s. It read MAJESTIC over Danish Crown. From research on the web I found that the brand was made by Ben Wade in England.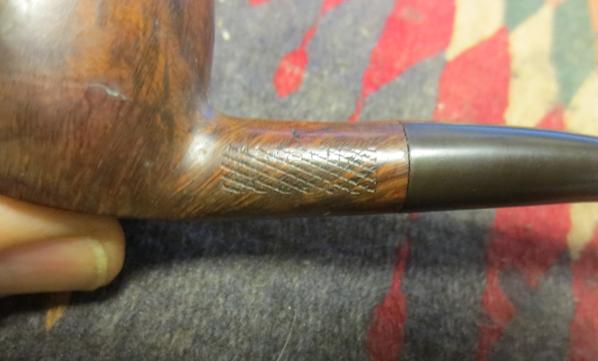 In person the pipe was quite nice. There were scratches and nicks in the bowl that would need some work. On the left side toward the bottom of the bowl were two marks joined by a line. At first glance it looked like a crack but it was not. There were two flaws in the briar and a long horizontal scratch in the surface of the briar. Even if it had been a crack the two flaws stopped it from spreading so it was not a problem.
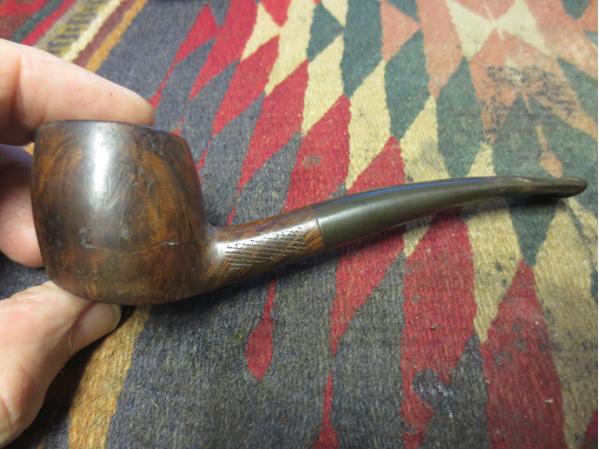
 There was beautiful grain on the sides and bottom of the bowl. The dirty rim promised some interesting grain underneath the tars and lava build up. The outer edge of the rim had damage on the front and the rear. It had been tapped out on something solid and had rounded and damaged the edge. The inner edge looked good though the crumbling cake would need to be reamed to know for sure.
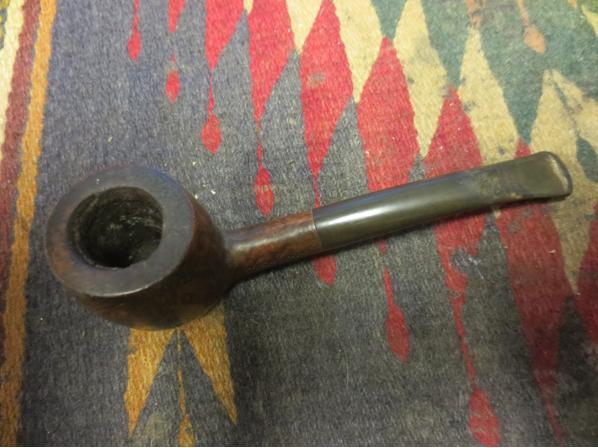

 I reamed the bowl with the PipNet reamer and completely removed the cake. I wanted to clean up the inner edge of the rim and check the bowl walls for cracks or damage. (In the top view photo you can see the rounding on the front and back outer edges of the rim.)
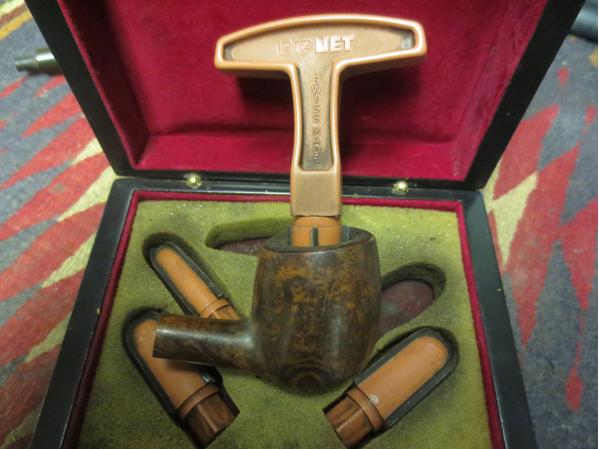
 I cleaned out the airways from button to bowl with pipe cleaners, cotton swabs and alcohol. I used a dental pick to clean out the slot.
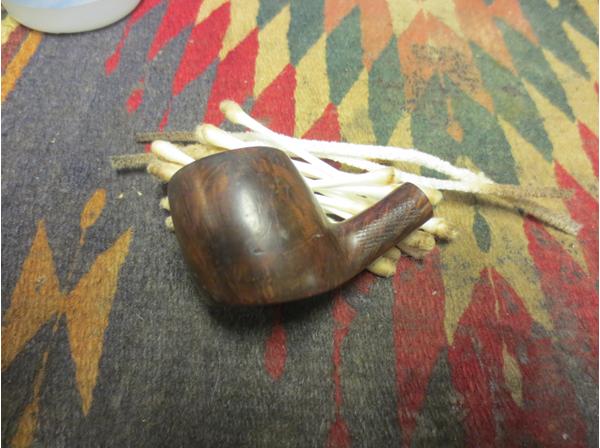
 I scrubbed the exterior of the bowl with acetone on cotton pads to remove the grime and the damaged finish.
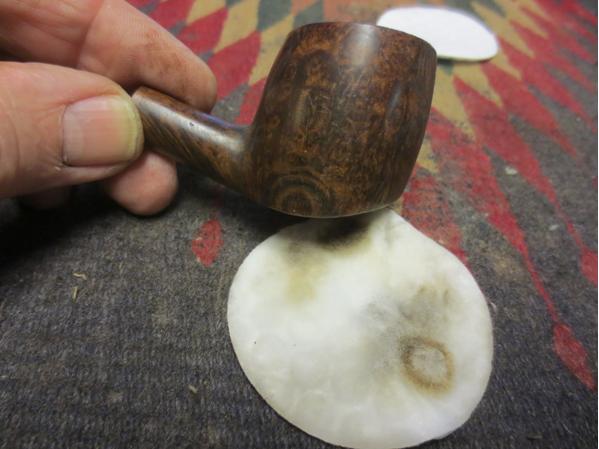

 I scrubbed the rim and then used the topping board to remove the damaged top of the rim. A light topping took the surface down and sharpened the edges on the front and back side of the bowl.
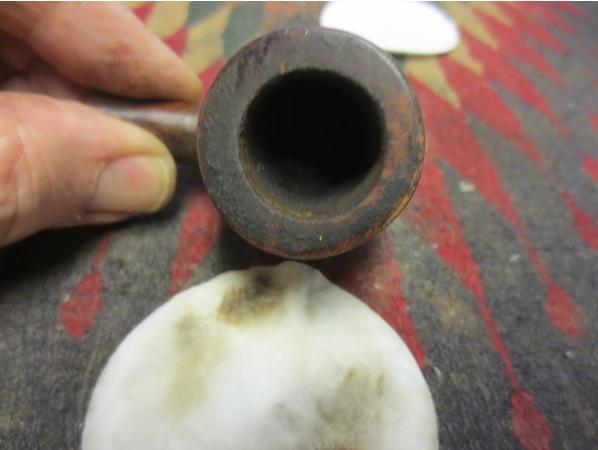

 I used the dental pick to clean up the line and the two end points that marked the bowl on the left side. I used clear super glue to fill in the flaws and the groove in the line.
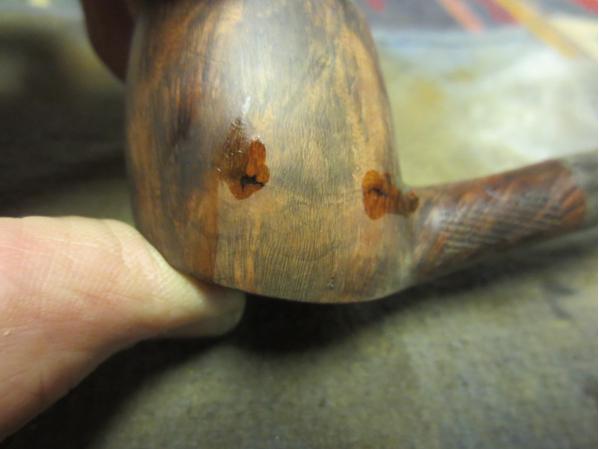 I sanded the repairs to the bowl until the surface was smooth. I sanded it and the rim with micromesh sanding pads 1500-6000 grit. I used a black marker and a dark brown stain pen to prepare the bowl for staining. I decided to use a Cherry Stain and Danish Oil on the briar on this one. It would highlight the grain and make it shine.
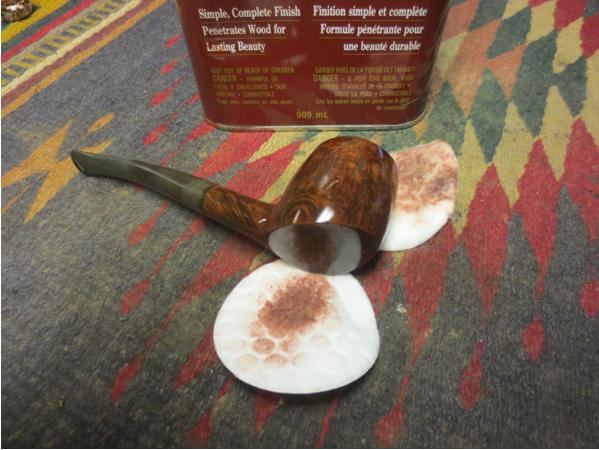


 I laid the pipe aside to dry over night. In the morning I buffed it with some Blue Diamond and then gave it a coat of carnauba wax. I buffed it with a flannel buffing pad and then took the next photos.
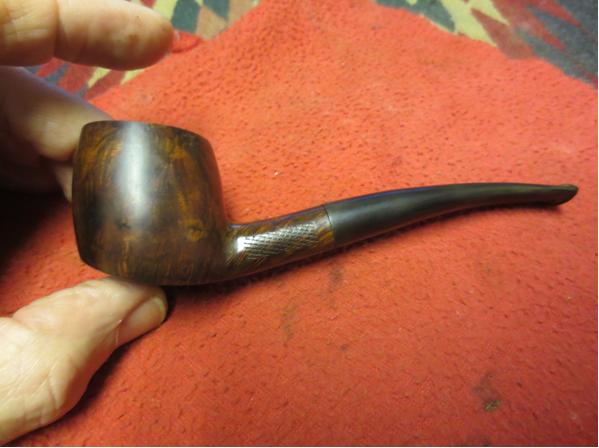


 The stem still needed attention. I sanded it with 220 grit sandpaper to remove the nicks and deep oxidation in the vulcanite. I followed that by wet sanding it with 1500-2400 grit micromesh sanding pads and rubbing it down with Obsidian Oil. I dry sanded with 3200-4000 grit pads and repeated the oil. I finished by dry sanding it with 6000-12000 grit pads and gave it a final coat of oil. I set it aside to let the oil soak into the vulcanite.
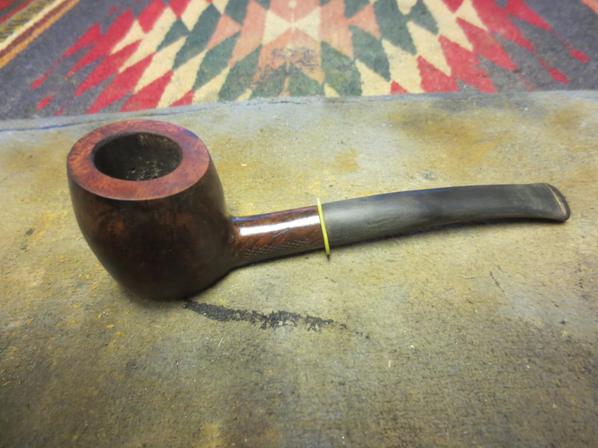


 I buffed the pipe with Blue Diamond and then gave it several coats of carnauba wax. I buffed it with a clean buffing pad and then with a microfibre cloth. The finished pipe is shown in the photos below. The unusual shape and the unique grain on the briar really stand out with the finish I chose. The slight bend to the stem gives it a jaunty look. The stem is too heavy for the bowl to sit flat on the angled base but it balances on the point.
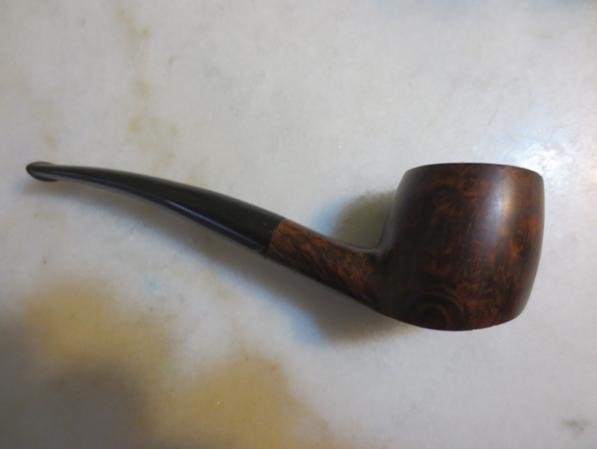


 Thanks for looking.

Pingback: What a Great Looking Ben Wade Majestic Designer Series B Danish Freehand | rebornpipes
Steve, interesting pipe. I can see why your brother liked it. Good job!
LikeLike
Steve, I really enjoy the blow by blow description of the restoration. I’m working up to the challenge of a restoration! The shape looked like fun.
LikeLike
Thanks Dal, I look forward to the day that you start cleaning up one. Maybe when I am in Sofia we can sneak some time to work on one.
LikeLike
There’s grain you don’t see every day. Interesting shape too. Very nice job!
LikeLike