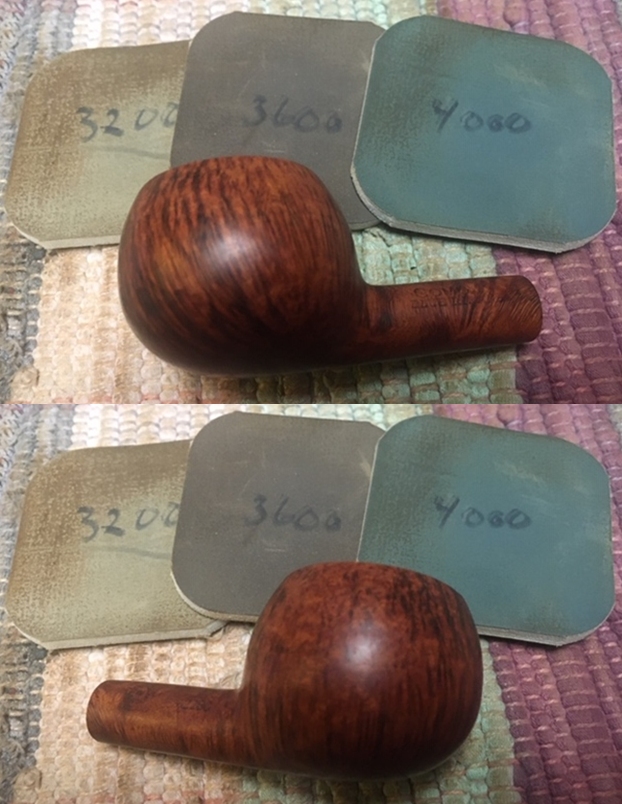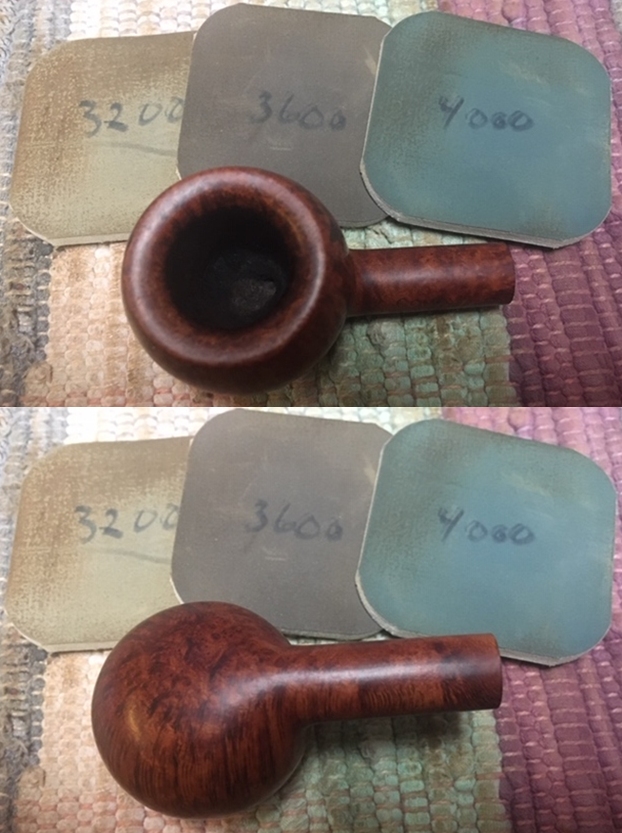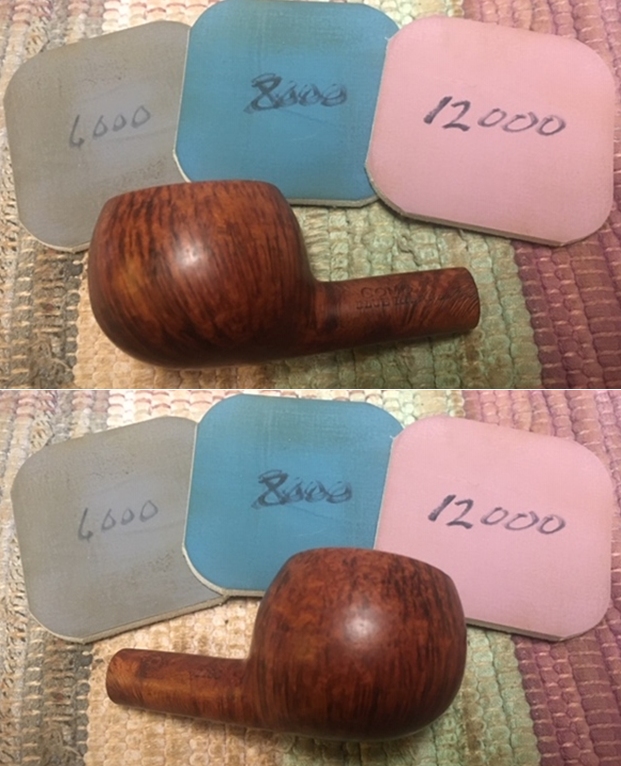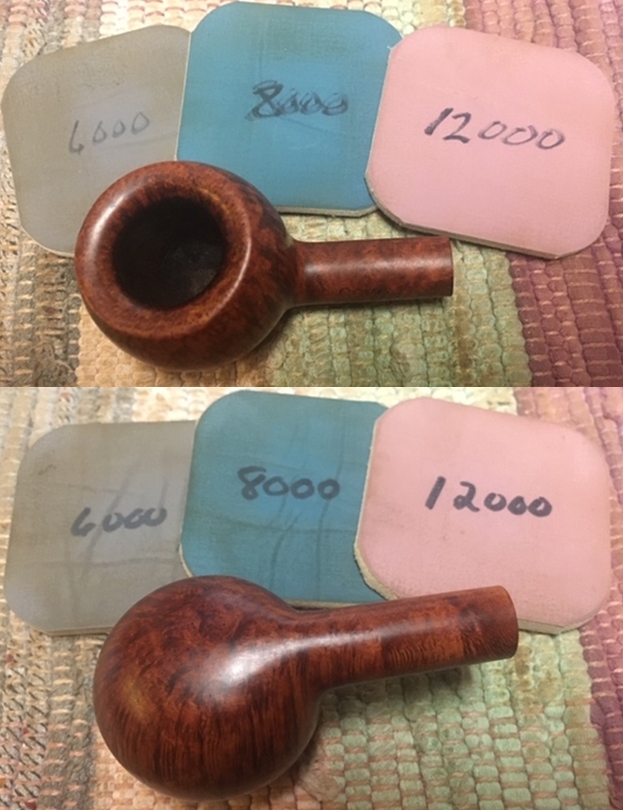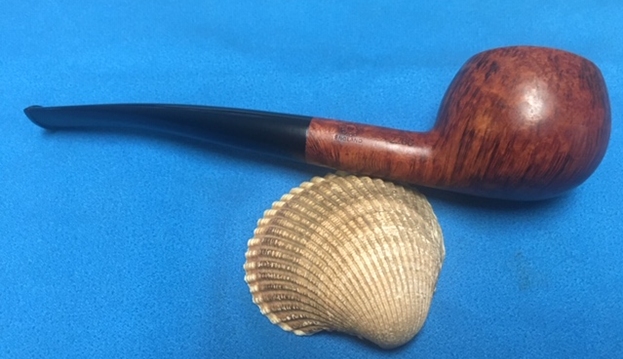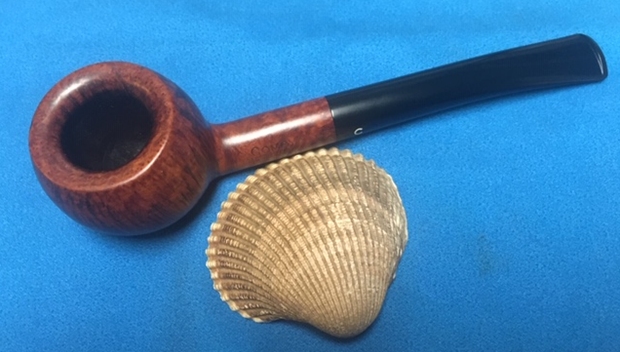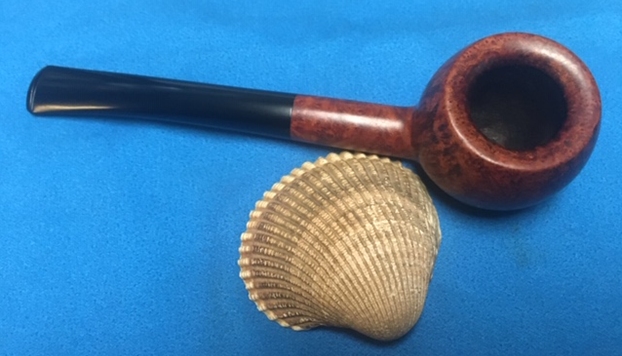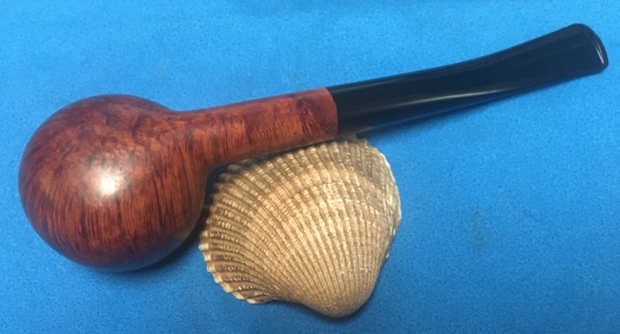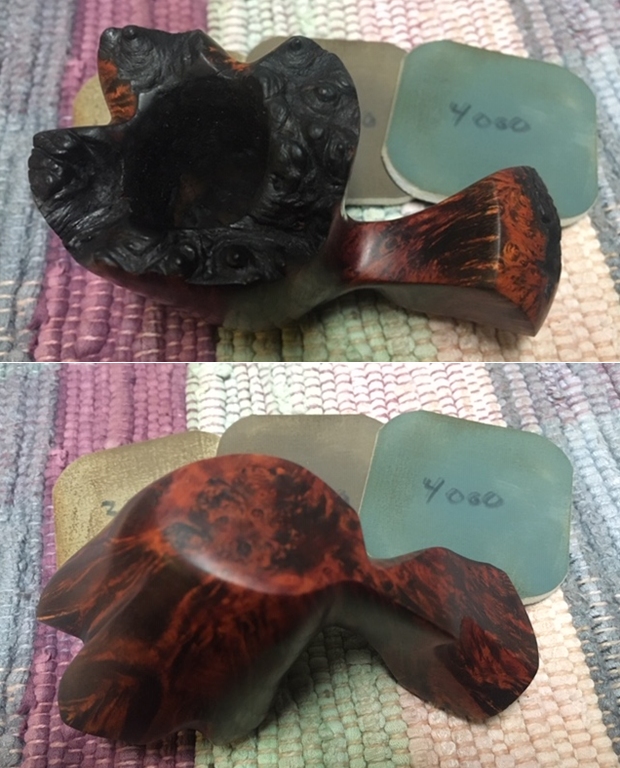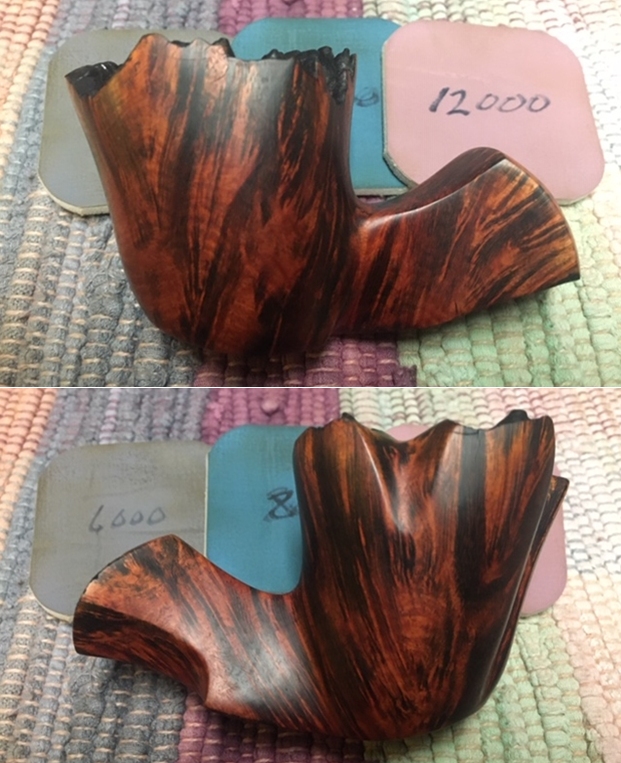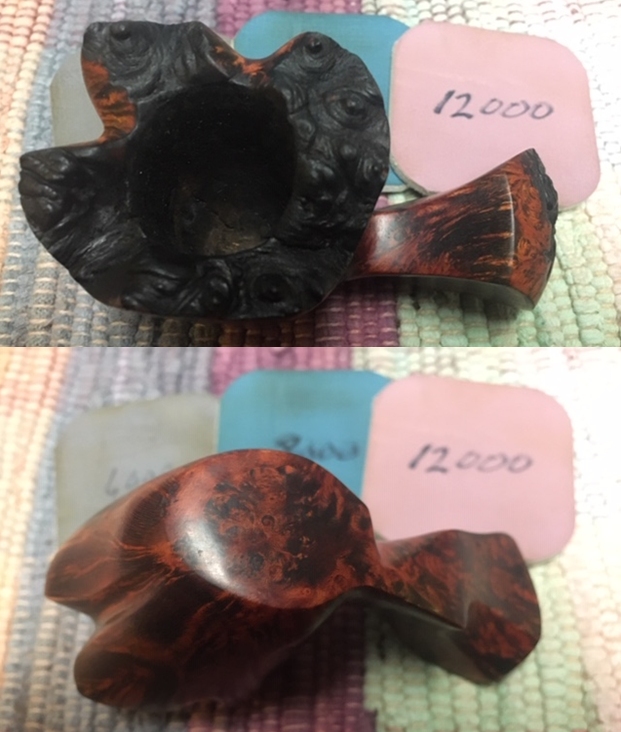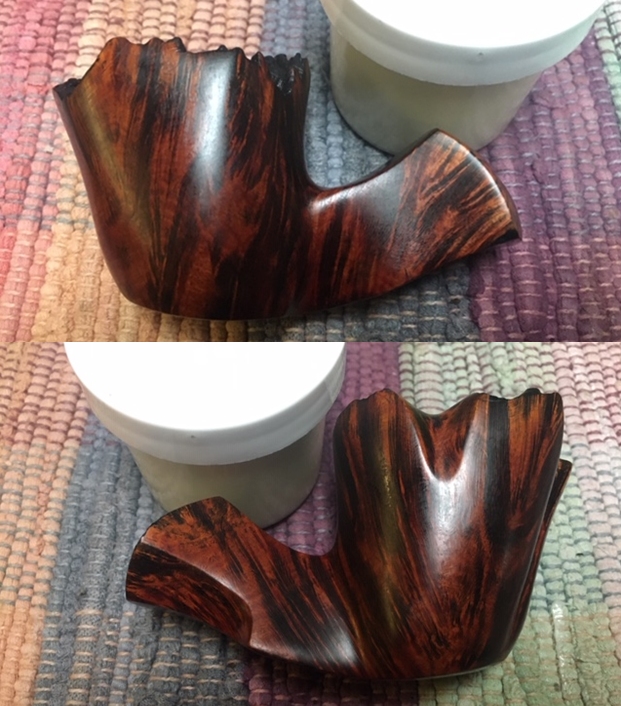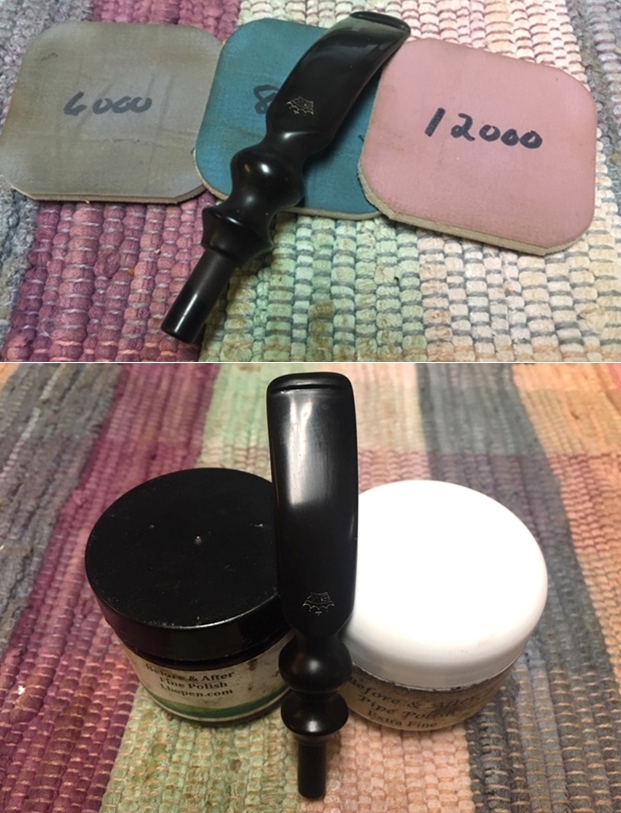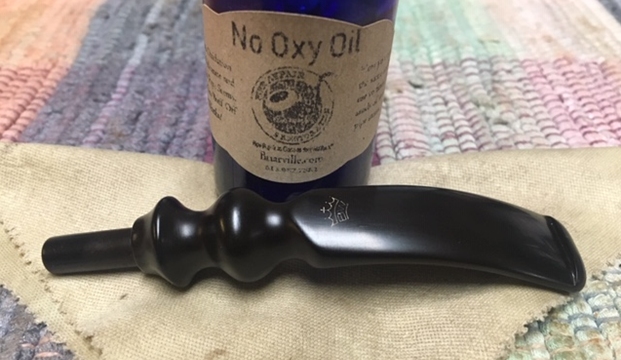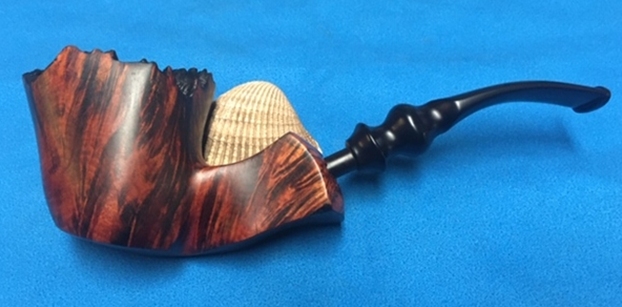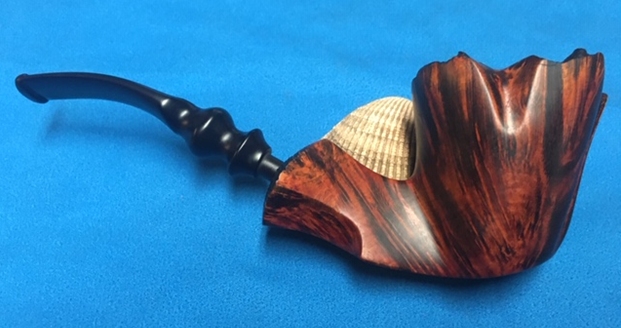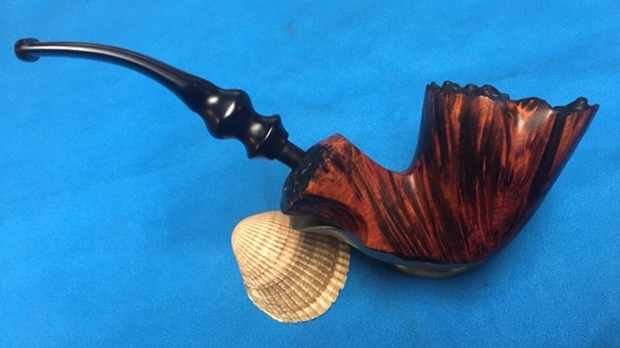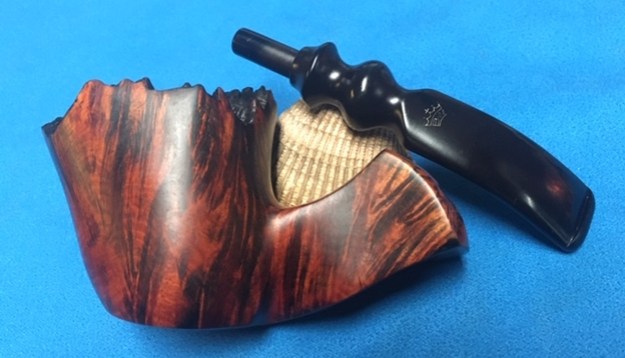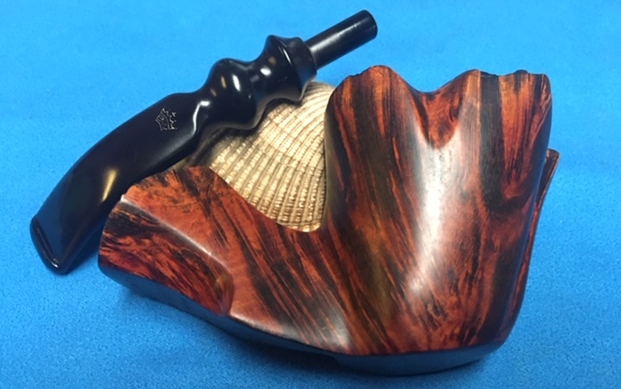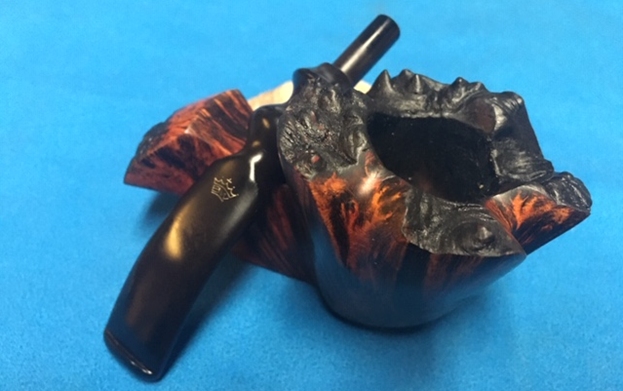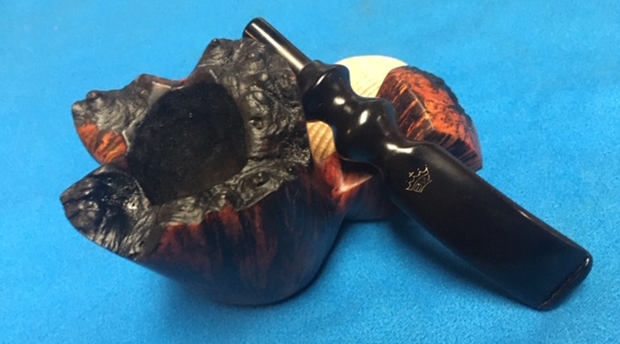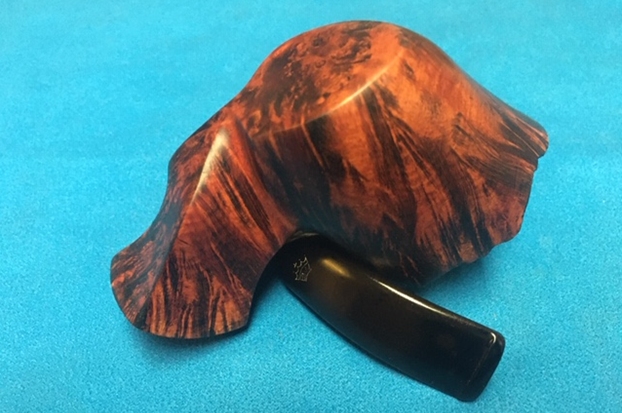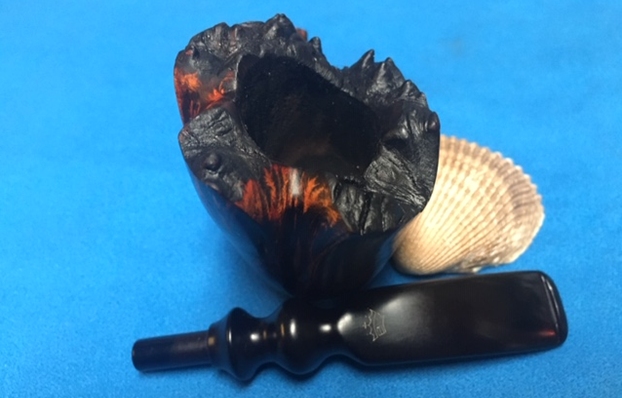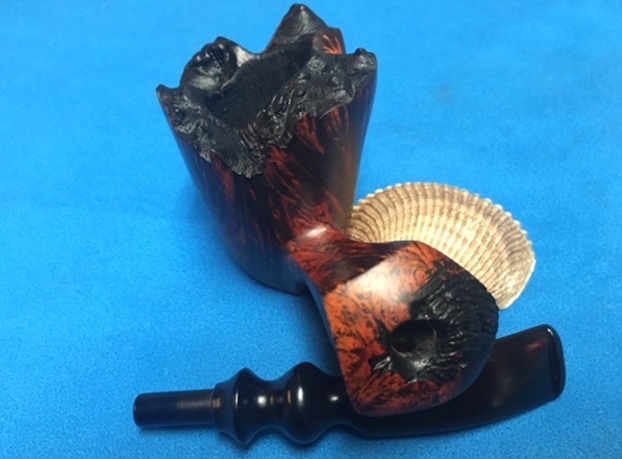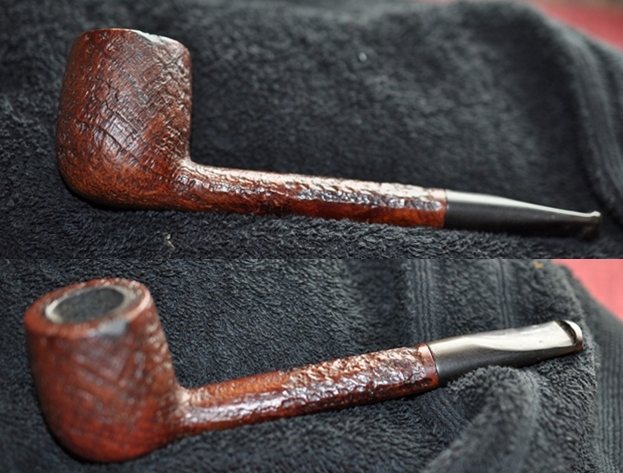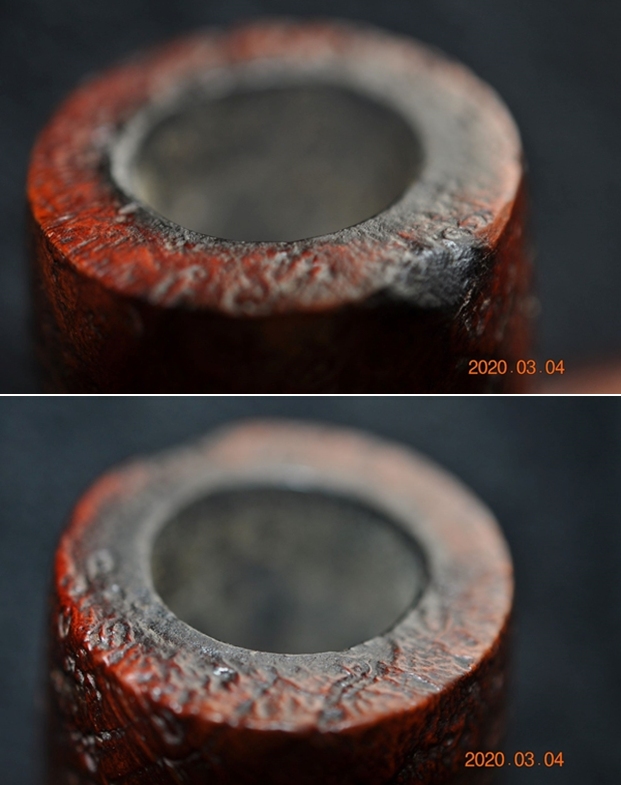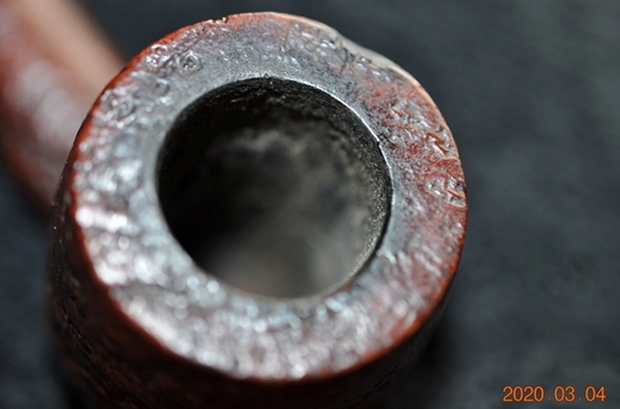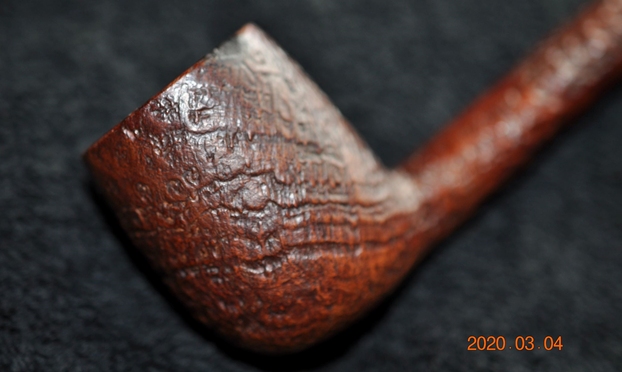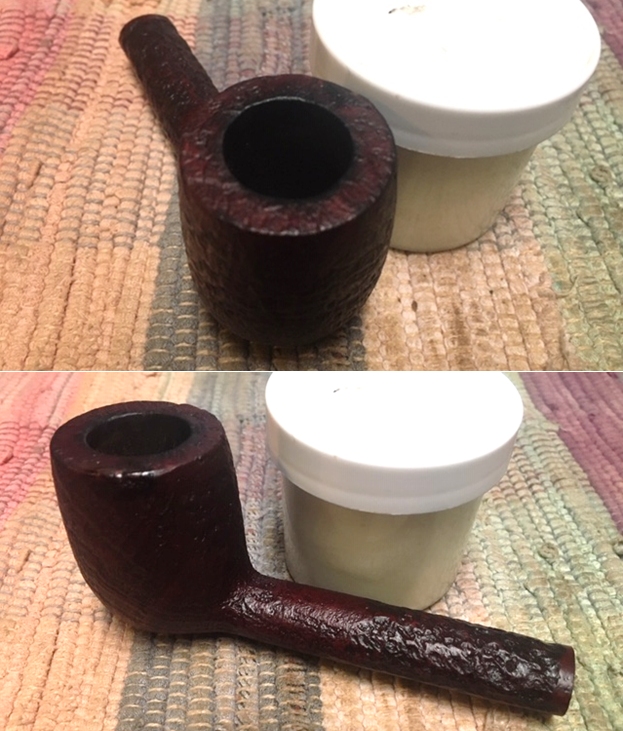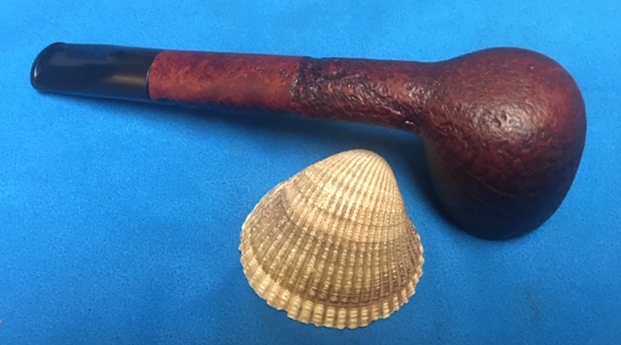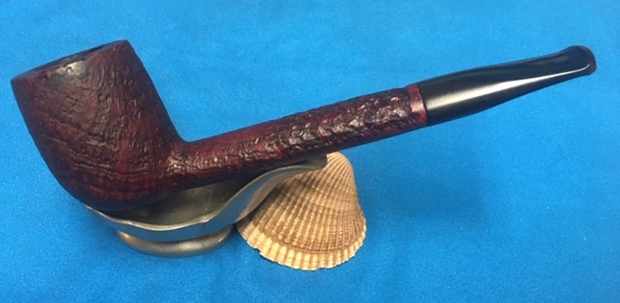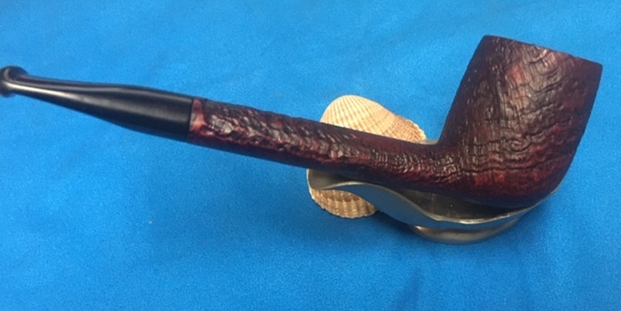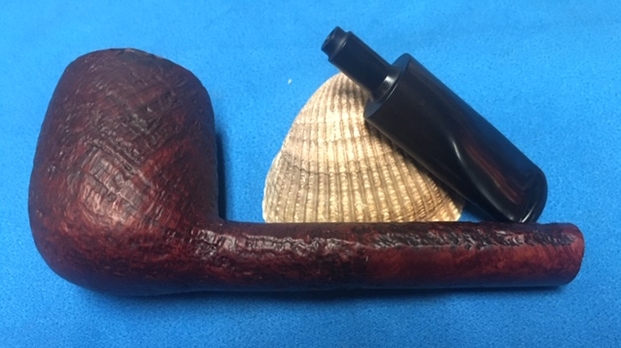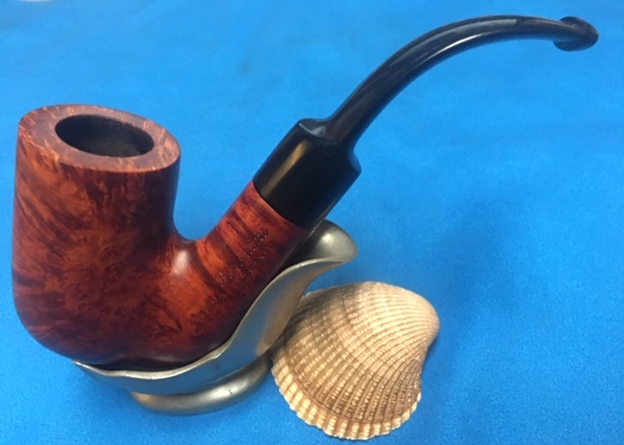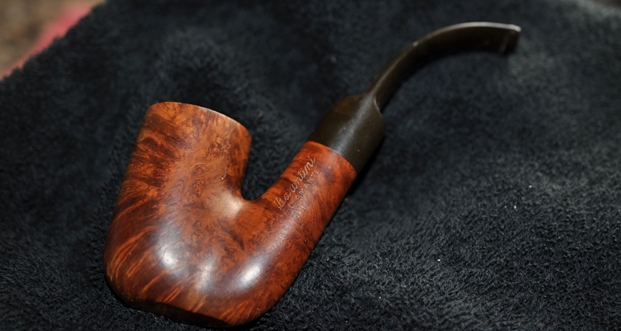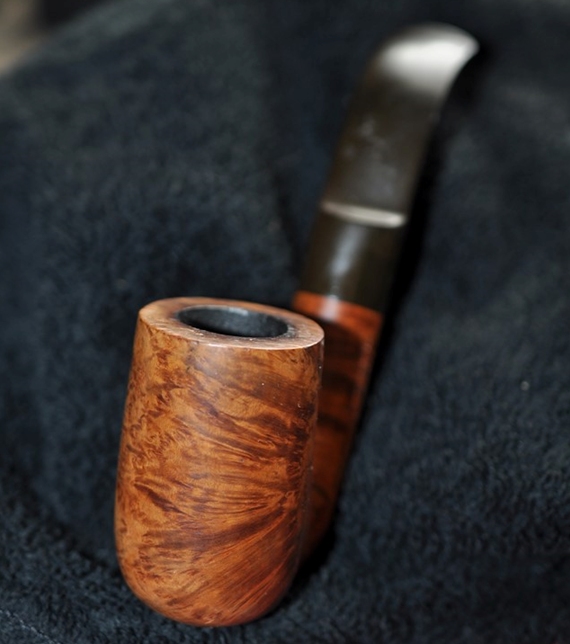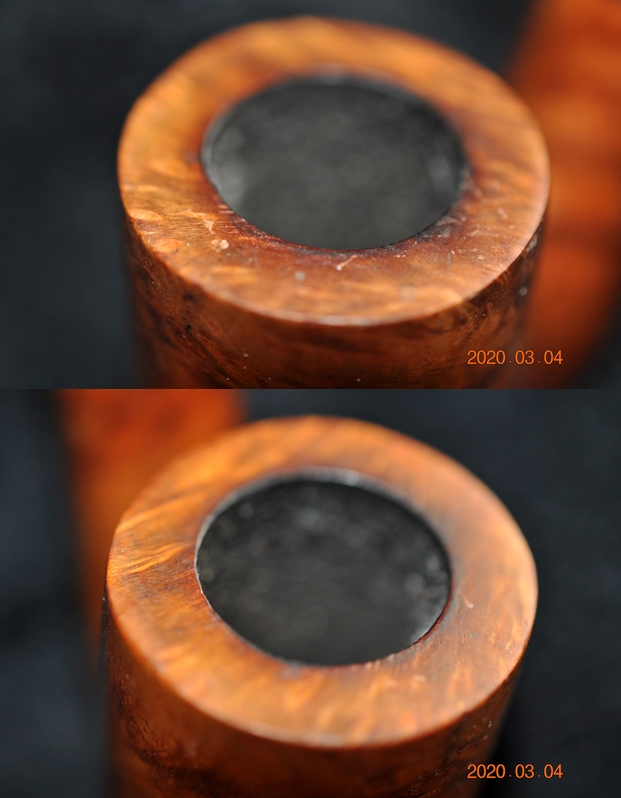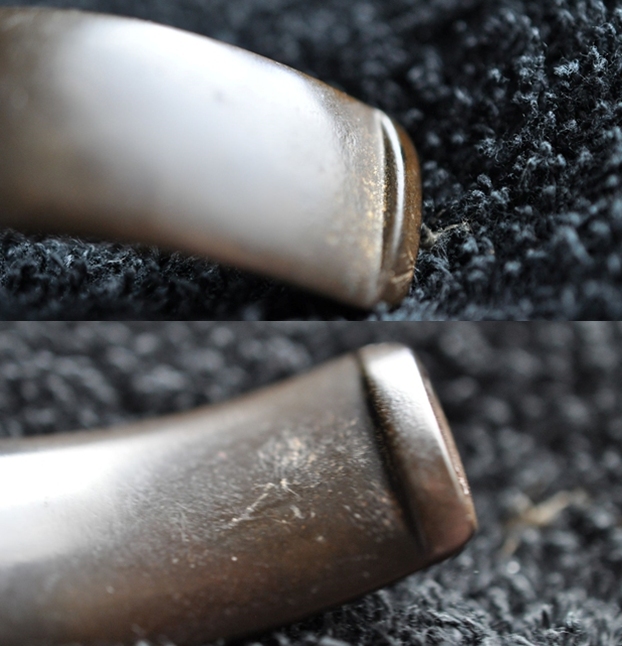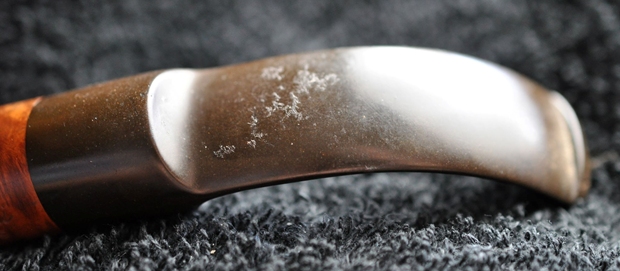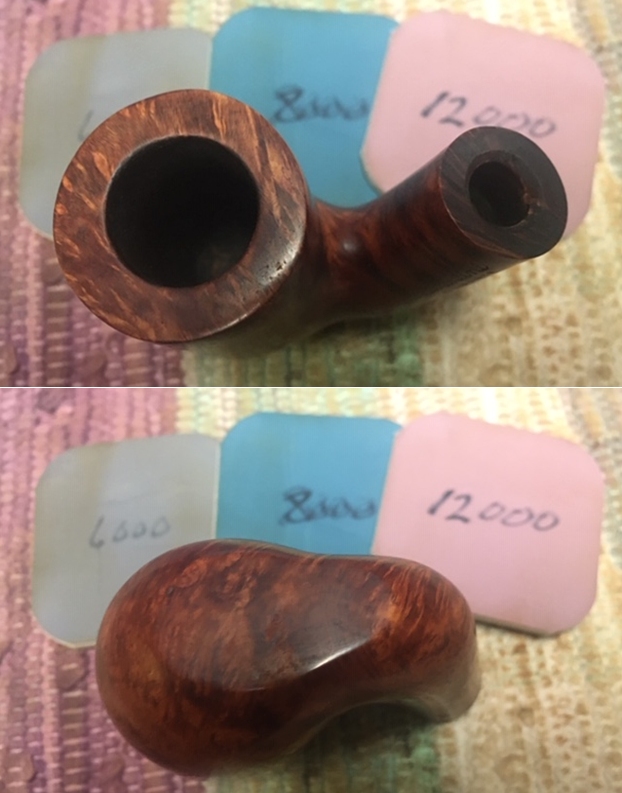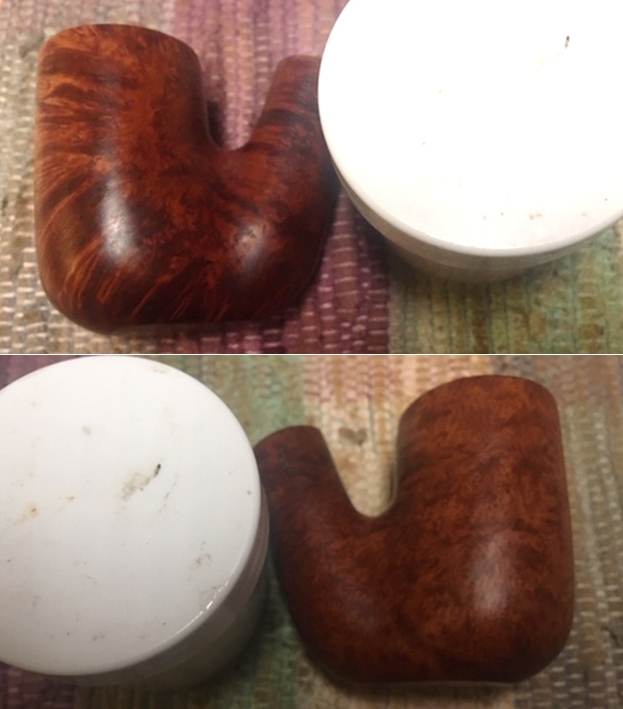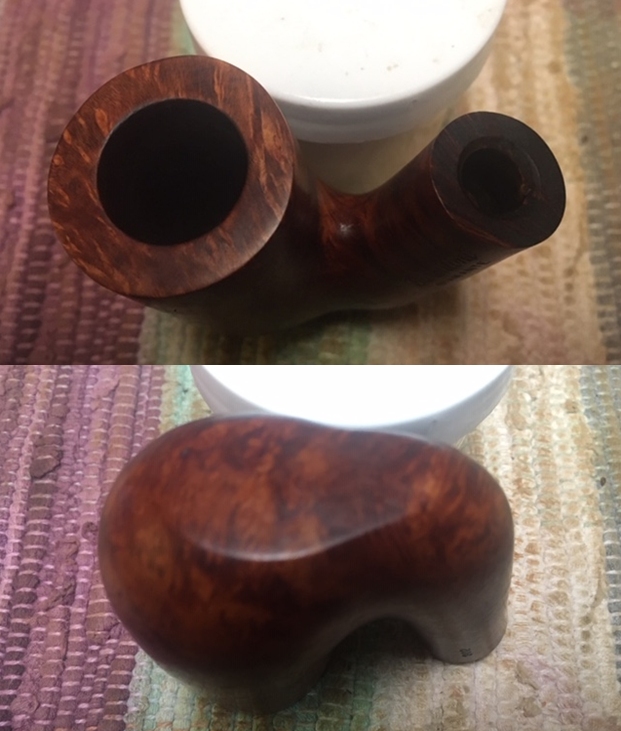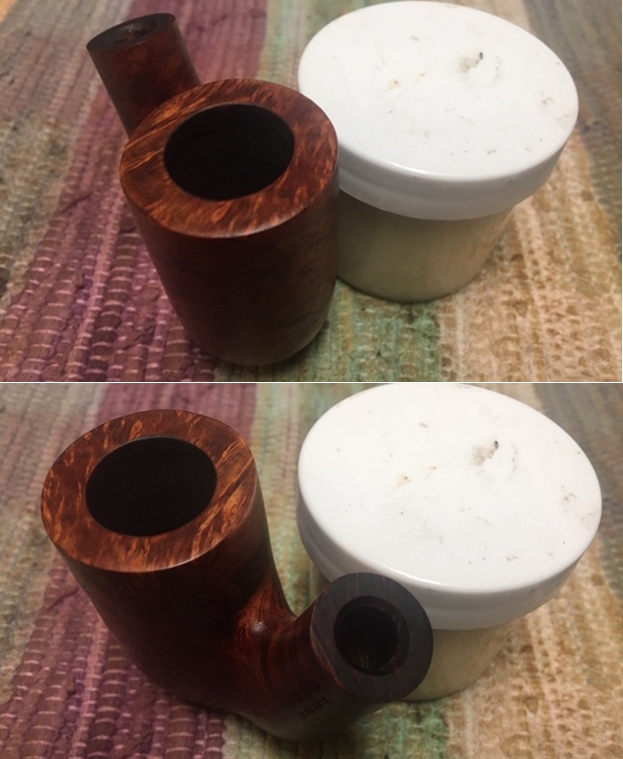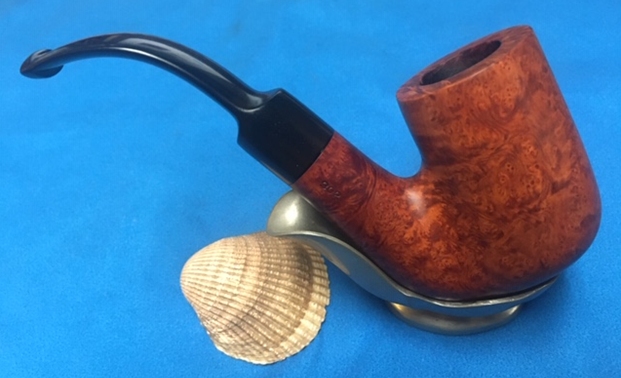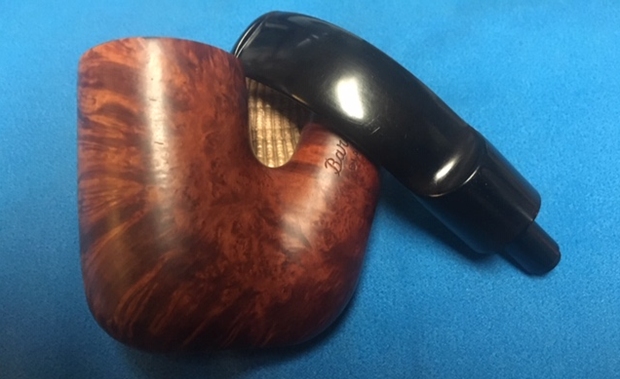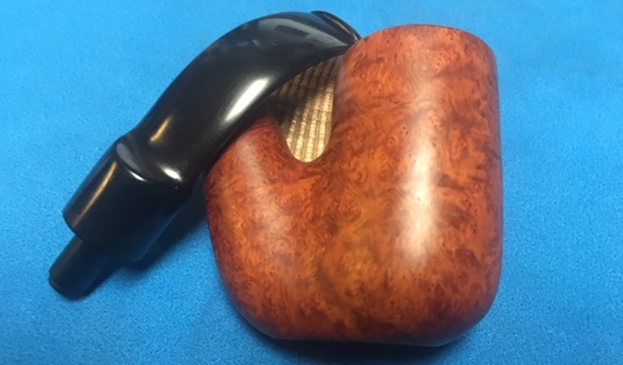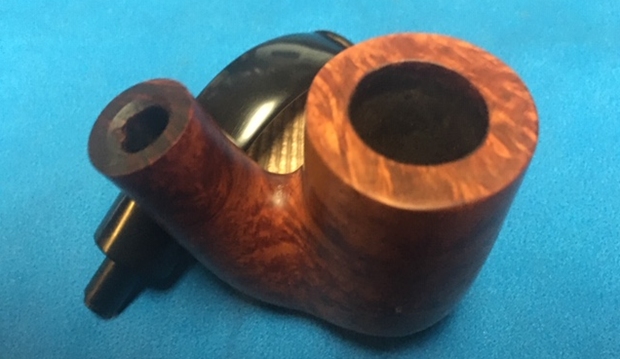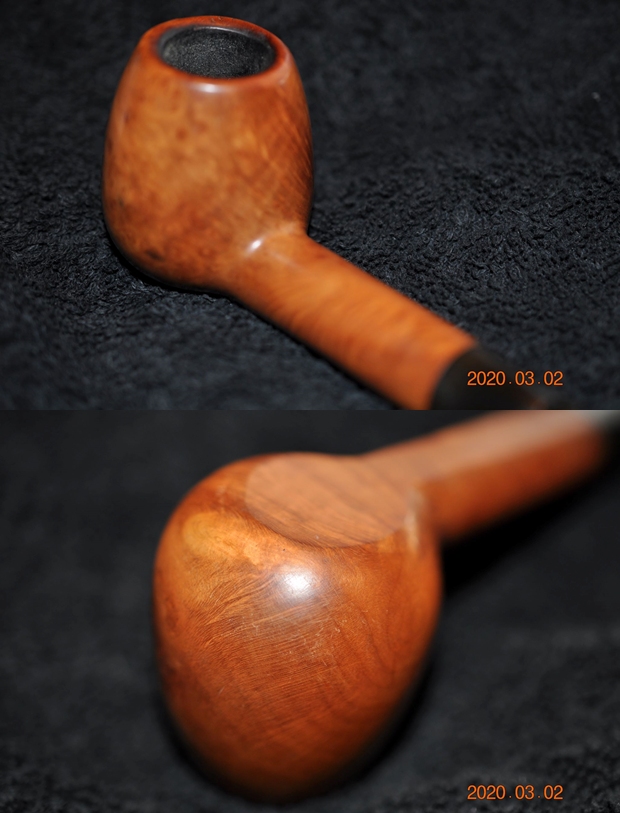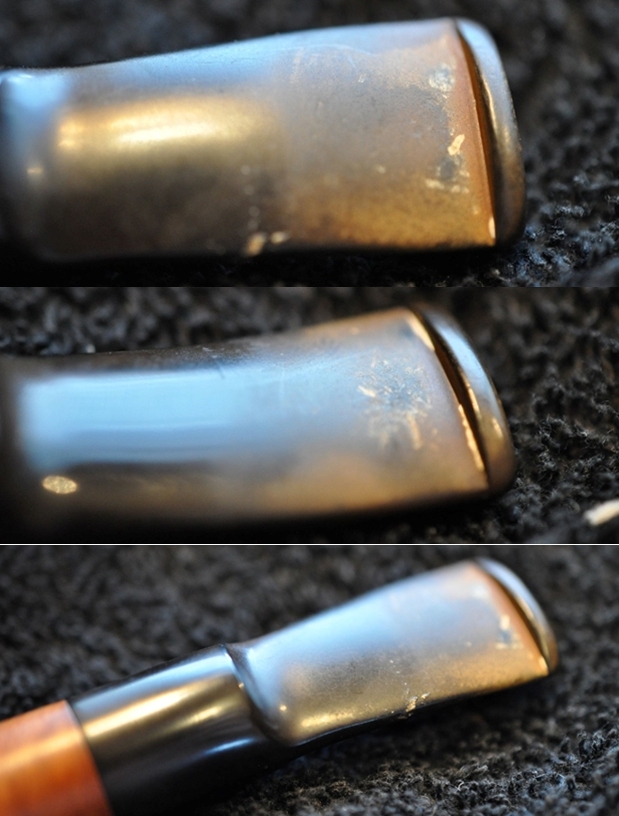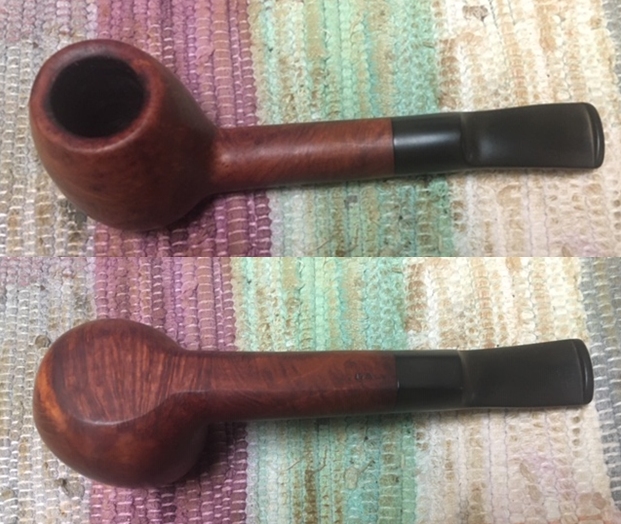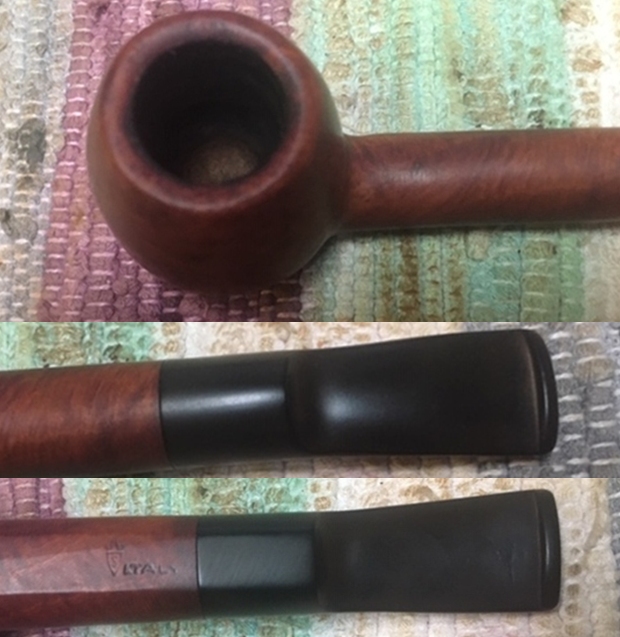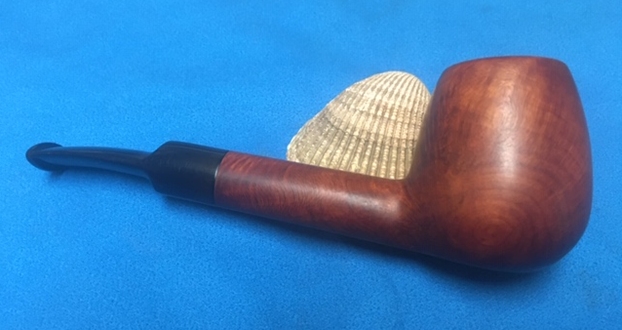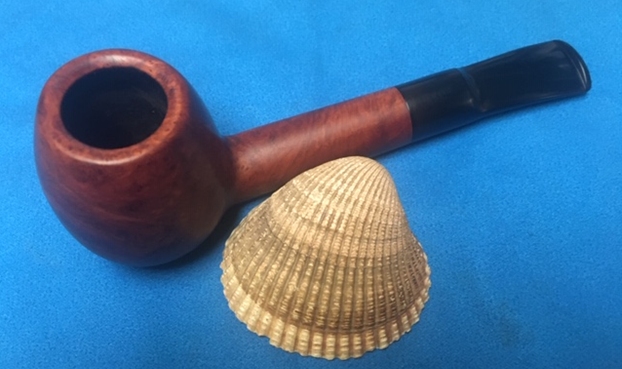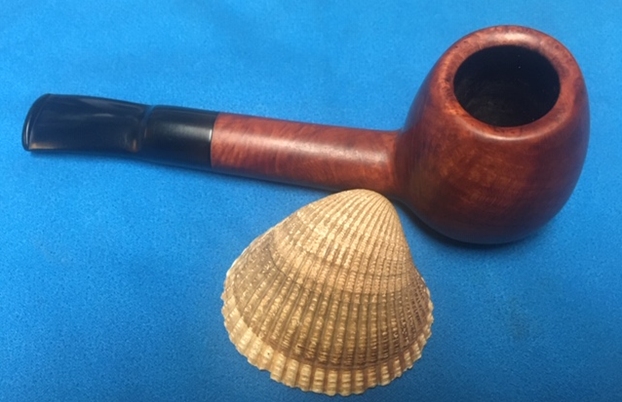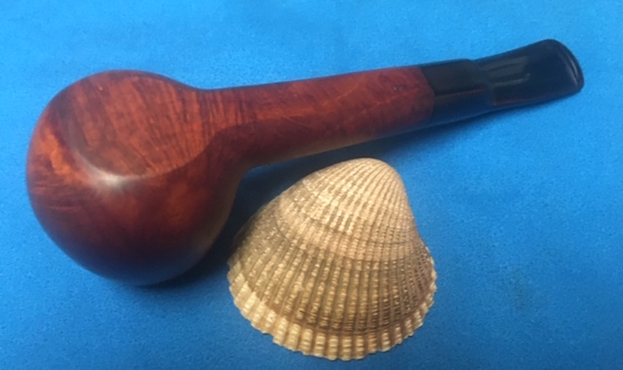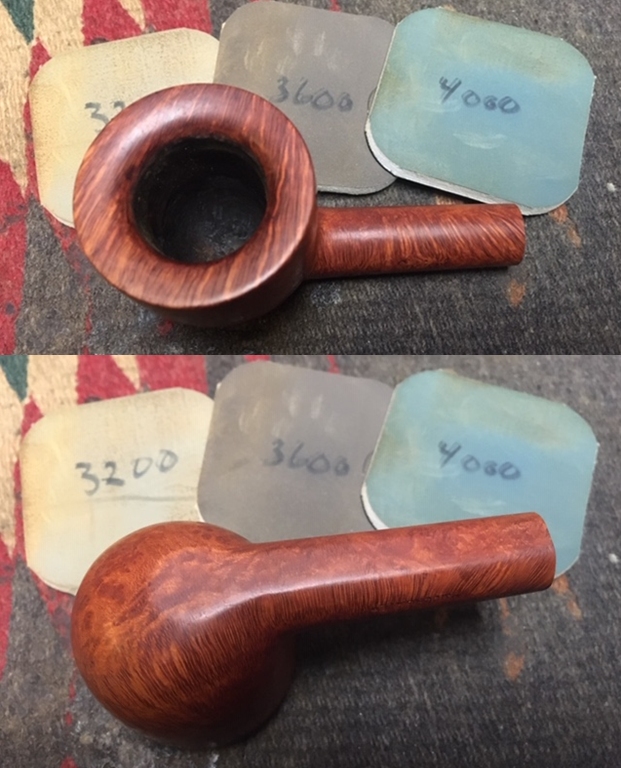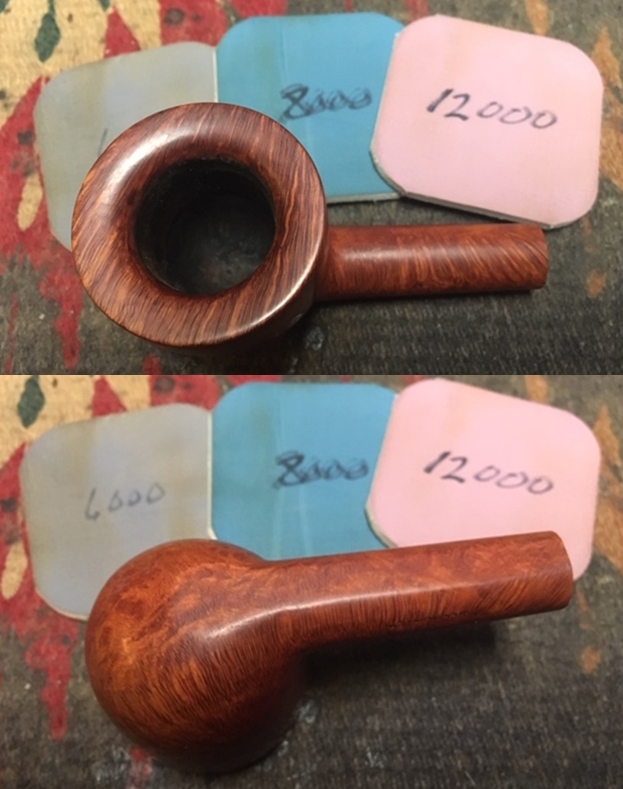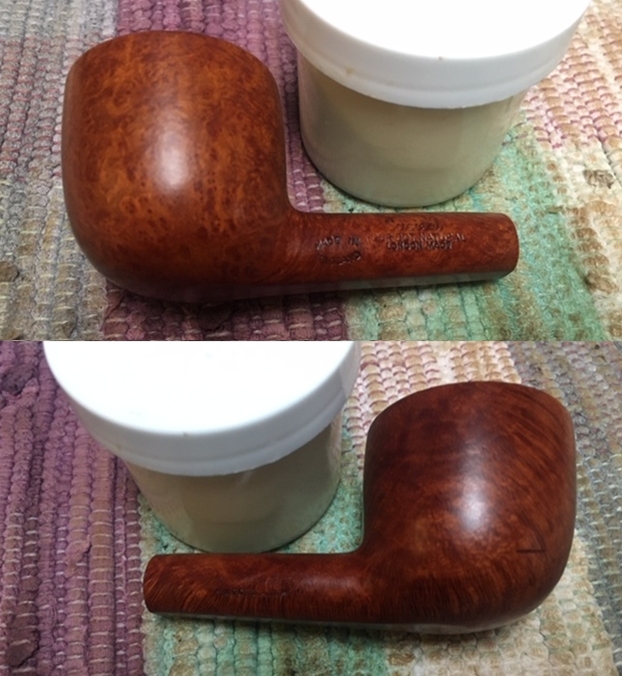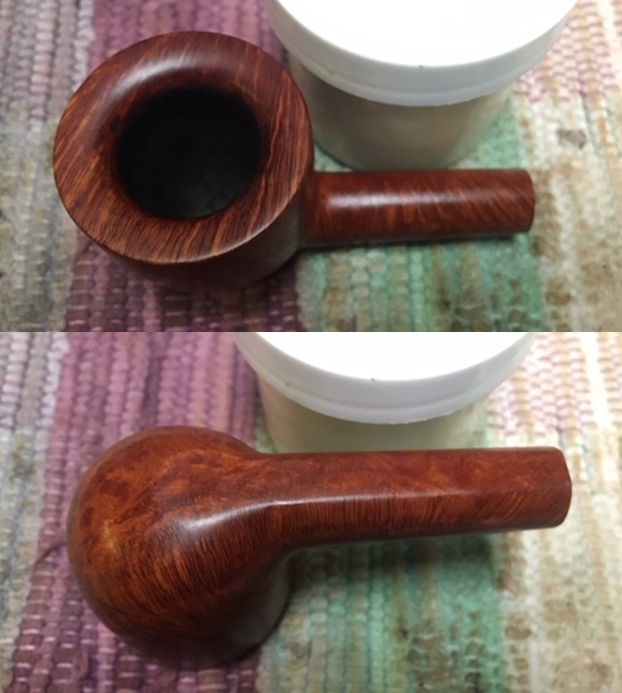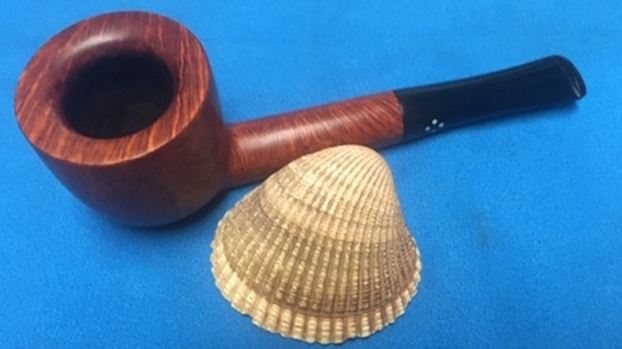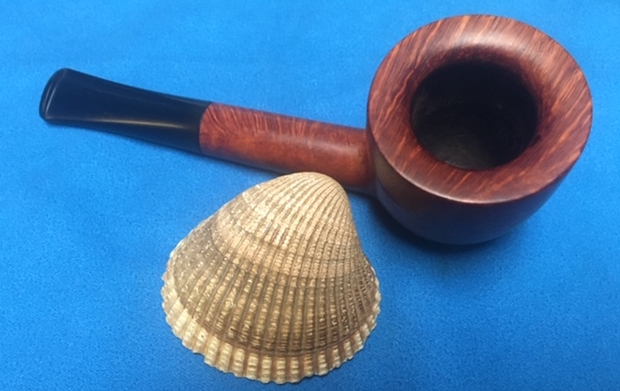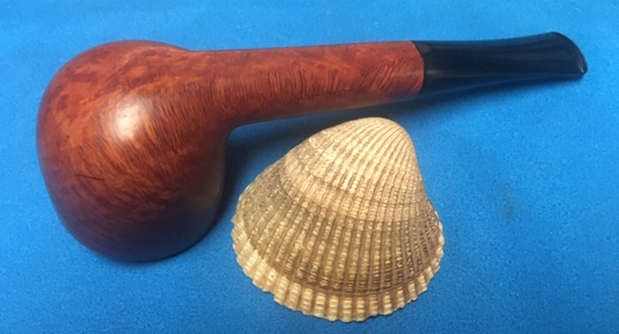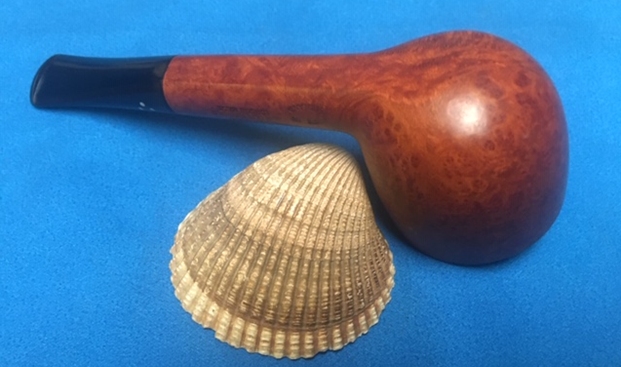
Tag Archives: oxidation

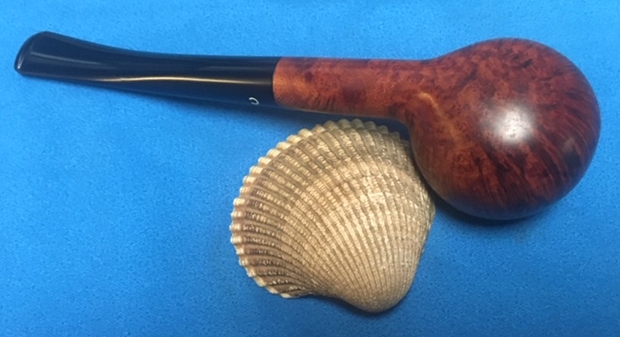
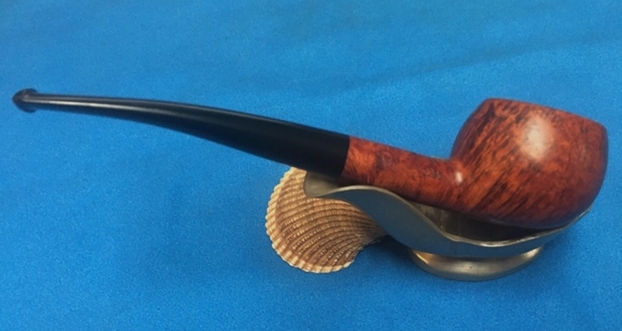
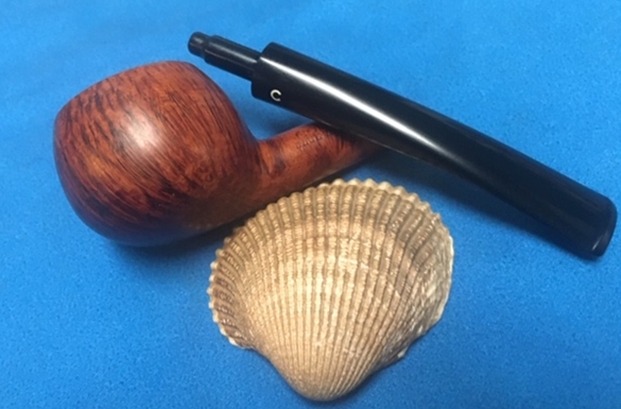
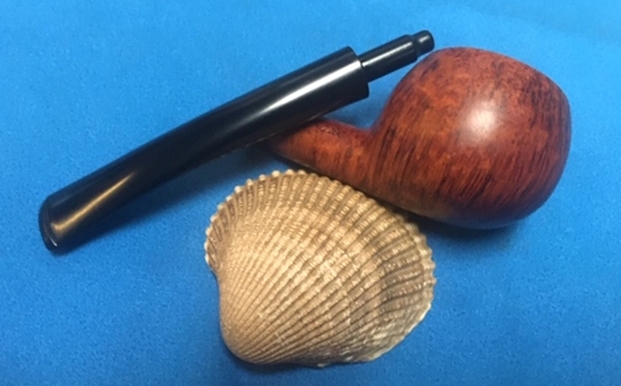
Wow just look at that grain – Cleaning up a Comoy’s Blue Riband 228C Prince


Blog by Steve Laug

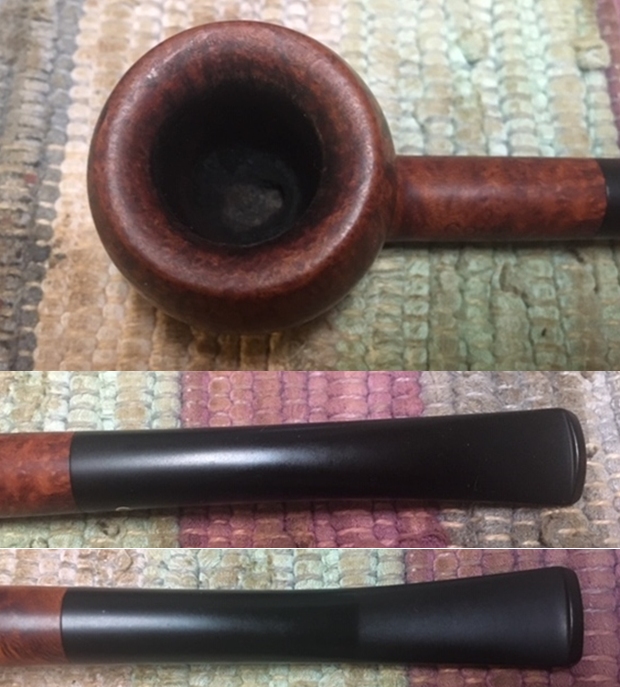
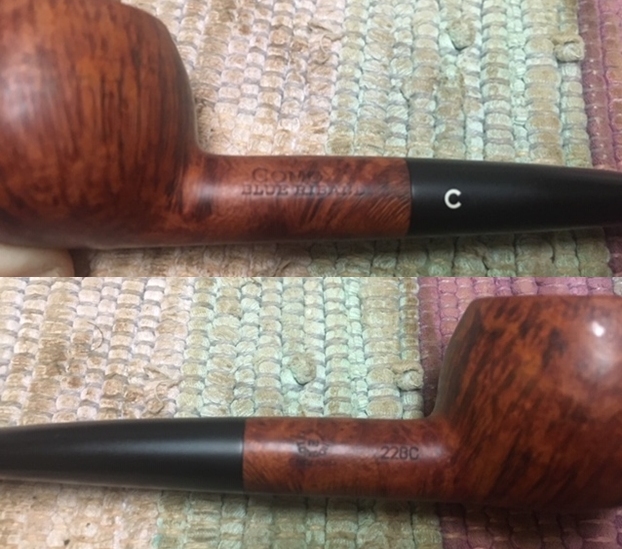
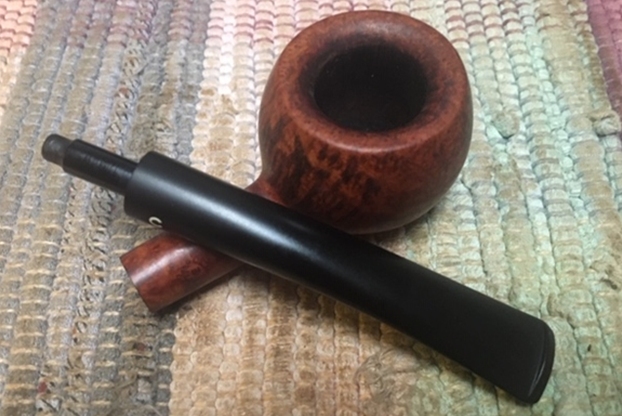
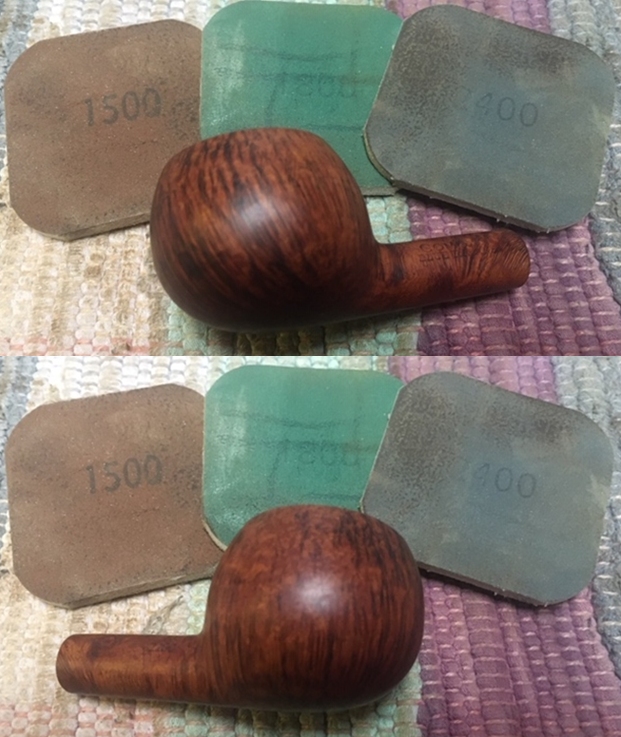
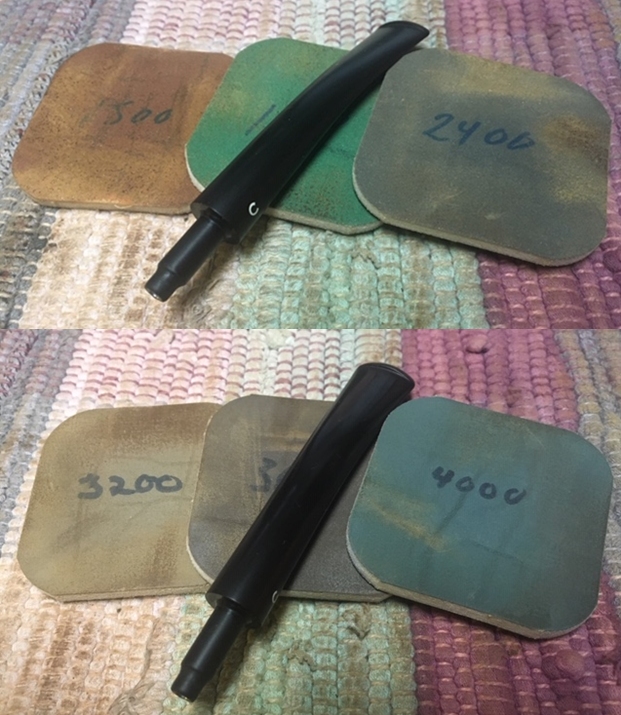
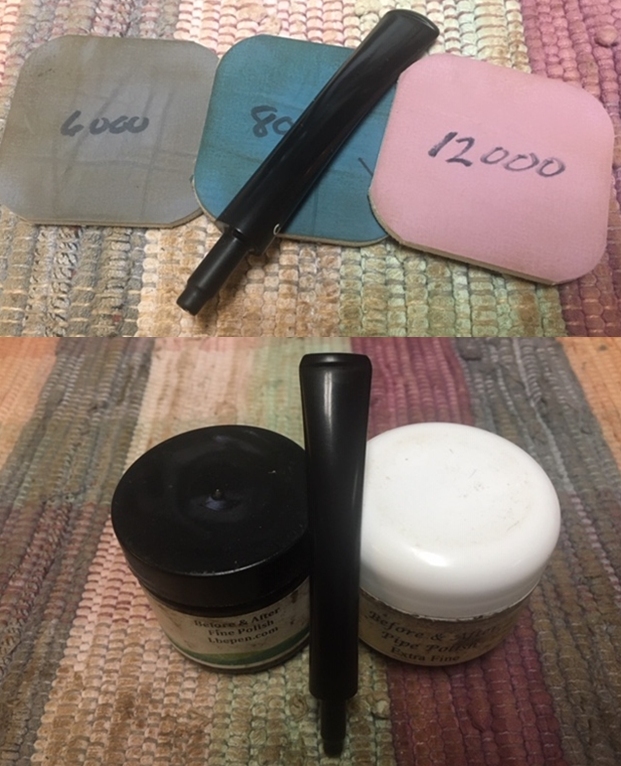
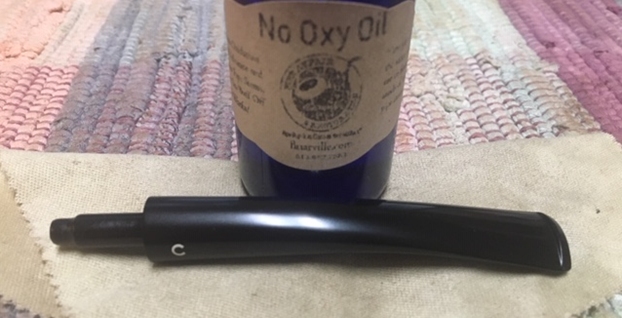
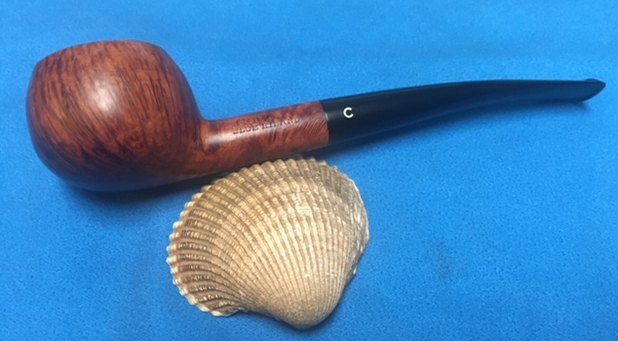
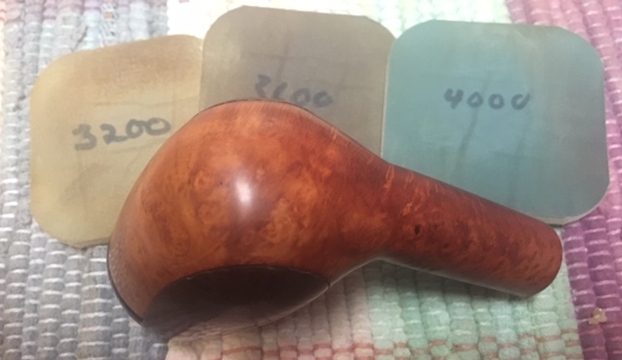
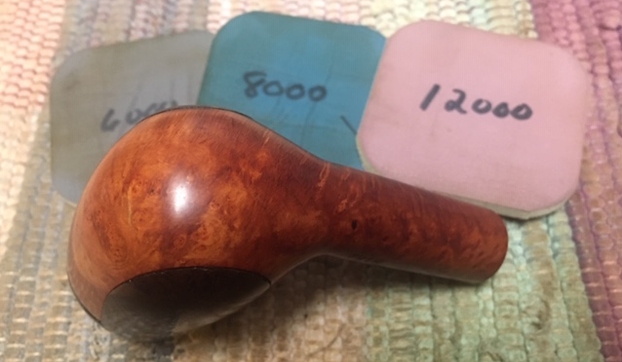
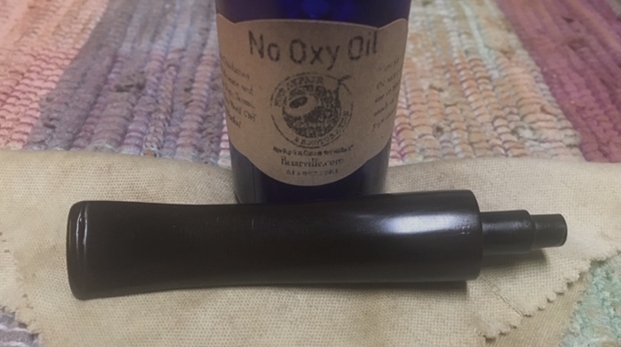
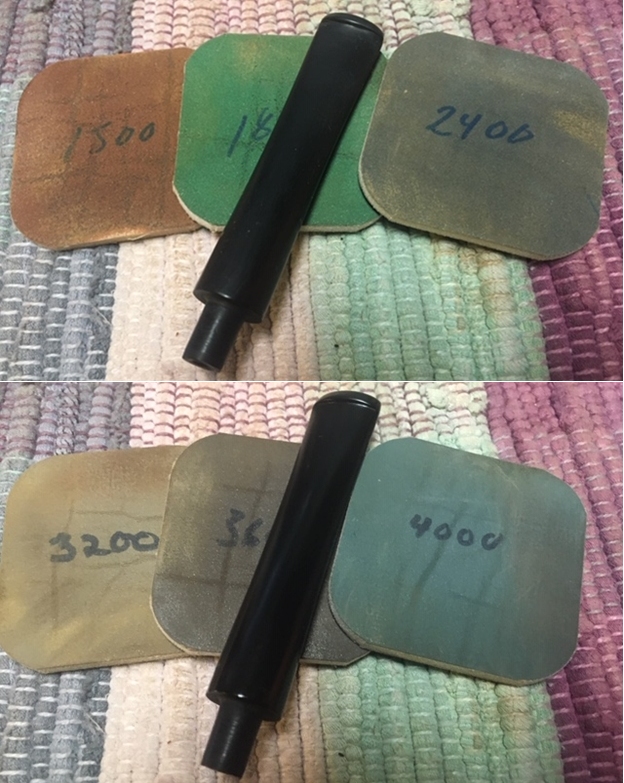
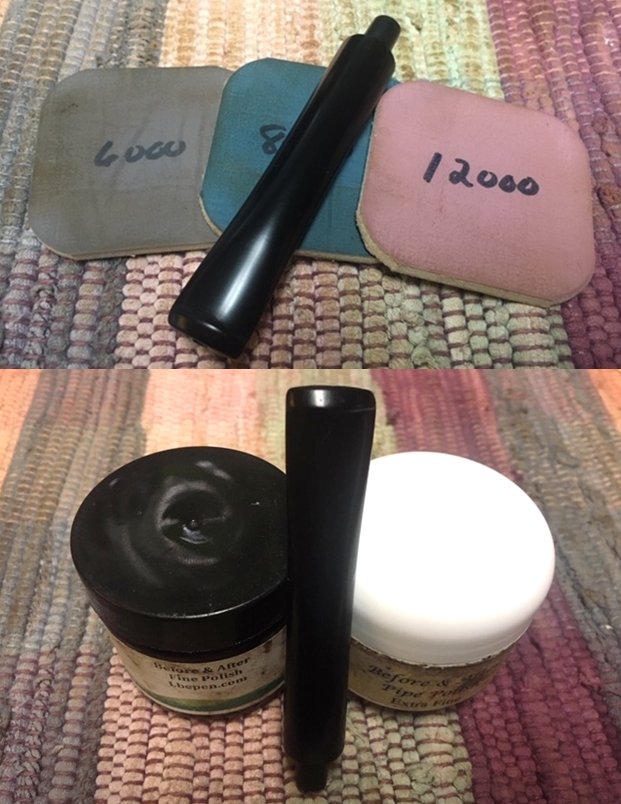
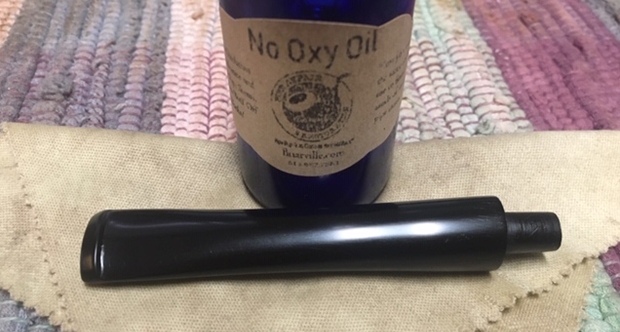
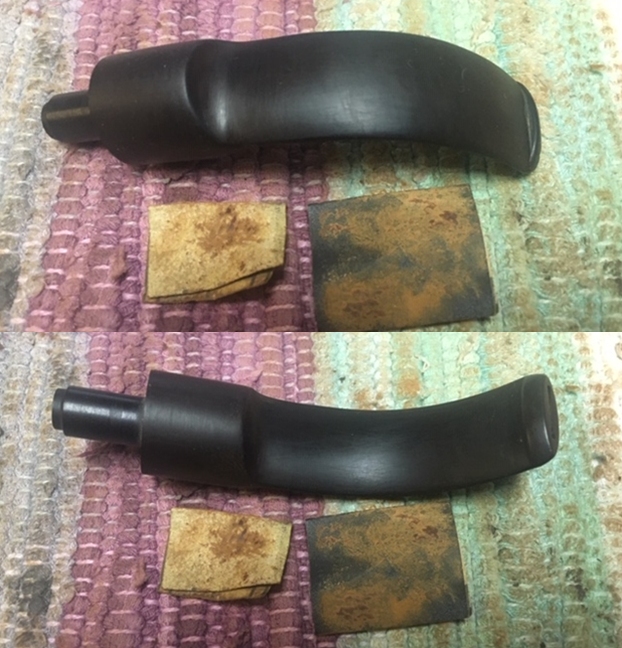
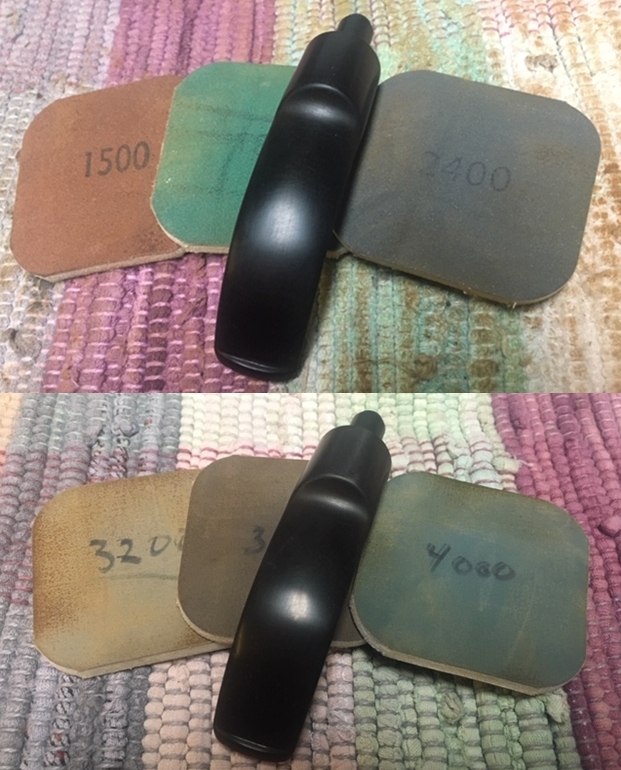
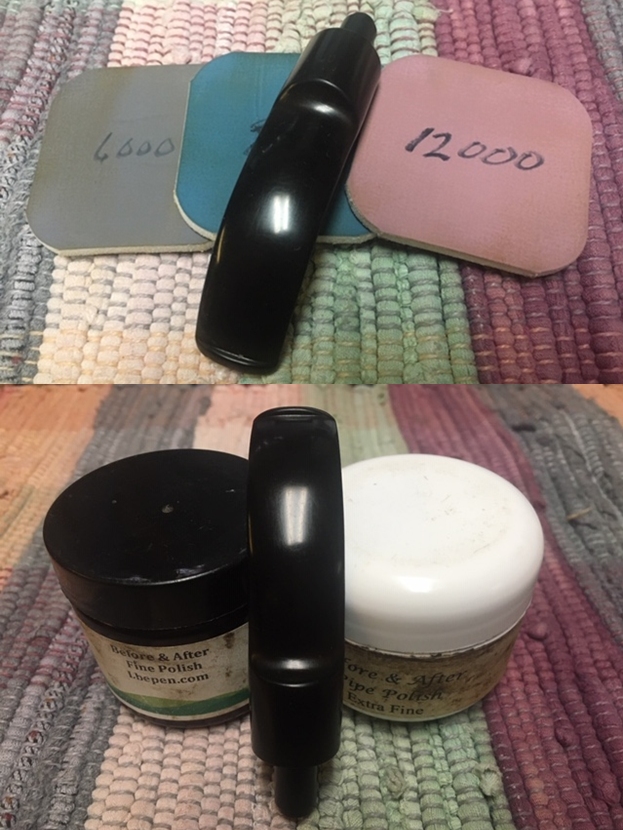
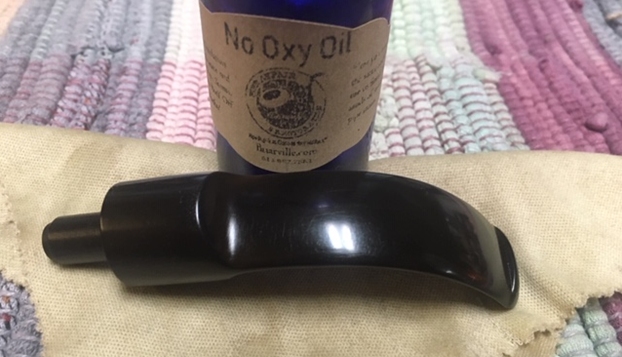
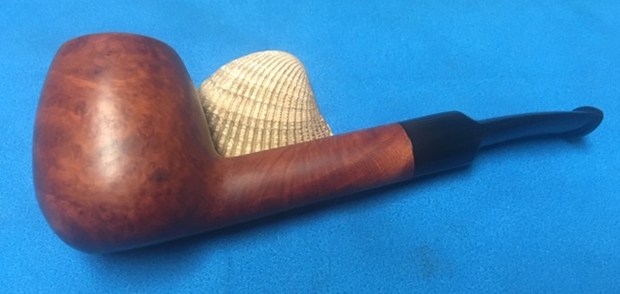
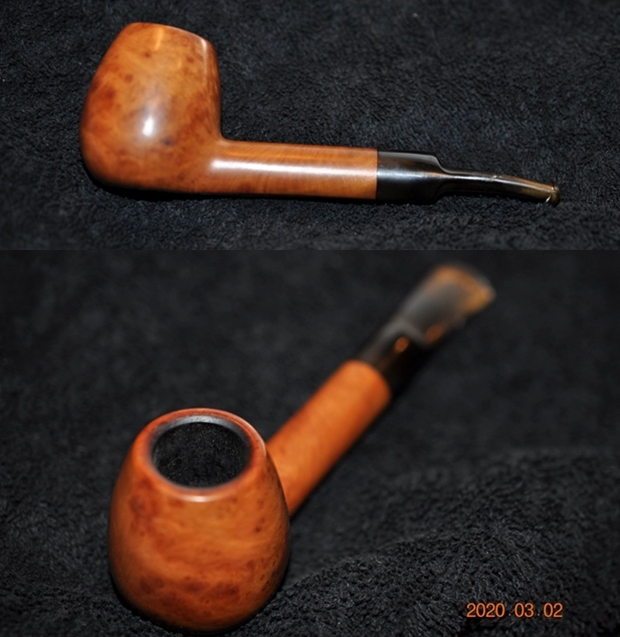
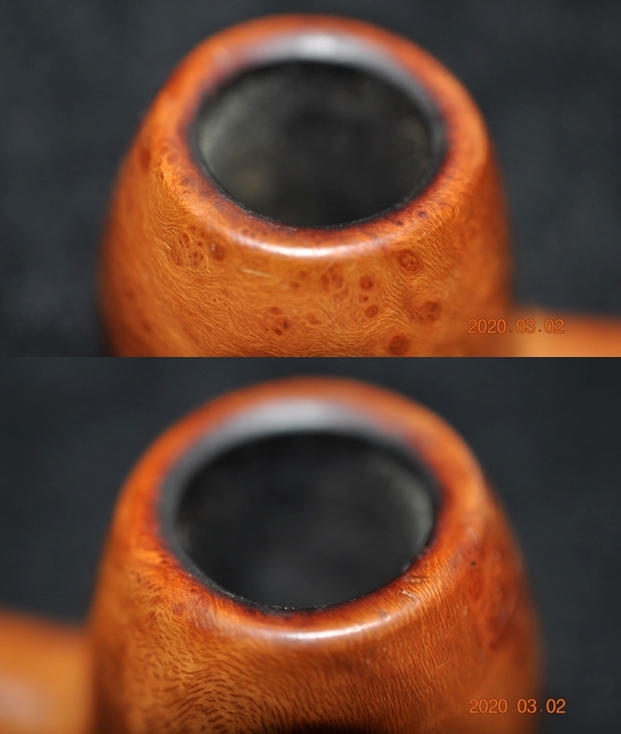
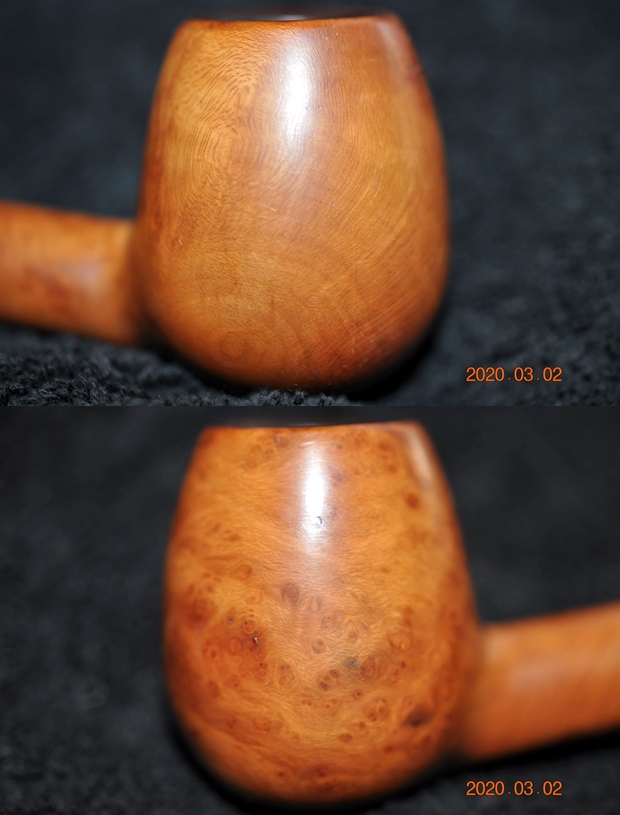
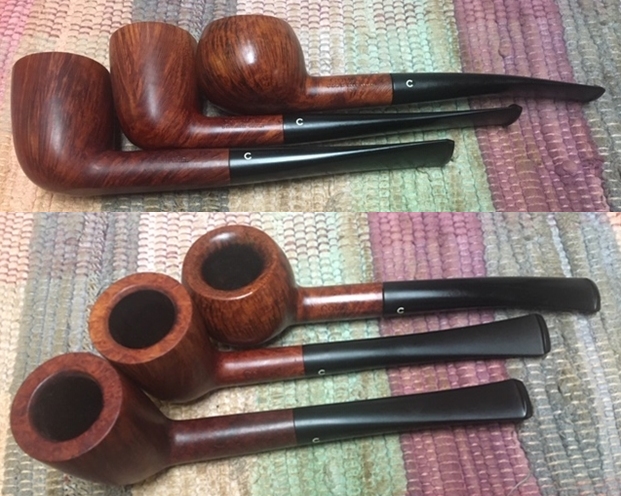
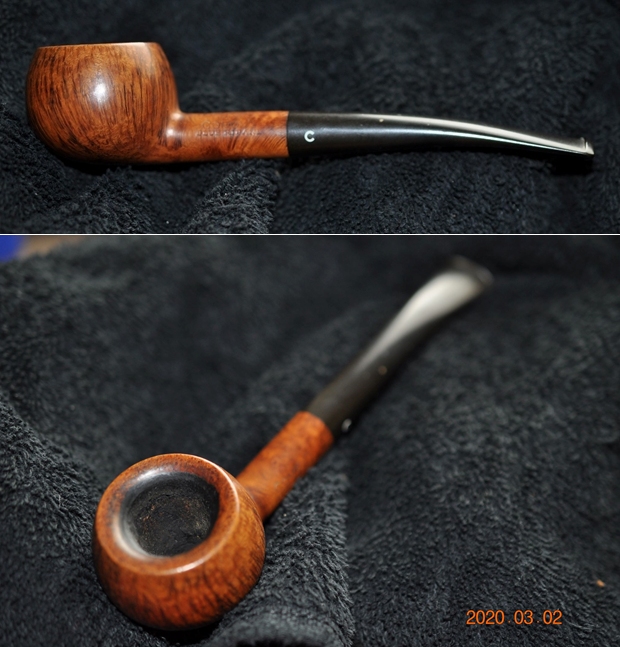
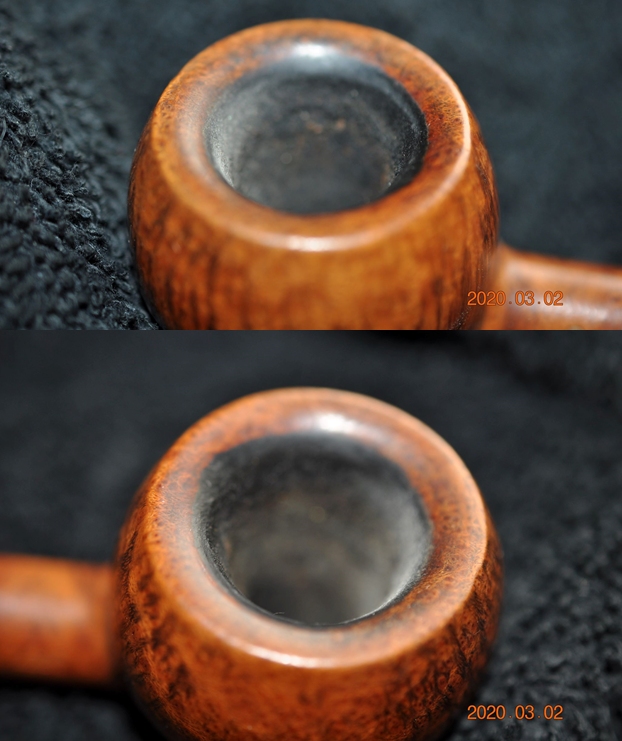
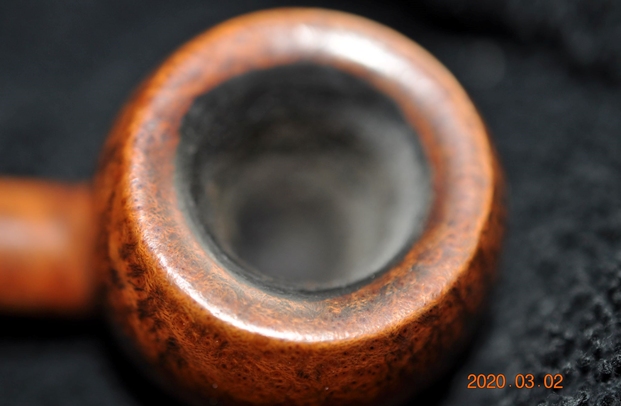
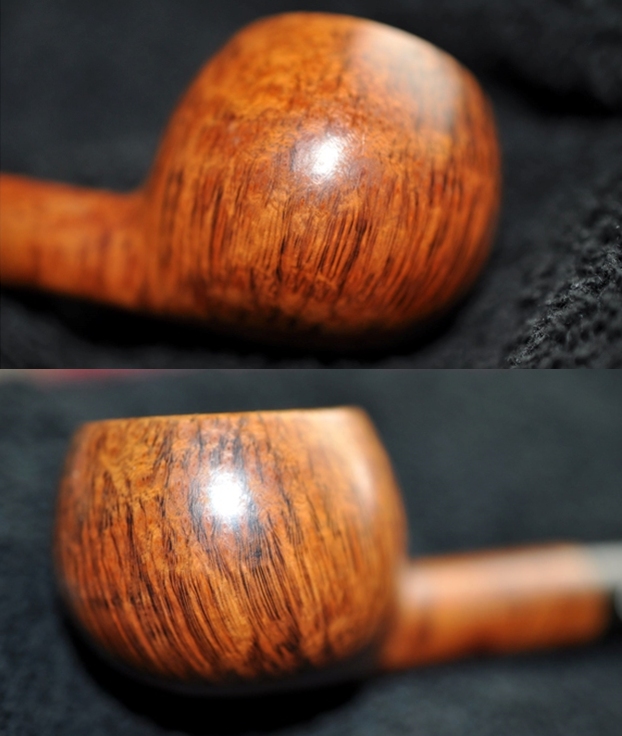
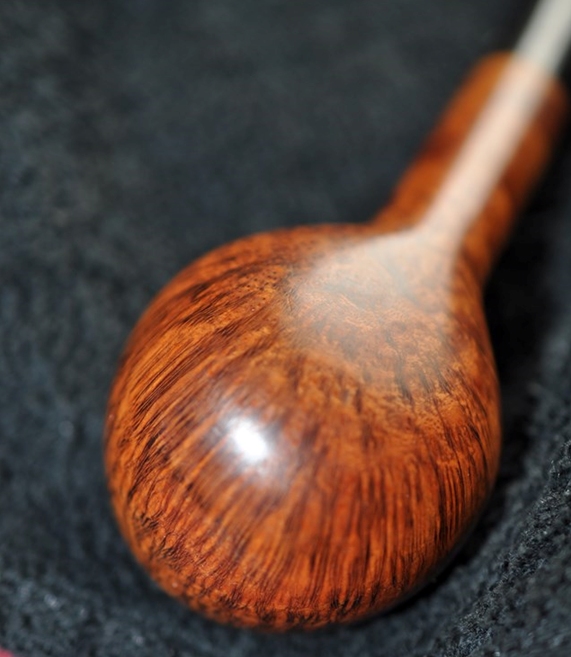
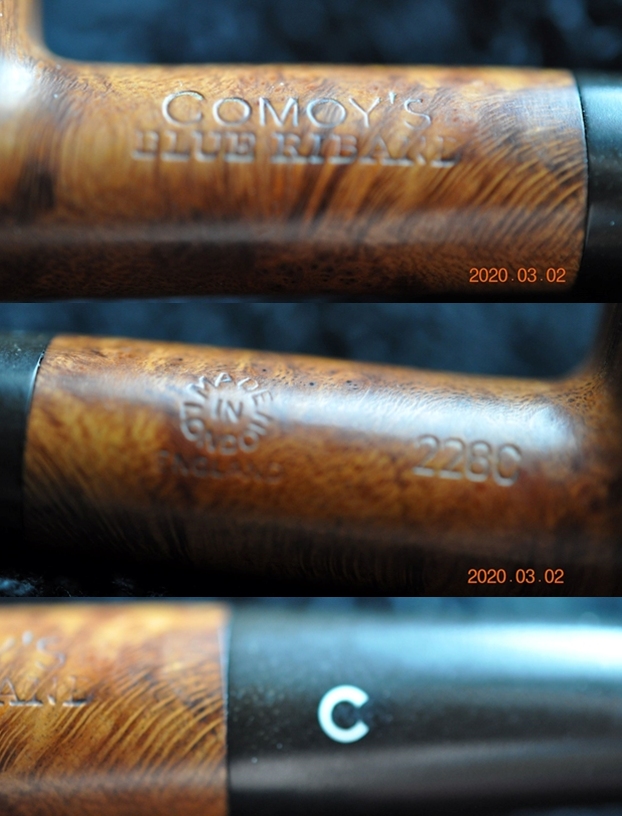
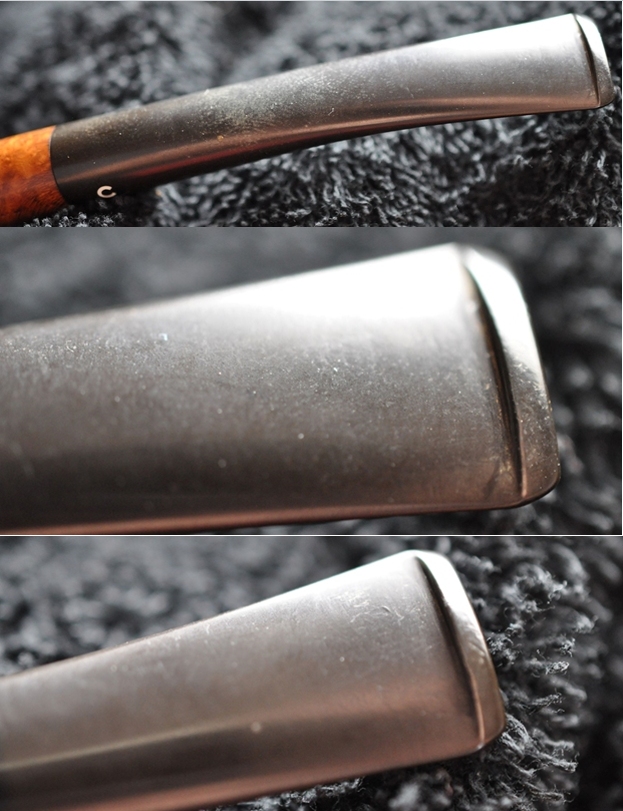
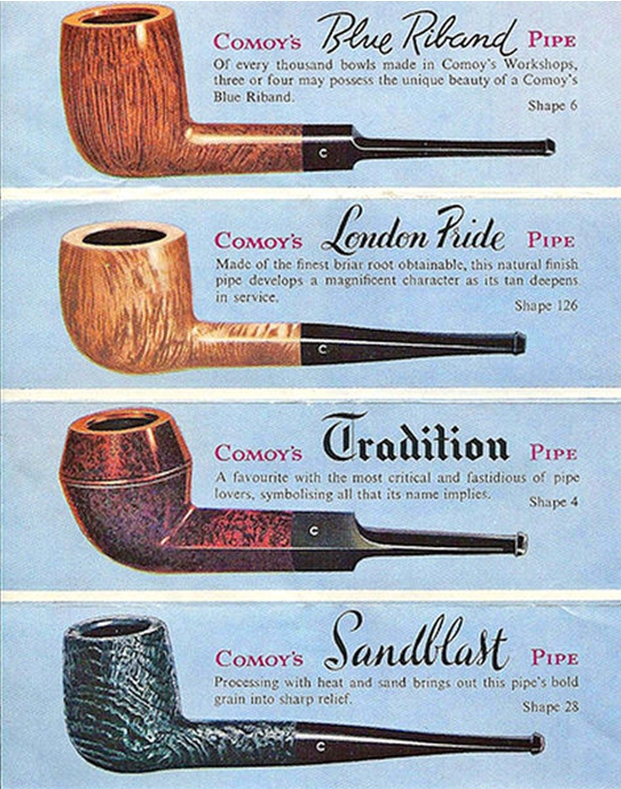
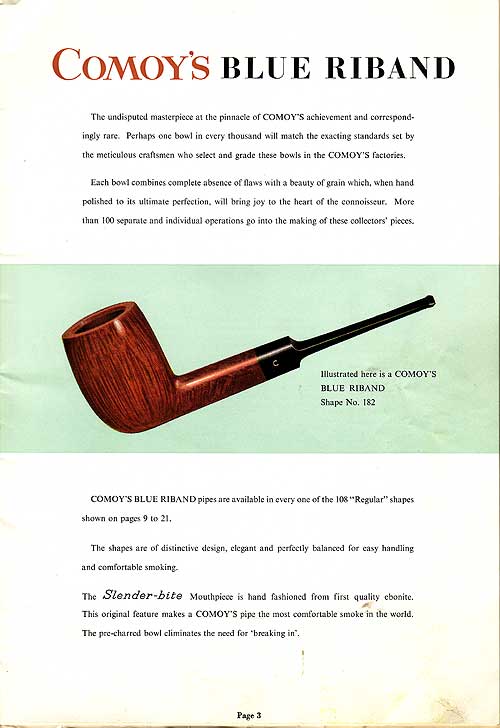
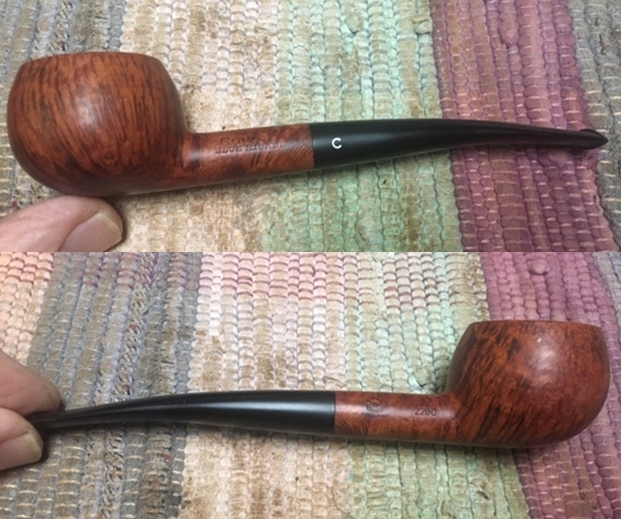
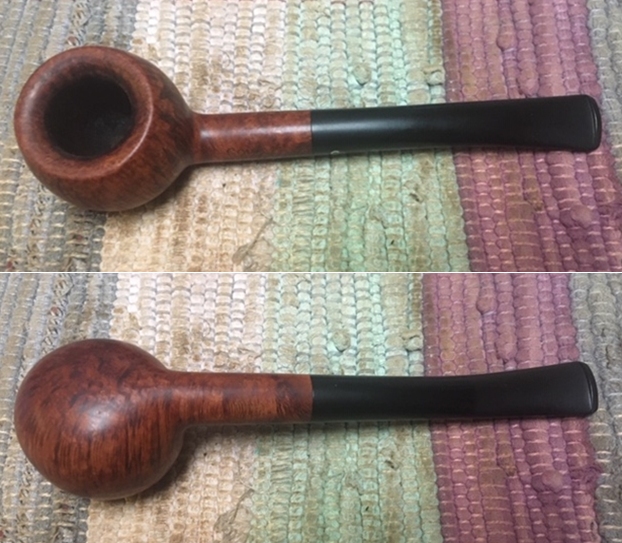
In the last box of pipes Jeff sent me there were three pipes that I left to the end to give my attention too. These were all Comoy’s pipes. The first is the one on the table now – a Comoy’s Blue Riband Prince 228C with stunning grain. The second and third were both Comoy’s Specimen Straight Grain Dublins – the second was a 35 and the third was a little larger, a 36. All of these pipes were drop dead gorgeous.  I have them all on the desk top now looking them over and I am quite honestly stunned by their beauty.Finally I made a decision and chose to work on the 228C Blue Riband Prince first. Comoy’s Blue Riband pipes are really beautiful piece of pipe maker craftsmanship and in my mind have never been surpassed. Neill Archer Roan did a great book of photos on the Comoy’s Blue Riband pipes in his large collection and since that time I am always on the lookout for nice specimens of the brand. I believe that this Prince is just such a pipe. It is stamped on the left side of the shank Comoy’s over Blue Riband and on the right side it bears the 228C shape number near the bowl shank junction and the circular COM stamp that reads Made In London in a circle over England. The “In” is in the centre of the circle. Jeff took some photos of the pipe before he started his cleanup work.He took photos of the bowl and rim top to show their general condition. You can see the tars on the inner edge of the beveled top and a light bit of lava higher up on the right front bevel. The cake in the bowl is quite thick and there is tobacco debris on the walls of the bowl. The finish on the bowl is dull but still very stunning. Jeff took some photos of the sides and heel of the bowl to give an idea of the grain on this particular piece of briar. It is amazing and I cannot wait to see what it looks like once it is polished and waxed. He took photos of the stamping on both sides of the shank to capture it for me. The first photo shows the left side of the shank and the stamping as noted above. The second shows the right side of the shank with the COM stamp and shape number. The final photo in this set shows the three part inlaid C on the left side of the taper stem.The slender stem sets a jaunty profile for the pipe with its slight bend. The surface of the top and underside of the stem is oxidized and dirty but it is quite free of tooth marks and only has a minimum of chatter.I turned to Pipephil’s site to get a quick overview of the Comoy’s Blue Riband line (http://www.pipephil.eu/logos/en/logo-comoy.html). I have included a screen capture of the pertinent section from the site. The summary to the right of the photos is always succinct and quite pointed. In this case also talking about the 3 part inlaid logo on the stem.I turned to Pipedia and reread the history of the Comoy’s brand and a bit about the various lines of the brand (https://pipedia.org/wiki/Comoy%27s). I have included two catalogue pages from the site for easy reference on the Blue Riband line. The information given in both of them is quite interesting to note. I moved forward to work on the pipe itself and see what I had to do with it. It had come back looking amazingly clean. Even the stem looked like new, with most of the tooth chatter gone. I was impressed. Jeff had done his normal thorough clean up – reaming, scrubbing, soaking and the result was evident in the pipe when I unpacked it. I took photos of the pipe before I started my work on it.  I took some photos of the rim top and stem. The rim top and bowl looked very good. The cake and lava overflow were gone and the inward beveled rim was very clean. Jeff had been able to get rid of the lava and tars and left behind a smooth rim top. The close up photos of the stem show that it is a much cleaner and better looking stem. The light tooth chatter was gone and the stem looked really good.I took some photos of the stamping on the shank sides to show the condition after the cleanup. Often the stamping takes a hit with the cleaning and is lessened in it clarity. Jeff does a great job in leaving the stamping looking very good.I removed the stem from the shank and took a photo of the pipe at this point. Like other Comoy’s I have worked on this stem had a metal tube in the tenon to strengthen it in what is often a weak point on a pipe.Since the pipe was in such great condition at this point I started my polishing regimen. I used nine worn micromesh sanding pads and dry sanded the bowl with 1500-12000 grit pads. I wiped the bowl down with a damp cloth after each pad. The bowl really shines by the final three pads. I worked some Before & After Restoration Balm into the surface of the briar with my fingertips to clean, enliven and protect it. I let the balm sit for a little while and then buffed with a cotton cloth to raise the shine. The photos show the bowl at this point in the restoration process. Because the stem was in such great condition I moved direct to polishing it with micromesh sanding pads – dry sanding with 1500-12000 grit sanding pads. I wiped it down after each sanding pad with a cloth containing some Obsidian Oil. I finished polishing it with Before & After Pipe Stem Polish – both Fine and Extra Fine and buffed it off with a cotton cloth. I gave it a coat of Briarville’s No Oxy Oil to preserve and protect the stem. I love it when I come to the end of a restoration and all of the parts come together and the pipe looks better than when we started the cleanup process. I put the stem back on the bowl and buffed the pipe with Blue Diamond on the buffing wheel. I carefully avoided the stamping on the shank sides during the process. I gave the bowl and stem multiple coats of carnauba wax on the buffing wheel and followed that by buffing it with a clean buffing pad on the buffer. I hand buffed the pipe with a microfiber cloth to deepen the shine. The finished pipe is a real stunning example of Comoy’s mastery of the Prince shape. The grain and the way the shape follows the grain is amazing. Give the finish pipe a look in the photos below. I can only tell you that it is much prettier in person than the photos capture. The dimensions of the pipe are Length: 5 ¾ inches, Height: 1 ¼ inches, Outside diameter of the bowl: 1 ¼ inches, Chamber diameter: ¾ of an inch. This English made Comoy’s Blue Riband pipe is a unique piece of pipe history. Thanks for walking through the restoration with me as I worked over another beautiful pipe. This one will be staying in my collection for now as I have nothing like it. Thanks for your time.

Restoring an Orlik H182 Hurricane Billiard


Blog by Steve Laug

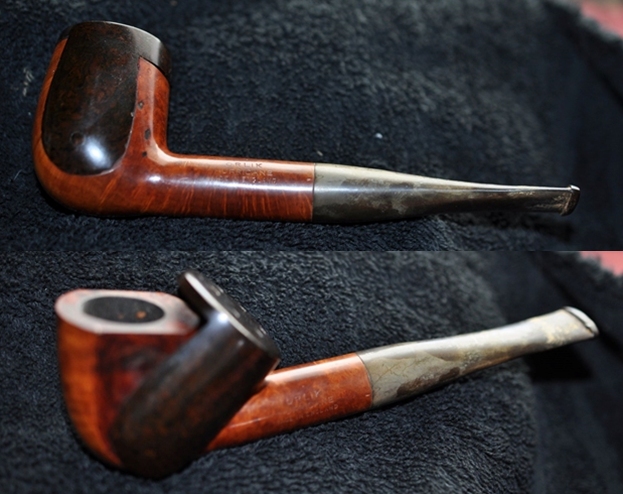
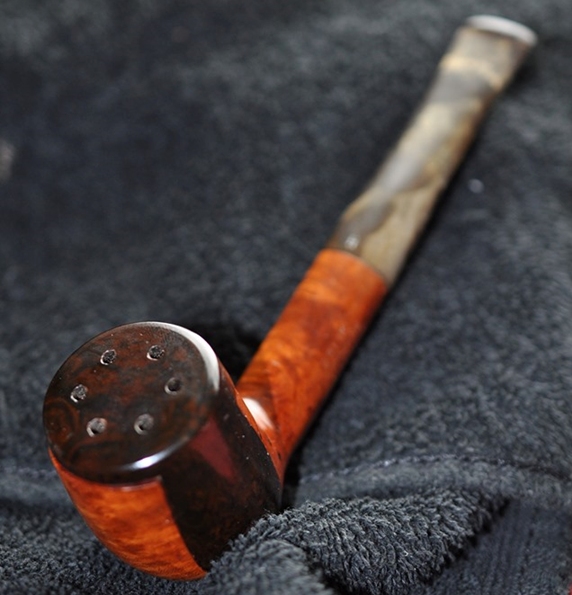
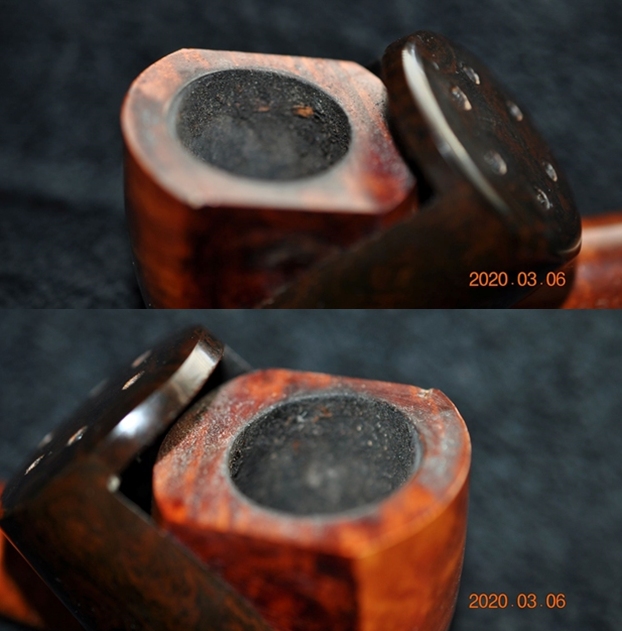
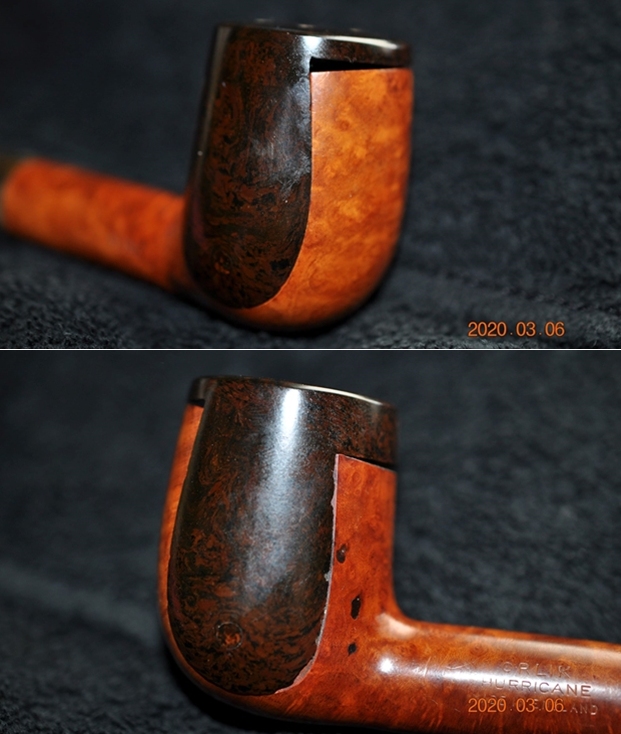
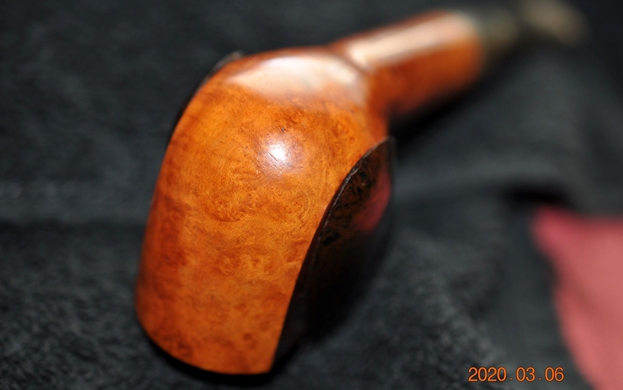
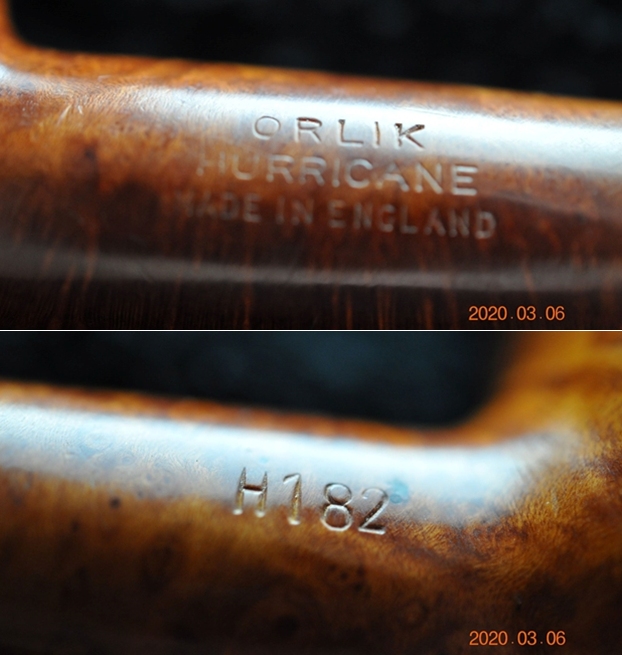
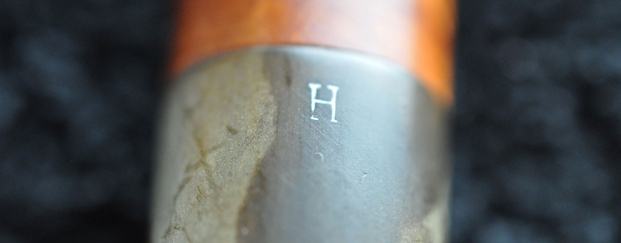
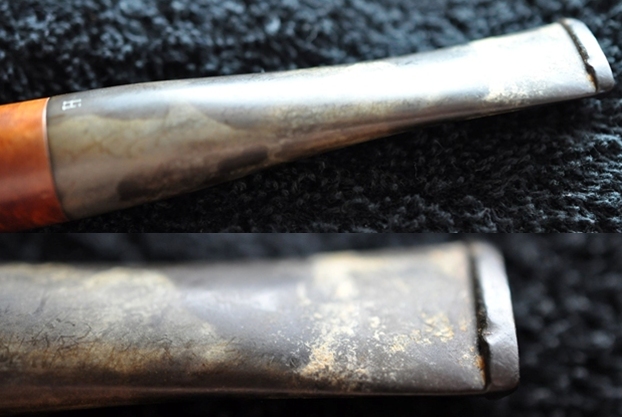
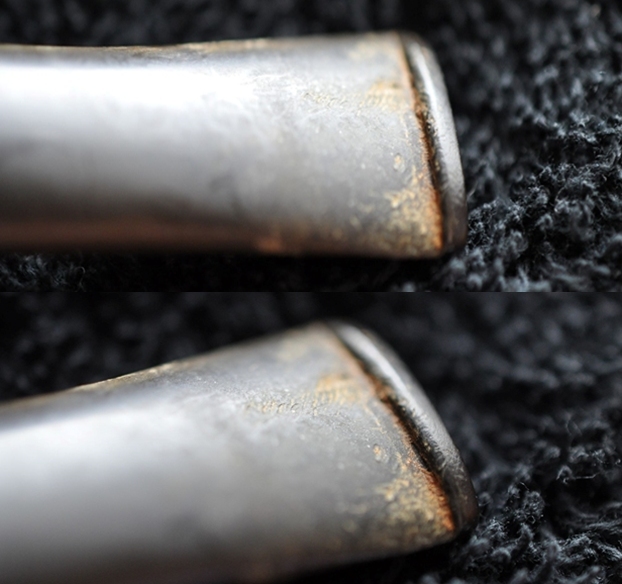
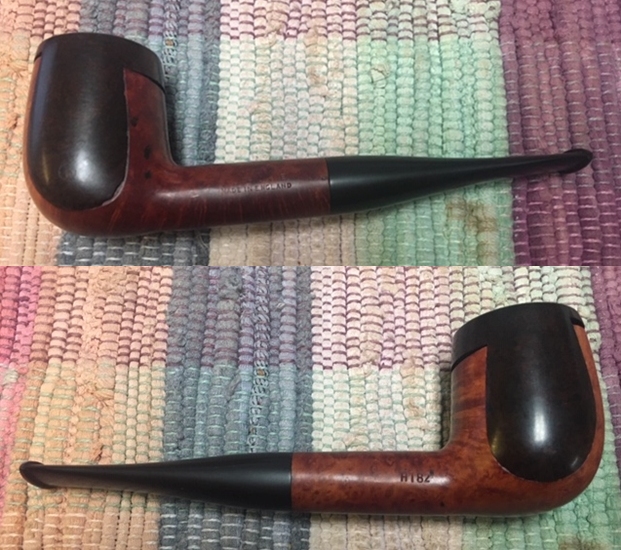
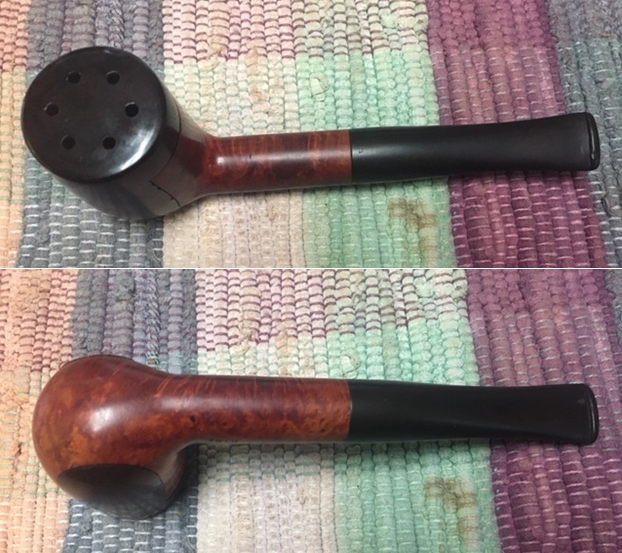
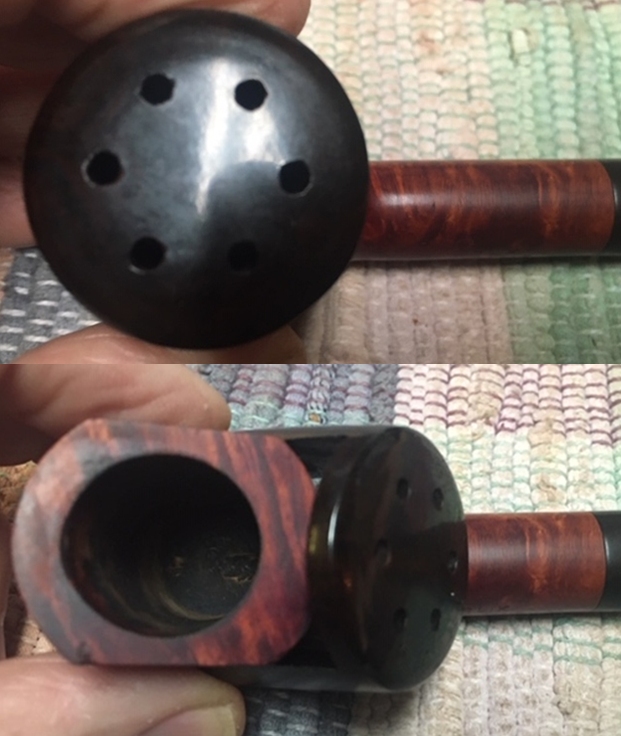
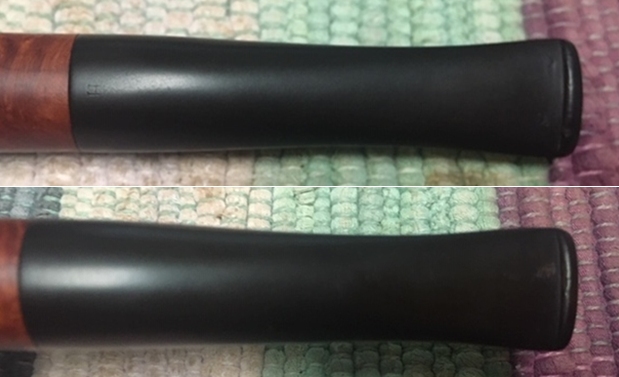
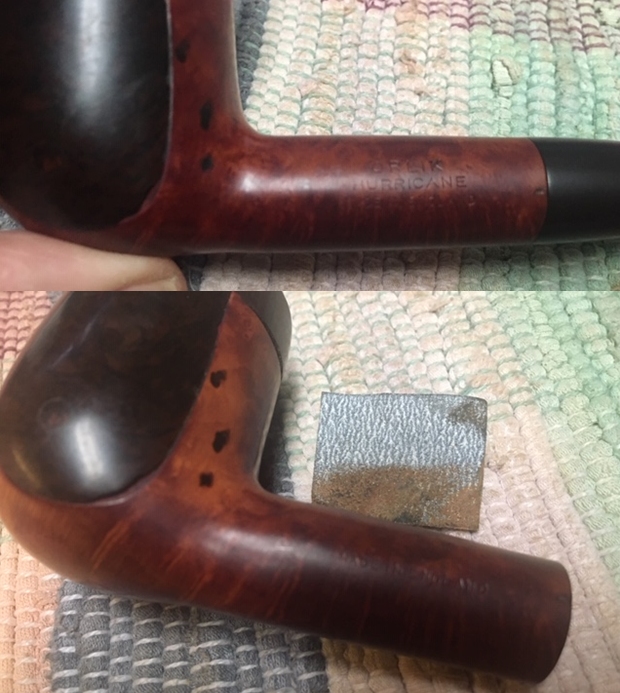
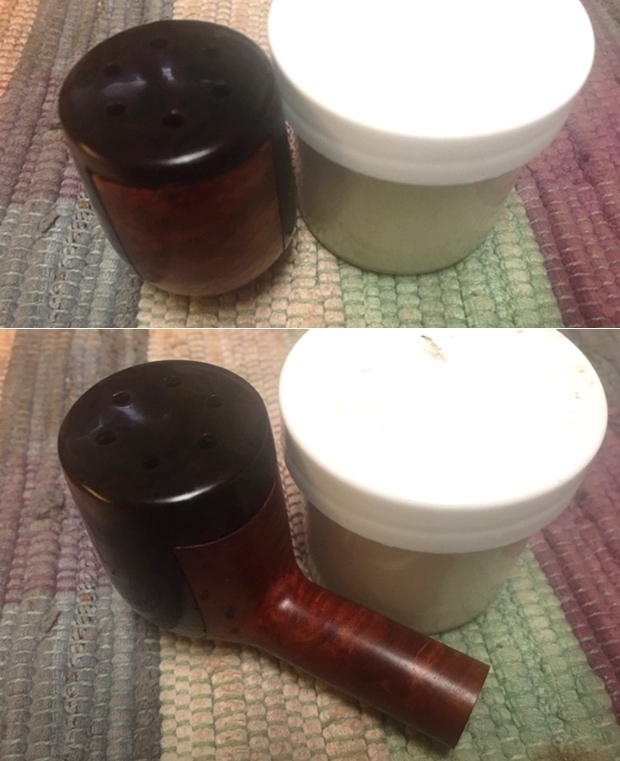
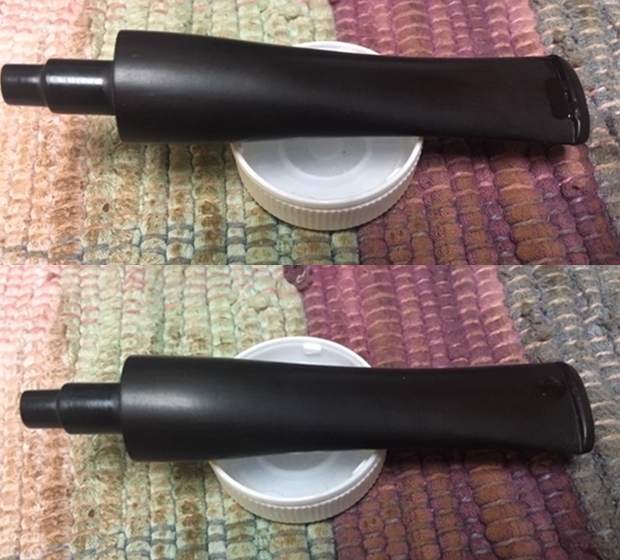
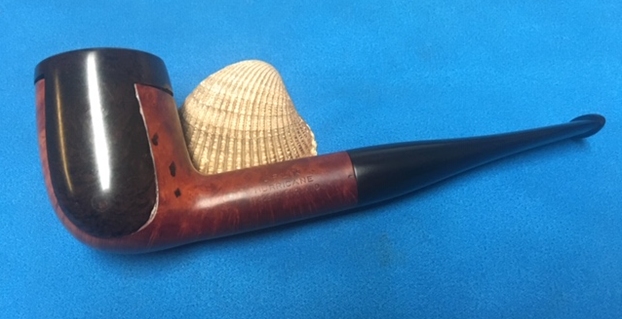
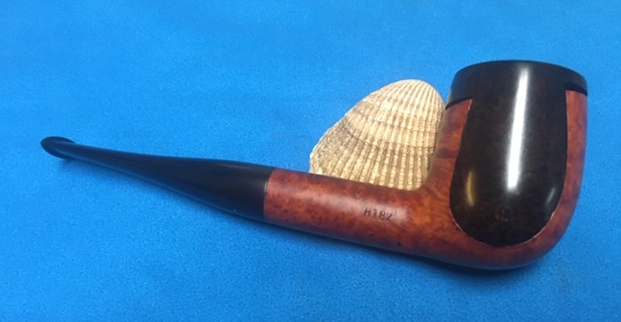
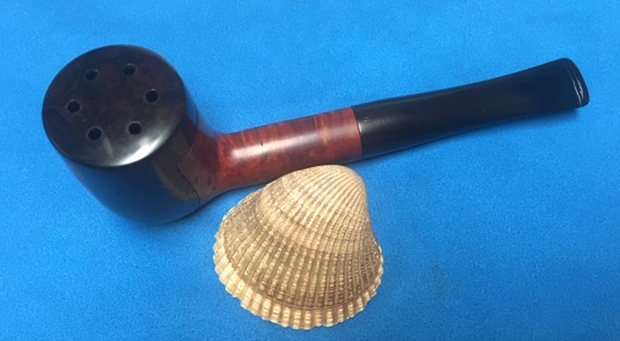
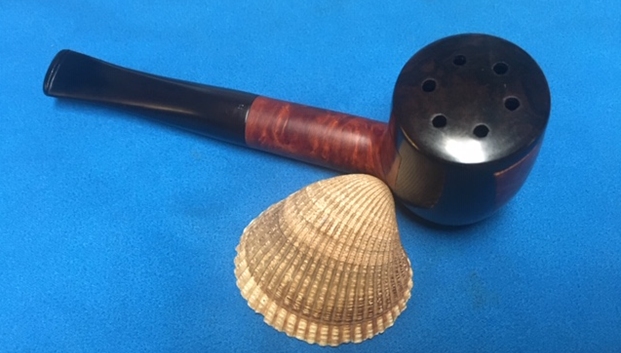
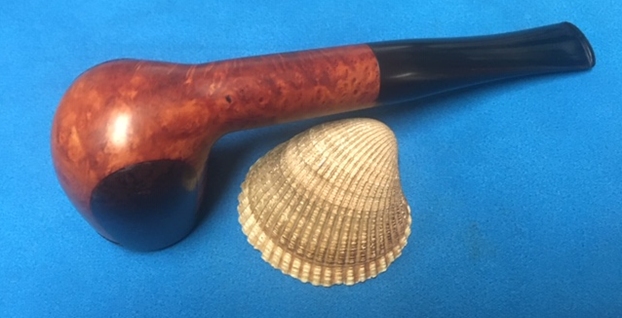
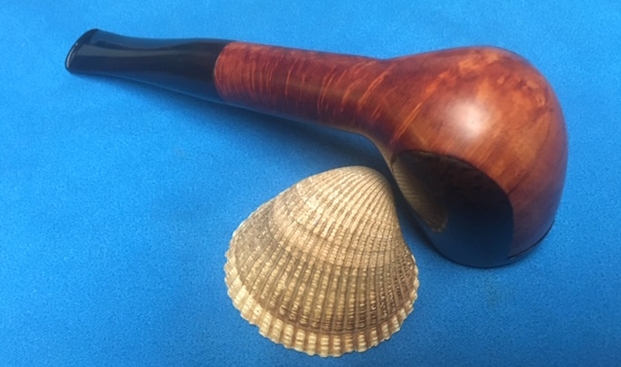
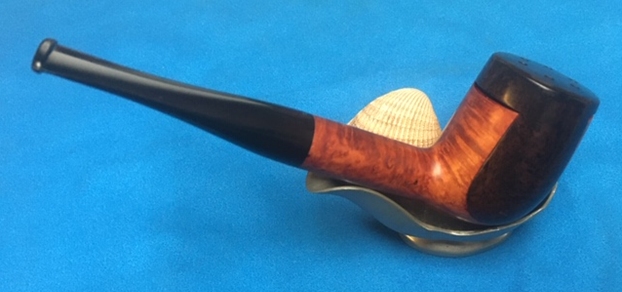
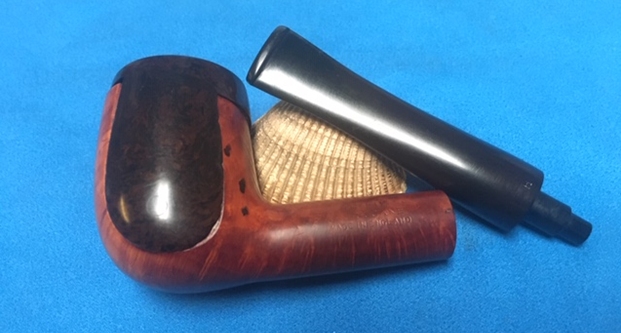
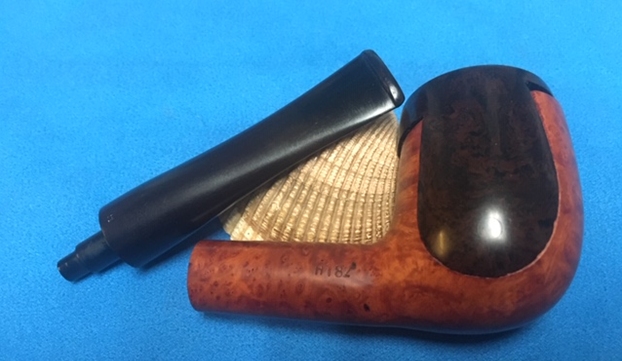
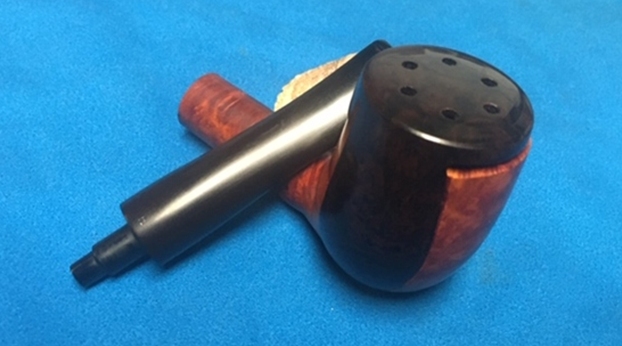
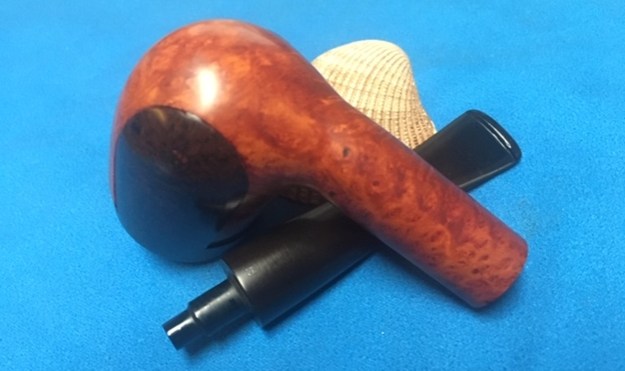
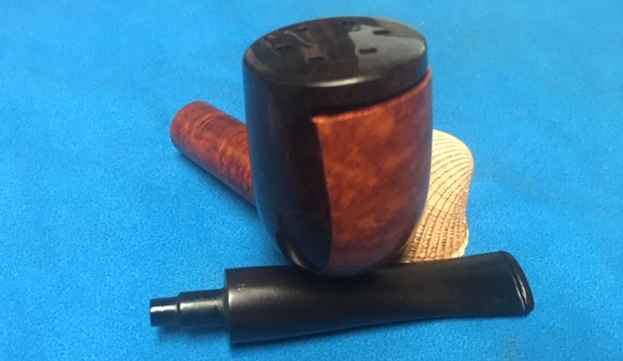
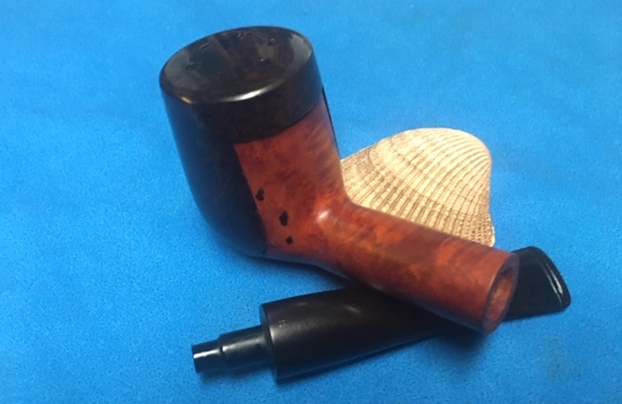
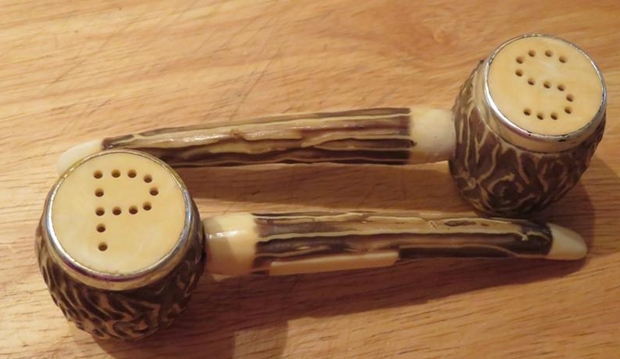
I have worked on a few Hurricane pipes in the past so I was familiar with the brand on the work table next. This one is stamped Orlik Hurricane over Made in England on the left side of the shank and the shape number H182 is stamped on the right side of the shank. The one I did most recently was a Hurricane Lovat (https://rebornpipes.com/2019/07/13/new-life-for-a-hurricane-standard-lovat/). This one was different in that it was a smooth finished pipe. I also was stamped Orlik. There was some great grain around the bowl but there were also some fills on the left of the bowl near the flip cap. The Hurricane pipes always remind me of these Salt and Pepper shaker pipes that were the bread and butter of most tourist spots in the US. In the recesses of my memory it seems like we had a set from Yellowstone National Park…but Jeff may correct my memory. Whatever the case this is what comes to my mind when I see the Hurricane pipes.Now to the pipe at hand. The rim top under the cap was very dirty with lava overflow and there was a thick cake in the bowl. The finish was dirty with sticky spots on the bowl sides and shank. The Bakelite cover on the bowl had some small chips along the edges. With the cap opened the sides of the bowl were also very dirty. The airholes in the top of the cap were also filled in with tars and oils. The stem was heavily oxidized and there were tooth marks on both sides near the button. It was a dirty pipe. Jeff took photos of the pipe before he started to clean it. He took some photos of the rim top with the cover tip back and with it in place to show the general condition of the pipe. You can see the cake in the bowl and the lava on the rim in the photos. He followed those with photos of the cap in place. You can see the fills on the left side of the bowl along the cap edge. The final photo of this set shows the heel of the bowl and the grain that is visible there. He also took some photos of the stamping on both sides of the shank. They are clear and readable. There was also an H on the stem top that is faint but hopefully salvageable. The next series of photos give a clearer picture of the condition of the stem. The first photo below shows the full length and profile of the heavily oxidized and stained vulcanite stem. The second photos shows the calcification on the stem ahead of the button. The next two photos show the surface of the top and underside of the stem. You can see the light tooth marks and chatter both on the button surface and on the blade itself.

I am including the link to the last Hurricane pipe I worked on. Give the blog a read if you are interested (https://rebornpipes.com/2019/07/13/new-life-for-a-hurricane-standard-lovat/). I am quoting from the background information to the brand that I included in that blog. I also darkened a portion of the quote that pertains to the Orlik pipe I am working on now.

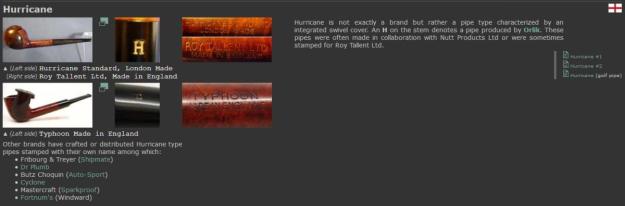
I looked up the Hurricane Standard pipe on the Pipephil Site to see what I could find out about the maker (http://www.pipephil.eu/logos/en/logo-h4.html). I quote in full the information included in the sidebar of the listing.

Hurricane is not exactly a brand but rather a pipe type characterized by an integrated swivel cover. An H on the stem denotes a pipe produced by Orlik. These pipes were often made in collaboration with Nutt Products Ltd or were sometimes stamped for Roy Tallent Ltd.

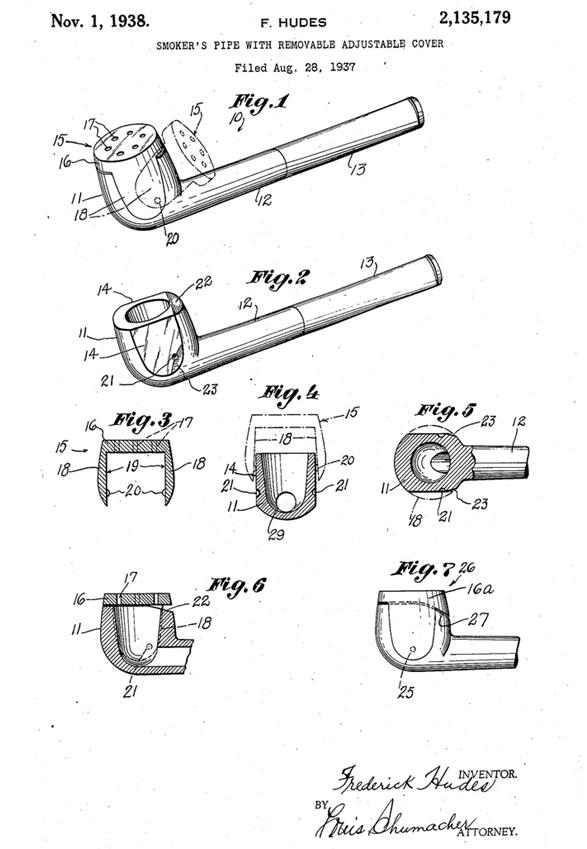
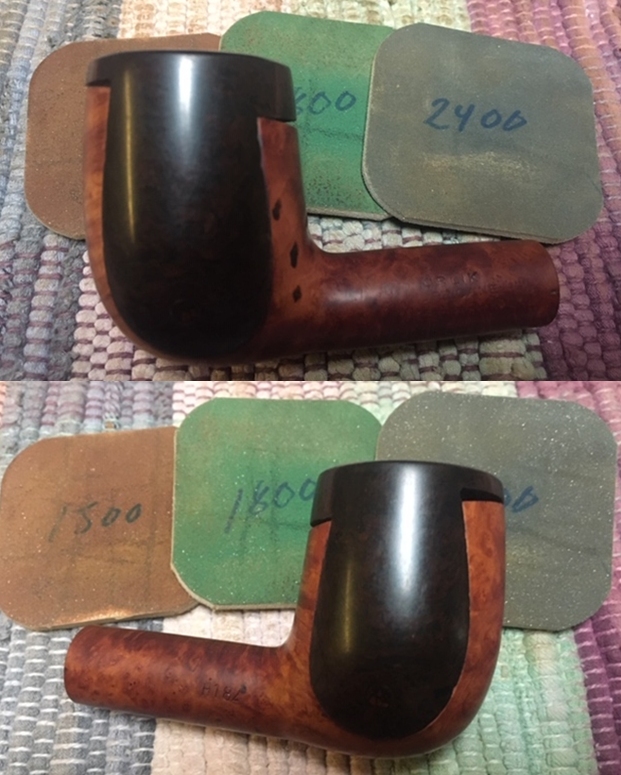
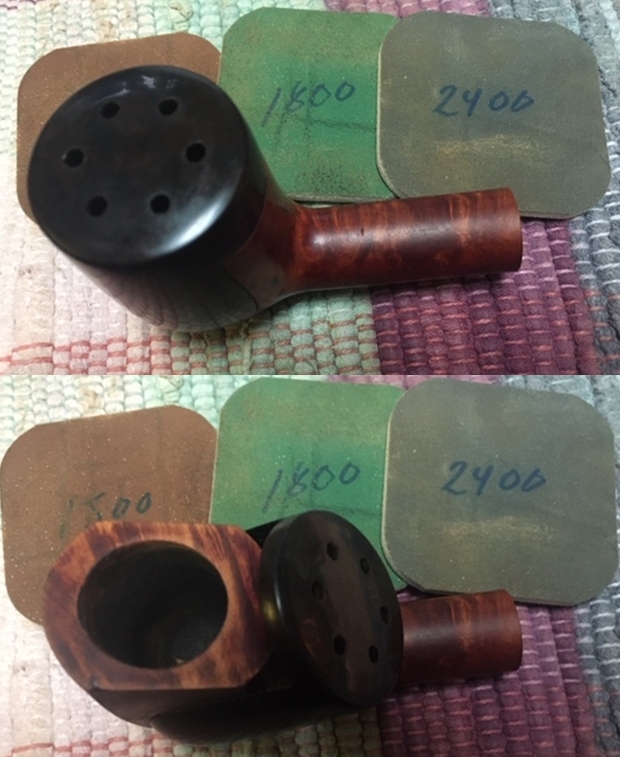
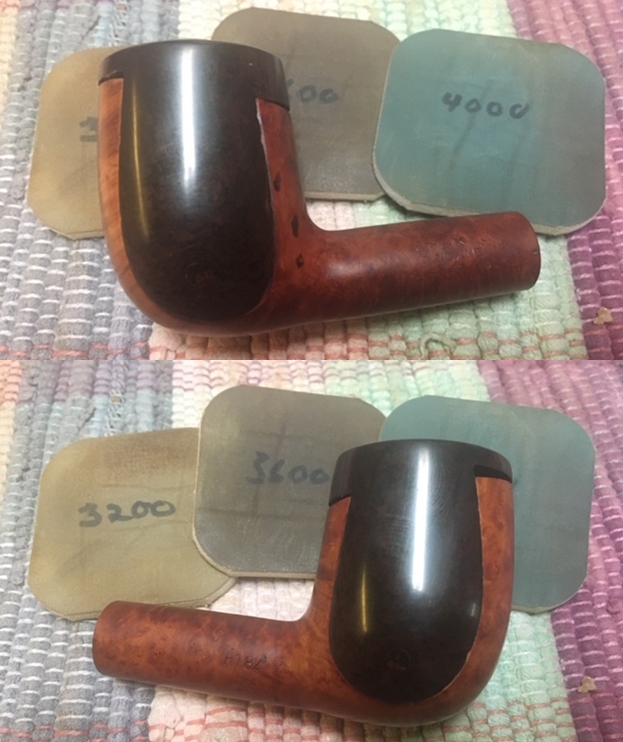
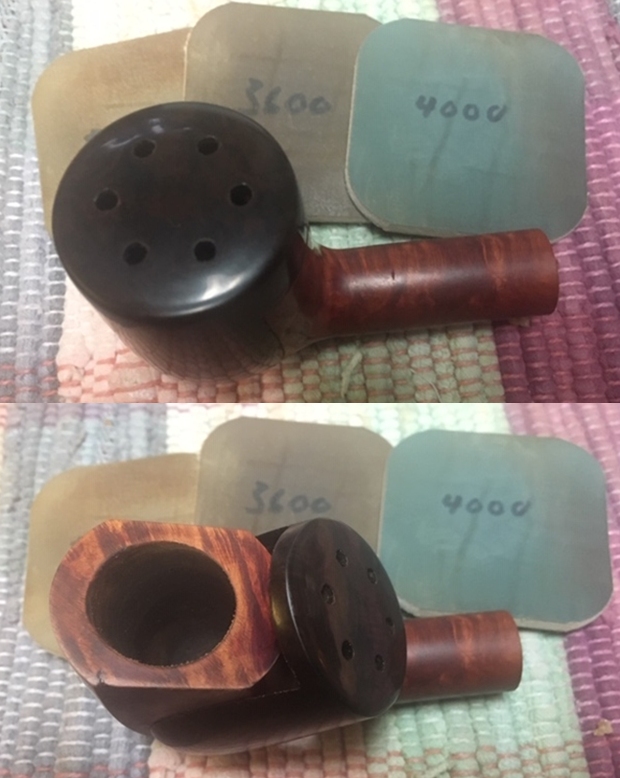
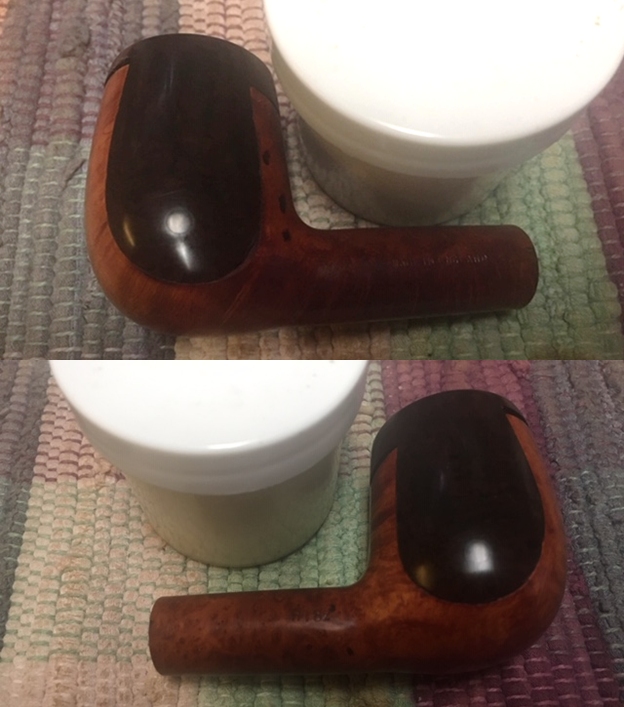
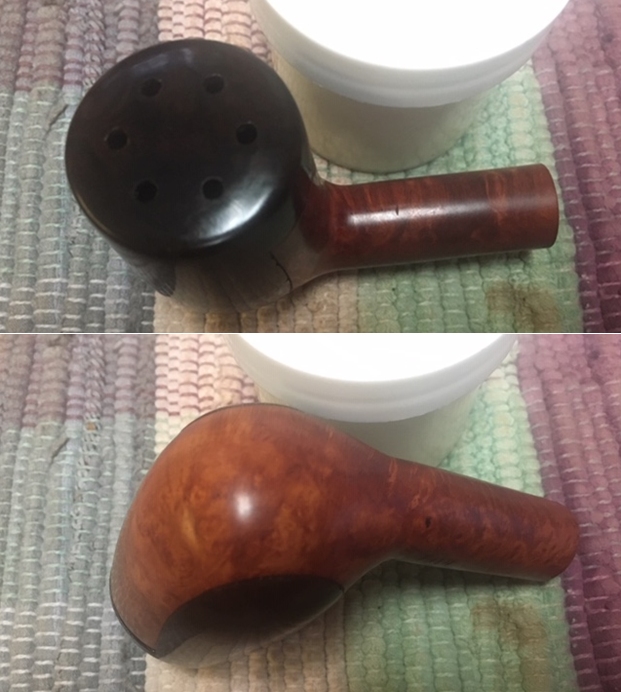
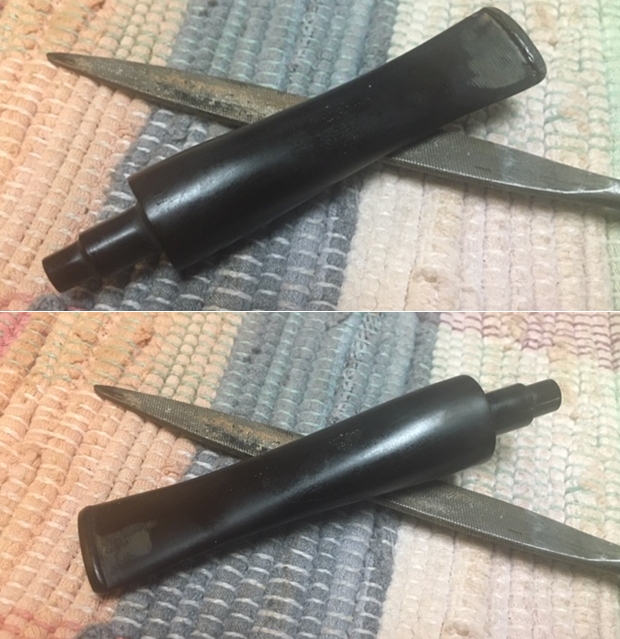
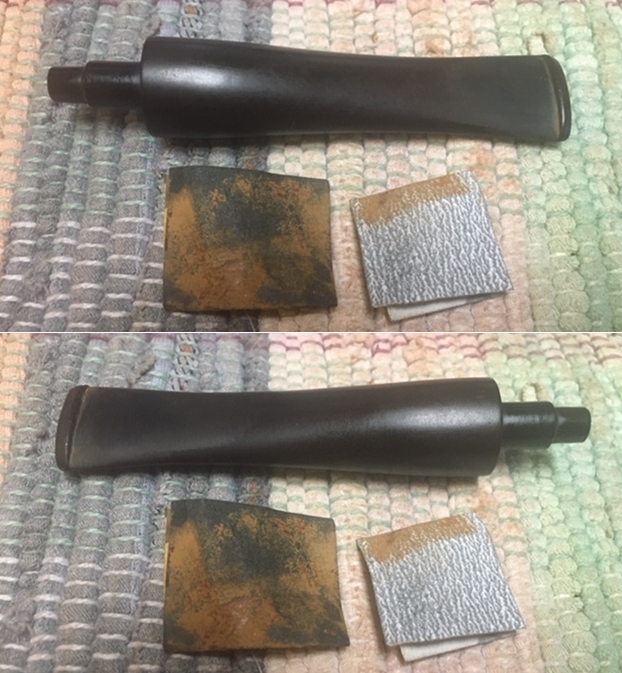
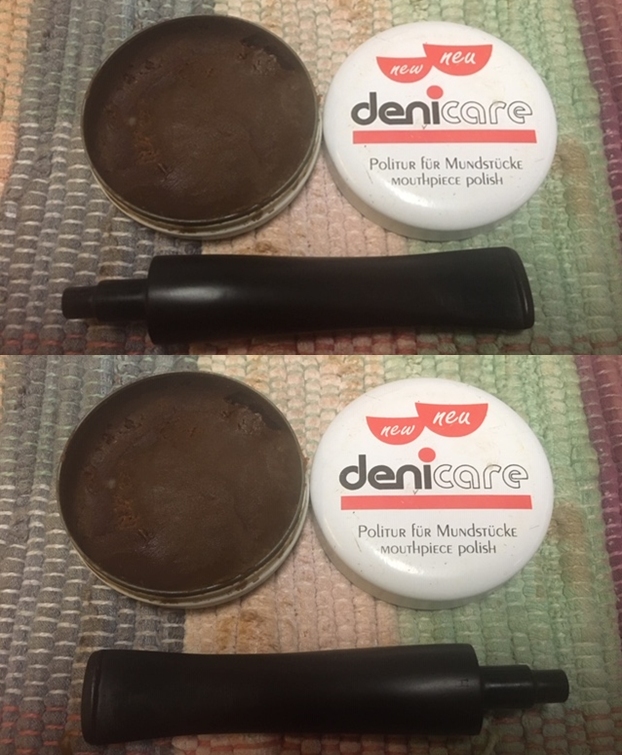
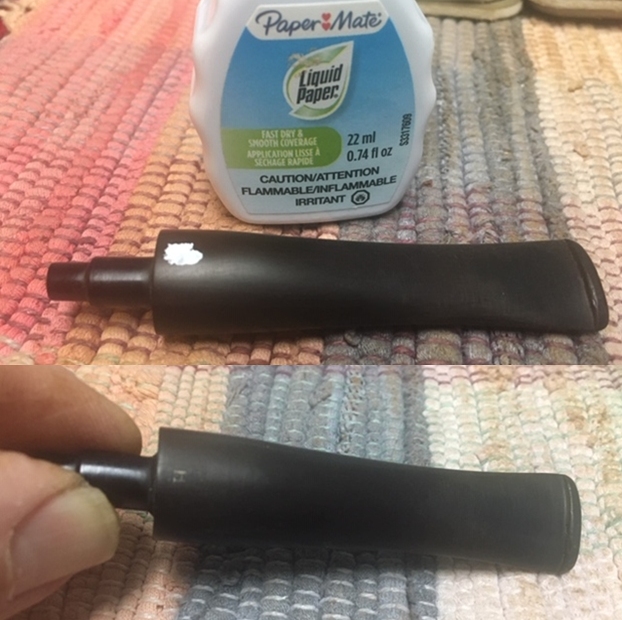
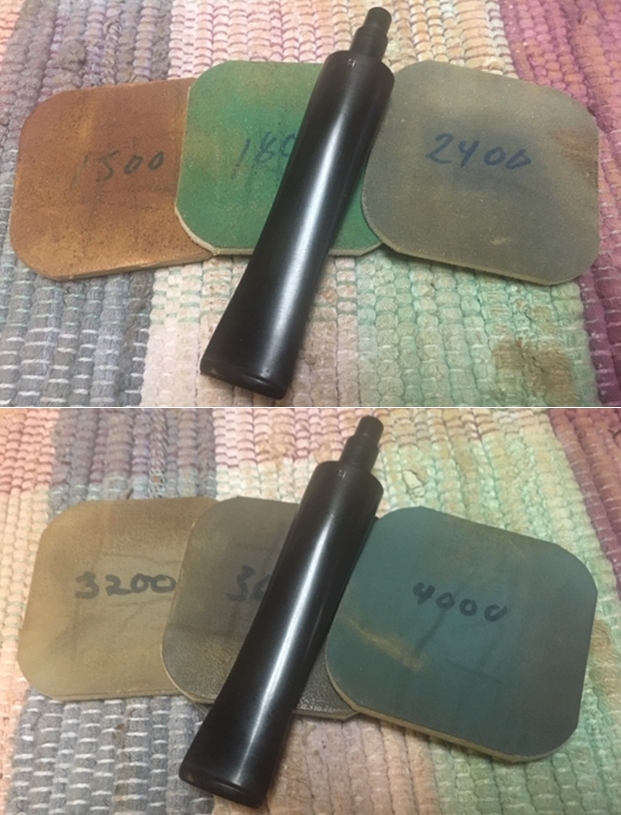
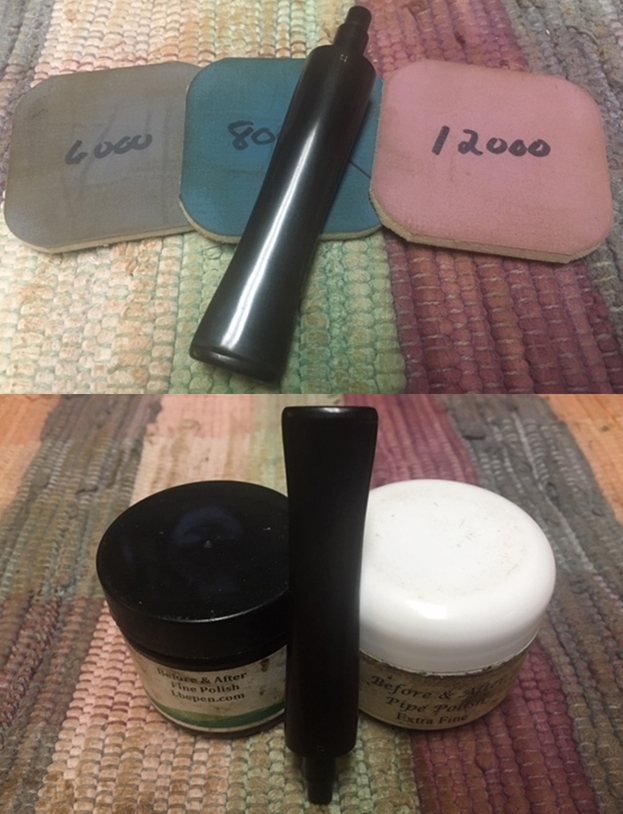
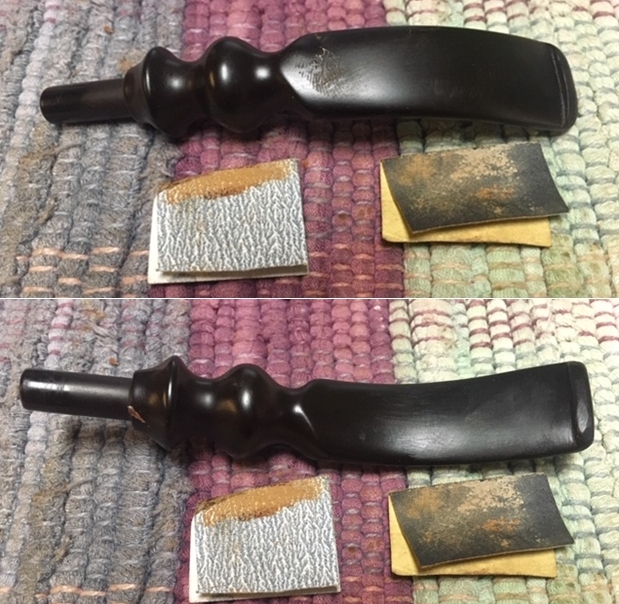
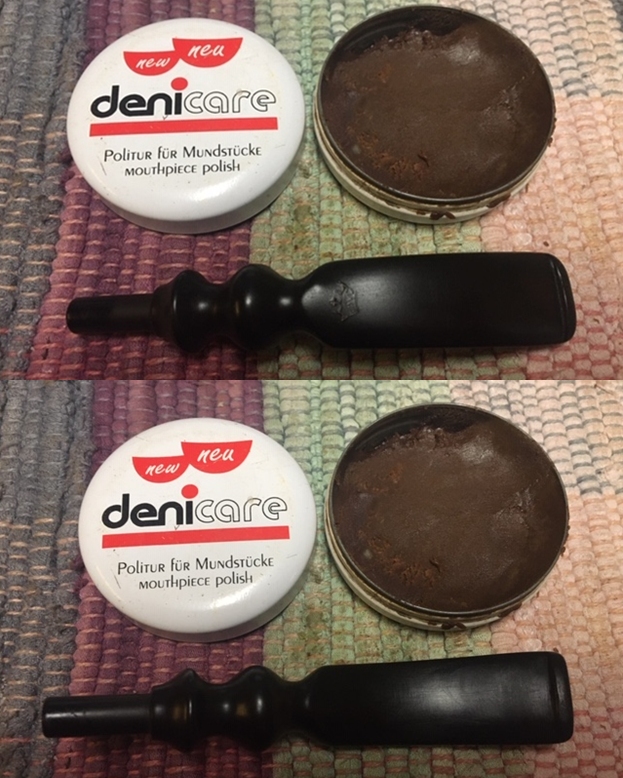
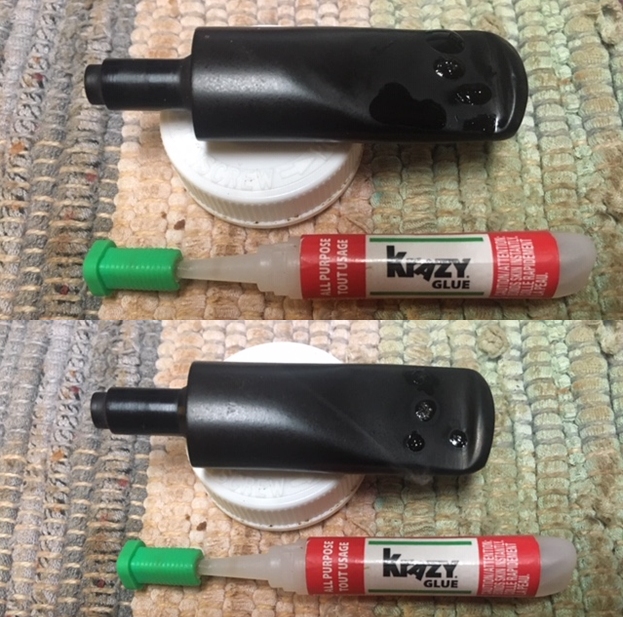
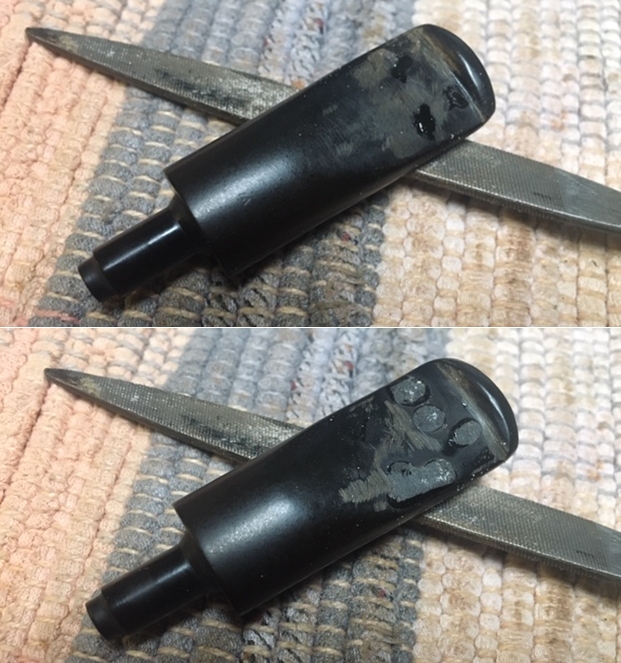
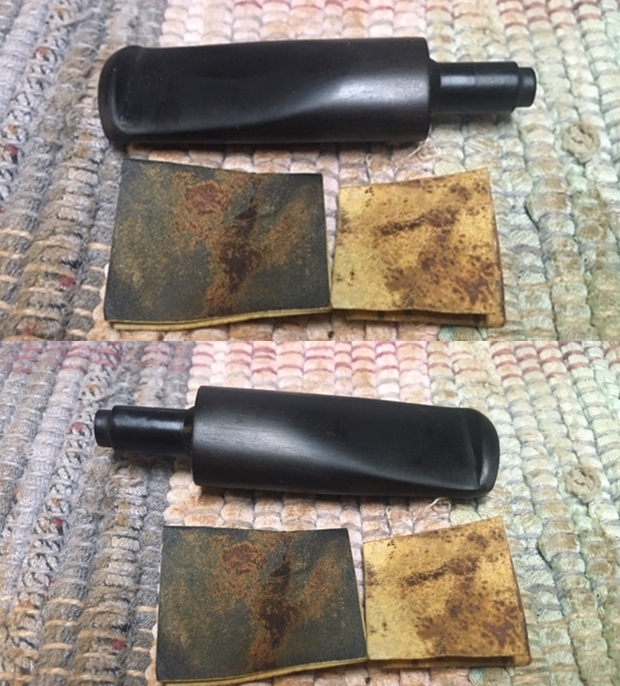
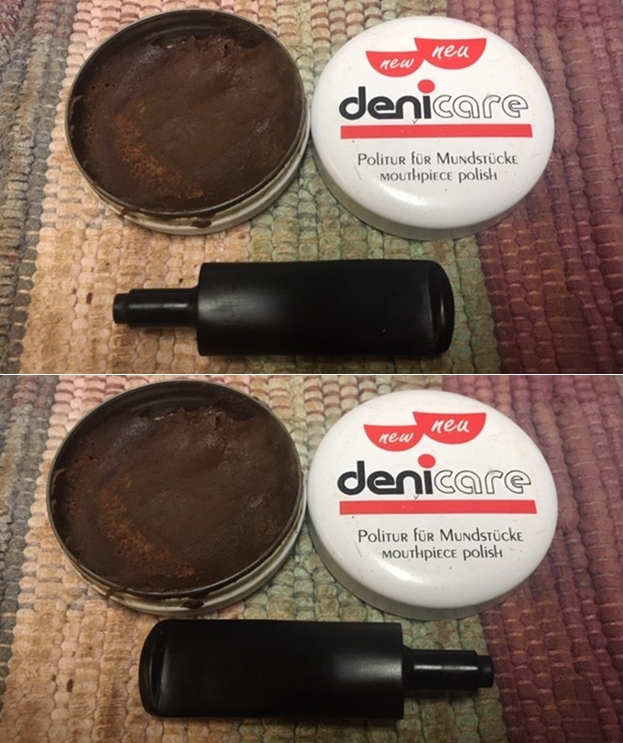
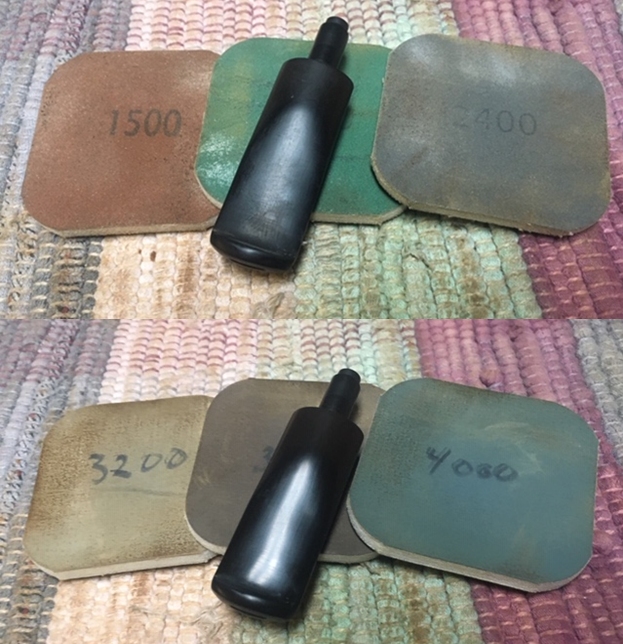
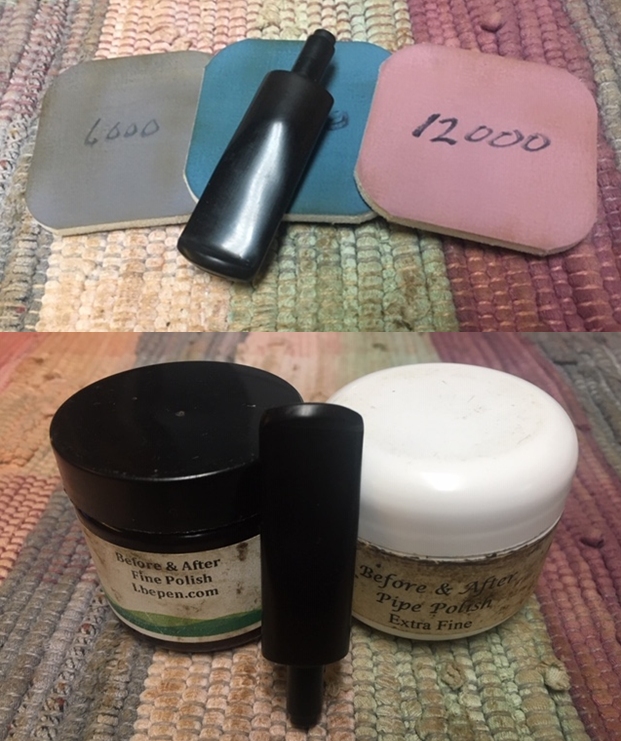
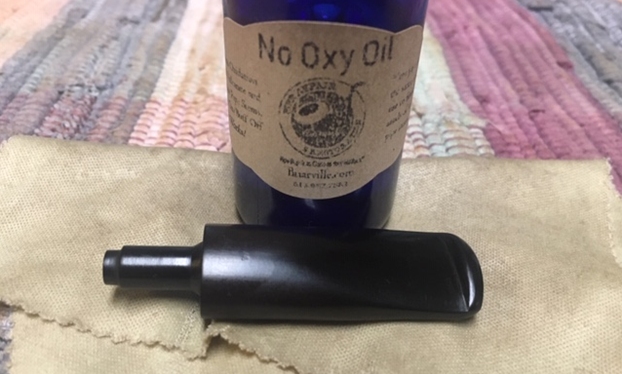
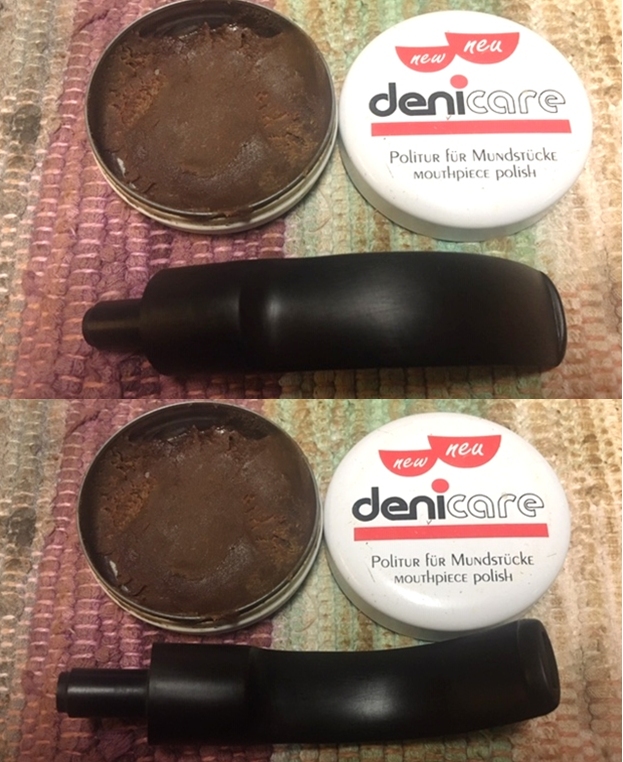
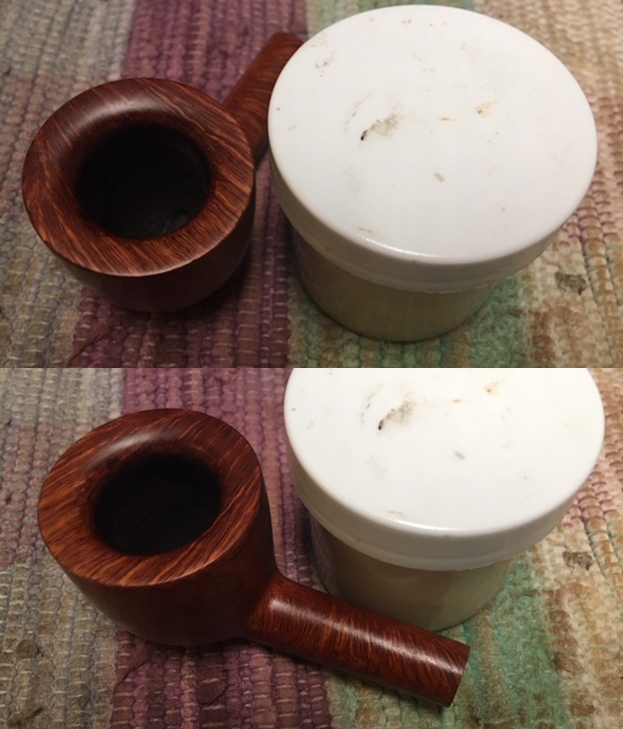
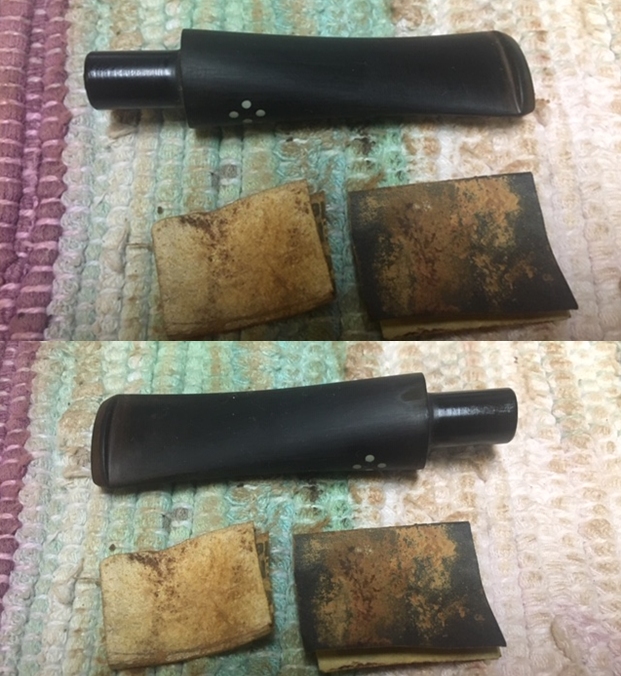
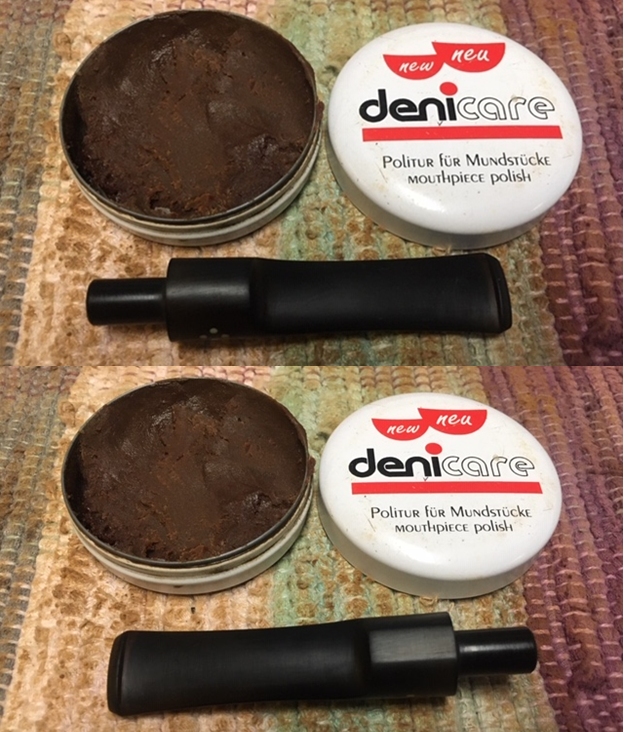
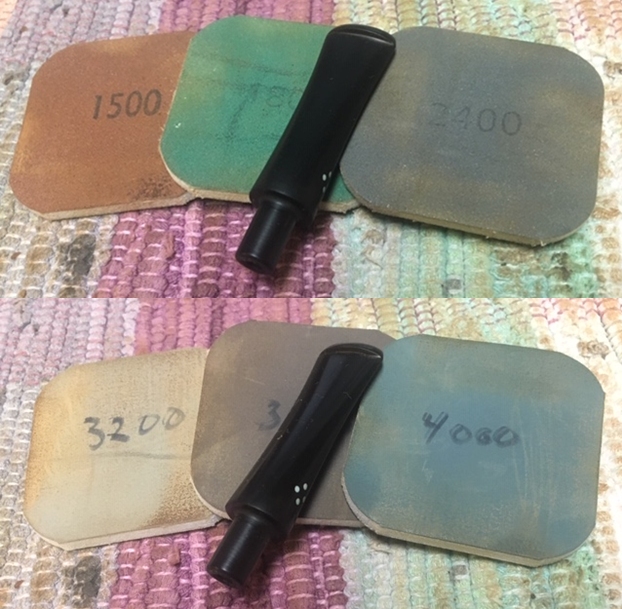
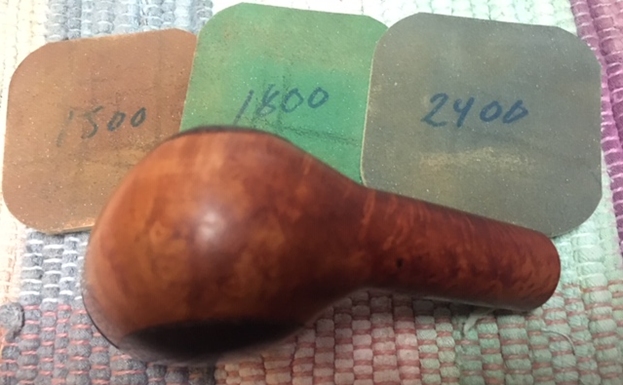
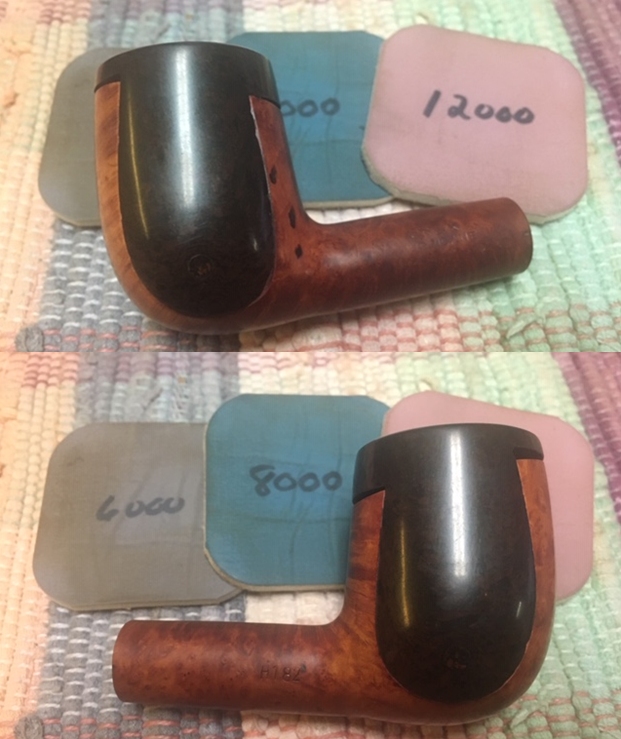
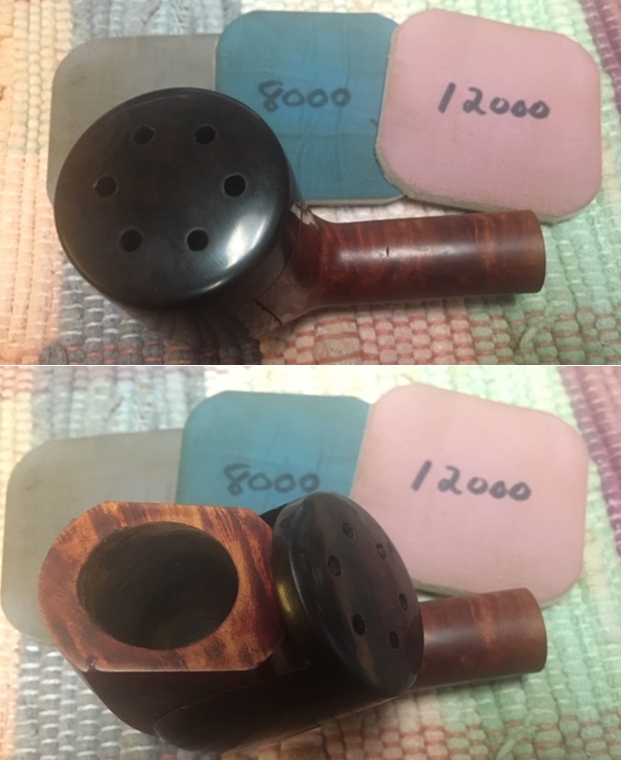
I include a screen capture of the listing from Pipephil as well. Note the various brands that made a Hurricane pipe with the same style or similar style wind cap. Note also that the one I have is made by Roy Tallent Ltd. of Old Bond Street. It bears the same H stamp on the top of the saddle stem as the pipes in the photo below.From that link I did a bit of search for the Fortnum brand. I found a listing for the brand on Pipedia. It said: Fortnum & Mason, the famed London department store in operation since 1707, has among countless other products sold its own line of pipes. One of the most notable was Fortnum’s Windward, a “Hurricane” type pipe with a built in swiveling windcap. The pipe was made following the design of Frederick Hudes, who received a patent for the pipe in the U.S. numbered 2135179 in 1938 (https://pipedia.org/wiki/Fortnum_%26_Mason). I have included the Patent drawings below. Armed with that information I moved forward to work on the pipe itself and see what I had to do with it. It had come back looking amazingly clean. Even the stem looked like new other than a few deep tooth marks. The Bakelite rim cap looked very good. I was impressed. Jeff had done his normal thorough clean up – reaming, scrubbing, soaking and the result was evident in the pipe when I unpacked it. I took photos of the pipe before I started my work on it. I took some photos of the rim top with the cap in place and with it tipped back. The rim top and bowl looked very good. The cake and lava overflow were gone and the Bakelite was very clean. The close up photos of the stem show that it is a much cleaner and better looking stem. There are some small deep tooth marks on both sides just ahead of the button and one mark on the top side of the button itself. To begin my part of the restoration work I decided to smooth out the three fills on the left side of the bowl near the edge of the flip cap. They are shown in the first photo below as three blackened dots running vertically along the cap. There rough to the touch and bumpy feeling. I sanded them smooth with a folded piece of 220 grit sandpaper and blended them into the surface. They still stick out but at least they are smooth!I decided to polish the briar and the Bakelite flip cap with micromesh sanding pads – wet sanding with 1500-12000 grit pads. I wiped the bowl and cape down after each pad with a damp cloth. The bowl begins to shine with the transition to each new pad. After the final polishing pad it looks great. I worked some Before & After Restoration Balm into the surface of the briar with my fingertips to clean, enliven and protect it. I also rubbed it into the Bakelite cap. I let the balm sit for a little while and then buffed with a cotton cloth to raise the shine. The photos show the bowl at this point in the restoration process. I set the bowl aside and turned my attention to the stem. The stem was very clean so I filled in the tooth marks and built up the button with clear super glue and set it aside to cure. Once it had cured I flattened out the repairs and sharpened the edge of the button with a needle file. I sanded out the tooth chatter and blended in the repairs with 220 grit sandpaper and started to polish it with a folded piece of 400 wet dry sandpaper. Once it was finished it was smooth.I used some Denicare Mouthpiece Polish that I have in my kit to start polishing out some of the scratches and remaining oxidation on the stem. I rubbed it in with a cotton pad and my finger tip and buffed it off with a cotton pad.The H stamp on the stem was quite faint but I thought that I might be able to get a bit of it to show. I put some Liquid Paper in the faint marks on the top of the stem and let them dry. I scraped off the excess and you can see the faint H in the second photo. While it is not perfect it is at least visible.I polished the stem with micromesh sanding pads – wet sanding with 1500-12000 grit sanding pads. I wiped it down after each sanding pad with some Obsidian Oil. I finished polishing it with Before & After Pipe Stem Polish – both Fine and Extra Fine and buffed it off with a cotton cloth. I gave it a coat of Briarville’s No Oxy Oil to preserve and protect the stem. This is a Hurricane Billiard with the Orlik stamp on the shank is a real beauty with a tapered black vulcanite stem. It has a great look and feel. I polished stem and the bowl with Blue Diamond polish on the buffing wheel. I gave the bowl, the Bakelite flip cap and the stem multiple coats of carnauba wax. I buffed the pipe with a clean buffing pad to raise the shine. I hand buffed it with a microfiber cloth to deepen the shine. The pipe polished up pretty nicely. The rich combination of browns of the briar and dark brown of the Bakelite took on life with the buffing. The rich colour of the briar works well with the polished vulcanite stem. I like the grain and finished look of this Hurricane pipe. Have a look at it with the photos below. The shape, finish and flow of the pipe and stem are very well done. The dimensions are Length: 6 inches, Height: 2 inches, Outside diameter of the bowl: 1 ¼ inches, Chamber diameter: ¾ of an inch. This English made Hurricane pipe is a unique piece of pipe history. Thanks for walking through the restoration with me as I worked over another beautiful pipe. This one will be going on the rebornpipes store in the English Pipe Making Companies section shortly if you would like to add it to your collection. Thanks for your time.
Cleanup and restoration of an Art Deco Yello-Bole Rhodesian


Blog by Steve Laug

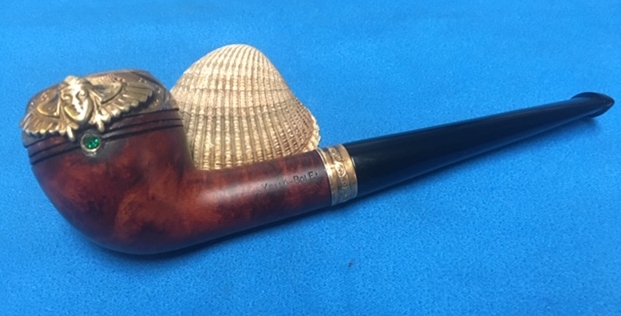
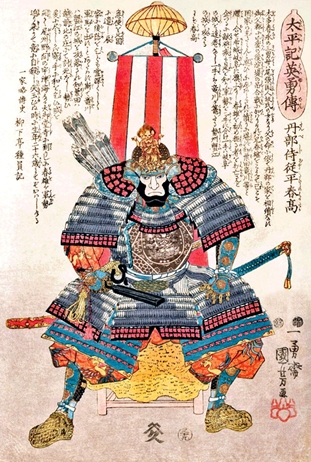
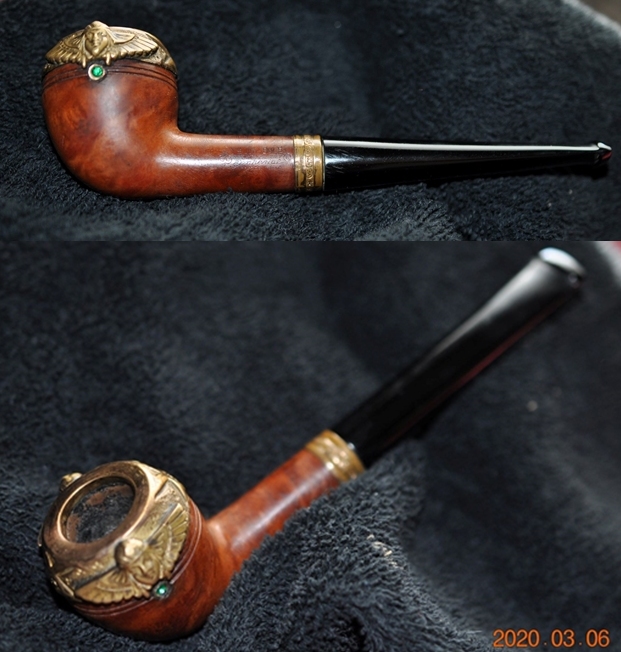
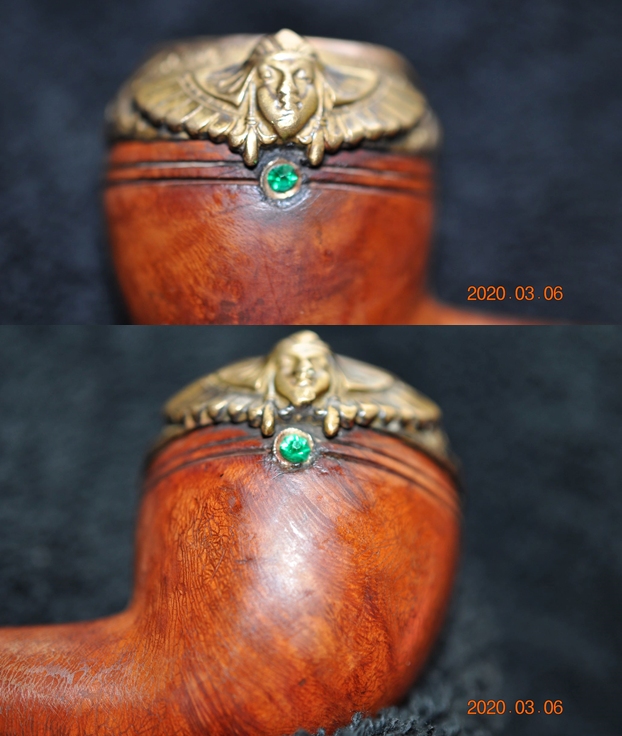
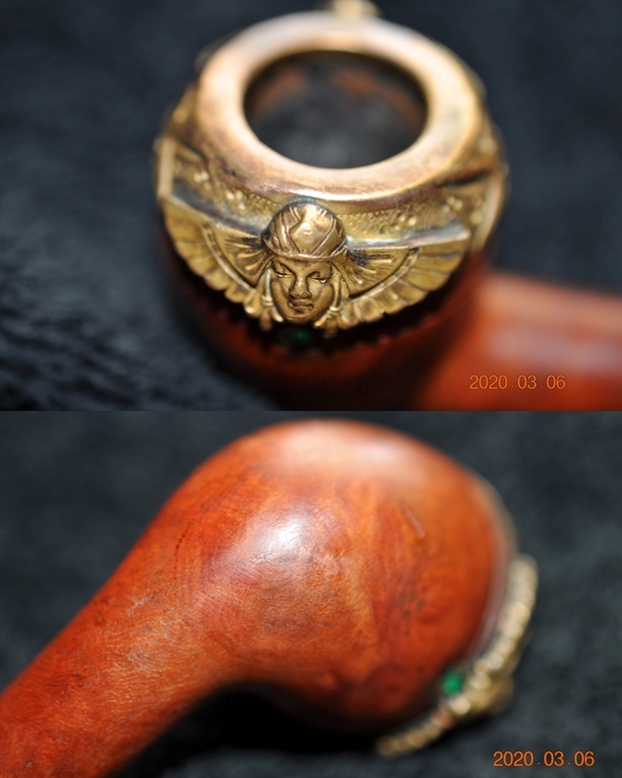
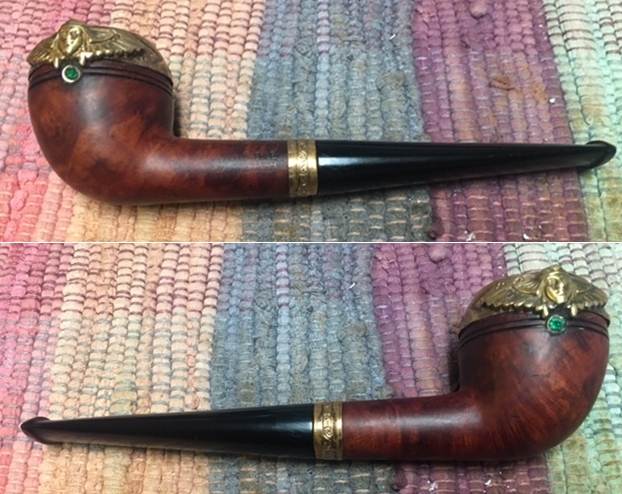
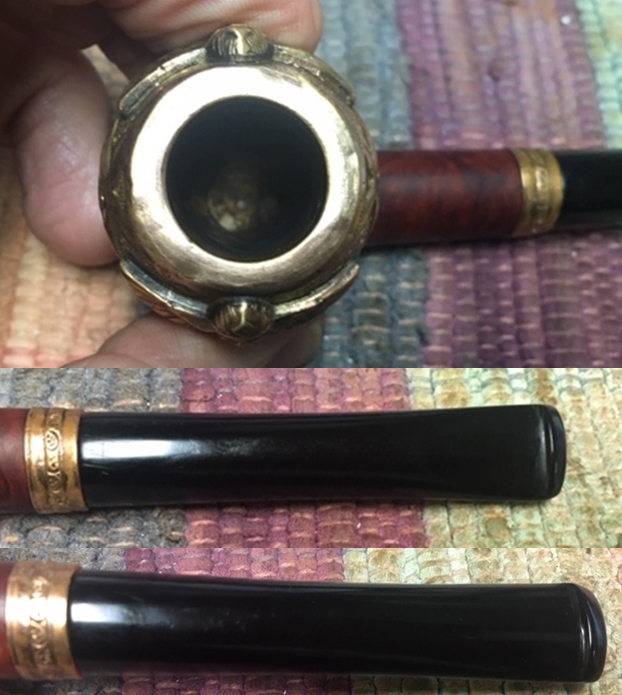
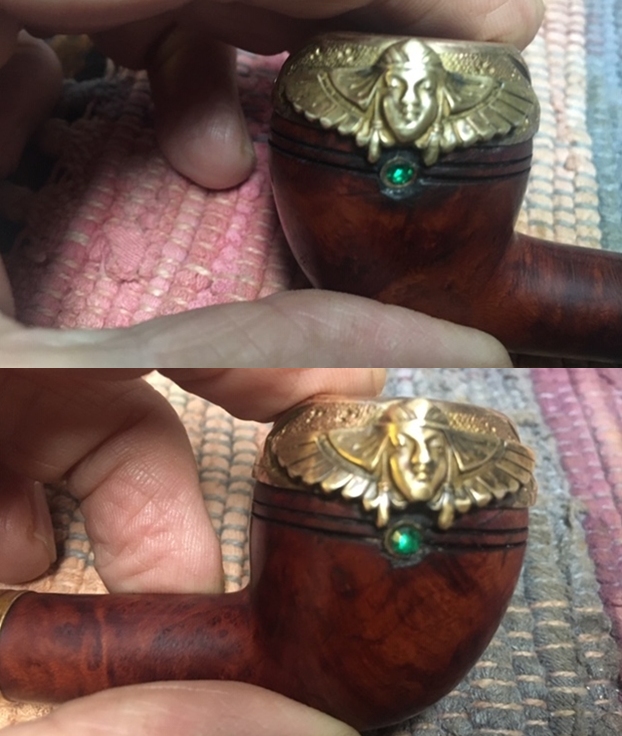
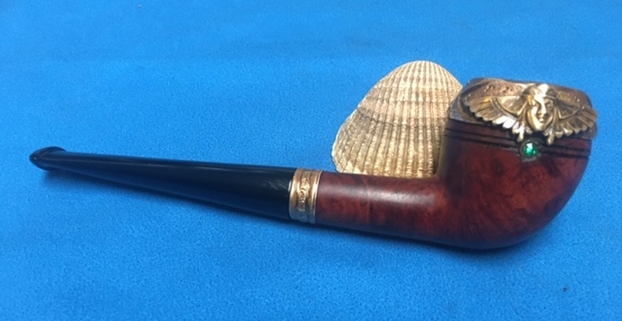
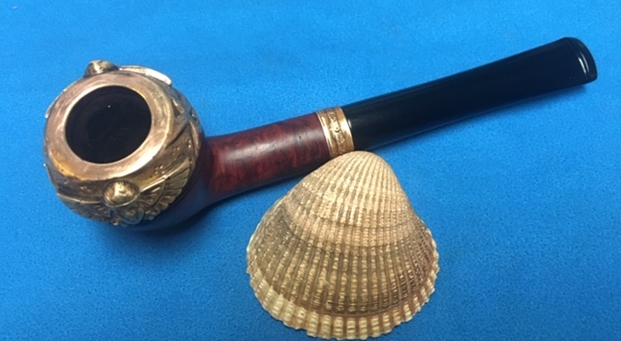
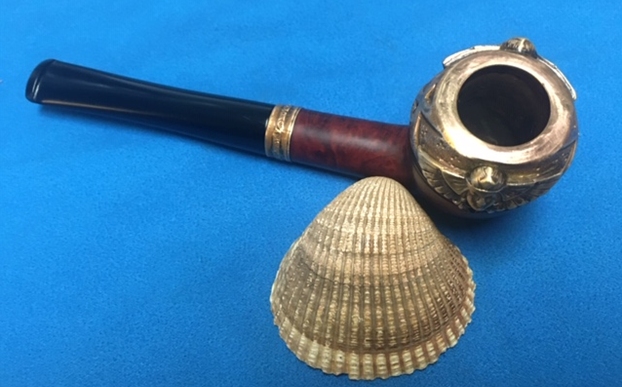
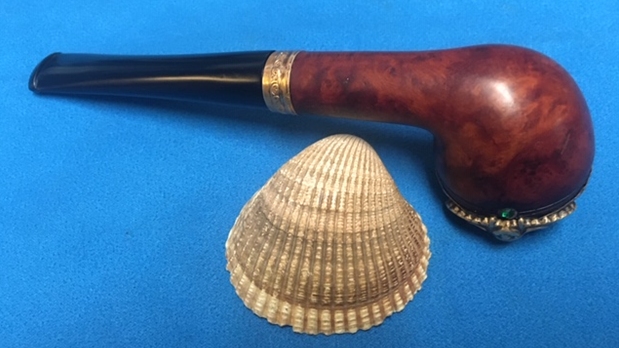
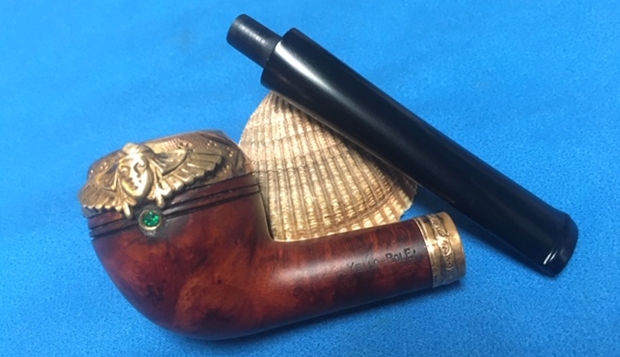
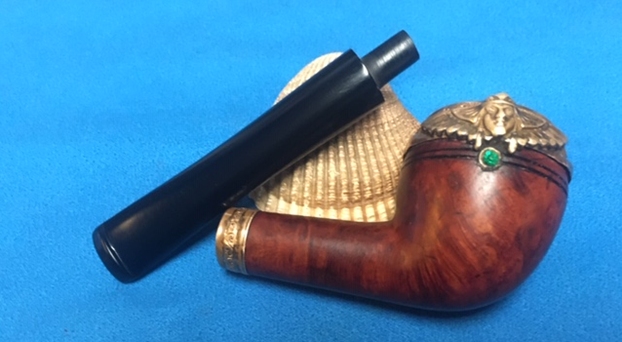
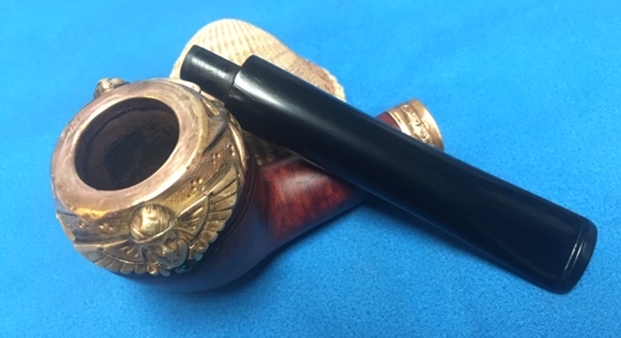
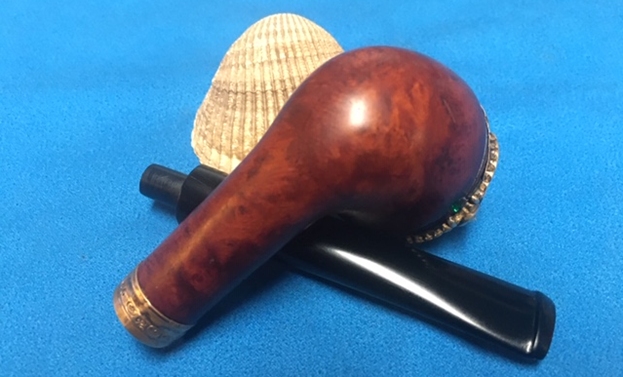
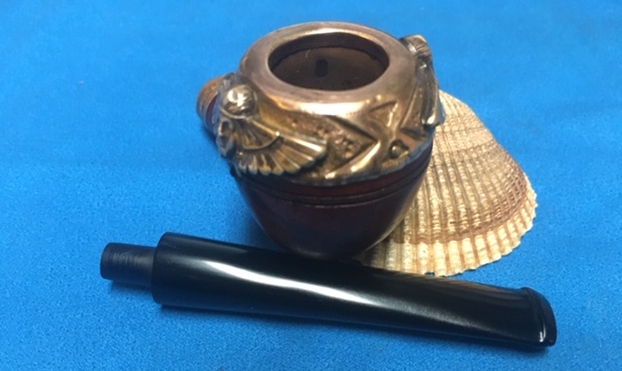
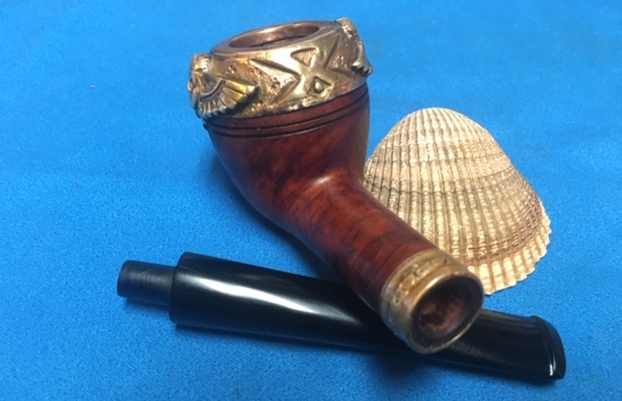
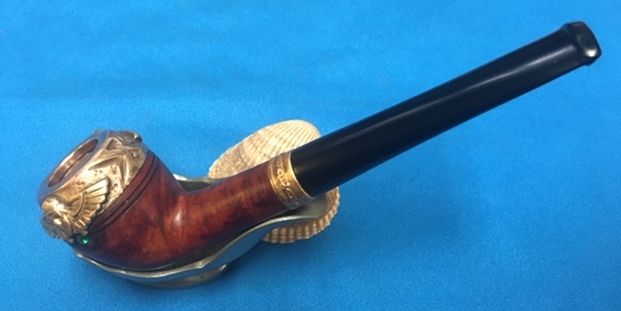
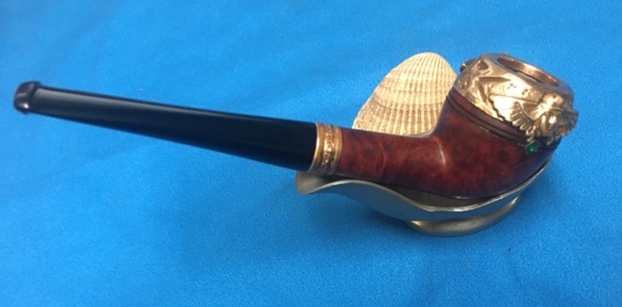
Jeff picked this one up because of our mutual love of older late 19th– early 20th Century. Even in its sorry state when he found it there was a stunning quality about the pipe. The shape and design of the bling make me think it is an Art Deco period pipe 1920s and 1930s. The briar is quite nice and the rim cap is well sculpted. It has a cast head on each side of the cap. The helmeted head looks like a Samurai warrior like the picture to the left. The helmet flares to the left and right like feathers like that. Under the chin of the head is green “gem” or glass inset in a “gold” ring and inlaid in the bowl. There is a matching band around the shank. Those two decorative pieces on the pipe add a touch of unique style to the pipe.

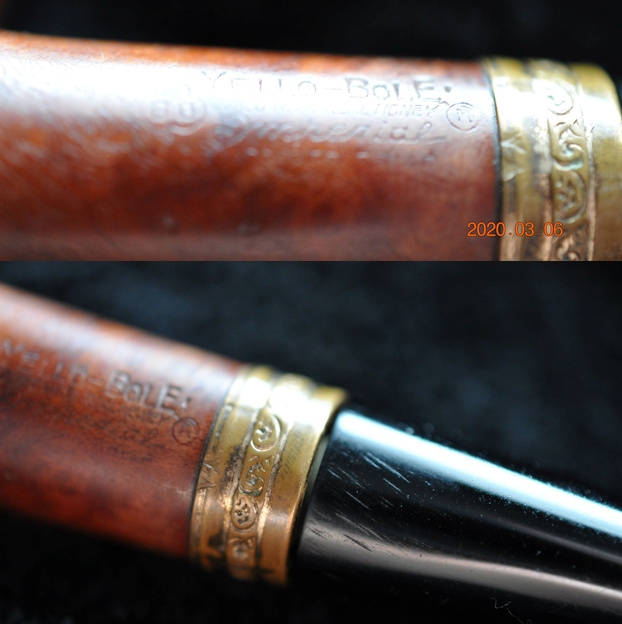
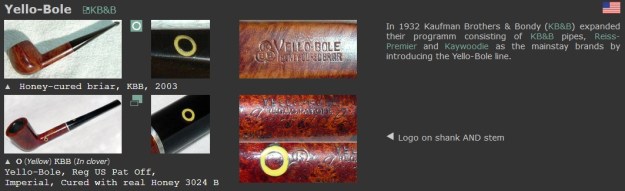
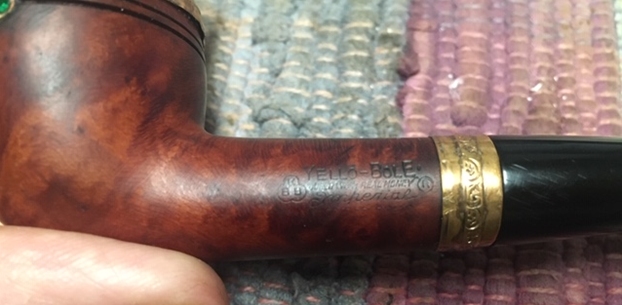
The pipe is stamped on the left side of the shank and read: KBB in a cloverleaf followed by Yello-Bole. Under that it is stamped Cured with Real Honey and an R in a circle. Under that it is stamped Imperial in script. The bottom line of the stamping reads Imported Briar. The finish on this pipe was dirty with dust and a light lava coat on the edge of the rim cap. The bowl was lined with a thick cake and the metal edge of the bowl cap is thickly caked. The smooth finish was also dirty and dull looking. The finish looks good under the grime and dust. The stem is a tapered vulcanite stem with an orific button on the end. The fit of the stem to the shank was snug. There were light tooth marks and chatter on both sides of the stem at the button. Otherwise it was a very clean stem. Jeff took of the pipe to show the overall condition of the bowl and stem.Jeff took some close-up photos of the bowl sides and heel. You can see the cast Samurai head and the inset “gems”. It is dirty and tarnished with a lot of oily tars inserted in the twin rings around the bowl and around the inset gems. Jeff took photos of the stamping on the left side of the shank. It is clear and readable but hard to capture in the photos. You can also see the filigree on the band and the scratching on the stem.The first photo below shows the full length and profile of the vulcanite stem. The next two photos show the surface of the top and underside of the stem. You can see the light tooth marks and chatter both on the button surface and on the blade itself.I turned to Pipephil’s site (http://www.pipephil.eu/logos/en/logo-y.html) and captured the following screen. In it the key point is that KBB (Kaufman Brothers & Bondy) expanded their lines by adding the Yello-Bole line in 1932. That helps to date this pipe a bit. From this I knew that the pipe was issued after 1932. It also shows the stamping Cured with Real Honey.I turned then to Pipedia (https://pipedia.org/wiki/Yello-Bole) to see if I could pin down the date with a little more clarity. I quote two pertinent parts of the article below:

In 1932 Kaufman Brothers & Bondy (KB&B), est. 1851, expanded their program consisting of KB&B pipes, Reiss-Premier and Kaywoodie as the mainstay brand by introducing the Yello-Bole line. Yello-Bole was designed as an outlet for lower grade briar not used in Kaywoodie production…

Tips for Dating Yello-Bole Pipes

  • KBB stamped in the clover leaf indicates it was made in 1955 or earlier as they stopped this stamping after being acquired by S.M. Frank.
  • Pipes from 1933-1936 they were stamped “Honey Cured Briar”
  • Post 1936 pipes were stamped “Cured with Real Honey”
  • Pipe stems stamped with the propeller logo were made in the 1930’s or 1940’s – no propellers were used after the 1940’s.
  • Yello Bole used a 4 digit code stamped on the pipe in the 1930’s.
  • Pipes with the Yello-Bole circle stamped on the shank it were made in the 1930’s, this stopped after 1939.
  • Pipes stamped BRUYERE rather than BRIAR it was made in the 1930’s.

I have highlighted the two lines in the dating article that help narrow down the date for me. The first tells me that pipes stamped with the KBB in the cloverleaf indicate that the pipe was made prior to 1955. Now I had both a starting and ending date to work with 1932-1955. The second red highlighted text tells me that pipes stamped Cured with Real Honey came out after 1936. This took it a bit further for me. I knew that the pipe I have is made after 1936. The fact that it is an Art Deco piece sets the end date a bit closer. I now knew that the pipe was made between 1936-1939. I was definitely honing in on the date.

I did some more research online to establish the ending date of the Art Deco period and found this interesting site:

In 1937 came the Exposition Internationale des Arts et Techniques dans la Vie Moderne. Its emphasis on science and technology decisively, if unintentionally, marked the end of the Art Deco period (https://theculturetrip.com/europe/france/paris/articles/a-history-of-art-deco-in-1-minute/).

With the additional information I can with some certainty say that this pipe was made sometime in the period of 1936-1937.

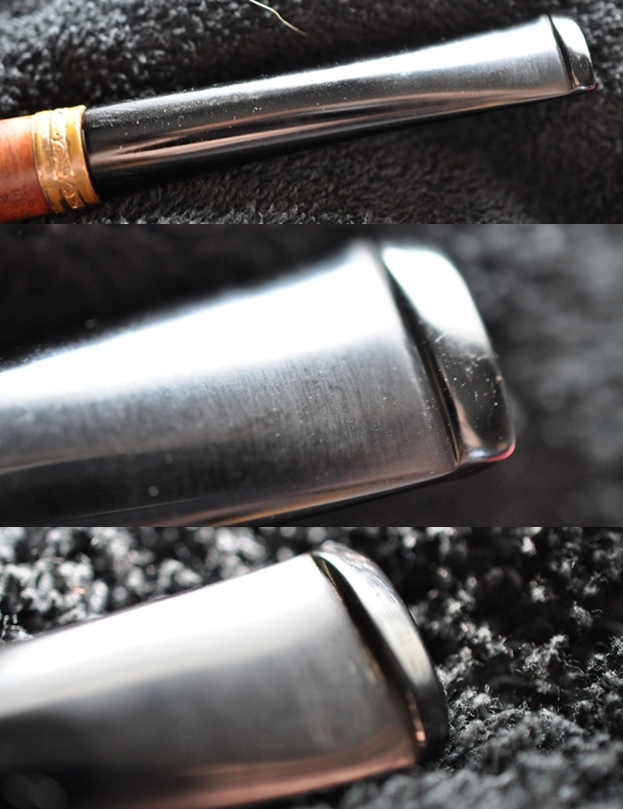
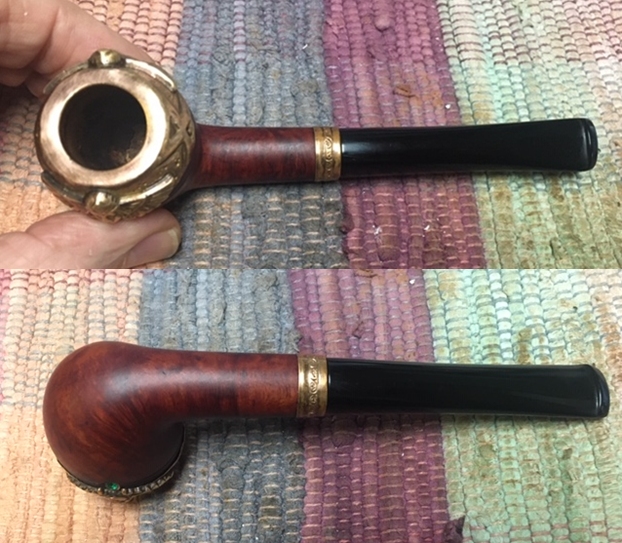
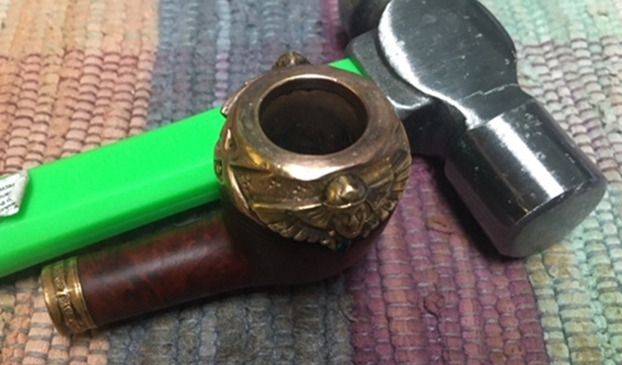
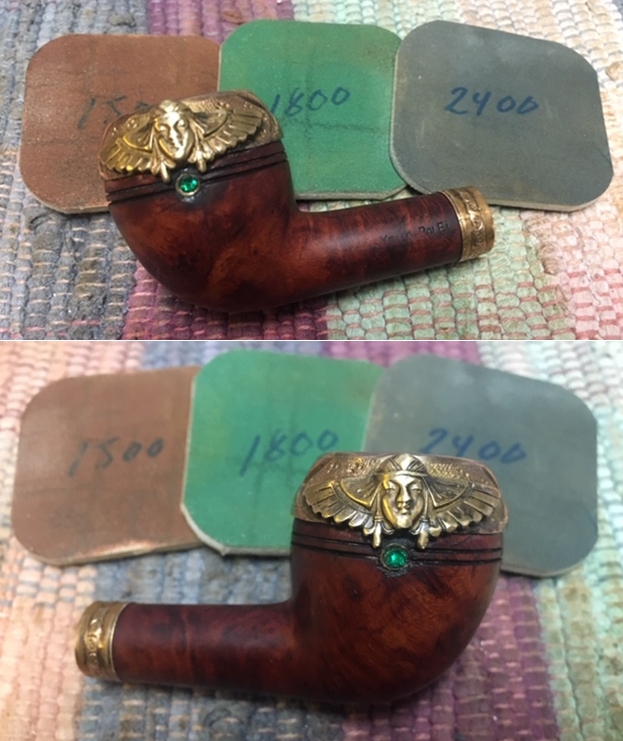
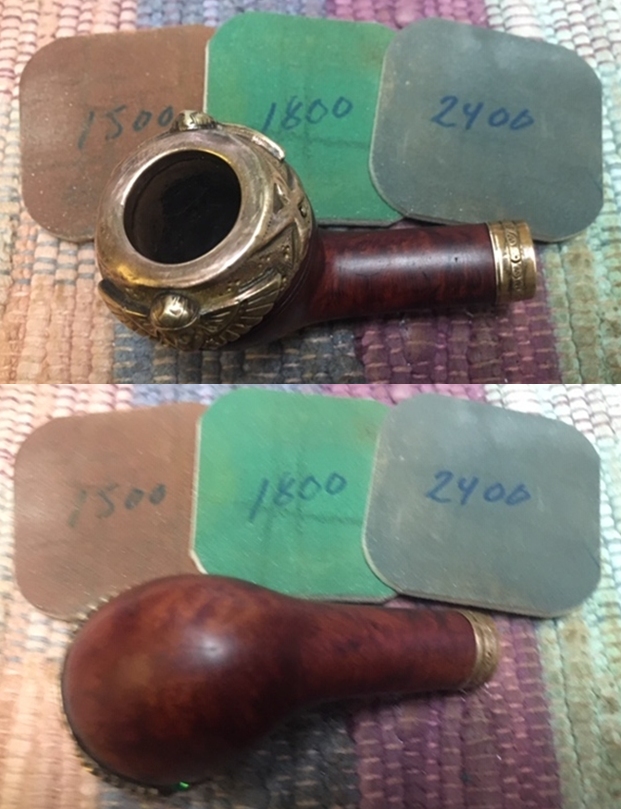
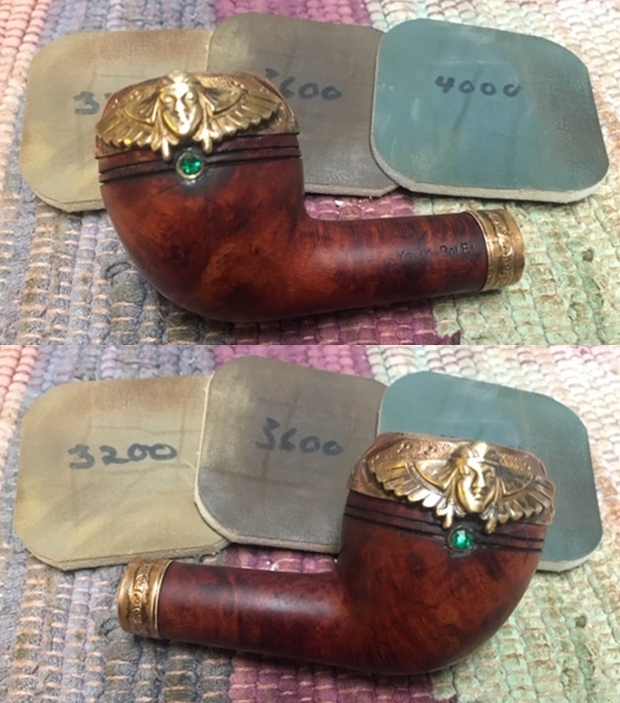
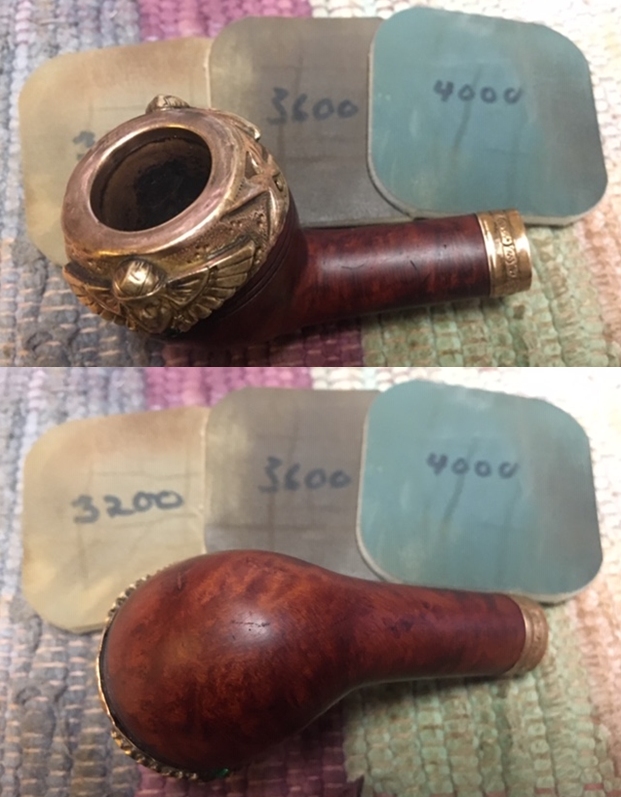
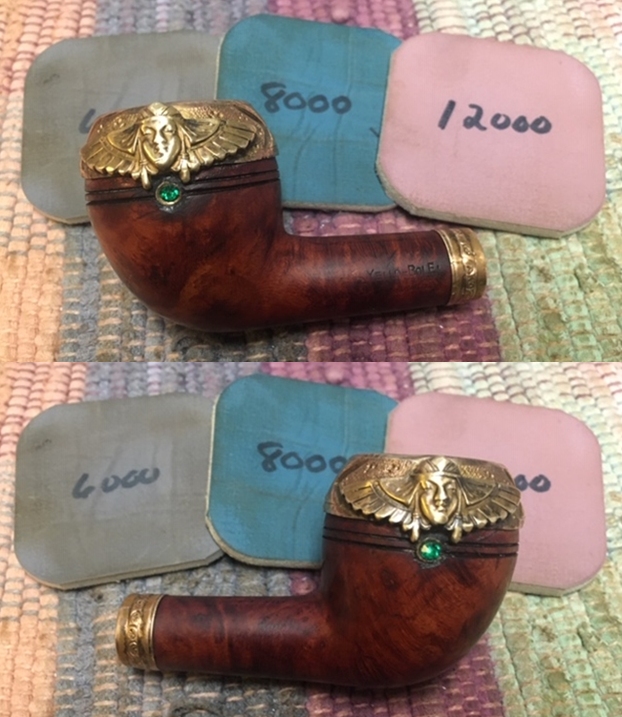
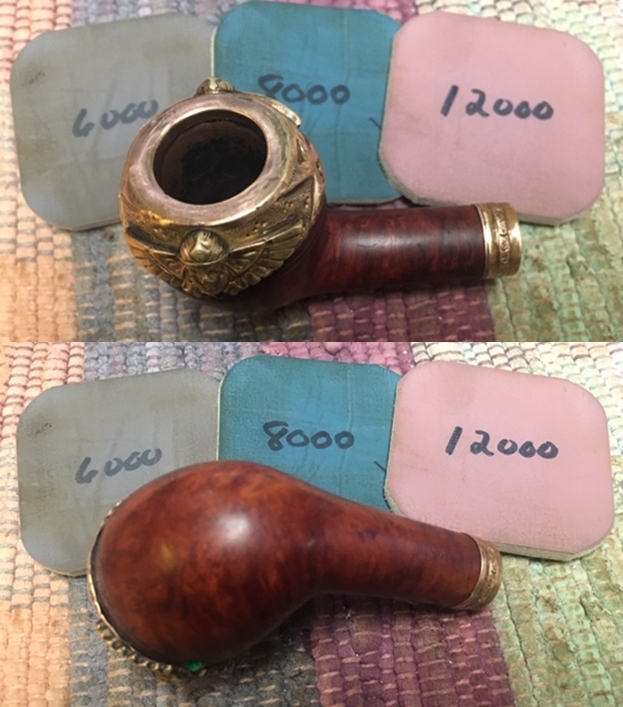
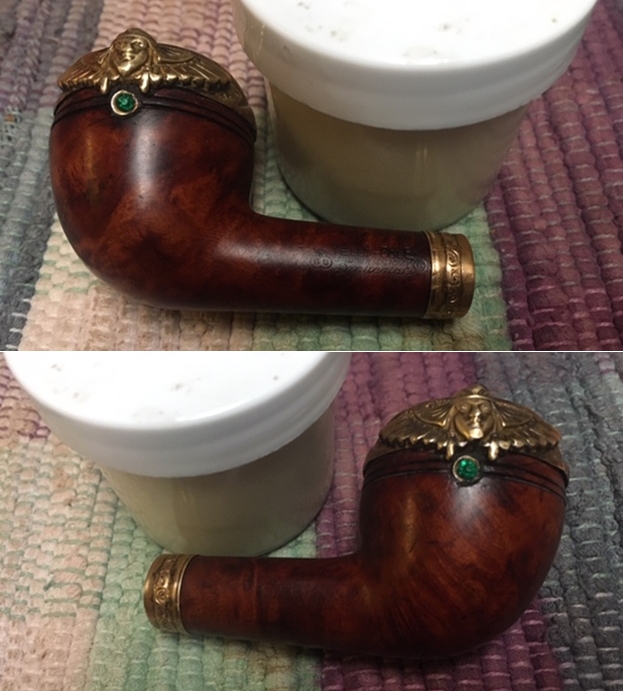
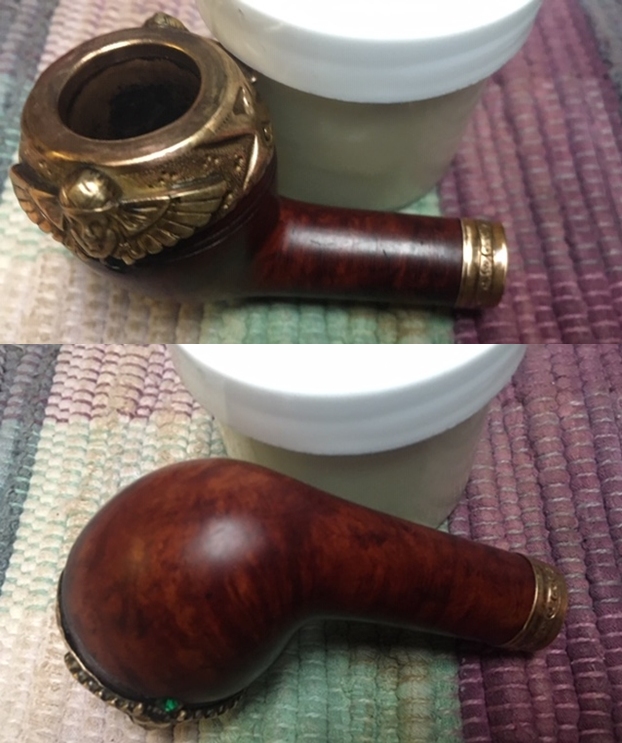
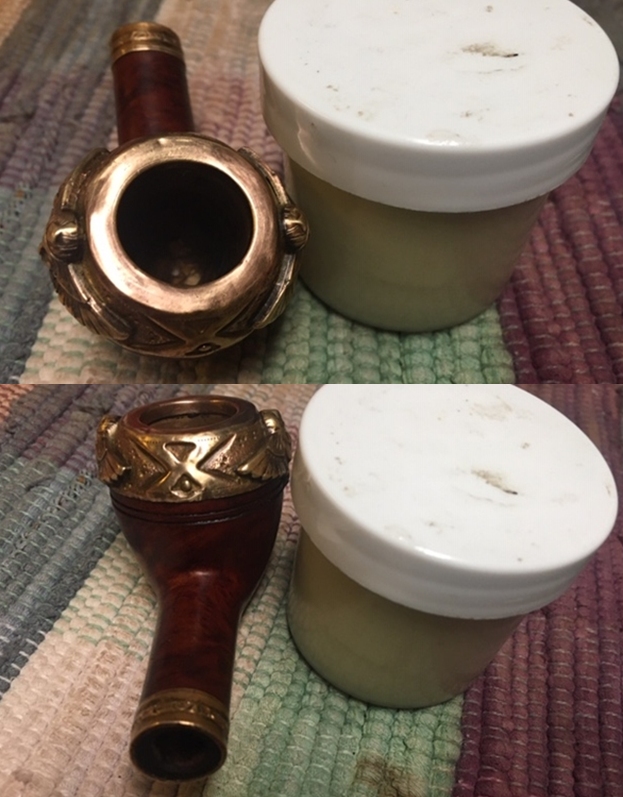
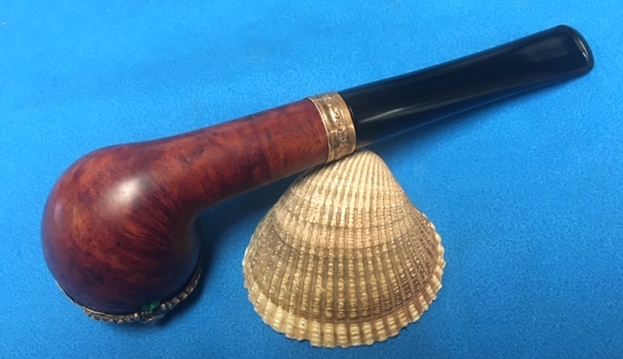
Armed with that information I moved forward to work on the pipe itself and see what I had to do with it. It had come back looking amazingly clean. Even the stem looked like new. The brass bling just shone. I was impressed. Jeff had done his normal thorough clean up – reaming, scrubbing, soaking and the result was evident in the pipe when I unpacked it. I took photos of the pipe before I started my work on it. I took some photos of the rim top and stem to show the condition of them both when it arrived. Overall it looked good. The rim top was very clean. The stem looked amazingly good. The chatter on the stem surfaces was gone and the surface was clean.I took a photo of the stamping on the left side of the shank. It was in very good condition and was readable and clear.To begin my part of the restoration work I decided to tap out the dings on the rim cap as much as possible without removing the cap. It appeared to me that the dings were on the surface of the cap. I used a ball peen hammer to gently tap the surface of the rim. It worked to smooth out the surface significantly.With that finished the work on the bowl was quite minimal. There were no fills to repair and no damage to deal with. I took two photos of side of the cap to show their condition. The bling was quite shiny and looked good. I did not need to clean it or polish it.I decided to polish the briar with micromesh sanding pads – wet sanding with 1500-12000 grit pads. I wiped the briar down after each pad with a damp cloth. The briar bowl begins to shine with the transition to each new pad. After the final polishing pad it looks great. I worked some Before & After Restoration Balm into the surface of the briar with my fingertips and into the plateau rim top and shank end with a horsehair shoe brush to clean, enliven and protect it. I let the balm sit for a little while and then buffed with a cotton cloth to raise the shine. The photos show the bowl at this point in the restoration process. The stem looked really good so I skipped the sanding and Denicare steps and went directly to polishing it with micromesh sanding pads – wet sanding with 1500-12000 grit sanding pads. I wiped it down after each sanding pad with some Obsidian Oil. I finished polishing it with Before & After Pipe Stem Polish – both Fine and Extra Fine and buffed it off with a cotton cloth. I wiped the stem down with Briarville’s No Oxy Oil to protect and preserve the stem. This is a great piece of pipe history and one that I can at least give a reasonable date for it making. It is a fancy KBB Yello-Bole Cured with Real Honey Rhodesian with a unique rim cap and band on the shank. The figures on the sides of the cap could easily be a fanciful samurai or some other figure but that is my best guess. The stem is a polished hard rubber that really shines with the buffing. The briar is also quite nice with just a few well-hidden fills. The brass, the briar and the hard rubber all combine well for a unique looking pipe. I polished stem and the bowl with Blue Diamond polish on the buffing wheel carefully avoiding the brass. I gave the bowl and the stem multiple coats of carnauba wax. I buffed the pipe with a clean buffing pad to raise the shine. I hand buffed it with a microfiber cloth to deepen the shine. The pipe polished up pretty nicely. The rich combination of brass, browns and black of the bowl and stem came alive with the buffing. Have a look at it with the photos below. The shape, finish and flow of the pipe and stem are very well done. The dimensions are Length: 5 ¾ inches, Height: 1 ¾ inches, Outside diameter of the bowl: 1 ¼ inches, Chamber diameter: 5/8 of an inch. This older American made Art Deco era pipe is a real beauty. Thanks for walking through the restoration with me as I worked over another beautiful pipe. This one will be joining my collection of older American made pipes. Thanks for your time.
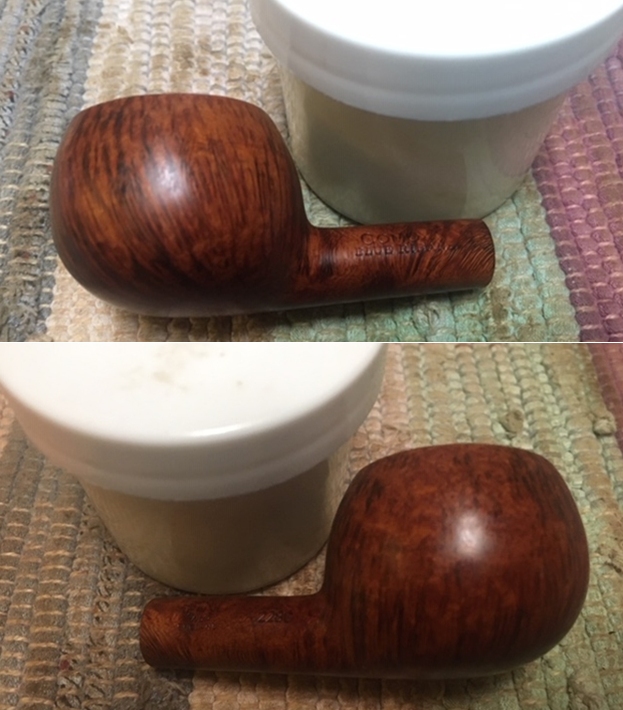
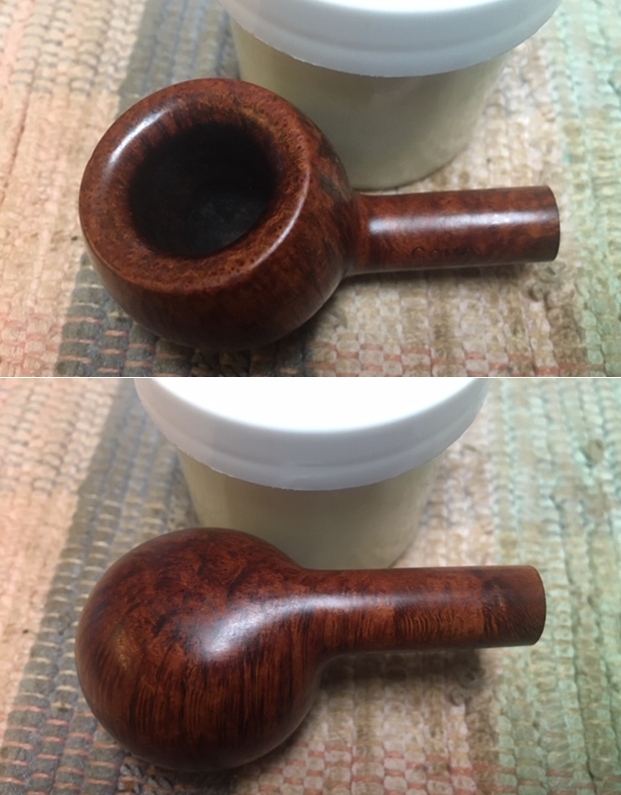
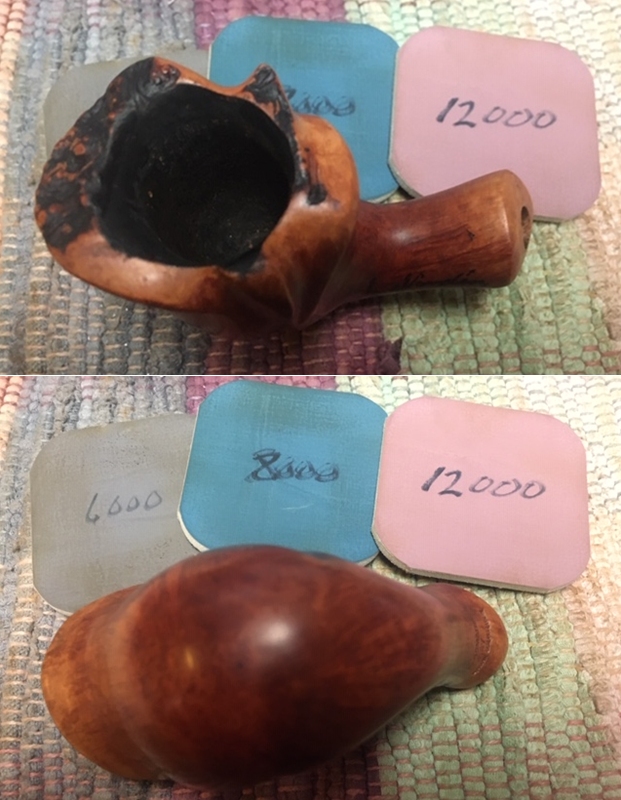
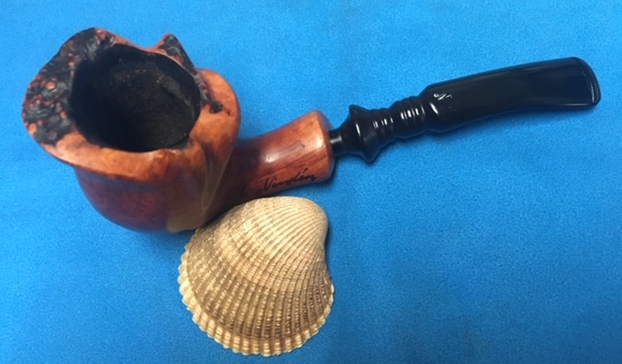
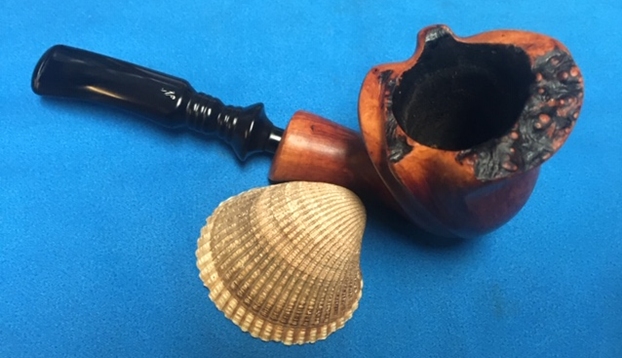
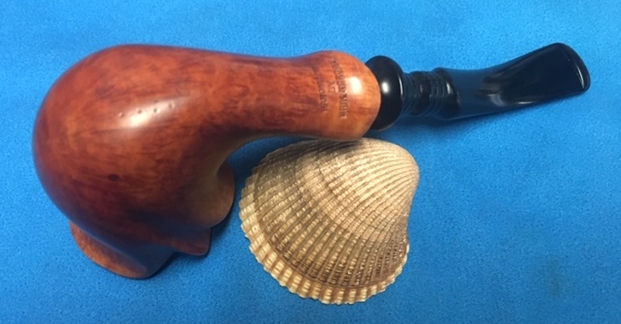
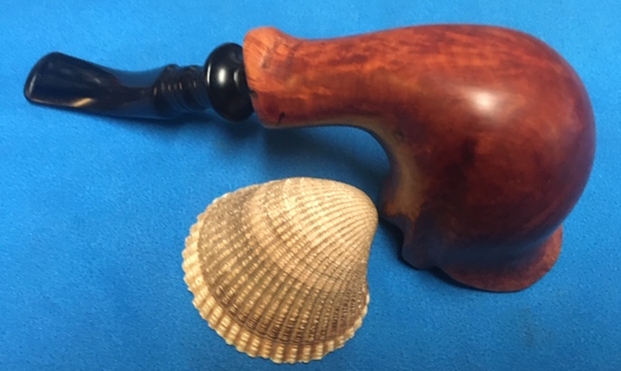
Restoring a Lovely Cala Lily Shaped Erik Nording Signed Freehand


Blog by Steve Laug

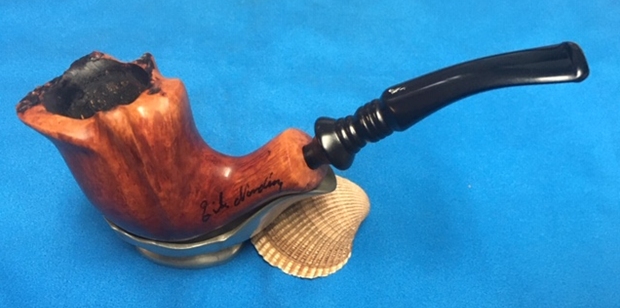
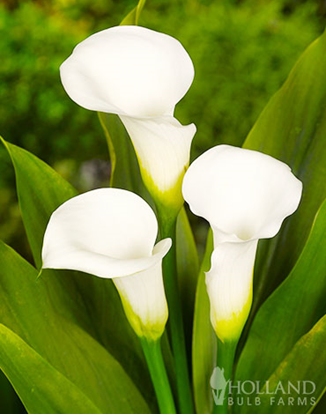
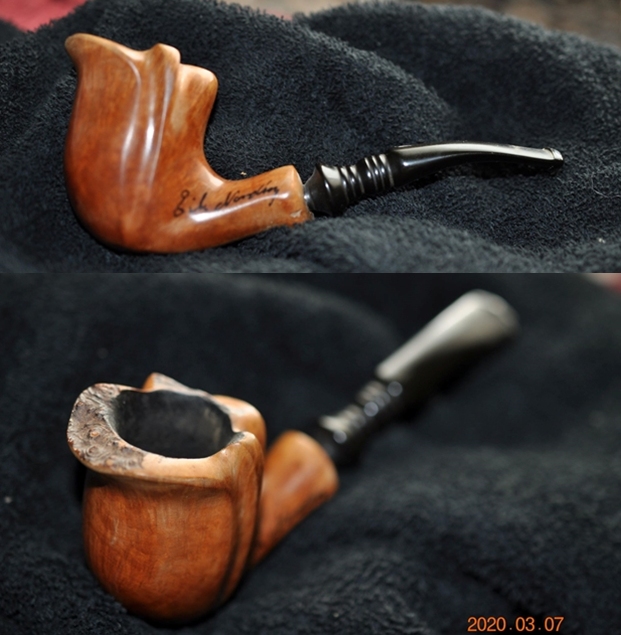
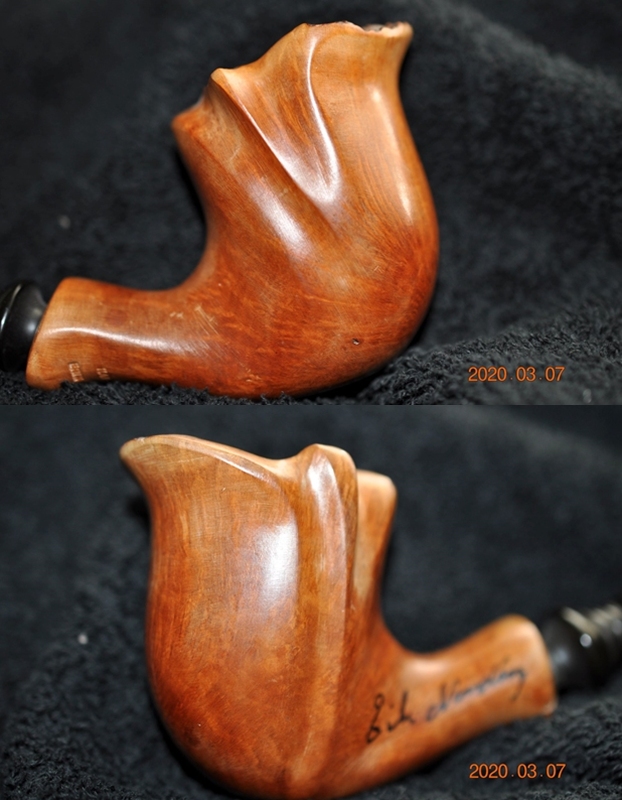
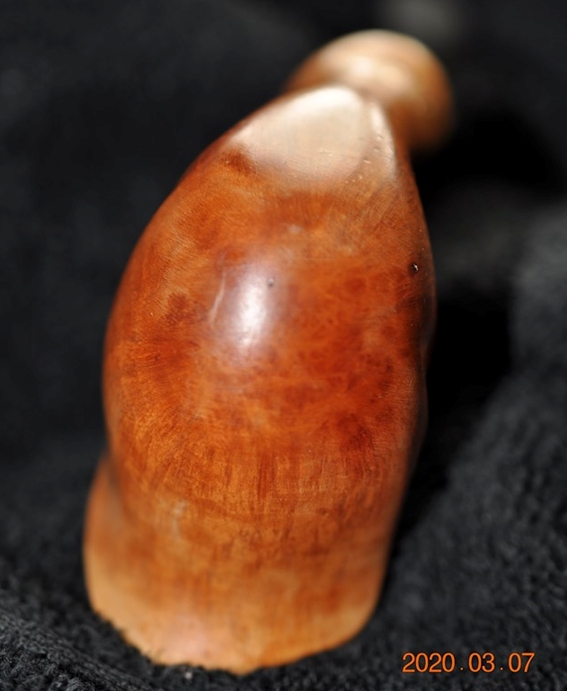
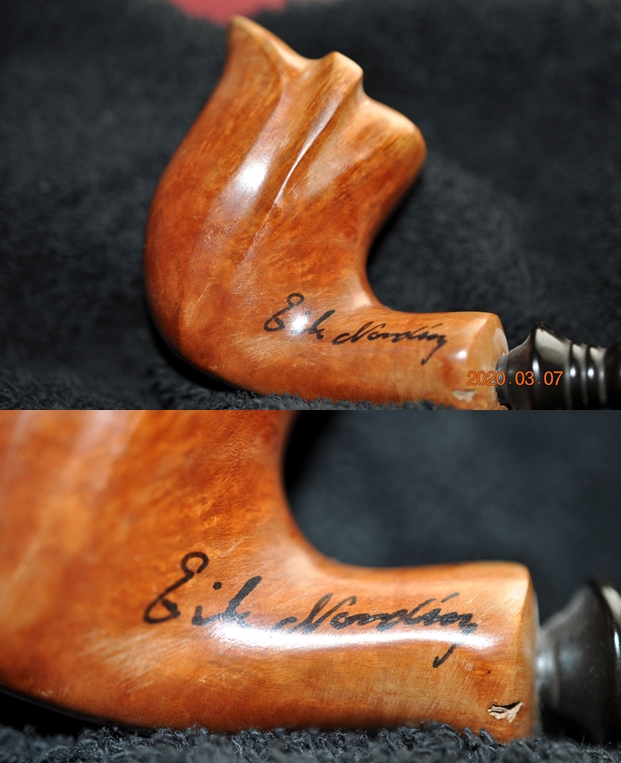
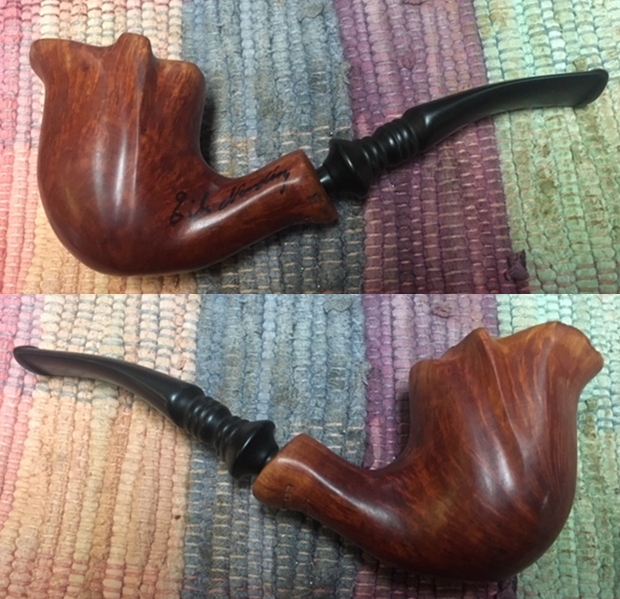
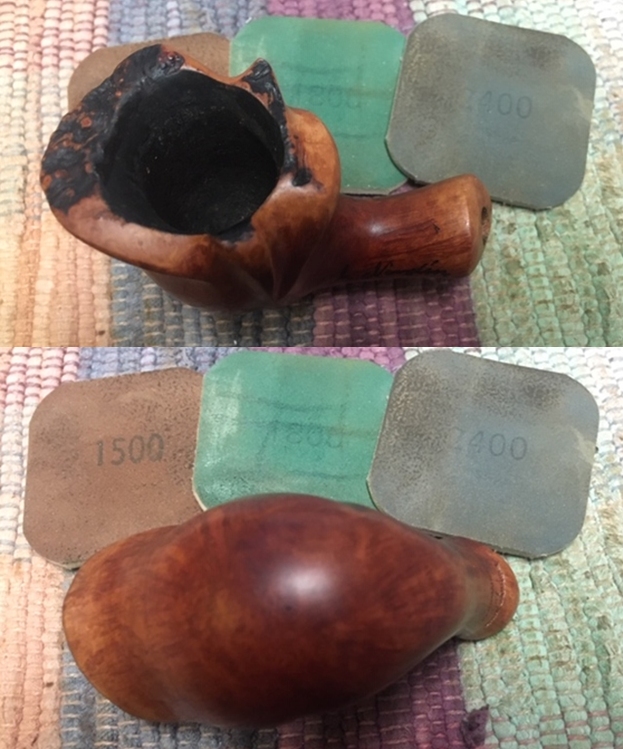
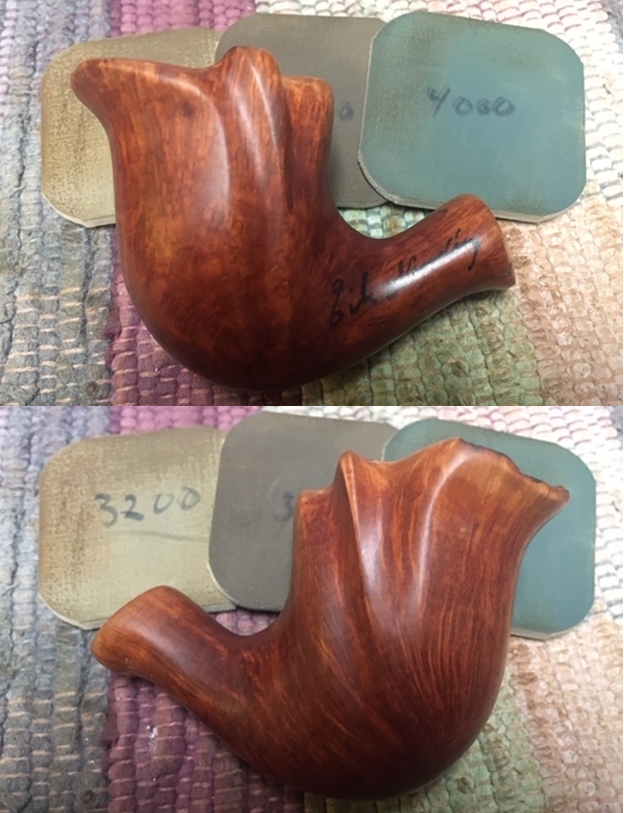
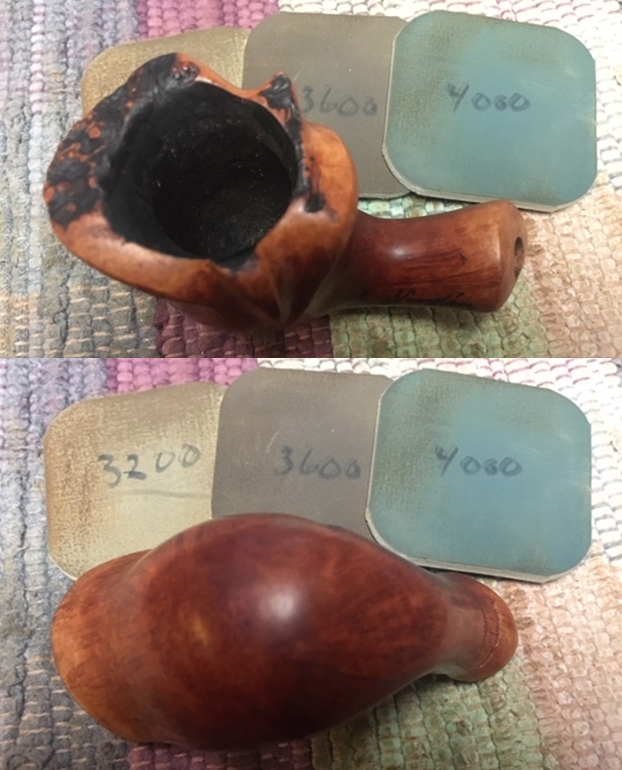
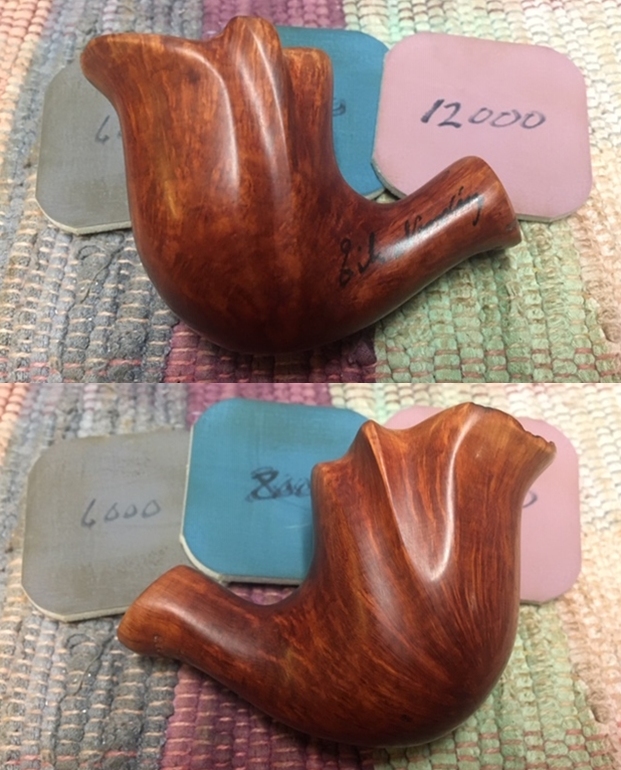
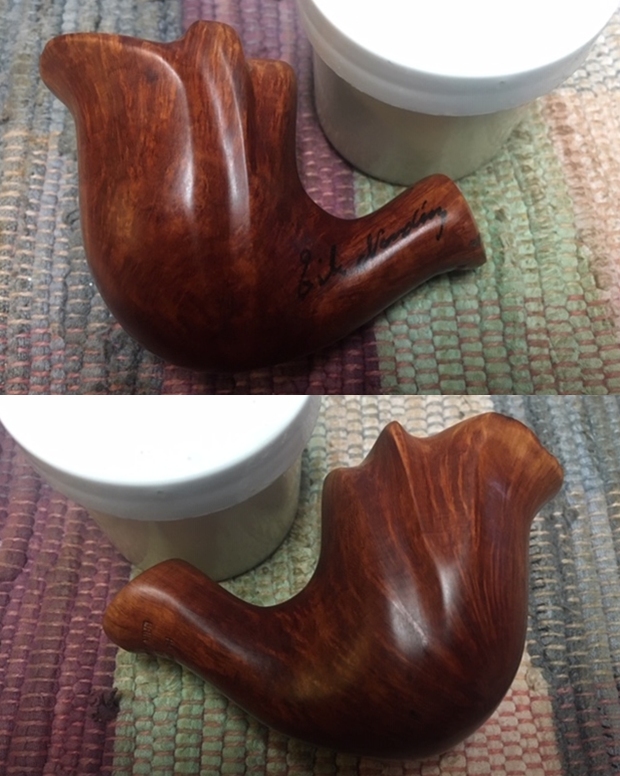
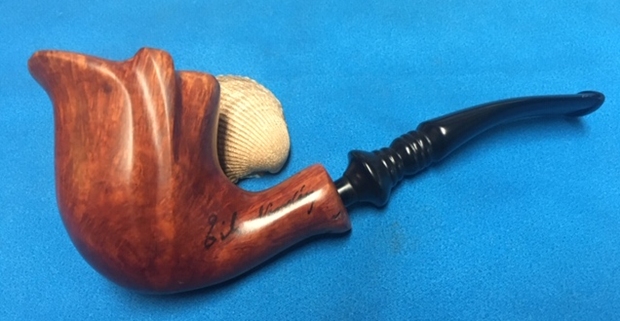
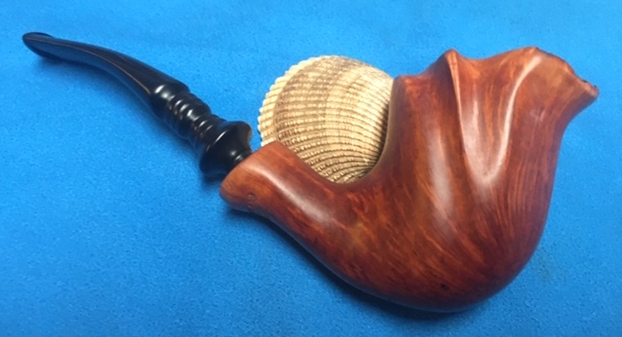
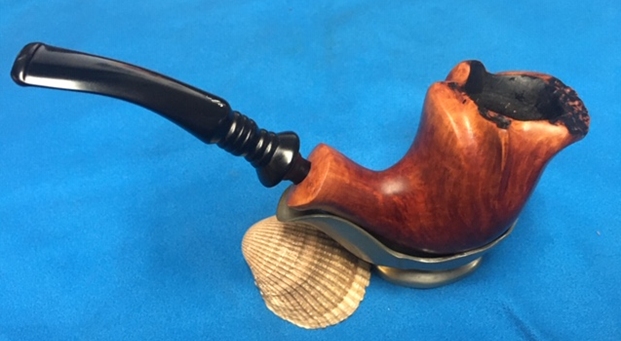
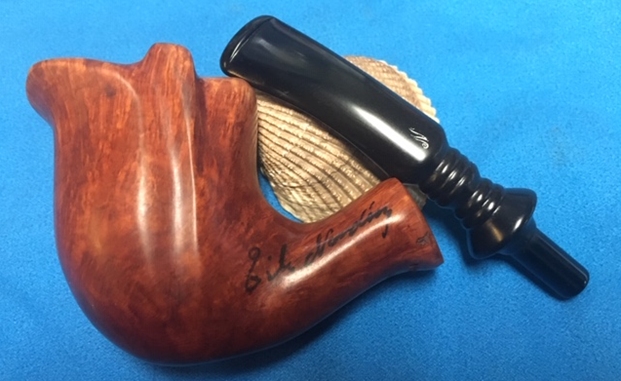
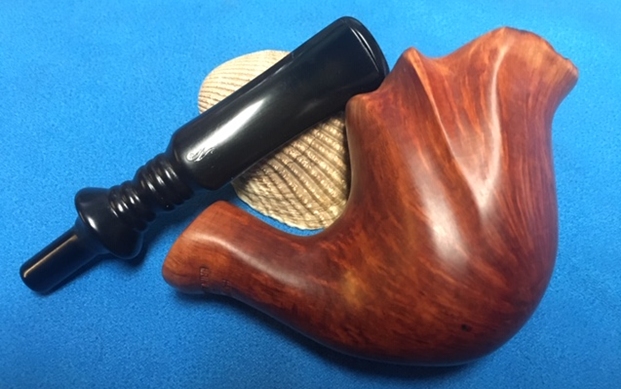
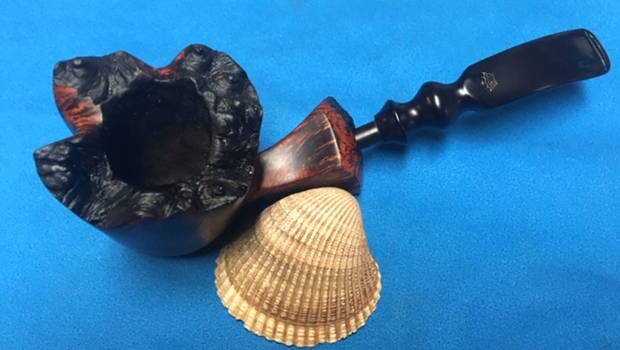
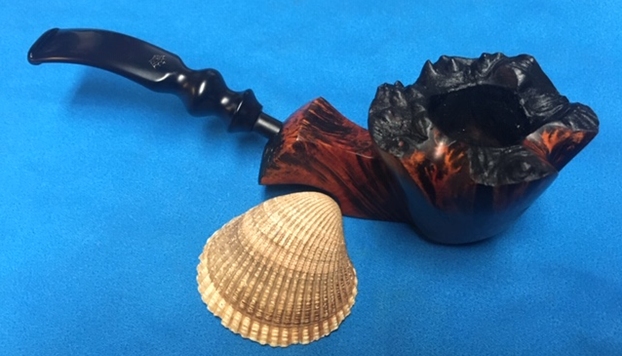
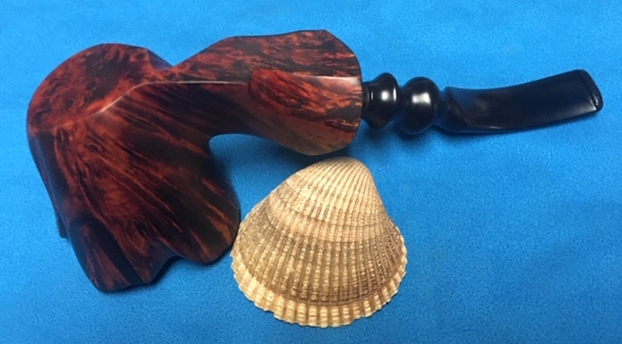
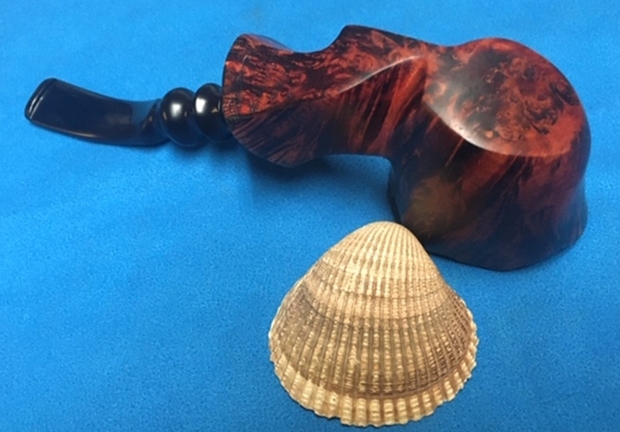
My brother Jeff picked up this interesting looking freehand pipe on one of his adventures pipe hunting. It had really nice grain and remnants of plateau on the top of the rim and one spot on the left side end of the shank. There was something familiar about the shape of carving that reminded me of a flower that I have grown. It dawned on me this morning while I worked on it that it reminded me of a Cala Lily (pictured to the left). The flow of the shape of the bowl with the extended lip on the front and the grooves flowing up the side and back of the bowl look a lot like the shape of this lily. It is a beautiful pipe that is signed on the left side of the shank with Erik Nording’s signature.

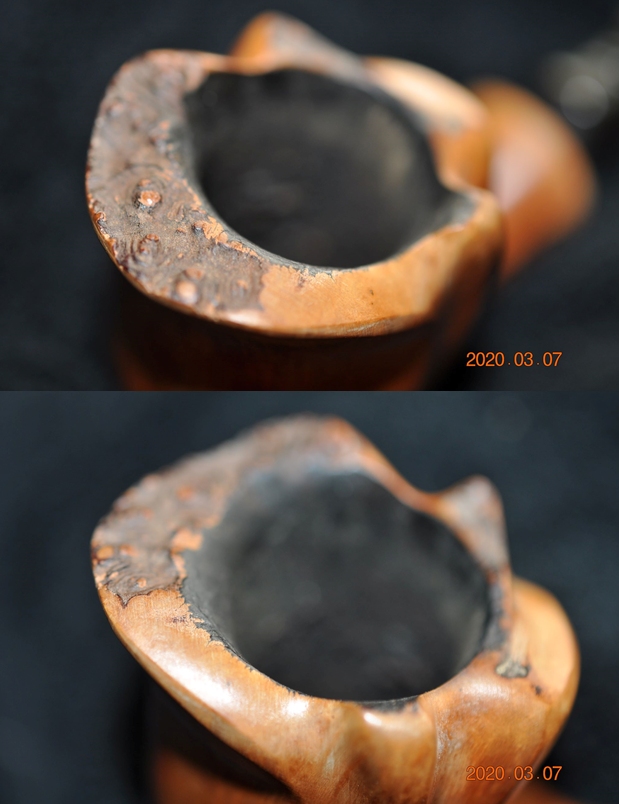
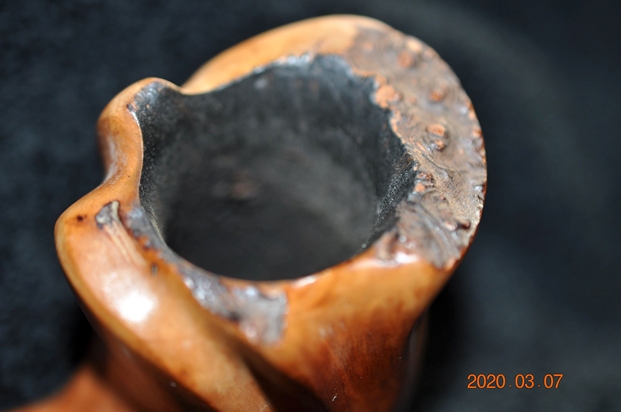
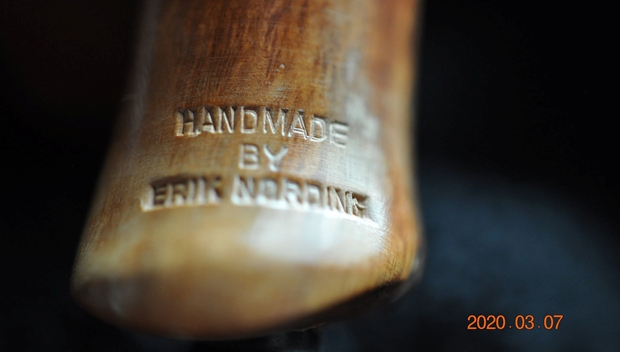
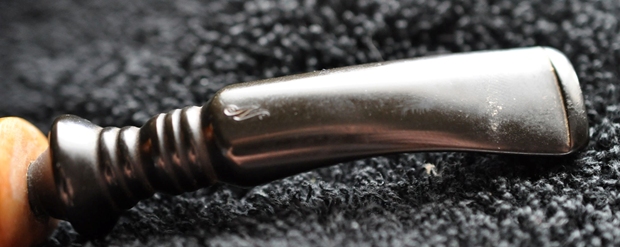
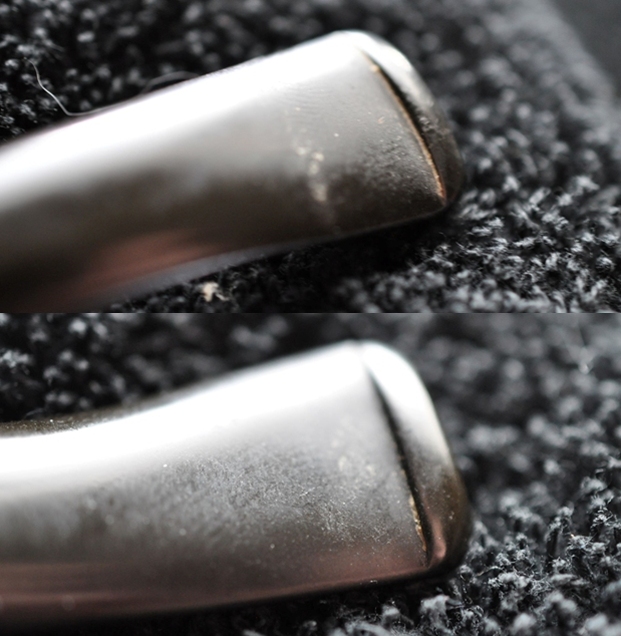
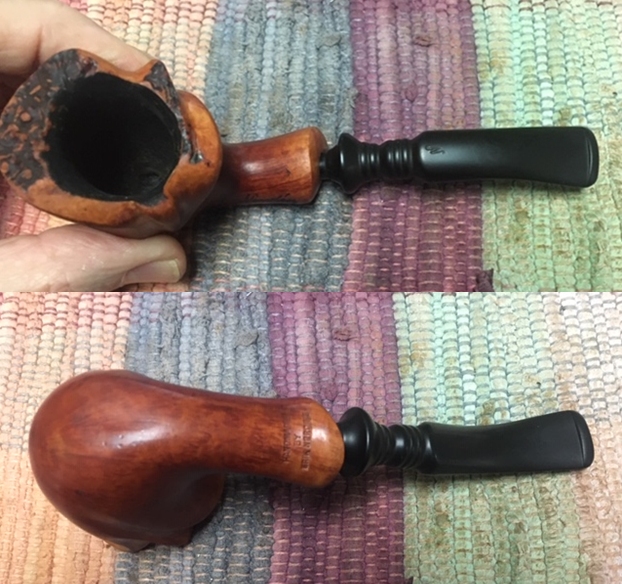
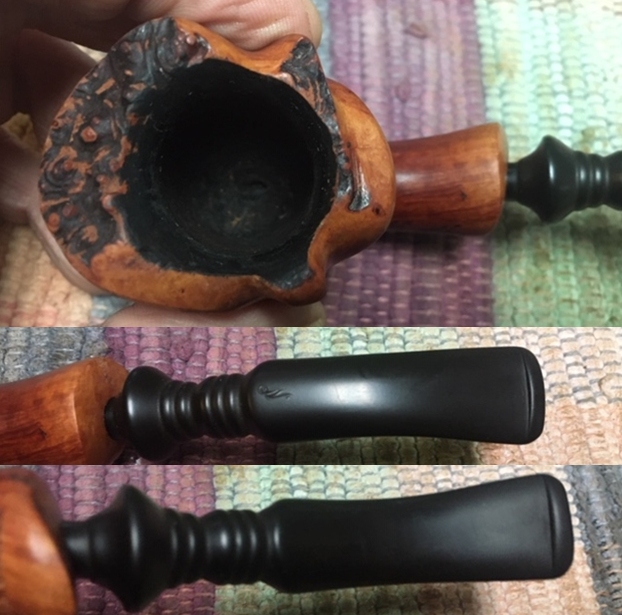
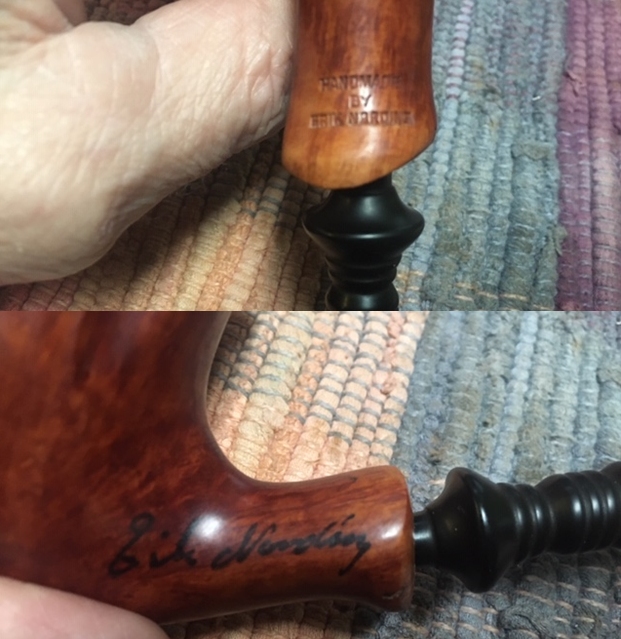
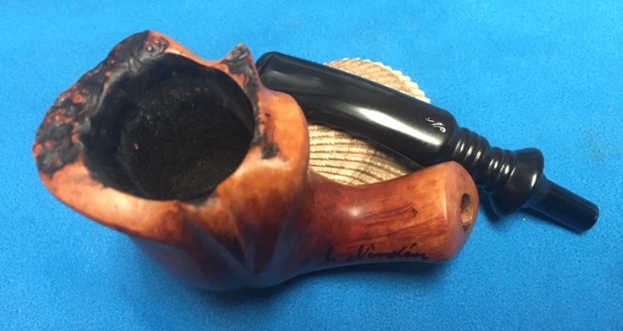
The pipe has the signature as noted above but it was also stamped on the underside of the shank and read: Handmade by Erik Nording. The finish on this pipe was dirty with dust and a light lava coat on the edge of the plateau top. The bowl was lined with a thick cake. The smooth finish was also dirty and dull looking. The finish looks good under the grime and dust. The bits of plateau should clean up well. The stem is a turned fancy turned vulcanite stem with the stylized N of the Nording logo on the top of the saddle. The fit of the stem to the shank was snug. There were light tooth marks and chatter on both sides of the stem at the button. Otherwise it was a very clean stem. Jeff took of the pipe to show the overall condition of the bowl and stem. You can also see why I was reminded of the Cala Lily.He took close up photos of the bowl and rim top from different angles to show the condition of the rim top and the plateau finish. You can see the lava and build up on the rim top and the lava flowing over the inner edge of the bowl onto the plateau. It is hard to know if there is damage or if the lava protected it. The bowl has a thick cake that lining the walls and overflowing into lava. He took photos of the sides and heel of the bowl to show the lay of the grain and the carvings around the pipe. It is a nice piece of briar. The top of the bowl is floral looking. Unique! The shank end is smooth with one small piece of plateau on the left side of the shank toward the end. Jeff took a photo of Erik Nording’s signature on the left side of the shank. It appears to have been done with Black permanent marker. He also took a photo of the stamping on the underside of the shank which read Handmade by Erik Nording. The first photo below shows the full length and profile of the fancy turned vulcanite stem. The next two photos show the surface of the top and underside of the stem. You can see the light tooth marks and chatter both on the button surface and on the blade itself. Erik Nording is a living pipe carver from Denmark. He is still carving and the information on Pipedia and Pipephil is helpful to get a feel for the brand. Give those articles a look if you want a good summary of the information. I have included the links to both of those articles for easy access.

https://pipedia.org/wiki/N%C3%B8rding

http://www.pipephil.eu/logos/en/logo-n2.html

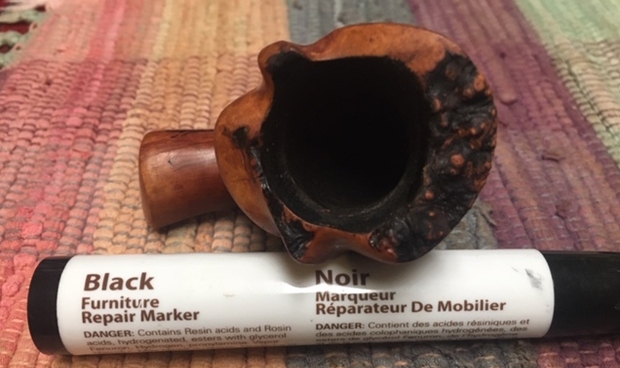
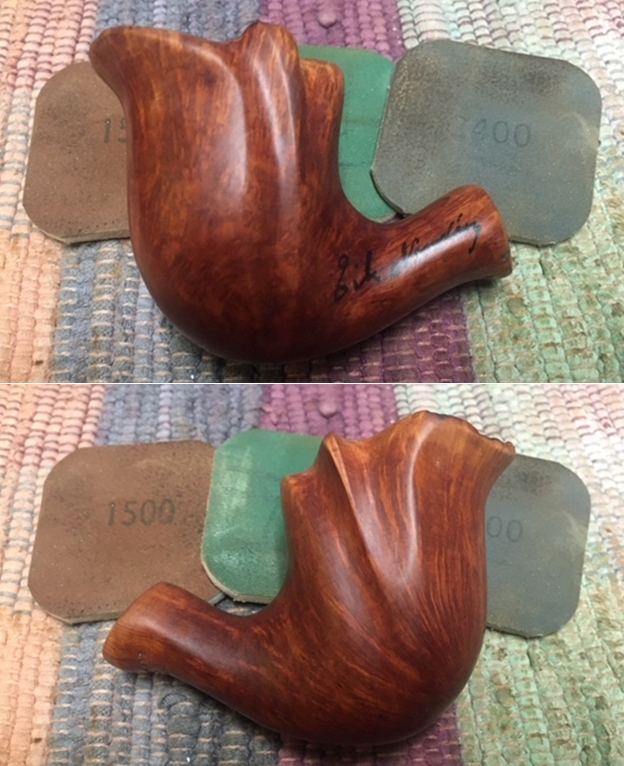
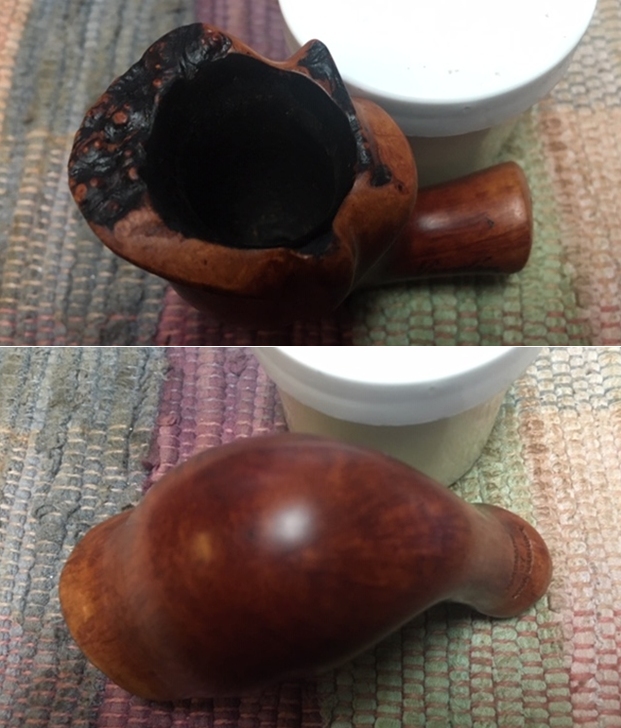
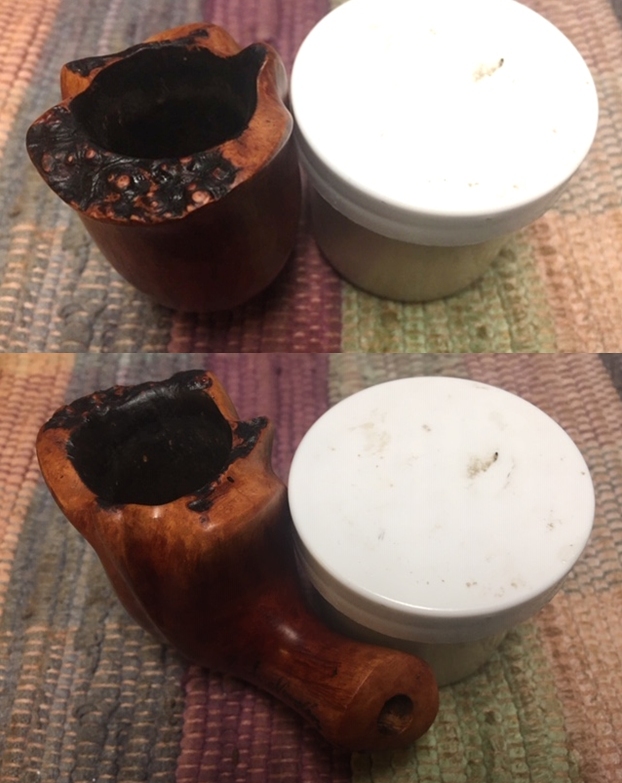
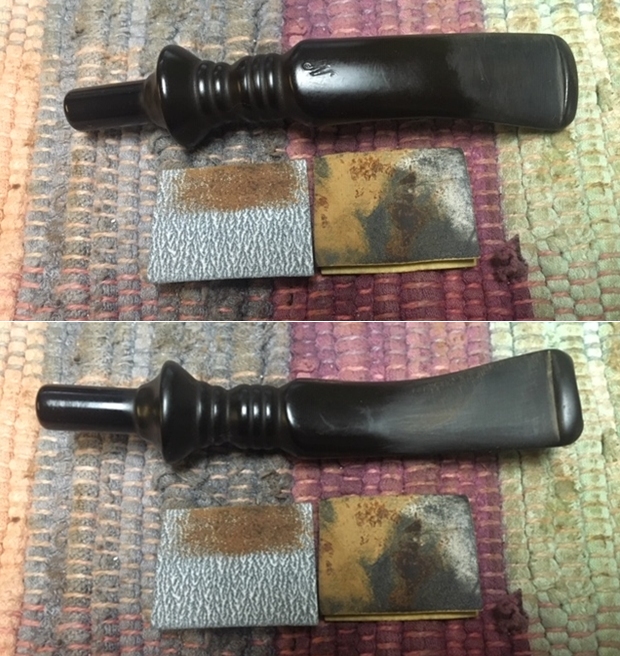
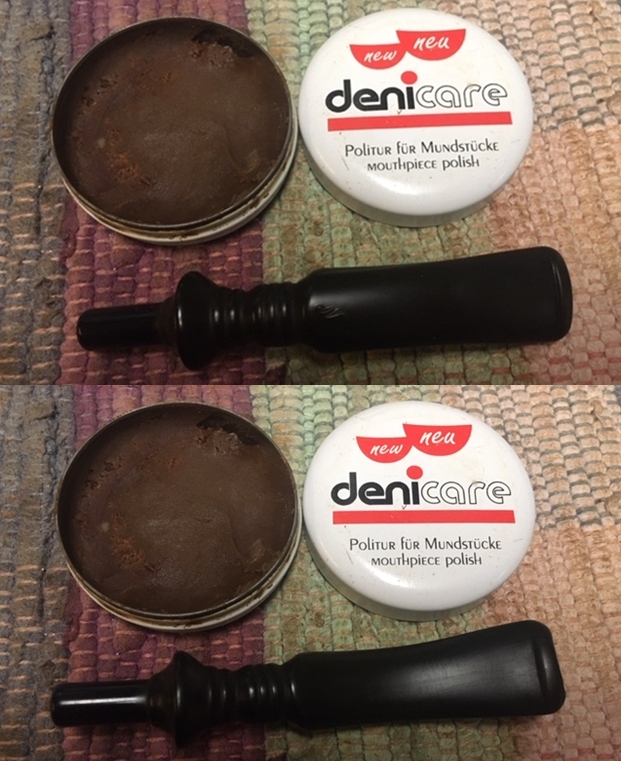
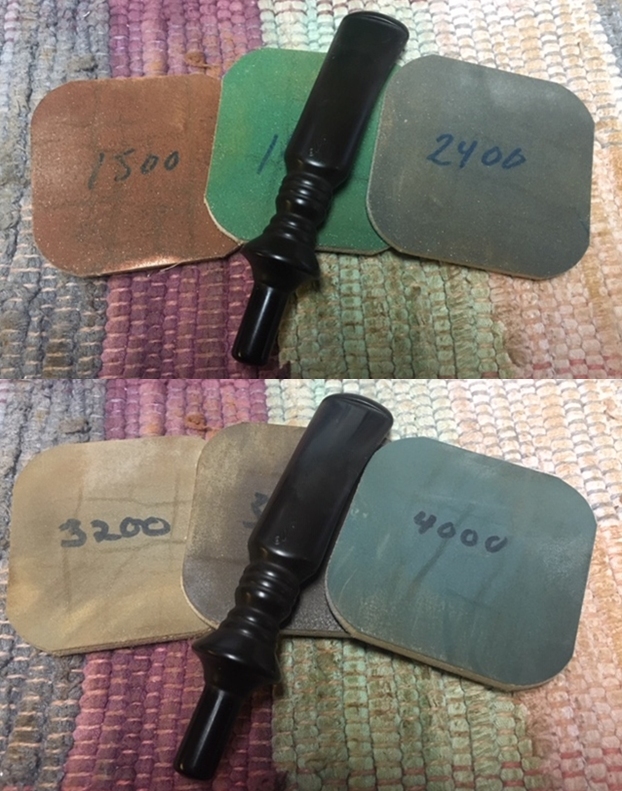
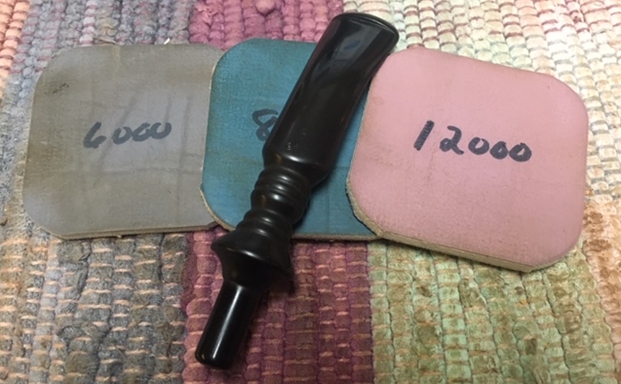
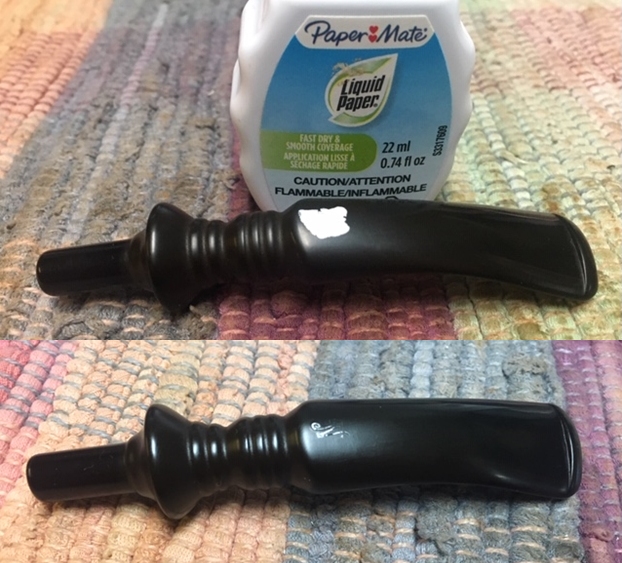
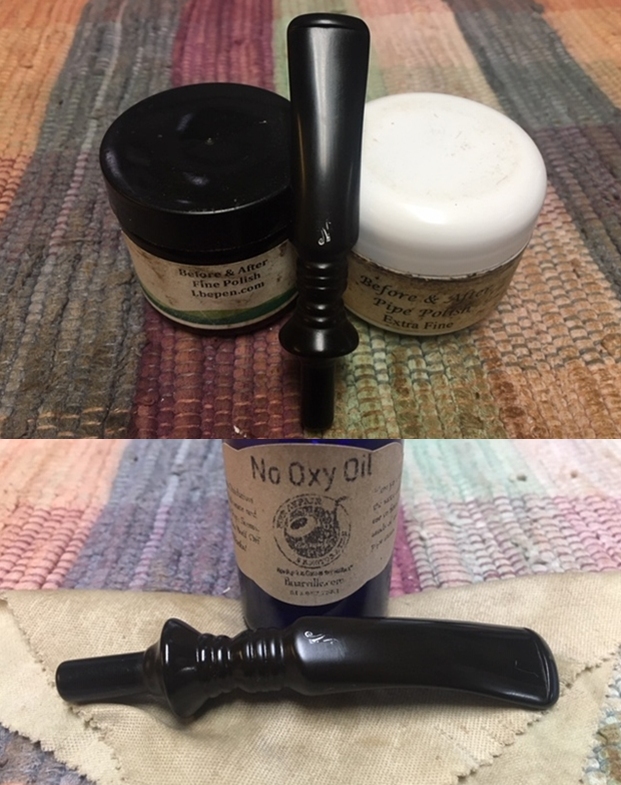
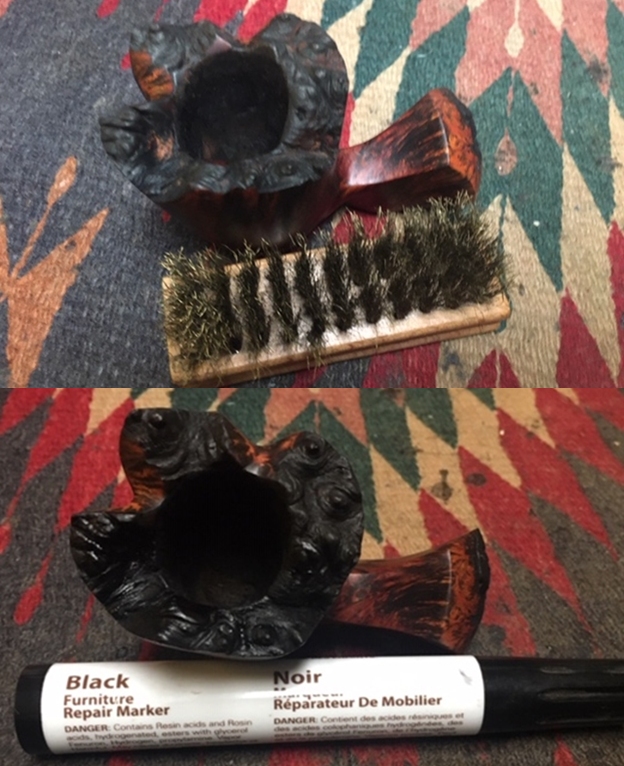
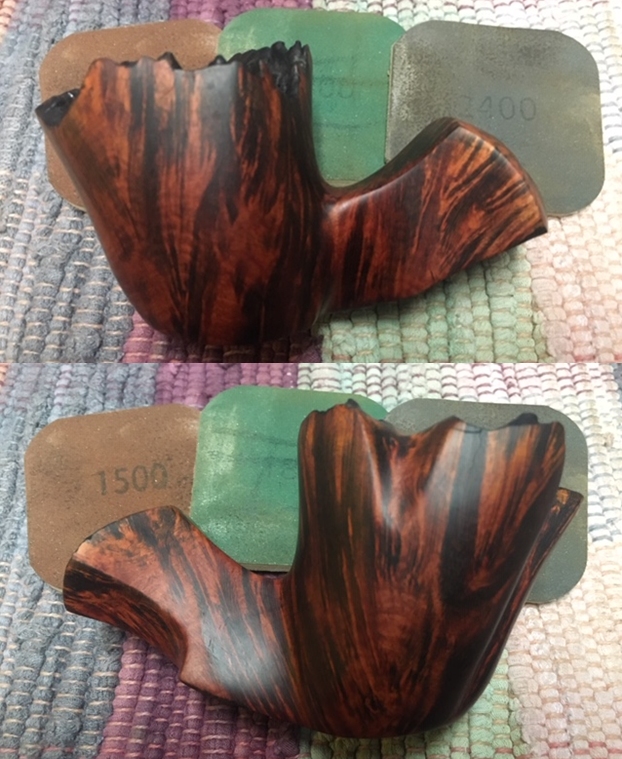
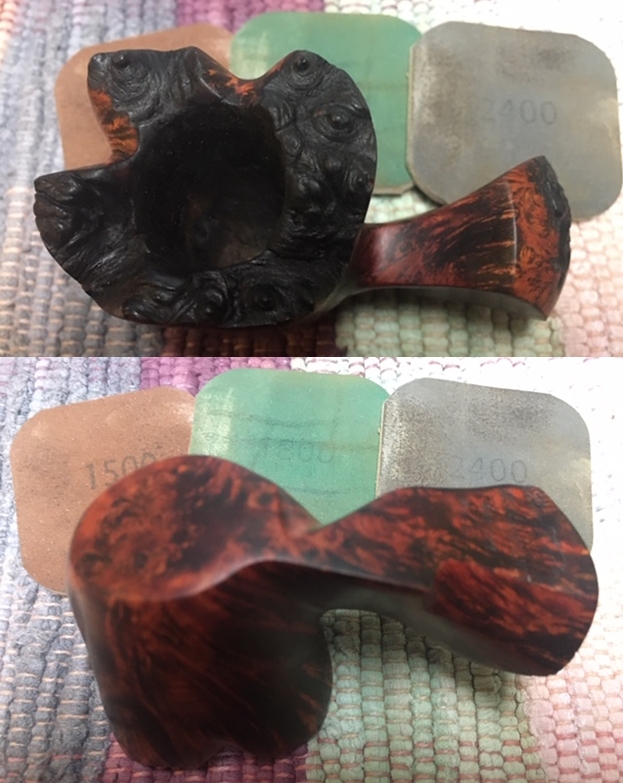
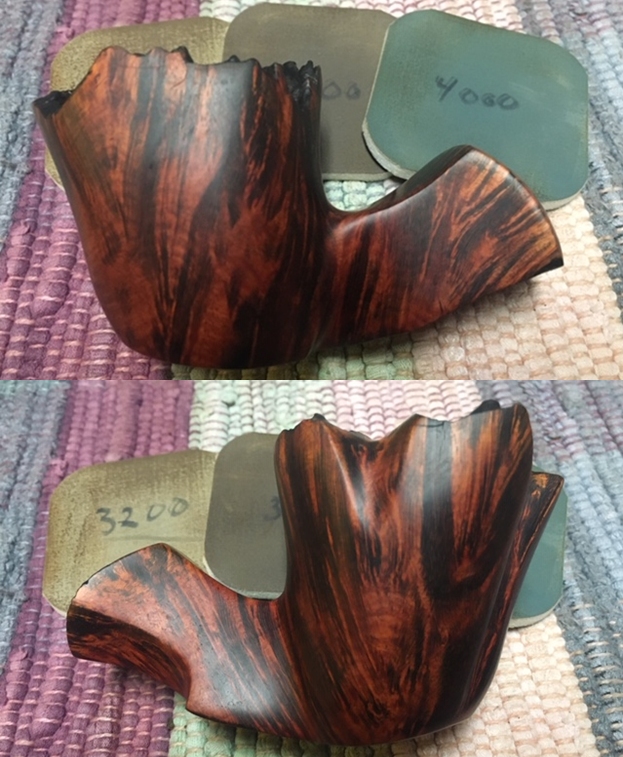
I moved forward to work on the pipe itself and see what I had to do with it. It had come back amazingly clean. Jeff had done his normal thorough clean up – reaming, scrubbing, soaking and the result was evident in the pipe when I unpacked it. I took photos of the pipe before I started my work on it. I took some photos of the rim top and stem to show the condition of them both when it arrived. Overall it looked good. The valleys of the plateau were finished in black but they were worn. The rim top was very clean. The stem looked amazingly good. The chatter on the stem surfaces was gone and the surface was clean.I took photos of the stamping on the underside of the shank and the signature on the left side. Both look to be in very good condition.To begin my part of the restoration work I decided to use a Black stain pen to fill in the crevices of the plateau top and give some contrast to the smooth high spots. I like this look as it give depth to the surface of the rim top.I polished the bowl with micromesh sanding pads – wet sanding with 1500-12000 grit pads. I wiped the briar down after each pad with a damp cloth. The bowl is starting to look very good. I worked some Before & After Restoration Balm into the surface of the briar with my fingertips and into the plateau rim top and shank end with a horsehair shoe brush to clean, enliven and protect it. I let the balm sit for a little while and then buffed with a cotton cloth to raise the shine. The photos show the bowl at this point in the restoration process. I set the bowl aside and turned my attention to the stem. I sanded out the tooth chatter and blended in the repairs with 220 grit sandpaper and started to polish it with a folded piece of 400 wet dry sandpaper. Once it was finished it began to shine.I used some Denicare Mouthpiece Polish that I have in my kit to start polishing out some of the scratches and remaining oxidation on the stem. I rubbed it in with a cotton pad and my finger tip and buffed it off with a cotton pad.I polished the stem with micromesh sanding pads – wet sanding with 1500-12000 grit sanding pads. I wiped it down after each sanding pad with some Obsidian Oil. I touched up the N stamp on the top of the stem with some Paper Mate Liquid Paper. I applied it with a tooth pick on the surface of the stem. Once it had dried I scraped off the excess Liquid Paper off the stem with the tooth pick. I finished polishing it with Before & After Pipe Stem Polish – both Fine and Extra Fine and buffed it off with a cotton cloth.This is another beautiful Freehand pipe. It is an Erik Nording Handmade with a fancy, turned, black acrylic stem. To me it has the look of a Cala Lily with the flared top edges and carved valleys in the sides of the bowl. It looks a lot like the photo I posted at the top of this blog. Once again the shape fits well in my hand with the curve of the bowl and shank junction a perfect fit for the thumb around the bowl when held. I polished stem and the bowl with Blue Diamond polish on the buffing wheel. I gave the plateau on the rim top multiple coats of Conservator’s Wax. I gave the bowl and the stem multiple coats of carnauba wax. I buffed the pipe with a clean buffing pad to raise the shine. I hand buffed it with a microfiber cloth to deepen the shine. The pipe polished up pretty nicely. The rich combination of browns and black in the smooth finishes and the plateau areas took on life with the buffing. The rich colour of the briar works well with the polished vulcanite stem. I like the grain and finished look of this Nording pipe. Have a look at it with the photos below. The shape, finish and flow of the pipe and stem are very well done. The dimensions are Length: 6 inches, Height: 2 ½ inches, Outside diameter of the bowl: 1 ½  wide x 2 inches long, Chamber diameter: 1 inch. This Danish Freehand is a real beauty. Thanks for walking through the restoration with me as I worked over another beautiful pipe. This one will be going on the rebornpipes store in the Danish Pipe Making Section shortly if you would like to add it to your collection. Thanks for your time.
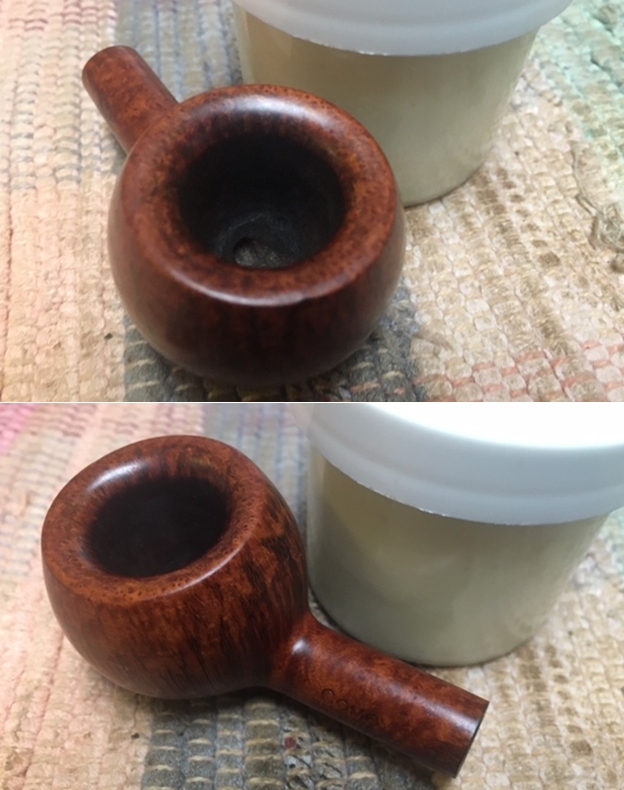
Breathing Life into a Danish Hand Made Ben Wade Golden Walnut


Blog by Steve Laug

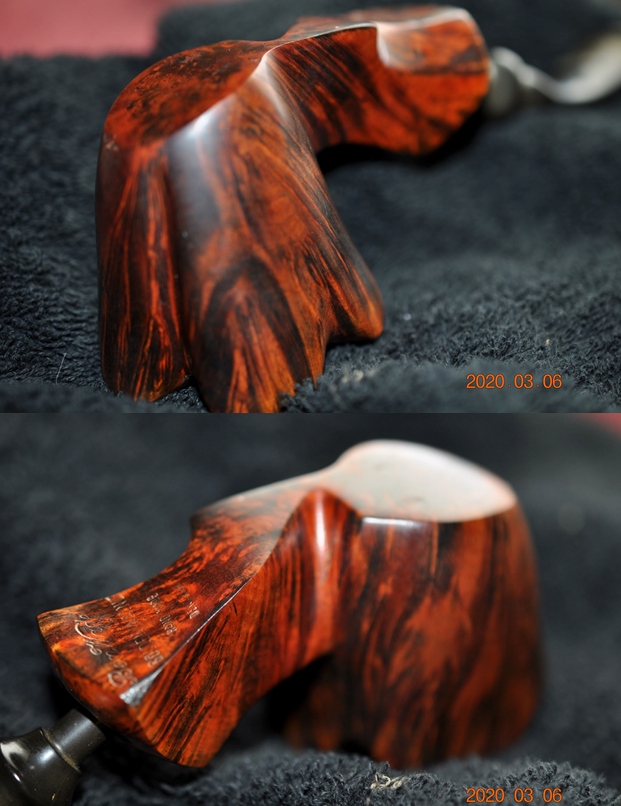
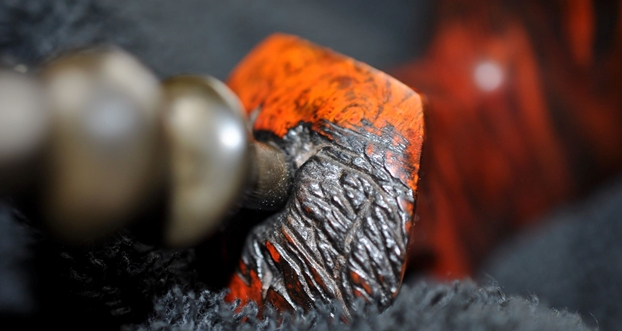
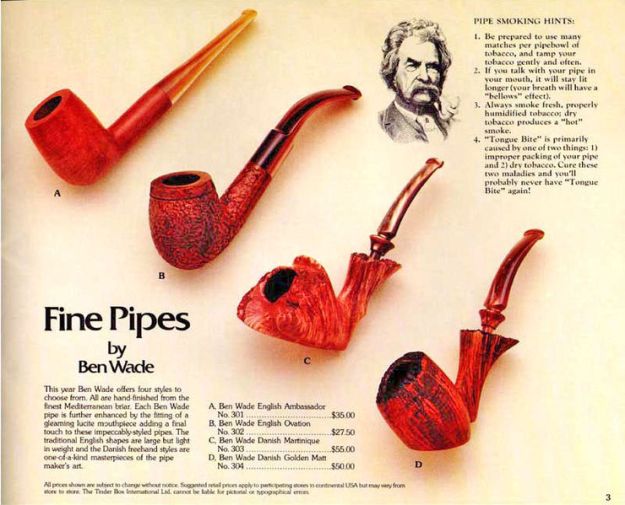
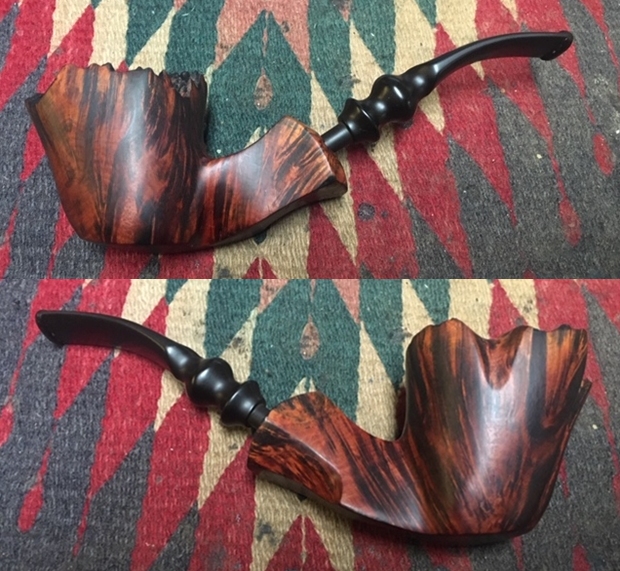
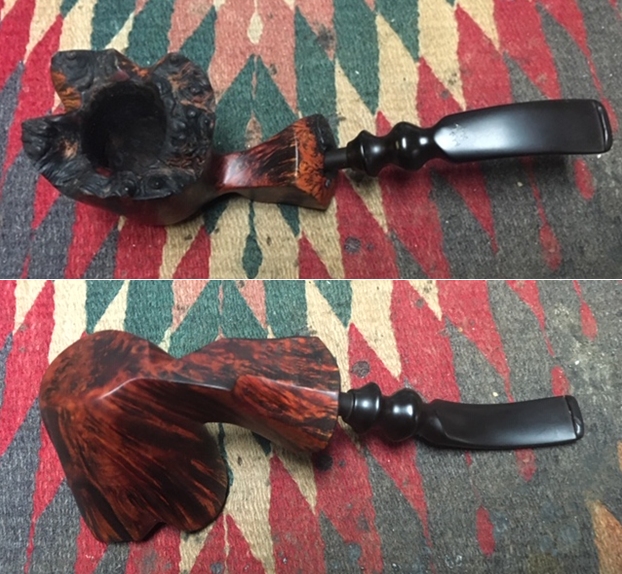
There is some almost electric about handling and working on a pipe designed and carved by Preben Holm. I can’t describe adequately the feeling I have when I turn the bowl and stem over in my hands even before I start working on the pipe. There is an energy that flows through the way he carved and shaped the pipes of his making. This second Ben Wade pipe was no exception. When Jeff showed me the photos of several of the Ben Wade pipes by Preben Holm that he had picked up I was excited to be able to work on them. This one has twists and turns in the carving and valleys carved into the sides of the bowl. It is very unique. The combination of dark and medium stains highlights grain that runs like flames across both sides of the bowl culminating at the flat heel of the bowl. The rim top is plateau but also cut across it are also valleys coming up from the sides of the bowl. The shank end combines smooth and plateau for a unique look.

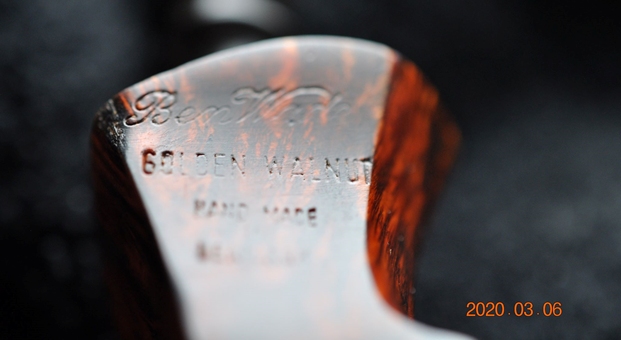
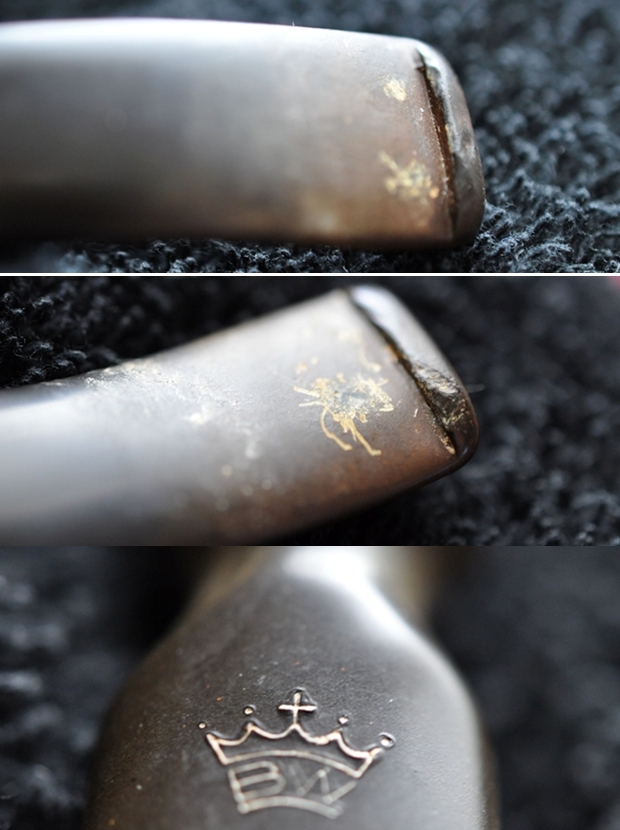
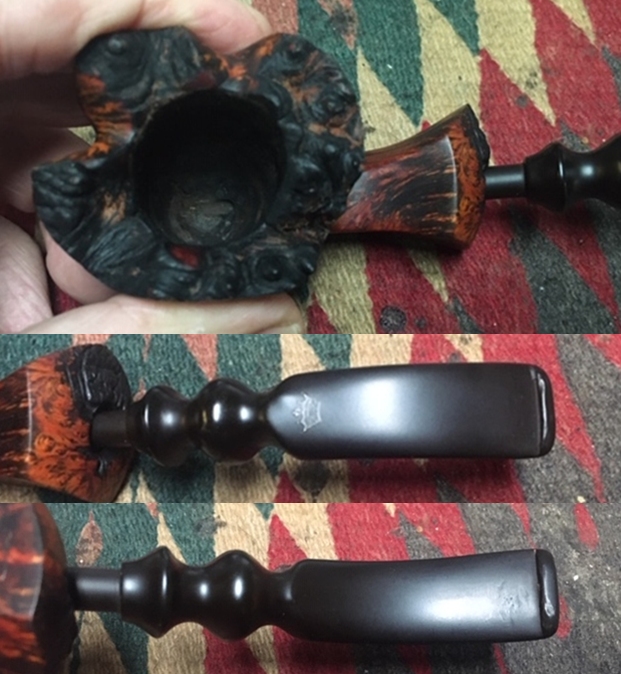
This is another well-loved pipe as you can see from the thick cake in the bowl and the lava on the rim top. It is hard to know the condition of the inner edge of the bowl due to the lava on the edges. The outside of the bowl and plateau portions are dirty and dusty but the grain pops through. The vulcanite stem still had the BW Cross and Crown logo on the top sides just past the fancy turnings. The stem as a whole was oxidized, dirty and dusty with deep tooth marks on the button surface and lighter ones on the blade just ahead of the button on both sides. Jeff took these photos before he started his part of the restoration. He took close up photos of the bowl and rim top from different angles to show the condition of both the smooth and plateau finish. It is truly a uniquely carved rim top maximizing the plateau and the smooth parts flowing up from the bowl sides.You can see the lava and build up on the rim top and the lava flowing over the inner edge of the bowl onto the plateau. It is hard to know if there is damage or if the lava protected it. The bowl has a thick cake that lining the walls and overflowing into lava. He took photos of the sides and heel of the bowl to show the lay of the grain around the pipe. It is a beautiful piece of briar. The top of the bowl is craggy and rugged looking. Unique! The shank end is also a unique mix of plateau and smooth. Jeff took several photos of the stamping on the underside of the shank to capture all of the stamping. It was clear and read Ben Wade in script at the top. Under that it read Golden Walnut. Under that was stamped Hand Made in Denmark.The next two photos show the surface of the top and underside of the vulcanite stem. You can see the tooth marks and damage both on the button surface and on the blade itself. The third photo shows the unique Cross and Crown BW logo on the stem top near the turnings.I am including the background history that I included on the previous blog. It includes the idea that the Preben Holm pipes were marketed under the Ben Wade label in the US and imported through Lane Ltd. I turned to Pipedia and read the listing on the brand to refresh my memory and flesh out the knowledge of the brand (https://pipedia.org/wiki/Ben_Wade). I have included a photo from that site that was taken from a Tinderbox advertisement.

Ben Wade Ad in a Tinder Box catalog, courtesy Doug Valitchka

I quote the portion of the article that summarizes the history of the brand.

Young Copenhagen master pipemaker Preben Holm had made a meteoric career heading a pipe manufacture employing 45 people at the age of 22! But around the turn of 1970/71 he was in major financial difficulties. His US distributor, Snug Harbour Ltd. in New York City, left him in the lurch. Holm had three unpaid invoices on his desk and another large shipment was ready for the USA, when Snug Harbour’s manager told him on the phone that there was no money at all on the account to pay him.

So the Dane went to New York for an almost desperate search for a new distribution partner. He made contacts with Lane Ltd. and met Herman G. Lane in February 1971. Lane Ltd. had no interest in Holm’s serial pipes produced at that time but so much the more in the hand-carved freehands because the hype for Danish freehands and fancies in the States was still on its way to the climax then. The meeting resulted in an agreement to start a cooperation. Lane insisted to improve the quality considerably and in return he assured to be able to sell essentially larger quantities.

Holm went back home to work on new samples with all-new designs and altered finishes for Lane. Both, Lane and Holm, agreed that it would be unwise to sell the pipes under Preben Holm’s name as long as Snug Harbour had a considerable stock of Preben Holm pipes and might sell them pipes at very low prices just to bring in some money.

So on Mr. Lane’s proposal it was determined to use the name Ben Wade belonging to Lane Ltd. Lane spent considerable amounts of money for advertising the new brand in the big magazines– the centerpiece being whole-page ads showing a very exclusive Seven Day’s Set.

The cooperation with Lane Ltd. proved to be an eminent business success for both partners. Within a very short time Ben Wade Handmade Denmark sold in much larger quantities and at higher prices than they had ever dreamed of. And the hype these freehands and fancy pipes caused went on unbroken long after Herman G. Lane deceased. Preben Holm – obviously much more brilliant in pipe making than in pipe business – was in major troubles again in 1986 and had to sack most of his staff. The Ben Wade production was significantly lowered but continued until his untimely death in June of 1989.

Up to now Preben Holm made Ben Wade pipes are cult and highly sought for on the estate markets.

With that information my initial thoughts were confirmed. This pipe was another Preben Holm made Freehand distributed in the US by Lane Ltd under the name Ben Wade. The freehand rage occurred in the late 70s and the pipes were made until Preben’s death in 1989. My guess would be that this pipe was made sometime during that time period and potentially in the late 70s.

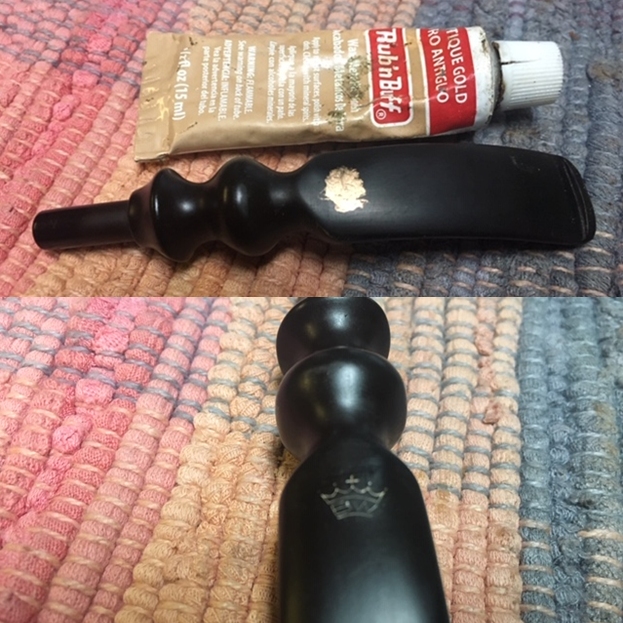
Armed with that information I moved forward to work on the pipe itself and see what I had to do with it. It had come back amazingly clean. Jeff had done his normal thorough clean up – reaming, scrubbing, soaking and the result was evident in the pipe when I unpacked it. I took photos of the pipe before I started my work on it. I took some photos of the rim top and stem to show the condition of them both when it arrived. It looked good. There is some darkening and damage to the inner edge of the bowl. The stem had some deep tooth marks ahead of the button and on the button surface on both sides.To begin my part of the restoration work I decided to clean out some more of the grooves in the plateau with a brass bristle wire brush. Once I had it cleaned out I restained the plateau top with black stain. It is amazing how good the plateau looks once it is cleaned and stained.I polished the bowl with micromesh sanding pads – wet sanding with 1500-12000 grit pads. I wiped the briar down after each pad with a damp cloth. The bowl is starting to look very good. I worked some Before & After Restoration Balm into the surface of the briar with my fingertips and into the plateau rim top and shank end with a horsehair shoe brush to clean, enliven and protect it. I let the balm sit for a little while and then buffed with a cotton cloth to raise the shine. The photos show the bowl at this point in the restoration process. I set the bowl aside and turned my attention to the stem. The stem was very clean so I filled in the tooth marks with clear super glue and set it aside to cure. Once it had cured I flattened out the repairs and sharpened the edge of the button with a needle file. I sanded out the tooth chatter with 220 grit sandpaper and started to polish it with a folded piece of 400 wet dry sandpaper. Once it was finished it began to shine.I used some Denicare Mouthpiece Polish that I have in my kit to start polishing out some of the scratches and remaining oxidation on the stem. I rubbed it in with a cotton pad and my finger tip and buffed it off with a cotton pad.I touched up the stamping on the stem top with Rub’n Buff Antique Gold. It looked like it had previously been stamped with gold so I filled in the stamping once again and buffed the product off the stem.I polished the stem with micromesh sanding pads – wet sanding with 1500-12000 grit sanding pads. I wiped it down after each sanding pad with some Obsidian Oil. I finished polishing it with Before & After Pipe Stem Polish – both Fine and Extra Fine and buffed it off with a cotton cloth. I wiped it down with Briarville’s No Oxy Oil to protect the stem and slow down the oxidation. This is a beautiful Preben Holm made Ben Wade Golden Walnut with a fancy, turned, black vulcanite stem. It has a great look and feel. The shape fits well in the hand with the curve of the bowl and shank junction a perfect fit for the thumb around the bowl when held. I polished stem and the bowl with Blue Diamond polish on the buffing wheel. I gave the plateau on the rim top and shank end multiple coats of Conservator’s Wax. I gave the bowl and the stem multiple coats of carnauba wax. I buffed the pipe with a clean buffing pad to raise the shine. I hand buffed it with a microfiber cloth to deepen the shine. The pipe polished up pretty nicely. The rich combination of browns and black in the smooth finishes and the plateau areas took on life with the buffing. The rich colour of the briar works well with the polished vulcanite stem. I like the grain and finished look of this Preben Holm Ben Wade Golden Walnut pipe. Have a look at it with the photos below. The shape, finish and flow of the pipe and stem are very well done. The dimensions are Length: 6 ½ inches, Height: 2 ¼ inches, Outside diameter of the bowl: 2 wide x 2 ¼ inches long, Chamber diameter: 7/8 of an inch. This Danish Freehand is a real beauty. Thanks for walking through the restoration with me as I worked over another beautiful pipe. This one will be going on the rebornpipes store shortly if you would like to add it to your collection. Thanks for your time.


Repairing a Burned Rim Edge and Chewed Stem on an English Ben Wade 76 Canadian


Blog by Steve Laug

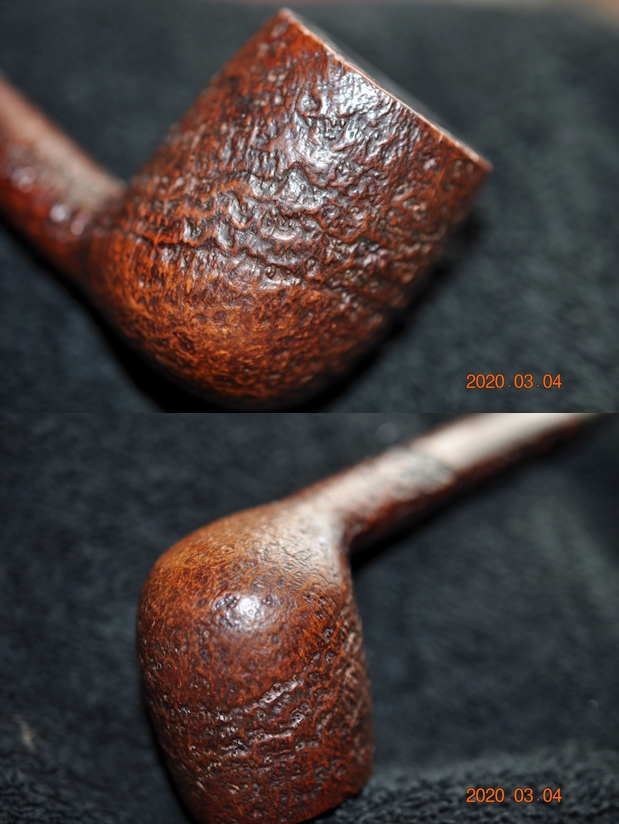
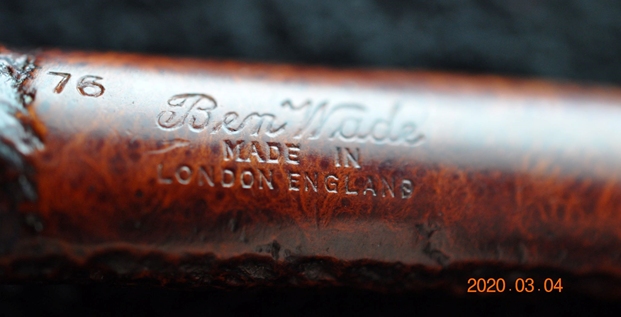
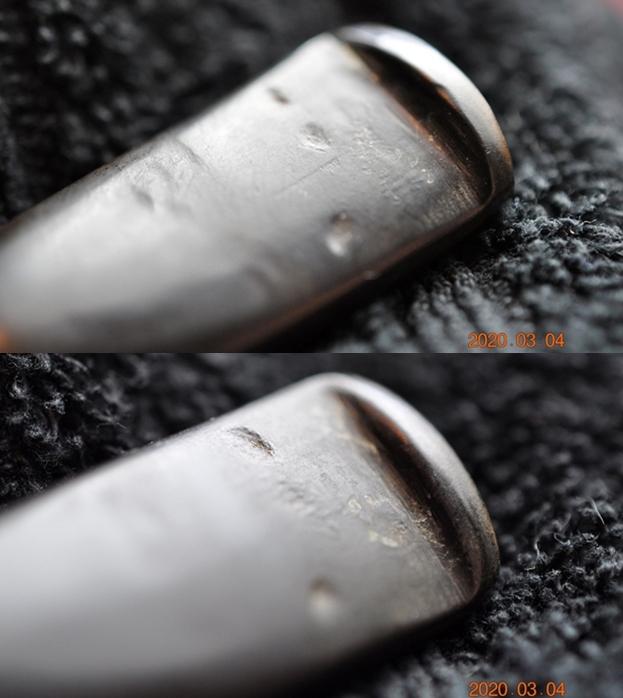
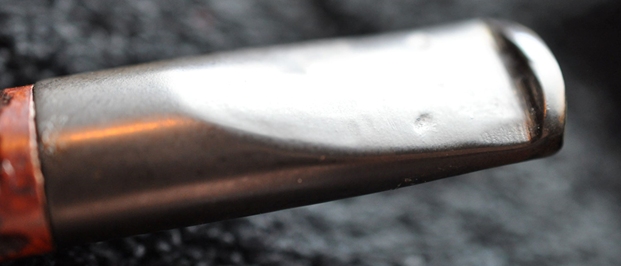
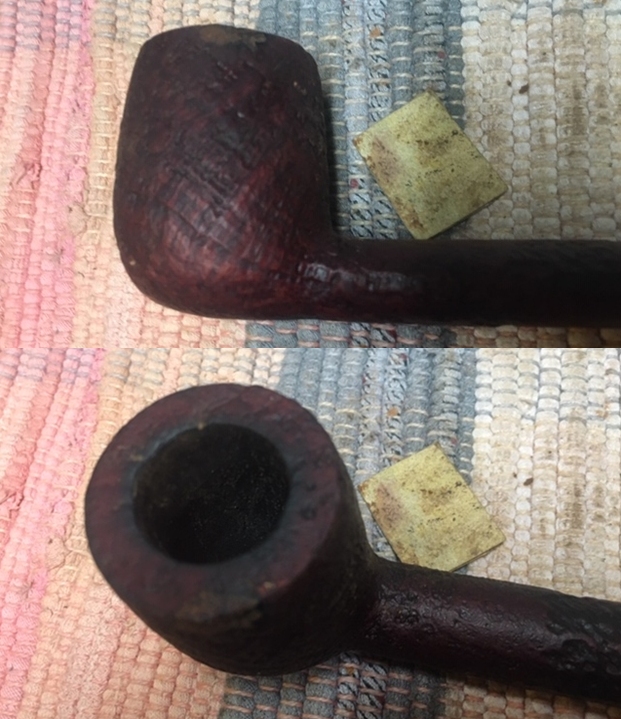
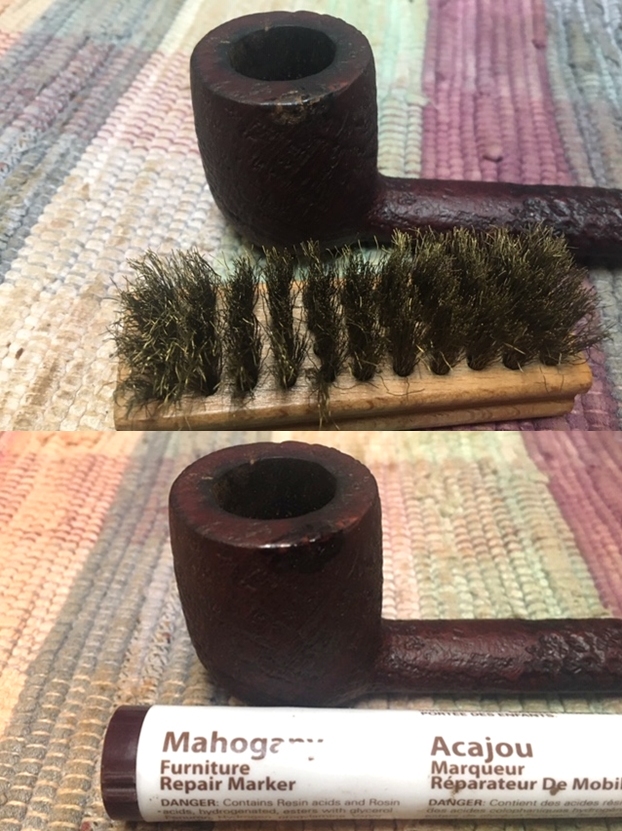
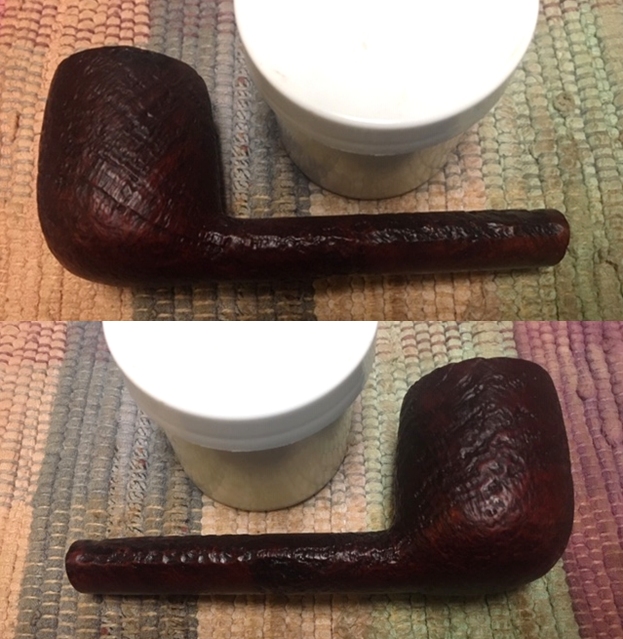
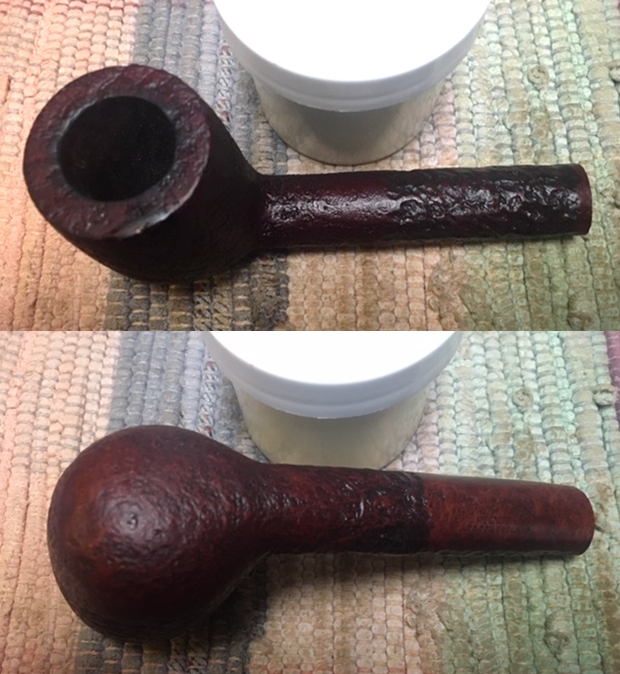
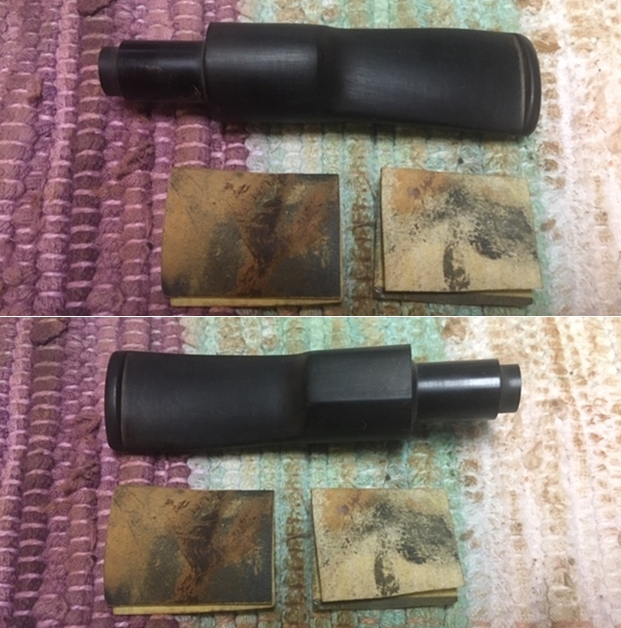
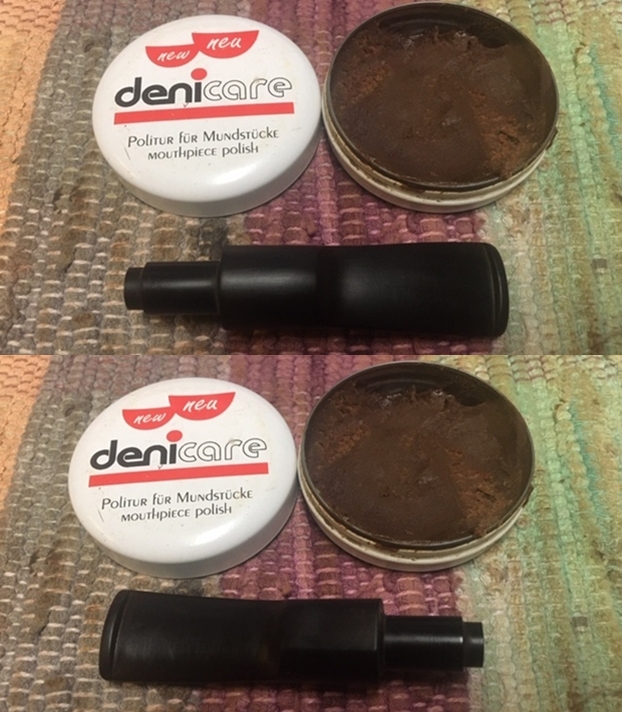
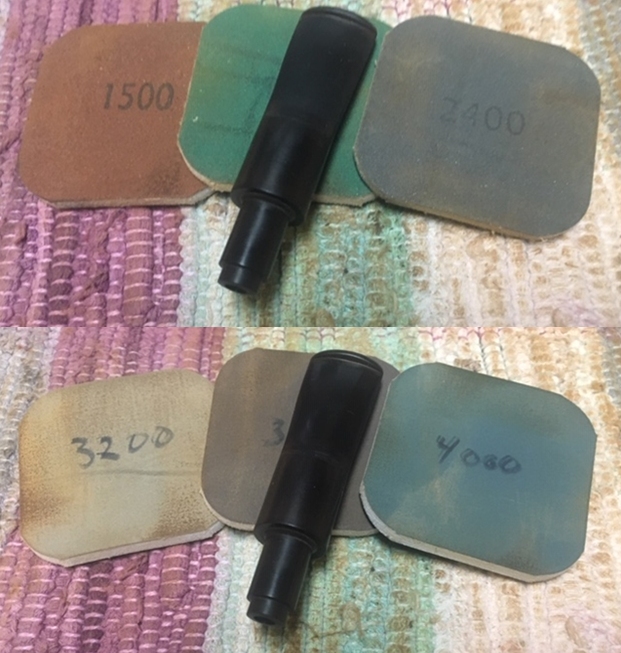
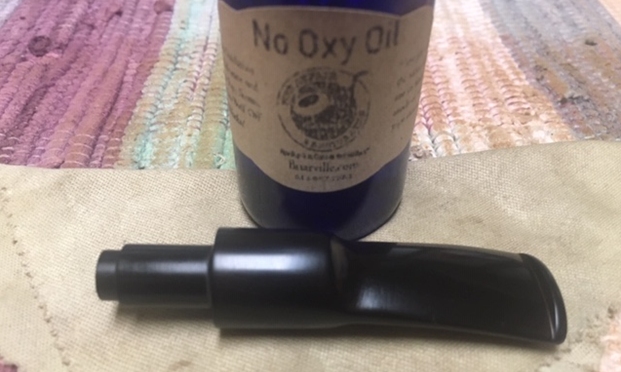
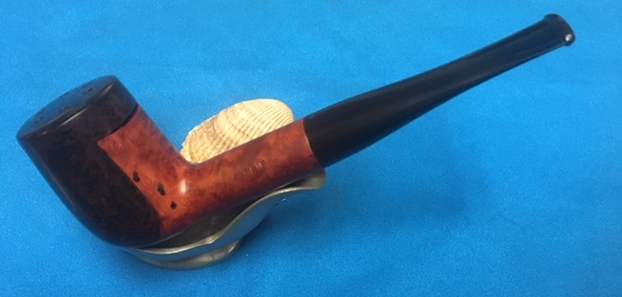
The next pipe on my table is nice sandblast thick shank Canadian. It is stamped on the underside of the shank with the Ben Wade over Made in London England. It also has the shape number 76 just ahead of the Ben Wade stamping. It has a nice sandblast finish that is in good shape under the dirt and even the rim top looks good. The inner edge of the rim is darkened but the bowl is in good shape. There was burn damage on the left outer edge and darkening on the inner edge of the bowl. There is a thick cake in the bowl and light lava build up on the rim top and inner edge. The taper vulcanite stem was oxidized and had some deep tooth marks and chatter on both sides ahead of the button. Jeff took these photos before he cleaned the pipe.He took photos of the rim top from various angles to give a clear picture of the condition of the bowl and rim. It is dirty but there is a light lava coat on the top and the rim edges have some darkening and buildup. There is also a deep burn mark on the left out edge toward the rear of the bowl. Jeff also took a closer photo of the burned area on the outer edge of the rim. It is visible in the photo below.The sandblast finish around the sides and heel of the bowl is quite interesting and reveals some different underlying grain. The stamping on the underside of the shank is very readable as can be seen in the next photo.The next two photos show the deep tooth marks on the surface of the stem. They are actually quite high up the stem from the button. This pipeman had been a bit of a chomper. There is some wear on the edge of the button as well. The stem shows a great profile. I moved forward to work on the pipe itself and see what I had to do with it. It had come back amazingly clean. Jeff had done his normal thorough clean up – reaming, scrubbing, soaking and the result was evident in the pipe when I unpacked it. I took photos of the pipe before I started my work on it. I took some photos of the rim top to show the condition of the edges and the bowl. It looked very good. There is some darkening to the inner edge of the bowl. The second photo shows the damage from the burn on the left side of the rim top and side of the bowl. The stem had some deep tooth marks ahead of the button on both sides. The bowl was going to be straightforward to work on so I started with it. The burned spot on the left side of the bowl edge needed to be addressed. Since the bowl was clean I wiped off the damaged spot with alcohol on a cotton pad. I dried it of with a cloth. I then filled it in with layers of super glue and briar dust – repeating the process until the surface of the rim top and the side of the bowl were even. When the repair had cured I sanded it with a folded piece of 220 grit sandpaper to blend it into the surrounding briar. I used a brass bristle brush to roughen up the surface of the rim top and side of the bowl. I worked it over to achieve a similar pattern to the surround sandblast. I stained the repaired area with a Mahogany stain pen and blended it into the surrounding stained briar. I am pretty happy with the match. At this point in the process the bowl definitely looks better.I worked some Before & After Restoration Balm into the briar with my fingertips. I let the balm sit on the briar for 10 minutes the buffed it off with a soft cloth. The balm enlivens, enriches and protects the briar while giving it a deep glow. I set the bowl aside and turned my attention to the stem. The stem was very clean so I filled in the tooth marks with clear super glue and set it aside to cure. Once it had cured I flattened out the repairs and sharpened the edge of the button with a needle file. I sanded the stem with 220 grit sandpaper to blend in the repairs with the rest of the stem surface.  I started the polishing with 400 grit wet dry sandpaper.I polished the stem with Denicare Mouthpiece Polish. It is a gritty red paste (similar in grit to red Tripoli) that I rub on with my finger tips and work it into the surface of the stem and button and buff it off with a cotton pad. It gives me a bit of a head start on the polishing work.I polished the stem with micromesh sanding pads – wet sanding with 1500-12000 grit sanding pads. I wiped it down after each sanding pad with Obsidian Oil. I polished it with Before & After Pipe Stem Polish – both Fine and Extra Fine. I buffed the stem with a soft cloth to raise the shine. I wiped the stem down with Briarville’s No Oxy Oil to preserve and protect the stem surface. Ahhhh…once again I am at my favourite part of a restoration – finishing up a pipe! This Ben Wade English made Canadian 76 came out really well considering the issues with the burned area on the side of the bowl and rim when I started. I put the pipe back together and buffed it with Blue Diamond polish on the buffing wheel. I polished the bowl with multiple coats of Conservator’s Wax and the stem with multiple coats of carnauba wax. I buffed it with a clean buffing pad and with a hand buff with a microfibre cloth. The mix of colours and the buffing made the sandblast stand out when it was waxed. The mixed grain is quite stunning. Thick oval shank and taper stem stands out in great contrast to the briar. It is a nice looking pipe. Have a look at the photos below of the finished pipe. Its dimensions are Length: 6 ¼ inches, Height: 2 inches, Outside Diameter of the Bowl: 1 3/8 inches, Diameter of the Chamber: ¾ of an inch. The long shank Canadian feels great in the hand. This one will be going on the rebornpipes store later today. You can add it to your collection and carry on the trust. Let me know if you are interested in adding it. Thanks for your time.  
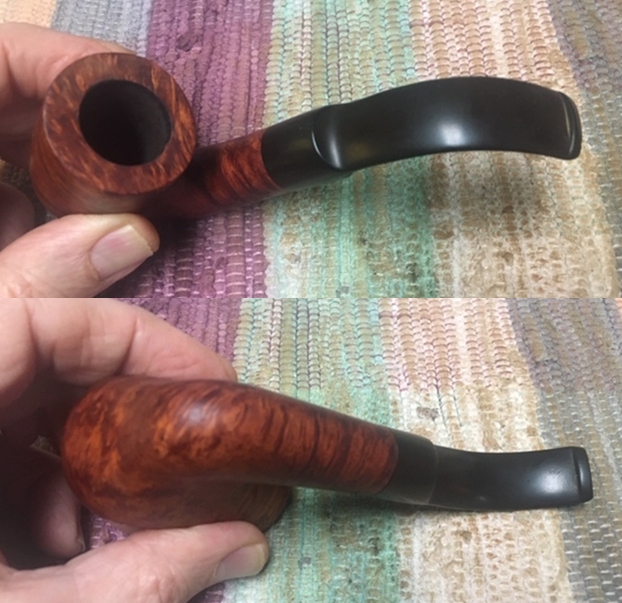
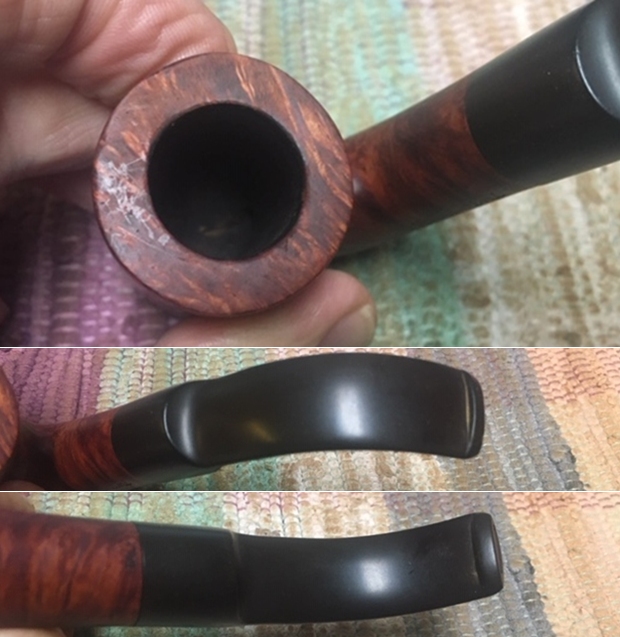
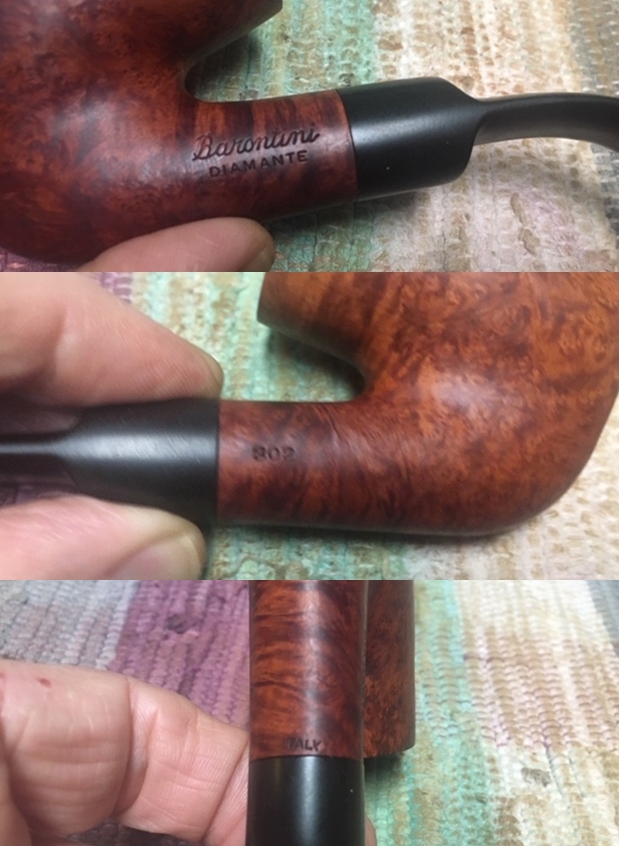
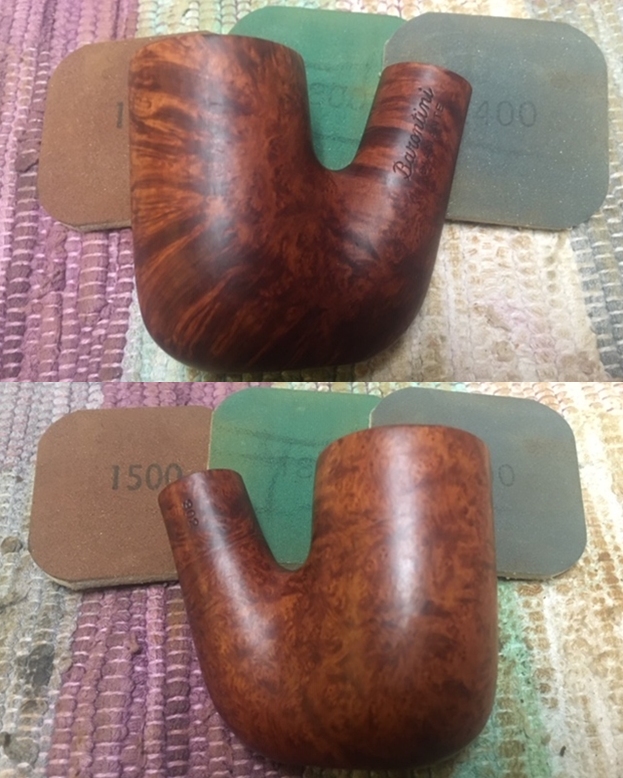
Breathing Life into Barontini Diamante 302 Oom Paul


Blog by Steve Laug

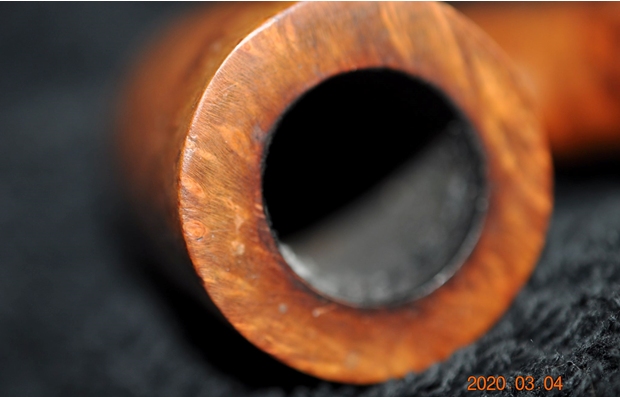
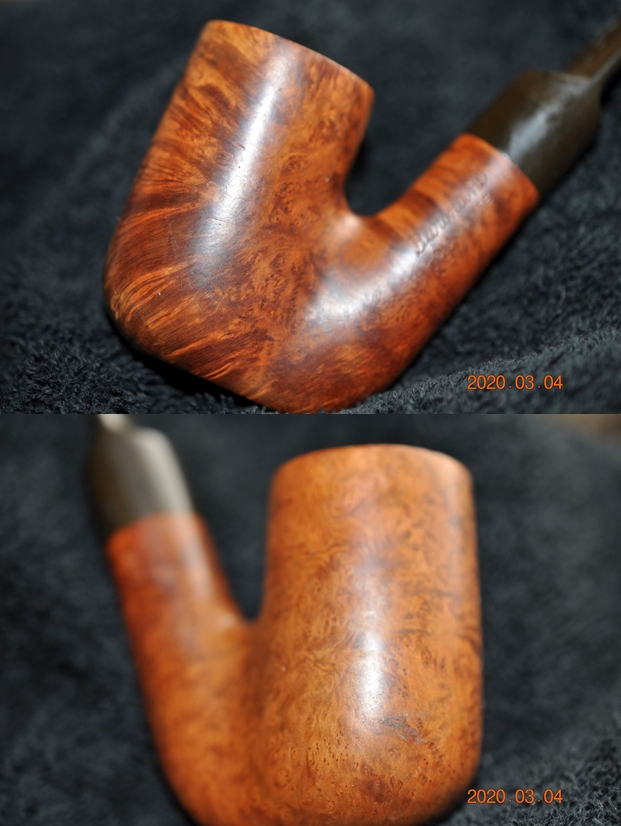
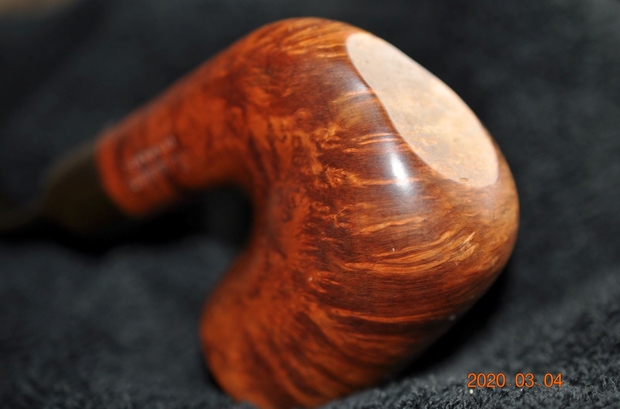
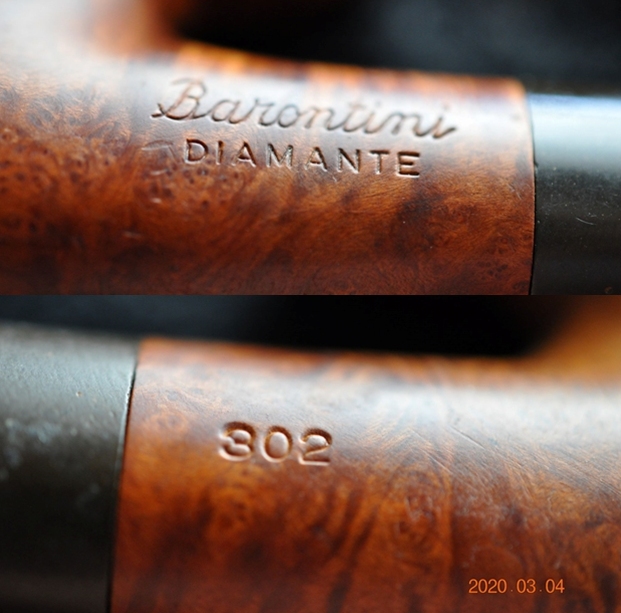
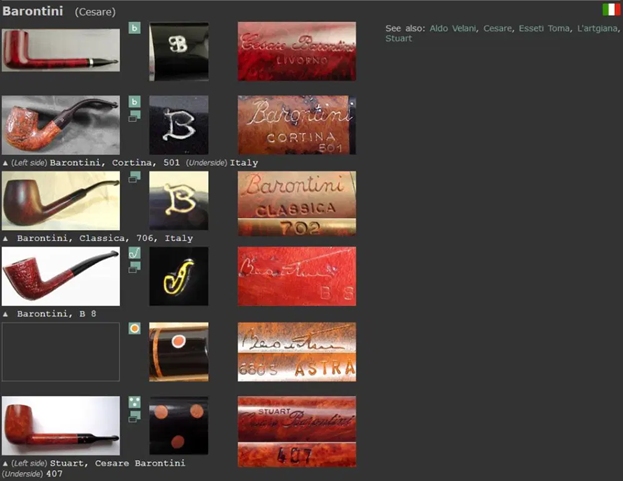
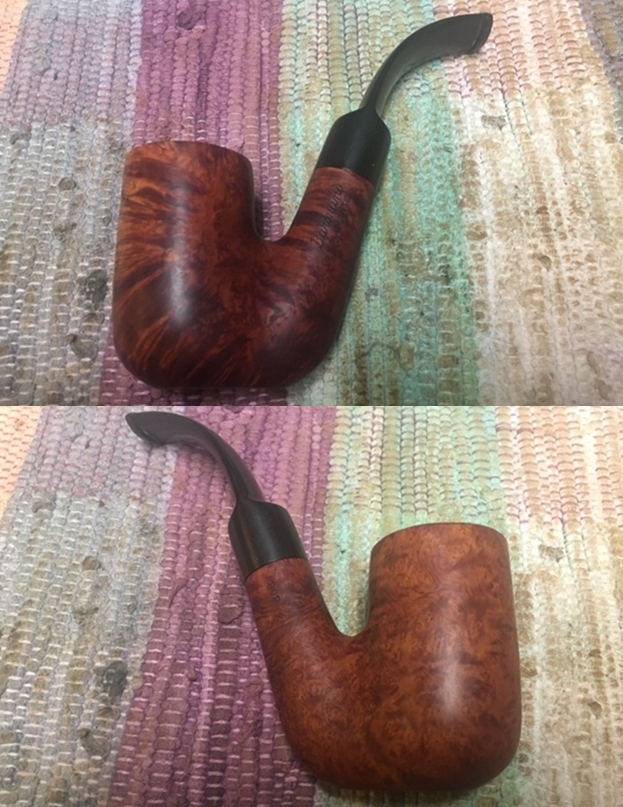
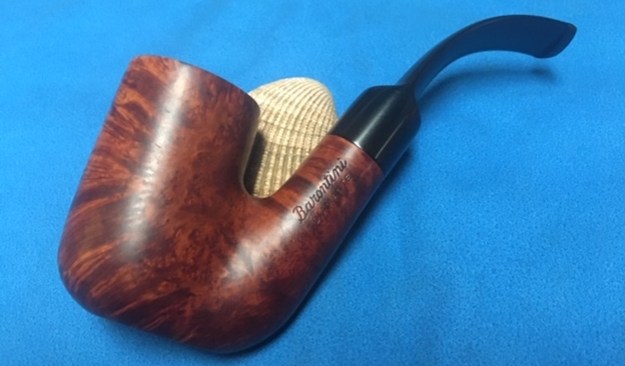
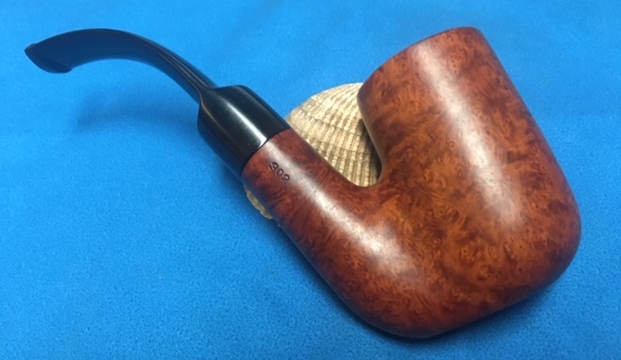
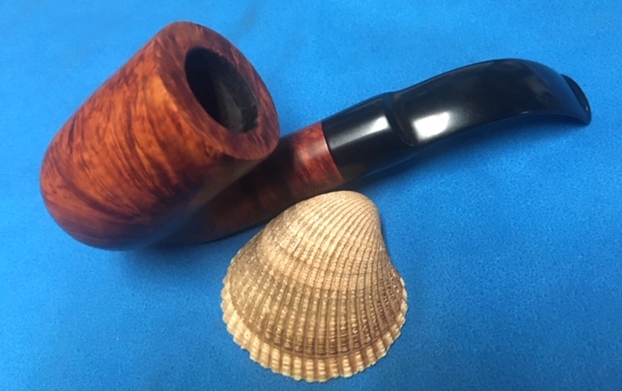
The next pipe on my table is a Barontini Oom Paul. It is a beautifully grained piece of briar. It is stamped on the left side of the shank Barontini over Diamante. On the right side it has the shape number 302. On the underside of the shank it is stamped Italy. It is a dirty pipe but has some great grain that the carver built the shape around. The finis is in good shape under the dirt and even the rim top looks good. The inner edge of the rim is darkened but appears to be undamaged. There is a medium cake in the bowl – thicker toward the bottom half of the bowl. The stem is oxidized and has light tooth marks and chatter on both sides ahead of the button. Jeff took these photos before he cleaned the pipe. Jeff took photos of the rim top from various angles to give a clear picture of the condition of the bowl and rim. It is dirty but there is no lava coat on the top and the rim edges look very good. The grain around the sides and heel of the bowl is quite stunning. It is a combination of cross grain and birdseye grain. The stamping on both sides of the shank is very readable as can be seen in the next two photos.The stem shows some calcification and oxidation on the surface as well as light tooth marks and chatter on both sides. There is some wear on the edge of the button as well. The stem shows a great profile and the bend is perfect for the Oom Paul shape. I have worked on a few Barontini pipes in the past and have always found that they are well made and quite stunning. I turned to a previous blog I wrote on a Barontini DeLuxe Brandy. I had done a bit of research on the brand and will include that information here as well (https://rebornpipes.com/2018/09/08/70642/).

I looked up some information on the brand on the Pipephil website to get a quick overview of the history (http://www.pipephil.eu/logos/en/logo-b2.html).  I did a screen capture of the listing for the brand. The fascinating thing that I learned in this quick overview was the connection to the entire Barontini family and to other companies like Aldo Velani. It is interesting to see the breadth of the brand in the following screen capture…Pipedia gives further history of the brand (https://pipedia.org/wiki/Barontini,_Ilio) under the listing for Ilio Barontini. I quote that article in full as it has the connection to the De Luxe pipe that I am working on.

Cesare Barontini, who was in charge of the Barontini Company since 1955, helped his cousin Ilio Barontini to establish a pipe production of his own.

Ilio started to produce machine-made series pipes of the lower to the middle price categories. Fatly 80% of the pipes went to foreign countries, the bulk being produced for various private label brands. Some of the own lines like “de Luxe”, “Etna” or “Vesuvio” gained a certain popularity. Citation: “Next to excellent craftsmanship Ilio Barontini pipes offer a wood quality, that is almost unrivalled in this price category!”.

The pipes being around still there were some unconfirmed utterances that Ilio Barontini brand has been absorbed by Cesare Barontini or even Savinelli. Who knows?

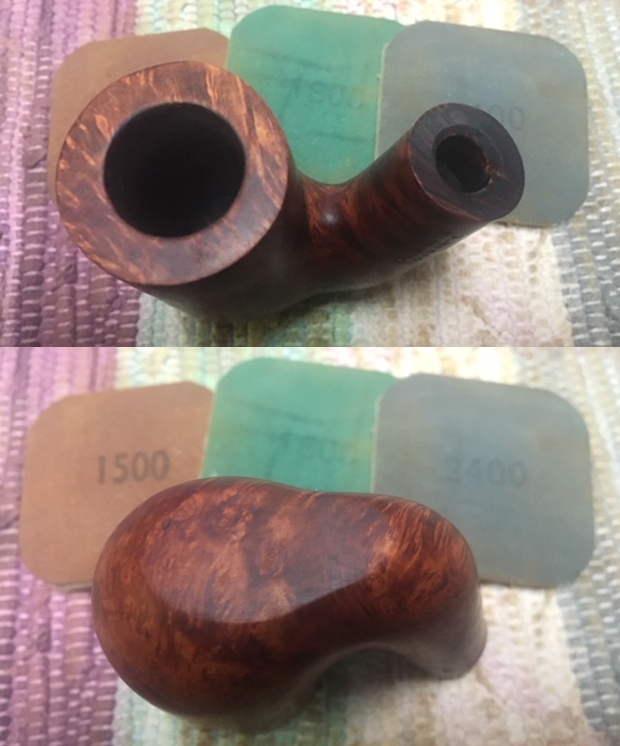
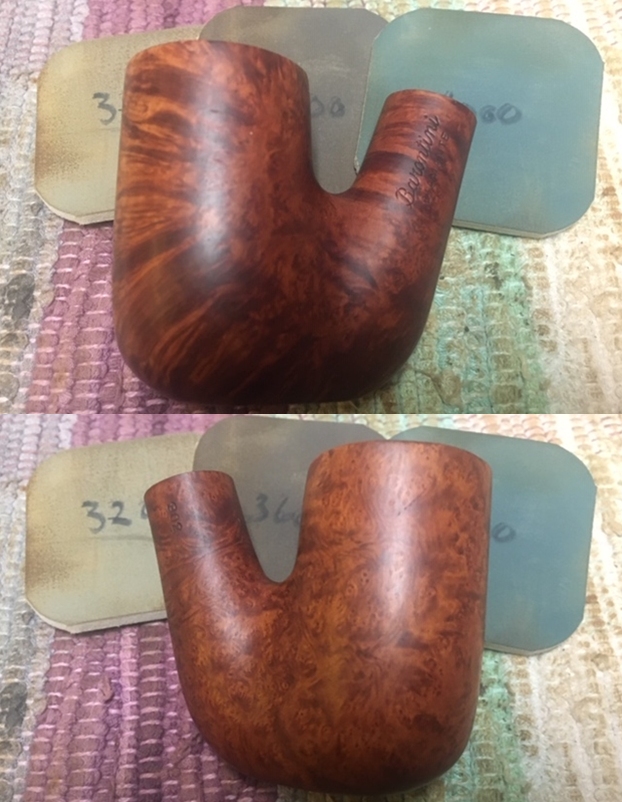
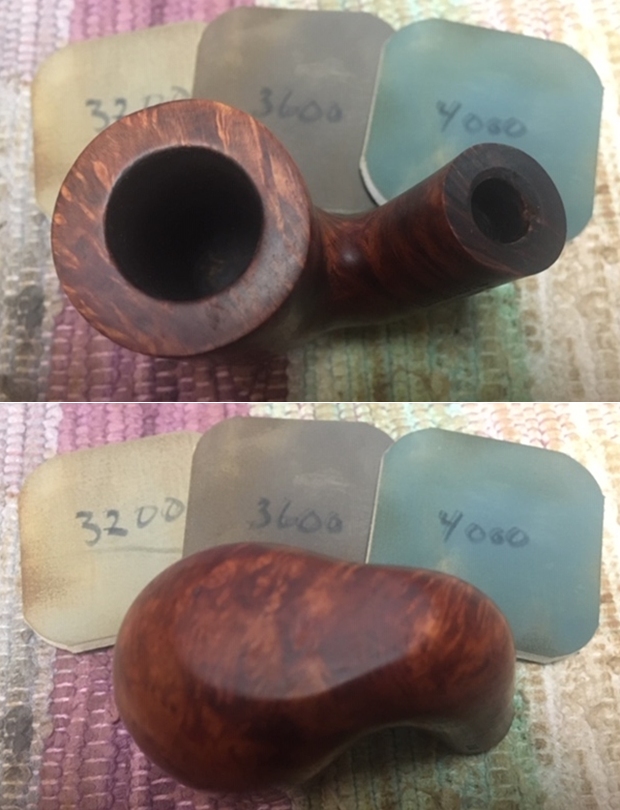
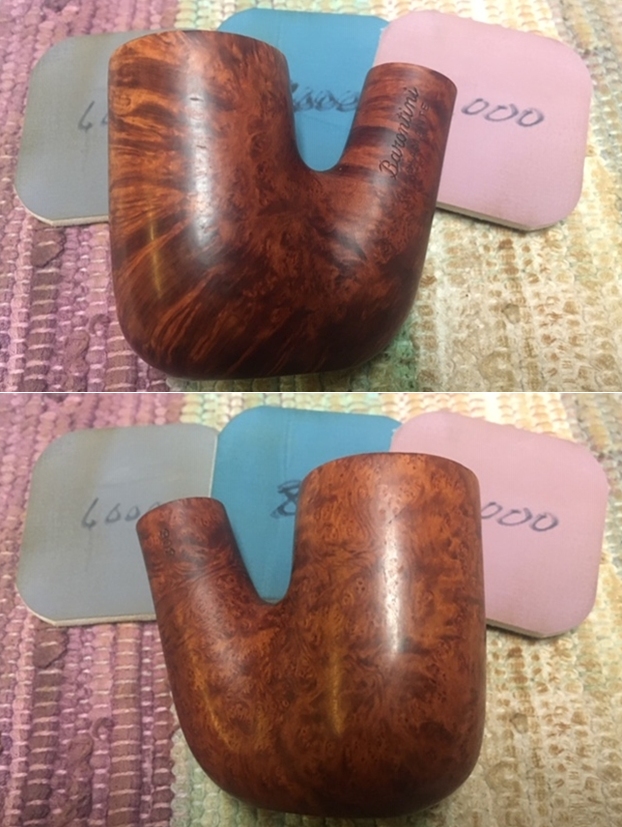
Fueled by that information it was time to get working on the pipe itself and see what I had to do with it. It had come back amazingly clean. Jeff had done his normal thorough clean up – reaming, scrubbing, soaking and the result was evident in the pipe when I unpacked it. I took photos of the pipe before I started my work on it. I took some photos of the rim top to show the condition of the edges and the bowl. It looked very good. The stem actually looked much better than I expected and the tooth chatter seemed to have disappeared. There were some light tooth marks just next to the button edge on both sides.I am including photos of the stamping to show how Jeff preserved it during the cleanup and it did not fade or show damage.I polished the briar with micromesh sanding pads – wet sanding with 1500-12000 grit pads. I wiped the bowl down after each pad with a damp cloth to remove the dust. I worked some Before & After Restoration Balm into the briar with my fingertips. I let the balm sit on the briar for 10 minutes the buffed it off with a soft cloth. The balm enlivens, enriches and protects the briar while giving it a deep glow. I set the bowl aside and turned my attention to the stem. I sanded the stem with 220 grit sandpaper to remove the tooth marks and the remnants of oxidation especially in the saddle area. I started the polishing with 400 grit wet dry sandpaper.I polished the stem with Denicare Mouthpiece Polish. It is a gritty red paste (similar in grit to red Tripoli) that I rub on with my finger tips and work it into the surface of the stem and button and buff it off with a cotton pad. It gives me a bit of a head start on the polishing work. I polished the stem with micromesh sanding pads – wet sanding with 1500-12000 grit sanding pads. I wiped it down after each sanding pad with Obsidian Oil. I polished it with Before & After Pipe Stem Polish – both Fine and Extra Fine. I buffed the stem with a soft cloth to raise the shine. I wiped the stem down with Briarville’s No Oxy Oil to preserve and protect the stem surface. Once again I am at my favourite part of a restoration – finishing up a pipe! This one came out really well. I put the pipe back together and buffed it with Blue Diamond polish on the buffing wheel. I polished it with multiple coats of carnauba wax on both the bowl and stem. I buffed it with a clean buffing pad and with a hand buff with a microfibre cloth. The grain really popped when I buffed it and waxed it. The cross grain and birdseye grain are quite stunning. The polished black vulcanite saddle stem stands out in great contrast to the briar. It is really a beautiful pipe. Have a look at the photos below of the finished pipe. Its dimensions are Length: 6 inches, Height: 2 ¼ inches, Outside Diameter of the Bowl: 1¼ inches, Diameter of the Chamber: ¾ of an inch. The pipe is comfortable handful and feels great in the hand. This one will be going on the rebornpipes store later today. You can add it to your collection and carry on the trust. Let me know if you are interested in adding it. Thanks for your time.


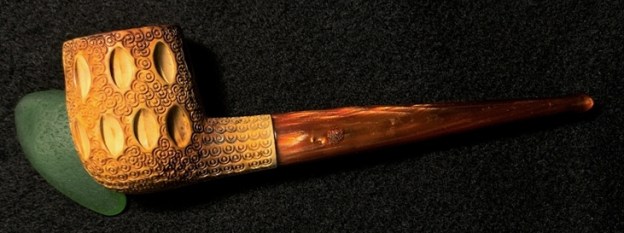
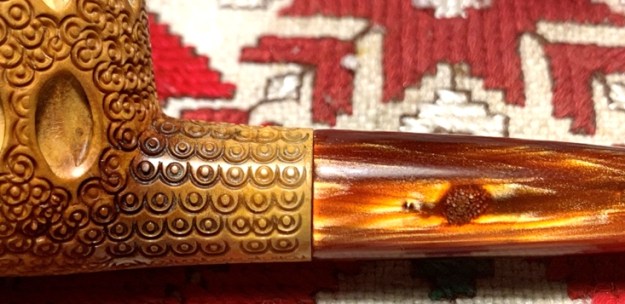
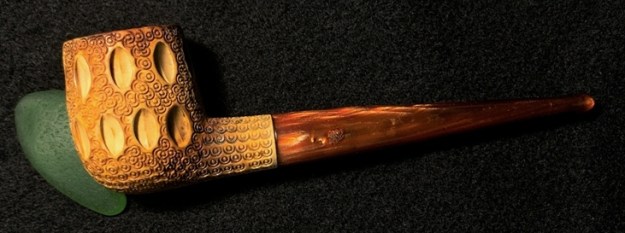
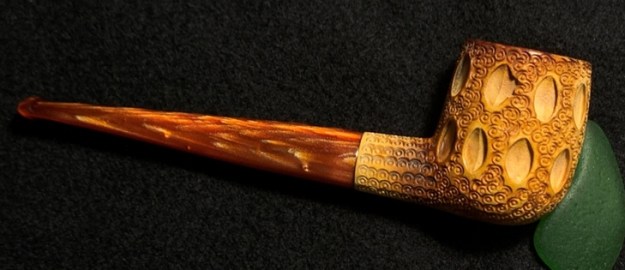
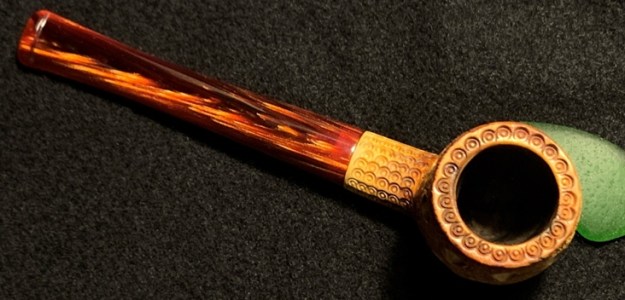
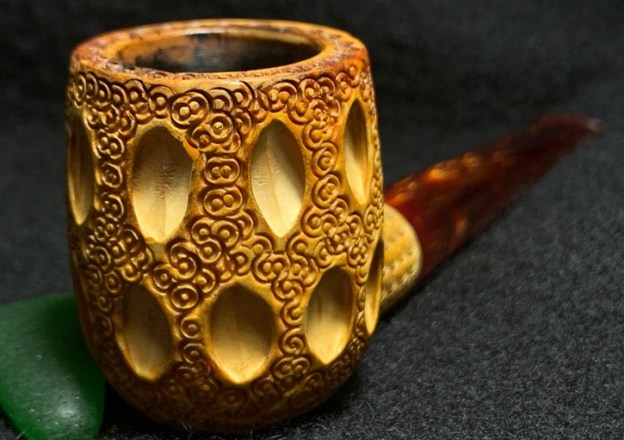
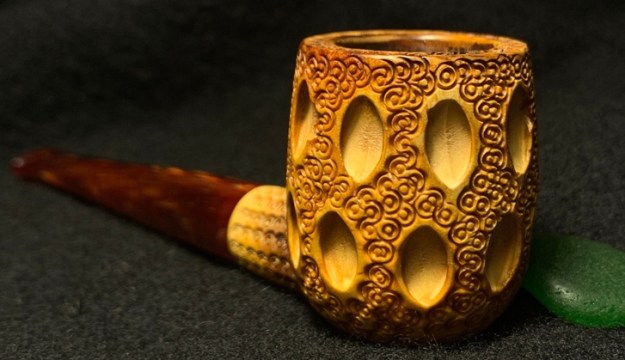
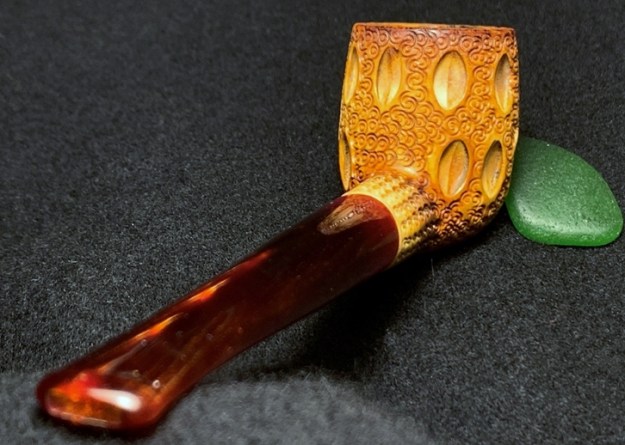
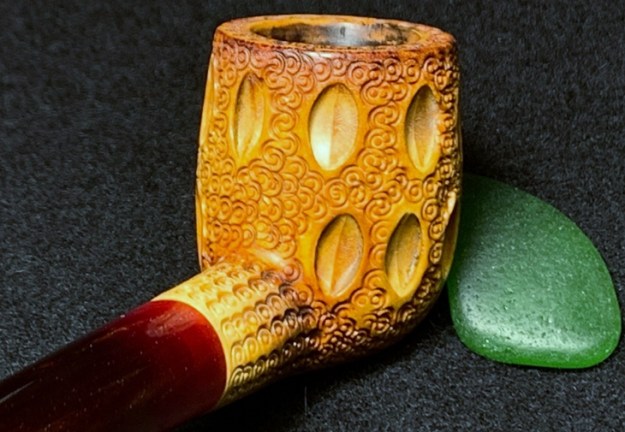
Sprucing Up a Meerschaum Teardrop Lattice Billiard


Blog Dal Stanton

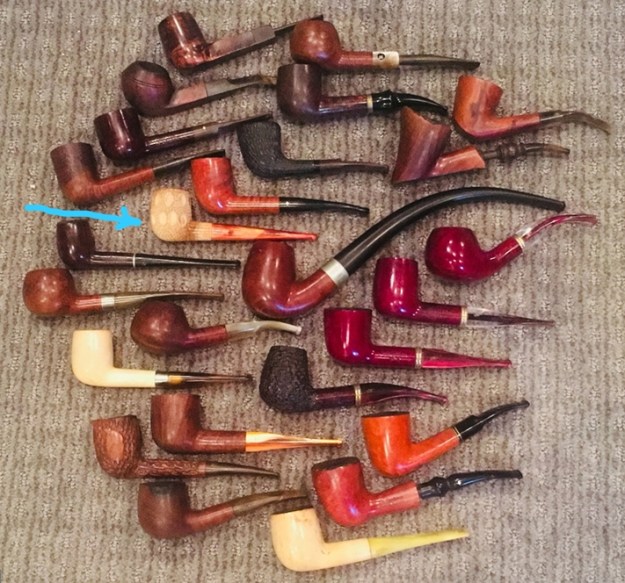
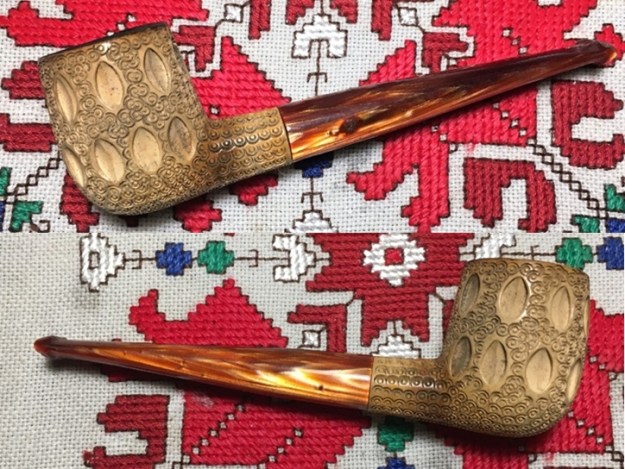
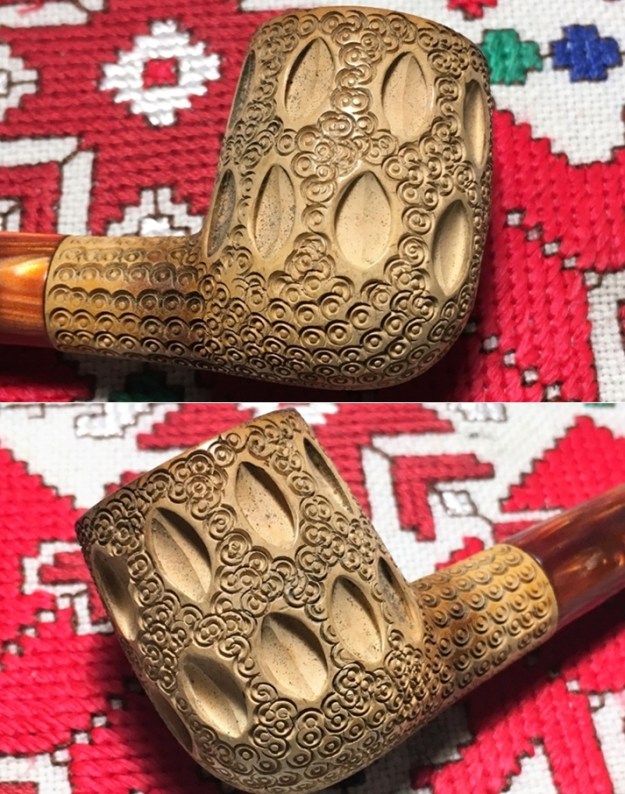
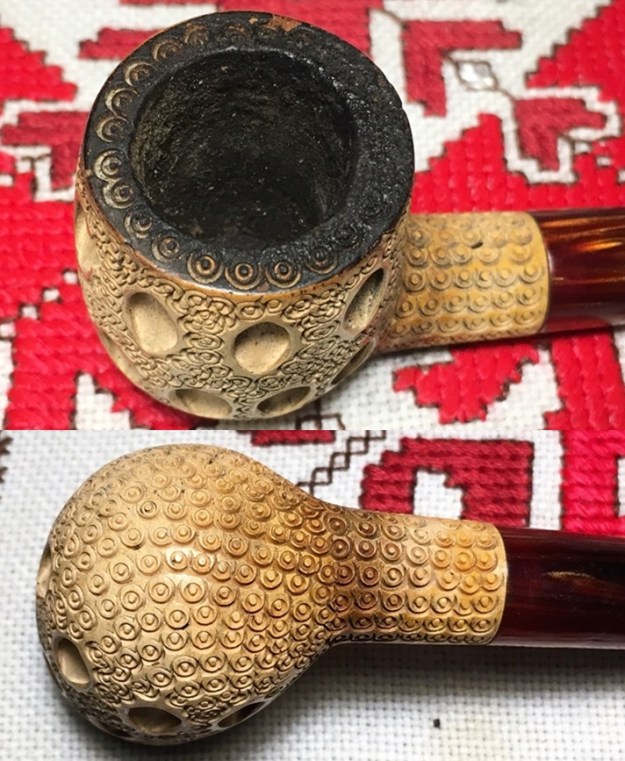
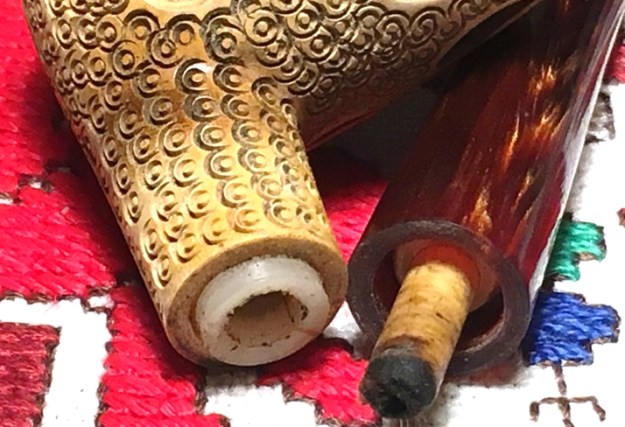
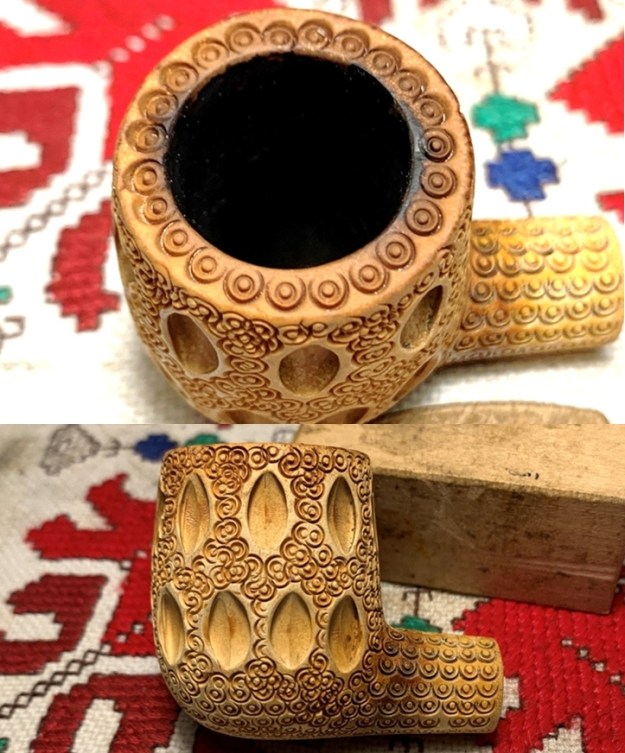
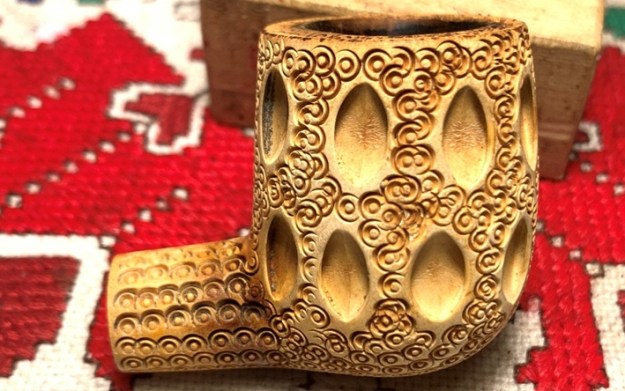
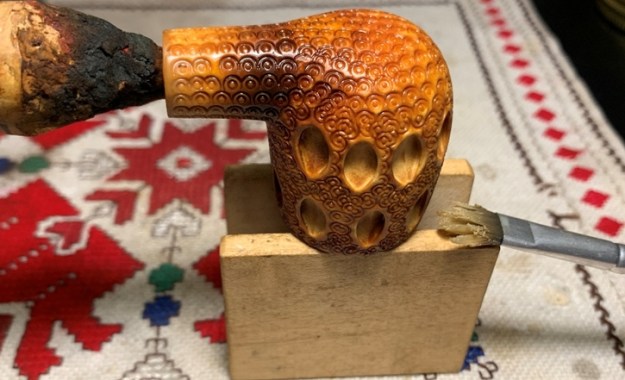
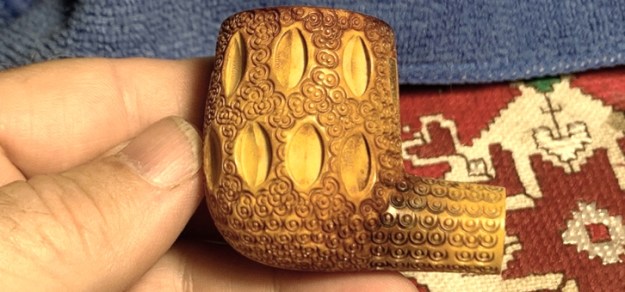
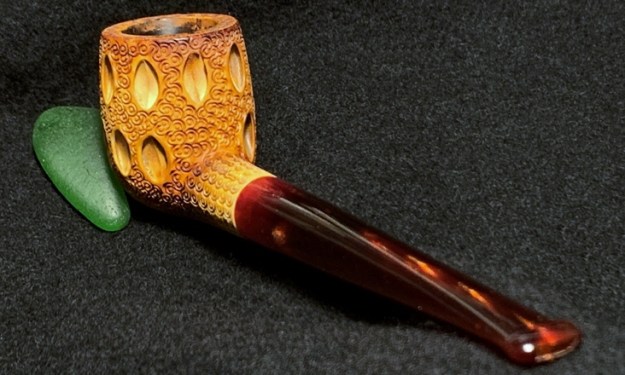
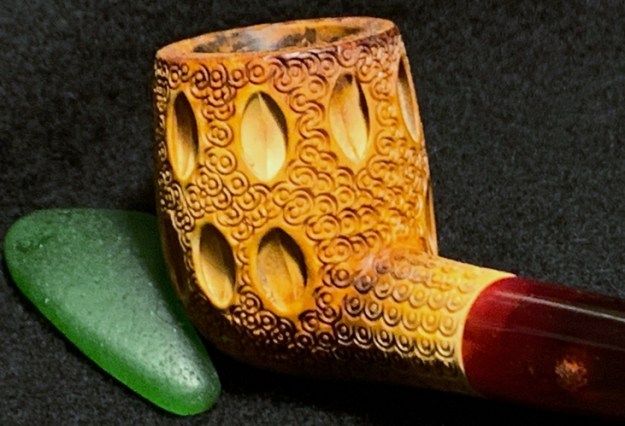
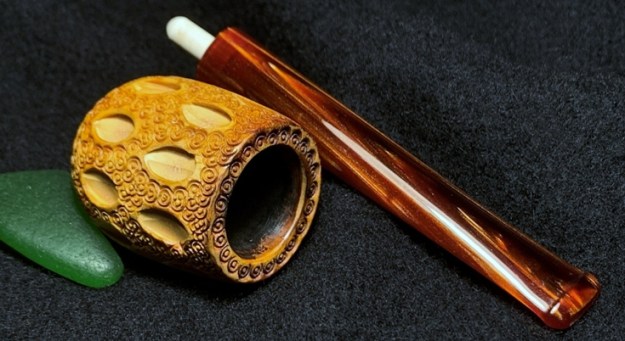
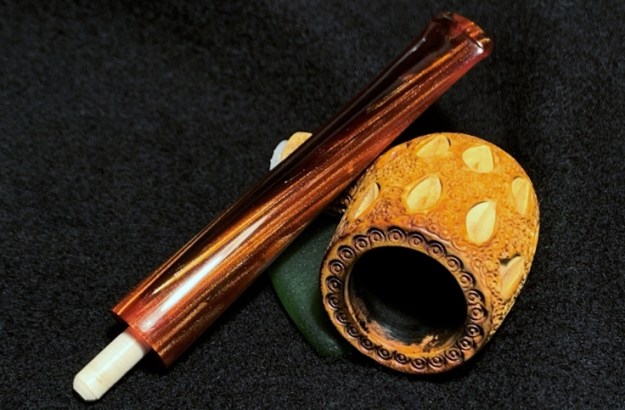
I just completed an Aldo Velani from what I’ve called the St. Louis Lot of 26 (See: Refreshing a Saucy Italian Aldo Velani Trio Bent Apple) and the next pipe in queue is also from this Lot.  The Meerschaum just above the giant Champion Churchwarden’s bowl is on the worktable now.  My son, Josiah found this lot in an antique shop in St. Louis where he was studying.  He sent me a text here in Bulgaria about his find with pictures.  We went in together to purchase the lot with the provision that my son’s part of the purchase would be for me to pick a pipe out of the lot as a Christmas present from him.  I chose the giant Champion Churchwarden!  Other pipe men and women have chosen other pipes from this lot of treasures which are posted in the online collection, For “Pipe Dreamers” Only! .This is where Jeremiah, from the state of California, saw the Meerschaum and commissioned him back when my wife and I were enjoying the Black Sea during our summer R&R.  I appreciate Jeremiah’s patience as his pipe worked up the queue!  Here are more pictures taking a closer look at the Meerschaum Teardrop Lattice Billiard. There are no markings on the pipe.  The size of the Billiard shape is Length 5 5/16 inches, Height 1 5/8 inches, Rim width 1 1/8 inches, Chamber width 3/4 inches, Chamber depth 1 3/8 inches. What is unique about this Meerschaum Teardrop Lattice design are the size of the tear drops, or the egg-shaped carvings – they are large.  The fine circular scallop carvings are in comparison, small and tight.  The Meer is set-up with a basic push/pull tenon which appears to have a crack in the mortise insert (pictured above).  The tenon insert is worn and discolored.  The pipe itself appears to be in great shape in need of cleaning.  The chamber has some carbon build up which is not needed or desired in a Meer chamber.  One of the great things about Meerschaums is that they do not need to rest between uses as with briars.  There is a bit of the coveted patina developing around the scalloped shank and climbing toward the back of the bowl.  This is good.  This brief description from Meerschaum.com that I’ve previously cited is helpful to understand the nature of Meerschaum:

Meerschaum is a very rare mineral, a kind of hard white clay. Light and porous structure of the pipe keeps the smoke cool and soft. The pipe itself is a natural filter which absorbs the nicotine. Because of this peculiarity, meerschaum pipes slowly change their colors to different tones of gold and dark brown. This adds an esthetic enjoyment to its great smoking pleasure. The longer a pipe is smoked the more valuable it becomes due to the color change. Today many old and rare meerschaums have found a permanent place in museums and private collections.

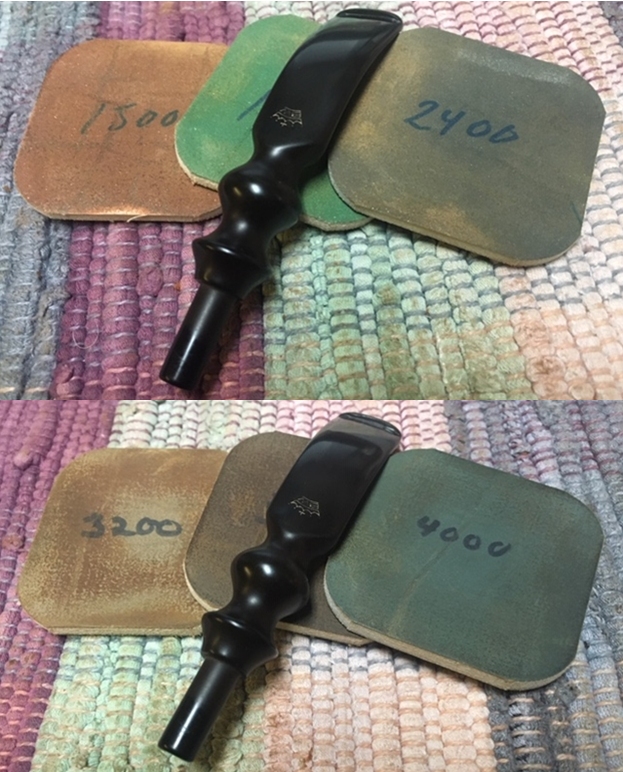
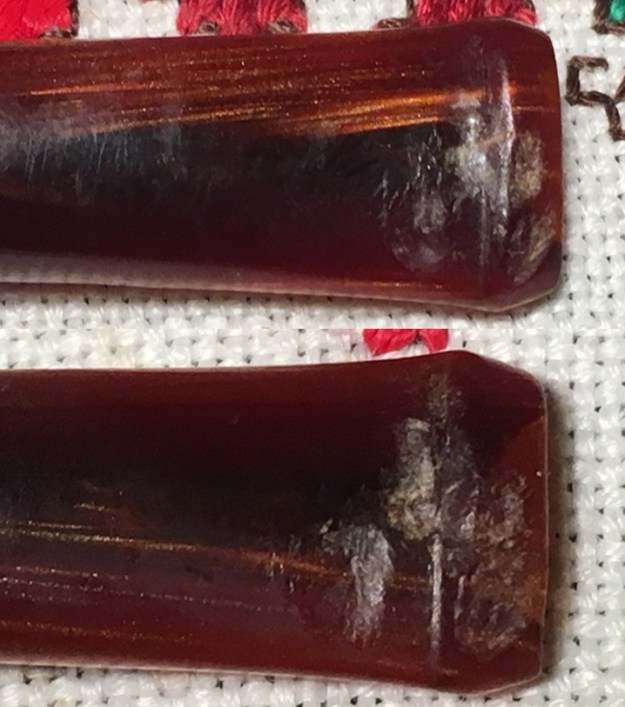
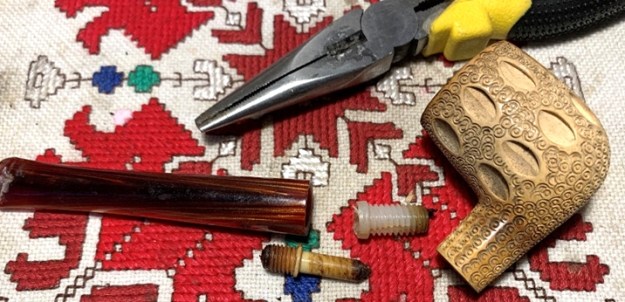
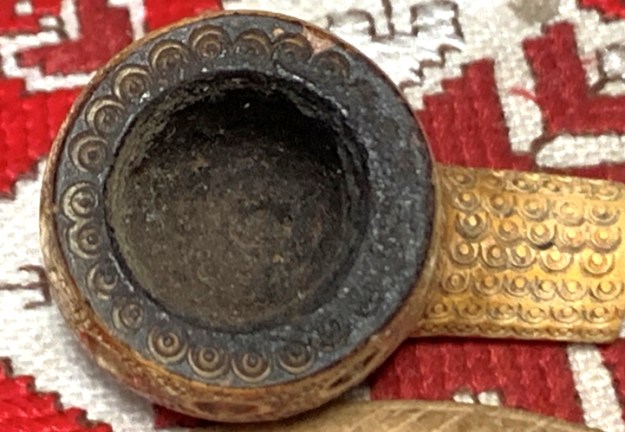
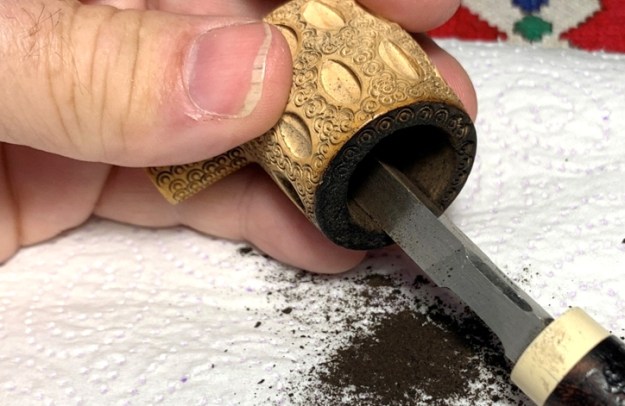
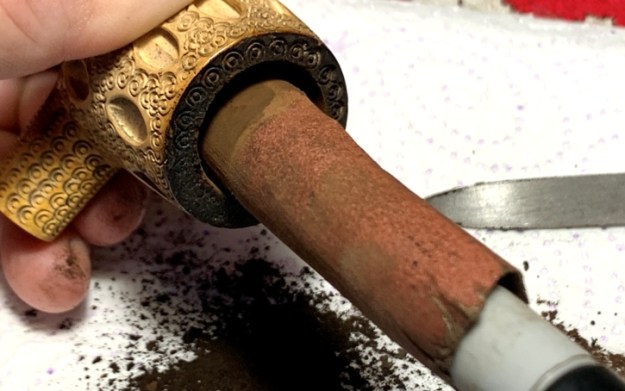
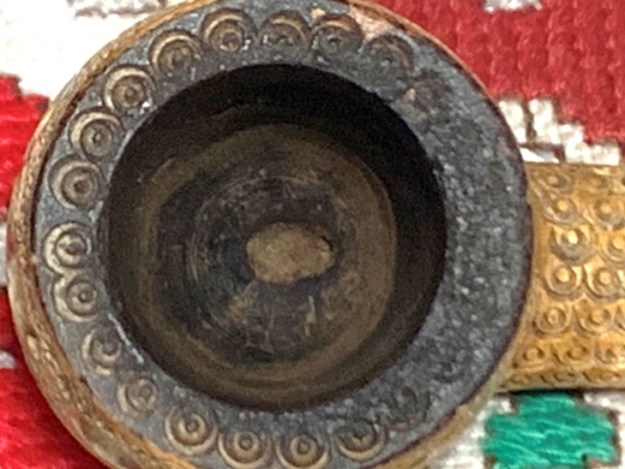
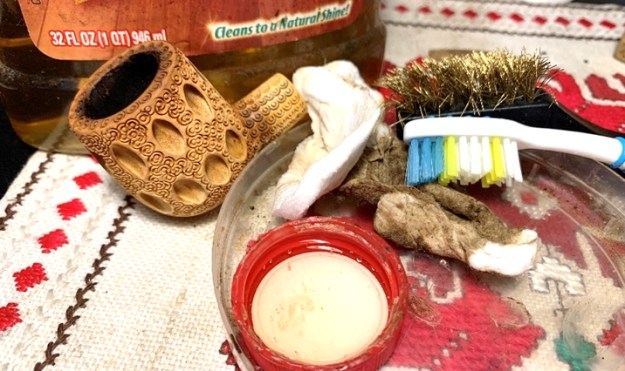
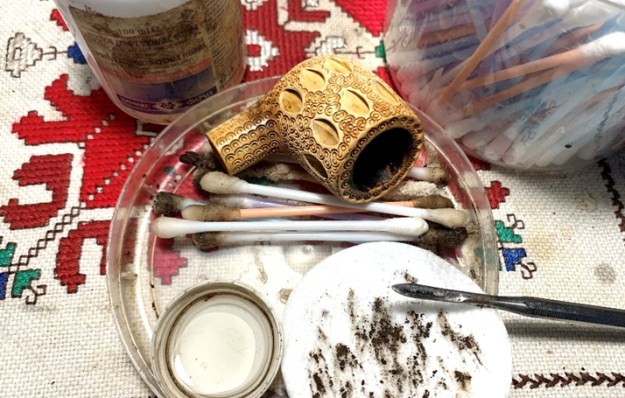
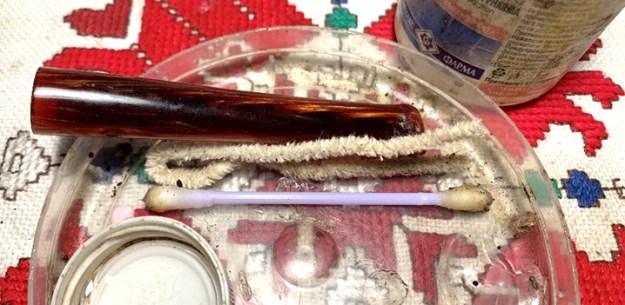
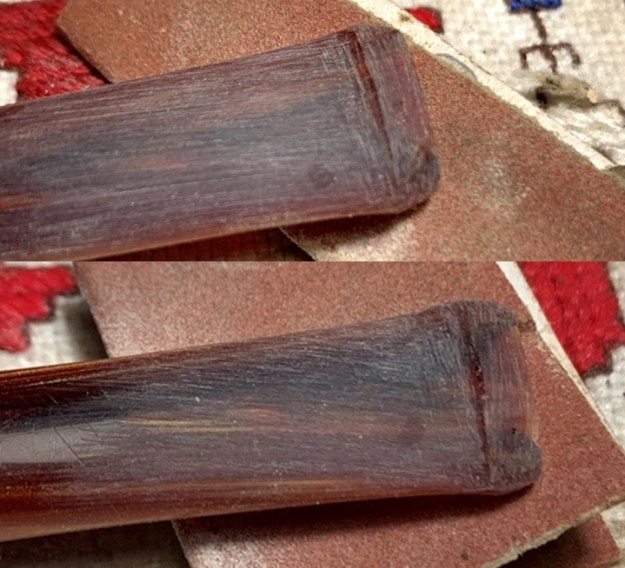
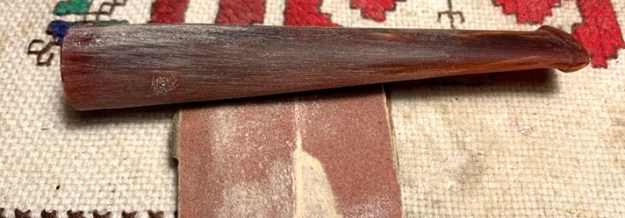
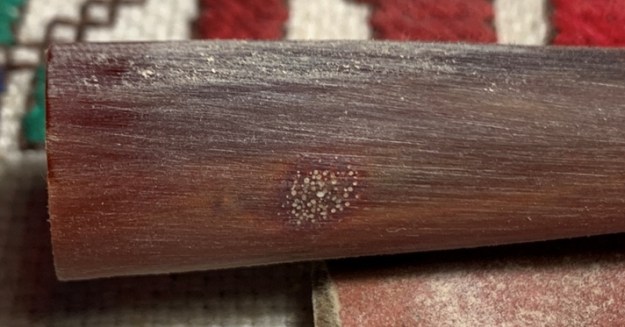
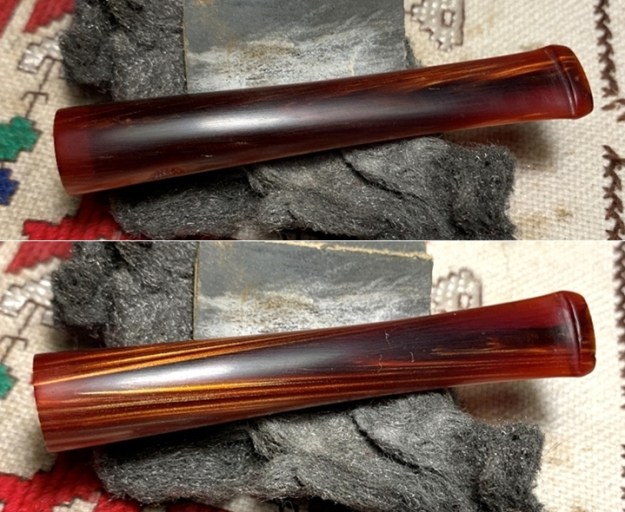
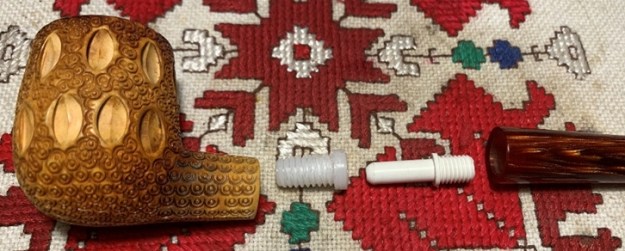
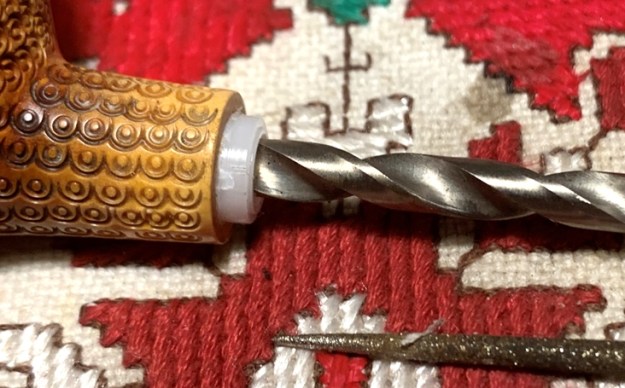
I begin the restoration of this Meerschaum by disassembling the component parts.  This helps with the cleaning.  I also plan to replace the push/pull tenon.  With the help of a pair of needle nose pliers, the push/pull components are easily removed.Taking the stummel in hand, the chamber has moderate carbon cake build up which will be removed.I don’t use the reaming kit with Meerschaum because it produces too much indiscriminate torque on the Meer chamber wall.  A more gentle and strategic approach is the use of the Savinelli Fitsall tool.  I’m able to scrape the chamber walls with the tool in a way that removes carbon buildup but is mindful of the Meerschaum.Following the wall scraping, the chamber wall is sanded with 240 grade paper wrapped around a Sharpie Pen.  This does a good job of removing the last vestiges of carbon build up.  A Meerschaum chamber does not need a cake protection like a briar chamber.An inspection of the chamber after cleaning looks good.  The Meer is still colored but it is clean and smooth to the touch.Cleaning the external surface of the Meerschaum starts with the rim which has lava caked on it, especially on the aft quadrant where most of the lighting occurred.  Using undiluted Murphy’s Oil Soap, I begin on the rim to soften and break up the lava without damaging the scalloped rim carvings.  I am patient to allow the solvents to break up the cake on the rim.  I also gently utilize a brass wired brush on the rim but most of the scrubbing is done with a bristled toothbrush.  I use the toothbrush to clean the rim as well as work into all the carvings of the bowl.  I take the bowl to the kitchen sink and continue cleaning with a cotton pad and toothbrush under warm water.  Not pictured is something I tried for the first time.  I have a Soft-Scrub product here in Bulgaria called CIT which has a gentle bleach and abrasion composition.  I put a small amount on a cotton pad and continue to work on the rim’s darkened condition.  After a thorough rinsing with warm water, the stummel returns to the worktable.I’m very pleased with the cleaning results. The stummel will lighten more because it’s still damp from the cleaning. The rim cleaned up very nicely.  One blackened area remains on the extreme edge of the aft rim quadrant.  Later, I may be able to clean this with very strategic sanding. The patina gathering at the bowl/shank crook remains through the cleaning. Moving now to cleaning the internals, I use cotton buds and pipe cleaners dipped in isopropyl 95%.  I also employ a small dental spoon to scrape the internal walls of old oils and tars.  The more excavated, the faster the cotton buds can clean.  In time the buds emerge in a lightened state and the job is completed.It took no time to dispatch the internal cleaning of the acrylic stem.Focusing now on the stem repairs, I like the brown tone acrylic.  It will clean up well.  The stem bit has significant biting damage to both upper and lower bit that will require patches from the start.  The button is damaged as well.  It appears this stem was the victim of mauling, not just biting.  There is also what appears to be a burn on the side of the stem – that’s the only thing I can think it would be. It is rough to the touch so sanding should help this blemish later.I use regular CA glue to fill the compressions on one side first.  An accelerator is also used to hold the glue in place and to quicken the curing process.After the CA glue cures, I use the flat needle file to remove the excess patch material and to shape and refresh the button lips – both upper and lower.  The first two pictures are the upper.Next the lower.Next, with the filing completed, I continue to sand with 240 grade paper on the upper and lower bit.From the bit, I also sand the entire stem and focus on the burn or blemish on the side of the stem.As I look at the mark on the side of the stem, I believe now it’s simply a blemish in the acrylic.  It is not just surface but seems to go deeper.  I can only sand it out as much as possible.After sanding with 240 paper, I transition to wet sanding the entire stem with 600 grade paper then the 000 grade steel wool fine tunes the acrylic stem – it’s looking great.Transitioning now to the full regimen of micromesh pads, I wet sand with pads 1500 to 2400 and follow with dry sanding with pads 3200 to 4000 and 6000 to 12000.  Between each set of 3 pads Obsidian Oil is applied.  I like the fire in this acrylic stem. I want to strategically sand the burn spot on the extreme back of the inner rim edge.  I use a very light 240 grade paper and follow with a dry 1500 micromesh pad.I think it looks good.  The darkness is not erased but it is reduced.  To enrich and encourage the coveted patina in the Meerschaum, the age-old approach is a beeswax treatment.  Using a hot air gun, the beeswax in the Mason jar is heated until it liquefies.  I also heat the Meer bowl with the gun and then apply the liquefied beeswax to the stummel – painting thoroughly all the nooks and crannies of the sculpting.  During the painting process, I have the hot air gun propped in such a way as to continue to blow hot air on the stummel as I’m painting it.  This helps to keep the wax thin and it is more easily absorbed into the porous Meerschaum.After the stummel is thoroughly coated in beeswax, I put it aside for the stummel to cool.After cooling, I buff the stummel with a microfiber cloth to remove excess wax and to raise the shine.  The Meerschaum literally drank in the beeswax!I decided earlier to replace the old push/pull tenon system with a new set.  The shank acrylic fitment and the stem tenon both screwed in with no problem. When I tried inserting the tenon into the shank receptor, the fit was very tight – too tight to fit without me being nervous about cracking something.  To remedy this, I hand turn a drill bit just a bit larger than the hole and it bores out a slightly more comfortable fit.  This works like a charm. With the stem and stummel reunited, after mounting a cotton cloth buffing wheel to the Dremel and set the speed at 40% full power and Blue Diamond compound is applied only to the acrylic stem.  Following the compound, after wiping the stem with a felt cloth to clean it of compound dust, the same procedure is followed with another cotton cloth buffing wheel and carnauba wax is applied to the acrylic stem.  After this, the entire Meerschaum Teardrop Lattice Billiard is hand buffed to raise the shine.
The design of this Meerschaum is a classic carvers’ template in this genre of pipe.  The patina on the Meerschaum has a good start with the honey honed hues which complement beautifully the fire waves of the acrylic stem.  Jeremiah wanted to add a Meerschaum to his growing collection, and he will have the first opportunity to add this Teardrop Lattice Billiard from The Pipe Steward Store benefiting the Daughters of Bulgaria – women and girls who have been trafficked and sexually exploited.  Thanks for joining me!

Freshening up a Savinelli Made Egg Sitter with a Saddle Stem


Blog by Steve Laug

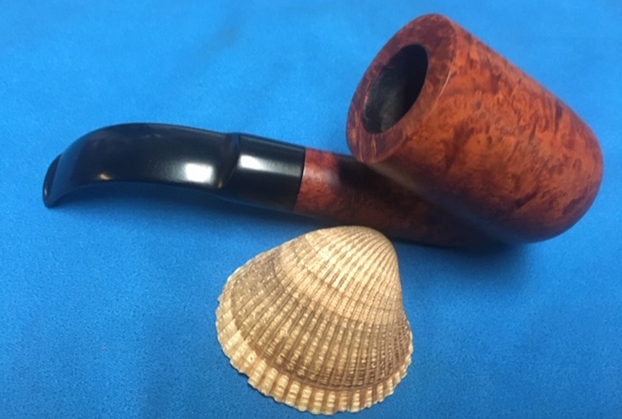
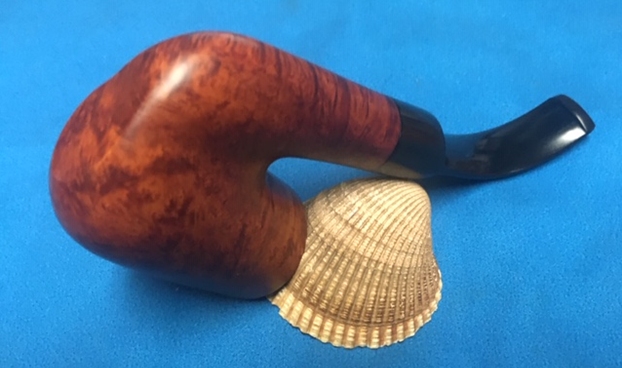
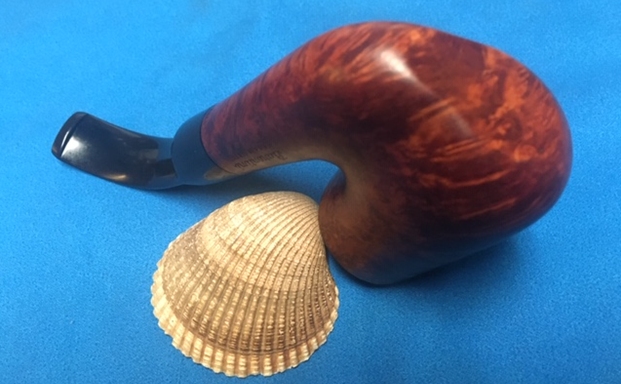
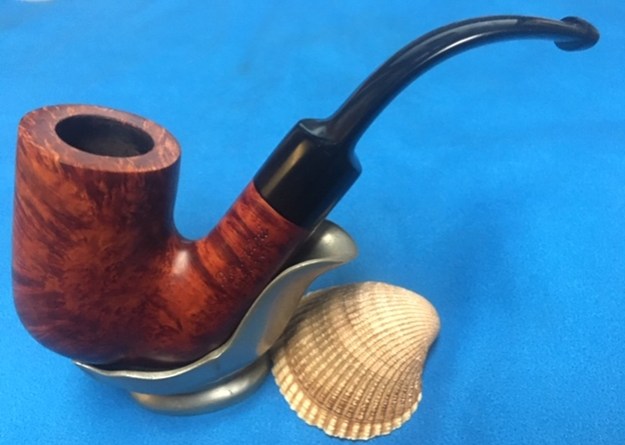
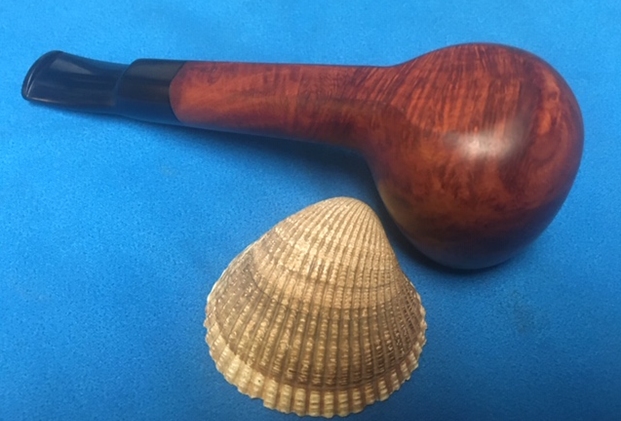
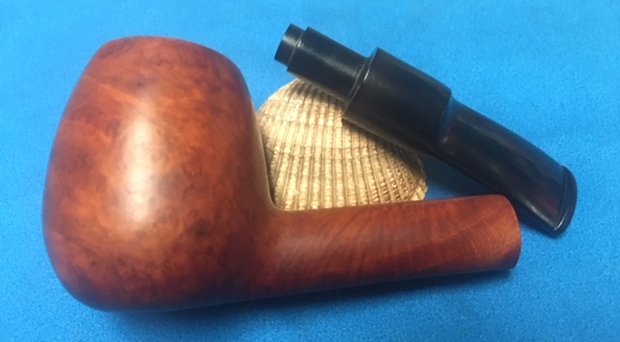
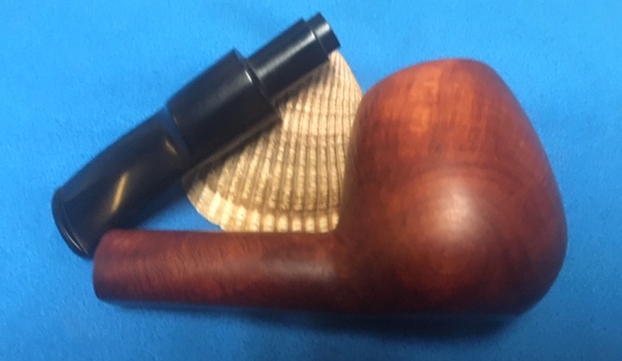
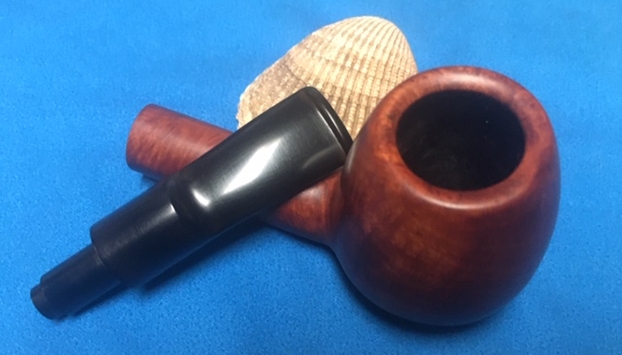
One thing that can be said for staying home and indoors is that I am able to work through the large backlog of pipes in my queue and maybe make a dent. The next pipe on the work table is an interesting egg shaped sitter with a long shank. The only stamping it bears is the Savinell “S” shield and Italy on the underside of the shank. Otherwise there is nothing else. It has a natural smooth finish on the bowl and shank. The grain is mixed but very interesting and flows up and around the bowl and shank. The round shank flows well into saddle stem. The rim top is smooth and crowned inward. There was a thick cake in the bowl and some lava on the inner edge. There was also some darkening. The pipe was dirty and tired looking. The saddle stem was vulcanite and had a slight bend in the blade. There were light tooth marks and chatter on both sides near the button. It was oxidized and spotty. Jeff took some photos of the pipe to show the general condition of the pipe before he started his clean up.Jeff took some close-up photos of the rim top and bowl from various angles to show the overall condition. It looked pretty good. There is light coat of lava around the inner edge of the bevel and some rim darkening. There were a few rough spots on the rim top on the front right. You can also see the cake in the bowl. It was a well-loved pipe and smoked a lot by the previous pipe man. Jeff took some photos of the sides and heel of the bowl to show the condition of the finish on the pipe. The photos show the beautifully grained bowl. Under the dust and grime it was a nice looking bowl. I think it will be another beautiful pipe once it is restored. He took a photo of the stamping on the underside of the shank. It was very readable and matches what was spelled out above. The next two photos show the top and underside of the stem. It is dirty, oxidized and has some tooth chatter and some tooth marks with some damage to the button edge on both sides. The third photo shows the flow of the stem and shank.This is a nice Savinelli pipe and it is fun to work on a shape I have not seen before. When I received it Jeff had once again done his usual thorough job cleaning the pipe. He reamed it with a PipNet pipe reamer and got rid of the cake. He cleaned up the reaming with a Savinelli Fitsall Pipe Knife so that we could see the walls of the bowl and assess for damage. He cleaned the internals of the shank and stem with alcohol, pipe cleaners and alcohol. He scrubbed the exterior with undiluted Murphy’s Oil Soap and a tooth brush. He rinsed the pipe under warm water. He dried it off with a cloth and then let it air dry. The stem was scrubbed with Soft Scrub and soaked in Before & After Deoxidizer. It came out looking very good. The finish on the bowl and the rim top cleaned up beyond my expectations. I took pictures of the pipe to show how it looked when I unpacked it. I took a close up photo of the rim top to show how clean it was. Jeff had been able to clean out the dust and grime on the edges of the rim top and it looked very good. The stem looked good just some light tooth chatter and several tooth marks on the button.Even the stamping cleaned up well and is still very clear and readable.The pipe was in really good shape so it was a matter of cleaning up the edges and polishing the briar. I started the work by dealing with the darkening of the inner edge and part of the bevel. I used a folded piece of 220 grit sandpaper to clean up the edge and then polished it with 400 grit wet dry sandpaper.I polished the briar with micromesh sanding pads. I wet sanded it with 1500-12000 grit pads and wiped the bowl down with a damp cloth after each pad. I worked some Before & After Restoration Balm into the briar with my fingertips. I let the balm sit on the briar for 10 minutes the buffed it off with a soft cloth. The product is a great addition to the restoration work. It enlivens, enriches and protects the briar while giving it a deep glow. I appreciate Mark Hoover’s work in developing this product. I set the bowl aside and turned my attention to addressing the issues with the stem. I sanded the surface of the stem with 220 grit sandpaper to remove the remaining oxidation and tooth chatter. I started the polishing process with 400 grit wet dry sandpaper.I polished the stem with Denicare Mouthpiece Polish from a tin of it I have in the drawer here. It is a gritty red paste (similar in grit to red Tripoli) that I rub on with my finger tips and work it into the surface of the stem and button and buff it off with a cotton pad. It gives me a bit of a head start on the polishing work.I polished the stem with micromesh sanding pads – wet sanding with 1500-12000 grit sanding pads. I wiped it down after each sanding pad with Obsidian Oil. I polished it with Before & After Pipe Stem Polish – both Fine and Extra Fine. I buffed the stem with a soft cloth to raise the shine. I wiped the stem down with Briarville’s No Oxy Oil to preserve and protect the stem surface. I am on the homestretch with this Savinelli Egg shaped sitter! Once again I am excited to finish a pipe that I am working on. I put the pipe back together and buffed it with Blue Diamond on the buffing wheel. I used a gentle touch to keep the polish from building up in the blast of the bowl. I gave the bowl and the stem multiple coats of carnauba wax. I buffed the pipe with a clean buffing pad and hand buffed it to raise the shine. It is fun to see what the polished briar bowl looks like along with the polished vulcanite stem. This Savinelli made pipe is a beautiful pipe. It is quite comfortable in hand and should be so when smoking. It is quite light and well balanced. The flat base provides the option of sitting the pipe down on a desk top. Have a look at it with the photos below. The dimensions are Length: 5 ½ inches, Height: 2 inches, Outside diameter of the bowl: 1 ¼ inches, Chamber diameter: ¾ of an inch. It is another beautiful pipe and one that will be on the rebornpipes store soon. You can find it in the section of Pipes by Italian Pipe Makers. If you are interested in adding it to your collection let me know. Thanks for walking through the restoration with me as I worked over this pipe. Thanks to each of you who are reading this blog.

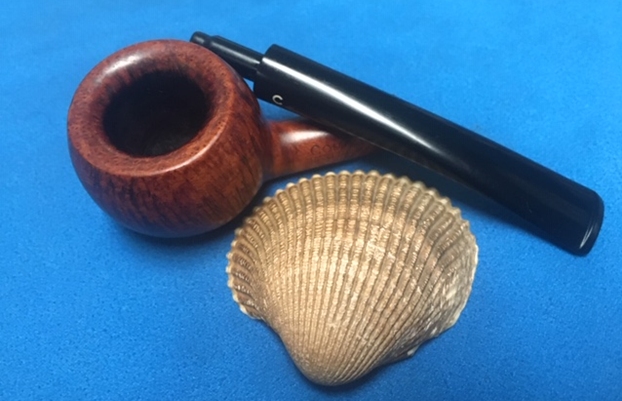
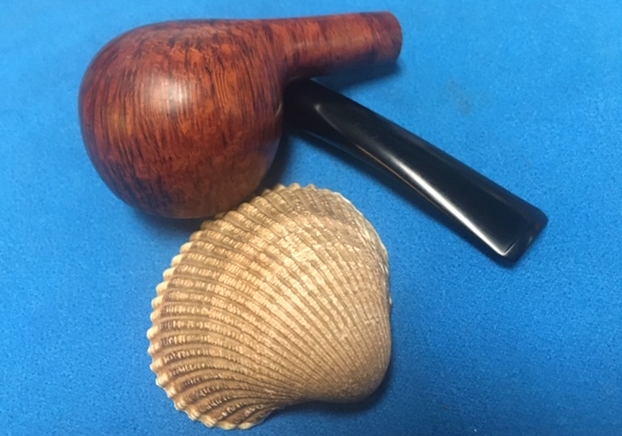
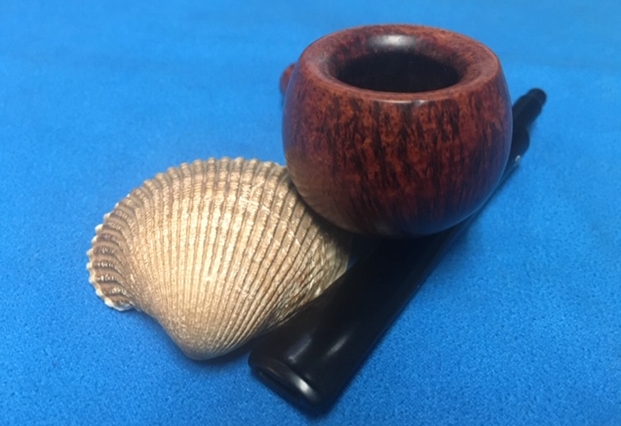
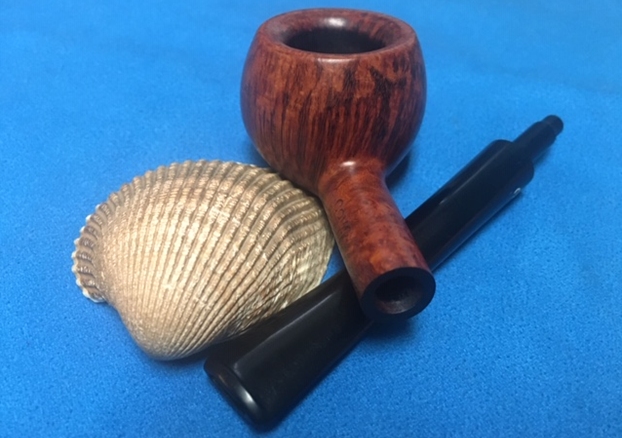
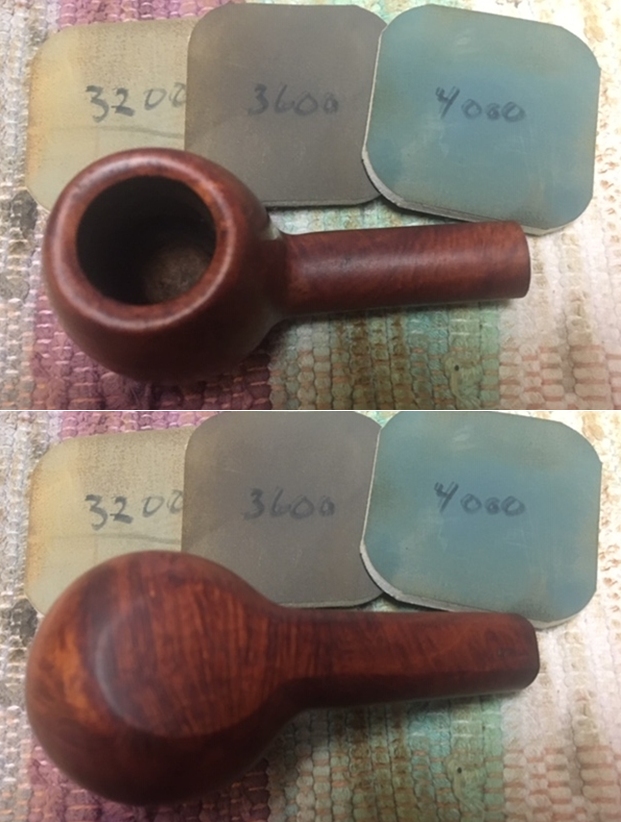
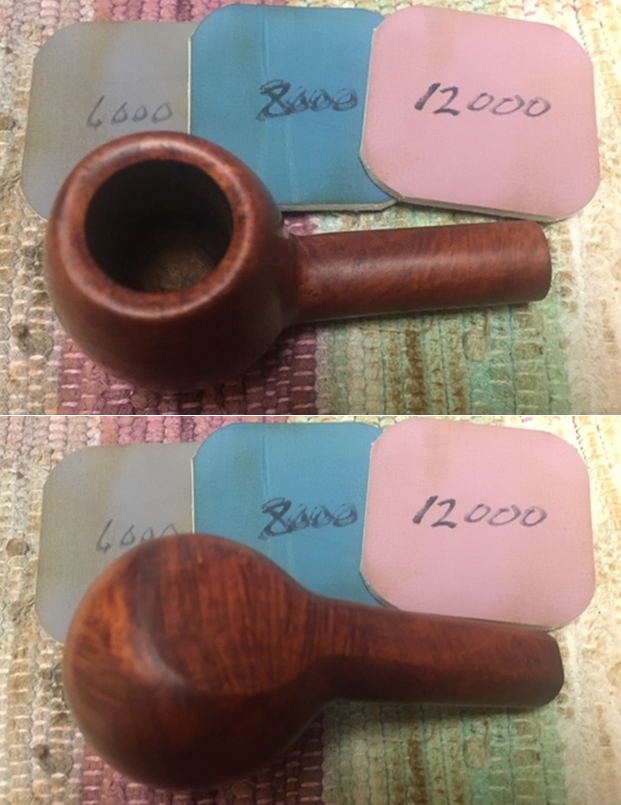
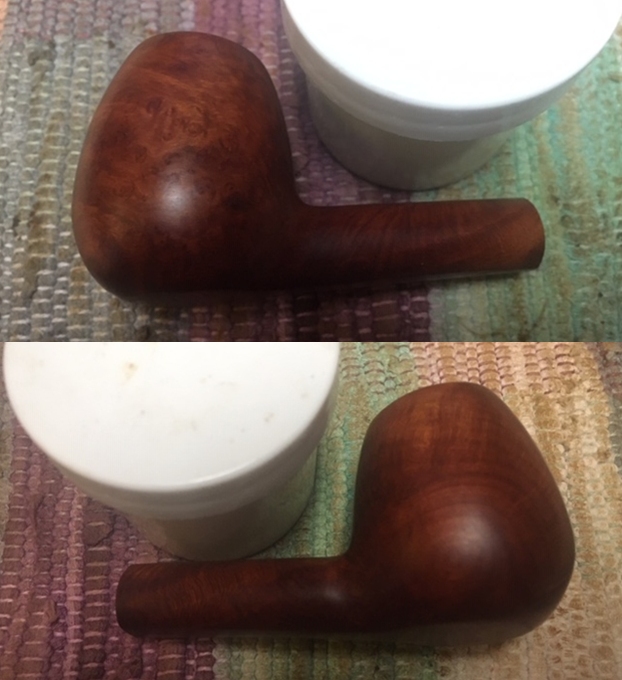
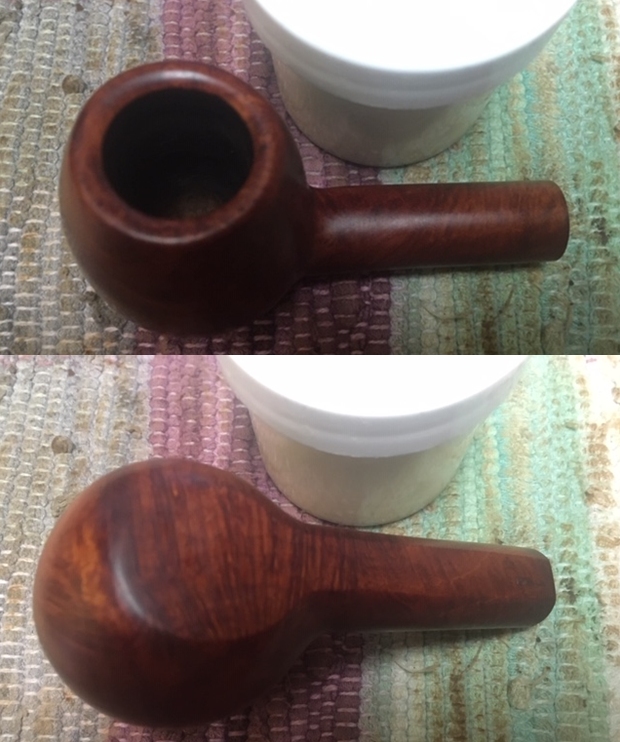
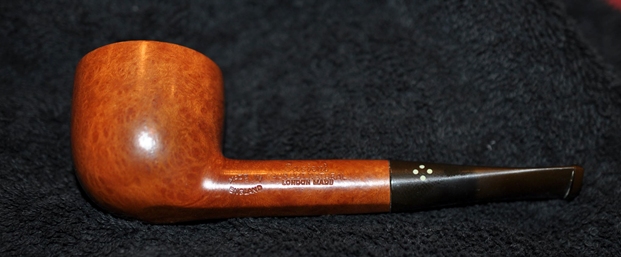
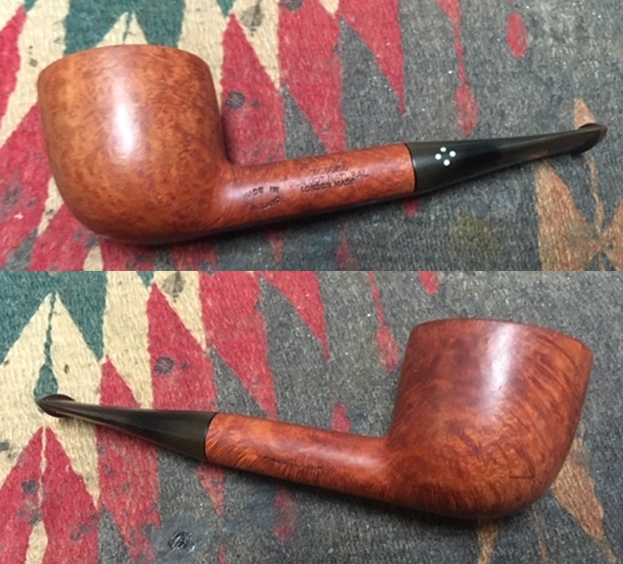
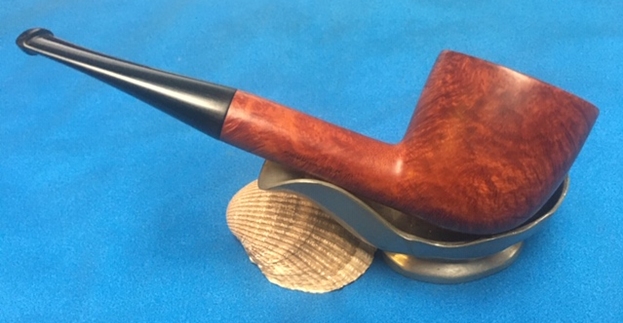
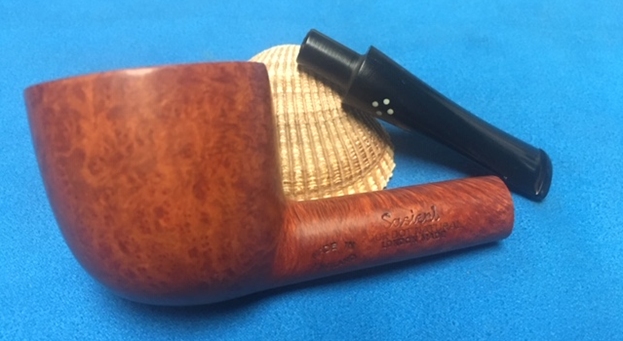
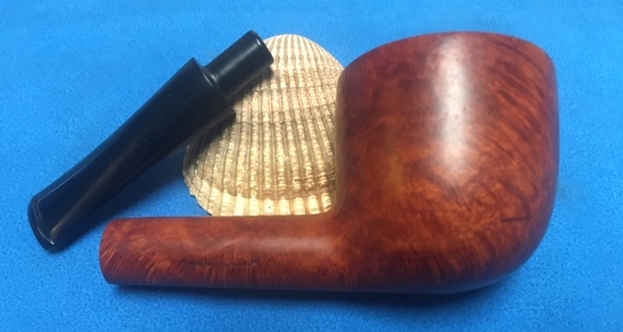
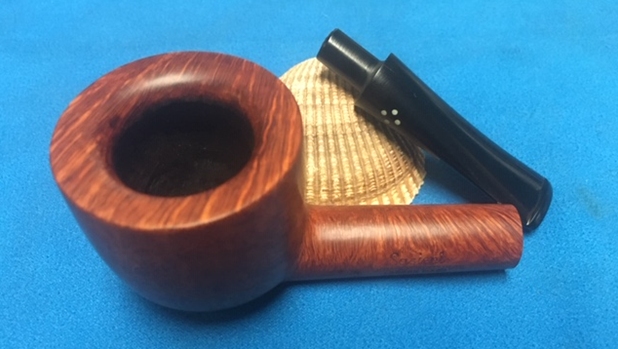
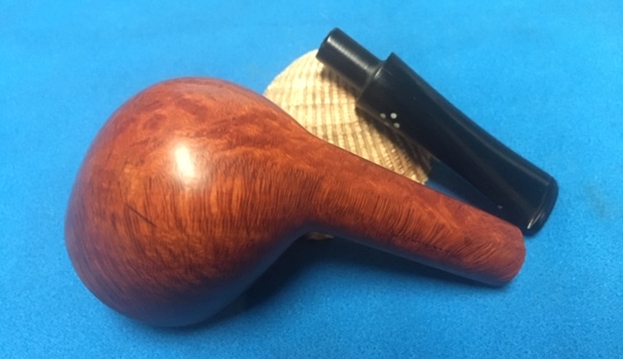
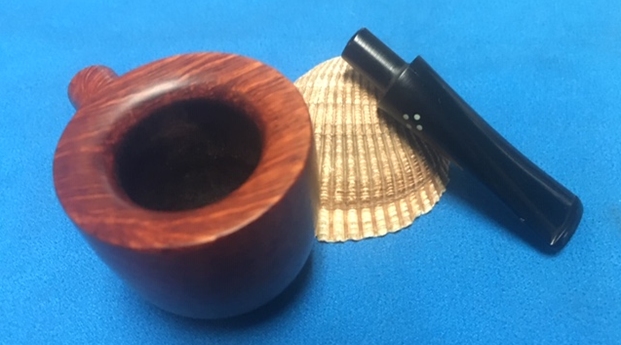
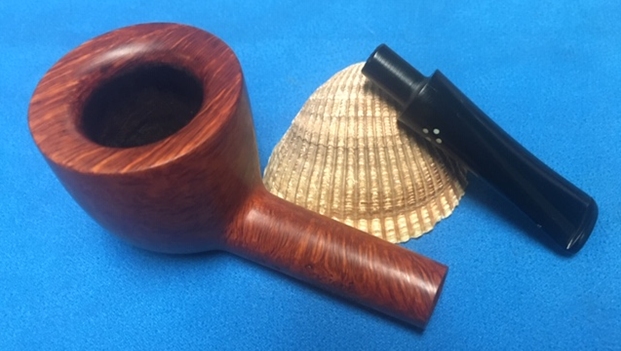
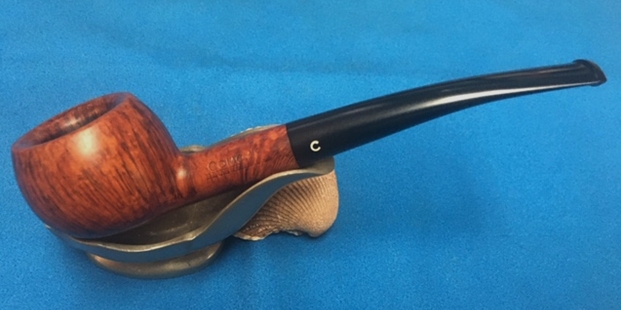
Cleaning up another Sasieni Four Dot Natural Moorgate Pot


Blog by Steve Laug

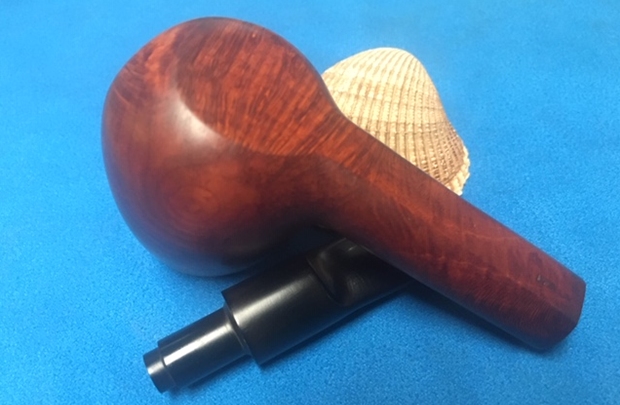
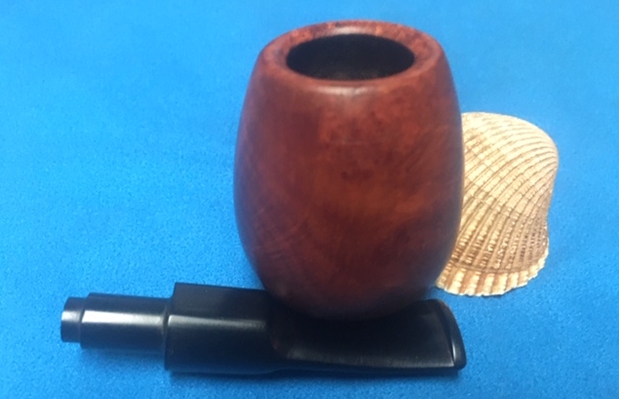
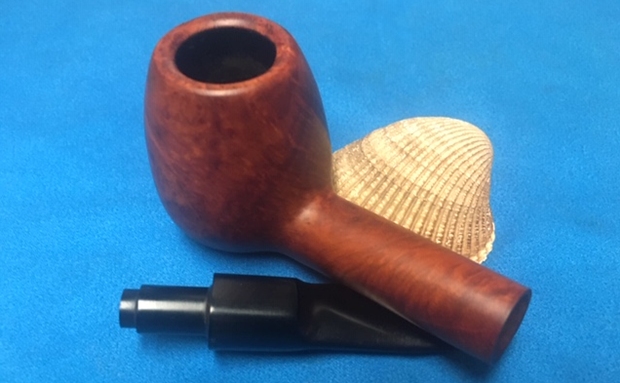
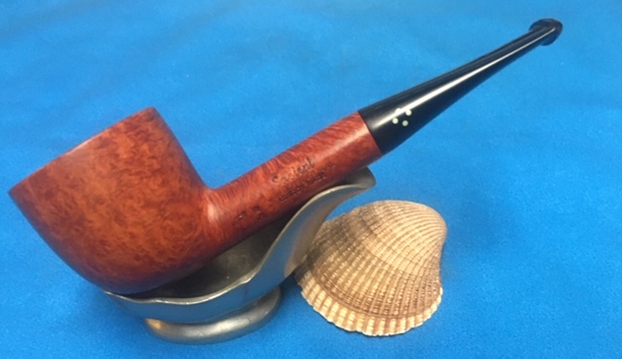
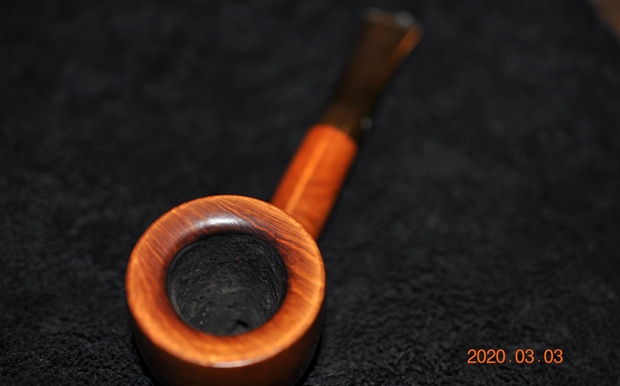
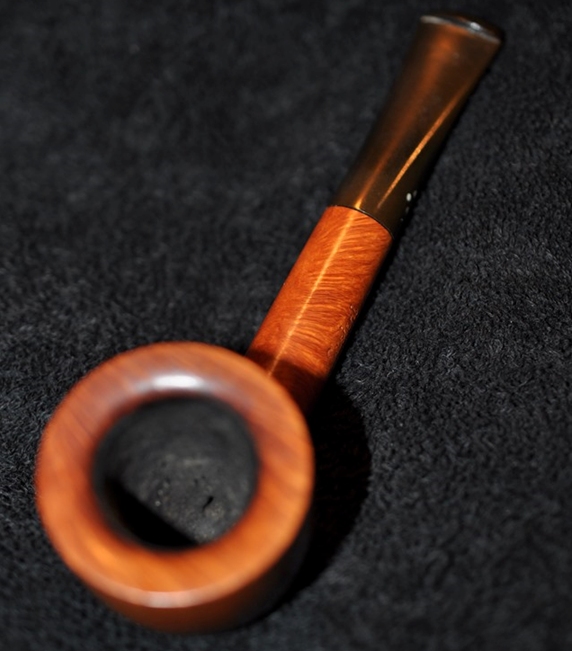
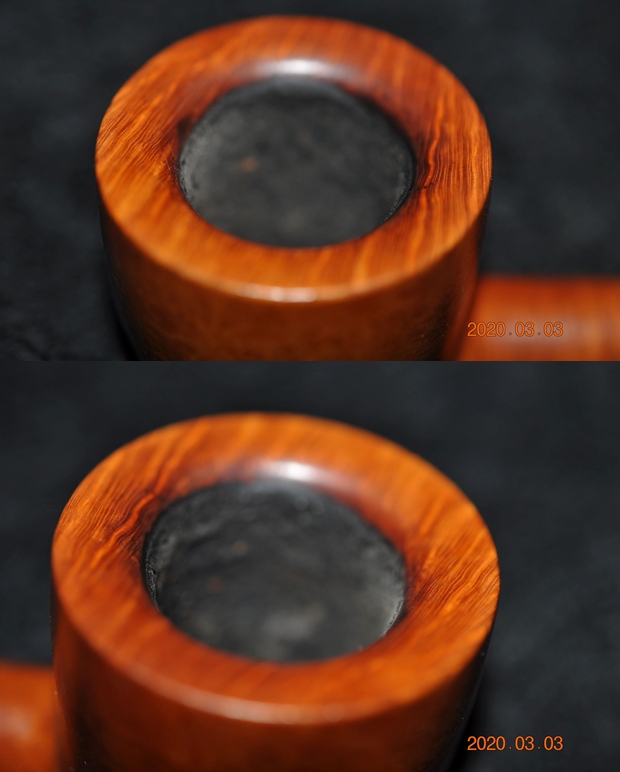
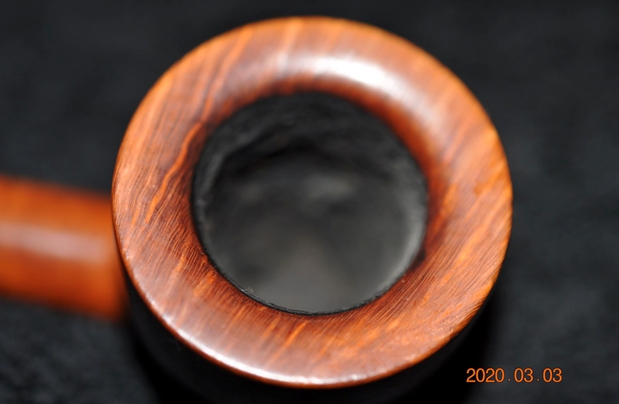
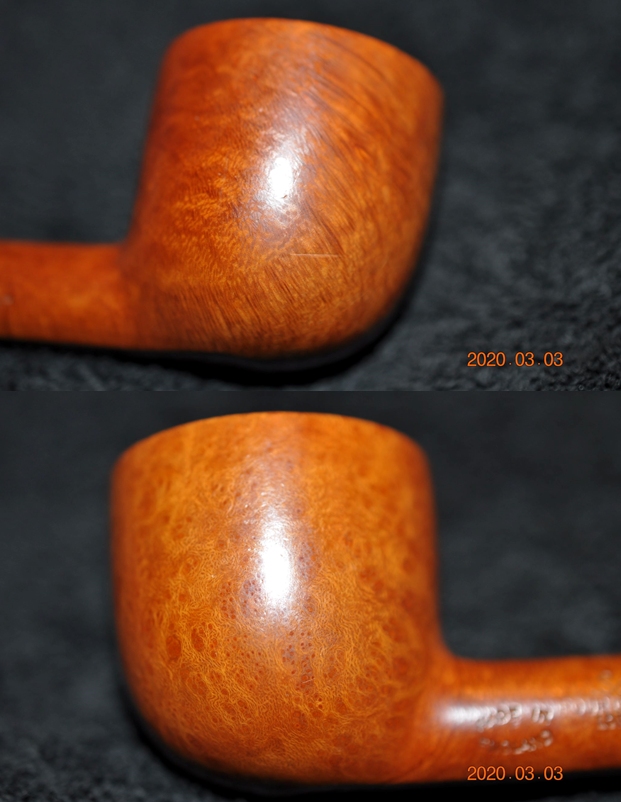
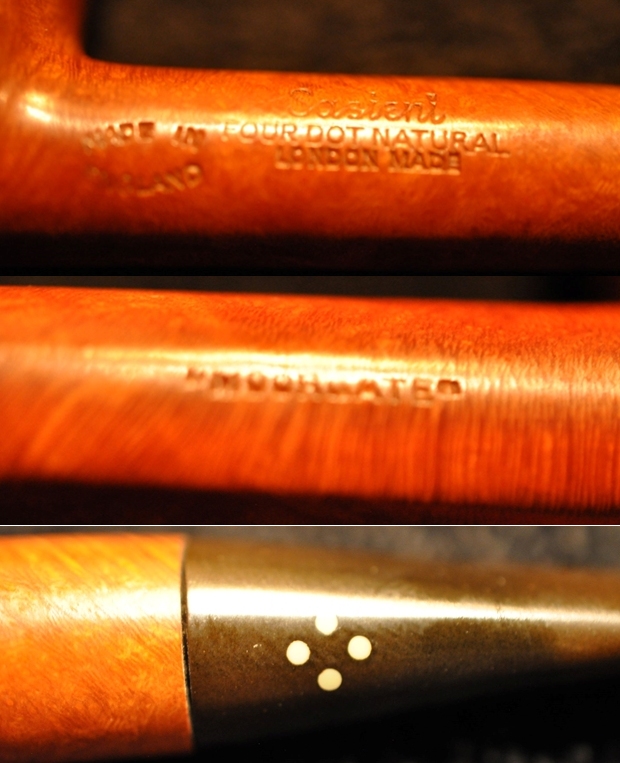
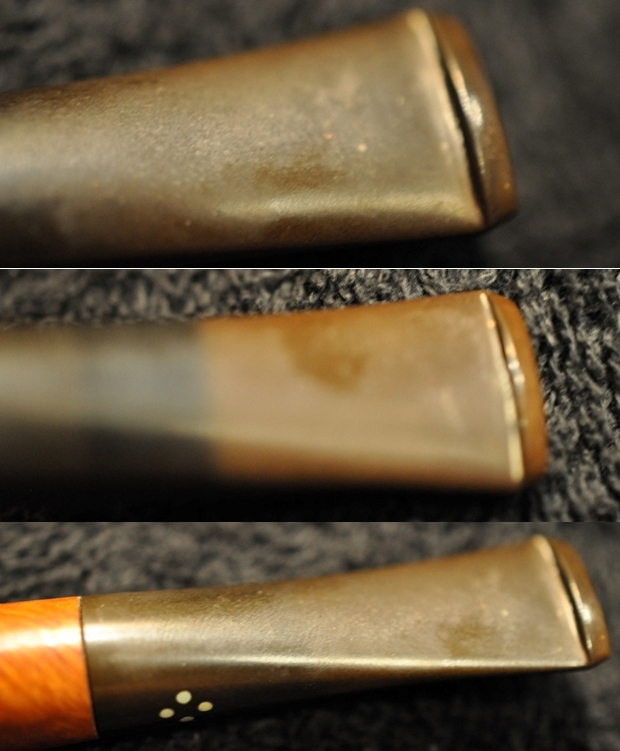
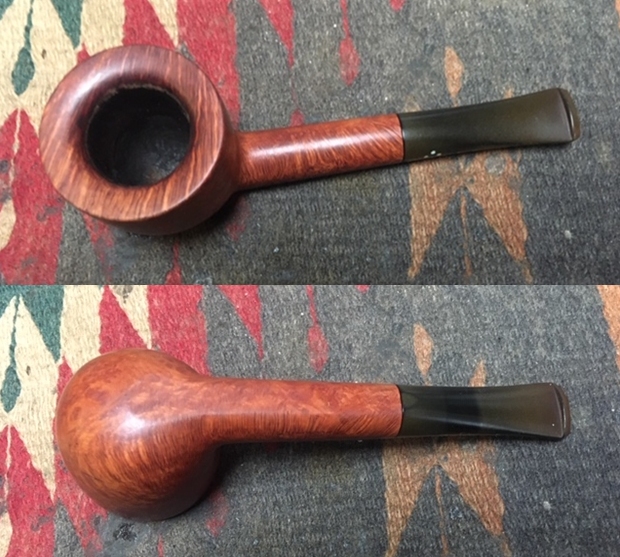
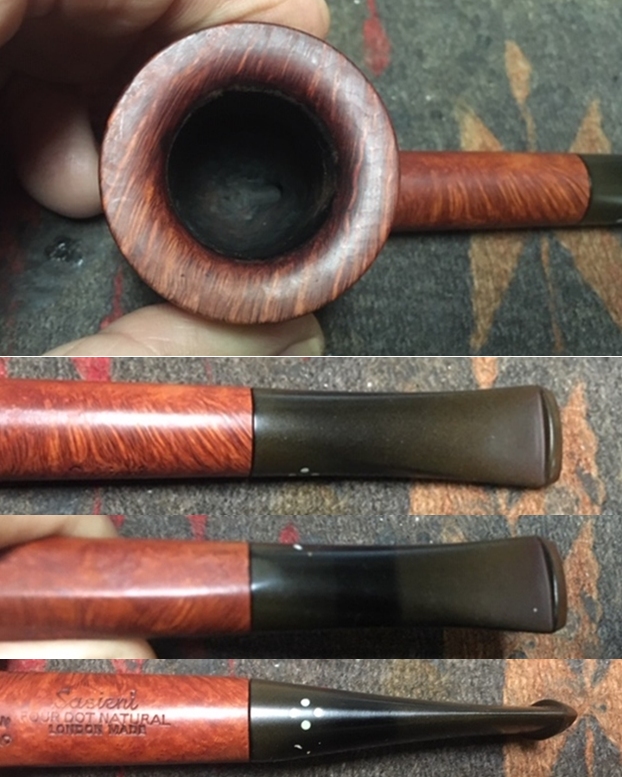
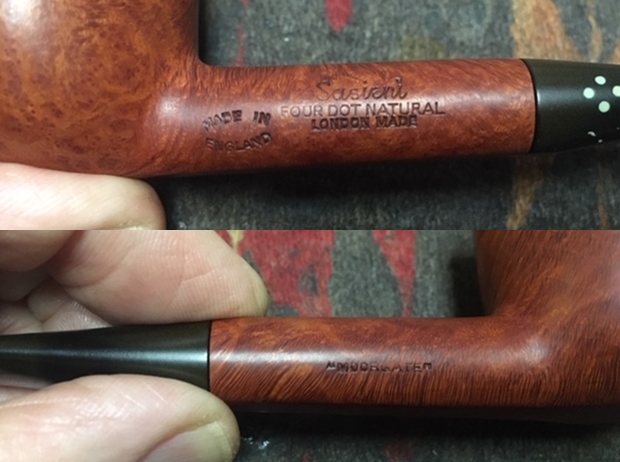
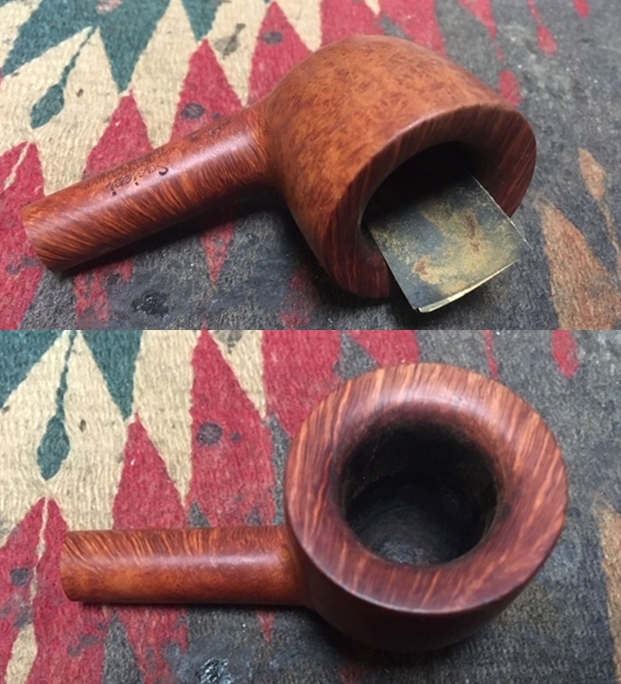
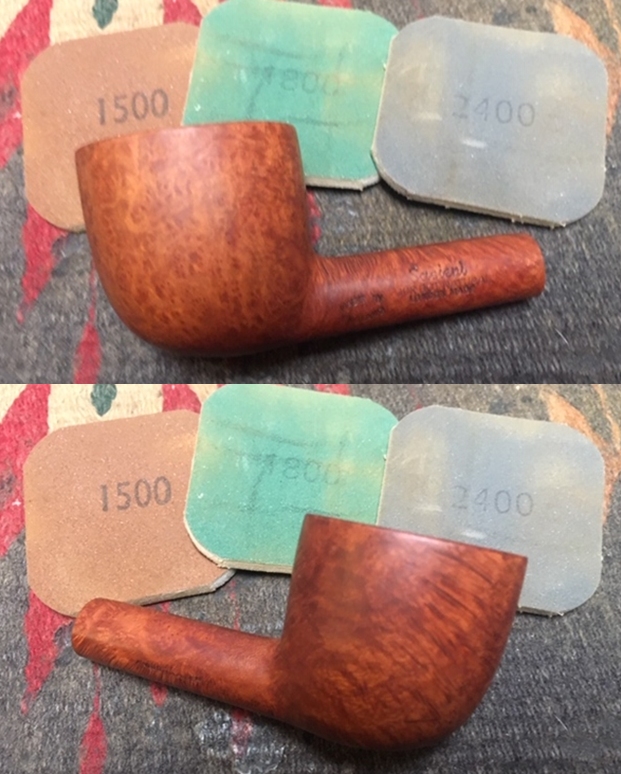
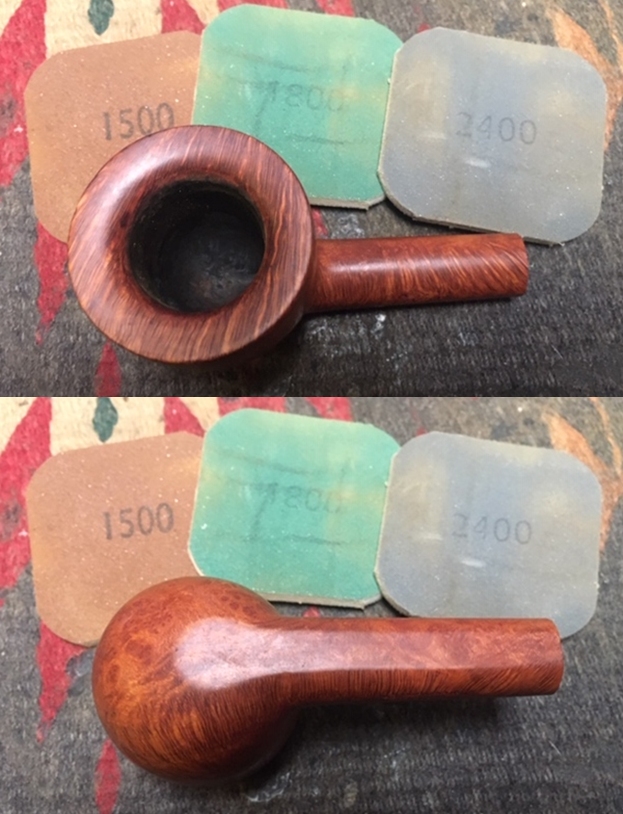
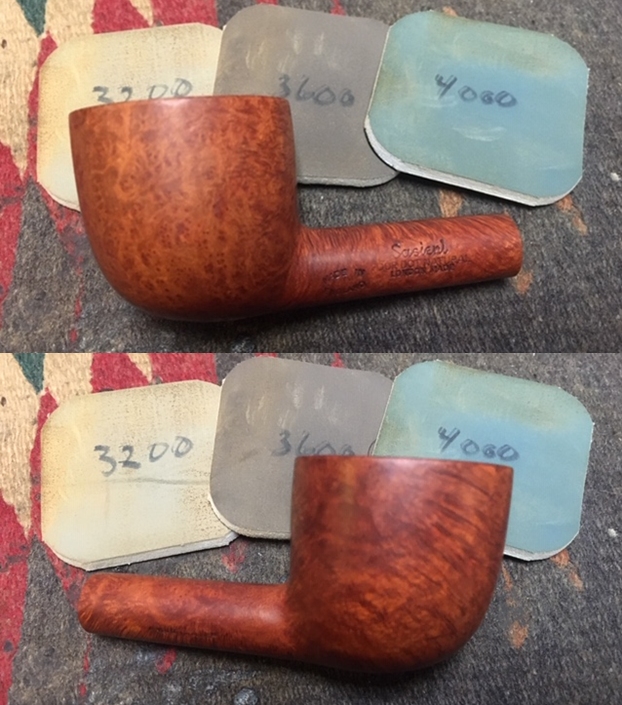
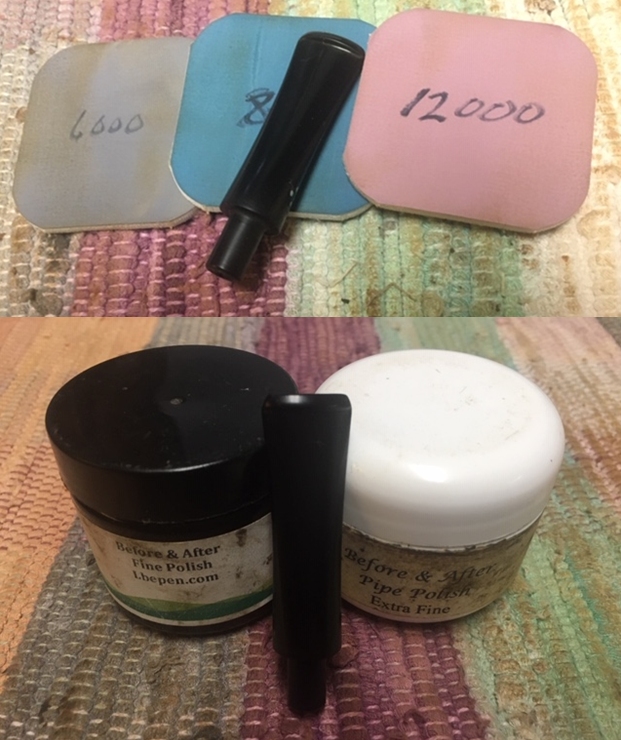
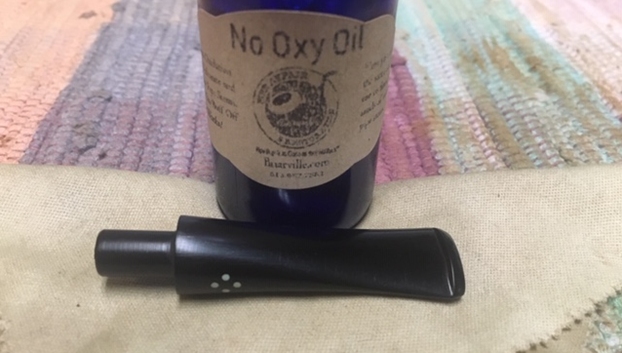
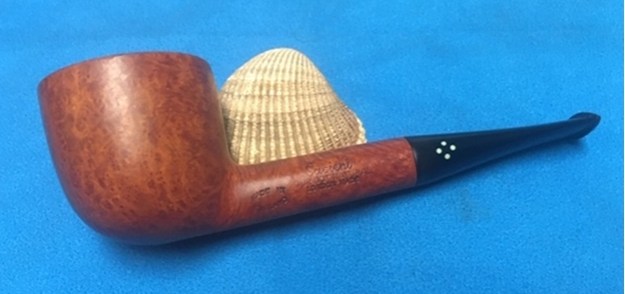
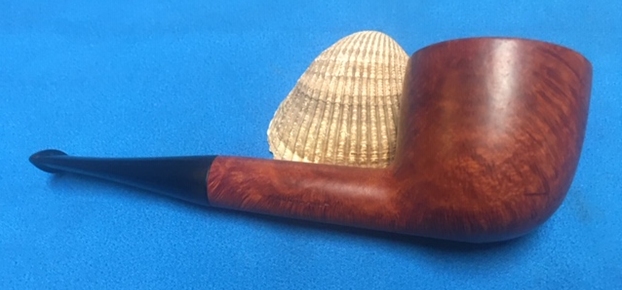
The next pipe on the work table is another Sasieni Four Dot Natural Pot. This Sasieni has a natural smooth finish on the bowl and shank. The grain flows up and around the bowl and shank. The round shank flows well into Four Dot taper stem. The pipe is stamped on the left side of the shank and reads Made in England in an oval at the shank/bowl junction. That is followed by Sasieni over Four Dot Natural over London Made. The right side of the shank is stamped “Moorgate”. The rim top is smooth and beveled inward. There was a thick cake in the bowl and some lava on the inner edge. There was also some darkening. The pipe was dirty and tired looking. The taper stem was vulcanite and had four dots on the left side of the taper. There were light tooth marks and chatter on both sides near the button. It was oxidized and spotty. Jeff took some photos of the pipe to show the general condition of the pipe before he started his clean up. Jeff took some close-up photos of the rim top and bowl from various angles to show the overall condition. It looked pretty good. There is light coat of lava around the inner edge of the bevel and some rim darkening. You can also see the cake in the bowl. It was a well loved pipe and smoked a lot by the previous pipe man. Jeff took some photos of the sides and heel of the bowl to show the condition of the finish on the pipe. The photos show the beautifully grained bowl. Under the dust and grime it was a nice looking bowl. I think it will be a beautiful pipe once it is restored. He took photos of the stamping on the sides of the shank. It was very readable and matches what was spelled out above.  He also took a photo of the four dots on the left side of the saddle stem.The next two photos show the top and underside of the stem. It is dirty, oxidized and has some tooth chatter and some tooth marks with some damage to the button edge on both sides. The third photo shows the flow of the stem and shank.I enjoy working on well-made Sasieni pipes and I find that their shapes and finishes are very well done. I was glad to be working on this one. When I received it Jeff had once again done an amazing job cleaning the pipe. He reamed it with a PipNet pipe reamer and got rid of the cake. He cleaned up the reaming with a Savinelli Fitsall Pipe Knife so that we could see the walls of the bowl and assess for damage. He cleaned the internals of the shank and stem with alcohol, pipe cleaners and alcohol. He scrubbed the exterior with undiluted Murphy’s Oil Soap and a tooth brush. He rinsed the pipe under warm water. He dried it off with a cloth and then let it air dry. The stem was scrubbed with Soft Scrub and soaked in Before & After Deoxidizer. It came out looking very good. The finish on the bowl and the rim top cleaned up beyond my expectations. I took pictures of the pipe to show how it looked when I unpacked it. I took a close up photo of the rim top to show how clean it was. Jeff had been able to clean out the dust and grime in the rim top and it looked very good. The inner edge of the rim and the ridges and valleys of the plateau looked good. The stem looked good just some light tooth chatter and several tooth marks on the button.Even the stamping cleaned up well and is still very clear and readable.The pipe was in really good shape so it was a matter of cleaning up the edges and polishing the briar. I started the work by dealing with the darkening of the inner edge and part of the bevel. I used a folded piece of 220 grit sandpaper to clean up the edge and then polished it with 400 grit wet dry sandpaper.I polished the briar with micromesh sanding pads. I wet sanded it with 1500-12000 grit pads and wiped the bowl down with a damp cloth after each pad. I worked some Before & After Restoration Balm into the briar with my fingertips. I let the balm sit on the briar for 10 minutes the buffed it off with a soft cloth. The product is a great addition to the restoration work. It enlivens, enriches and protects the briar while giving it a deep glow. I appreciate Mark Hoover’s work in developing this product. I set the bowl aside and turned my attention to addressing the issues with the stem. I sanded the surface of the stem with 220 grit sandpaper to remove the remaining oxidation and tooth chatter. I started the polishing process with 400 grit wet dry sandpaper.I polished the stem with Denicare Mouthpiece Polish from a tin of it I have in the drawer here. It is a gritty red paste (similar in grit to red Tripoli) that I rub on with my finger tips and work it into the surface of the stem and button and buff it off with a cotton pad. It gives me a bit of a head start on the polishing work.I polished the stem with micromesh sanding pads – wet sanding with 1500-12000 grit sanding pads. I wiped it down after each sanding pad with Obsidian Oil. I polished it with Before & After Pipe Stem Polish – both Fine and Extra Fine. I buffed the stem with a soft cloth to raise the shine. I wiped the stem down with Briarville’s No Oxy Oil to preserve and protect the stem surface. I am on the homestretch with this Sasieni Four Dot Natural Moorgate Pot! As always I am excited to finish a pipe that I am working on. I put the pipe back together and buffed it with Blue Diamond on the buffing wheel. I used a gentle touch to keep the polish from building up in the blast of the bowl. I gave the bowl and the stem multiple coats of carnauba wax. I buffed the pipe with a clean buffing pad and hand buffed it to raise the shine. It is fun to see what the polished Natural briar bowl looks like along with the polished vulcanite stem. This Sasieni Moorgate is a beautiful pipe. It is quite comfortable in hand and should be so when smoking. It is quite light and well balanced. Have a look at it with the photos below. The dimensions are Length: 5 ¼ inches, Height: 1 ½ inches, Outside diameter of the bowl: 1 3/8 inches, Chamber diameter: 7/8 of an inch. It is another beautiful pipe and one that will be on the rebornpipes store soon. You can find it in the section of Pipes by English Pipe Makers. If you are interested in adding it to your collection let me know. Thanks for walking through the restoration with me as I worked over this pipe. Thanks to each of you who are reading this blog.