Blog by Steve Laug
One thing that can be said for staying home and indoors is that I am able to work through the large backlog of pipes in my queue and maybe make a dent. The next pipe on the work table is an interesting egg shaped sitter with a long shank. The only stamping it bears is the Savinell “S” shield and Italy on the underside of the shank. Otherwise there is nothing else. It has a natural smooth finish on the bowl and shank. The grain is mixed but very interesting and flows up and around the bowl and shank. The round shank flows well into saddle stem. The rim top is smooth and crowned inward. There was a thick cake in the bowl and some lava on the inner edge. There was also some darkening. The pipe was dirty and tired looking. The saddle stem was vulcanite and had a slight bend in the blade. There were light tooth marks and chatter on both sides near the button. It was oxidized and spotty. Jeff took some photos of the pipe to show the general condition of the pipe before he started his clean up.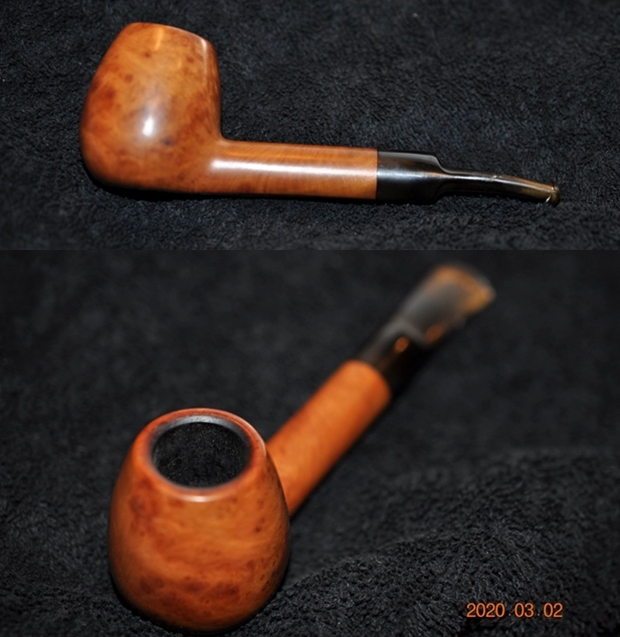 Jeff took some close-up photos of the rim top and bowl from various angles to show the overall condition. It looked pretty good. There is light coat of lava around the inner edge of the bevel and some rim darkening. There were a few rough spots on the rim top on the front right. You can also see the cake in the bowl. It was a well-loved pipe and smoked a lot by the previous pipe man.
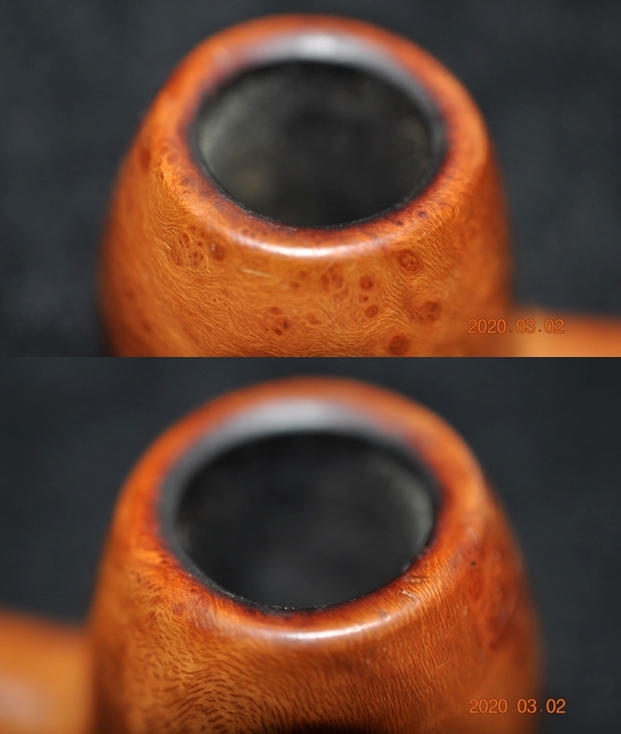
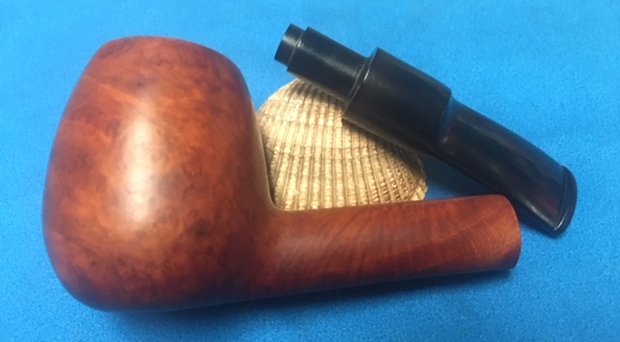
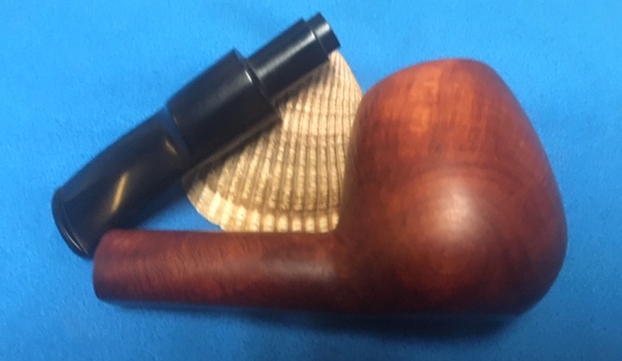
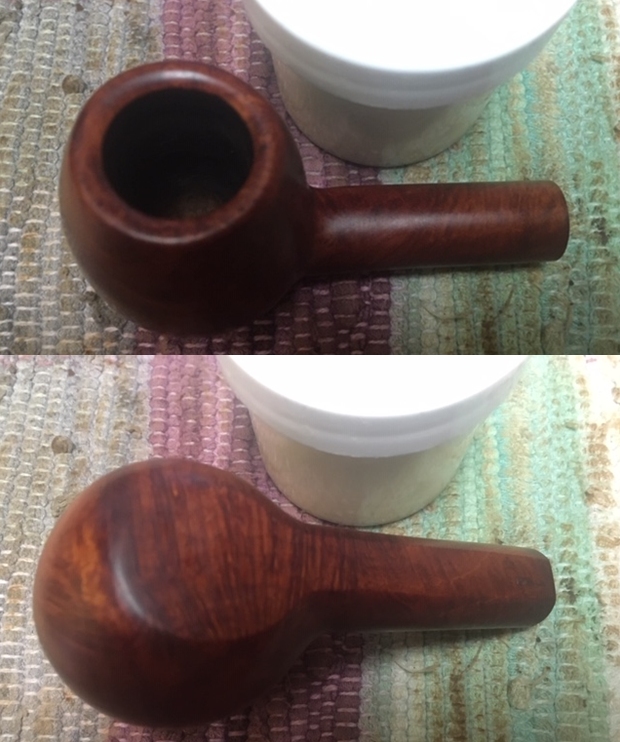
 Jeff took some photos of the sides and heel of the bowl to show the condition of the finish on the pipe. The photos show the beautifully grained bowl. Under the dust and grime it was a nice looking bowl. I think it will be another beautiful pipe once it is restored.
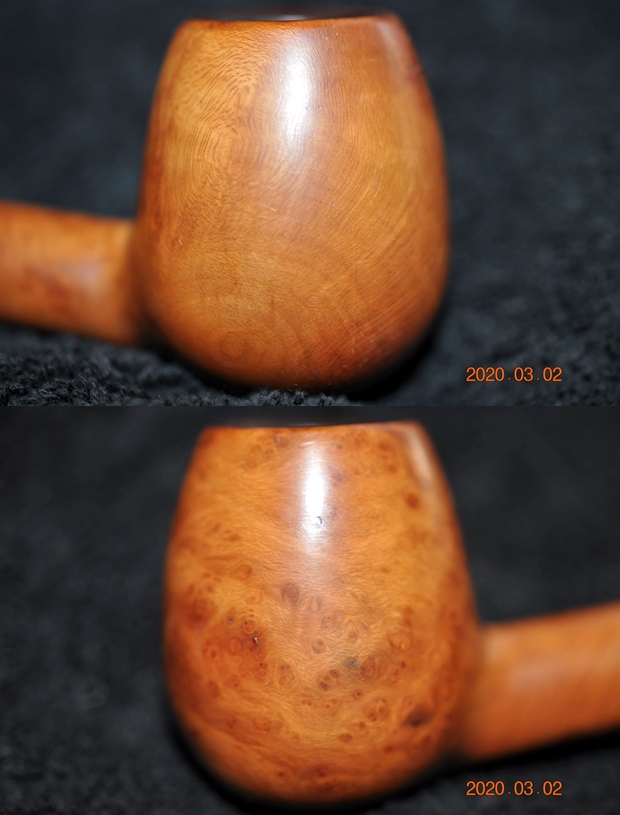
 He took a photo of the stamping on the underside of the shank. It was very readable and matches what was spelled out above.
  The next two photos show the top and underside of the stem. It is dirty, oxidized and has some tooth chatter and some tooth marks with some damage to the button edge on both sides. The third photo shows the flow of the stem and shank.
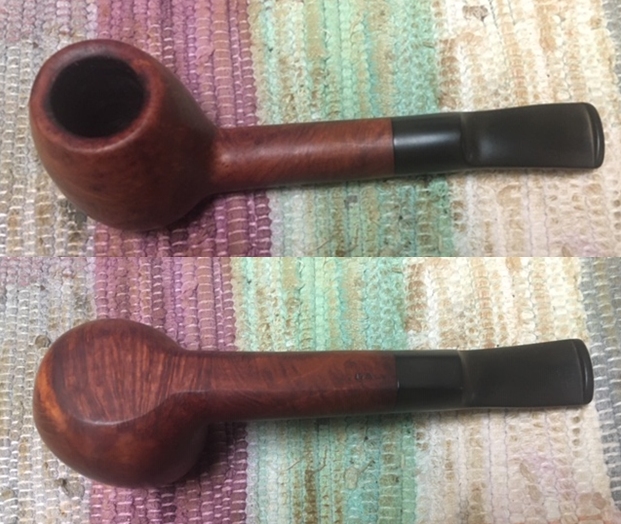
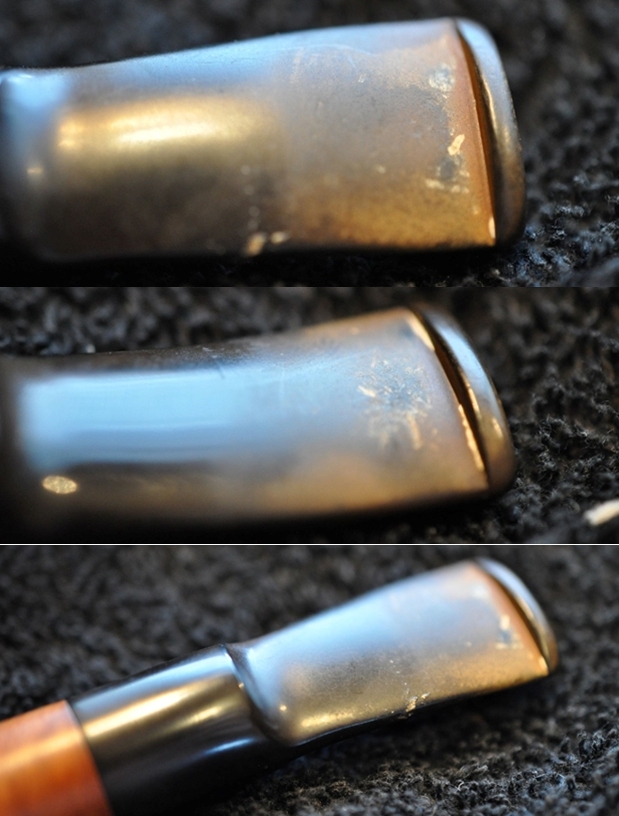 This is a nice Savinelli pipe and it is fun to work on a shape I have not seen before. When I received it Jeff had once again done his usual thorough job cleaning the pipe. He reamed it with a PipNet pipe reamer and got rid of the cake. He cleaned up the reaming with a Savinelli Fitsall Pipe Knife so that we could see the walls of the bowl and assess for damage. He cleaned the internals of the shank and stem with alcohol, pipe cleaners and alcohol. He scrubbed the exterior with undiluted Murphy’s Oil Soap and a tooth brush. He rinsed the pipe under warm water. He dried it off with a cloth and then let it air dry. The stem was scrubbed with Soft Scrub and soaked in Before & After Deoxidizer. It came out looking very good. The finish on the bowl and the rim top cleaned up beyond my expectations. I took pictures of the pipe to show how it looked when I unpacked it.
 I took a close up photo of the rim top to show how clean it was. Jeff had been able to clean out the dust and grime on the edges of the rim top and it looked very good. The stem looked good just some light tooth chatter and several tooth marks on the button.
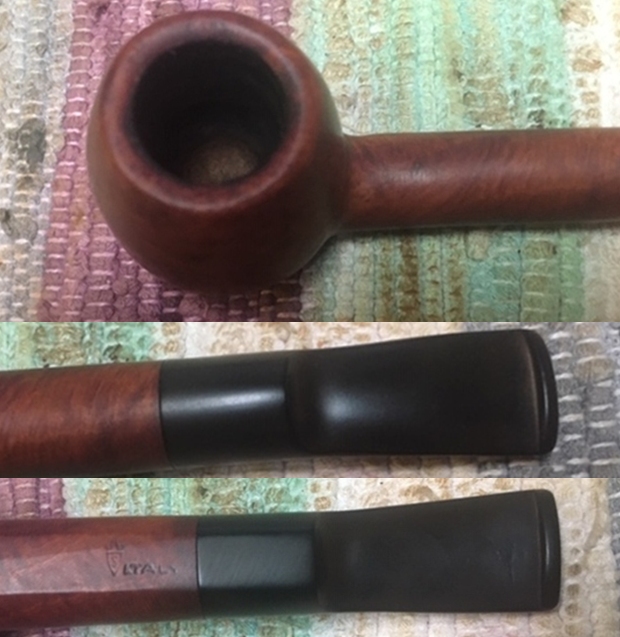 Even the stamping cleaned up well and is still very clear and readable.
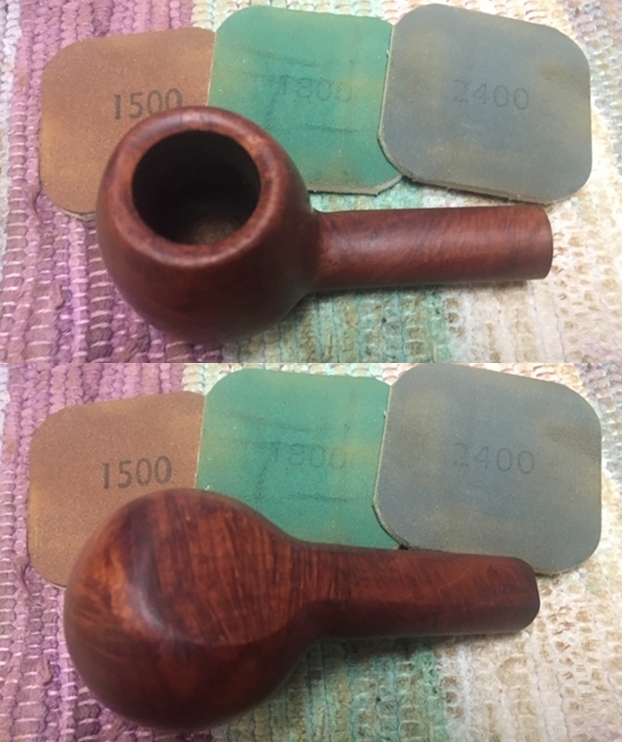
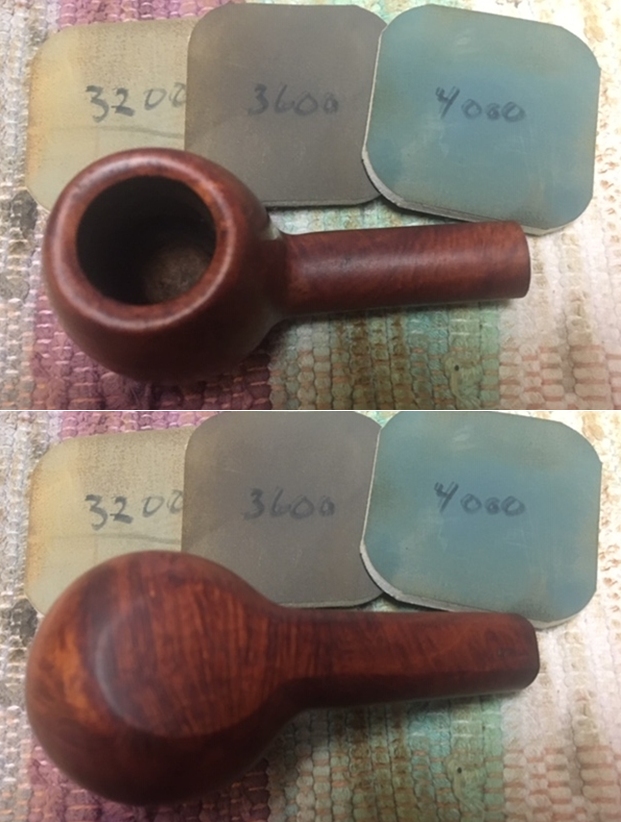
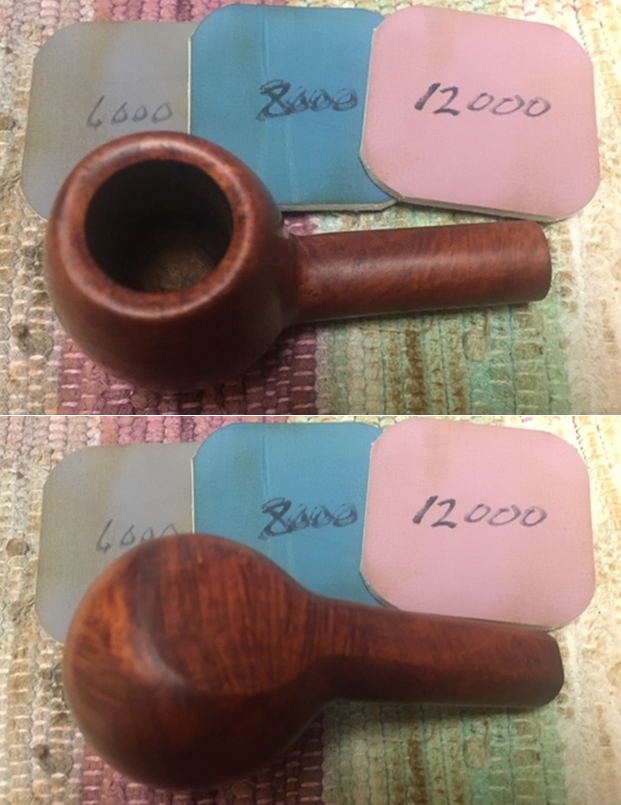
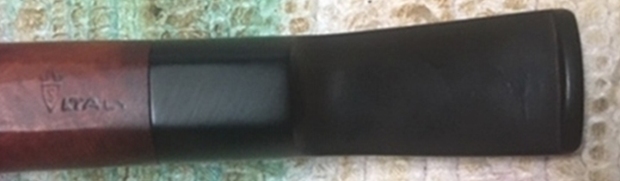 The pipe was in really good shape so it was a matter of cleaning up the edges and polishing the briar. I started the work by dealing with the darkening of the inner edge and part of the bevel. I used a folded piece of 220 grit sandpaper to clean up the edge and then polished it with 400 grit wet dry sandpaper.
 I polished the briar with micromesh sanding pads. I wet sanded it with 1500-12000 grit pads and wiped the bowl down with a damp cloth after each pad.
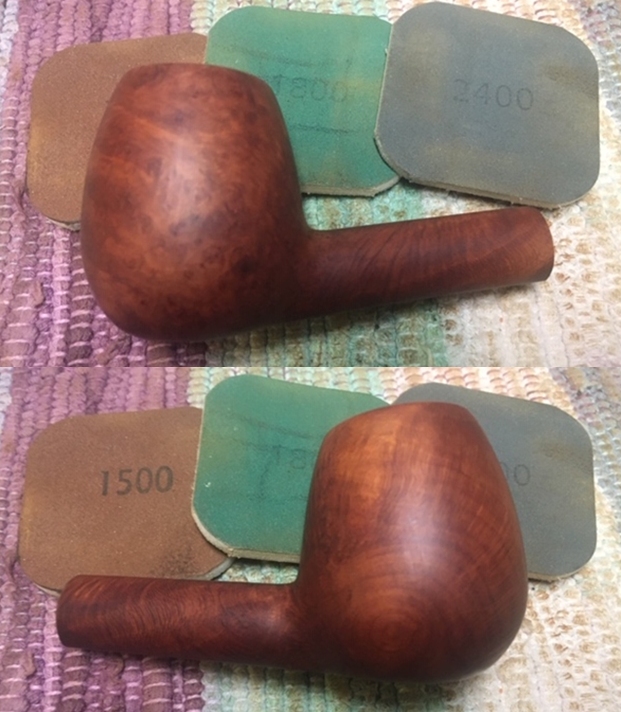


 I worked some Before & After Restoration Balm into the briar with my fingertips. I let the balm sit on the briar for 10 minutes the buffed it off with a soft cloth. The product is a great addition to the restoration work. It enlivens, enriches and protects the briar while giving it a deep glow. I appreciate Mark Hoover’s work in developing this product.
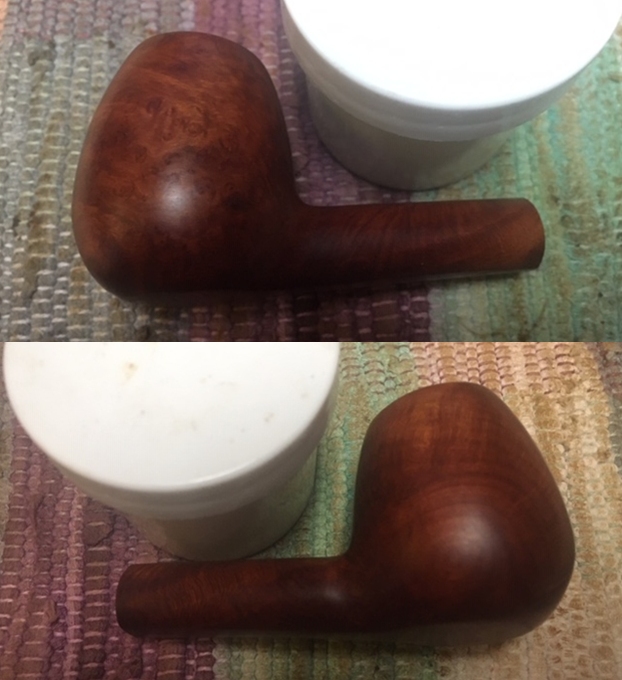
 I set the bowl aside and turned my attention to addressing the issues with the stem. I sanded the surface of the stem with 220 grit sandpaper to remove the remaining oxidation and tooth chatter. I started the polishing process with 400 grit wet dry sandpaper.
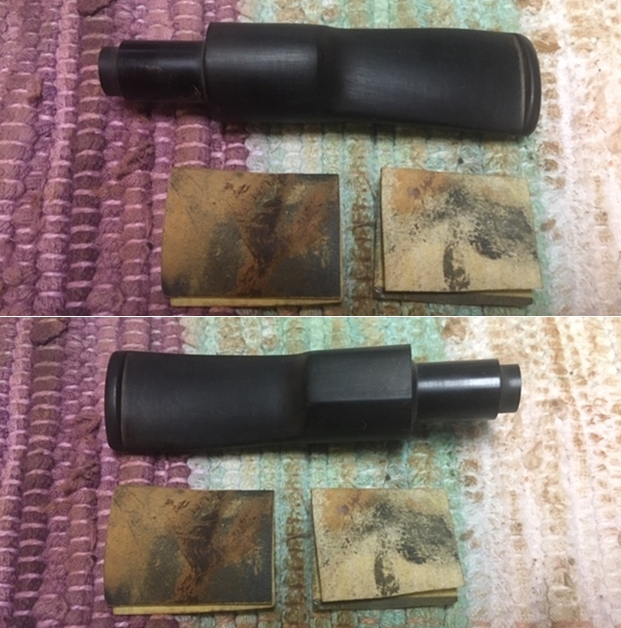 I polished the stem with Denicare Mouthpiece Polish from a tin of it I have in the drawer here. It is a gritty red paste (similar in grit to red Tripoli) that I rub on with my finger tips and work it into the surface of the stem and button and buff it off with a cotton pad. It gives me a bit of a head start on the polishing work.
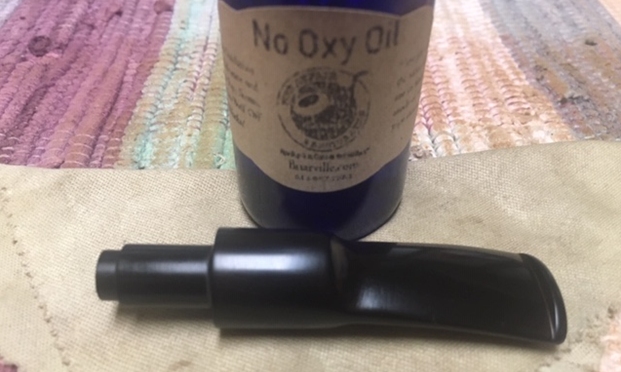
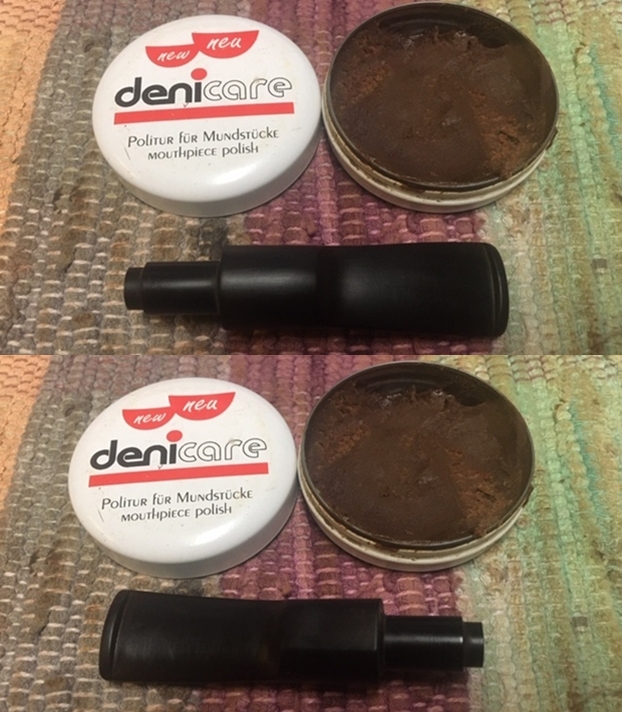 I polished the stem with micromesh sanding pads – wet sanding with 1500-12000 grit sanding pads. I wiped it down after each sanding pad with Obsidian Oil. I polished it with Before & After Pipe Stem Polish – both Fine and Extra Fine. I buffed the stem with a soft cloth to raise the shine. I wiped the stem down with Briarville’s No Oxy Oil to preserve and protect the stem surface.
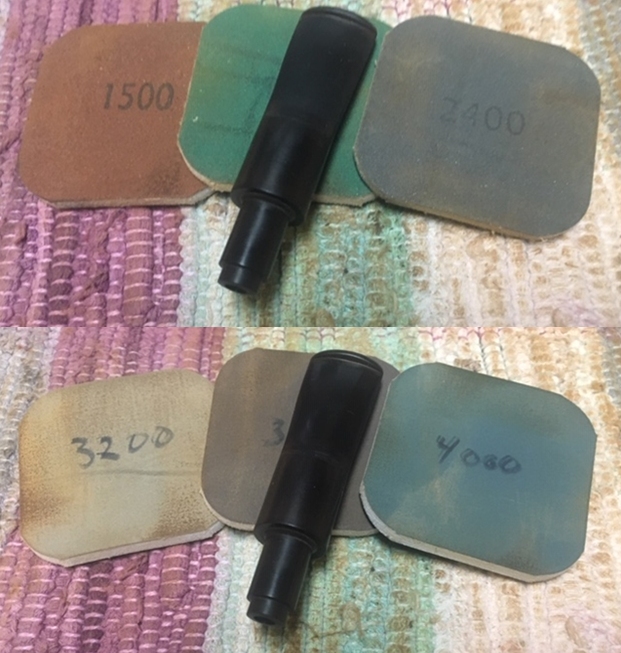

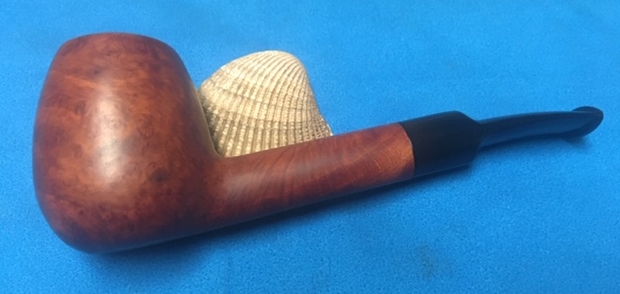
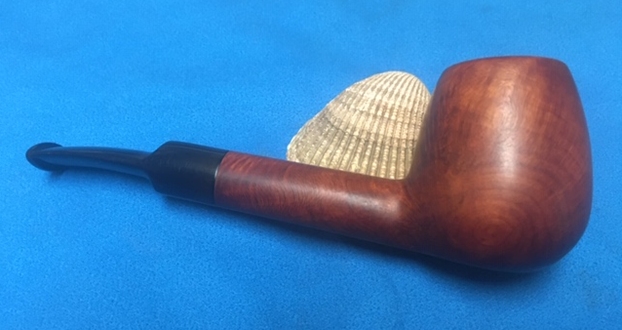
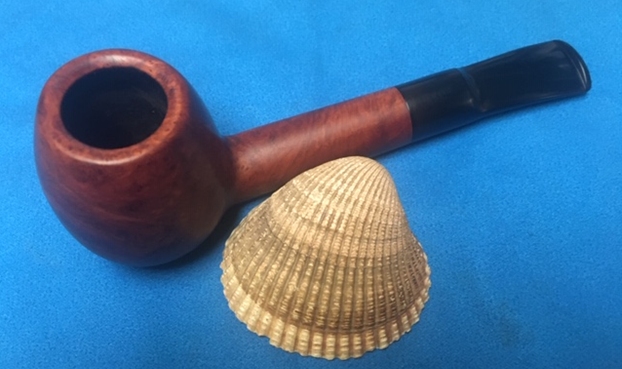
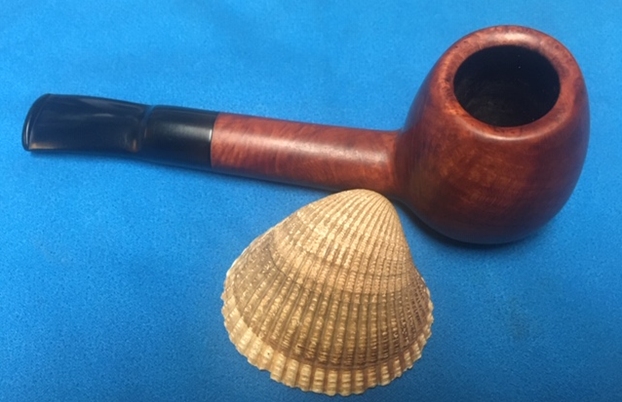
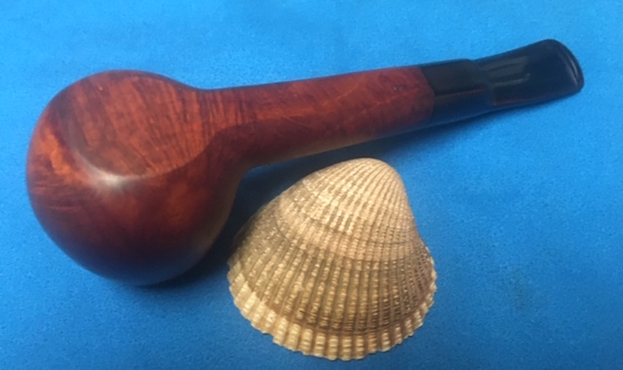
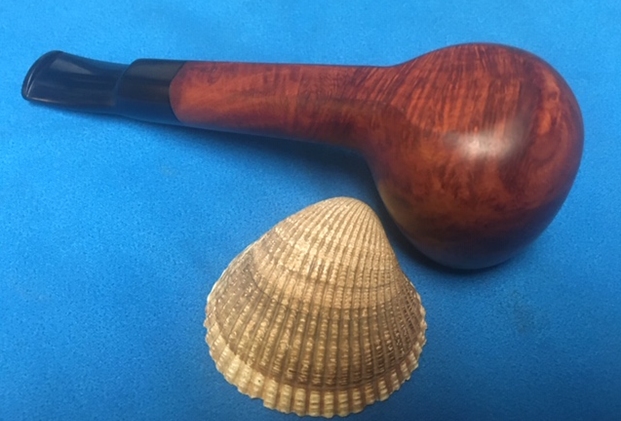
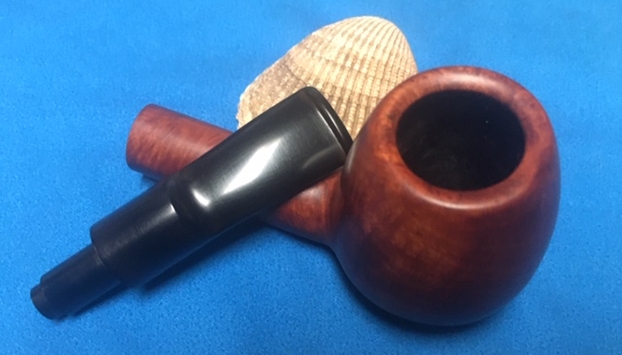
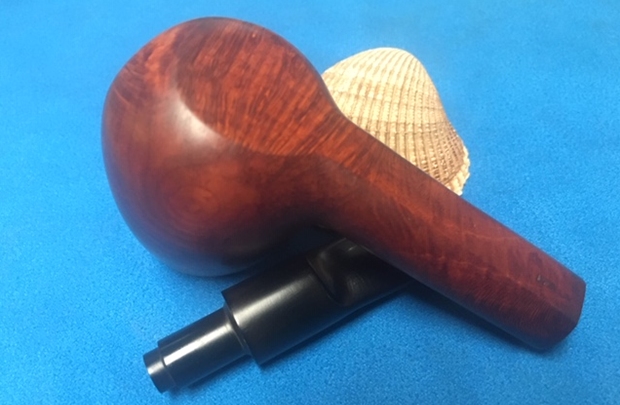
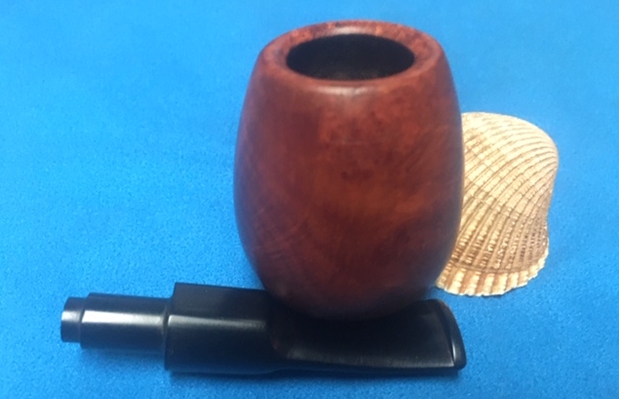
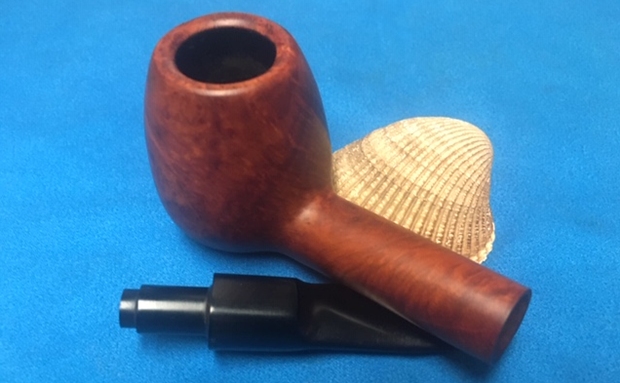
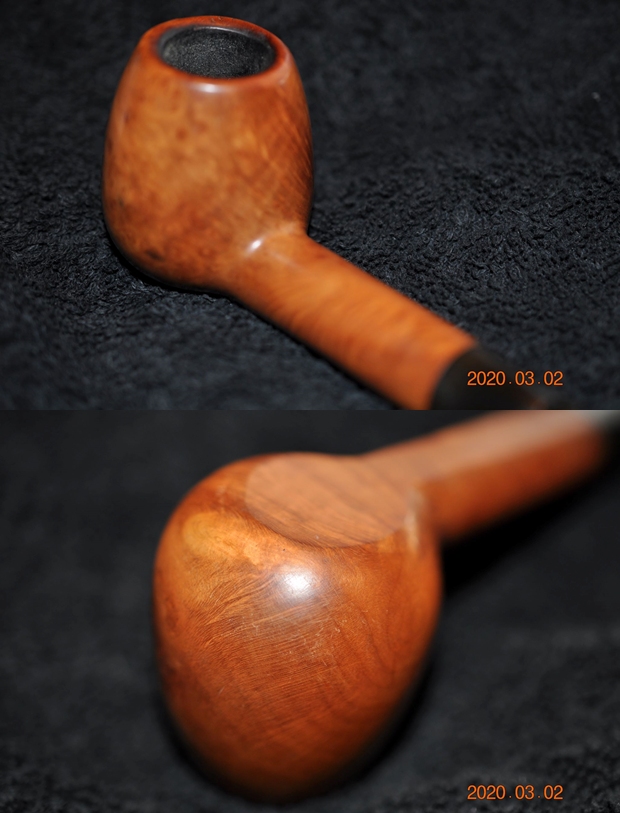
 I am on the homestretch with this Savinelli Egg shaped sitter! Once again I am excited to finish a pipe that I am working on. I put the pipe back together and buffed it with Blue Diamond on the buffing wheel. I used a gentle touch to keep the polish from building up in the blast of the bowl. I gave the bowl and the stem multiple coats of carnauba wax. I buffed the pipe with a clean buffing pad and hand buffed it to raise the shine. It is fun to see what the polished briar bowl looks like along with the polished vulcanite stem. This Savinelli made pipe is a beautiful pipe. It is quite comfortable in hand and should be so when smoking. It is quite light and well balanced. The flat base provides the option of sitting the pipe down on a desk top. Have a look at it with the photos below. The dimensions are Length: 5 ½ inches, Height: 2 inches, Outside diameter of the bowl: 1 ¼ inches, Chamber diameter: ¾ of an inch. It is another beautiful pipe and one that will be on the rebornpipes store soon. You can find it in the section of Pipes by Italian Pipe Makers. If you are interested in adding it to your collection let me know. Thanks for walking through the restoration with me as I worked over this pipe. Thanks to each of you who are reading this blog.