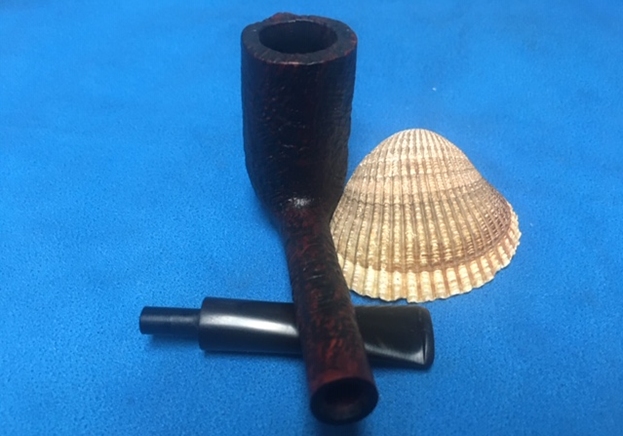
Blog by Paresh Deshpande
Any learning consists of three phases; first is being taught, second is practice and the third phase is mastering!! Continuing on my learning curve, I wanted to practice replacing broken tenons on pipes to make them smoke worthy again.
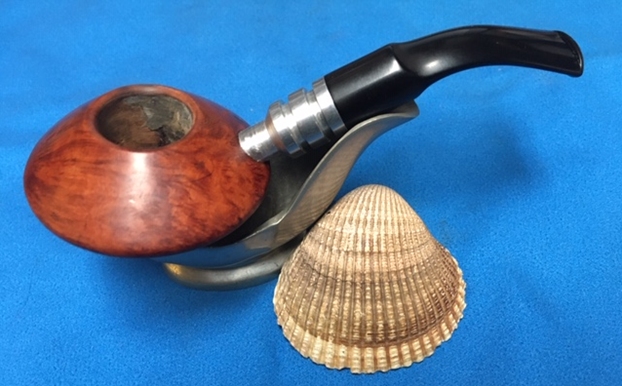
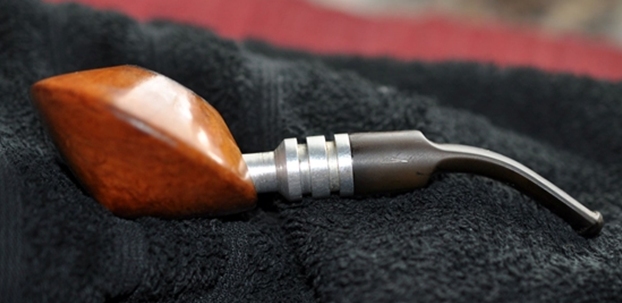
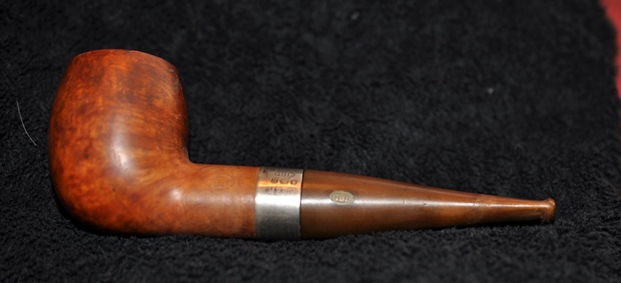
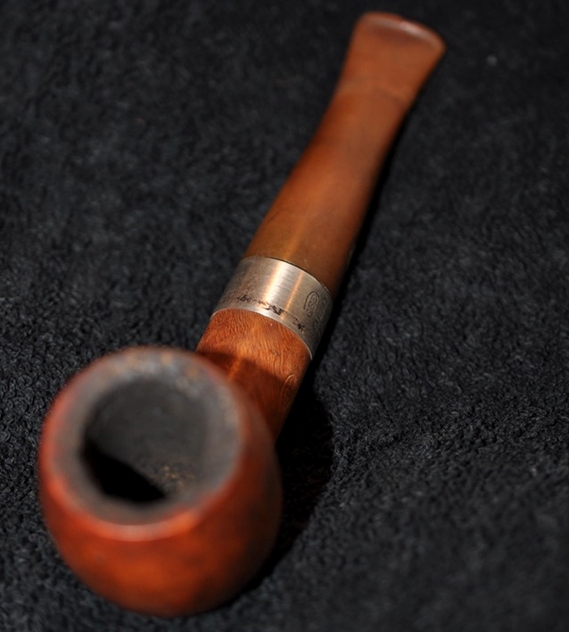
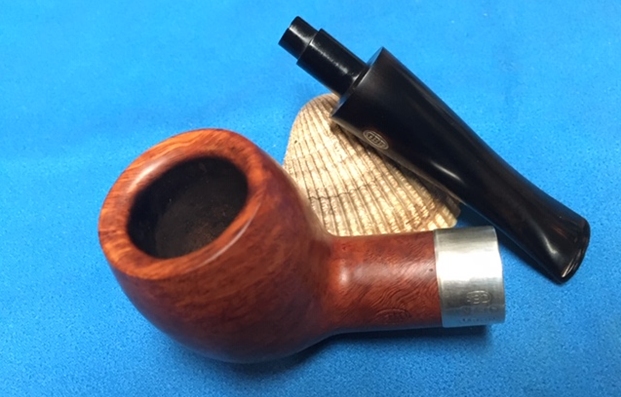
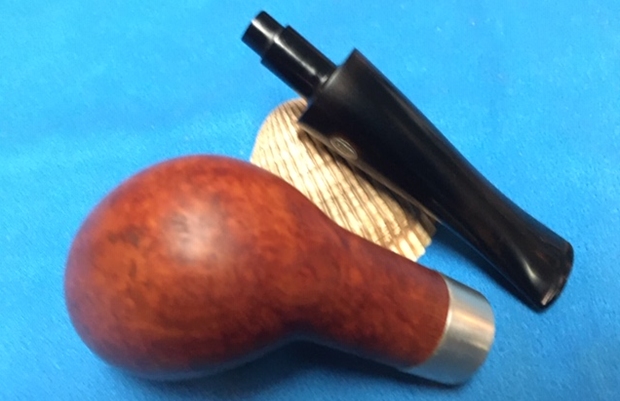
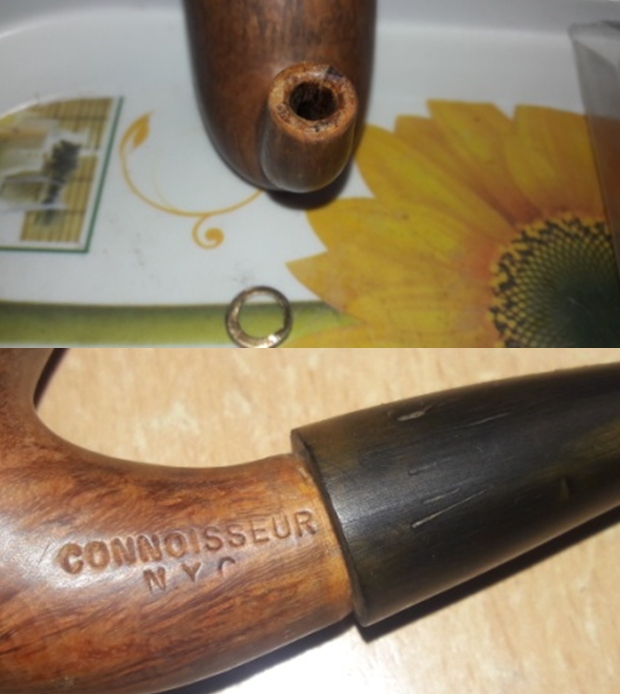
The pipe that I chose to practice on is a free hand that boasts of straight / flame grains all around the stummel with bird’s eyes on the heel of the bowl with a plateau rim top. It is stamped on the left of the shank as “CONNOISSEUR” over “N.Y.C.”. These stampings are crisp and easily readable. There is no other stamping seen on either the stummel or the stem.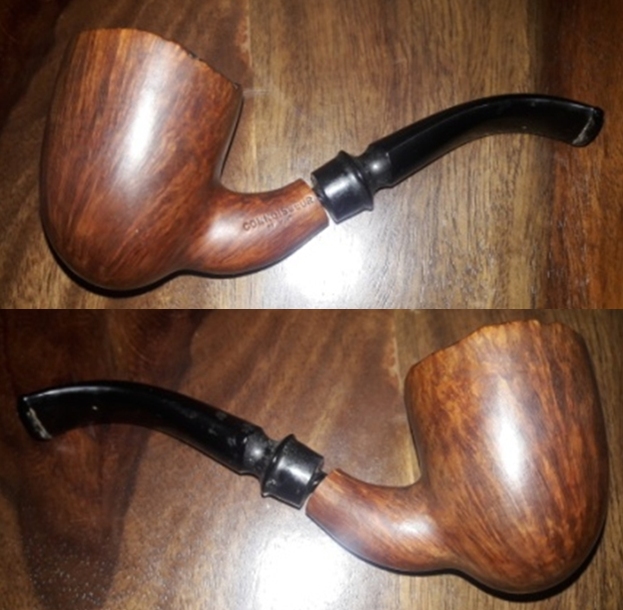
 This is the first time that I am working on a Connoisseur and am keen to know more about this pipe brand, carver and also dating this pipe. As is my habit, the first site that I visit is rebornpipes where, over the years, it seems like Steve has chronicled almost all the pipes that were and are in existence. True enough, Steve has restored and researched a pipe from this maker. Here is the link for a detailed information on this pipe; https://rebornpipes.com/2015/05/23/restoring-an-ed-burak-connoisseur-tall-stack/
Further down the write up, he also gives out the dating methodology adopted by Ed Burak and the same is reproduced for immediate reference.
I also learned on Pipephil’s website (http://www.pipephil.eu/logos/en/about-en.html) that the stamping did indeed give some information that helped in identifying the period that a particular pipe was made. There I found that one may generally separate Connoisseur pipes’ date of manufacture into three periods.
From late 1960’s until 1974: no stampings
From 1974 until 1981: CONNOISSEUR over N.Y.C.
From 1981 on: CONNOISSEUR over N.Y.C. and Ed Burak’s signature.
Thus from the above information, it’s evident that this beautiful Connoisseur pipe in my hand is from the period 1974 to 1981!
INITIAL VISUAL INSPECTION
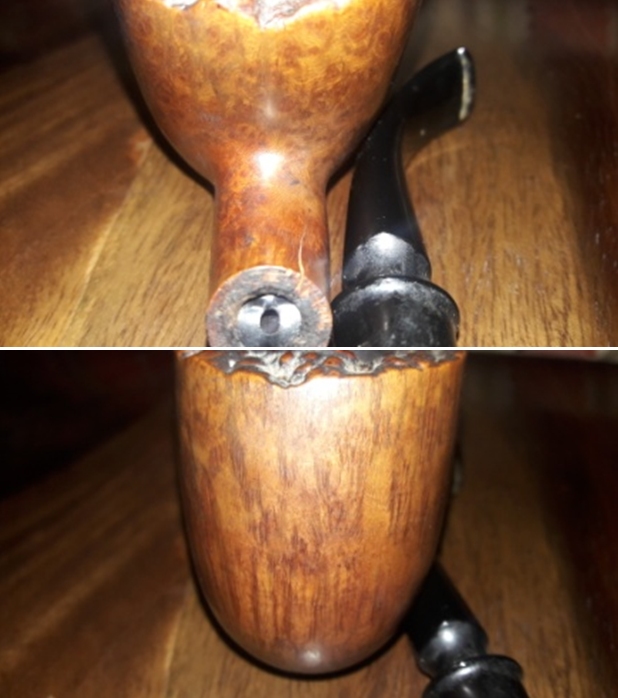
The first and foremost issue that I noticed and was aware of from the description given by the seller is that of the broken tenon. When I saw the pictures of this pipe for the first time, I had observed, apart from the most obvious broken tenon a number of other issues which presented a challenge of their own. The briar was natural and unstained. It had darkened slightly with age. This was how the pipe had reached me…discerning readers will easily make out other major issues that need to be addressed on this pipe.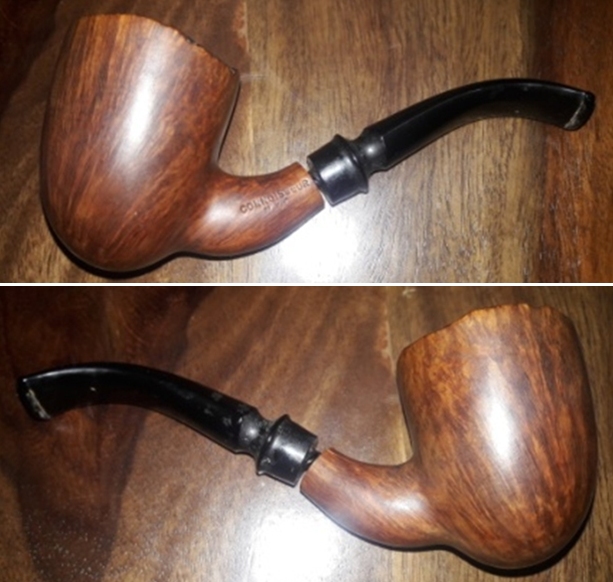
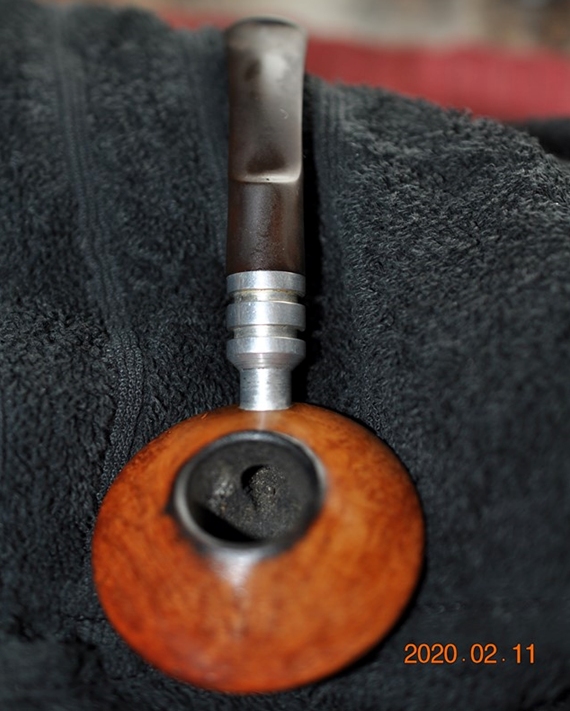
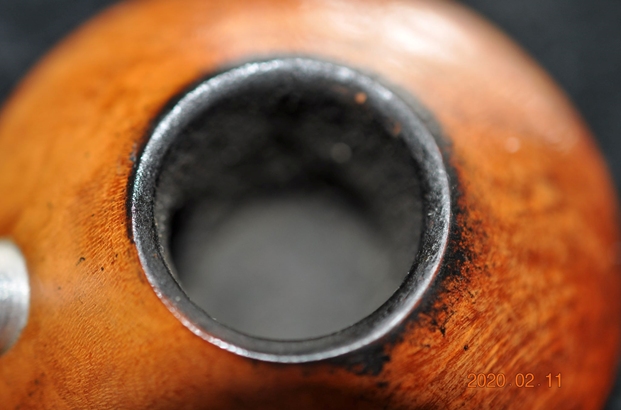
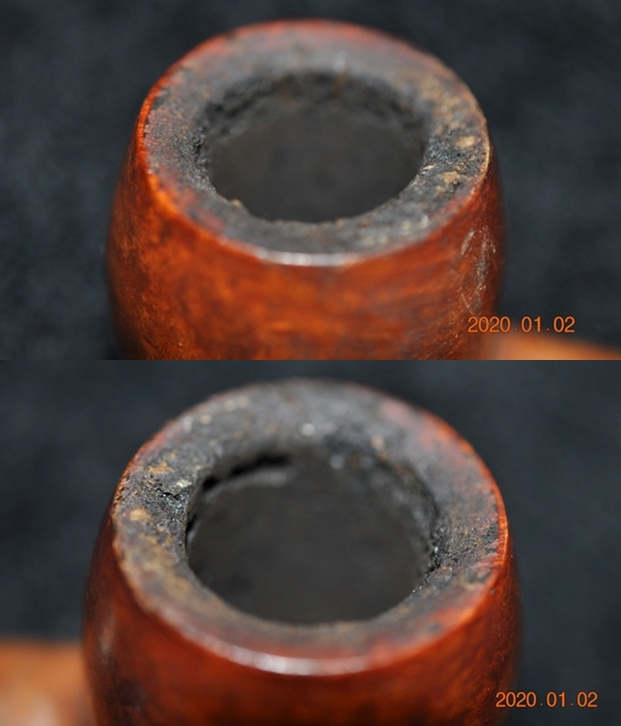
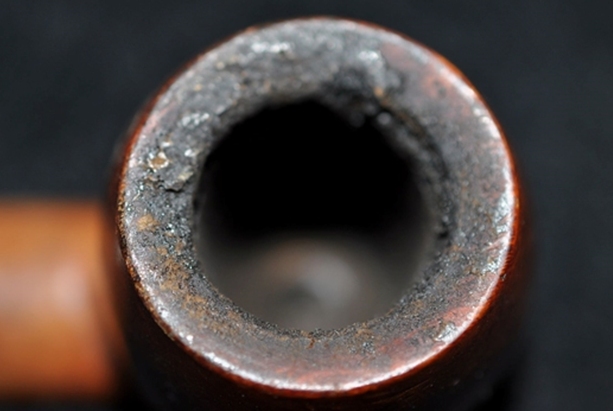
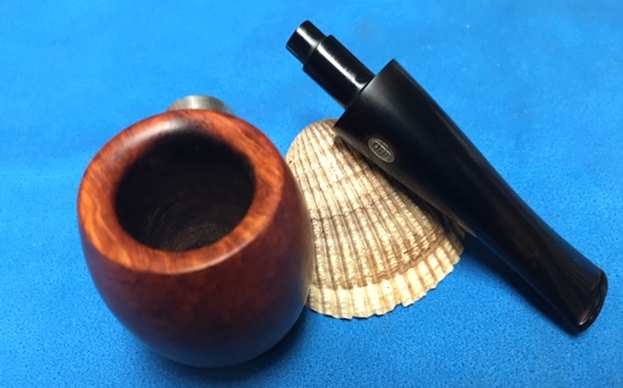
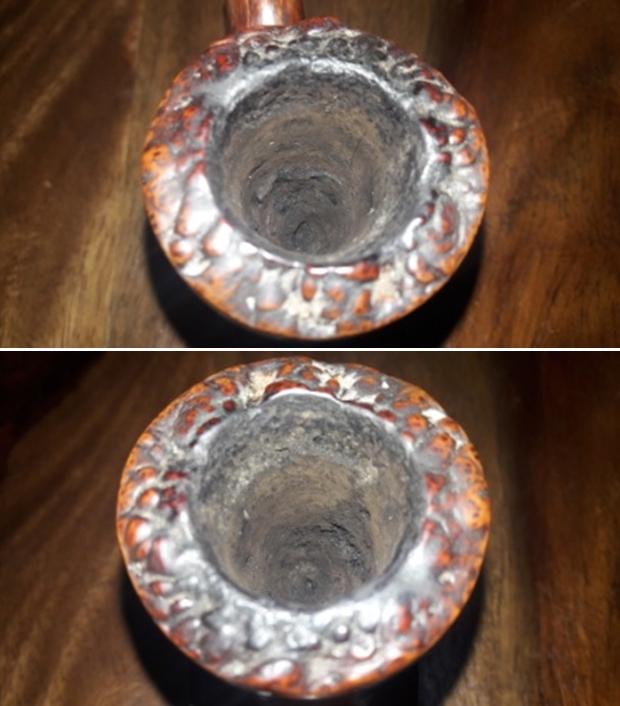
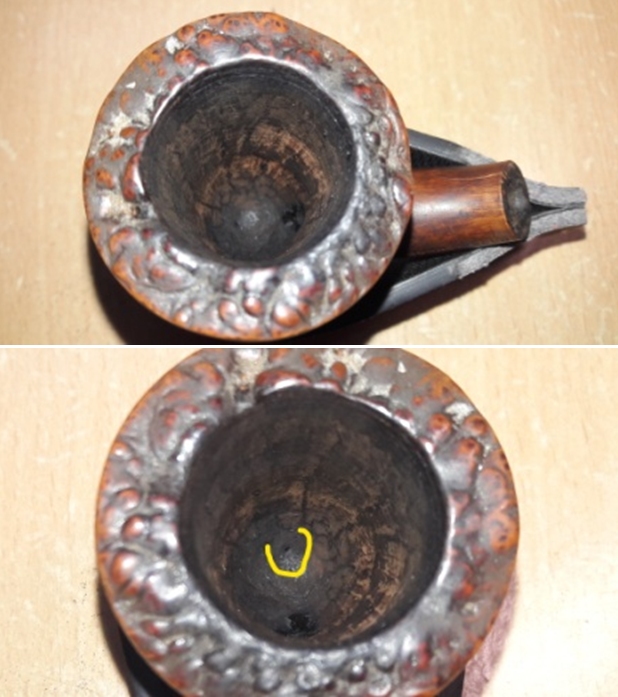
 The chamber has a thick uneven layer of dry and hard cake with the inner rim edge showing darkening in 6 o’clock direction (marked in yellow). The condition of the inner walls of the chamber can be checked and ascertained only after the cake has been taken down to the bare briar. However, I do not envision any damage to the chamber walls. There is heavy lava overflow and debris embedded in the plateau of the rim top surface. The condition of the inner rim edge will be commented upon once the lava overflow has been removed. There are very strong and all pervading smells of old tobacco emanating from the chamber. Hopefully this issue should be addressed once the cake has been removed and the mortise is thoroughly cleaned.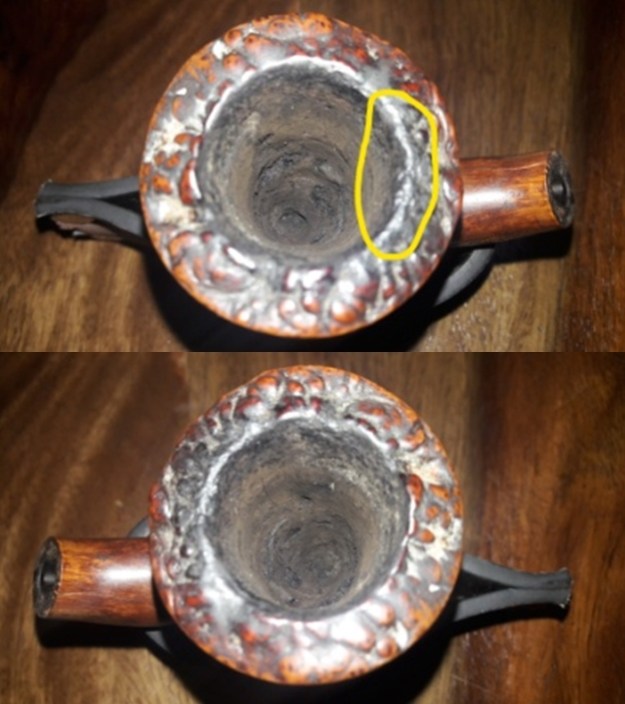
 The stummel boasts of beautiful straight/flame grain all around and extend over the shank surface too!! The surface is covered in lava overflow, dirt and grime. The stummel briar is without a single fill and through all the dirt and grime, exudes a very high quality briar and craftsmanship. The foot of the stummel shows beautiful bird’s eye grains and is sans any damage. The slightly tapered end of the shank has the broken end of the tenon still embedded within. A prominent crack is visible over the shank on the right side. This pipe, in all probability, has suffered this catastrophic damage as a result of having fallen in stem down position.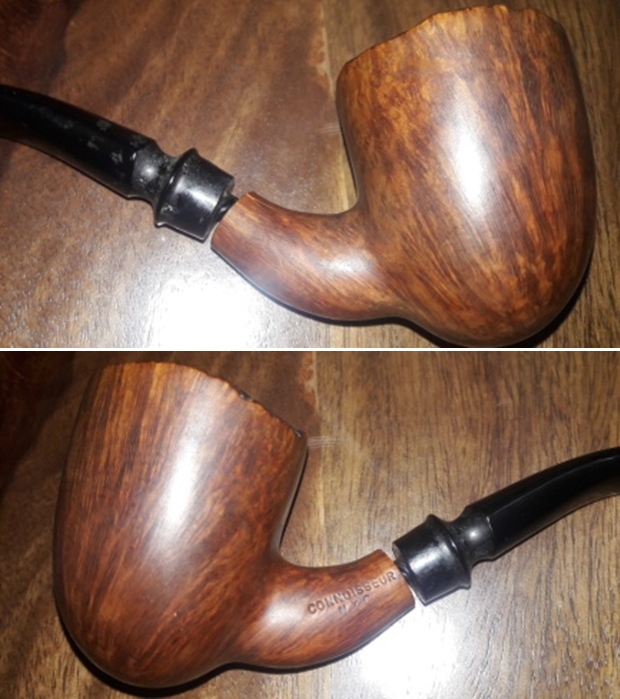
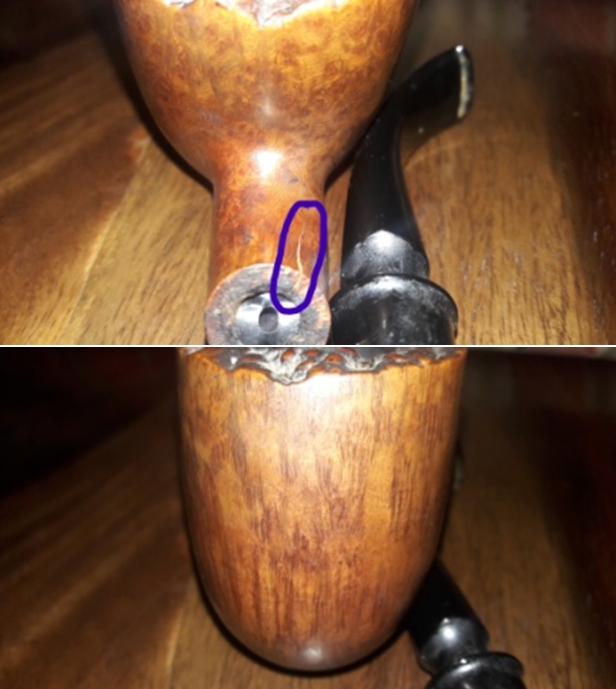
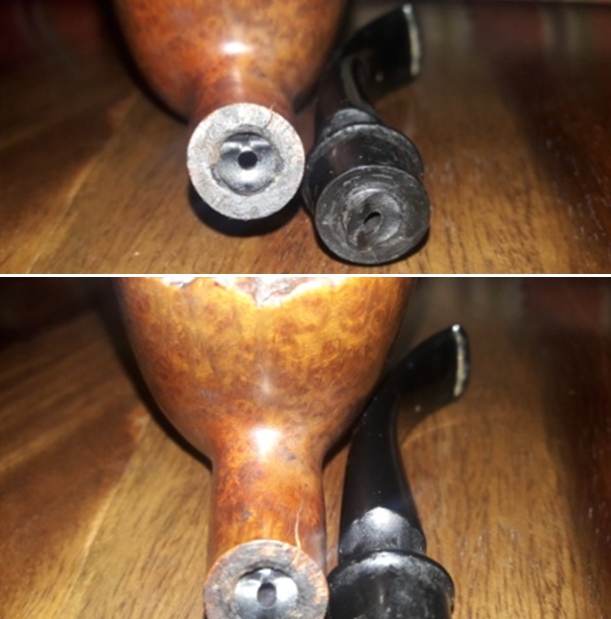
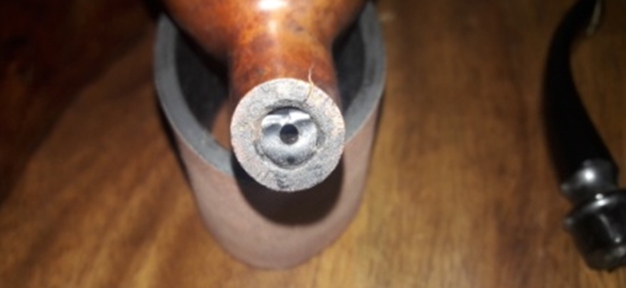
 The mortise has the broken tenon stuck inside. I did try to wriggle it out with a screw driver, but the broken tenon wouldn’t budge. This will require more invasive technique. The heavy build up of cake in the chamber, dirty plateau rim top and the sorry condition of the stem all point towards a clogged mortise. This will be ascertained once the broken piece is removed from the shank end.
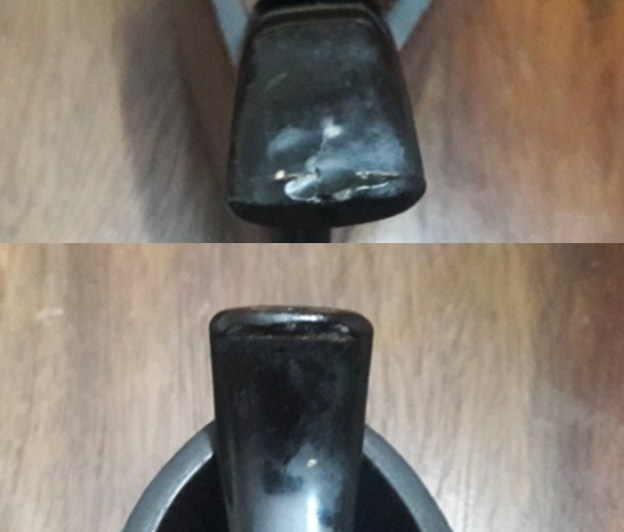
 The fancy stem has blobs of sticky oils and tars on both the surfaces as well as in between the nooks and crannies at the tenon end. There are significant tooth indentations on both the upper and lower buttons, to the extent that they would need to be rebuild completely. The slot just does not appear correct. It appears to be a orifice, but it is not a perfect round and there are horizontal extensions on either side. Even this opening is clogged with old oils and tars. The broken tenon end of the stem is jagged and sharp at the place where the tenon has snapped. In my opinion, there is something which is not right about this stem. The quality of the stem is not something which is to be expected on a Connoisseur pipe.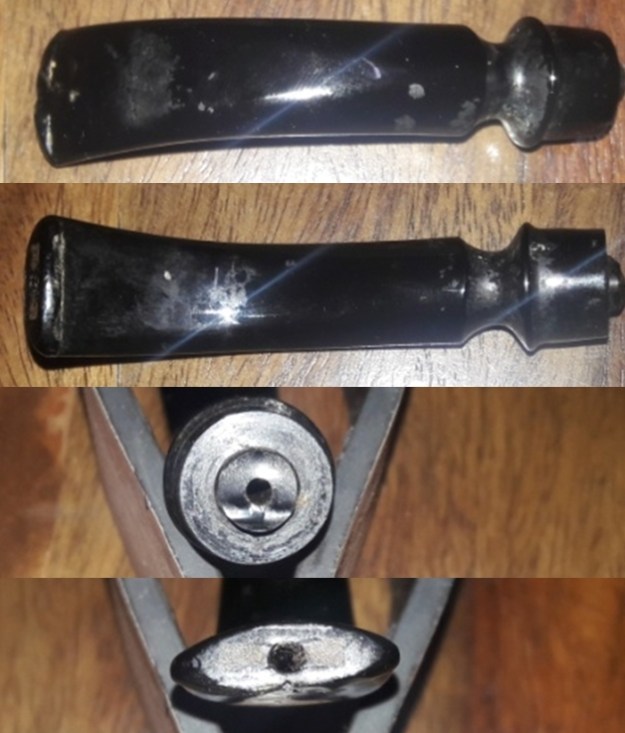
 THE PROCESS
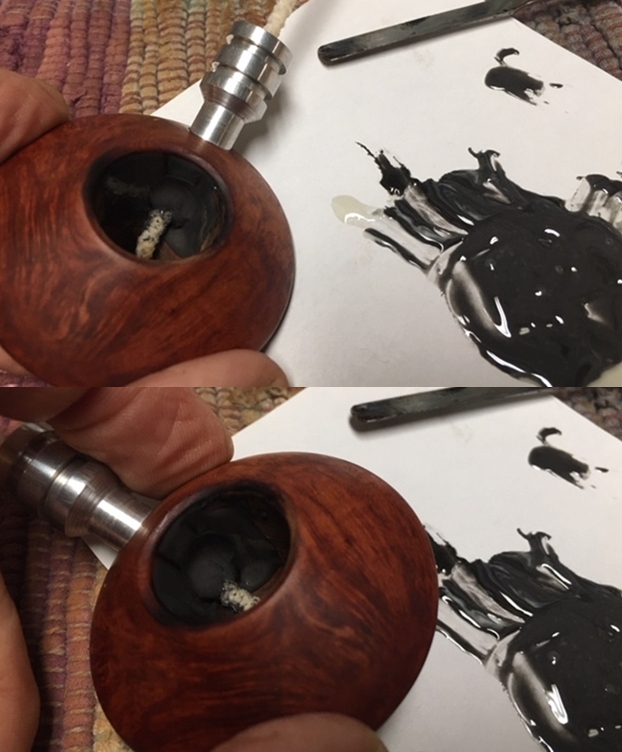
I began the process of refurbishing this pipe with cleaning the internals of the stem using pipe cleaners with isopropyl alcohol (99.9% pure) and dunking the stem in to “Before and After Deoxidizer” solution developed by my friend Mark Hoover. The solution helps to draw out heavy oxidation to the surface making its removal a breeze, while the minor oxidation is eliminated to a very great extent. I usually dunk stems of 5-7 pipes that are in-line for restoration and this pipe is marked in pastel blue arrow. I generally allow the stems to soak in this solution overnight for it to work its magic.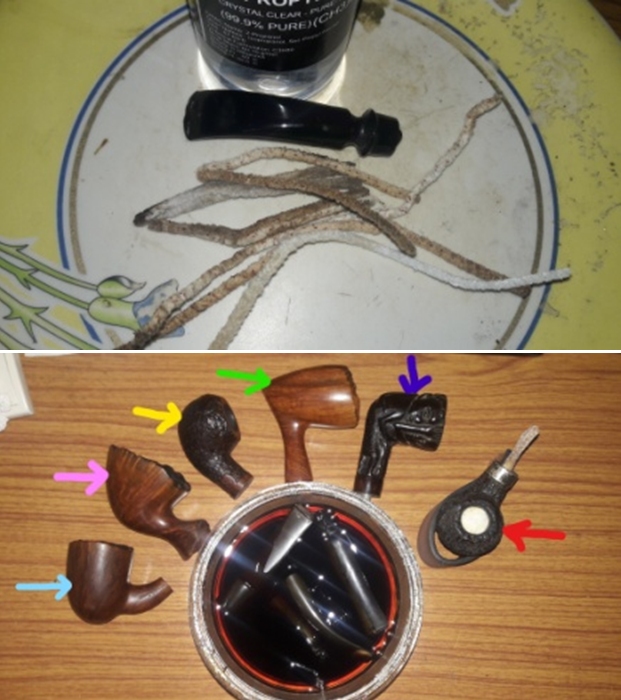 With the stem soaking in the deoxidizer solution, I decided to remove the broken portion of the tenon from the shank. I select a drill bit that was slightly bigger than the tenon airway opening and mount it on my hand held drill. Very gently holding the drill absolutely straight, I give the drill machine a few forward turns. Once the drill bit is firmly embedded in to the broken tenon, I turn the drill machine in reverse. The reverse turns pull the broken end of the tenon out from the mortise. I breathe a sigh of relief as this is a very delicate step and a lot of things can go wrong if not executed with precision and patience.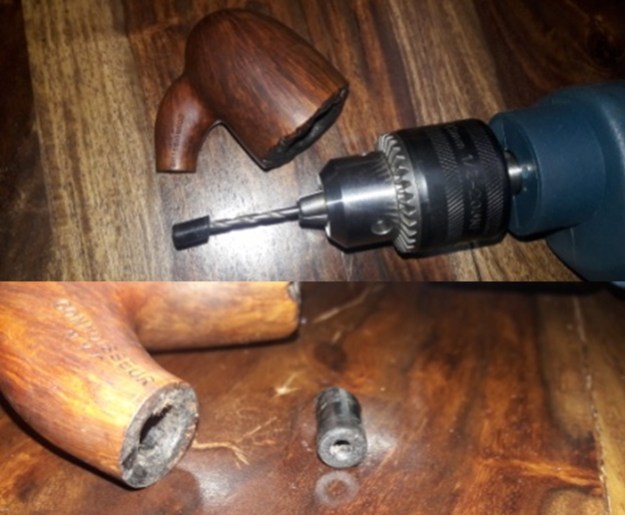
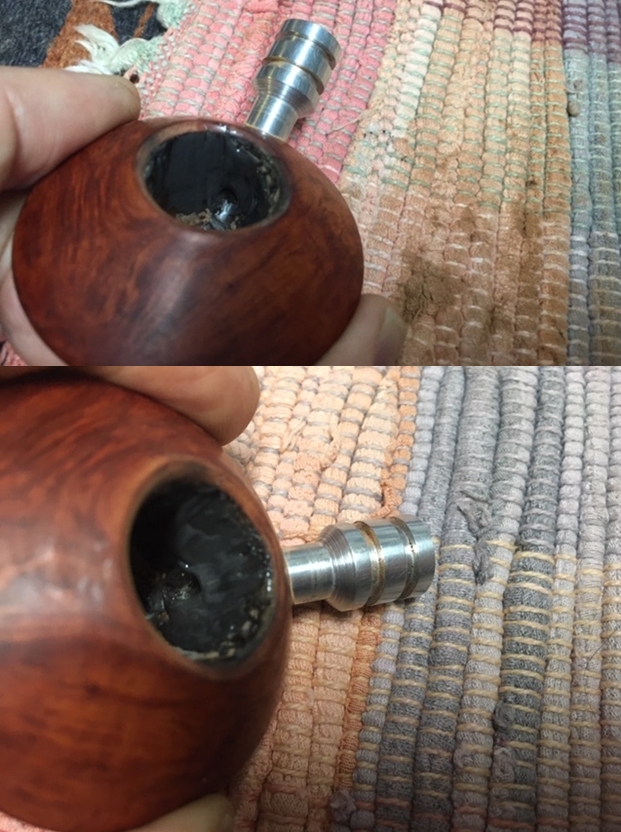
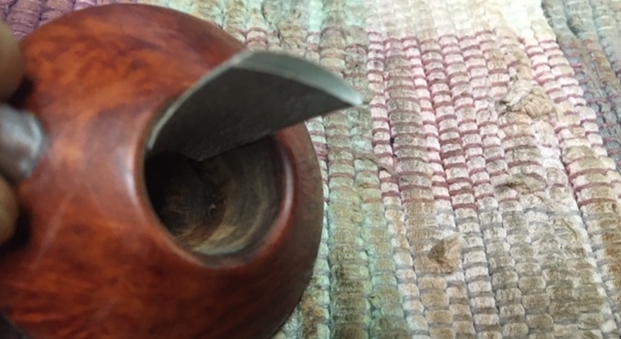
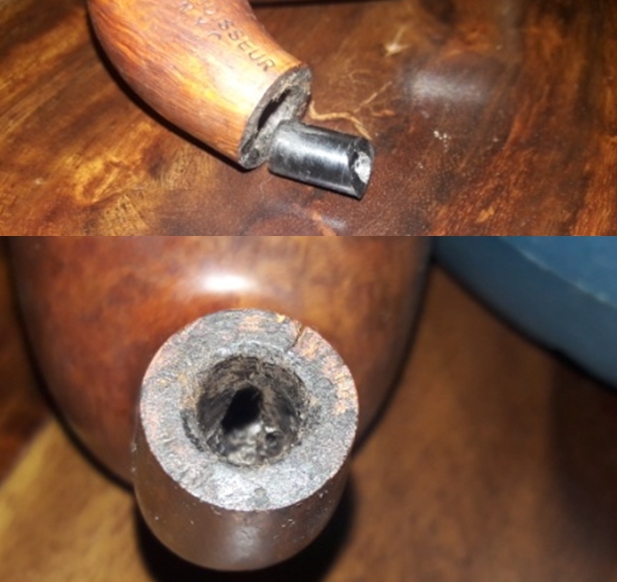 I further work the stummel, reaming the chamber with my PipNet reamer using head sizes 1 to 3. Using my fabricated knife, I further ream out the cake from places where the PipNet reamer could not reach and follow it with sanding the chamber walls with a 220 grit sand paper. I wipe the chamber with isopropyl alcohol and a cotton swab to remove all the carbon dust. This final cleaning of the chamber reveals a minor indentation in the wall opposite the draught hole, a result of over enthusiastic use of pipe cleaners to clean the mortise (marked in yellow semi- circle)!! Though not a major issue now, one will have to be careful with using pipe cleaners in future.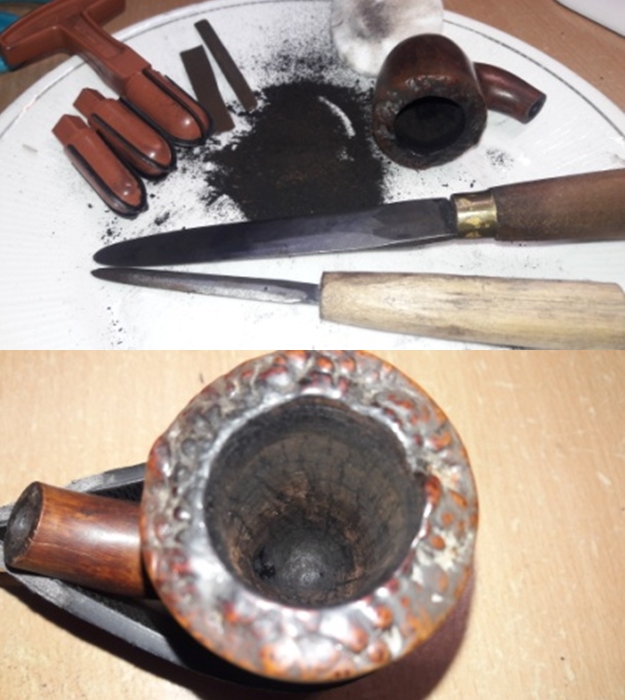
 Next, I clean the mortise with hard bristled and regular pipe cleaners dipped in isopropyl alcohol. I scrub the external surface of the bowl with undiluted Murphy’s oil soap and hard bristled tooth brush and dry it using paper towels and soft cotton cloth. I carefully clean the plateau rim top with a soft brass wire brush to remove the accumulated dirt and debris from the surface. Thereafter, I clean the mortise, plateau rim top and stummel surface with anti-oil dish washing soap on a shank brush and a tooth brush. The entire stummel, including the plateau rim top, cleans up nicely. I set the stummel aside to dry out naturally.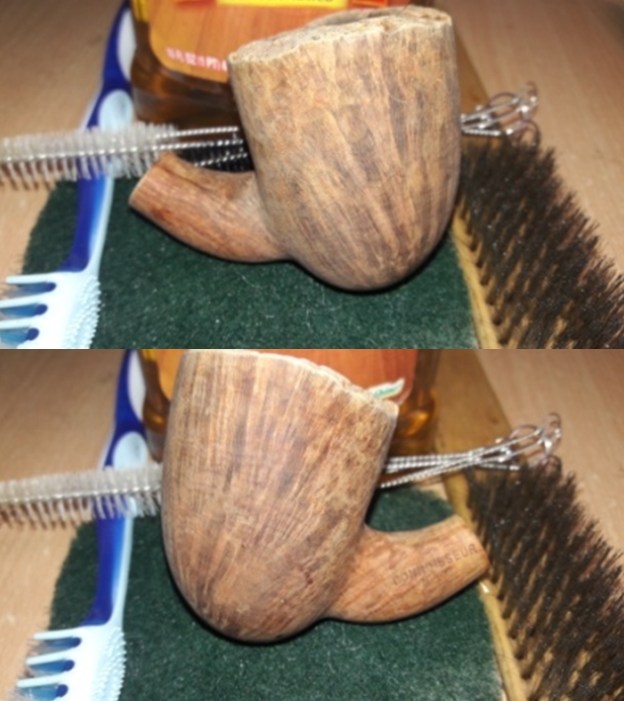
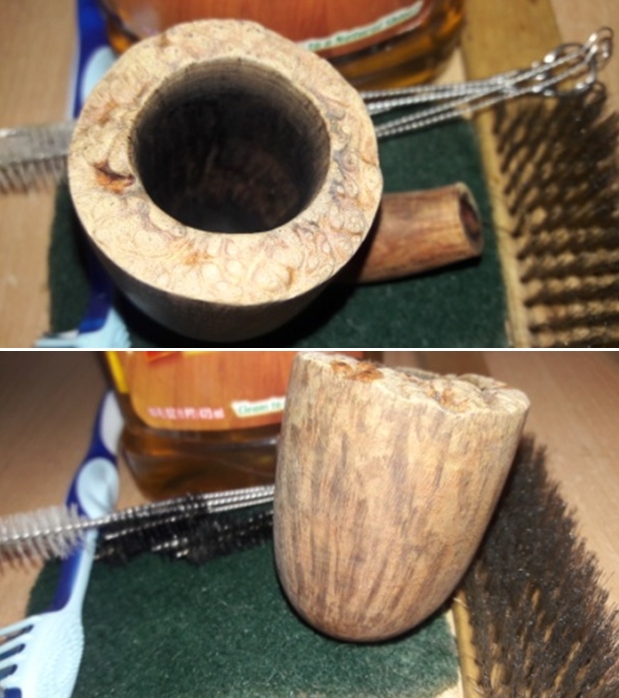
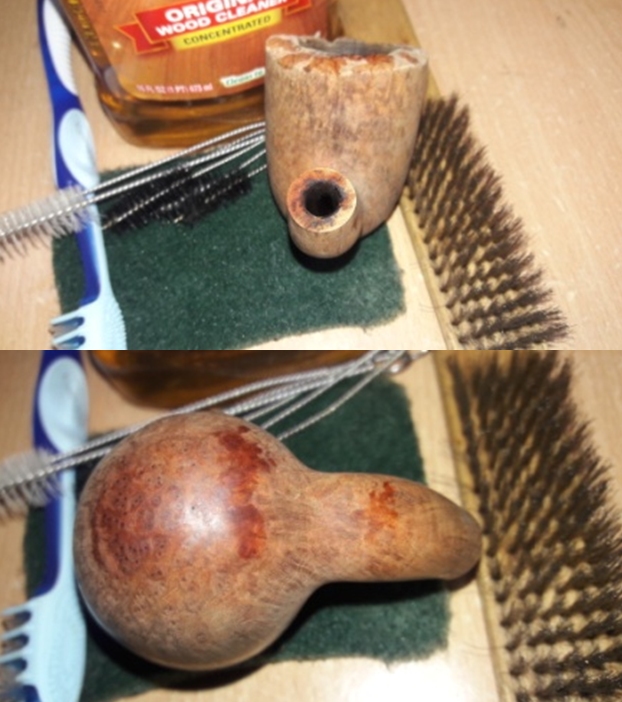 The smells from the pipe, though reduced, are still very strong. Close observation of the stummel reveals the culprit to be the now moistened accumulated gunk in the mortise. Using my dental tools, I assiduously pick out and clean the mortise of all the gunk. I also clean the mortise with q-tips and alcohol. The amount of old grime that is scraped out from the mortise itself tells the story. The mortise is now clean and smells fresh.
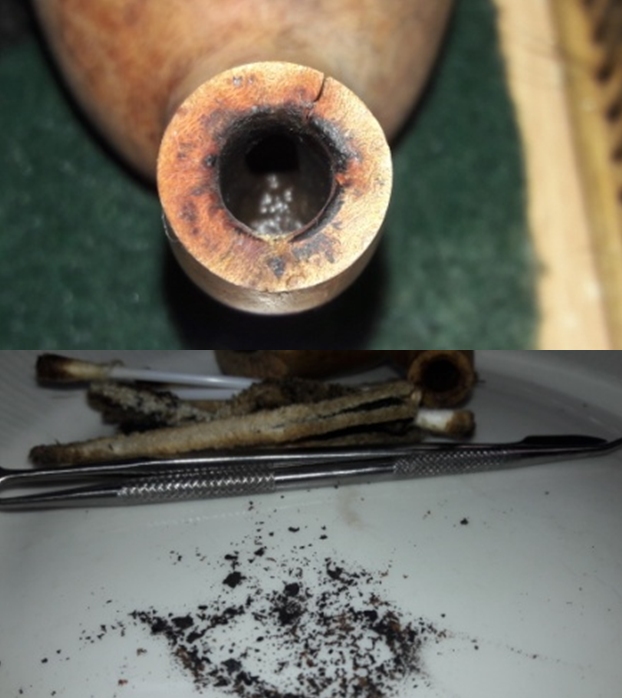 Moving ahead, I now address the crack that is seen on the right side of the shank, extending from the shank end to nearly half distance towards the stummel. Firstly, I clean off all the debris that is lodged in the crack using dental floss. The thin floss cleans the crack of all the dirt without widening it.
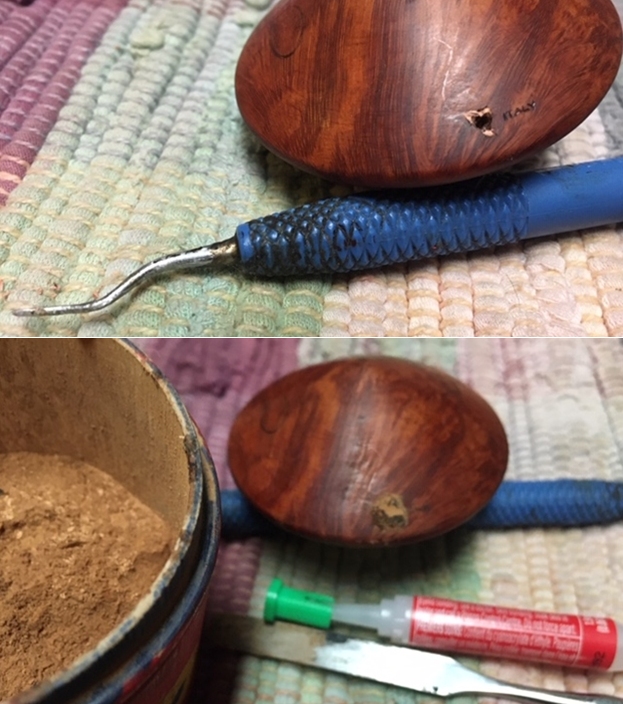
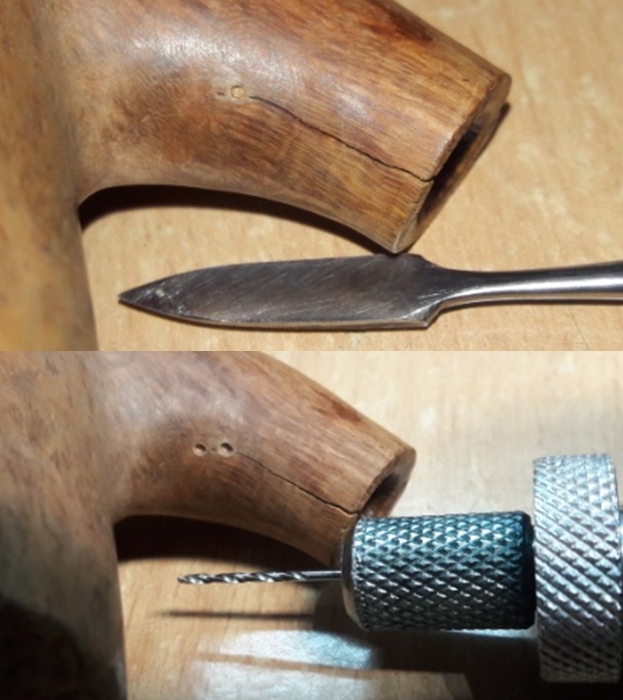
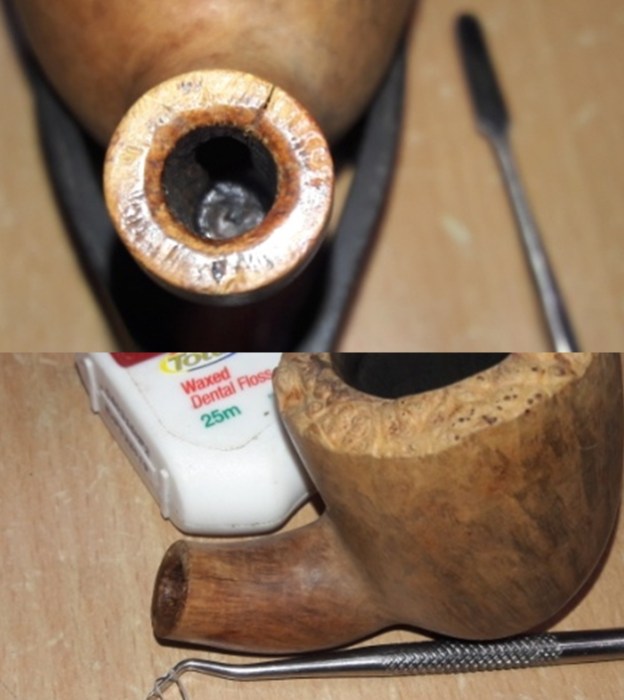 I follow up this cleaning of the crack by marking the end points and turning points of the crack with a sharp dental pick. These marks help to guide the drill bit when drilling the counter hole. I take care that the drill is just sufficiently deep enough to arrest the further spread of the crack and not a through hole.
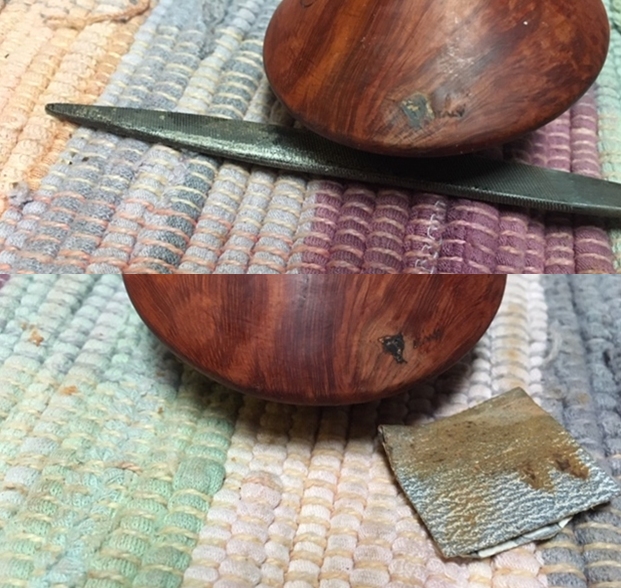
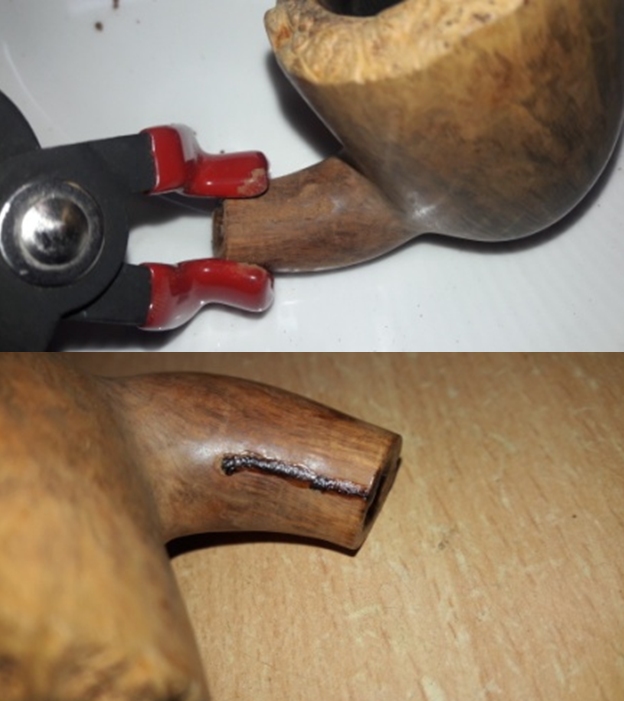
 I fill this crack with a mix of CA superglue and briar dust. To ensure a tight fill I clamp it down with pliers till the mix had cured, which by the way, is instantaneous!! Once the repair has cured for couple of hours, I sand it down with a flat needle file to achieve a rough match with the rest of the stummel surface. I fine tune the match with 220, 400 and 600 grit sand paper.
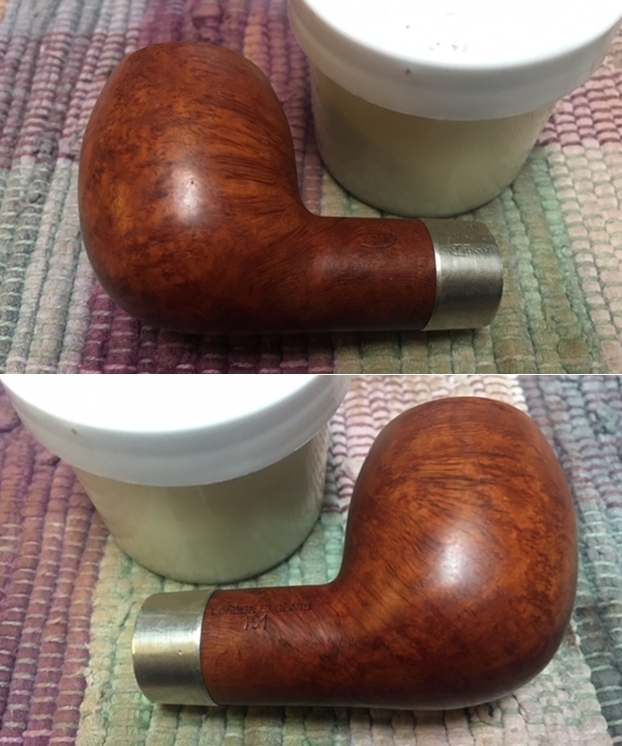
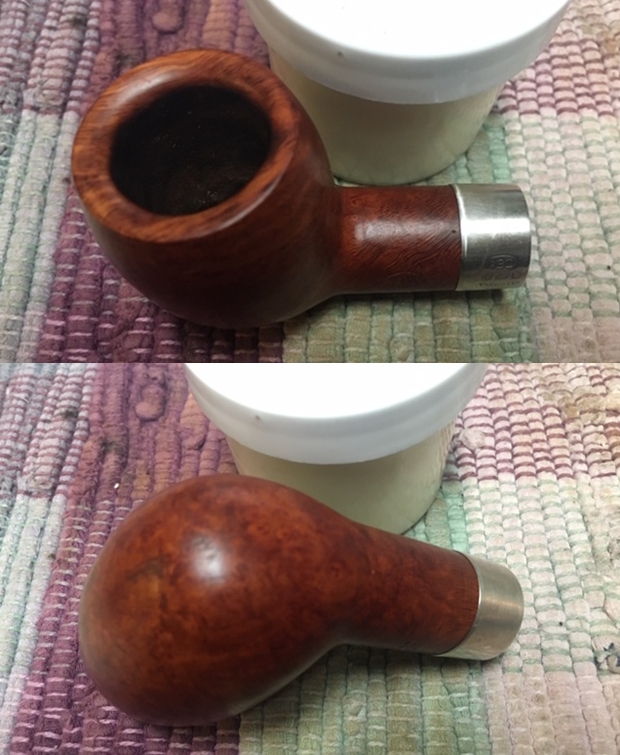
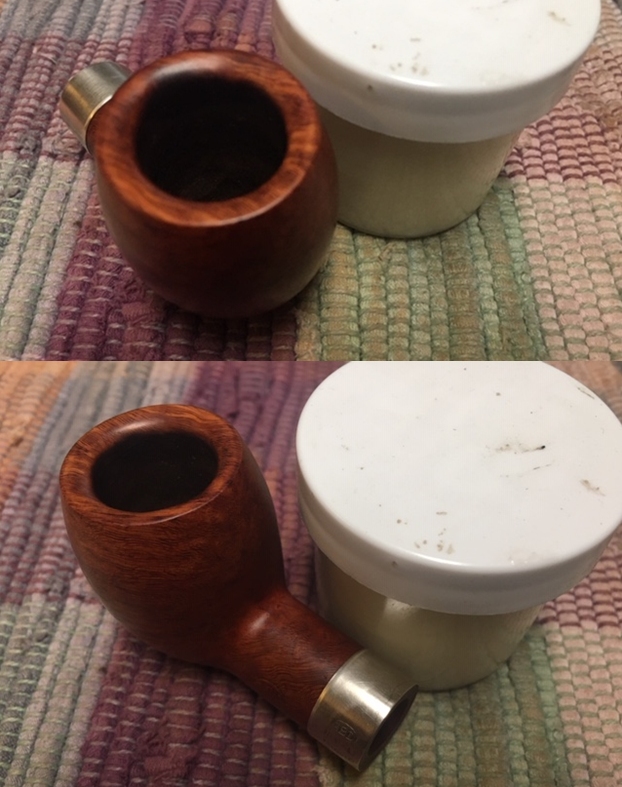
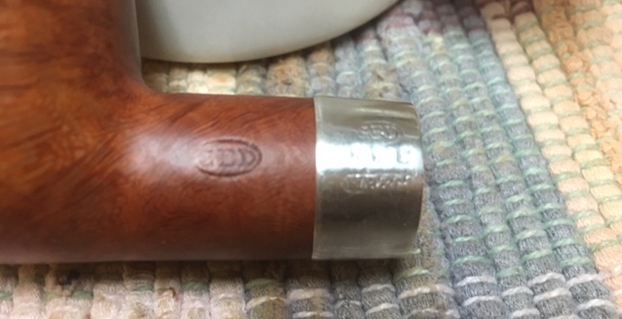
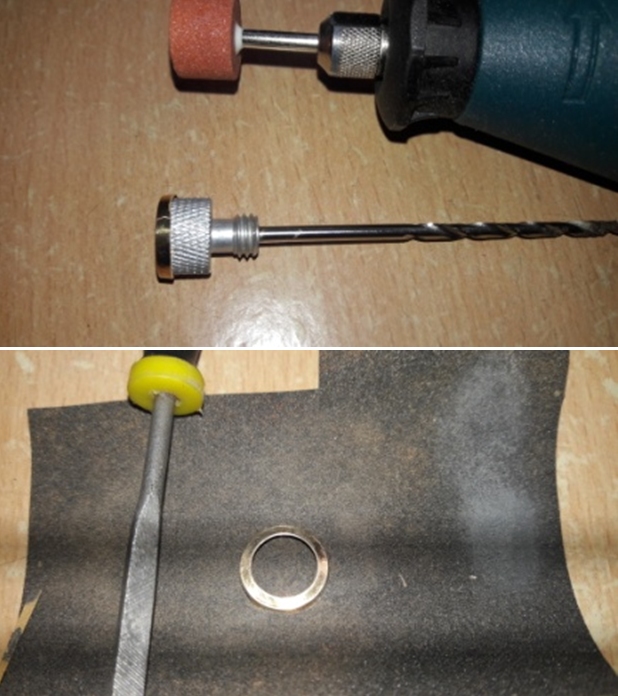
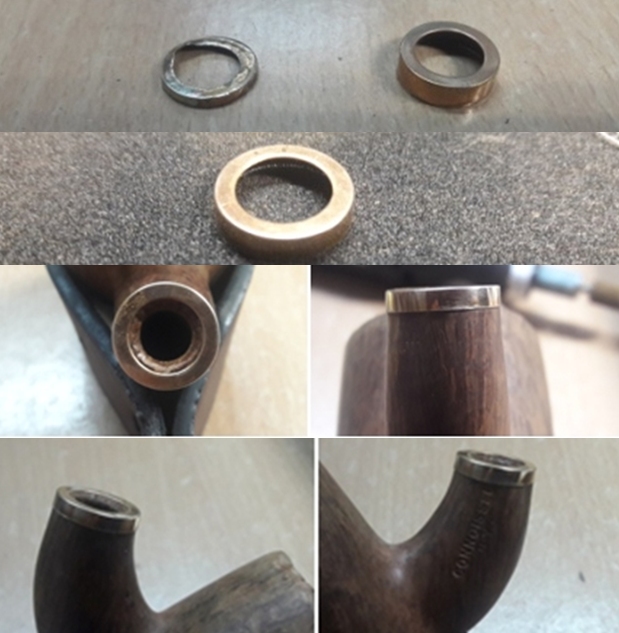
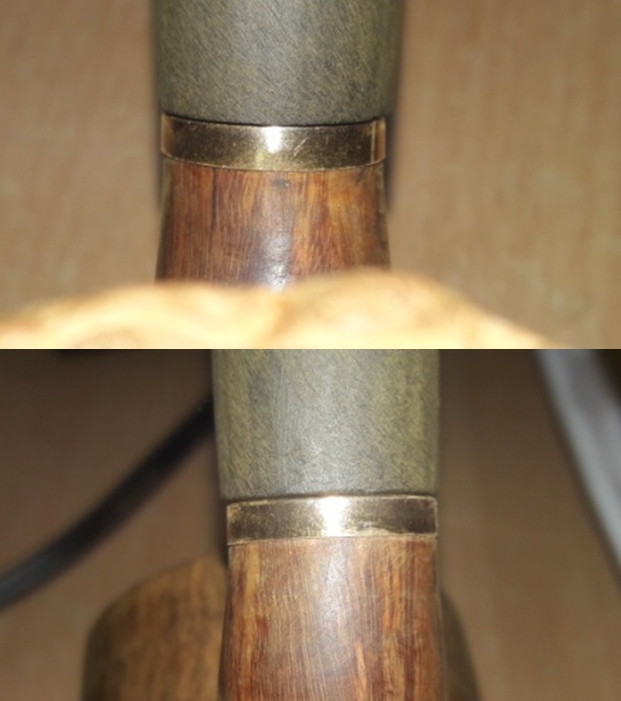
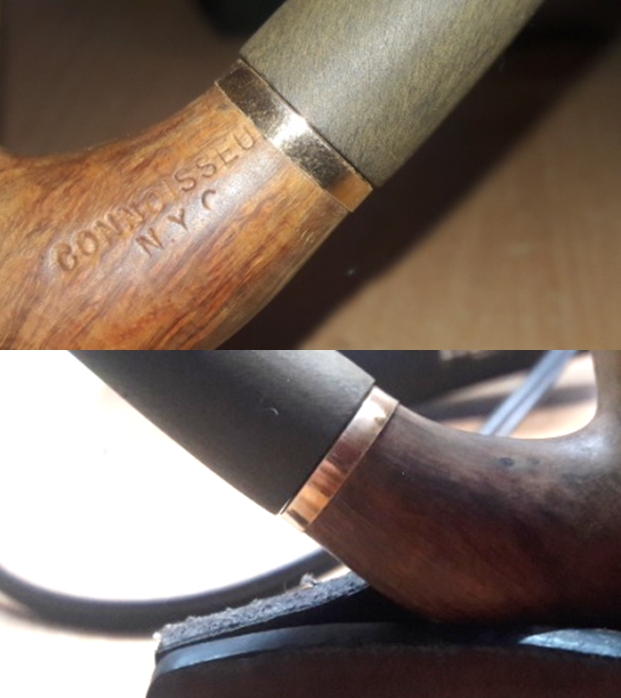
 To further stabilize the crack and prevent it from splitting again, I decide to place a band over the shank end. I select a band that is a tad bit smaller than the shank end diameter. When I place this band over the shank end, I realize that the last two letters of the stamping are being masked. I decide on grinding away the excess material from the band with my sanding drum mounted on a hand held rotary tool to a size which while being appropriate to stabilize the crack will not mask the stampings. The process is long and fraught with mistakes… The band has flown out of my hands a few times, since it can not withstand the stress of the sanding drum and is deformed , not to mention the time factor involved. However, through all these difficulties, I have prevailed to shape a band for the shank end. This is the pictorial depiction of the process and the result.
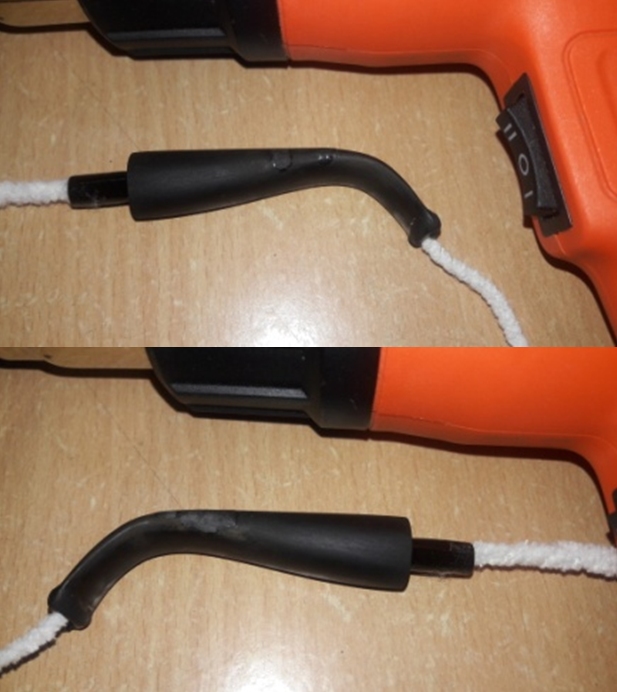
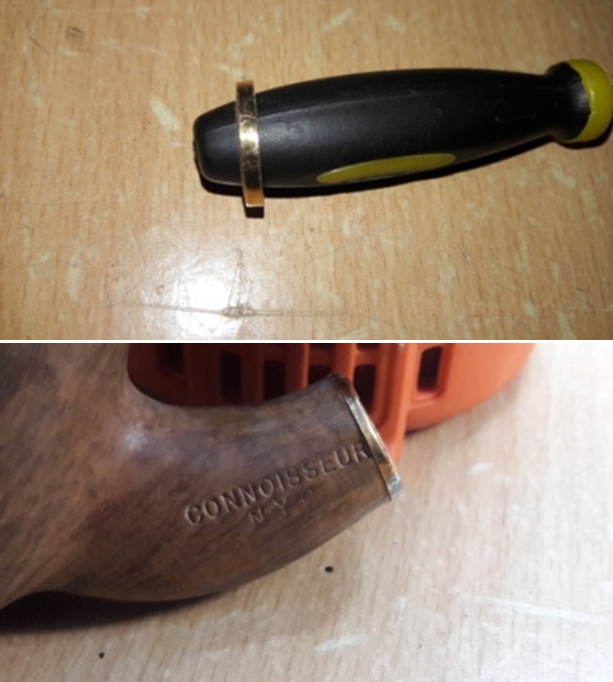 Once I am satisfied with the fit, I heat the band with a heat gun in order to expand it and fix it over the shank end. I have avoided gluing it securely in place just in case I may have to revisit the entire process and go for a fresh band. Here is how the band fits over the shank end. Truth be told, I am not very confident that the band would be a success given the fitting of the band over the shank end.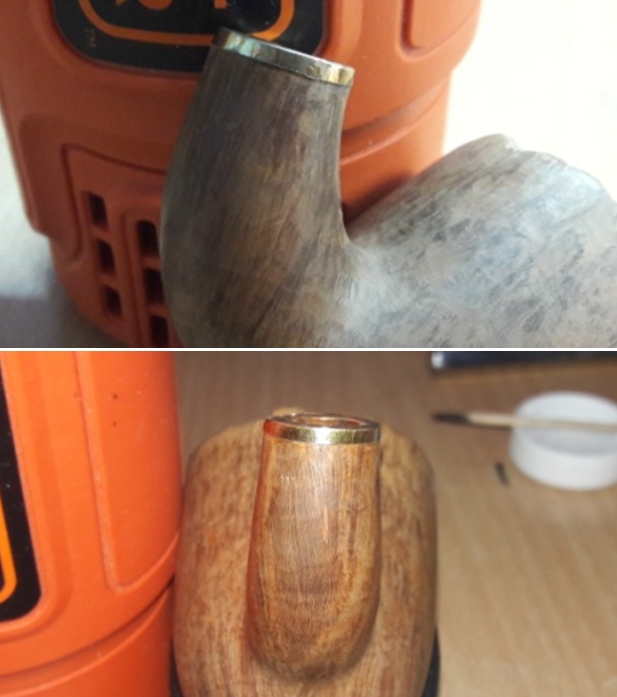
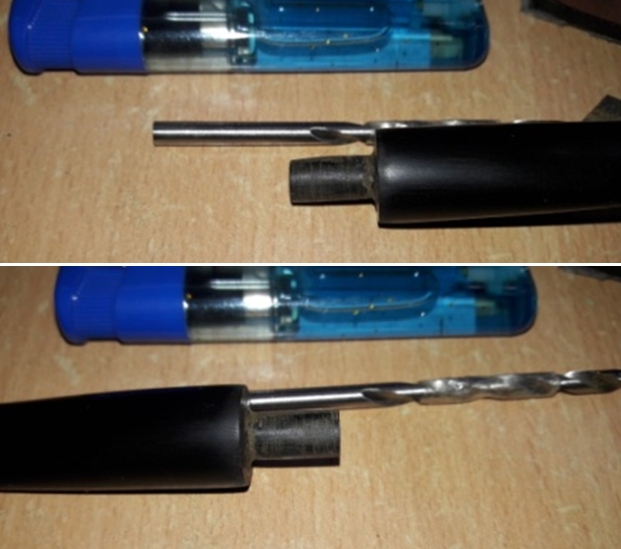
 I set the stummel aside and decide to replace the tenon on the stem. I have explained in great detail the procedure that I have learnt and followed while replacing the tenon on a Preben Holm # 7 FH pipe. To avoid repetition of the process, I would request all to refer to the write up and other literature on the subject that is available on rebornpipes.
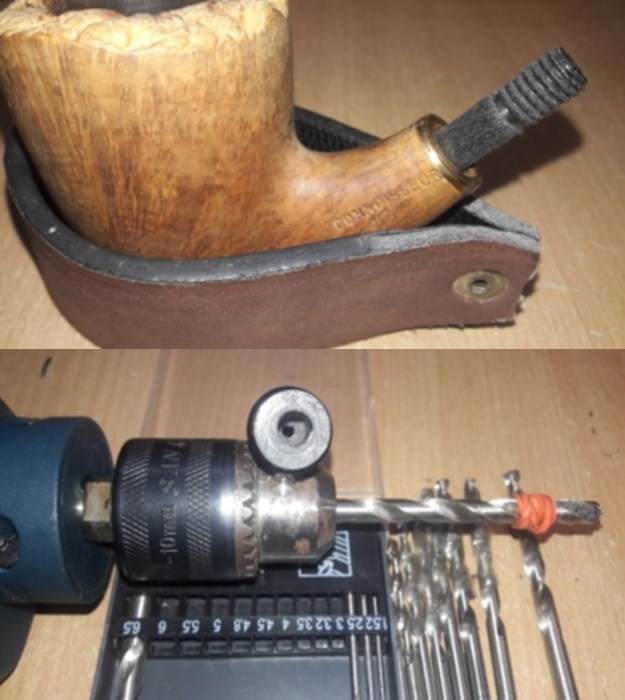
Given below are a series of sequential pictures explaining the procedure. Here I would also like to note that as I had mentioned earlier, the quality of the stem appeared circumspect and this was corroborated while drilling the stem air way to accommodate the new tenon. The plastic or some such low quality of the stem did pose a lot of resistance during the drilling and a straight drill was very difficult. However, my persistence has paid off and I am happy with the replaced tenon.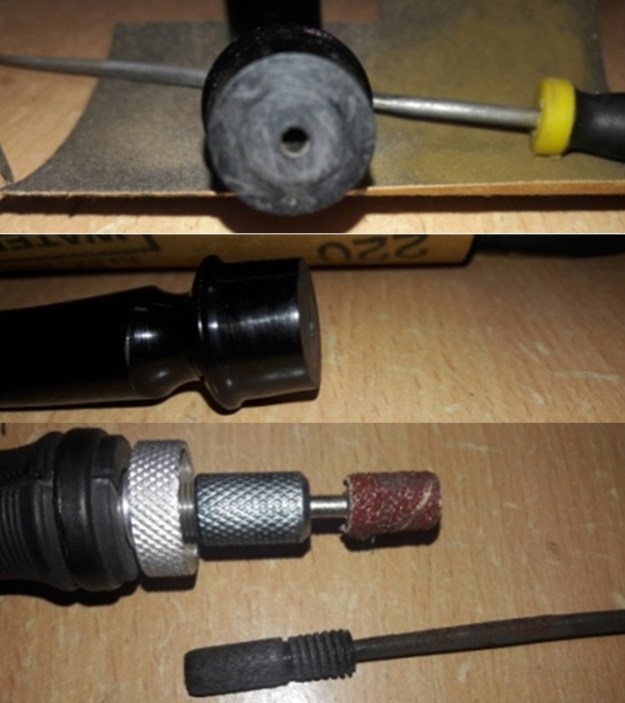
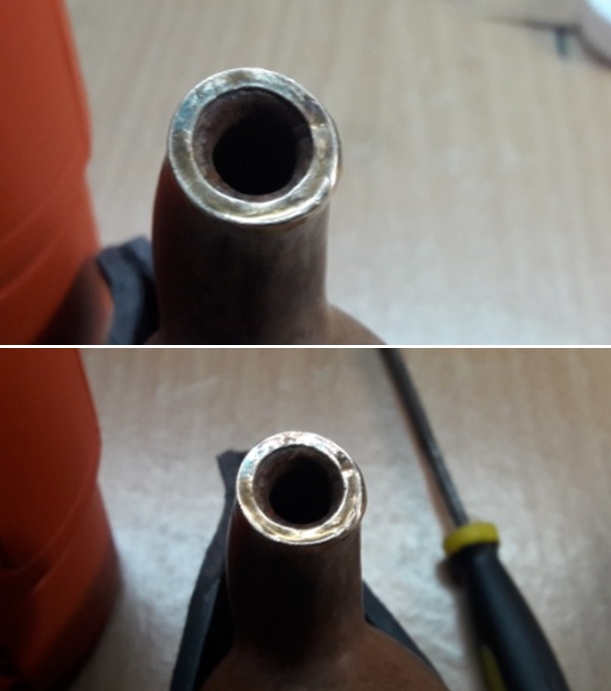
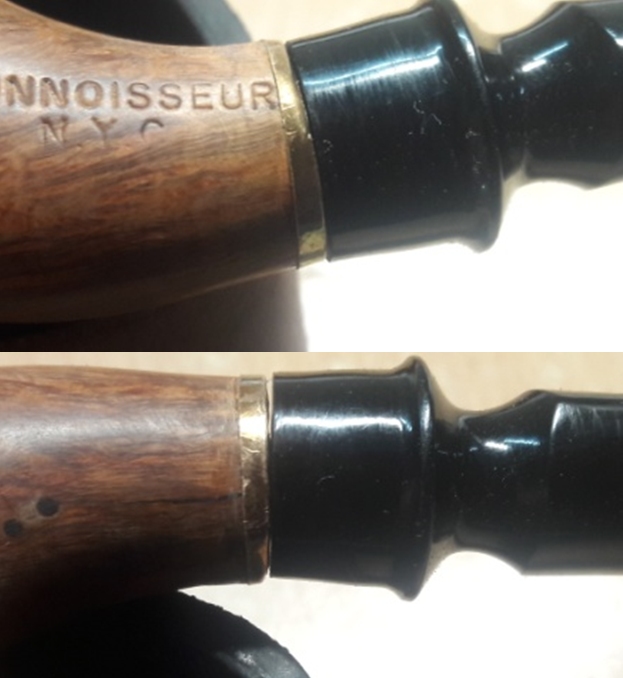
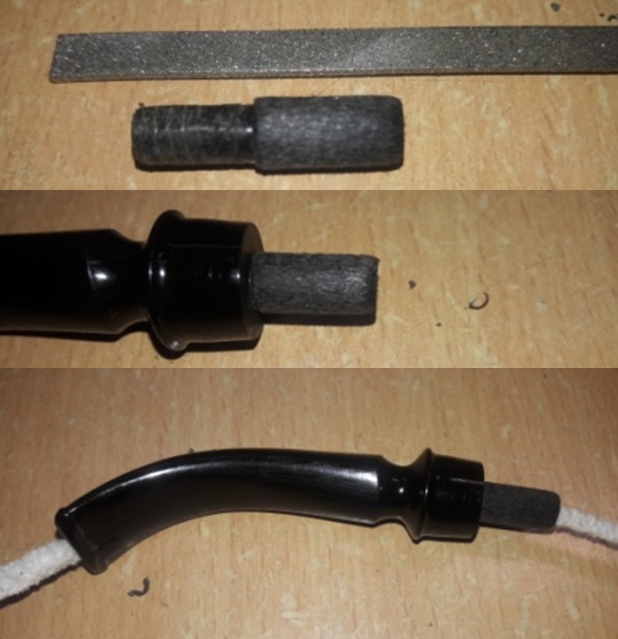 Once the tenon is replaced, I try the fit of the stem in to the mortise. The fit though snug, reveals gaps and the seating of the stem in to the mortise is not flush. No amount of tweaking and minor adjustment by sanding of the tenon can ensure a flush seating. I feel that I have botched up the banding of the shank end and that is what has caused this issue. Here is how the seating appears after all the adjustments and tweaking.
 At this point in restoration, I shared pictures of this issue and then later in the day had a FaceTime chat with my Guru, Steve. Steve, with his vast experience and having worked on and researched a Connoisseur pipe before, immediately commented that the stem is not the right style for Connoisseur pipes and could be a replacement stem. I have another Connoisseur pipe (which awaits restoration) with a saddle stem in my collection and when the stem of this freehand was compared, it was no where near the quality that was seen on the other saddle stem. The pictures below show the difference in quality of the stem material and finish between the two pipes.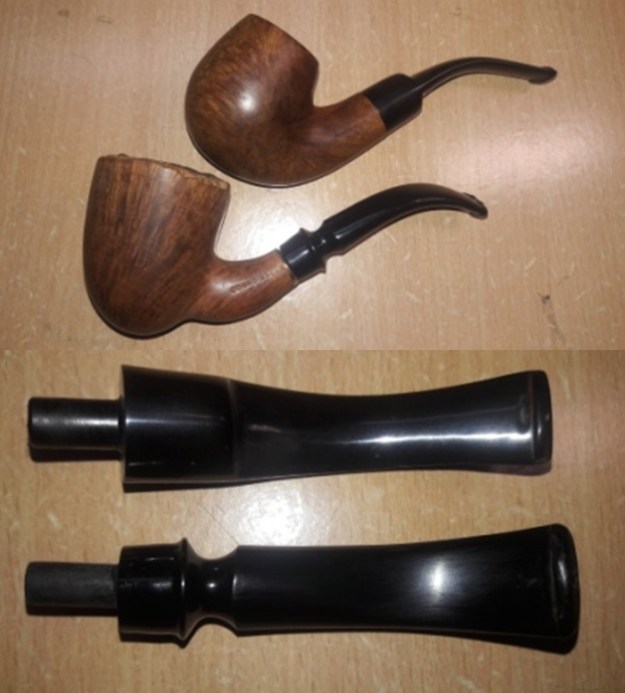
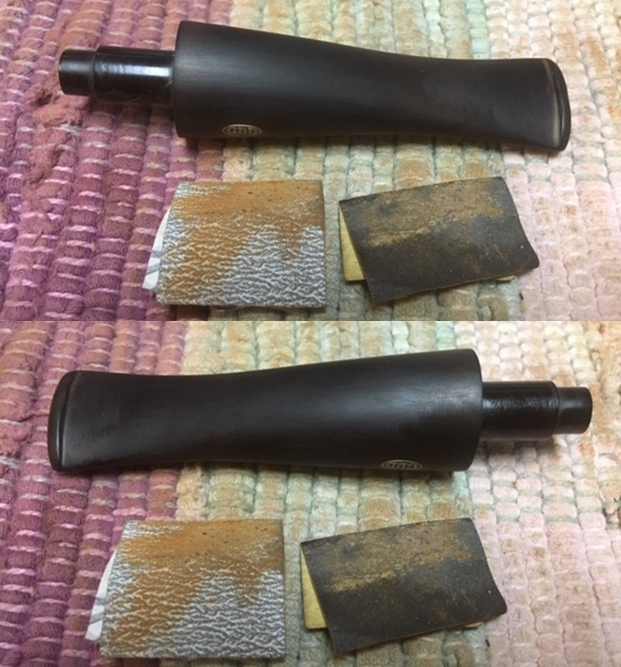
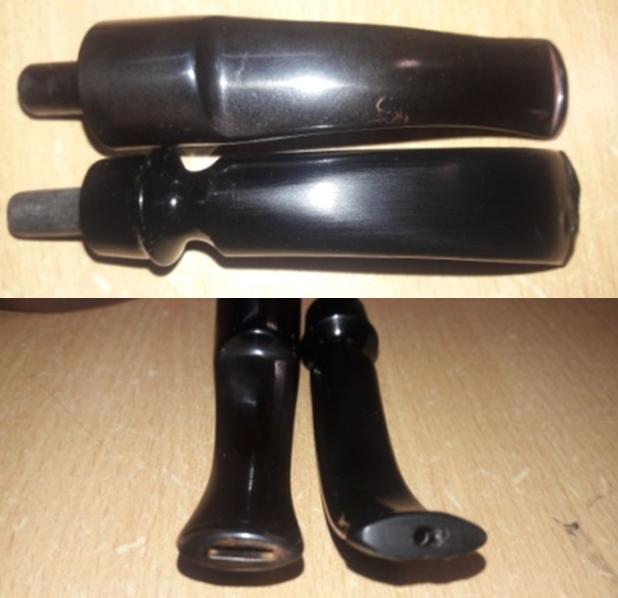 Thereafter we discussed the shank band and he suggested to reband the shank end while going in for a completely new stem. Thereafter, we went through my can of spare stems and selected one that would be the best match for this pipe. Here are the pictures of the shortlisted stem. The slightly bent stem with all the calcification is the one that would replace the one that the pipe came with.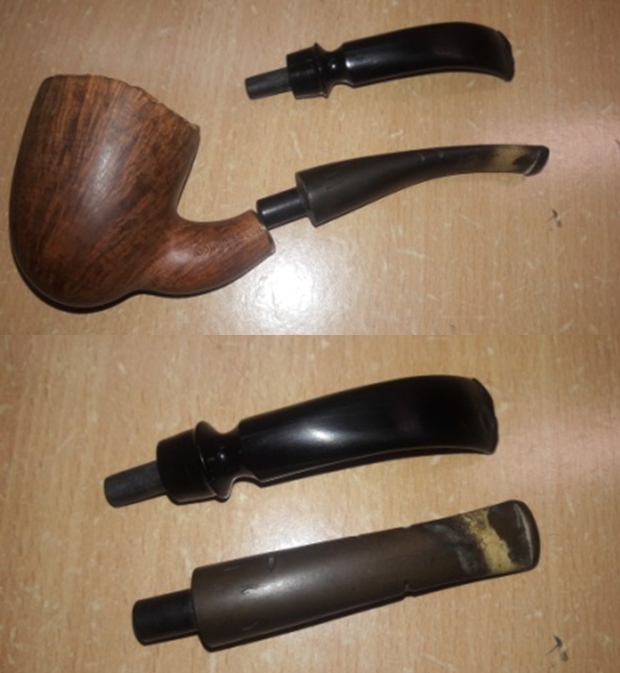
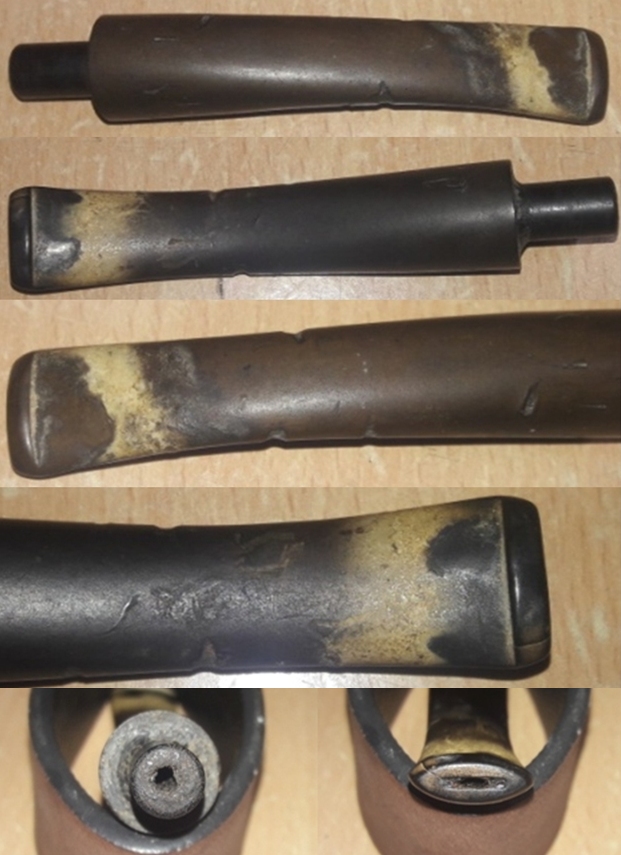
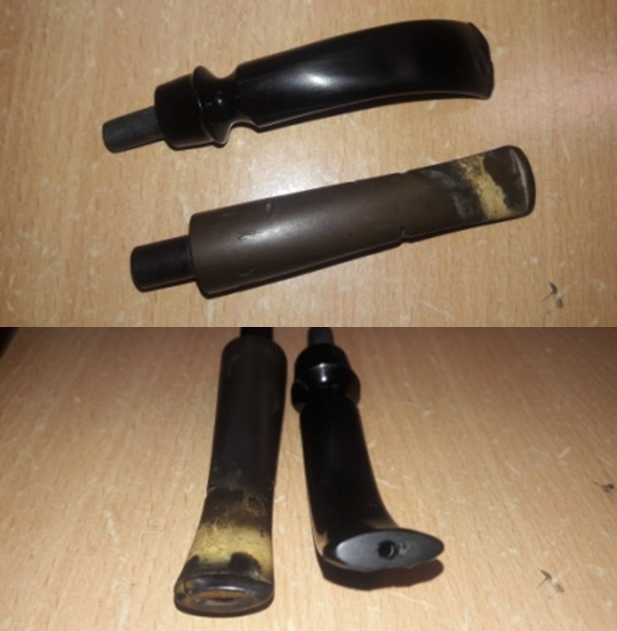 The shortlisted stem, I am afraid, is not in the best of condition. The tapered slightly bent vulcanite stem is nearly the same length as the replaced one while being very thick at the tenon end. The quality of the re-replacement stem is very good. The stem is heavily oxidized with significant calcium deposition and deep tooth indentations in the bite zone on either surfaces of the stem. A couple of deep chips are seen along the seam on either sides as well as on the lower and upper surfaces of the stem. The button surfaces on either side has bite marks and the edges are equally damaged and deformed. The tenon and the horizontal slot shows heavy accumulation of oils, tars and gunk. All in all, the refurbishing and shaping of this stem presents a ton of effort and time.
 I begin the refurbishing and reshaping of the stem by first cleaning the stem, both internally and externally. With my fabricated knife and a paper cutter, I remove the entire calcium sediments from the bite zone. Using a dental tool, I dislodge all the dried oils and tars from the tenon and slot end. I clean the stem internals with pipe cleaners and shank brush dipped in isopropyl alcohol. I sand the entire stem surface with a folded piece of 150 grit sand paper to remove some oxidation as well as to even out some tooth chatter from the bite zone.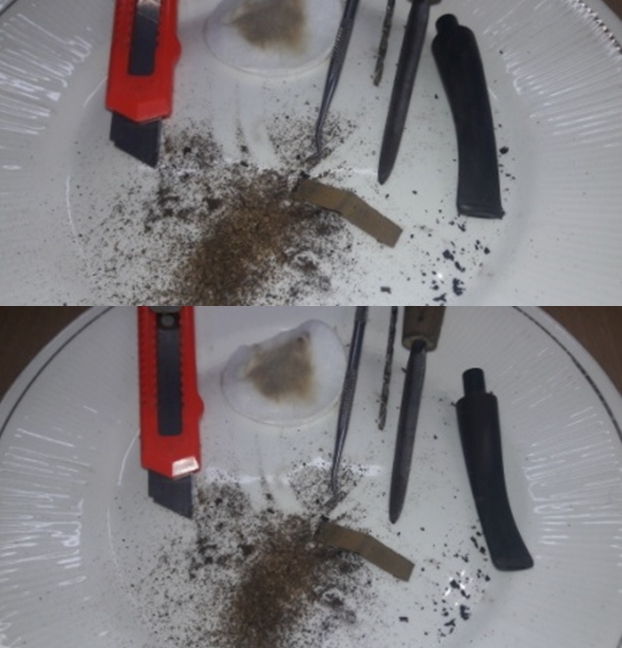
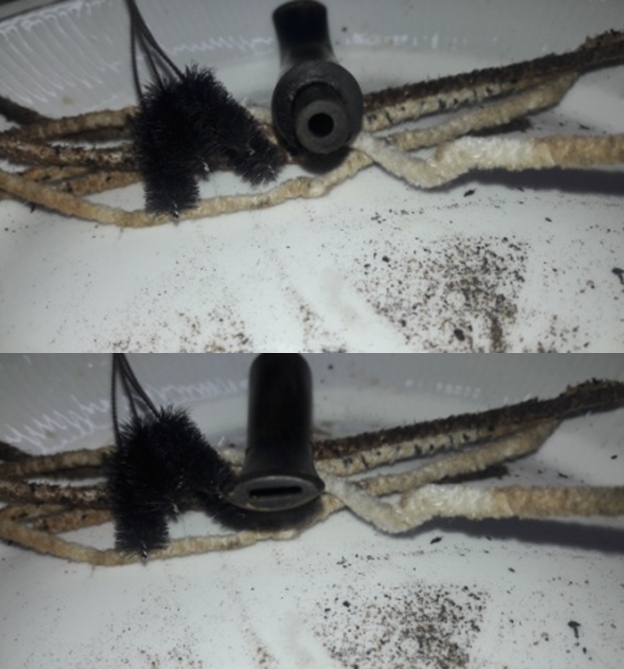 Once the initial cleaning is done, I move ahead for shaping/sizing the stem. The tenon is too thick for the mortise and that is my start point. I mount a sanding drum on to my hand held rotary tool and sand the tenon till I achieve a rough fit in to the mortise. During the entire process, I frequently check the progress being made as I do not want to sand too much material from the tenon, making for a loose fit.
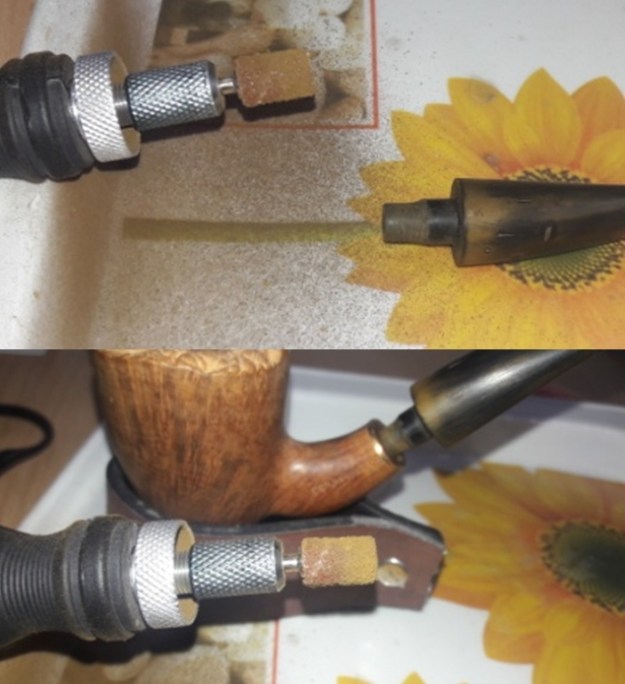 I fine tune the fit of the tenon in to the mortise by hand sanding with flat head needle file and 180 grit followed by a 220 grit sand paper. The tenon attachment with the stem is shaped with a triangular needle file. I check the seating of the stem in to the mortise after I remove the shank band. The stem fit is nice and snug.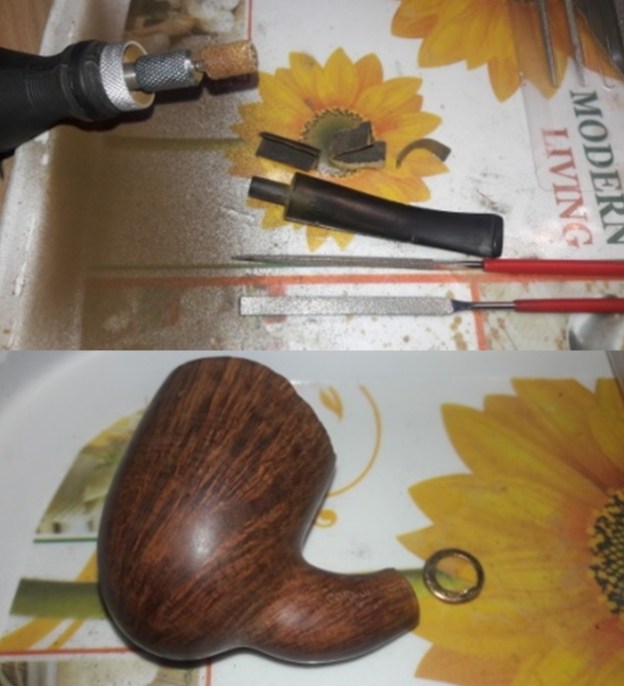
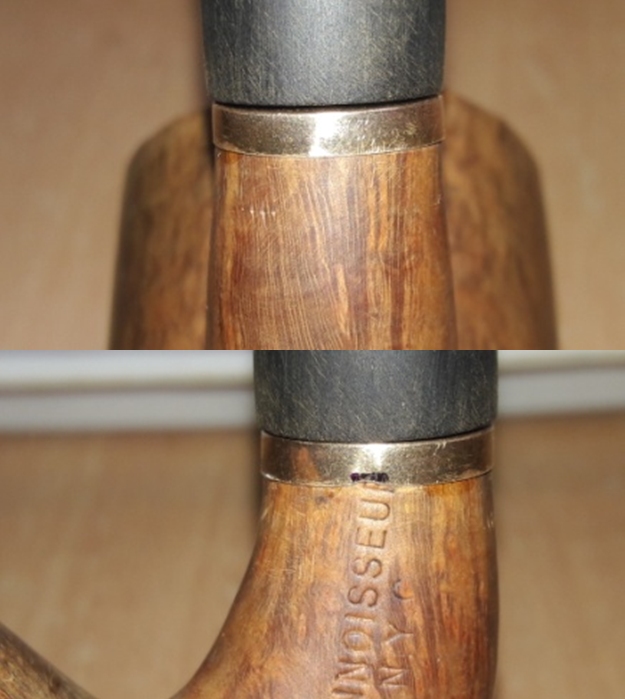
 Before I move to the final fit and shaping of the stem, I decide to reband the shank end. This time I select a band that was a snug fit as against a size smaller as I have done earlier. To reduce the thickness of the band, this time I manually sand it over a 150 grit sand paper instead of using my rotary tool and a sanding drum. It does take a long time, but the end result is much better. The last letter “R” has been masked, but I shall deal with it later (will I…?). I still have not glued the band in place, just to be on the safer side!!
 Now with the band in place, I move ahead with shaping and aligning the stem. The first thing that I proceed to do is to shave of the excess meat from the shoulders at the tenon end. Readers, when I say excess, please be aware that the word excess does not convey the quantum of excess… It was hell of a lot of material to shave off!! I mount a 150 grit sanding drum on to the rotary tool and go to town sanding off the material from the shoulders of the stem. Once I have achieved a rough match, I use a flat head needle file to further match the fit. I progress to manual sanding with a 180 grit sand paper to fine tune the match. This is how the stem profile matches with the shank end of the stummel…not quite there but getting close.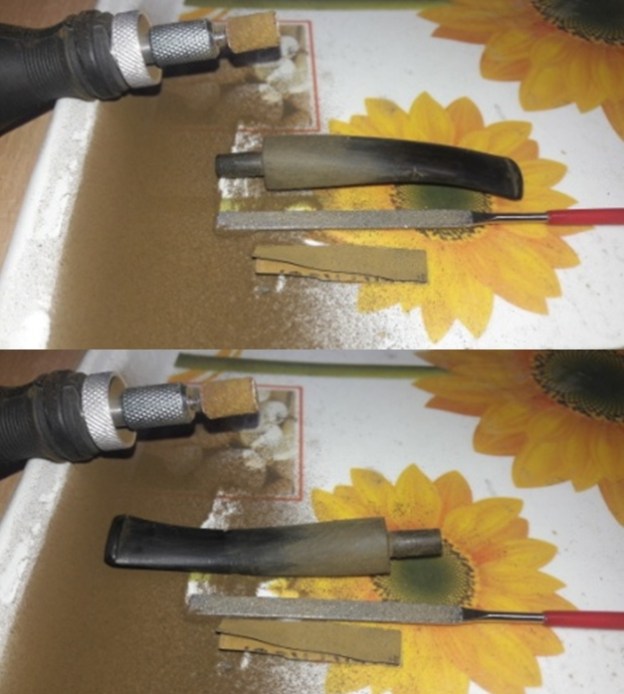
 I feel that the mid region of the stem needs to be trimmed a bit and do so with a flat head needle file and a 180 grit sand paper. Here is where I have reached at this stage. Truth be told, eye balling the shape is not the easiest way to achieve the exact shape since I am always seeing it, shaping it and matching it. It’s something akin to optical illusion that I am experiencing. There is a bit of overhang at the shoulders of the stem and I need to shave off some more material from the area above it. Also a slight gap is seen at the lower end and on the left side of the stem that needs to be addressed.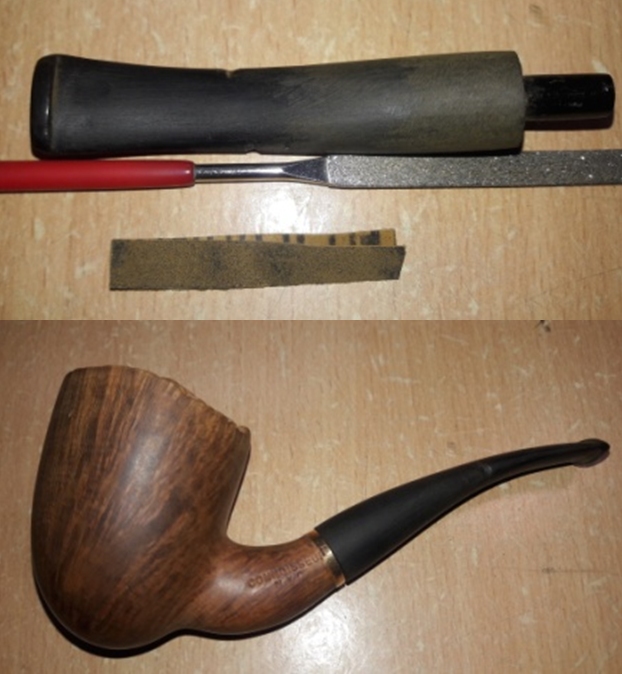

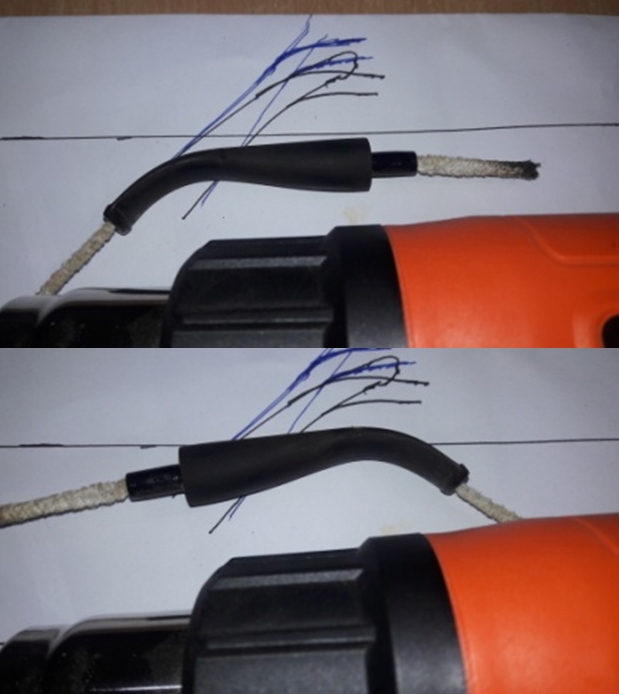
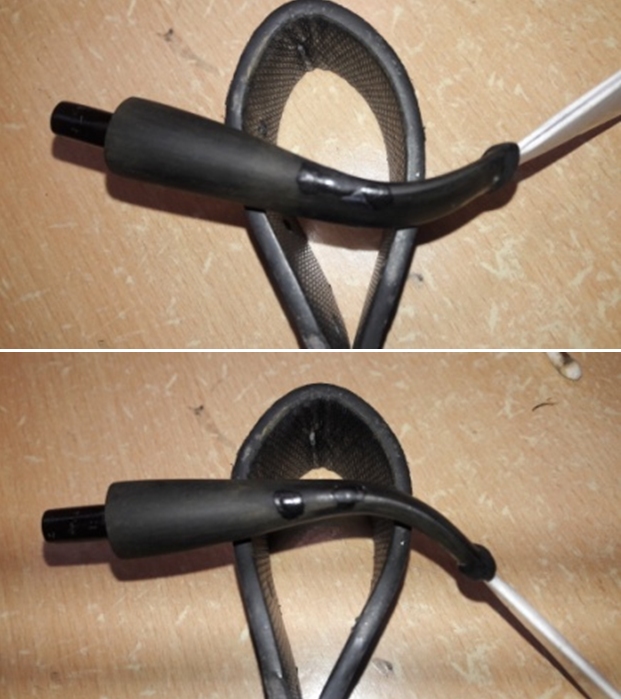
 I decide to take a break from all the sanding of the stem and move on to shaping the stem to match the profile of the stummel. I insert a pipe cleaner through the stem’s air way to prevent it from collapsing once the stem is heated. I first straightened the stem by heating it with a heat gun. To impart the requisite bend, I try to adopt the technique that my friend, Dal Stanton of PipeSteward fame, uses and that is to draw a diagram marked with the plane of the stummel rim top, a parallel plane that is required, the present profile of the stem and thereafter, the exact place and shape of the bend that is needed. Well, it is an attempt that I made, but ended up eye balling the exact bend to be imparted. I heat the stem with my heat gun till the vulcanite becomes pliable and gives it the necessary bend. I hold it in place till the stem had cooled down a bit and thereafter, hold the stem under cold water for the bend to set.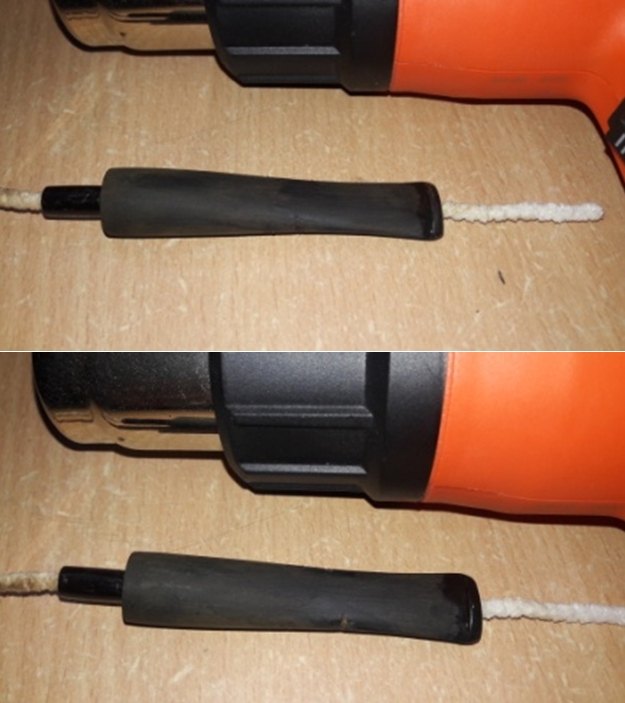
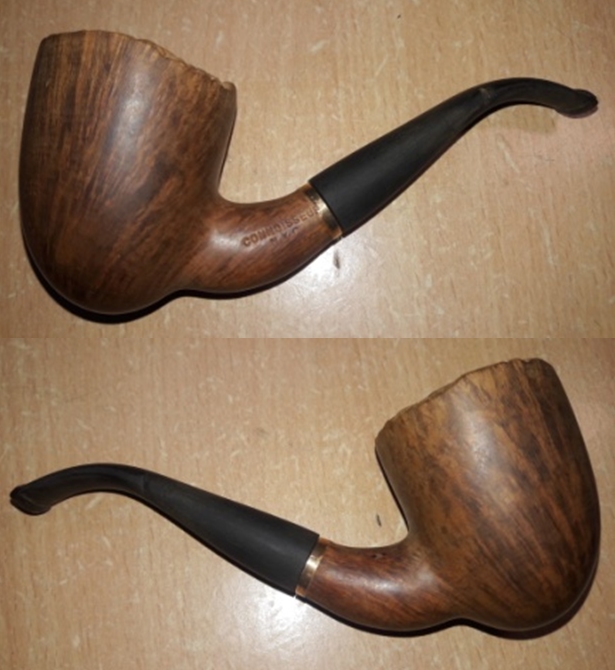 The next issue that is addressed is of the stem repairs. I insert a triangle shaped index card covered in transparent tape in to the slot. The tape prevents the mix of superglue and charcoal from sticking to the index card. I mix superglue and activated charcoal powder and generously apply it over the bite zone, including over the button. I also fill the couple of deep chips along the seam on either sides as well as on the lower and upper surfaces of the stem with the charcoal mix and set it aside to cure. Once the mix has cured, I remove the index card from the slot.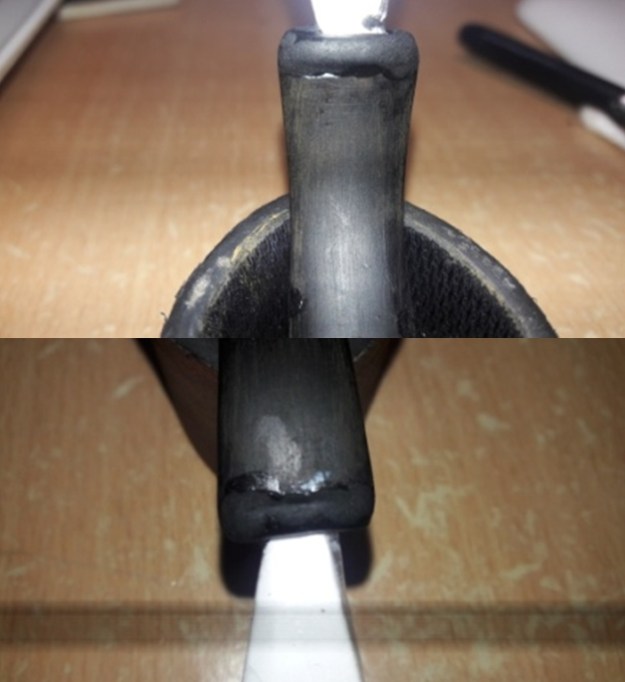
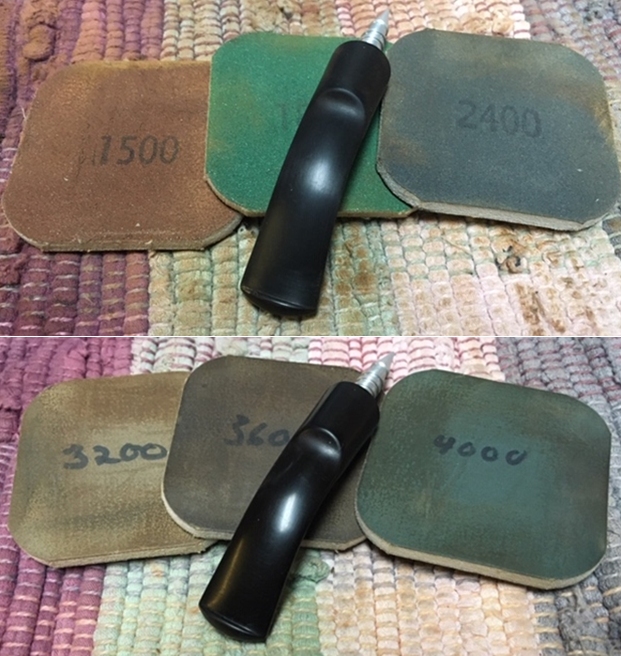
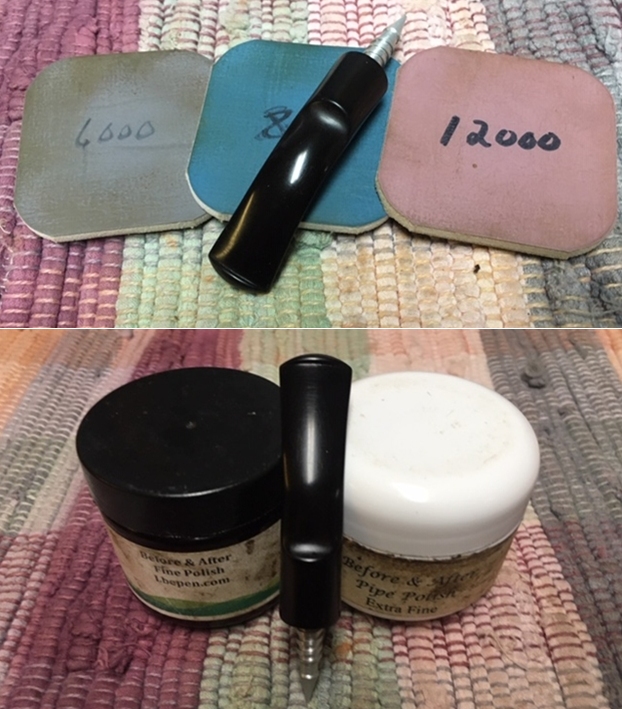
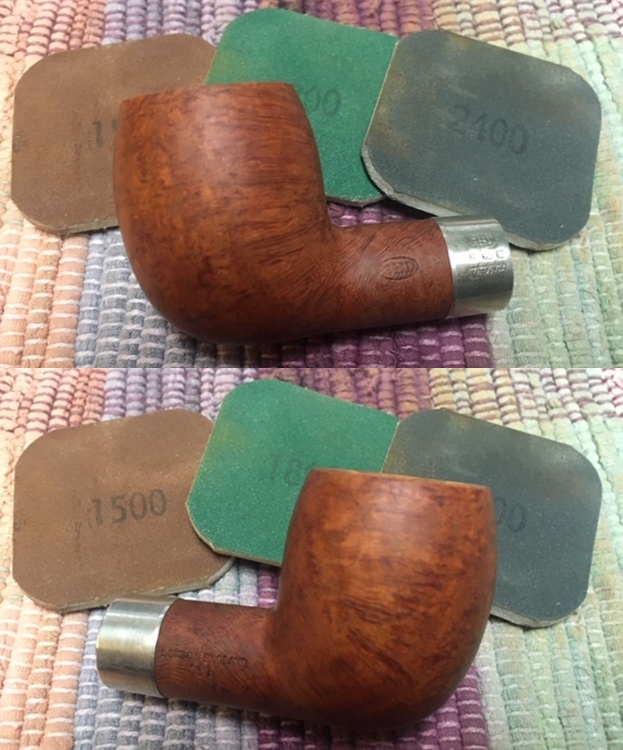
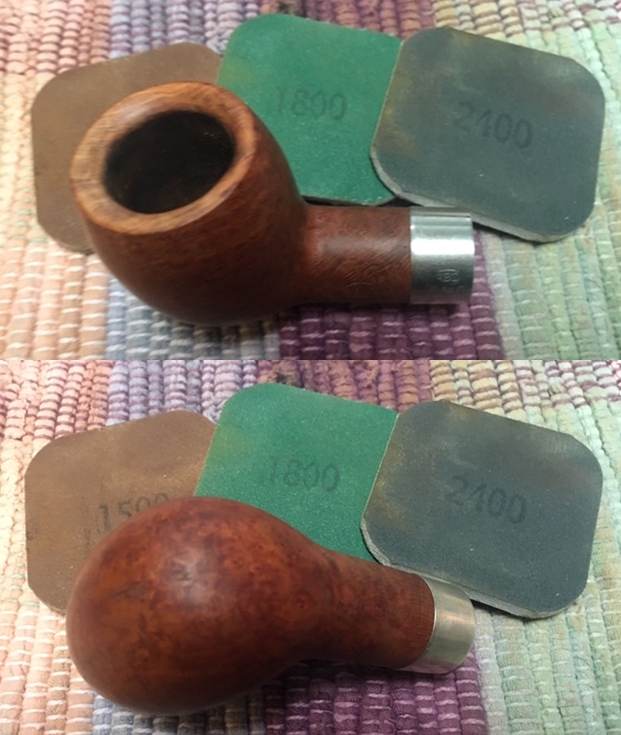
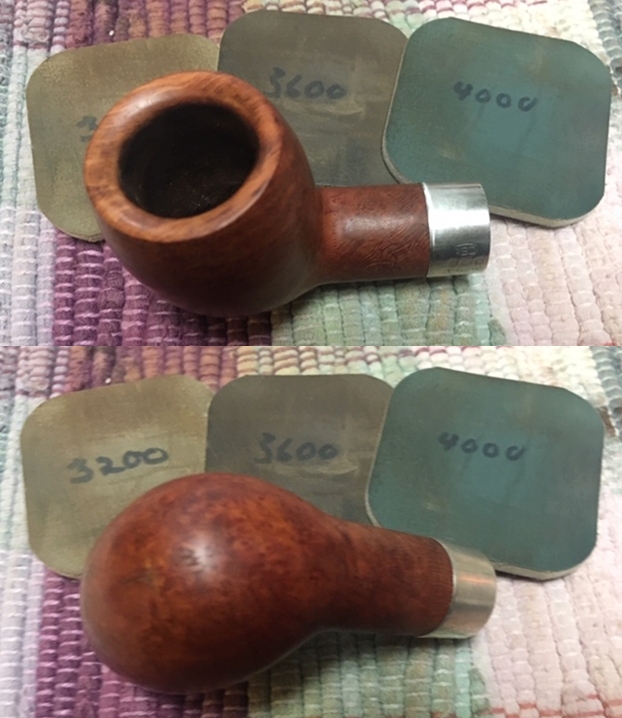
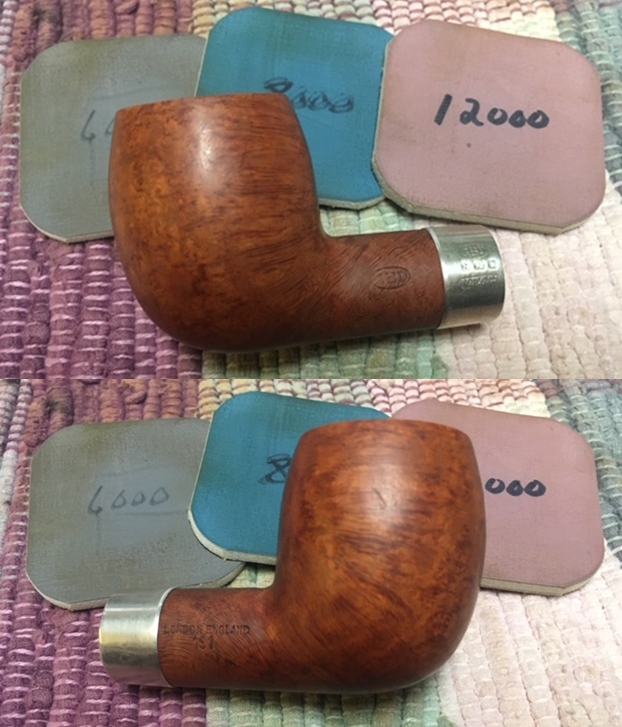
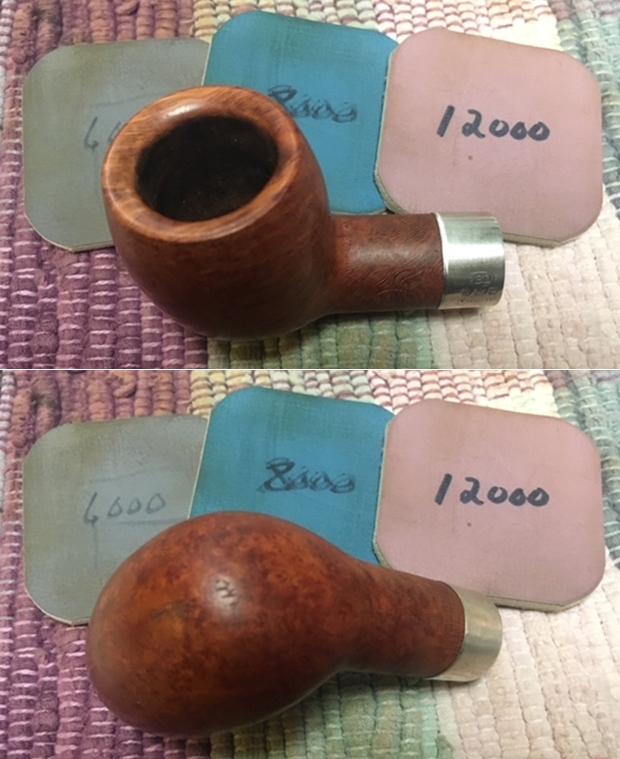
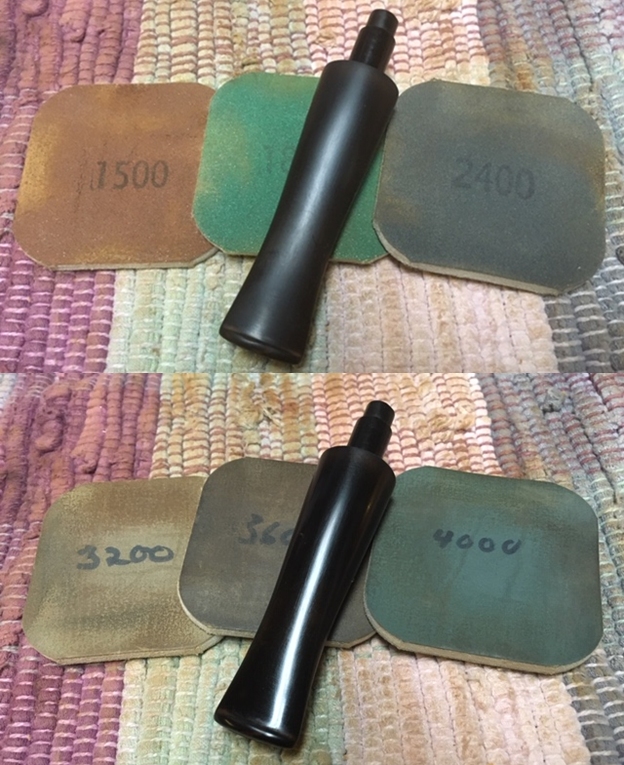
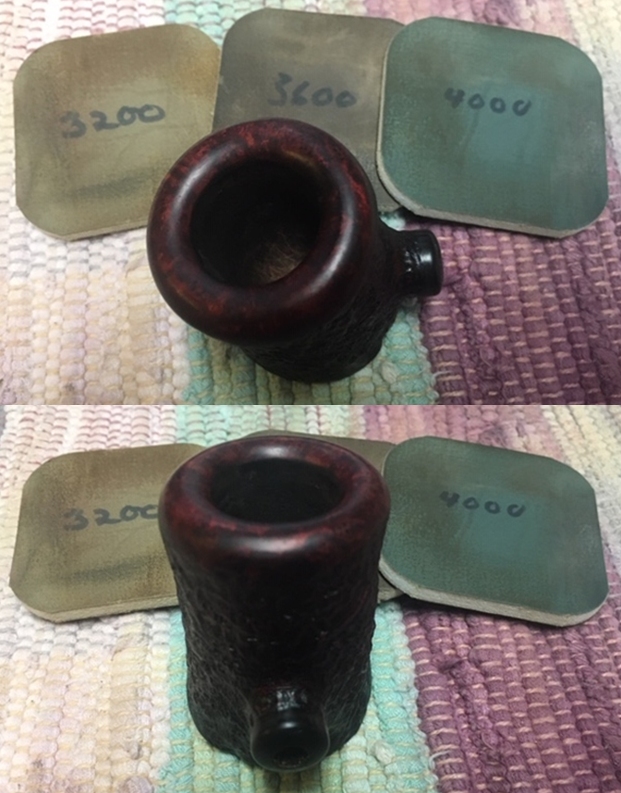
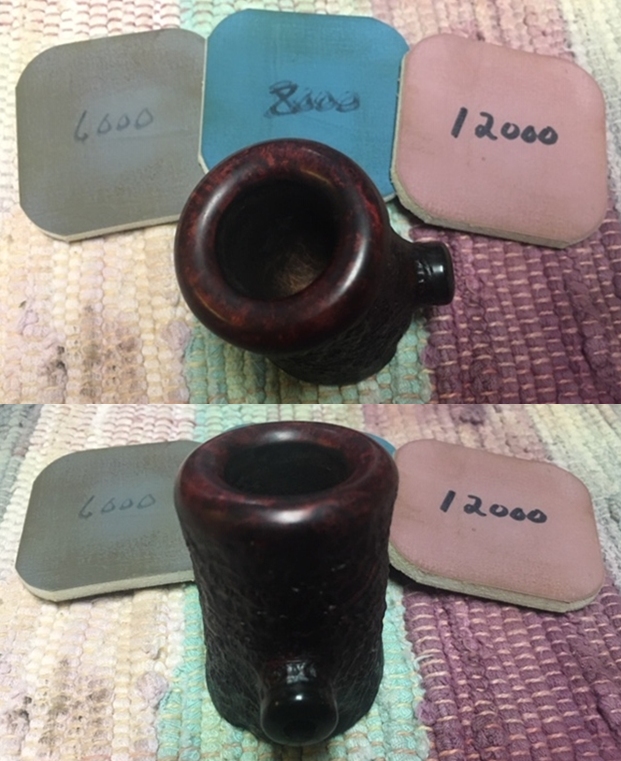
 While the stem fill is set aside to cure, I polish the stummel with micromesh pads, wet sanding with 1500 to 12000 pads. This time around, I do not repeat the mistake of polishing the plateau rim top as I had done with the PH # 3 earlier! I wipe the surface with a soft cloth at the end of the micromesh cycle. The stummel looks amazing with a deep shine and beautiful straight grains popping over the stummel surface.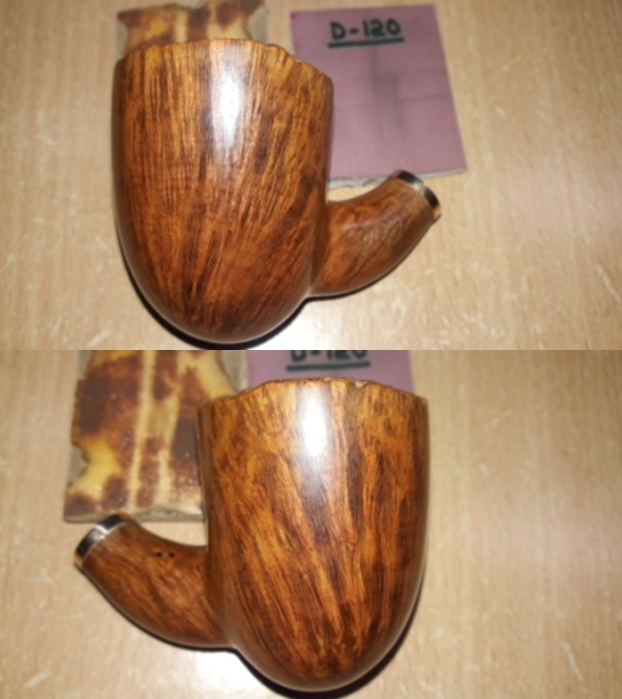
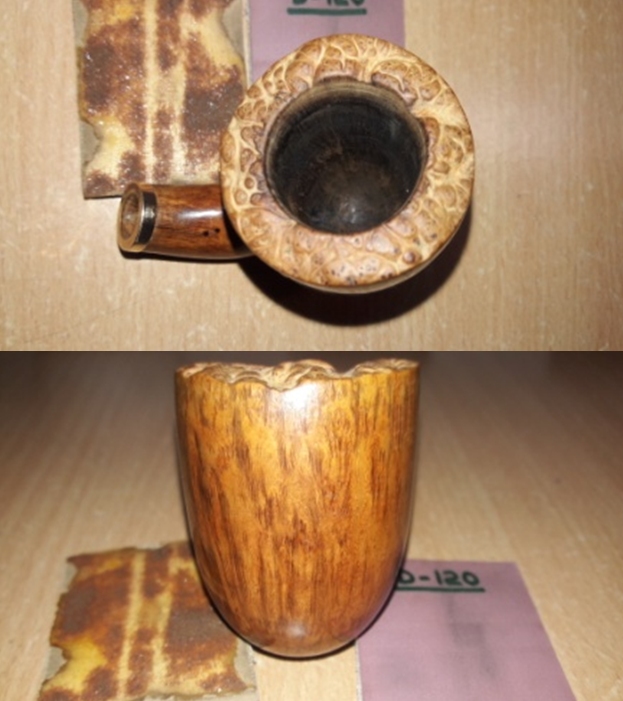
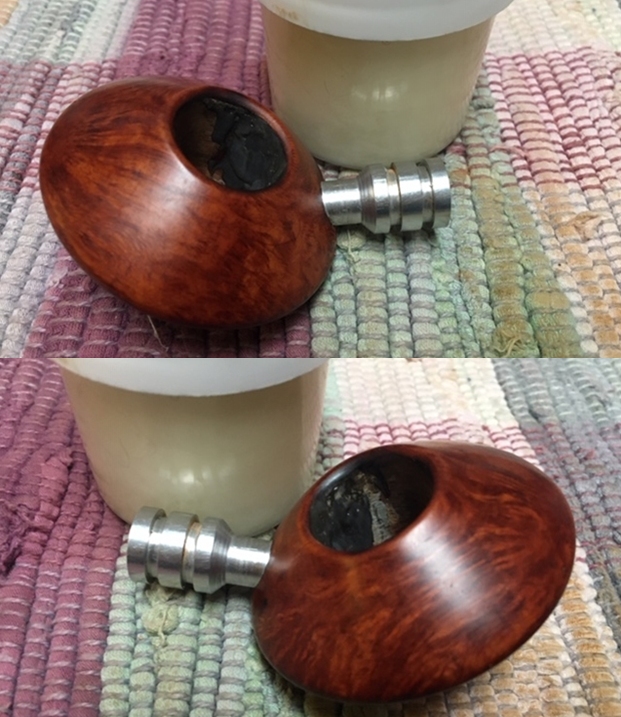
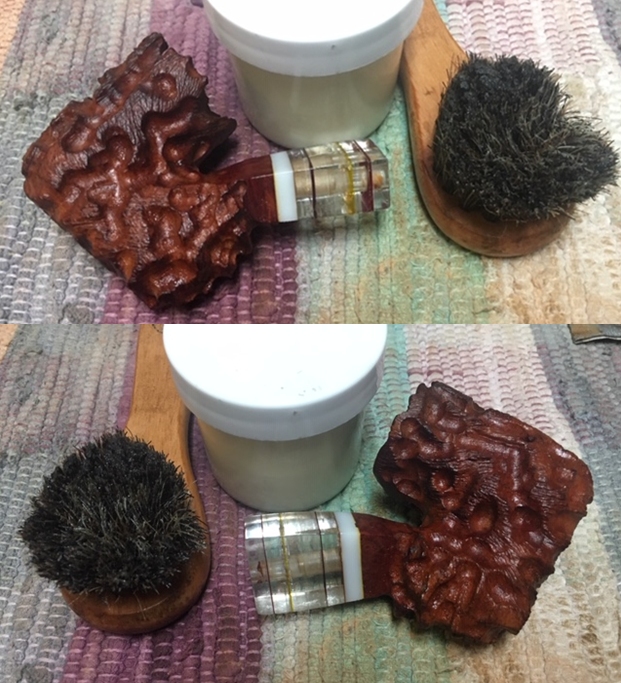
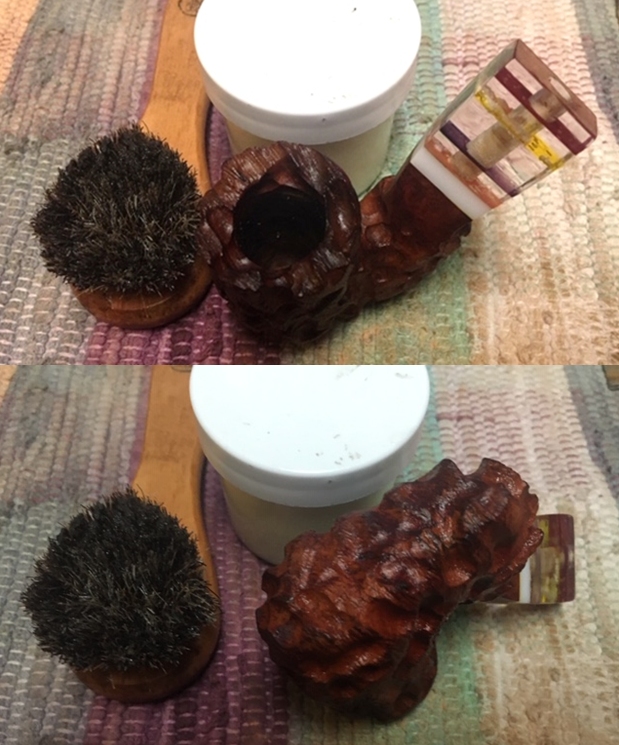
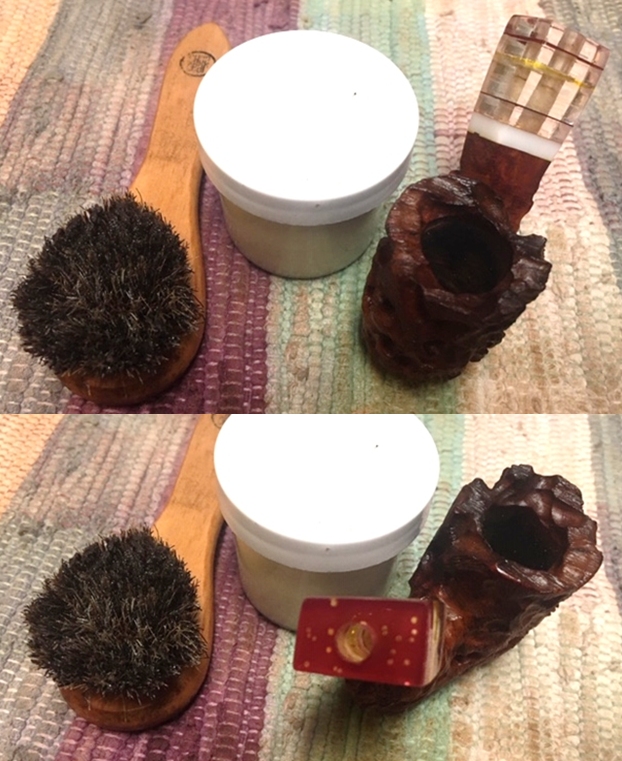
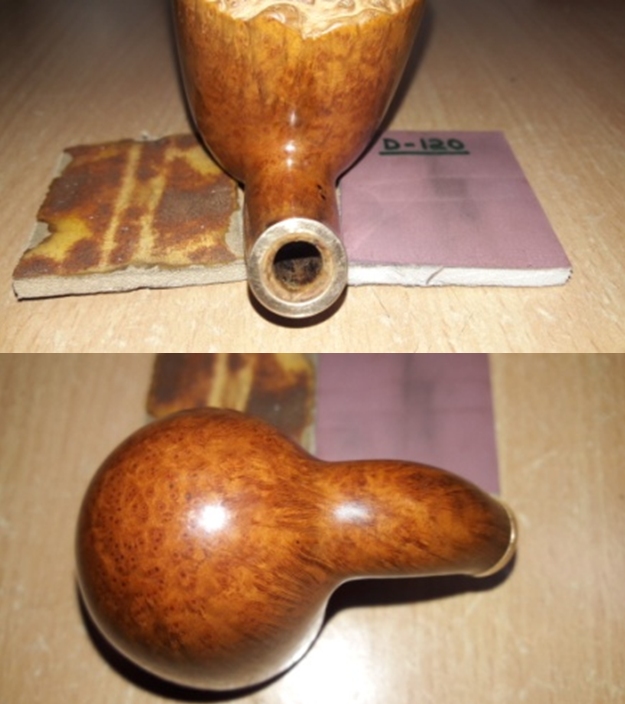 I rub a small quantity of “Before and After Restoration Balm” in to the briar. I rub this balm deep in to the nooks and crannies of the plateau rim top surface with my fingers and let it rest for a few minutes. The balm almost immediately works its magic and the briar now has a nice vibrant appearance with the dark brown hues of the grain contrasting with the rest of the stummel surface. I further buff it with a horse hair shoe brush. The appearance of the stummel at this stage motivates me further to complete this project at the earliest. I set the stummel aside and all that remains was to shape, align and polish the stem!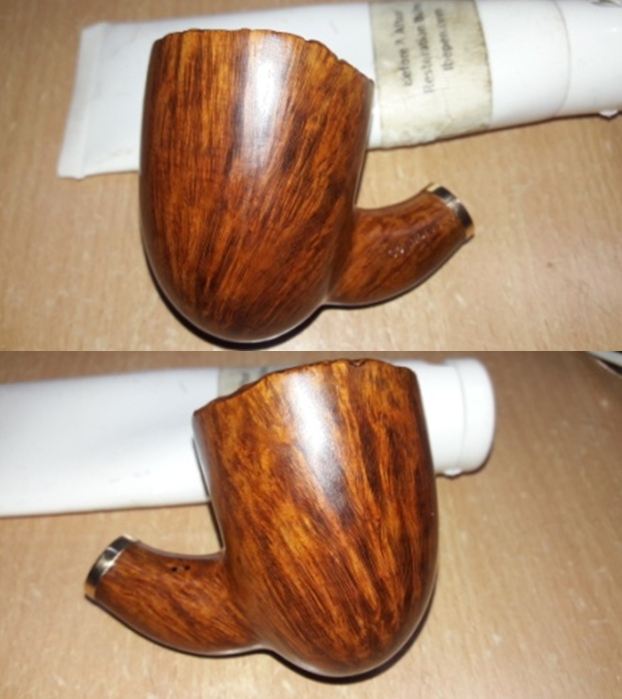
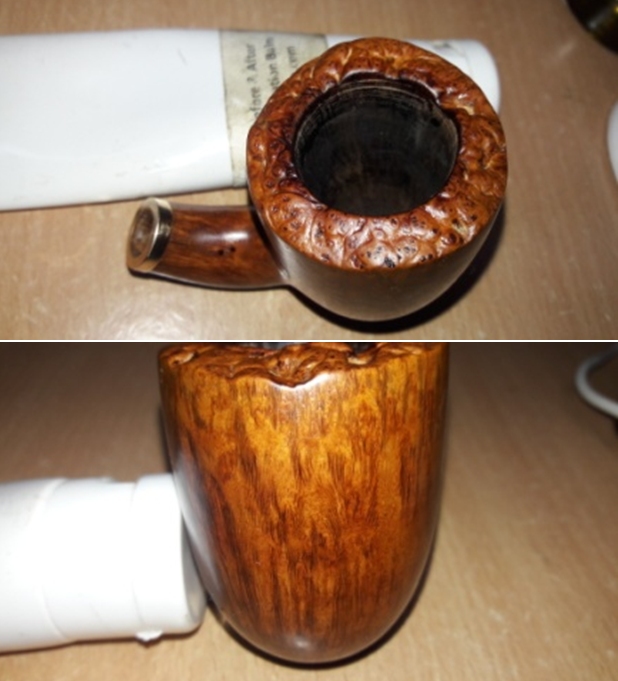
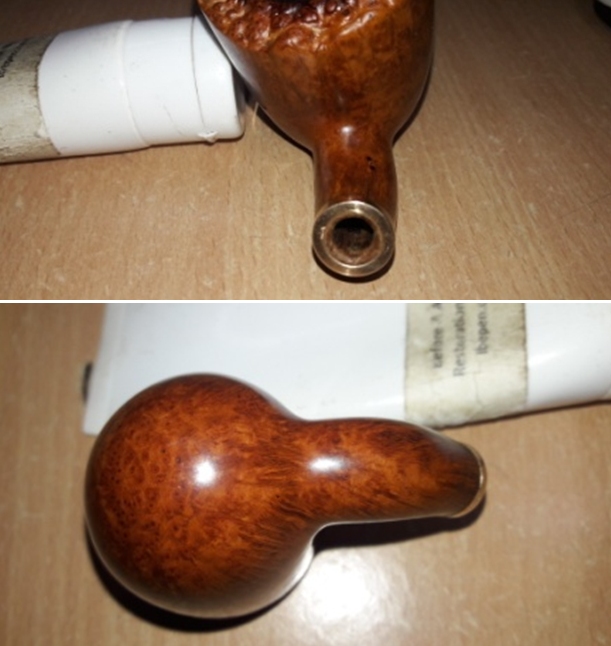 Now motivated with the appearance of the stummel, I turn my attention to the stem repair. The fills have cured nicely and I move ahead and began the process of filing and shaping the button end with a flat head needle file. At this stage, I get in touch with Steve on Face Time and discuss the progress on the stem. He suggests that a slightly sharper bend to the stem from near the bite zone would accentuate the shape and flow of the shank with that of the stem. He also suggests that the profile of the stem near the shoulder and mid region needs to be more slender. So, it is back to heating the end of the stem with the heat gun and giving it the desired bend, of course, eyeballing it to the desired shape!
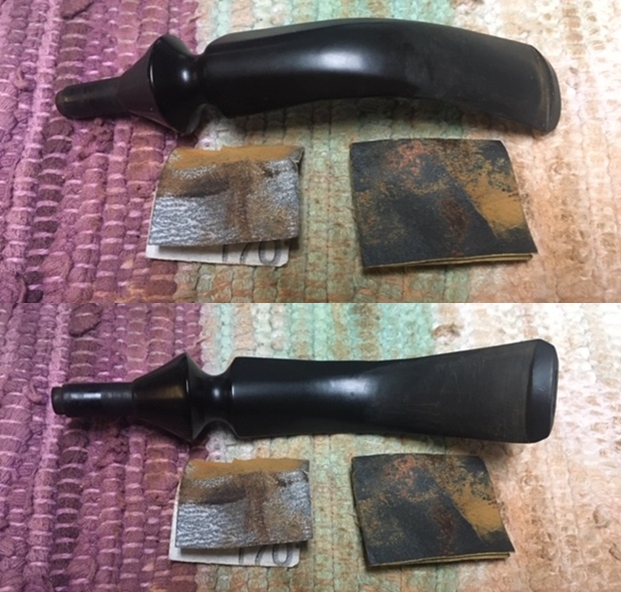
 As discussed with Steve, with a flat needle file, I shave off some more vulcanite from the shoulder and the mid region of the stem. I further sand the stem with 220, 320, 400, 600, 800 grit sand papers and finally with 0000 grade steel wool. I wipe the stem with a cotton pad dipped in alcohol to remove the resultant dust and rub some extra virgin olive oil onto the stem and set it aside to be absorbed.
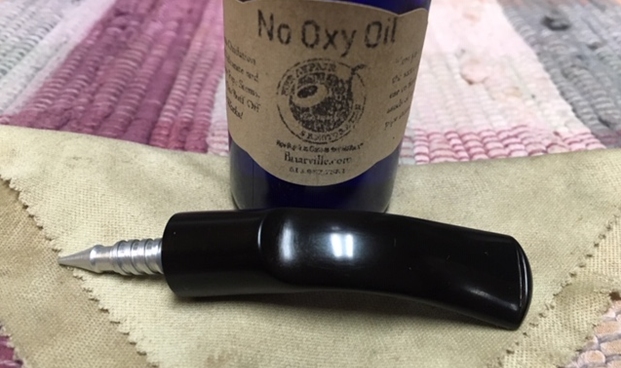
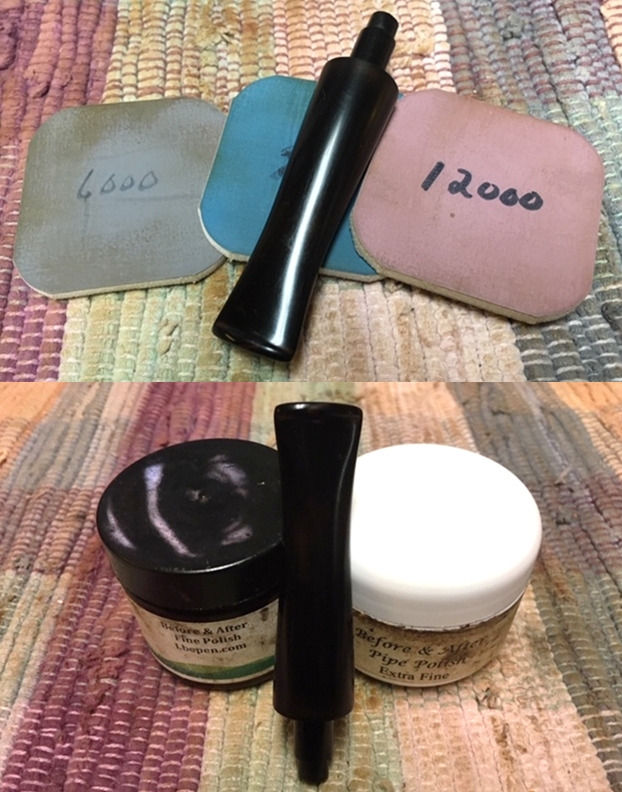
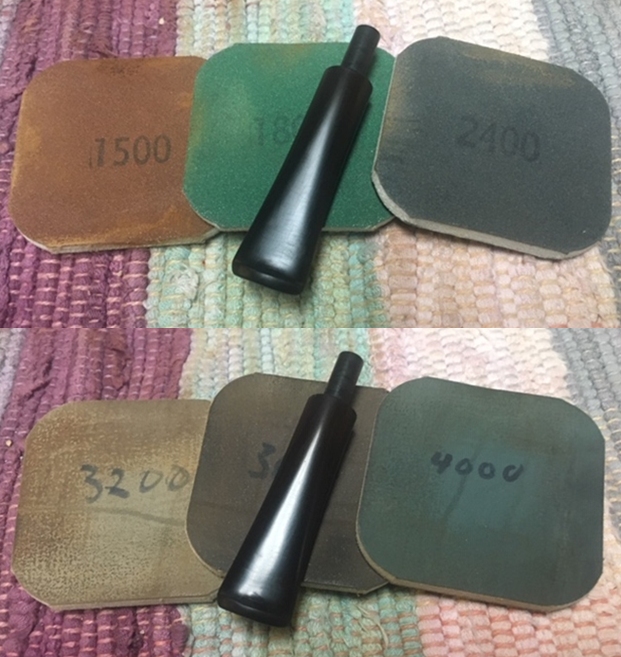
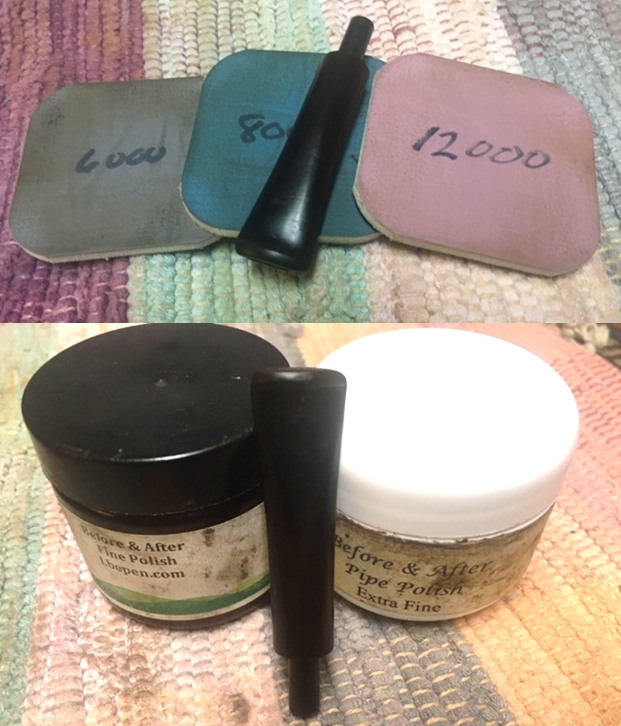
 I polish the stem with micromesh pads, wet sanding with 1500 to 12000 grit pads. I rub a little extra virgin olive oil in to the stem at the end of the micromesh pads polishing cycle. I complete the polishing regime of the stem by rubbing a small quantity of Extra Fine Stem polish developed by my friend Mark Hoover, and giving it a final polish with a soft cotton cloth. The stem is now nice, smooth and shiny.
 To apply the finishing touches, I first mount a cotton cloth buffing wheel on to my hand held rotary tool and apply a coat of Blue Diamond to the stummel and the stem to polish out the minor scratches. Boy, am I glad to finally have reached the home run stretch to complete this project!! I shared these images with Steve for his comment. He suggested that the shoulder overhang needs to be reduced and under belly to be straightened out more.
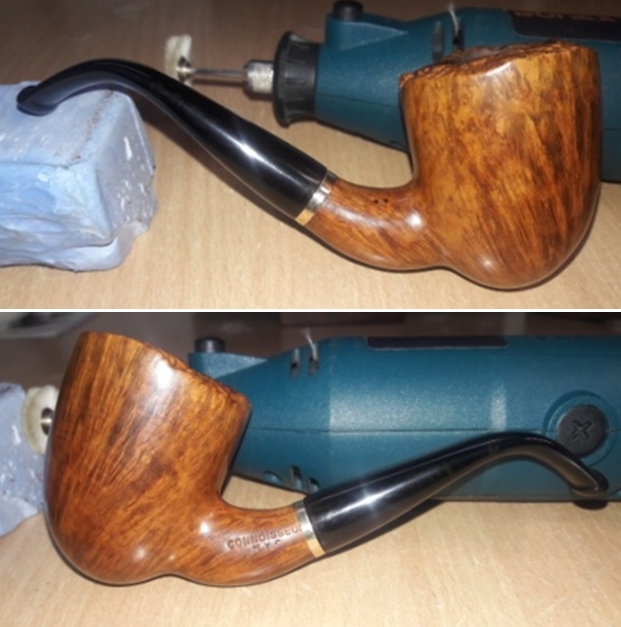 Well, here I was back with a flat needle file and 220 grit sand papers as against carnauba wax and rotary tool!! I again diligently worked on these issues, frequently checking for progress being made. Once I am satisfied that the shoulder overhangs and under belly issues have been resolved, I check the seating of the stem in to the mortise. The seating is canted backwards. I address this issue by heating the tenon and slightly pushing it upwards (that is, in the opposite direction). I check the seating and am quite pleased by the overall appearance of the stem and its seating.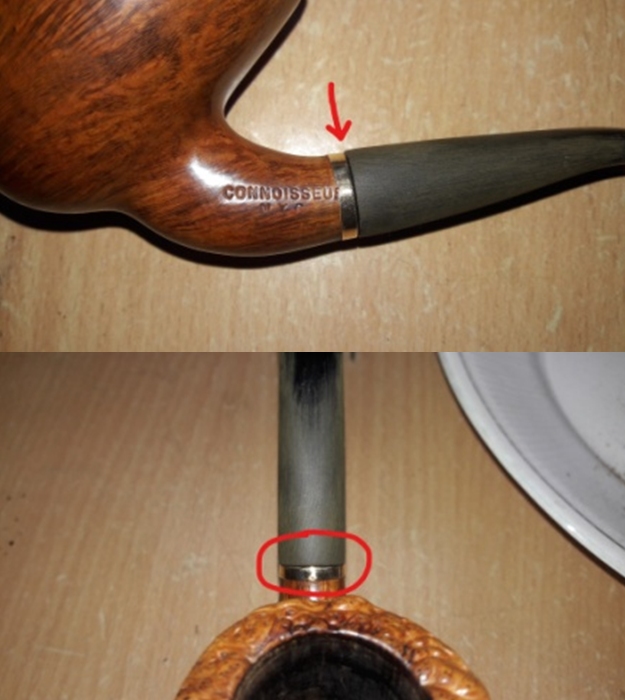
 Thereafter, I go through the entire regime of sanding and polishing as explained above. At the end of the micromesh pads, I complete the polishing regime of the stem by rubbing a small quantity of Extra Fine Stem polish developed by my friend Mark Hoover, and giving it a final polish with a soft cotton cloth. The stem is now nice, smooth and shiny.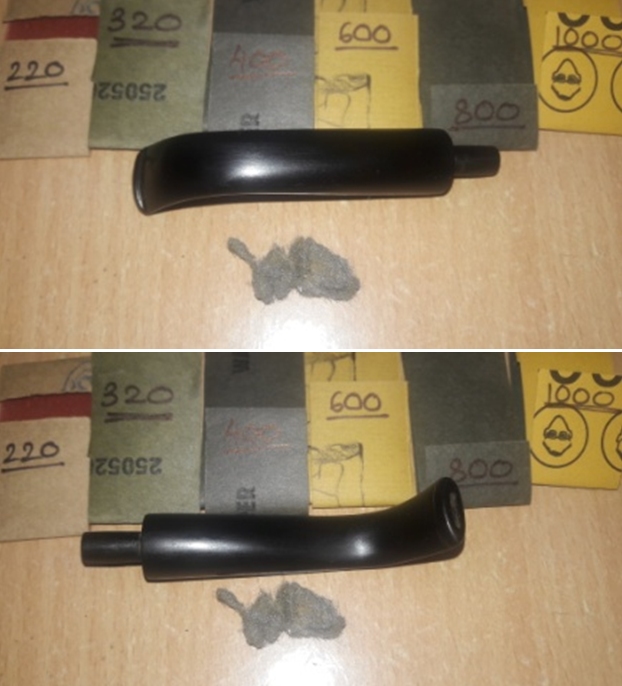
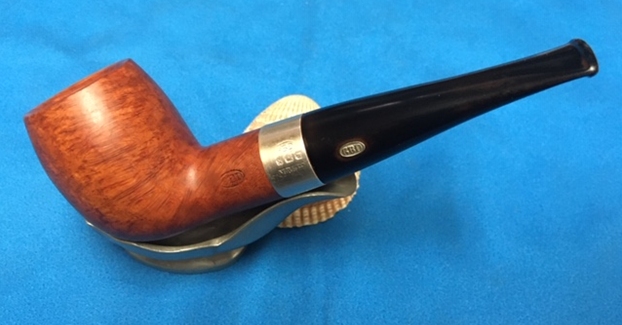
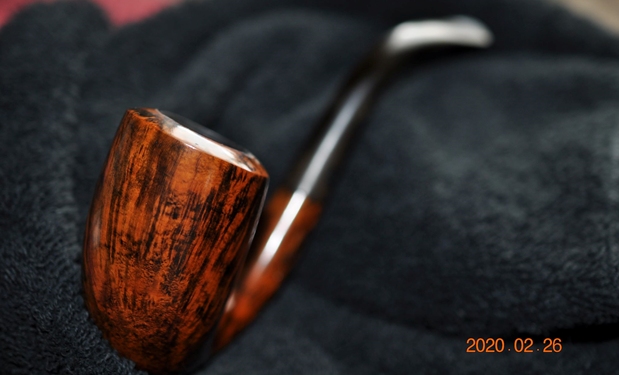
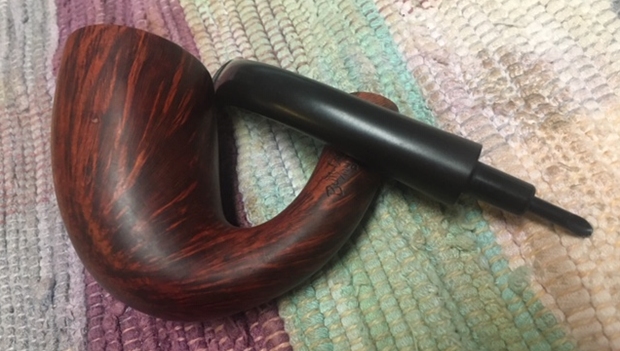
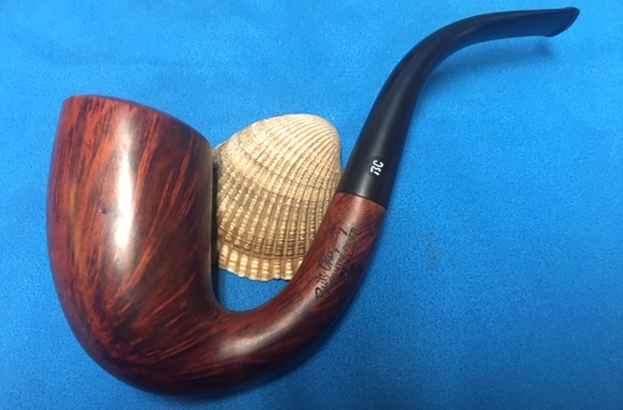
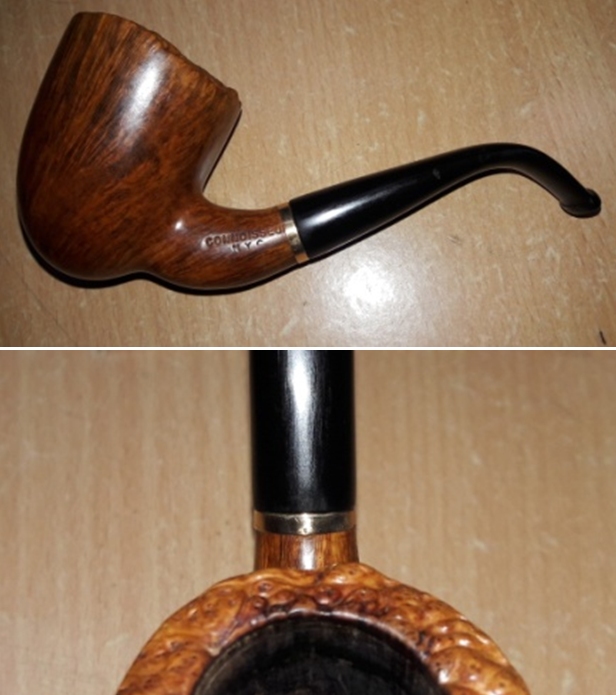
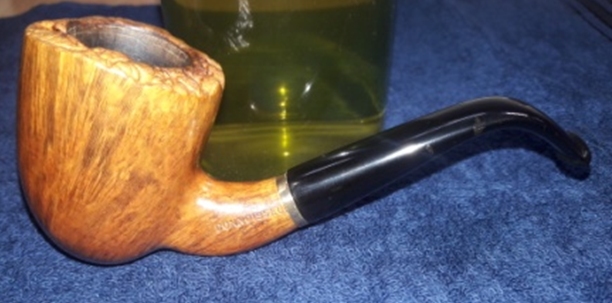
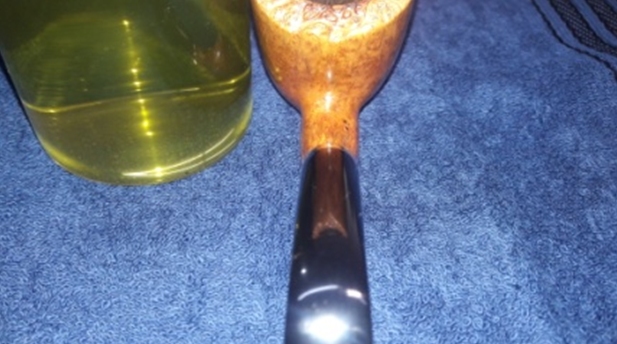
 With a cotton buffing wheel that I use for carnauba wax, I apply a coat of carnauba wax to the stummel and stem and continue to work on it till the complete coat of wax is polished out. I mount a clean cotton cloth buffing wheel and give the entire pipe a once over buff. I finish the restoration by giving the entire pipe a rigorous hand buffing using a microfiber cloth to deepen the shine further. The finished pipe is shown below.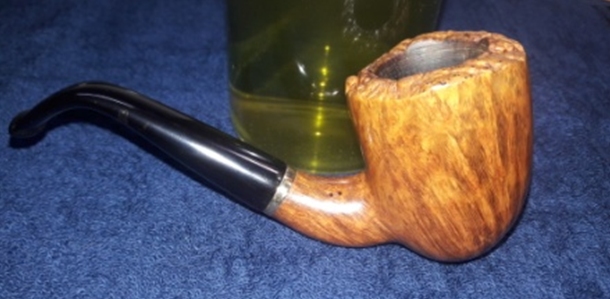

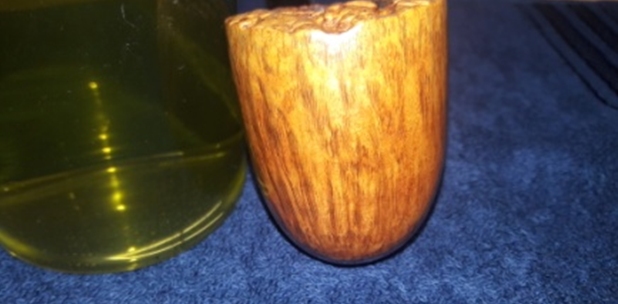
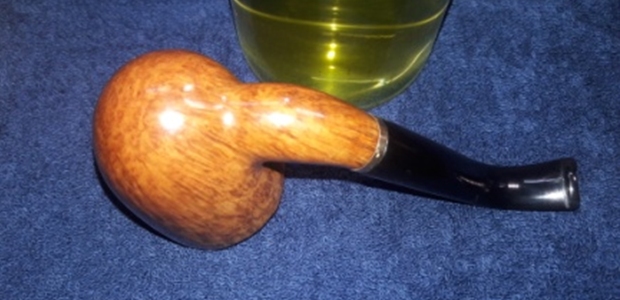
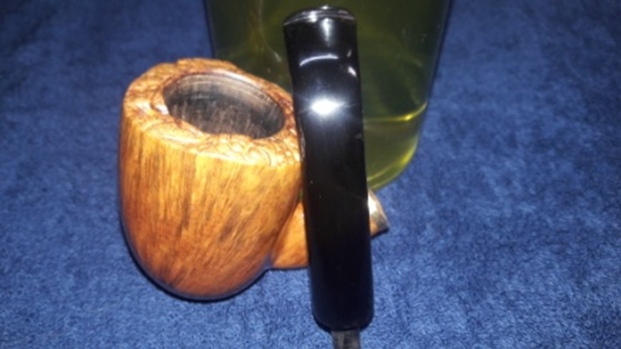
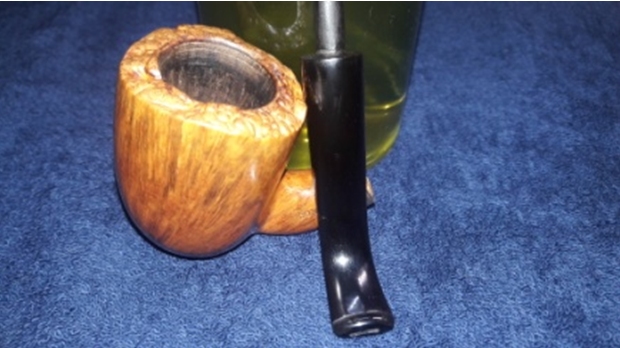 P.S. – This project was more tedious than I had anticipated, mostly because of my own faults and errors in judgement. But then, isn’t this the fun part of being of the learning curve? I shall be avoiding the following in my future restorations:
(a) Using a band that is a tad smaller then the shank end diameter. I would rather use a band that has a snug and perfect fit over the shank end.
(b) Using a rotary tool with a sanding drum to get the band to the desired size. It’s better, safer and precise to manually sand the band on a sand paper.
(c) Clamping the shank end after filling a crack. I am not sure, but I think that the clamping down may have caused a slight deformation that had caused me such grief with the seating of the stem.
(d) Less reliance on “eye balling” for sizing and shaping…need to get on with hunting for a “PIMO TENON TURNING TOOL” and a set of “VERNIER CALIPERS”.
I am really fortunate to be in the process of learning the nuances of pipe restoration and cannot thank Steve enough for his support and guidance.
Thanks for your patience and looking forward to input about the write up. Cheers…

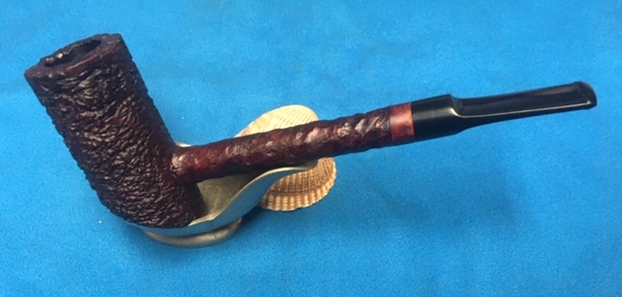

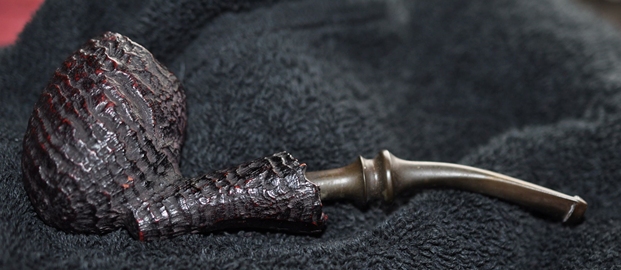
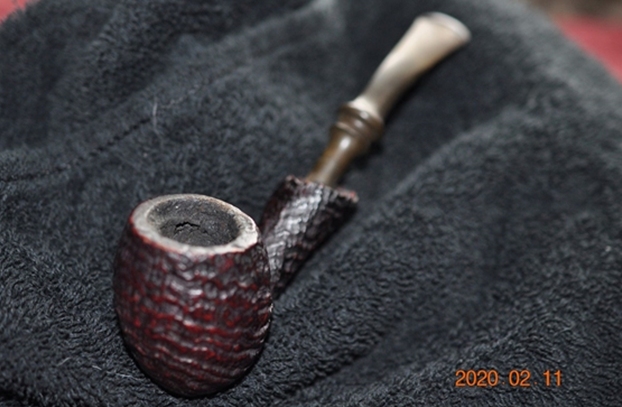
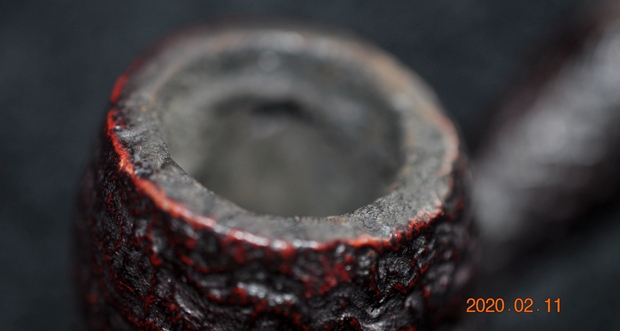
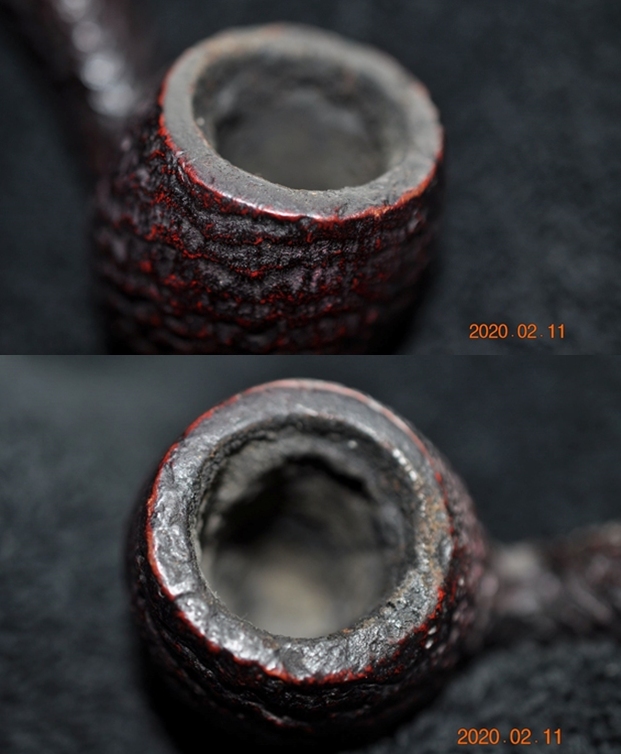
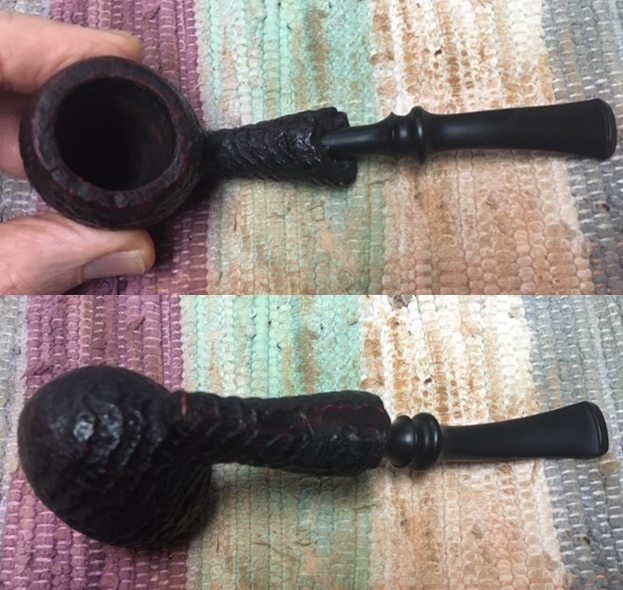
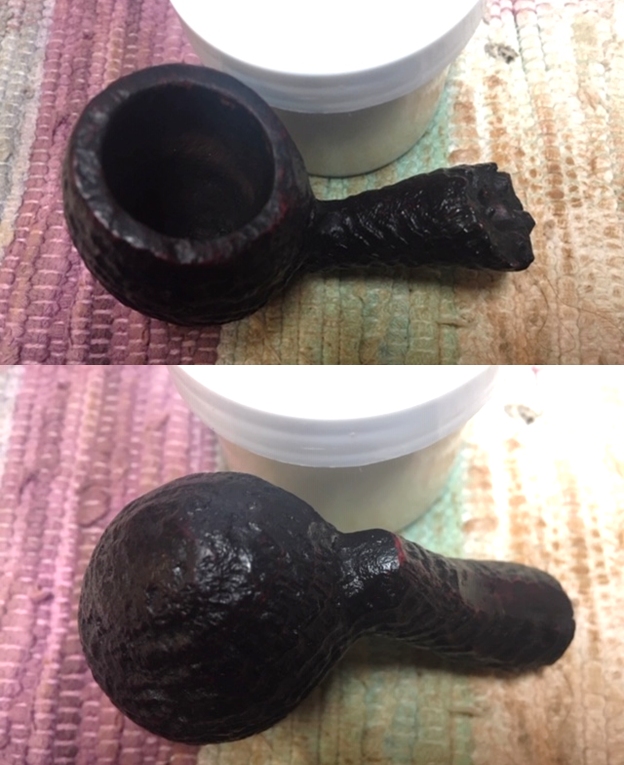
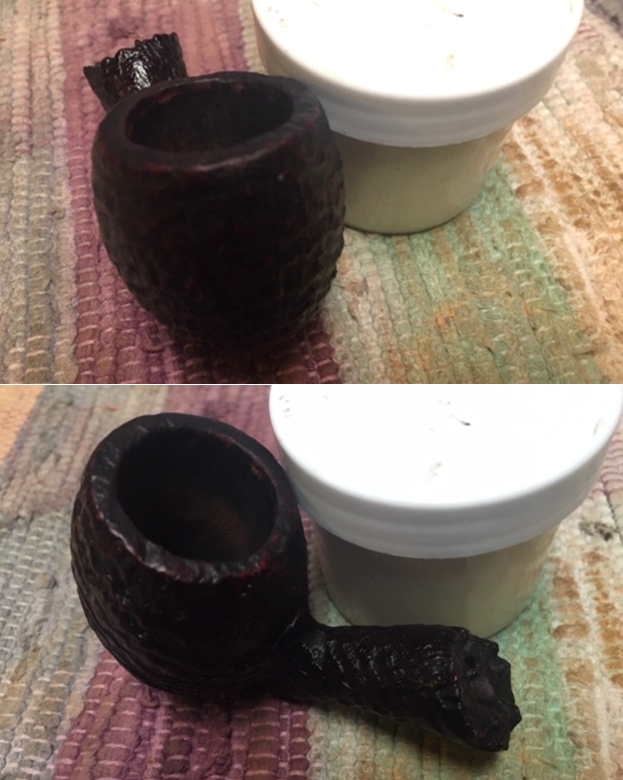
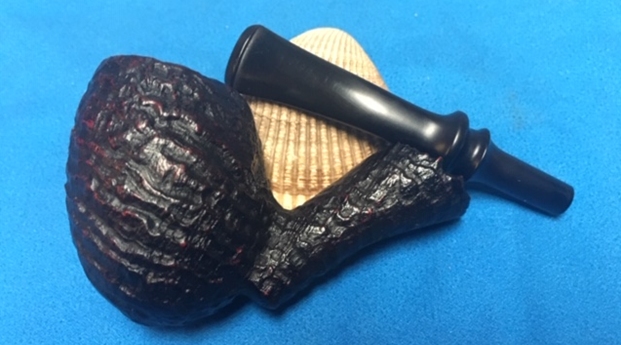
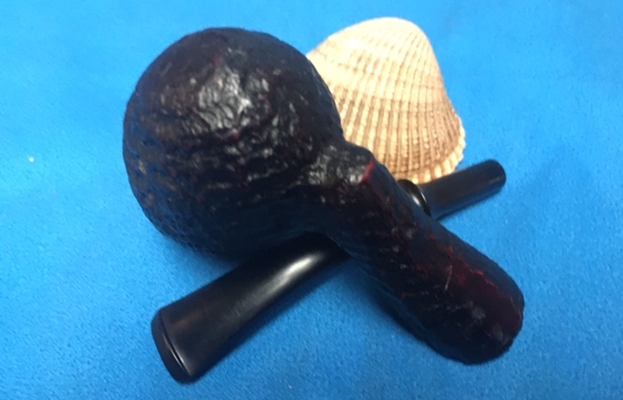
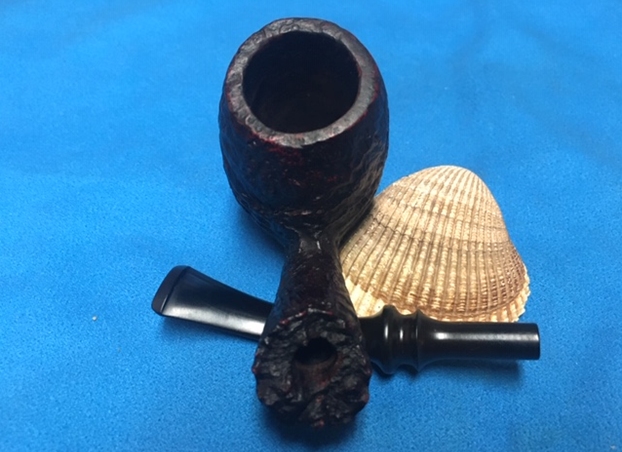
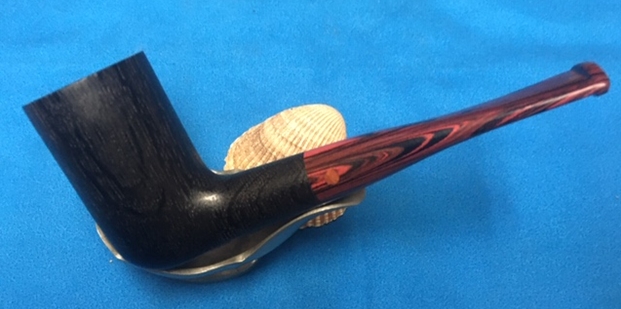
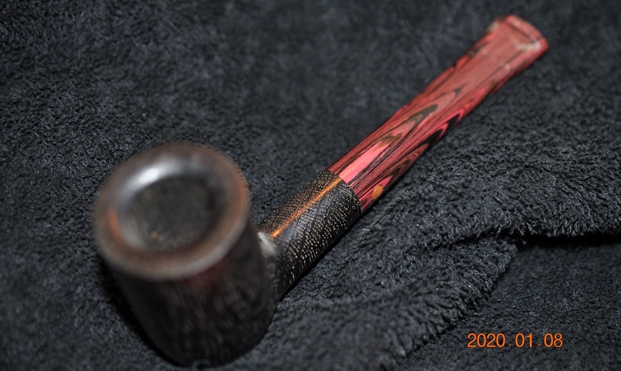
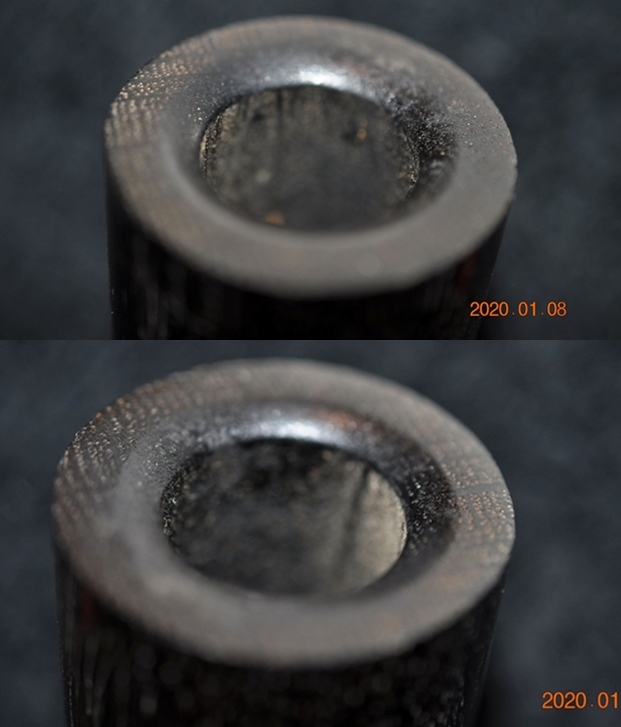
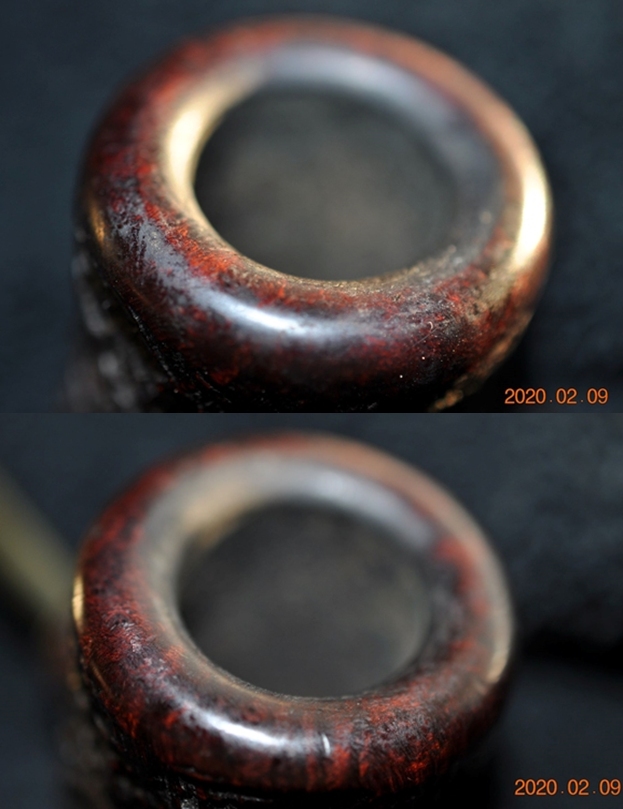
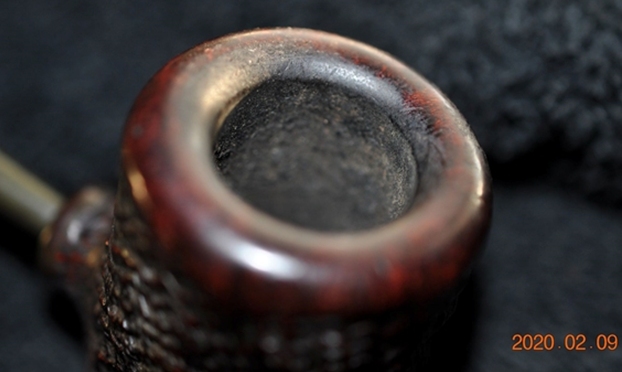
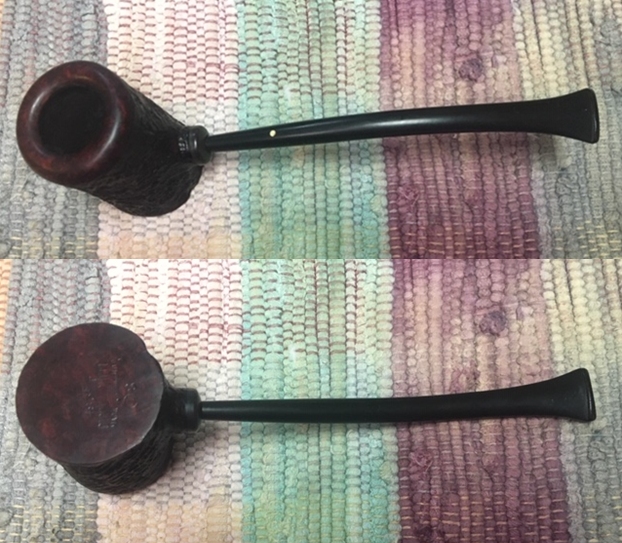
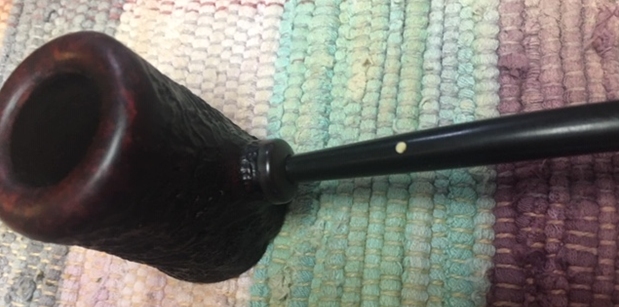
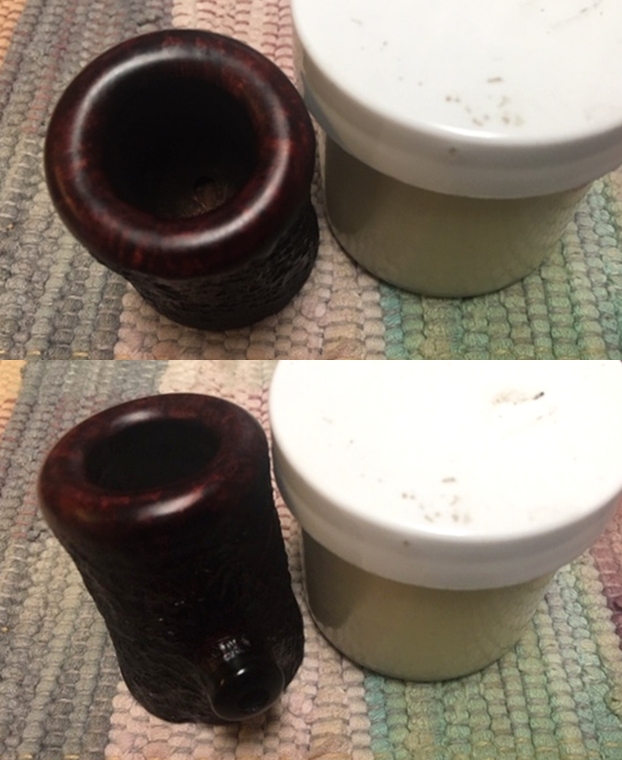
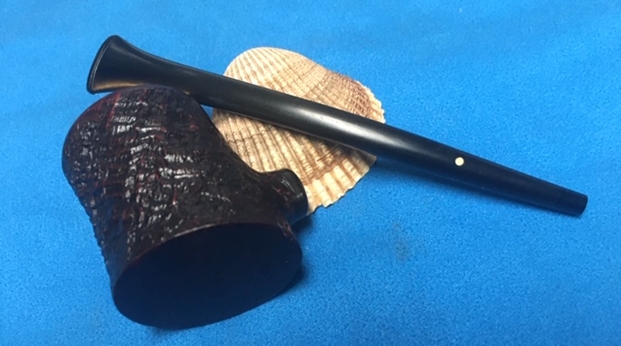
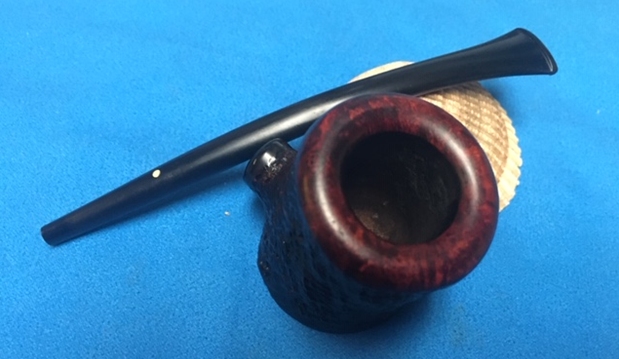
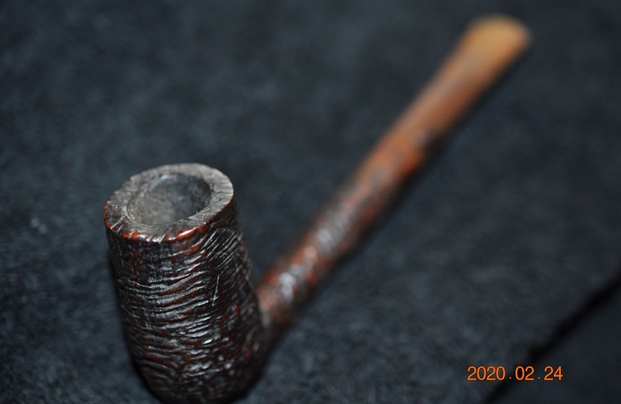
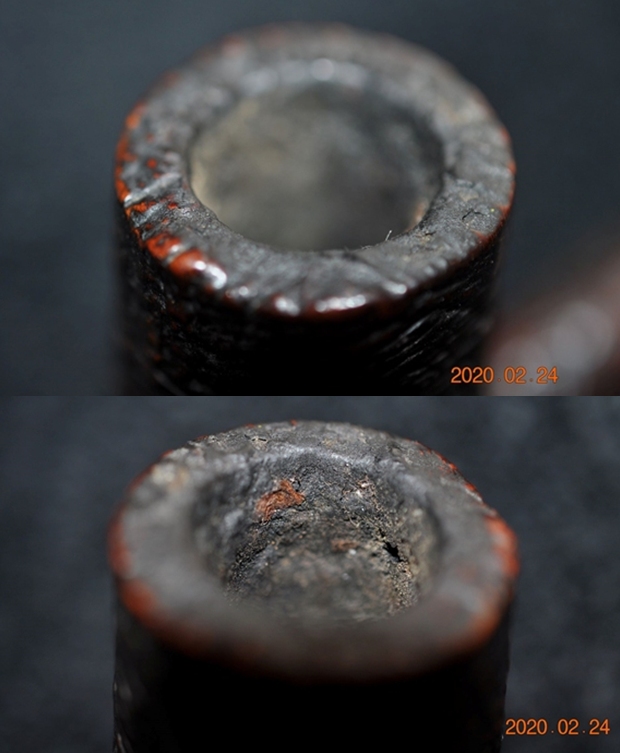
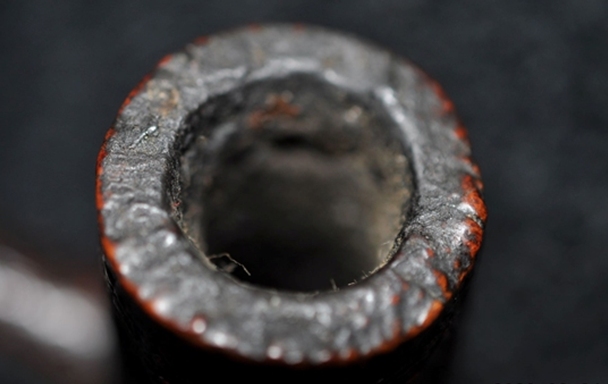
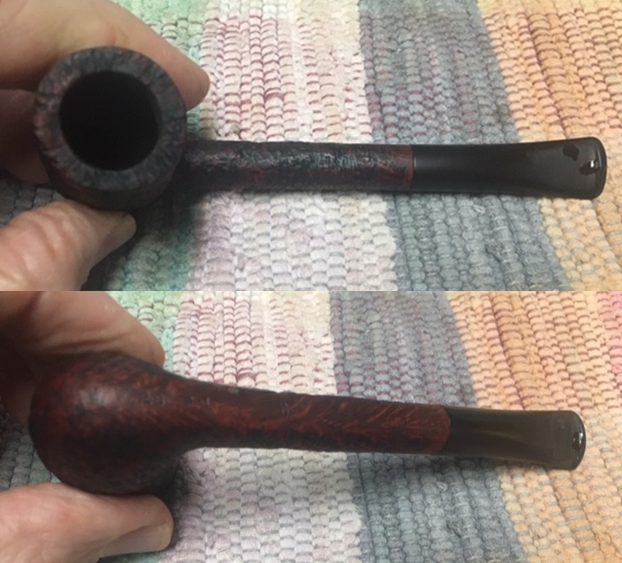
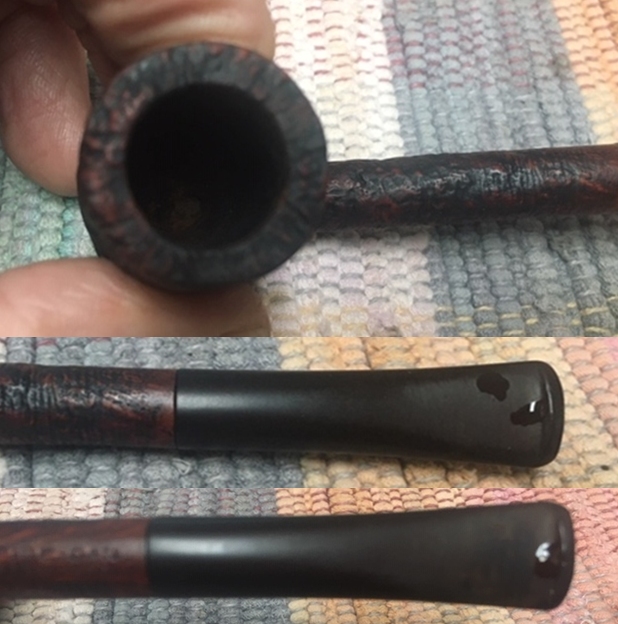
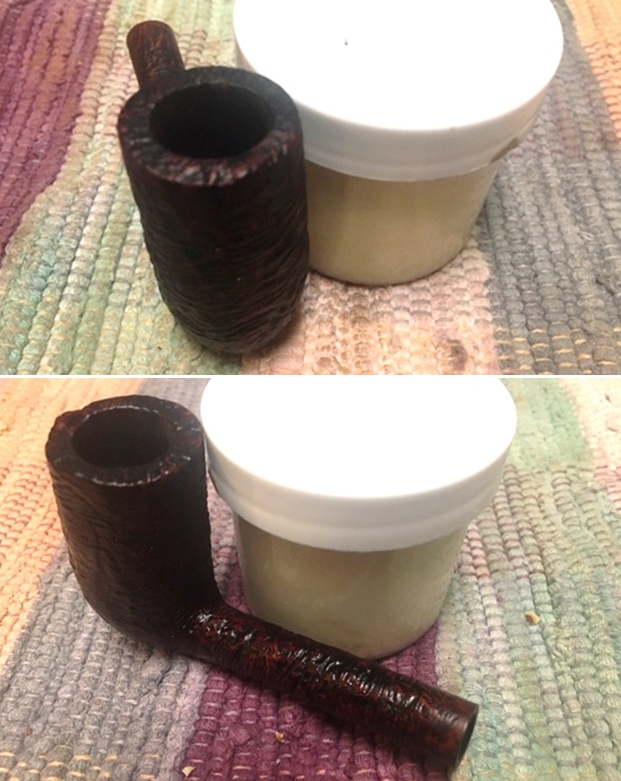
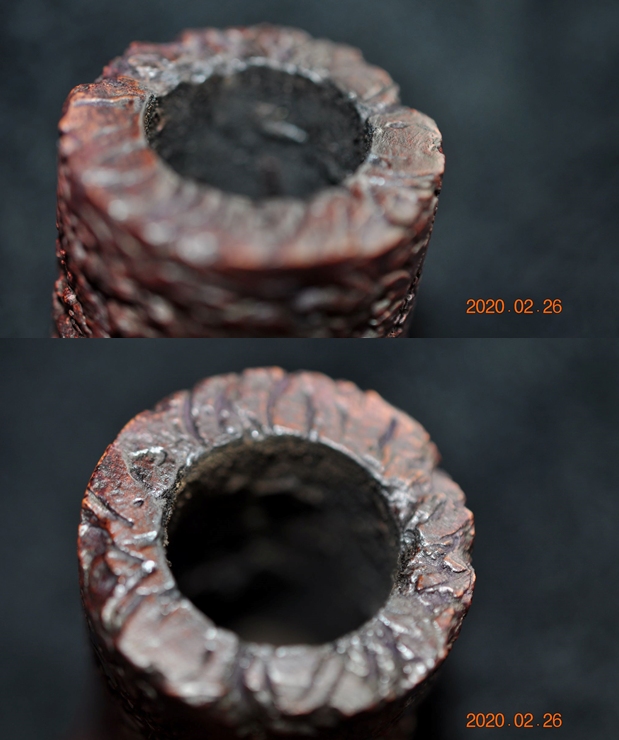
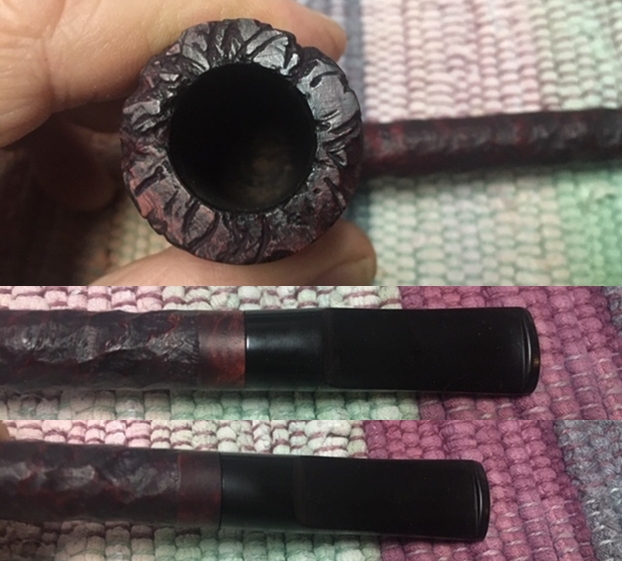
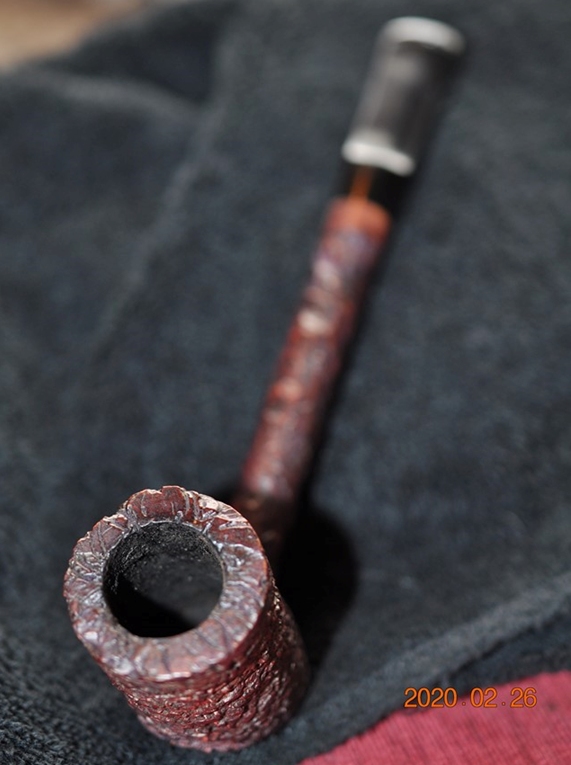 He took close-up photos of the bowl and rim top from various angles to capture the condition of the bowl and rim top edges. You can see the clean rim top free of lava and just a bit dusty. There is also some darkening around the inner edge of the bowl. The rustication on the rim is another different style pattern from the rest of the pipe. Very unique.
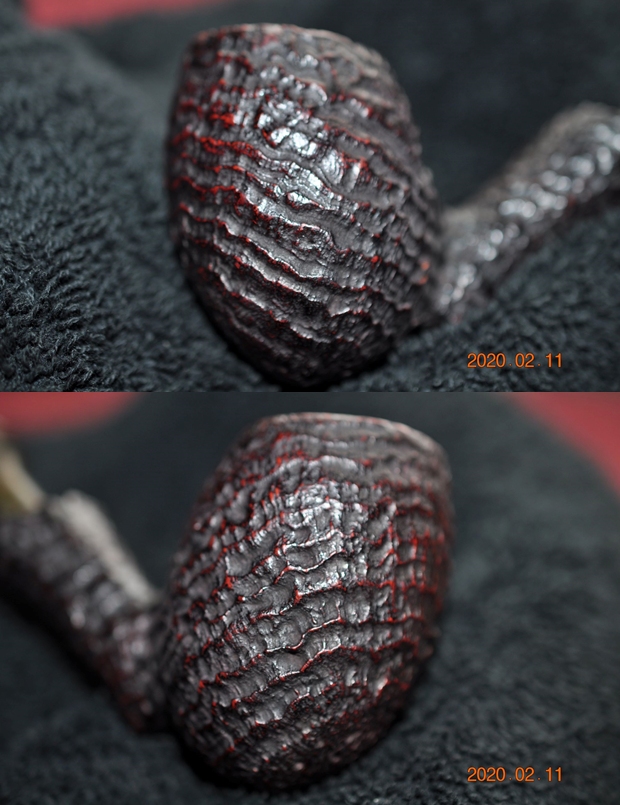
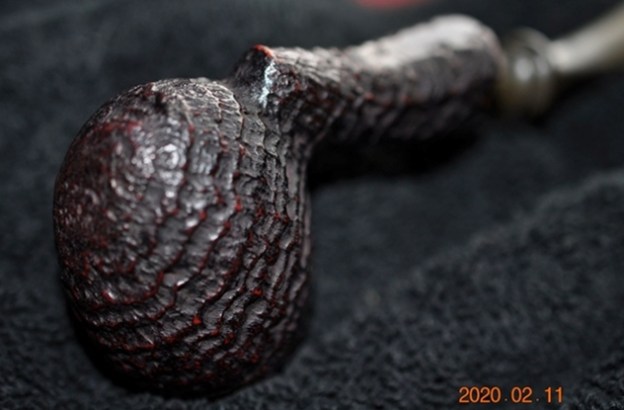
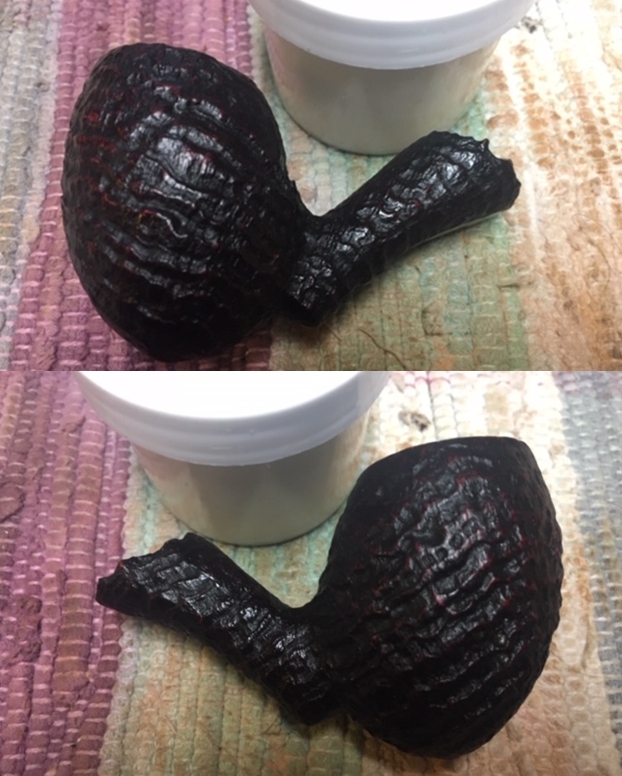
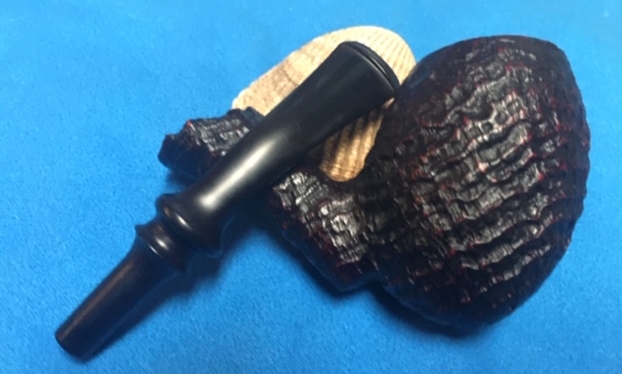
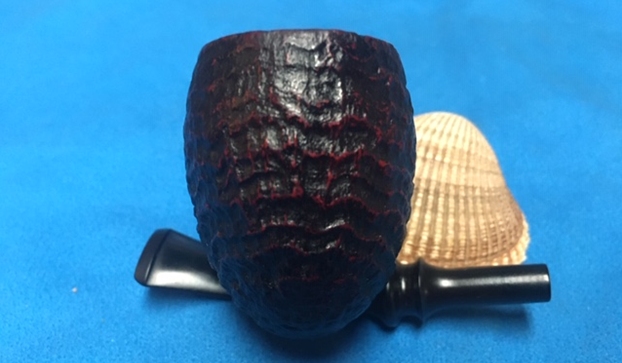
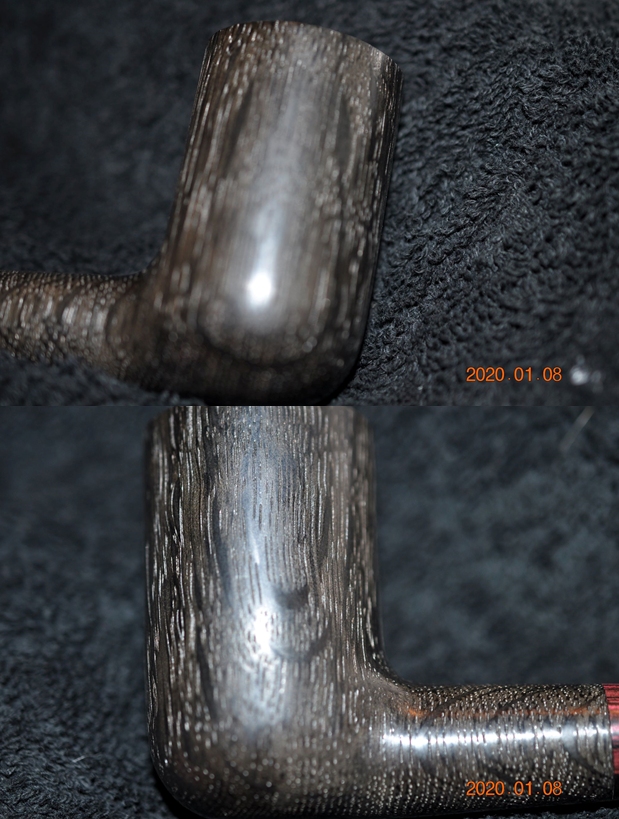
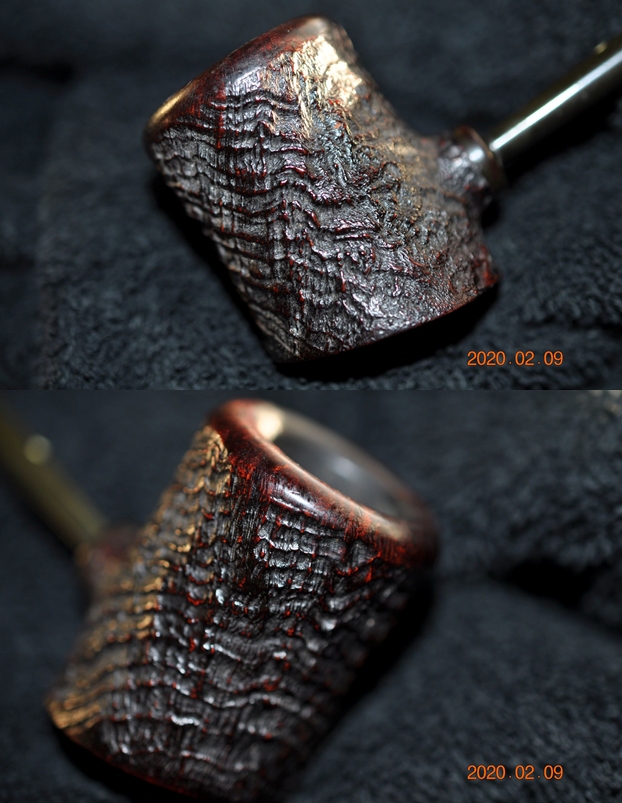
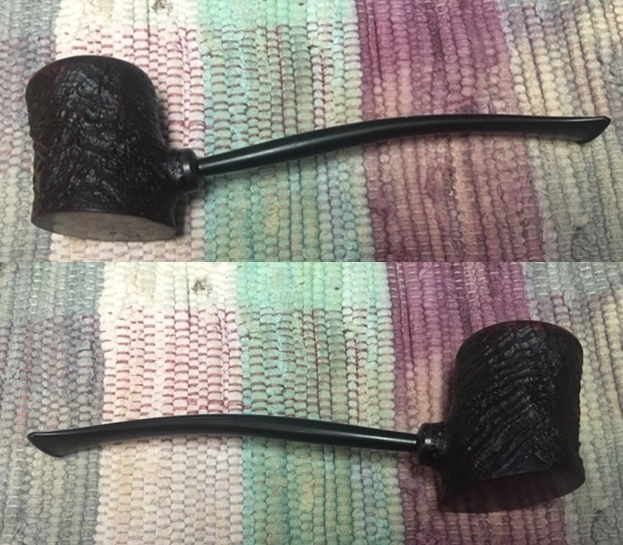
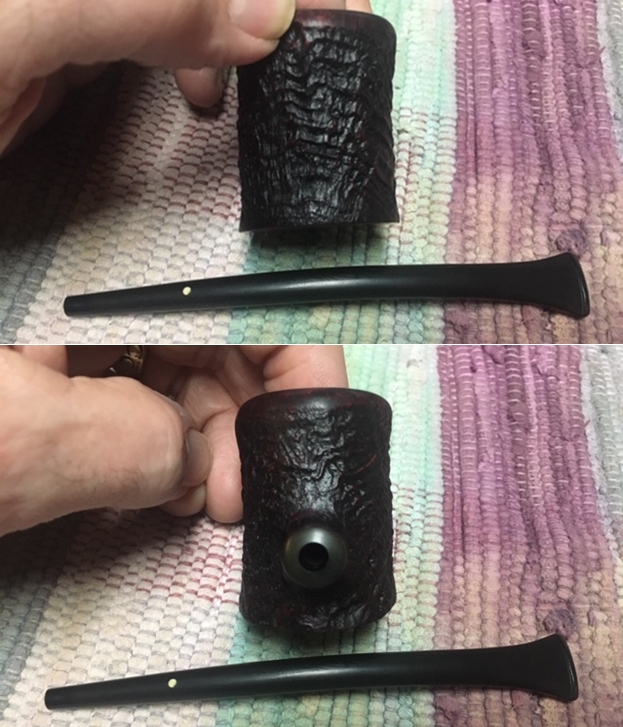
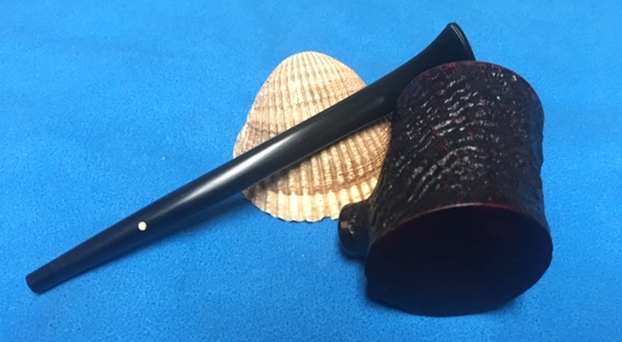
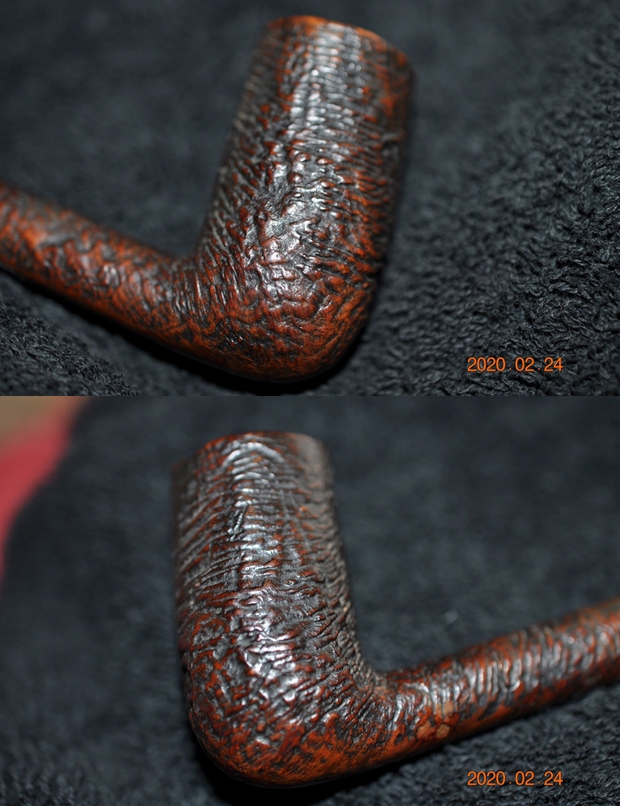
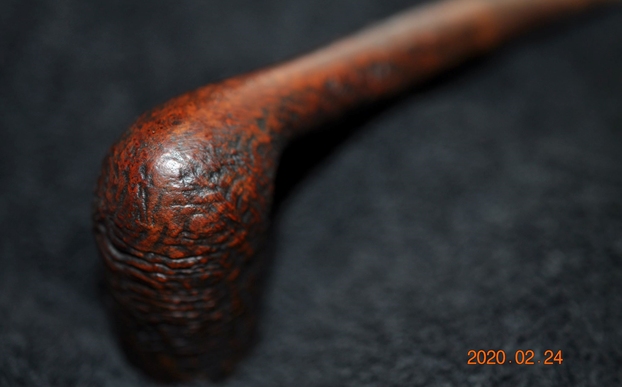
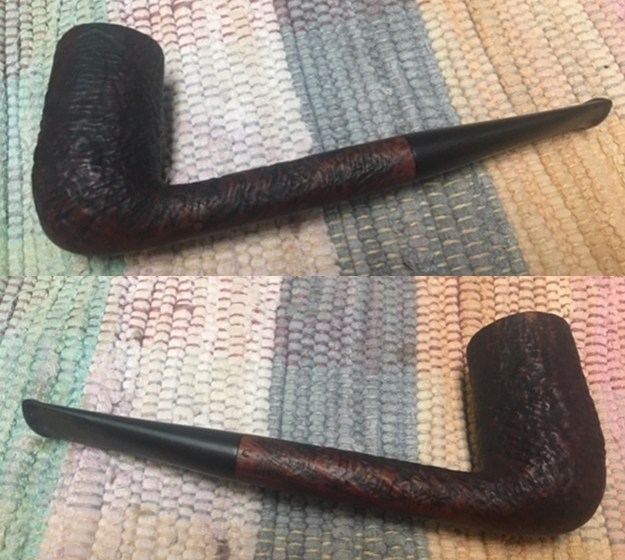
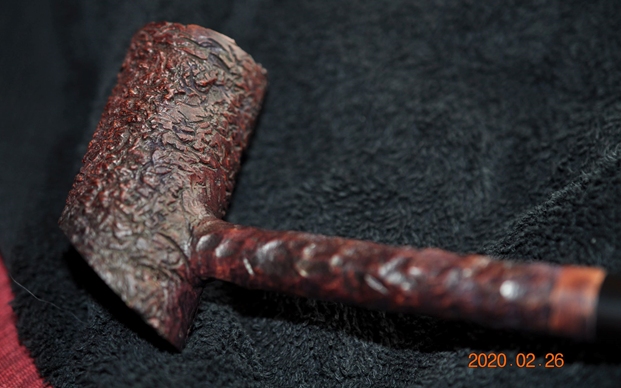
 He took photos of the sides and heel of the bowl to show the unique and rugged rustication patterns around the bowl. It is craggy and random looking. You can see the dust and debris in the finish.
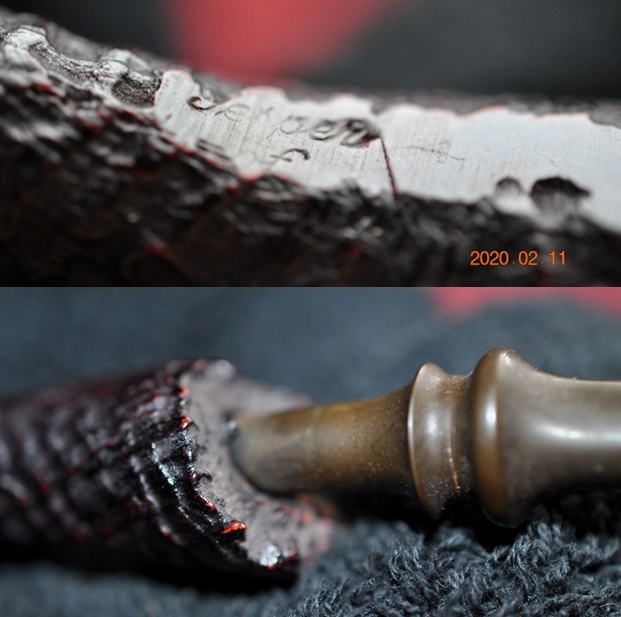
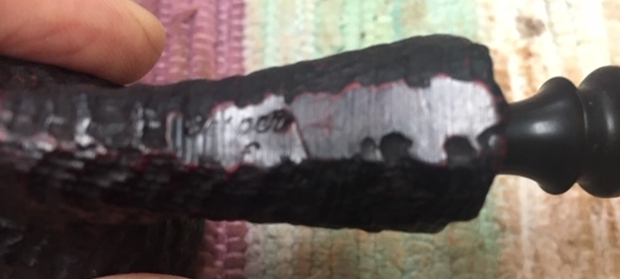
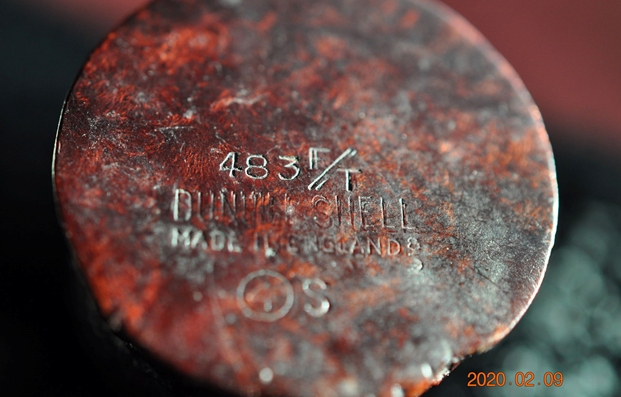
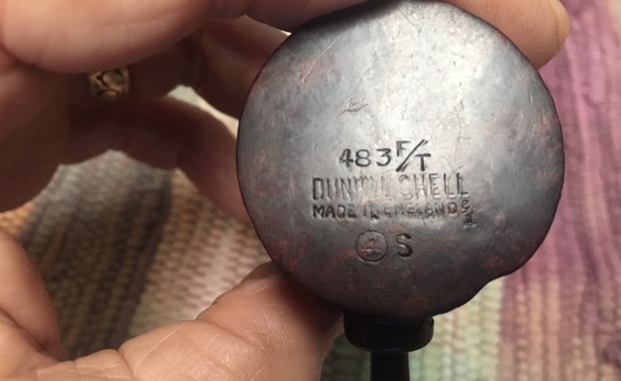
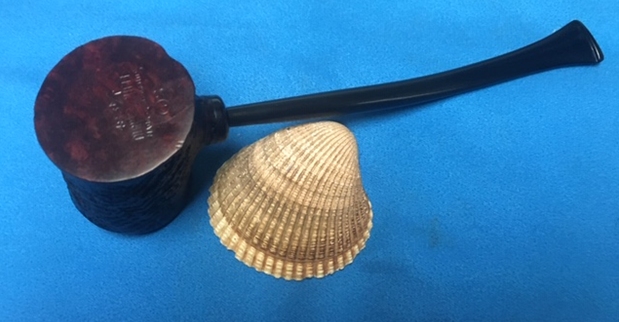
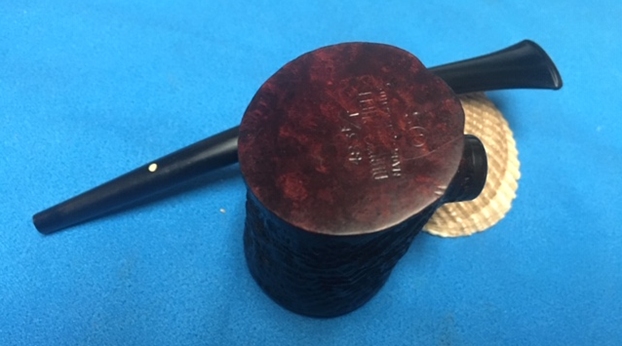
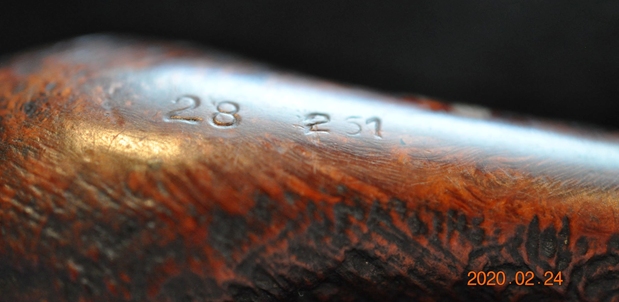
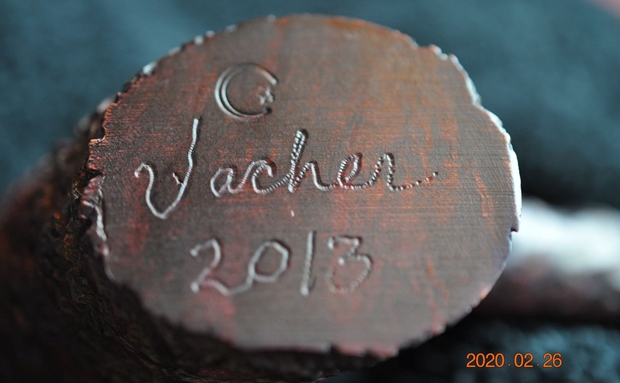
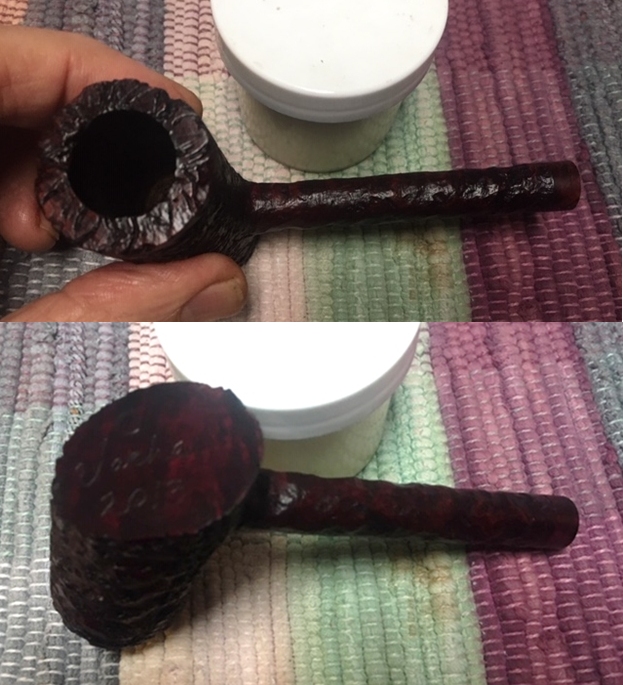
 Jeff took a photo of the stamping on the flat, smooth heel. It has the Laughing Moon Pipes logo at the top and underneath it bears Vacher’s signature and the number 2013 which could be the year of manufacture or something else…
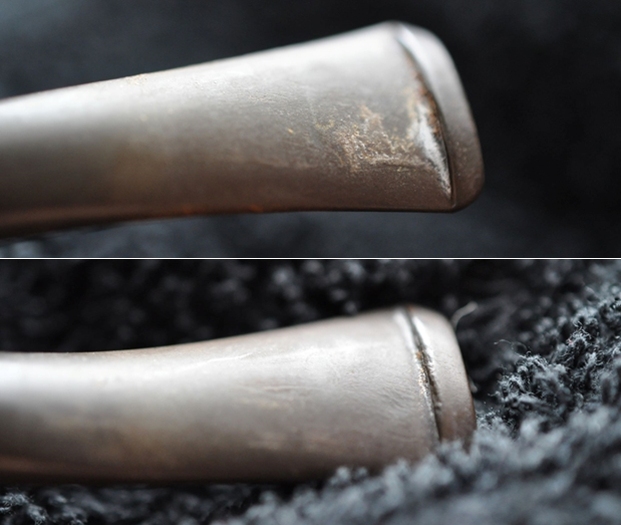
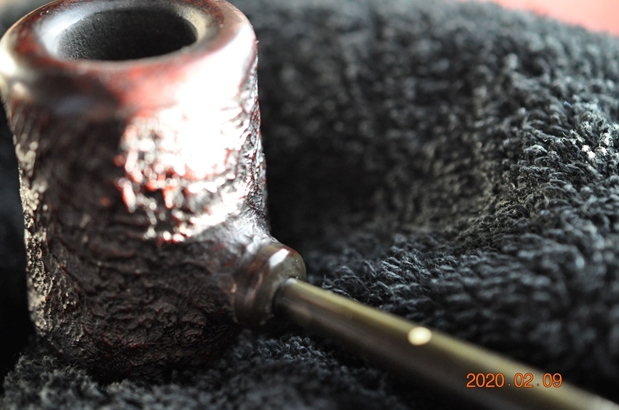
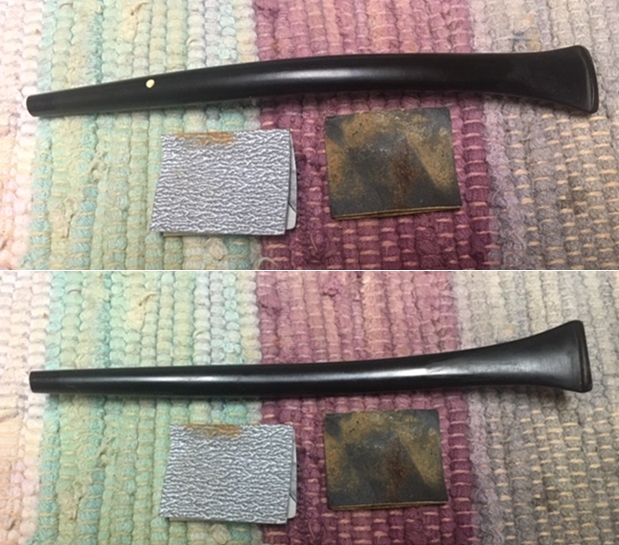
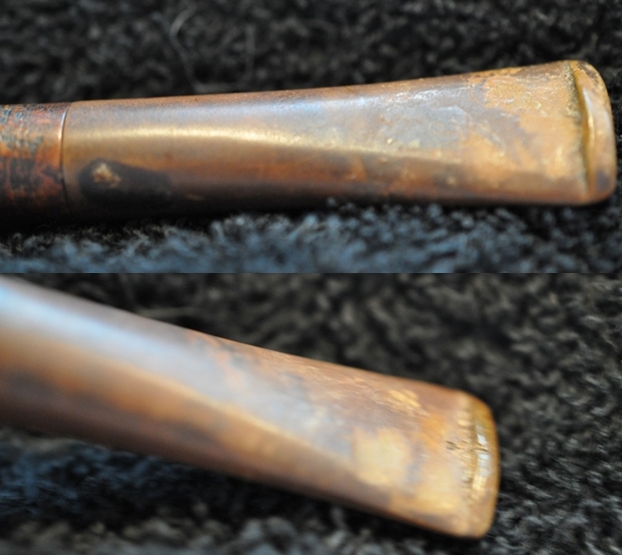
 The next two photos show the top and underside of the stem. The oxidation and the tooth marks on both sides near the button are visible in the photos.
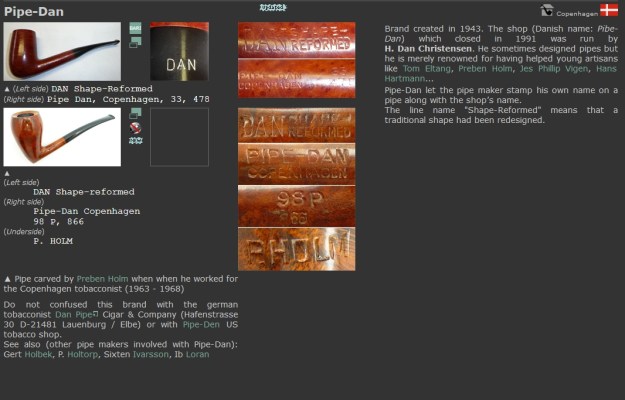
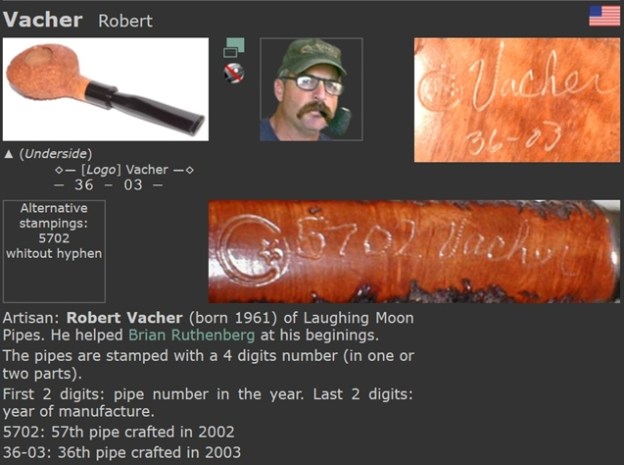
  When the pipe arrived I knew I had worked on pipes from Vacher and Laughing Moon Pipes in the past but I could not find them on the blog. That was strange – maybe age playing a trick on me? Ah well! I instead turned to Pipephil (http://www.pipephil.eu/logos/en/logo-v1.html) to see if he included a quick summary of information on the brand. I was not disappointed. I have included a screen capture of the pertinent section. From there I learned a few things.
 I turned to Pipedia for more information on Robert Vacher and the Laughing Moon Pipes that he carved (https://pipedia.org/wiki/Laughingmoon_Pipes). The site had a great writeup by Vacher himself taken from his Ebay store. The thing that stood out to me was his mission statement which I quote below: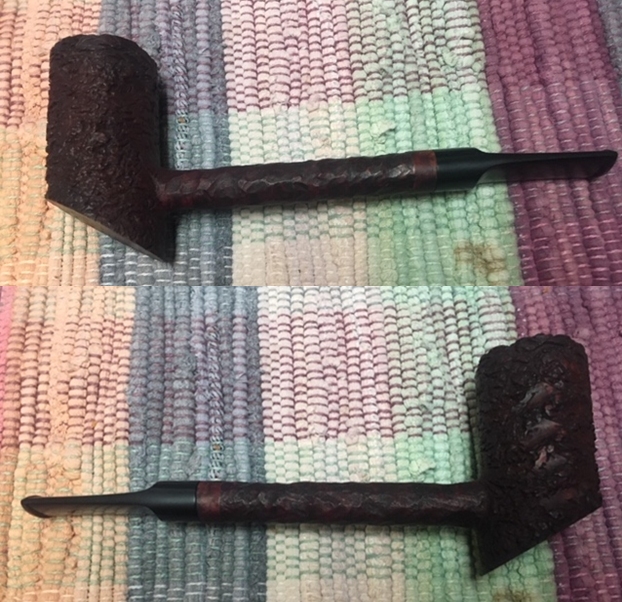
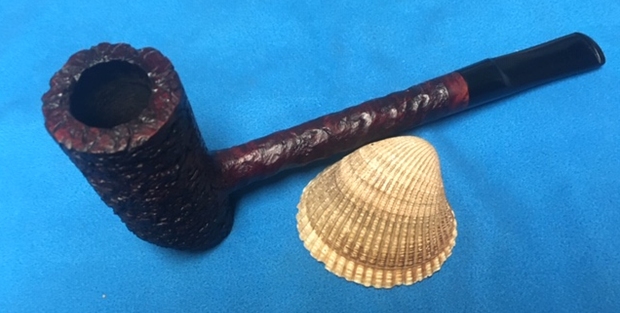
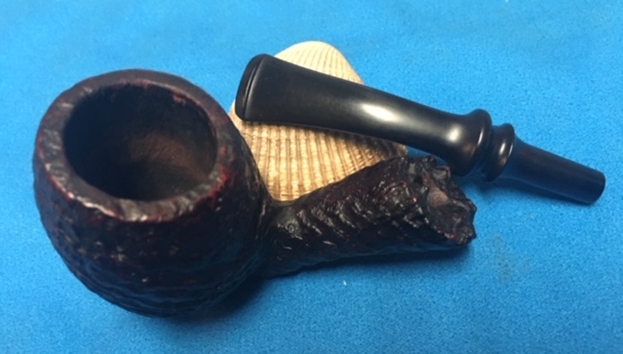
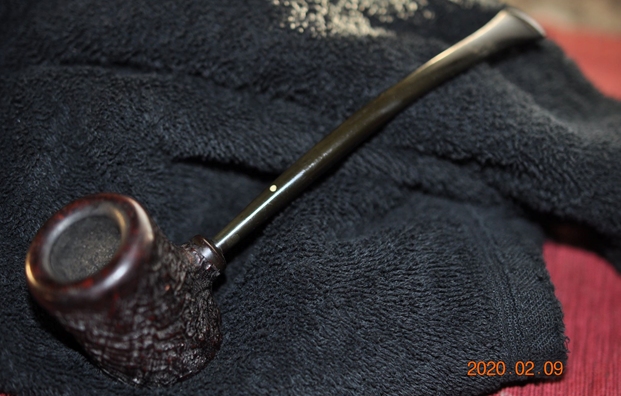
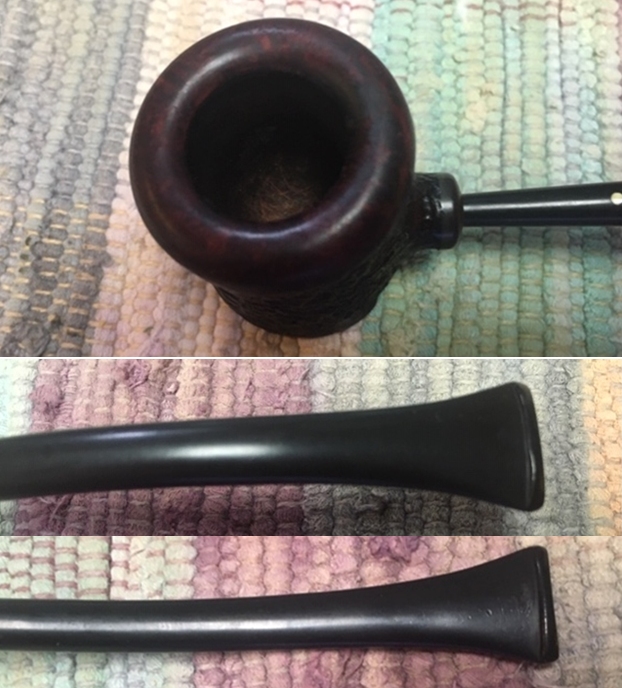
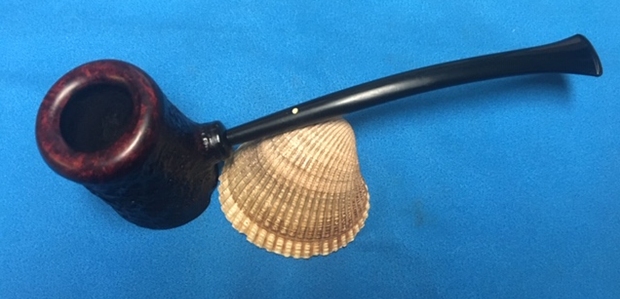
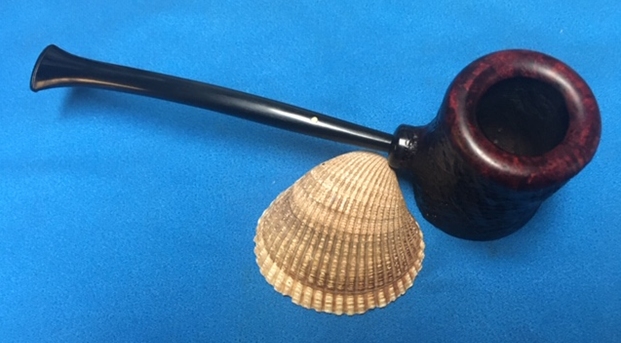
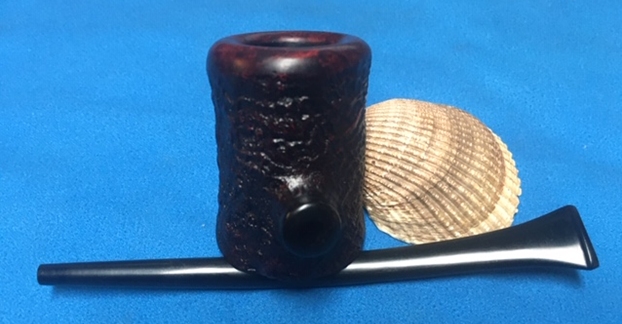
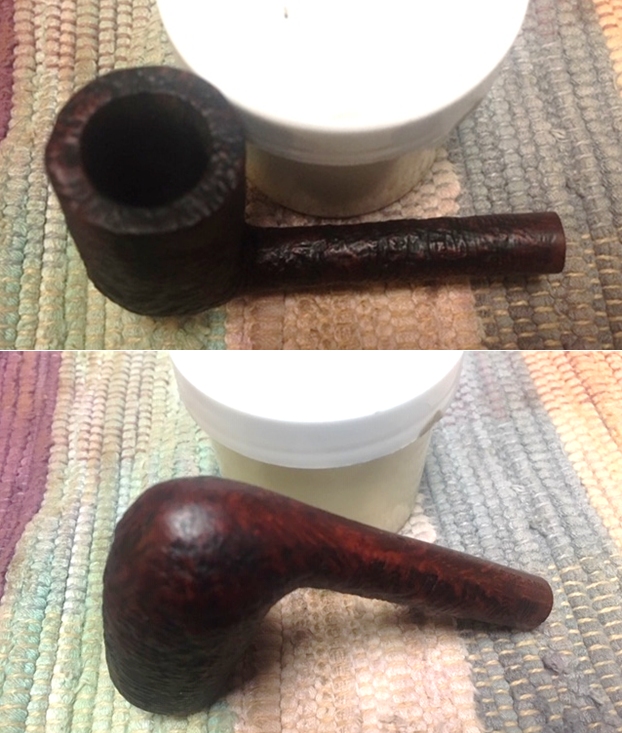
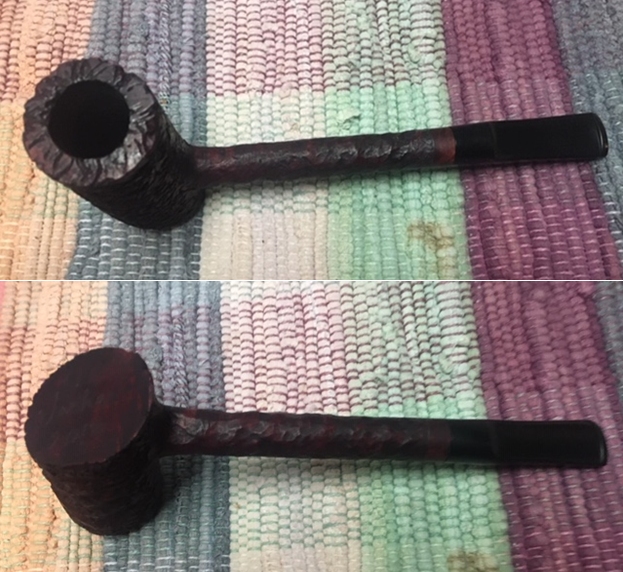 To show how clean the rim top and stem really was I took a close-up photo of the rim and stem. The bowl was clean and cake free. The rim top is very clean with no residual grime in the groves of the rustication. The inner edges of the bowl look good. The black vulcanite saddle stem cleaned up nicely. The surface had some light tooth marks but the button edge looked really good.
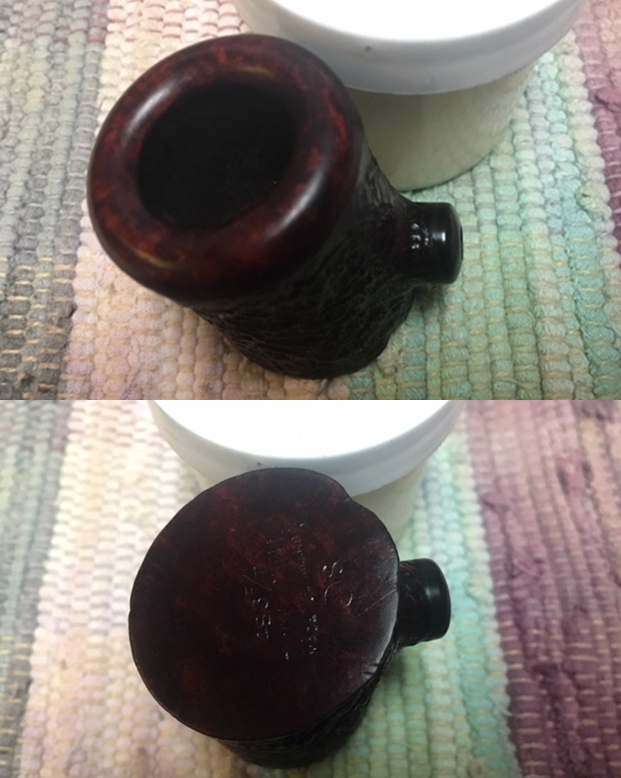
 I took a photo of the stamping on the smooth heel of the bowl. You can see the Laughing Moon Pipes logo, Vacher’s name and the numbers.
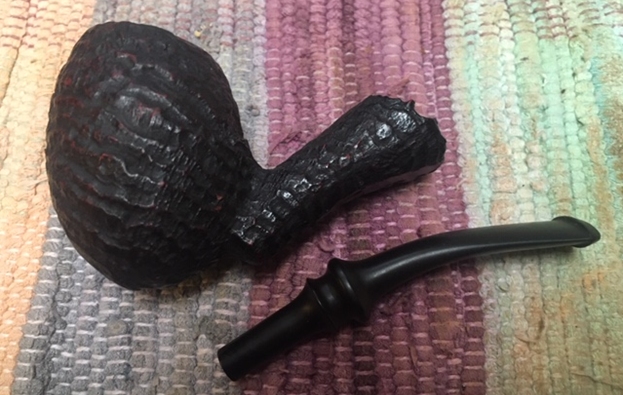
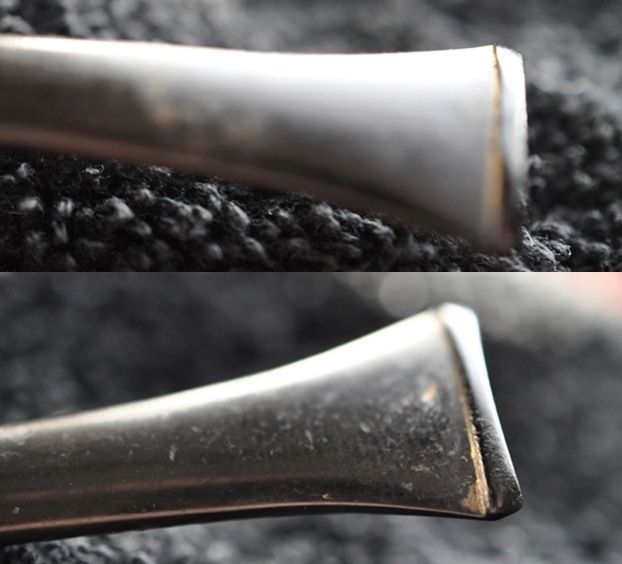
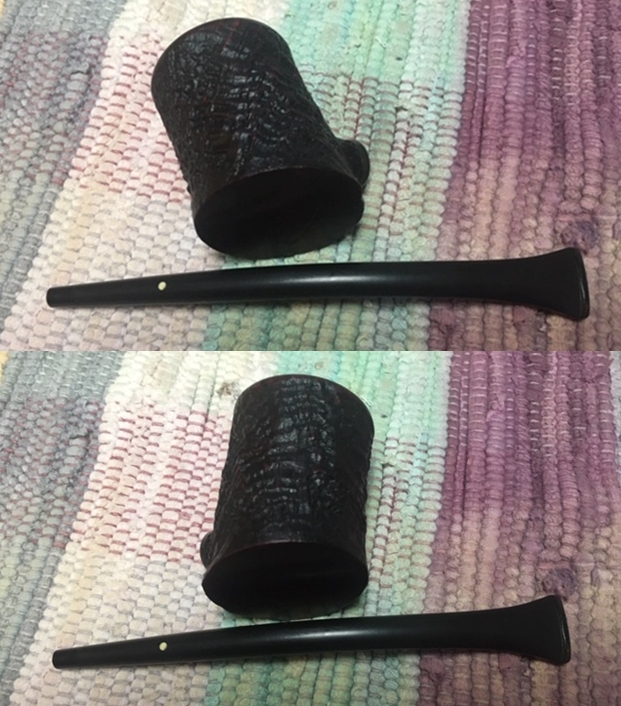
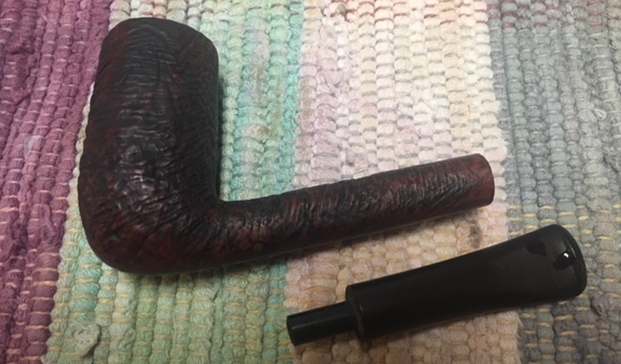
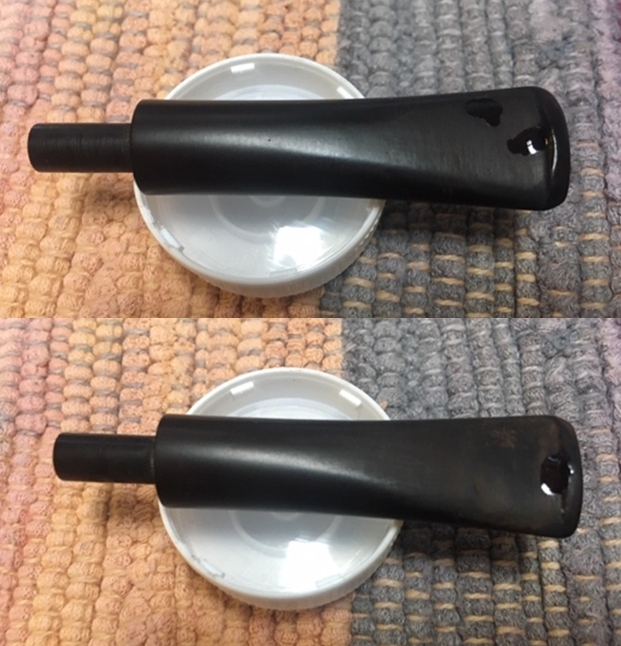
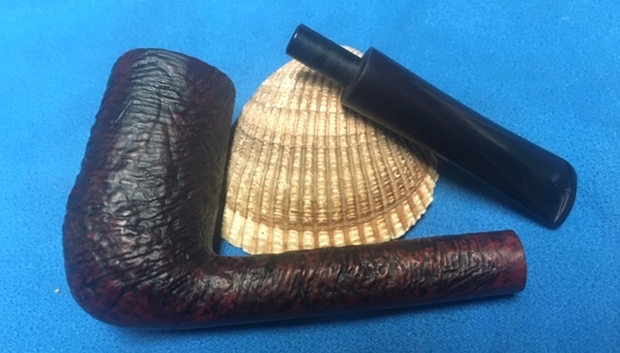
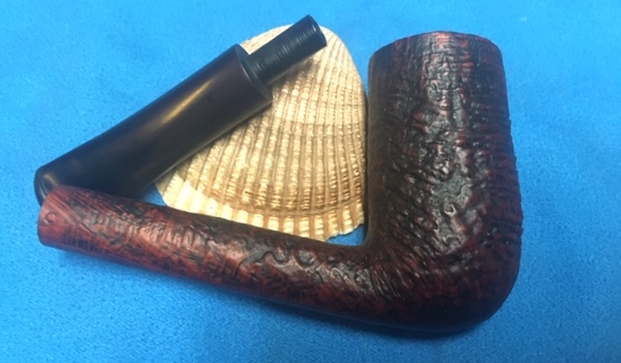
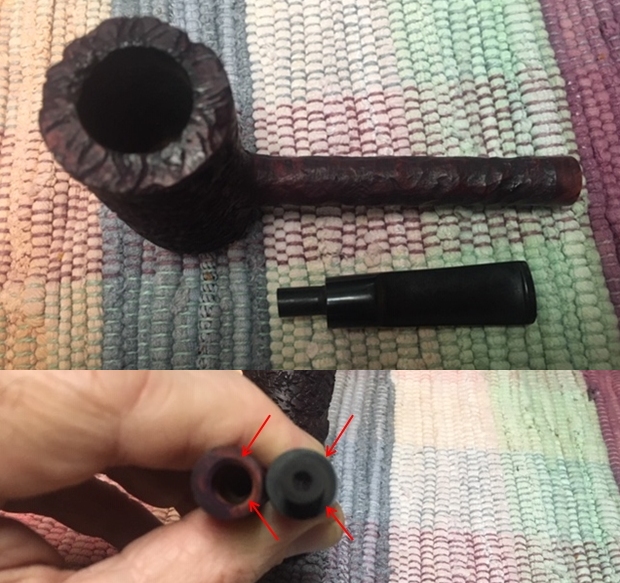
 I removed the stem from the bowl and took photos of the parts. The vulcanite saddle stem worked really well with the thin pencil shank. Take particular note of the stem and tenon in both photos. The distance from the edge of the stem to the side of the tenon is different on both sides. It is definitely narrower on the right and underside which made it clear that the shank drilling was not quite round. I took a photo of the end of the shank and end of the stem to show the same thing. I have identified the thinner side of the shank and stem with red arrows in the 3rd photo below.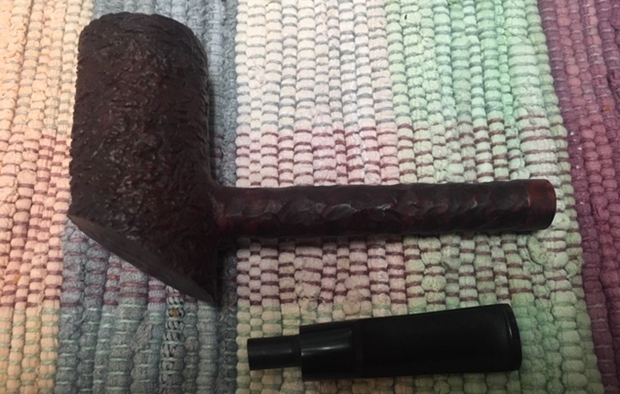
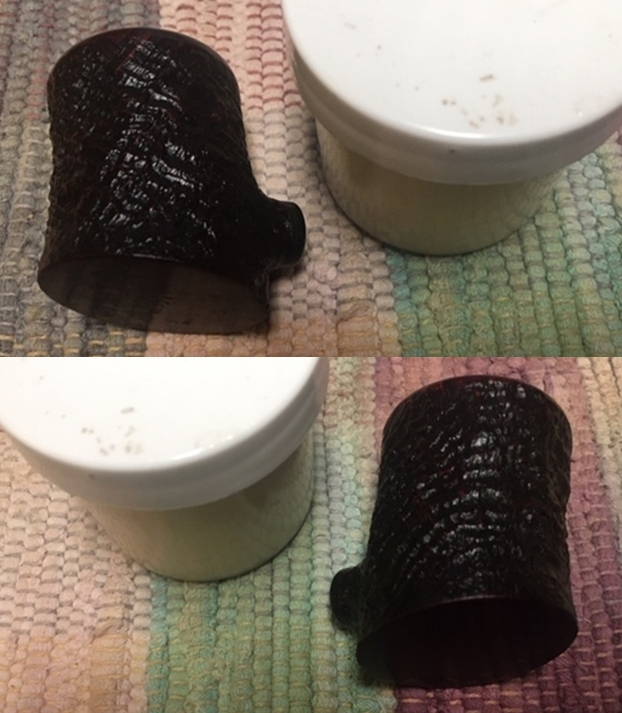
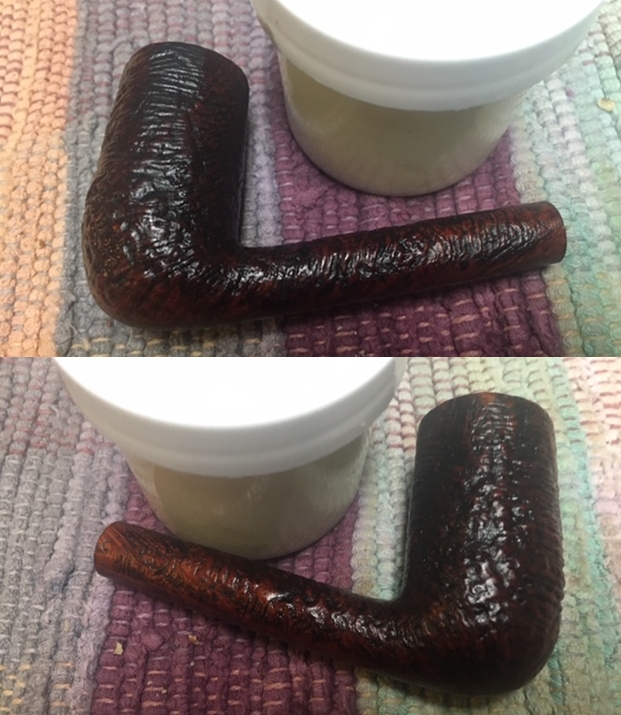
 The bowl looked very good so I did not need to do any further work on it. I rubbed the bowl and shank down with Before & After Restoration Balm to deep clean the finish on the bowl and shank. The product works to clean, enliven and protect the briar. I worked it in with my fingers and with a horse hair shoe brush to get it into the deep nooks and crannies of the rusticated finish on the rim and bowl sides. I let it sit for 30 minutes to let it do its magic. I buffed it with a soft cloth. The briar really began to have a rich shine. I took some photos of the bowl at this point to mark the progress in the restoration.
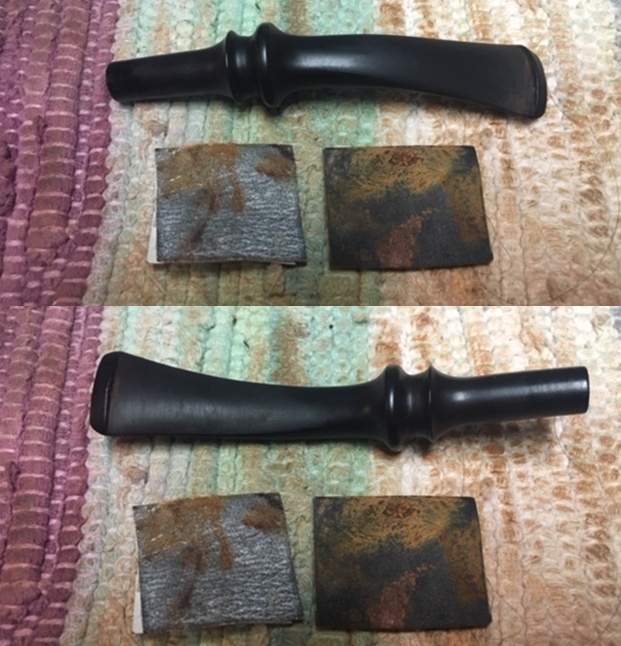
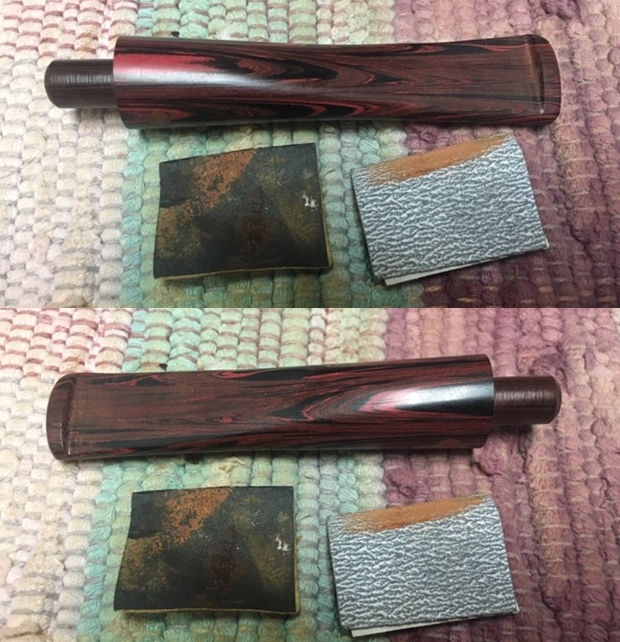
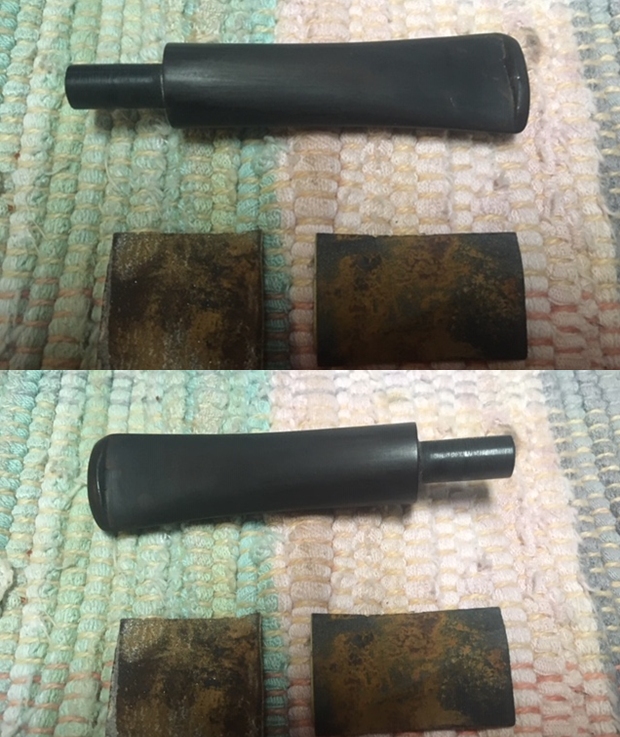
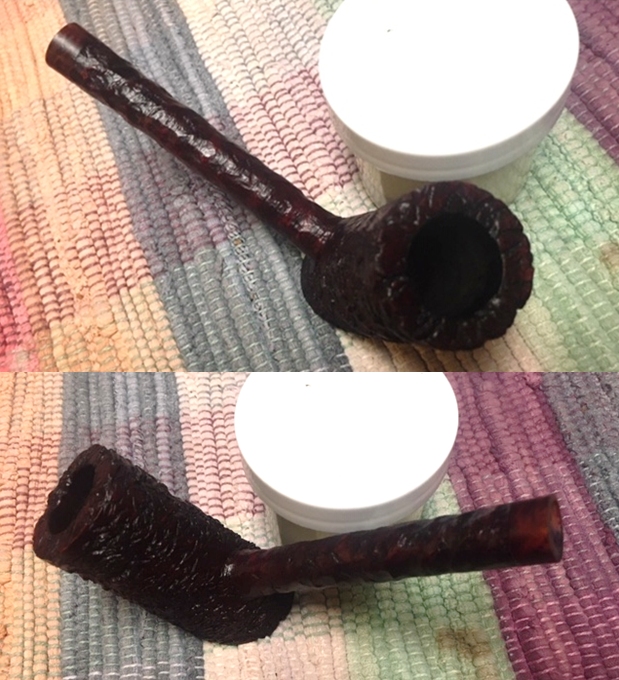 The bowl was finished so I set it aside and turned my attention to the stem. I sanded out the tooth marks on both sides of the stem with a folded piece of 220 sandpaper and started polishing with 400 grit wet dry sandpaper.
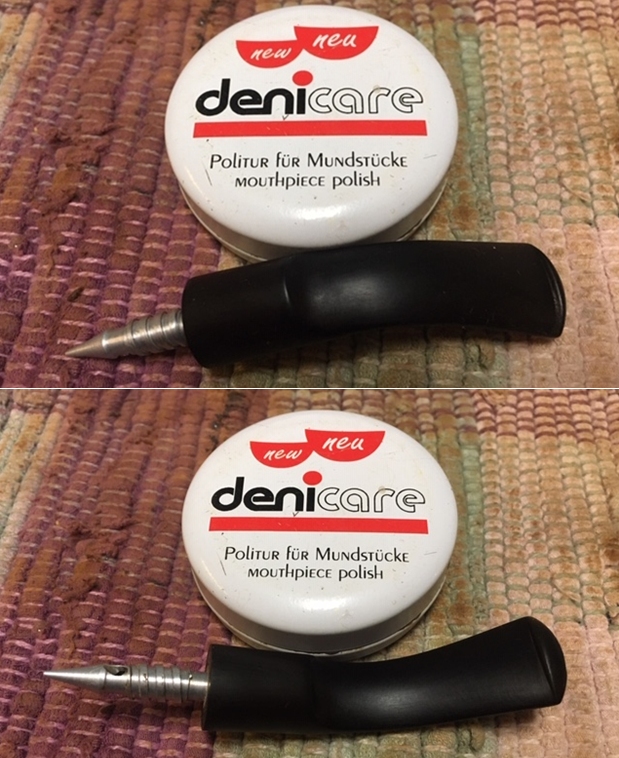
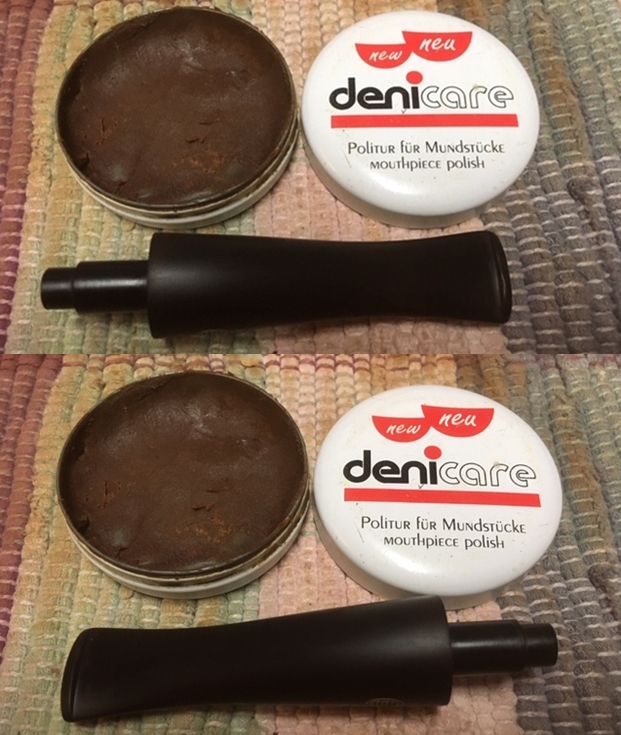
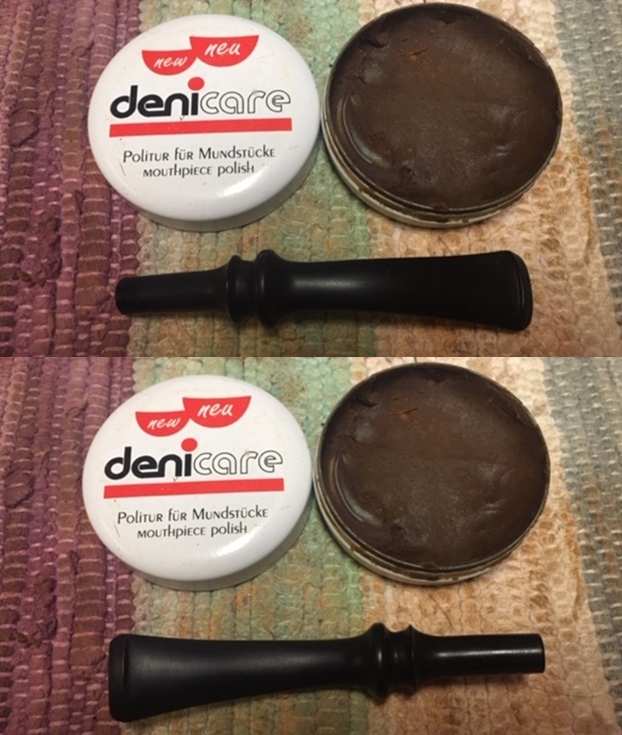
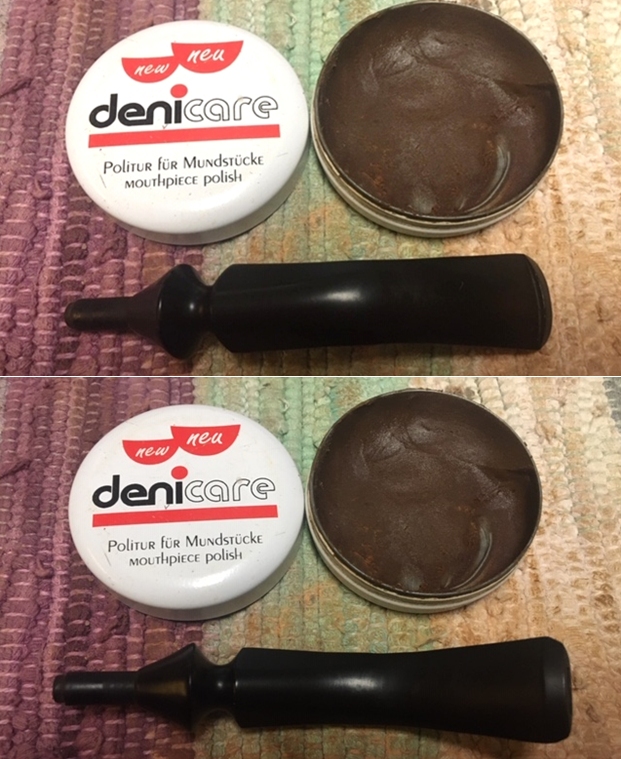
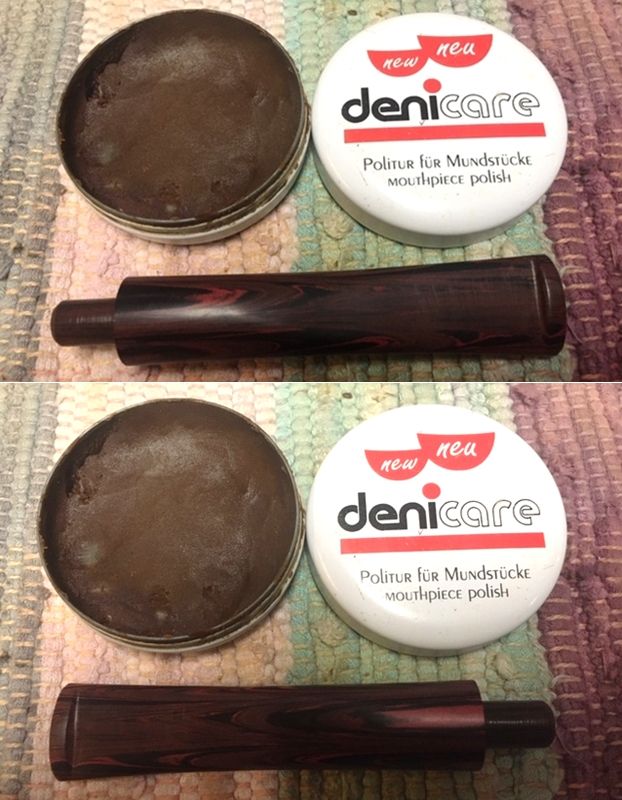
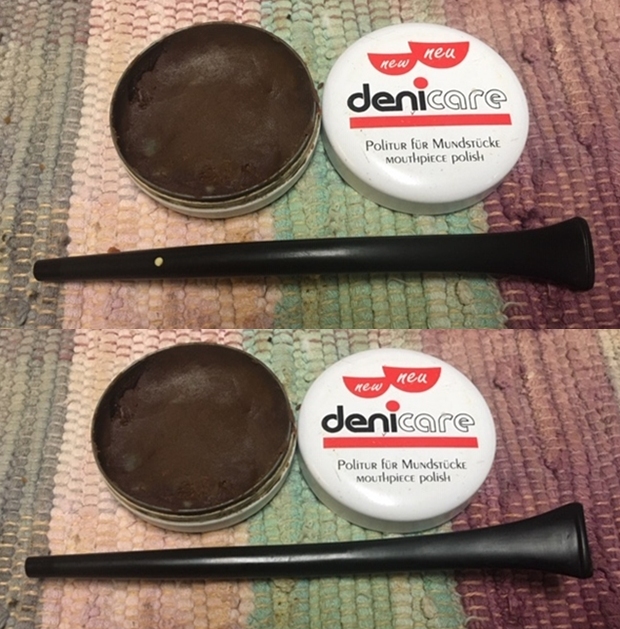
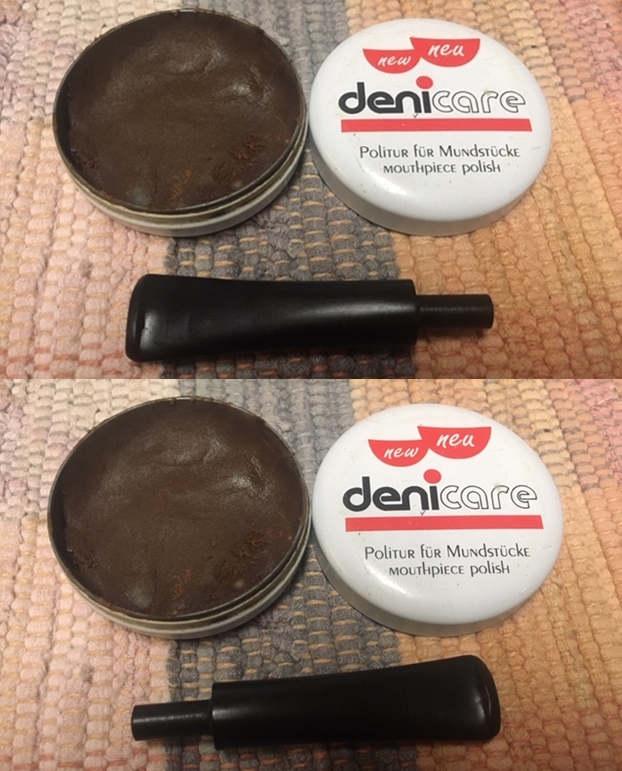
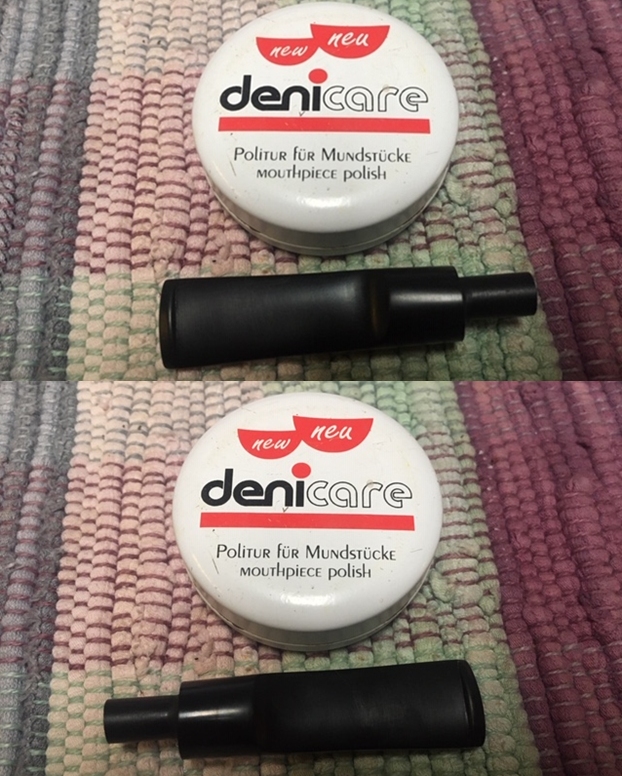
 I rubbed the stem down with Denicare Mouthpiece Polish – a red gritty paste a lot like Tripoli to polish it after the 400 grit sandpaper. I rub it on with my fingertips and work it into the vulcanite and buff it off with a cloth. It does a great job before I polish it further with the micromesh pads.
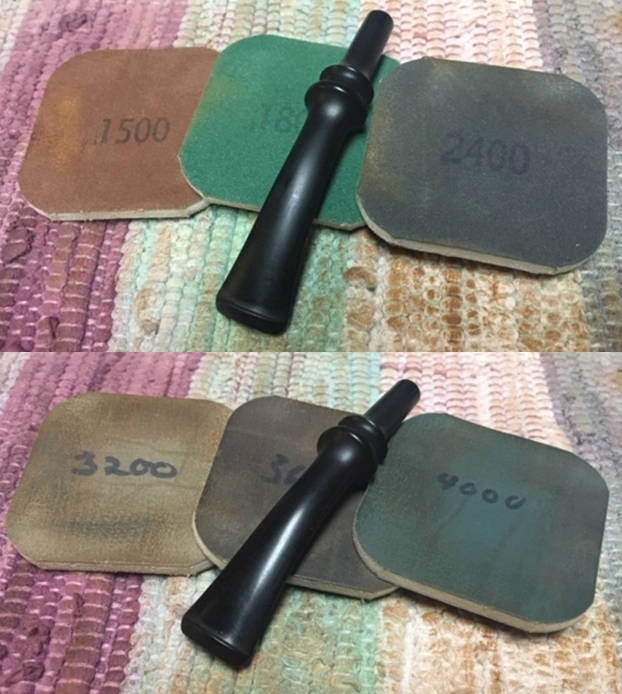
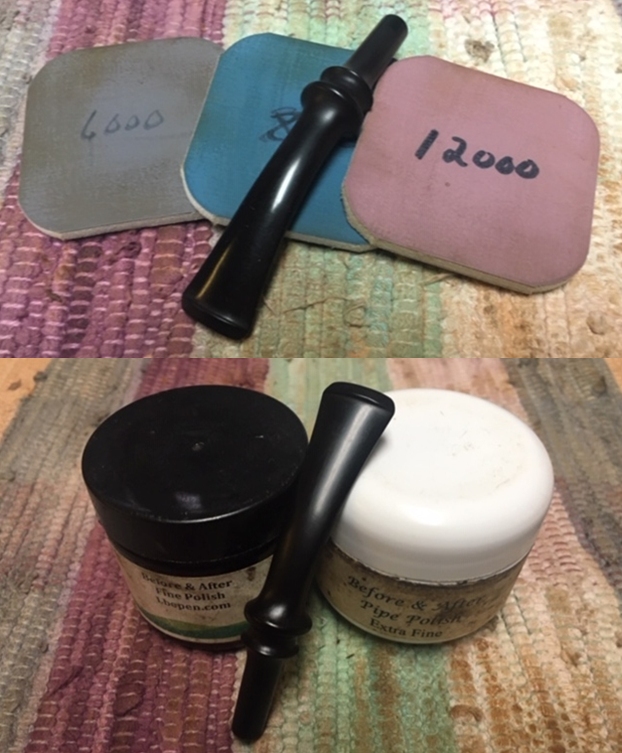
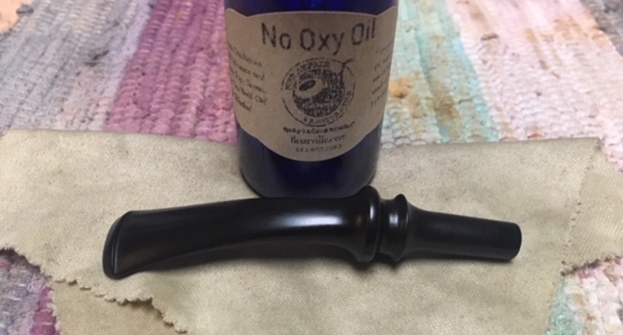
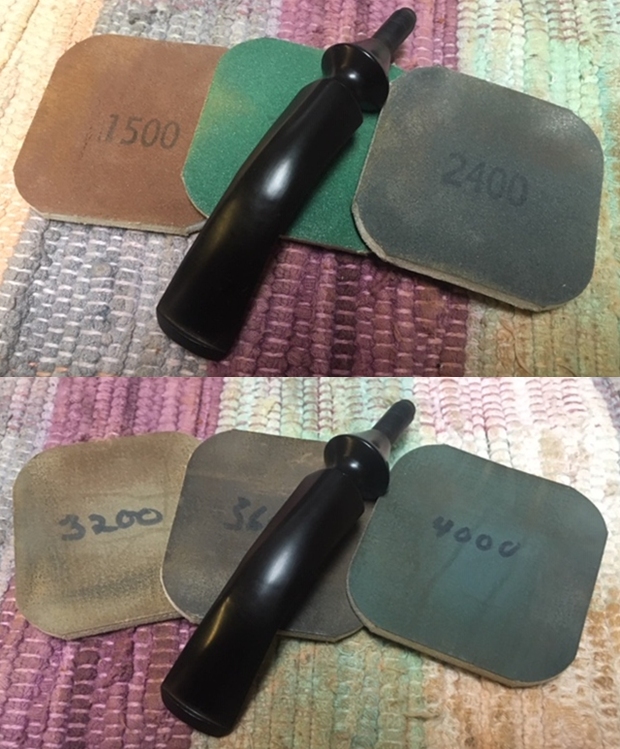
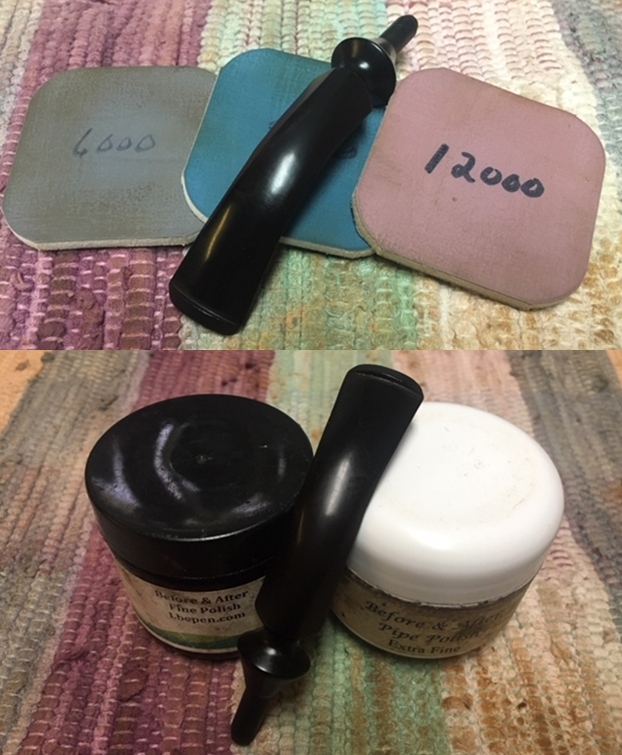
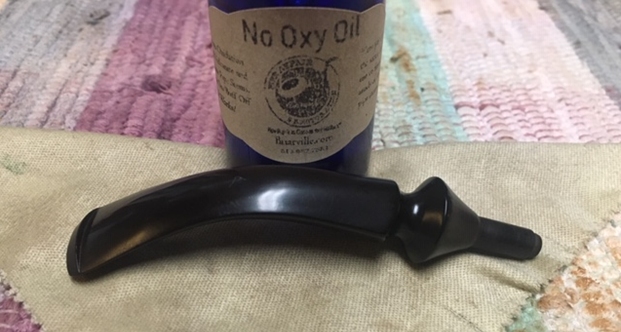
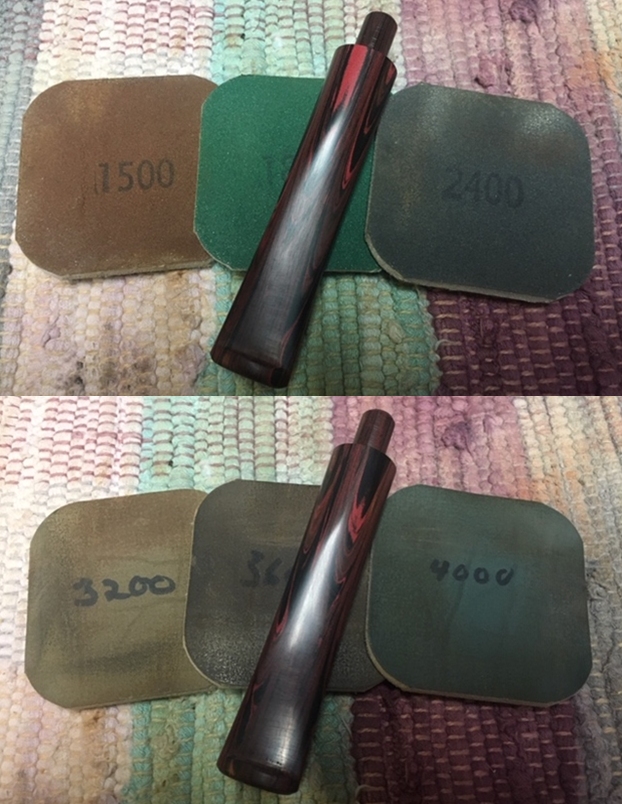
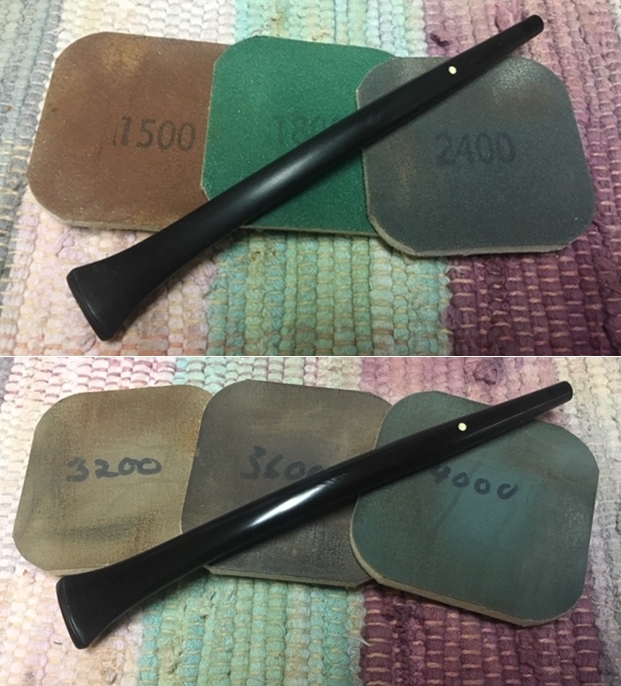
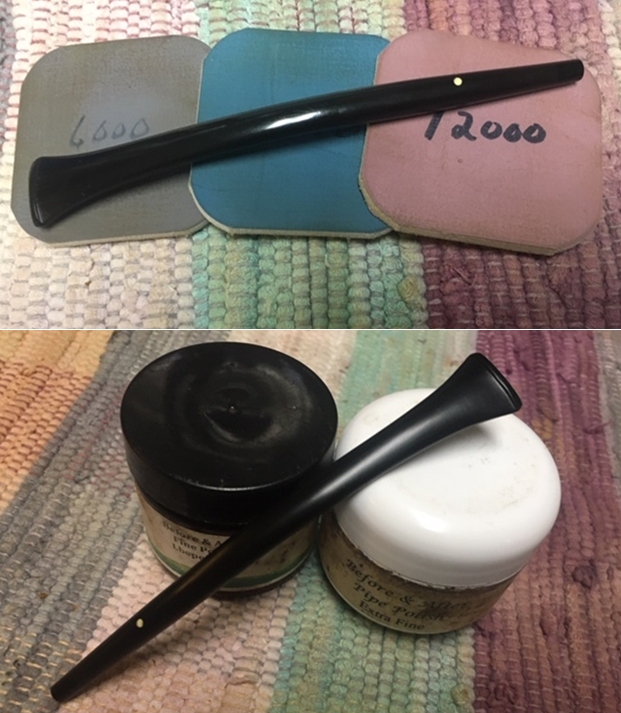
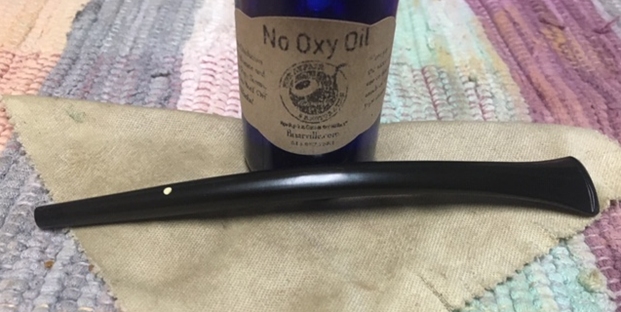
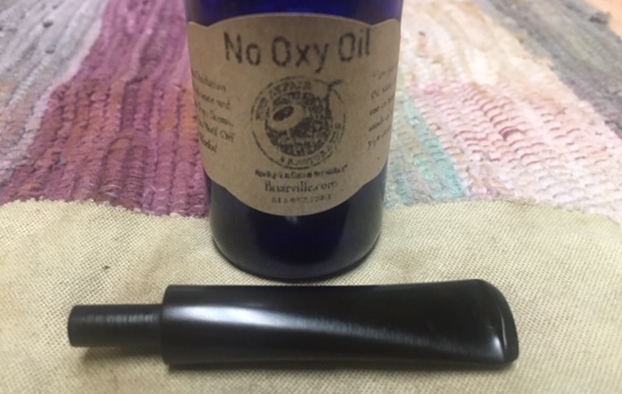
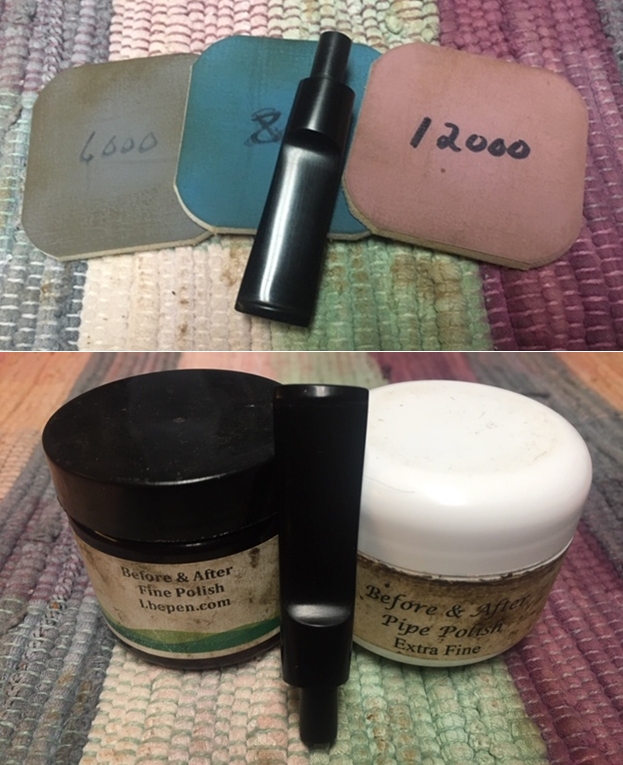
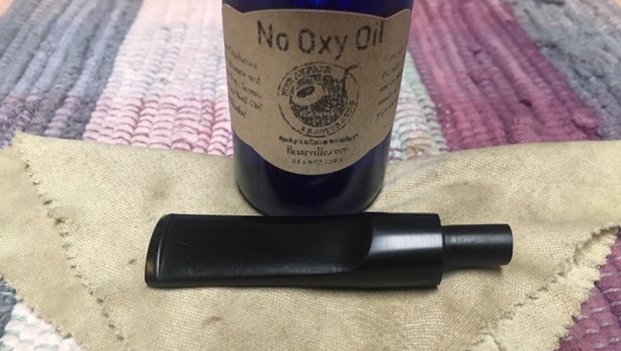
 I polished the stem with micromesh sanding pads – dry sanding with 1500-12000 grit sanding pads. I wiped the stem down after each sanding pad with a cloth containing some Obsidian Oil. I finished polishing it with Before & After Pipe Stem Polish – both Fine and Extra Fine and buffed it off with a cotton cloth. I gave it a final rub down with Briarville’s No Oxy Oil to preserve and protect the vulcanite stem.
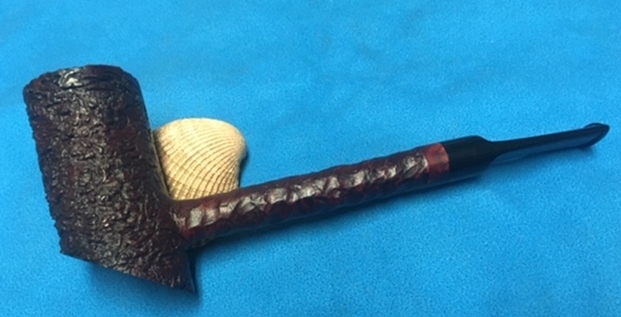
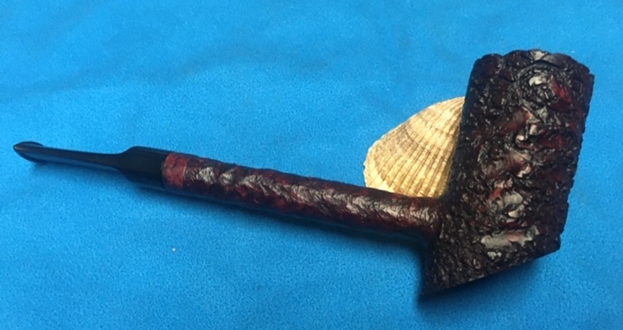
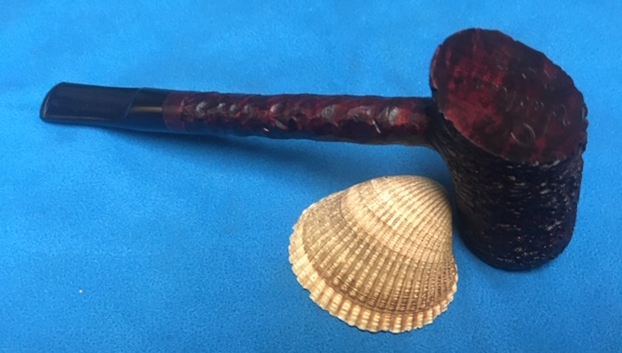
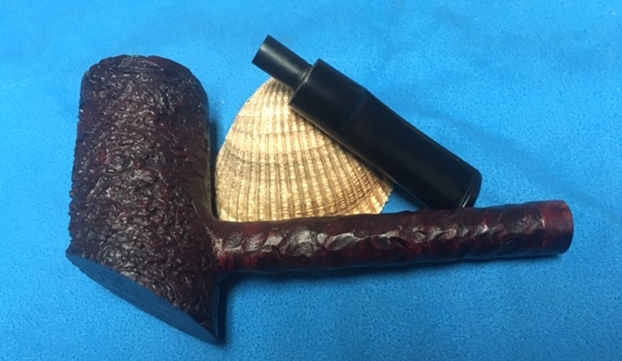
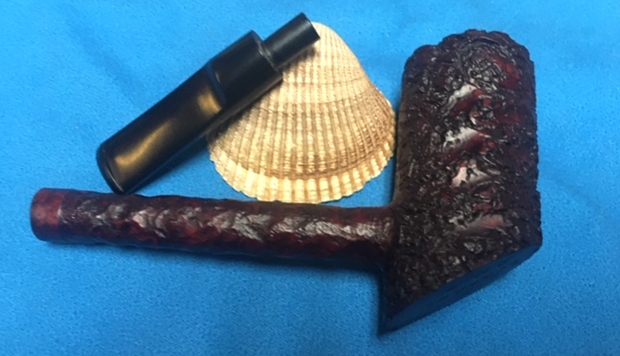
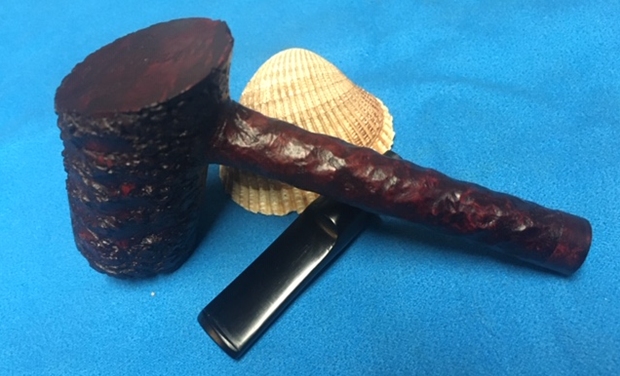
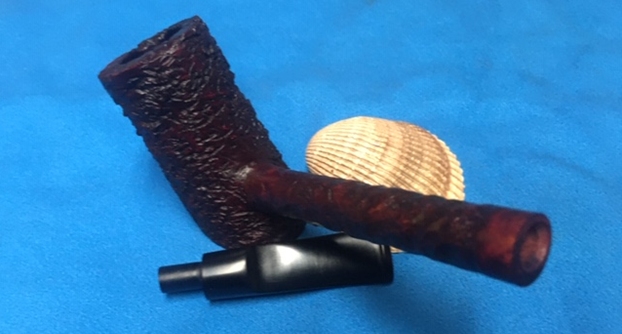
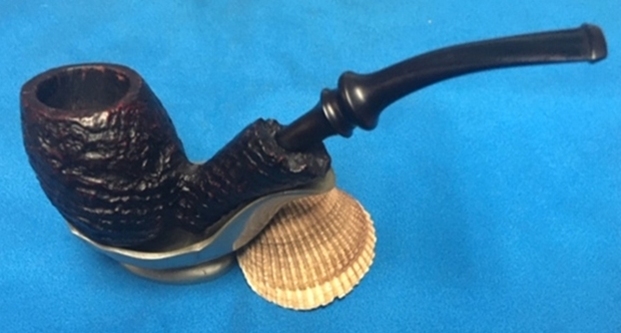
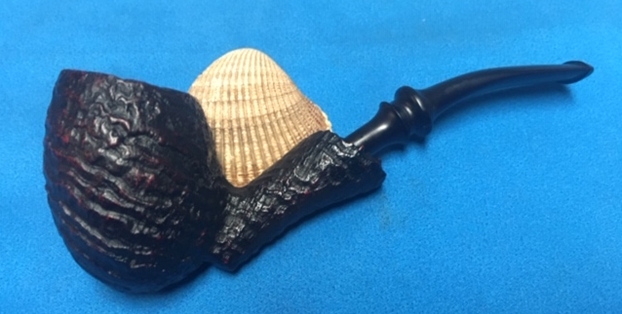
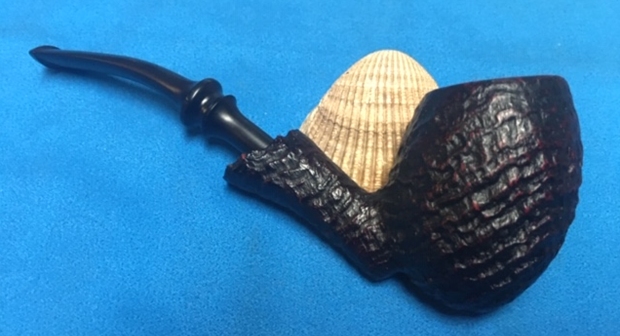
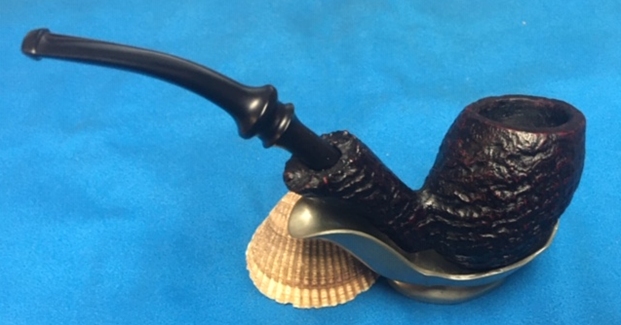
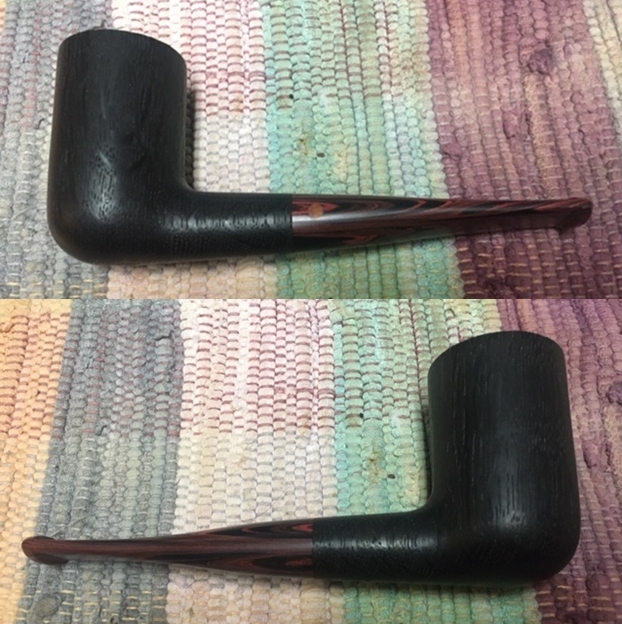
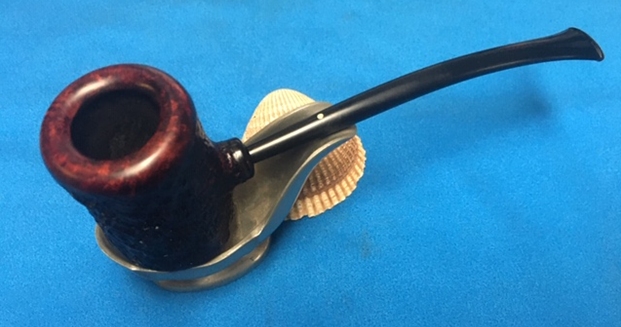
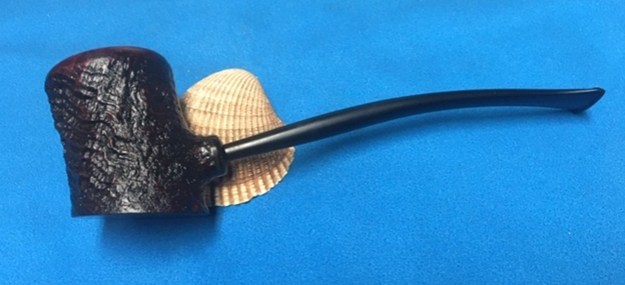
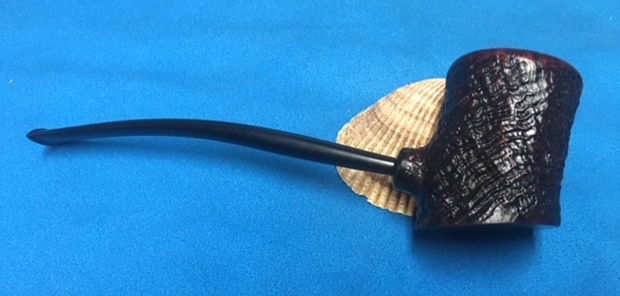
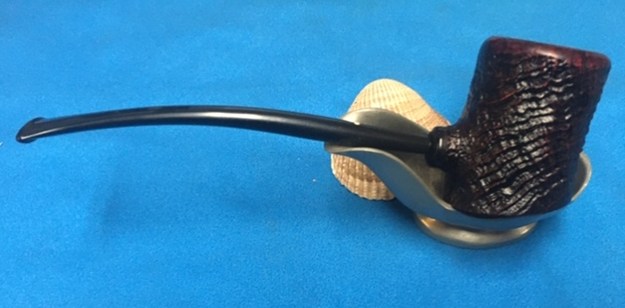
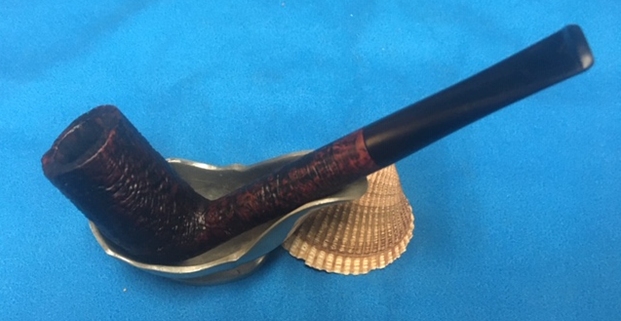
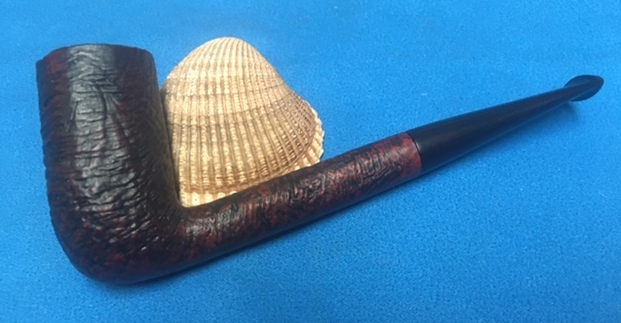
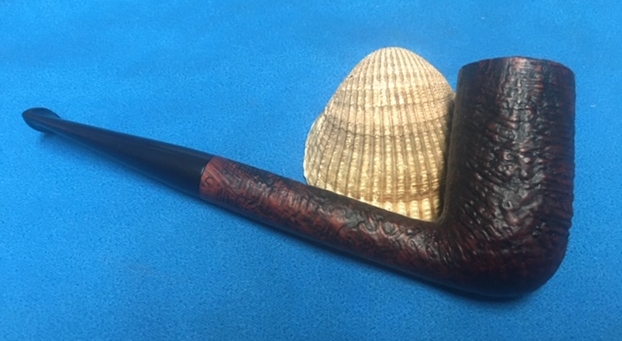
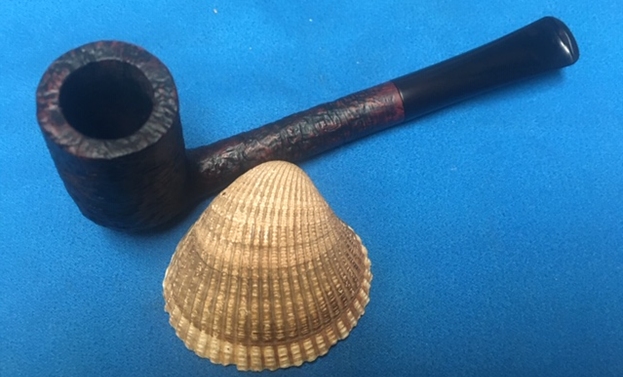
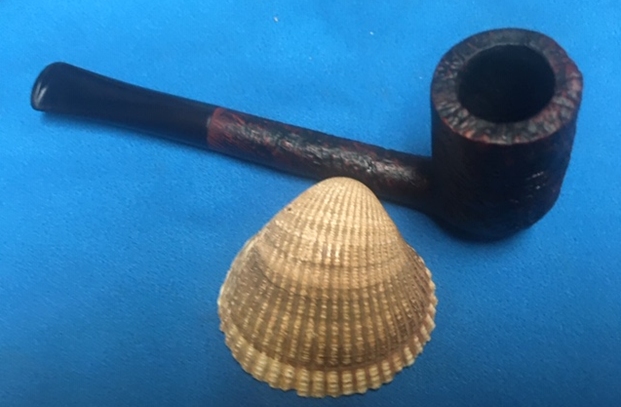
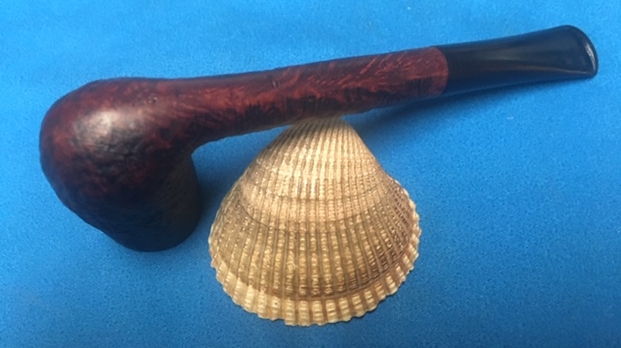
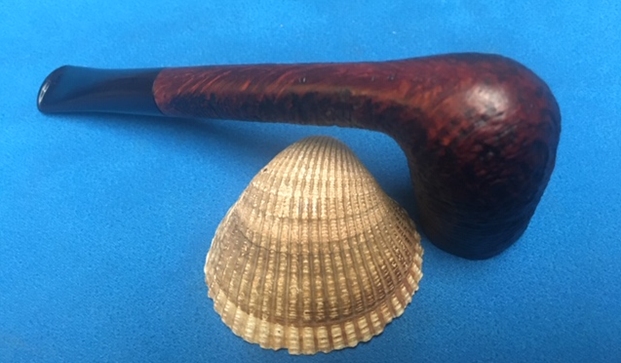
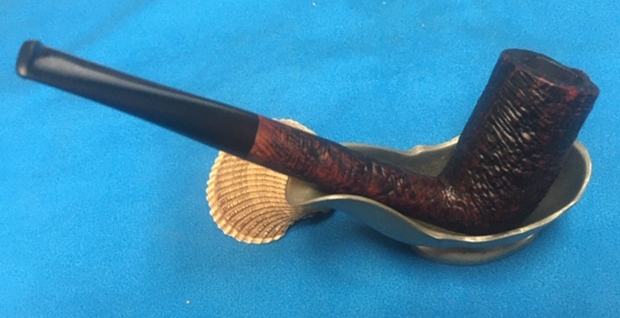
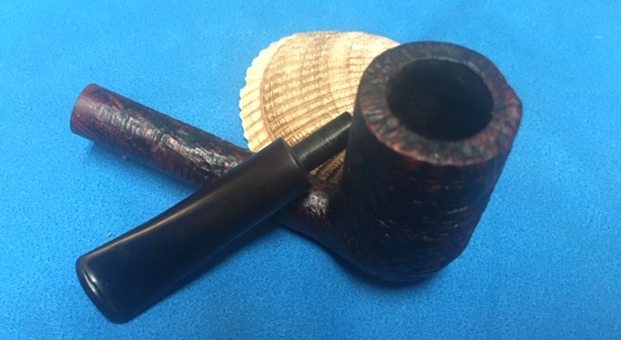
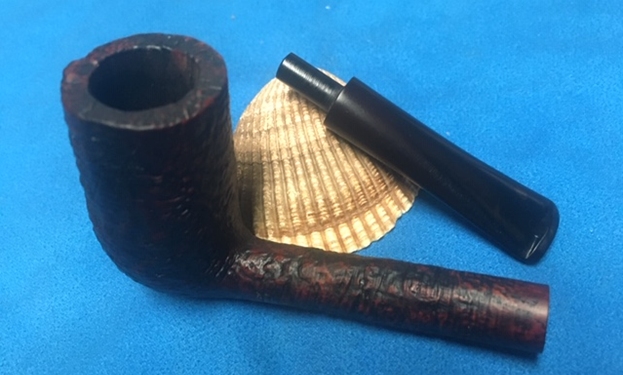
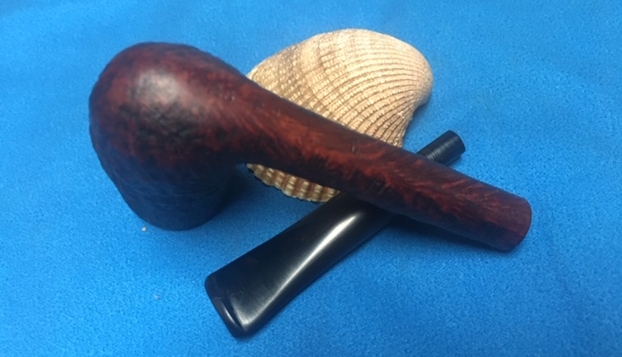
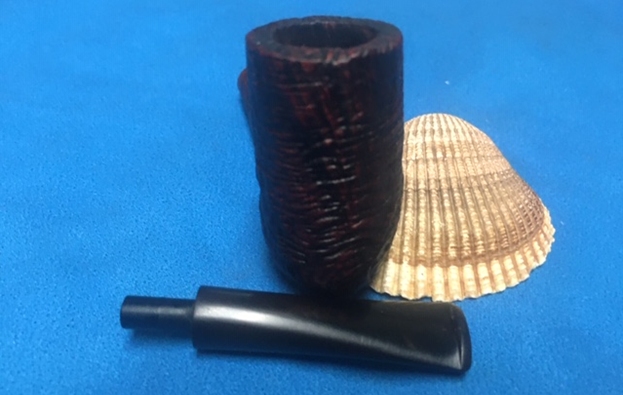
 I put the bowl and stem back together again and lightly buffed the bowl and the stem with Blue Diamond on the buffing wheel. I used a soft touch on the rusticated bowl so as not to fill in the valleys and crannies with the product. I gave the bowl several coats of Conservator’s Wax and the stem several coats of carnauba wax. I carefully buffed the entire pipe with a clean buffing pad to raise the shine. I finished buffing with a microfiber cloth to deepen the shine. The finished pipe looks very good. The rusticated finish is deep and rugged with a great look and feel in the hand. It is comfortable and light weight. The finished American Made Vacher is shown in the photos below. The dimensions of the pipe are Length: 6 ½ inches, Height: 2 ½ inches, Outside diameter of the bowl: 1 ¼ inches, Chamber diameter: 5/8 of an inch. This great looking rusticated Cherrywood Poker turned out very well. It should be a great pipe. It will make someone a great smoking pipe. I will be putting it on the rebornpipes store shortly. If you are interested let me know. Thanks for reading this blog and my reflections on the pipe while I worked on it.