Tag Archives: micromesh sanding pads

Take a Sad Pipe and Make It Better


Guest Blog by Robert M. Boughton
Member, North American Society of Pipe Collectors
http://www.naspc.org
http://www.roadrunnerpipes.com
http://about.me/boughtonrobert
Photos © the Author

“Only when you eat a lemon do you appreciate what sugar is.”
― Ukrainian proverb]

INTRODUCTION
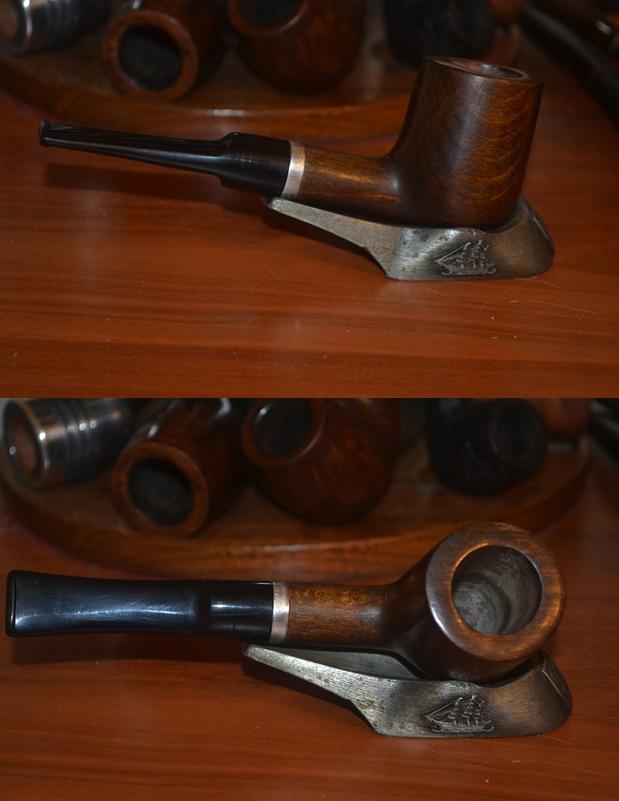
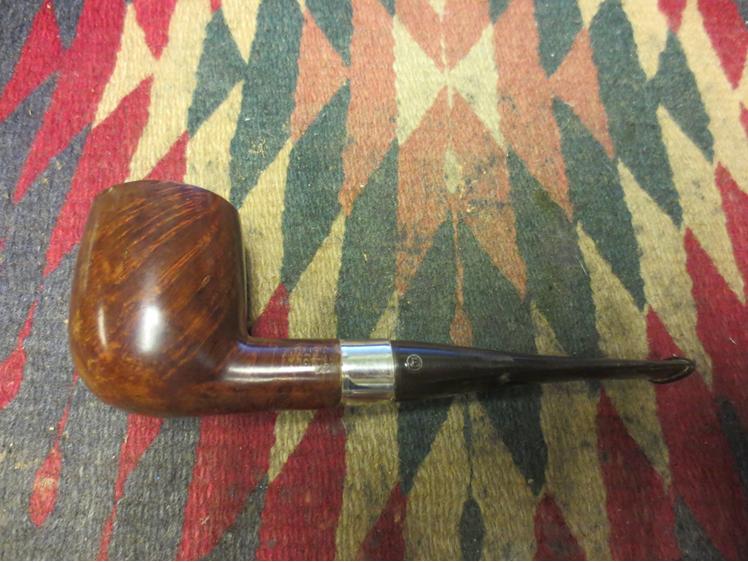
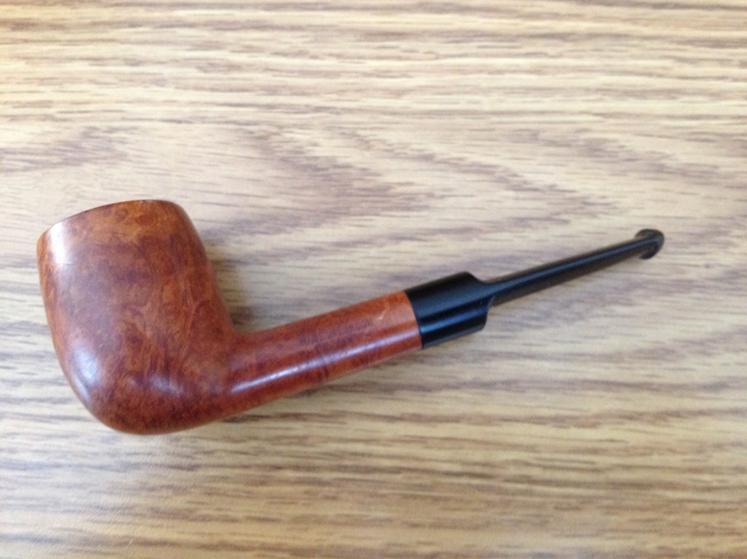
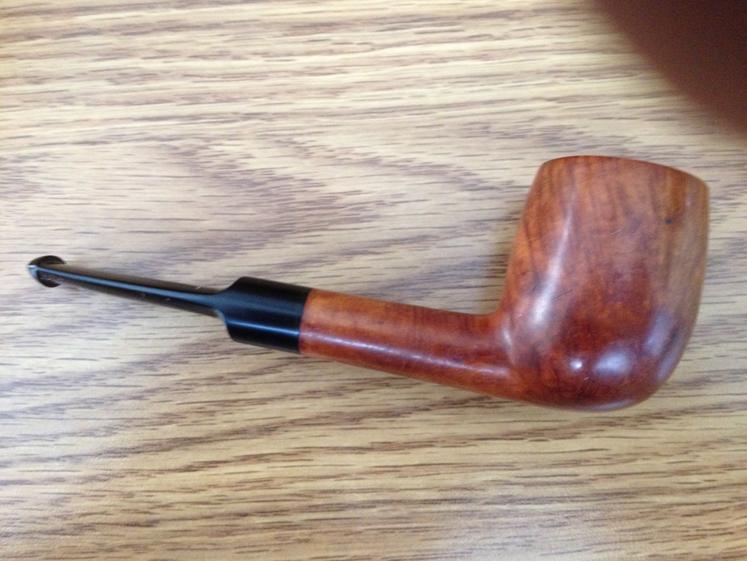
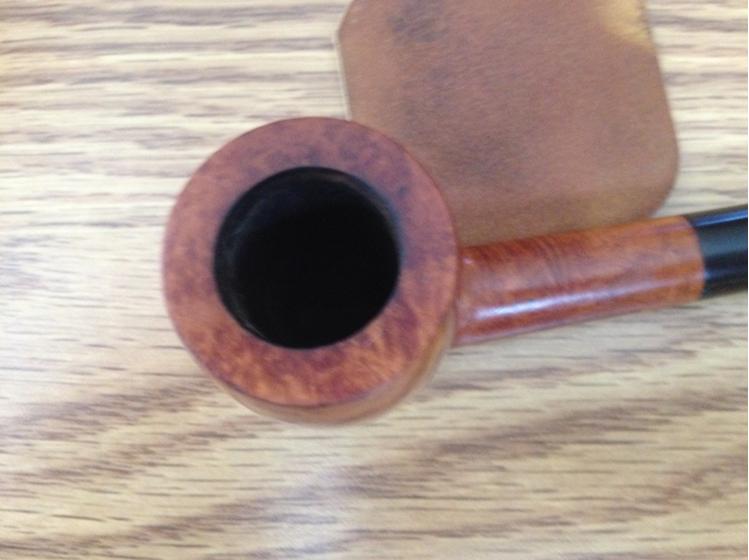
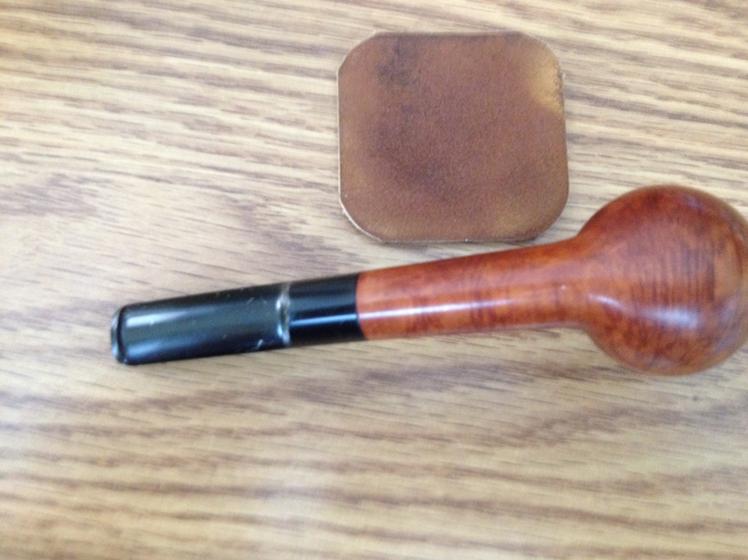
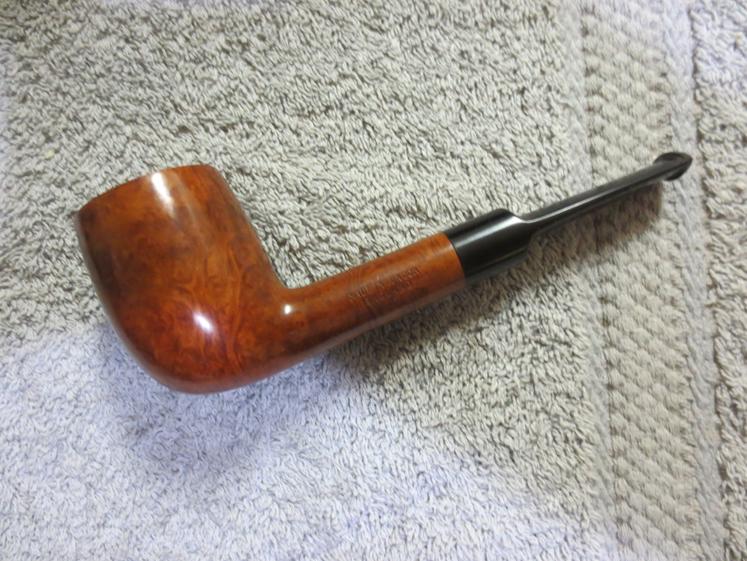
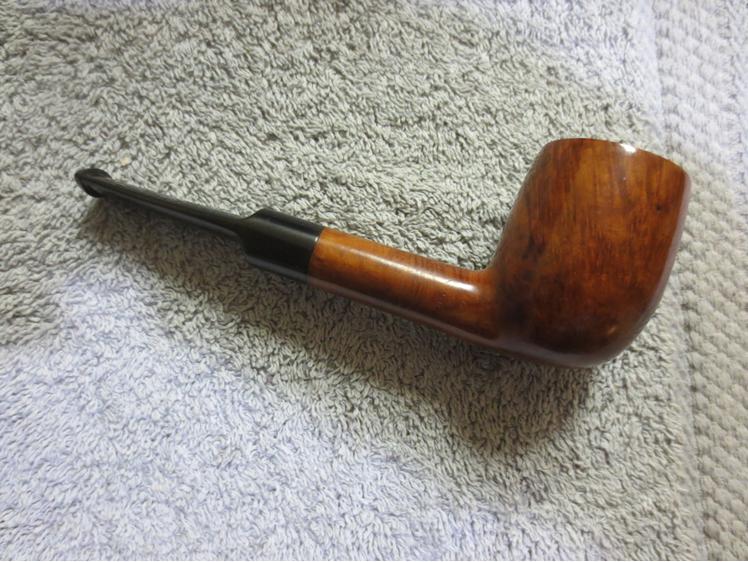
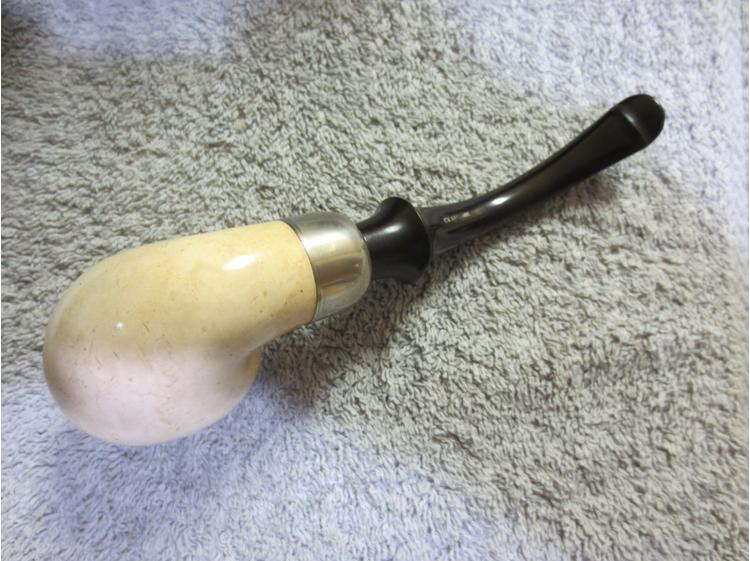
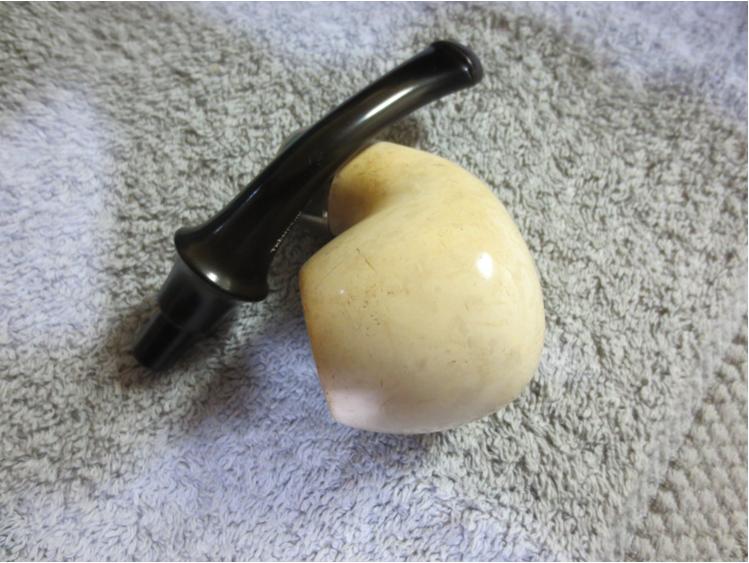
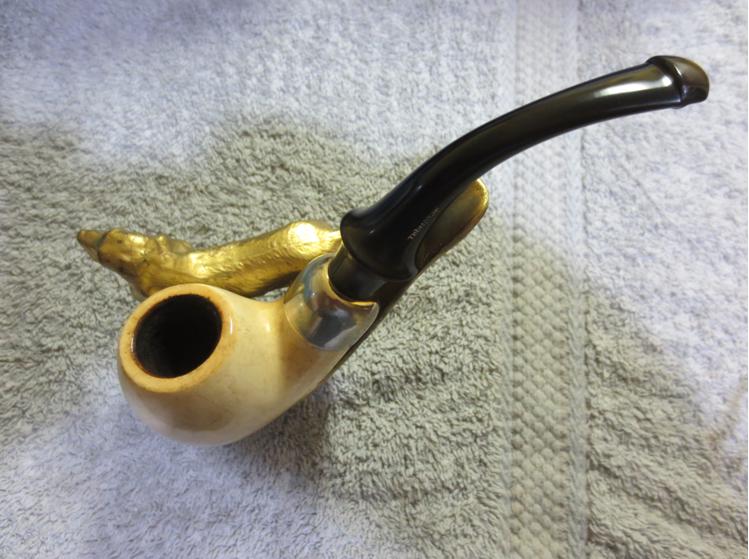
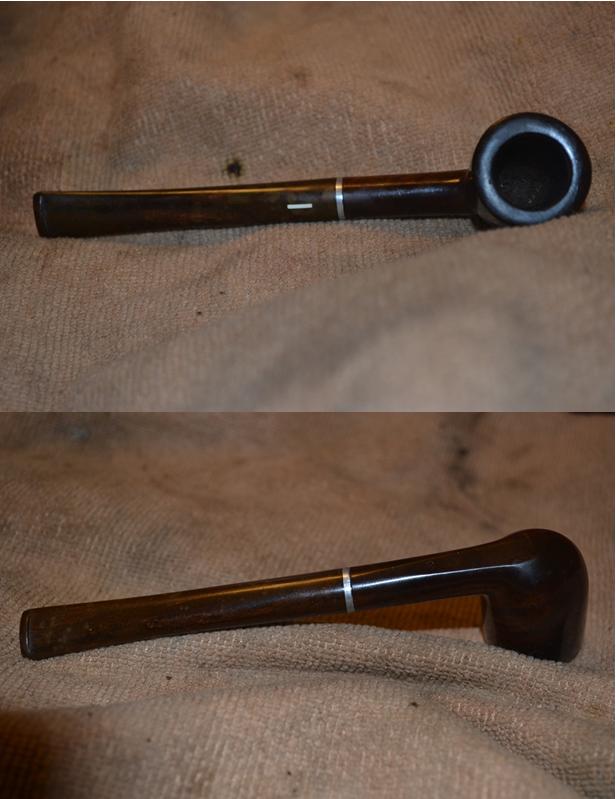
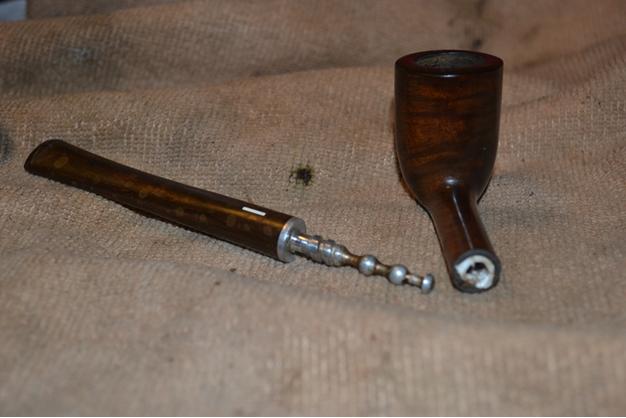
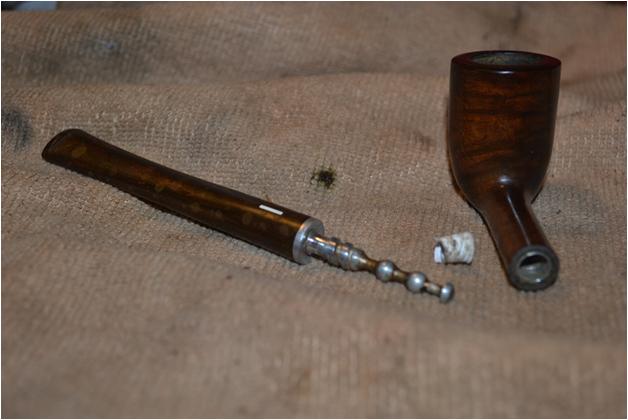
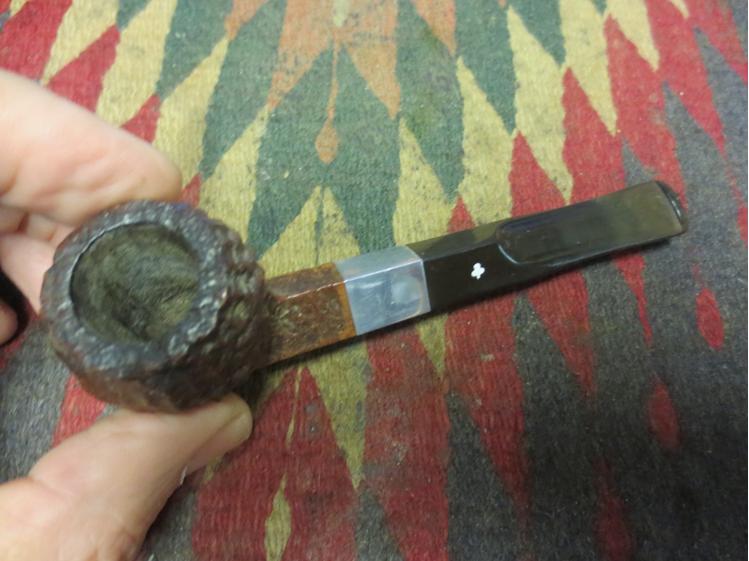
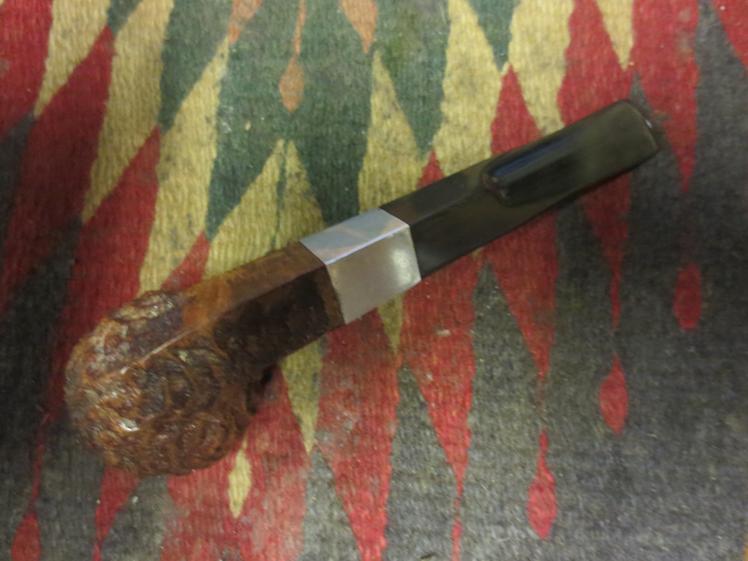
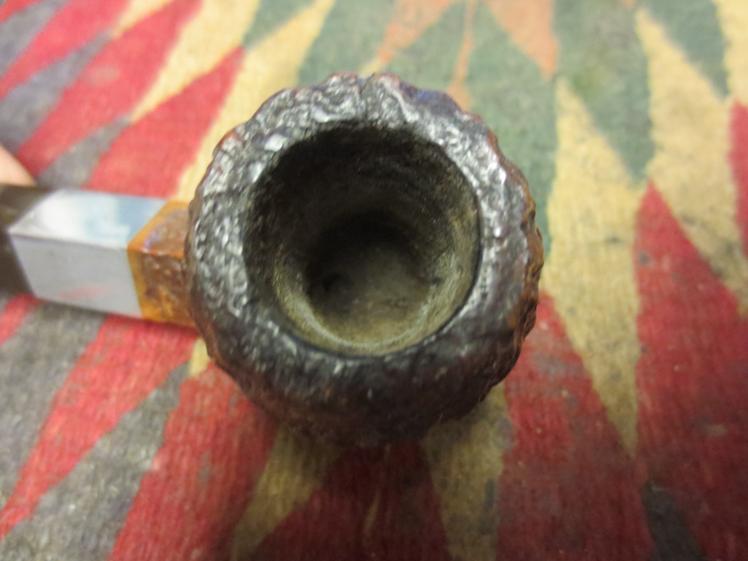
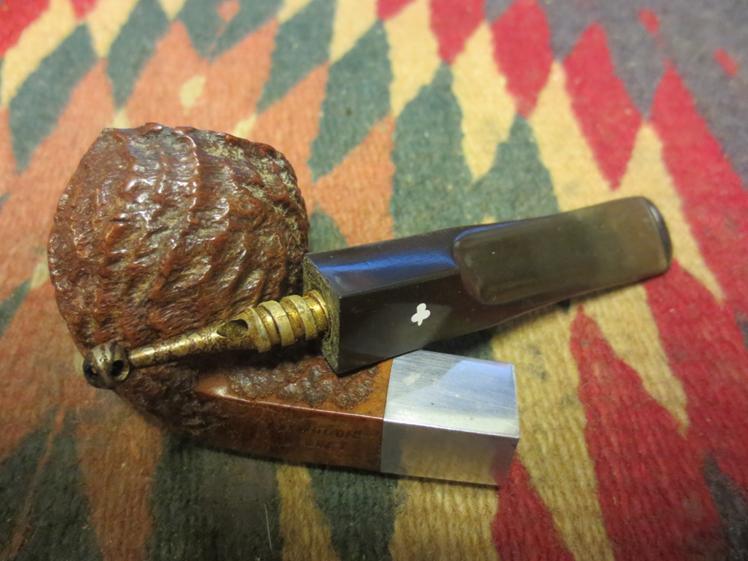
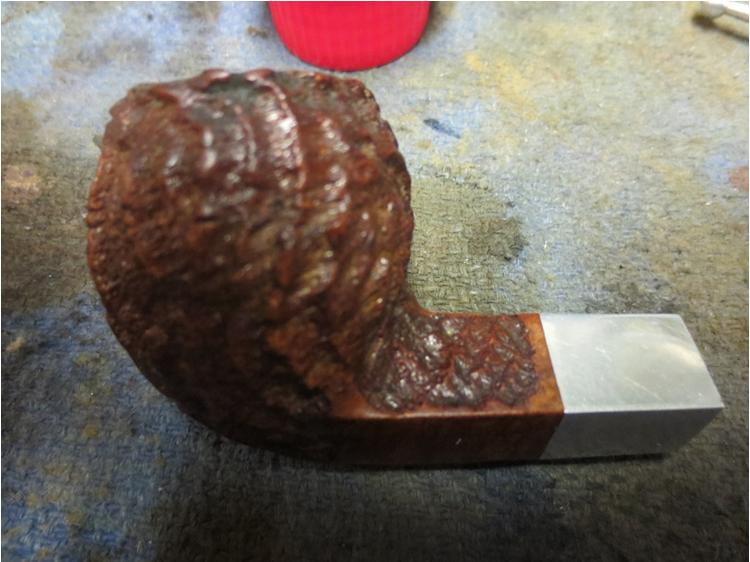
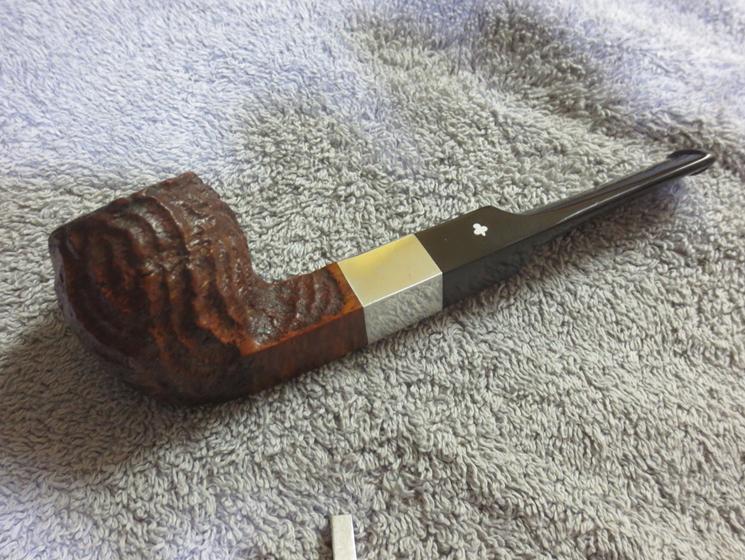
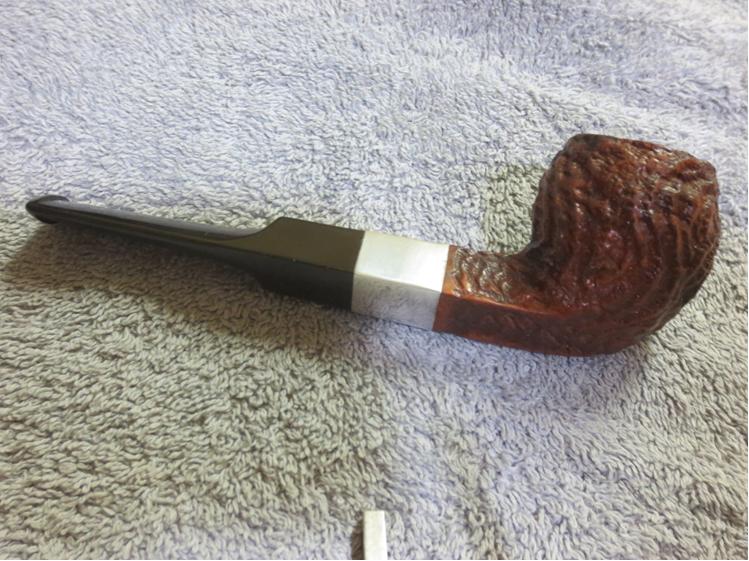
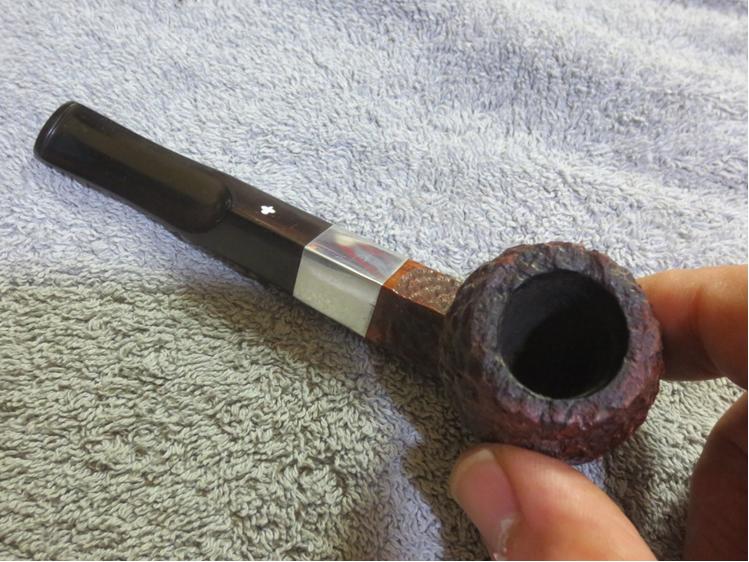
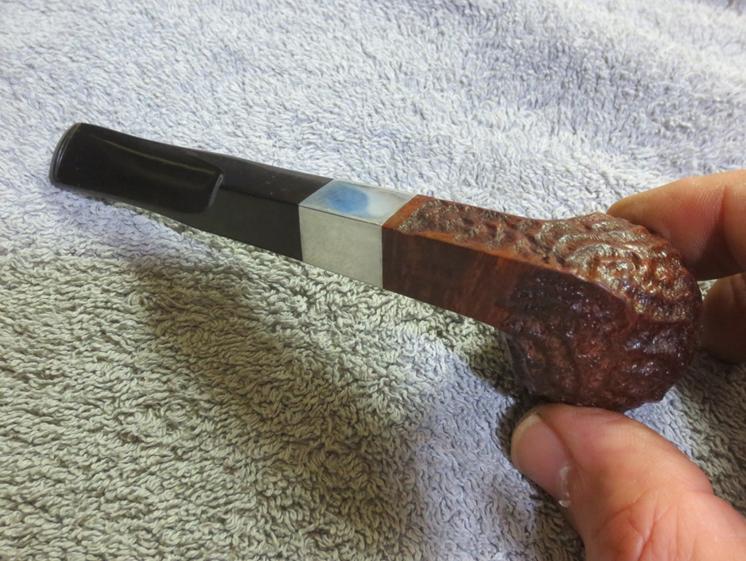
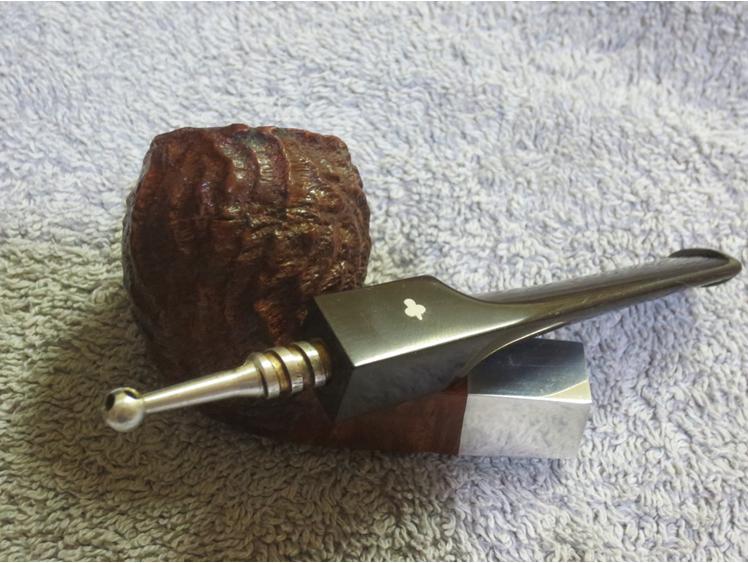
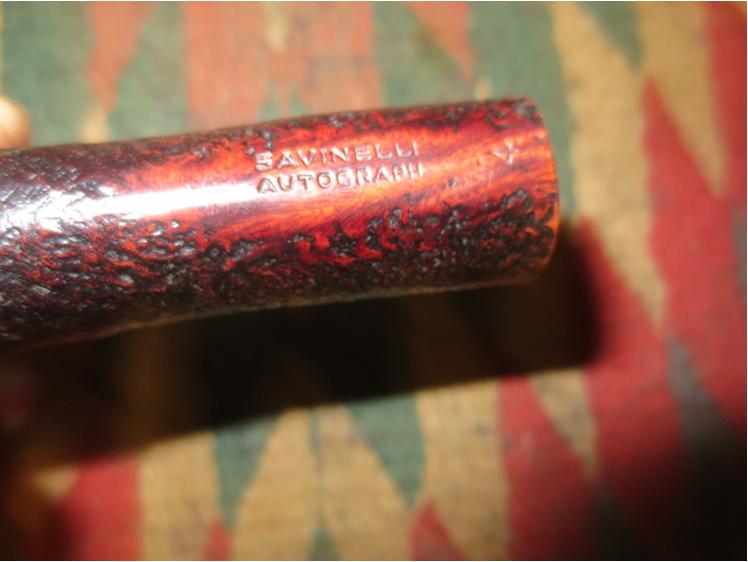
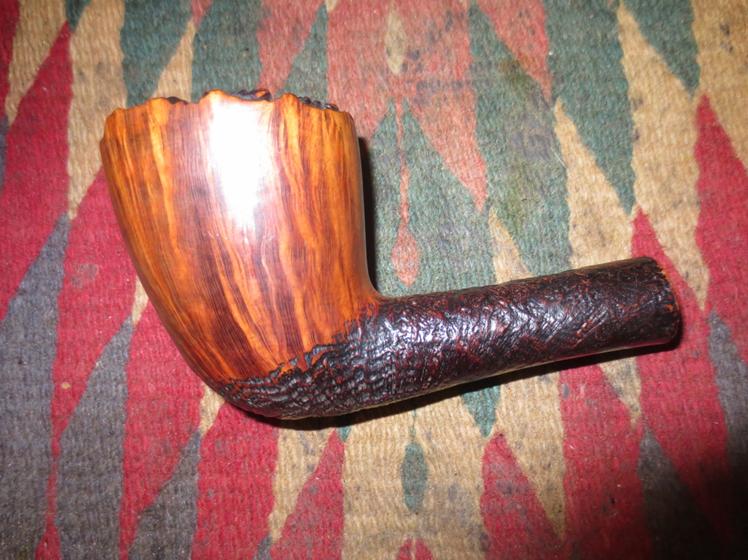
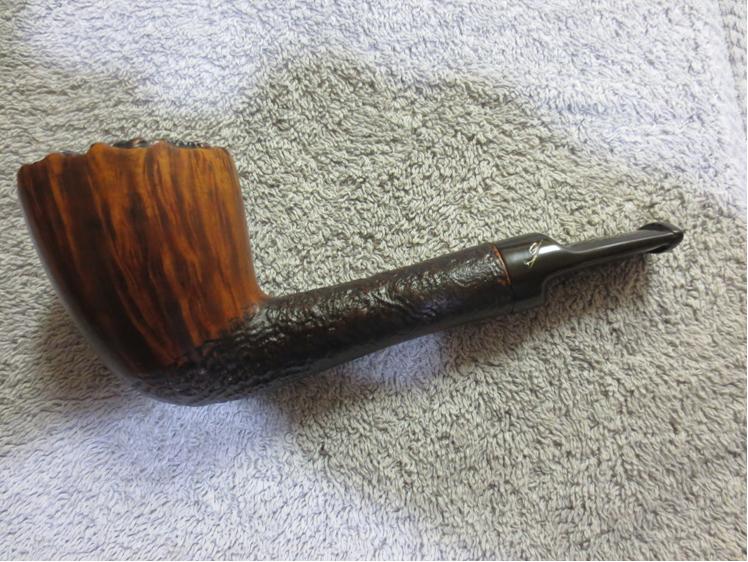
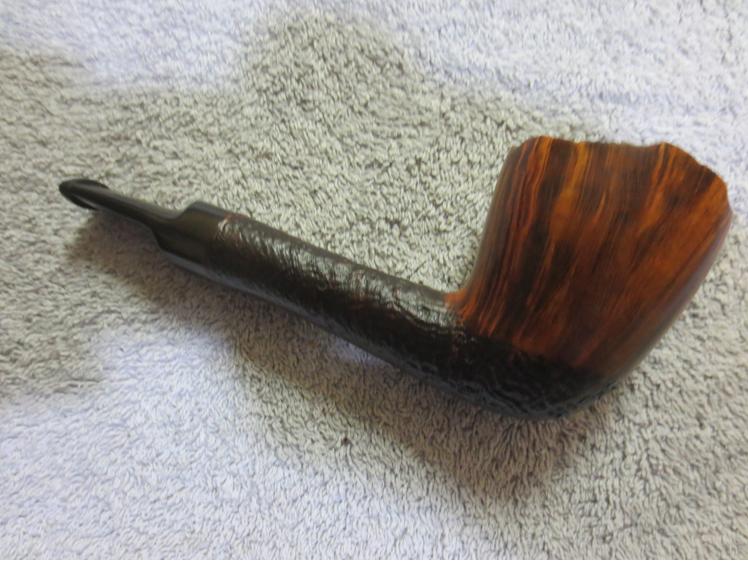
The Beatles sang the idea more perfectly, to take the same liberty with the English language as Thomas Jefferson when beginning to pen the U.S. Constitution, and I’m not looking to start a revolution or create an international incident or any other uproar by saying that all Ukrainian pipes are lemons. My personal experiences have both been with the Veresk Company in Kiev, now the capitol city of the Republic of Ukraine. Before the fall of the former Soviet Union, the Veresk Cooperative factory was the only official outlet for tobacco pipes throughout the USSR. On the other hand, the following work of briar art was created by Ukrainian pipe crafter Konstantin Shekita, who made his start at Veresk.rob1 The Cooperative made all of its pipes during the Soviet days from fruit woods including cherry, pear, peach and apricot. After the collapse of the entire Soviet empire, brought about as an unforeseen consequence of Mikhail Gorbachev’s attempt to ease economic hardship for the common Russian with perestroika (rebuilding, reorganization) and to remove the iron-clad clamp on discussion of economic and political realities employing glasnost (openness), Veresk became a company and started to use briar imported from Tuscany, Italy. Although the fruit woods are still sometimes substituted, briar is now the preferred wood. This Golden Gate billiard, which with help from my mentor, Chuck, was determined to be pear wood, was probably made before the end of the Cold War.

On occasion, I find myself having to track down information on a given odd pipe every way I can: Internet engines using multiple query terms, emailing or calling friends, posting threads on various forums – even some Deep Web methods. Having a background as a newspaper reporter, I then try to verify the first source as well as I can. By and large, however, the first place I check is Pipephil, at http://www.pipephil.eu/logos/en/index-en.html. If that site has nothing on a pipe I have bought and/or restored, then I know I’m in for some real work. The contributions of Pipephil as a database trove of information on pipe brands, history, dating and other useful details is, for the most part, invaluable and irrefutable.

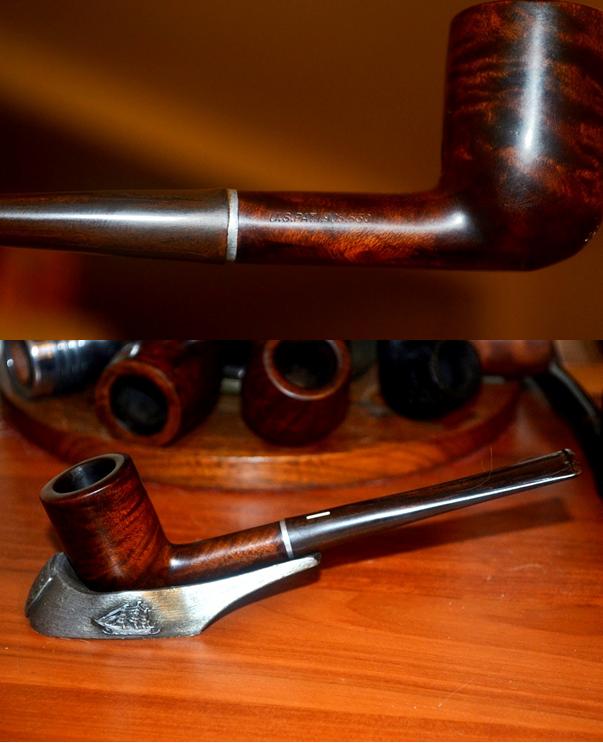
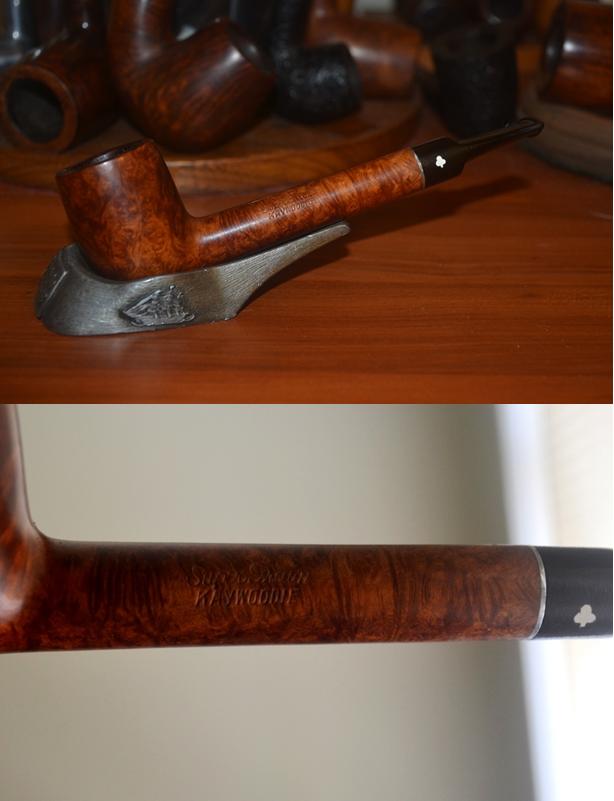
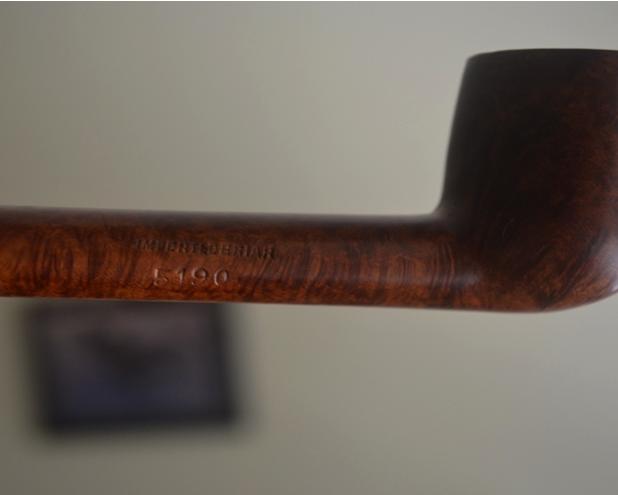
For example, about a week ago I saw a Kaywoodie Super Grain Lovat advertised as pre-1930s. Checking Pipephil, I learned that although that dating was not quite accurate, the placing of the Super Grain stamp above Kaywoodie and a four-digit shape number – in this case 5190 – dated the pipe to between 1931 and 1938. The inclusion of Imported Briar, introduced in 1935, narrowed the pipe’s manufacture to within three years during the latter part of the Great Depression. Lucky that no one else seemed to see these details, I won the very old but pristine Lovat for $32.50 with S&H.rob2

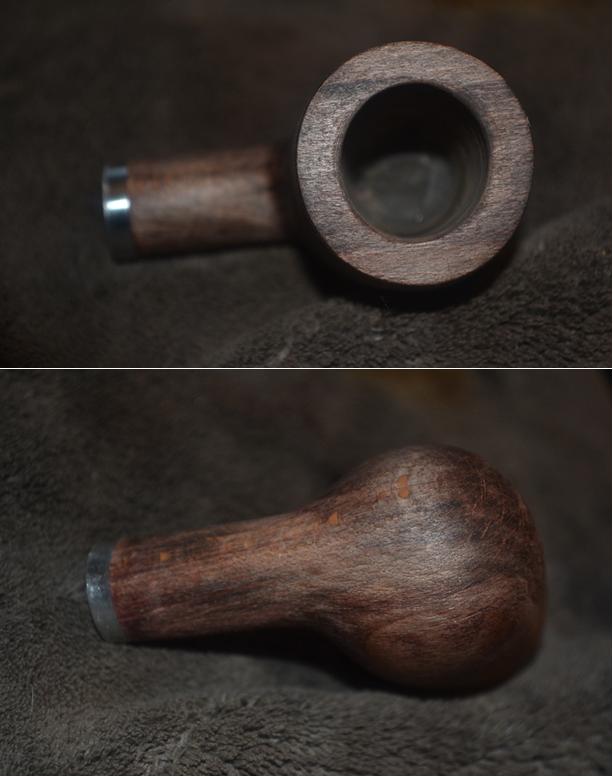
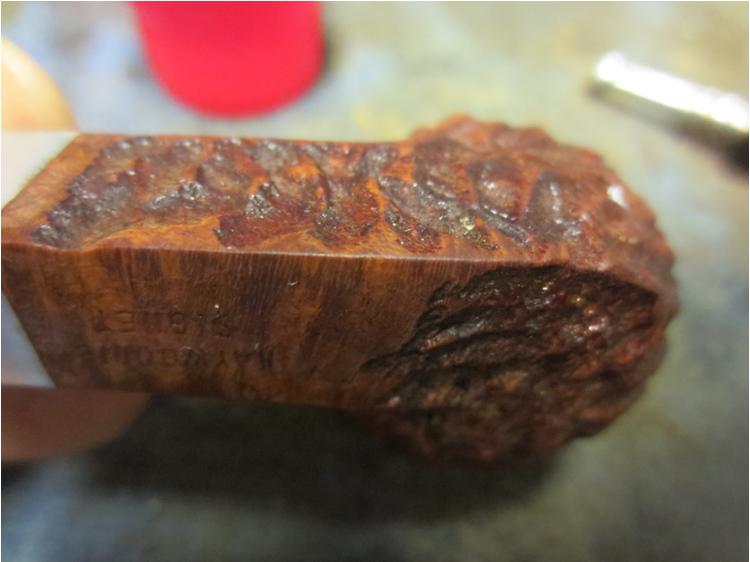
rob3 At about the same time, seeing the Golden Gate advertised on eBay as “Wooden Smoking Estate Pipe,” I was able to make my decision to buy it based on the GG I spotted on the bit, which Pipephil, with its amazing logo-finding resources, identified with certainty as a Ukrainian brand with the unlikely name Golden Gate. I was also warned that I was liable to receive a pipe made with very alternative wood, meaning something from a fruit tree. For $10 Buy Now with no S&H, I didn’t care. P.A.D., I embrace thee! There are so many worse things on which to spend one’s money.

However, in its entry on the Golden Gate brand, Pipephil gives the translation of Veresk as briar. I have been unable to determine from which language this assertion is drawn. The Russian word for briar, шиповник, transliterates to shipovnik (ship-ŌV-nee-yik), and the Ukrainian шипшина is shypshnya (SHIP-shnee-uh). The best references to Veresk in regard to Russian I can find are a sub machine gun known to players as the SR 2M Veresk, used in a computer role playing game (RPG) called Alliance of Valiant Arms [https://www.youtube.com/watch?v=R9BFocl97_Y], and a surname most common in Russia [http://forebears.io/surnames/veresk]. Hence I suspect Pipephil has this tidbit wrong, and Veresk is in fact derived from the last name of some Party-loyal old Comrade. I emailed Pipephil the details above and asked if perhaps Veresk is briar in another language or dialect. I’m hoping for a response.

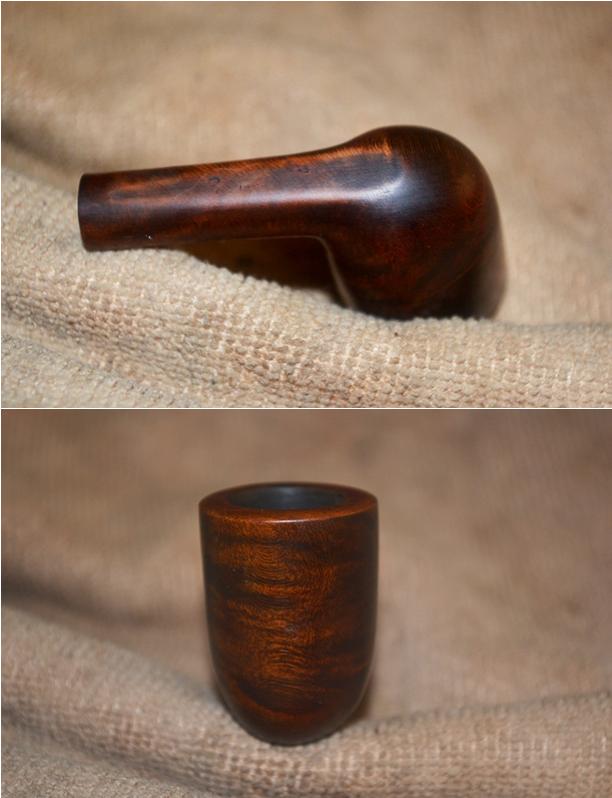
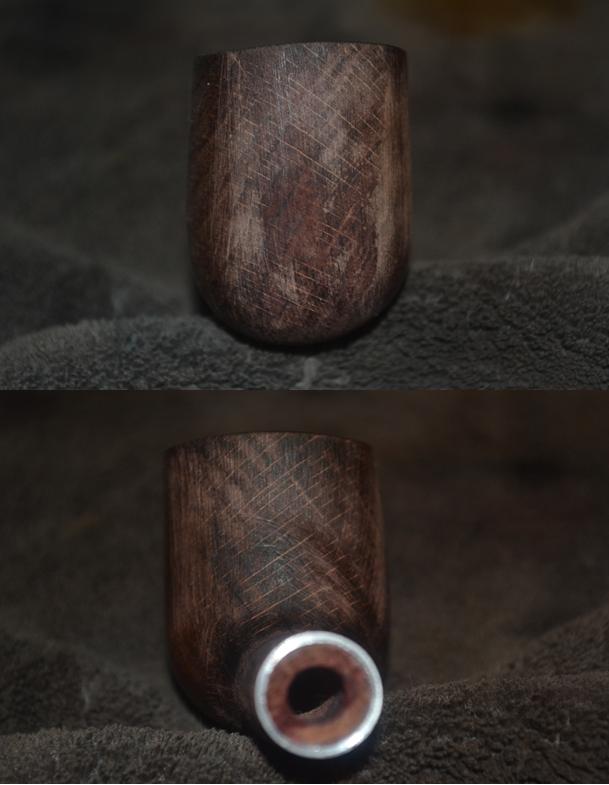
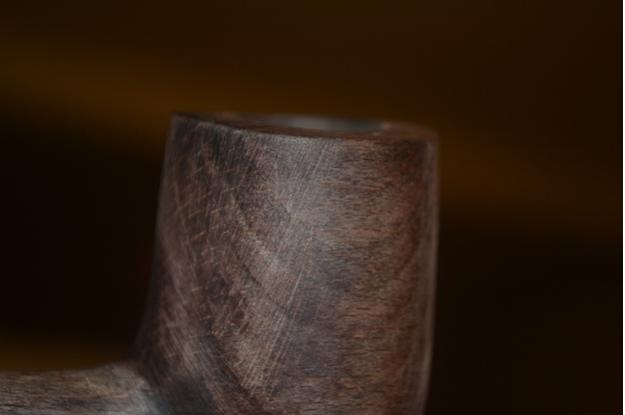
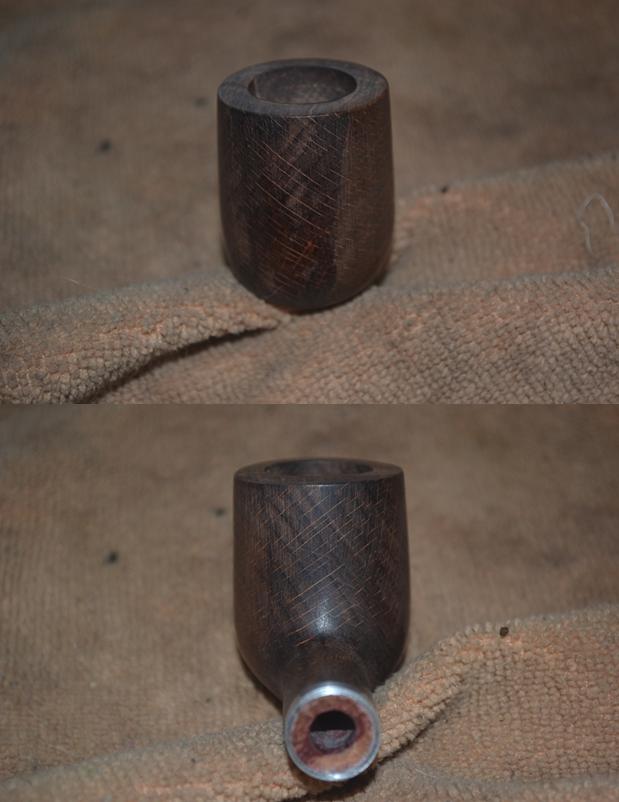
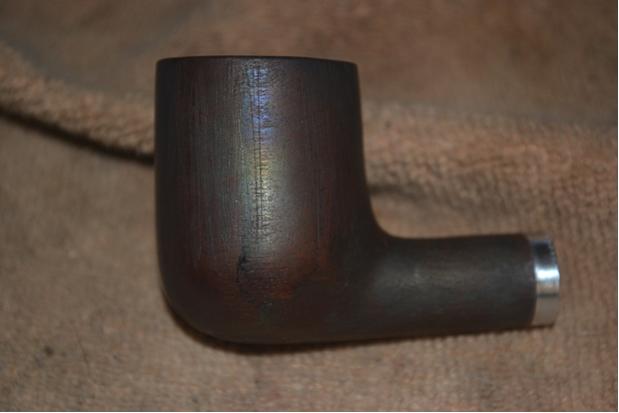
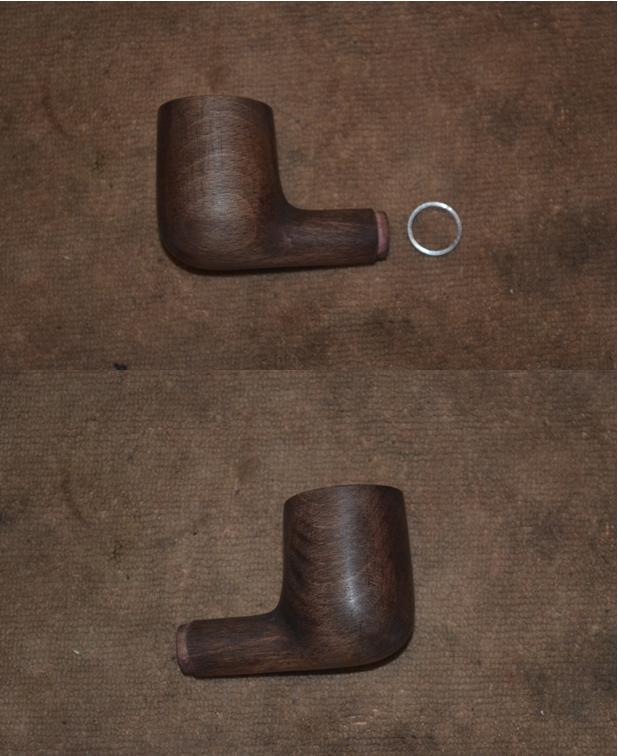
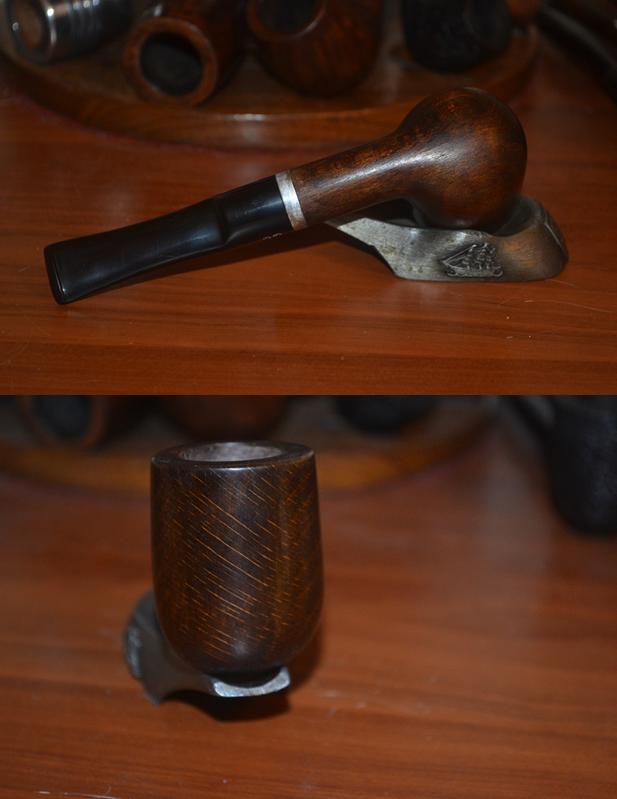
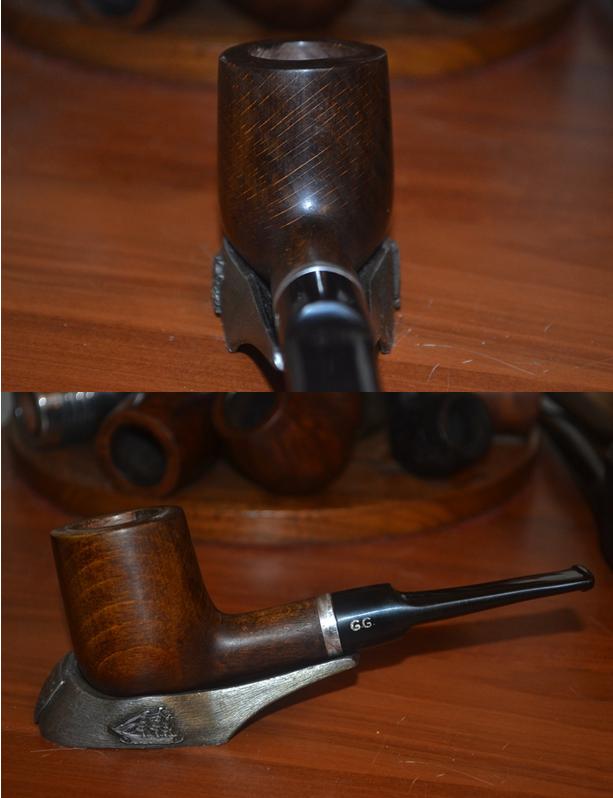
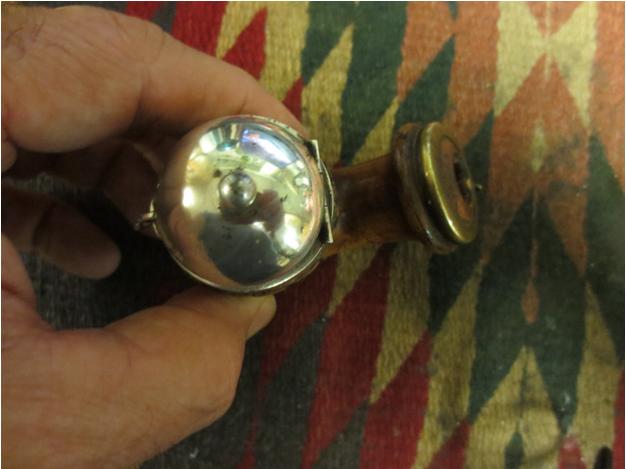
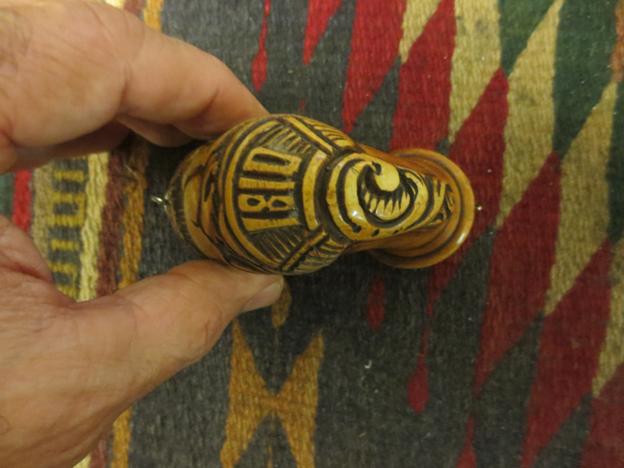
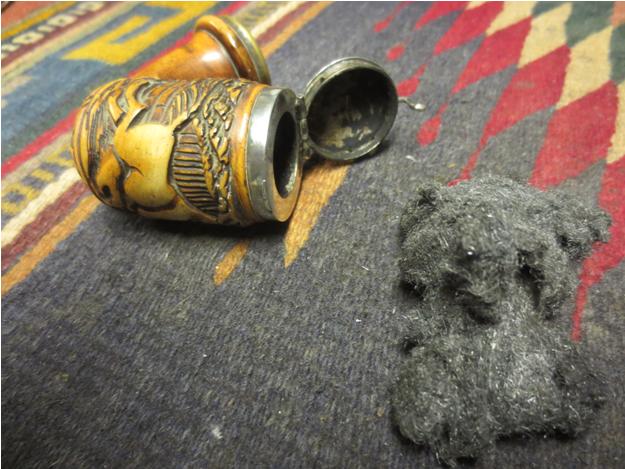
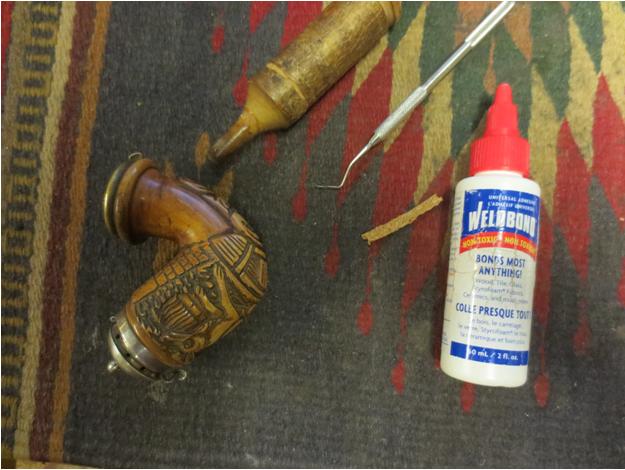
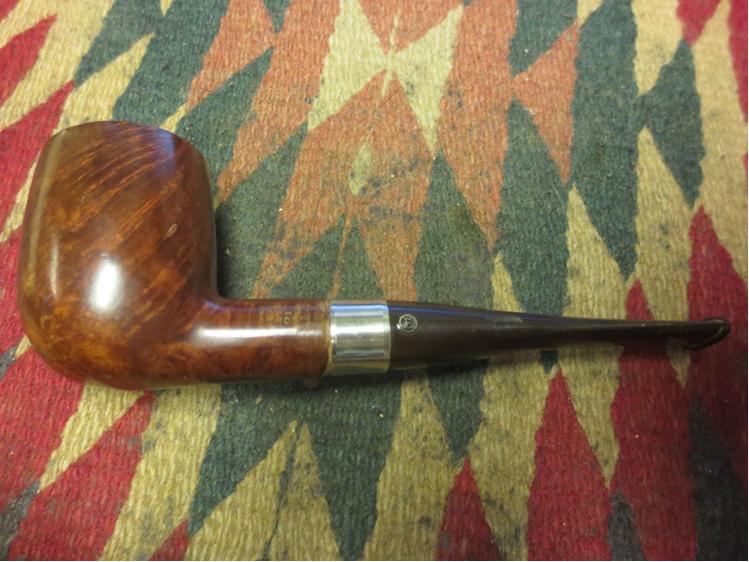
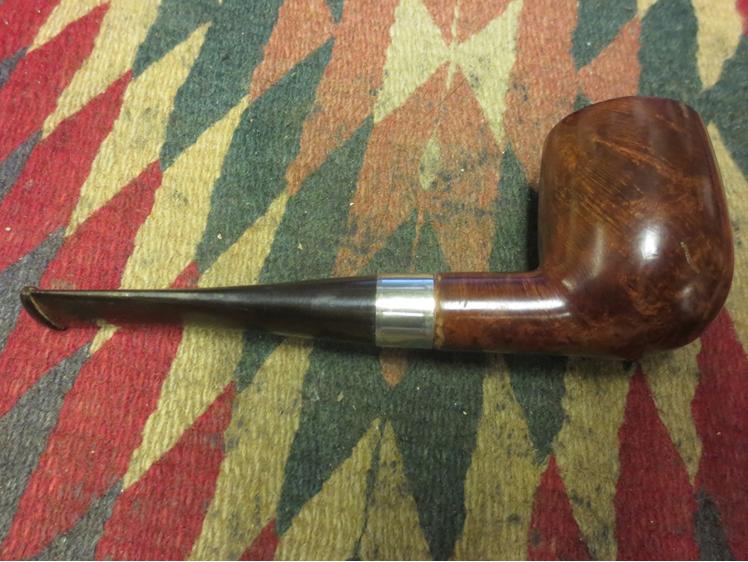
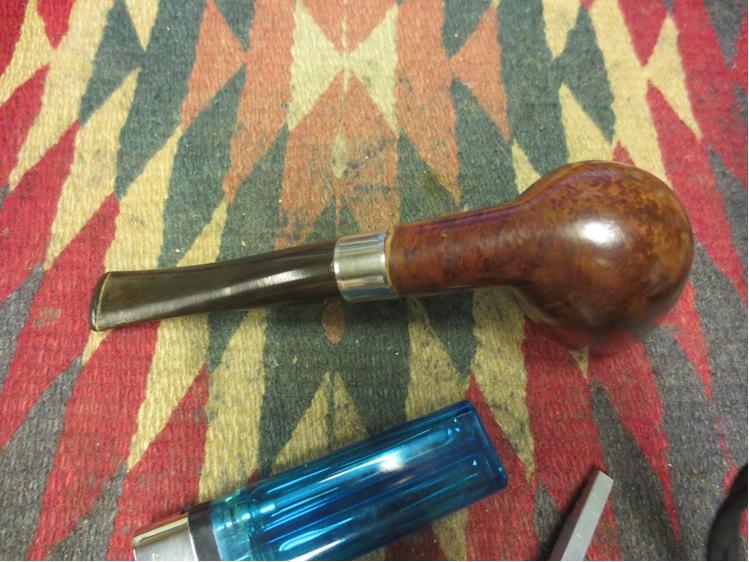
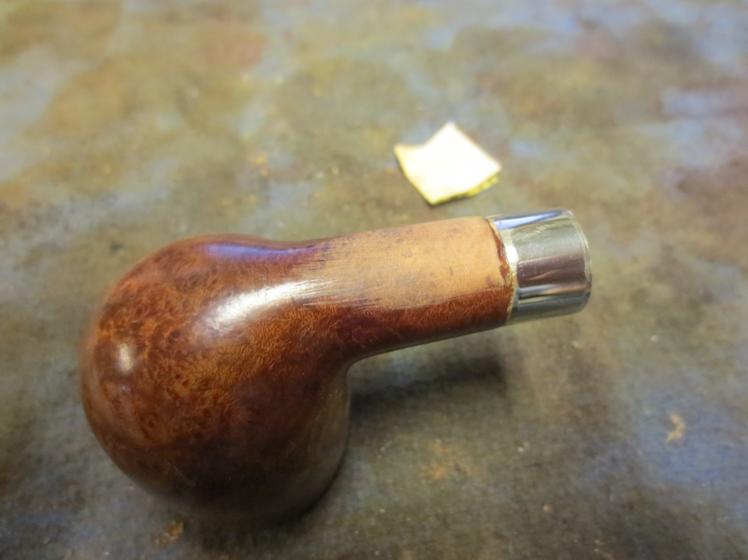
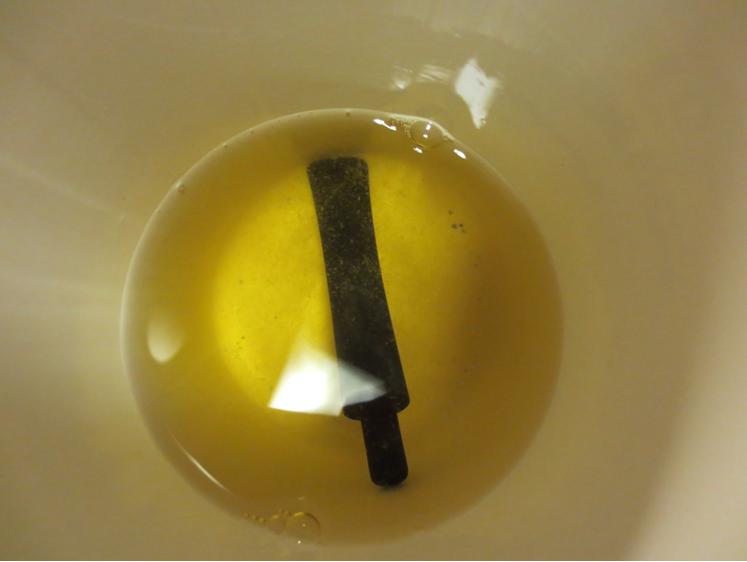
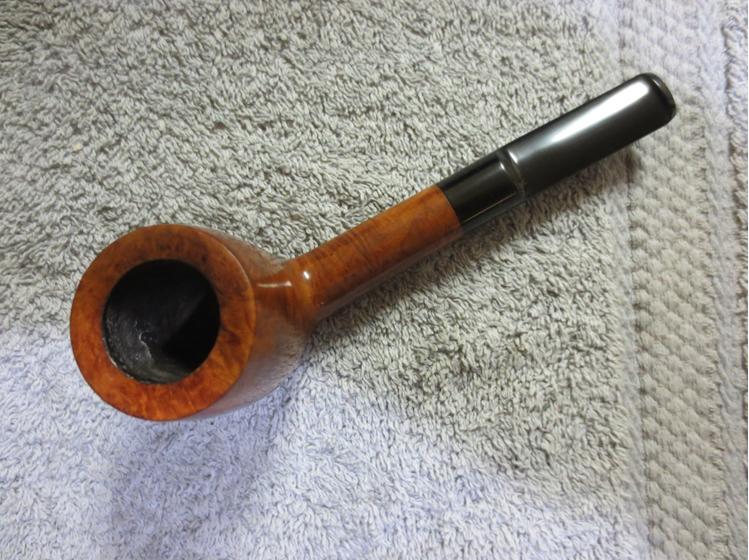
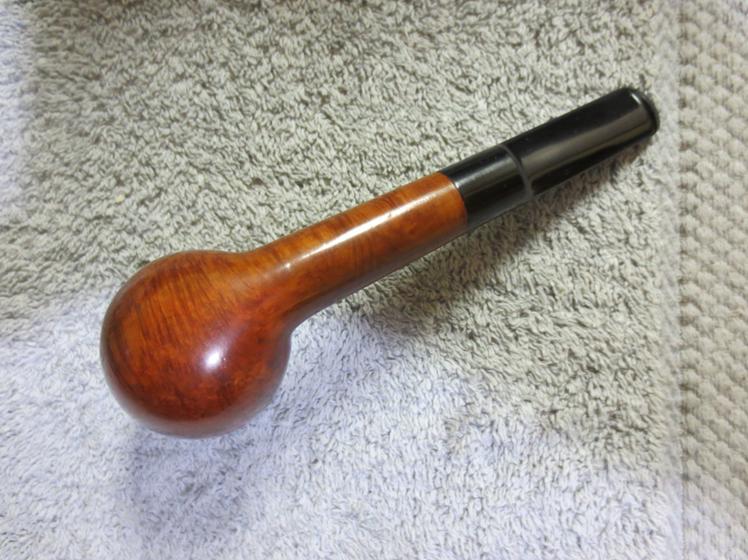
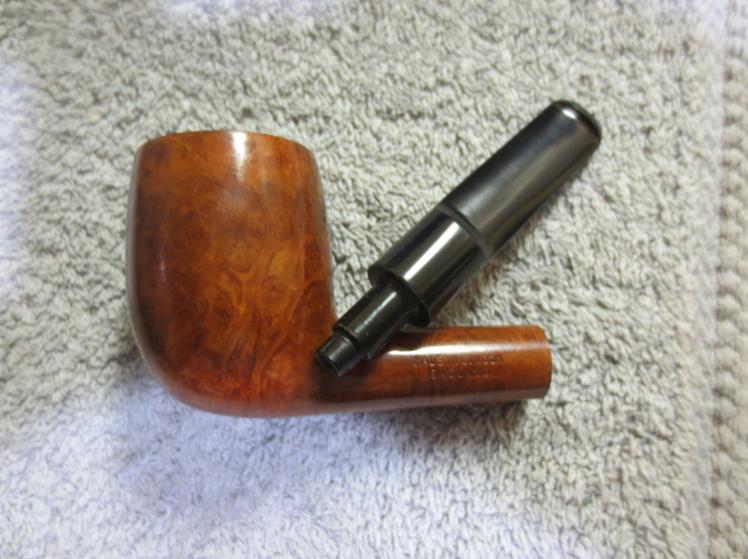
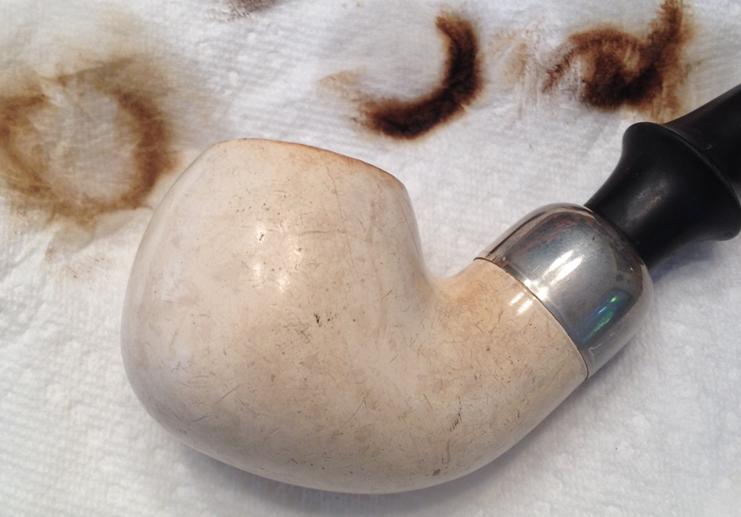
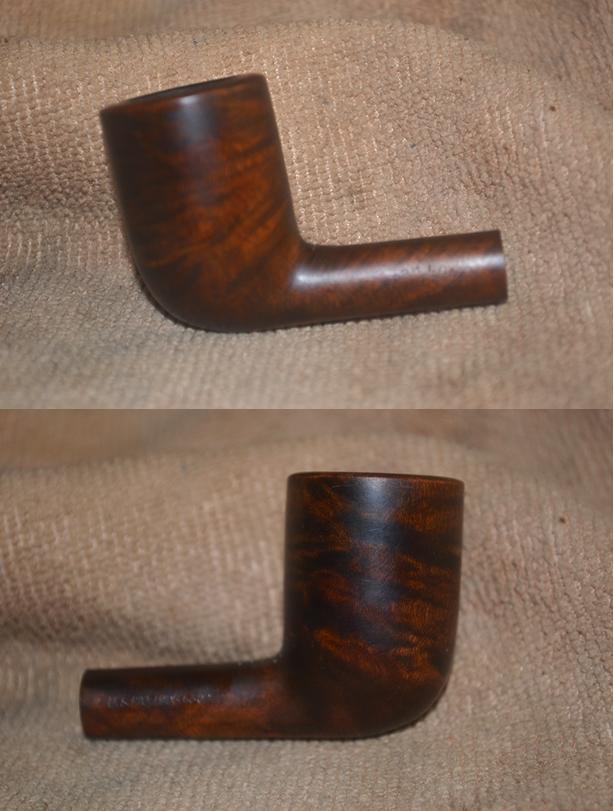
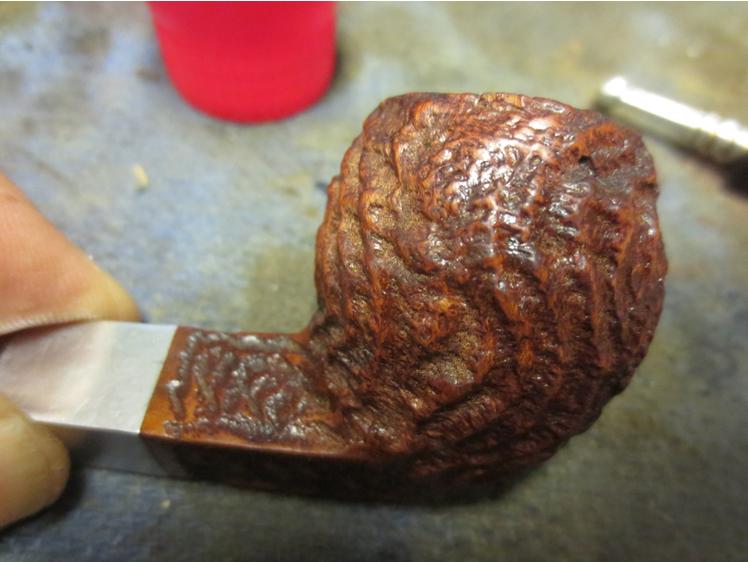
RESTORATIONrob4 I snapped this first photo to add to my private collection, as I do all of my new and unused pipes that need no restoration, before I realized the peculiar stain probably hid something, such as a fruit wood that Pipephil identified as the most common type used by Veresk, whatever the company’s name means. Here is the Golden Gate after I stripped the old stain with an Everclear soak and then used super fine steel wool to begin the process of smoothing the assaulted pear wood’s skin, so to say.rob5

rob6

rob7 I’m no expert on woods, but this does most resemble pear to me, after comparing all of the possibilities. Any knowledgeable wood-workers who might read this, please feel free to correct me

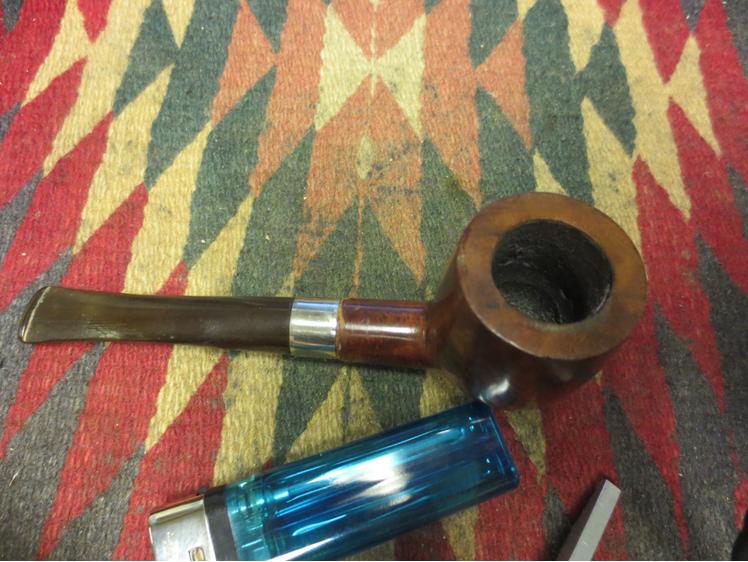
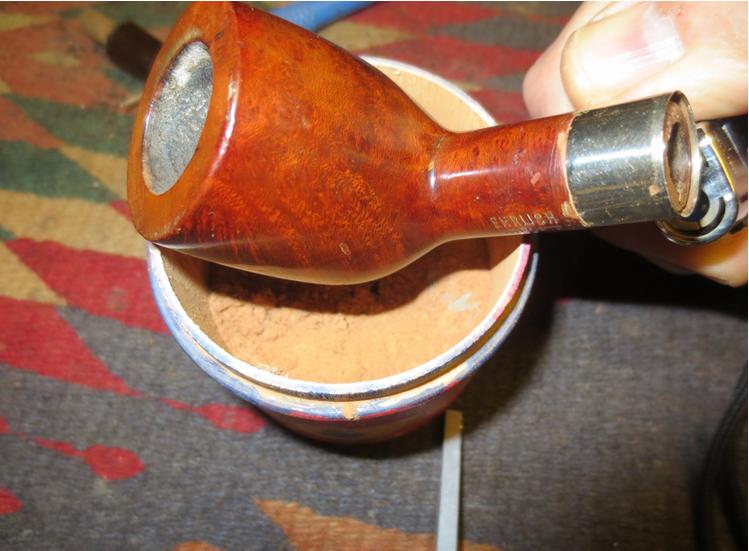
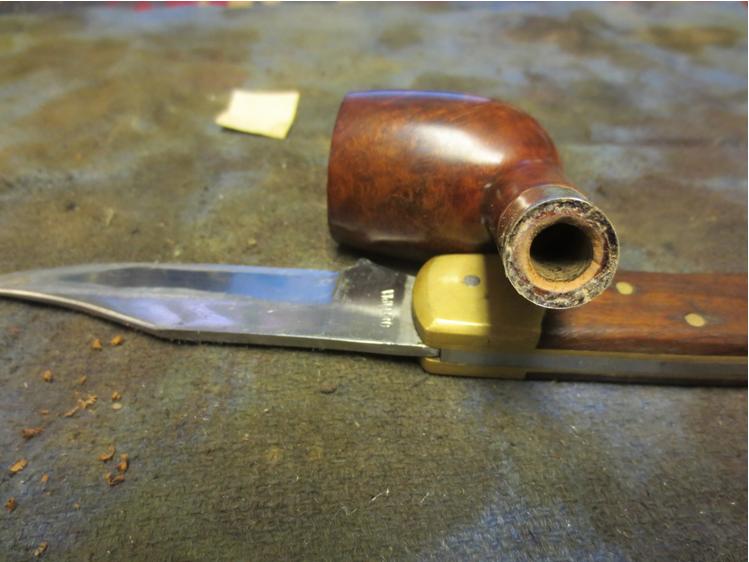
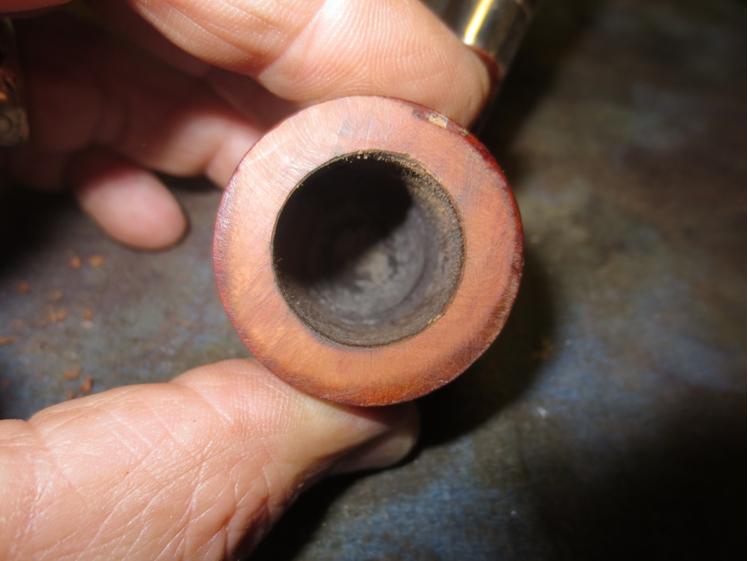
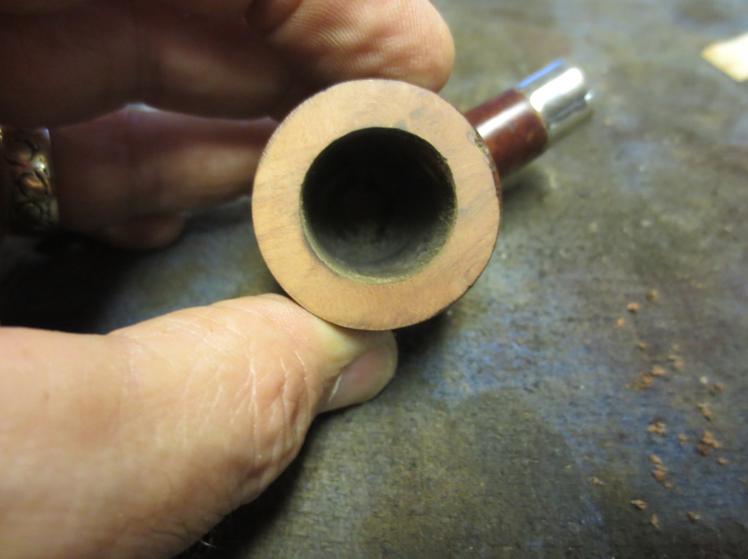
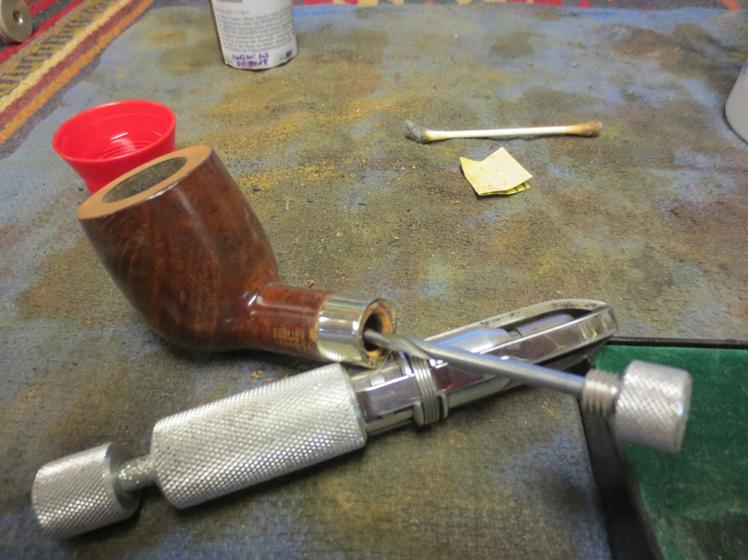
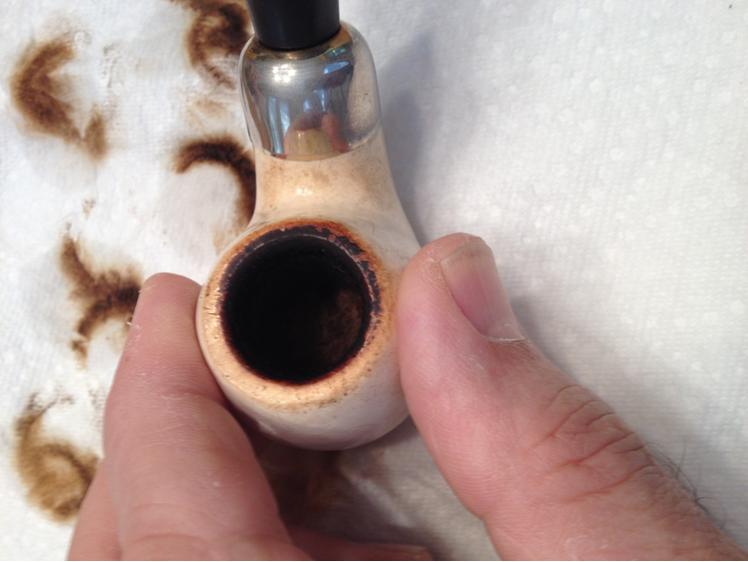
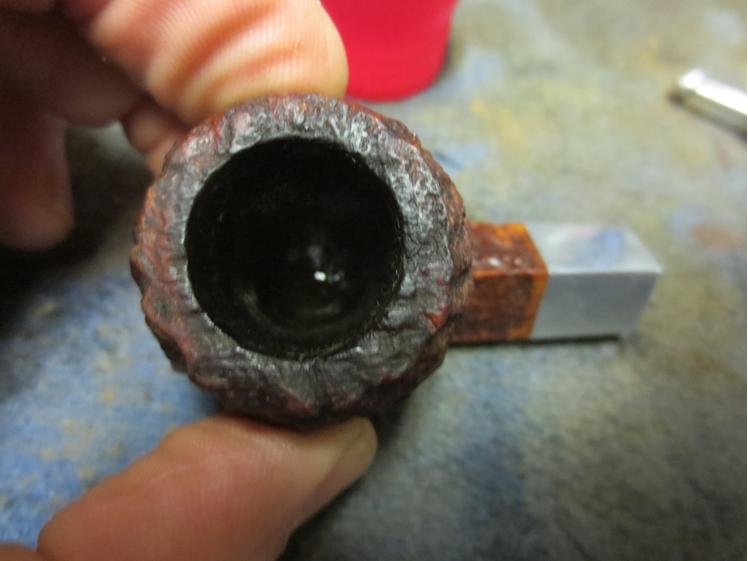
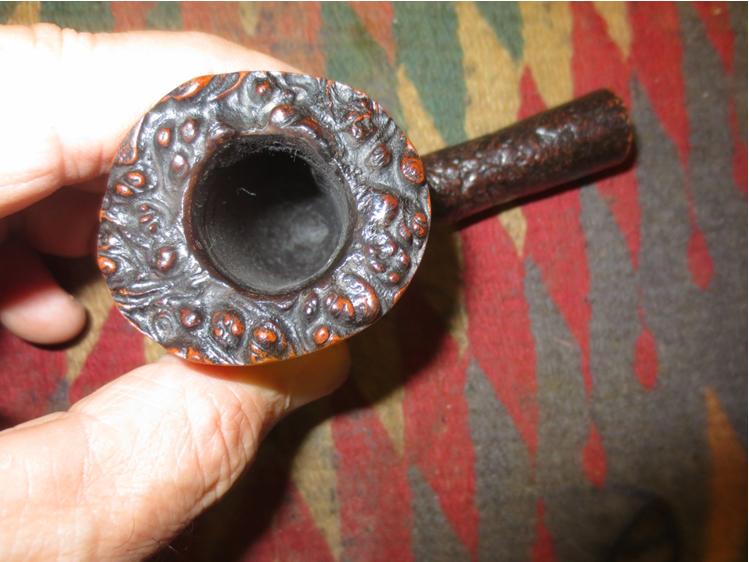
I tried a couple of fills of favorite tobacco blends before beginning the restoration, and enjoyed them, and after the Everclear soak, I was sure the pipe needed no retort. In hindsight, it occurs to me that I should have taken a close-up of the chamber before soaking the wood in alcohol and then using my reamer and sandpaper to remove the unusual coating that came in it as the billiard arrived in the mail.

Researching that general subtopic of pipe knowledge after my instincts already led me to eradicate the harsh-feeling stuff, I was horrified and reached the conclusion that the somewhat sharp and definitely alien material used to coat the chambers of both Veresk pipes I have purchased was the so-called “waterglass.” This attractive sounding term is a euphemism for sodium metasilicate (Na2O3Si), a highly toxic chemical compound that is “[i}rritating & caustic to skin, mucous membranes. If swallowed causes vomiting & diarrhea.” Then there are the serious consequences of absorbing or ingesting this diabolical method of coating the chamber of a pipe that, when lit, cannot help delivering its sickening and potentially deadly payload directly into the hapless pipe smoker’s body, causing “[u]pper airway irritation, fever/hyperthermia [and] leukocytosis.” [http://pubchem.ncbi.nlm.nih.gov/compound/Sodium_metasilicate#section=Top. Also see its use in tobacco pipes at http://pipesmagazine.com/blog/out-of-the-ashes/bowl-coatings-the-good-the-bad-and-the-ugly-part-ii/.%5D

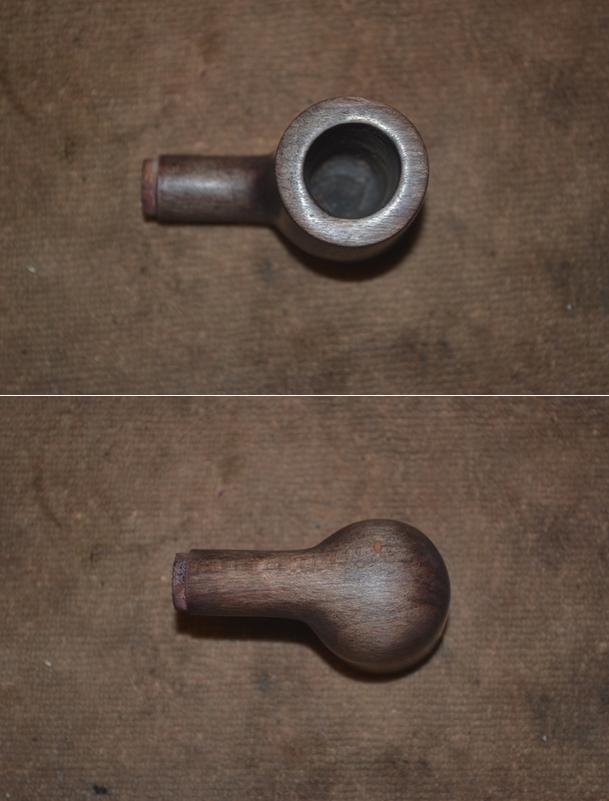
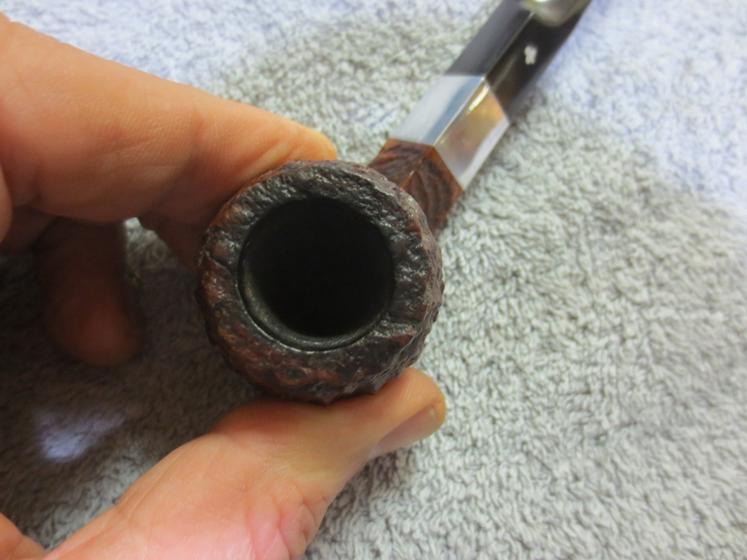
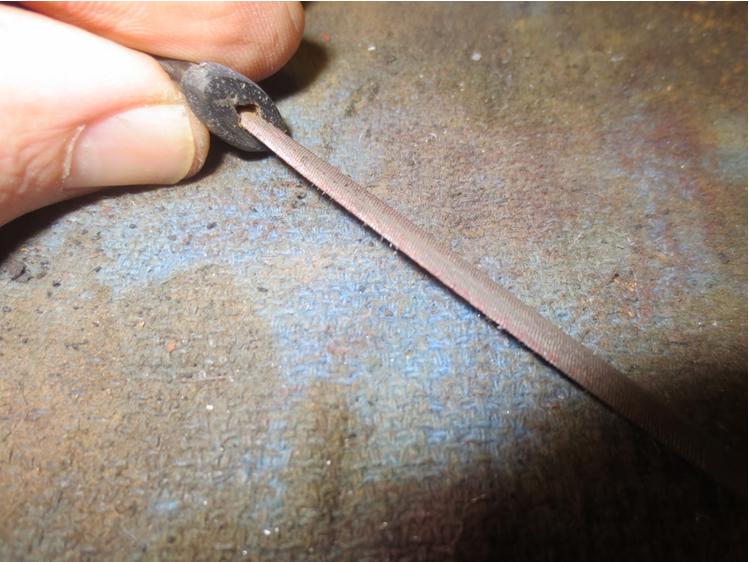
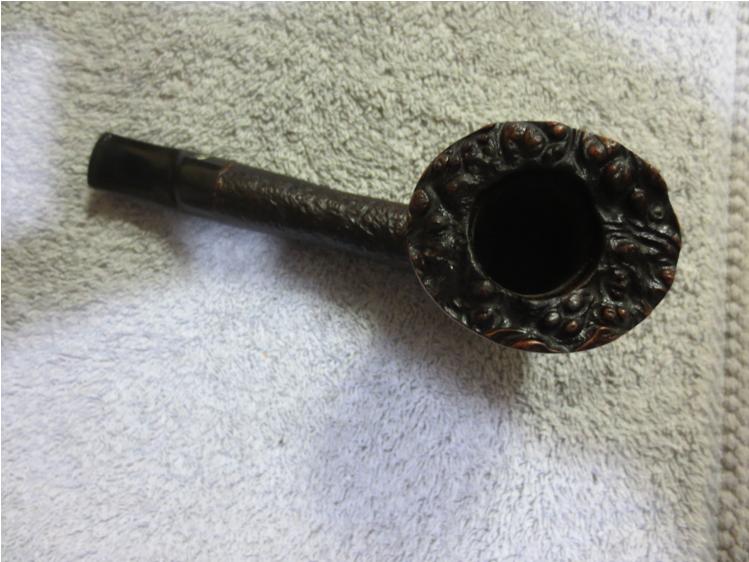
On a brighter note, I observed an unevenness of the rim.rob8 With the gentlest wood file I have, I corrected that minor problem and re-sanded and micro-meshed again until it was smooth.

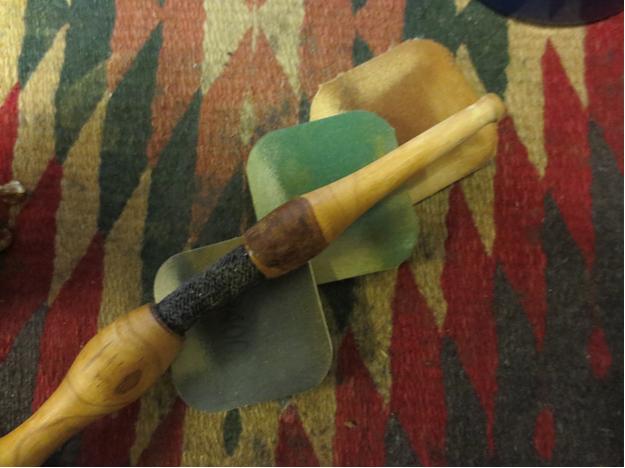
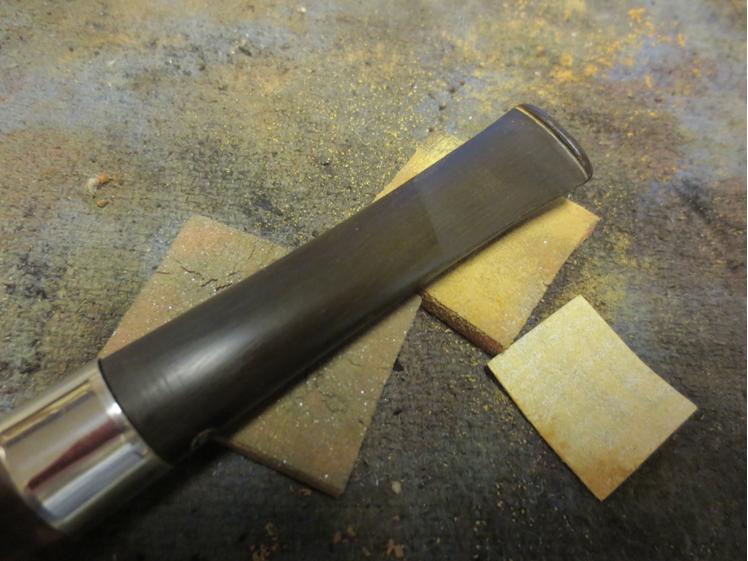
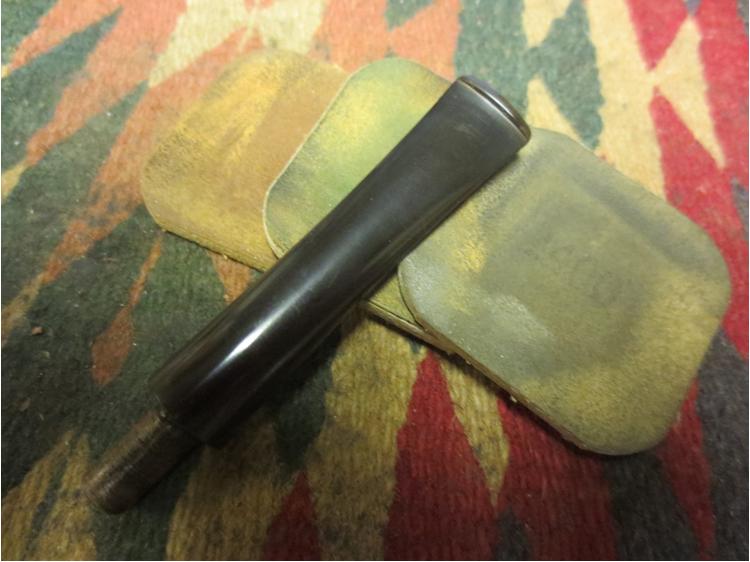
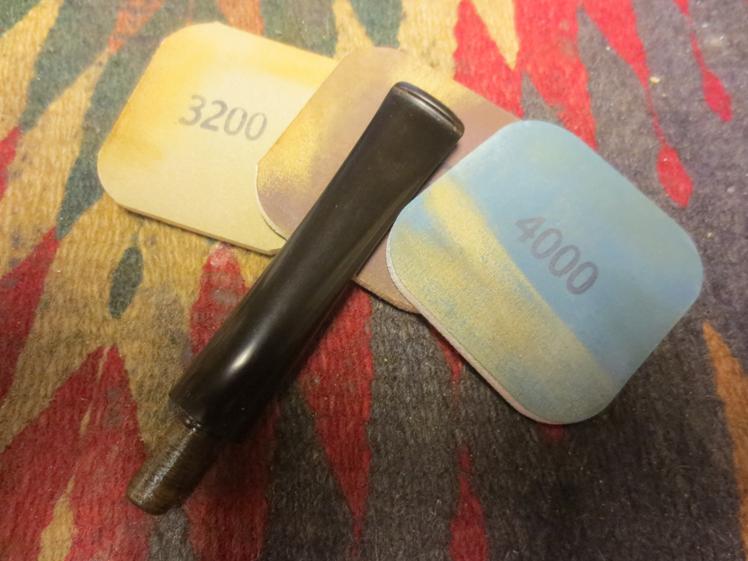
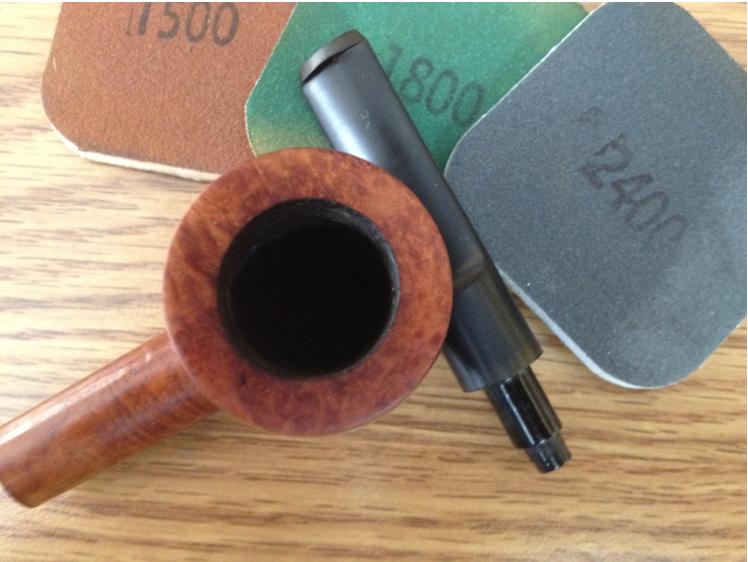
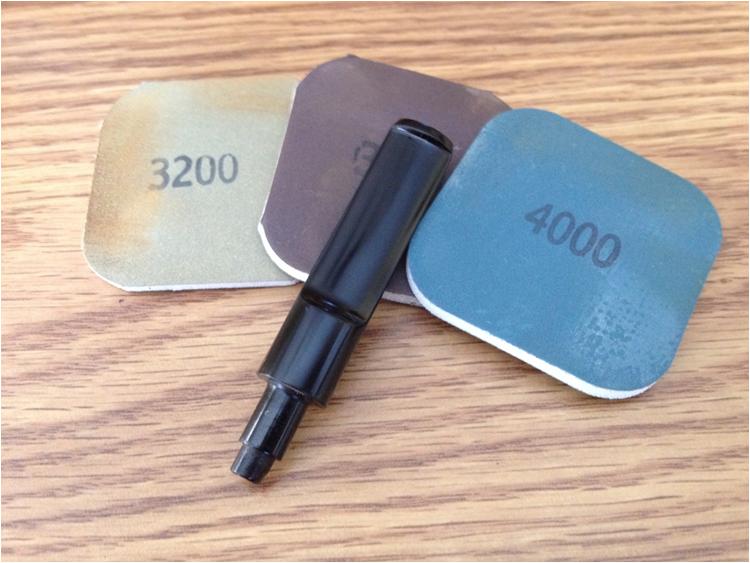
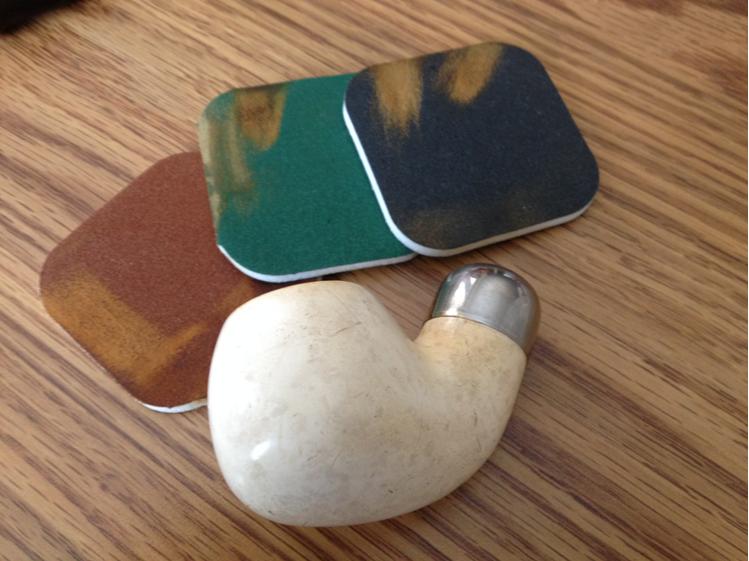
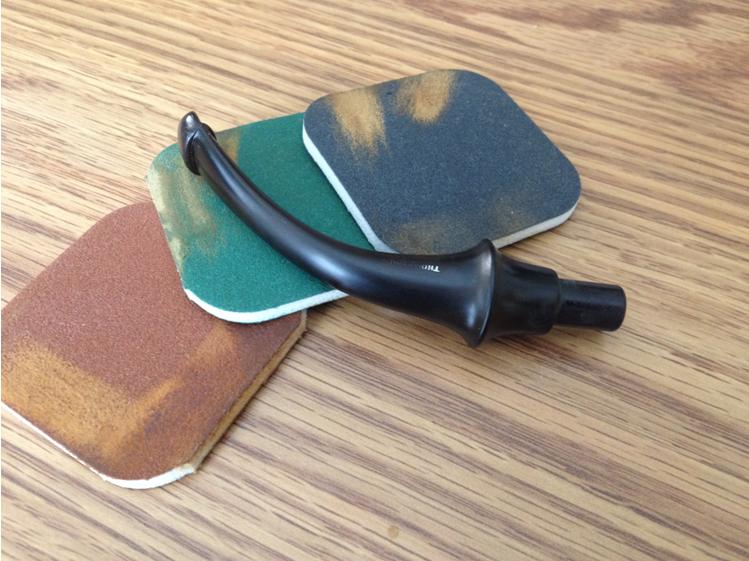
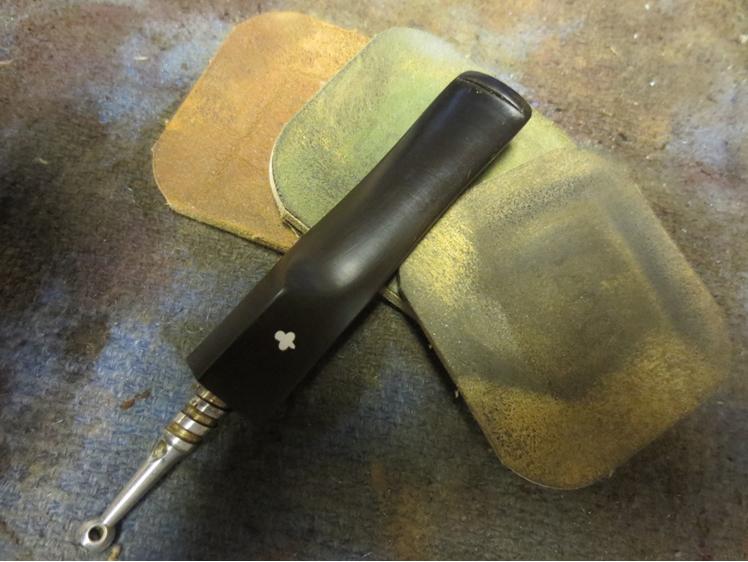
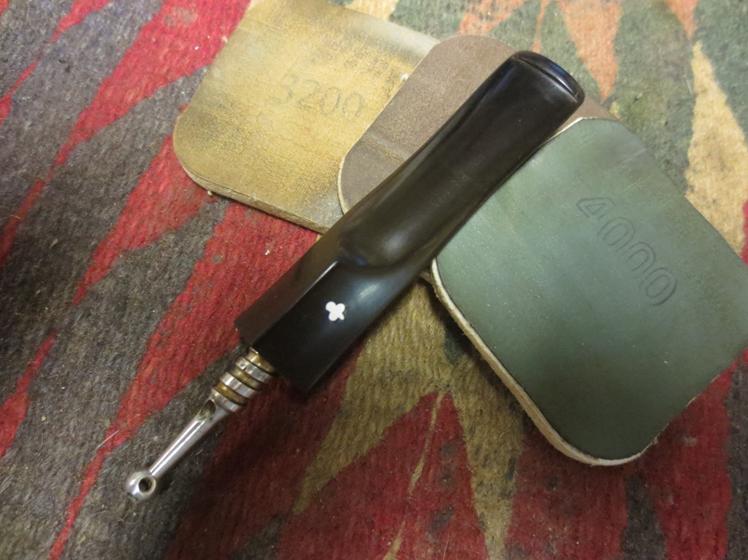
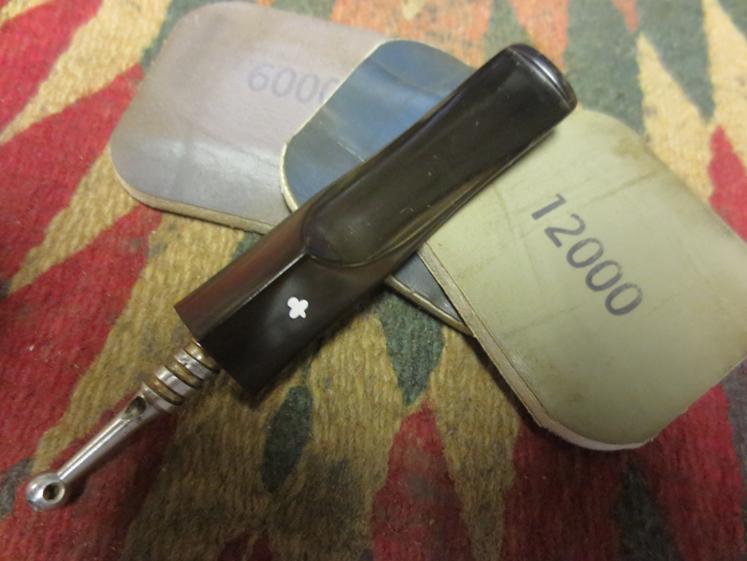
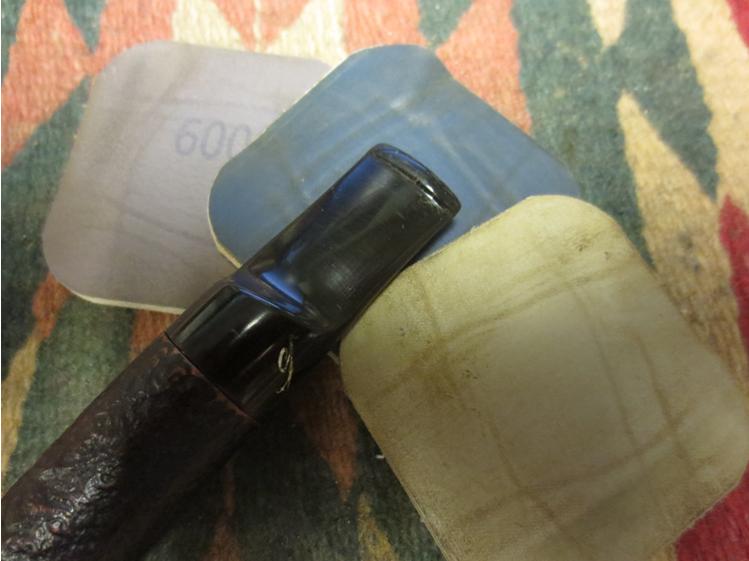
I proceeded to sand the wood with 320-grit paper and used micromesh from 1500-4000.rob9

rob10

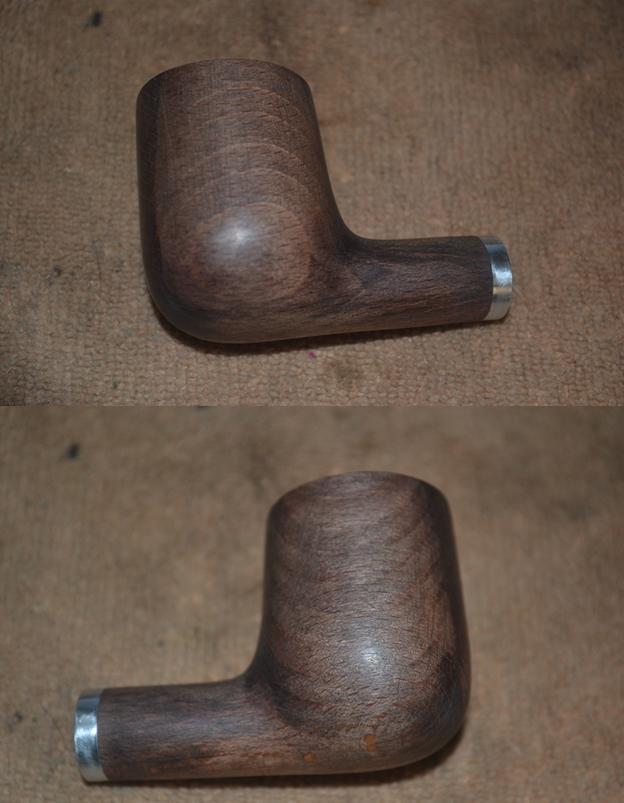
rob11 Although I liked the grain on most of the Golden Gate and considered buffing without stain, I recognized the need for something darker to lessen the flaws on the front and back of the bowl. I chose Lincoln Brown boot stain and flamed it after I applied a couple of coats.rob12 This time I took off the char with 4000-grade micromesh and some extra pressure on the pad instead of going down to 3600 and risking removal of the new color in spots.rob13

rob14

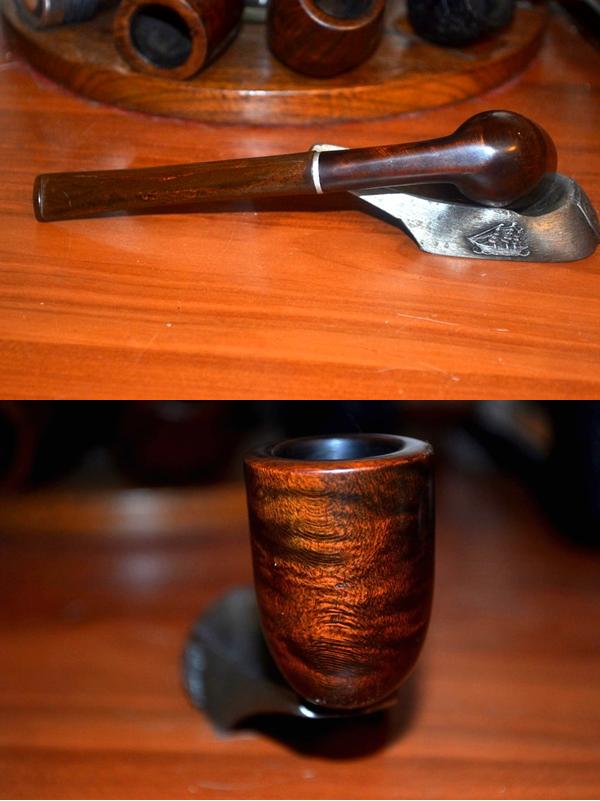
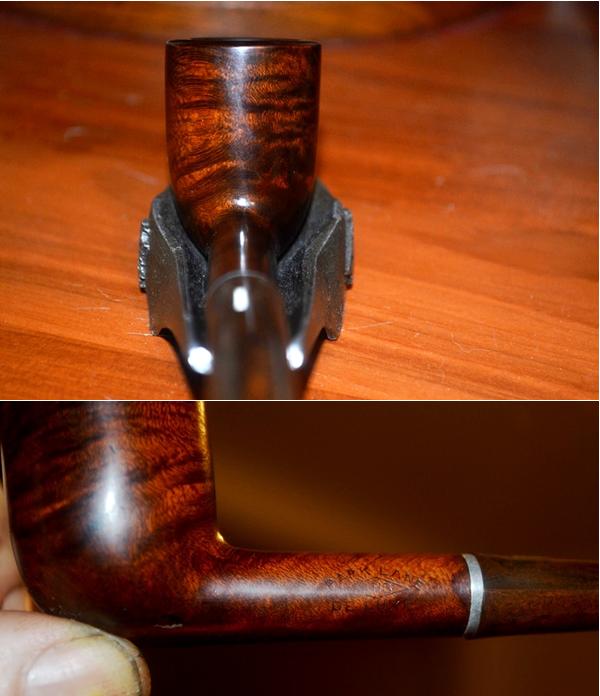
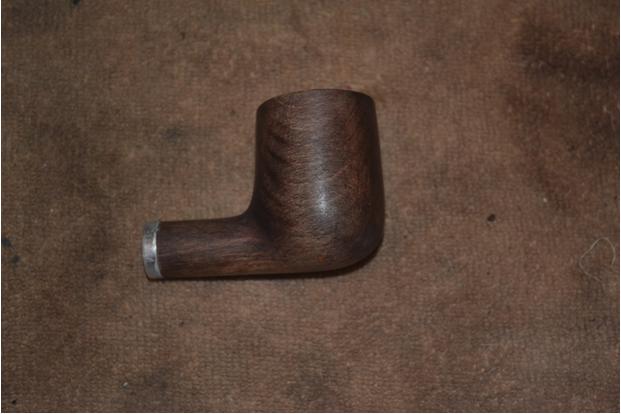
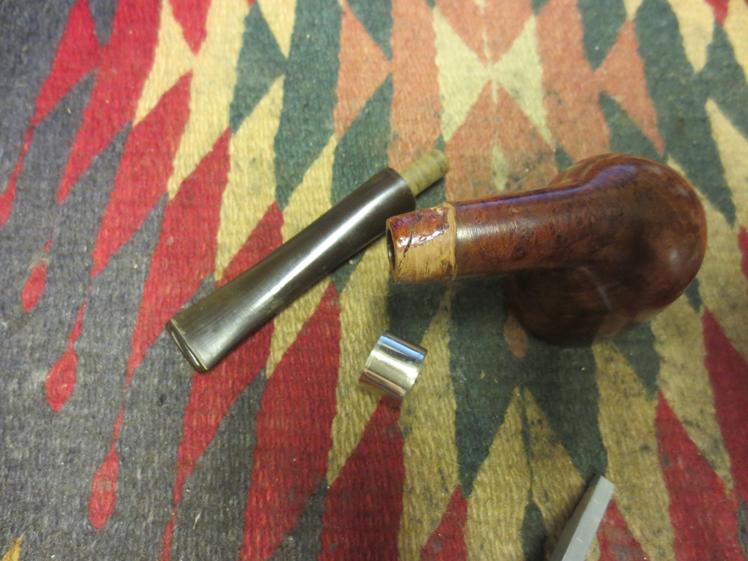
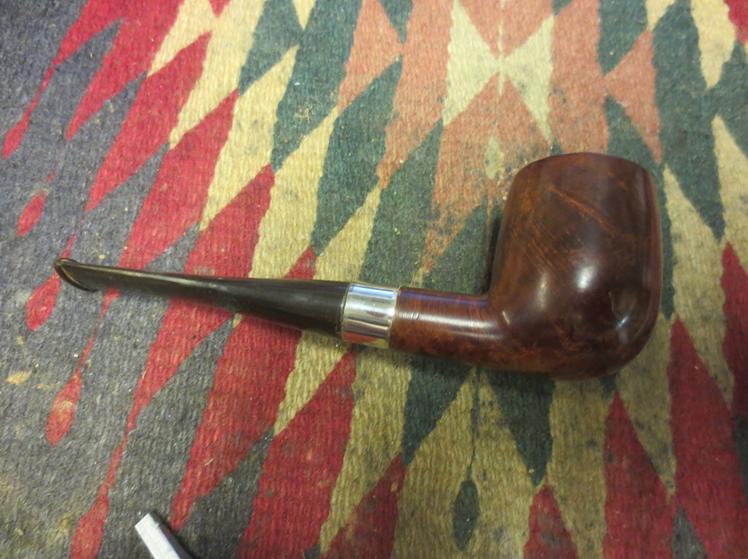
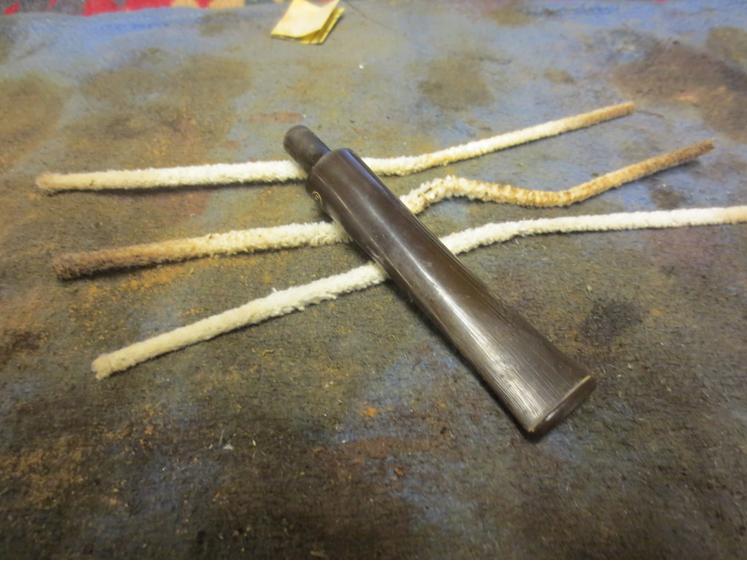
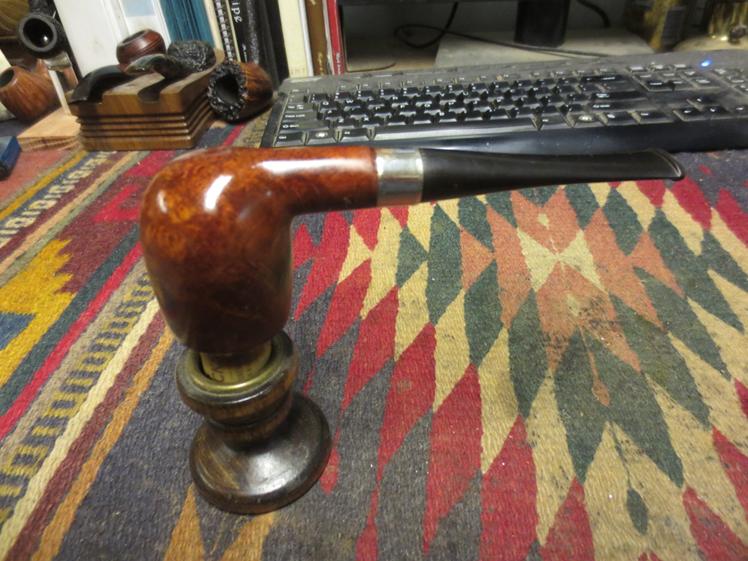
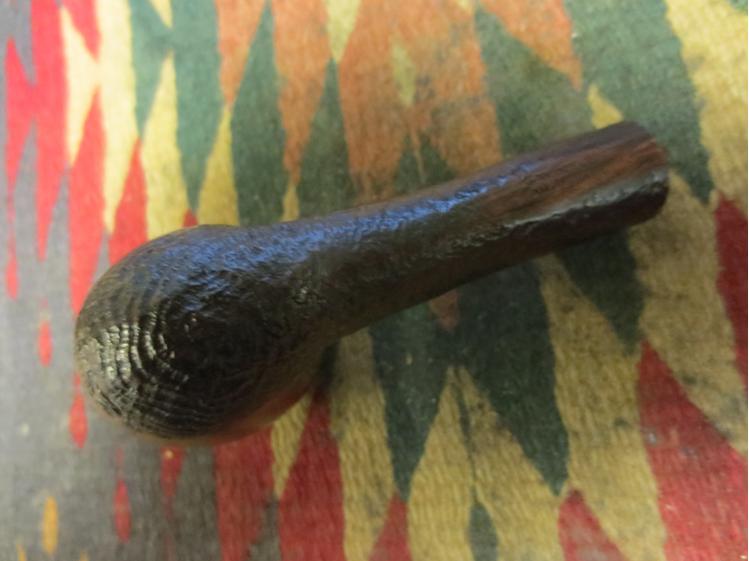
rob15 You can see in the first photo above that the small metal band came off from the alcohol soak, and so I used a few dabs of Super Glue to reattach it. Seeing the surface of the wood could use some slight further attention to prepare it for buffing, I took a small piece of super fine steel wool and only ran it over the surface of the wood with the gentlest touch, as though wiping dust or hand smears from the wood.rob16 With the pear wood ready to buff, I did so with white Tripoli, White Diamond and carnauba. The stem I left as it was.rob17

rob18

rob19 CONCLUSION
Altogether I think I took this sad billiard and, with a little help from a friend, as the Beatles also sang, made it better. At the very least I am now willing to offer it for sale, knowing it won’t send anyone to the hospital or perhaps even kill him.

Restoring an 1810 German Meerschaum Folk Art Pipe with a Story


Blog by Steve Laug

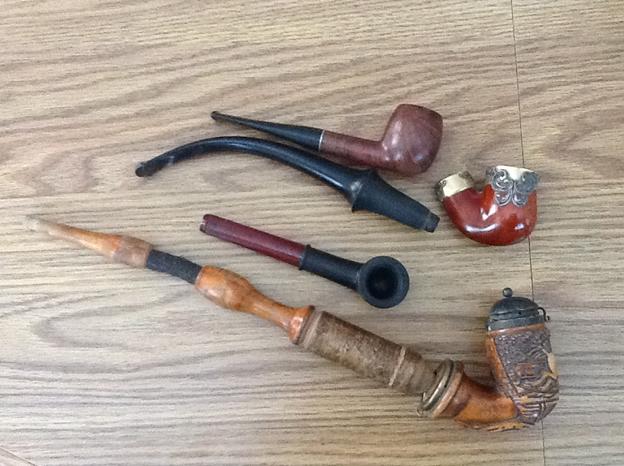
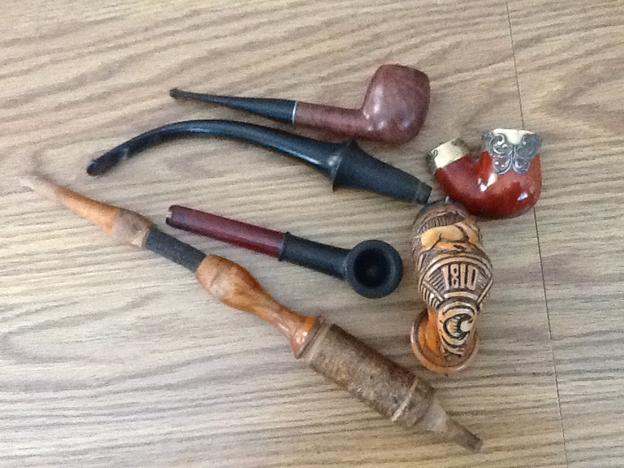
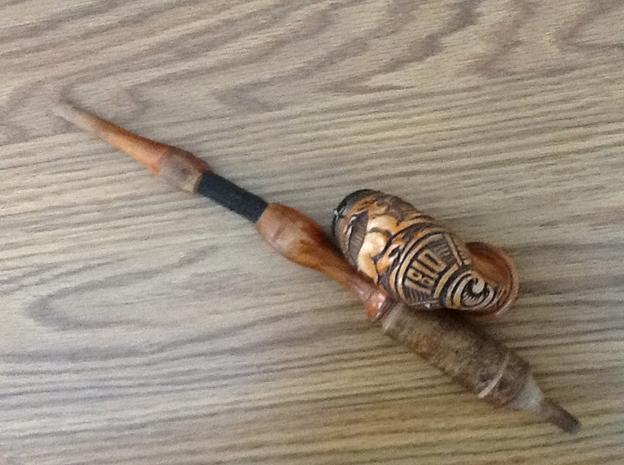
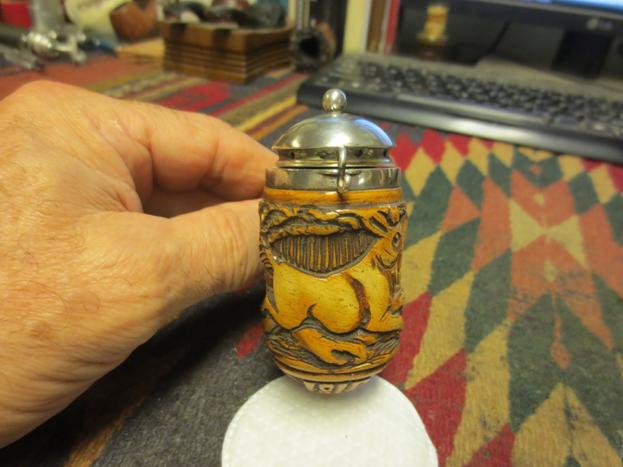
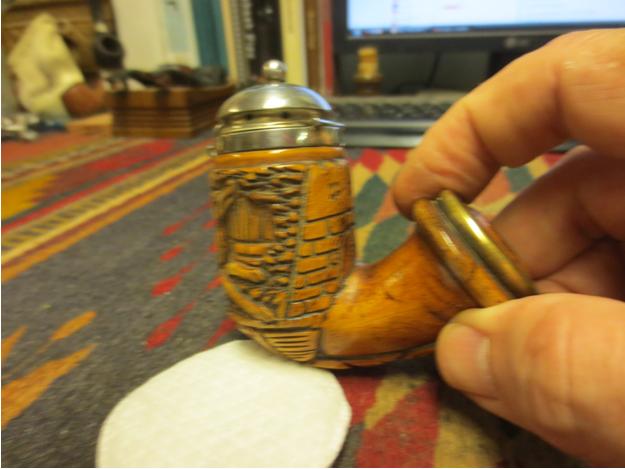
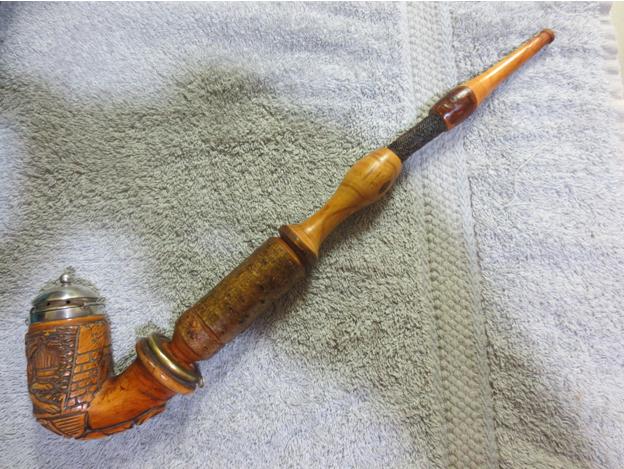
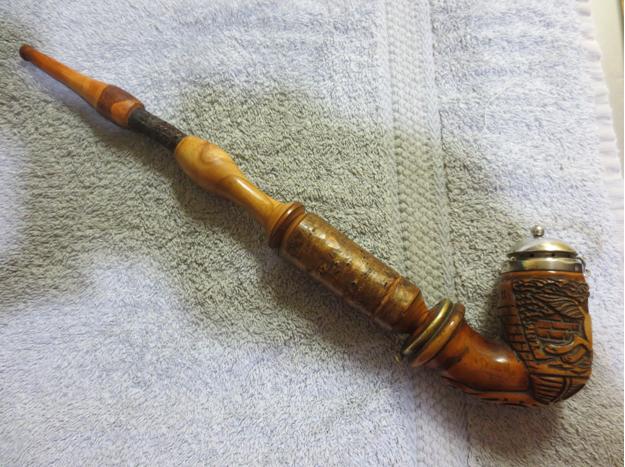
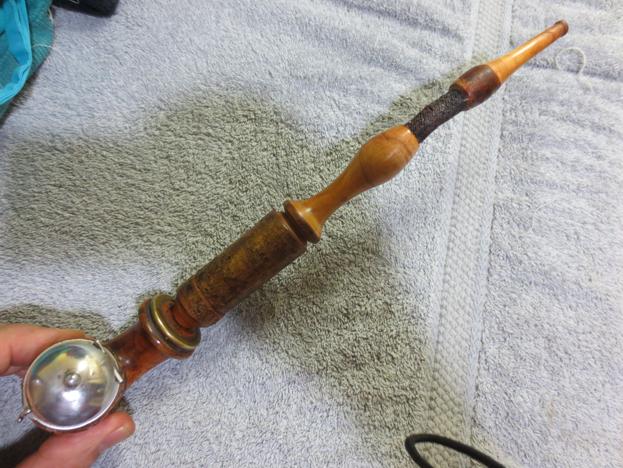
On Monday, June 29, 2015 after a weekend of celebrating with my parents and brothers in Idaho Falls, I went to visit one of my favourite pipe hunting haunts when I come to town. There weren’t any pipes on the three floors of the antique mall but before I left I asked the sales clerk if he had any pipes that somehow I had neglected to see. He said that there were not any on the floor but he had a few in a bag at home and if I would come back on Wednesday he would bring them with him and we could make a deal. Wednesday when I went back he had a bag of old pipes that are shown in the photo below. The top pipe is a Kaywoodie Apple with a three hole stinger. Tthe stem below it comes from a WDC Wellington but the pipe itself was missing. Next to it was an oval shank meerschaum with lots of bling on the shank and the bowl top. It had a broken tenon in the shank and would be an easy one to make a stem for. The third pipe down was a Bakelite stem and base but was missing the bowl. The bottom one was quite interesting to me. I had not seen one of these before intact. It was a meerschaum bowl with a wind cap and brass shank end. The stem itself was long with bark on the bottom portion and then hard wood ending with a woven hose and stem that was also wooden with bark on the portion next to the hose.Ger1

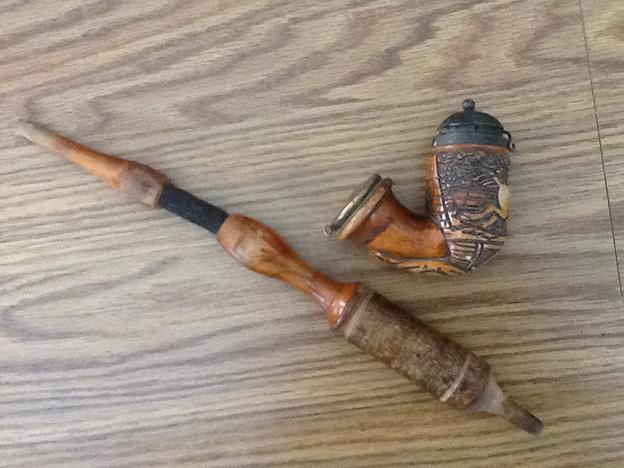
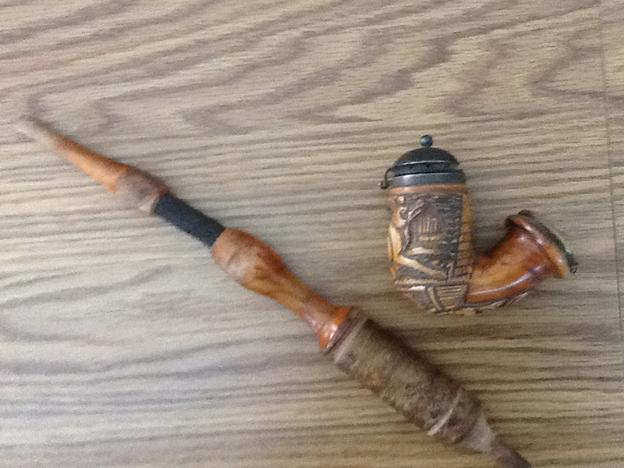
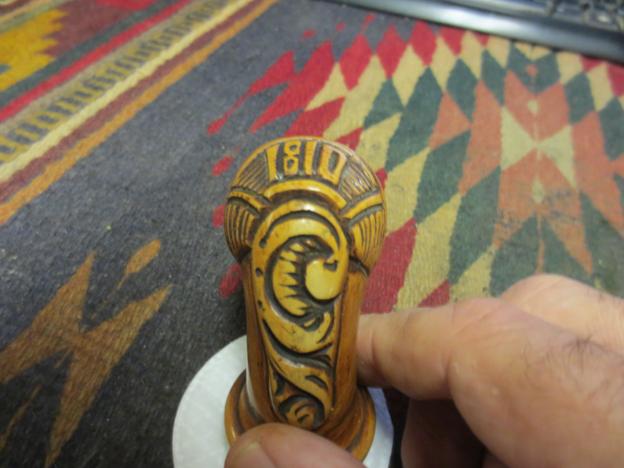
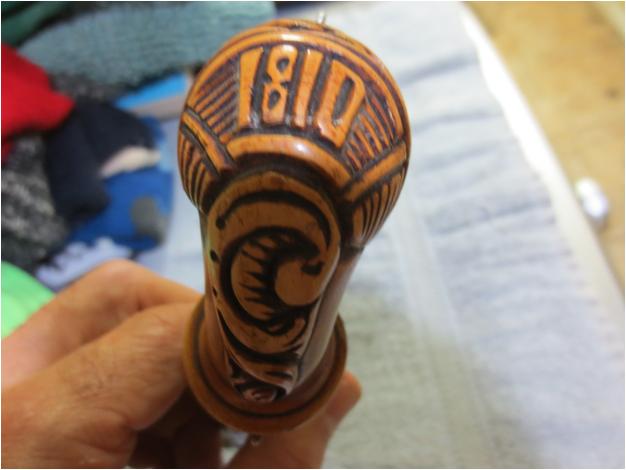
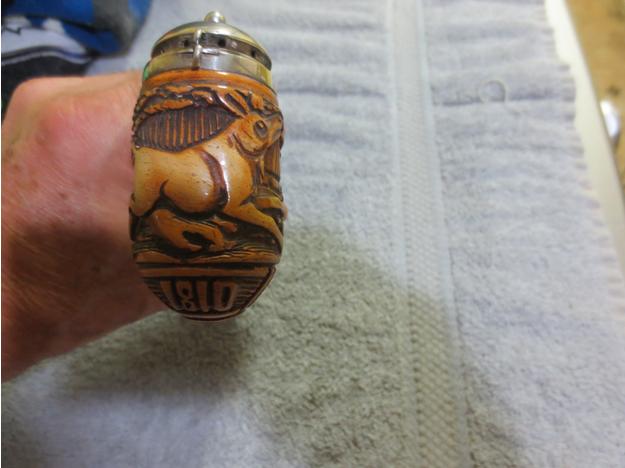
Ger2 I asked the sales clerk where the pipe had come from hoping that he would know the story behind this old meerschaum. It turned out that he knew a lot about the old pipe. I had belonged to his grandfather who was a German immigrant to Idaho Falls. The two meerschaum pipes were his. He had brought them with him when he came from Germany. He was brought over to be the beermeister for the Eagle Rock Brewery which only had a short life – 1896-1898. His own father (the sales clerk’s great grandfather) had purchased the pipes new in Germany and smoked them throughout his life. He had passed it on to his son, the brewmeister who smoked the pipe throughout his life even after the brewery closed. The sales clerk’s father had passed it on to him with the story of the pipe. The carved date on the pipe fits well with the four generations – 1810. I love these old stories behind the pipes I refurbish.Ger3

Ger4

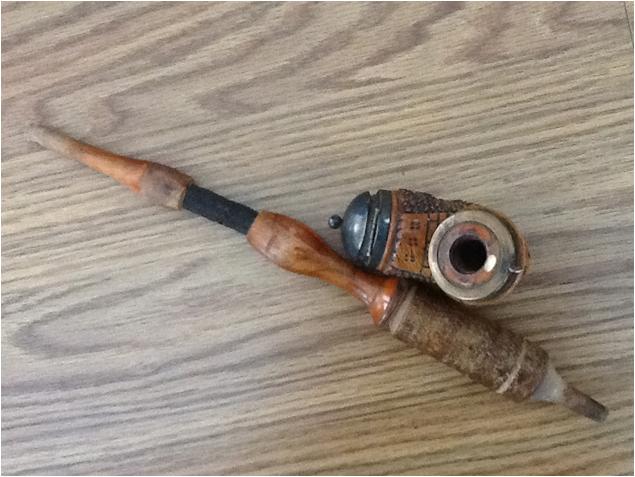
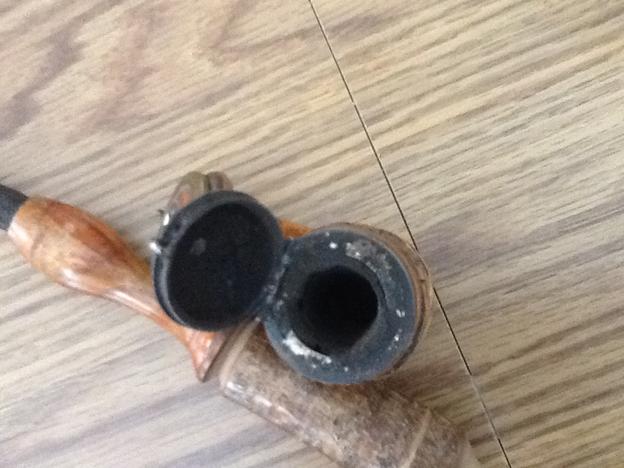
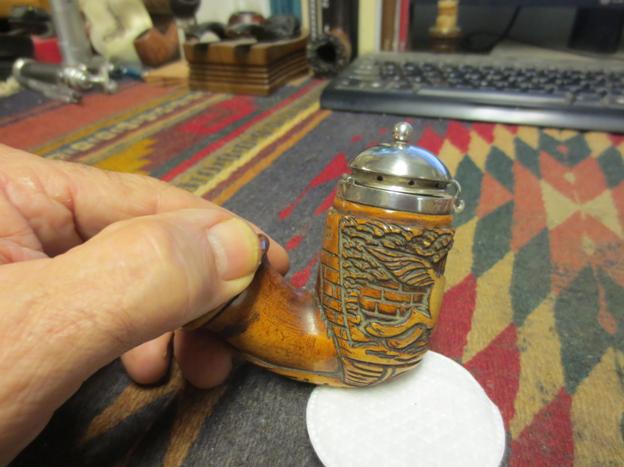
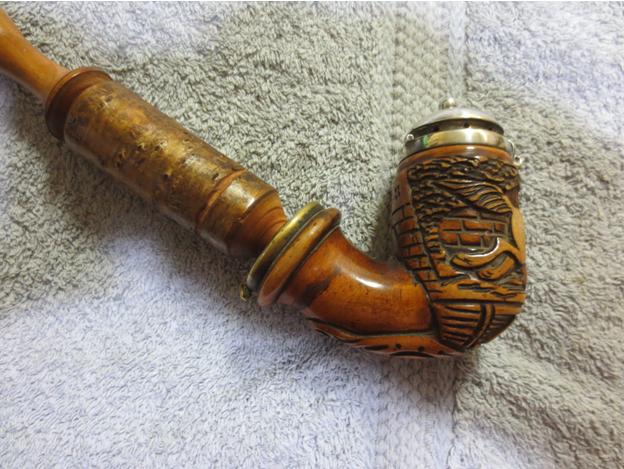
Ger5 The bowl had a few little nicks in the meerschaum but none were detracting. The meer had a nice patina that was all over the bowl and shank. The carving on the bowl was a dog set in a background of carved bricks and wood making up a wall. On the front underside of the bowl was carved the year 1810. Someone had rigged some brass wire around the stem and the ring on the shank to keep the stem inserted in the bowl but it was very loose. The stem portion was in great shape on the bottom part up through the hose. The hose itself was dried out and had some cracking in the surface. The top portion, the stem was dry but had been chewed and there were tooth marks in the surface.Ger6 The wind cap was badly oxidized and the top of the rim was oxidized and covered in thick tar. I was not sure if it was silver or brass under the black of the oxidation. The inside of the cap had a heavy tar buildup that was like rock. There was a very thick cake that went to the bottom of the bowl and there was some unburned tobacco in the bottom 1/3 of the bowl. It was a bit of a mess and would take some work to bring it back to life and usability.Ger7

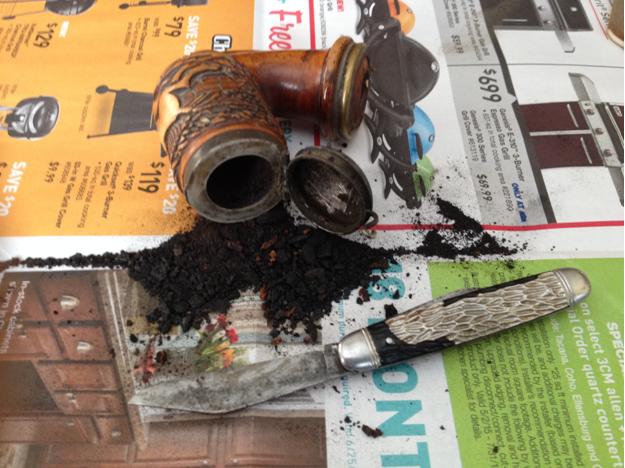
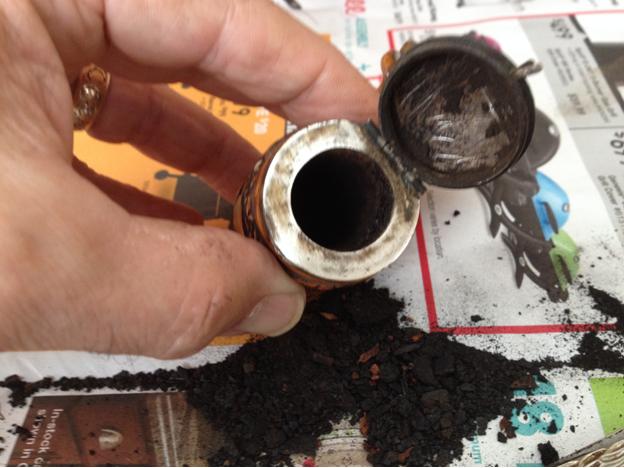
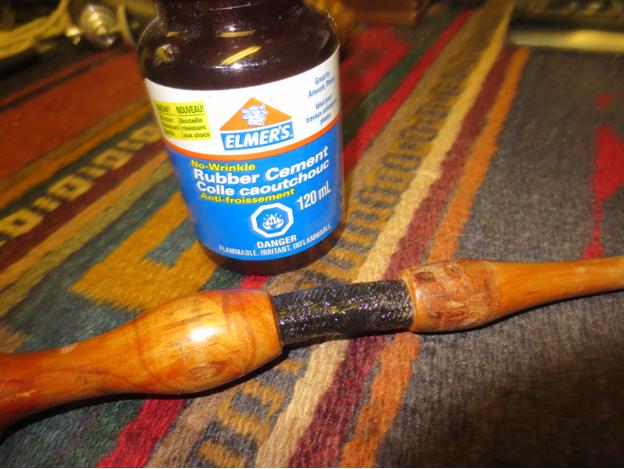
Ger8 I paid the clerk $40 for the lot and headed home to my parents. I put newspaper on the kitchen table and went to work cleaning up the bowl. I did not have a reamer with me so I used a sharp knife with a short rounded blade to ream out the carbon/cake in the bowl. I took it back to the meerschaum walls so that there was no cake left.Ger9 I scraped as much of the buildup on the inside of the wind cap and the rim as was possible with the tools that I had with me.Ger10 I put the pipe away carefully in my bag to be carried back to Vancouver. When I got home I worked some more on the pipe. I started by working on the hose portion of the stem. I gave it a thick coat of rubber cement to fill in the cracks and to provided the flexibility that was originally present when the pipe was made.Ger11

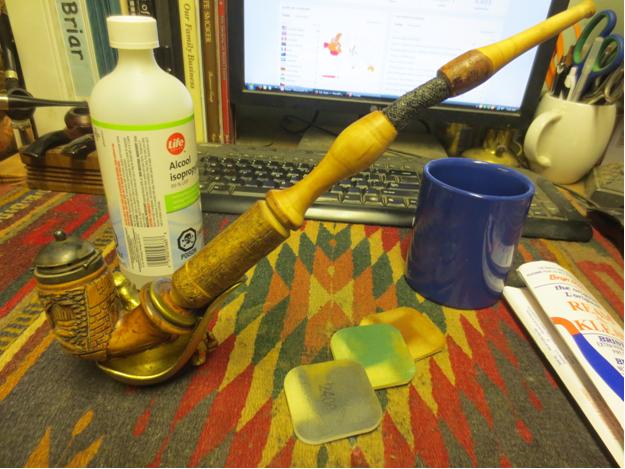
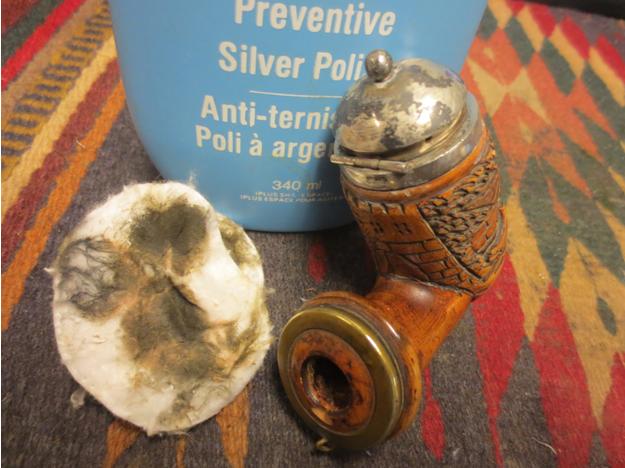
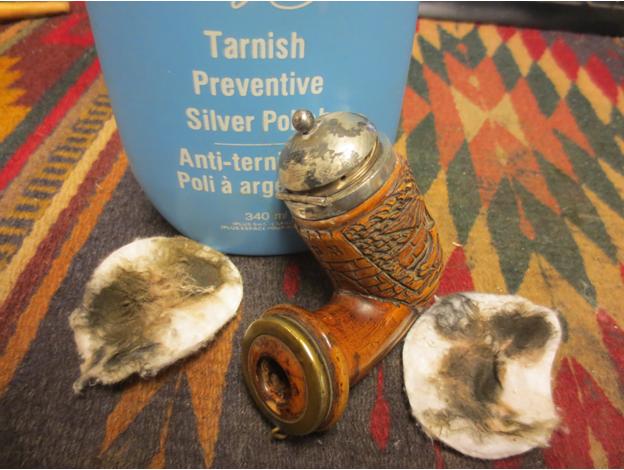
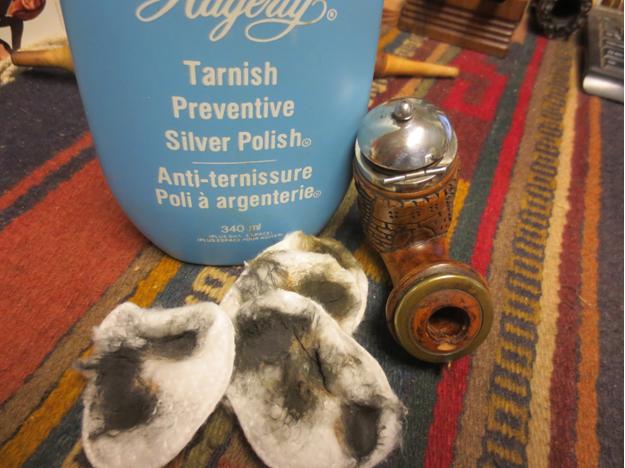
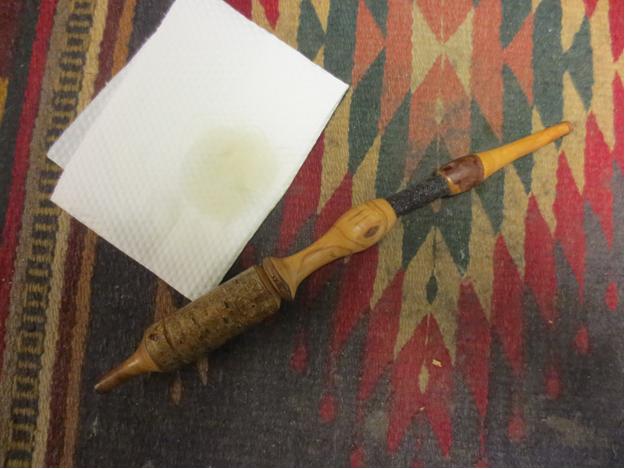
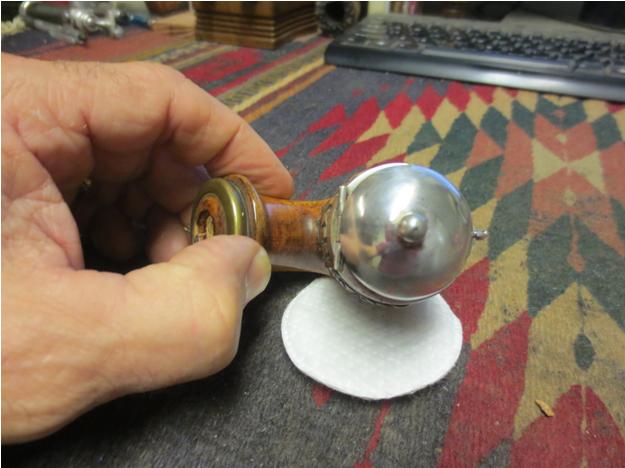
Ger12 I sanded the bit portion of the stem with 220 grit sandpaper to remove the tooth damage and reshape the button.Ger13 I cleaned out the inside of the shank and stem with pipe cleaners, cotton swabs and isopropyl alcohol until they came out clean. I used the brown tarred pipe cleaners to touch up the nicks on the bowl and shank.Ger14 The entire stem had a coat of varnish on it that was peeling on the centre portion. I wiped down the entirety with acetone on a cotton swab to remove the varnish coat.Ger15 I sanded the stem with 1500-2400 grit micromesh pads to smooth out the wood and minimize the tooth damage.Ger16 I removed the brass wire that held the stem to the shank and cleaned out the groove that had been carved in the bark of the lower portion. I put it in a pipe rest and took the next photo to show the look of the pipe at this point in the clean up process.Ger17 I scrubbed the wind cap with silver polish tarnish remover until the silver below all the black began to shine. The next photos show the silver beginning to shine through with each successive cotton pad.Ger18

Ger19

Ger20 I took the next set of photos to show the look of the bowl and cap after polishing the silver.Ger21

Ger22

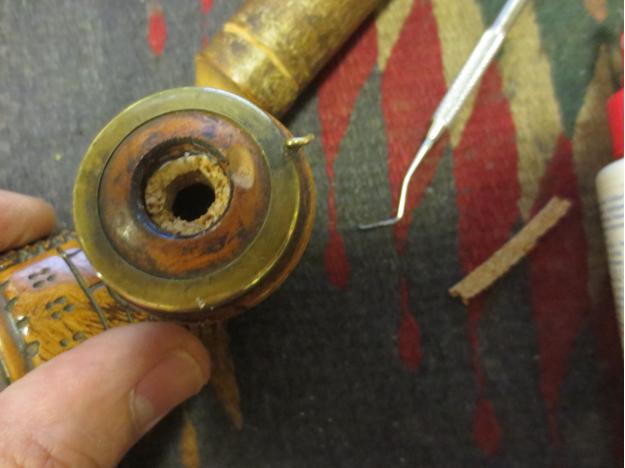
Ger23 I used 0000 steel wool to clean up the inside of the wind cap. The tar was thick and some of the silver had deteriorated. I was able to smooth out the surface of the inside of the cap but it left some dark areas on the cap.Ger24 The tenon end of the stem was very loose in the shank and needed a little creativity to make a snug fit. As I looked at the inside of the shank it appeared that it had originally had some sort of gasket that was glued to the inside of the mortise. I cut a small strip of cork to fit in this area of the shank. I cleaned out the shank with alcohol and then coated the outside of the cork piece with white glue. I used a dental pipe with a flat spatula end to press it into the shank. When the glue on the cork dried I inserted the stem to have a look at the finished fit. It was perfect.Ger25

Ger26 I rubbed down the long stem with a light coat of olive oil to bring more life to it. I stained the long stem with some Danish Oil and cherry stain to protect the wood.Ger27

Ger28 I rubbed the silver cap and rim with a silver polishing cloth to give it a final polish. It really combines nicely with the brass ring around the end of the shank and sets off the darkening meerschaum bowl.Ger29

Ger30

Ger31

Ger32

Ger33 I hand buffed the stem and bowl with a microfibre cloth to raise a shine and polish it a final time. The finished pipe is shown in the photos below. It turned out far better than I had expected when I picked it up at the antique mall.Ger34

Ger35

Ger36

Ger37

Ger38

Ger39

Ger40

Ger41

Ger42Addendum

One of the readers of the blog just sent me this information regarding this pipe. It is much appreciated and answer questions that remained for me when I finished the restoration. Thanks Brad.

Regarding your post on the 1810 German Meerschaum pipe…

I’ve got a similar pipe and have been doing research on it. Mine has “1815” and has a portrait of the Duke of Wellington on it, likely commemorating the Battle of Waterloo. It has a horn mouthpiece with copper and mother of pearl inlay on the stem. While mine is missing a wind cap which would have the makers mark, it is very similar in look.

I’ve found through endless searching that these pipes are likely related to Josef Klinkosch, an Austrian metalsmith that worked from 1822-1888. If you google his name you will see similar work. There are similar pipes that have been sold through Gros & Delettrez online.

Since I finally found my answer, I figured I’d share it with you.

NEPAL PROJECT PIPE SALE 14 – Reworking Someone’s Repair on an Ehrlich Billiard


Blog by Steve Laug

This is the fourteenth pipe from the box of pipes that I was gifted by a good friend of mine with the instructed purpose of cleaning them up and selling them with all of the proceeds going to the aid of earthquake victims in Nepal. Once again all funds raised will all go to the SA Foundation, and organization that has worked in Nepal for over 15 years helping provide recovery, housing and job training for women who are victims of sexual exploitation and trafficking. The ongoing earthquakes (over 300) that continue to shake Nepal have left much in ruins. The SA Foundation Project there was able to find new housing for the women and help with staff as well. Every dollar raised from the sale of these pipes will go to the work in Nepal.

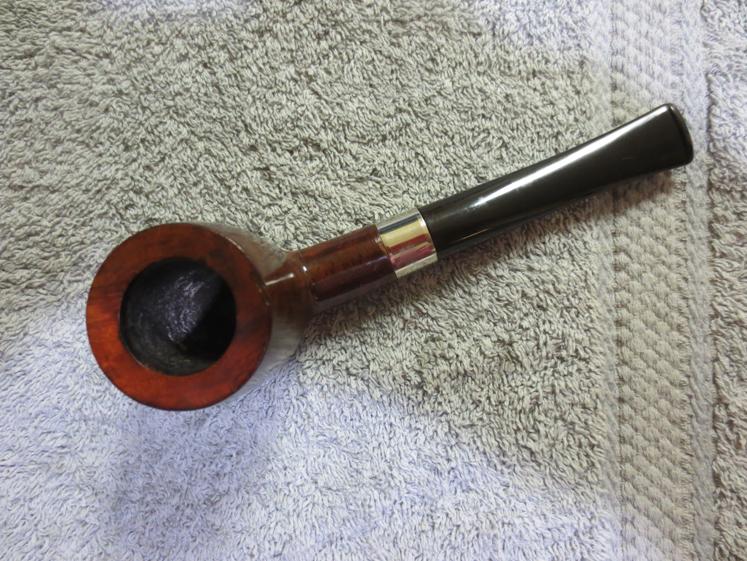
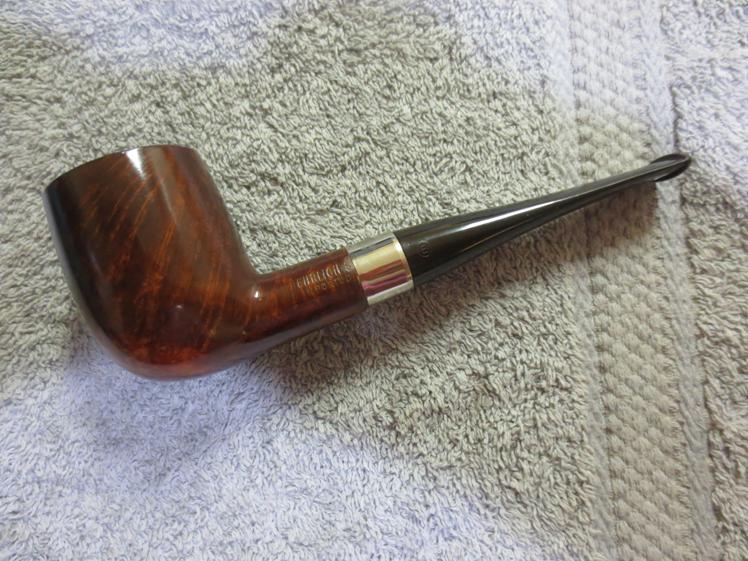
This one is an Ehrlich billiard stamped Enrlich over Imported Briar on the left side of the shank. The stem still bears the E in a circle stamping and on the underside reads ITALY. There is no shape number on the sides or underside of the shank. It may well have had one prior to the previous repair that had been done but I could see no sign of it.

Over the years I have had to rework many of the first pipes that I repaired and restored. Some of them were simple fixes that came with time and experience. Some of them were unfixable without some major reshaping. This time around the pipe that I am working on came with lots of issues that were not my own making. They were the issues that someone else made in fixing this pipe. It had a cracked shank and a restoration band. The previous repairer had glued the shank and then proceeded to sand down the shank to fit the band rather than using a band to fit the shank. The band was slightly small in diameter and did not match the shank above it. It had the characteristic “bulge over the belt” look that came to me in middle age. The sanding down of the shank also went too far in that with the band in place there was a large gap between the shank and the band all the way around the pipe. The edge against the part of the shank that remained was crooked and rough. It showed above the band when it was in place and also held the band at an angle. The band would not stay in place and was being held there by the stem.

The rim had been topped but not enough and there were still gouges on the outer edges of the bowl. The bowl was reamed but not all the way to the bottom of the bowl and the airway was very constricted where it entered the bowl. The finish was spotty at best and had a coat of varnish over the stain. There were some obvious fills in the bowl that really showed up through the spotty stain. Overall the bowl looked worn and uninviting. It certainly would not be a pipe that called to me from my rack. The stem was oxidized and dirty as well as been covered with deep scratches over the length from the band to the button. The tenon had also been taken down slightly so its fit in the shank was loose.Ehrlich1

Ehrlich2

Ehrlich3

Ehrlich4 When I removed the stem the band fell free and I was able to examine the repair to the cracked shank that had made banding necessary to the previous repairer. You can see the angles of the cut against the shank that had been done by sanding that kept the band from seating on the shank straight.Ehrlich6

Ehrlich7 I cleaned up the edge of the cut on the shank to make the band sit straight and then heated the band with a lighter to expand it to sit straight on the shank. When it was heated I pressed it against a hard surface and felt it slip into place. There was no need to glue it at this point as the gap between the shank and band was too big to connect the too.Ehrlich8

Ehrlich9

Ehrlich10 I removed the stem and filled the gap between the band and the shank with briar dust. I packed the dust in with a dental pick and then put super glue on top of the dust to form a bond and fill the gap. I used a knife to bevel the inside edge of the mortise to accommodate the fit of the stem. I sanded the inner edge and the repair to the shank. The photo below shows the fill and the repair. It still needed to be sanded but the stem fit very well.Ehrlich11 The next photo shows the topping job that had been done on the rim top. You can see the scratches and the rough spots on the outer edge of the rim.Ehrlich12 I re-topped the bowl on the topping board using 220 grit sandpaper to clean it up.Ehrlich13 The next photo shows the re-topped bowl. The edges are all clean and smooth. The spot that looks rough on the back side is a fill that was along the edge.Ehrlich14 I sanded the bottom of the shank to take out some of the bulge against the band. I started with 220 grit sandpaper and then used medium and fine grit sanding sponges to smooth out the scratches.Ehrlich15 With the cleanup on the shank and rim finished I moved on to clean up the interior. I scraped out the bowl with a sharp knife to remove the remaining cake and clean up the bottom of the bowl. I used the drill bit from the KleenReem reamer to open the airway and remove all of the tars that had clogged the airway into the bowl.Ehrlich16 I scrubbed the mortise, airway and inside of the stem with pipe cleaners, cotton swabs and alcohol until it was clean.Ehrlich17 In the photo of the stem shown below you can see the scratches that were left in the stem from the previous cleanup.Ehrlich18 I sanded the stem with 220 grit sandpaper and then medium and fine grit sanding sponges to remove the scratches and some of the surface oxidation.Ehrlich19 With the scratches minimized I put the stem in a jar of Oxyclean solution to soak. I let it soak for about an hour and a half and then rinsed it off and dried it with a cloth. I rubbed the stem down with a Mr. Clean Magic Eraser and was able to remove the majority of the oxidation.Ehrlich20 I gave the stem a light sanding with the fine grit sanding sponge and then moved on to the micromesh sanding pads. I wet sanded it with 1500-2400 grit pads and then rubbed it down with Obsidian Oil.Ehrlich21 I put the stem back in place and restained the bowl with a medium brown aniline stain. I flamed the stain and set the bowl aside to dry on the cork and candle stand and called it a night. The pipe was beginning to look better.Ehrlich22 I worked some more on polishing the stem. I dry sanded with 3200-4000 grit micromesh sanding pads and then rubbed the stem down with Obsidian Oil. I continued to dry sand with 6000-12000 grit micromesh pads and then buffed the stem with Blue Diamond on the wheel.Ehrlich23

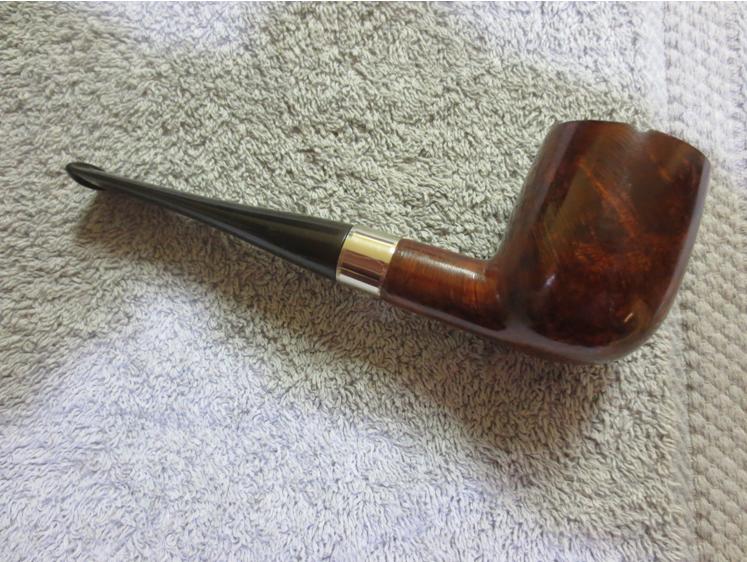
Ehrlich24 I used Dave Gossett’s additional step in buffing the final pipe. I gave it multiple coats of carnauba wax and then a clean buff on a soft flannel wheel. I gave it a final hand buff with a microfibre cloth before I took the photos below. The pipe is finished and ready for the pipeman who will make it his/her own.Ehrlich25

Ehrlich26

Ehrlich27

Ehrlich28

Ehrlich29 This Ehrlich billiard is a medium sized pipe, basically a Group 4 in Dunhill terms. The grain is quite nice and with the stain the fills blend into the finish quite well. The stain is a medium brown that allows the grain to show through to its advantage. It should make someone a great addition. If you are interested in this pipe email me with an offer at slaug@uniserve.com and we can discuss it. The entirety of the sale price will go to the Nepal project. I will pay the postage so that does not get taken off the proceeds. If you are interested in reading about the SA Foundation you can look at their website at http://www.safoundation.com.

Thanks for looking.

Restoring a Made in London England Saddle Billiard Shape 195


Blog by Steve Laug

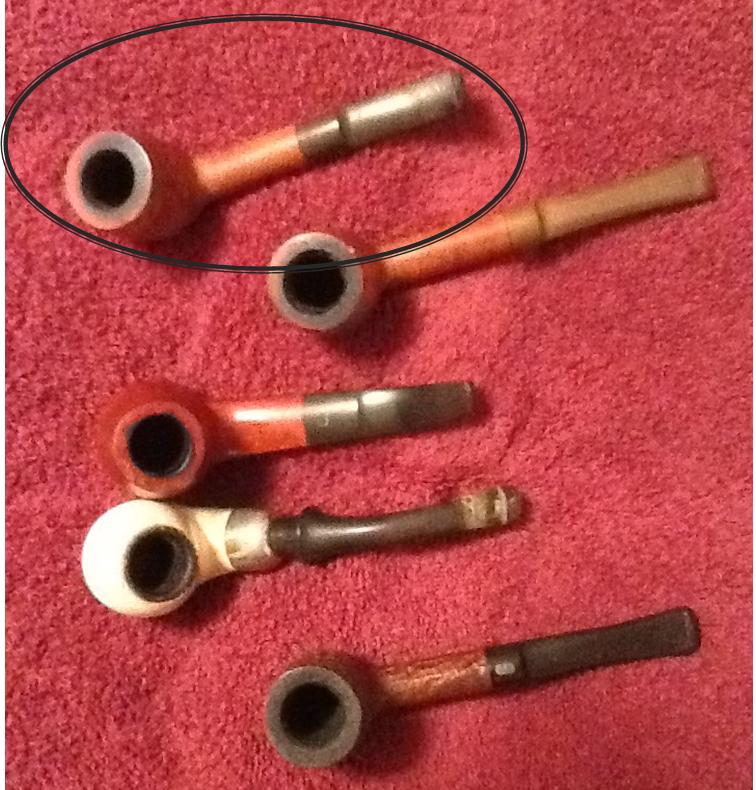
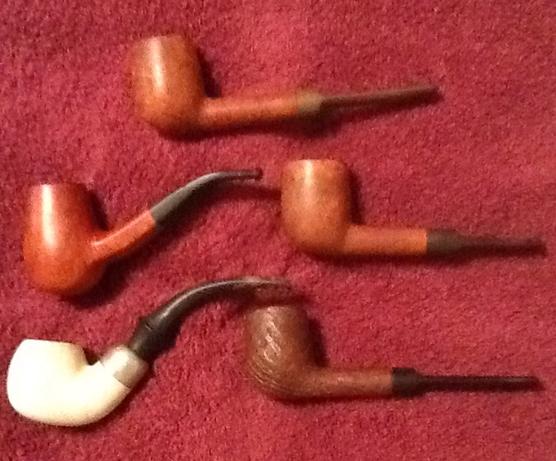
I found this small saddle billiard on a recent trip to Idaho Falls. My brother and I went on a pipe hunt in some of the antique malls in the city and the surrounding area. It was one of five that I picked up on that first day. I have circled it in the photo below so that you can see which pipe I am talking about. I apologize for the blurry photo I took with my iPad, but it gives a basic idea of the way the pipe looked. The bowl was caked, the rim was tarred and darkened, the stem was oxidized but in relatively good shape. The stamping on the left side of the shank reads Made in London over England. On the right side is the shape number 195. I have looked in the catalogues for Comoy’s, Barlings and Orlik to see if I can identify the English maker of this pipe but the shape number does not match any of the numbers in the catalogues.Bill1

Bill2 It was one of two pipes that I worked on at my mom and dad’s house. I bought a set of micromesh pads from a local hobby shop that included pads from 1500-4000 grit. I started by sanding the stem with micromesh sanding pads – wet sanding with 1500-2400 grit pads. I scrubbed the bowl and rim with a paper towel and cool water to remove the tar buildup. Then I sanded the rim and the bowl with the same grit pads. I was able to remove the tars and darkening quite easily. The rim was undamaged on either the outer or inner edges. I carefully reamed it with a small sharp blade until the inner walls were bare.Bill3

Bill4 I dry sanded the stem and bowl with 3200-4000 grit micromesh sanding pads.Bill5 I did not have any higher grit micromesh pads with me. I gave the bowl and stem a light coat of olive oil and hand buffed it with a microfiber clothe to raise a shine and took the next series of photos to show where it stood after this process. Once I took it home and gave it a buff on the buffer and several coats of carnauba wax this would be a beautiful little billiard in the English tradition.Bill6

Bill7

Bill8

Bill9

Bill10 I brought the pipe back to Vancouver and gave it a quick sanding with 6000-12000 grit micromesh pads and then buffed the stem and bowl with Blue Diamond on the buffing wheel. I gave it several coats of carnauba wax and then a quick buff with a clean flannel buff. I finished by trying out what Dave Gossett spoke of and buffed it by hand with a microfibre cloth until the finish glowed. The finished pipe is shown in the next series of photos.Bill11

Bill12

Bill13

Bill14

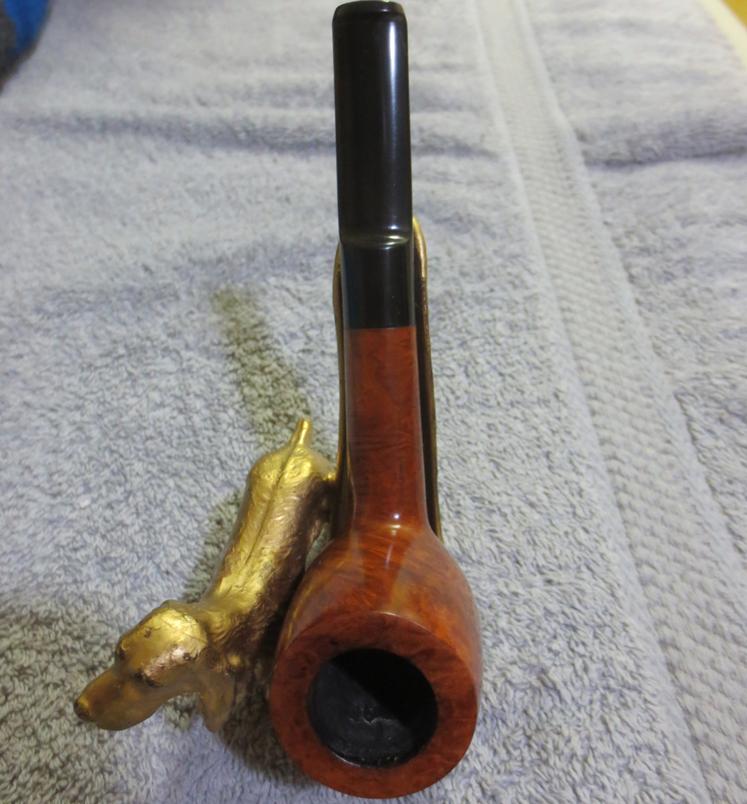
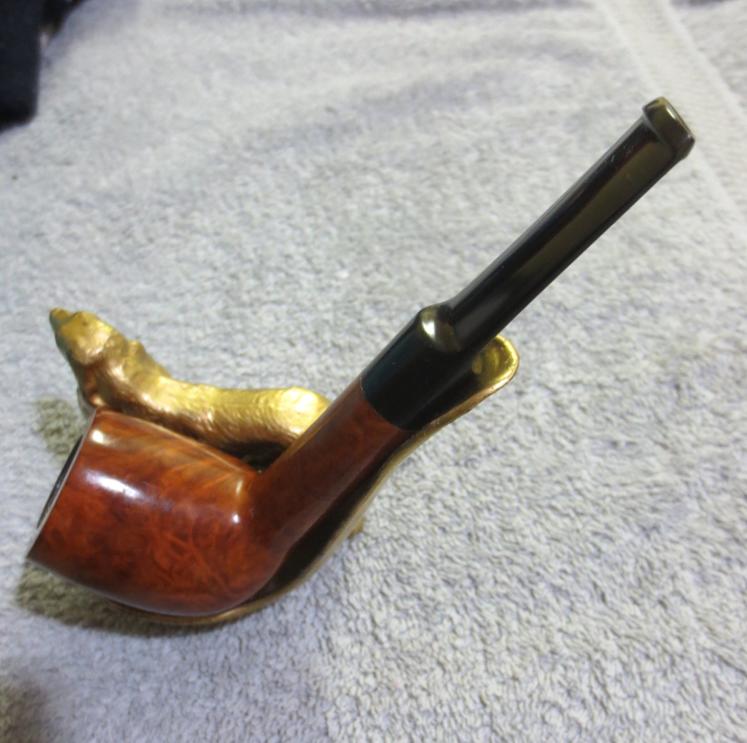
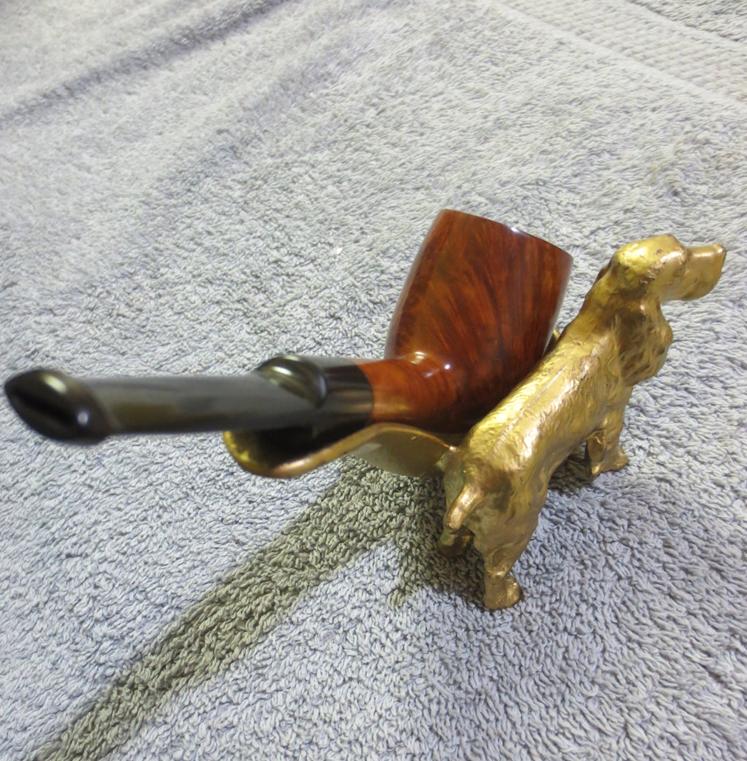
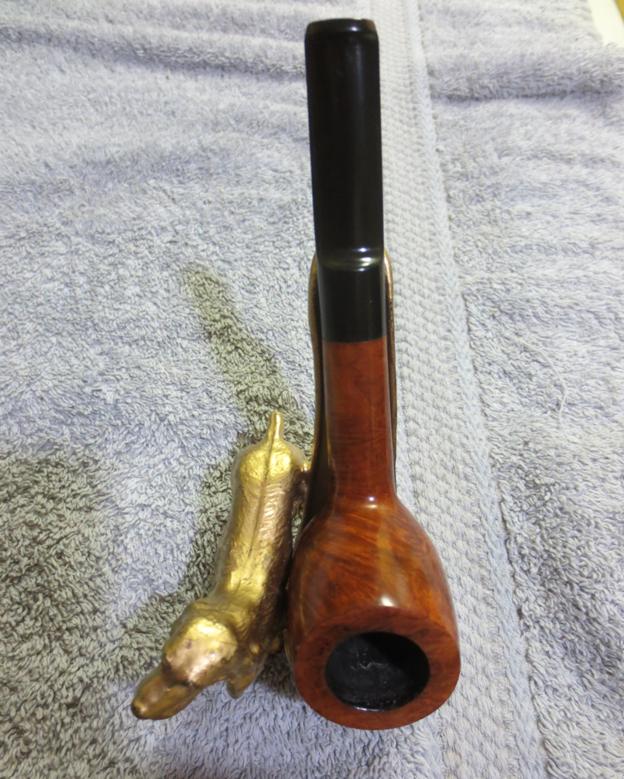
Bill15 I took a few photos in a pipe rest that my daughters found on a second trip to the antique malls. It is a golden coloured cocker spaniel similar looking to my dog Bailey that died a year ago after 14 years as a member of our family. The photos give a good view of the grain on this beautiful little billiard.Bill16

Bill17

Bill18

Bill19

Thompson Bent Meerschaum System Pipe – Peterson Shape 303


Blog by Steve Laug

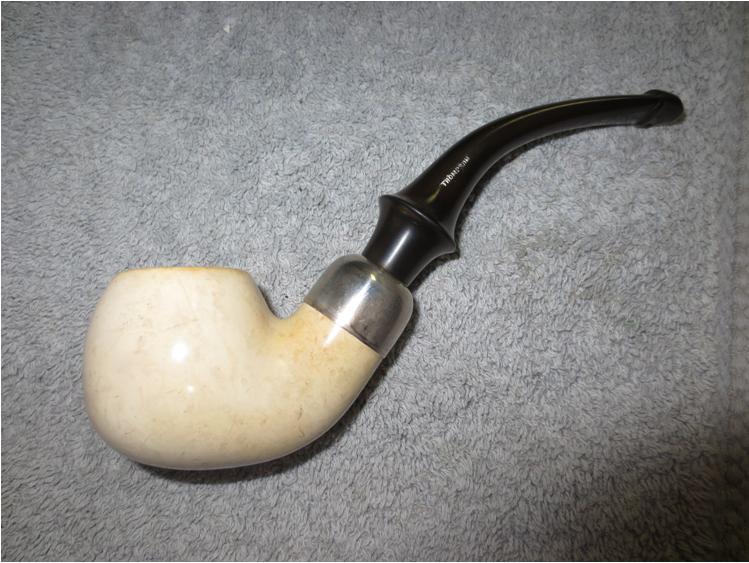
Last week I was down in the US visiting my parents and had some time to visit a few of my old haunts for estate pipes. One of the locations was a gold mine of old pipes. Below are two poor quality picture of the lot that I found there. It included two old English made pipes with saddle stems that were tired but in decent shape, an older Danish Made egg, an older Jobey English made push stem sandblast billiard and a meerschaum system pipe that looked like a Peterson 303 shape to me.Thompson a

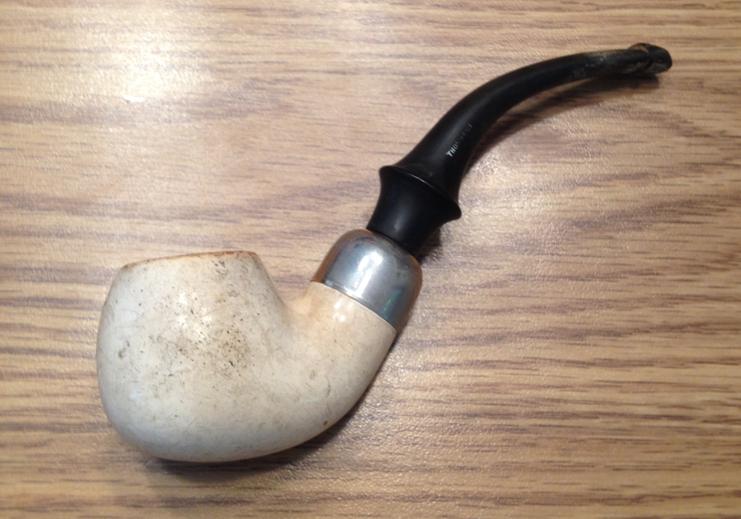
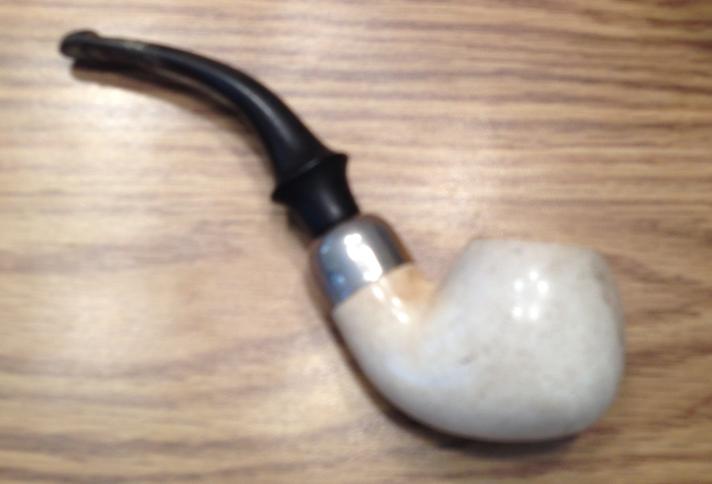
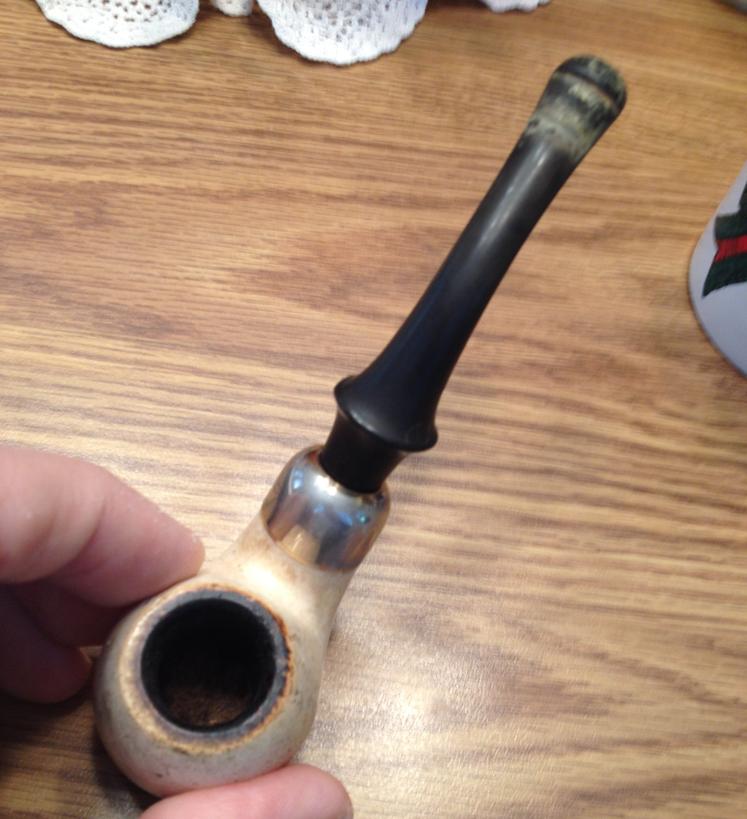
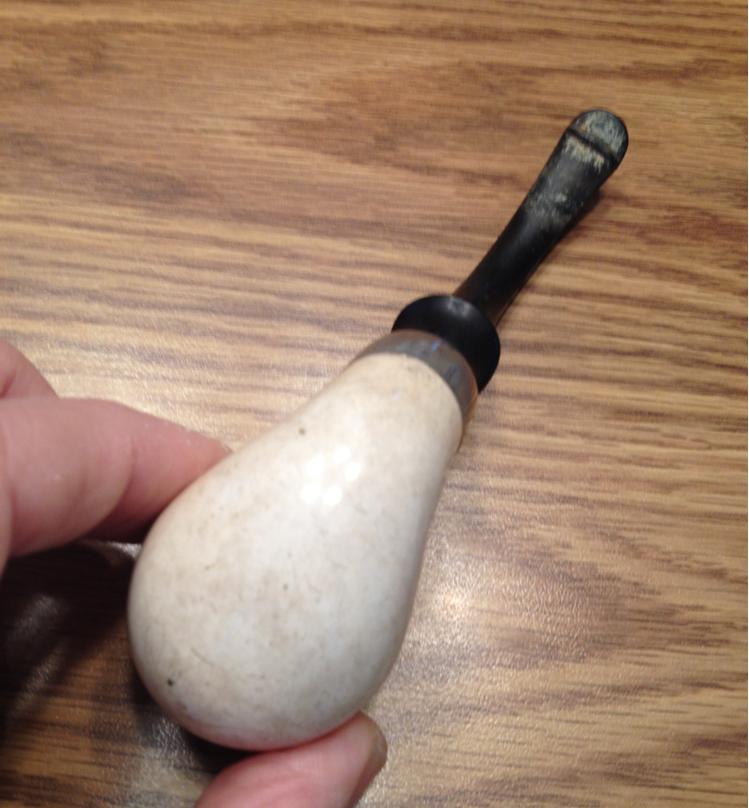
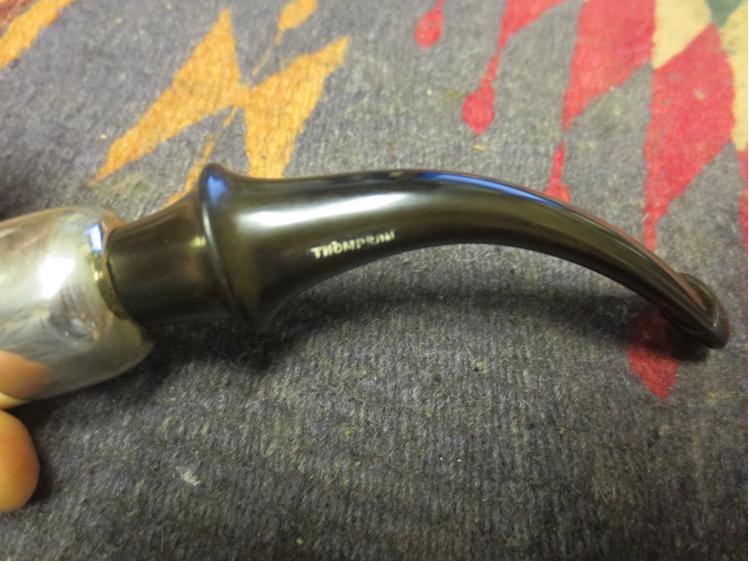
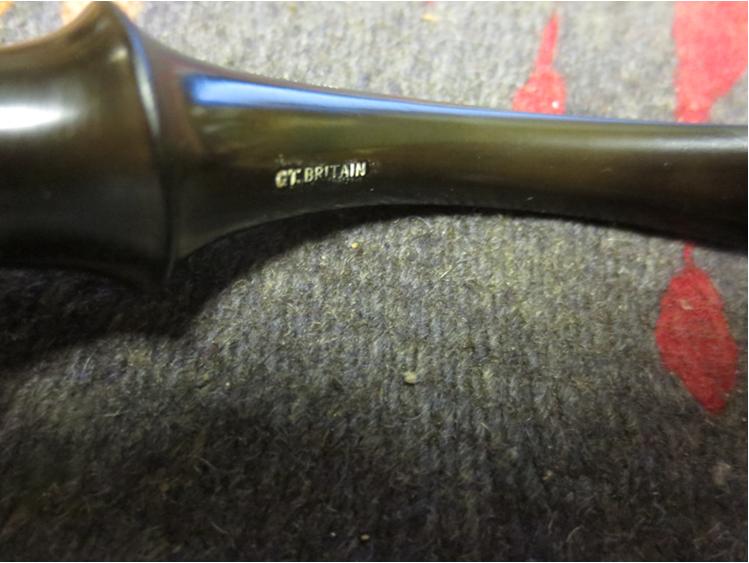
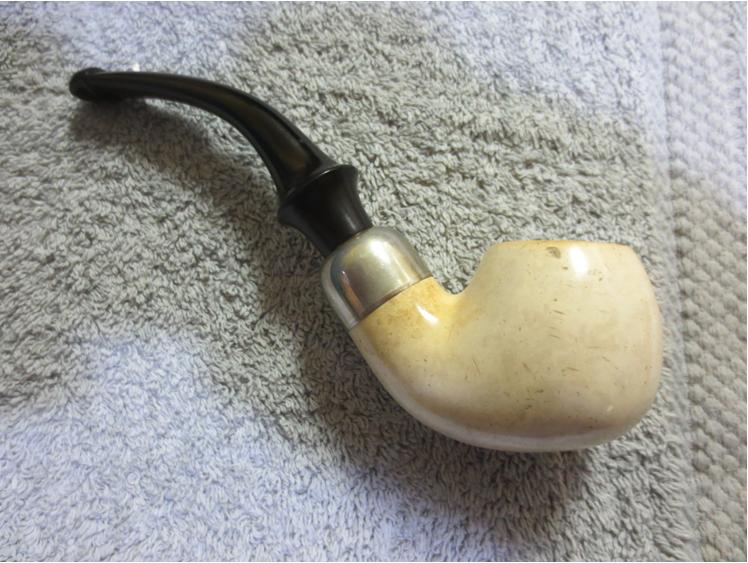
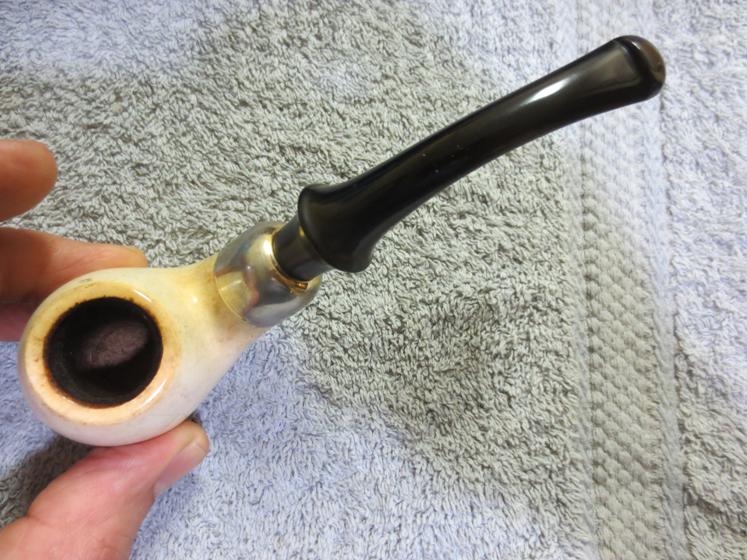
Thompson b It was scratched and dirty with oxidation and bite marks on the stem. The stem looked like a P-Lip but it is not – it has the airway in the end of the button rather on the top of it. The saddle flare is also different from a Peterson stem but the shape of the pipe certainly screams Peterson. It bears stamping on the stem that reads Thompson on the left side and Gt. Britain on the underside. The stamping is etched into the vulcanite. The nickel cap was oxidized and worn. The rim of the bowl was dirty and had tarry build up. The inside of the bowl was caked and dirty. The sump in the shank was filled with tars and oils that had crystallized and hardened. It was in need of some TLC.Thompson1

Thompson2 I reamed the bowl with a sharp knife to remove the cake back to the meerschaum. I carefully scraped it away so that I would not damage the inner edge of the rim.Thompson3

Thompson4 When I returned to my parent’s house I set up some newspapers and turned the kitchen table into a work table. I chose to work on this old warhorse first. I scrubbed the rim with a damp paper towel to remove the tars. I scrubbed it with saliva as well to break down the tars. I also scrubbed the bowl with the damp towel as well to remove the dirt and grime on the sides. The first bit of scrubbing took off the grime on the bowl sides and most of the buildup on the top of the rim. The second photo below shows the rim after the first bit of scrubbing.Thompson5

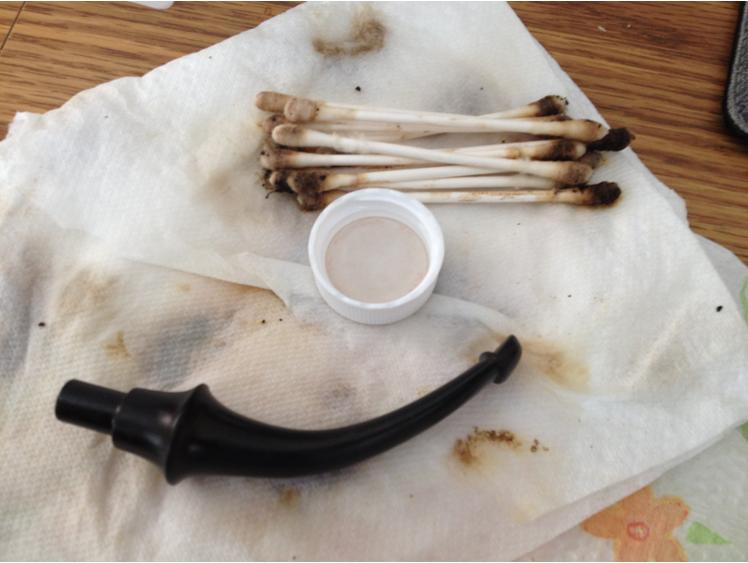
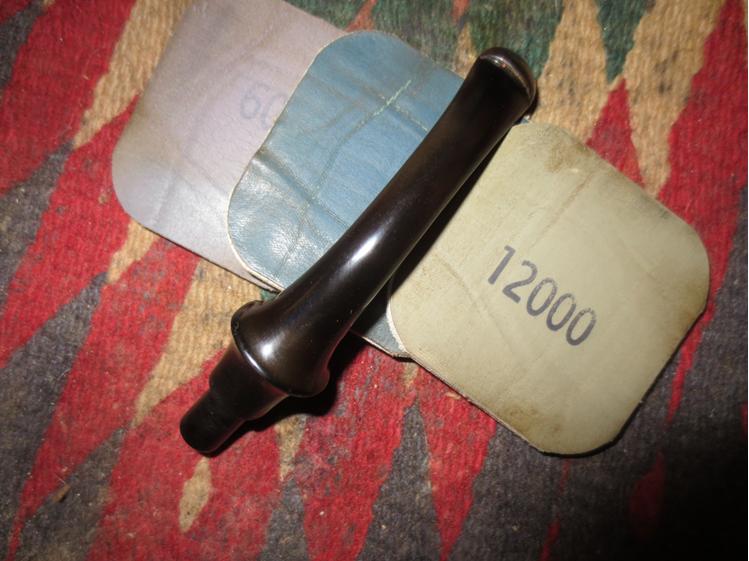
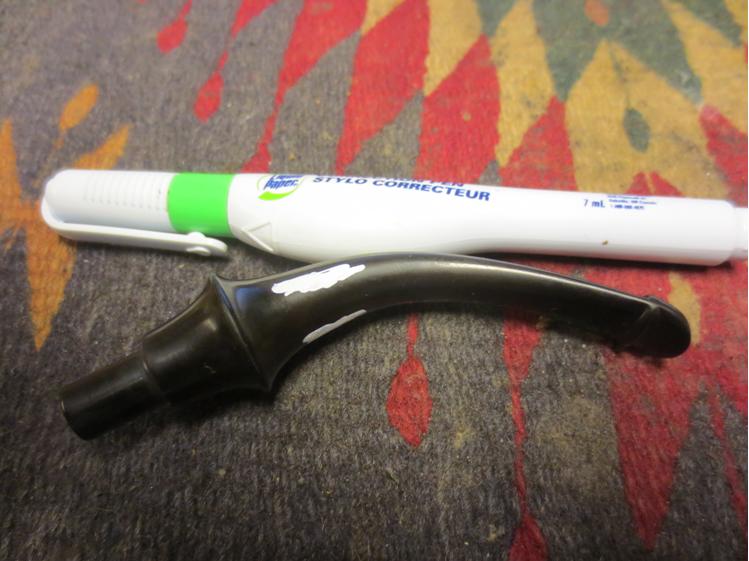
Thompson6 I sanded the bowl and rim with micromesh sanding pads. I started with 1500 grit and worked through 2400 grit sanding pads. It minimized the scratches on the sides of the bowl and also removed the rest of the tars on the rim.Thompson7 I wet sanded the stem with 1500-2400 grit micromesh and then rubbed it down with a light coat of mineral oil (thanks Troy) and sanded it with 3200-4000 grit pads. I carefully sanded around the etched/stamped letters on the stem side and bottom. I was able to remove the oxidation and calcification that was built up around the button.Thompson8 I scrubbed out the tenon end of the stem and the shank/mortise of the meerschaum bowl with alcohol and cotton swabs. I scrubbed out the bowl with cotton swabs and alcohol to remove the dust from the reaming. I then followed that by scrubbing the shank and bowl with pipe cleaners and alcohol.Thompson9 I set aside the pipe until I returned to Vancouver and then buffed the stem and bowl with White Diamond to polish both the stem and the bowl. I then sanded them both with 6000-12000 grit micromesh pads and then buffed both with Blue Diamond on the buffing wheel. I gave the bowl a coat of carnauba wax to polish it.Thompson10 I used a liquid paper pen to fill in the stamping on the stem and let it dry.Thompson11 I scraped off the excess dried liquid with my fingernail and then buffed the stem with Blue Diamond to finish cleaning up the area around the stamping. The next two photos show the stamping on the stem.Thompson12

Thompson13 Once I had finished I buffed the bowl and stem with carnauba wax and buffed it finally with a clean flannel buff to raise the shine. The finished pipe is shown in the next series of photos. It turned out to be a beautiful pipe. I would love to figure out who made the pipe and wonder if there is not a Peterson connection based on the drilling and the shape. Does anyone have any information on the brand? Thanks for looking.Thompson14

Thompson15

Thompson16

Thompson17

Thompson18

Thompson19

Thompson20

Restoring a No-Name Bent Rhodesian


Blog by Aaron Henson

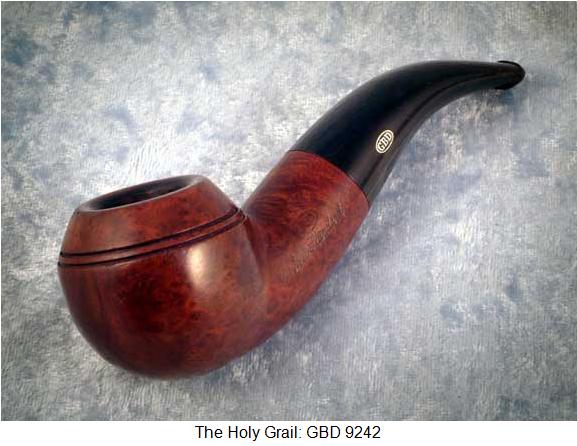
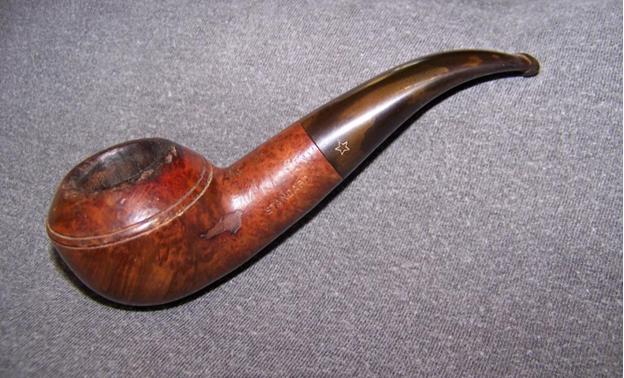
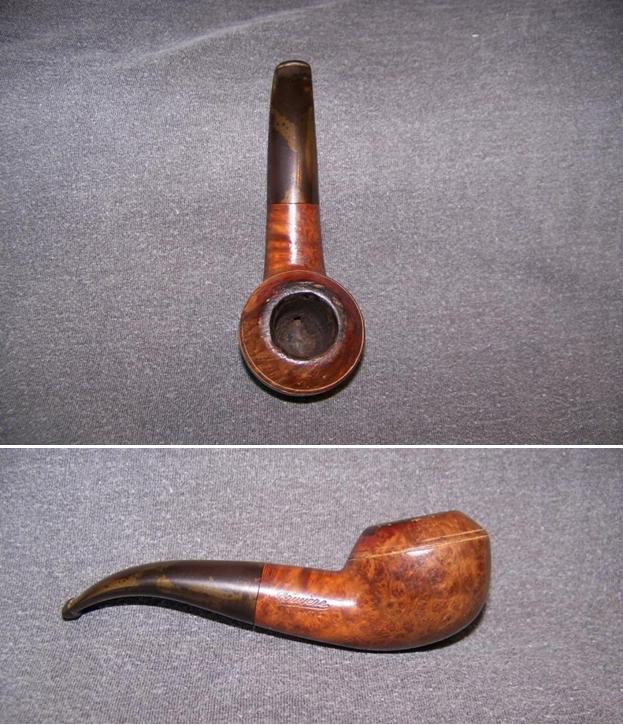
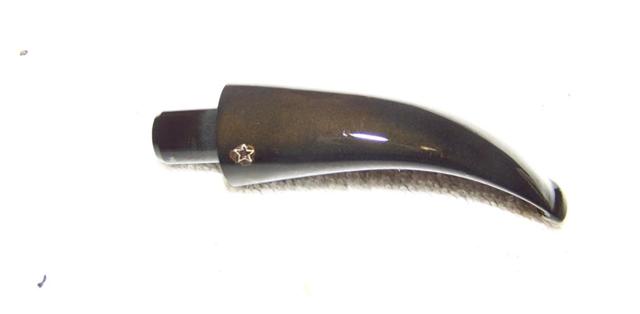
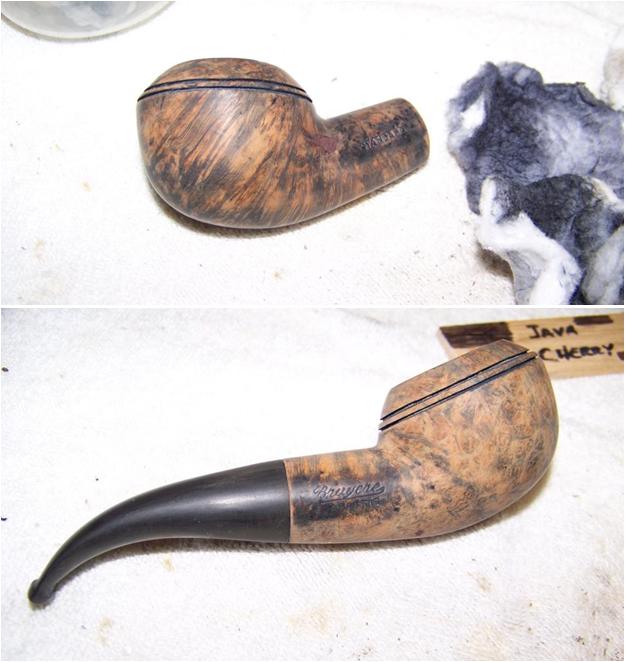
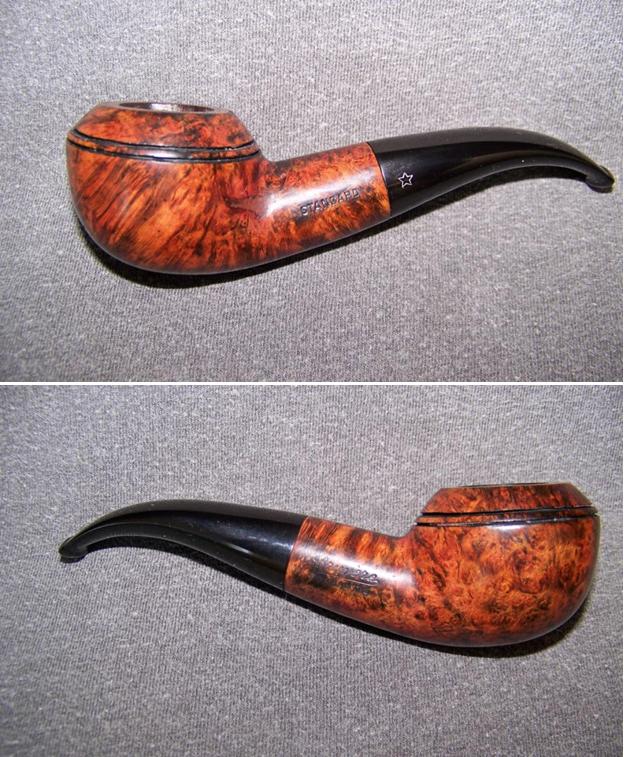
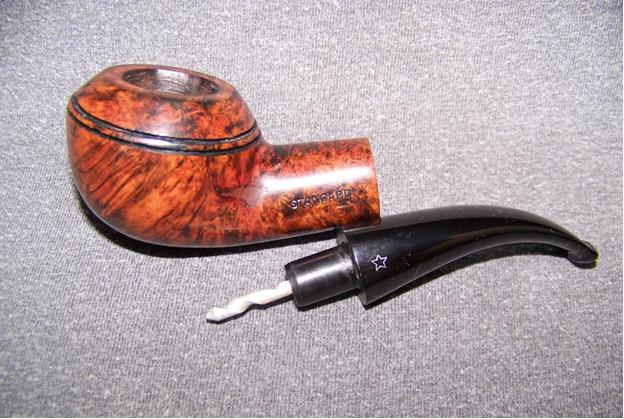
Still being relatively new to the pipe collecting/restoration hobby I have been a bit selective when it comes to the pipe I purchase. I typically look for shapes that have visual or tactile appeal and pay little attention to the name on the stem. And in that line of thought, ever since seeing the GBD 4292 for the first time I have wanted a pipe of this shape. So when I came across this no-name bent Rhodesian on eBay, I quickly placed a bid.Aaron1 It’s not that there were no markings on this pipe. The left side was stamped with STANDARD on the shank and a white 5-point star on the stem. The right side of the shank was stamped with Bruyère in script over Garantie.

A week later the package arrived in the mail and happily, the pipe was just as described and there were no surprise chips or cracks that the seller forgot to mention in the advertisement.Aaron2

Aaron3

Aaron4

Aaron5 Stummel Inspection
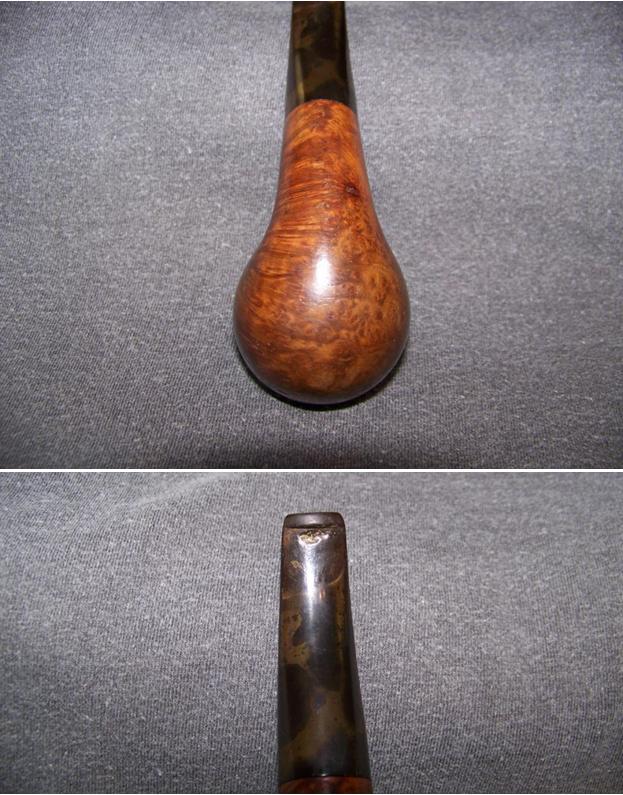
The grain was very nice with some birds eye on the right side and a kind of flame grain on the left. There was some minor denting on the heel but the only real wood flaw was a large fill on the left side The color of the fill did not blend well with the grain and it detracted from look of the pipe. Around the rim there was some chipping and charring; damage not uncommon in a used pipe. The only other major issue that I found was the that the twin groves around the bowl were not very deep and had been worn completely away on the right side.

Stem Inspection
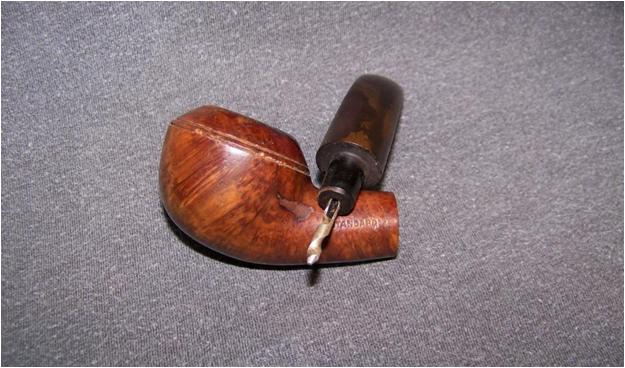
The stem was in very good shape. There were some tooth marks on the bottom side of the stem with moderate oxidation overall. The singer was removable and had a modest build up of tar. The biggest issue with the stem was the loose fit to the stummel – which didn’t become apparent until after the shank was cleaned.

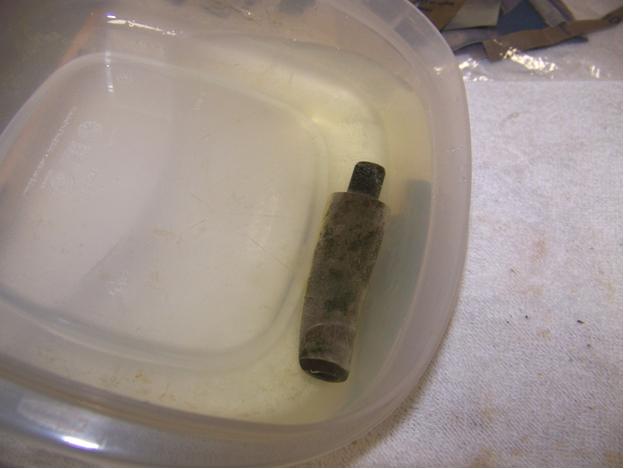
During the inspection I decided to change the stain and finish of the pipe in order to highlight the grain and camouflage the large patch. So I began by setting the stummel to soak in 95% isopropyl alcohol to remove finish and loosen the tars and cake. I set the stem to soak in the same solution in a different container for the same reasons.Aaron6 After an overnight soak, I began cleaning the stem with pipe cleaners, running them through until they came out clean. To address the oxidation, I placed a small dab of petroleum jelly over the star and set the stem to soak in a solution of 50/50 chlorine bleach and water. After 20 minutes – when the bubbles had subsided – I rolled the stem over in the solution and let it go another 20 minutes. Then I removed from the bath, rinsed with fresh water and set the stem aside to dry.Aaron7 I didn’t get back to the work bench right away, so after a 36 hour soak, I removed the stummel from its alcohol bath and wiped it dry. I then reamed the bowl with 40 grit sand paper wrapped around a ½” diameter dowel (although this method works well, I did finally order a Castelford pipe reamer from Amazon). Once the cake was removed and the chamber cleaned, I went to work on the shank. Pipe cleaners and cotton swabs removed the remaining gunk inside the shank.

The chips and charring around the rim could only be cleaned up by topping the bowl. I use a sheet of 220 grit sandpaper laid on a flat surface and worked the stummel around in the circular motion. Even pressure and constant checking ensured that the rim was flat and level. I didn’t get the deepest chips because I was concerned that anymore material off the top would change the look of the pipe. Looking back now, I could have filled these chips with a briar dust patch. Maybe I will go back and do that this fall.

I sanded the remainder of the bowl with 320 – particularly around the large filled area and decided that the fill was in good shape and not worth removing. The fill proved to be of a darker color and that went along with my finishing plans.

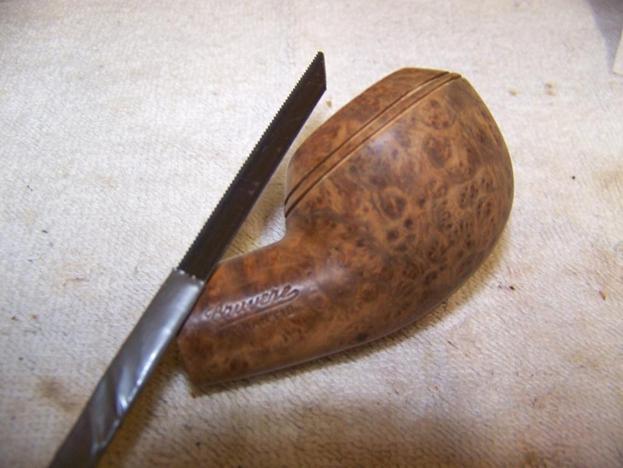
The parallel grooves around the bowl were next on the list. On the right side they had worn away until they were barely visible. I went to my local hardware store and searched through the saw blades until I found what I was after: a thin fine toothed mini-hacksaw blade that just fit the width of the existing grooves. I trimmed the end of the blade with shears so I would have more clearance around the shank. Using the existing groves as a guide, I carefully worked my way around the bowl deepening and redefining the grooves. As usual, I found that not rushing yielded the bet results.Aaron8

Aaron9 Returning to the stem, I tried applying heat to raise the tooth mark but that did not answer. So I roughened the tooth marks with 320 grit paper and fill of the divot with black superglue in multiple thin layers, letting the glue dry completely (12 hours) between layers. Once the final layer of superglue was dry, I feathered out the patch with 320 grit paper. Then I began the sanding/polishing process by wet sanding with 400 – 4000 grit paper stopping every few grits to dry the stem and apply a light coat of mineral oil. I didn’t touch the star on the stem until I got to the 2000 grit paper not wanting to damage the logo. Once I finished polishing the stem with 6000 – 12000 grit paper I oiled the stem and set it aside.

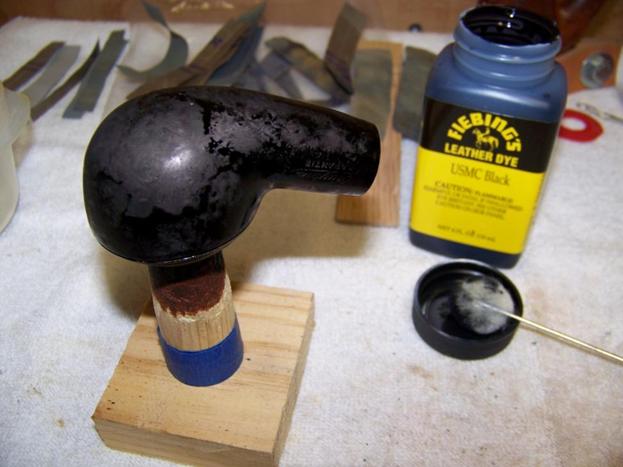
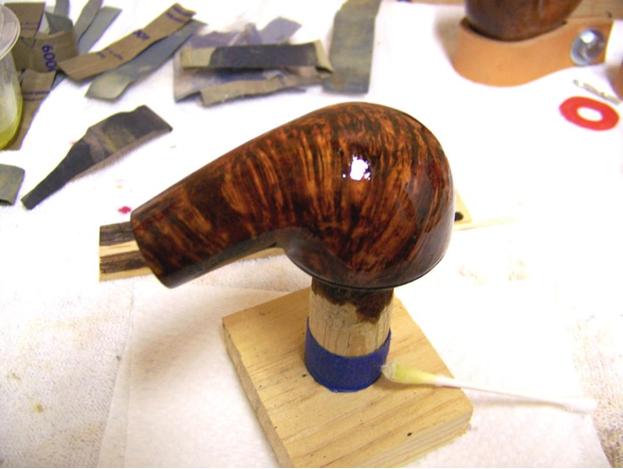
I wanted to provide some contract to the grain of the pipe and to make the grooves really stand out. The original grooves did not have a contrasting color. I began with a coat of Black Fiebing’s leather dye. In retrospect, I should have thinned it down some.Aaron10 After the stain dried, I had a difficult time removing it. Acetone wipes and eventually light sanding removed most of the dye but left enough to highlighting the grain.Aaron11 I wanted a little more color so I applied a 3:1 diluted coat of Fiebing’s Ox Blood dye. This had the result of giving the pipe a pink hue that had me more than a little concerned. Happily, it all came together with multiple thin coats of olive oil. I left the oil on the stummel until it soaked in and then applied the second and third coats. The third coat did not soak in, so I wiped in clean and set it aside to rest for a couple of days.Aaron12 Before taking the pipe to the buffing wheel and thought I would address the loose stem. I tried bee’s wax, which has worked in the past, but the stem remained too loose. After a little research I heated the tenon over the heat gun and then inserted a nail set into the air hole and let the tenon cool. This technique only enlarges the end of the tenon rather than the full length of the tenon, which is a better repair. I went through the heating/cooling process several times until I got a snug but not tight fit. Another thing to be aware of when heating the tenon is that the softened tenon may ‘sag’ a little. If this happens, then you may be left with a little gap between the stem and shank.

From here, I assembled the pipe and took it to the buffing wheel. I use an inexpensive Sears buffing system that fits into the chuck of my drill press. I found on previous projects that gearing down the drill speed to 1200 rpms was important to maintain control and not overheat the pipe. I finished with three coats of carnauba wax and buffed to a shine.Aaron13

Aaron14

Aaron15

The B(ew)itchin‘ Pipe – A Lost Episode of ‘The Twilight Zone’


Guest Blog by Robert M. Boughton
Member, North American Society of Pipe Collectors
http://www.naspc.org
http://www.roadrunnerpipes.com
http://about.me/boughtonrobert
Photos © the Author

“Every writer is a frustrated actor who recites his lines in the hidden auditorium of his skull.”
― Rodman Edward “Rod” Serling (1924-1975), U.S. TV/film writer, narrator, anti-war and –racism activist, in “Vogue” magazine [April 1957]

INTRODUCTION
Good evening. Imagine, if you will, a rather large college town in the heart of the American Southwest, population estimated at a little more than half a million. This sprawling urban area does not appear on any globe of the Earth, nor do its lights draw the attention of a satellite passing far overhead at night in the vacuum of outer space. Nevertheless, due to the proximity of two of the country’s three top nuclear weapons developers to this liberal college and arts metropolis, it is likely the target of hundreds if not thousands of such warheads from other, potentially hostile nations or terrorists, foreign and domestic.

In today’s episode, we are about to meet a 53-year-old man named Robert Boughton, who as a matter of record resides in this sprawling burg. Mr. Boughton knows the twin peaks that are, atop the one, success and hope, and the other, defeat and futility. At the moment, he is at the very zenith of the heap of that more and more common social malaise that people glibly call the harried man. He is finding his way through one of the more interesting times of his life, in the sense of the ancient Chinese curse. Honest, hard-working and trustworthy, he has had more jobs than he could ever recall to put down on a government security clearance application, from maintenance man to assistant manager in hotels; neighborhood delivery boy to photojournalist for newspapers, and, most recently, both caregiver and pipe restorer – tobacco pipes, he always adds to prospective new customers he doesn’t know as he offers them his card.

During the past seven years, Mr. Boughton has postponed his lifelong pursuit of a literary career to dedicate almost every waking hour as caregiver to a mentally unstable roommate with a slightly shorter list of physical disorders, one of them fatal; a shrewish man a few years over the hill who carries his misfortunes the way some brag about drug abuse or petty thievery, but in his case molded into the very form and execution of his tragic worldview by the madness of living day-to-day knowing he is deteriorating from the core of marrow of his brittle bones to the disappearing sheath around every nerve fiber and the corresponding loss of sight and voluntary movement, and finally to the thin skin of his failing frame.

Mr. Boughton’s roommate has no idea how close he has come to being granted his repeated if insincere request to be put out of his misery; to a drive far out onto a back road of the desert for a very long stay. He has pushed Mr. Boughton to the limits of his self-control – to the end of his wits and the edge of his sanity. But the downward spiral is about to change, as you will soon understand. For not long ago, Mr. Boughton caught sight of a pinhole of light in the abyss; a hobby that helped him survive the slings and arrows that another writer once called outrageous fortune.

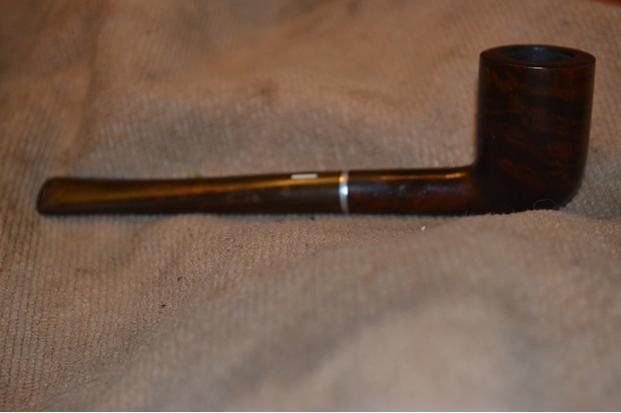
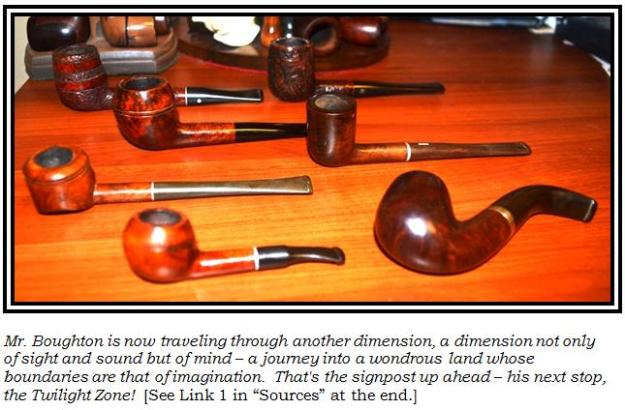
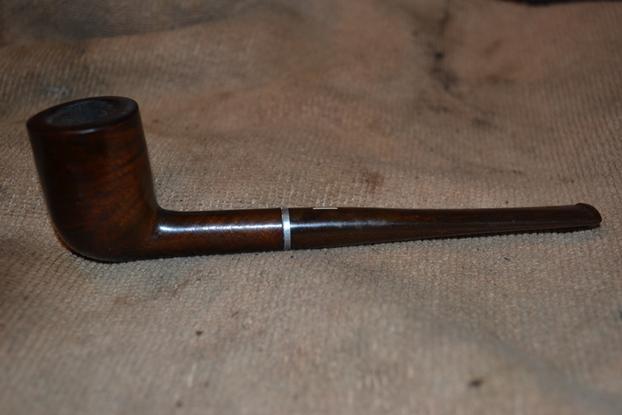
And now all of Mr. Boughton’s troubles are about to change for the better from the simple purchase of an estate lot of seven tobacco pipes in time to write off as an expense on last year’s business income taxes. All of them would have been finds for more than the $25 he paid for the lot – but at a glance, the real gem, in the eye of the restorer at any rate, first went unnoticed. See if you can spot it in the following picture from our gallery, which we call “Lot #7: Tobacco Pipes.” Robert1 If you correctly identified the L&H Stern Straight Billiard, on the right in the middle, as the object of Mr. Boughton’s growing obsession, shall we say, then you either have what is commonly referred to as the Sixth Sense or you are an astute collector of fine pipes.
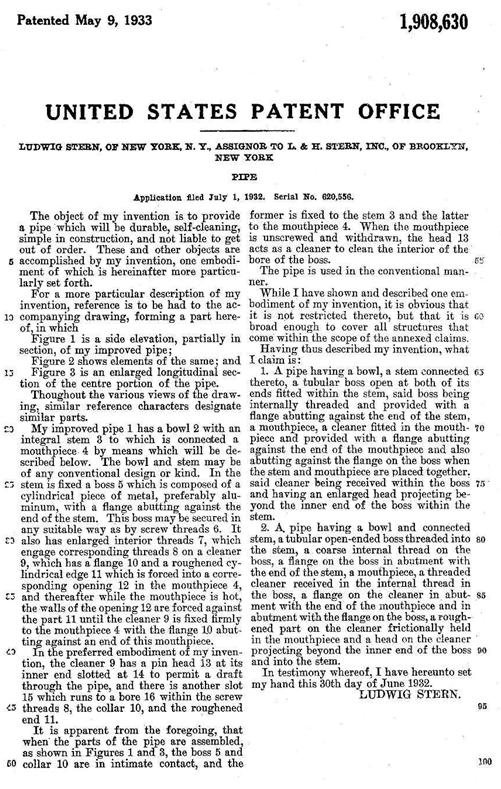
The Park Lane, an invention of the company’s primary founder, is stamped with U.S. Patent № 1908630, issued May 9, 1933. Mr. Boughton has always appreciated the elegant – in expressions of poetry, law, logic and art, to name a few – and as for Patents, he considers this one, being only two pages including the obligatory illustration of parts, to be as brief and comprehensive as they come.Robert2
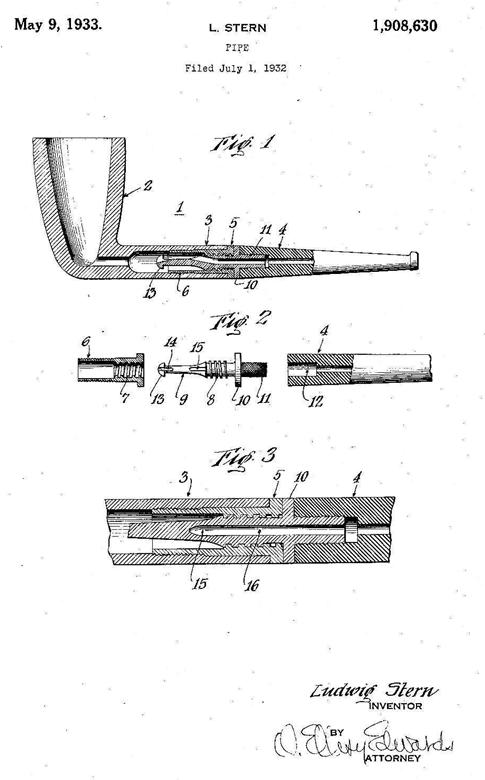
Robert3 L&H Stern Inc. was officially organized in 1911 by one Ludwig Stern (the L in the initials, which in the early days were fashioned L. & H. S.), with his older brother, Hugo (the H). Ludwig emigrated from Germany as a young man, after his brother, who was five years older.

(And now, if the audience will permit a brief side-bar, a point of interest: Ludwig worked for the largest supplier of tobacco products to the entire state of New York – somehow providing an estimated 90% of cigarettes, cigars, pipe tobacco and other related items to manufacturers and retailers in the area – as early as 1899, the year the behemoth tobacco supplier was spawned. Called the Metropolitan Tobacco Company, a corporation born of a cartel of others in the same business known to everyone who was anyone within the industry as the “Tobacco Trust,” became the object of a drawn-out restraint of trade civil complaint. The original trial and both appeals of said cause were decided, not surprisingly, in favor of the tobacco industry defendants. The small shops, banded together as plaintiffs, now collectively relegated to historical obscurity by a single last name and “et al.,” were forced to close. I submit for your consideration one question: could the wheels of justice have been greased in this case by the main product of the second of the Seven Deadly Sins? This is offered as food for thought – only available at your local diner in the Twilight Zone.) [See Link 2.)

The brothers moved the re-formed business in 1920 to Brooklyn. The new location, in a seven-story building, was – for the then-ubiquitous craft – in a convenient part of town now known by its acronym, D.U.M.B.O. (Down under the Manhattan Bridge Overpass). It remained there until closing in the mid-1960s. [See Link 3.] LHS was already so well respected in the business at the time that the company reorganization and move were news in those bygone days. [See Link 4.]

The LHS Park Lane Billiard included a brown and orange swirled Cumberland bit, handmade from Ebonite and fashioned in this case to look like wood. Mr. Boughton considered the task of restoring this pipe to be distinctly good fortune and a pleasure of restoring, in particular because of a certain aspect of the repair that was new to him. The line was made only in the 1930s. [See Link 5.]

At the present moment, Mr. Boughton is busy at work attempting to restore the WDC Park Lane to its original state. As noble as the endeavor may be, the only problem, with this peculiar specimen, is the invisible transformation the pipe has undergone during years of smoking by a single prior owner who had the good grace to love it. As Mr. William Shakespeare so aptly put it in “A Midsummer Night’s Dream”: “Love looks not with the eyes, but with the mind,/And therefore is wingèd Cupid painted blind.” Now, meet Mr. Boughton in his favorite activity – restoring tobacco pipes with every ounce of his love.

RESTORATION
Robert4

Robert5

Robert6

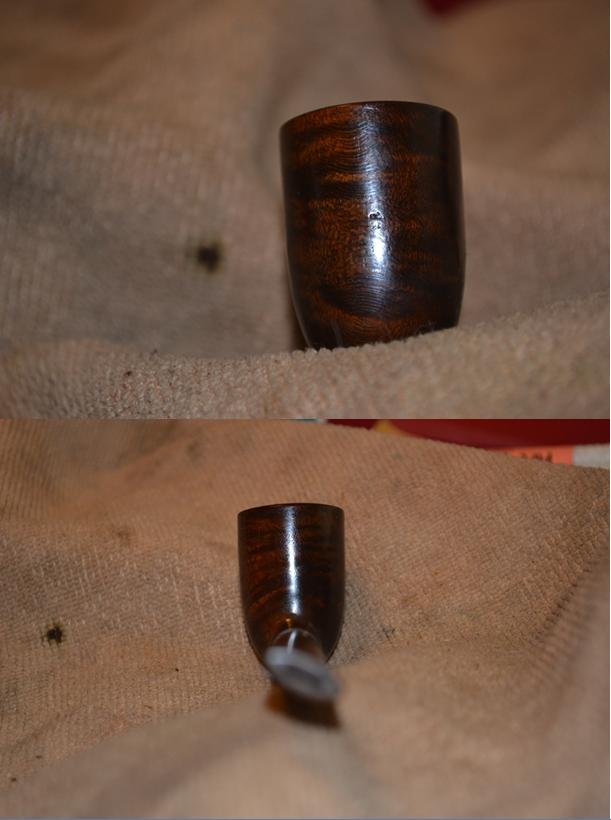
Robert7 The last shot of the Park Lane prior to restoration, above, makes the most serious problem I encountered apparent. The bit was off by about an eighth of a turn, which may seem negligible to one who has never enjoyed the ruminating quality of a fine pipe, but is in fact a microcosmic chasm along the lines of the Grand Canyon to the general viewer.

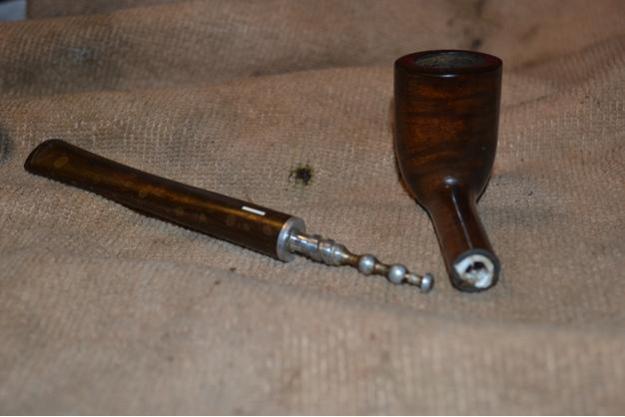
The flaw was masked by the seller of these estate pipes, who, with no small amount of duplicity, placed a piece of paper around the metal tenon screw built into the opening of the shank.Robert8
Robert9 The wily culpability of this particular ilk of seller is obvious from the freshness of the paper. Hence the conspicuous starting point for my restoration.

At this point of experience restoring pipes, I consider myself a journeyman in the craft. Although familiar with various ways to tighten Vulcanite, Ebonite, Lucite and other tenon materials, I was unable to locate any useful information on the Internet – the modern day Library of Alexandria, which was dedicated to the Muses, or nine gods and goddesses of the Arts – concerning the re-alignment of metal tenons fixed either to the bit or shank.

Nevertheless, finding myself without a clue how to proceed, I sent an email to Steve Laug, who soon replied with the suggestion that I read his recent online blog on the restoration of an LHS Purex Bulldog. This amused me, as the many notices of comments on the blog in question were forwarded to me, I wondered what all the hoopla was about and had intended to check it out.

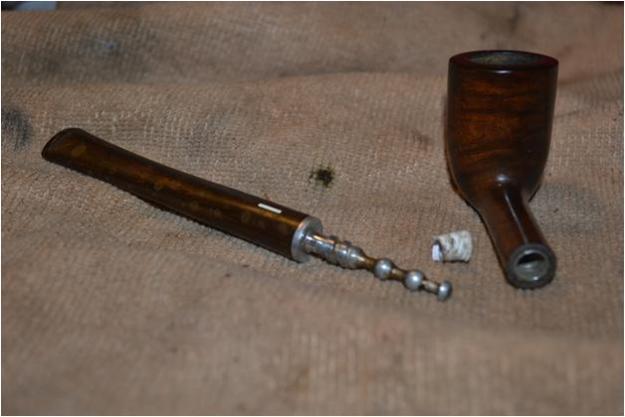
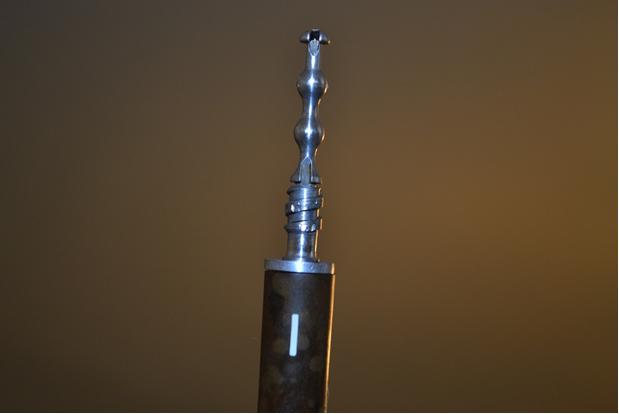
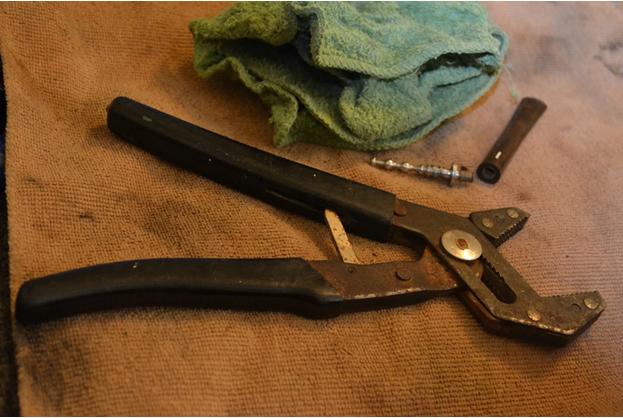
However, awaiting Steve’s reply did not hinder me from proceeding with certain steps I knew, such as the fact that the stinger extension of the tenon should come off. Thinking of that, I tried heating the entire aluminum tenon with the flame of a Bic, careful not to touch the shank opening beyond the part of the tenon Ludwig Stern referred to as the flange [see p. 1, Fig. 2, part 10 of the Patent]. Unfortunately, the tenon still would not budge. Even the stinger [illustrated as a whole as part 9, with parts 13, 14 and 15 forming its length and pushing into part 8] seemed to form a single piece. I was aware this would be odd, if not unprecedented, but after four attempts, I swear it would not come off.Robert10 One lesson I did manage to learn from my dad in his countless frustrated endeavors to teach me about mechanics was that if a part of a mechanism or machine would not come free using reasonable pressure, don’t force it. But, always believing that not all of his maxims were absolute, I suspected he meant it as a guideline that was not immutable under controlled conditions I might someday, by some miracle, learn to recognize. Therefore, I found a small wash rag and a pump plier that I feared might be overkill, but it was all I owned that had not been stolen by previous apartment owners. I also possess a wicked sense of adventure at moments like these. Adjusting the rivet to match the job, I then wrapped the small towel around the base of the tenon/stinger by the flange and loosely clamped the end of the plier over the tenon. As I applied pressure, I could feel the two sides of the mouth turn and clamp firmly down on the rag-covered metal. Gripping the bit in one hand, I turned the plier with my other and immediately felt it begin to move. Slowly, it came free and undamaged.Robert11 In the meantime, Steve replied with the suggestion that I read his recent online blog on the restoration of an LHS Purex Bulldog. This amused me, in a good way. As the many notices of comments on the blog in question were forwarded to me, I wondered what all the hoopla was about and had intended to check it out.
Reading through to the first mention of the difficulty encountered by Steve, my heartbeat quickened. Confident I was on the verge of making the discovery that would enlighten me, I continued, on the edge of my seat on the couch in my living room, as though I were reading a real page-turner of a book or watching an Alfred Hitchcock thriller or perhaps “The Twilight Zone.” Indeed, in my mind I envisioned the Canadian master at work in his studio, so vivid were the words and photographs flashing across his computer screen.

Nearing the expected moment of revelation, I was consumed with anticipation – only to come to a single photograph of Steve’s LHS shank that dashed my hopes in a nanosecond, as is the popular if peculiarly à propos phrase these days; for the illustration revealed the exact reverse of my predicament, one that could not be repaired in the same fashion.

Delayed but not daunted, I set out to do that which I knew I should have attempted in the first place: taking the Park Lane to my own friend and mentor, Chuck Richards, I humbly sought his advice.

Before doing that, I continued where I had left off, cleaning the tenon and stinger inside and out, including the corroded threads that screwed into the bit, using a small square piece of cotton cloth soaked with Everclear and bristly cleaners that passed through the airways. To be done with it, I also ran a pipe cleaner with alcohol through the air hole of the bit, and when it came out filthy, recalled Steve’s words in his blog that this sort of pipe often needs considerable cleaning of the shank and bit. Quite a few cleaners later, I had the mess under control for the time. Known to my dad for having “a mind like a steel trap” and to my friends as being on the stubborn – or, as I prefer to think, confident side – I was by whatever label loathe to surrender to any challenge.Robert12

Robert13 When I arrived at the pipe shop and we exchanged pleasantries, I presented my distressed pipe. Chuck, pipe of the day in mouth, put on his eyeglasses and examined the LHS closely. Within a blurring handful of seconds, my older, more experienced mentor made his diagnosis, telling me with his typical certitude to heat the tenon before tightening it into the bit. A man who prefers to let people learn as much as they can on their own, Chuck then offered the rare treat of extra advice: “It will be counter-intuitive.”

Intrigued, I took a seat in the pipe shop and, starting a fresh bowl full of tobacco in a new pipe, mulled over the problem in my mind. In a flash, I thought of a comparison, and unfortunately blurted it to the complete perplexity of all of the cigar smokers present.

“Like turning into the skid on ice!”

Chuck, caught unawares by the outburst and not at first grasping the metaphor, at last smiled and said, “Yes, something like that.”

At home later, the first chance I had, I sat down with my movable feast of standard implements of construction, including quite a few that were improvised, to make my first attempt at the genuine repair of a loose bit.Robert14 Following Chuck’s advice, and keeping the counter-intuitive dog treat in mind, I was set to apply heat to the tenon stinger when the idea struck me to try removing the stinger again. Of course, then it came out with a simple turn of my fingers, apparently loosened by the work I did earlier and the passage of time.
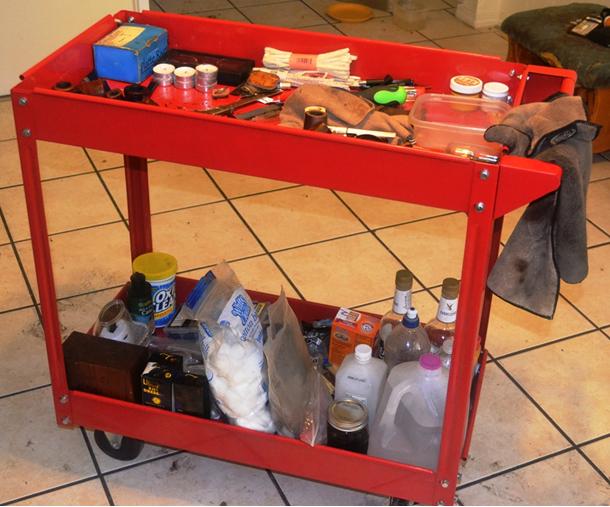
And so I flicked my Bic and held it under the small tenon with even more care not to burn the precious Cumberland bit. (A Cumberland, by the way, is made from a special sort of Ebonite that can be colored with limits, which in turn is a particular variation of Vulcanite. This subject, I understand from research, is a matter of some hot debate.) With the tenon blackened, I quickly tossed a small rag over it and grabbed my pump pliers, clamping them firmly and remembering not to turn the small metal insert opposite from the direction the bit was off but toward it – as one would, if one hoped to avoid losing control of a vehicle and crashing or rolling, turn into the skid on black ice. Thus one particularly memorable experience on a bridge late one night in Colorado Springs, when my training and reflexes saved me, proved useful in this new endeavor. Each of several increasingly difficult rounds of this process brought the bit closer until it was aligned snugly.

Reaming the chamber and sanding it with 150-grit paper before 200 and then 320 was an easy task, as was using super fine 0000 steel wool to remove the rim char and excess dark stain that was popular when the pipe was made somewhere around three-quarters of a century ago. The rim and bowl then only needed a progression of micromesh from 1500-4000.

At this late stage of the restore, I retorted the pipe, again, unfortunately, with the tenon in place. I at least left the stinger aside for that process, which required about five Pyrex tubes of Everclear boiled through the pipe’s innards to clear out decades of crud and juices soaked into the briar from considerable use by someone who loved this pipe.

I stained the briar with Lincoln Brown boot stain, as opposed to Medium Brown which appears lighter, and flamed it before removing the thin layer of char with gentle rubbing using 3600 micromesh.Robert15

Robert16

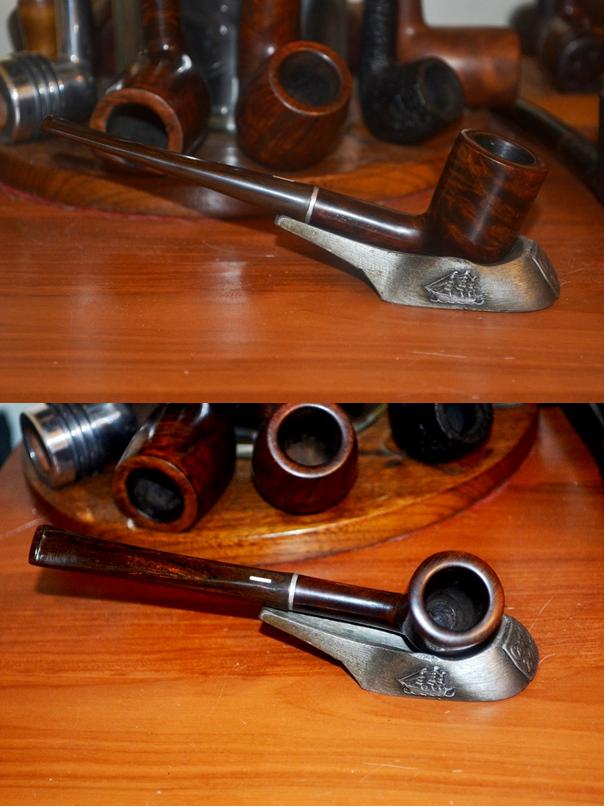
Robert17 At last I am at the end of this rather strange, I admit, blog. I buffed the stem with white and red Tripoli and White Diamond, using a soft cotton cloth and a clean wheel between each. Then I used white Tripoli, White Diamond and carnauba on the wood, with the same steps between each.Robert18
Robert19

Robert20

Robert21 CONCLUSION
Mr. Boughton had intended to offer this fine LHS pipe for sale at his online store. But following an odd impulse he could neither resist nor explain, he found himself loading a bowl of one of his best tobacco blends and, before he knew it, striking a match and placing the flame to the firm top layer.

The magical qualities of the pipe immediately became apparent. Where he had been tense to the point of explosive results, he was consumed with a sense that all was right in the world. Continuing to puff the mysterious pipe that had somehow found its way to him, he pondered the possible reasons behind the overwhelming sense of attraction to the diminutive pipe. Nothing he could imagine provided a satisfactory explanation, and Mr. Boughton also found he no longer cared.

Mr. Shakespeare also wrote, on the same subject and in the same play: “And yet, to say the truth, reason and love keep little company together nowadays.” Truer words may never have been written.

For at that very moment, although Mr. Boughton thought he was sitting on his sofa in his suddenly less dreary little apartment in the heart of the American Southwest, he was, in fact, still on the outskirts of the Twilight Zone.

SOURCES
1. “The Twilight Zone,” Introduction, Season 2, with thanks. http://www.imdb.com/title/tt0052520/quotes

2. Locker et al. v. American Tobacco Co. et al, NY Sup. Ct. (1907), pp. 115-124. https://books.google.com/books?id=34g7AAAAIAAJ&pg=PA117&lpg=PA117&dq=metropolitan+tobacco+company+brooklyn&source=bl&ots=hQ6aVa_tY8&sig=1uaY2AesgKT4mCKepaOyan9gB9I&hl=en&sa=X&ei=MIiQVZGuHYizoQSxsouAAg&ved=0CCgQ6AEwAg#v=onepage&q=metropolitan%20tobacco%20company%20brooklyn&f=false

3. L&H Stern background, including D.U.M.B.O.
Featured Fade – L & H Stern – Smoking Pipes & Holders – DUMBO – Fred King

4. Magazine story on L&H Stern 1920 move.
https://books.google.com/books?id=rpc7AQAAMAAJ&pg=RA1-PA22&lpg=RA1-PA22&dq=l%26h+stern+inc&source=bl&ots=cDWCX4gIom&sig=eLu9PUkd8JzfNPCZDb7df71R4Ic&hl=en&sa=X&ei=M5-MVbi1FM7IogThw5ToDg&ved=0CCsQ6AEwAg#v=onepage&q=l%26h%20stern%20inc&f=false

5. LHS Park Lane dating confirmation.
http://www.smokingpipes.com/pipes/estate/united-states/moreinfo.cfm? Product_ID=100458

Midterm Exam #4: Re-Refurbishing an Unknown Bulldog


Blog by Anthony Cook

It’s time for the fourth and final midterm exam! This one is an “unknown” bent bulldog that I picked up from eBay. I snagged it because I liked the shape and it was cheap. What I didn’t know at the time, but became immediately apparent when the pipe arrived, was that the end of the shank had been shattered into at least three pieces and glued back together. There was no stamping on the pipe, but I don’t think that was always the case. It was likely sacrificed during the shank repair. The repair is fairly obvious in my photos below, but I assure you that it was not nearly so in the seller’s. The right combination of lighting and angles can cover up a multitude of sins, folks. Caveat emptor.

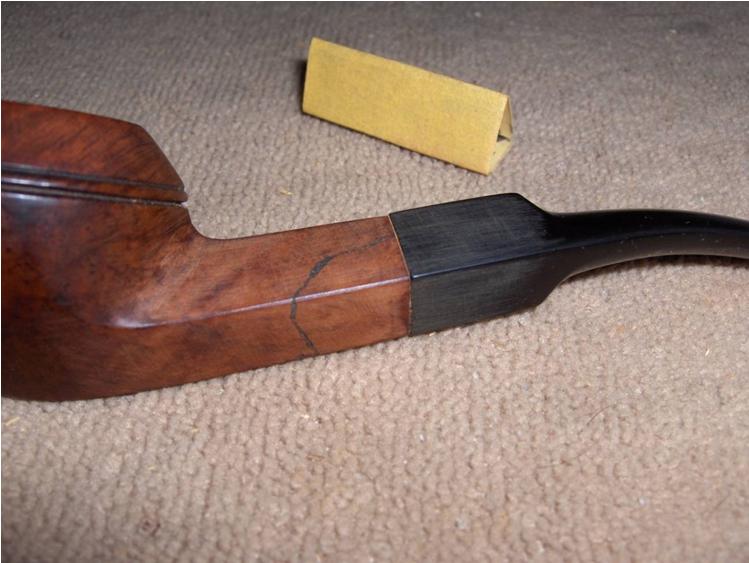
The exposed cracks weren’t the worst part of the story though. The repair did as much damage to the pipe as the crack did. An alarming amount of material had been taken off while sanding out the excess glue. It’s difficult to see in the photos, because from any one angle everything looked correct. However, if you held the pipe in hand and rolled it around you would notice that no two faces on the shank were equal. The shank was no longer a diamond shape; it was a trapezium. The repairman hadn’t paid much attention to keeping the surfaces level either. So, there was a subtle undulation to the line of the shank as it went from thick to thin and back again several times along its length. There was also very little effort made to blend the repaired area into the rest of the pipe, and several shallow “steps” were visible where the two surfaces met. There was at least an attempt to match up the stem to the shank, but that only gave the stem the same odd angles and even they didn’t quite match up to the ones on the shank. All in all, it was a bit of a travesty. Here are a few photos taken just after it arrived.Anthony1

Anthony2

Anthony3 That was all far more than my tender, noobie hands could handle at the time. So, I cleaned the internals of the pipe and put it away for later, but not before adding a bit of bend to the stem that it seemed to have lost over time.
I’ve finished up work on all the rest of the pipes in that first batch. So, this week it was time to put a collar on that dog and turn in my final midterm.

I started (or restarted I should say) by dropping the stummel into an alcohol bath for a couple of hours to soften any coating that might be on the pipe. I had quite a surprise when I removed it later on. It looked fine when it was fresh from the bath, but a hazy, white glaze began to form on the surface as it dried. I hadn’t seen anything like this before and I’ll admit to a brief moment of panic. I assumed that this was probably the result of some type of coating reacting to the alcohol. So, I wiped the stummel down with acetone taking extra care around the shank repair, since acetone will break down superglue. That did the trick and the stummel cleaned up nicely.Anthony4 I set up the retort to see if I could remove any more tar buildup from the pipe. I flushed the shank about 10 times with boiling alcohol before allowing the pipe to cool. I noticed that the vial appeared to be losing a lot of liquid during the retort. The cotton wasn’t discolored. So, it wasn’t gassing out through the bowl. It really had me scratching my head until I saw a spot of moisture on the shank when I was removing the retort. For some reason, it wasn’t sealing well at the mortise and I’d need to look into that before I went much further.Anthony5 I gave the pipe a post-retort scrub of the stem and shank, and then inspected the crack repair for gaps. The surface of the glue joints looked airtight, but I noticed that the glue hadn’t penetrated very deep. The joints left shallow fissures inside the mortise and along the shank face. I used a small pushpin to place a little super-thin CA glue directly into the fissures, and then used a toothpick to apply a thin layer of the CA around the end of the mortise to create a seal inside as well as out.

When the glue was dry, I sanded out the interior patches with sanding needles and a piece of 400-grit sandpaper wrapped around a small dowel. I refaced the shank on my topping surface in a manner similar to how I would top a bowl (pressing lightly into the paper and using a circular motion). The following pictures show the patches when fresh and after they had been sanded out. You can also get some idea of the irregularities in the shank by comparing the differences in the face angles and wall thickness around the mortise.Anthony6 After that, I reattached the stem and ran a retort through it again to test for leaks. The outside of the stem and shank stayed dry as a bone through the whole process. So, I began addressing the pipe’s cosmetic issues.

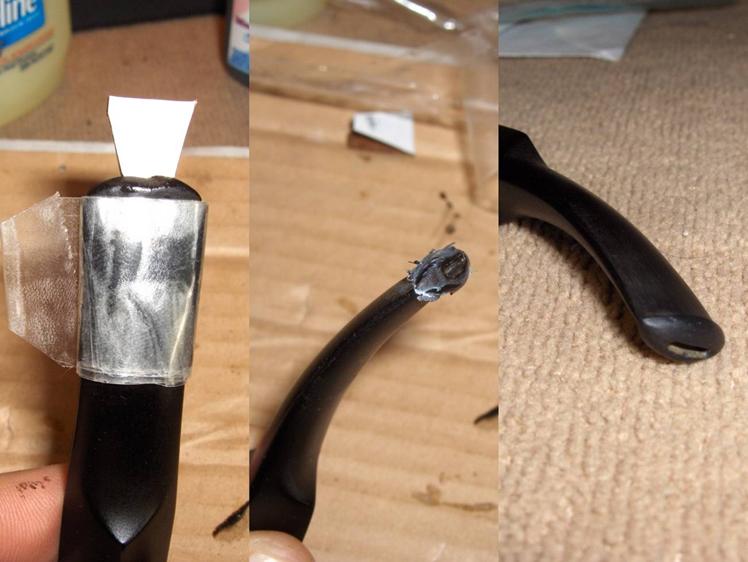
I lightly topped the bowl and chamfered the inner rim to remove the scratches and dings. Then, I steamed a few dents out of the finish by pressing a screwdriver that had been heated over a tea candle into a wet cloth placed over the dents. Finally, I used CA glue and briar dust to patch a few, small gouges and missing fills and sanded them out with 220-grit and 320-grit sandpaper.Anthony7 While I worked on the stummel, the stem had been soaking in an Oxyclean bath. I removed it and scrubbed it down with a Magic Eraser to remove any oxidation. I used black CA glue to fill the tooth dents on the top and bottom of the stem. Once that had dried I sanded it down with 220-grit paper.Anthony8 The stem button needed to be rebuilt since it was worn and dented. I wrapped several layers of clear tape around the stem just below the button to create a form to make a crisp edge and also inserted a Vaseline smeared wedge of cardboard into the slot to seal it. Then, I applied thick, black CA glue in several layers to the end of the stem to begin building the new button. It wasn’t a pretty thing to look at when I removed the tape, but the edge was sharp and there was enough material to work with. I trimmed away the glue artifacts created by the tape molding with an X-Acto blade and rough-shaped the new button with 220-grit paper.Anthony9 Once the button started taking shape, it was time to do something about the other end of the stem and also the deformity of the shank. This was the part of the exam that I had not been looking forward to. Up to this point, everything had been the equivalent to multiple-choice or fill-in-the-blank questions. There were a couple of challenges, but nothing too rough. The next part was more like the essay section.

After a lot of thought, I finally decided that there just wasn’t enough material left around the stem to square everything back up. So, I thought I’d try some trickery of my own. If I couldn’t make everything right, maybe I could use a little more finesse and subtlety than the original repairman did to make it at least look “righter”. If ya can’t beat ‘em, join ‘em.

I used 220-grit sandpaper to start carefully nudging the edges of the shank and stem saddle this way and that to give them an appearance of alignment. All the while I paid special attention to keep the faces as level and even as I could. There was very little technical skill involved. I was basically just freehanding. Once I had corrected the lines as much as I could, I began blending the reworked areas into the rest of the pipe with 320-grit. The photo below shows the progress somewhere early in the reshaping phase. Honestly, I was at this for a while and kind of lost myself in the middle of it. So, I didn’t get many photos.Anthony10 When I was as satisfied as I was likely to be with the shape of the shank and saddle, I went back to work on the rest of the stem to finish it up. I continued shaping the button with 320-grit and 400-grit paper. Then, I smoothed the entire surface by lightly sanding with 600-grit and 1200-grit paper. Finally, I polished the stem with micro-mesh pads 1500-12000.Anthony11 The stem work was wrapped up. So, it was time to do the same for the stummel. The off-kilter shape of the shank made it difficult to find a band that would fit well. It took three attempts before I found one that would work. I used a method for shaping a round band for the diamond shank similar to what Steve has previously written about here, but it took quite a bit of reworking to get it to conform to the now strange dimensions of the shank. I’m still not quite happy with how it fits, but I’m not sure what I could have done differently.Anthony12 There was nothing left to do at that point but to address the finish of the stummel. I wanted the final color to be close to the original but a little darker to help hide the bit of crack repair that was still visible. I heated the stummel over the heat gun to open the grain and then applied Fiebing’s black dye to the stummel. I then sanded down the surface with 400-grit paper to remove the remaining scratches and most of the black stain, except for what had set in the grain and recesses of the rings. Next, I applied a mahogany stain before sanding with 600-grit and 1200-grit paper. I took the stummel to the buffer and gave it a quick Tripoli buff, and then applied a final stain of British Tan.

The stummel was polished with micro-mesh pads starting with 3600-grit and working through to 12000-grit. I then buffed the entire pipe with white diamond compound and gave it several coats of carnauba wax to finish it up.

I leaned back in my chair and checked the clock on the wall. There were only minutes to go and most of the other seats were already empty. I had to admit that this was really as good as it was going to get. So, with a sigh, I stood up from my chair, gathered my exam materials, and delivered them to the desk at the front of the room…Anthony13

Anthony14

Anthony15

Anthony16

NEPAL PROJECT PIPE SALE 13 – Breathing New Life into a Kaywoodie Signet Bulldog


Blog by Steve Laug

This is the thirteenth pipe from the box of pipes that I was gifted by a good friend of mine with the instructed purpose of cleaning them up and selling them with all of the proceeds going to the aid of earthquake victims in Nepal. Once again all funds raised will all go to the SA Foundation, and organization that has worked in Nepal for over 15 years helping provide recovery, housing and job training for women who are victims of sexual exploitation and trafficking. The ongoing earthquakes (over 300) that continue to shake Nepal have left much in ruins. The SA Foundation Project there was able to find new housing for the women and help with staff as well. Every dollar raised from the sale of these pipes will go to the work in Nepal.

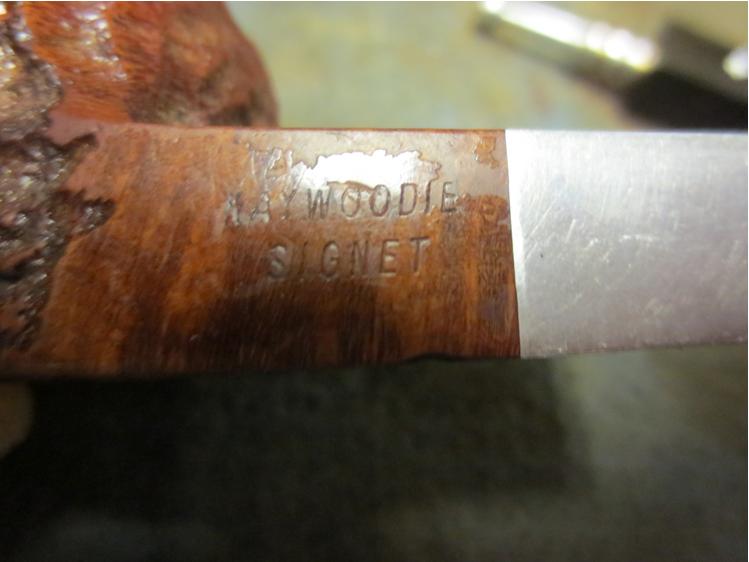
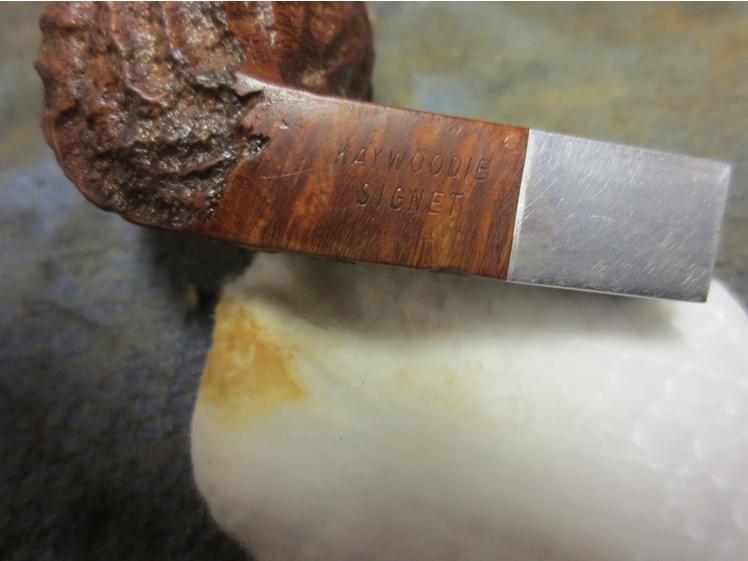
It is a Kaywoodie Signet Bulldog. I did a bit of digging on the web and found out from the Kaywoodie forum that the KW Signet line was made from 1956 to 1972. It is stamped very clearly on the underside of the left side of the diamond shank, Kaywoodie over Signet. There are no other stampings on the pipe. The finish appears to have been rusticated and possibly blasted in a swirling pattern up and around the bowl. The grooves in the briar are deep and the red brown stain gives the swirls a sense of movement as the pipe is rotated in the hands. It almost undulates as it is turned over and the varieties of browns lend themselves to the illusion of movement. That makes it an interesting finish. The exterior of the bowl is a well shaped bulldog sans a bead around the top of the bowl. The bowl was the cleanest of the lot of pipes donated. It did not need reaming but merely a light wipe of a pipe cleaner in the bowl. The finish was dirty but in decent shape.KW1

KW2

KW3

KW4 The rim had some darkening but was not damaged on either the outer or inner edge. It would only need to be scrubbed to clean up the darkening.KW5 The shank and airway were dirty. As I have often found in a metal mortise pipe, there was a lot of tar and oil built up in the threads of the mortise and behind it in the shank. The aluminum was oxidized and scratched. The stem was a screw mount with a classic KW four hole stinger apparatus and metal tenon. The stinger was not removable but part of the metal tenon. It was dirty and covered in oils.KW6 The stem was oxidized and had tooth marks on the top and underside near the button. Most of the oxidation was on both ends of the stem.KW7

KW8 I used a lighter to heat the bite marks on the stem and raise them to the surface. I paint the surface with the flame, never letting it sit too long in one place. This lifted the bite marks and they would be easily removed with a light sanding. An added benefit to using the lighter is that it also burns off the surface oxidation. The photo below shows the top side of the stem after I “painted” it with the lighter. The bite marks had disappeared the oxidation was less prominent.KW9 I sanded the stem with 220 grit sandpaper to remove the remaining tooth chatter and light tooth marks.KW10

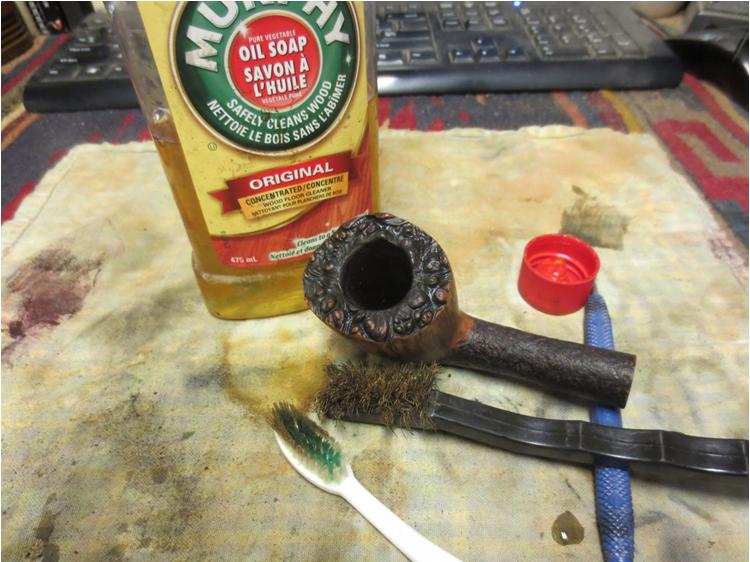
KW11 I scrubbed the stinger and tenon apparatus with 0000 steel wool to remove the buildup of tar and oil that had hardened there.KW12 I cleaned out the airway in the stem and shank as well as the threaded mortise with cotton swabs, pipe cleaners, and alcohol to remove all of the residual oils. I finished by scrubbing the threads on the stinger with a tooth brush to remove the last of the oils. I also scrubbed the end of the shank cap.KW13 I scrubbed the briar with a tooth brush and Murphy’s Oil Soap and then rinsed it under running water to remove the soap. I dried it off with a cotton towel and took some photos of the cleaned finish.KW14

KW15

KW16

KW17

KW18 The smooth area on the underside of the left side of the shank where the stamping was had some peeling varnish or clear coat on it.KW19 I wiped down the shank with acetone on a cotton pad to remove the peeling finish on that portion of the shank. IT came off quite easily which leads me think it was a varnish rather than a lacquer or plastic coat.KW20 With the bowl cleaned and finished it was time to work on the stem. I sanded it with a medium and a fine grit sanding sponge to remove the oxidation and scratches. I sanded it with micromesh sanding pads – wet sanding with 1500-2400 grit pads and dry sanding with 3200-12,000 grit pads. I rubbed down the stem with Obsidian Oil between each set of three pads and then a final time after the sanding with the 12,000 grit pad.KW21

KW22

KW23 When the oil had dried I buffed the pipe with Blue Diamond – lightly pressing the bowl into the buffing wheel and normally buffing the stem. I then gave the bowl a light coat of carnauba and the stem multiple coats of carnauba wax. I finished by buffing the pipe with a soft flannel buff to raise the shine. The finished pipe is shown in the photos below.KW24

KW25

KW26

KW27

KW28

KW29 This Kaywoodie Signet Bulldog a small pipe, roughly a Group 2/3 in Dunhill terms. The pattern of rustication and possibly sandblasting as well give it an interesting to look at and the feel of it in the hand will make it quite tactile when heated up and smoked. The stain is a combination of medium and lighter browns that gives it a subtle look of movement when it is held and turned in the hand. It should make someone a great addition. If you are interested in this pipe email me with an offer at slaug@uniserve.com and we can discuss it. The entirety of the sale price will go to the Nepal project. I will pay the postage so that does not get taken off the proceeds. If you are interested in reading about the SA Foundation you can look at their website at http://www.safoundation.com.

Thanks for looking.

Building a New Button on the Cut off Stem of a Savinelli Autograph 4


Blog by Steve Laug

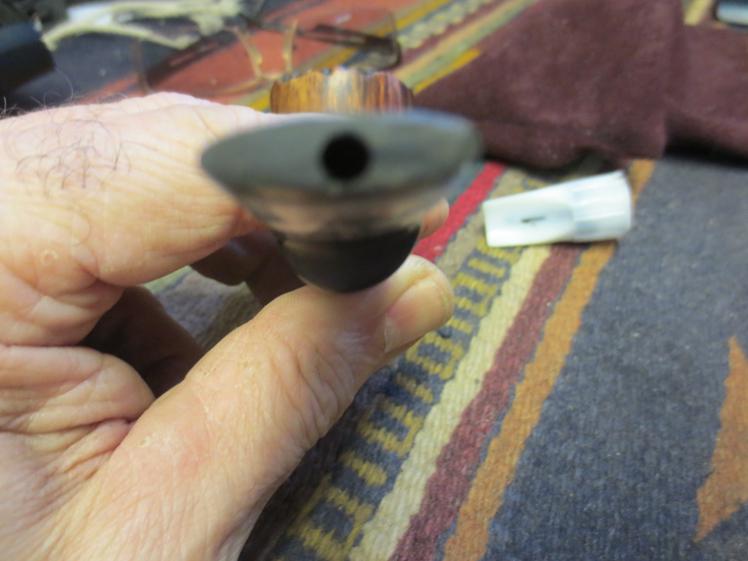
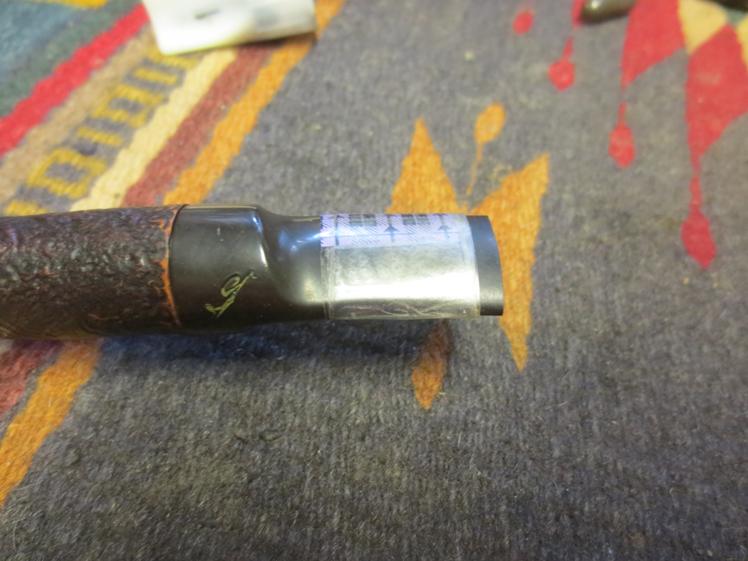
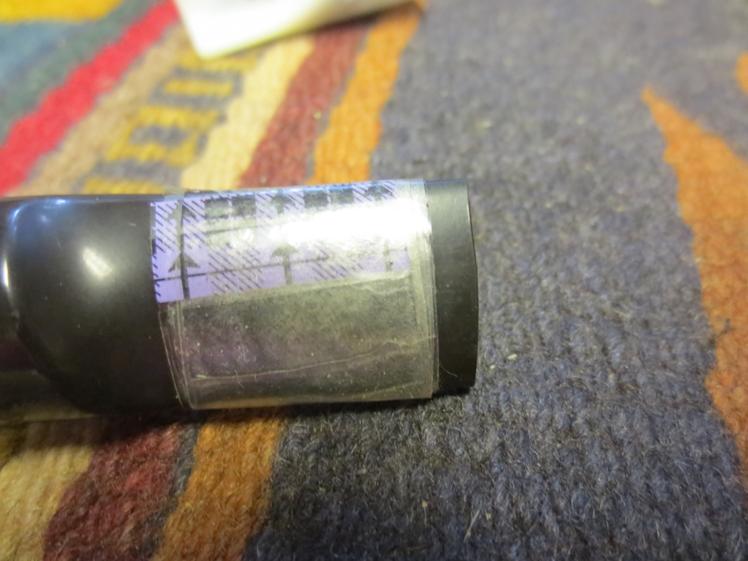
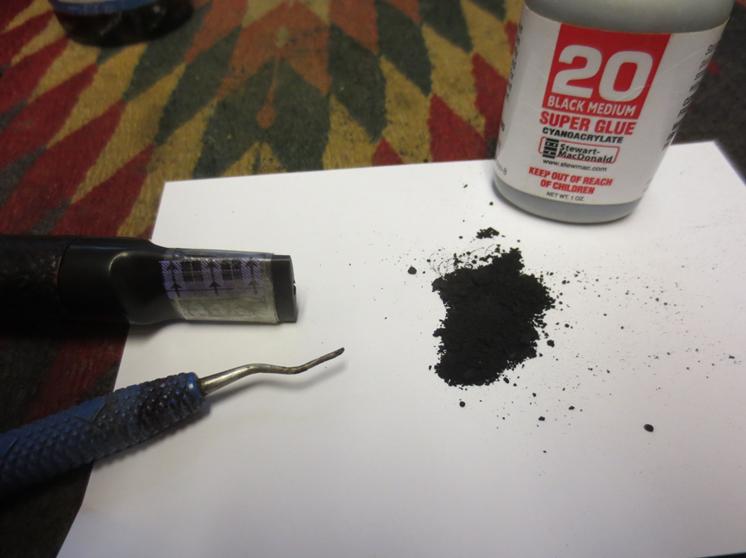
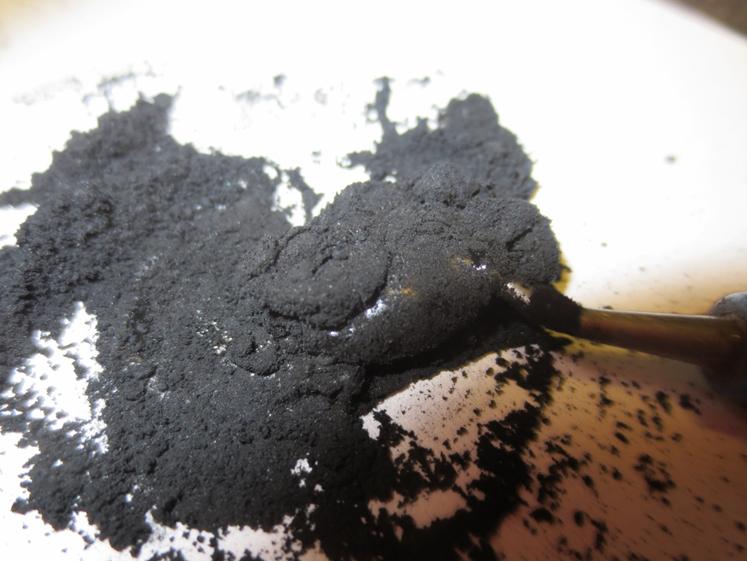
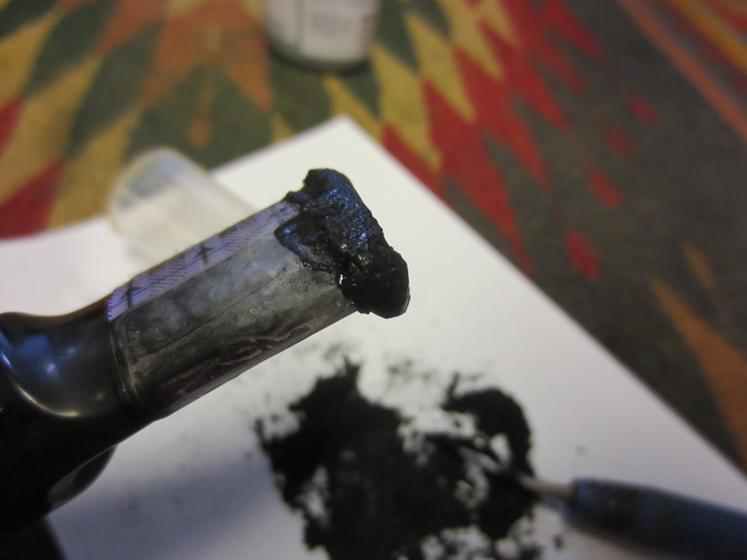
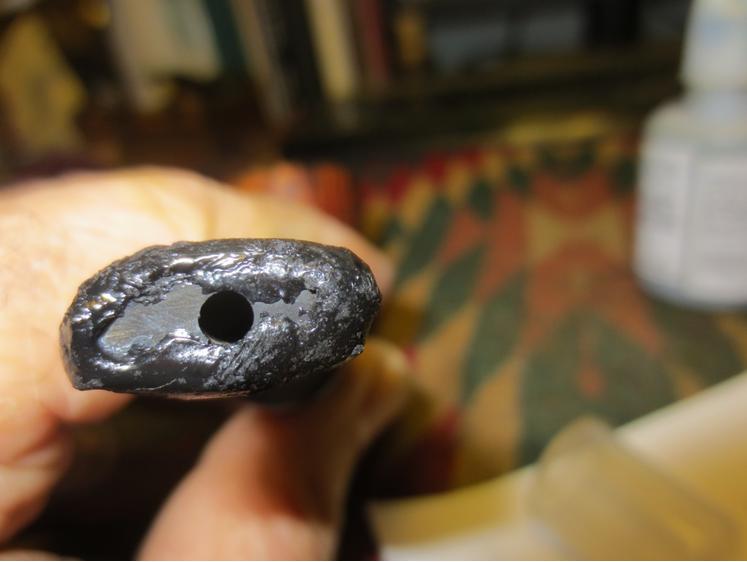
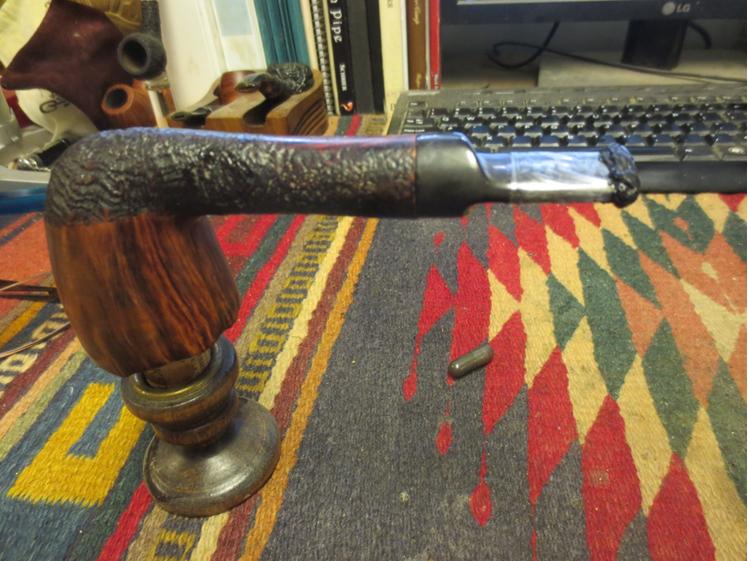
I decided to tackle another button rebuild. A friend brought over a cut off Savinelli Autograph long shank plateau Dublin that he had picked up. The shank was stamped Savinelli Autograph 4 on the underside and there was a signature stamp on the stem.Auto1 I have no idea how the stem got cut off but my guess would be that someone removed the damaged part of the stem and button and then saw how close to the surface the airway was and decided to abort the mission of cutting a new button on the stem. I have been working with developing my mixture of medium viscosity black cyanoacrylate glue and charcoal powder to rebuild/craft new buttons. I have used it on quite a few repairs of my own and on a few for friends. It definitely dries harder than the glue by itself and seems to be very strong once it has cured. I thought this pipe would be a good candidate for that process.Auto2 I wrapped the end of the stem with a band of cellophane tape to make a straight edge to work against for the glue and charcoal powder mixture. It works to keep a semi-straight edge but I find it is more of a guide than anything else. It gives me an edge to work with when I build up the layers of patch material.Auto3

Auto4 I mixed a batch of glue and charcoal powder on a card that I use for that purpose. That way when I have finished the mix and repair I can fold the card and throw it away without getting the glue all over the place.Auto5 I stirred the powder and glue together with a dental pick until I had a thick paste mixture that was still workable.Auto6 I applied it to the end of the cut off stem with the dental pick and shaped it roughly to match the kind of button shape I was aiming for when finished.Auto7

Auto8 I put the pipe on a cork and candle stick holder that I use for drying bowls when I stain them or stems when I have done this kind of repair and set it aside to cure for two days. This kind of patch is a long haul project. It is not a quick repair. If you start reshaping the button too soon the repair breaks off in chunks that are still soft underneath the surface. So, having learned that I left it alone and did other work while the days passed.Auto9 After two days of curing the repair was solid all the way through. I would still need to be careful as the longer it cured the harder it would become. I used emery cloth and 180 grit sandpaper to shape the button into an oval and to face the end of the button. You can see in the photo below how much more material there was to work with now in terms of shaping the airway and the slot in the button thanks to the build-up of material.Auto10

Auto11 I worked over the edge of the button with the sand paper as well to clean up the sharp edge next to the blade of the stem. I moved on to sand with 220 grit sandpaper and also with a medium and a fine grit sanding sponge to further define the new button and to clean up the scratches.Auto12 After the initial shaping and sanding I put the stem to the side to cure longer and addressed the bowl and shank. I reamed the bowl with a PipNet reamer and took the cake back to a very thin layer.Auto13

Auto14 I cleaned the interior of the airway and mortise with pipe cleaners, cotton swabs and isopropyl alcohol until they were clean.Auto15 I scrubbed the bowl and the plateau rim with a tooth brush and Murphy’s Oil Soap to clean off the grime and dirt in the plateau and the sandblast shank.Auto16

Auto17 I scrubbed the plateau with a brass tire brush to dig out the built up tars and oils that had clogged the crevices in the finish there.Auto18 I put my thumb in the bowl and carefully rinsed off the soap with cool running water. I dried the bowl with a cotton rag and took the next series of photos to show what the bowl looked like clean.Auto19

Auto20

Auto21

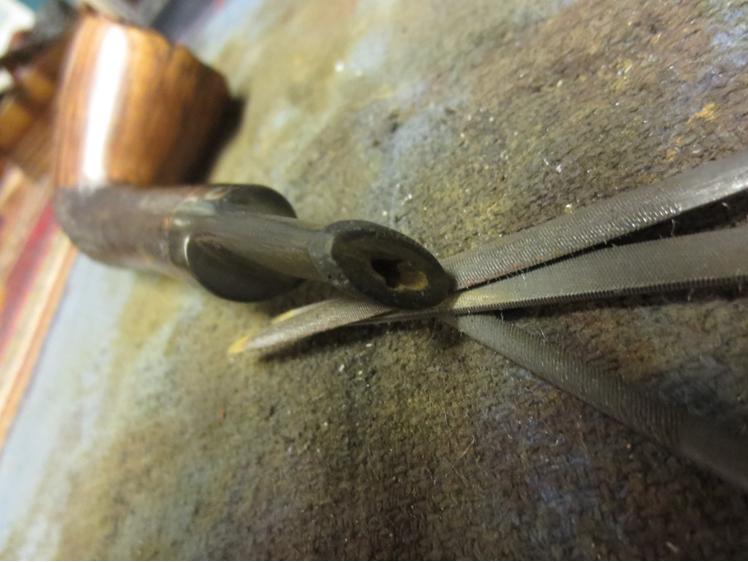
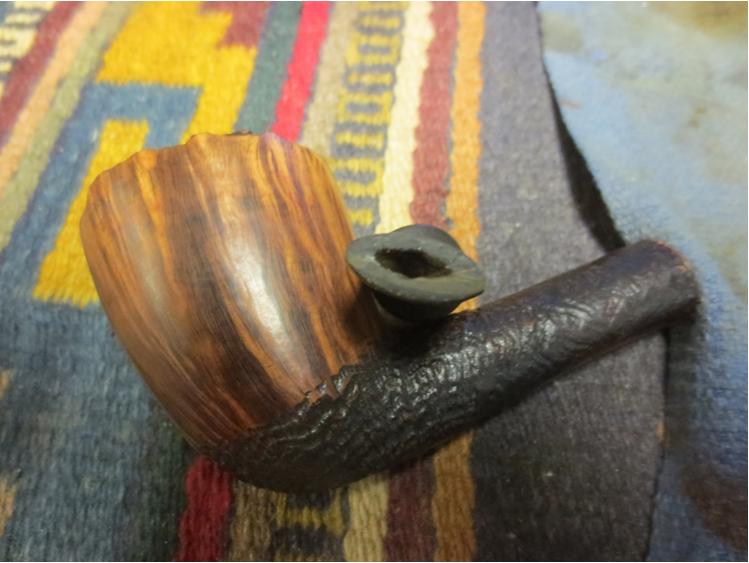
Auto22 The next day I decided to work on the slot in the button and open it up with a flare to create a Y shape. I used needle files to work on the airway. The next series of photos show the files and the progress of opening the airway.Auto23

Auto24

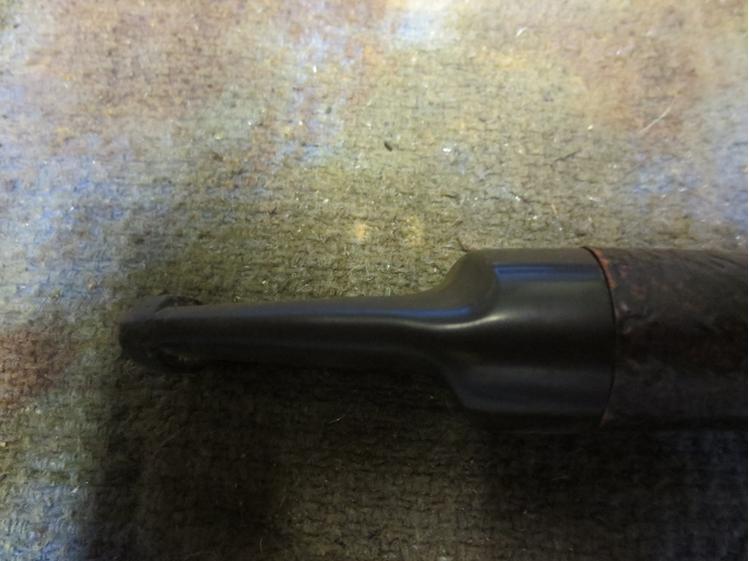
Auto25 With the airway/slot roughed in it was time to continue shaping the button and the face of the slot. I sanded it with 220 grit sandpaper to refined the shape and to smooth out the end of the stem.Auto26

Auto27

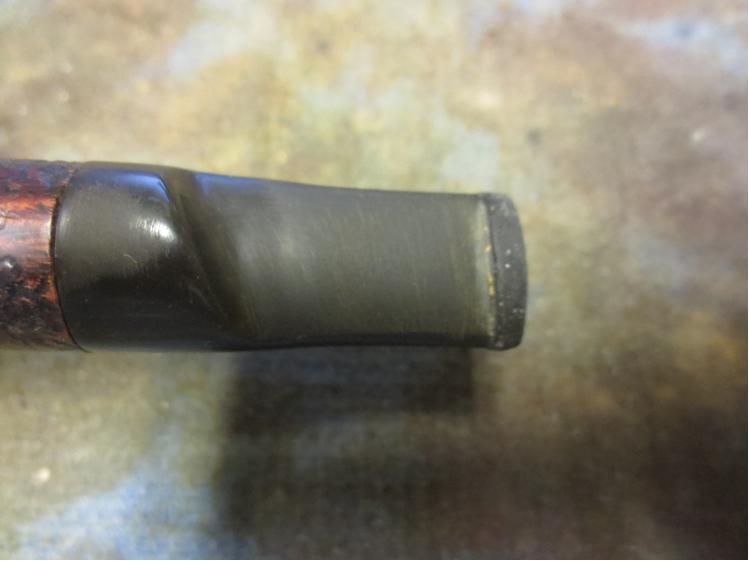
Auto28 I used a folded piece of sandpaper to smooth out the interior of the slot and further shape it. The photo below shows the state of the slot and the shape of the button.Auto29 With the shaping completed it was time to work on fine sanding of the stem and new button. The charcoal bits in the mixture are hard and coarse and need to be refined with fine sanding. I worked over the stem and button with micromesh sanding pads, wet sanding with 1500-2400 grit pads to remove the majority of the coarseness. It is only this first step in the process of polishing the stem but it is amazing to see the transformation as I work through the various grits of micromesh. I rubbed the stem down with Obsidian Oil when I had finished with the 2400 grit pad. I will still need to refine the inner edge of the button with files but the overall shape of the stem and button are clearly visible.Auto30

Auto31 I wet sanded the stem with the 2400 grit micromesh until I had minimized the scratches and polished the button. I then rubbed it down with another coat of Obsidian Oil and then sanded it with 3200-4000 grit micromesh pads. I gave it another coat of oil and then sanded it with 6000-12,000 grit pads. I gave it a final coat of oil and let it dry.Auto32

Auto33 I buffed the stem and the bowl with Blue Diamond and then lightly buffed the blast with the same. I gave it multiple coats of carnauba wax and buffed it with a clean flannel buffing pad to raise the shine. The finished pipe is shown below. The new button looks like it belongs. The shape of the slot is open and it accepts a pipe cleaner with ease. It should provide years of service to the pipeman who is holding it in trust. He should enjoy smoking it with much more ease. Thanks for having a look!Auto34

Auto35

Auto36

Auto37

Auto38

Auto39