Blog by Steve Laug
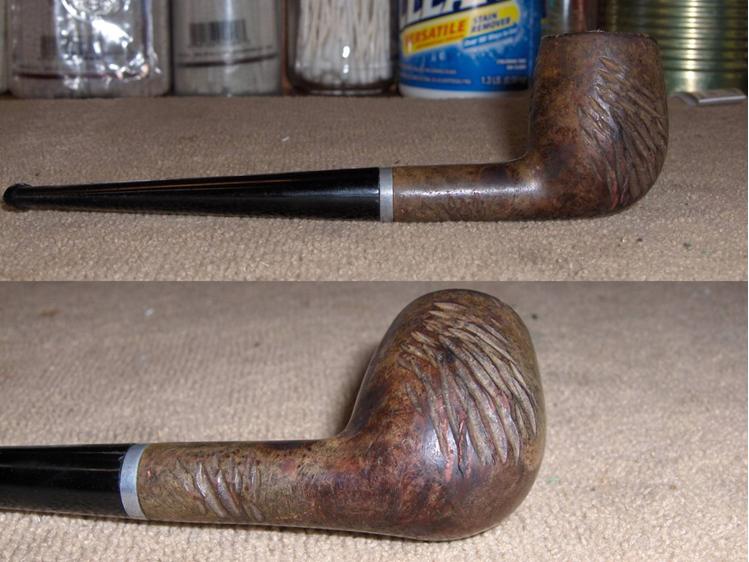
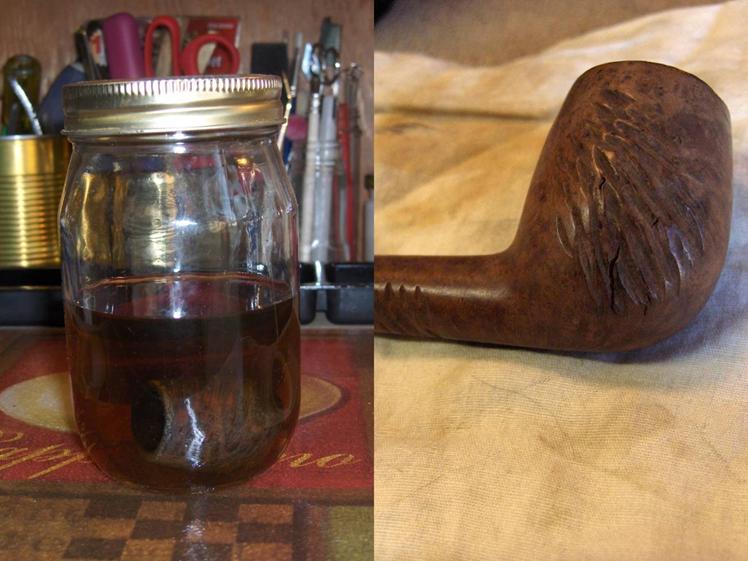
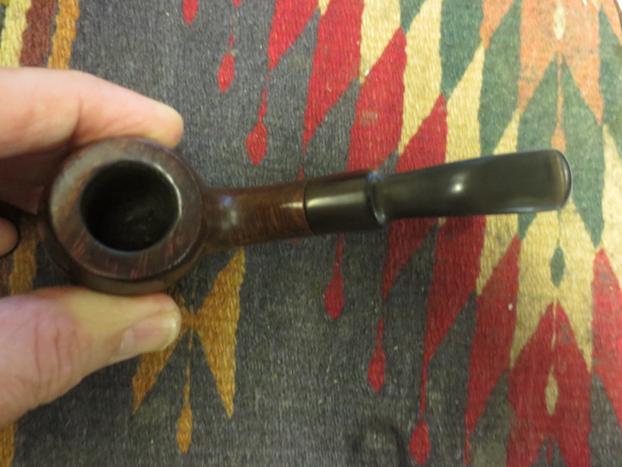
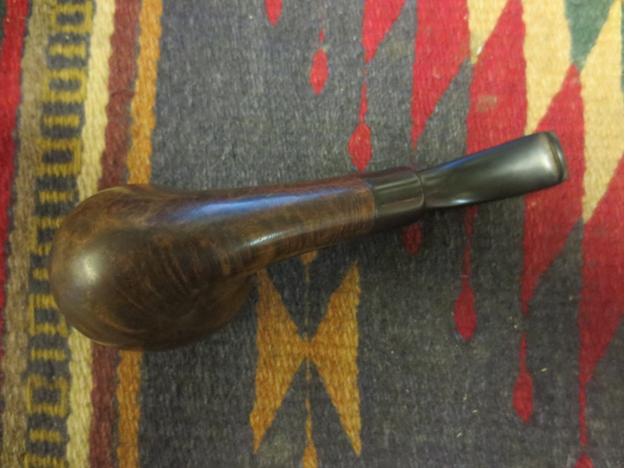
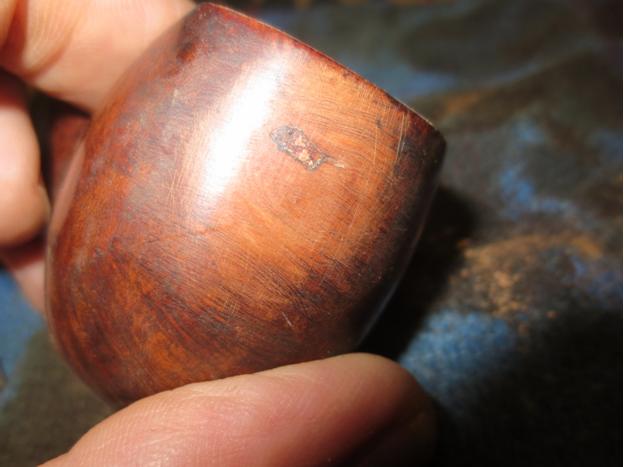
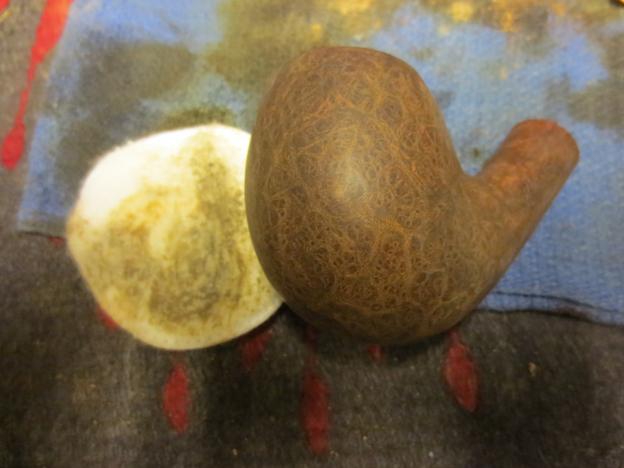
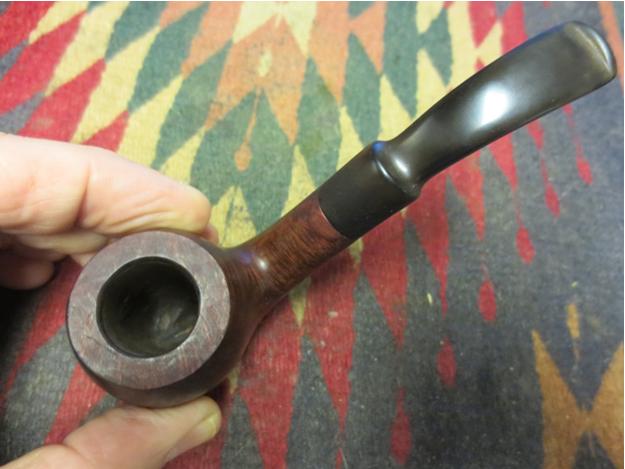
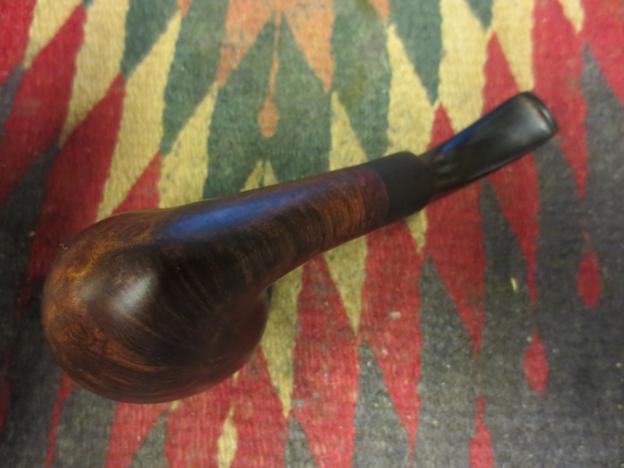
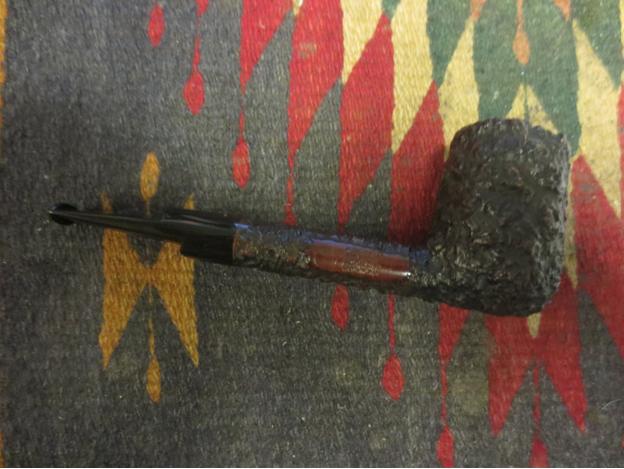
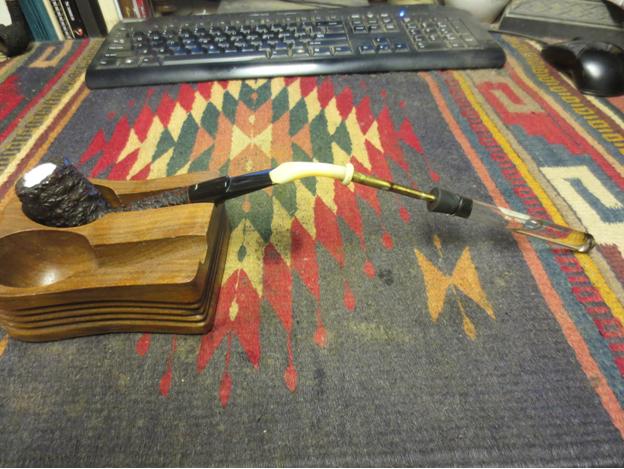
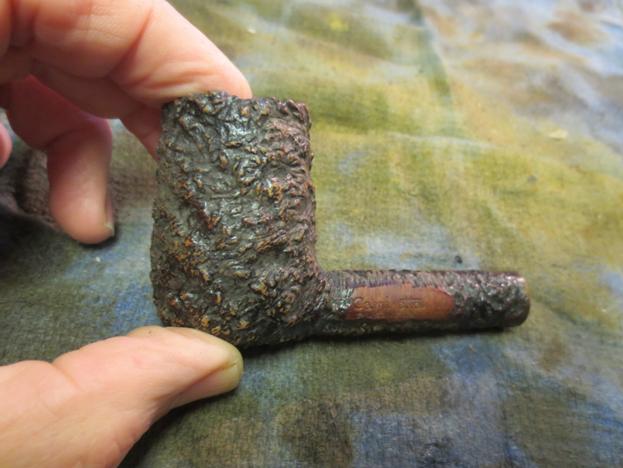
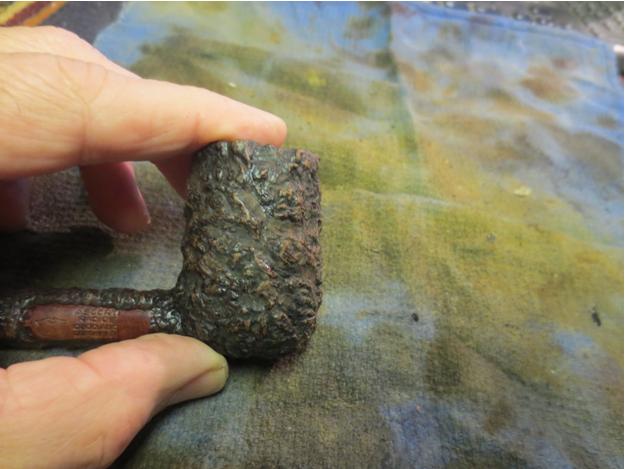
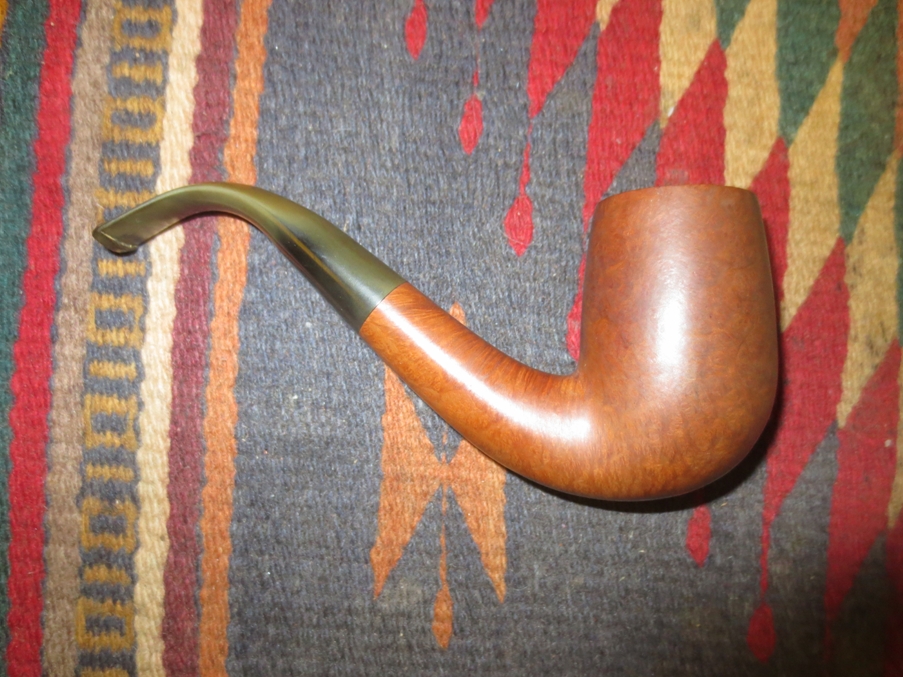
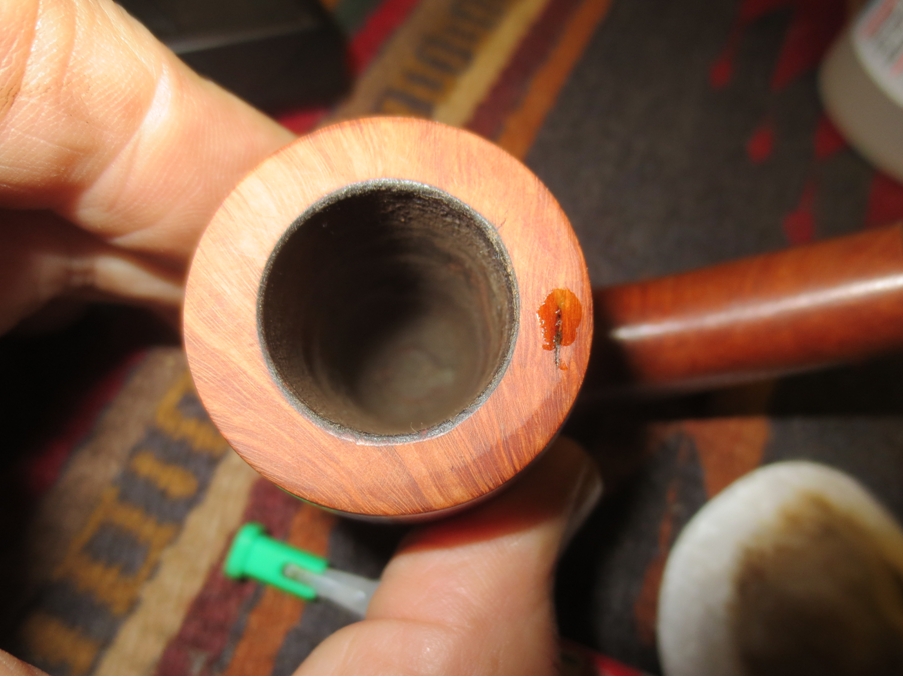
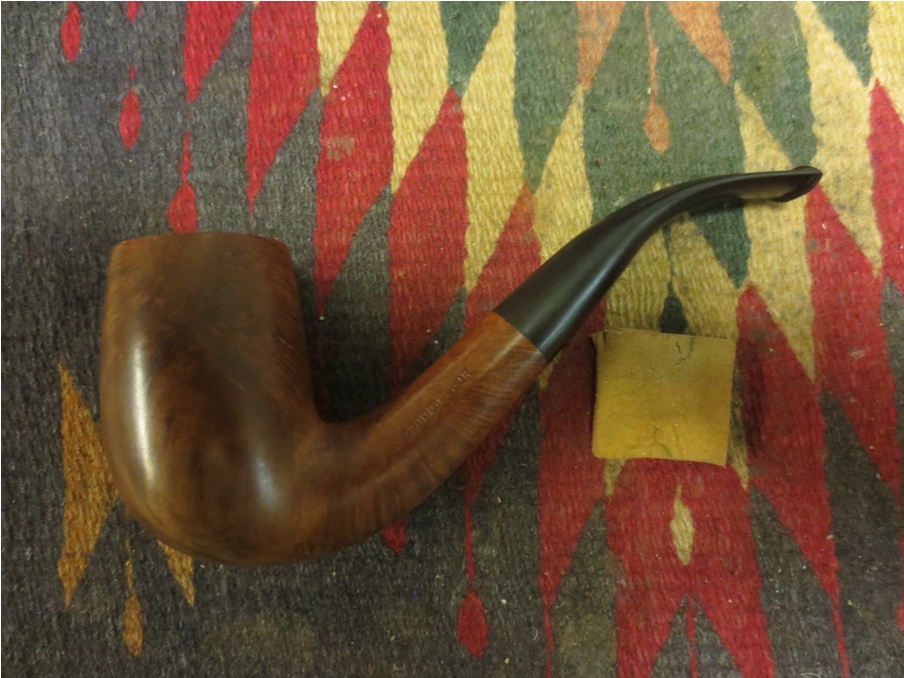
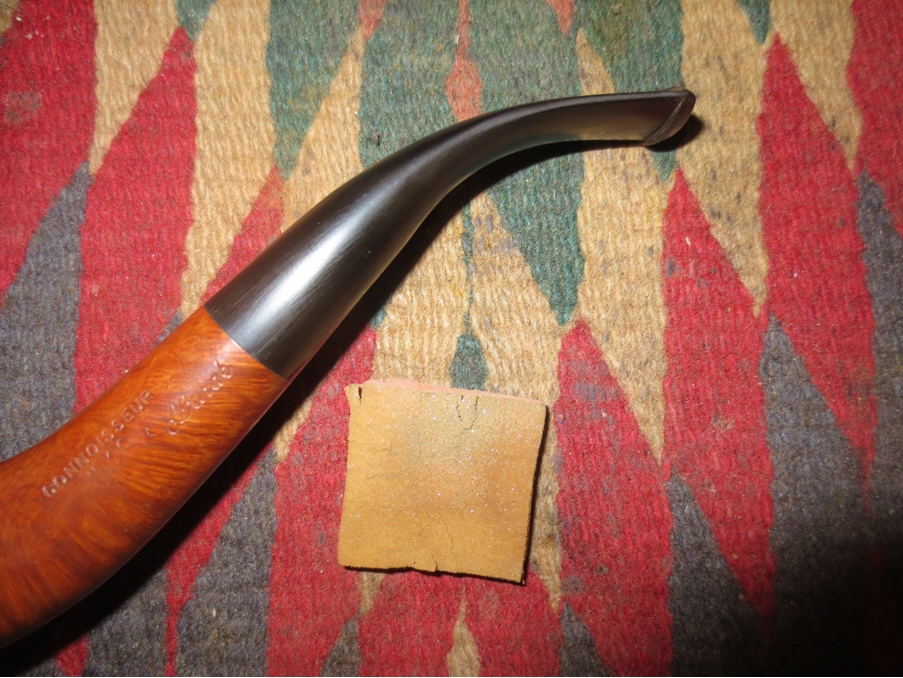
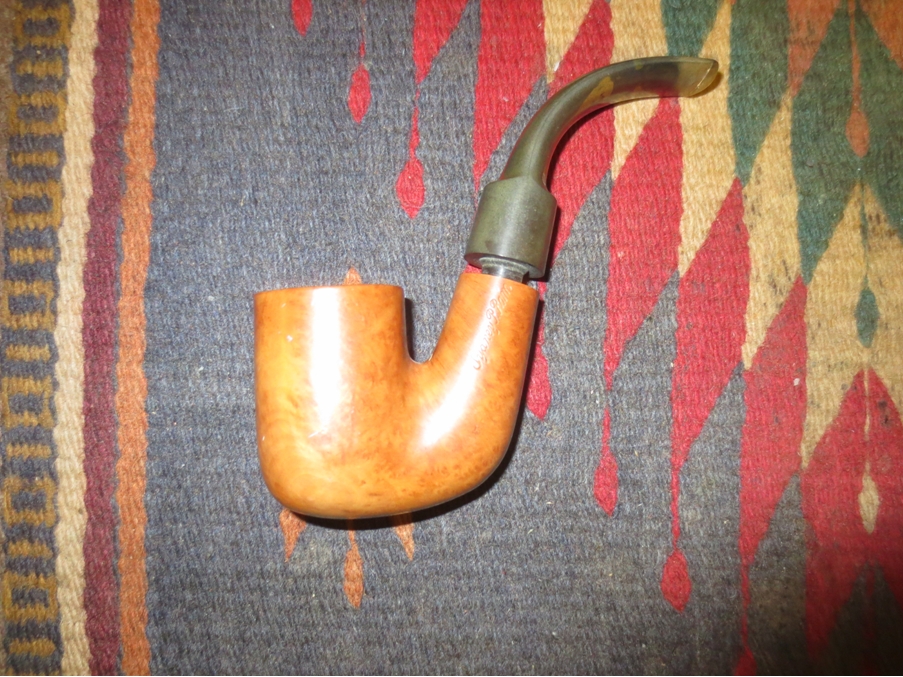
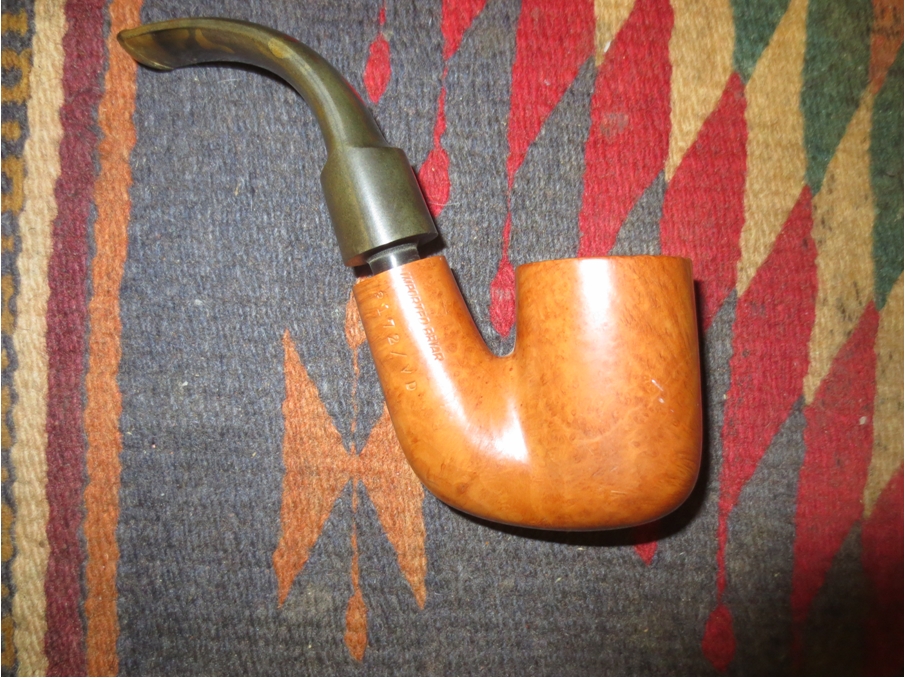
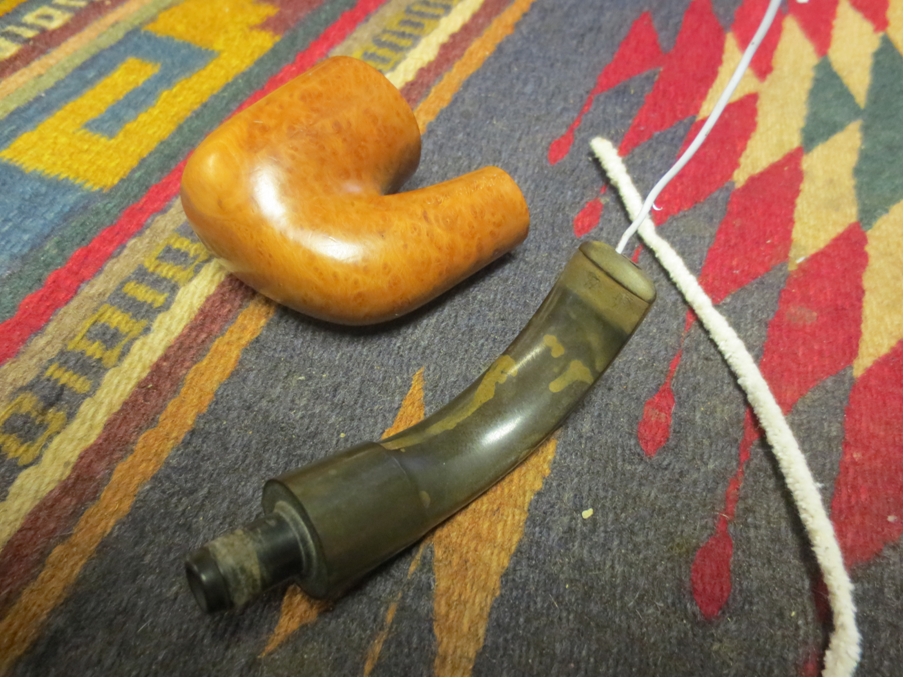
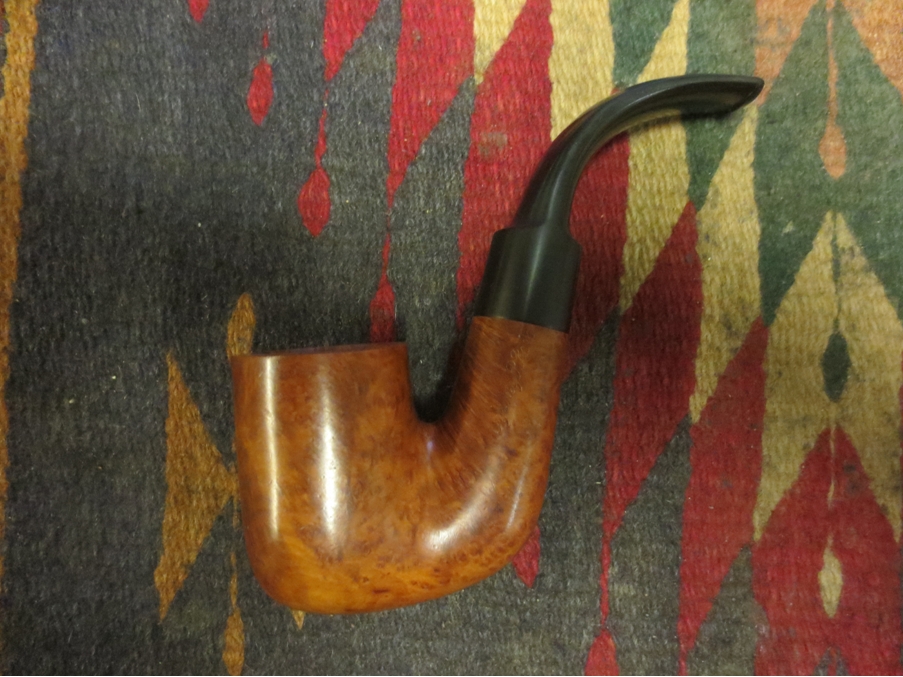
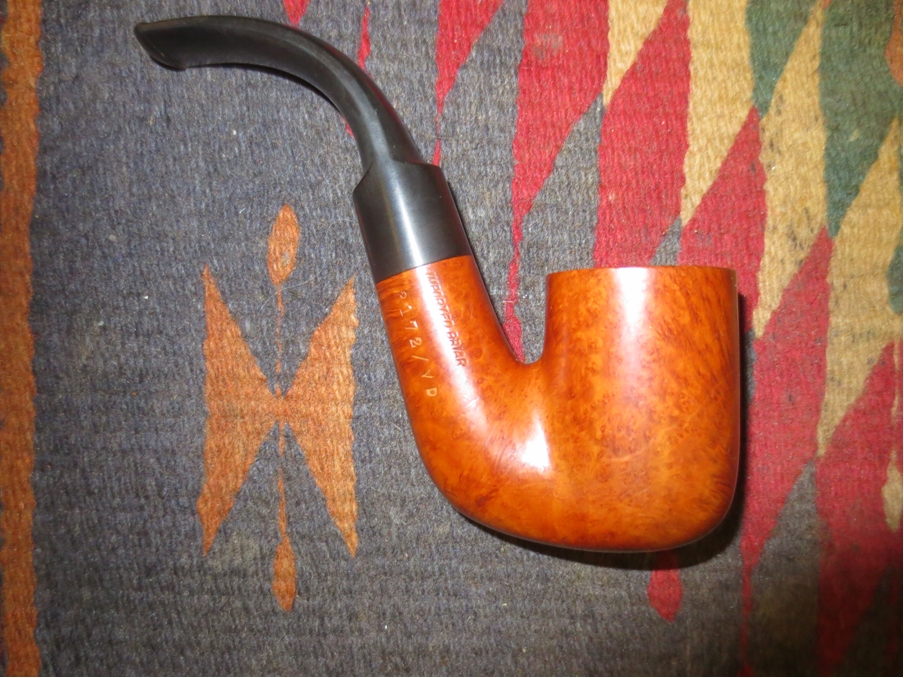
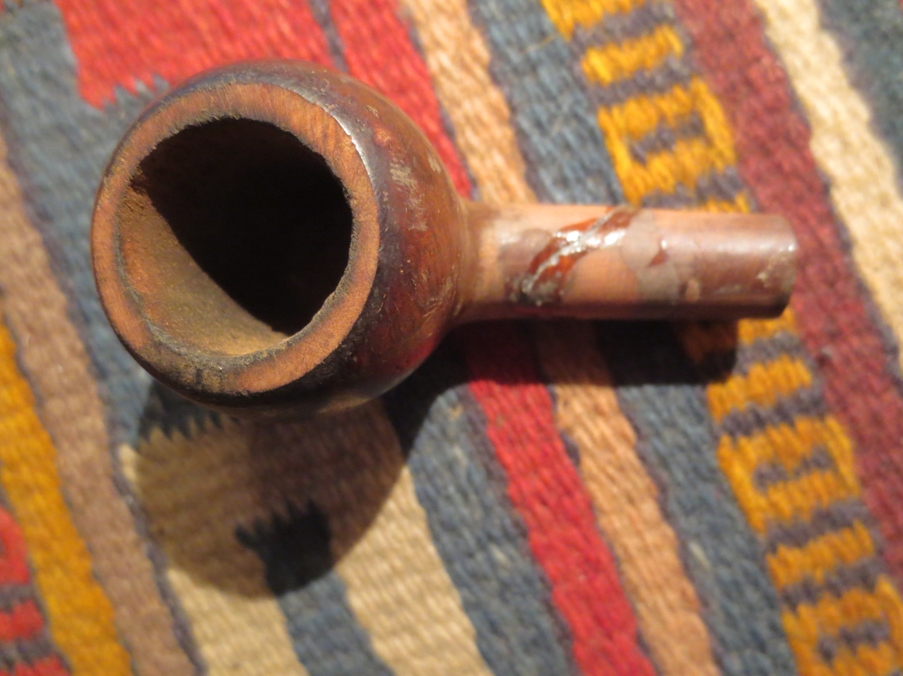
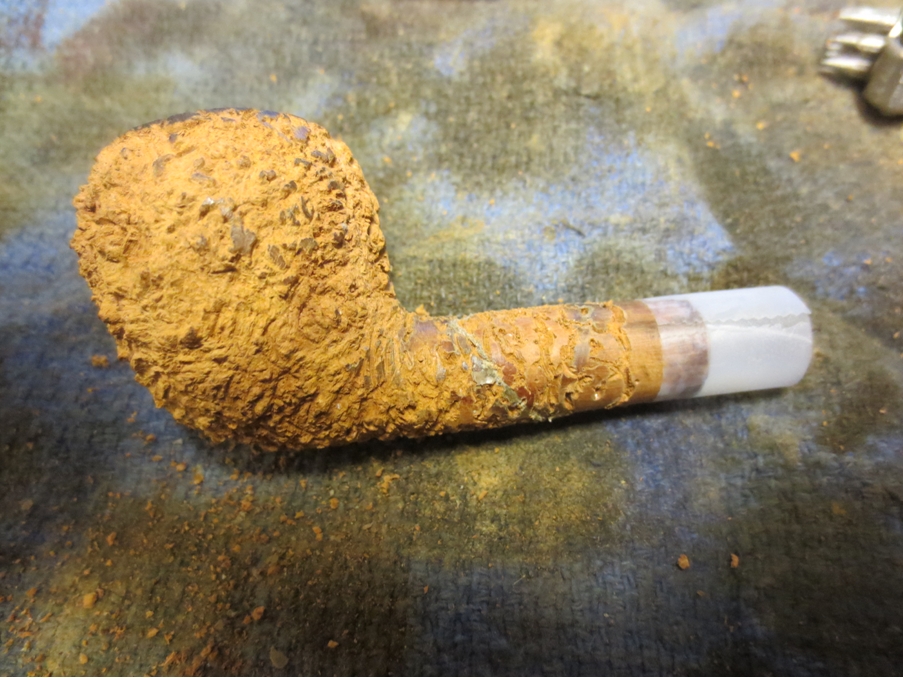
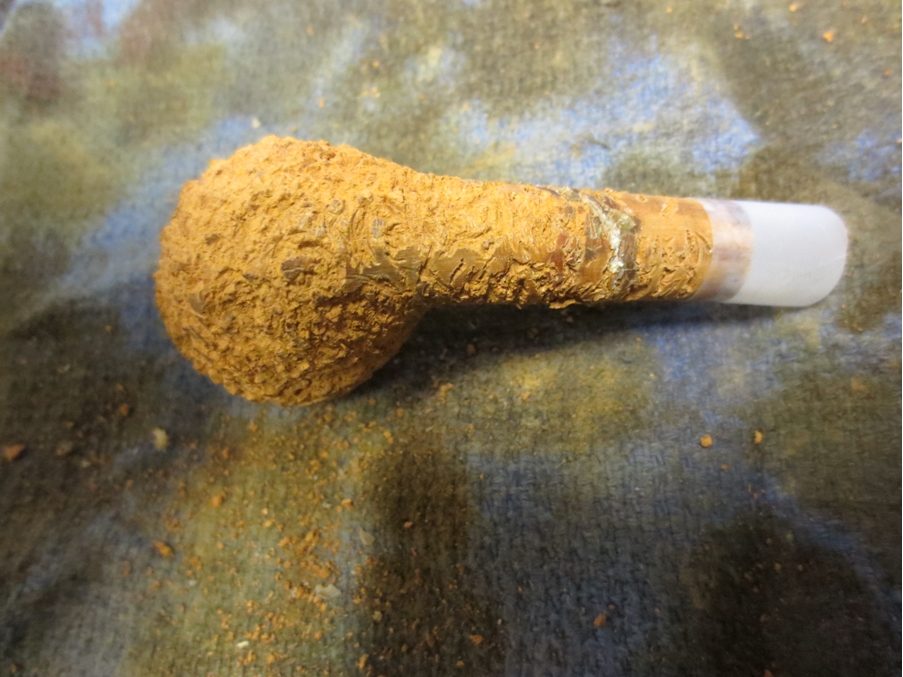
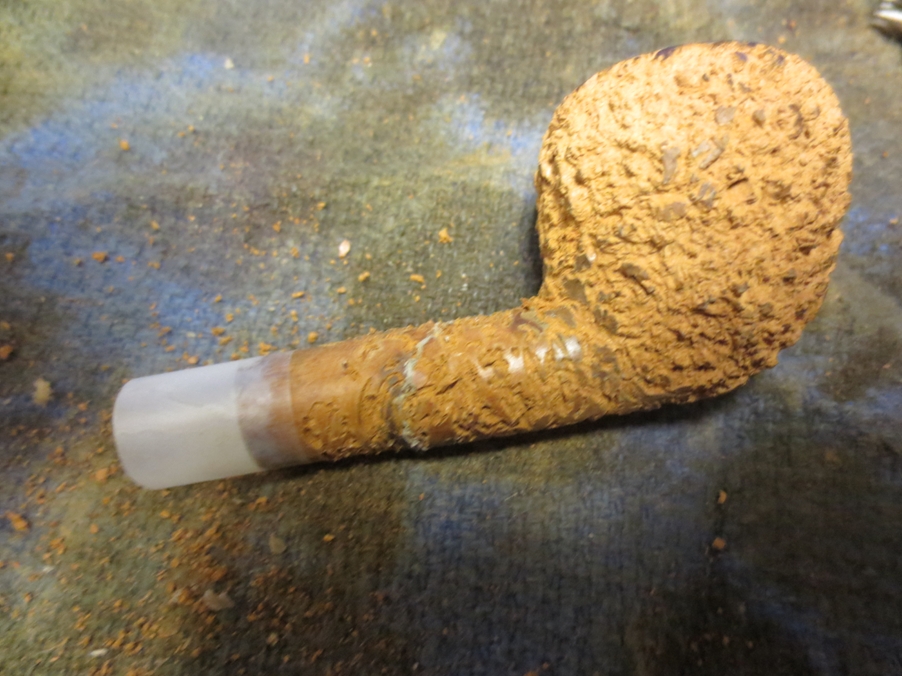
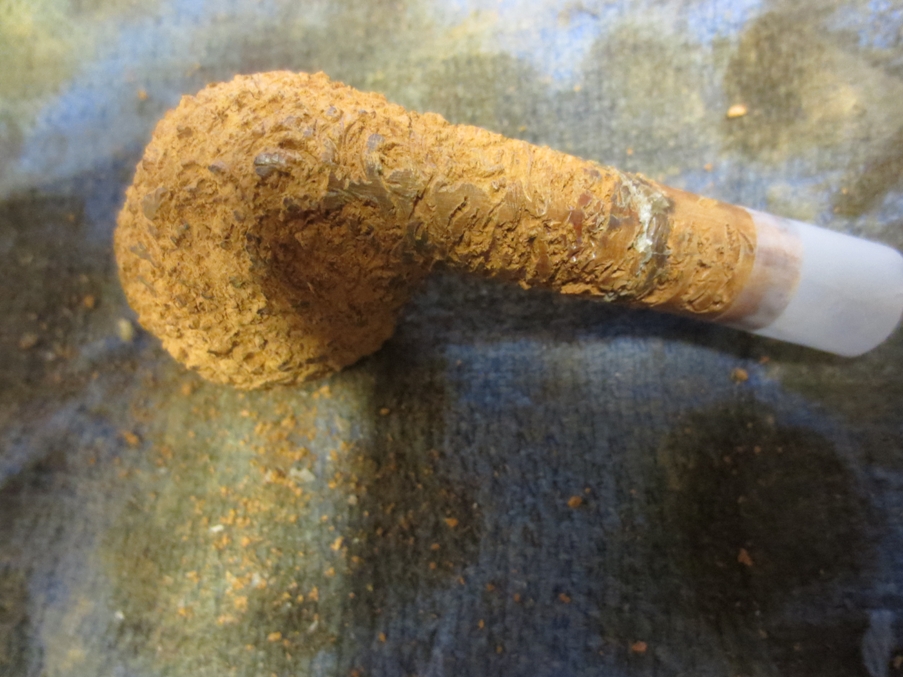
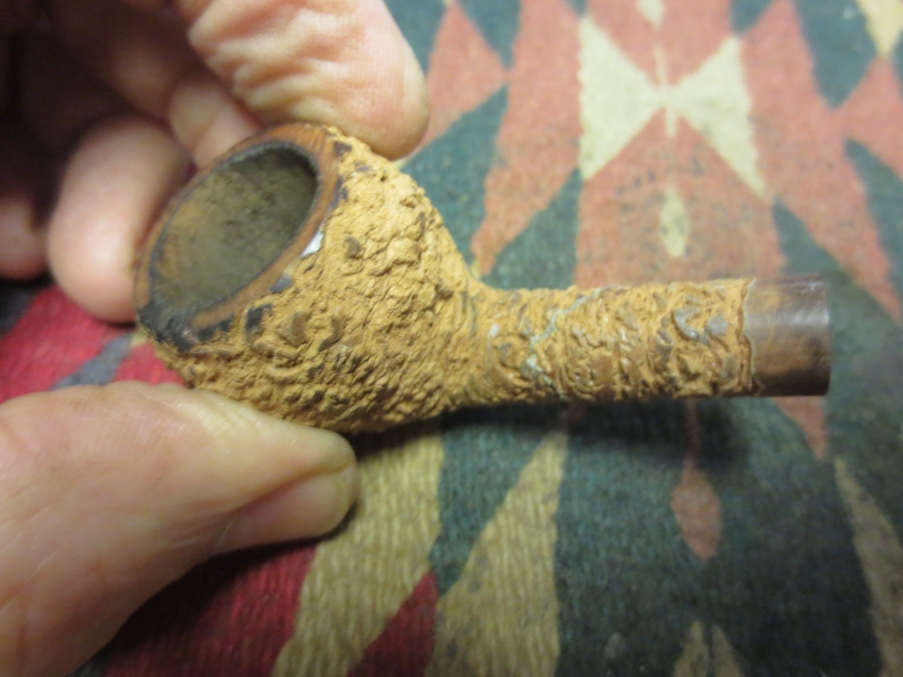
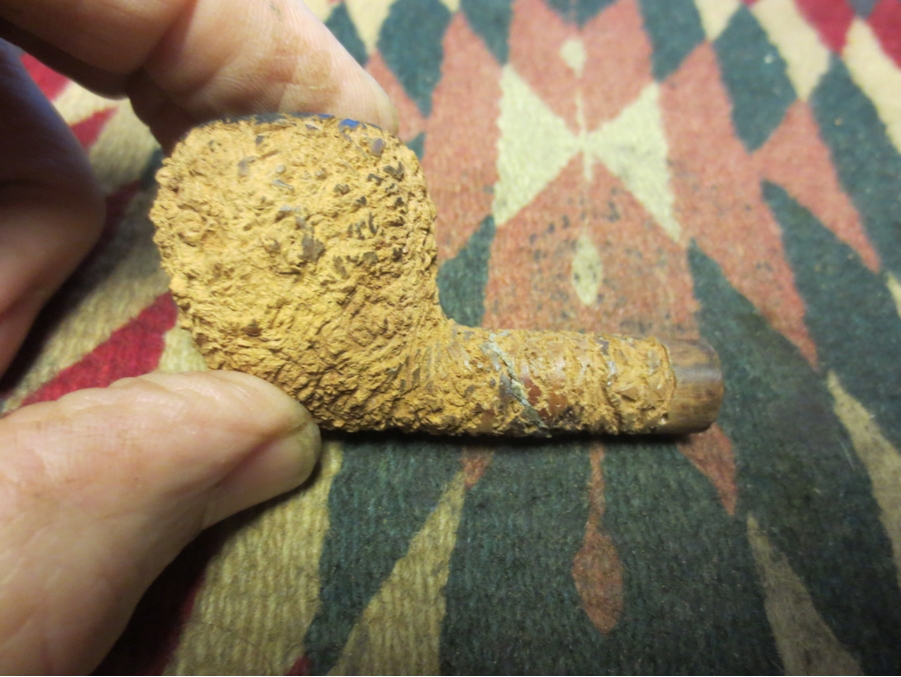
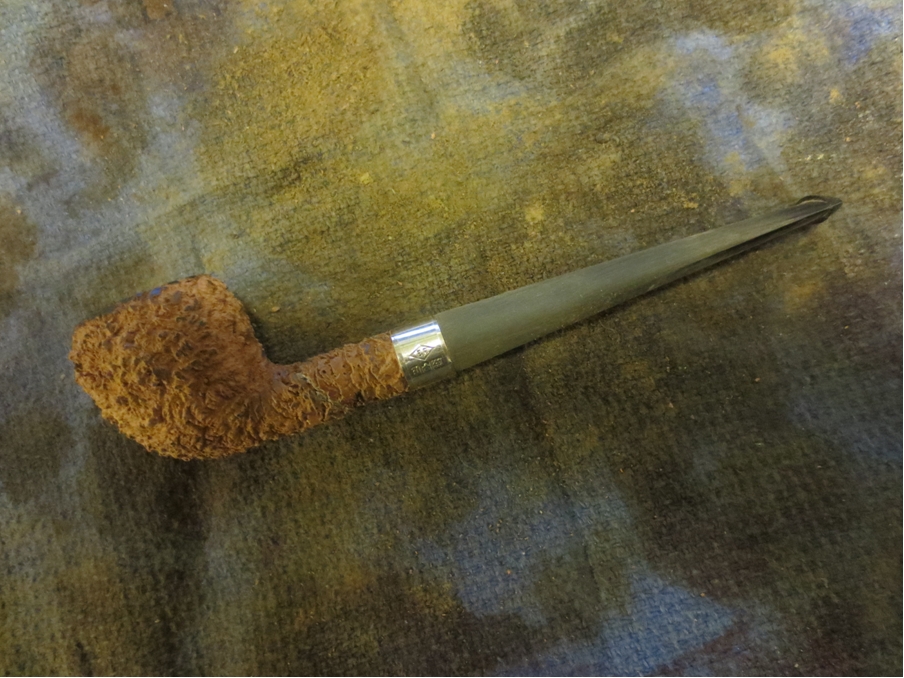
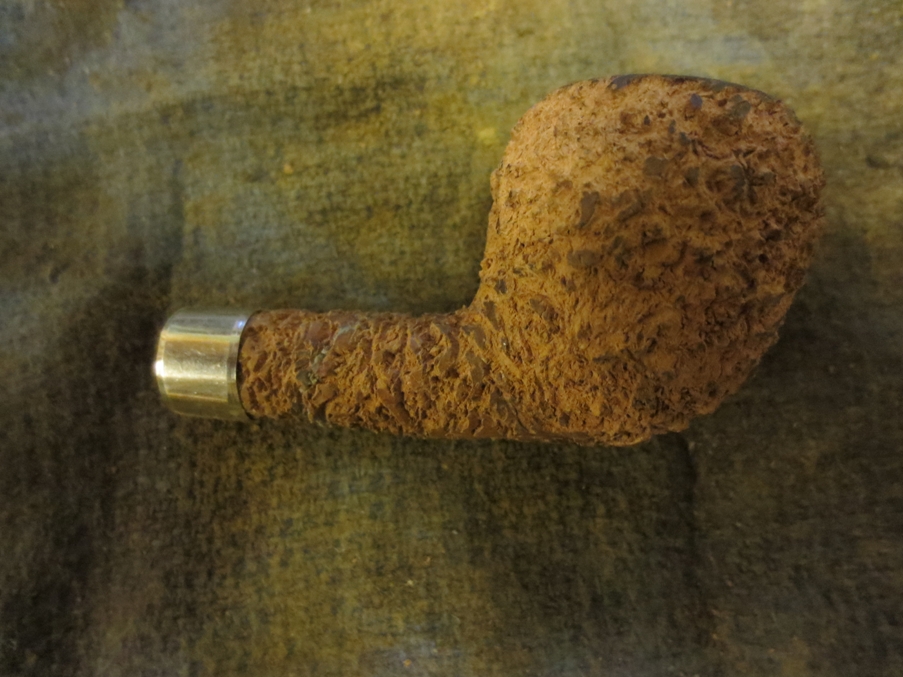
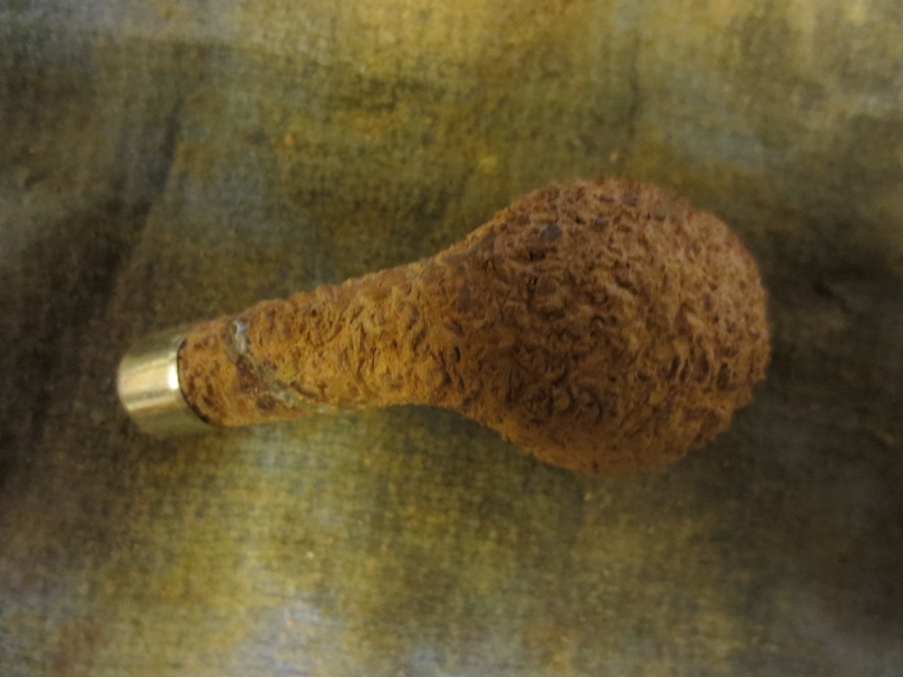
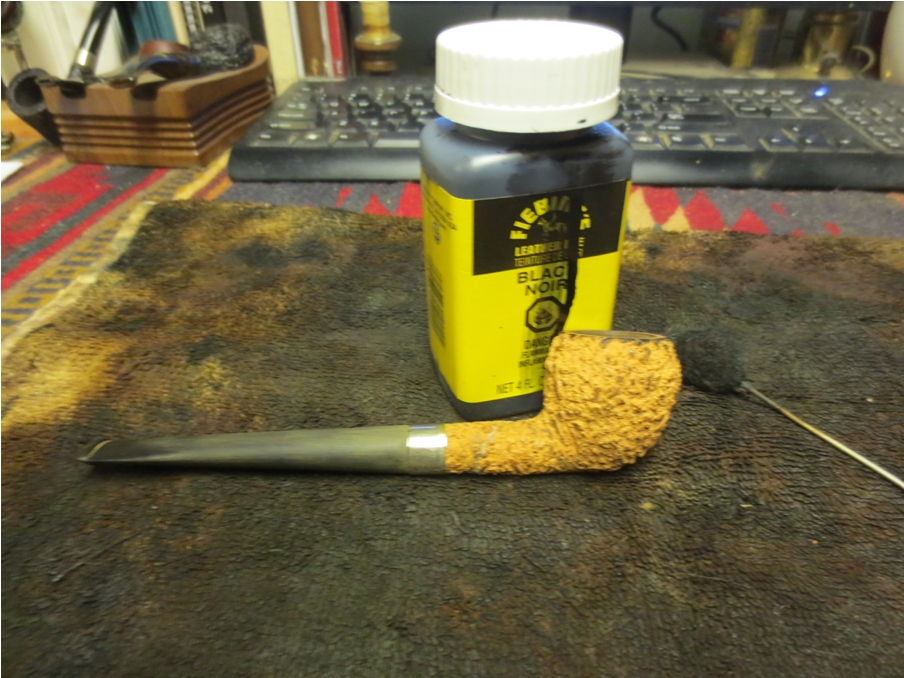
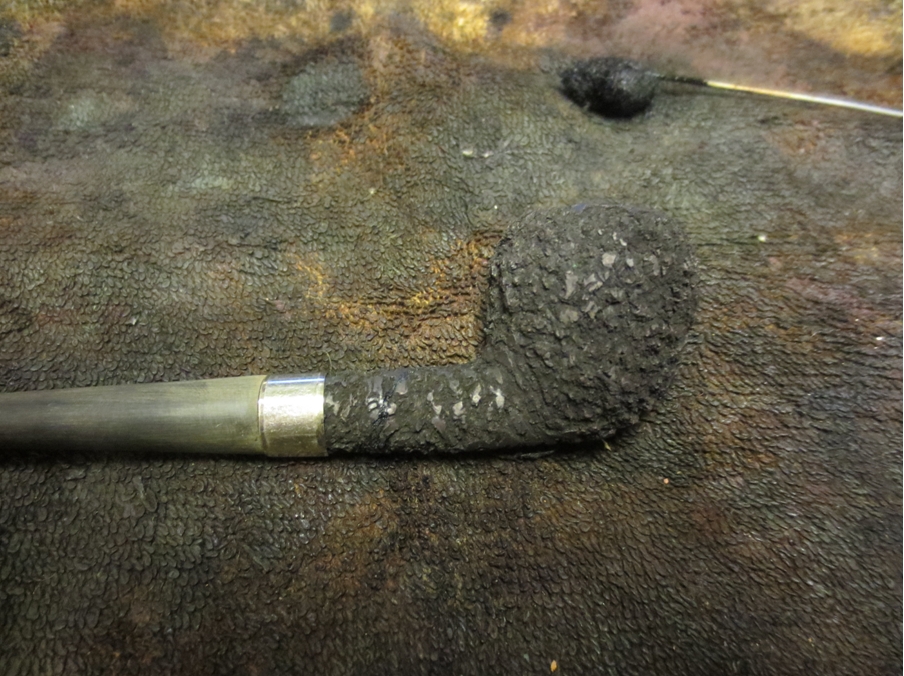
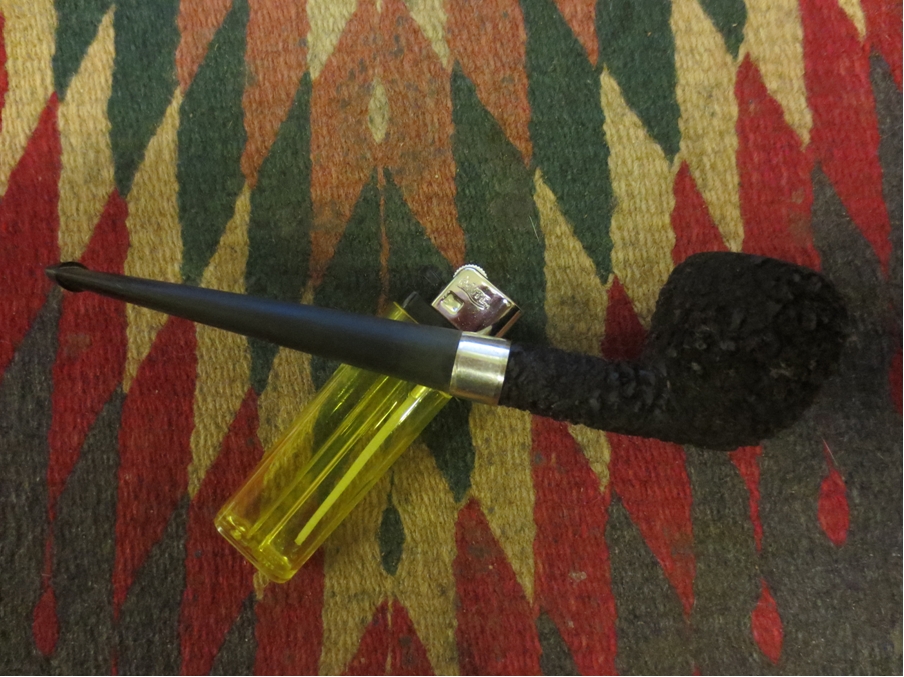
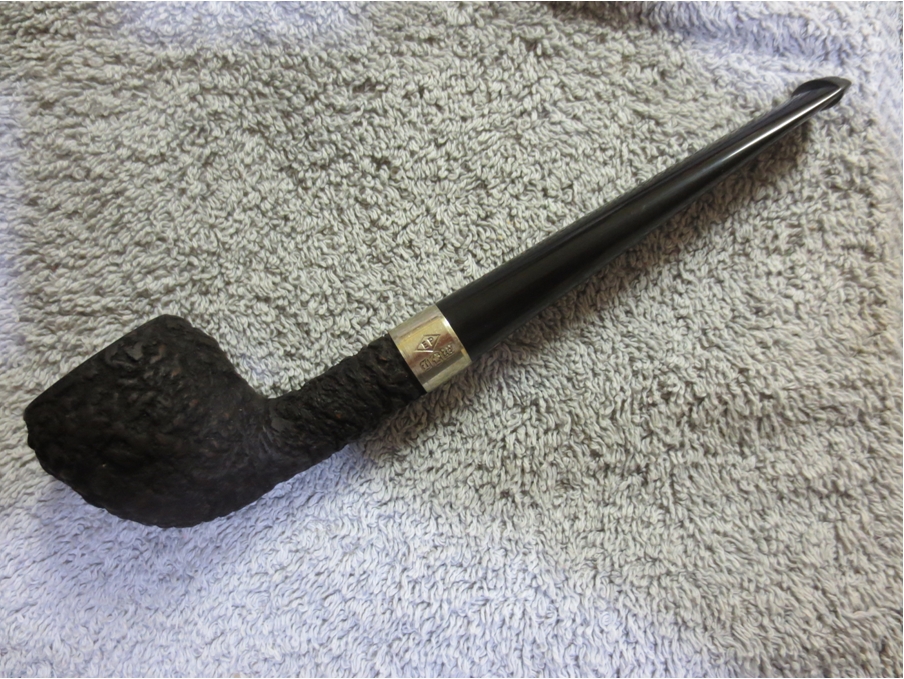
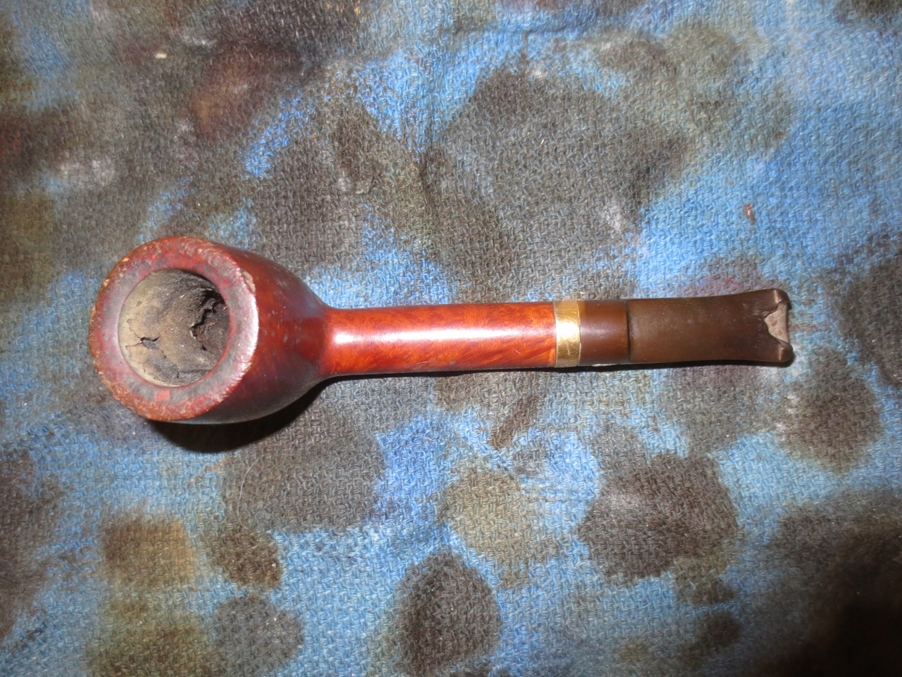
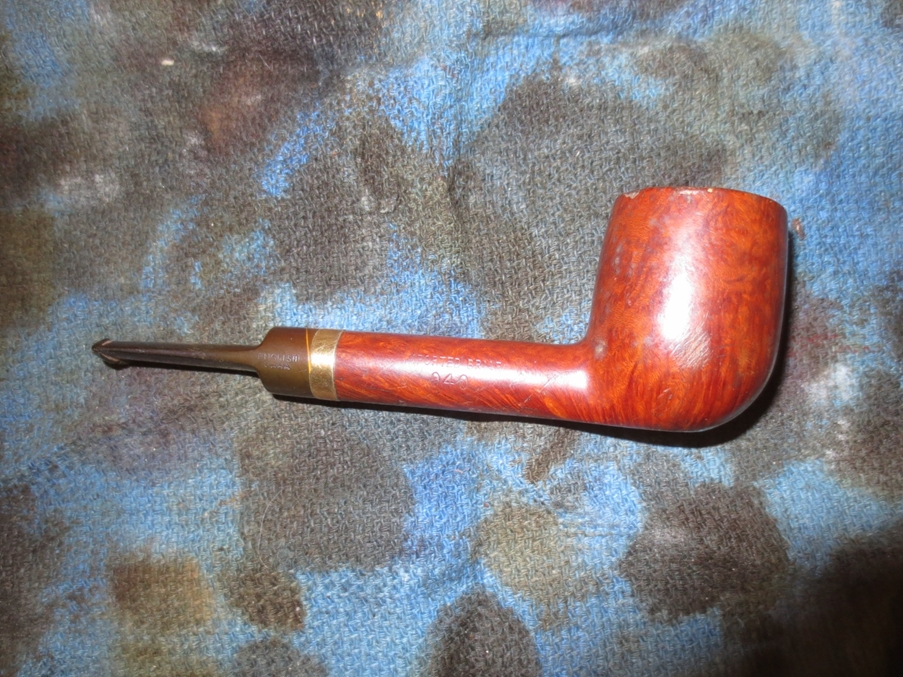
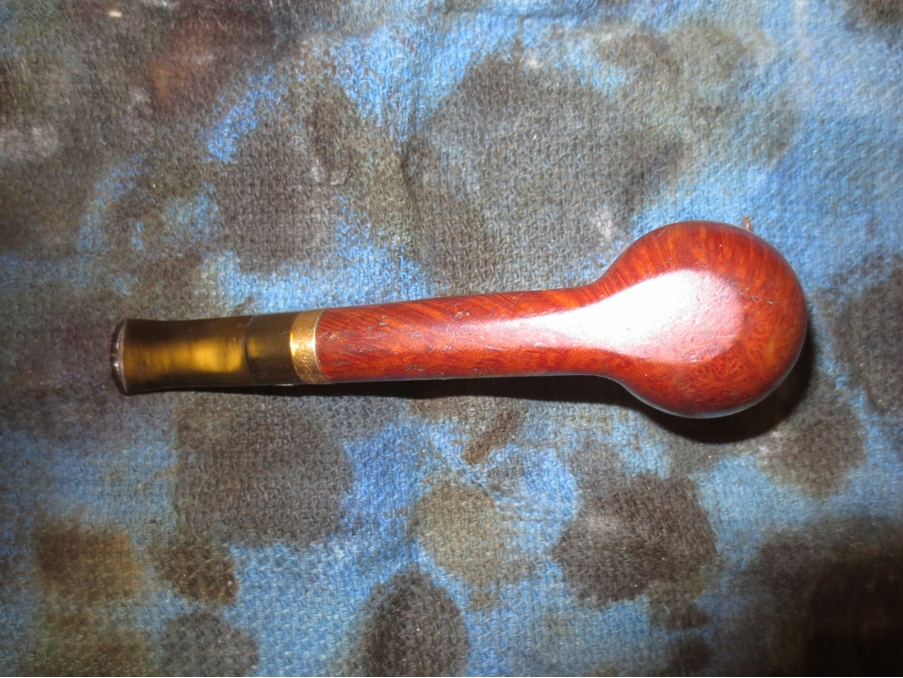
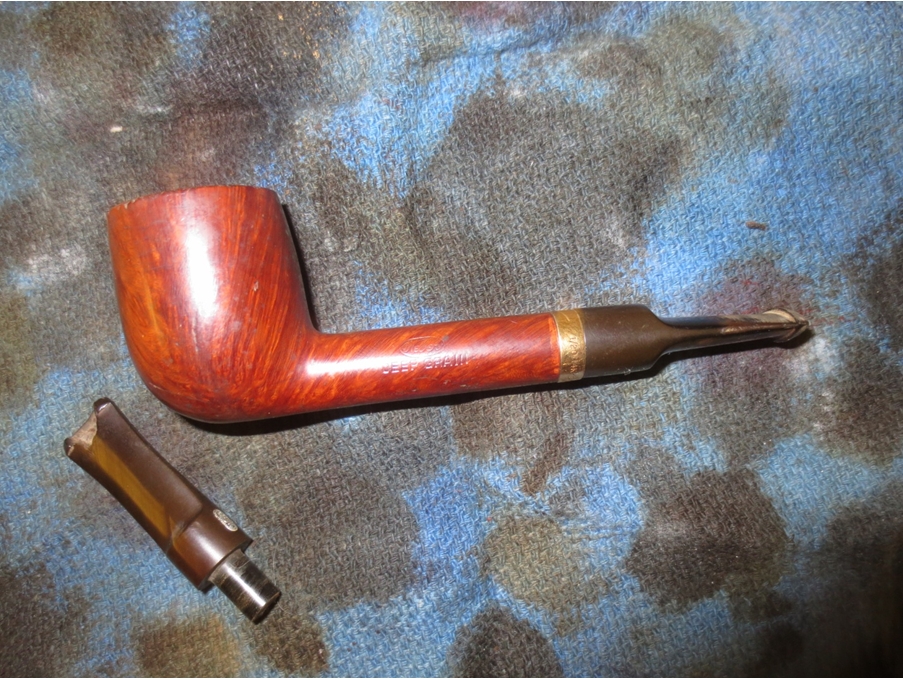
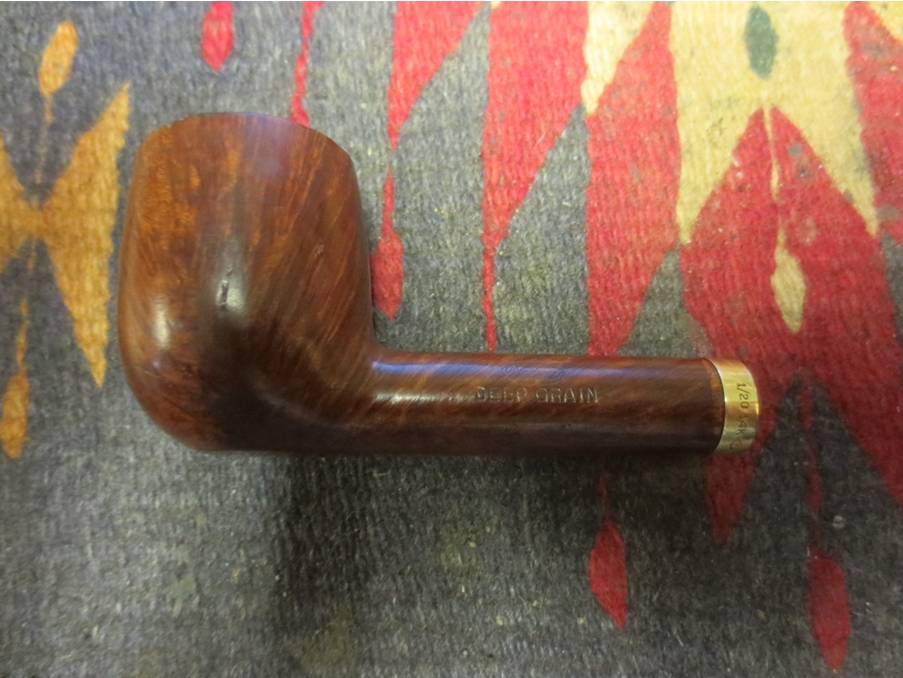
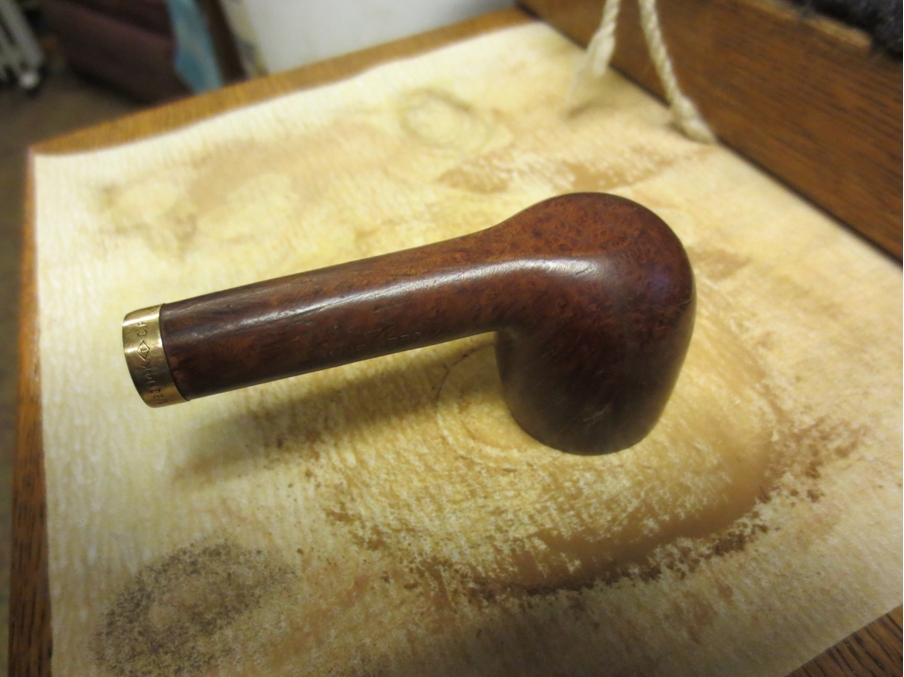
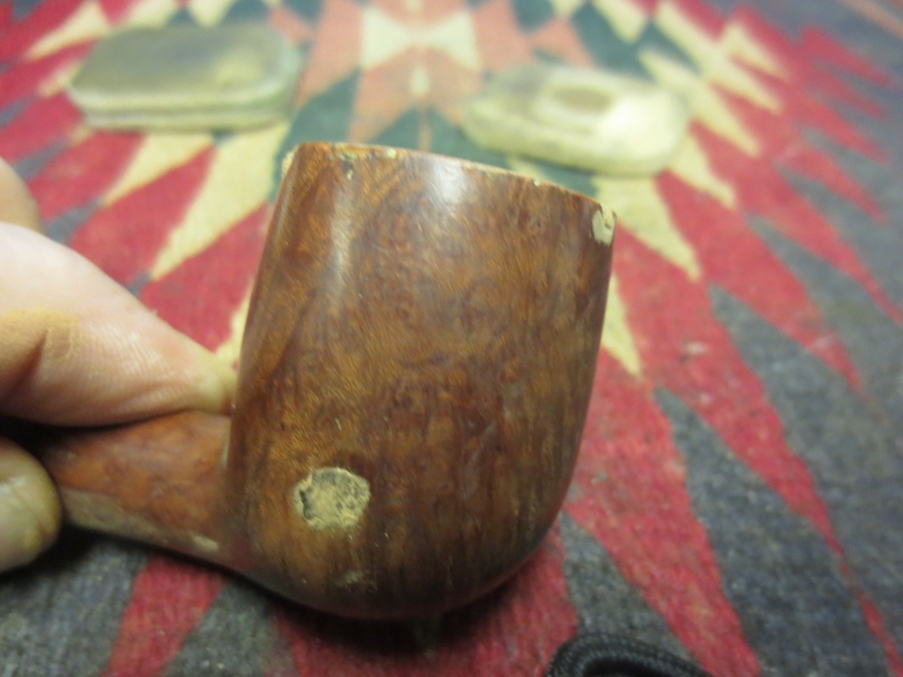
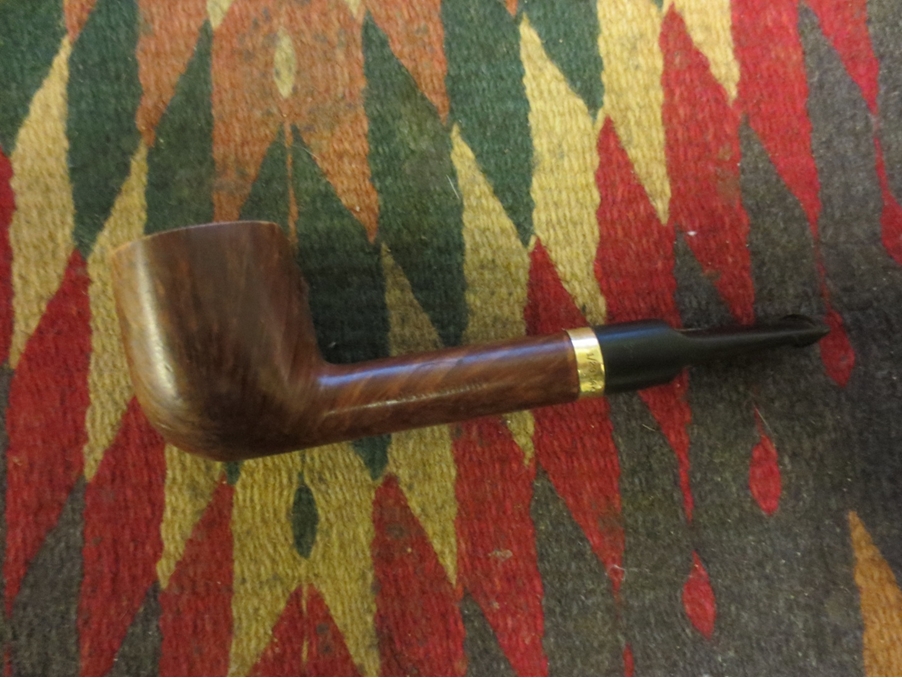
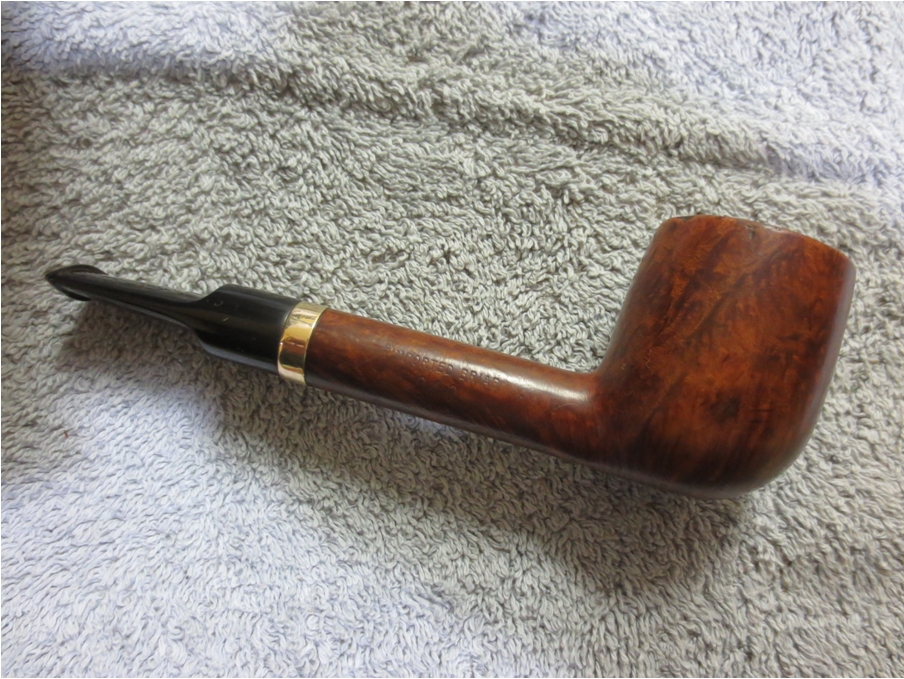
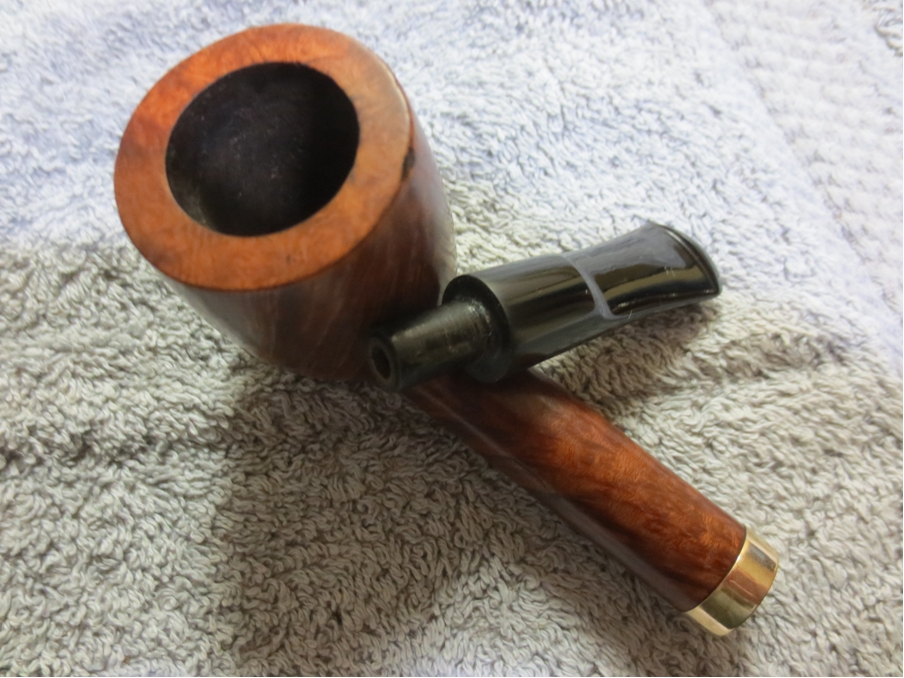
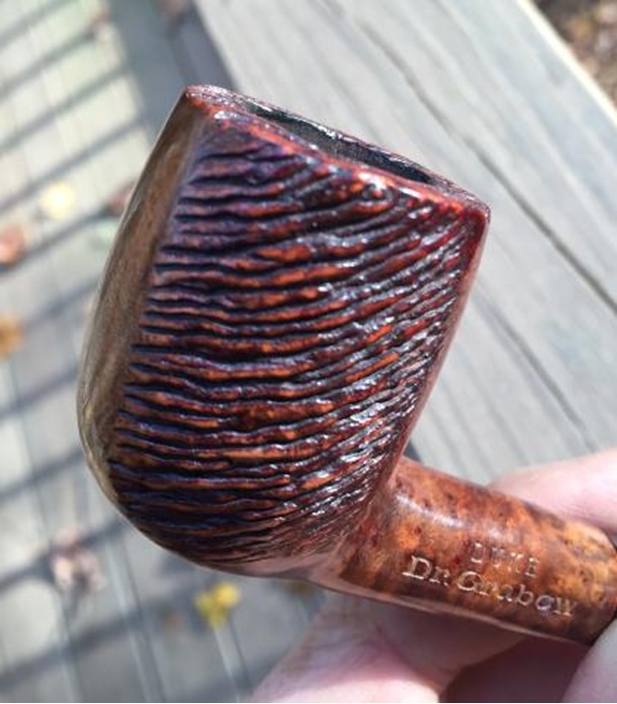
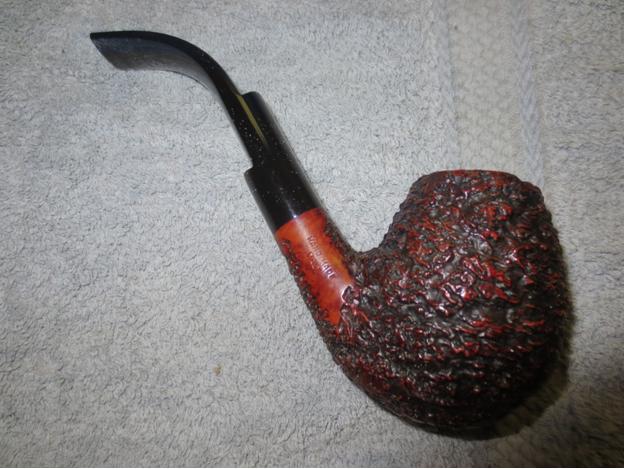
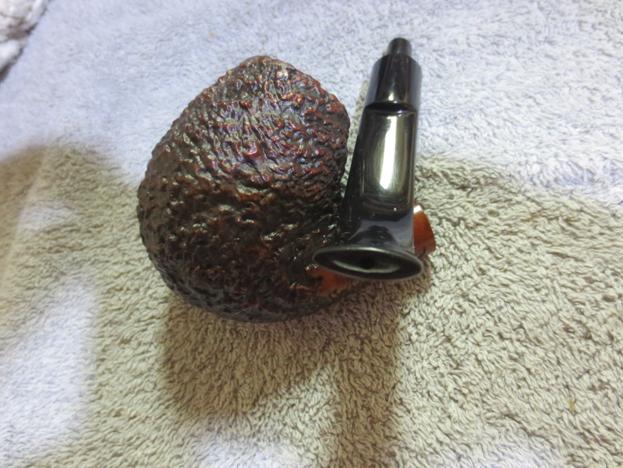
The next pipe that I have on my work table was an Ardor Business KS Bent Brandy with severe damage to the end of the stem. The bowl still had some unsmoked tobacco in the bottom half and the cake was crumbly and concentrated around the middle of the bowl. The top portion of the bowl had a light cake. The bottom portion was fairly clean. The shank and stem were dirty with a lot of black tars and oils. The mortise was black and the airway from the bowl entered the mortise quite high. Part of it was actually above the mortise – very different angle of drilling. The tenon was flared on the end so that the smoke was funneled into the stem. The finish was in excellent shape – the rustication had a reddish top coat over a dark brown/black undercoat. Even the rim was clean and undamaged.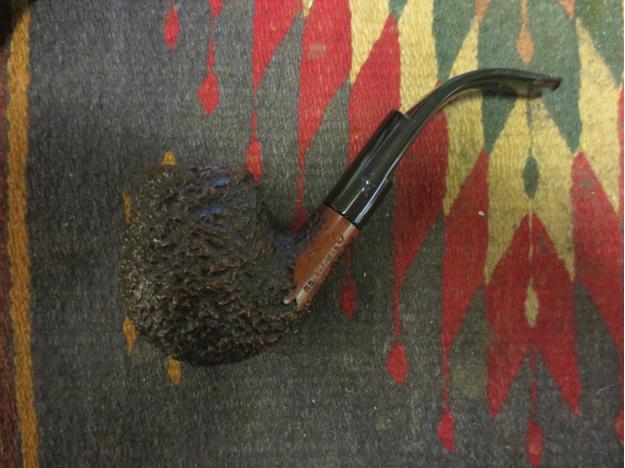
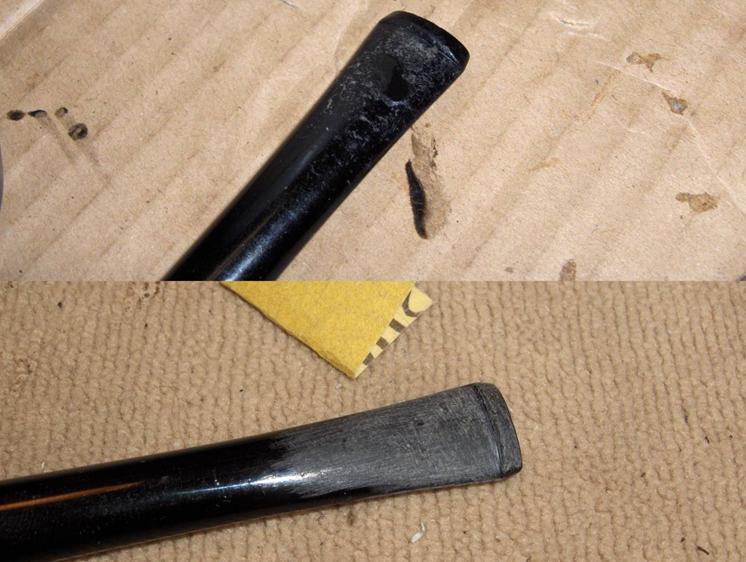
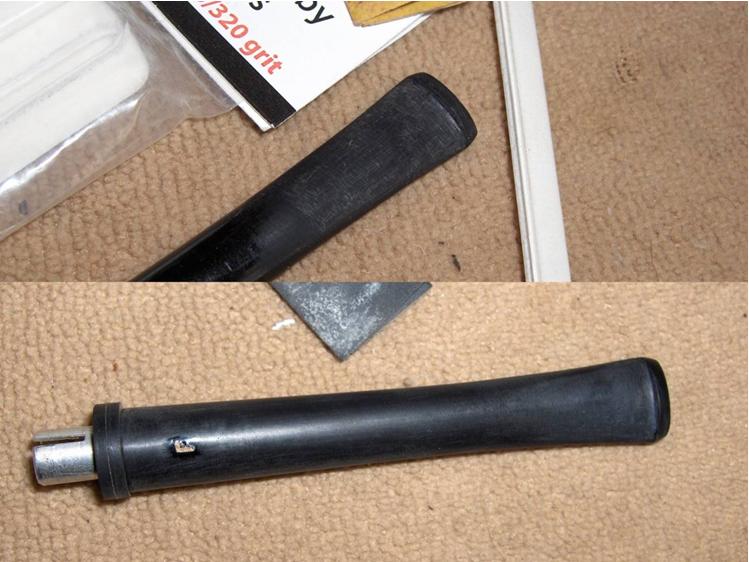
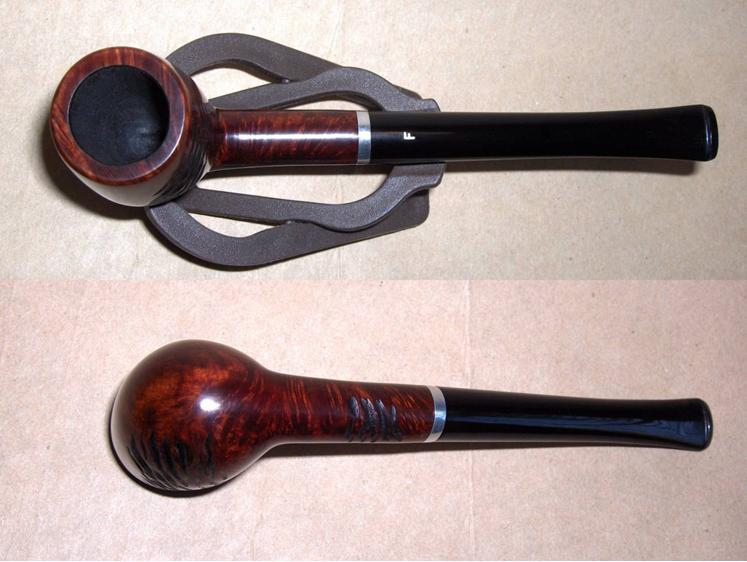
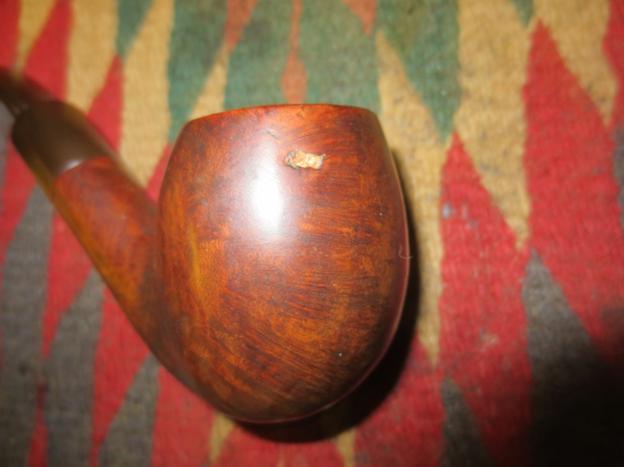
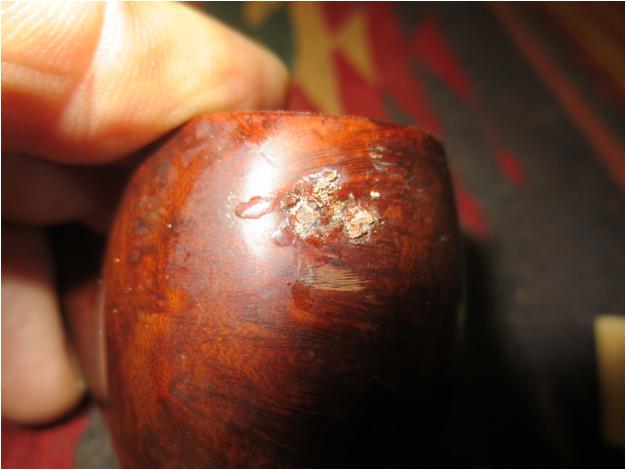
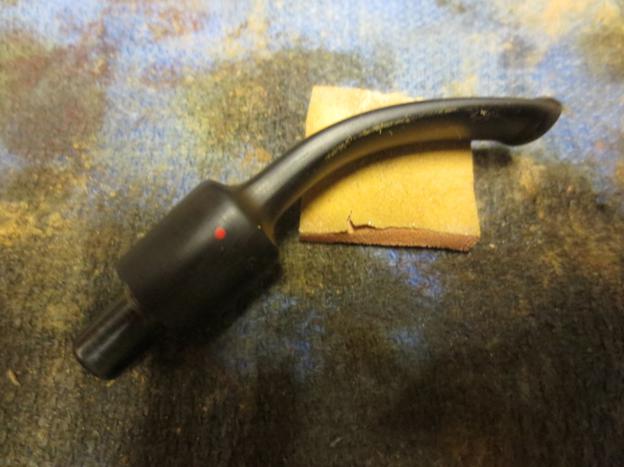
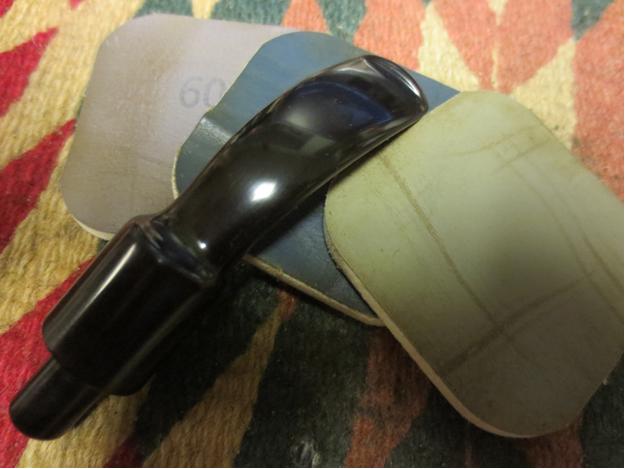
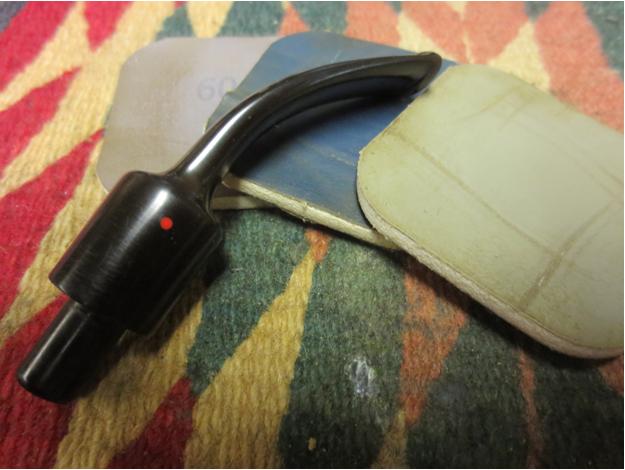
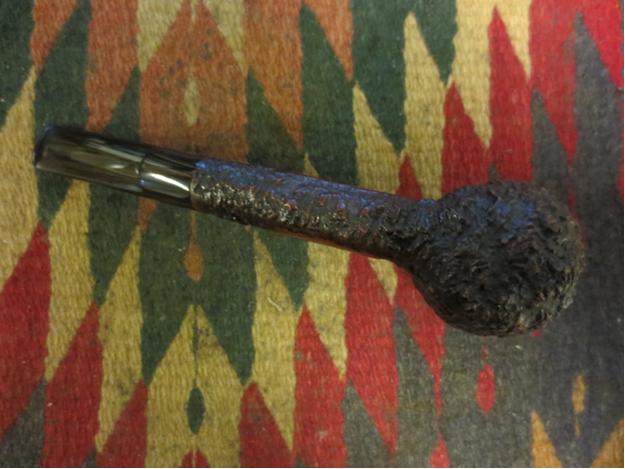
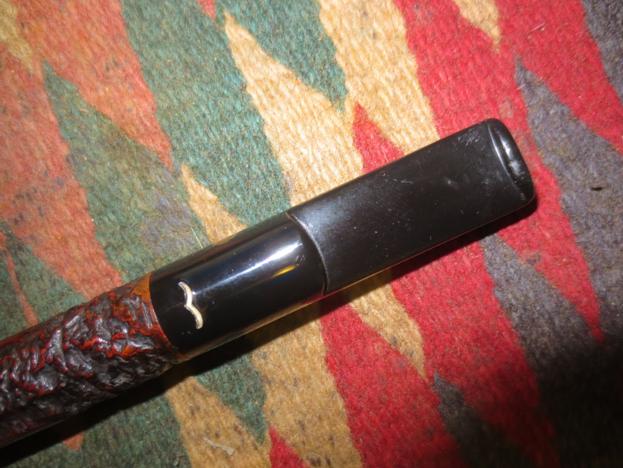
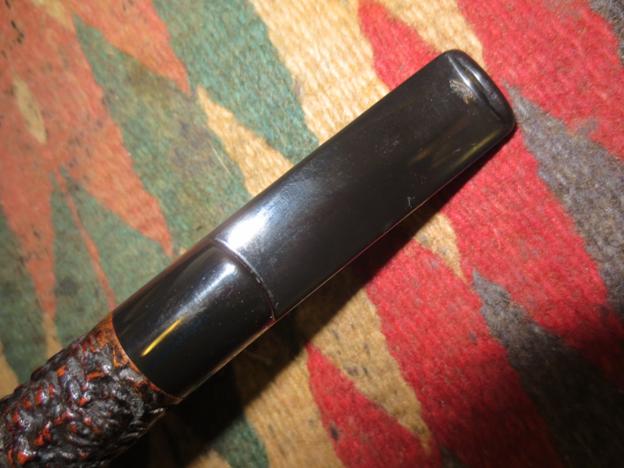
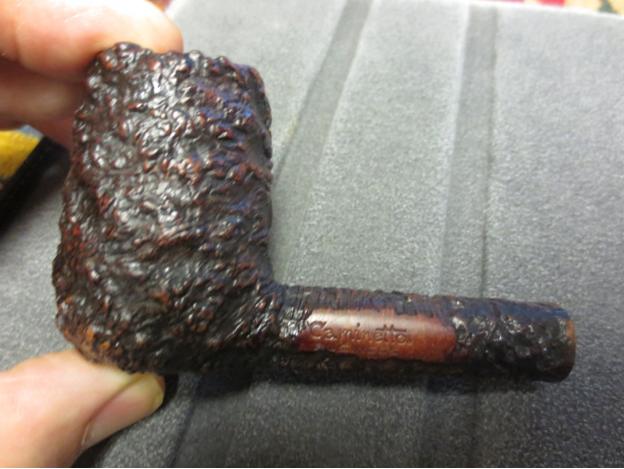
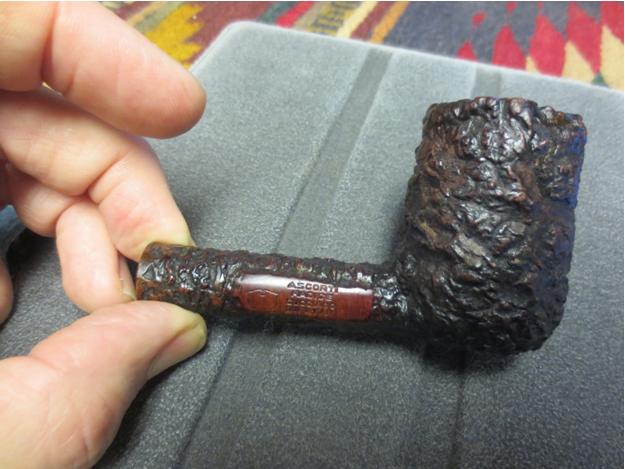
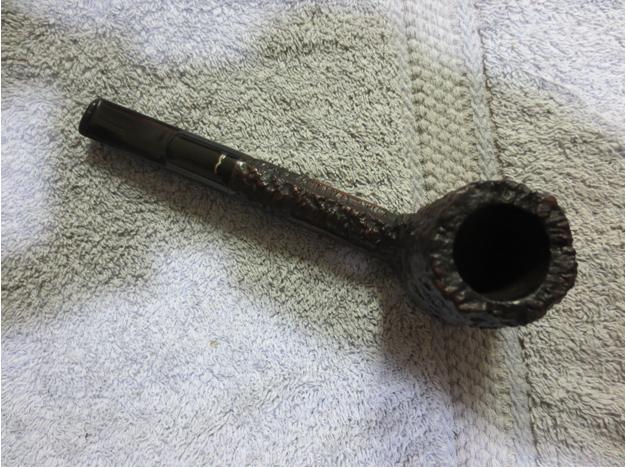
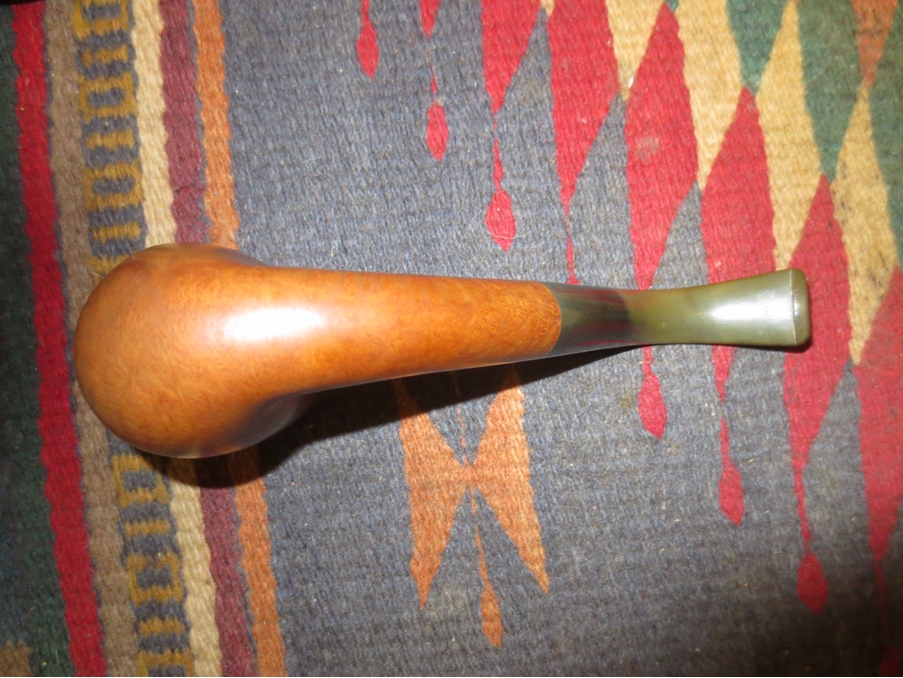
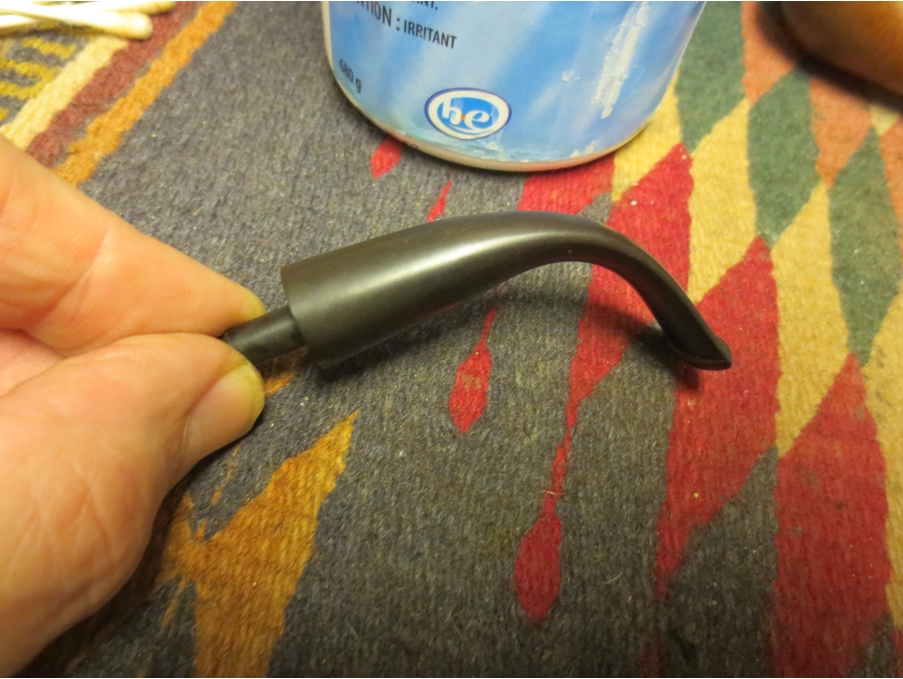
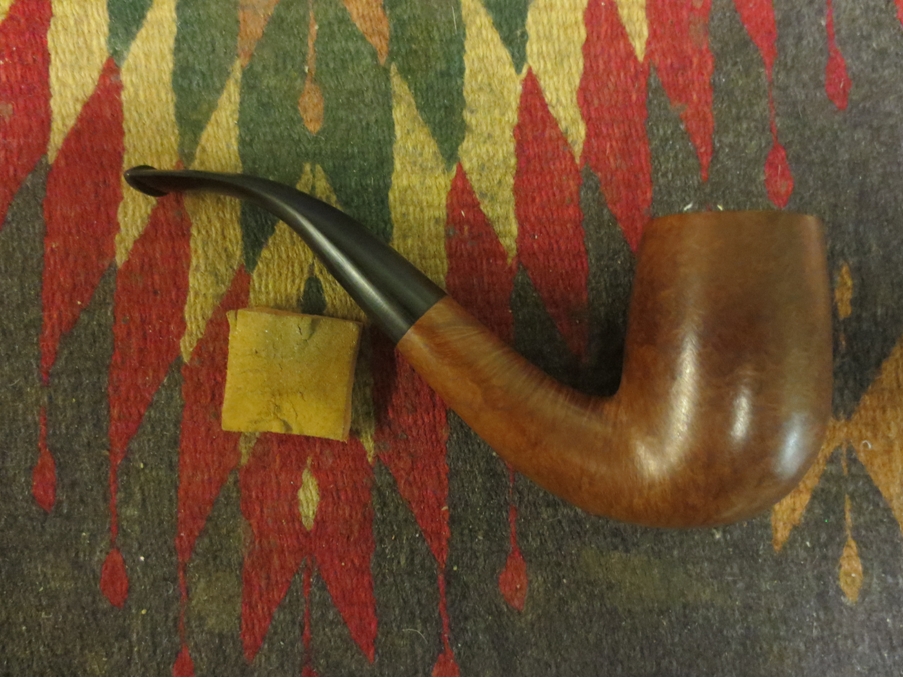
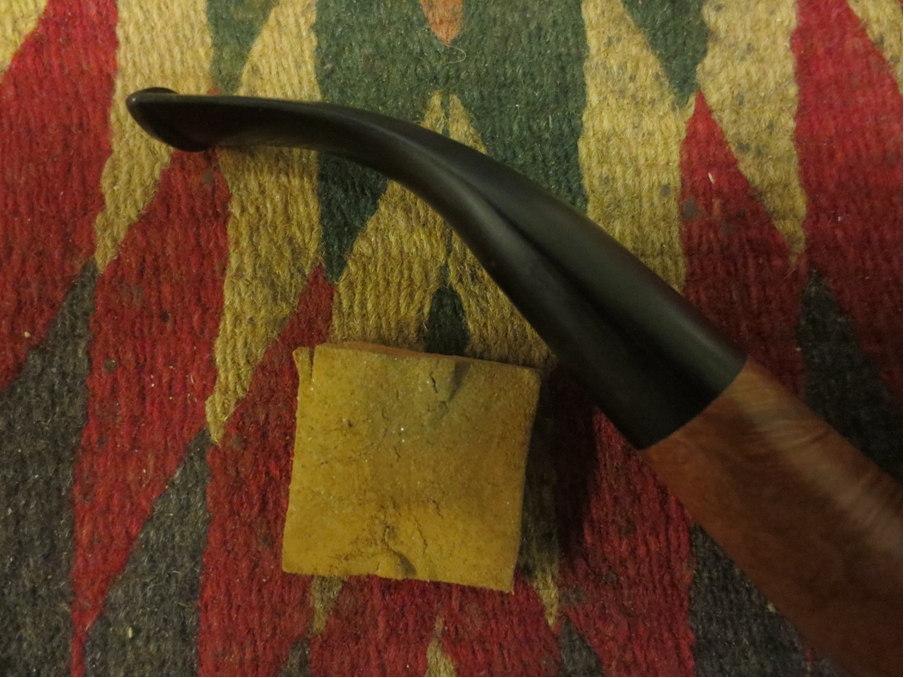
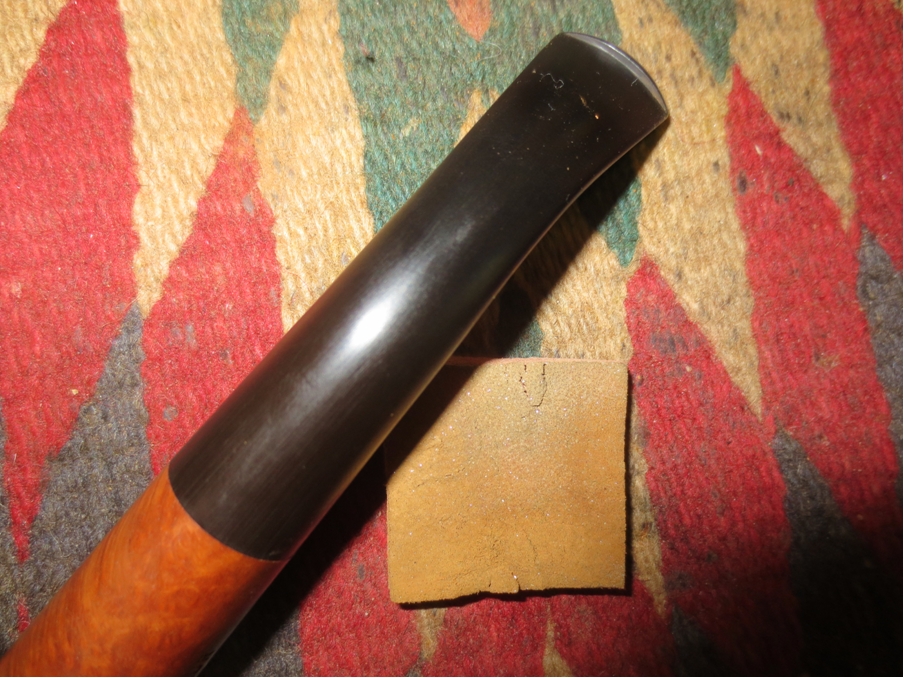
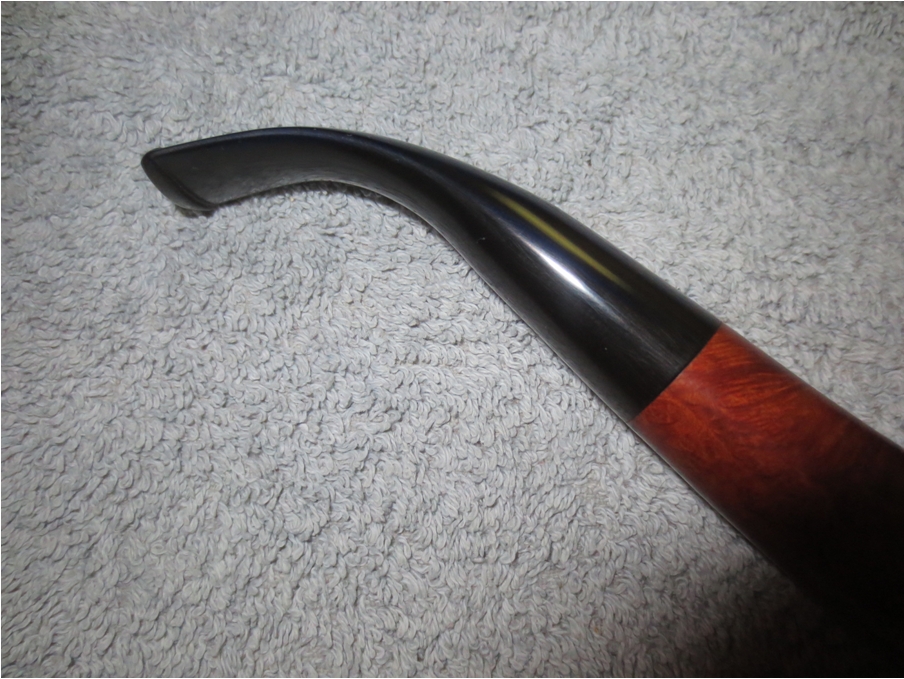
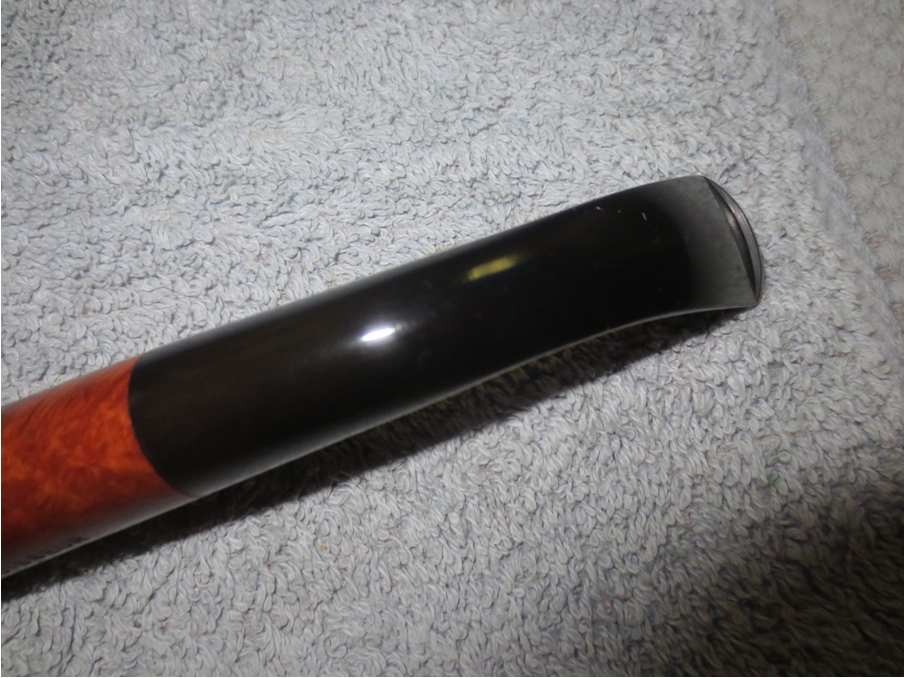
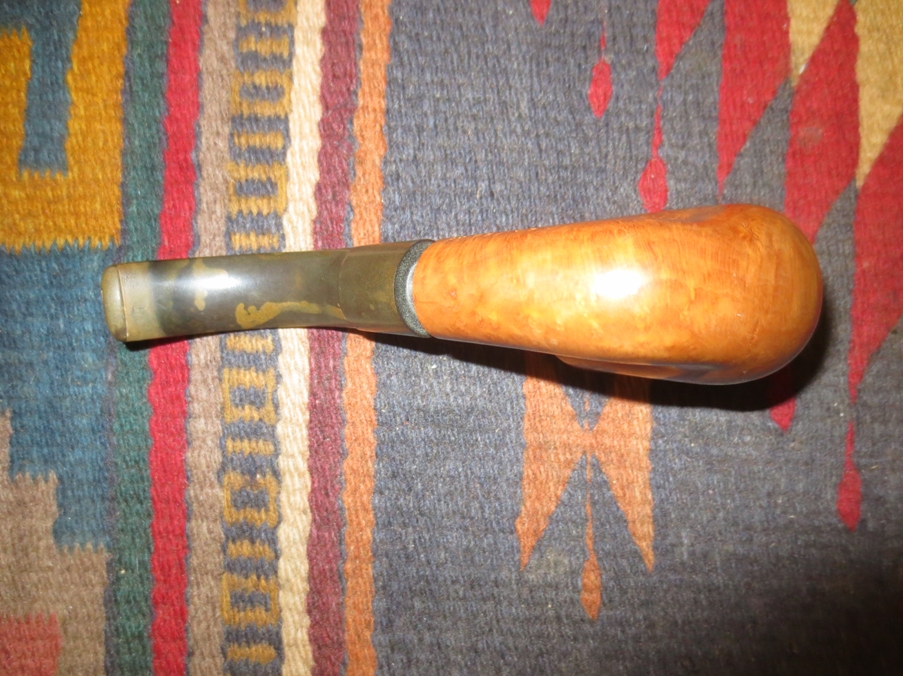
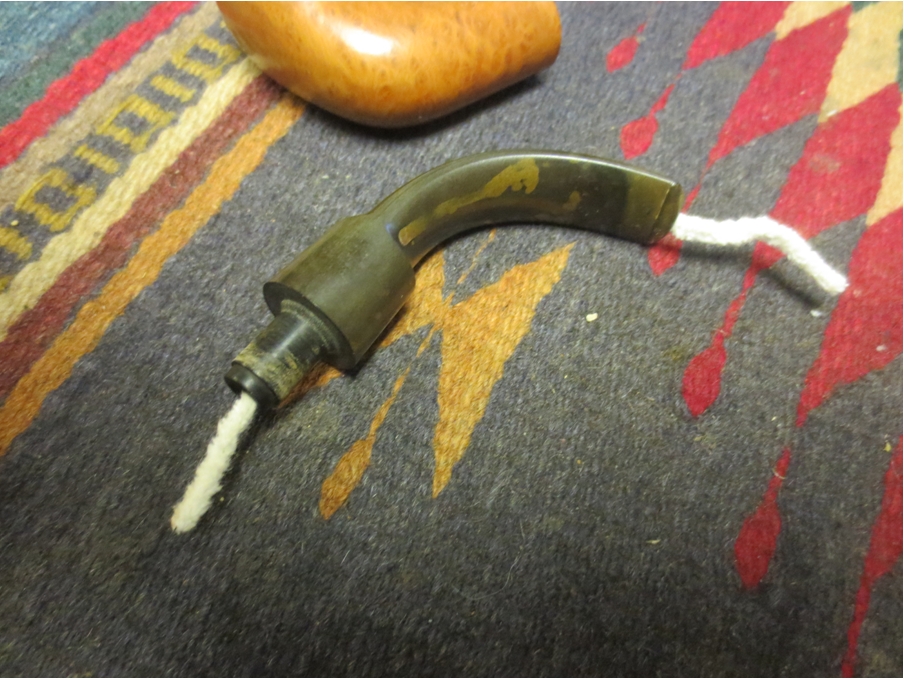
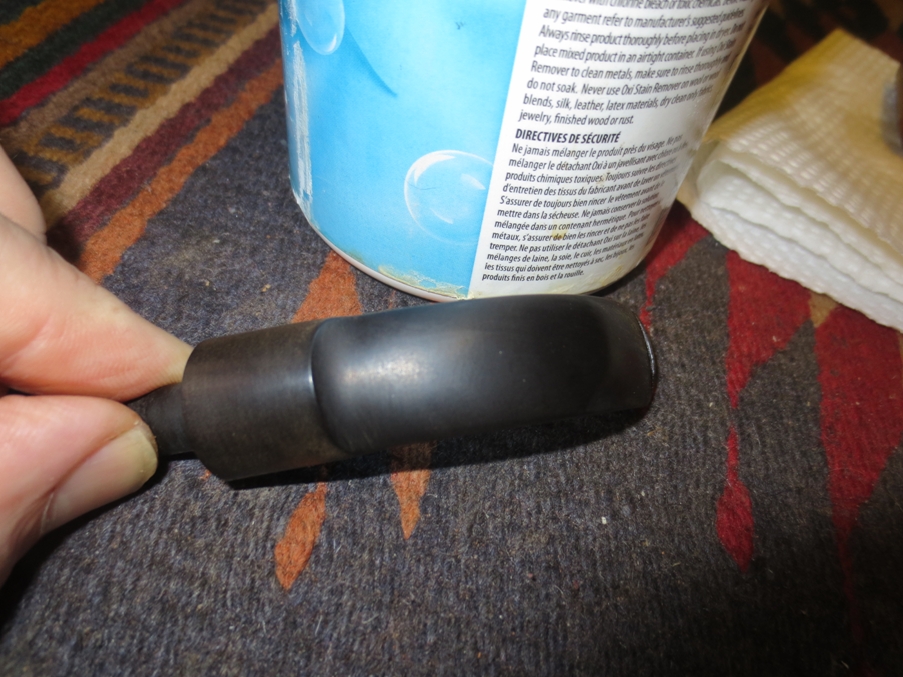
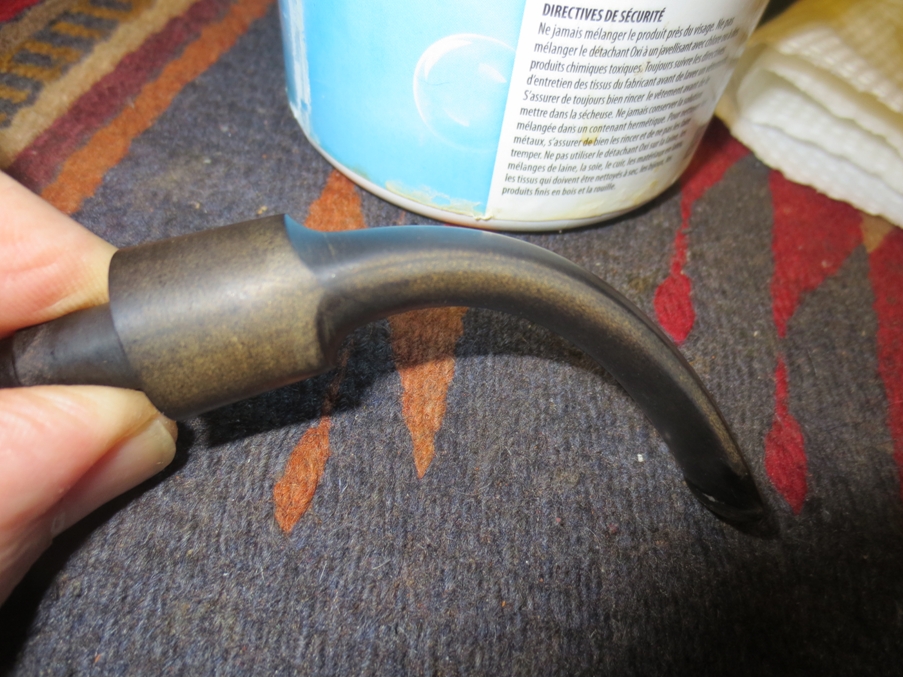
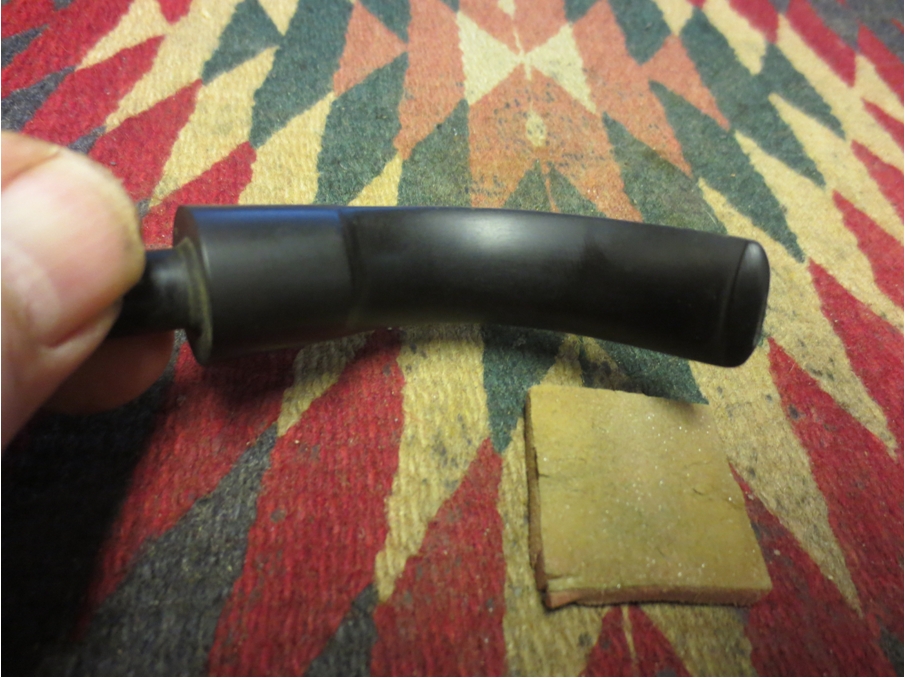
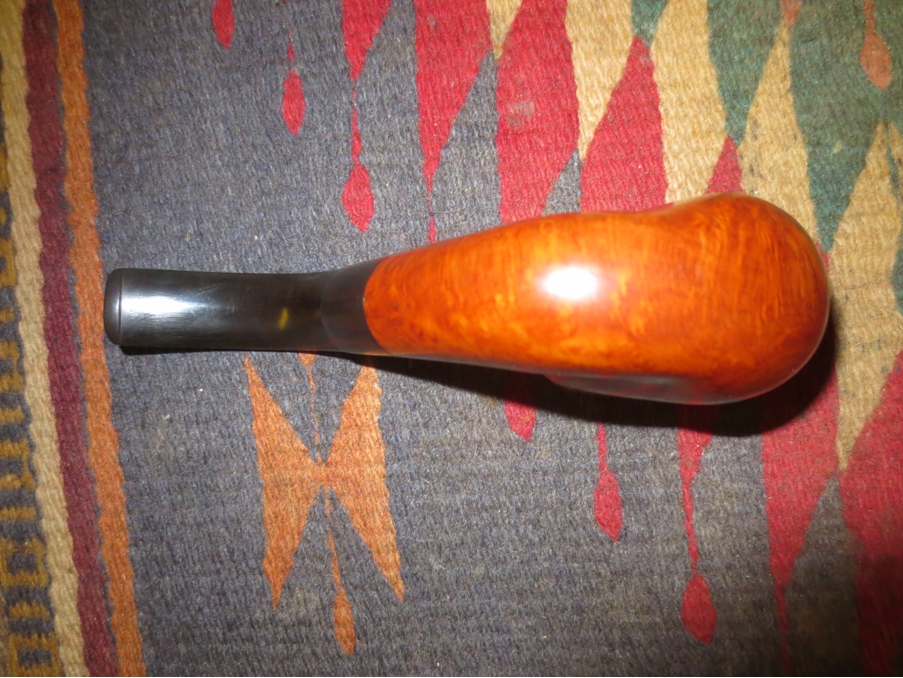
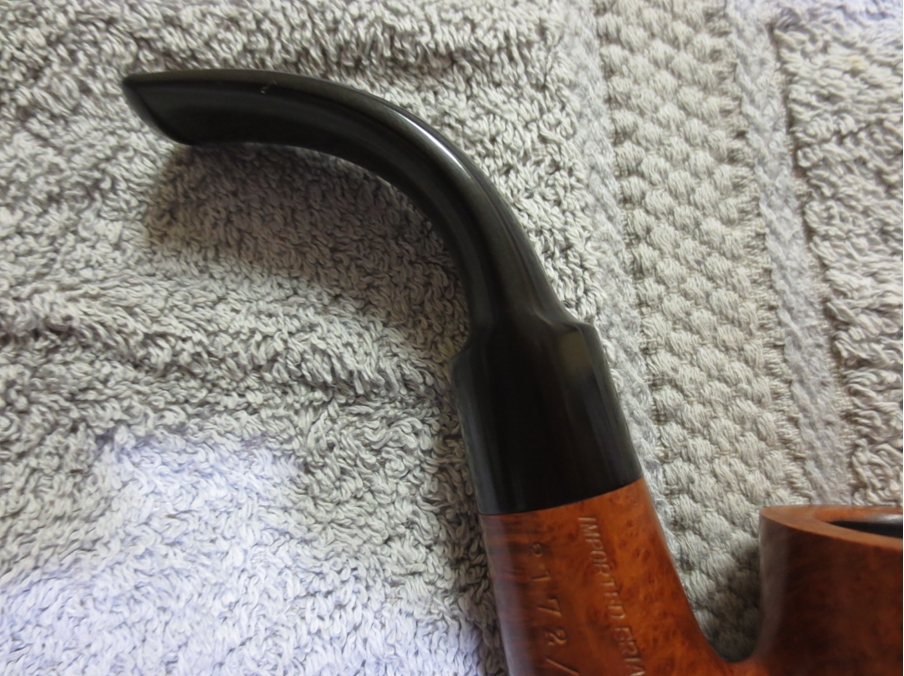
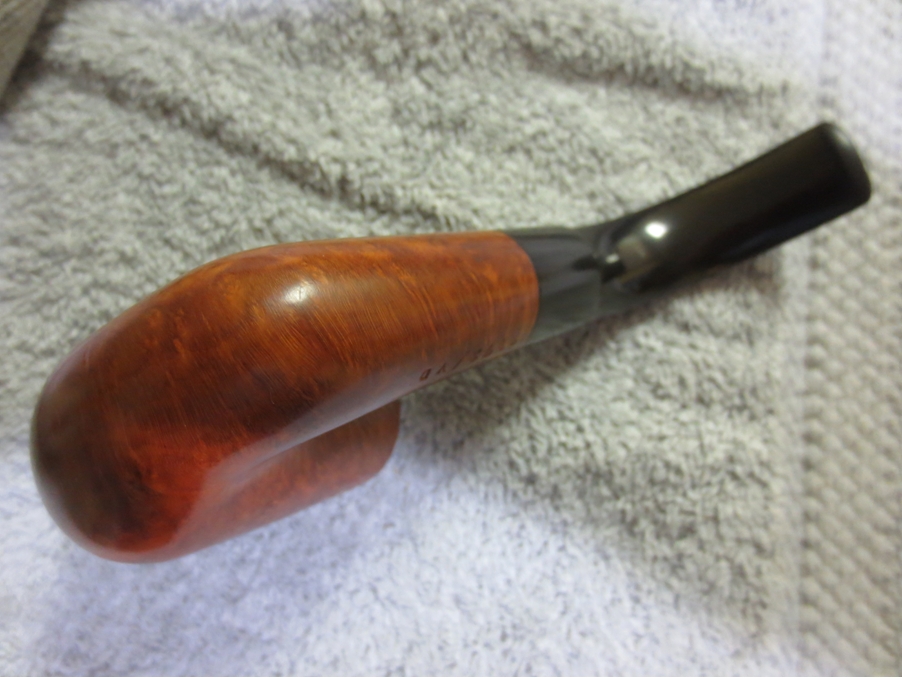
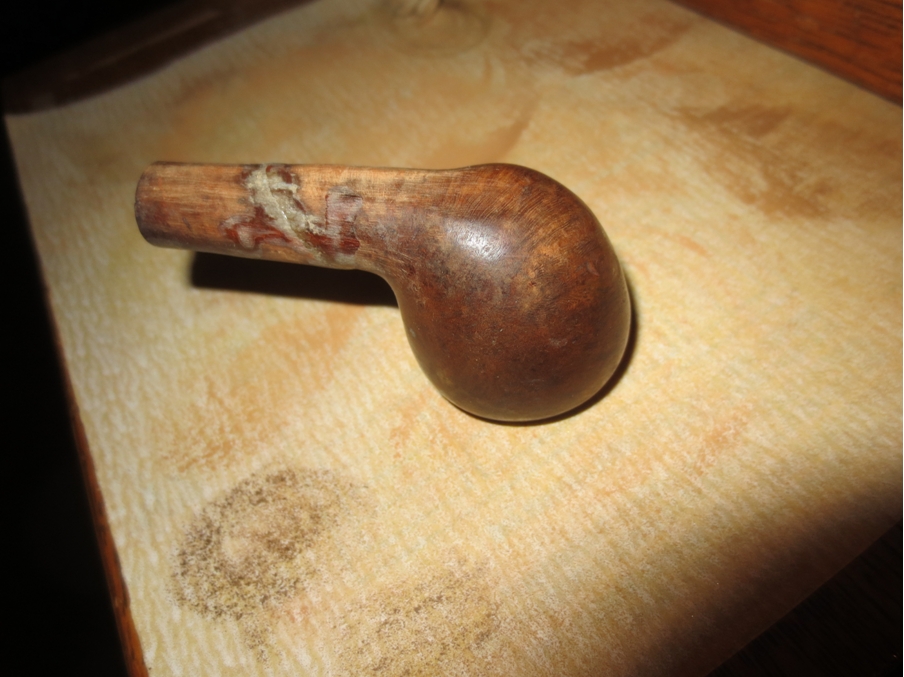
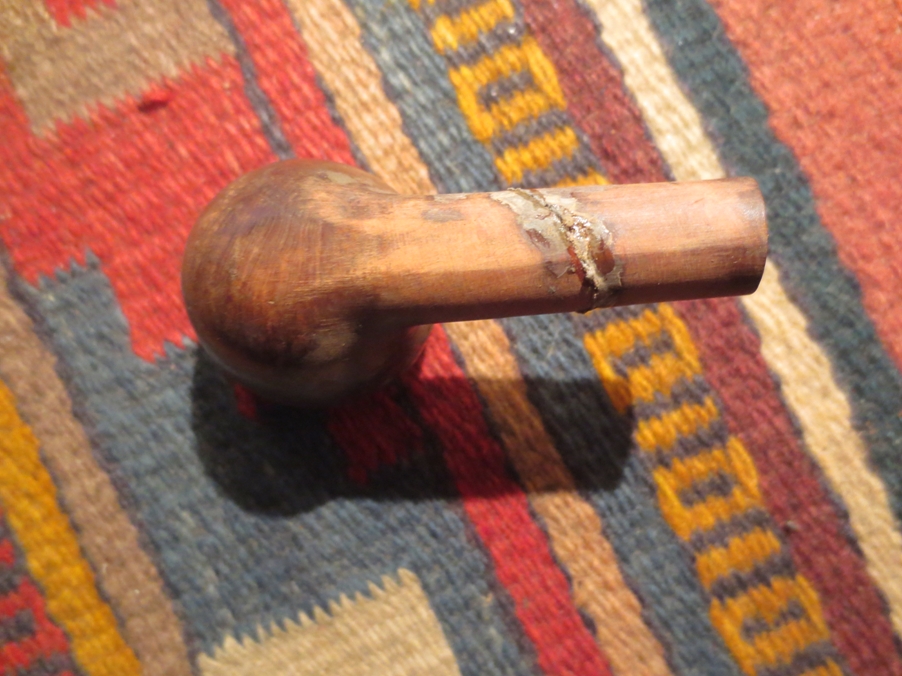
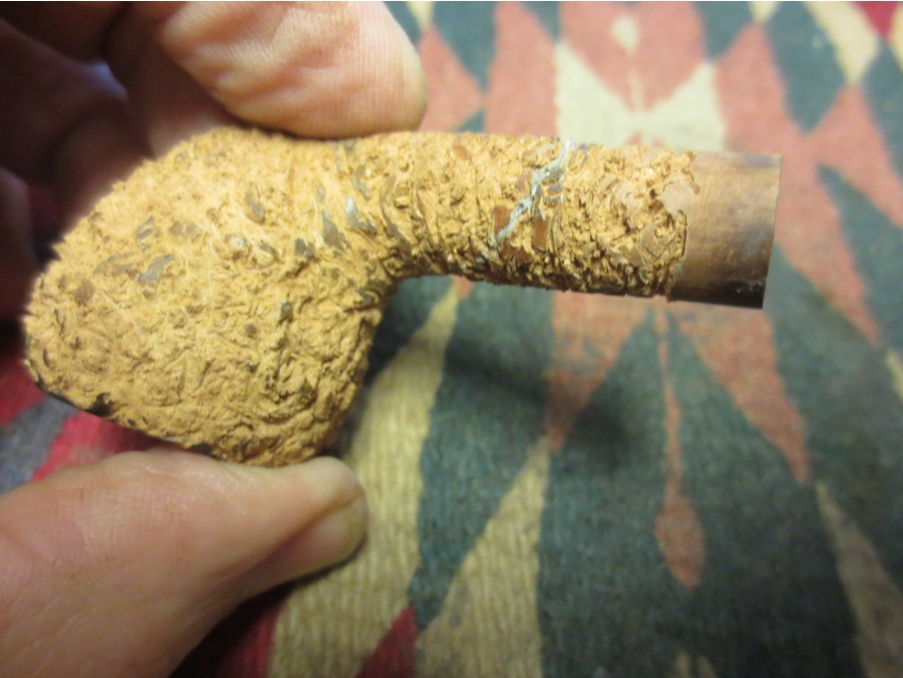
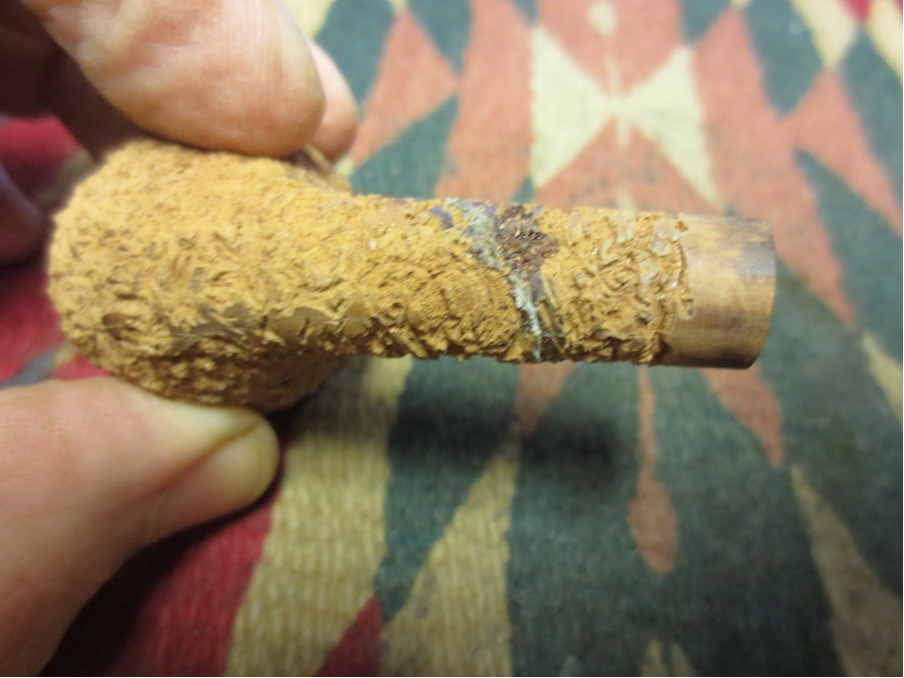
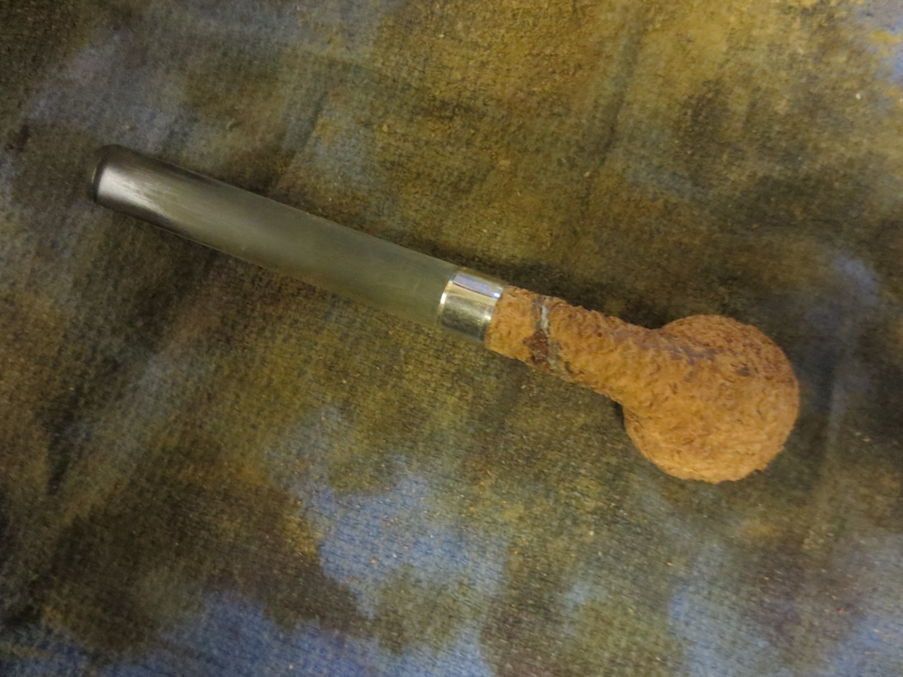
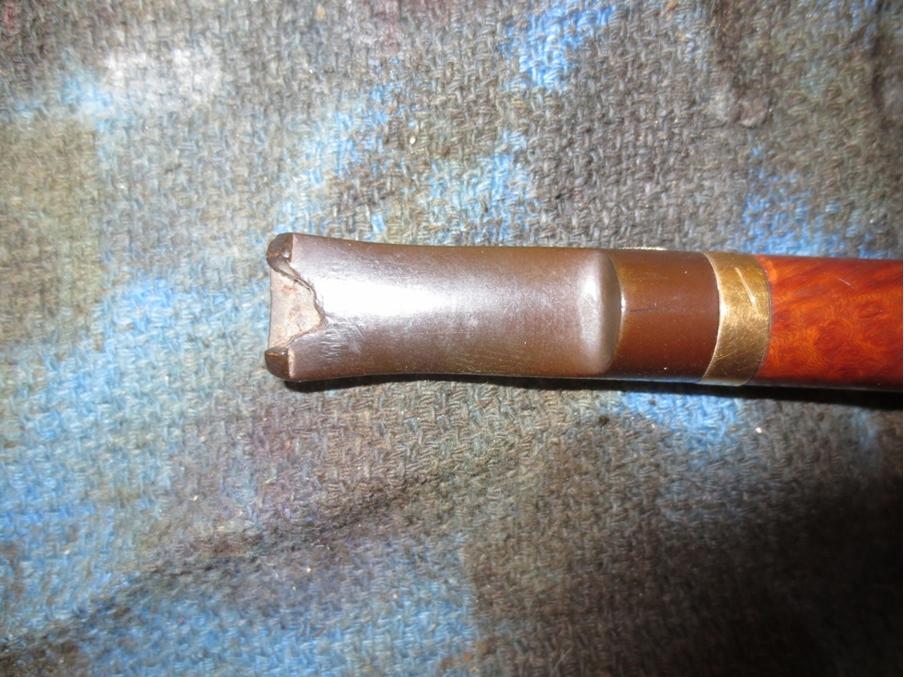
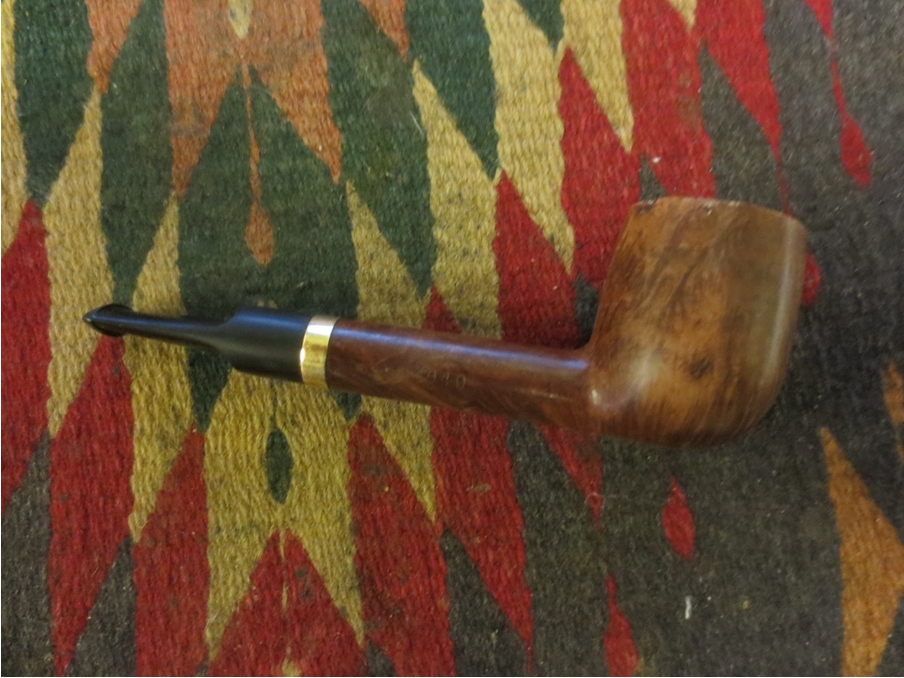
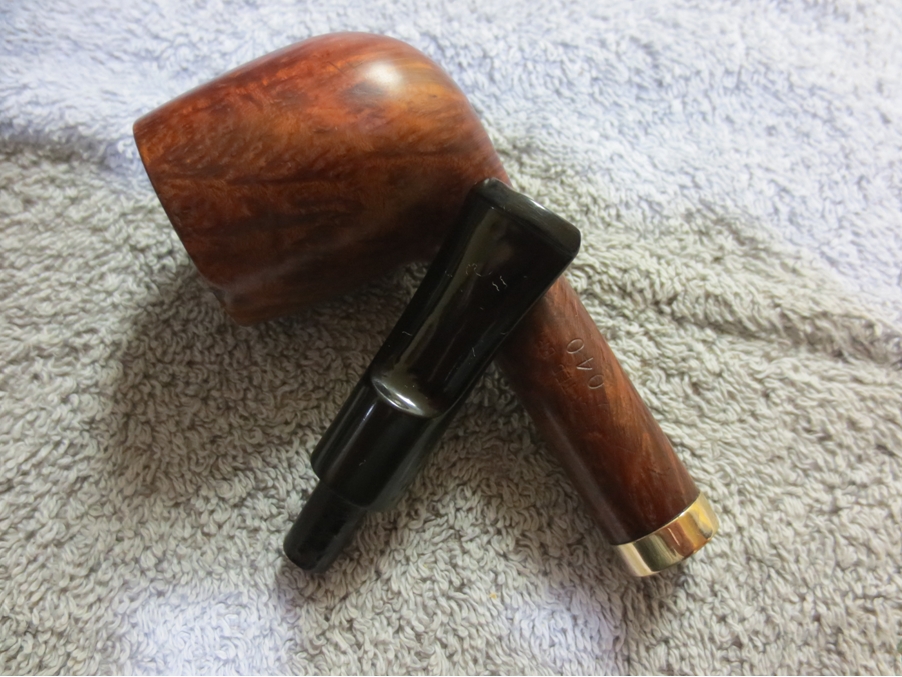
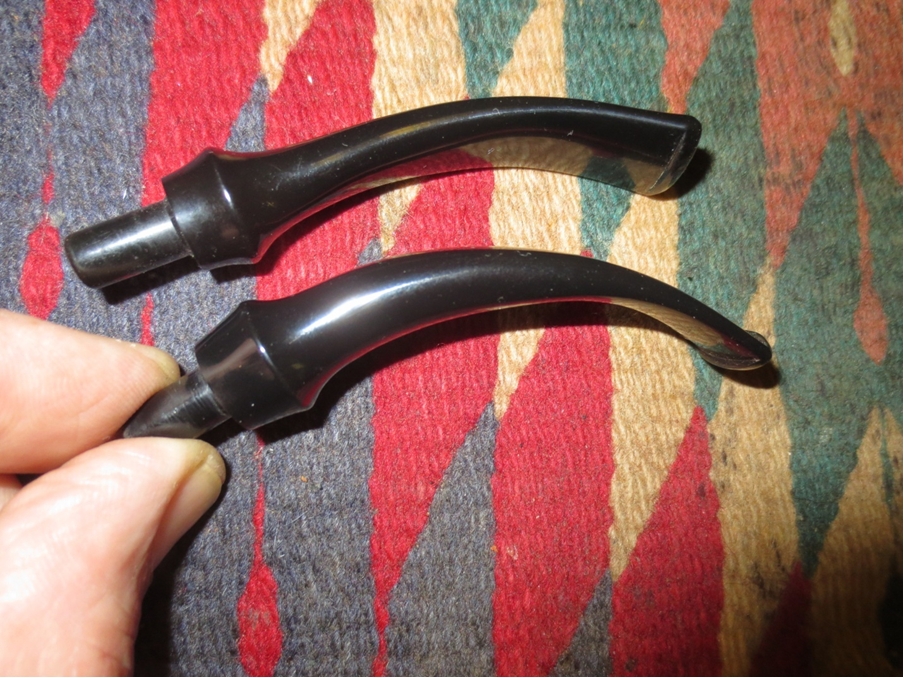
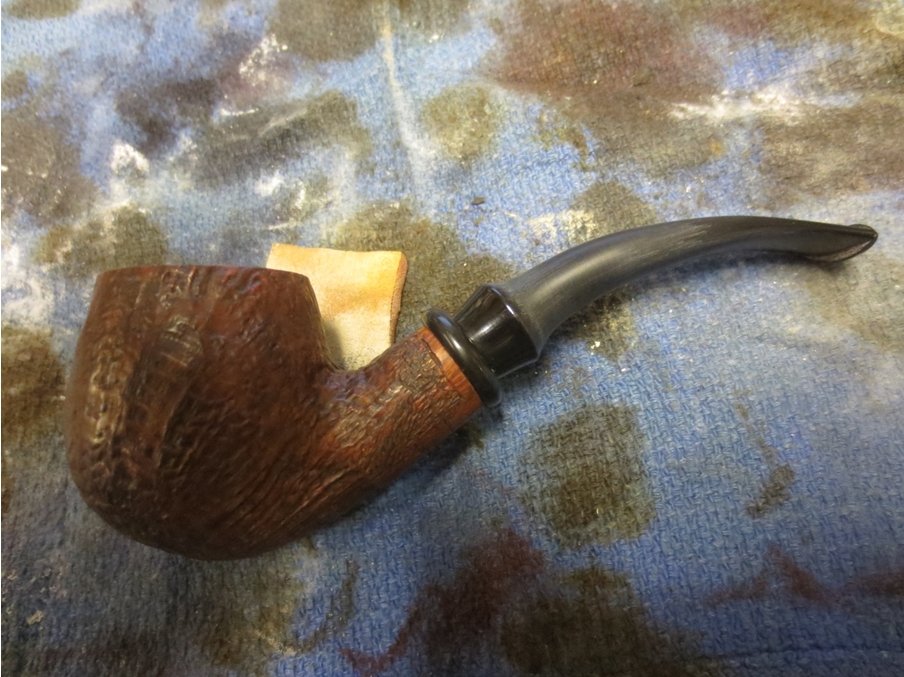
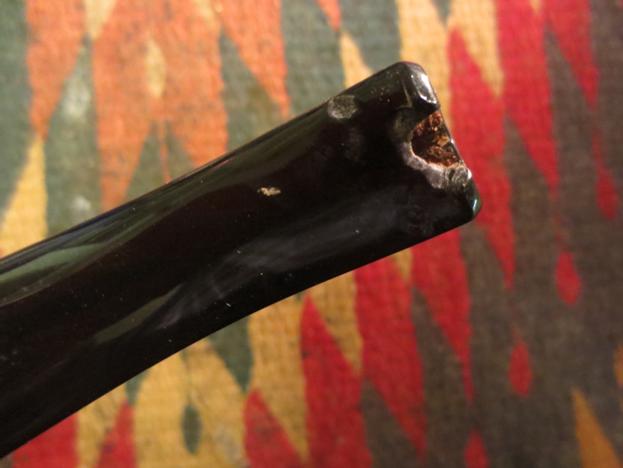
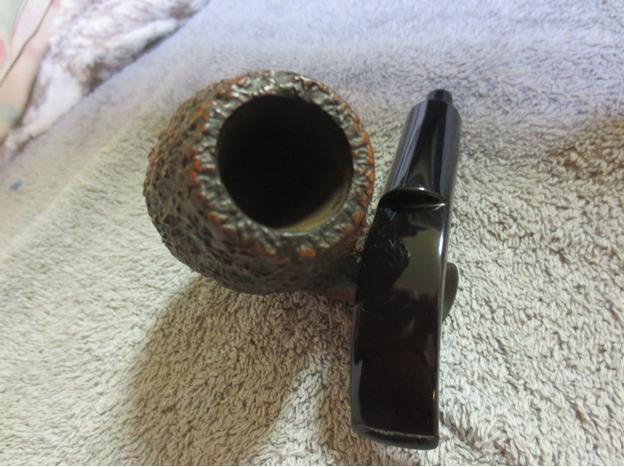
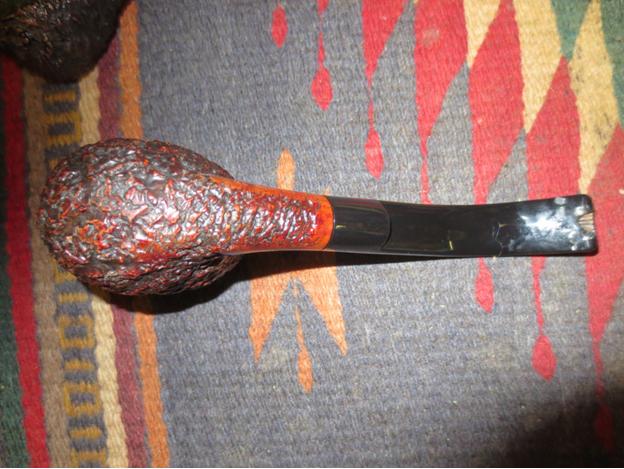 The stem has the same stepped look as the Caminetto Business pipe that I just completed. The saddle portion of the stem was flawless. The top of the stem and the underside were damaged near the button. There was a large chunk of the Lucite missing on the underside and there were some deep tooth marks on the top side. The button itself was gnawed on as well on the top side. I had some choices to make with regard to this stem. Should I try a patch on the large missing chunk from the stem or should I cut of the stem and reshape a new button? That was the big question on this stem. I took the next two close-up photos to give a clear idea of how badly the stem was damaged.
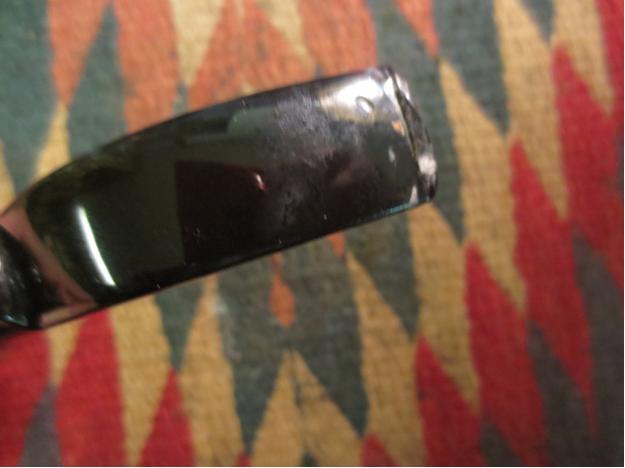
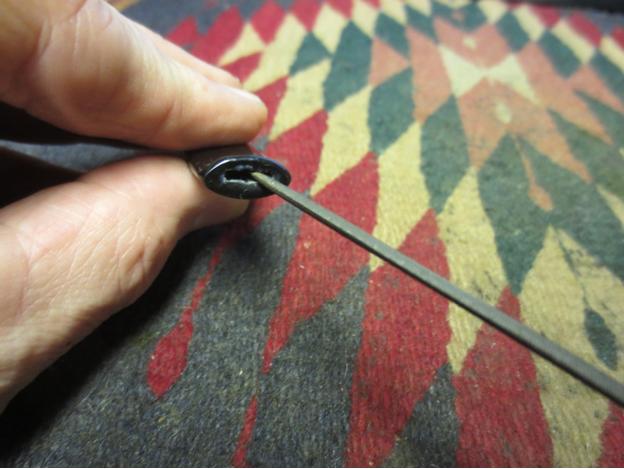
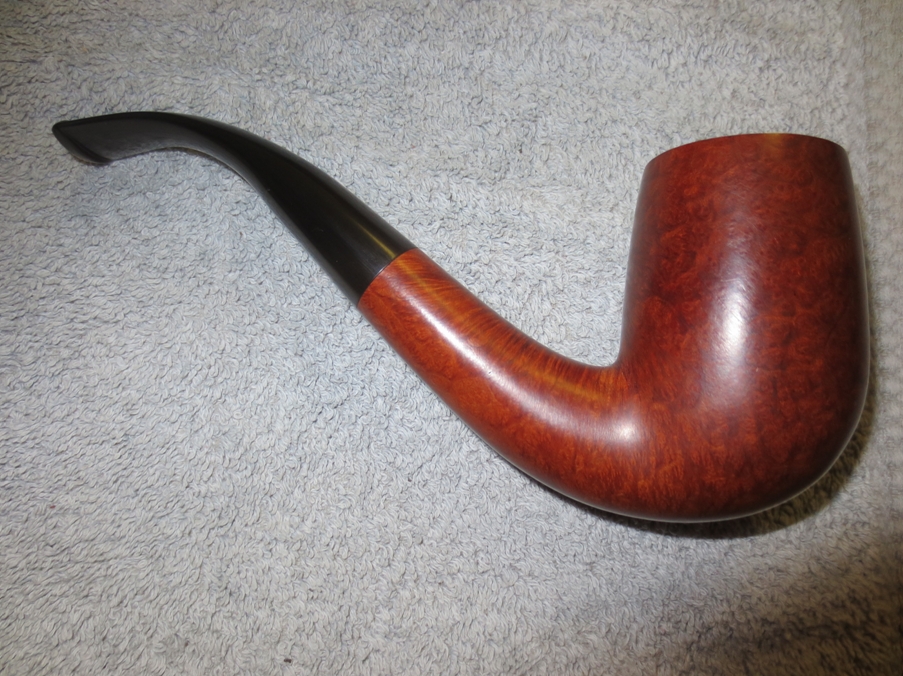
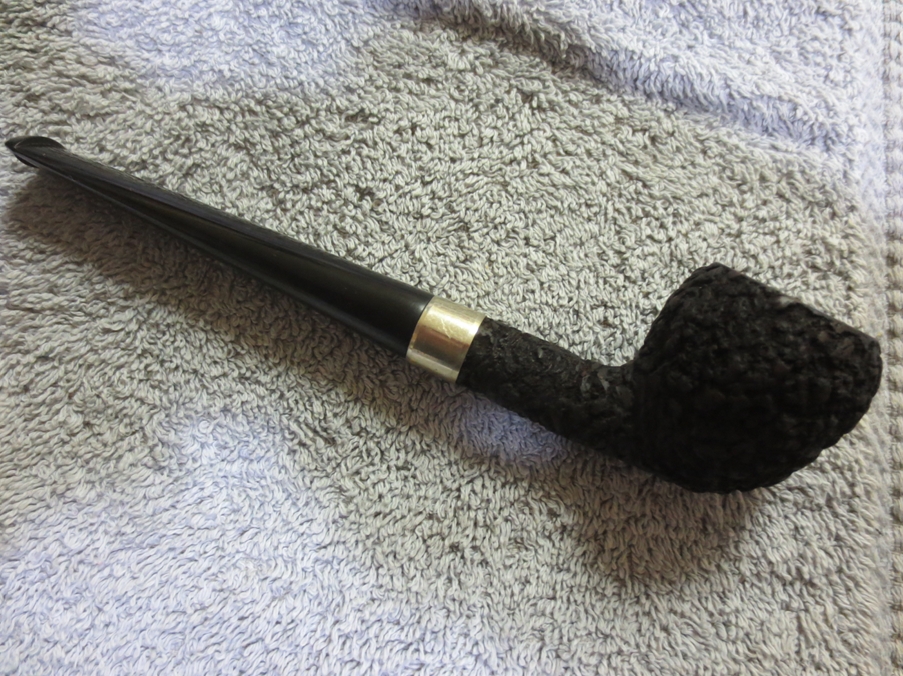
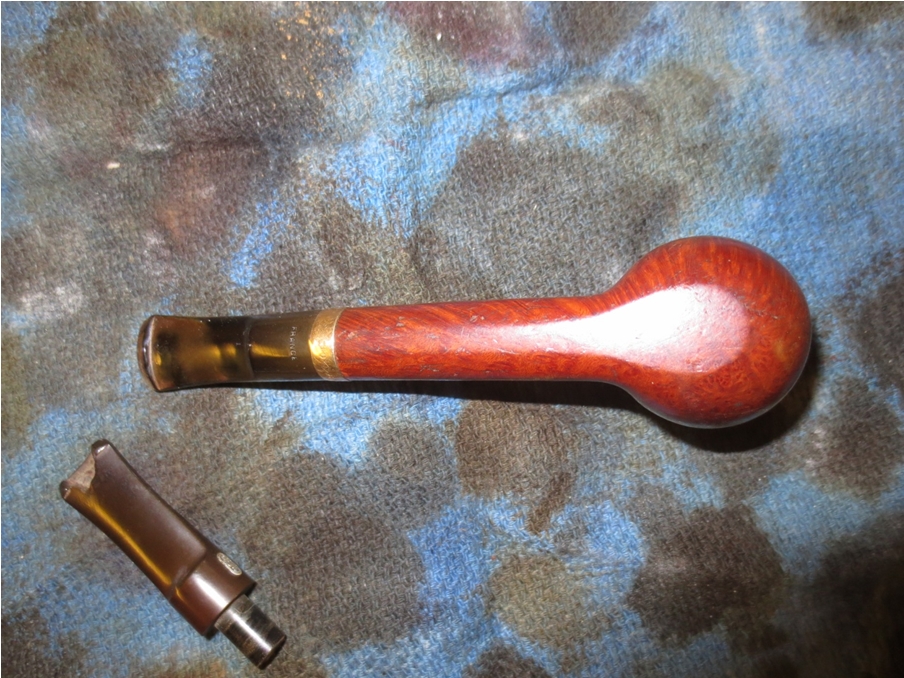
 I measured the length and took pictures to get a feel for the look of the pipe with the present stem length and with the shortened length. When I had a good picture in my mind of how it would look I used my Dremel and sanding drum to remove the damaged portion of the stem and cut it back to where the undamaged stem material would allow me to shape a new button and slot.
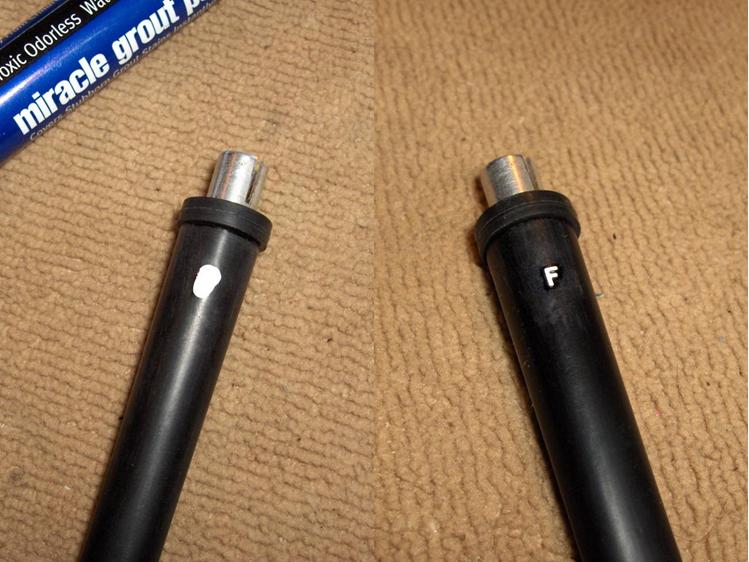
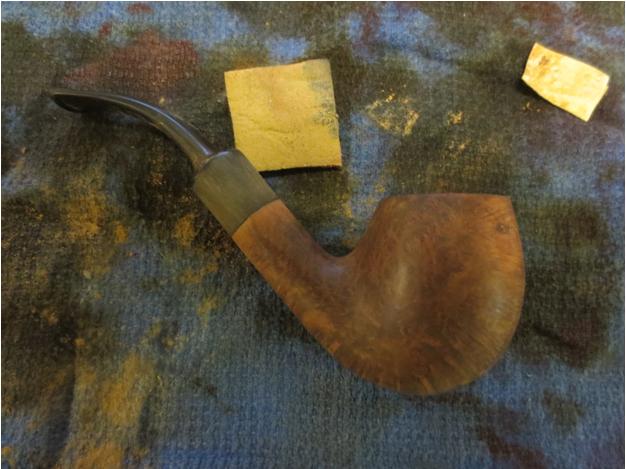
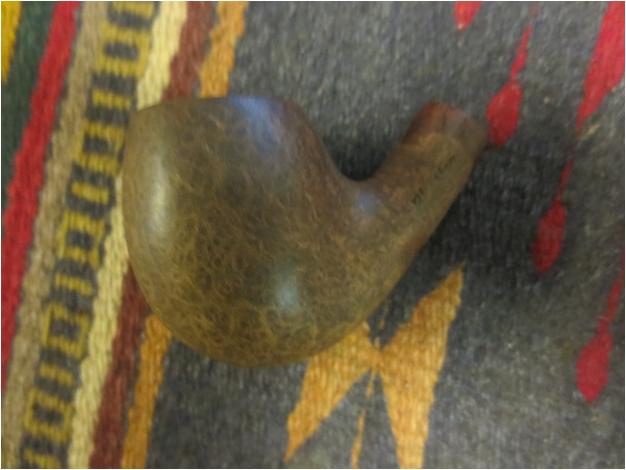
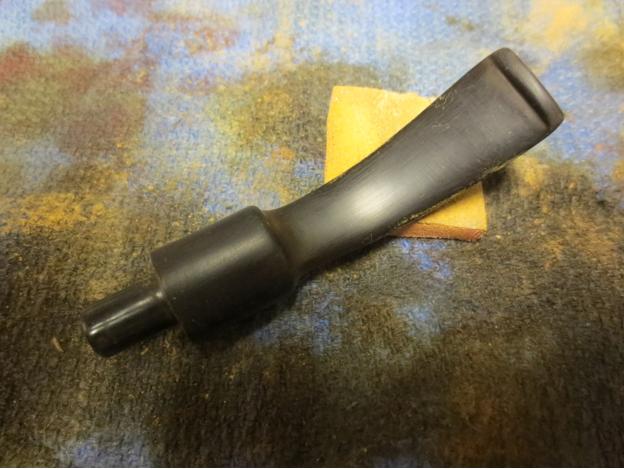
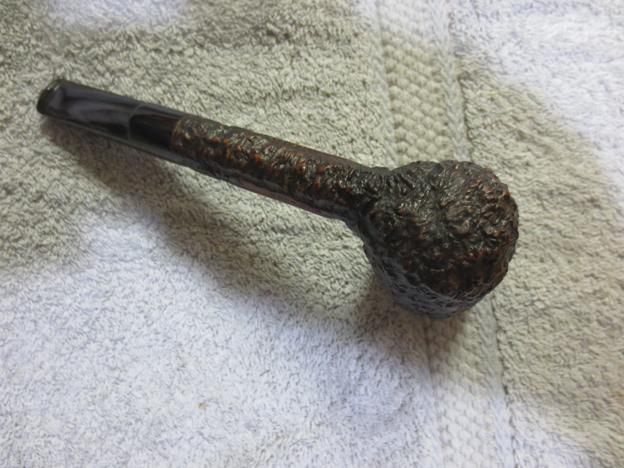
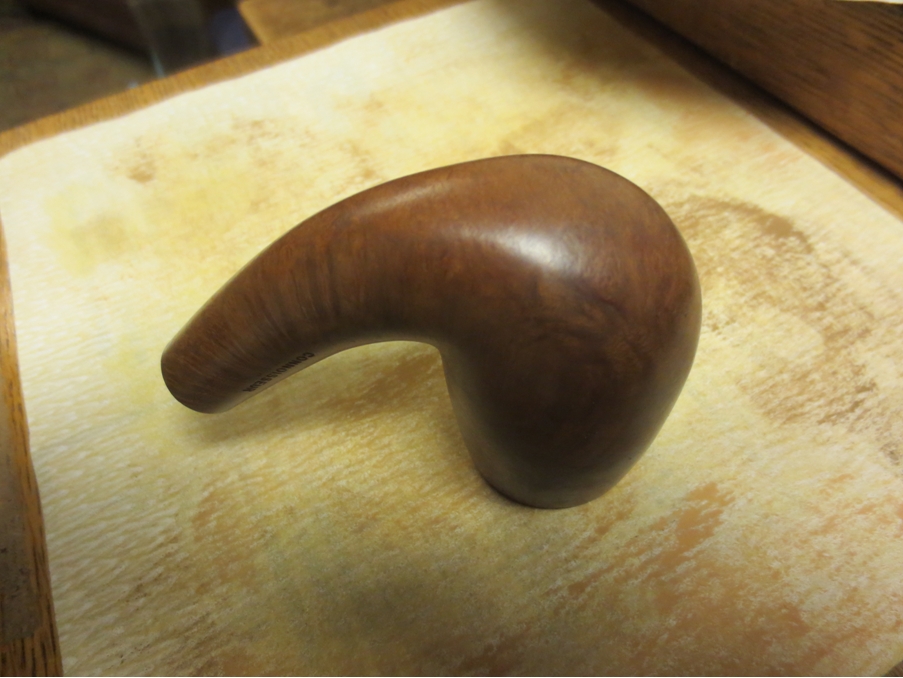
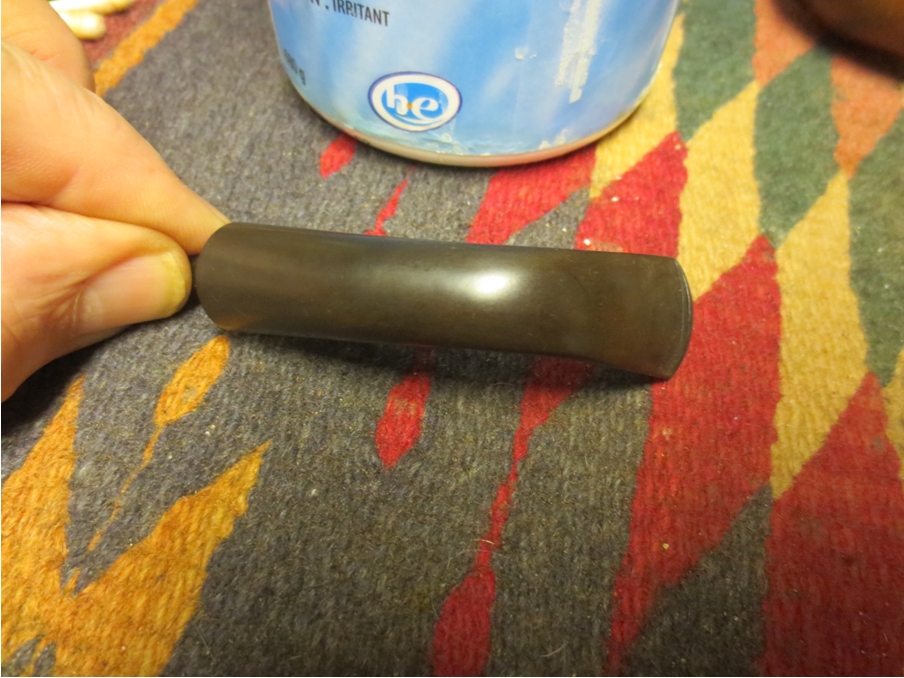
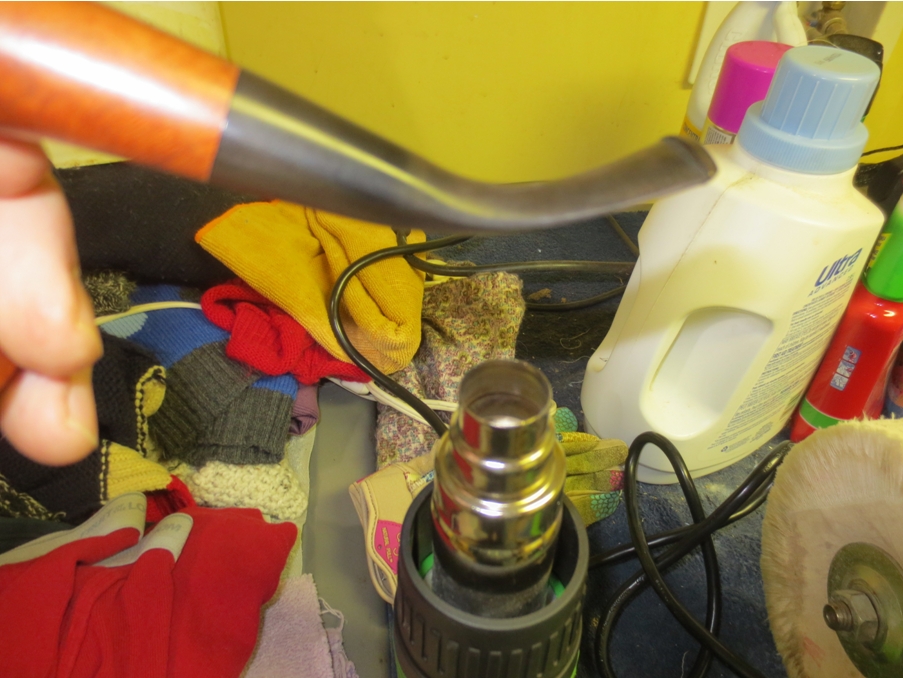
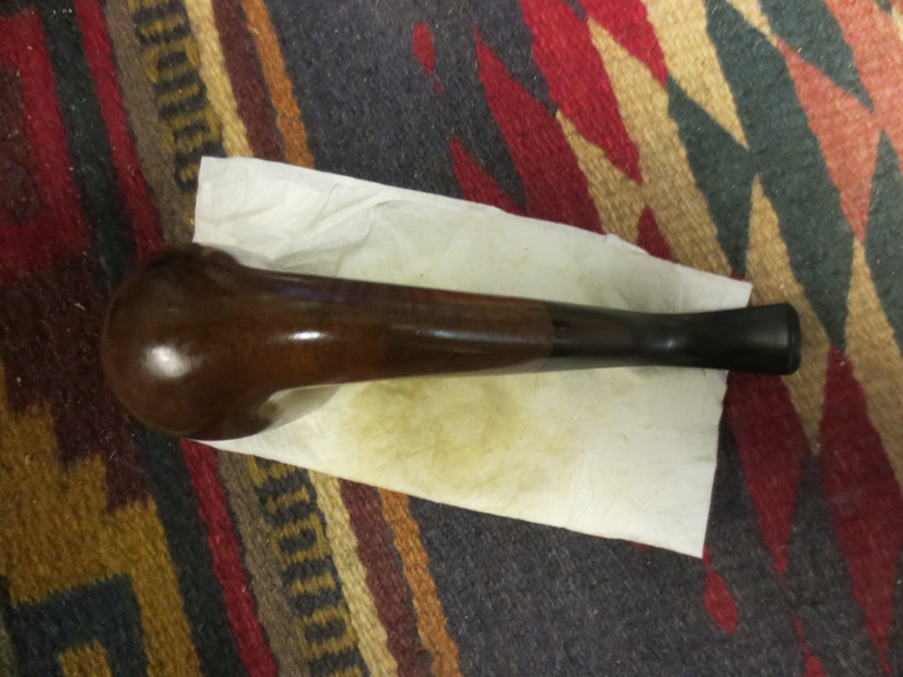
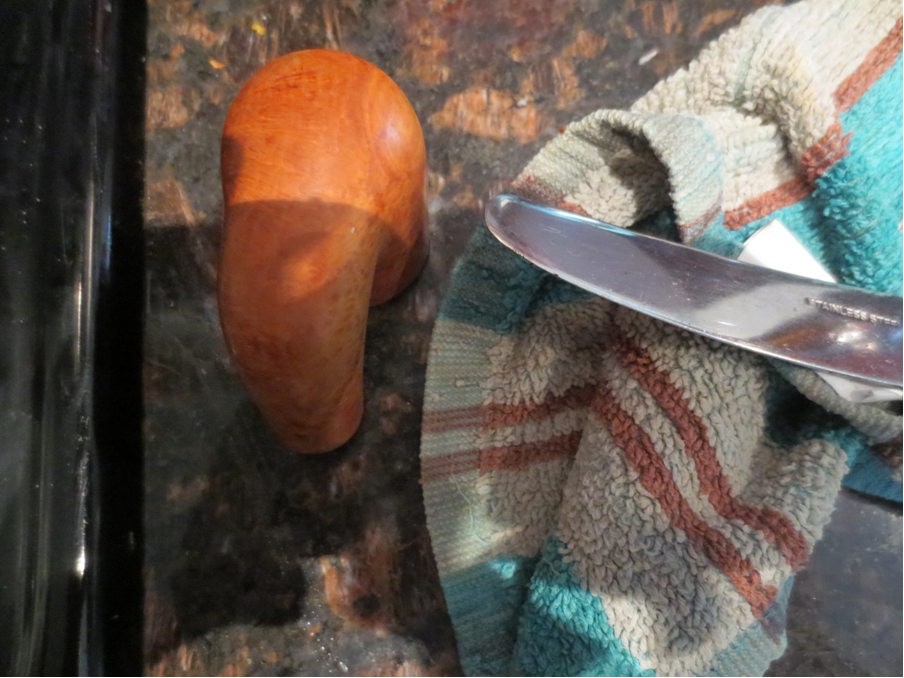
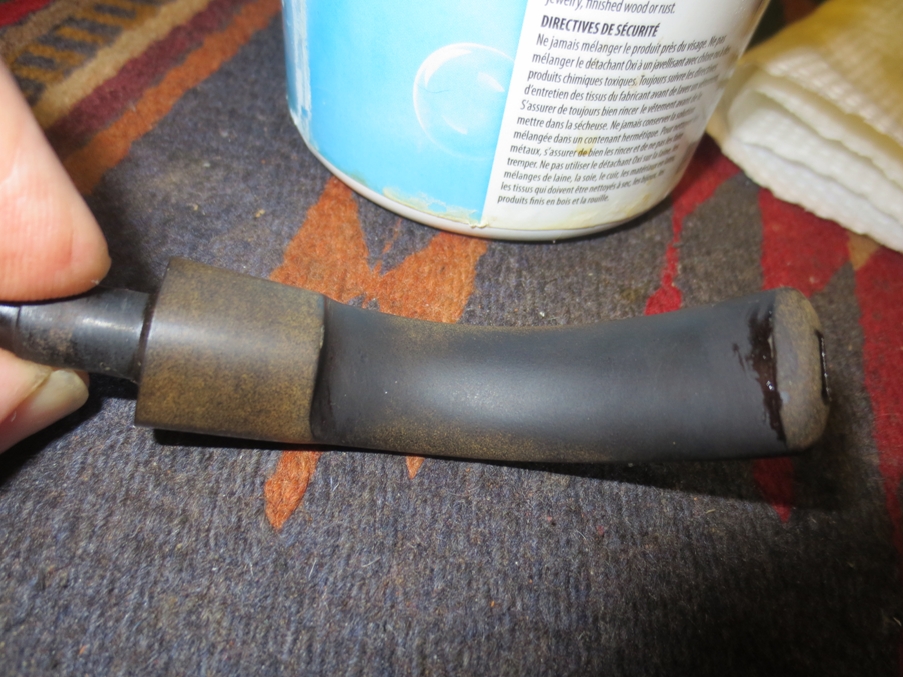
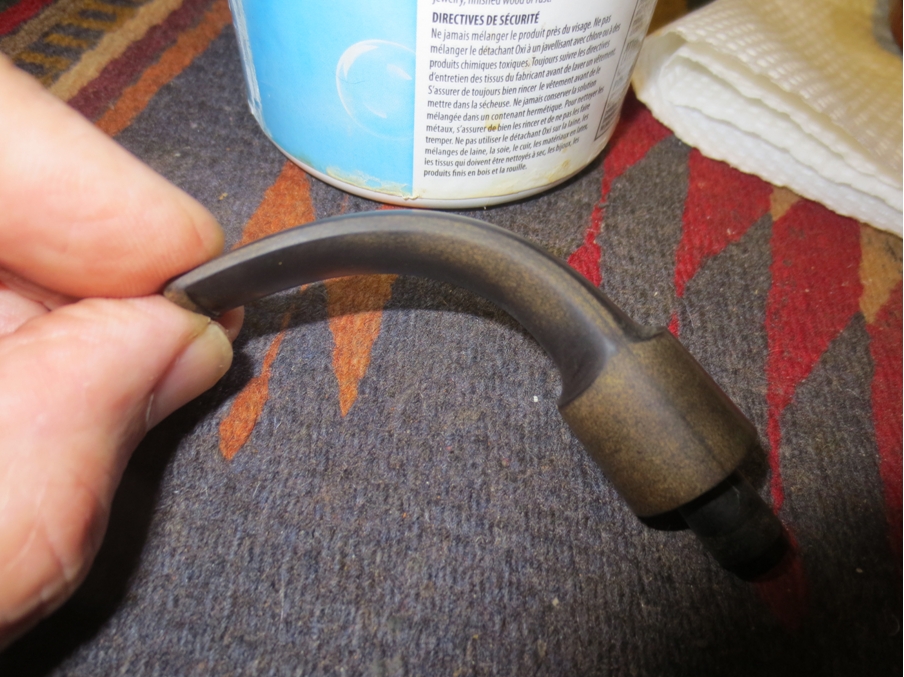
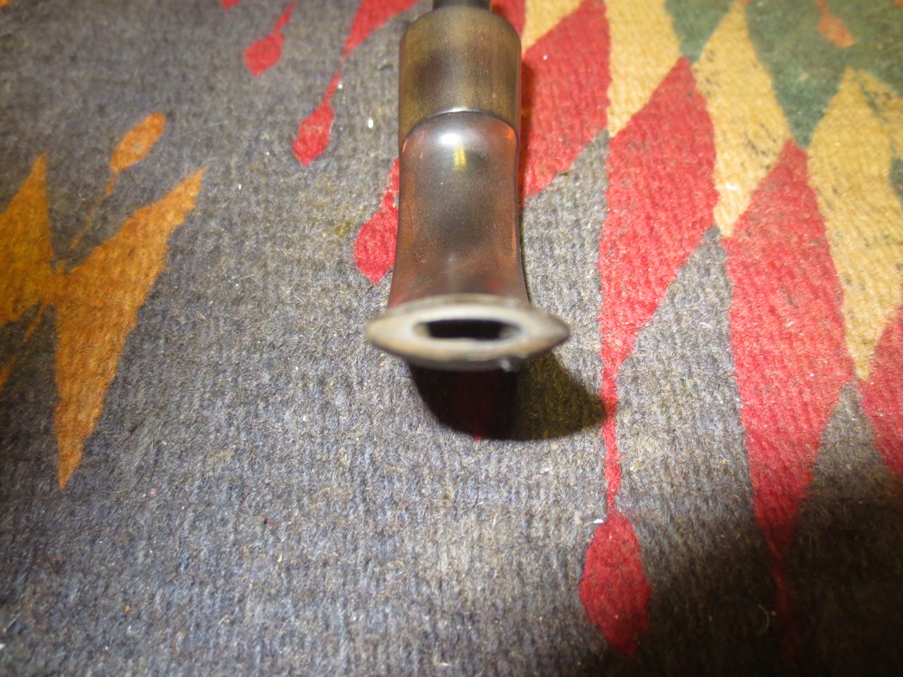
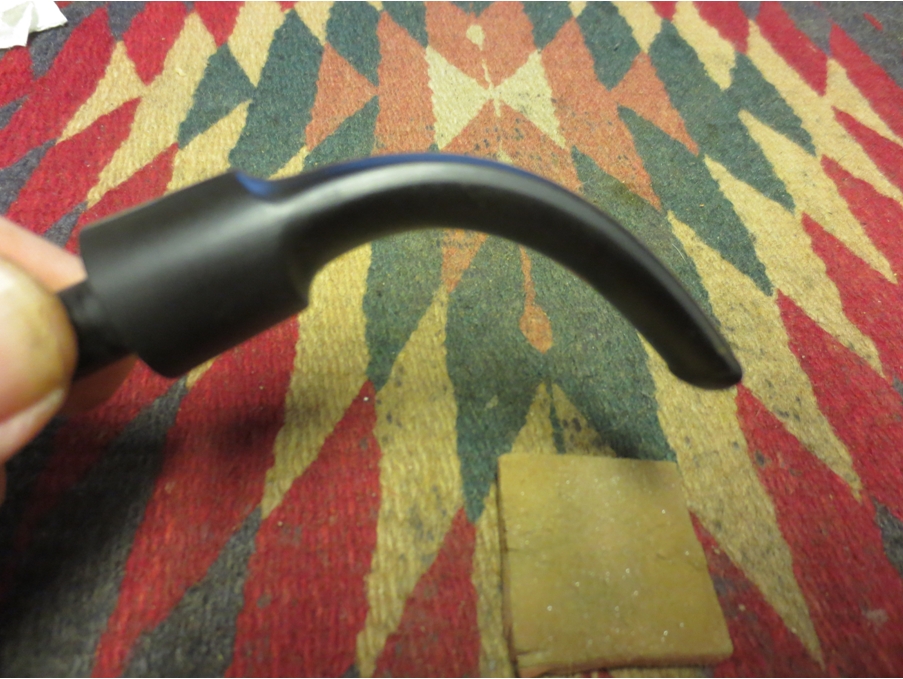
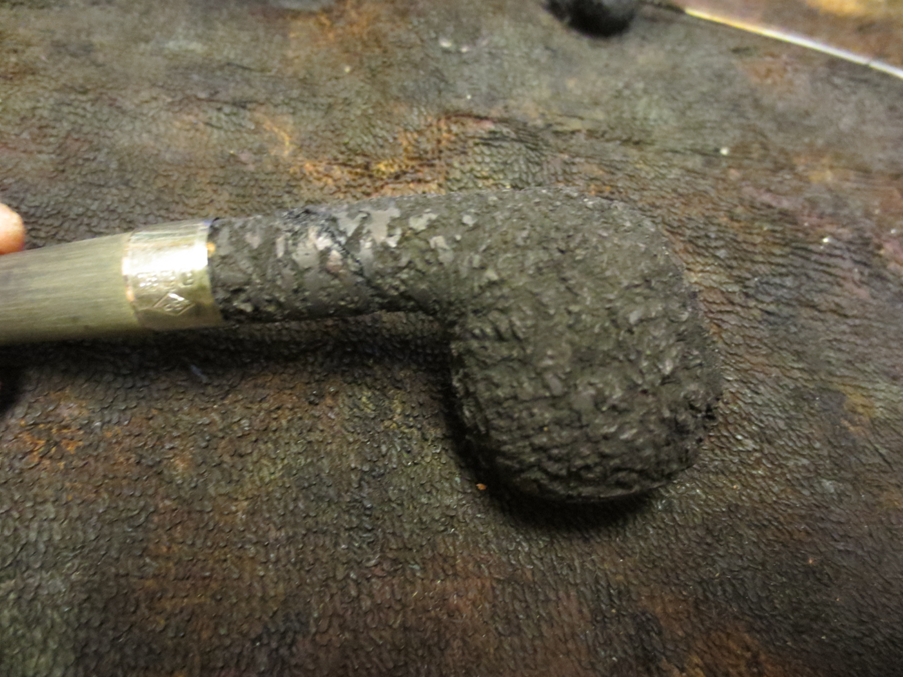
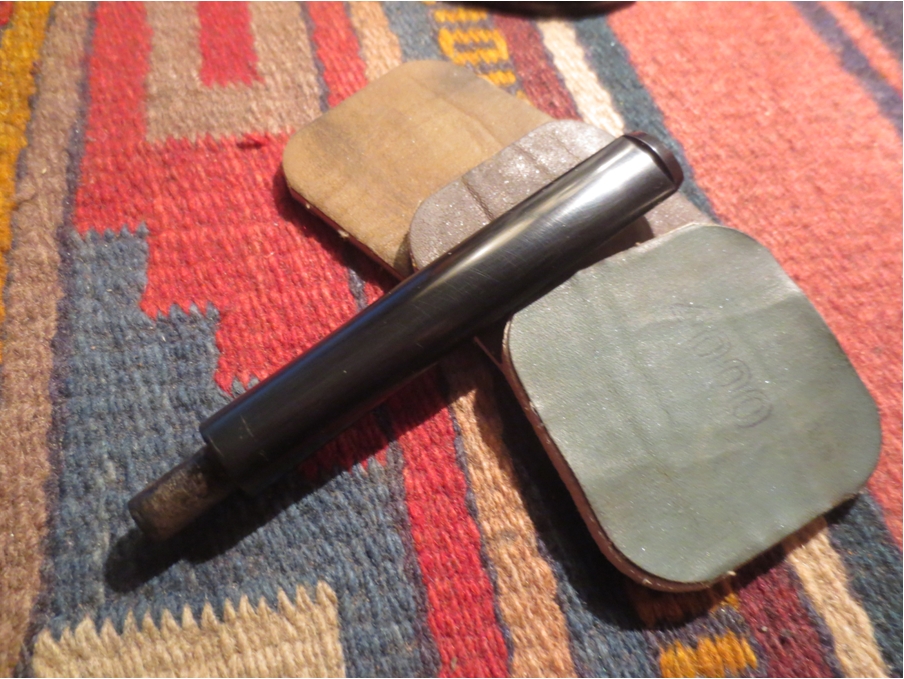
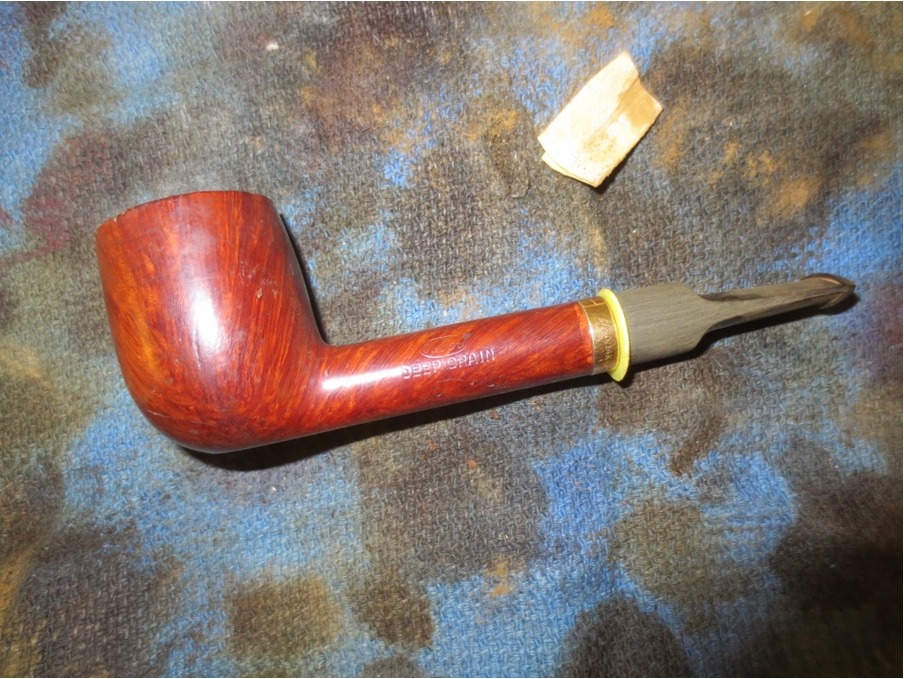
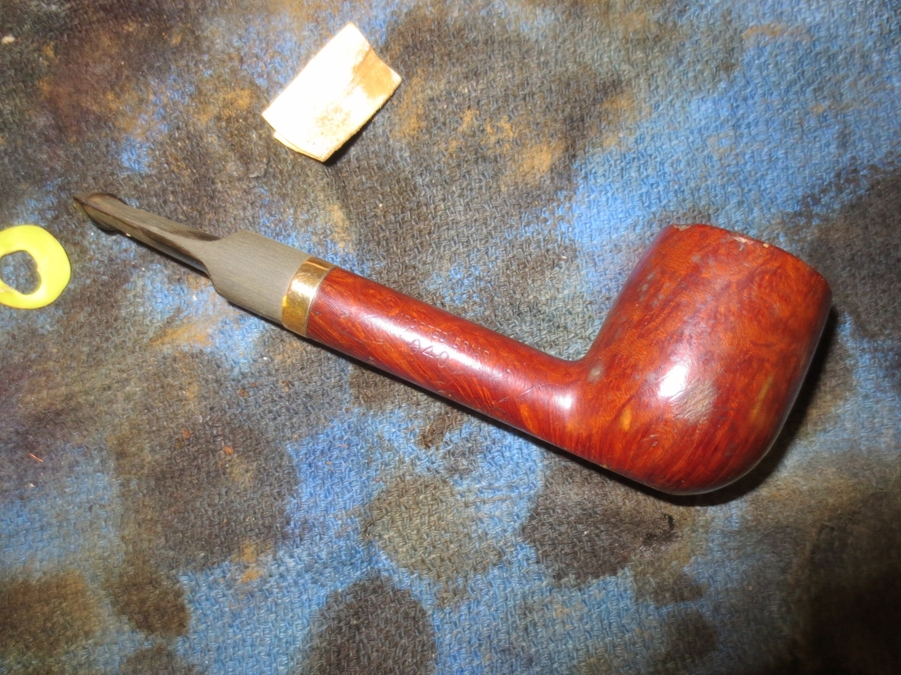
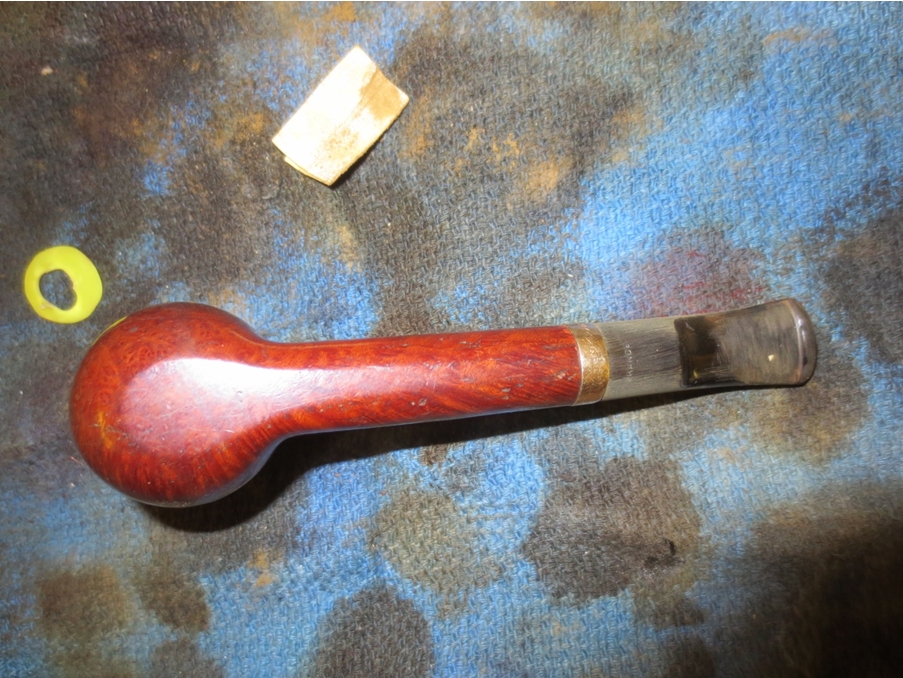
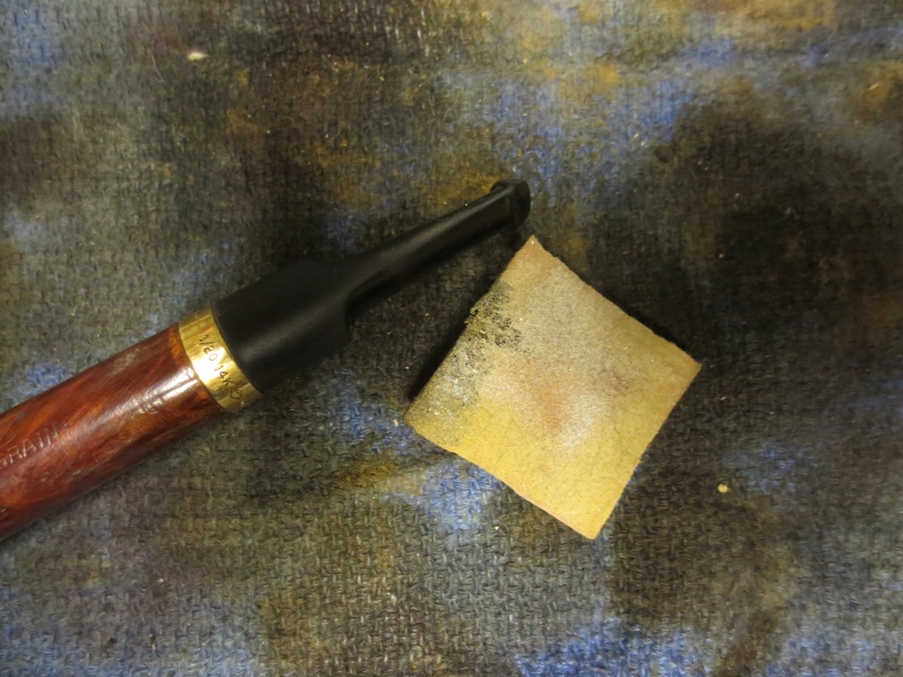
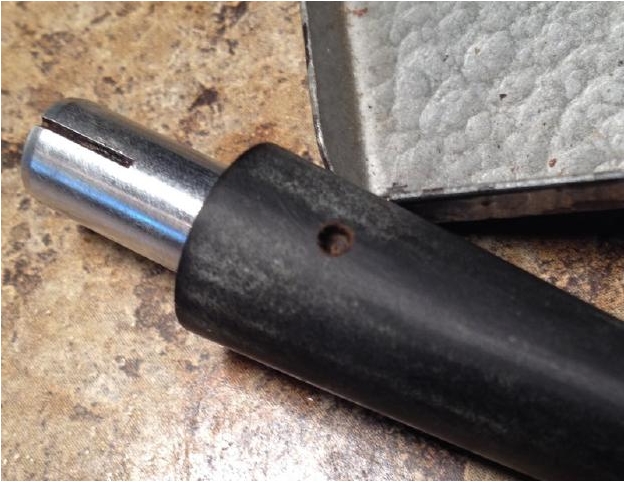
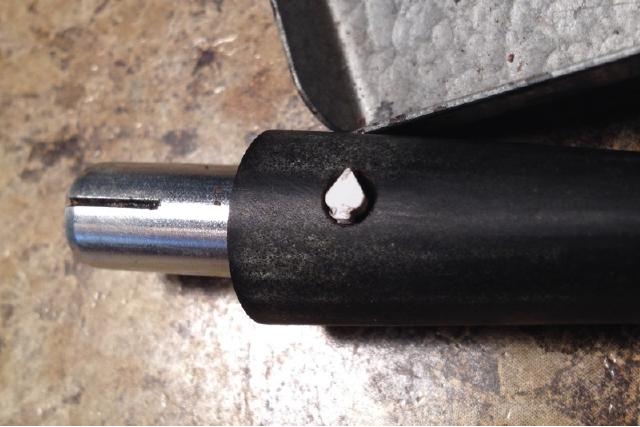
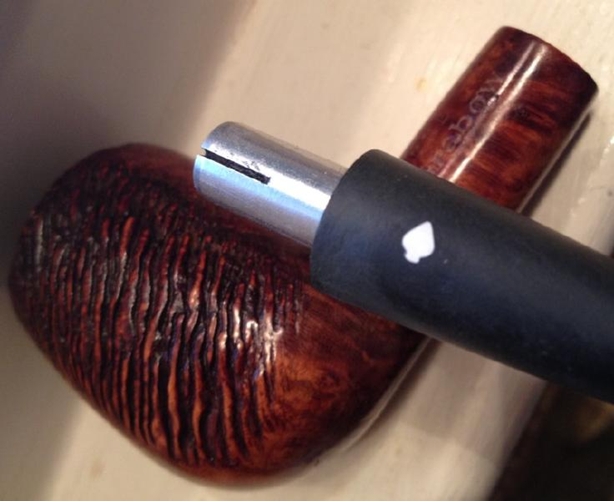
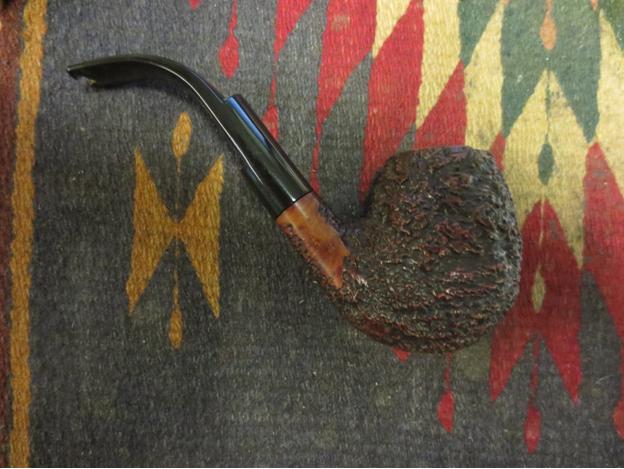
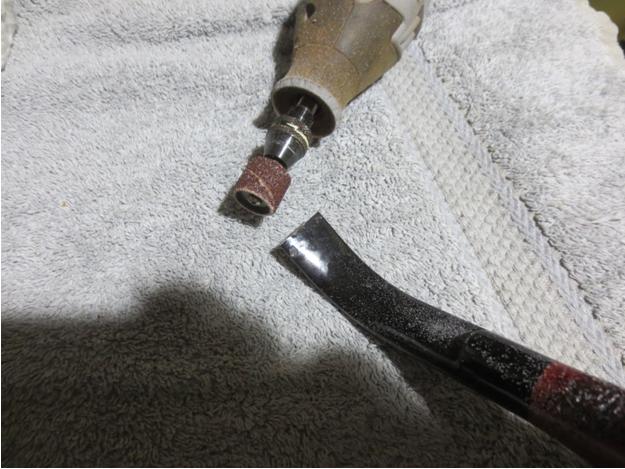 I took the next photos of the pipe with the shortened stem to see what it looked like with 1/2 of an inch cut off the length.
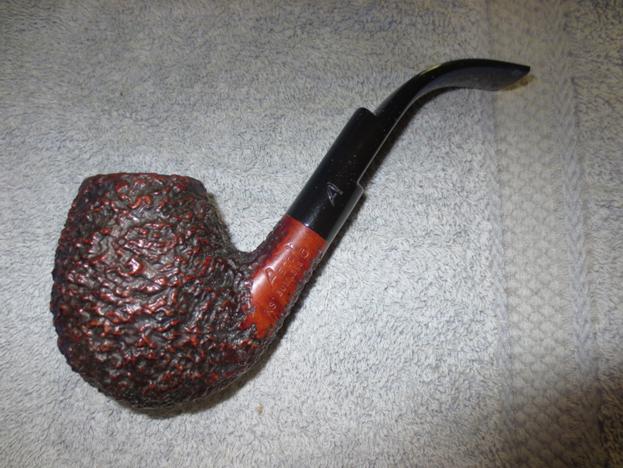
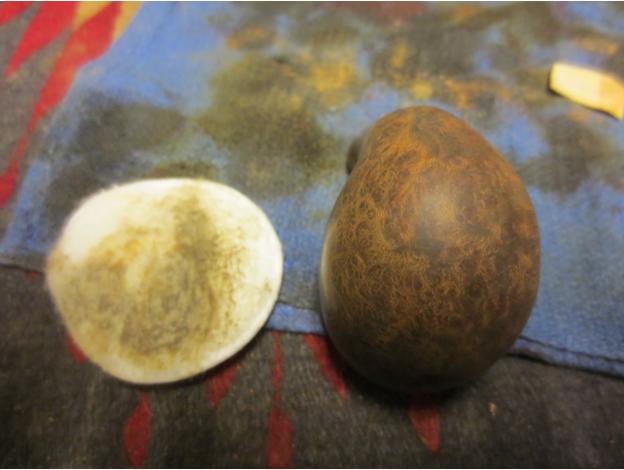
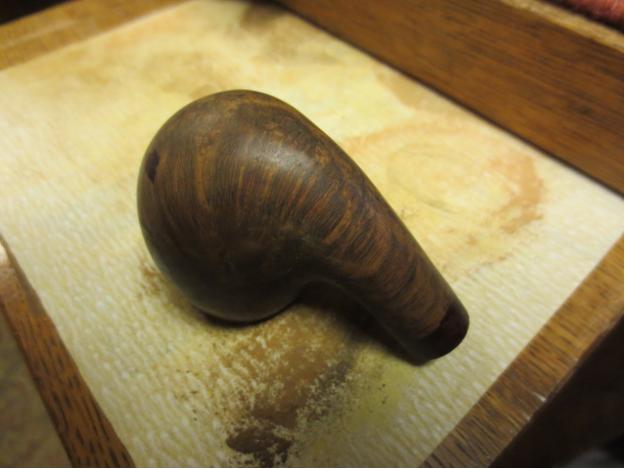
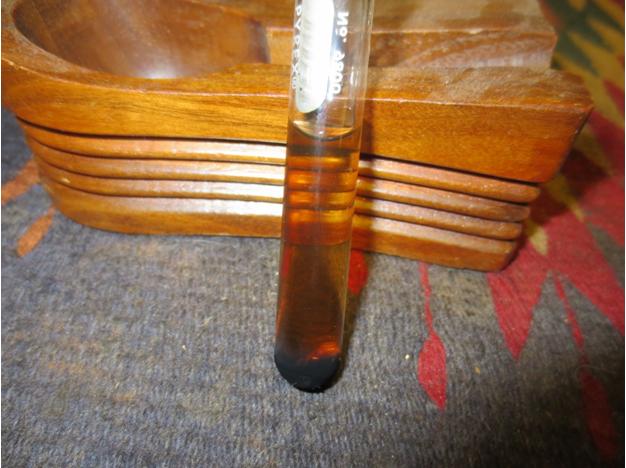
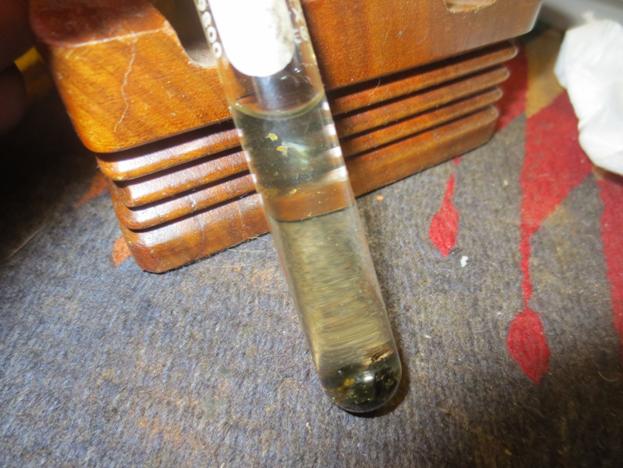
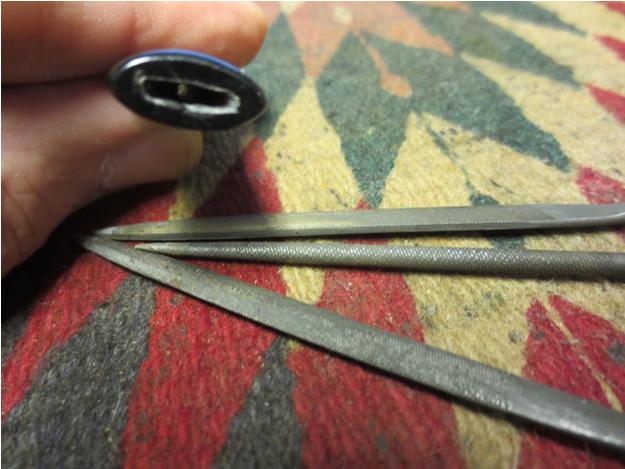
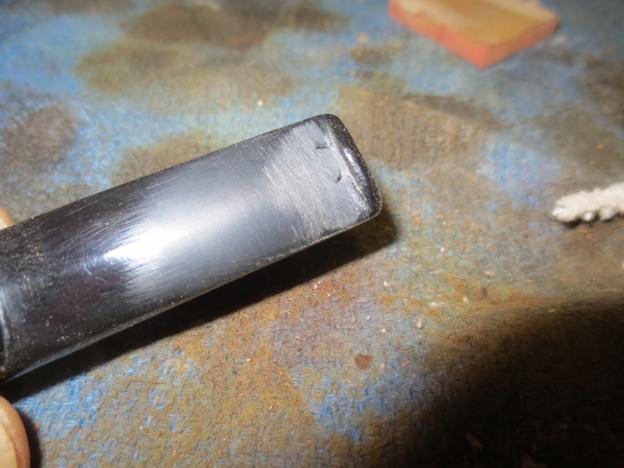
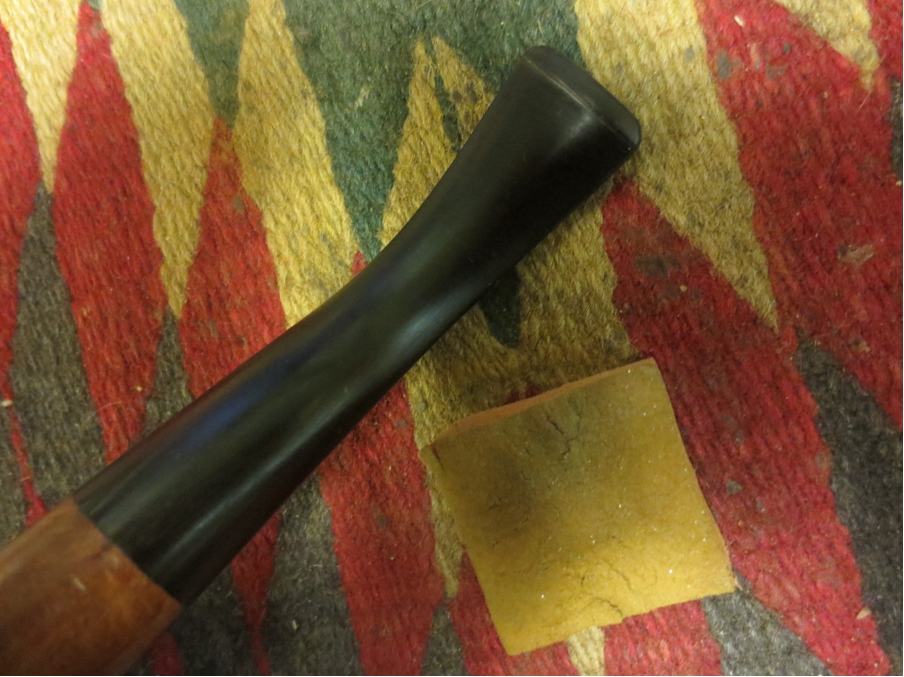
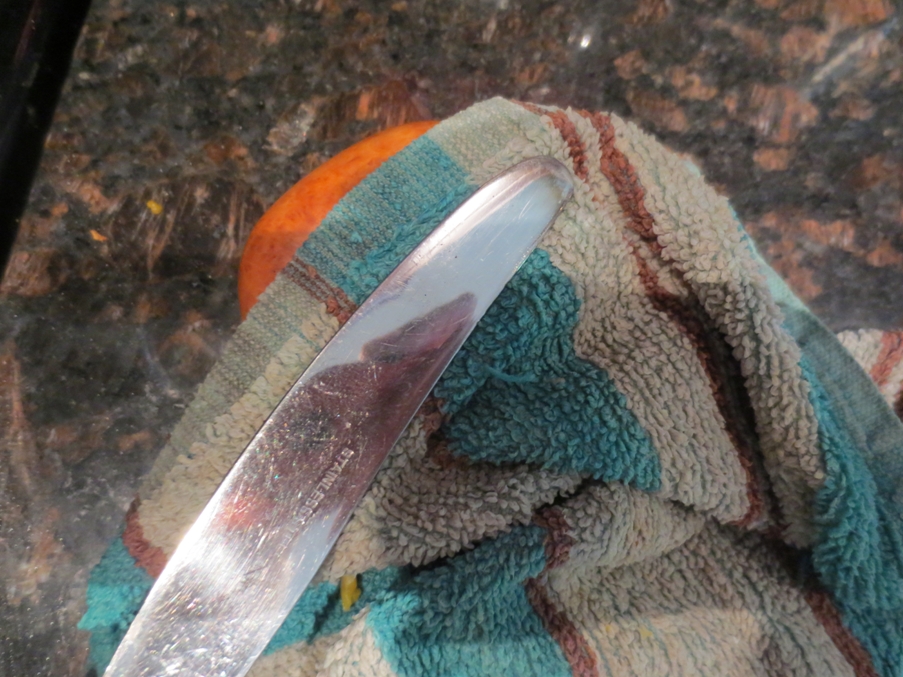
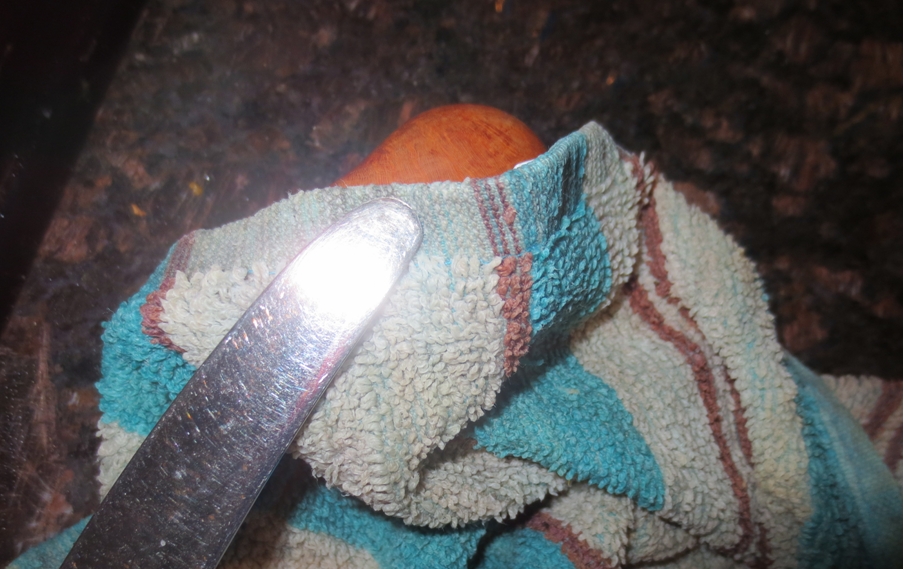
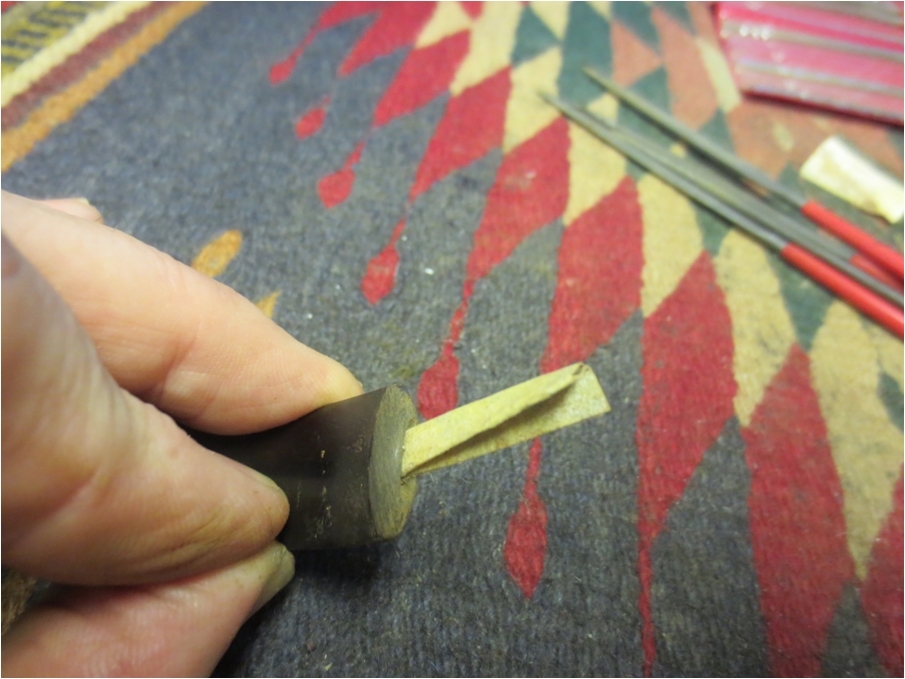
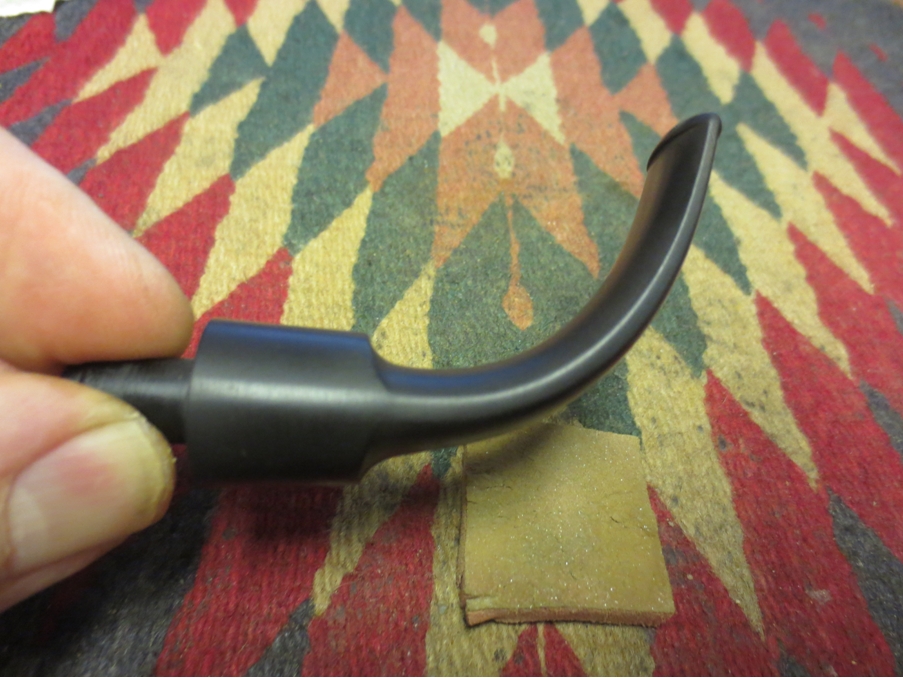
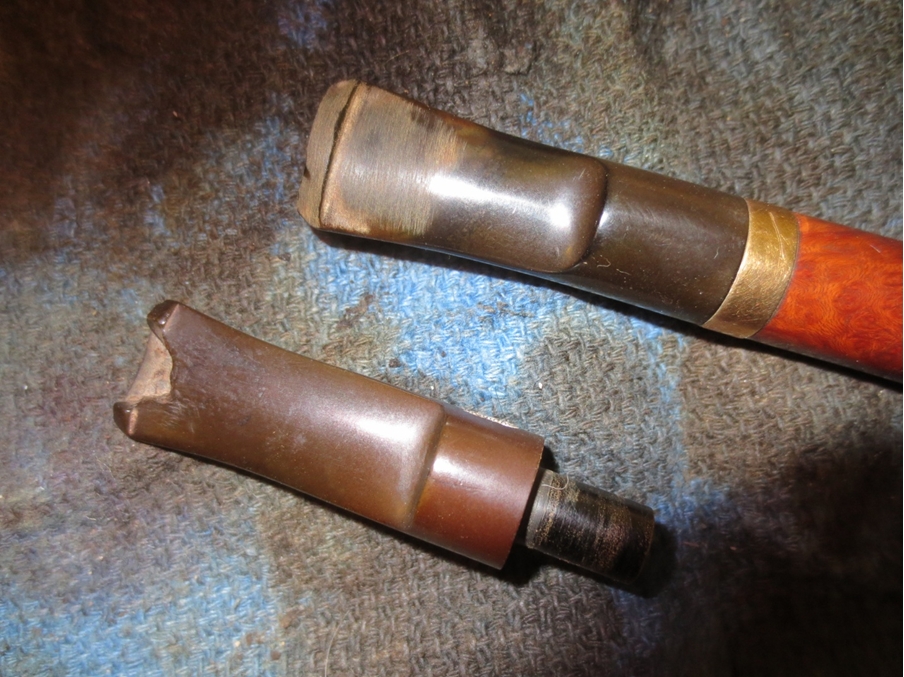
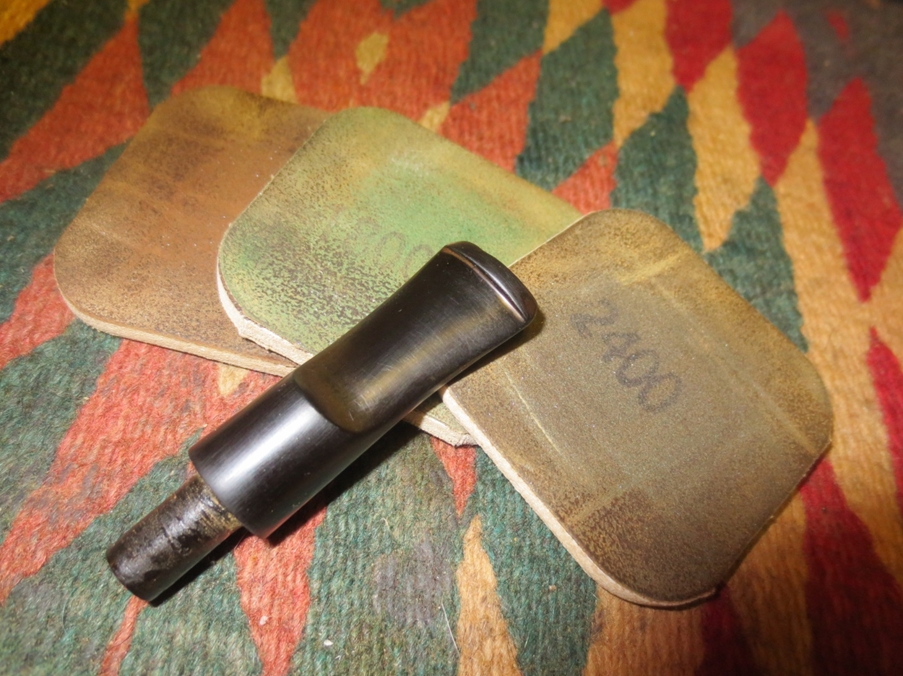
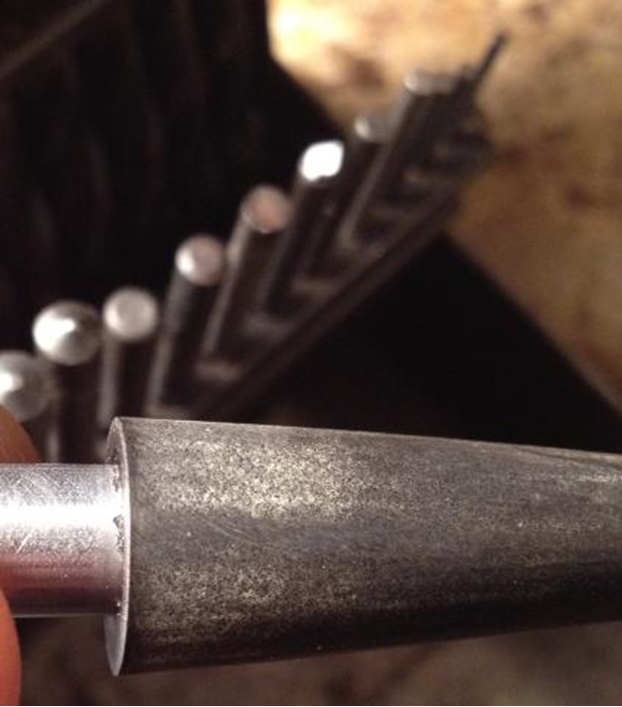
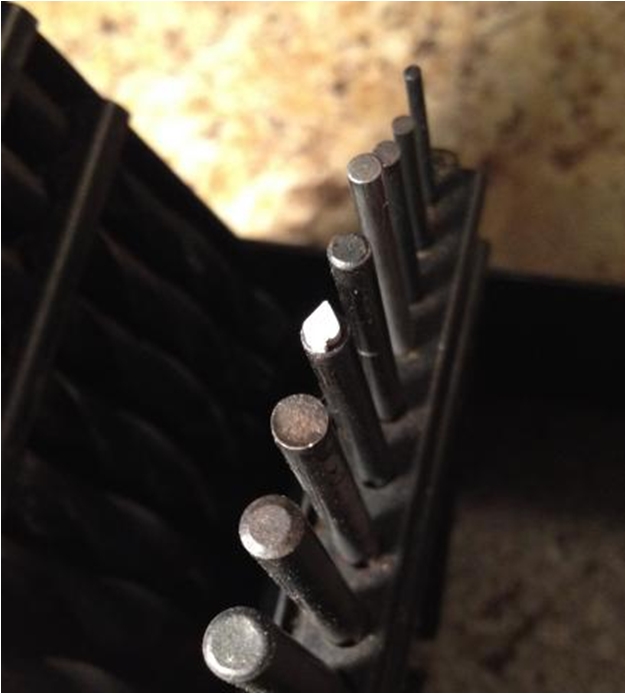
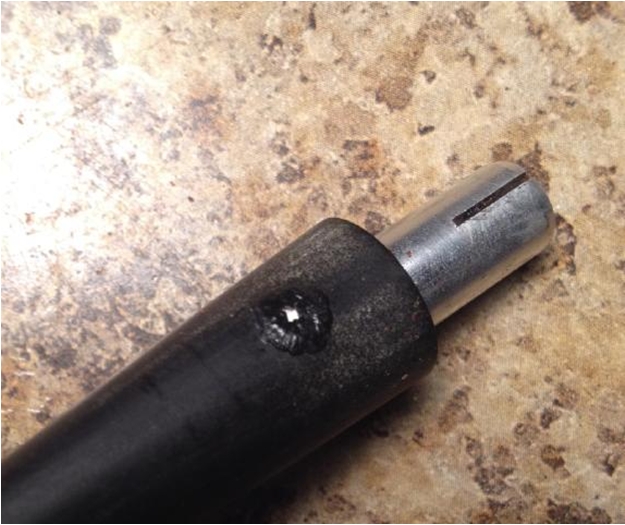
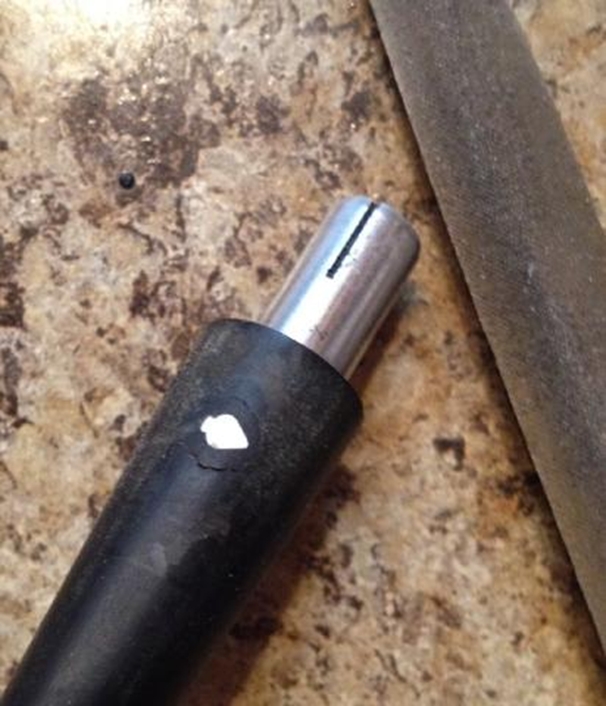
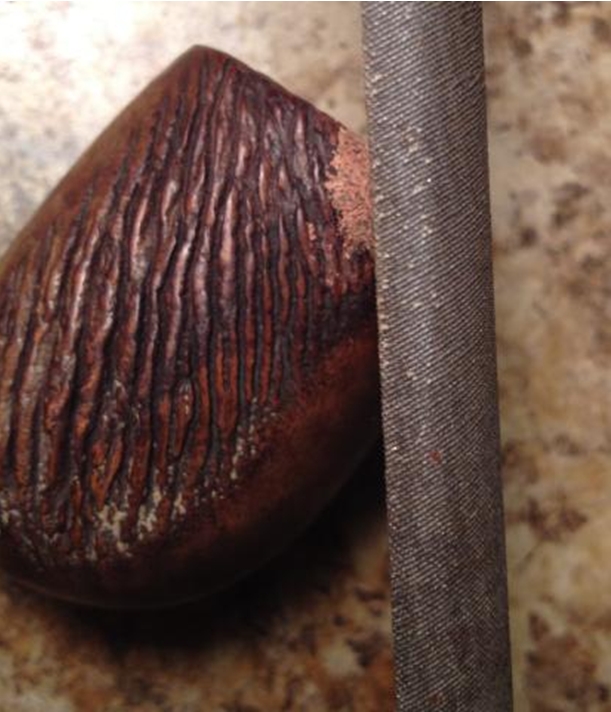
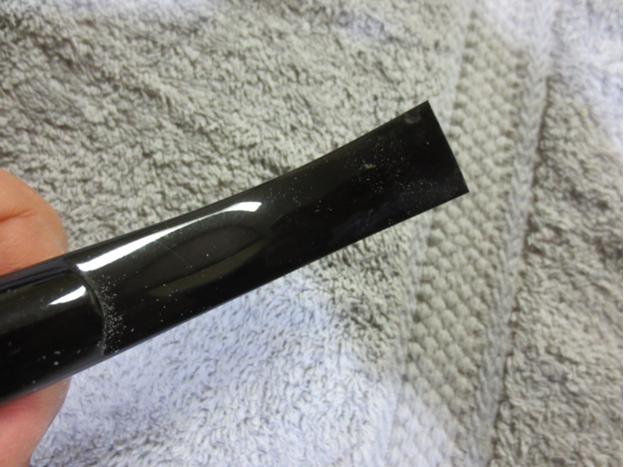
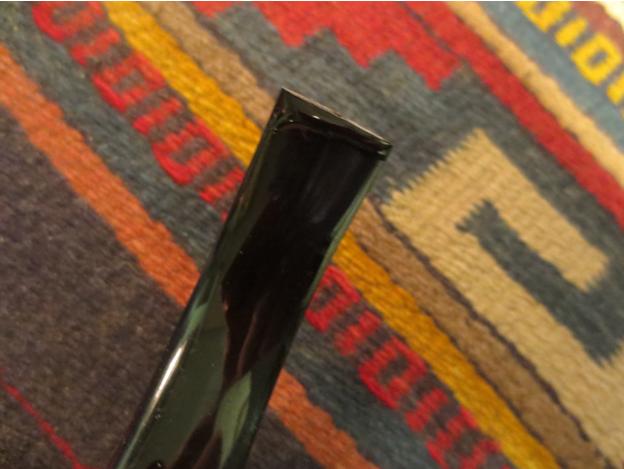
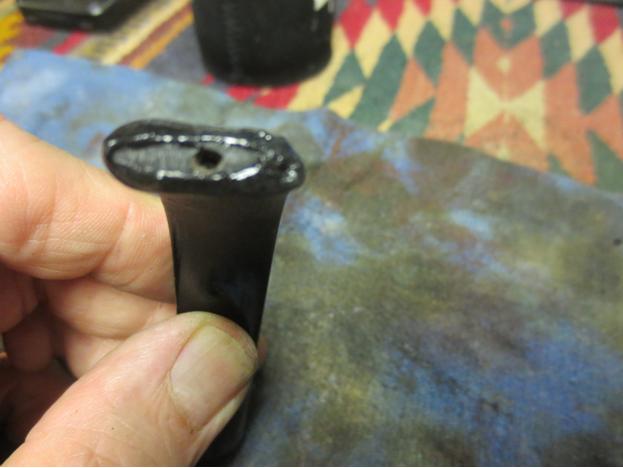
 I took the next two photos of the cut off end to show how I had worked the Dremel to give it a straight edge. Once I took it back to the work table I would work on cutting in the edge of the button and start giving it shape.
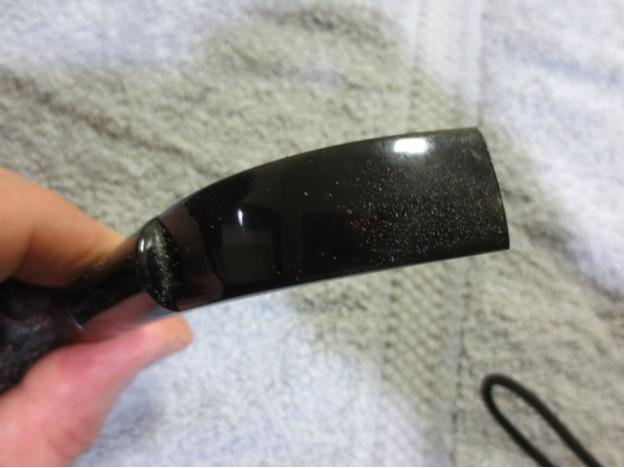
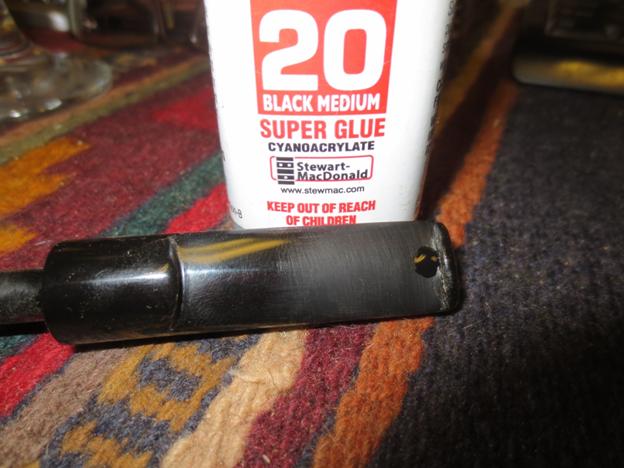
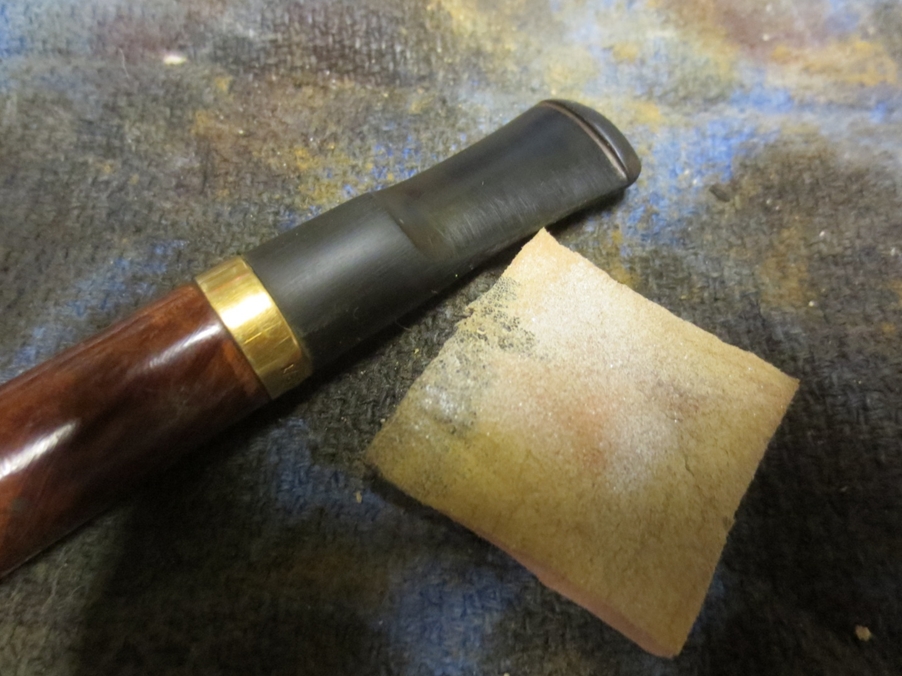
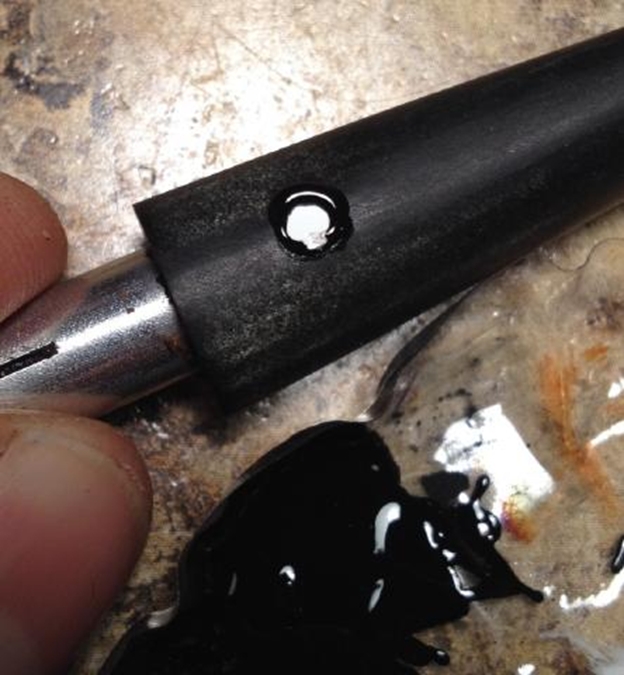
 I used some black super glue to fill in the deep tooth marks that remained on the stem and also ran a small band of super glue along the area where the button would eventually be cut.
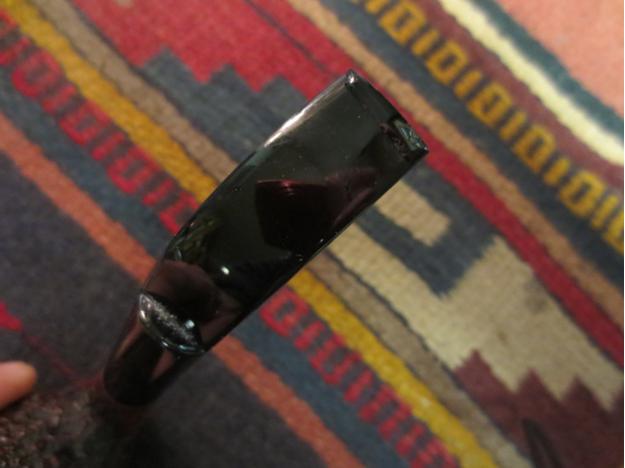
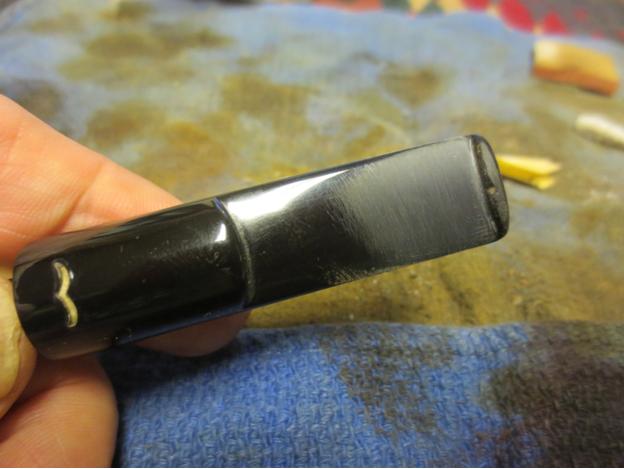
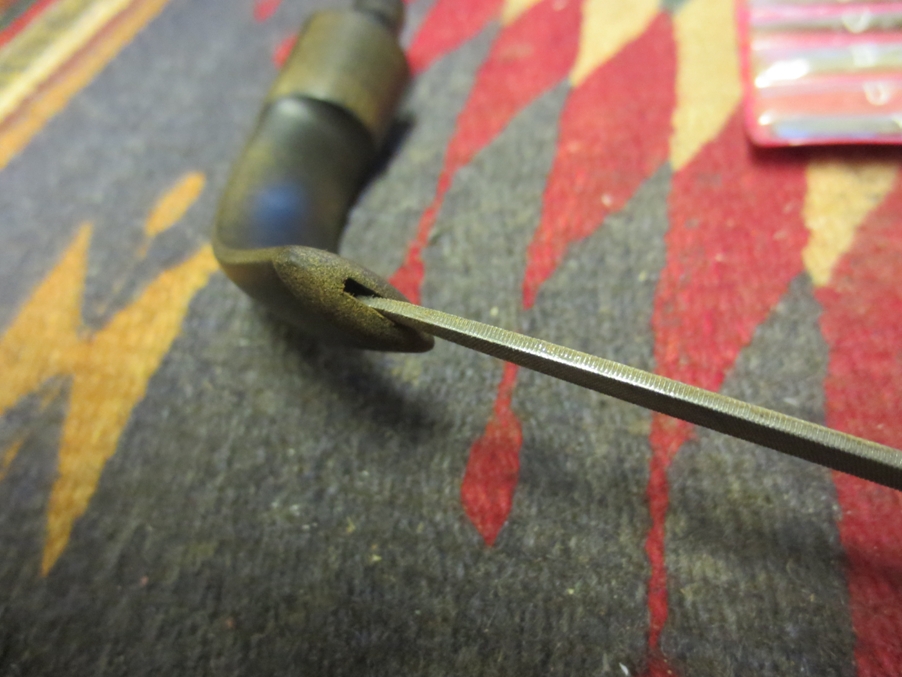
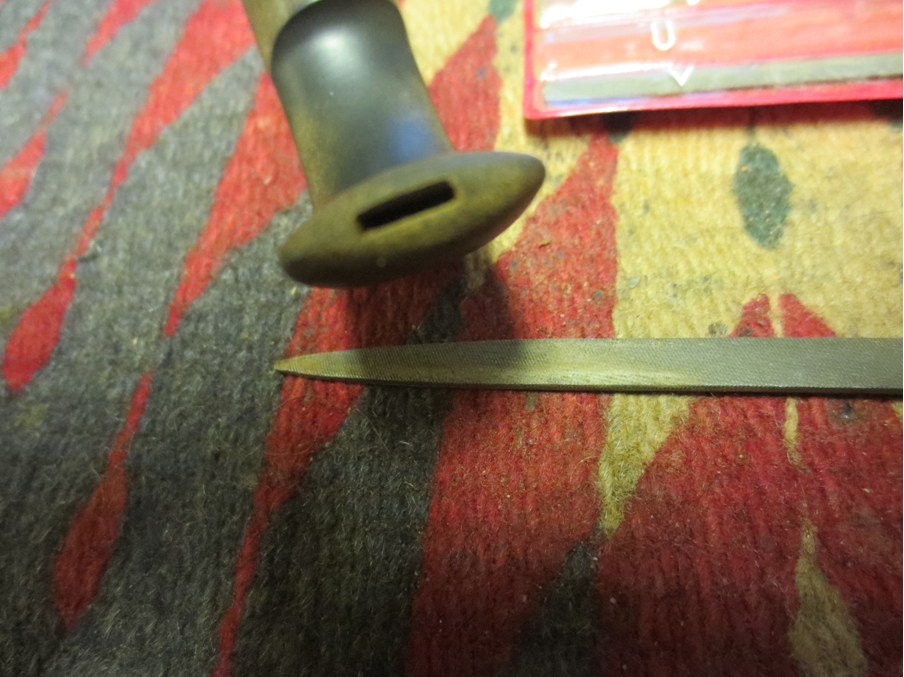
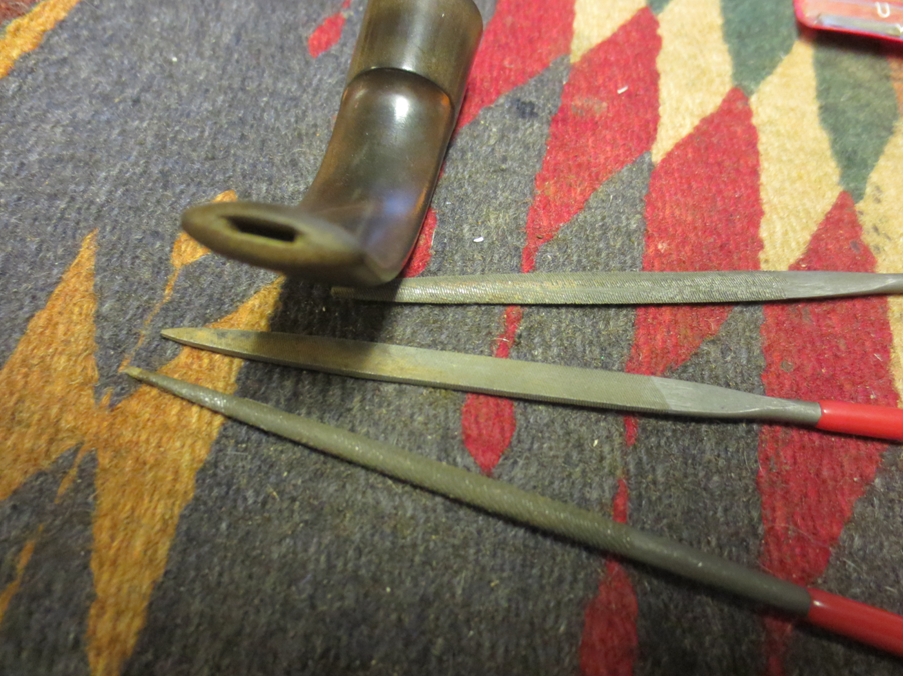
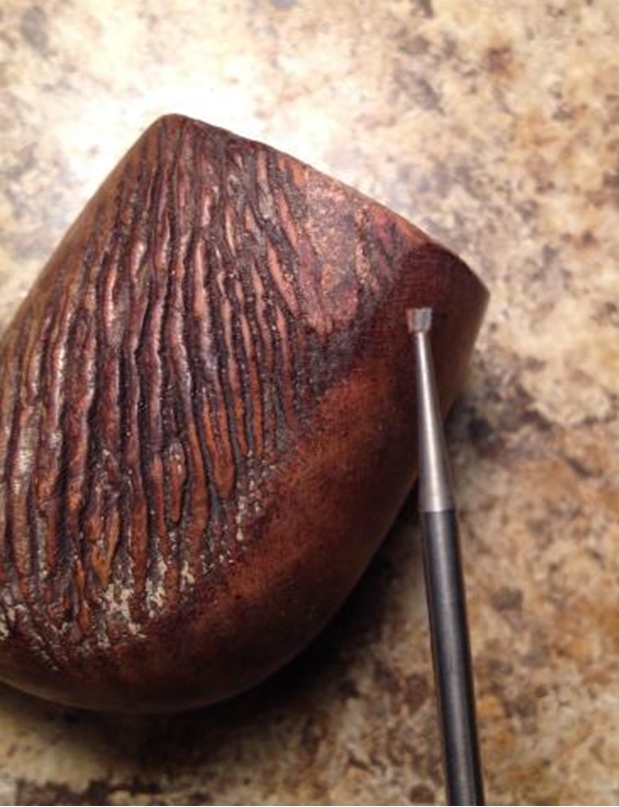
 When the glue dried I used a flat blade needle file to cut the sharp edge of the button on the end of the cut back stem.
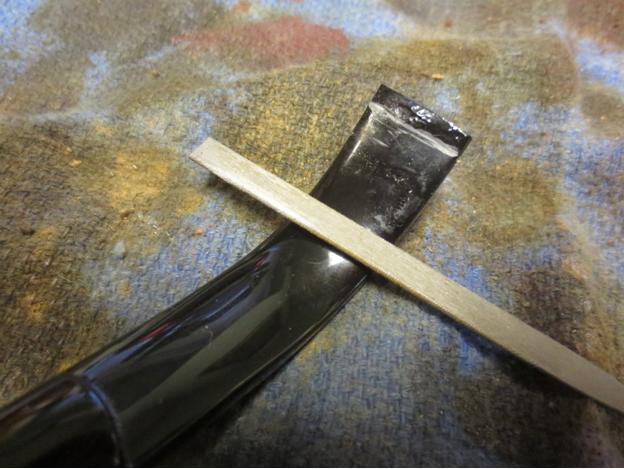
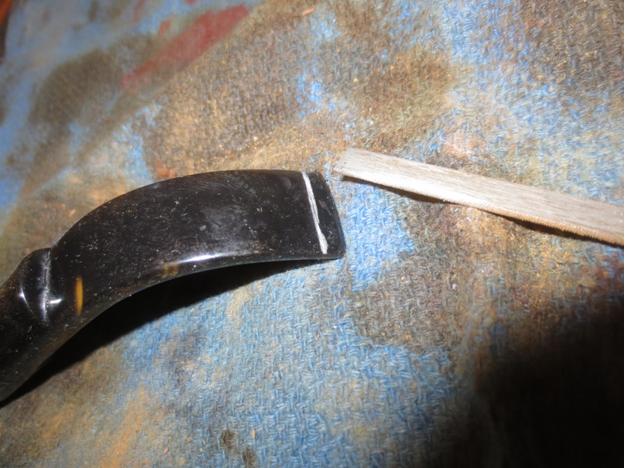 I used a knife edged needle file to carve back the thickness of the stem to the newly cut straight edge. I wanted a taper from the bend back toward the sharp edge. It takes some work to carve back Lucite, as it is significantly harder than vulcanite.
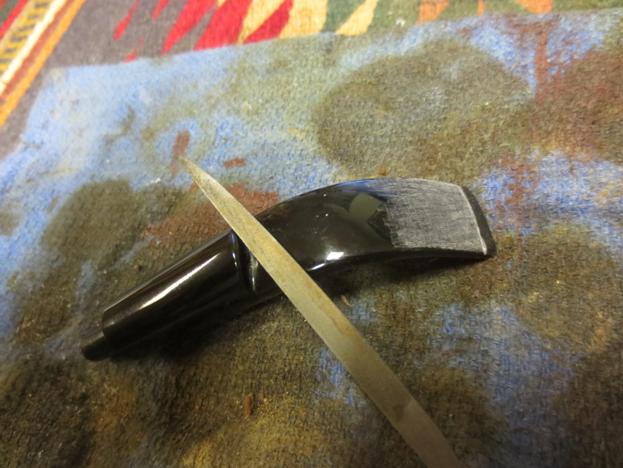
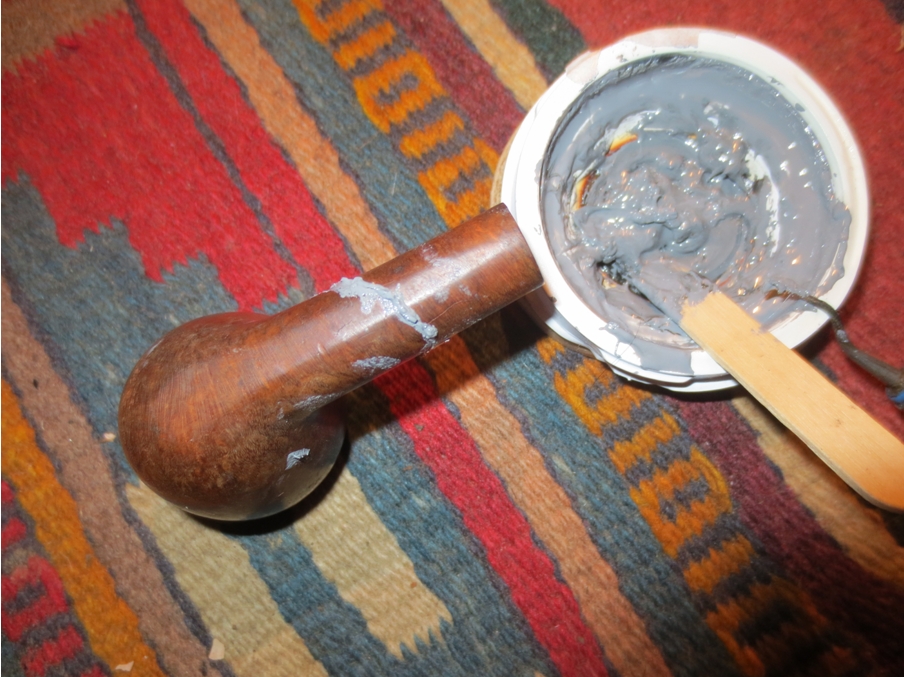
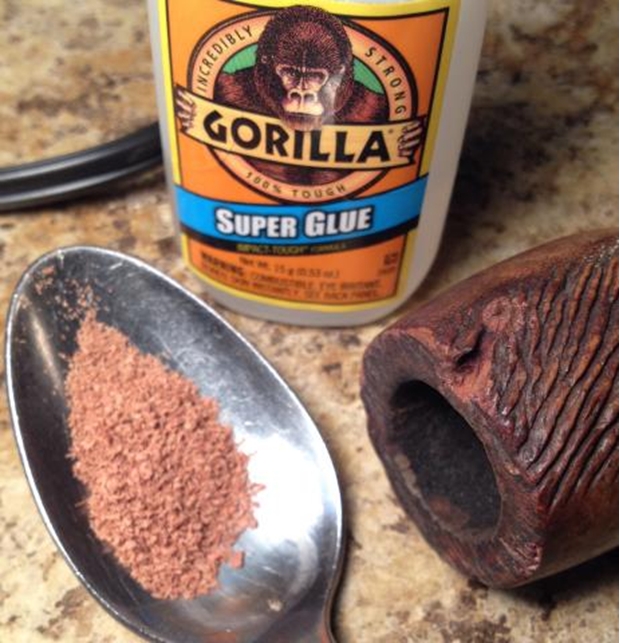
 As I examined the end of the stem I realised that I did not have enough thickness to the material on the top and bottom of the airway. It would not allow me to go deep enough to have a good edge on the button. I decided to build it up and created the button thickness I needed. I used a mix of activated charcoal dust mixed with black super glue to make a putty like substance that would stick to the stem.
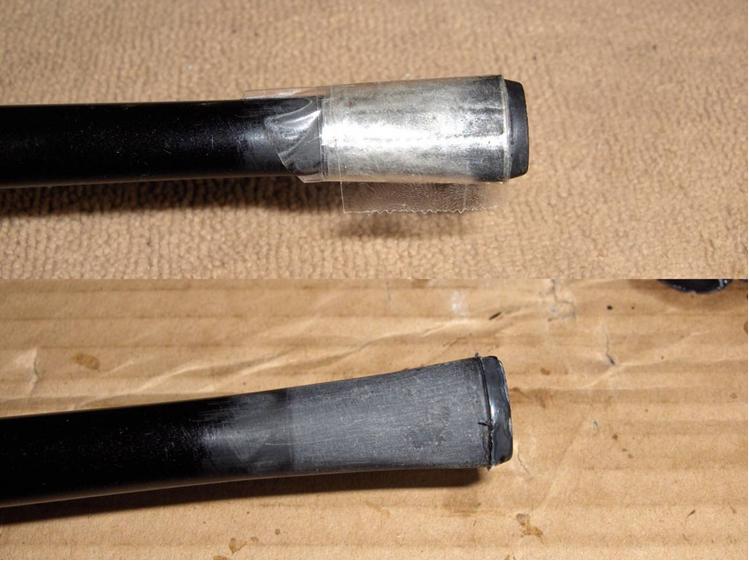
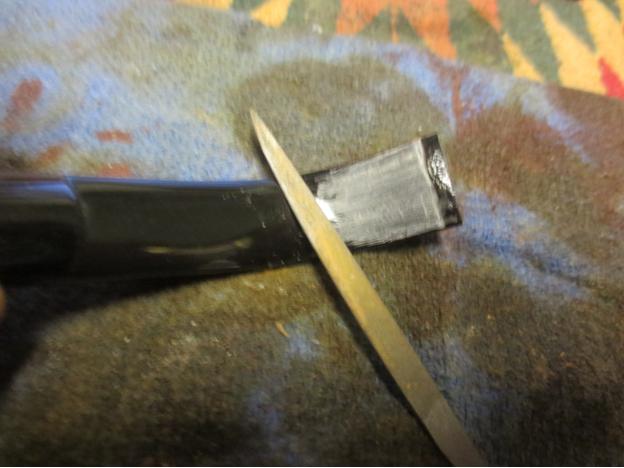
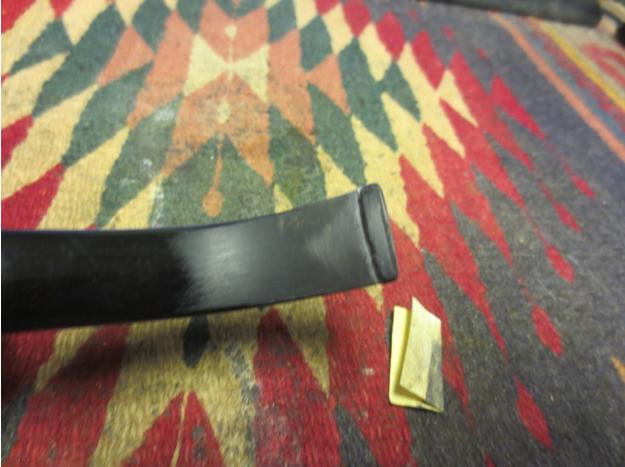
 Using a suggestion from Andrew Selking, I wrapped the end of the stem with scotch tape to create a straight edge to work against when I put the putty on the stem. I then gave the stem a light coat of black super glue and then used the dental pick to press the charcoal and super glue mix on the stem end against the scotch tape. I used a flat dental trowel to flatten the material in place and save some sanding for myself.
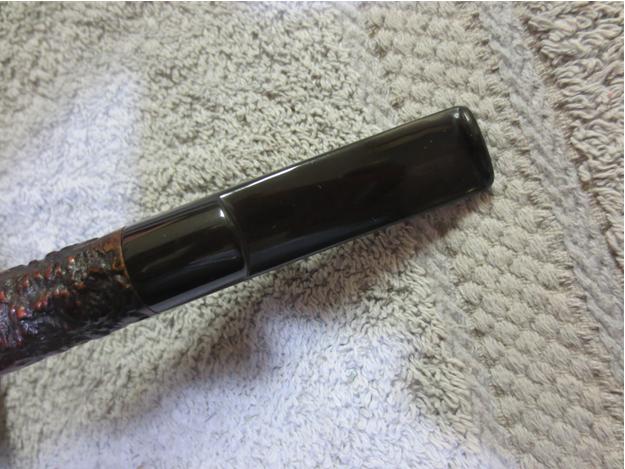
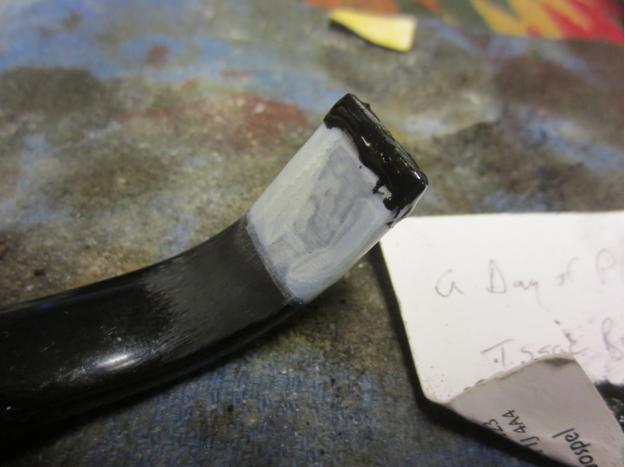 When the repair was hard to the touch I removed the scotch tape and found that I had a fairly thick button built up on the stem end and that it had a pretty sharp edge to it.
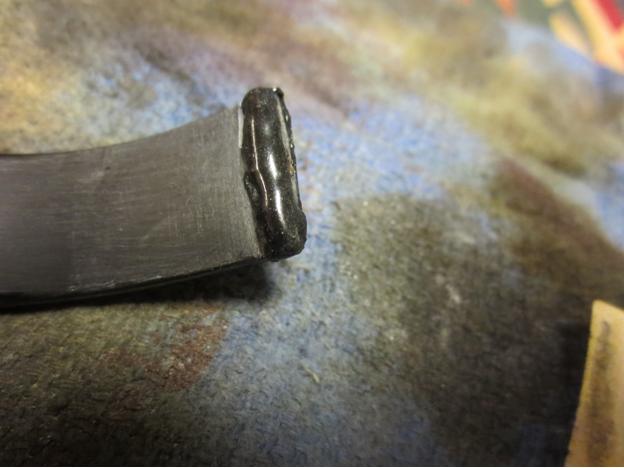
 I sanded the newly built button with 220 grit sandpaper to begin shaping it. I would have to use the needle files to sharpen the edge of the button and then sand the new button to shape it more like the one on the Caminetto stem that I had worked on previously. I was using it as the pattern for the shape and look of this one.
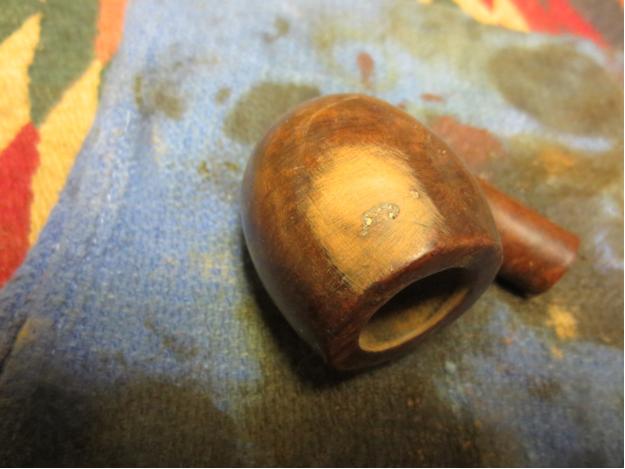
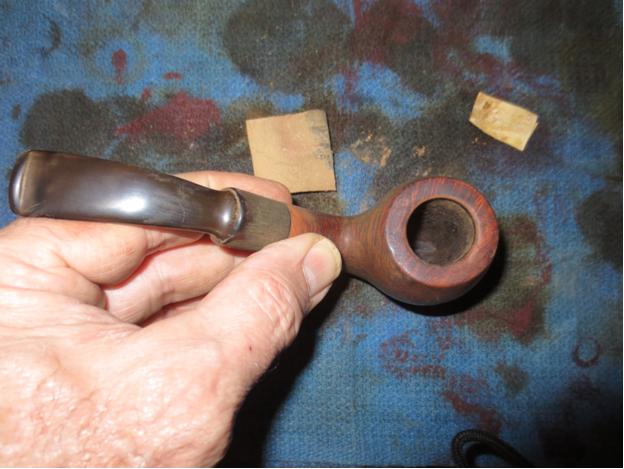
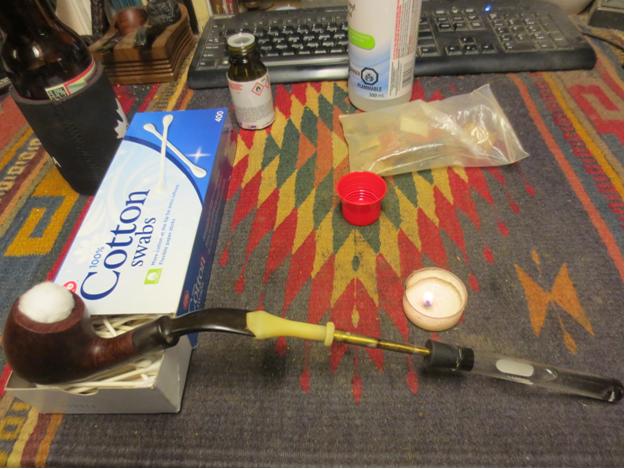
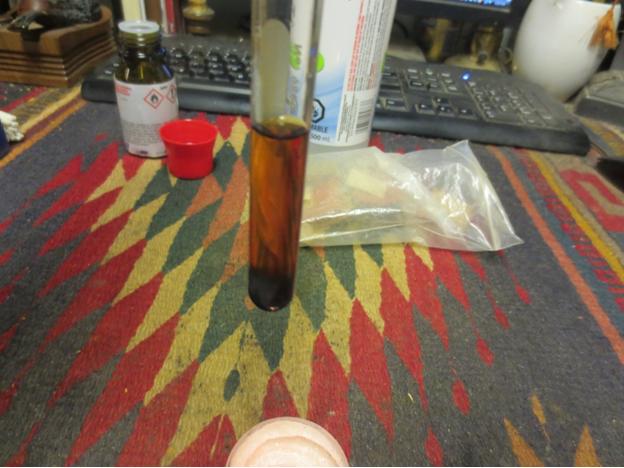
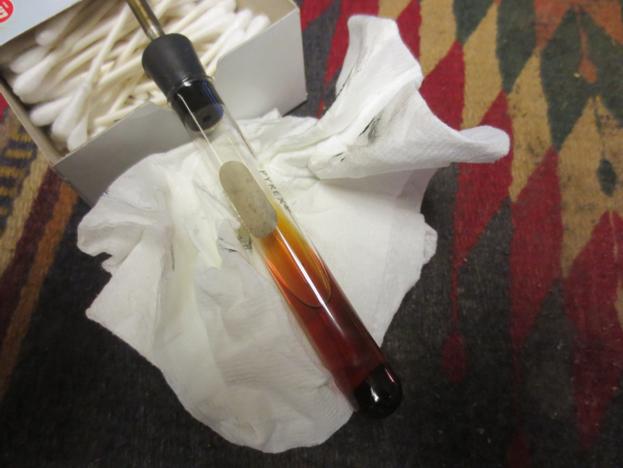
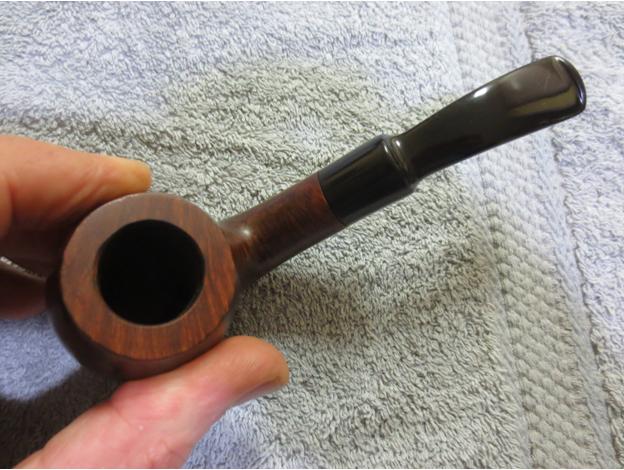
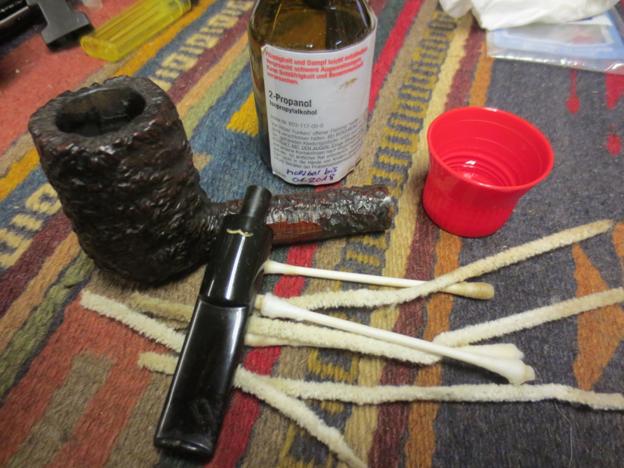
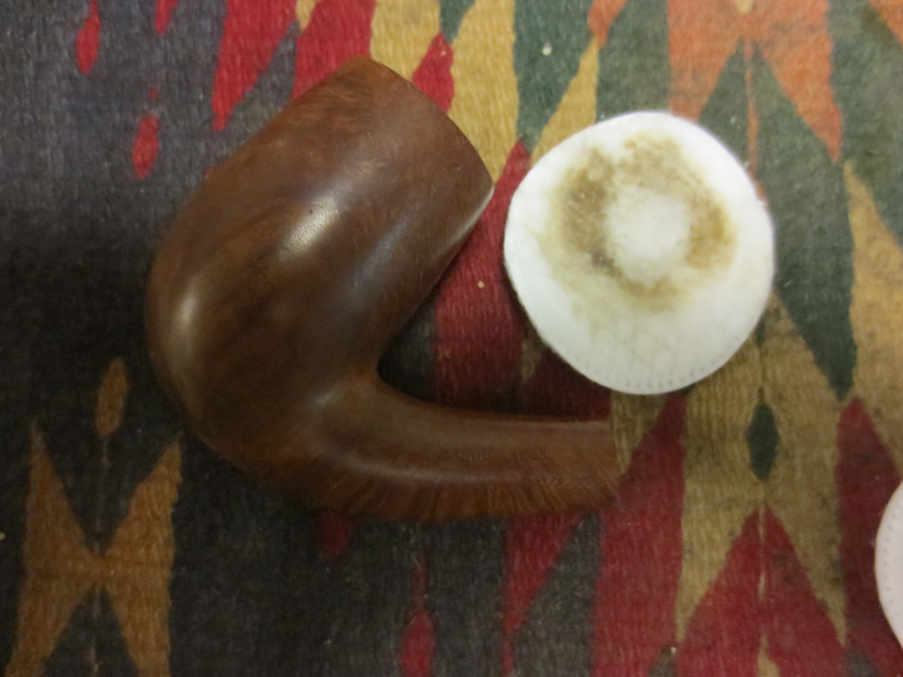
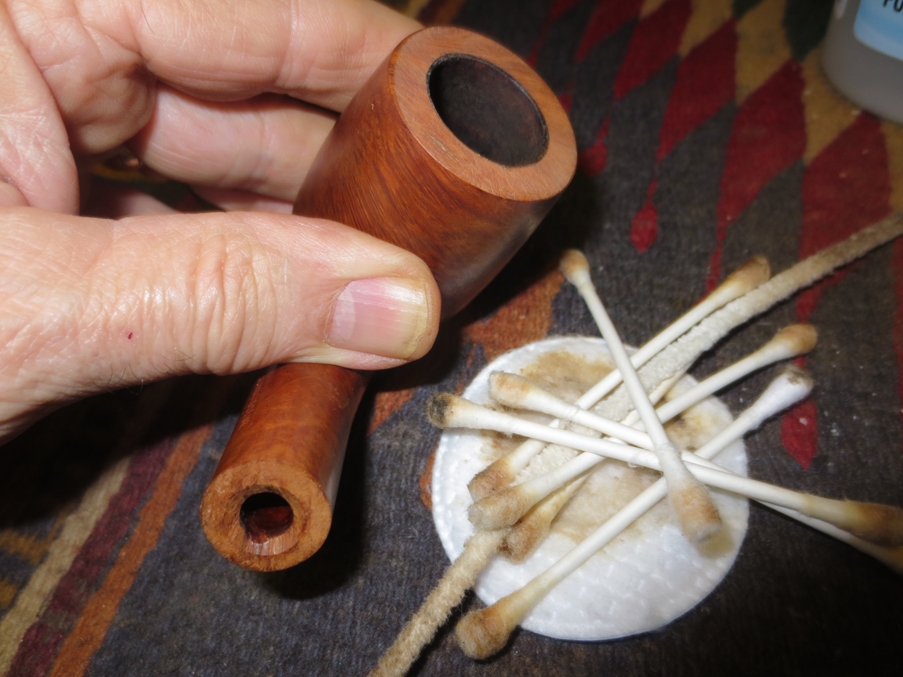
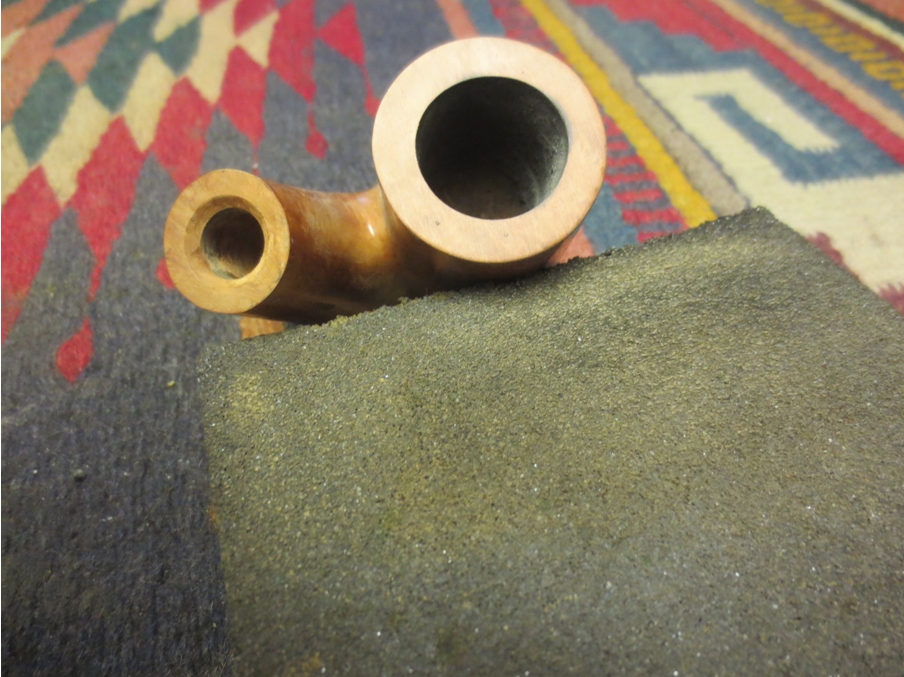
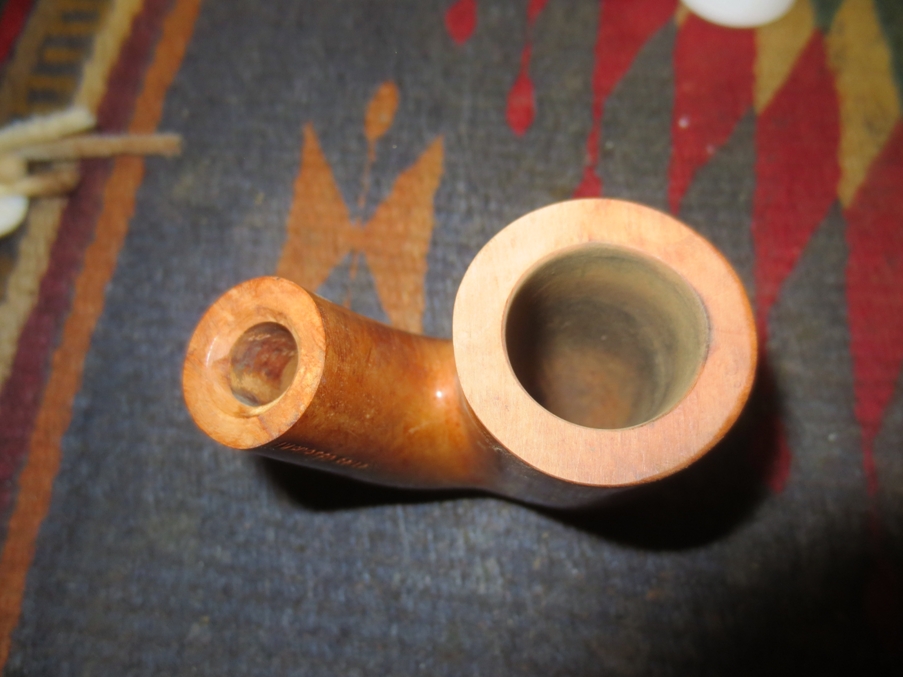
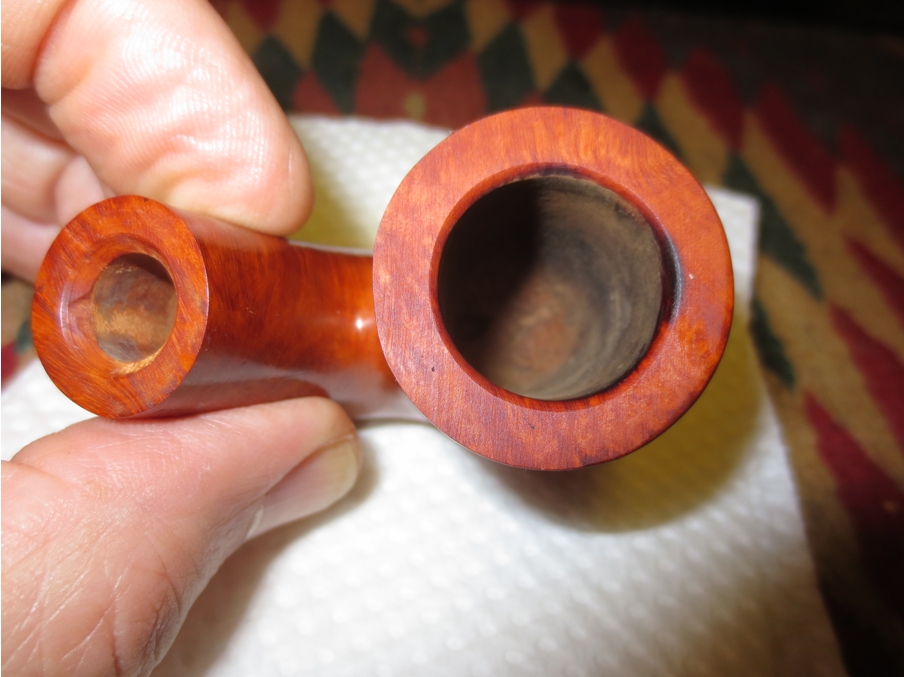
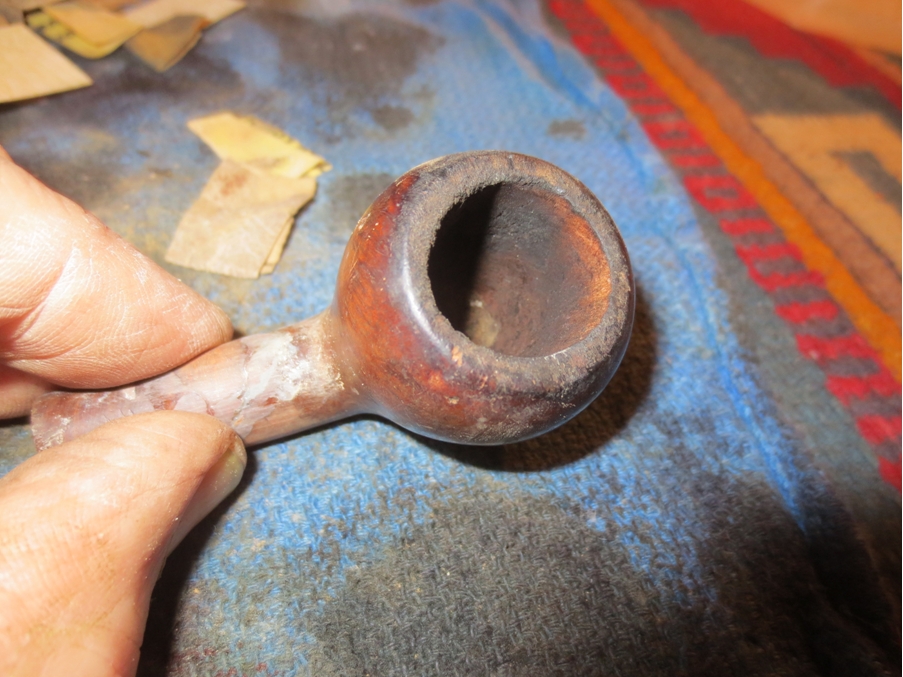
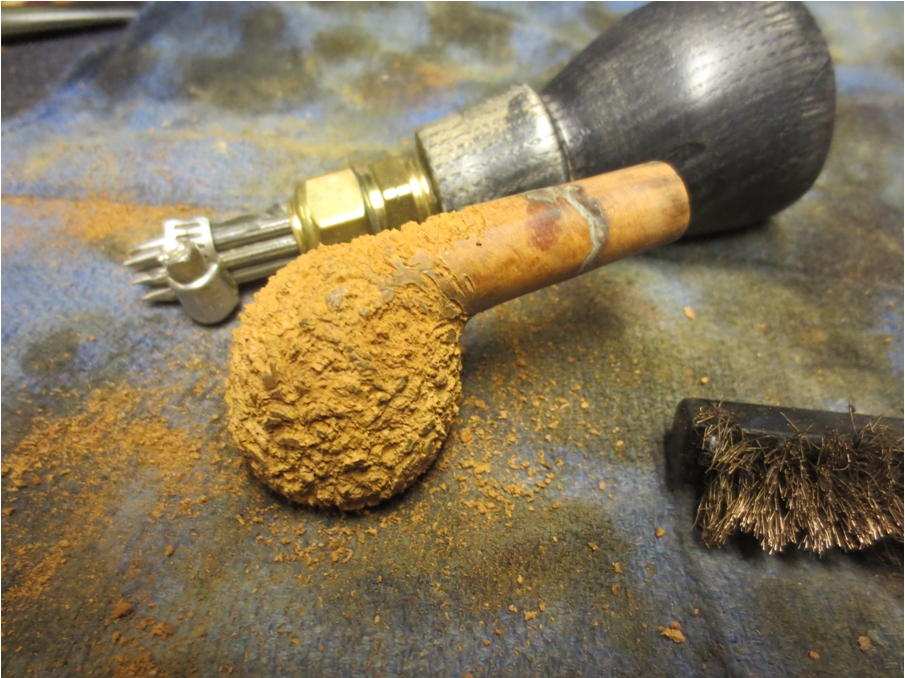
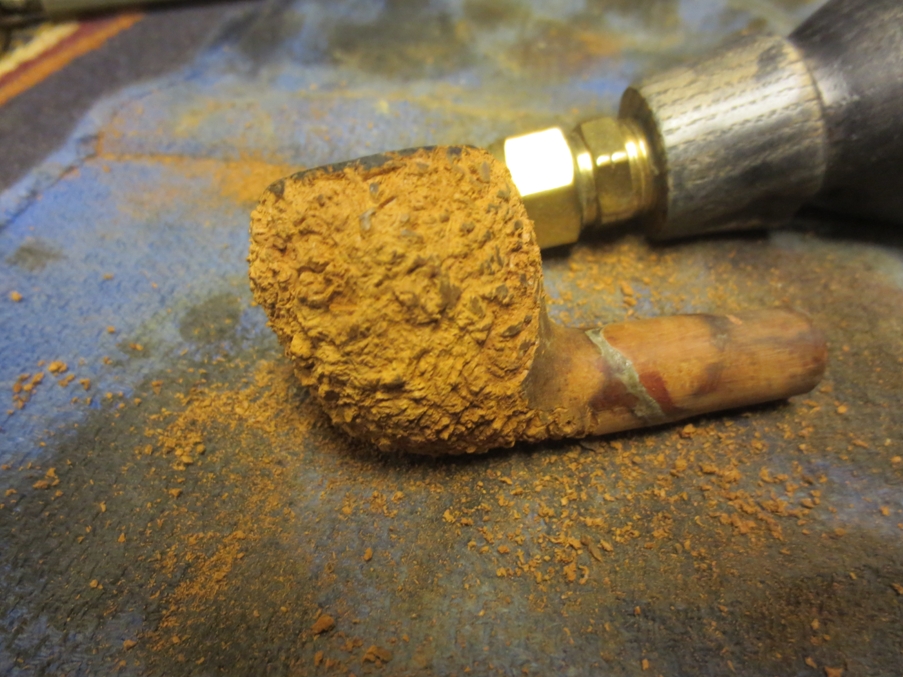
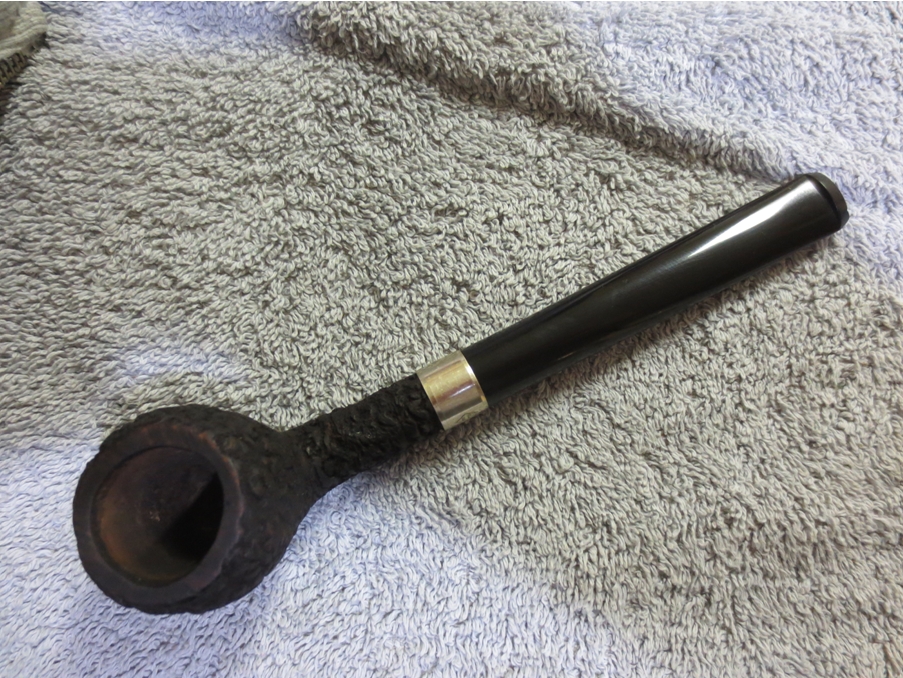
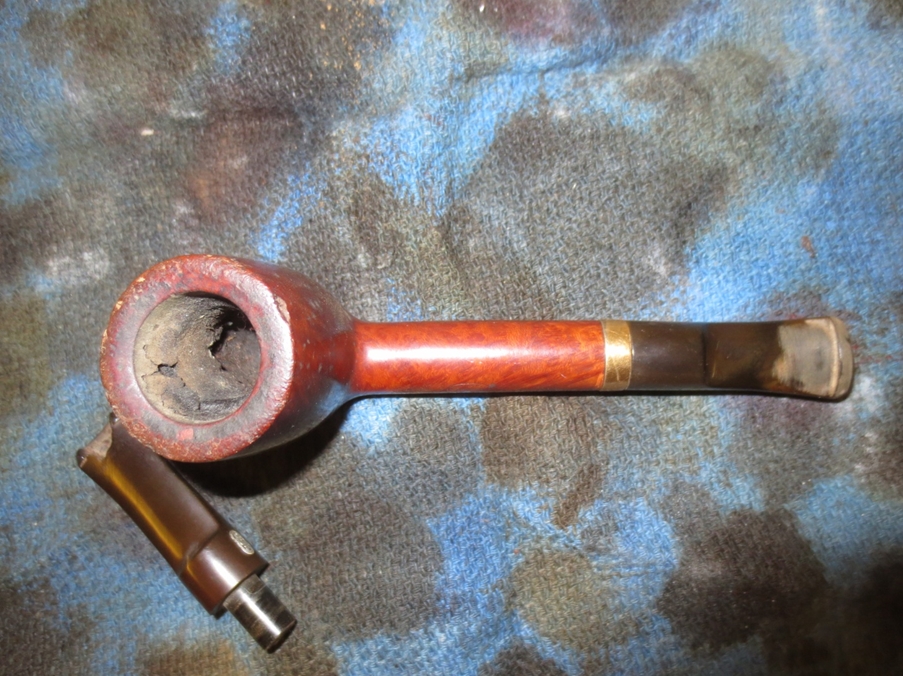
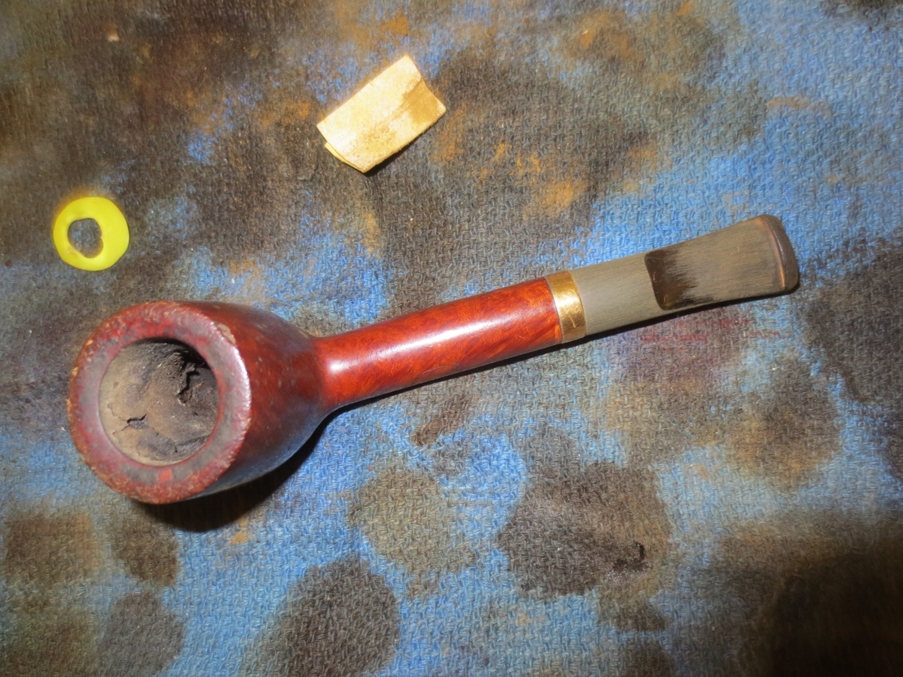
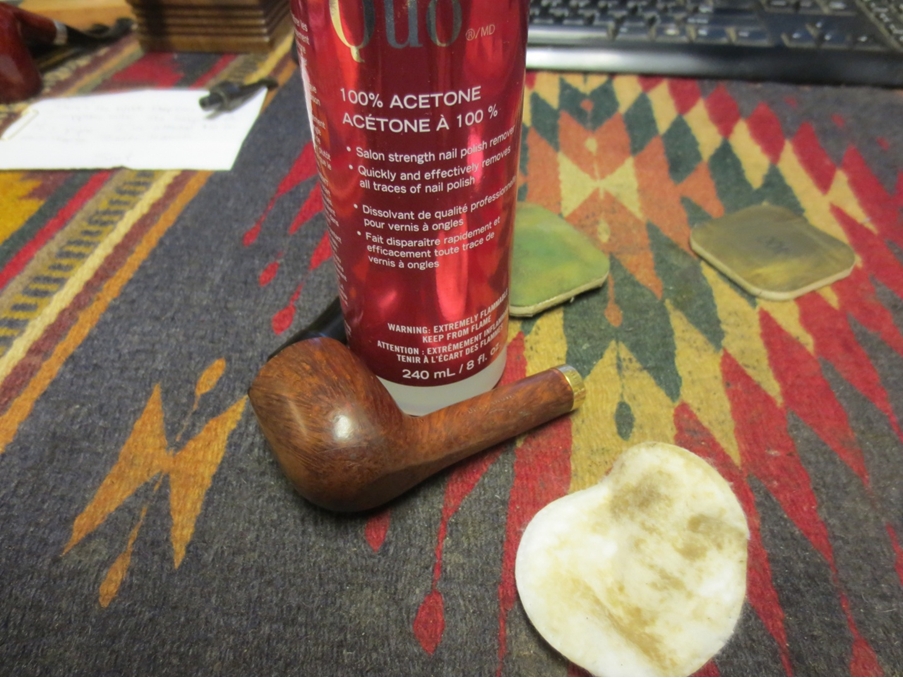
 When I had it shaped as much as I could without damaging it I set it aside to cure over night and then worked on the bowl. I used the dental pick to remove the remaining third of a bowl of tobacco that was in the pipe.
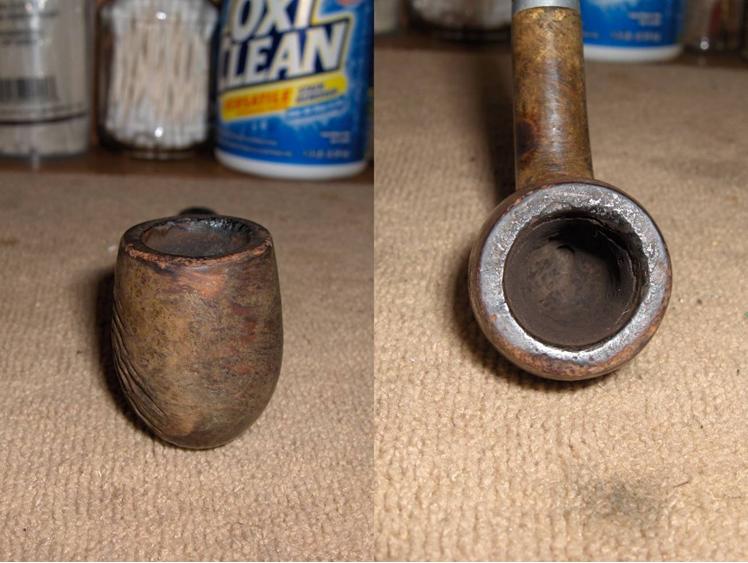
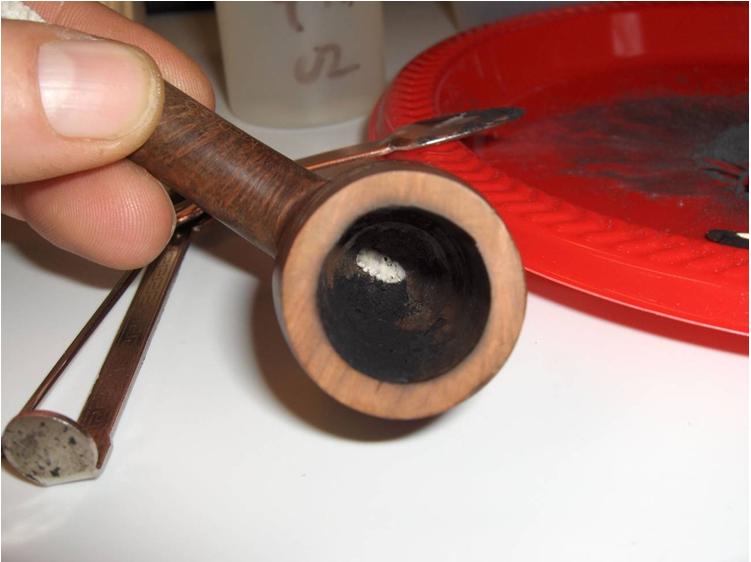
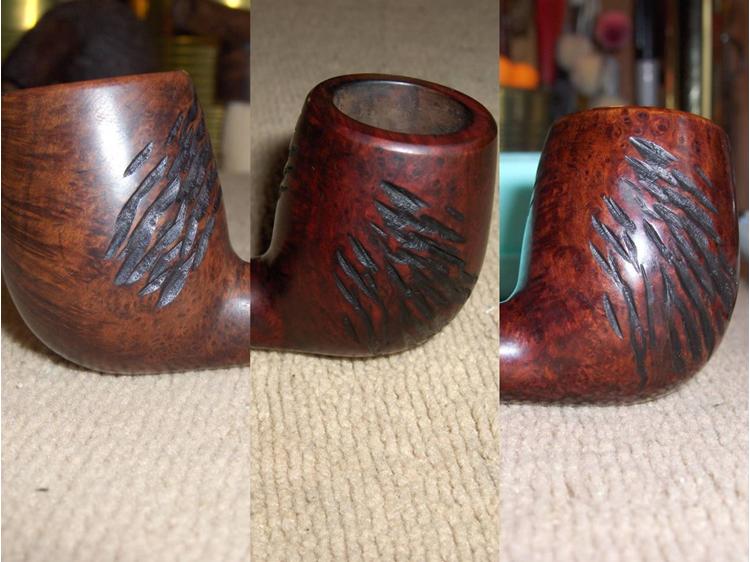
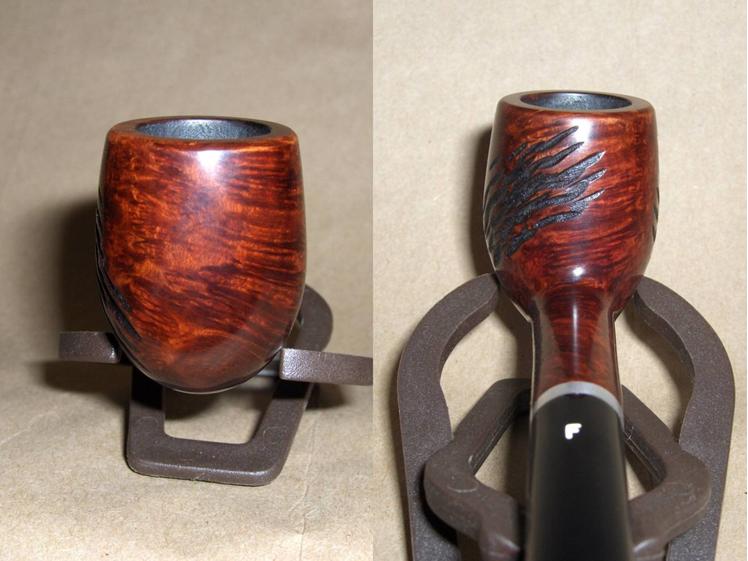
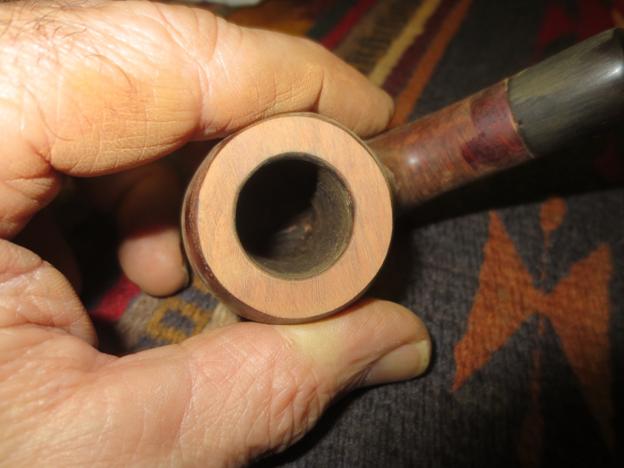
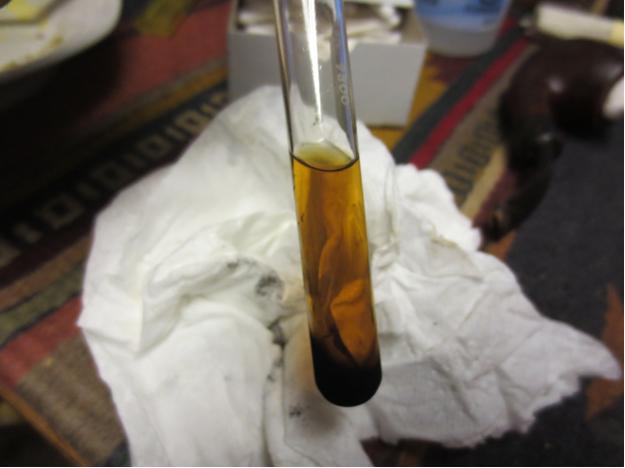
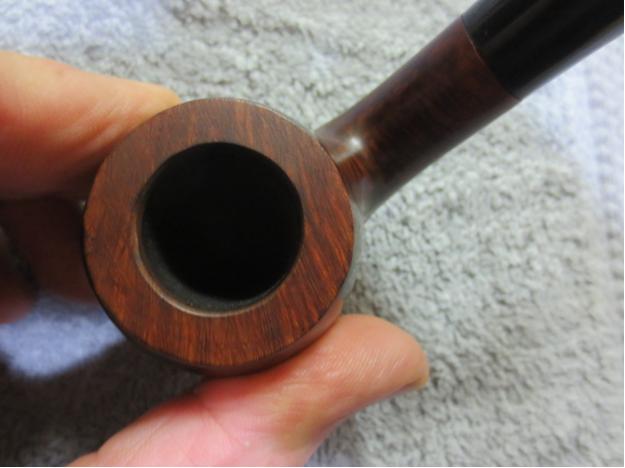
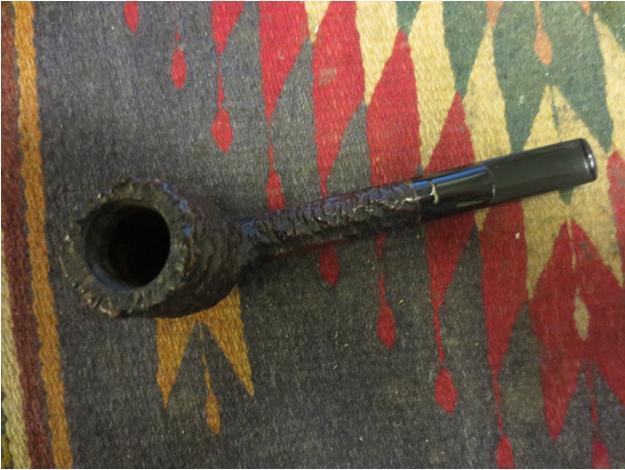
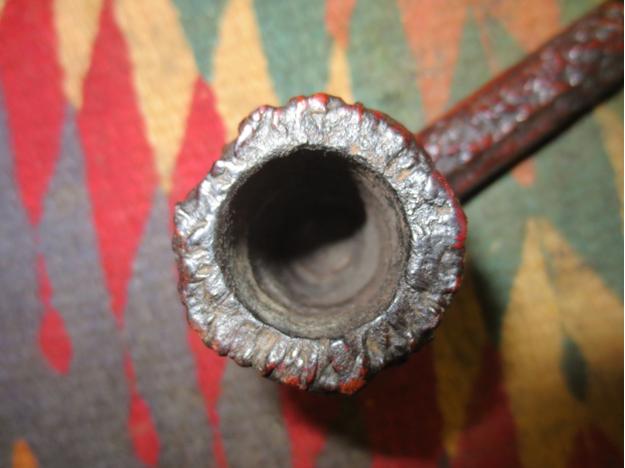
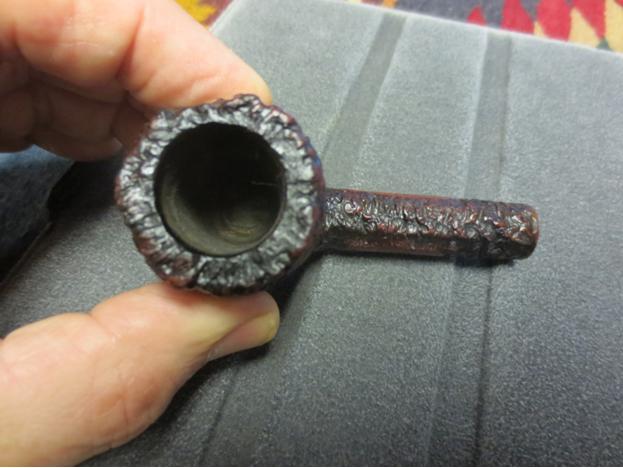
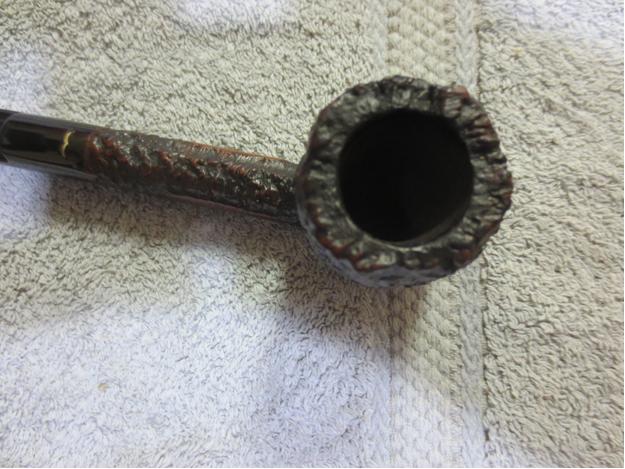
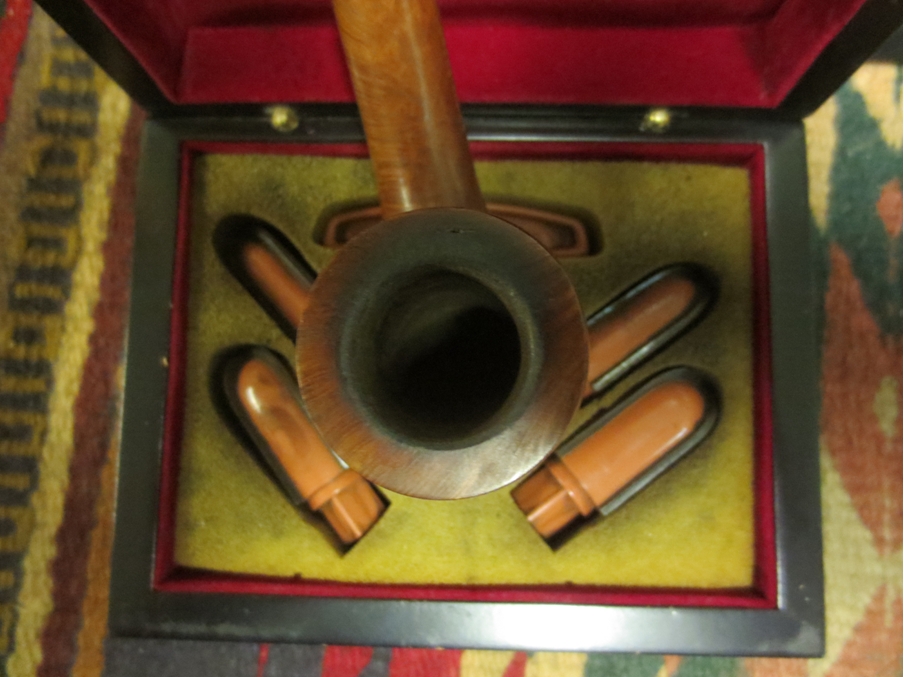
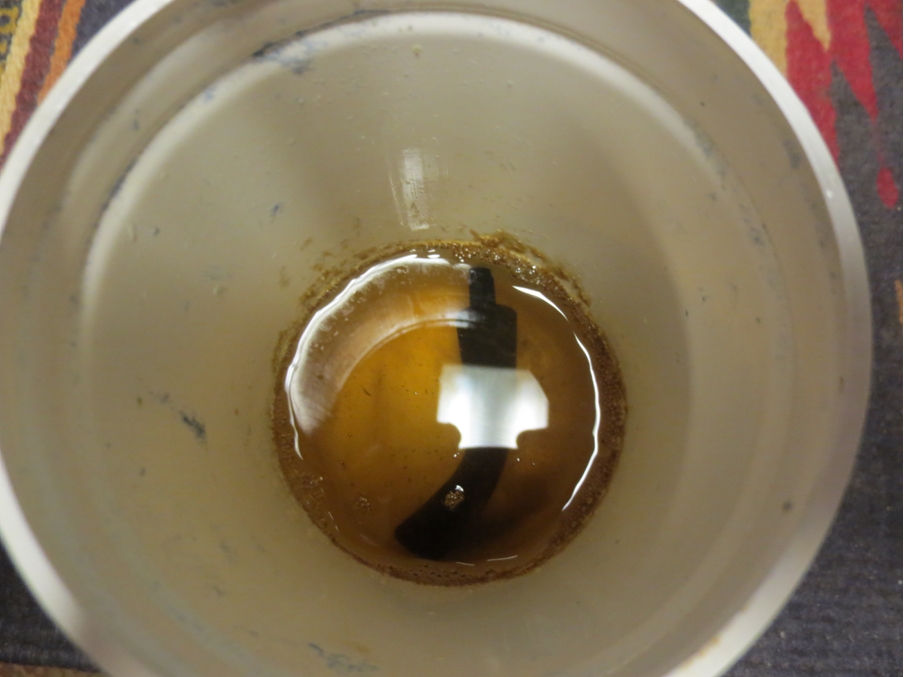
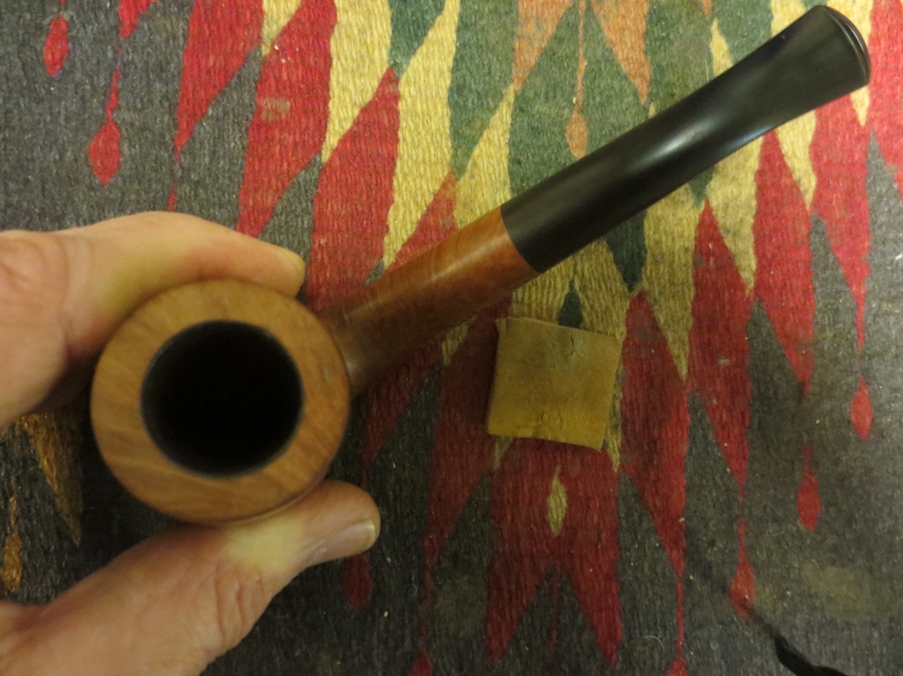
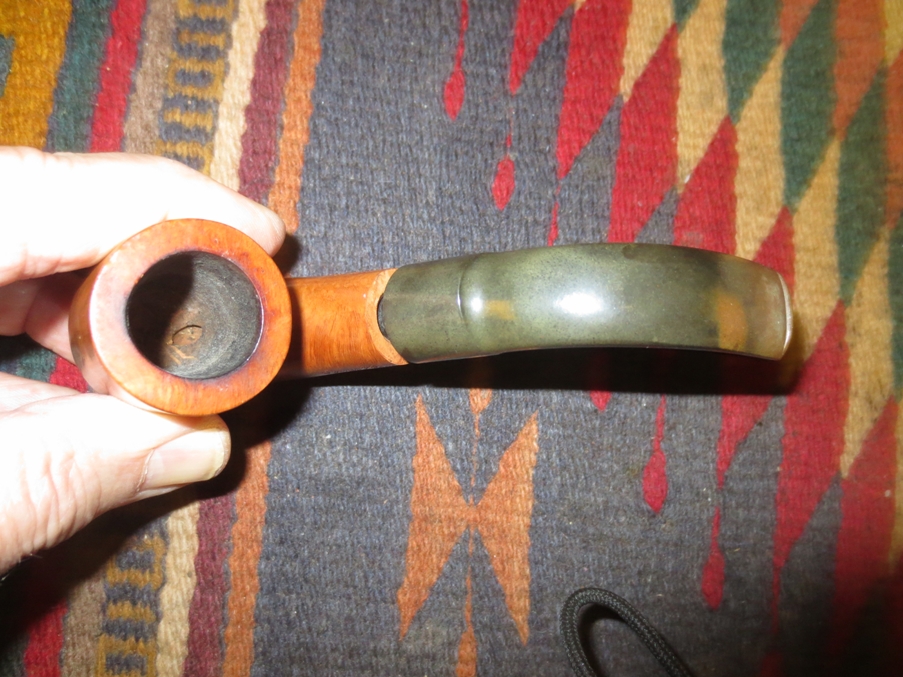
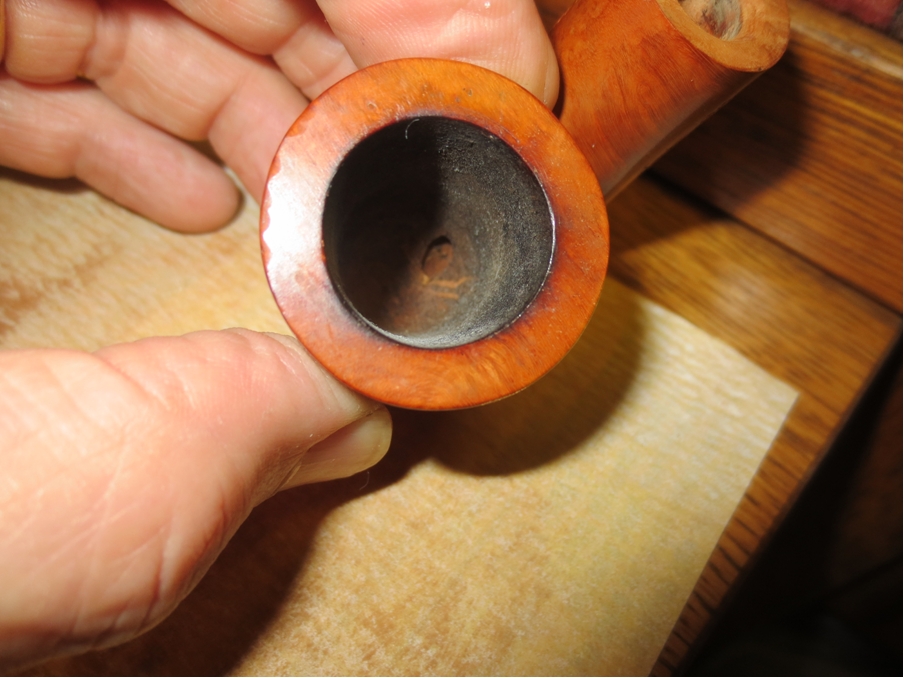
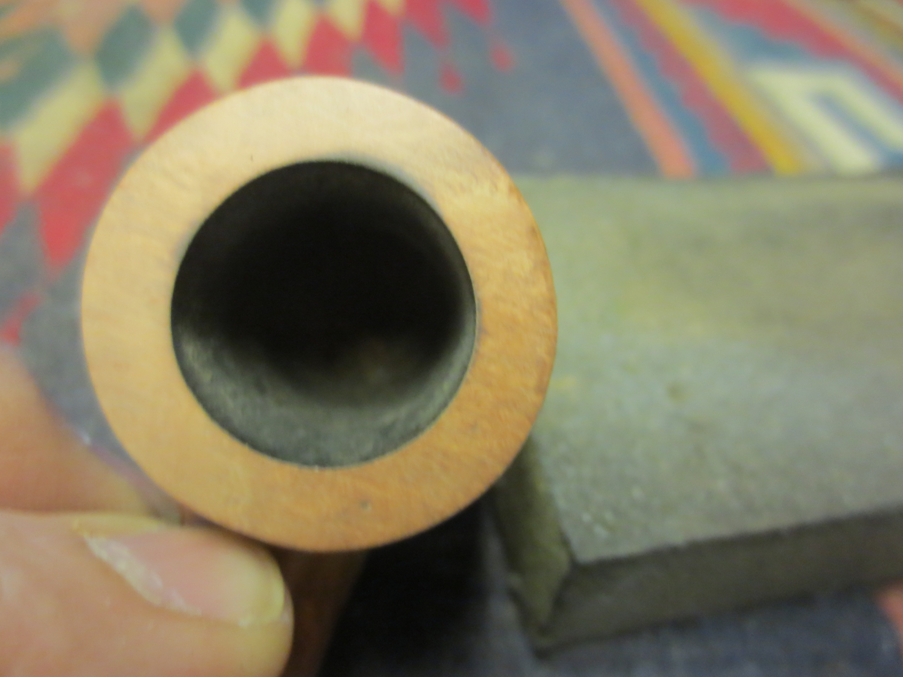
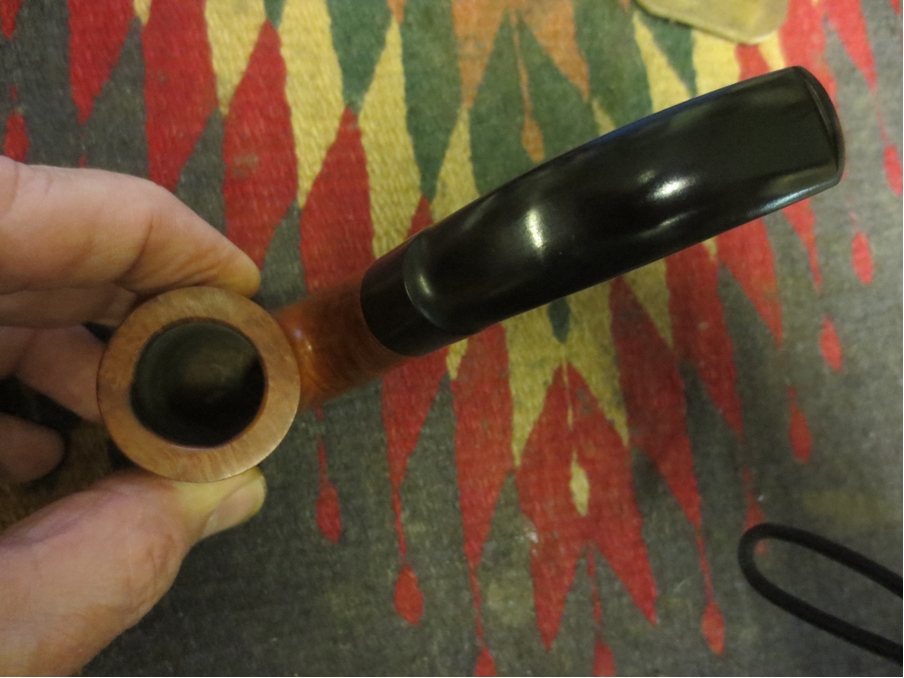
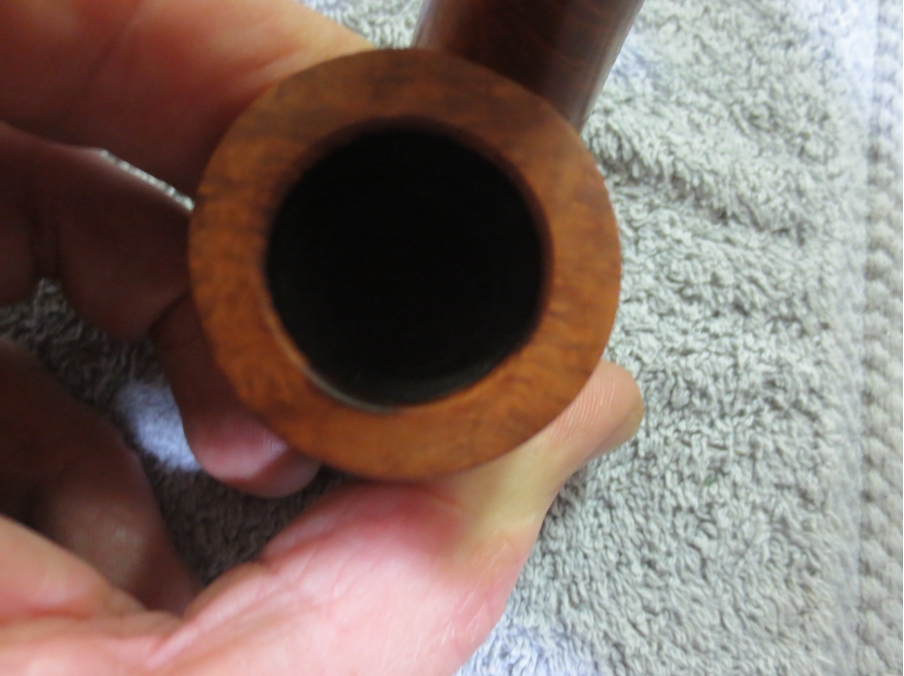
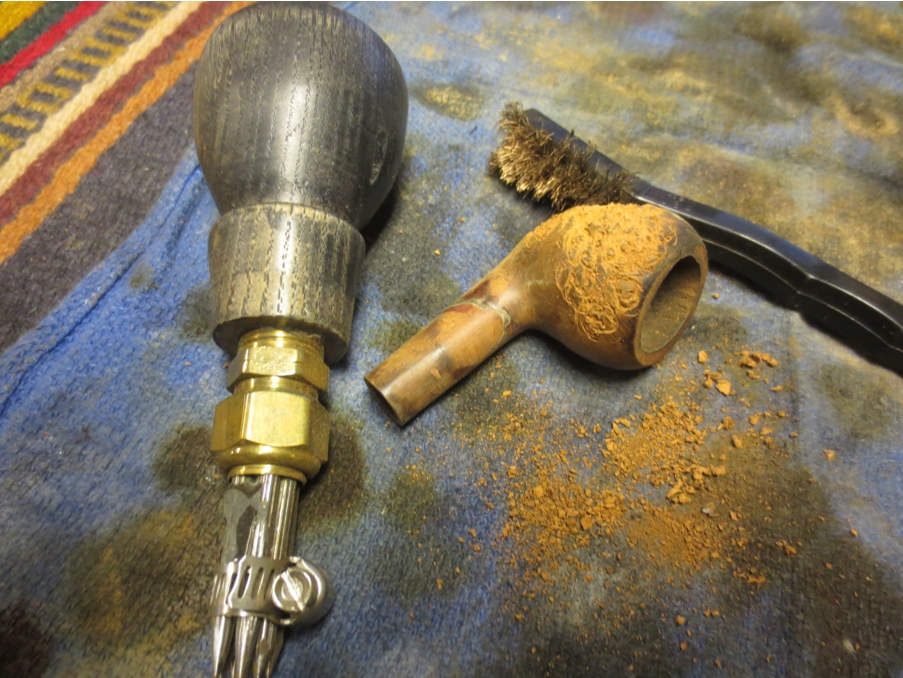
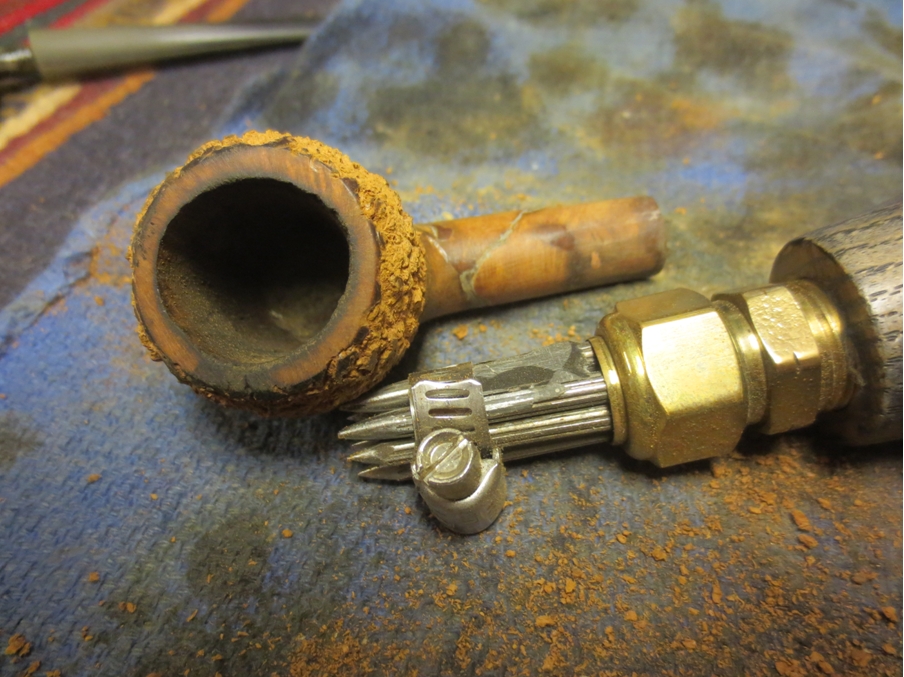
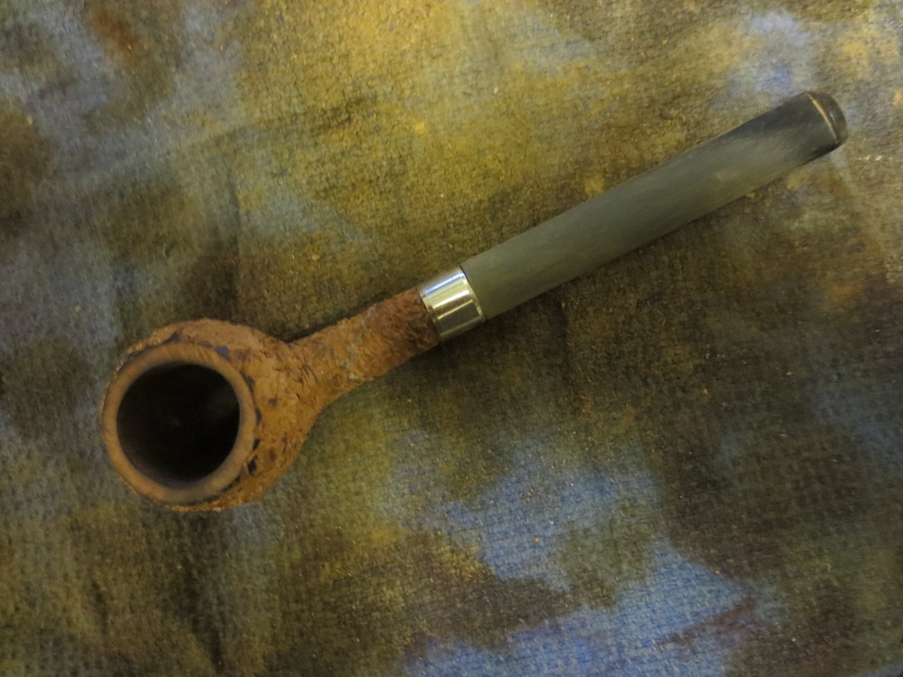
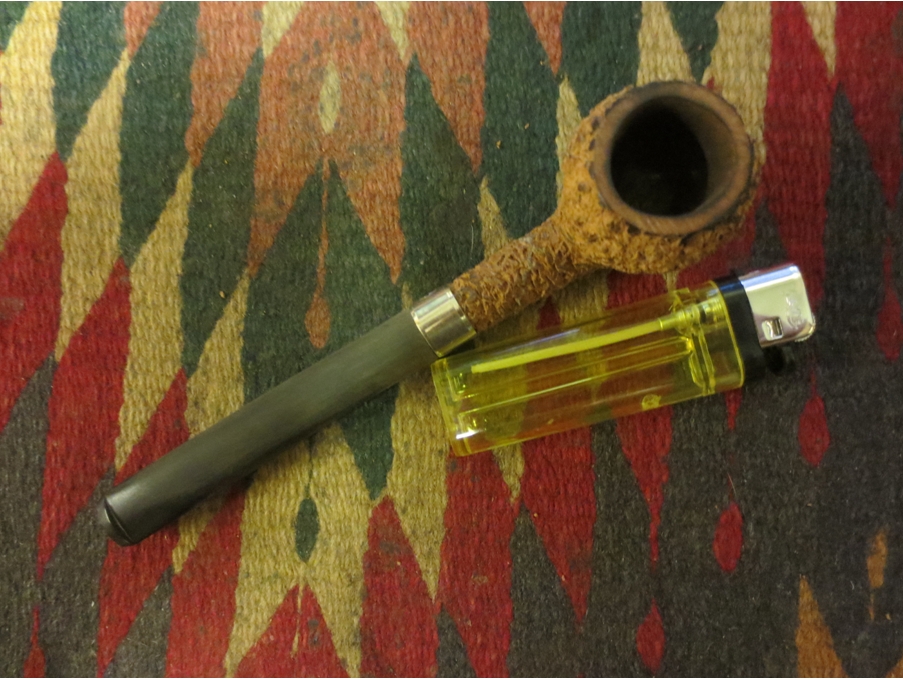
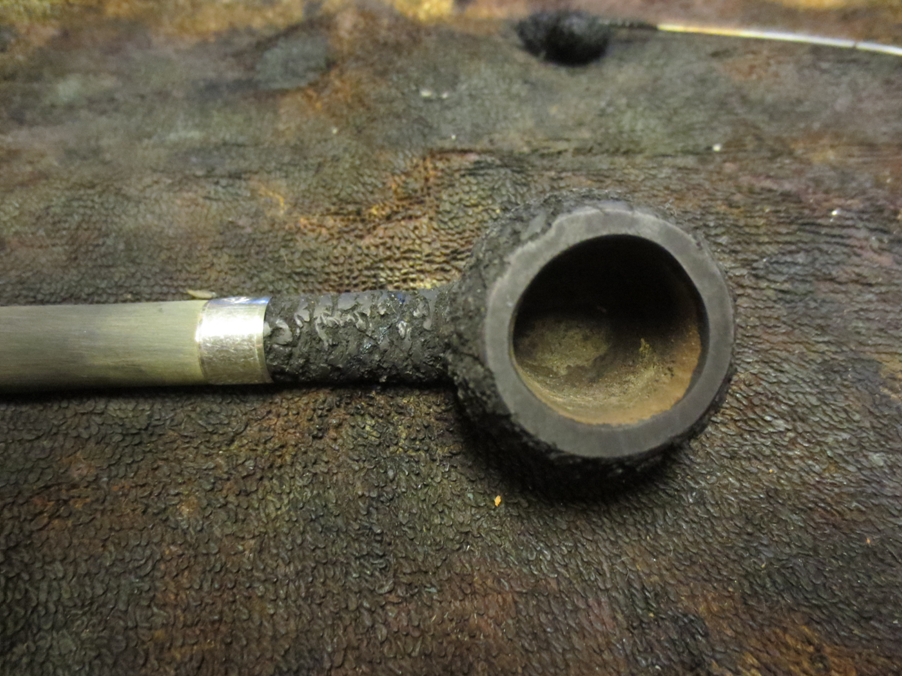
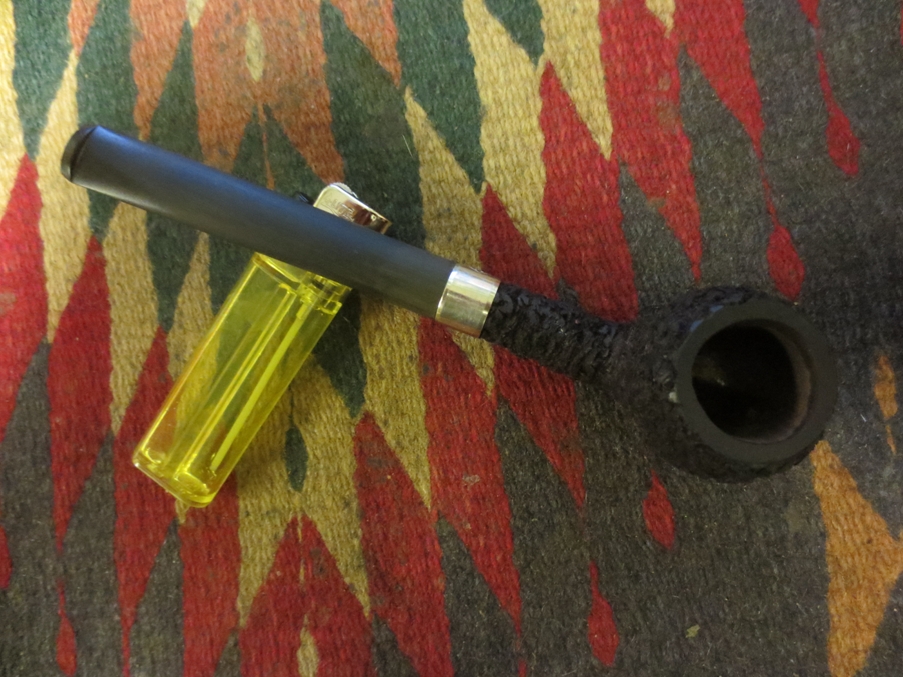
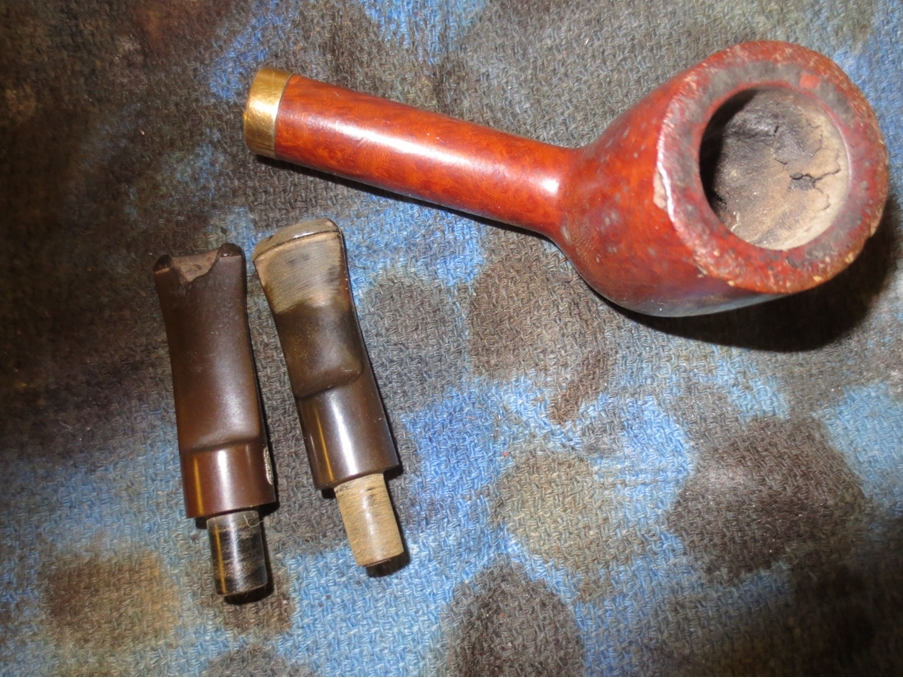
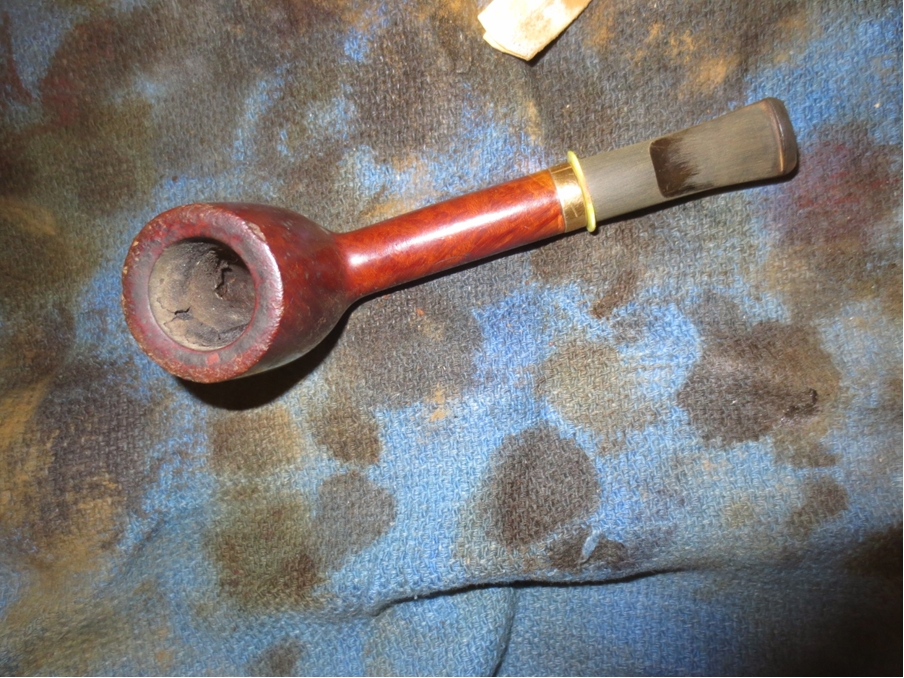
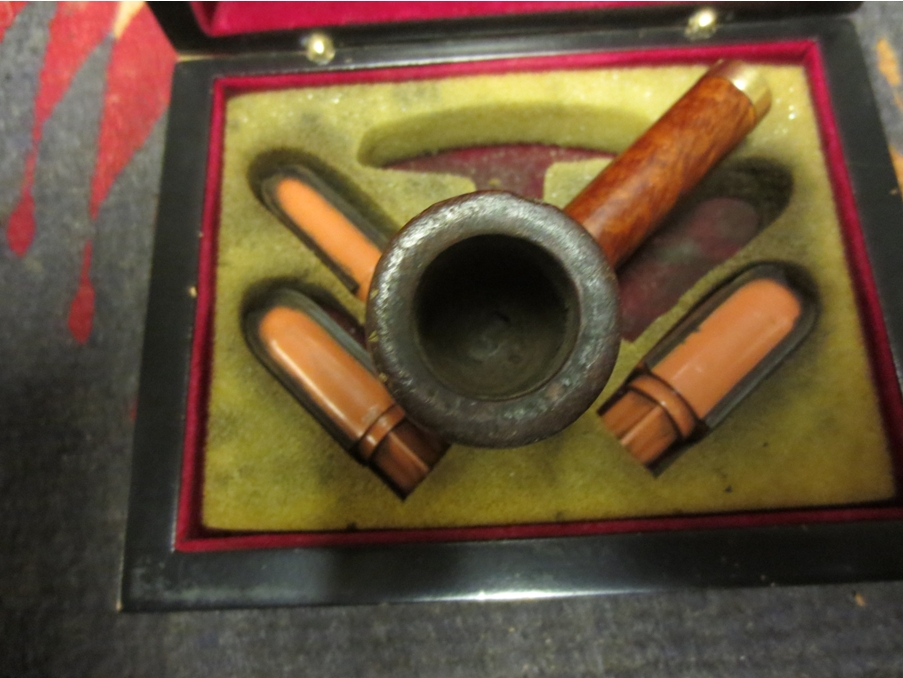
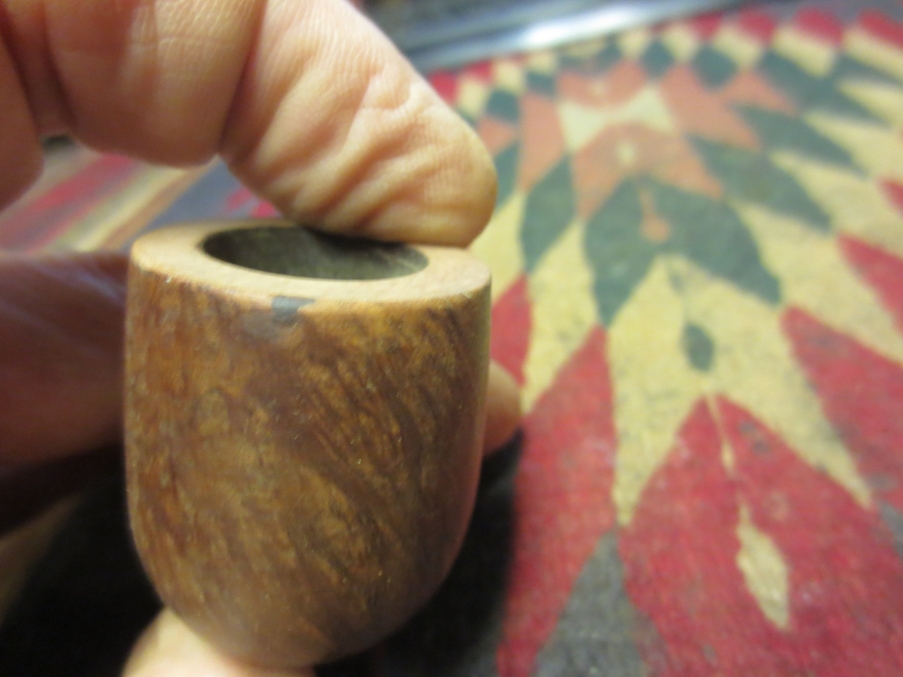
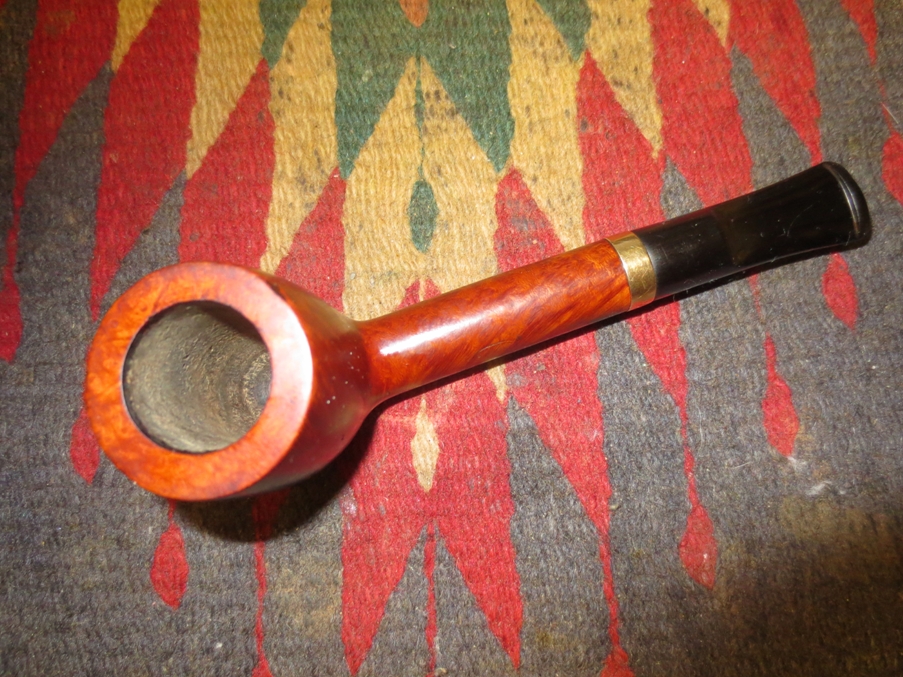
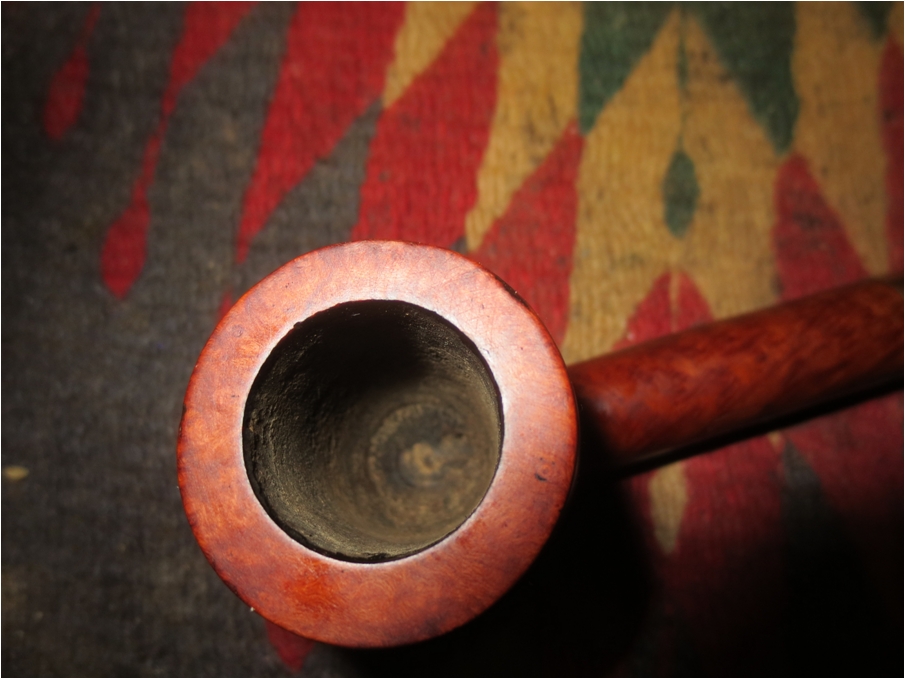
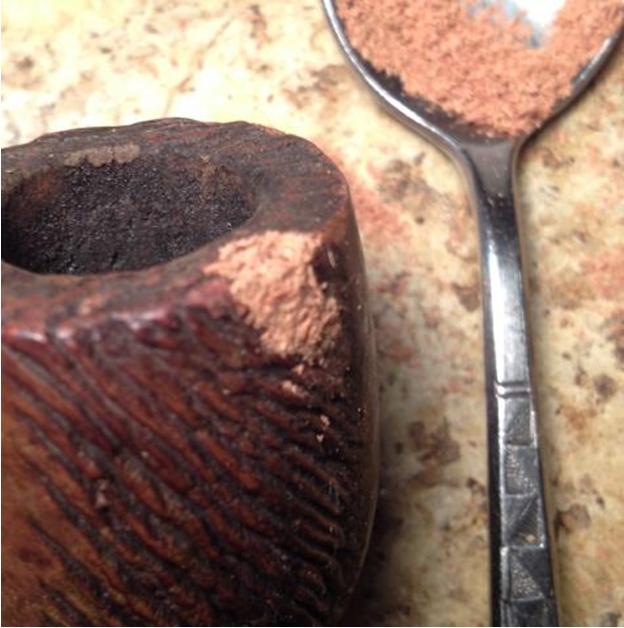
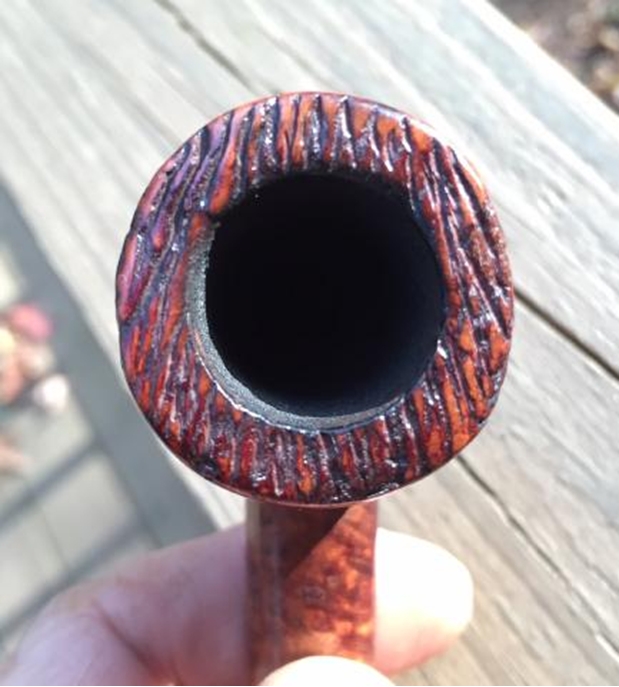
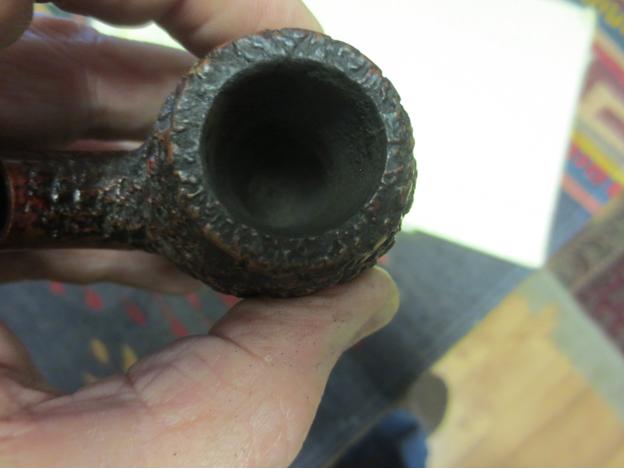
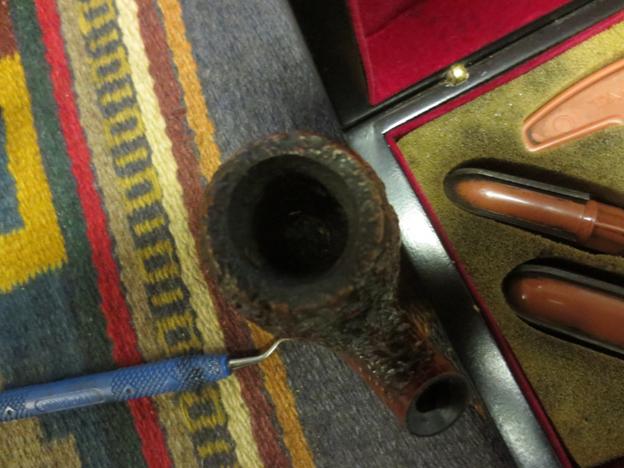 Once that was gone the bowl needed a good reaming. The shape and detail of the cake in the bowl can be seen in the next photo.
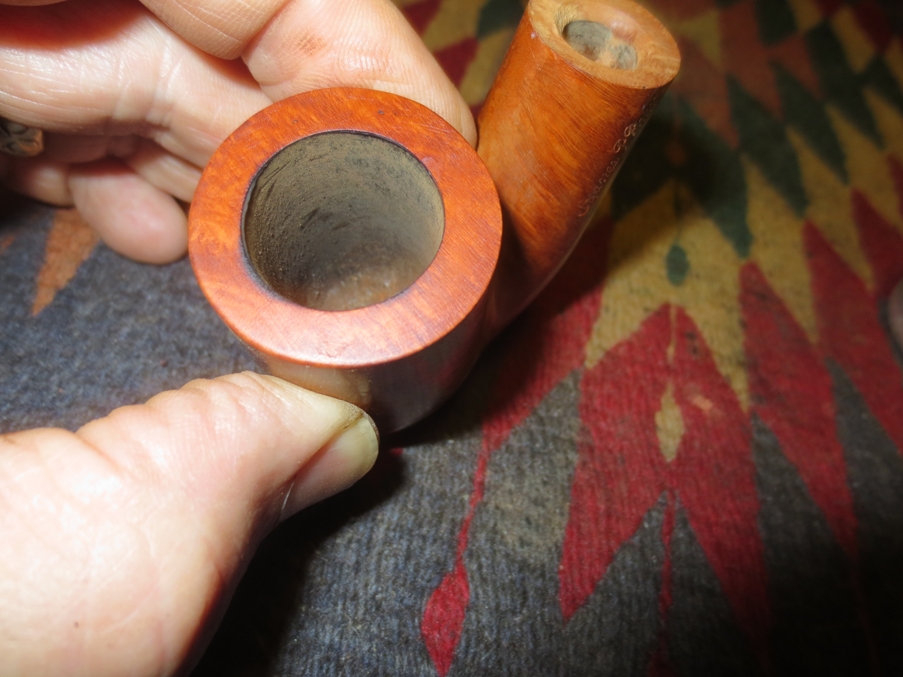
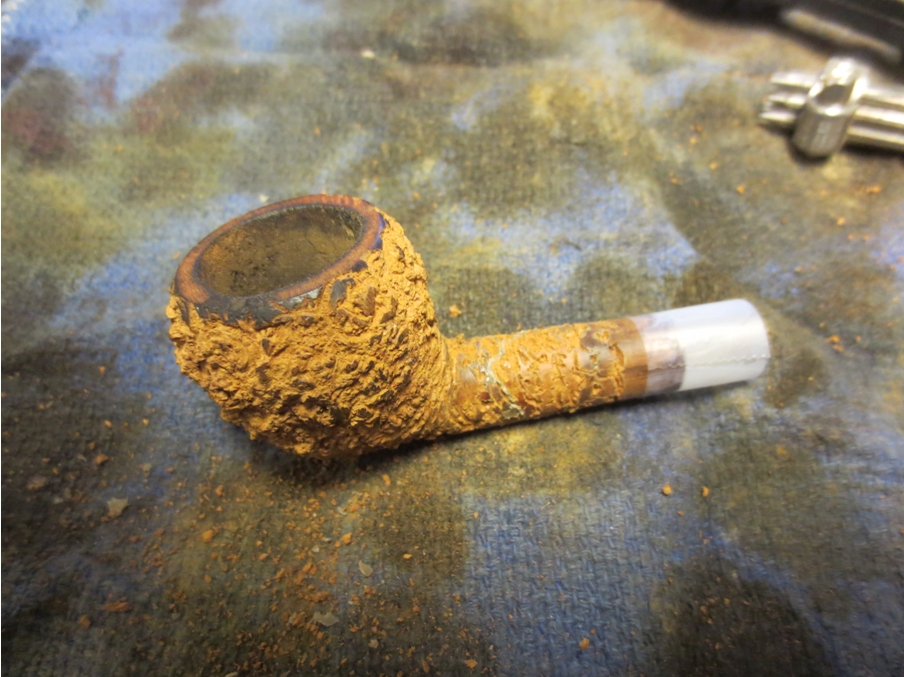
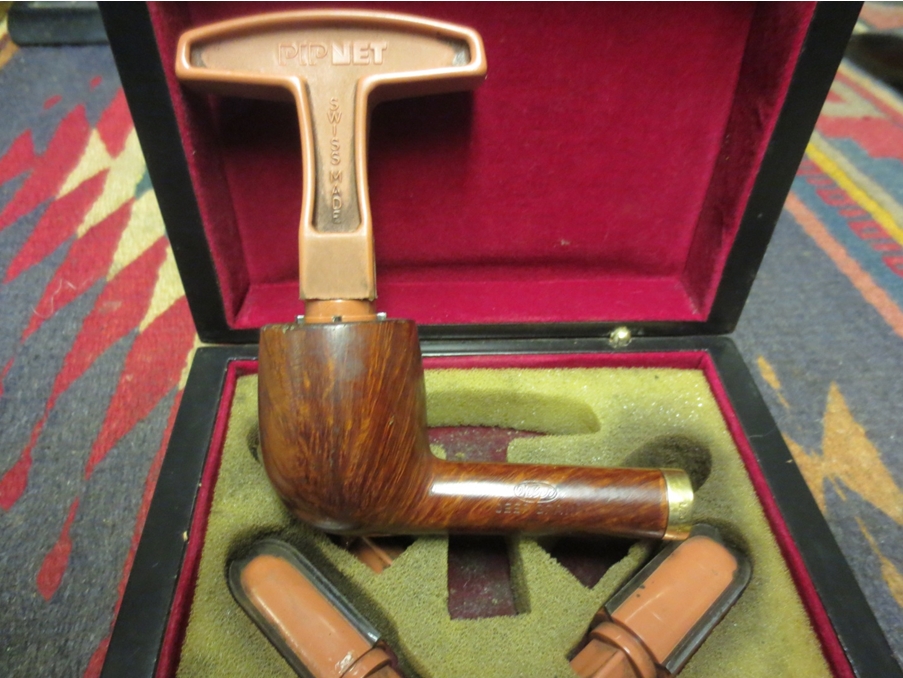
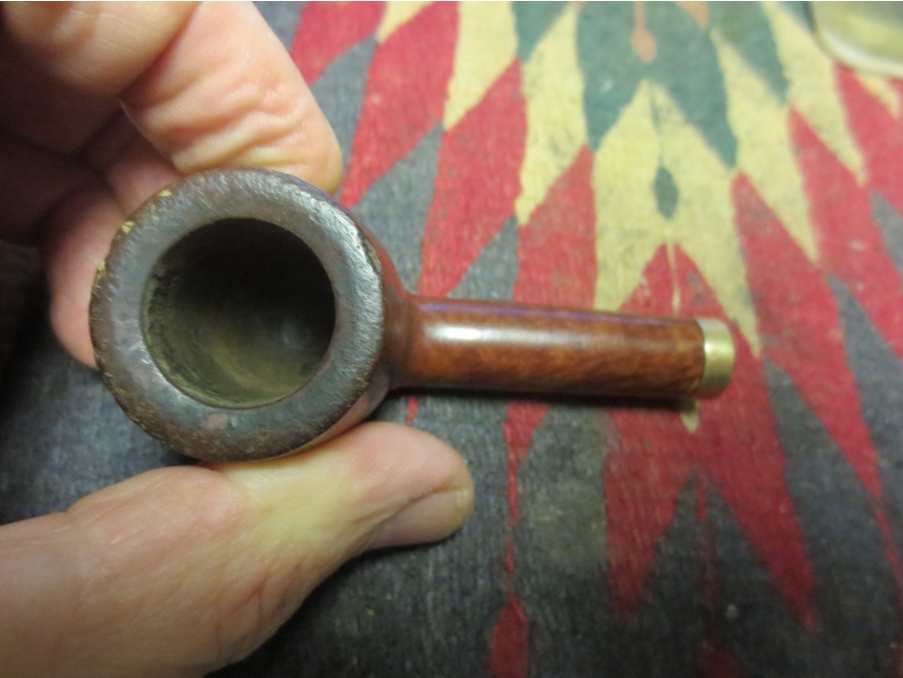
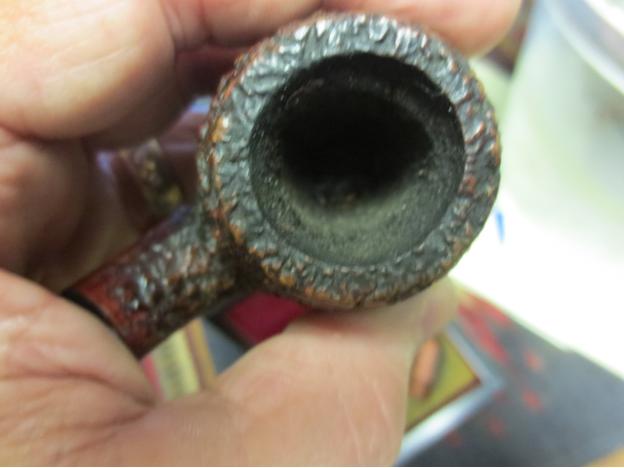 I used the PipNet Reamer with the smallest cutting head to start reaming the bowl and worked my way up to the third cutting head which was the closest I had to the diameter of the bowl. It was a deep bowl and took time to remove all of the cake. The middle portion of the bowl had a hard cake. I worked it with the second cutting head until I finally was able to cut through it. I used the third head to work the cake back to bare briar. I also used a sharp pen knife to clean out the area in the bottom third of the bowl where the cutting head left behind a ridge of cake.
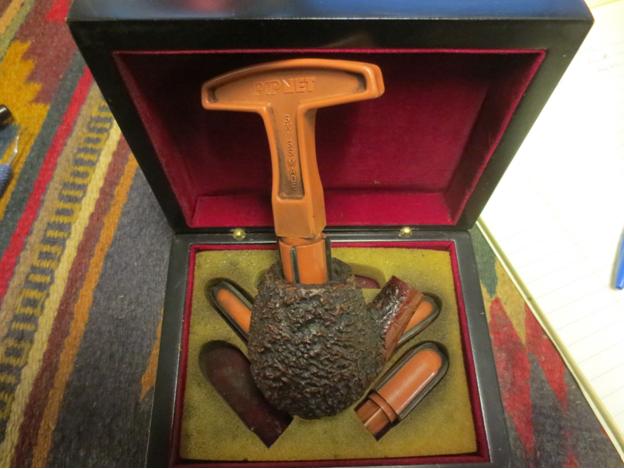
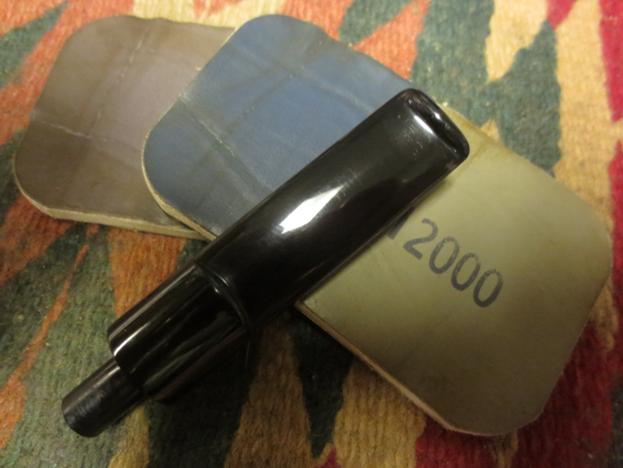
 The next day I did not get to work on the stem as it was a heavy day at work and we had meetings into the late evening so the stem sat for two days. When I finally got the time to work on it I decided to start with shaping the slot and the button from the end view. I started by sanding the end of the stem with 220 grit sandpaper to smooth out the end and give me a flat canvas for cutting the slot with needle files.
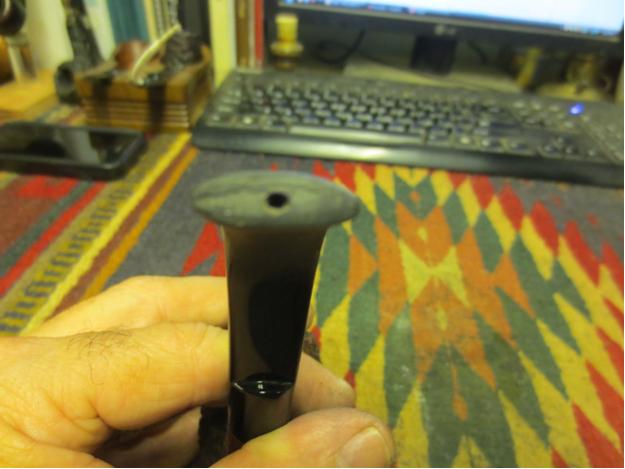 I began to work on the airway with an oval shaped needle file to begin to open the airway and create a flare in the slot.
 I also used and fatter oval needle file and a round file to further open the lot and the flare in the end. It took a lot of file work to get it to the place that is shown below. You can begin to see the Y shaped slot taking form. There is still a lot of filing and sanding to do at this point.
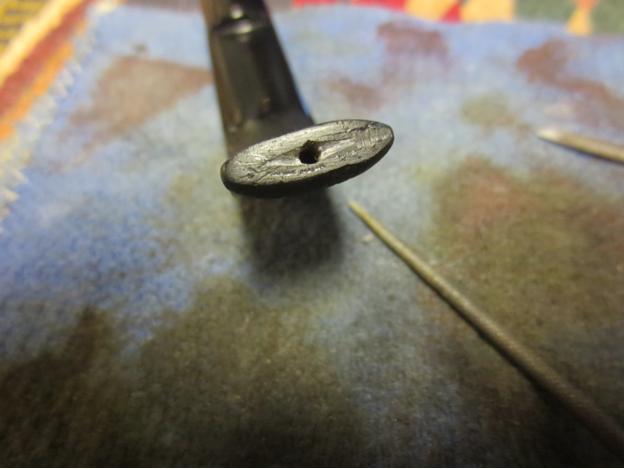 I worked on the slot area with the needle files for probably 1 hour at this point and the photo below shows the result of the methodical filing and shaping. It is coming along but needs to be more open and the top and bottom edges of the slot need to be smoothed out around the air hole.
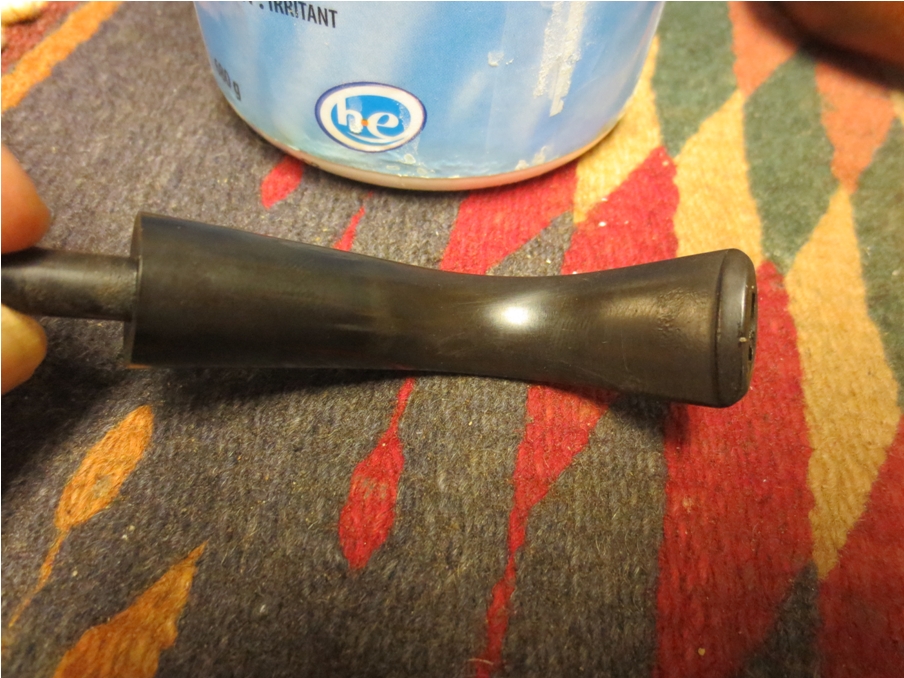
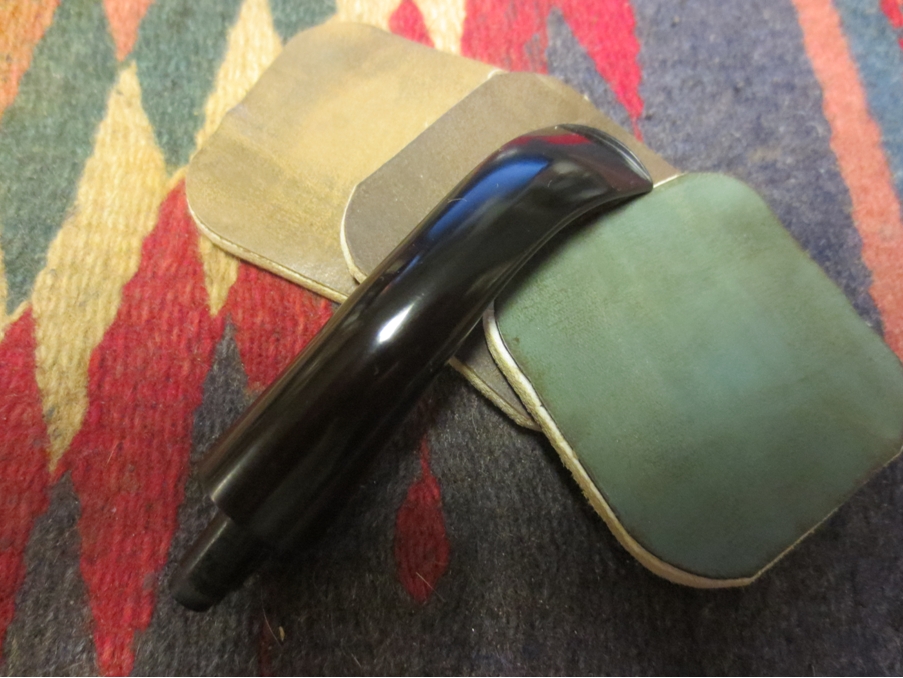
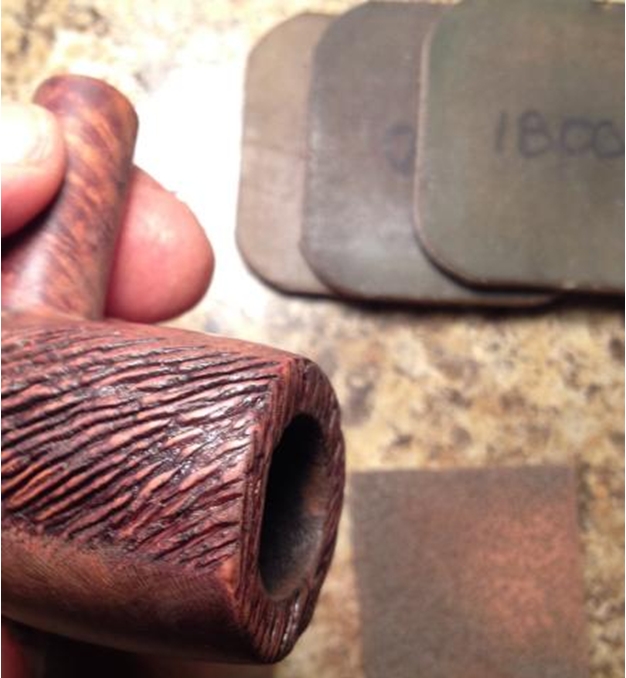
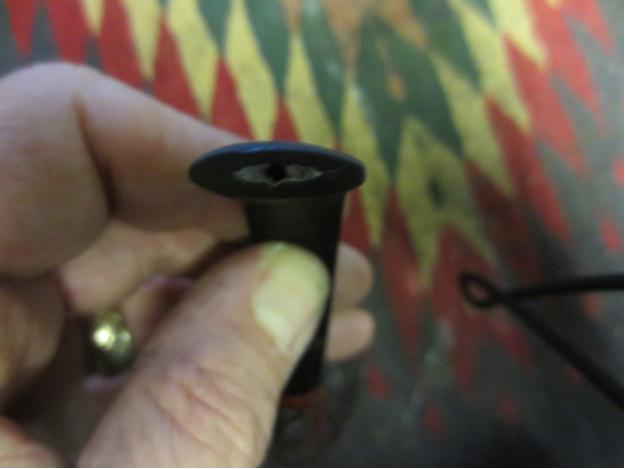 I folded a piece of 220 grit sandpaper when I was able to insert it in the newly cut slot and worked on the shape and smoothness of the Y. I also sanded the face of the button to remove the scratches and marks that were there. The second photo below shows the shape of the slot and the button. It is very close to the one I was copying on the Caminetto.
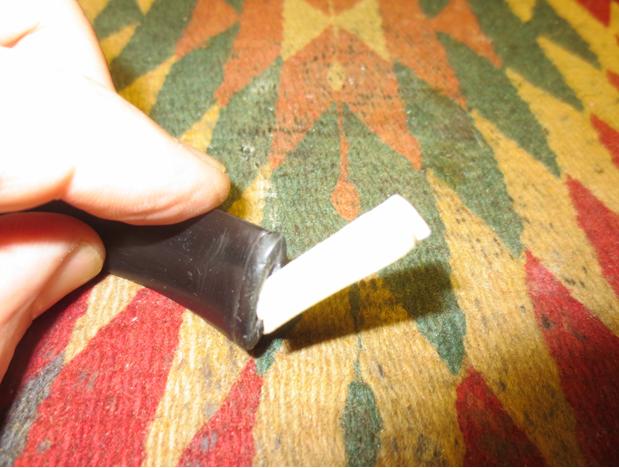
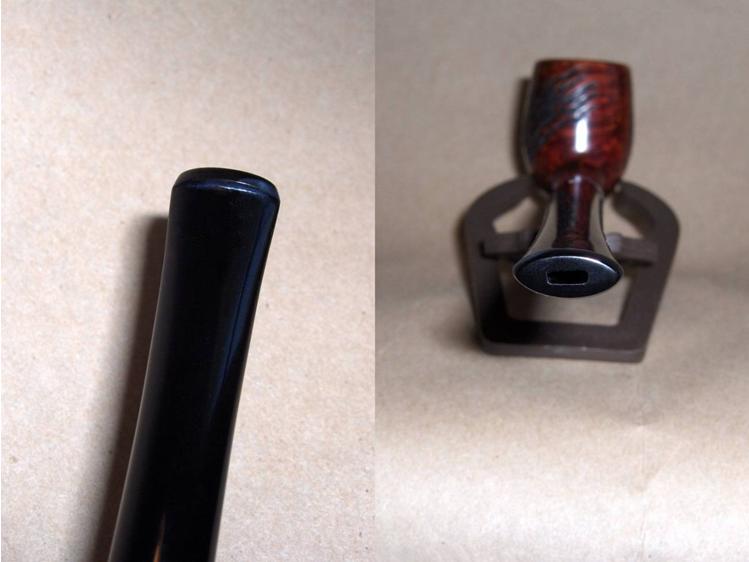
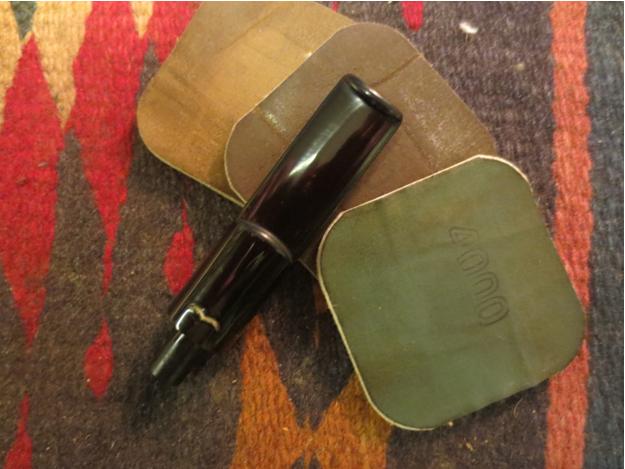
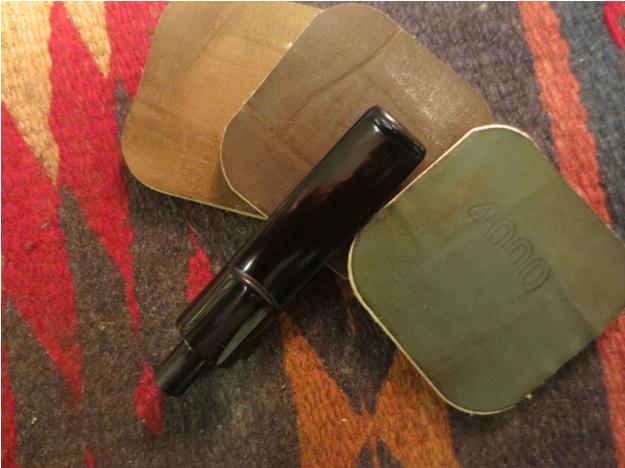
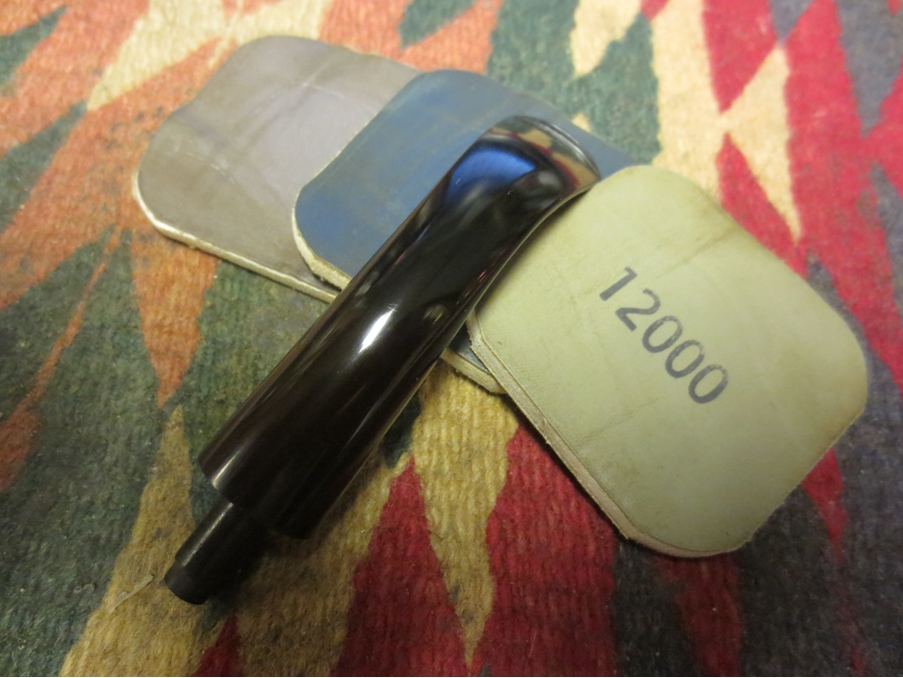
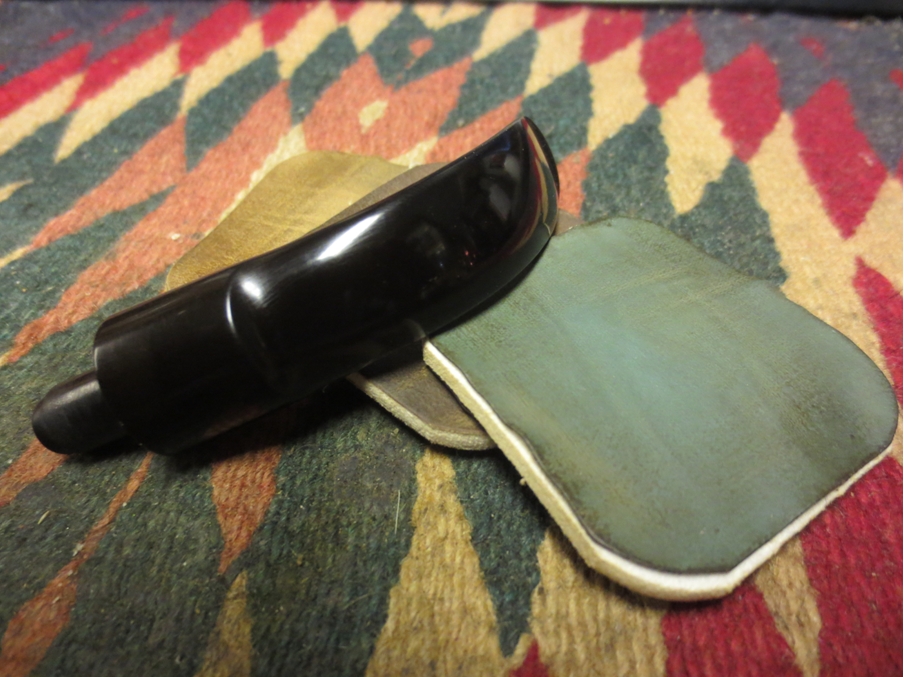
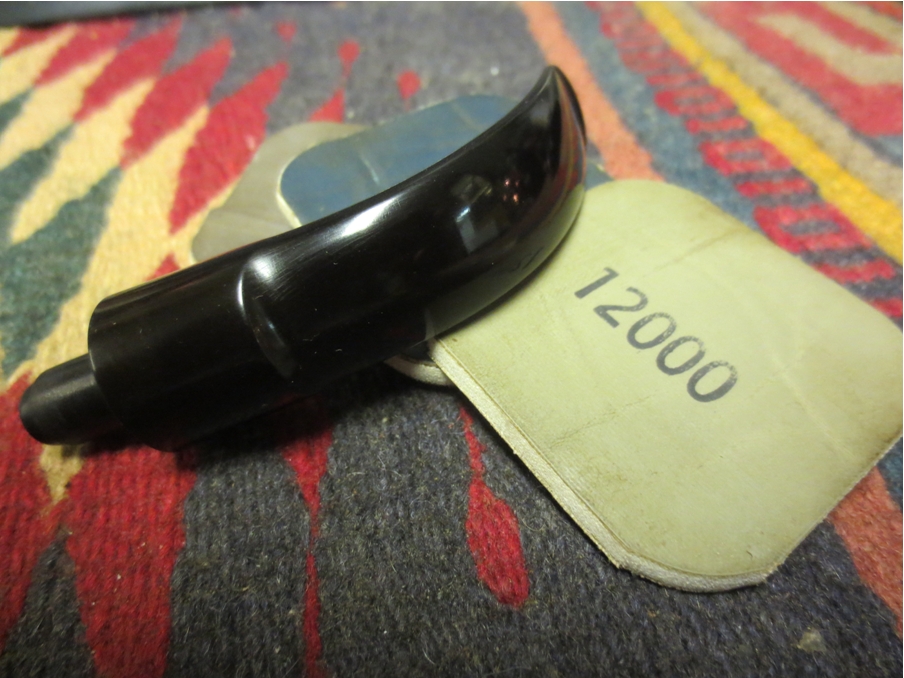
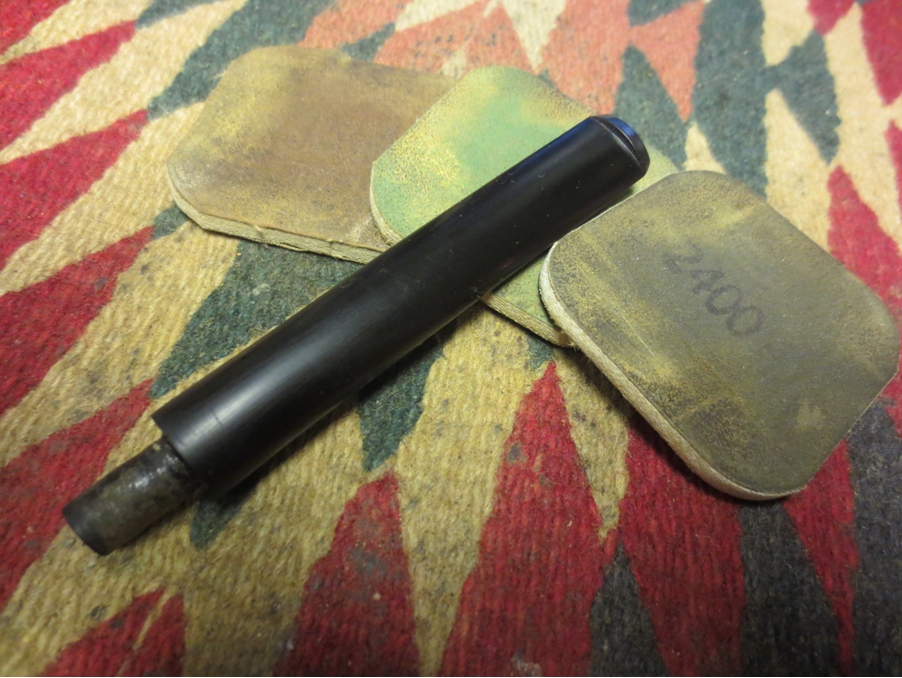
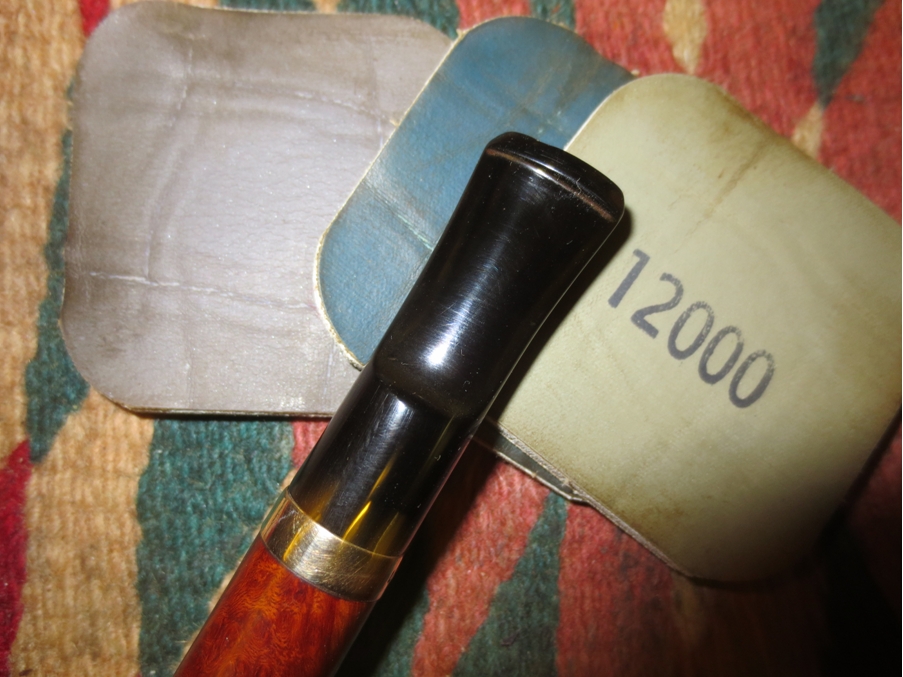
 I finished the end of the stem and the slot with micromesh sanding pads. I wet sanded with 1500-2400 grit pads and dry sanded with 3200-12,000 grit pads. I buffed the end of the stem with White Diamond. The finished slot is shown below.
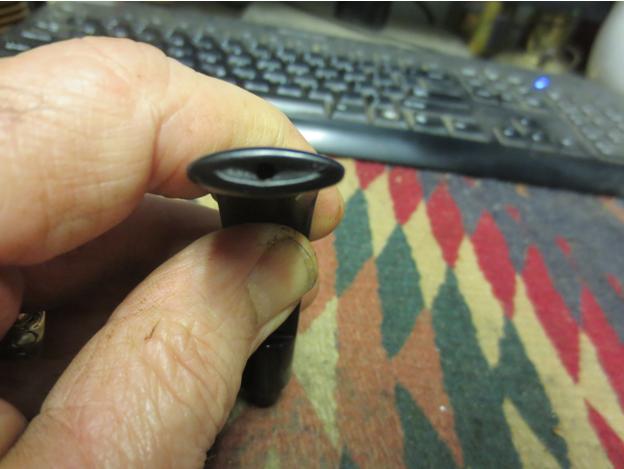 After I finished shaping the button and the slot from the end view it was time to work on the top and bottom edges and the overall look of the new button from both points of view. I sanded them with 220 grit sandpaper to shape and flatten them and then used a flat needle file to sharpen the edges on both sides. I really wanted the new button to look seamlessly part of the stem. It took a bit of work to sculpt it to the right shape. I then sanded it with a medium and a fine grit sanding sponge. When I was finished with the shaping and sanding I began to work on it with micromesh sanding pads. I wet sanded with 1500-2400 grit pads concentrating on the flat surfaces and the sharp edges first and finishing with the end of the button and slot.
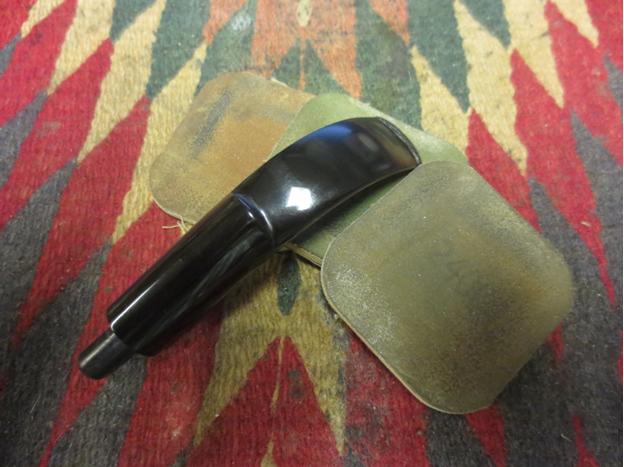 The wet sanding revealed more scratches and a bit more shaping that was needed to the edge of the button so I worked it over again with the medium and fine grit sanding sponges before going back and repeating the wet sanding with the first three grits of micromesh pads. I rubbed the stem down with some Obsidian Oil and when it dried, I dry sanded it with 3200-4000 grit micromesh.
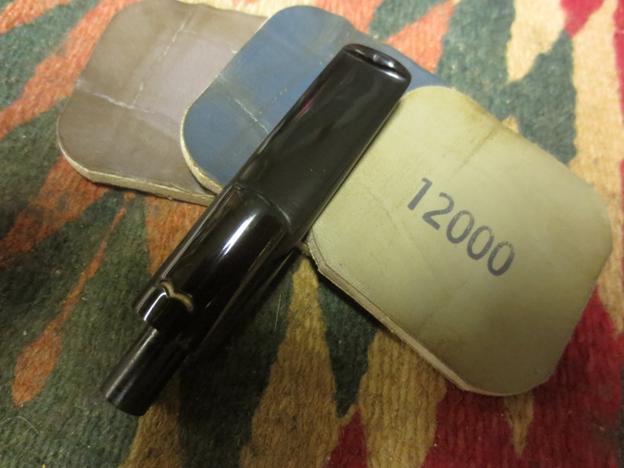
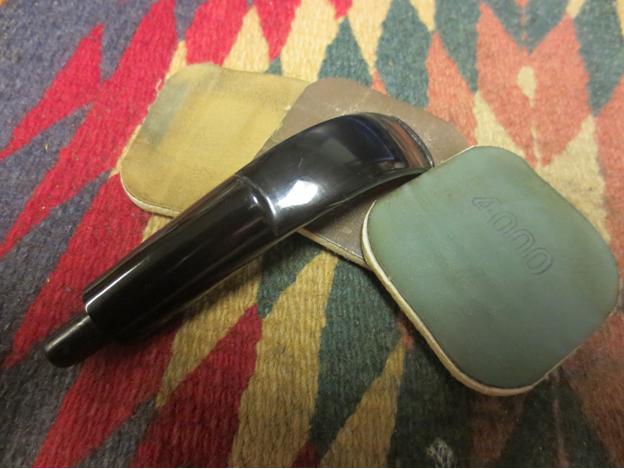 I dry sanded with the last three grits of micromesh – 6000, 8000 and 12,000 grit pads. I rubbed the stem down with Obsidian Oil and let it dry before taking it to the buffer.
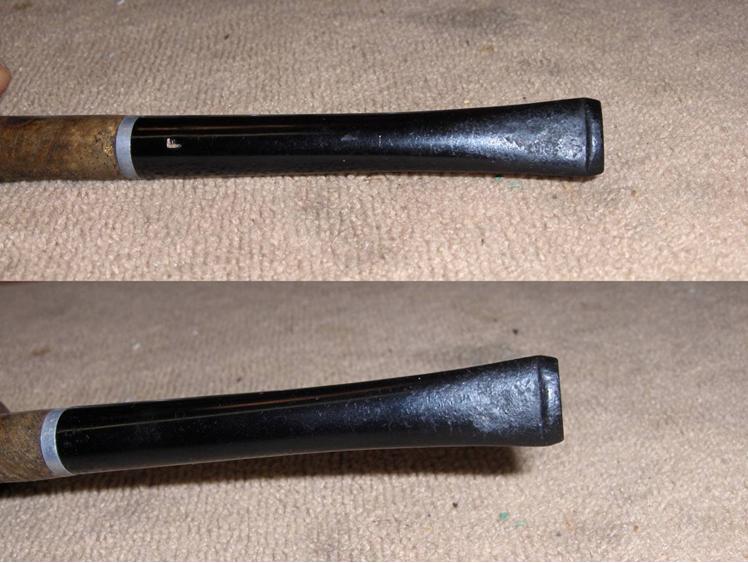
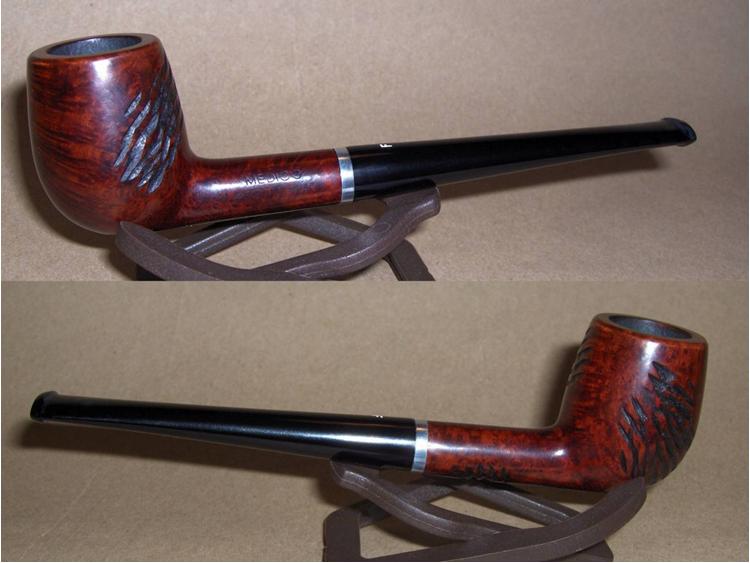
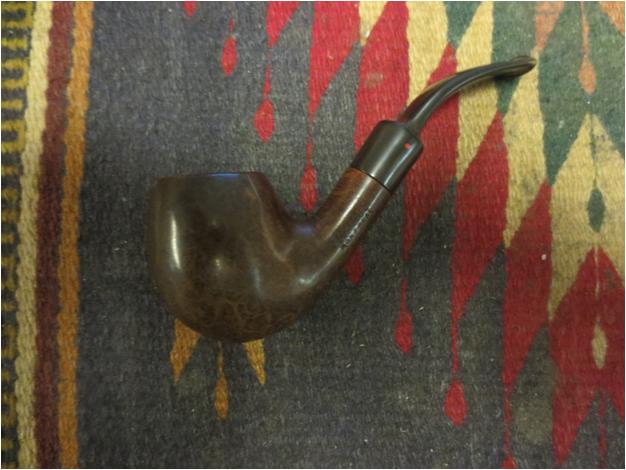
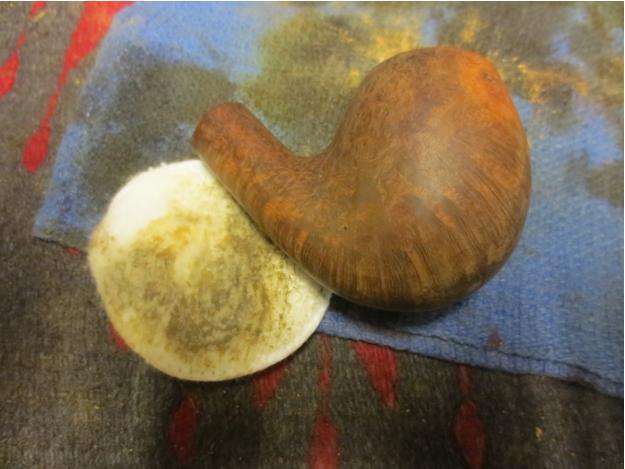
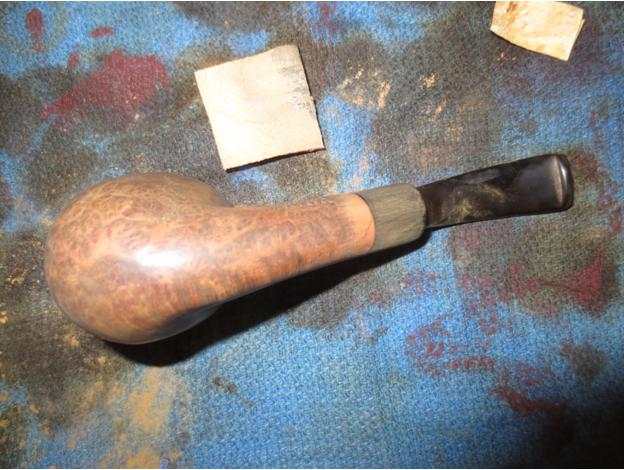
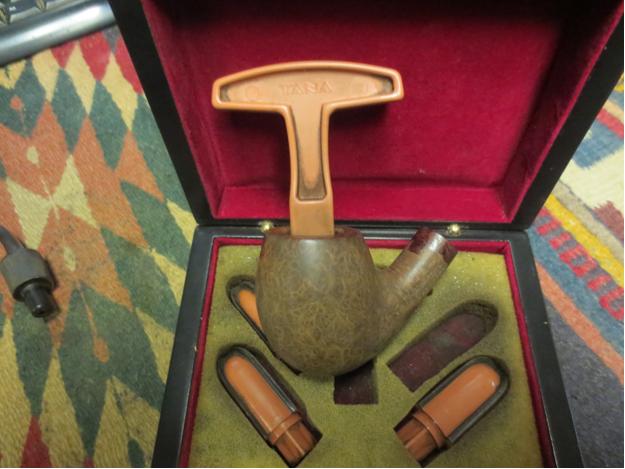
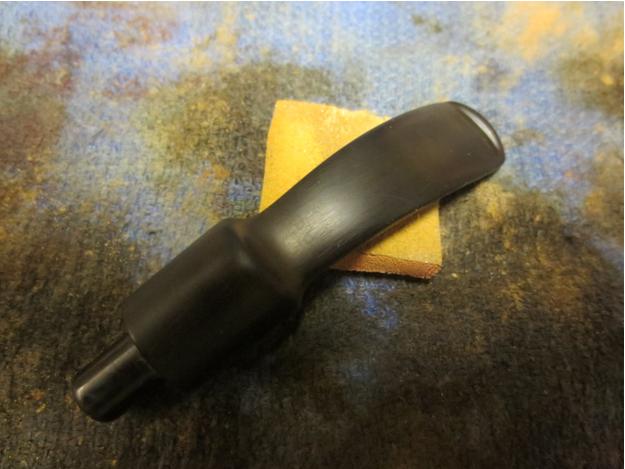
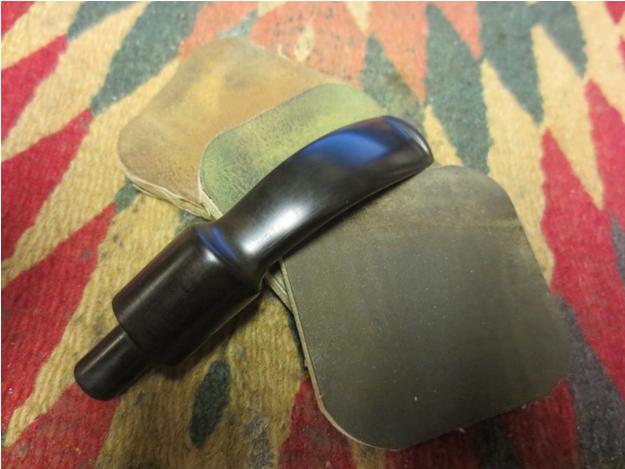
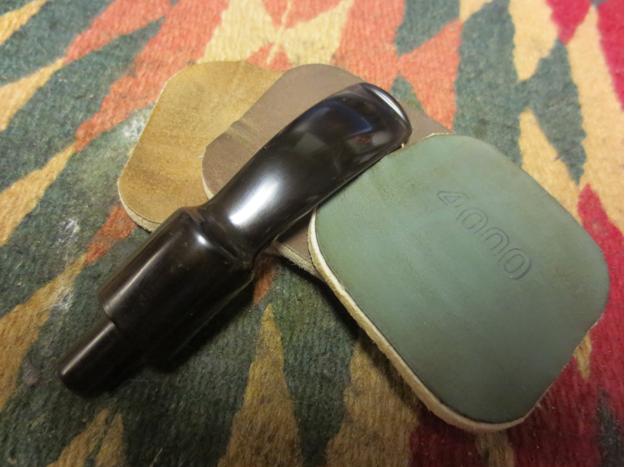
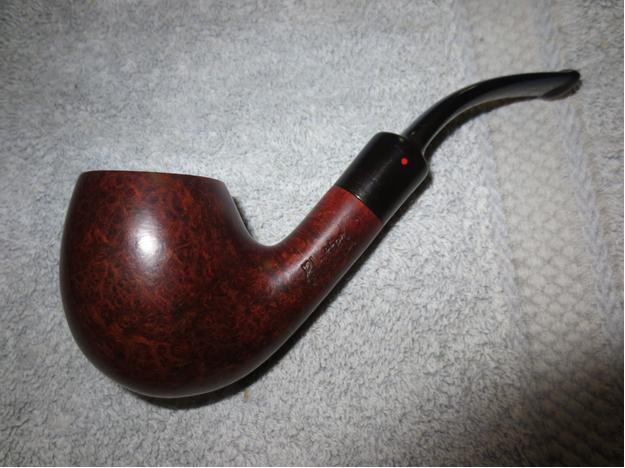
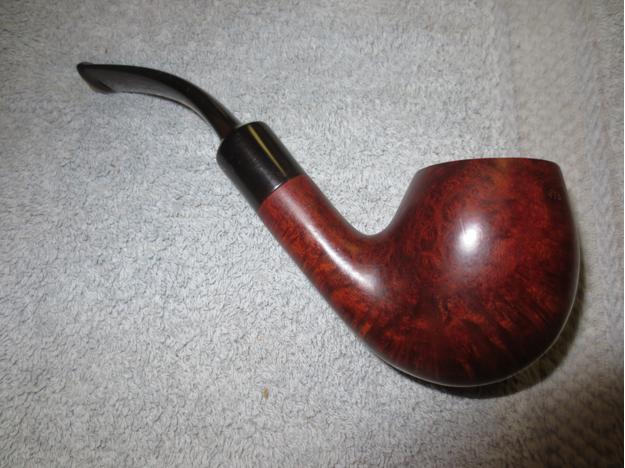
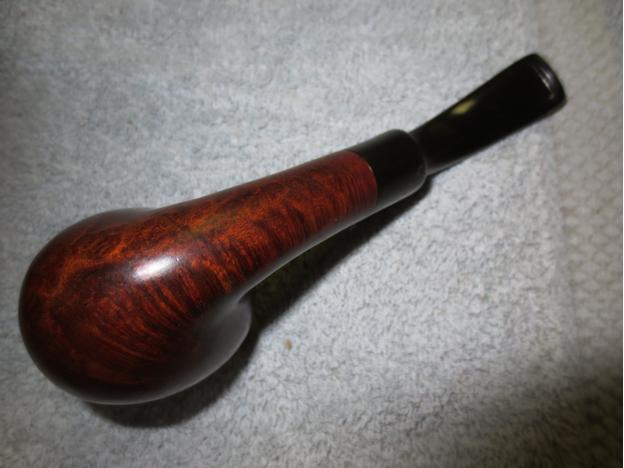
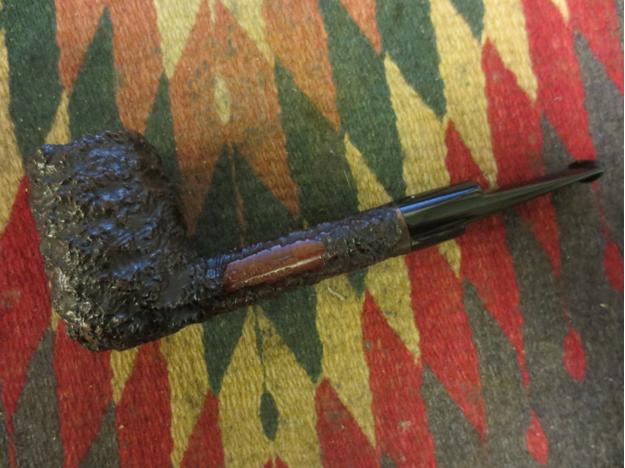
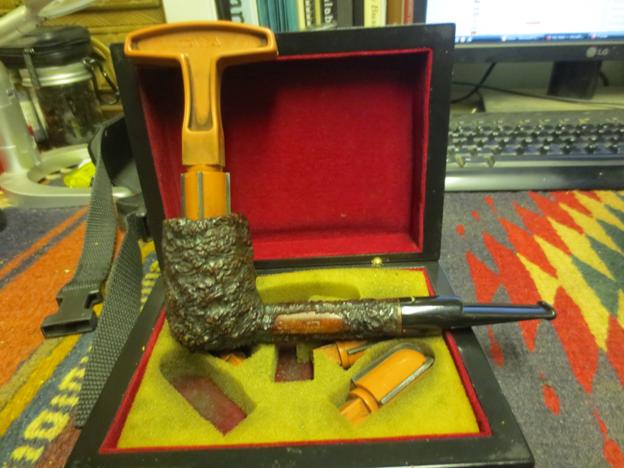
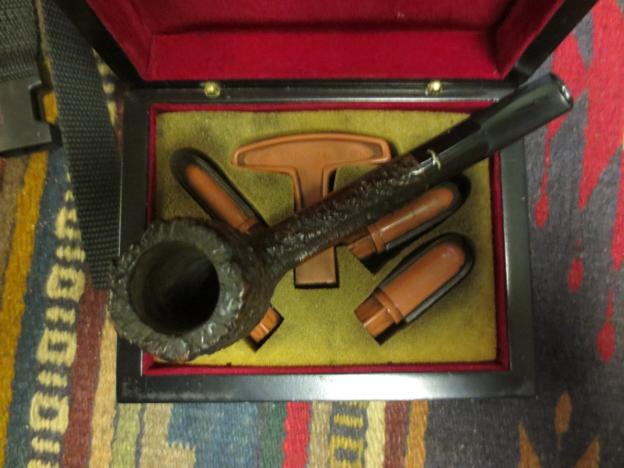
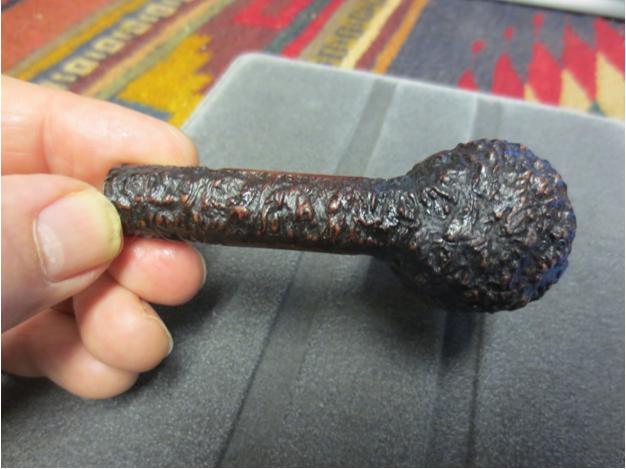
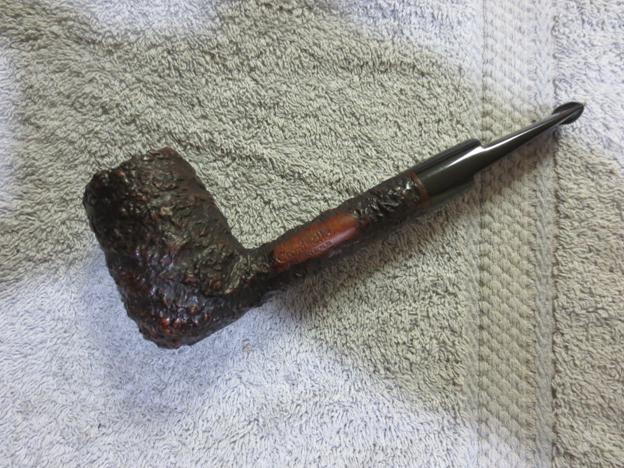
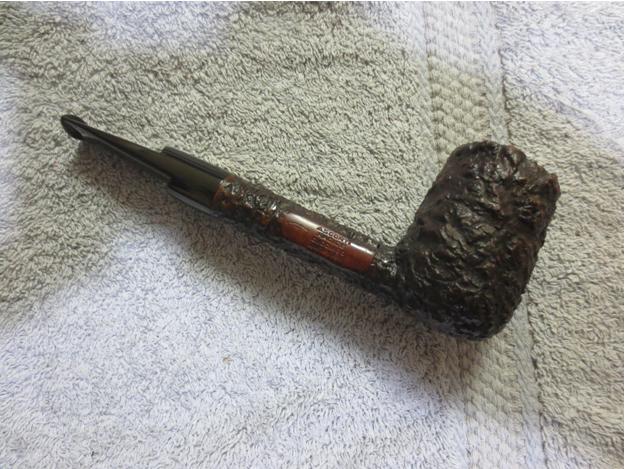
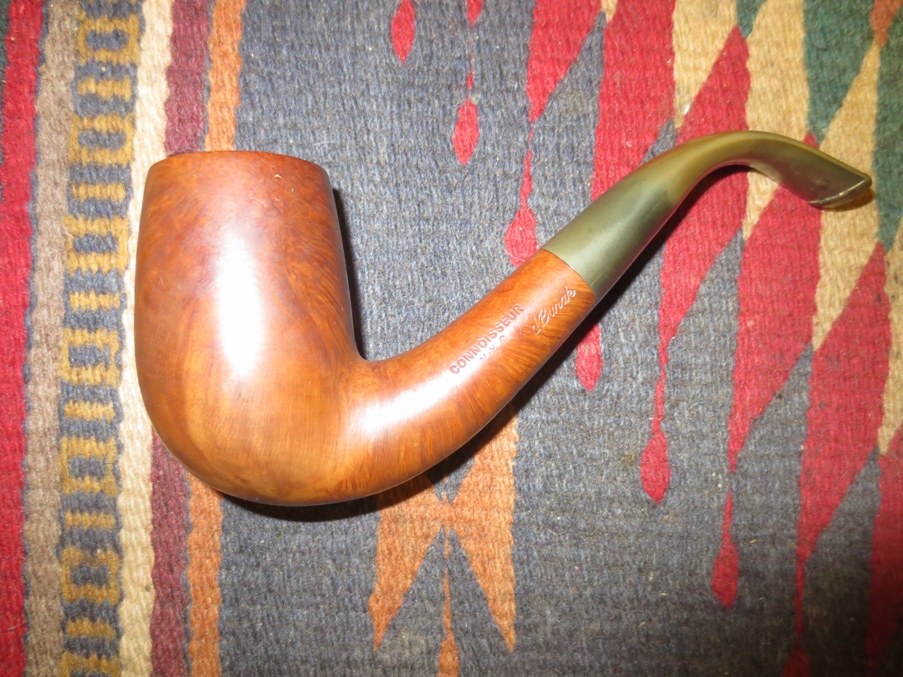
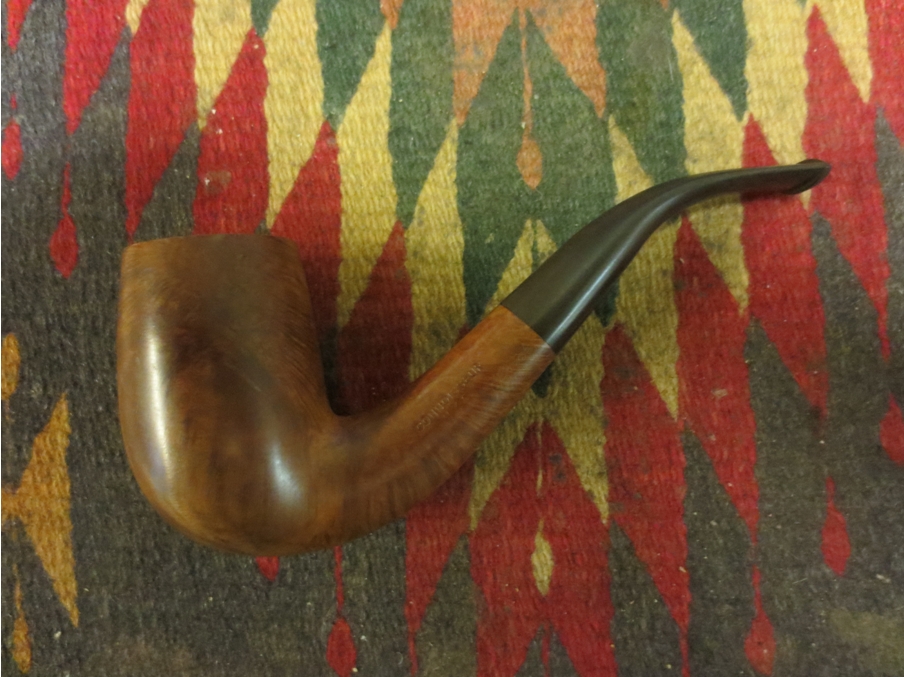
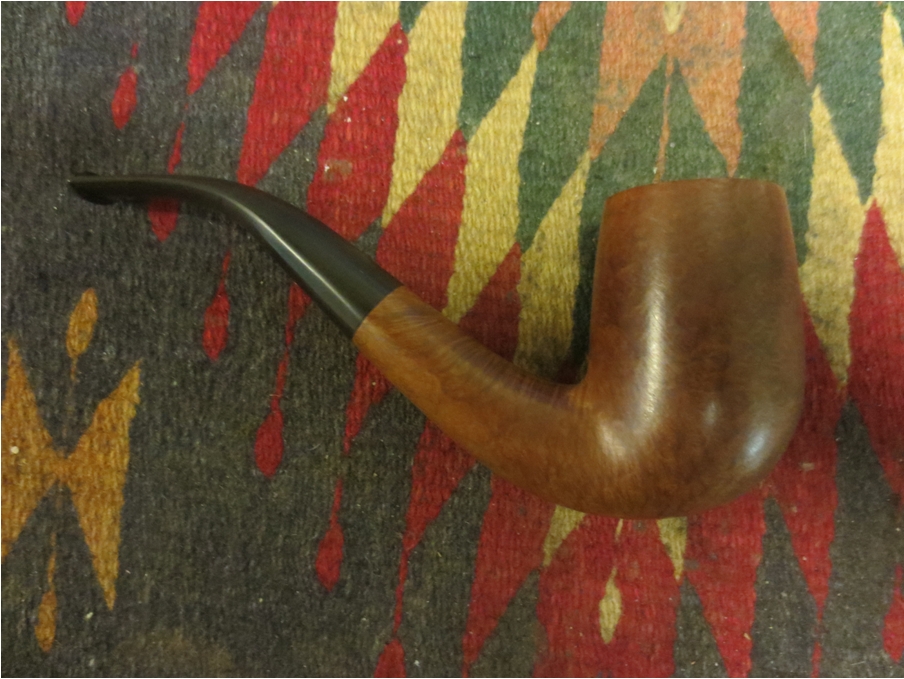
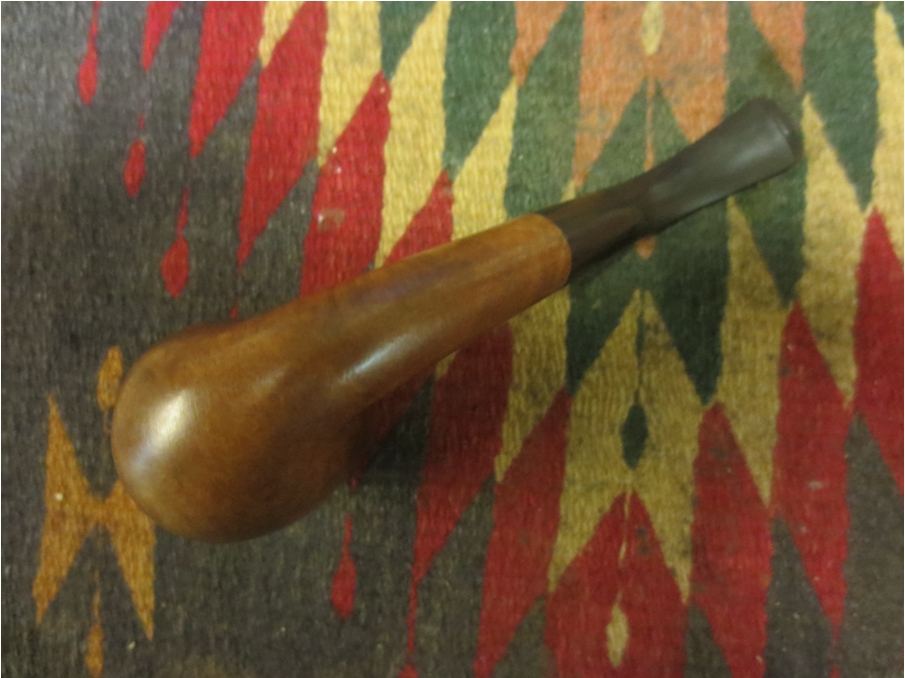
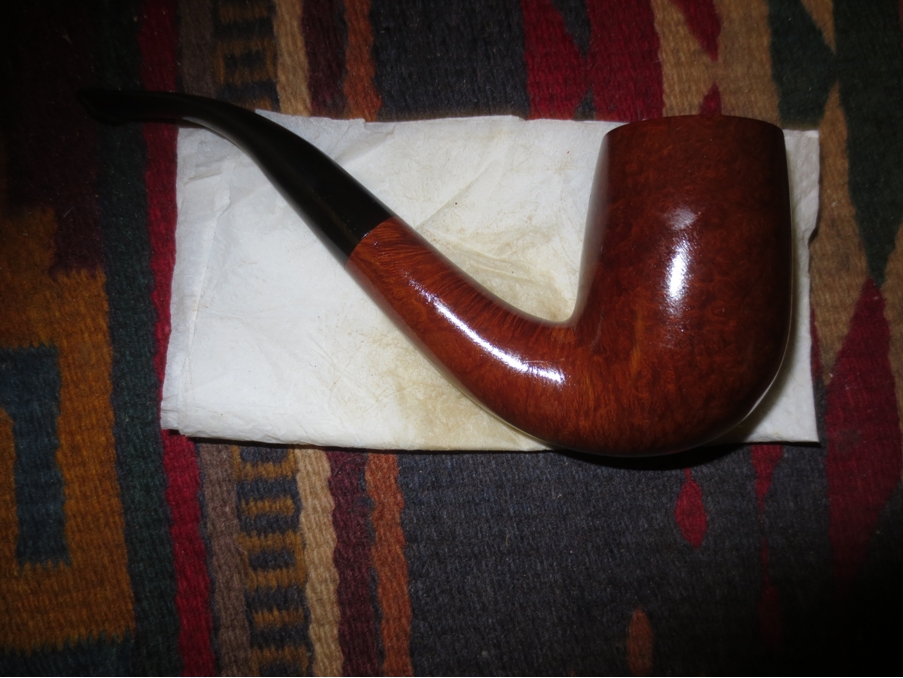
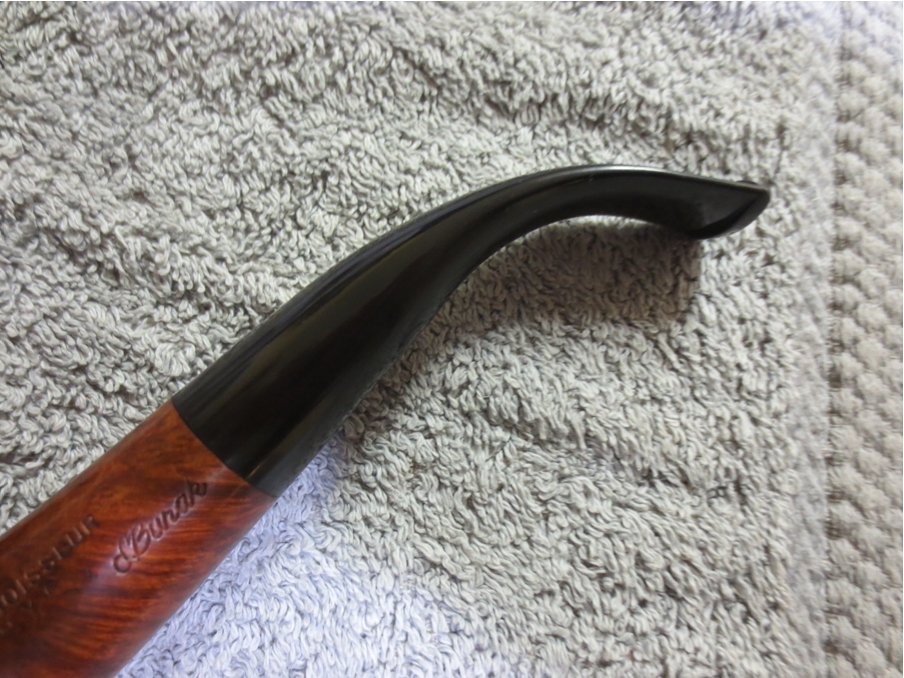
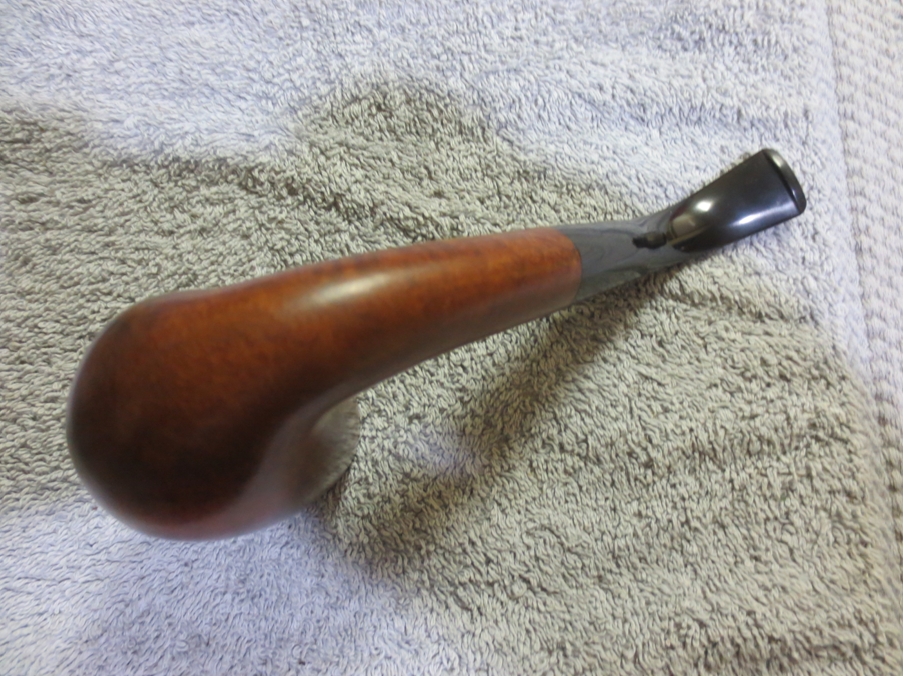
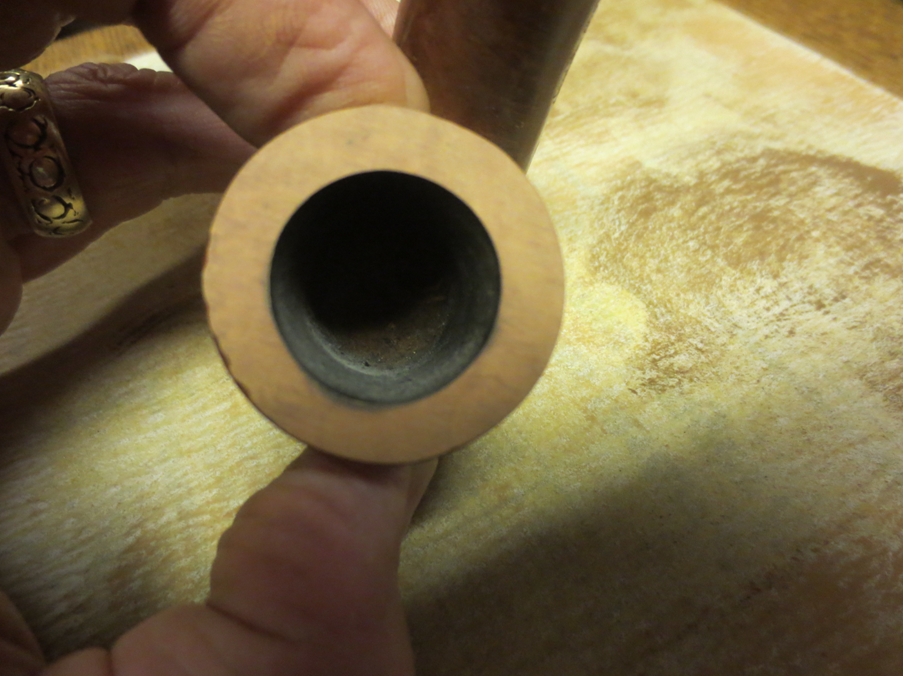
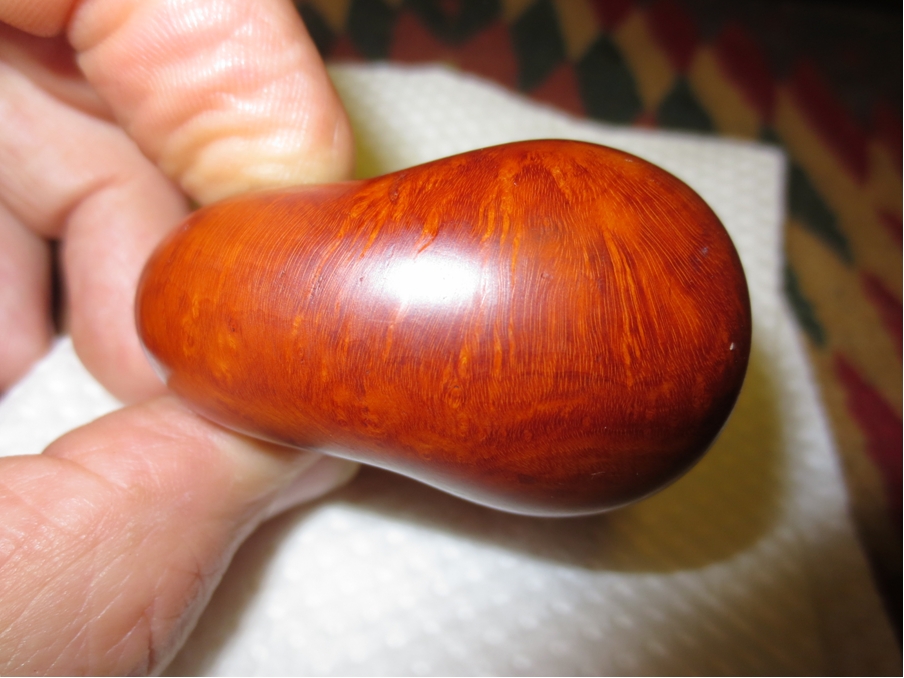
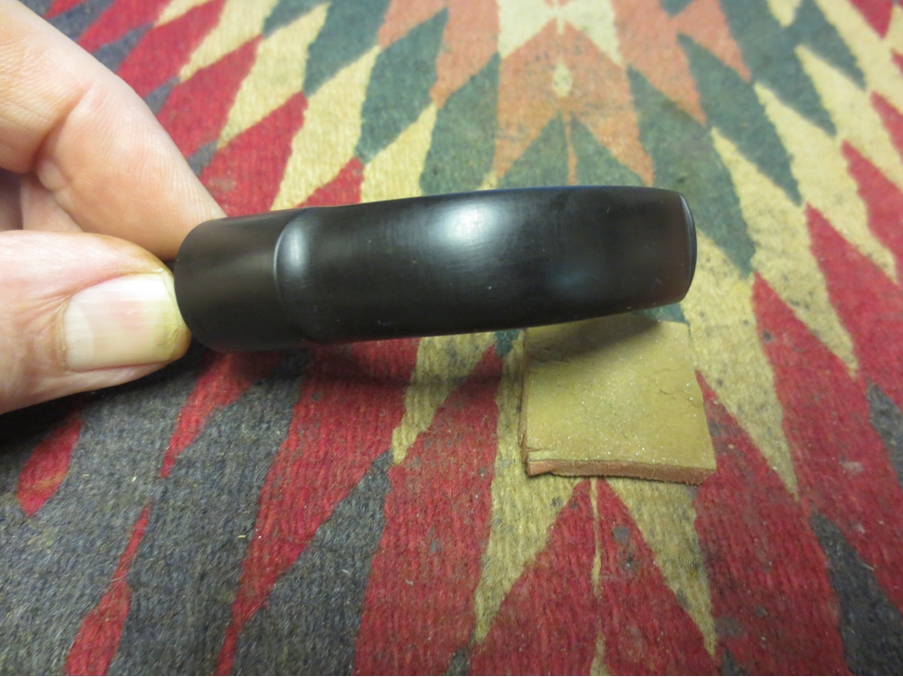
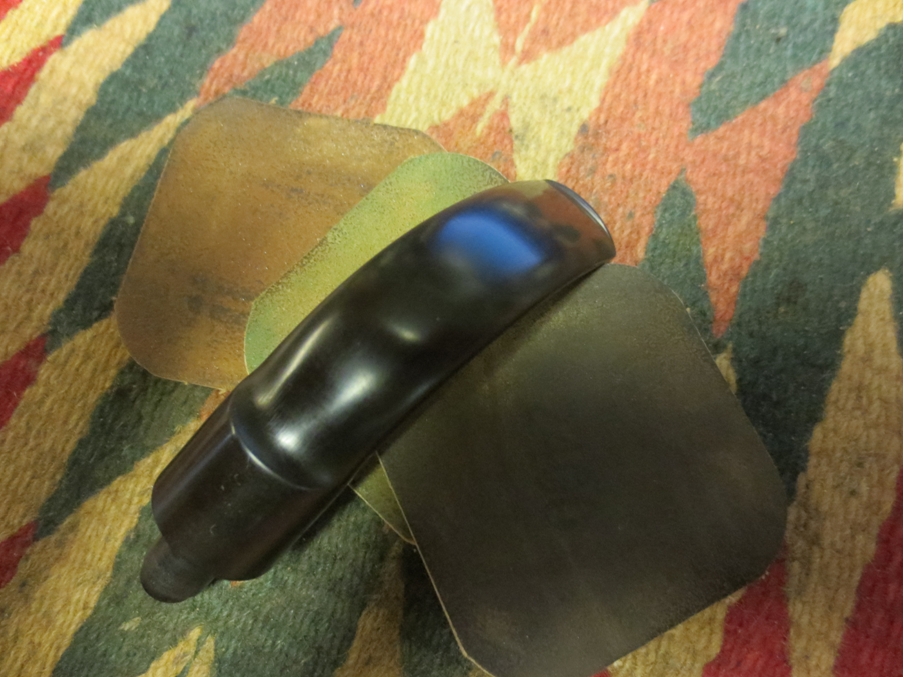
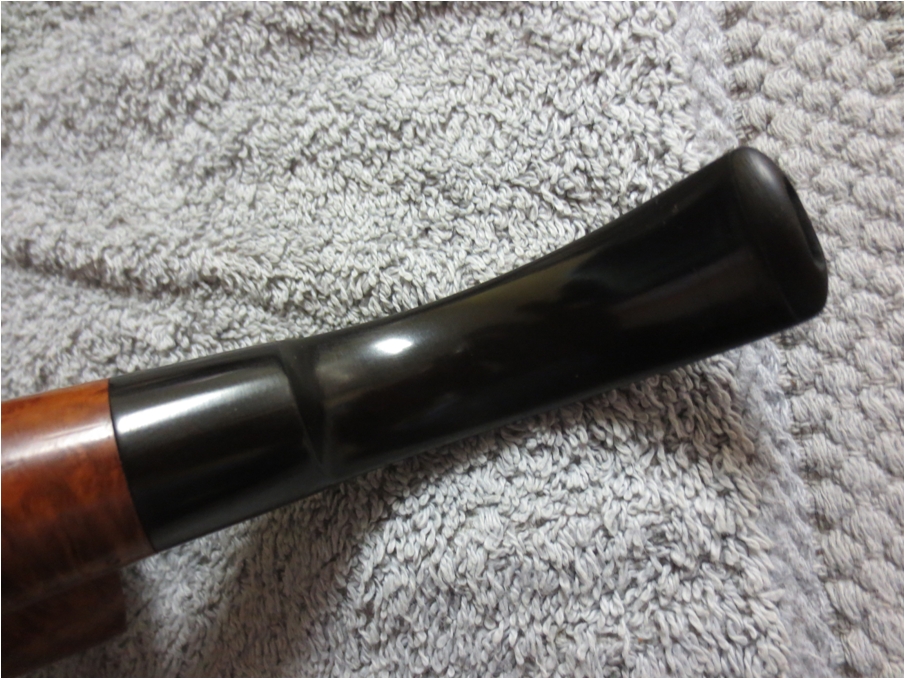
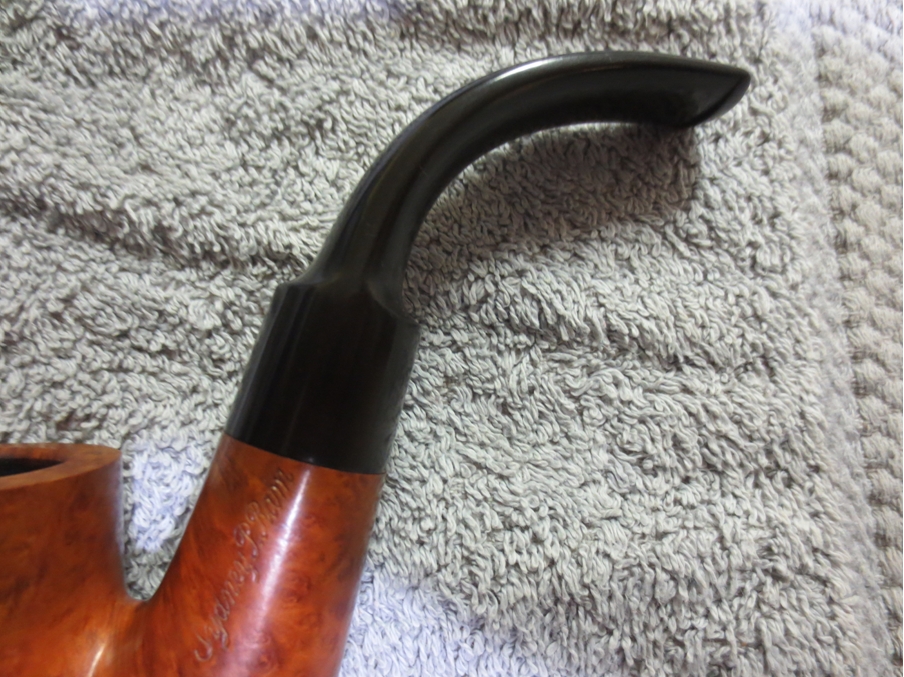
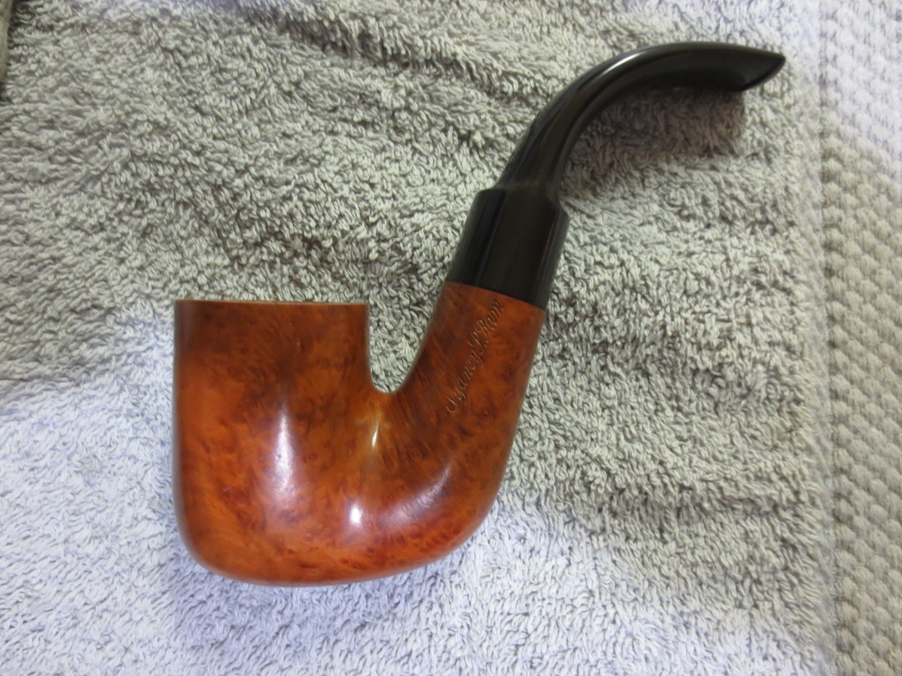
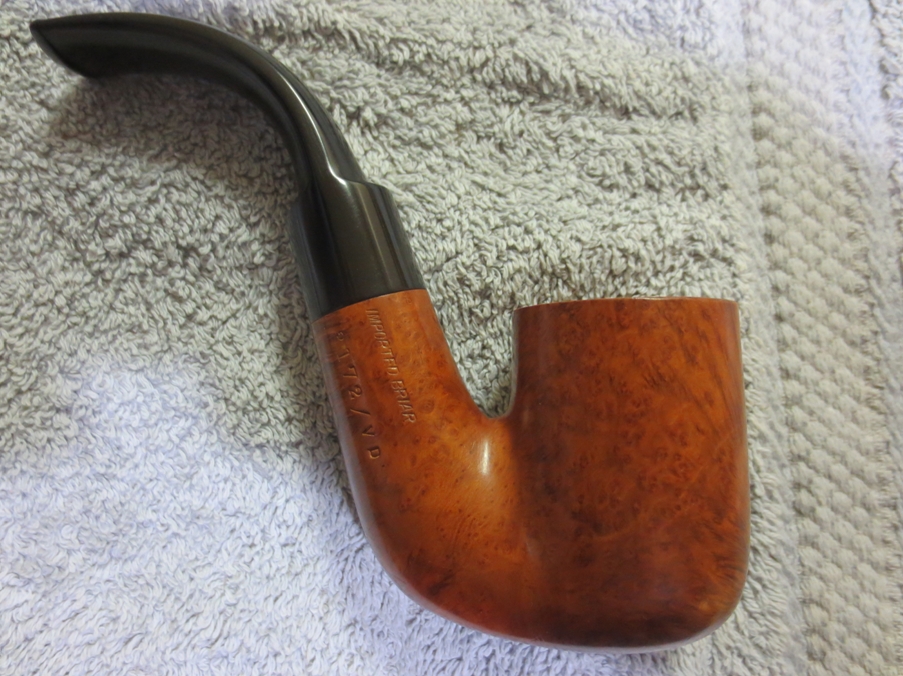
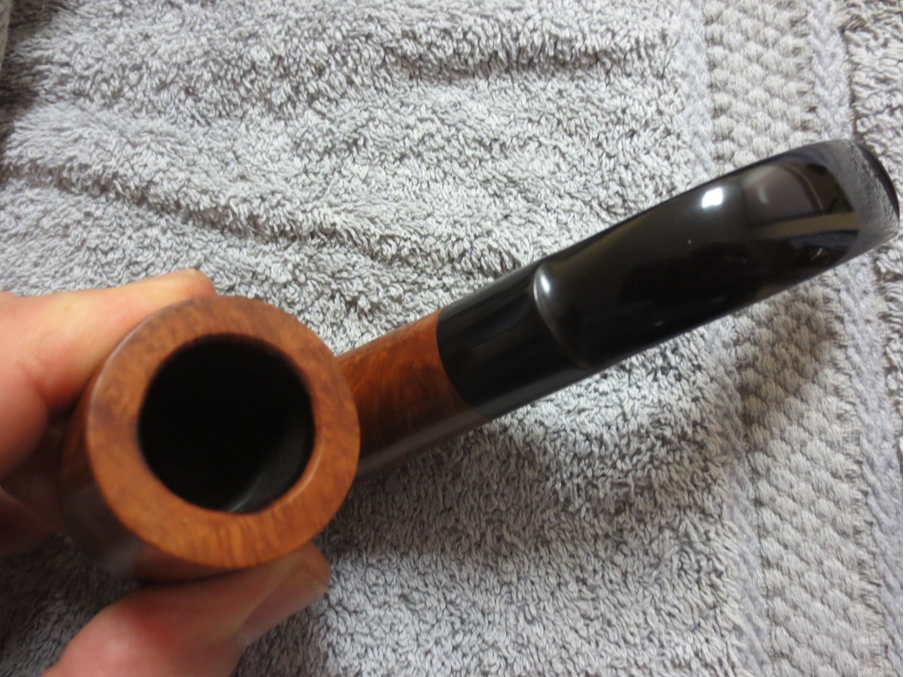
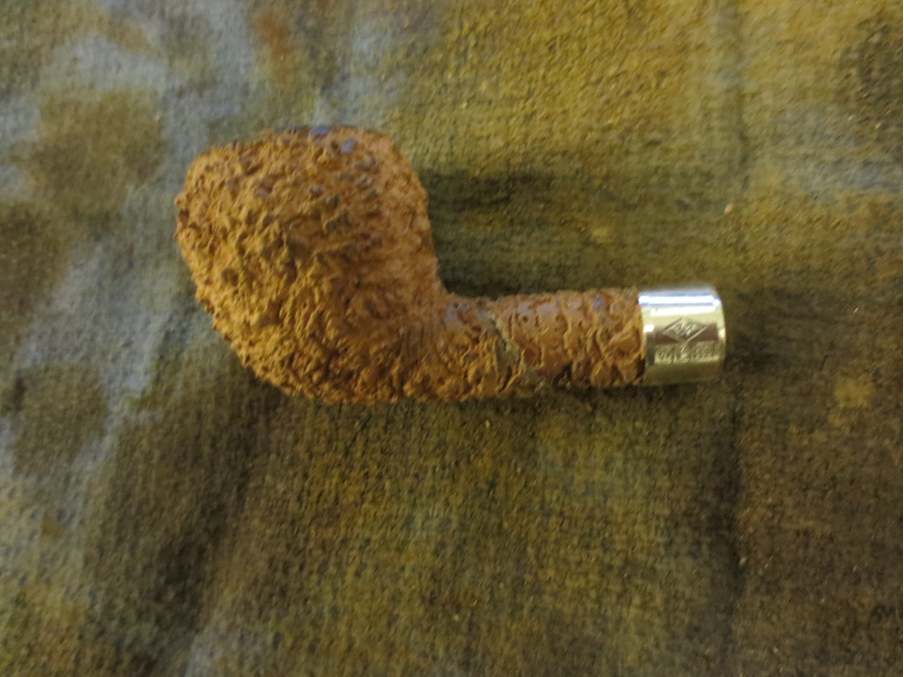
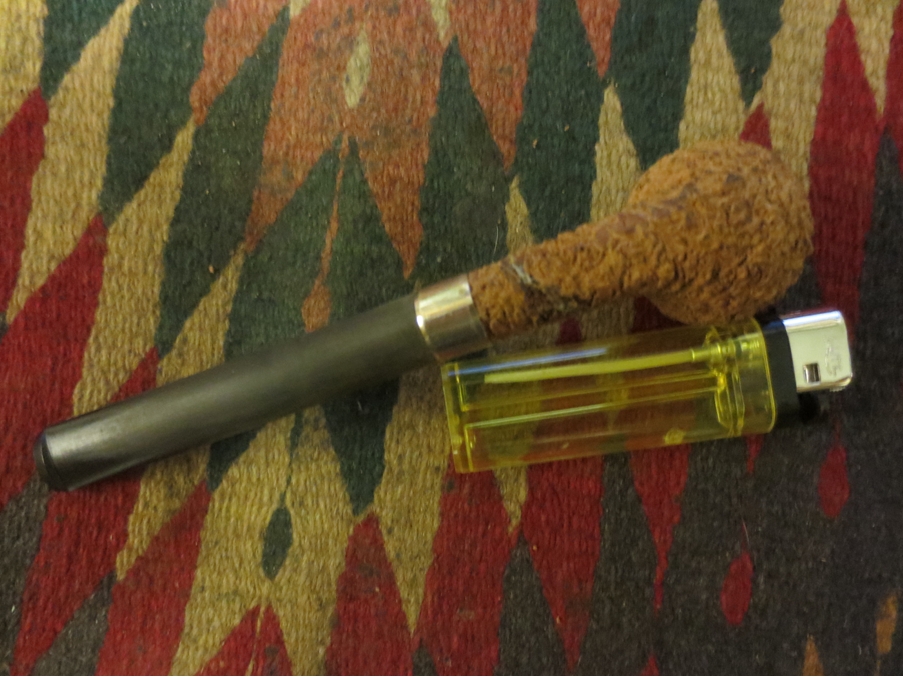
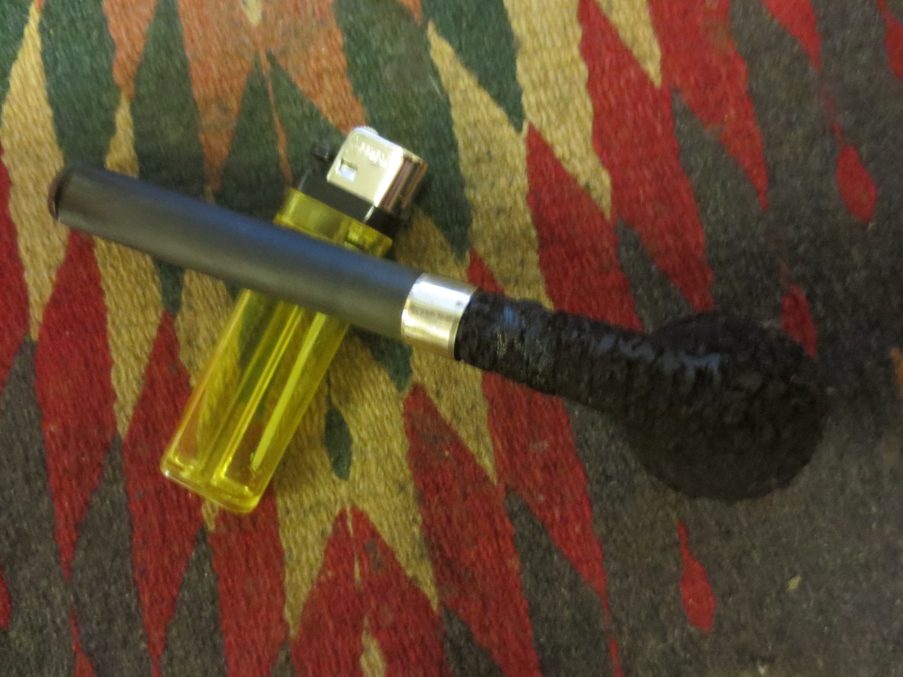
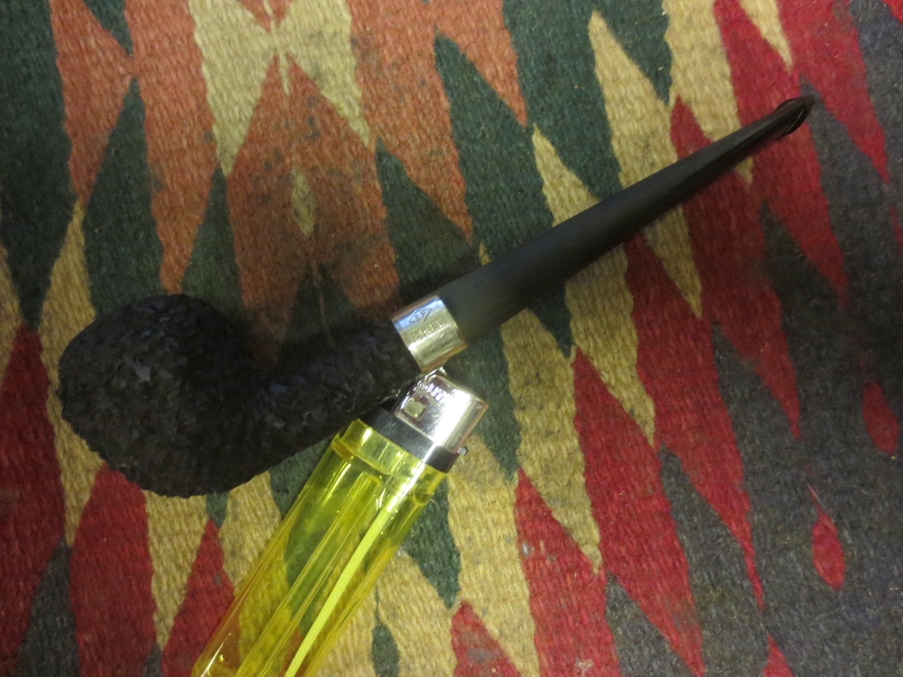
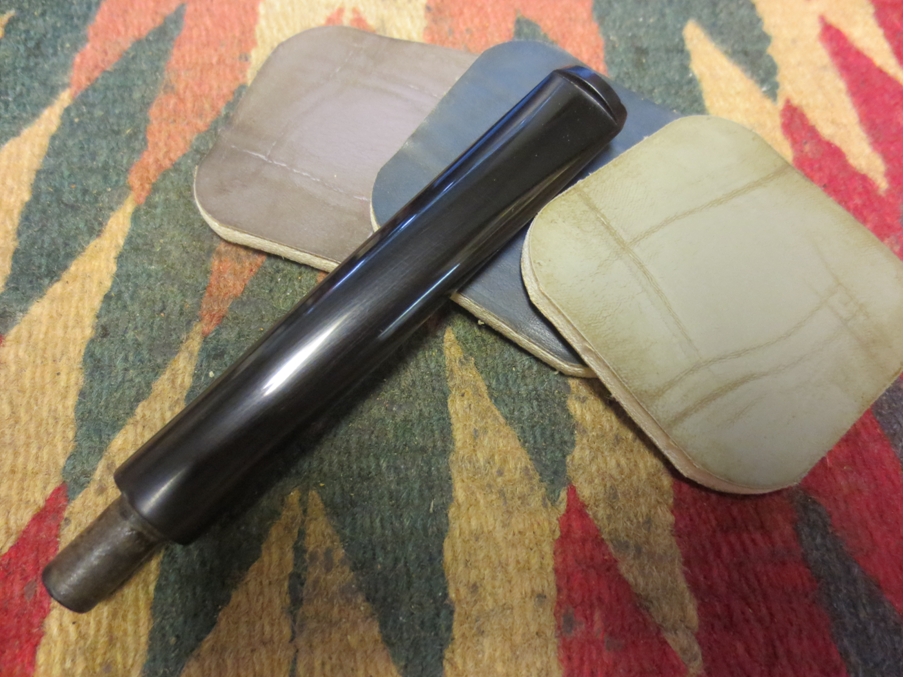
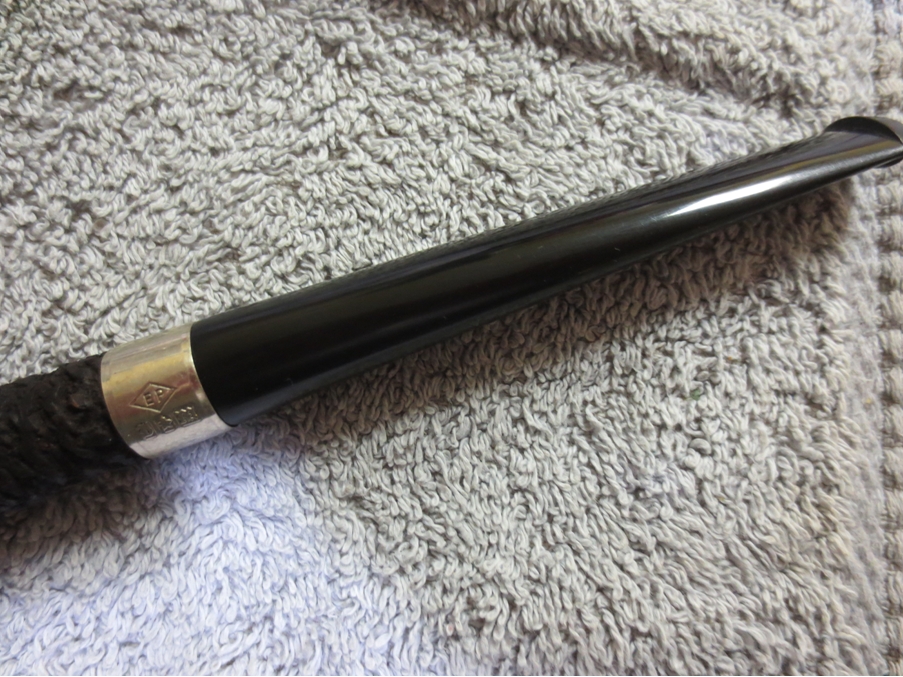
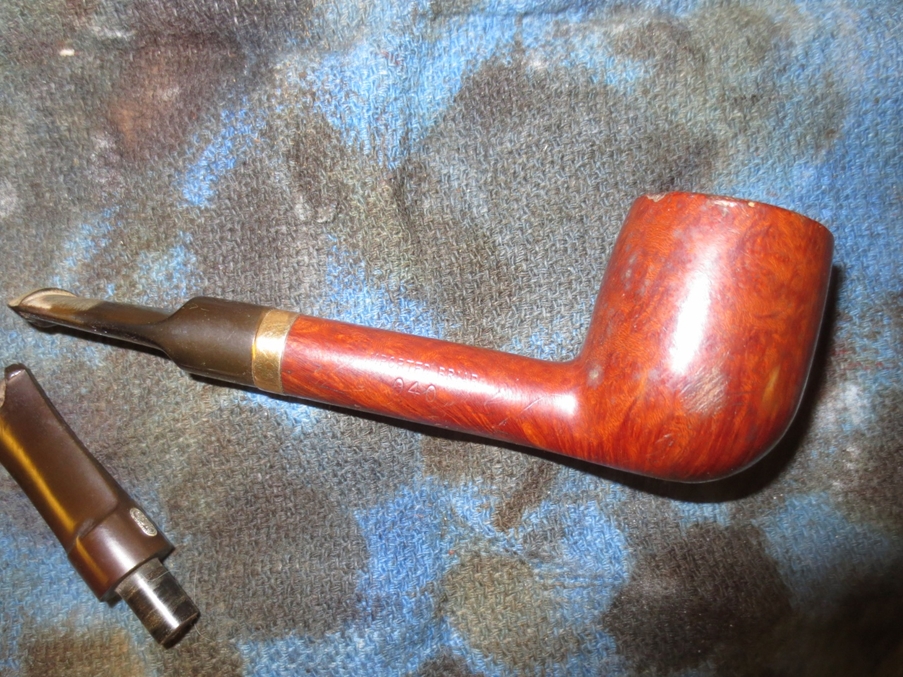
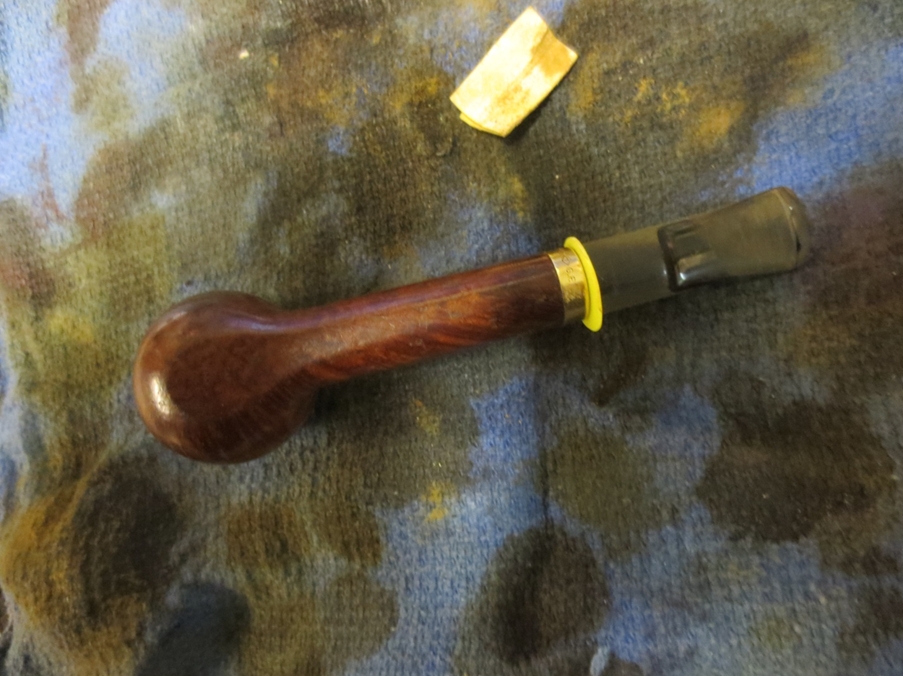
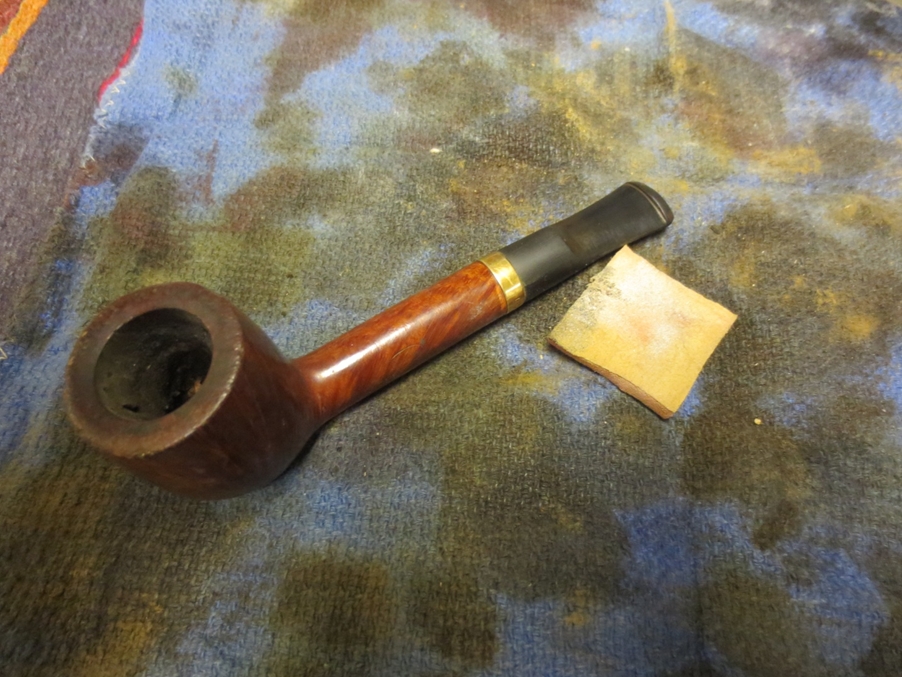
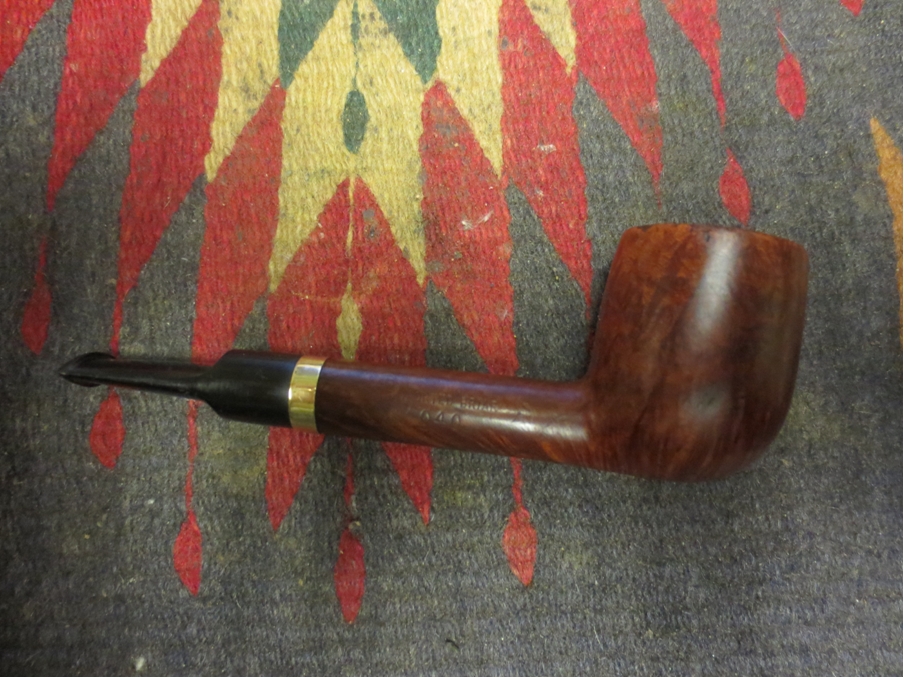
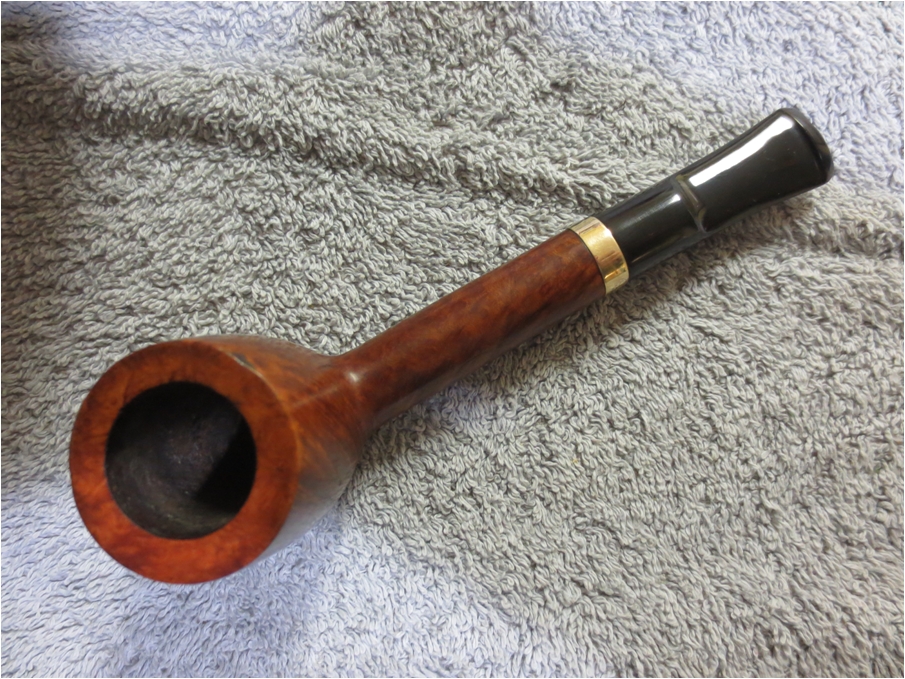
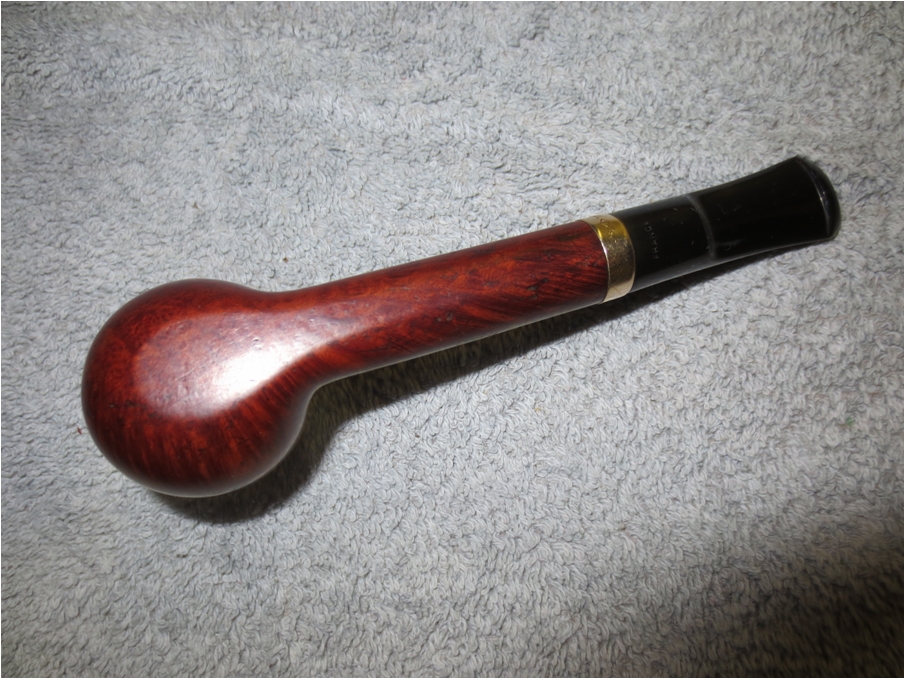
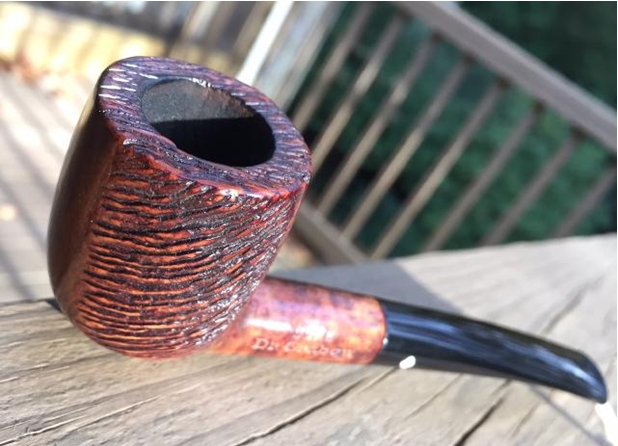
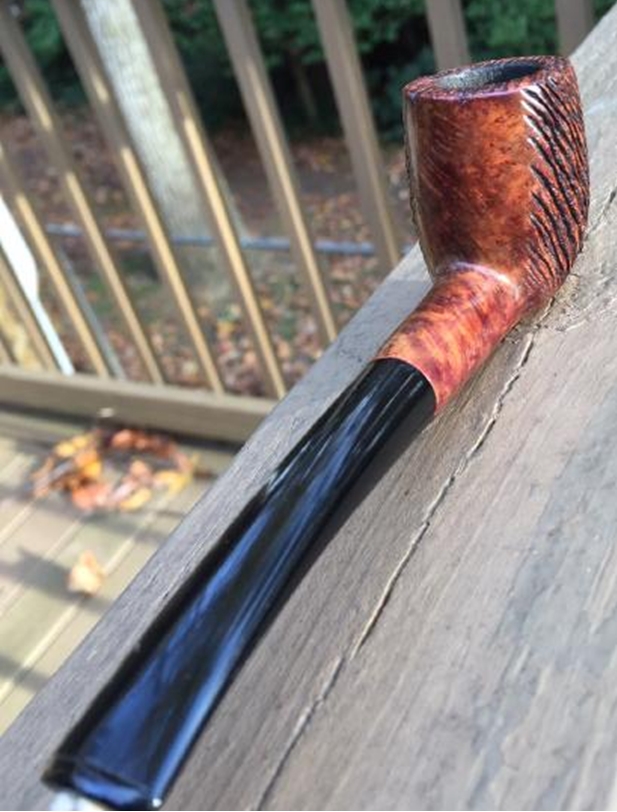
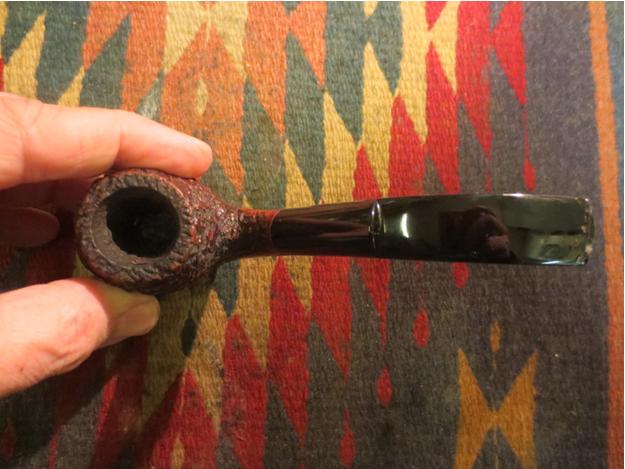
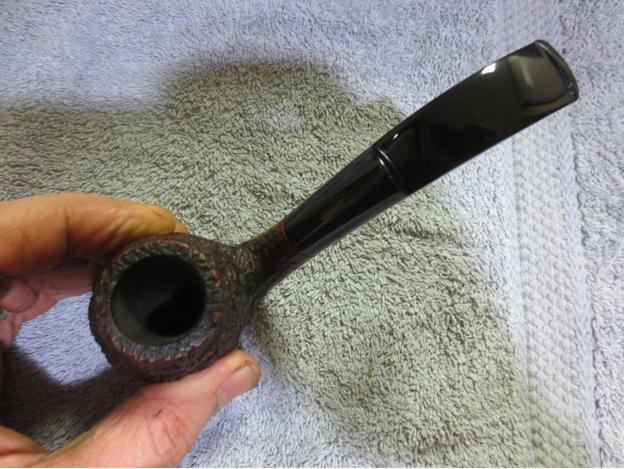
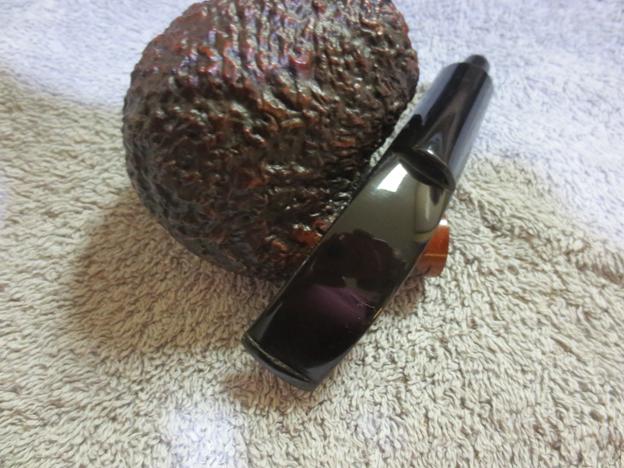
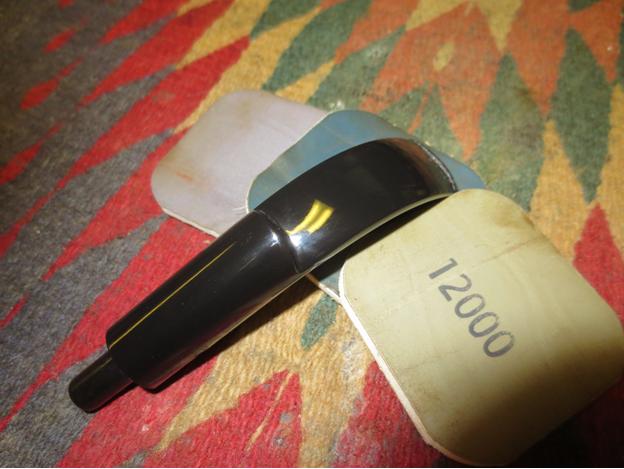 I buffed the stem with Blue Diamond plastic polish on the wheel and then gave the stem several coats of carnauba wax. I finished by buffing it with a soft, clean flannel buff to raise the shine. I gave the bowl a light buff with the carnauba and also with the soft flannel buff. The finished pipe and reshaped button is shown in the photos below.


 Thanks for looking.