Blog by Steve Laug
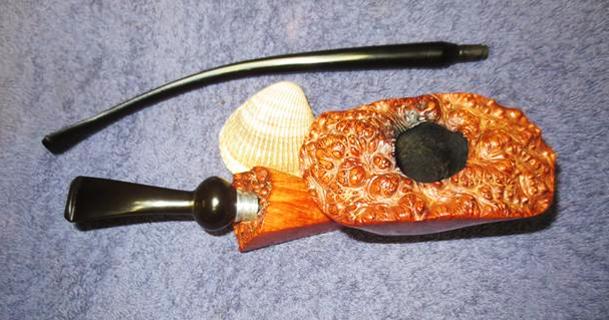
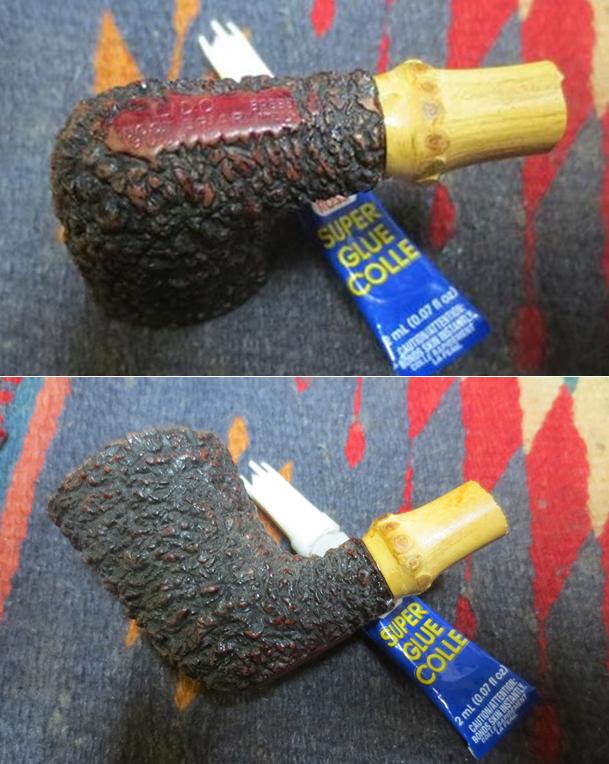
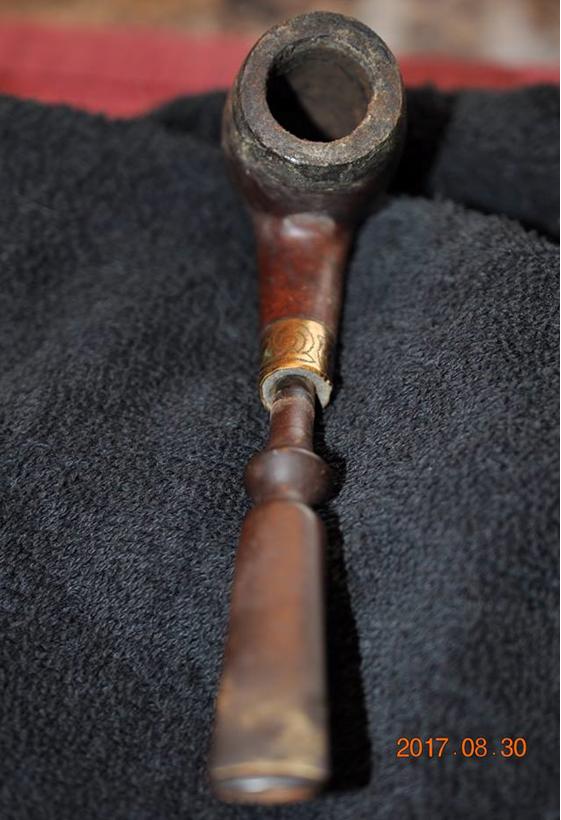
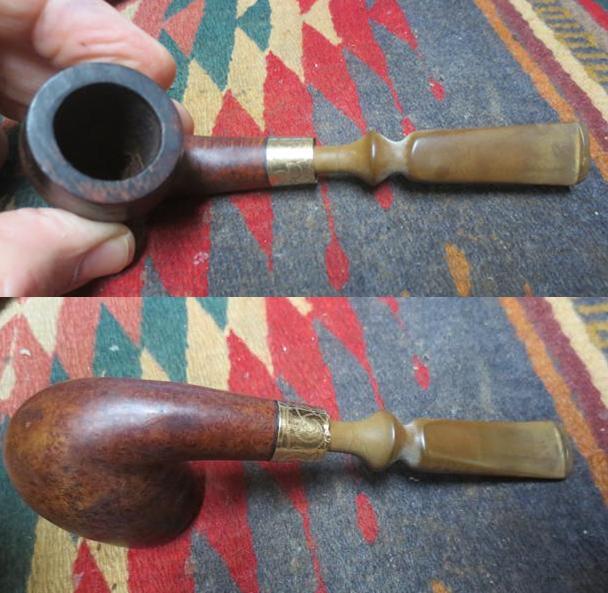
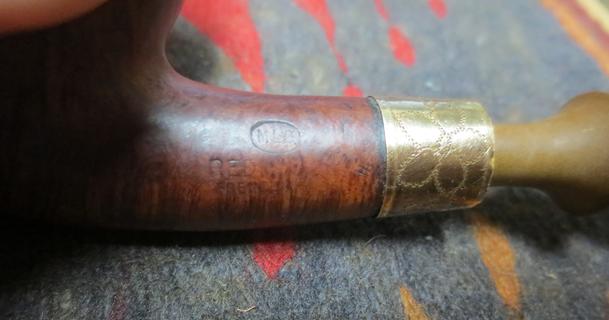
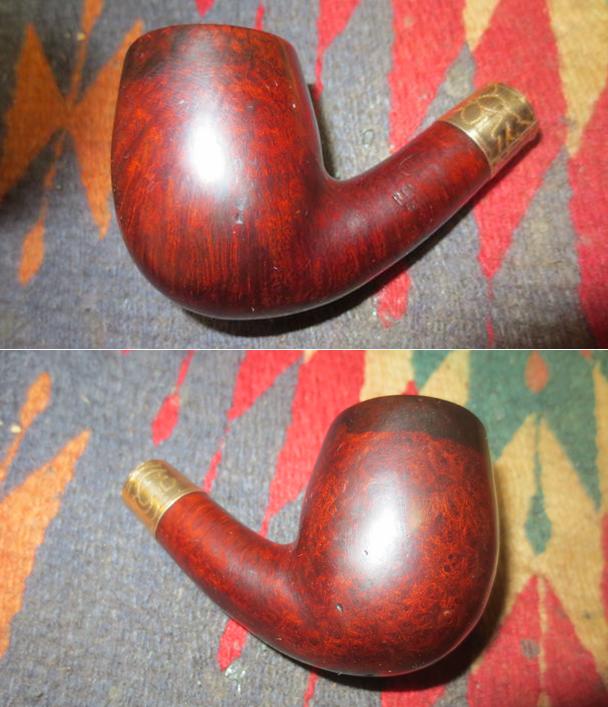
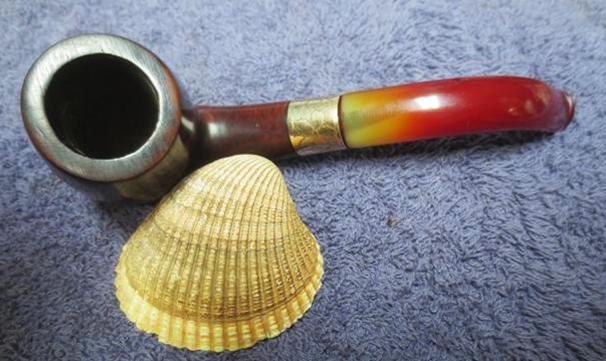
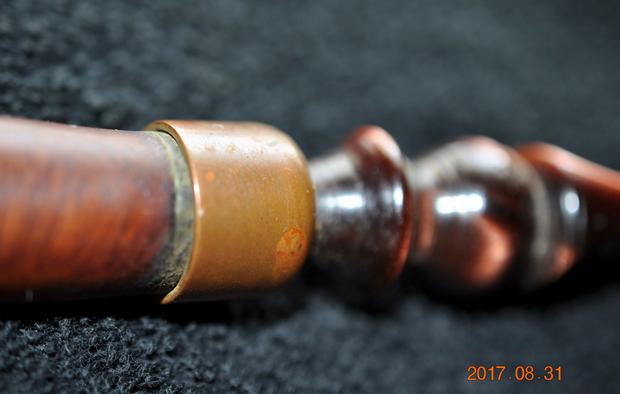
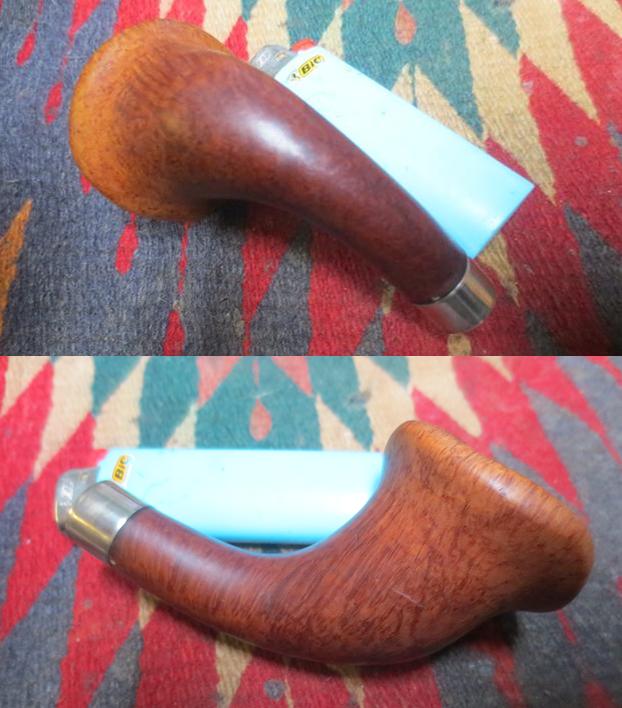
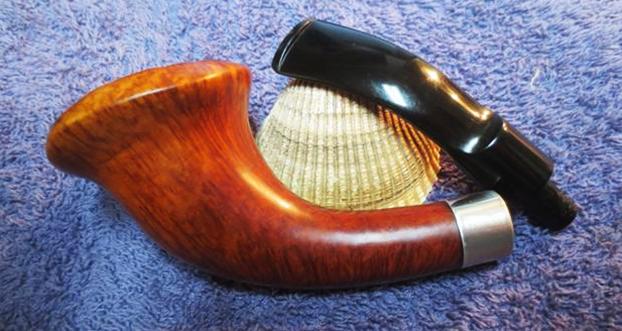
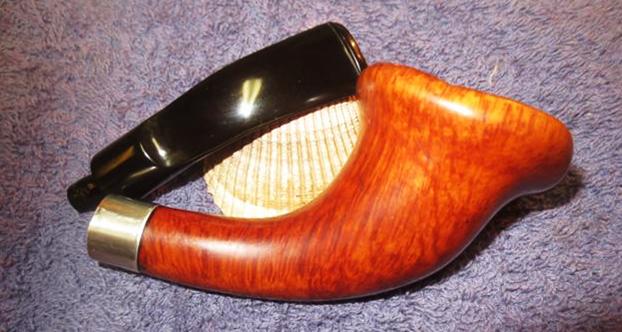
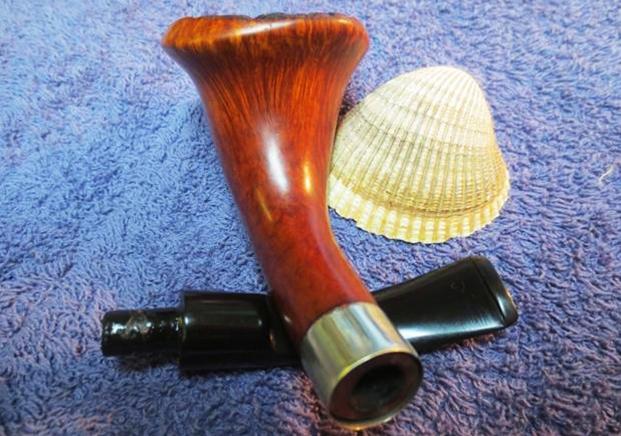
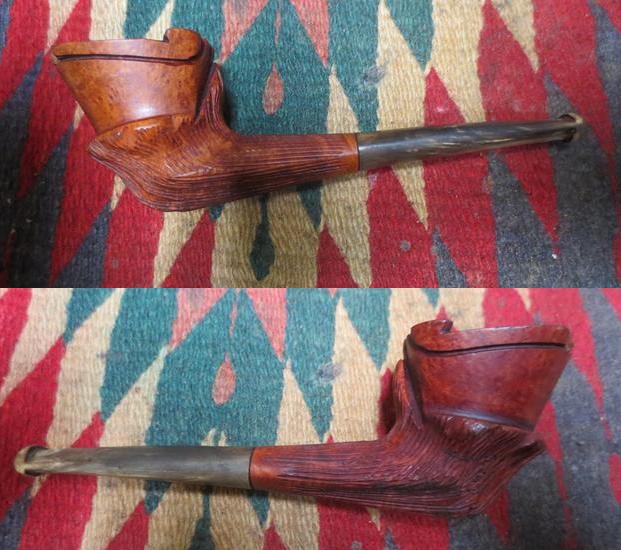
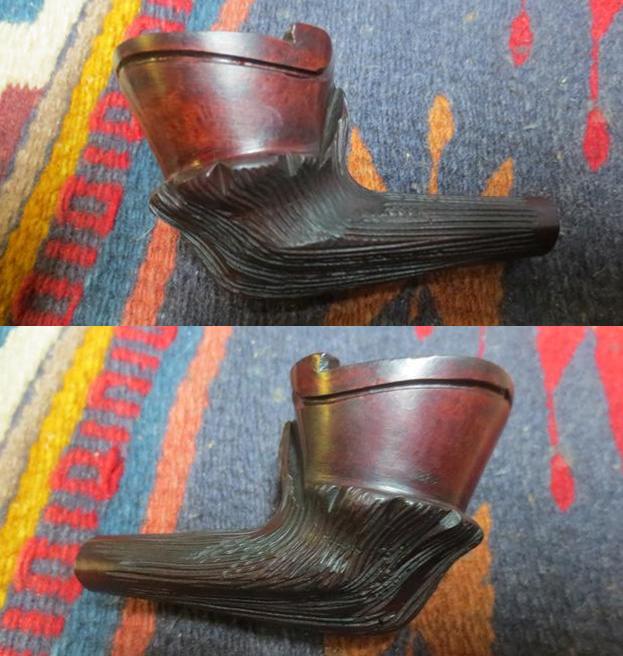
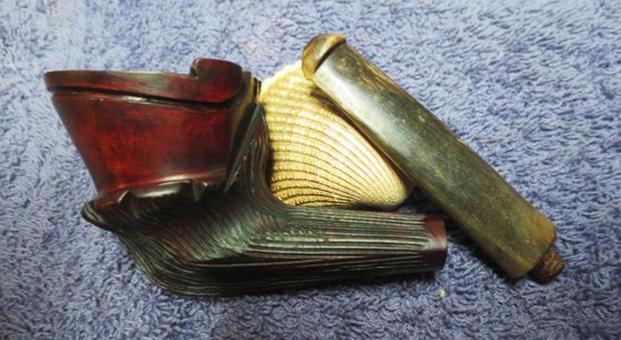
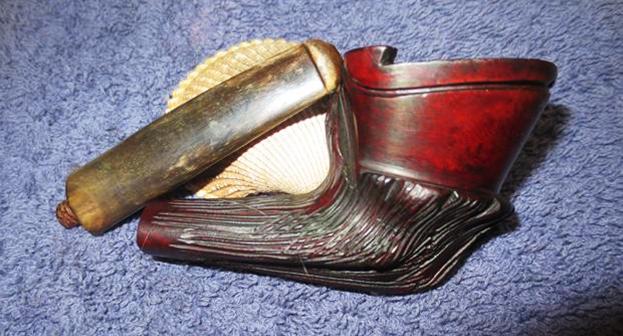
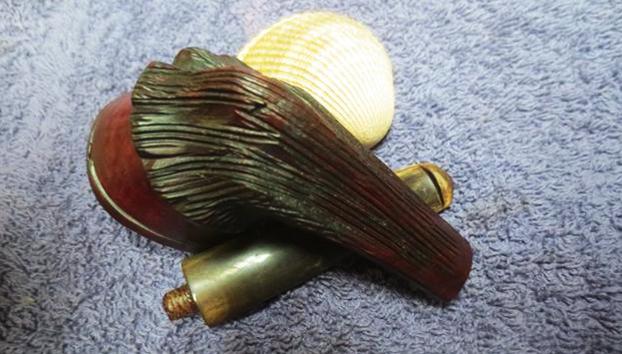
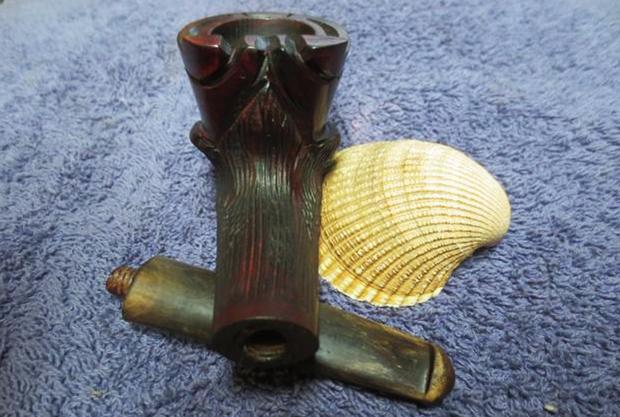
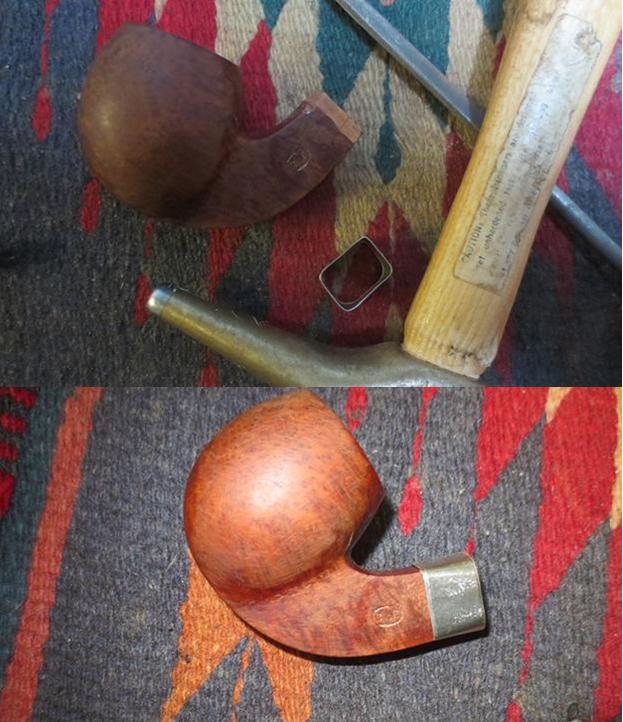
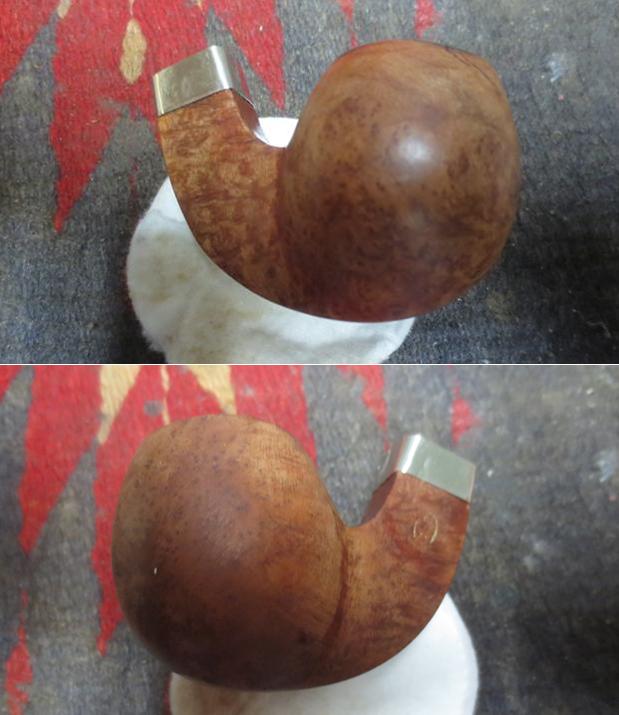
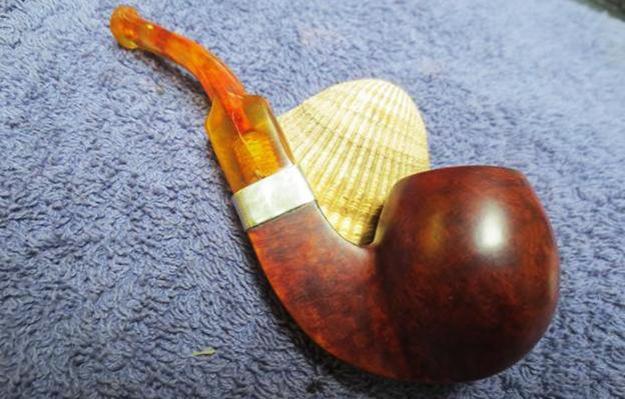
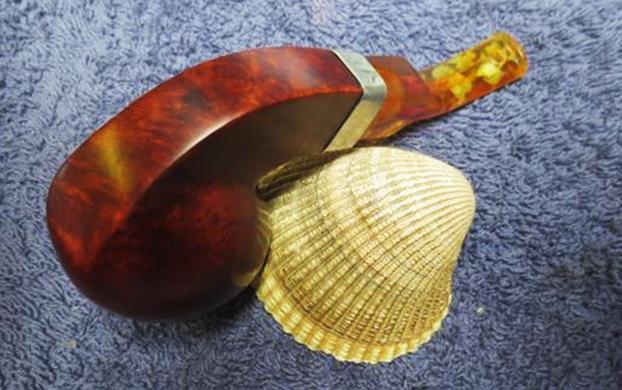
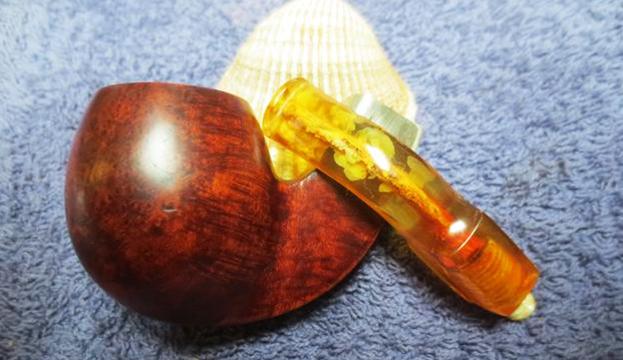
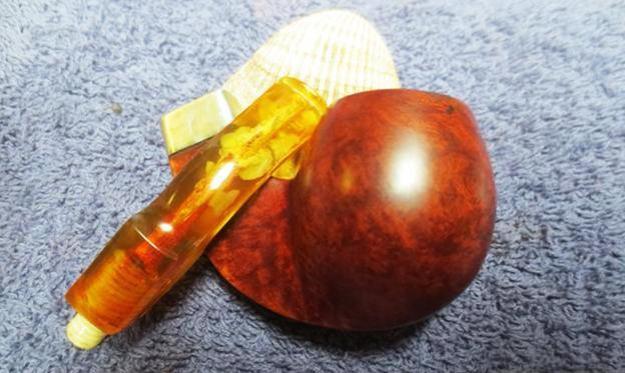
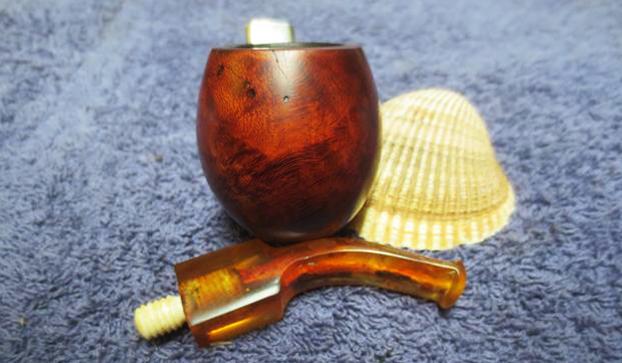
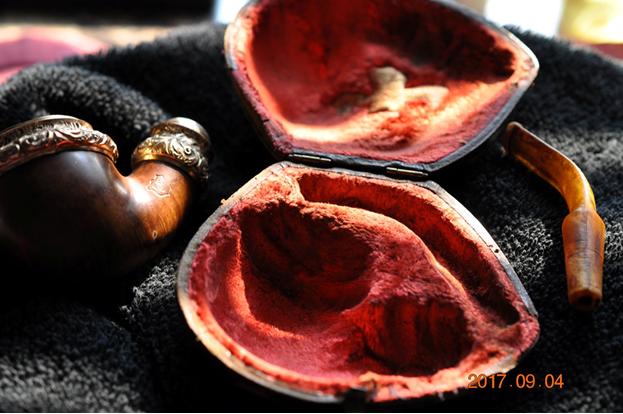
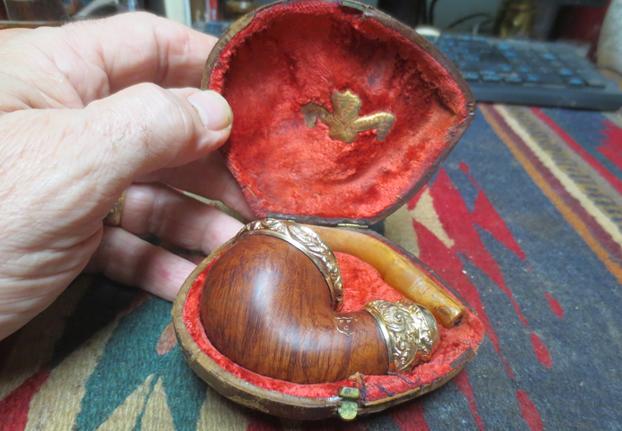
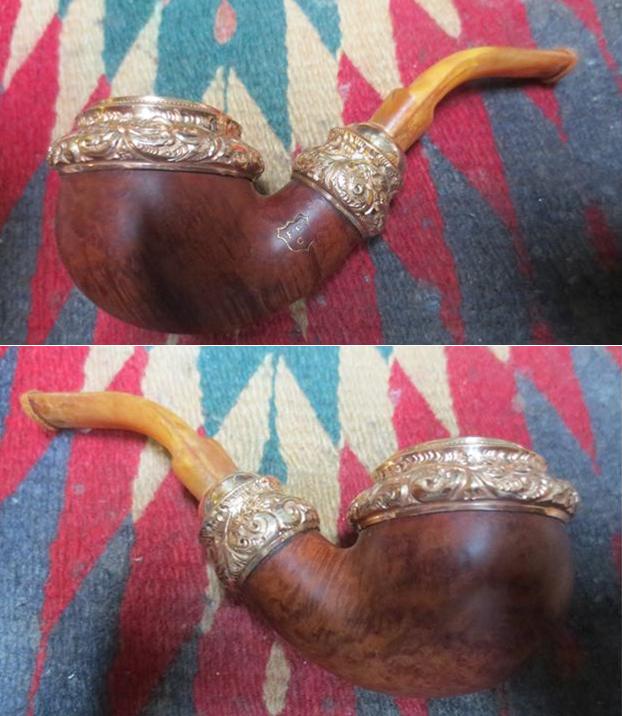
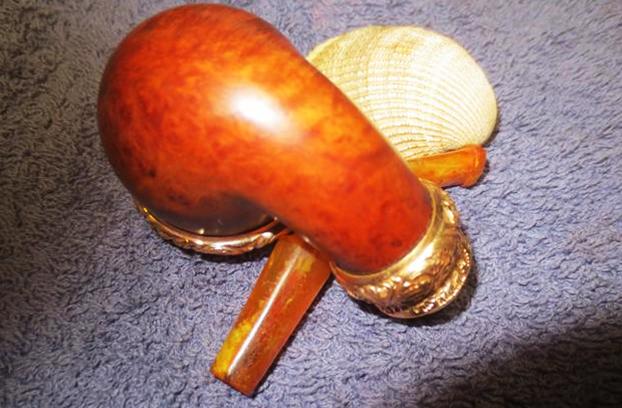
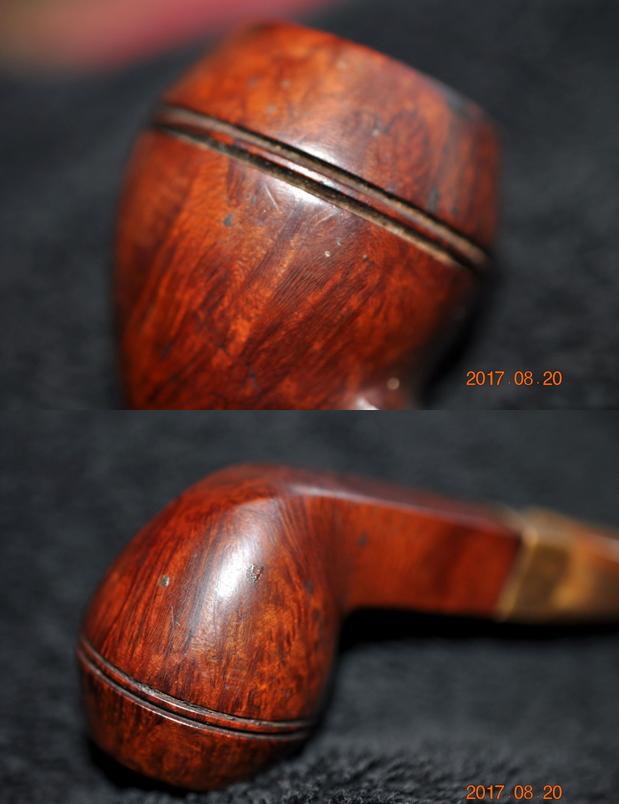
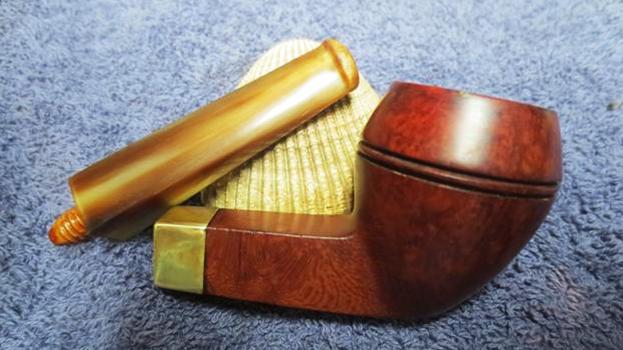
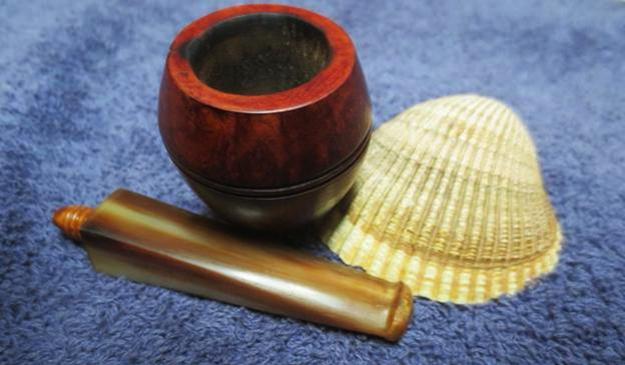
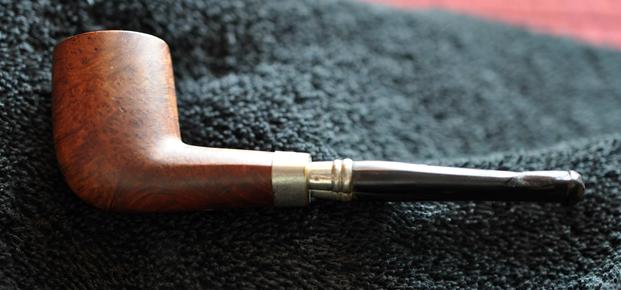
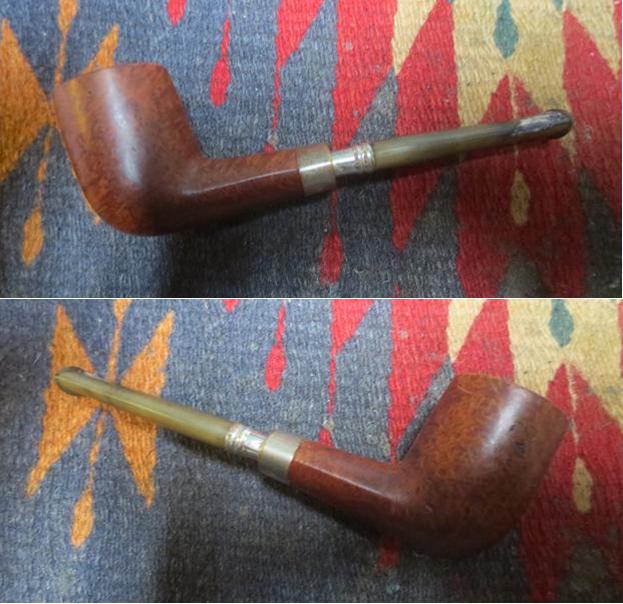
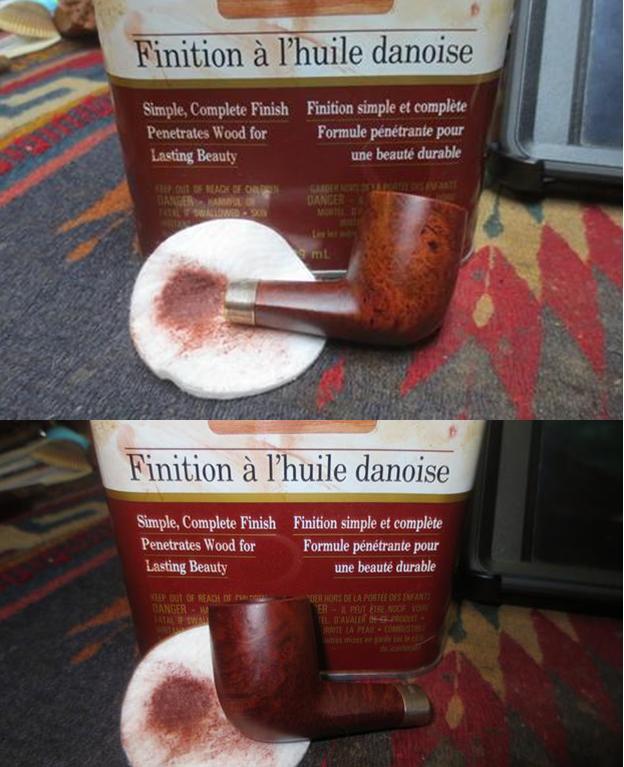
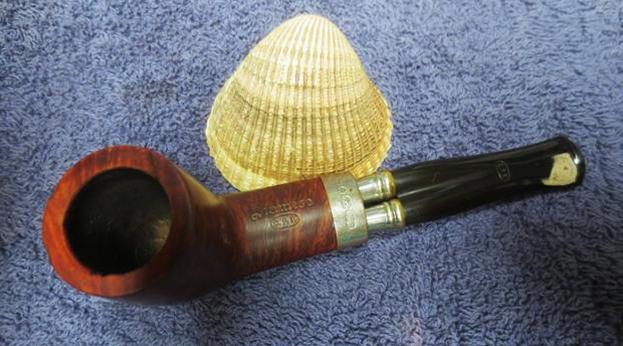
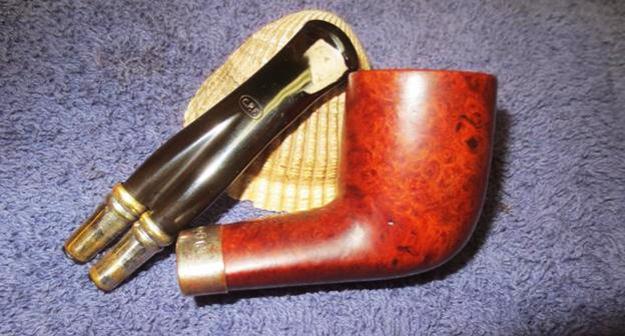
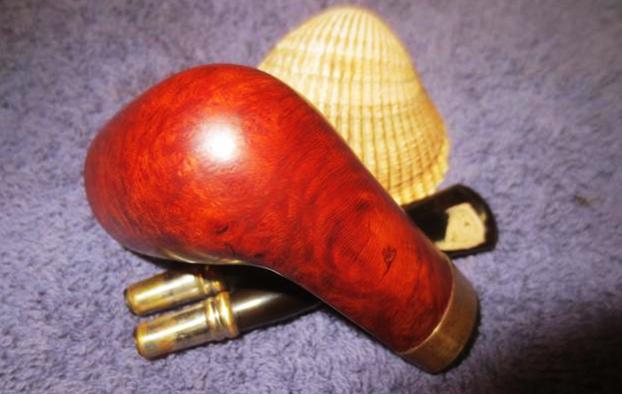
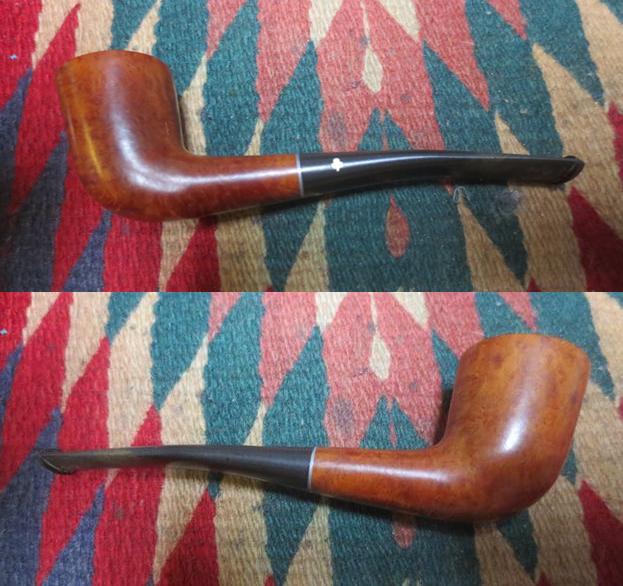
A while back I was contacted by a fellow named Chris who was referred to me by the local pipe and cigar shop. He needed a repair on a Joh’s Churchwarden with a broken shank. I repaired the shank, banded it and cleaned it up. You can read about that repair on a previous blog at this link: (https://rebornpipes.com/2017/08/26/repairing-a-broken-shank-and-crooked-alignment-on-a-johs-churchwarden/). He also had a big Mario Grande Freehand that he wanted me to make a churchwarden stem for. He really likes the long stems and wondered if I could make him one that he could use interchangeably on his Mario Grande pipes. He wanted a really long stem but the only stems made are 8 inches long. I contacted him and he said to go ahead order one for this pipe. Several weeks went by and the stems finally arrived. I took some photos of the pipe.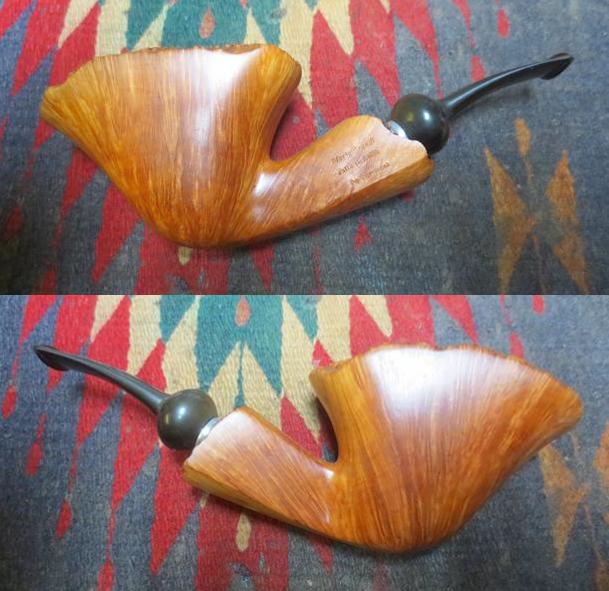 The pipe was a big piece of briar and it was in good shape. The existing stem was oxidized on the top side and the ball at the tenon insert. I decided that I would both clean up the existing stem and make a new stem for it.
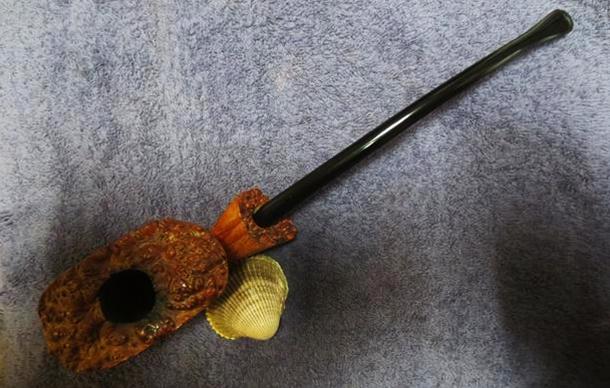
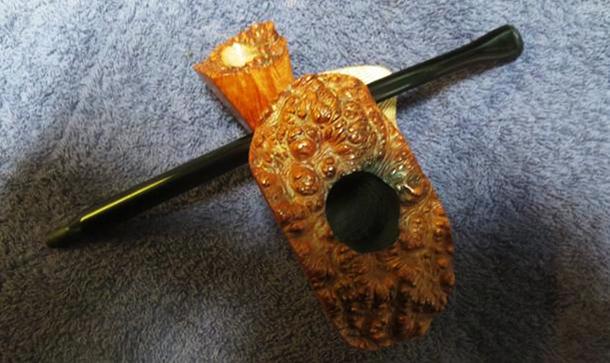
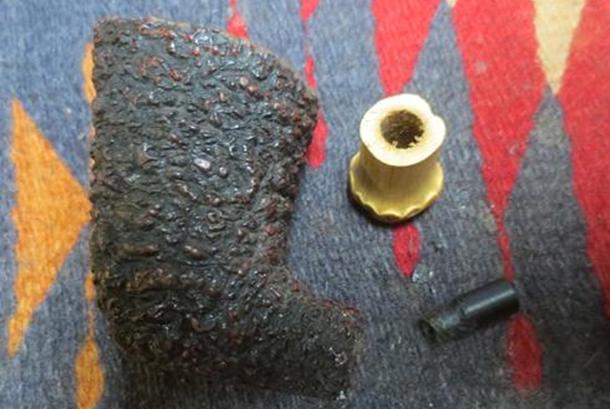
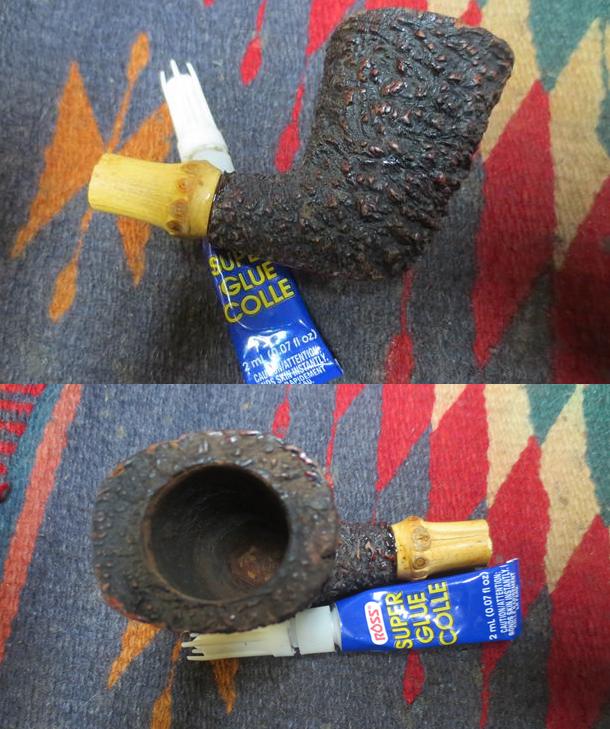
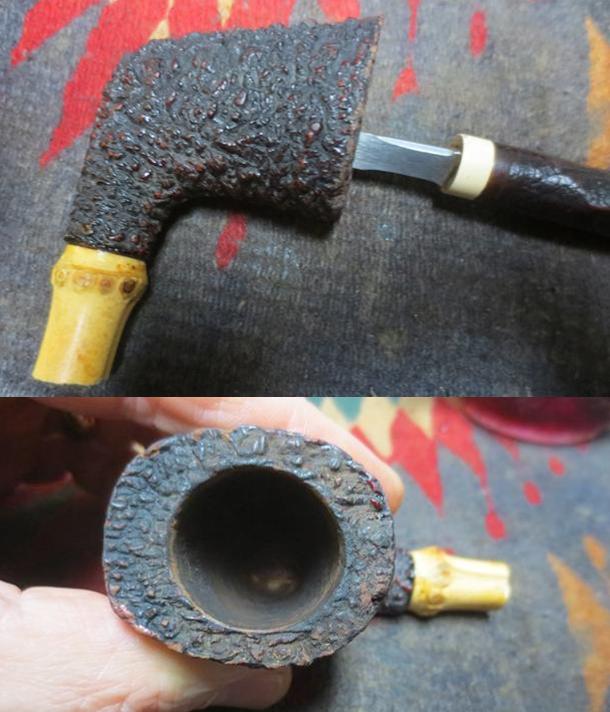
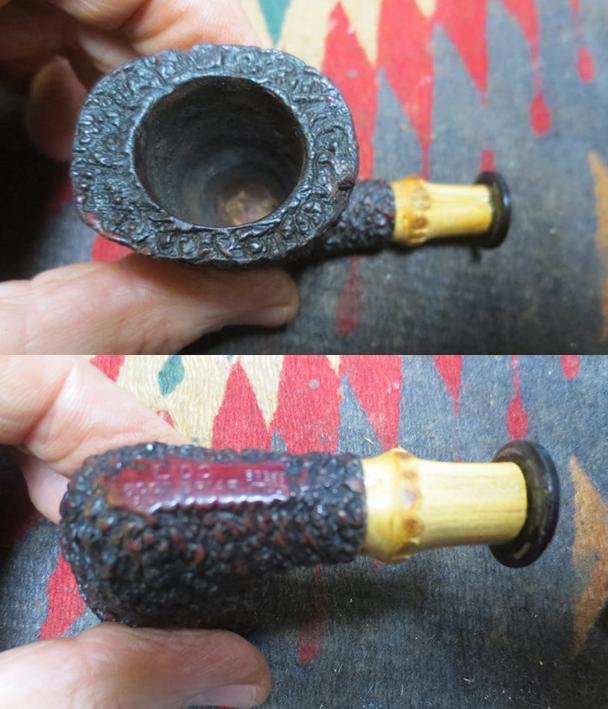
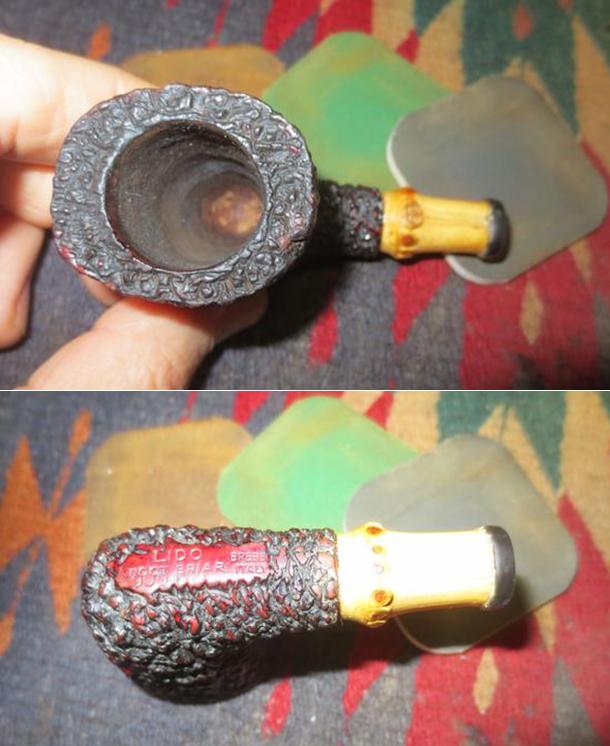
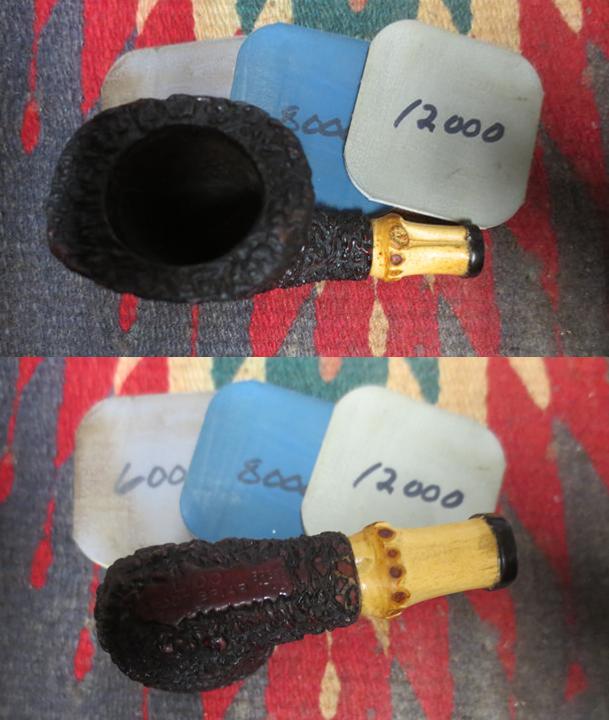
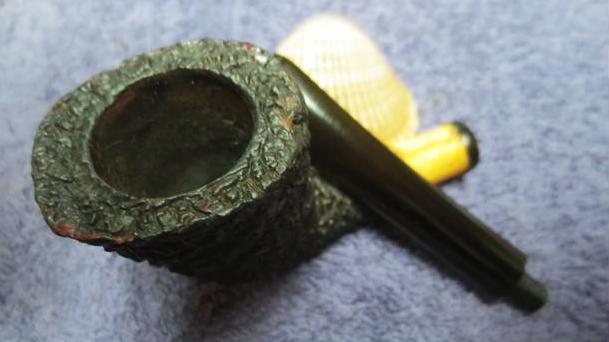
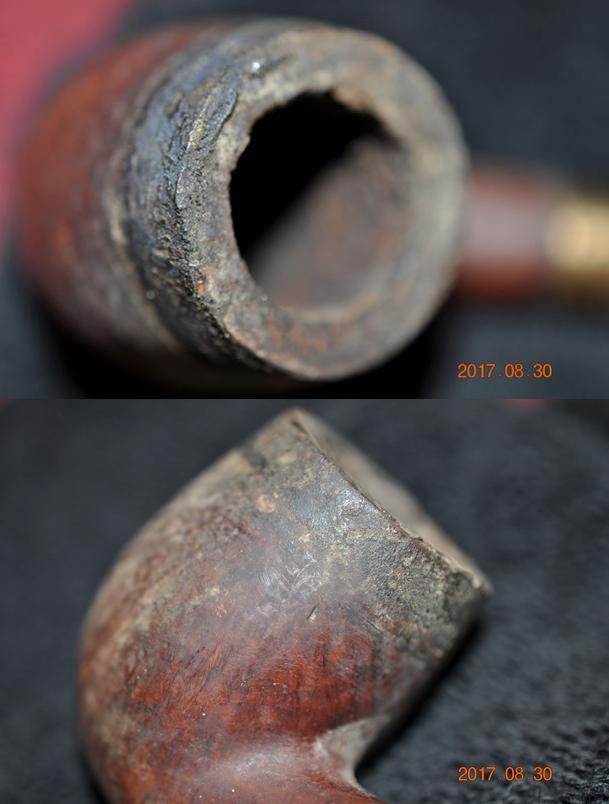
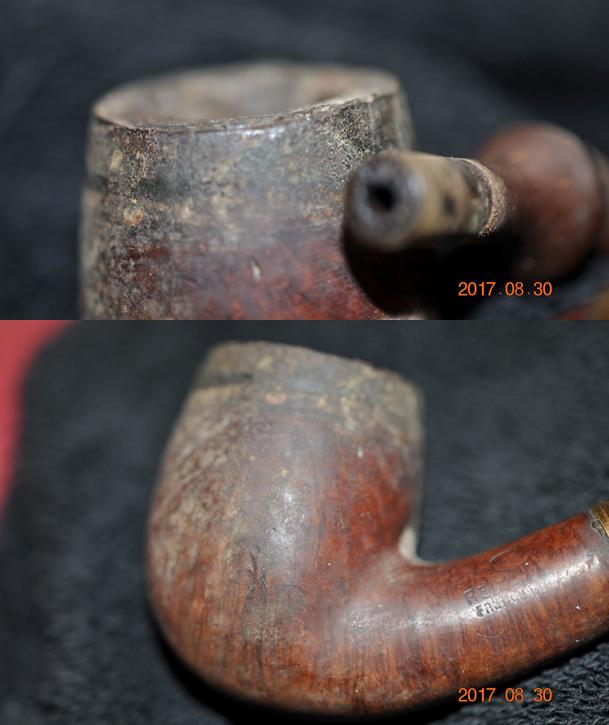
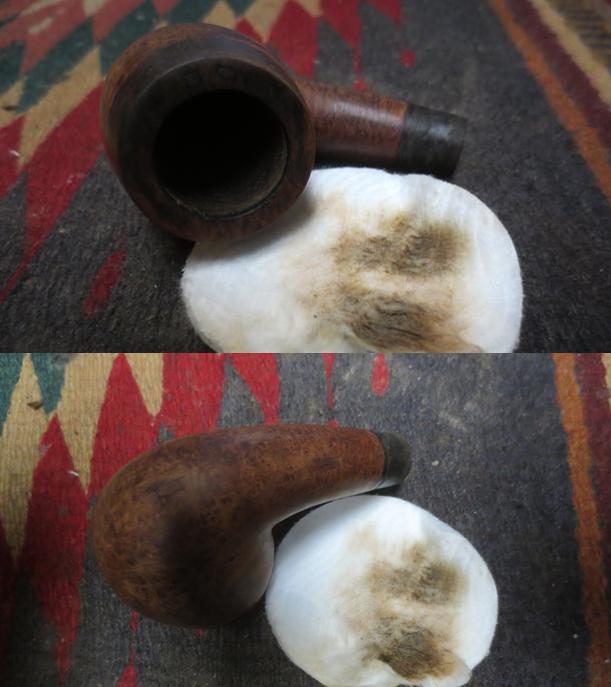
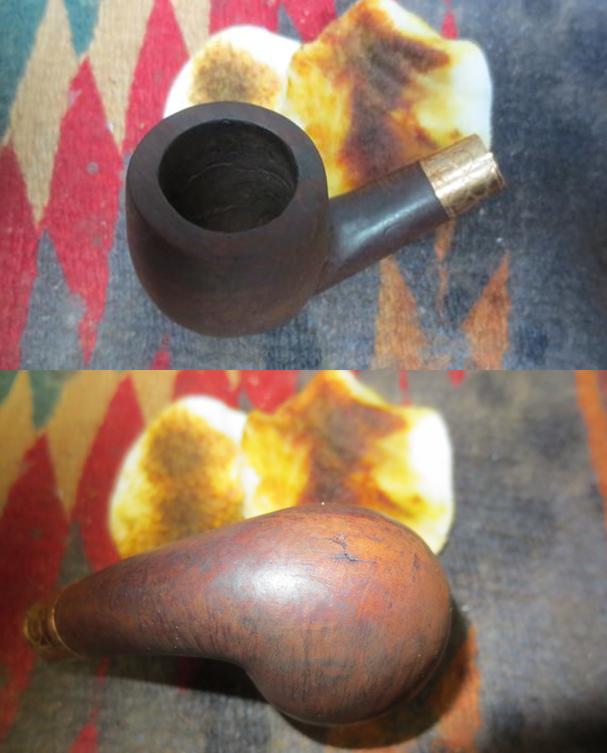
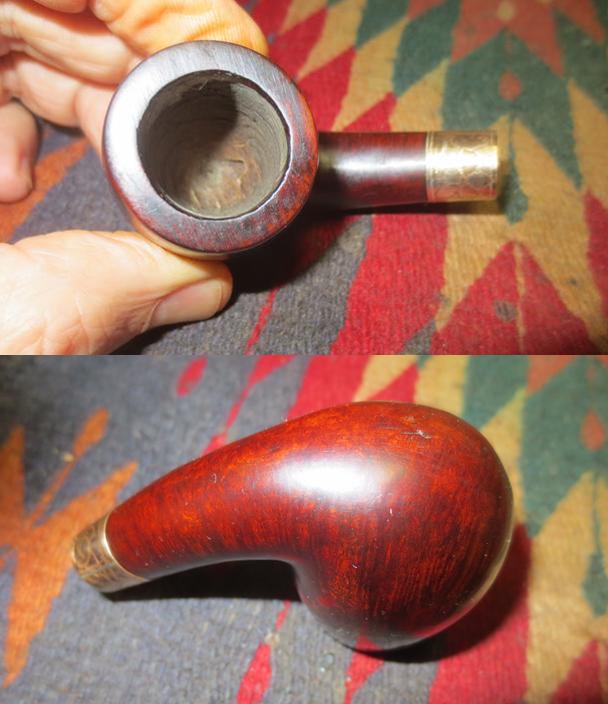
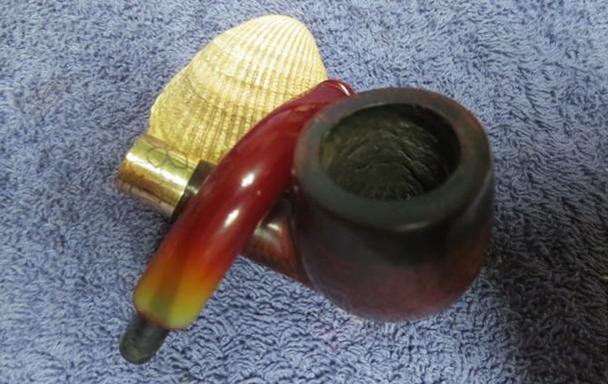
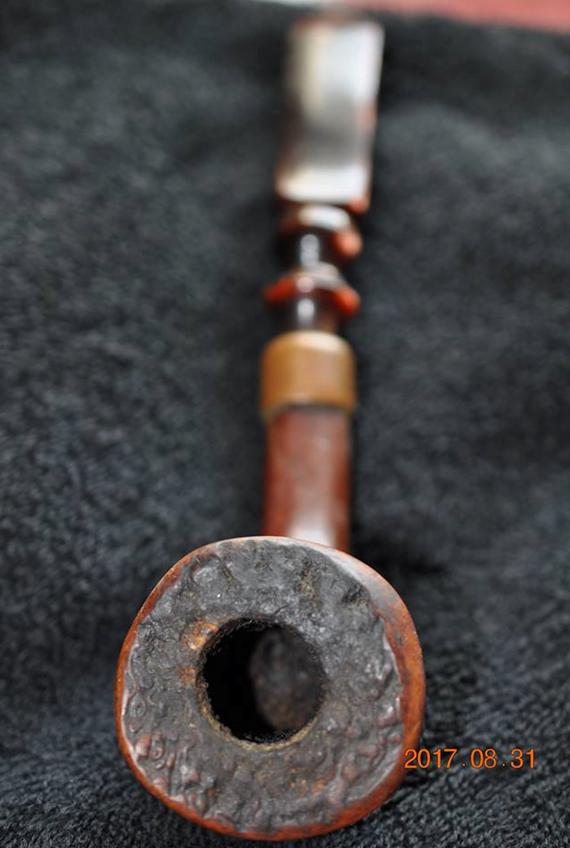
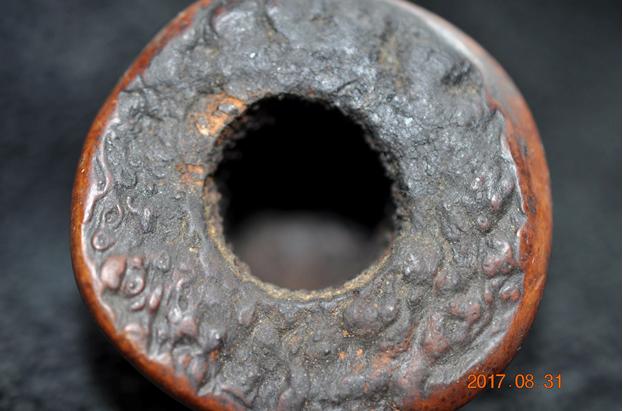
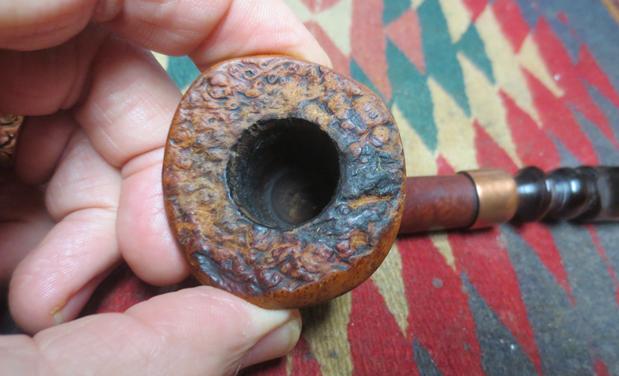
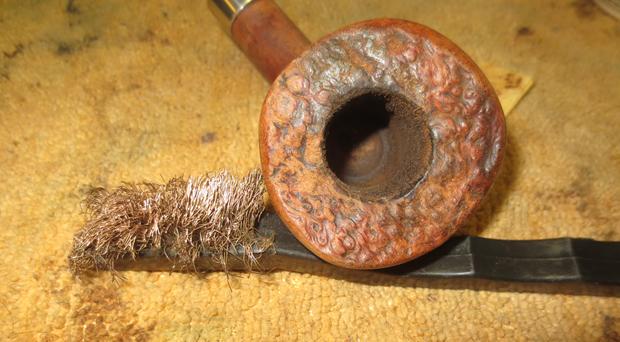
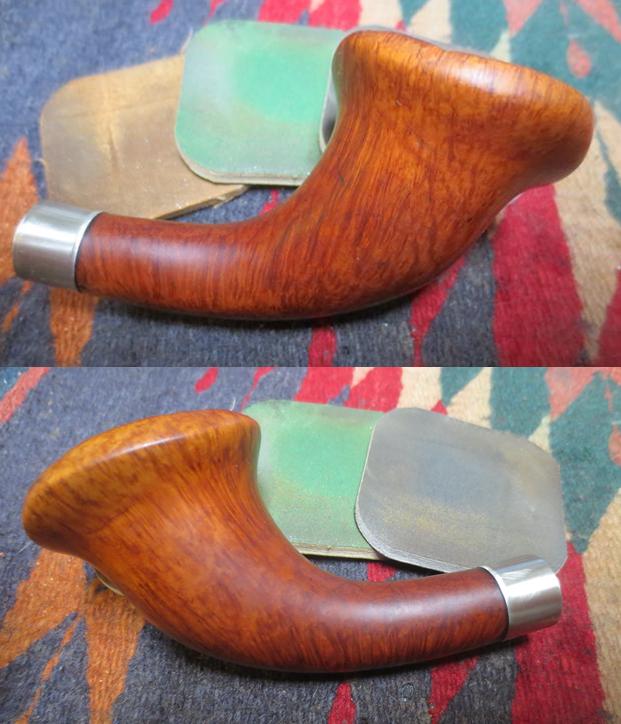
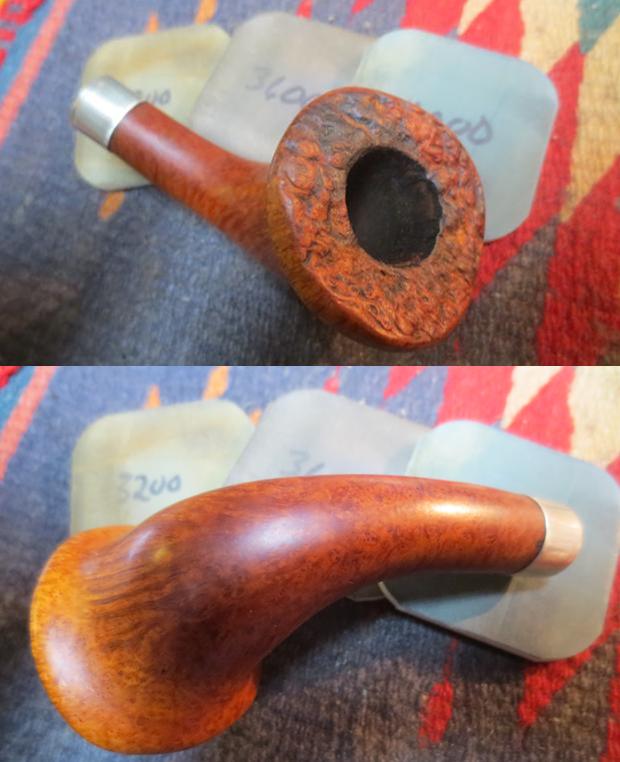
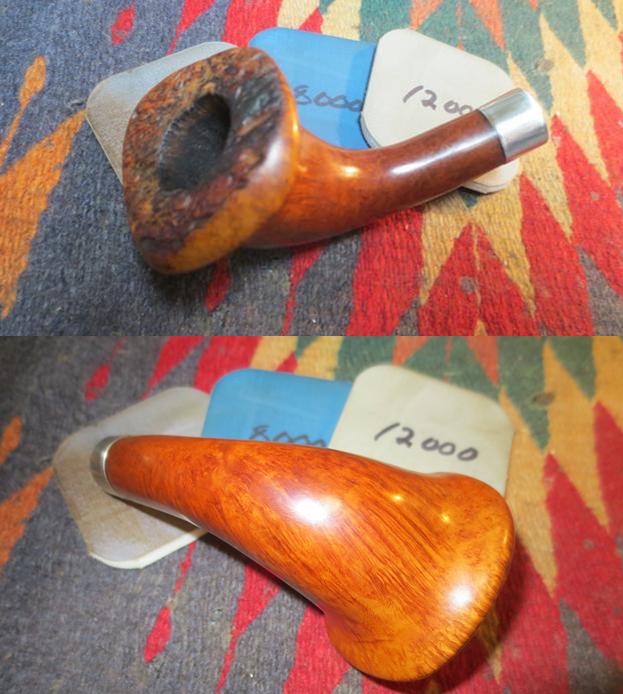
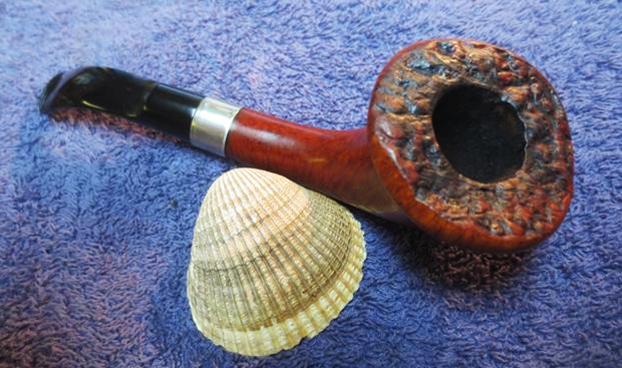
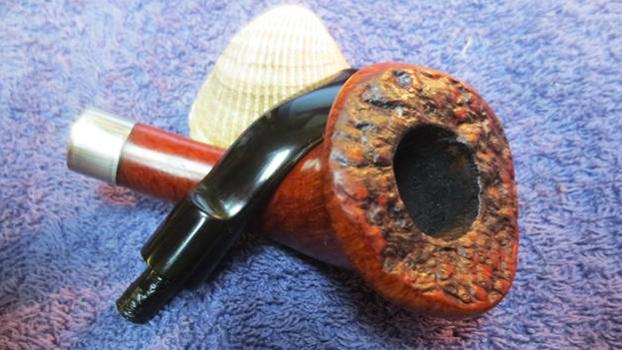
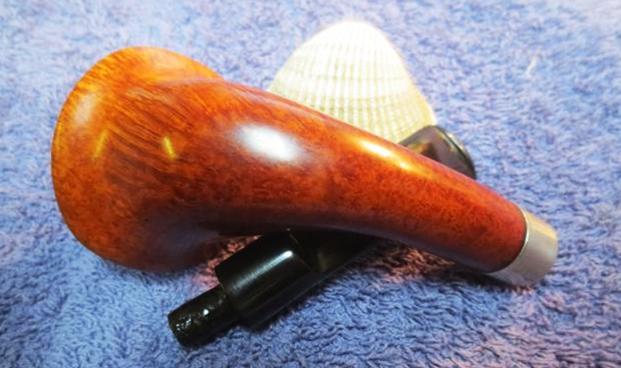
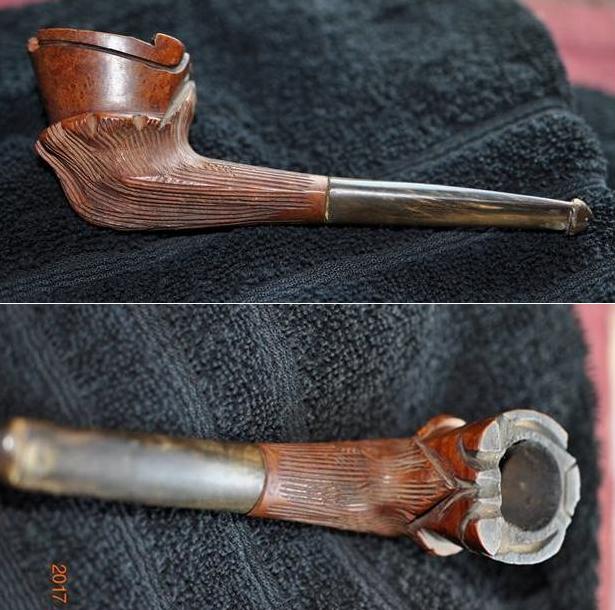
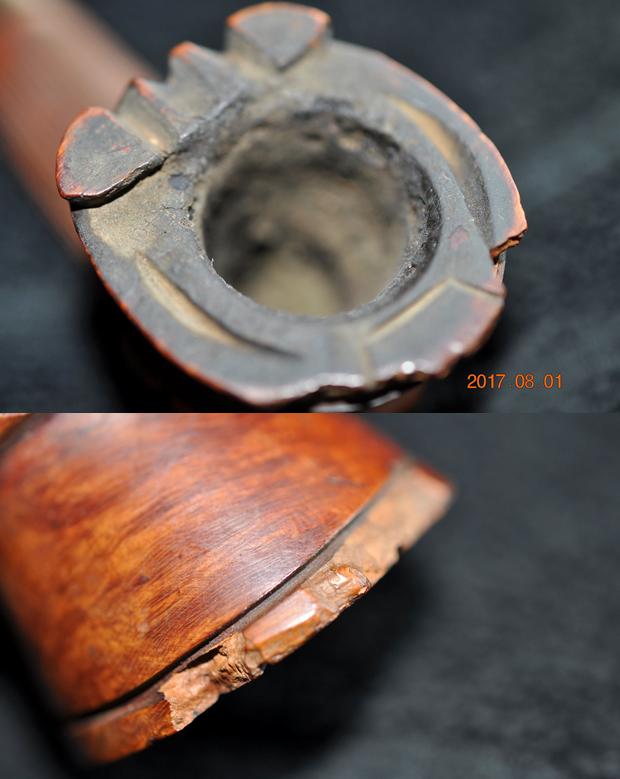
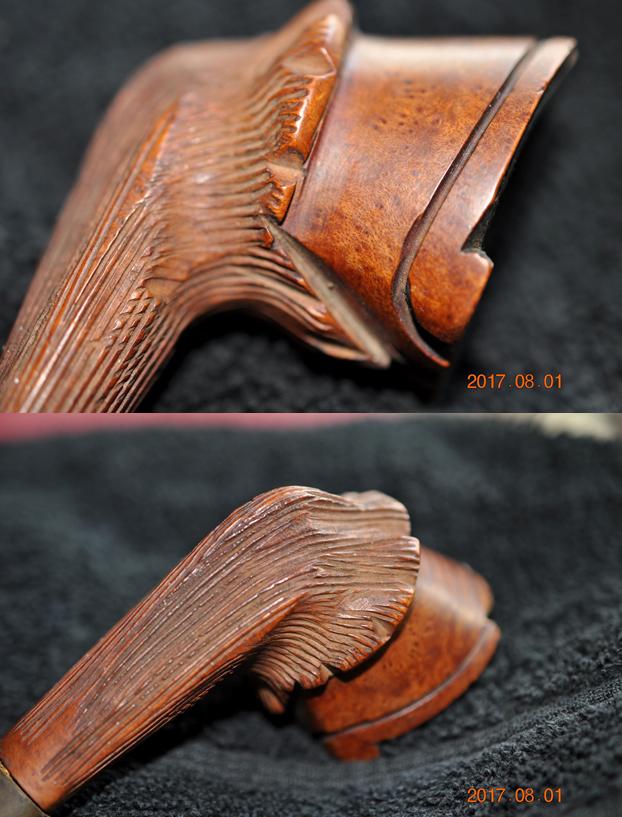
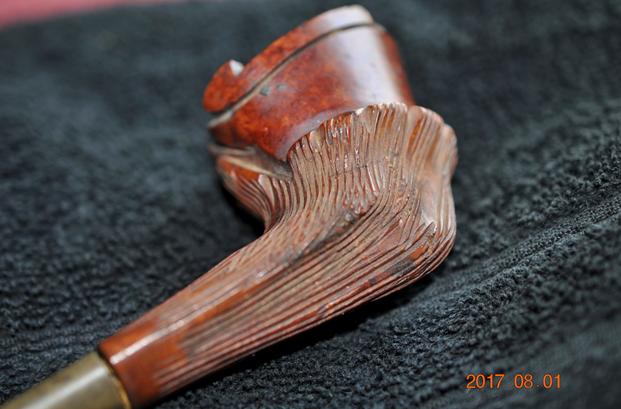
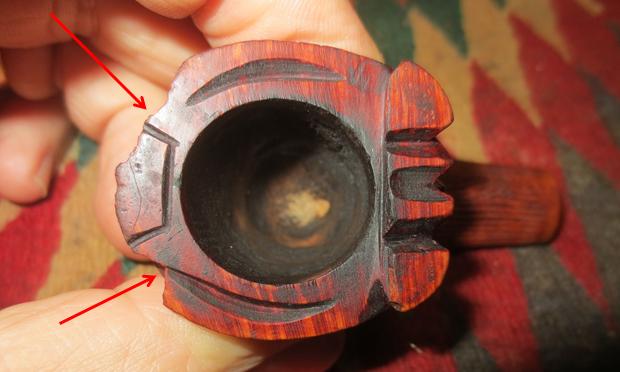
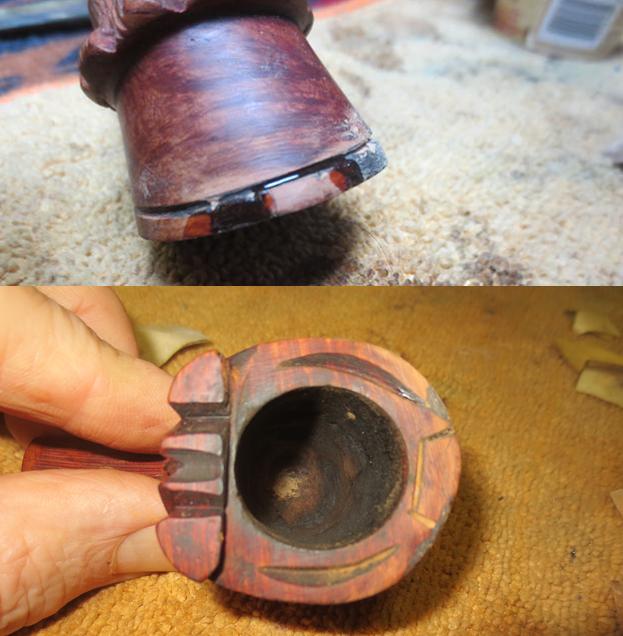
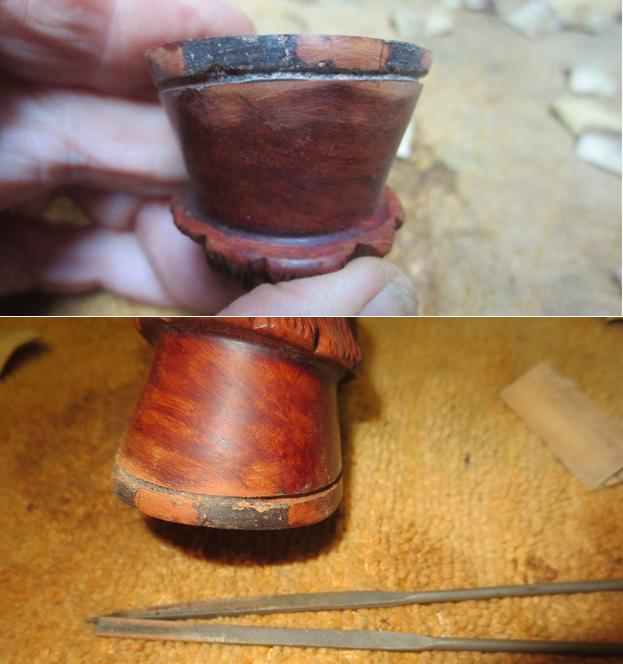
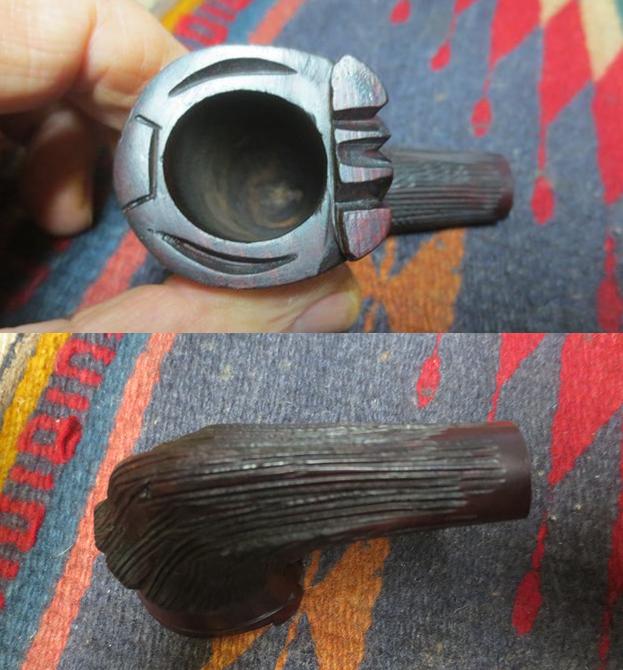
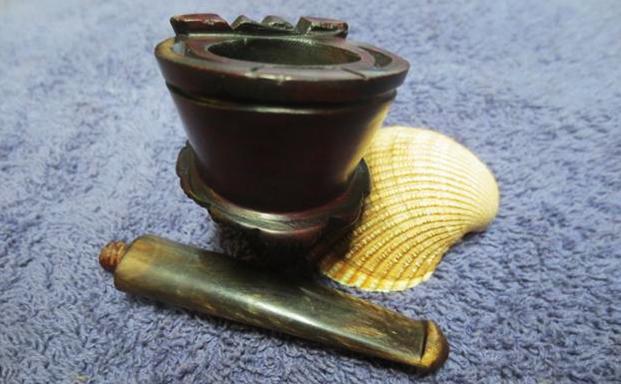
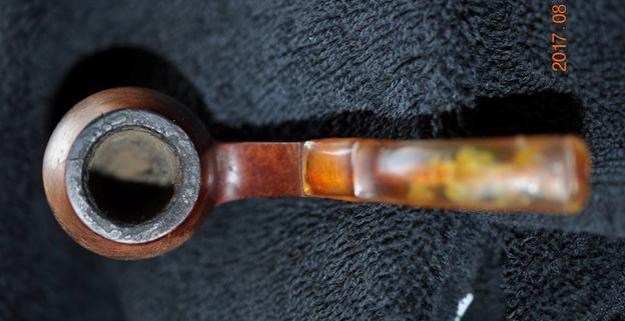
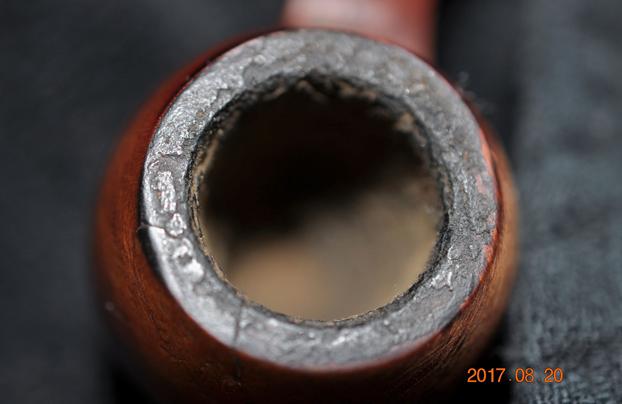
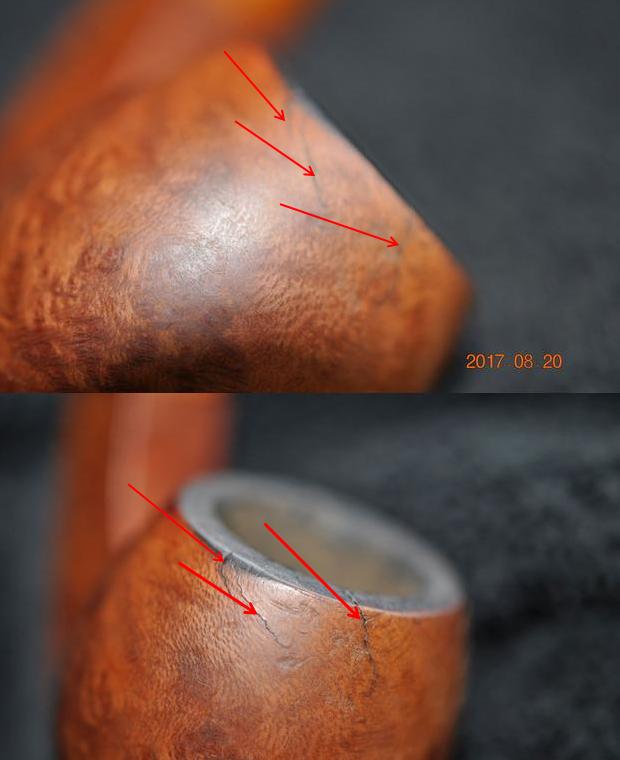
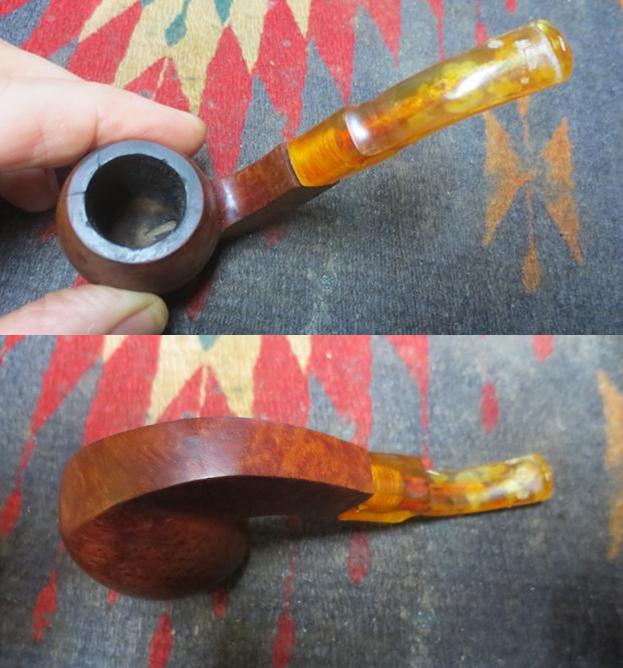
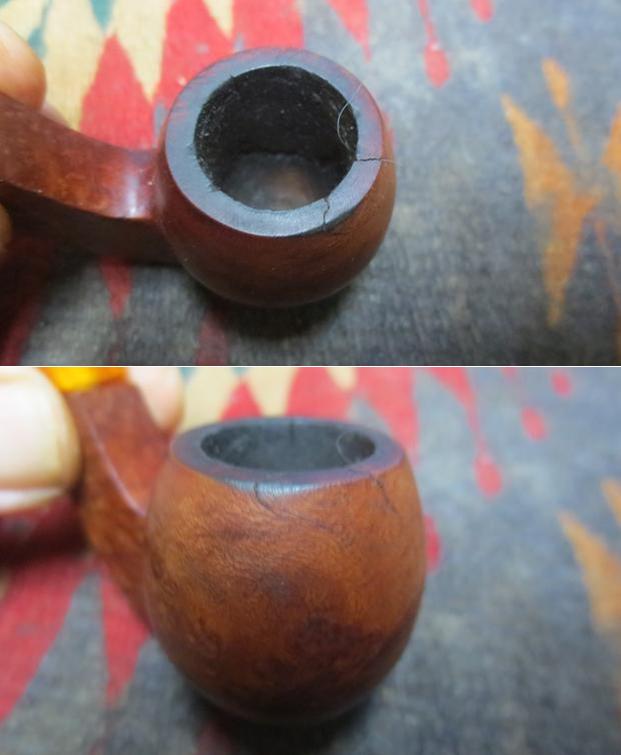
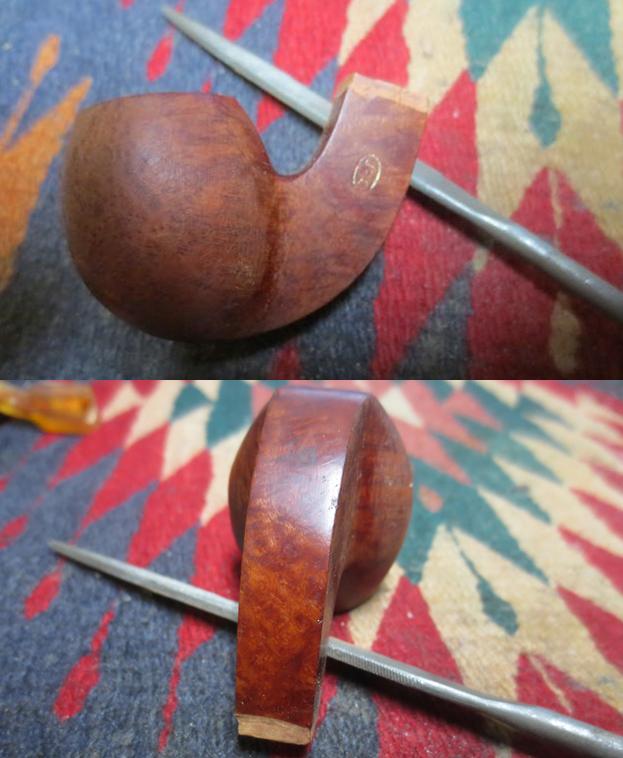
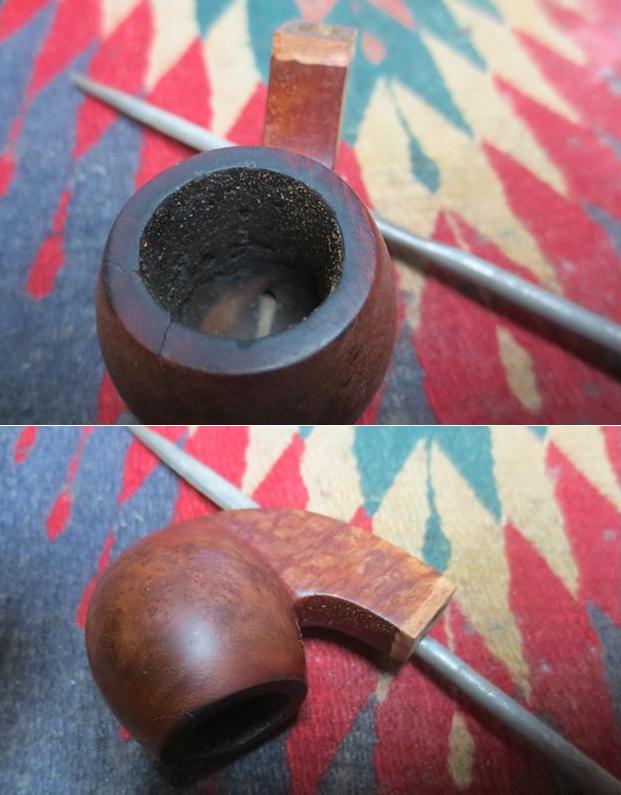
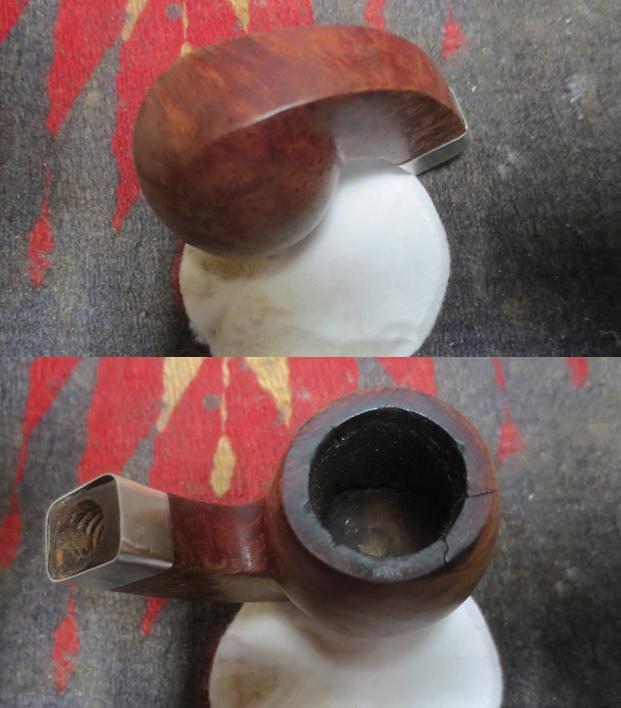
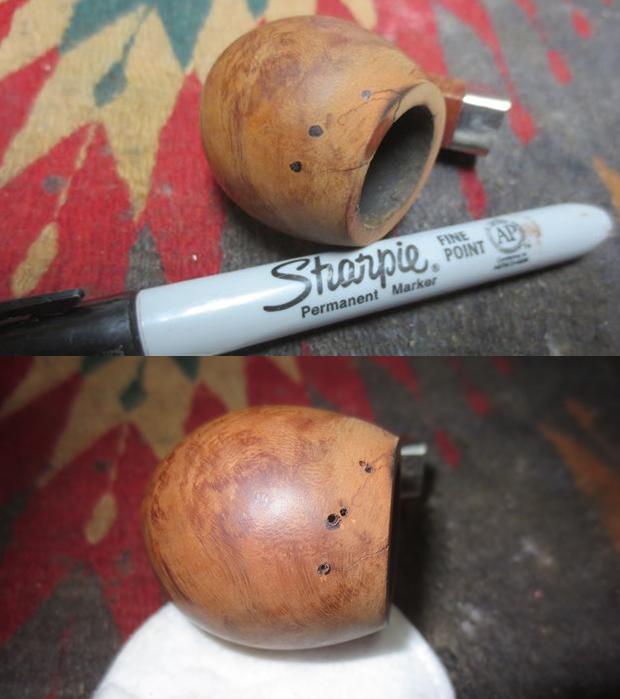
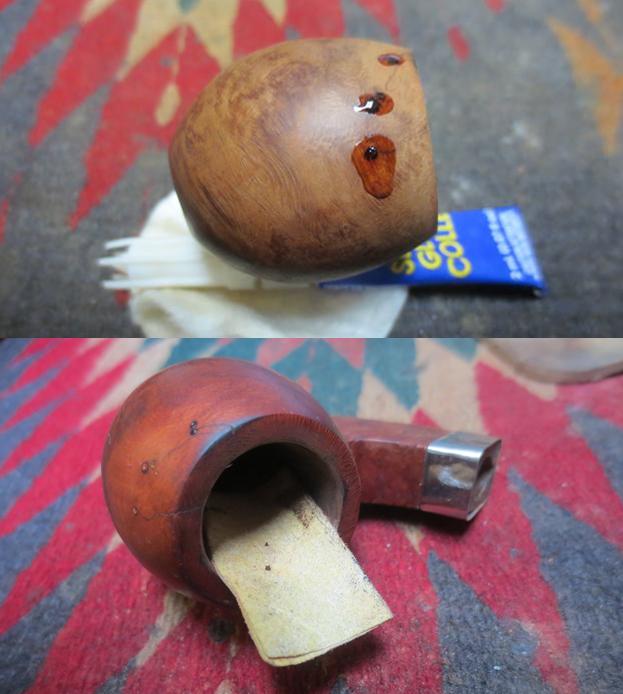
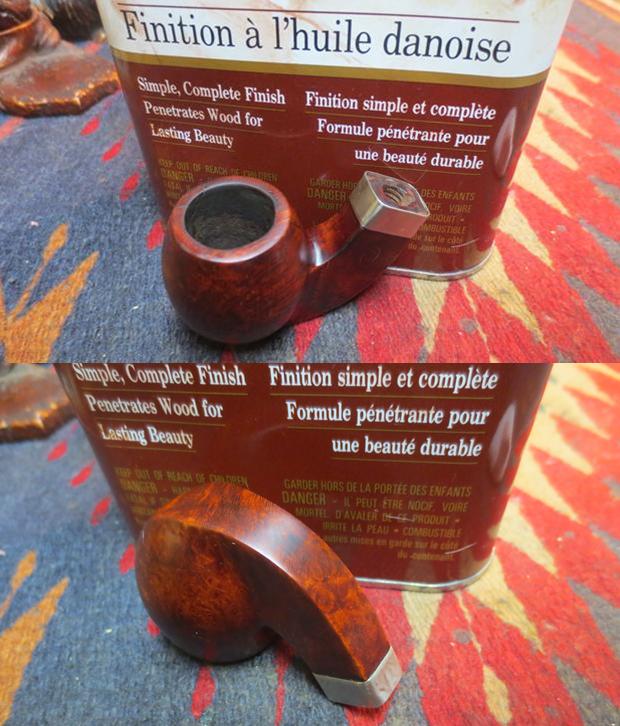
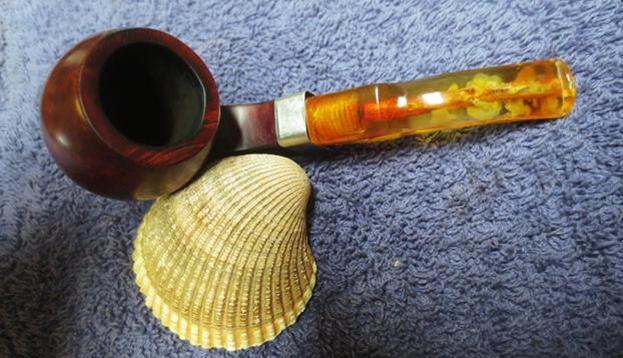
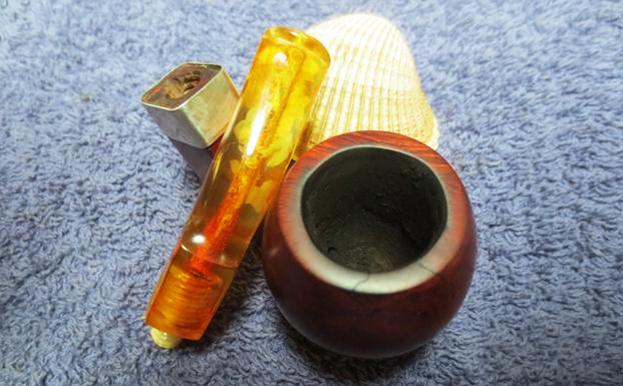
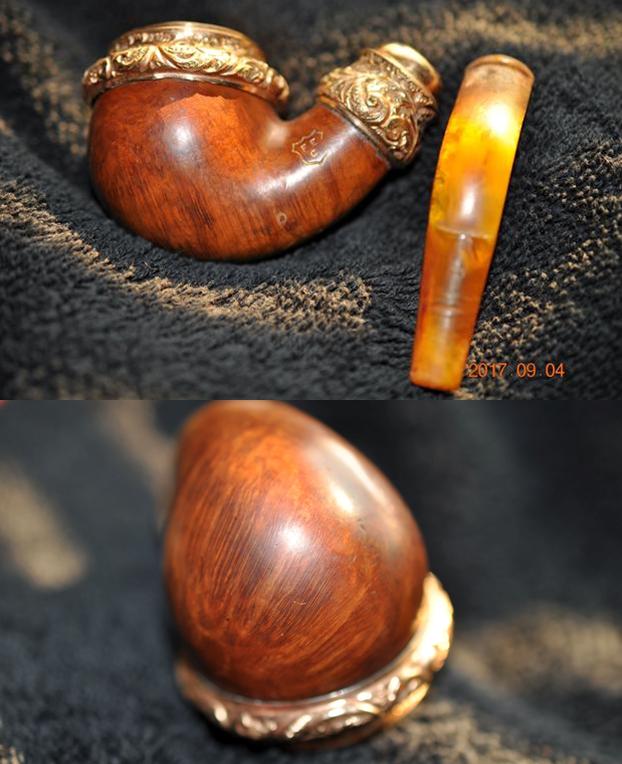
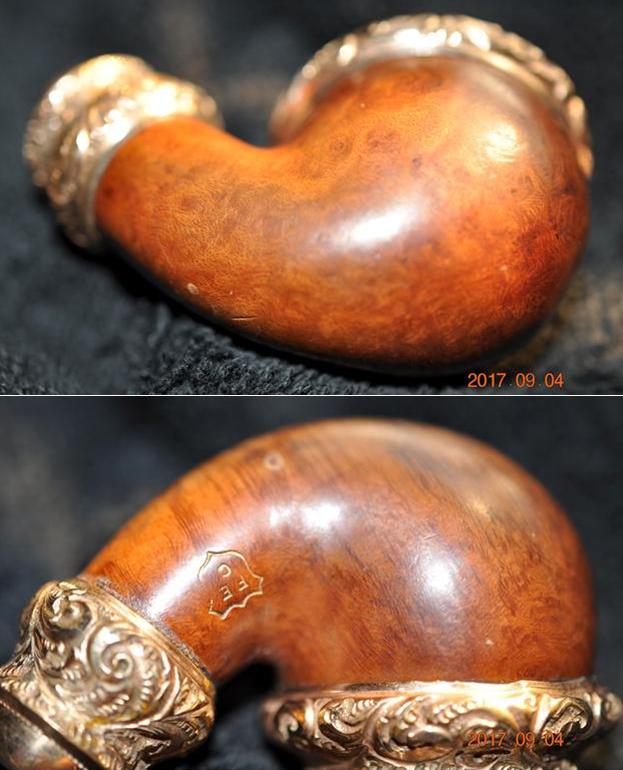
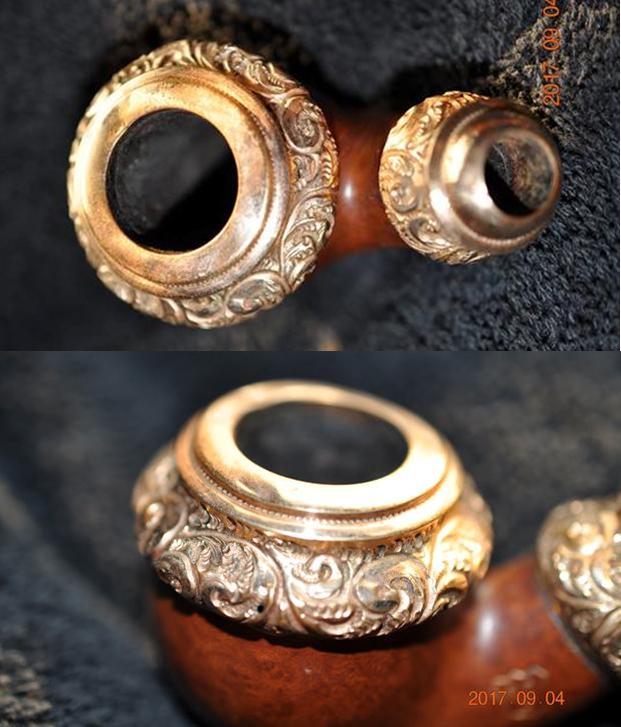
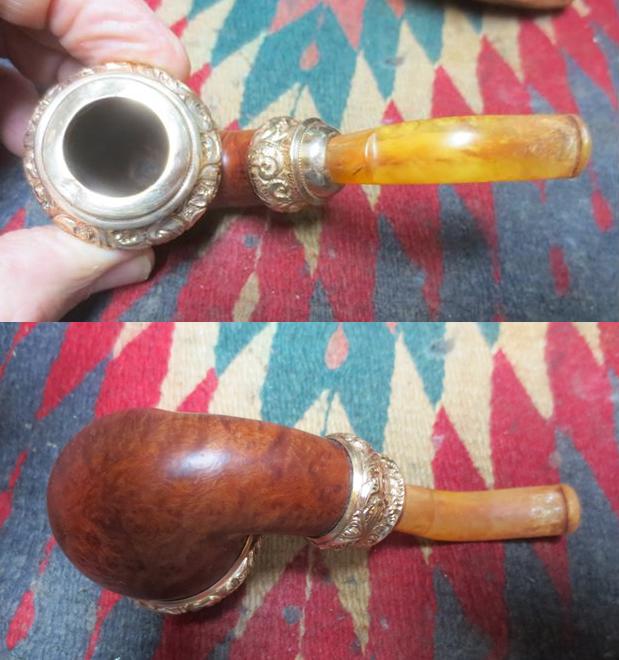
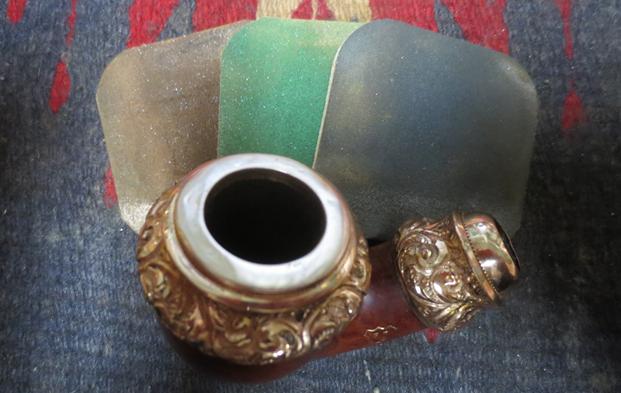
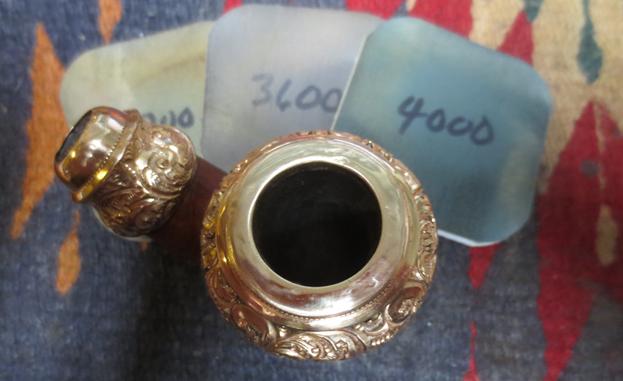
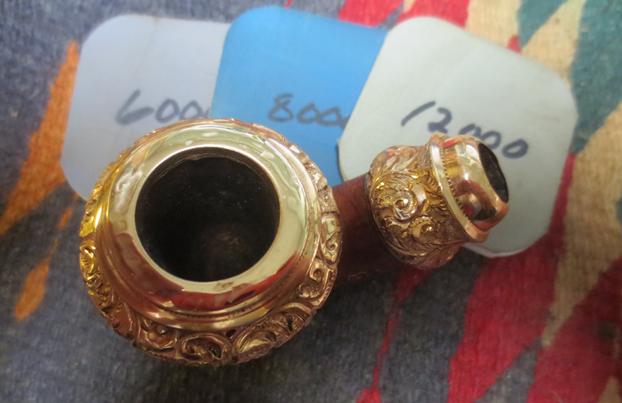
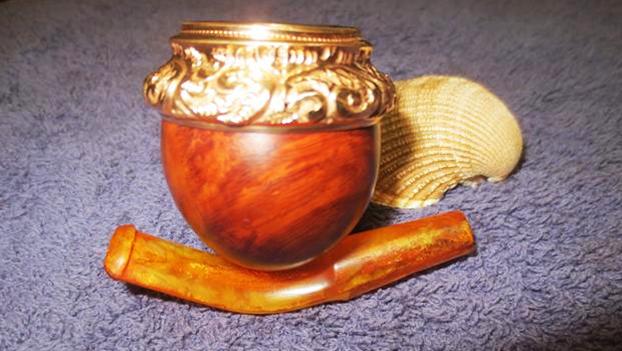
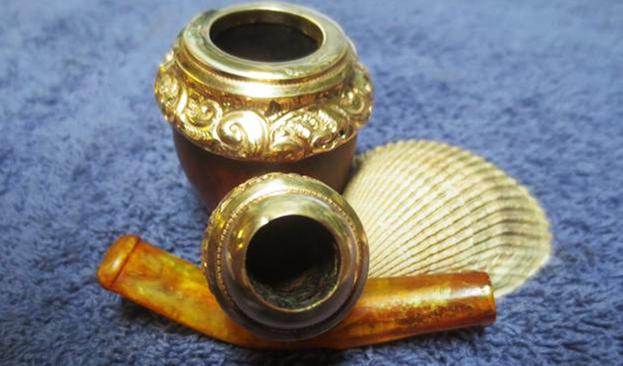
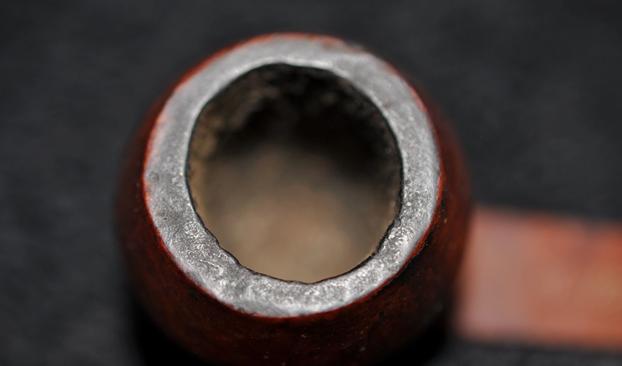
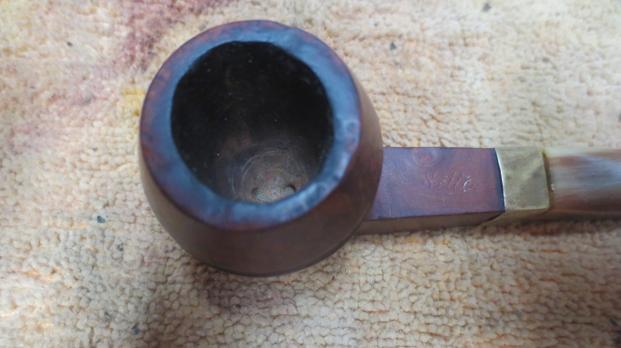
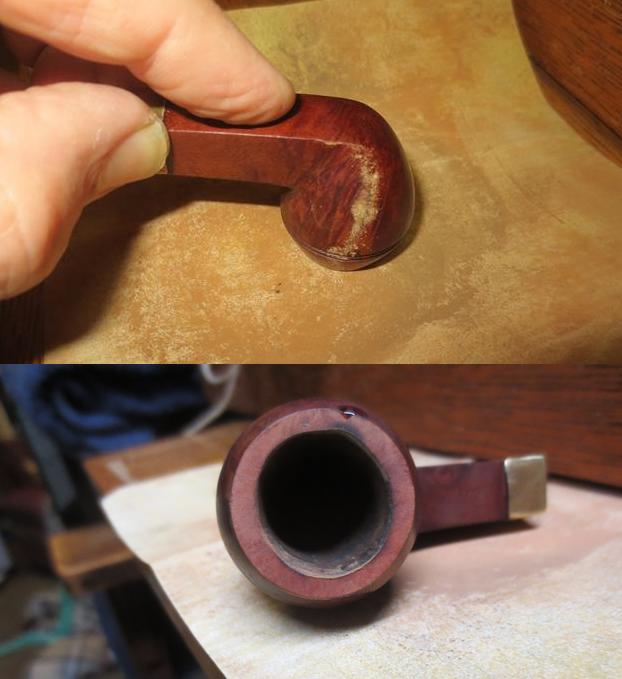
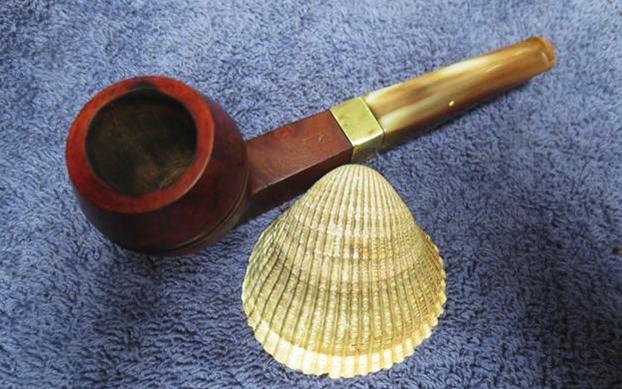
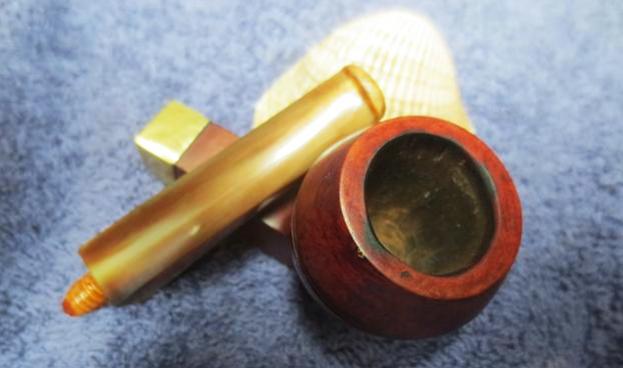
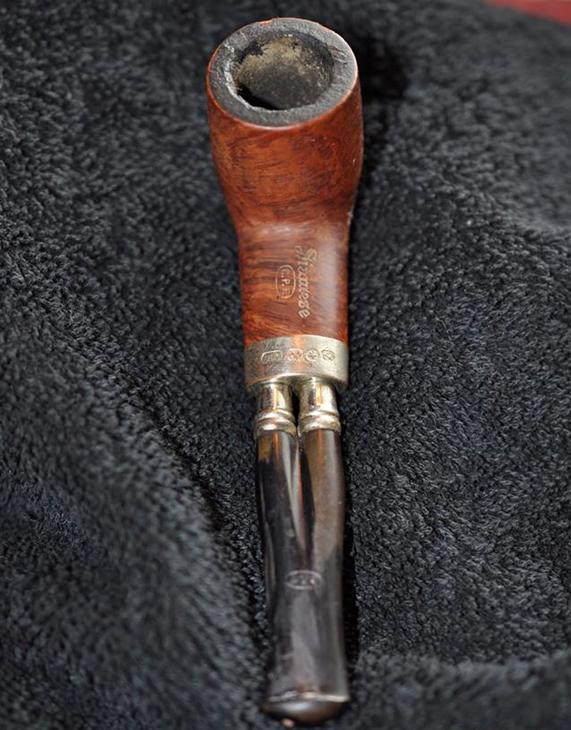
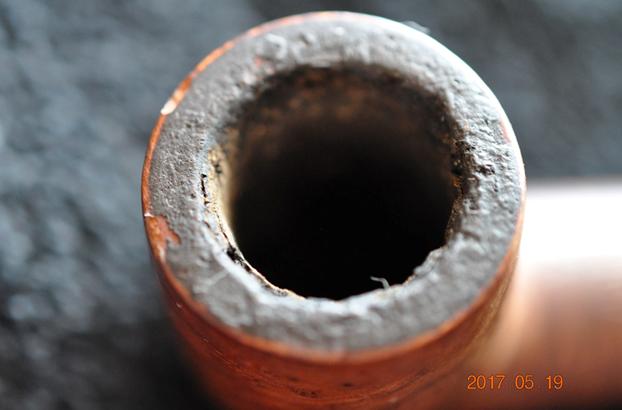
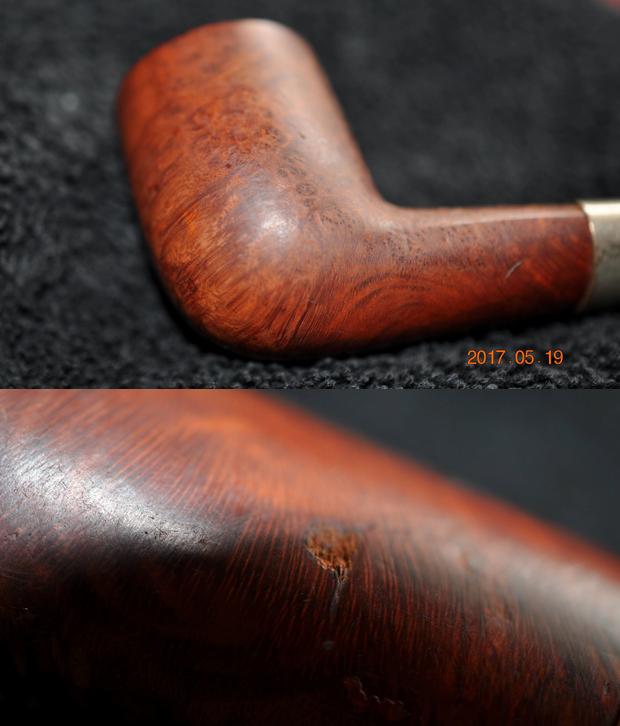
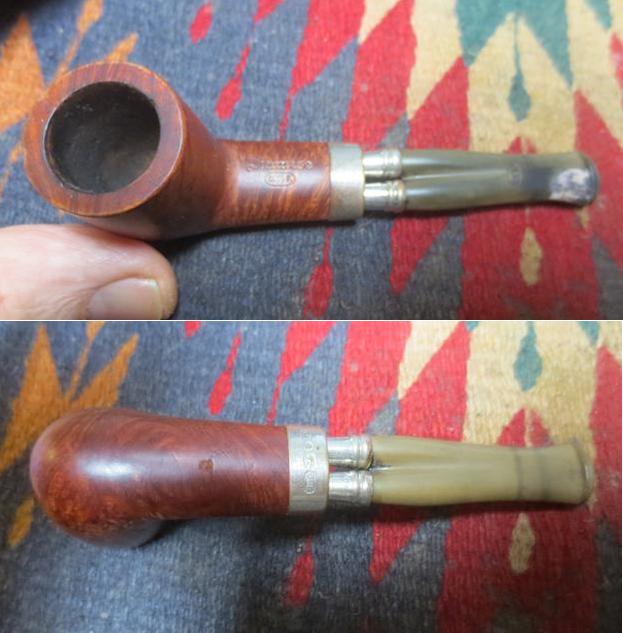
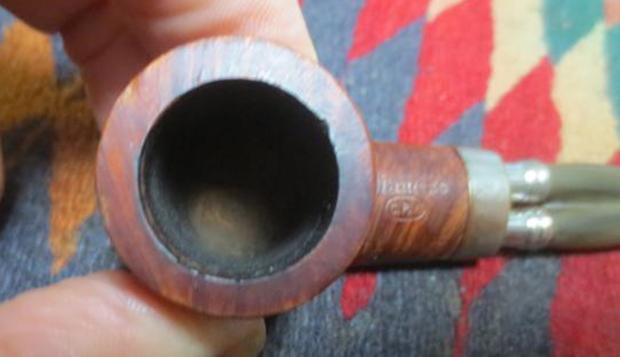
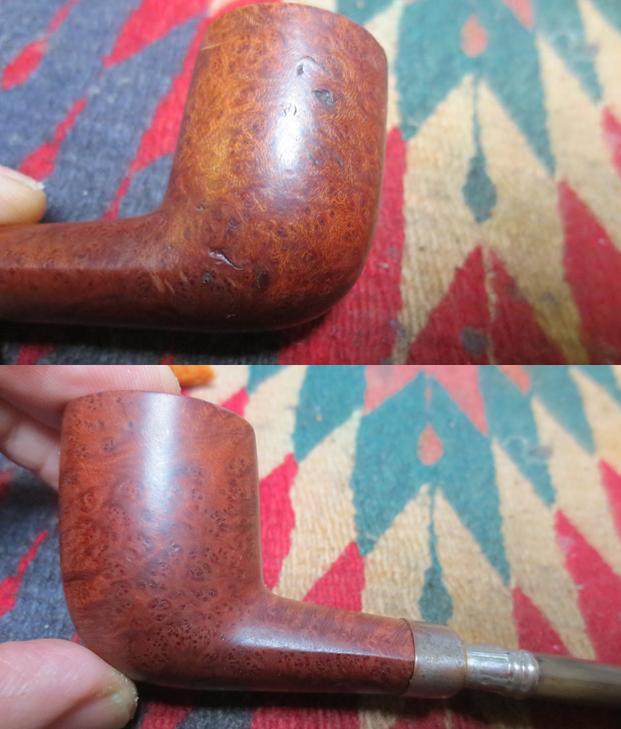
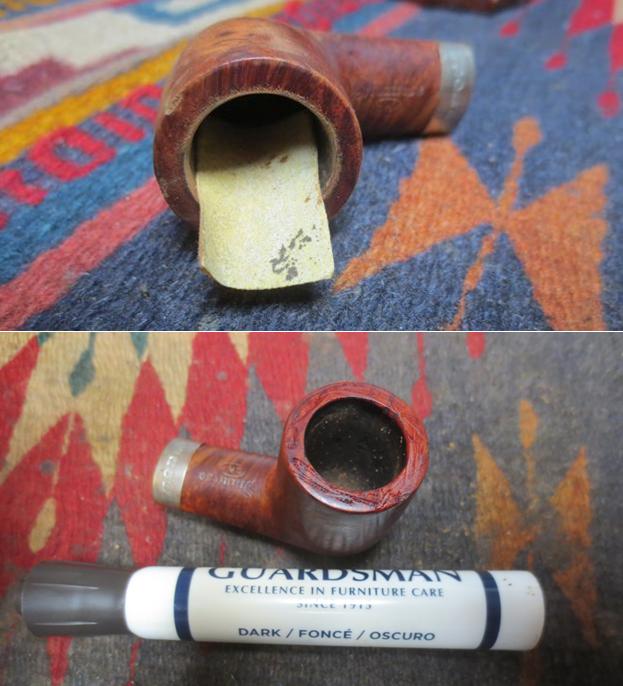
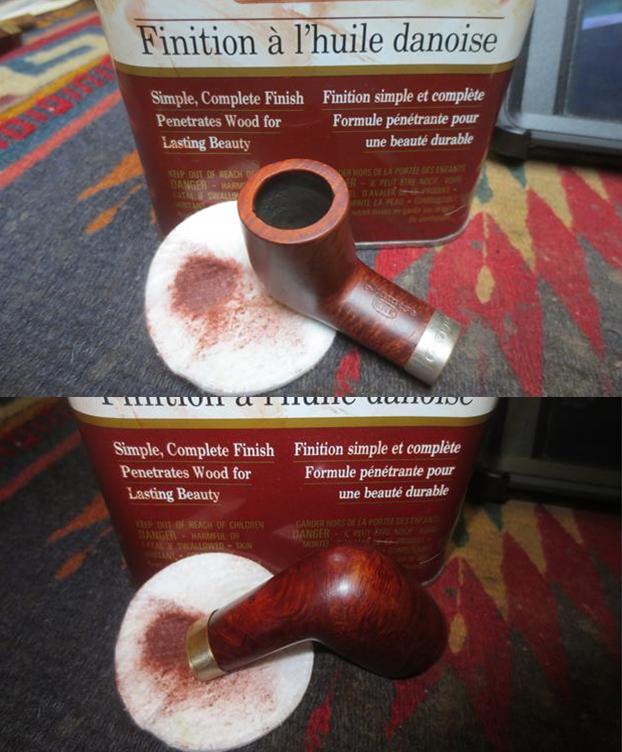
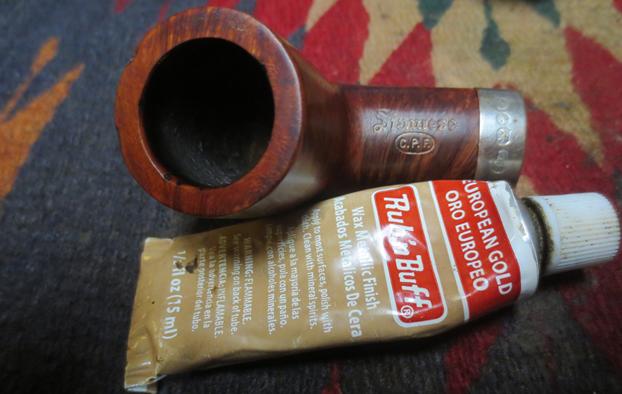
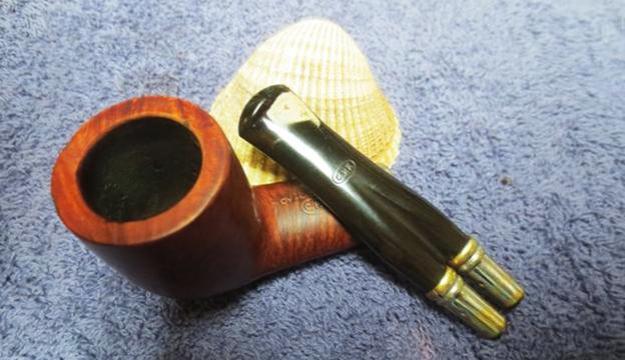
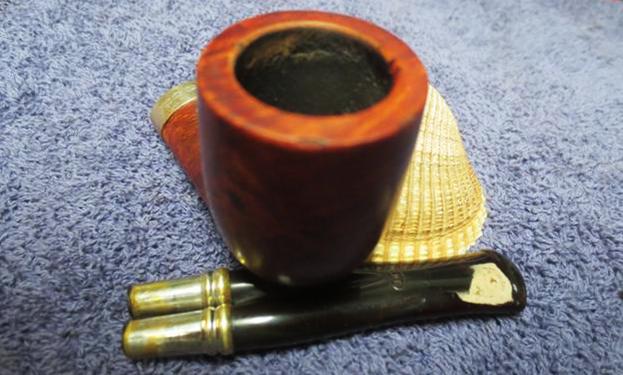
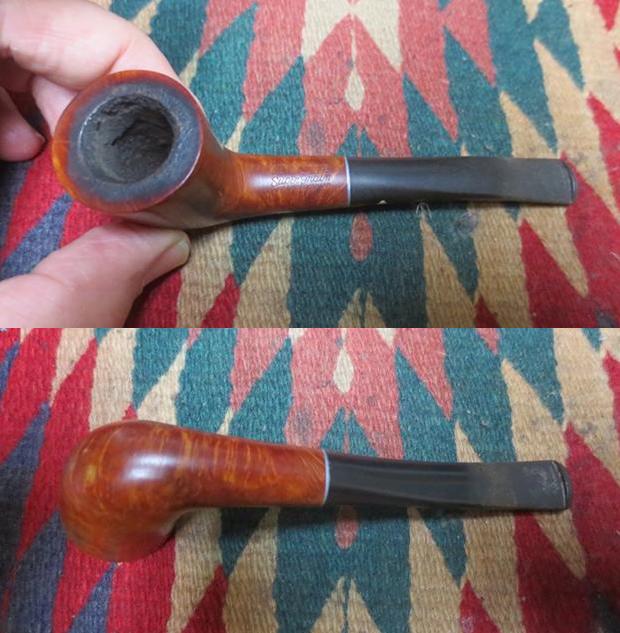
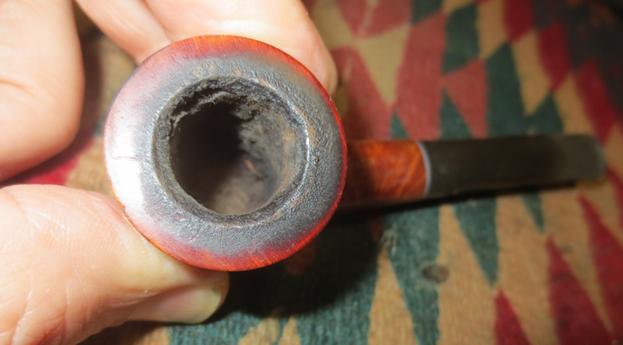
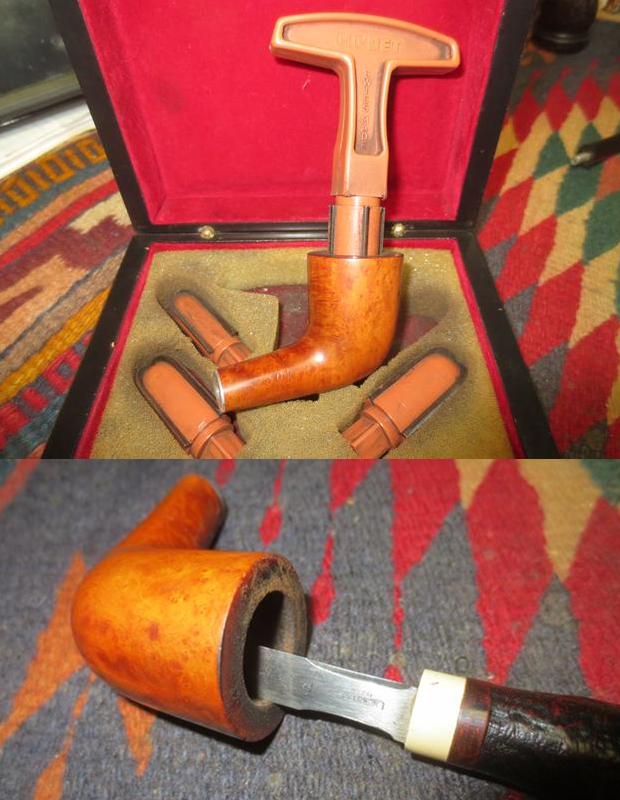
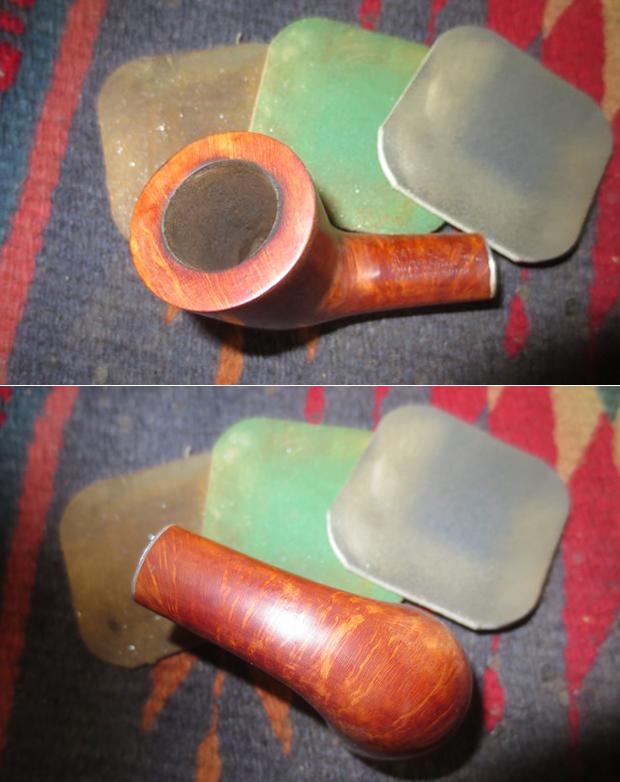
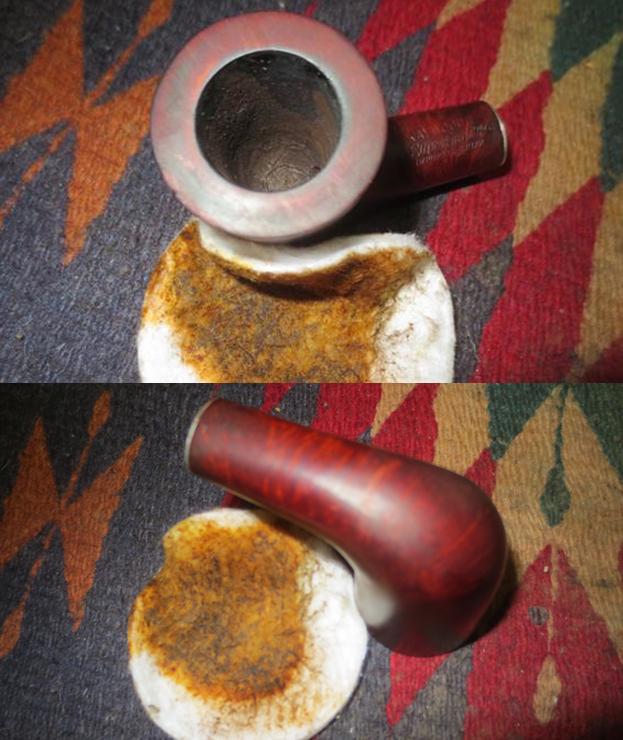
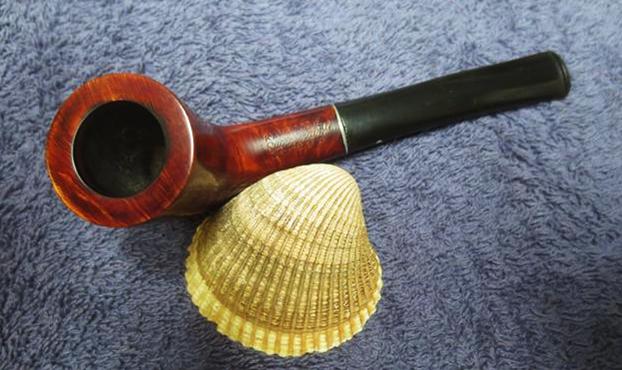
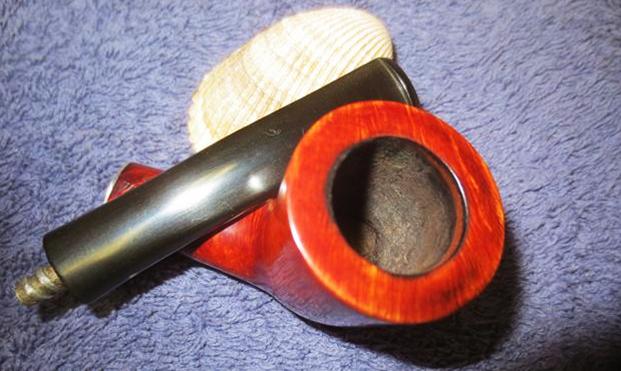
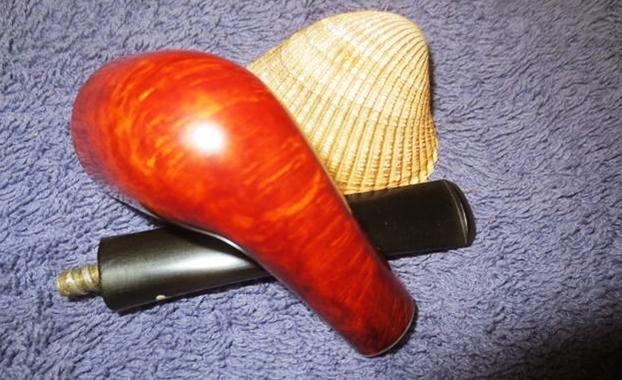
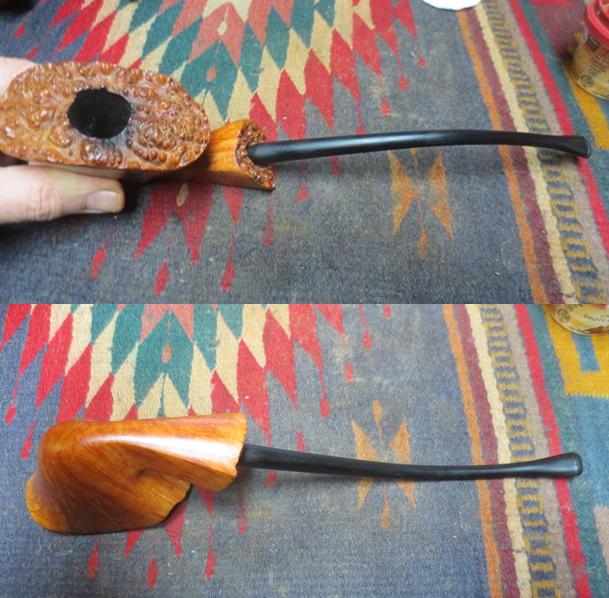
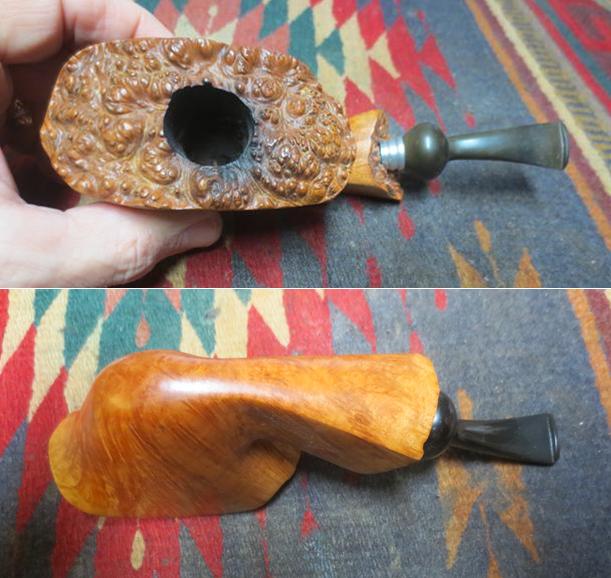 I took a photo of the top of the bowl that shows the beautiful plateau top and the size and shape of the chamber. For a block of briar this large the chamber was only 3/4 inches in diameter. It is a small chamber for a pipe this large.
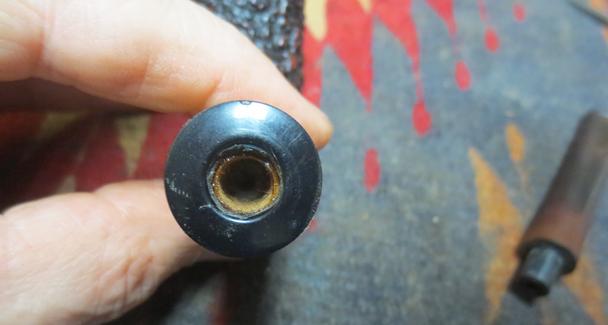
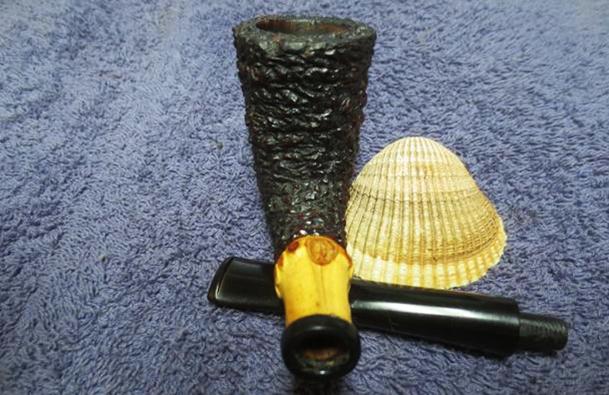
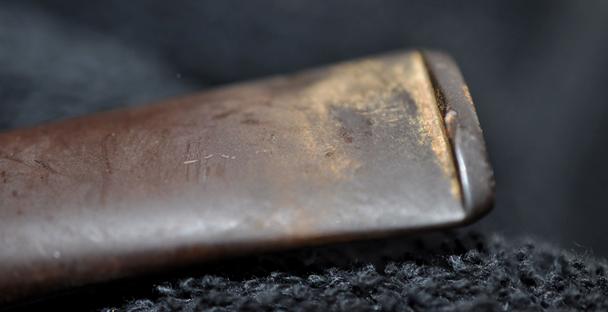
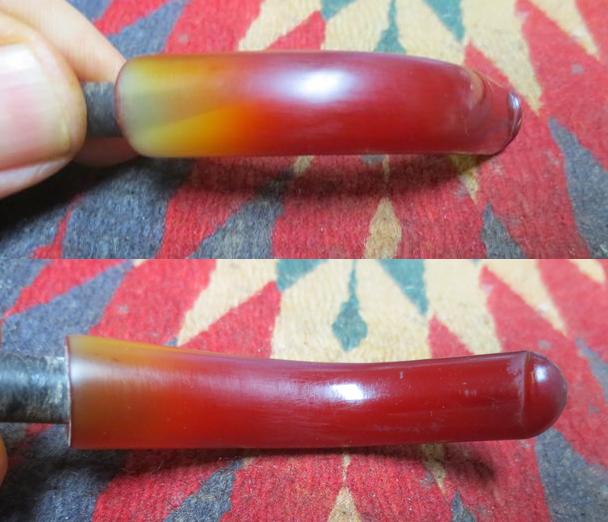
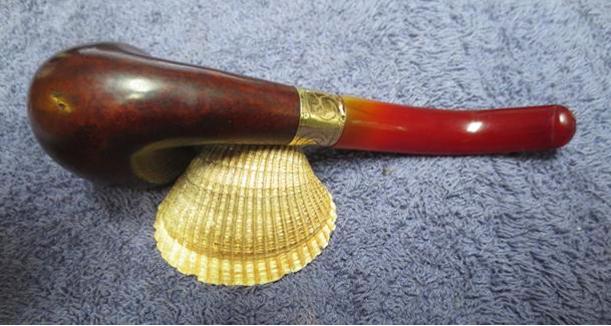
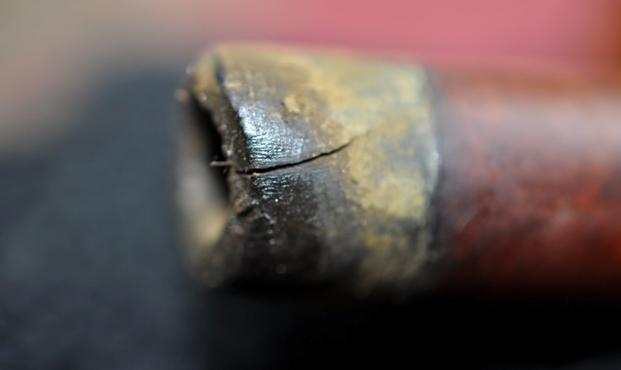
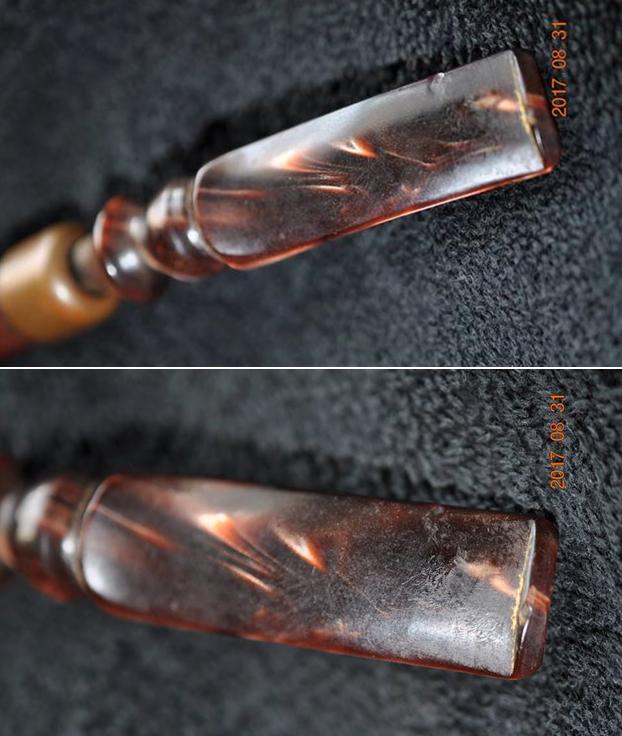
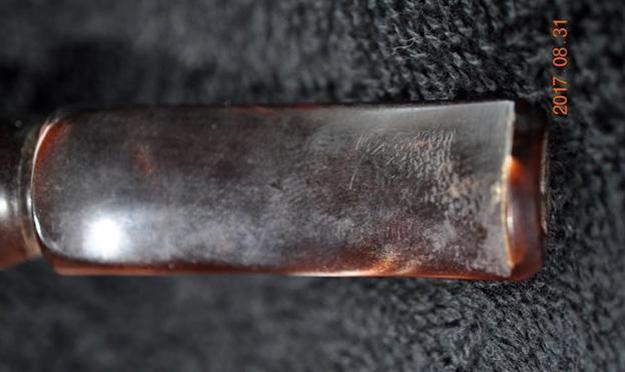
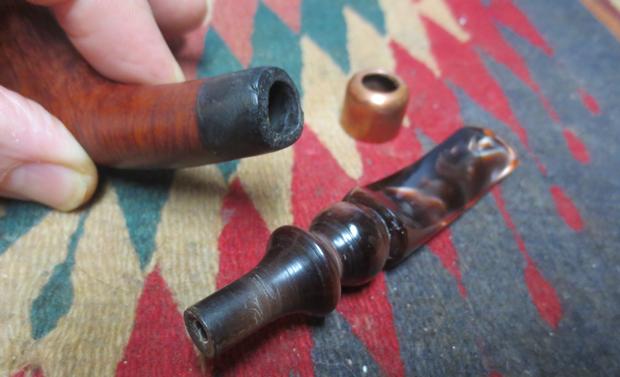
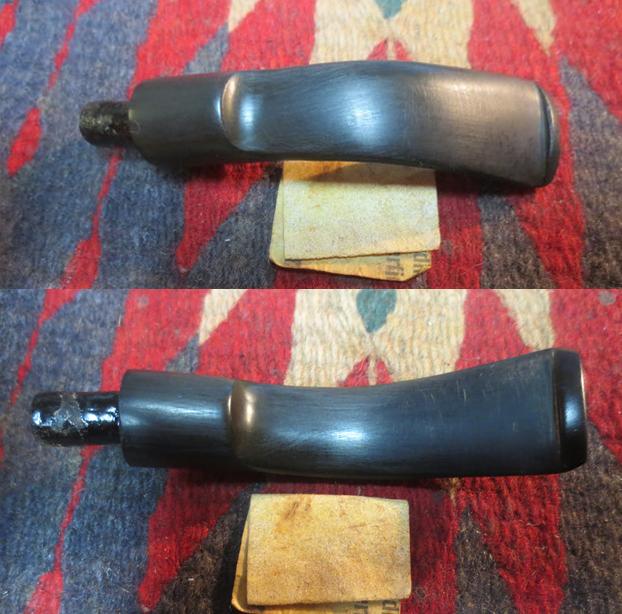
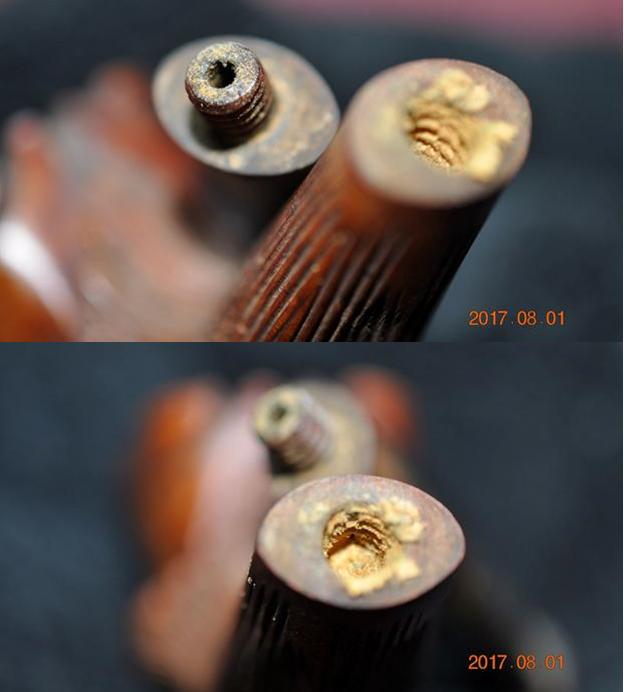
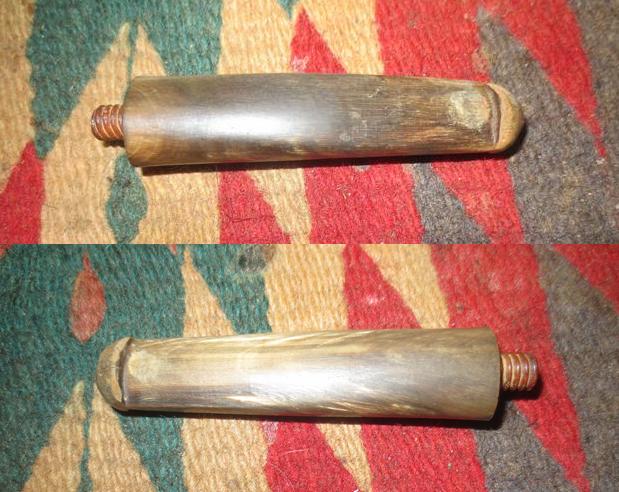
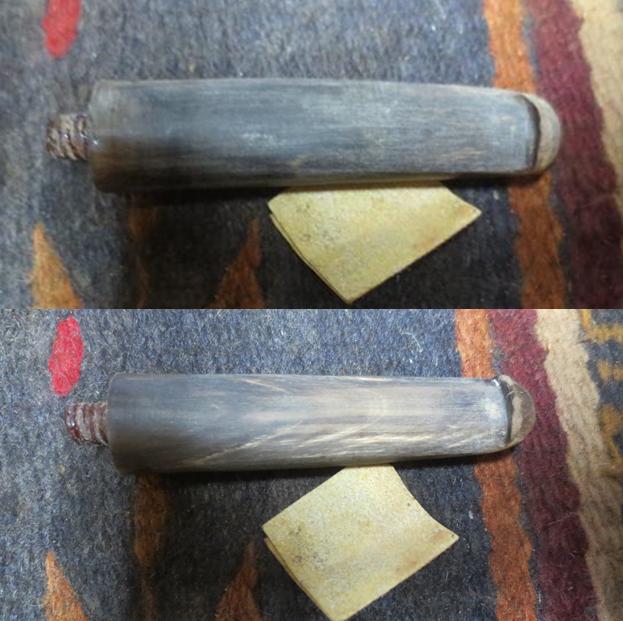
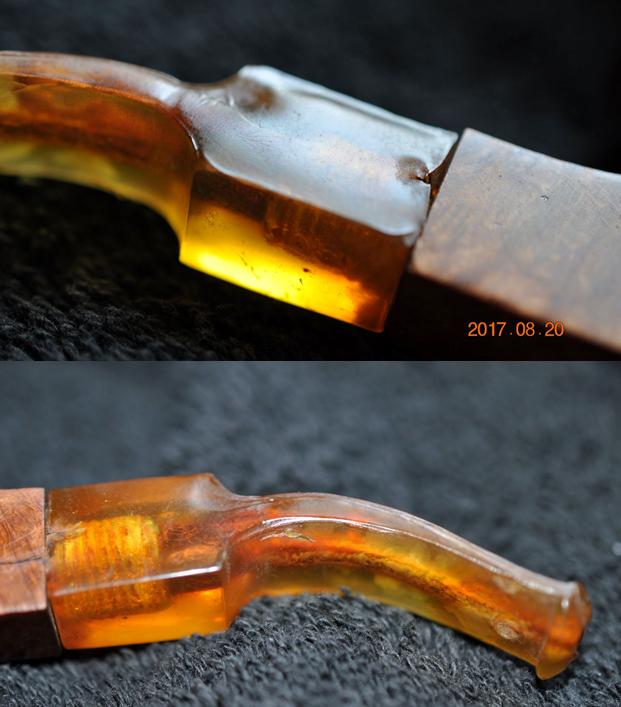
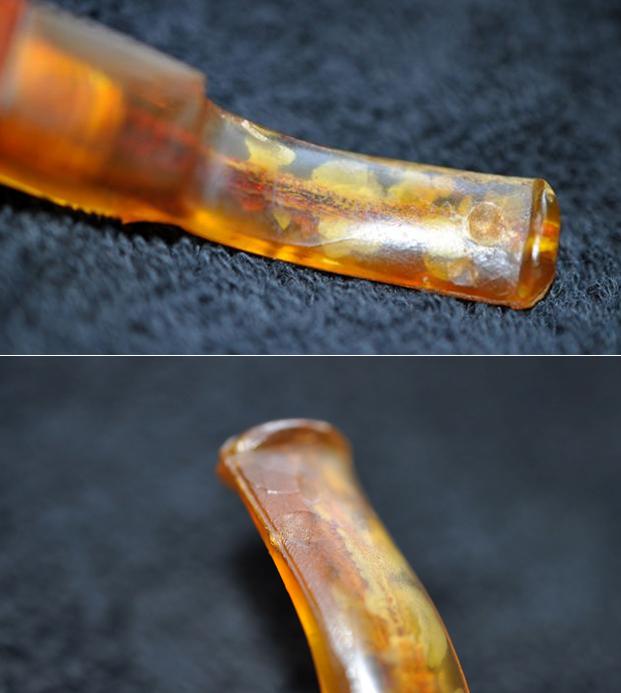
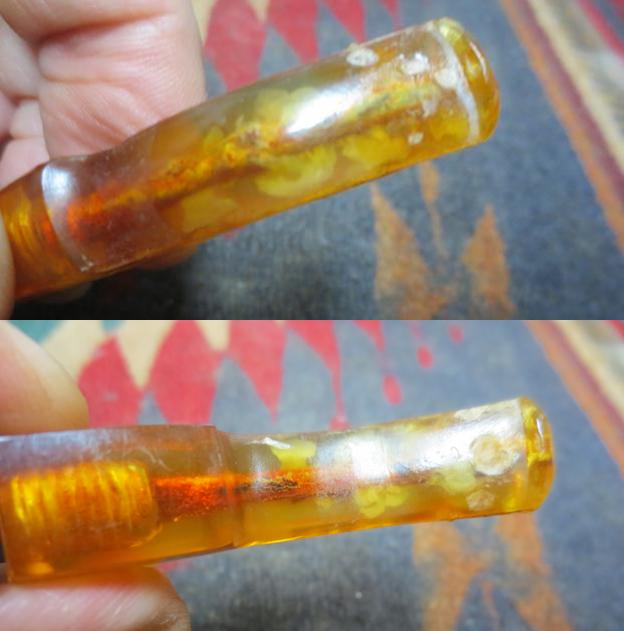
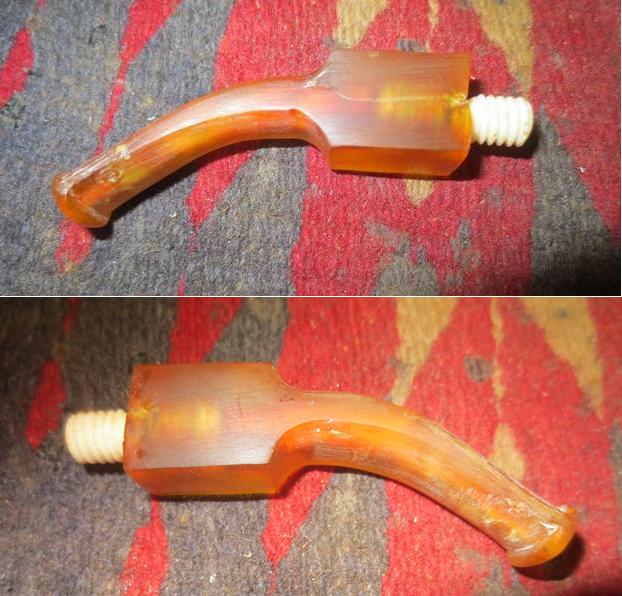
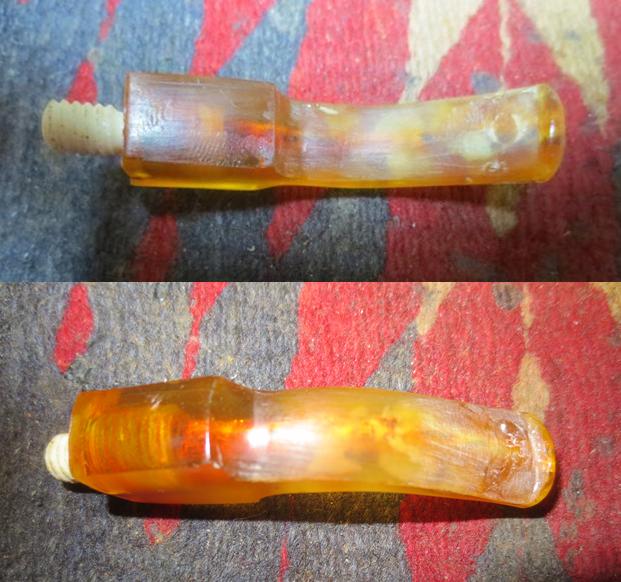
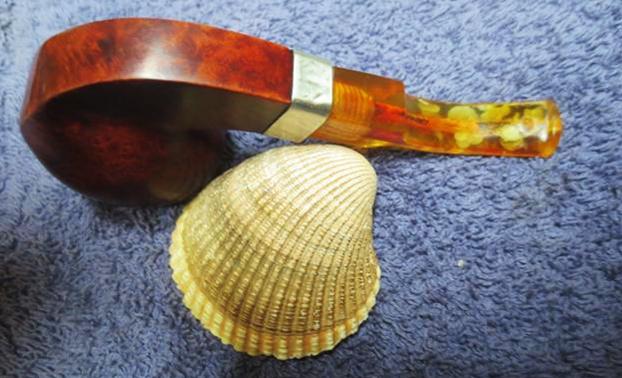
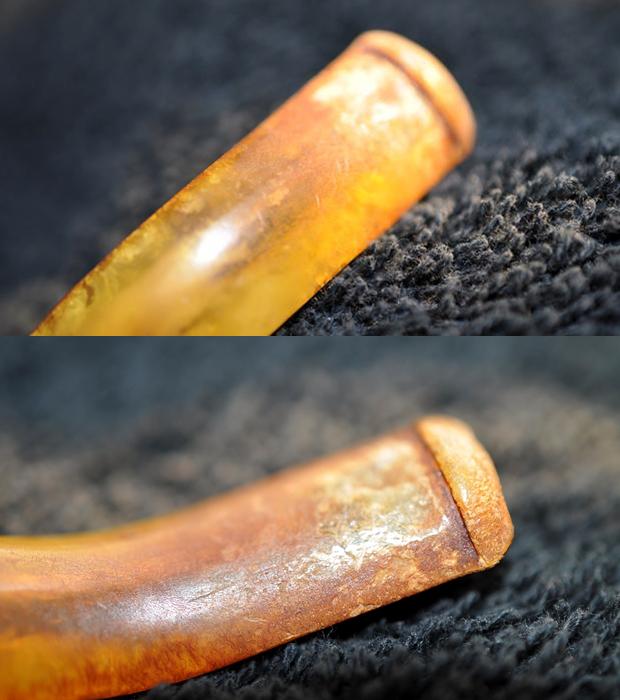
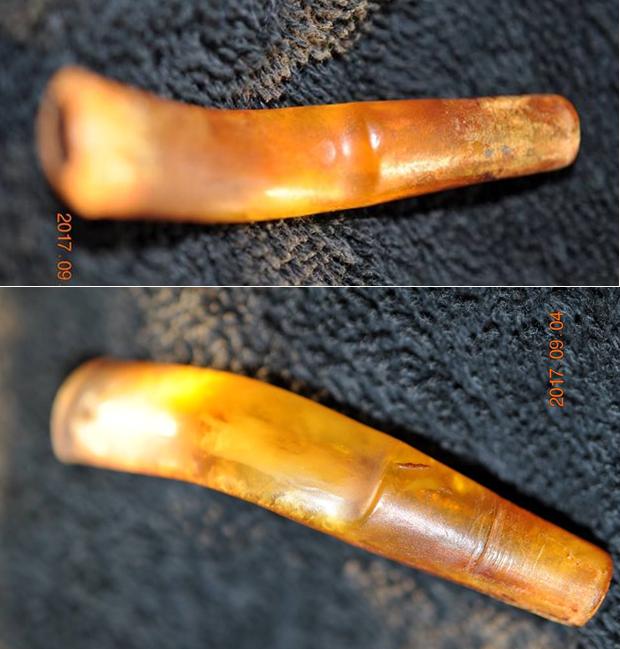
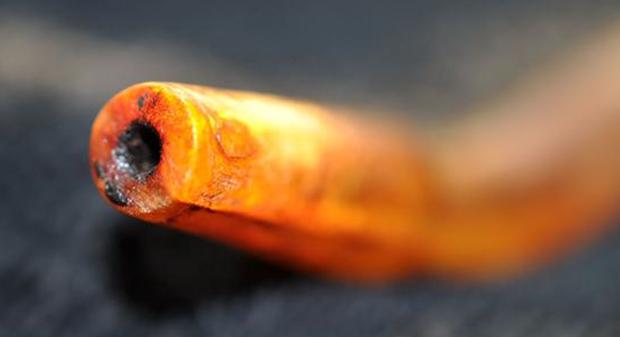
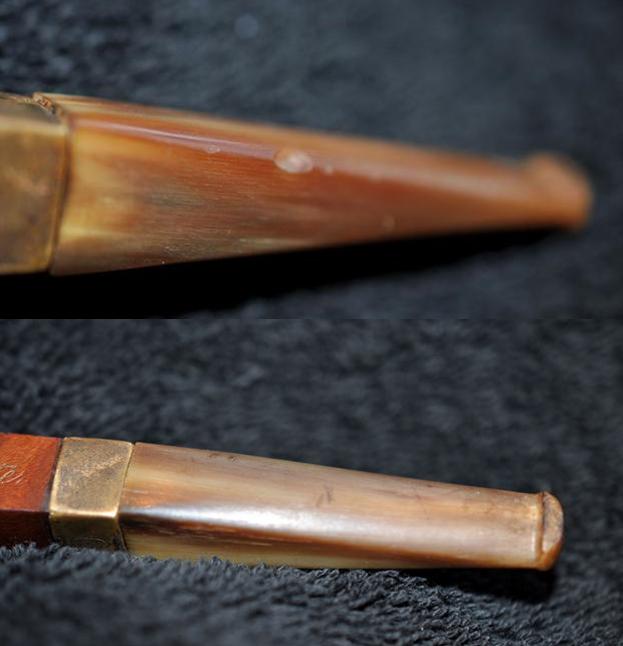
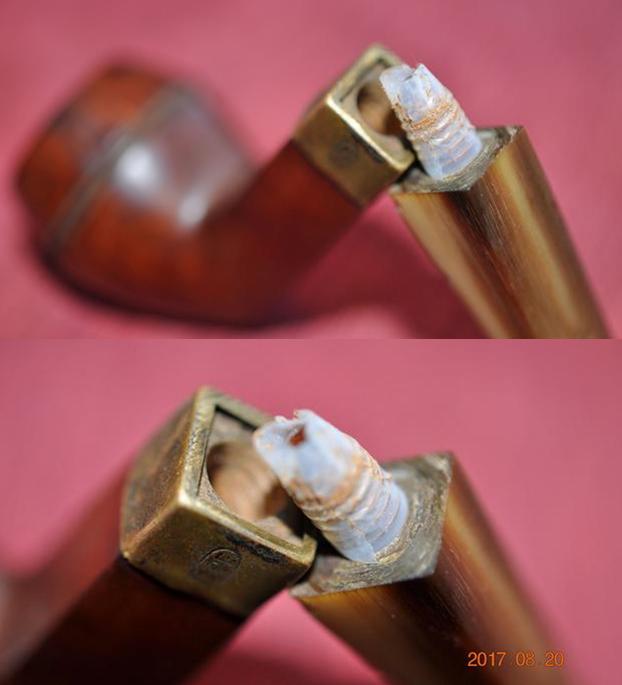
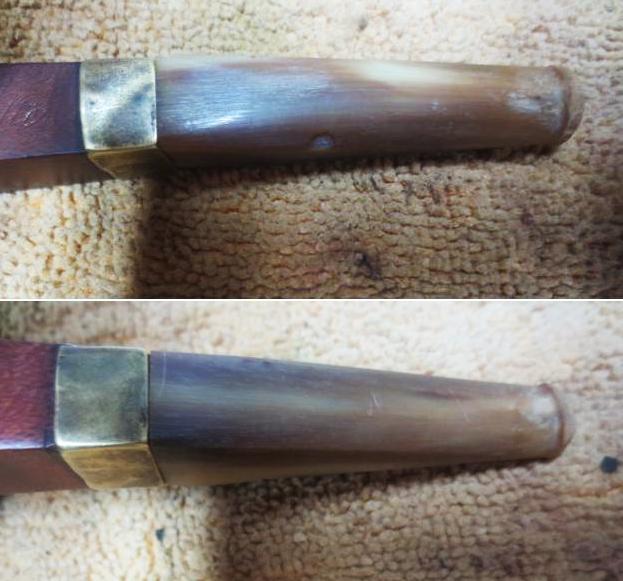
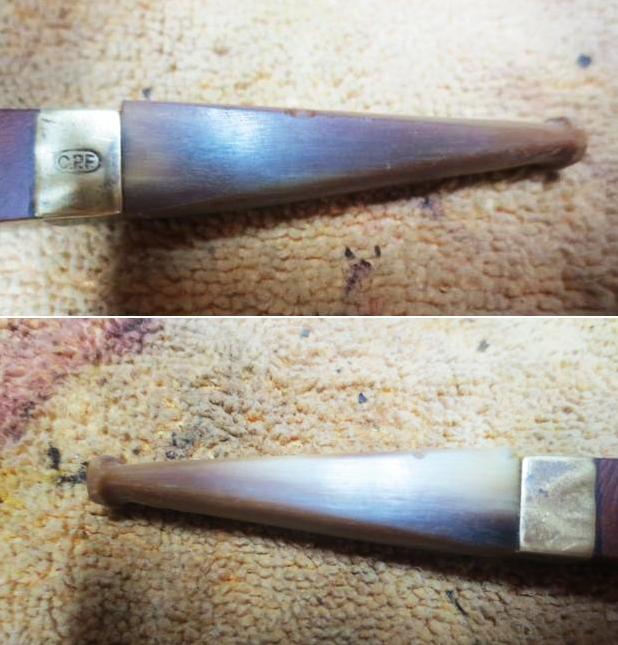
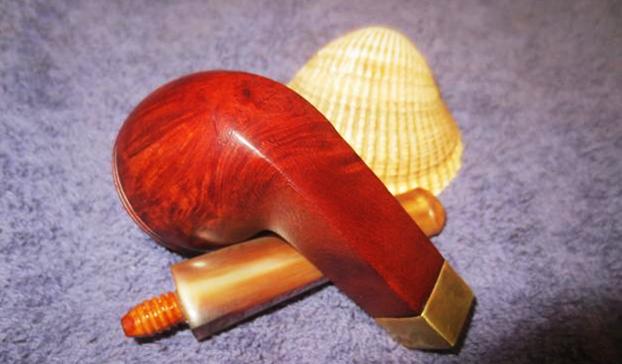
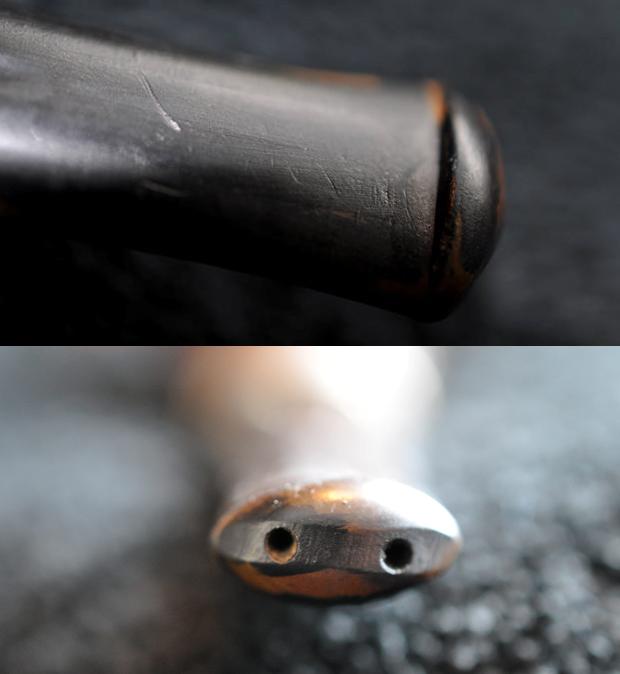
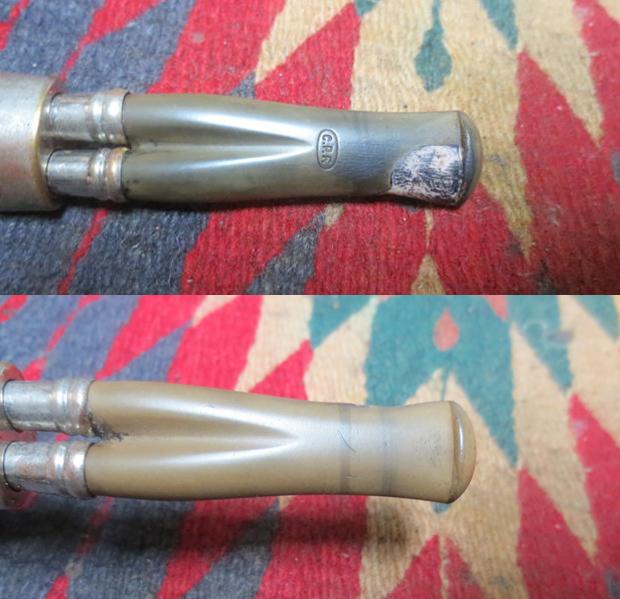
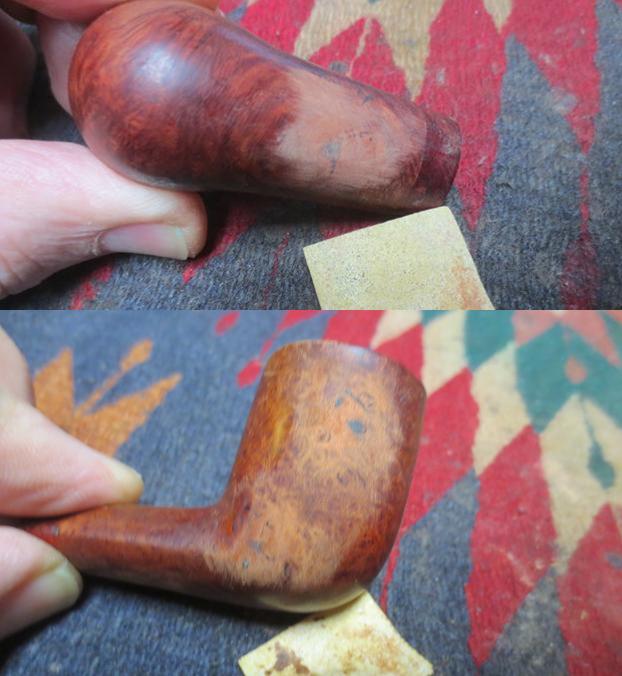
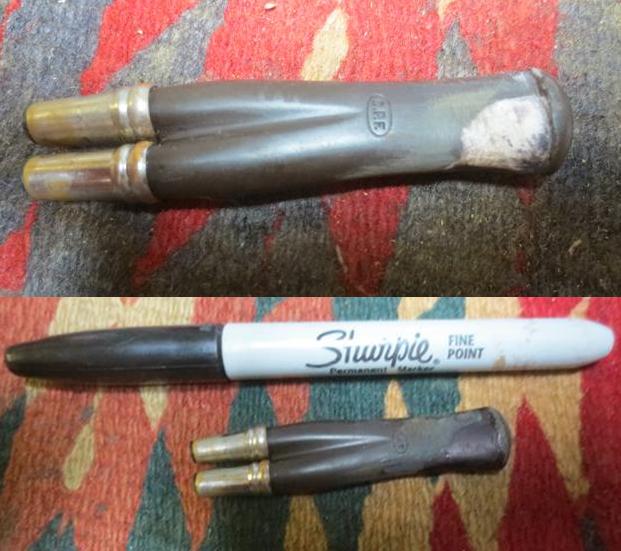
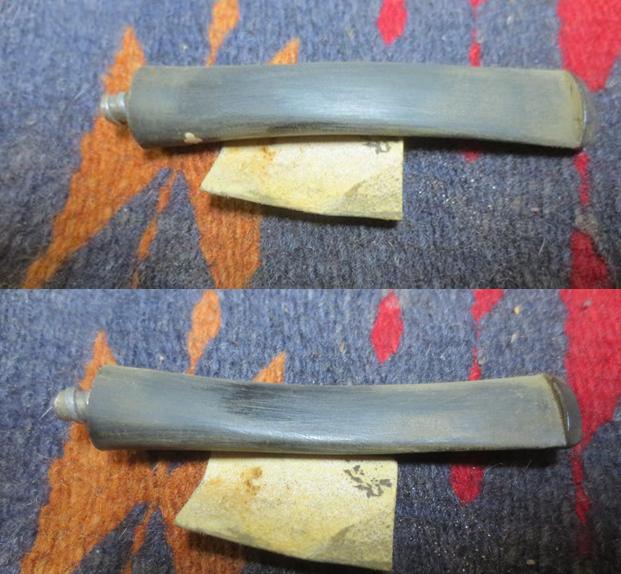
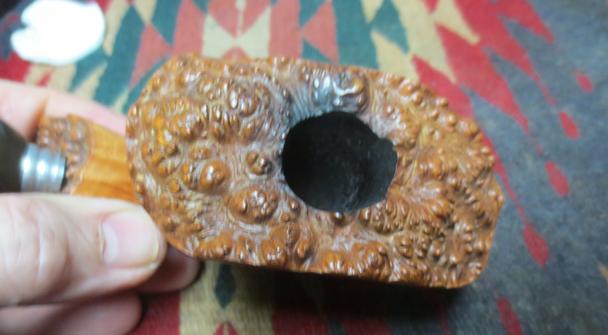 I took photos of the stem to show that the oxidation was heavier on the top side of the stem than the underside.
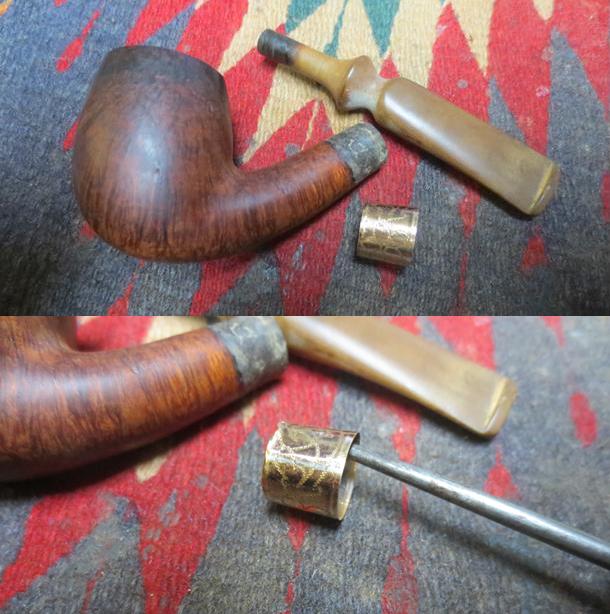
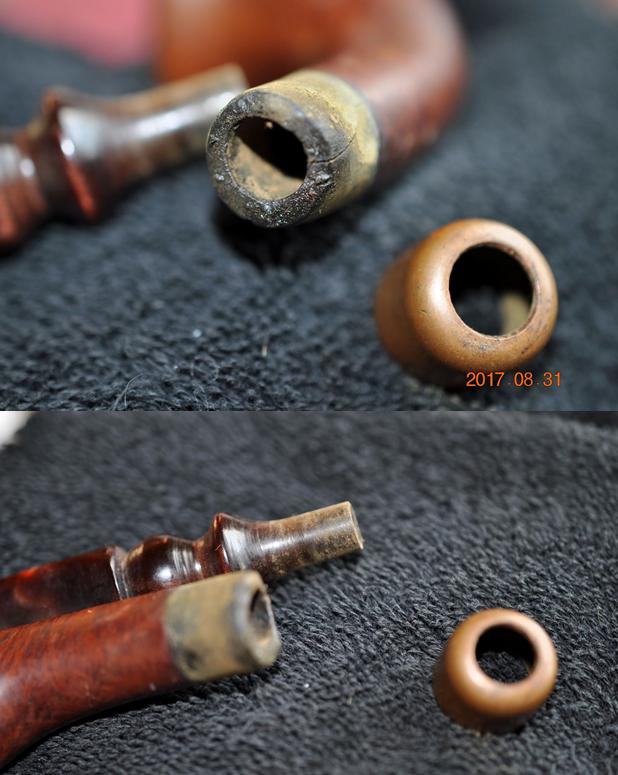
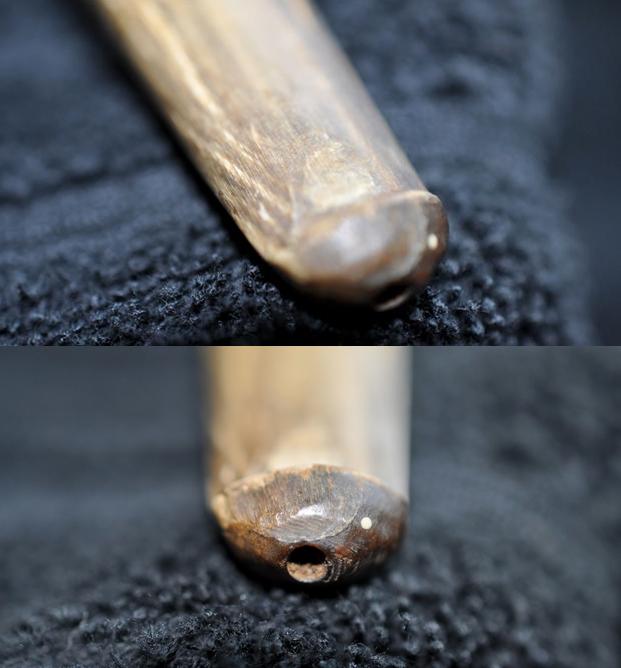
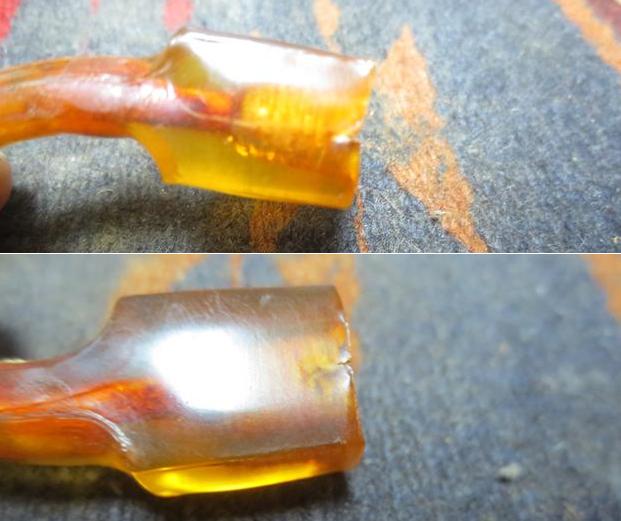
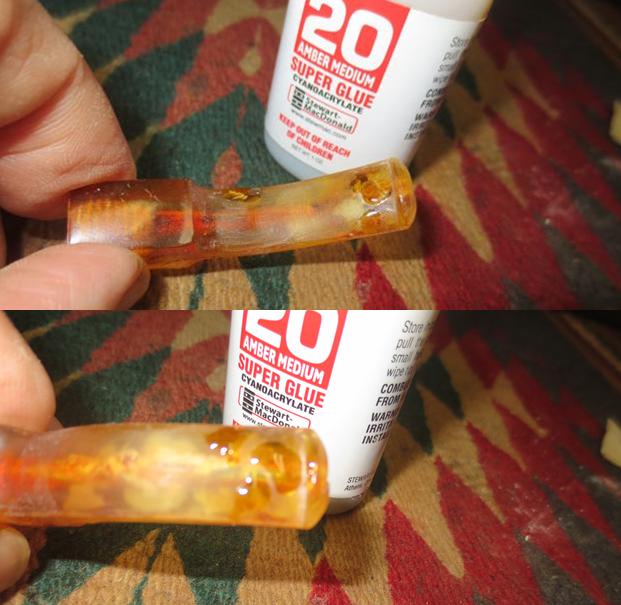
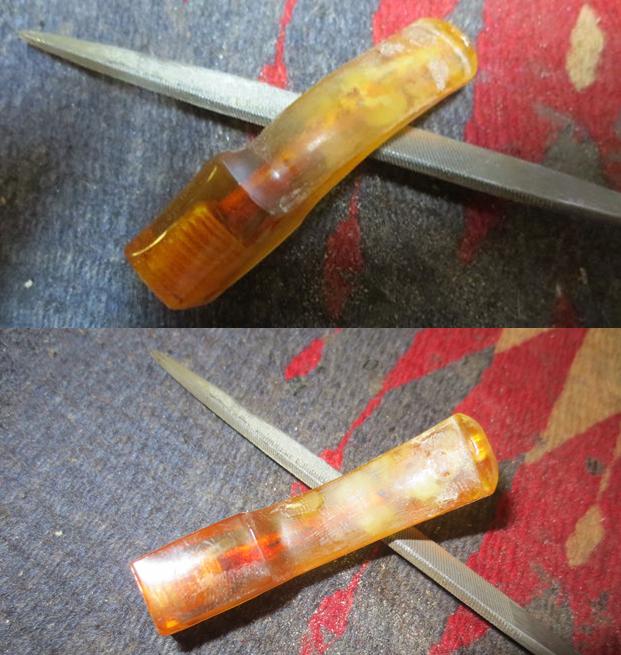
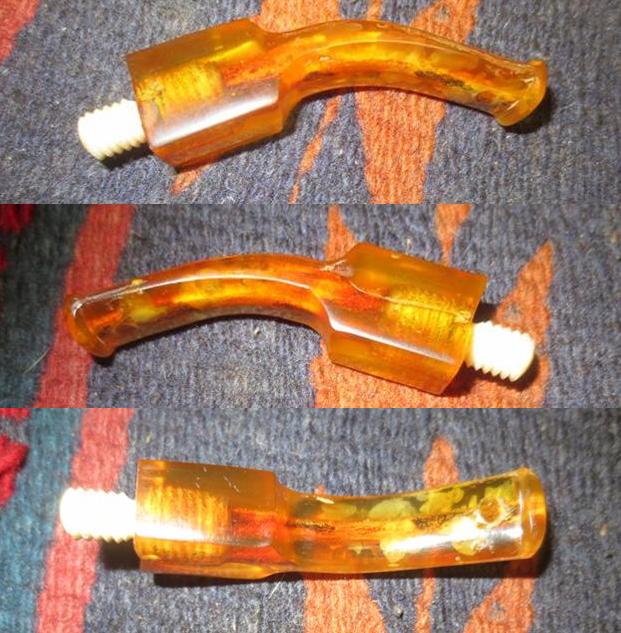
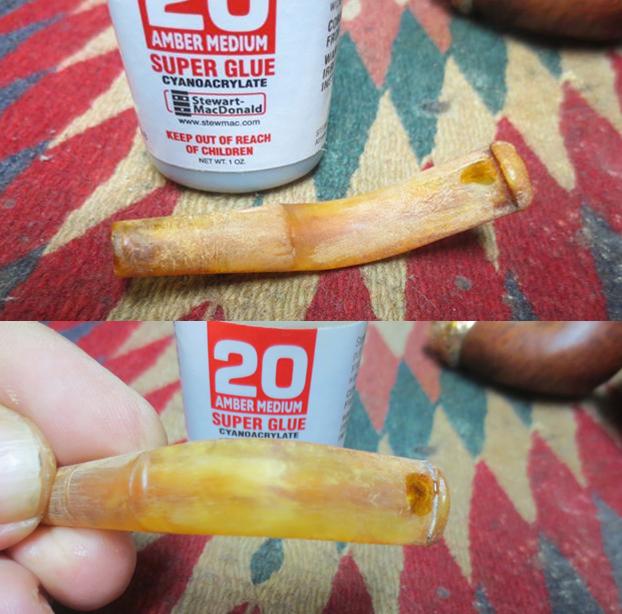
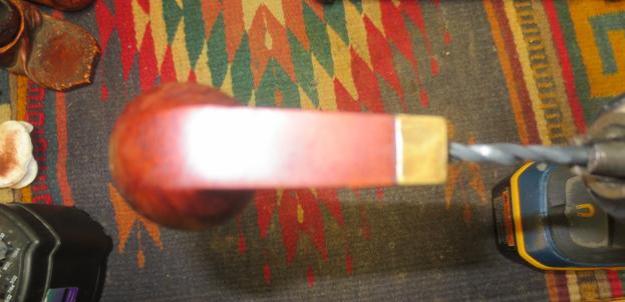
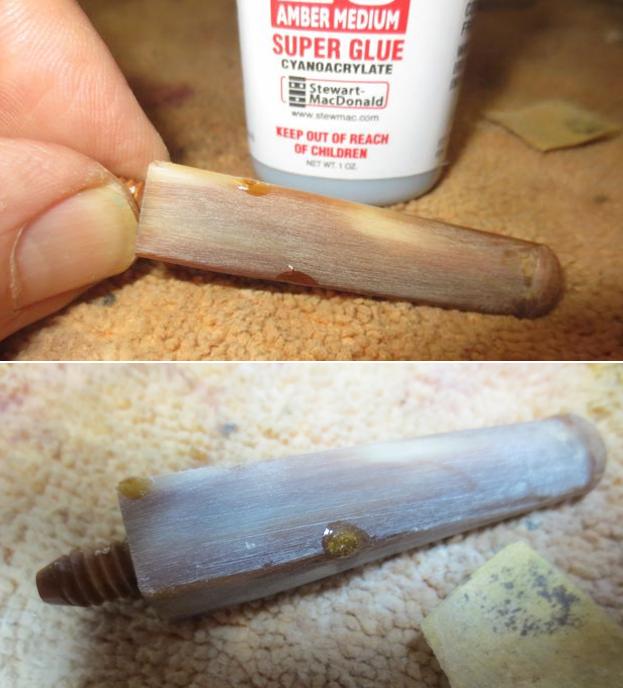
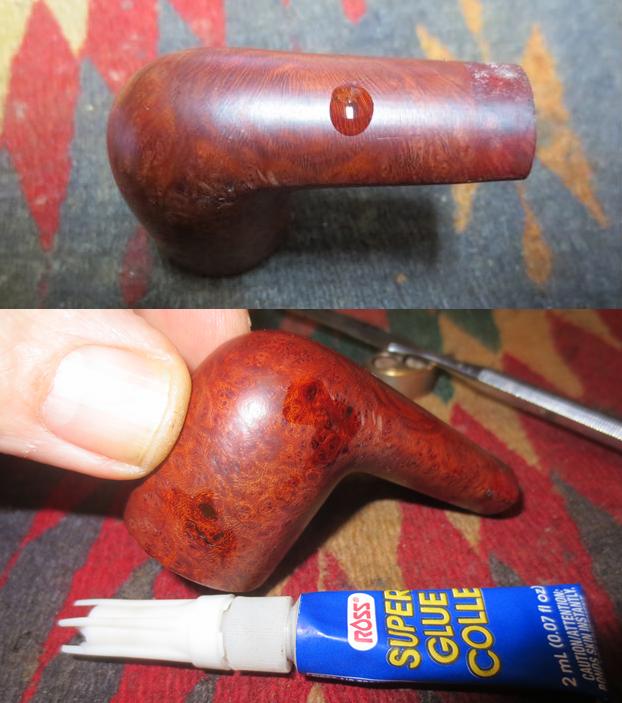
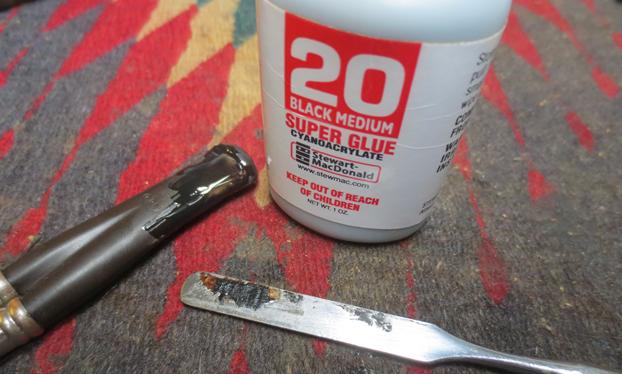
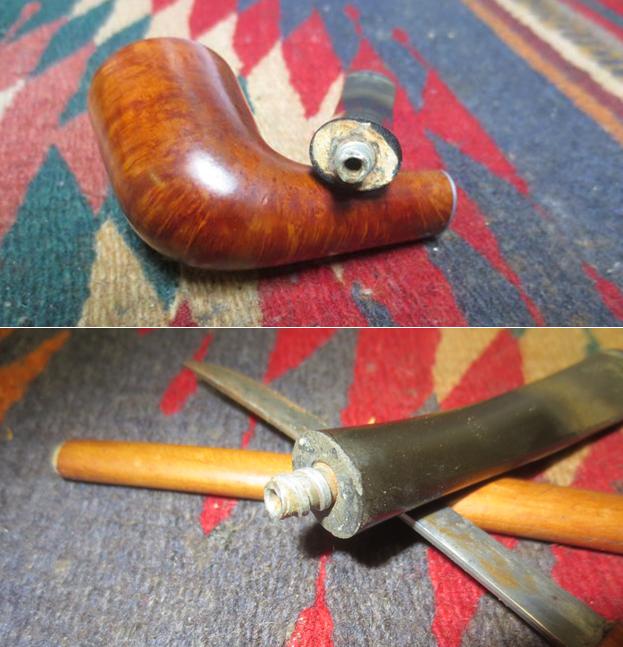
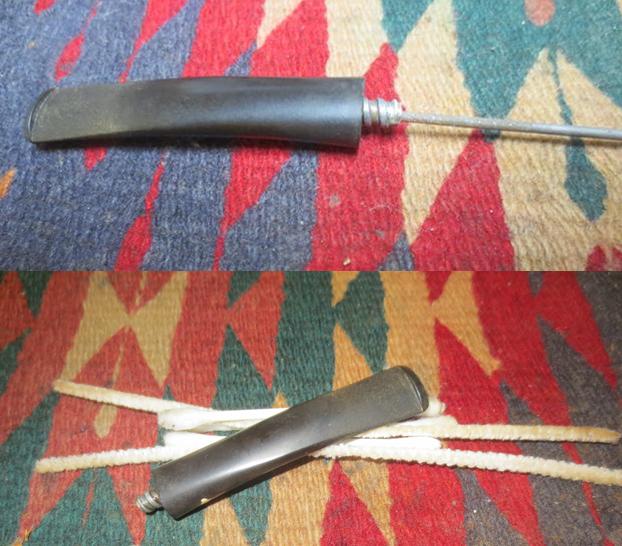
 I took the stem out of the mailing bag and wiped it down. It had the casting marks on both sides of the stem and on the tenon and button end. Those would need to be cleaned up. I used a Dremel and sanding drum to remove the casting marks on both sides and the button and tenon end. I drilled the airway open enough to hold the pin on the PIMO tenon turning tool. I put the tool in my cordless drill and pushed the stem onto it. I adjusted the cutting head to cut the tenon to the same diameter as the tenon on the existing stem. I held the stem and used the drill to cut away the excess material so that it would fit snugly in the mortise.
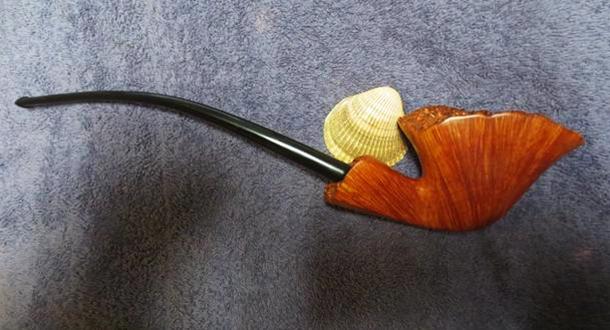
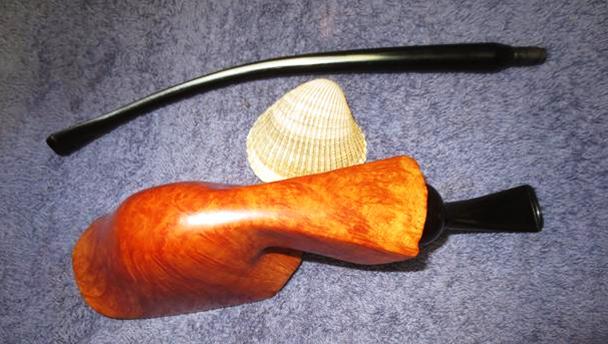
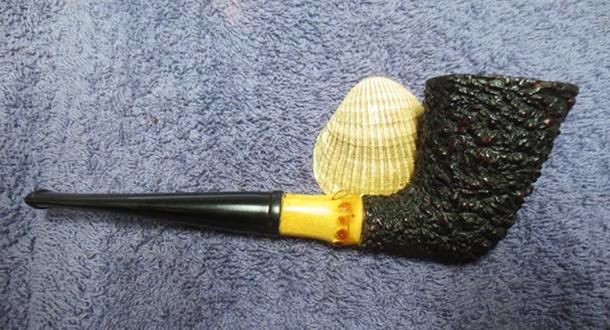
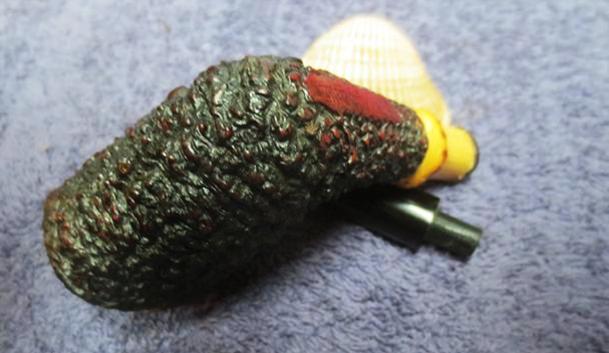
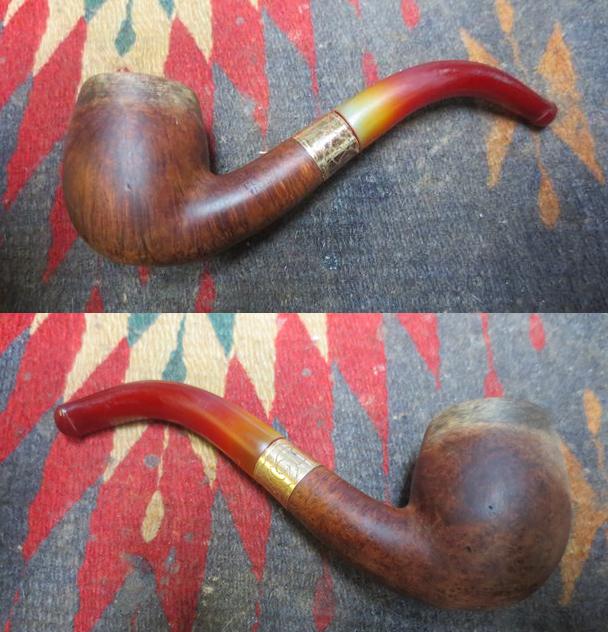
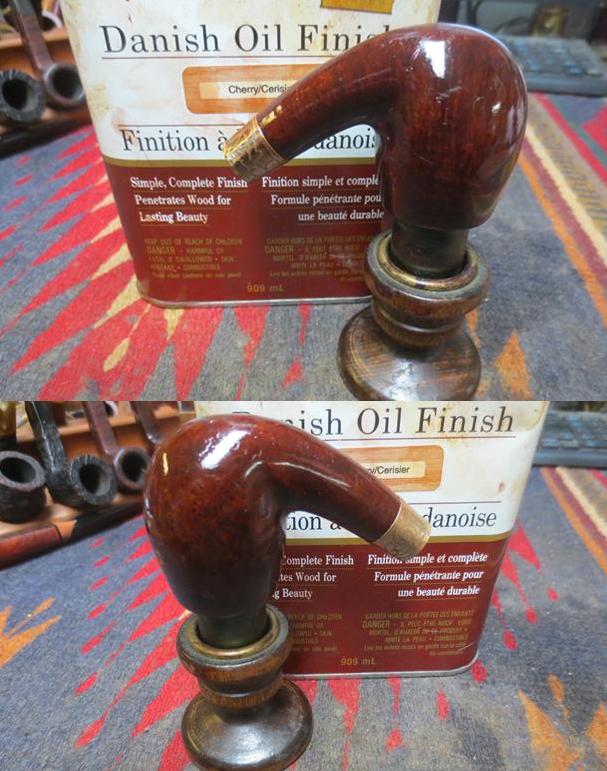
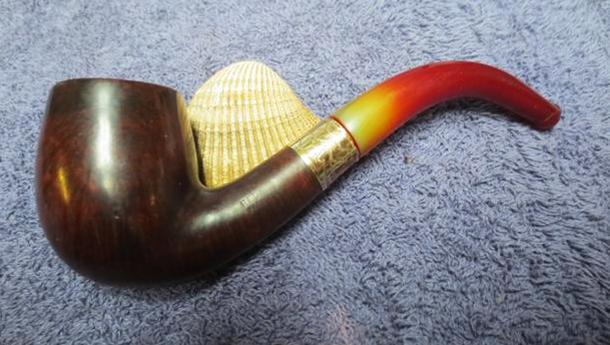
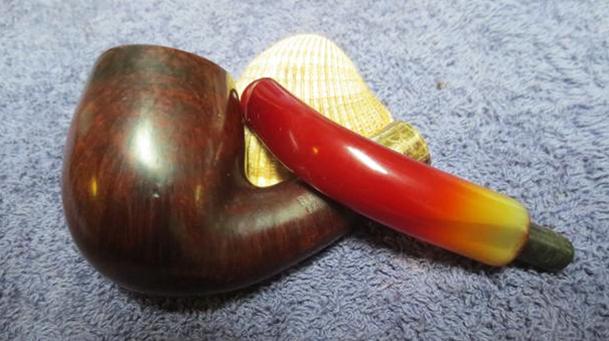
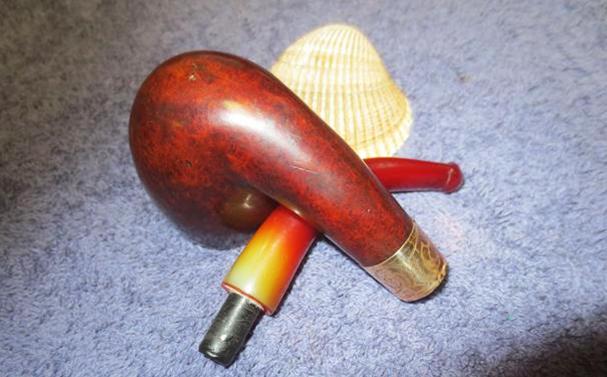
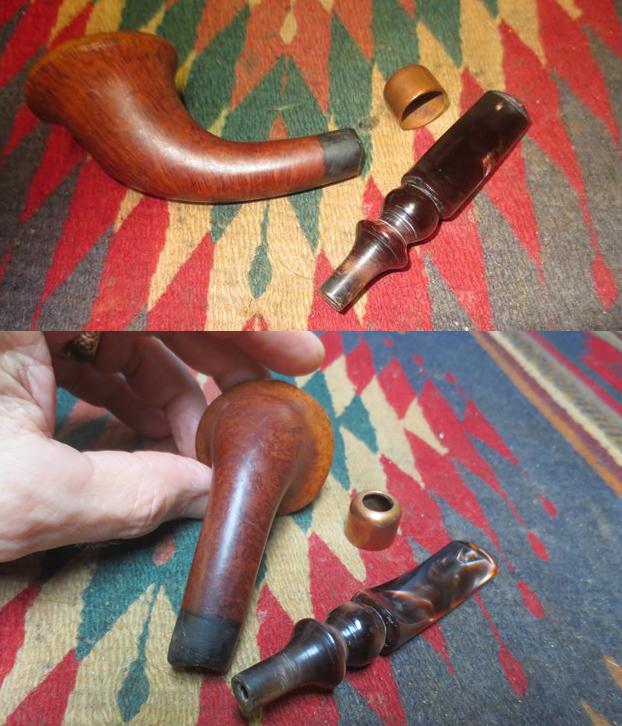
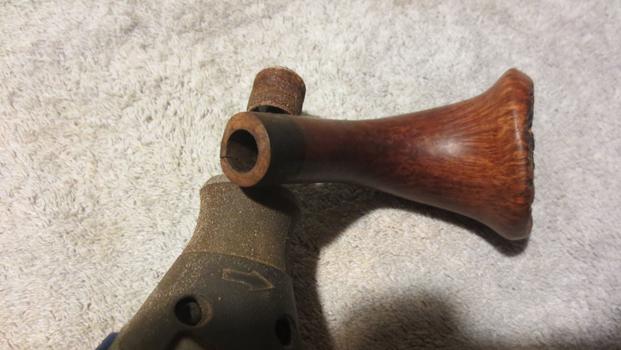
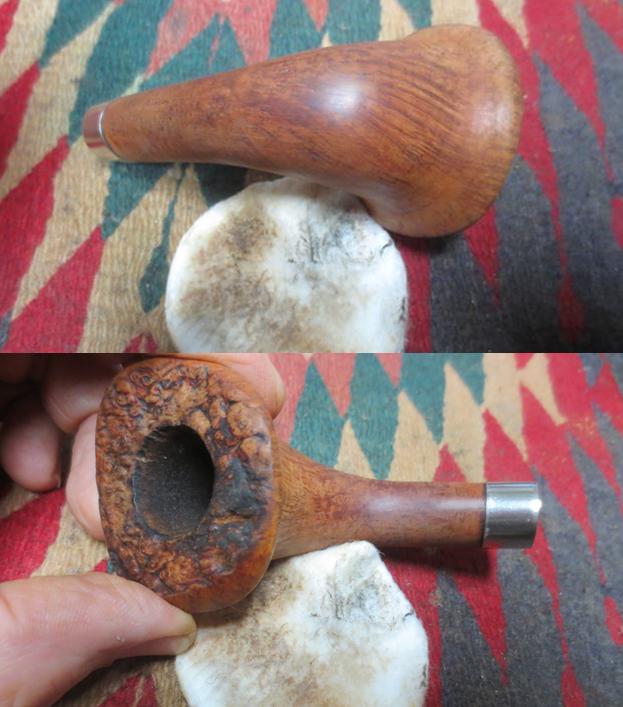
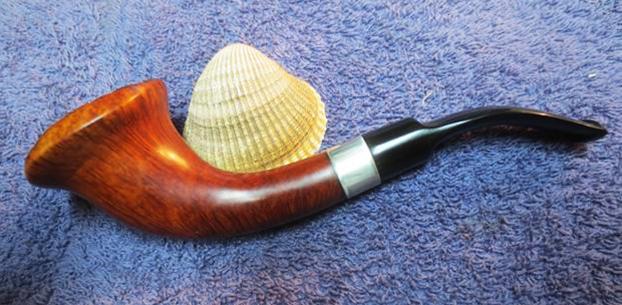
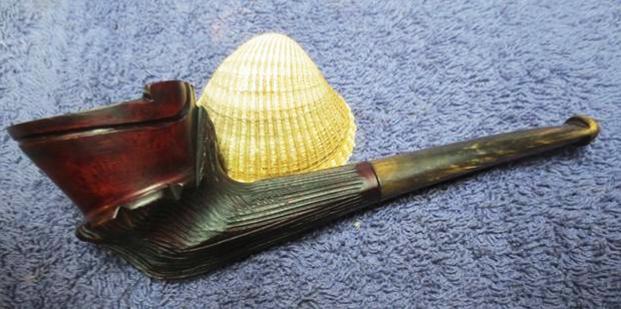
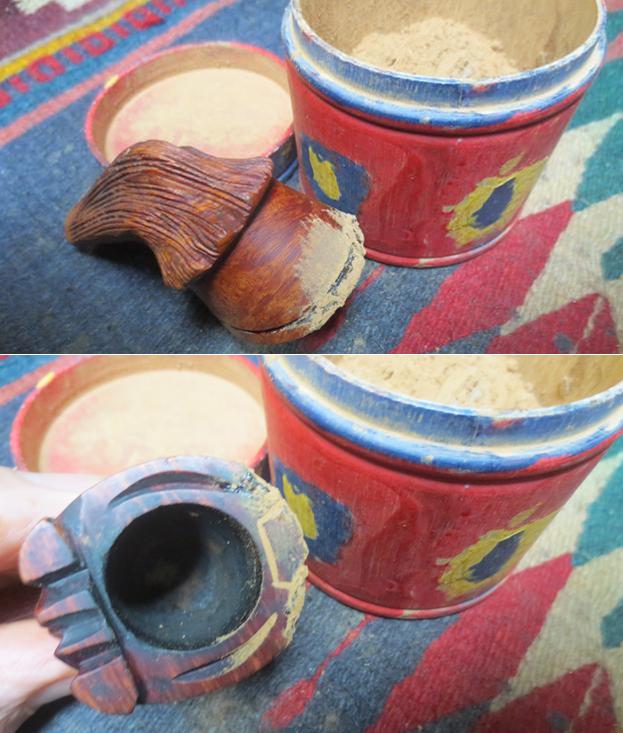
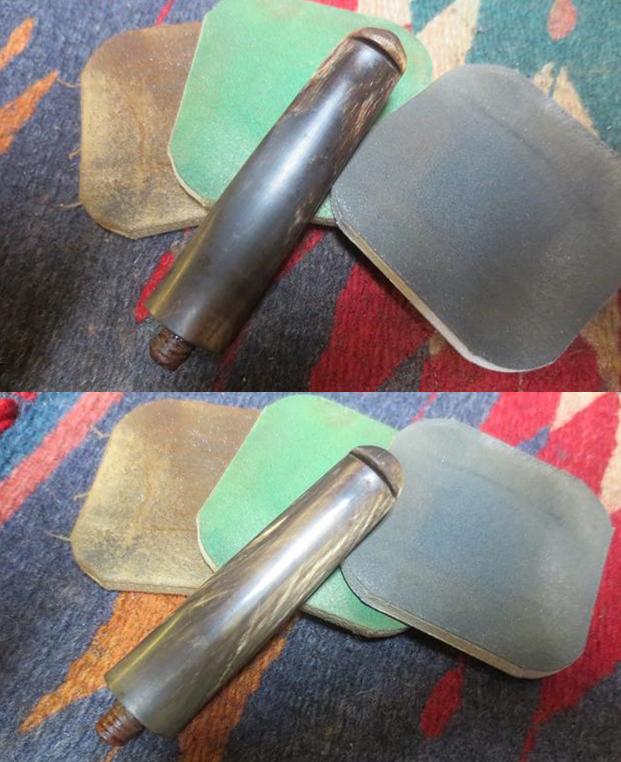
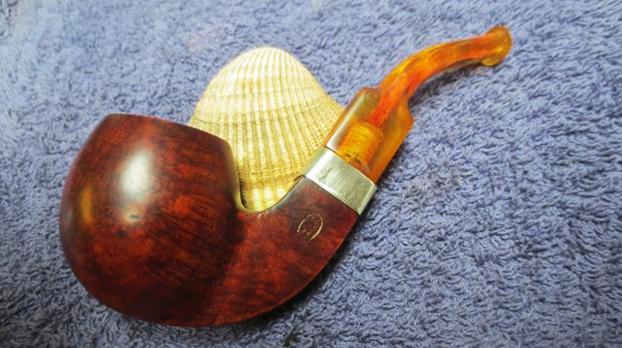
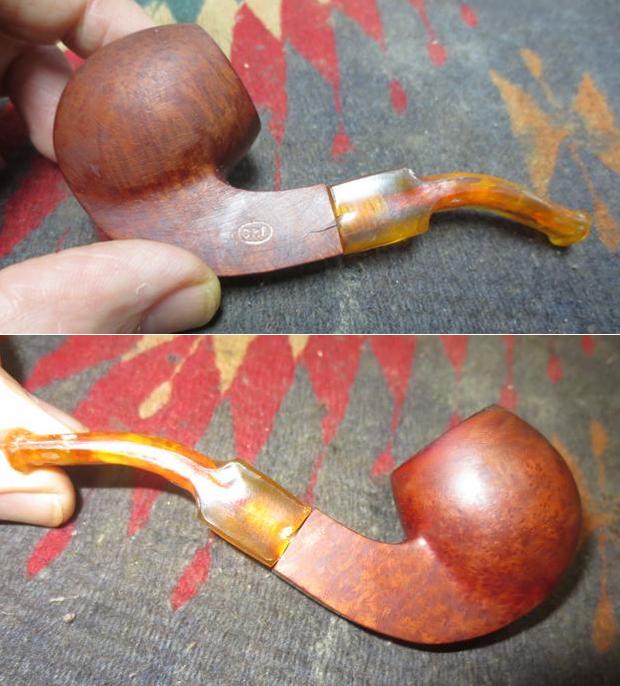
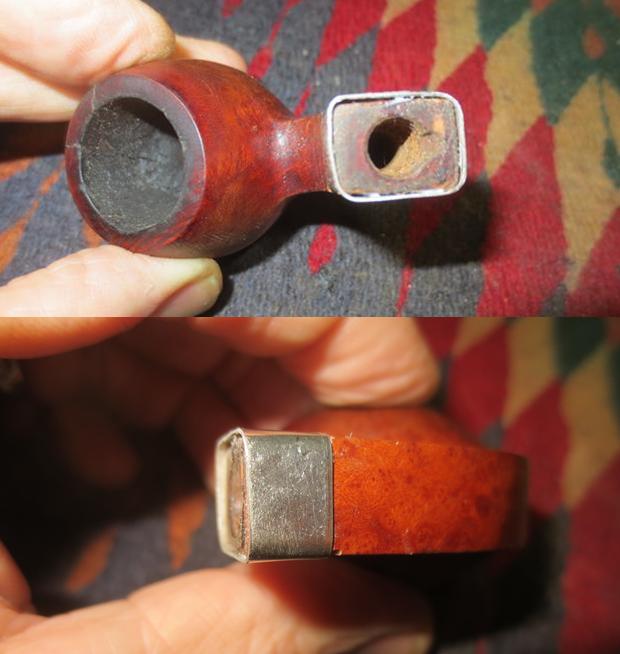
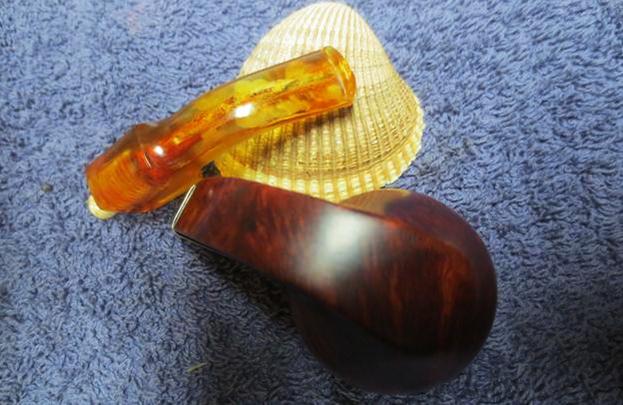
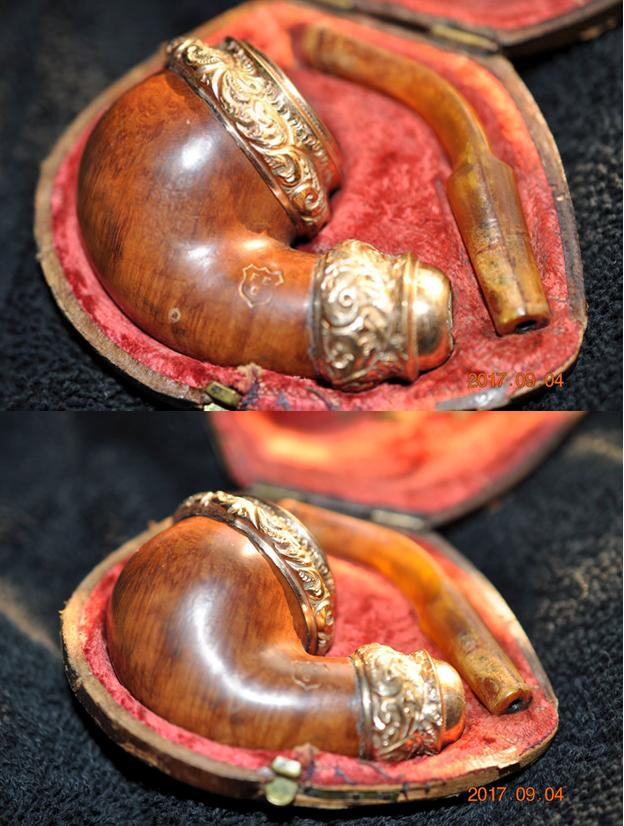
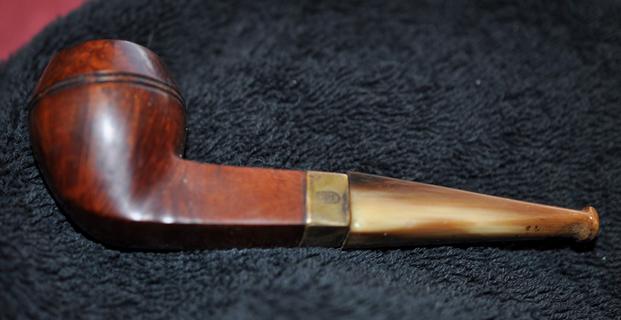
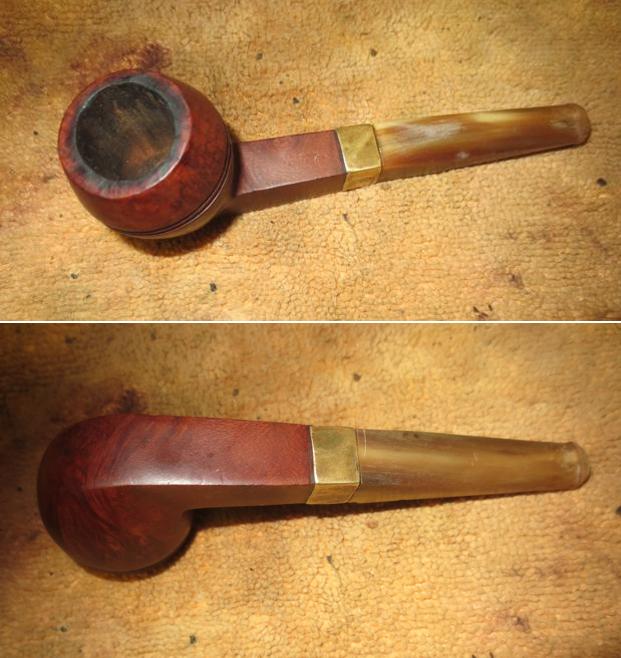
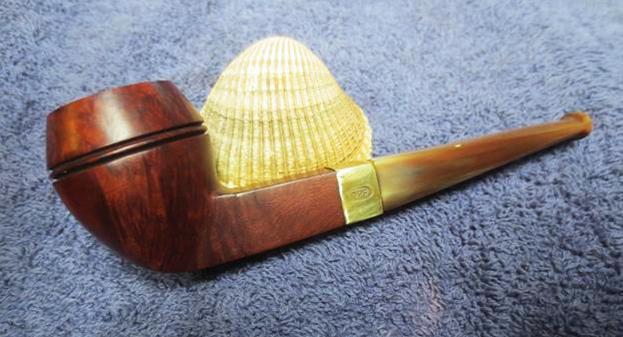
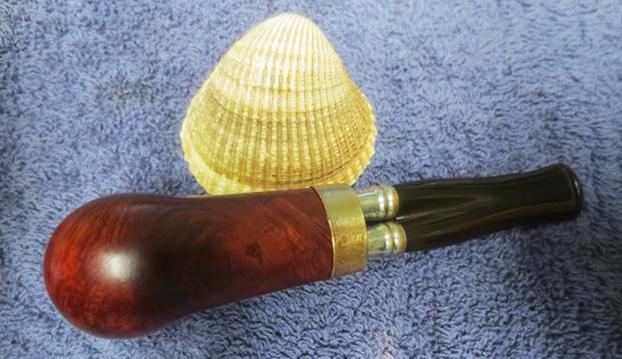
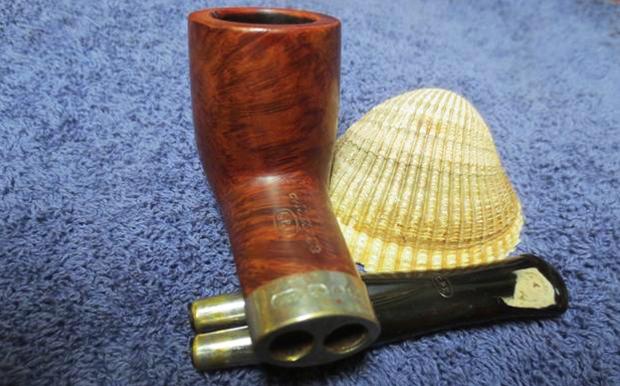
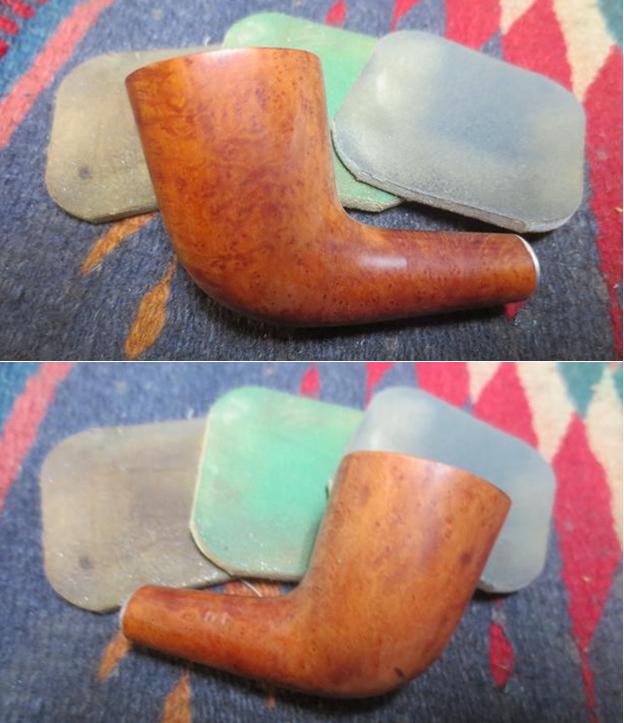
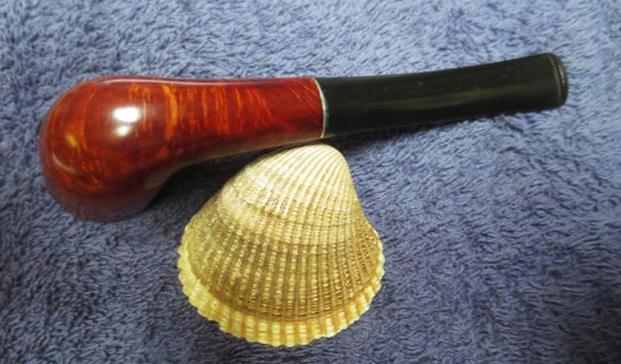
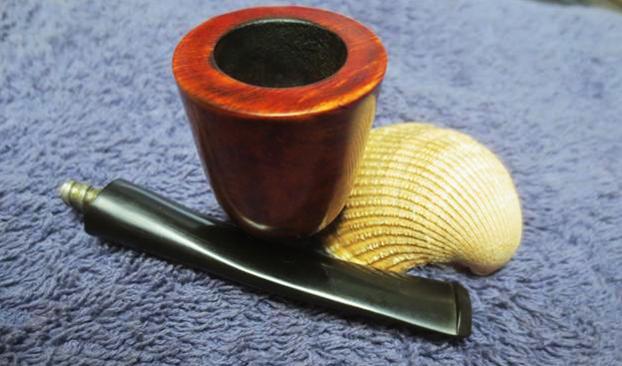
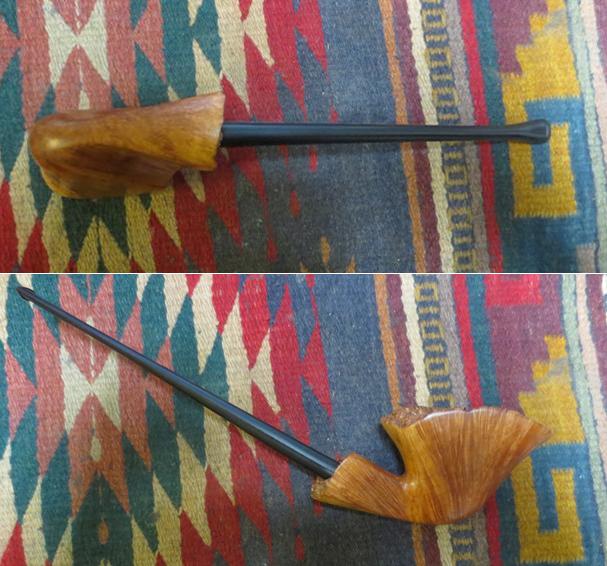
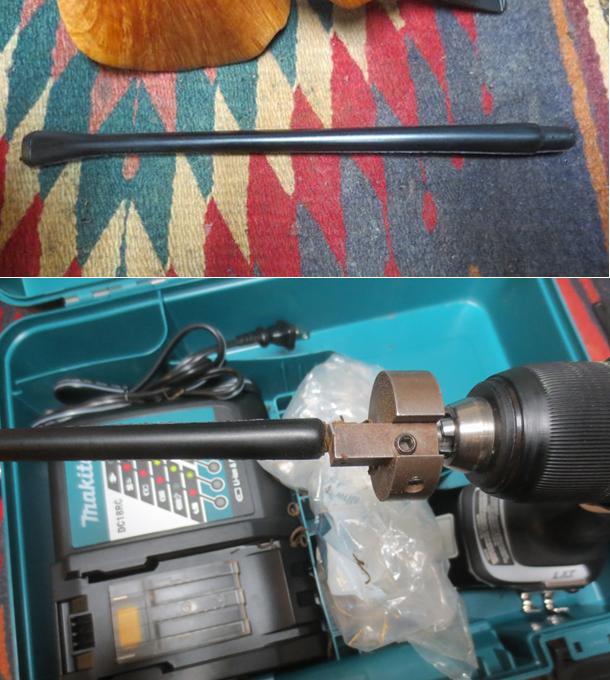 I put the stem in the shank and took photos of the new look of this handmade Mario Grande. The pipe looks really good and will be a great sitting pipe. There is no way that the weight of this piece of briar will ever work as a clencher.
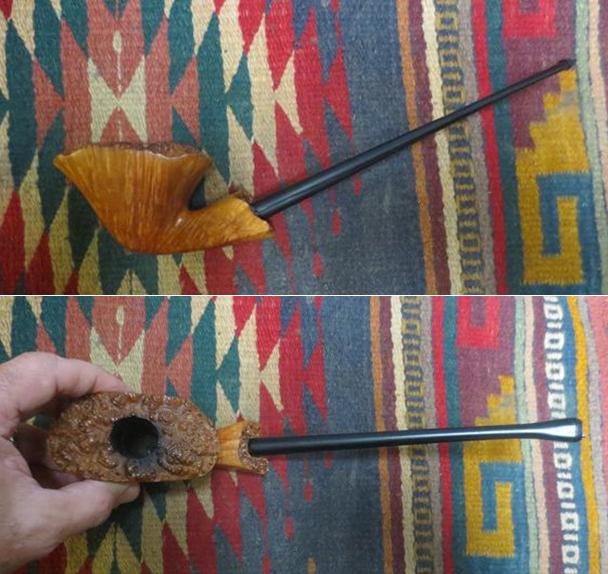
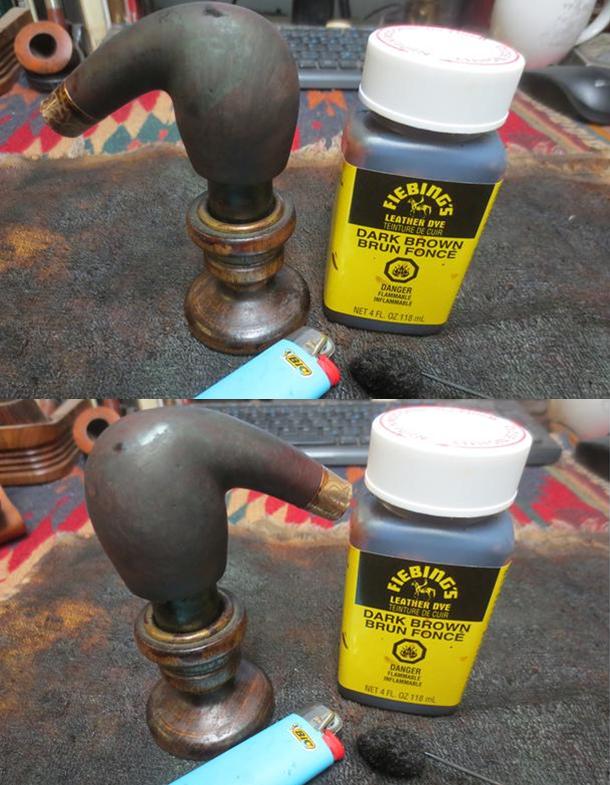
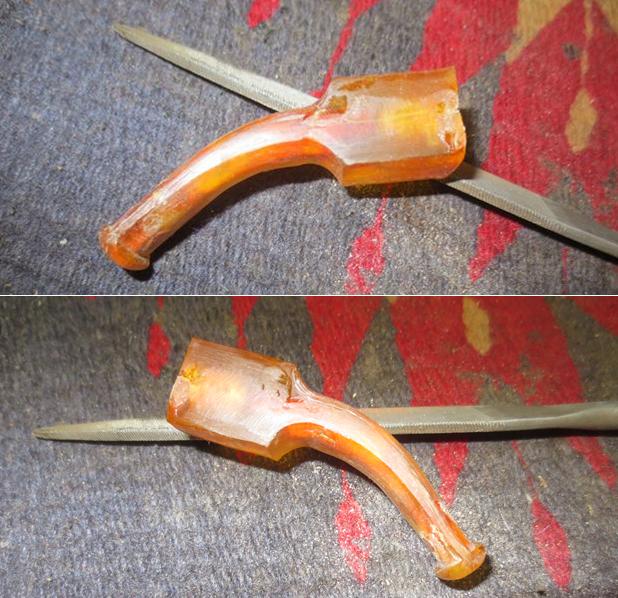
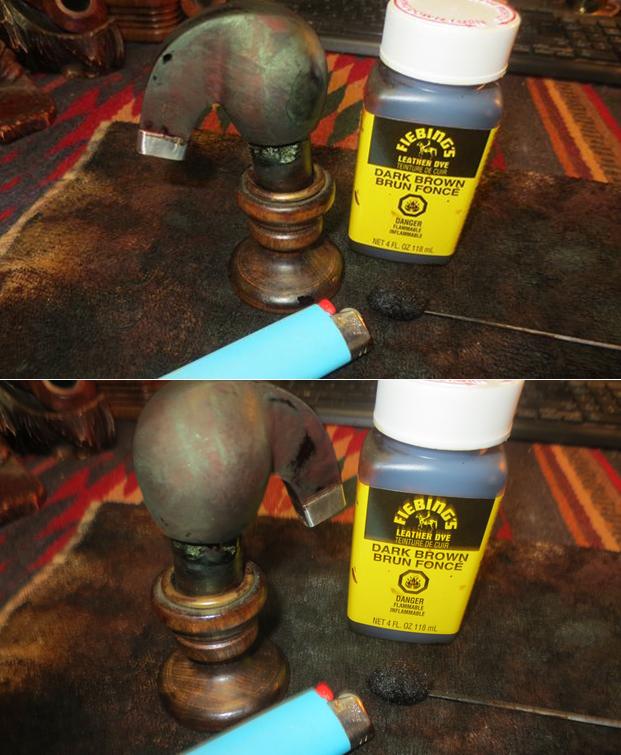
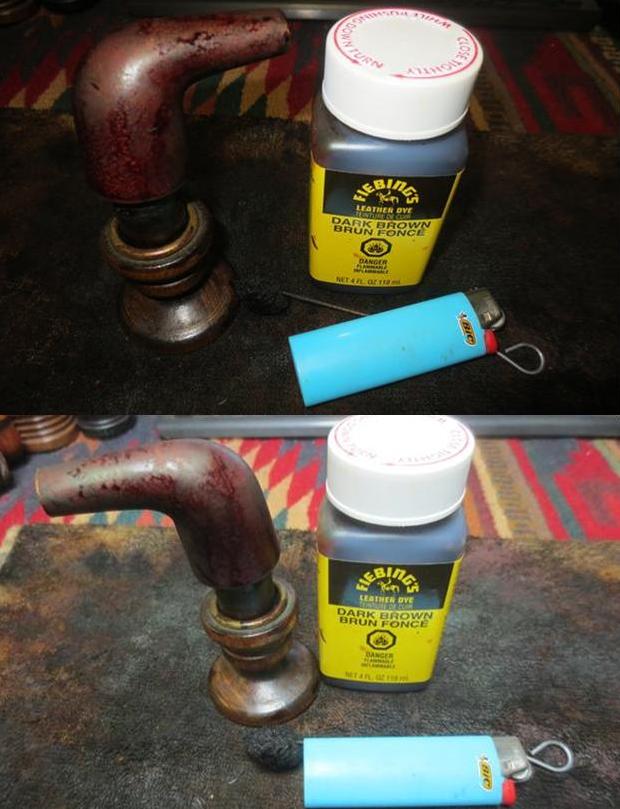
 I put a pipe cleaner in the airway in the stem and put it on a cookie tray. I turned the setting on the oven to 350 degrees F and put the cookie sheet and stem in the oven. I let it heat for 10 minutes until the stem was absolutely straight and pliable. I put the stem in the shank and bent it to an angle that matched the flow of the bowl and shank. I held it until the stem cooled and the bend was set.
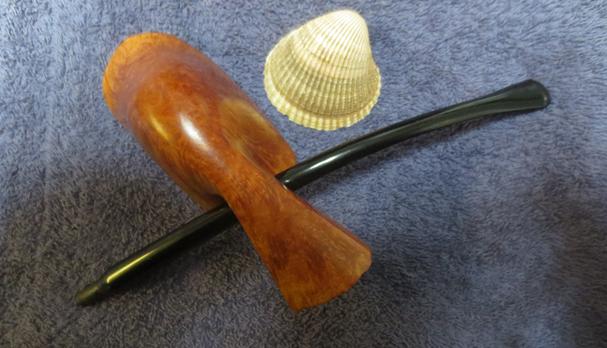
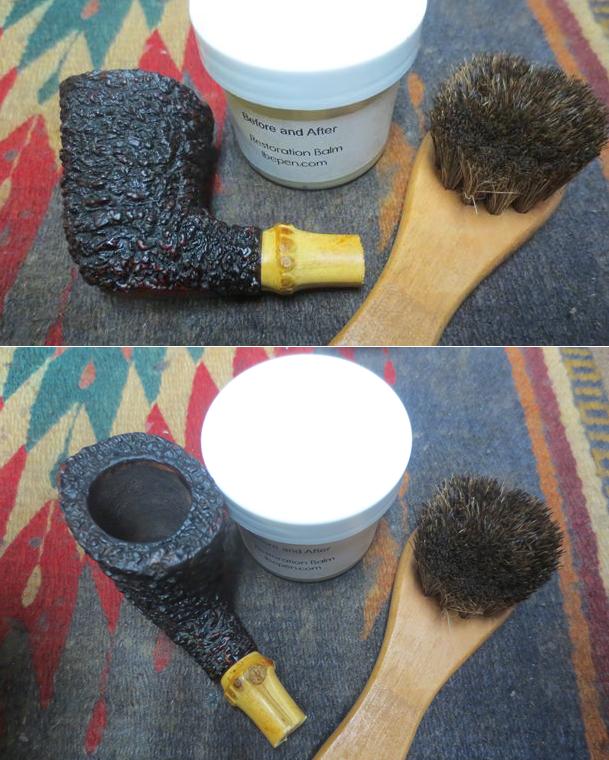
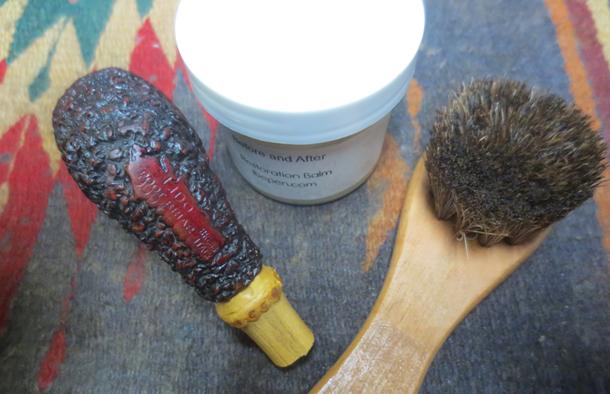
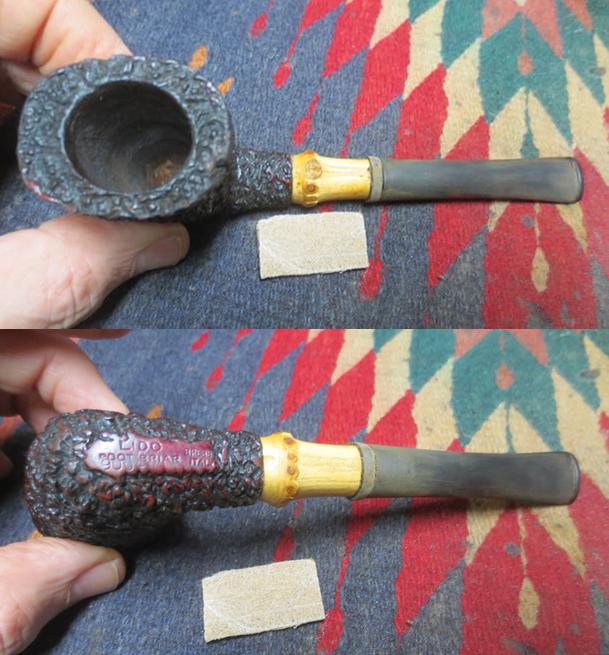
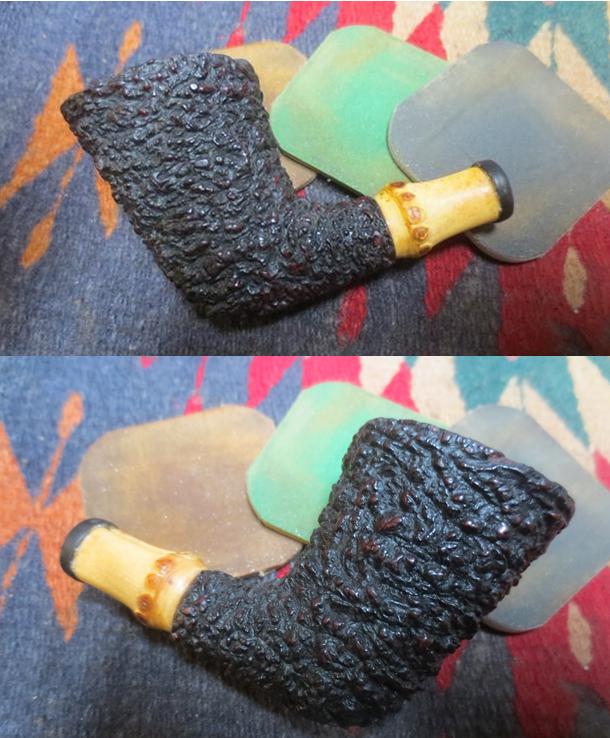
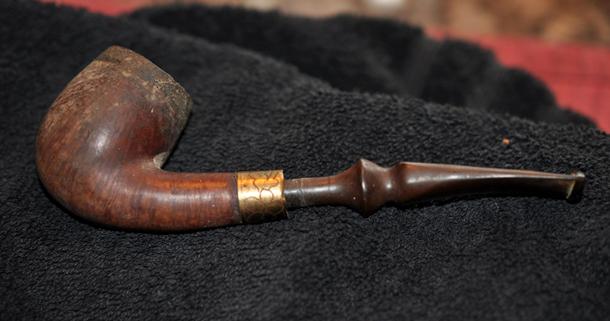
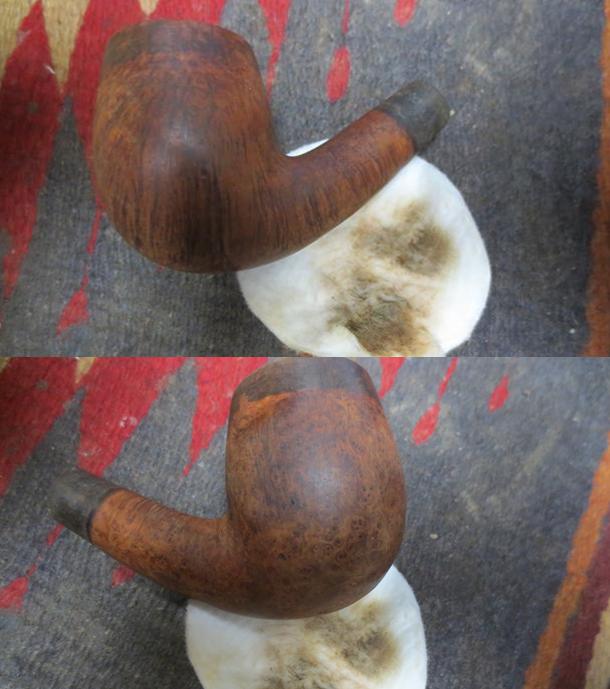
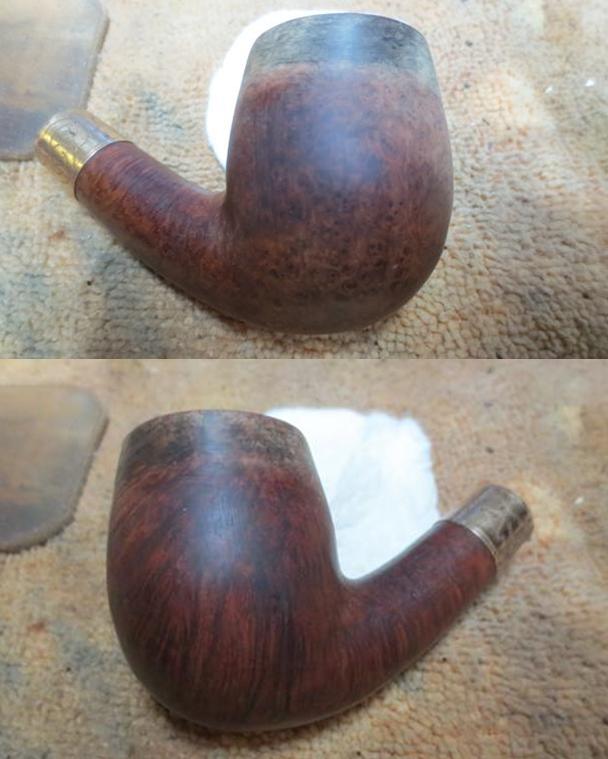
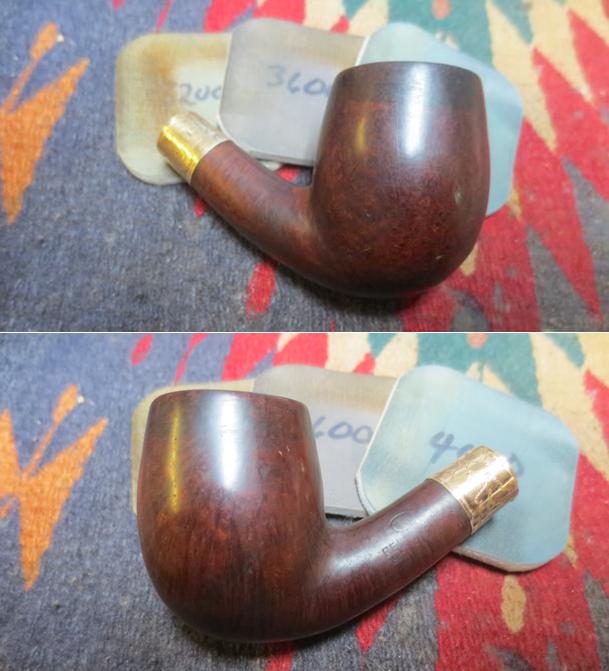
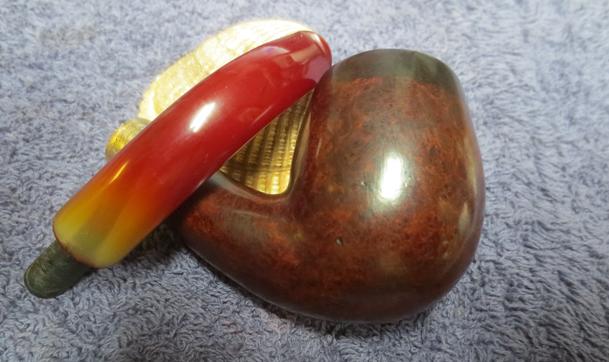
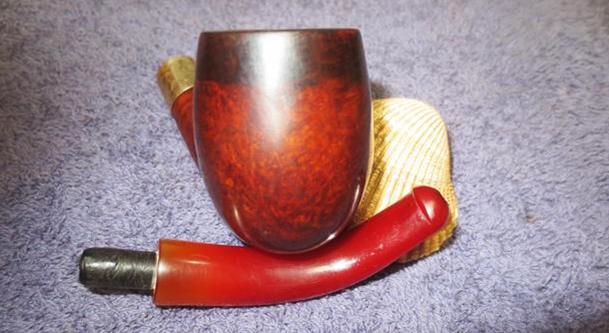
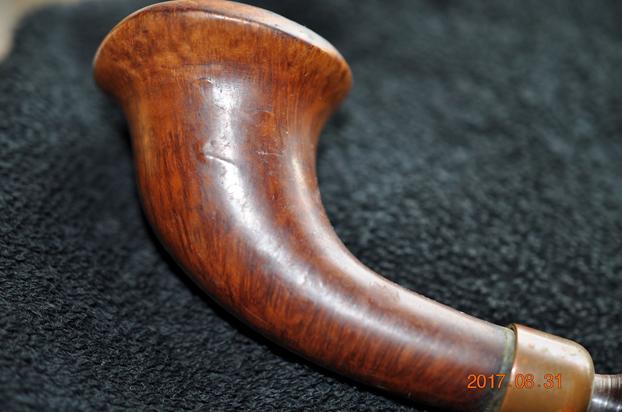
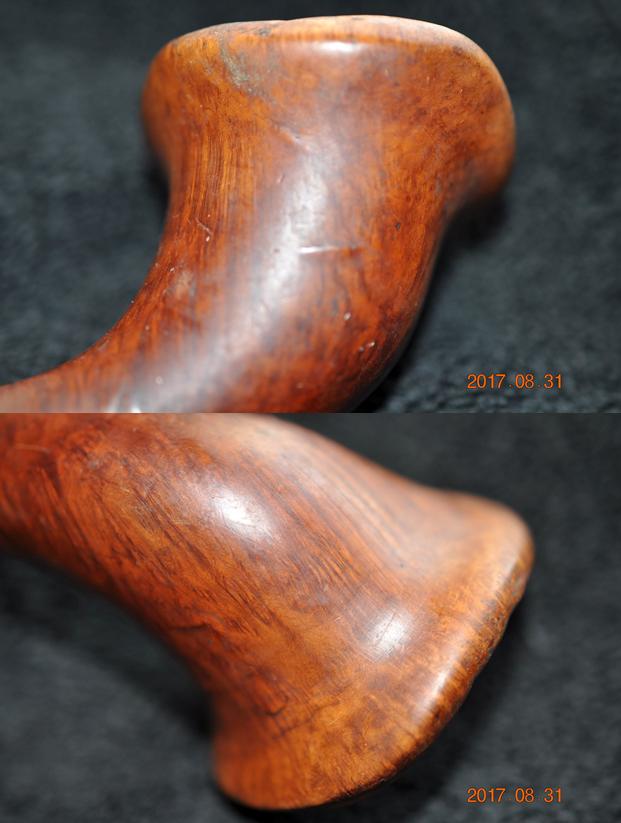
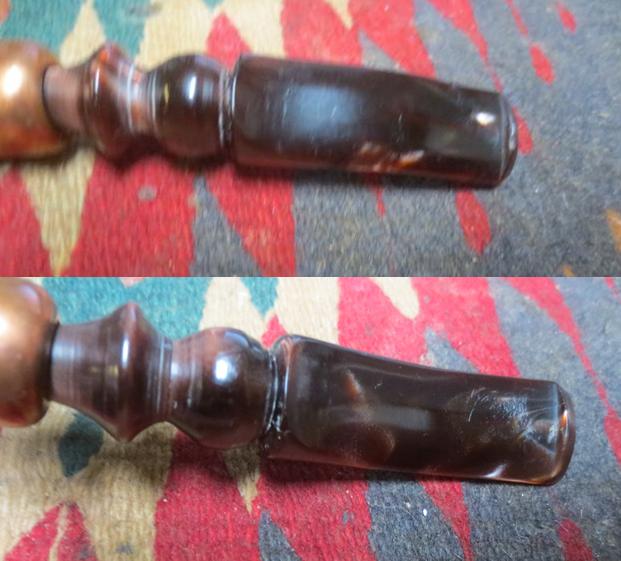
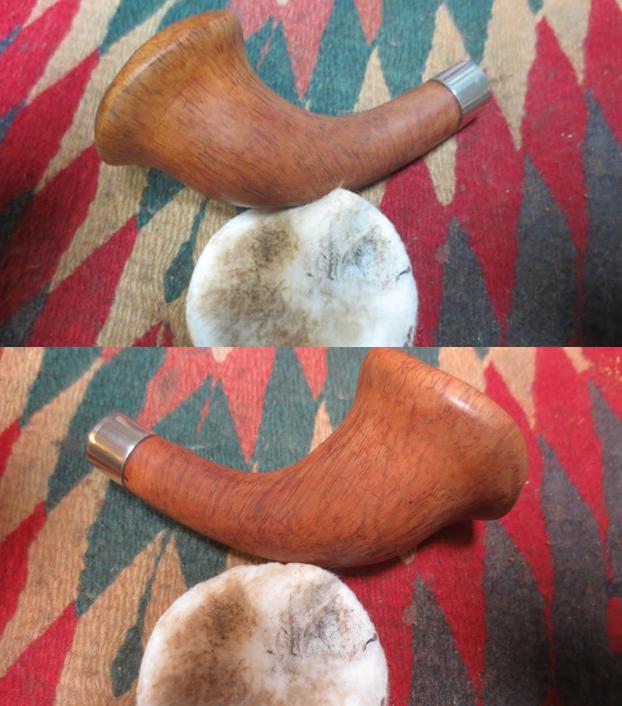
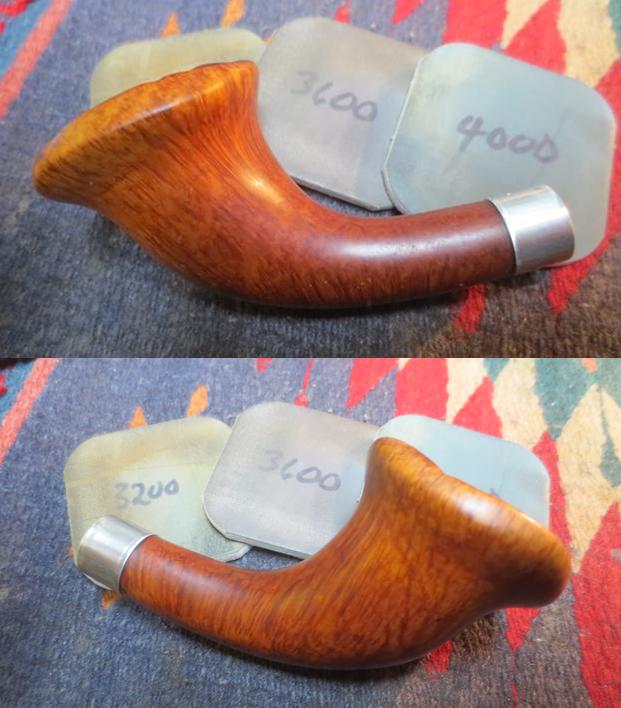
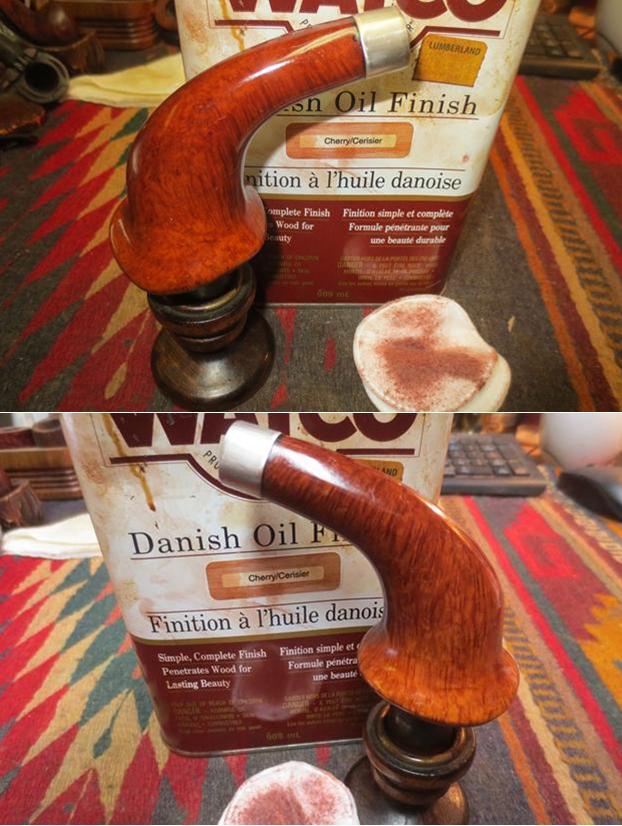
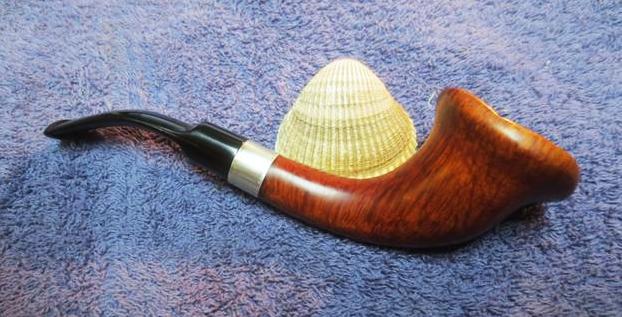
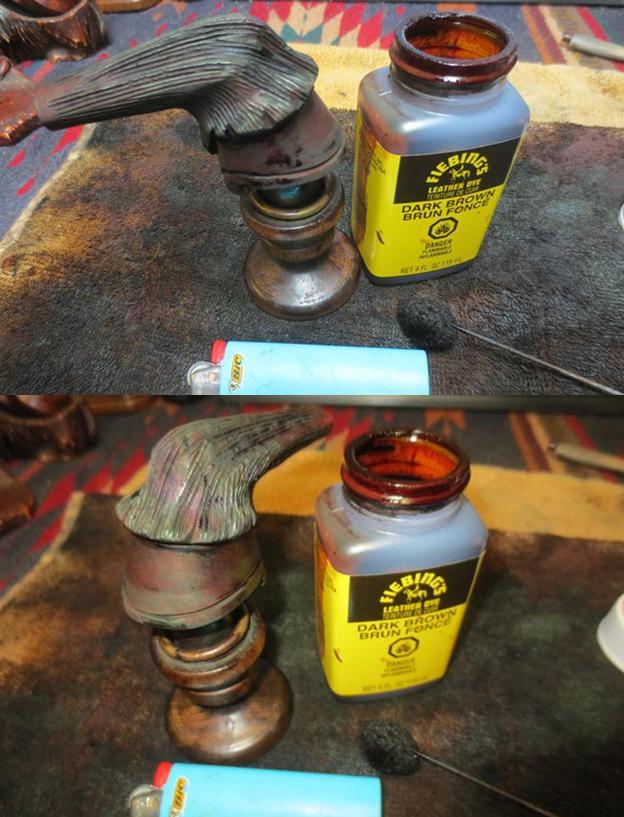
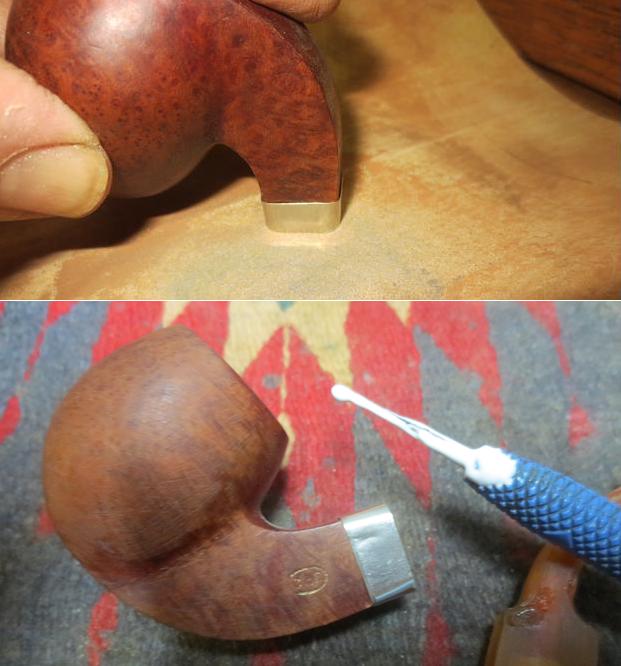
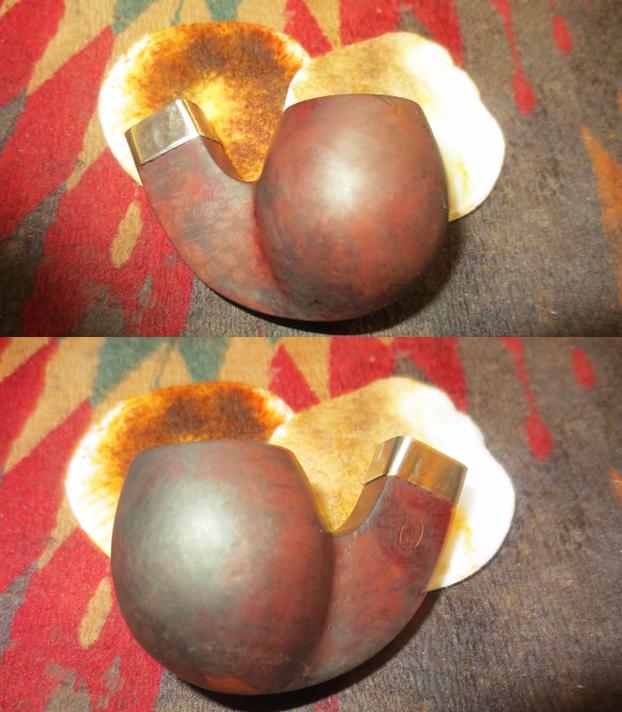
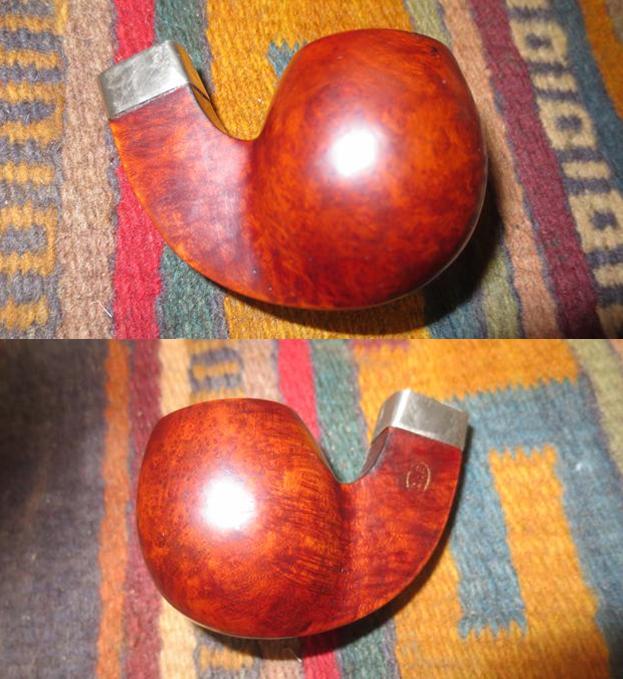
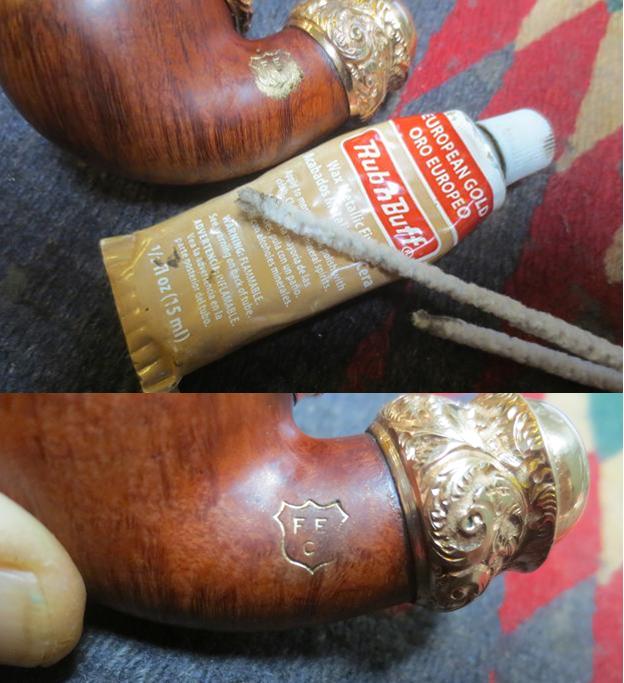
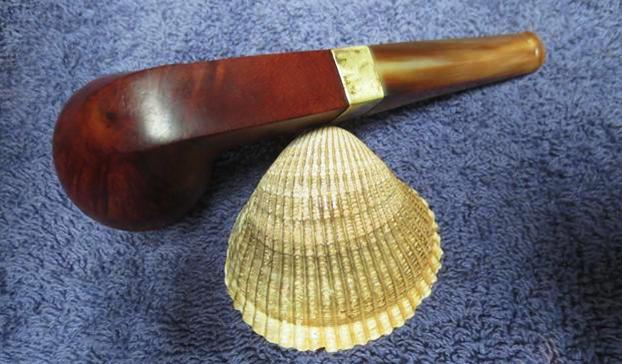
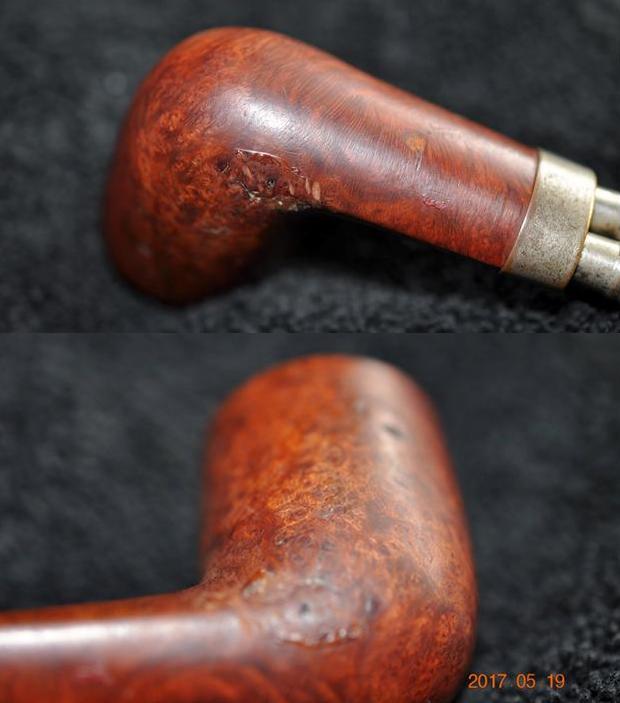
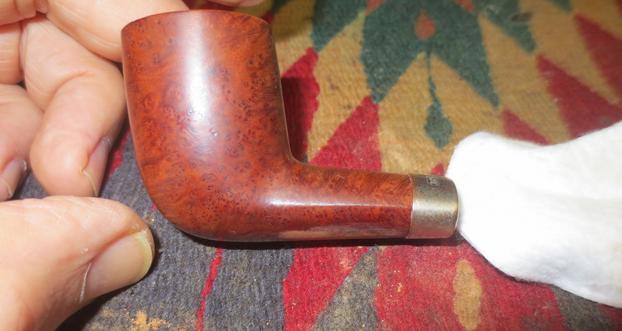
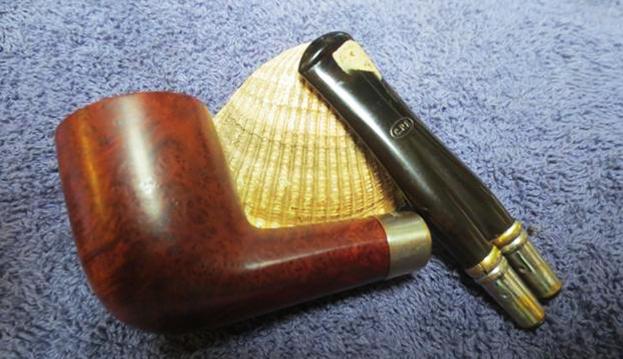
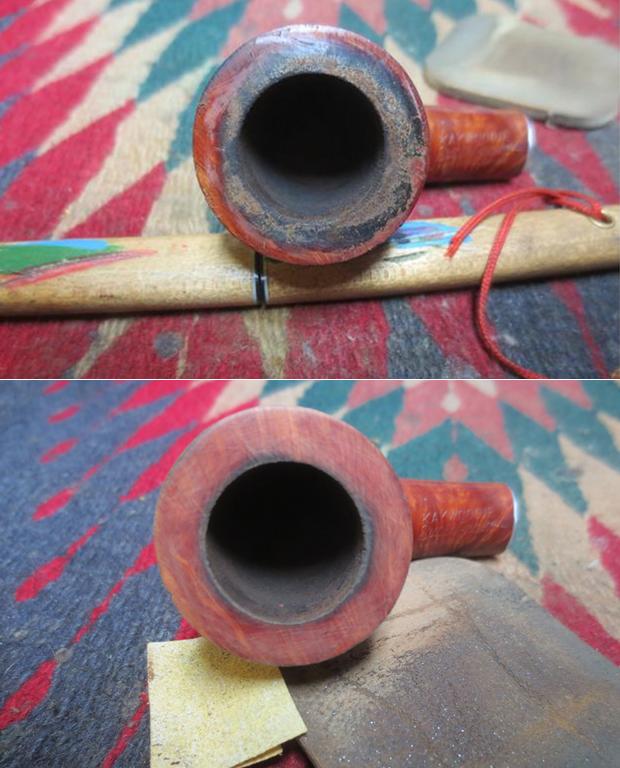
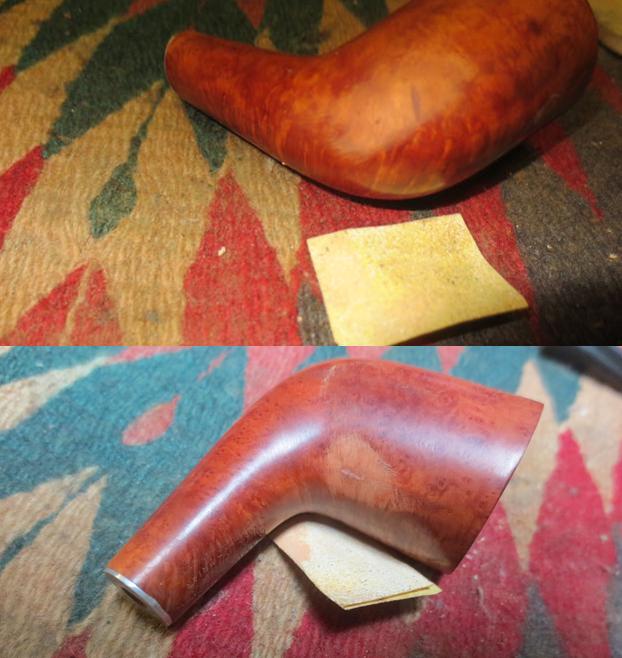
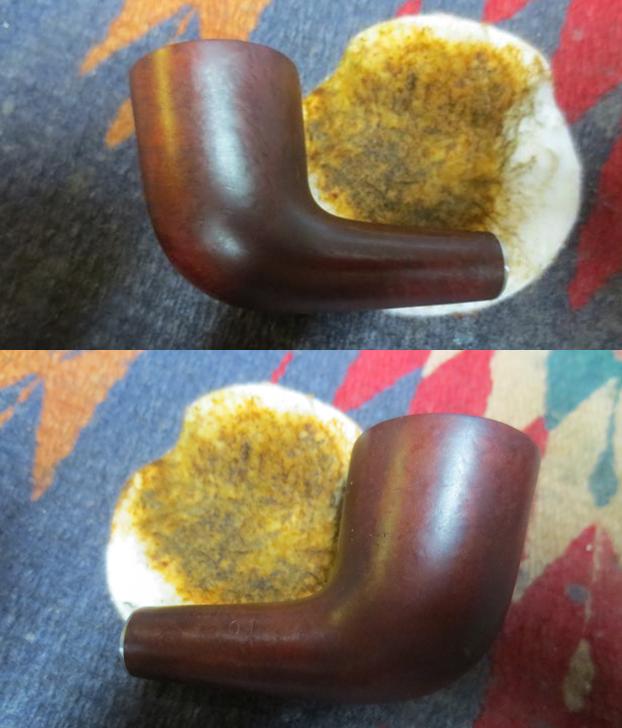
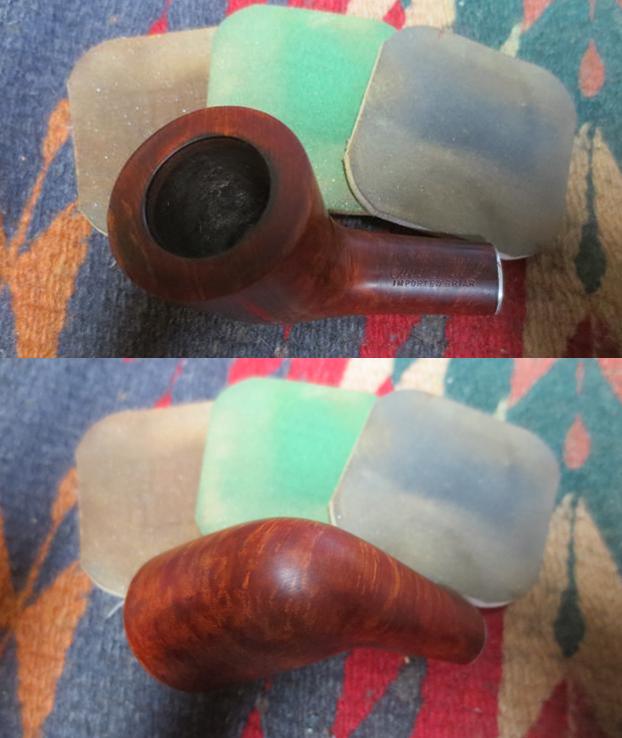
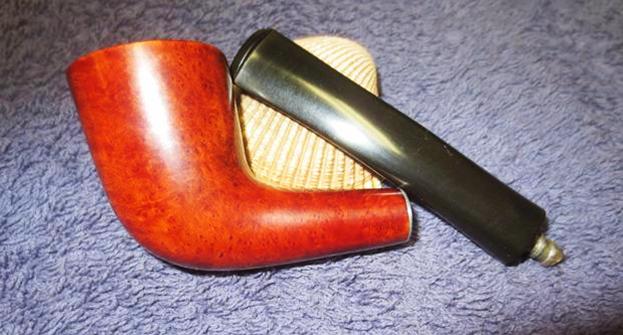
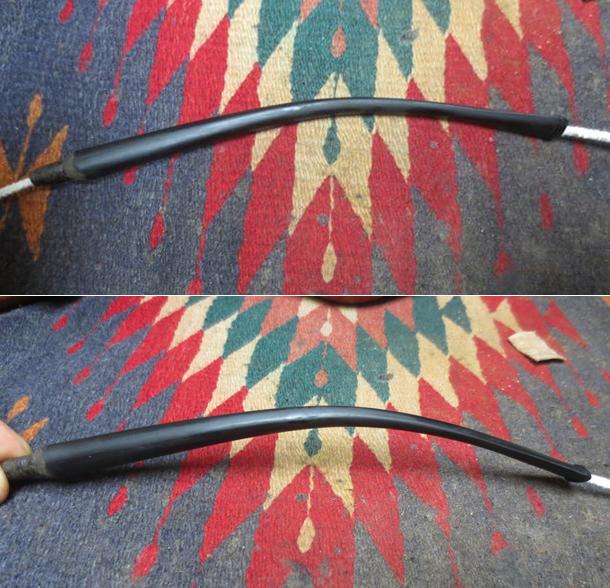 In my continued experiment with the new product from Mark Hoover – the creator of the Before & After Pipe Stem Deoxidizer and Polishes. He calls it Before & After Restoration Balm and it can be used on briar or stems – whether vulcanite, acrylic or horn. He said it was designed to pull the dirt off of the briar as well as polish it. He added some anti-oxidants to keep the briar from getting damaged from both UV rays and water. This is the second smooth briar pipe that I chose to use it on. I figured it would be a good test to see how it worked on a smooth briar bowl and a lightly oxidized vulcanite stem. I applied it and worked it into the crevices of the plateau on the shank and the rim top with a shoes brush. It worked well, so I took the following photos to show the results. The bowl and the stem have a rich shine. I would need to polish the stem a bit more to remove all of the oxidation but it was far better than when I started. I will continue using it and see how it works on a variety of pipes before I give a review.
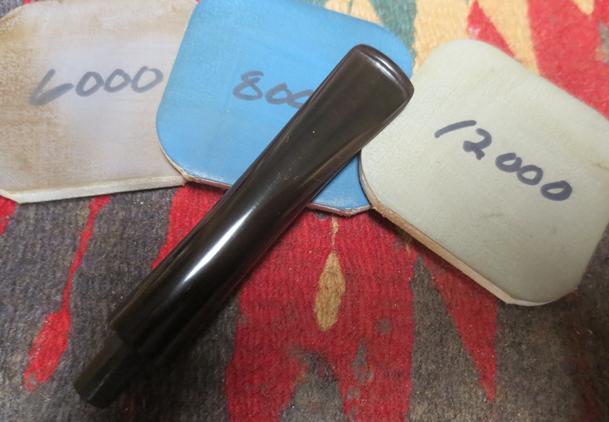
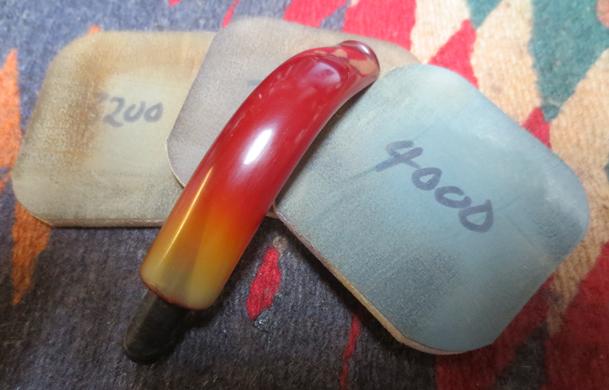
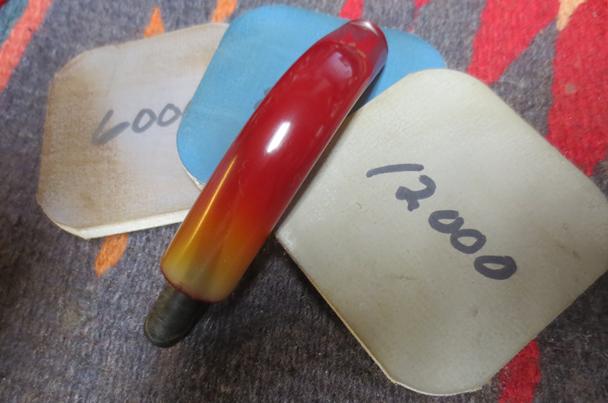
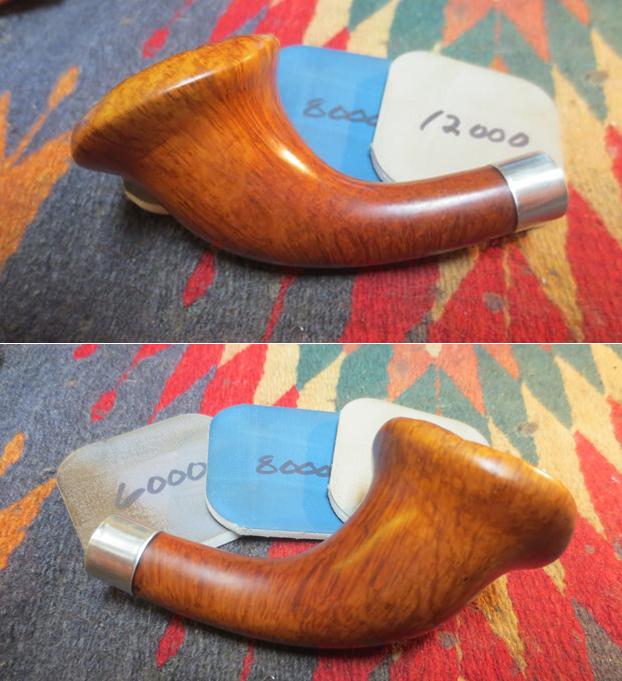
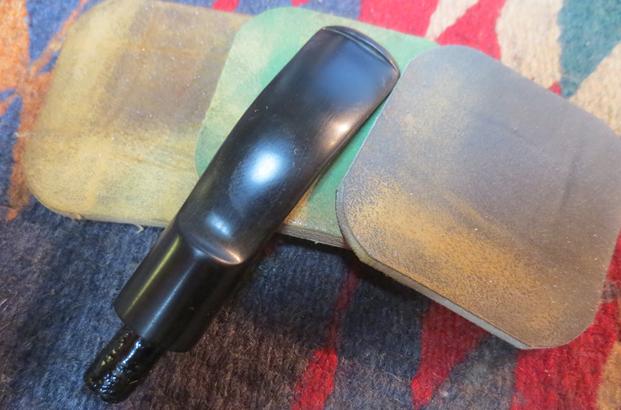
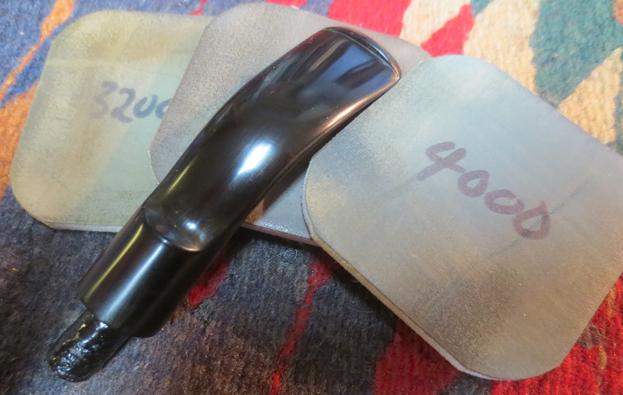
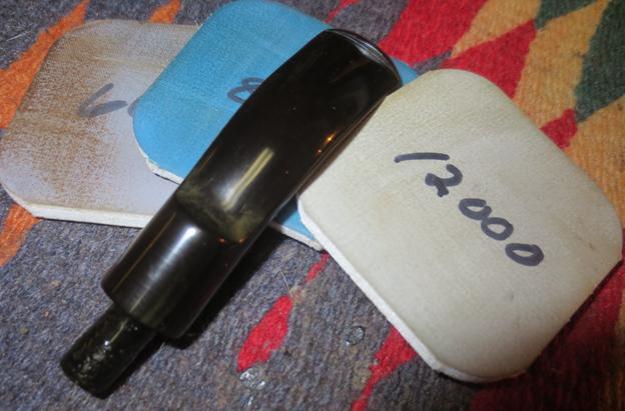
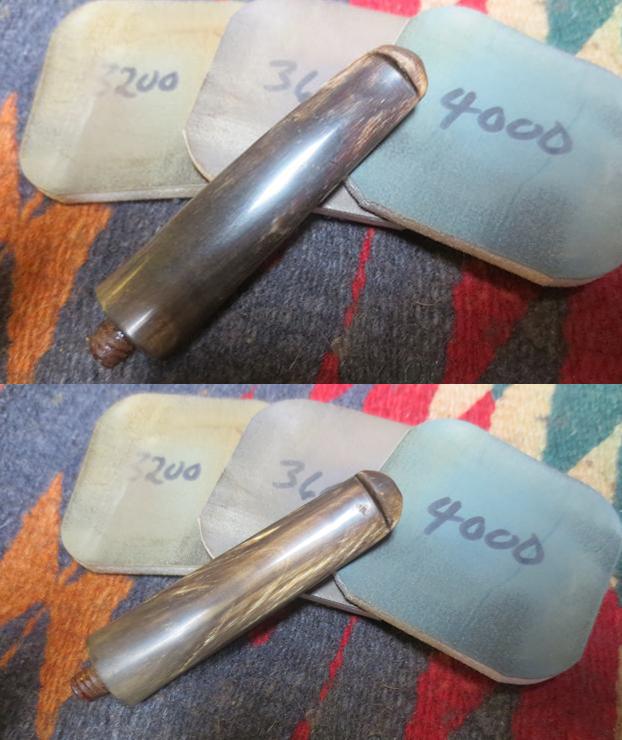
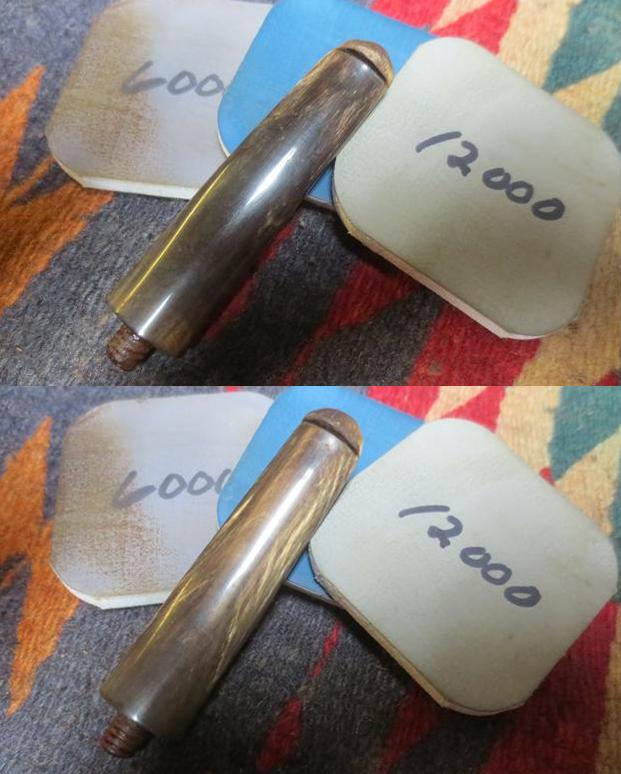
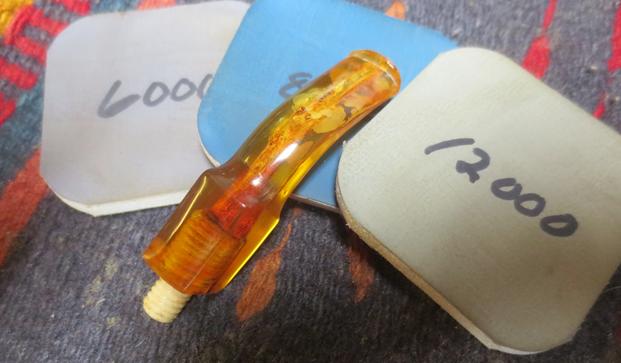
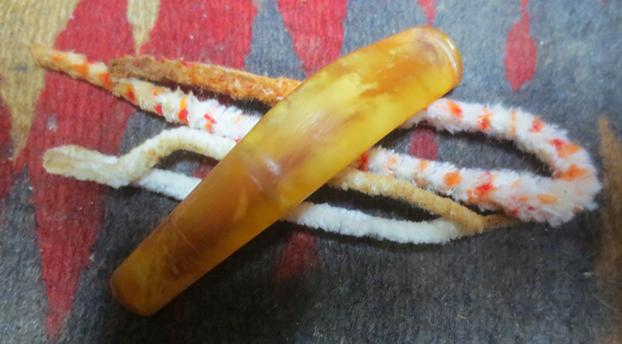
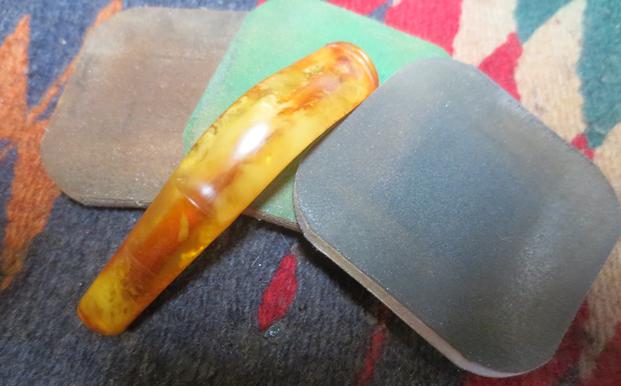
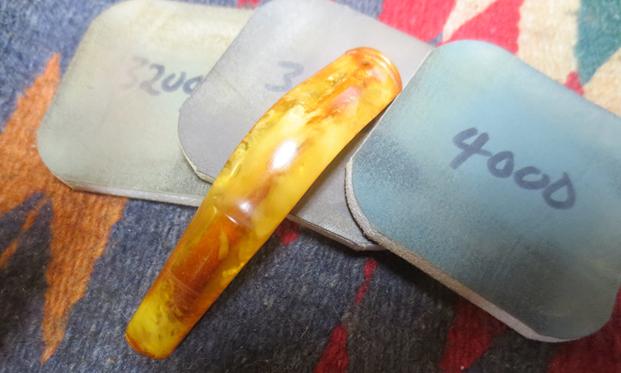
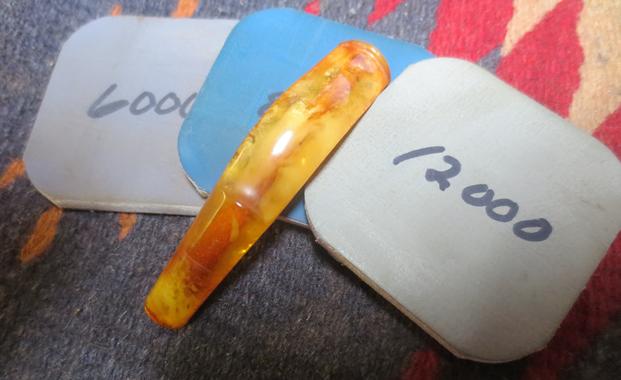
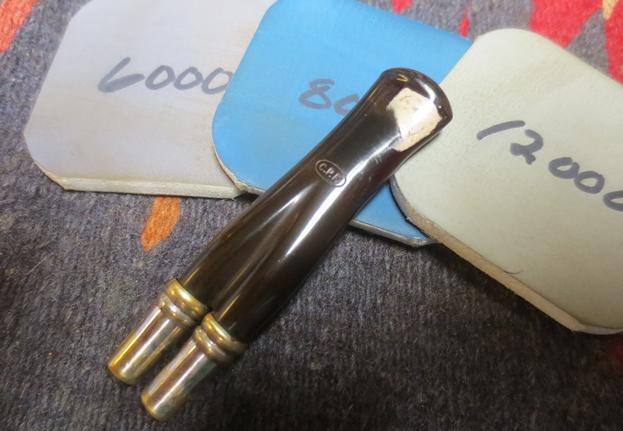
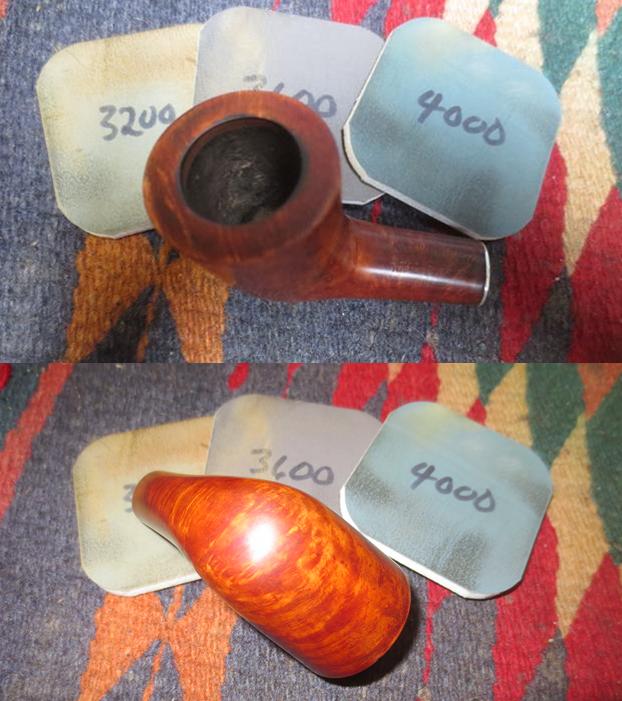
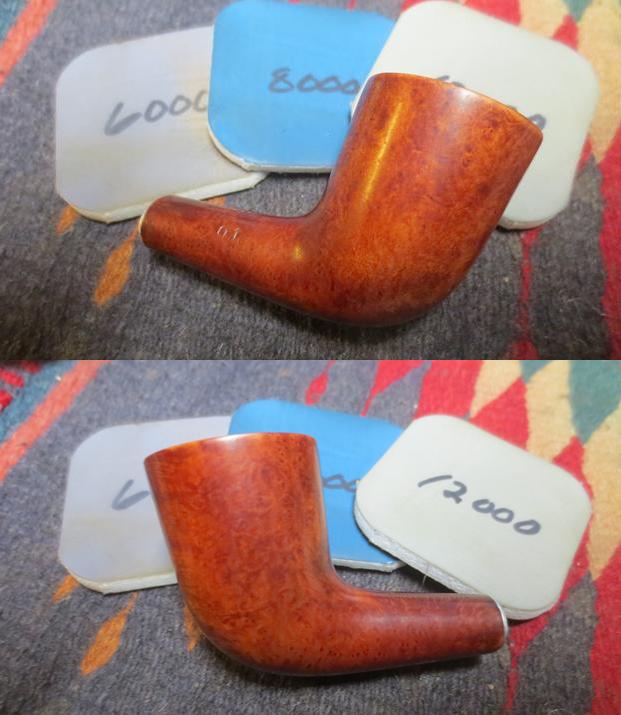
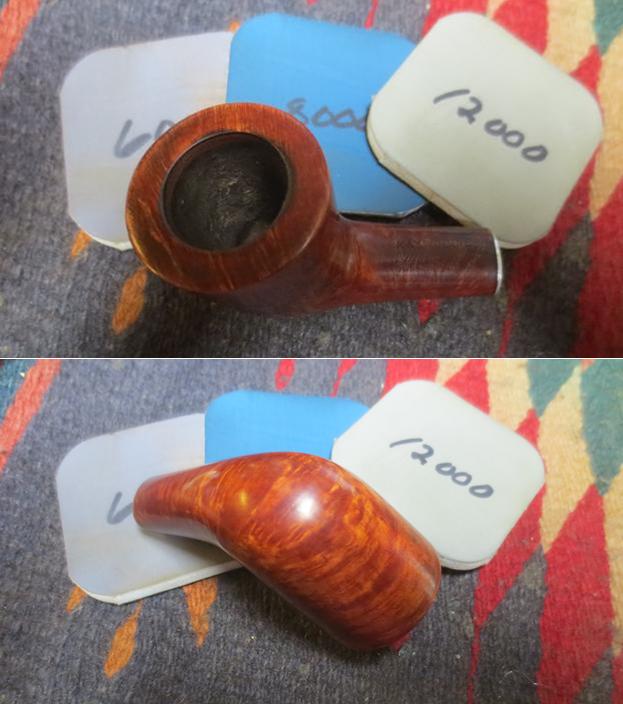
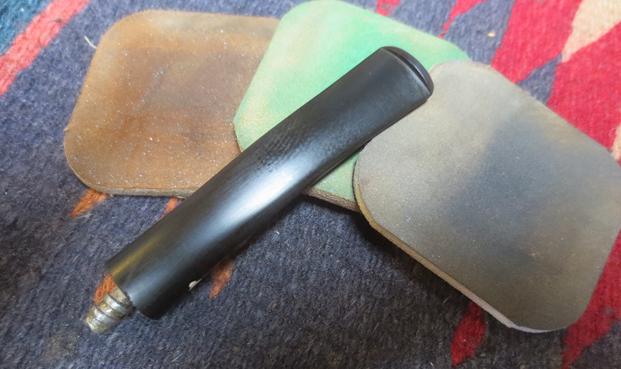
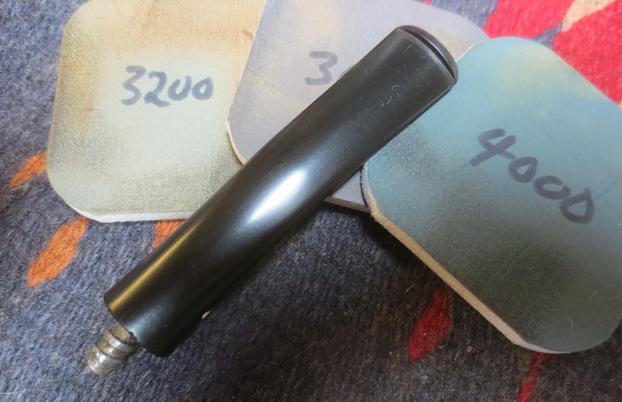
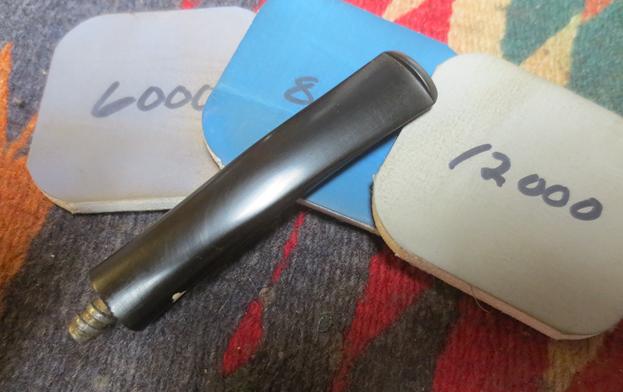
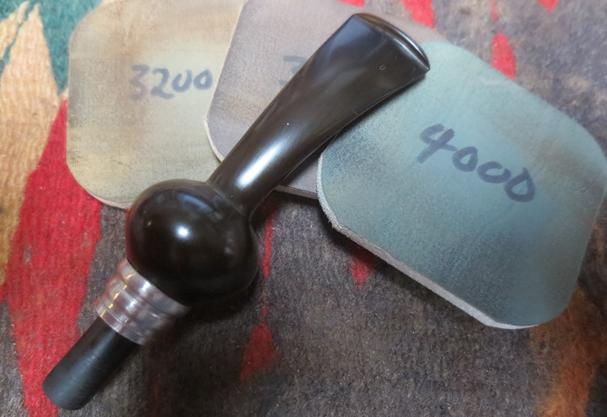
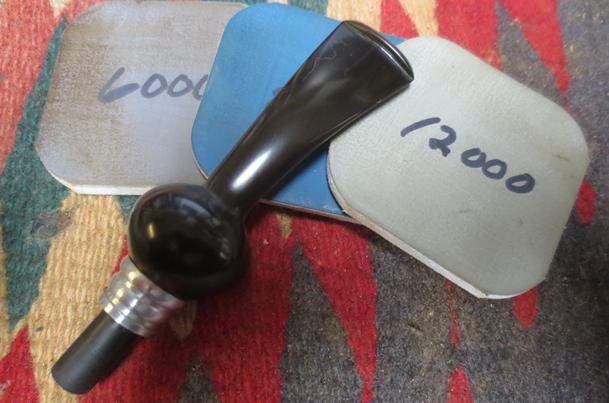
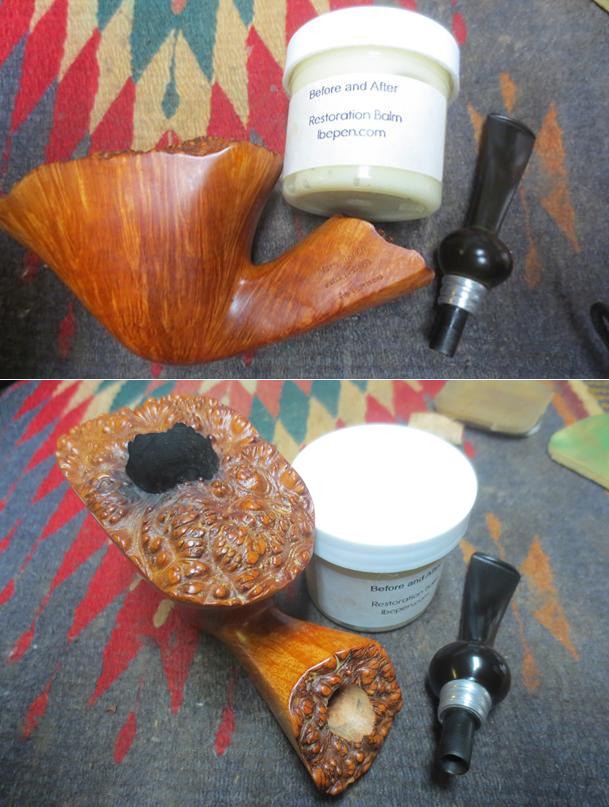 I buffed the stem with red Tripoli and Blue Diamond polish to remove as much of the oxidation as I could with the wheel. I polished the stem with micromesh sanding pads to remove the oxidation that remained – wet sanding it with 1500-2400 grit pads and wiping it down after each pad with Obsidian Oil. I dry sanded it with 3200-12000 grit pads and again wiped it down with the oil after each pad. After the final pad I gave it another coat of the oil and set it aside to dry.
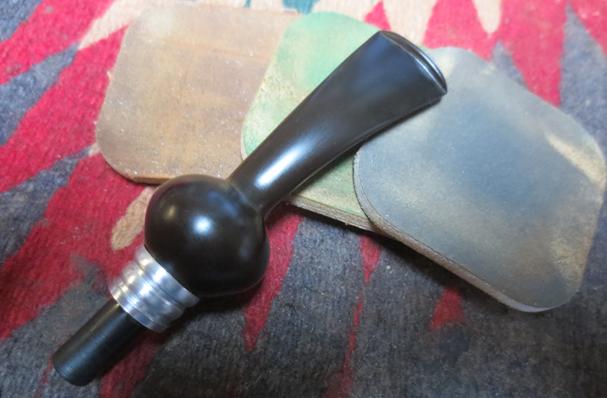
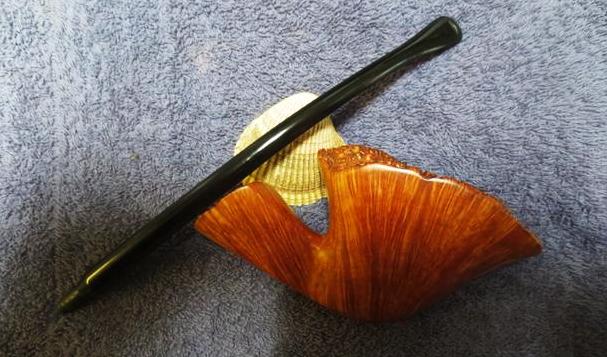
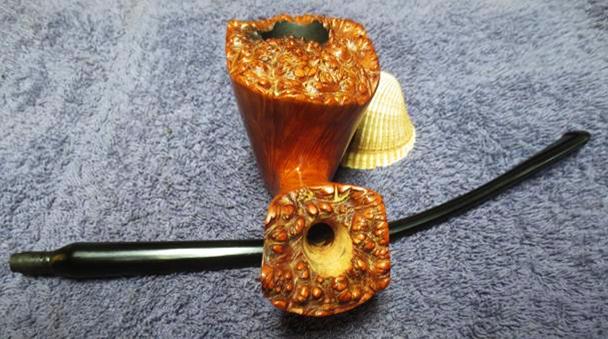
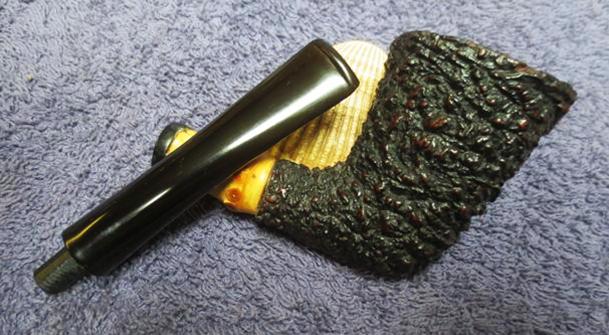
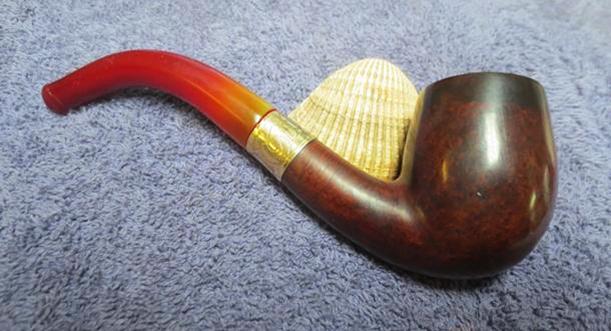
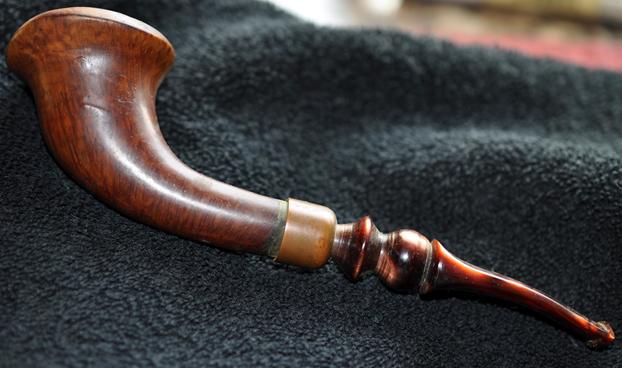
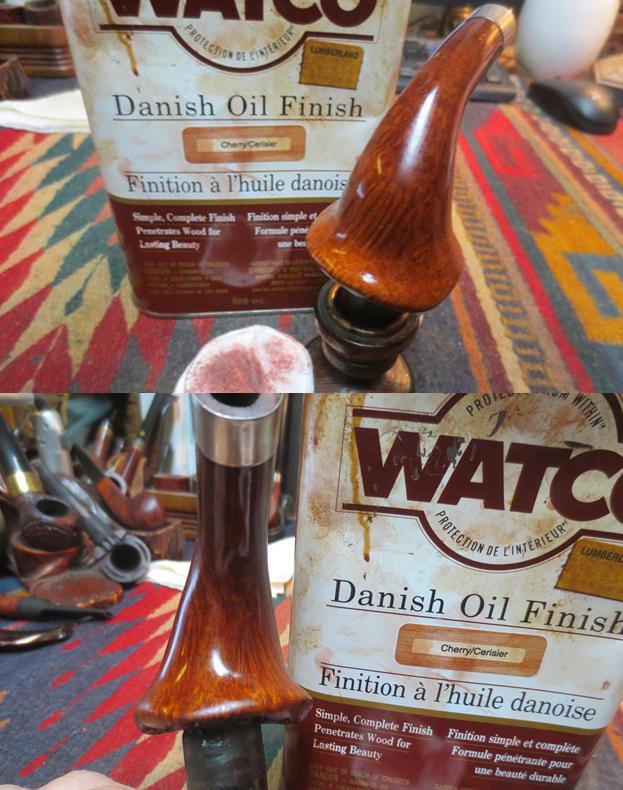
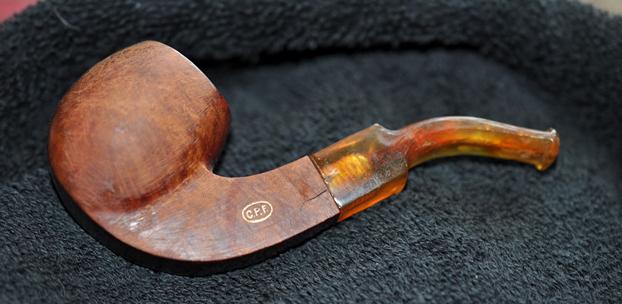
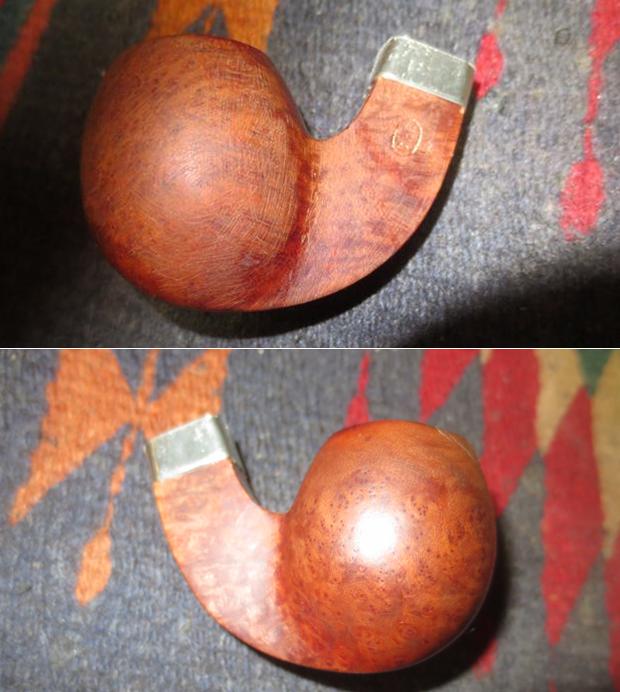
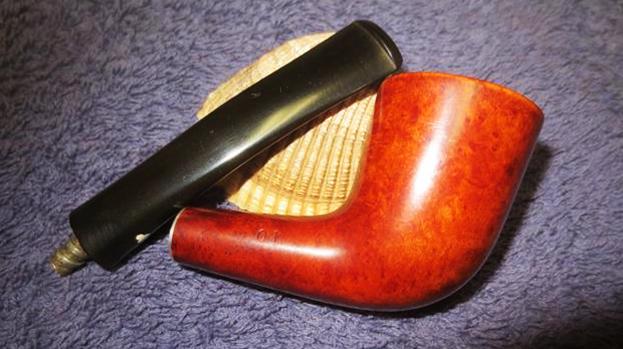
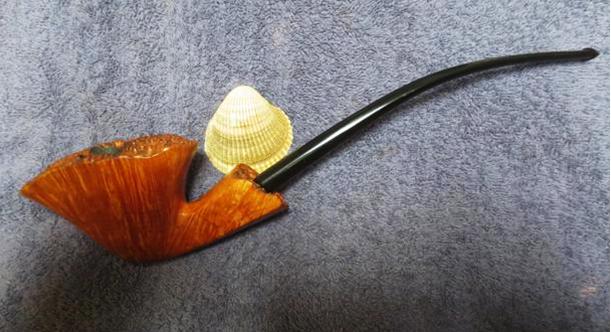
 I put the stem in the shank and took photos of the new Churchwarden look of the Mario Grande. I sent the photos to Chris to see what he thought of the new stem.
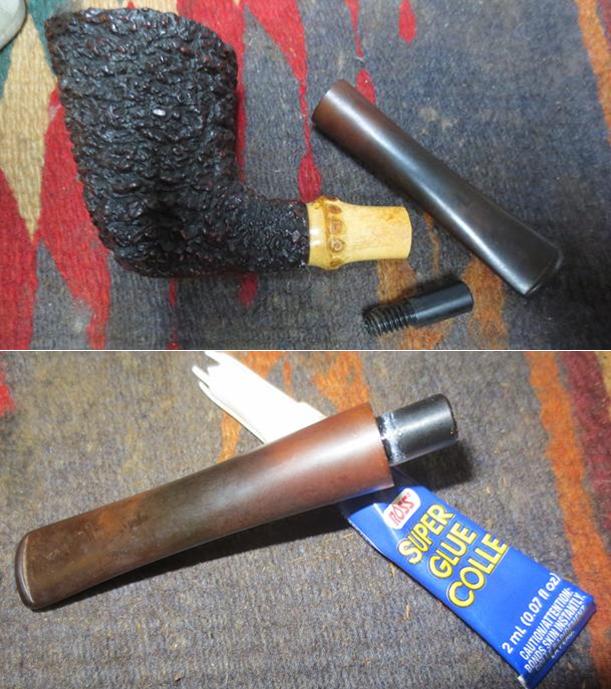
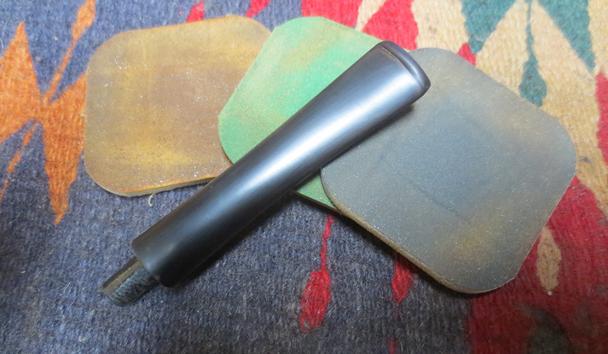
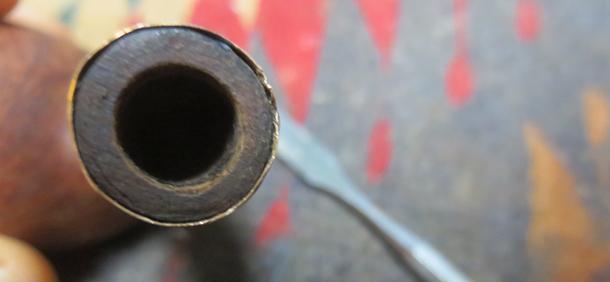
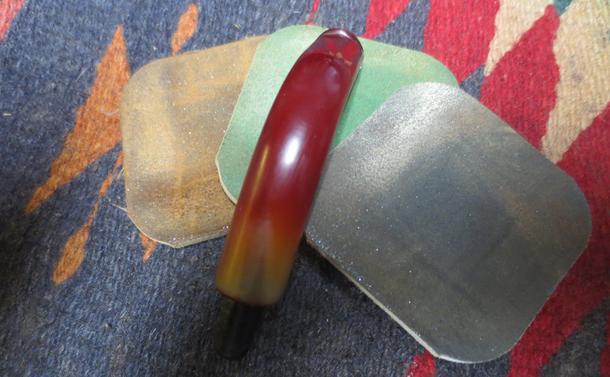
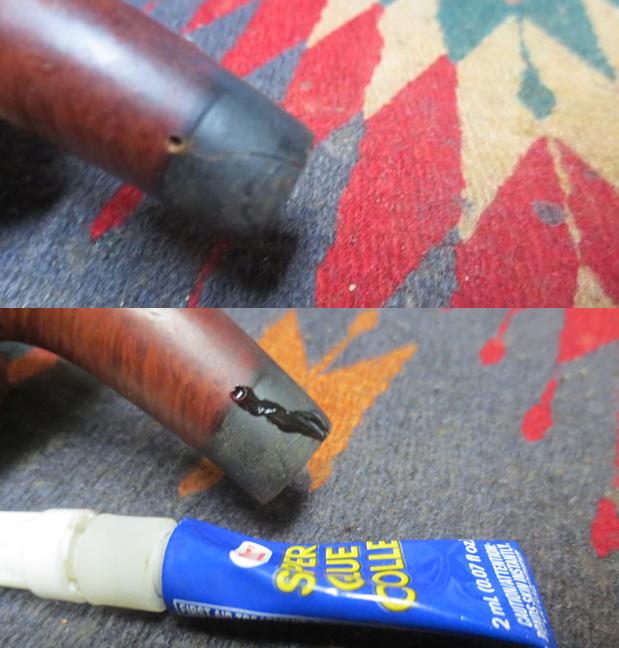
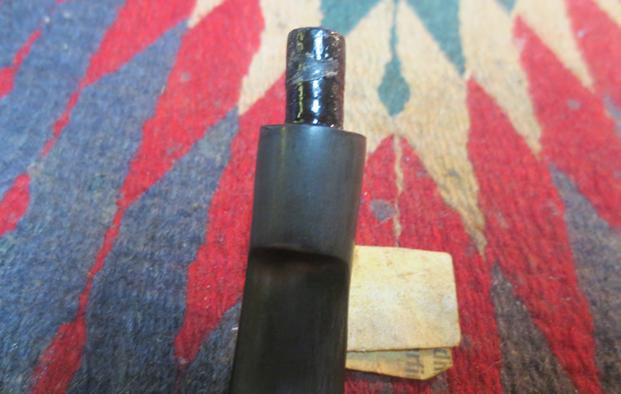
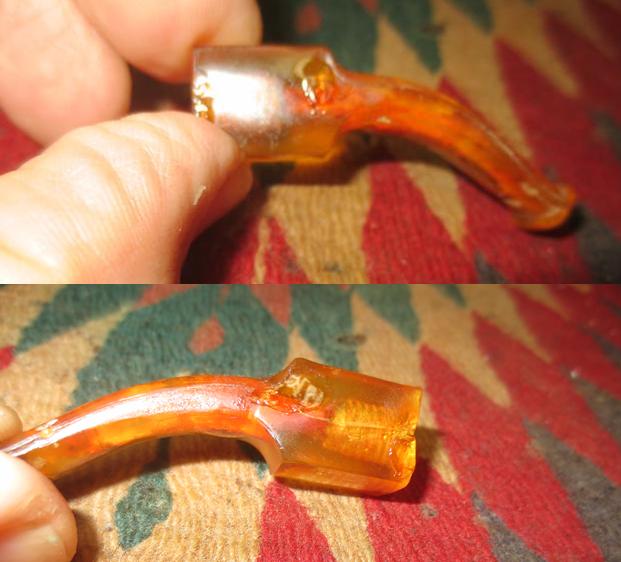
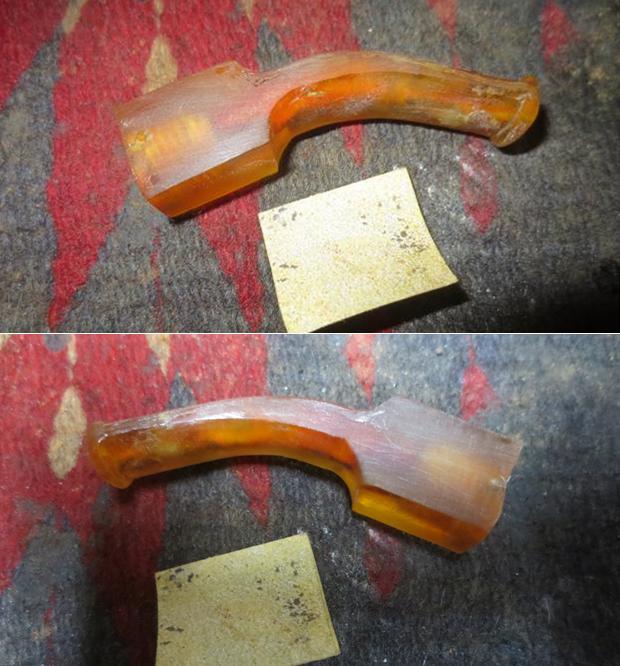
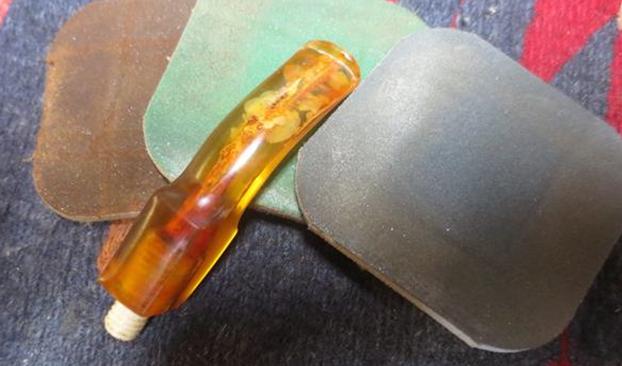
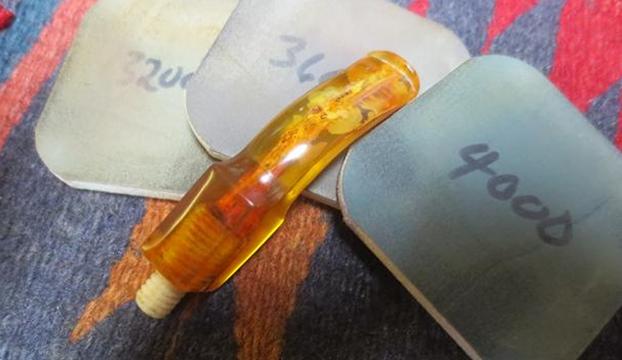
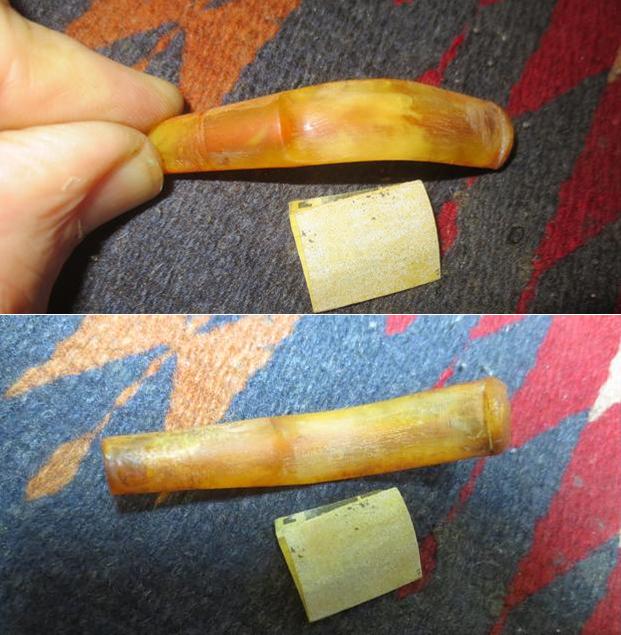
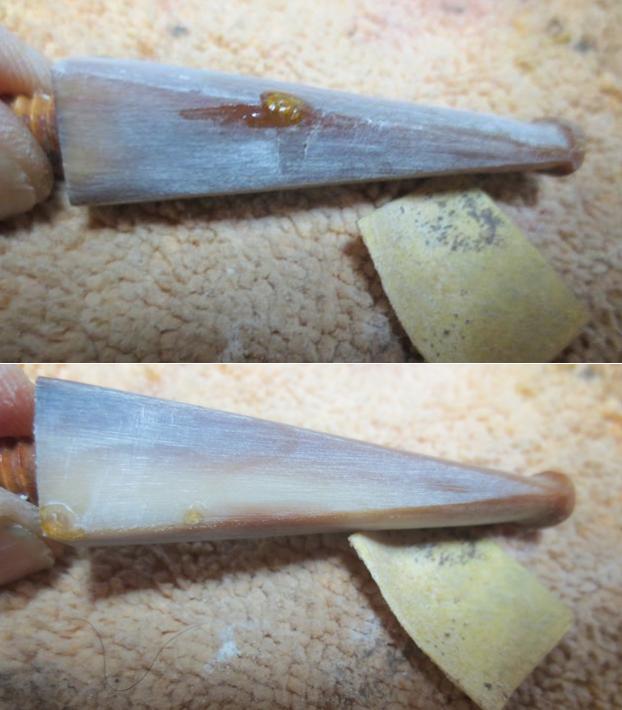
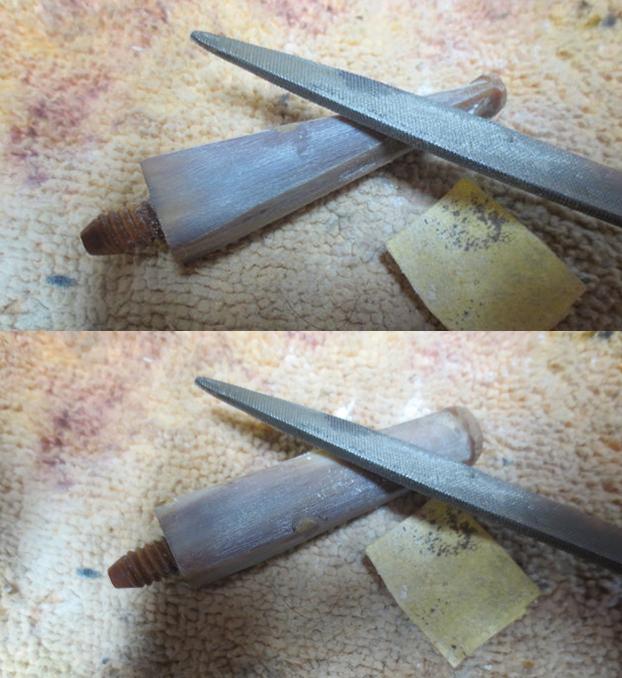
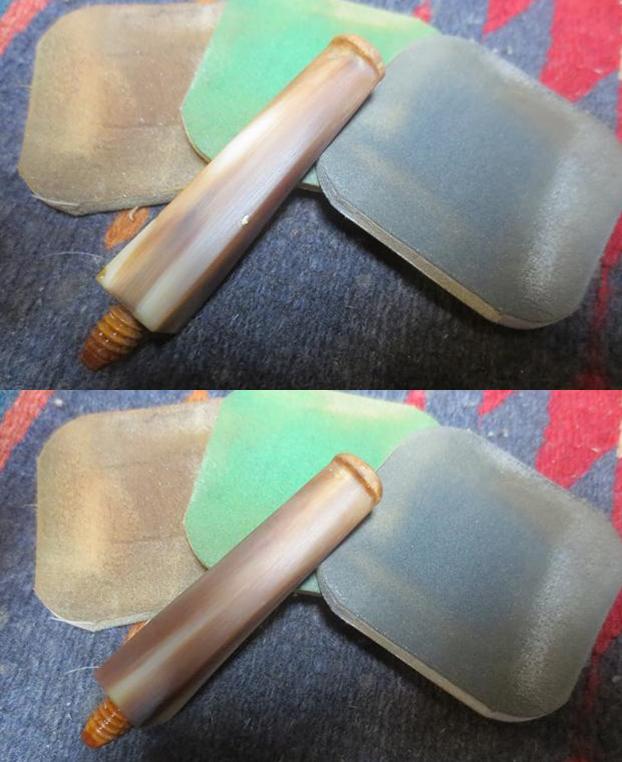
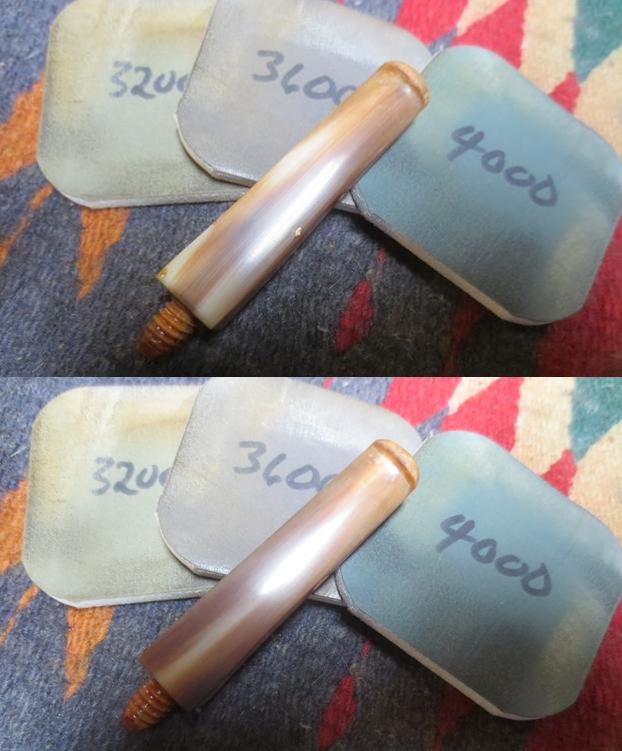
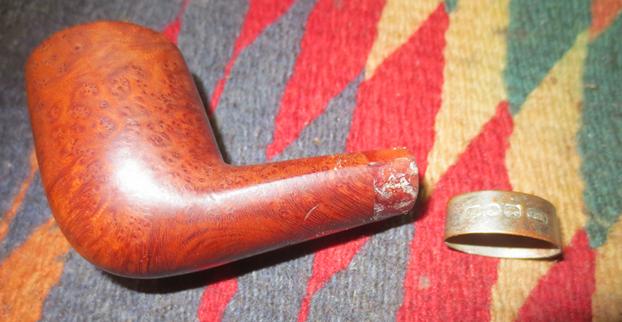
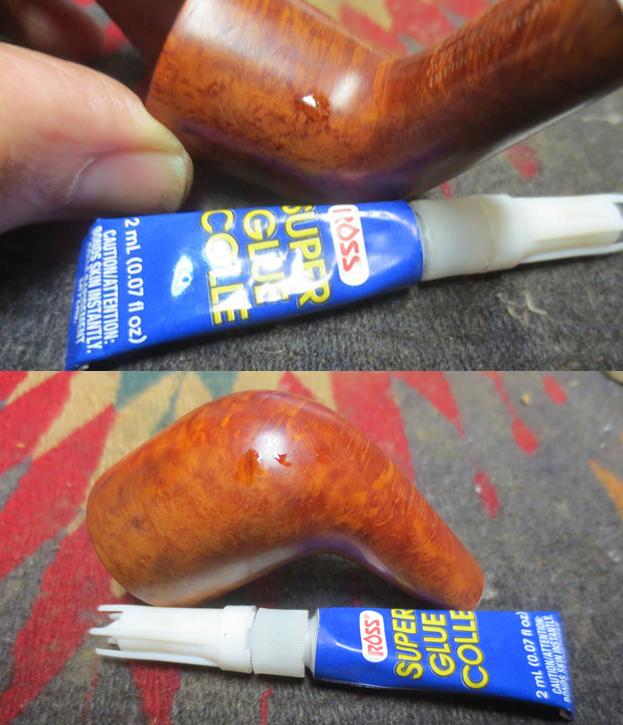
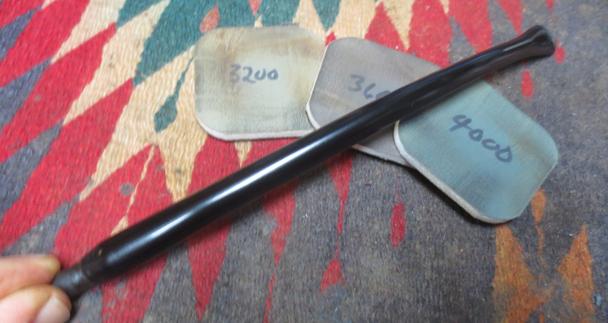
 I turned my attention to the Churchwarden stem. I sanded away the marks from the castings and shaped the tenon end of the stem into a cone to fit into the conical drilling at the end of the shank. I buffed the stem with red Tripoli and Blue Diamond polish to remove as much of the scratching in the vulcanite as I could with the wheel. I polished the stem with micromesh sanding pads to further remove the scratches – wet sanding it with 1500-2400 grit pads and wiping it down after each pad with Obsidian Oil. I dry sanded it with 3200-12000 grit pads and again wiped it down with the oil after each pad. After the final pad I gave it another coat of the oil and set it aside to dry.
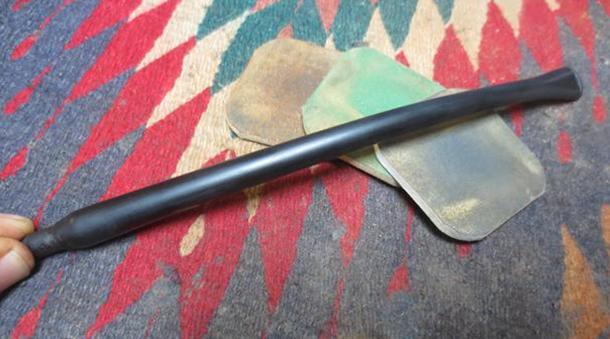
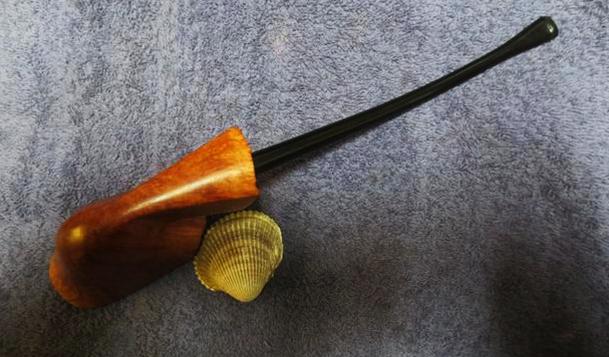
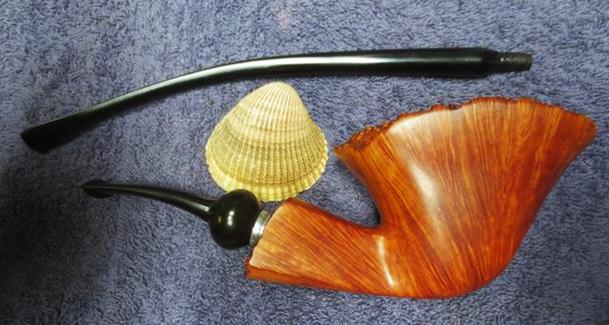
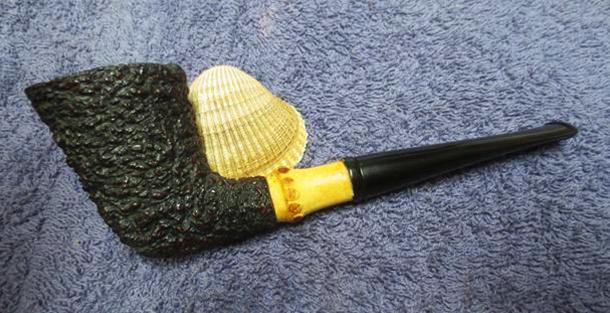
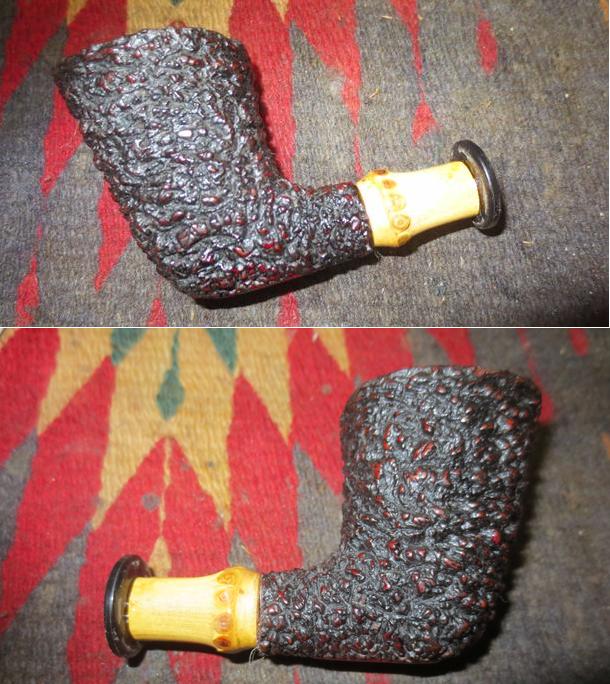
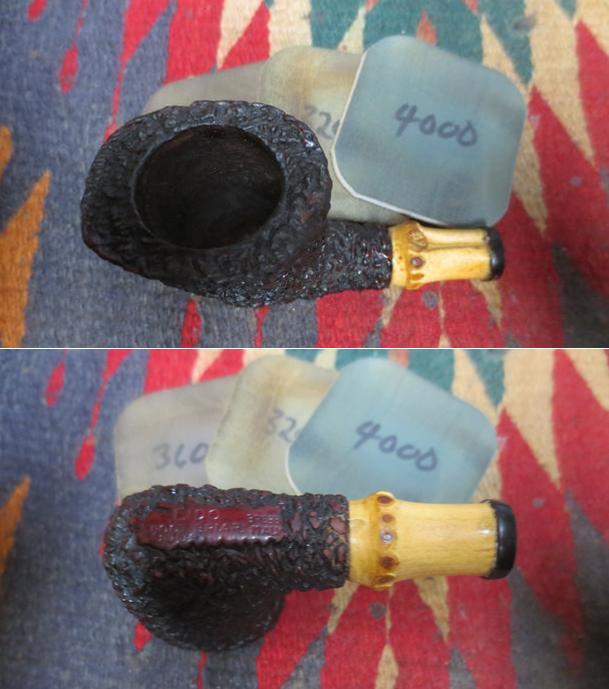
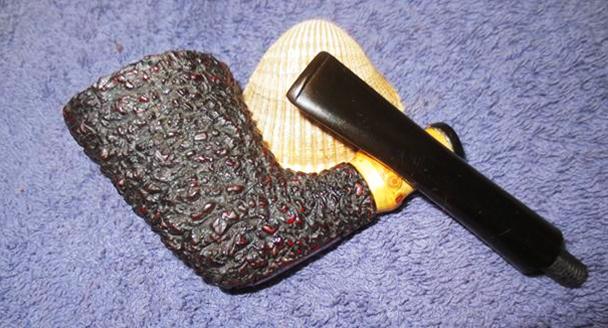
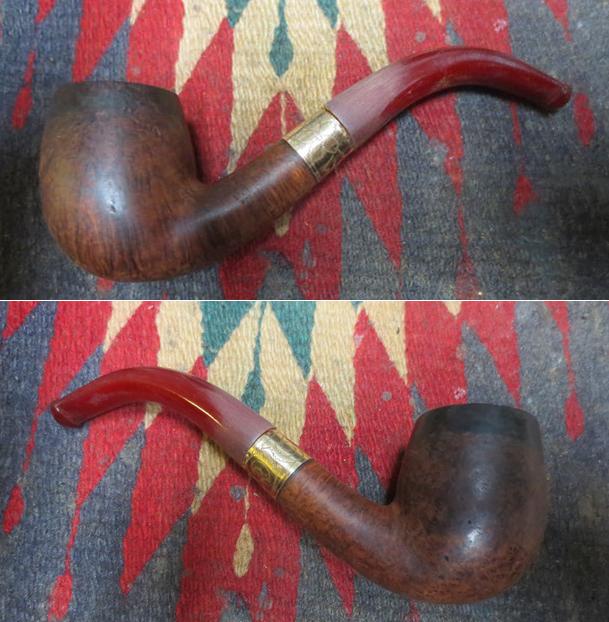
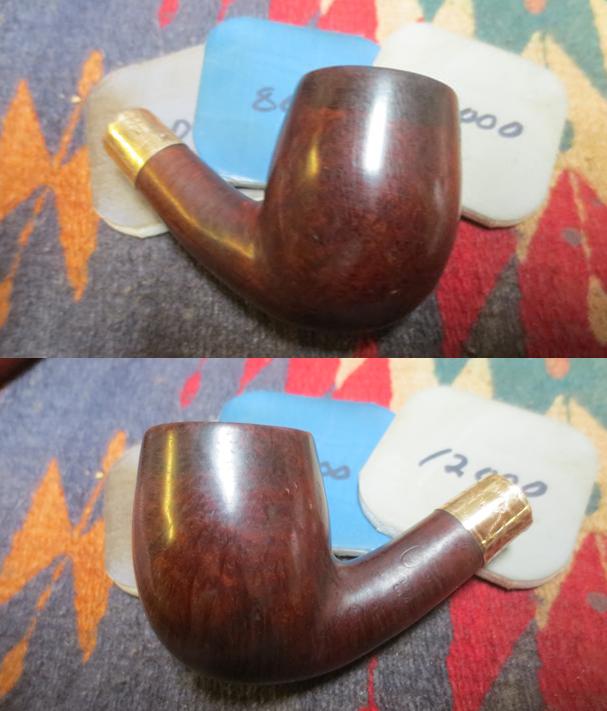
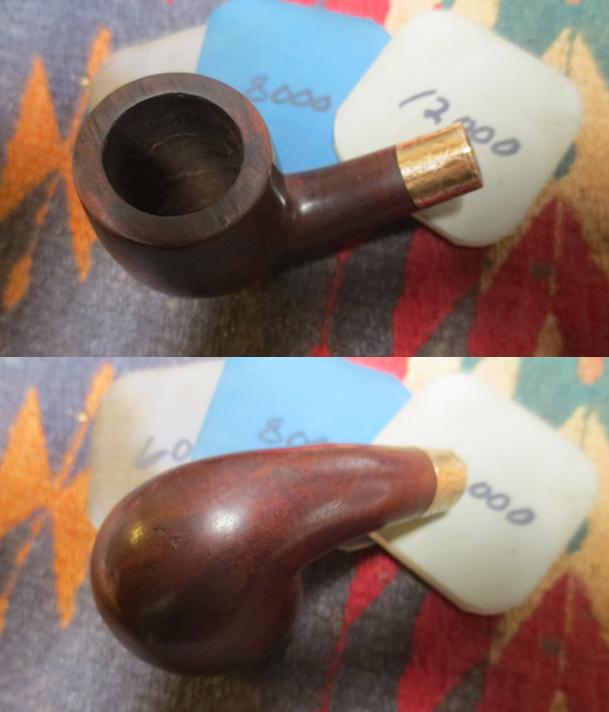
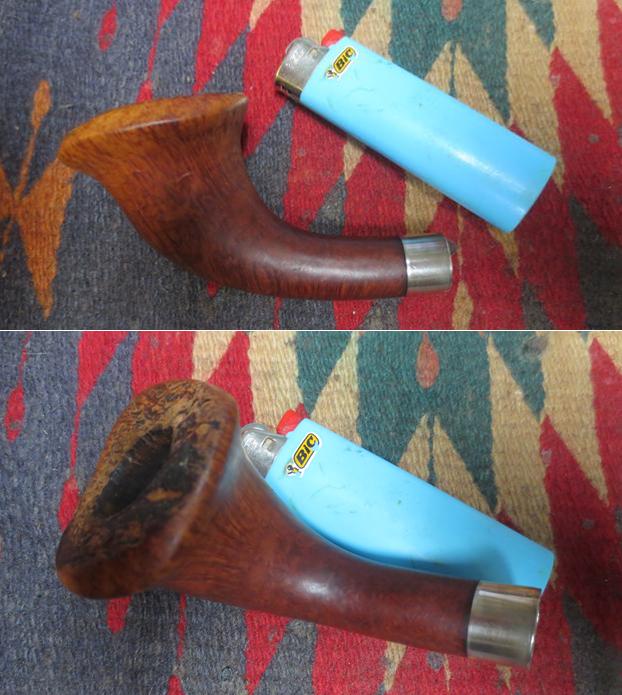
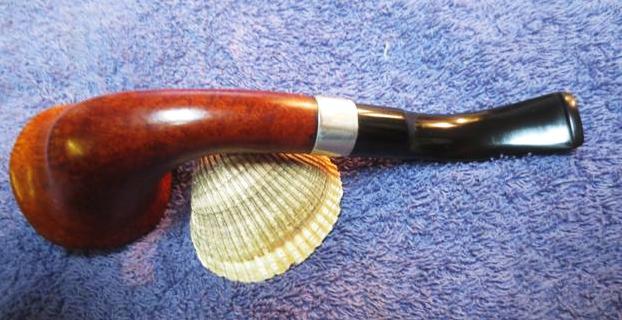
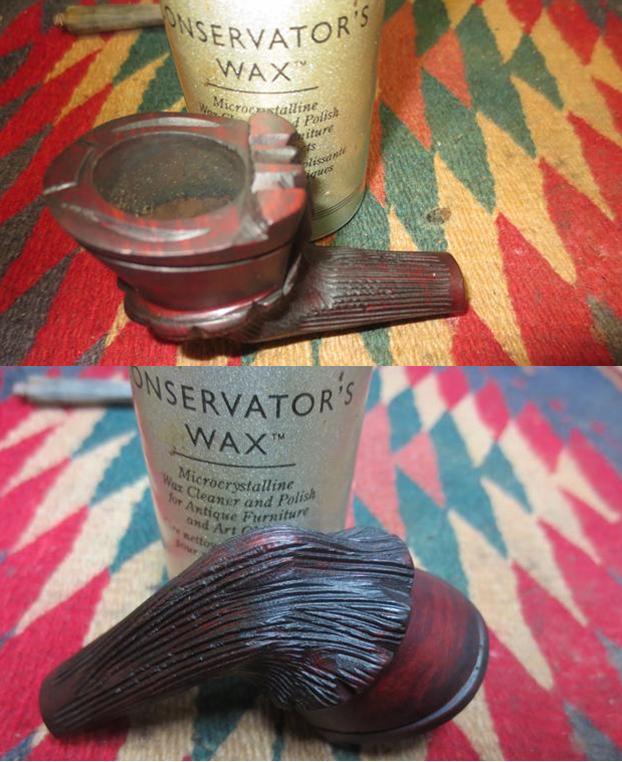
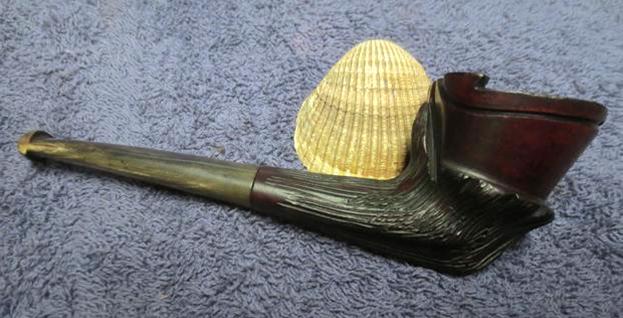
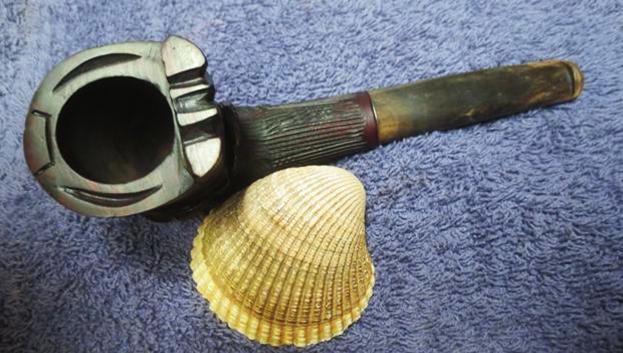
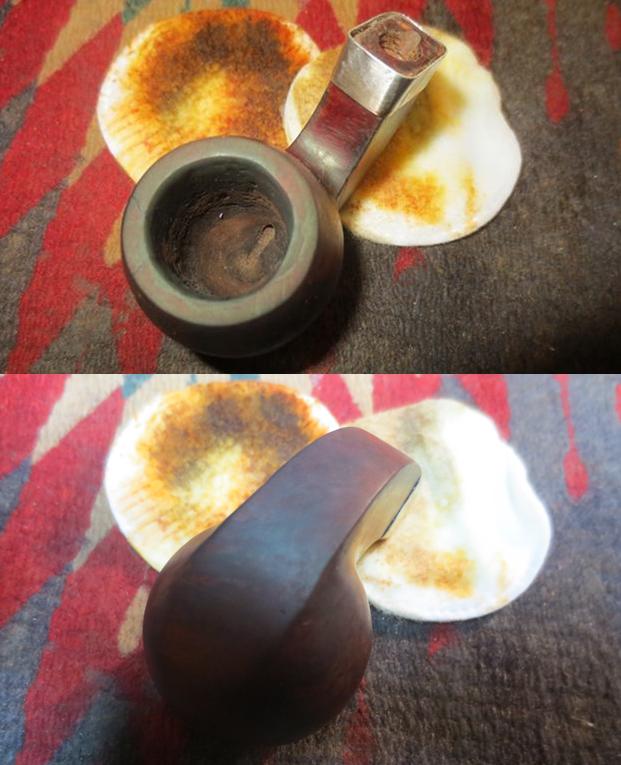
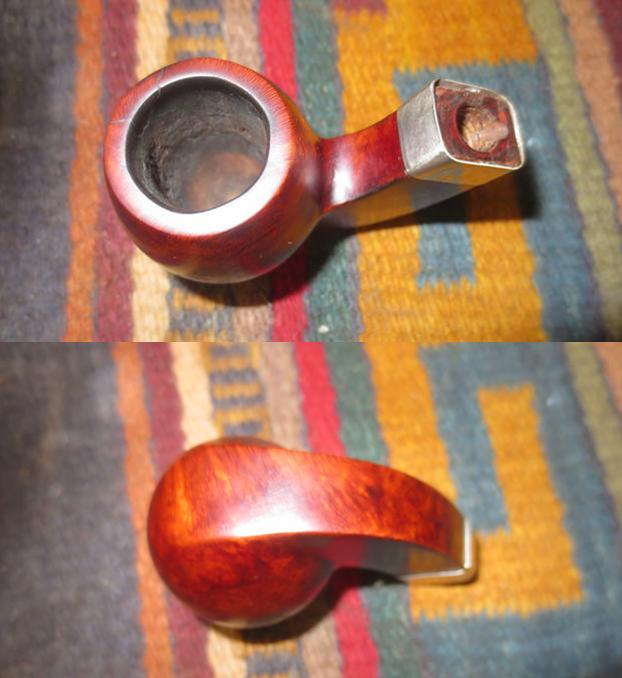
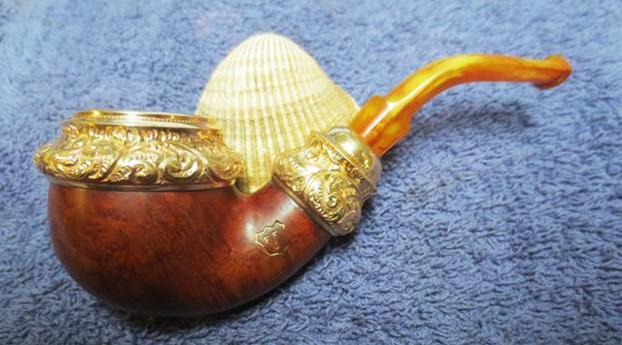
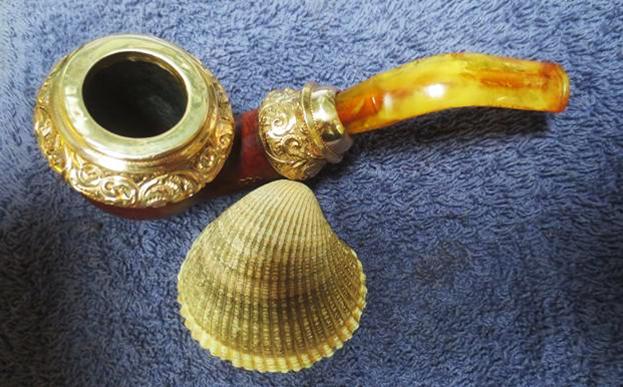
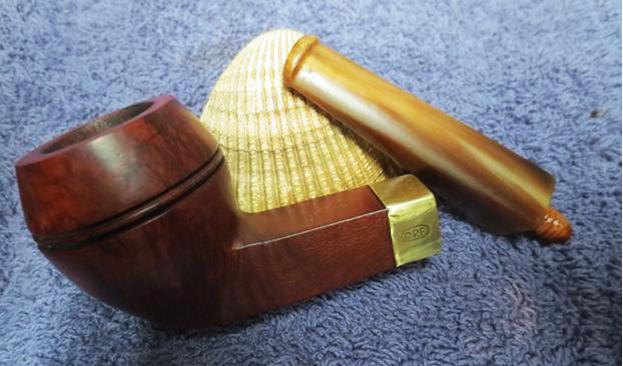
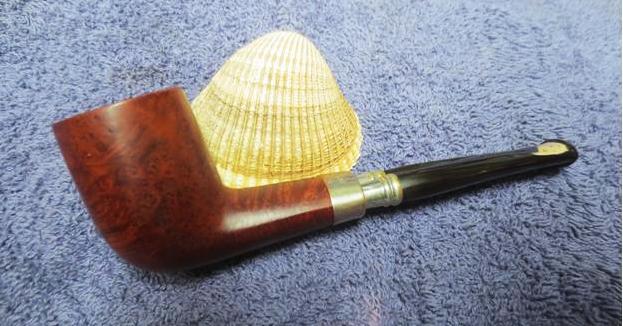
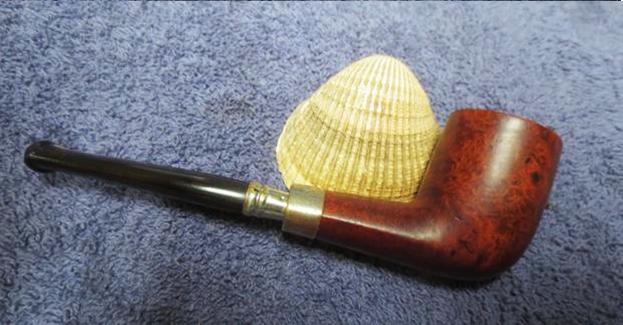
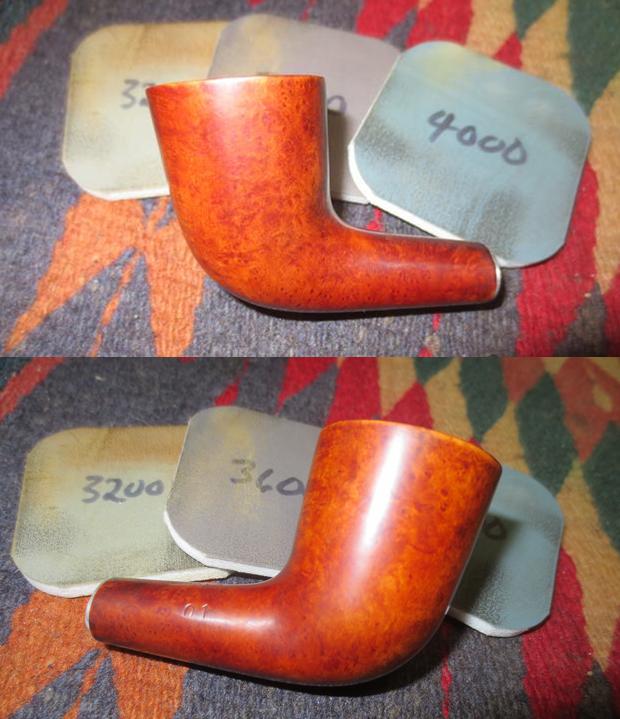
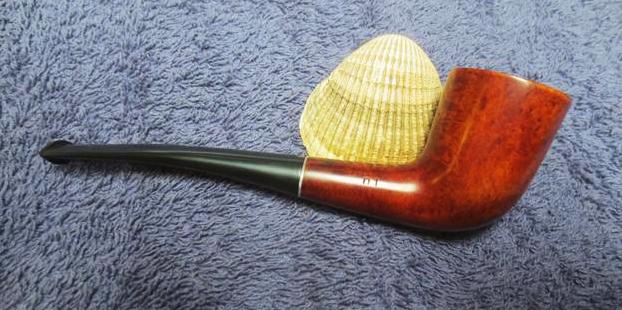
 I put the churchwarden stem back on the bowl and buffed the pipe and stem with Blue Diamond on the buffing wheel to polish the briar and vulcanite. I switched stems and buffed the short stem with Blue Diamond as well to polish it. I gave the bowl and both stems multiple coats of carnauba wax and I gave the plateau areas on the rim and shank end with several coats of Conservator’s Wax. I buffed it with a clean buffing pad to raise a shine. I hand buffed it with a microfiber cloth to deepen the shine. The rich medium brown stain and the rough plateau on both the rim top and shank end the polished black vulcanite of both stems worked well together to give a rich look to the pipe. The finished pipe is shown in the photos below. I took photos of it with the churchwarden stem and with the original short stem to give an idea of how it looked all polished and shining. Thanks for looking.