Blog by Steve Laug
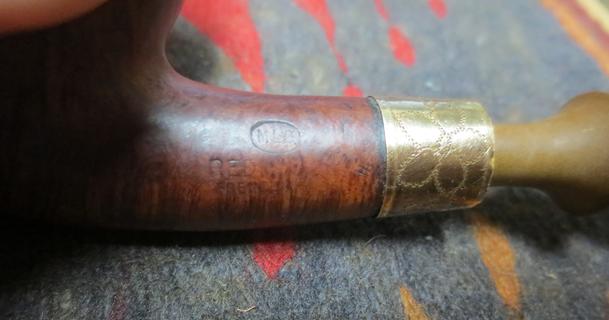
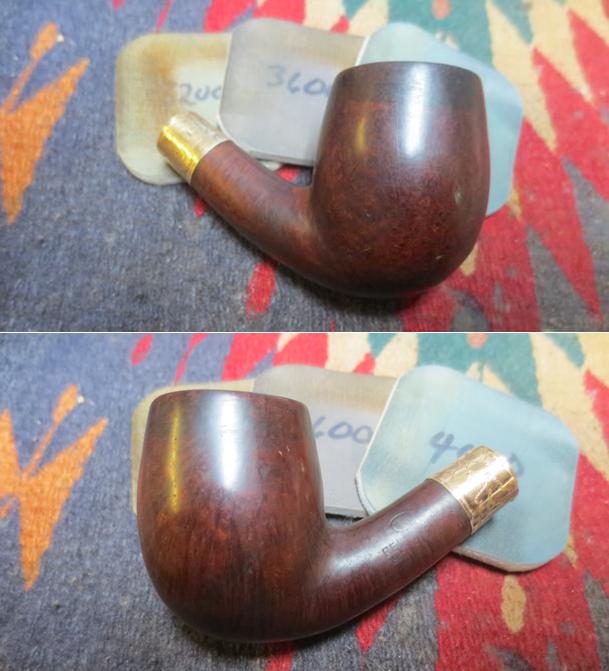
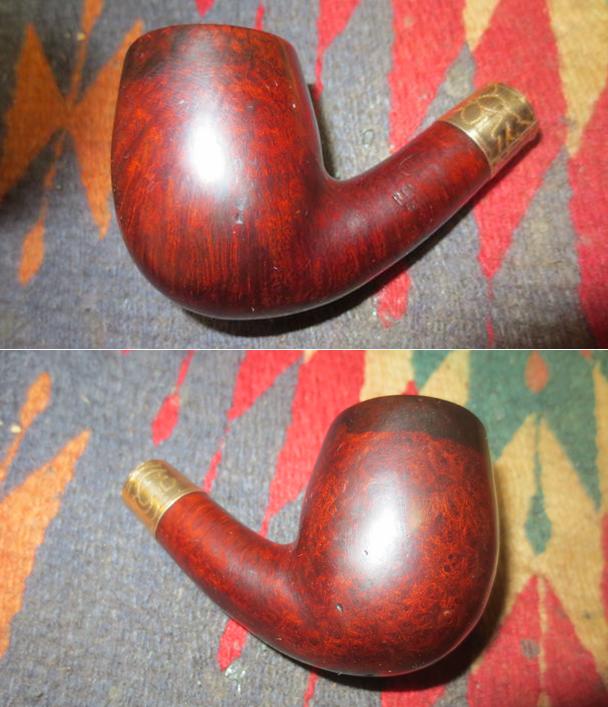
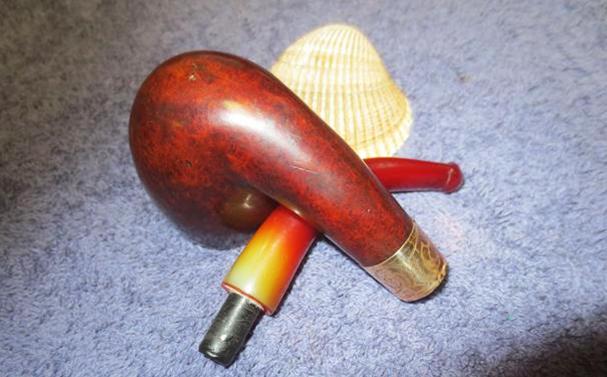
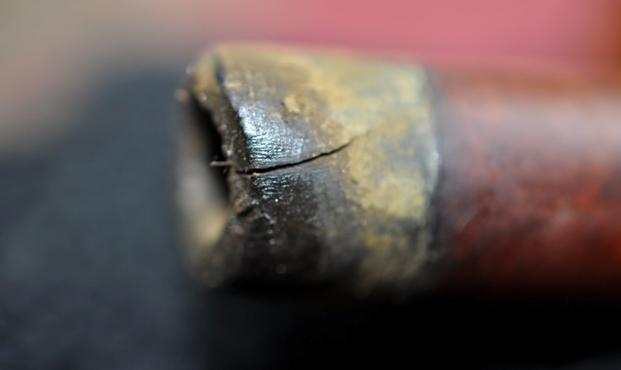
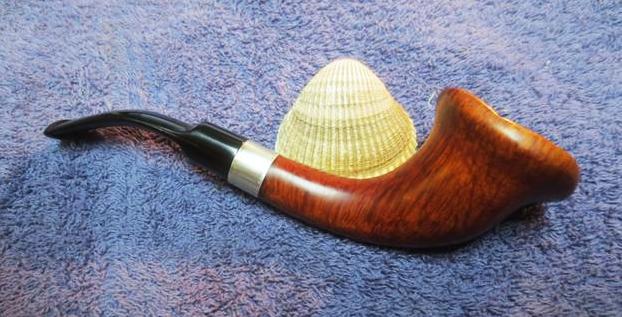
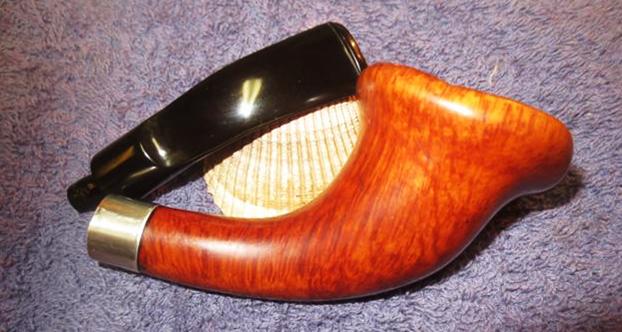
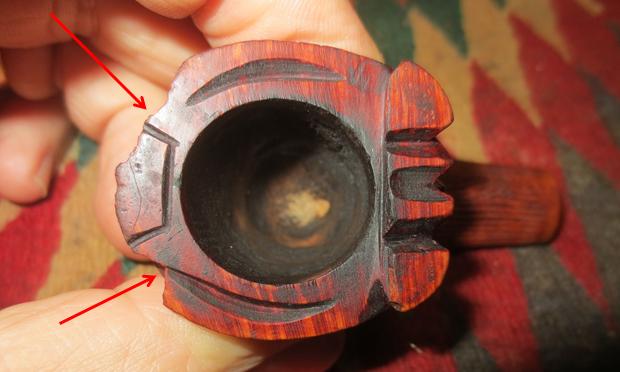
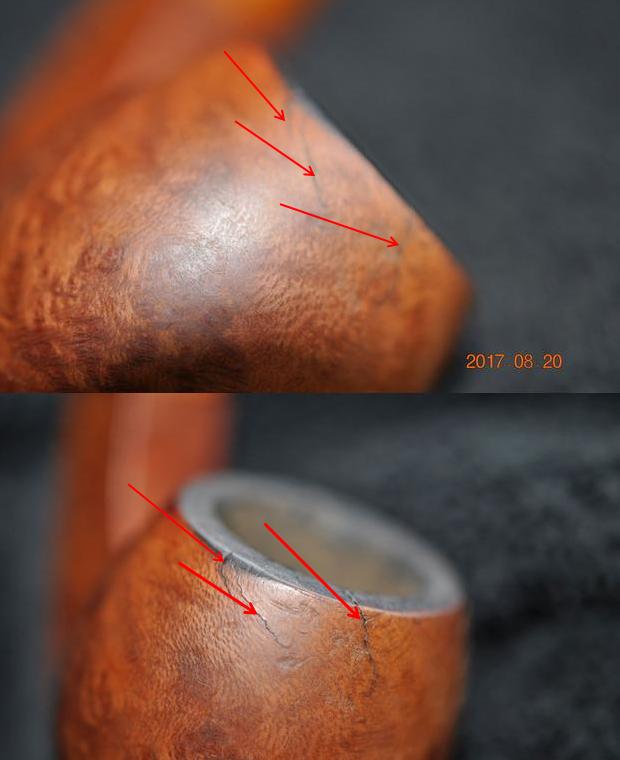
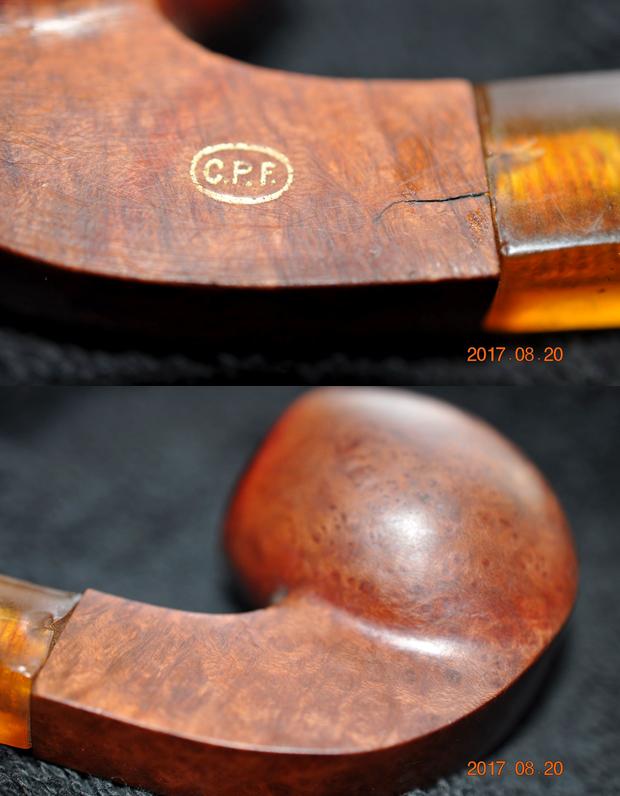
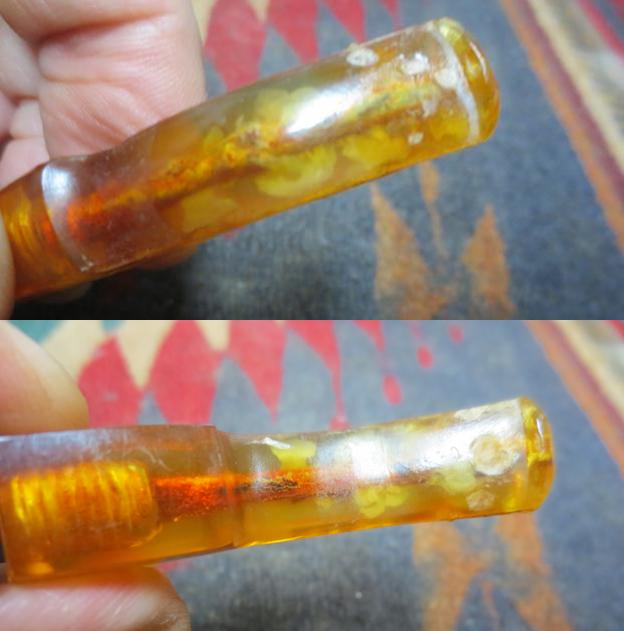
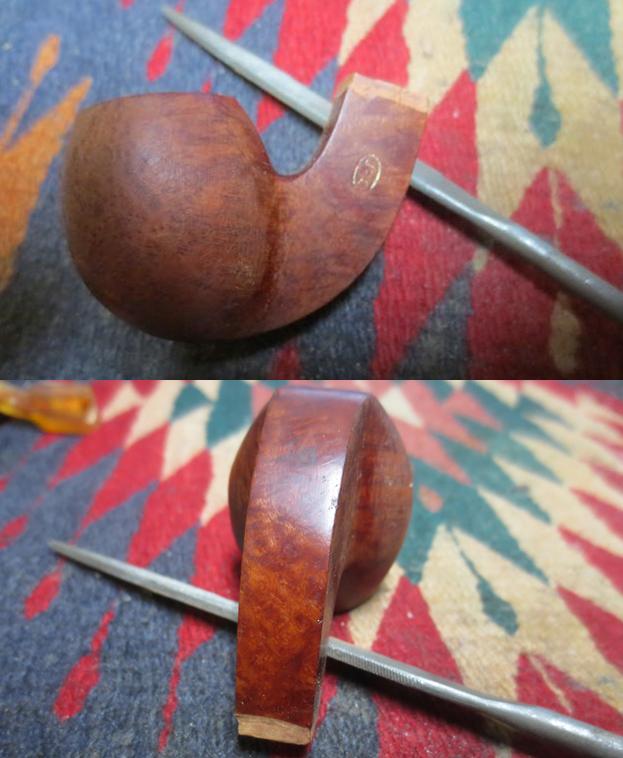
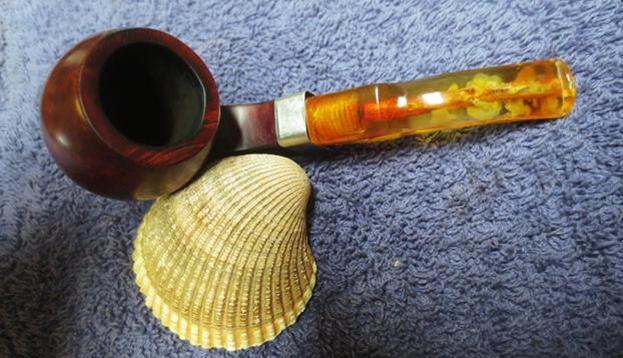
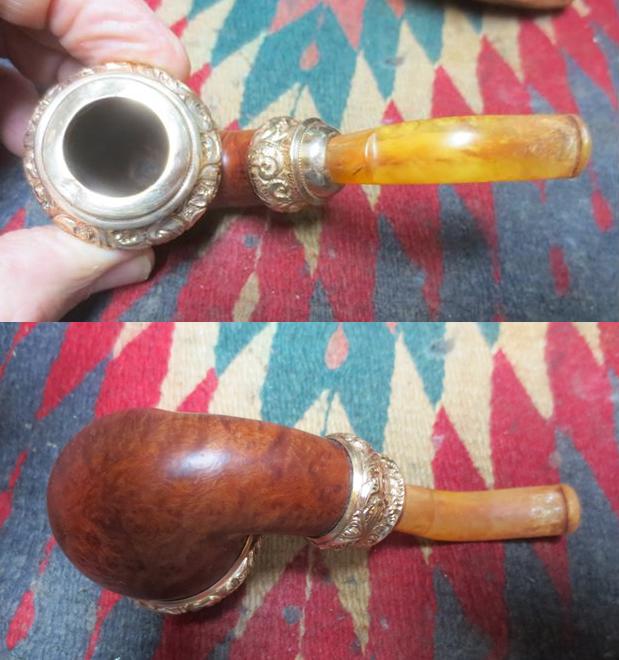
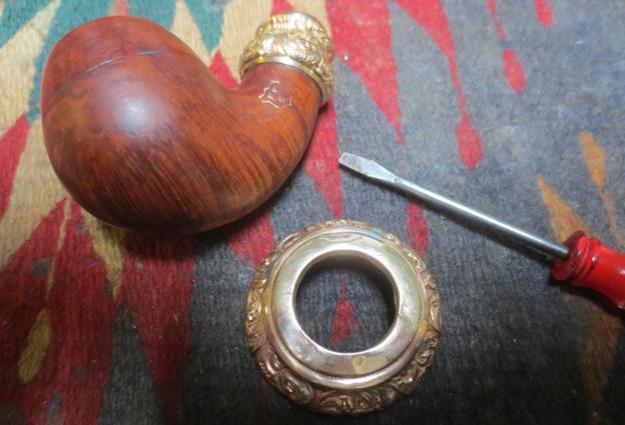
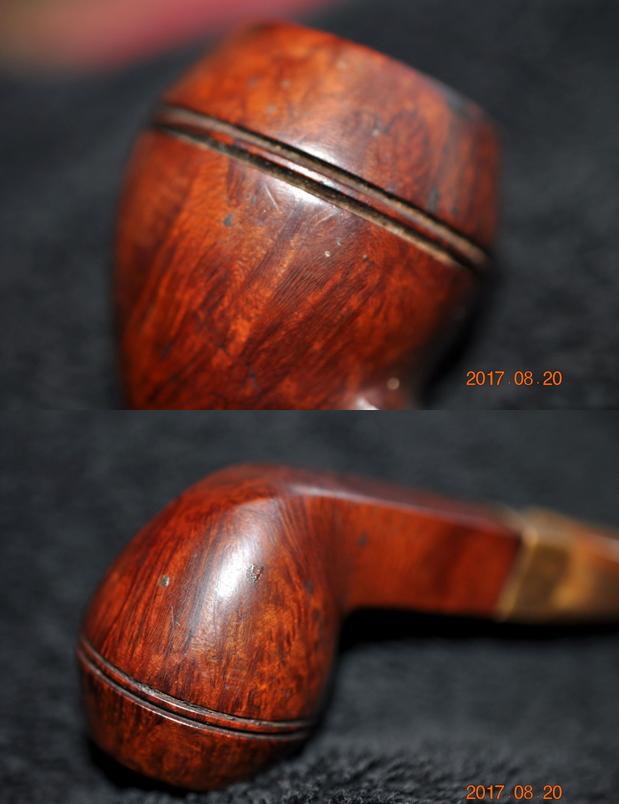
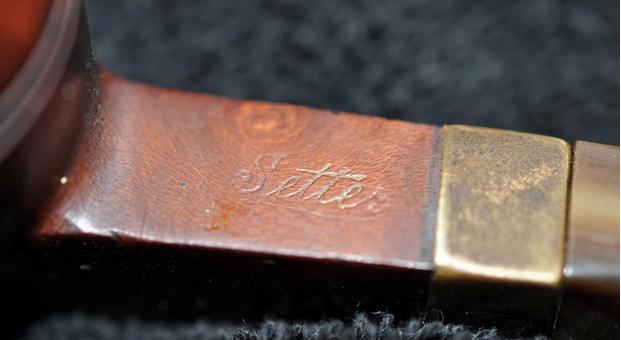
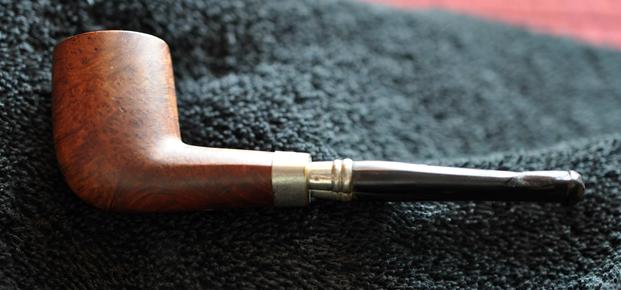
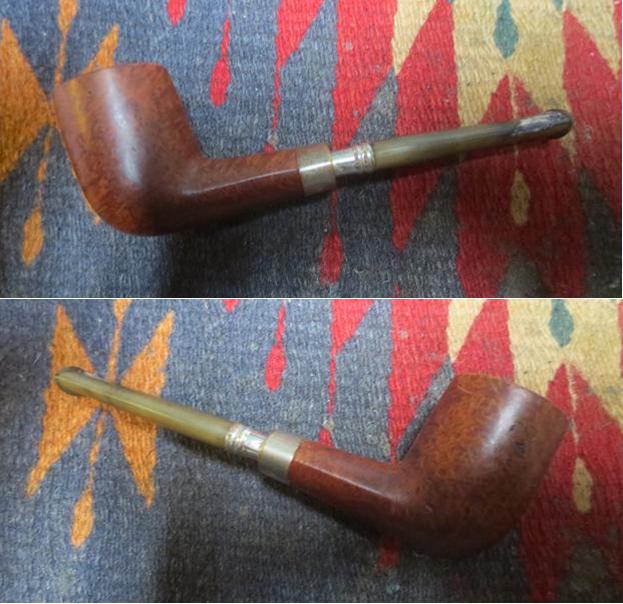
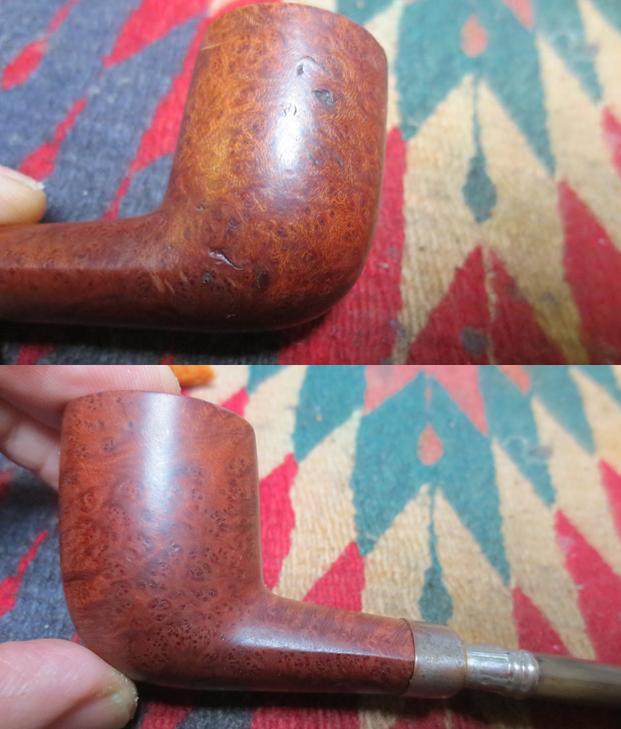
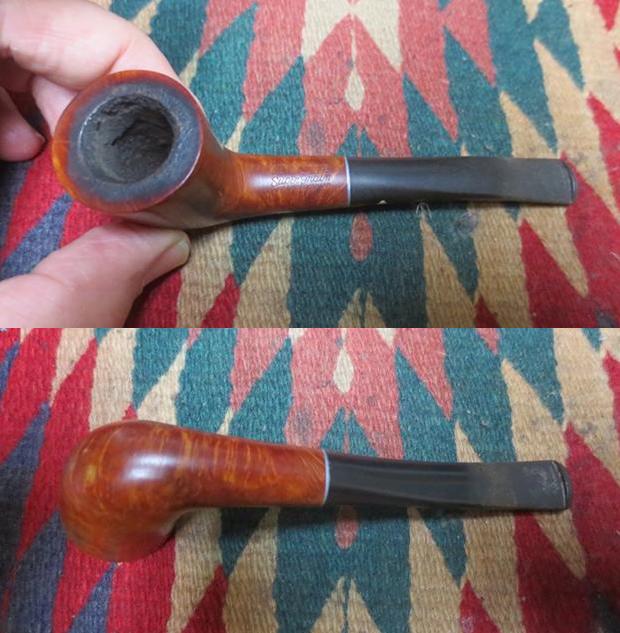
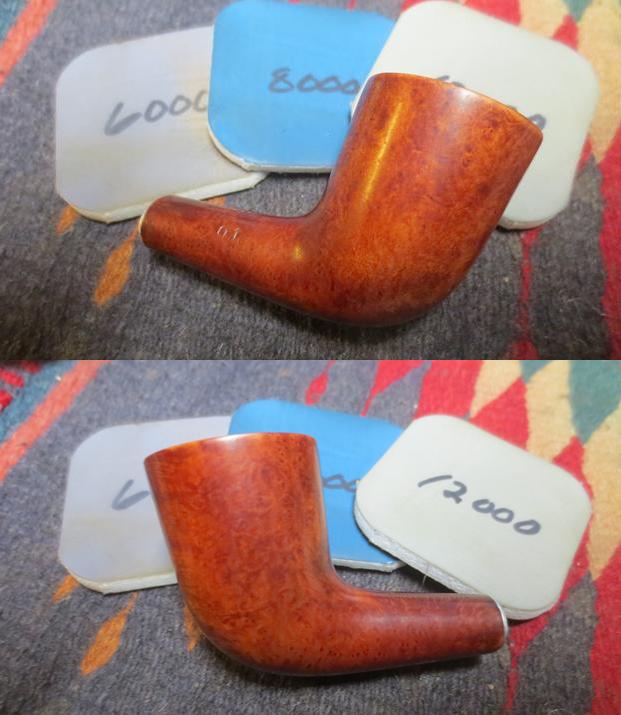
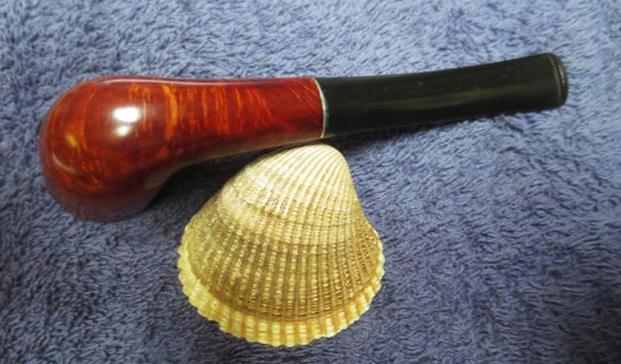
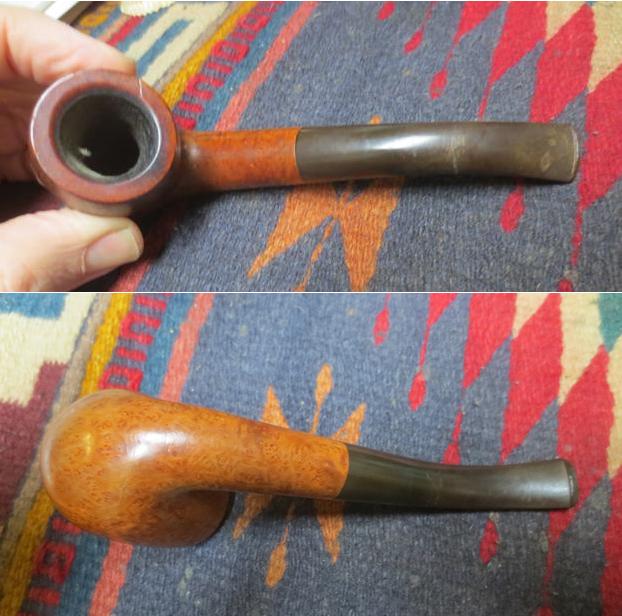
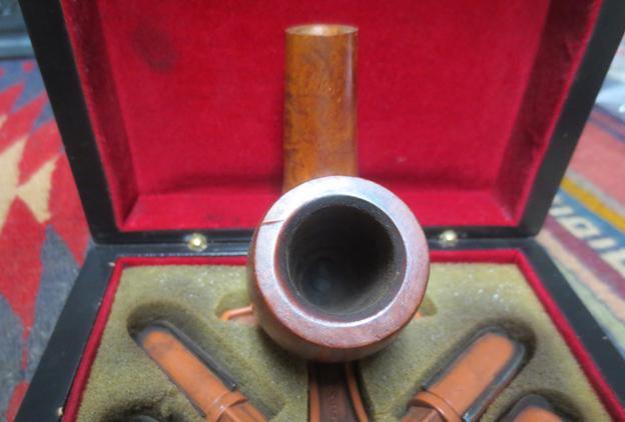
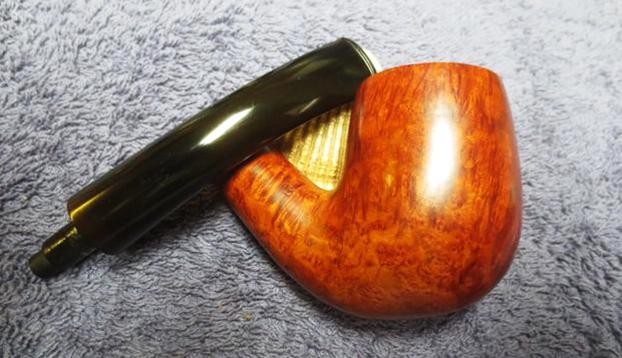
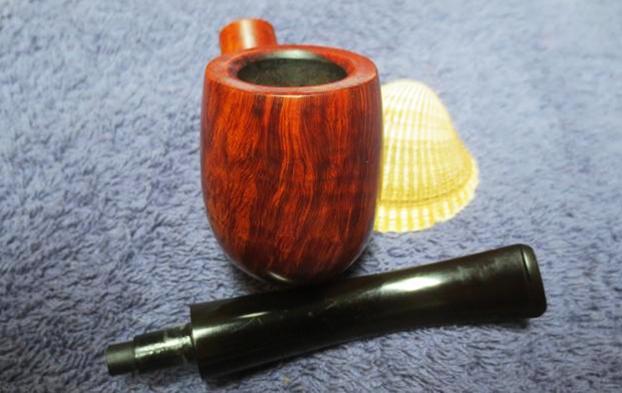
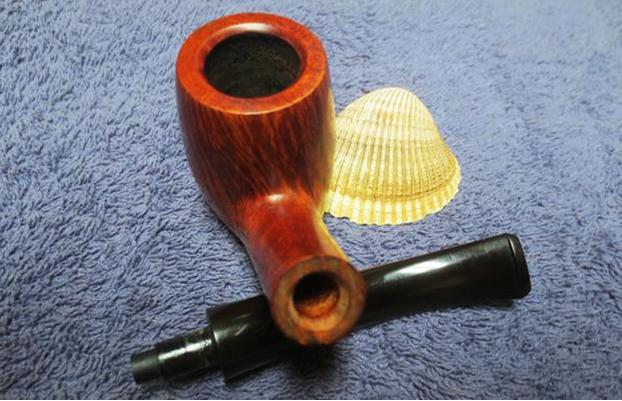
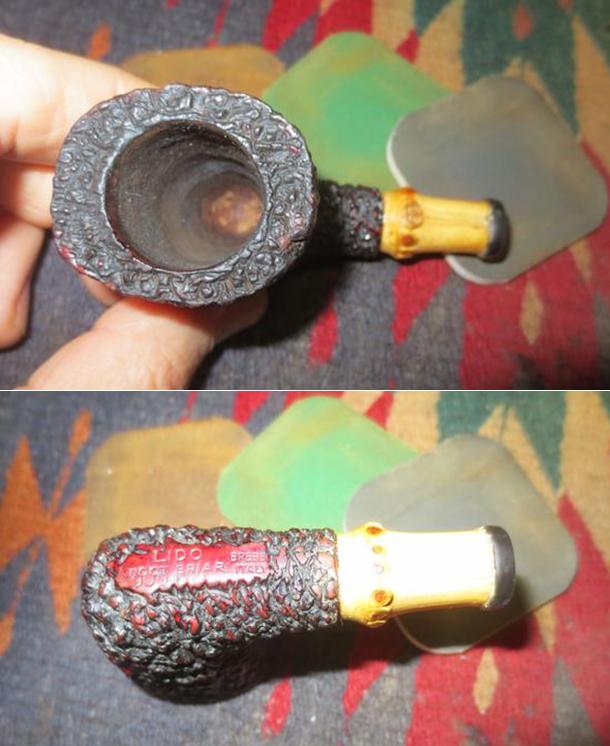
My brother Jeff picked up a nice looking Brebbia pipe on one of his trips to Montana. It was a Brebbia Lido Root Briar Dublin. It had an almost Castello Sea Rock finish on the bowl and shank. It was stamped on a smooth spot on the underside of the bowl and shank. It read Lido over Root Briar over 9004. Next to that it read Brebbia over Italy. Jeff showed me the pictures and it was a nice looking pipe as far as I could see. The shank looked a little short and the angle of the stem was funny but it was nice. The oval shape of the bowl was different and made the pipe interesting. When Jeff examined it at his hotel he discovered that the stem had been glued into the shank. The close he looked the more convinced he became that the shank had been broken and that this was a quick fix either to keep the pipe smokable or to make it sellable. Either way it was no longer a good find in his mind.
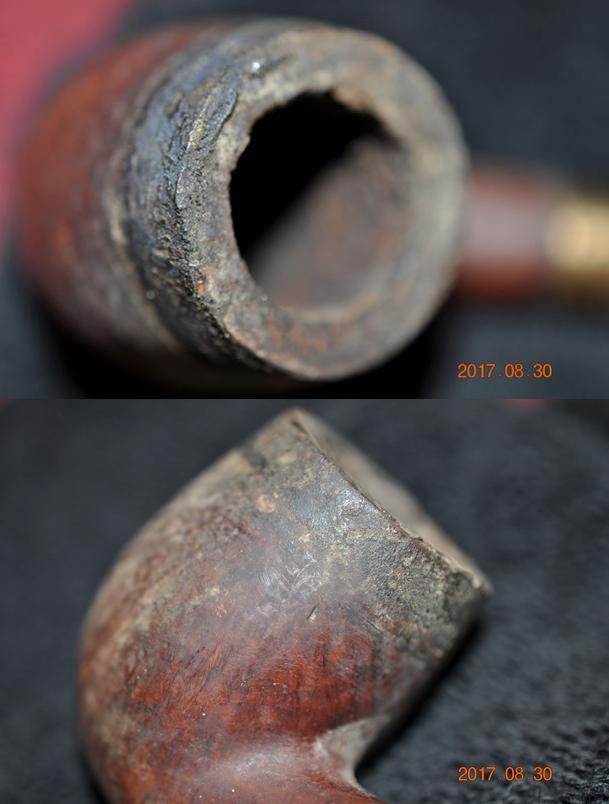
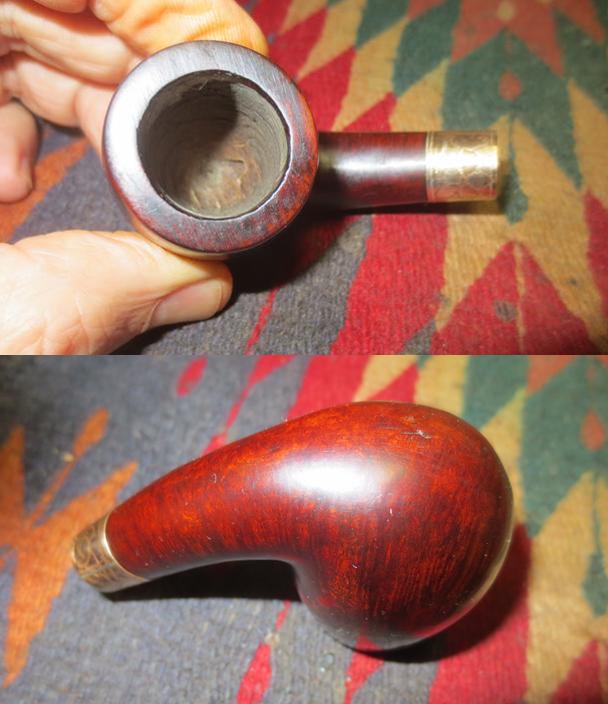
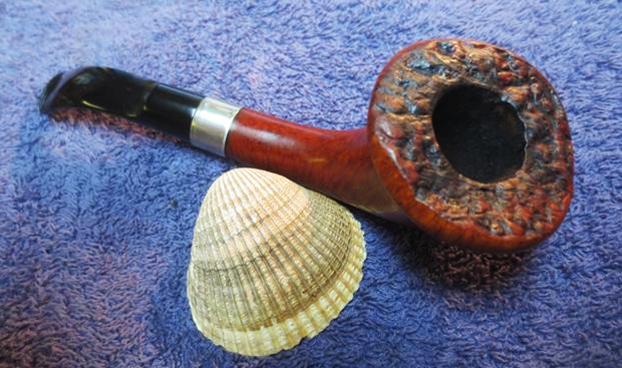
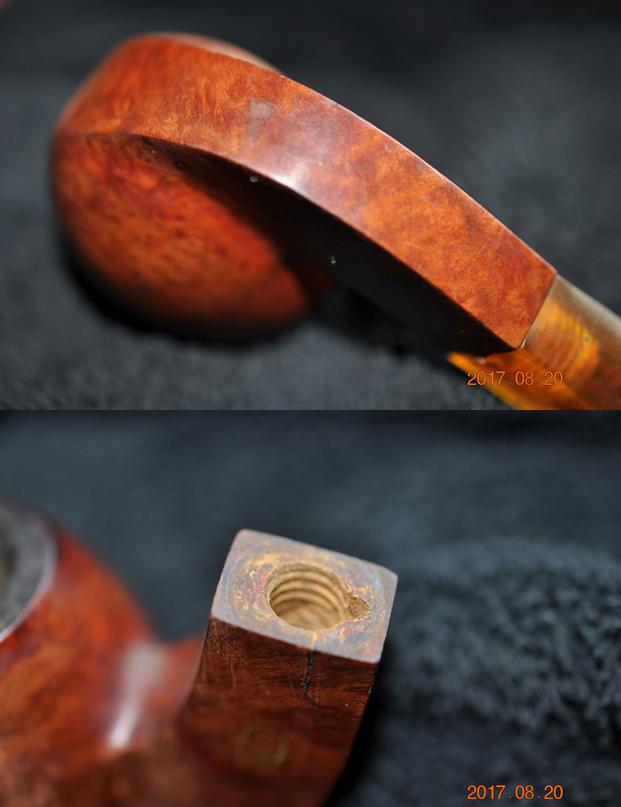
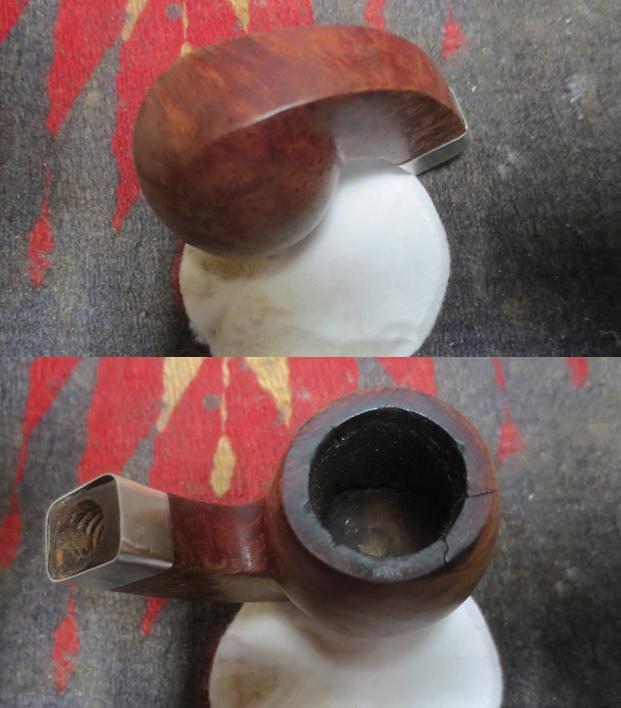
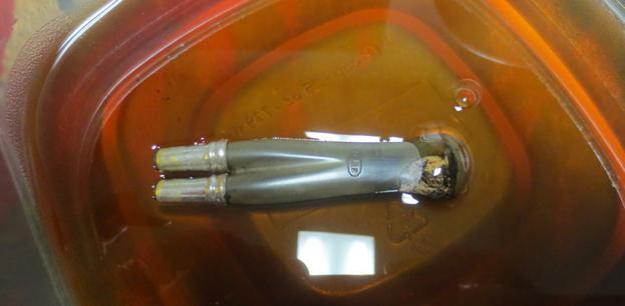
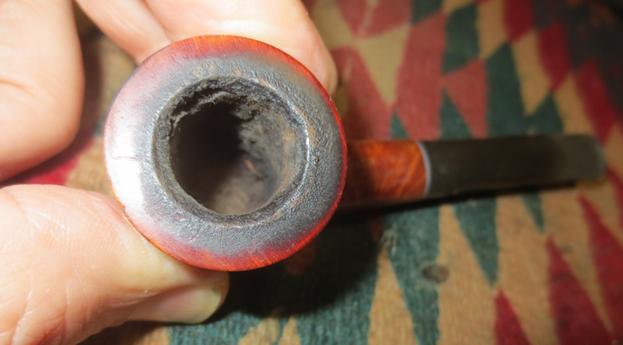
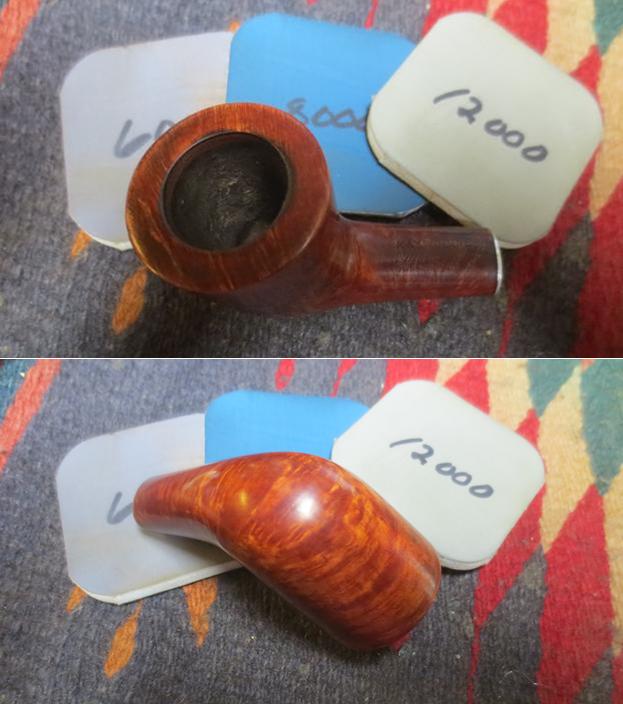
We talked when he was doing the cleanup and he was going to throw it away. He did not take pictures of the pipe as it was when he got it for this reason. The bowl had a thick cake and the rim had a copious overflow of lava that filled in the finish. I asked him to clean it up anyway and send it to me. He was dubious but he did it. He reamed and cleaned the bowl and shank to a point where it was spotless. He scrubbed the exterior with Murphy’s Oil Soap and a tooth brush and was able to get the rim clean of the lava. It was clean when it arrived in Vancouver. I unpacked the box and looked at it briefly and tossed it back in the box. I had no inspiration as to what to do with it at that point so I figured I would just let it sit for a while.
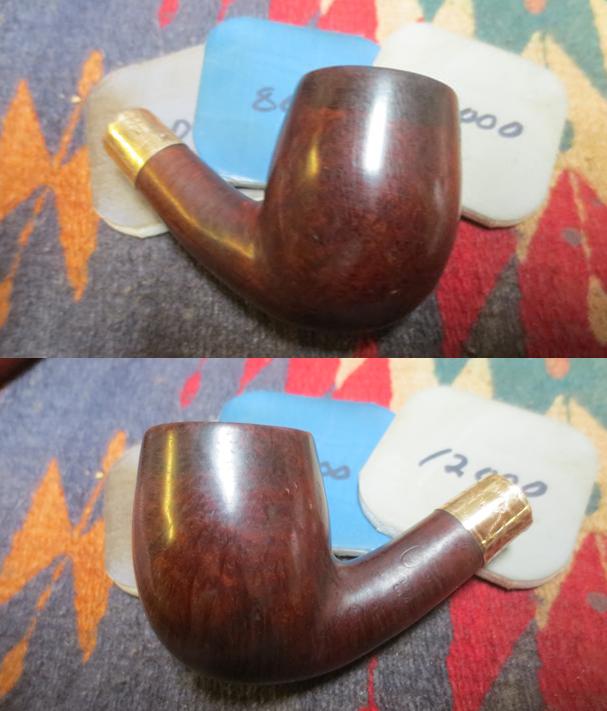
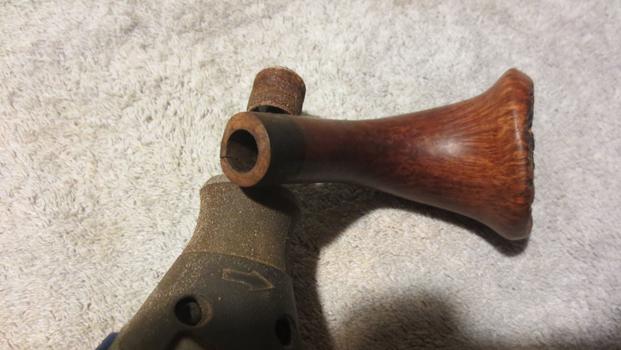
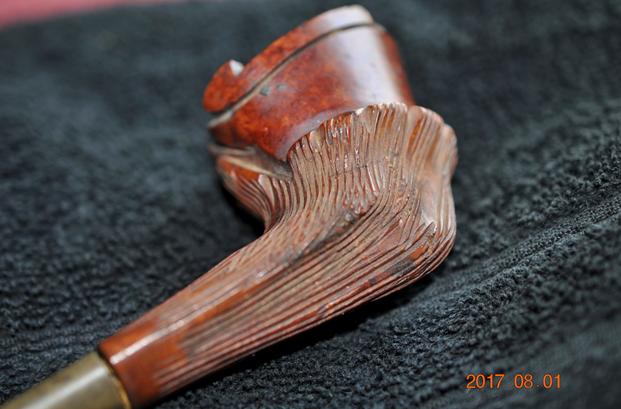
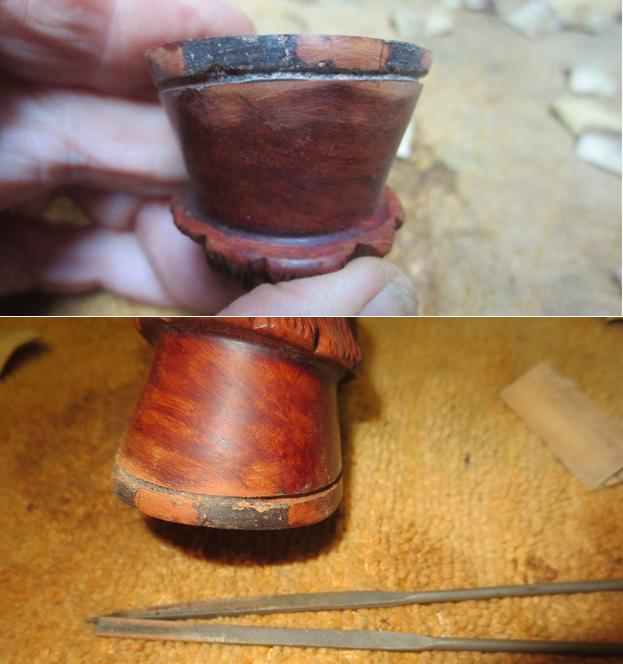
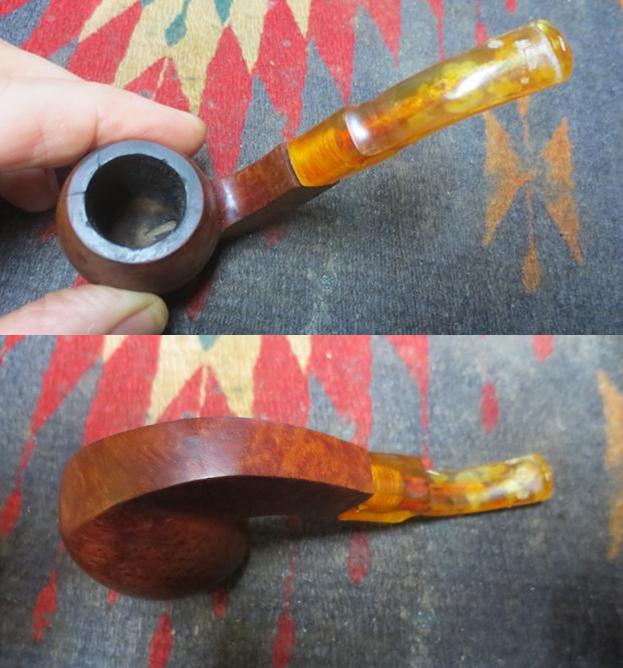
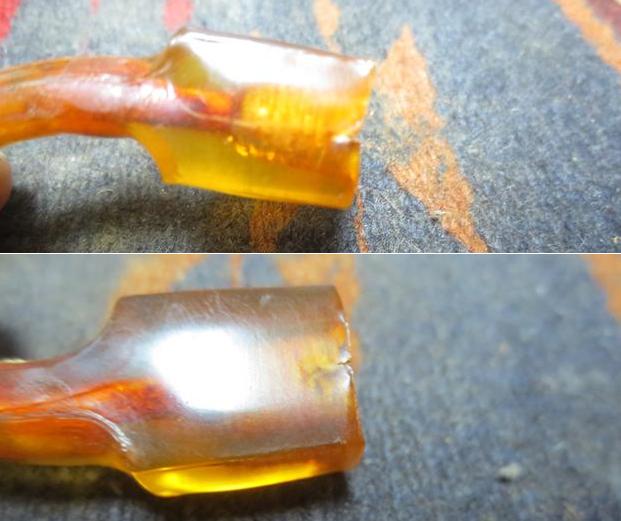
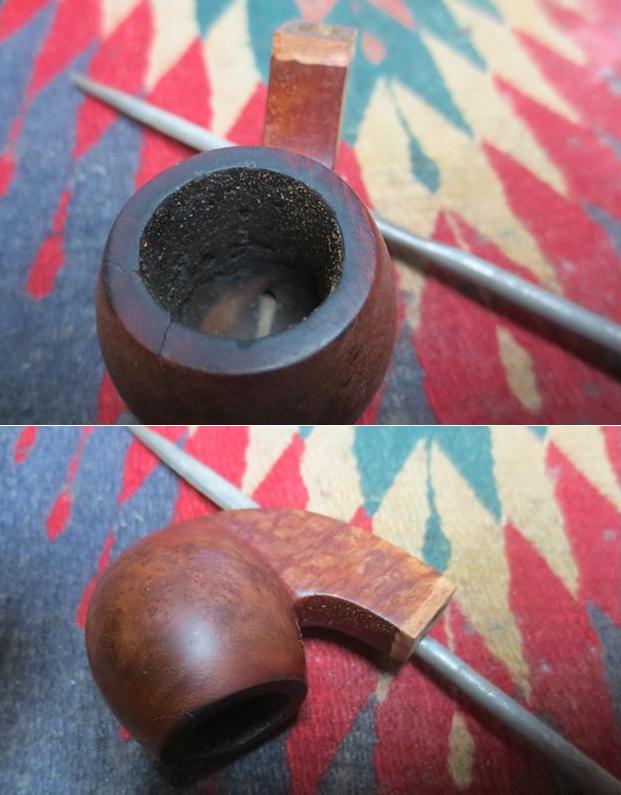
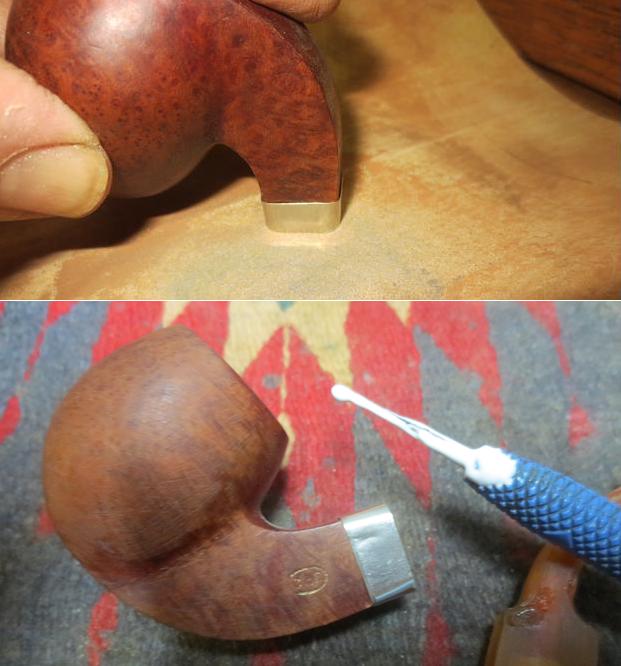
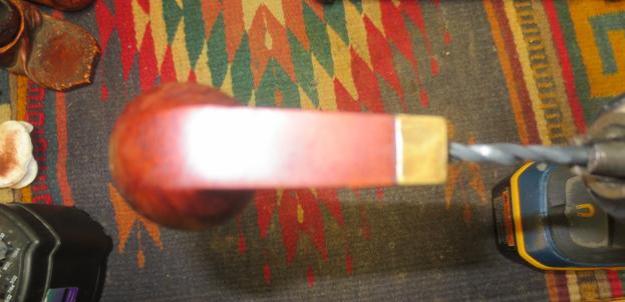
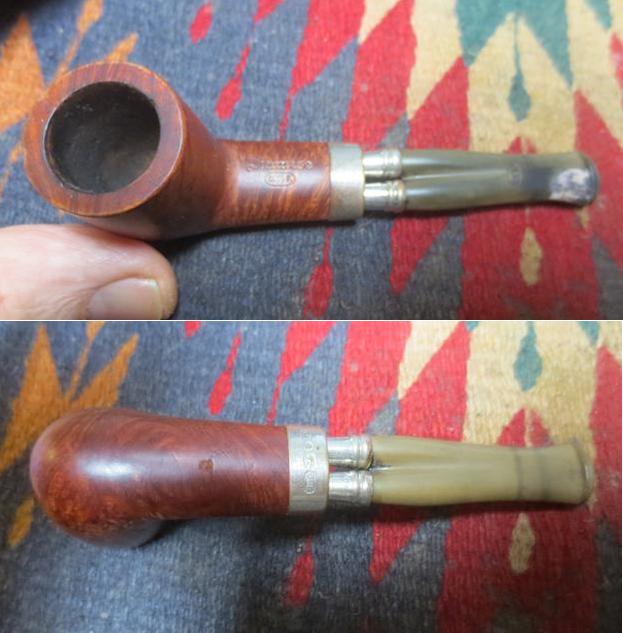
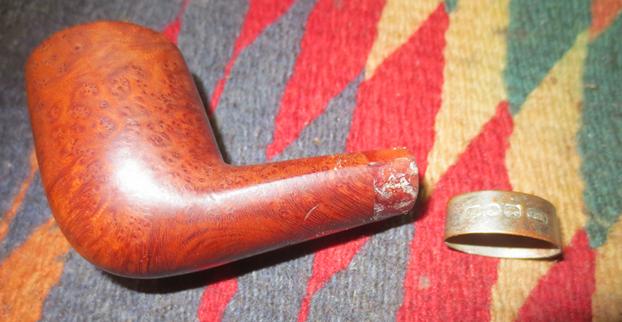
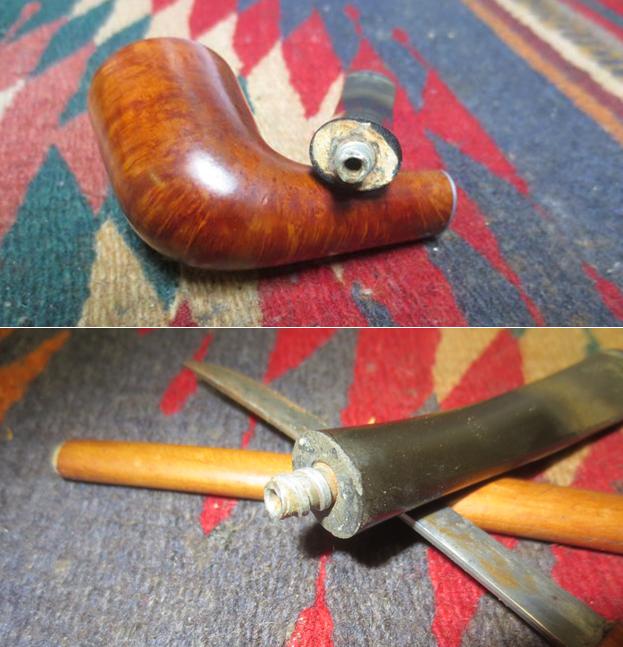
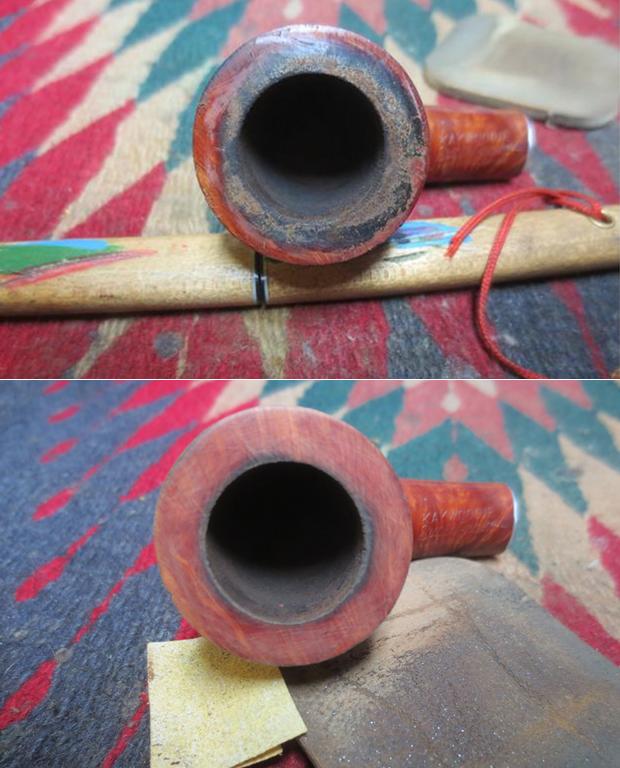
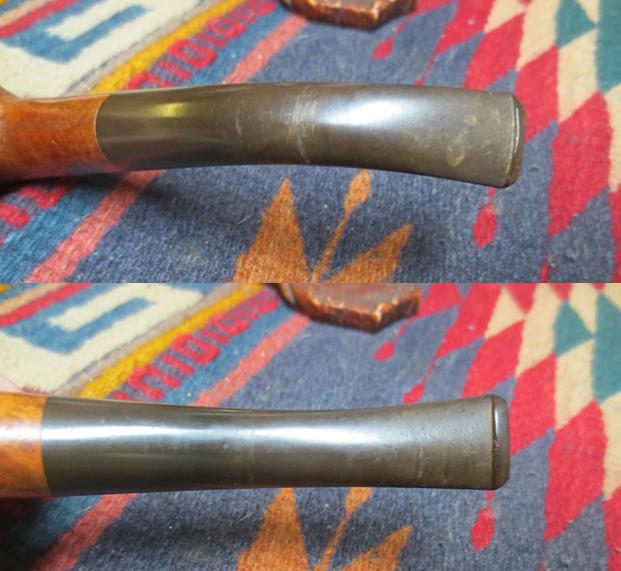
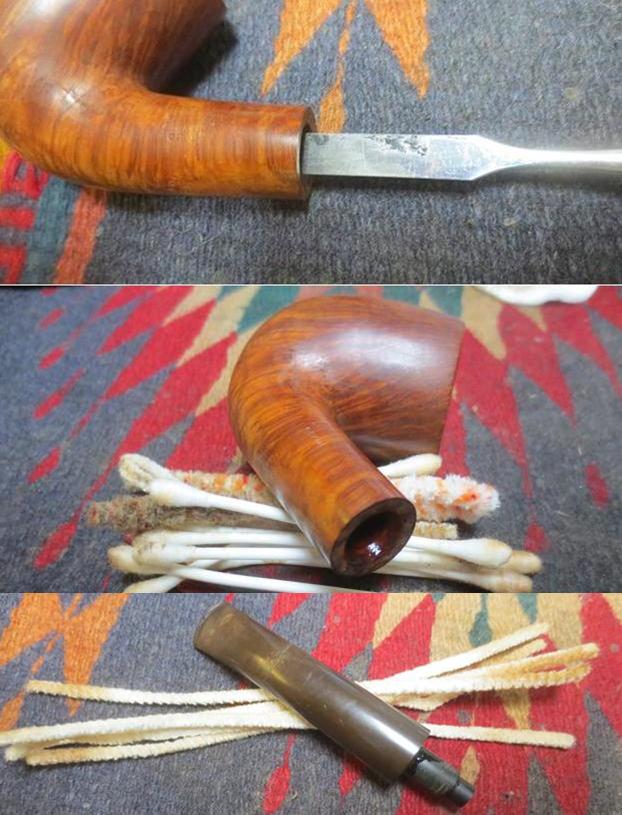
Yesterday I woke early to an idea for the Brebbia bowl. I don’t know if that happens to you but it does to me. Probably means I am thinking too much about pipes but it is what it is. I knew what I wanted to do with the bowl so I dug it out of the box and turned it over in my hands. I did not take photos of it at that point though I should have. I used a Dremel and sanding drum to square up the broken shank end. It was at an angle so it needed to be made flat. I sanded it on the topping board to smooth out the end of the shank and face it. I cleaned out the inside of the shank end with alcohol and cotton swabs to remove the dust and debris and ready for the next part of the process.
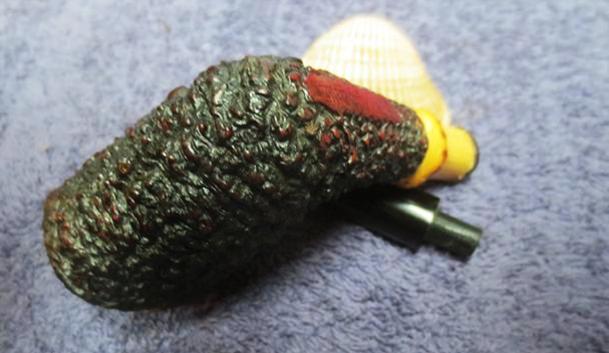
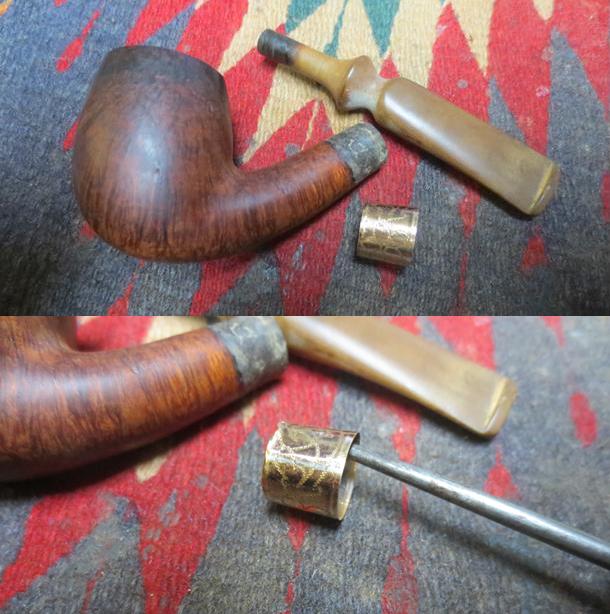
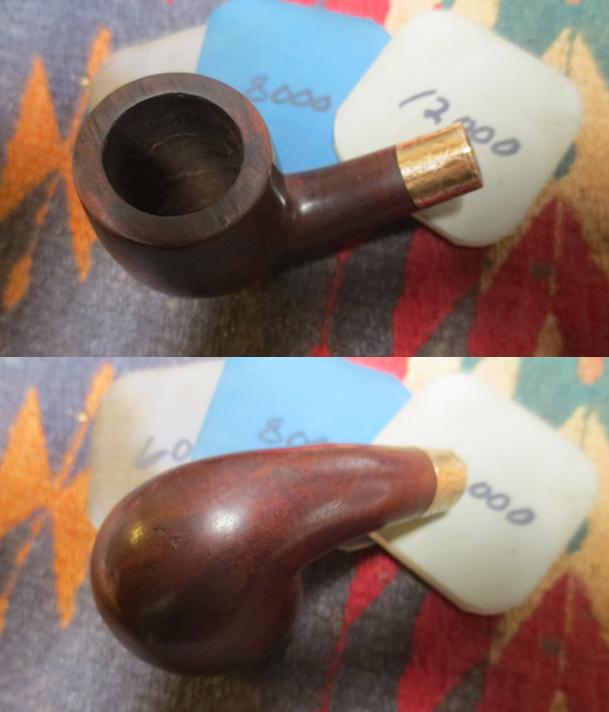
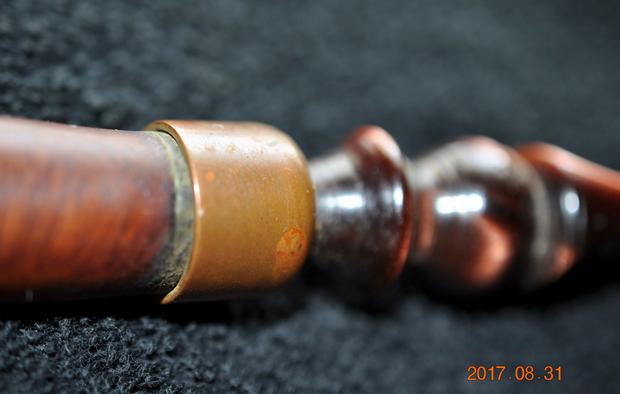
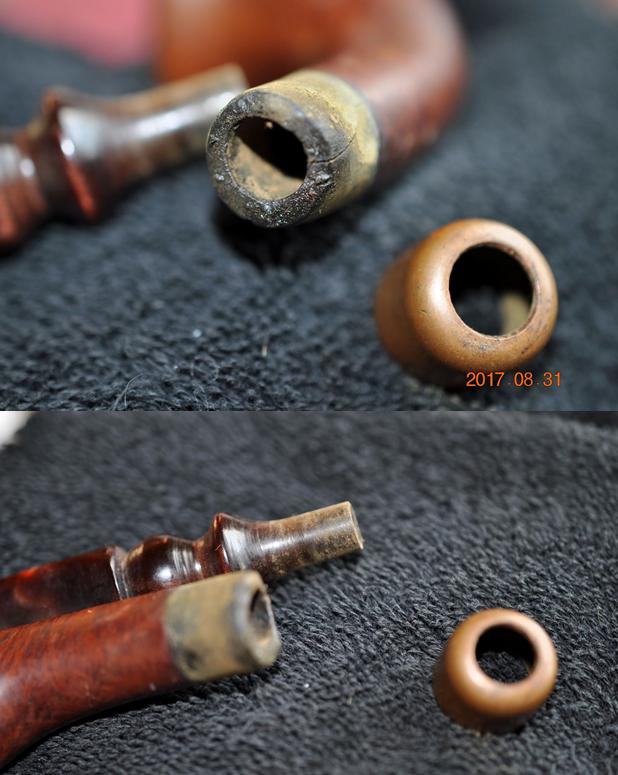
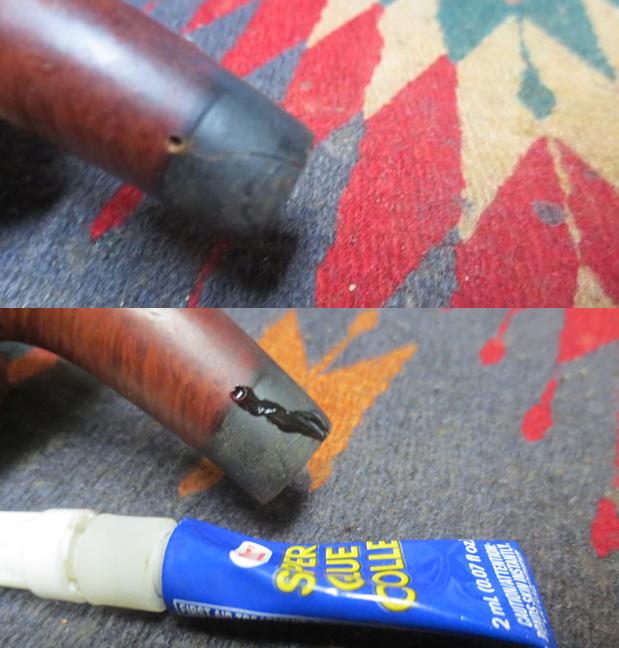
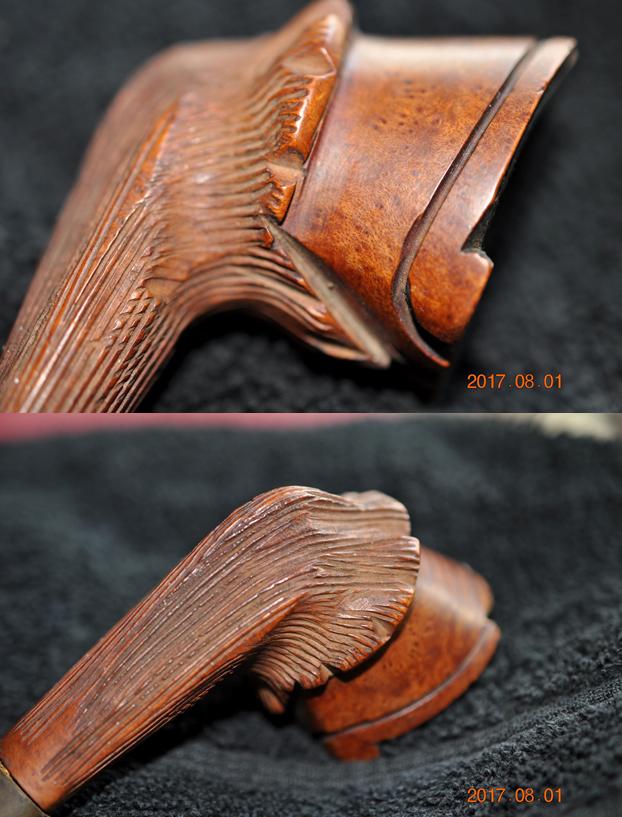
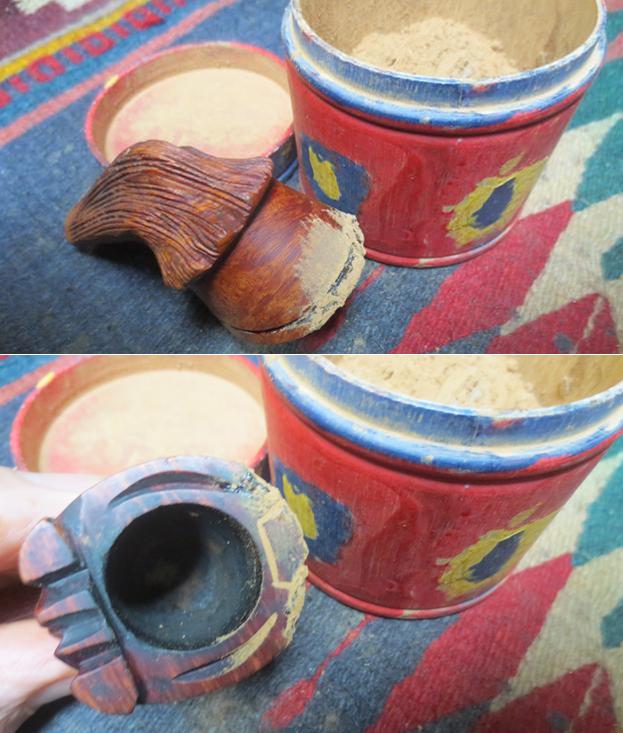
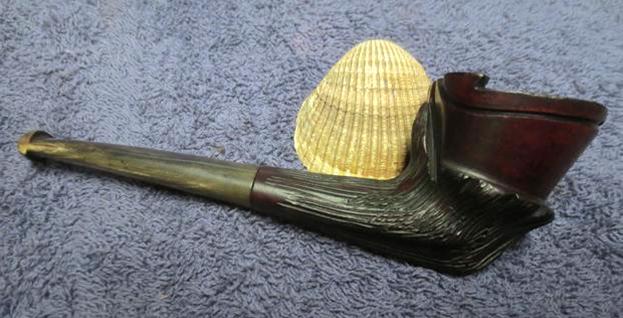
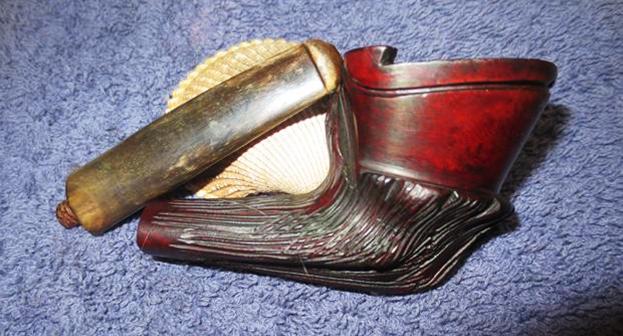
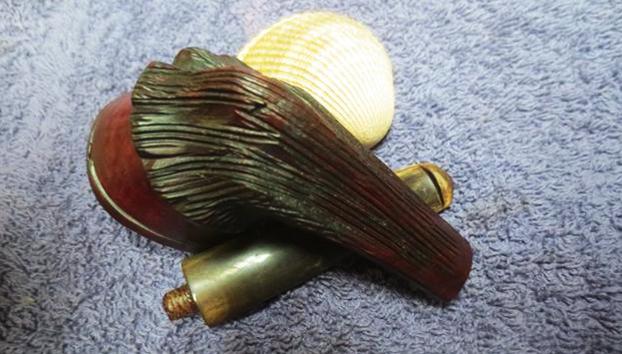
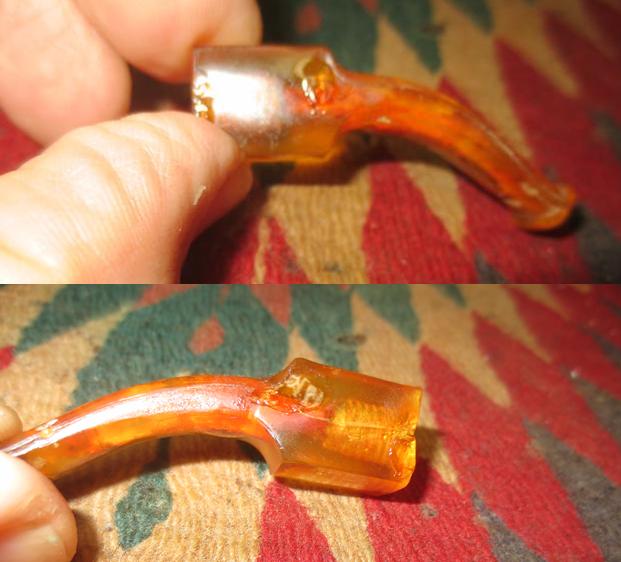
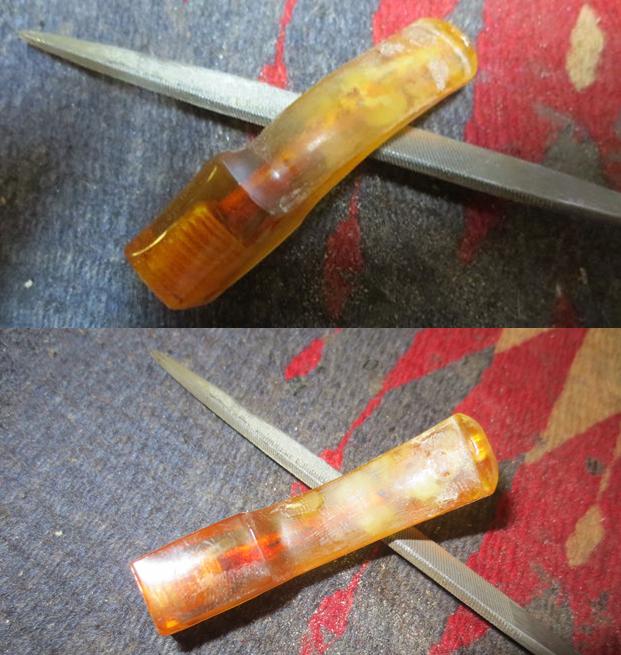
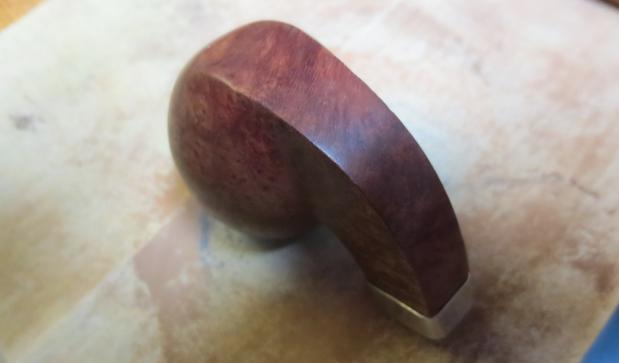
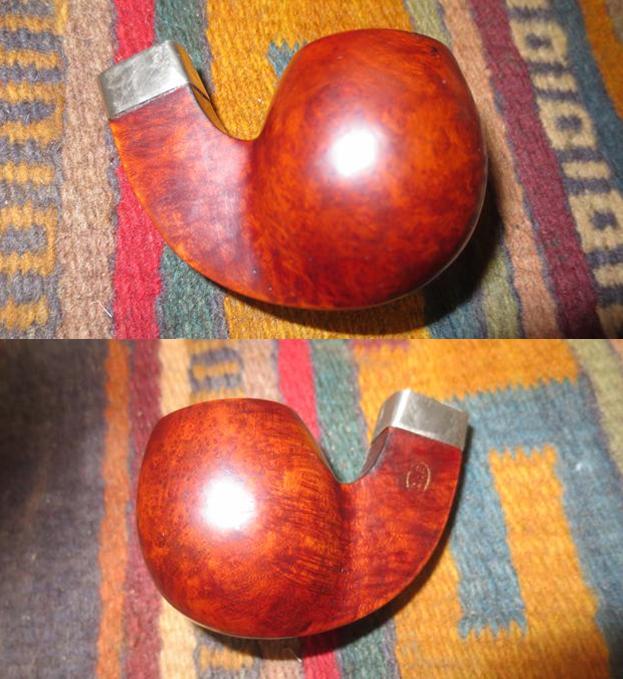
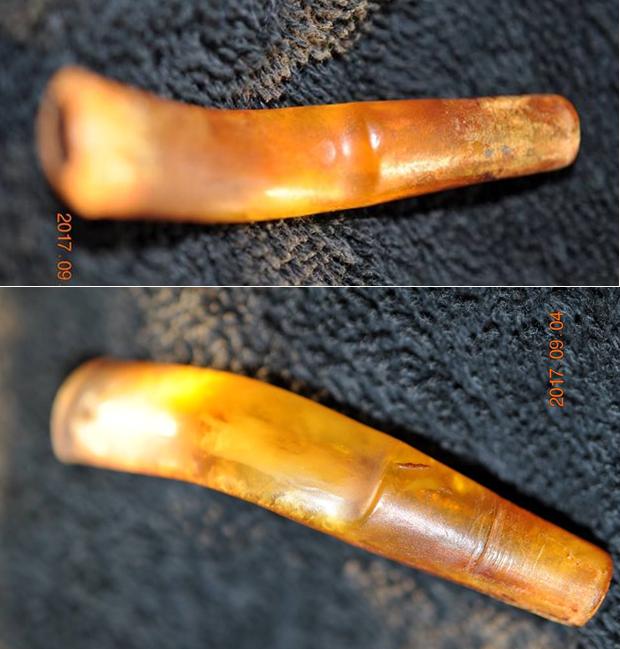
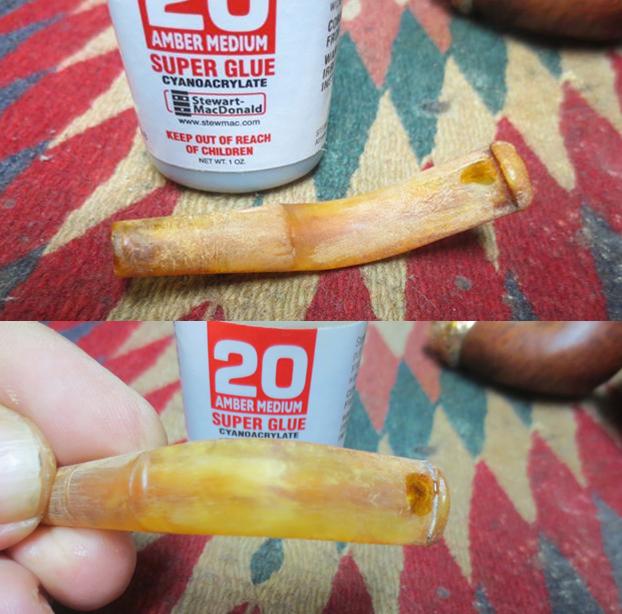
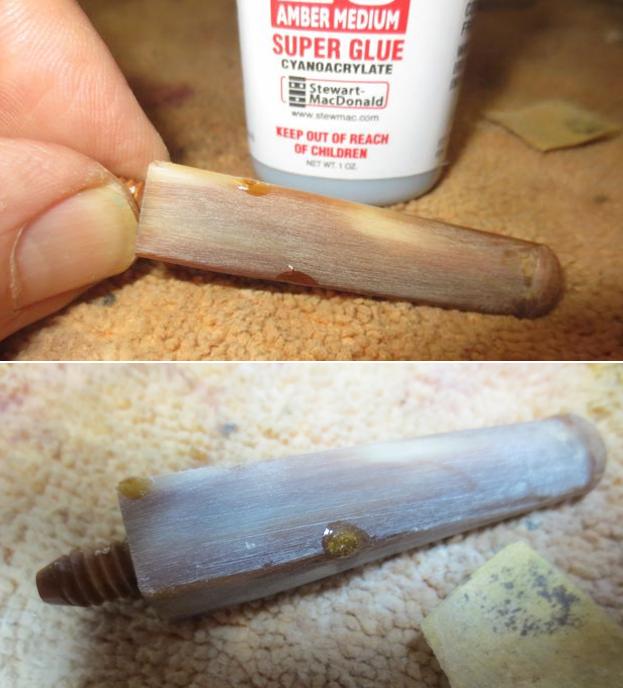
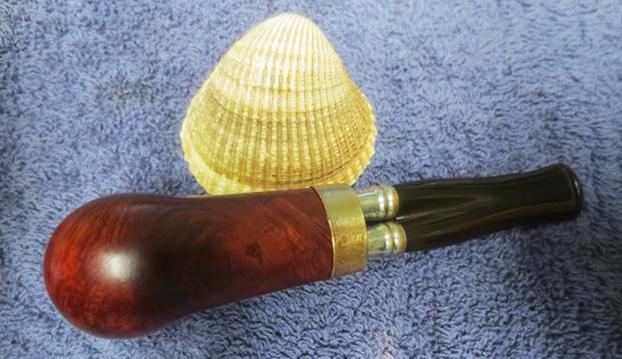
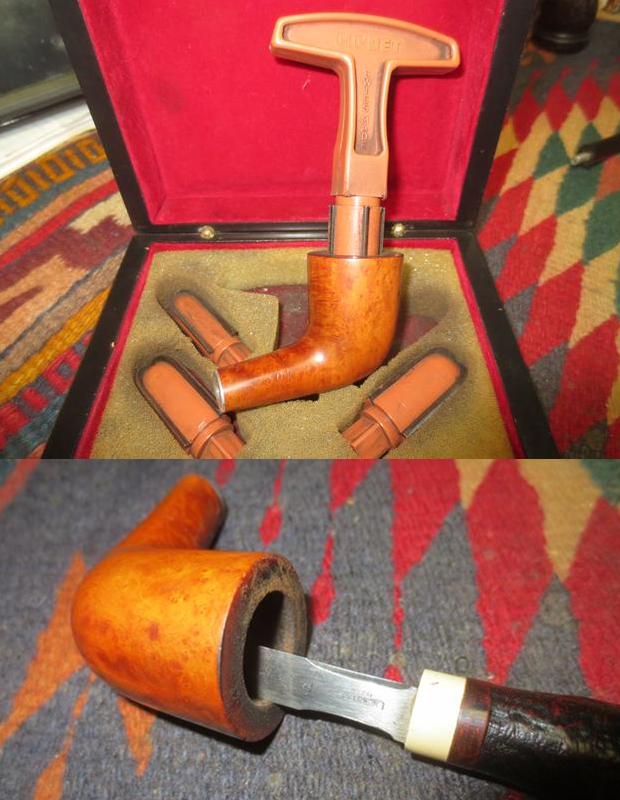
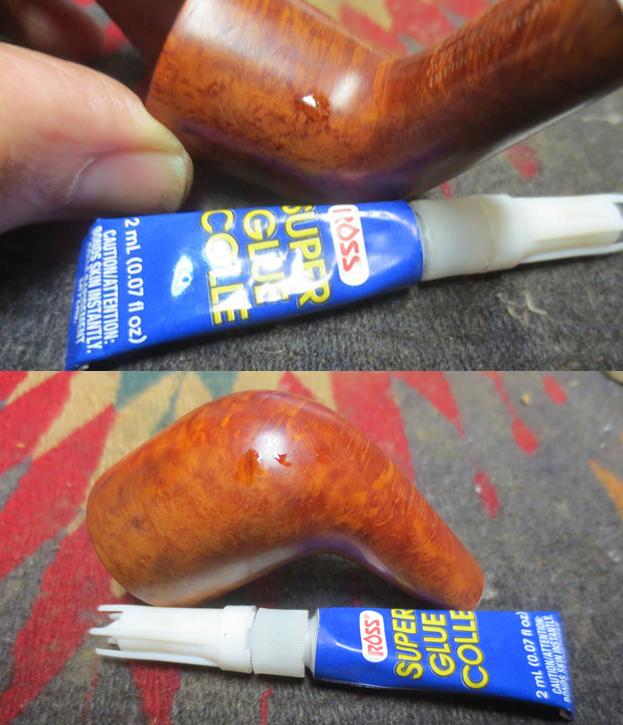
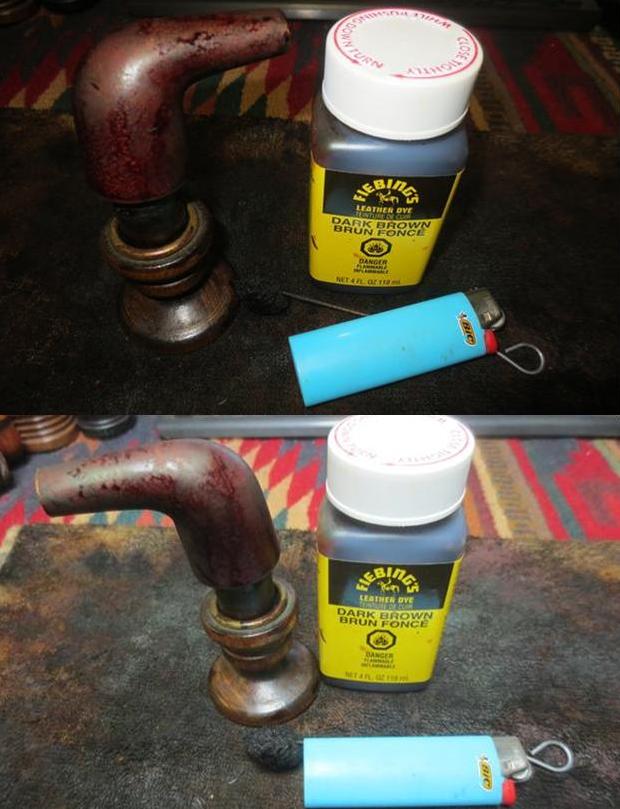
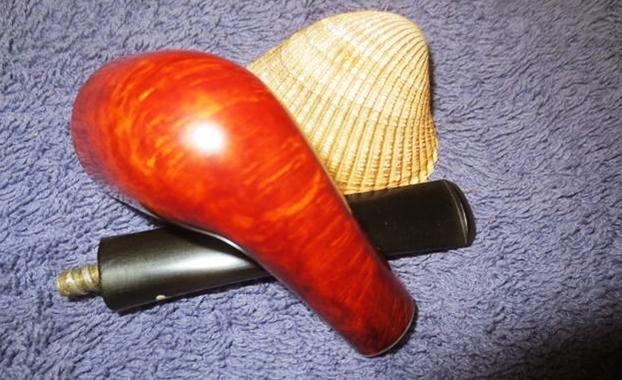
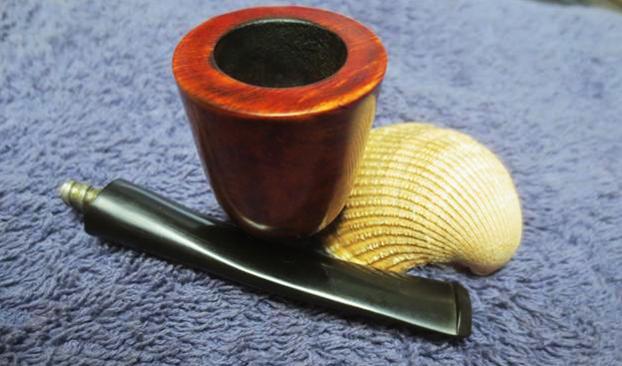
I went through my box of parts and found a one inch long piece of bamboo with one knuckle that I had cut off in a repair on another pipe. It was a thick hard piece of bamboo that would work well. The end with the knuckle was the same basic diameter as the shank end so that would work well. I also keep broken chunks of Delrin and vulcanite tenons to use for this kind of thing so I salvaged a one inch long piece of Delrin that was perfect. I roughed up the surface a bit and took down the outer diameter with the Dremel and sanding drum so that it would insert into the shank end. The photo below shows the accumulation of parts ready to be joined together.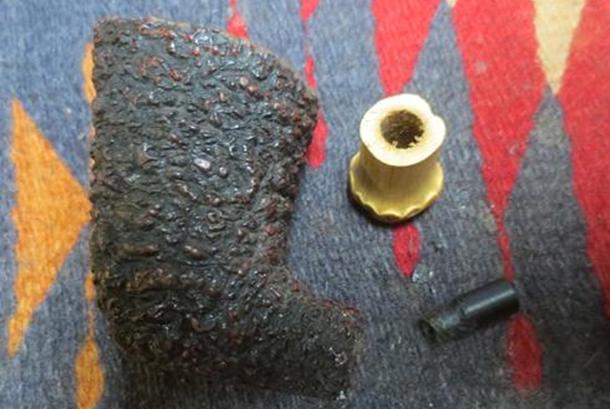 In the past I have used epoxy to glue the parts together. This time I chose to use clear super glue. I applied the glue to the end of the tenon that went into the shank and pressed it into place. I made sure that things lined up well and let the glue cure. It does not take long – which is why I chose to use it this time. You have to work quickly to assure all is aligned before it sets. Once it was set I painted the end of the shank and the bamboo with super glue and applied it to the tenon as well and pressed the bamboo over the extended piece of tenon. I lined everything up so the fit was correct. I wanted the groove in the bamboo on the top side of the shank so once it was done I held it until it set. The following photos show the bowl and shank repair at this point in the process. I liked the look of the pipe at this point.
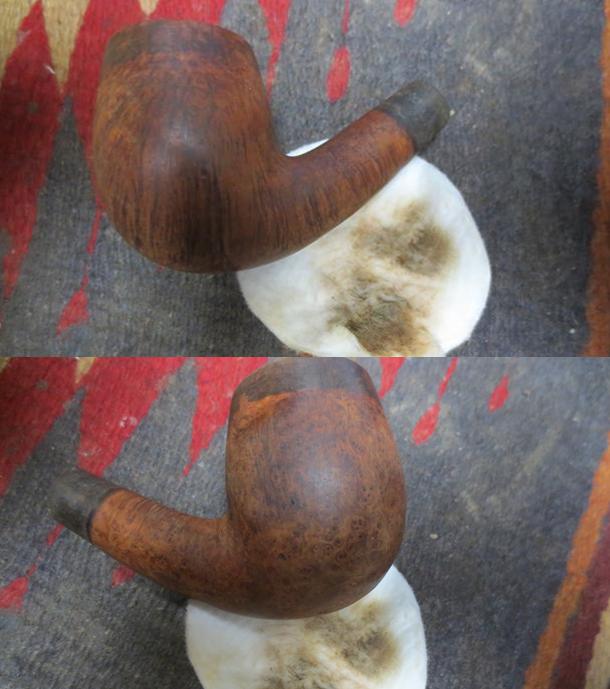
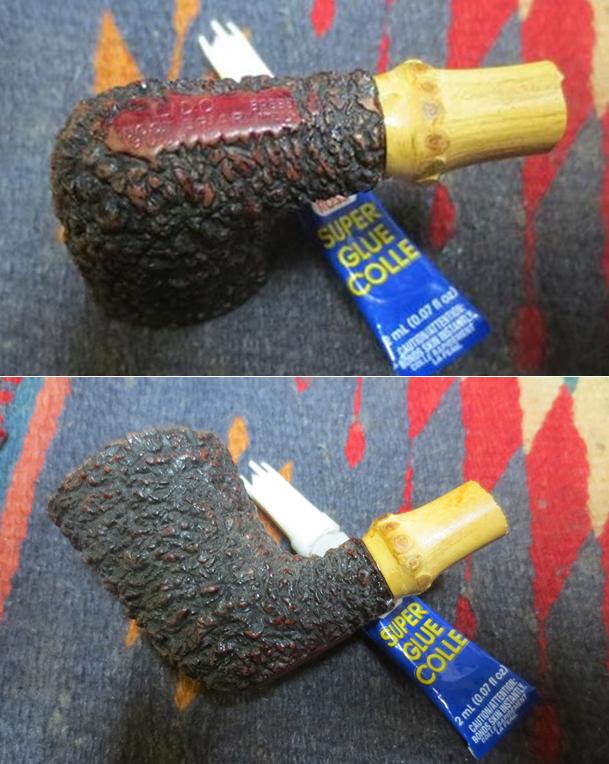
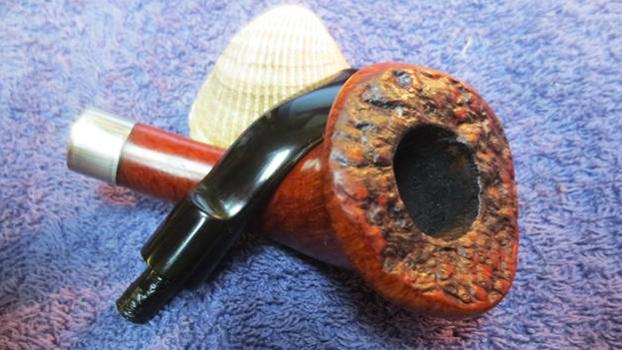
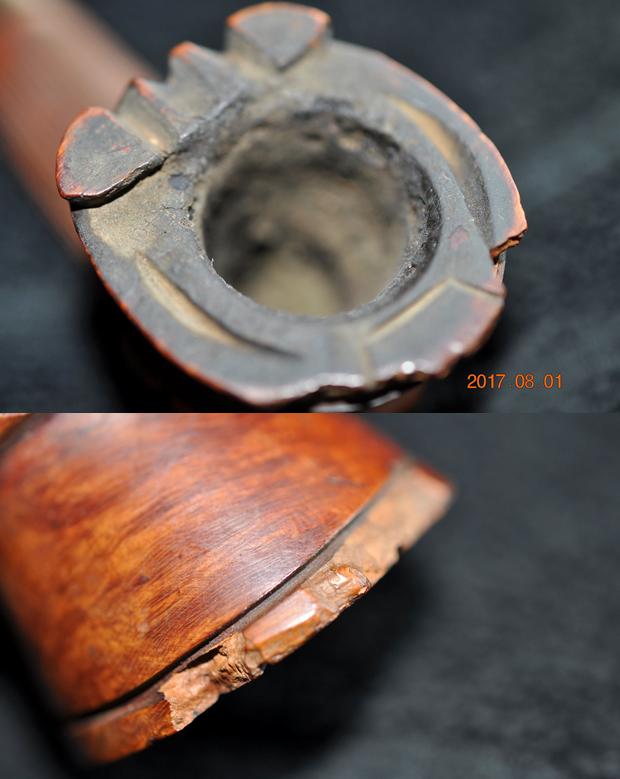
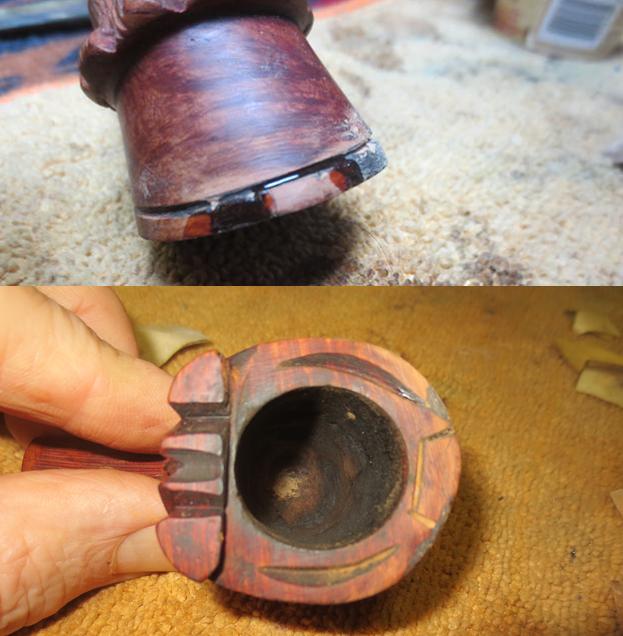
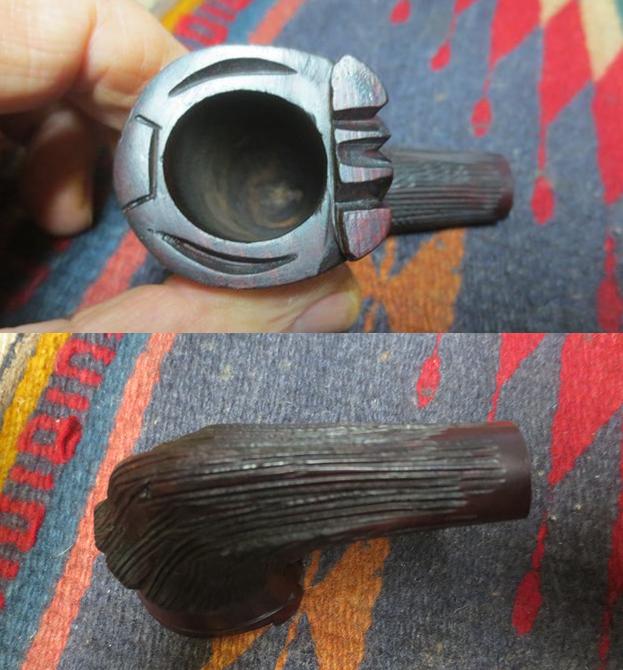
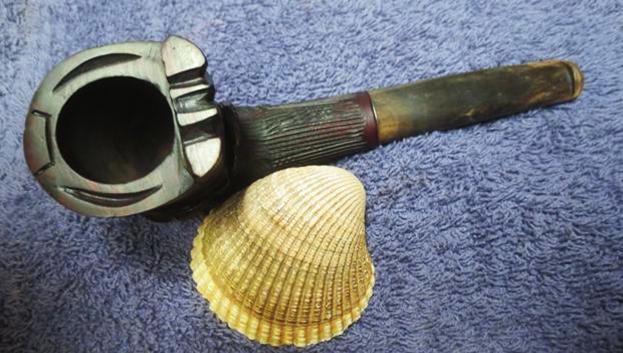
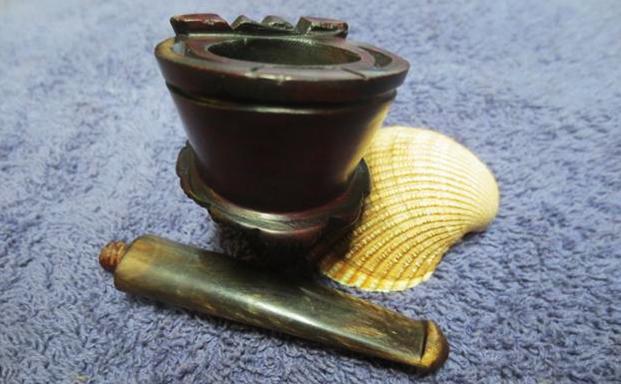
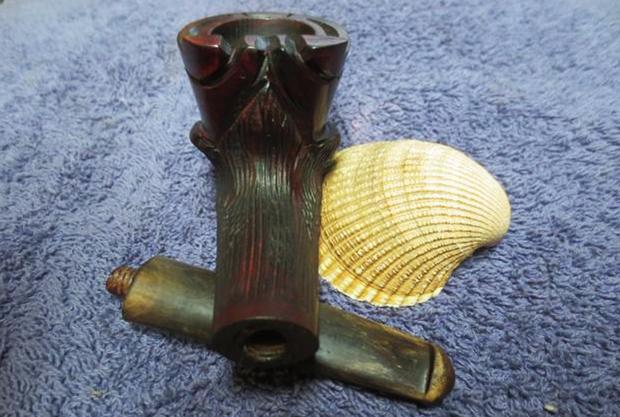
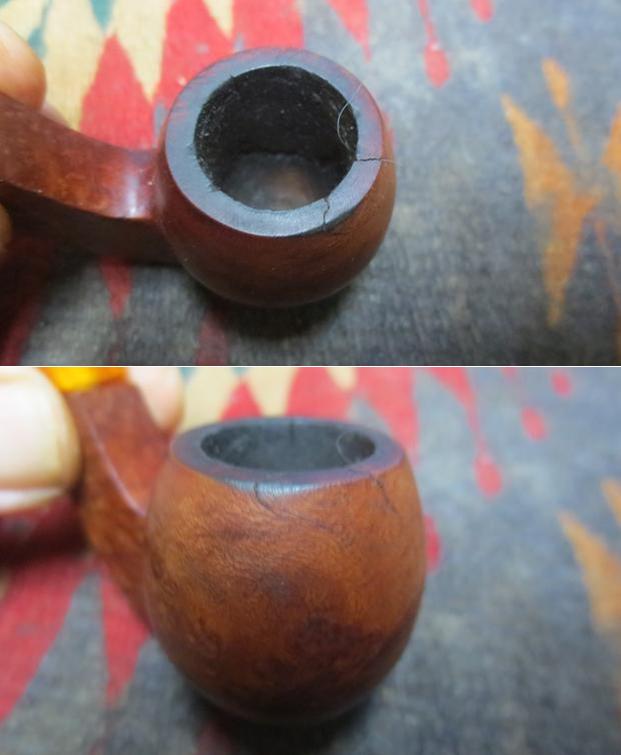
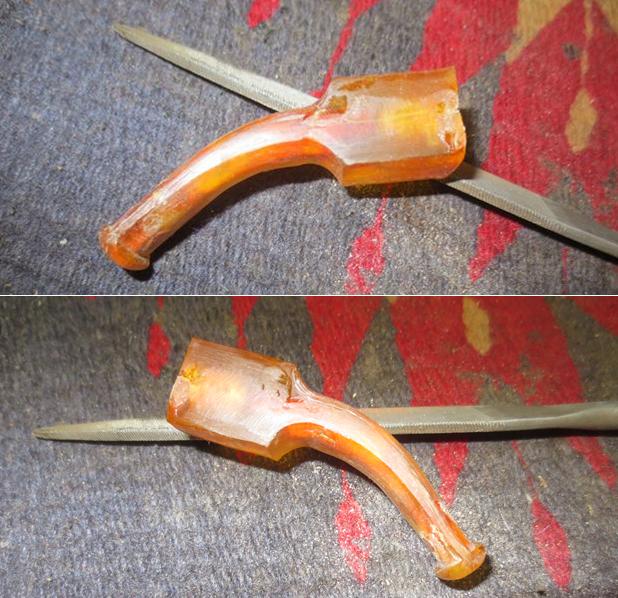
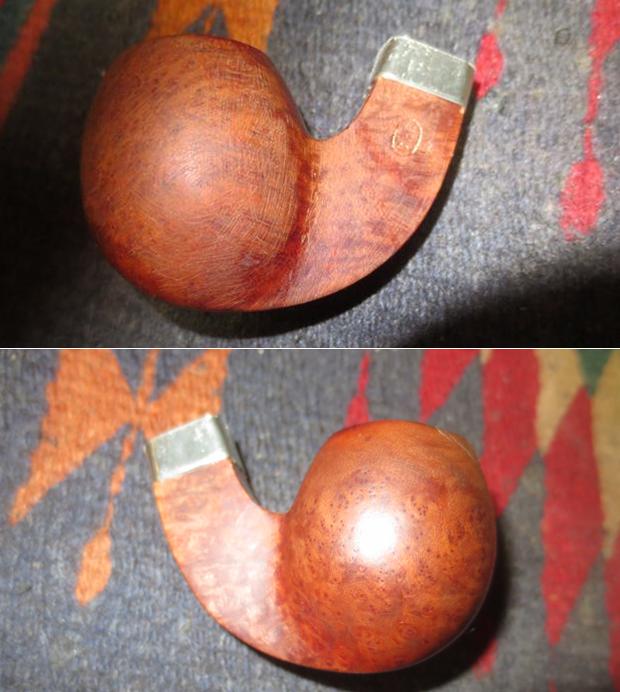
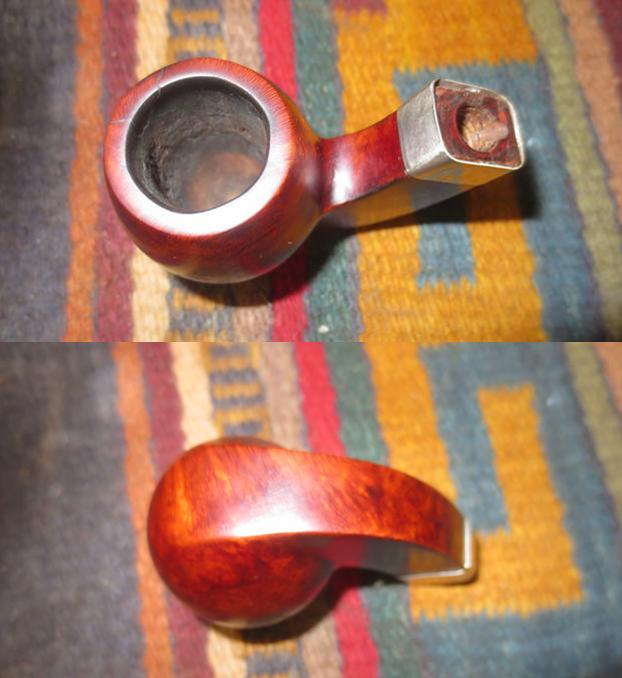
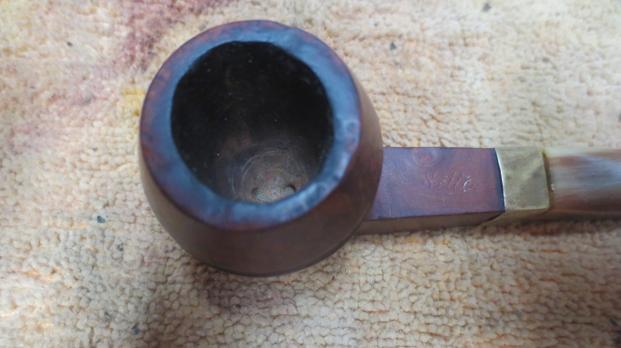
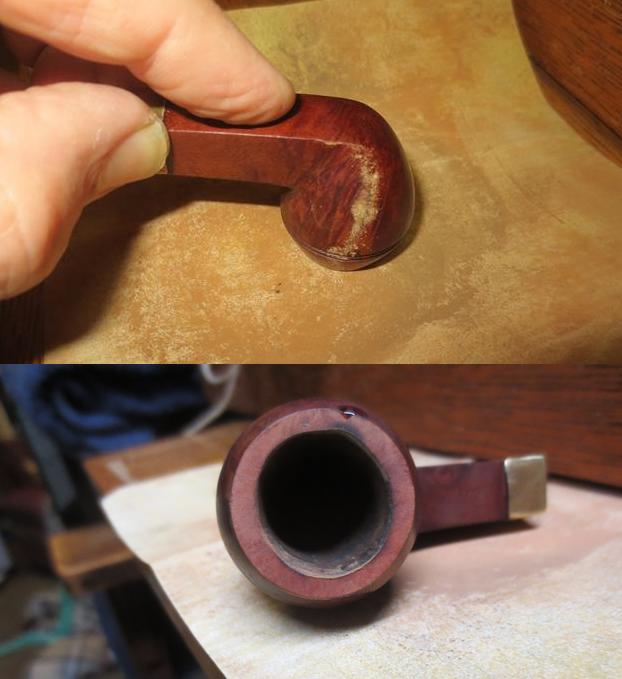
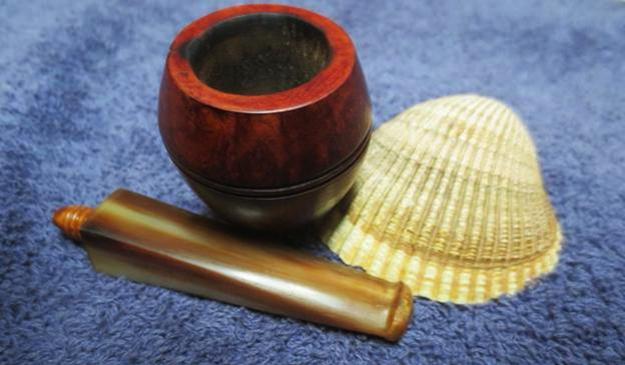
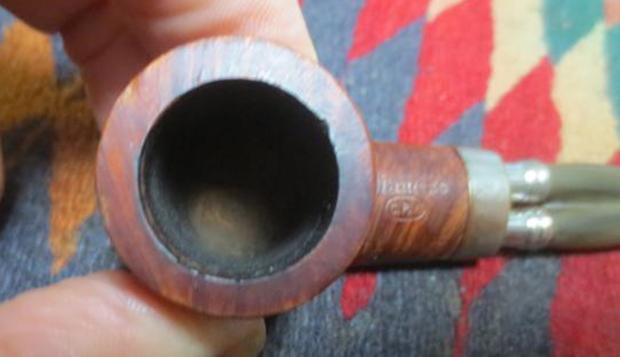
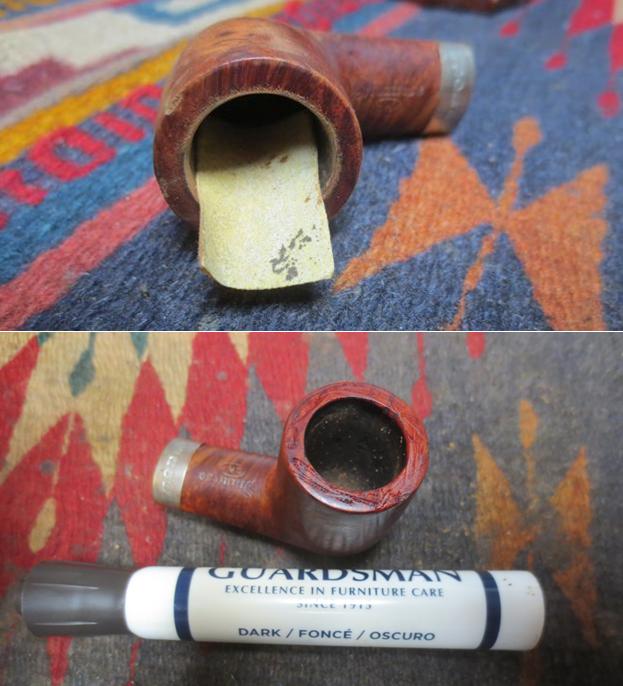
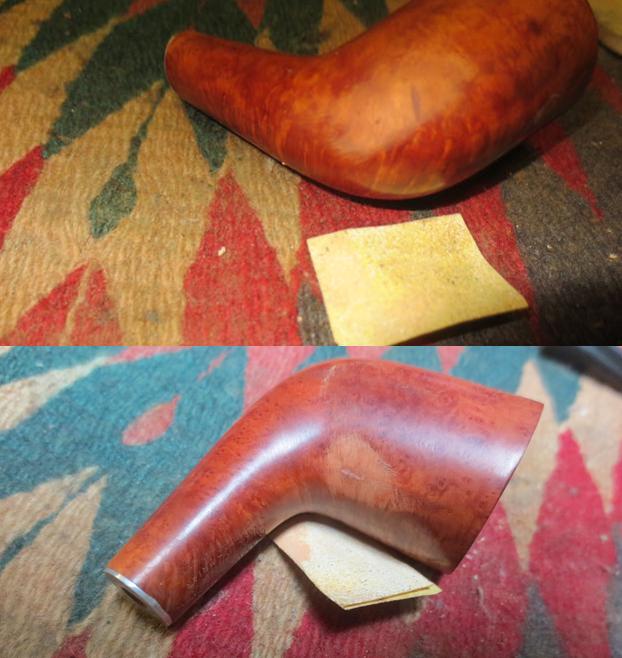
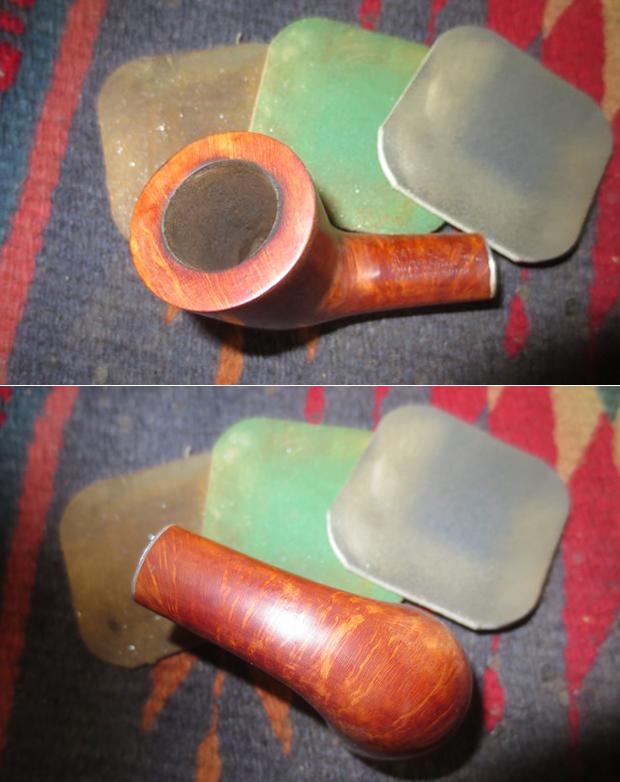
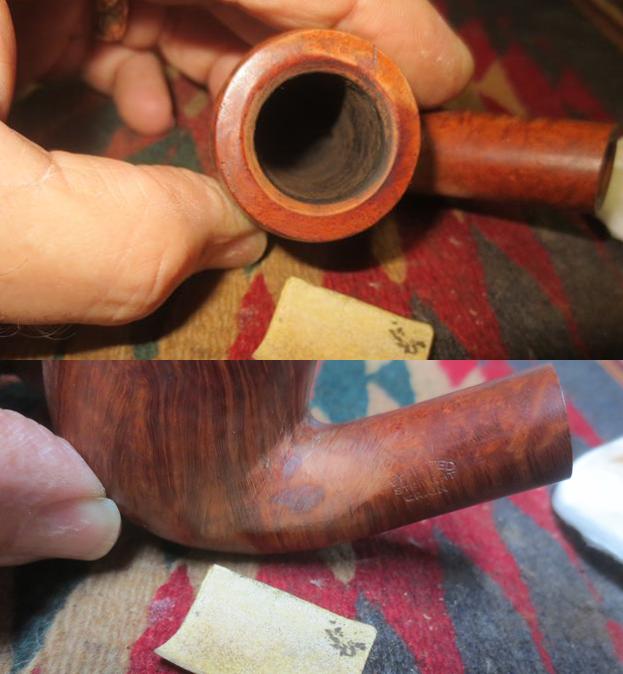
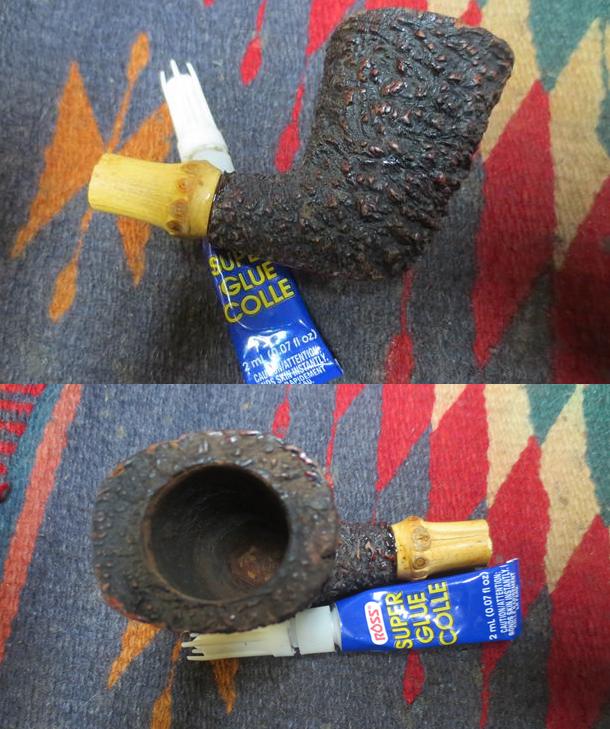 I cleaned up the reaming a bit as I saw some remaining cake on the back side of the bowl during the process. I used the Savinelli Fitsall pipe knife to cut it back and smooth out the surface of the bowl interior.
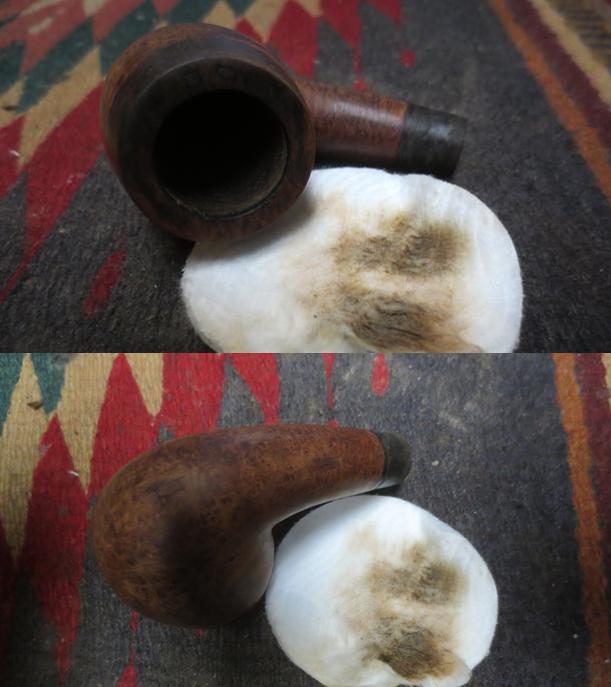
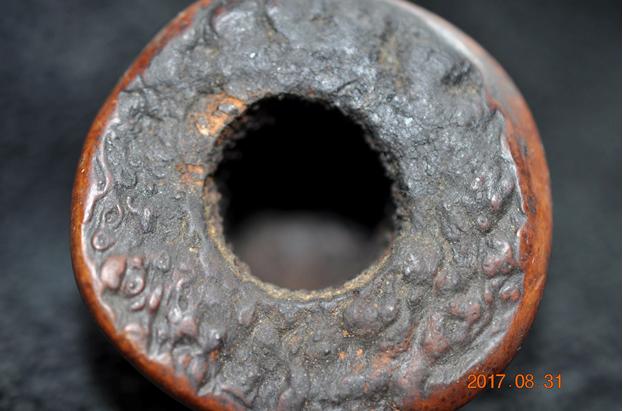
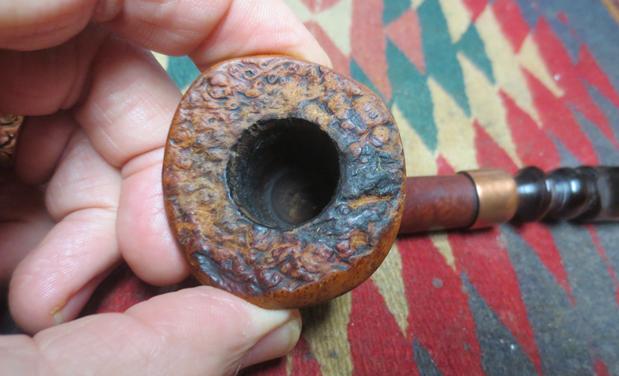
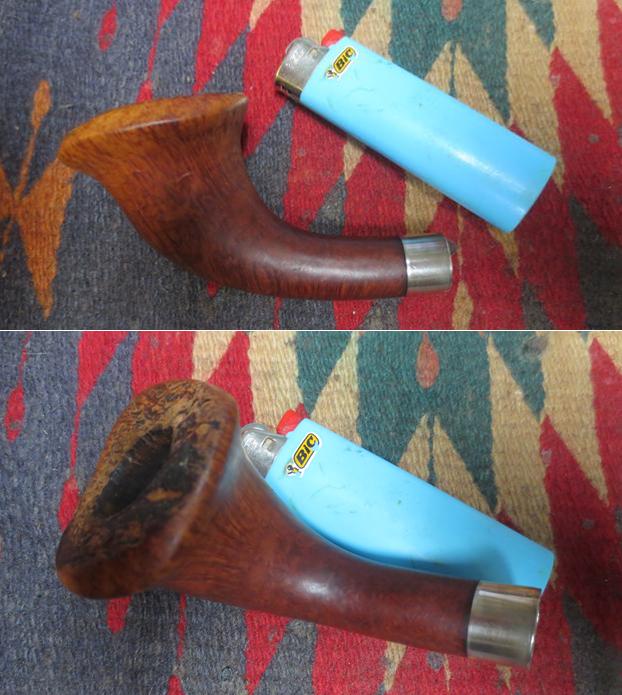
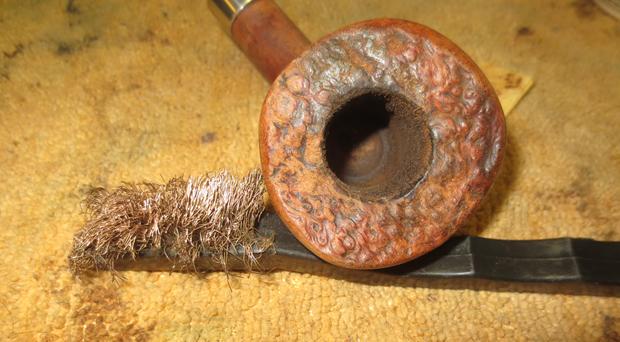
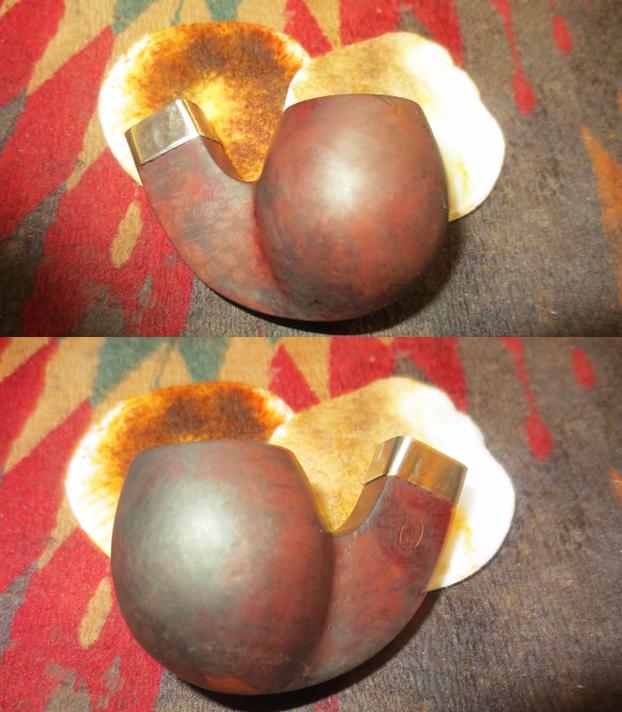
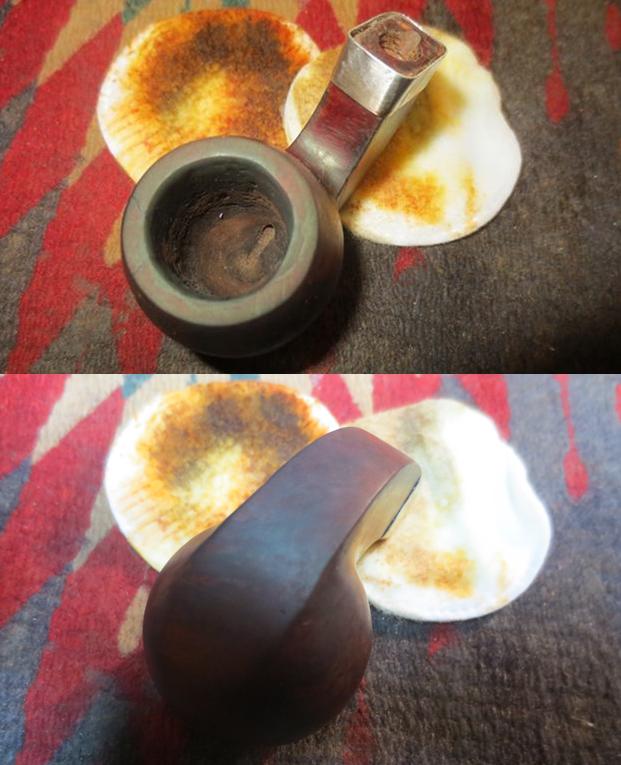
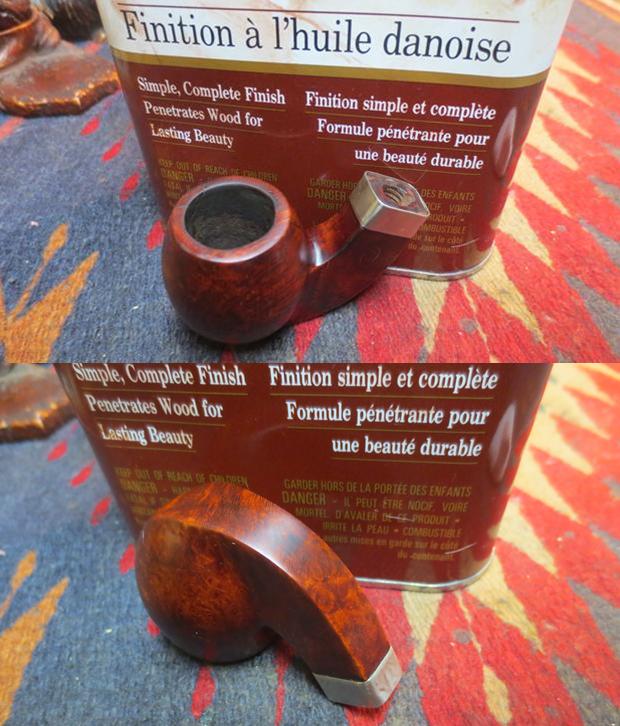
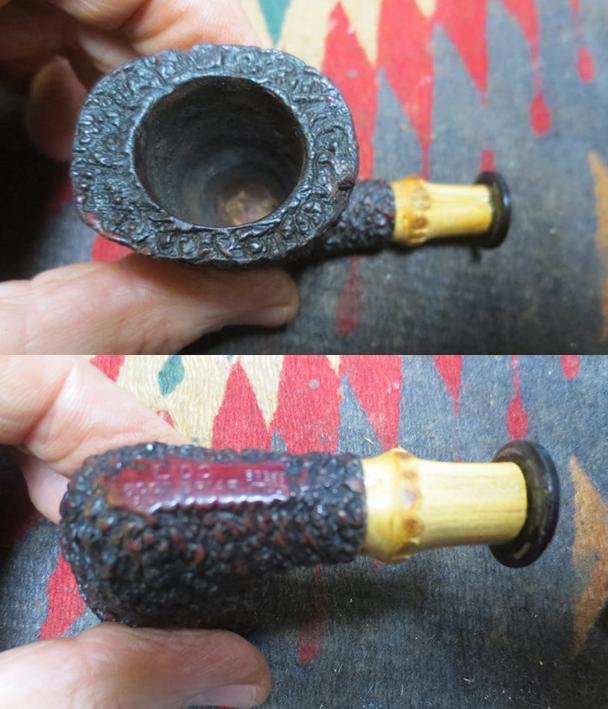
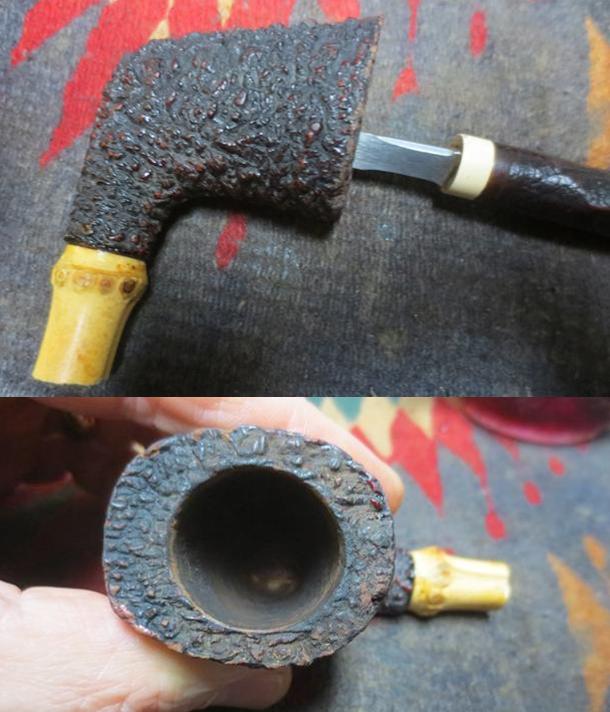 I used a brass bristle brush to clean up the top of the rim a bit more. There still seemed to be remnants of lava in the nooks and crannies of the rustication that needed attention. Nothing does the job on this kind of surface like a brass bristle tire brush.
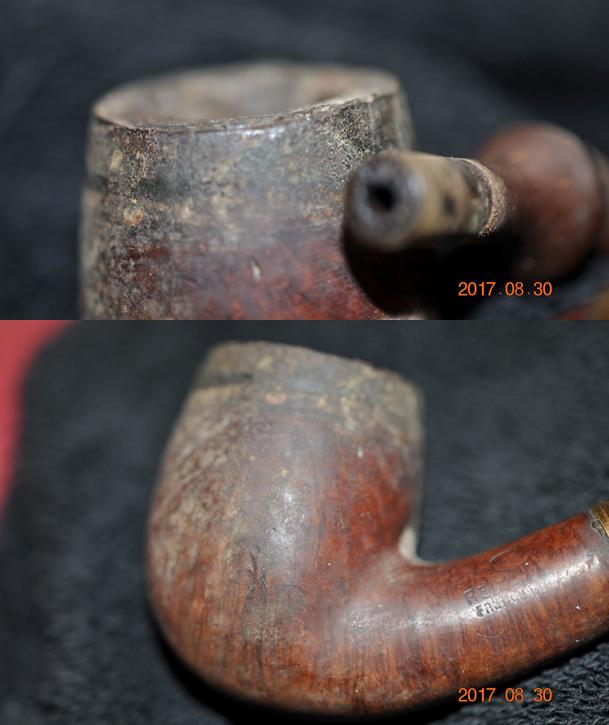
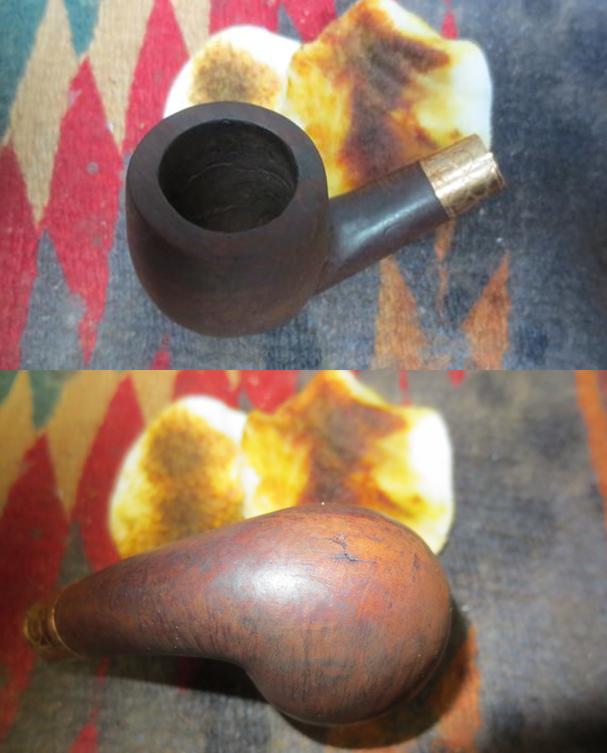
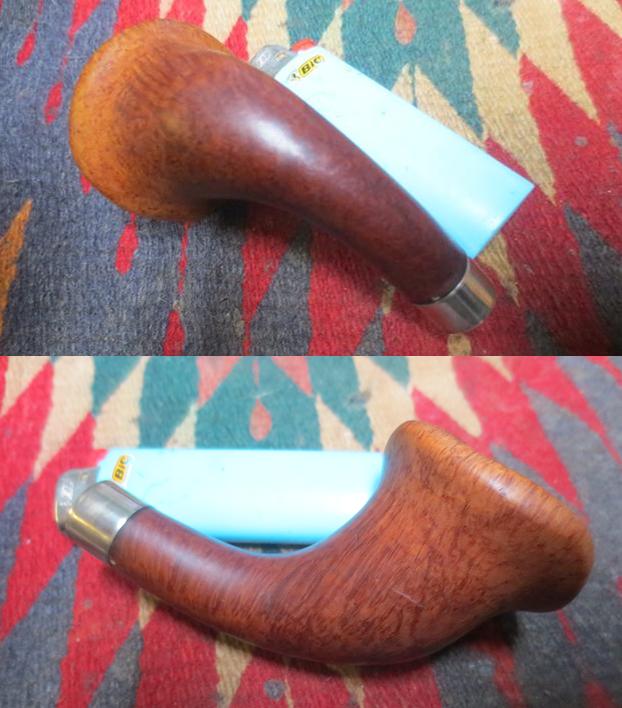
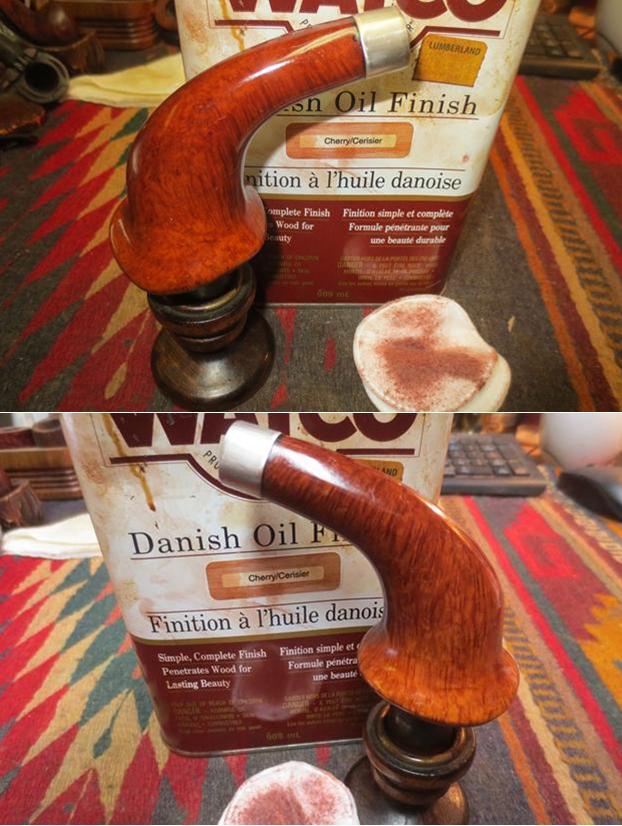
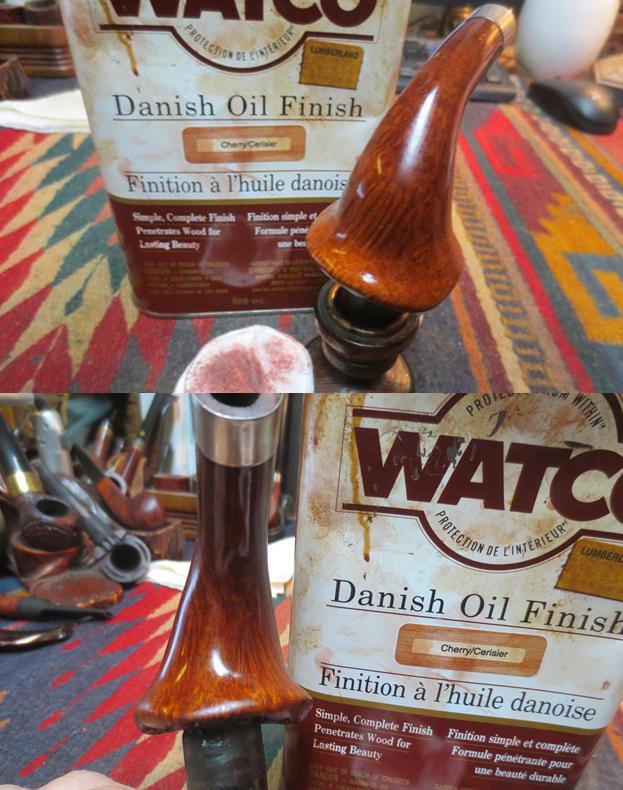
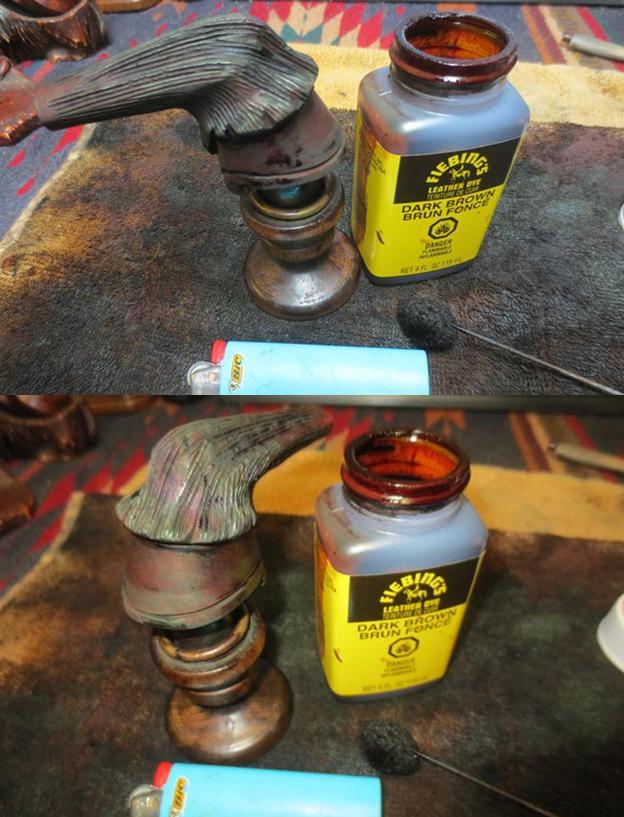
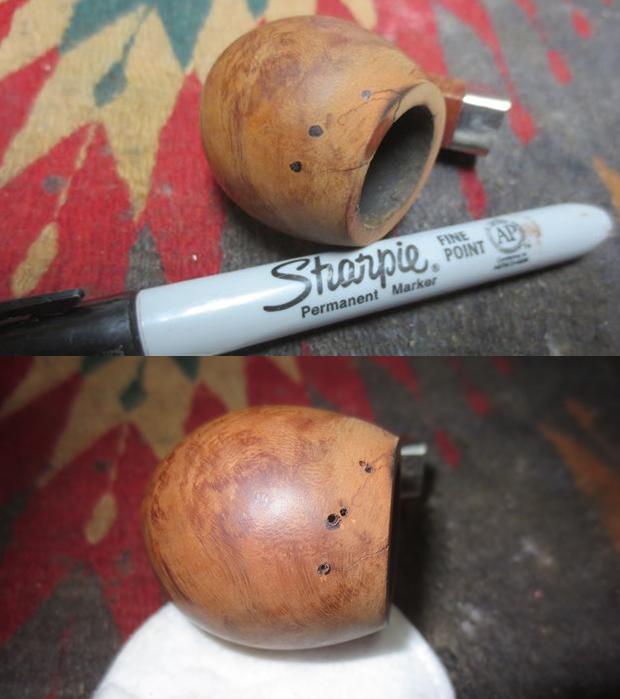
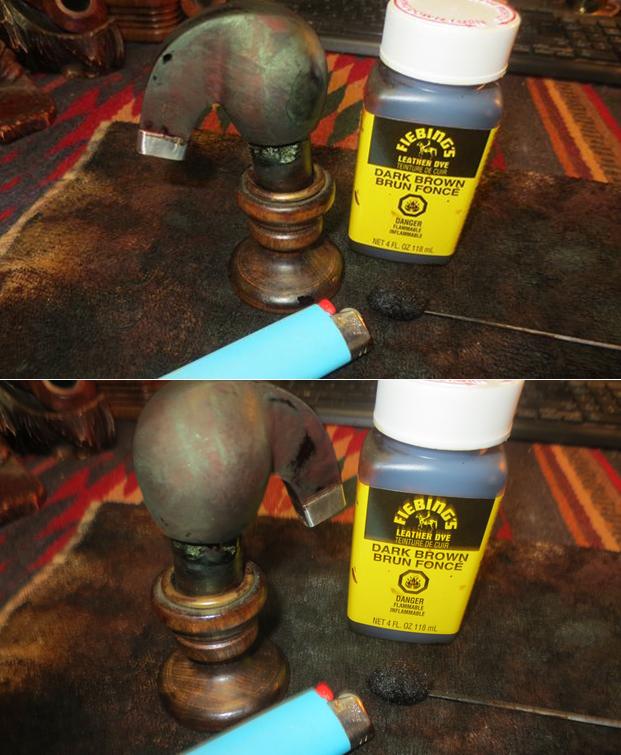
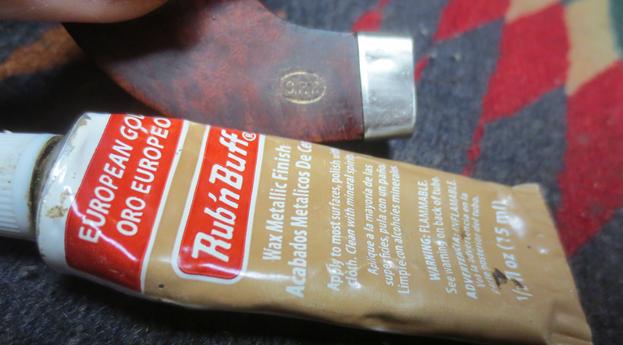
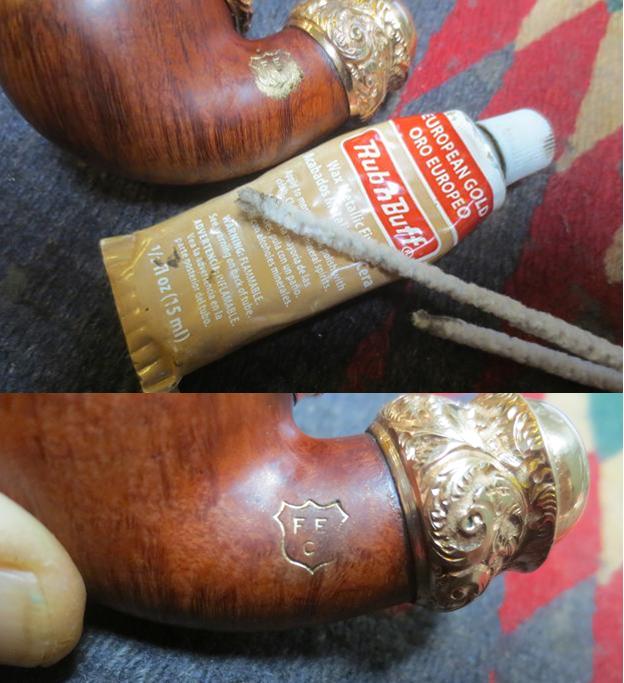
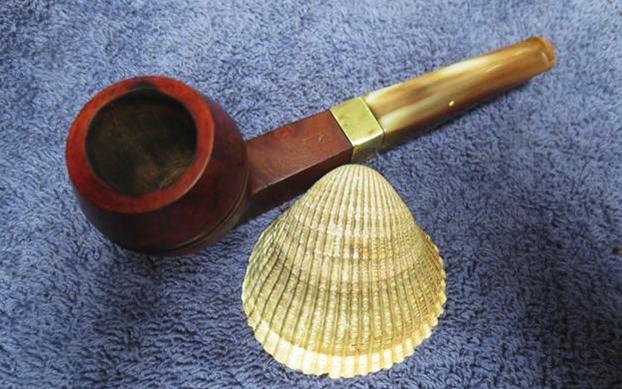
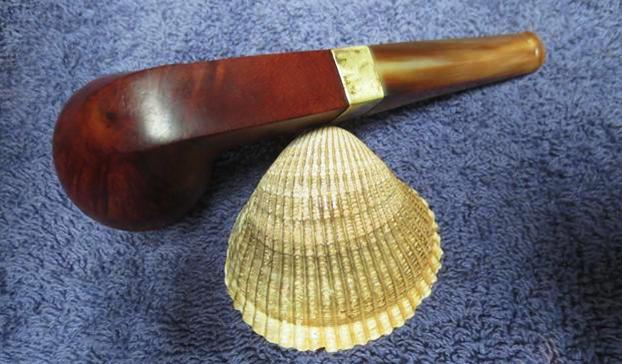
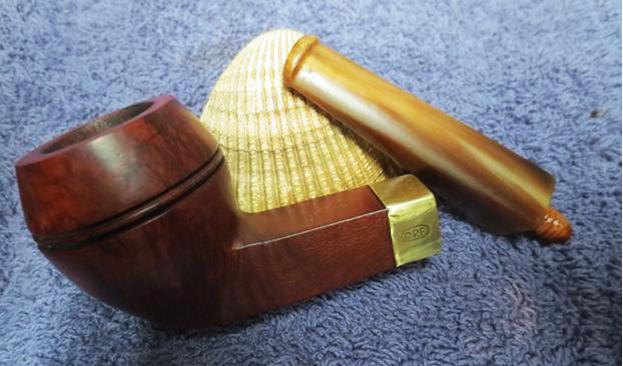
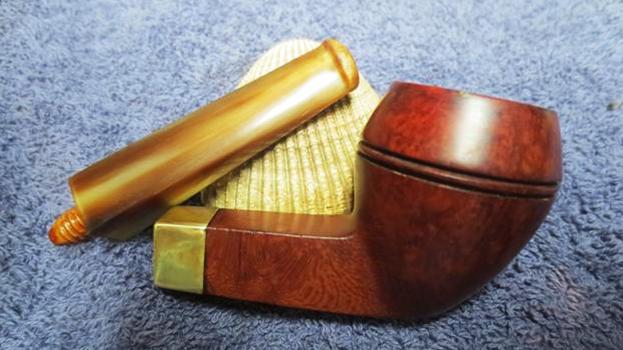
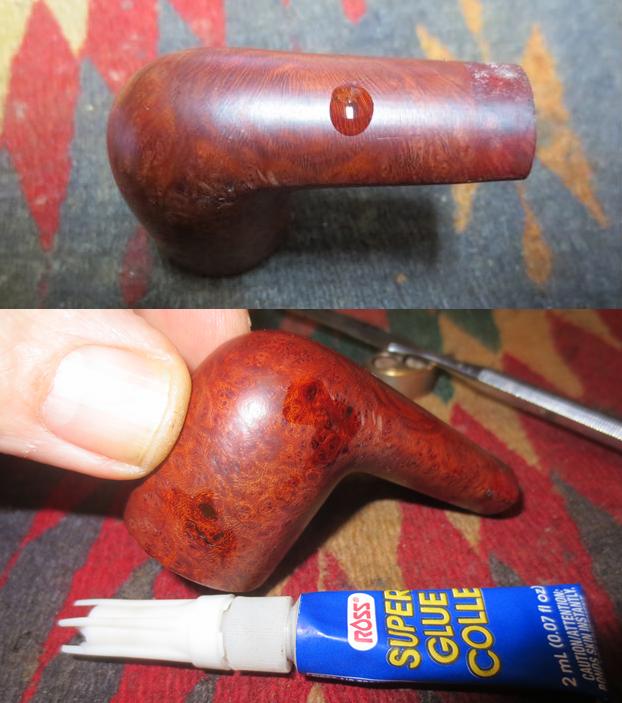
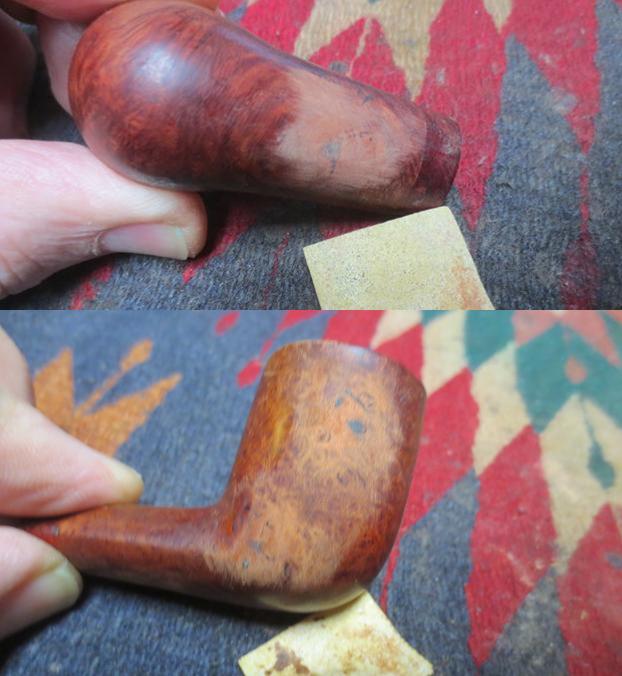
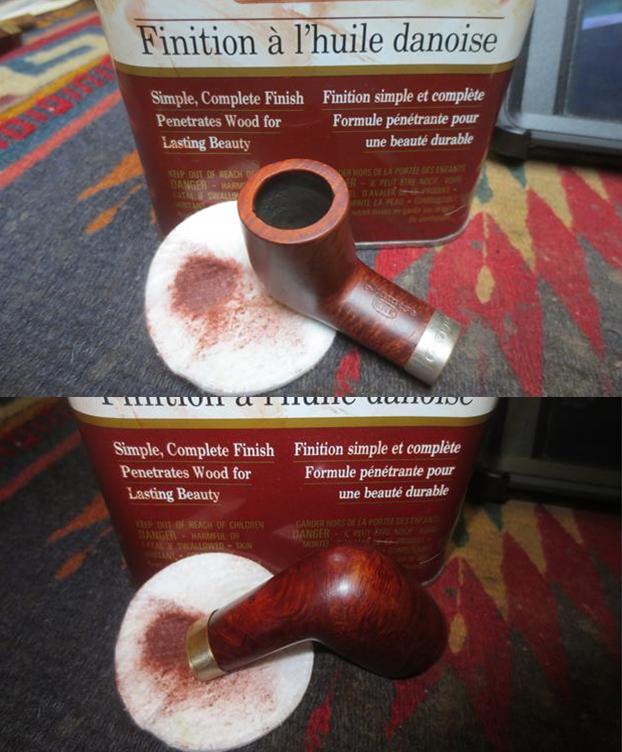
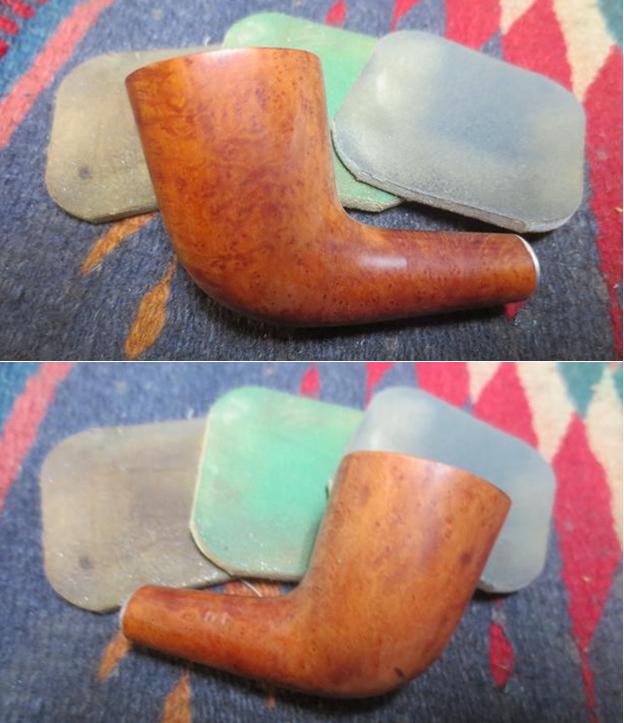
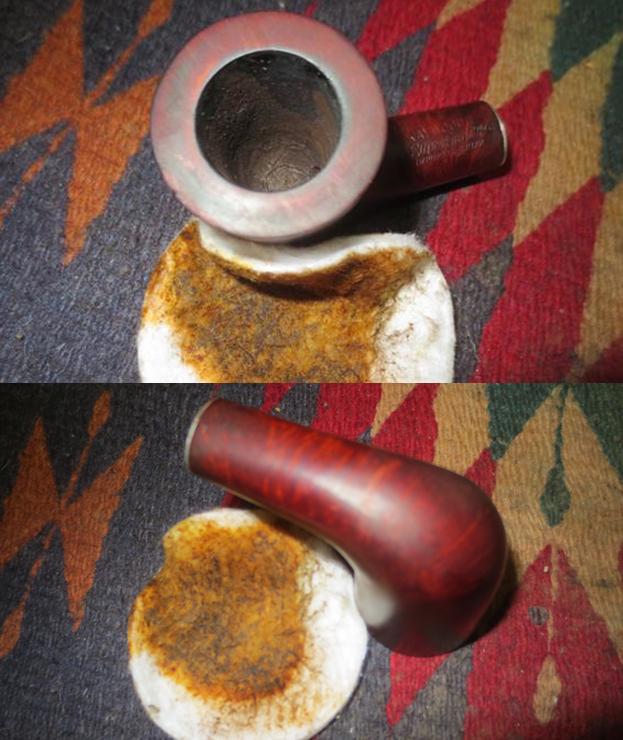
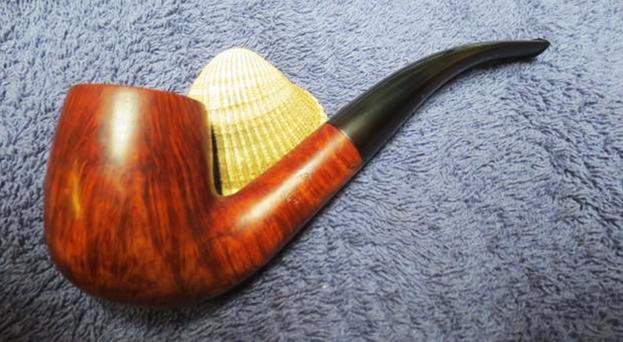
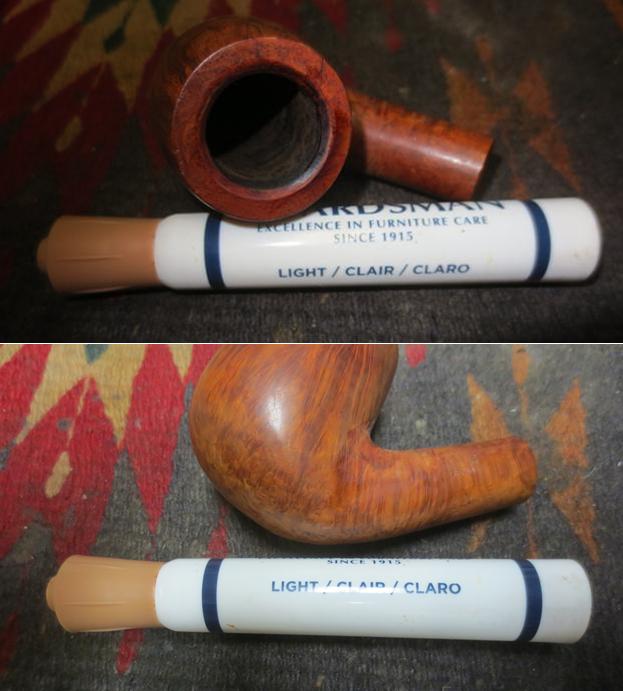
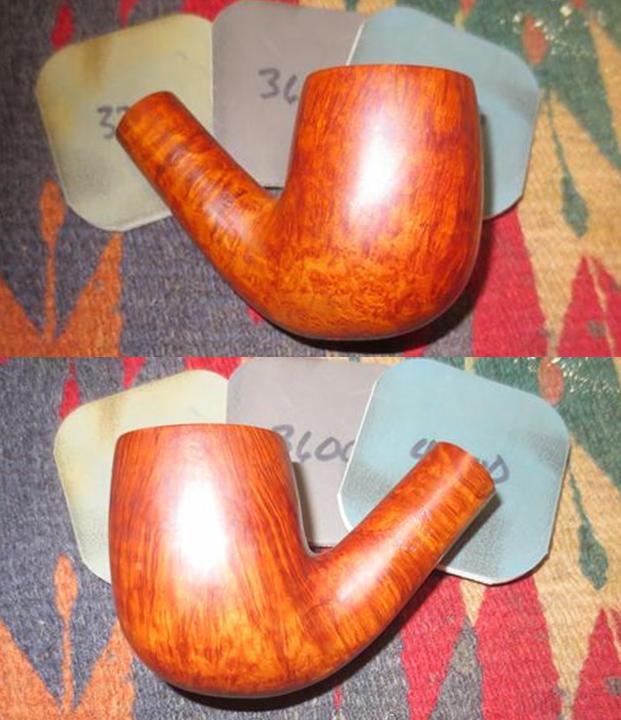
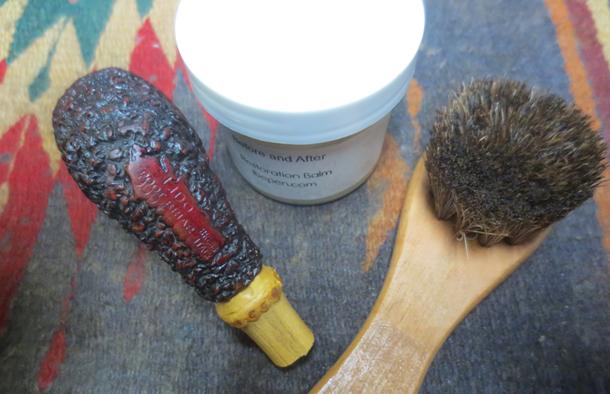
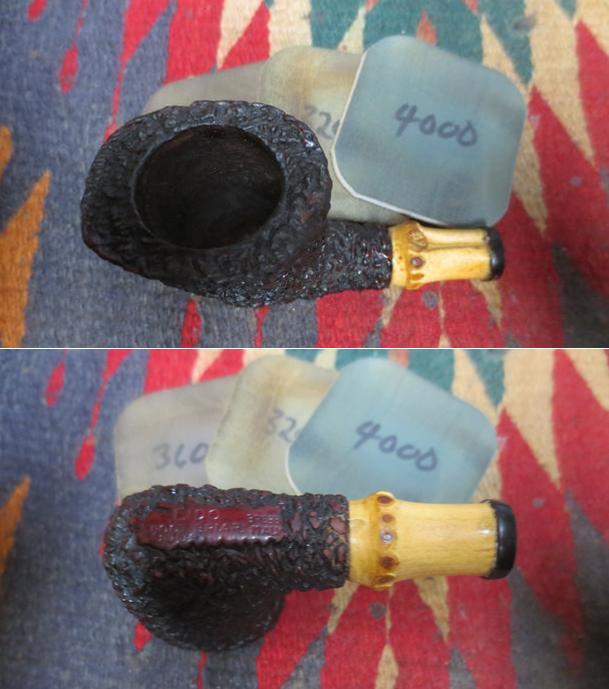
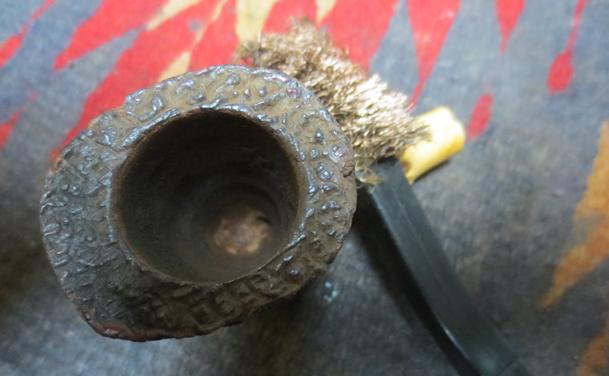 I am continuing to experiment with a new product from Mark Hoover – the creator of the Before & After Pipe Stem Deoxidizer and Polishes. He calls it Before & After Restoration Balm and it can be used on briar or stems – whether vulcanite, acrylic or horn. He said it was designed to pull the dirt off of the briar as well as polish it. He added some anti-oxidants to keep the briar from getting damaged from both UV rays and water. I chose to use it on this third pipe – because of the roughness of the rusticated finish on this bowl. I figured it would be a good test to see if it reached deep into the rustication and pulled out the dirt. I applied it and worked it into the crevices with a shoes brush. It seemed to work very well and I took the following photos to show the results. I will continue using it for a while and see how it works in a variety of settings before I give an opinion of the product.
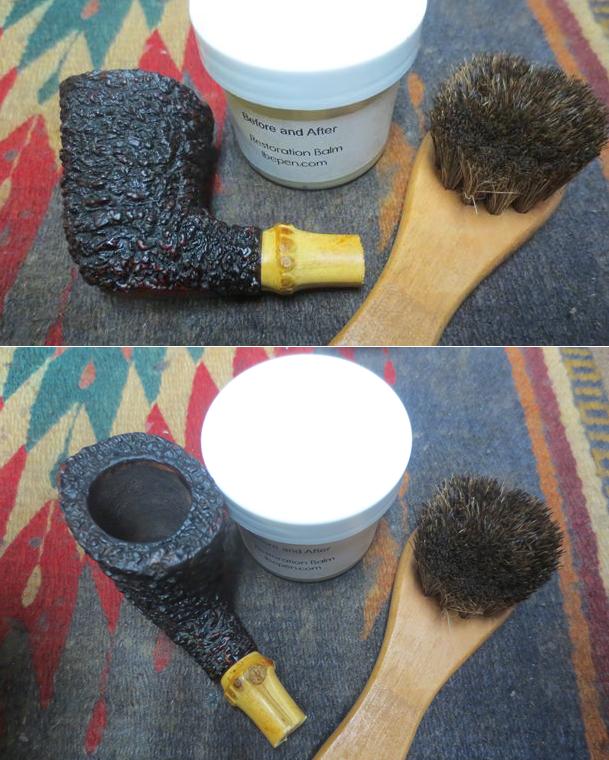
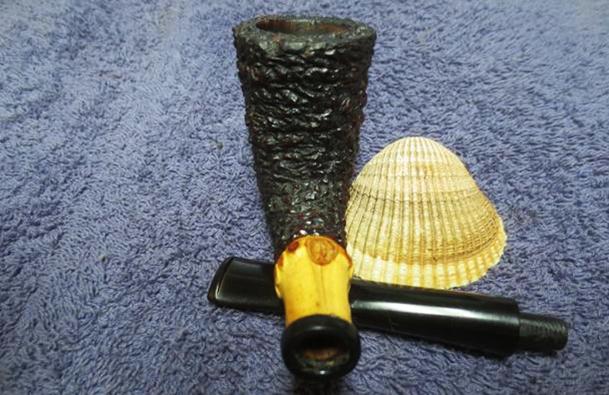
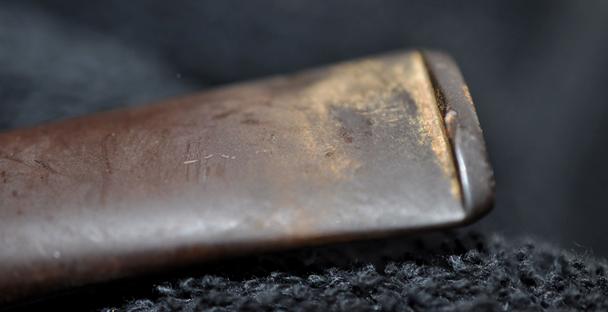
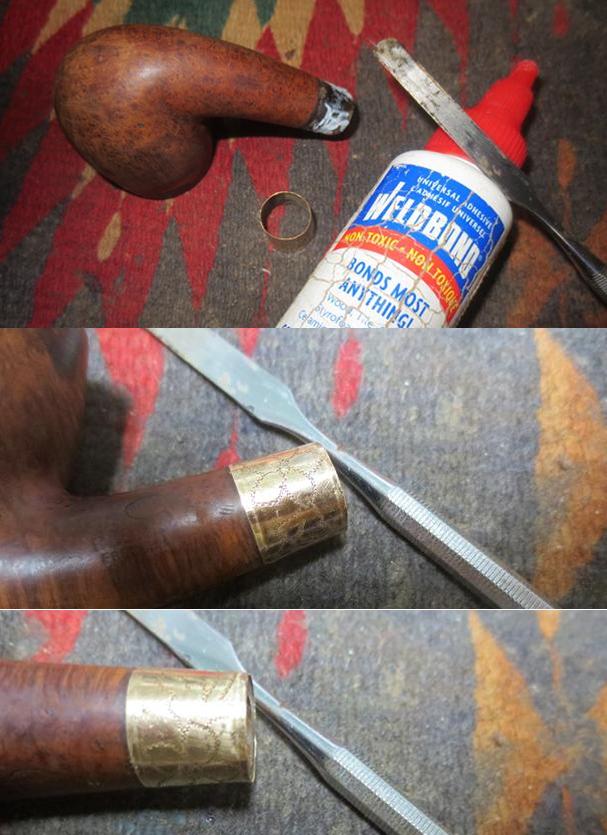
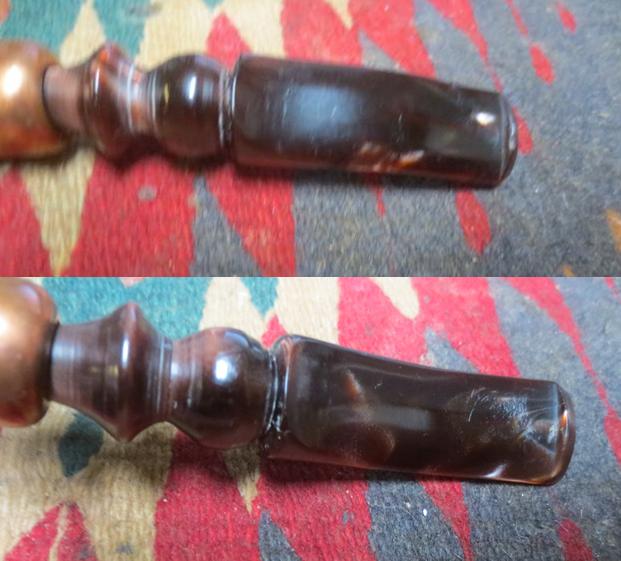
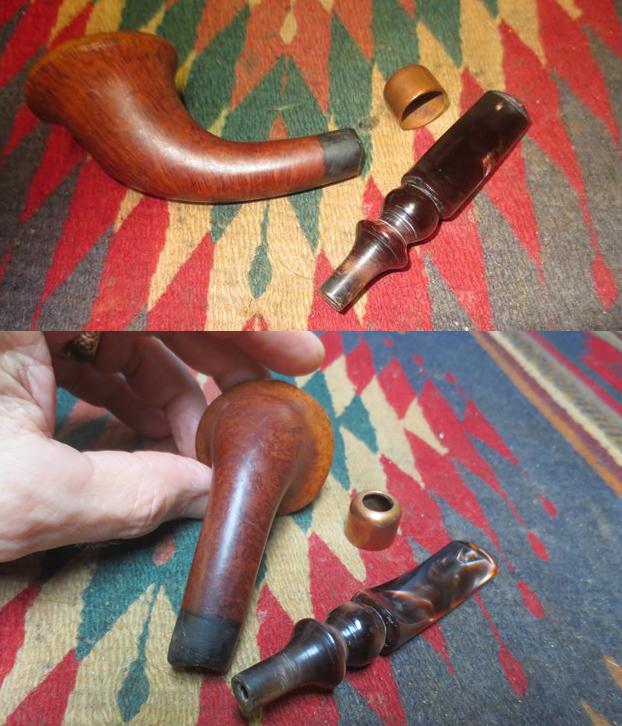
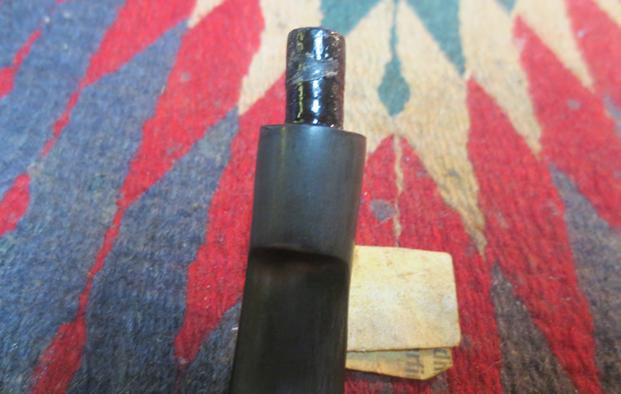
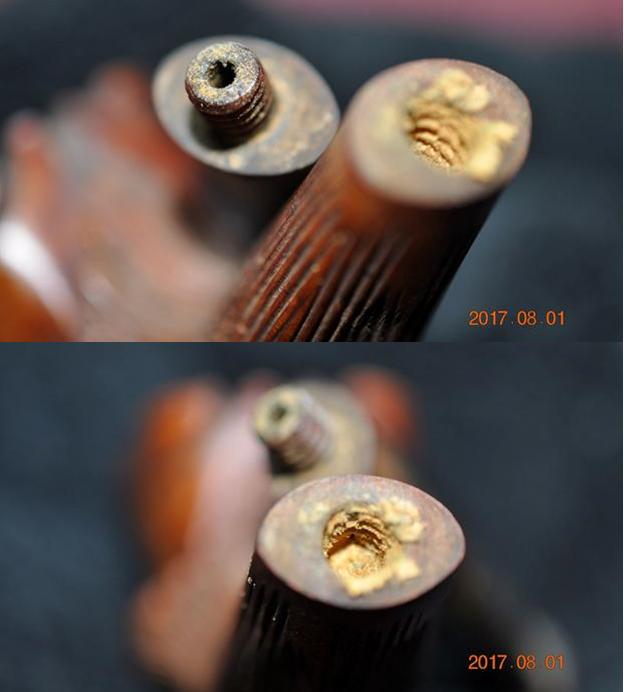
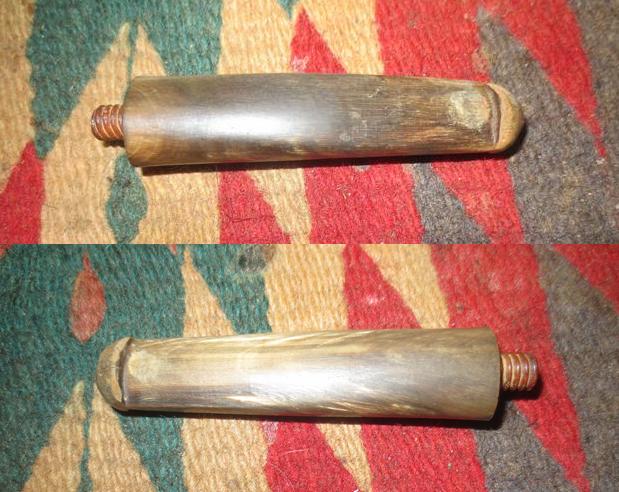
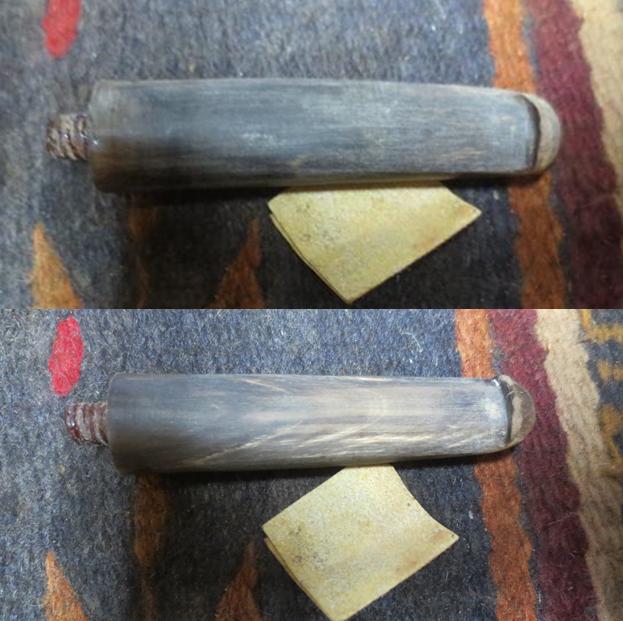
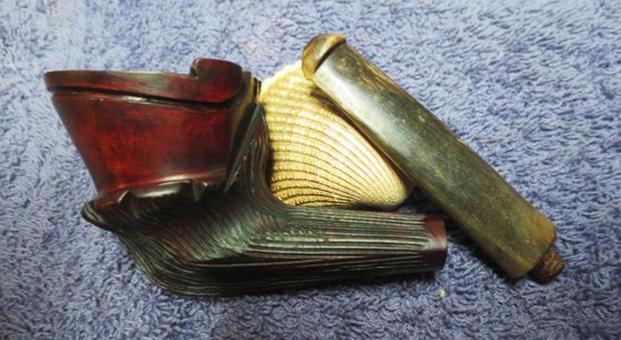
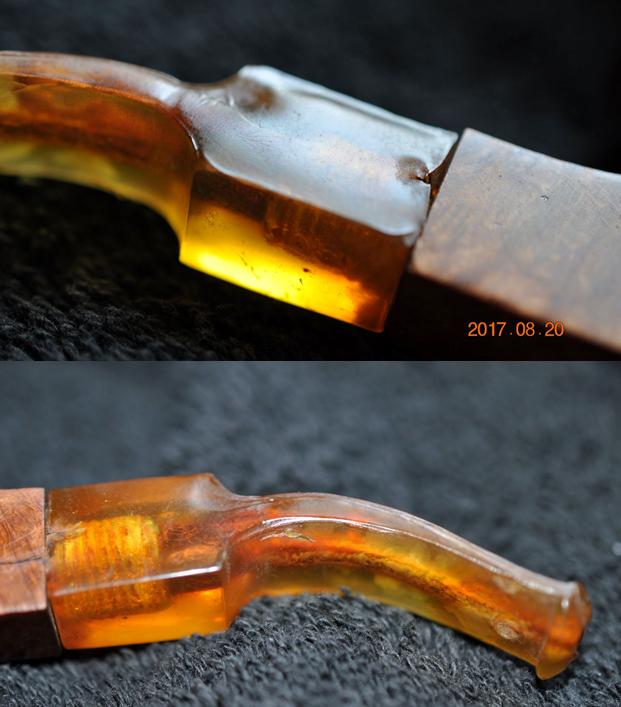
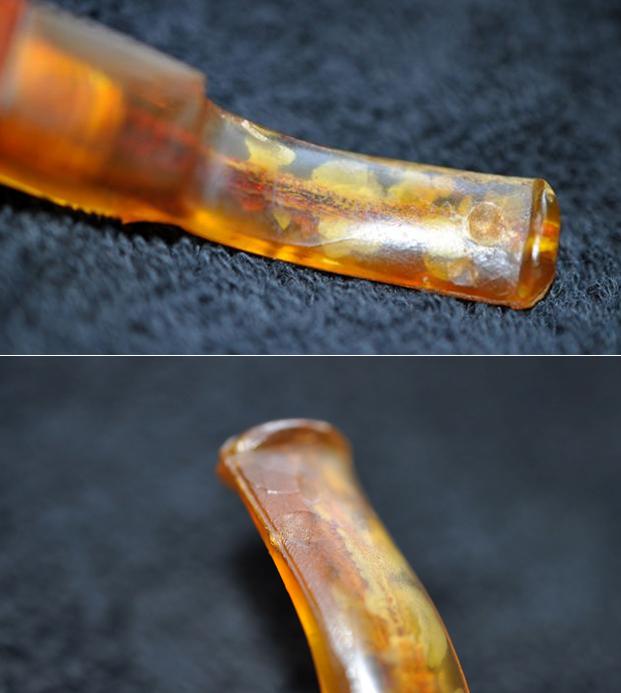
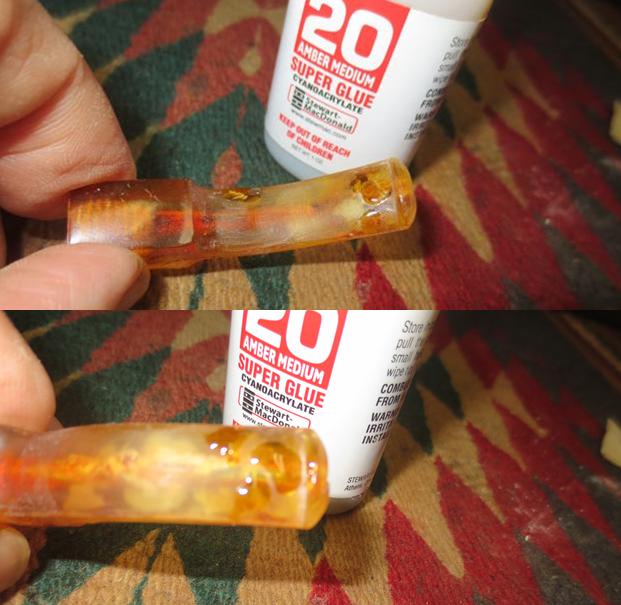
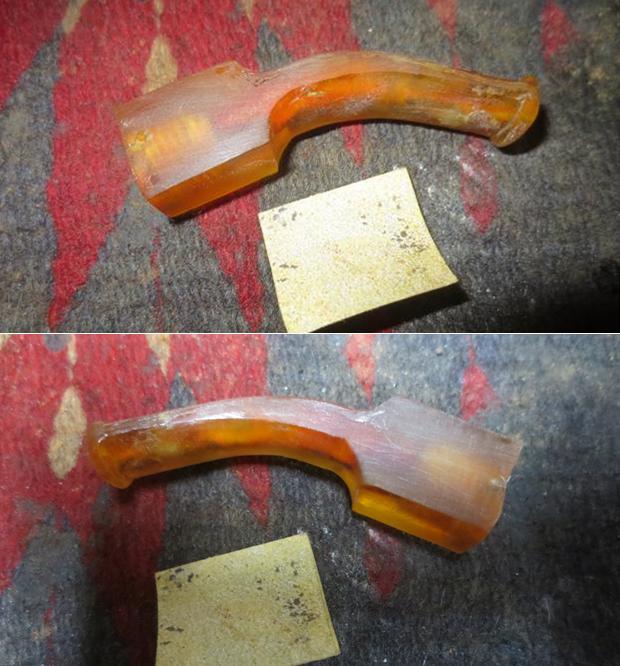
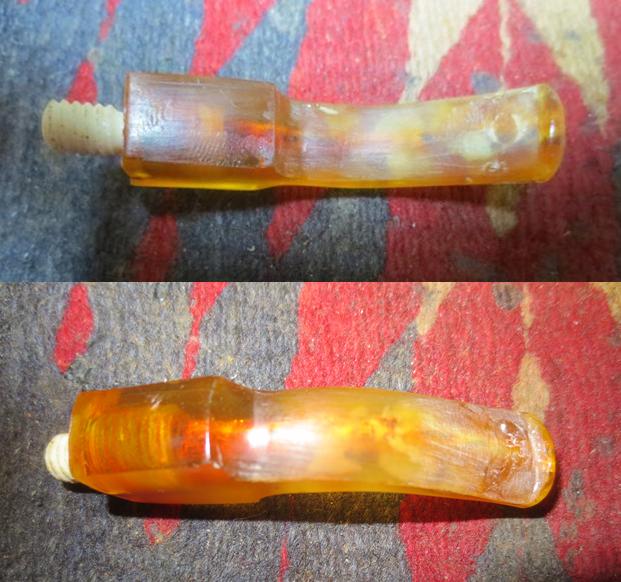
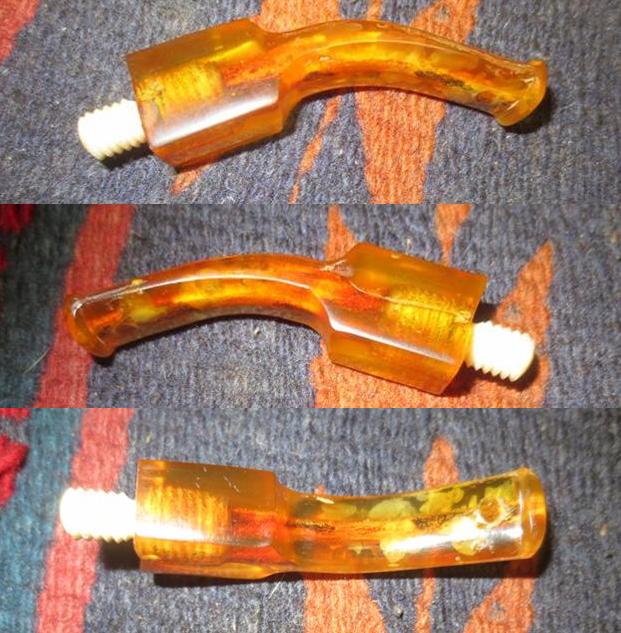
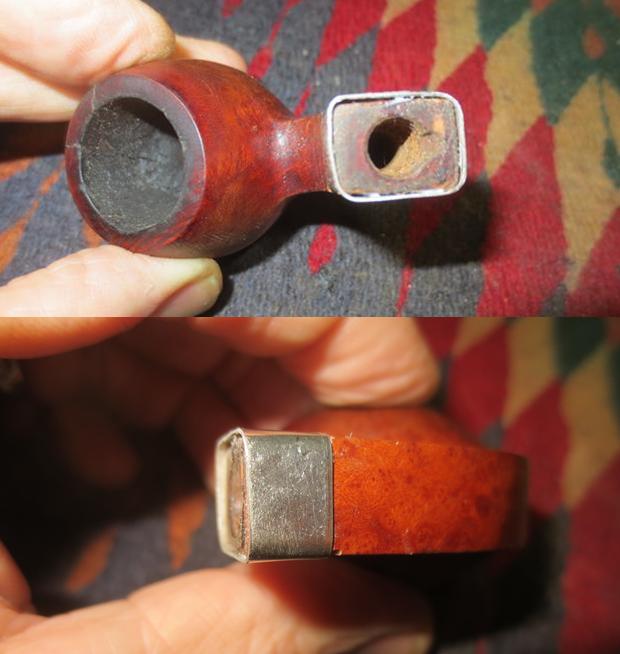
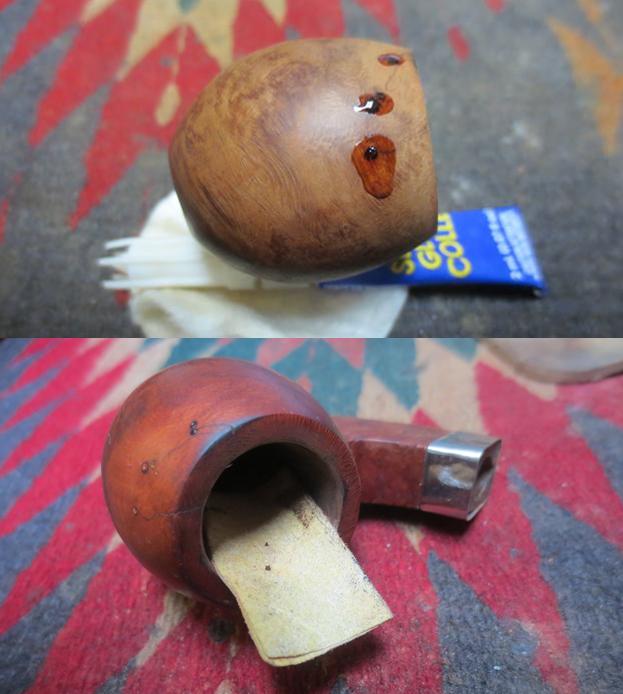
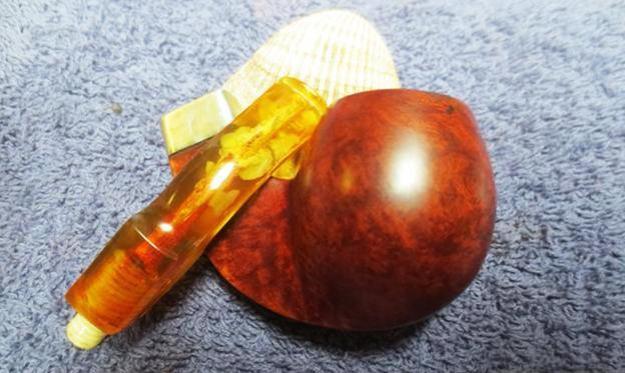
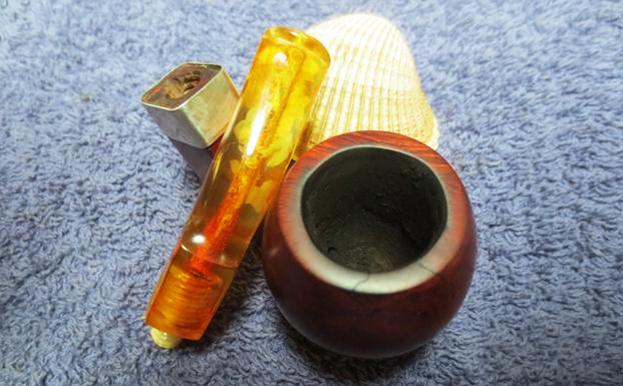
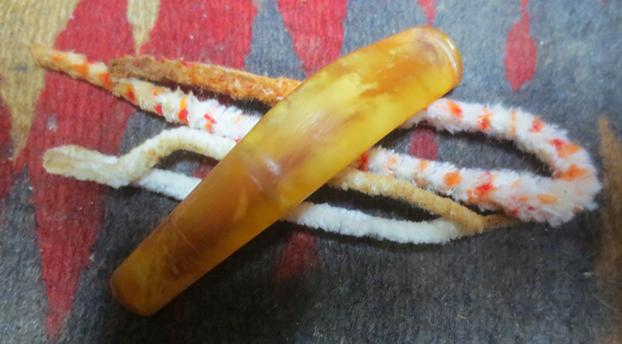
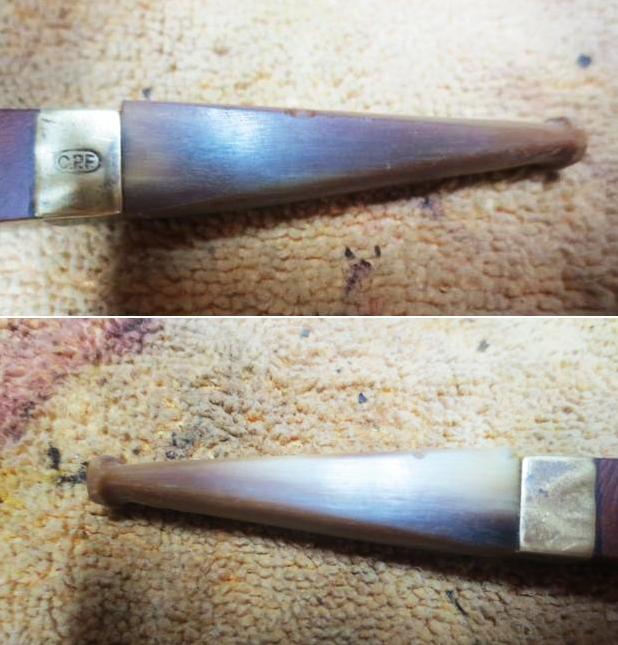
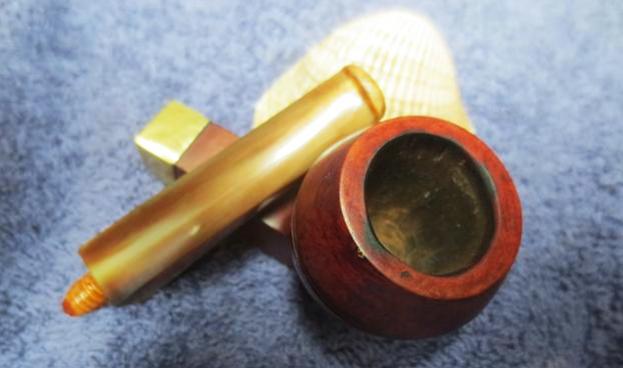
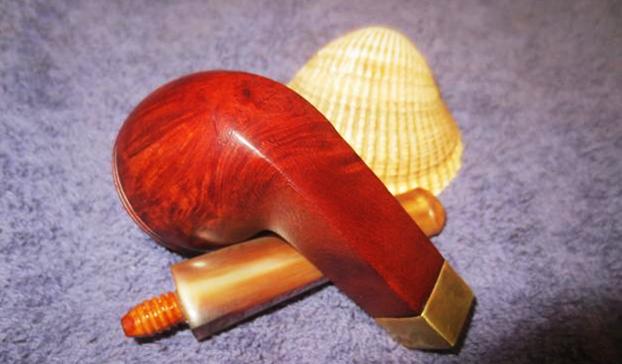
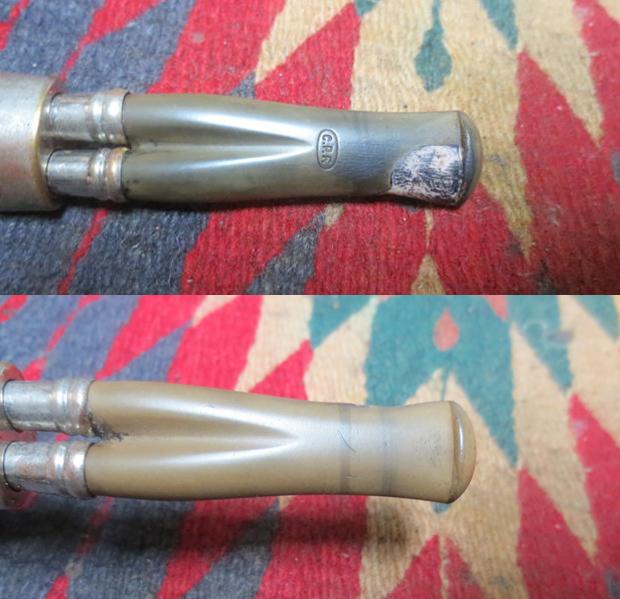
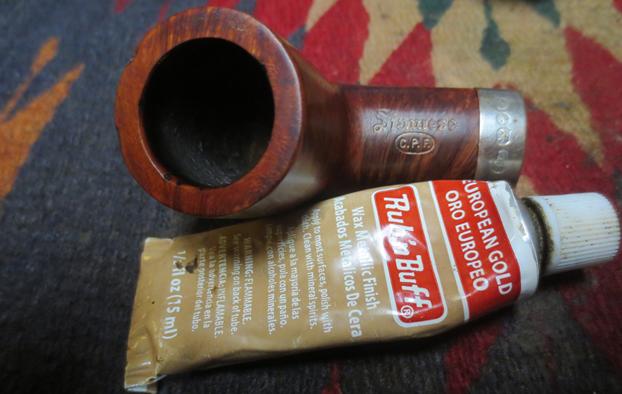
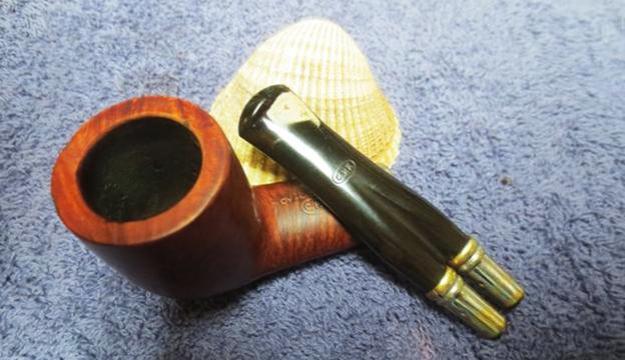
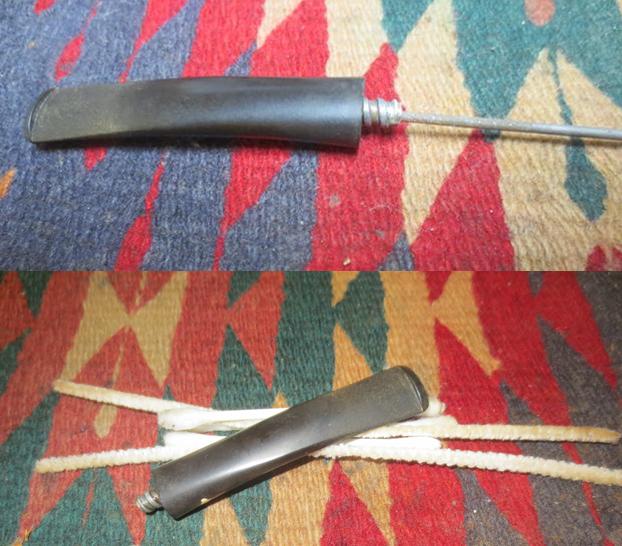
 I decided to see what stem I would use for this pipe. I needed something close to the diameter of the end of the bamboo. I went through my can of stems and found one that was perfect. It was the same diameter and would match well. It was oxidized but there were no tooth marks in the vulcanite so it would be a simple clean up. It did not have a tenon so I would need to replace the tenon in the stem. The photo below shows the parts. The thing I neglected to photograph was the end of the stem. The drilling was perfect for being able to turn the new threaded tenon in place. I coated the threads with a coat of super glue and turned the tenon in place on the stem. I quickly aligned the tenon and made sure it was straight before the glue set. You have to work quick with the super glue to achieve this before it sets. I sprayed the tenon with accelerator to harden the glue. It leaves behind a white residue that is shown in the photo. It easily comes off with a damp cloth.
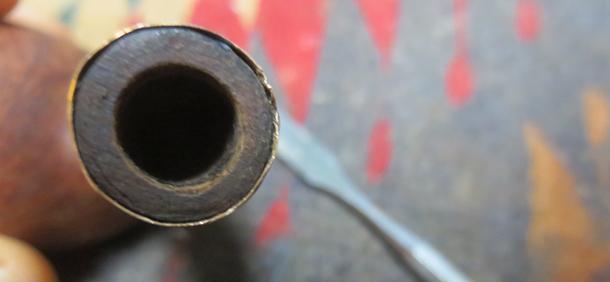
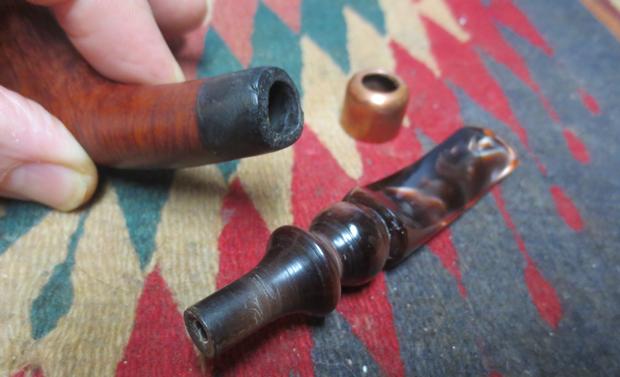
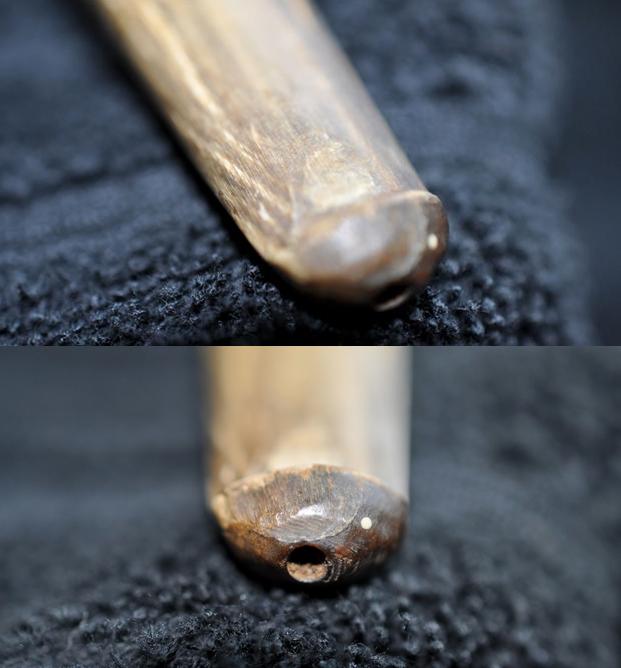
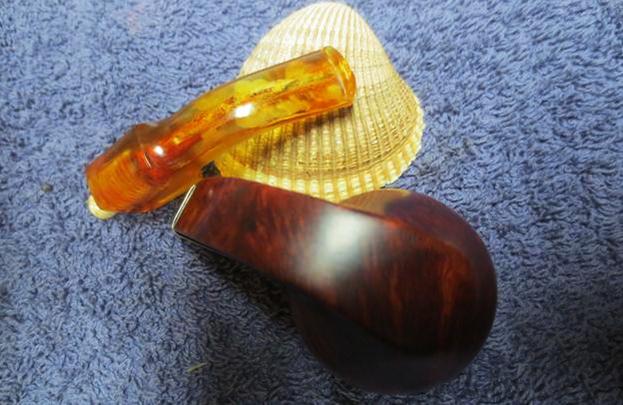
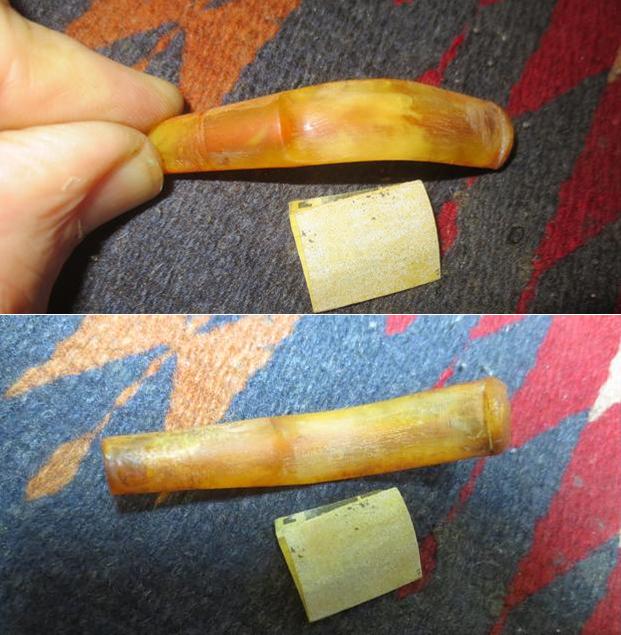
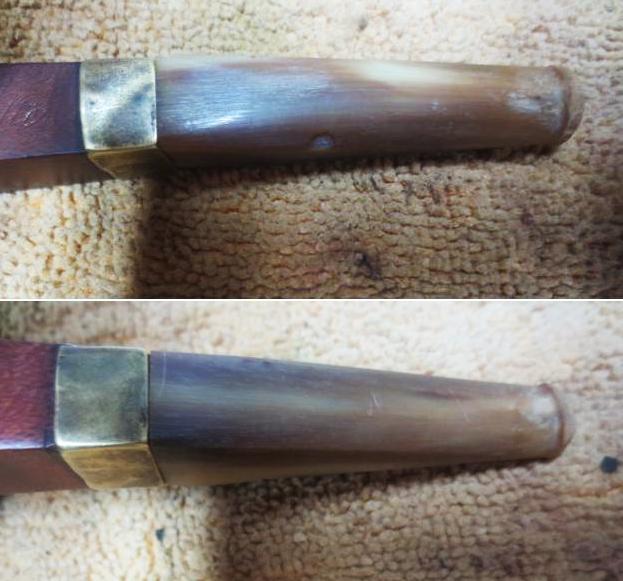
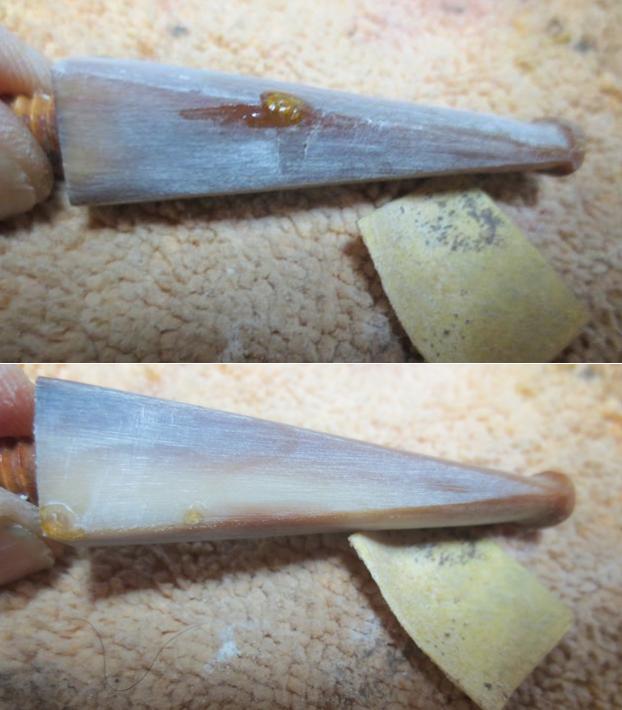
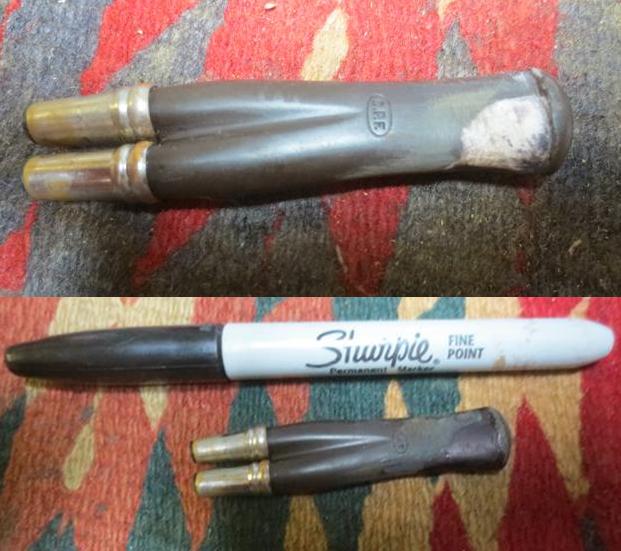
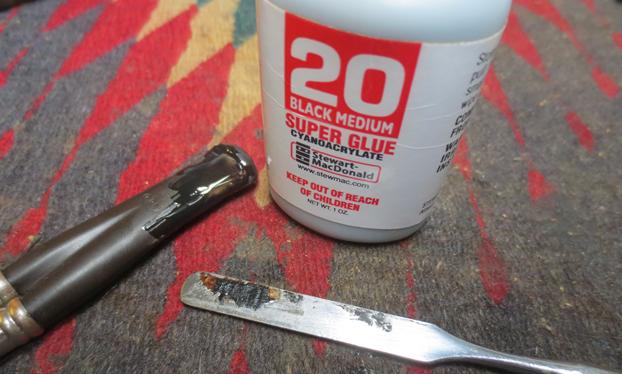
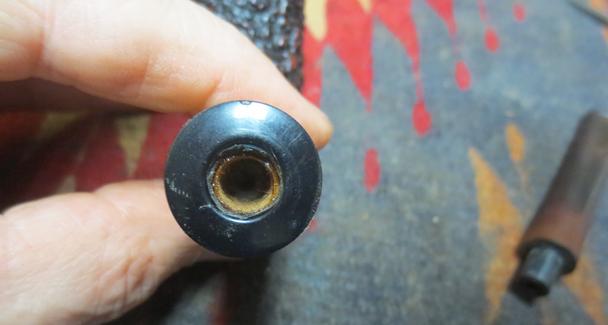
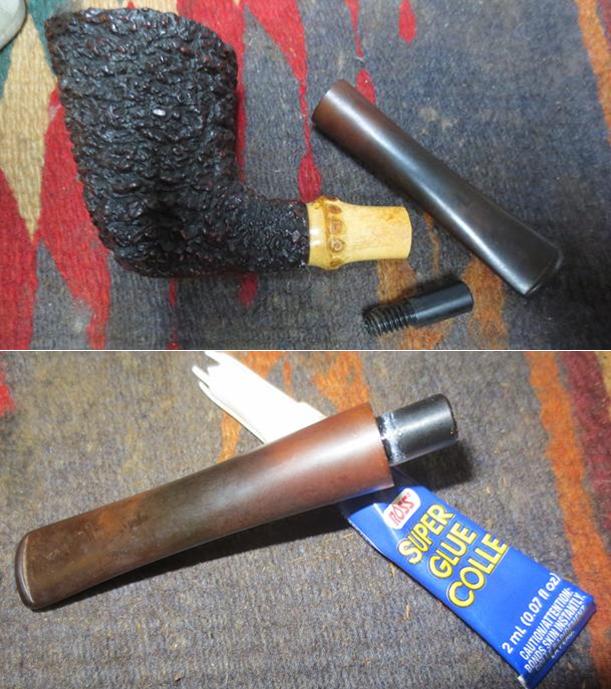 I set the stem aside for a while and turned back to the end of the bamboo where it would meet the stem. I used the Dremel and sanding drum to flatten it out. I pressed it against the sandpaper on the topping board to face it and make it square. Once I had that done I looked through my box of parts and found a hard rubber button that I had drilled to use as a spacer on a previous pipe. It would work perfect in this situation. I glued it in place on then end of the shank with super glue. I filled in around the joint against the bamboo with the tip of the superglue to seal it and allow no air or moisture to seep through the joint. Once the glue had hardened I would need to trim it back to the diameter of the stem. It would serve as a smooth surface for the end of the stem to sit against and make the fitting of the stem much easier. The final photo in this series shows an end view of the space on the bamboo. You can see how it looks from that perspective in the photo.
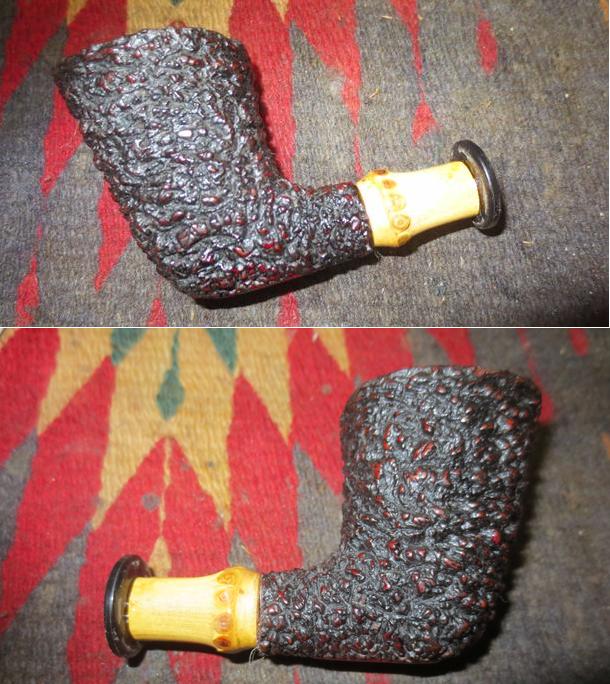
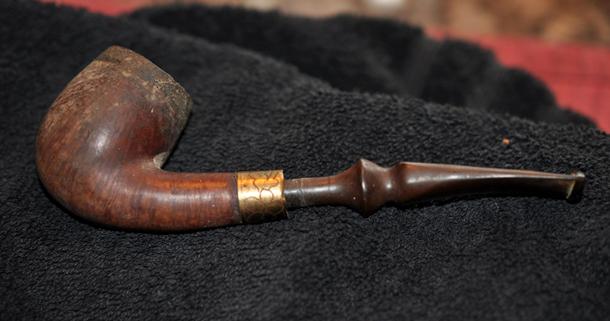
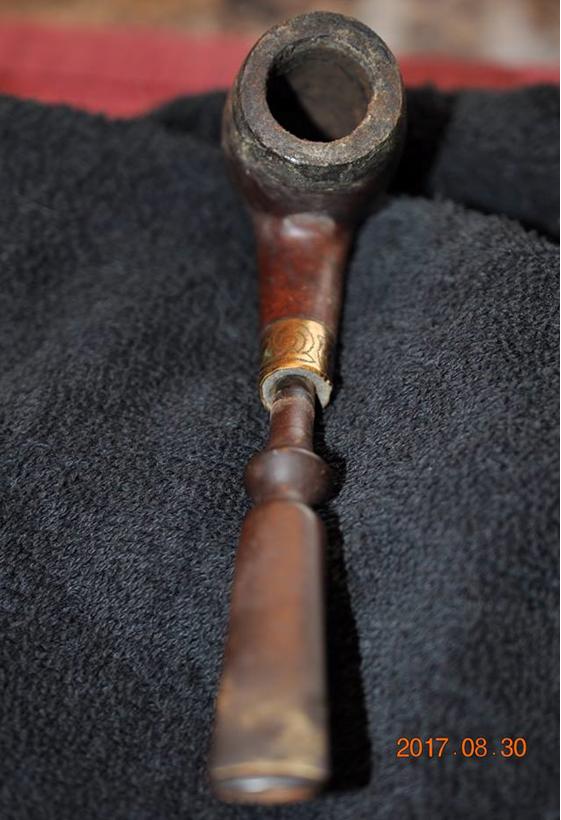
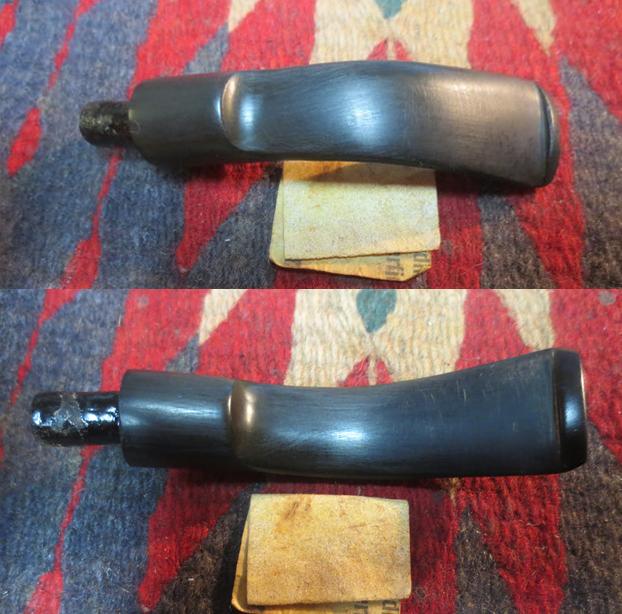
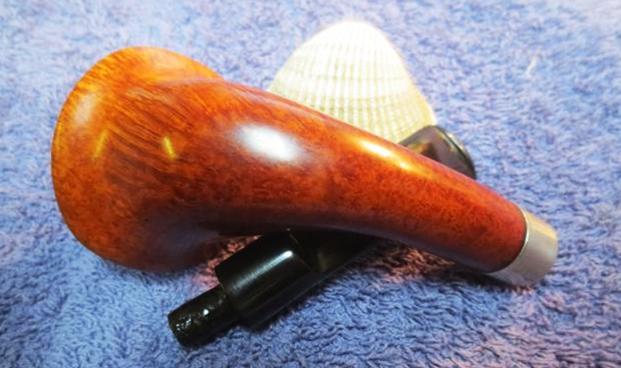
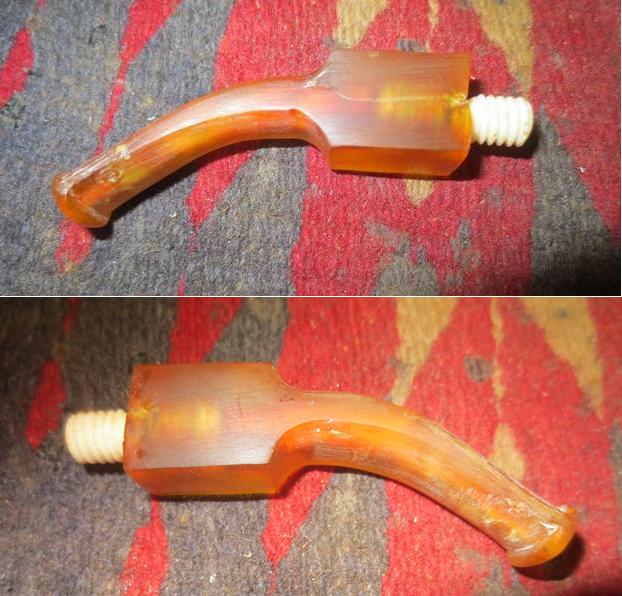
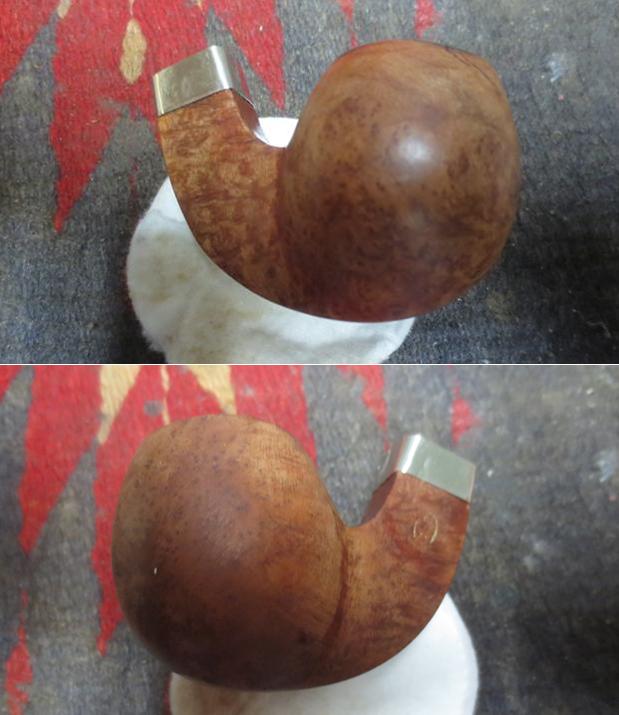
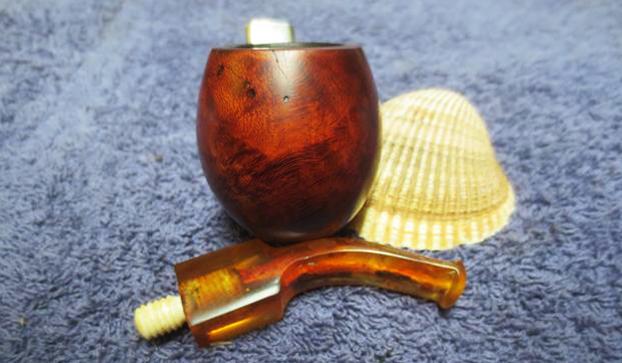
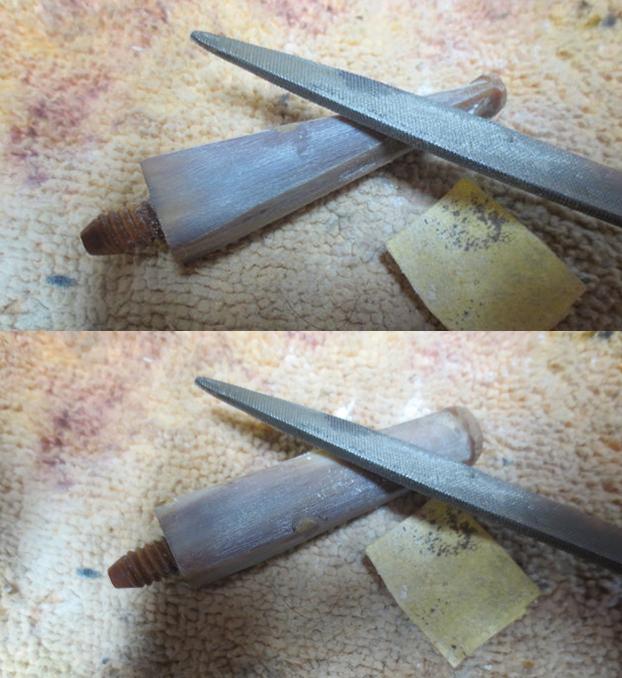
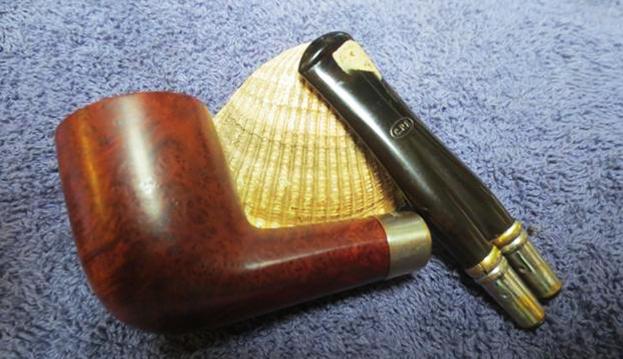
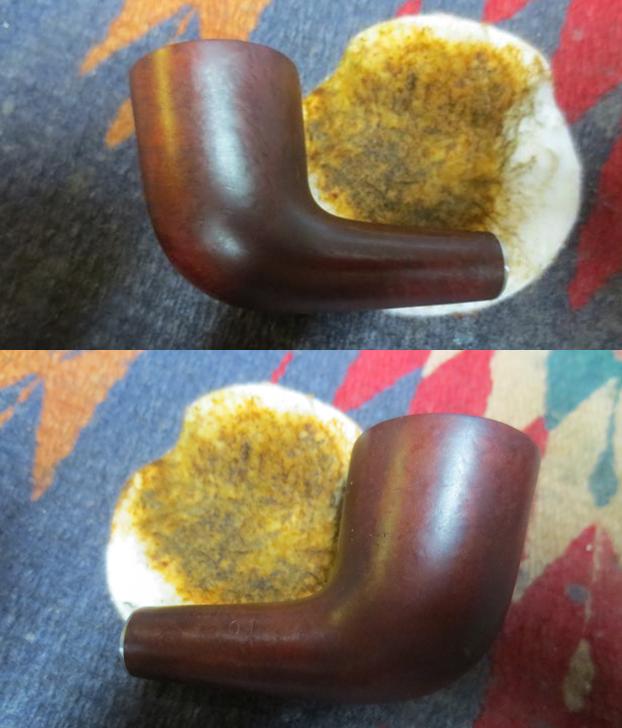
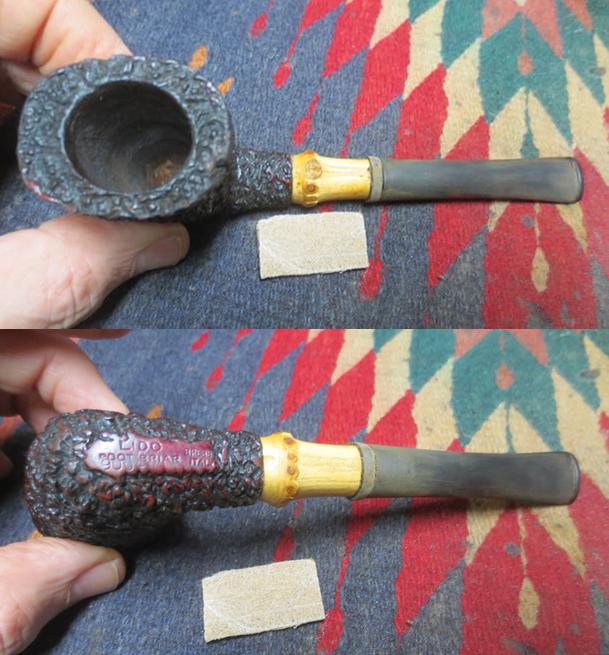
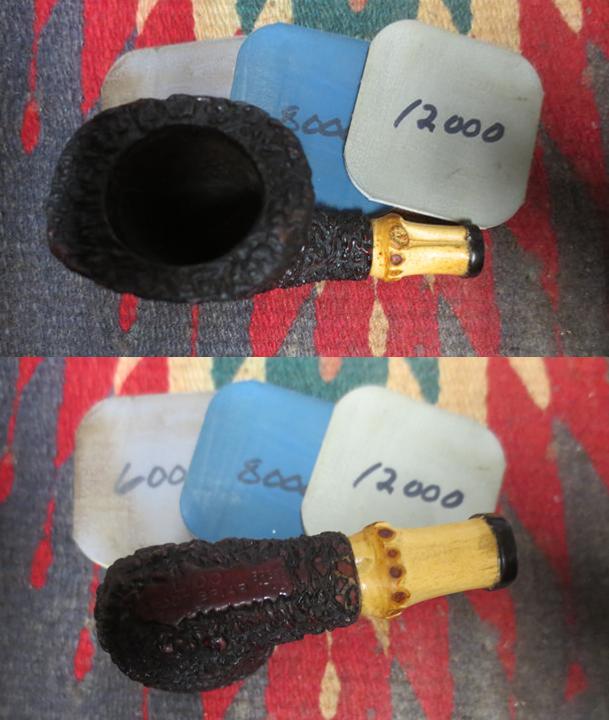
 I neglected to take photos of the process of trimming back the spacer. Once the glue set (several hours) I used the Dremel and sanding drum to take back the excess material of the space close to the diameter of the stem. I sanded the spacer with the stem in place using a worn piece of 180 grit sandpaper to smooth it out and also to remove the oxidation on the stem. I did take a photo of the pipe to send to my brother.
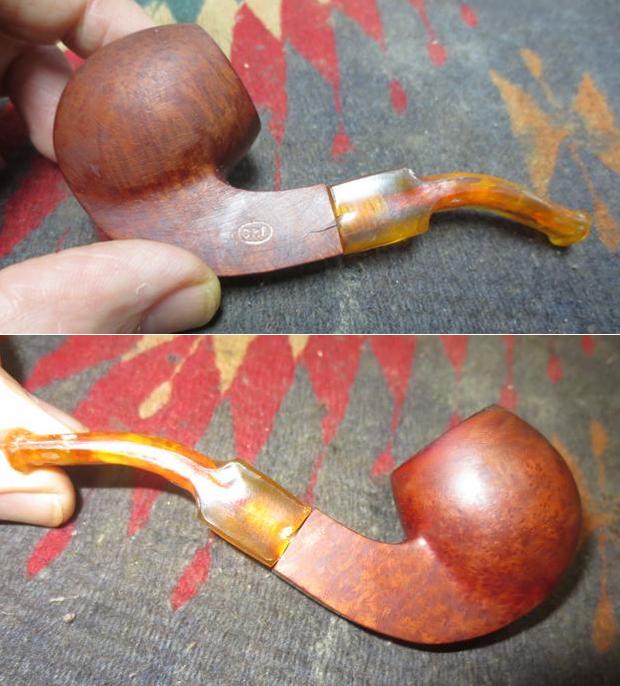
 There will still need to be a lot of sanding to match these two parts a bit more but you can see the general idea in the photos below. I like the way the pipe looks so far. Given the parts I had available this Frankenpipe is coming together quite well.
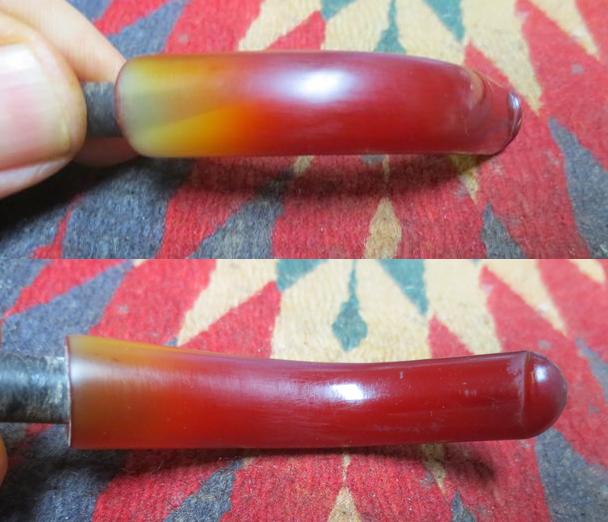
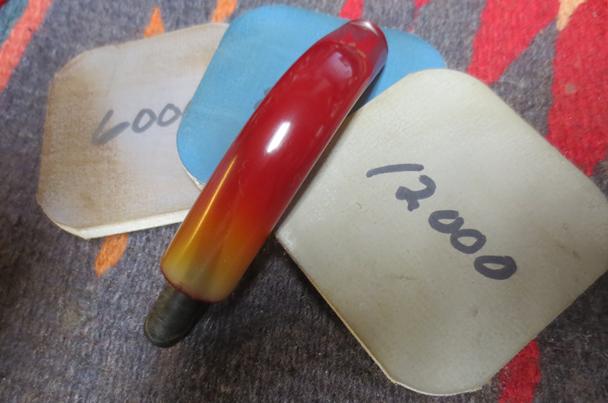
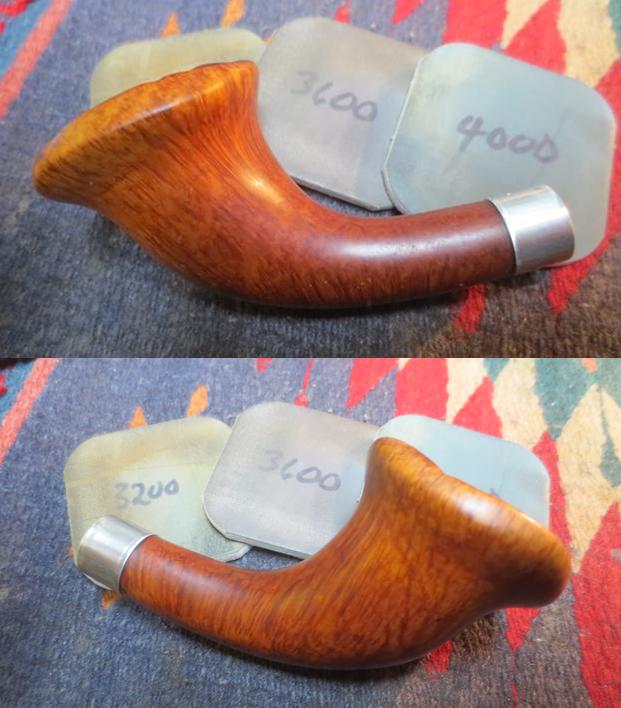
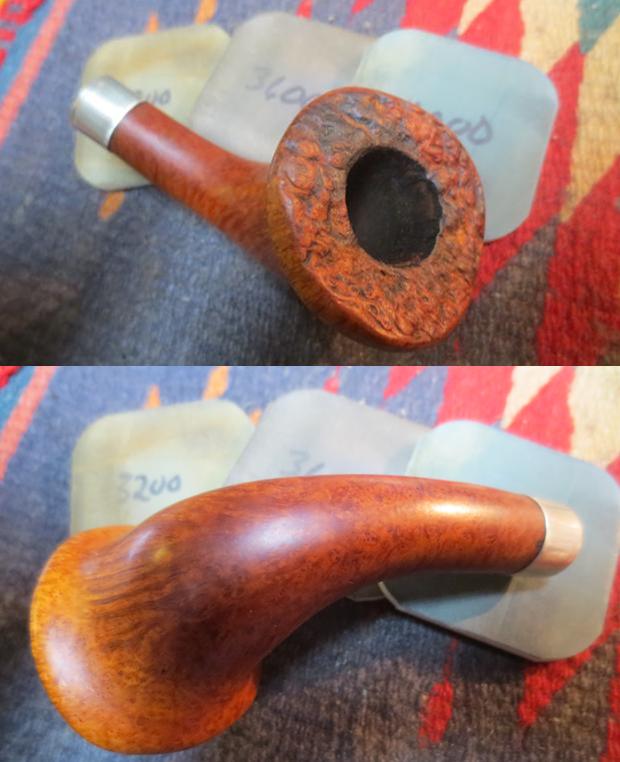
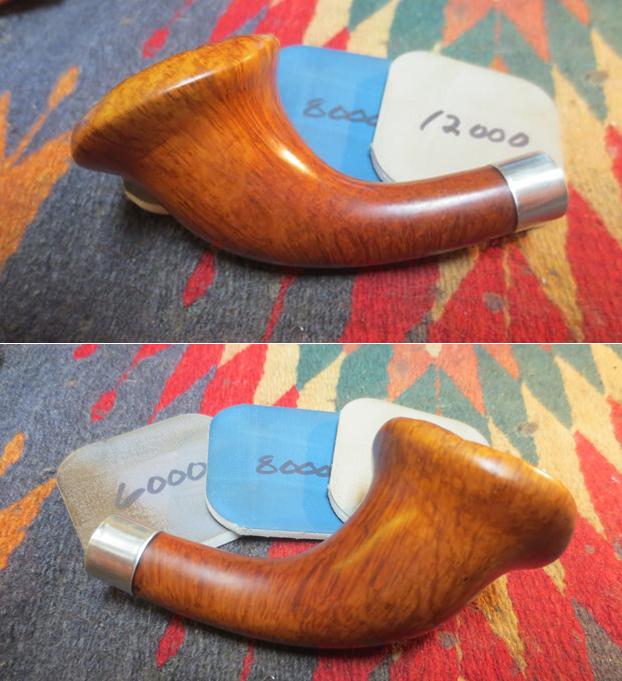
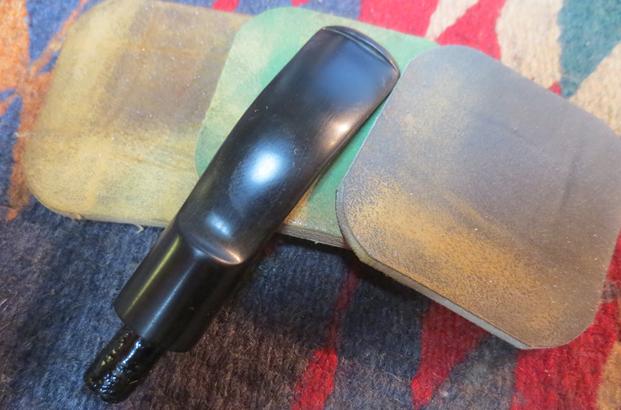
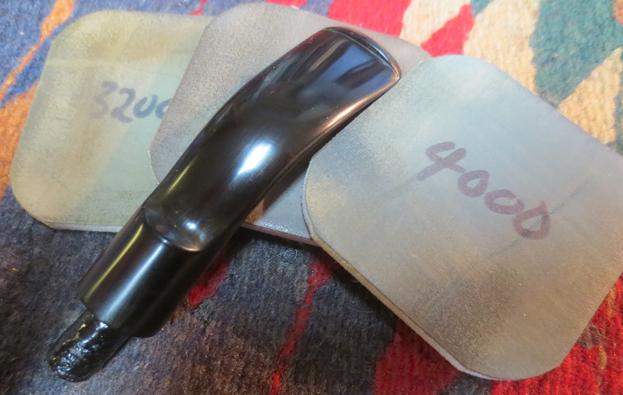
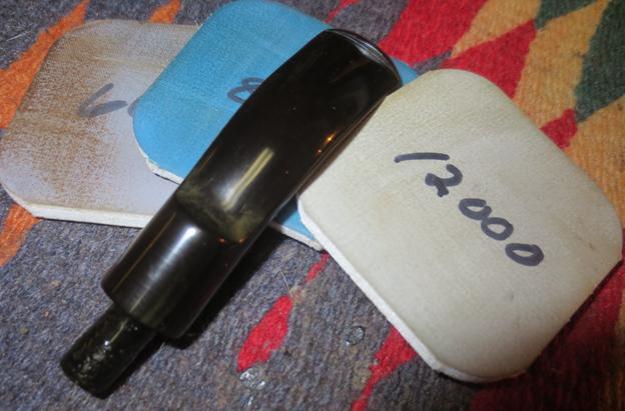
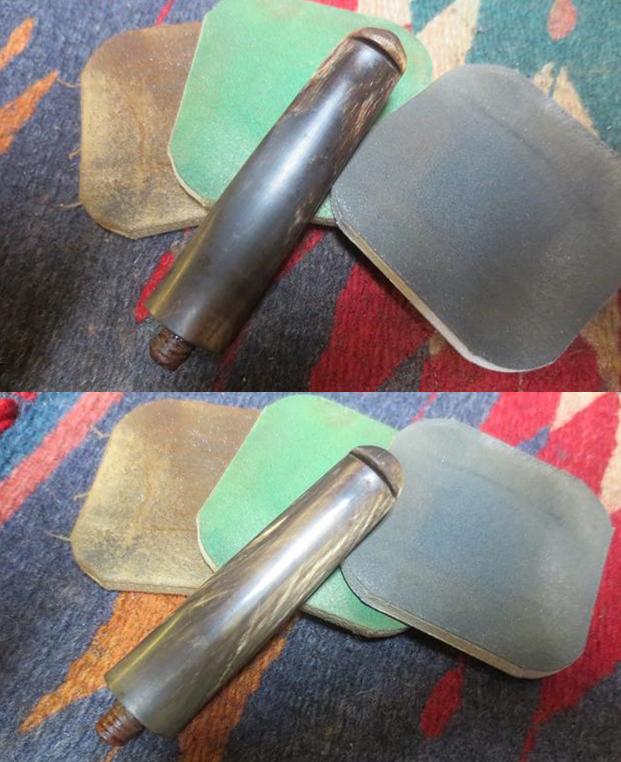
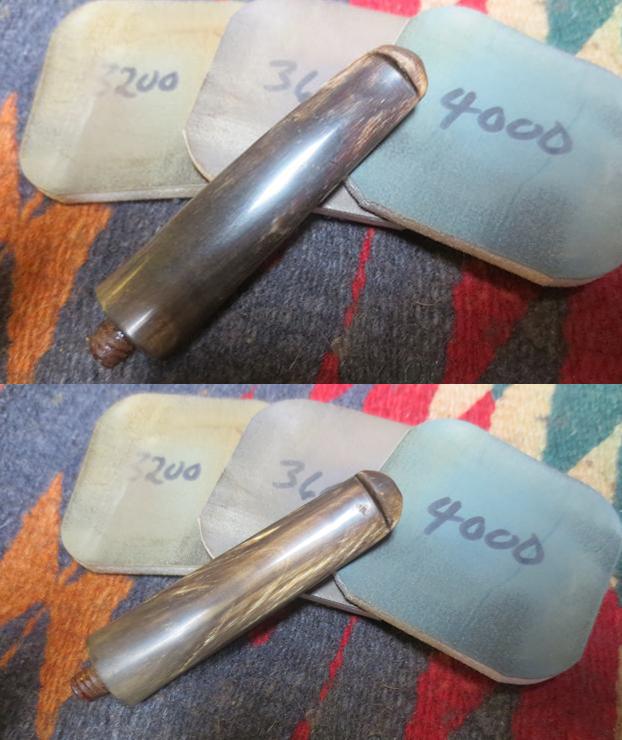
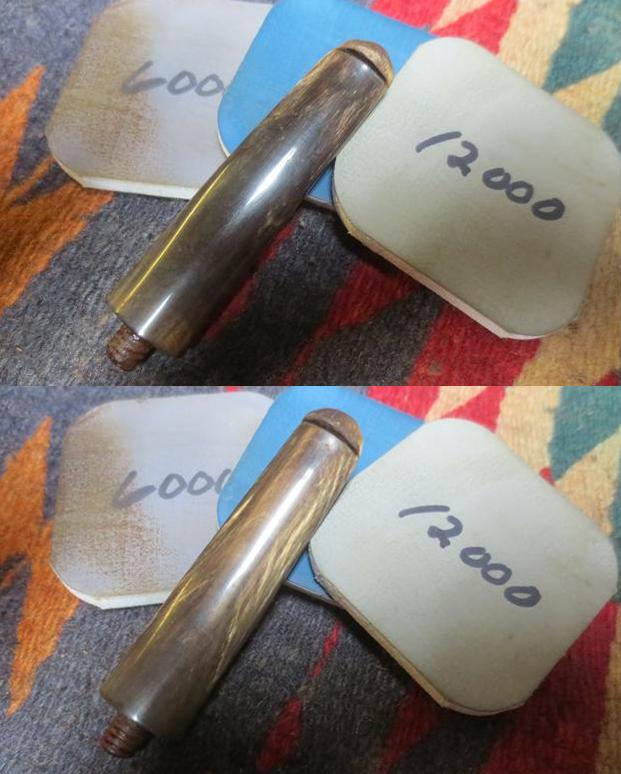
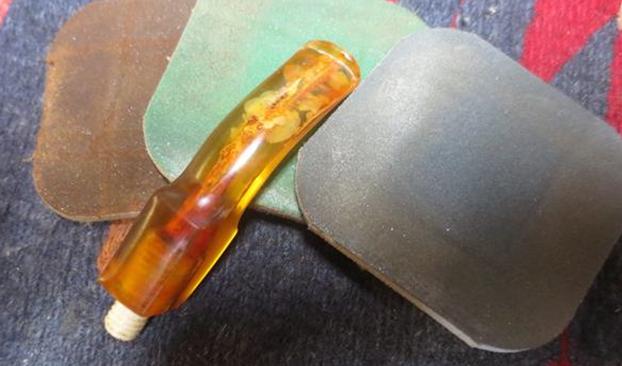
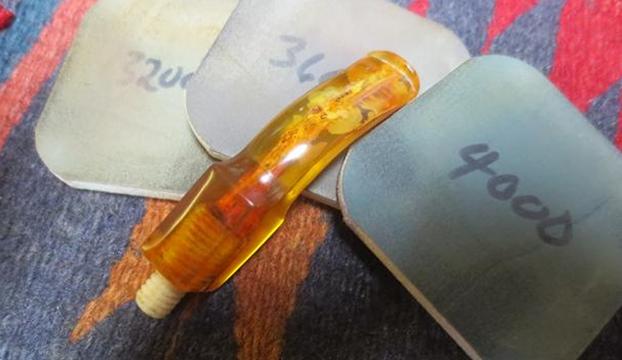
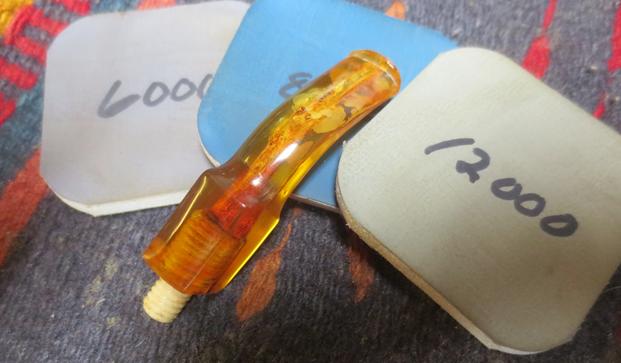
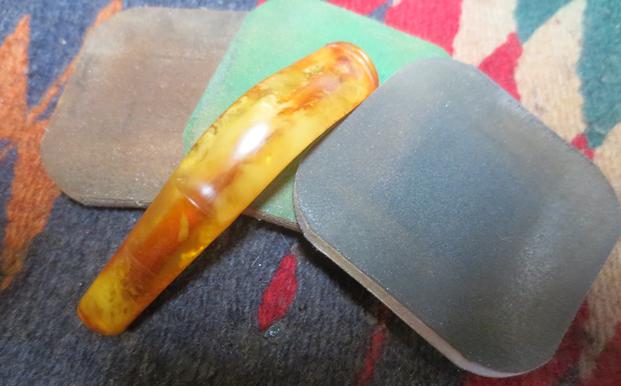
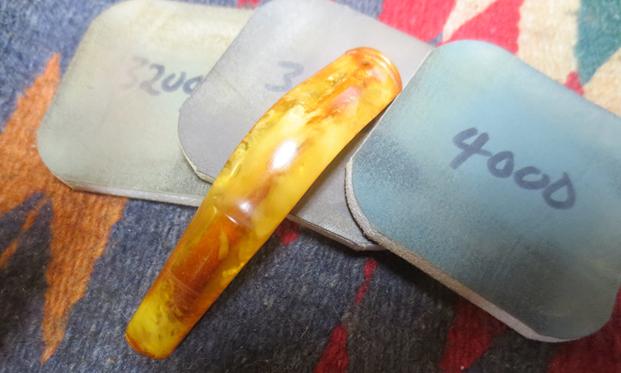
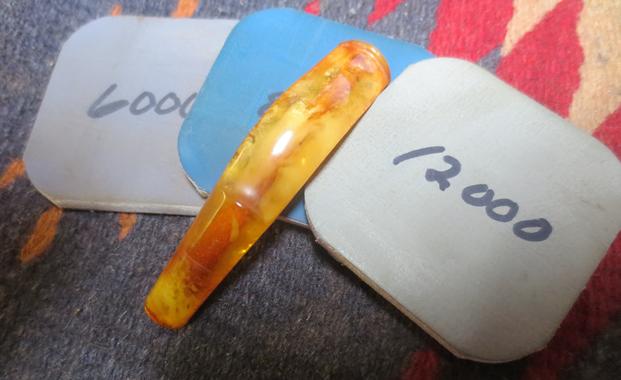
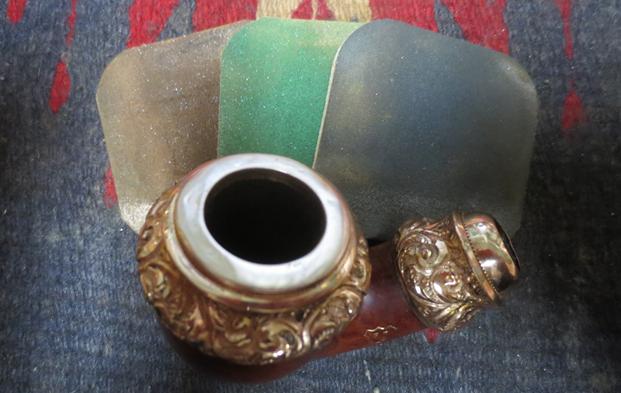
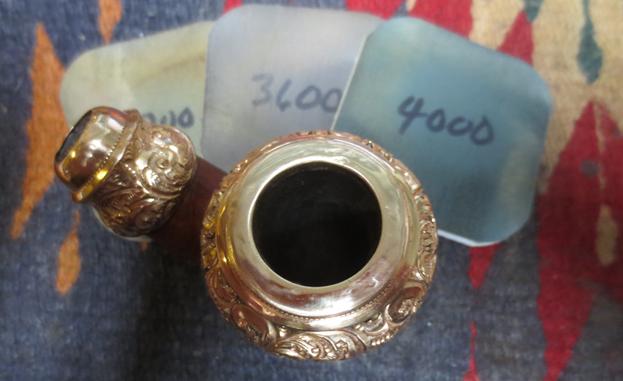
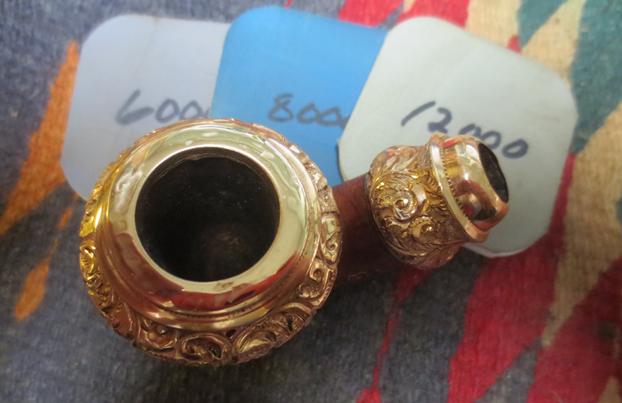
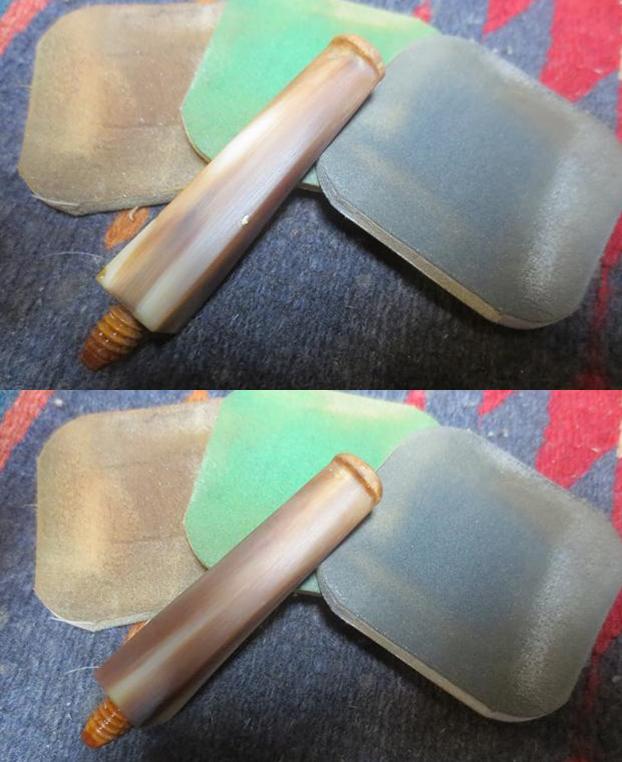
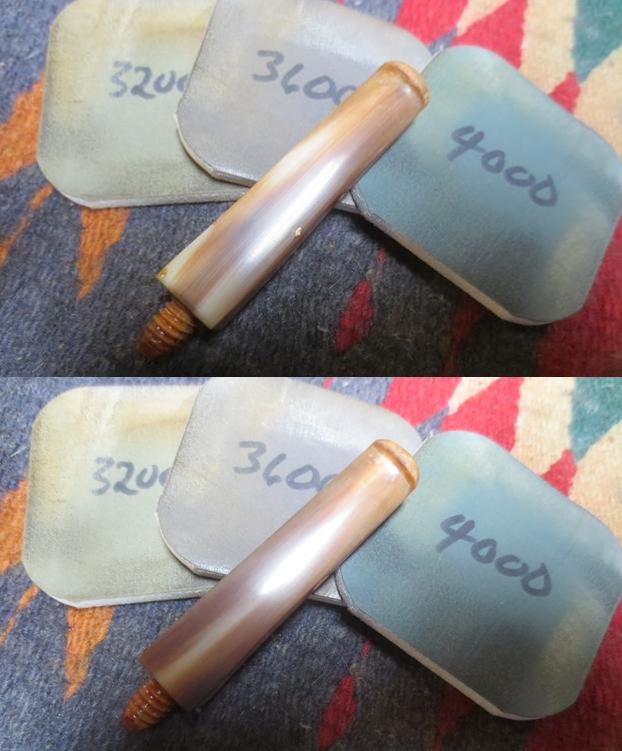
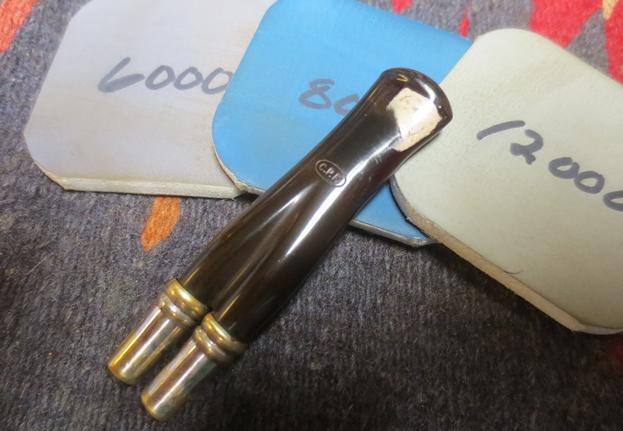
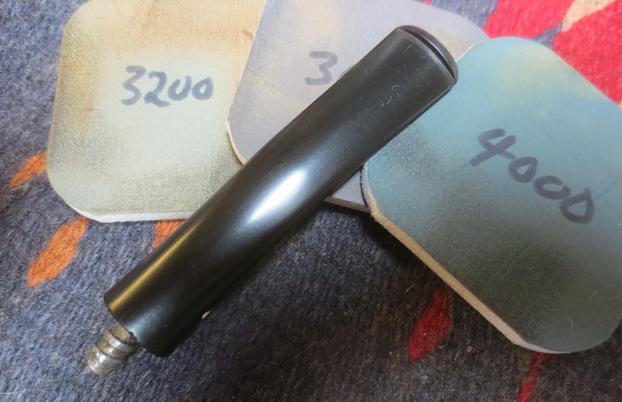
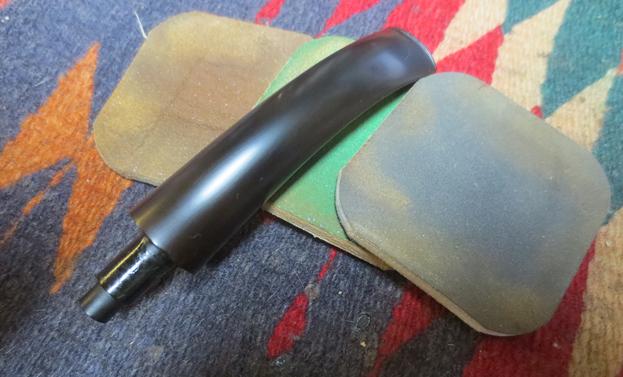
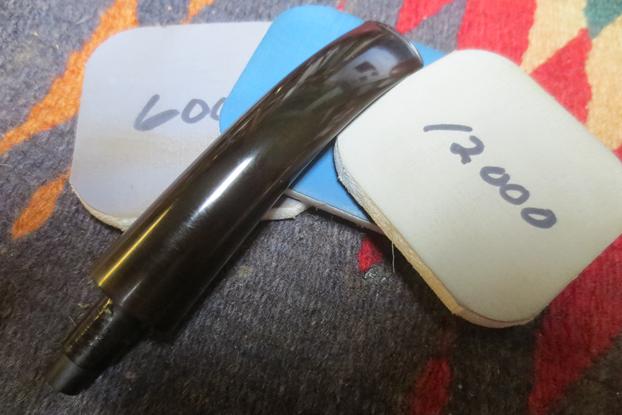
 Once everything lined up well it was time to polish the spacer and the stem. I polished the stem with micromesh sanding pads – wet sanding it with 1500-2400 grit pads and wiping it down after each pad with Obsidian Oil. I dry sanded it with 3200-12000 grit pads and again wiped it down with the oil after each pad. After the final pad I gave it another coat of the oil and set it aside to dry.
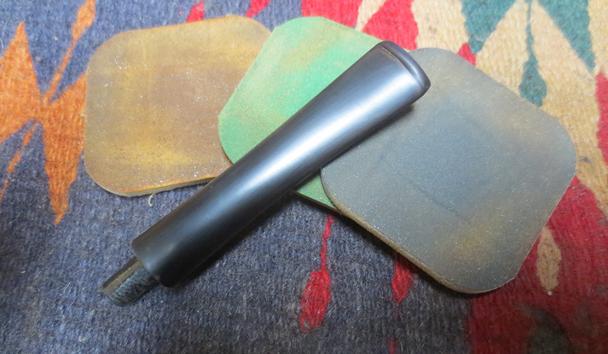

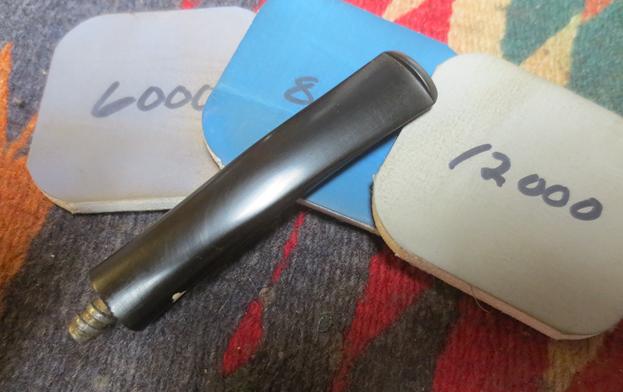
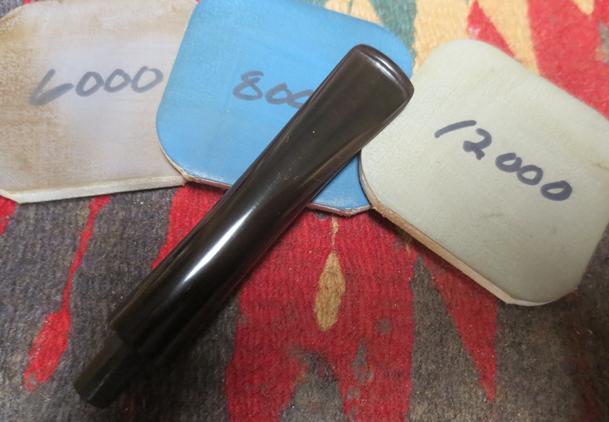 I polished the spacer at the same time using micromesh sanding pads – wet sanding it with 1500-2400 grit pads and wiping it down after each pad with Obsidian Oil. I dry sanded it with 3200-12000 grit pads and again wiped it down with the oil after each pad. After the final pad I gave it another coat of the oil and set it aside to dry.
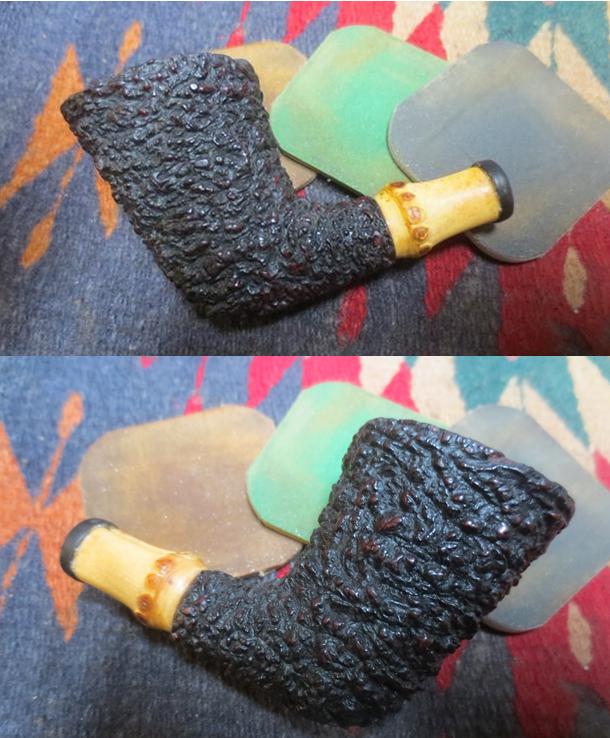


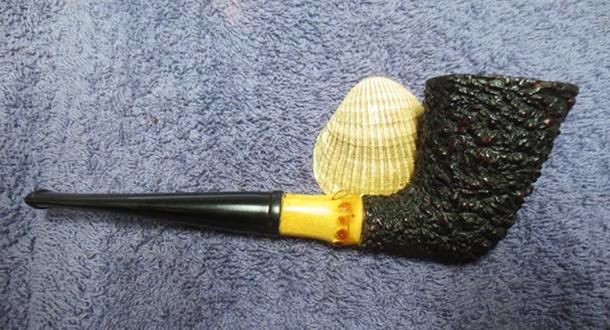
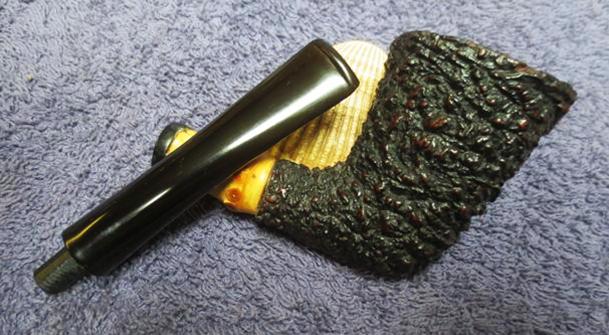
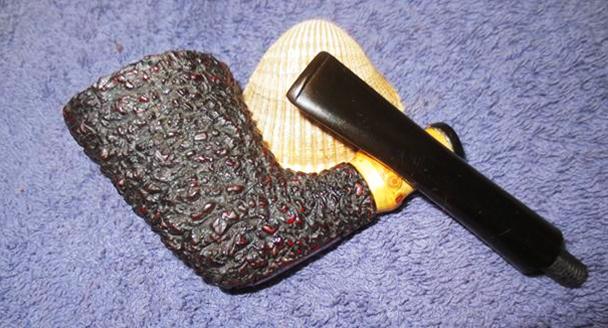
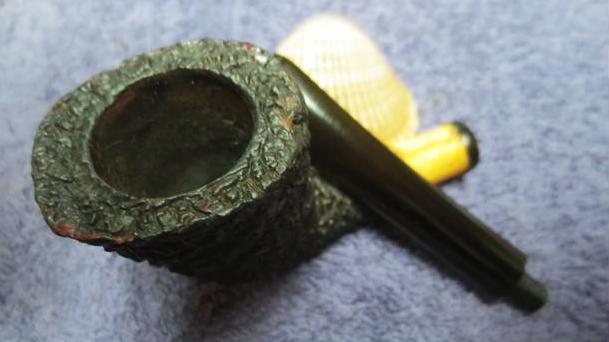
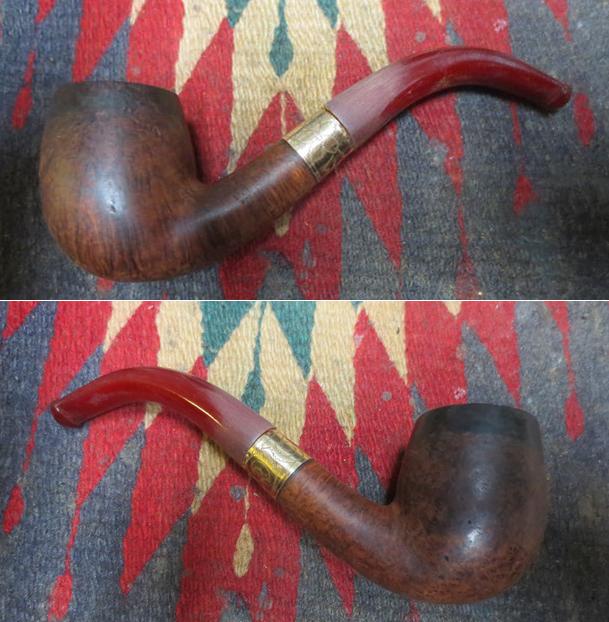
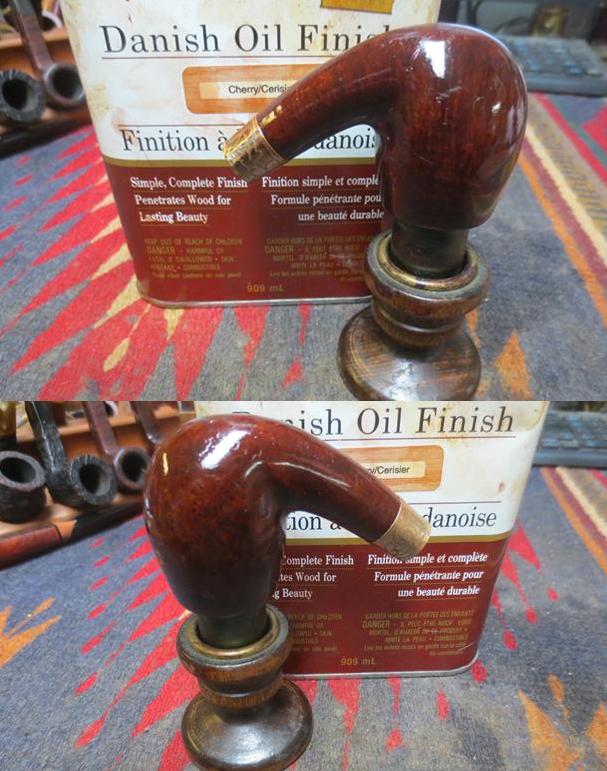
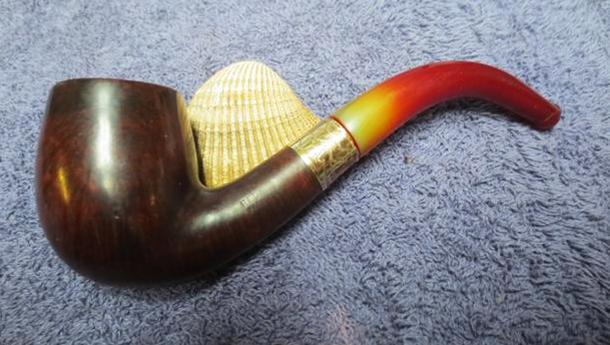
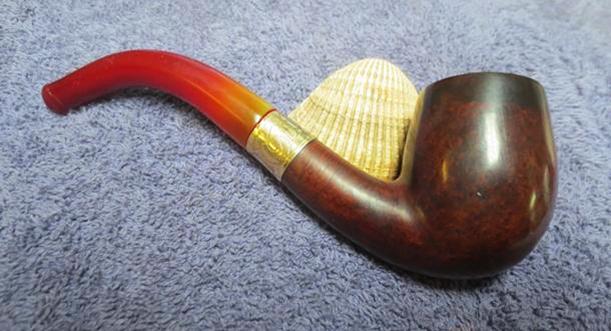
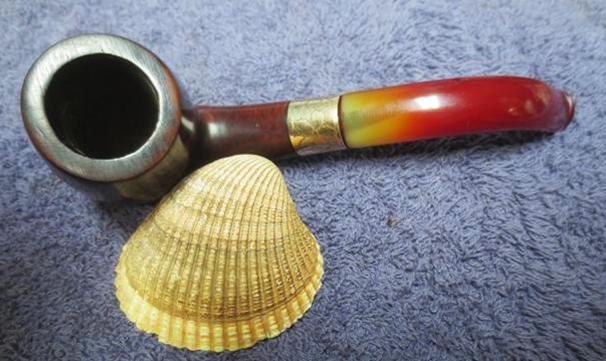
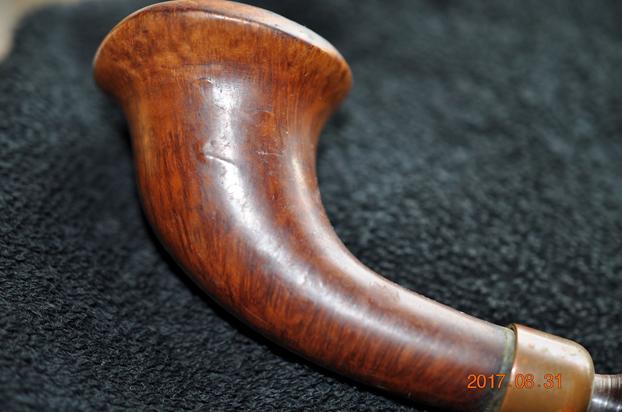
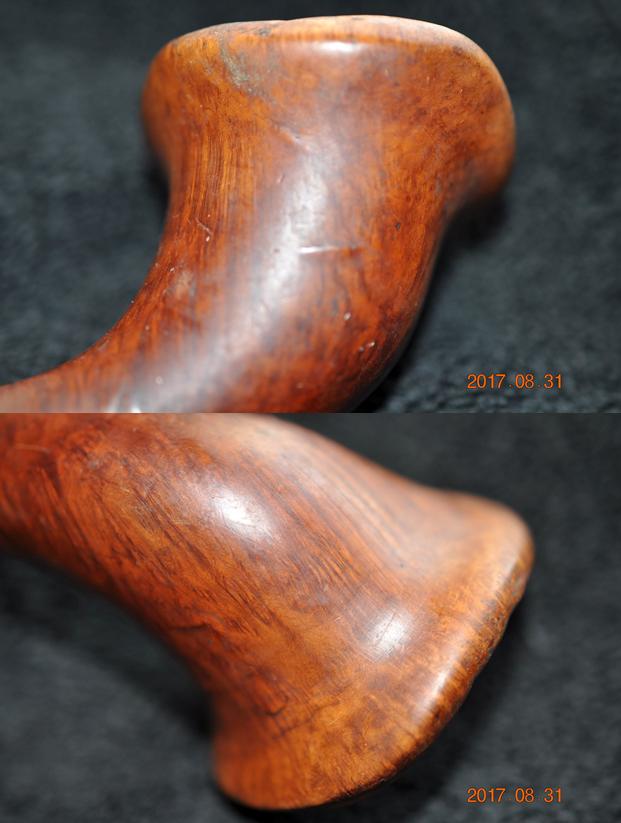
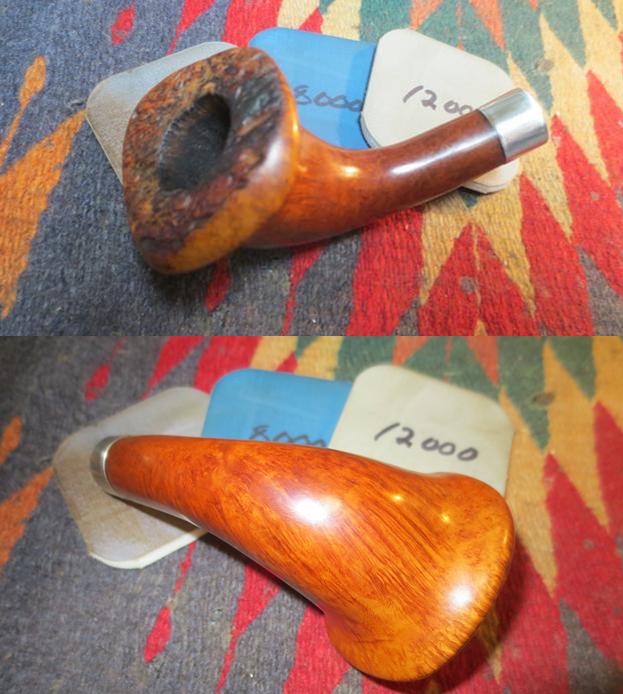
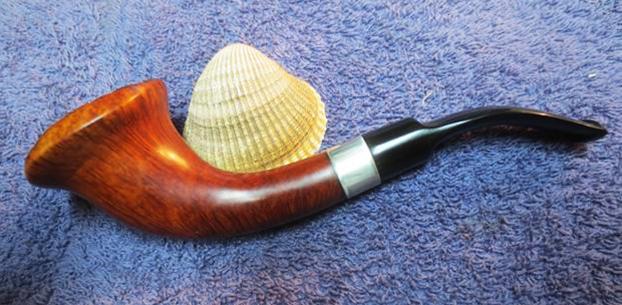
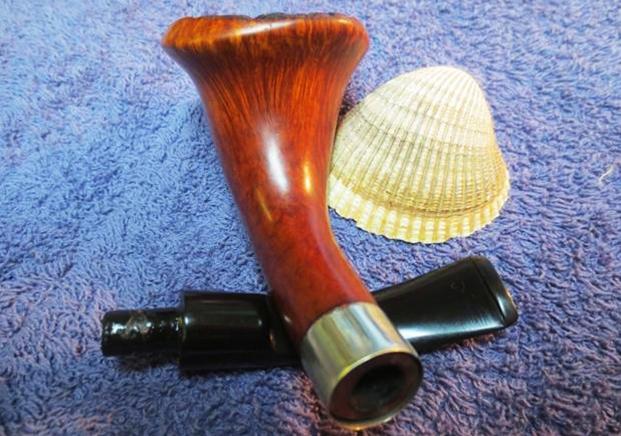
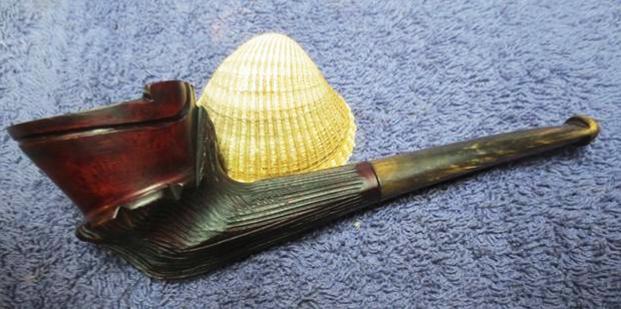
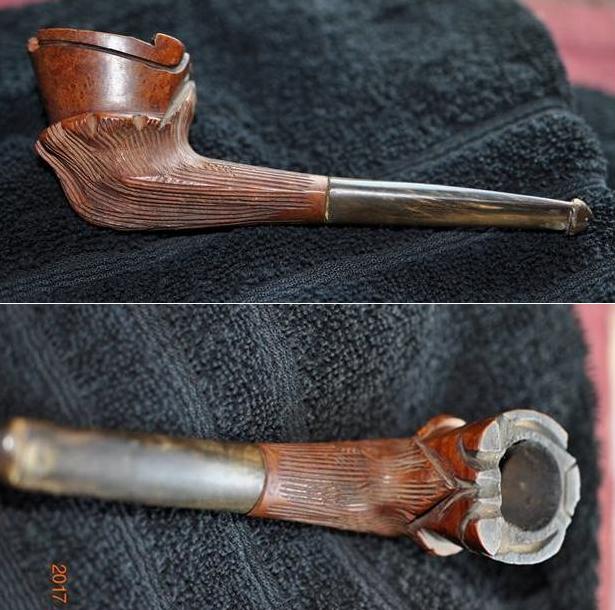
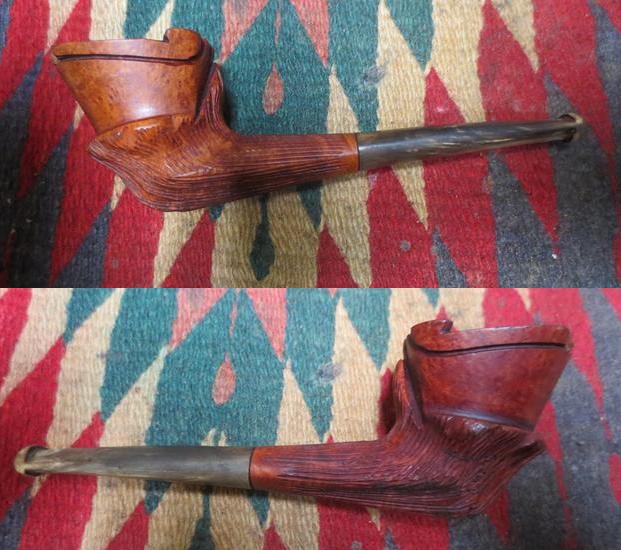
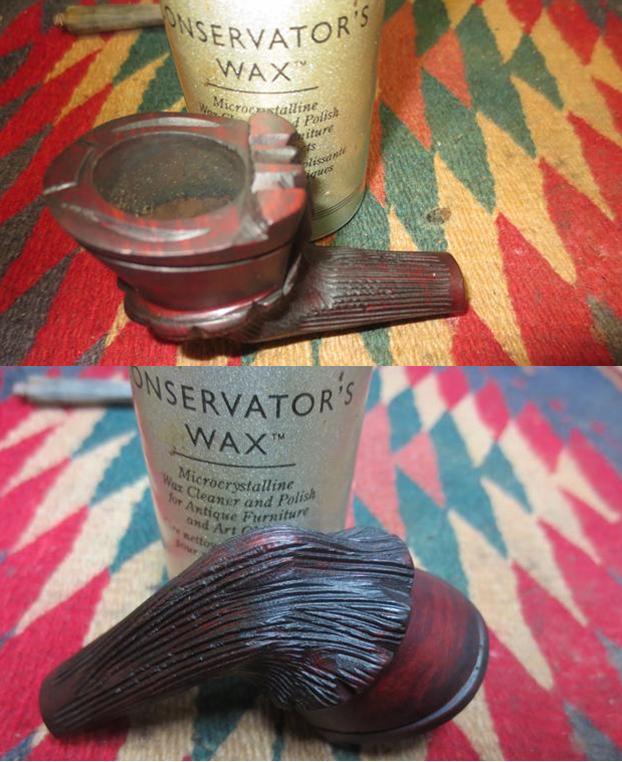
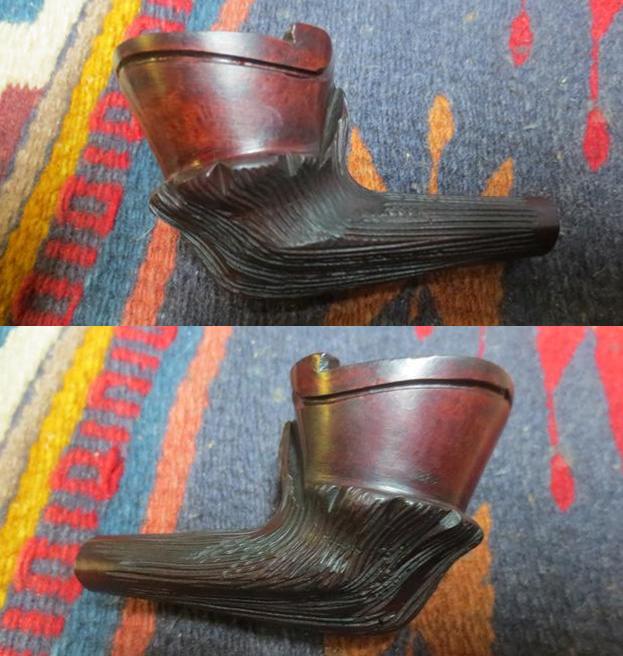
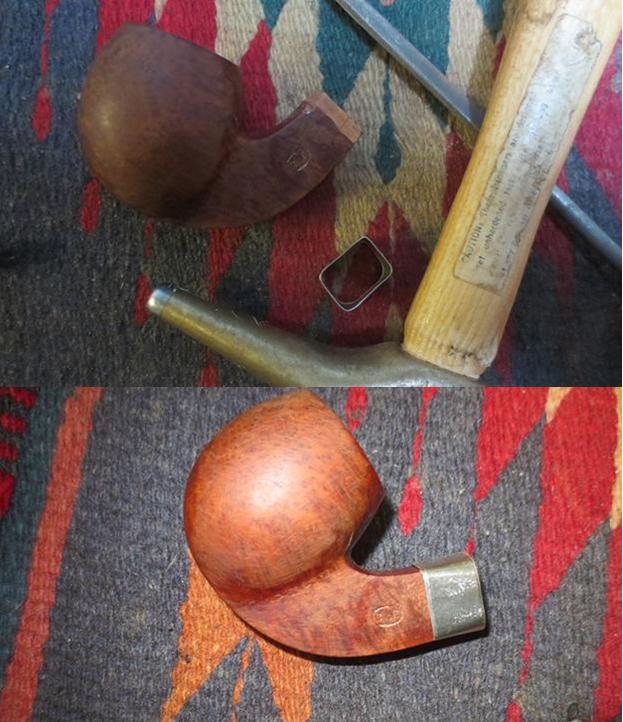
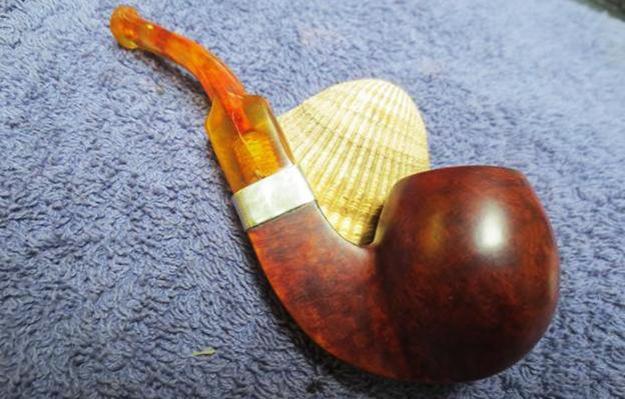
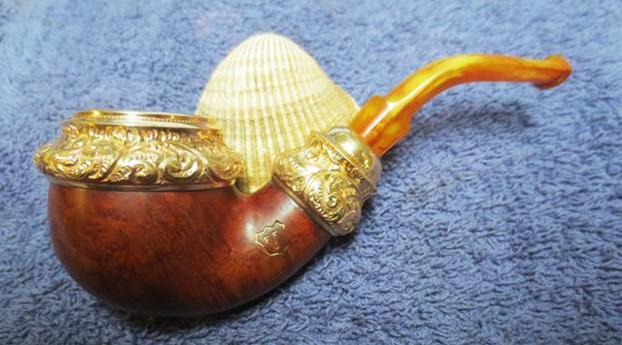
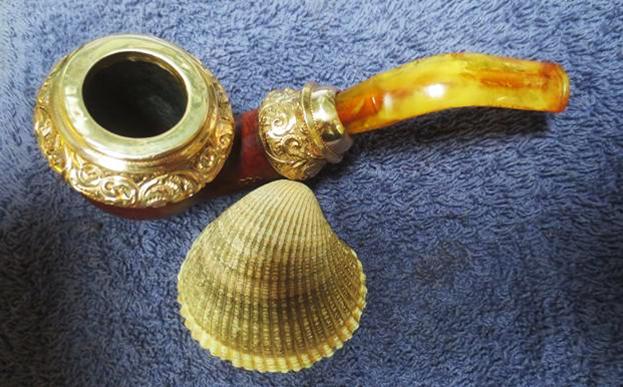
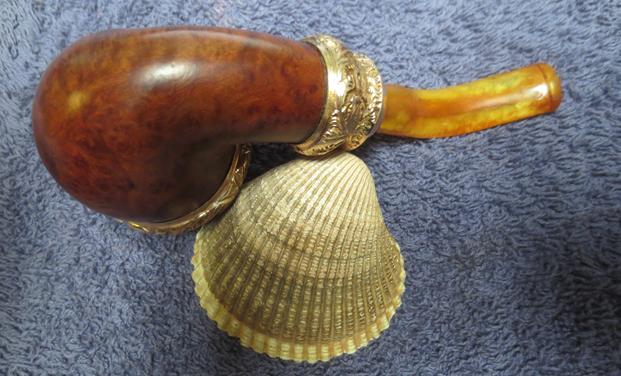
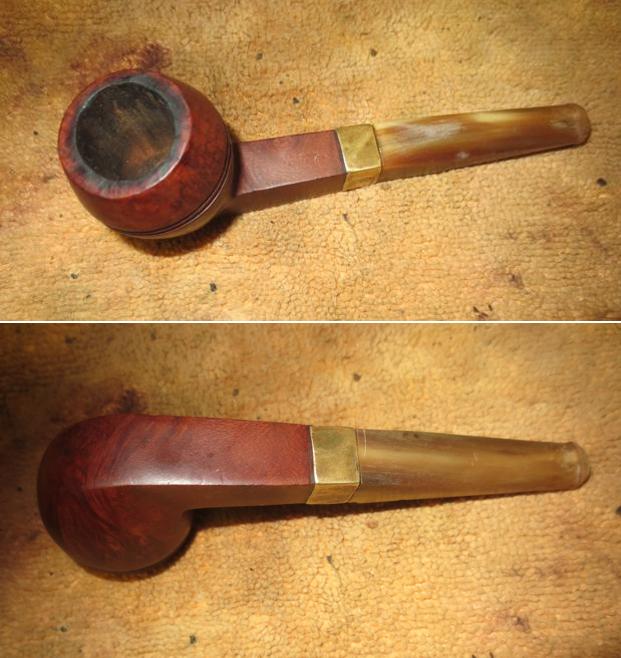
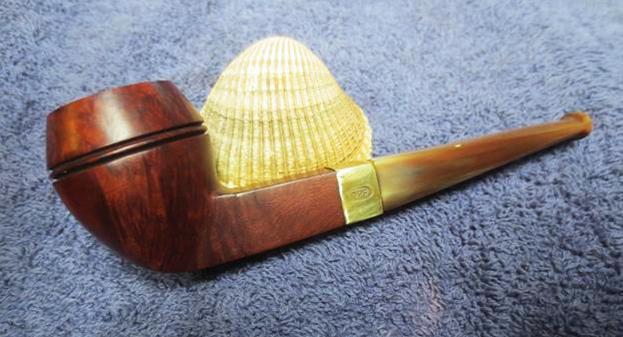
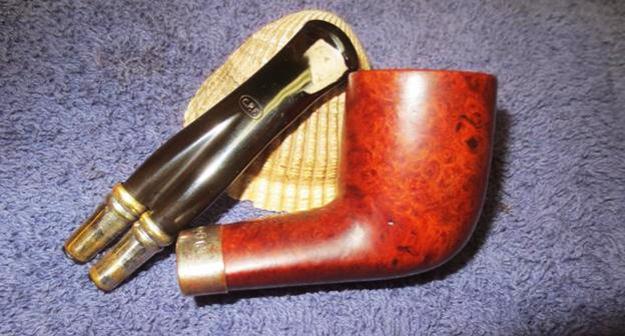
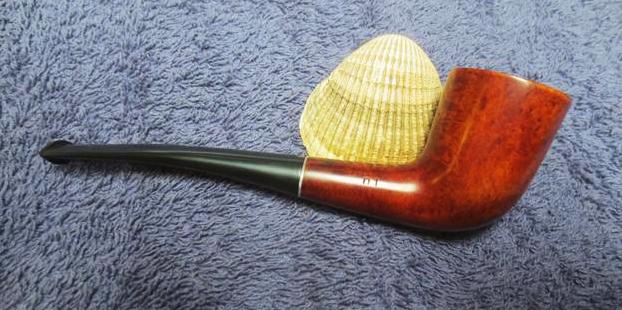
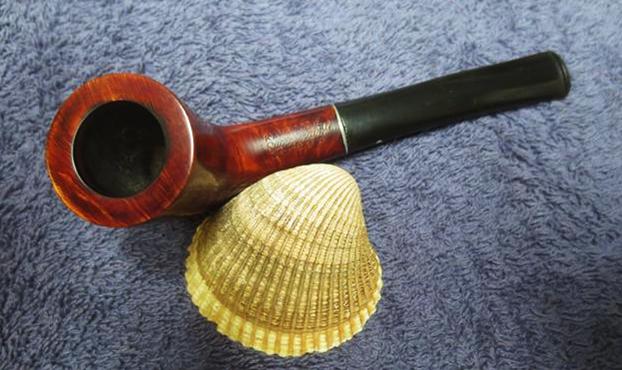
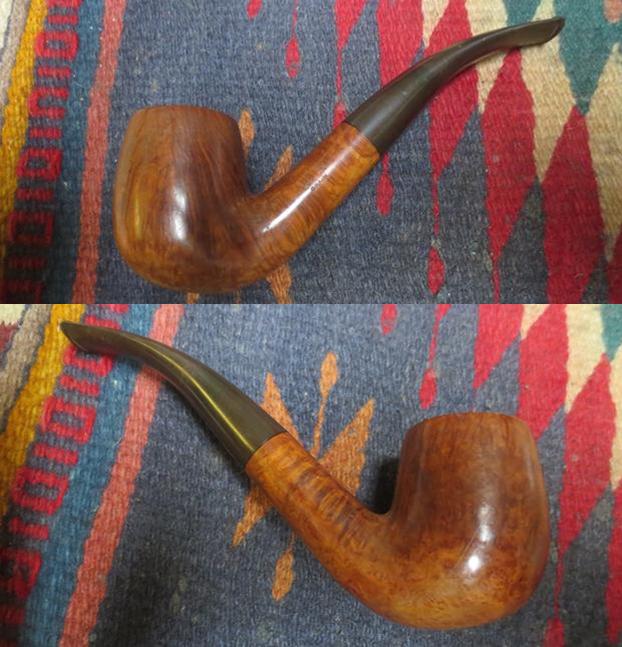
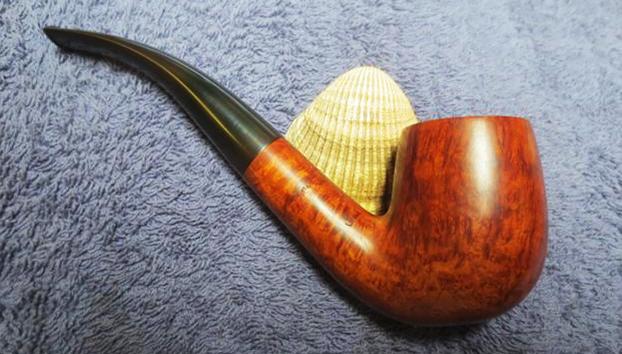
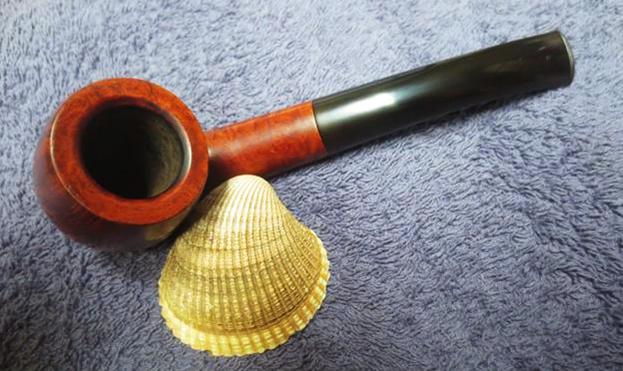
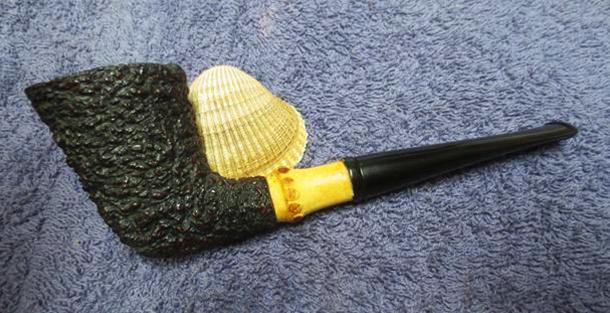
 I put the stem back on the bowl and buffed the pipe with Blue Diamond on the buffing wheel to polish the briar. I used a soft touch on the sandblasted areas as I did not want to flatten them or fill in the grooves with polishing compound. I gave the stem multiple coats of carnauba wax and I gave the sandblasted bowl several coats of Conservator’s Wax. I buffed it with a clean buffing pad to raise a shine. I hand buffed it with a microfiber cloth to deepen the shine. The rough sandblast finish with its dark brown and oxblood contrast stain and the newly added bamboo shank work well with the tapered stem I fit to the shank to make a beautiful pipe. The pipe looks fresh and new. The dimensions of this pipe are Length: 6 inches, Height: 2 1/8 inches, Bowl diameter: 1 3/8 inches wide and 1 3/4 inches long, Chamber diameter: 7/8 inches. The finished pipe is shown in the photos below. I like it! It came out pretty well in my opinion – not too bad for a Frankenpipe. Thanks for looking.