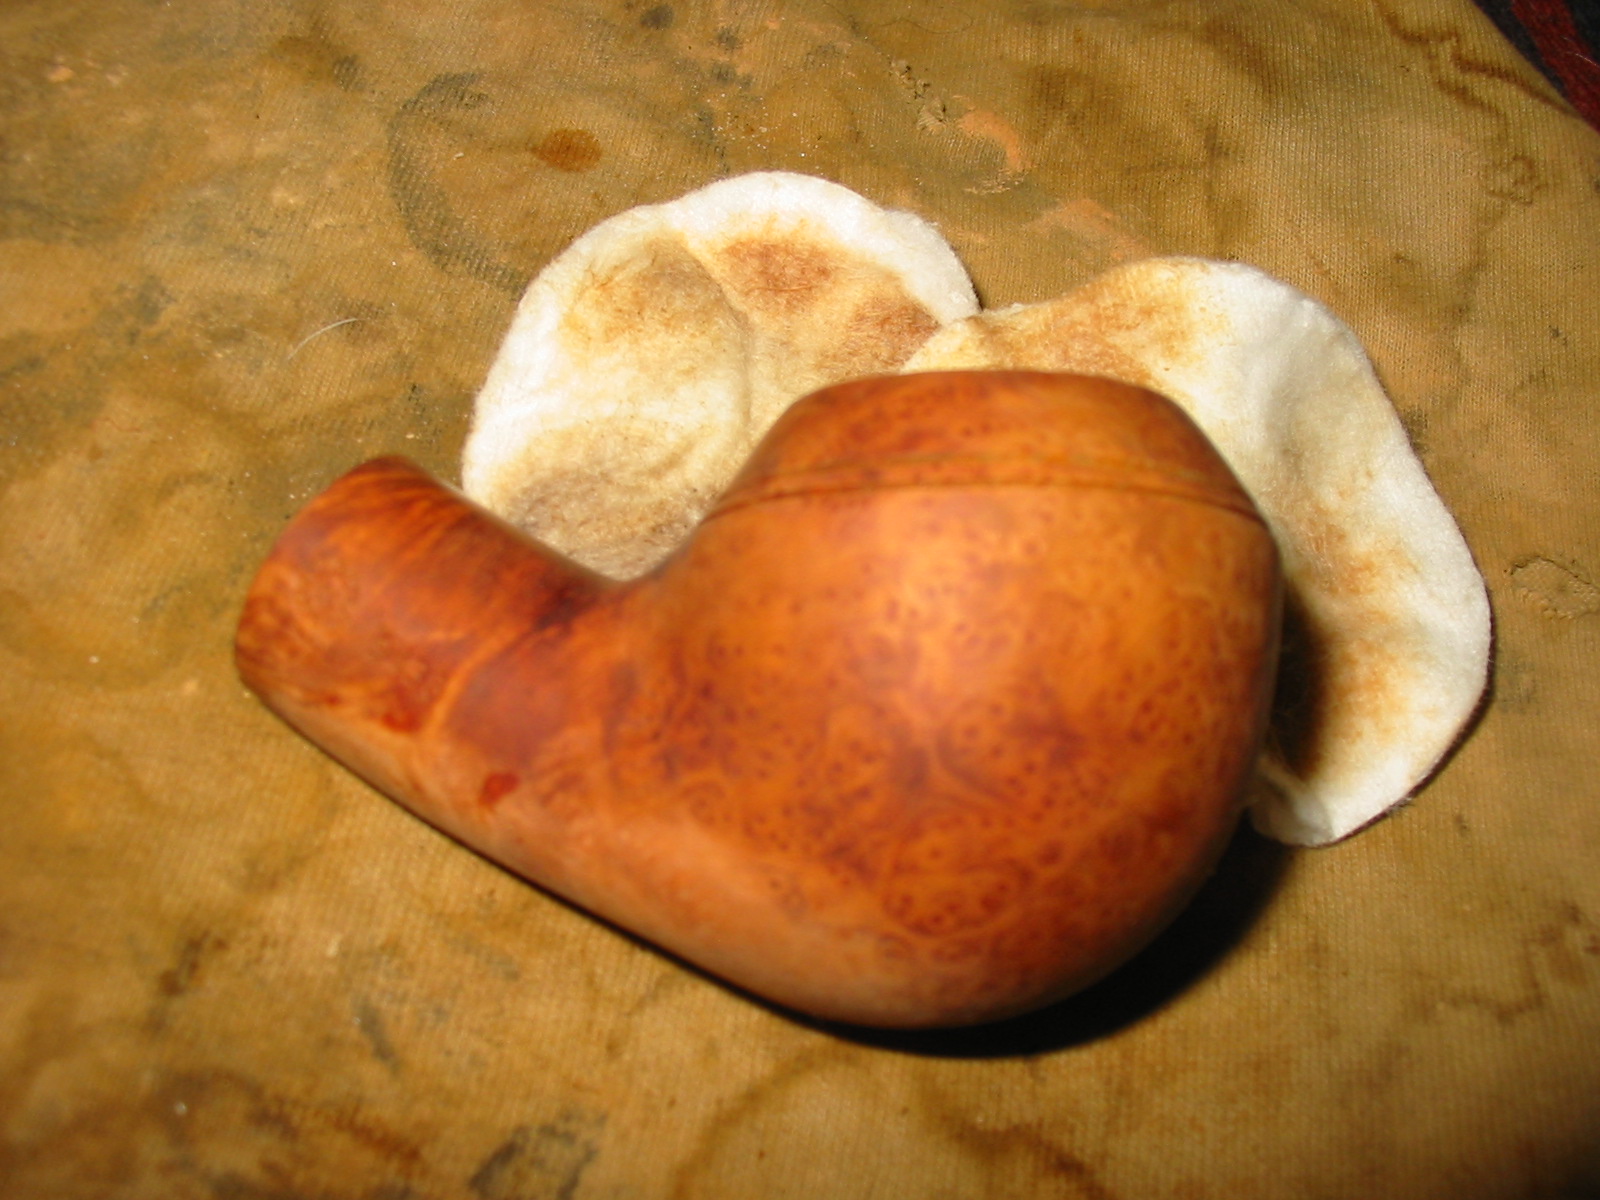
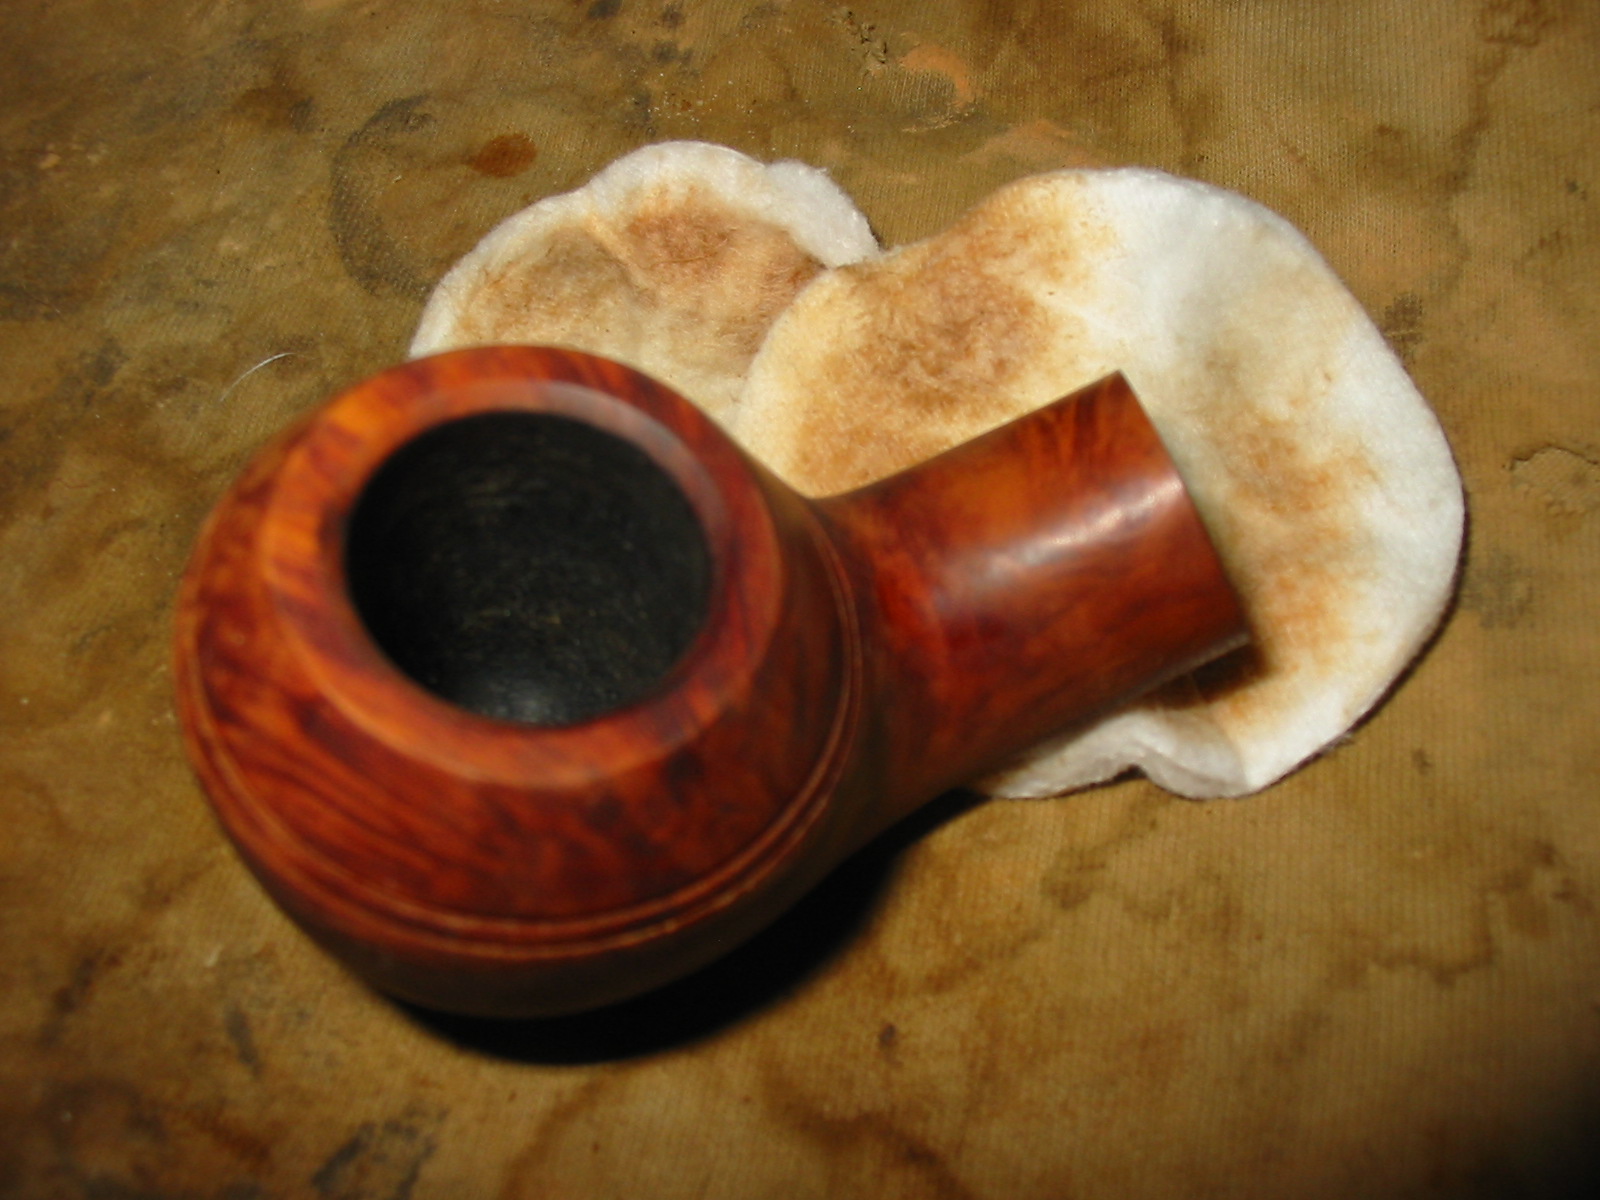
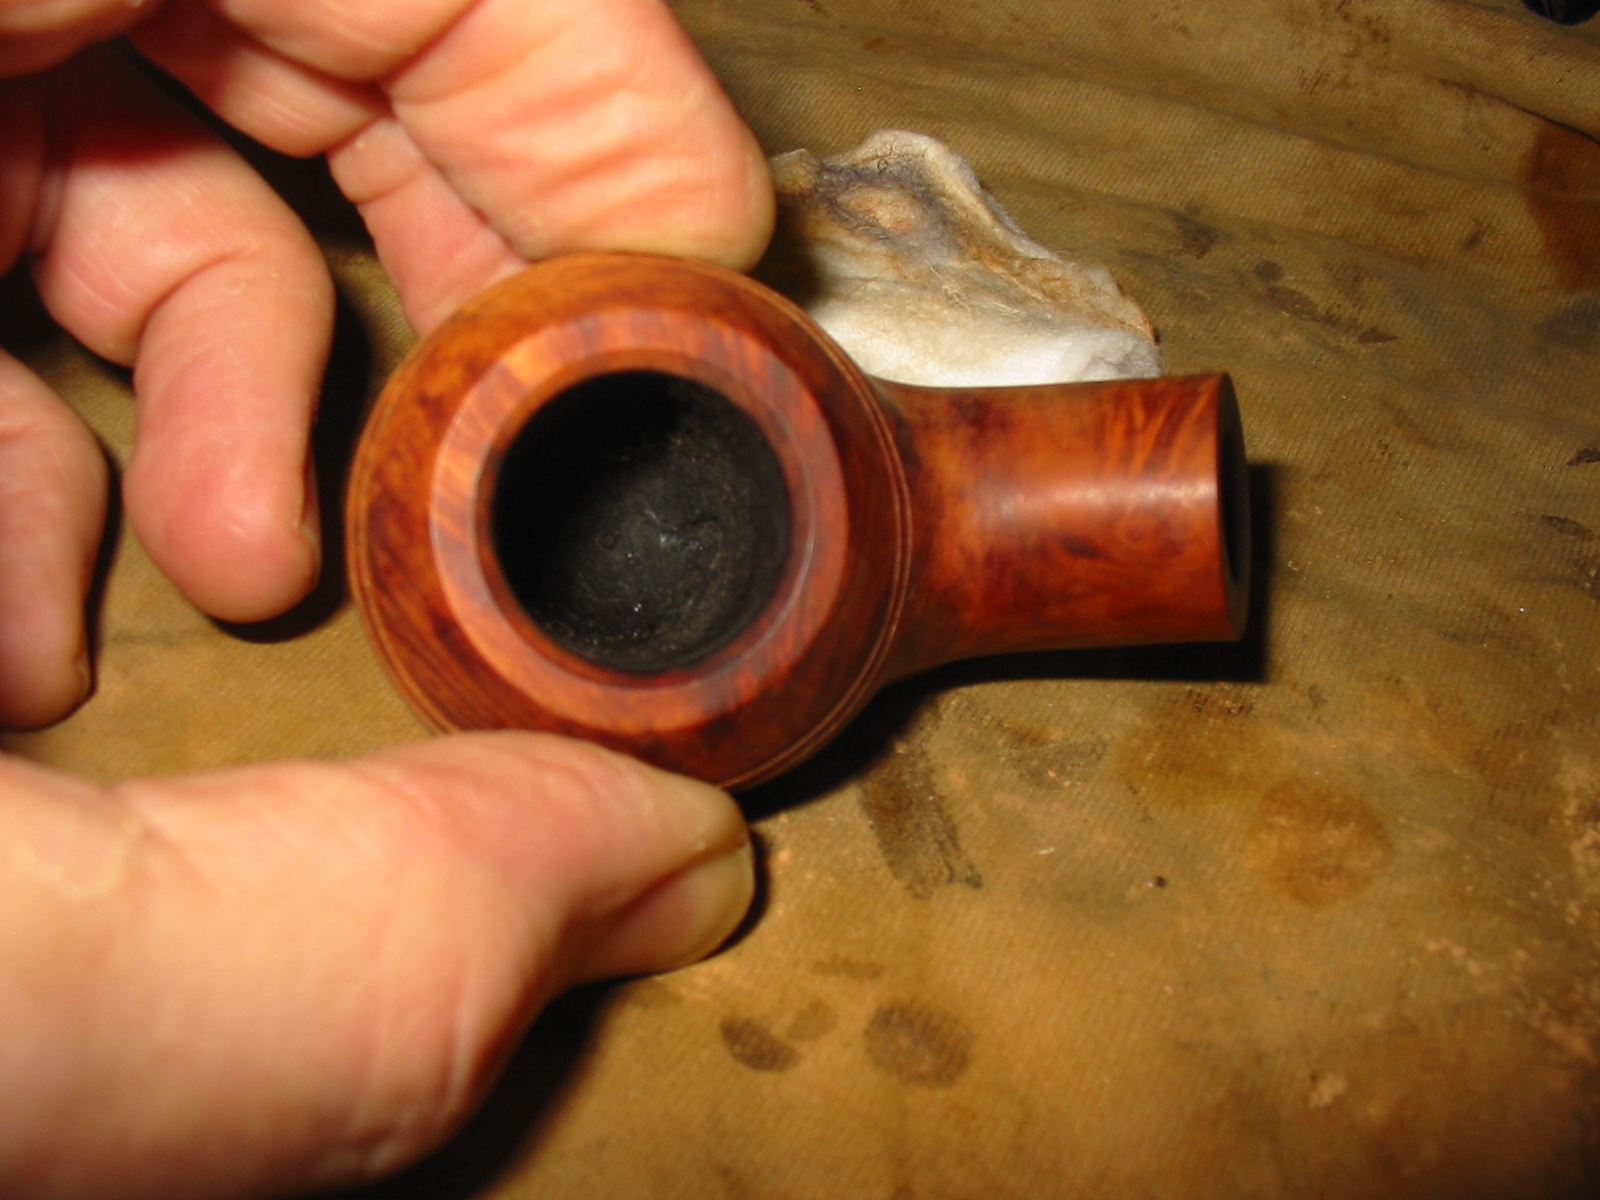
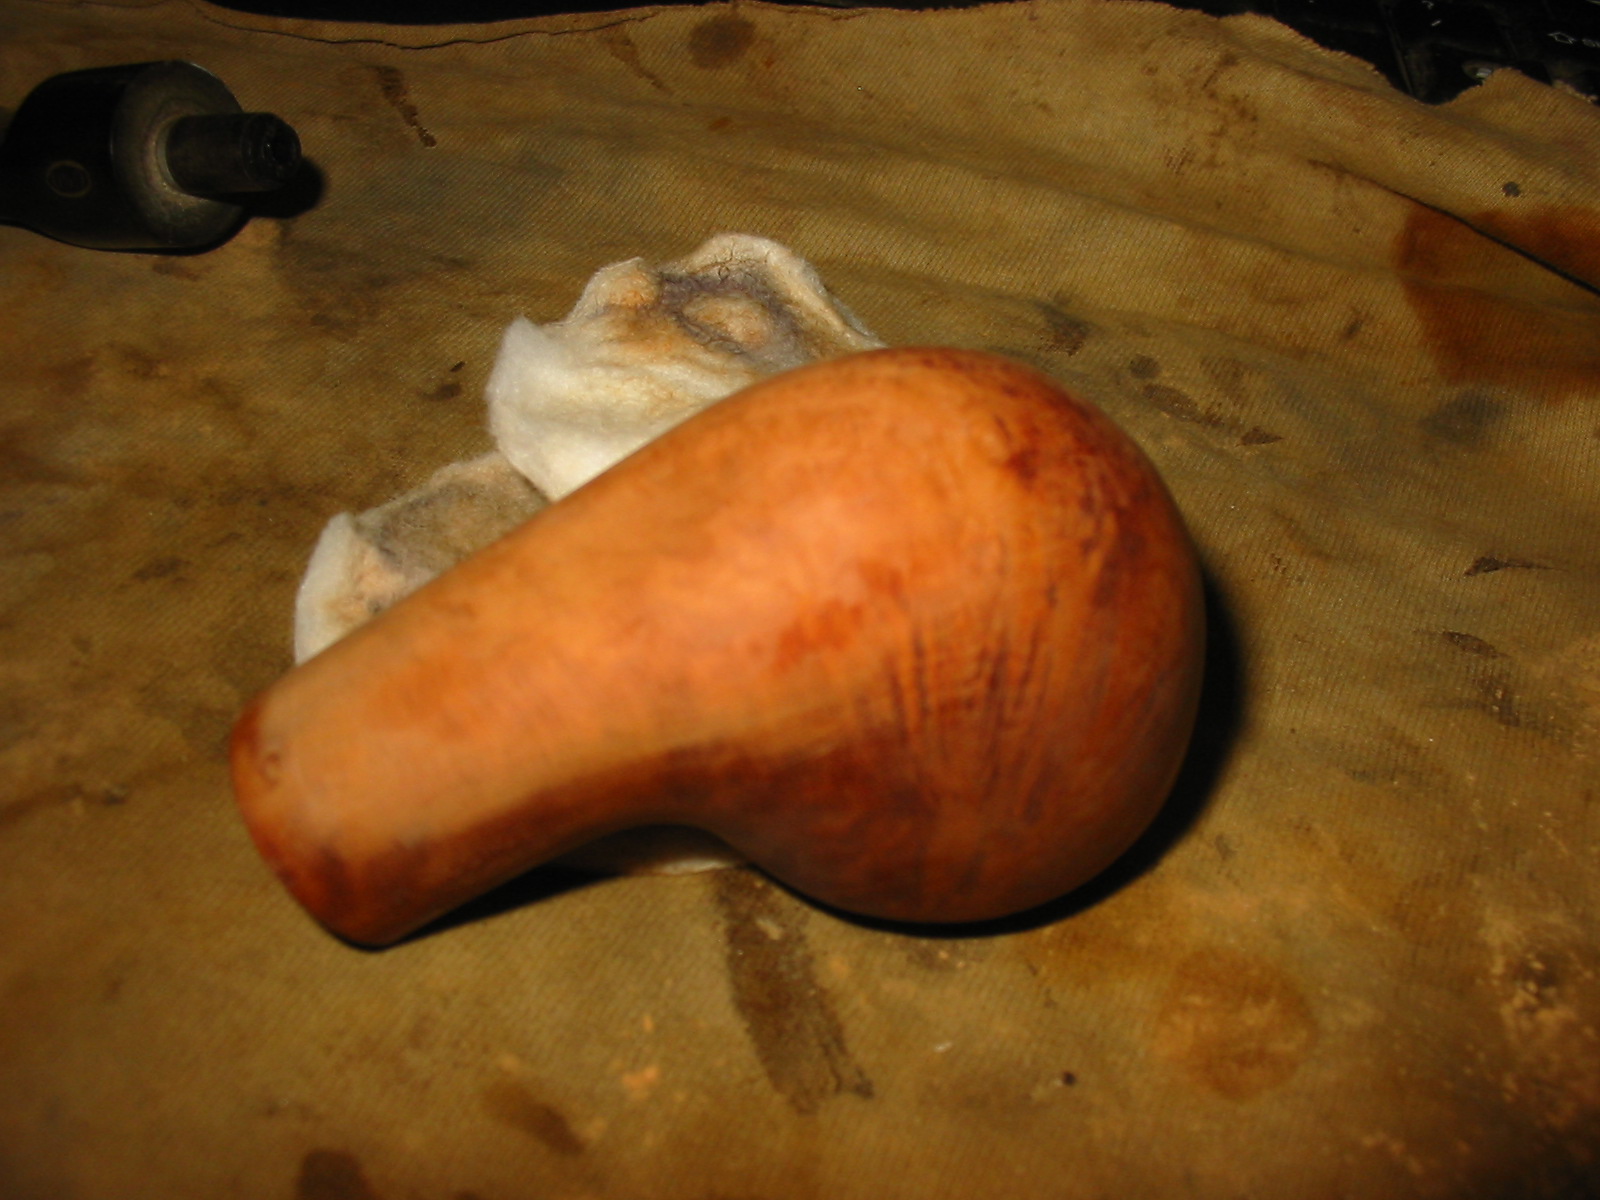
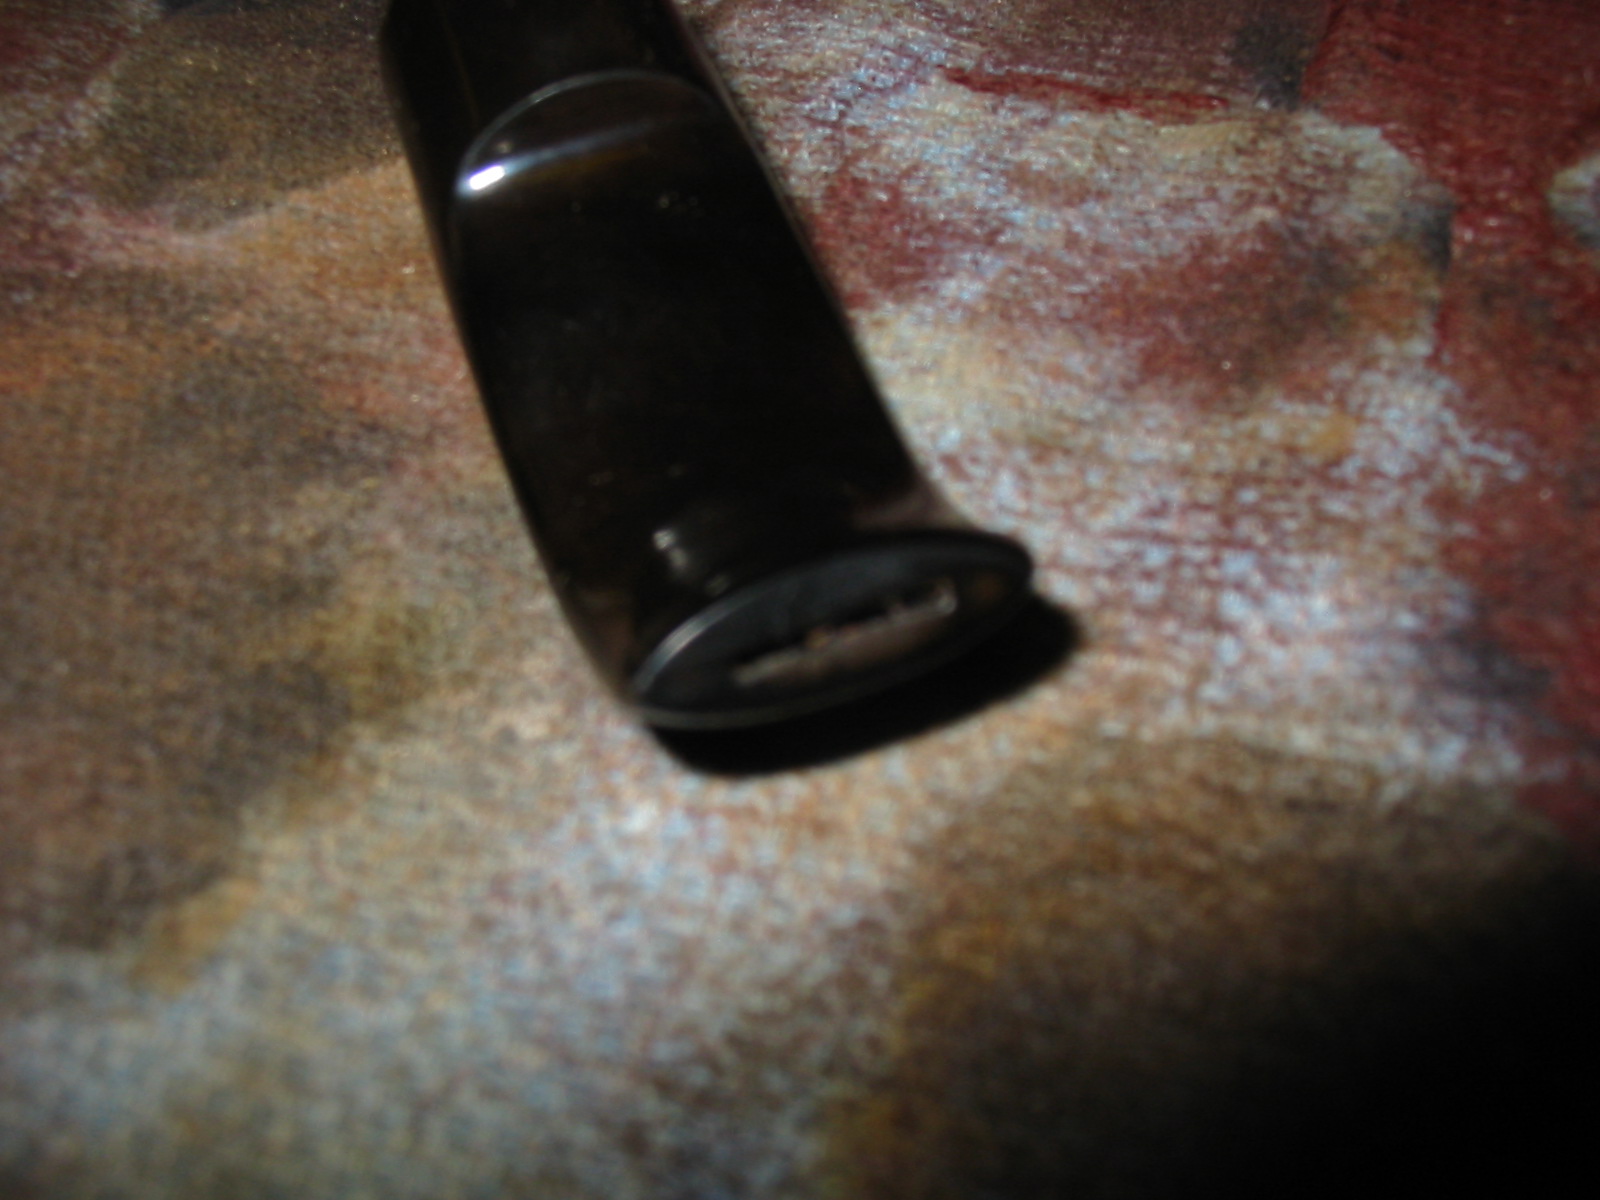
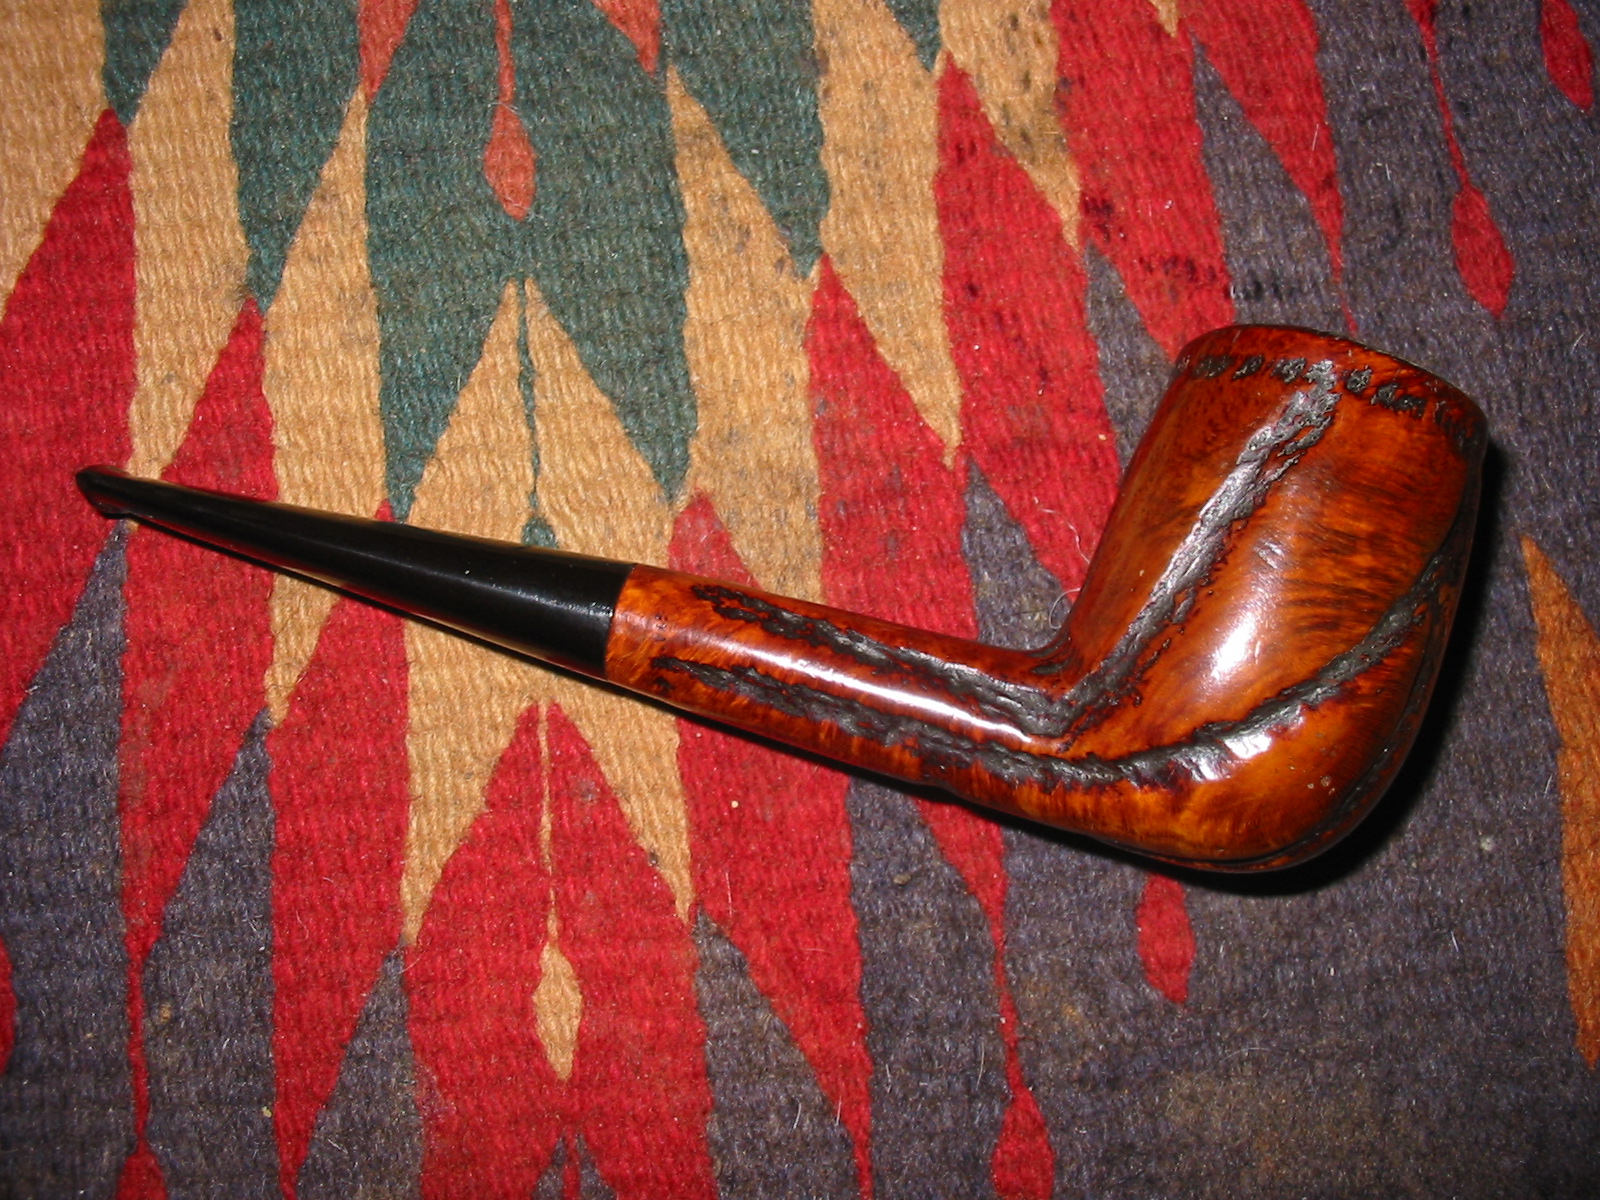
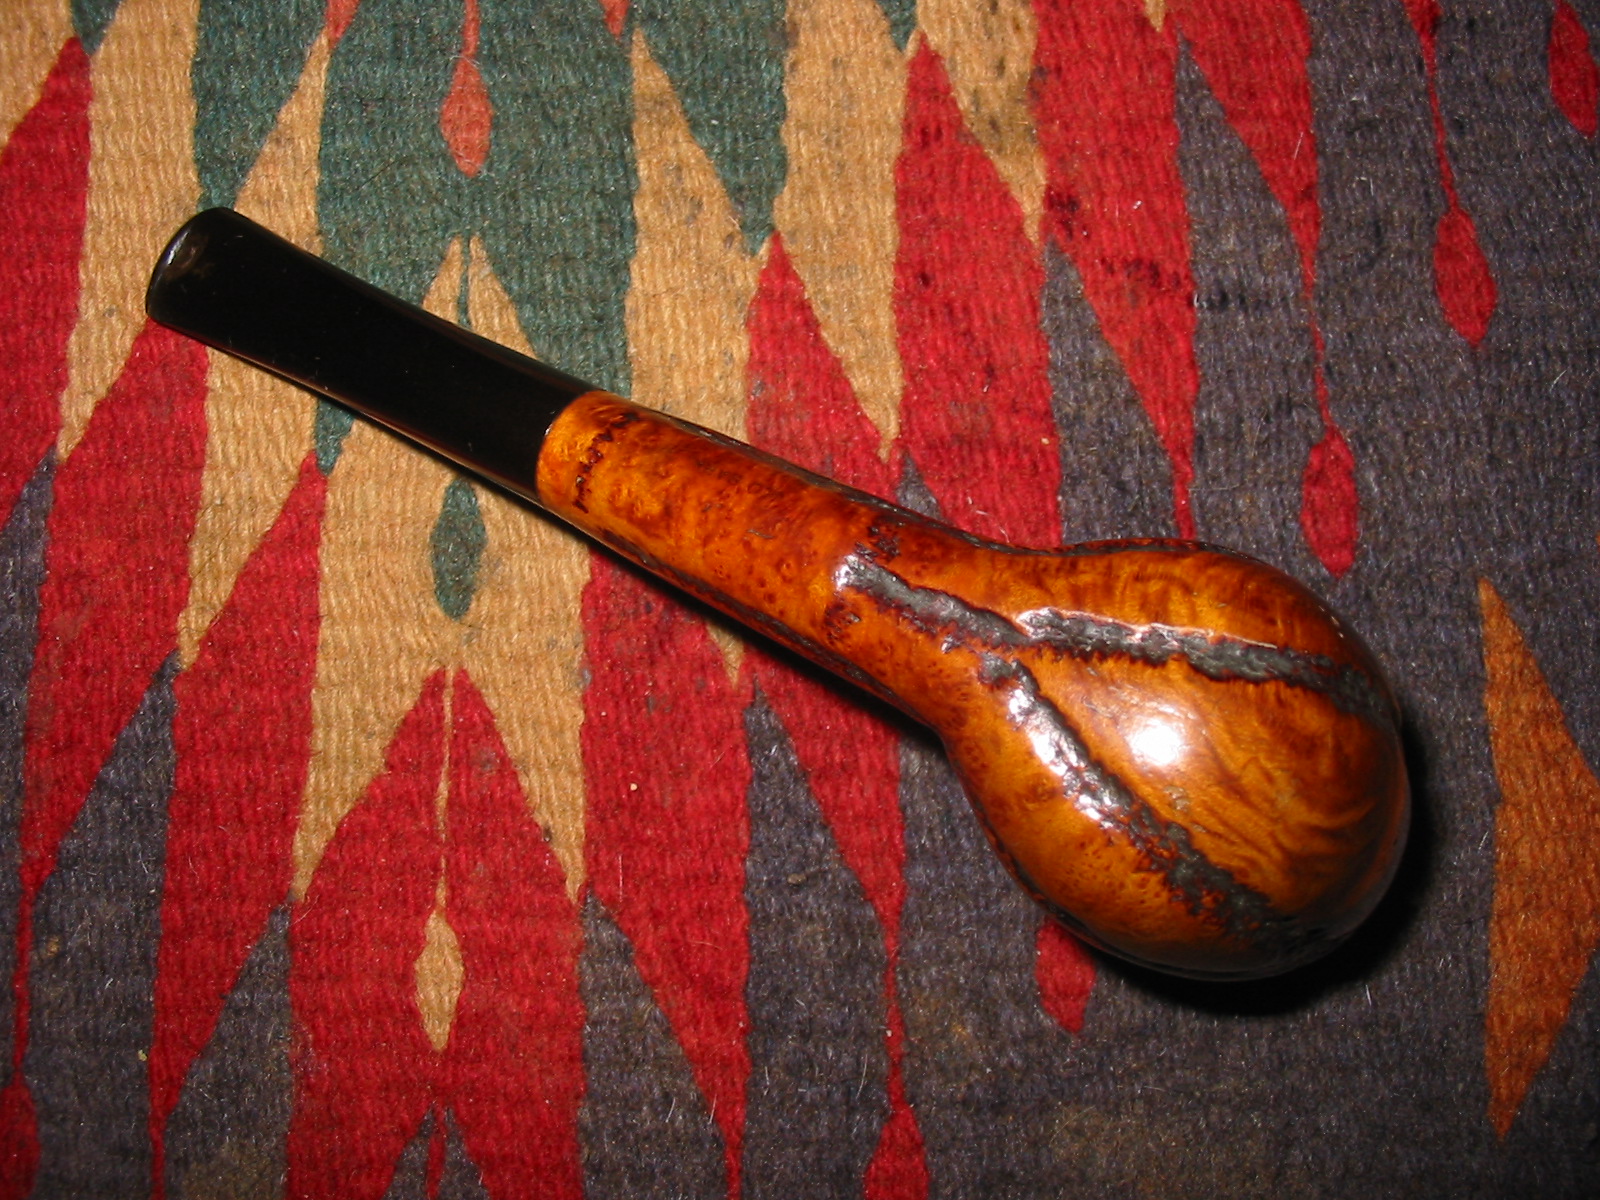
Tag Archives: finishing

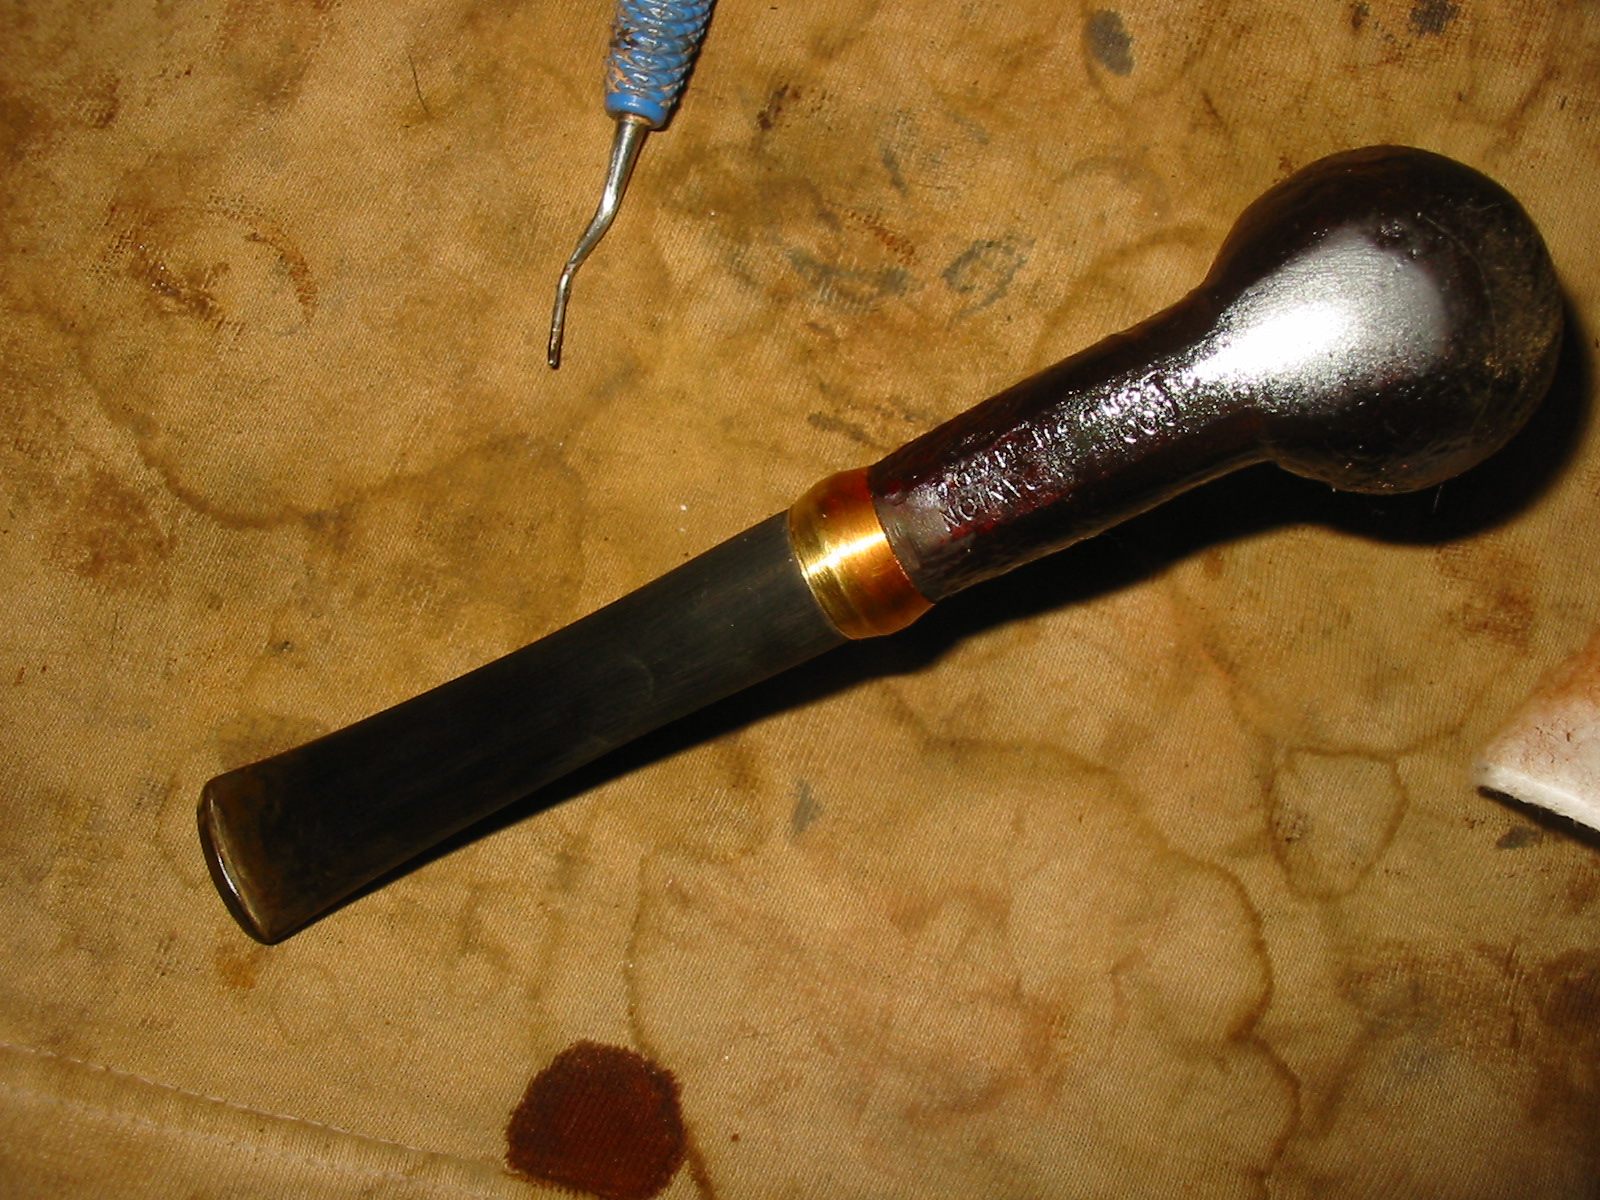
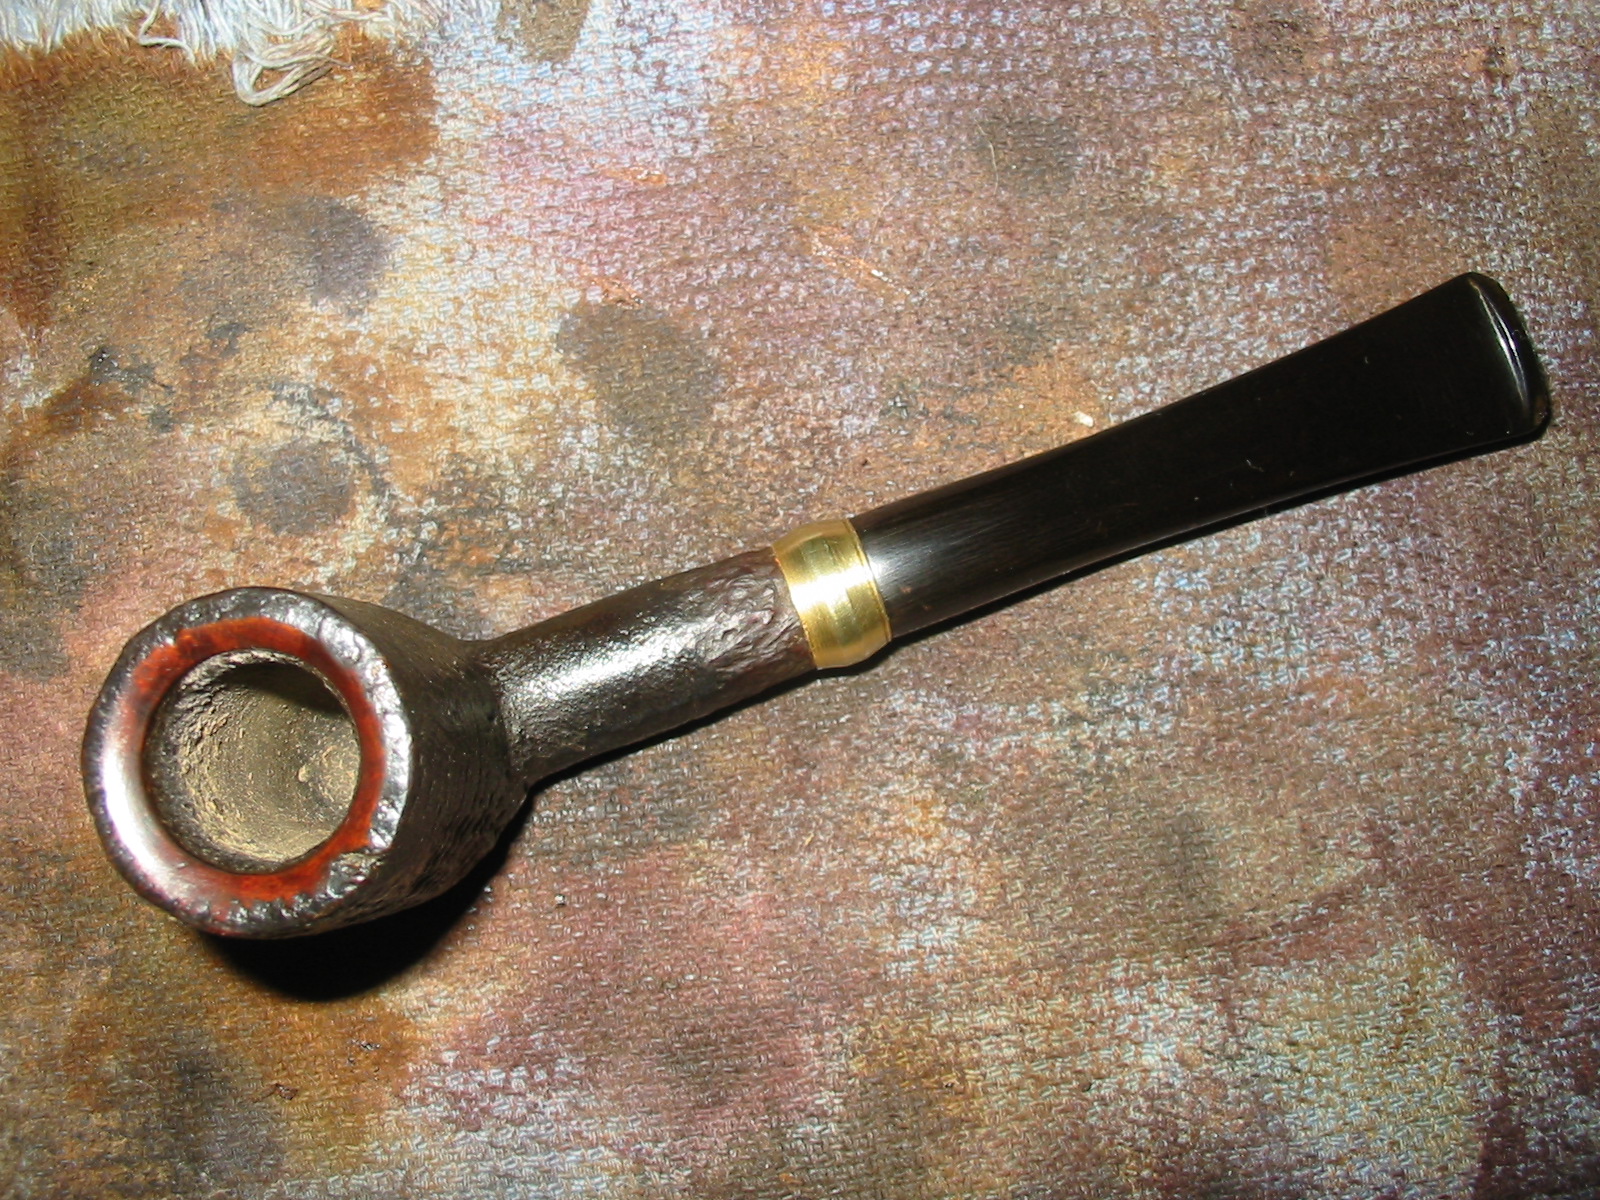
Restoring an Old Hardcastle Dryconomy Shape 69 Bulldog – Chiz Szymanski


Chiz has followed rebornpipes for quite a while now and shown his refurbishing work on Pipesmokers Unlimited. When I saw his step by step work of reclaiming this old bulldog I wrote and asked if he would mind writing up the process for us on the blog. He was happy to do so. His words and photos follow. I hope this is the first of many refurbs he writes about and posts here on the blog. Thanks Chiz.

This project was first documented on pipesmokerunlimited.com where under the member name of Peter Piper, I am an active contributor. A relative newcomer to the hobby of pipe restoring, my ambition is to encourage others: “If a manually challenged clod like me can do it, so can you!”

I recently bought a job lot of Hardcastle estate pipes on eBay and decided that I should document the experience of restoring one of them. Which one? Why, the grottiest one of course, “Nothing ventured, nothing gained.”

I am delighted at the opportunity to share my experience here. Steve and this blog have been far and away my biggest influences and sources of help when it has come to learning how to restore a pipe, so I feel honoured to be asked for a contribution.

OK, let’s get down to it.
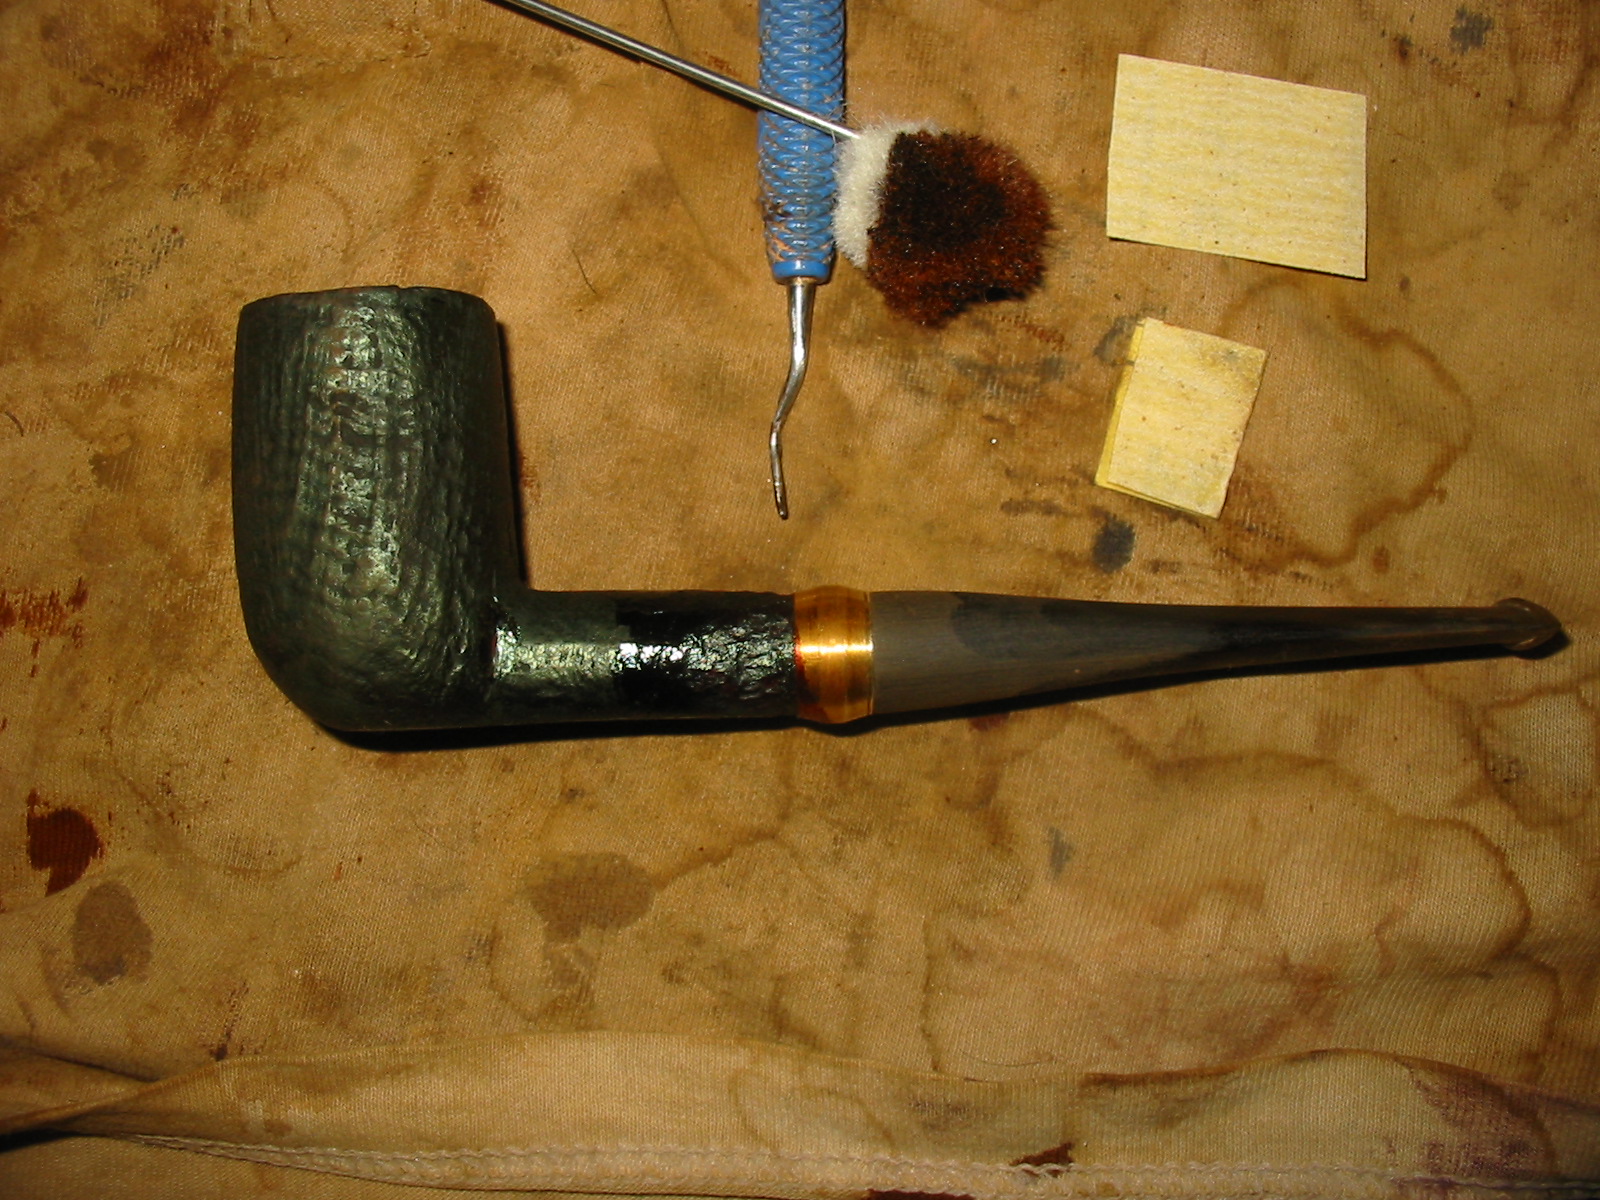
Chiz1

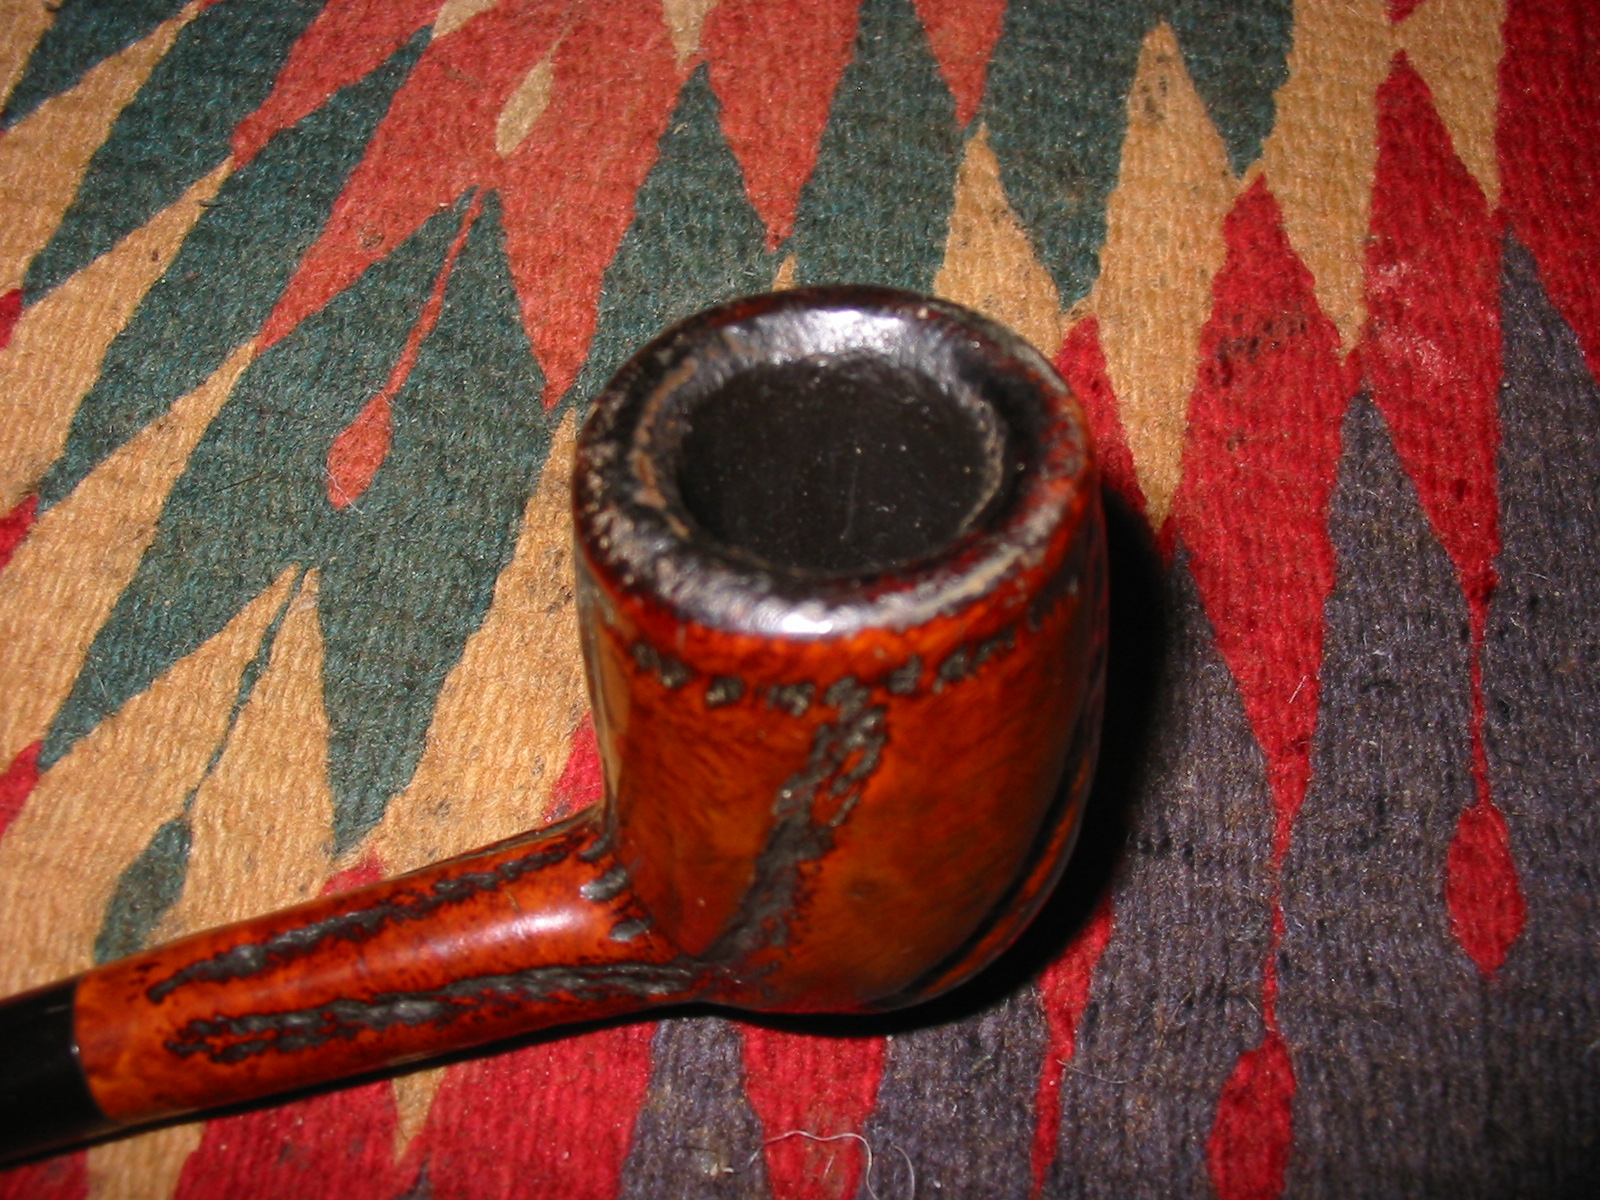
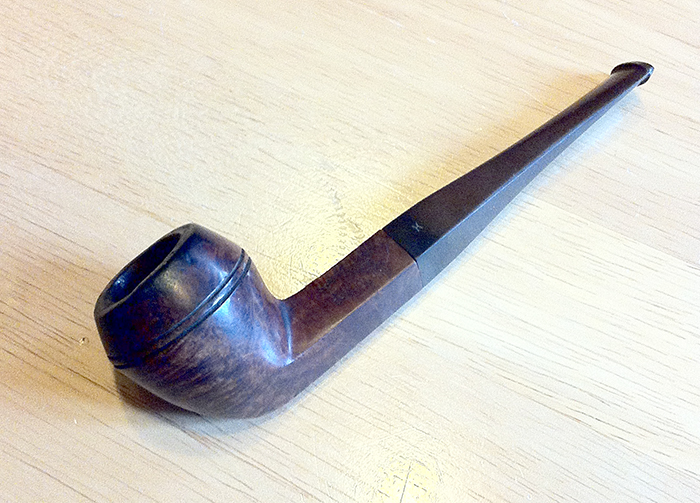
Superficially it doesn’t look too bad, but the rim is badly charred and uneven and I fear I am going to have to risk compromising the shape in order to make the bowl look presentable. The stem/shank fit and alignment has somehow become slightly out of kilter, perhaps it is not the original stem, so that too will need attention.

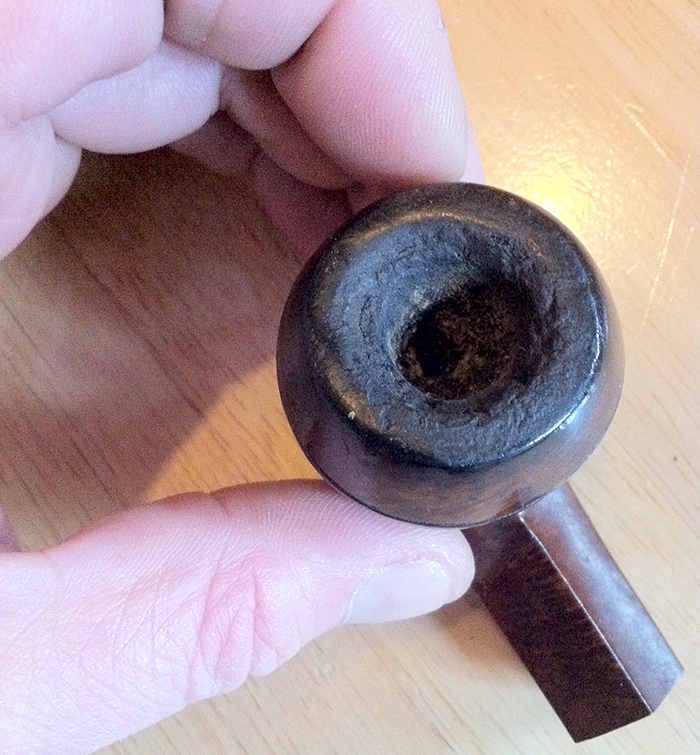
But more pressing problems first, feast your eyes on this cake.
Chiz2

Sleeves rolled up…

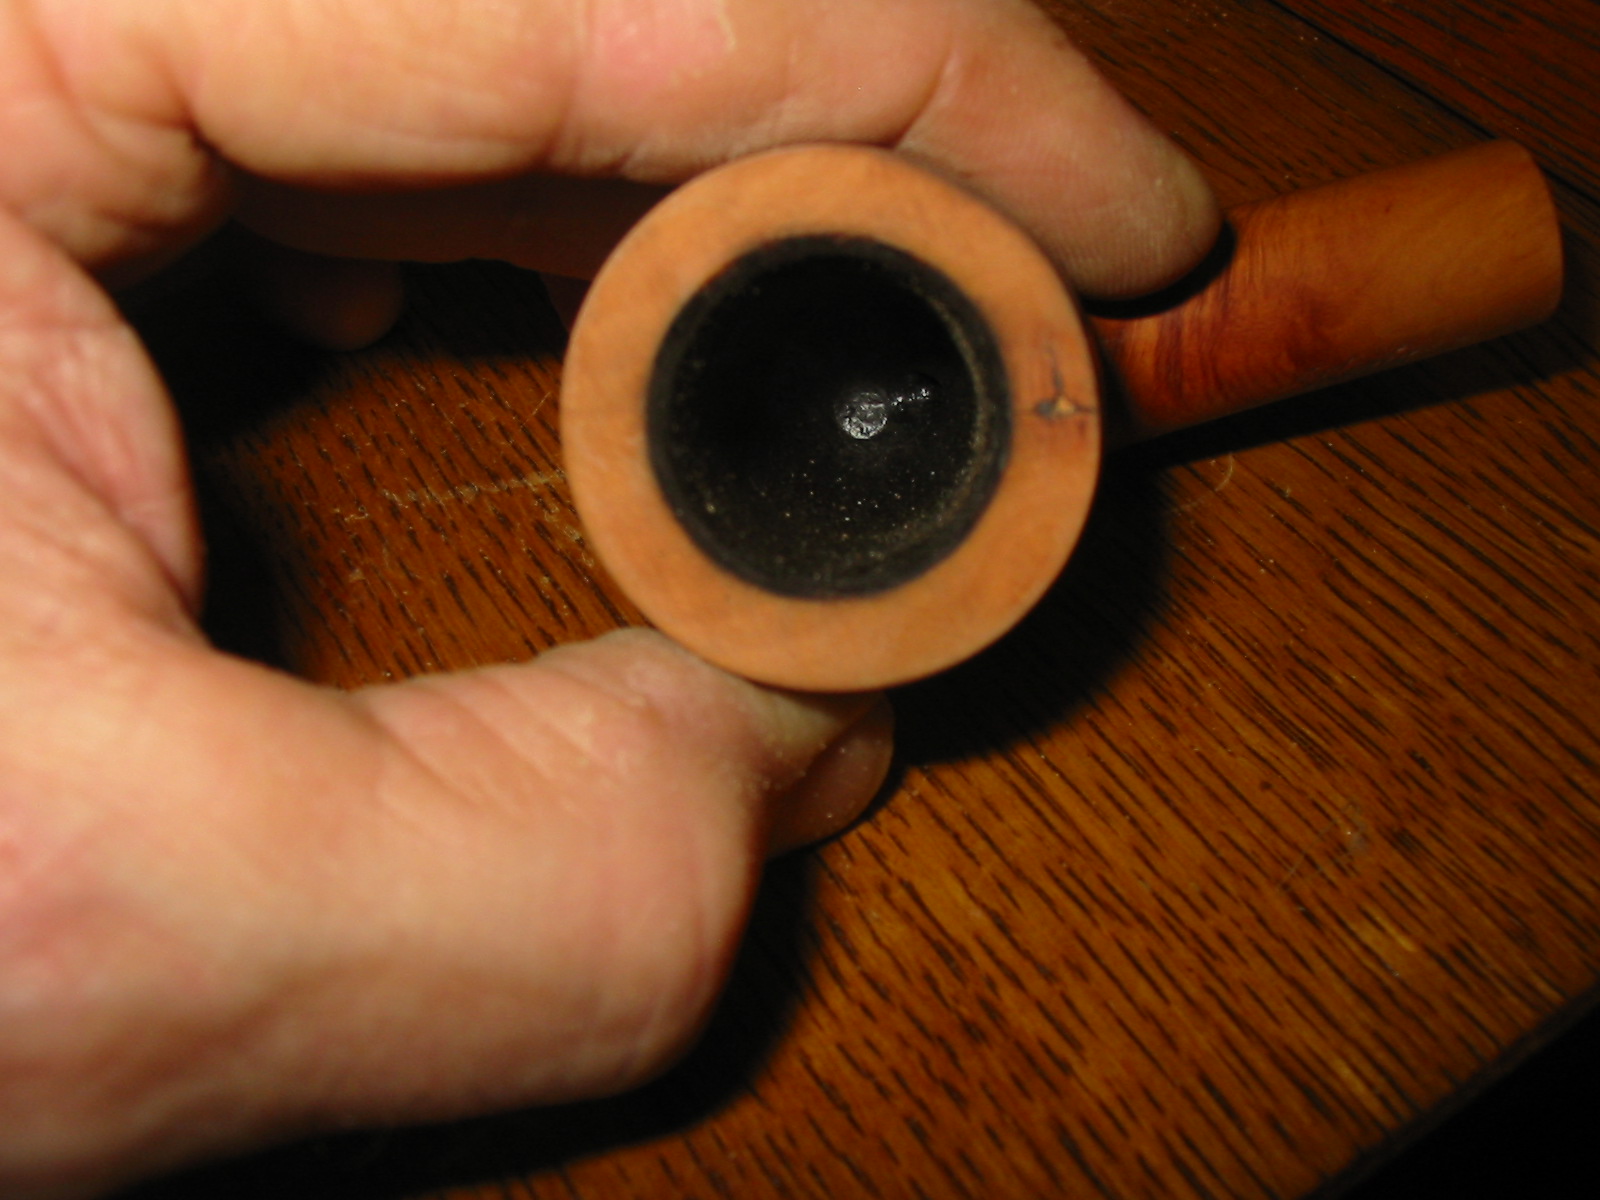
Cleaning the chamber out proved to be quite a job. I had to pick away at it with the nail from a 3 in 1 before I could even get the spoon in there, let alone a reamer. And the smell, ugghh. But at least it looks more like a pipe bowl again now. And happily there was no hidden damage within.
Chiz3

Once the chamber was clear I packed the bowl with salt and saturated it with isopropyl alcohol (99.5%). Additionally, I folded a pipe cleaner in half and twisted that into the shank so that it would soften the gunk in there and wick some of it out. I topped up the alcohol regularly and then left it to do its thing overnight.

Meanwhile, I gave the stem a soak in a bath of oxy solution to help bring out the discolouring. I also find that this helps soften whatever gunk lurks within and I don’t even attempt to do any cleaning on the airway before then.

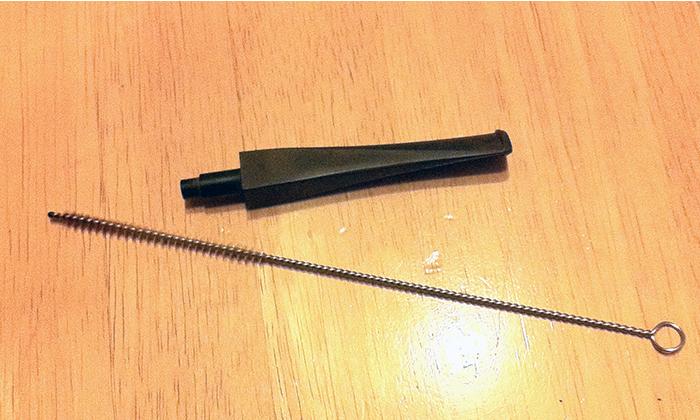
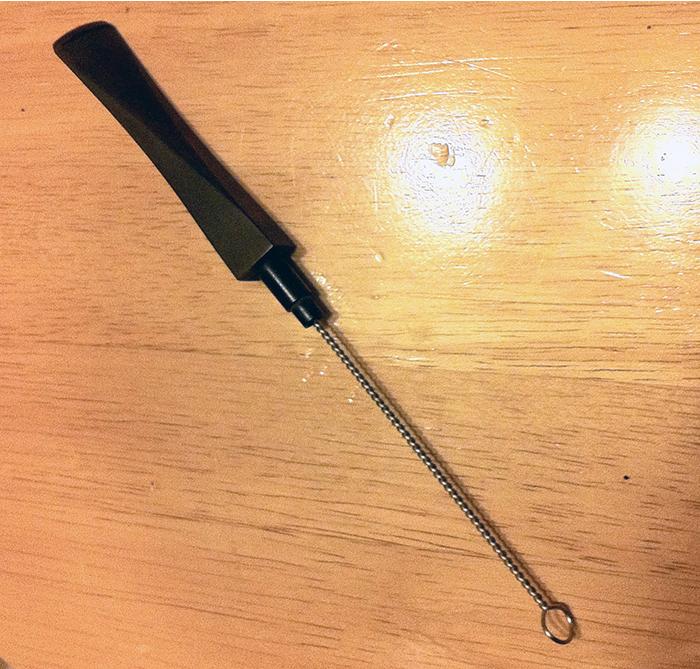
What I have finally managed to get hold of, after failing to find anything suitable locally, are some long, bristled brushes narrow enough to fit inside the stem. What a boon! Whereas in the past I have struggled with countless regular pipe cleaners, this little beauty made short shrift of cleaning out the innards. It took just a couple of pipe cleaners soaked in isopropyl after that and they were coming out clean. Thank you to our friends in China!
Chiz4

Chiz5

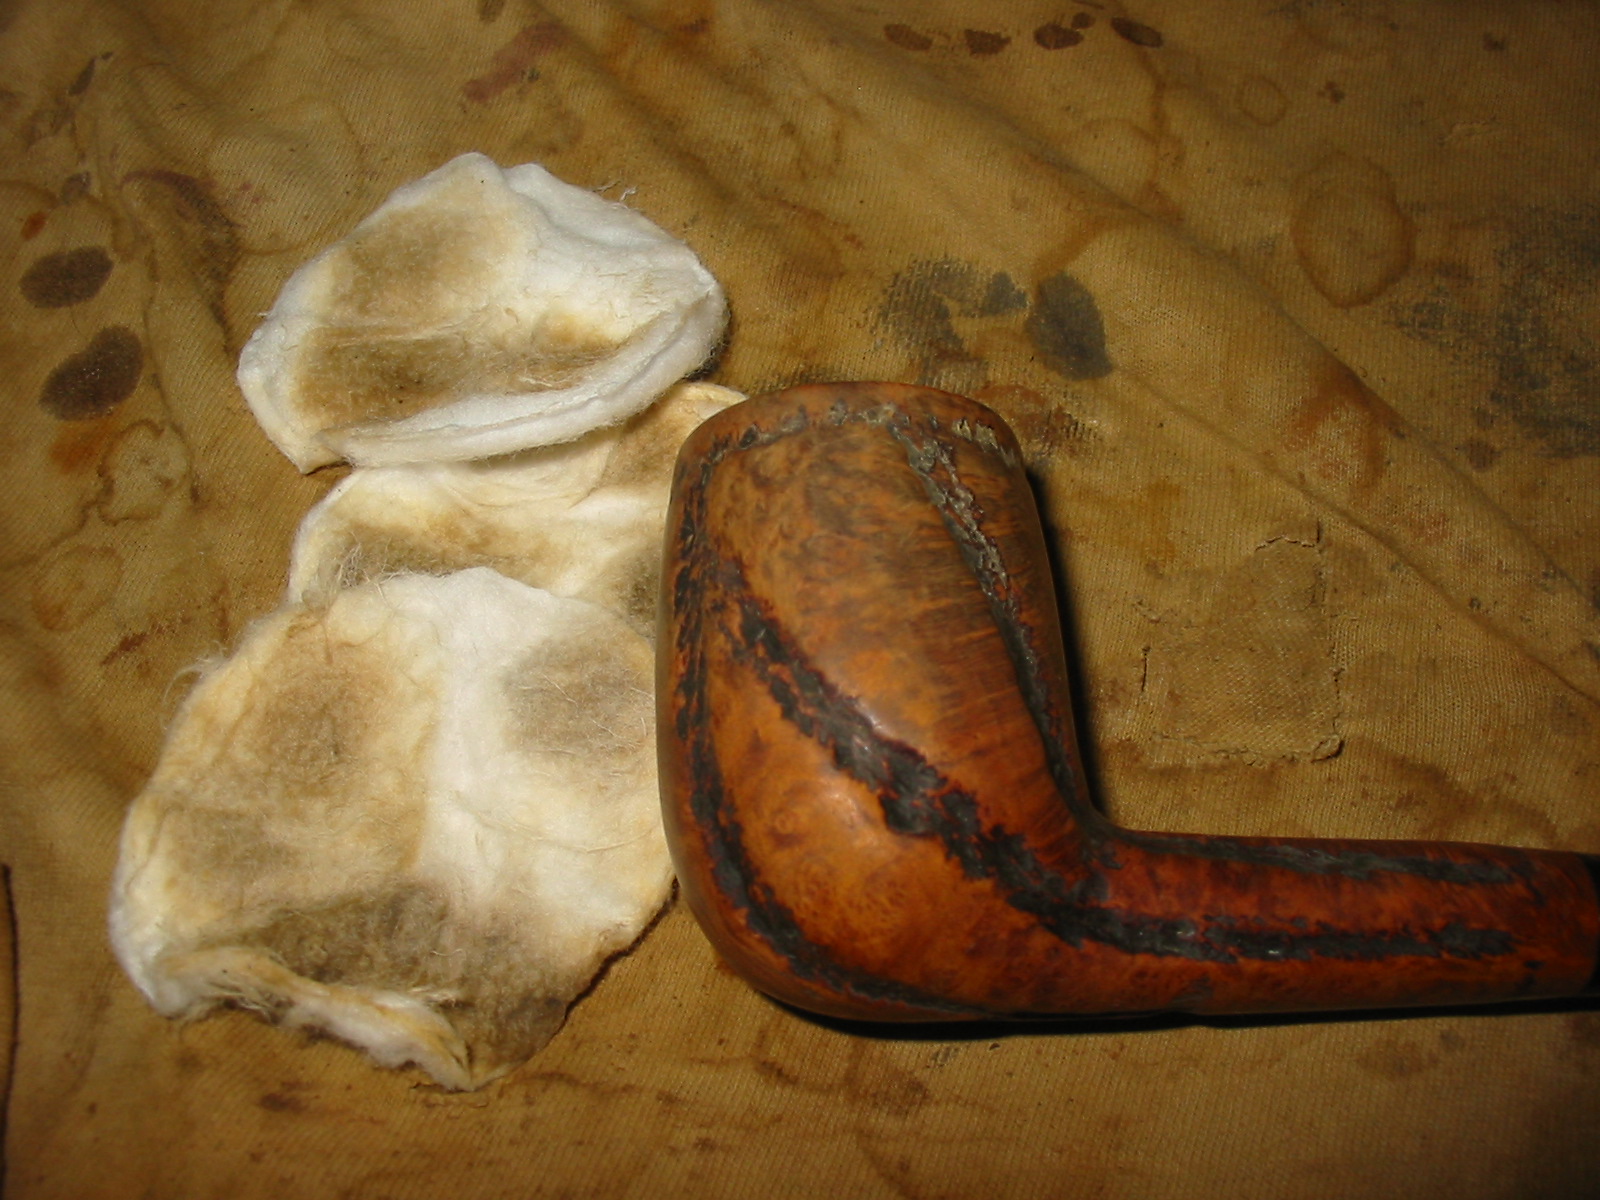
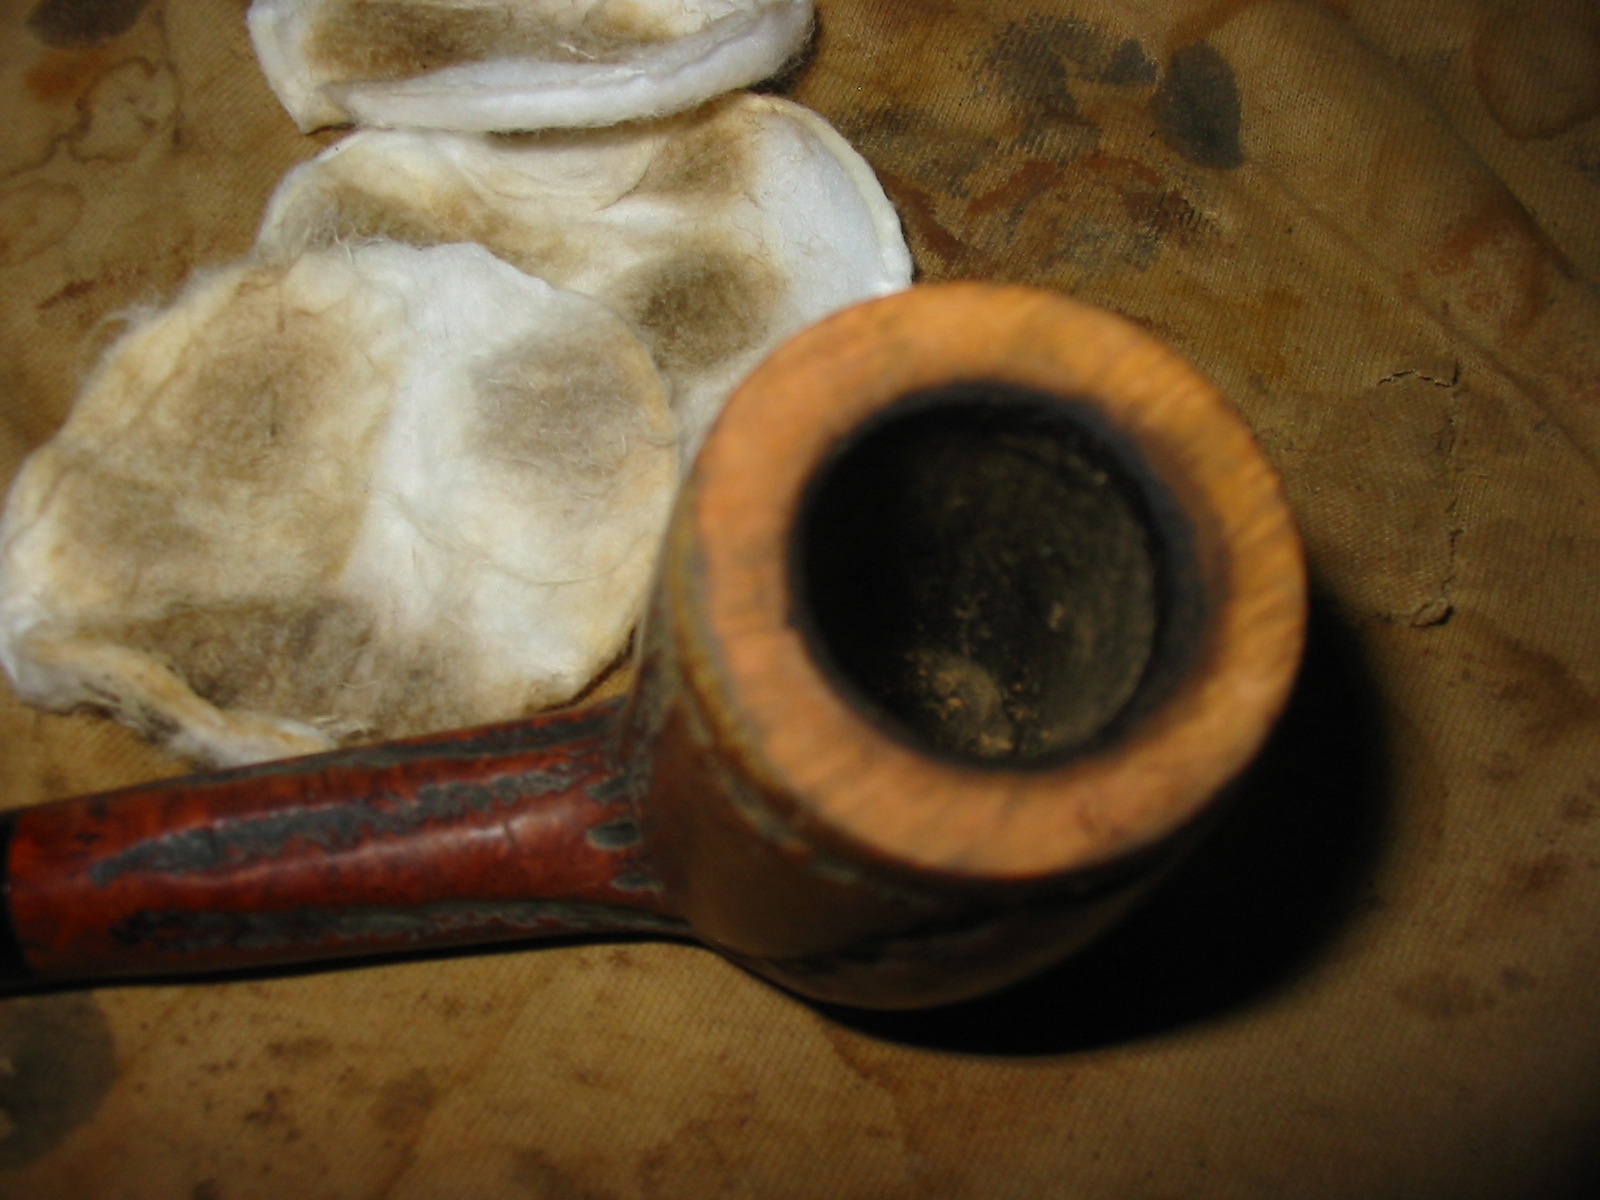
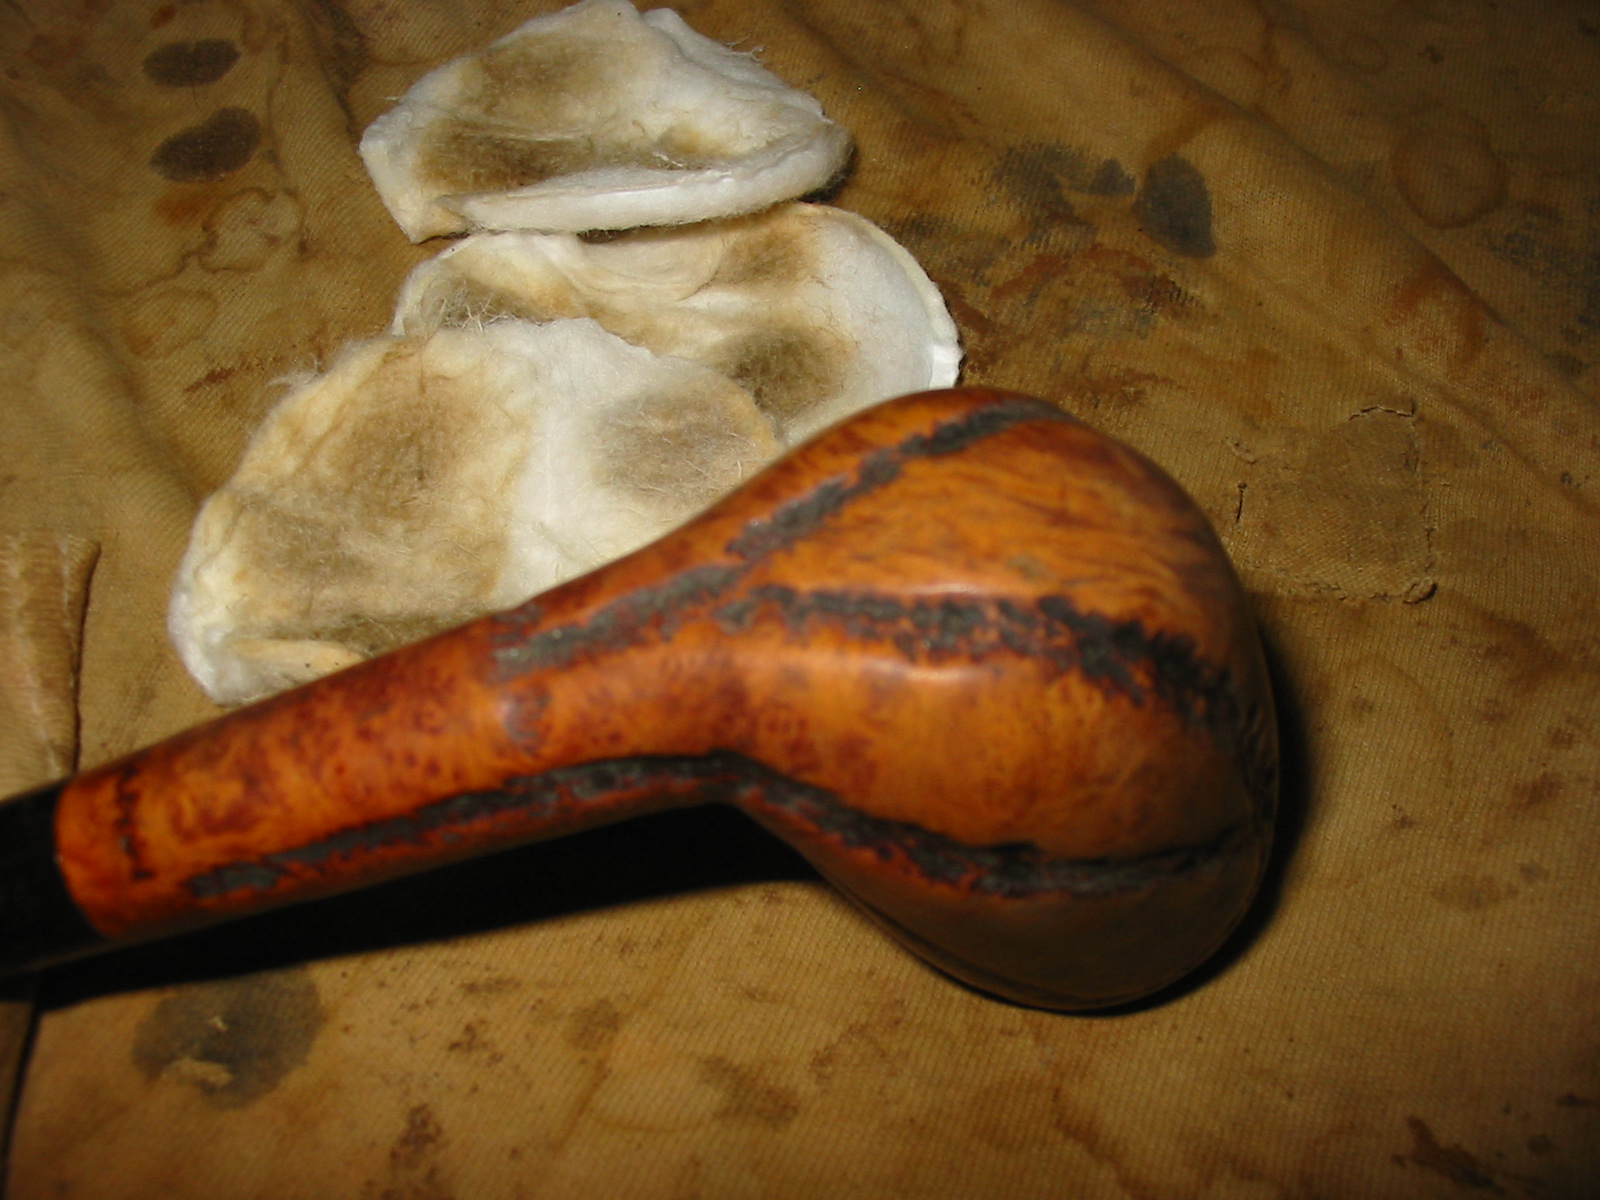
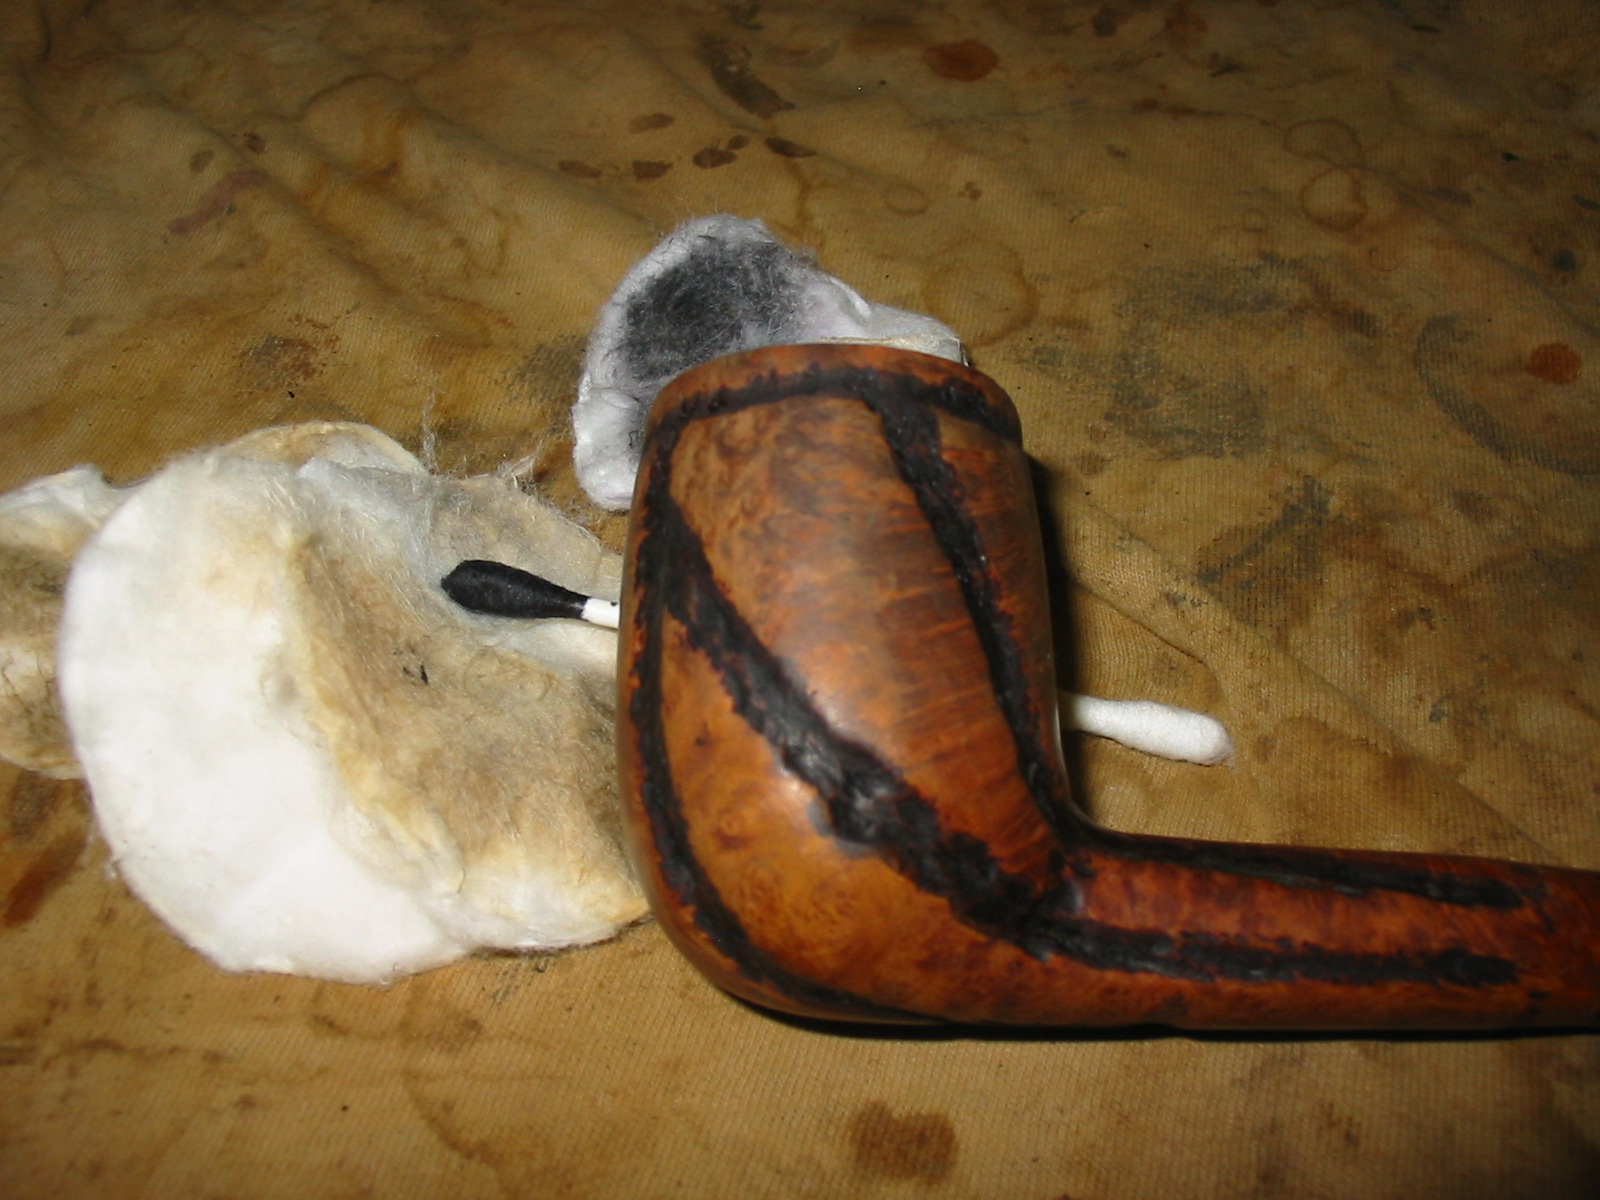
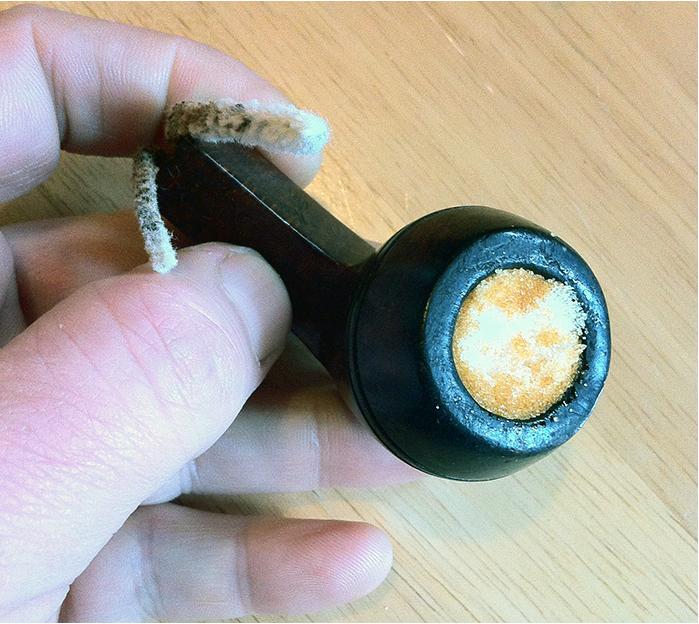
Overnight the salt and alcohol worked their magic, you can see the brown crust as well as the darkened pipe cleaner here:
Chiz6

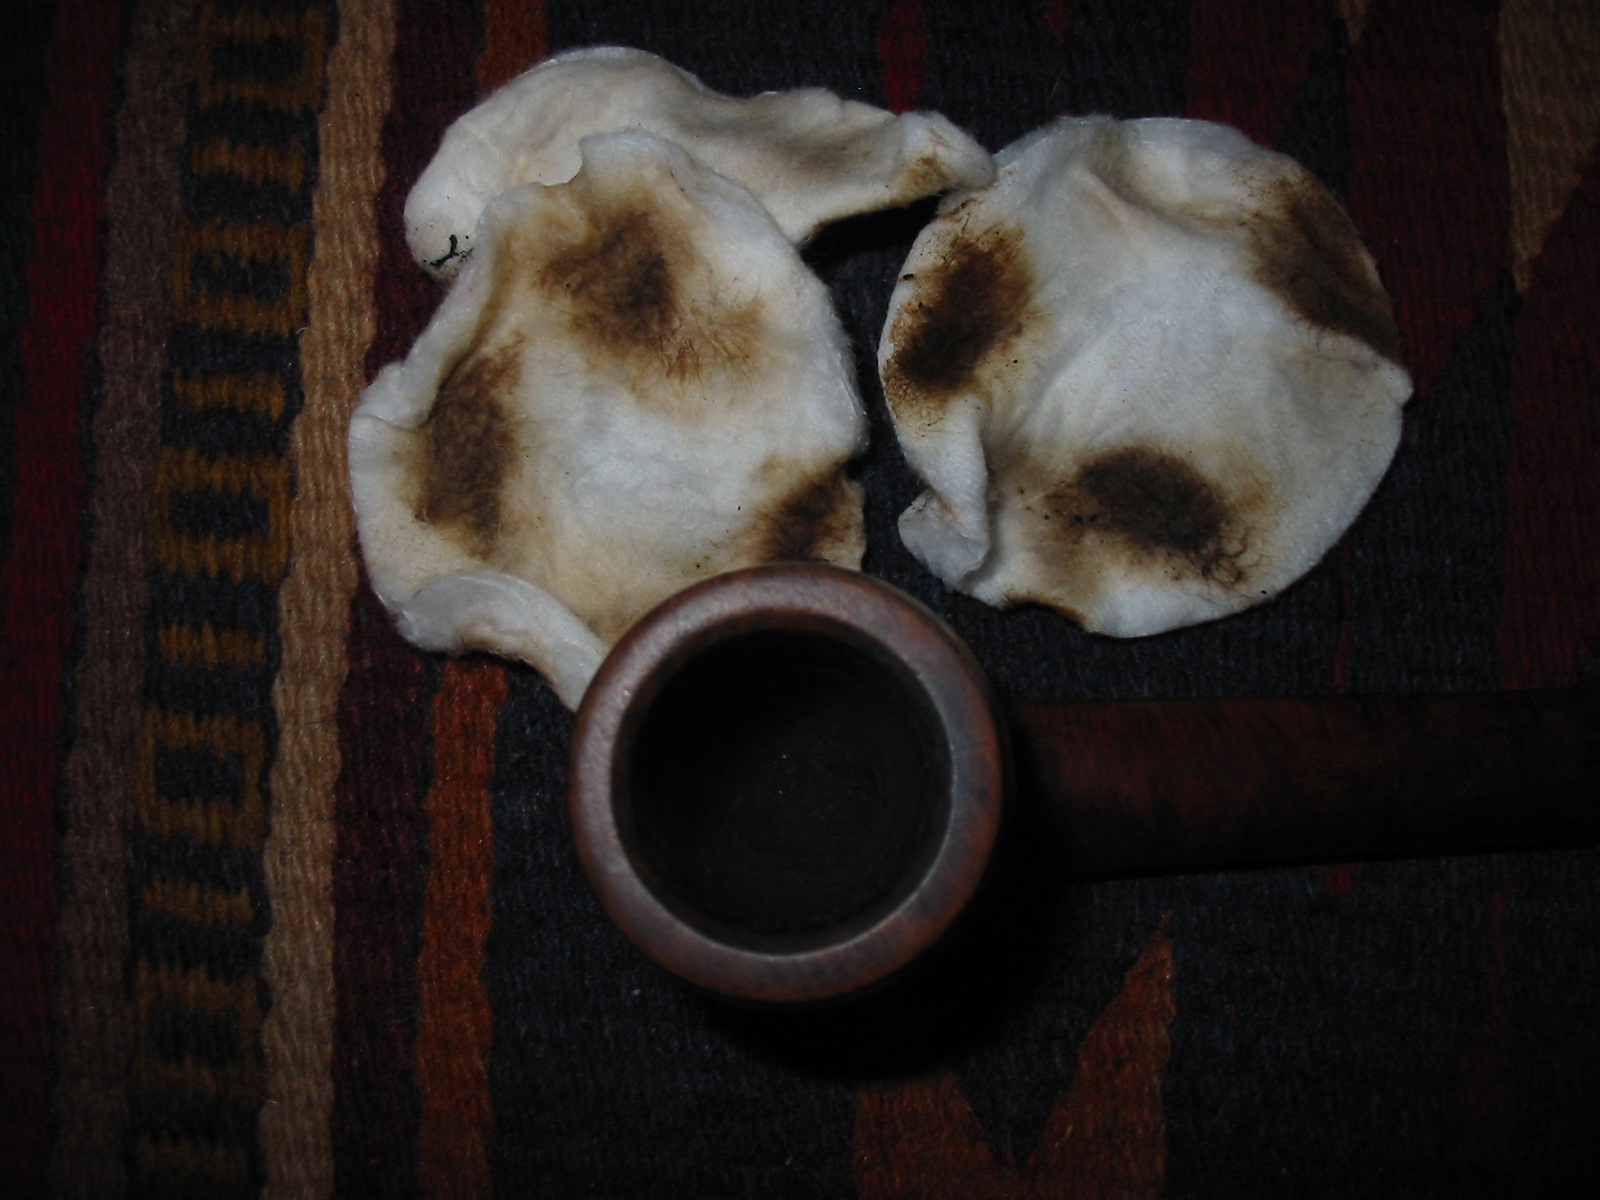
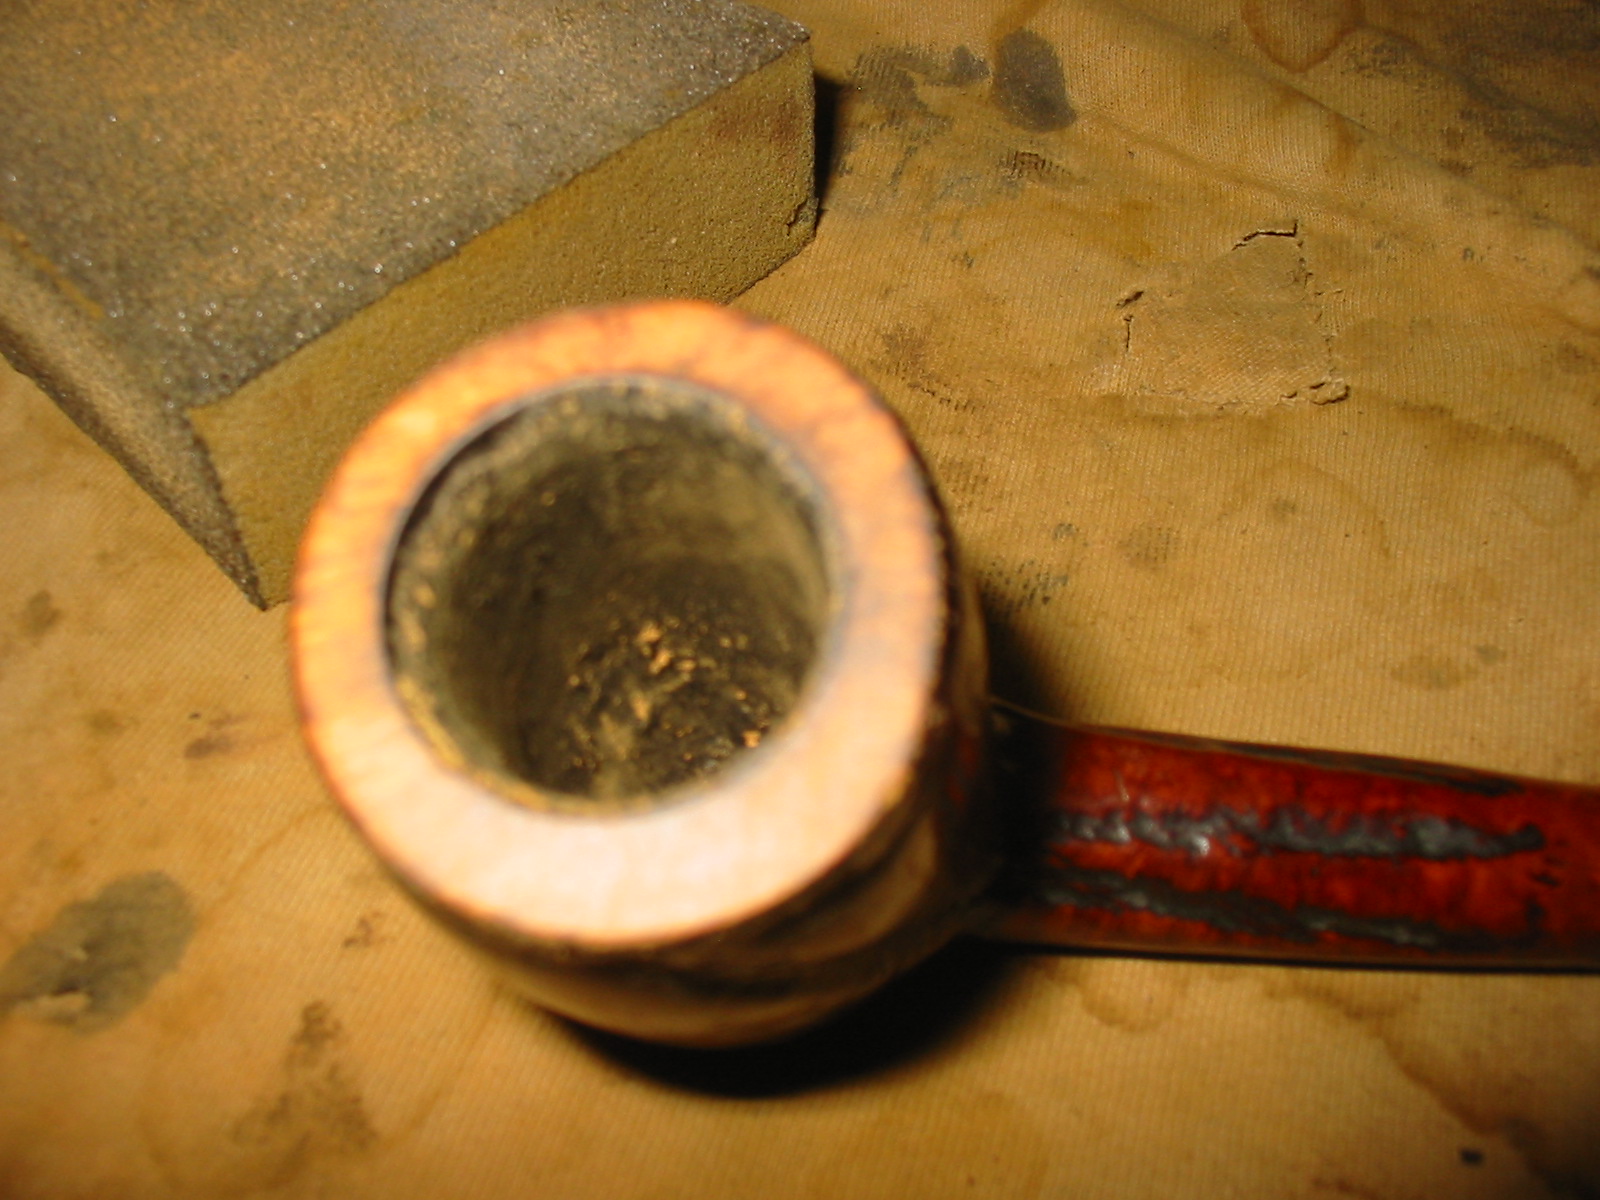
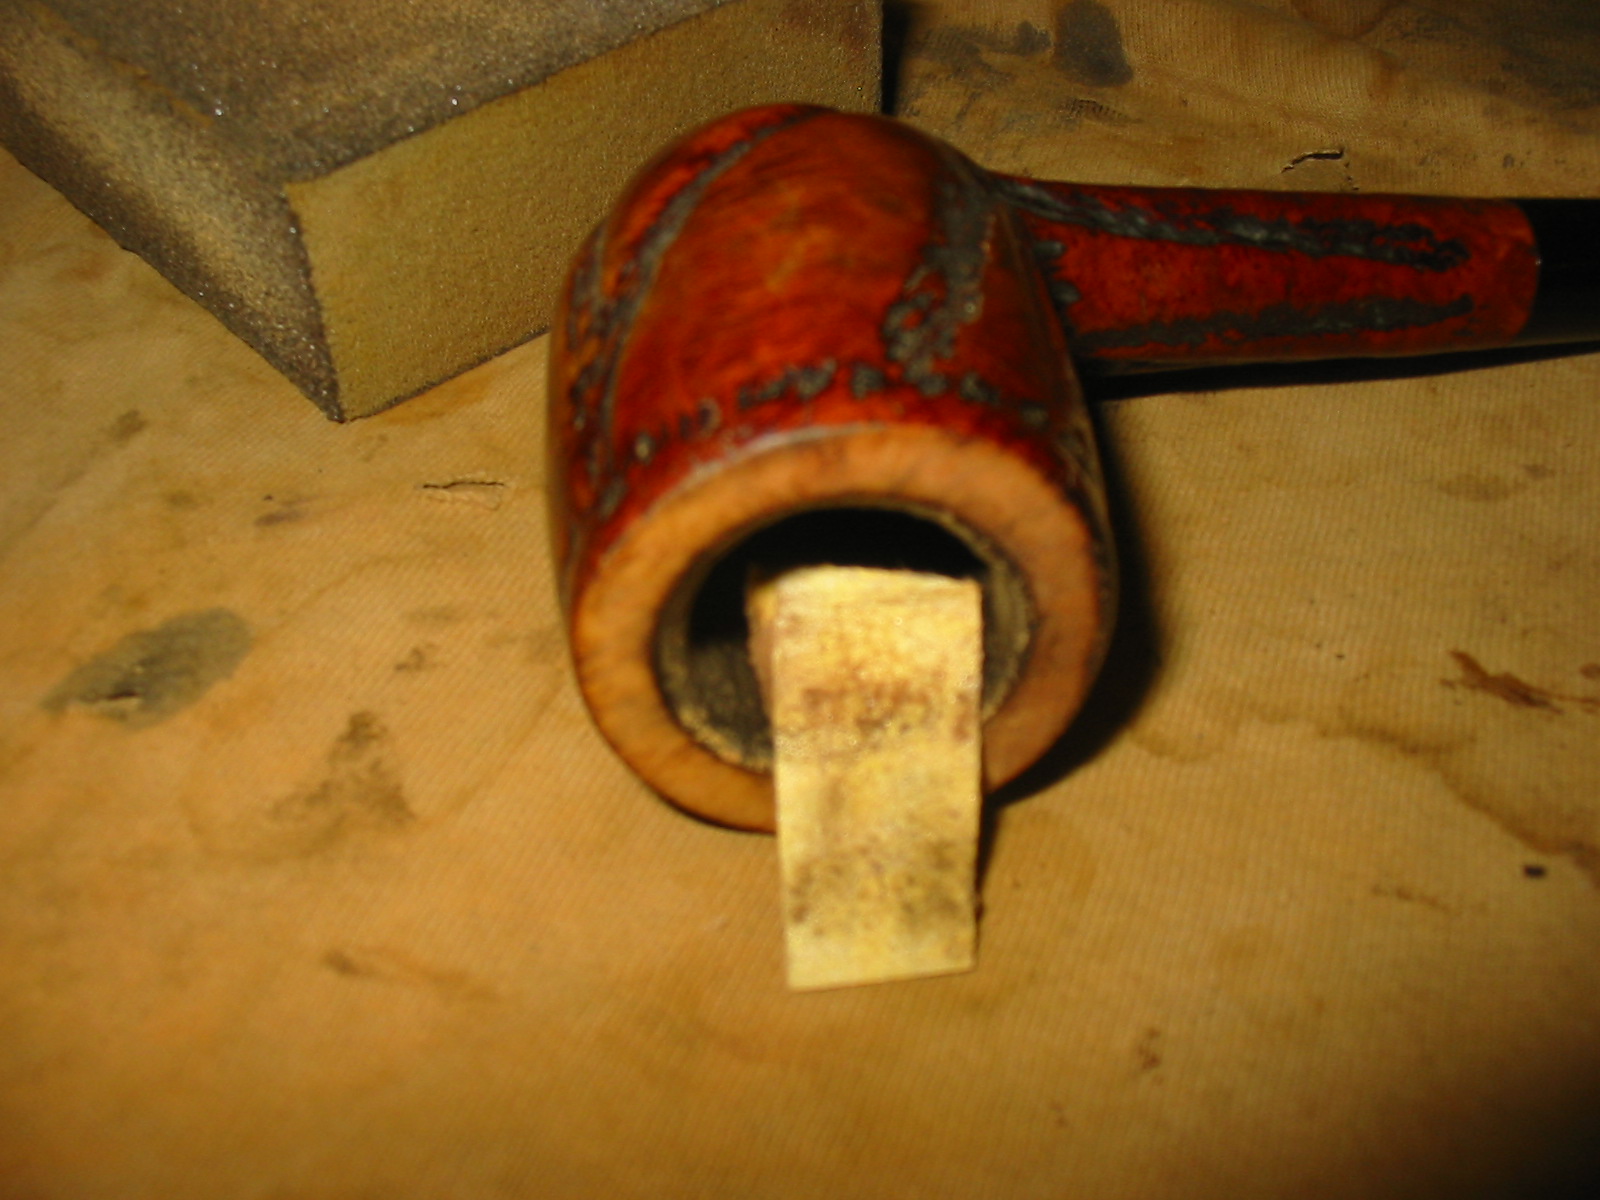
After chiseling out the crusted salt and a quick rinse under warm running water, I set to with my new super brush in the shank. This soon cleaned the conspicuous debris, but the muck of past smoking clearly ran much deeper. It took many, many pipe cleaners dipped in isopropyl before they started to emerge anything other than black, the previous owner had clearly been a recidivist of the worst order. Even when the pipe cleaners began to emerge light, the niff from within the bowl was still rank. So I have resorted to a further treatment only used in extremis: stuff some cotton wool wadding into the bowl and soak it in lemon juice. I have the germ of an idea forming for what to do with this pipe when I have finished with it and that does not include someone sucking on it and going green around the gills.

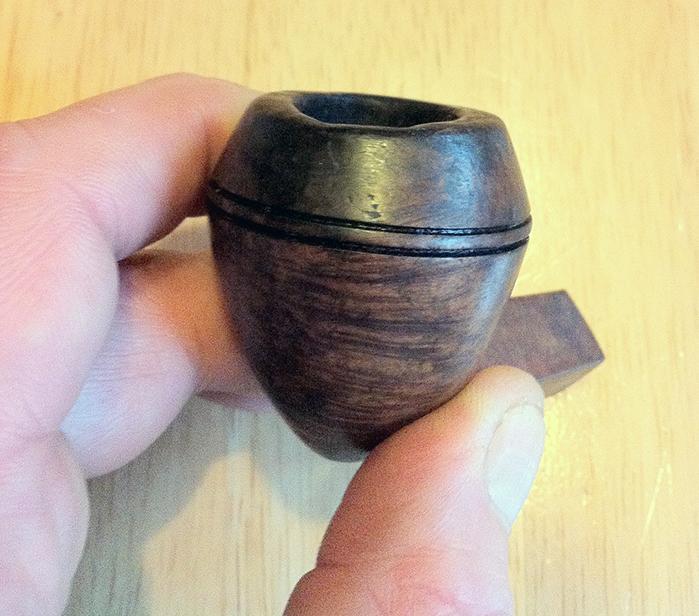
After all that effort the pipe is now sweeter than it must have been for quite some time. The next challenge was the misshapen rim, how on earth it got into this state I honestly cannot imagine.
Chiz7

First I roughly flattened the top with a Dremel with sander attachment. I don’t have a workshop with bench grinders and buffers, different kinds of polishing compound etc.just a very basic Dremel – which is of limited use; you really don’t want to go near a pipe with one unless you absolutely have to! – and the rest is all done by hand. So for anybody reading this wondering whether they should have a go at a similar job: if I can do it then anyone can, truly.

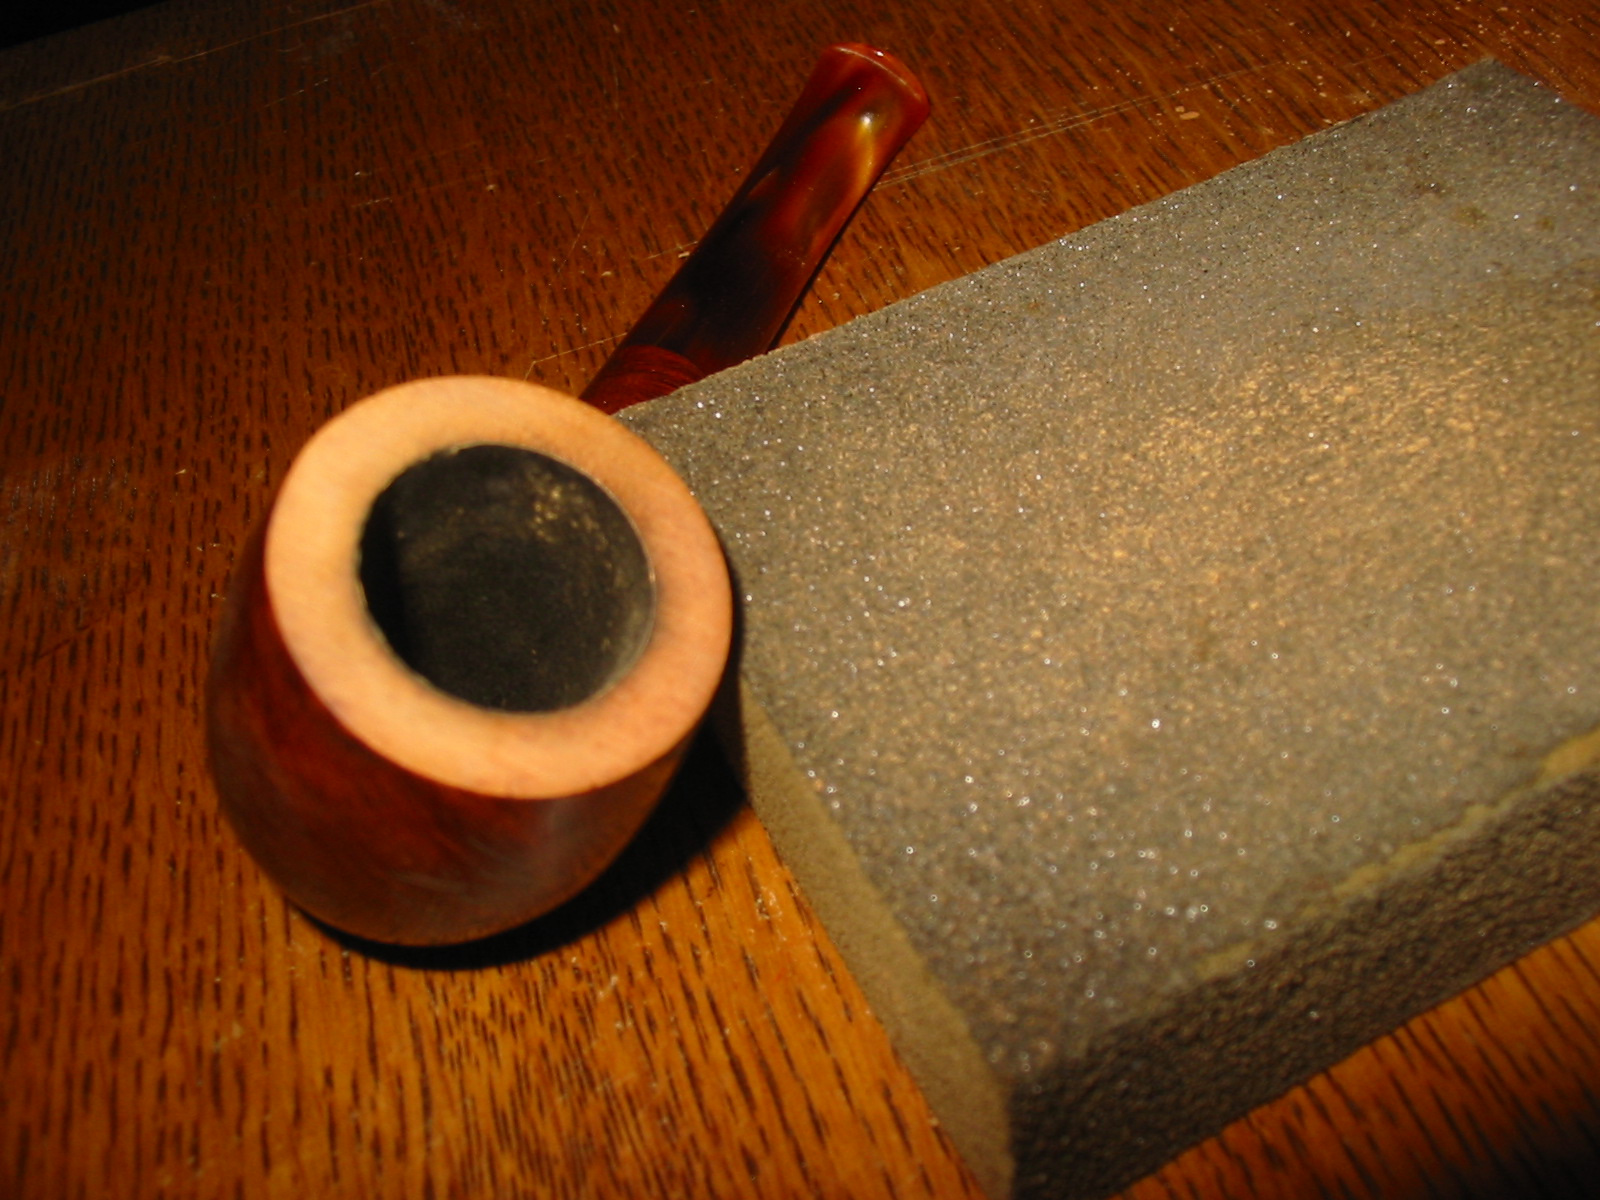
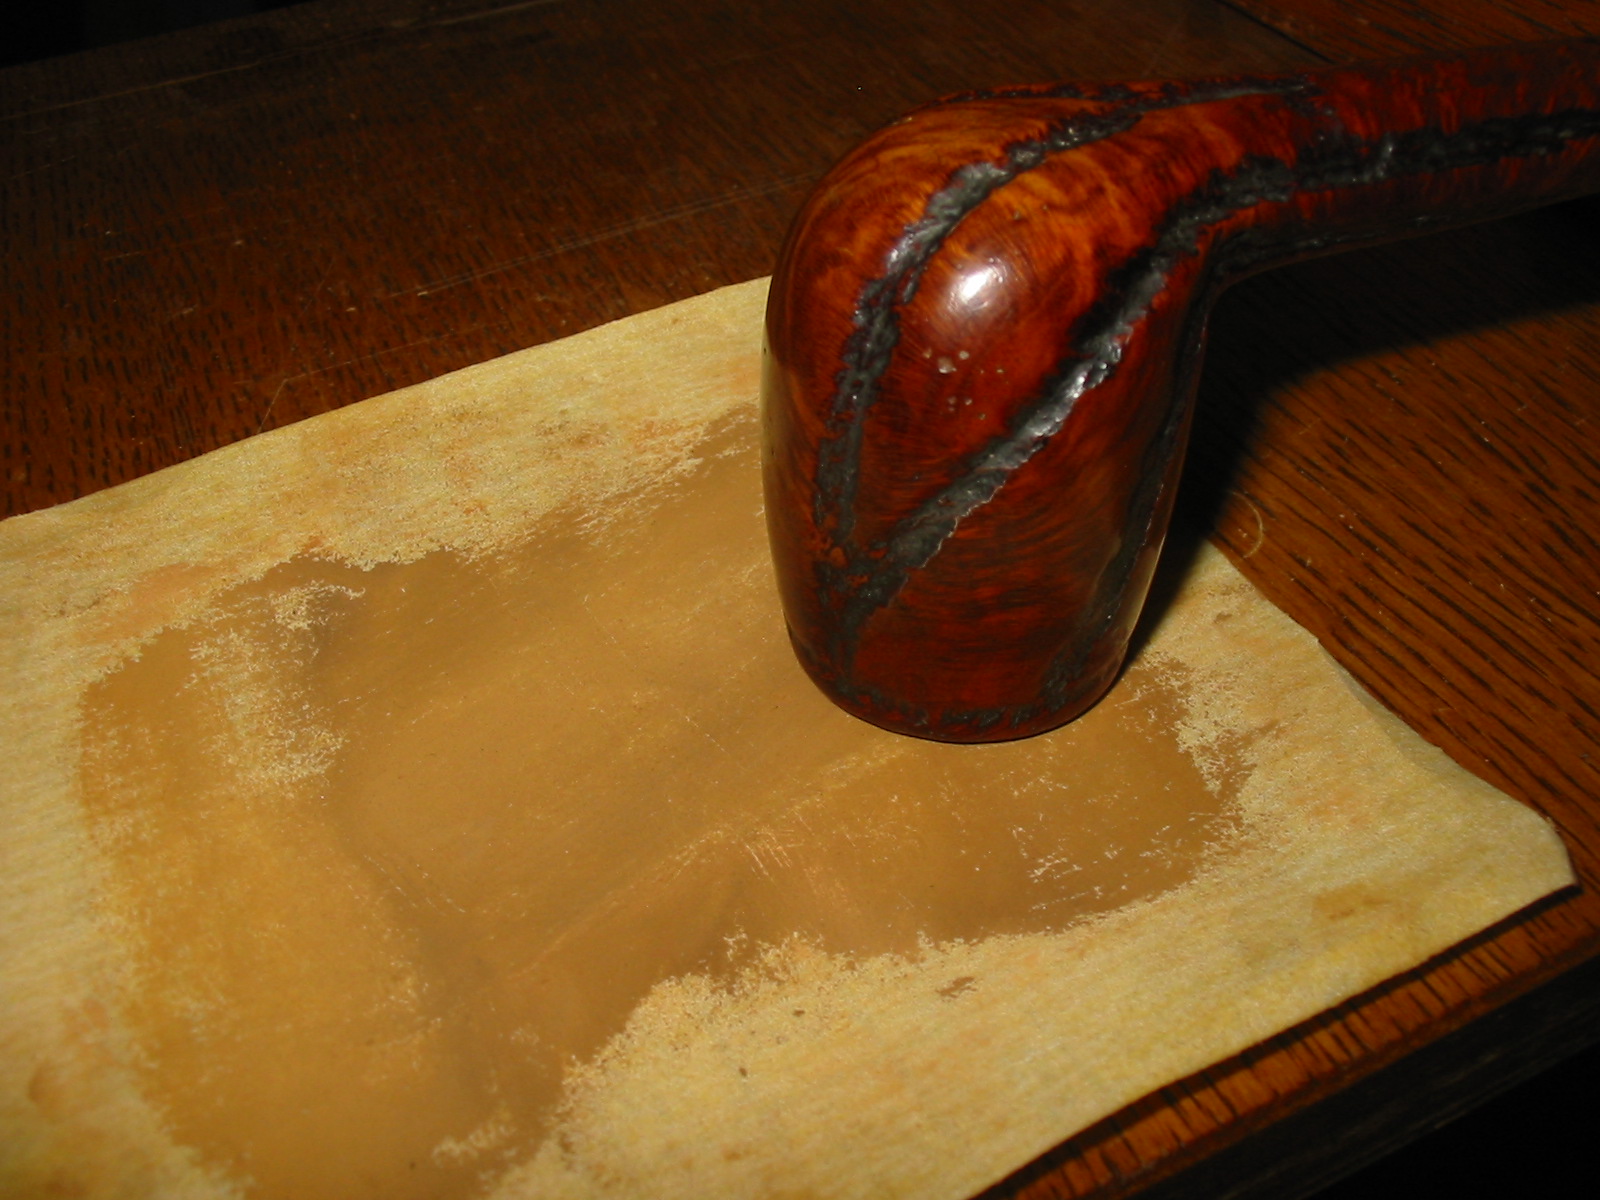
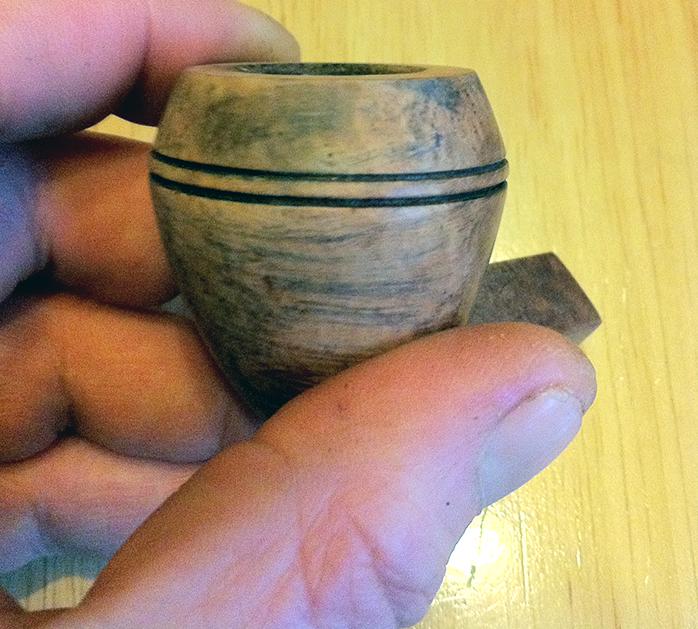
After the brief bit of machine work, I set to with the time-honoured and laborious technique of sanding the rim by hand, inverted on a perfectly flat horizontal surface with mostly circular/twisting motions. I also took the opportunity to give the stummel an overall rub with 800 grade sandpaper and then a quick scrub with a tiny dab of oil soap under running water.

Whilst obviously having to sacrifice a bit of height on the bowl, I am relatively pleased with the result of the “haircut.”
Chiz8

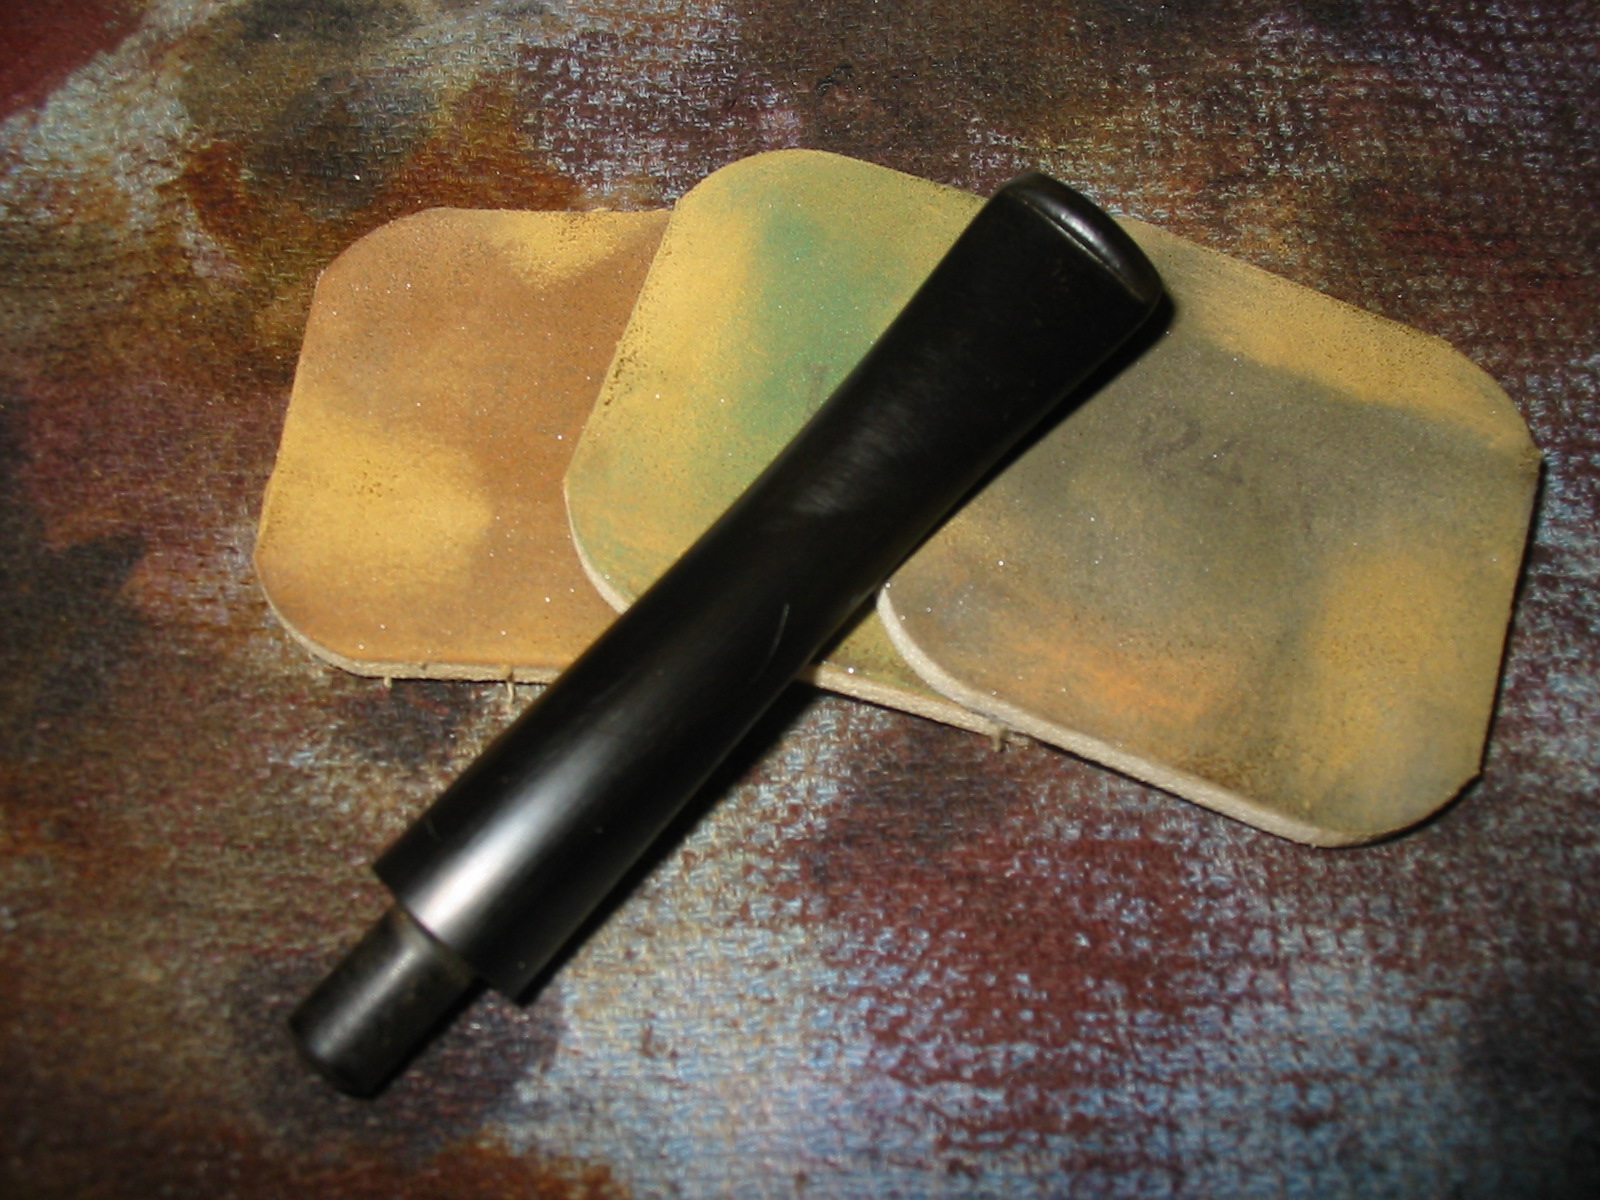
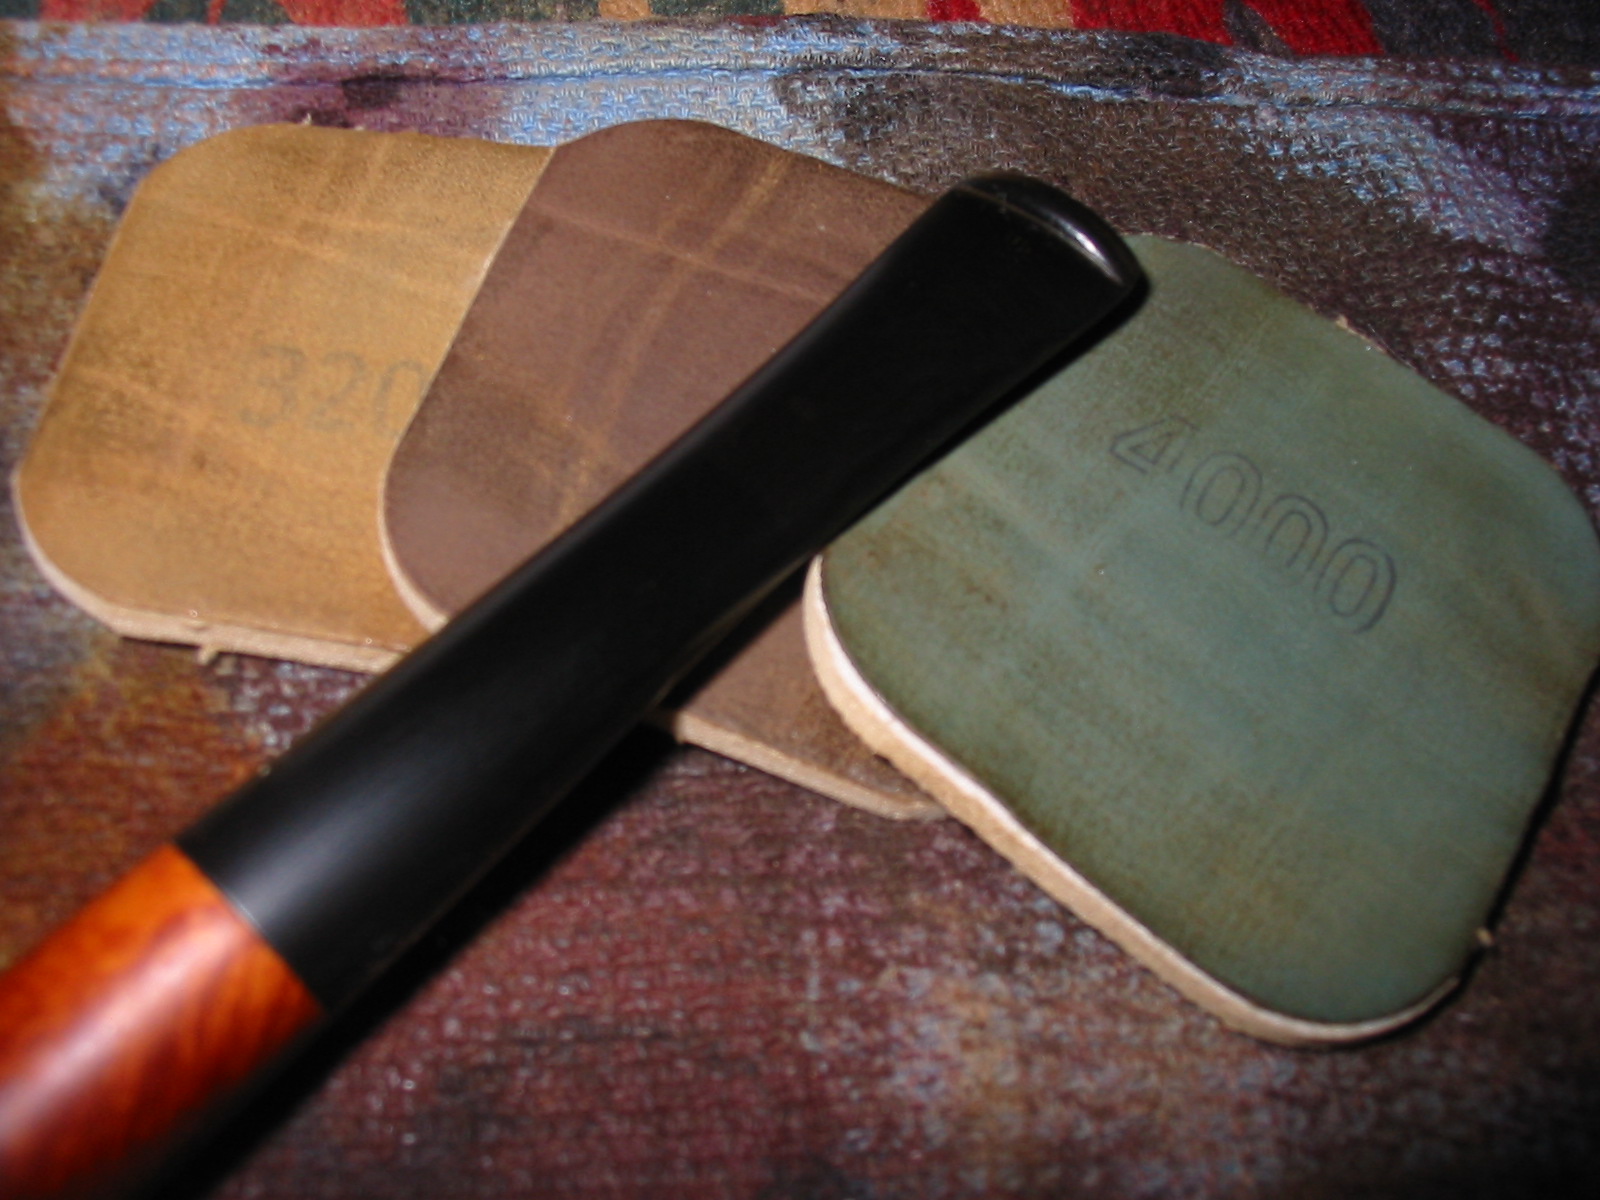
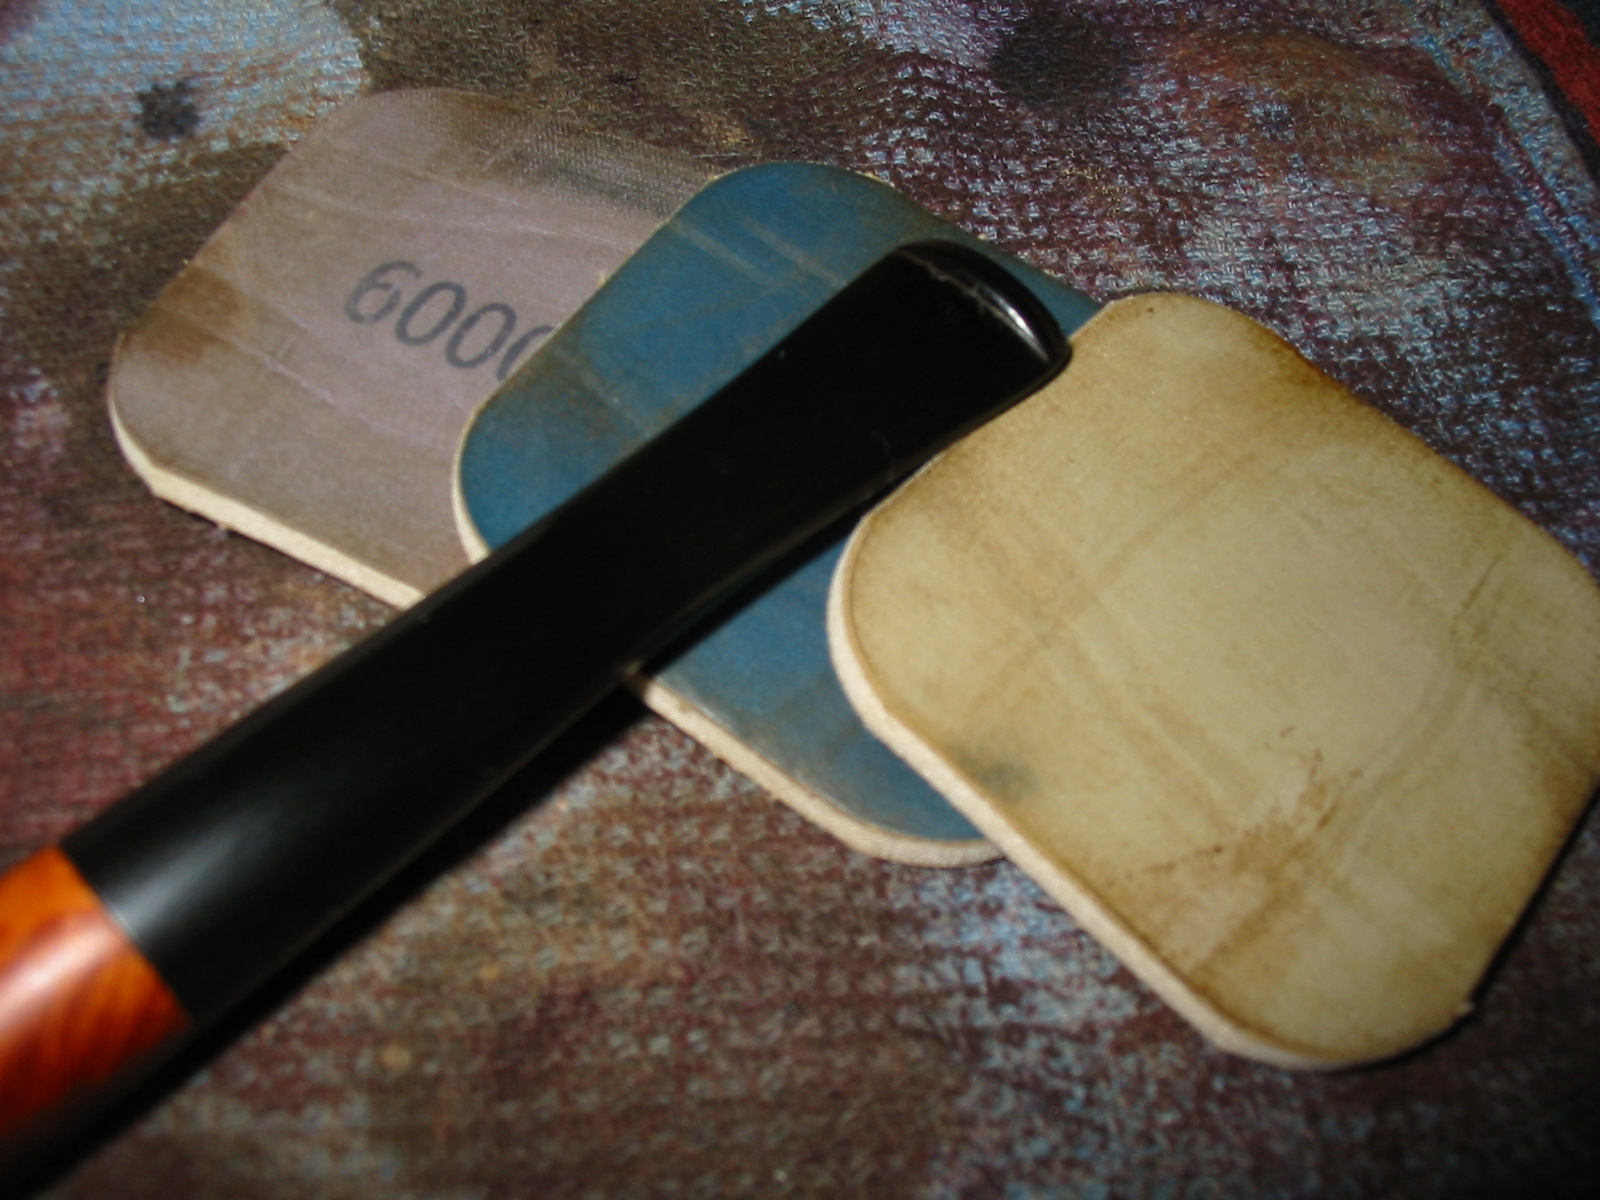
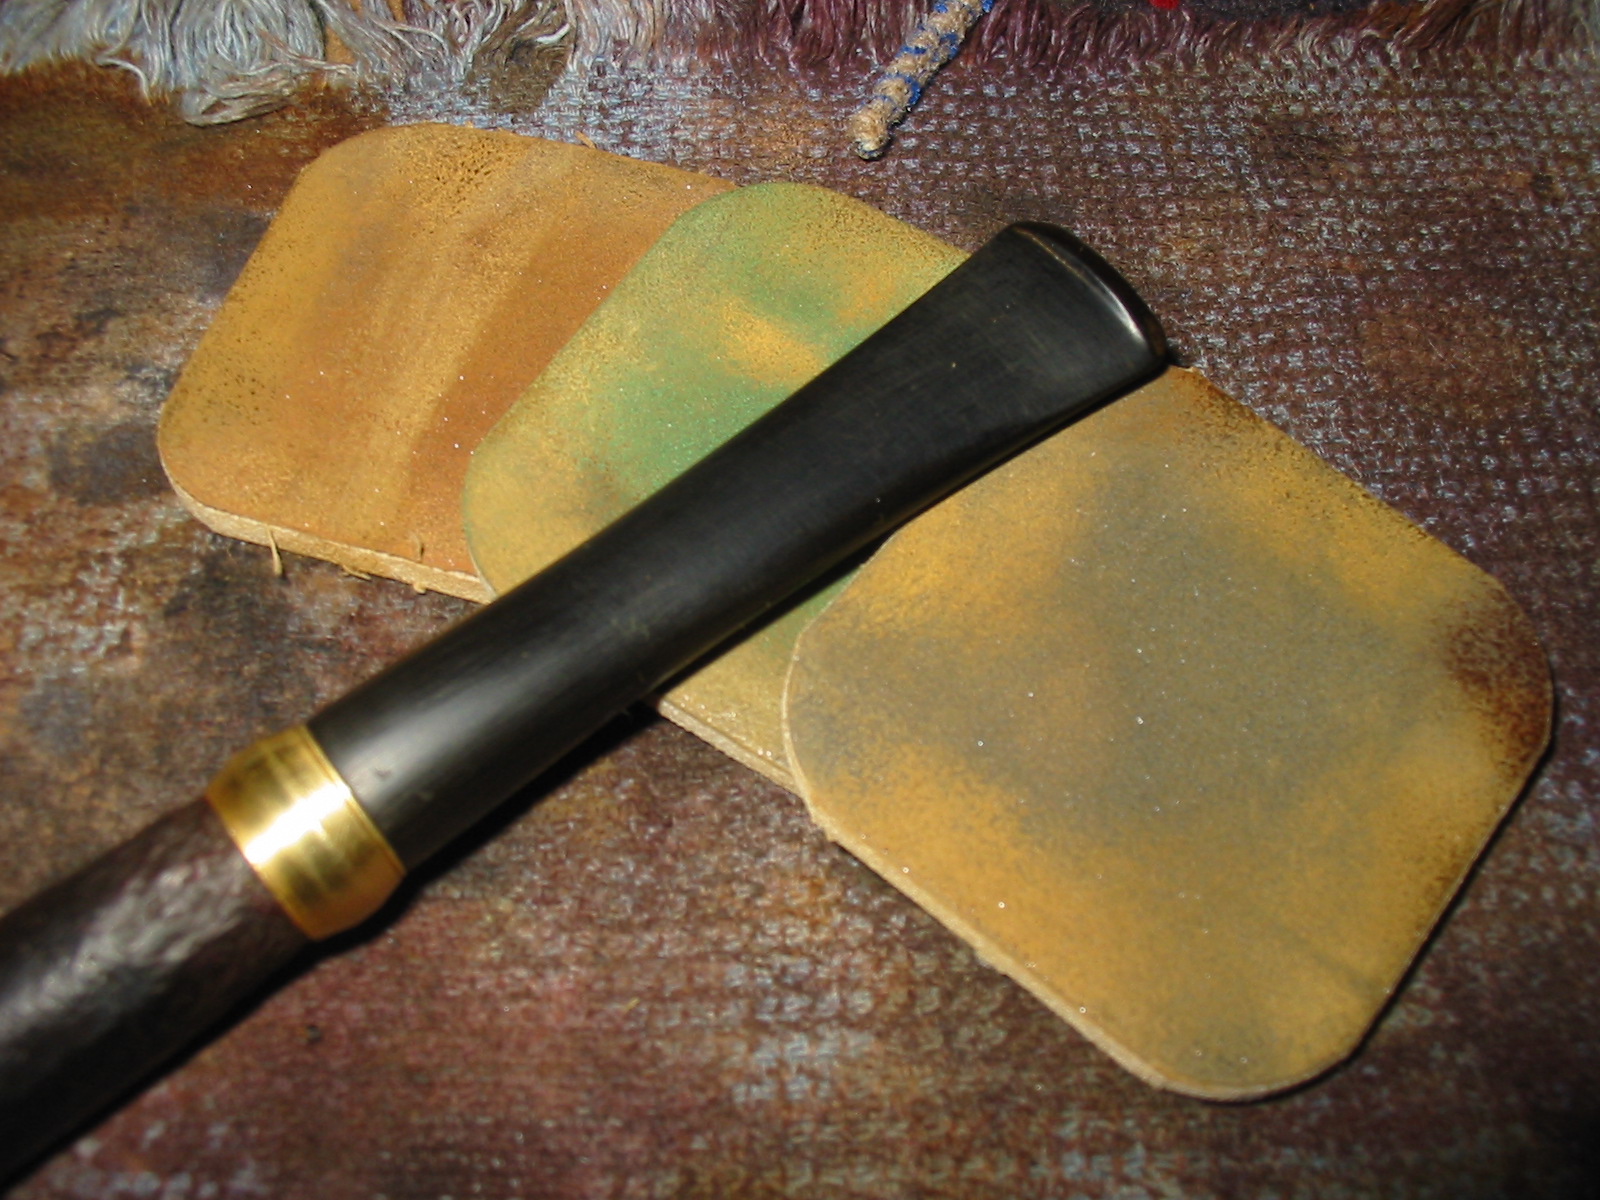
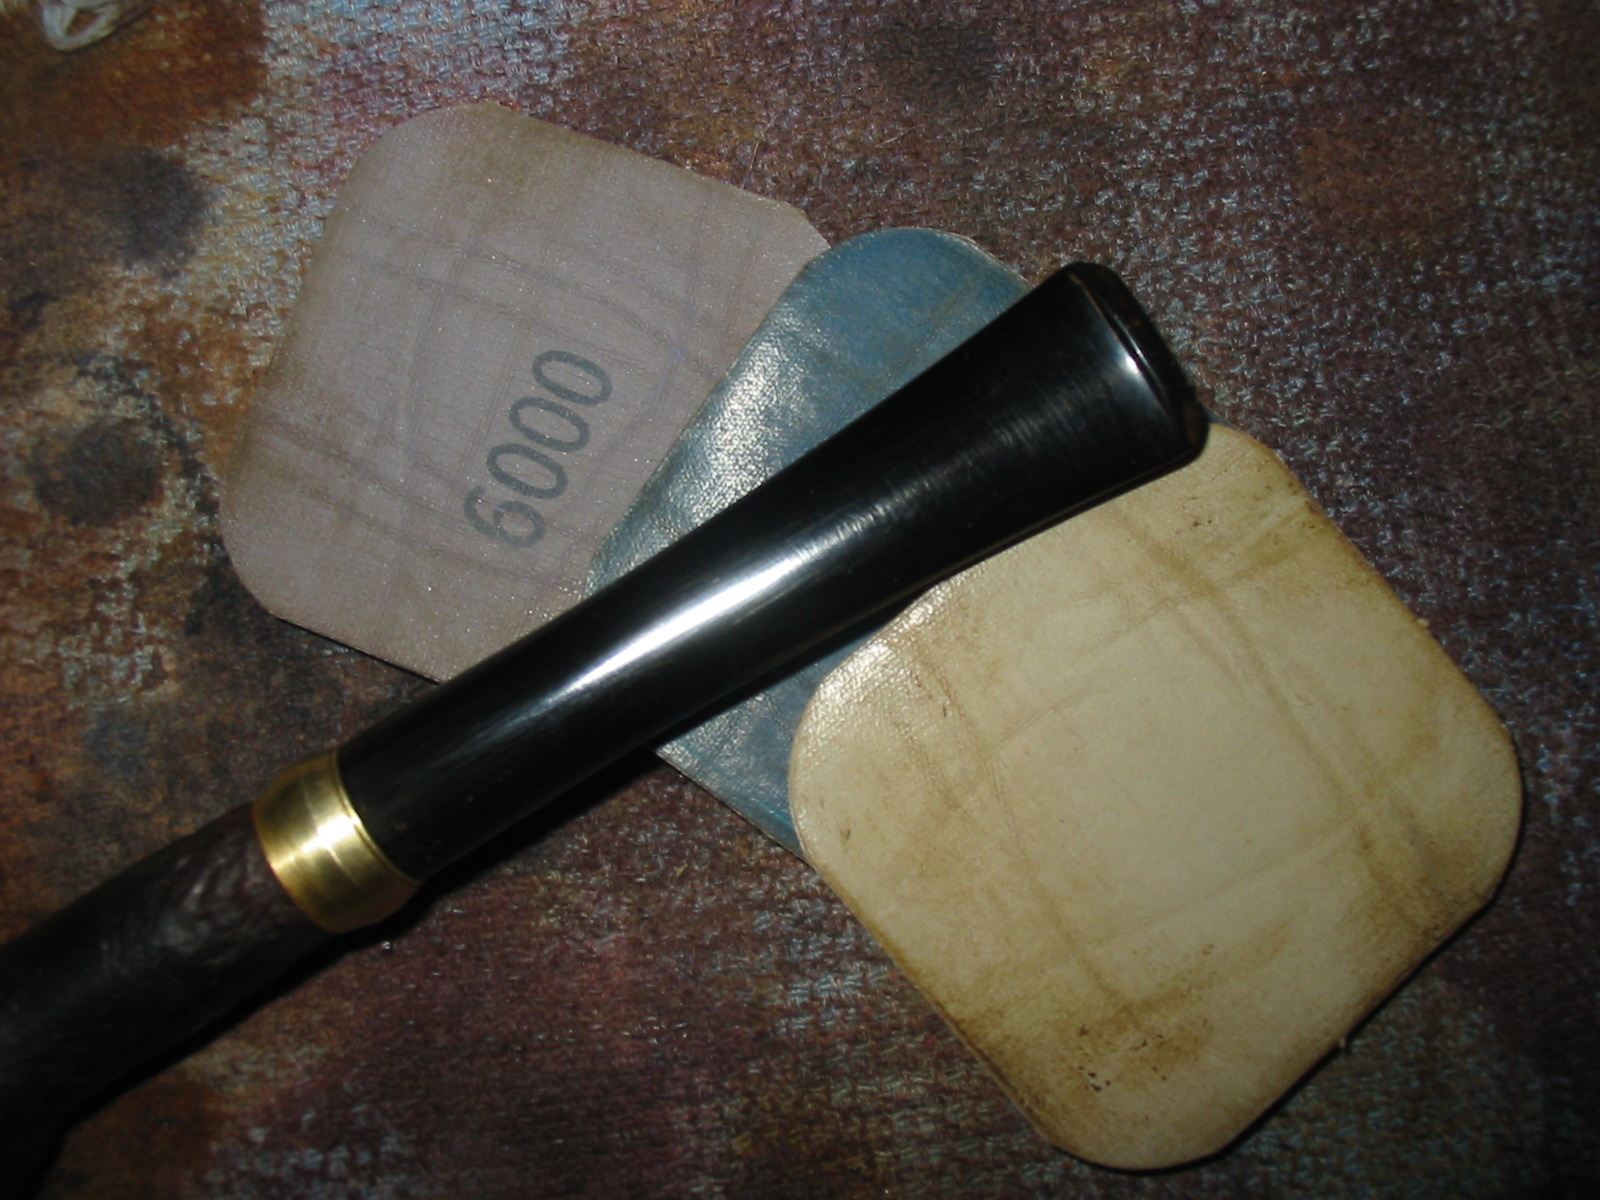
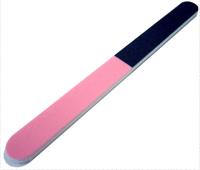
The stem cleaning was a matter of routine i.e. oxy solution to lift the grime and loosen the dirt inside and internal cleaning as mentioned earlier. Finally an application of good old elbow grease with MicroMesh 4 way flexi files, going through the colours in sequence: BLACK 180MX; PINK 2400; WHITE 4000; GREY: 12000, used wet.
Chiz9

After all this I was still scratching my head about the stem/shank fit, though. There is a just-about-discernible “H” on the stem, so I know it is aligned the right way. Yet it just didn’t seem quite right. It’s a bit loose to boot, so I will have to deal with that as well. I was grateful at this stage, whilst documenting this in “real” time on the forum, to get some reassurance from others regarding tricky diamond shaped stems. Never underestimate the benefit of soothing words from your peers when things look problematic!

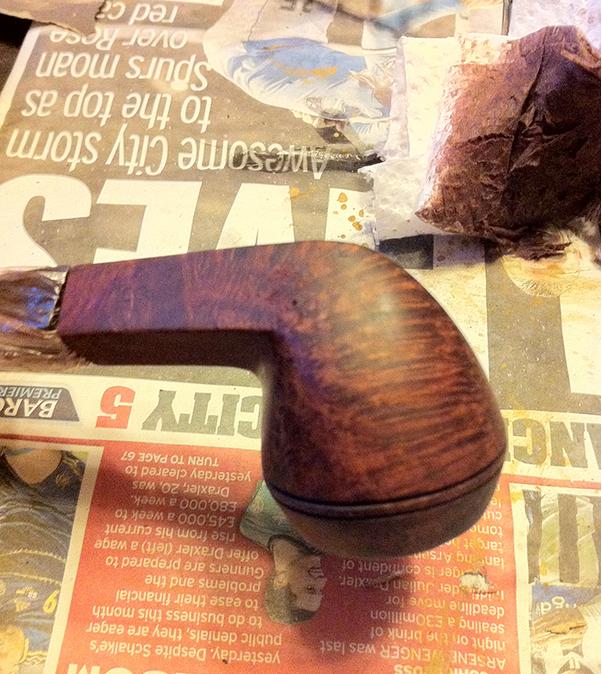
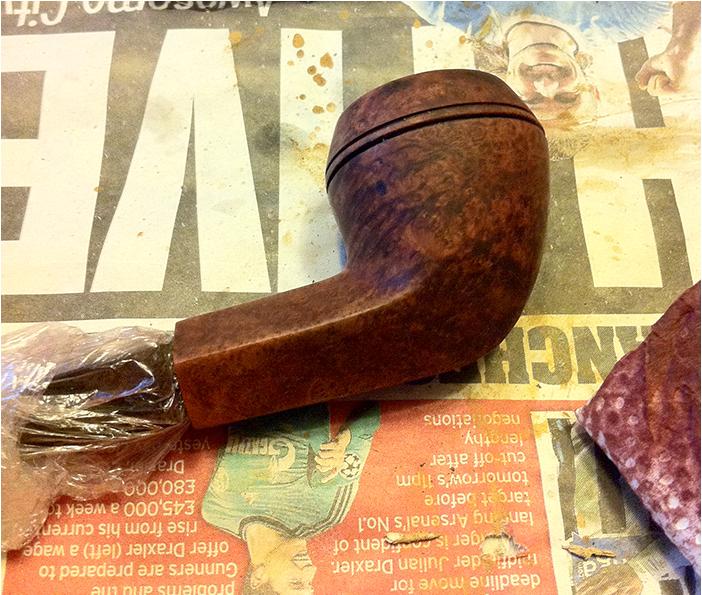
Moving on, here are the first stages of colouring the stummel back up. I use Rustin’s Wood Dyes, which are naphtha based. Whilst you have to exercise some care, the evaporation is almost instant and the drying time is quite short, so two to three coats can be applied in relatively quick succession. I do like it to rest for at least 24 hours until finishing, so that’s it for now.
Chiz10

Chiz11

Oh, nearly forgot, one more tip: I wrap the stem in clingfilm (plastic wrap in the States?) and use that as a handle whilst applying the dye.

I wasn’t able to resolve the stem/shank problem to my complete satisfaction, I could have tried sanding away, but there is always a risk that one ends up removing too much material with no visible improvement. So I settled for heating the tenon in boiling water, inserting the nail from the 3 in 1 and very gently applying outward rotary pressure. I also applied some beeswax to the tenon, these steps together have at least ensured a more snug fit.

To finish off there is just the matter of giving the pipe a good polish to show off your handiwork at its best. As mentioned earlier, I am not fortunate enough to have an array of spinning buffer wheels and various compounds, so as throughout most of the process I rely on a manual approach: Renaissance Wax, applied by dabbing on and rubbing with finger tip and then buffed off with a lint-free cloth.
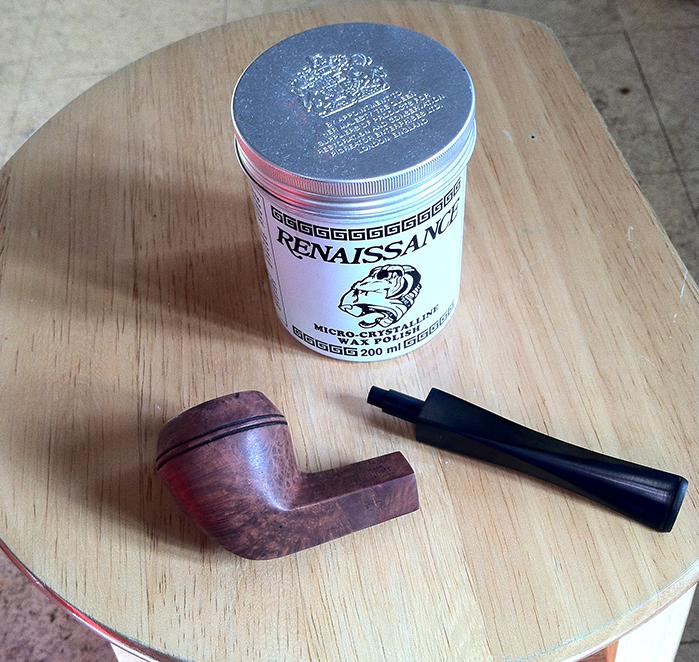
Chiz12

This will not, of course, produce the glassy shine so beloved of certain eBay sellers. But bear in mind that such a shine starts to disappear the moment you touch the pipe and I kind of like my less exaggerated finish. That’s my argument anyway and I’m sticking to it!

For ease of comparison, I am posting “before” and “after” pictures here next to each other:
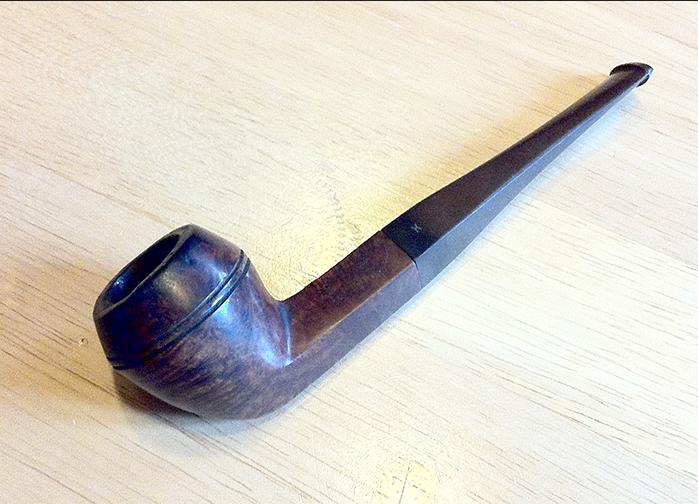
Chiz13

Chiz14

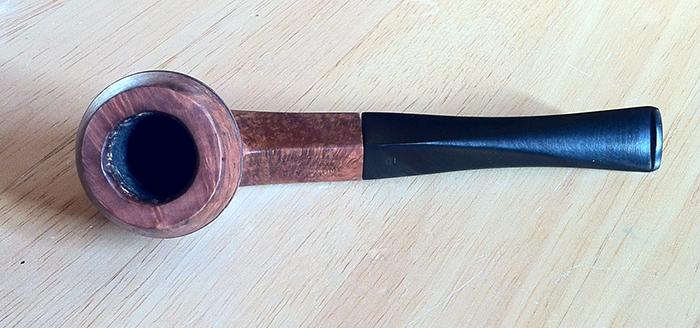
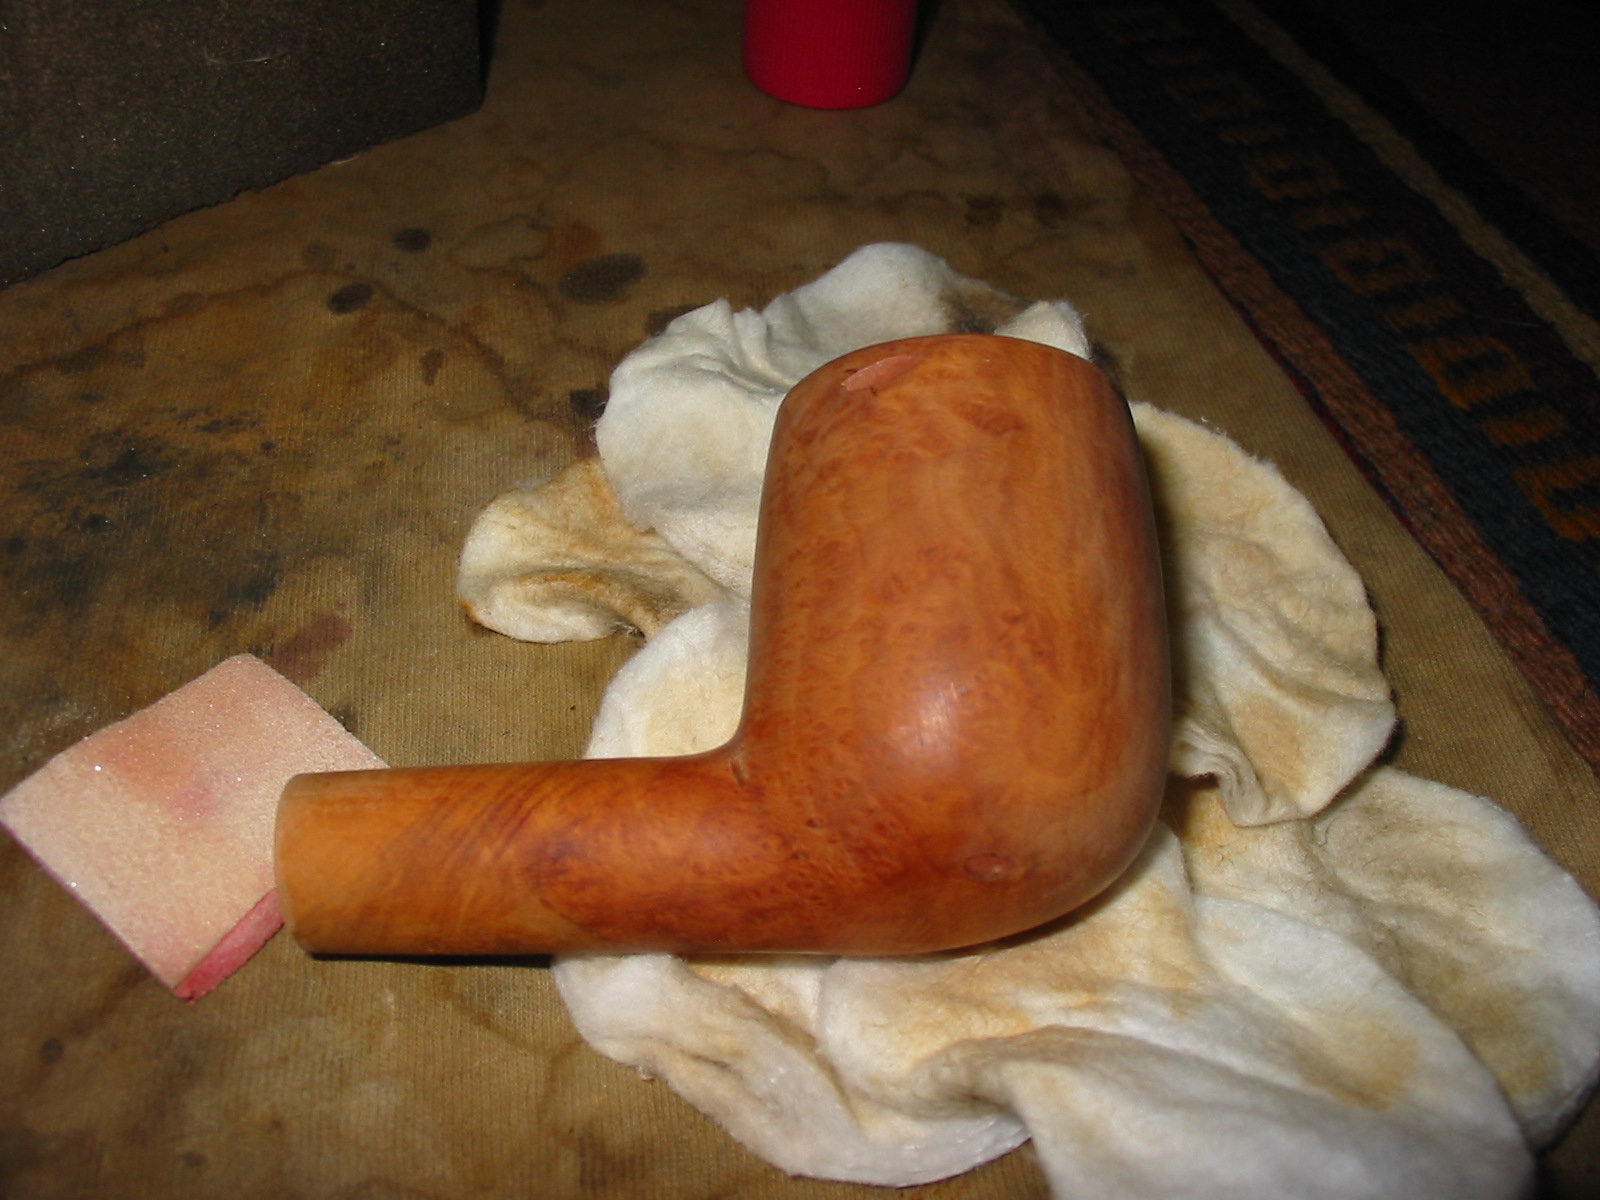
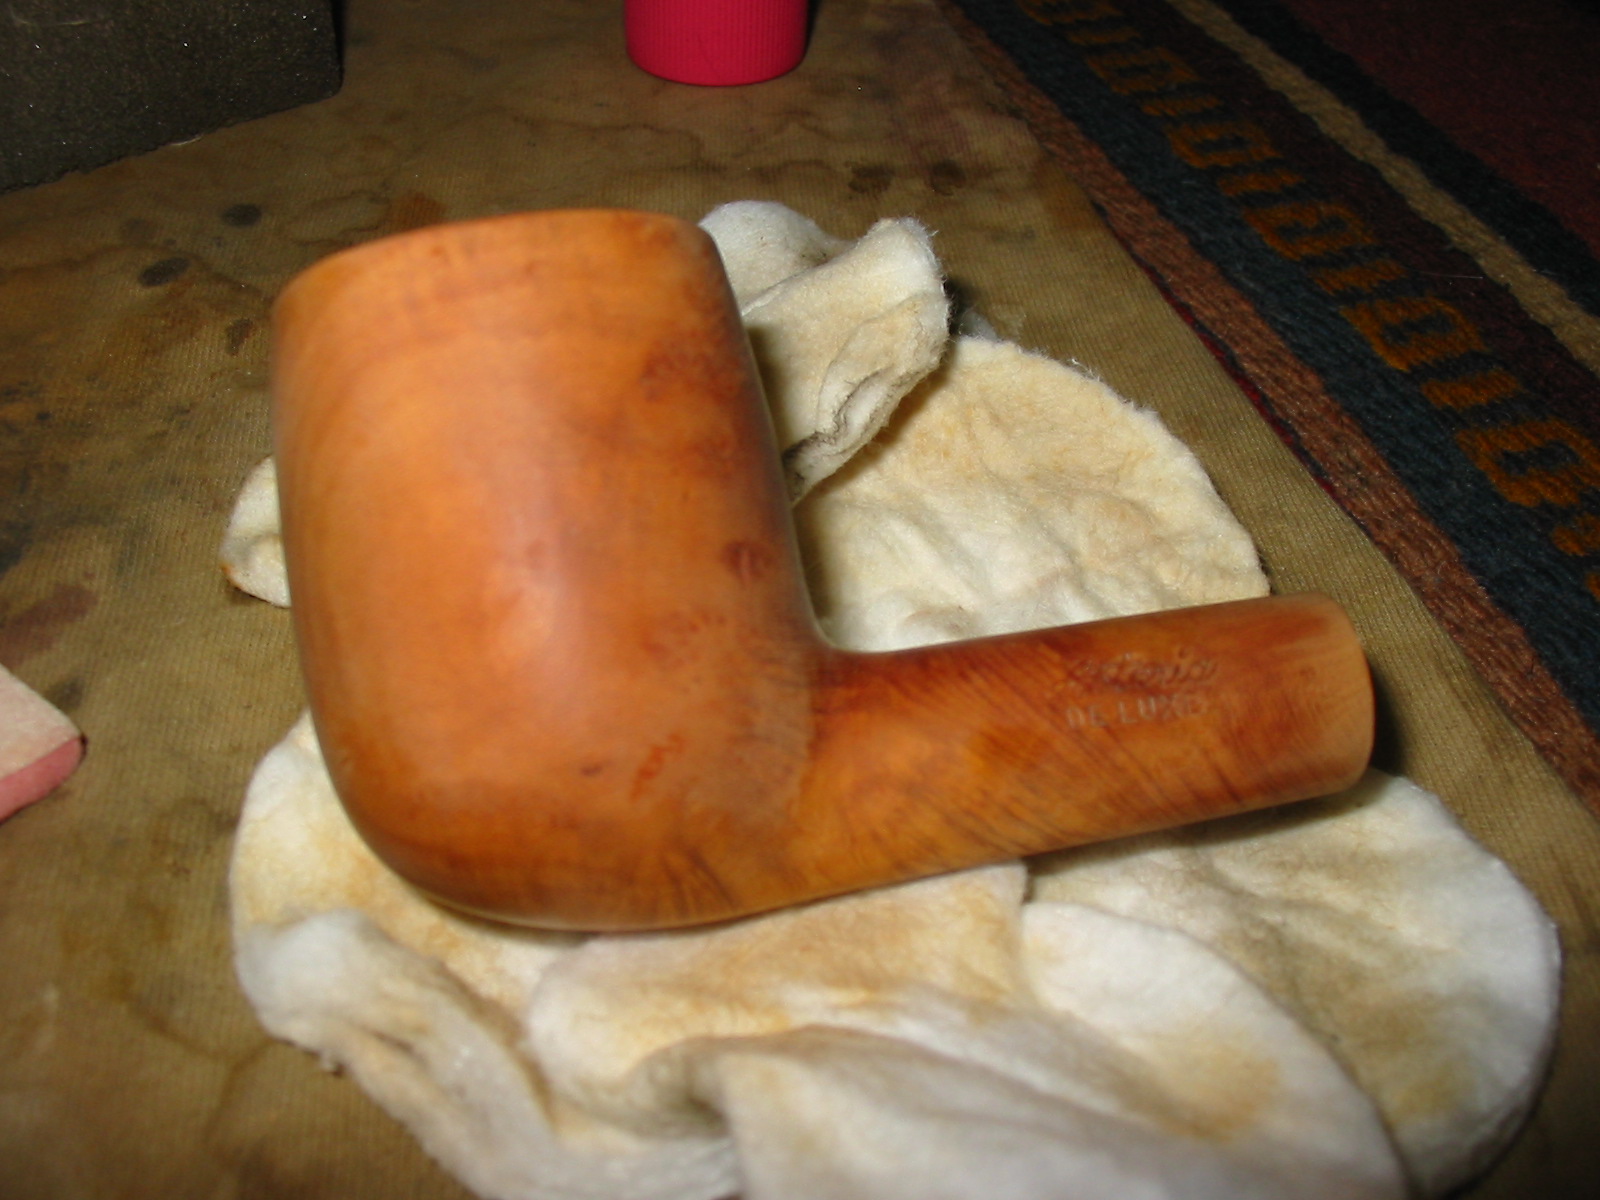
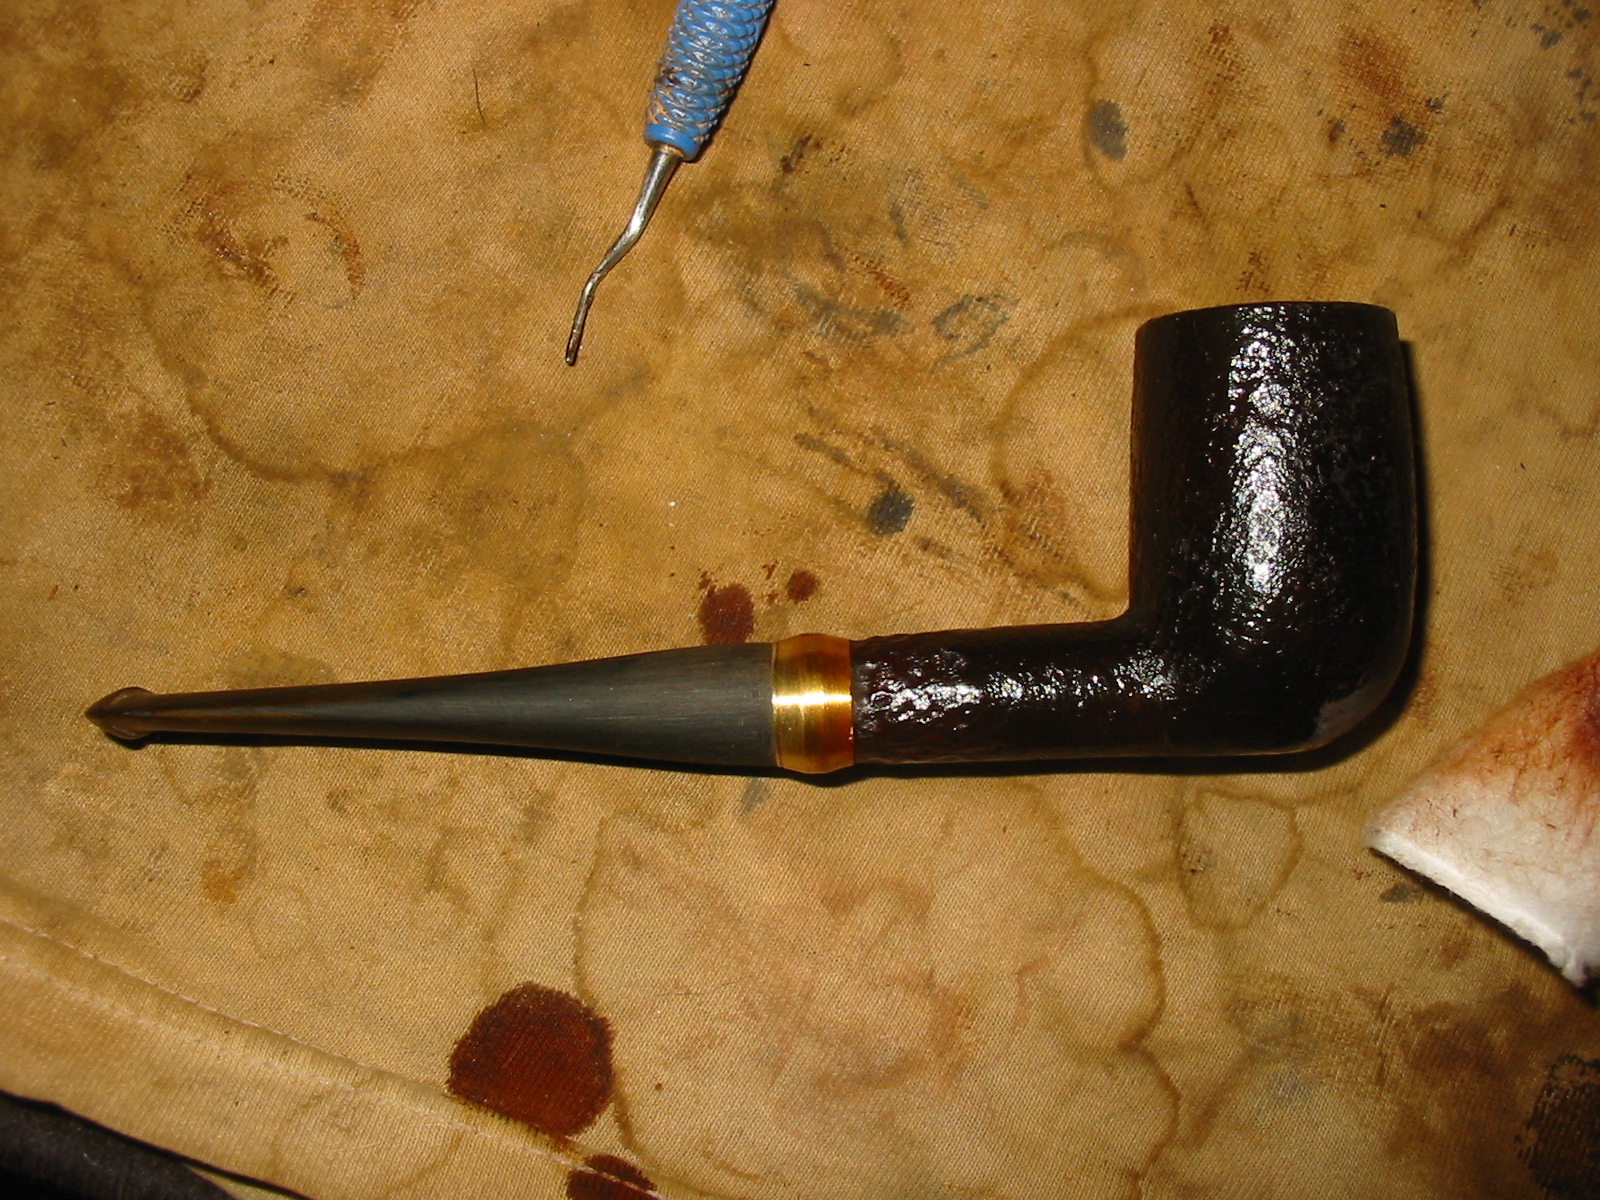
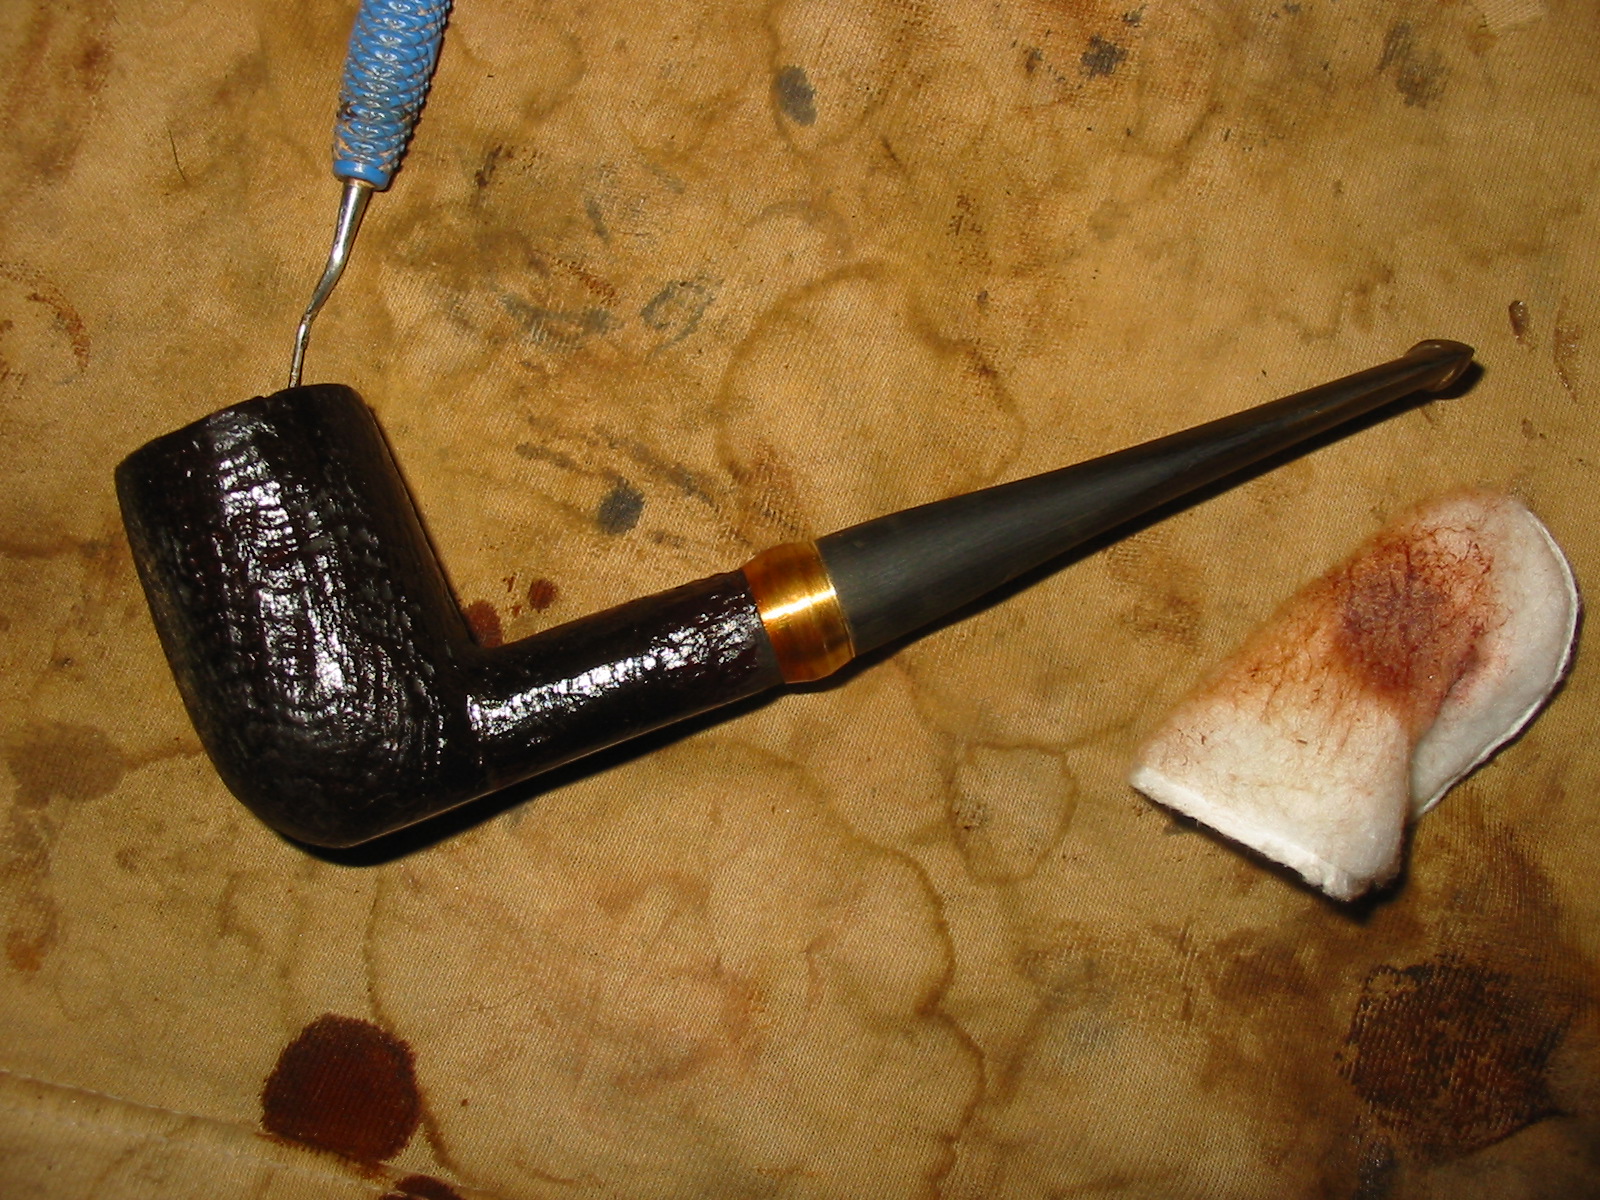
A couple more pics of the finished article followed by some final thoughts:
Chiz15

Chiz16

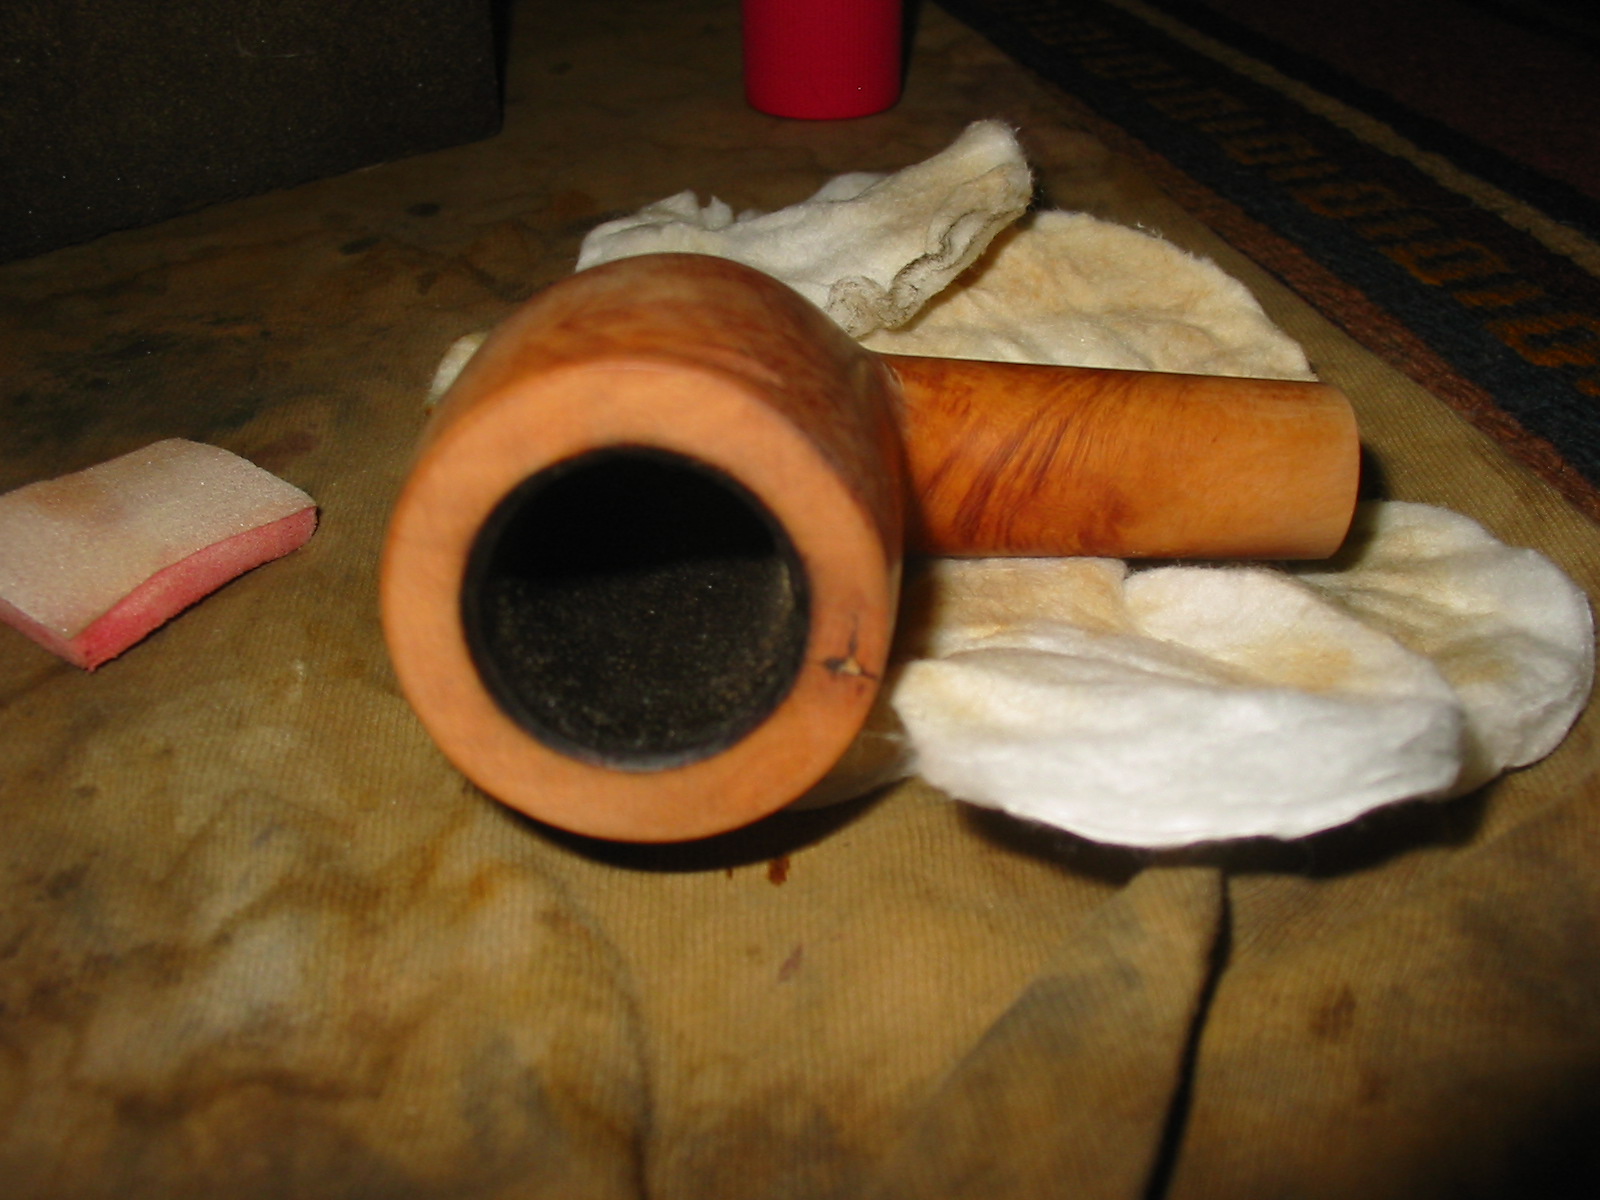
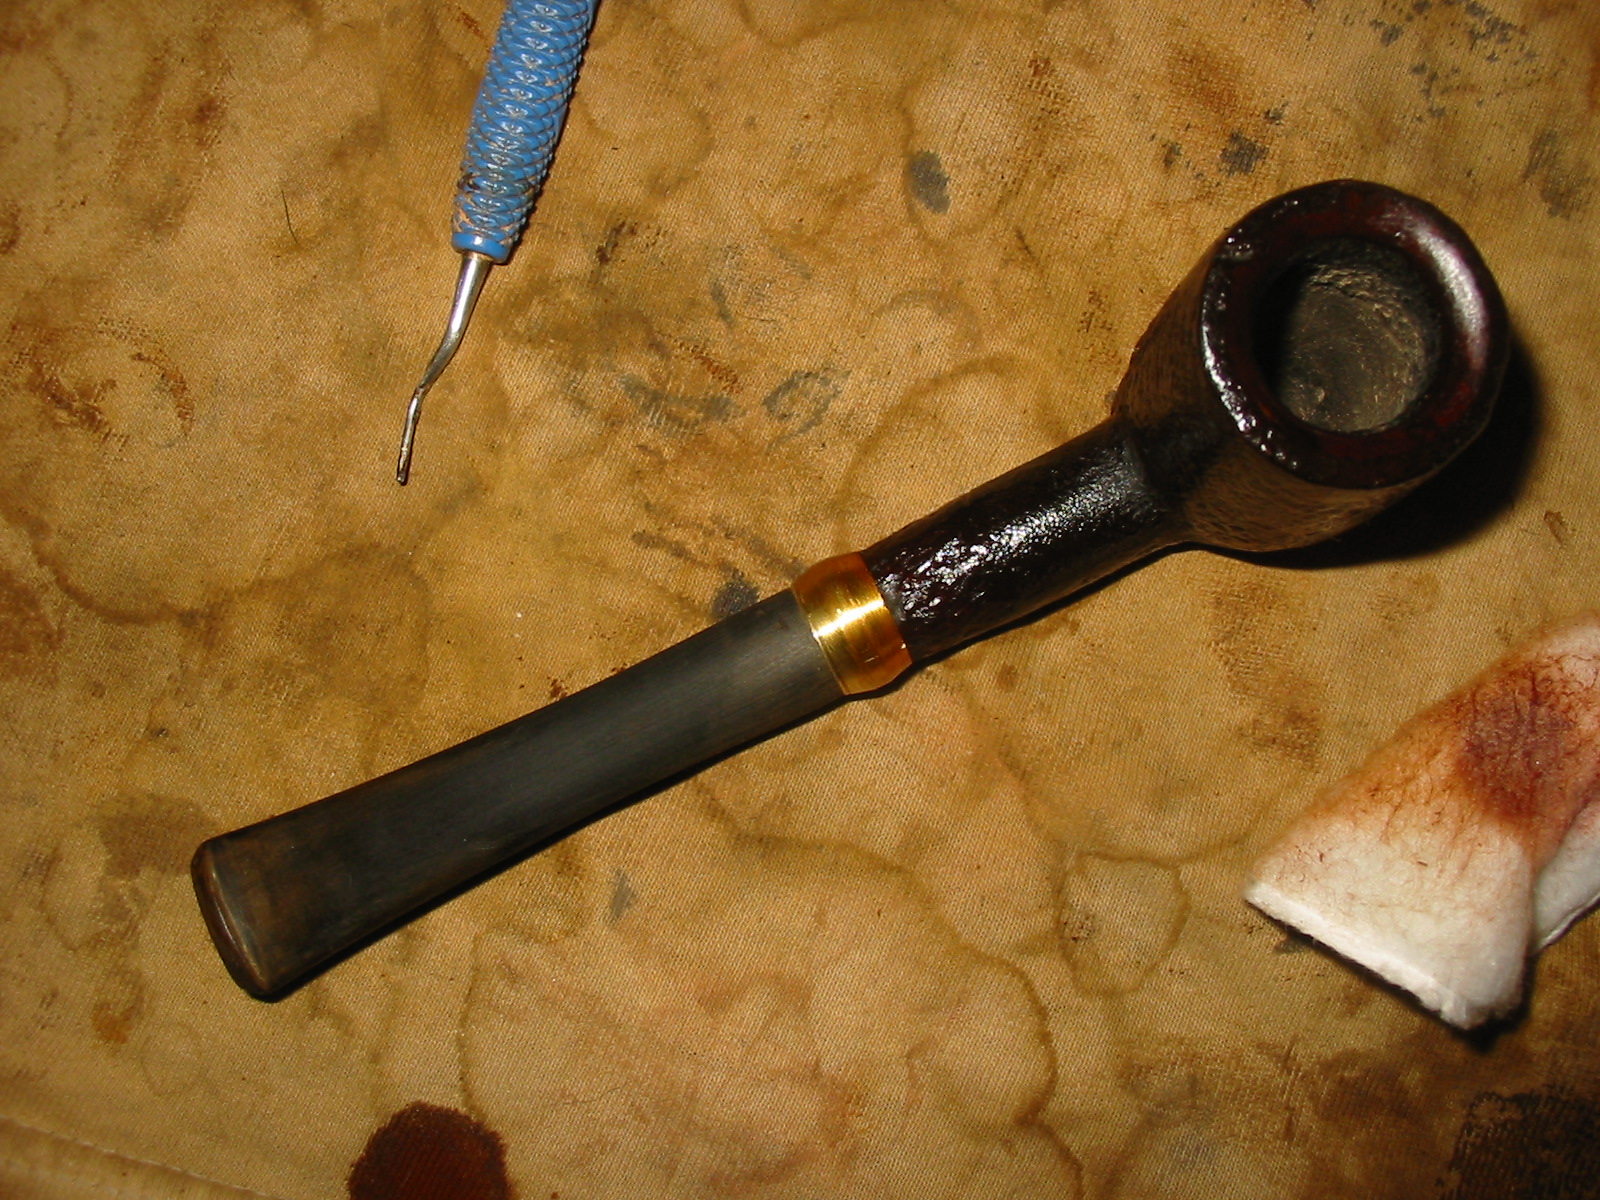
You can see that the rim is out of round at the front edge, this is where the damaged, lowered area was. I was loathe to attempt shaving any more off, but after some input from Steve, I gave the inner edge of the rim a gentle rub with 800 grit paper, it does make it look better.
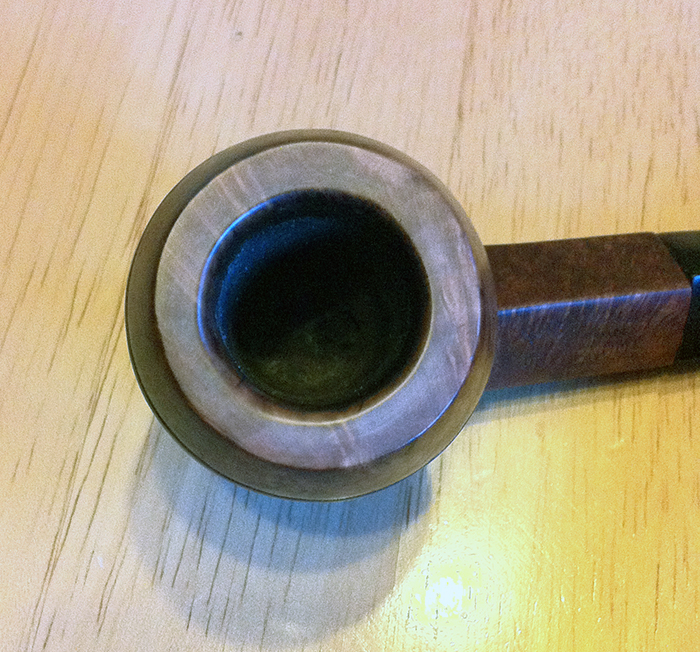
Chiz17

The shank/stem issue which I have banged on about so much remains clearly visible. At the end of the day, perfection was not in my view possible with this job, certainly with the limited tools at my disposal.

Ultimately one has to ask oneself: what is my aim here? To restore a distinctly banged up specimen to a decent, smokable condition? Well, I hope I have achieved that and, while the pipe still shows signs of age and use, I think that is as it should be. Like an old movie star looking attractive and dignified in a nice set of new threads. But without an OMG facelift.

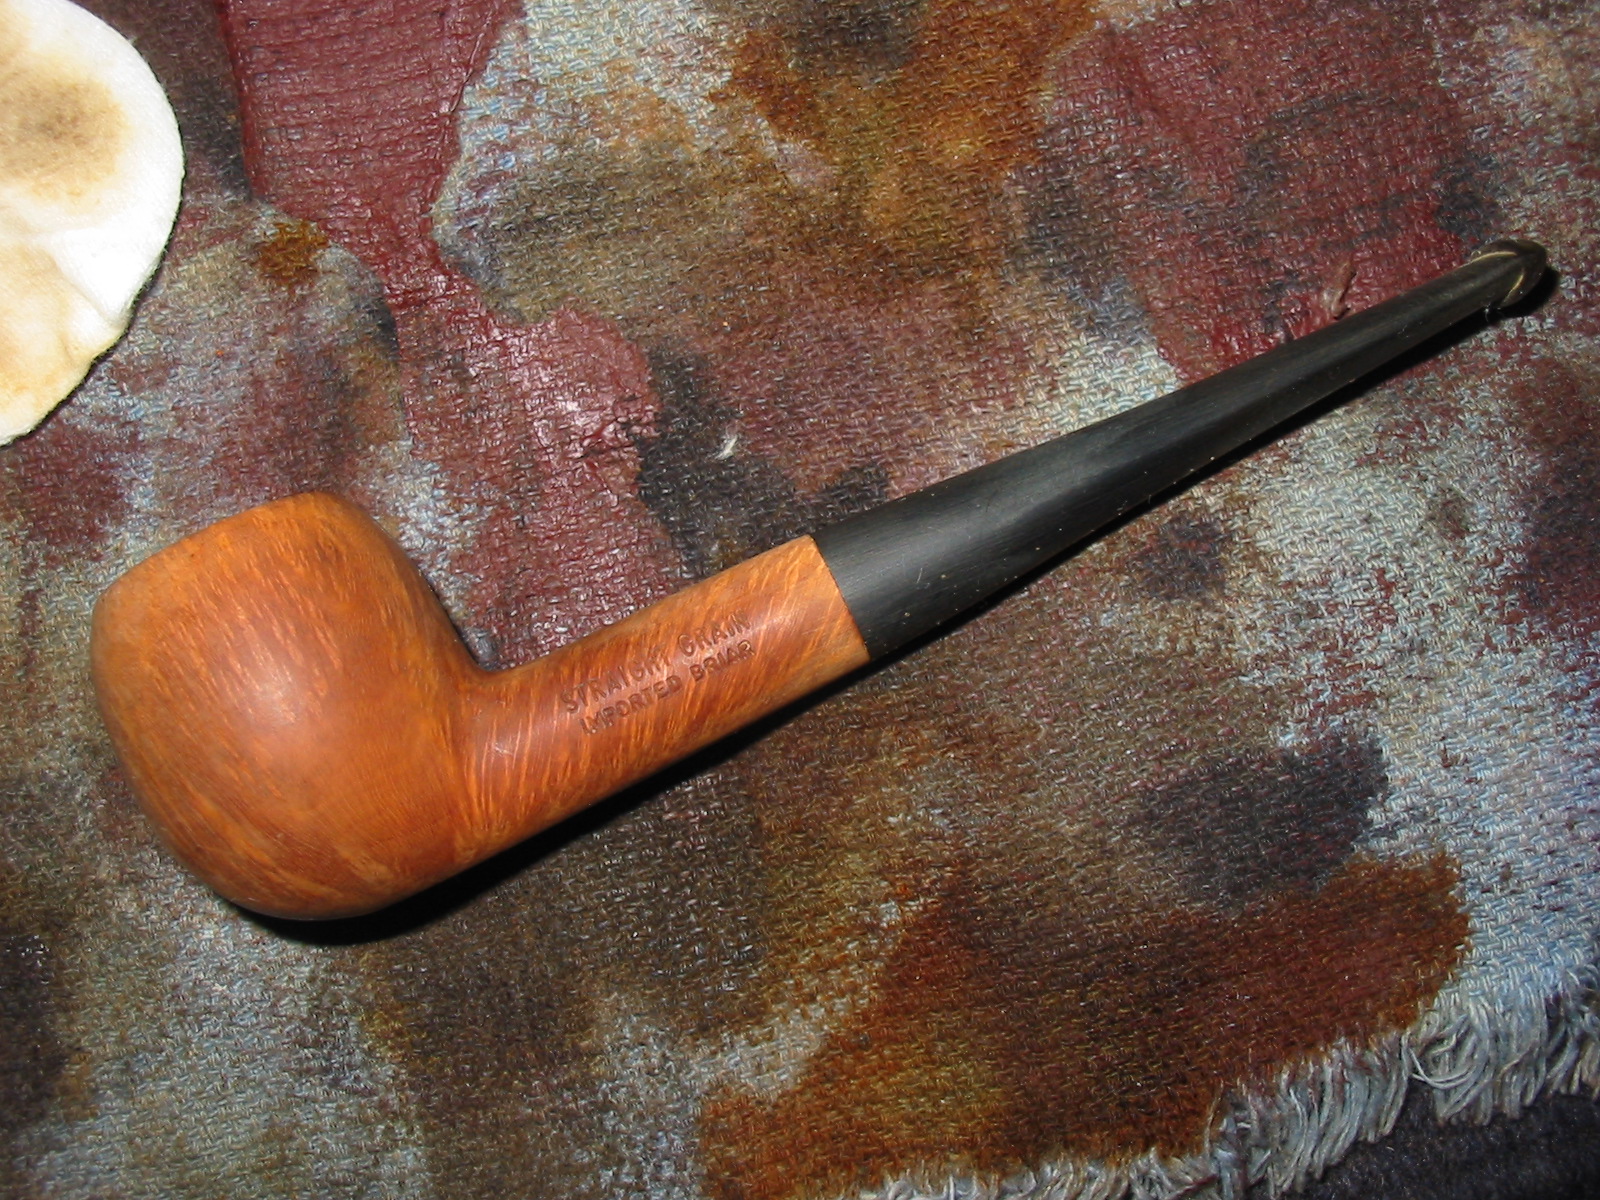
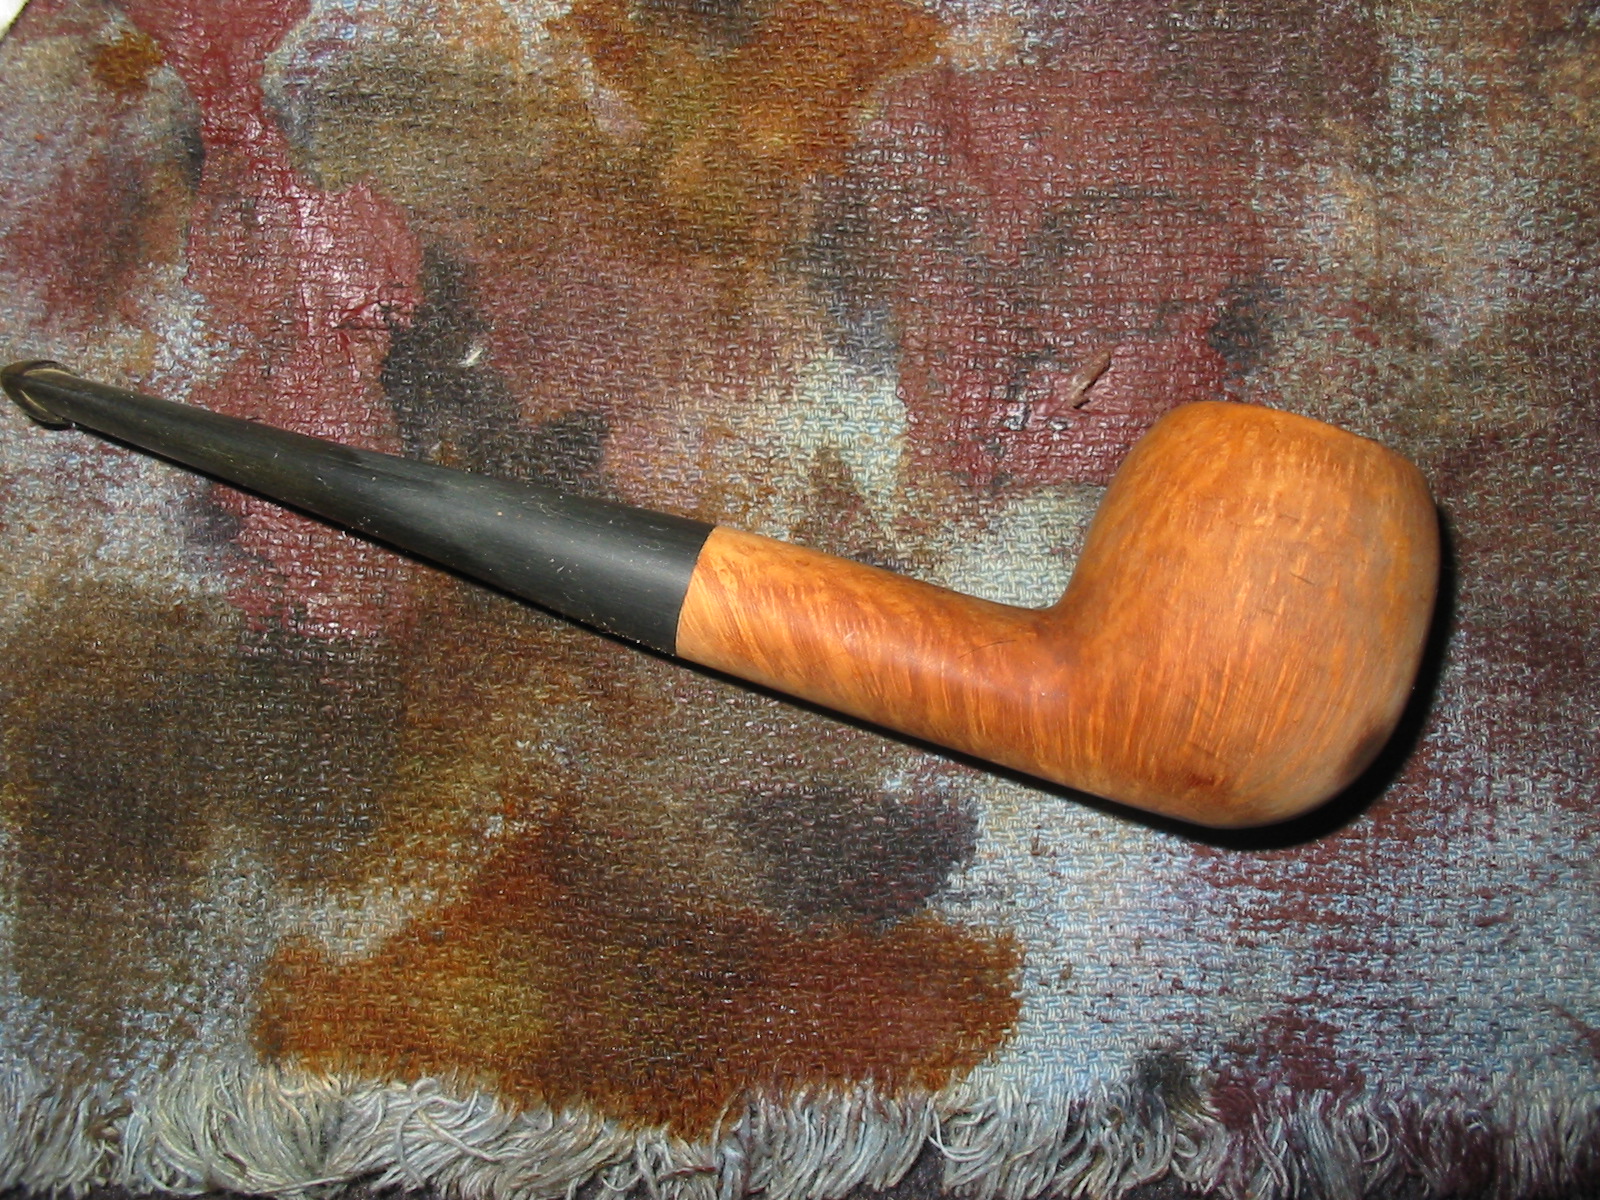
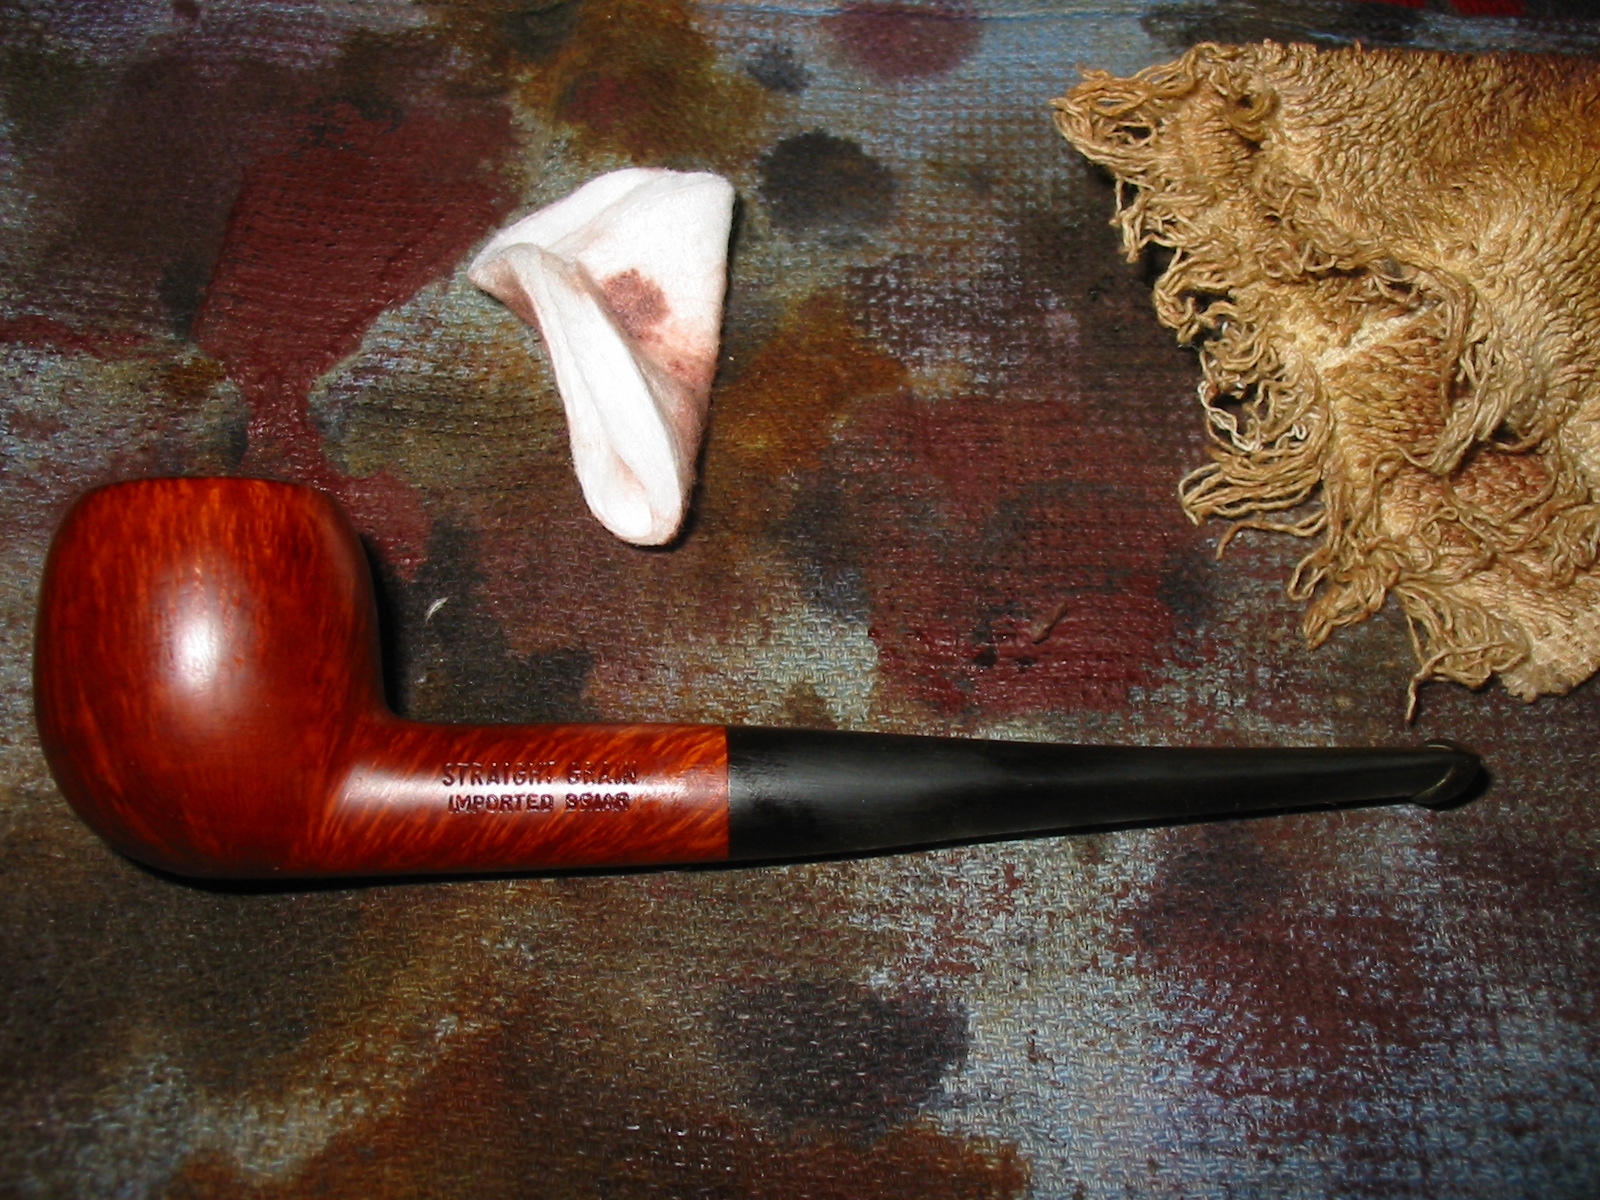
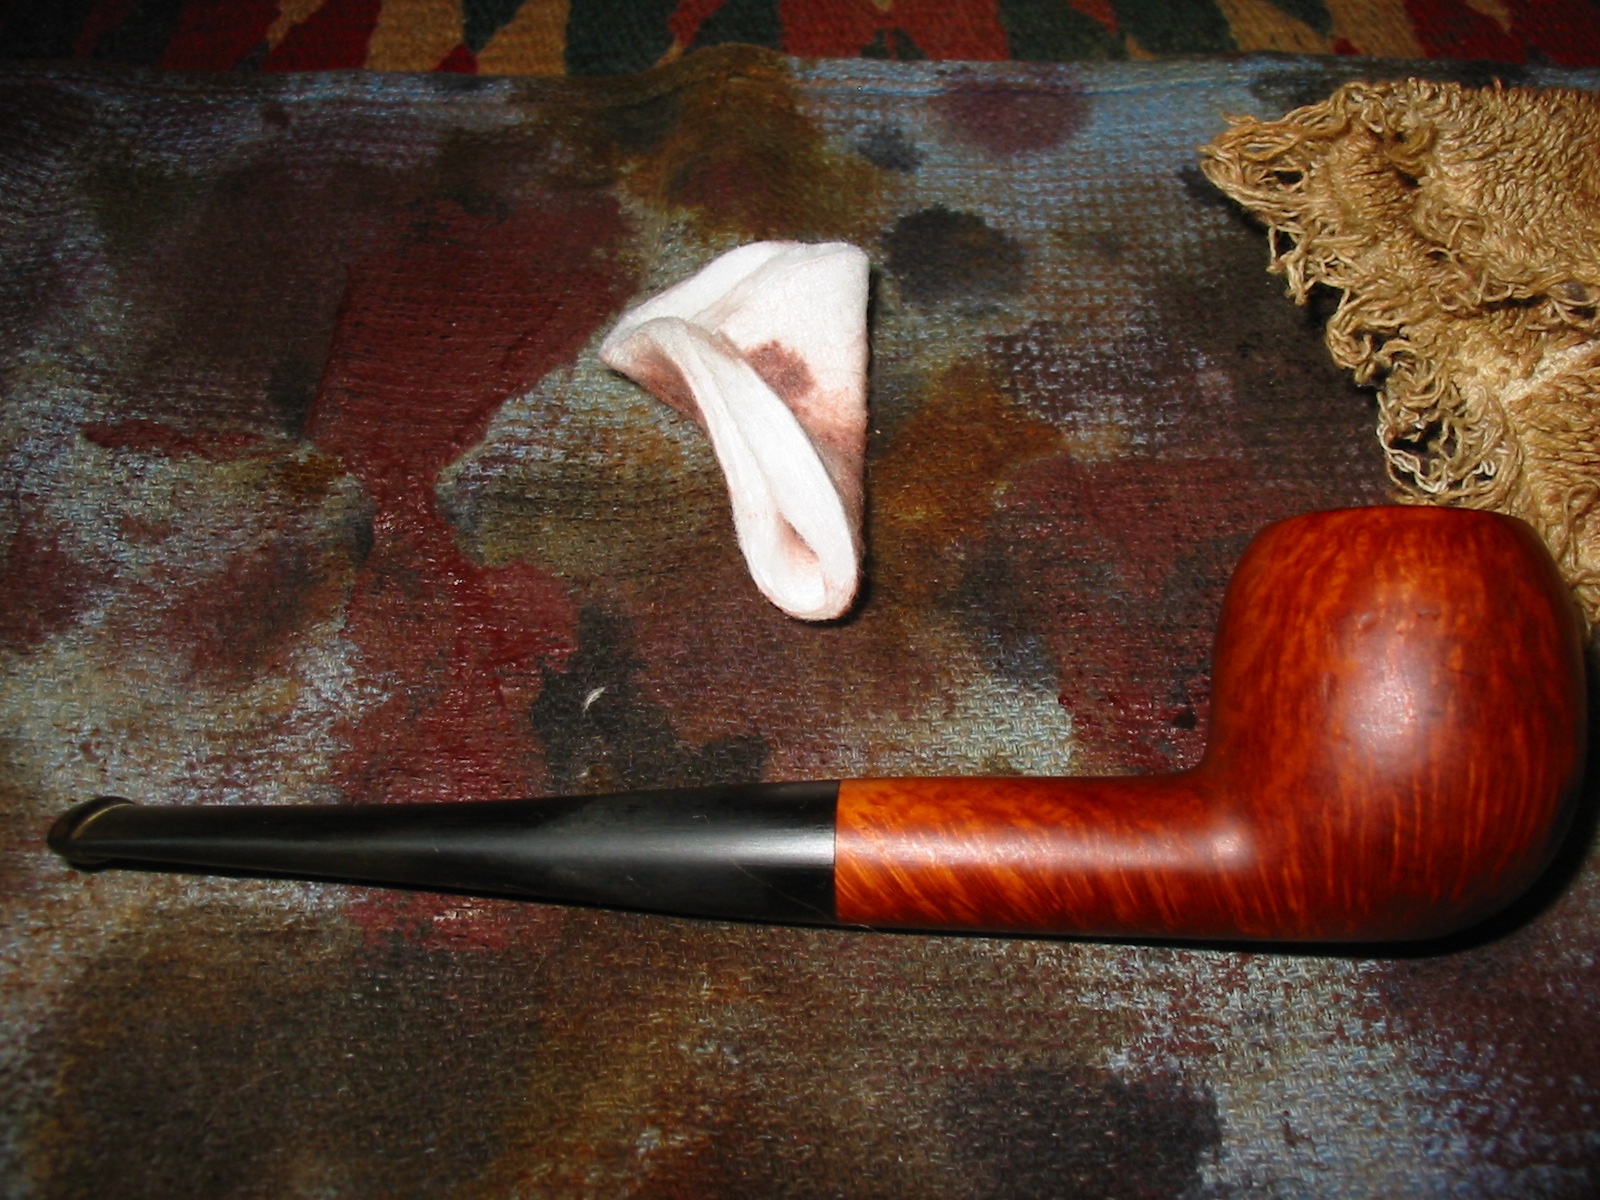
Refurbishing a Pipe for a New Pipe Smoker – A Straight Grain Apple


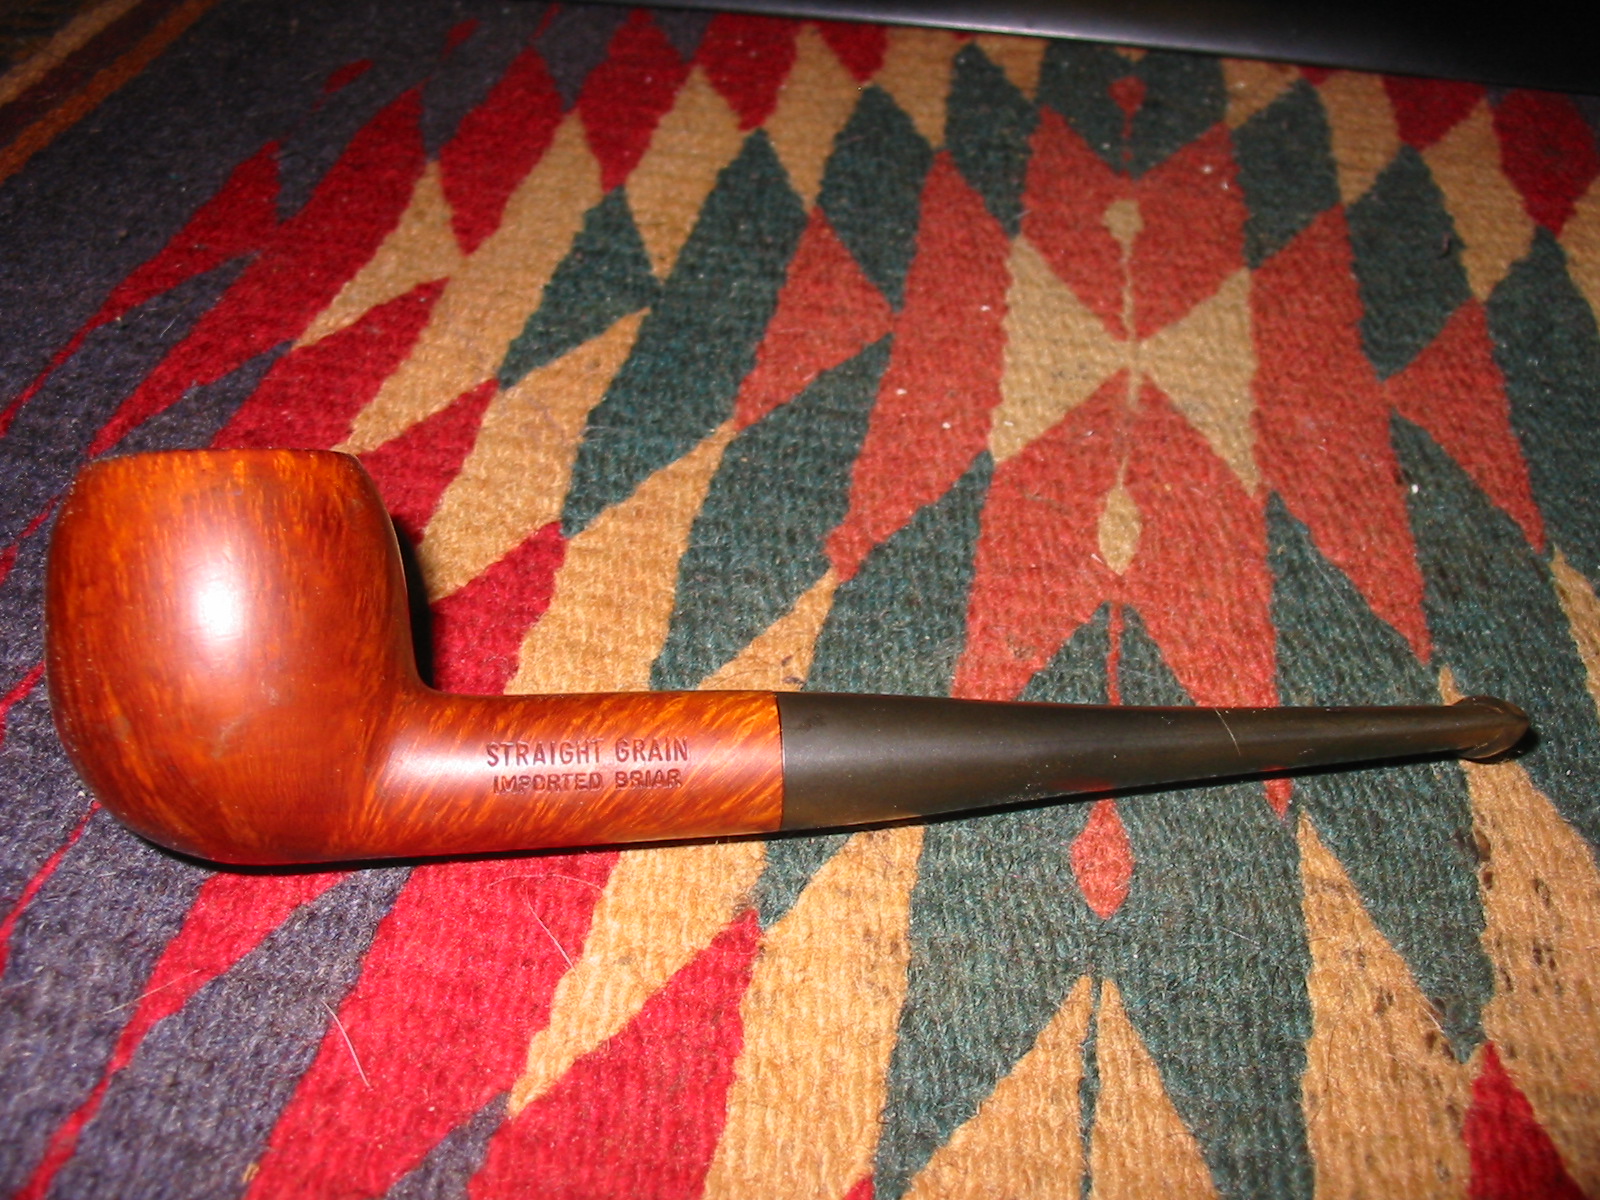
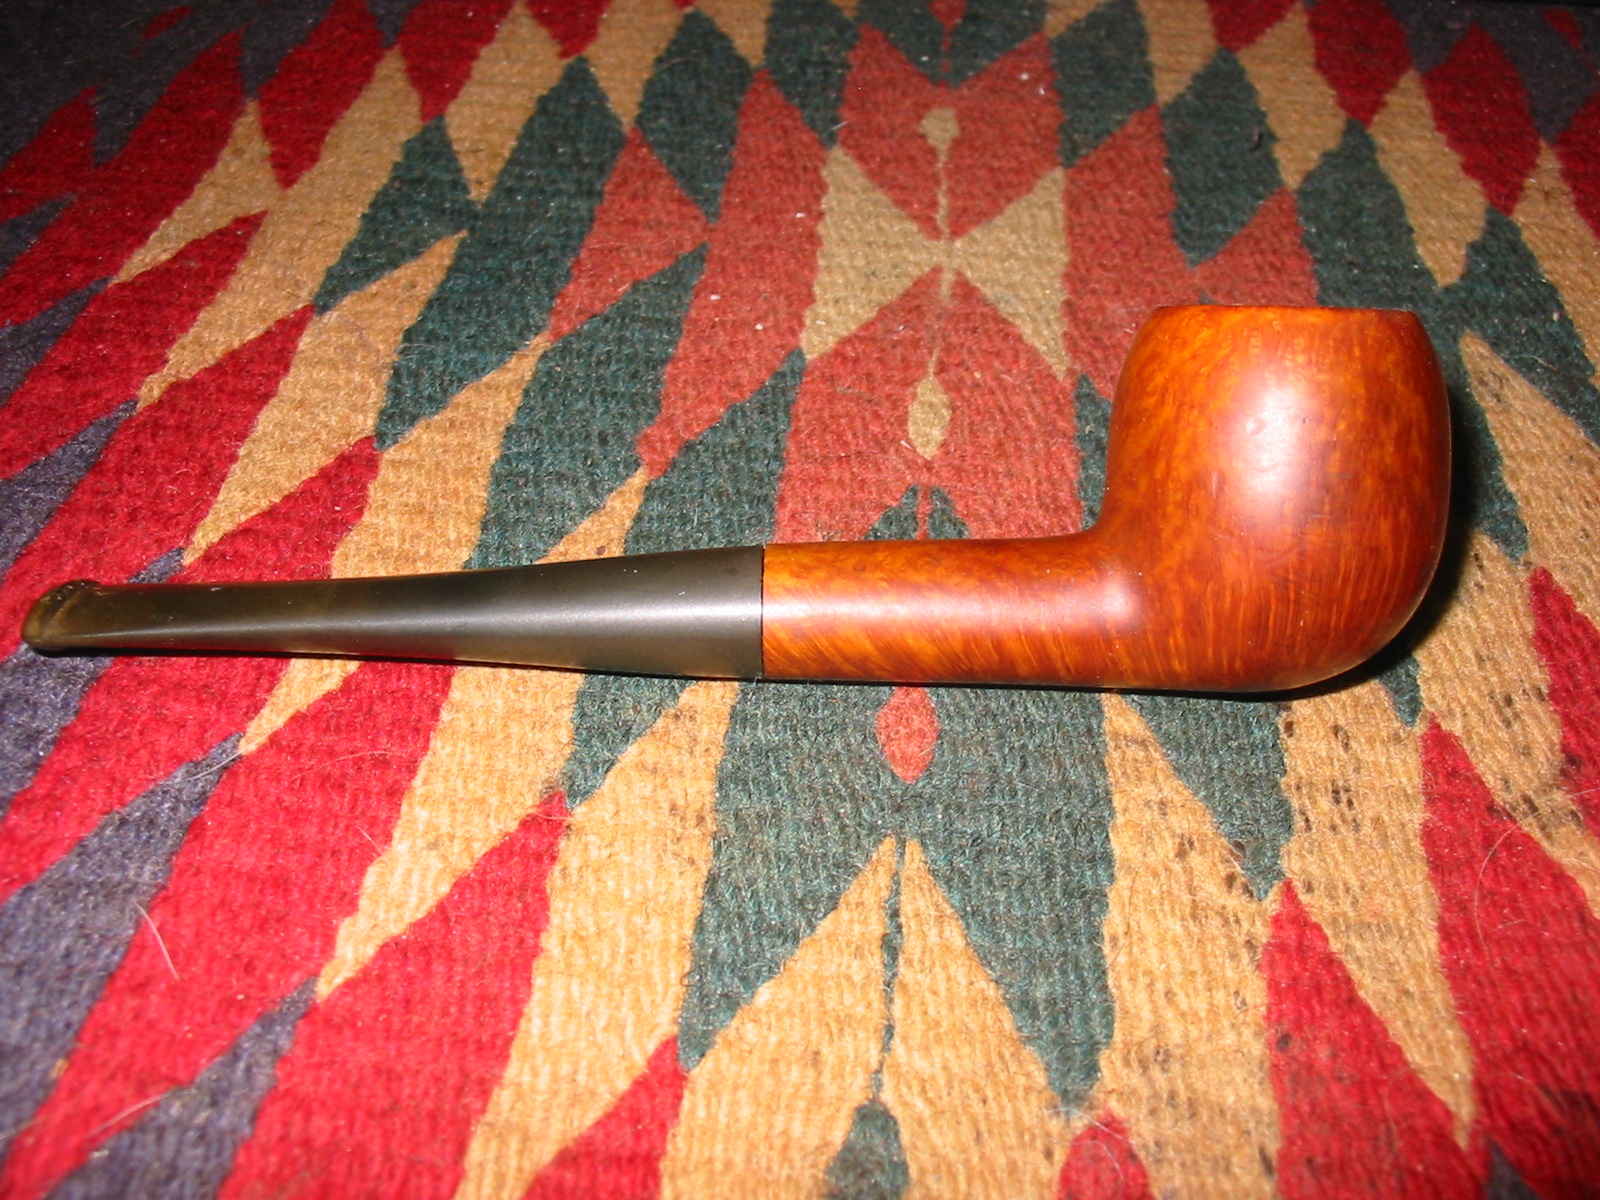
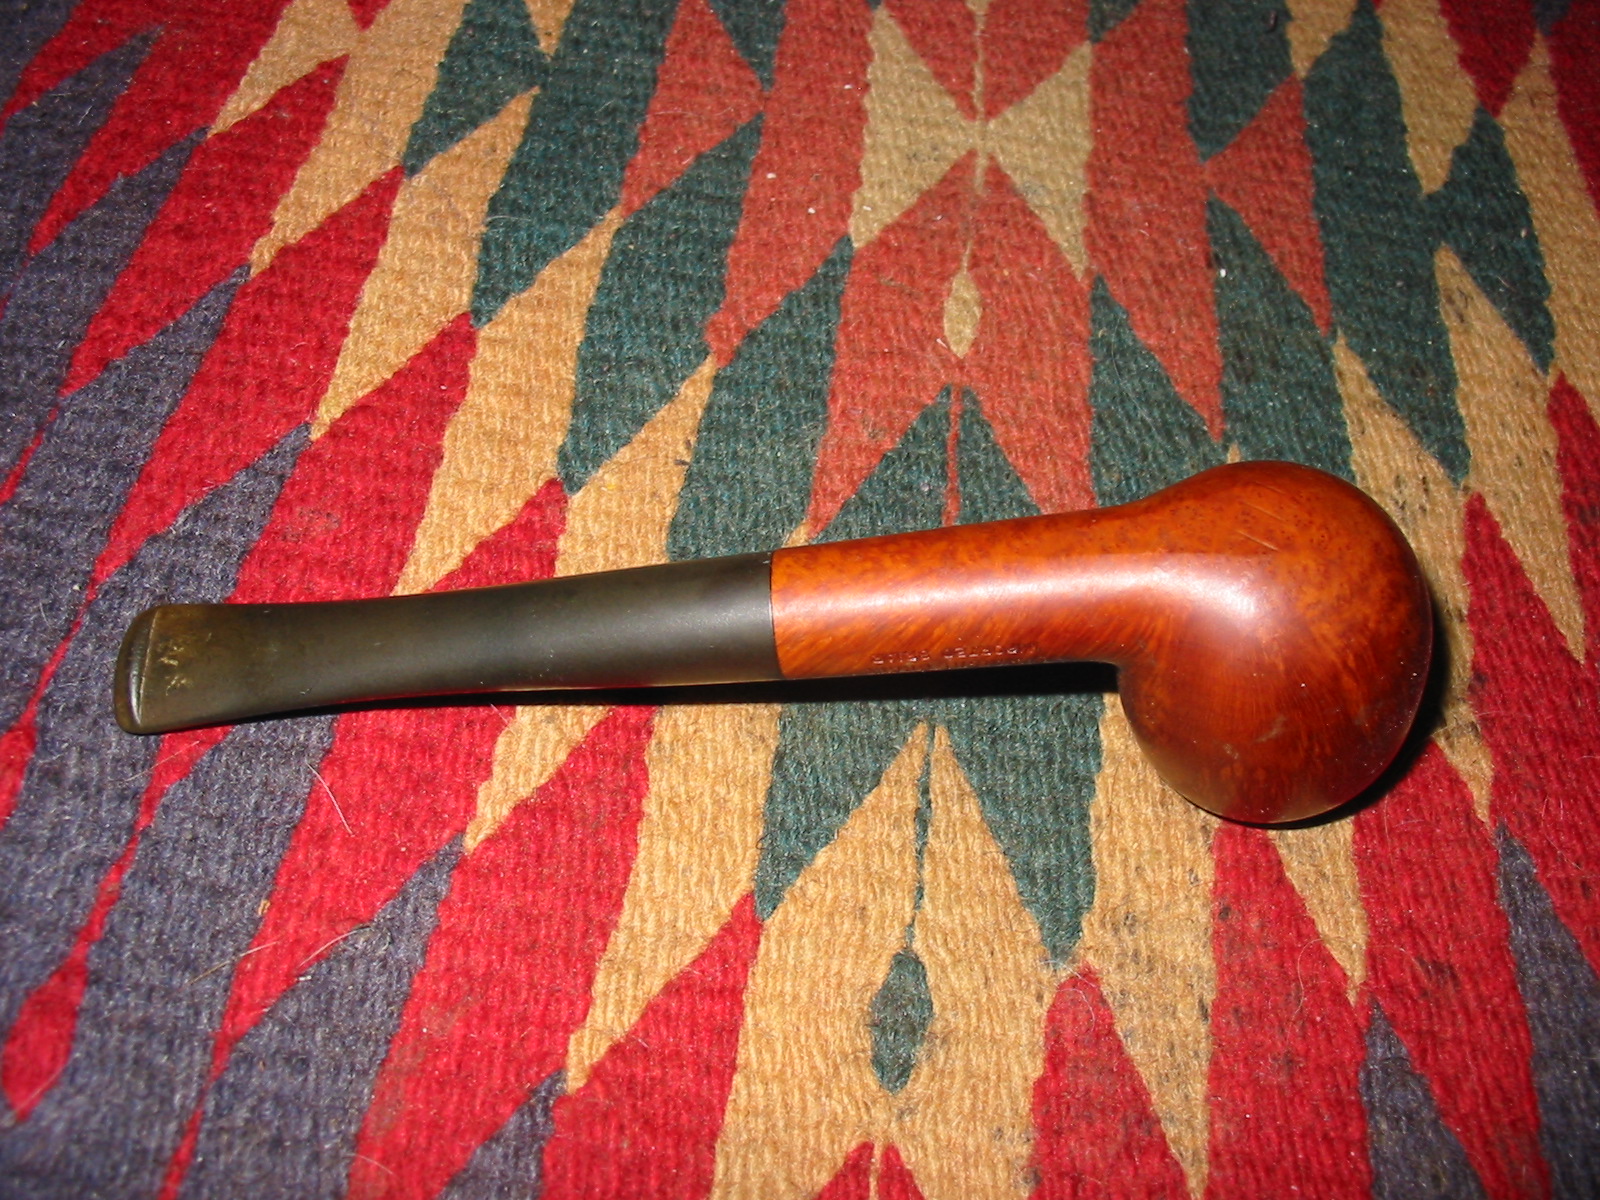
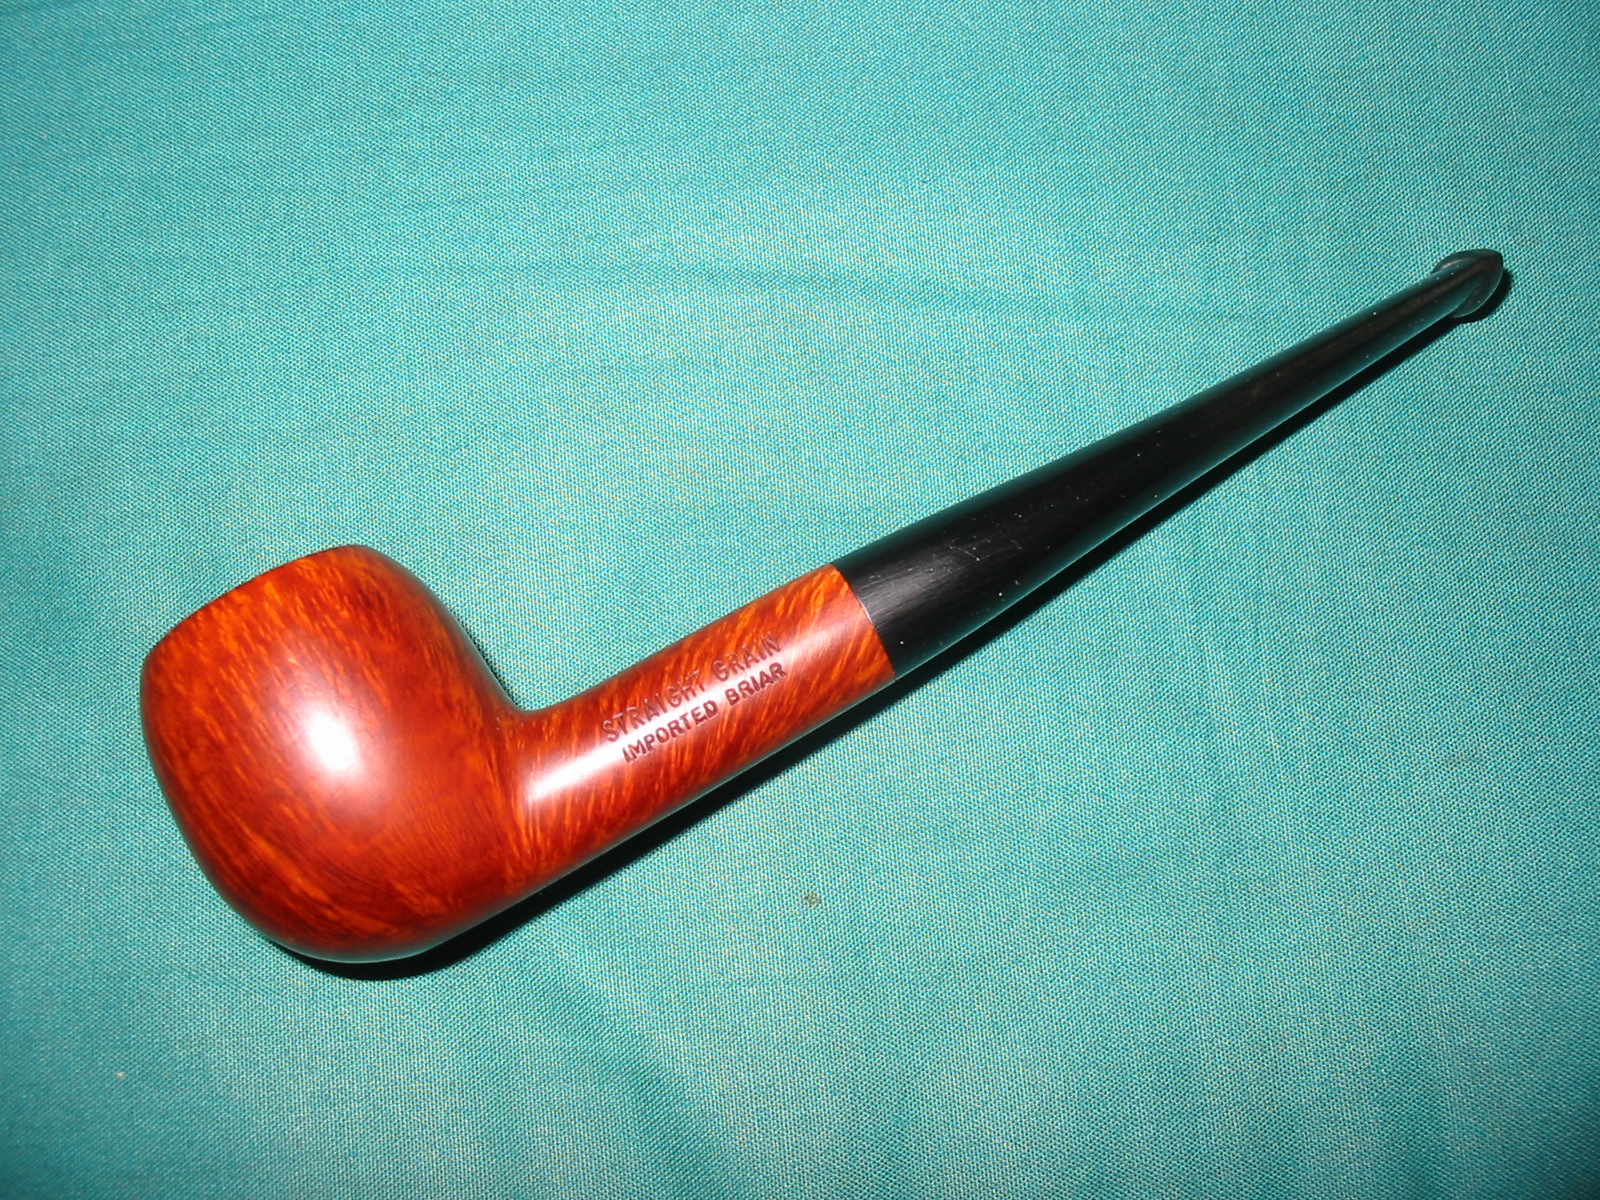
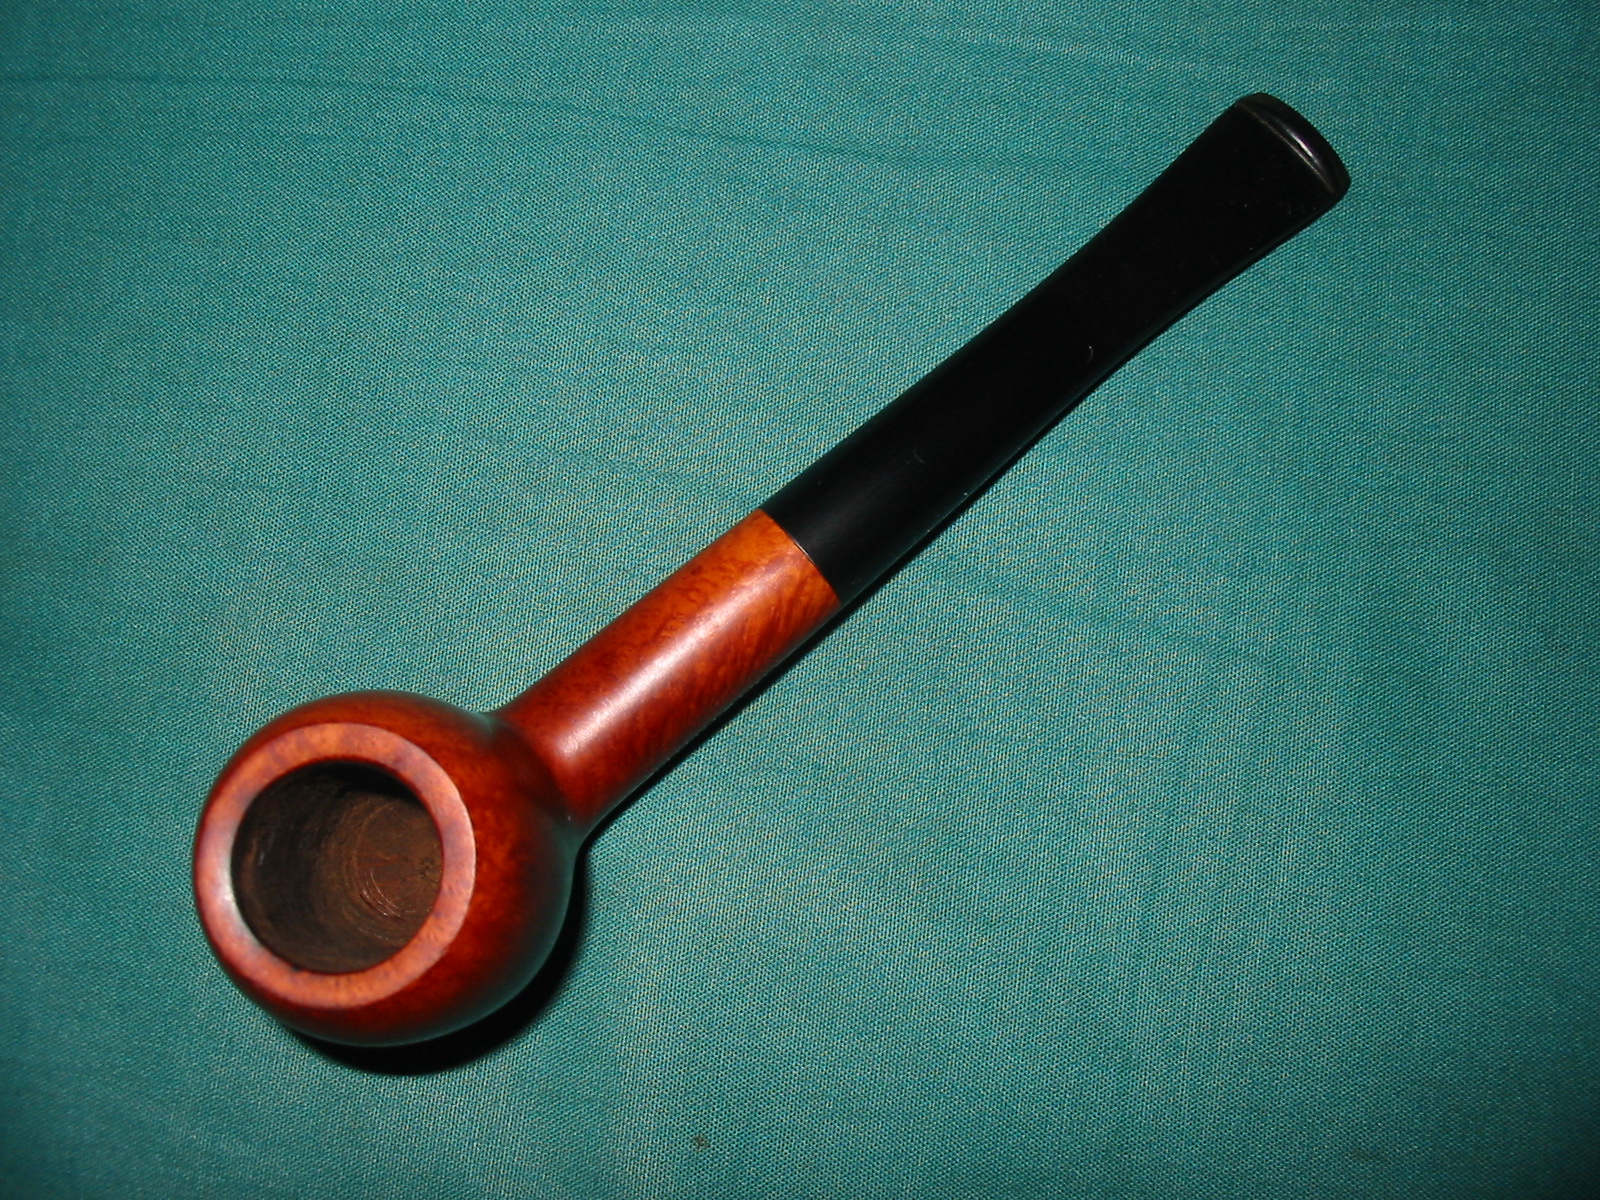
This past weekend I was in Lethbridge, Alberta as the speaker at a retreat for a friend of mine. As usual I took along my pipe and some tobacco and planned to sit on his front porch and enjoy a few bowls during the course of the weekend. We were sitting one night in his living room enjoying good conversation and a pint when he commented that he had been thinking of smoking a pipe. He wanted to know if I would teach him the ropes. Of course I agreed and the next afternoon we visited a couple of antique shops in search of a pipe for him. My experience in helping a newbie start is to find a seasoned pipe that is in good shape and use it to introduce the art of pipe smoking. The seasoned or estate pipe is already broken in and if it has been cared for is not too difficult to clean up and restore. We found just the pipe at the third shop we visited. It is a nice apple shaped pipe that was in fairly decent shape. He paid the $9 price on the pipe and we took it home.

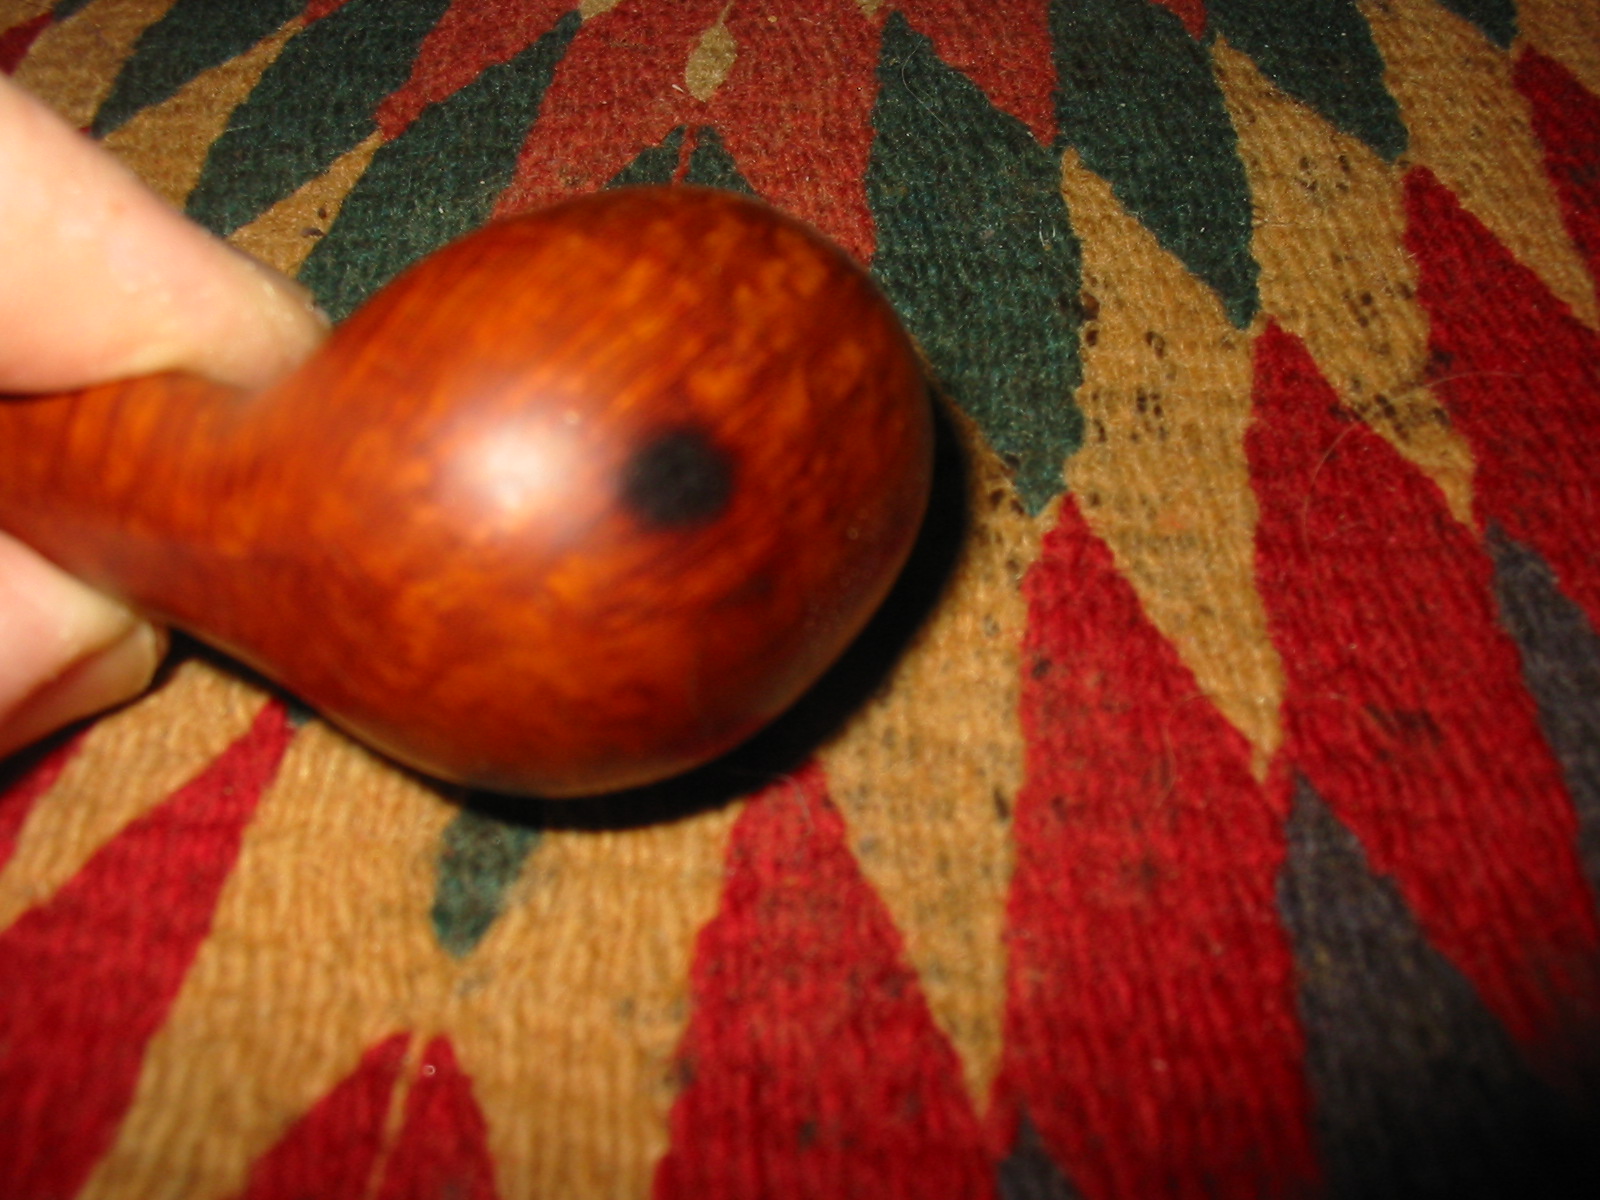
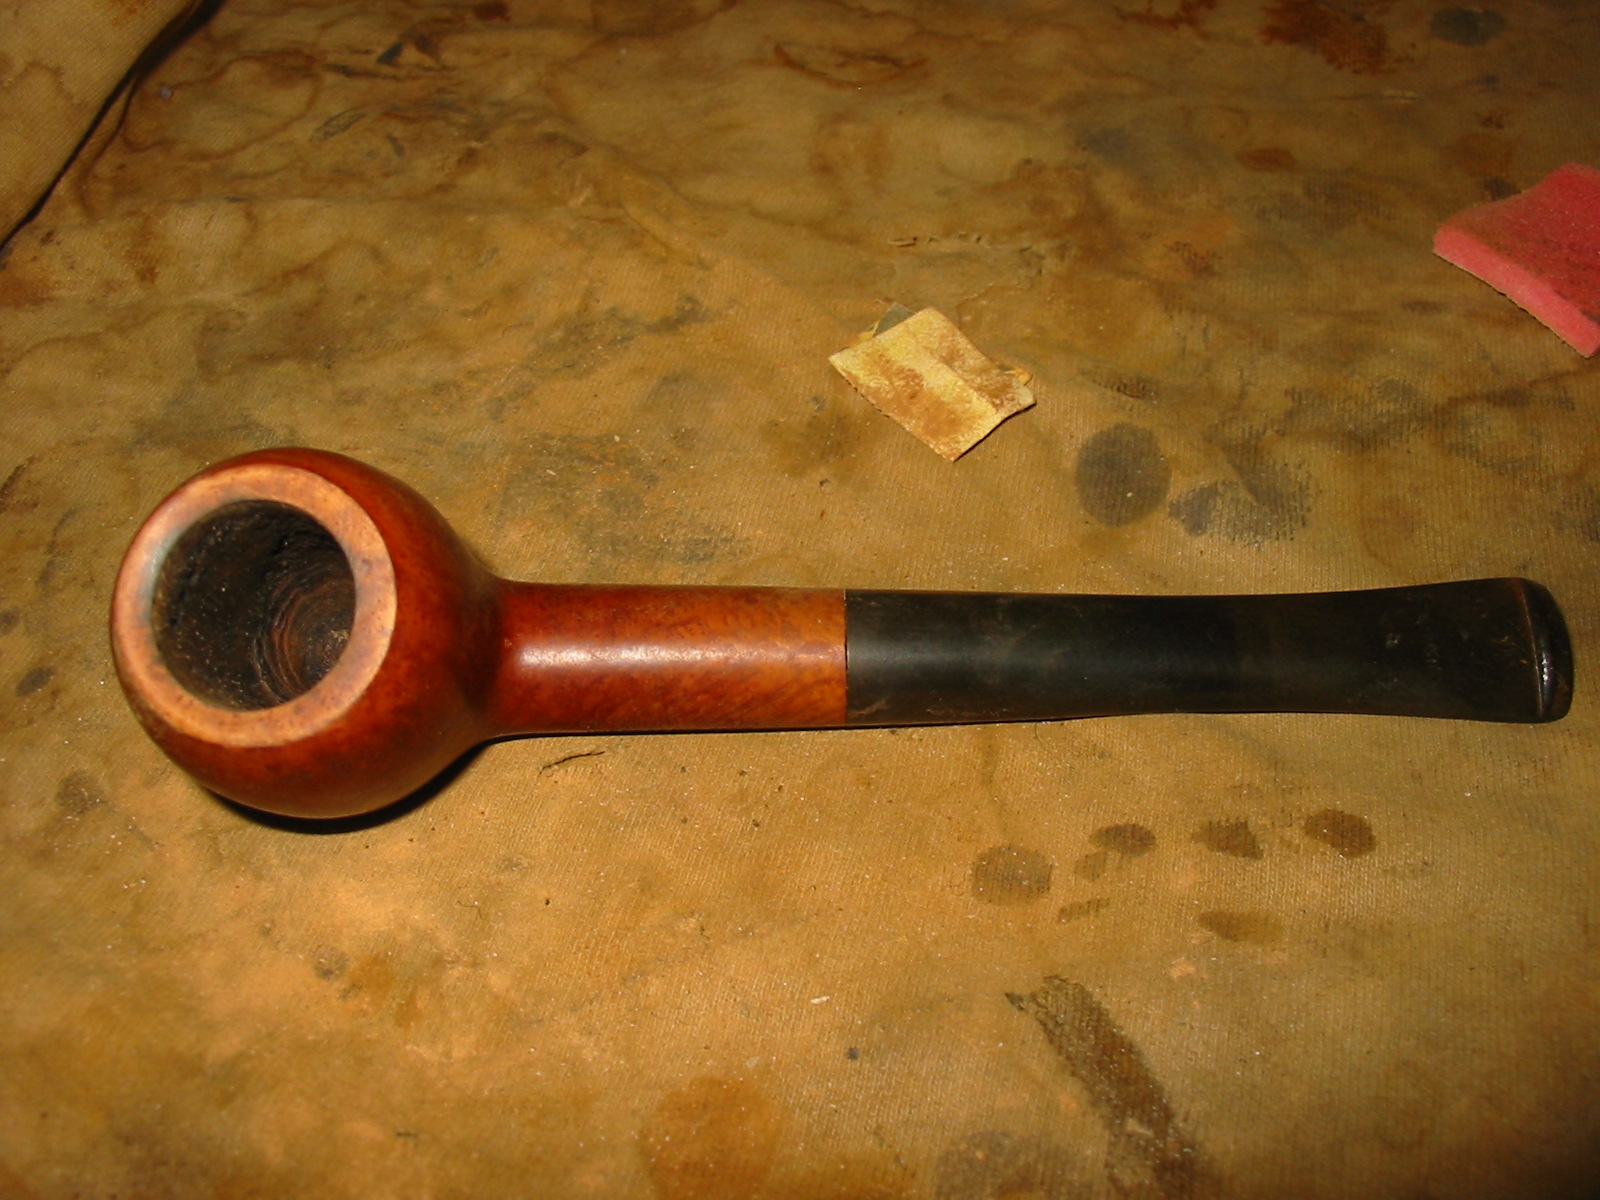
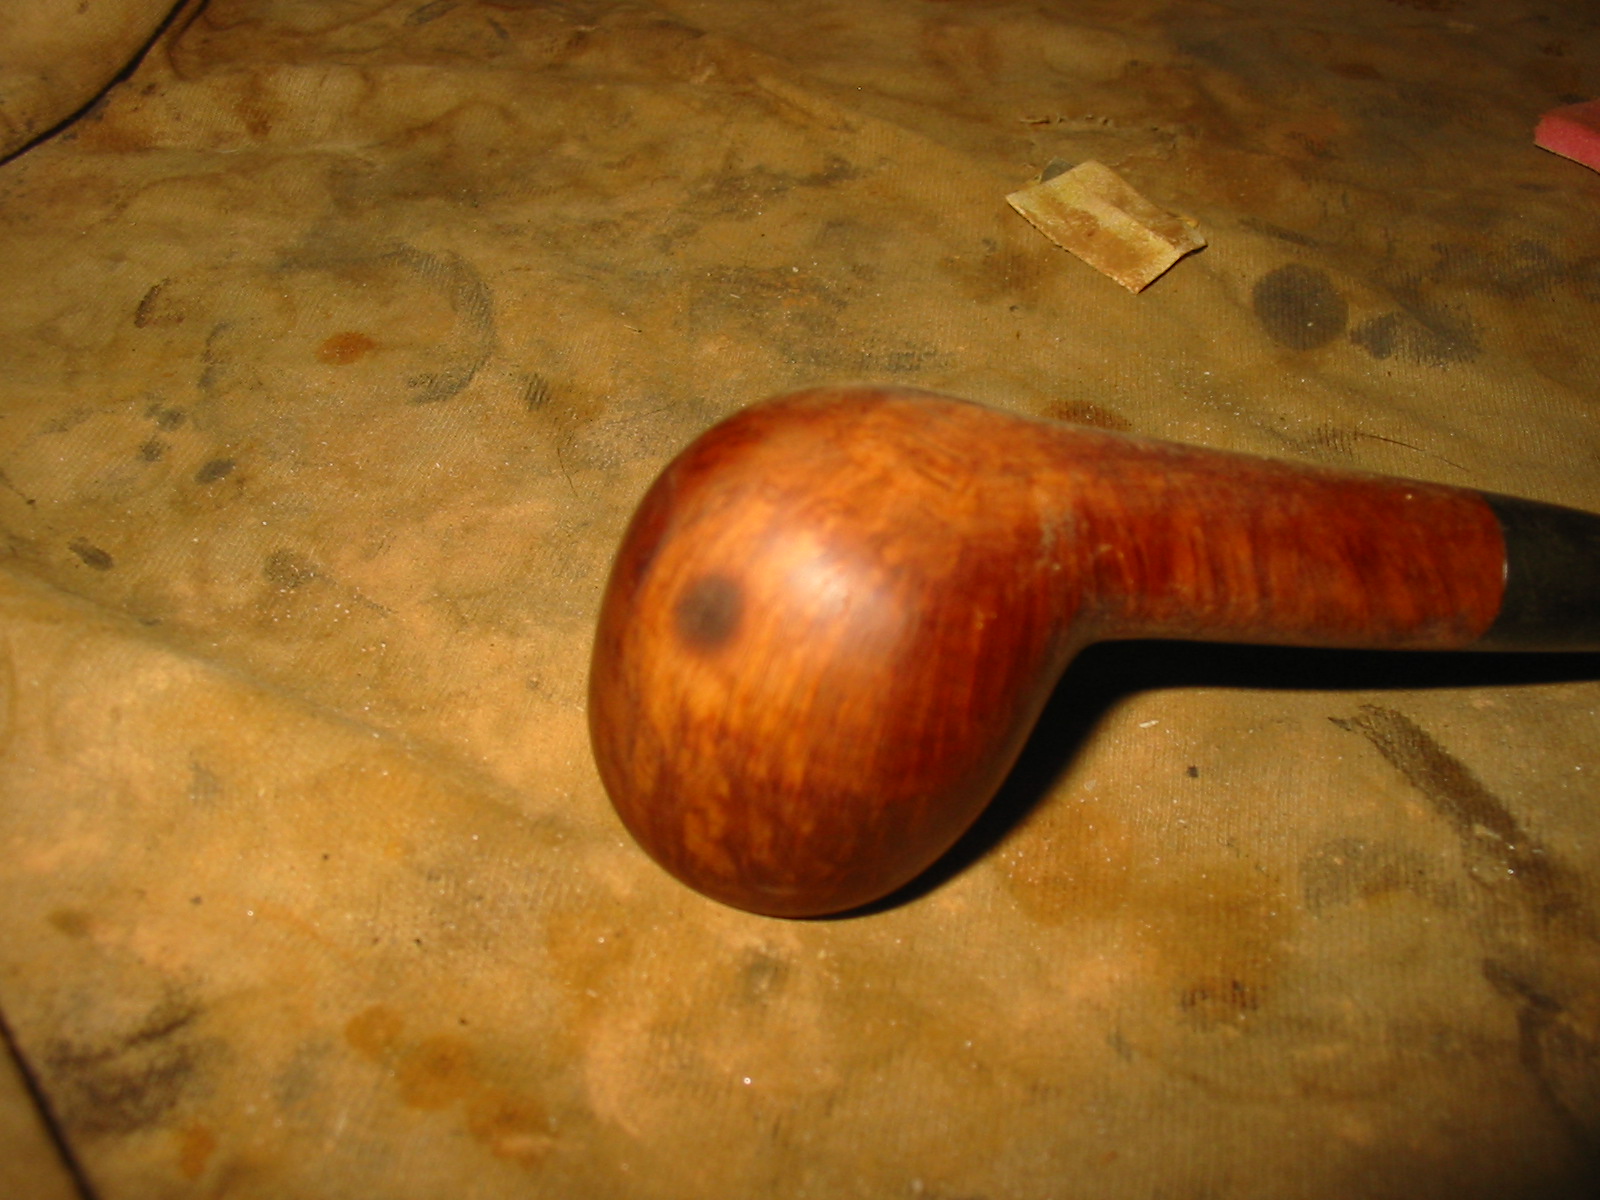
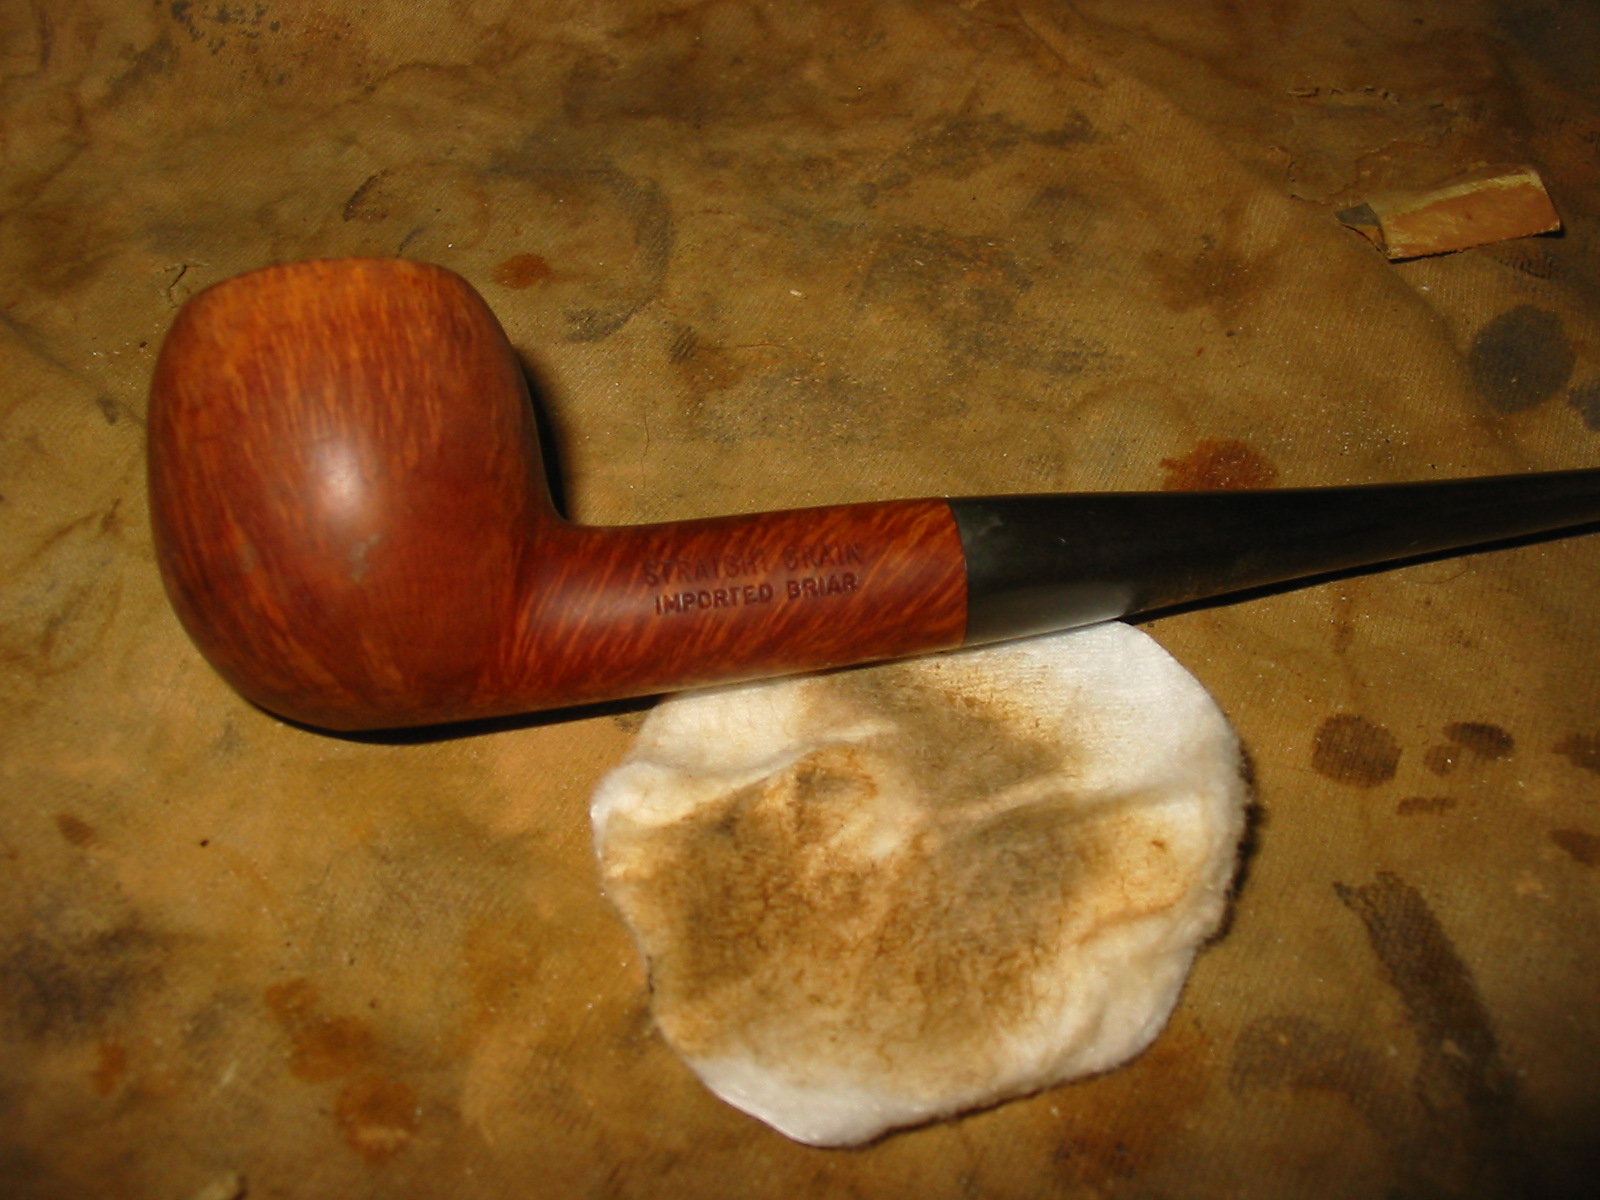
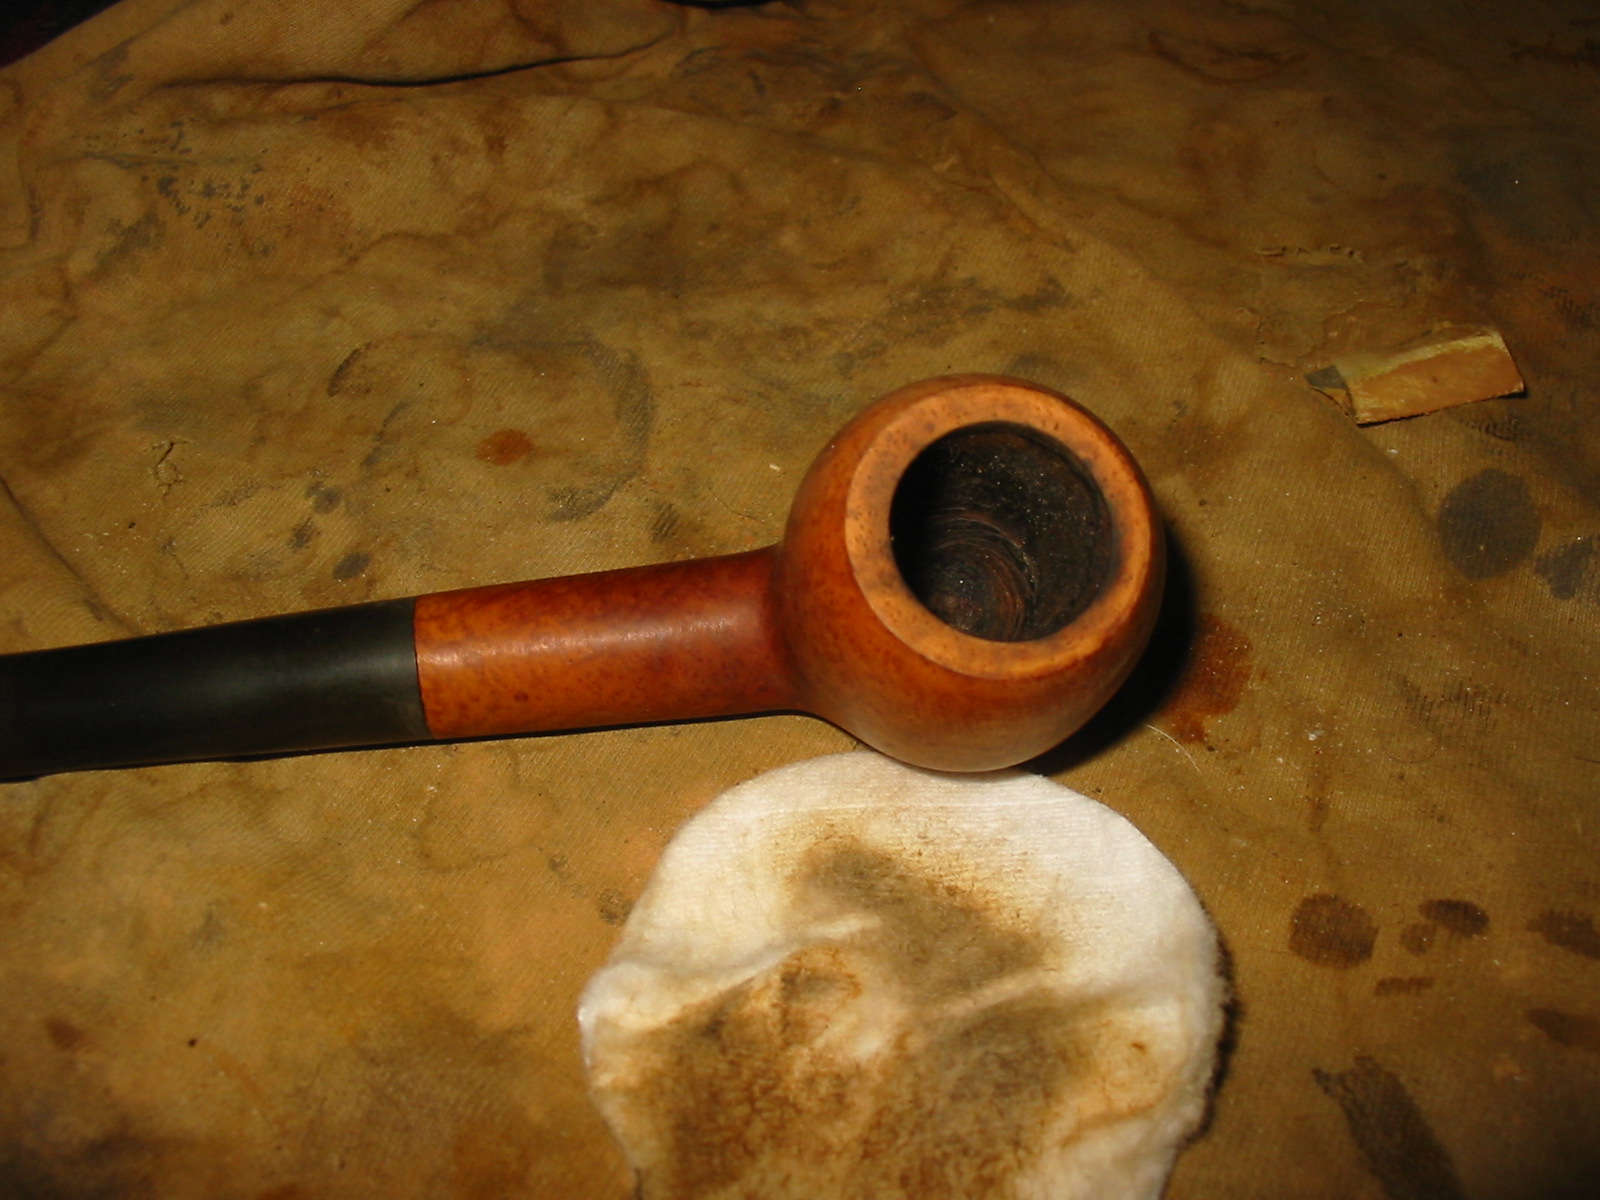
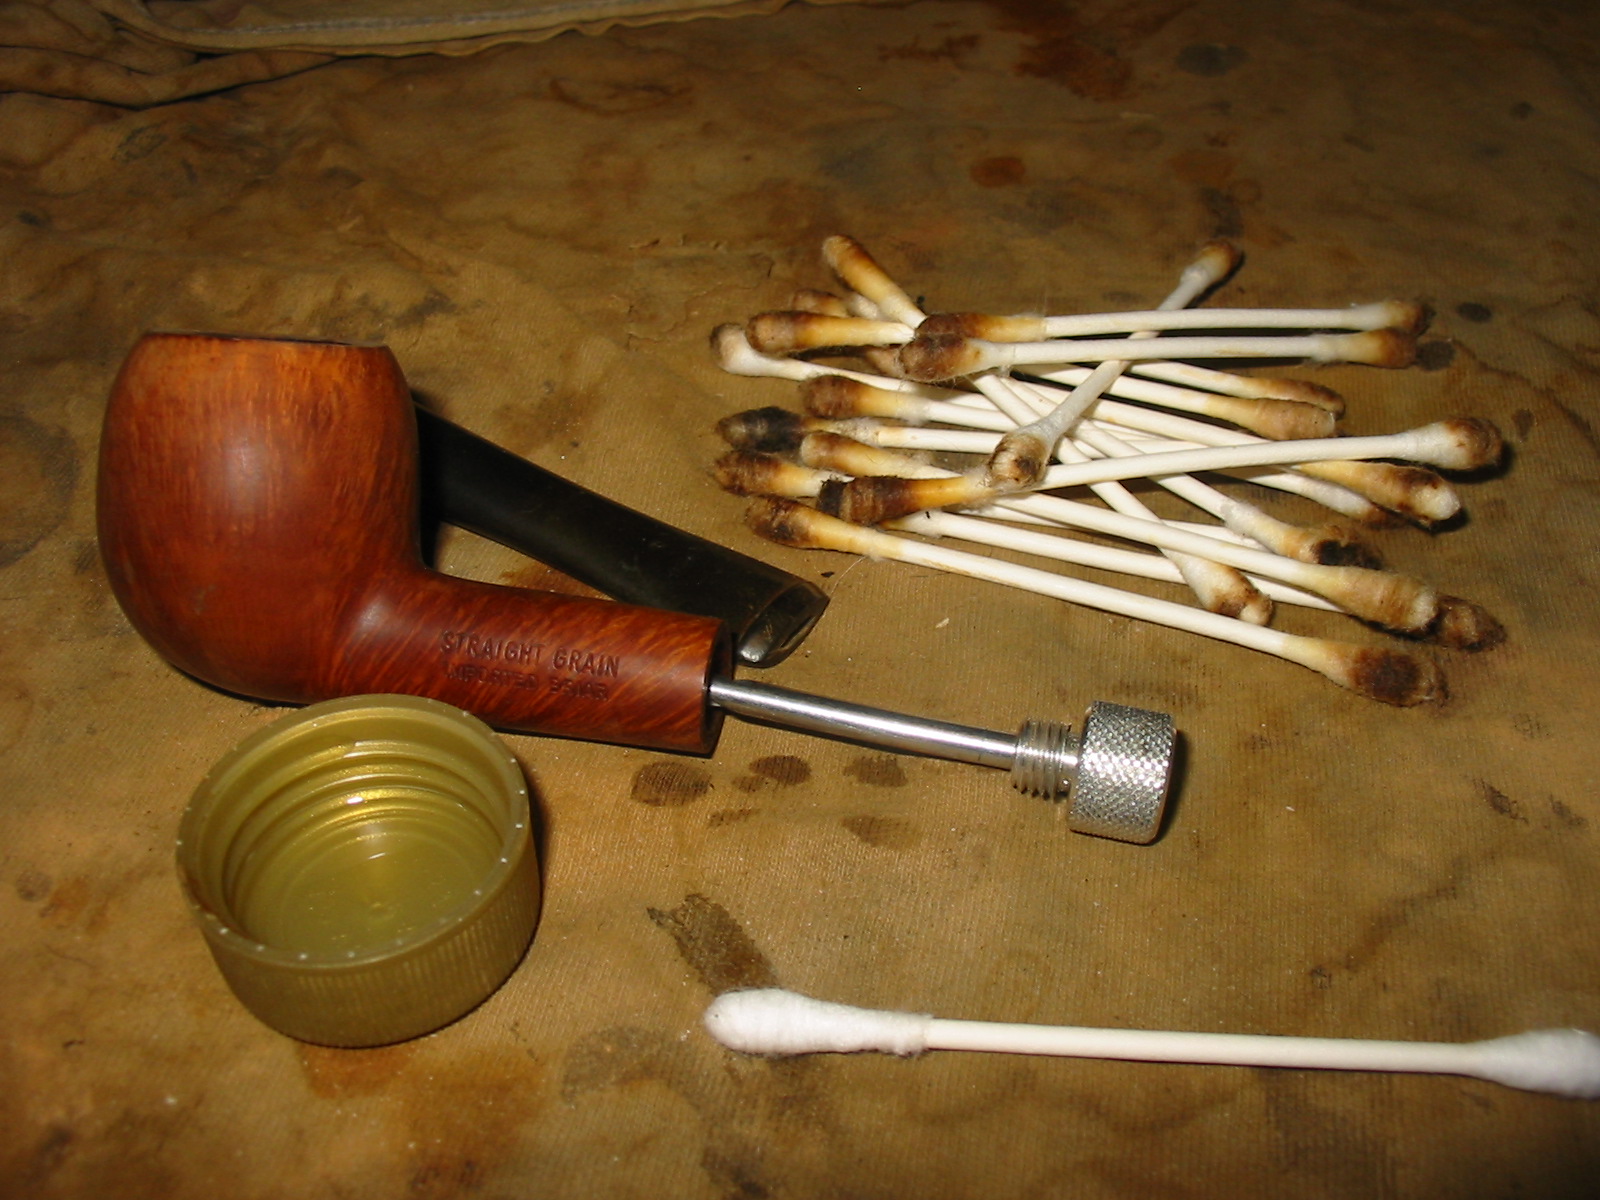
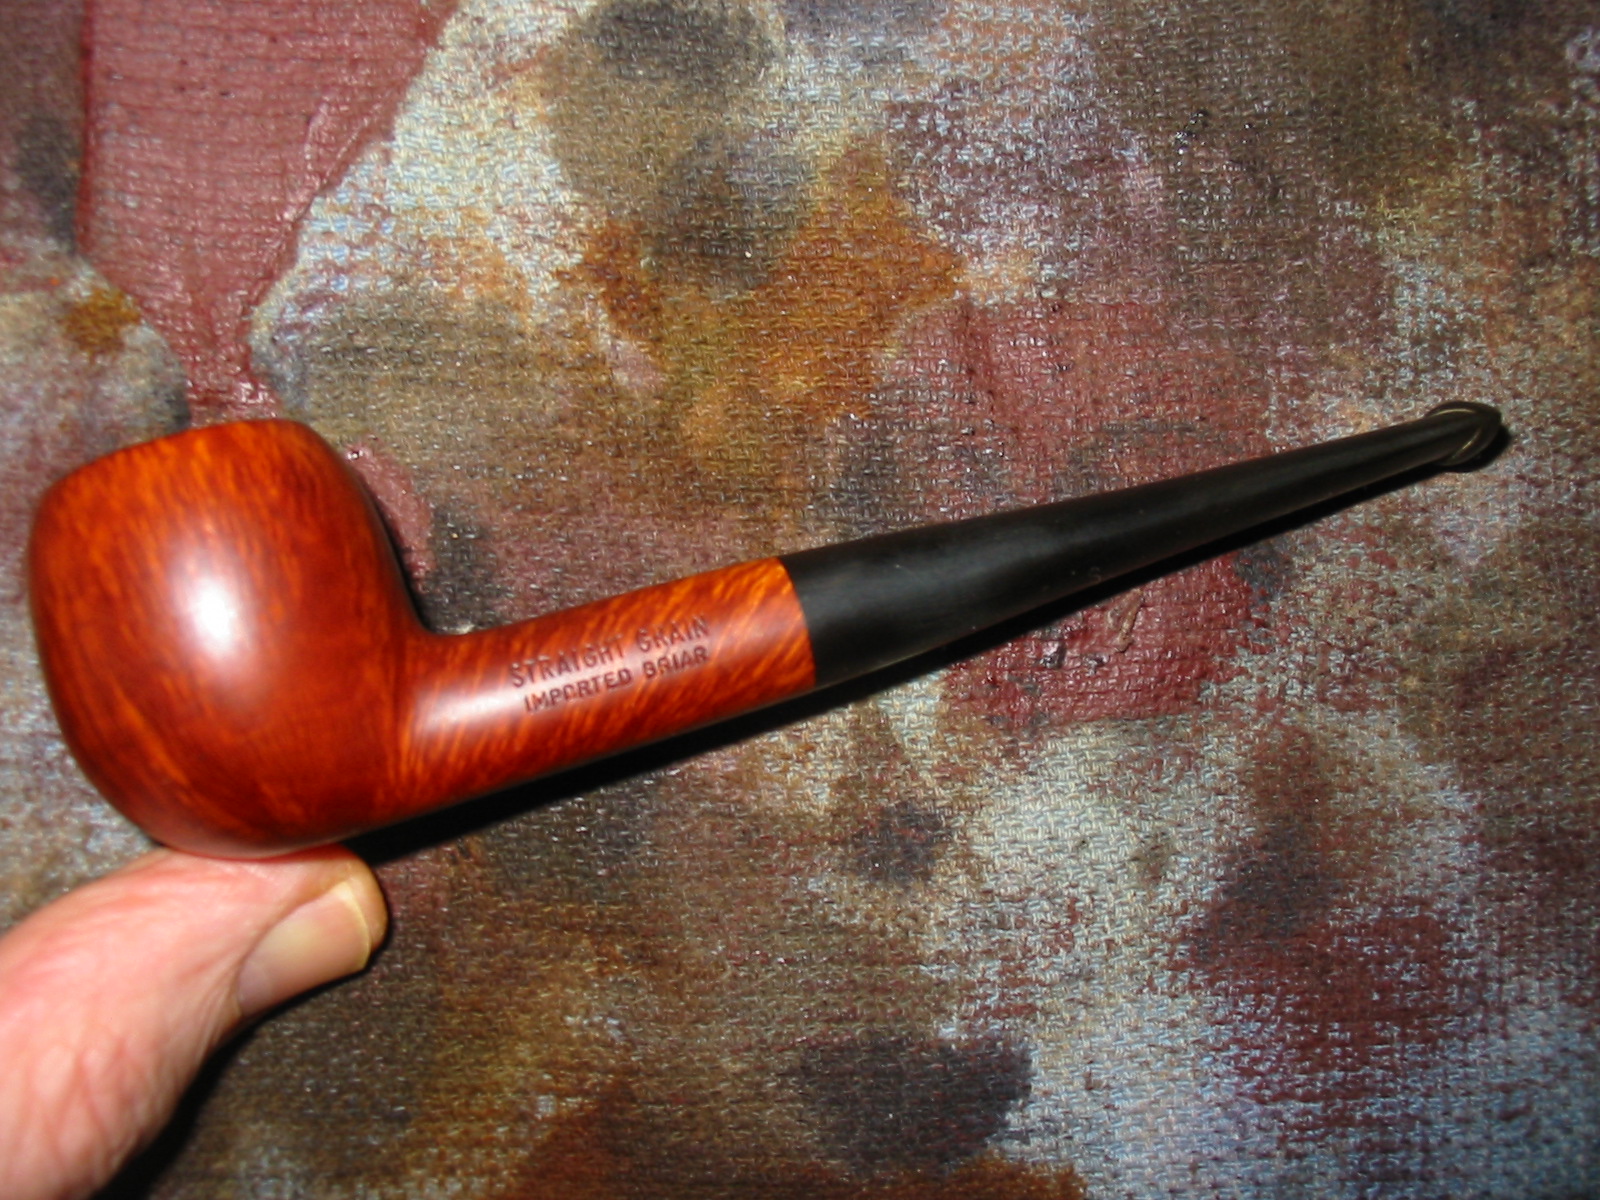
I asked him for some isopropyl alcohol, some cotton swabs, cotton makeup pads, and a sharp knife. I had some pipe cleaners with me so that we could field dress the pipe and clean it enough that he could smoke a bowl with me. The pipe had a slight burn on the front right of the bowl toward the bottom from having laid it in an ashtray and having it come in contact with a cigarette. The rim was caked and dirty with buildup but undamaged. The bowl was caked and had some burnt tobacco in it. The stem was lightly oxidized and there was light tooth chatter near the button. There was a stinger apparatus in the tenon of the stem. The stamping on the pipe was on the left side and read Straight Grain over Imported Briar. There was no other stamping on the pipe.
I carefully reamed the bowl with the pocket knife to remove a large portion of the cake. I scrubbed the top of the rim with the cotton pads and saliva until I removed the buildup on the rim. I cleaned out the inside of the shank with the pipe cleaners and the cotton swabs and isopropyl alcohol. I removed the stinger, threw it away and scrubbed the exterior and the interior of the stem to make it ready for him to smoke. Once finished we loaded a bowl of tobacco – a light English blend and headed to his front porch to have a bowl. It took some work to get the hang of lighting and keeping the bowl lit but it worked well after several tries. We enjoyed the visit and the smoke and then headed back inside.

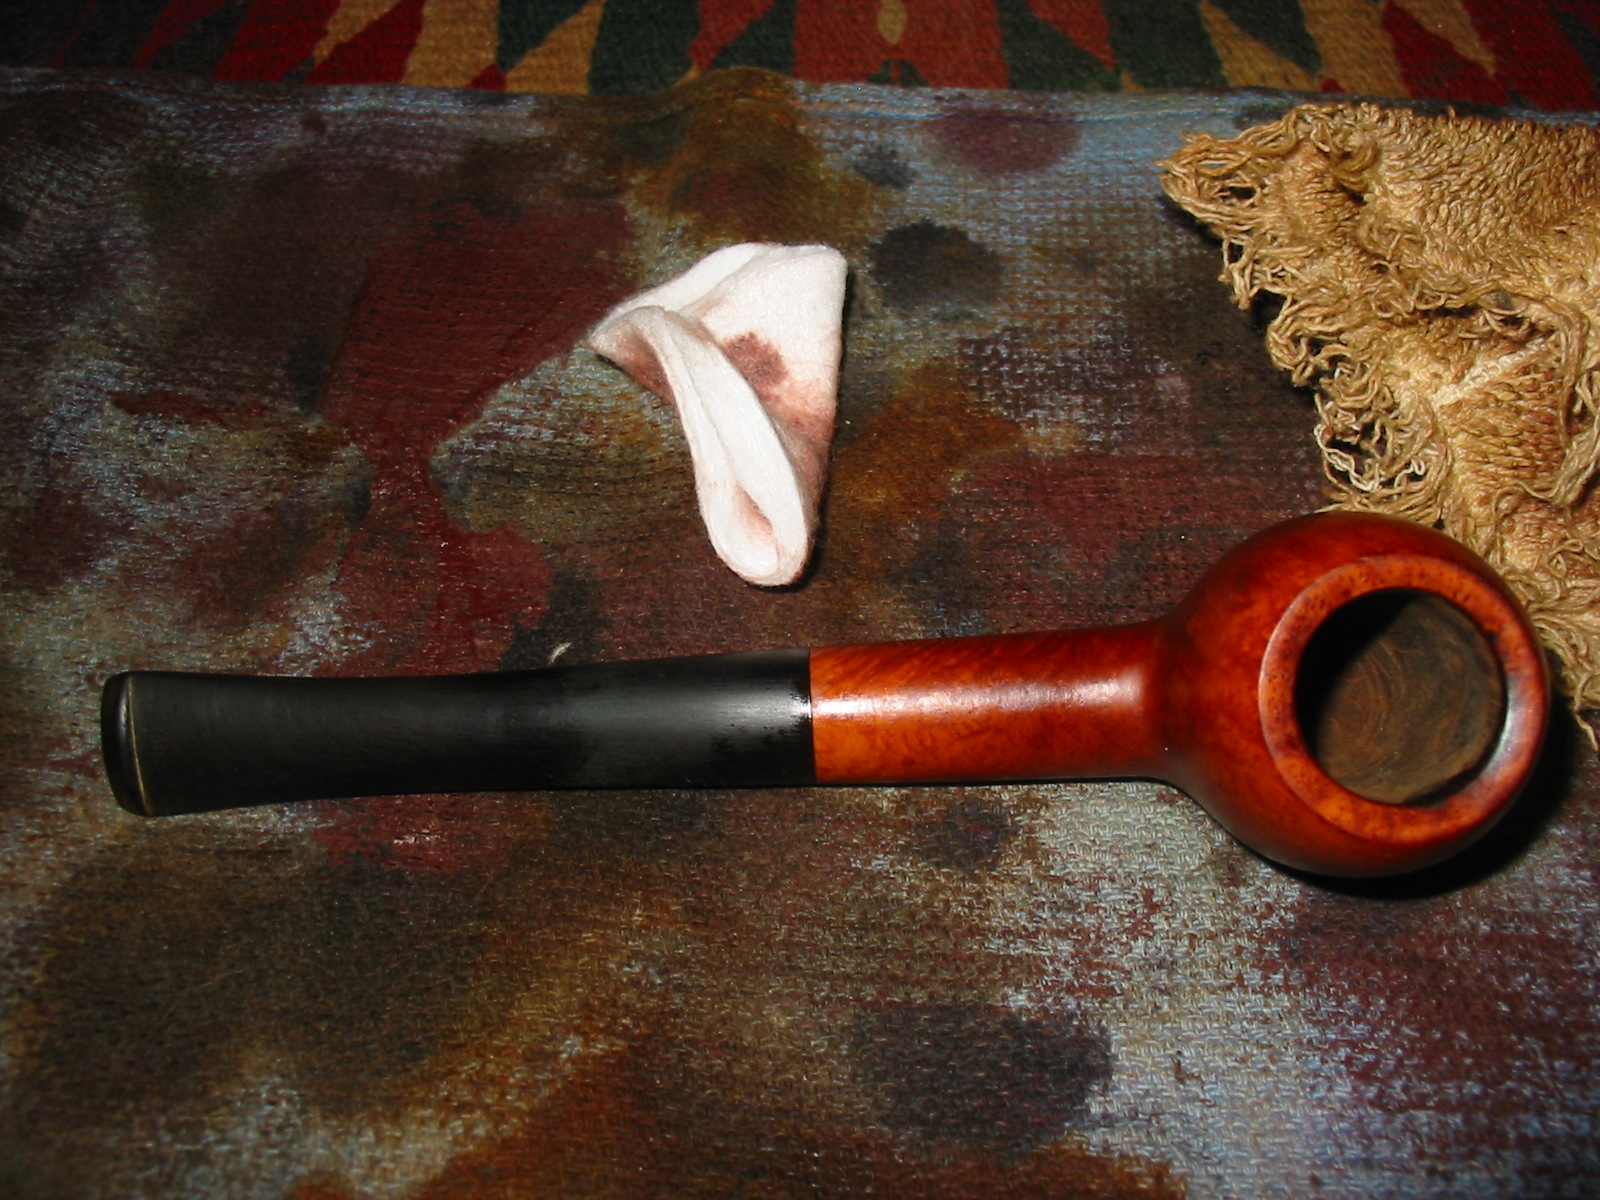
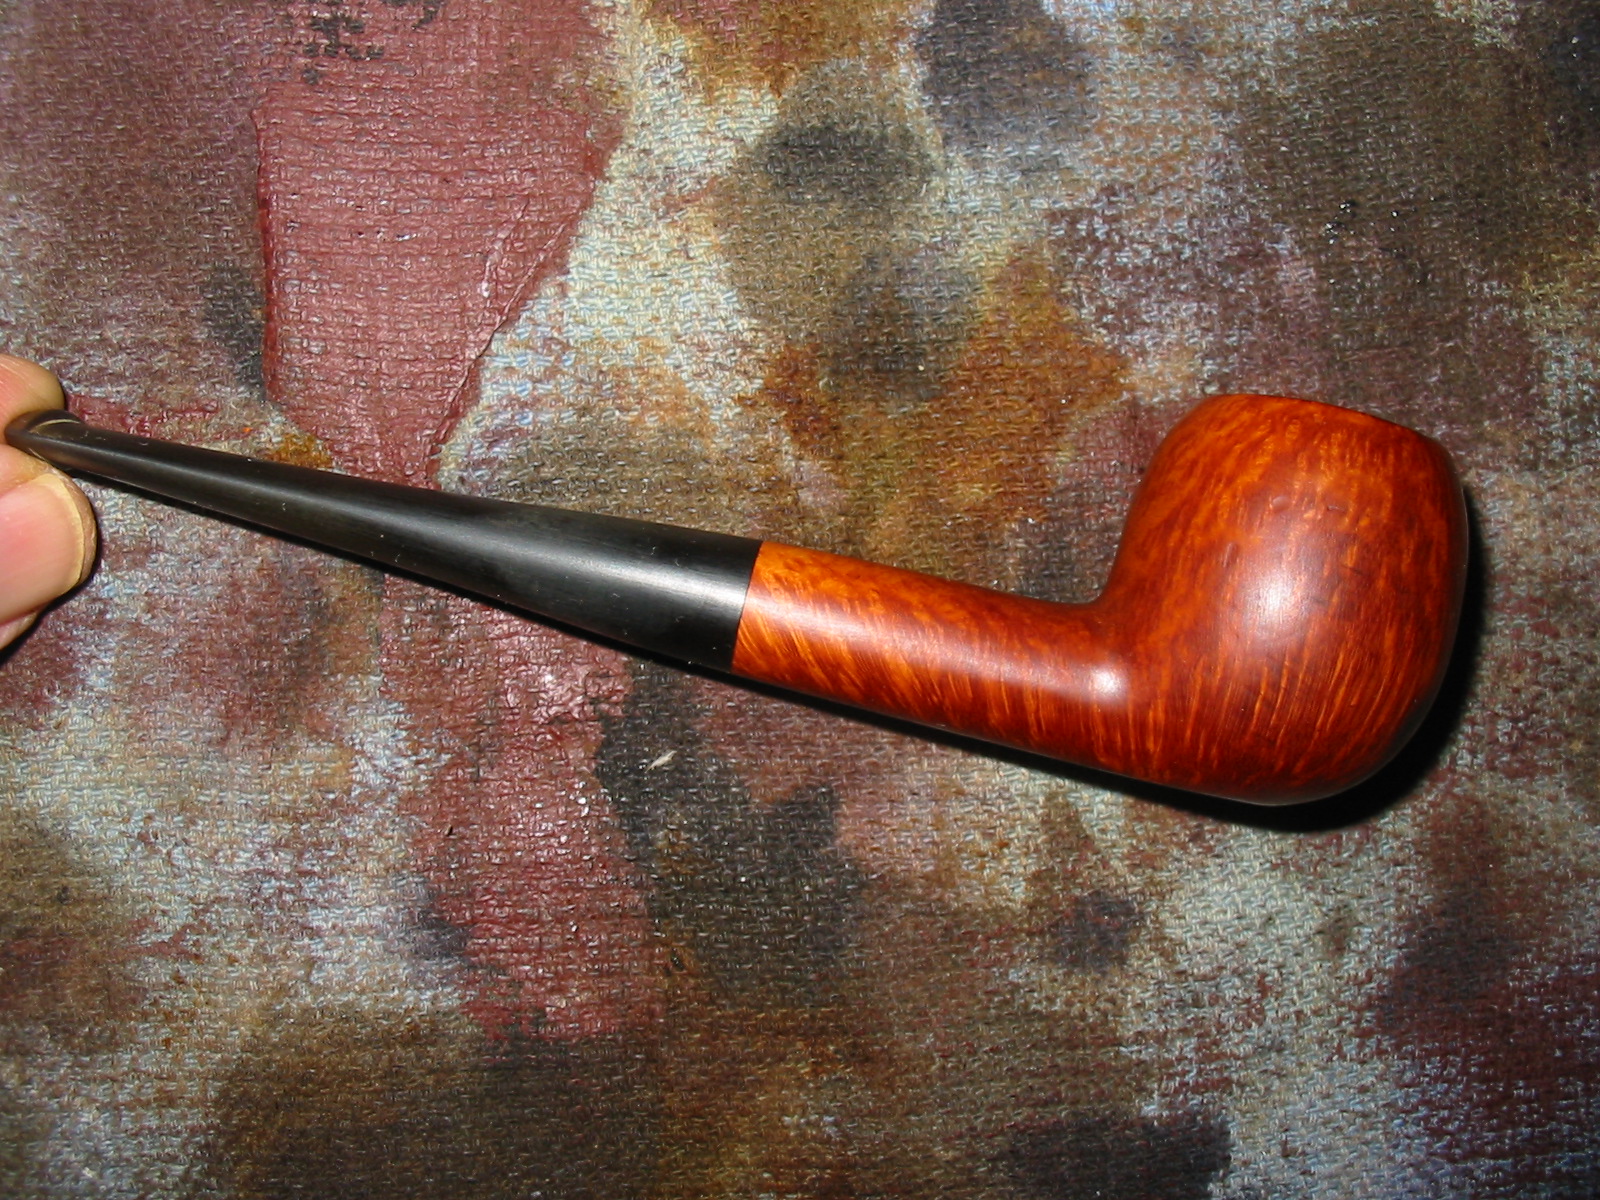
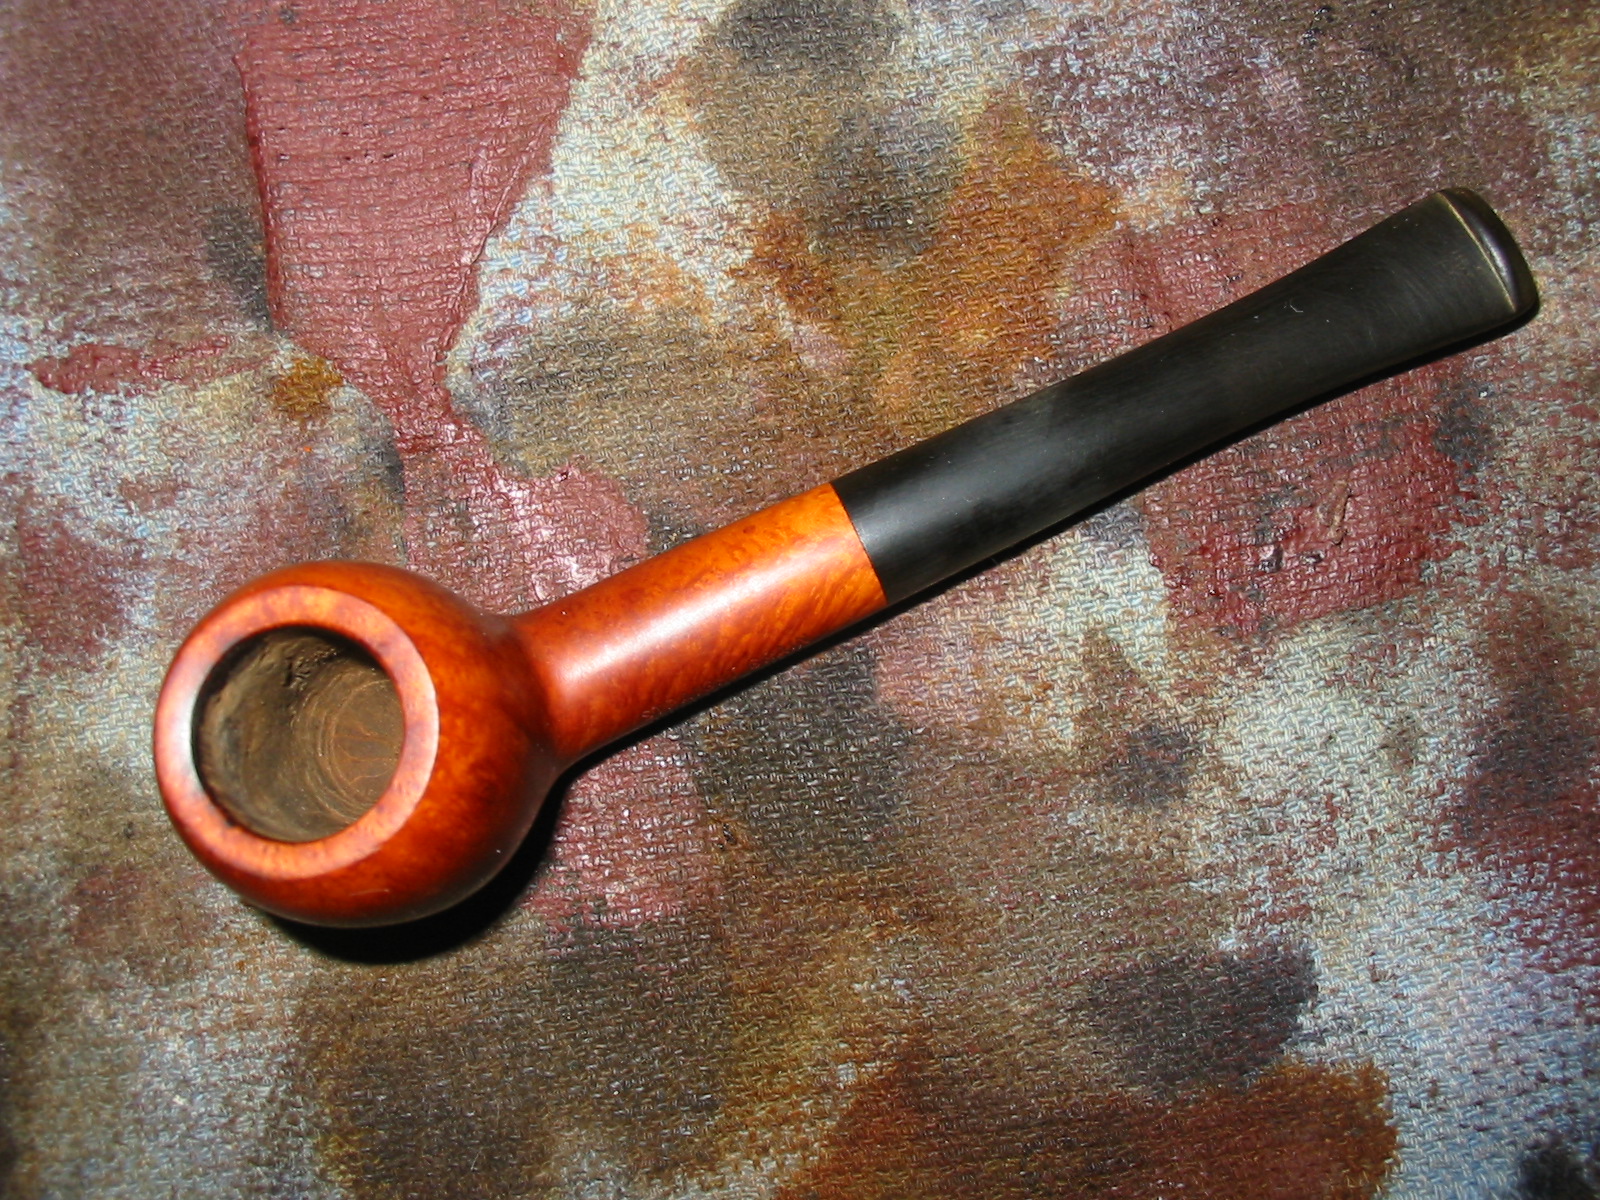
When I headed back to Vancouver I took the pipe with me to give it a more thorough cleaning and polish. The photos below show the pipe when I put it on the work table to give it a thorough work over.
IMG_4615

IMG_4616

IMG_4617

IMG_4618

The next photo shows the cigarette burn mark on the bowl. It was not too deep and did not char the wood but it was deep enough that it could not be sanded out without damaging the shape of the bowl.
IMG_4620

I sanded the burn mark and the rim to clean up the burn on the front inner edge. I used 220 grit sandpaper to start with and followed that with a medium grit sanding sponge.
IMG_4621

IMG_4622

I wiped the bowl down with acetone on cotton pads to remove the finish from the bowl and to prepare it for new staining.
IMG_4623

IMG_4624

IMG_4625

IMG_4627

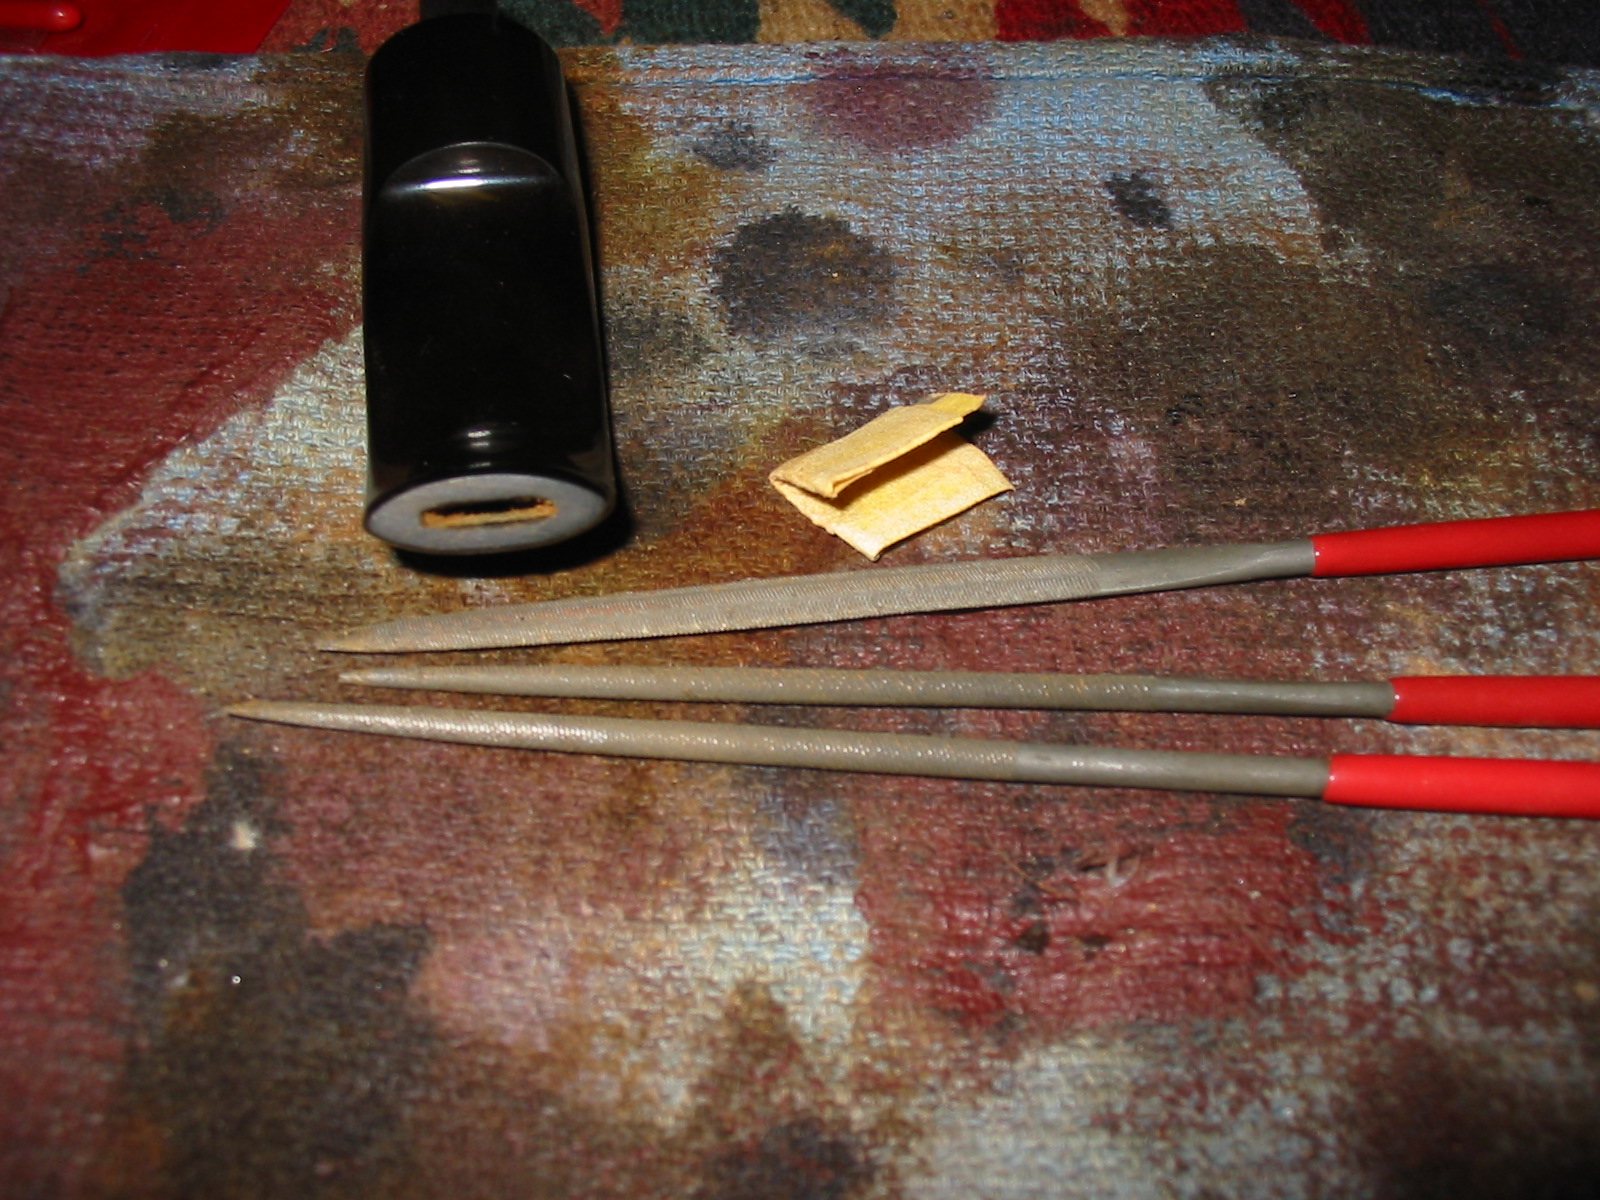
The slot in the stem was tight and hard to get a pipe cleaner to pass through easily so I decided to open the slot open with needle files. I shaped it and opened it and then sanded it with a folded piece of 220 grit sandpaper.
IMG_4628

IMG_4629

IMG_4631

IMG_4632

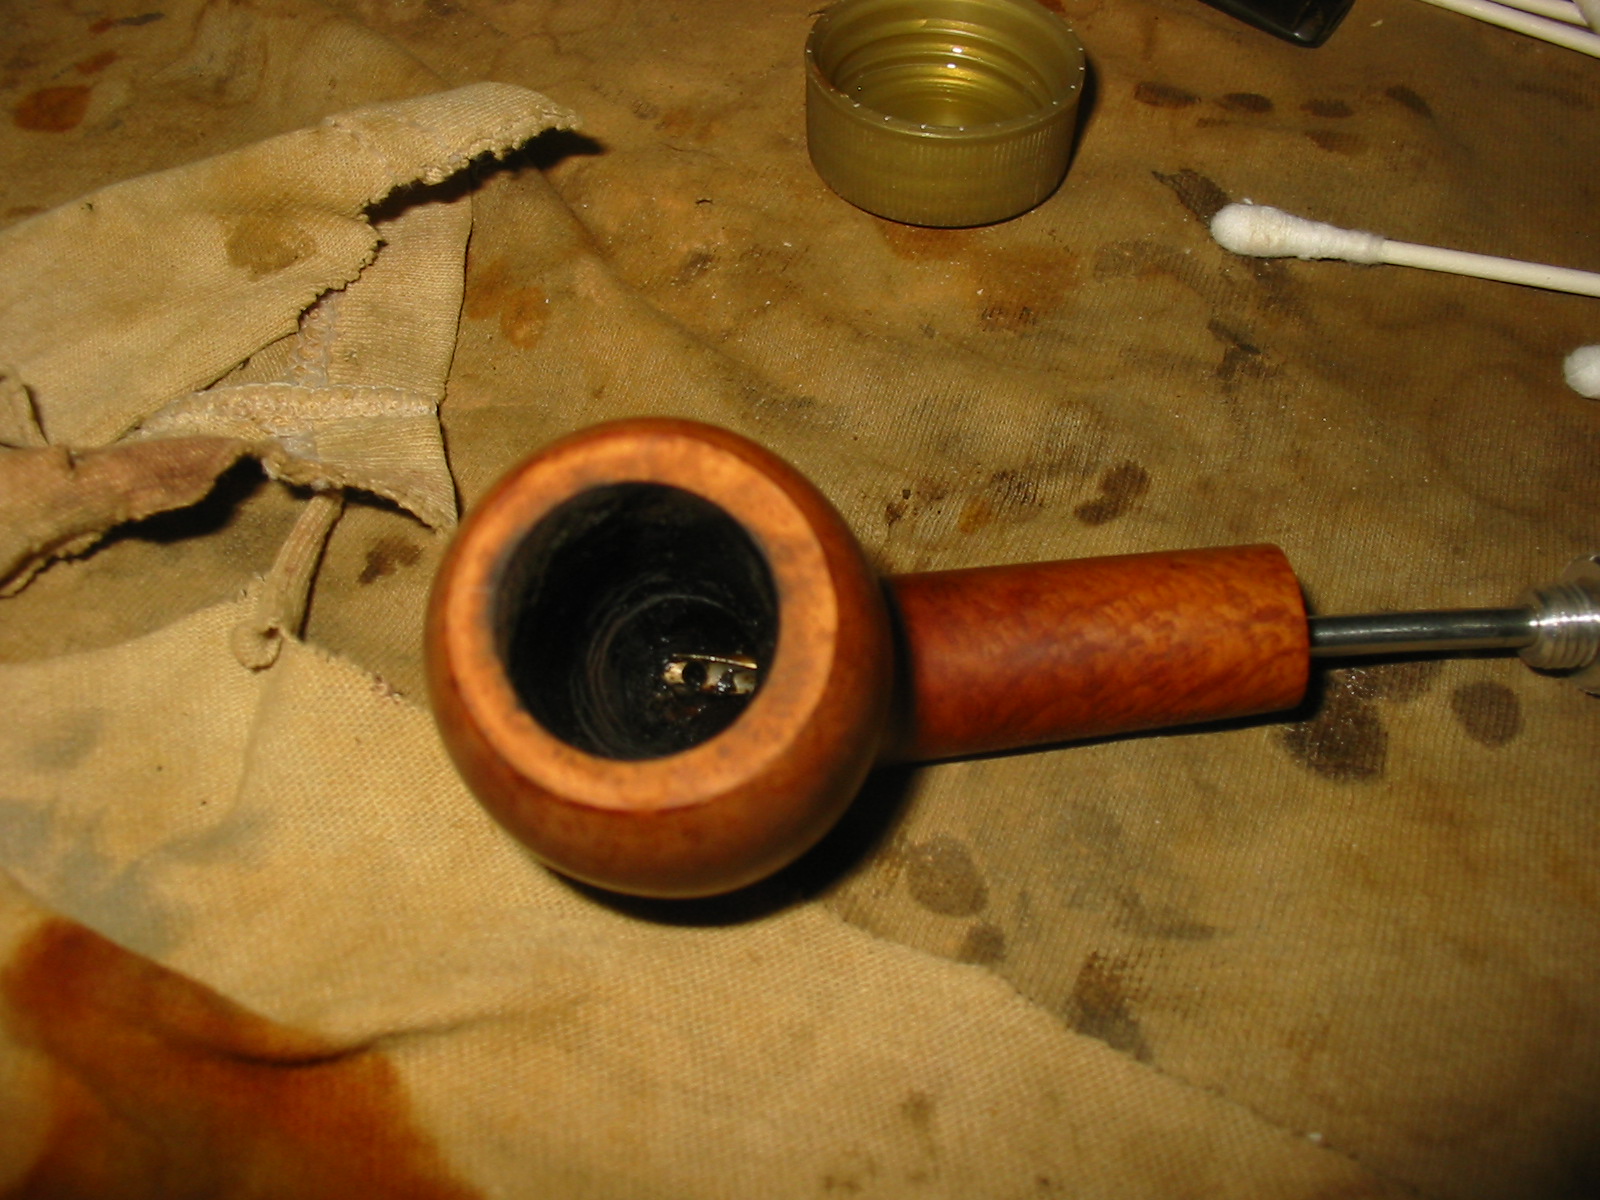
I reamed the bowl and cleaned out the shank with isopropyl alcohol and then used pipe cleaners. I used the drill bit in the KleenReem pipe reamer to open up the airway into the bowl from the shank. The tars had clogged the airway so the drill bit opened it and cleaned up the buildup on the sides of the airway.
IMG_4633

IMG_4634

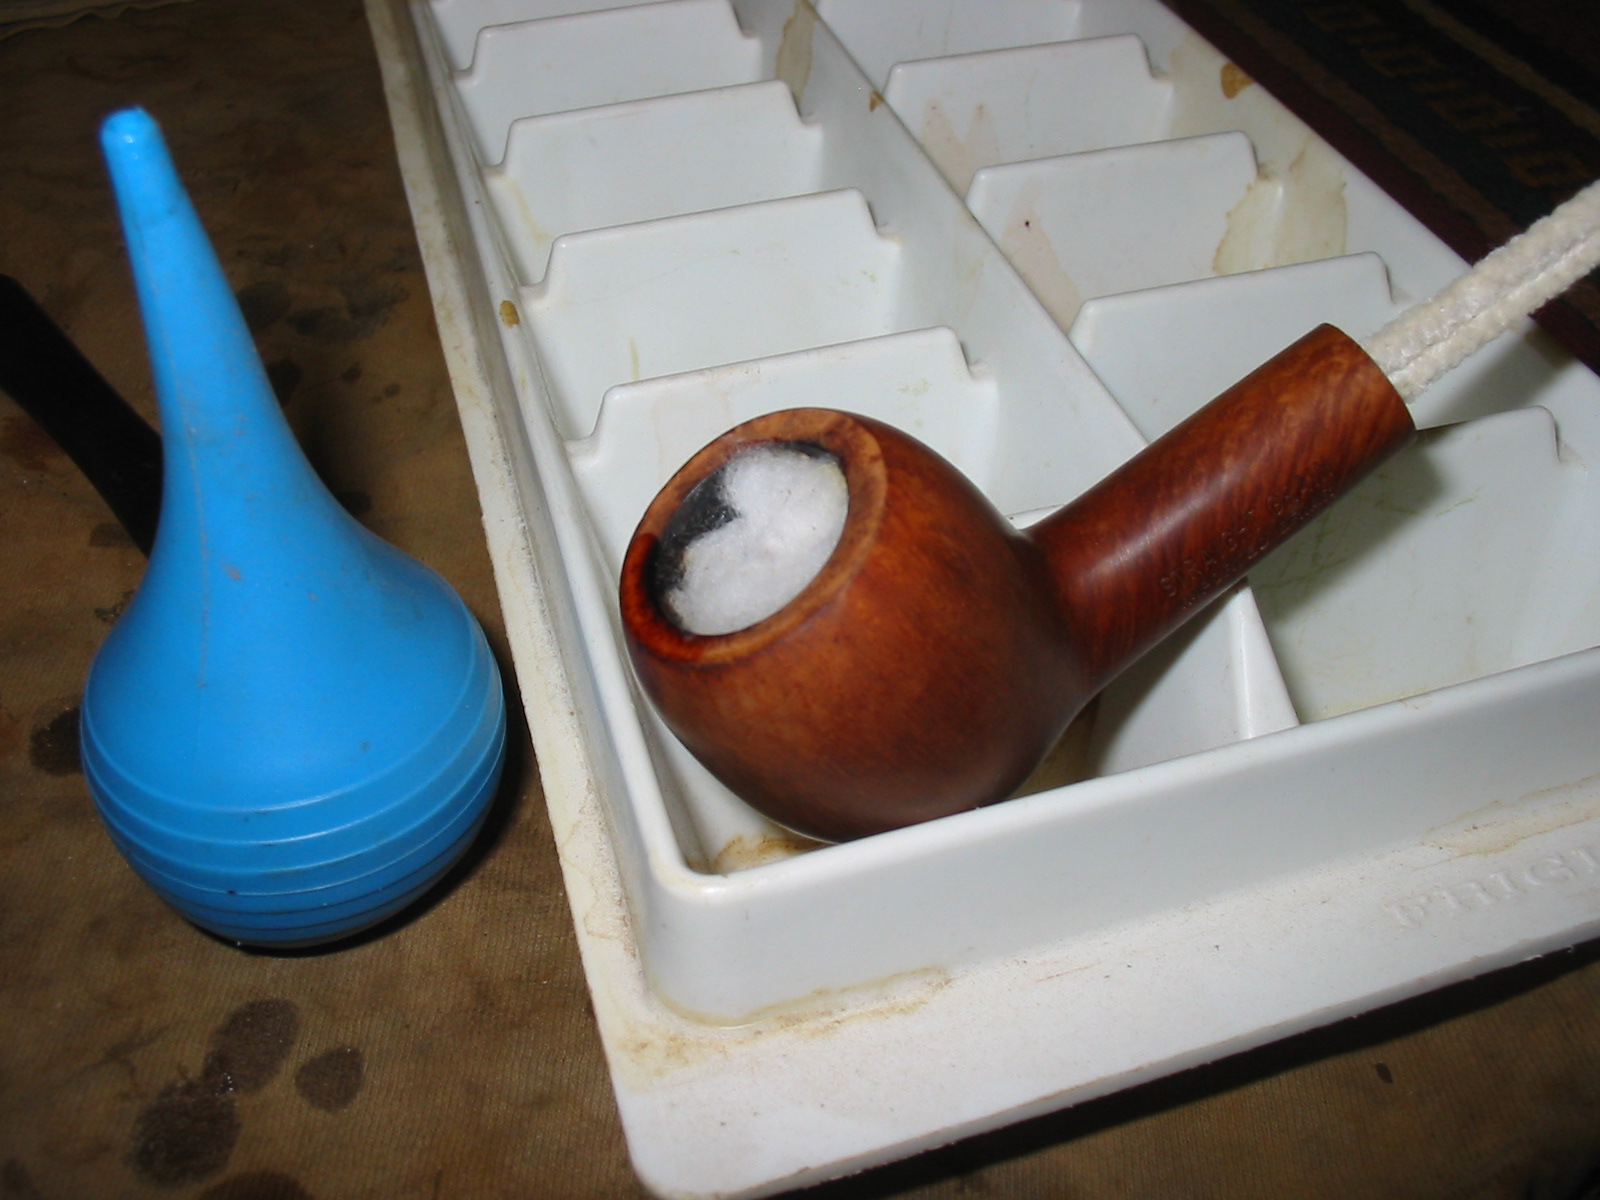
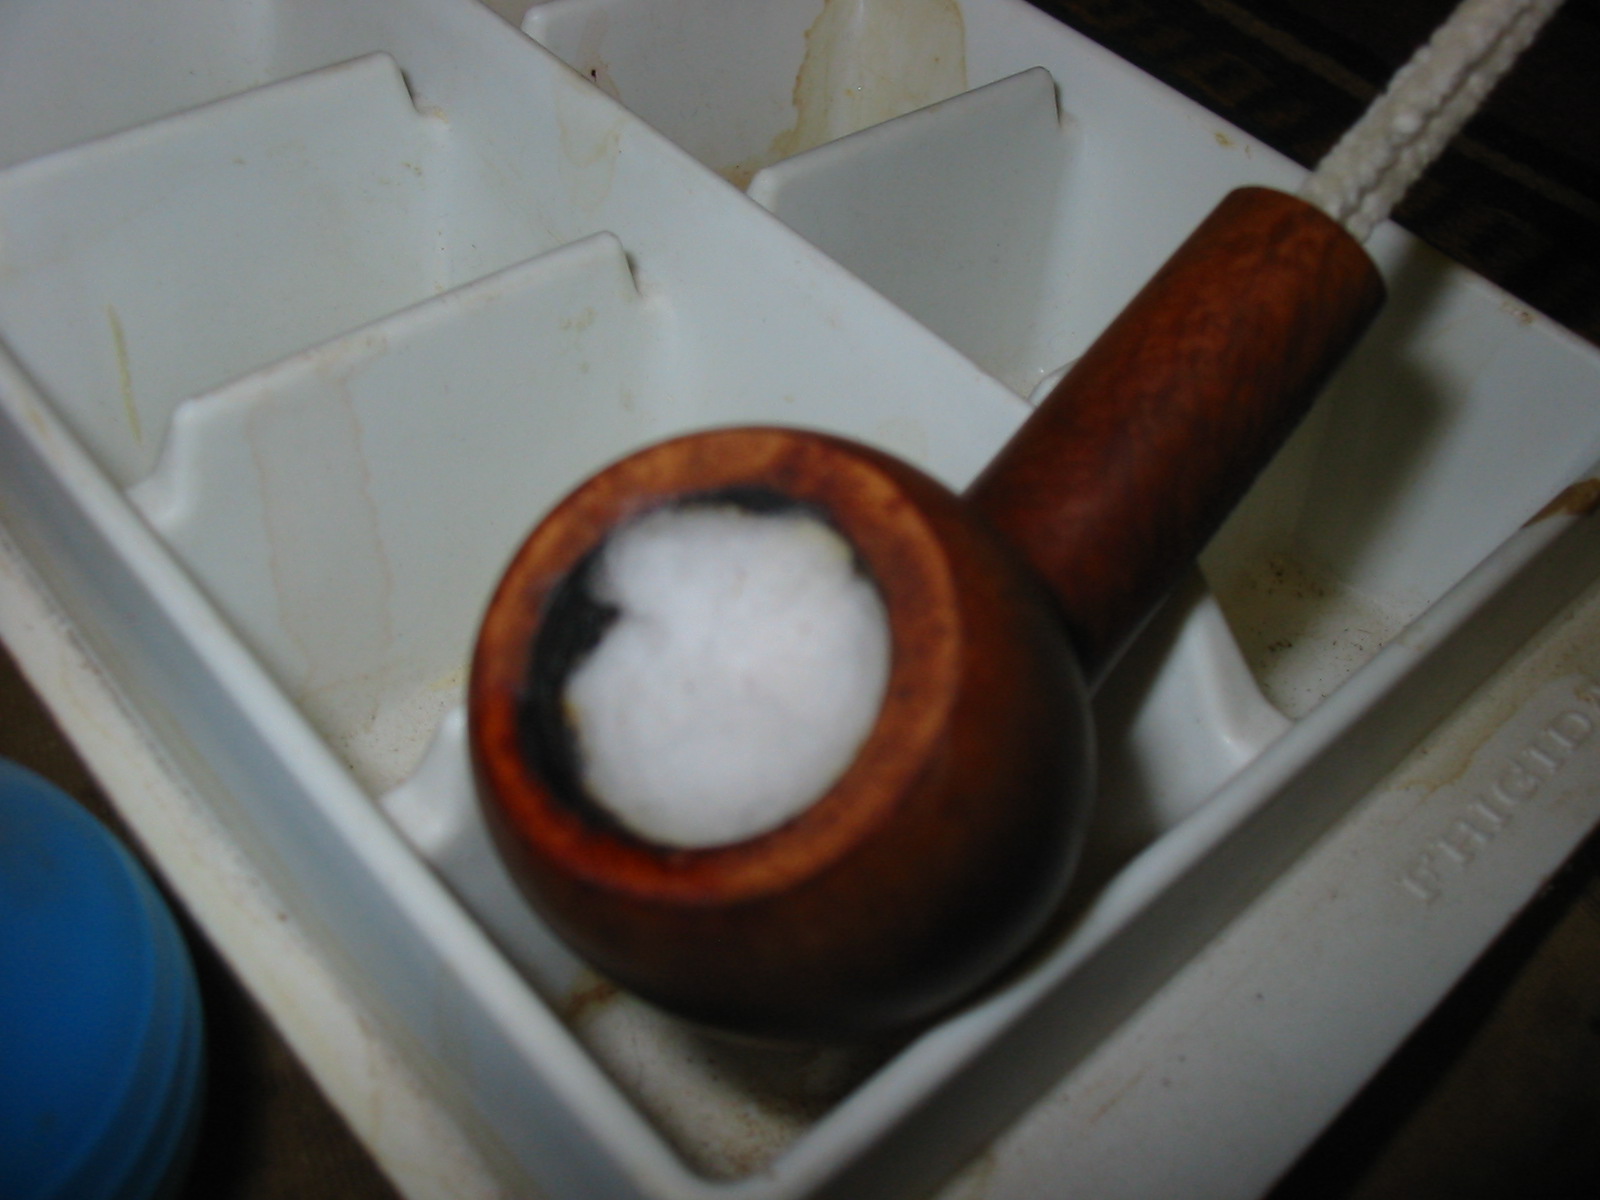
I decided to do a cotton boll and alcohol soak on the bowl. I stuffed the bowl with cotton and used an ear syringe to fill it with Everclear. I set the bowl in an old ice cube tray to let it soak while I was at work. The alcohol leaches out the tars in the bowl into the cotton and leaves the pipe fresh inside.
IMG_4635

IMG_4636

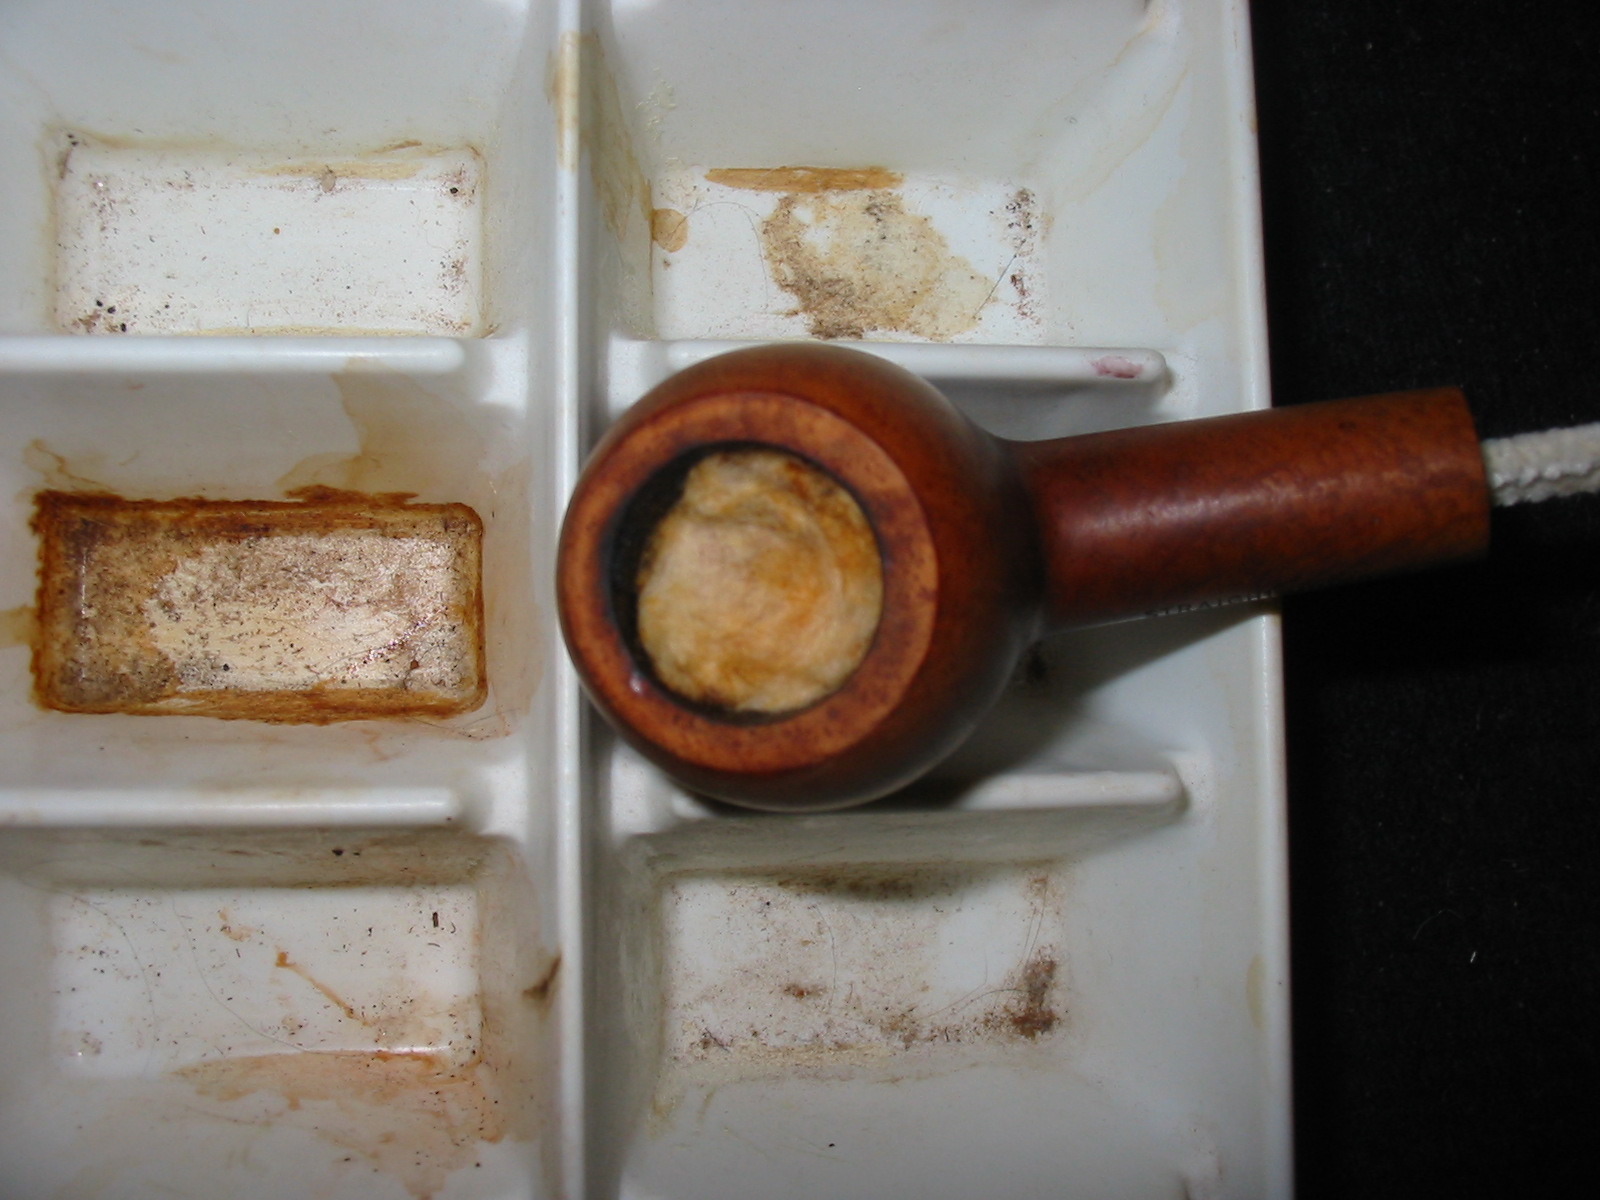
It sat in the tray for about 10 hours soaking. The cotton boll was soaked and brown coloured from the tars that leached out of the bowl.
IMG_4639

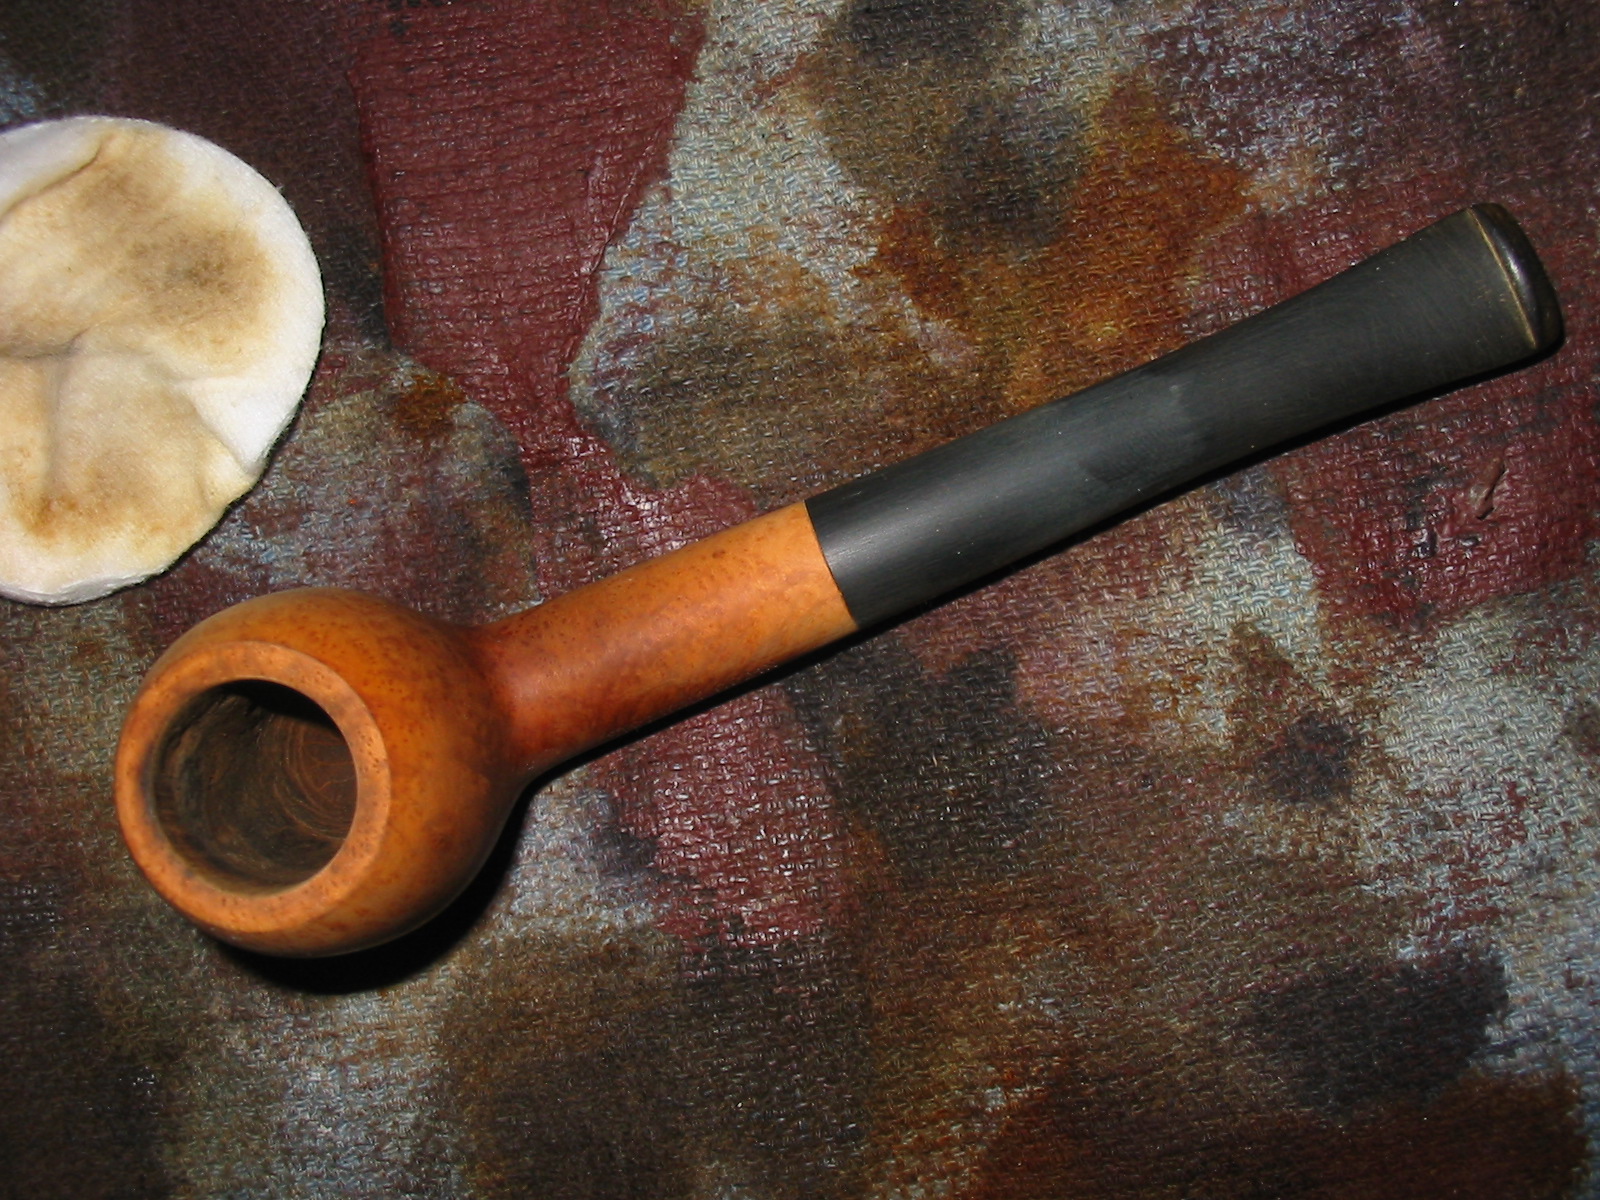
I took the cotton out of the bowl and then lit the alcohol remaining in the bowl with a lighter. It quickly burned the alcohol out and left the bowl dry. I used a folded piece of sandpaper to work on the inner edge of the rim to remove the burned spot on the front inner edge. I also used a PipNet reamer to remove the remaining cake that I had missed earlier. I wiped the bowl down a final time with acetone on cotton pads to remove the grit and grime that came out with the cleaning of the bowl.
IMG_4640

IMG_4641

IMG_4642

IMG_4643

I stained the bowl with an oxblood stain as an undercoat. I applied it and then flamed it. I hand buffed the bowl once the stain was dry.
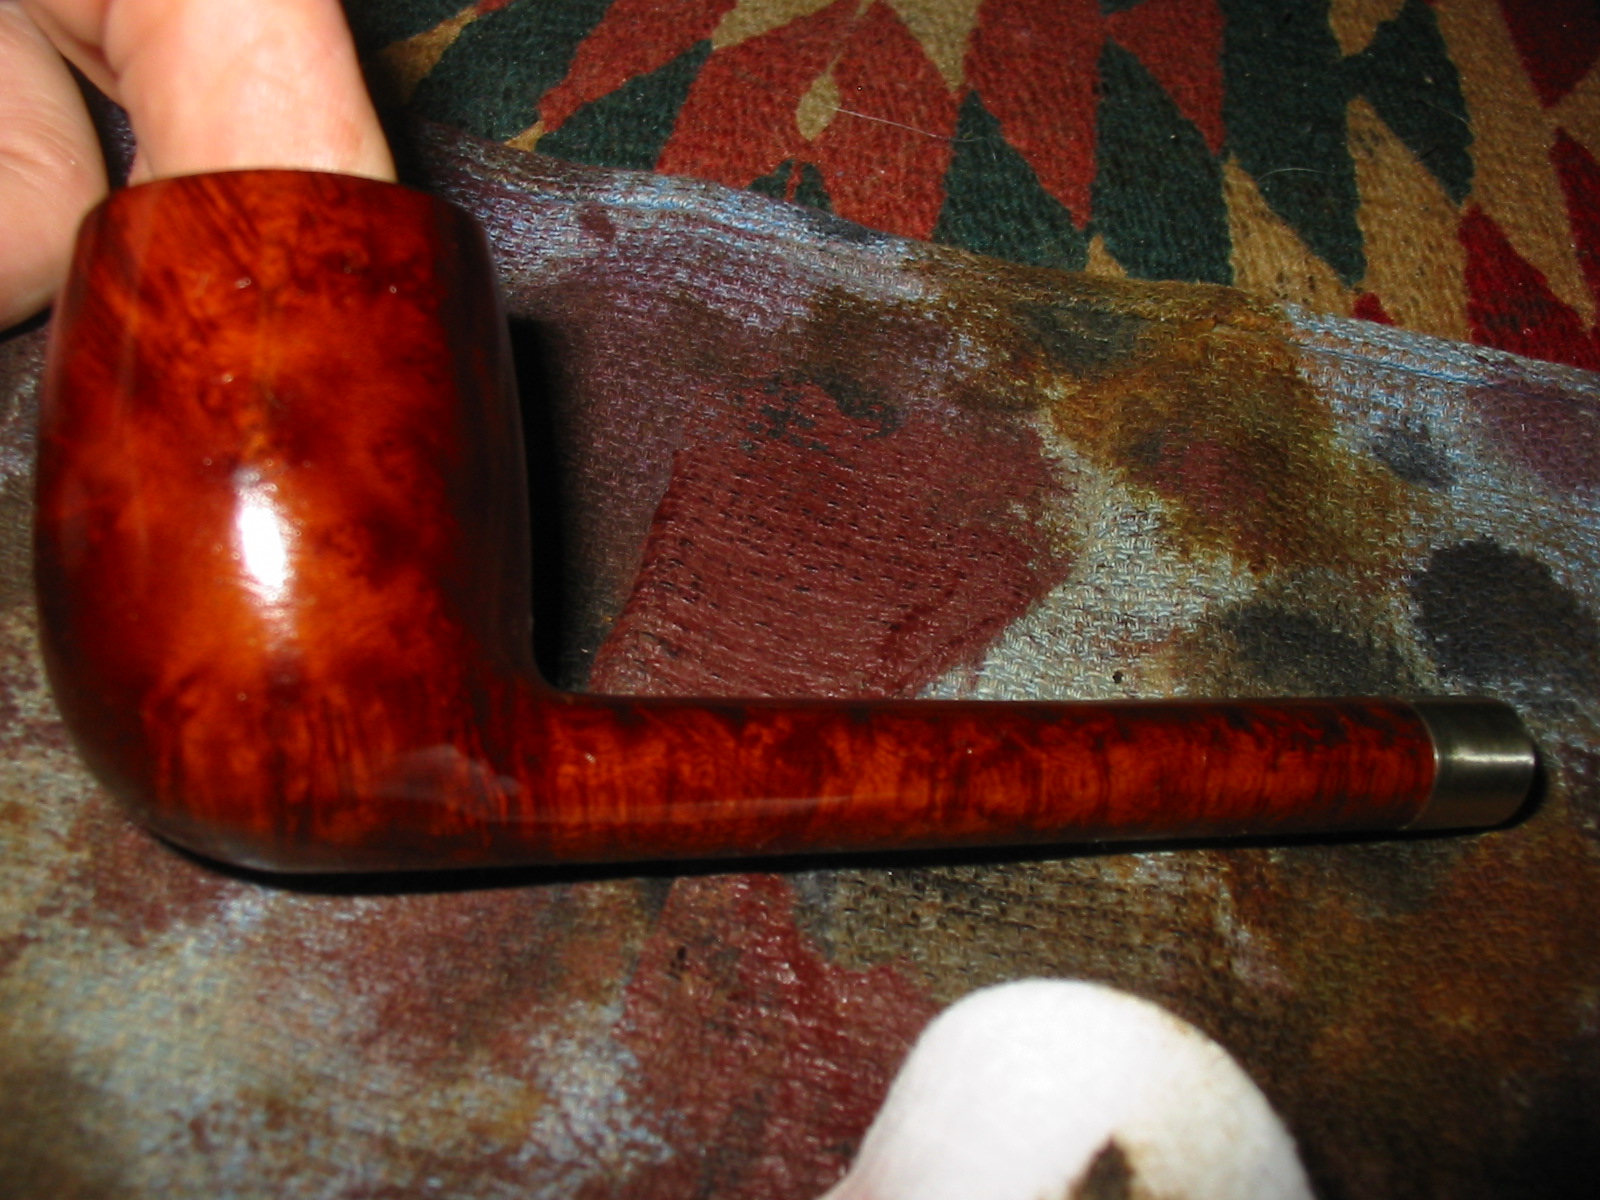
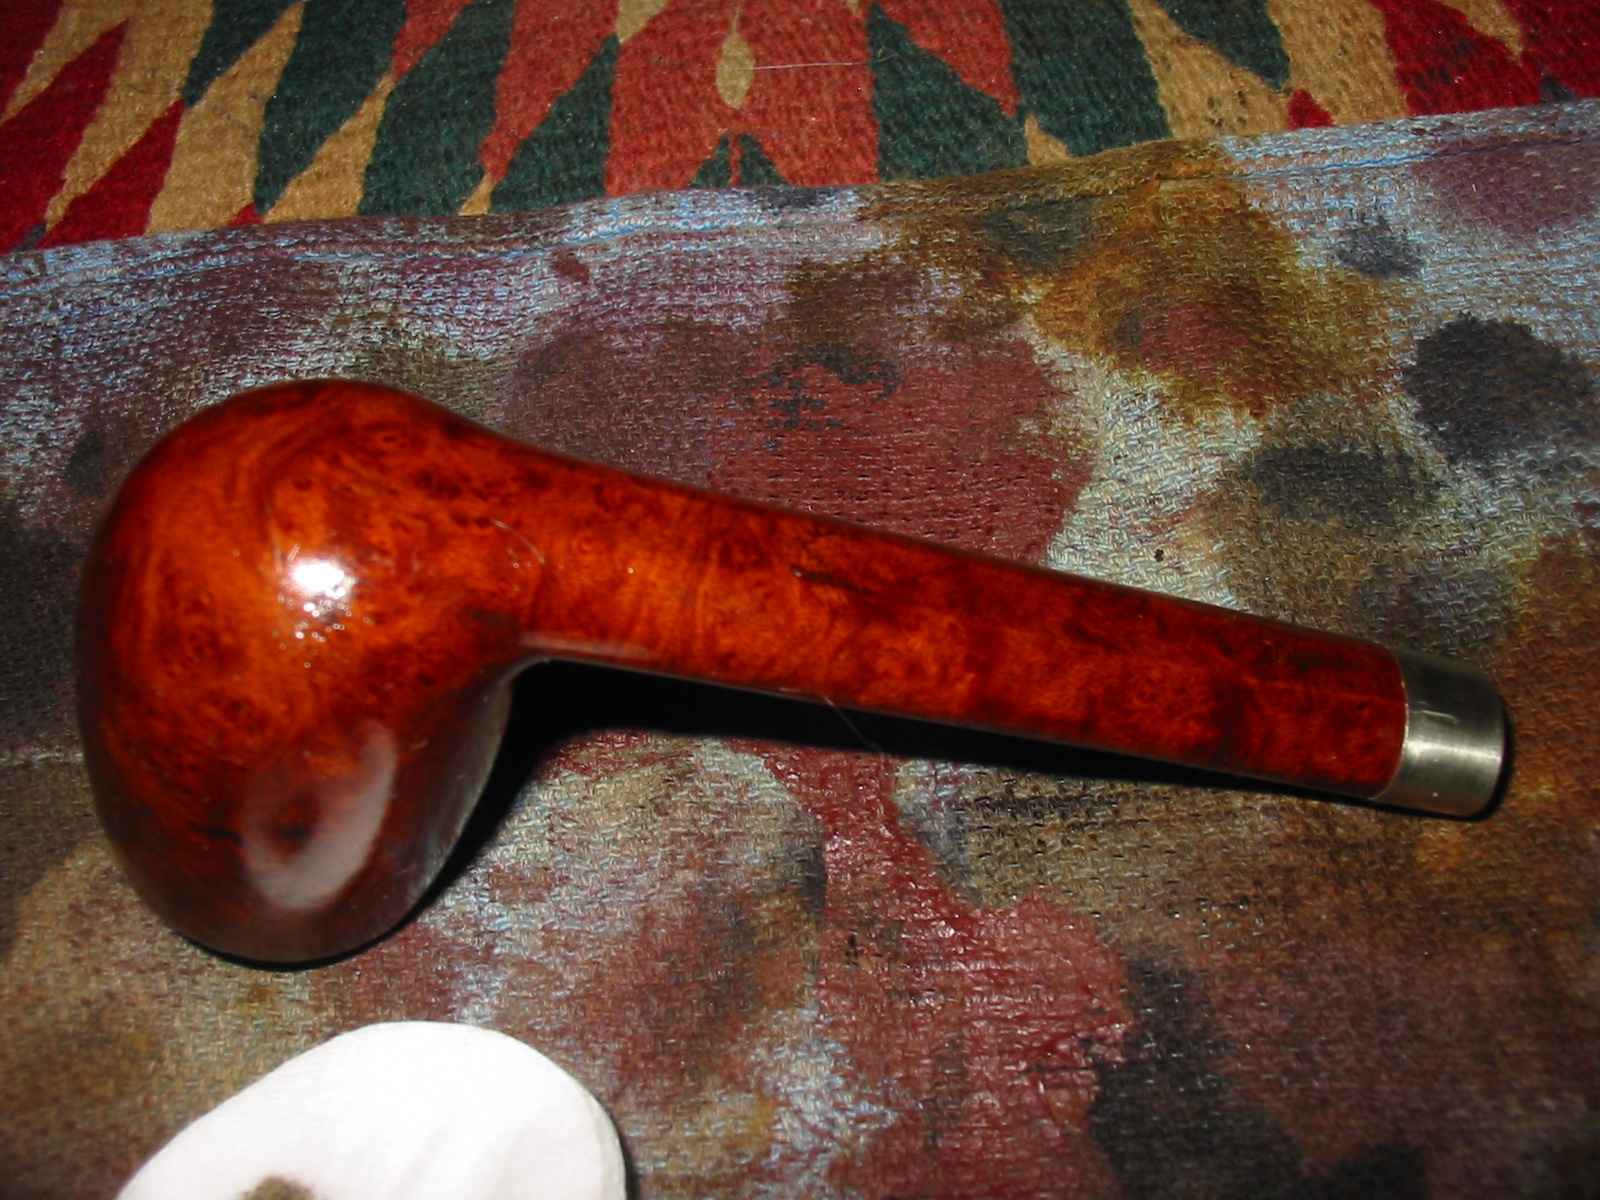
IMG_4644

IMG_4645

IMG_4646

For the second coat of stain I used a dark brown aniline stain thinned 2:1 with isopropyl alcohol. I hand buffed the bowl with a soft cloth and then took the pipe to the buffer and buffed it with White Diamond.
IMG_4649

IMG_4650

IMG_4651

IMG_4648

Once the staining of the pipe was finished I worked on the stem with my usual array of micromesh sanding pads – wet sanding with 1500-2400 grit pads and dry sanding with 3200-12,000 grit pads. I rubbed the stem down with Obsidian Oil and let it dry.
IMG_4652

IMG_4653

IMG_4656

I took the pipe to the buffer and buffed it with White Diamond and then gave it multiple coats of carnauba wax. I finished by buffing it with a clean flannel buffing pad. The pictures below show the finished pipe. It is ready to send back to my buddy in Lethbridge. I think I will put a few samples of tobacco in the package with the “new pipe”. I think he will enjoy the improved version of his pipe.
IMG_4665

IMG_4666

IMG_4667

IMG_4668

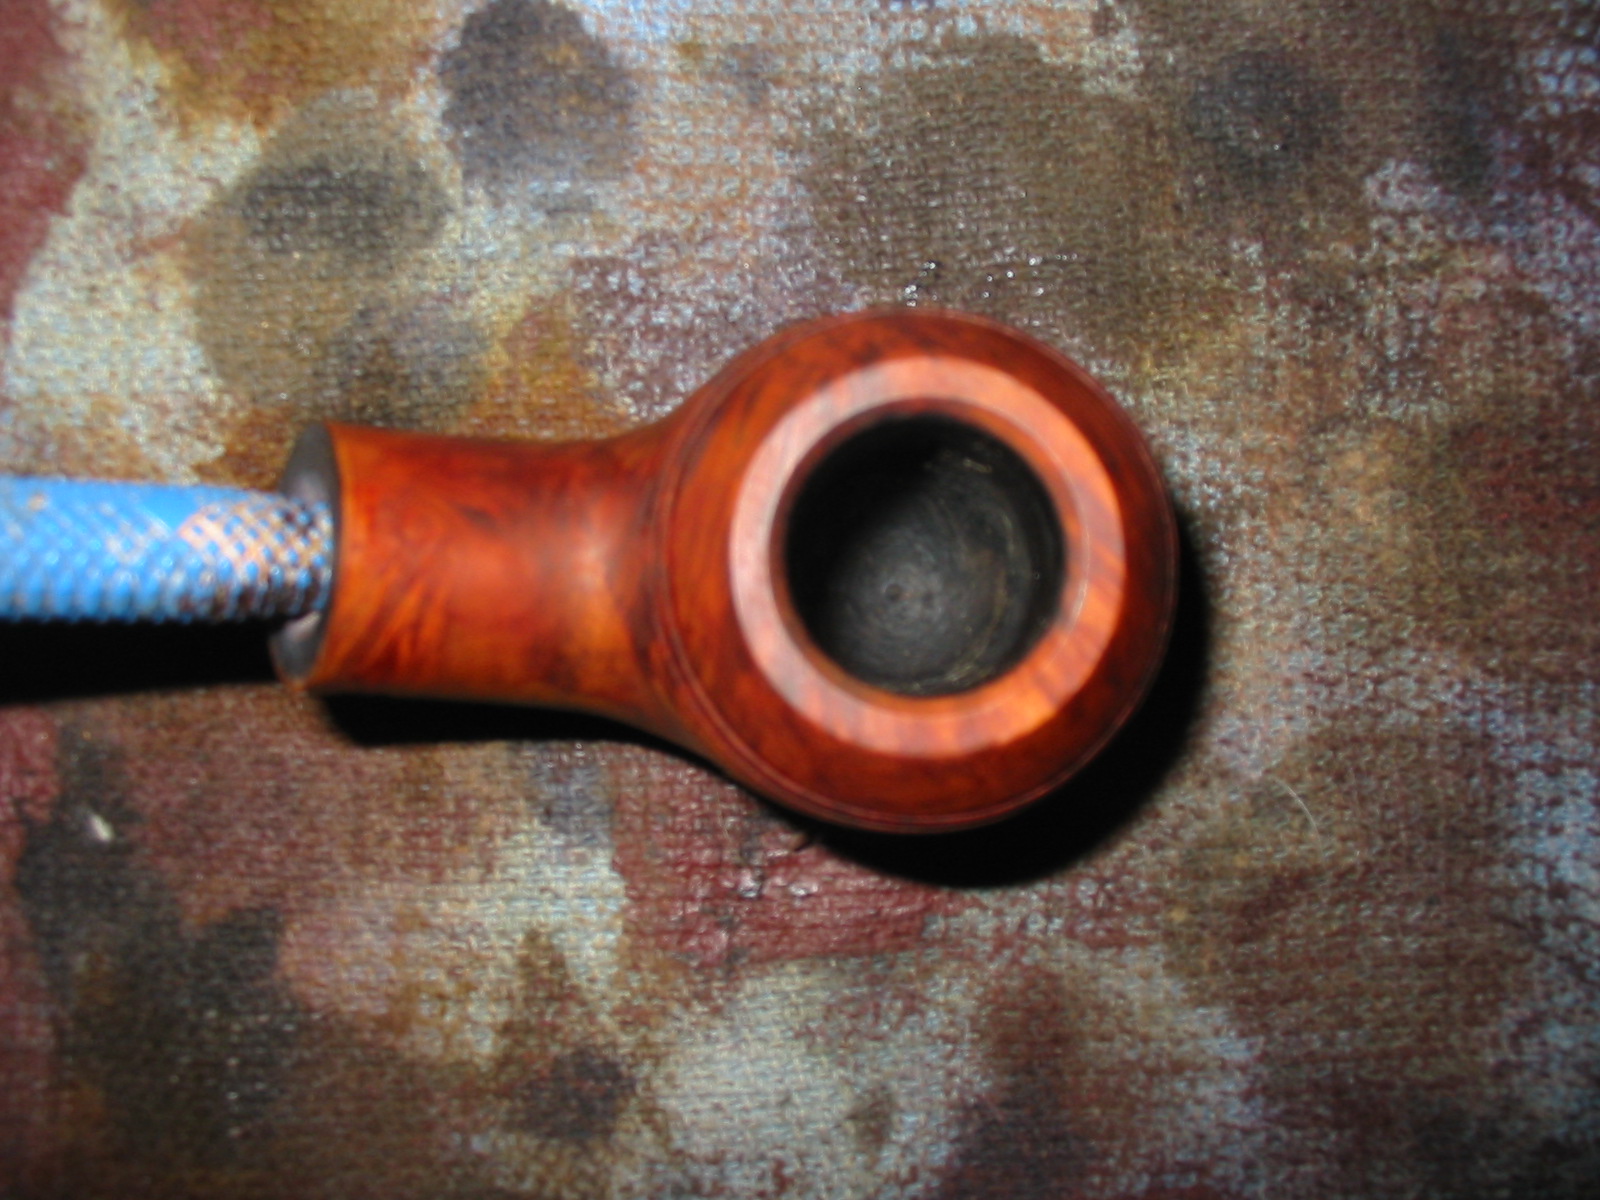
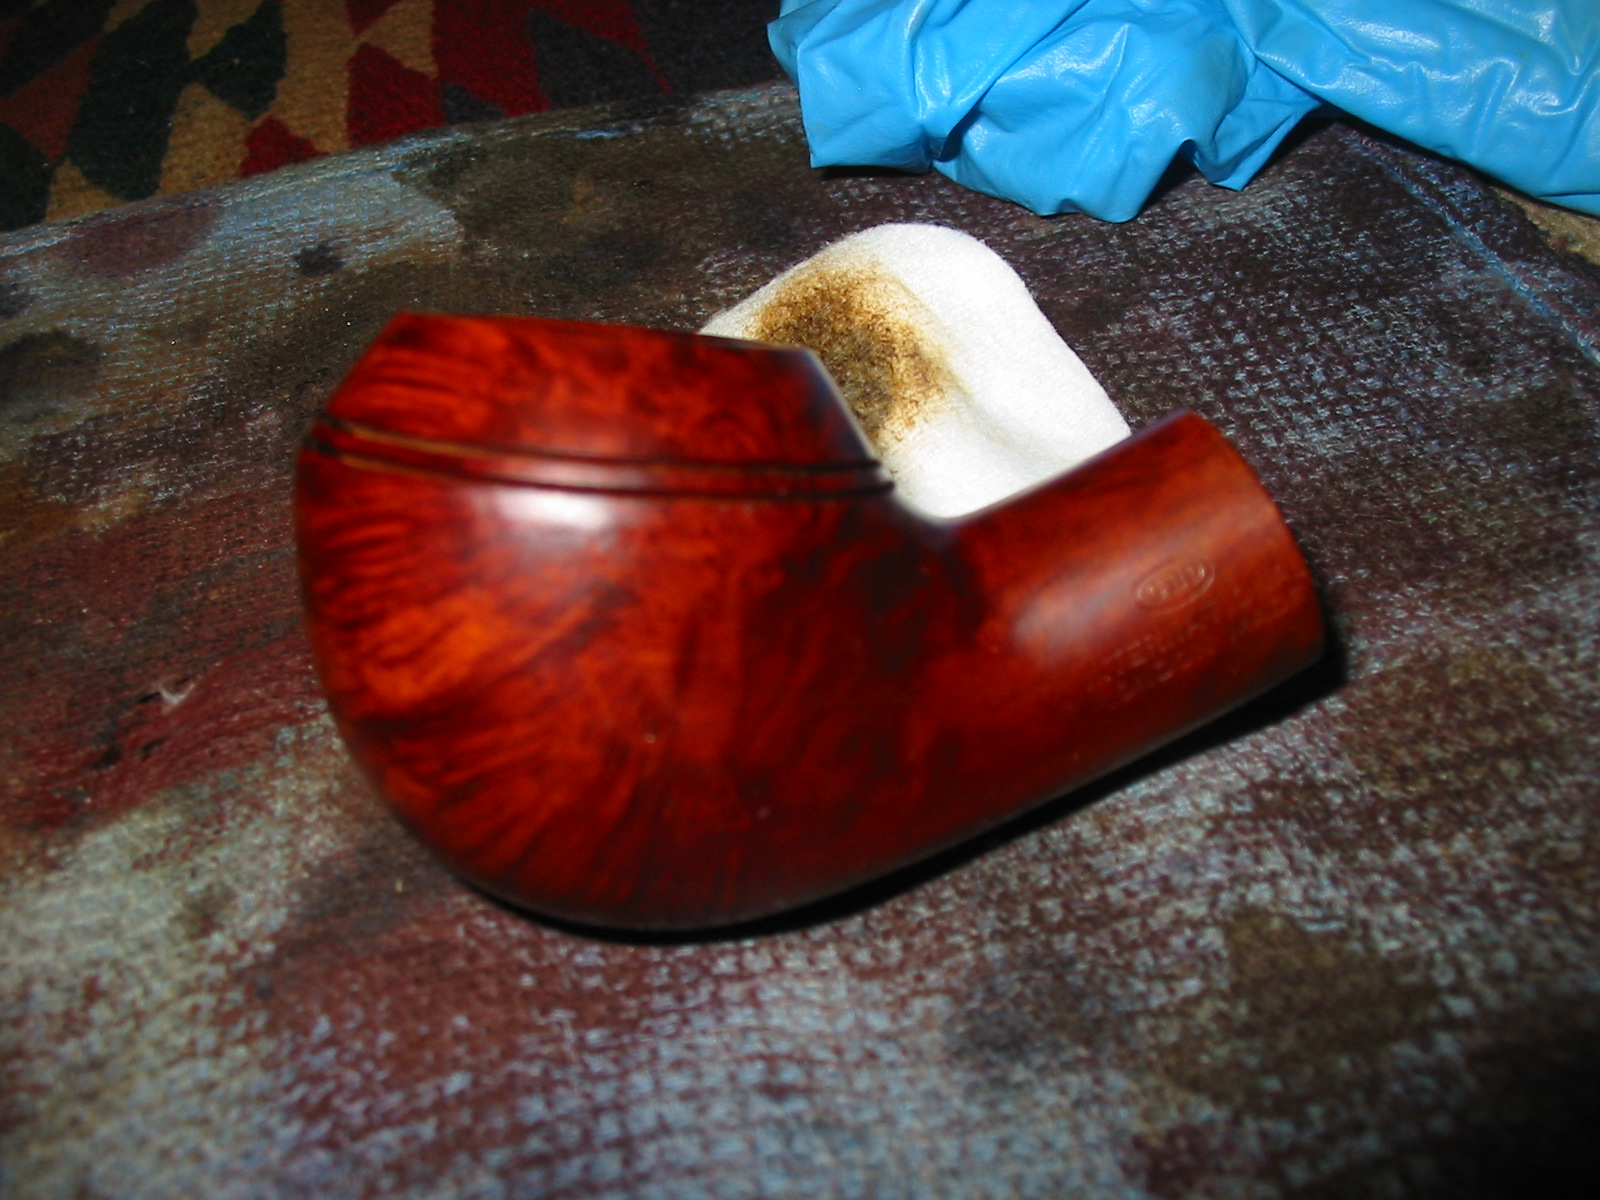
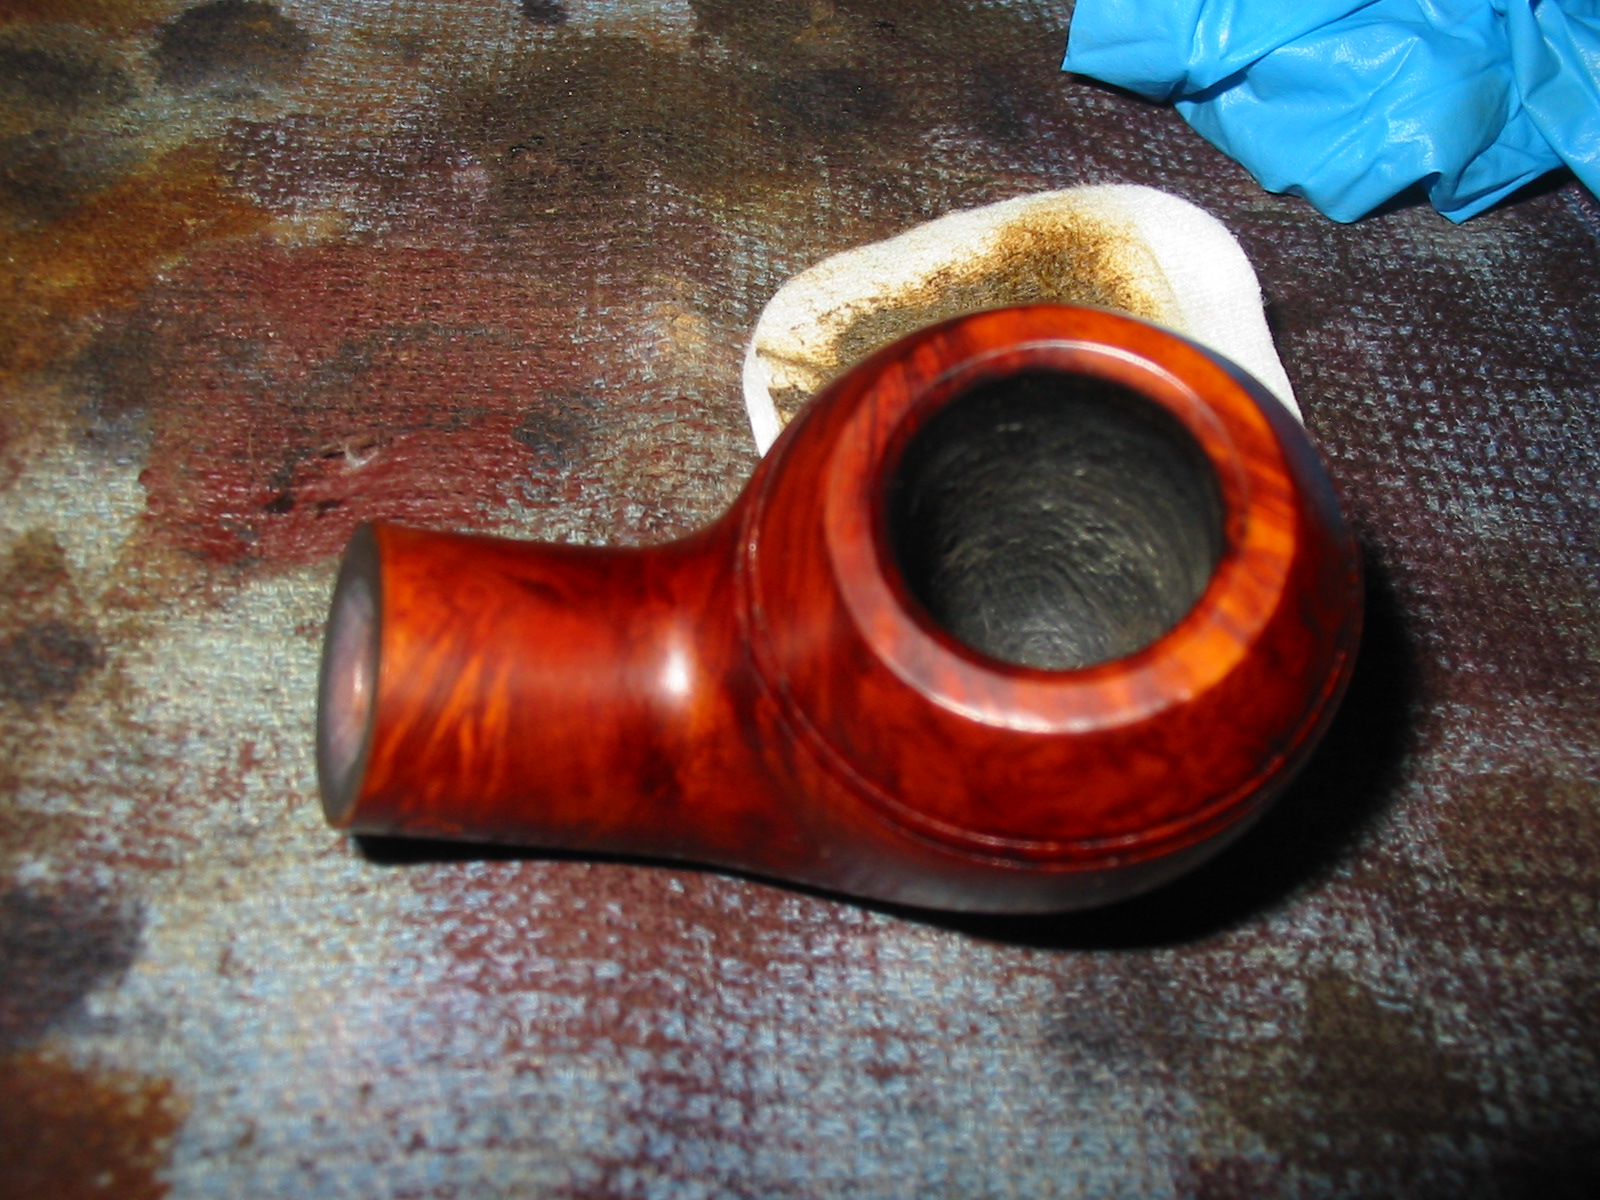
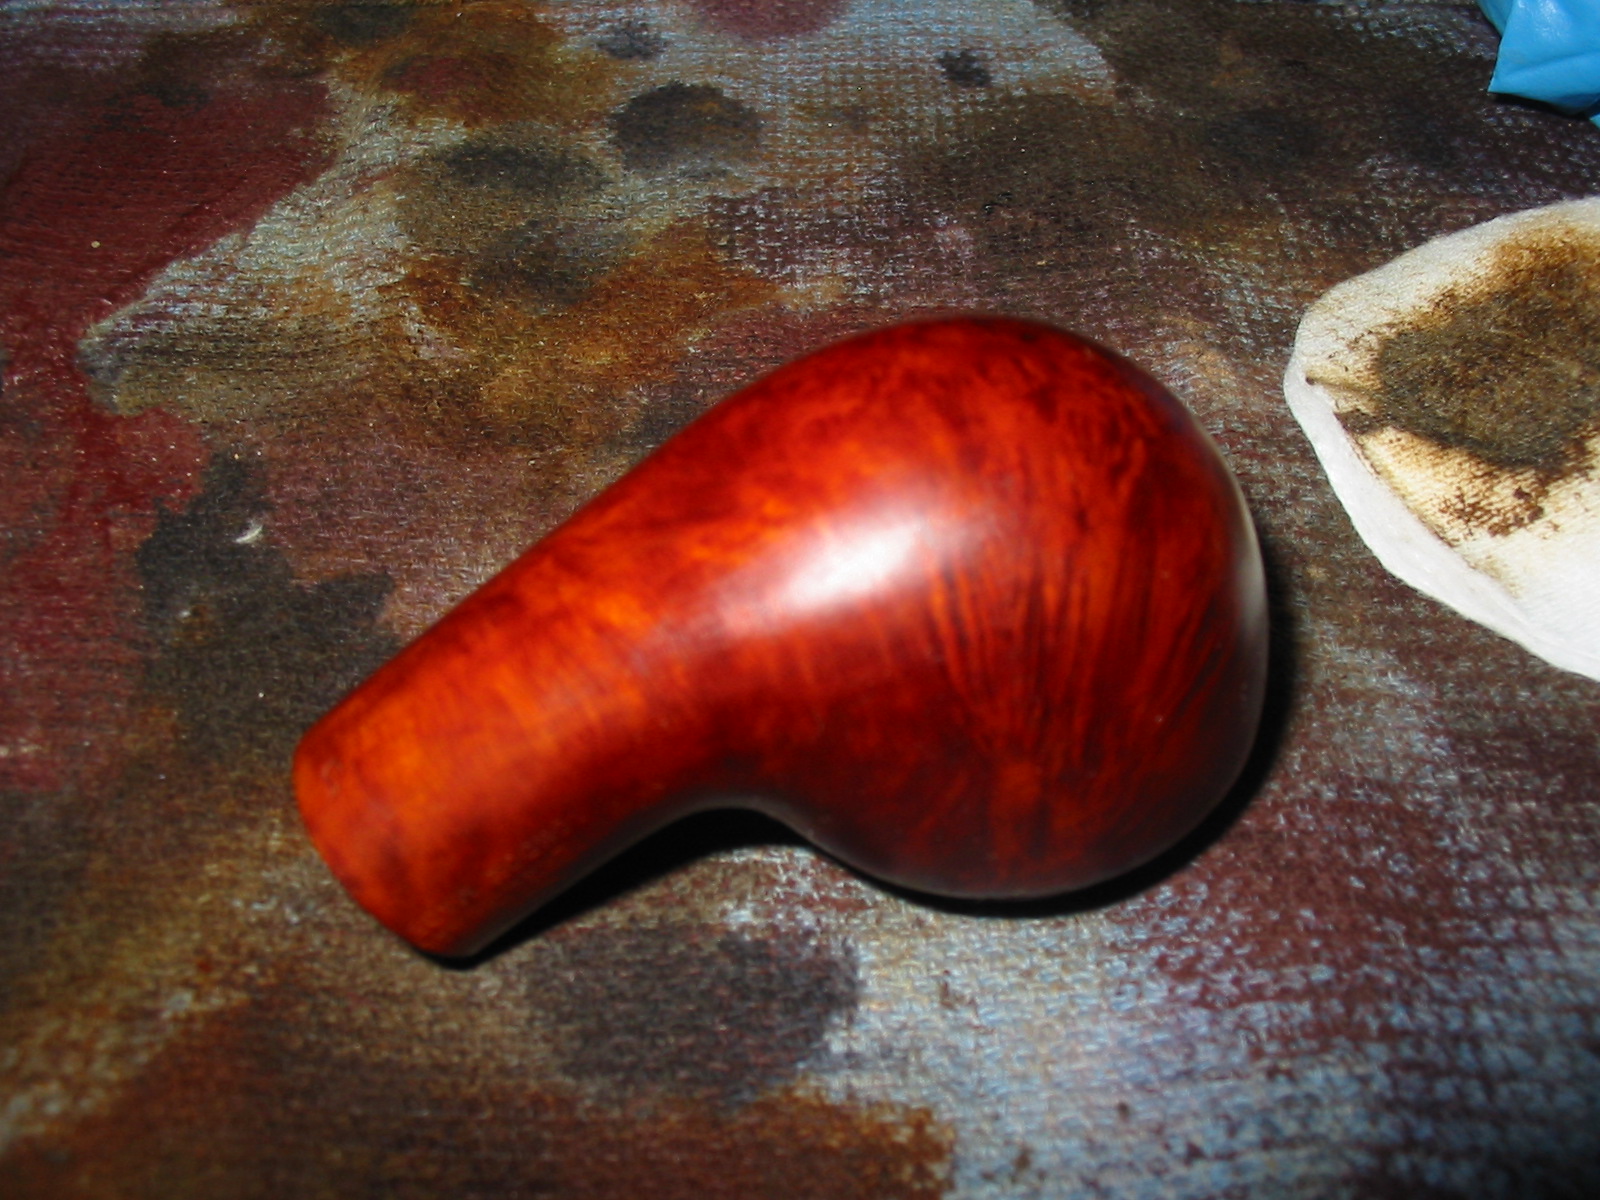
Reworking a Bad Reshaping of a GBD International 9438 Rhodesian


Blog by Steve Laug

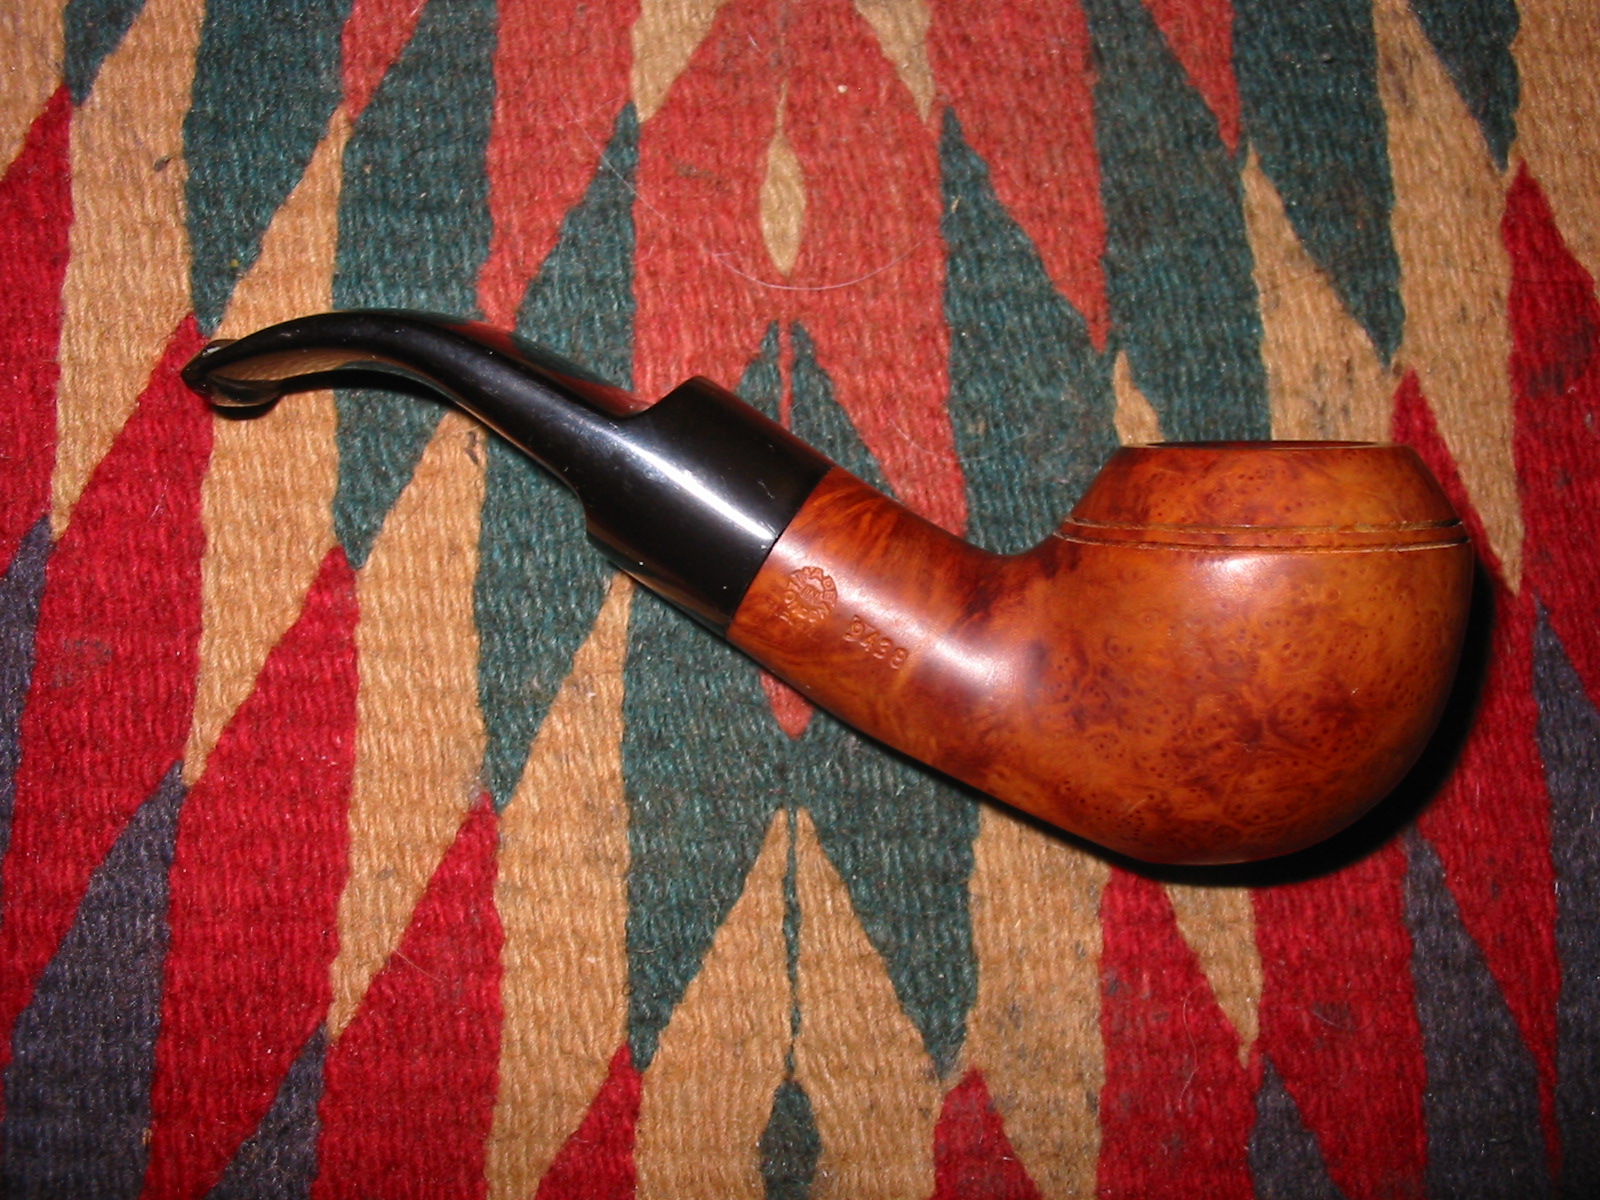
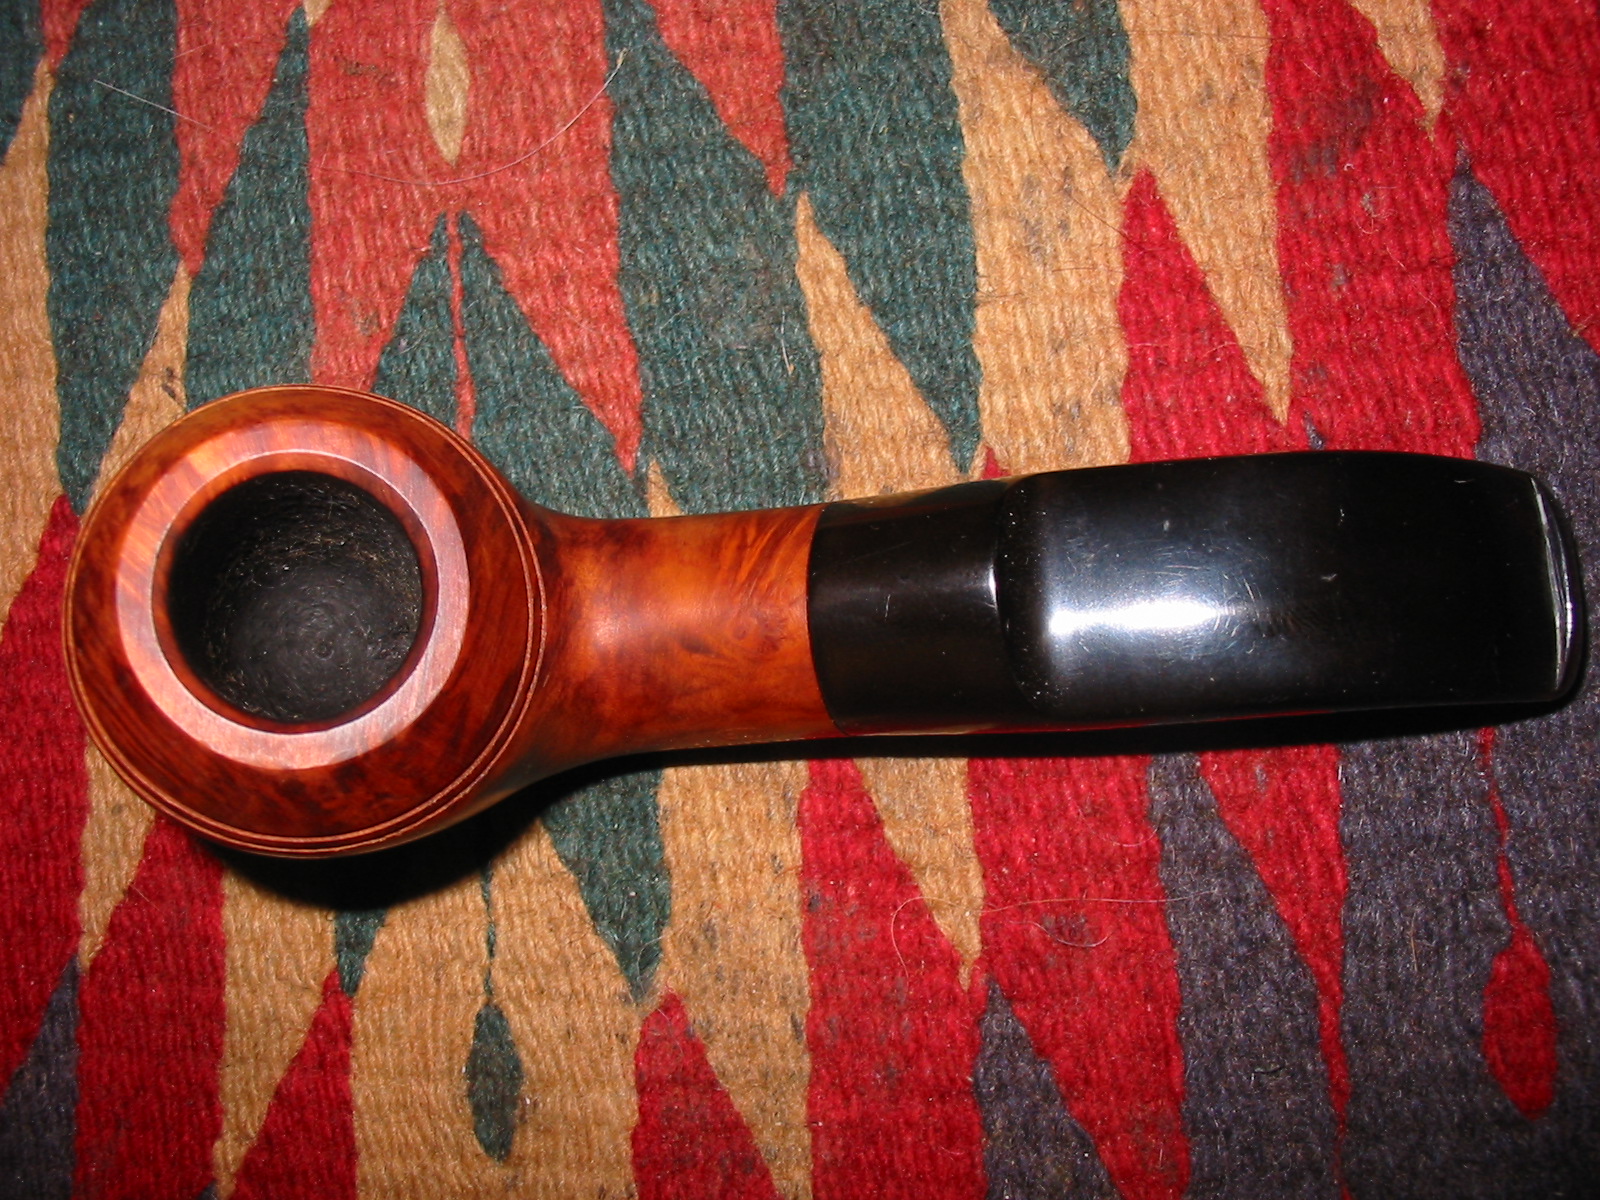
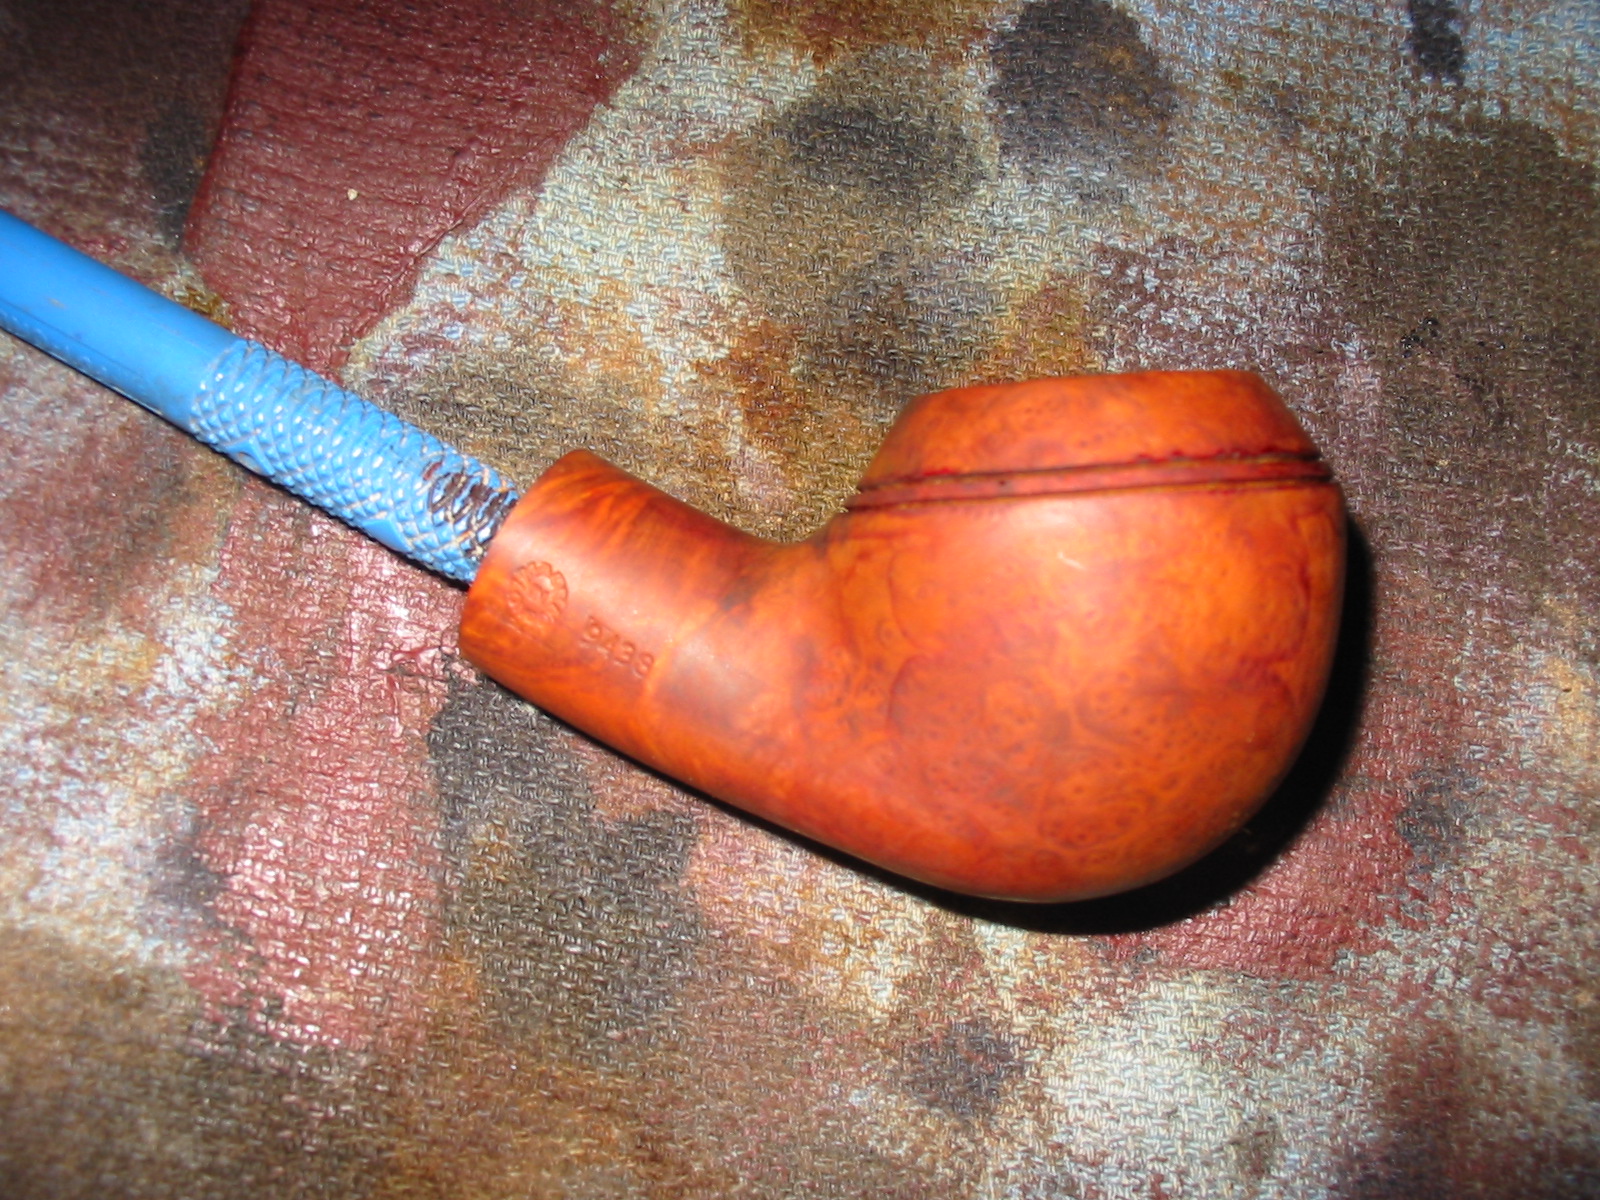
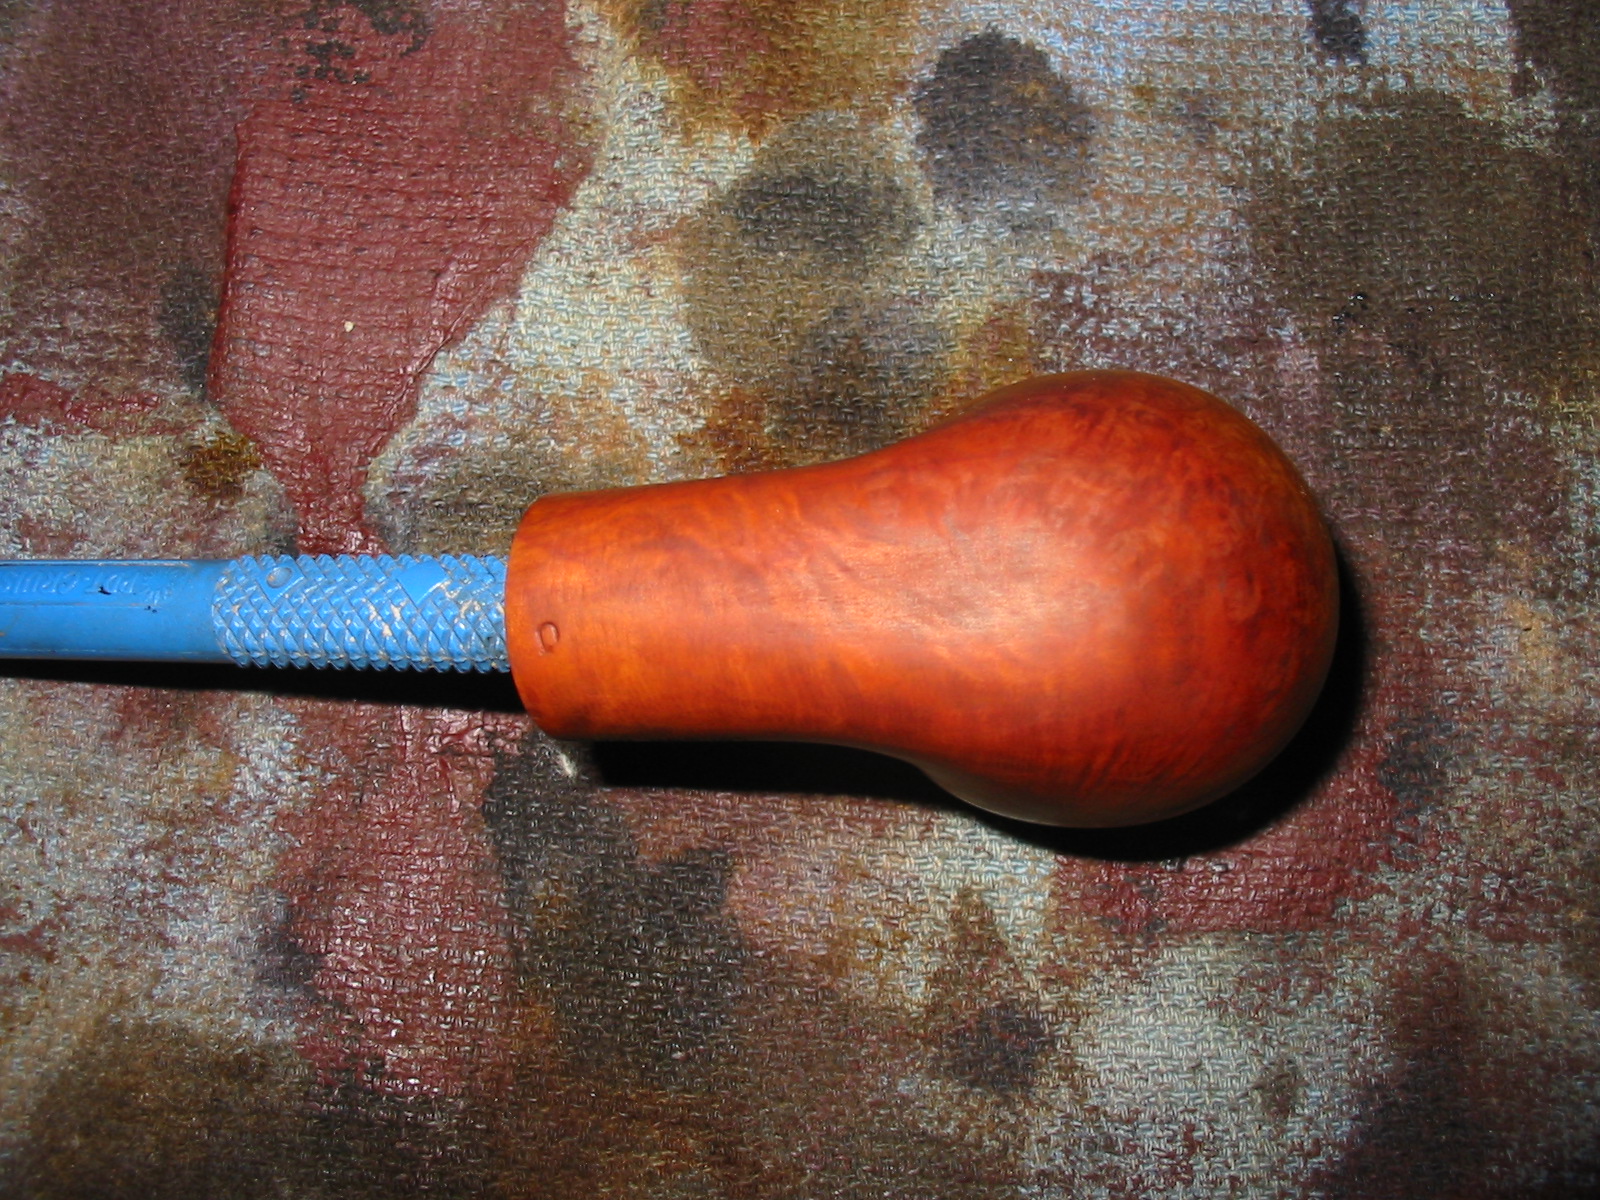
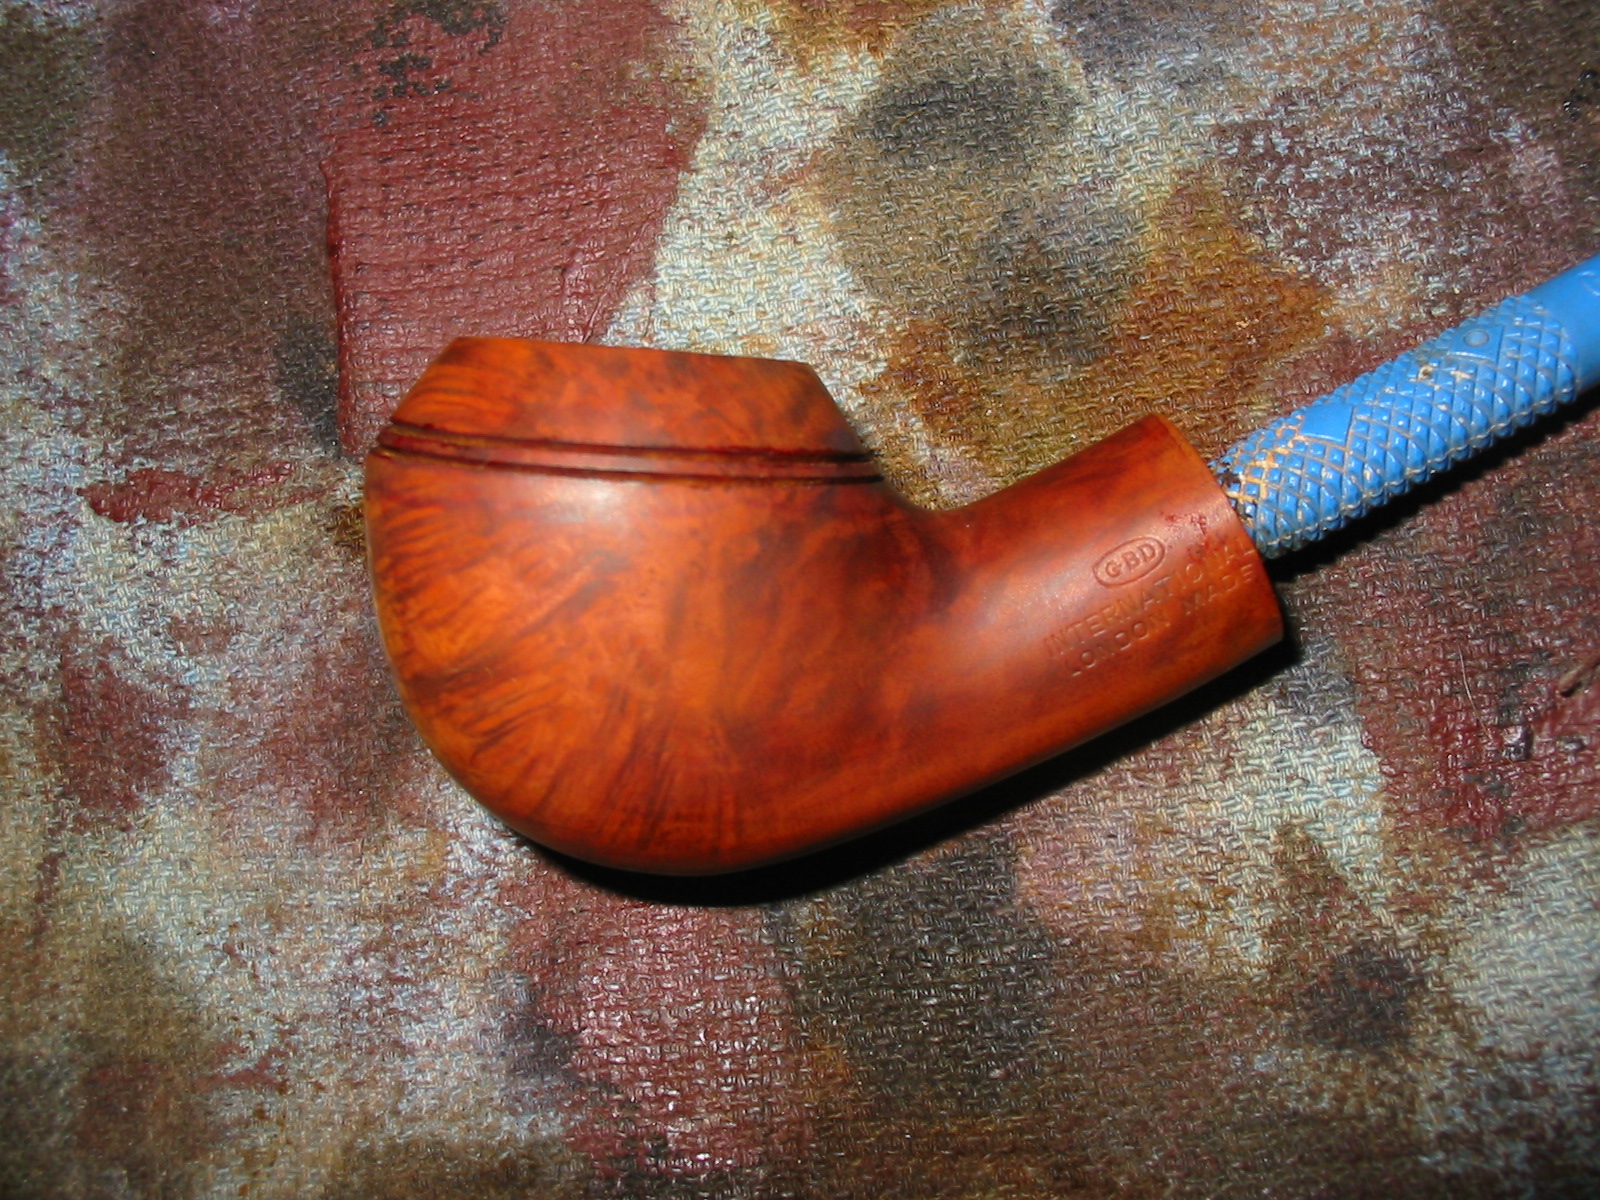
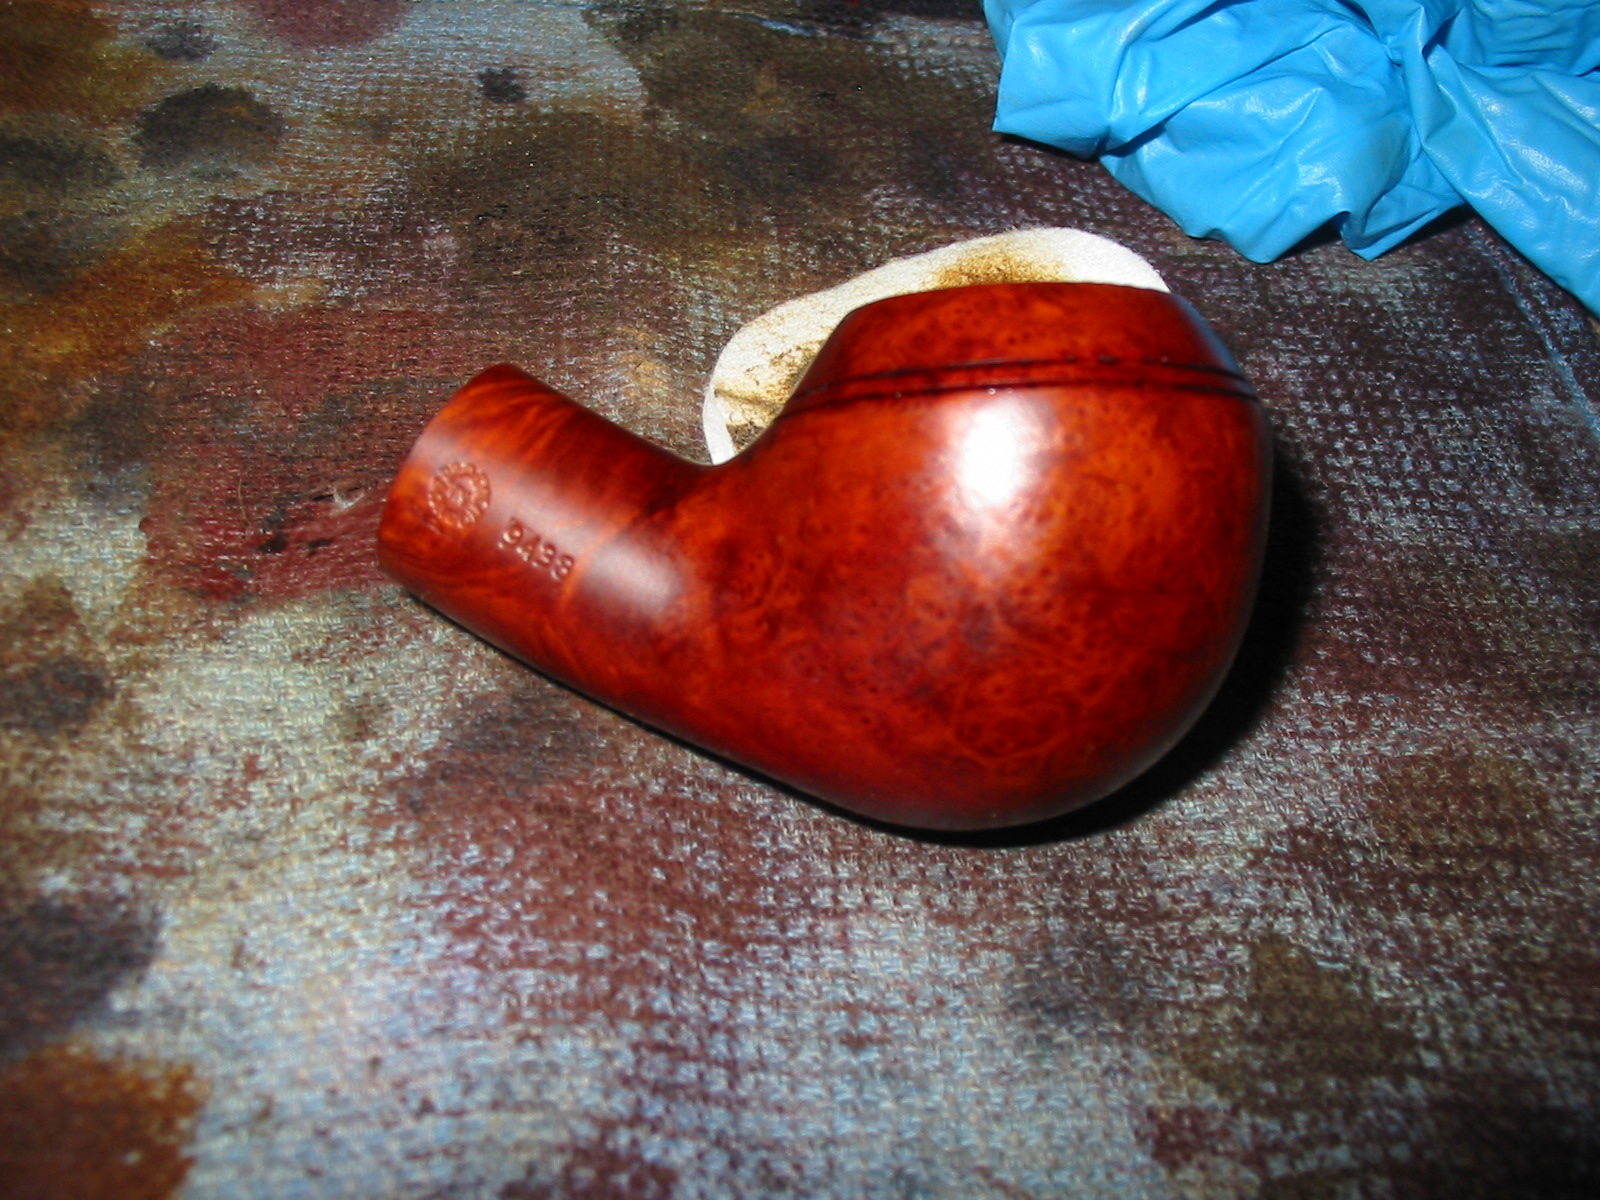
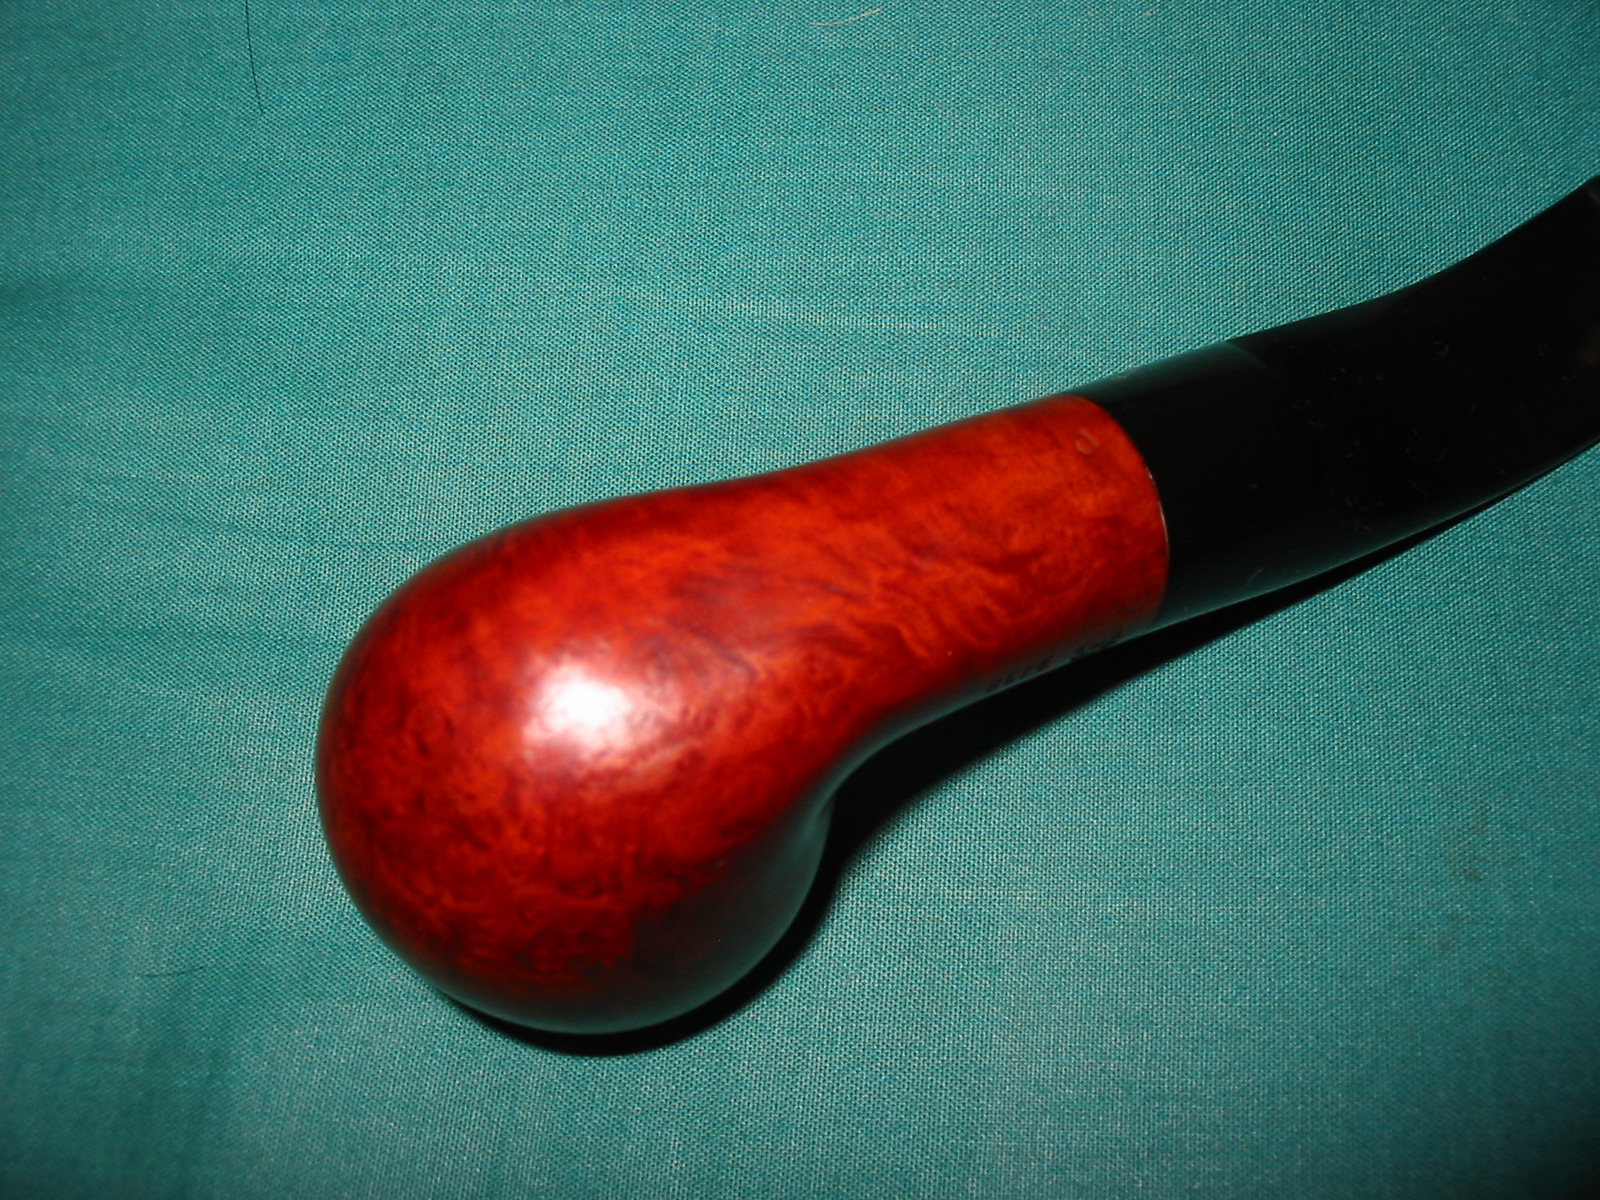
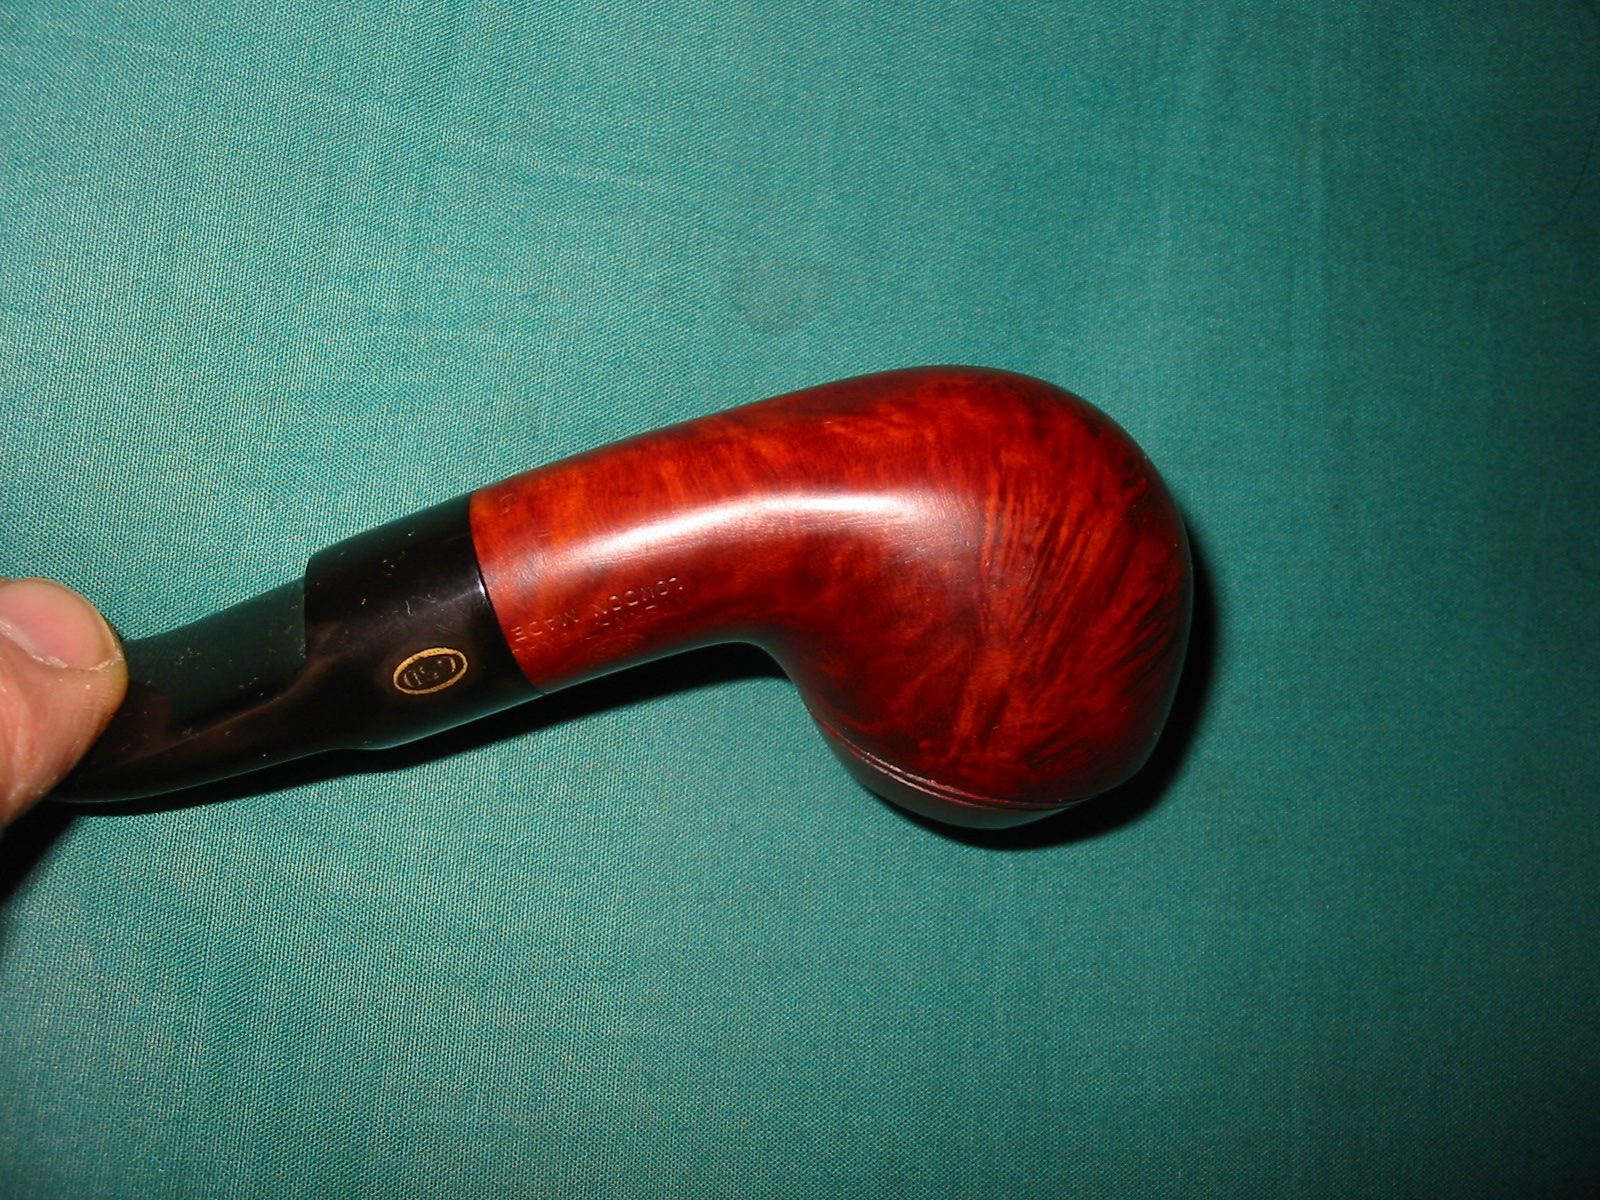
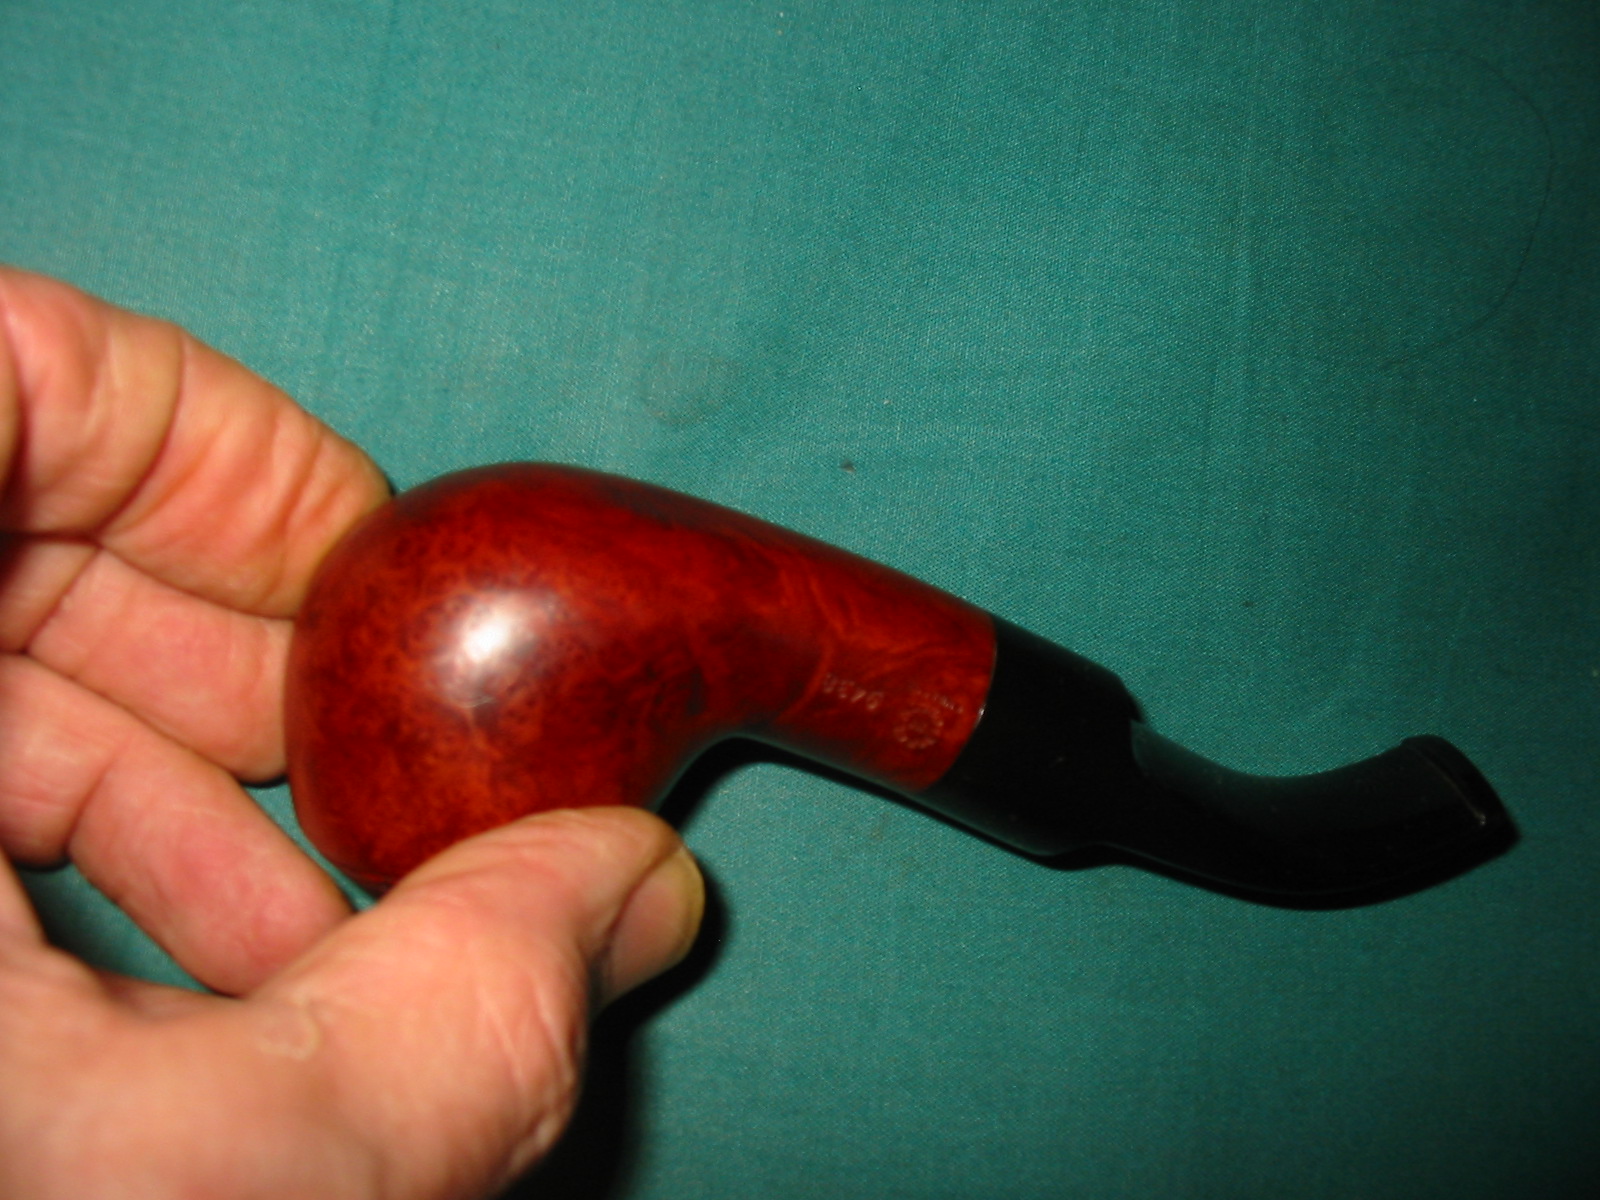
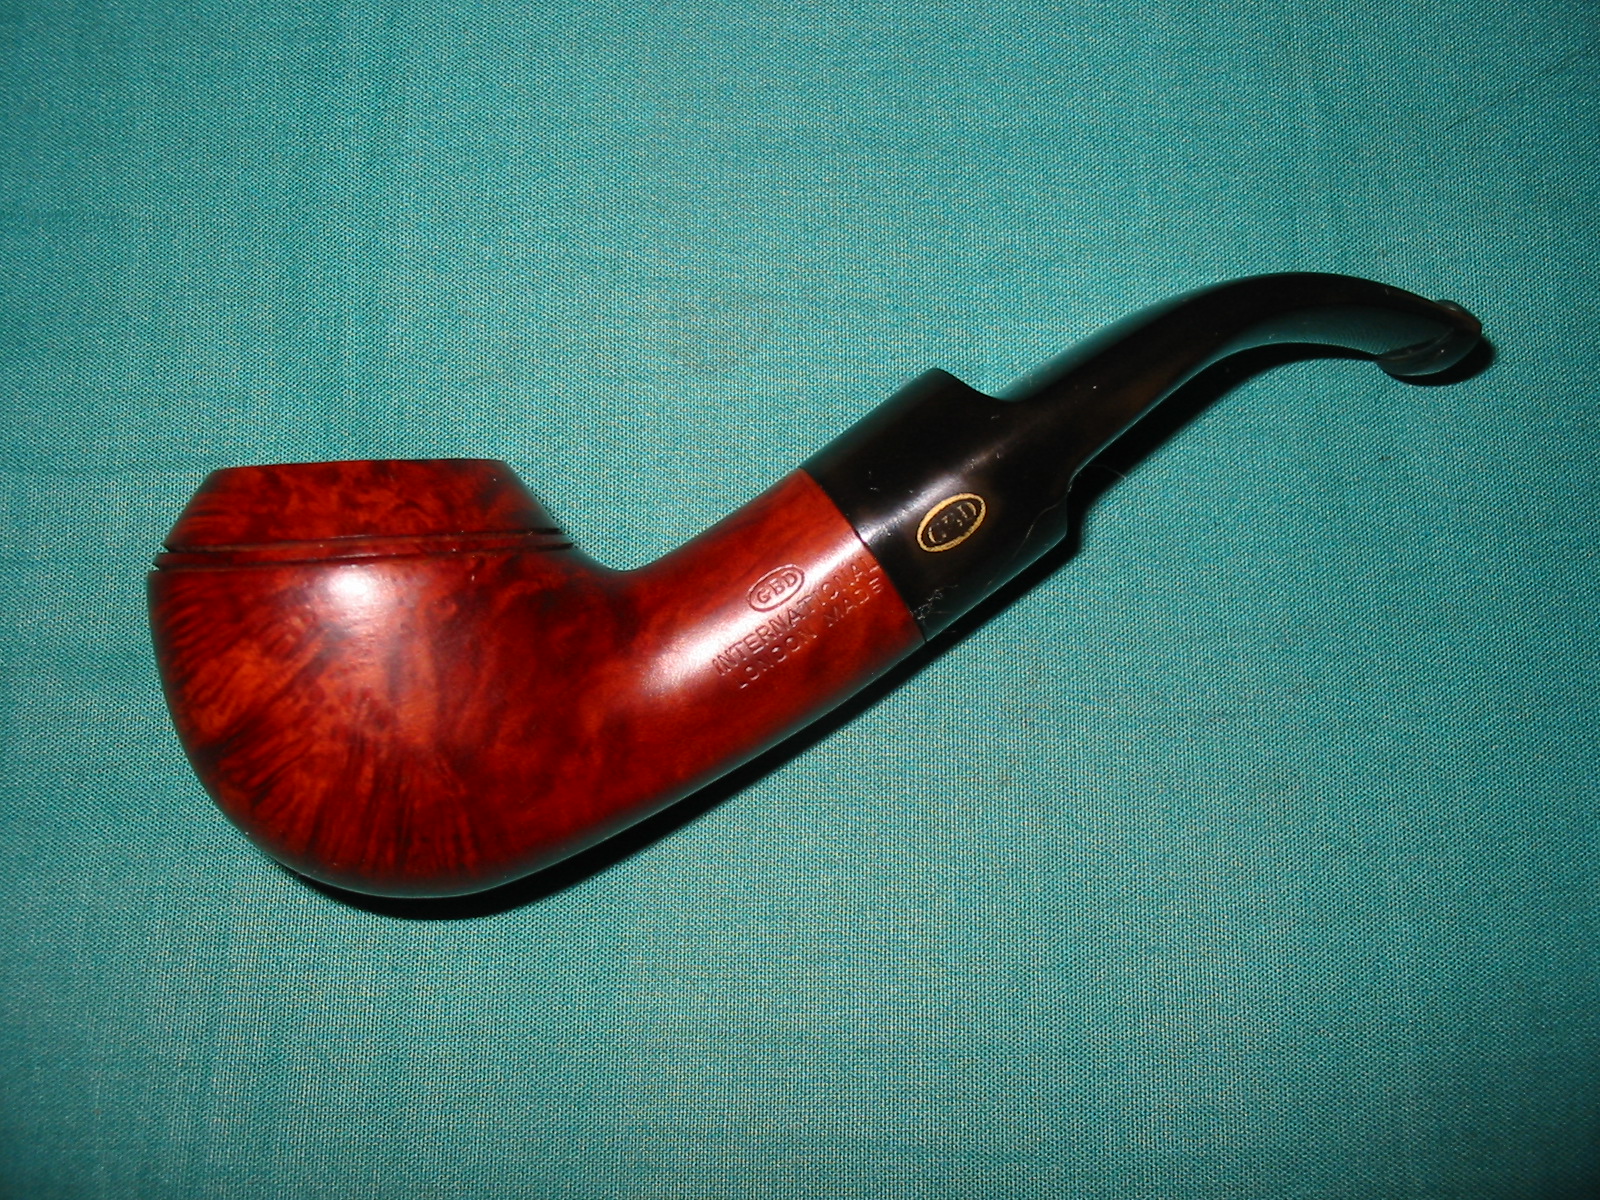
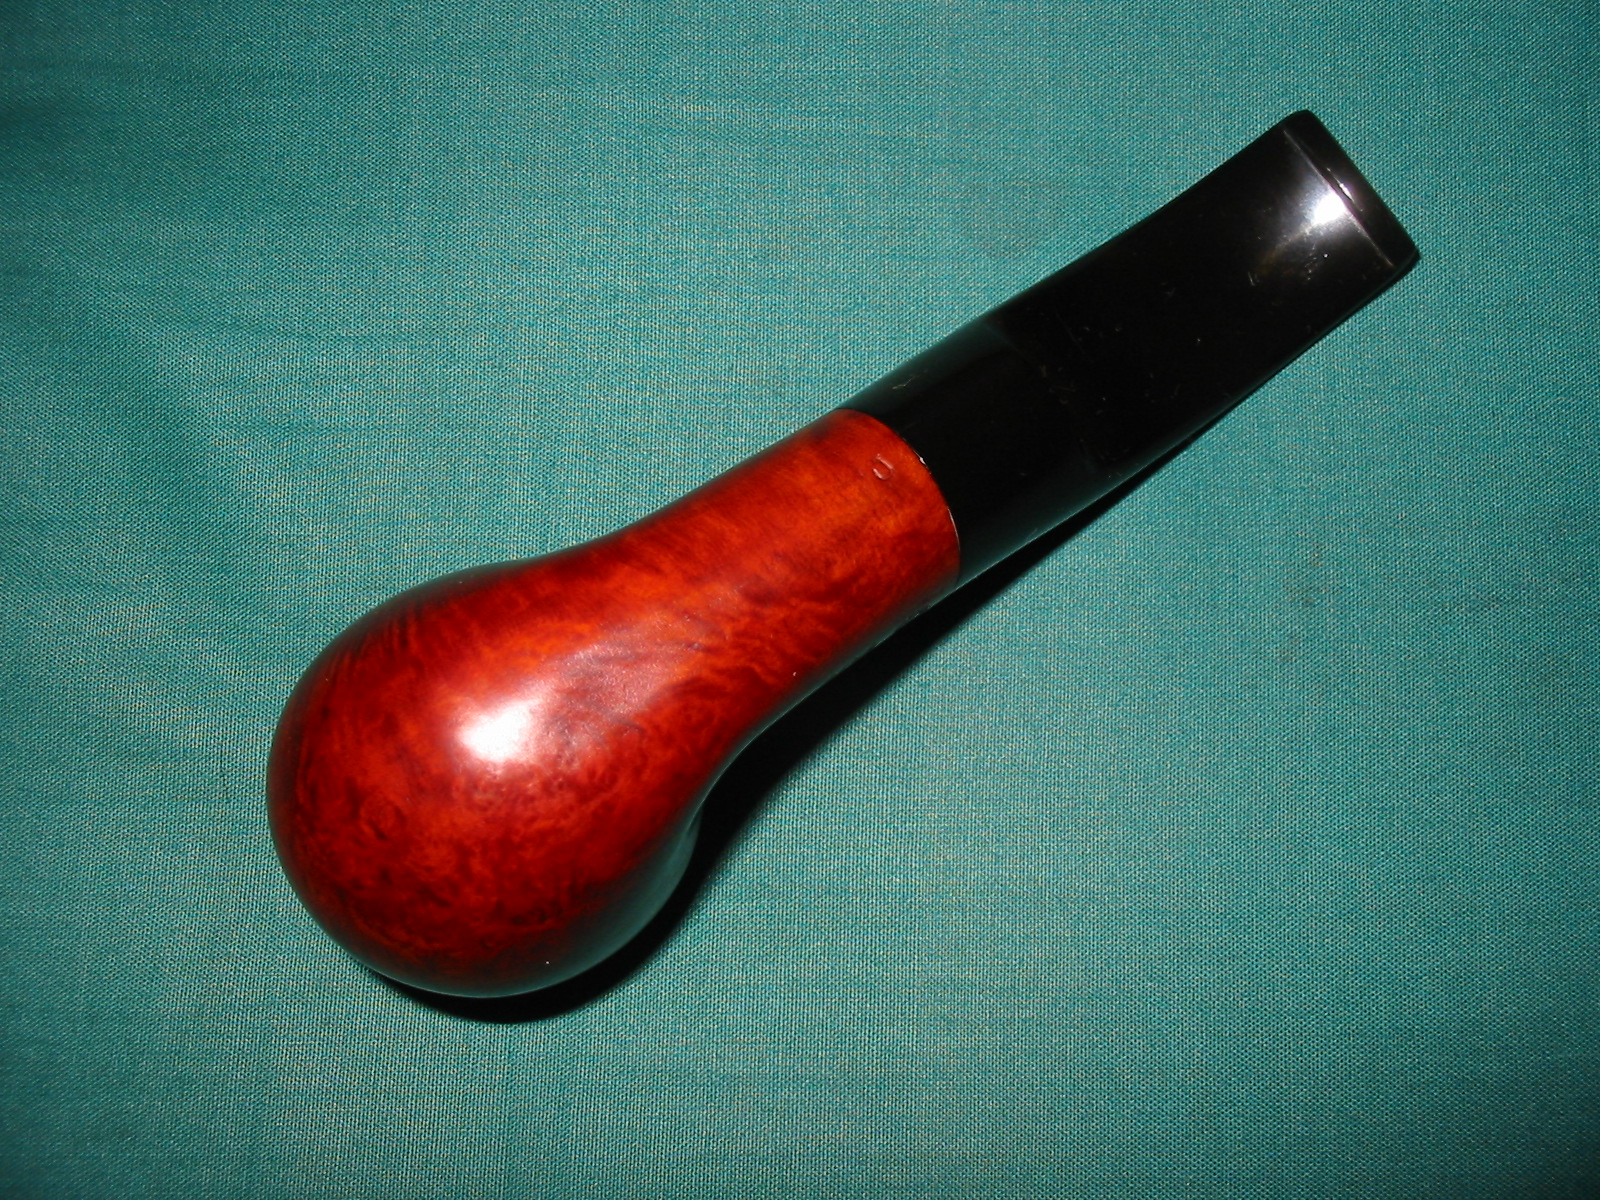
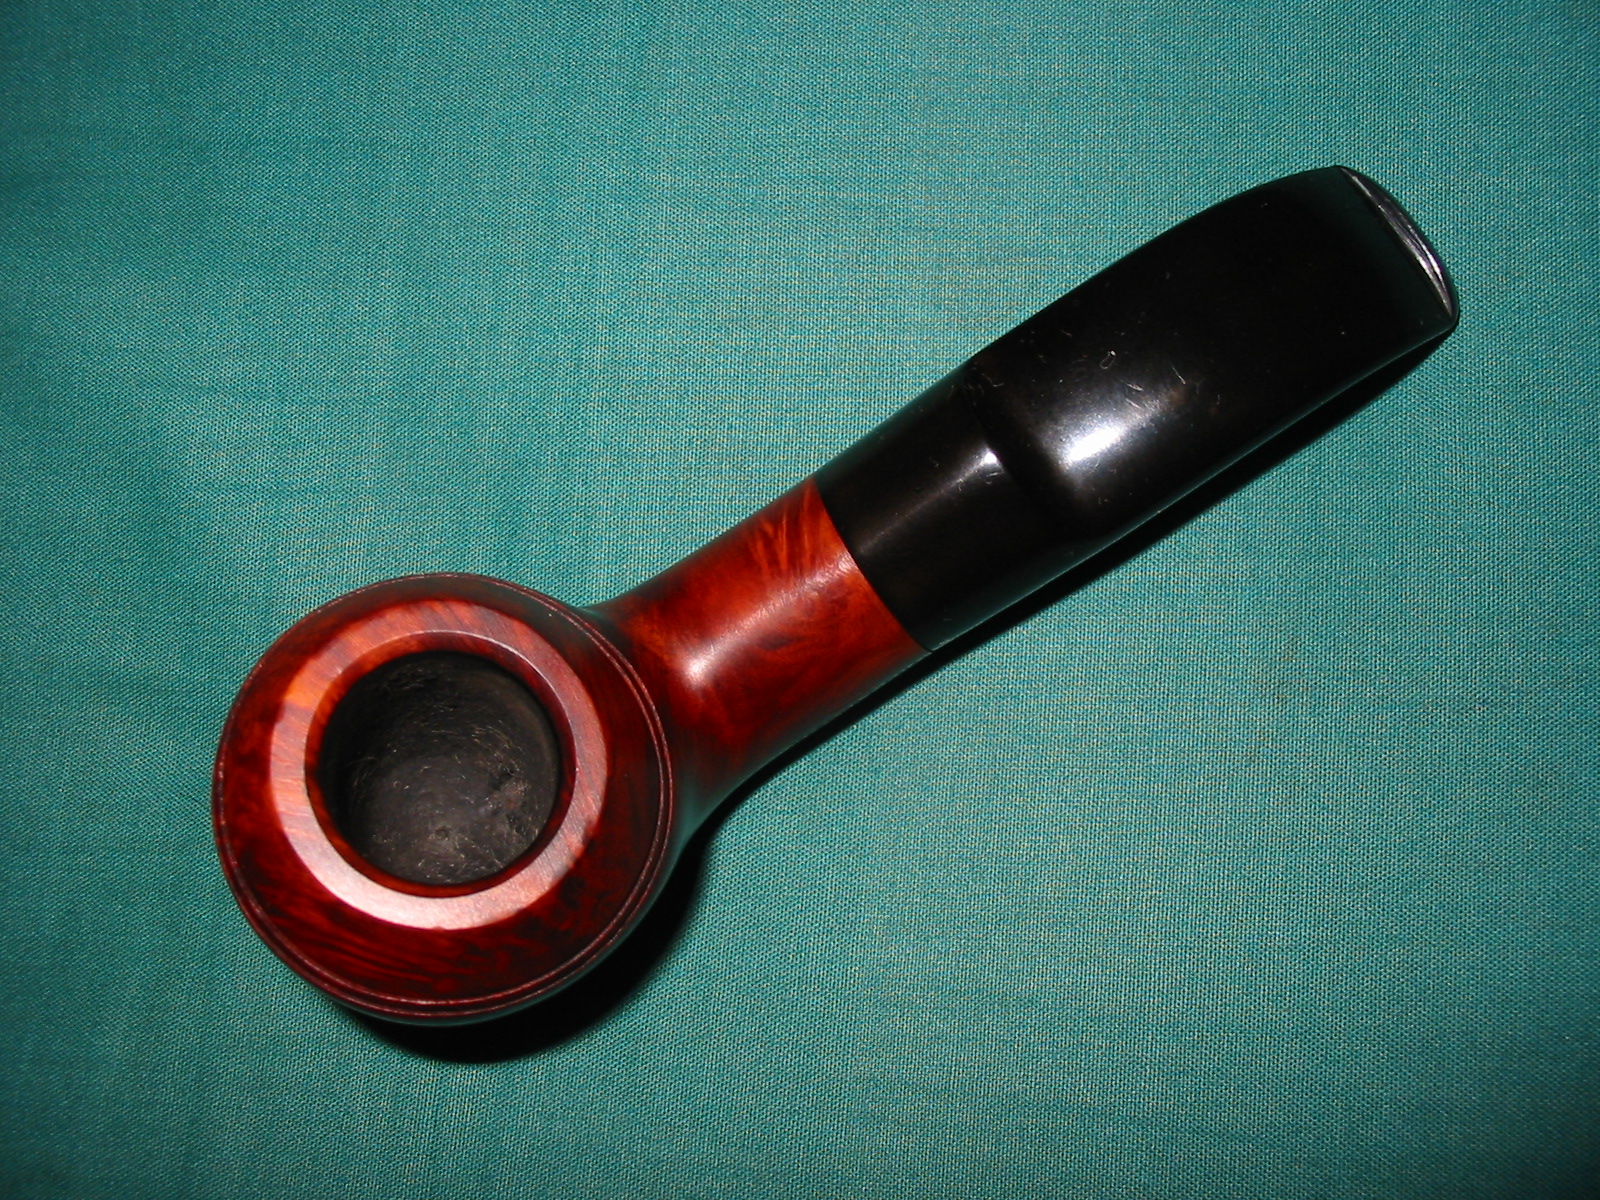
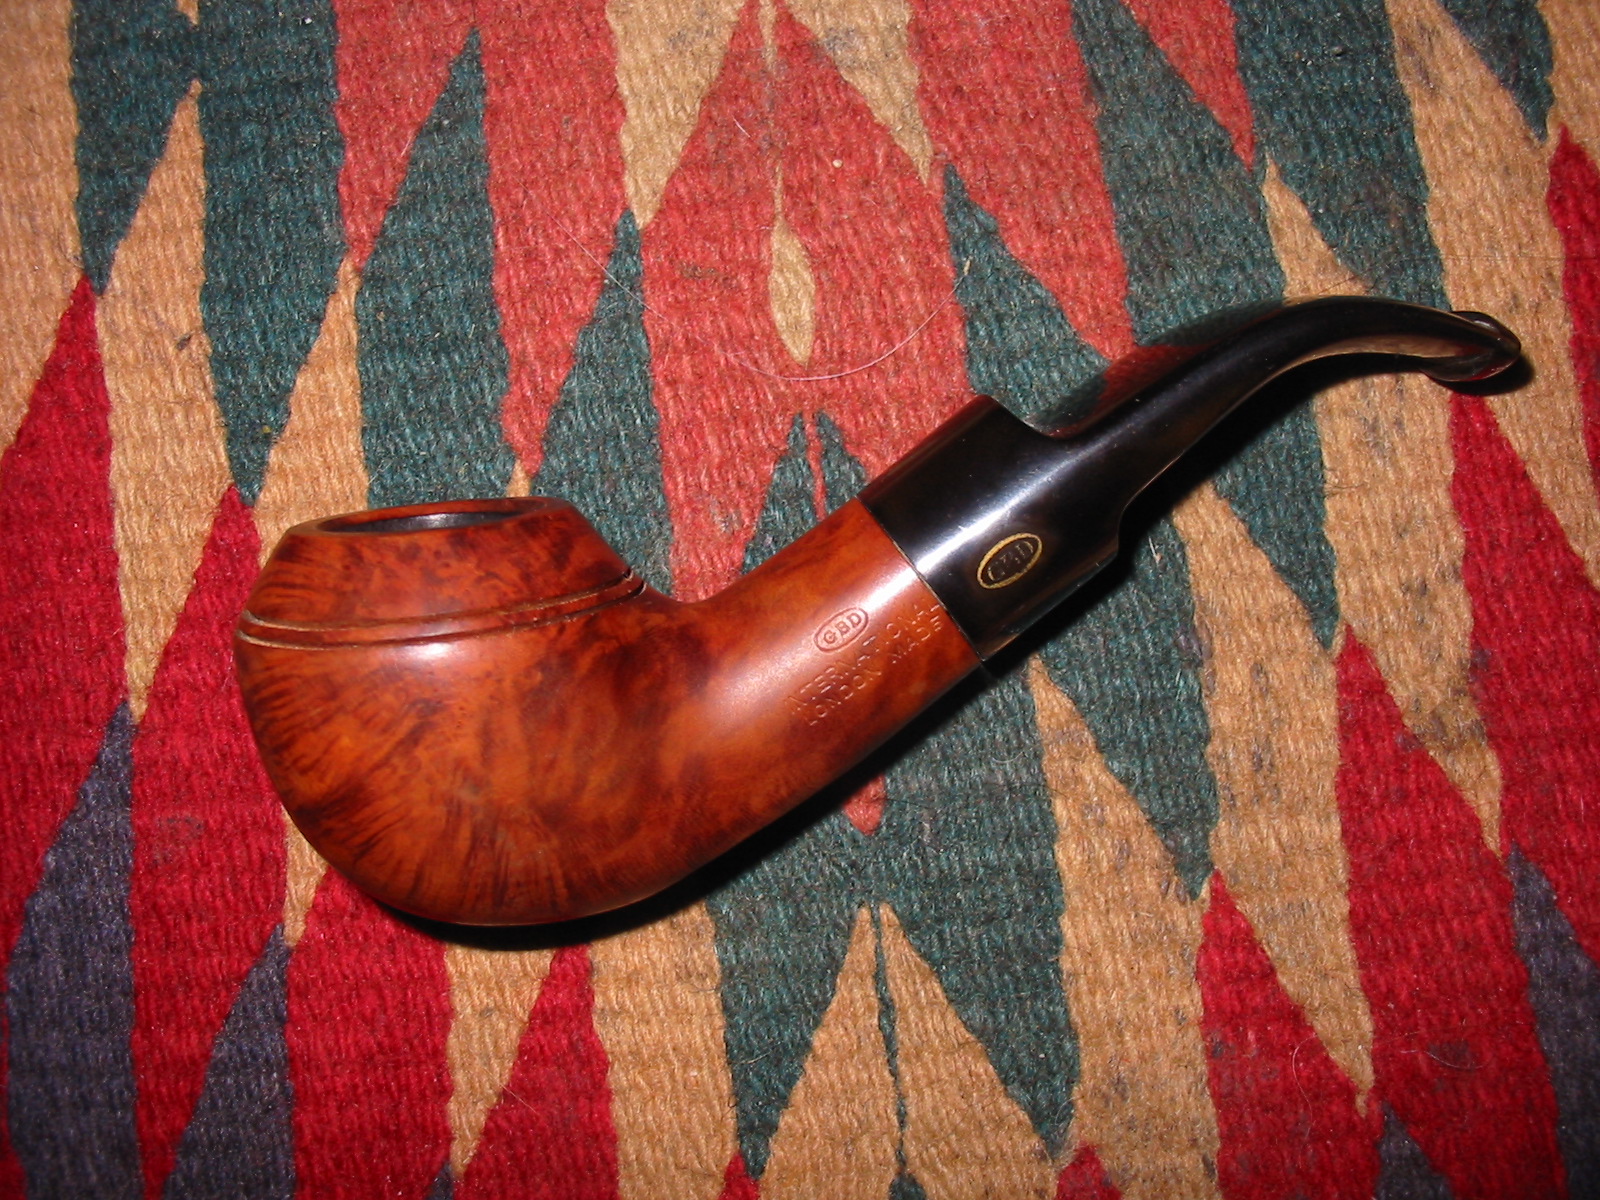
I am working on a pipe for Mark and in exchange he sent me a GBD 9438 pipe – one of my all time favourite shapes. It is stamped on the left side of the shank GBD in an oval over International over London Made. On the right side of the shank it is stamped with the Made in London Circle (with in centered in the circle) over England in a straight line. Next to that it is stamped 9438. The stamping makes it clear that this is a newer GBD pipe from the Cadogan era. The stem has a gold decal on it – an oval with GBD in the center. It is not a roundel just a decal that is applied to the surface of the stem. The shape of the stem is slightly wider and flared as it moves away from the saddle area. It is slightly different in shape from my other 9438 pipes. It was in very good shape and the bowl was also clean and undamaged. The rim was unmarked on both the top and outer edges as well as the inner bevel. There was no rim darkening or damage. The only issue was that someone had decided to make it a sitter and flattened the bottom of the shank so that it would sit on a table without tipping. The finish was virtually gone and the flattened area was heavily scratched with little or no sanding to smooth out the work. It appeared to be a quick job of pressing the pipe against a sanding disk or orbital sander.
IMG_4576

IMG_4577

IMG_4578

IMG_4579

I removed the stem and began to reshape the flattened portion of the bowl and shank. Fortunately the sanding was done behind the drilling of the bowl so it did not thin the bottom of the bowl at all. The person who did the sanding had carefully sanded only the thickest part of the bowl and shank. I sanded the briar with a sanding drum on a Dremel to smooth out the sharp edges of the bottom and then used a folded one inch pieces of 220 grit sandpaper to further smooth out the abrupt edges of the flattened area. I used a medium grit sanding sponge to continue to remove the scratches left behind by the sandpaper.
IMG_4581

IMG_4582

IMG_4583

I wiped the bowl down with acetone on cotton pads to remove the finish so that I could more easily blend in the stain with the newly sanded bottom of the shank and bowl.
IMG_4584

IMG_4585

IMG_4586

I sanded the reshaped shank and bottom of the bowl with 1500 and 1800 grit micromesh sanding pads. I wiped it down a final time with acetone.
IMG_4587

IMG_4588

IMG_4589

IMG_4590

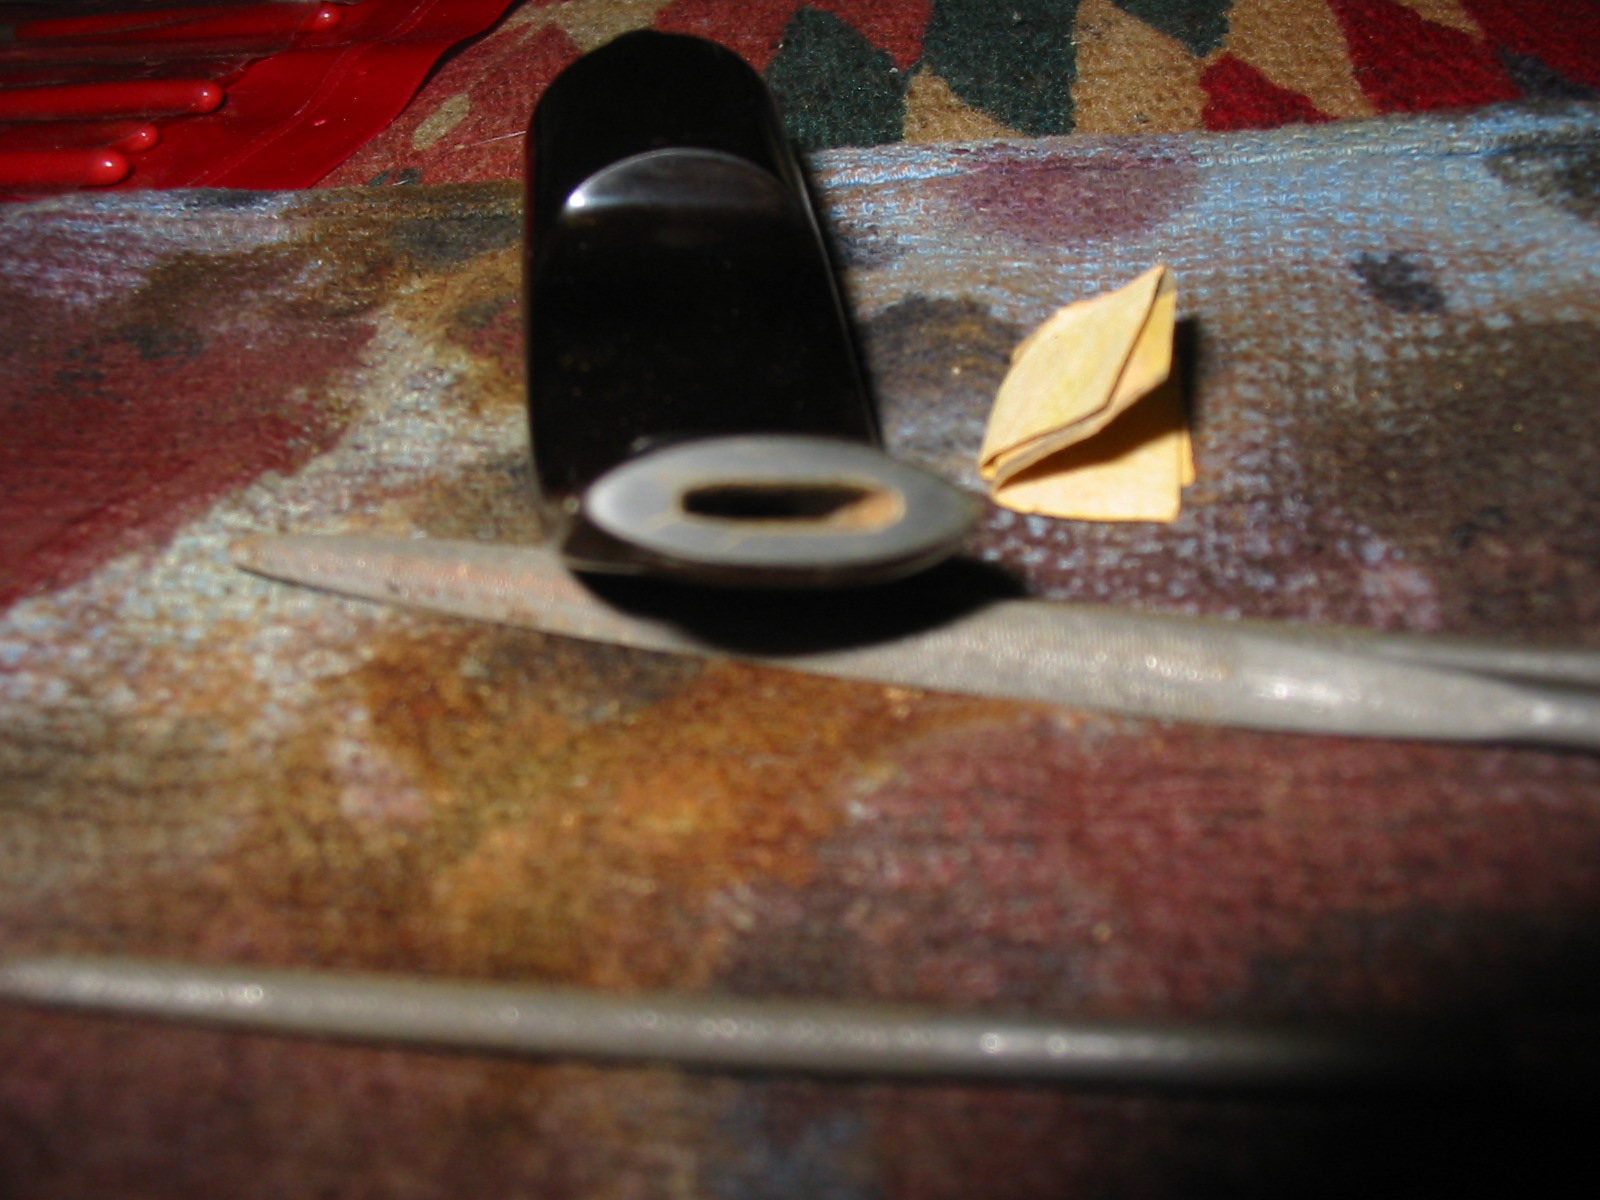
I cleaned out the shank and the bowl with Everclear and cotton swabs. I also used a pipe cleaner to clean out the stem. The slot in the button was very tight and would not allow even a thin pipe cleaner to pass through so I used needle files to open the slot. Once it was open and allowed a pipe cleaner to slide in with ease I used a folded piece of 220 grit sandpaper to sand the inside edges of the slot and smooth it out from the files. The first photo below shows the slot before my work with the files. The remaining three photos show the progressive opening of the slot with the files and sandpaper.
IMG_4591

IMG_4592

IMG_4593

IMG_4594

I decided to give the bowl two coats of stain for contrast. For the first coat I used a dark brown aniline stain and applied it to the bowl and flamed it to set it in the grain. I hand buffed it with a soft cotton cloth and then gave it a buff on the buffer with red Tripoli.
IMG_4595

IMG_4596

IMG_4597

IMG_4599

I then gave it the second/top coat of stain. I used a medium walnut MinWax stain to highlight the grain further on this pipe. I applied it with a cotton pad and rubbed it off with a soft cotton cloth. The contrasting stain gave depth to the finish on the pipe and made the grain and stamping stand out clearly.
IMG_4602

IMG_4603

IMG_4604

IMG_4605

The next three photos show close up views of the reworked bottom of the bowl. My goal was to round out the edges of the flattened area and shape the bottom of the shank and bowl back as close as possible to the original shape before the previous owner flattened them.
IMG_4612

IMG_4613

IMG_4614

I rubbed on Obsidian Oil on the stem and carefully worked on the area around the decal on the stem. Some oxidation remains in that area but I would have to sacrifice the decal to remove the oxidation and I chose to leave it. I buffed the pipe with White Diamond and then gave the finished pipe multiple coats of carnauba wax. I buffed it with a clean flannel buffing pad to give it a finished shine. The reworked pipe is picture in the next series of four photos. It is ready for its place in my collection of GBD 9438 pipes.
IMG_4606

IMG_4607

IMG_4610

IMG_4611

Repairing and Restoring a Lumberman Deluxe Canadian by Comoy’s


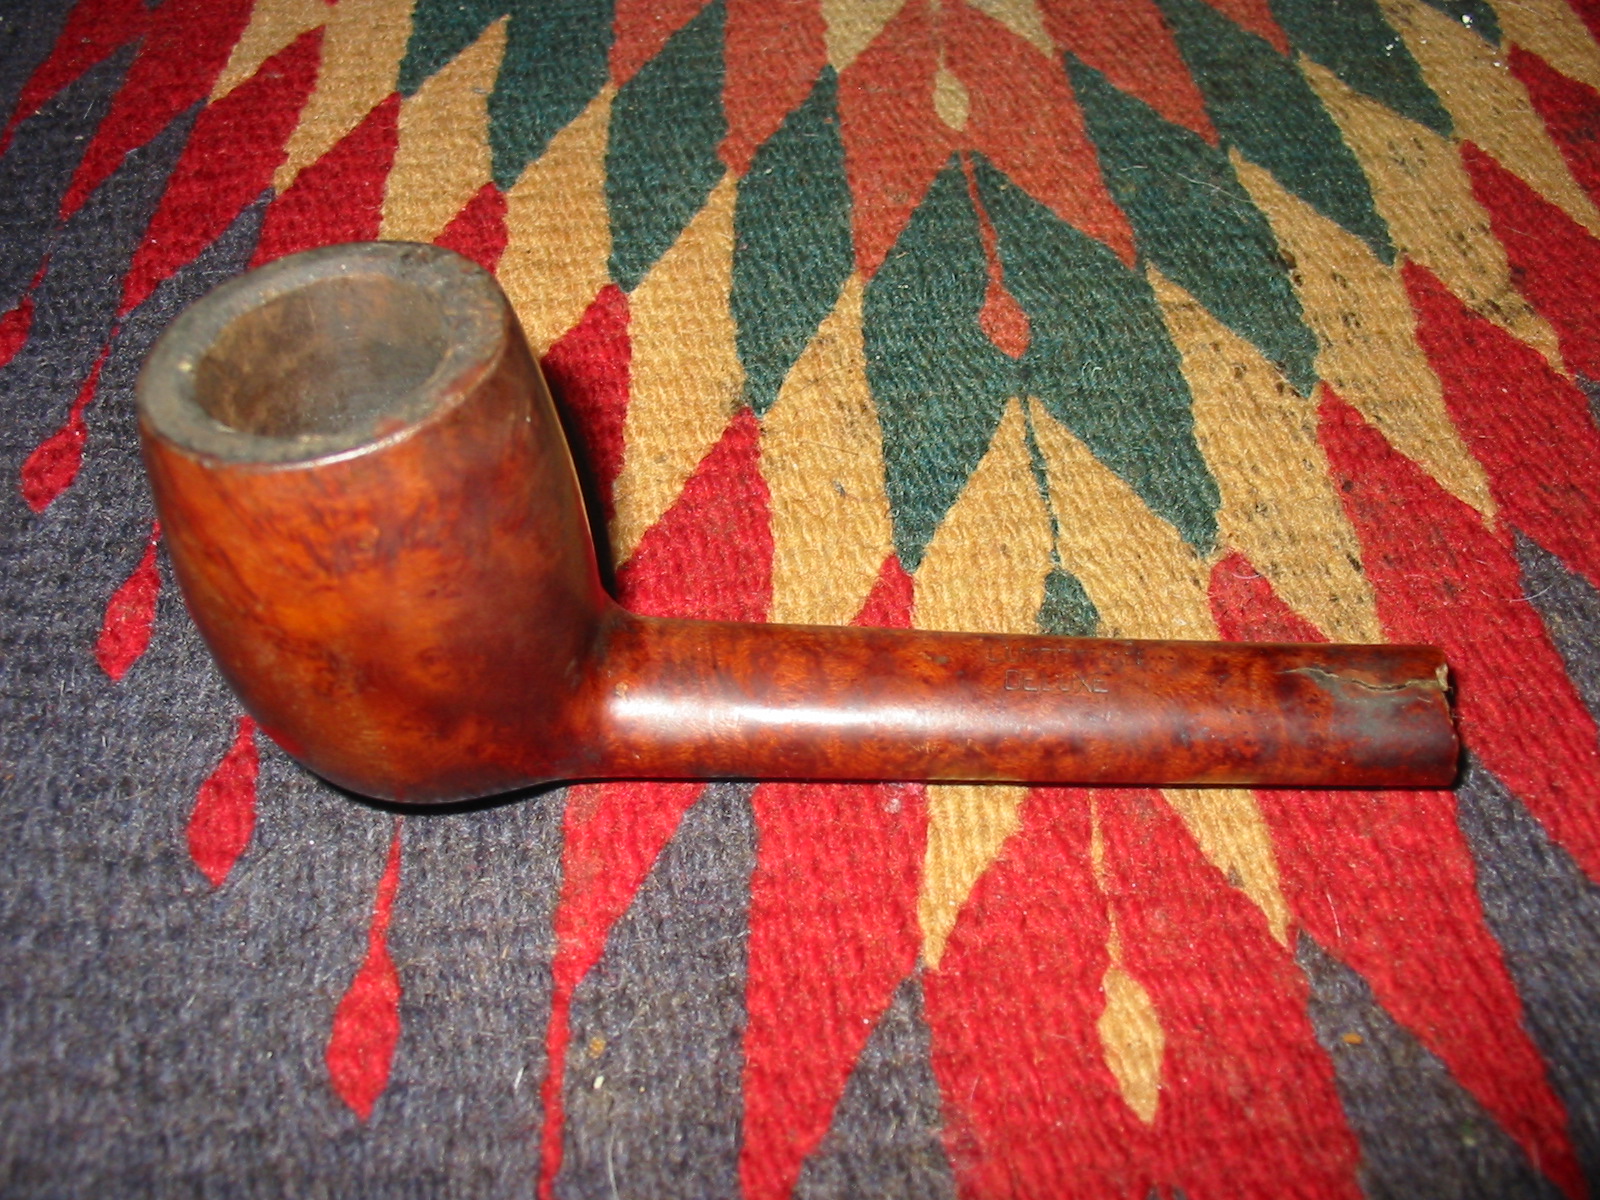
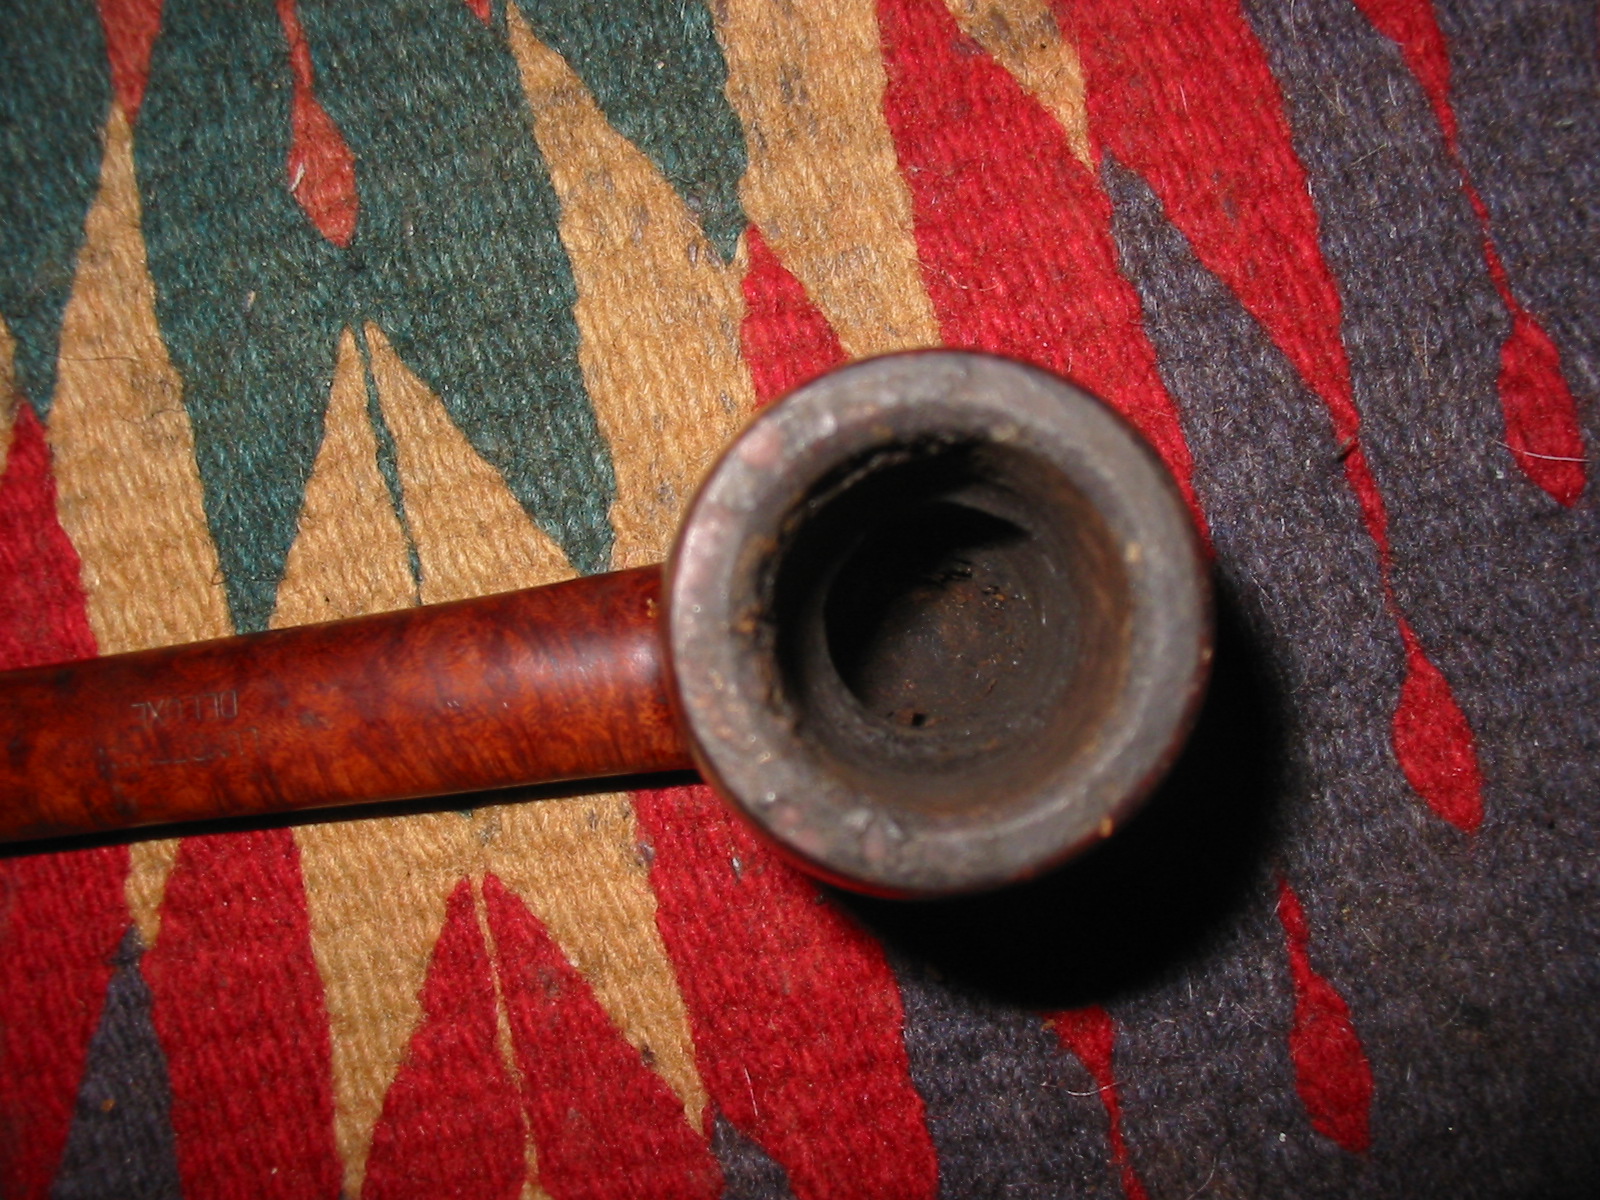
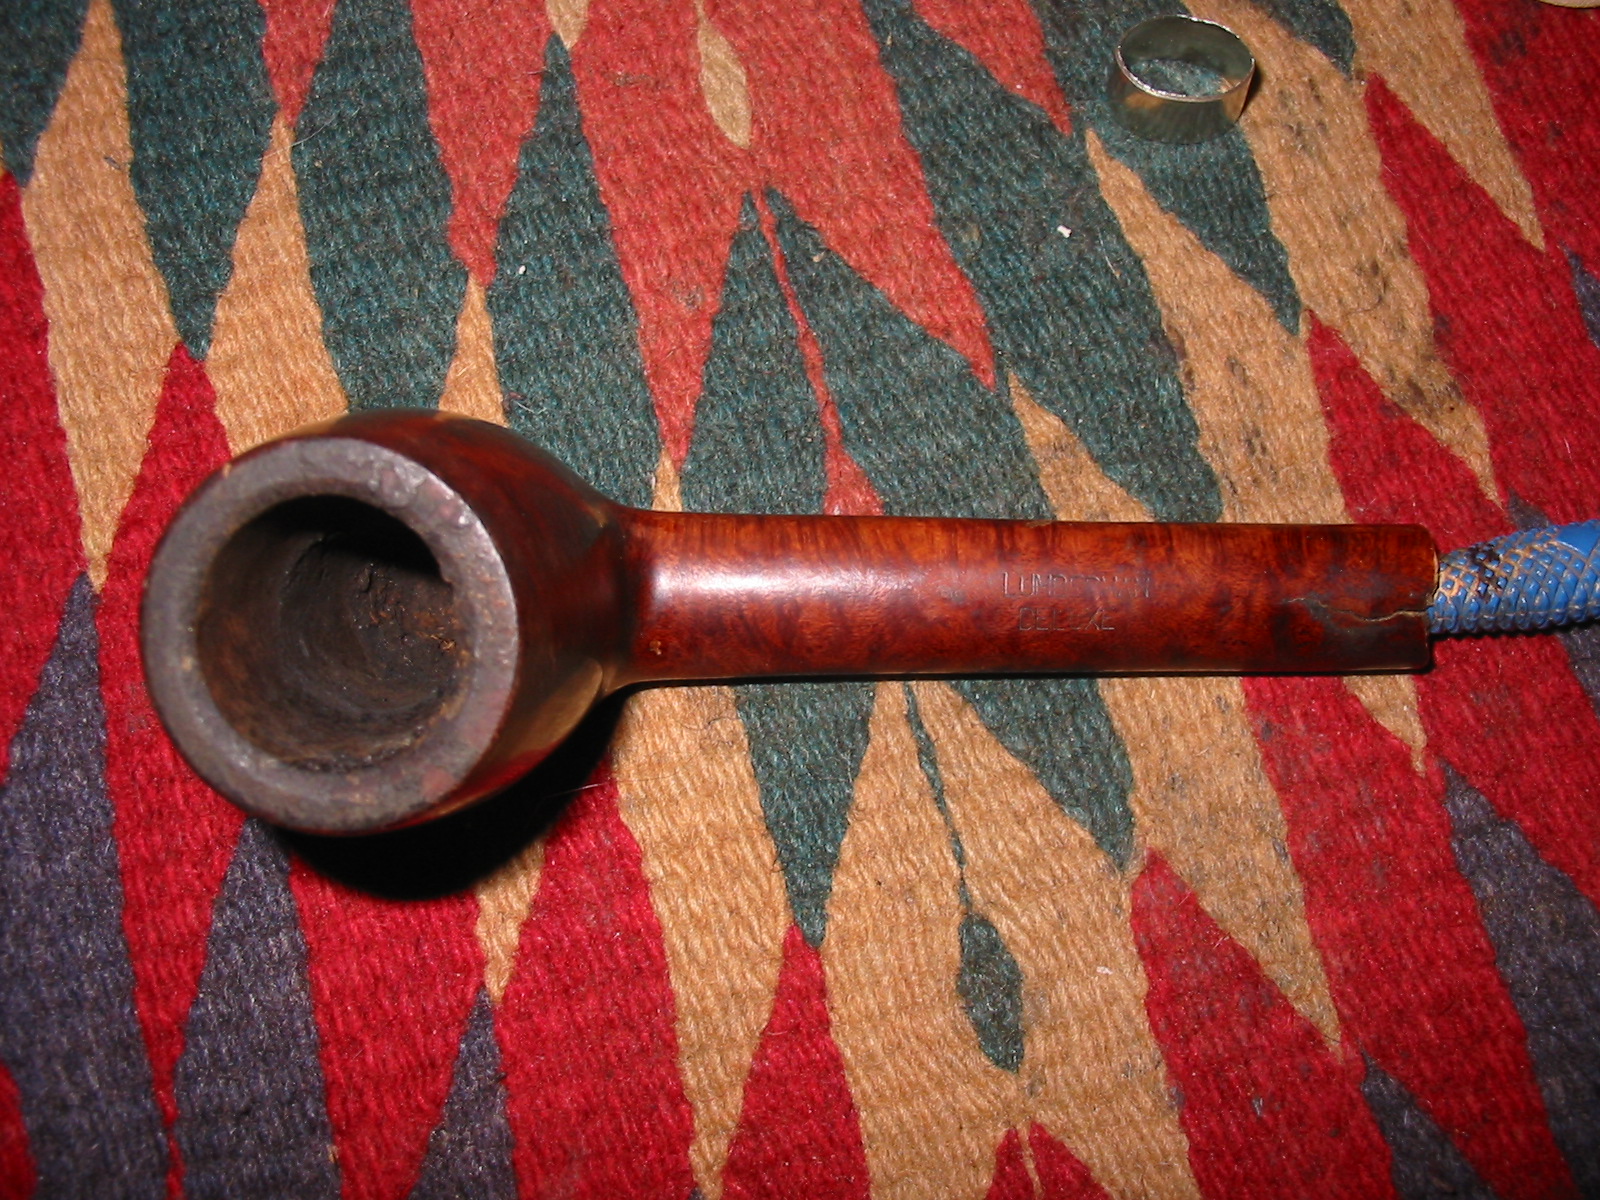
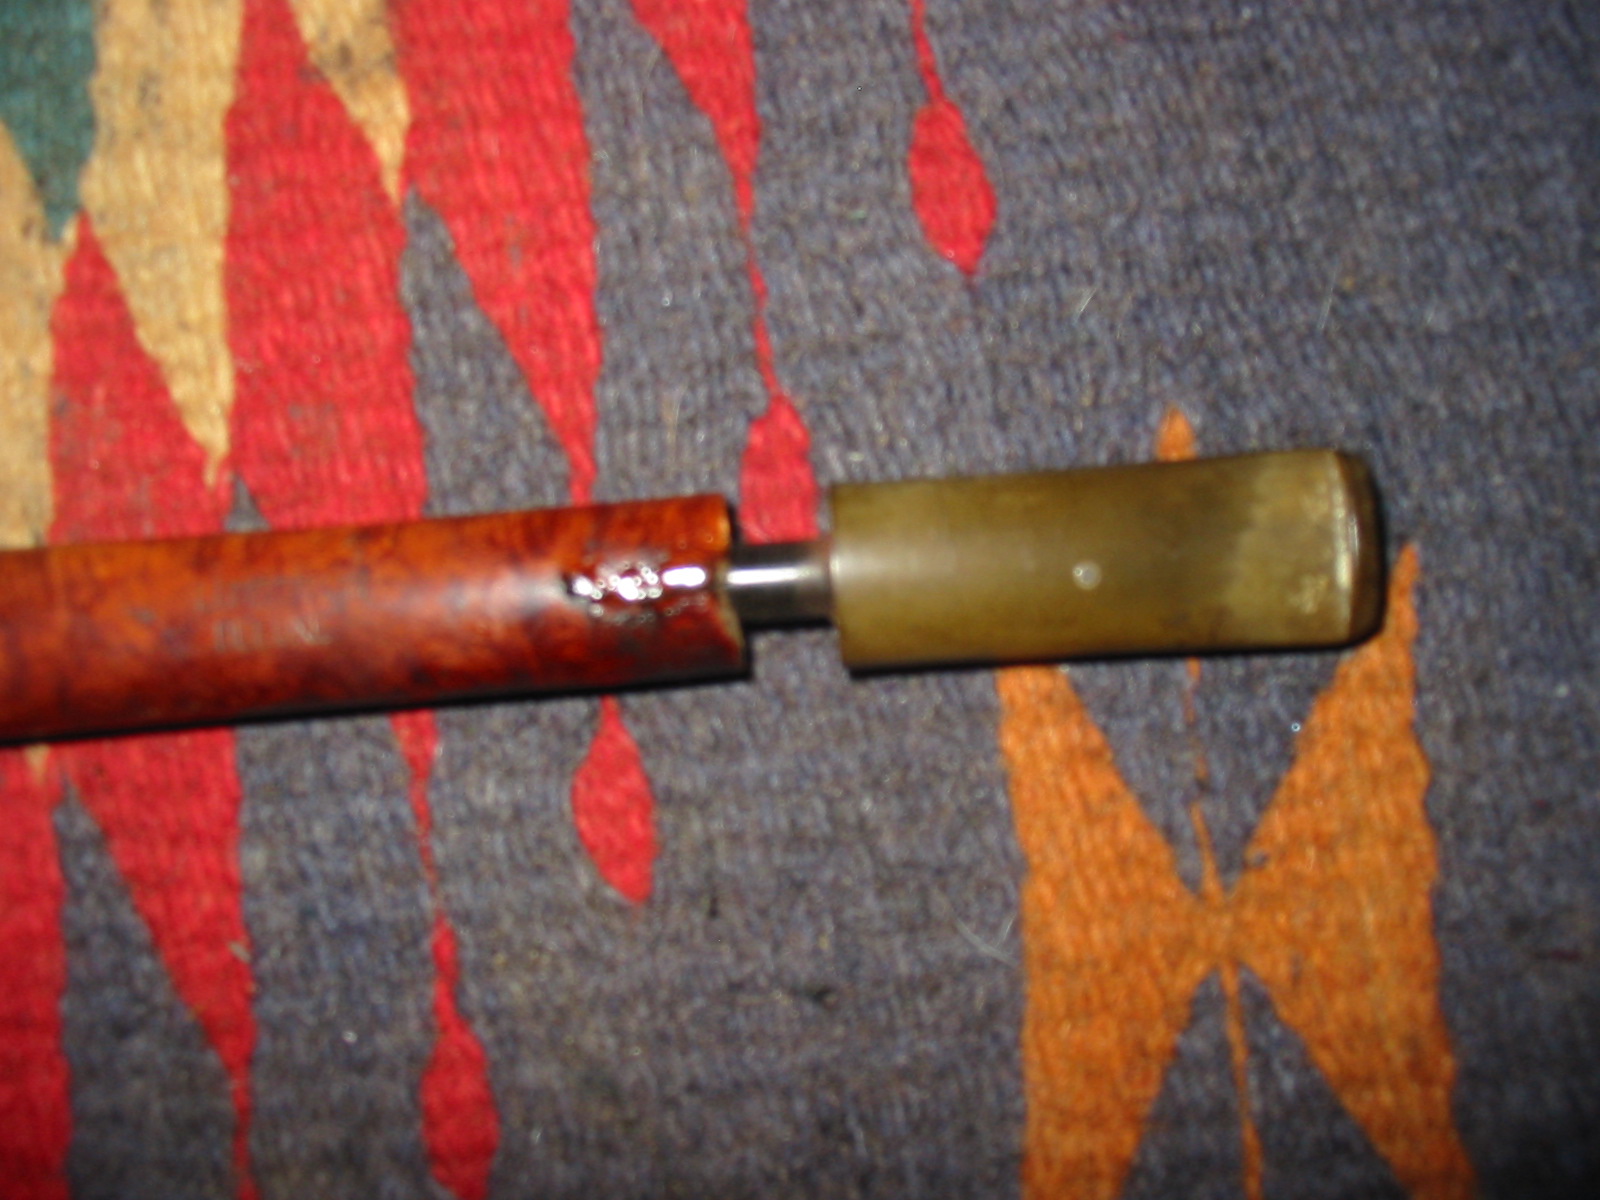
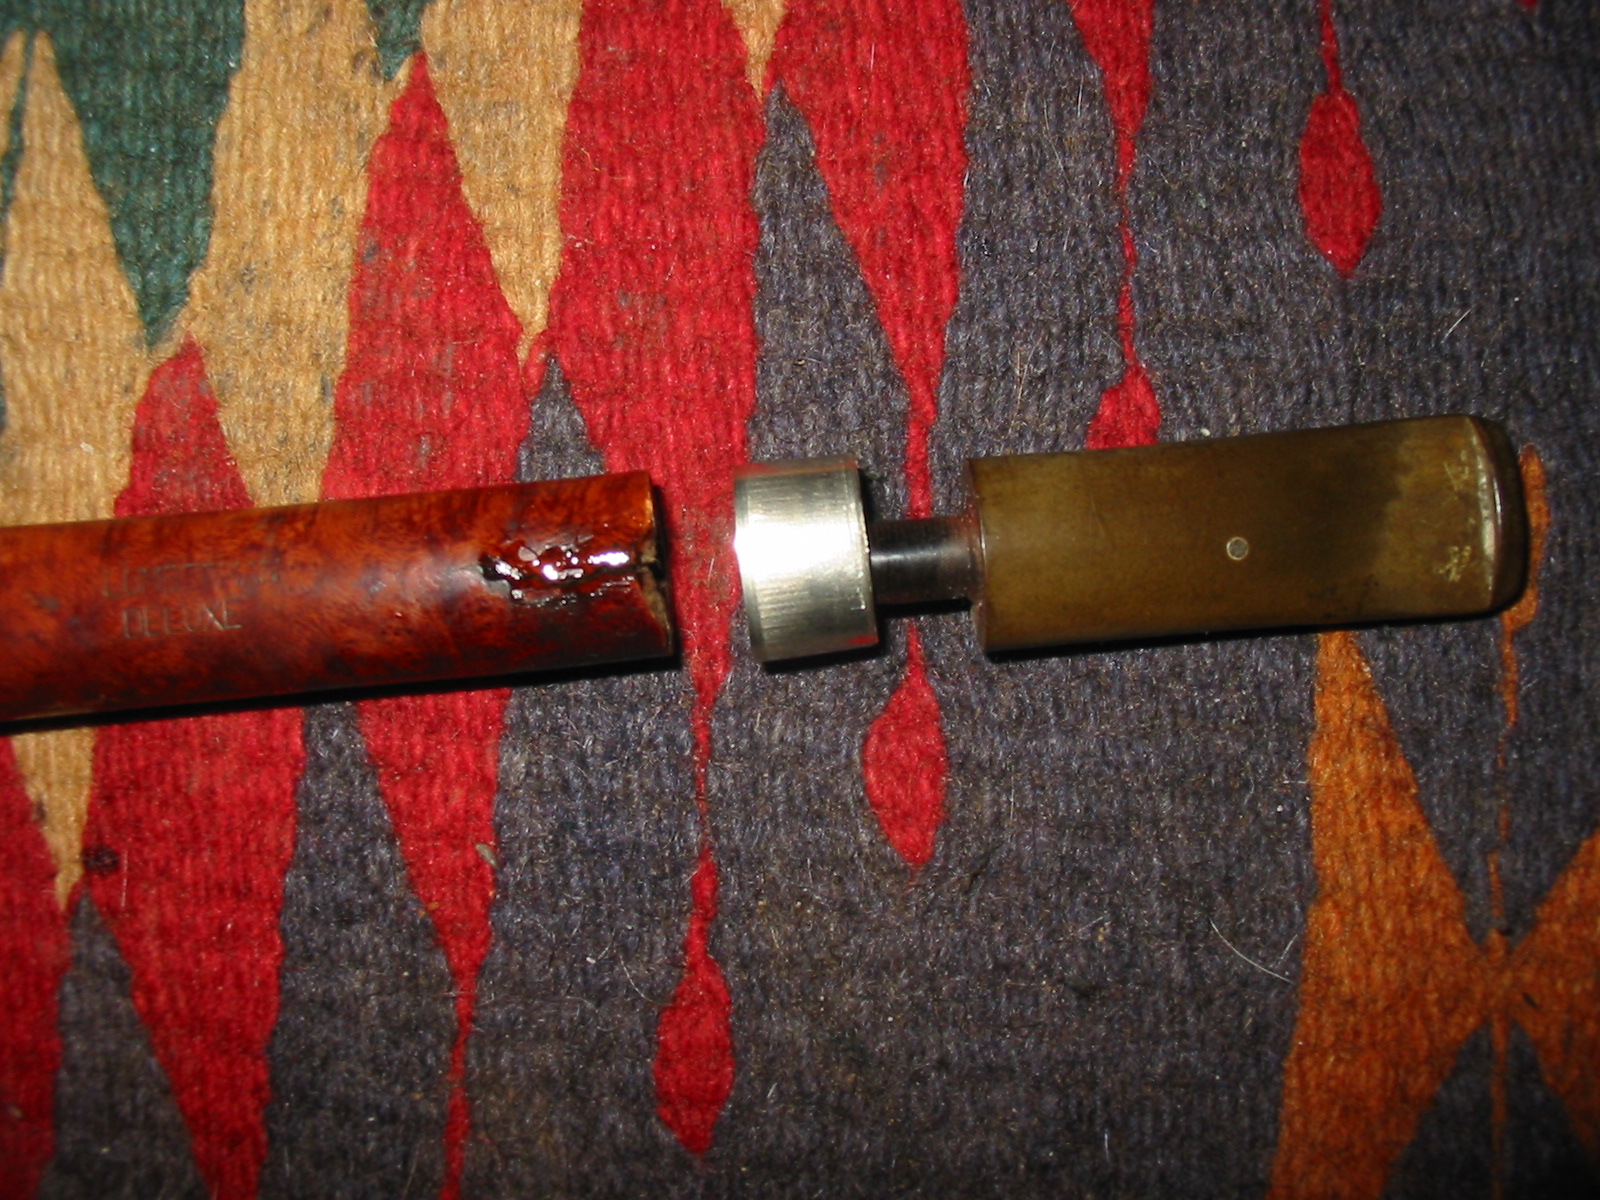
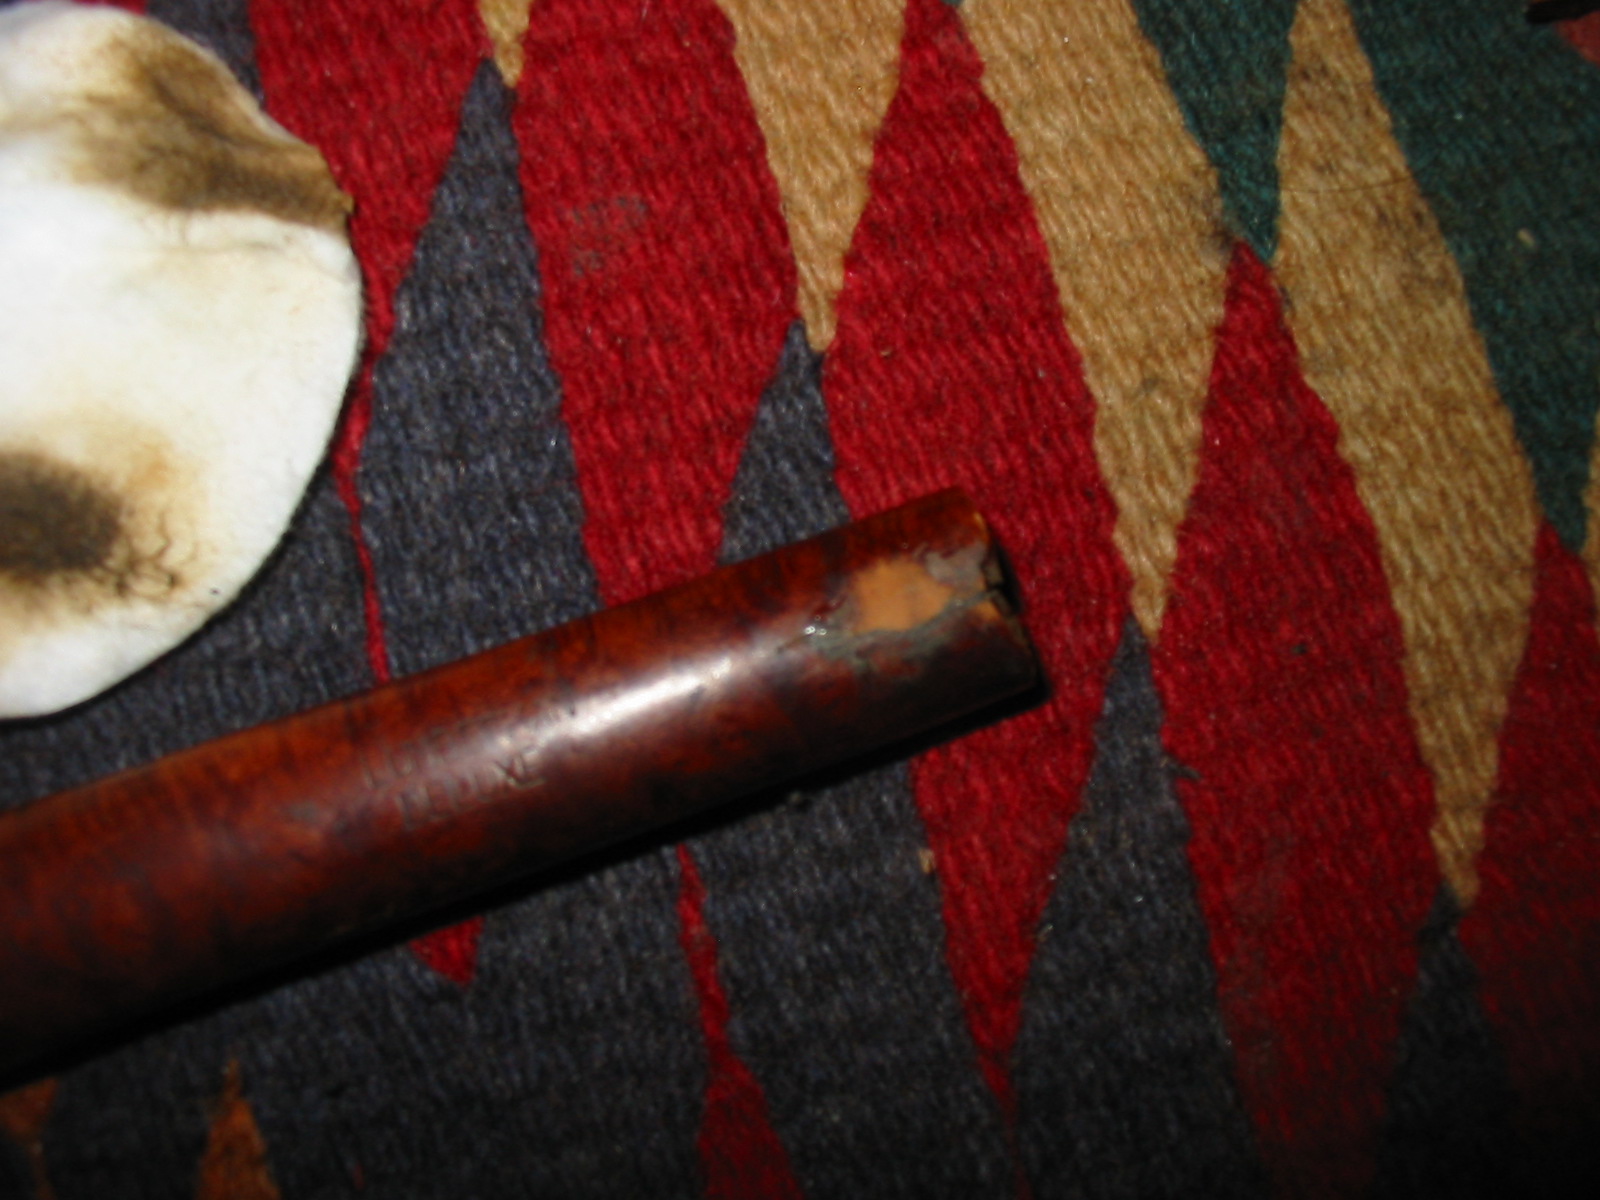
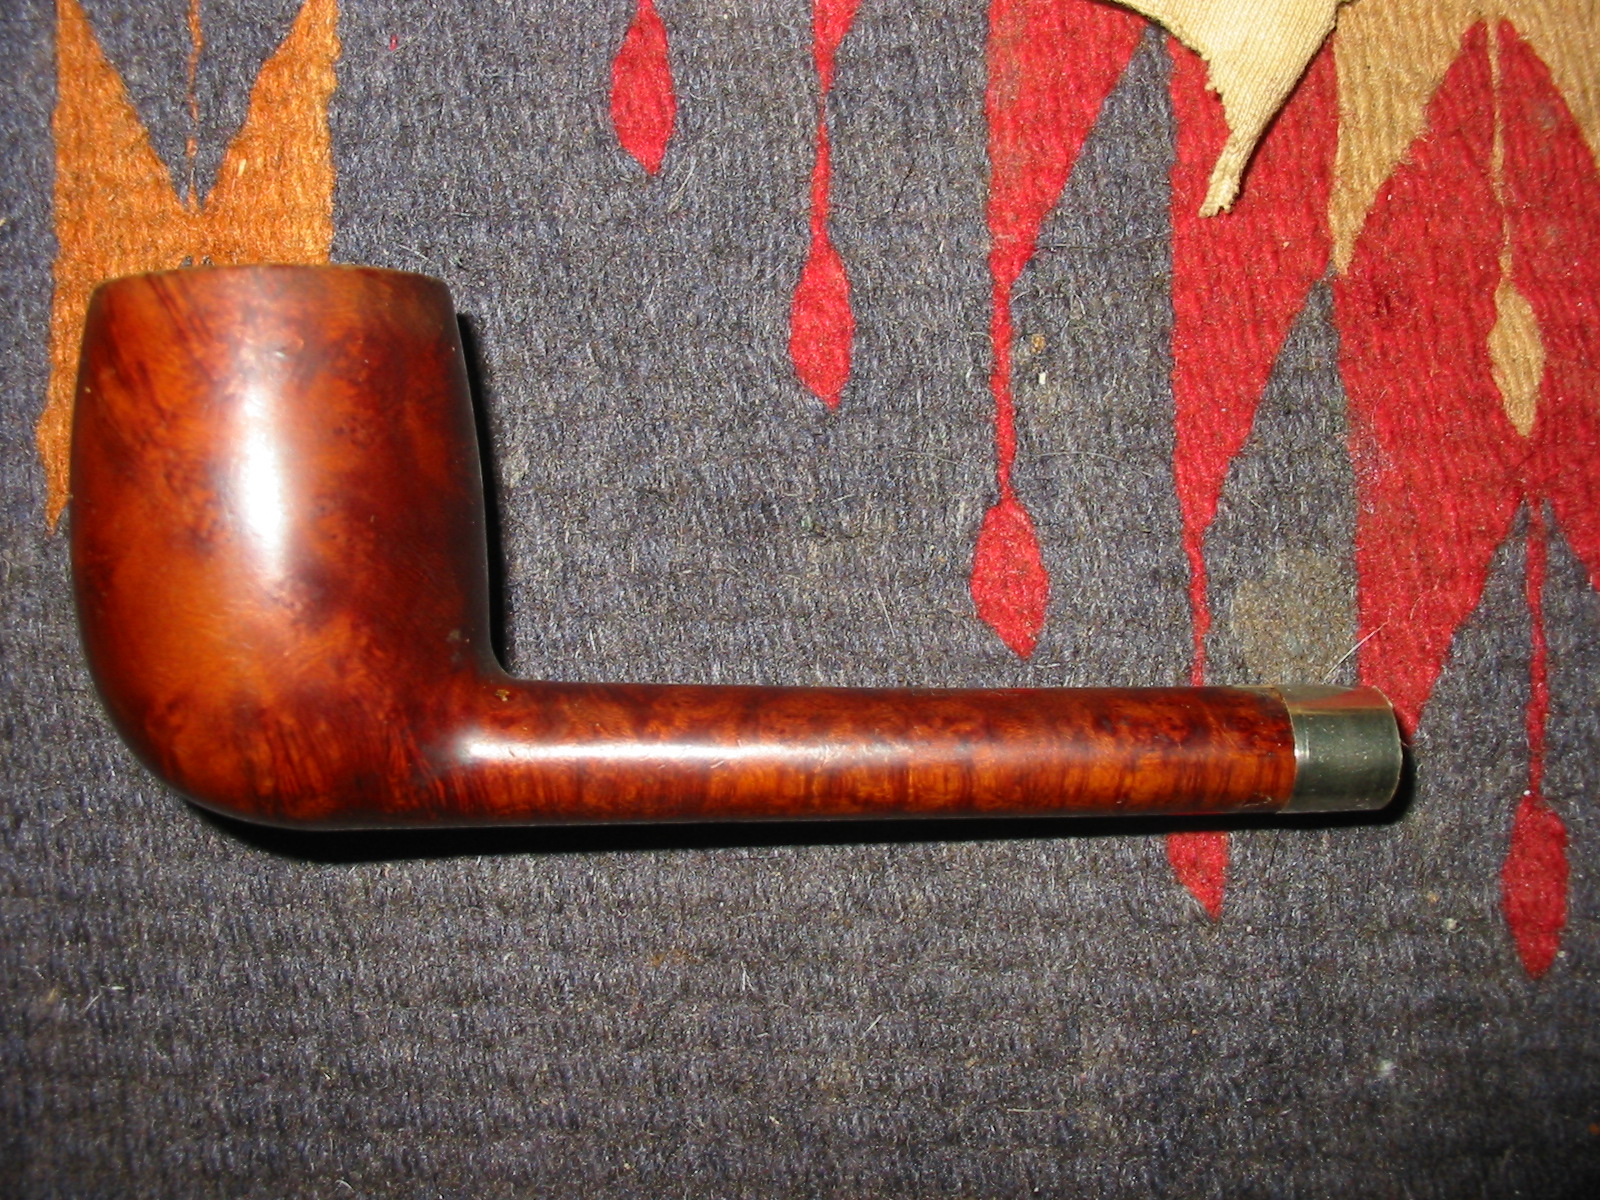
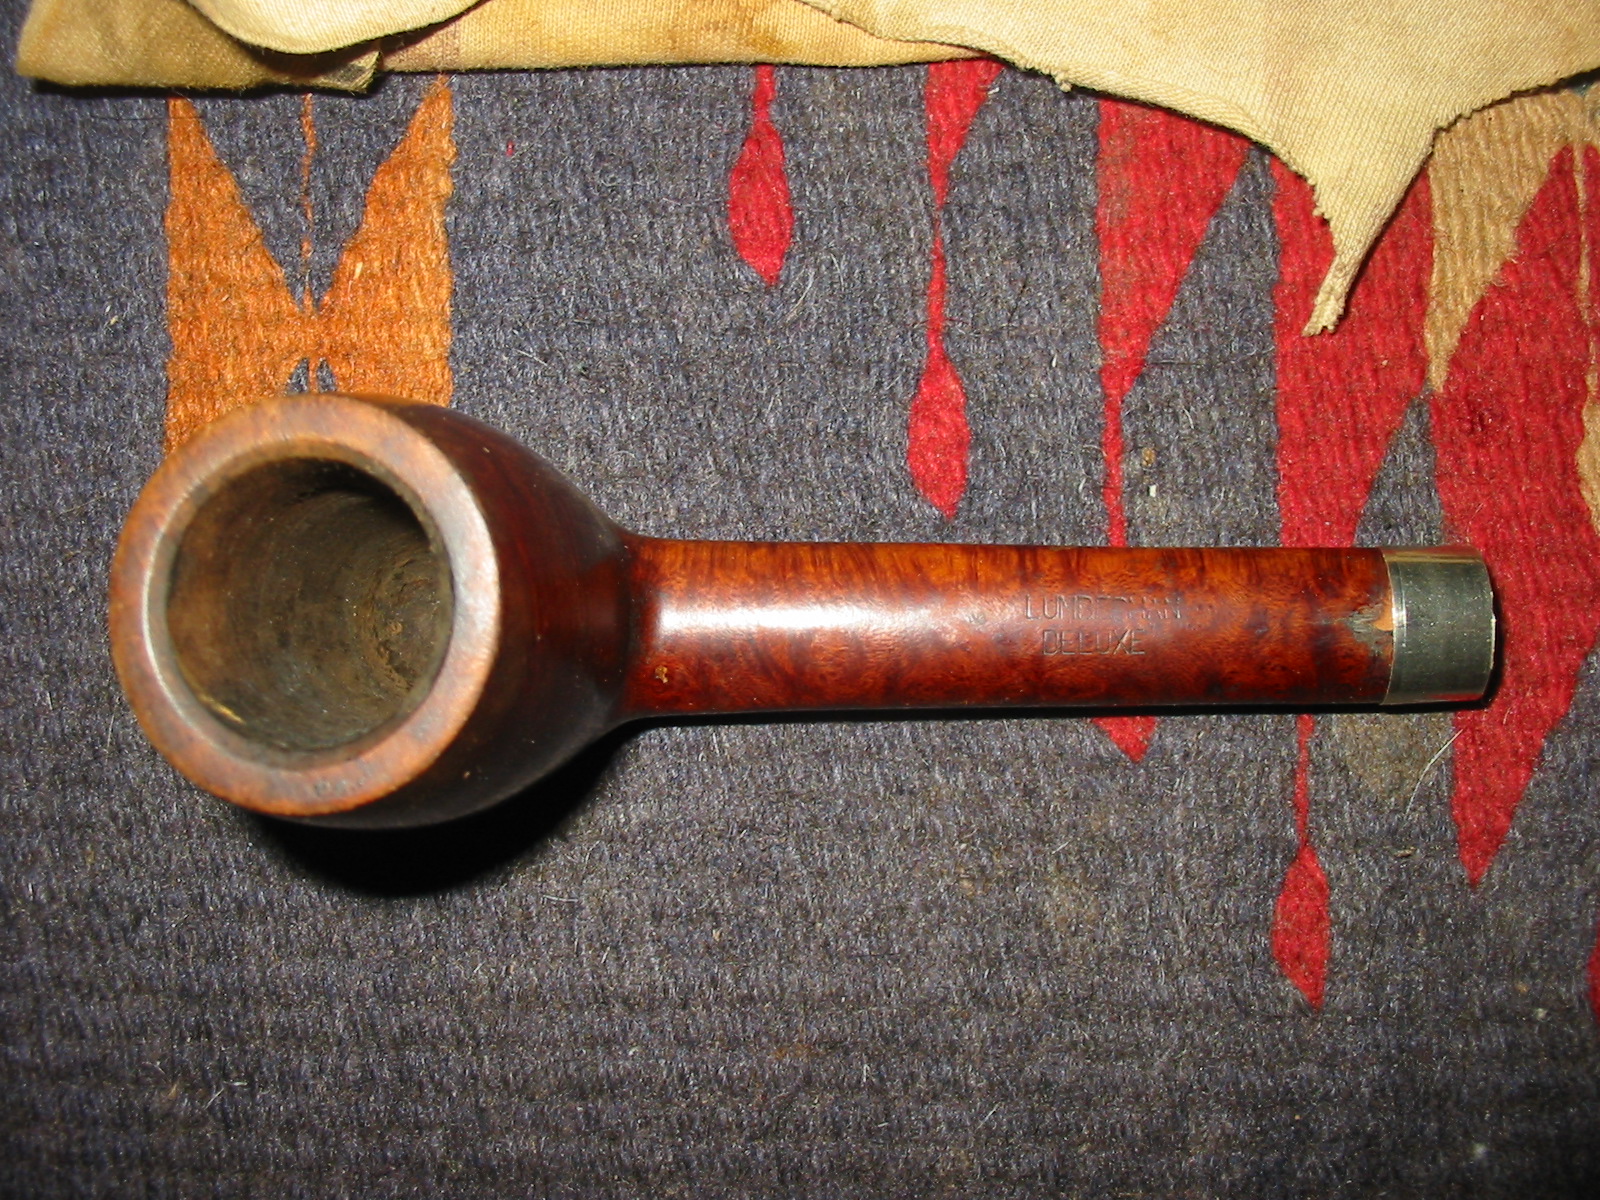
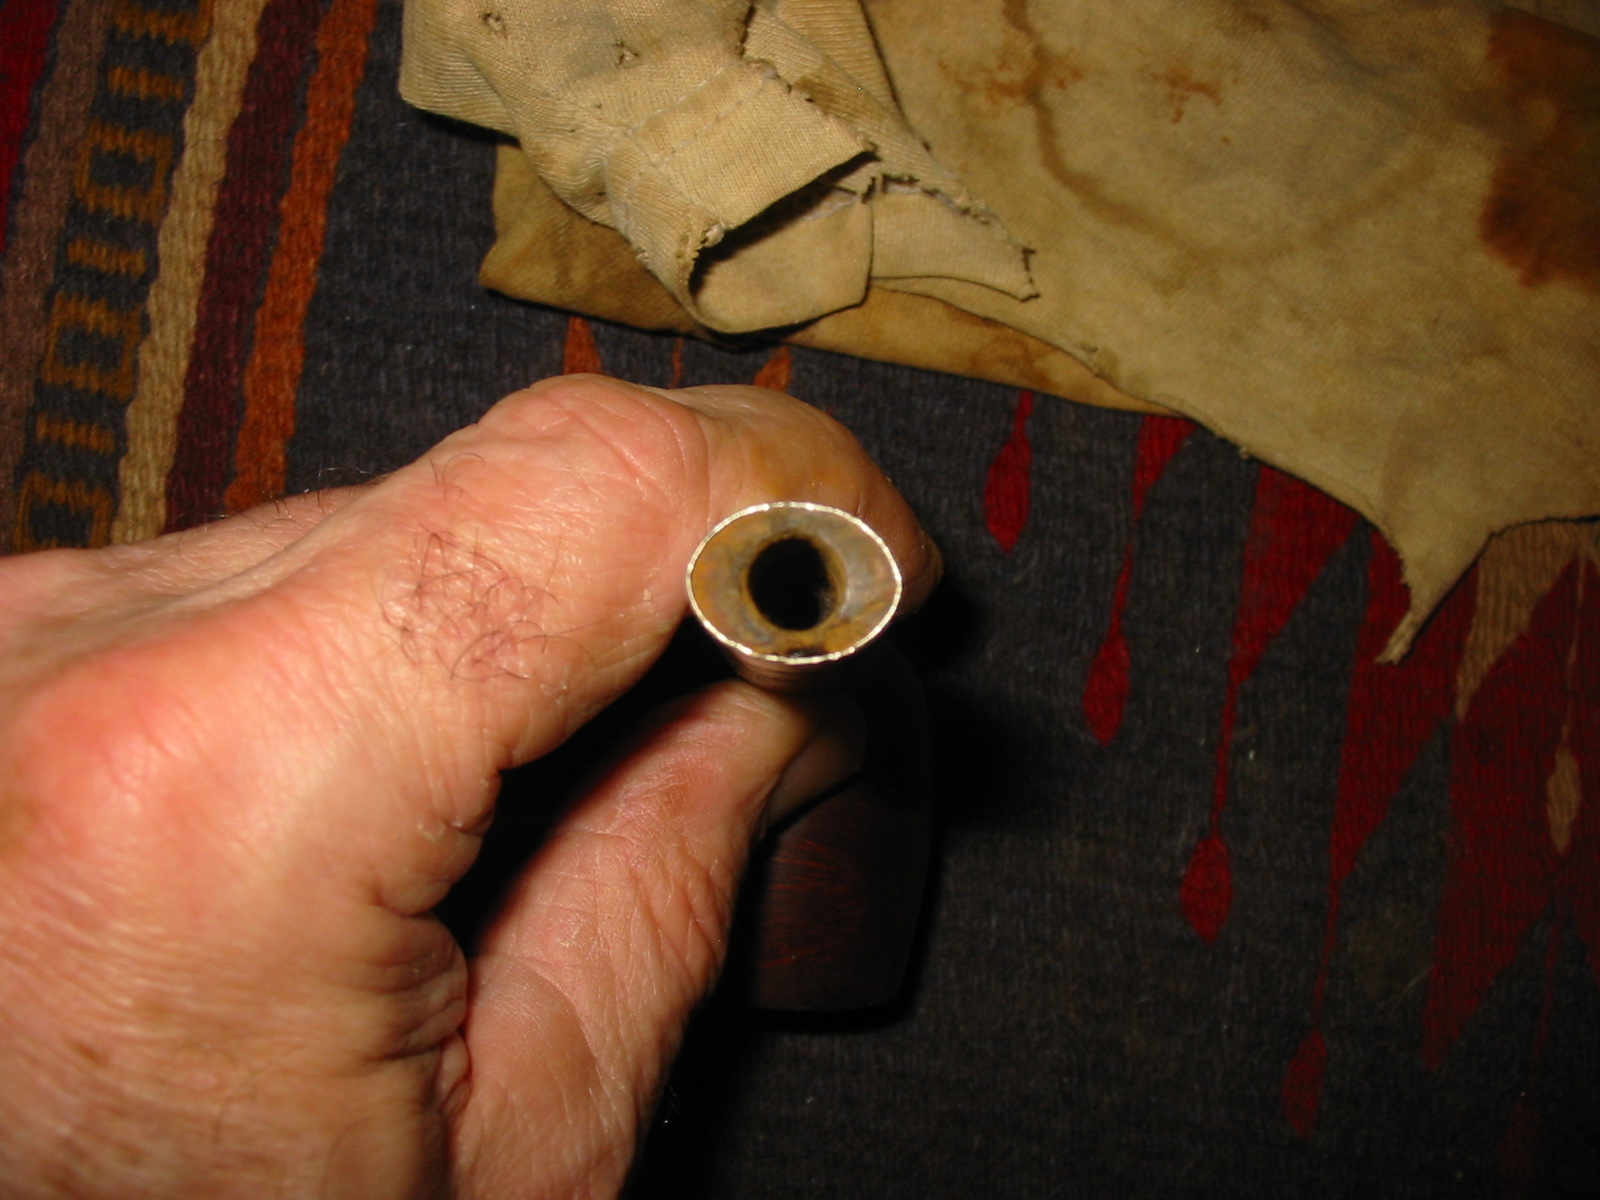
In a batch of pipes I was gifted by Andrew there was a pipe to repair. It is pictured below. The stamping on it was new to me. It is stamped LUMBERMAN over DELUXE on top of the shank and on the underside it is stamped Made and London arced in a circle with “in” at the center of the circle. It is also stamped 309X. I do not see an L after the X in the stamping of the shape number. The shank was cracked and looked like it had been taped from the sticky substance left around the shank and crack. It also was without a stem. Looking it over it appeared that the shank had also been cut off slightly and the cut was crooked. There was a chipped out portion at the end of the crack. All of that would need to be evened out in the repair. The bowl was caked toward the bottom and dirty with a buildup of carbon on the rim and the inner bevel of the rim. The finish was dirty and there were remnants of sticky tape that had been used to repair the shank on both the bowl and the end of the shank. It needed some TLC and work if it was going to be brought back to life.
IMG_4521

IMG_4522
The close up photo below shows the extent of the caking and the buildup on the rim. Note that the inner bevel was intact and the rim itself was undamaged – no nicks or dings on the outer edge and no burn marks. This one would clean up nicely.
IMG_4528

The Lumberman stamping was new to me. I had not heard of it before but it looked interesting in the photos that Andrew sent along. I asked him about the brand so he included some interesting information on the stamping that he had gleaned from a Mr. Can EBay listing. It certainly sheds some light on the brand. Here is how the listing read:

“This Collectible Briar pipe is unique, extremely rare Comoy’s 309XL – a classic Canadian Shape. It has the arched Comoy’s nomenclature stamped over Deluxe (just as it appeared in the early 1930’s) both of which were stamped over Lumberman. For anyone already familiar with the stamping of Comoy Canadians that is enough to recognize that this is a rare and collectible Comoy.”

It appeared that the pipe was made by Comoy’s and well worth the effort to restore it. Andrew also sent along three pages of background information that he had found on the brand. I believe that Mr. Can was also the source of this information. I have included some of it here as it is interesting to those of us who are curious regarding the history of the pipes we collect:

“During its history, Comoy’s has had three distinct sets of nomenclature, though they became somewhat blended in later years. The earliest Comoy nomenclature either had no Comoy stamping or a scripted, signature like forward leaning Comoy’s beneath which were featured names instead of shape numbers. Few of those names (Like Leman, Naval, Adelaide, and so on) are recognized even by the most ardent collectors. Then after World War I when Comoy began introducing what is sometimes called their Old Nomenclature (featuring the Prima, as the Top of the line with other lines like the Old Bruyere, Grand Slam, Lions Head, Lumberman, Lumberman Special and so forth) and arched Comoy’s stamping was used. In the 1930’s the Prima gave way to the Deluxe as the top of the line Comoy. Then just before World War II newer nomenclature started to appear (like Blue Riband, Specimen Straight Grain, and so on) and the Deluxe was replaced by the Royal Comoy. That New Nomenclature expanded dramatically after the War and blended with the modern nomenclature today.”

“The use of the arched Comoy’s ended with World War II and was replaced after the War with a straight line Comoy’s (along with the now famous country of origin stamping of a circular “Made In London” over a straight line “England”.”

“Prior to World War II with manufacturing facilities in both France and England, Comoy had pipes made in both locations. Most were easily identifiable by their country of origin stamping. There were several versions of Comoy’s Lumberman made in France and/or England. (They might have been the dame pipe but with different nomenclature.) “The Lumberman” and “The Lumberman Special were made in both factories. But none had the arched Comoy’s stamping.”

“After WWII Comoy’s reintroduced the Deluxe, discontinued the arched Comoy’s and continued various versions of the Lumberman. Perhaps Comoy’s best graded Lumberman was stamped Lumberman Deluxe – but it had no Comoy stamping. Lumber was always stamped over Deluxe.”

“Normally Comoy offered to Canadian sizes designated by shape numbers 296 and 309. The difference was in the length of the Canadians. The 309 shape was Comoy’s longest Canadian and the 296 was shorter. However, the extra long Canadians were upgraded with the additional stamping of XL and the very longest were sometimes stamped XXL. Either upgrade was rare.” – the above was taken from correspondence Andrew included when he sent the pipe to me.

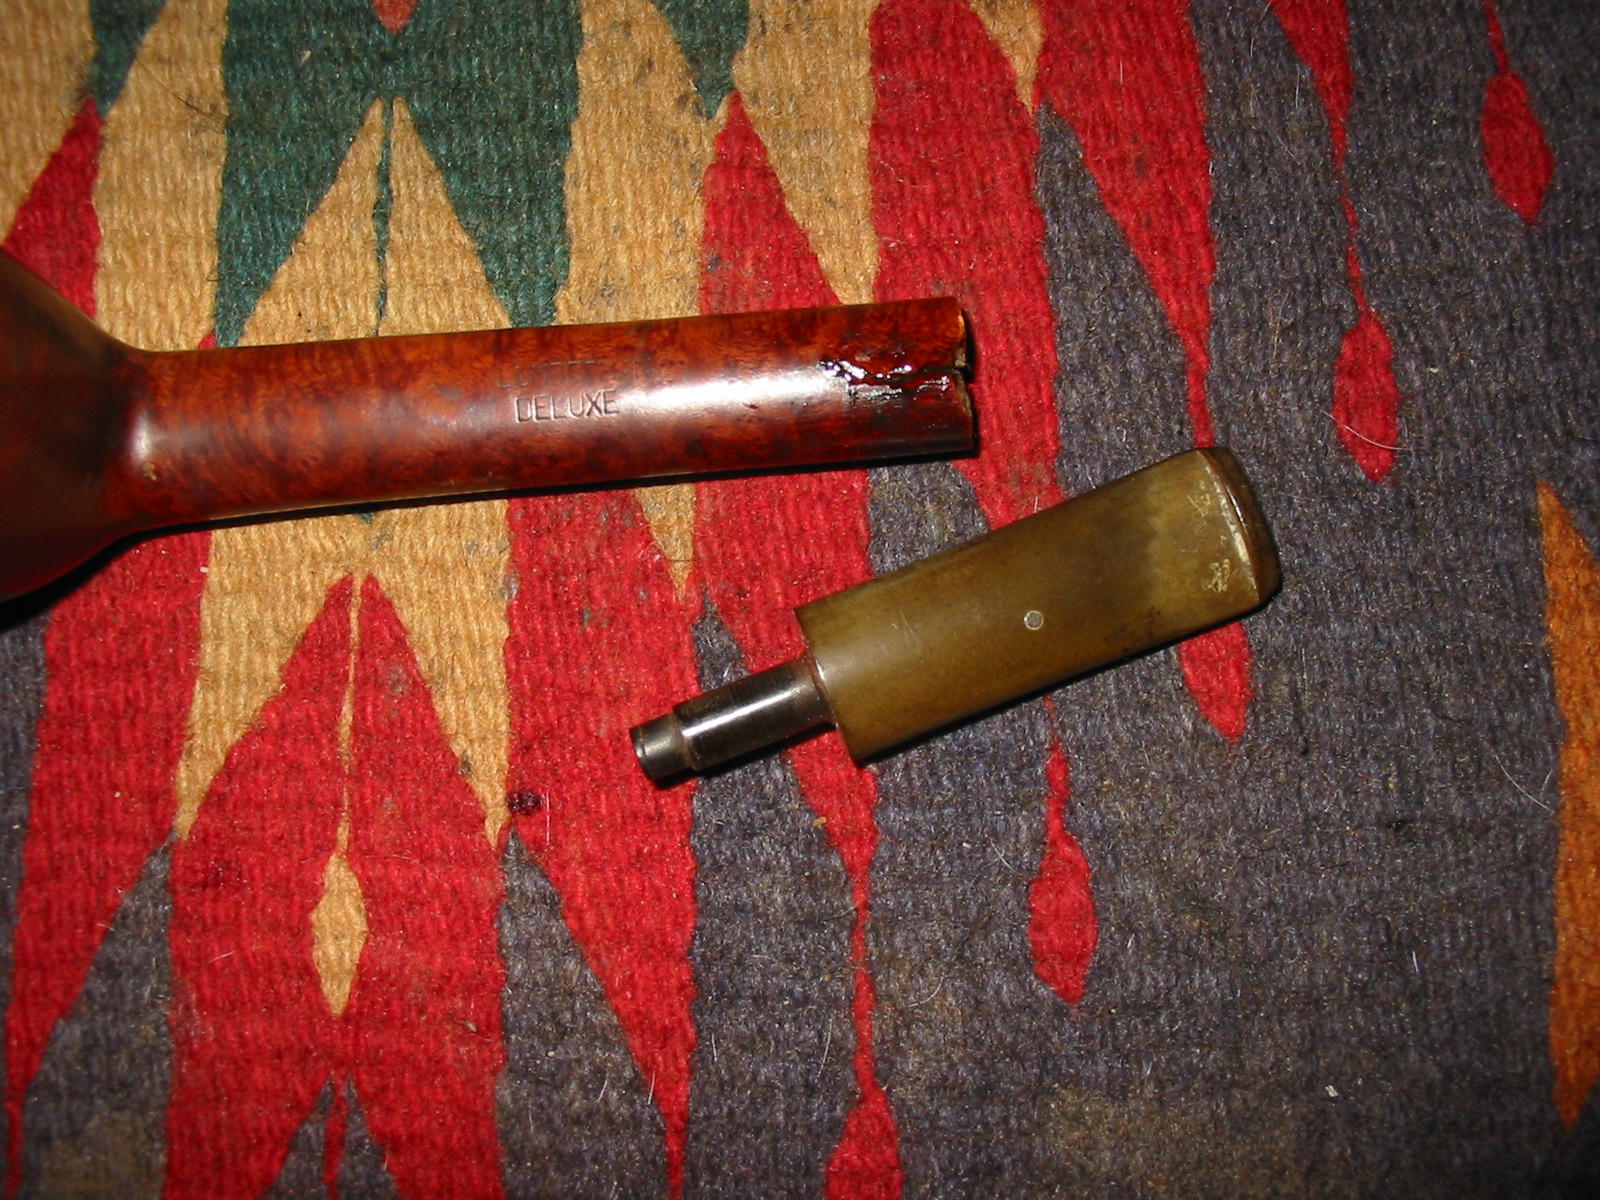
Armed with that information I was ready to work on the pipe. I have included a series of photos below to show the cracked shank and the repair I did to it. In the first photo I inserted a dental pick in the shank to open the crack so that I could clean it out. Also included in that photo is the band that I would use to band the cracked shank.
IMG_4523

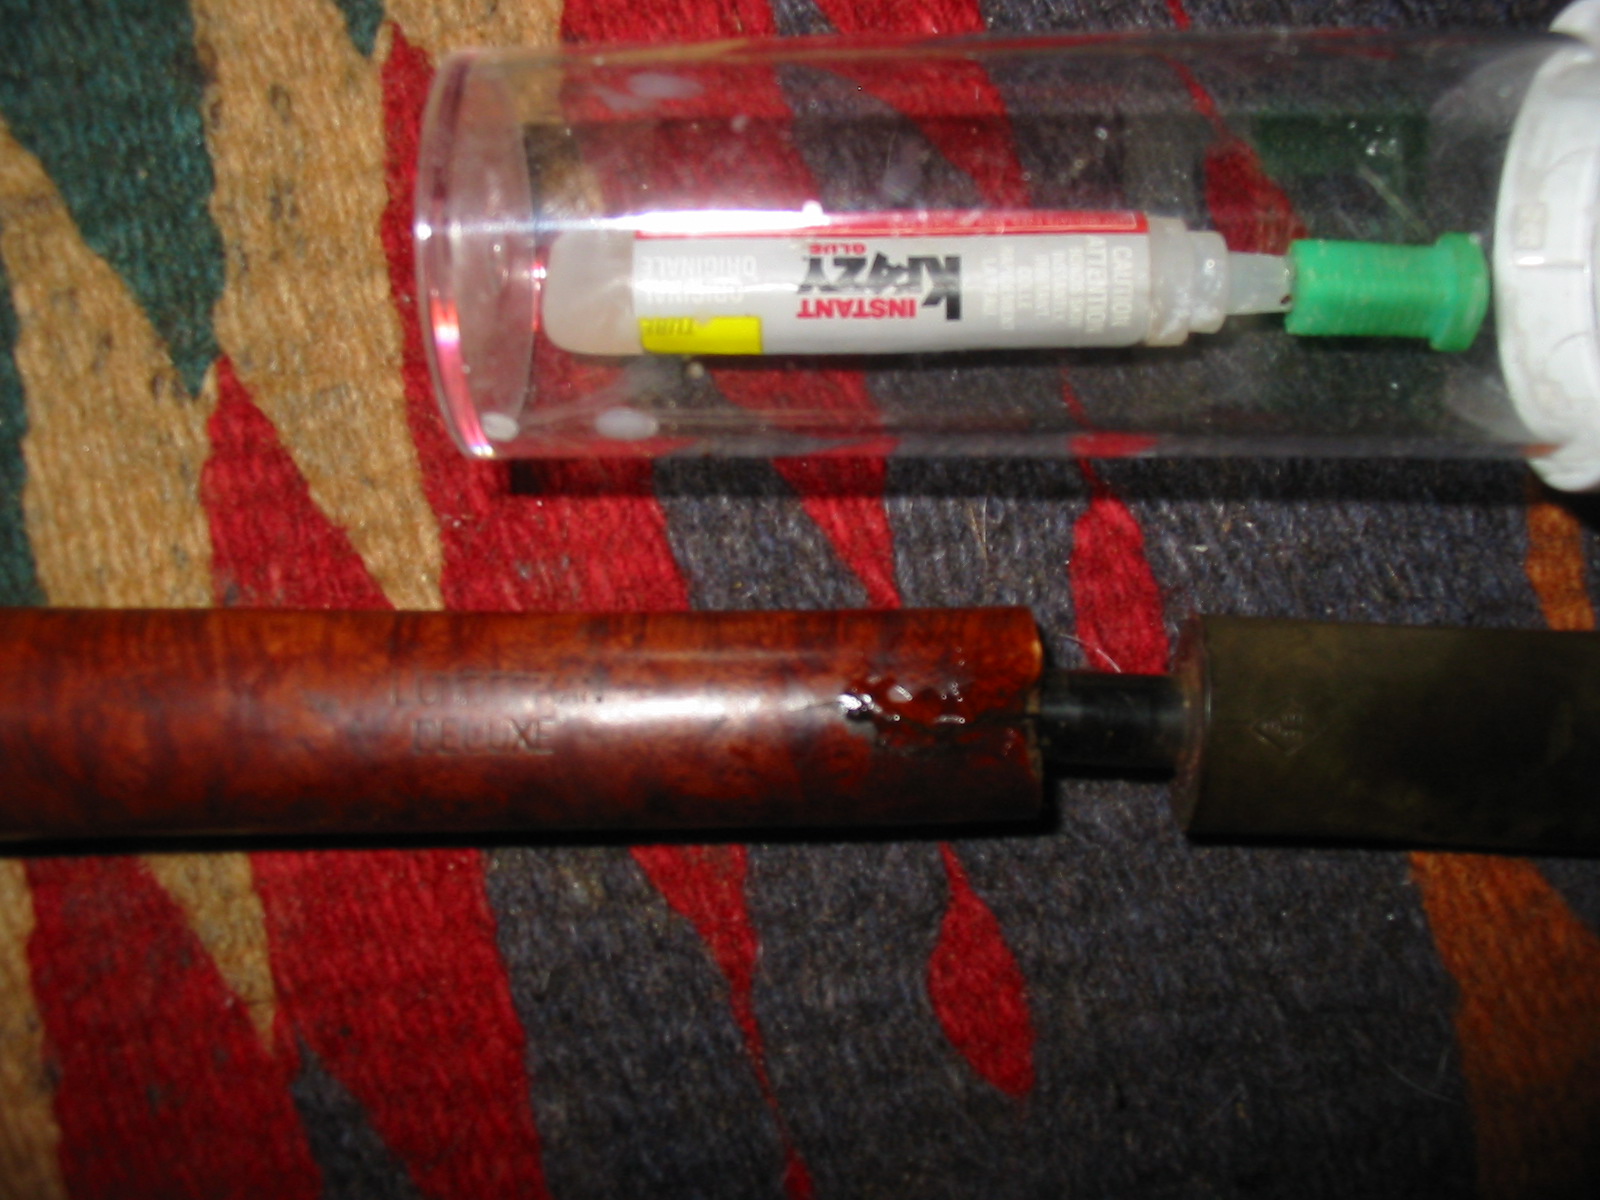
I wiped down the shank with acetone on a cotton pad to clean off the grime and build up of material left behind by the tape that had been used to repair the shank. Once it was clean I dripped some superglue into the crack of the shank and held it tightly together until the glue had dried. Once it had dried I inserted the end of the tenon of the stem I was going to fit to the shank of the pipe for the photos.
IMG_4532

IMG_4533

IMG_4534

IMG_4535

I sanded the repair and removed the excess glue from the surface of the top of the shank and wiped the area down with Everclear on cotton pads to clean up after sanding.
IMG_4539

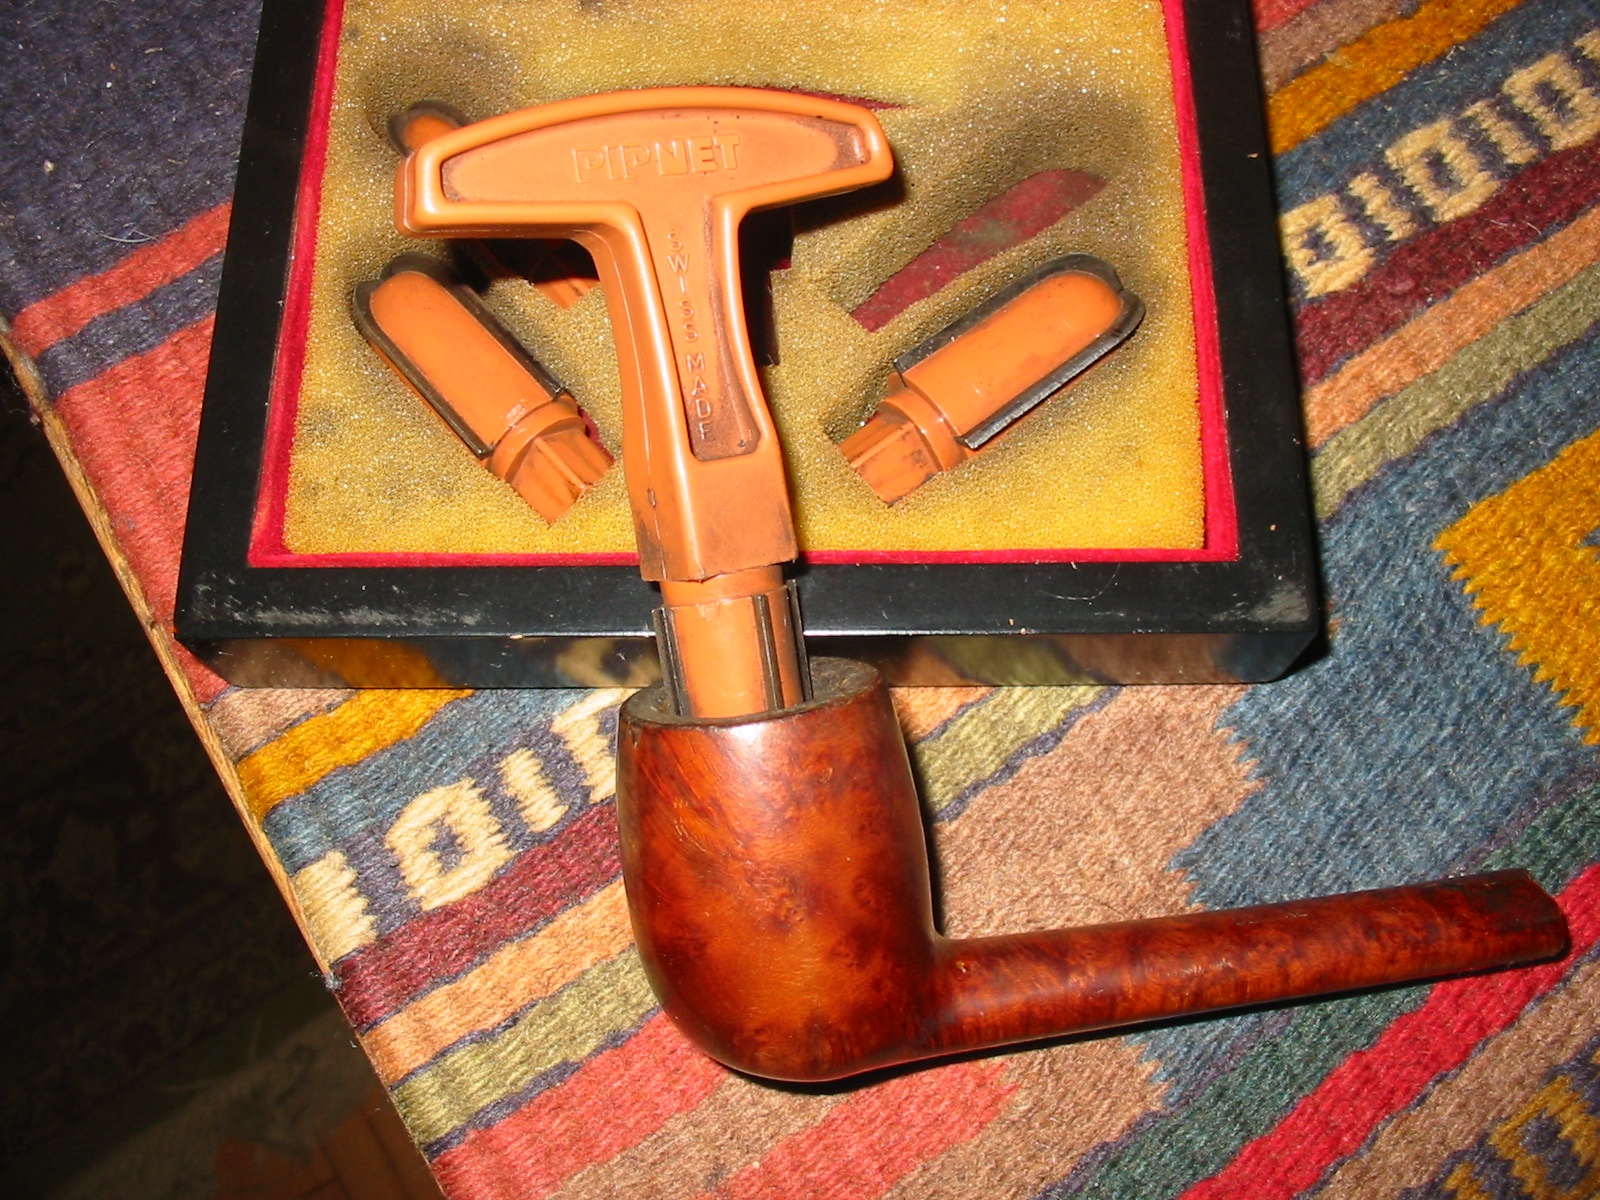
I decided to ream the bowl and clean the rim before I went on to band the pipe. I cleaned the inside of the shank as well as I did not want the grime and build up to run when I heated the shank and the band for the pressure fit. I reamed it with a PipNet reamer and scrubbed the rim with saliva on a cotton pad and good old fashioned elbow grease.
IMG_4537

IMG_4538

I turned the tenon down to get a good fit in the mortise and against the end of the shank. I wanted to see what I was working with in terms of the cut off shank. I knew that it was not straight but I wanted to see how far off it was. I also wanted to see the damage to the shank from the crack. The next series of four photos shows the damage to the shank. I was able to smooth out some of the damage but the band would certainly help in making the end of the shank smooth. I did not want to cut off any of the length after reading the information that Andrew provided. From photos I looked at on the net the stem was the right shape, taper and angles to fit this age of pipe. The old stem I chose was one that had the BBB diamond stamped on the top of it. The stamping was faint so it was a good one to sacrifice for this Lumberman.
IMG_4540

IMG_4541

IMG_4542

IMG_4544

I removed the stem once it fit well and pressed the band onto the shank. I then heated it with a heat gun rotating the shank to evenly heat the band and keep the heat from burning the briar.
IMG_4546

IMG_4547

I pressed the band in place while it was still hot. I use a flat board and press down evenly until the band slides into place. This takes repeated heating until the fit is tight and straight against the end of the shank. In the case of this pipe after I pressed it in place I sanded the damaged end of the shank until it was even and then used a knife to cut a slight bevel on the inside edge of the mortise so that the stem would fit properly.
IMG_4548

IMG_4549

IMG_4550

IMG_4551

Once the band was in place I needed to sand down the tenon so that it would fit in the newly constricted airway. I used a folded piece of 220 grit sandpaper to sand down the excess vulcanite on the tenon so that the fit would be snug. The next three photos show the new stem in place with the band. The stem had been sanded with 220 grit sandpaper to match the lines of the shank and give a proper taper to the stem from the band to the button. I also sanded it with a medium grit sanding sponge.
IMG_4553

IMG_4555

IMG_4557

I sanded the area on the top of the shank where the repair extended slightly ahead of the band with 220 grit sandpaper and a medium grit sanding sponge. I followed that by sanding with micromesh sanding pads to smooth out the spot. I wiped down the bowl with acetone on a cotton pad until the surface was clean and free of debris and dust. I stained it with medium brown aniline stain that was thinned 2:1 with Isopropyl alcohol. I wanted the colour to match the tones that were present on the other Comoy’s that I had from this era and the photos I had seen on line. I applied the stain and flamed it. In the photos below the shine is from hand buffing the pipe with a soft cotton cloth.
IMG_4558

IMG_4559

IMG_4562

IMG_4563

I reinserted the stem and worked on the band and the stem with 1500 grit micromesh to begin the process of removing scratches and polishing. I took the pipe to the buffer and gave it a quick buff with red Tripoli and White Diamond.
IMG_4566

IMG_4567

IMG_4568

I worked on the stem with my usual array of micromesh sanding pads – wet sanding with 1500-2400 grit pads and dry sanding with 3200-12,000 grit pads.
IMG_4571

IMG_4570

IMG_4569

I rubbed the stem down with Obsidian Oil to protect it and when it had dried took the pipe to the buffer. I buffed the stem with White Diamond and gave the bowl and shank a light buff as well. I gave it multiple coats of carnauba wax and finished by buffing it with a clean flannel buff. The finished pipe is picture below.
IMG_4572

IMG_4573

IMG_4574

IMG_4575

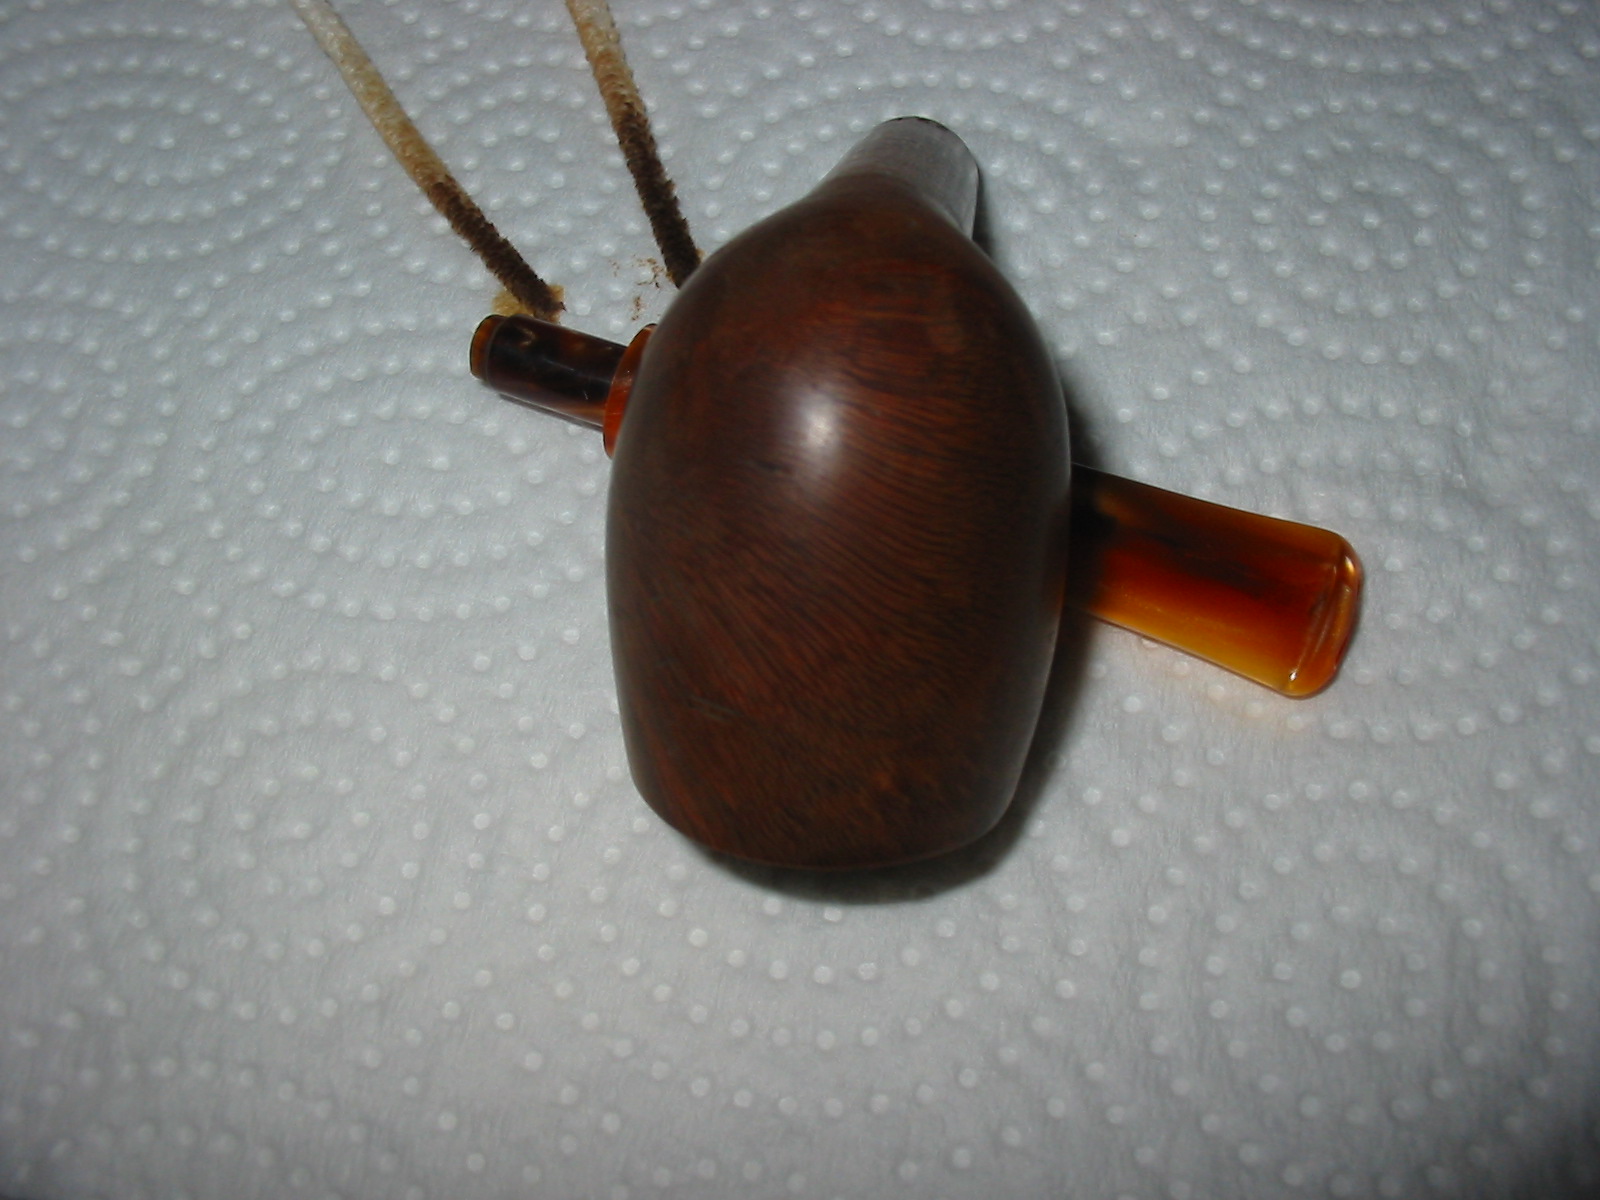
Restoring a Chacom Festival Billiard


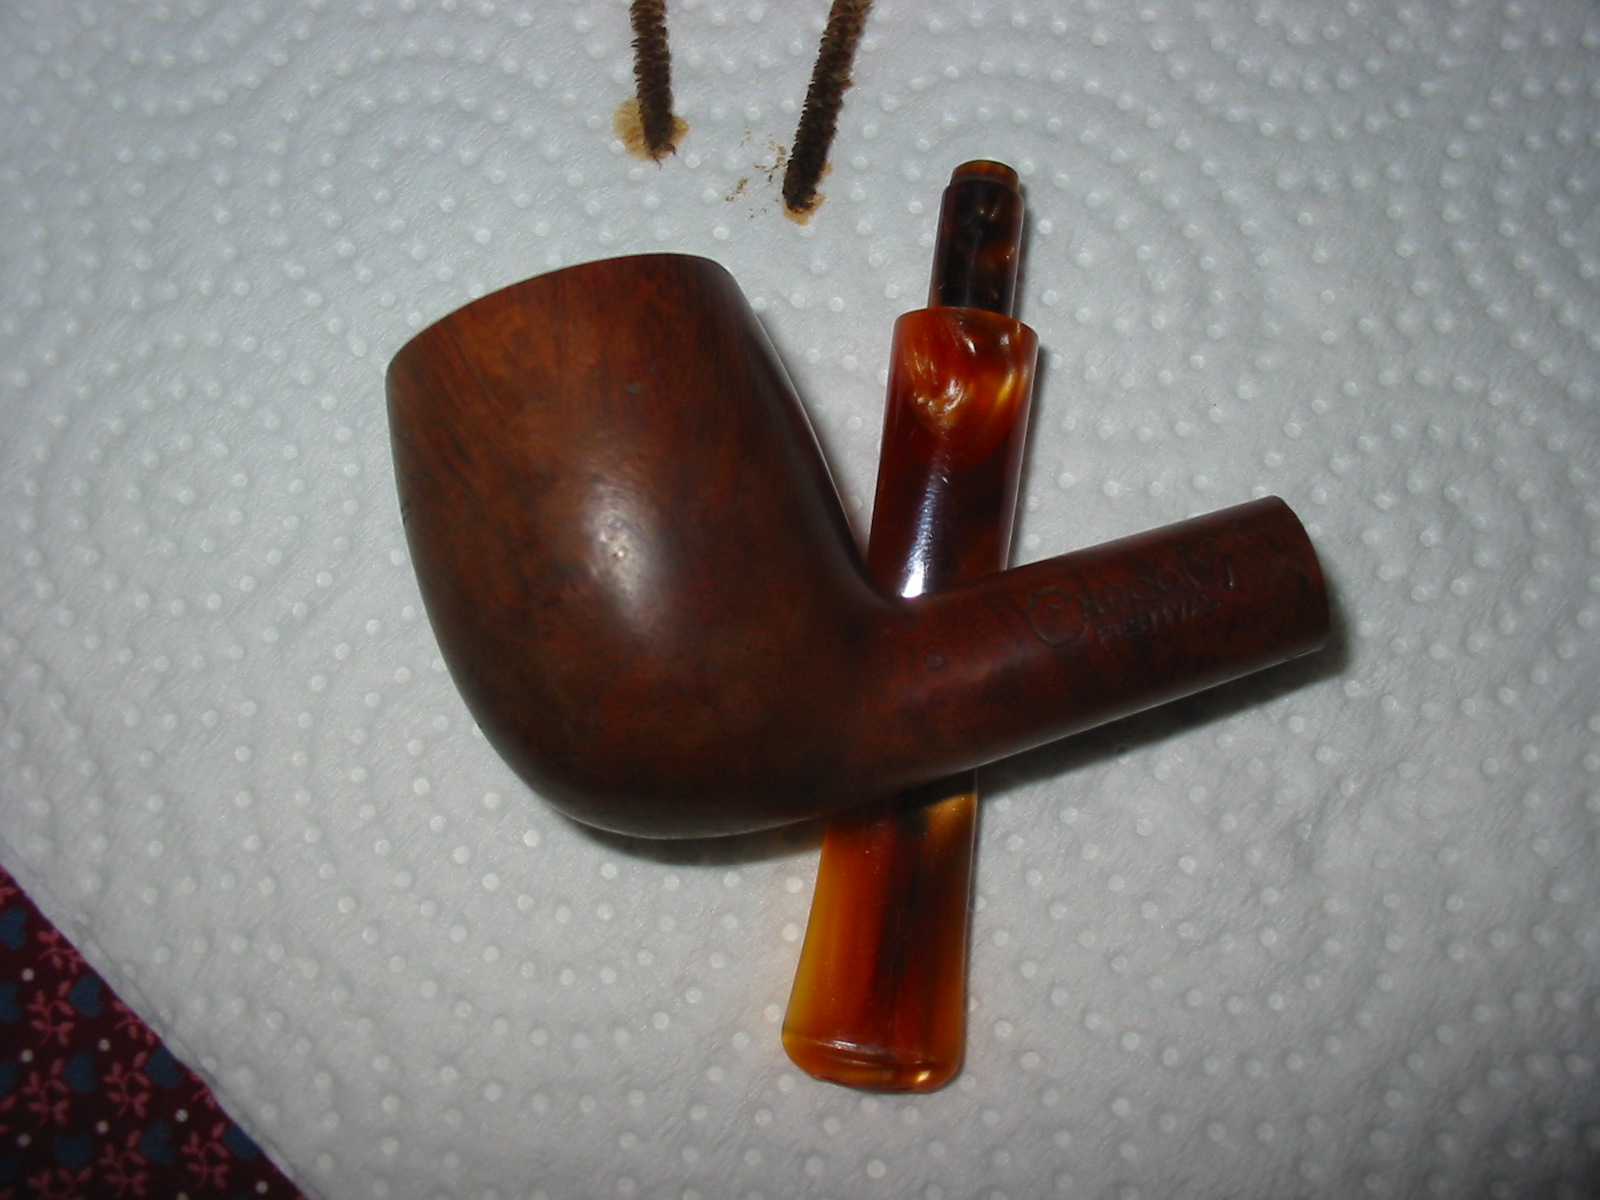
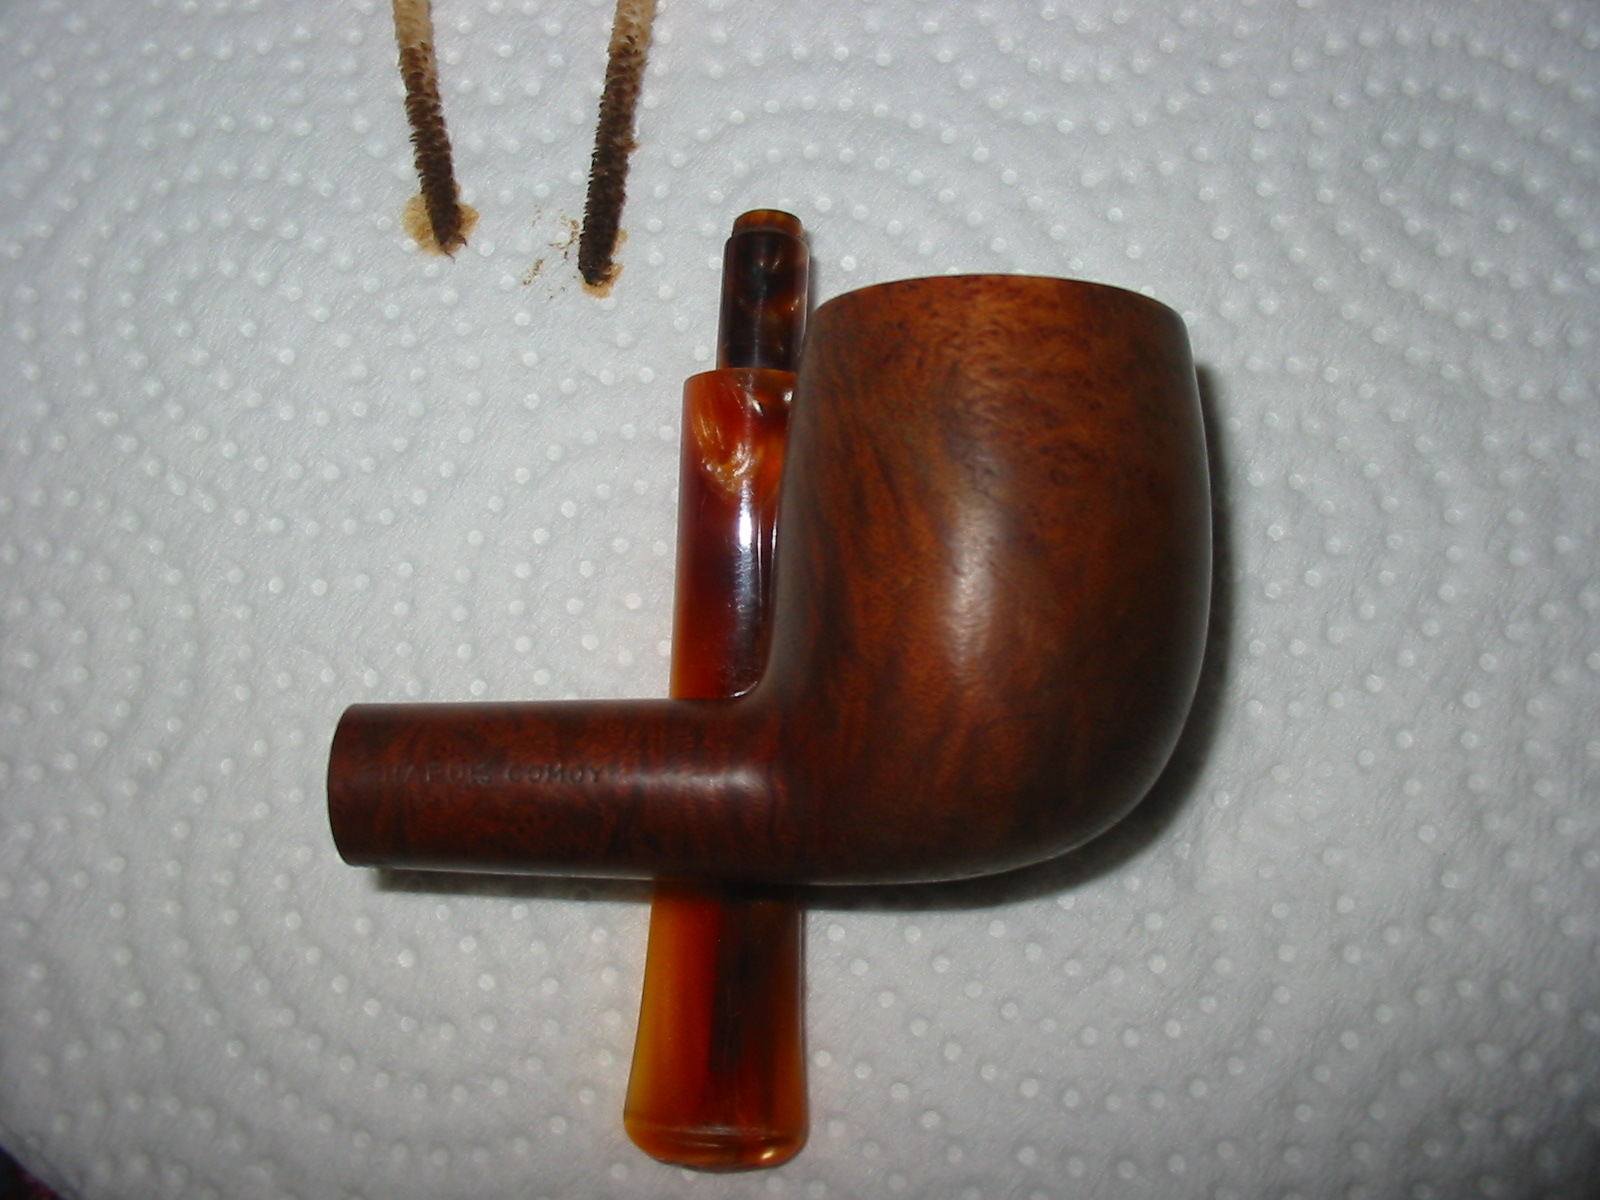
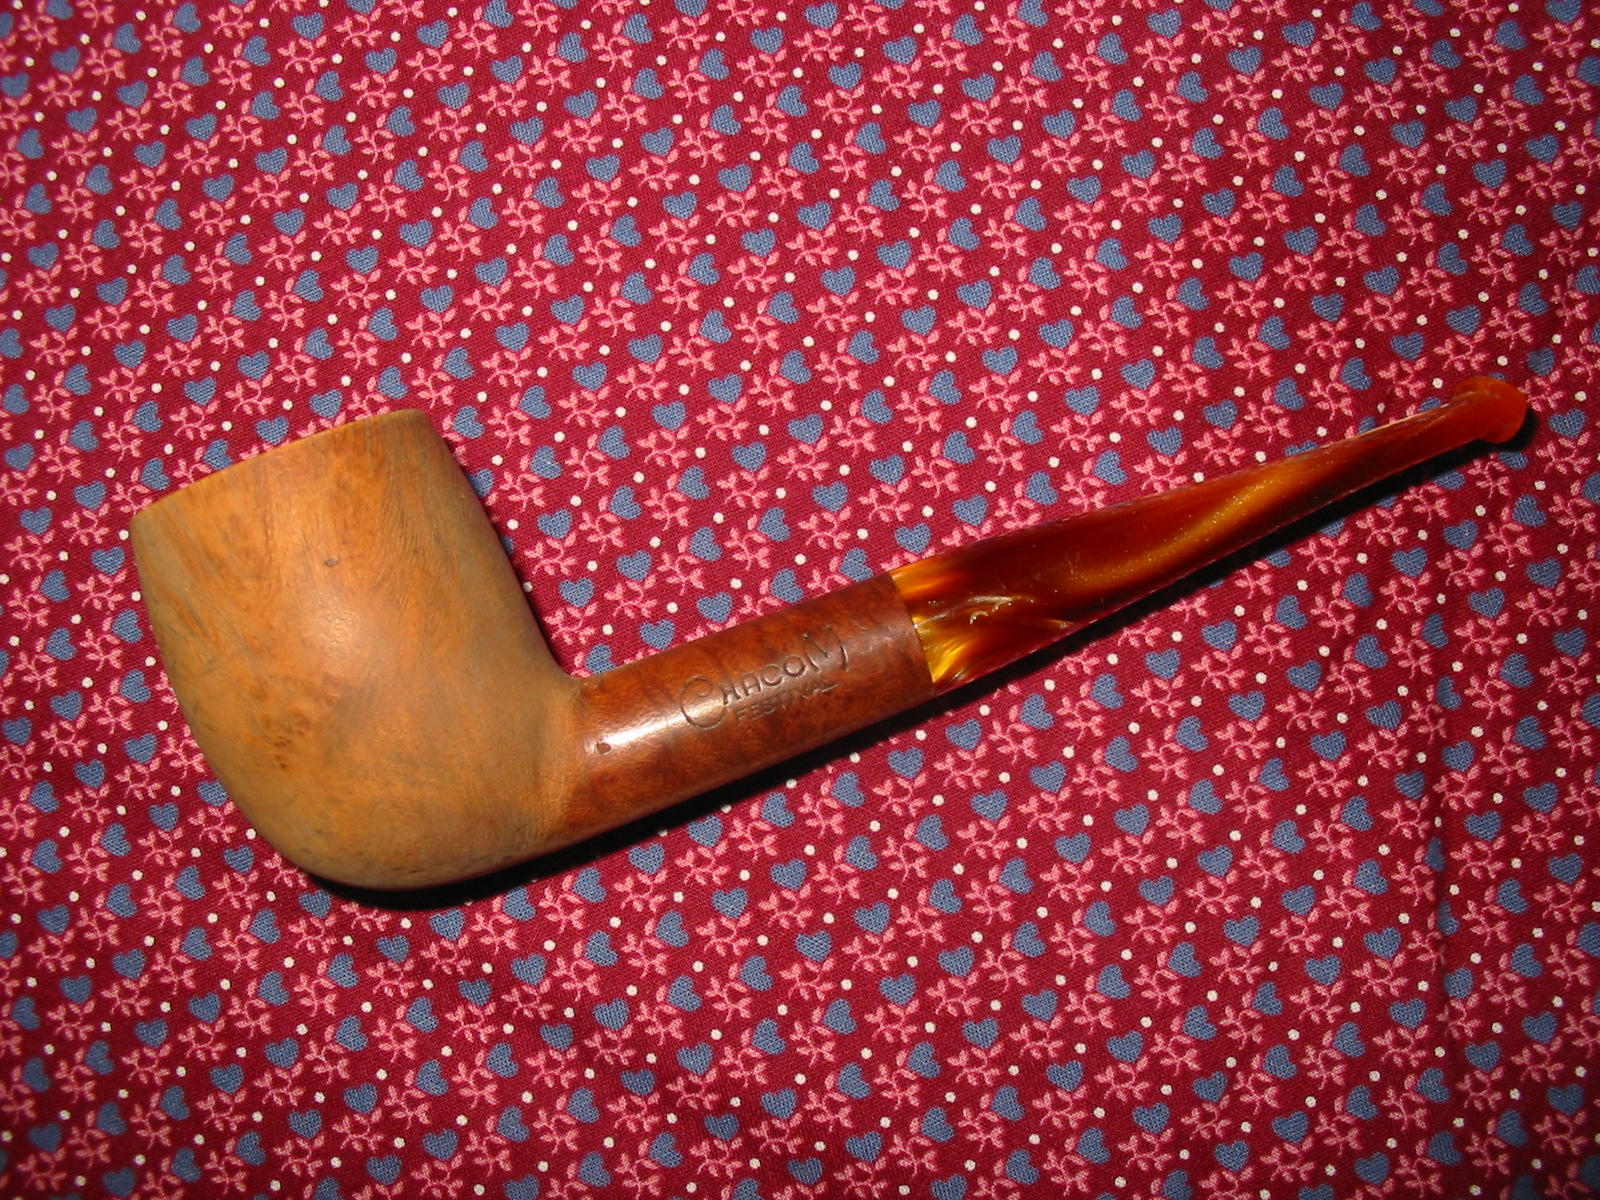
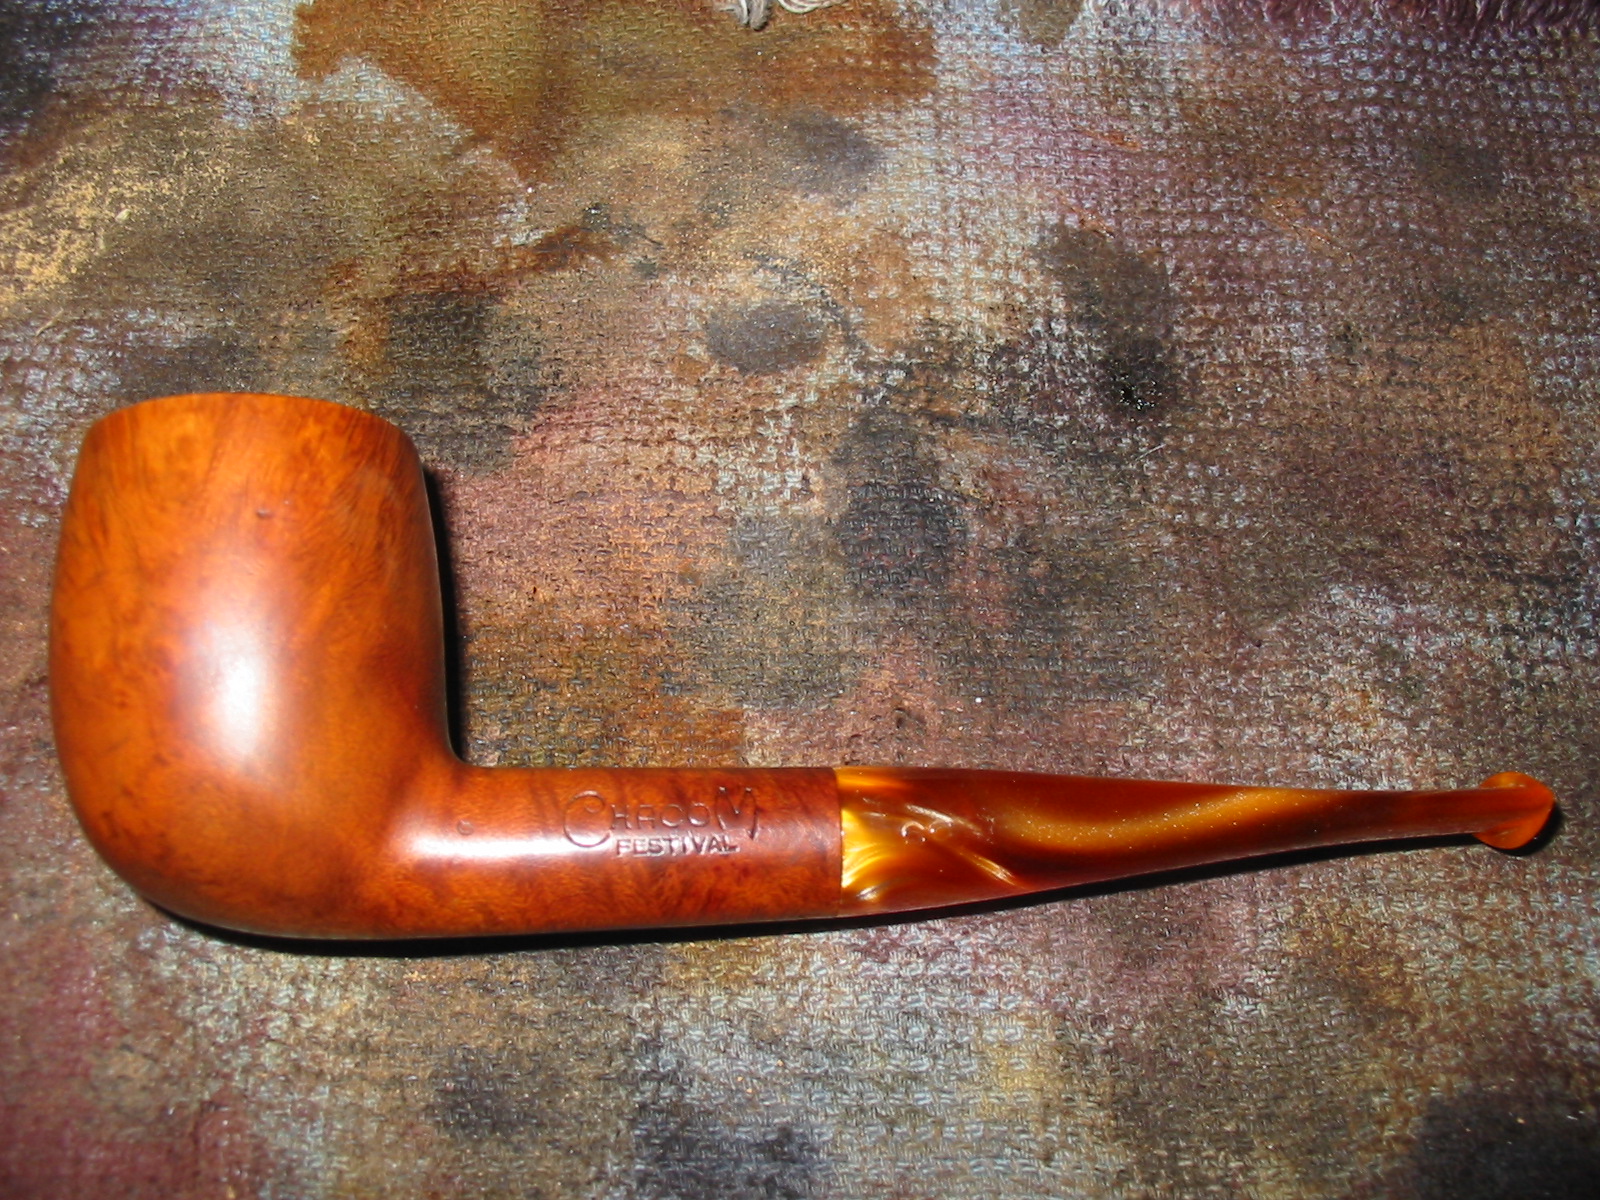
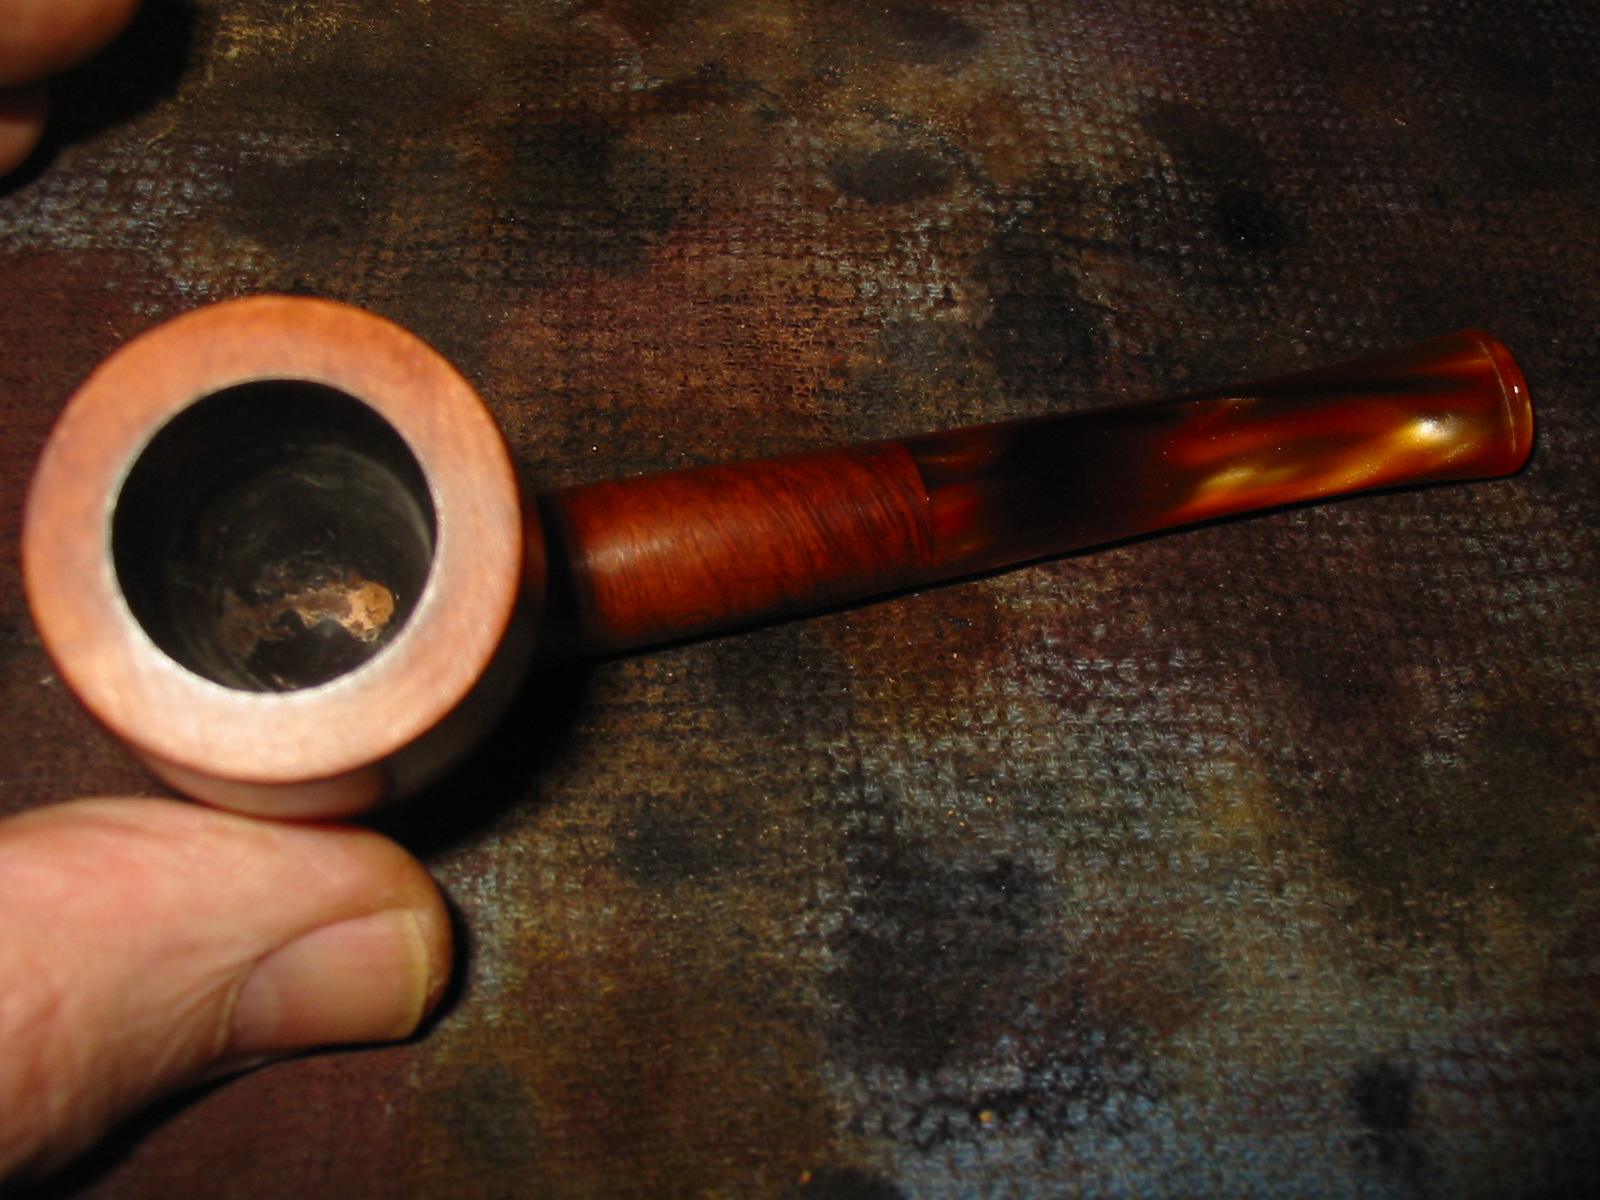
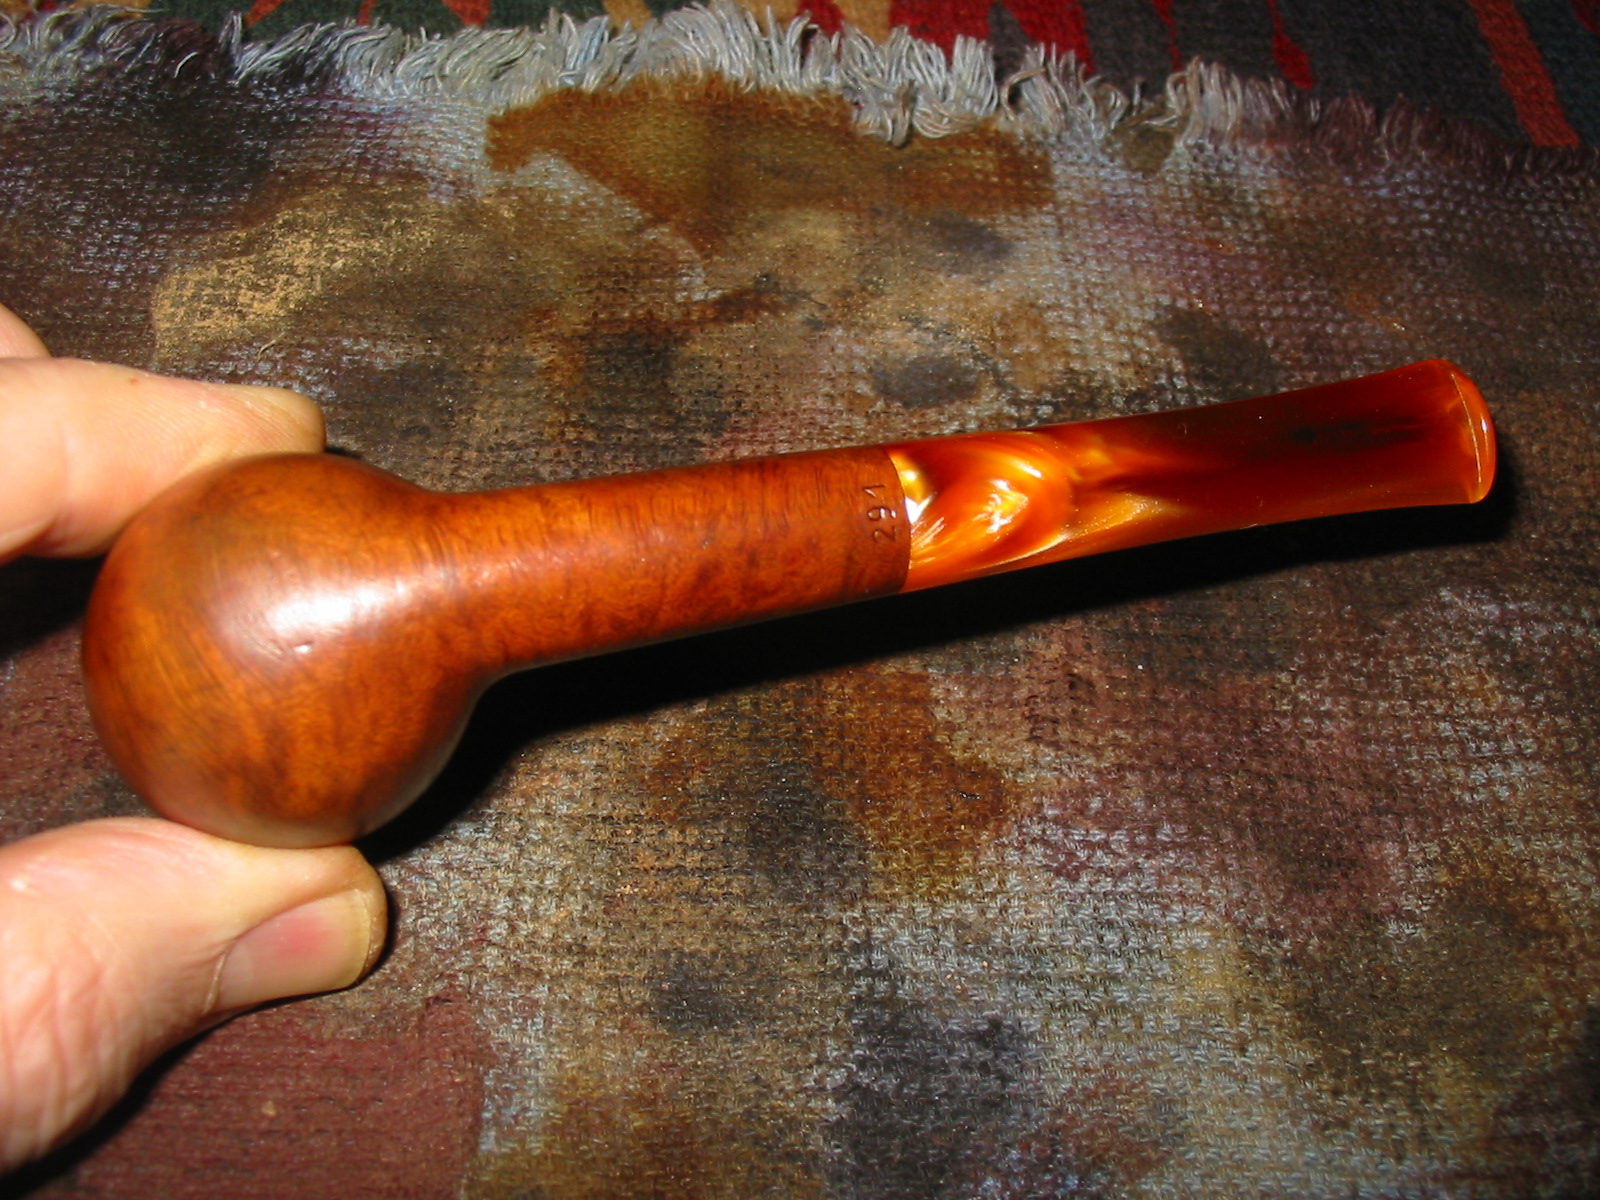
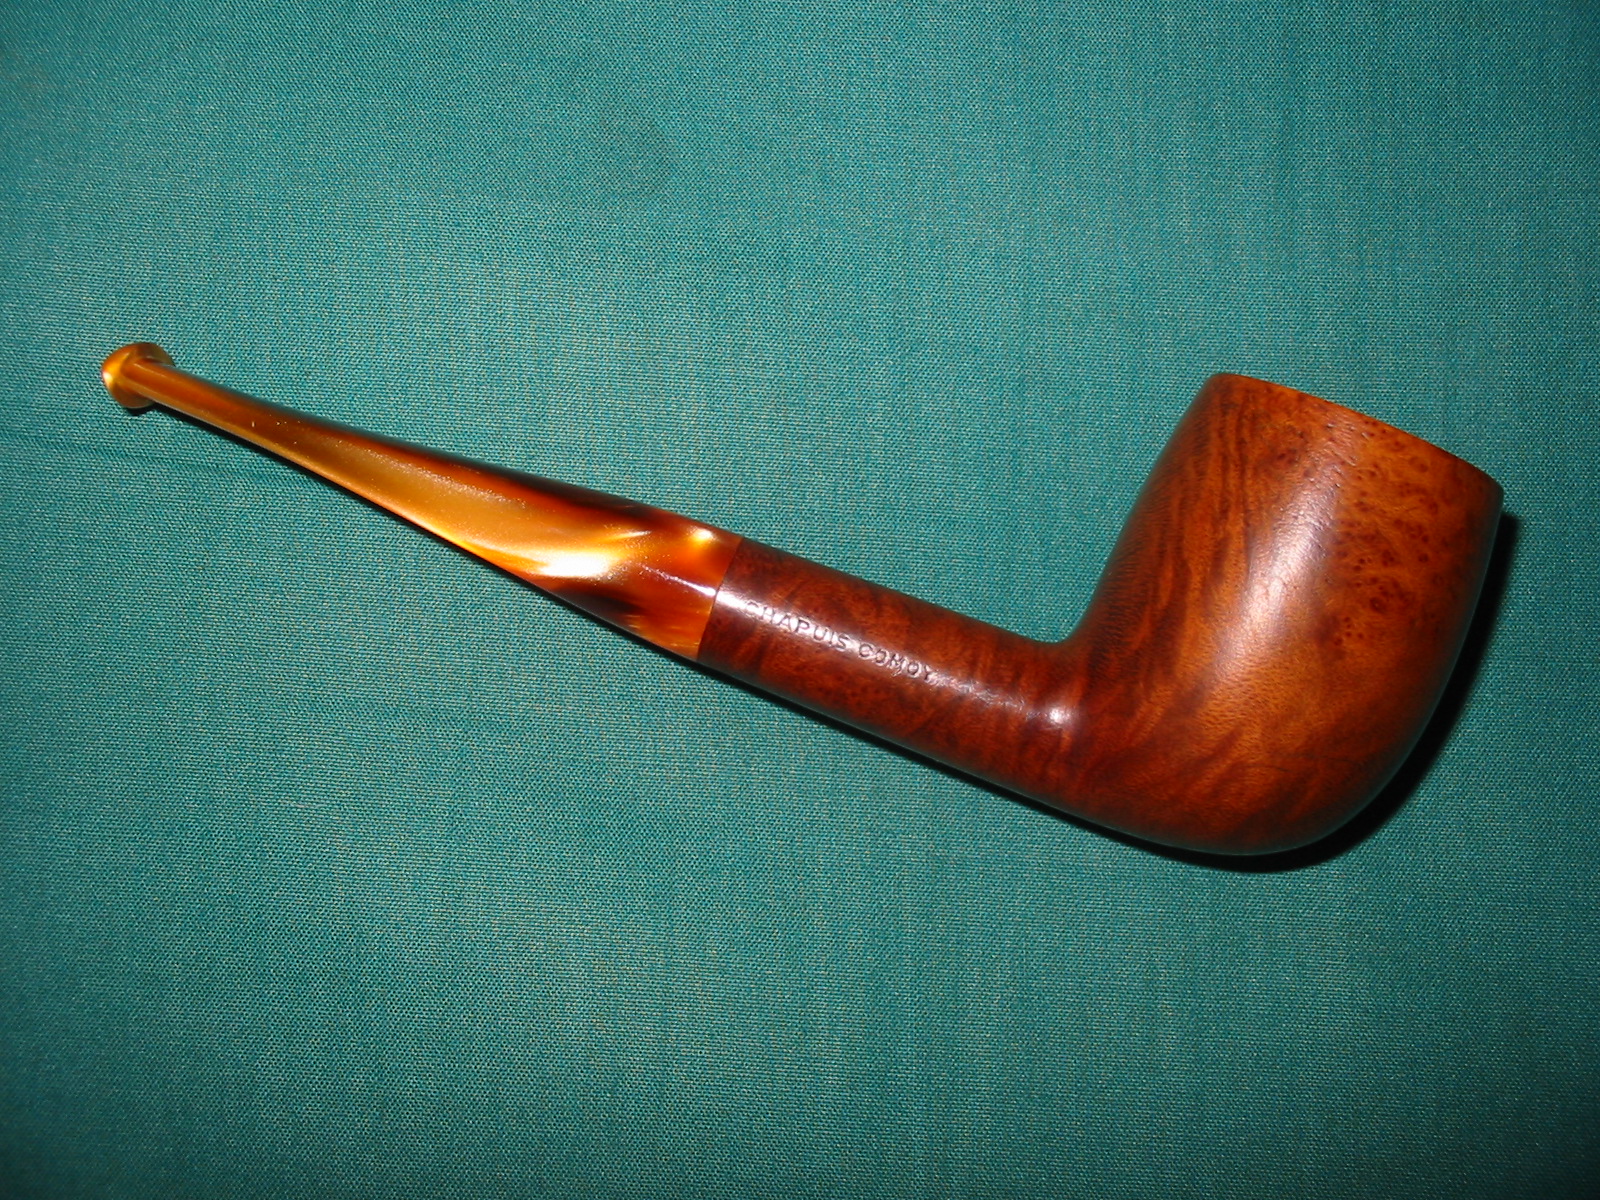
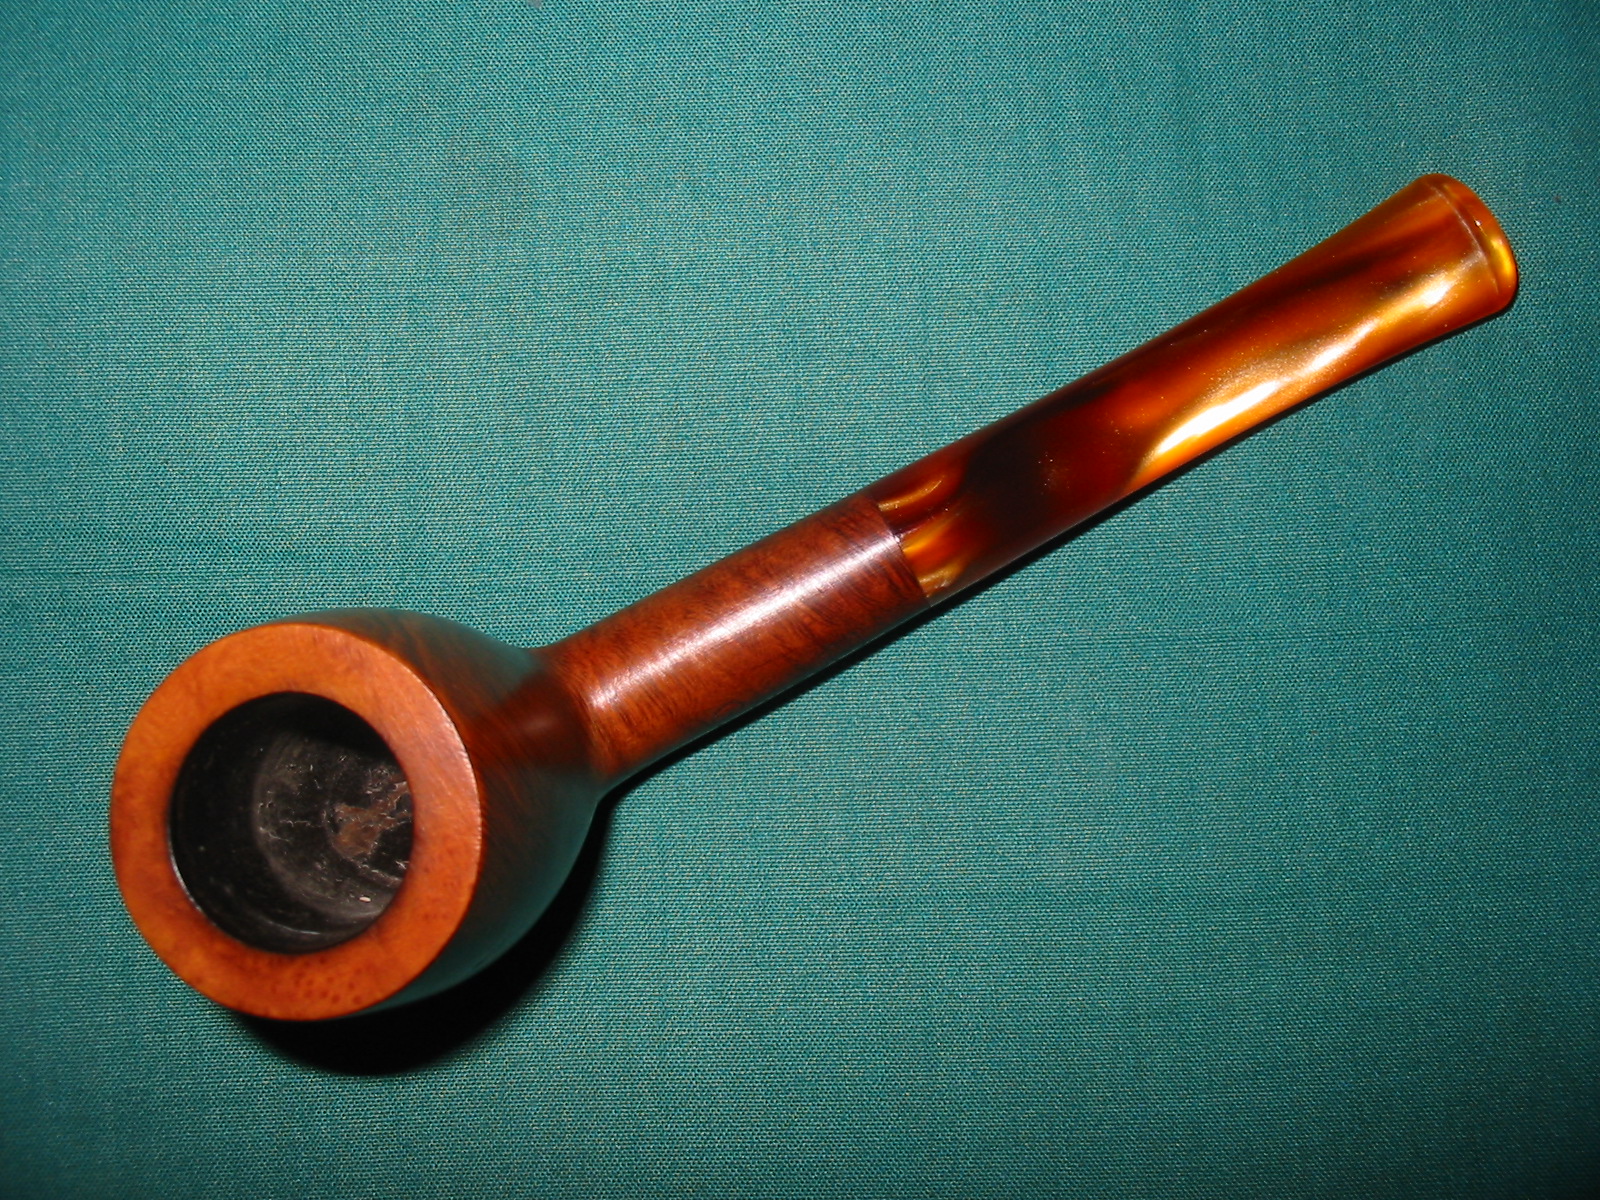
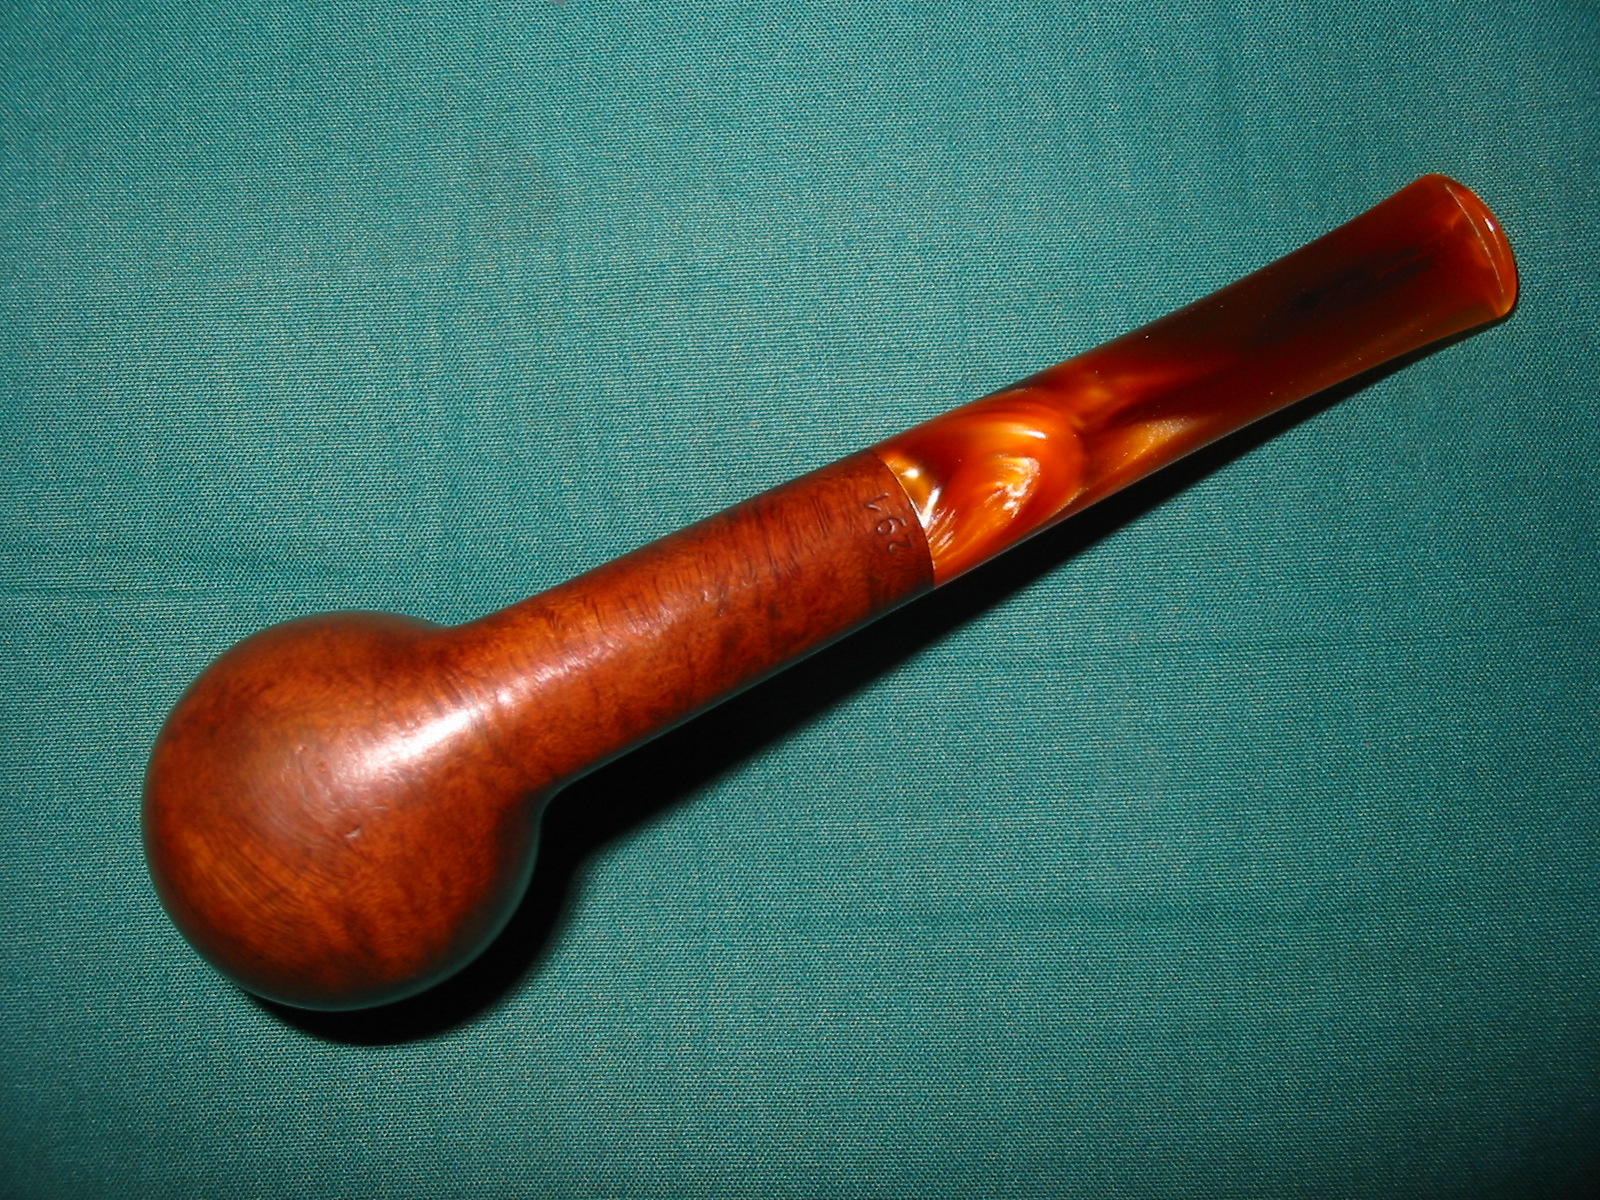
I have had this Chacom Billiard for quite a while and never done any work to it. It had a lot of rim damage and the outer edge had been rounded over. Looking at the brand online I could not find any with a rounded top so I decided to rework the top. It also had many dents and dings in the surface of the briar all around the bowl. It seemed like there were too many to be a onetime drop of the pipe but rather seemed like the pipe had been bumped around in a drawer or glove box in a car and picked up the dents. I have not smoked the pipe so I have no idea how it smokes but I have been in a mood to clean up many I have around that need a little more TLC. This one was also filthy inside the shank and the stem to the point that the airway in the stem was a black line like a stripe from the shank to the button. The stamping on the pipe is Chacom over Festival on the left side of the shank and Chapuis Comoy on the right. On the underside near the shank stem junction it bears the stamped numbers 291 – the shape designation. The 291 shape is a Comoy’s number. The acrylic stem is stamped CC on the left side near the shank. I am not clear on the relationship between Comoy’s and Chacom other than a few vague memories regarding the company separating and the Comoy’s moving to London and a portion staying in France and taking on the name Chacom. I do not recall the history or the connection.
IMG_4482

IMG_4483

I decided to do some research on the web to check out my vague recollections and gather details on Chacom pipes. I found a timeline for the brand on the Chacom website with a short history abbreviated. (http://www.pipechacom.com/en/pipes-traditionnelles/history.htm). It turned out that I was partly correct in my information regarding the connection but the timeline gives details to the name and the changes that it went through. I had no idea that Chacom was a combination of the first three letters of the Chapuis name and the first three letters of the Comoy’s name. I also had no idea of the detailed ongoing use of the two names that are stamped on my pipe. It appears that the dual name was stamped for many years and generations. I have copied some of the pertinent dates that give me data in understanding the stamping on this pipe. I have incluced portions that give a glimpse into the history of the brand. For more information or to follow-up on this I have also included the website above.

1870: Henri COMOY, prisoner of war in Switzerland met his cousins the Chapuis and together they consider the idea of an association.

1879: Henry COMOY immigrated to London with some of his technicians from Saint-Claude and establishes the first English pipe factory in England – H. COMOY & C° LTD. The Saint-Claude factory supplied them with briar and pipe bowls…

1922: After the First World War the association COMOY and CHAPUIS is realised and the Saint-Claude factory becomes CHAPUIS COMOY & Cie.

1924: Death of Henri COMOY. His sons Paul and Adrien assume the direction of the factories in Saint-Claude and London assisted by their cousins Emile and Louis Chapuis.

1928: London was able to produce their own pipes, and in order to develop the Saint-Claude factory, the brand CHACOM was created, using the first three letters of the COMOY and CHAPUIS family names. Up till 1939 CHACOM was offered only in France, Belgium and Switzerland in order not to cause confusion with the COMOY pipes which had the same shapes and qualities.

1932: The world economic crisis reached Saint-Claude. To weather this problem Chapuis Comoy & Cie joined with another company under the name of LA BRUYERE, forming the biggest pipe concern in the world with 450 workers. Big trucks were needed to transfer the briar blocks from the drying shed to the factory.

1945: After the Second World War CHACOM assumed its entire commercial liberty and launched a complete and modern range of pipes.

1946: Chacom became the principal brand in France and Belgium…

1957: In face of the commercial preponderance of the brand CHACOM the company La Bruyère returned to the name of CHAPUIS COMOY & Cie.

1964: Death of Adrien COMOY. His son Pierre succeeded him in London. Mr. REED was the Chairman and Managing Director in Saint-Claude…

1971: Having recovered its independence from COMOYS of London, Yves GRENARD, second cousin of Pierre COMOY, took over the Direction of Chapuis Comoy & Cie and at the same time the exclusive sale of H. COMOY & Ltd, in France…

1994: Chapuis-Comoy integrated ROPP Company.

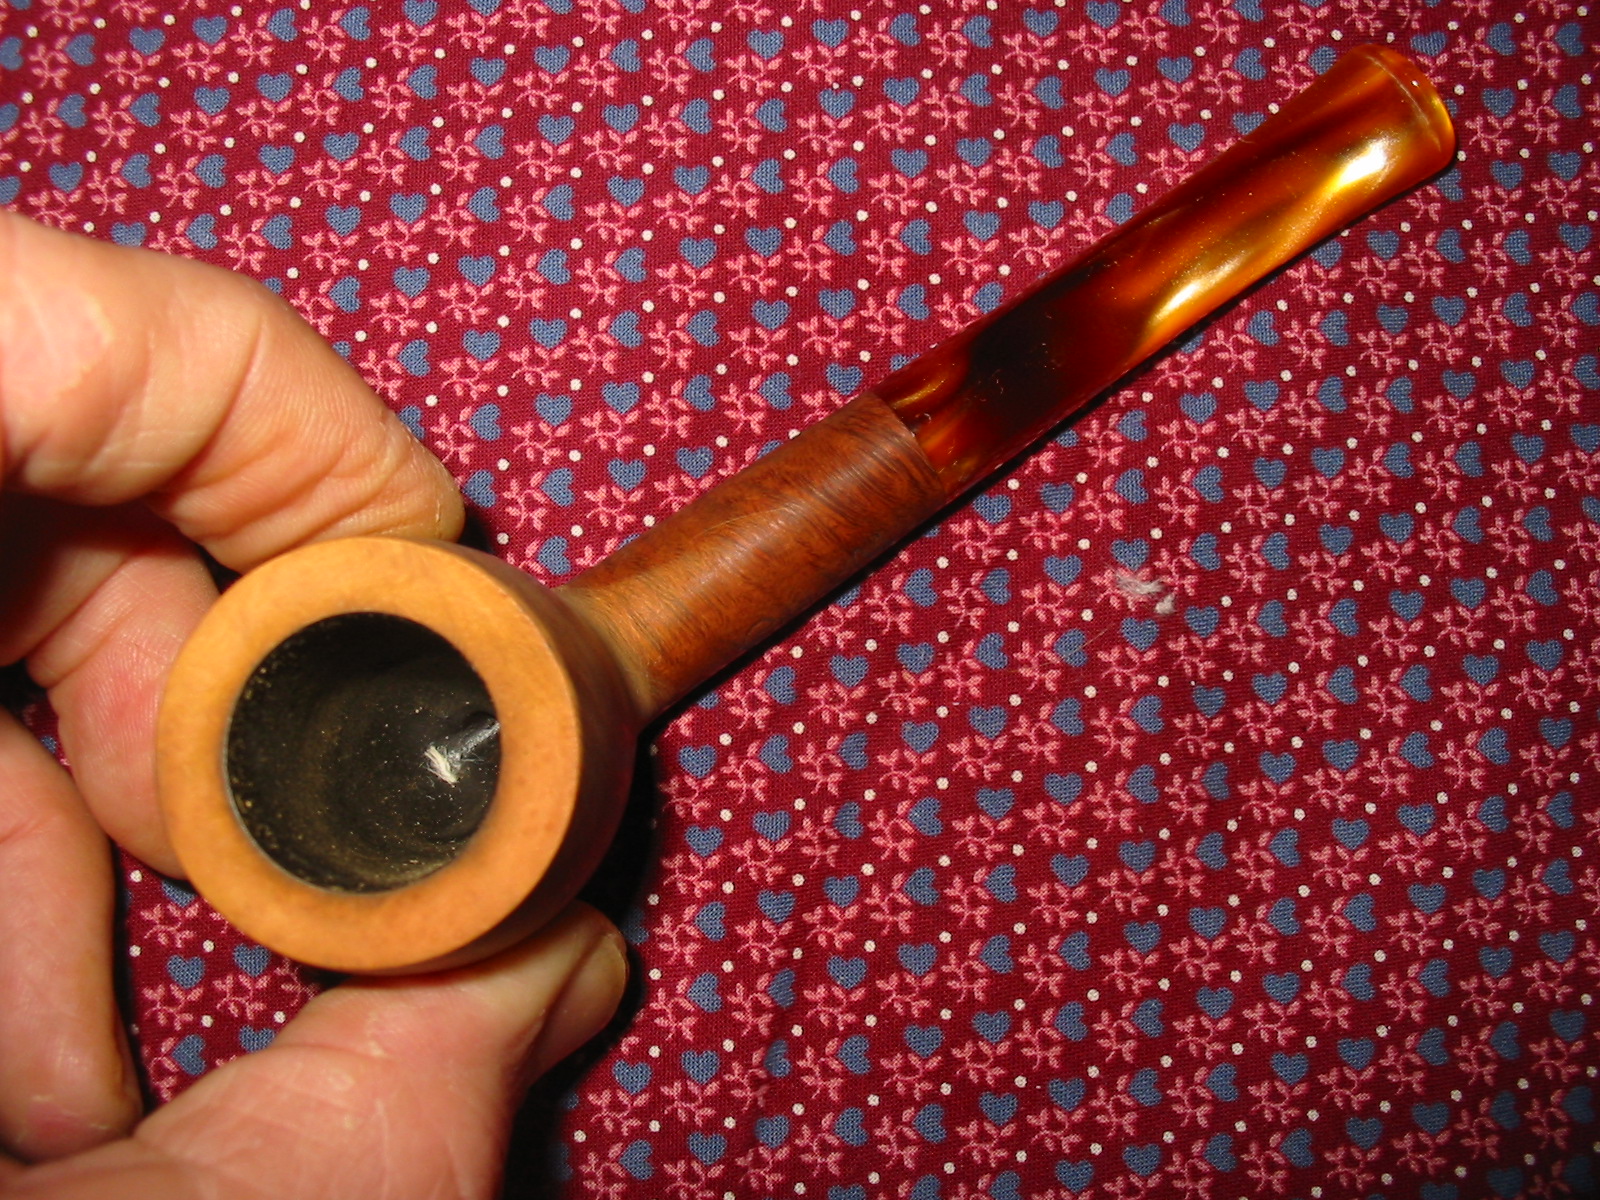
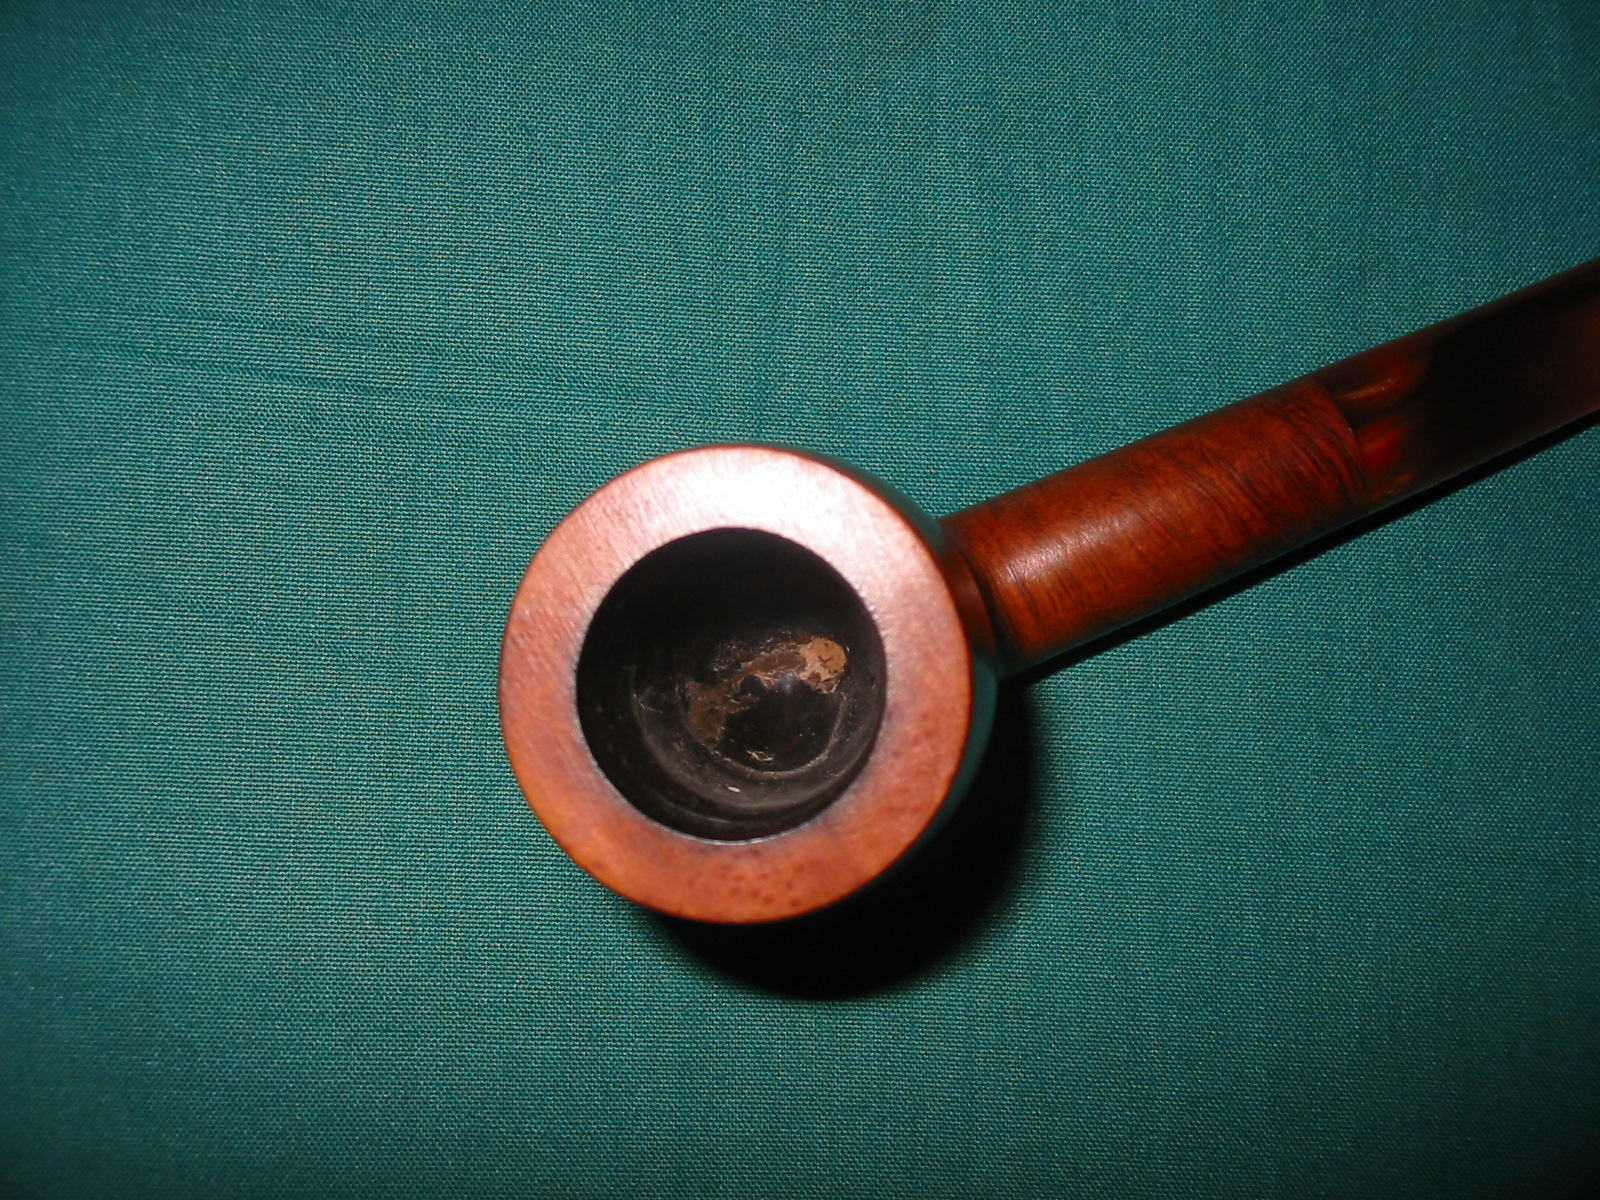
As can be seen in the next series of photos below the rim was damaged and the outer edges were rounded over instead of sharply defined and the surface flat.
IMG_4485

IMG_4486

IMG_4487

IMG_4488

I set up my topping board and sandpaper and sanded the top of the bowl. I generally use a circular motion while pressing the top onto the sandpaper. I find that this minimizes the scratches and makes the easier to sand later. The next photo below shows the top after just a few rotations on the board and highlights the damages rim edges.
IMG_4489

I continued to sand the top until the surface was smooth and the edges sharp and defined. I wanted to remove all of the rounding that was present on the outer edges of the bowl. When I finished with the sandpaper I sanded the top with a medium and a fine grit sanding block to further smooth out the surface and remove the scratches left behind by the paper.
IMG_4490

I wiped down the bowl with acetone on cotton pads to remove the finish. In this case there were so many dents in the briar that I wanted to remove the finish before I steamed out the dents in the sides of the bowl.
IMG_4491

IMG_4492

IMG_4493

IMG_4494

IMG_4495

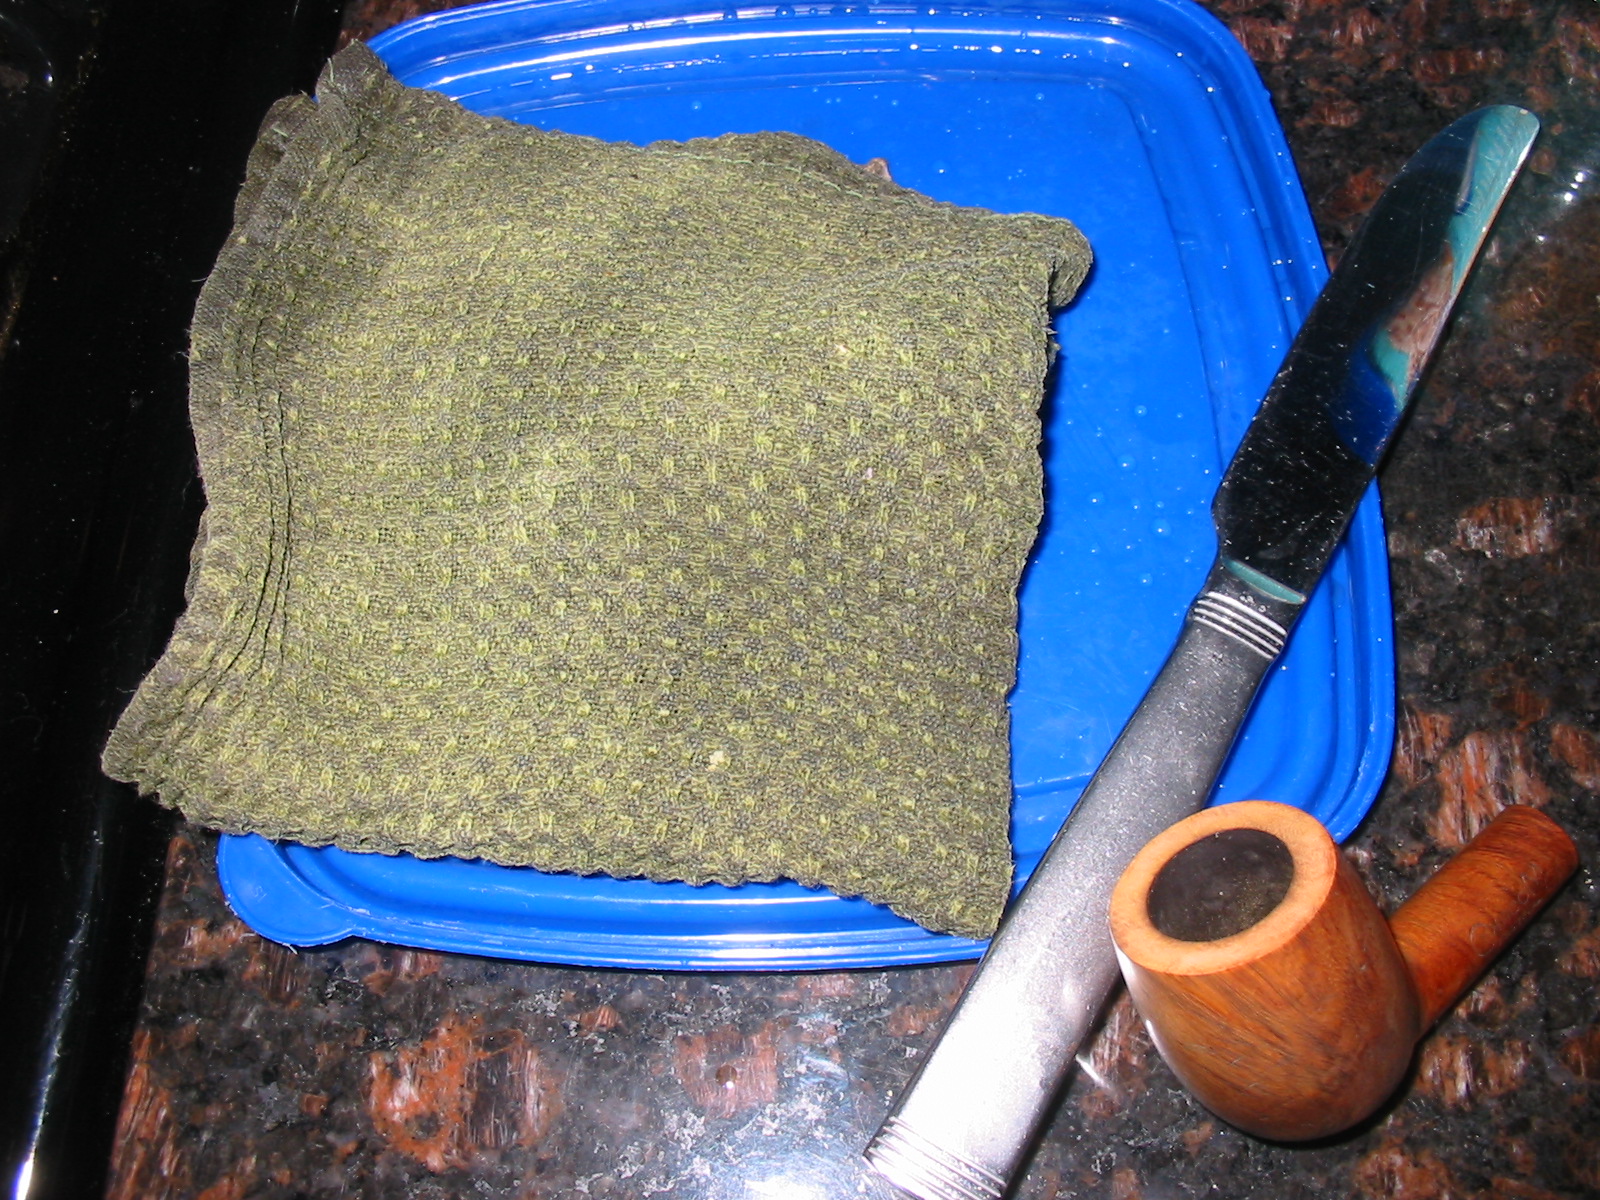
I took the pipe up to the kitchen to use the gas stove to heat a knife for steaming the dents. I generally try to do this when my wife is away as I use an old butter knife, a dish cloth and her stove for the work. I have found her hovering to make sure I don’t ruin her stove or knife or cloth for that matter, hard to deal with while I am focusing on the work at hand. It is far easier to do it when she is away – I avoid her concern and I find it goes more quickly!

The next photo below shows the tools I used. I put the wetted dish cloth on a plastic lid so that I do not damage the counter tops. The knife on the right side of the photo is my weapon of choice in this process as the blade is long and wide so it covers a lot of dents.
IMG_4496

The next photo shows the blade being heated with the gas flame. For some reason the flame is not visible in the photo but it is present. It does not take long to heat the knife to the temperature that works with the cloth to create steam.
IMG_4498

The next photo shows the next step in the process. When it is hot enough I place it against the wet cloth that I have placed over the dents and hold the hot knife blade against the cloth and pressed against the dented briar. The application of heat to the wet cloth creates the steam that is needed to raise the dent in the briar.
IMG_4499

The next series of photos show the bowl after steaming out the dents in the surface. The majority of the marks are gone after the process. Those that remain were minimal and I dealt with them by sanding the bowl. I used a medium grit sanding sponge and a fine grit sanding block to sand the briar of the bowl and smooth out the surface dents that remained.
IMG_4500

IMG_4501

IMG_4502

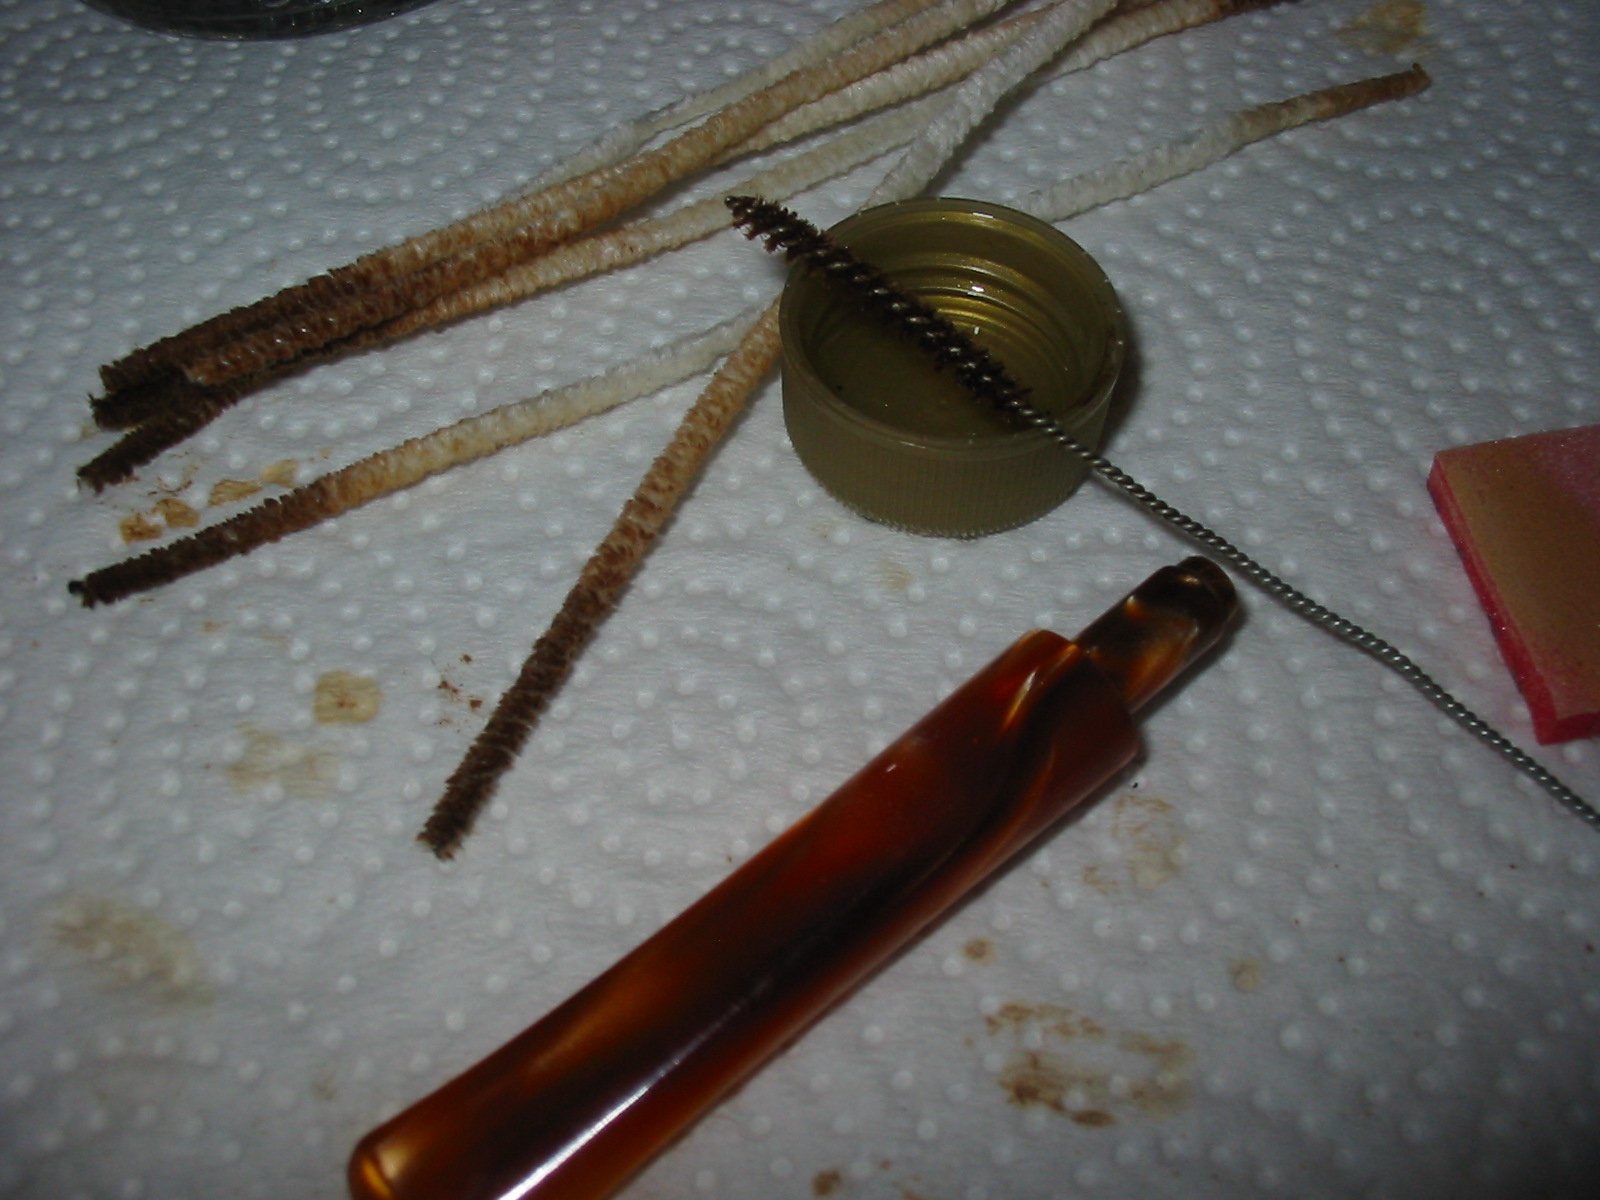
The airway on the acrylic stem was black. I thought at first this was a part of the striations in the acrylic but that turned out to be wrong. I cleaned the stem with a shank brush, many pipe cleaners and Everclear until the pipe cleaners finally came out clean. The shank brush cleans up easily with soap and water when I am finished. The airway looked far better when cleaned.
IMG_4504

The next three photos show the pipe, cleaned and ready to be stained. I wiped it down a final time with Everclear to remove any dust or grease from my hands and took it to my work table to restain it.
IMG_4505

IMG_4507

IMG_4509

I stained the pipe with MinWax – using a Medium Walnut stain first and then applying a Red Mahogany stain over that. The photos below show the bowl after I have stained it with Medium Walnut. Once applied the Red stain it blended very nicely with the darker colours in the acrylic of the stem.
IMG_4510

IMG_4511

IMG_4512

IMG_4513

I buffed the bowl with White Diamond and then stained it with the red stain. I buffed it a second time with White Diamond. I buffed the stem and pipe again with White Diamond and then gave the pipe multiple coats of carnauba wax to give it a shine. I liked the way the finish is almost matte and does not have a high gloss to it. The addition of the red stain brought out the red tones in the briar and they match those in the acrylic exceptionally well. The acrylic stem is one of the most comfortable ones that I have seen or experienced and that is a pleasant surprise. The following photos show the finished pipe ready to fire up and enjoy.
IMG_4514

IMG_4515

IMG_4516

IMG_4518

IMG_4519

Giving an Ugly, Worn Billiard a Makeover


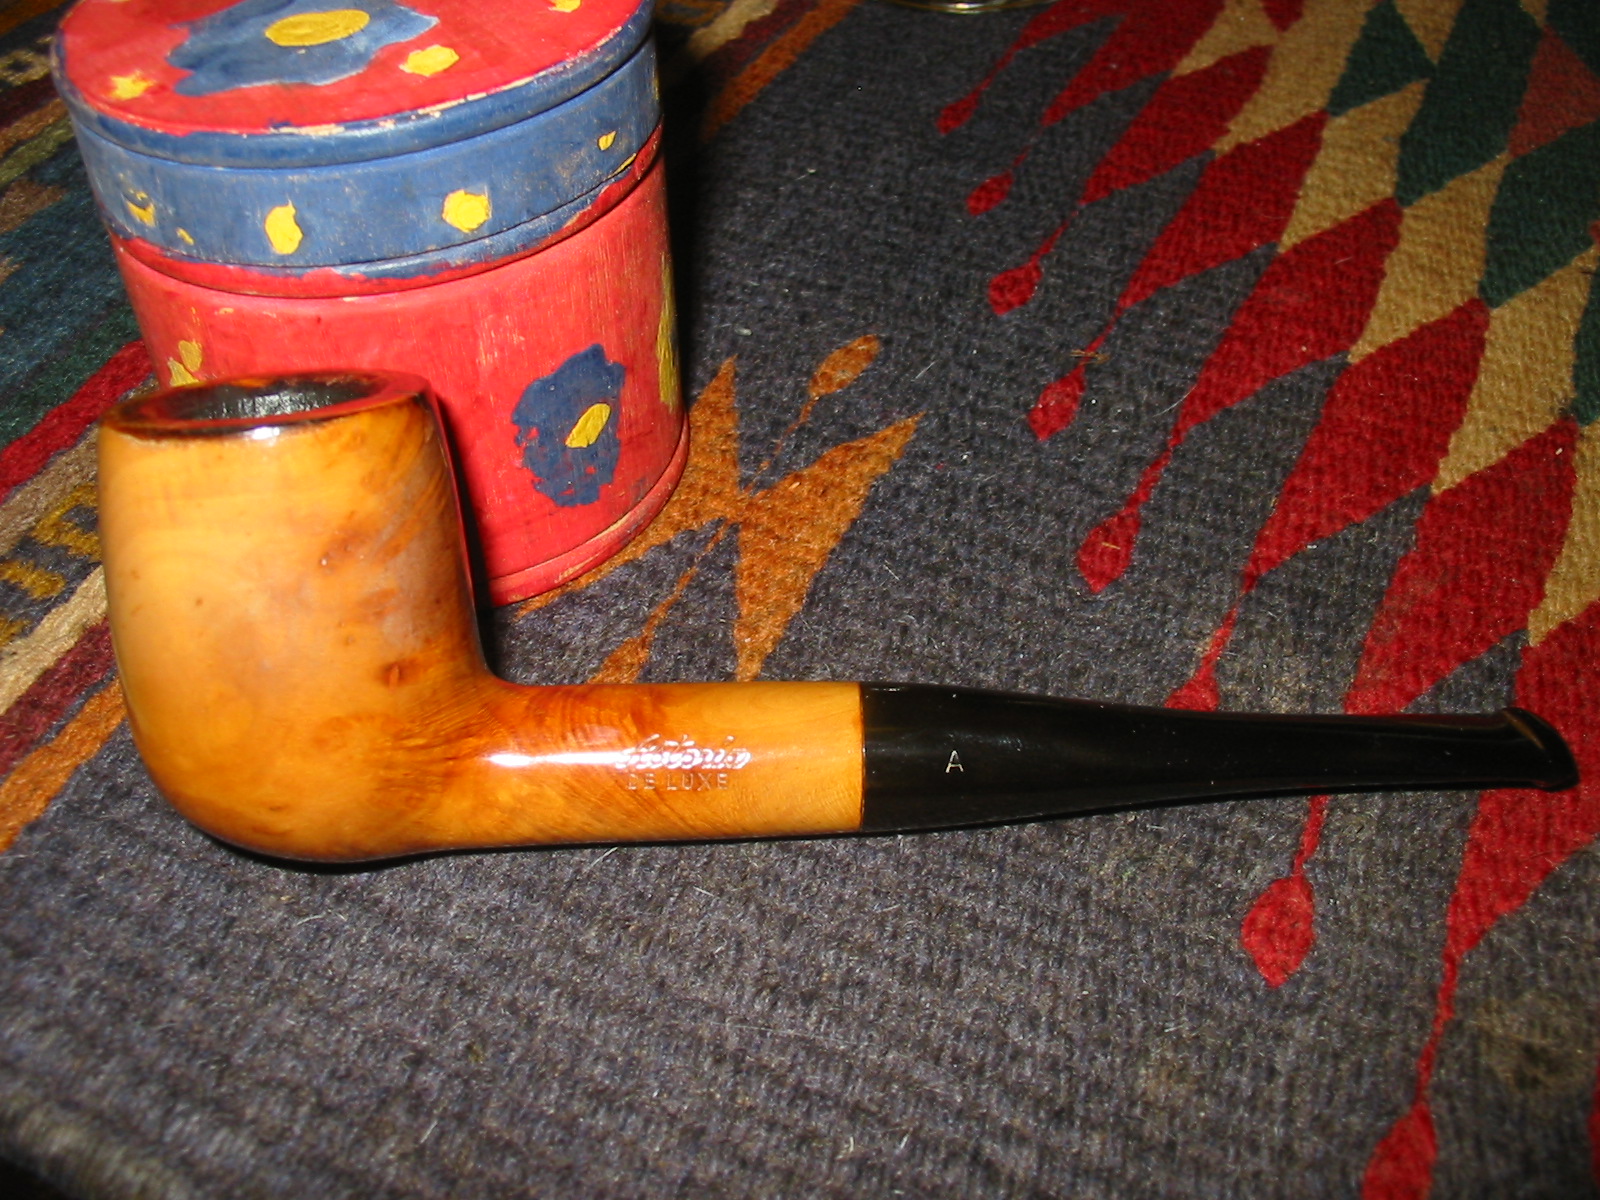
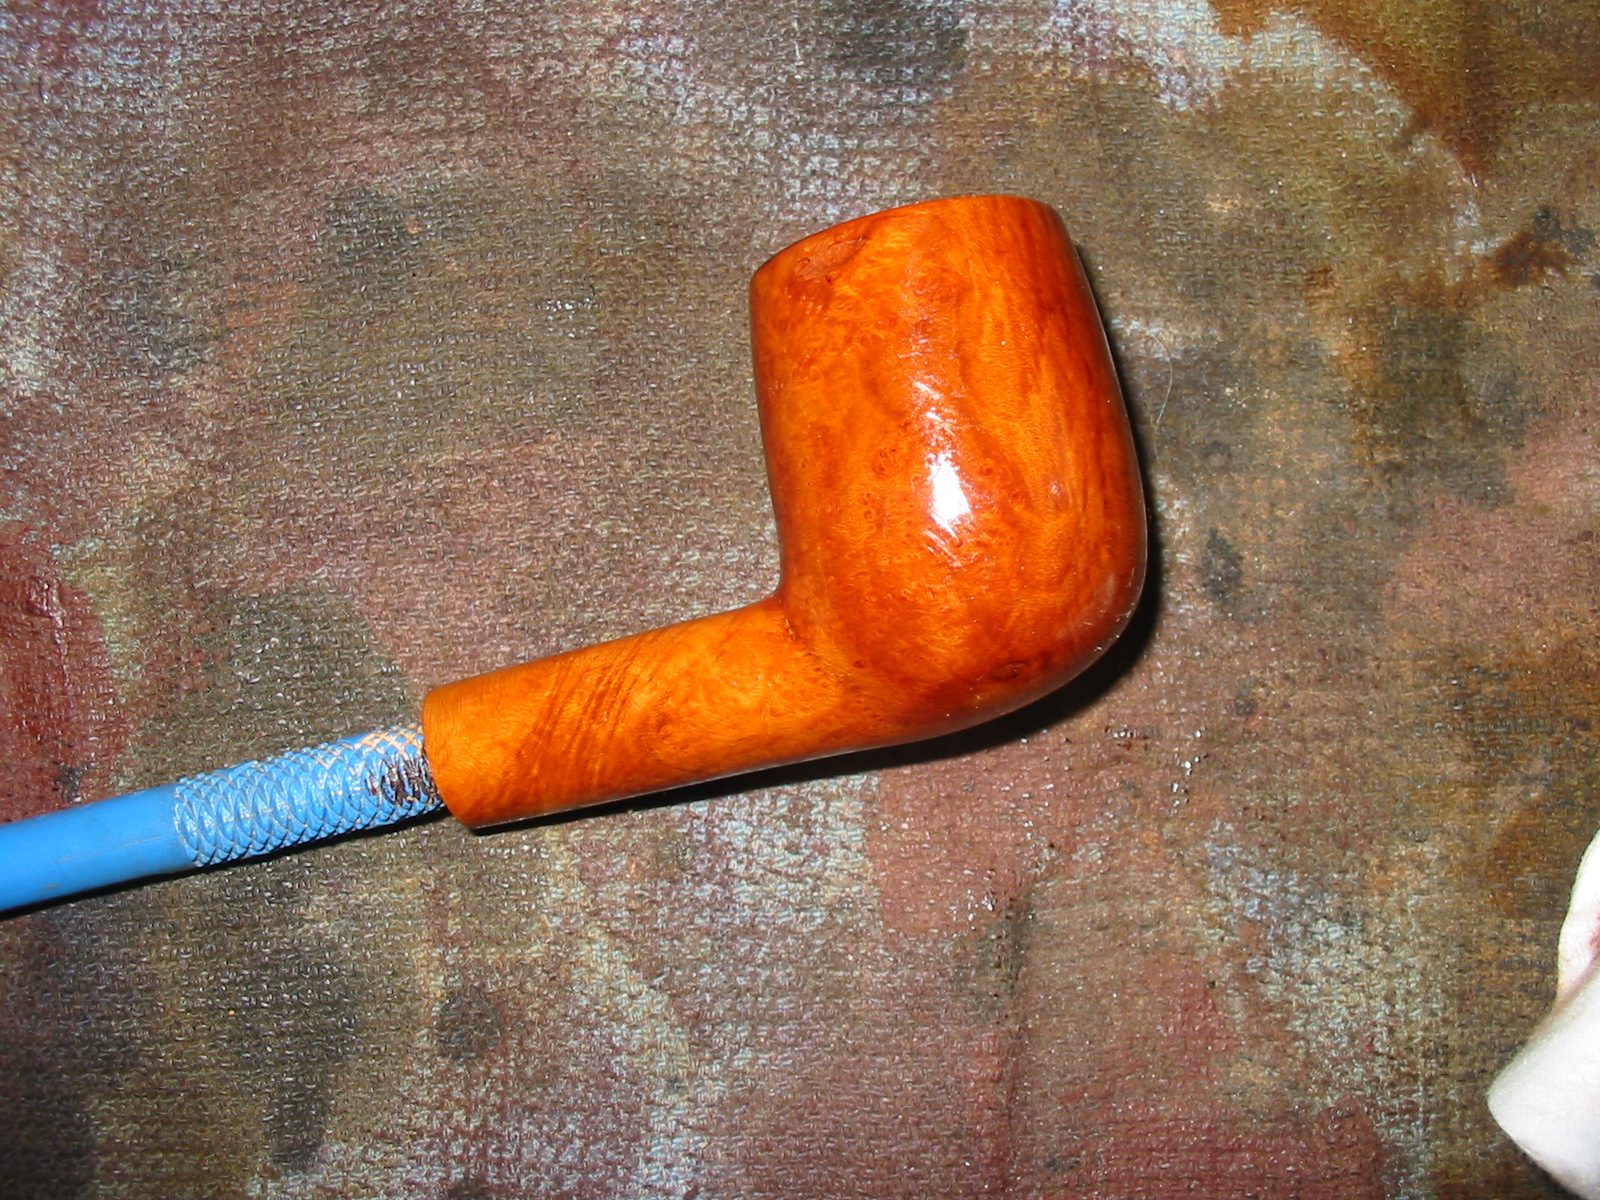
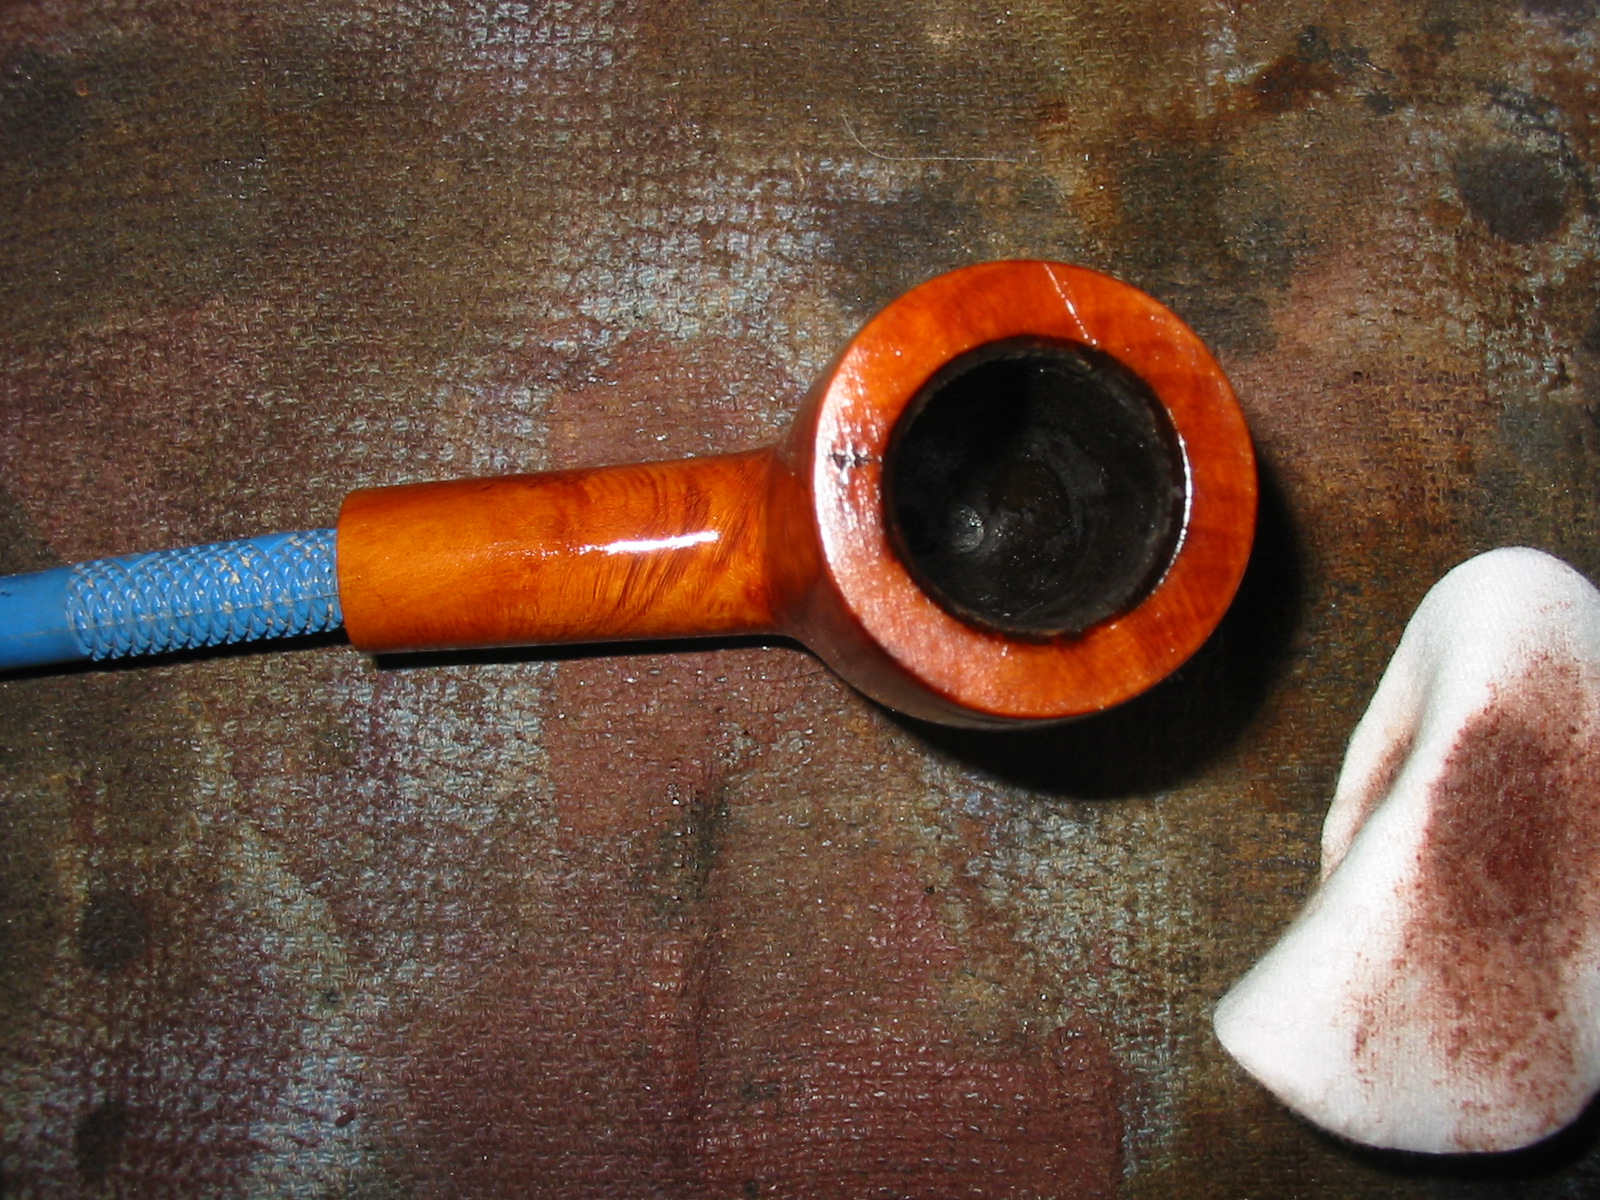
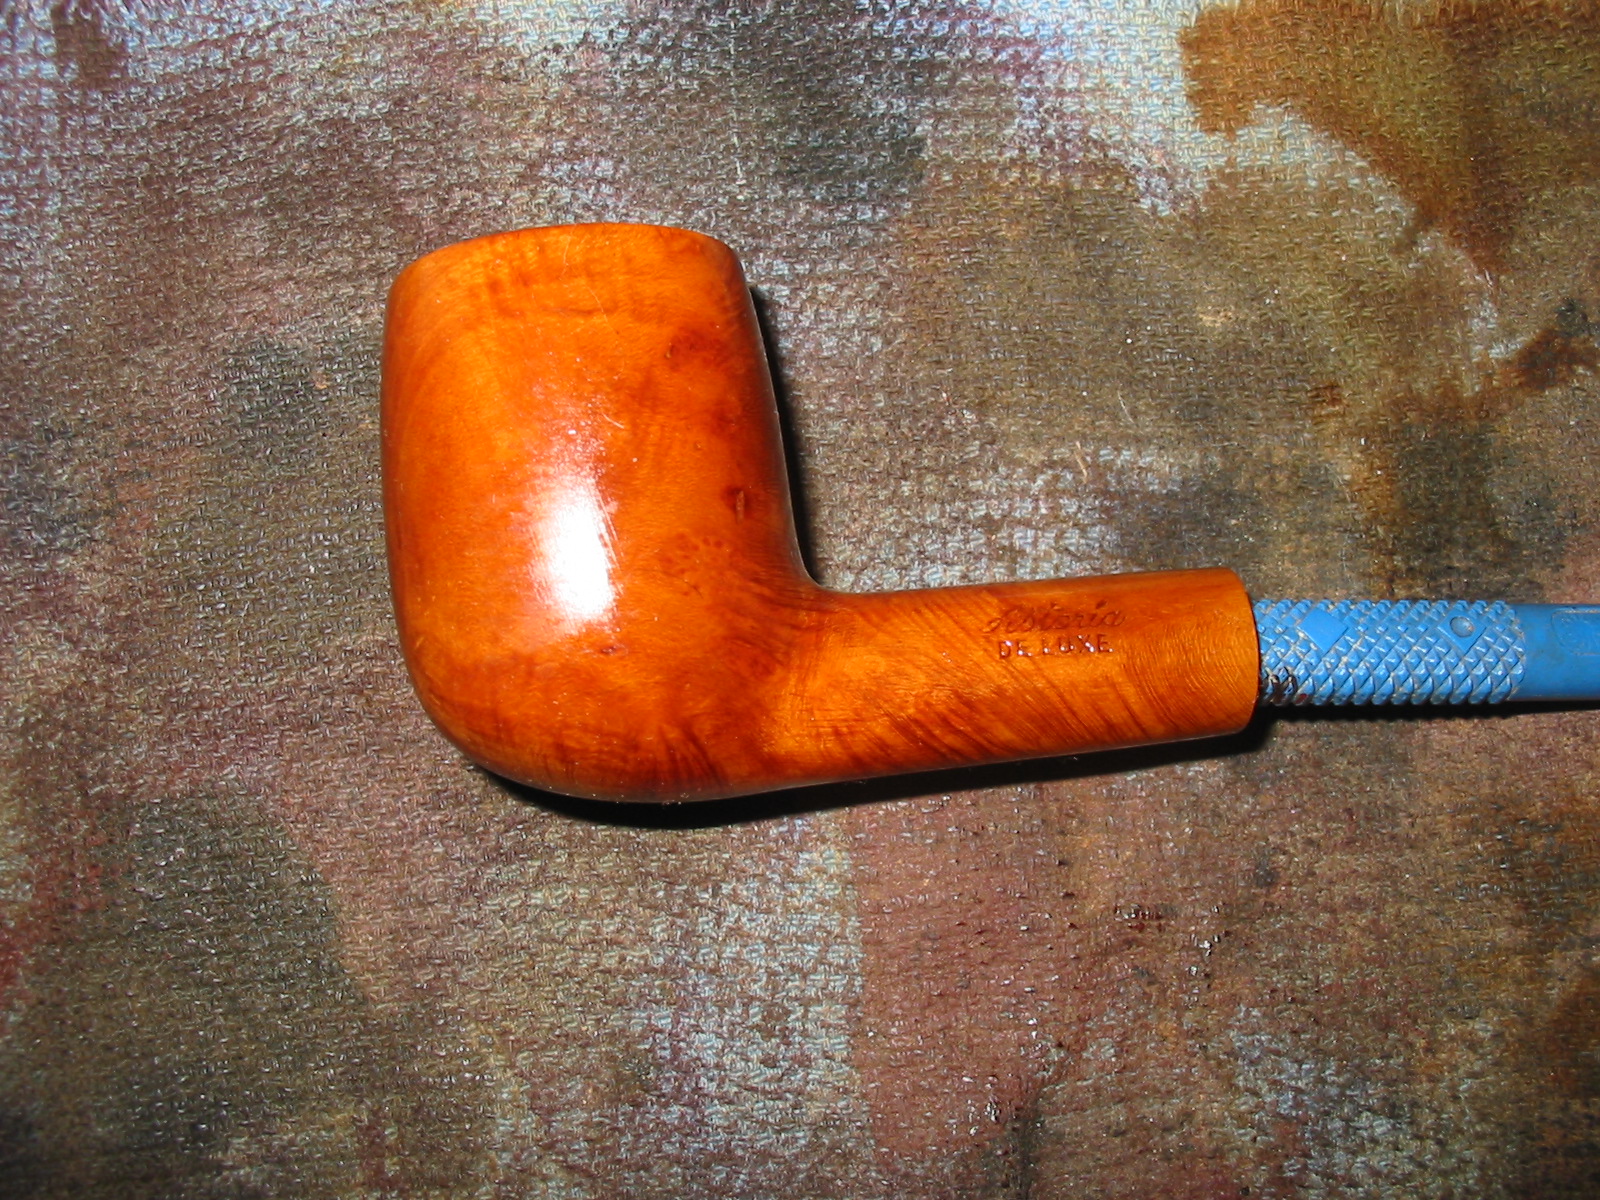
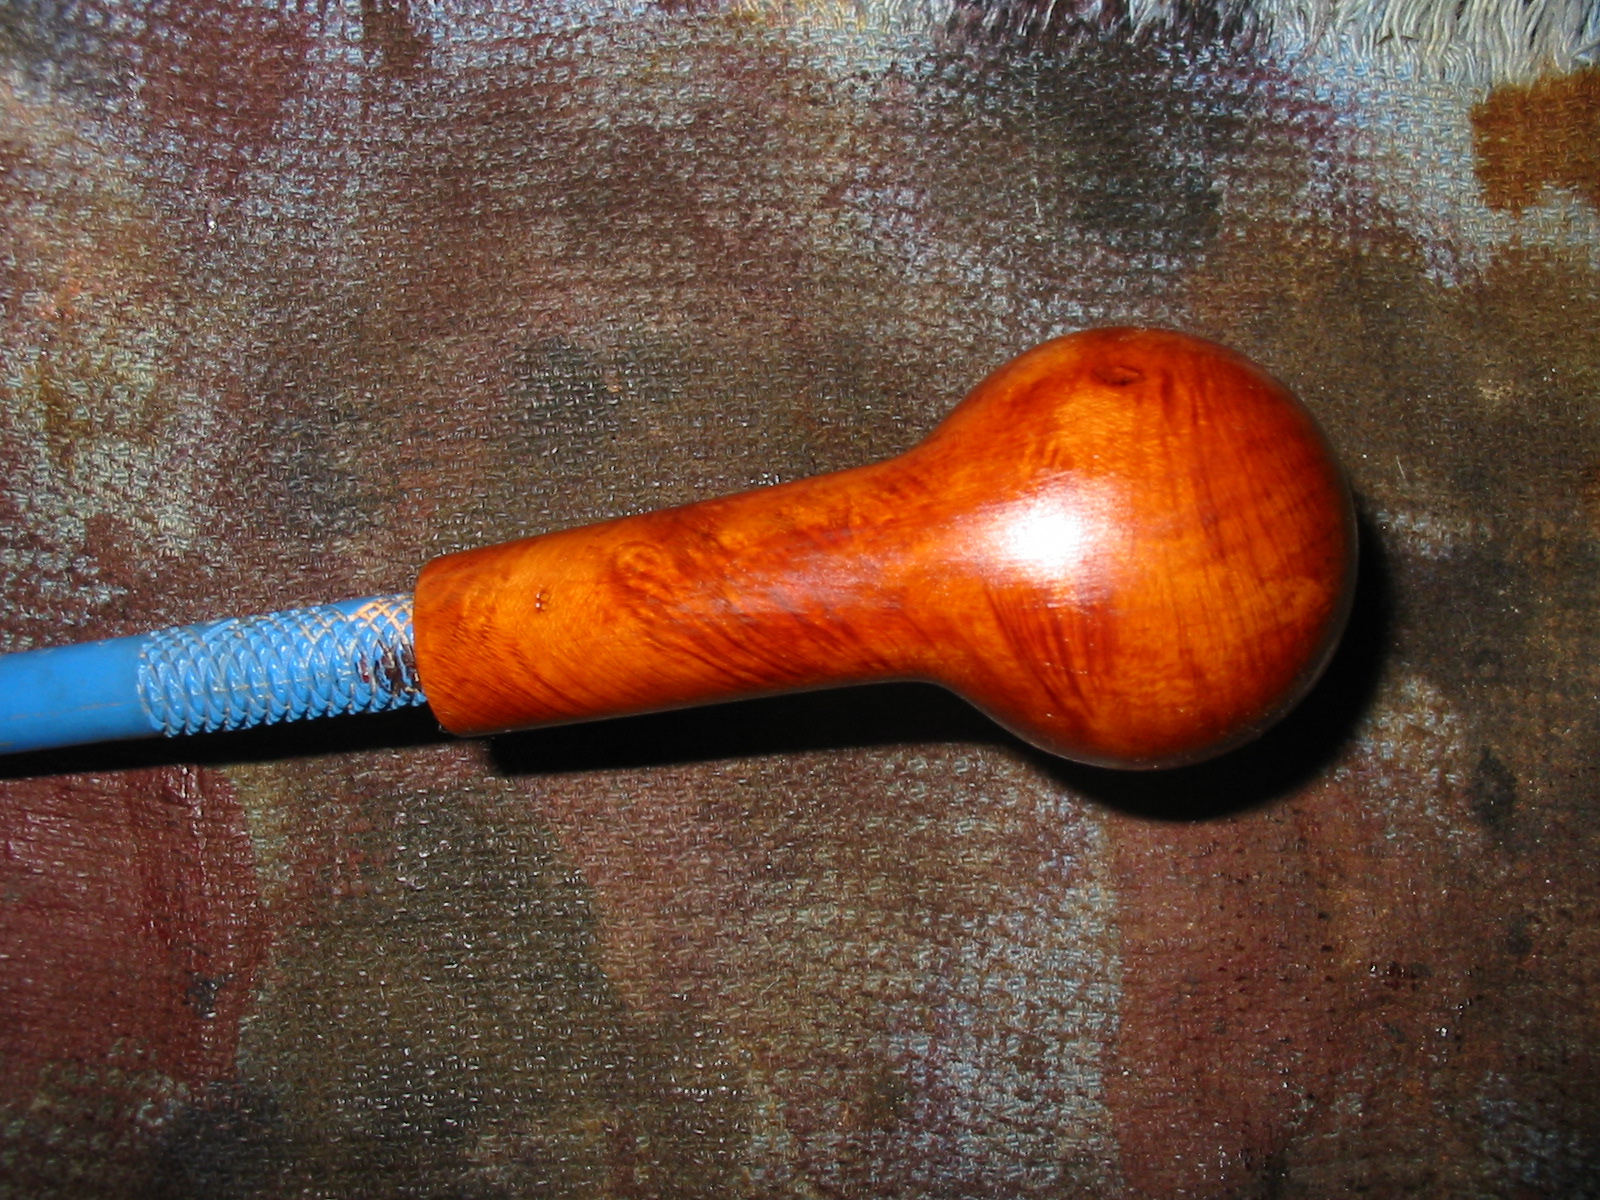
I was given this older, truly ugly pipe a bit ago. It is stamped Astoria De Luxe on the left side of the shank and on the underside the number 8 is stamped near the shank/stem junction. The stem has the letter “A” stamped in the vulcanite. The bowl was coated with a thick coat of something like urethane that gave it a plastic feel. It also seemed to be an opaque coating that was a yellow tan colour. The coating complete hid the grain and the numerous fills on the sides of the bowl. The rim had been damaged from a knife wielding person who tried to ream the bowl. The inner edge had a slight bevel that was damaged and the outer rim had damage from a torch lighter. This time the heavy coating on the bowl protected it from charring but the coating had darkened to black and was pitted. The top of the rim was badly damaged from tapping the bowl out against something hard. This pipe was certainly one that normally I would not have bothered to work on, but there was a challenge there to see if I could do something with it. This one will also go in the box of pipes for the Vancouver Pipe Club.
IMG_4455

IMG_4456

IMG_4457

IMG_4458

I took a close-up photo of the top of the bowl to highlight the rim damage before I went to work on repairing it.
IMG_4459

I set up my topping board and sandpaper and sanded the top of the rim. I press it against the board and work it in a circle to remove the damaged briar. I continue until the top is once again flat and the damage minimized. In doing so I was able to remove much of the gouging of the inner edge of the rim and flatten the rim. It also removed the burn damage to the outer edges of the bowl. However, it also revealed a flaw in the top of the rim. I filled the flaw with briar dust and superglue and when dry topped it slightly more to remove the excess fill that I had made.
IMG_4460

I scrubbed bowl down with acetone on cotton pads but the coating did not come off. I sanded the bowl with a sanding sponge and broke the top seal on the coating and then continued to wipe it down with acetone and then sand repeatedly until the finish was virtually gone.
IMG_4461

IMG_4462

IMG_4463

IMG_4464

Last evening when I finished for the night I dropped the bowl in an alcohol bath overnight to further remove some of the stubborn spots on the coating. These were at the bowl shank union and at the end of the shank. There were spots on both sides of the bowl and the front that also resisted the combination of sanding and acetone. When I took it out of the bath this morning the finish was gone. I rubbed the bowl dry and gave it a quick buff with Tripoli to remove any remnants of the coating. I cleaned out the shank with cotton swabs and Everclear to remove the tars and oils that were inside. When it was clean, I wiped it down a final time with a cotton pad and Everclear and prepared it for staining. I decided to once again use the MinWax and gave the bowl a coat of Red Mahogany and then a coat of Medium Walnut stain. I hand buffed the bowl and then took it to the buffer and buffed it with Red Tripoli and White Diamond.
IMG_4465

IMG_4466

IMG_4467

IMG_4468

The combination of the two stains worked well and minimized the ugly fills that stood out around the bowl. Combined they gave the pipe a light reddish brown hue. The stem had some damage around the shank area so I sanded it lightly with a medium grit sanding sponge to remove those markings.
IMG_4469

IMG_4470

IMG_4471

IMG_4472

I further sanded the stem with the usual array of micromesh sanding pads – wet sanding with 1500-2400 grit pads and dry sanding with 3200-12,000 grit pads. I rubbed the stem down with Obsidian Oil and then buffed it with White Diamond.
IMG_4473

IMG_4474

IMG_4475

I reinserted the stem in the pipe and gave the entire pipe a final buff with the White Diamond and finished by giving it multiple coats of carnauba wax. I buffed the pipe with a clean flannel buff to raise a shine in the stem and bowl. The result of the work can be seen in the photos below. The old, ugly duckling billiard had a facelift and now was far more attractive than previously in my opinion. It is ready to go in the box for the pipe club. Hopefully the pipeman who takes it home eventually will get good use out of it and enjoy the Astoria De Luxe. The challenge was worth doing and in doing so I learned some more tricks on removing a thick urethane coating.
IMG_4476

IMG_4477

IMG_4478

IMG_4480

IMG_4481

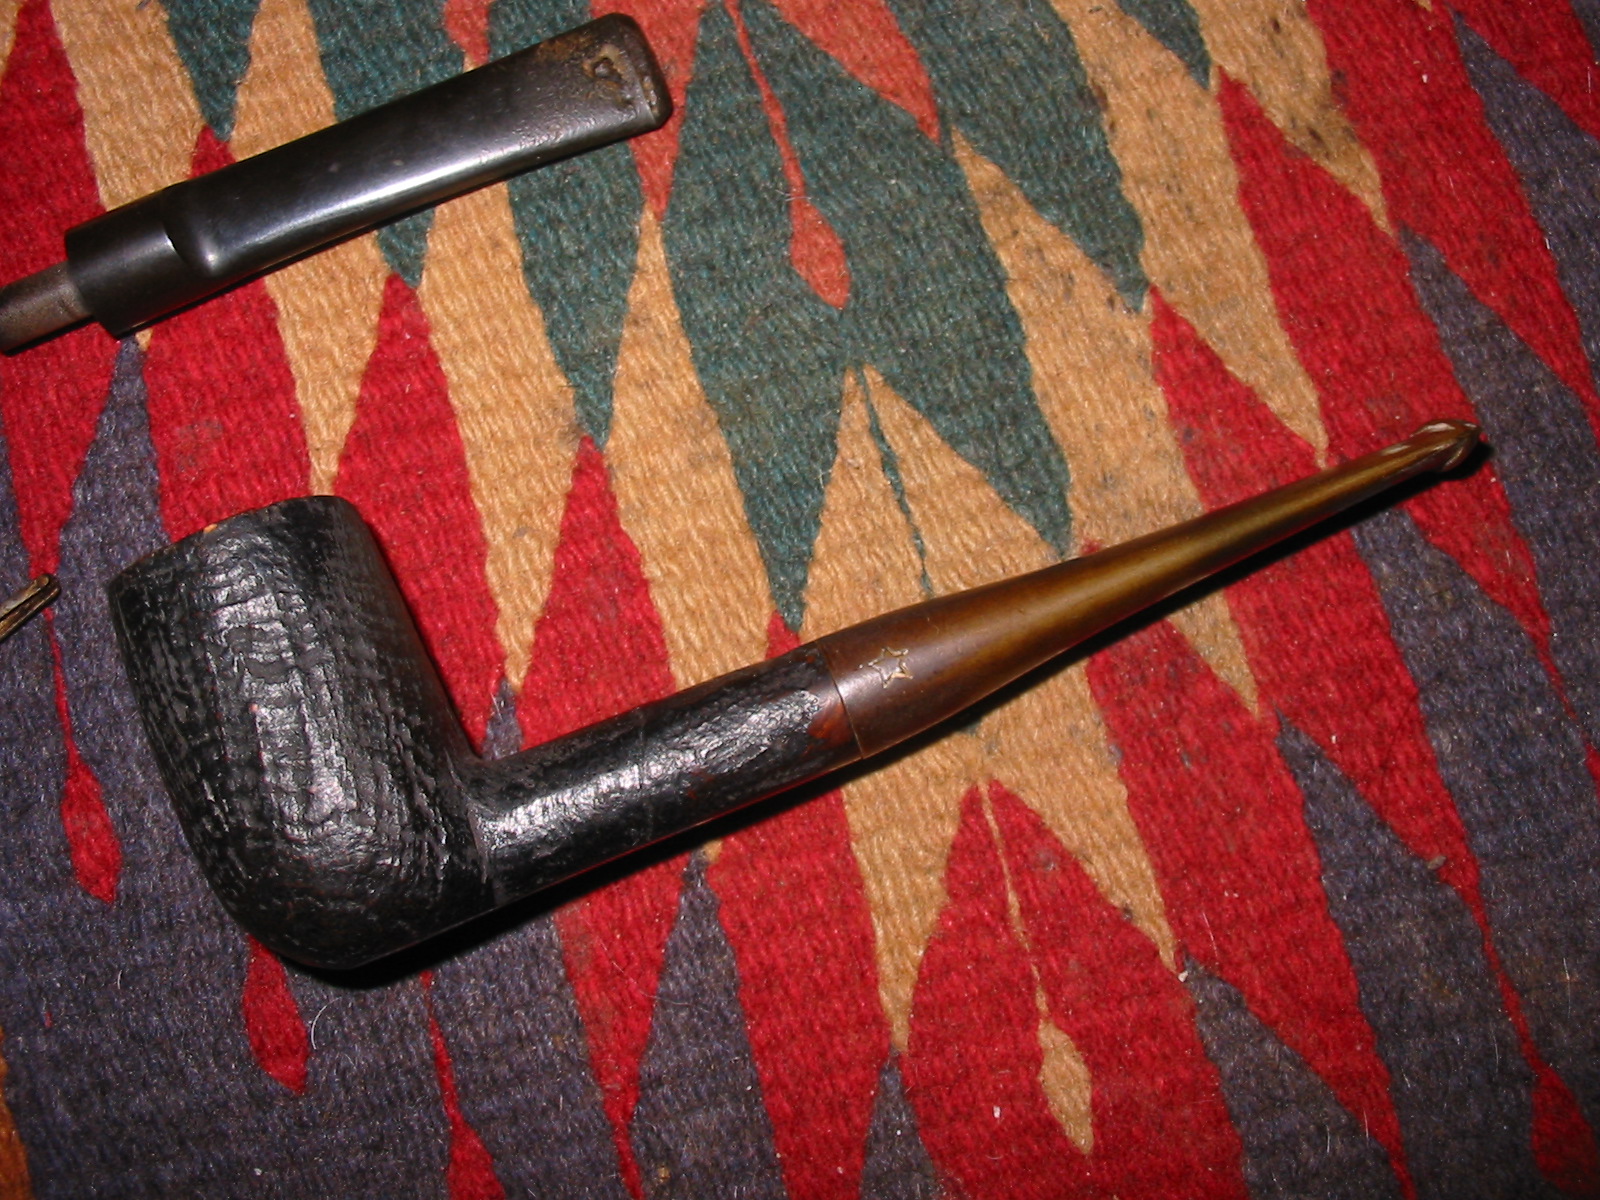
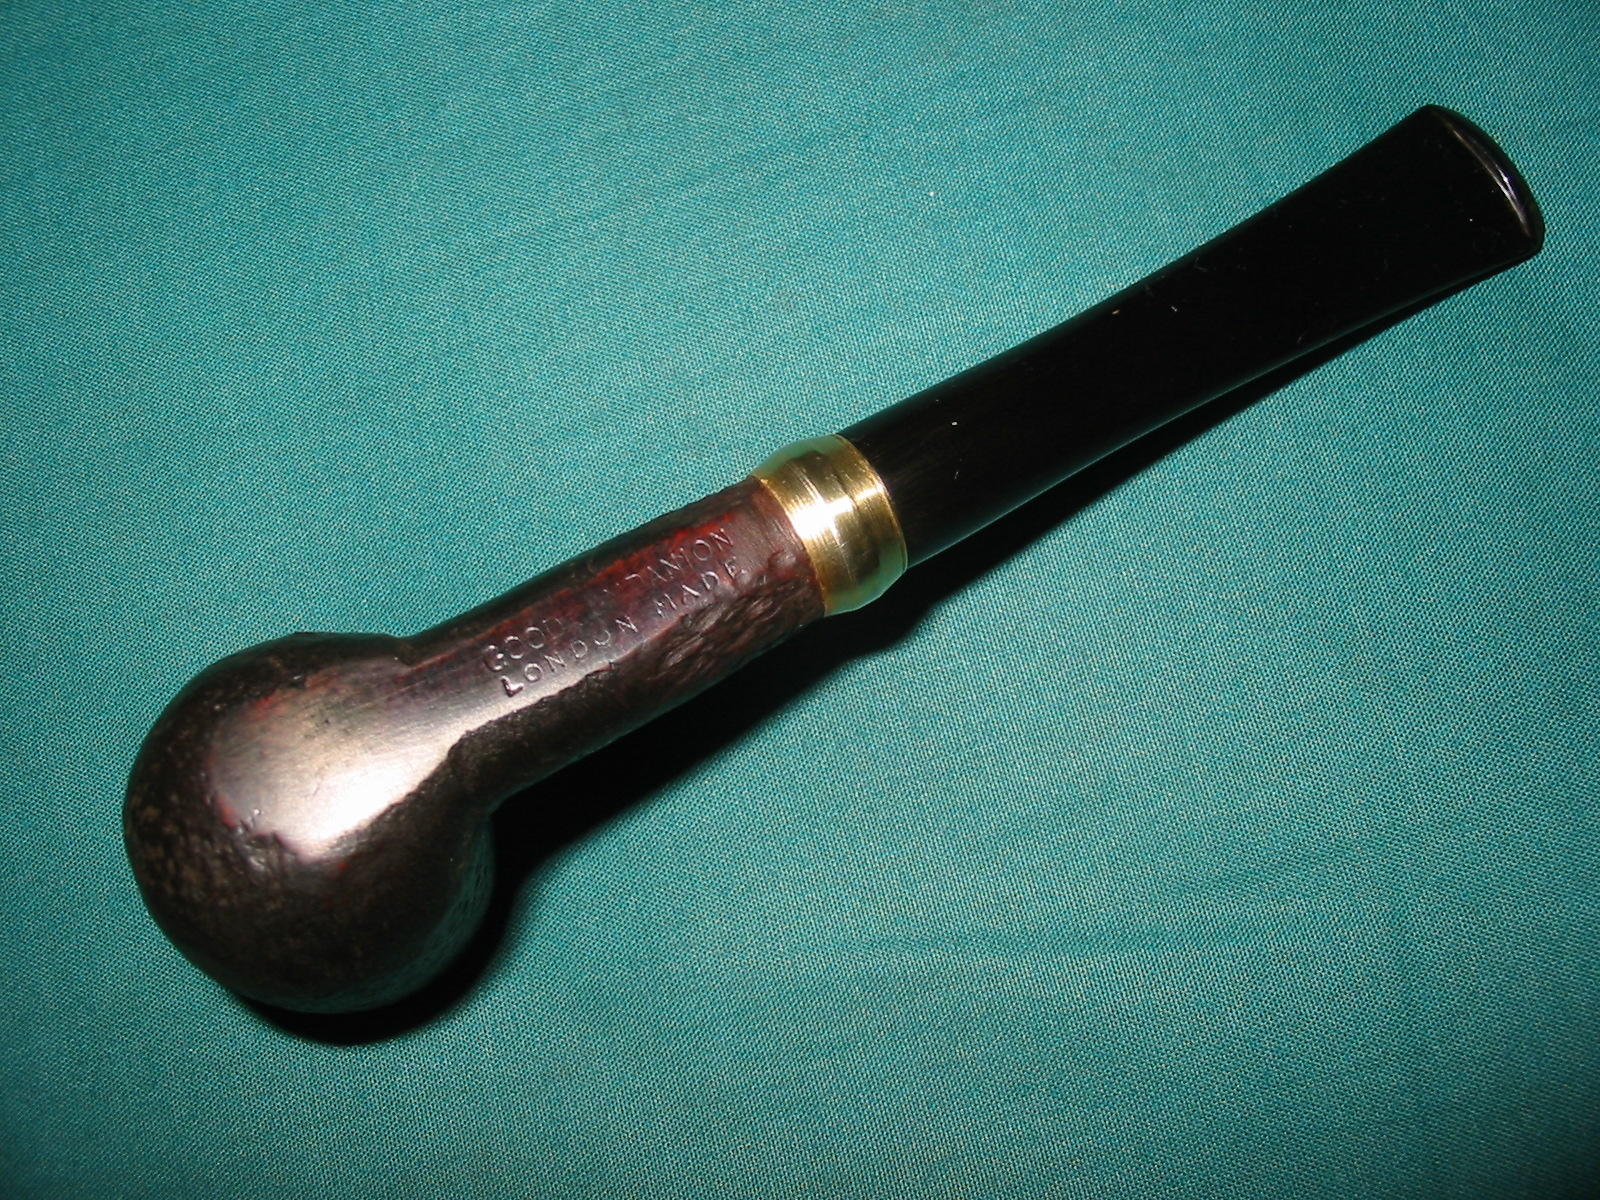
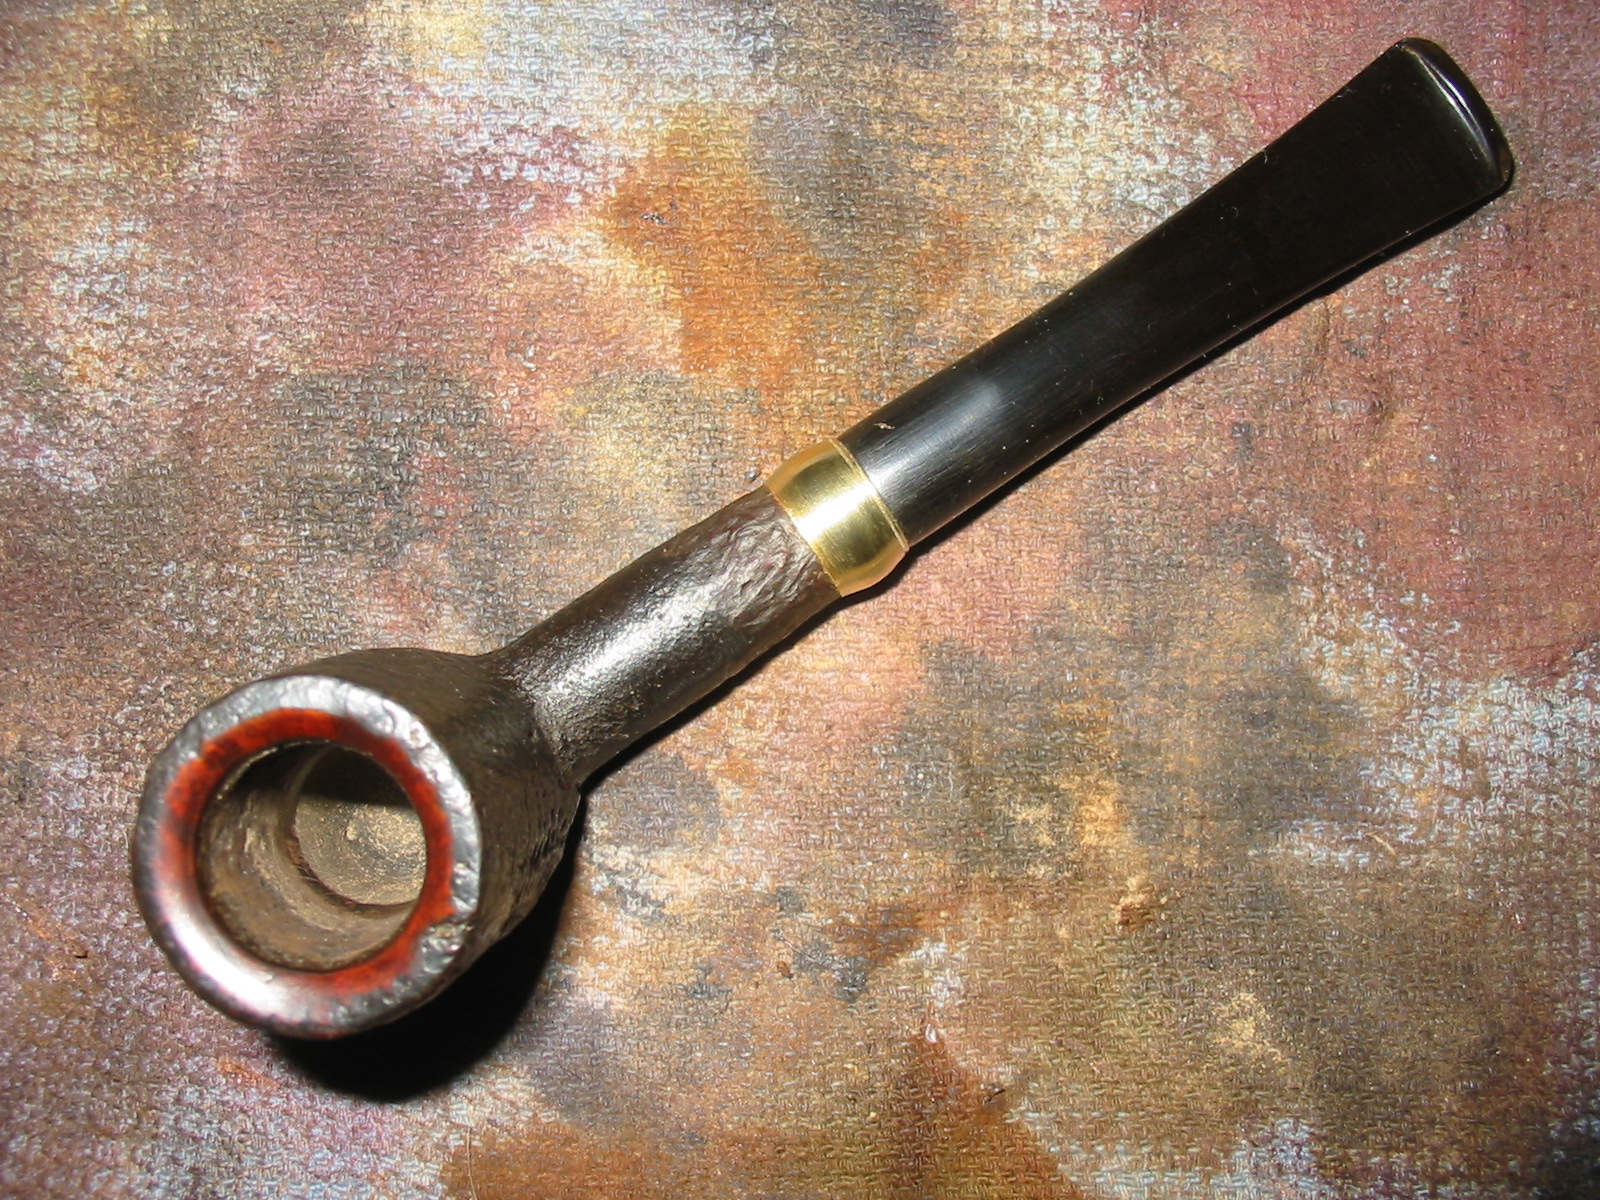
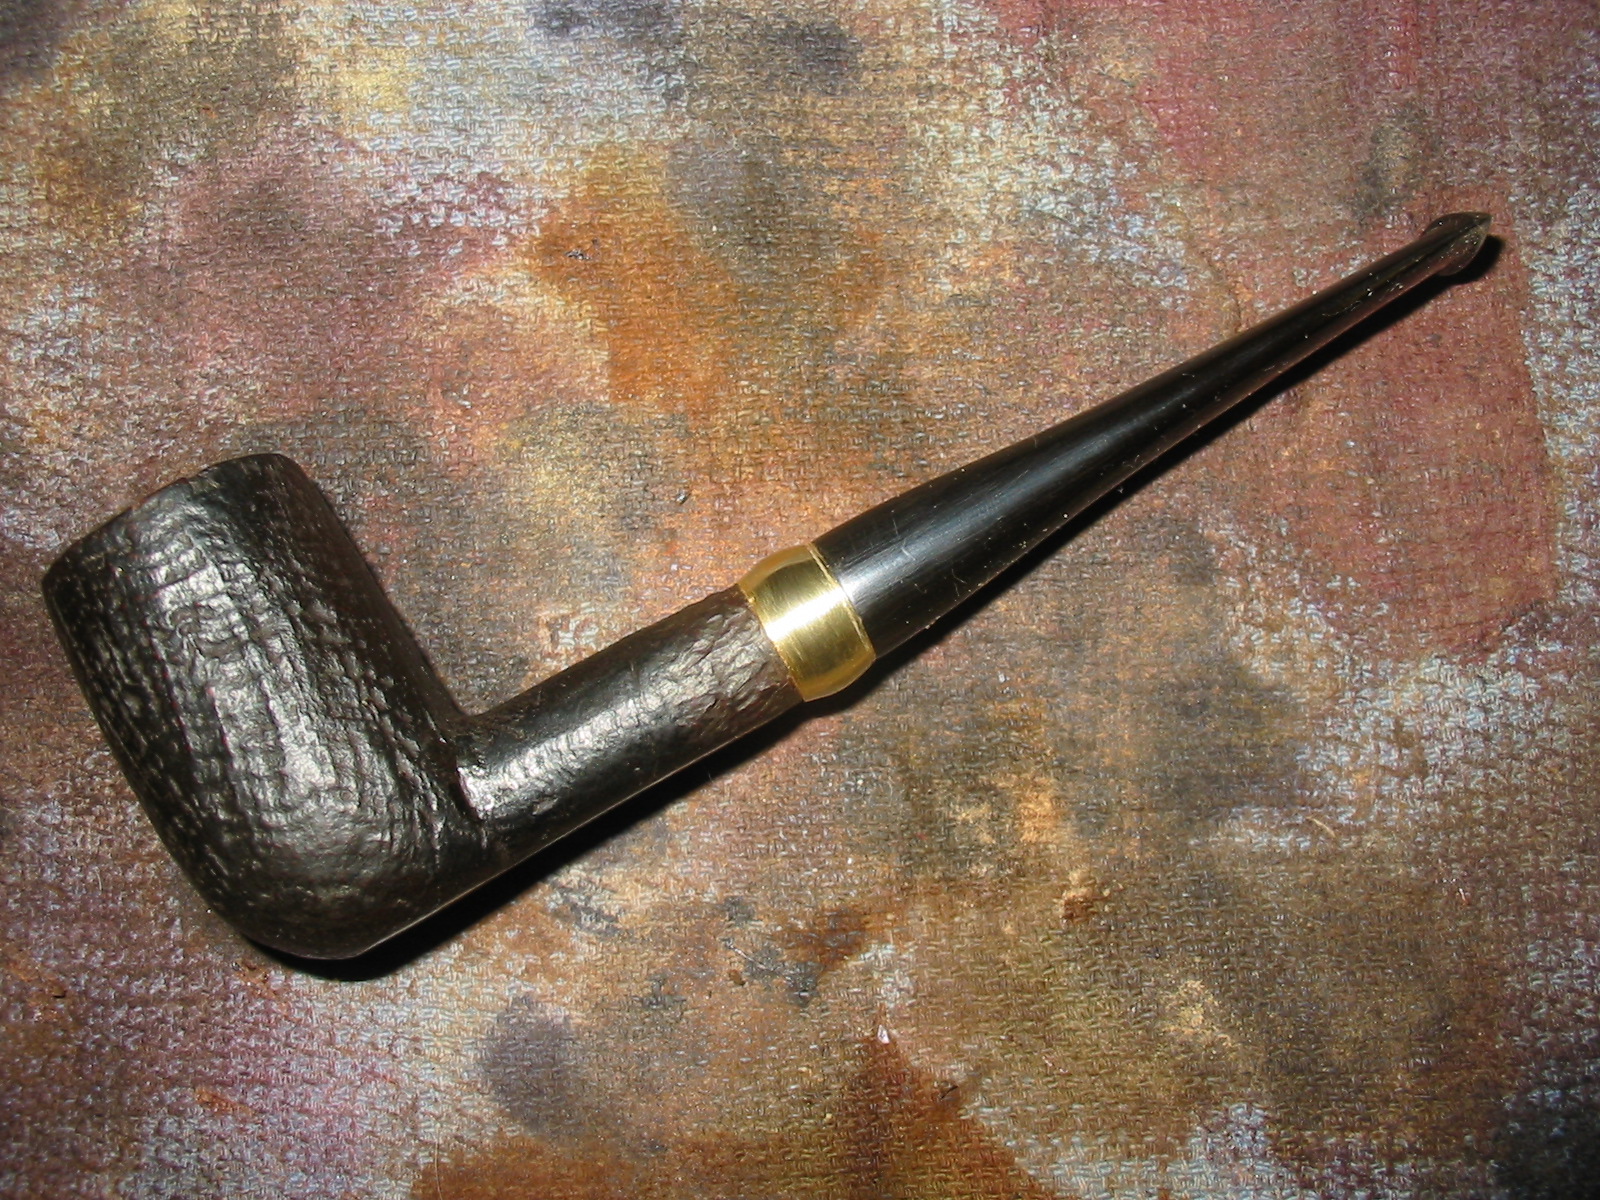
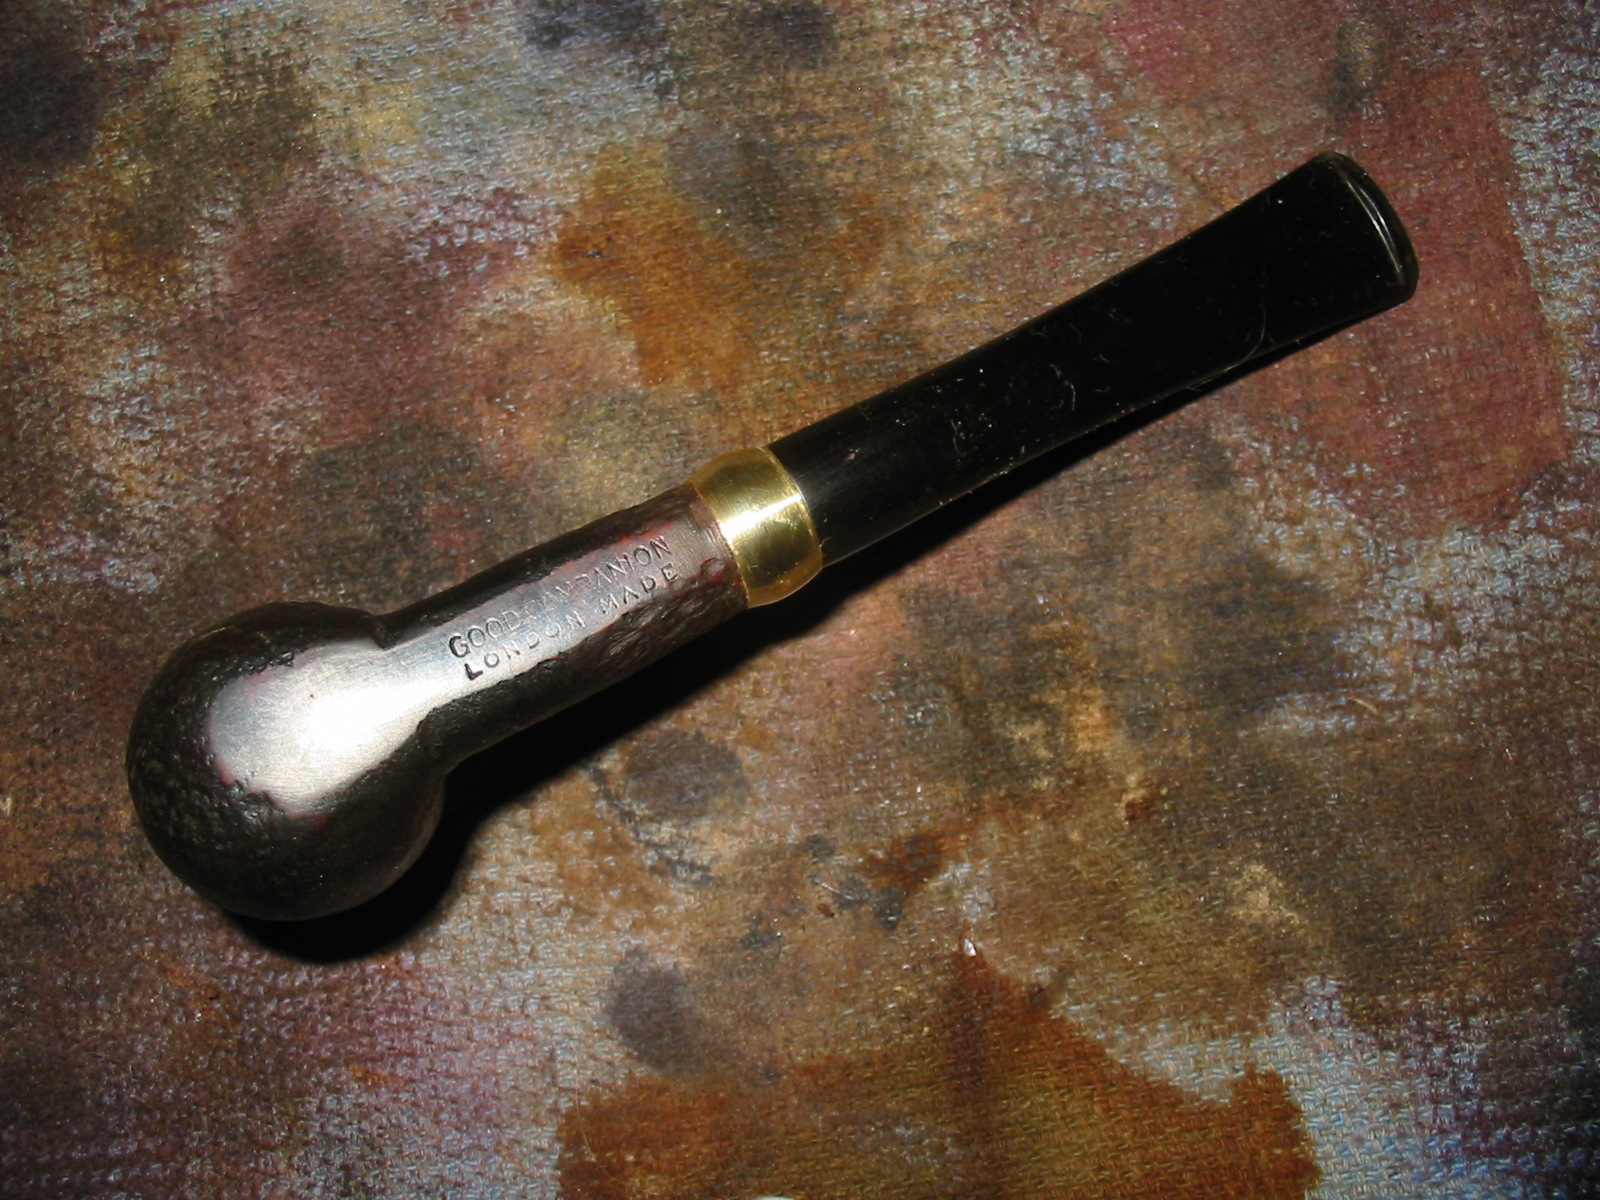
A Renovation of a Good Companion London Made Billiard


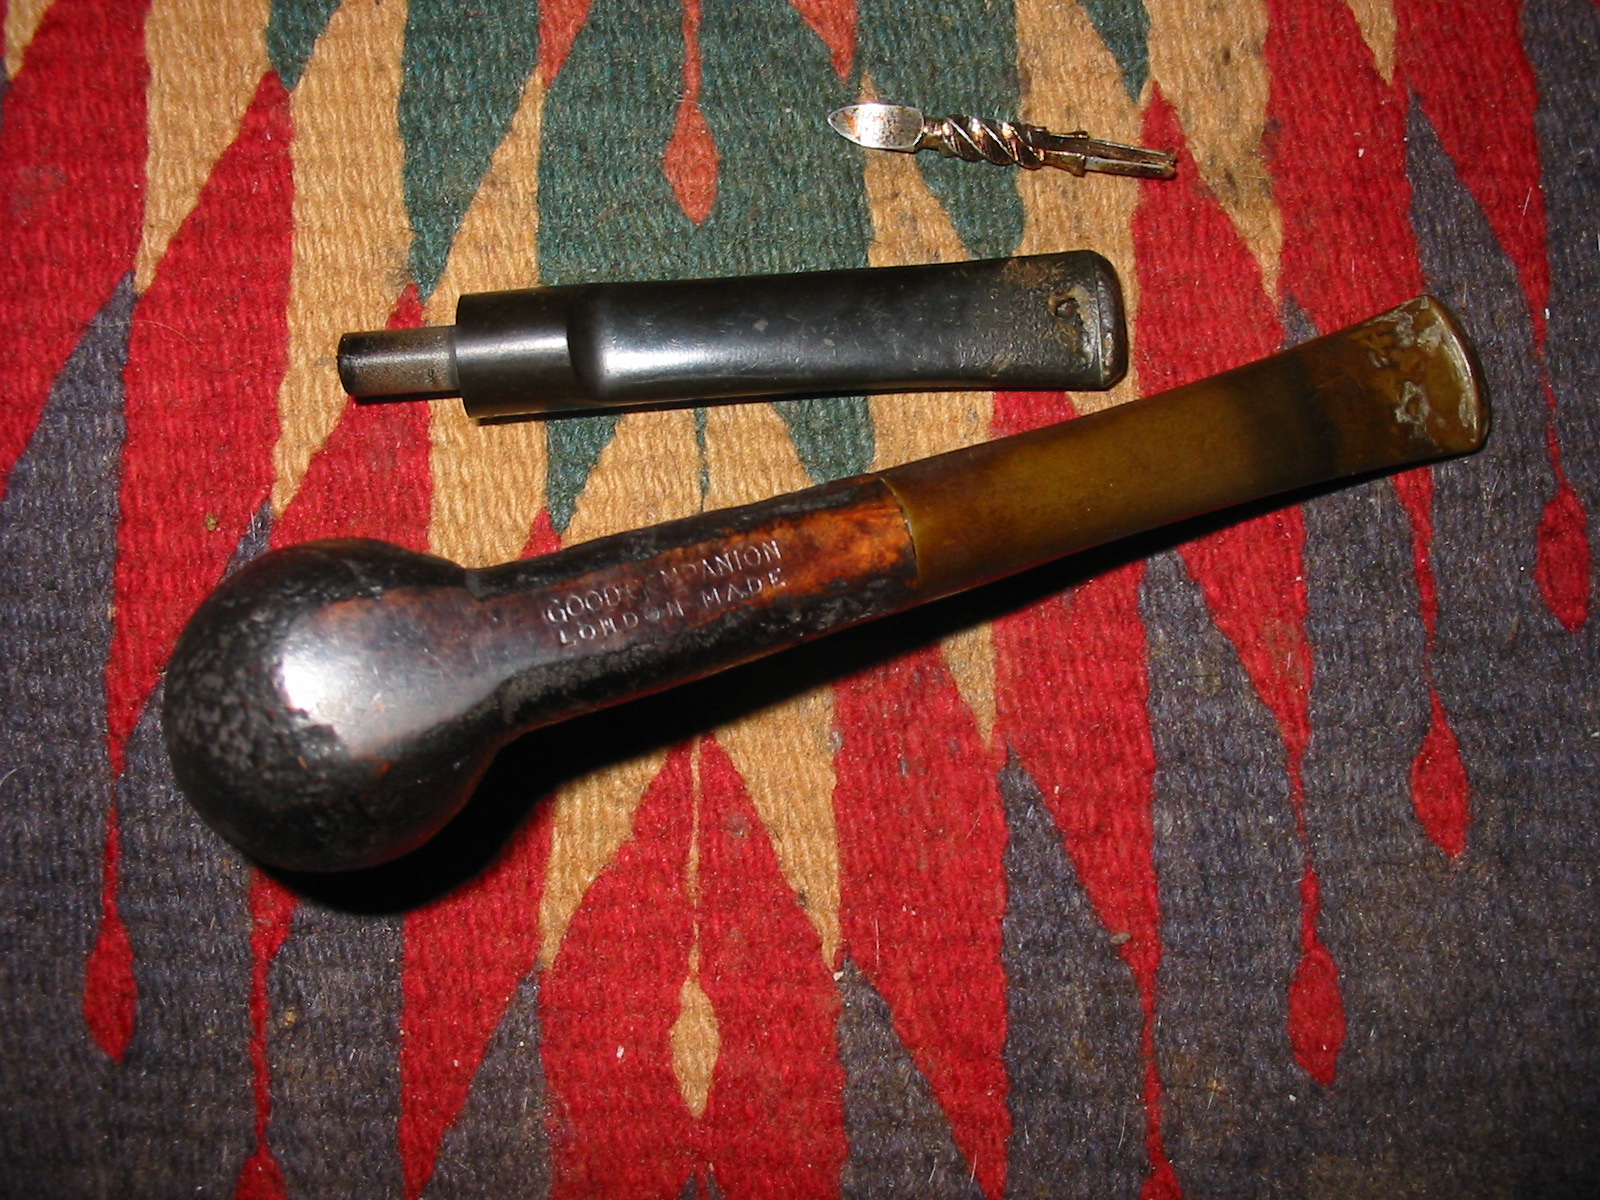
My wife and I went out for lunch on Saturday and there was an antique shop across the street from the restaurant. After eating we brave torrential downpours and ran across the street check out a shop we had not visited before. We looked through the various display cases and I found the pipe below along with a chewed up Yello-Bole billiard. The pipe was a small group 3 sized billiard. The finish was a dark brown stain on a sandblasted pipe. The left side had great grain pattern and showed deep grooves. The right side was a tight birdseye grain and the blast was shallow and close. The shank was rusticated to look like a sandblast. The stem had a slight bend but seemed be from sitting in the heat rather than intention. There was a bite through on the top surface of the stem that was large enough that it could not have been patched. The rim was originally smooth and beveled inward but the bevel had been damaged and needed to be reshaped and cleaned up. The stamping on the pipe is what ultimately made me spend the $10 to make the pipe mine. It read Good Companion over London Made on the underside of the shank. I just finished reading a new book by Mark Irwin called Pipe Companions. In it he wrote of the relationship between the pipe and the pipeman. I think it was a great coincidence to walk into a pipe stamped Good Companion. I wanted to clean it up and make it my own.
IMG_4177

IMG_4178

When I got home from the visit to the shop I took the pipe apart. The stem had a large spiral stinger apparatus in the tenon. The stem itself was badly chewed. I found a new stem for the pipe in my can of stems and worked on the tenon to make the tapered stem fit the shank.
IMG_4263

IMG_4264

IMG_4265

I pushed the newly fitted stem into the shank to have a look at the shape with a taper stem. I liked the overall look of the pipe with the new stem. I sanded the stem to remove the calcification and the oxidation on it. I also worked on the fit of the stem to the shank. I wanted the transition to be smooth and seamless. I took the stem in and out several times while I worked on it. The last time I pushed it into the shank there was a crack! I don’t know if that has happened to you but when it happens there is a sick feeling in the pit of my stomach. Here the pipe was almost ready to refinish and the stem fit well and then crack. The frustration at that moment is high level. I laid the pipe down and had a coffee while I thought about my next steps.
IMG_4266

IMG_4268

IMG_4269

IMG_4270

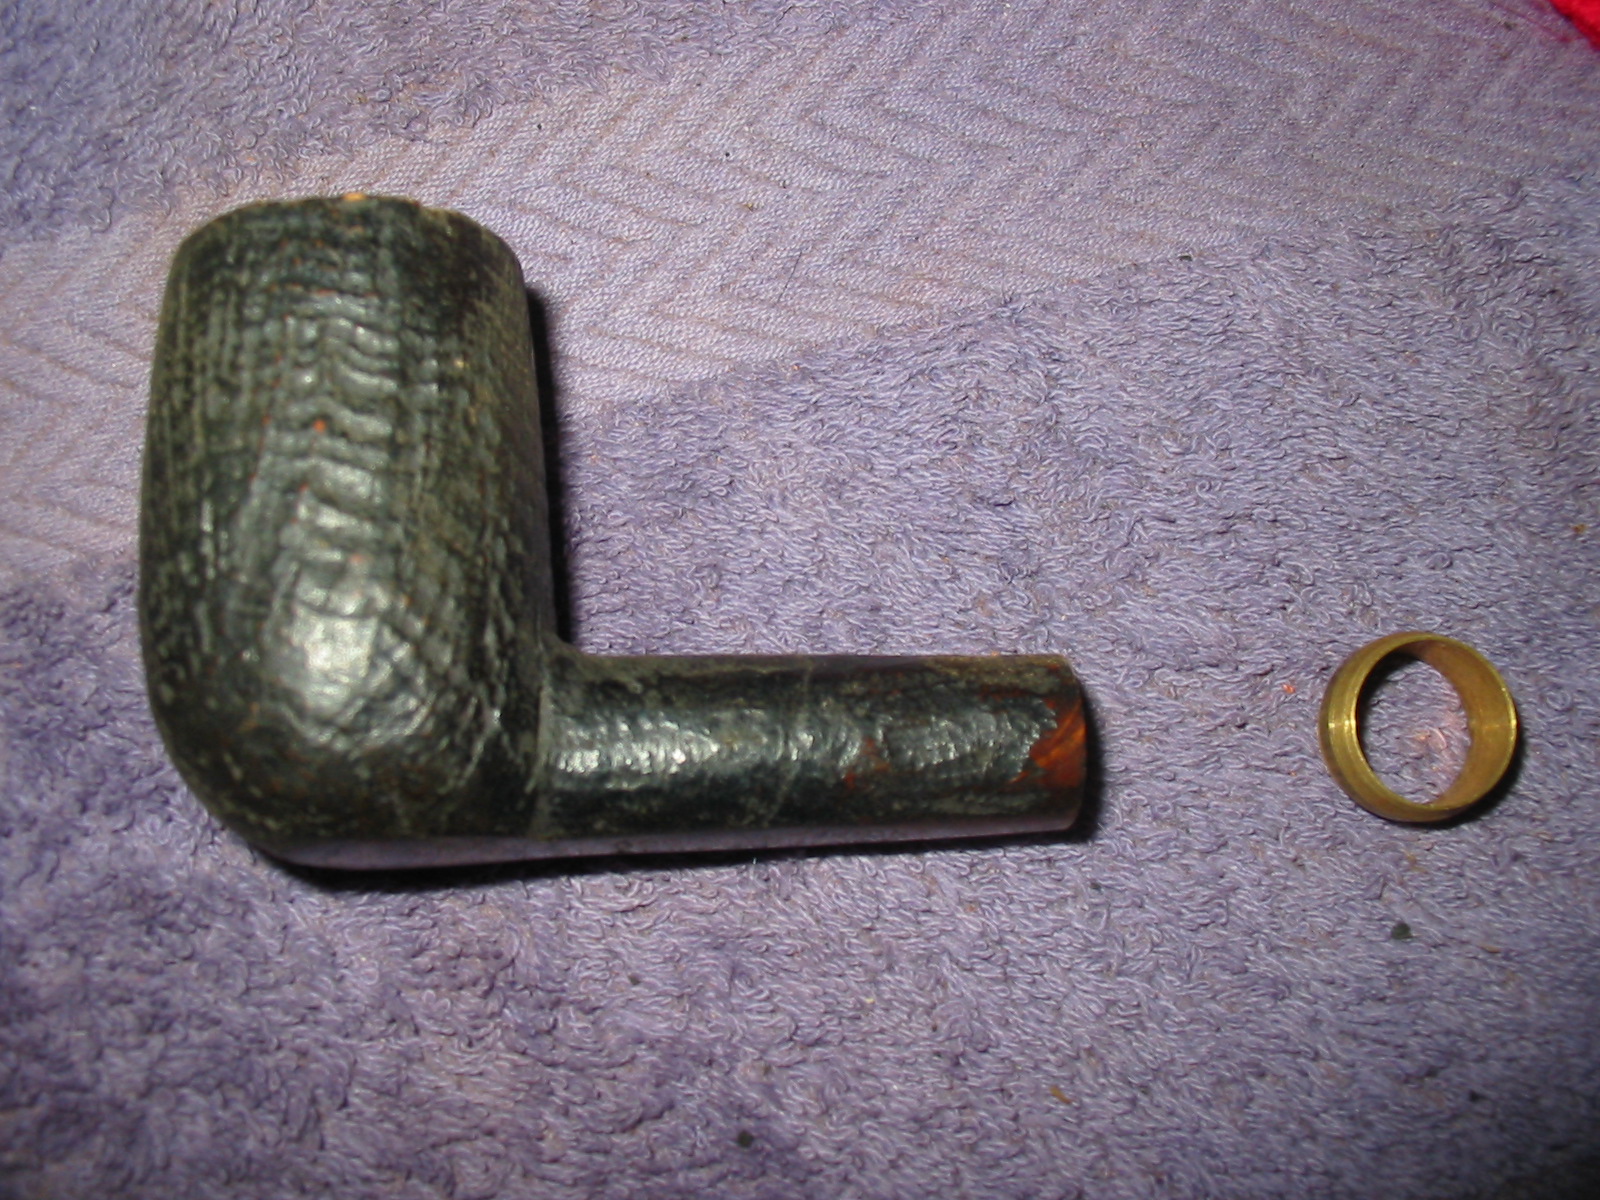
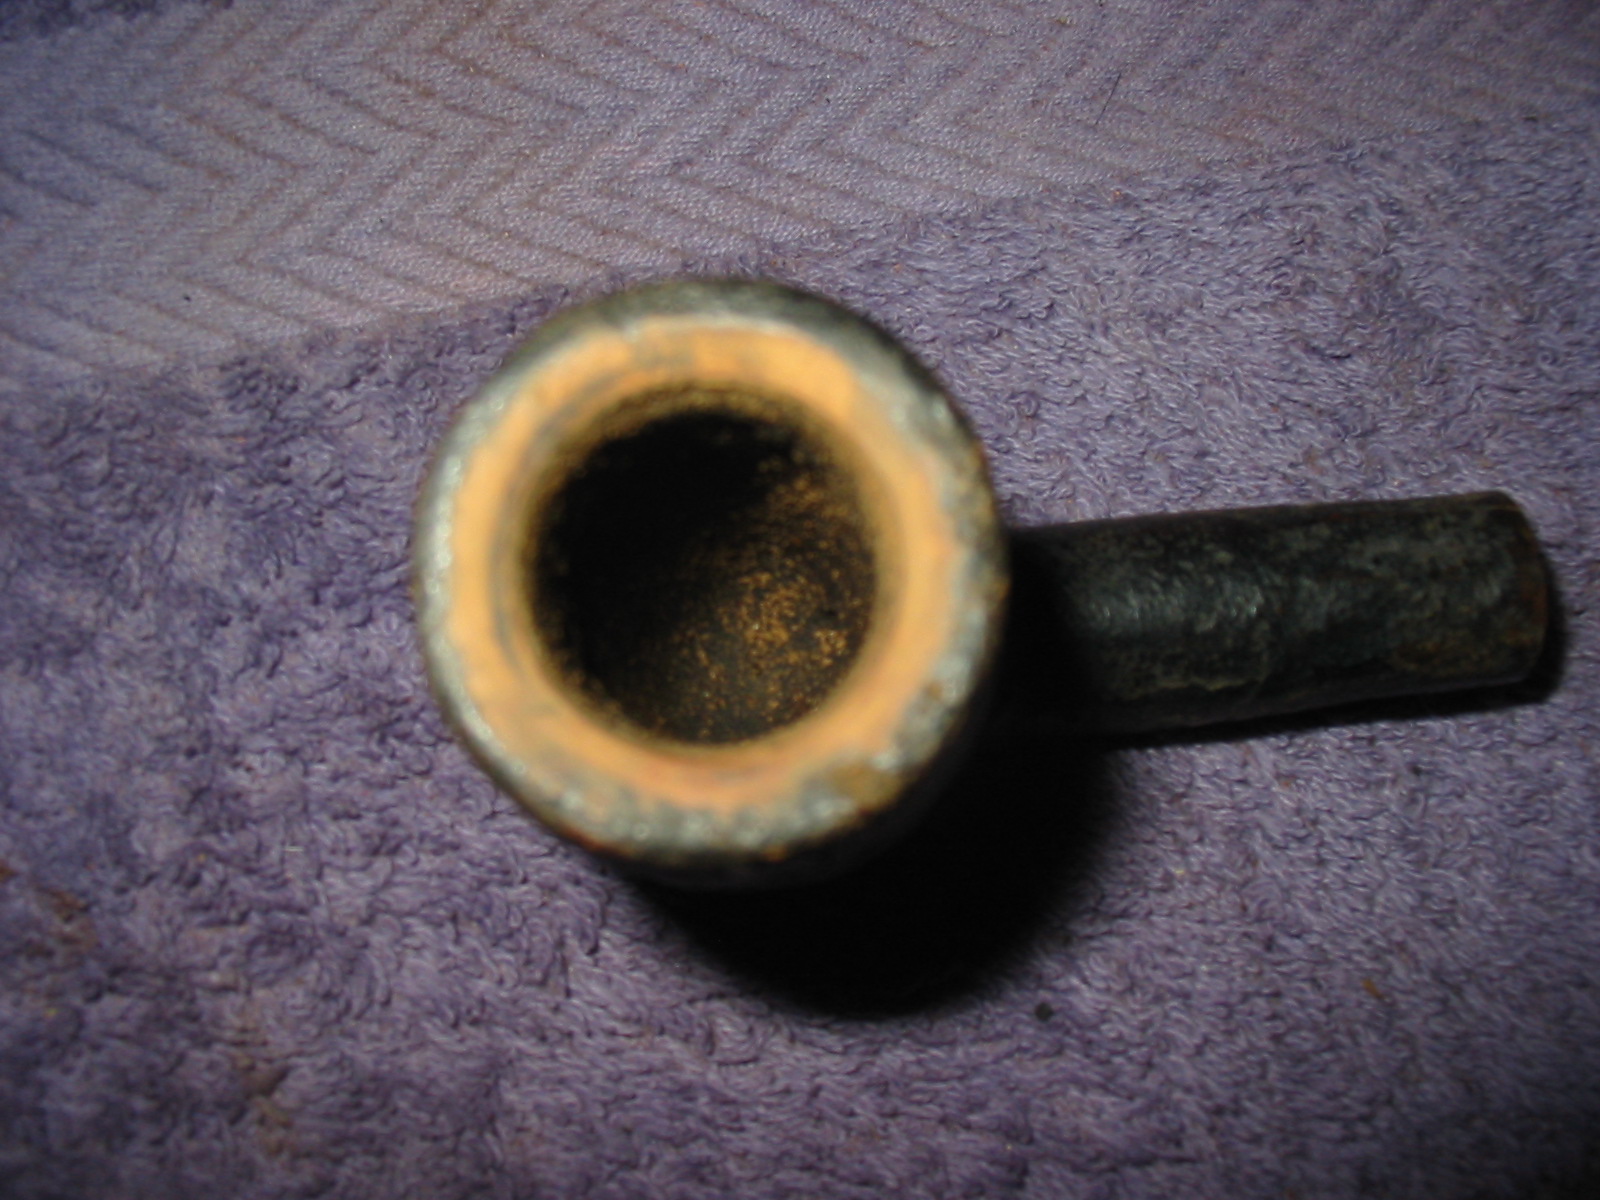
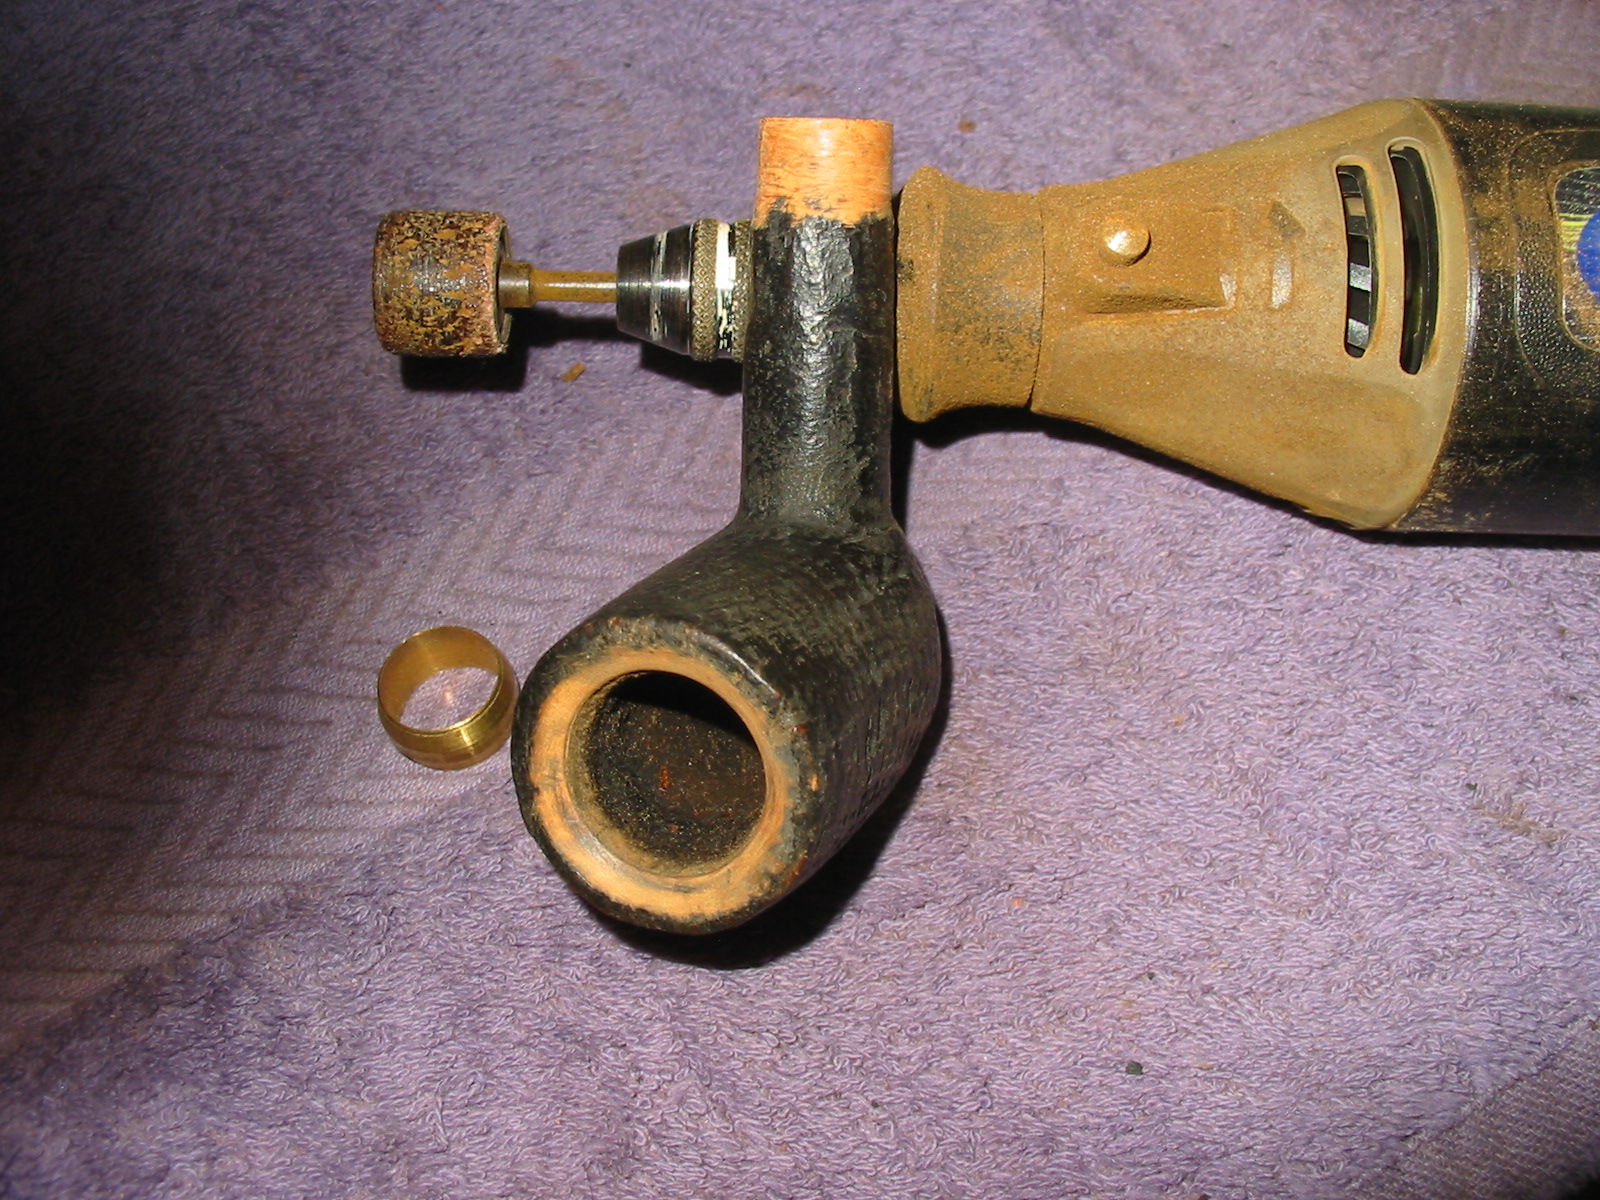
I went through the box of nickel bands that I have here and I did not have any the correct size for the shank. All of them were either too huge or too small. I did remember however that I had some brass plumbing pressure fitting pieces that would make a great band on the pipe and create a totally different look on this old pipe. Before fitting the band I worked on the bevel of the inner edge of the rim. I used a folded piece of sandpaper to smooth out the rim damage and reshape the bevel.
IMG_4271

IMG_4272

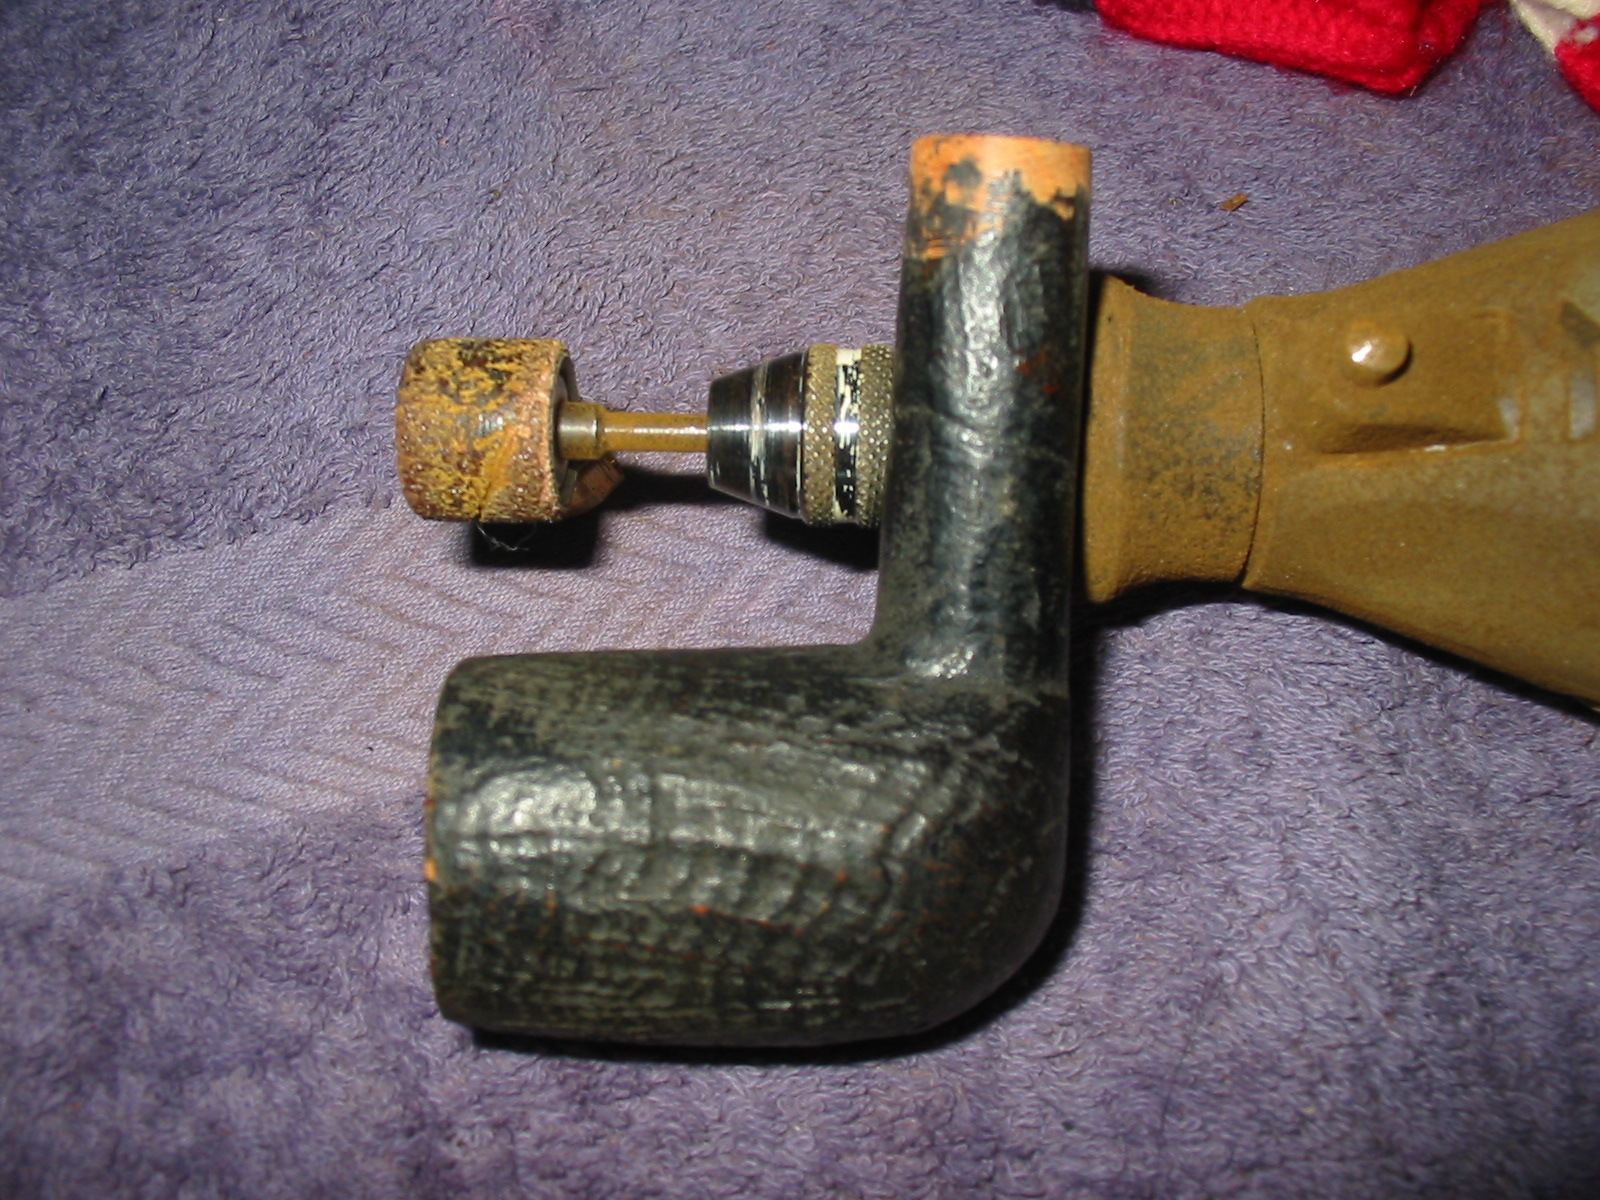
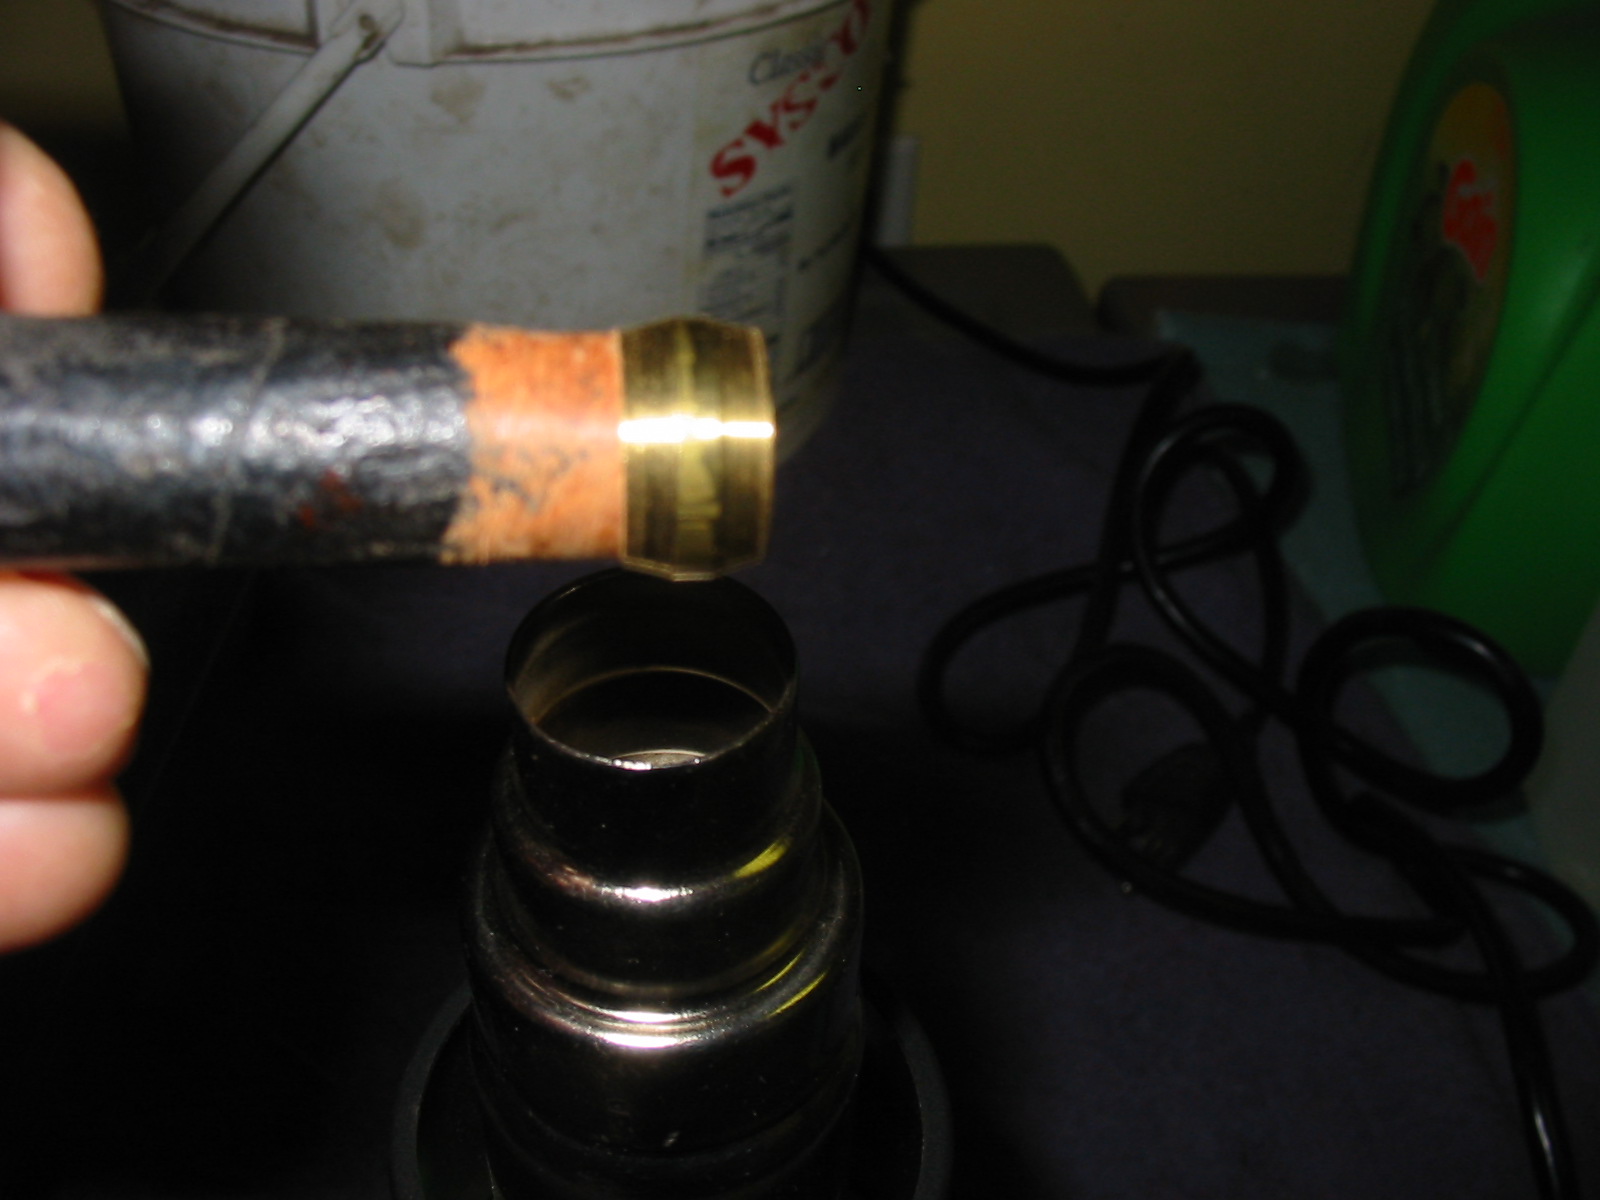
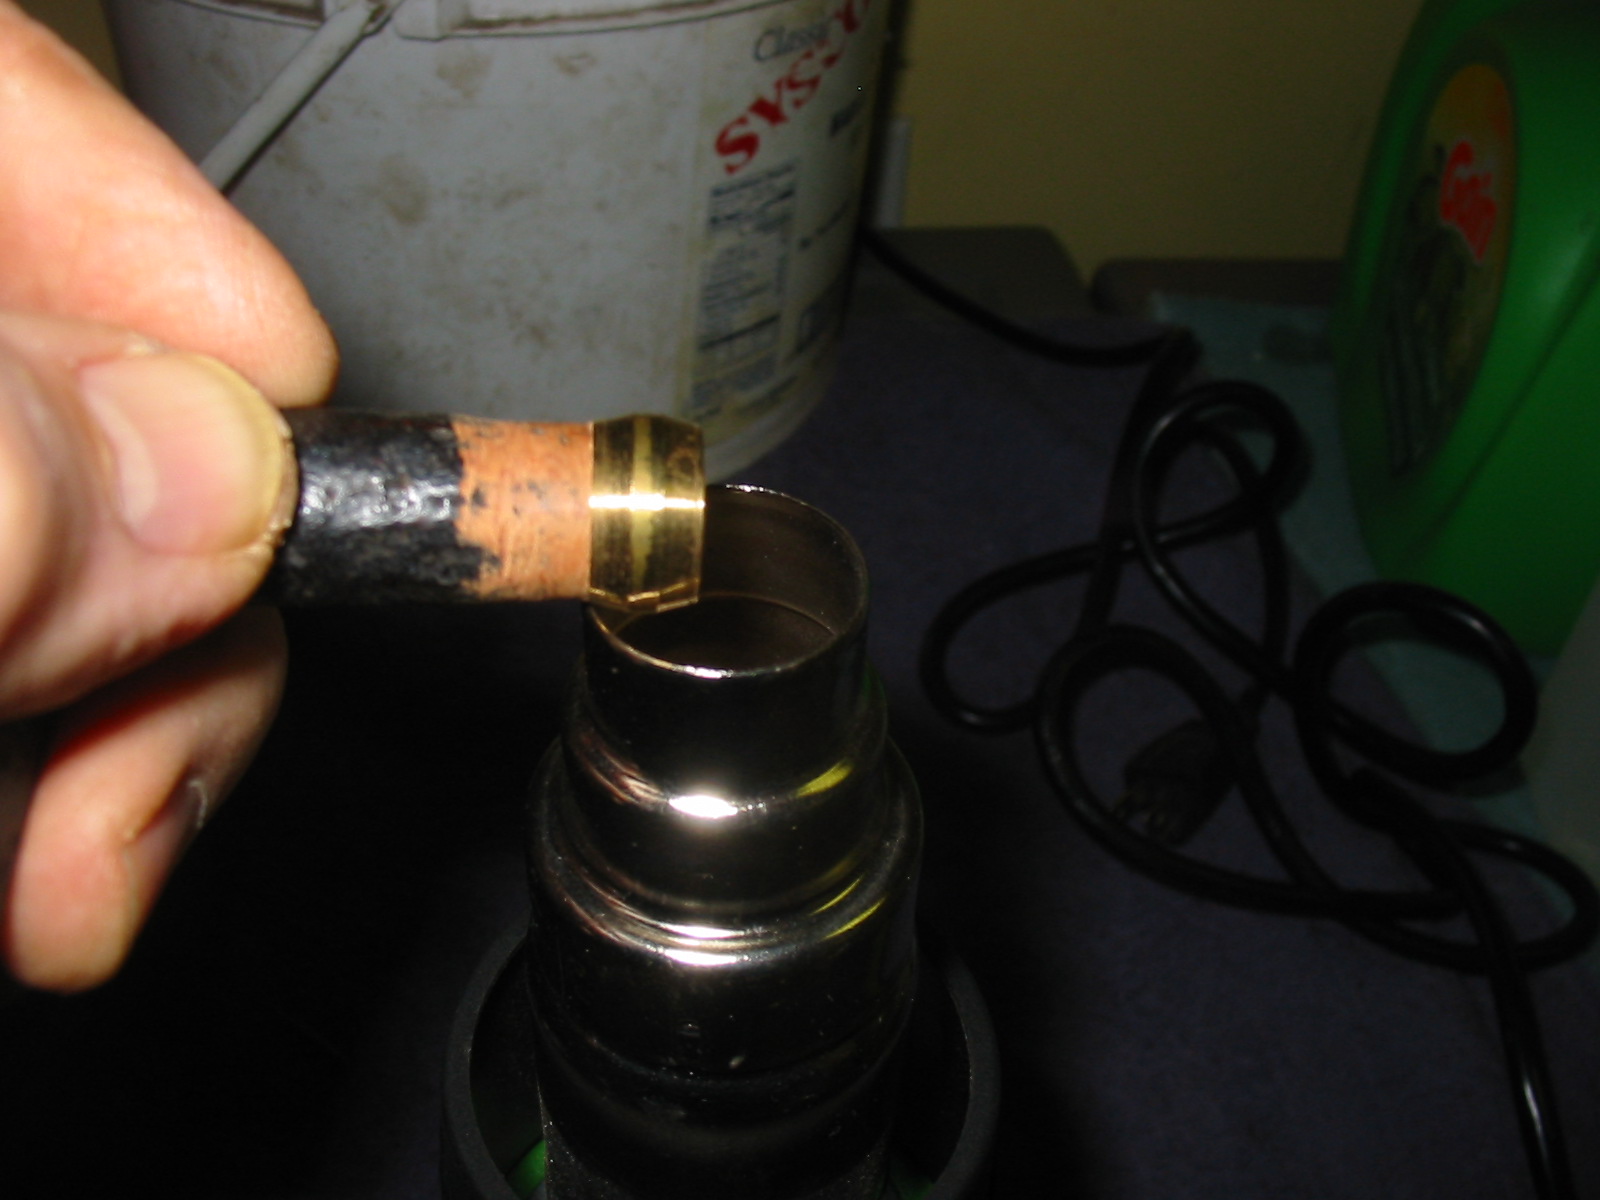
I used a Dremel and sanding drum to sand back the shank so that the band could be pressure fit against the cracked shank. I took back the rustication until the finish was gone and the shank area was smooth. When the band fit tightly on the shank I heated the brass band with a heat gun and then pressed it into place on the shank.
IMG_4273

IMG_4274

IMG_4276

IMG_4278

I pressed the band into place on the shank and then hand sanded the area in front of the band smooth so that I could rework the taper of the shank and the finish to match the rest of the pipe.
IMG_4279

IMG_4280

IMG_4281

IMG_4283

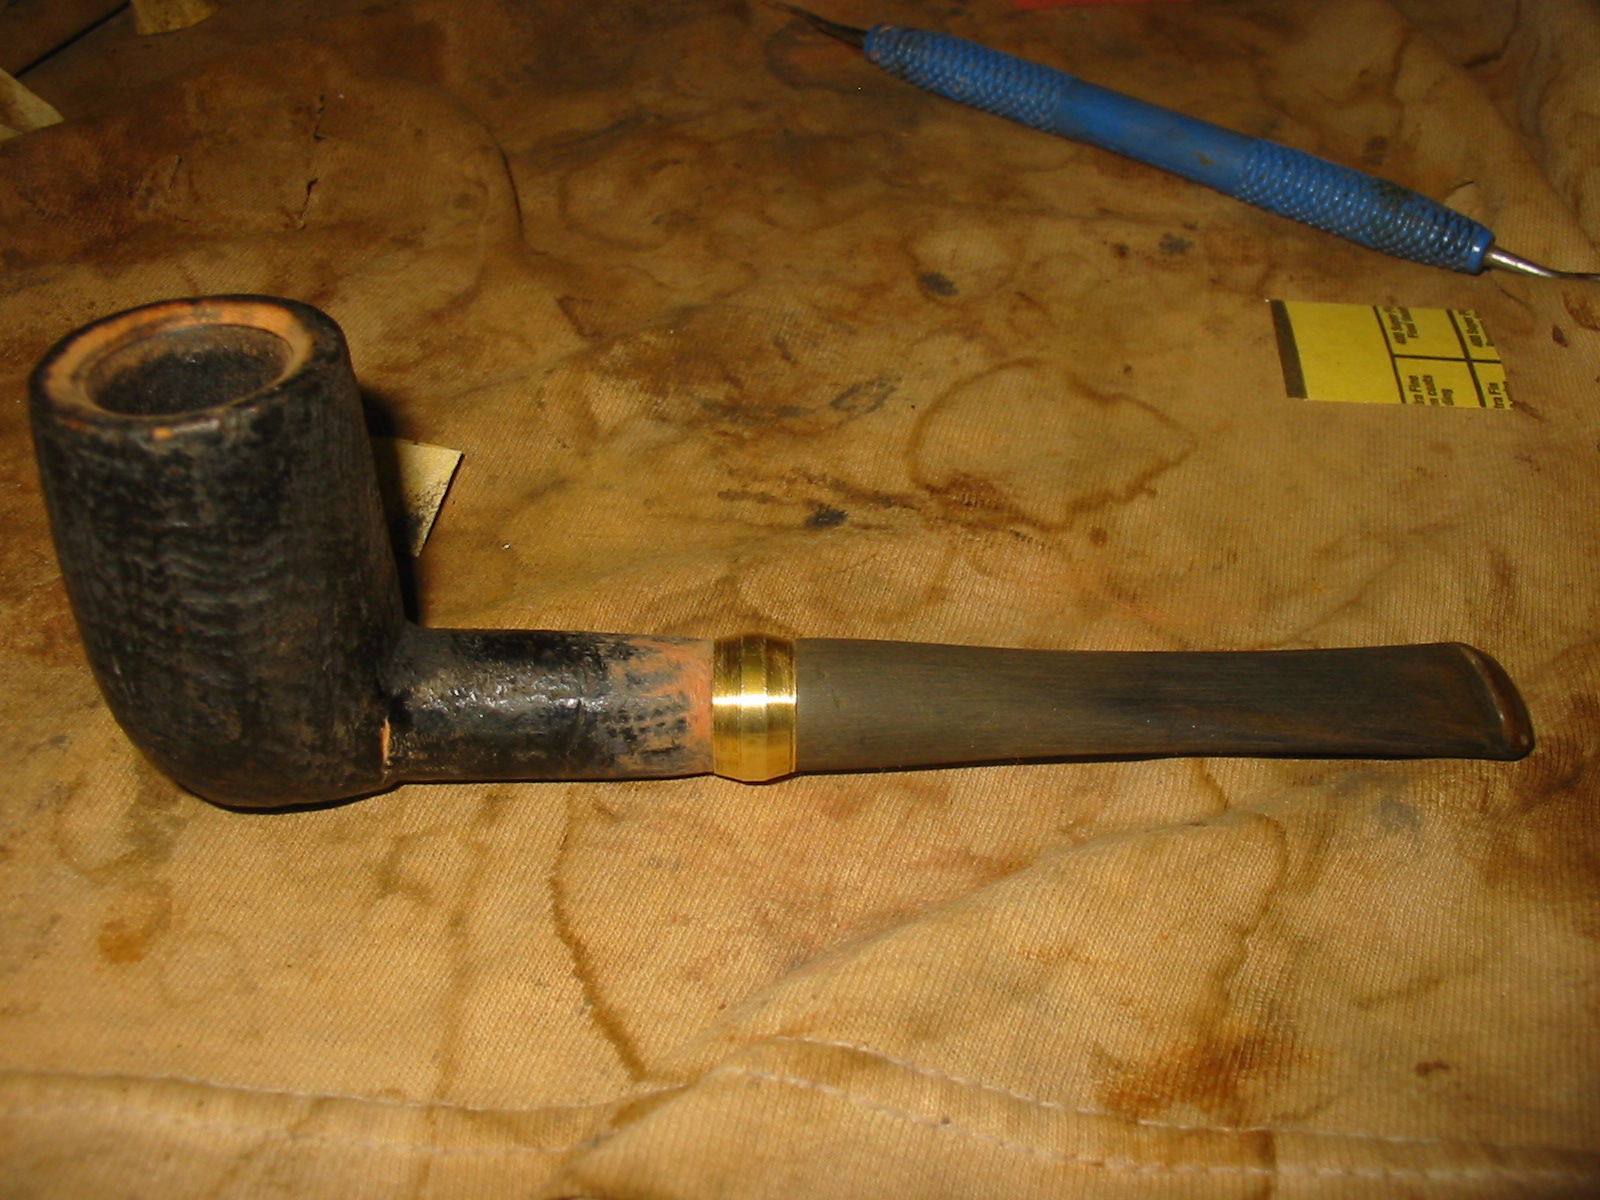
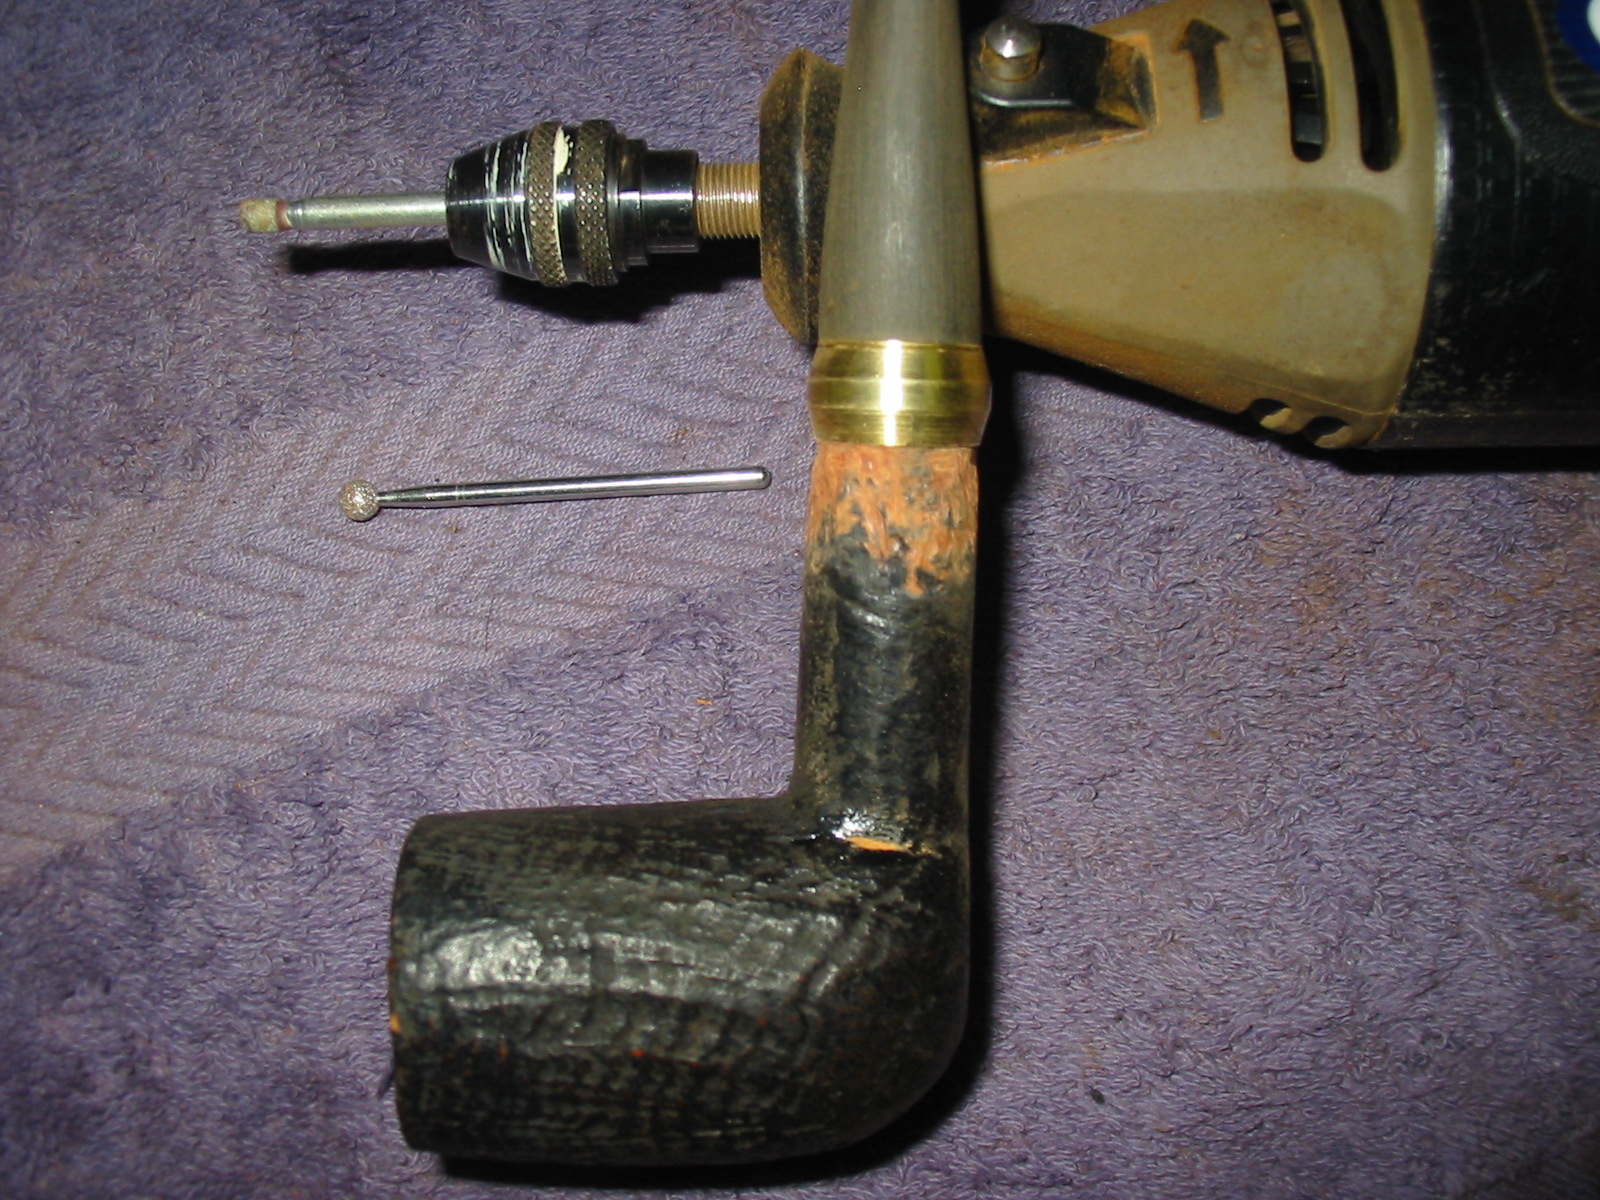
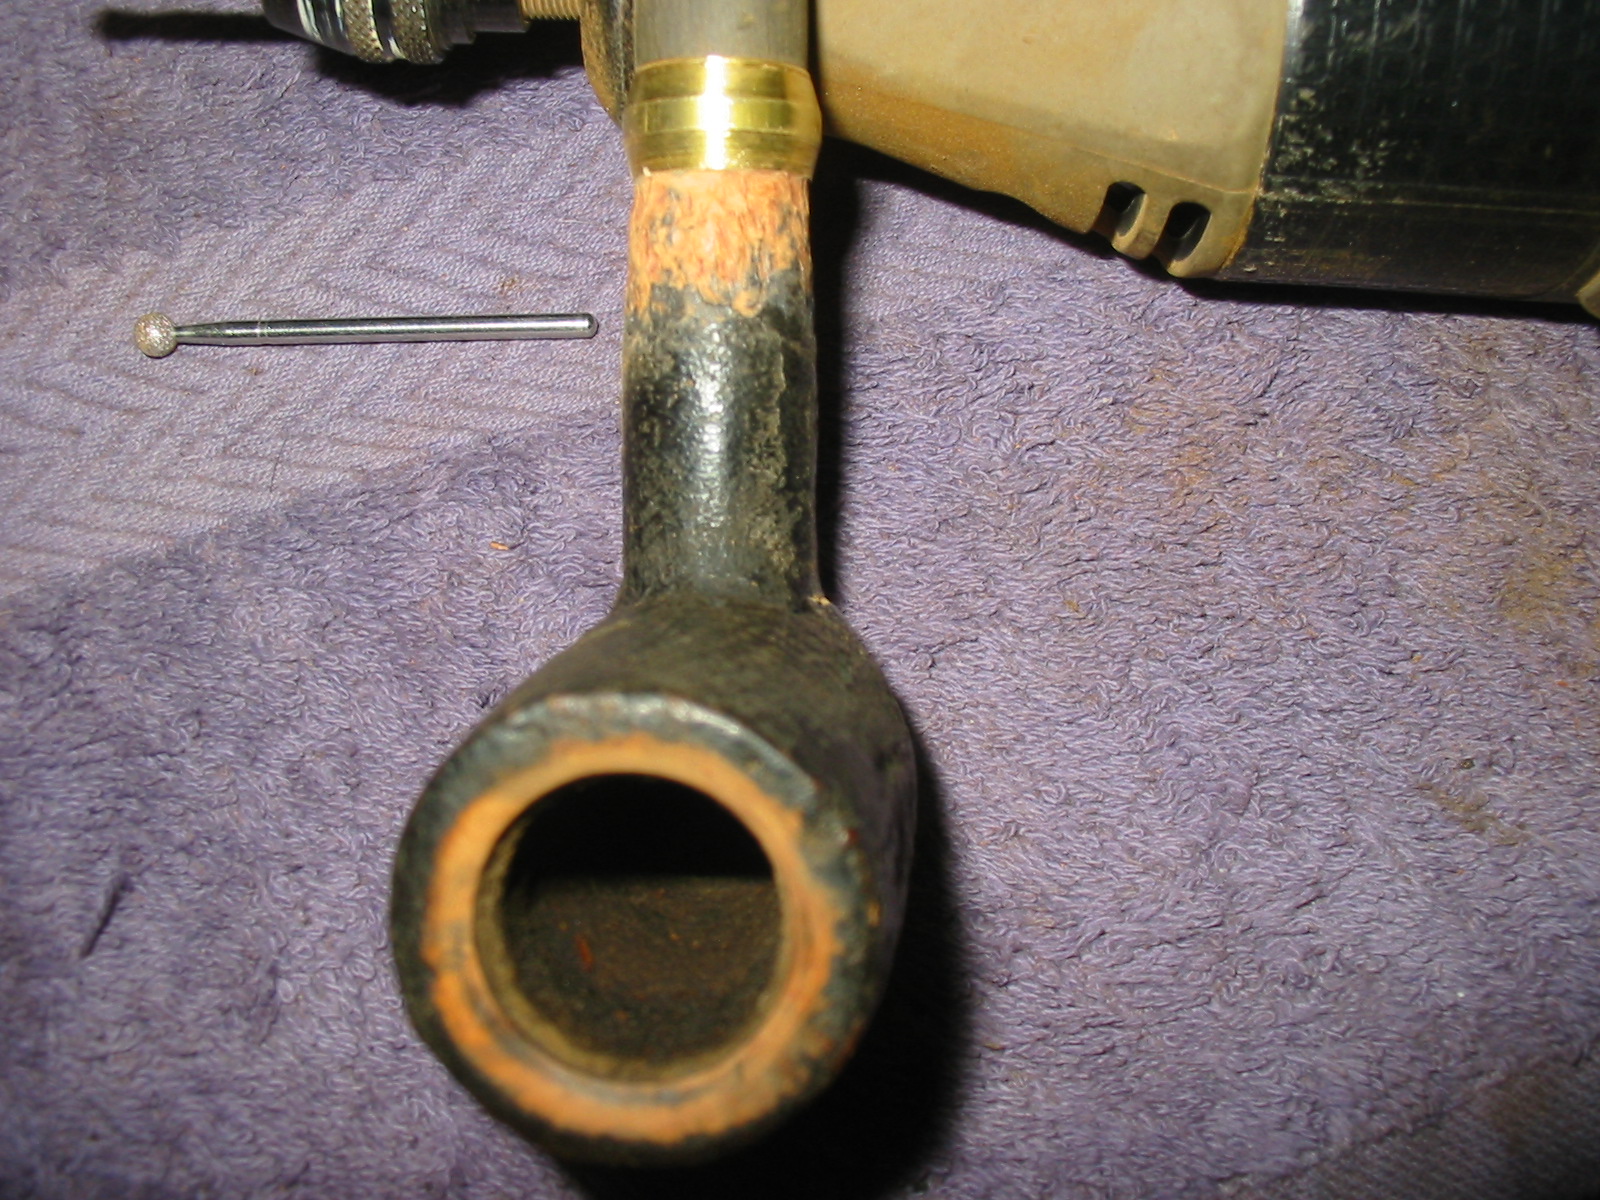
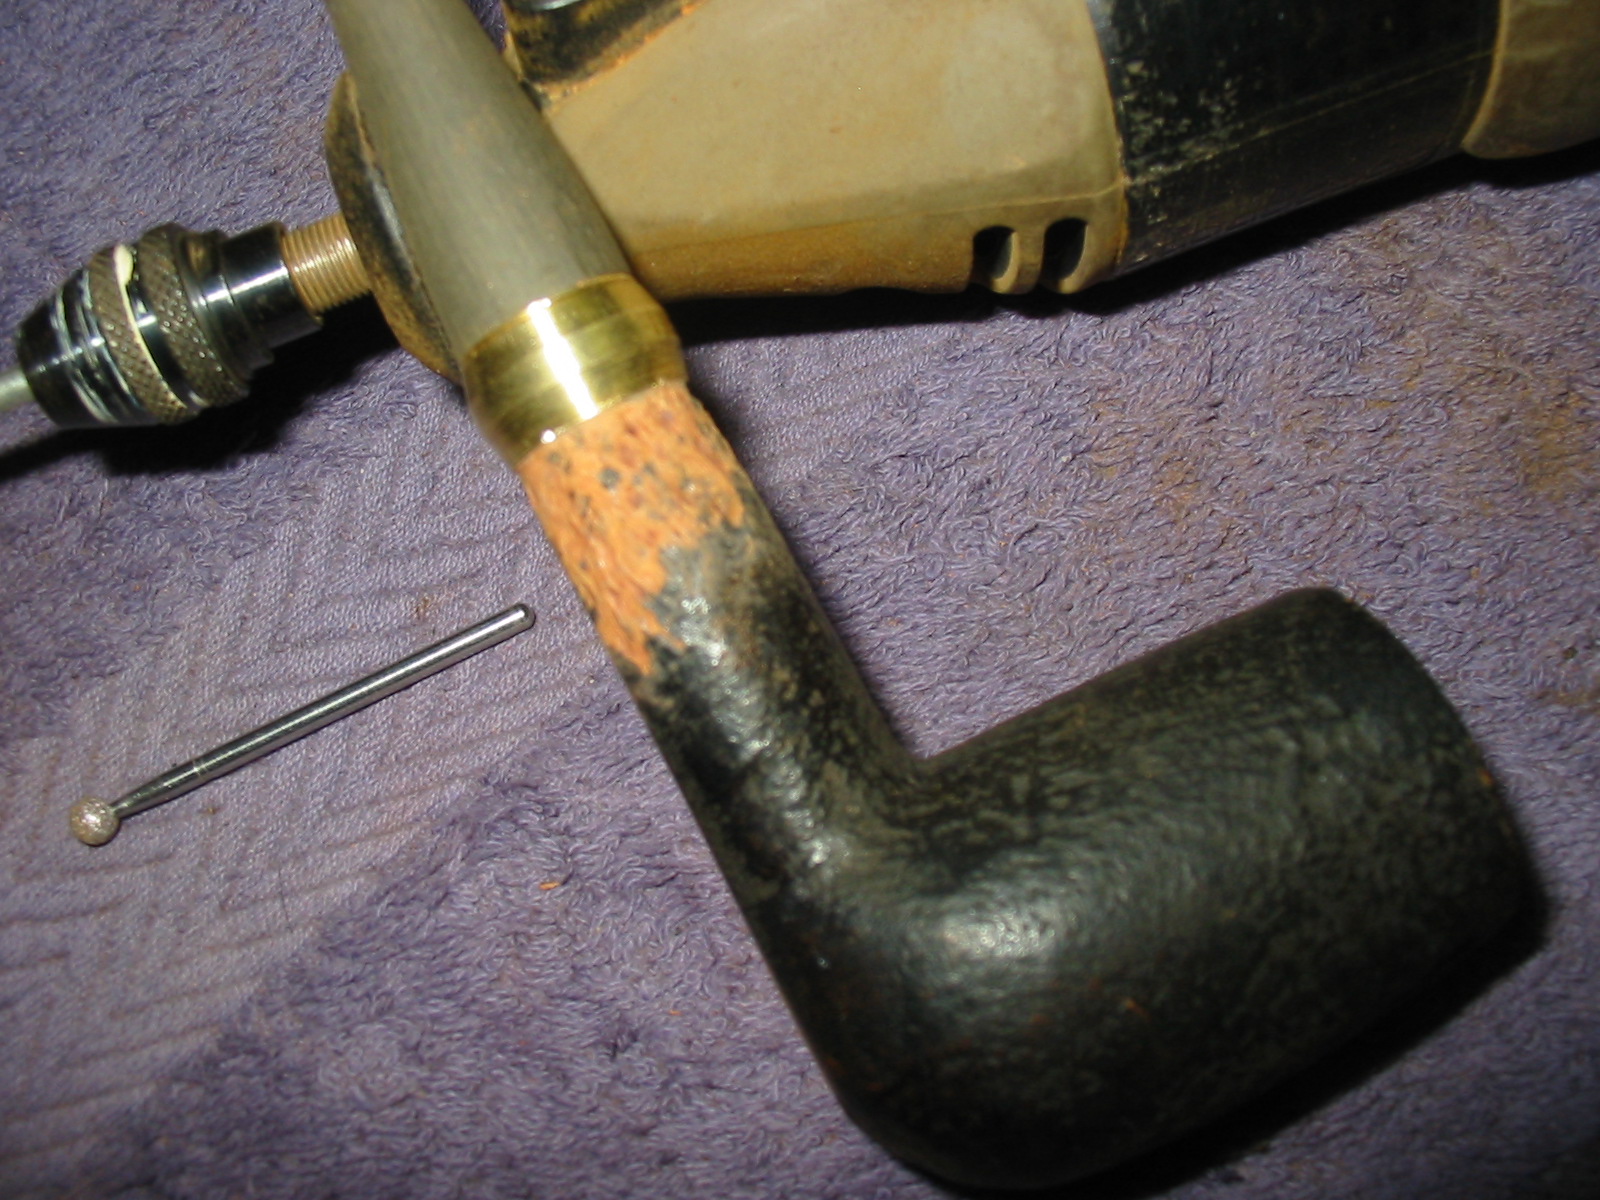
I used the two Dremel diamond cutting heads pictured below to rusticate the finish on the shank. I used the cylinder first and then the ball. I worked it into the briar to make the smooth area match the rest of the bowl.
IMG_4284

IMG_4285

IMG_4287

After rusticating the shank I stained it with a dark brown aniline stain and flamed it to set it deep within the grain. I stained the rest of the pipe as well and the rim with multiple coats of the dark brown.
IMG_4288

IMG_4289

IMG_4290

IMG_4291

Once the stain was dry on the bowl I hand buffed it with a cotton cloth and then stained it a second time with MinWax Red Mahogany stain. I rubbed it on and then rubbed it off. I repeated the process until I had the colour that I wanted.
IMG_4293

IMG_4294

IMG_4295

IMG_4296

I buffed the bowl on with White Diamond and to evenly distribute the stain coat and give the pipe a rich shine. When I had finished I worked on the stem with 220 grit sandpaper, a medium grit sanding sponge and micromesh sanding pads. I used my usual array – wet sanding with the 1500-2400 grit pads and dry sanding with the 3200-12,000 grit pads. I rubbed down the stem with Obsidian Oil and rubbed it into the vulcanite.
IMG_4297

IMG_4298

IMG_4299

I sanded the bevel on the bowl and the brass band on the shank with the 1500-2400 grit micromesh pads.
IMG_4300

IMG_4301

IMG_4302

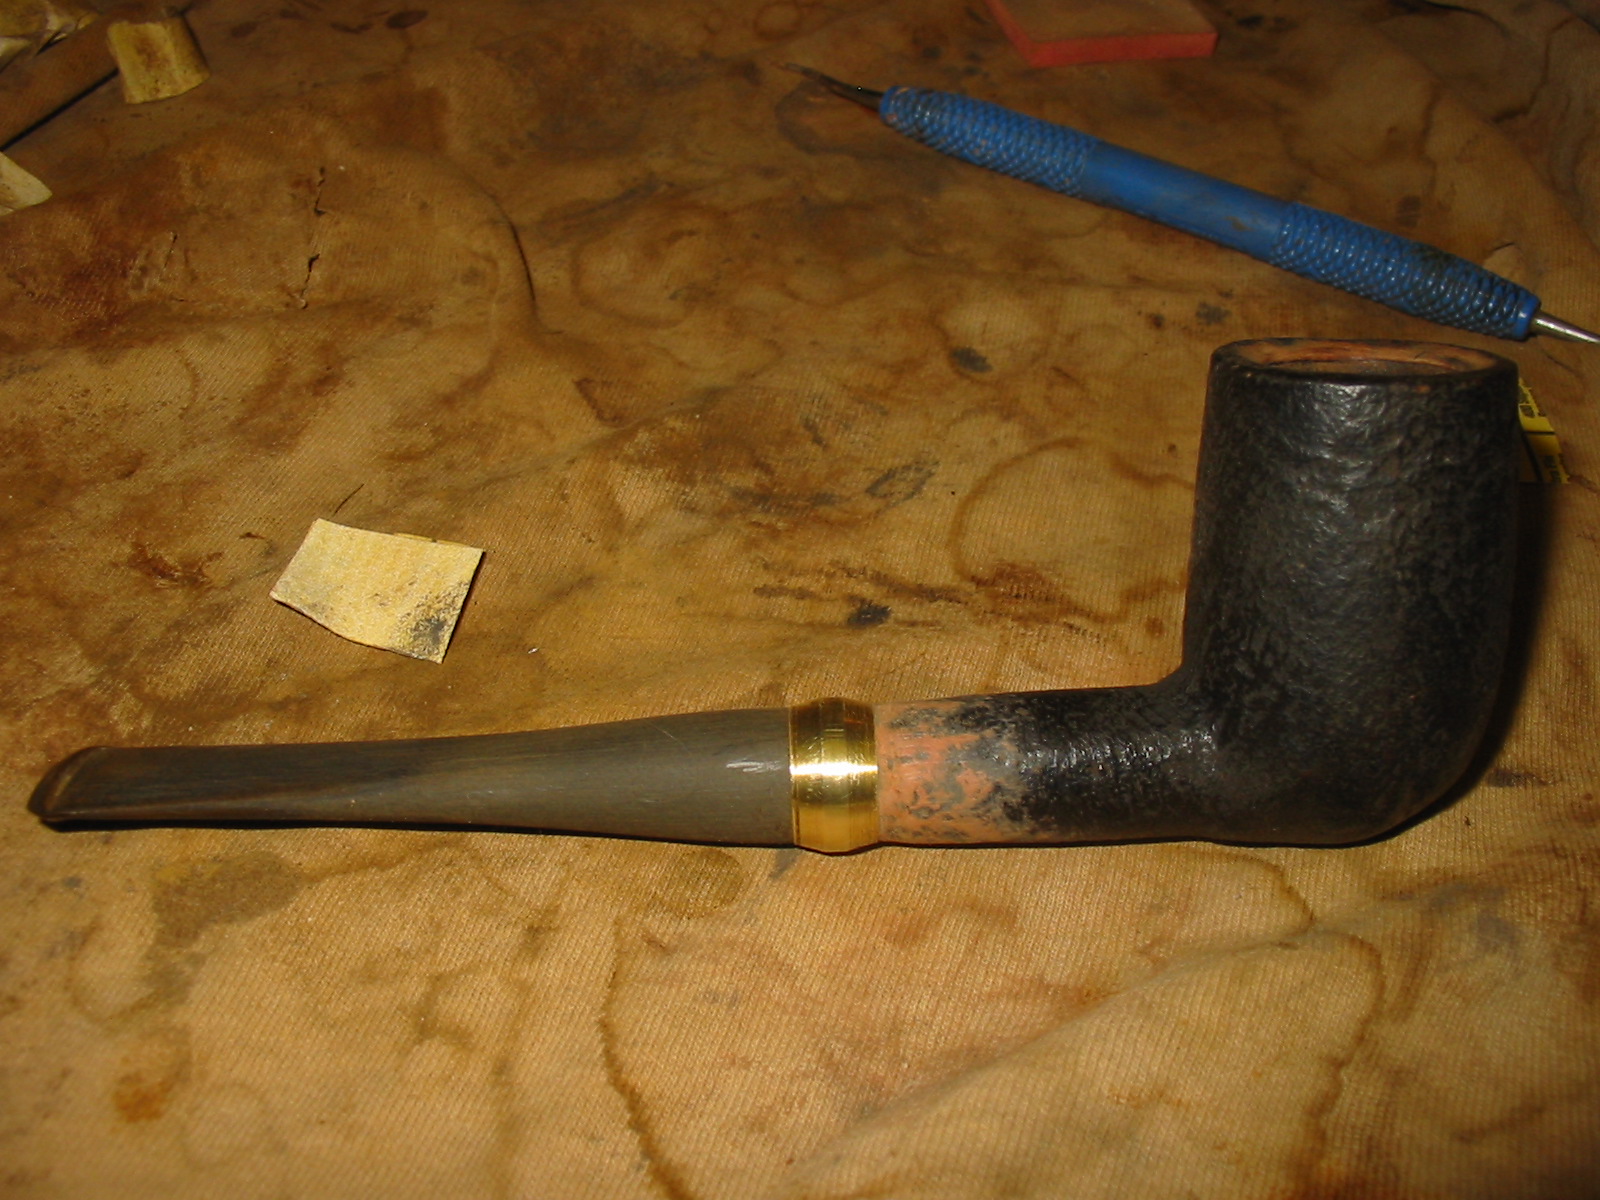
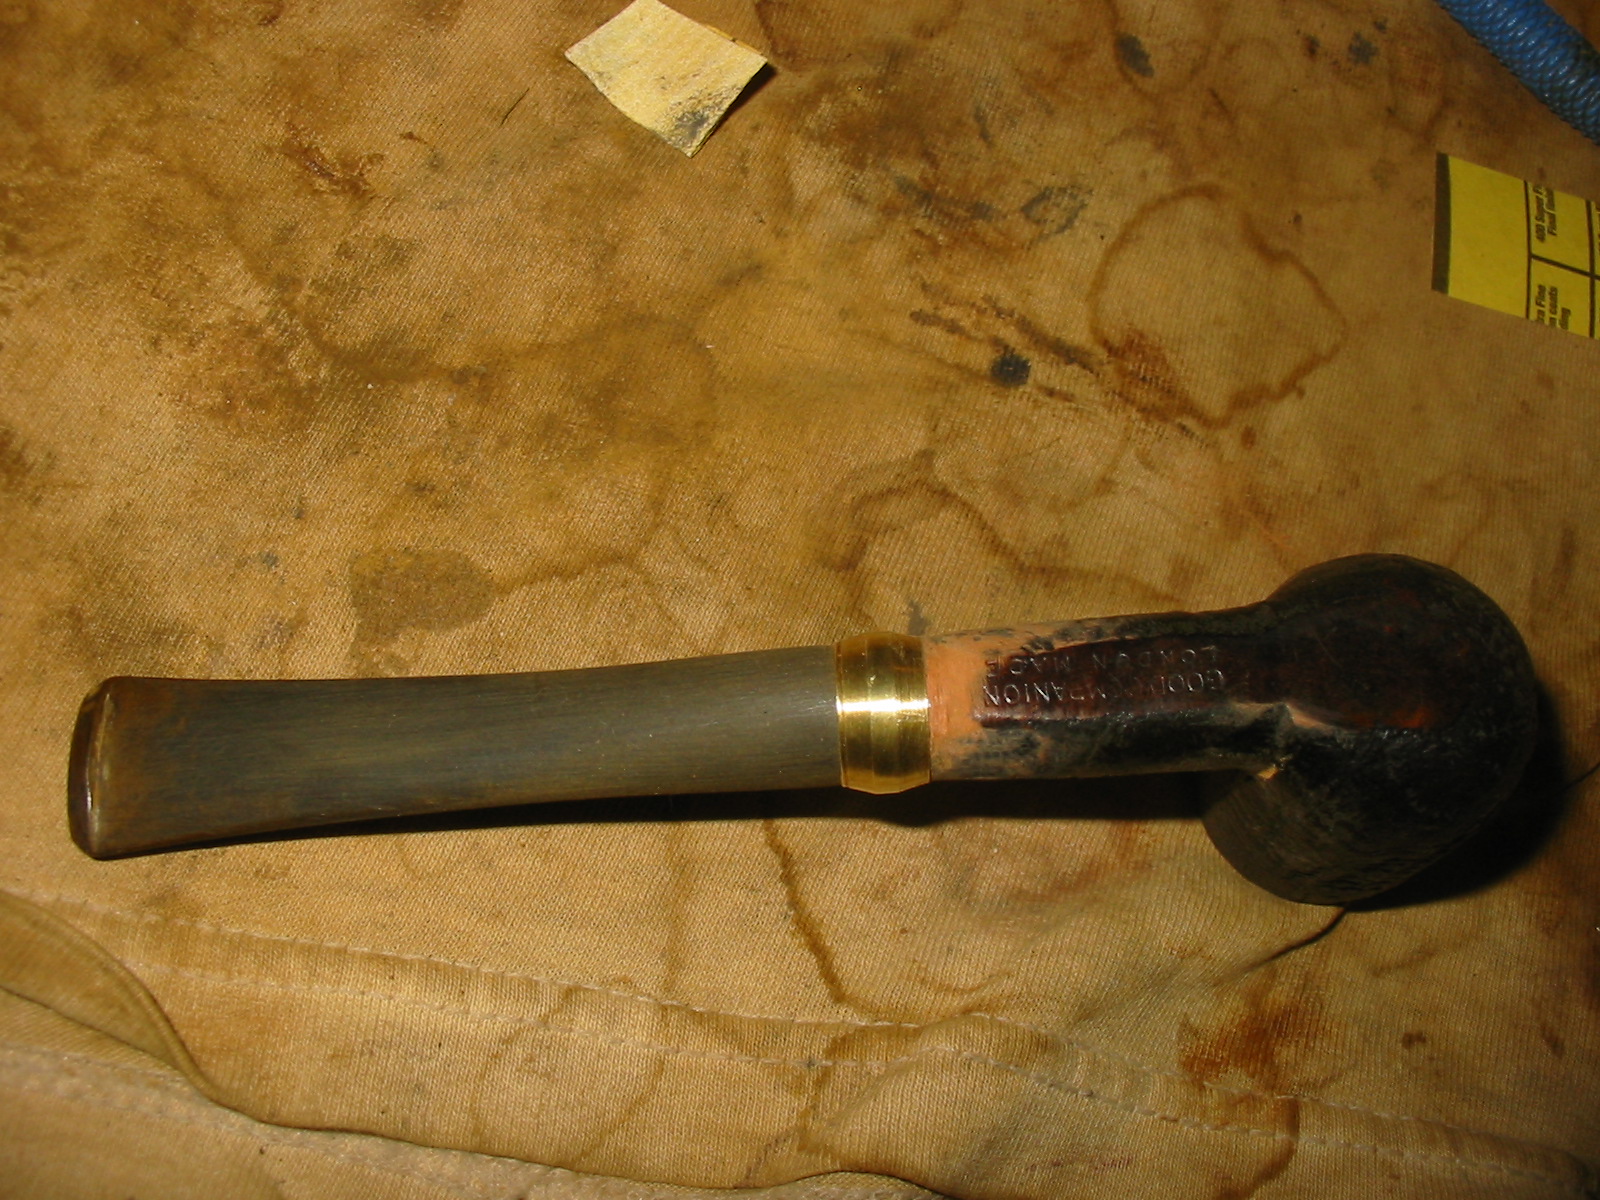
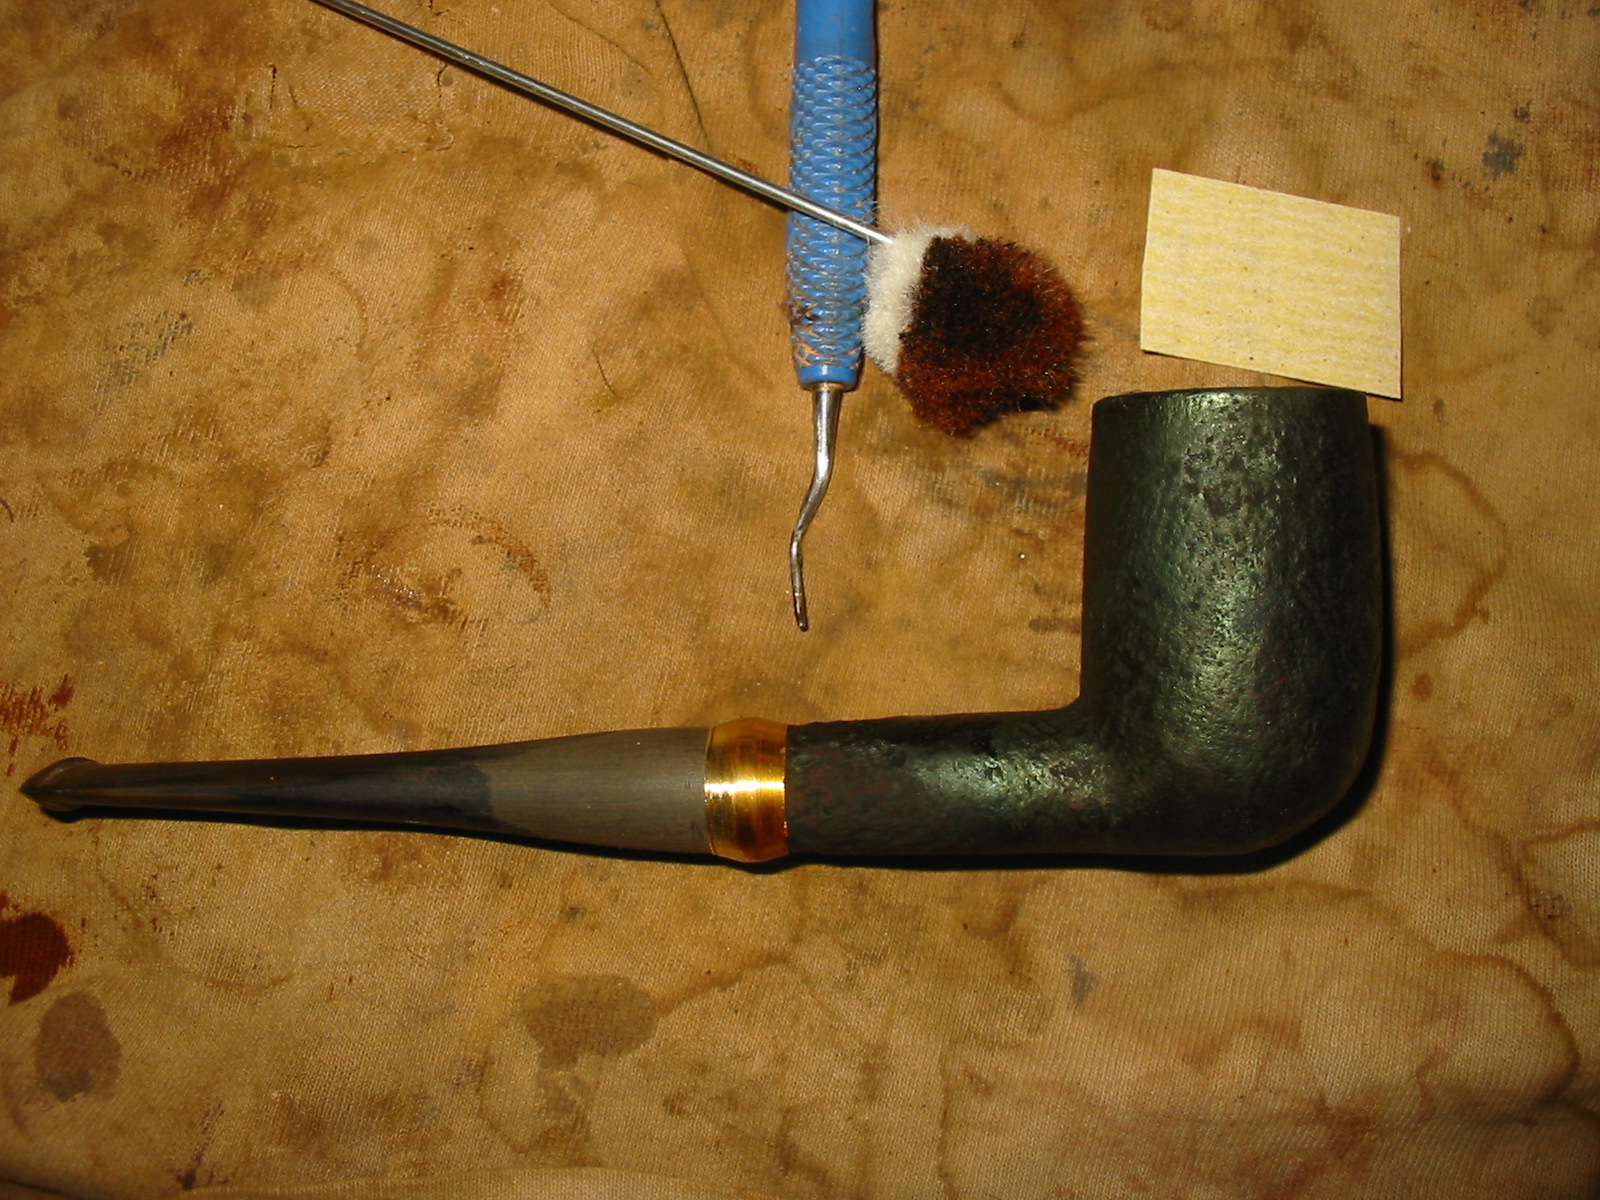
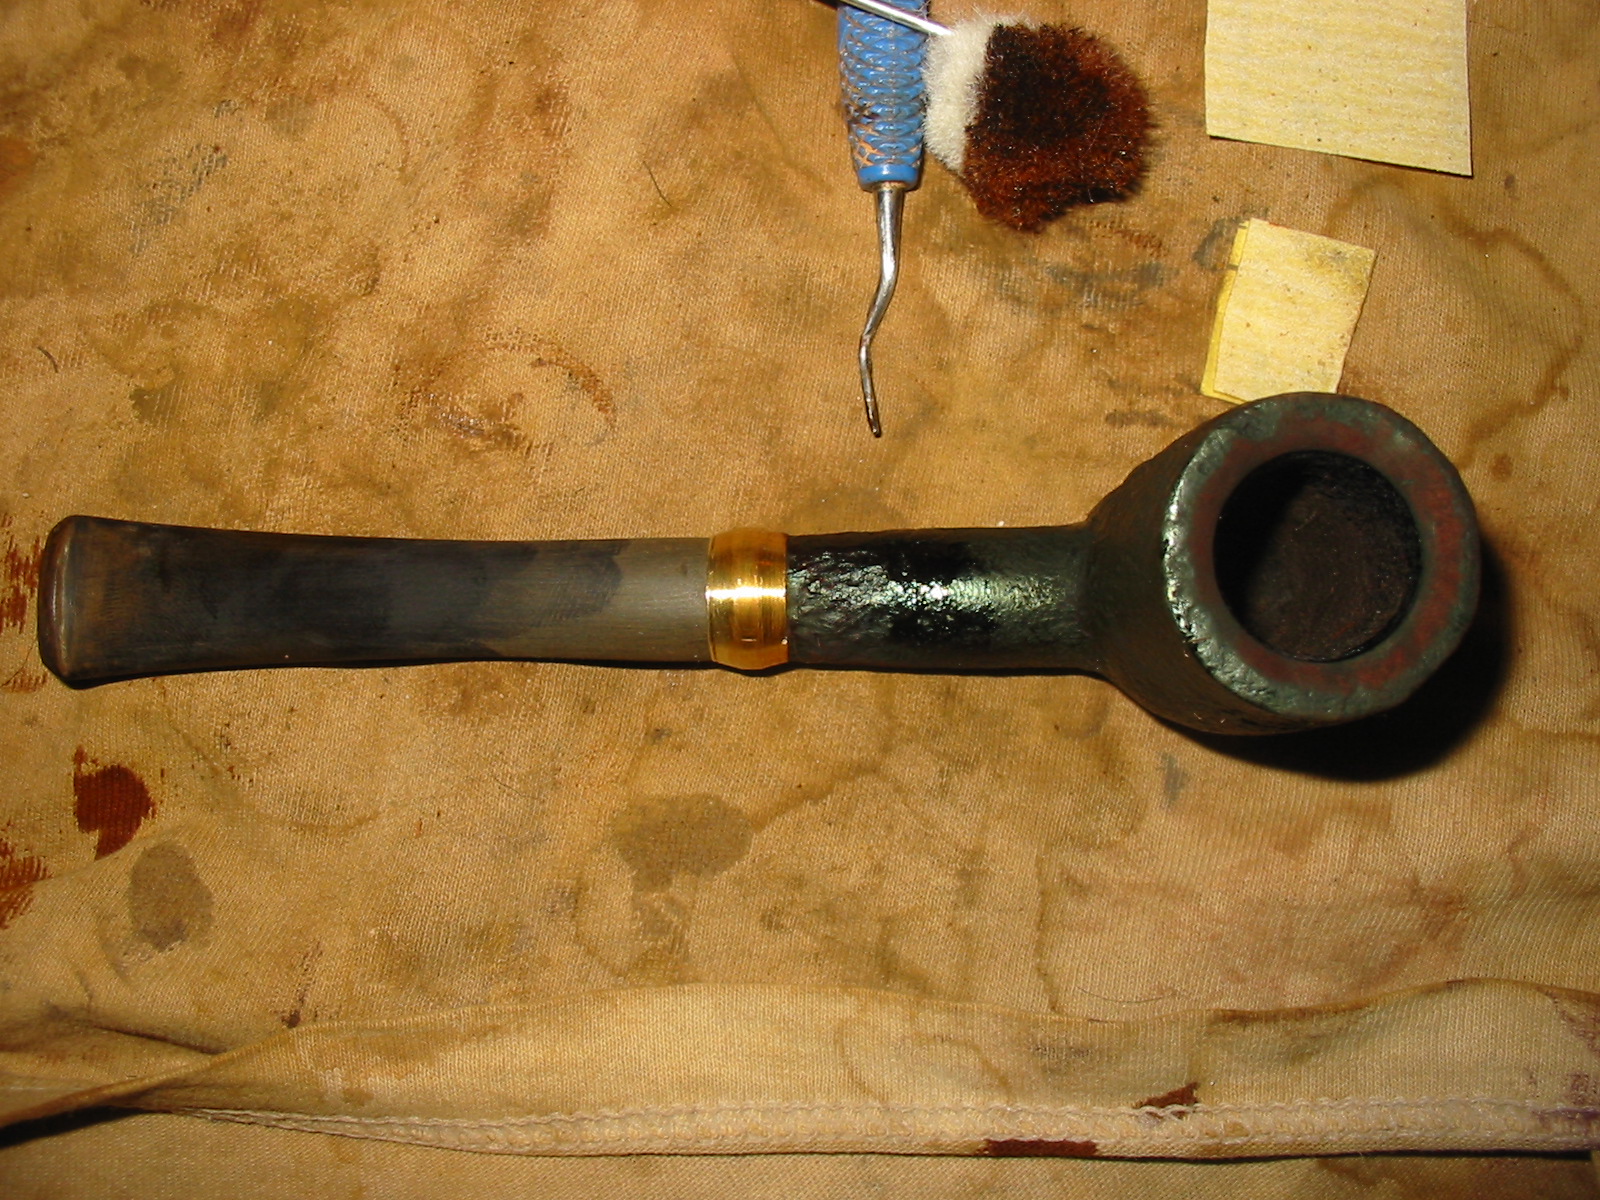
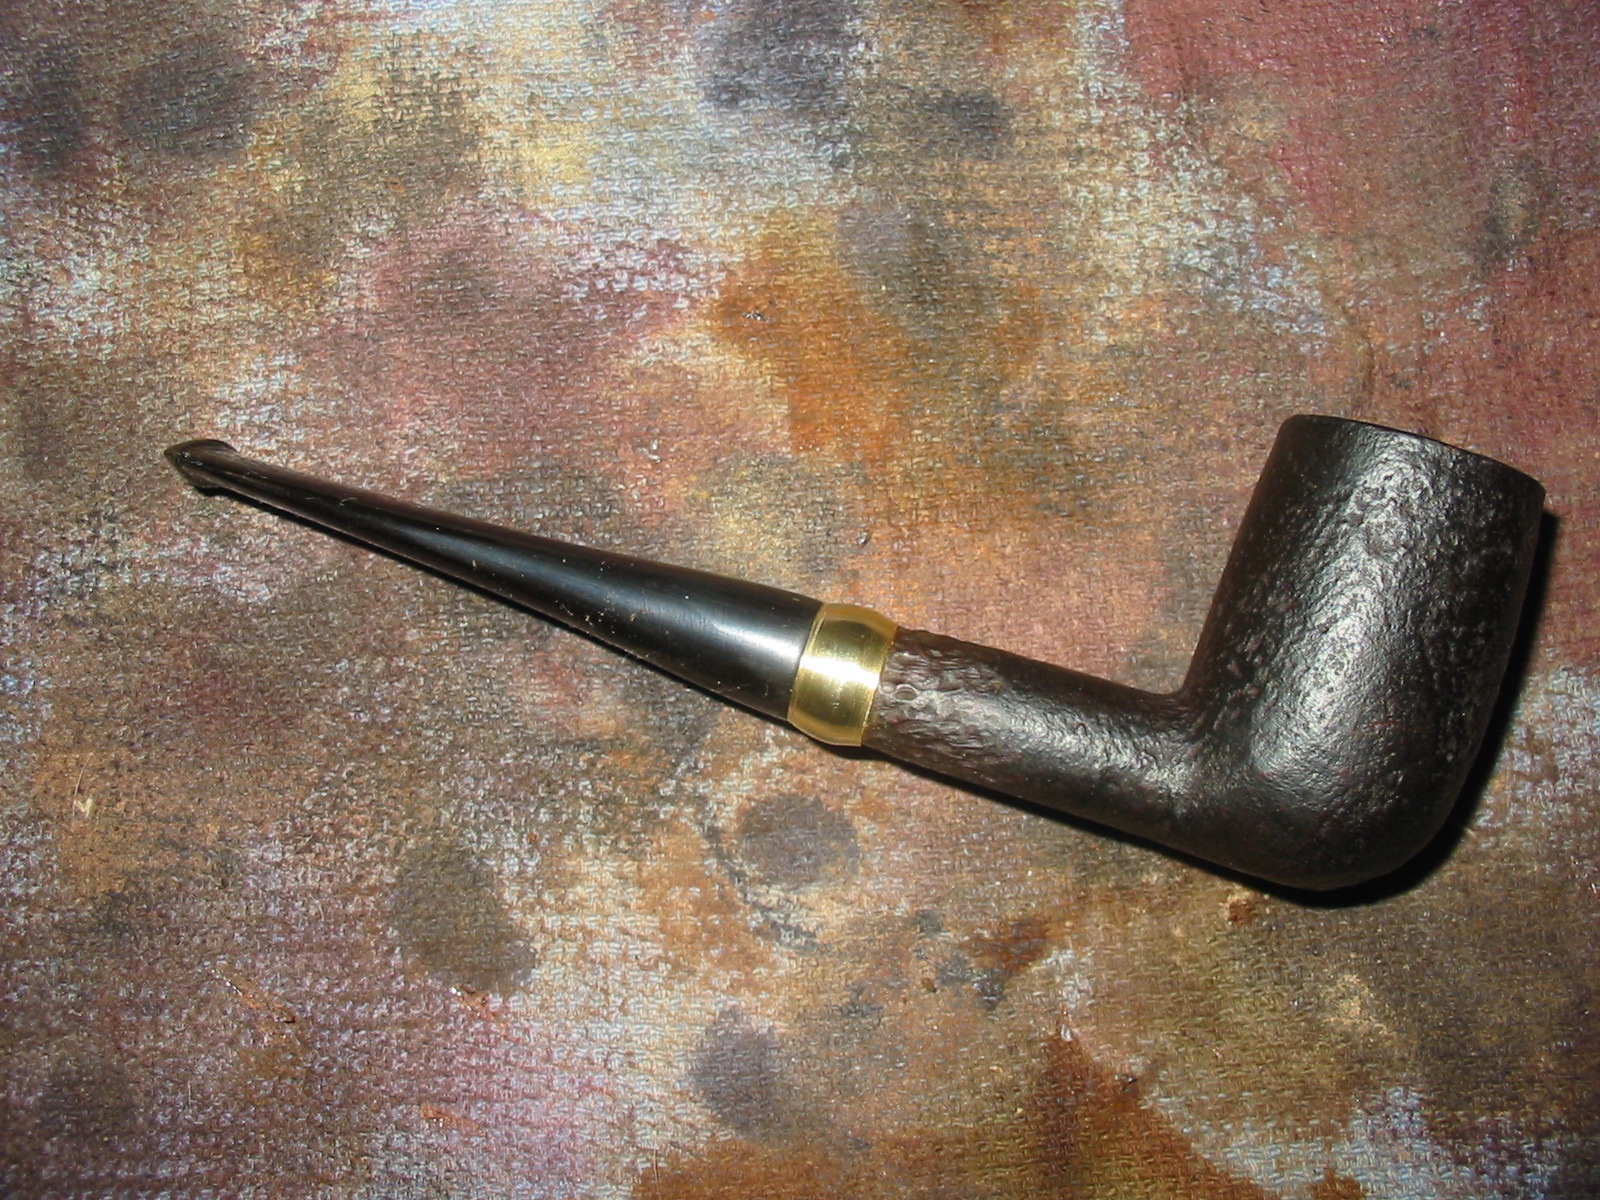
I buffed the pipe with White Diamond and then gave the stem multiple coats of carnauba wax. I used Halcyon II wax on the sandblast finish of the bowl. I buffed the pipe with a clean flannel buff. I have to say though I would have liked to keep the pipe unbanded and pristine, the crack that happened in the shank made me try something a little different. I actually like the finished look of the pipe with the brass band. The combination of the two stains give the blast finish depth that changes with different lighting and the tapered stem adds some panache to this Good Companion.
IMG_4309

IMG_4310

IMG_4311

IMG_4312

IMG_4313

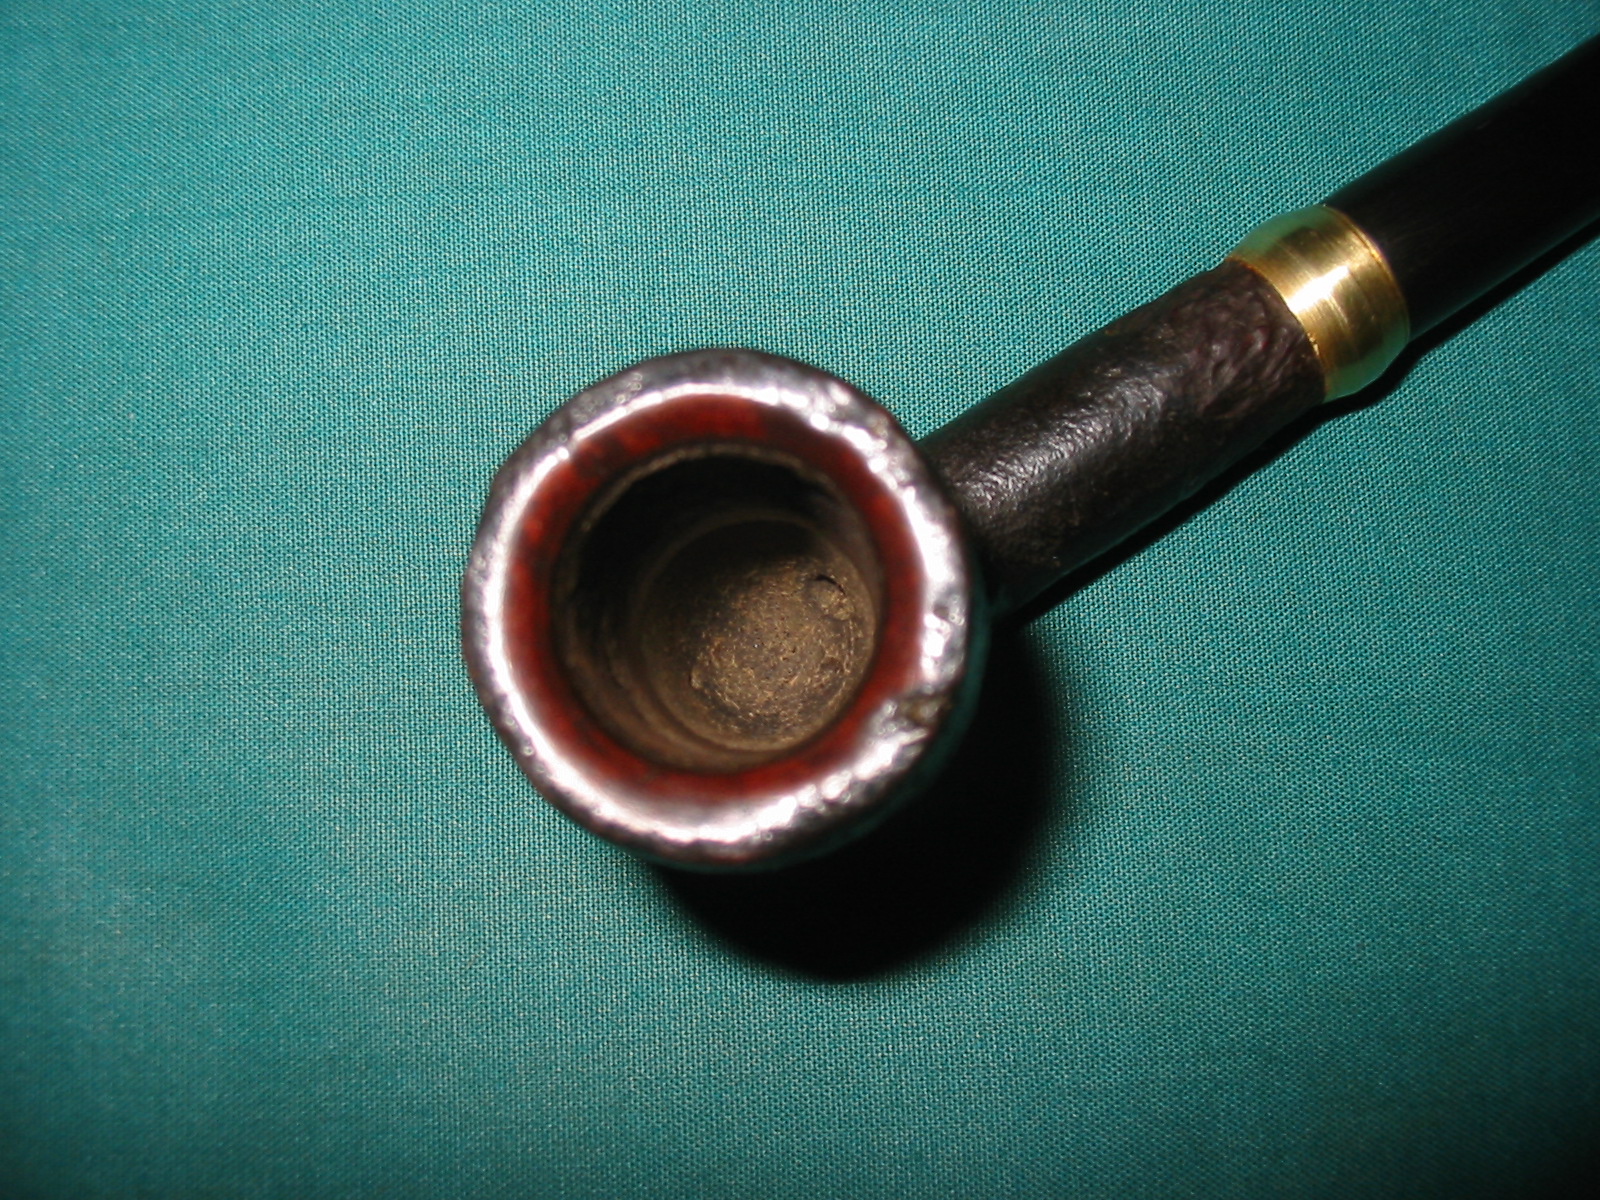
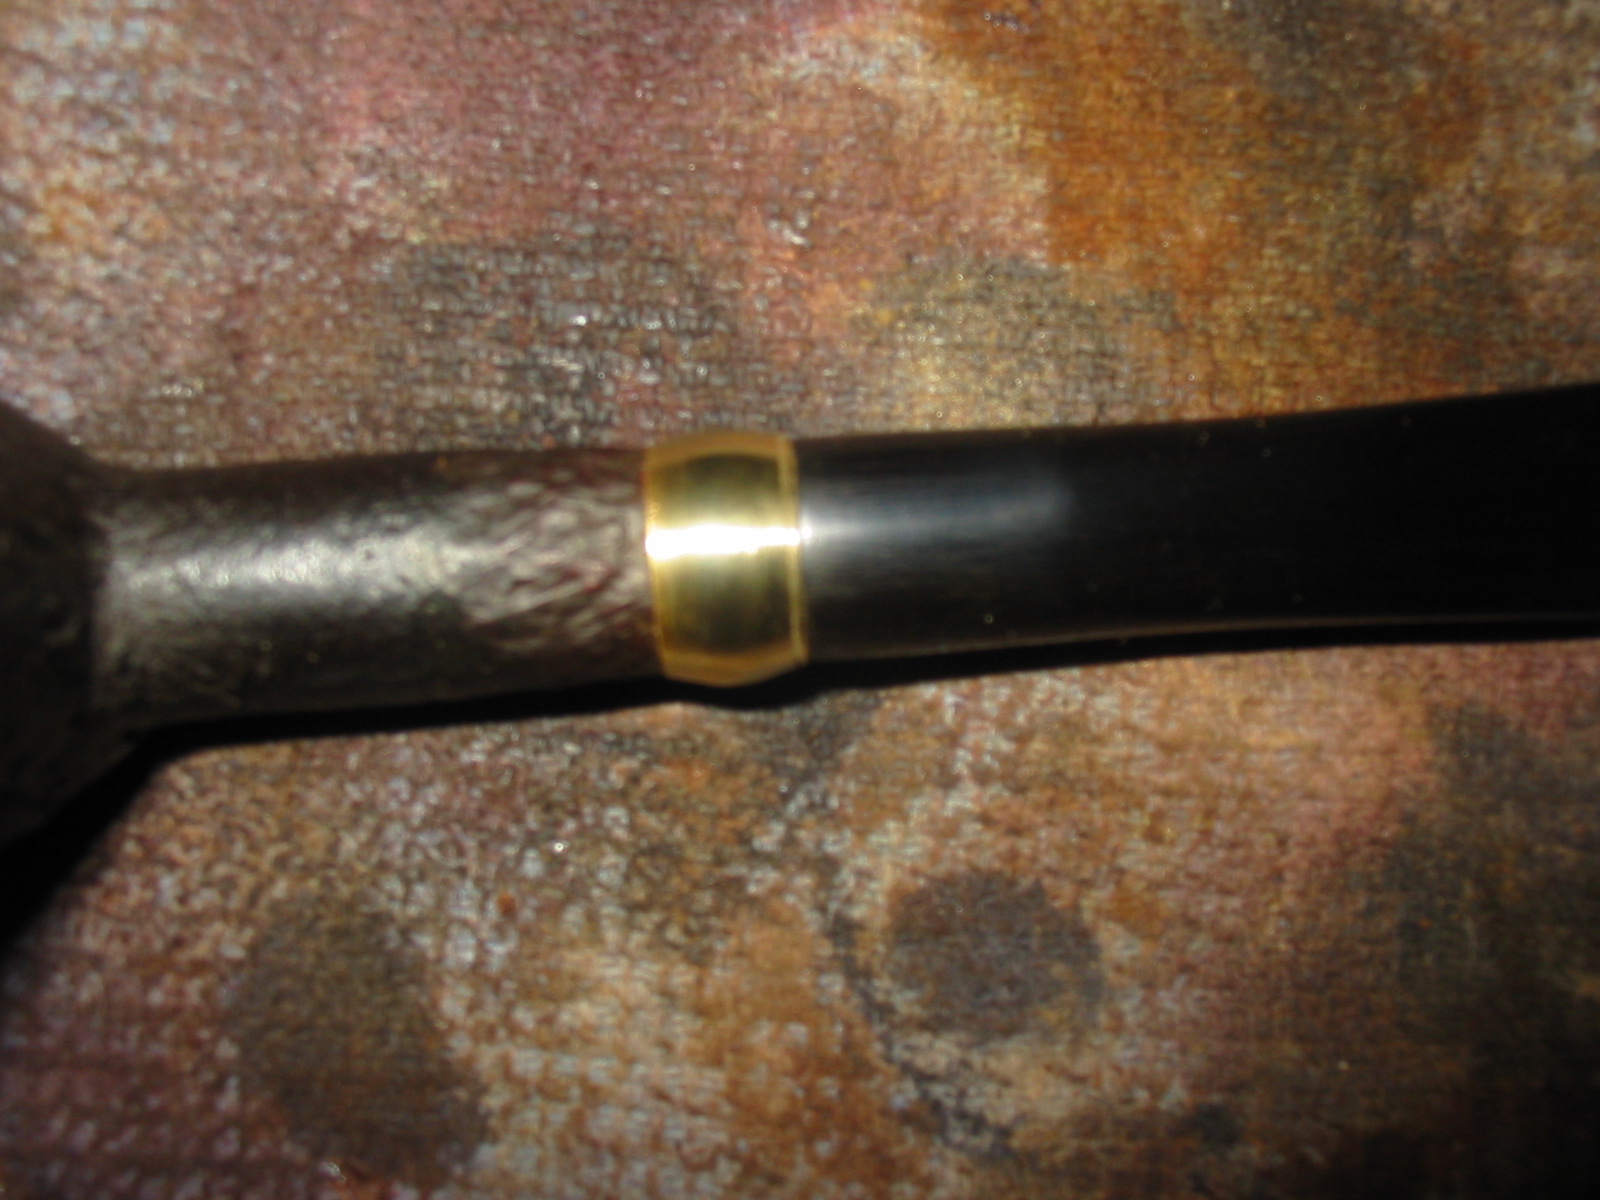
Looking at the photos I decided to do a bit more work shaping the brass band. I sanded the band with 220 grit sandpaper to remove the ridges in the brass. I followed that by sanding with a medium and fine grit sanding sponge. I finished sanding the band with micromesh sanding pads from 1500-3200 grit polish it.
IMG_4314

IMG_4315

IMG_4316

IMG_4317

IMG_4318

IMG_4319

With the band finished I will give the pipe another buff to polish the handling that it received working over the stem.

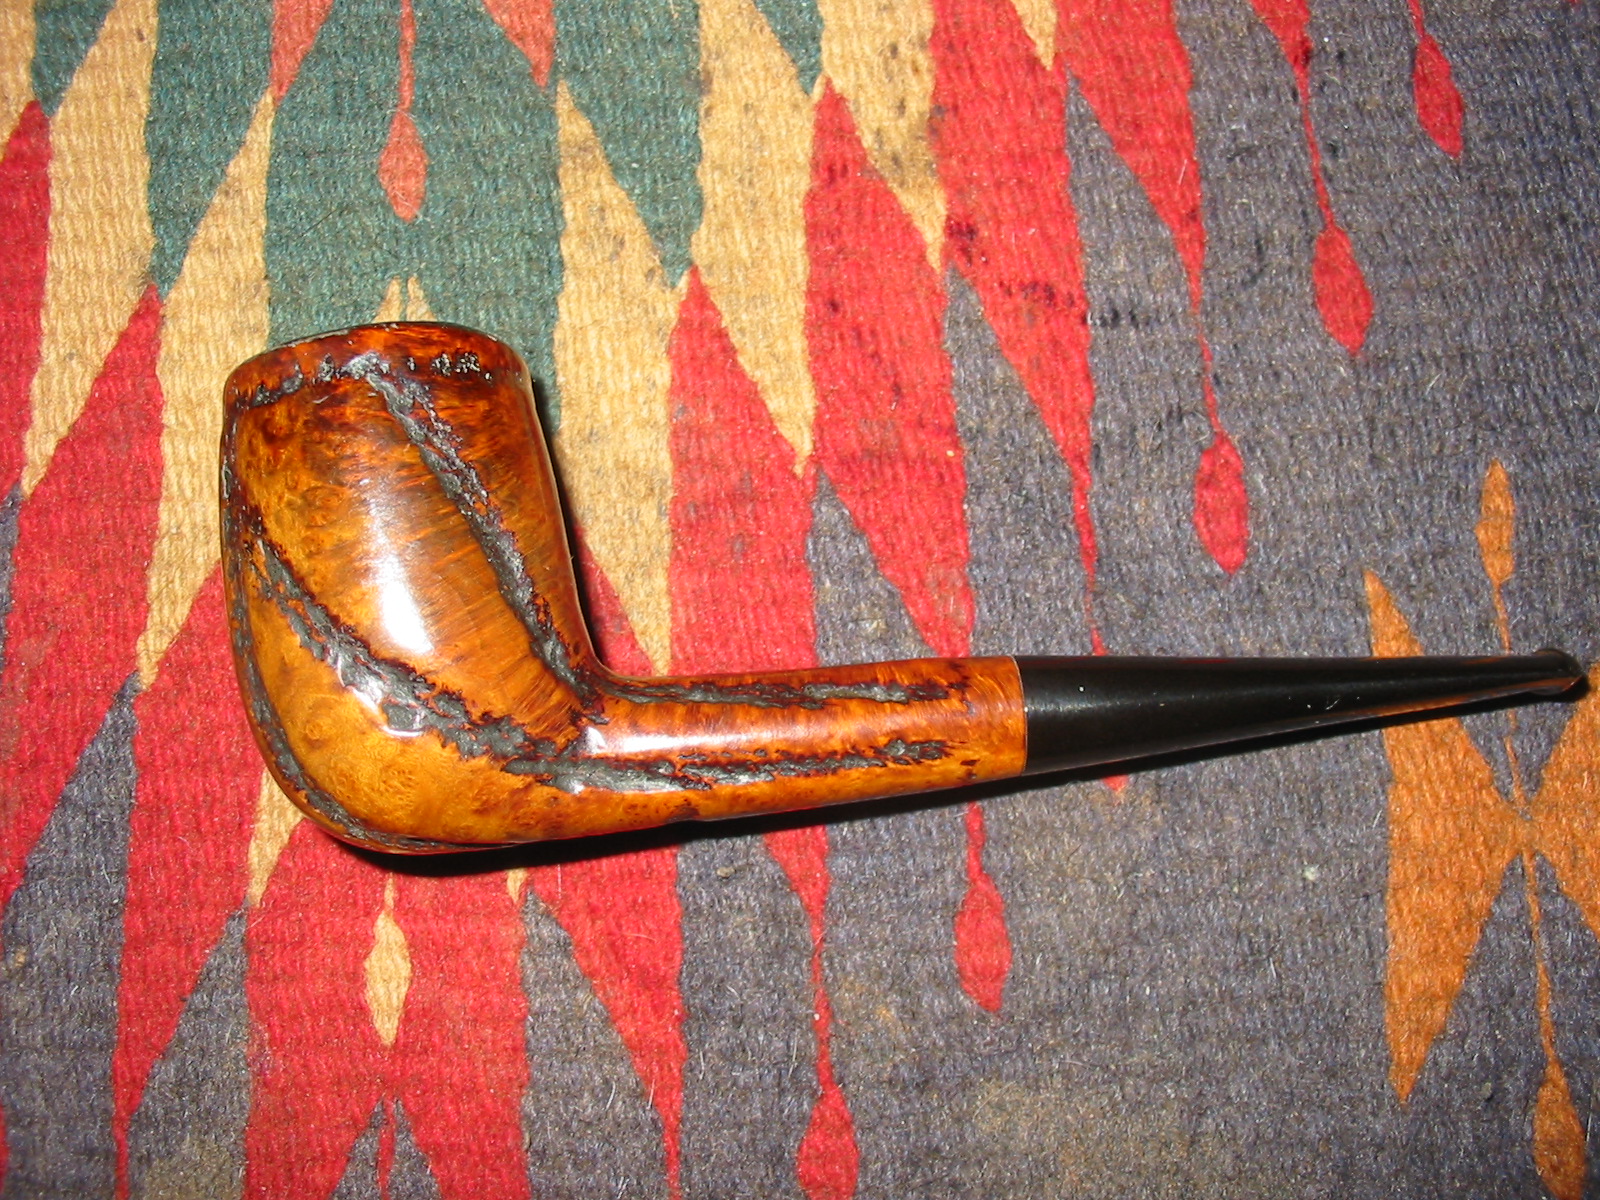
Topping and Refinishing a No-name Worm Trail Billiard


There are a few of the pipes in the Vancouver Pipe Club lot that just don’t do anything for me. One of them was this large billiard – no name. There are several others in the lot that have the same finish and bear the stamping of Partner. It has some nice wedges of smooth grained briar in between the rustication pattern on the bowl. That pattern is what really does not work for me – I call the pattern worm trails because that is what they look like to me. This old pipe has been restemmed somewhere along the way and the person who did the work sanded the shank down to fit the stem – one of my pet peeves! I think there is little that is more irritating in my work of restoration than working on pipes that have been “butchered” to make a stem fit. Why not hack the stem to fit the shank instead of the shank to fit the stem? Hmmm. I will never understand that really. But that is irreparable. The bowl itself had the standard coat of varnish over the bowl and rim – even over the buildup on the rim. The rim was a mess, lots of damage to the outer edge of the bowl and to the top and the bevel in the bowl.
IMG_4239

IMG_4240

IMG_4241

IMG_4242

I took several close-up photos of the damage to the rim to give a general idea of what I was starting with on this old pipe.
IMG_4243

IMG_4244

IMG_4245

I topped the bowl with my sandpaper and board setup. I sanded until the top was flat and the majority of the damage was minized. I also evened out the bevel on the inner edge of the rim with folded sandpaper to match all the way around the bowl.
IMG_4246

IMG_4247

IMG_4248

Once I finished with the 220 grit sandpaper I sanded the rim and bevel with a fine grit sanding block to smooth out the scratches. I wiped the bowl down with acetone on cotton pads to remove the varnish and the finish as much as possible. I also reamed the bowl with a PipNet reamer to remove the black rubbery bowl coating.
IMG_4249

IMG_4250

IMG_4252

IMG_4253

When the finish was gone, I decided to highlight the “worm trails” and give them some character in the finished bowl. I used a cotton swab and some black aniline stain to paint the trails around the bowl. To dull them a bit and lighten them I wiped them down with a cotton pad and Everclear.
IMG_4255

IMG_4257

I stained the bowl with MinWax Red Mahogany and Medium Walnut. I wanted to highlight the reds in the briar but not have it an oxblood colour so I use the two stains. I applied the red first and then the walnut stain.
IMG_4258

When the stain was dry I buffed the pipe with White Diamond on the wheel and then gave it multiple coats of carnauba wax to give it protection and a shine. The finished pipe is shown below. With the addition of this one to the Pipe Club box I am getting closer to finishing this project – I think maybe four or five left that desperately need some work and perhaps a few others that will need a touch up. Hopefully someone will like the “worm trails” more than I do.
IMG_4259

IMG_4260

IMG_4261

IMG_4262

Topped and Refinished a Valby Acorn


This is another one that is from the Vancouver Pipe Club lot of donated pipes. The stamping on this one is quite faint. It looks to me to be Valby. Some of the letters in the stamp over lap making it harder to read. The rim had been topped but not finished. There were still burn marks remaining on the outer edge of the rim. As with the others in this lot the finish was coated with varnish making it perpetually shiny. The rim had some as well but it was still in rough shape. The bowl had been coated with the same black bowl coating. I decided to rework the topping job, remove as many of the burn marks on the front edge of the bowl as possible and refinish the pipe. The stem was in great shape and showed no oxidation or tooth marks.
Valley1

Valley2

Valley3

Valley4

I took the photo below to show the state of the rim. The photo does not do justice to the unfinished nature of the topping. The burn marks are visible in the second photo below on the front edge of the rim both inside and outside. The rest of the rim had scratches from the previous topping and the finish was dull.
Valley5

Valley7

I topped the bowl on the flat board and sandpaper until I had removed the burned portion of the rim and had evened out the top surface. The topping from before had not taken off enough of the damaged portion to be even across the surface.
Valley6

Valley8

I wiped the bowl and rim down with acetone on a cotton pad to remove the varnish coat and the finish so that I could restain and get a good even coat of stain.
Valley9

Valley10

Valley11

Valley12

I restained the pipe with MinWax Medium Walnut stain – rubbed it on and off repeatedly until I had a good even coverage on the pipe.
Valley13

Valley14

Valley15

Valley16

When I had finished with the staining, I took it to the buffer and buffed with White Diamond to smooth out the finish and give it a shine. I chose the stain I did because of the transparency and how well it matched the original stain. I gave the pipe and stem multiple coats of carnauba wax and finish with a soft flannel buff. The finished pipe is shown below and is ready to go back in the box for the Pipe Club to sell.
Valley17

Valley18

Valley19

Valley20

Reworked Comoy’s The Guildhall London Pipe Stack – Shape 345


Blog by Steve Laug

The pipe is stamped The in script over Guildhall over London Pipe on the left side of the shank and number 345 near the bowl on the right side of the shank and Made in London in a circle over England. This is the third of the pipes from the box my daughters found for me. The first two were the Orlik’s that I wrote about earlier. This one was in better condition than the other two. The top was beat up with outer and inner rim damage and also the same varnish coat over the uncleaned rim and the bowl and shank. The stem was original and has the three silver bars on the left side as expected in the Guildhall series. There were tooth dents that had been buffed out and left the stem with waves around the remaining marks. The grain was quite nice on this one – lots of cross grain and birdseye but it was obscured by the finish coat. The interior was filthy as were the others. In the side photos below the finish looks pretty good but the grain could stand out more clearly.
IMG_3927

IMG_3930

IMG_3931

I took the next photo to show the damage on the rim. The inner edge was rough and the outer edge was also rough. There was tar build up under the varnish coat that had not been cleaned off before varnishing. The bowl was also coated with a black bowl coating.
IMG_3932

I sanded the top and bottom side of the stem with 20 grit sandpaper to smooth out the ripples in the vulcanite and remove the remainder of the tooth marks. Once I had them removed I worked on the bowl.
IMG_3935

IMG_3936

I topped the bowl on the sandpaper and flat board as is my usual method. I took off enough briar to make the top smooth and the outer edge sharp as well. I sanded the inner edge with a folded piece of sandpaper to smooth out the damage there as well. The next two photos show the topping process and the sanding of the inner edge.
IMG_3938

IMG_3939

The interior of the shank and stem were filthy and needed a lot of work with Everclear, pipe cleaners and cotton swabs. The photo below shows the first lot that was used but by the time I was finished cleaning the shank I had used about twice that number.
IMG_3940

I wiped down the surface of the bowl with acetone on cotton pads to remove the varnish coat and the finish. I wanted to remove as much of it as possible so that when I restained the rim it would be easier to match.
IMG_3941

IMG_3942

IMG_3943

I sanded the stem with a medium grit sanding sponge and then with my usual array of micromesh sanding pads. I wet sanded with 1500-2400 grit pads and dry sanded with 3200-12,000 grit pads. I buffed the stem in between the wet sanding and the dry sanding with red Tripoli because I wanted to see what I had to work with and if I had removed the rippling on the vulcanite. I had so I went on to the dry sanding. When I had finished I buffed the stem with White Diamond and then rubbed it down with Obsidian Oil and put it aside to dry.
IMG_3944

IMG_3945

IMG_3946

I stained the bowl with MinWax Medium Walnut stain. I applied it with a cotton pad and rubbed it off with a cotton cloth. I repeated the process until I had the coverage that I wanted and the rim and bowl matched.
IMG_3947

IMG_3948

IMG_3950

IMG_3951

I reinserted the stem in the shank and took the pipe to the buffing wheel for a buff with White Diamond. I gave both the bowl and the stem multiple coats of carnauba wax and polished it with a soft flannel buff. The reworked Comoy’s Guildhall Stack is shown in the photos below ready and clean for its inaugural smoke.
IMG_3953

IMG_3954

IMG_3955

IMG_3956