
by Kenneth Lieblich
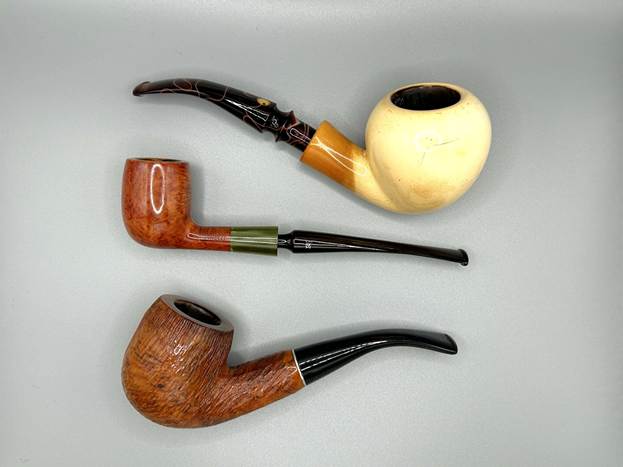
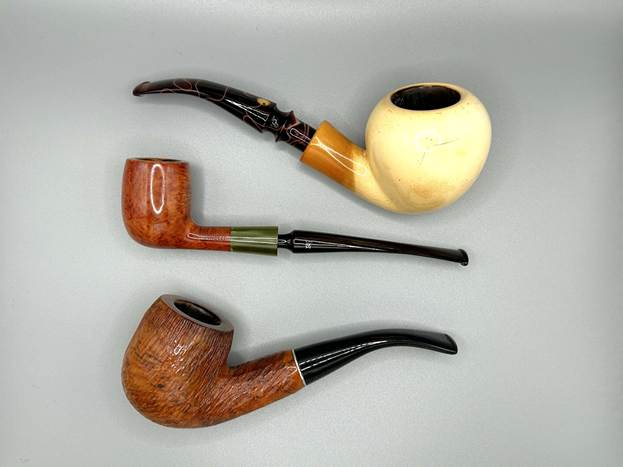
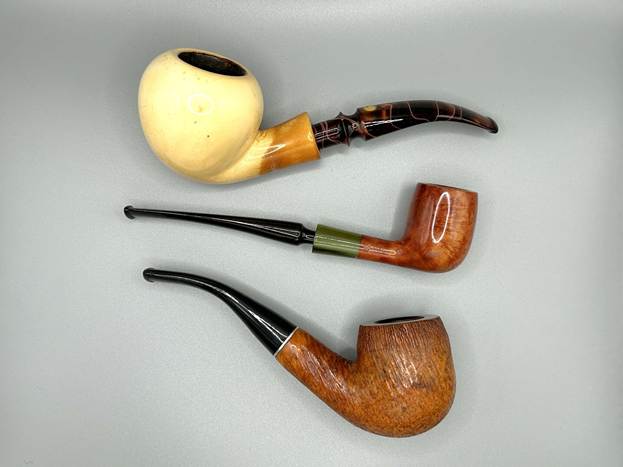
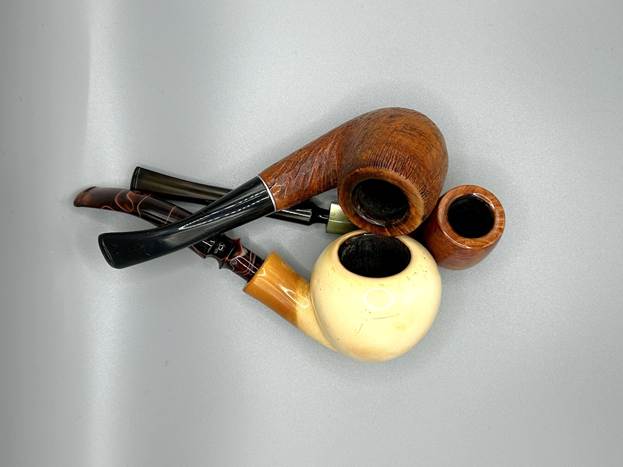
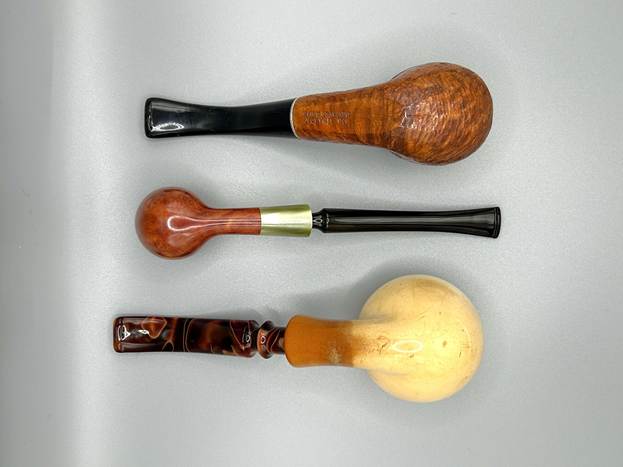
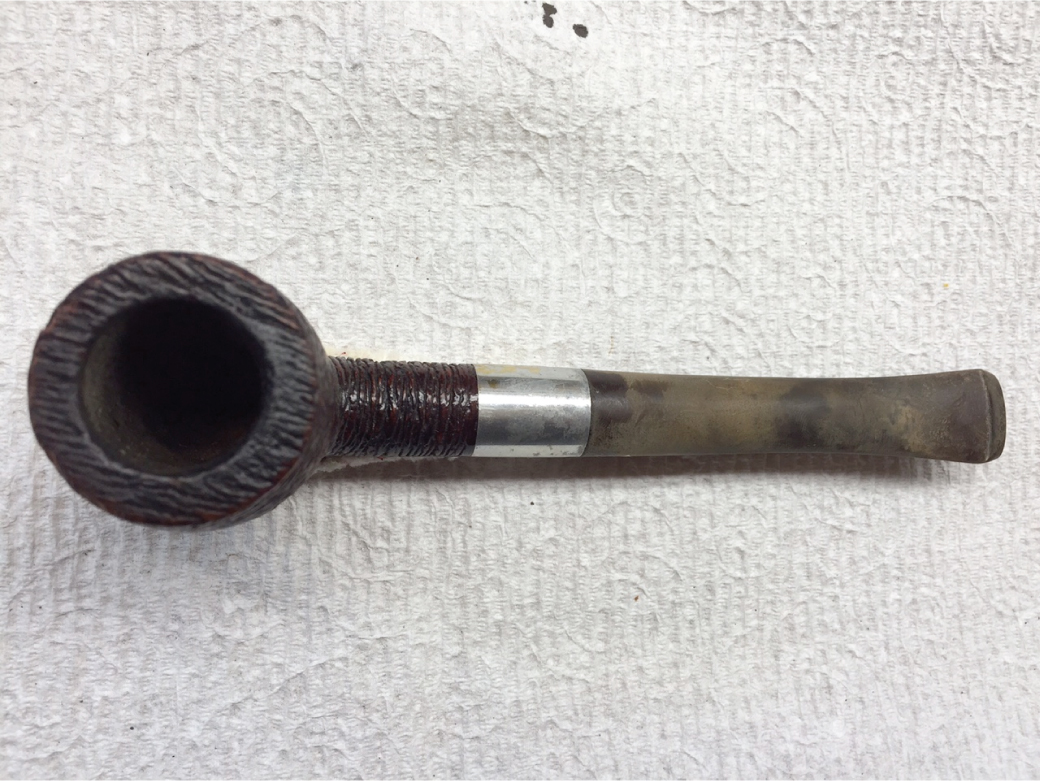
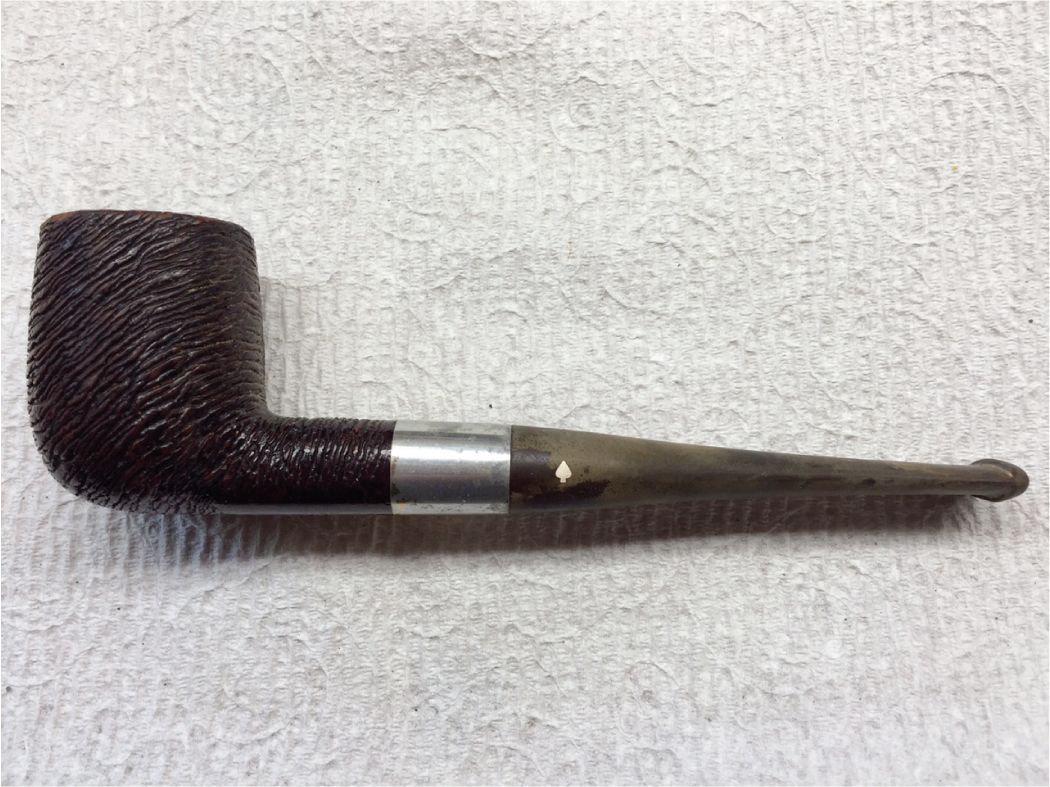
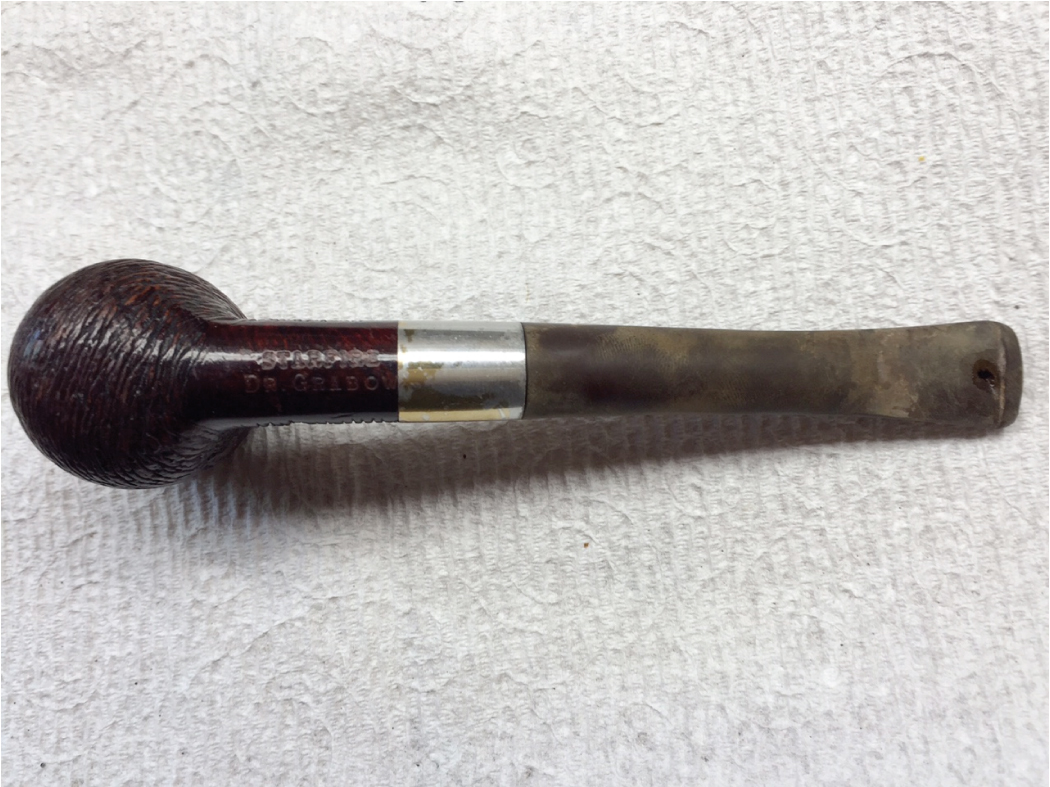
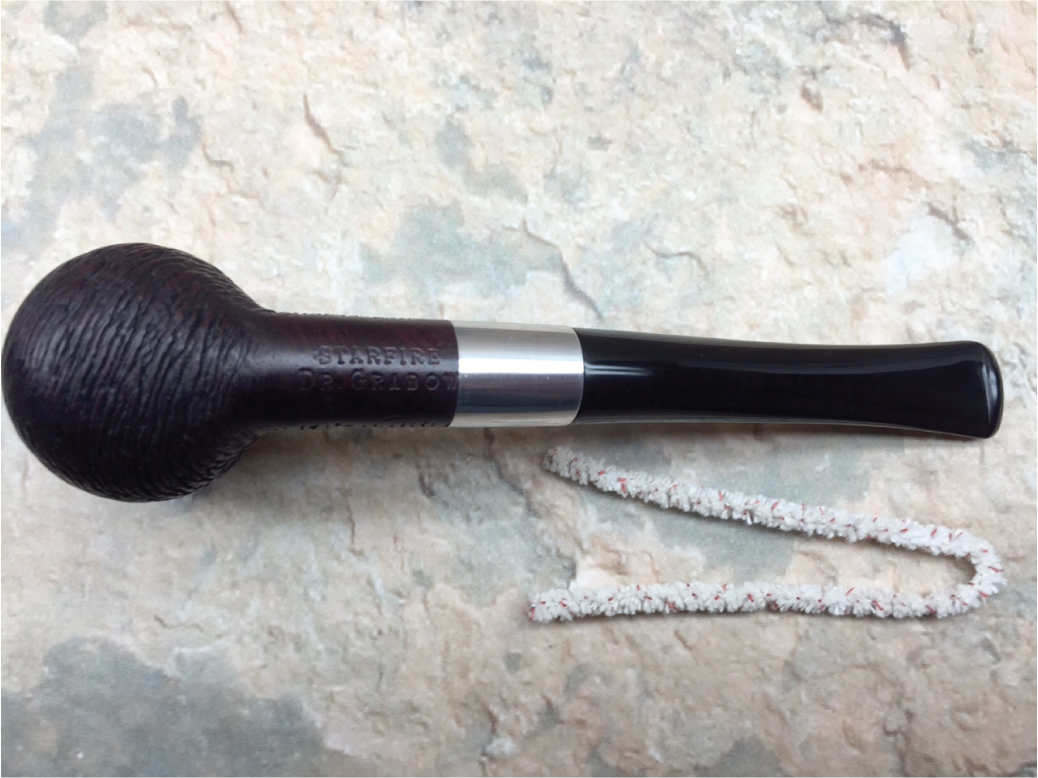
I recently received a package of three pipes from a fine gentleman in Texas. These old pipes belonged to his father-in-law and he was hoping to bring them back to working order. He wanted to get them smoking again after 20+ years of inactivity. I was happy to receive them and happy to work on them. I decided to do a blog about all three at once, so here we go. The three pipes are quite handsome. One is a little Savinelli 105 (probably a Petite) with a military tenon and acrylic shank extension. The second is a Dr Grabow bent billiard with a filter system and acrylic stem. Third is a large, round meerschaum with a variegated acrylic stem. You can see from the photos that they are attractive, very serviceable pipes.
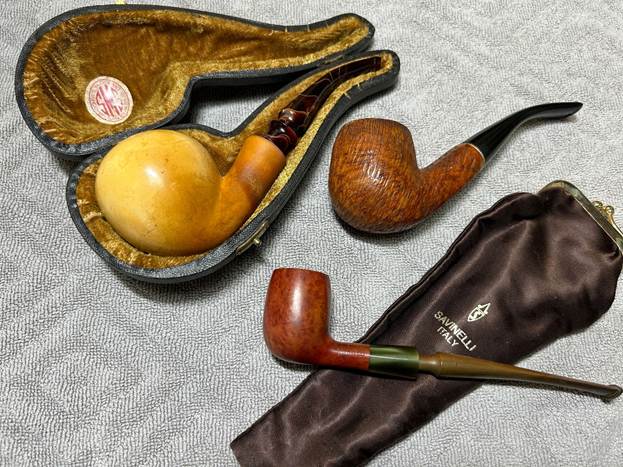
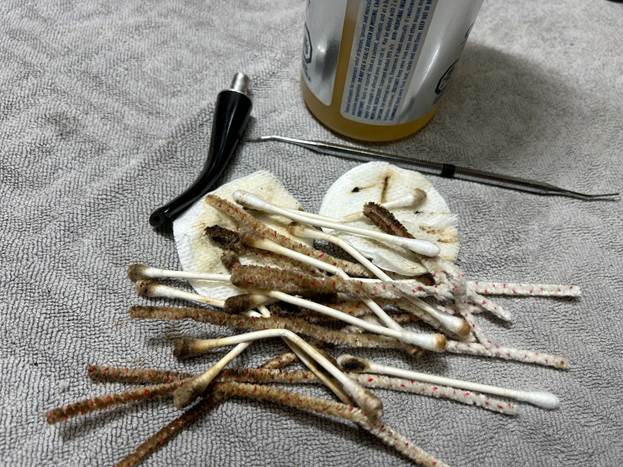
Let’s get started. I used isopropyl alcohol on a few cotton rounds and wiped down the three stems to provide an initial cleaning of filth before moving on to the next steps. The primary cleaning came next. I disinfected the inside of the stems with both pipe cleaners and cotton swabs dipped in lemon-infused 99% isopropyl alcohol. I scrubbed thoroughly to make sure the interior was very clean. I used lots and lots pipe cleaners and cotton swabs.
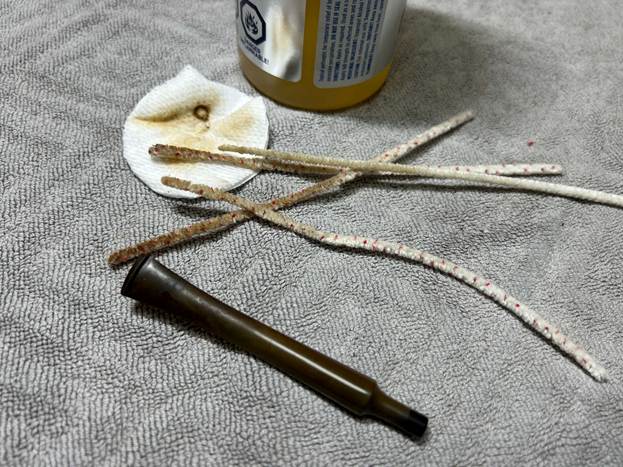
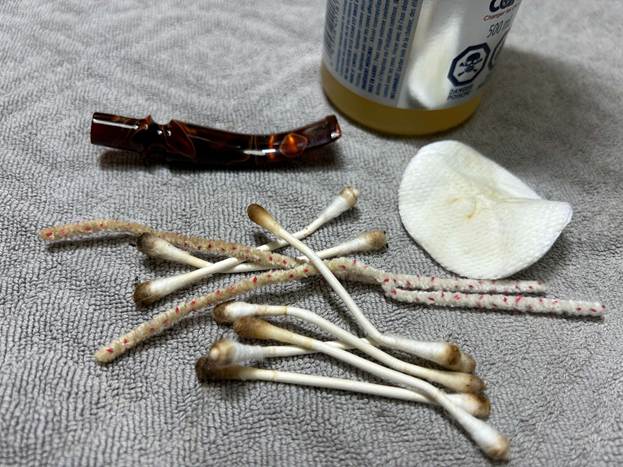
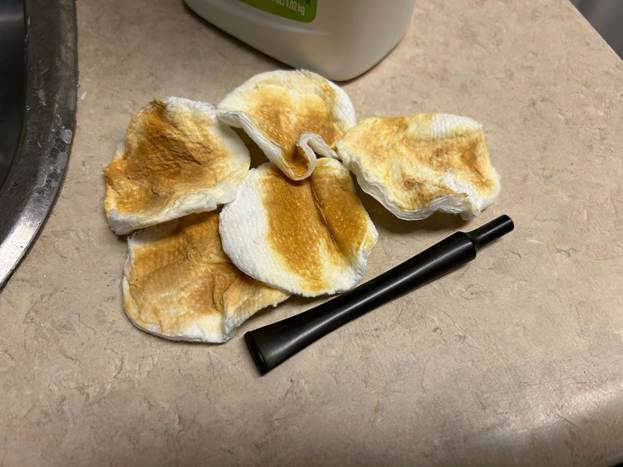
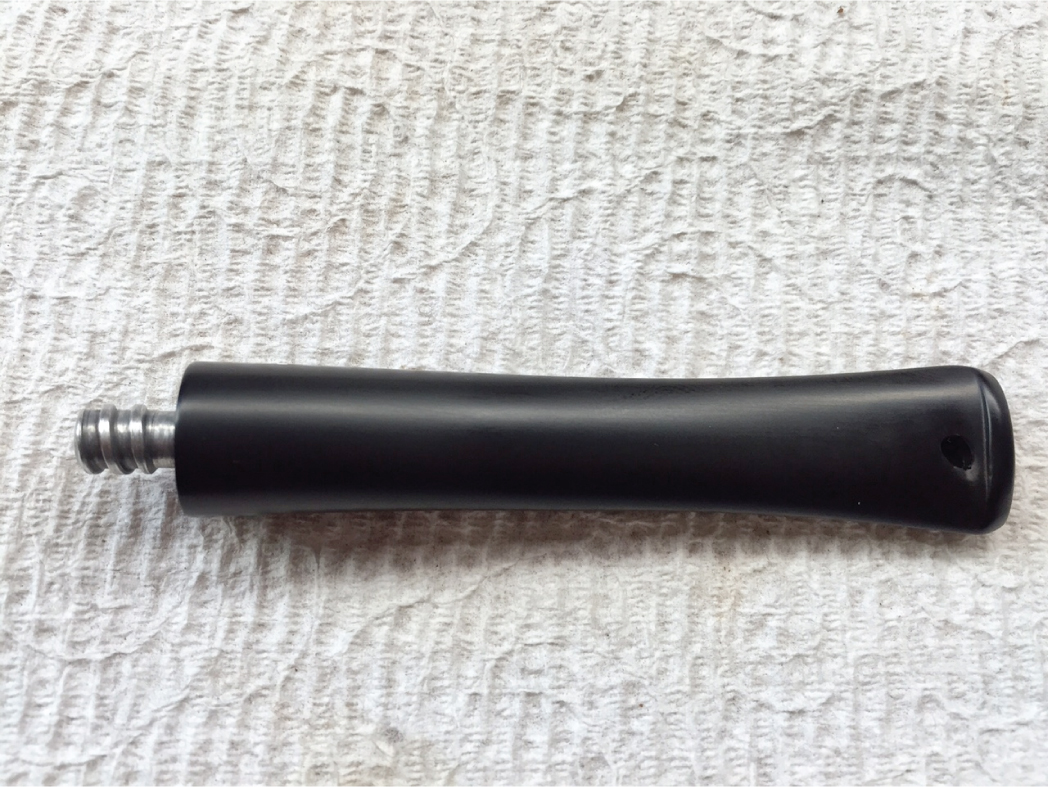
The goal of the next step is the removal (or minimization) of oxidation. There was only one stem (the Savinelli) that was made of vulcanite and, therefore, in need of de-oxidation. Going to my sink, I used cream cleanser, cotton rounds, and a toothbrush, and scoured the stem to remove as much surface oxidation as possible. As the photos show, the result was a hideous, ochre-coloured mess – but better off the stem than on it.
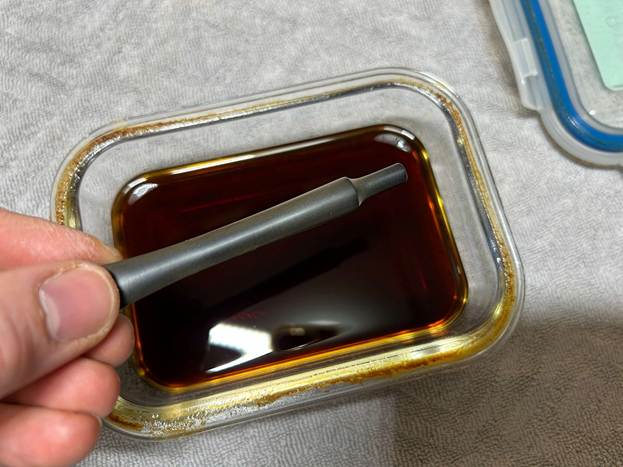
Once the stem was reasonably clean, I soaked it overnight in some Briarville Stem Oxidation Remover. This solution works to draw oxidation in the stem to the surface of the vulcanite. This is a major aid and an important step in ensuring a clean stem. The following day, I drew out the stem from its bath and scrubbed the lingering fluid with a toothbrush. The oxidation was very deep on this pipe and there will always be some remnants of it.
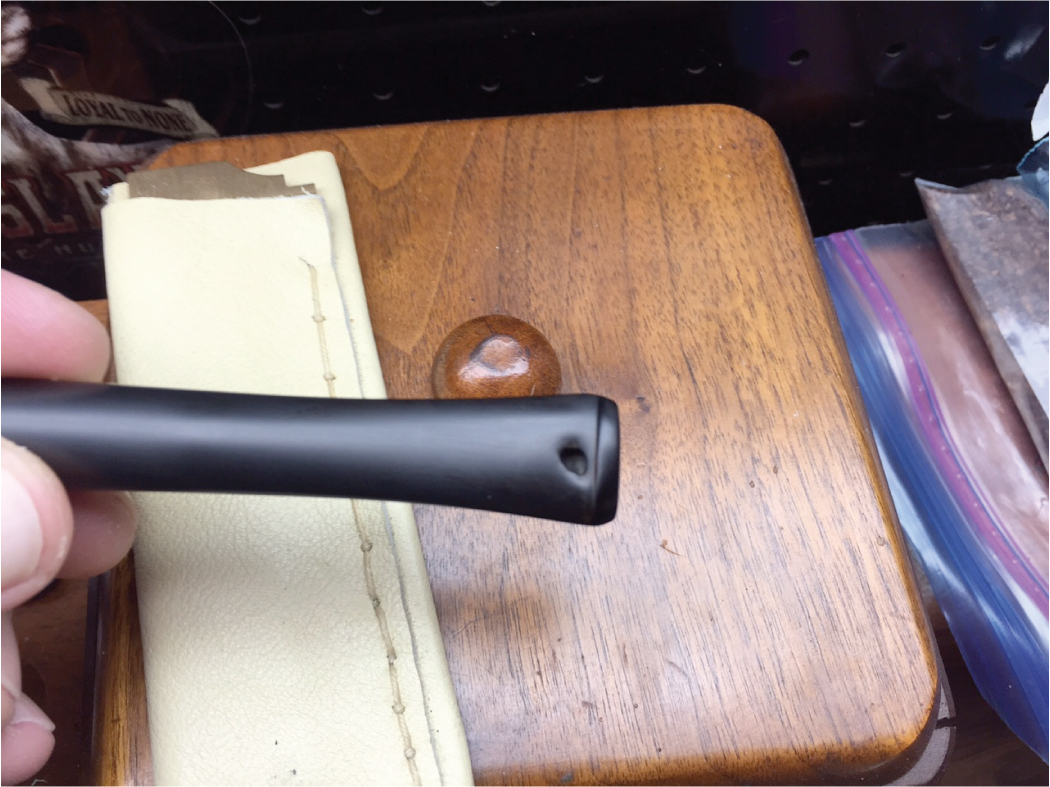
After this, I painted the Savinelli logo on the stem with some enamel nail polish. I restored the logo carefully and let it fully set before proceeding.
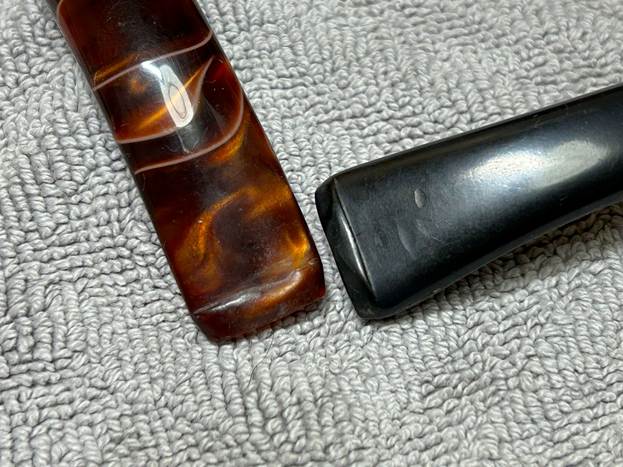
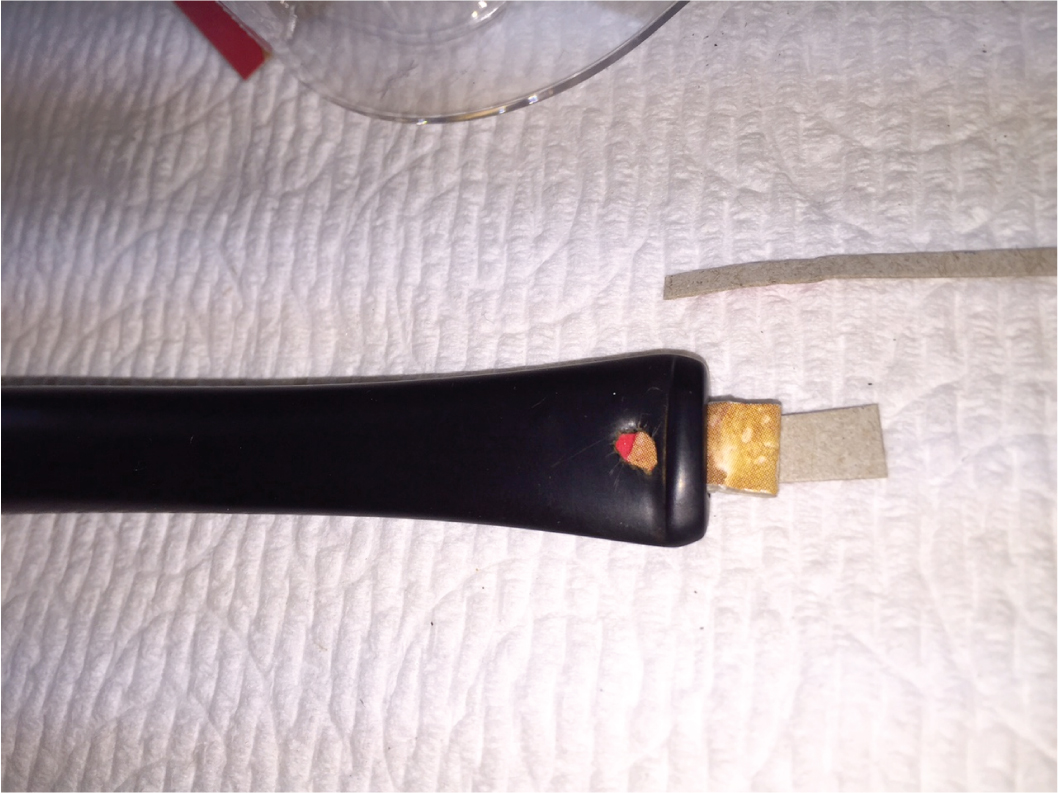
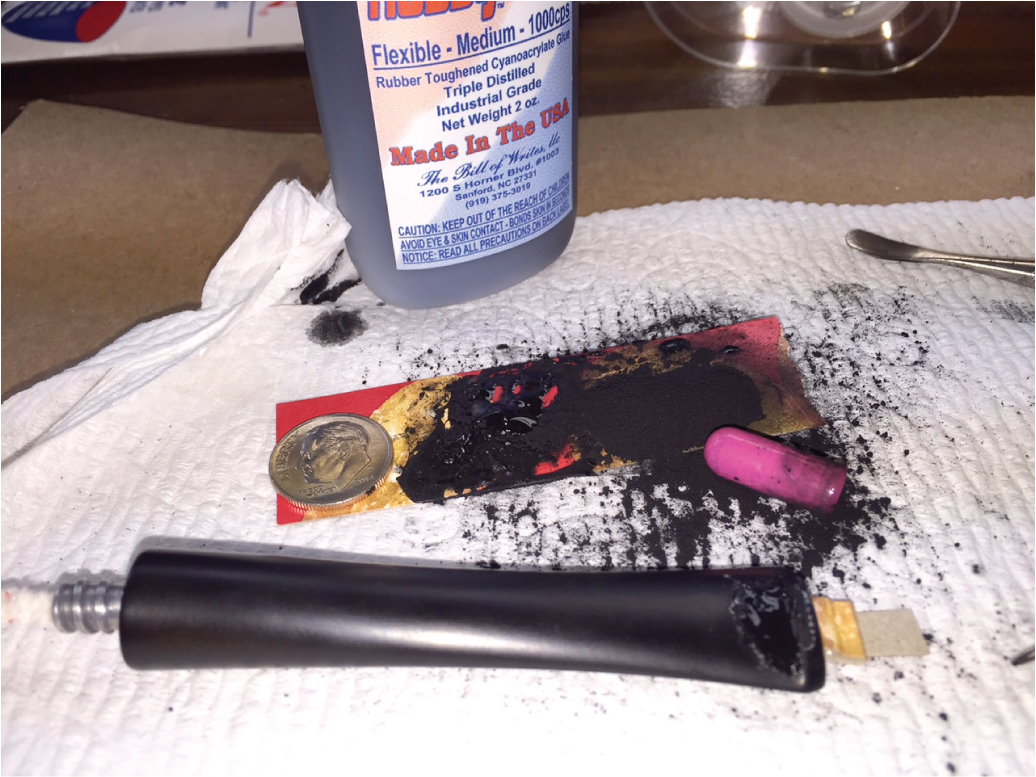
As the stems were now clean and dry, I set about fixing the marks and dents. This was done by filling those divots with black cyanoacrylate adhesive (impregnated with carbon and rubber) on the Dr Grabow stem and clear cyanoacrylate adhesive on the meerschaum stem. I left them to cure and moved on. The Savinelli stem didn’t need this treatment. The photos don’t show this very well, but the meer’s stem had very deep dents that required quite a bit of attention.
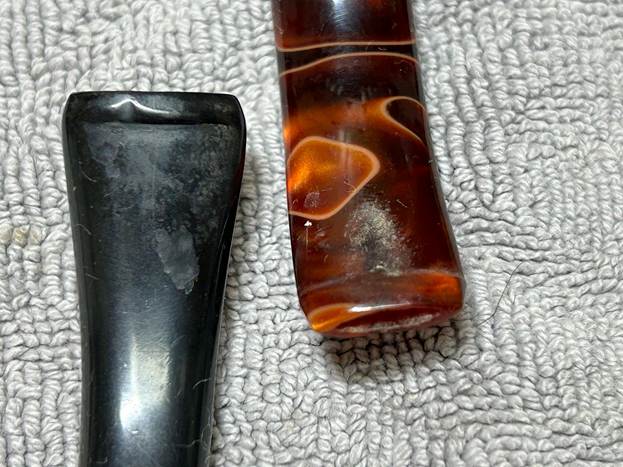
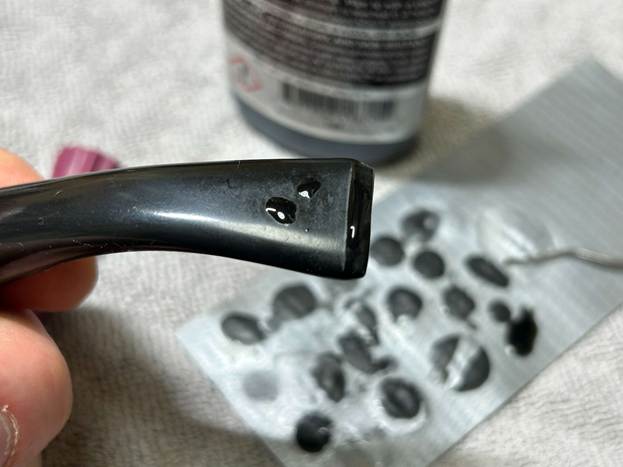
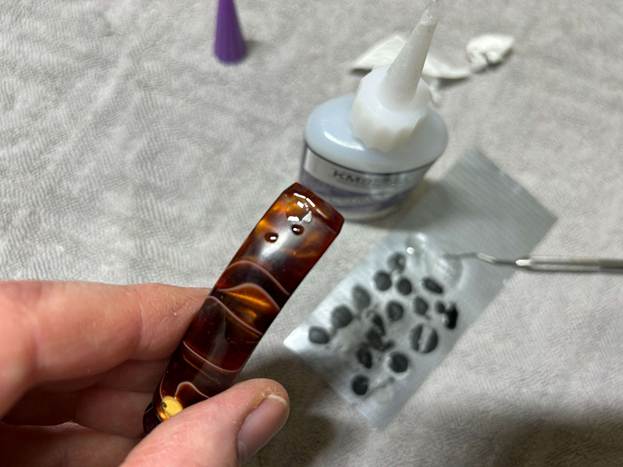
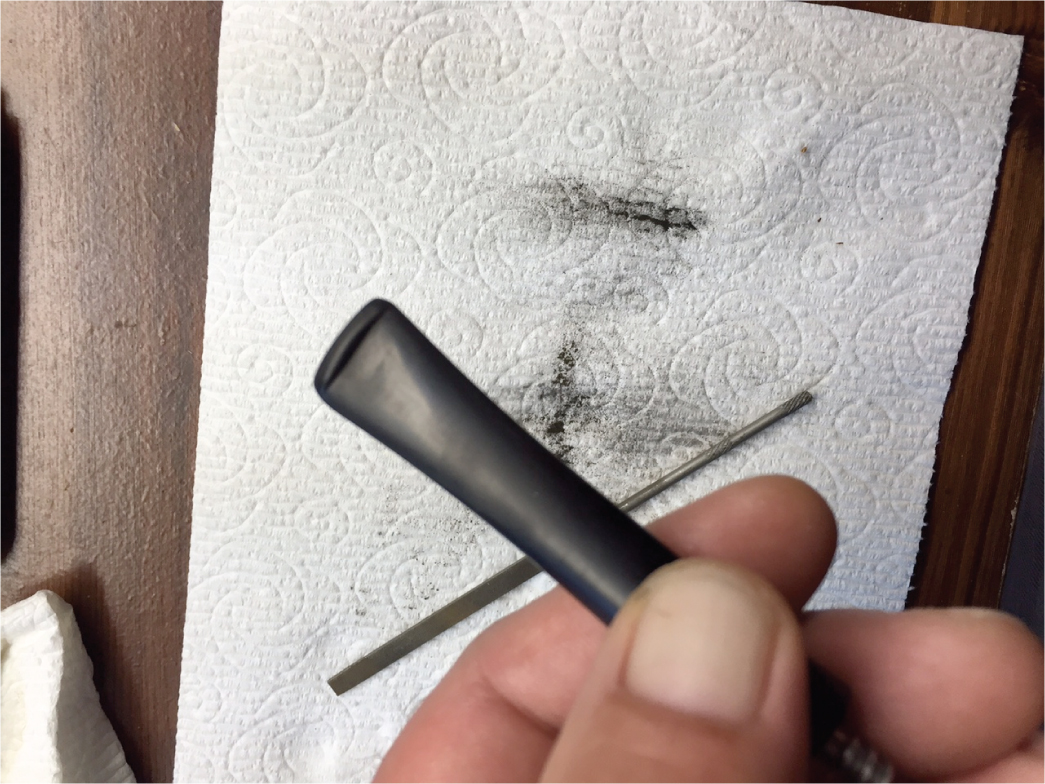
The penultimate step for the stems is sanding. First, with my set of needle files, I reduced the bulk of the cyanoacrylate repairs. I removed the excess adhesive as near to the surface as possible, without cutting into the stems. Following that, I used all nine of the micromesh sanding pads (1,500 through 12,000 grit) to sand out flaws, even things out, and provide gentle polishing of the finished surface. I also applied pipe-stem oil while using the last five micromesh pads. There was a wonderful, deep shine to all three stems when I was done. I am embarrassed to say that I forgot to take any photos of this step. You’ll just have to take my word for it.
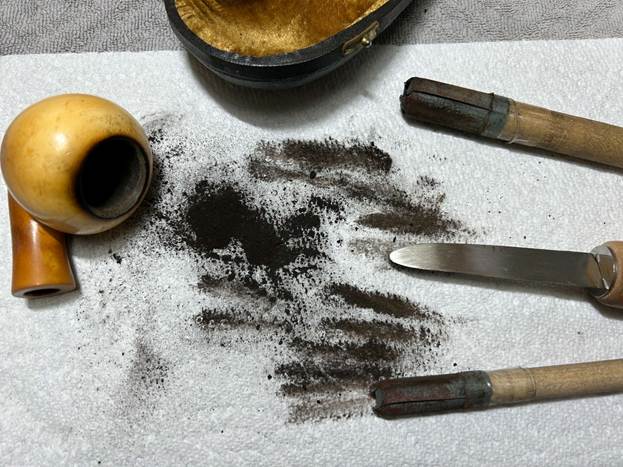
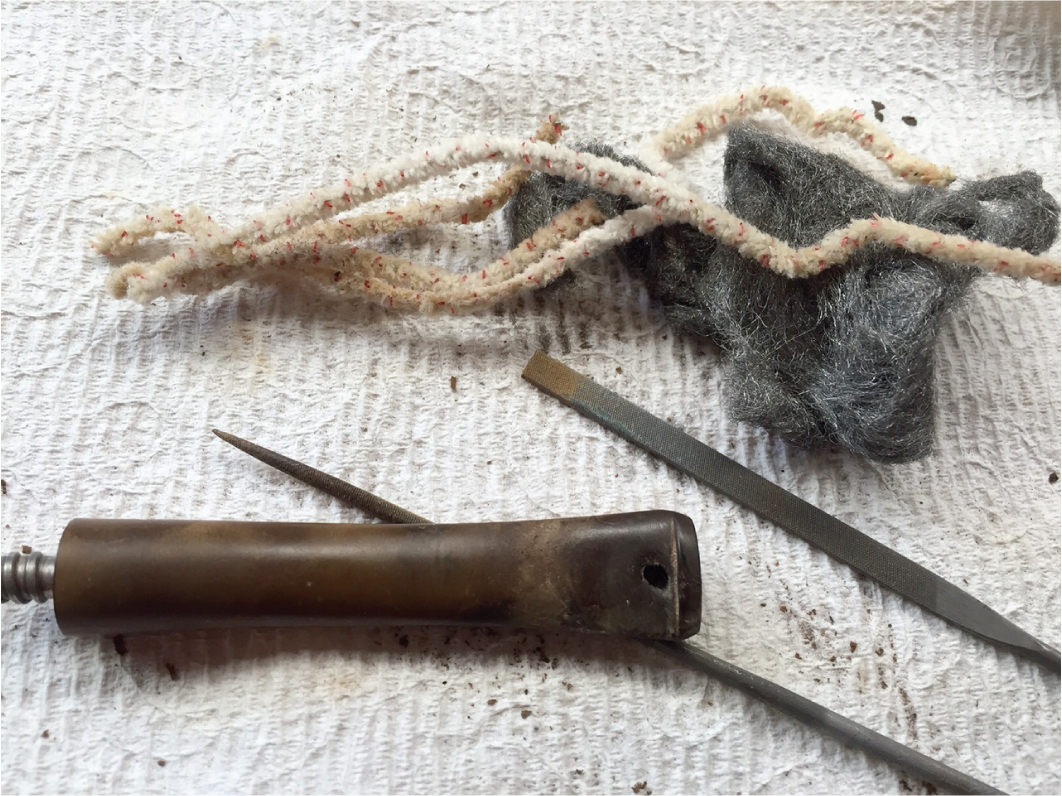
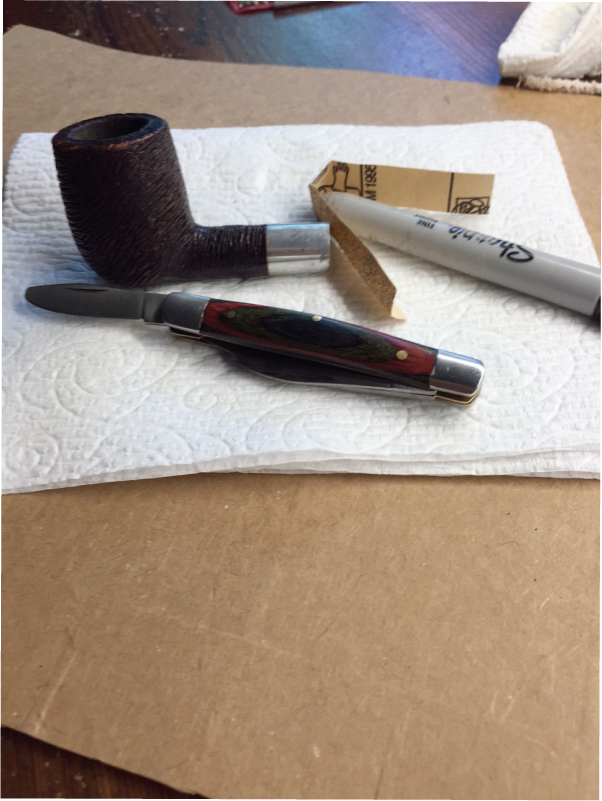
As the stem were (nearly) complete, I moved on to the two briar stummels. The first step was to ream out the bowls – that is to say, remove all the cake. This accomplished a couple of things. First (and most obviously), it cleaned the bowl and provided a refurbished chamber for future smoking. Second, when the old cake was removed, I could inspect the interior walls of the bowls and determine if there was damage or not. I used a reamer, a pipe knife, and a piece of sandpaper taped to a wooden dowel. Collectively, these ensured that all the debris was removed.
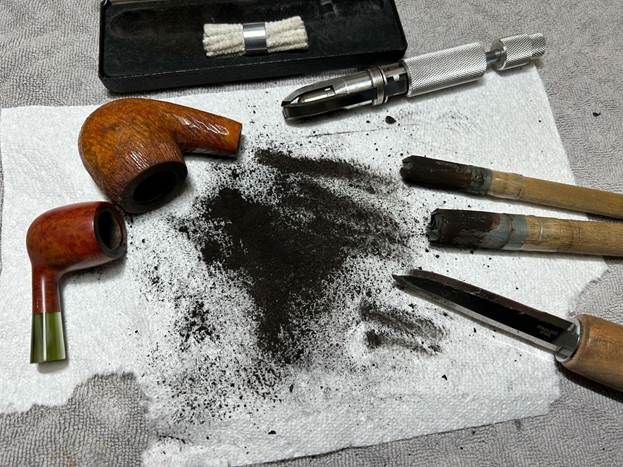
Same sort of thing (kind of) for the meerschaum bowl. Normally, as above, I would use a reamer to remove the built-up cake inside the bowl, but meerschaum has the potential to crack in those circumstances. Instead, I used just the pipe knife and the sandpaper/dowel. There wasn’t too much.
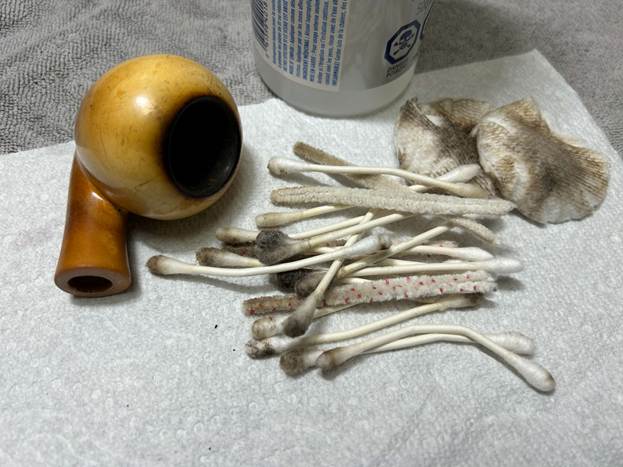
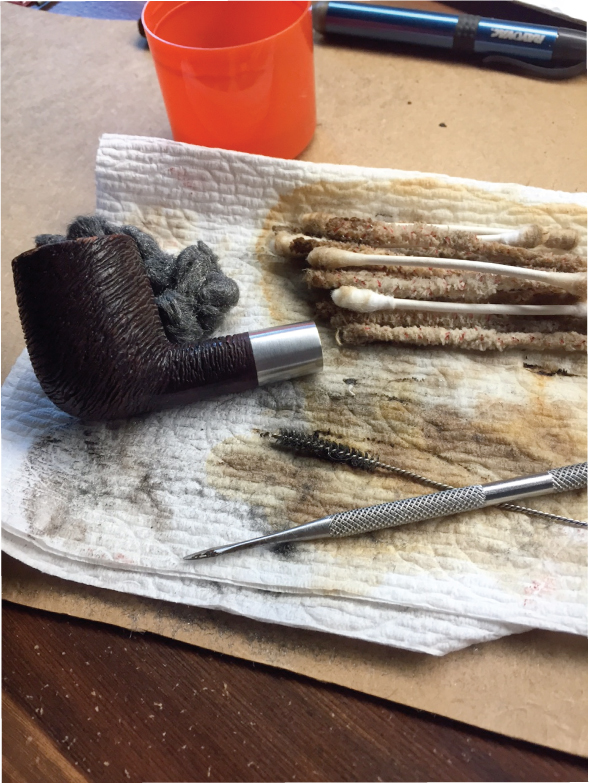
Similar to the stems, I then cleaned the stummels with both pipe cleaners and cotton swabs dipped in lemon-infused 99% isopropyl alcohol. With pipes this dirty, it took quite a while and much cotton to clean. With the meer, I did this carefully because too much soaking can cause meerschaum to soften. In this case, I moved quickly, nothing softened, and everything turned out well.
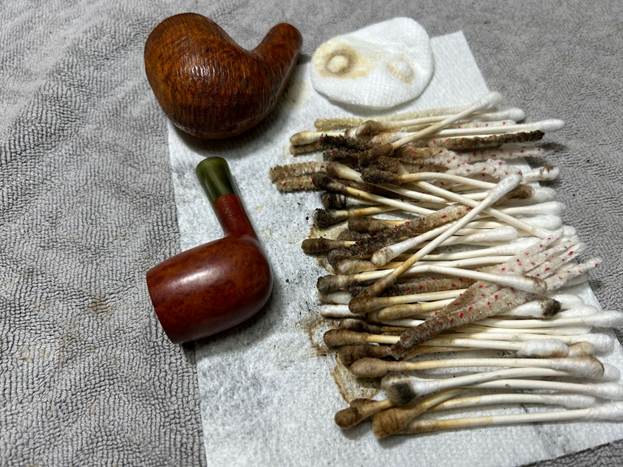
I then decided to ‘de-ghost’ the two briar pipes – that is to say, exorcize the remaining filth from the briar. I filled the bowls and the shanks with cotton balls, then saturated them with 99% isopropyl alcohol. I let the stummels sit overnight. This caused the remaining oils, tars and smells to leach out into the cotton. However, I didn’t use this treatment on meerschaum for the aforementioned reasons.
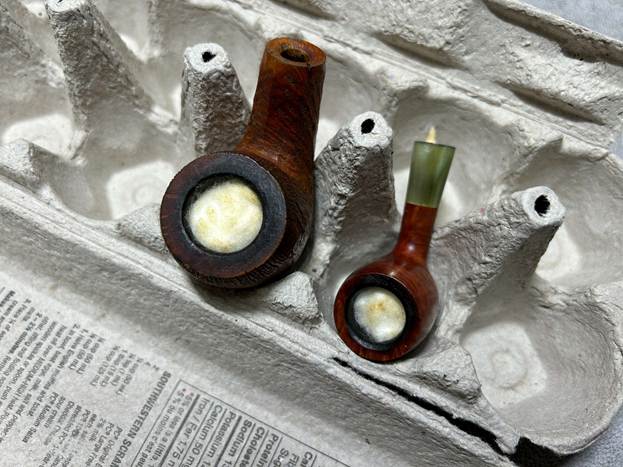
My next step was to remove the lava on the rims of the two briar pipes. For this, I took a piece of machine steel and gently scraped the lava away. The metal’s edge is sharp enough to remove what I need, but not so sharp that it damages the rims.
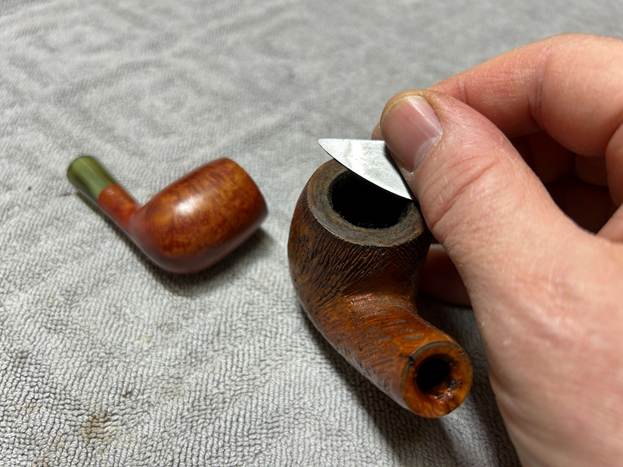
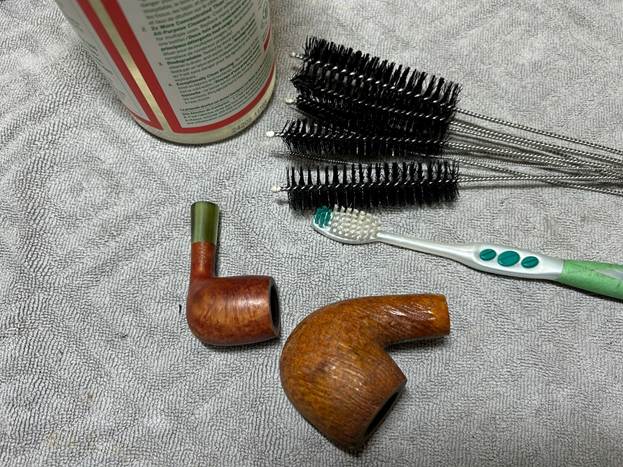
To tidy up the briar pipes, I wiped down the outsides, using a solution of a pH-neutral detergent and some distilled water, with cotton rounds. I also used a toothbrush in the crevices. This did a good job of cleaning any latent dirt on the surface of the briar. The last step of the cleaning process was to scour the inside of the stummels with the same mild detergent and tube brushes. This was the culmination of a lot of hard work in getting the pipes clean. Again, this was only done on the briar pipes.
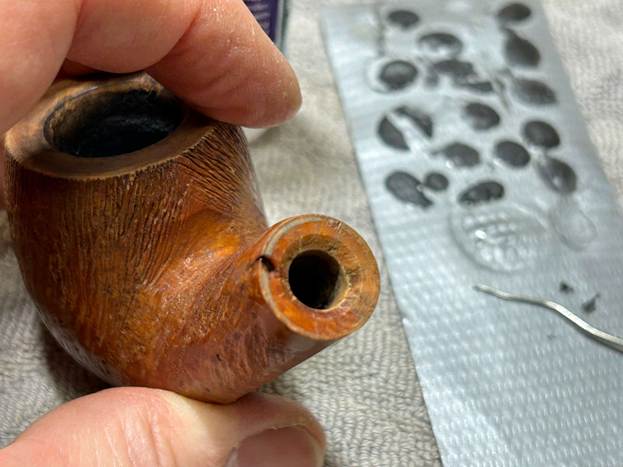
The Dr Grabow had a serious nick at the end of the shank. I filled this in with CA glue. Worked perfectly.
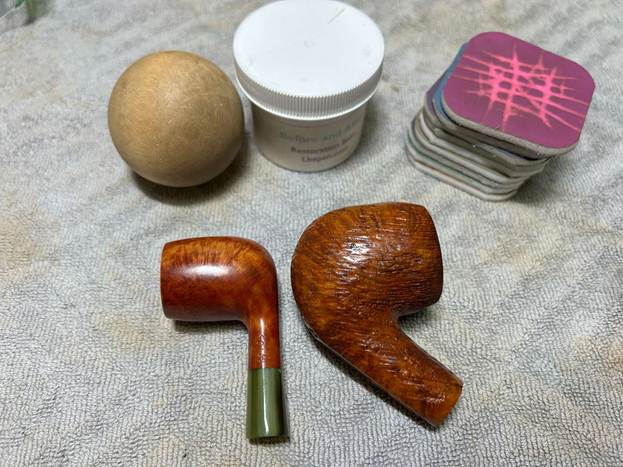
I used all nine micromesh pads (1,500 through 12,000 grit) to sand the outside of all three stummels and finish them off. This sanding minimizes flaws in the briar (and meerschaum) and provides a beautiful smoothness to the surfaces. I rubbed some LBE Before & After Restoration Balm into the two briar pipes and let them sit for 30 minutes or so. The balm moisturizes the wood and gives a beautiful depth to the briar. I then buffed the stummels with a microfibre cloth.
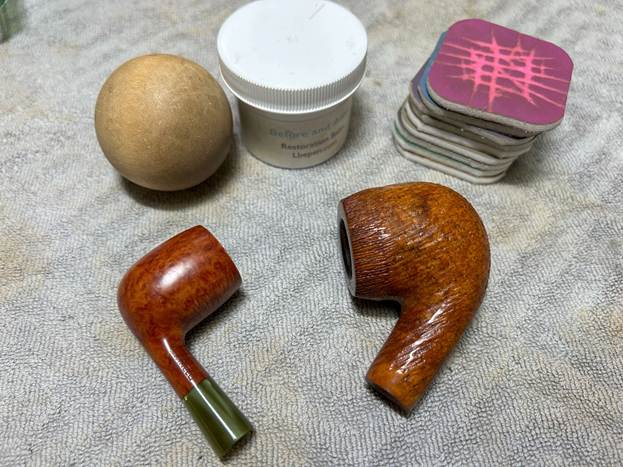
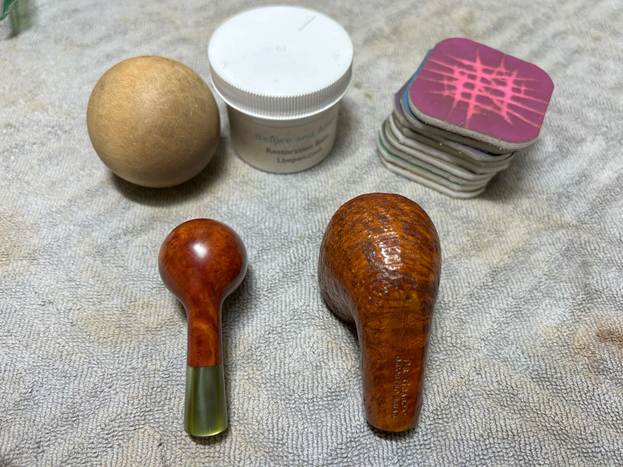
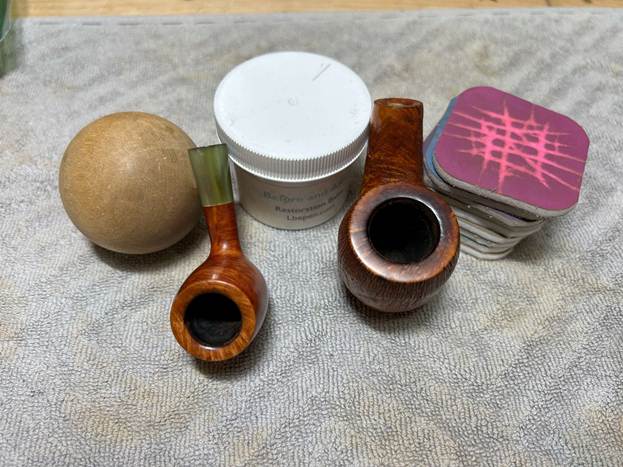
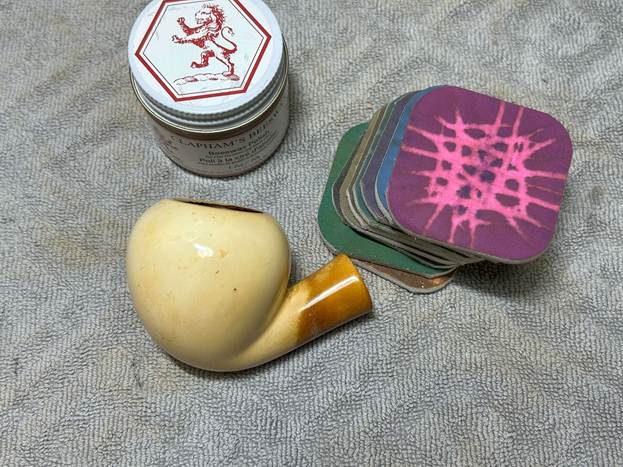
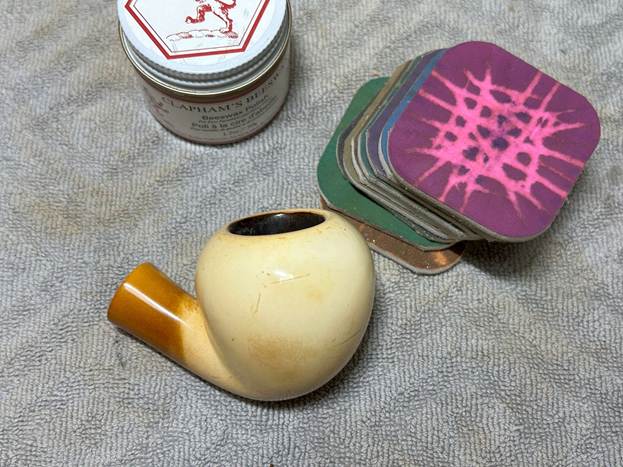
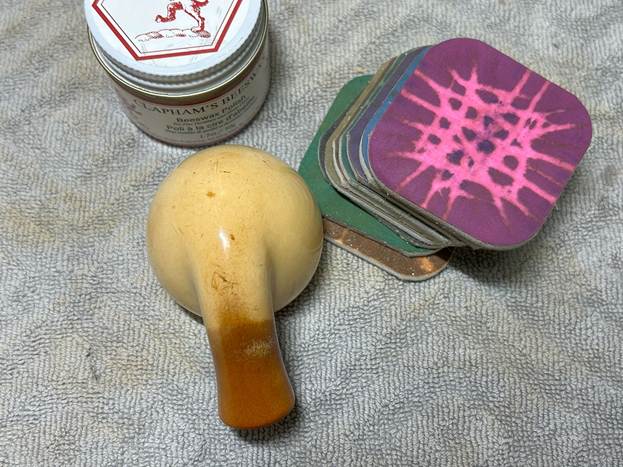
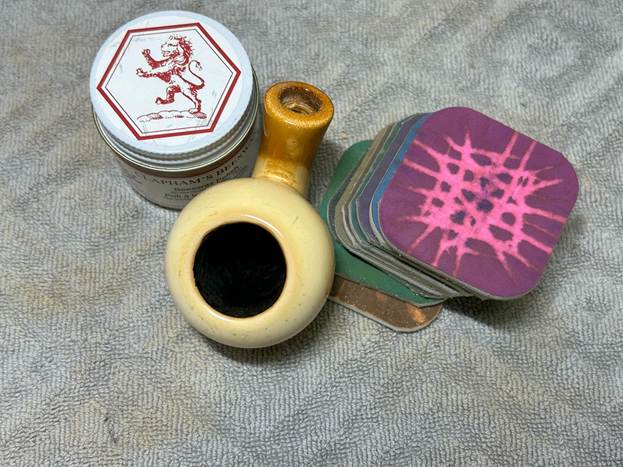
I then applied some Clapham’s Beeswax Finish to the meerschaum and also let it sit for about 30 minutes. As meerschaum pipes don’t do well on a bench-polisher, I then buffed it with a microfibre cloth. I repeated this process and left it – it sure was pretty!
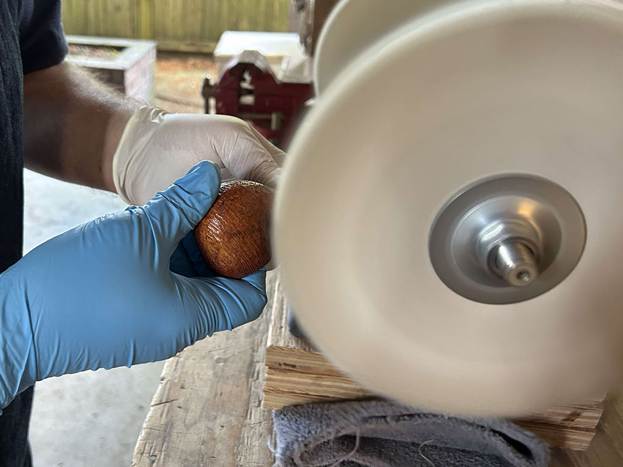
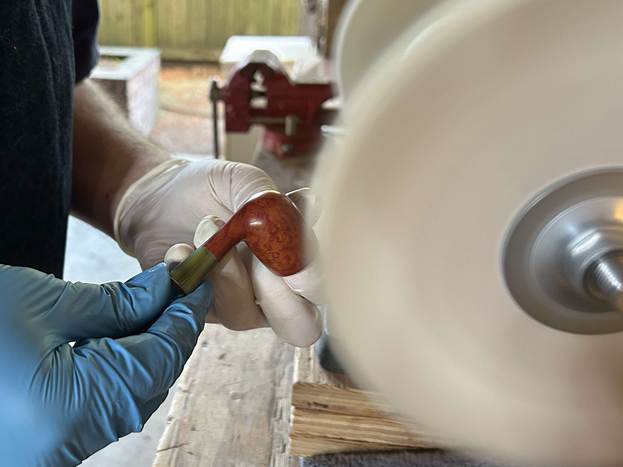
For the final step, I took the two briar pipes (only) to my bench polisher and carefully buffed them – first with a blue diamond compound, then with three coats of carnauba wax. This procedure makes the pipes look their best – the stummels sing and the stems glow.
All done! These three handsome pipes look fantastic again and I am delighted with the results. I’m sure the Texan gentleman will be too. Stupidly, I forgot to take measurements of the pipes before I returned them. However, I hope you enjoyed reading the story of the pipes’ restoration as much as I enjoyed restoring them. If you are interested in more of my work, please follow me here on Steve’s website or send me an email at kenneth@knightsofthepipe.com. Thank you very much for reading and, as always, I welcome and encourage your comments.




 rebornpipes