Blog by Robert M. Boughton
Copyright © Reborn Pipes and the Author except as cited
https://www.facebook.com/roadrunnerpipes/
Look beneath the surface; let not the several quality of a thing nor its worth escape thee.
— Marcus Aurelius (121 AD – 180 AD), Roman Emperor, in Meditations
NOTE: My decision to post this blog was difficult because of my failure thus far to restore the pipe to a suitable condition. The project remains a work in progress. I now know what needs to be done to finish the job and will discuss those steps after the “Restoration” I offer now in a guileless attempt to show what horrors can follow the online purchase of a pipe that is just plain rotten to the core – a Frankenstein, if you will. Still, this is no excuse for my frustrating defeat. Maybe I should have extended the title to add “and the Worst Restoration I Ever Committed.” RMB
INTRODUCTION
Old Marcus knew what he was about, and his meditation on recognizing the full potential of a thing speaks to this precise pipe in an almost prescient way. I wish I could say I always heed the sage advice, but I cannot tell that big a lie. In the case of this tiny, smooth (in the roughest sense of the word), straight apple purported to be a Kaufman Brothers and Bondy Rocky Briar apple, I failed to a degree that does not now escape me in the least. Where I should have listened to the voice in my head that screamed how the color was just wrong – not red or maroon but what I call Chinese Fake – part of me didn’t care because it was so cheap. As it turned out, that term took on more than one meaning as well. Where the numerous photos of the pipe offered for examination online showed blatant signs of serious damages, visions of repairing each of them overcame my usual better instincts and blinded me to the obvious conclusion that something still graver was hidden. The result, as I suggested in my opening Note, is the absolute worst job of repairing a pipe I have ever made. And so, when I opened the petite package that arrived soon enough in the mail and absorbed the monstrous truth, all that saved me from an explosion of temper was the song “Always Look on the Bright Side of Life,” from Monty Python’s Life of Bryan, and particularly the opening.
Some things in life are bad
They can really make you mad
Other things just make you swear and curse.
When you’re chewing on life’s gristle
Don’t grumble, give a whistle,
And this’ll help things turn out for the best.
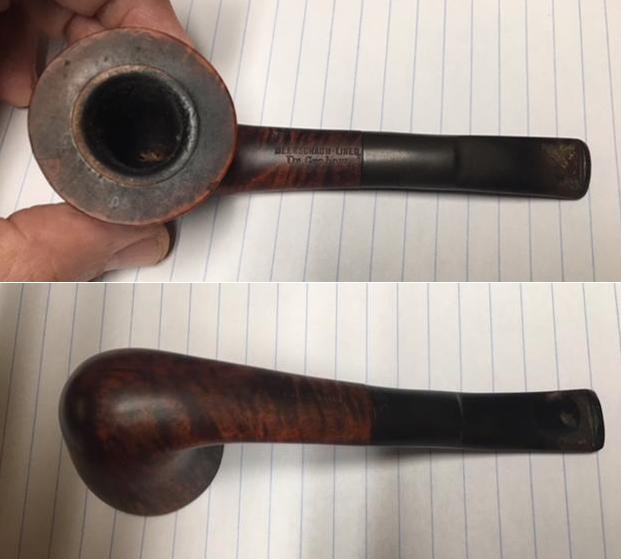
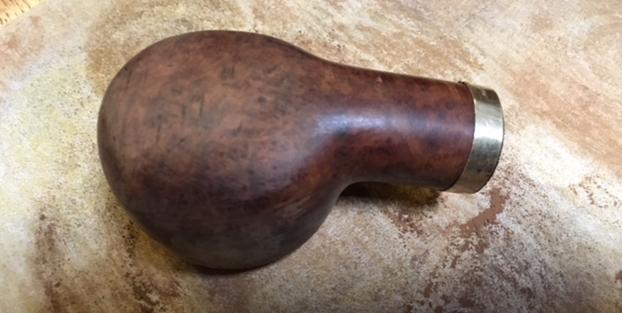
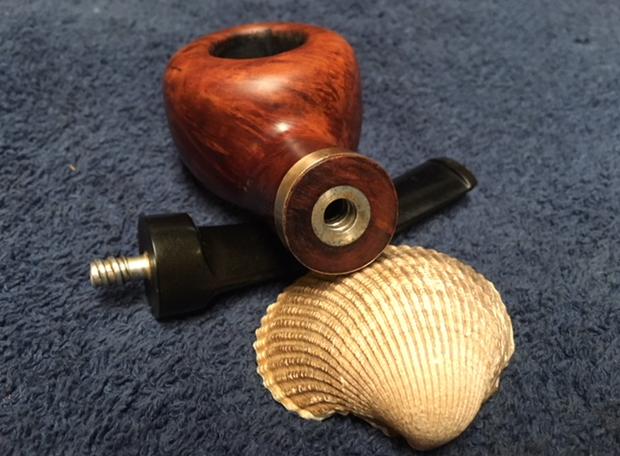
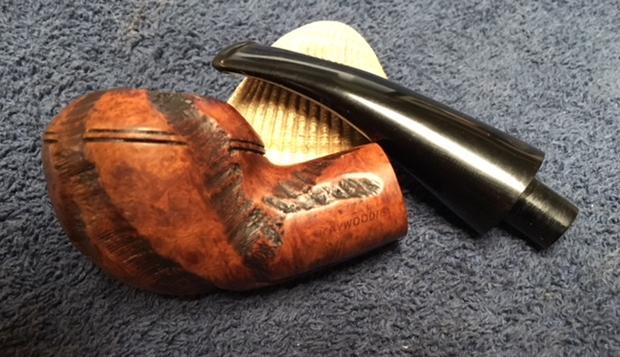
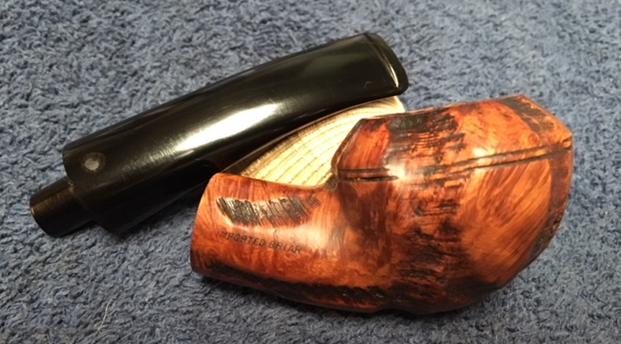
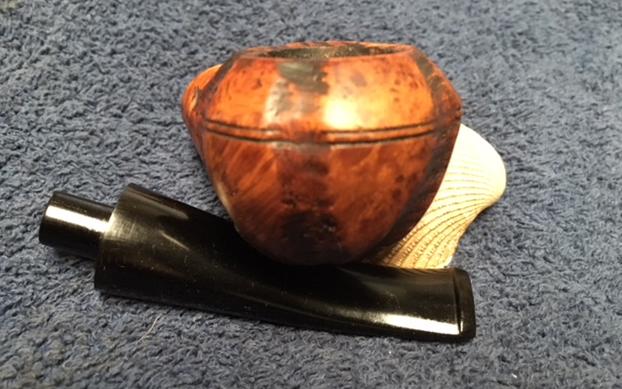
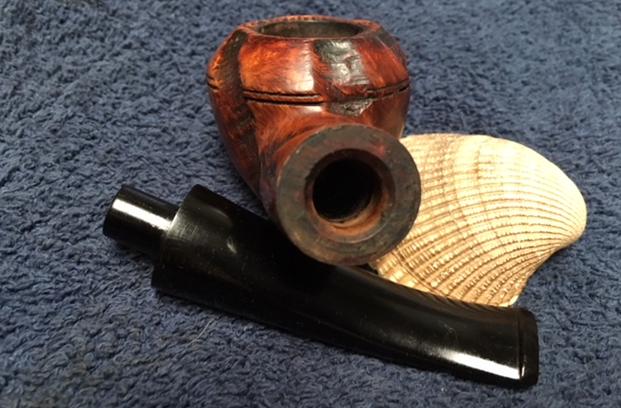
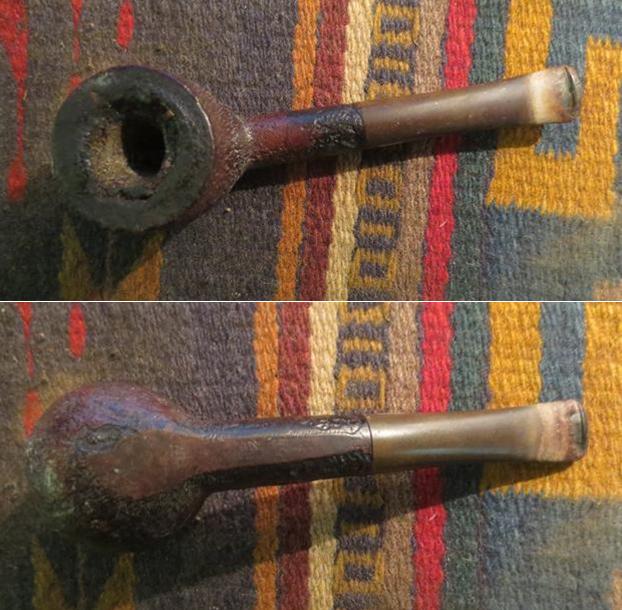
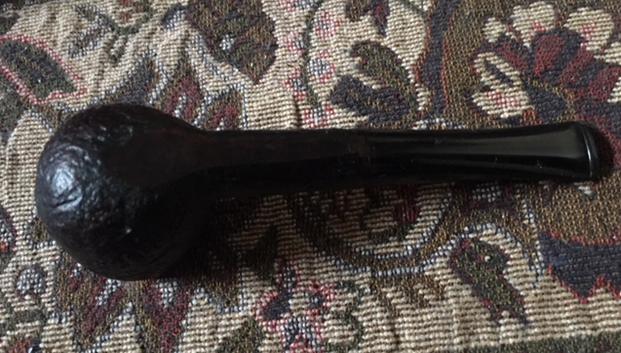
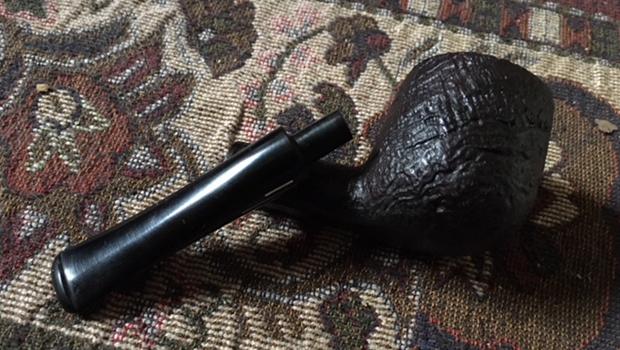
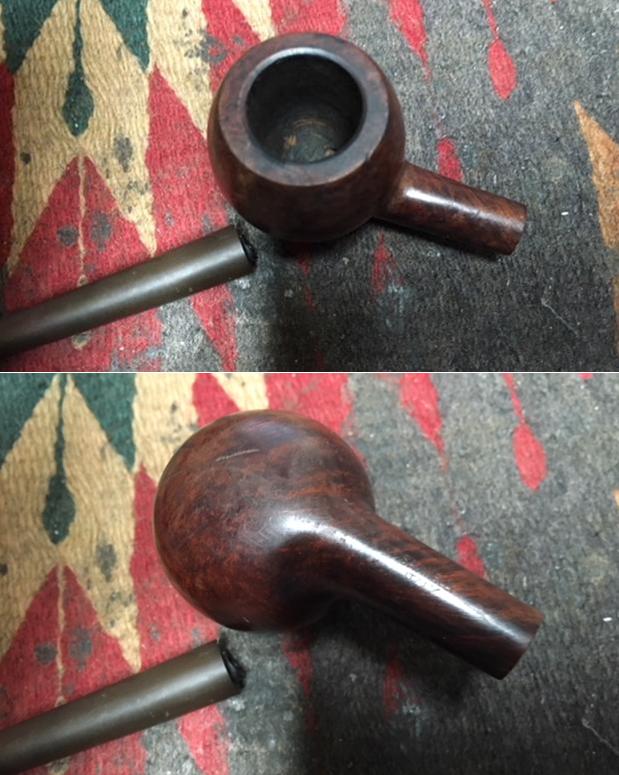
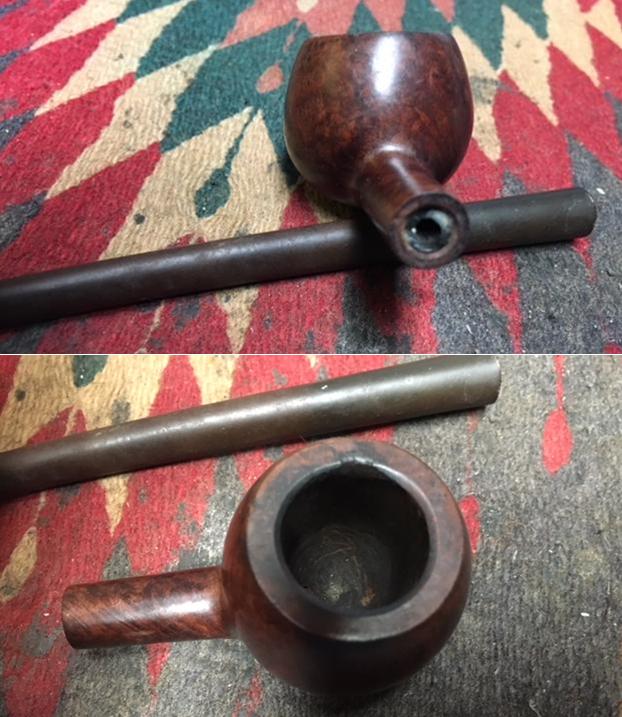
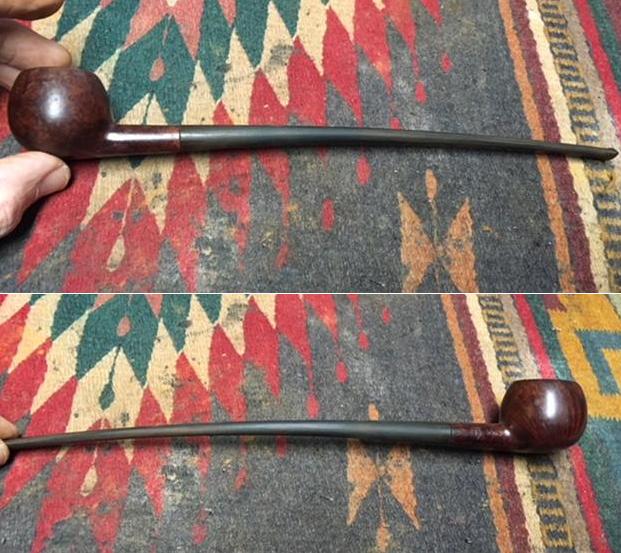
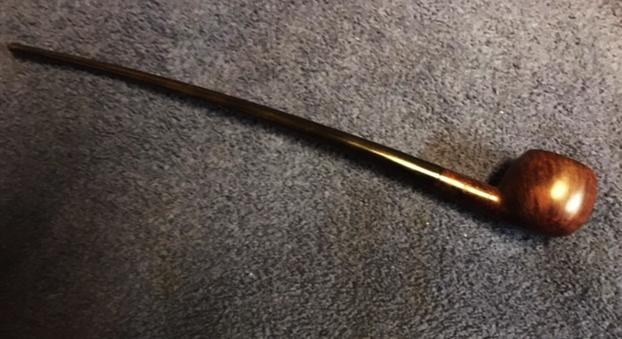
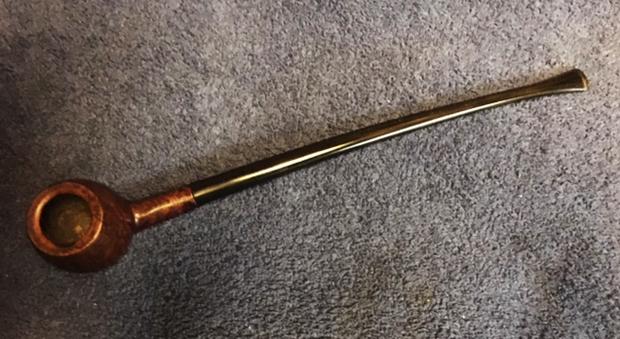
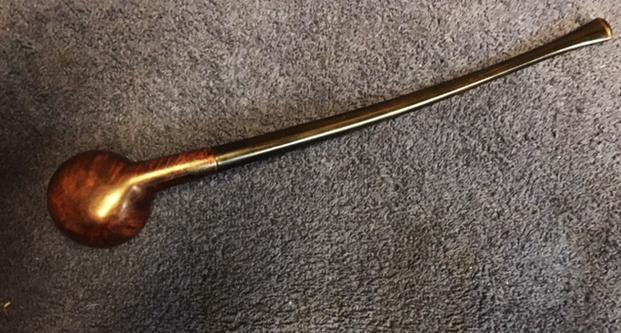
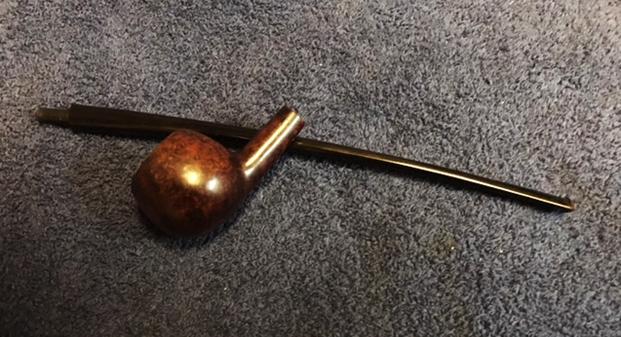
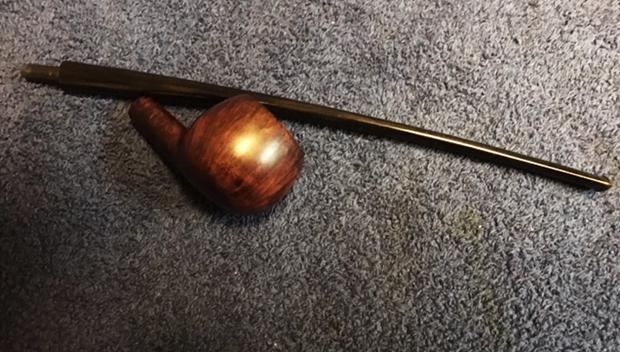
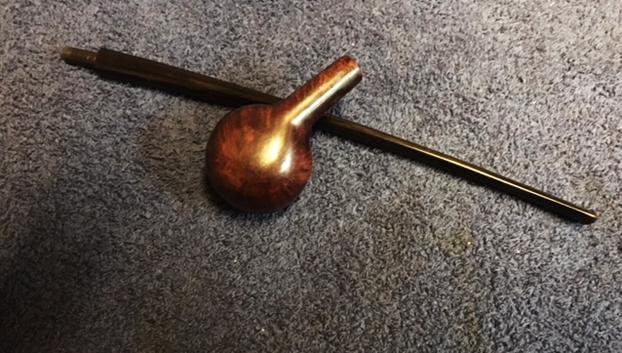
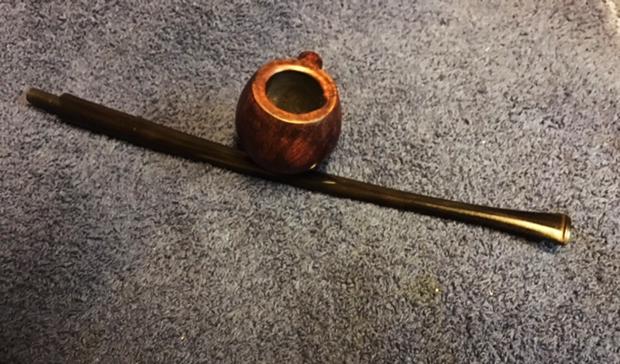
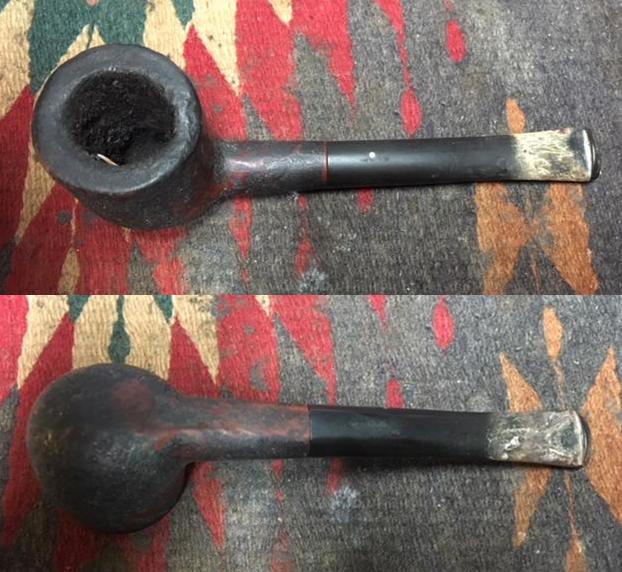
I mean, what else could I do but whistle, other than spend more than it was worth in return postage to the seller who went out of his way to hide the one definite fatal flaw, which was a pin-point hole in the bowl? Oh, but if only that were the sole point at issue with this small yet abominable pipe! Here are the sometimes poor but always honest pics I snapped with my old cell phone, showing every detail.

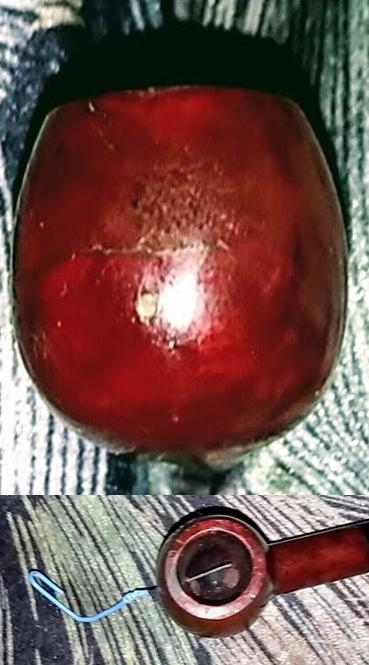
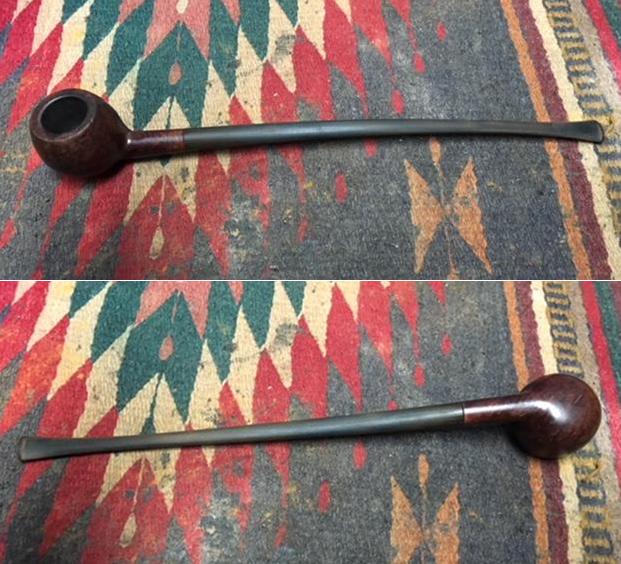
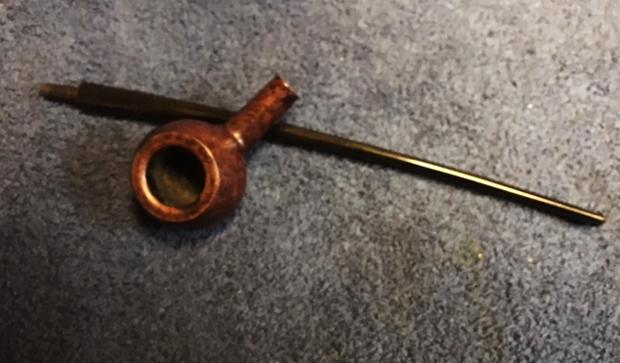
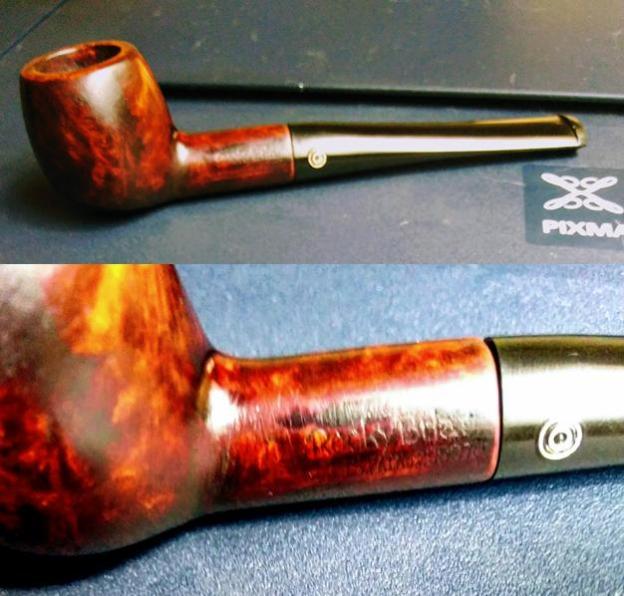
 The actual unique Chinese Fake color shows best in the fifth and sixth photos, close on the front and top with the latter including the stripped end of a small paper clip inserted through the hole it penetrated with precision. This inexplicable tunnel, by the way, has no signs of being caused by a burnout. It’s as if someone deliberately pierced through the dubious wood to test its physical density, perhaps a previous owner who was as doubtful as I that it’s briar.
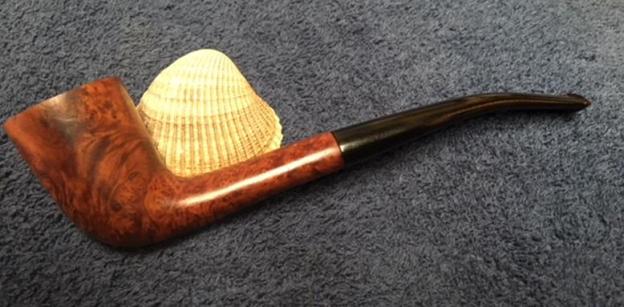
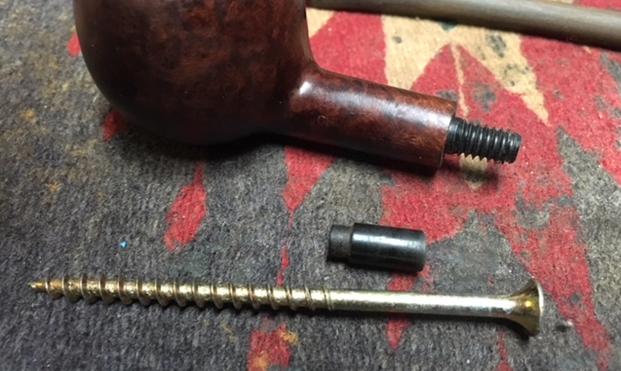
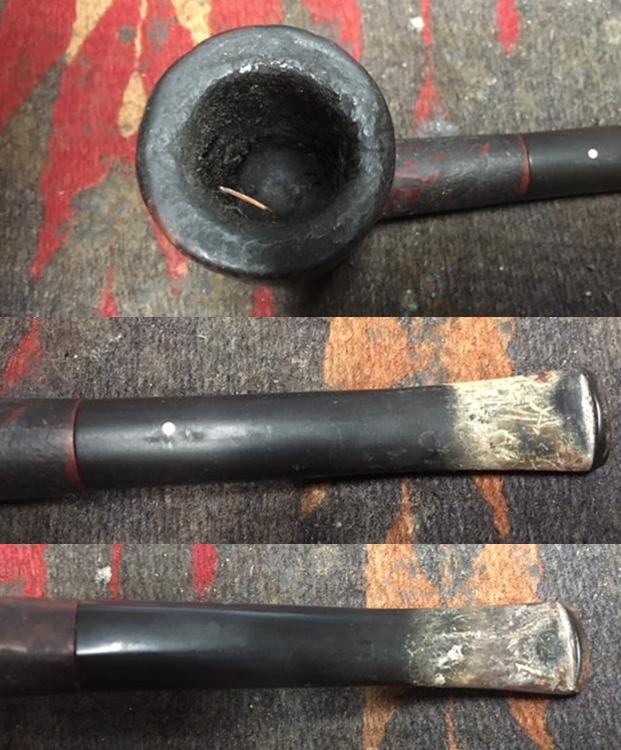
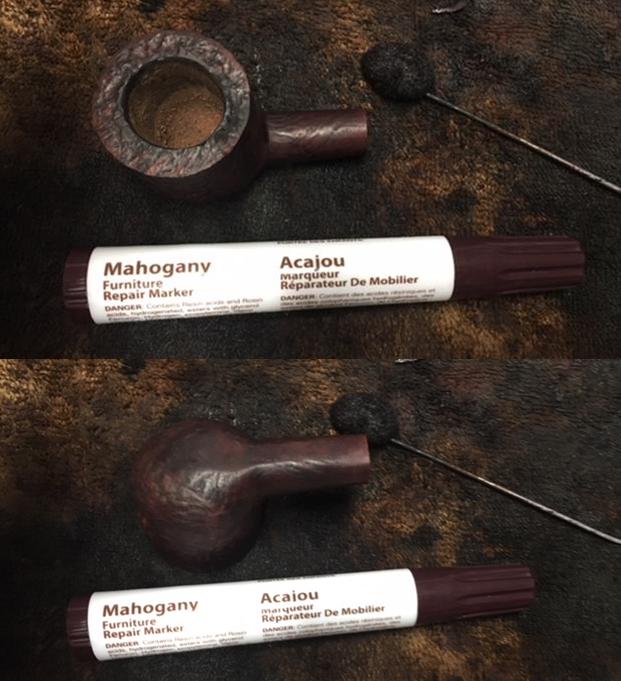
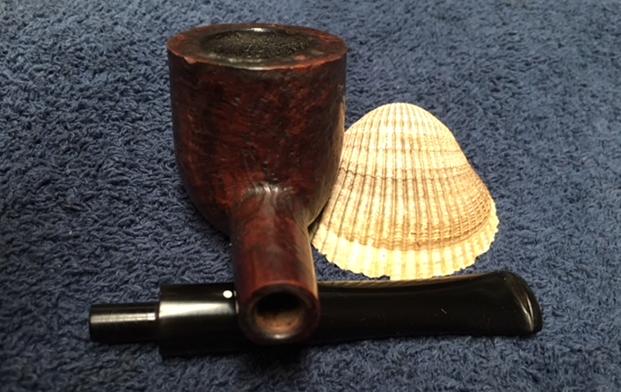
The next shot above reveals the approximate length, beside the pack of six-inch long cleaners, to be a little more than an inch short, or the size of a salesman sample. If the pipe were a real KBB, without the ampersand as shown in the nomenclature pic – and I’m stating categorically that I do not believe it is – then it would date to the early 20th century, at least pre-1930s. More about that later.
Now, a little extra info about the size, which would be expected to make the pipe light. But this thing has so little density as to be comparable to holding your empty palm before you and imagining a visible cloud of radon, the heaviest noble gas at 4.4 g/cubic cm, floating there! Okay, okay, for those who don’t go in for such sarcasm, compare the weight at most to a strip from the tail end of a classic Guillow’s Balsa Wood Flying Machine Kit. And that’s no exaggeration.
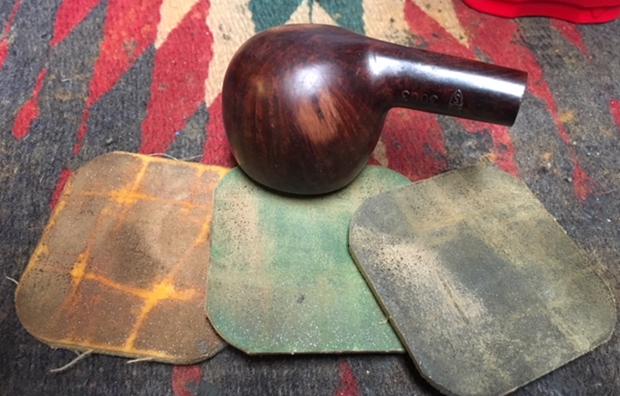
Returning to the veracity of the dainty pipe’s origins having any connection to KB&B, take a close look at the Reg US Pat No in the last shot above. The number is 298978, which is a known KB&B Patent even though neither I nor anyone else I found searching online for a copy seems able to find one. However, the number is fortunate in having two instances each of the numerals 9 and 8. Now give the nomenclature still more scrutiny, and you’ll see neither pair is the same. That is, the 9s don’t match each other any more than the 8s. This sort of inconsistency just doesn’t happen in Patent stamps on pipes made by legitimate brands. The two 8s are easier to spot the problem: the one at the end of the first half of the number is in the form of two separate tiny zeroes, one atop the other, while the final digit clearly shows a connection, or intersection, of the halves. There’s also the absence of any shape number on the right shank that is present on every real Rocky Briar ever made. Here are the two pertinent pictures again, this time followed by genuine KBB Rocky Briar examples. Never mind the glare on the right shank of my fake; you won’t spot any number on the successive views following the worthless pipe’s restoration either.
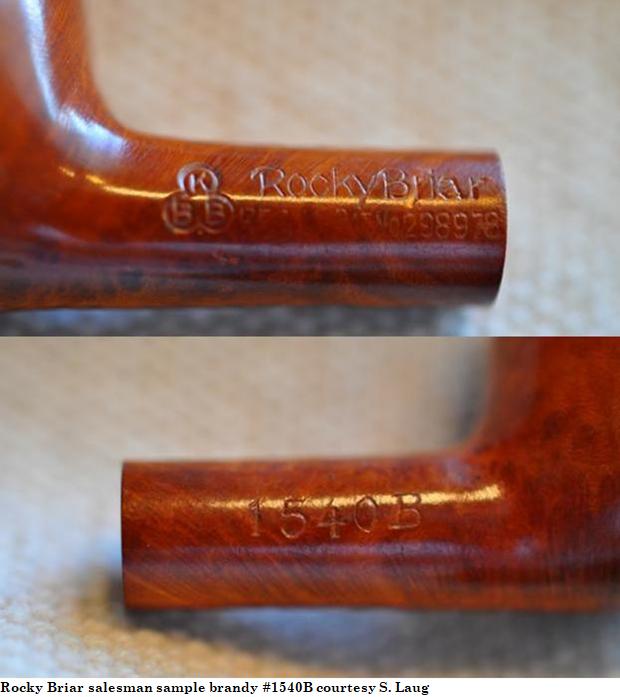
 See the weakness of the marks on my pipe as opposed to the crispness of the others. Also note the varied but normal stain colors of the three authentic specimens, which can be viewed better at links in the sources, compared to the obvious dodgy glaze or varnish that clings to the questionable wood of mine as though still desperately trying to gain purchase. I’ve made my point, but I’m sure those who doubt the very real and common existence of pipe forgeries will insist I just got my hands on a bad apple if I may be allowed the pun.
RESTORATION
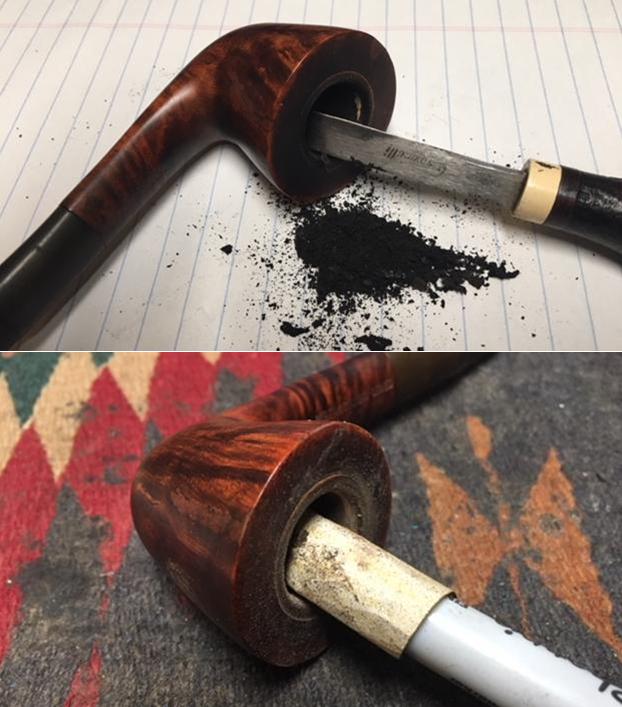
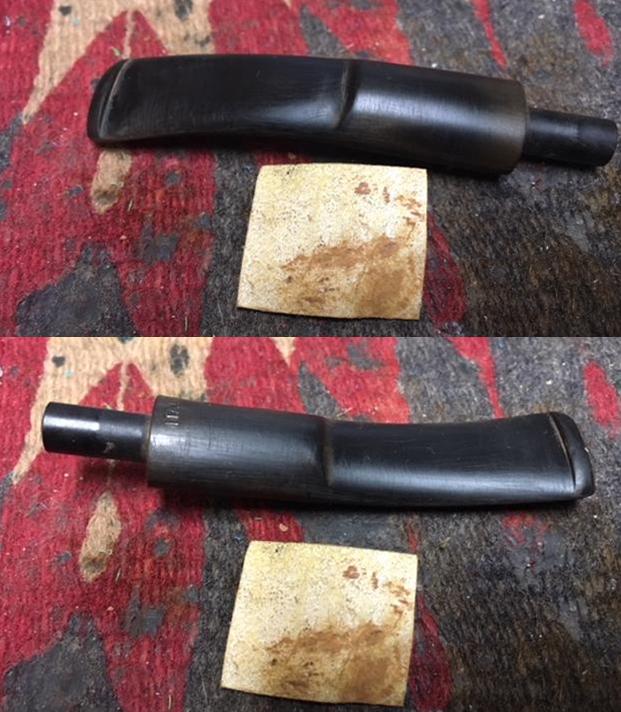
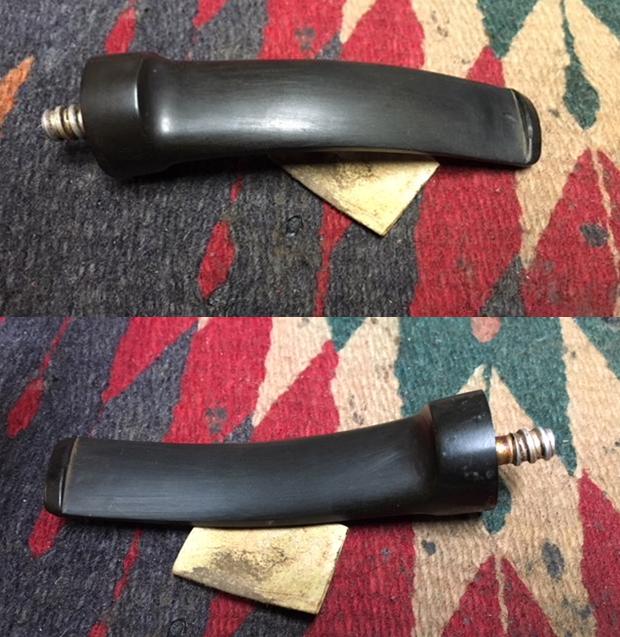
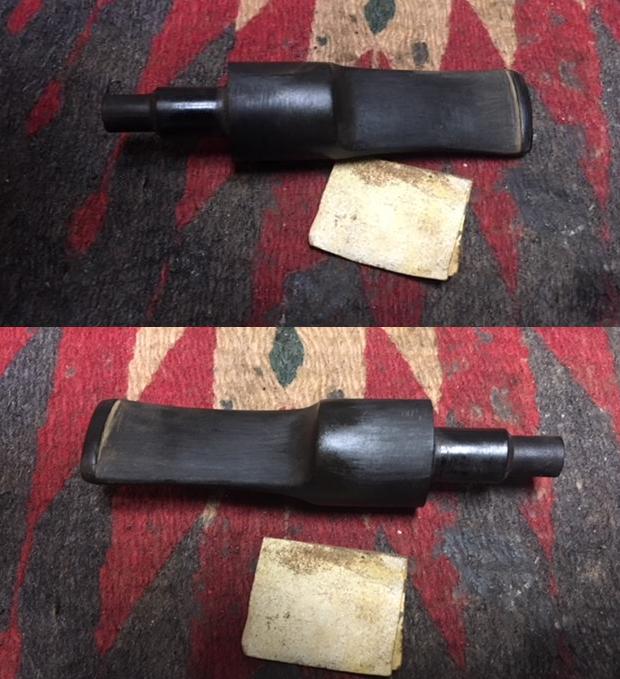
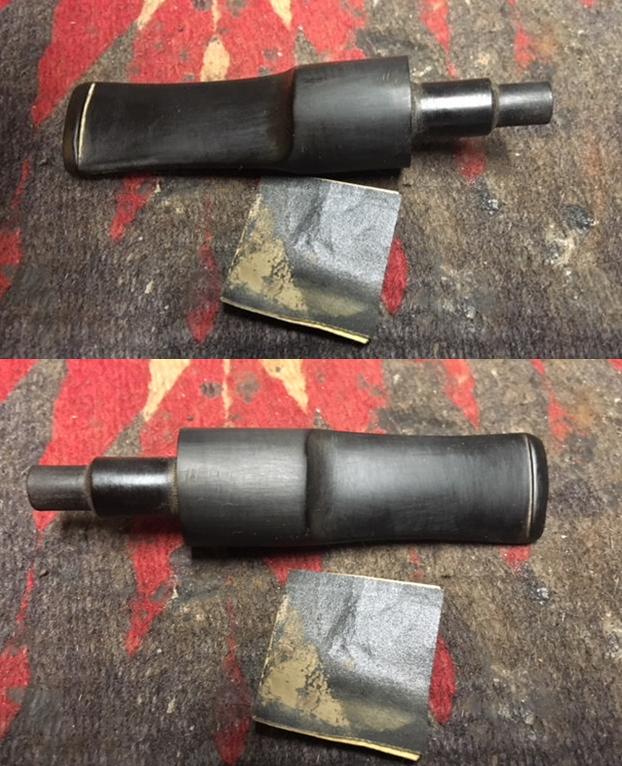
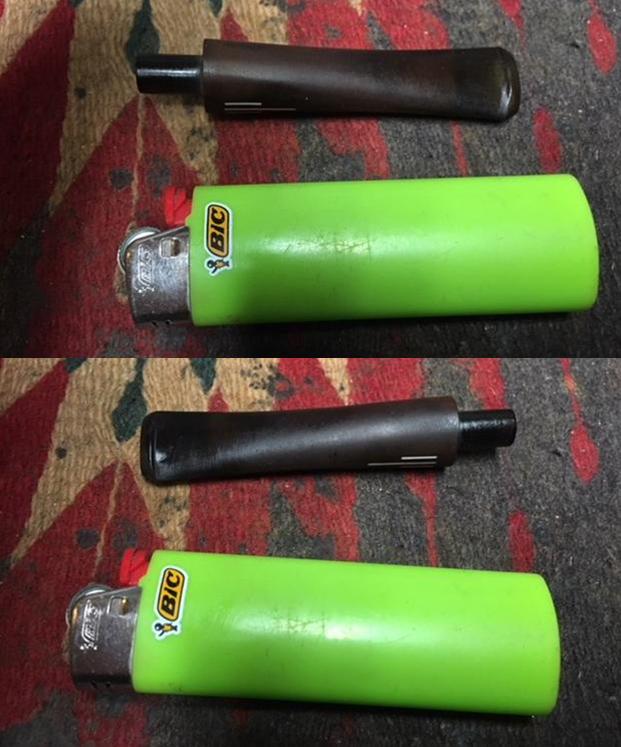
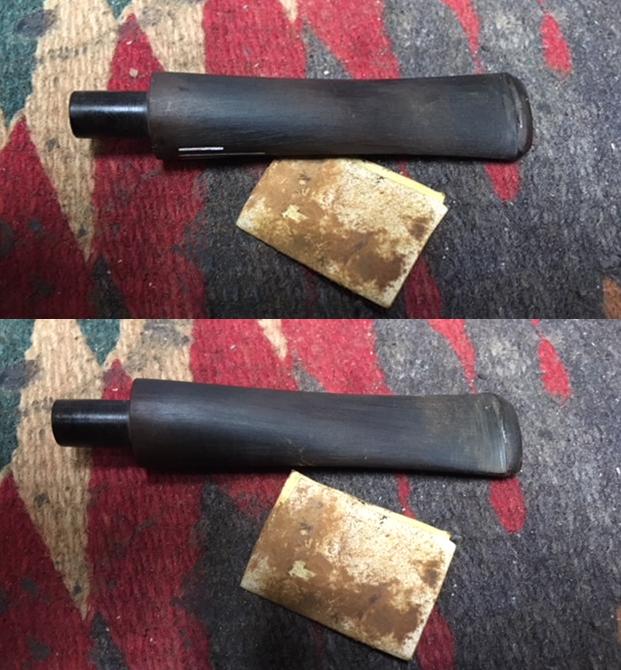
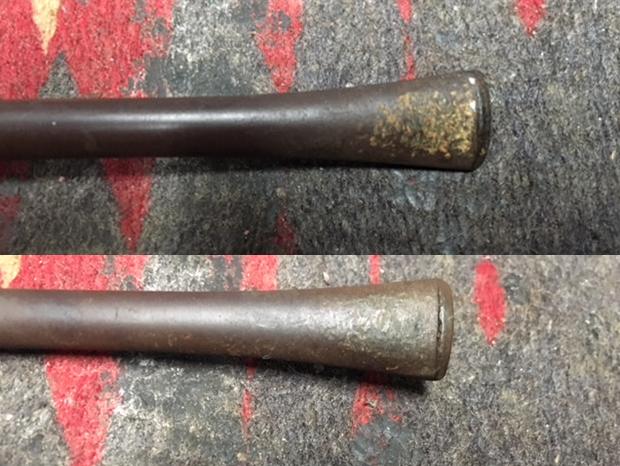
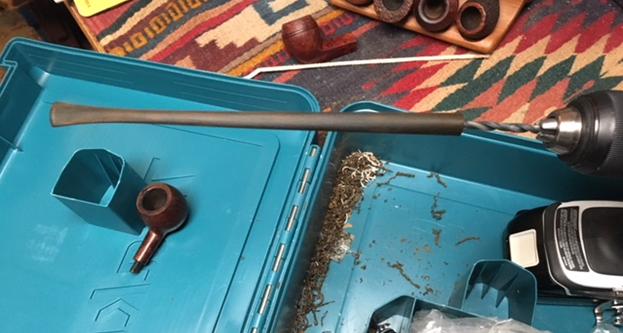
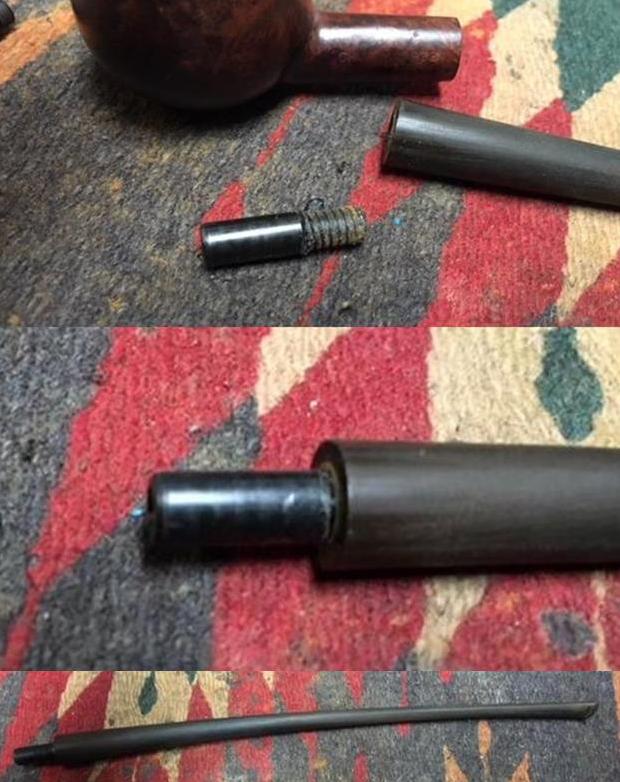
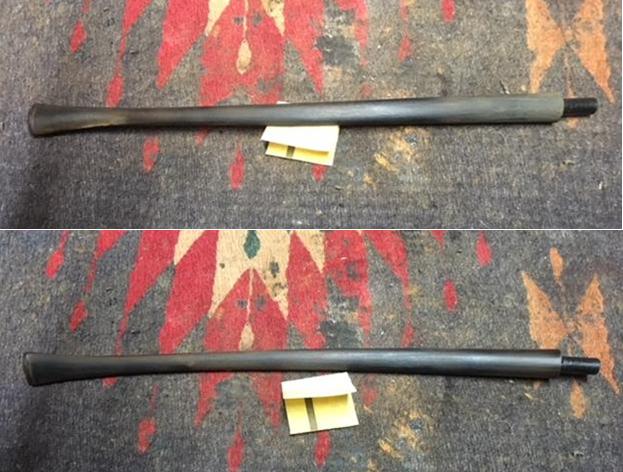
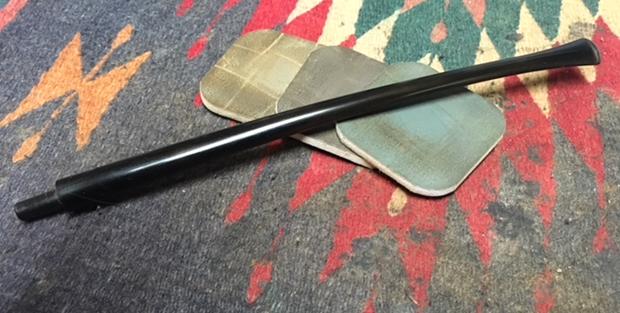
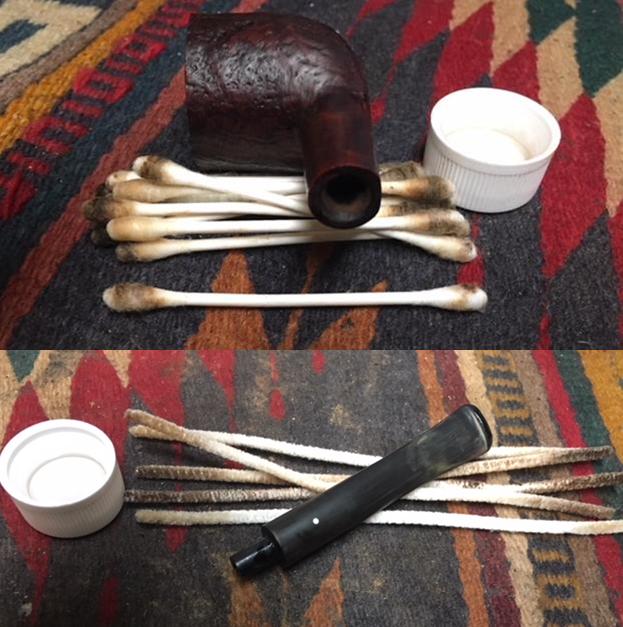
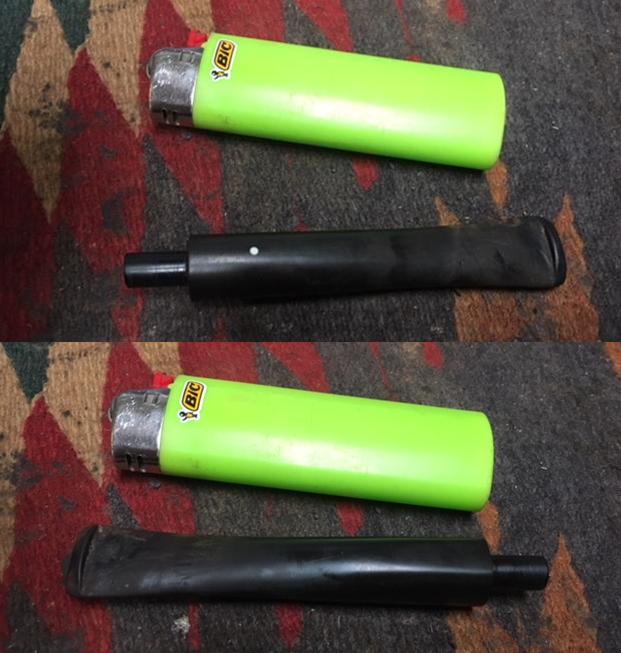
Let’s escape the hideous stummel altogether for the short time possible and start with the bit. At least it’s Vulcanite for sure! Cleaning the bore with isopropyl alcohol was easy. I suspect nobody who ever smoked the pipe did so more than once.
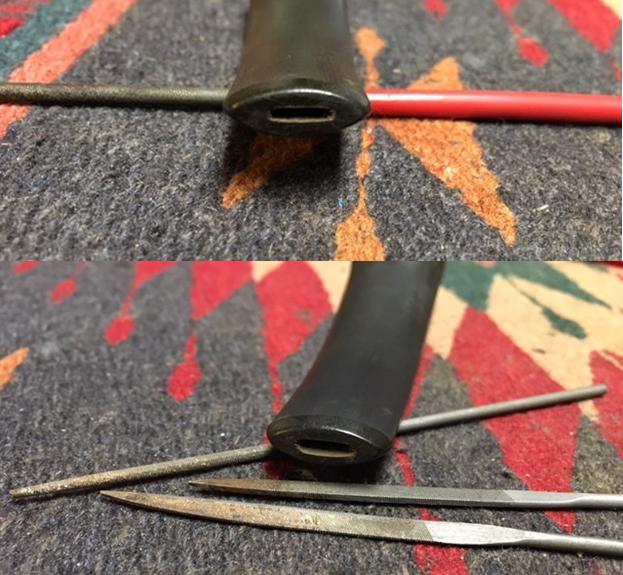
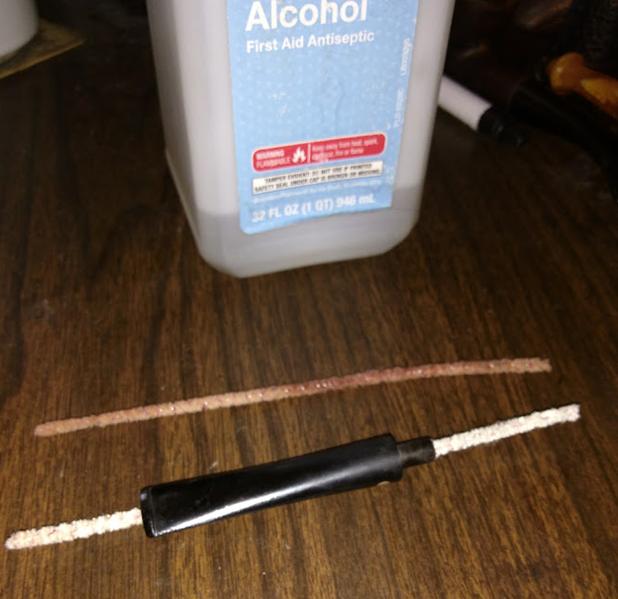 Having read in this forum that using a small, relatively soft Brillo pad is a less invasive way to begin smoothing a bit, that’s how I began. You’ll notice I still needed some practice with the method that was new to me.
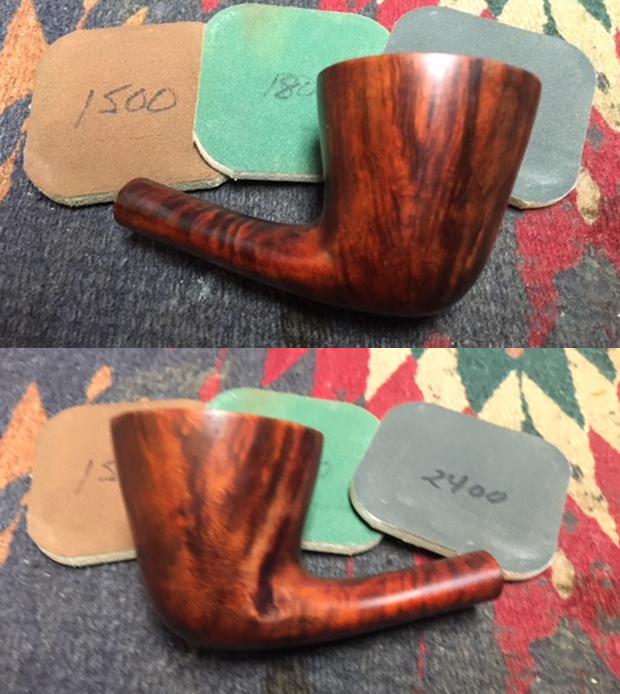
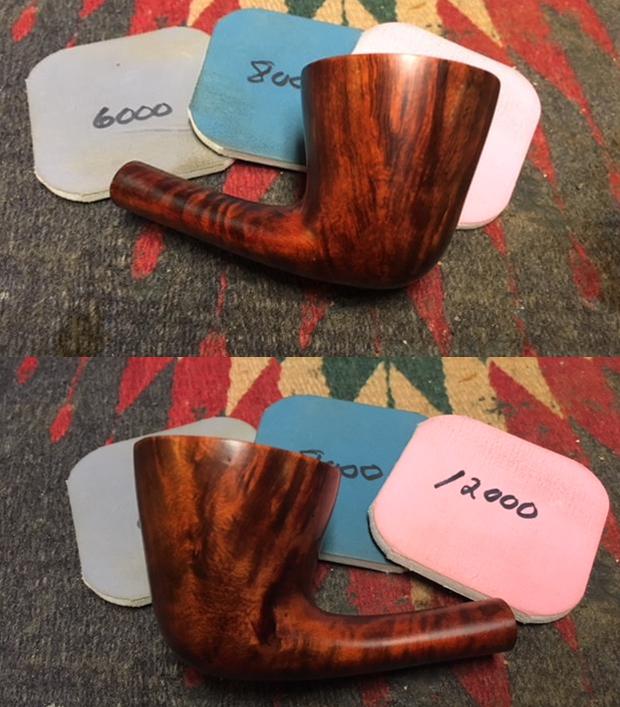
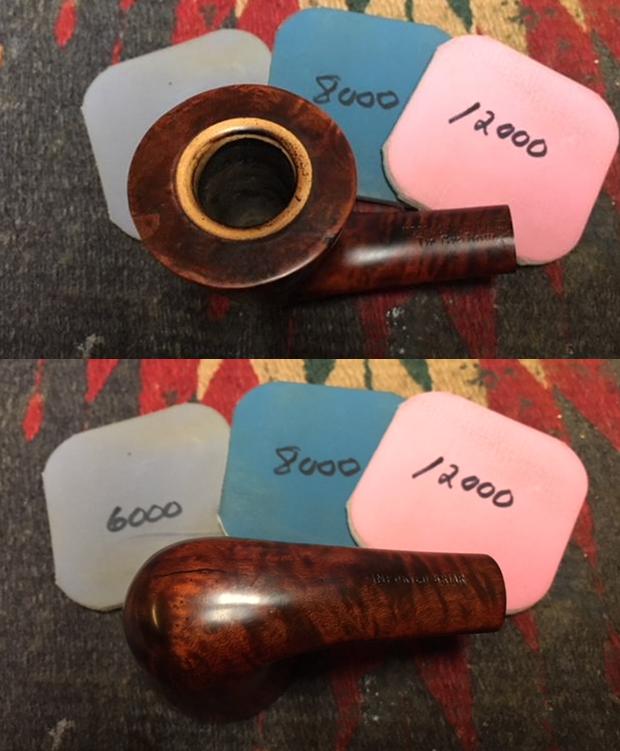
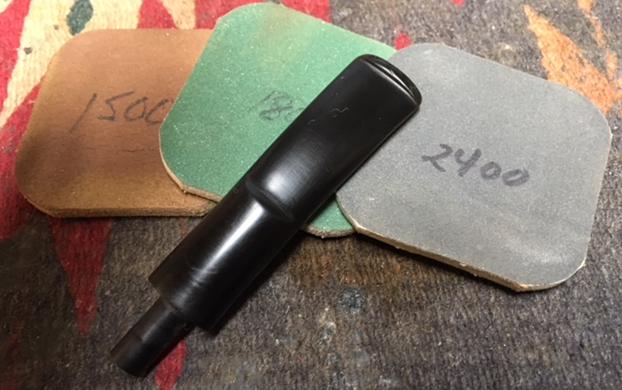
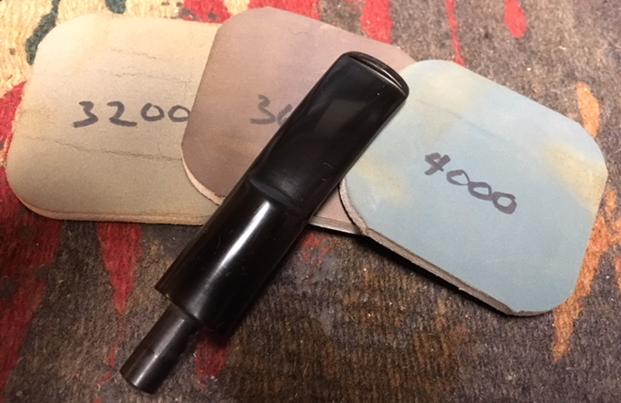
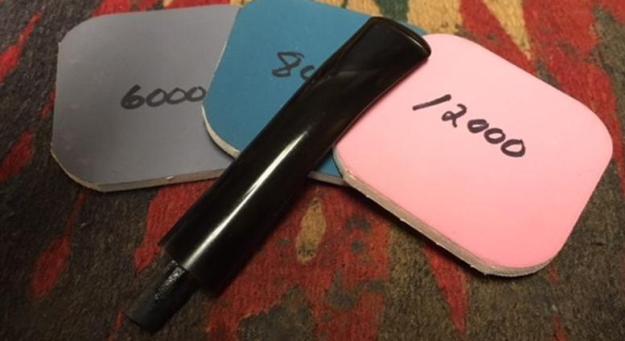
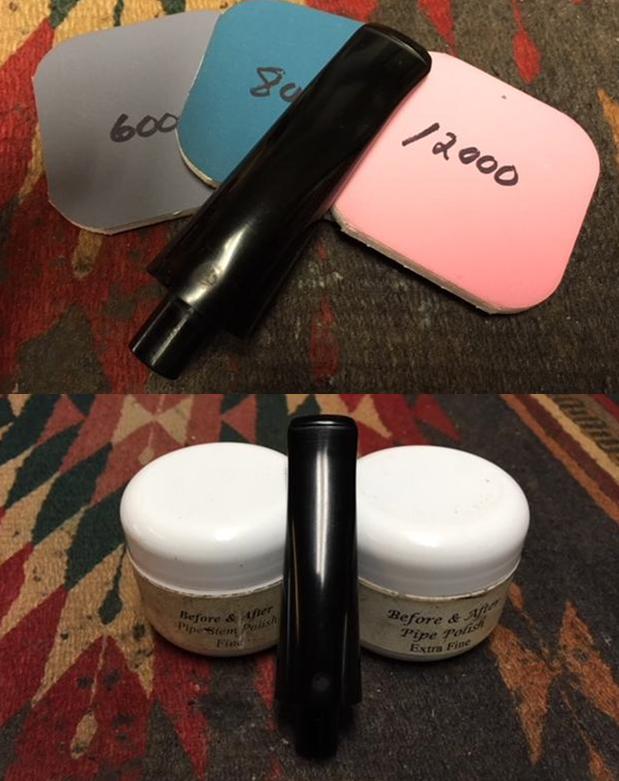
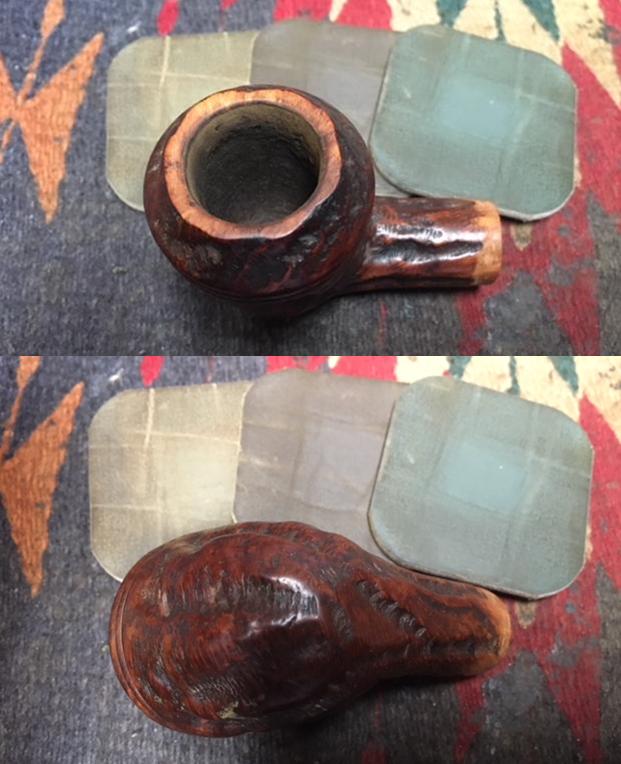
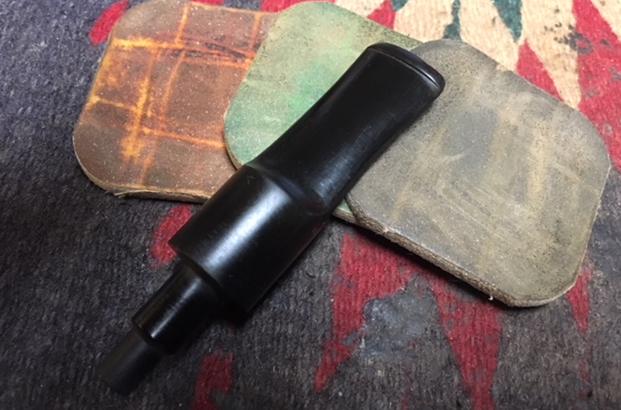
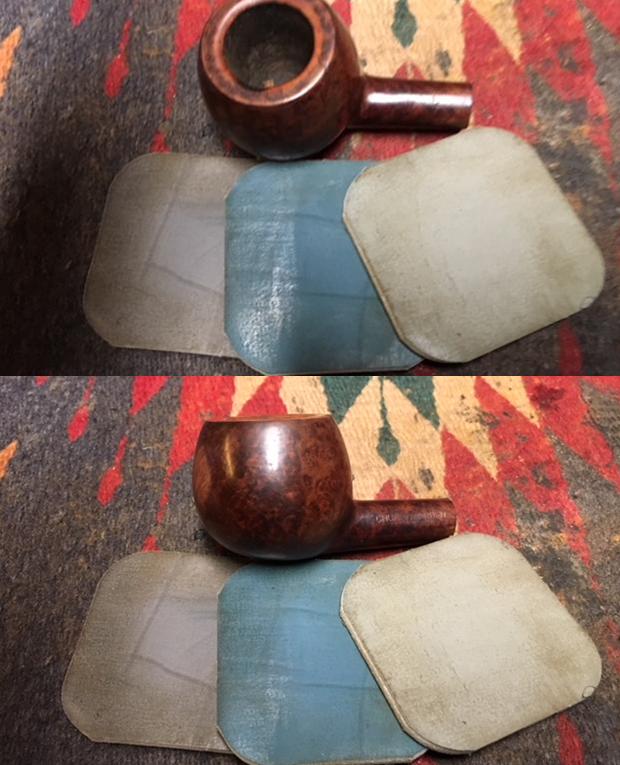
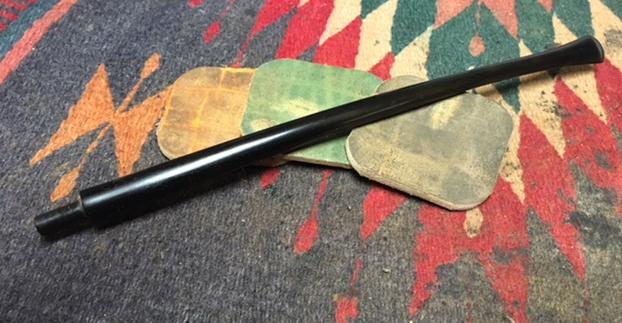
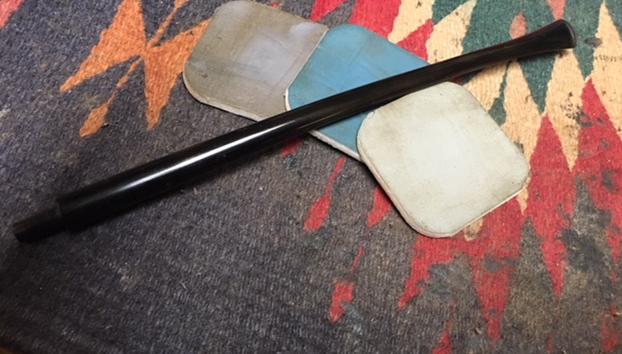
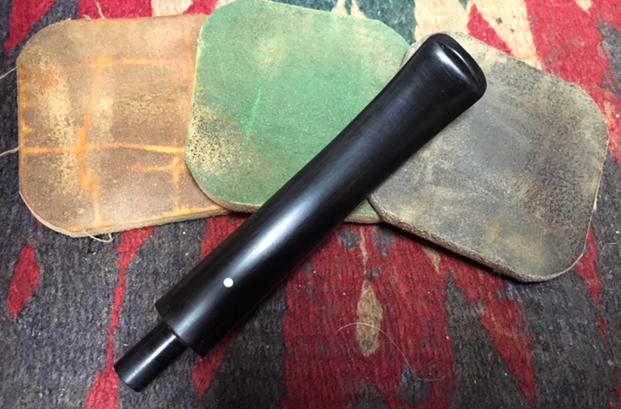
 Then I gave it a wet micro mesh all the way from 1500-12000 with my older kit.
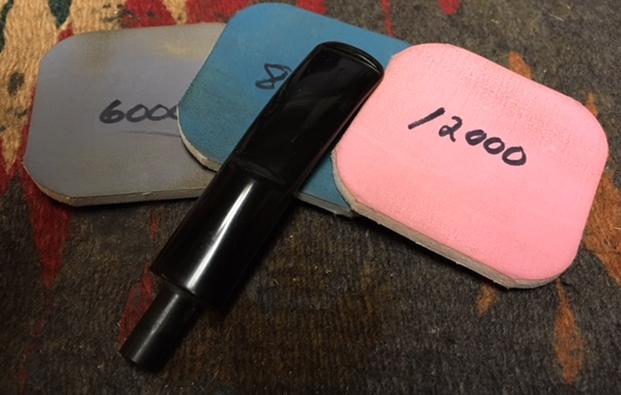
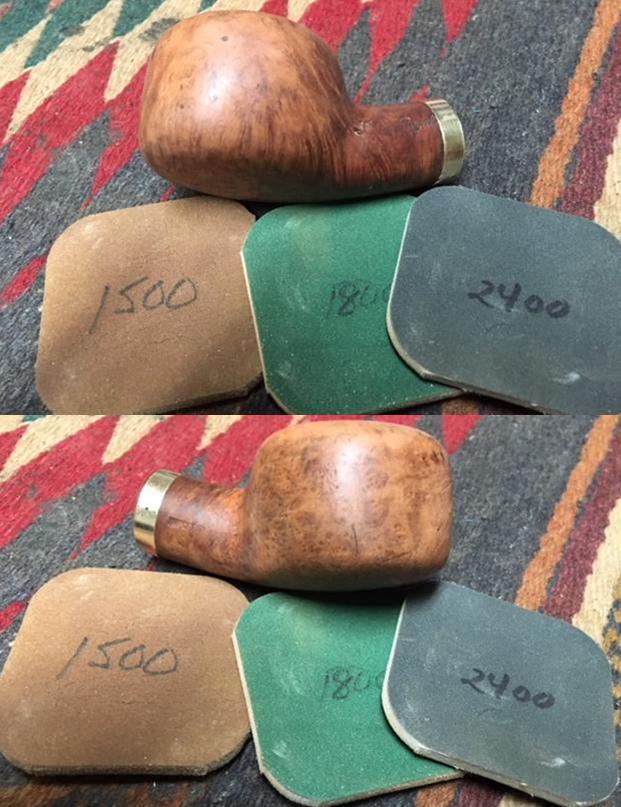
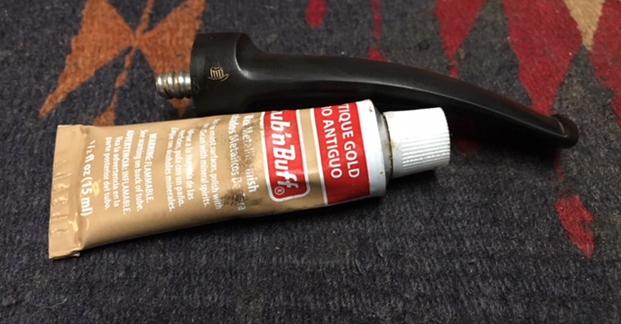
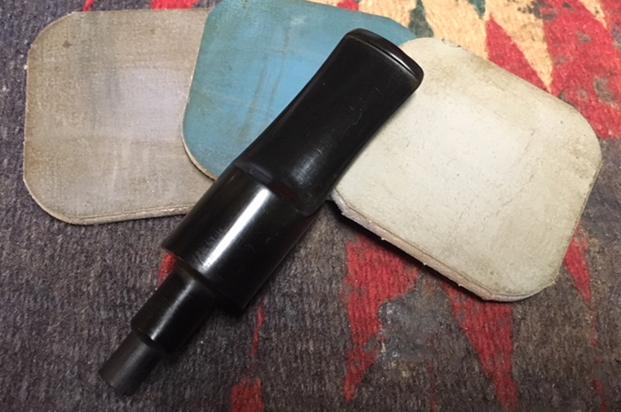
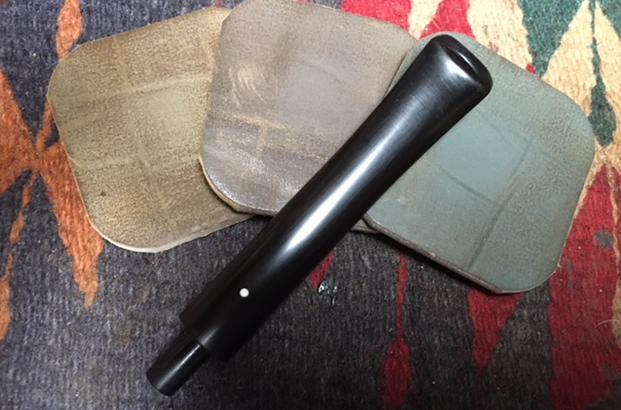
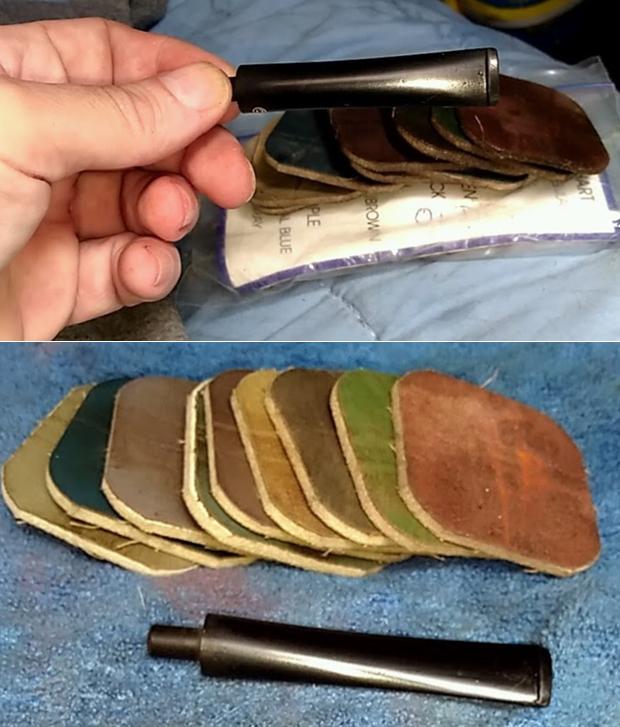 And the same dry treatment with my newer kit.
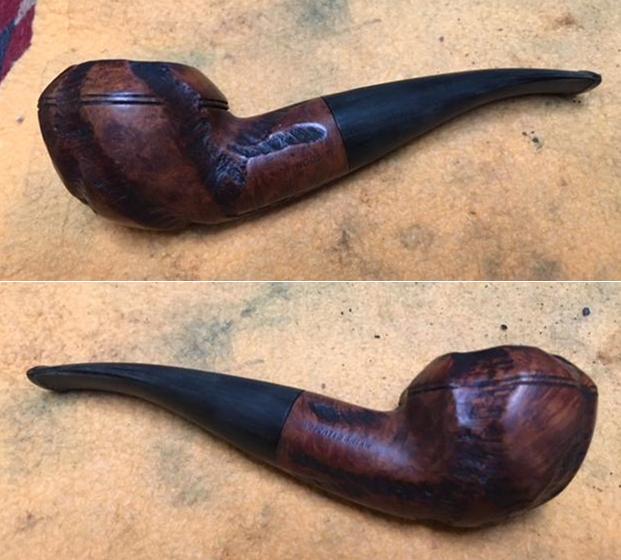
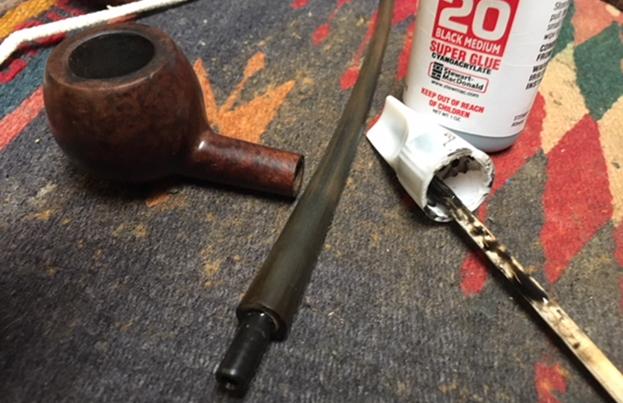
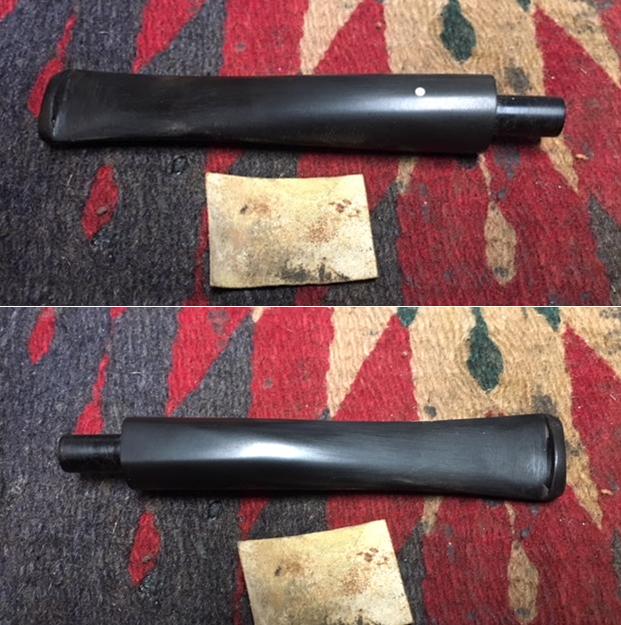
 I recall using my Bic to pull out the minor chatter but seem not to have bothered recording the step. Anyway, here’s how it worked out – a little dark, I apologize.
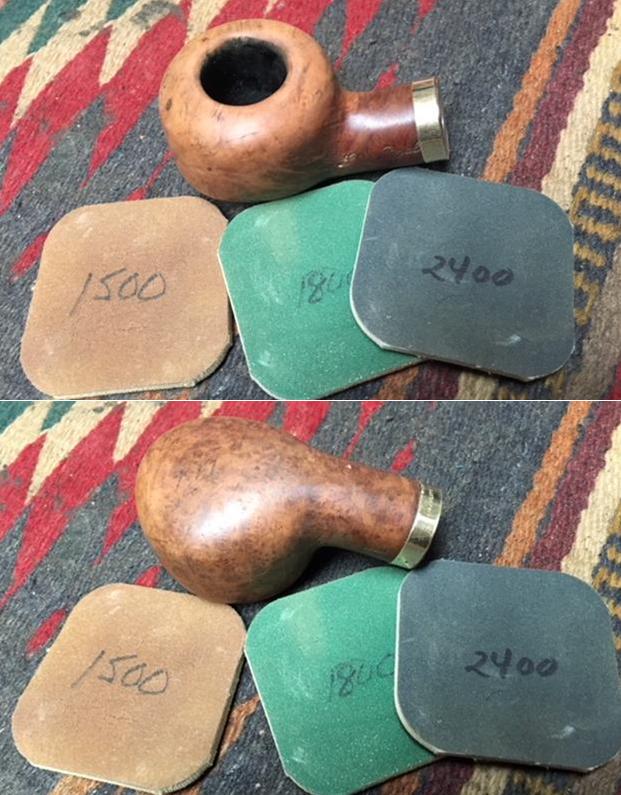
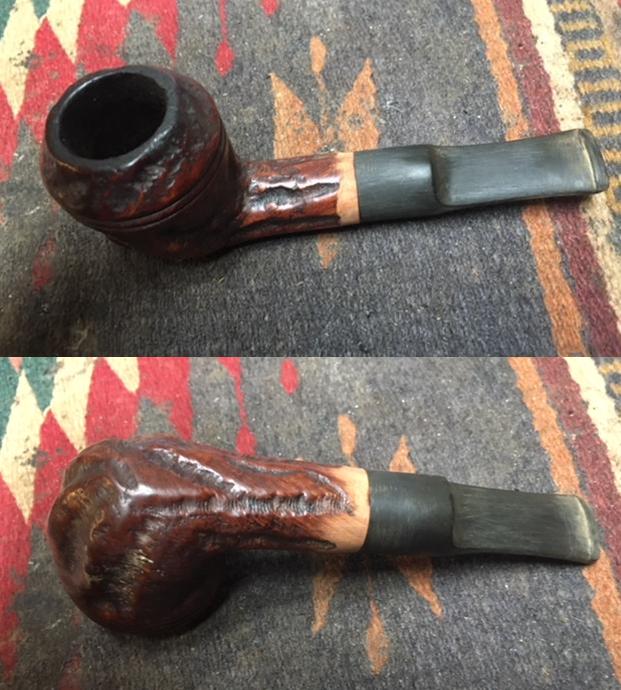
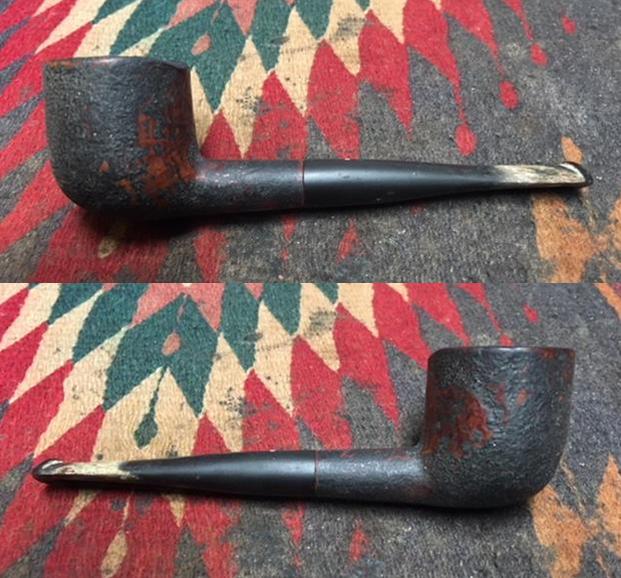
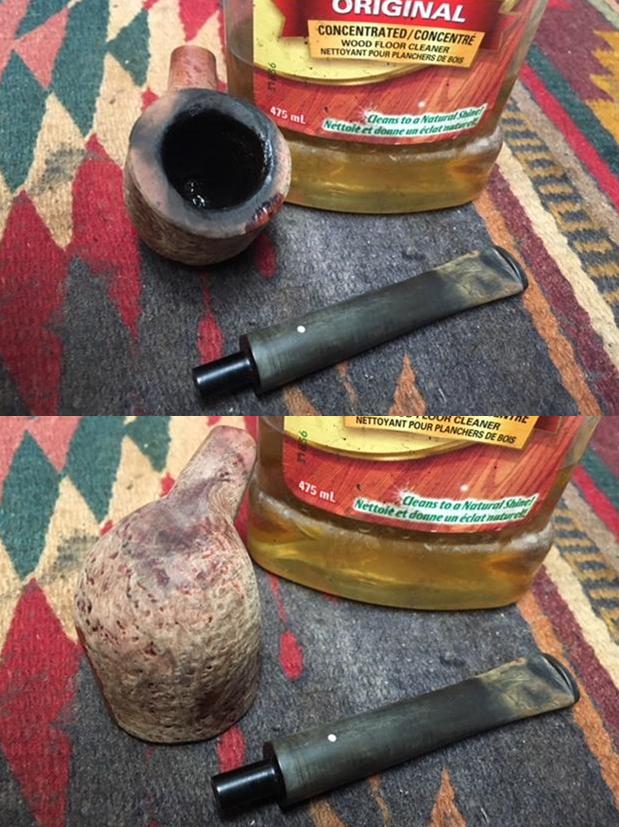
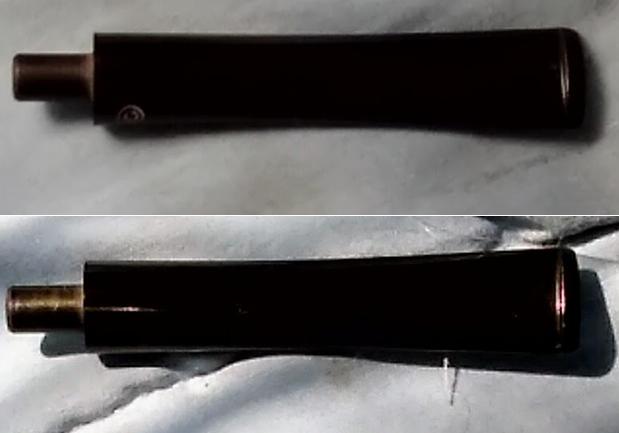 Alright, fun time’s over. For the stummel, I commenced the process that at times made me despair of the point of it all with the 150-grit side of a sanding pad. At least I achieved a spotty resemblance to briar.
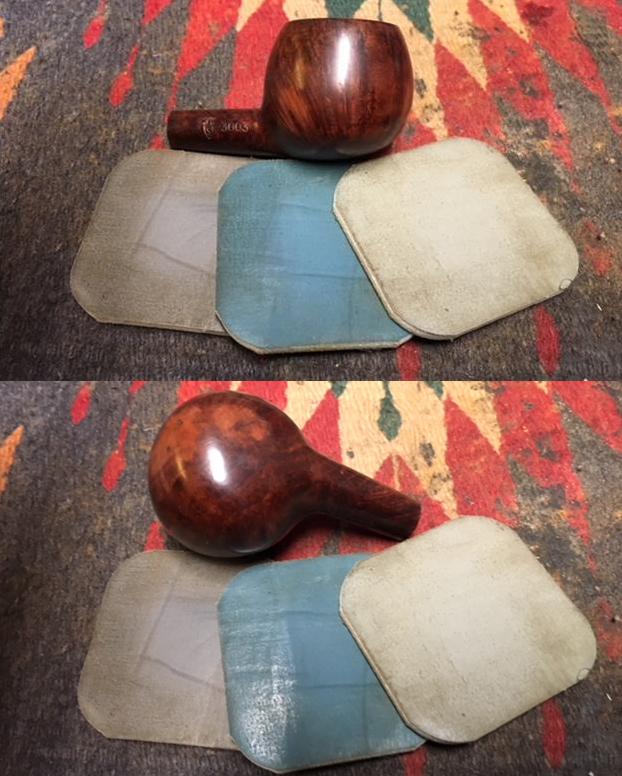
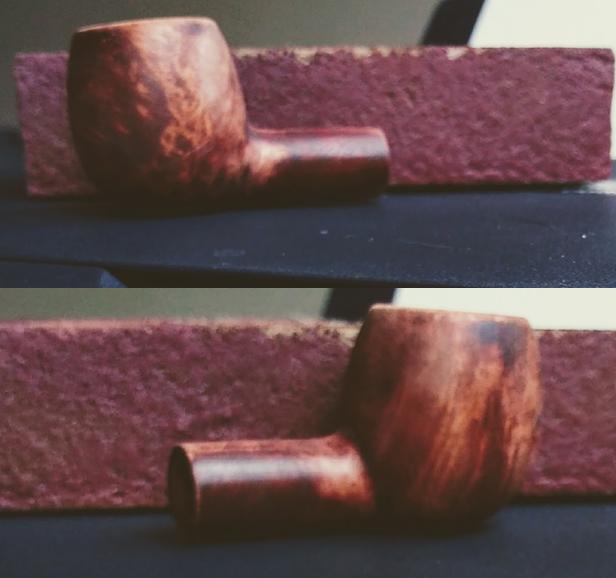 See? Still no sign of a shape number.
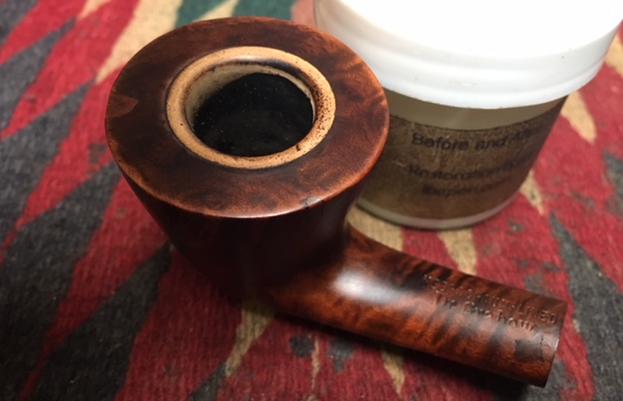
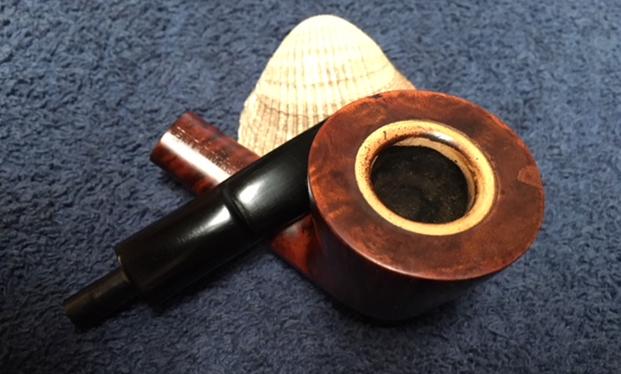
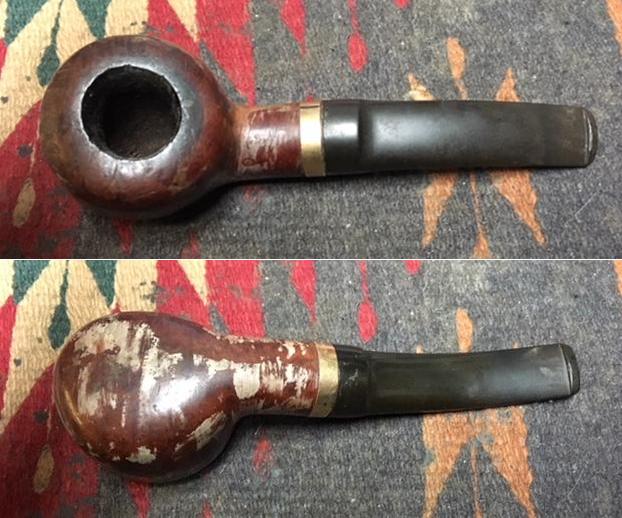
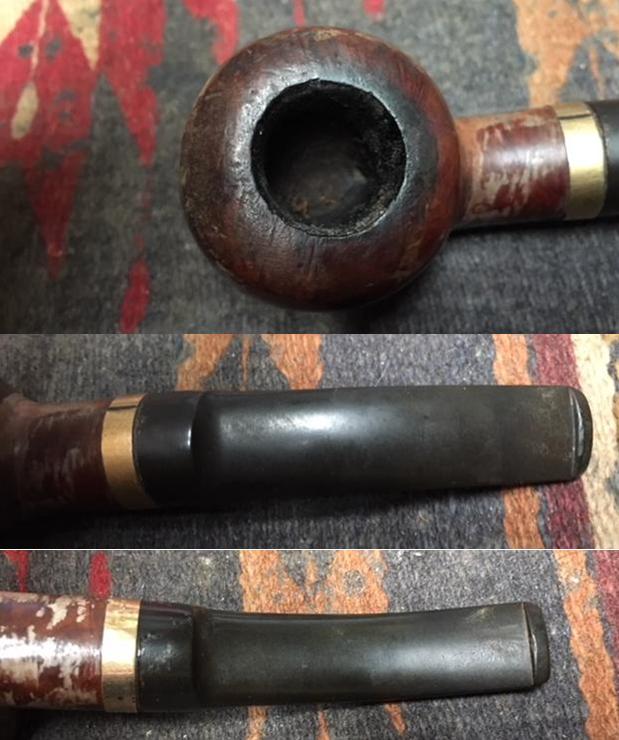
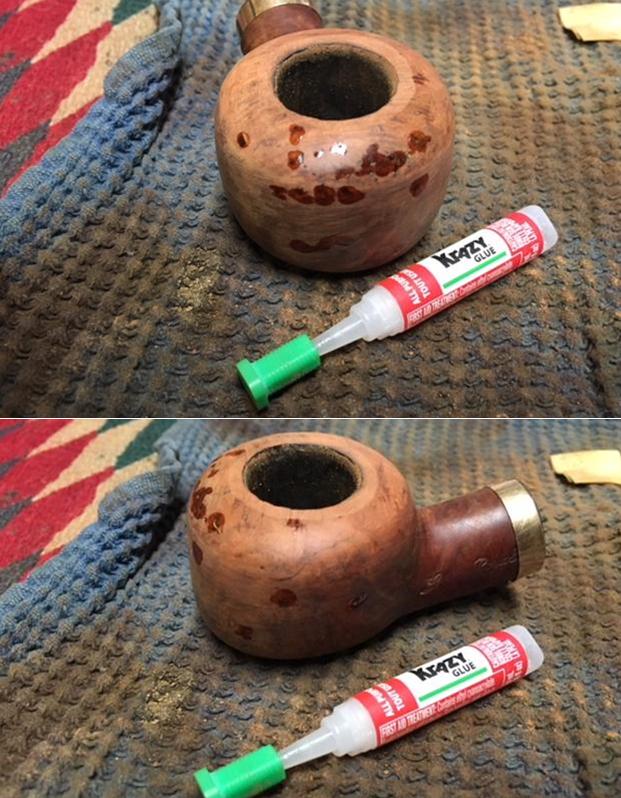
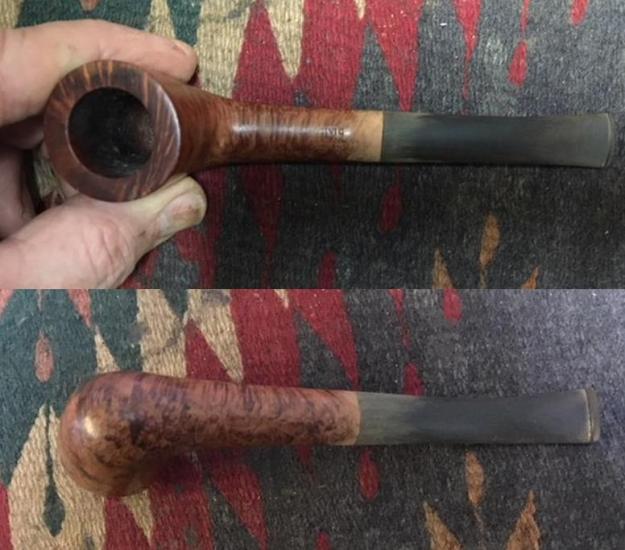
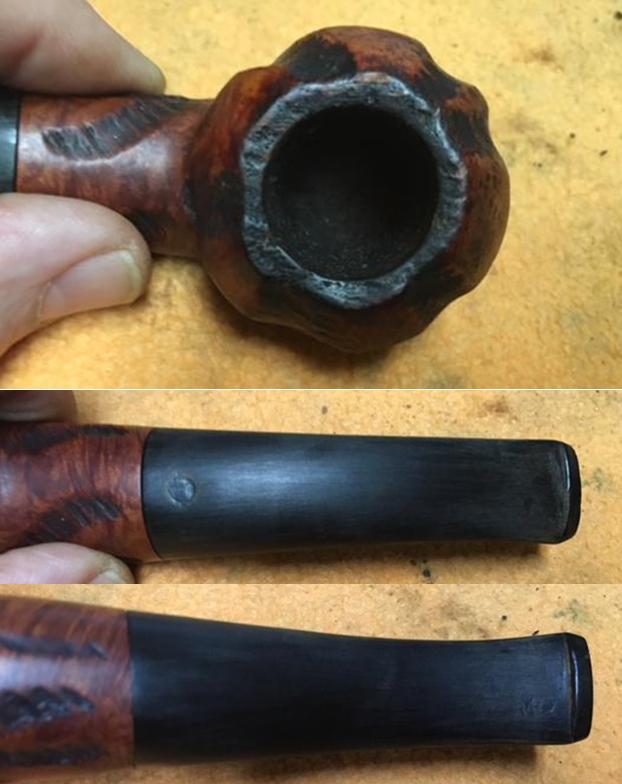
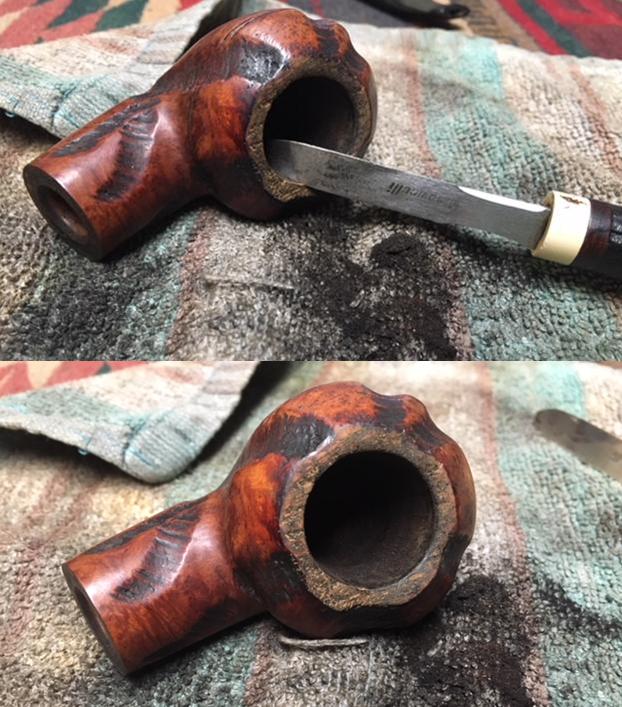
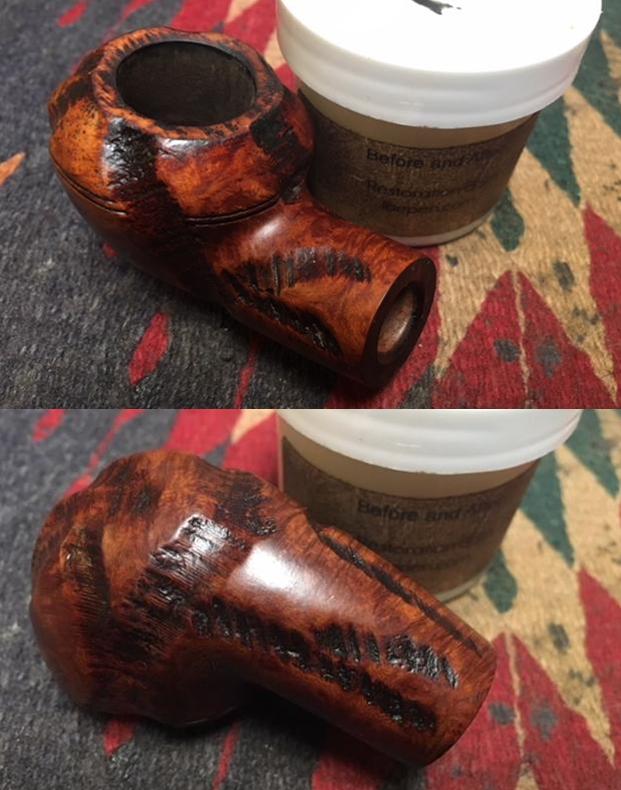
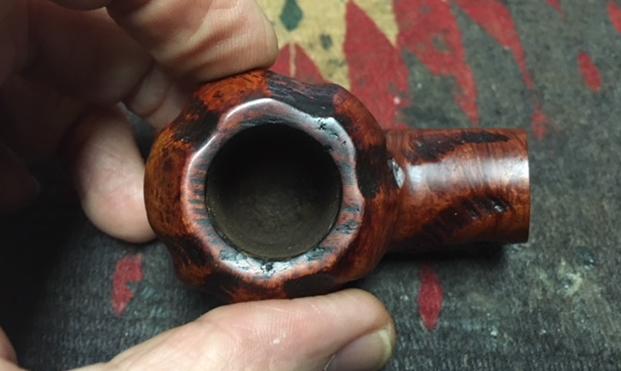
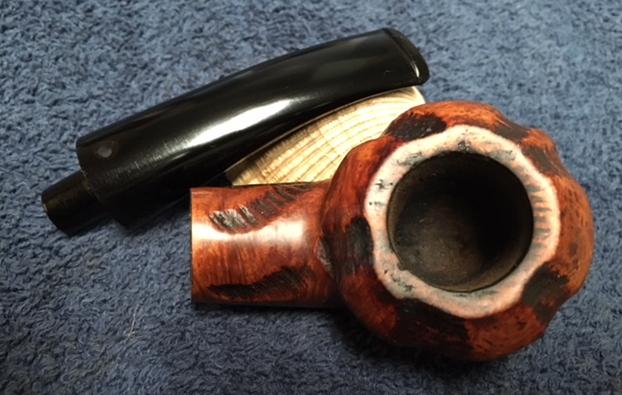
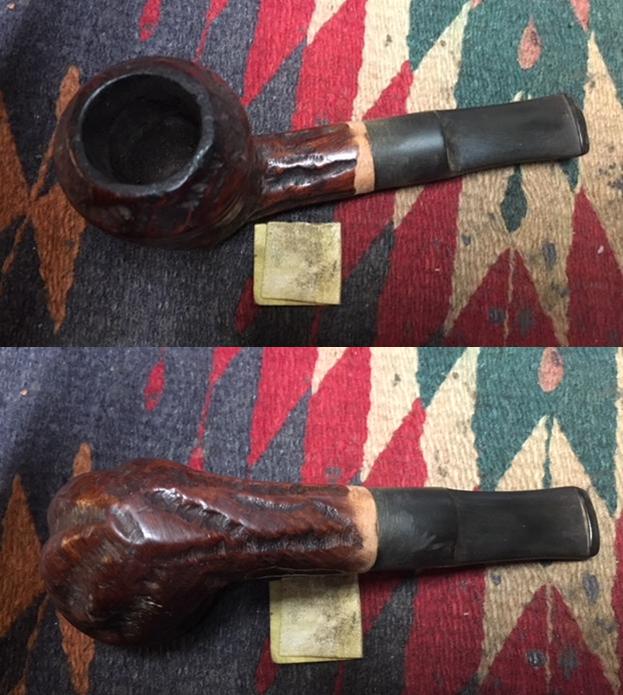
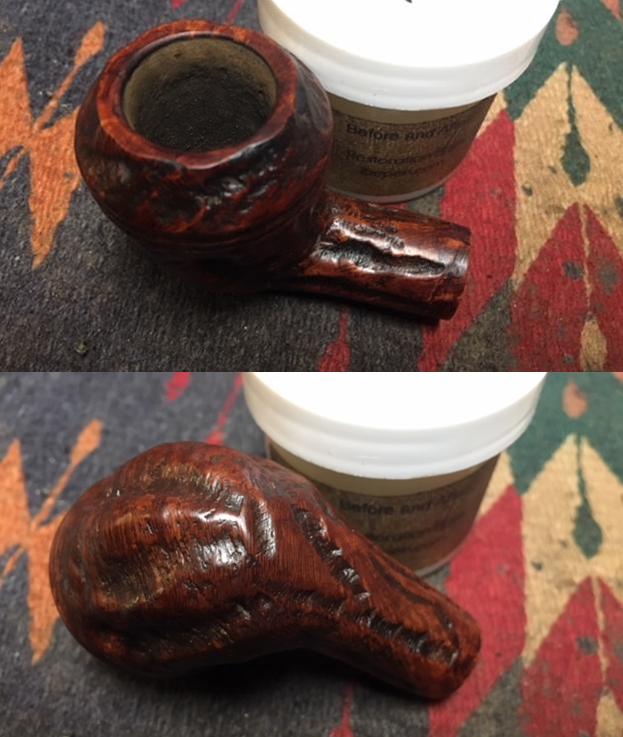
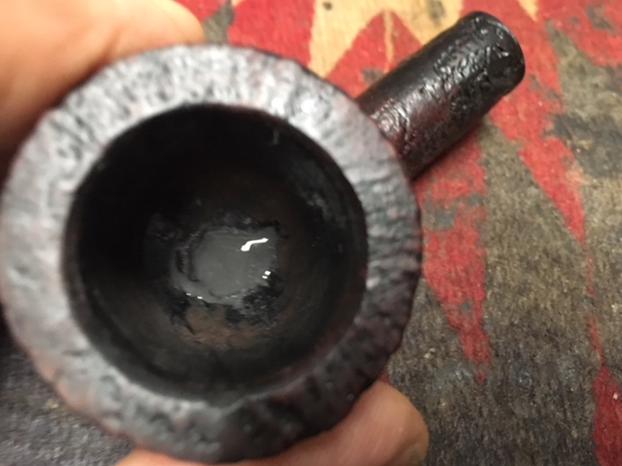
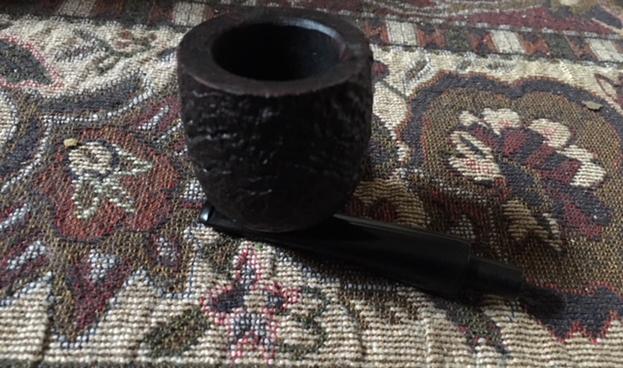
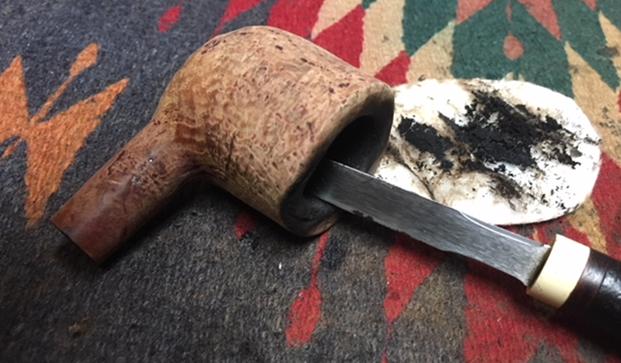
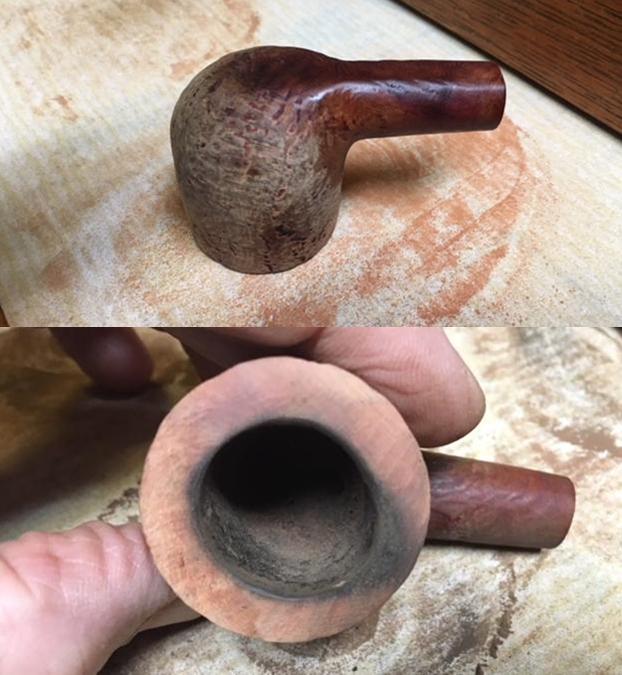
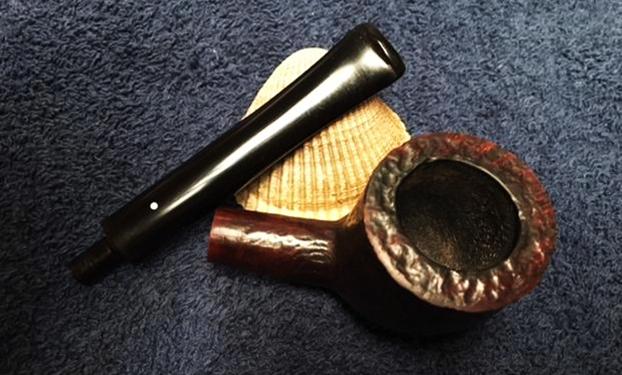
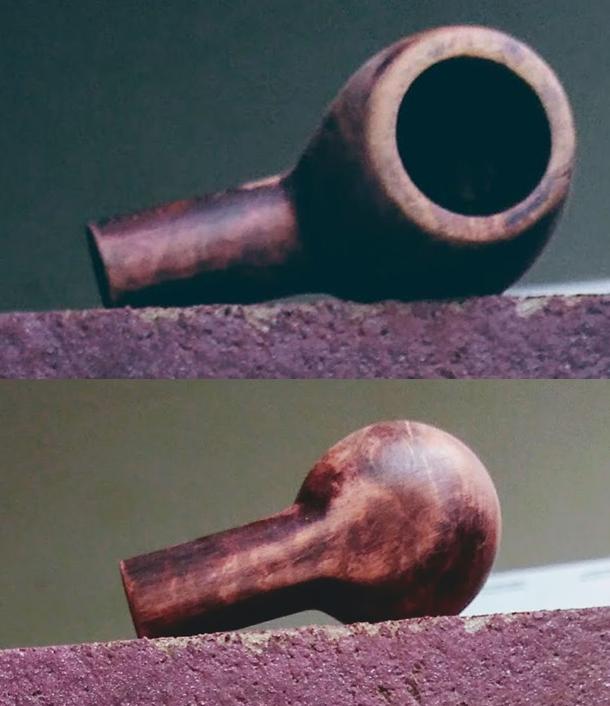 Here the thought that someone poked that hole in the bowl on purpose will seem a little saner. My only guess at the cause of the glaring black mark, like a dark shape from a photo of the moon, is that it’s some weird sort of filling. Check out the wear around the shank opening. Does that look like briar?
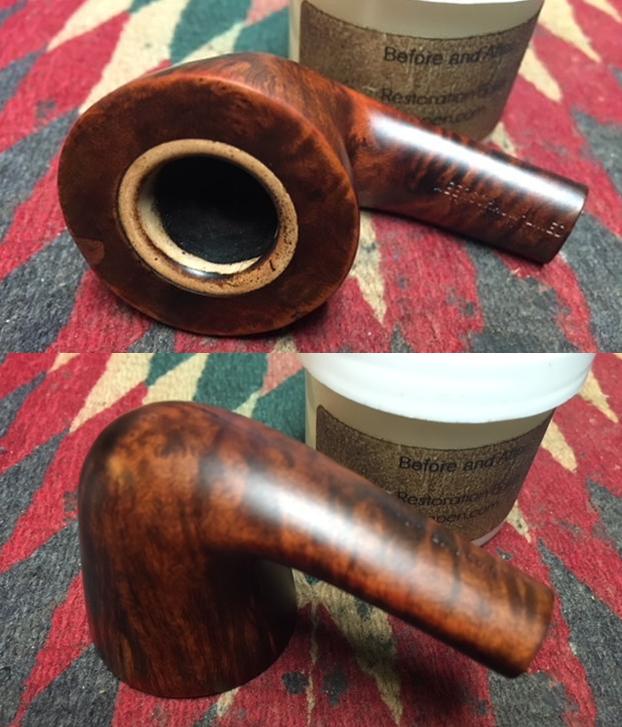
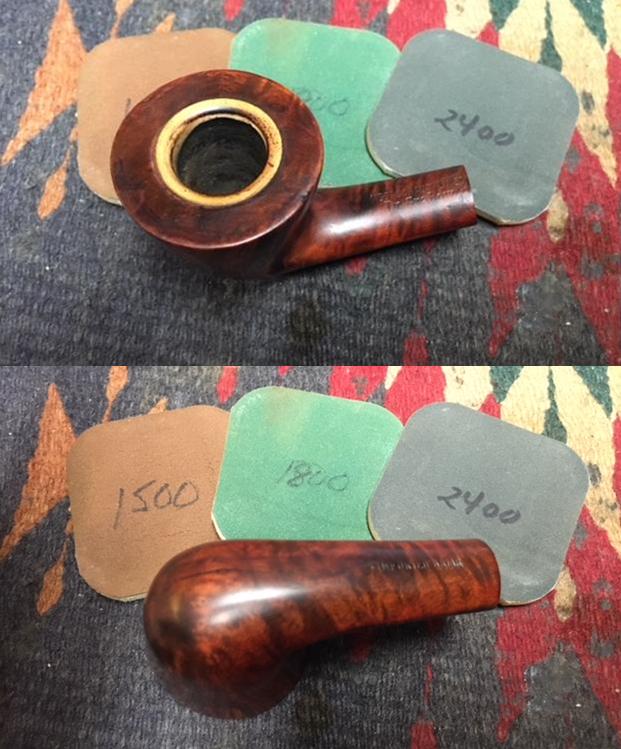
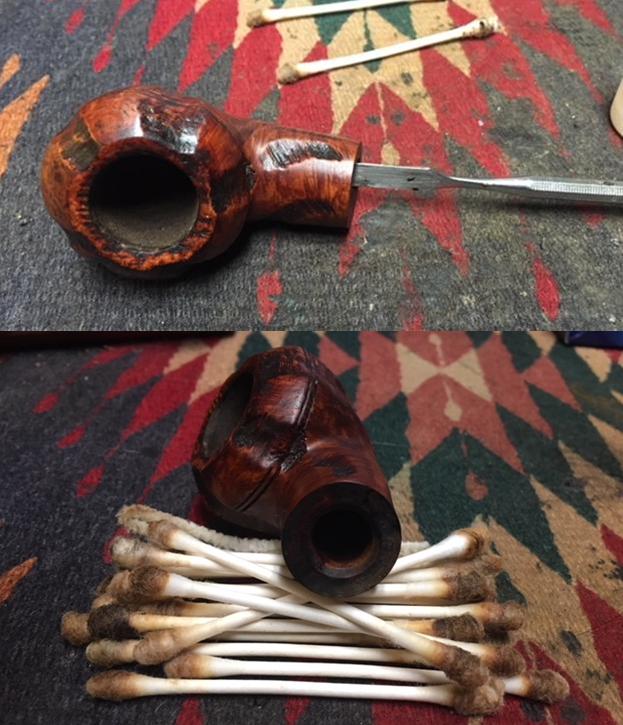
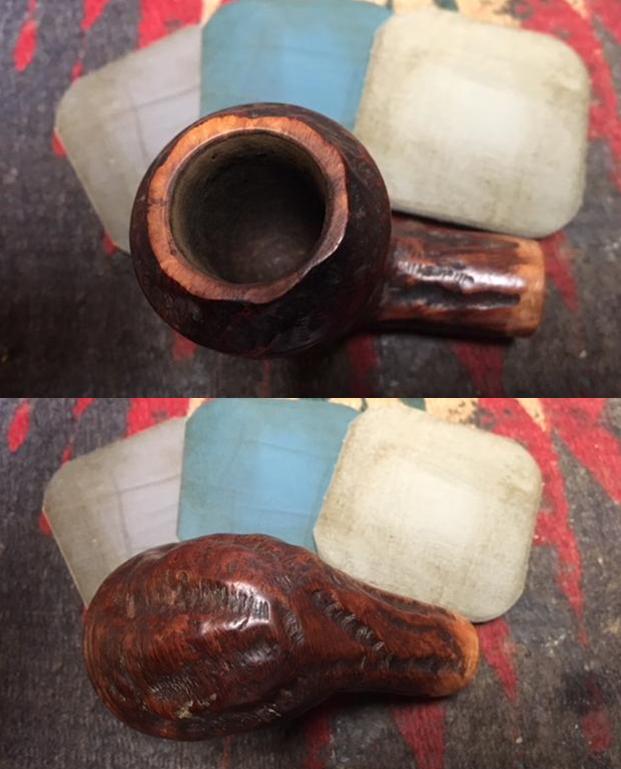
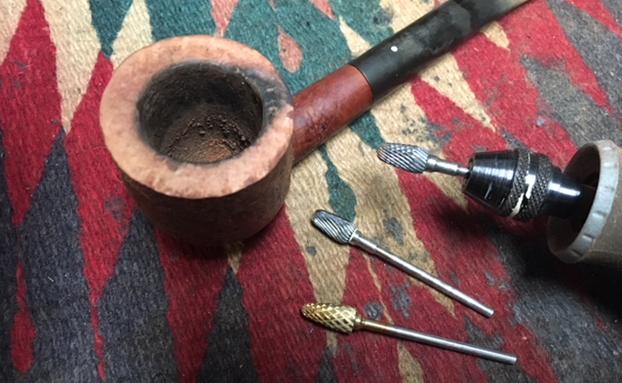
 I gave the outer wood another full micro mesh progression, and it even started to look somewhat prettier.


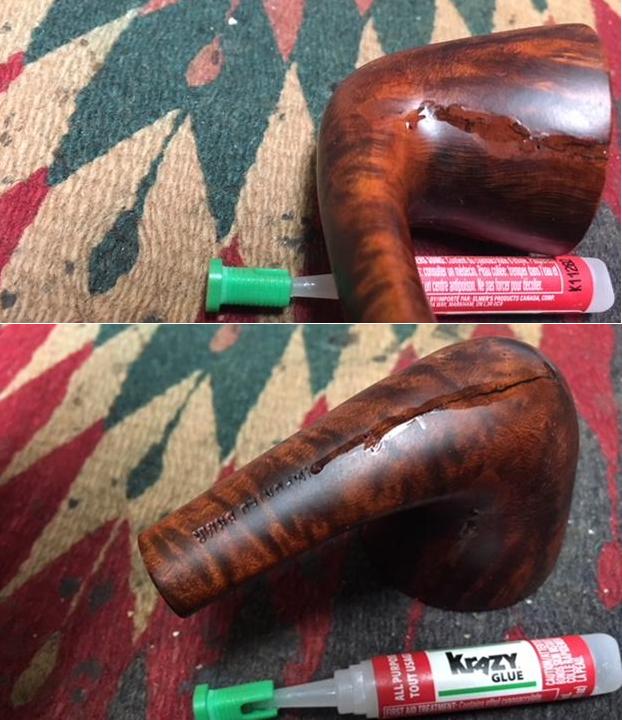
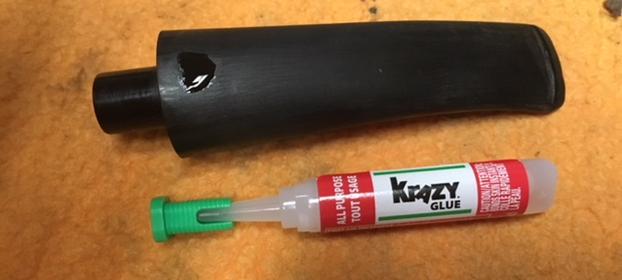
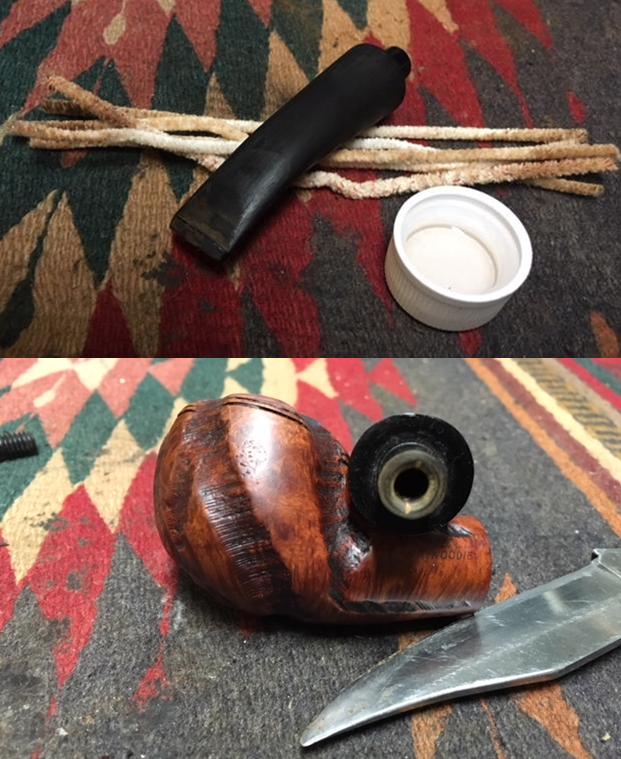
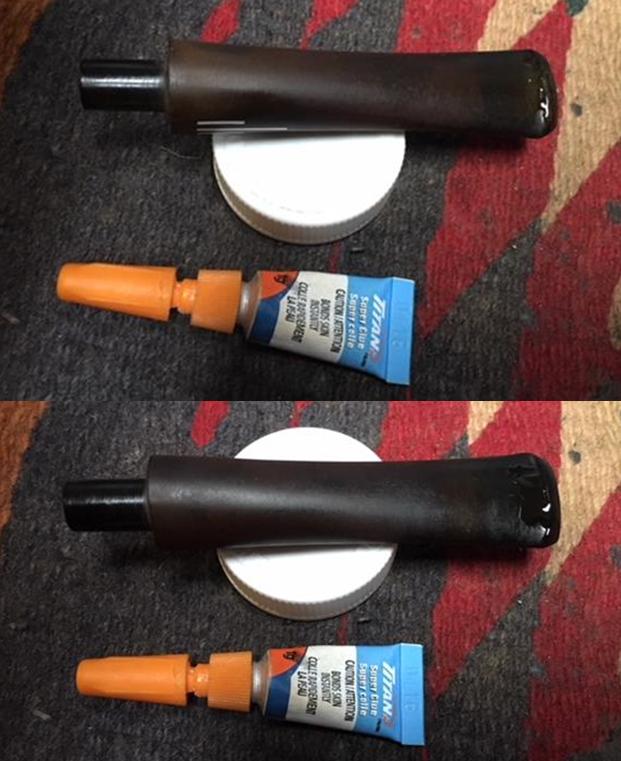
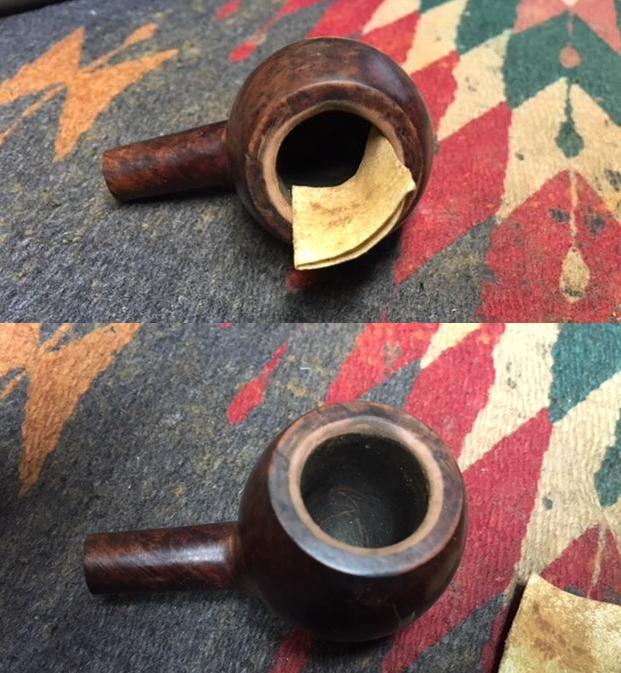
 I stuffed the pin hole, from the chamber side, with wood putty and sealed the outer bowl side with Super Glue using the same exposed end of the paper clip from earlier. Later I know I smoothed it with several of the finest micro mesh pads, but again didn’t record it.
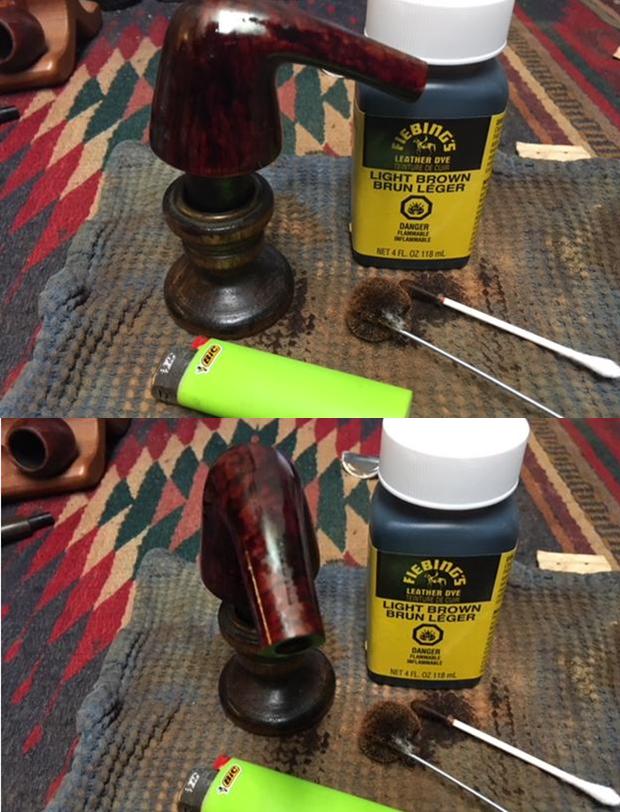
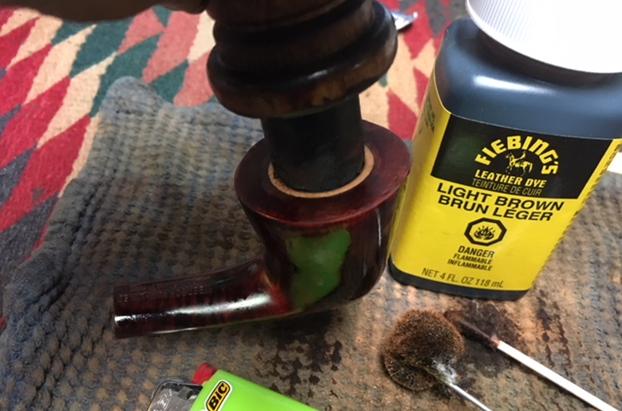
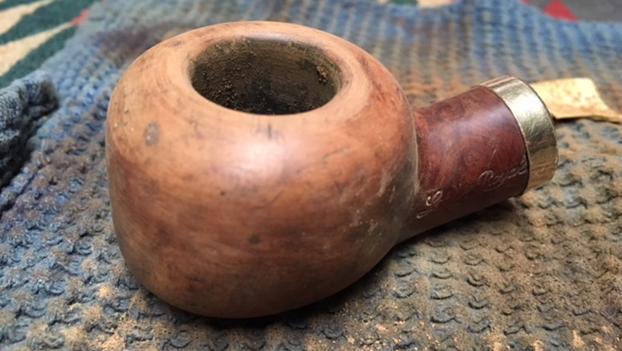
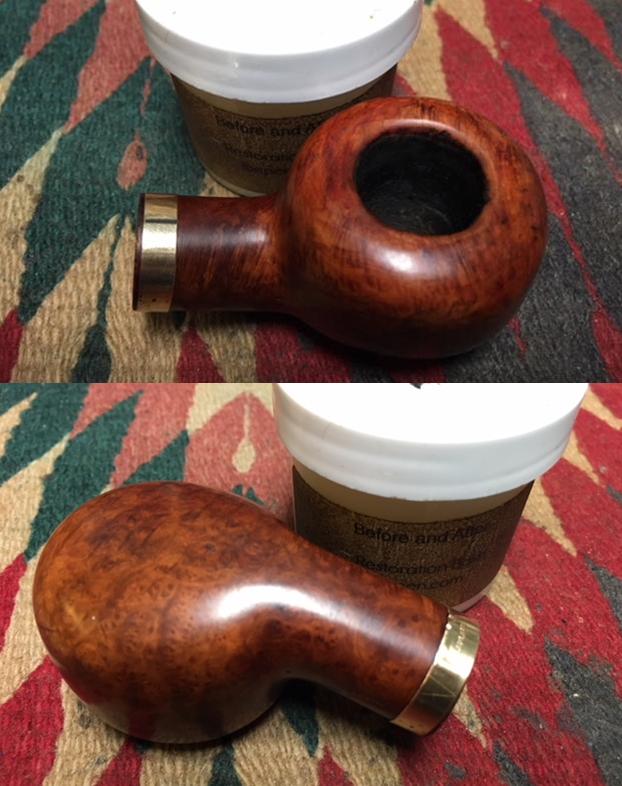
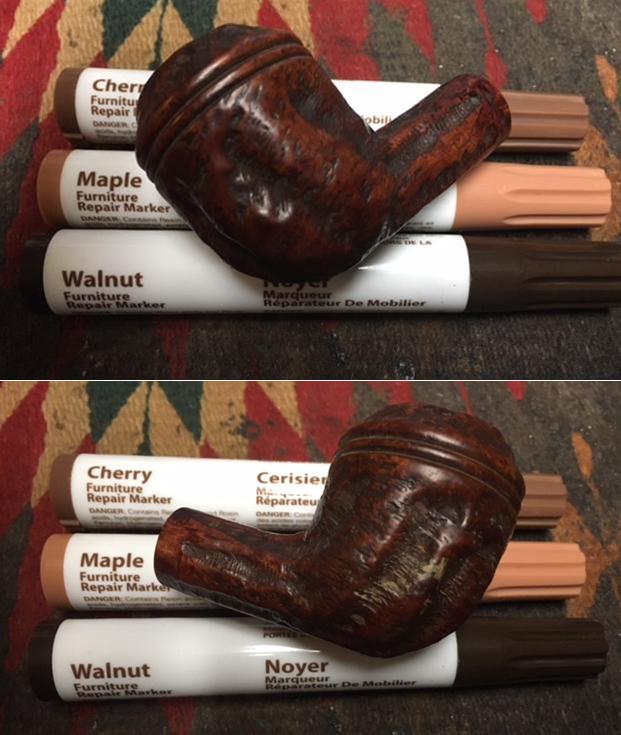
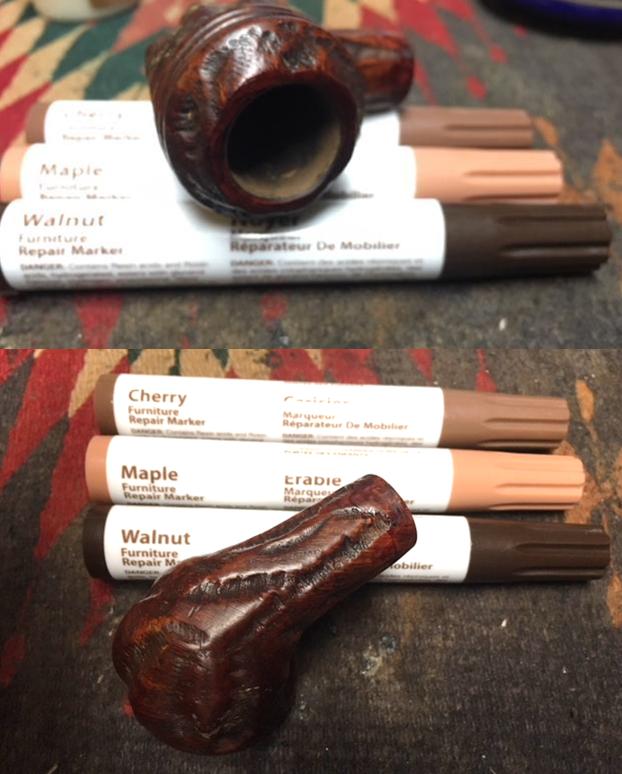
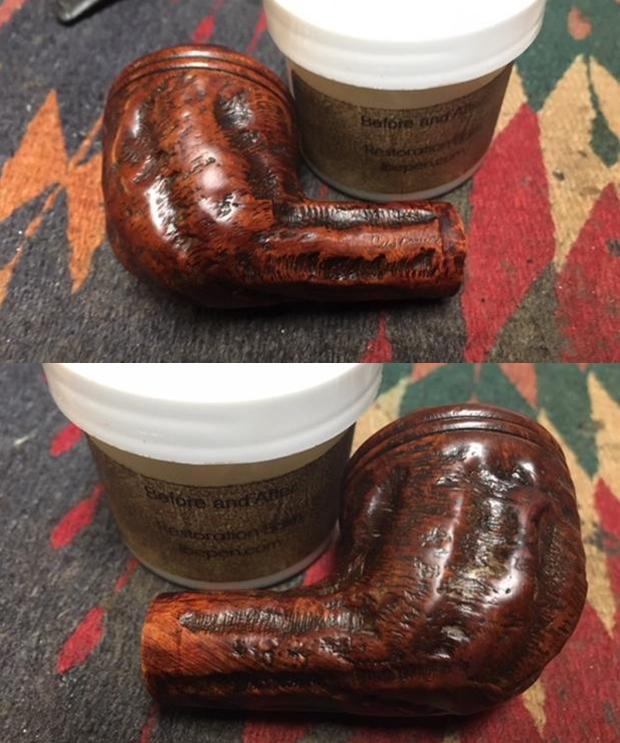
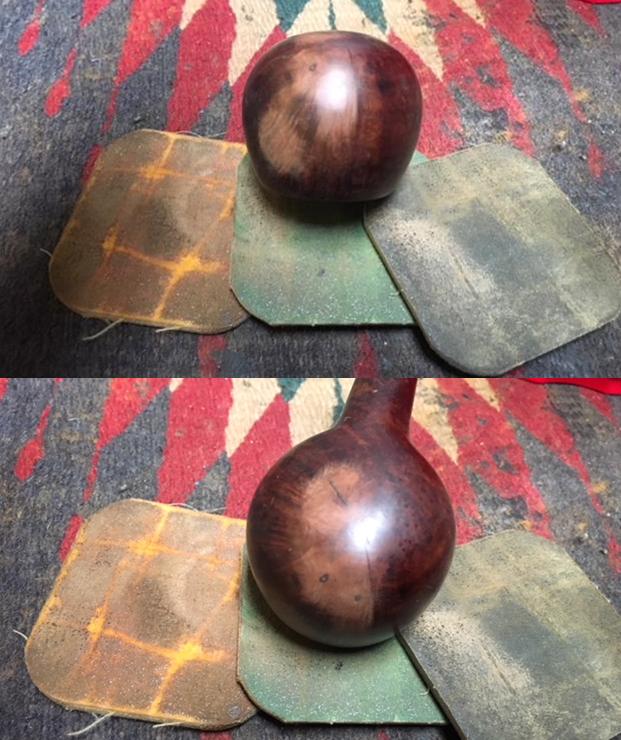
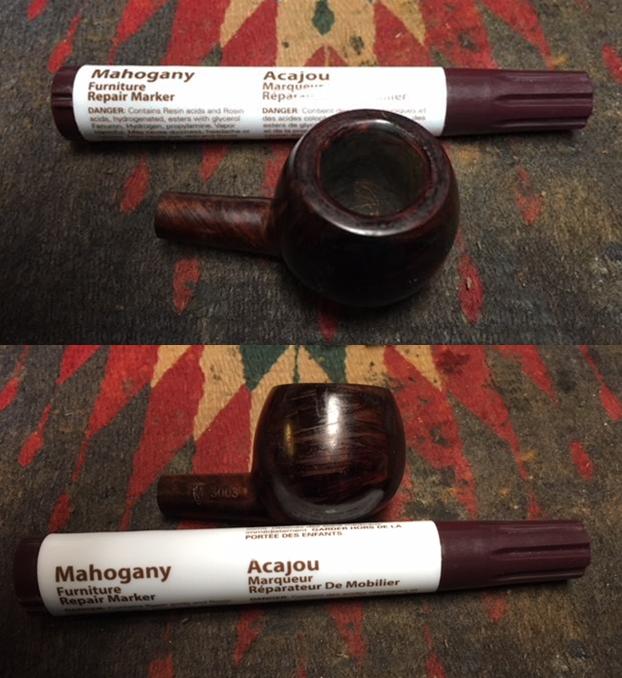
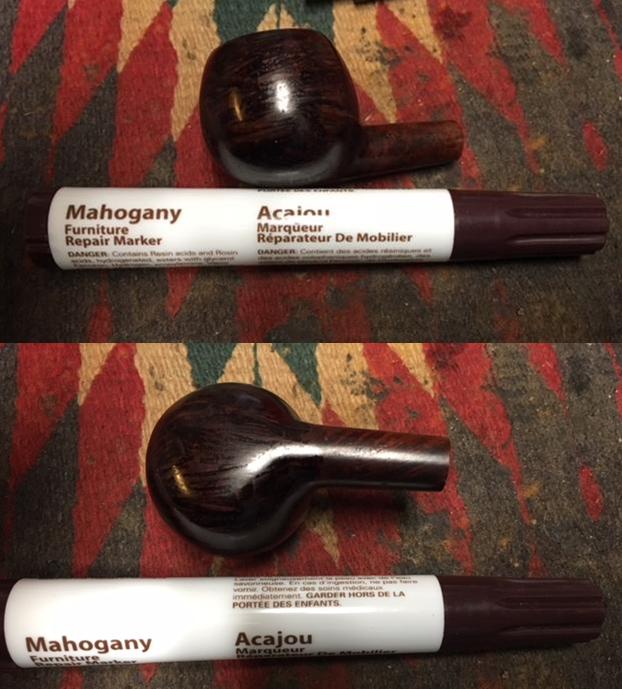
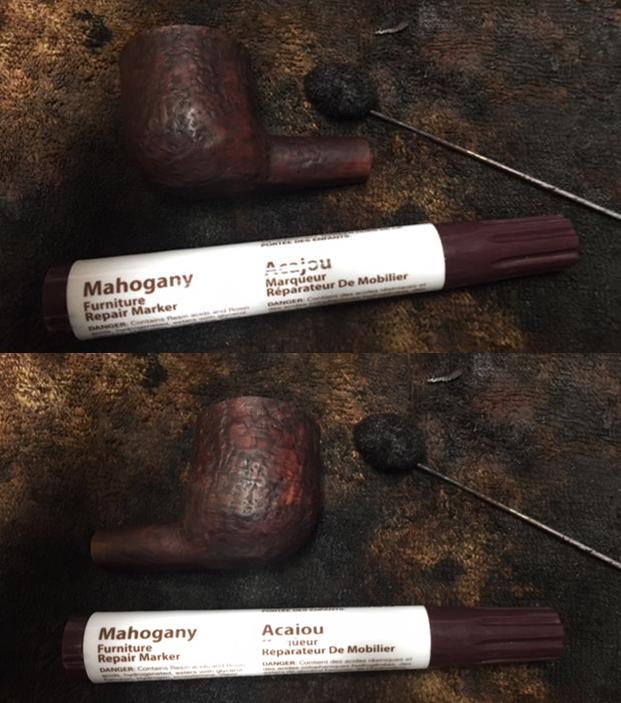
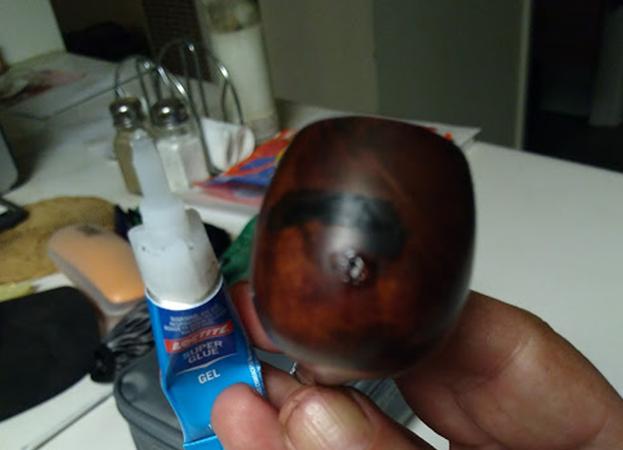 The next step was giving the wood a real stain. I used Lincoln Brown Leather Dye and flamed it with my Bic.
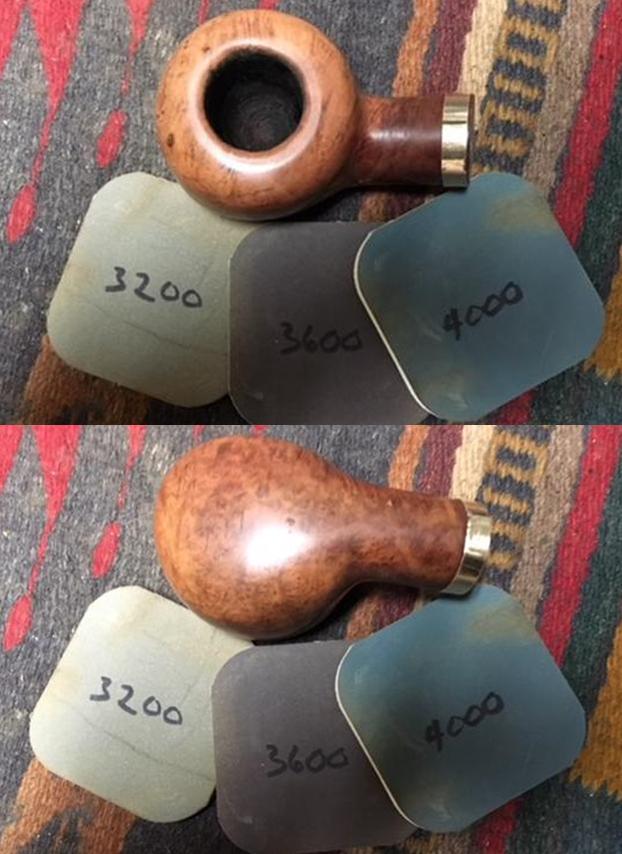
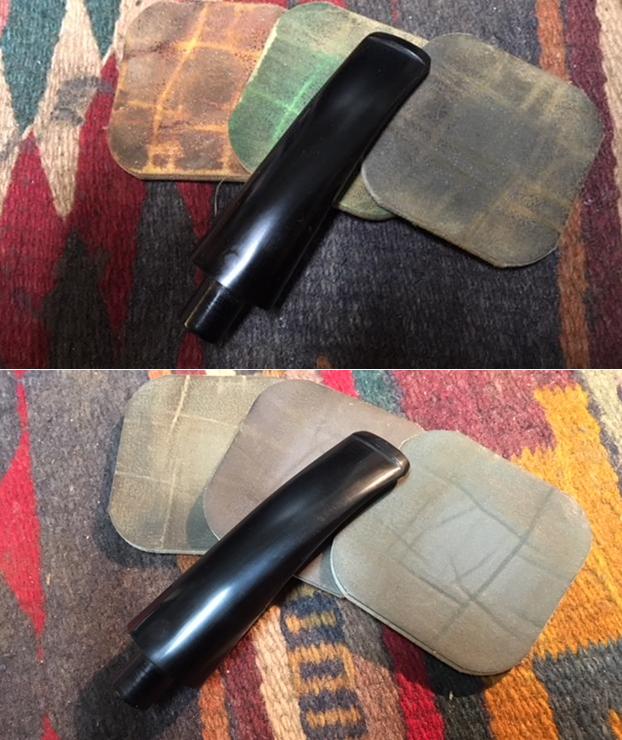
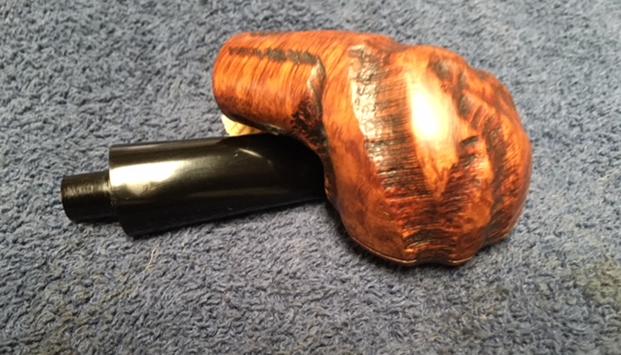
 Hoping to obscure the dreadful damage to the front of the pipe with the darkness of the stain, I micro meshed from 3600-12000. Everything was fine at that point but the front view.
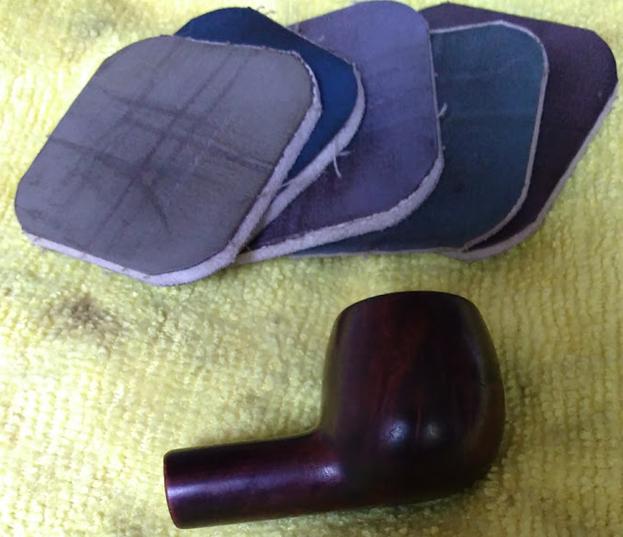


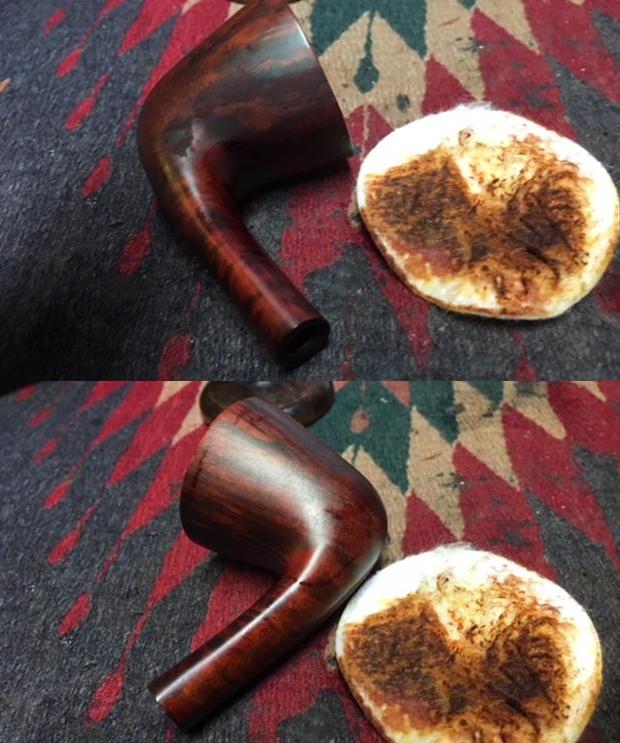
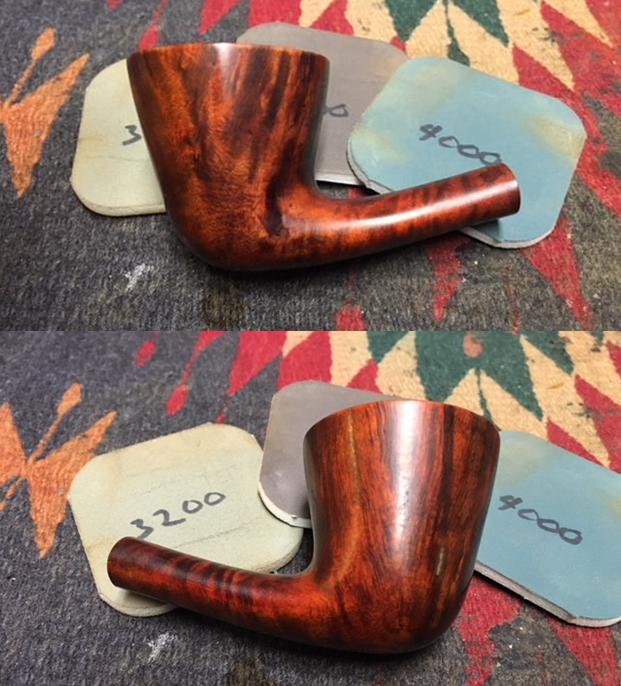
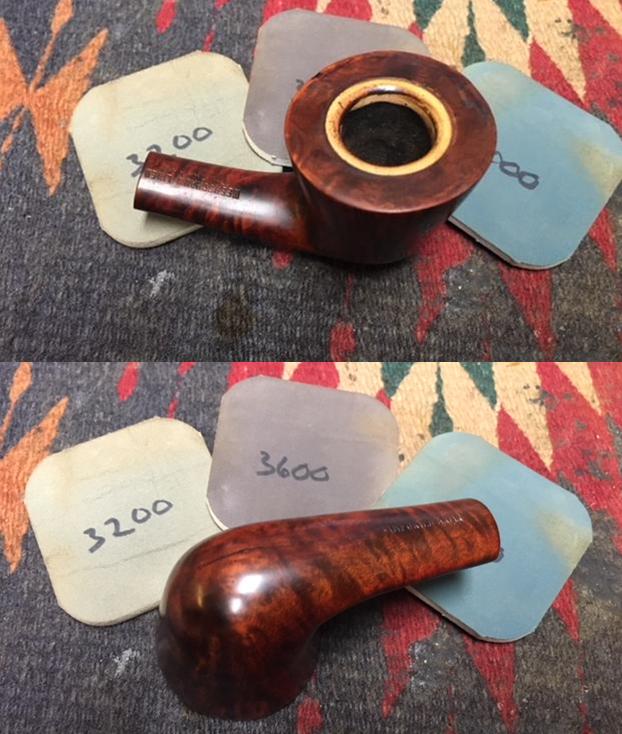
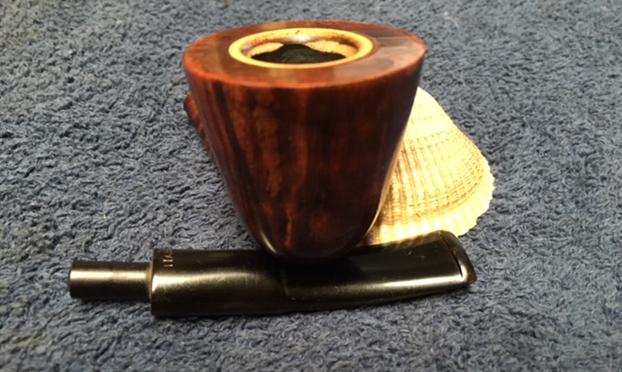
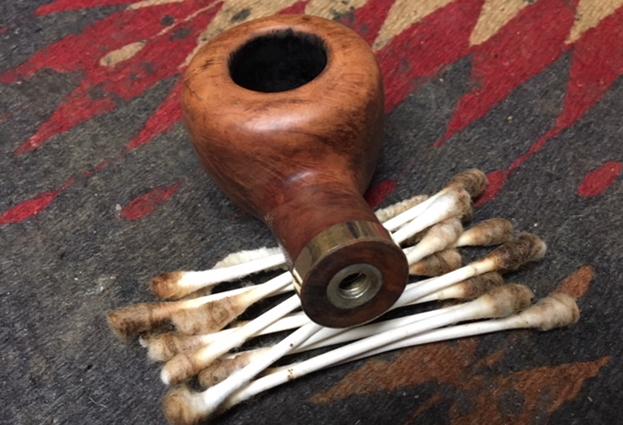
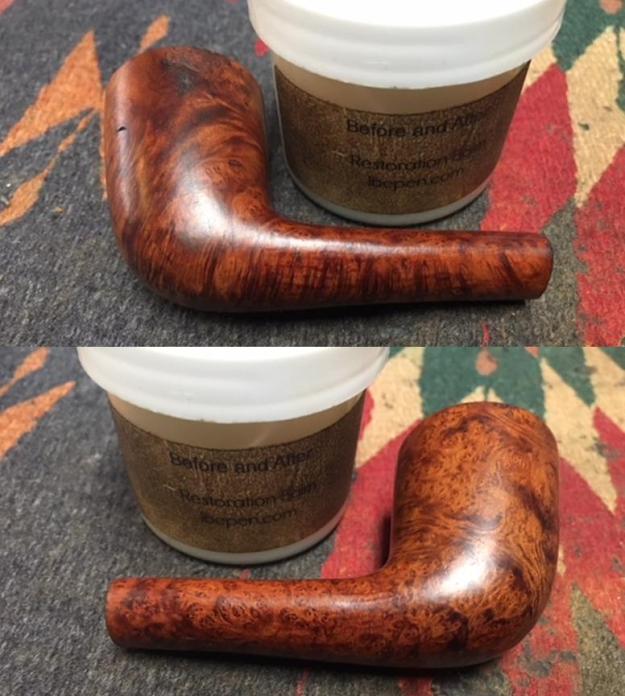
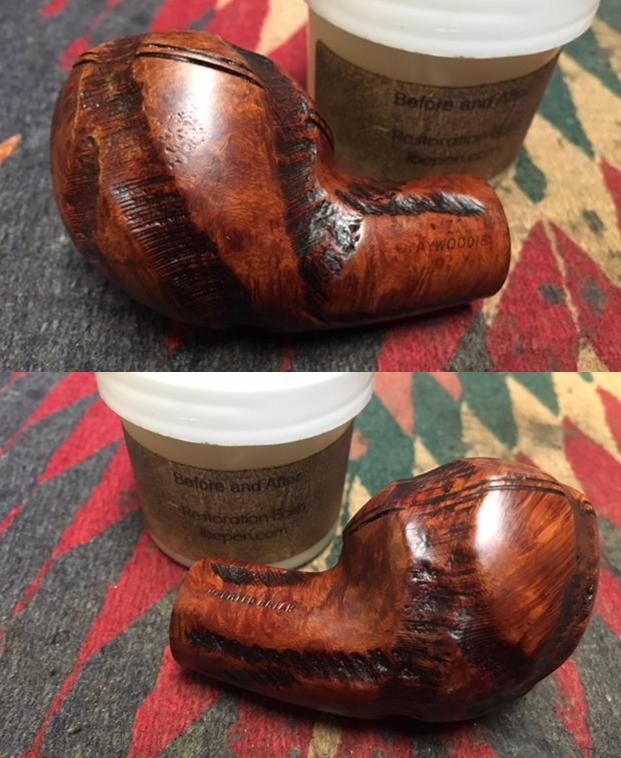
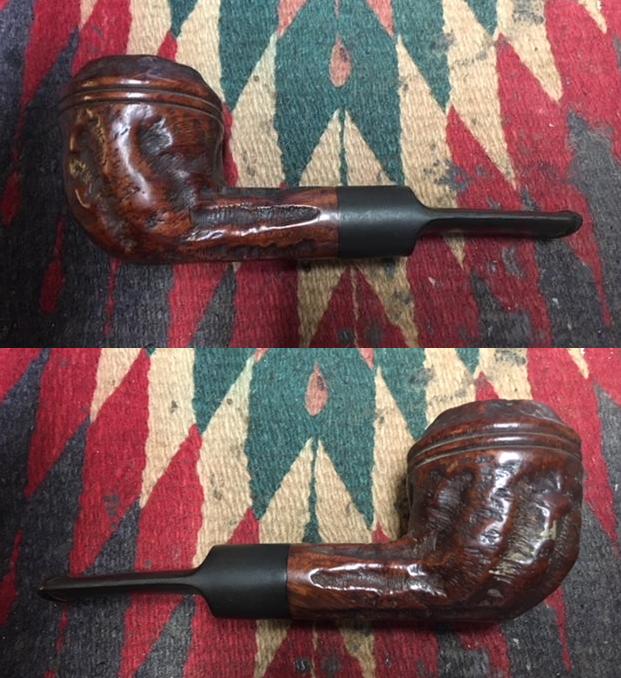
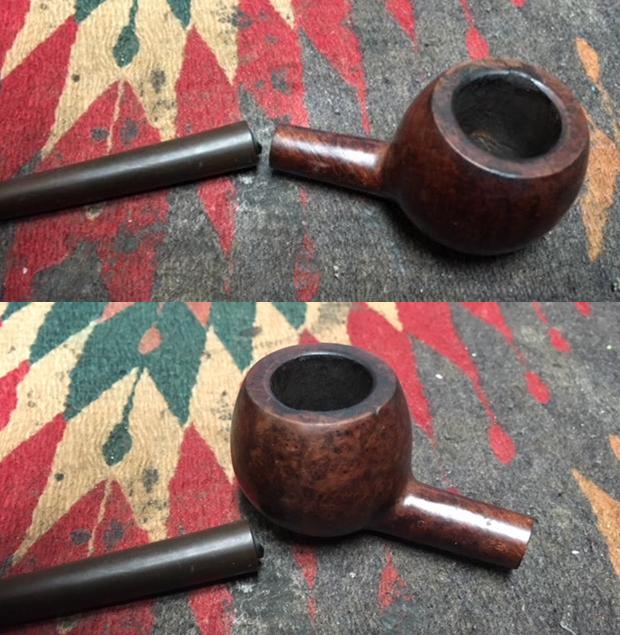
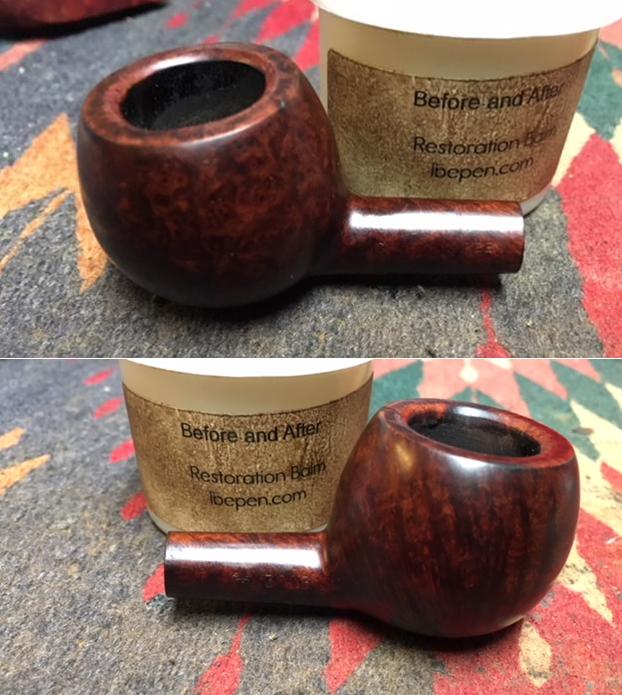
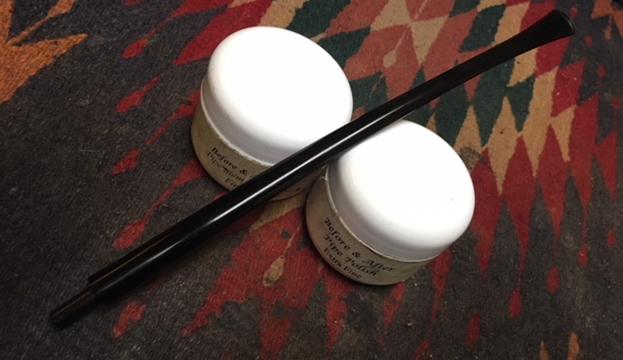
 This is when the whistling stopped for the last time, and the gloves came off. If the foul spot wouldn’t play nice, I rationalized, I’d just have to get rough. And so, in inexcusable anger, I took 220- and 320-grit papers to the whole misbegotten stummel, micro meshed all the way one last time and gave the wood a few spins of carnauba. Again, all but the final step went un-photographed, so ready to be done with the mess was I. Somewhere in all the above steps I did retort the pipe.
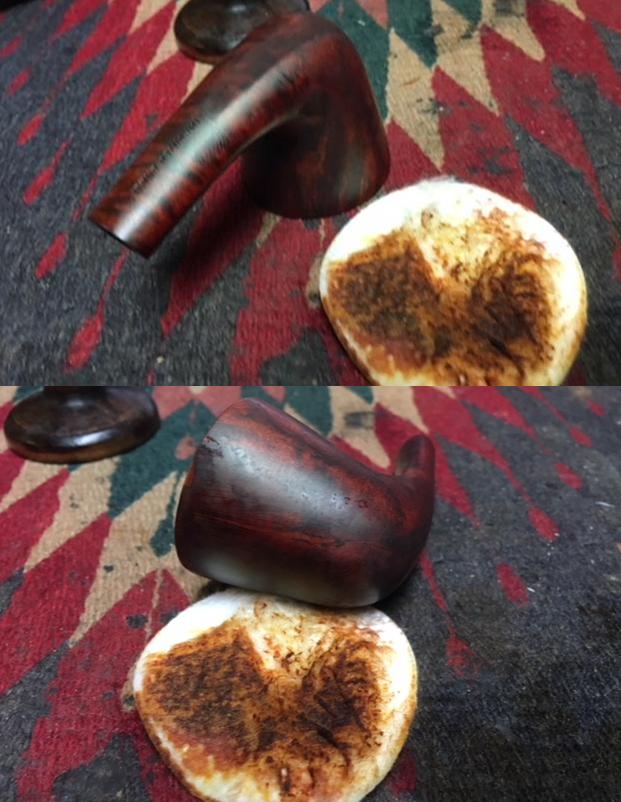
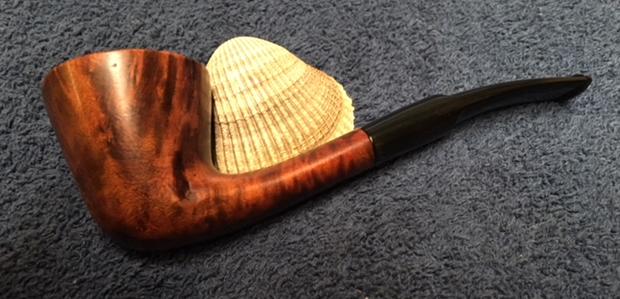
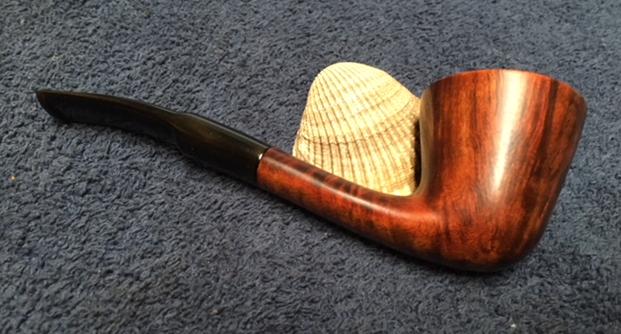
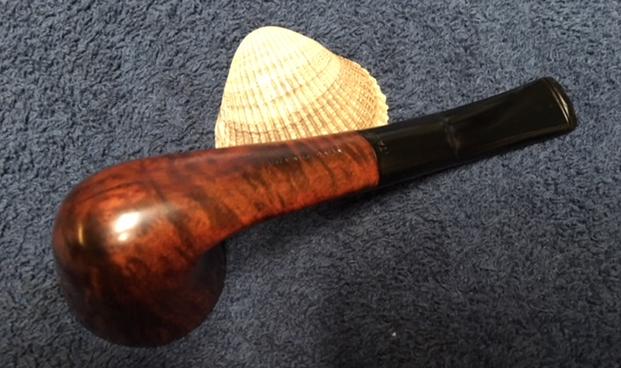
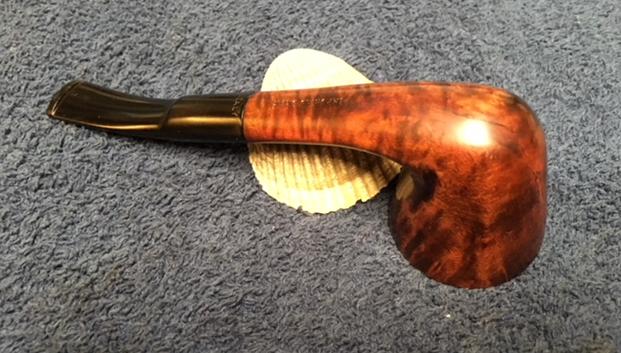
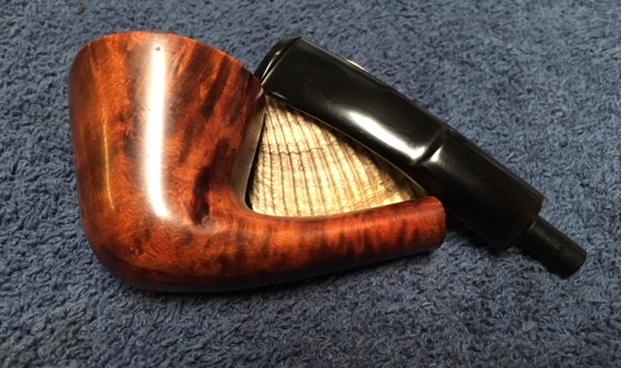
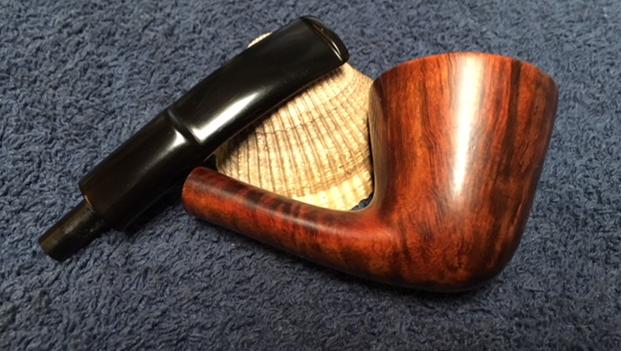
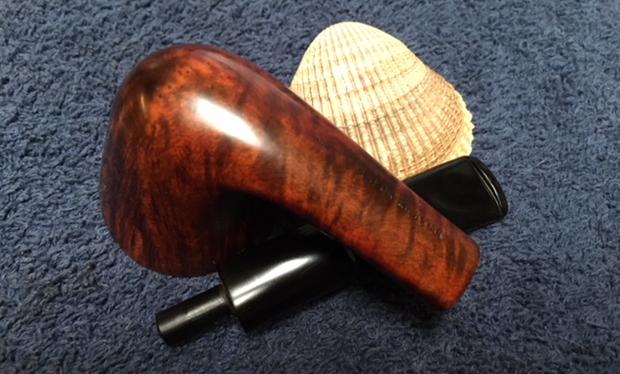
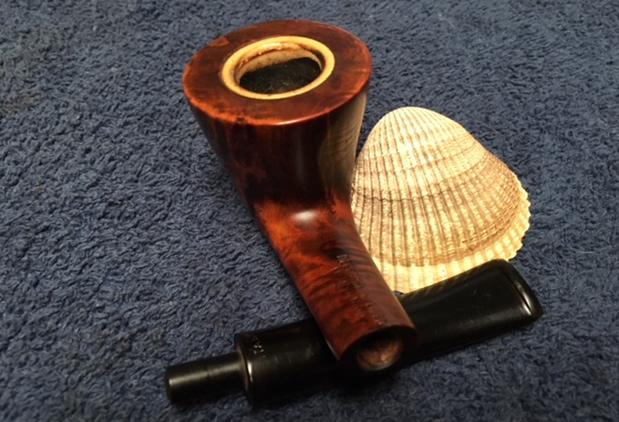
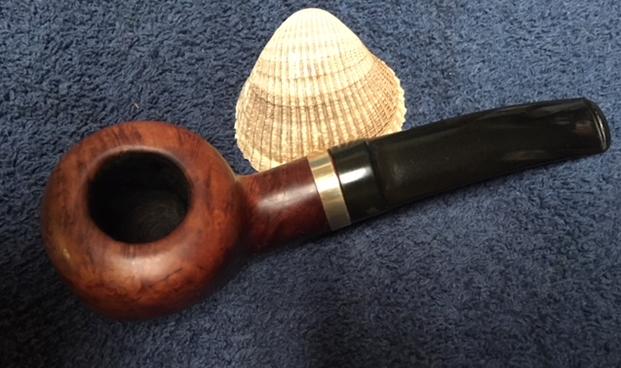
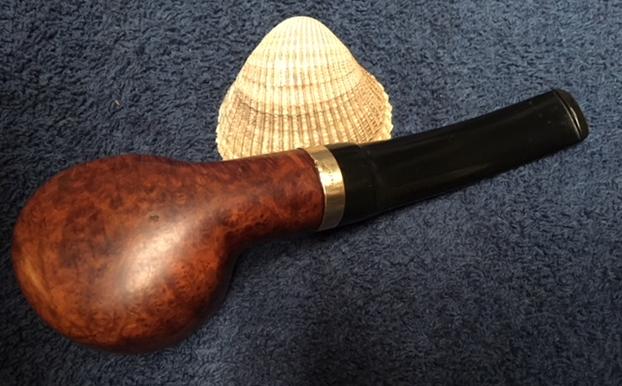
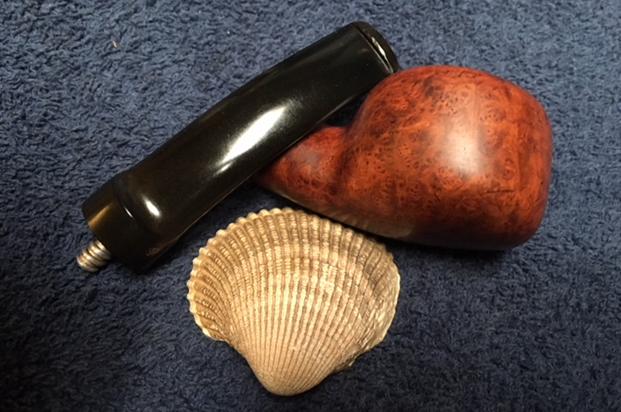
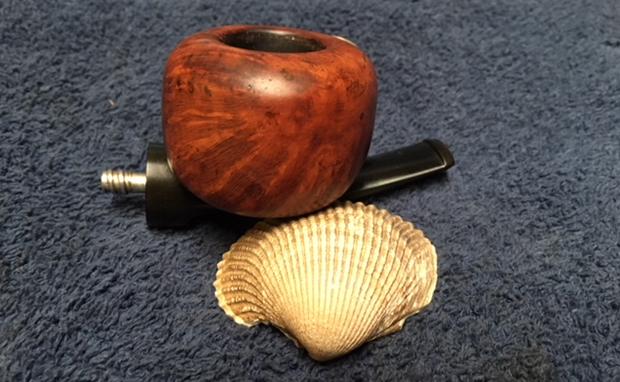
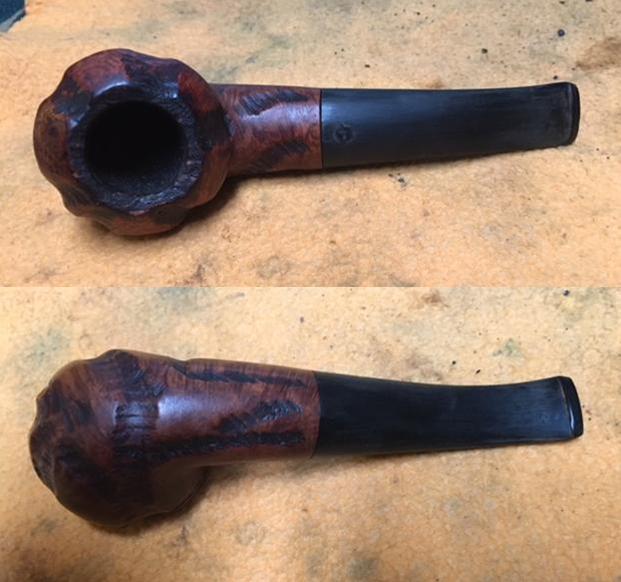
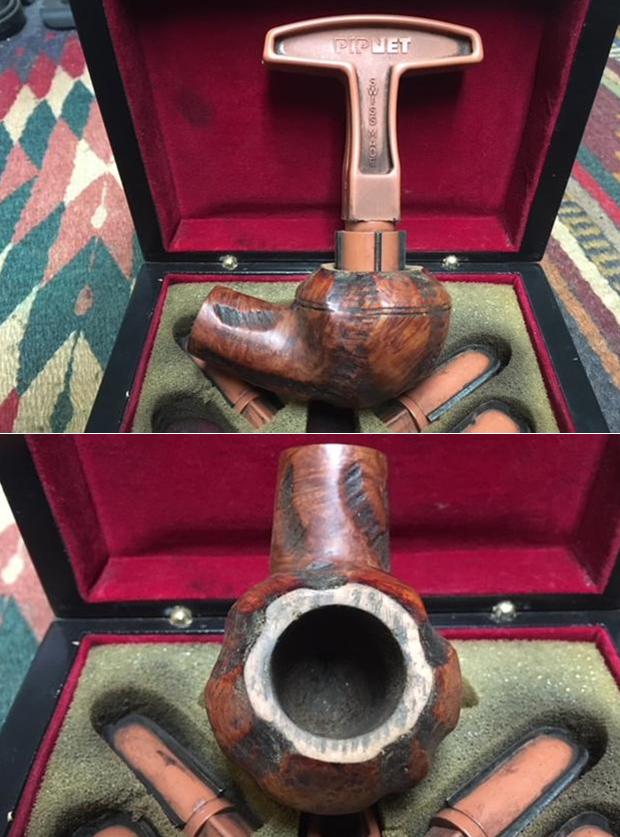
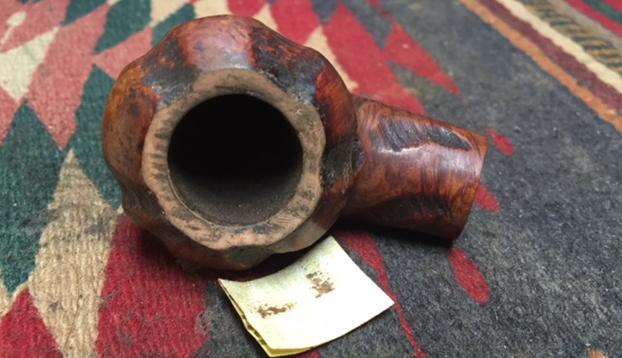
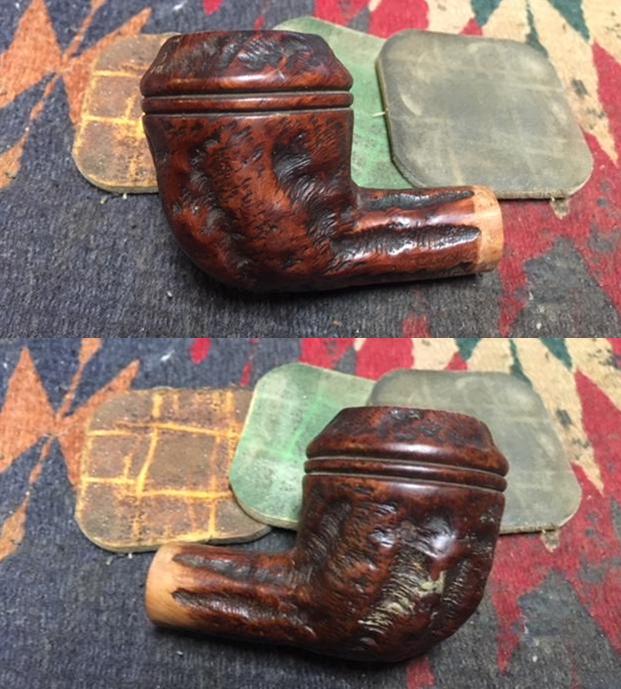
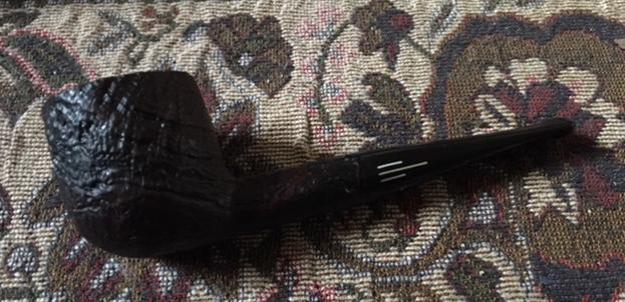
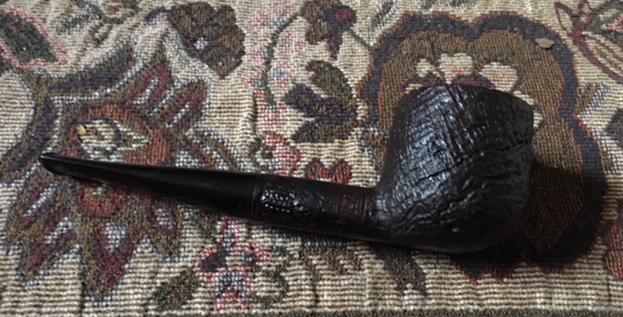
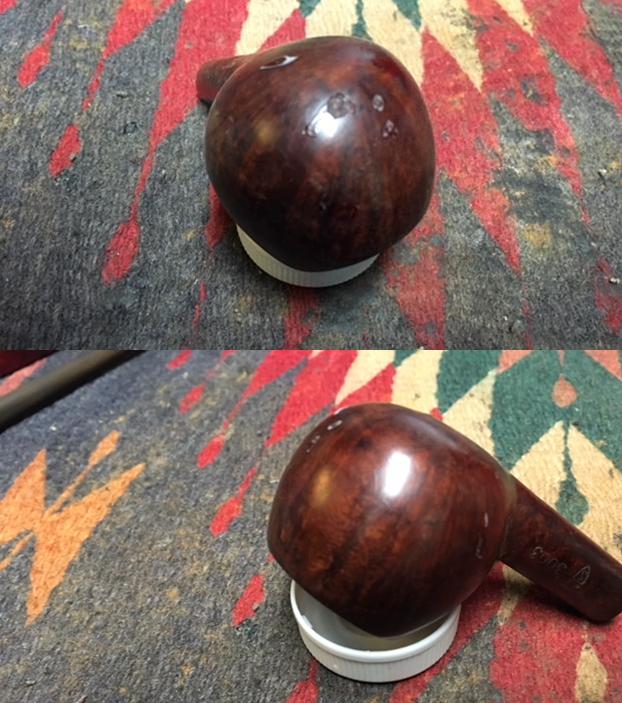
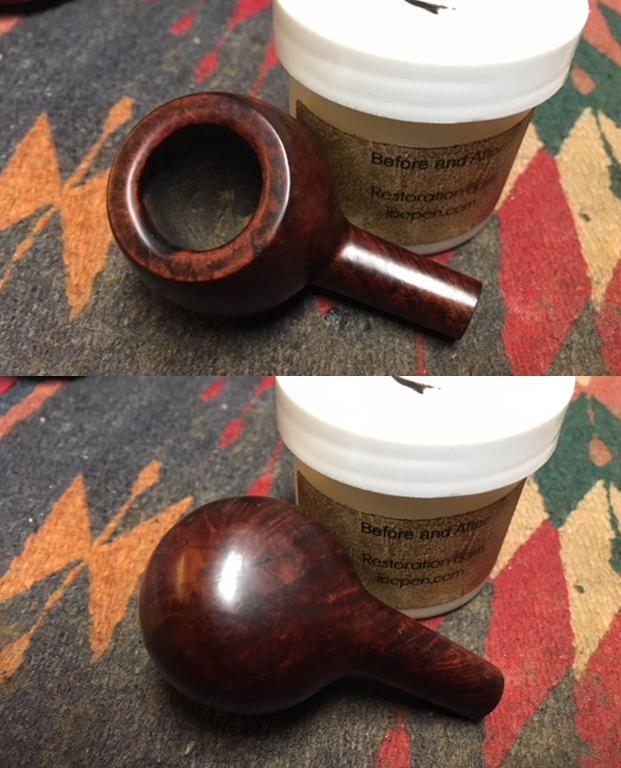
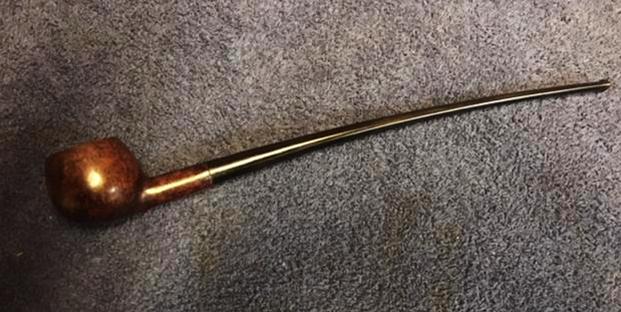
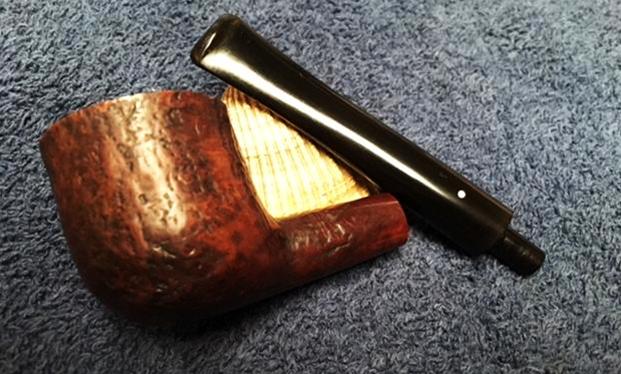
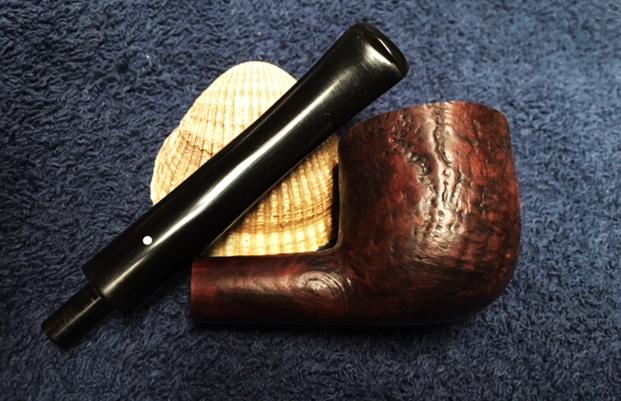
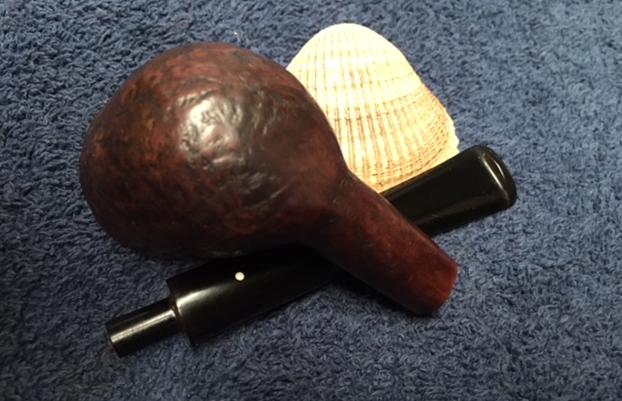
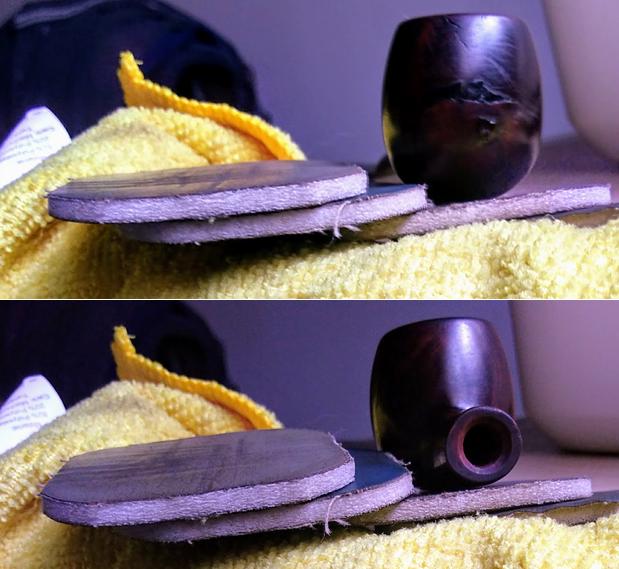
Alrighty, then, here I go with the frankly awful results. Take a deep breath with me, as here comes the most deplorable result of my efforts, and the remainder.
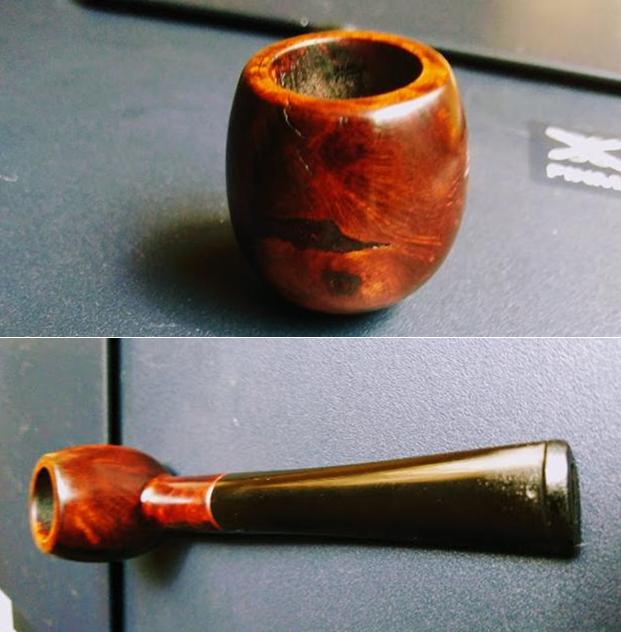
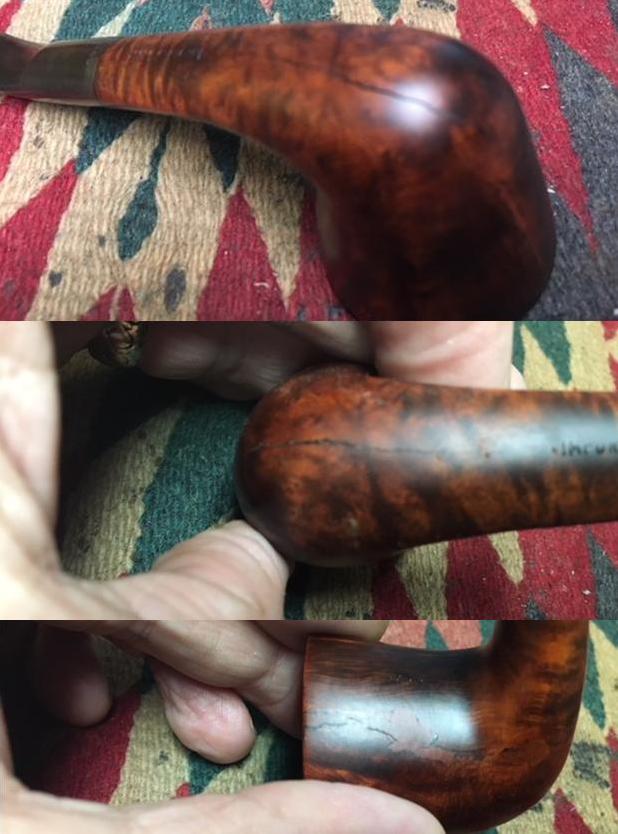
 Any doubters of the notion that this pipe is a forgery should consider the final closeup of the nomenclature showing the mottled stem mark. Compare it again to Steve’s salesman sample stem crisp logo.
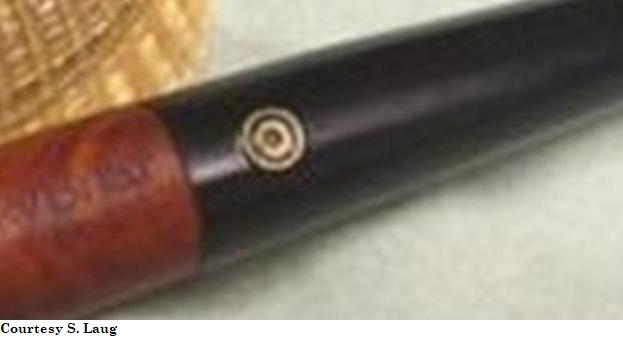
CONCLUSION
Embarrassment does not begin to describe the thoughts I’m having as I finish up this shameful example of how badly things can go when emotions are allowed to interfere with the task of dealing with each stage of a pipe restoration. The work shown here was set aside at least a year ago in sheer disgust and mental exhaustion after setting out with such lofty ideals. The fact that I knew I would never offer the pipe for sale and kept it for my own perverse enjoyment does nothing to mitigate my responsibility for the outcome.
I have not given up – I never do – but only taken the time to gird myself for the final confrontation. In fact, it should be simple now, a mere matter of gentle sanding to remove the obvious abundance of scratches followed by another round of micro mesh, then re-staining the stummel dark brown or maybe maroon before the final electric buffing with carnauba. And, of course, fixing the stem alignment.
Marcus Aurelius really had it right with the opening quote. Quality and value are to be found in everything, regardless of the degrees. My job remains to bring out the full potential for this faux KBB.
SOURCES
http://www.pipephil.eu/logos/en/logo-kbb.html#rockybriar
https://www.smokingpipes.com/pipes/new/peterson/moreinfo.cfm?product_id=40705
https://www.smokingpipes.com/pipes/estate/united-states/moreinfo.cfm?product_id=200676
https://rebornpipes.com/2016/08/12/restemming-and-restoring-a-tiny-kbb-rocky-briar-1540b-salesmans-pipe/
https://forums.arrowheads.com/forum/information-center-gc33/fakes-frauds-reproductions-authentication-gc94/identifying-fakes-reproductions-gc95/123908-pipe-smoking-instrument-fakes
http://pipesmagazine.com/forums/topic/warning-fraudster-on-ebay-selling-counterfeit-eltangs-possibly-castellos-etc
https://www.smokingpipes.com/pipes/new/castello/moreinfo.cfm?product_id=272648
https://pipedia.org/wiki/Kaywoodie
https://rebornpipes.com/2014/12/15/narrowing-down-a-date-for-kaufman-brothers-bondy-kbb-and-kbb-pipes/

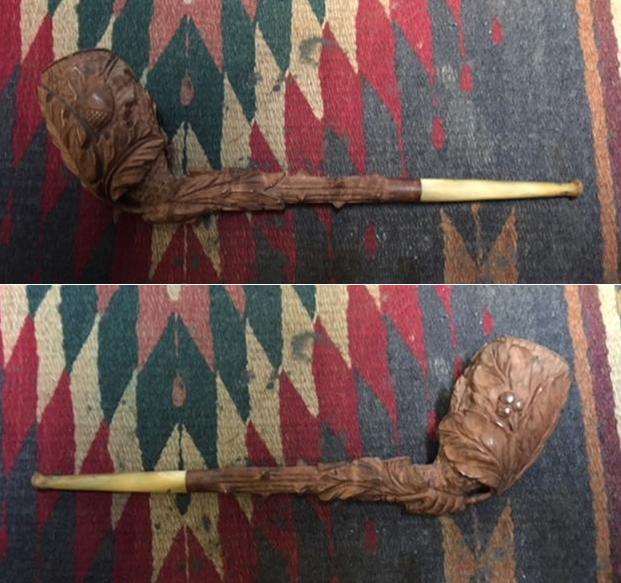
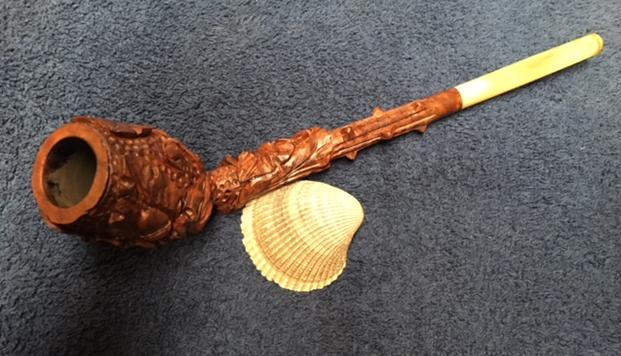
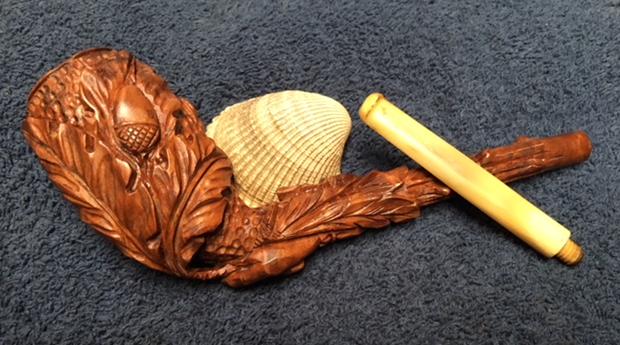
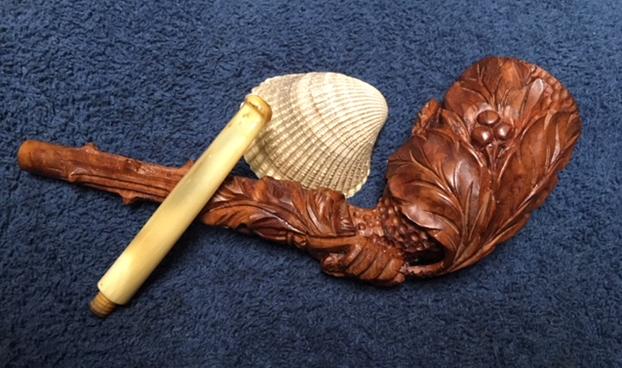
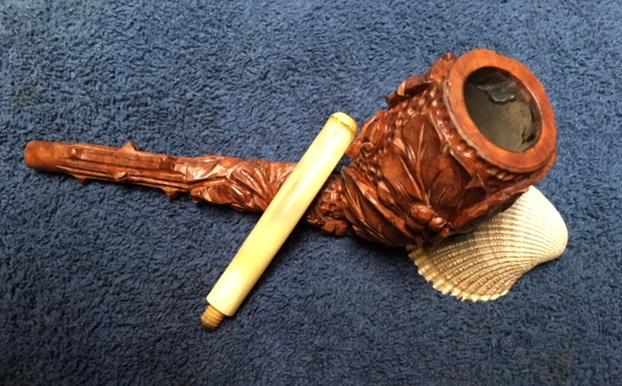
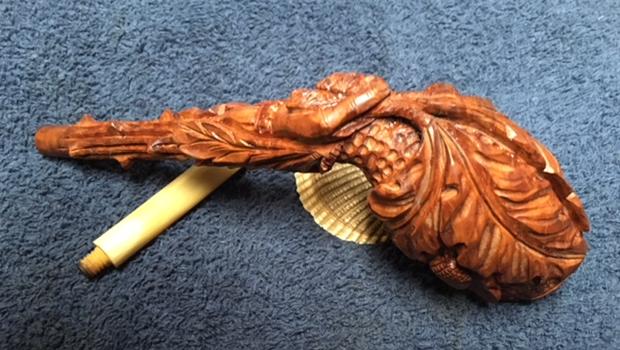
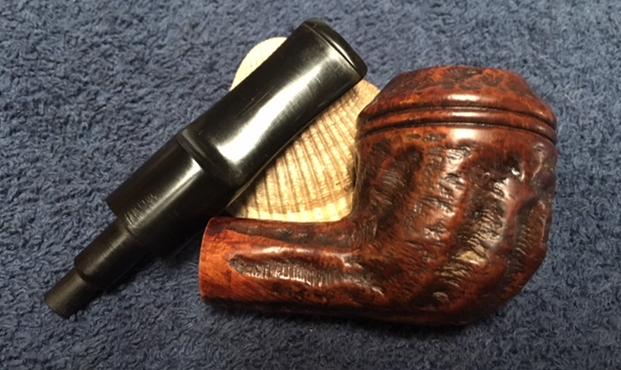
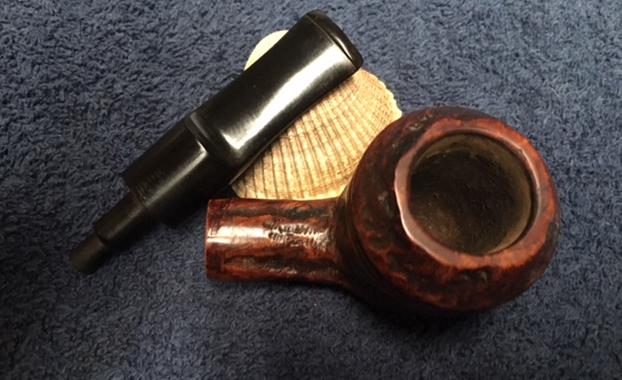
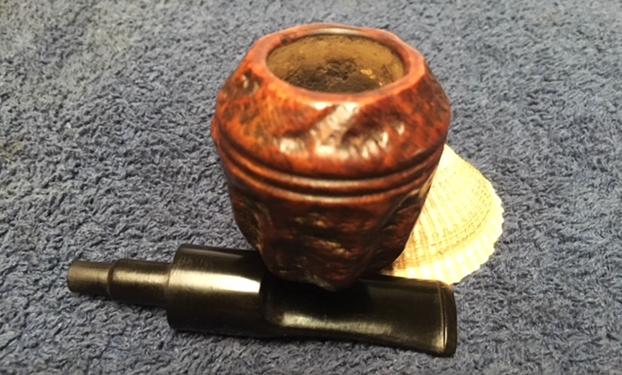
 I took photos of the rim top and the stem surfaces both top and underside to show the condition of the pipe when it came to me. You can see the damage on the rim top though the bowl is still in round. There was no damage to the inner or outer edge of the rim. The buildup of lava would need to be scraped away. The stem photos show the tooth chatter on the top and underside near the button and the worm holes near the shank/stem junction.
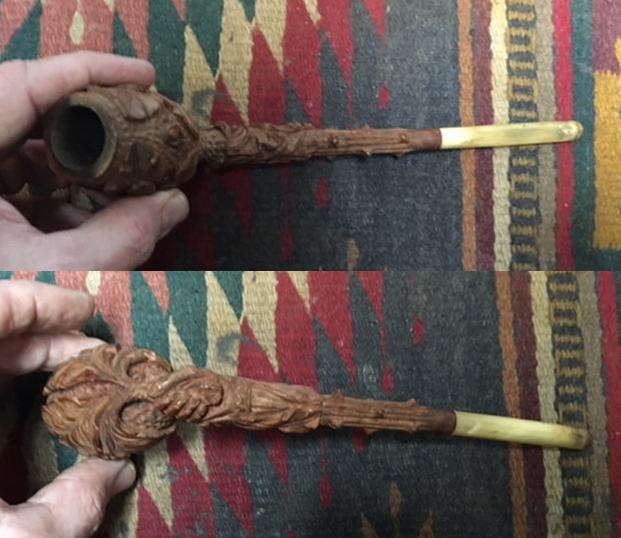
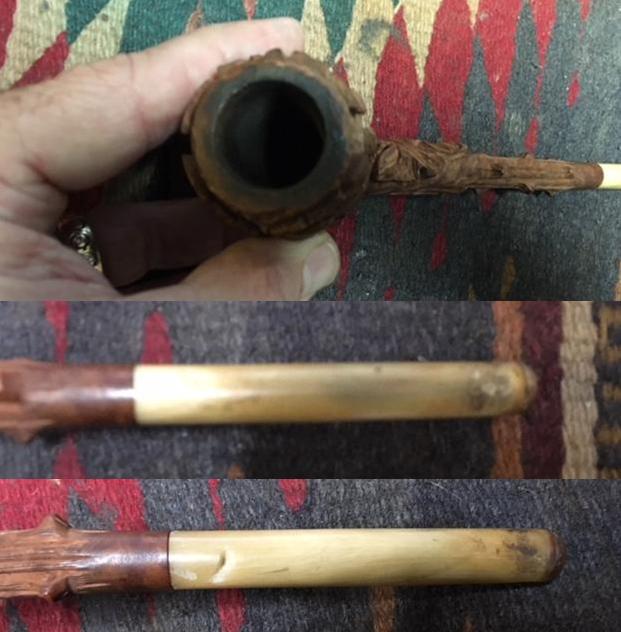 I cleaned the surface of the stem with alcohol on cotton swabs and pads to remove the grime in the holes. I dried them out and then filed them in holes with clear super glue. The small hole was quite simple to fill while the larger one across the stem was deeper and more complicated to repair. It took multiple layers of glue to fill it in until it was even with the surface of the stem. The second photo below shows the filled in holes. The glue dried and turned darker than the rest of the stem. However the surface of the stem was smooth to the touch. I sanded the repairs with 220 grit sandpaper after they had hardened to blend them into the surface of the stem. I wiped the stem down with a cotton pad to remove the sanding dust left behind on the stem surface.
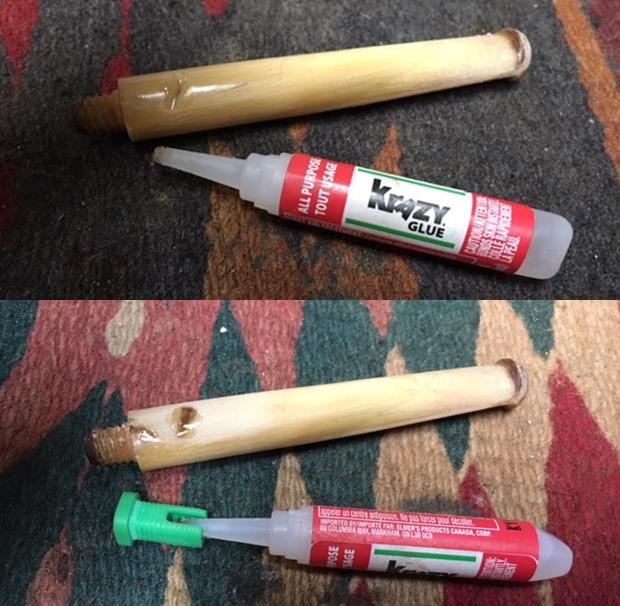 I lightly topped the bowl on a piece of 220 grit sandpaper on a topping board to remove the damage and the lava overflow.
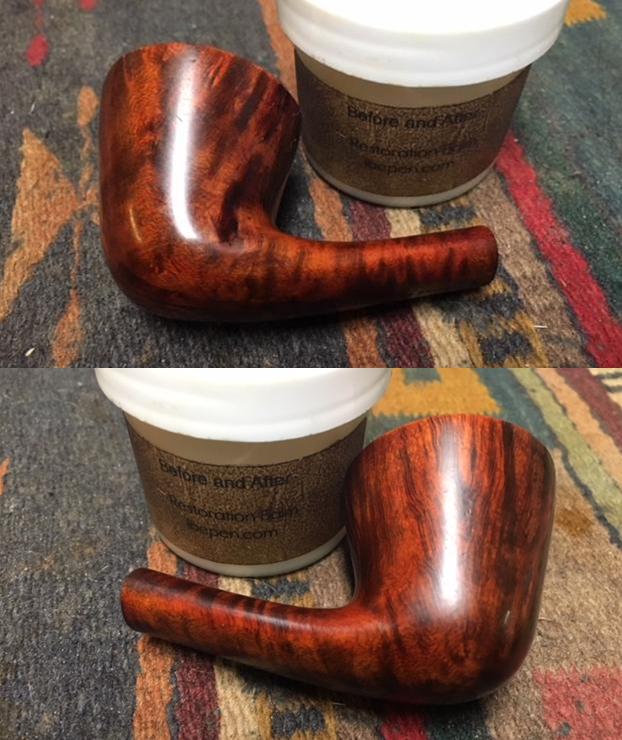
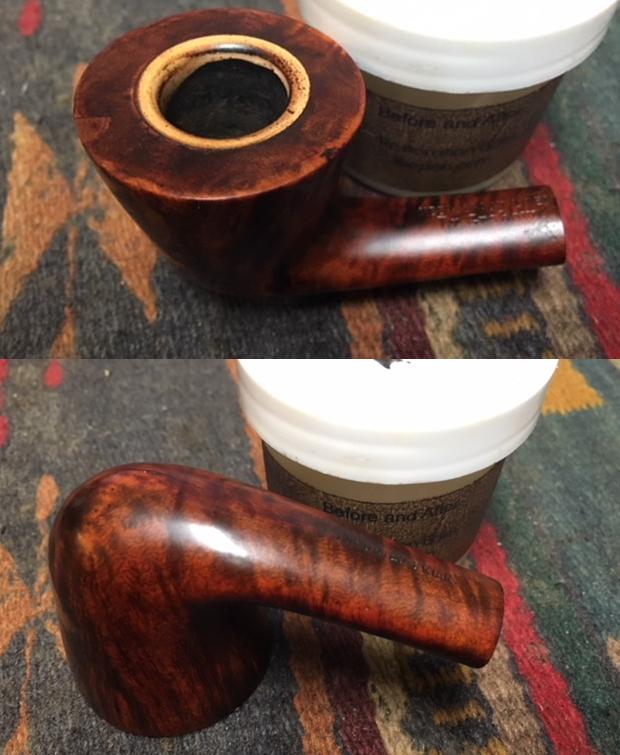
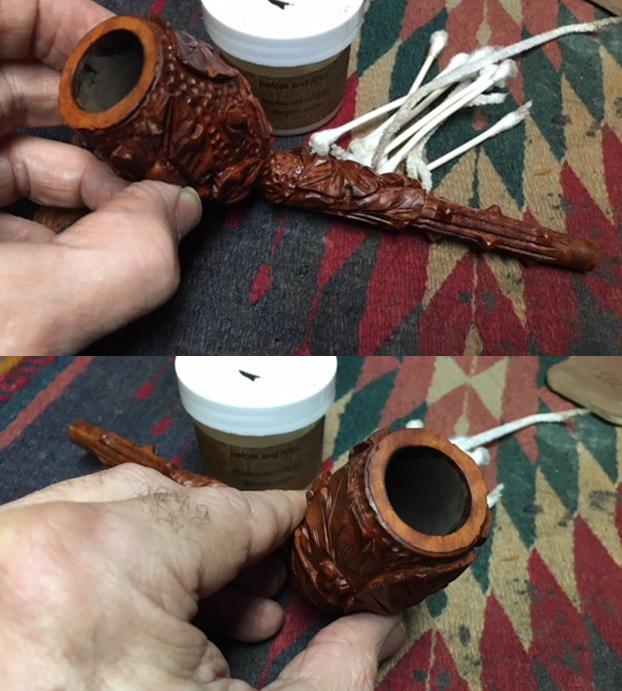
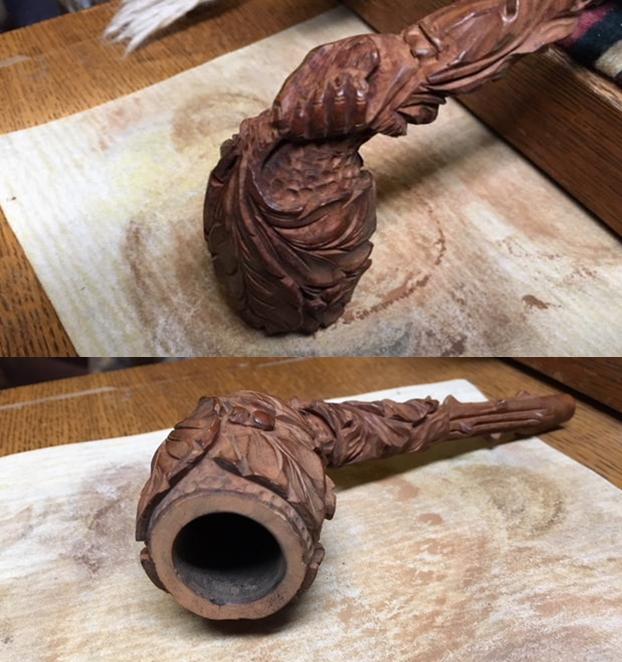 I rubbed Before & After Restoration Balm into the briar to enliven, clean and protect it. I used cotton swabs and folded pipe cleaners to work the Balm into all of the carved grooves. I buffed it with a soft cotton cloth. I buffed it with a shoe brush to further work the Balm into the grooves and polish it.
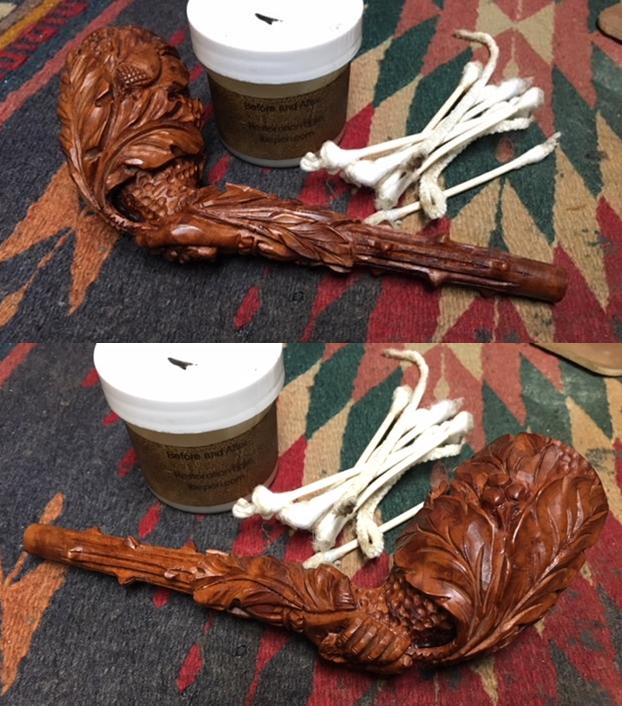

 I polished the rim top with 1500-12000 grit micromesh sanding pads to remove the scratching in the briar left behind by the sandpaper. Once it was polished I touch it up with a Cherry stain touch up pen to match the colour of the rest of the bowl. I buffed the rim top with a soft cotton cloth to bring a shine.
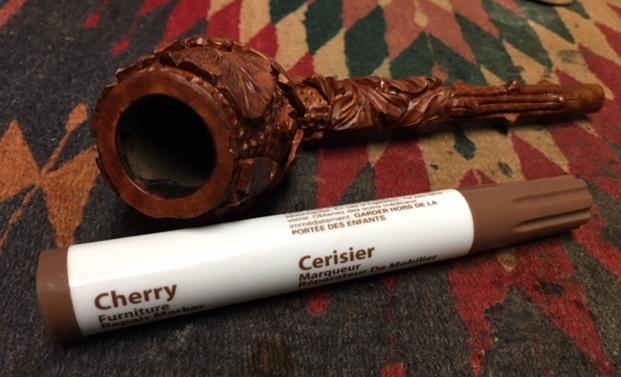 I cleaned out the interior of the mortise, shank and airway in the shank and the stem with alcohol, cotton swabs and pipe cleaners. It was dirty but not overly so – the pipe appeared to have been lightly smoked.
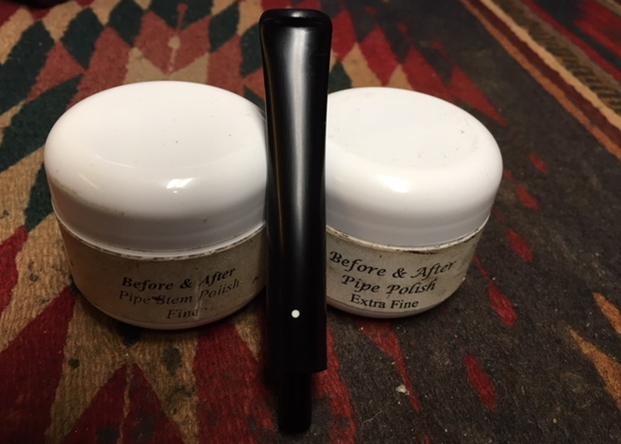
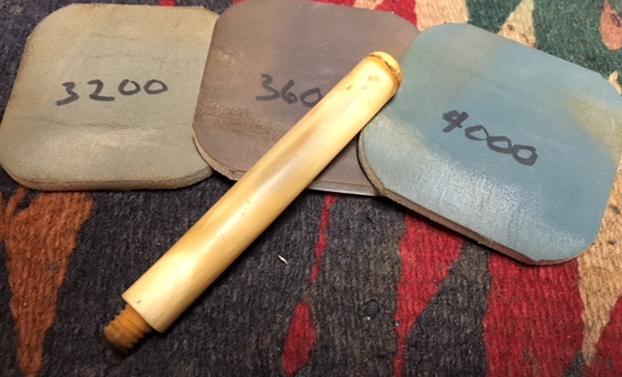
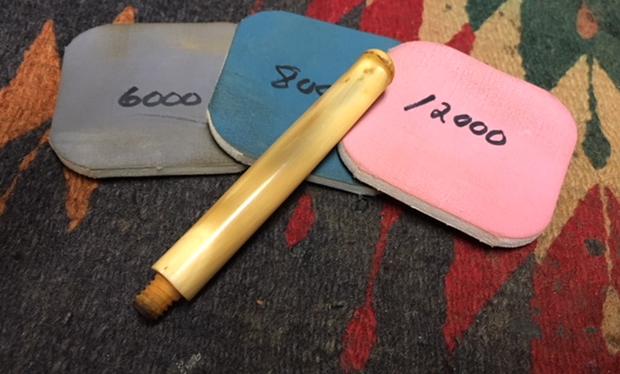
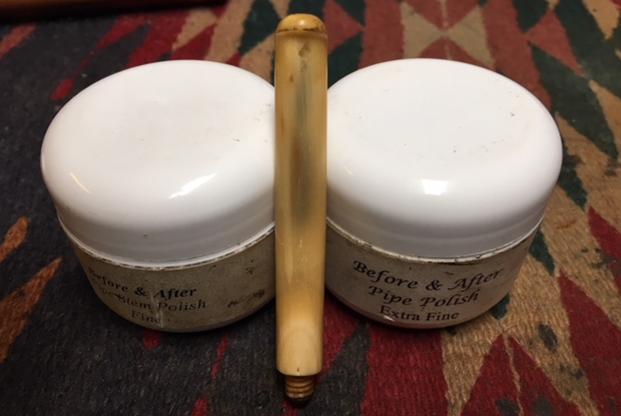
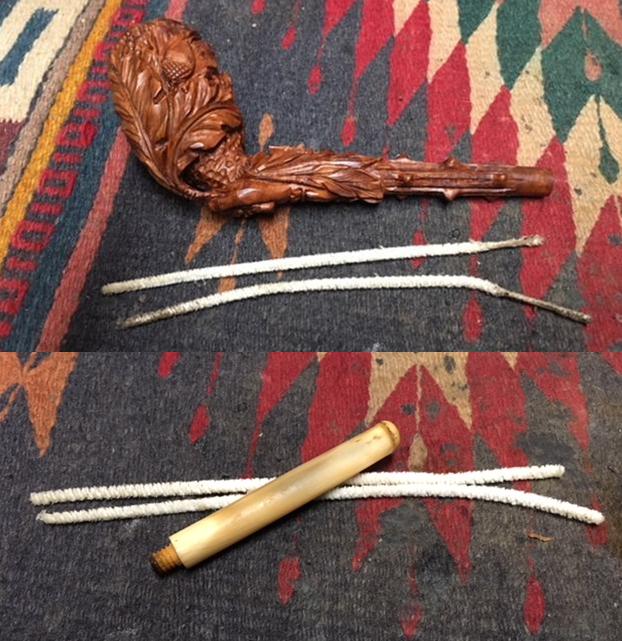 I polished the horn stem with micromesh sanding pads – wet sanding it with 1200-2400 grit pads and dry sanding it with 3200-12000 grit pads. Each pad brought a deeper shine to the surface of the horn. The tenon appears to be horn and it was pretty clean. I polished it with Before & After Pipe Stem Polish – both Fine and Extra Fine. I buffed the stem with a clean cotton pad.
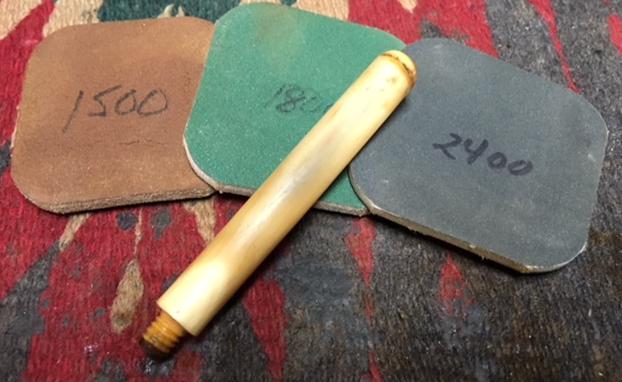
 While I was in Idaho I found a cast Elk head pipe rack made by Comoy’s of London. It is a unique one and it works very well to hold this large pipe. I screwed the stem back into the shank and buffed the bowl and shank with a cotton cloth to raise a shine. I put the pipe in the Elk pipe rack and took photos of the pipe.
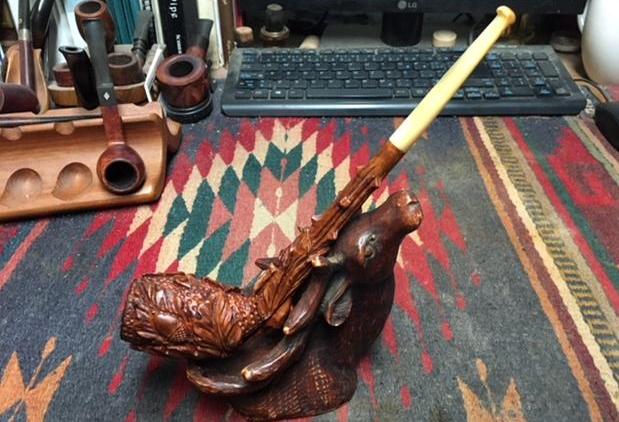
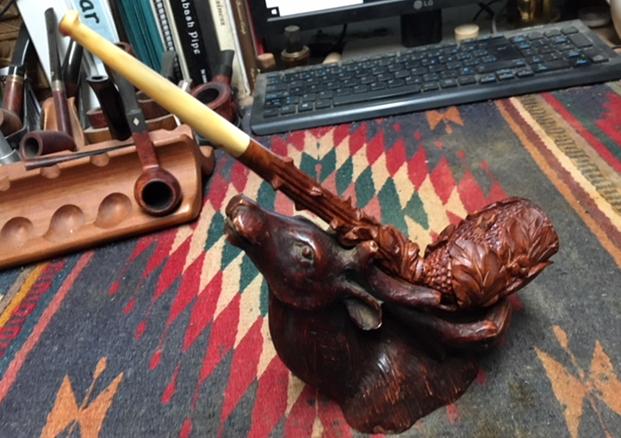
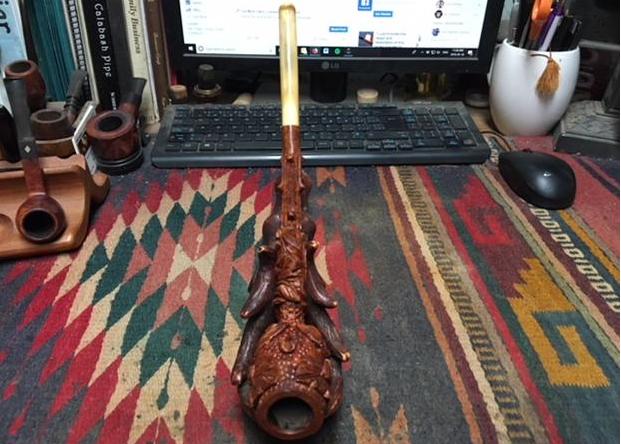
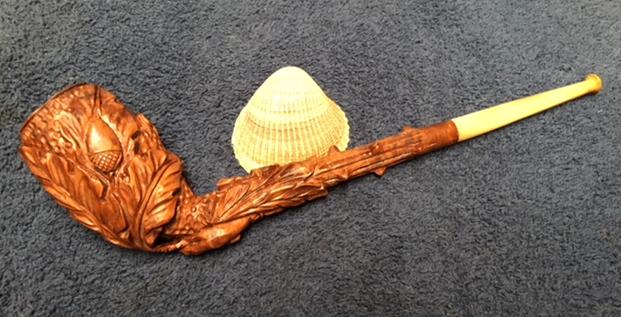
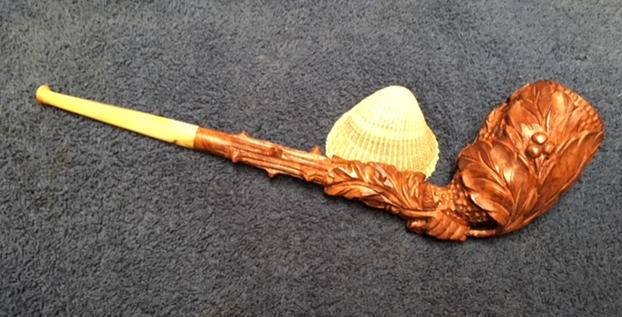
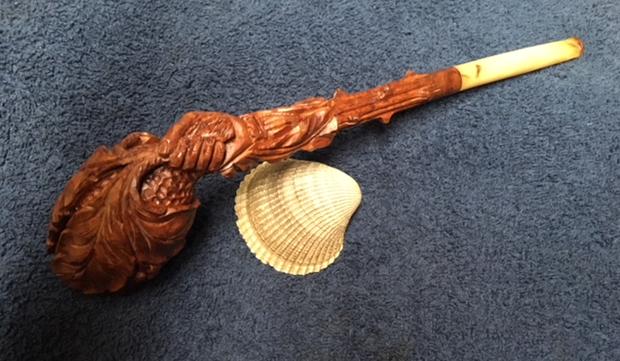
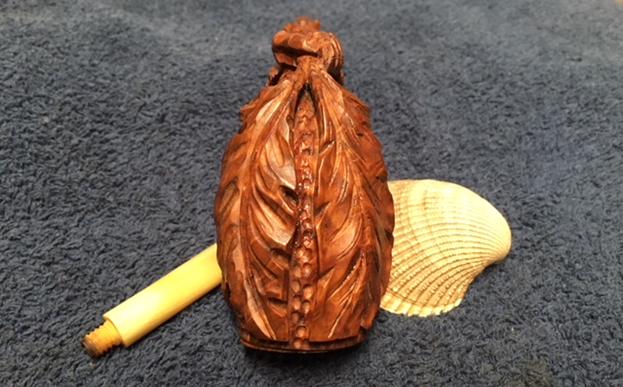
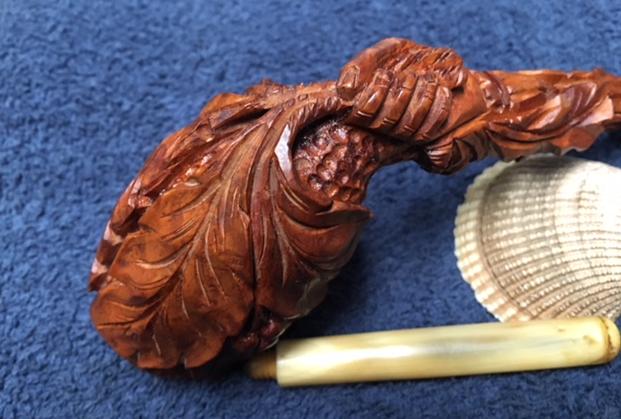
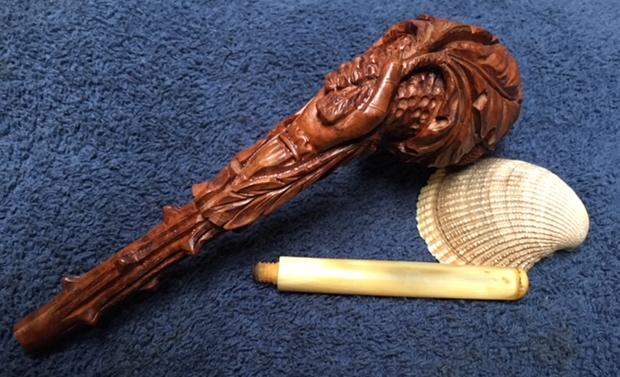
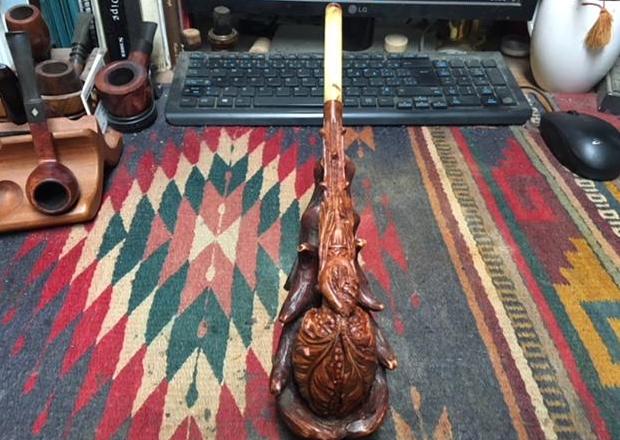 This large, ornately carved oak leaf briar bowl and shank is quite stunning. There a places on the underside of the shank where you could see air through the space between the base of the bowl and shank and the curve of the stems held in the hand. The rim top is smooth and clean and looks much better. The horn stem is of nice quality and after the repairs it shined up well. I hand buffed the bowl and the stem with a shoe brush to raise the shine on the briar and the polished horn stem. I gave the bowl and stem multiple coats of Conservator’s Wax. I buffed the entire pipe with a shoe brush and a microfiber cloth to deepen the shine. The finished pipe is shown in the photos below. The rich brown stain allows the grain to really stand out on this little pipe and it works well with the rich colour of the horn stem. The dimensions of the pipe are: Length: 9 inches, Height: 3 inches, Outside Diameter: 1 7/16 inches, Diameter of the chamber: 7/8 inches. This intricately carved knife will fit really nicely into my collection of antique pipes. I think that this will be a great pipe to smoke and should deliver a clean dry smoke. Thanks for walking through the restoration with me.