Blog by Steve Laug
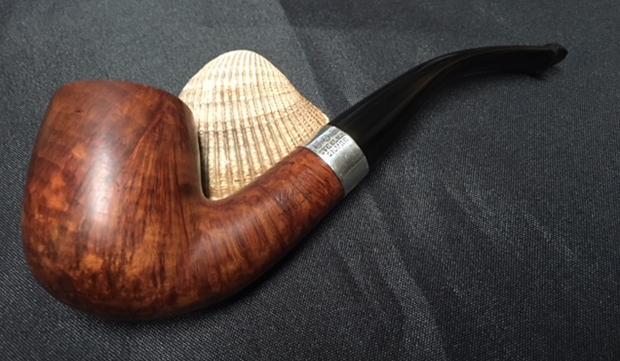
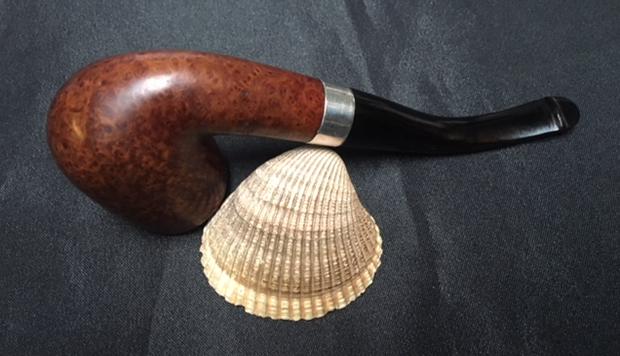
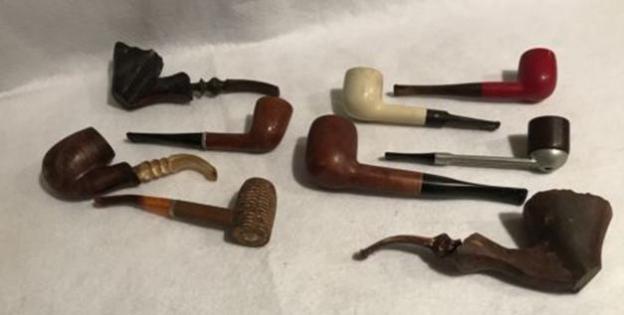
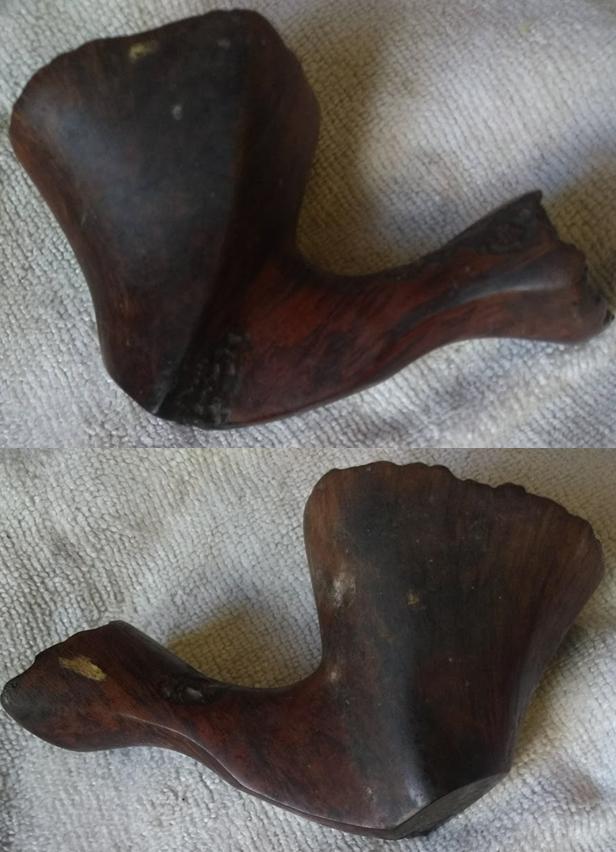
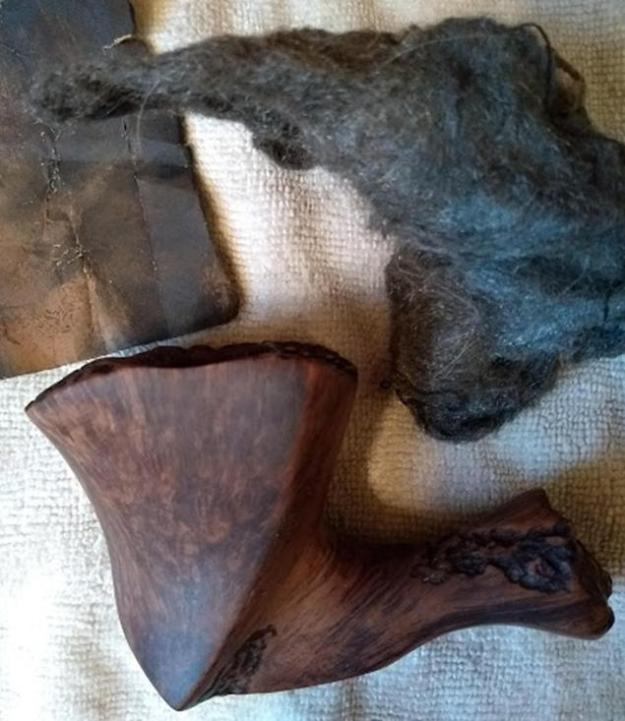
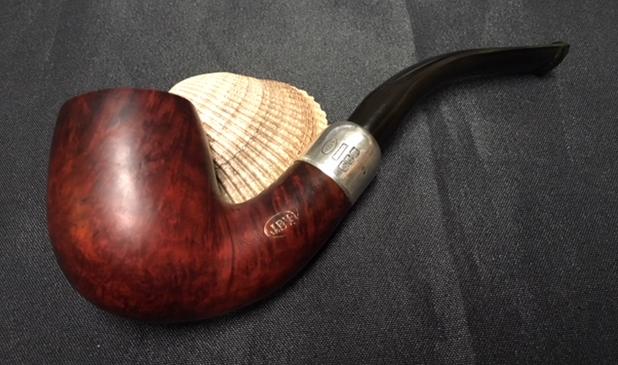
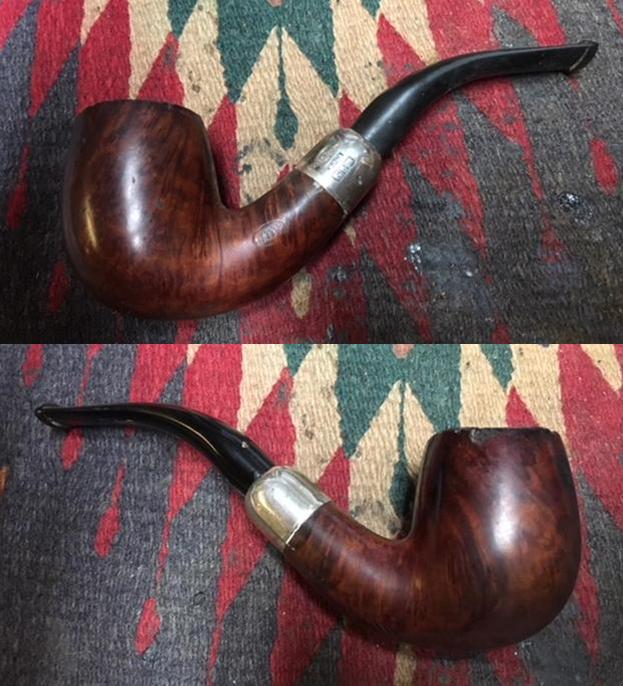
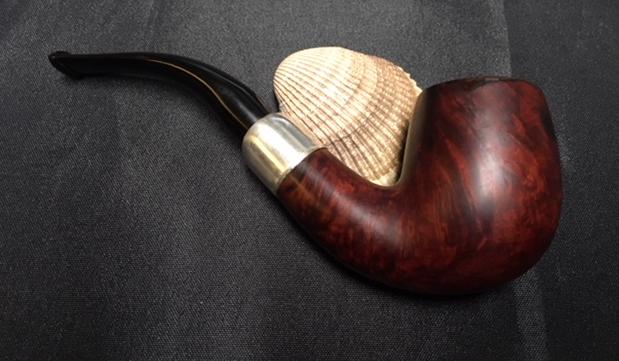
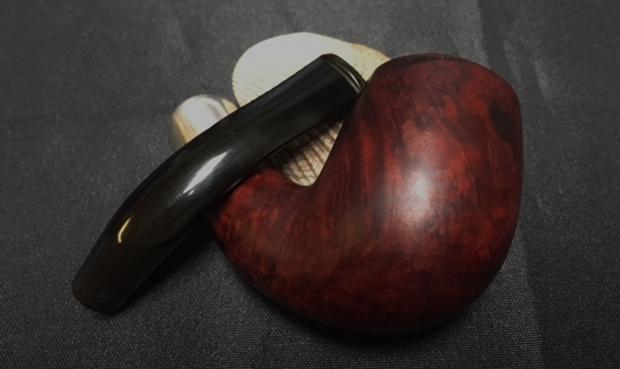
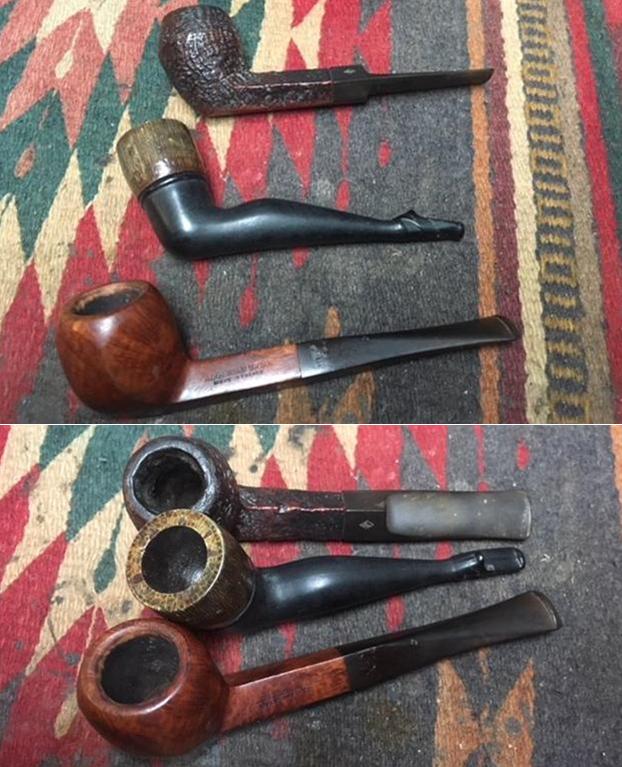
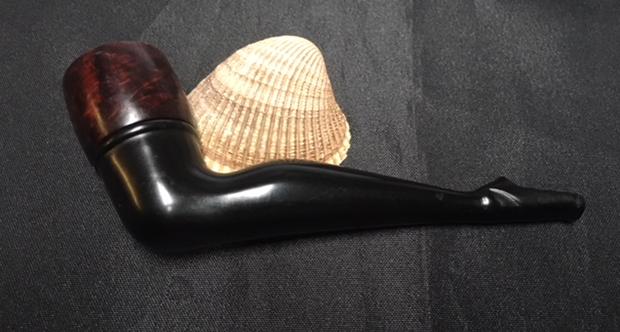
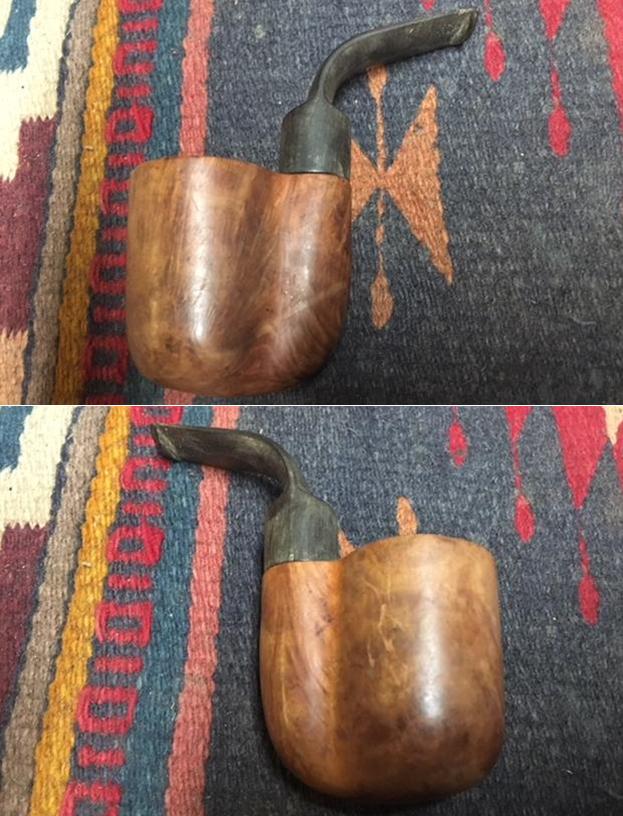
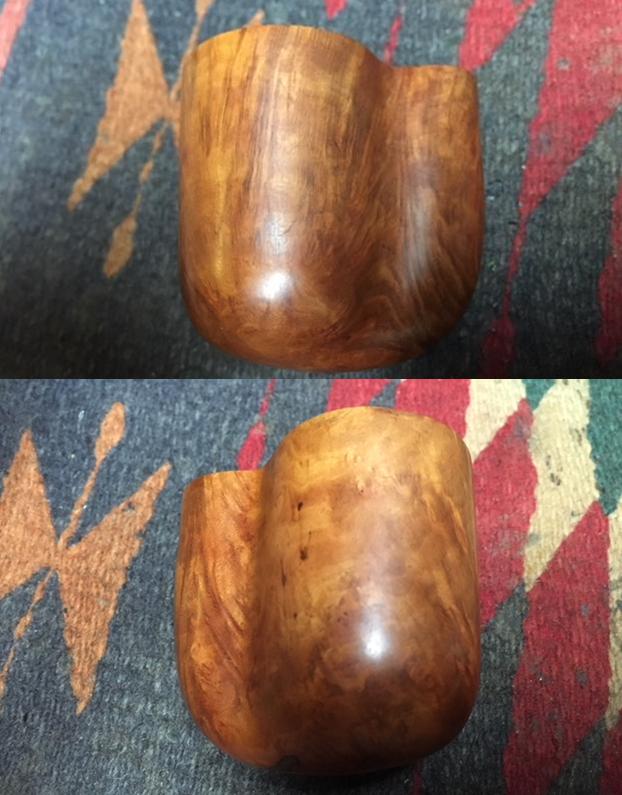
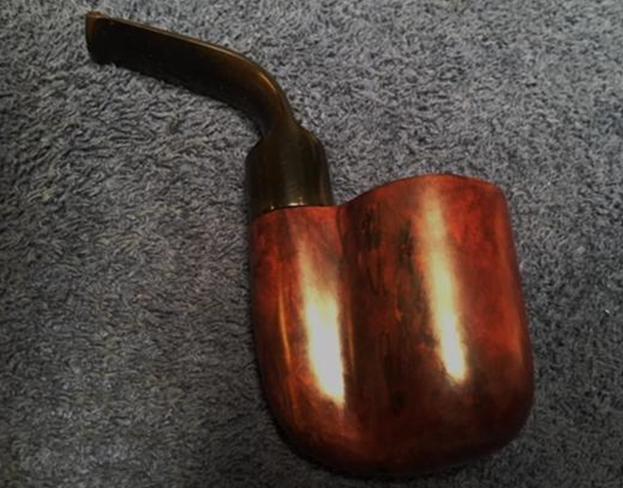
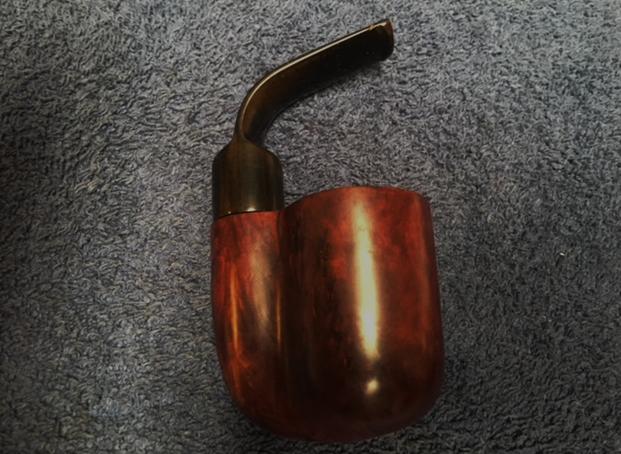
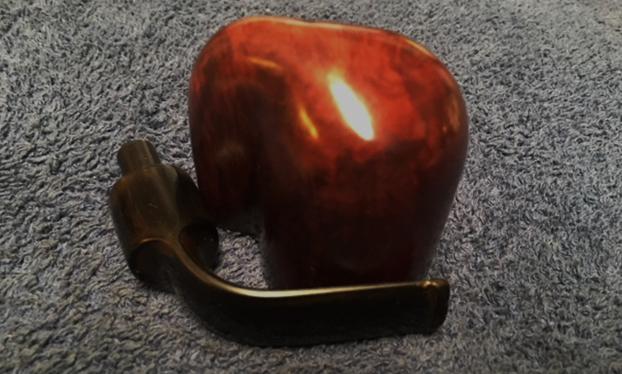
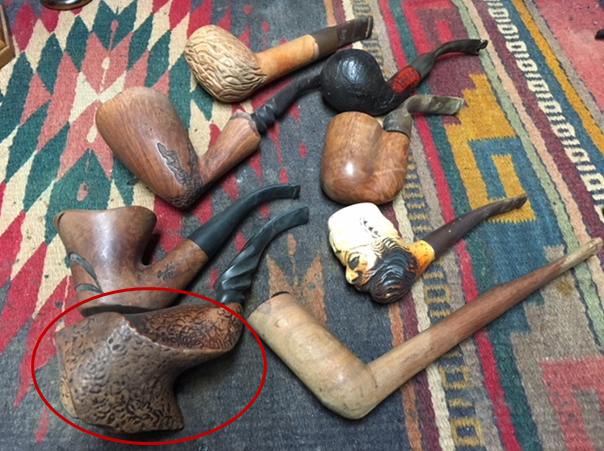
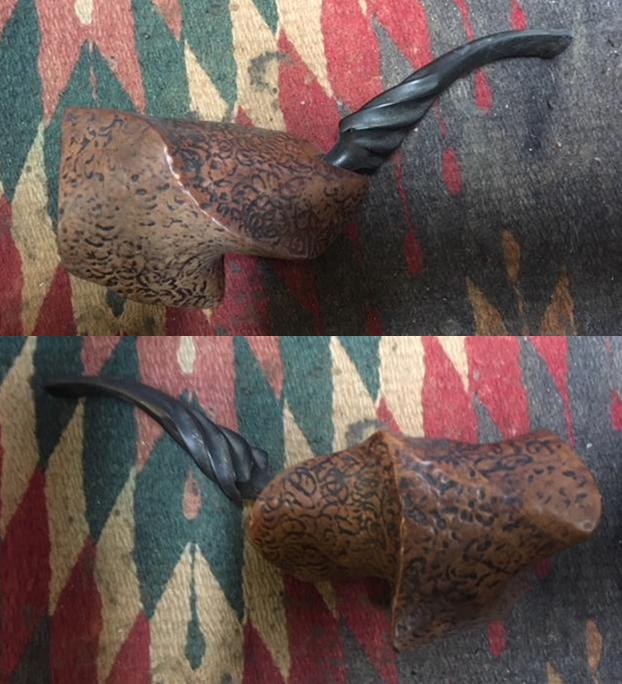
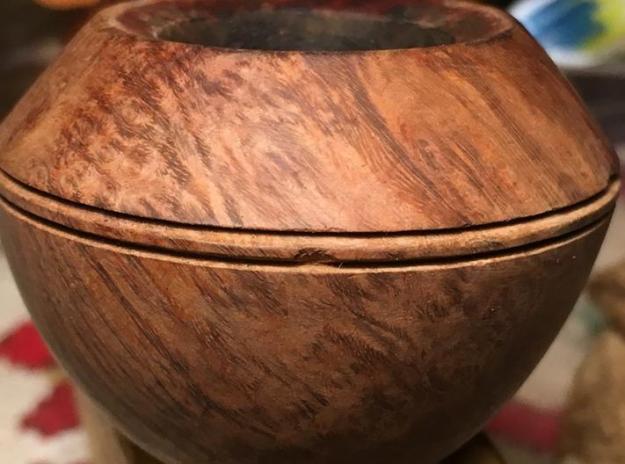
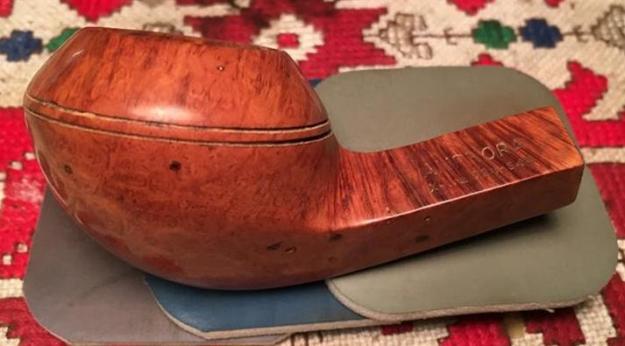
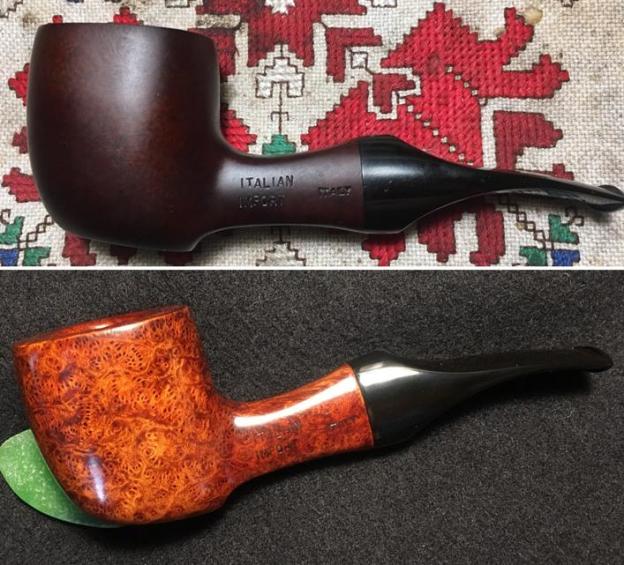
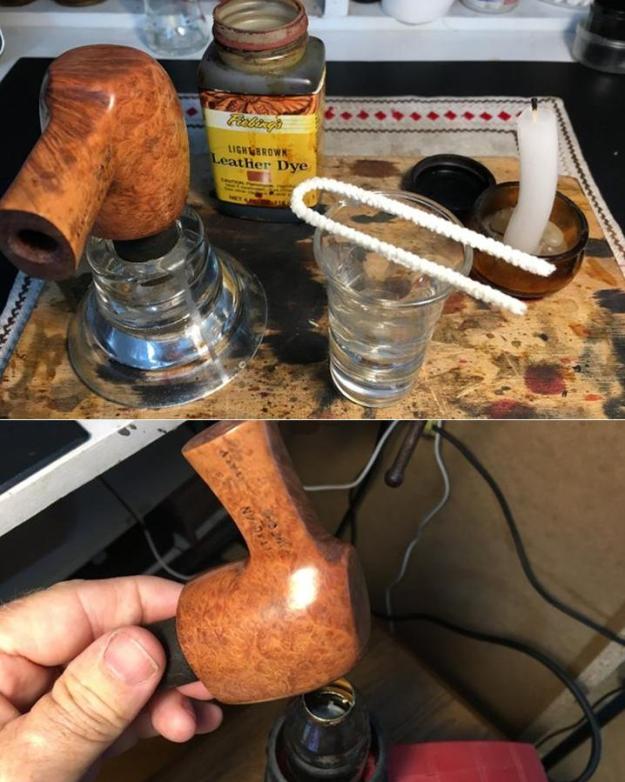
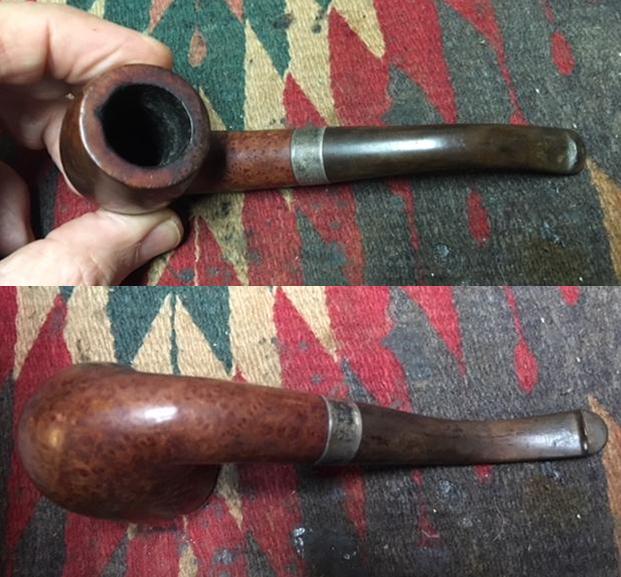
This is another pipe from the fellow here in Vancouver that he dropped off for me to work on. There were 8 pipes in the lot – I have finished six and this is the seventh. It is a bent billiard shaped bowl that is stamped on the left side of the shank and reads K&P over DUBLIN. On the right side of the shank is the COM stamp Made in Ireland in a circle with the “in” in the centre of the circle. Next to that is the shape number 217. The silver band is marked K&P over Sterling Silver. The stem was the original and was in fair condition. It was another one of his pipe finds on a recent pipe hunt in Vancouver. There was some really nice grain showing through the dirt and debris of the tired pipe. The rim top was damaged with a burn mark on the front right and the back outer edge was rounded over. The finish was very dirty and there was a thick cake in the bowl. The stem was oxidized and had tooth marks on the top side near the P-lip and on the underside near the shelf.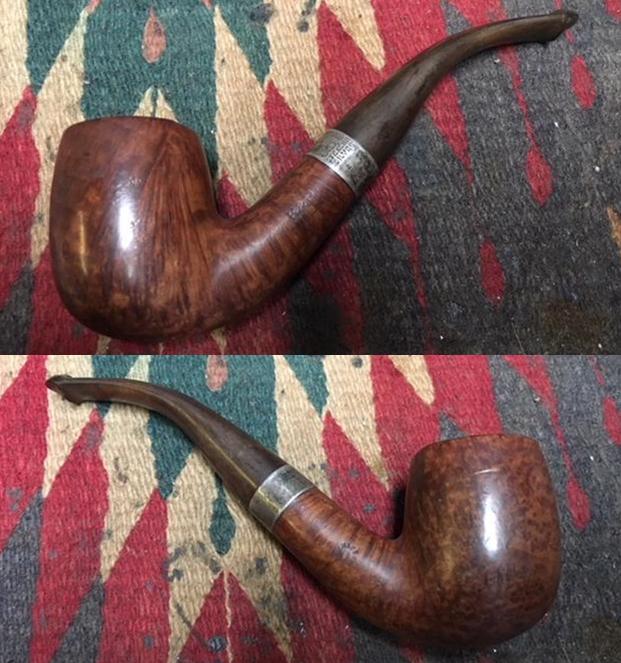
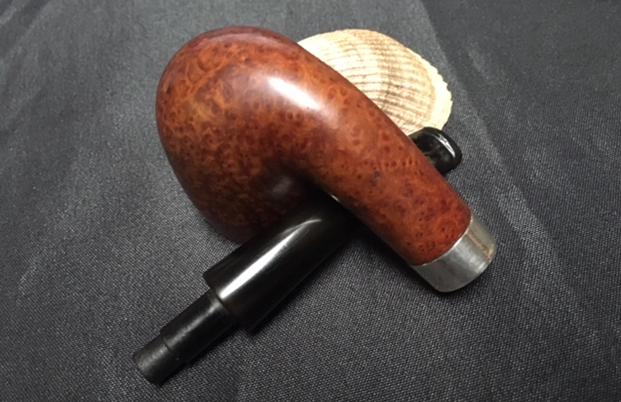
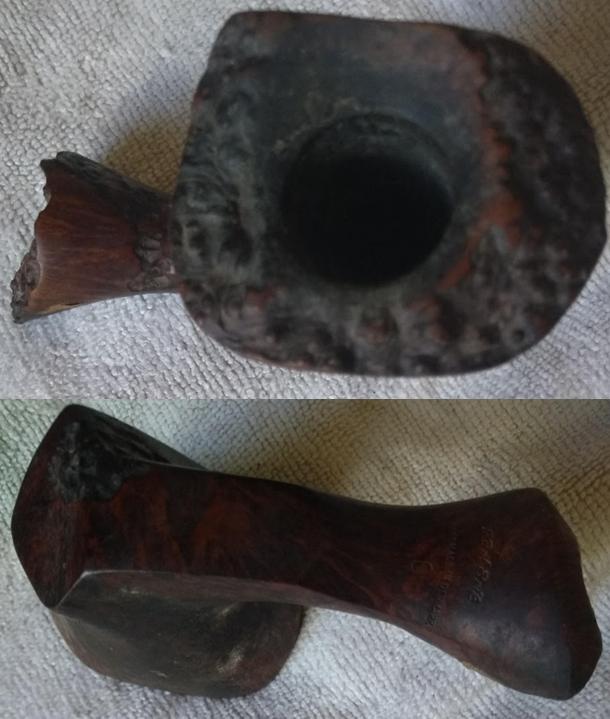
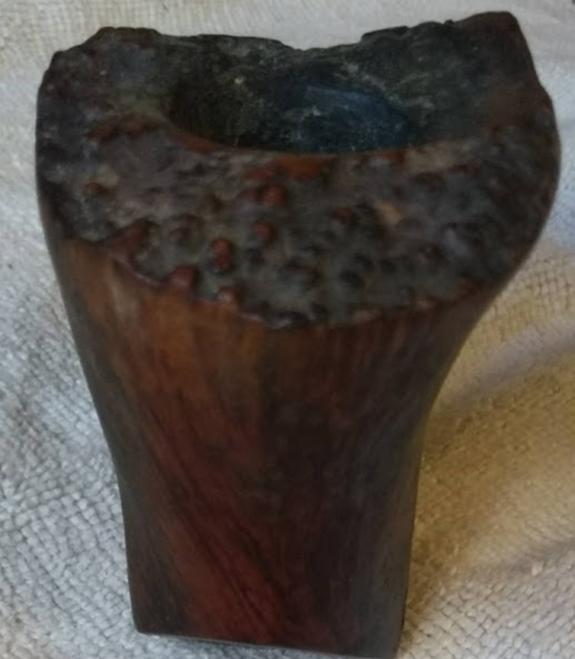
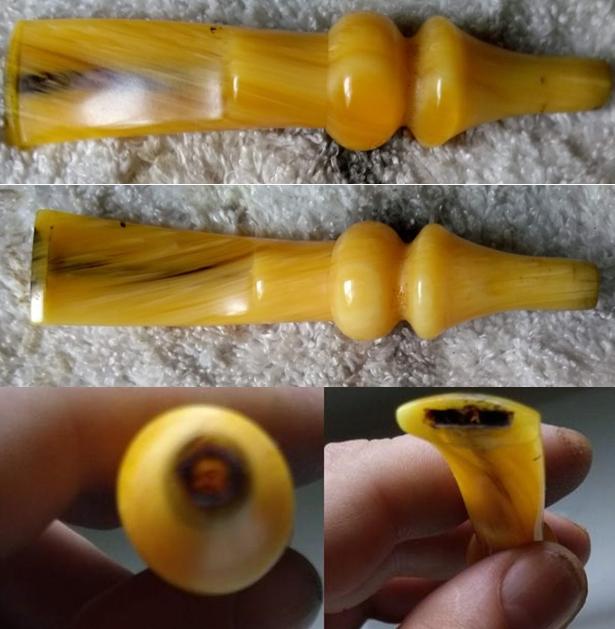
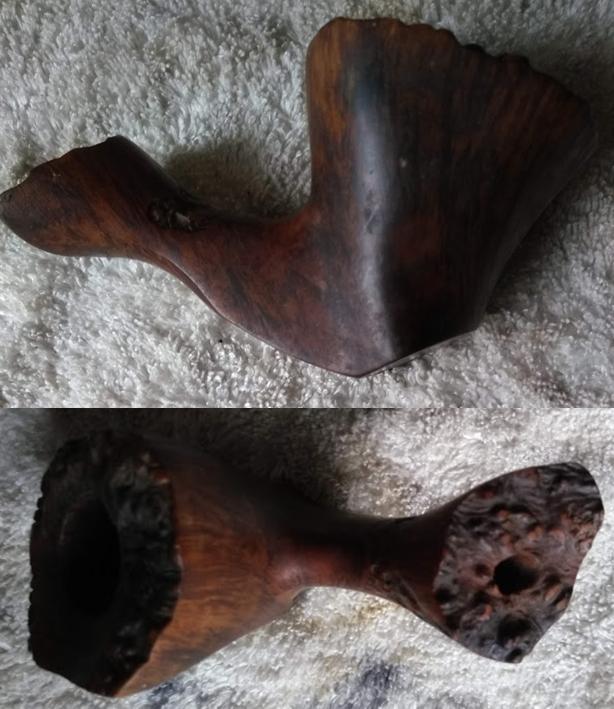
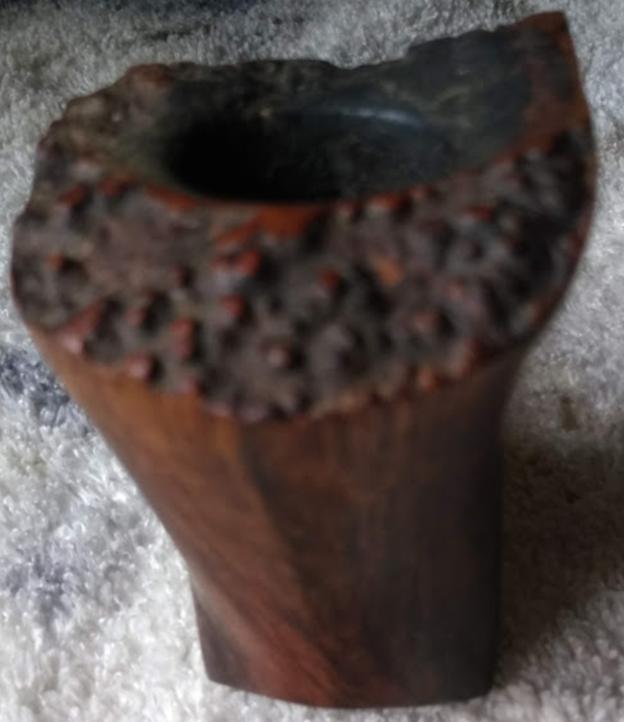
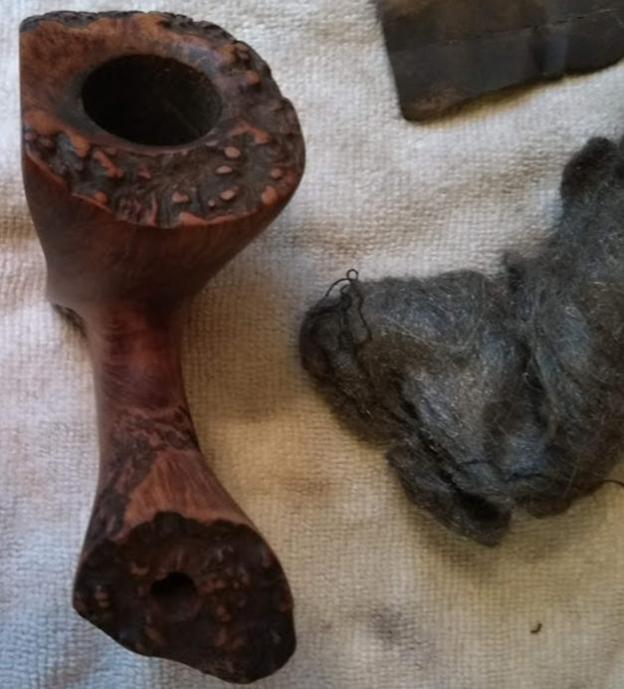
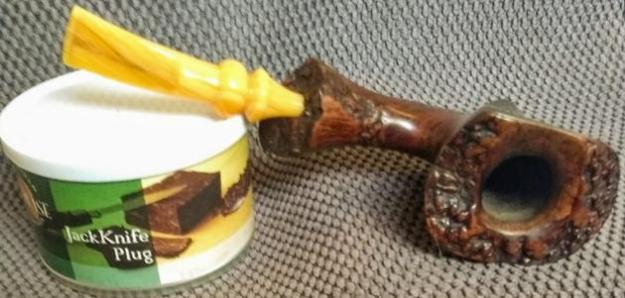
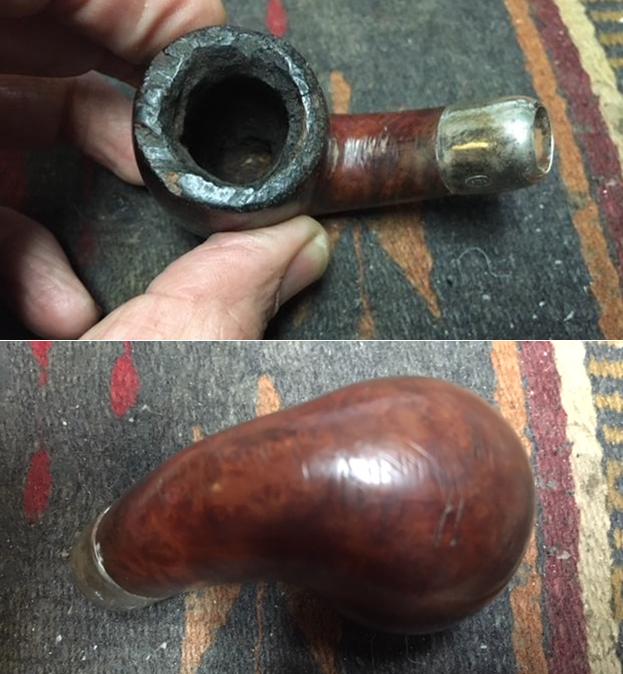
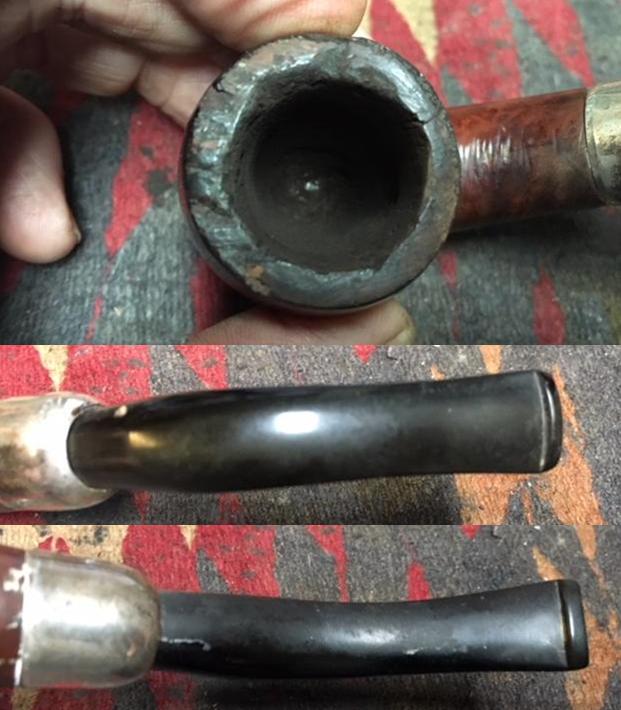
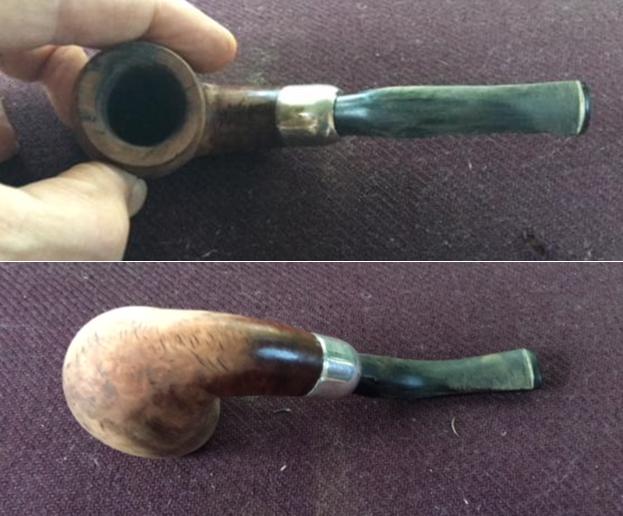
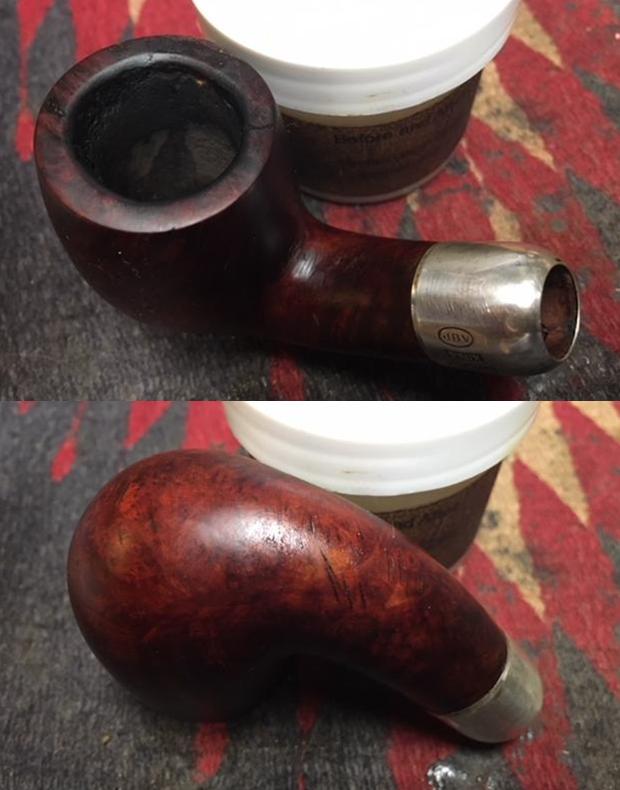
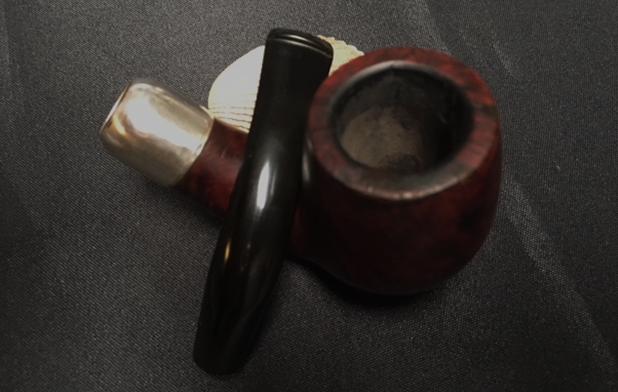
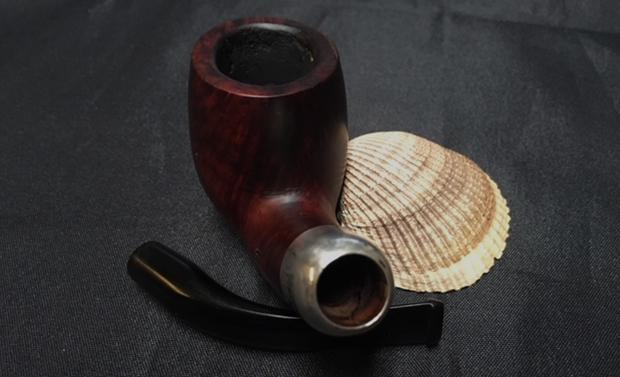
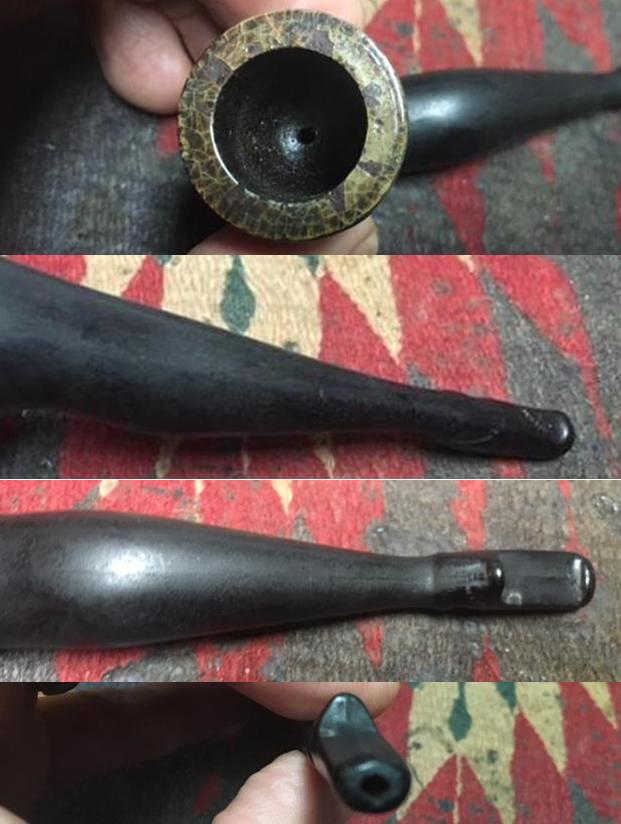
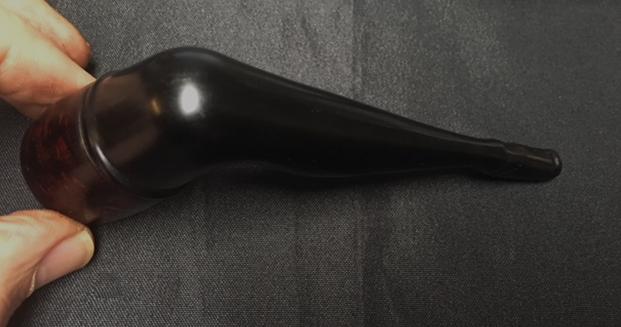
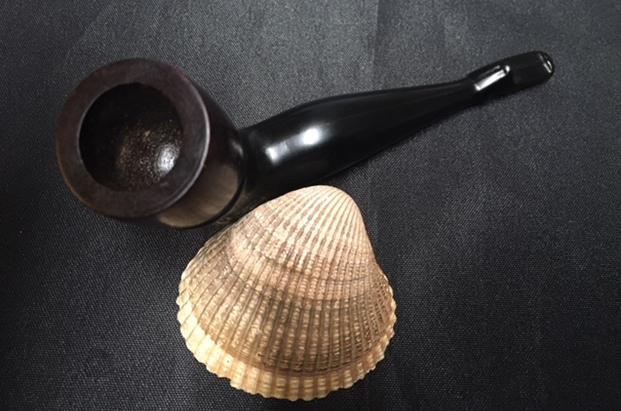
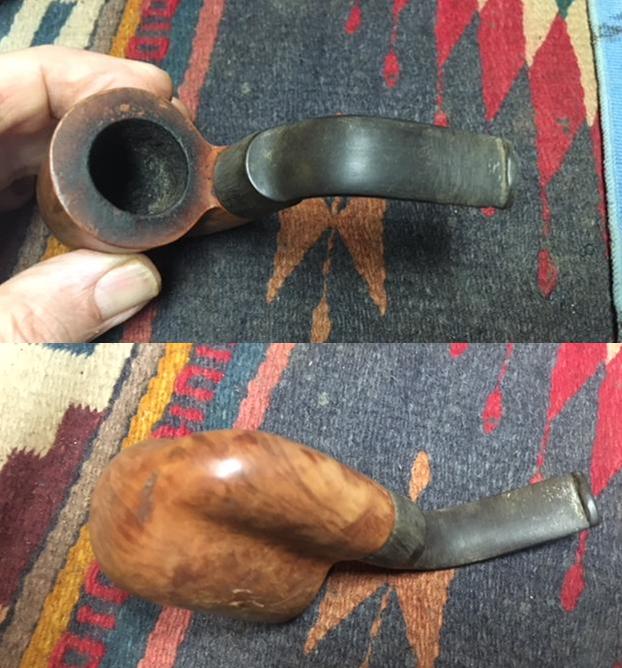
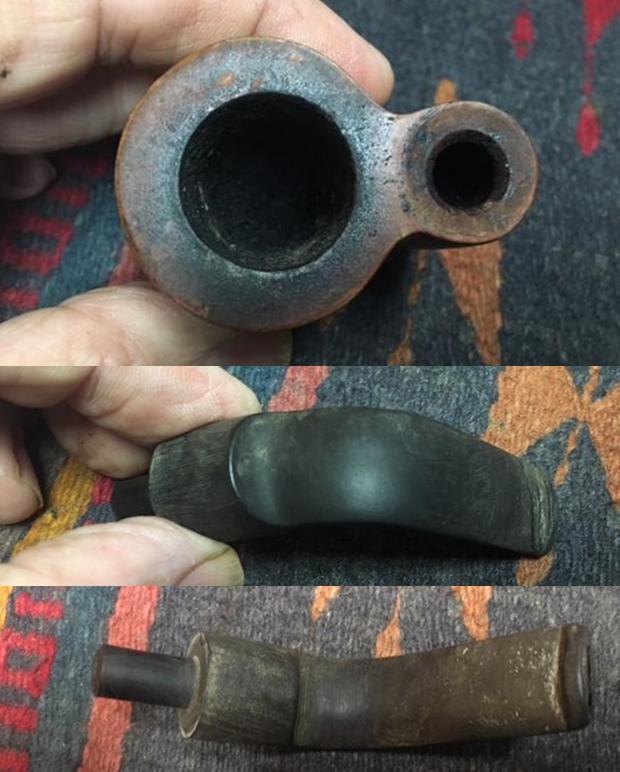
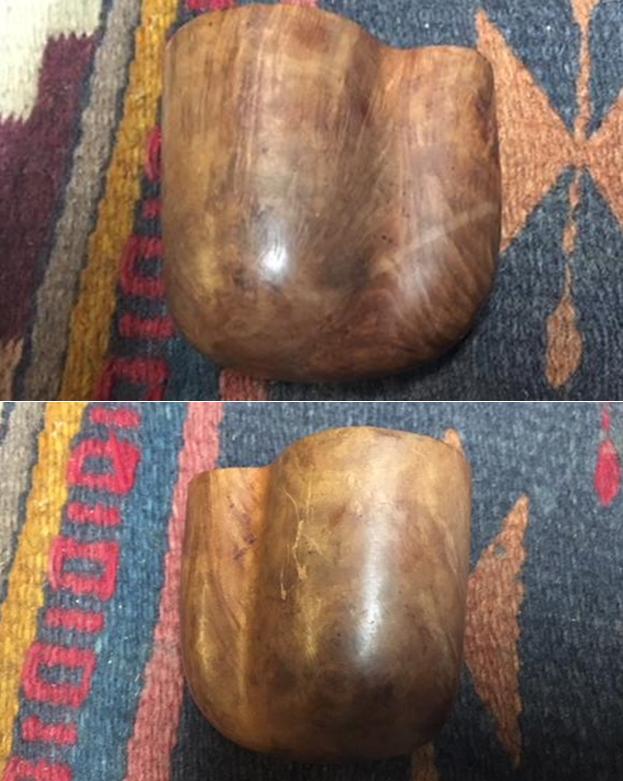
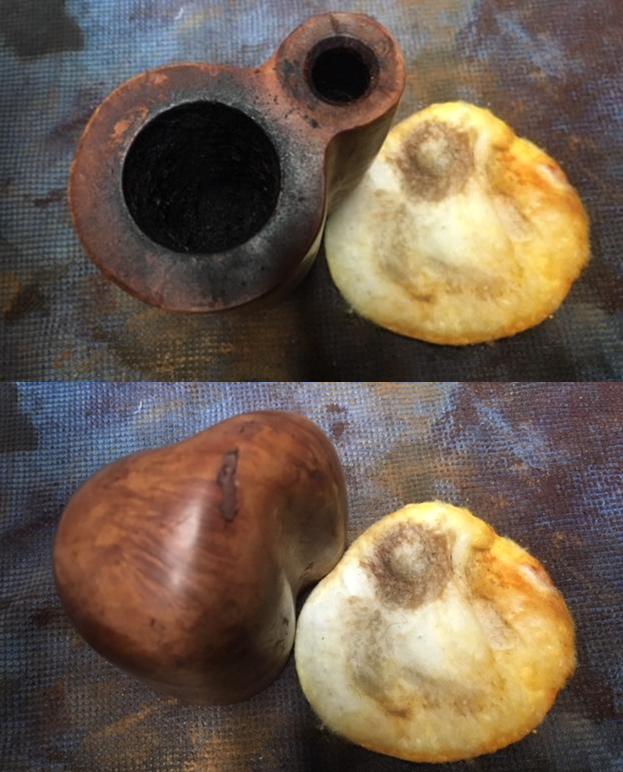
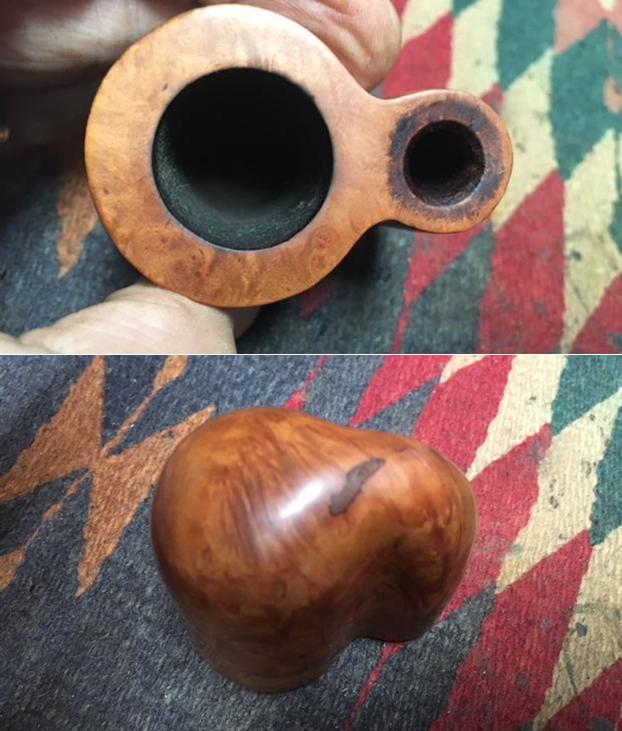
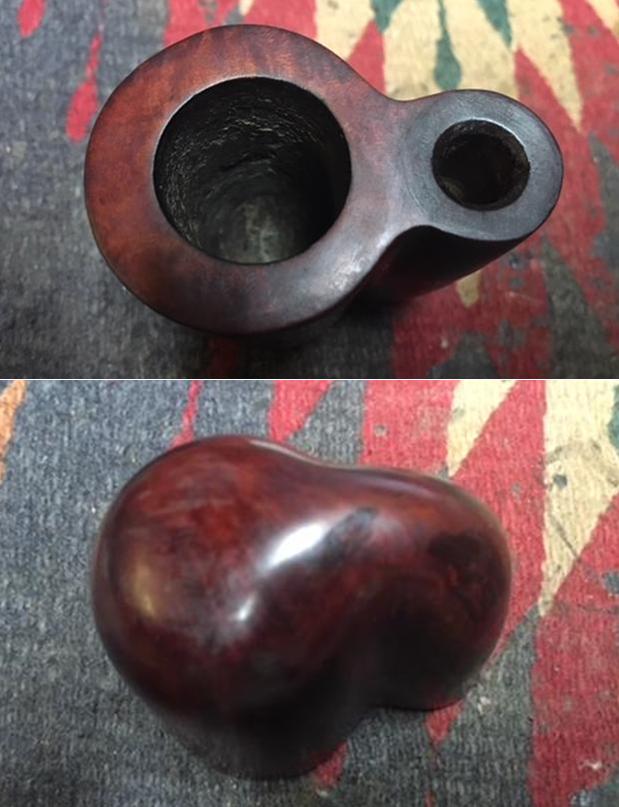
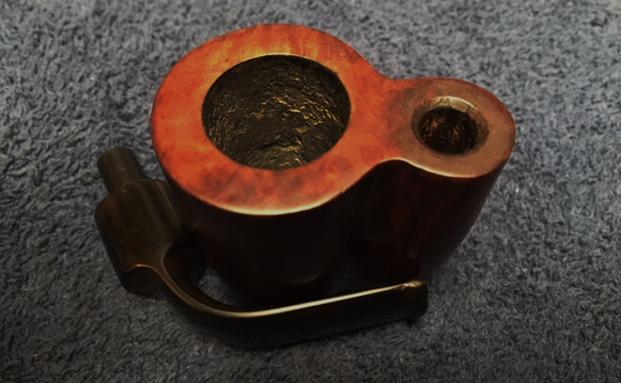
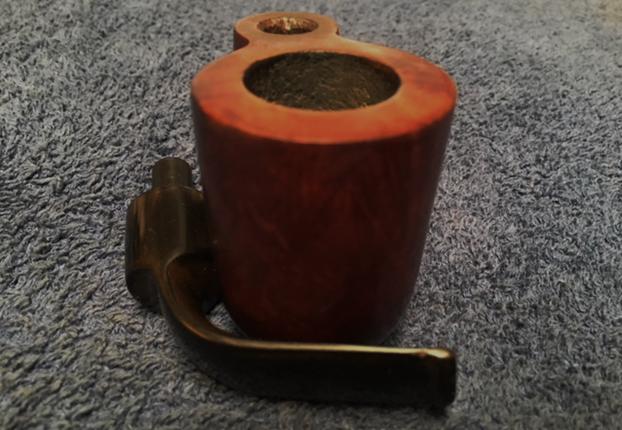
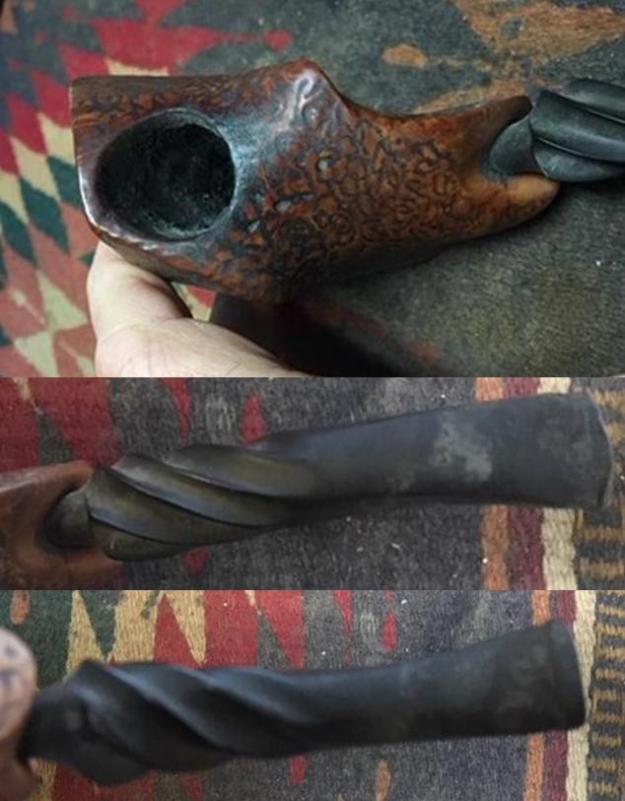
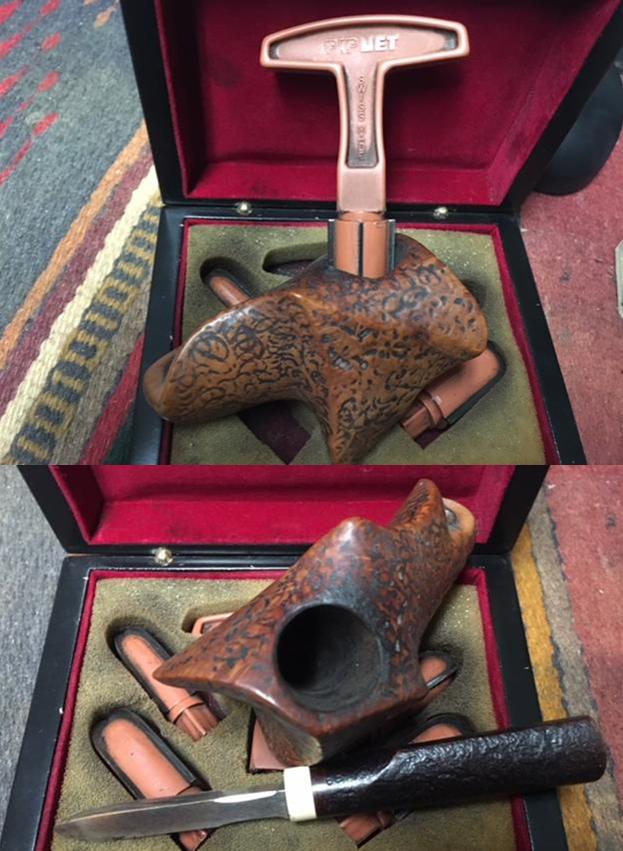
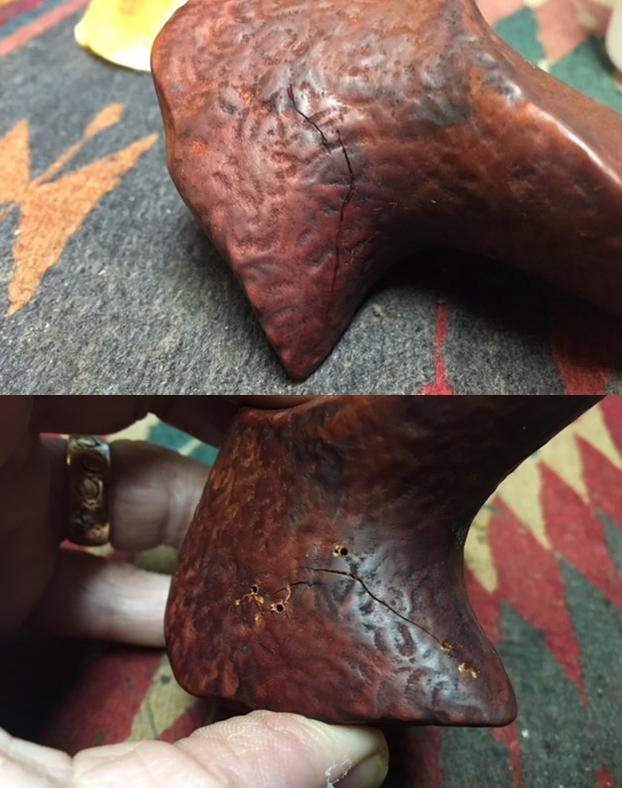
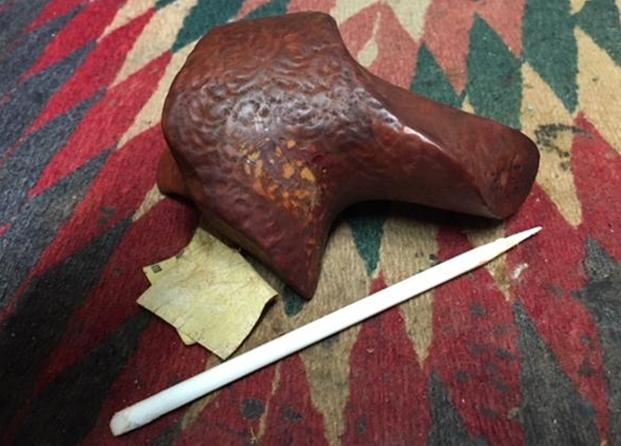
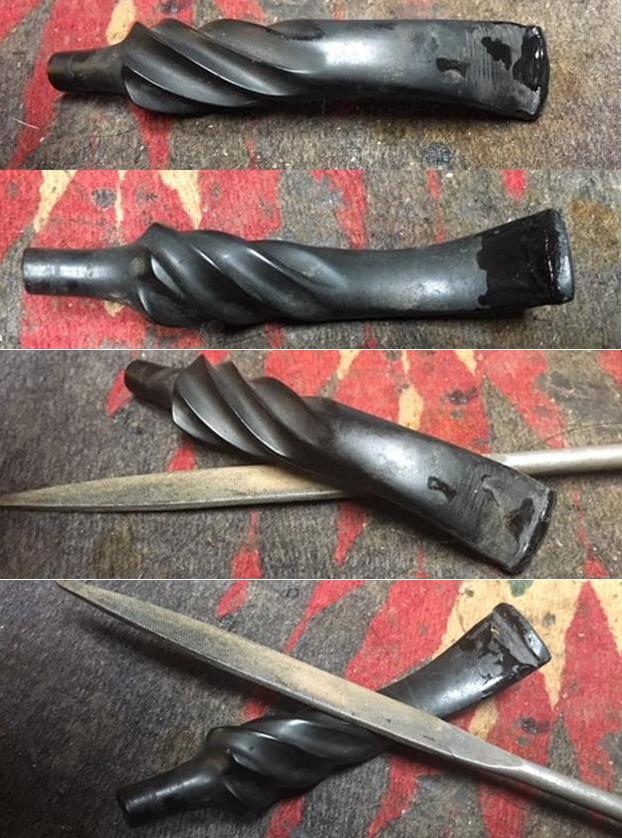
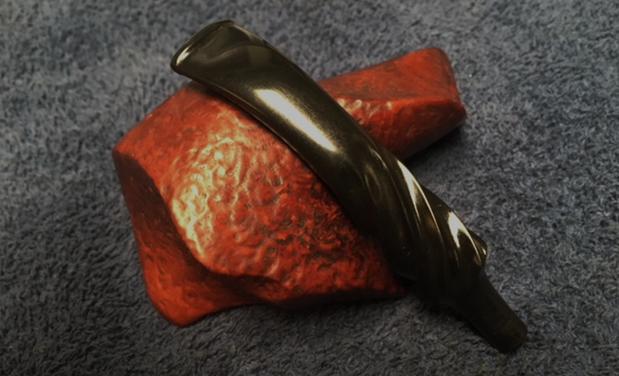
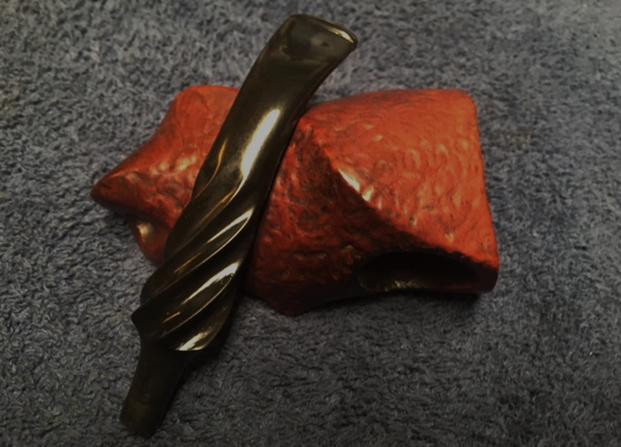
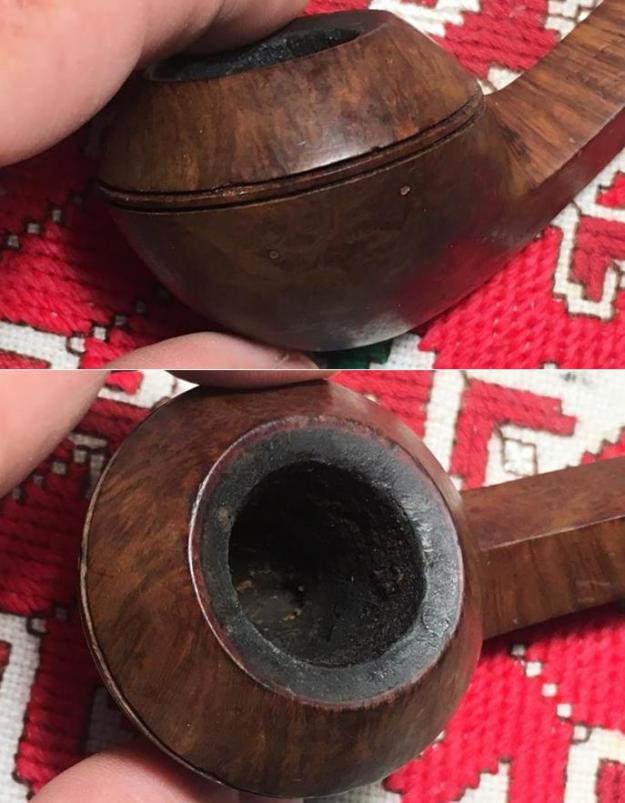
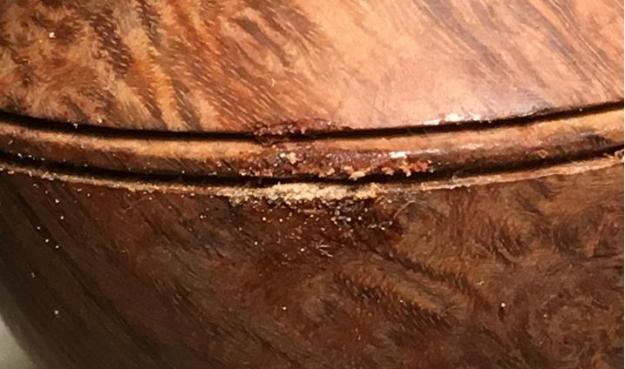
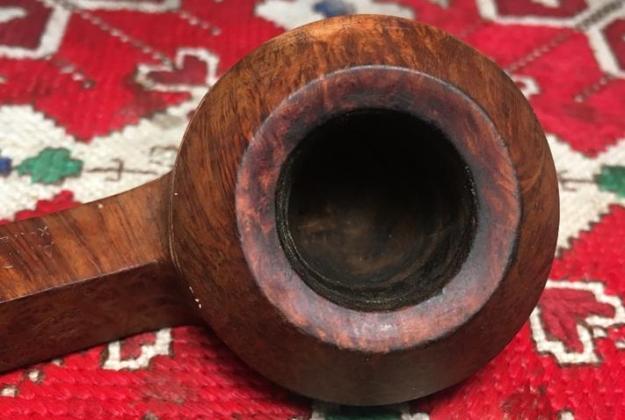
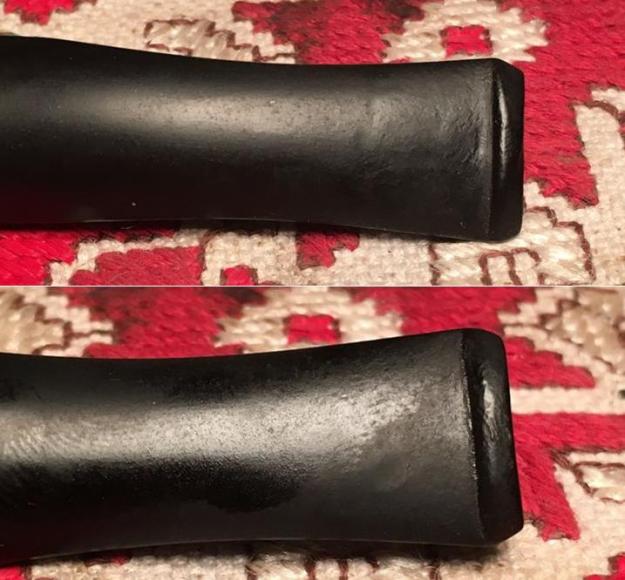
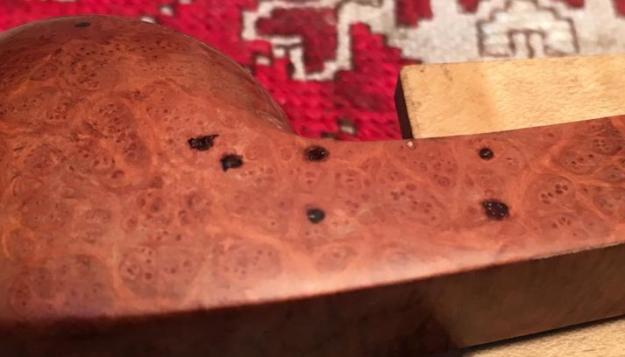
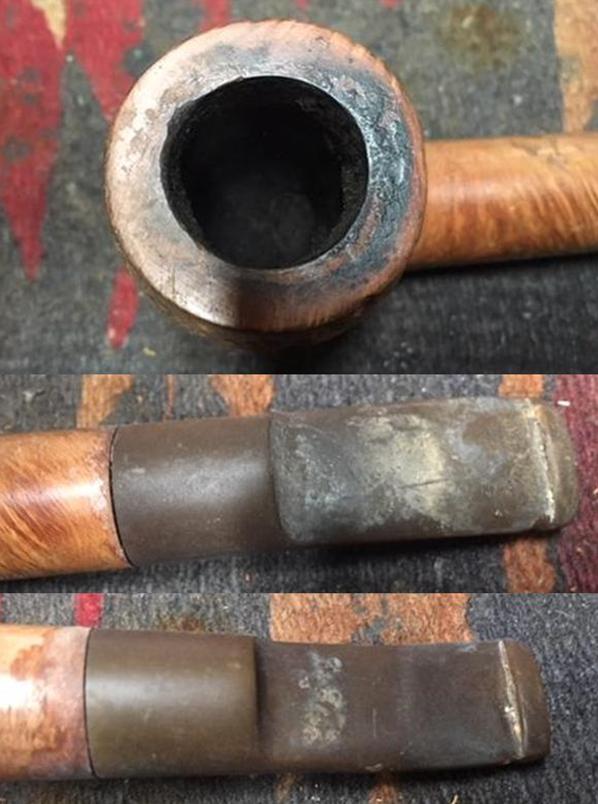
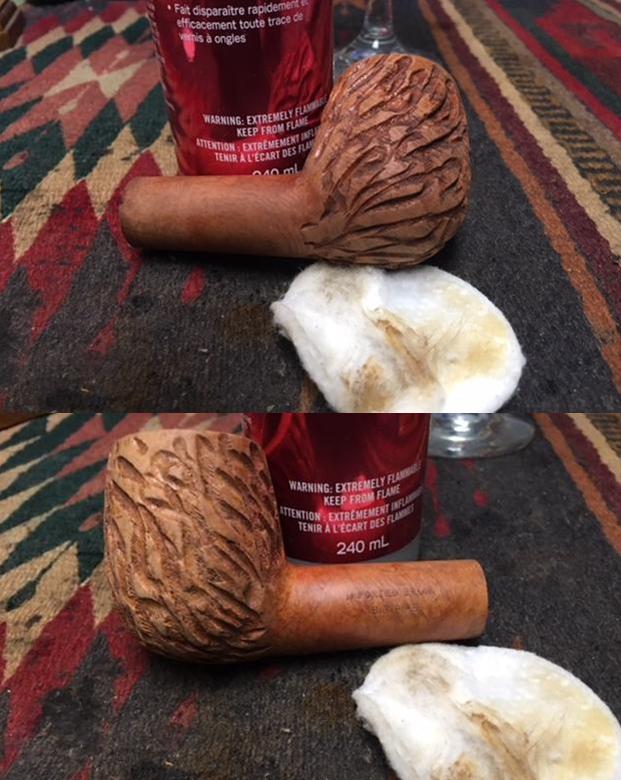
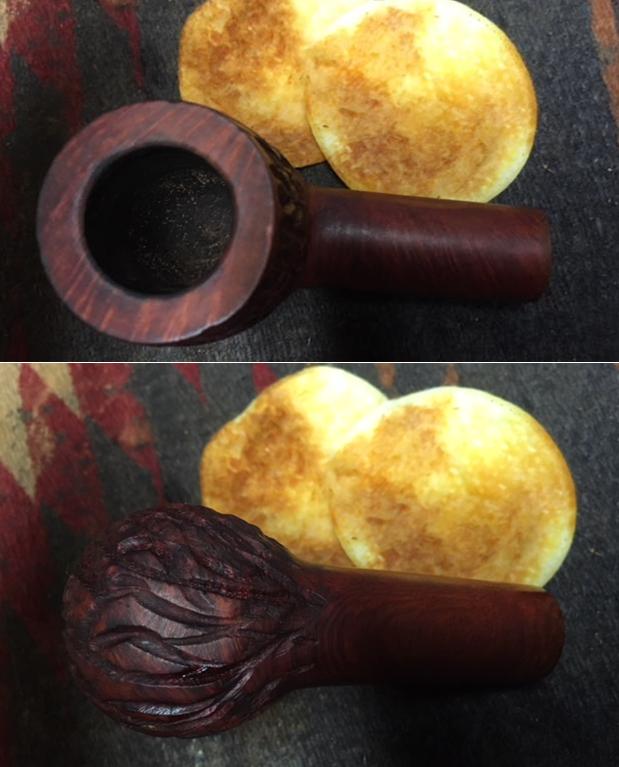
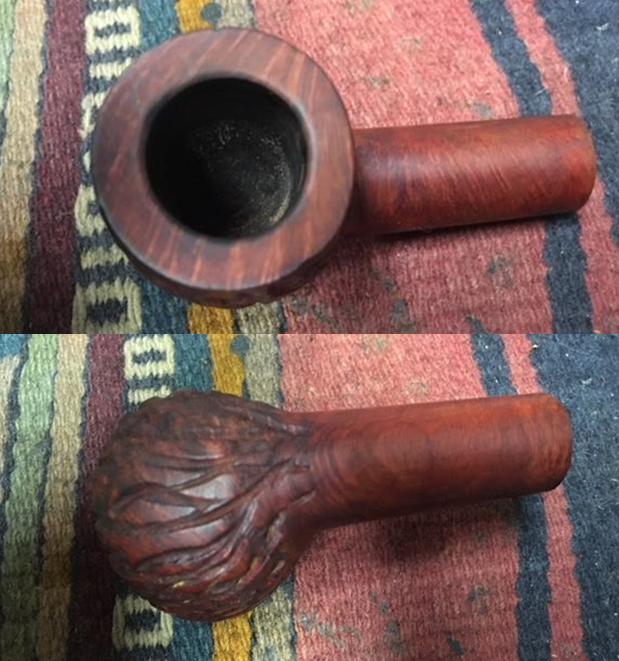
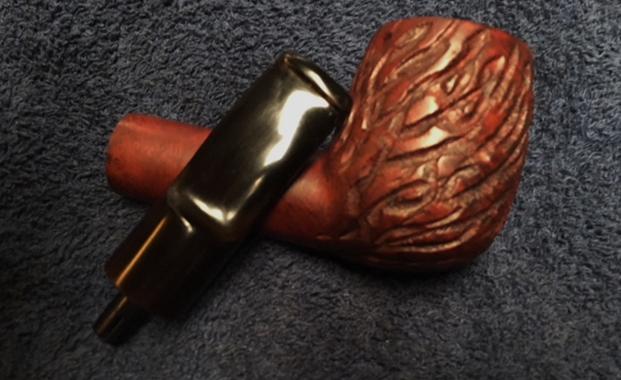
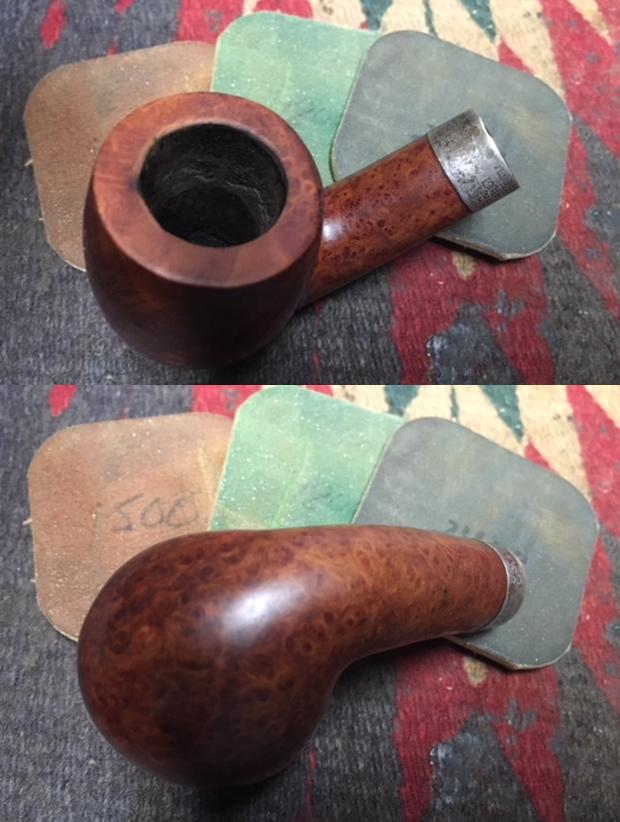
 I took close up photos of the rim top and the stem to show the condition they were in when I received the pipe. The first photo shows the damage to the rim top – there is a nick out of the front inner edge of the bowl and a few other nicks and chips that make it appear to be out of round. The back outer edge on the shank end is worn down at an angle but it is not rough. The inside of the bowl has some uneven cake around the bowl and some tar and oil on the top of the rim. The sterling silver band – with K&P and Sterling Silver stamped on it is oxidized and tarnished but otherwise in good condition. The photos of the stem show the tooth damage on the top and underside of near the P-lip button. There is a deep tooth mark on the top side ahead of the button and some wearing down of the button edge on the left and right. The underside of the stem also has tooth chatter and some wear on the sharp ledge. The airway on the top of the stem is still in good condition.
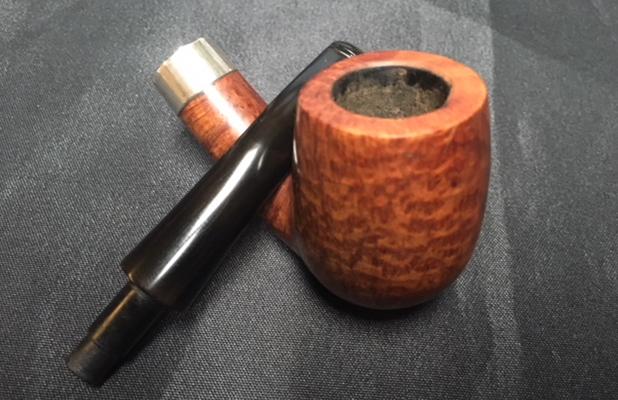
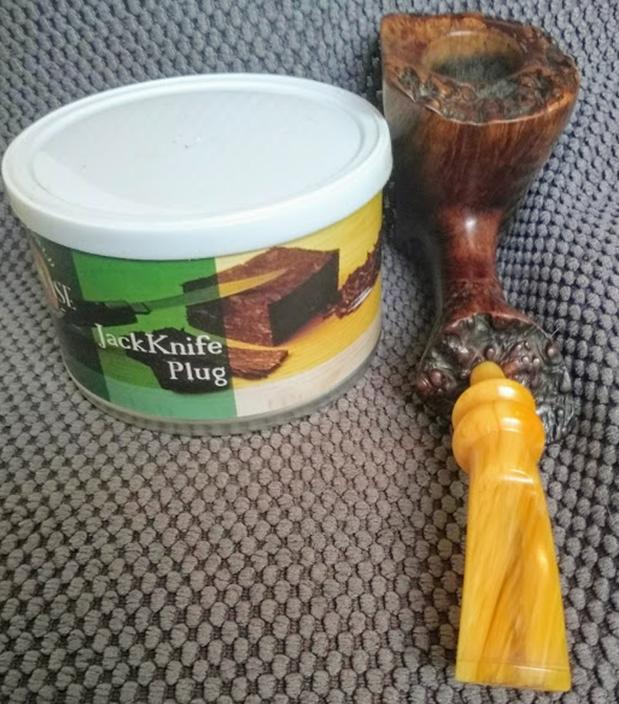
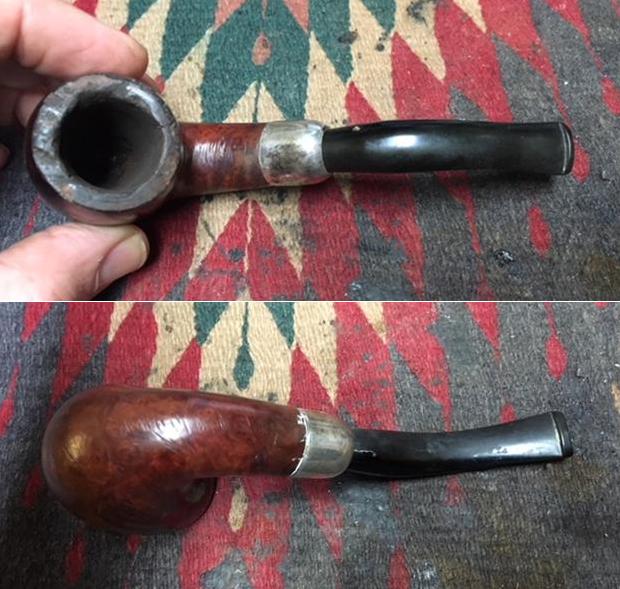
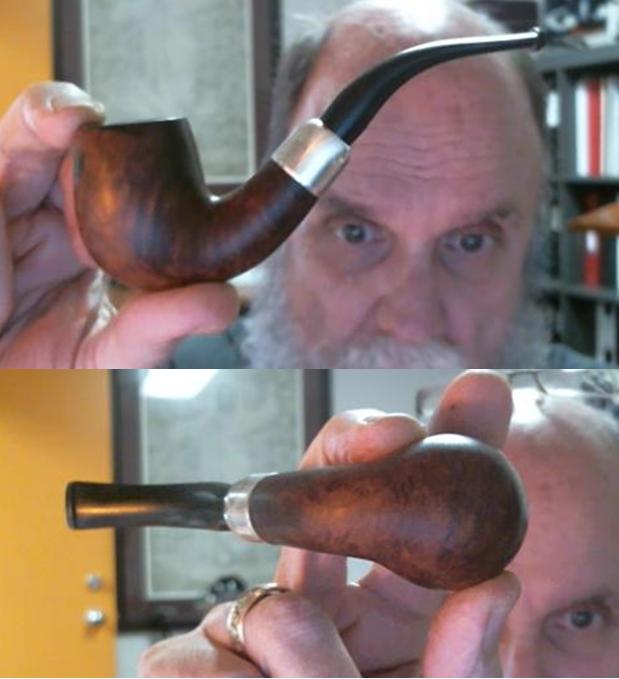
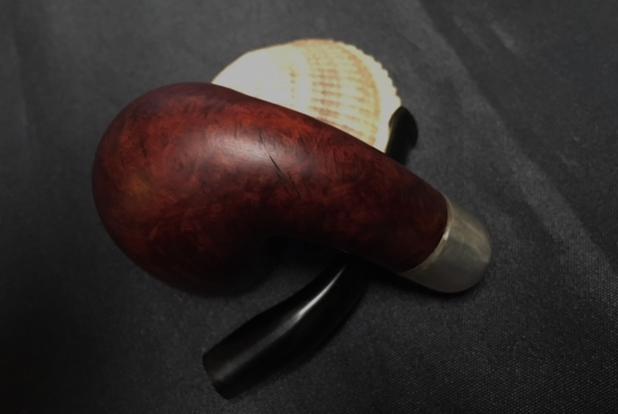
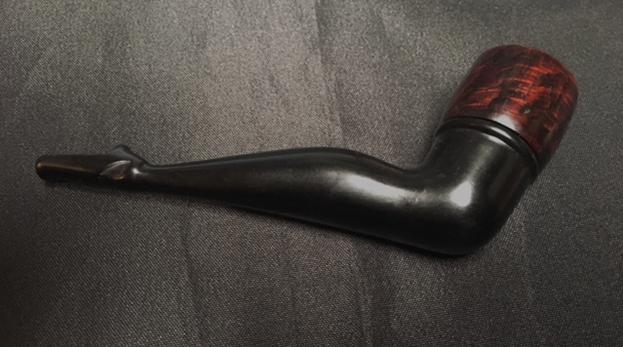
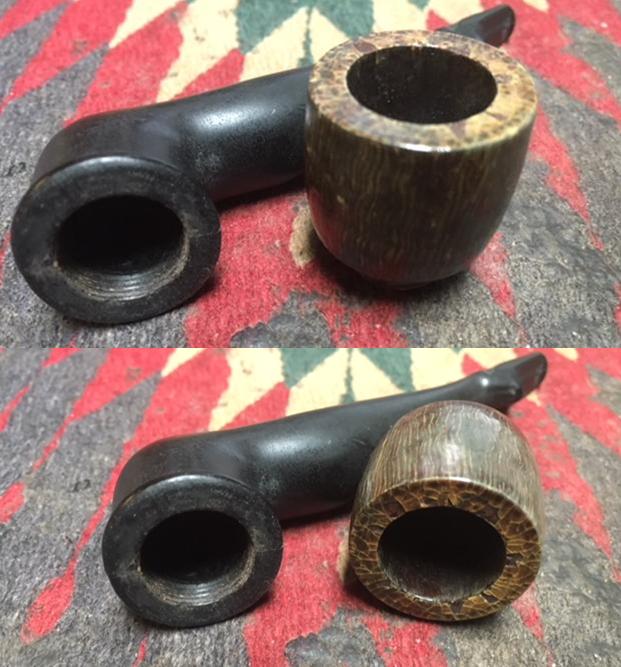
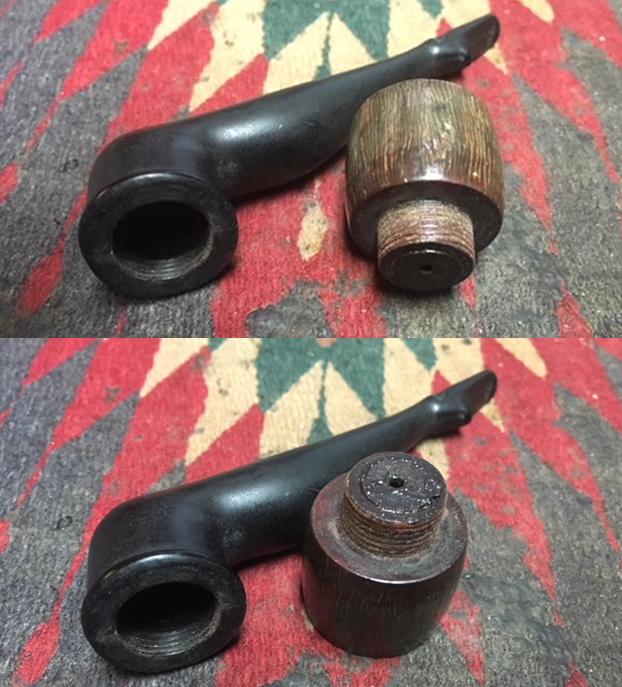
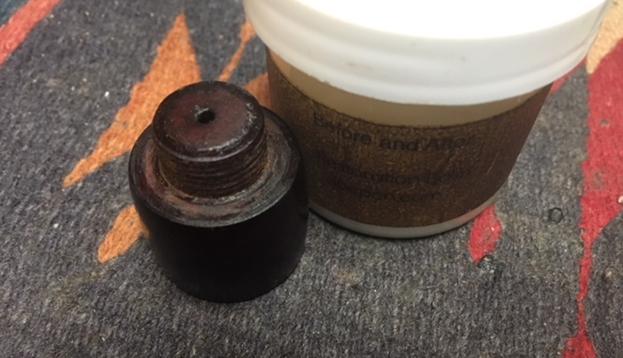
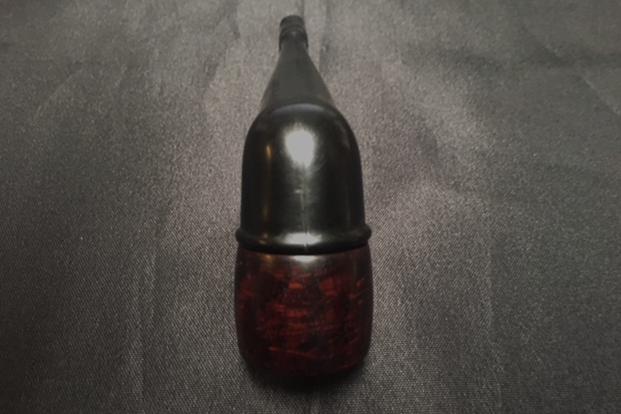
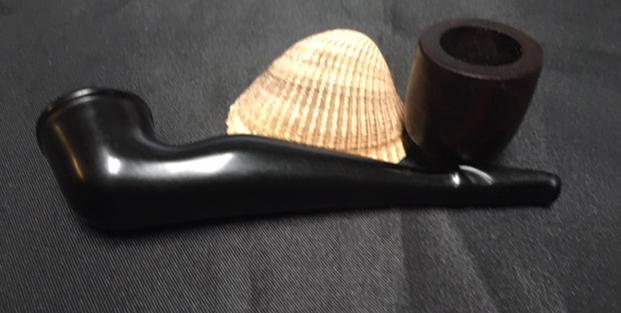
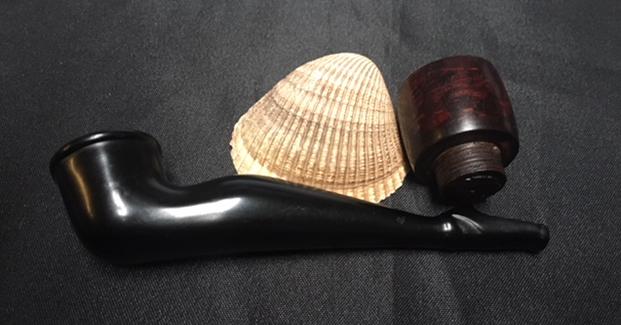
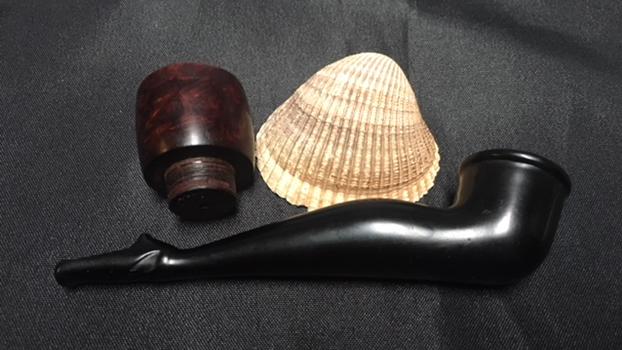
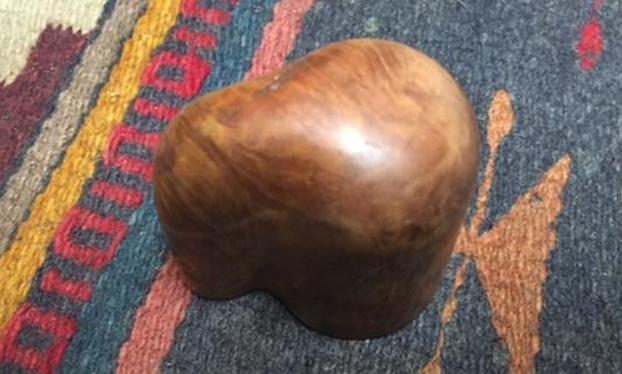
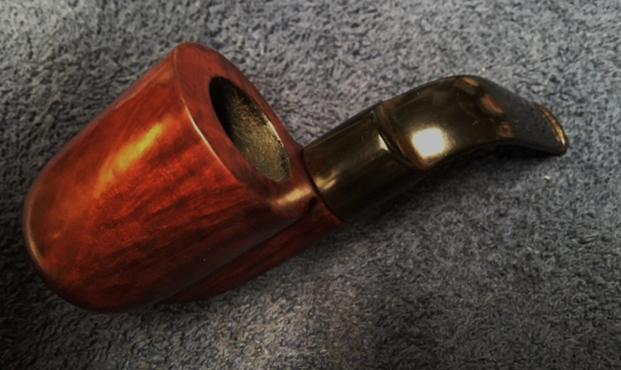
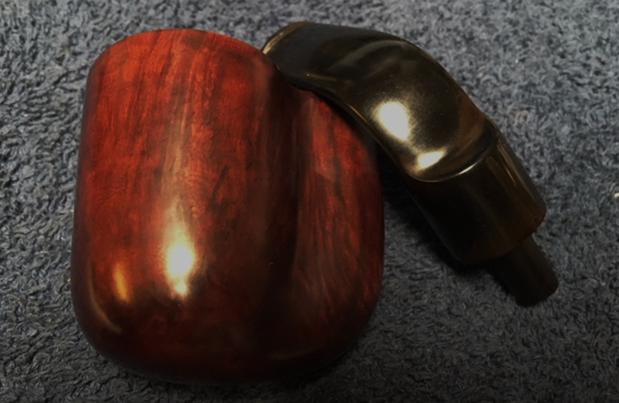
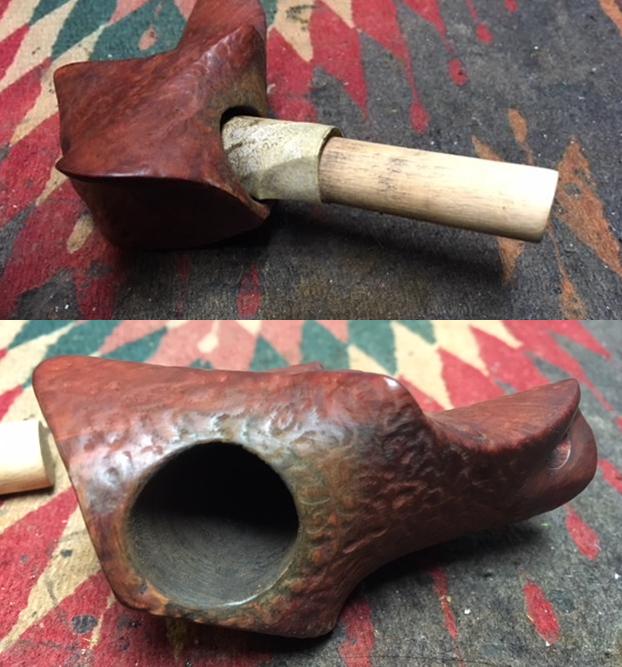
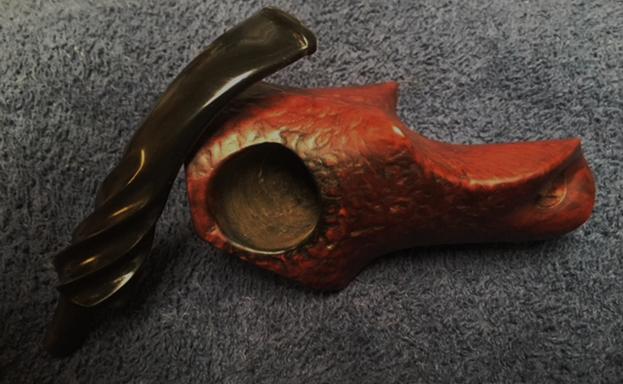
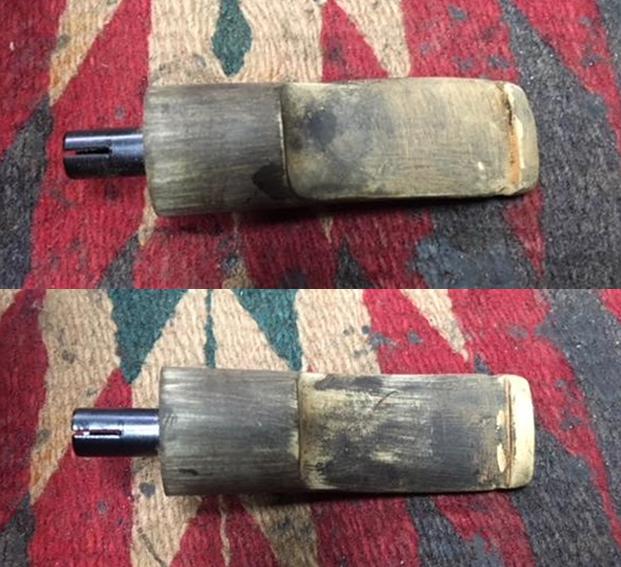
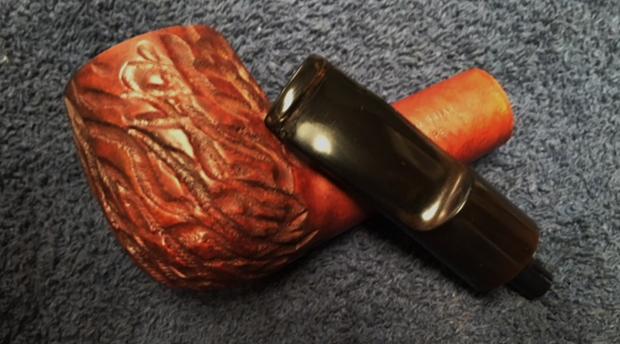
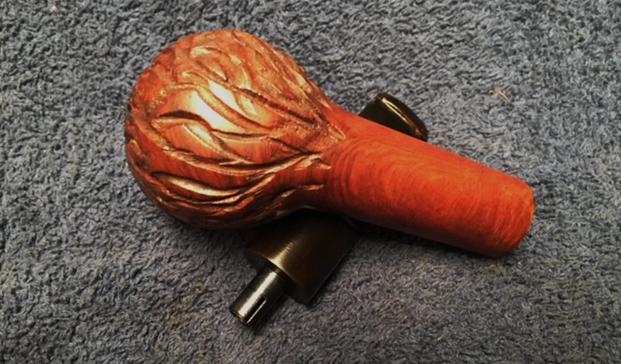
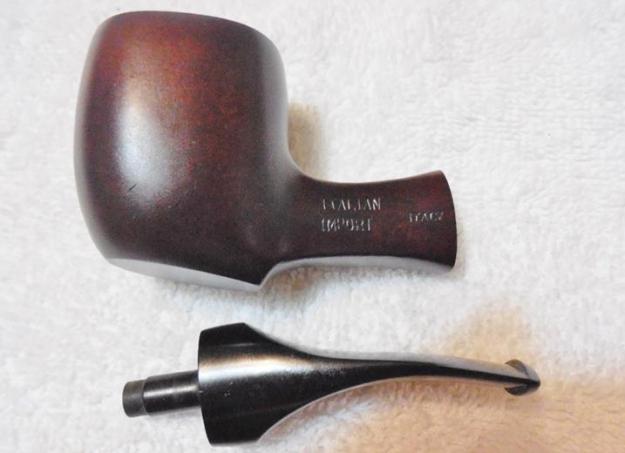
 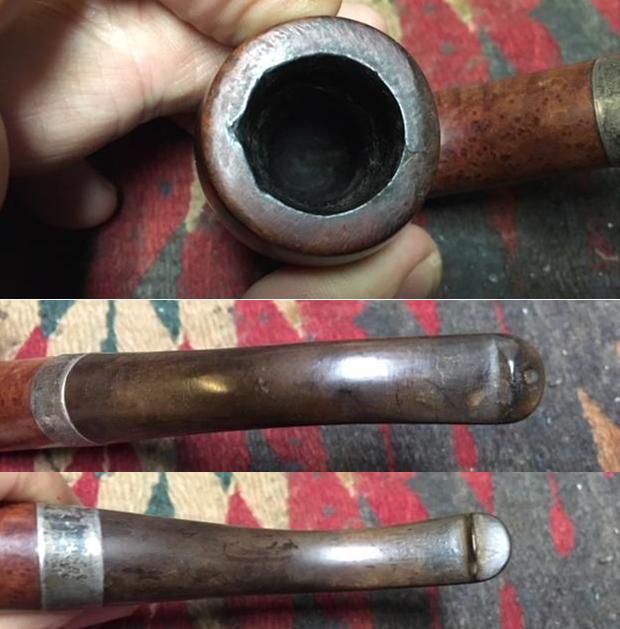 I took a photo of the pipe with the stem removed to give an idea of the style of the tenon on the stem and the look of the pipe sans stem.
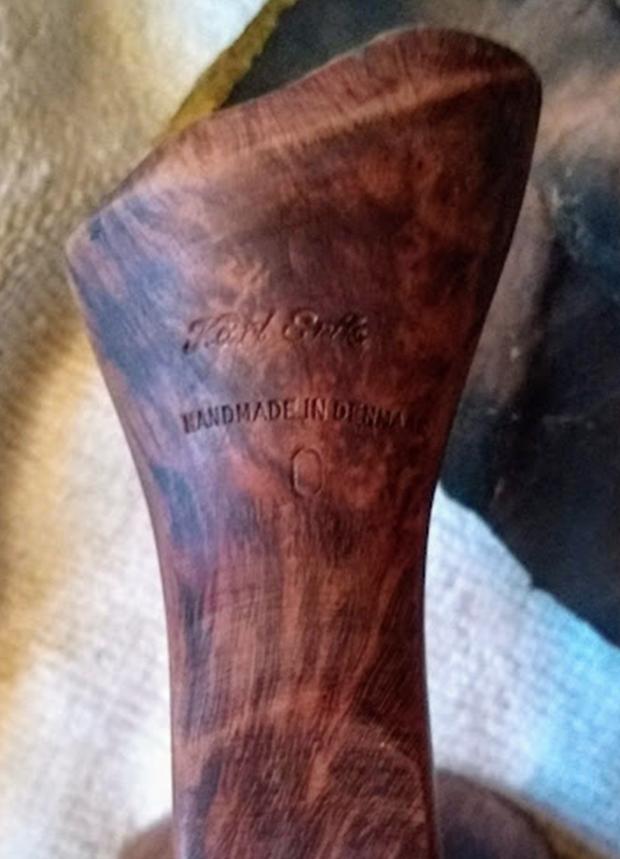
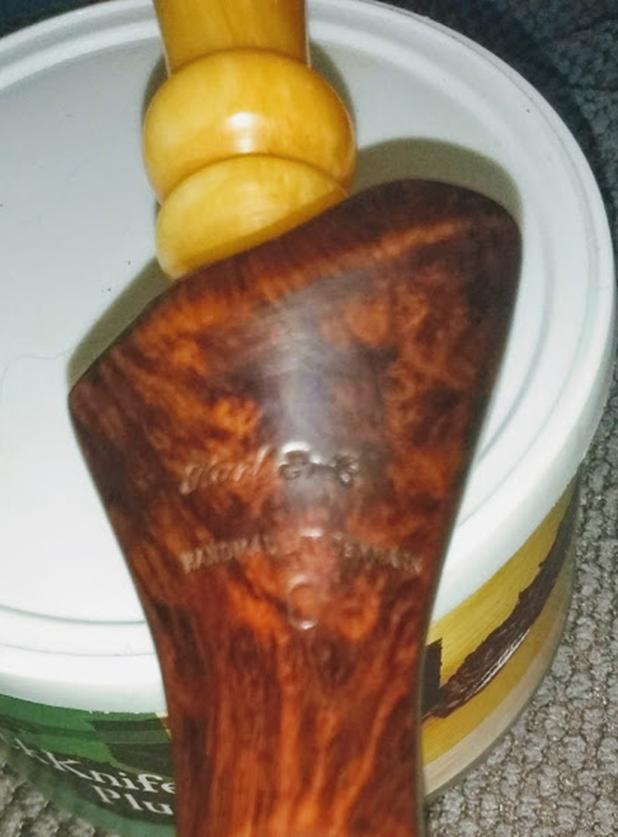
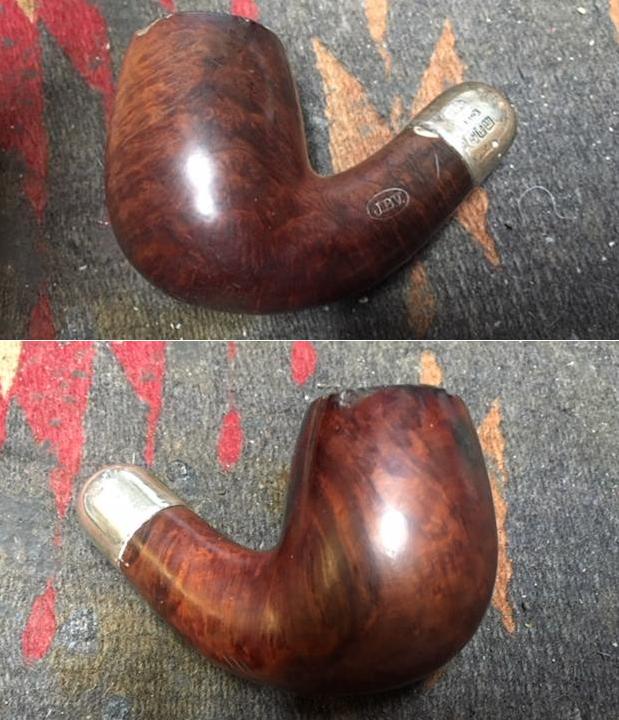
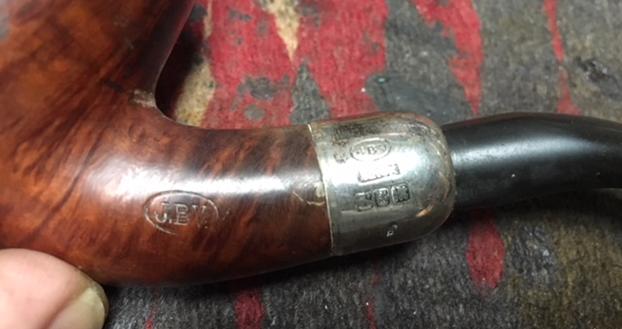
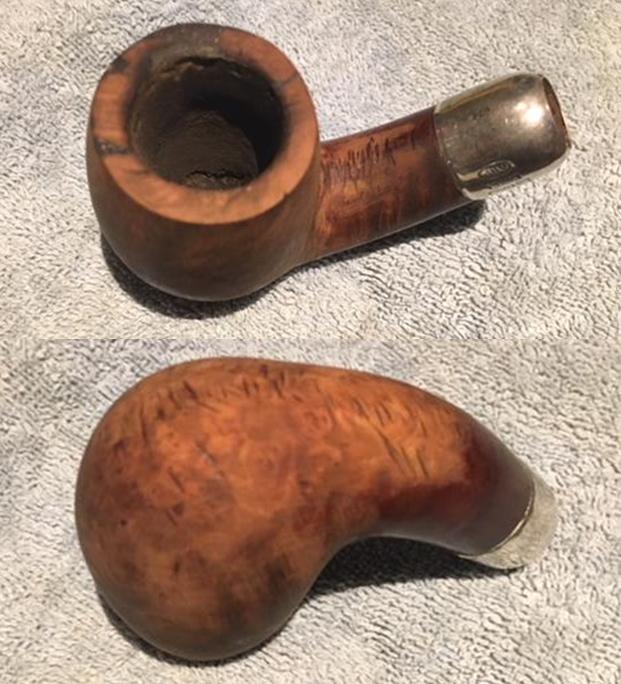
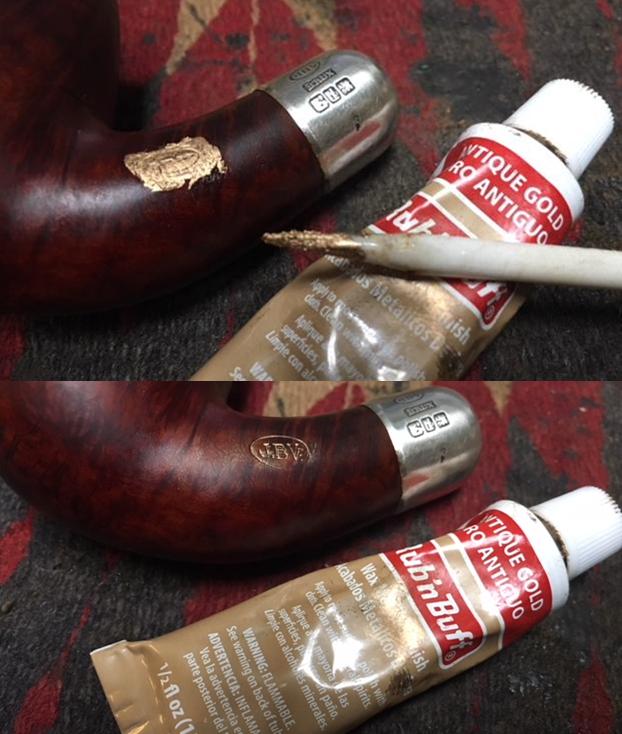
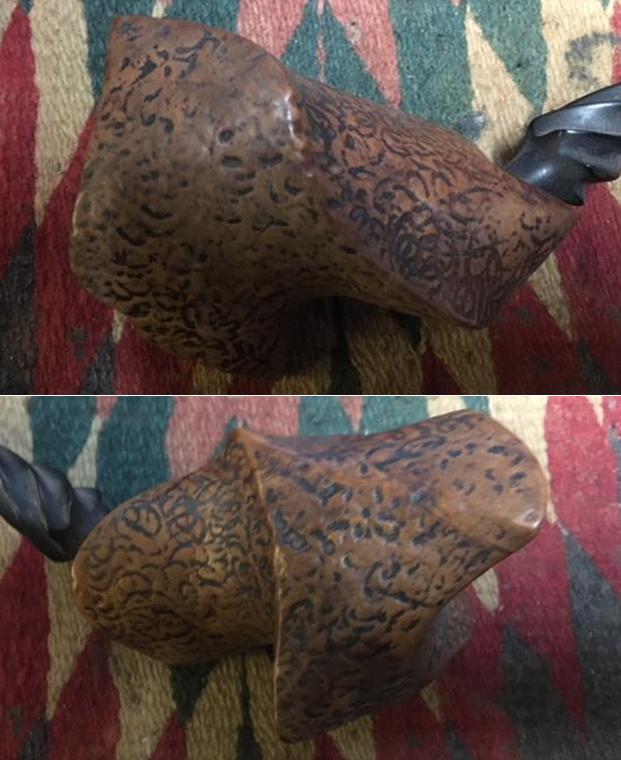
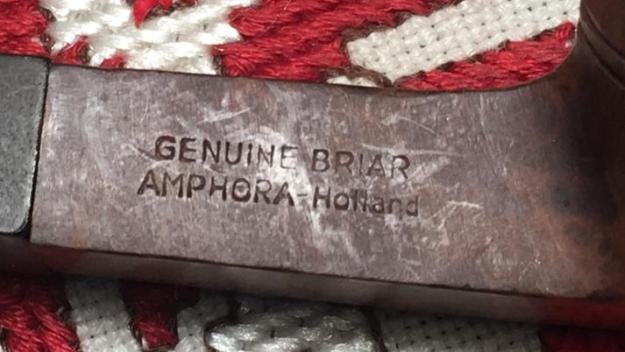
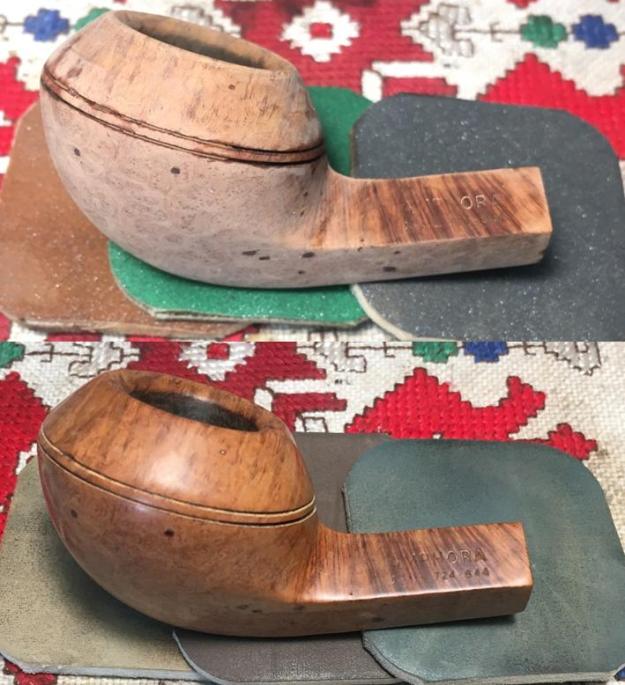
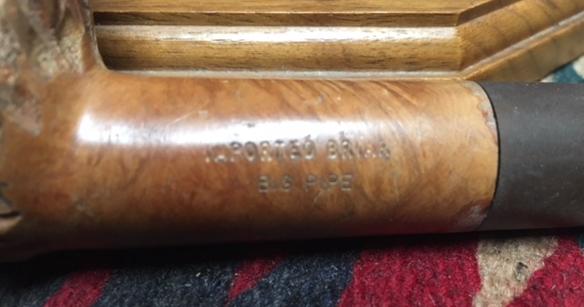
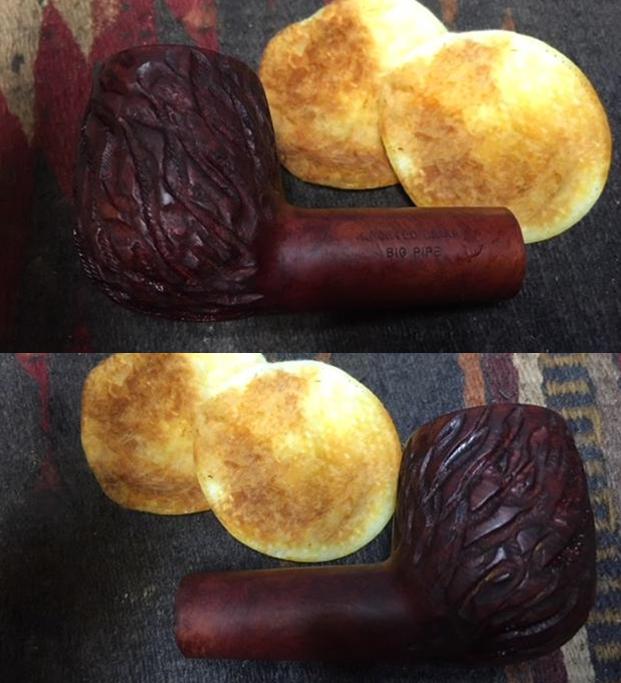
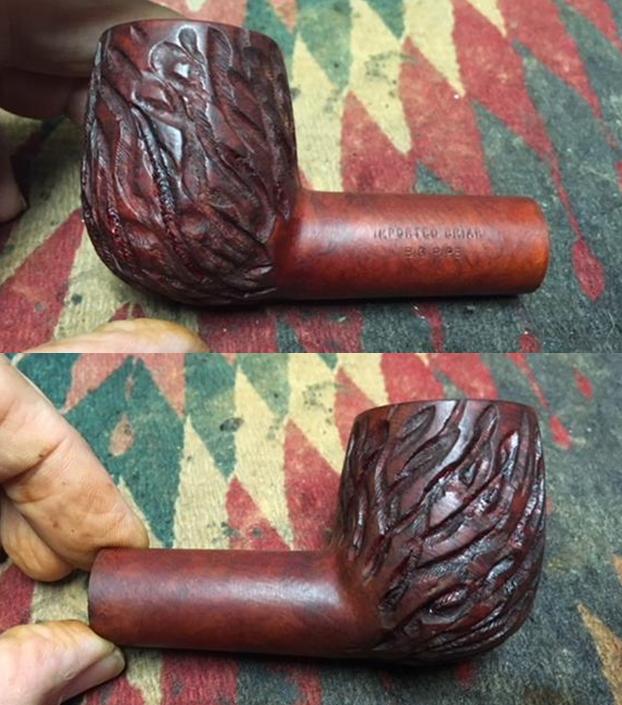
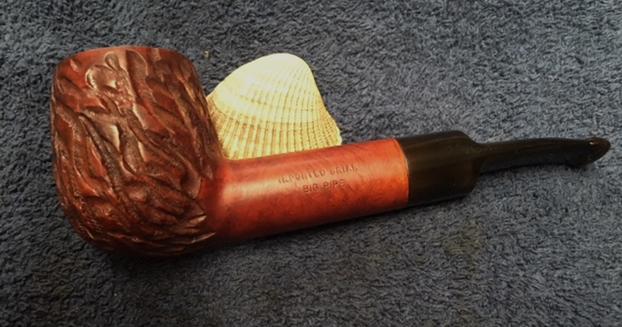
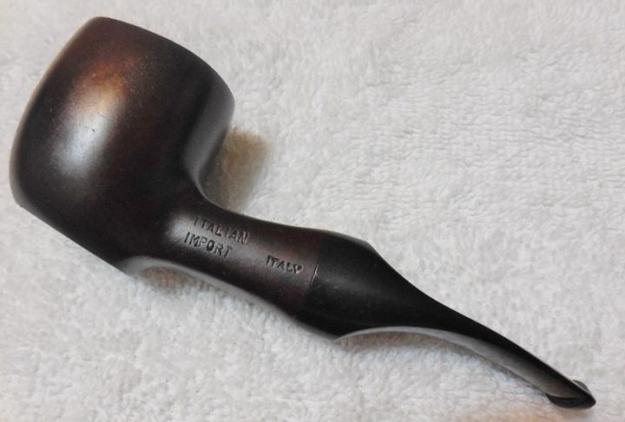
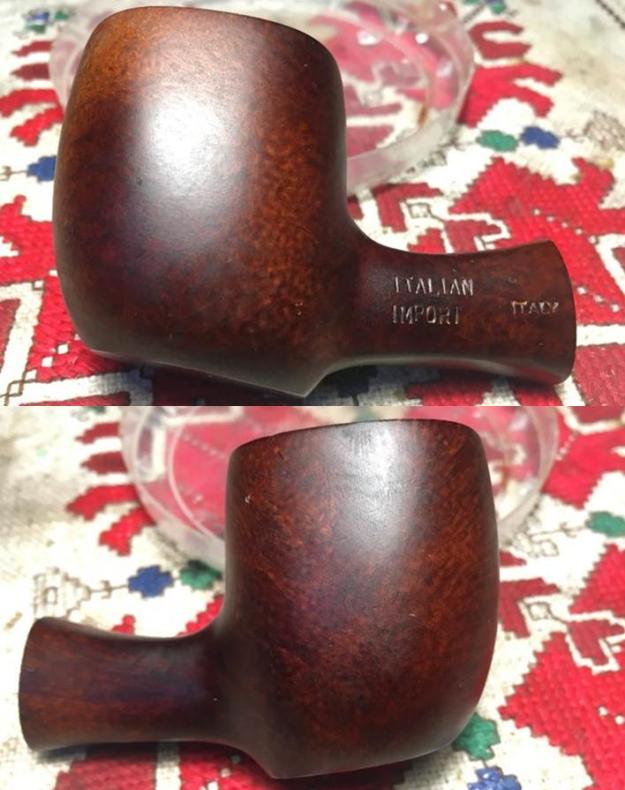
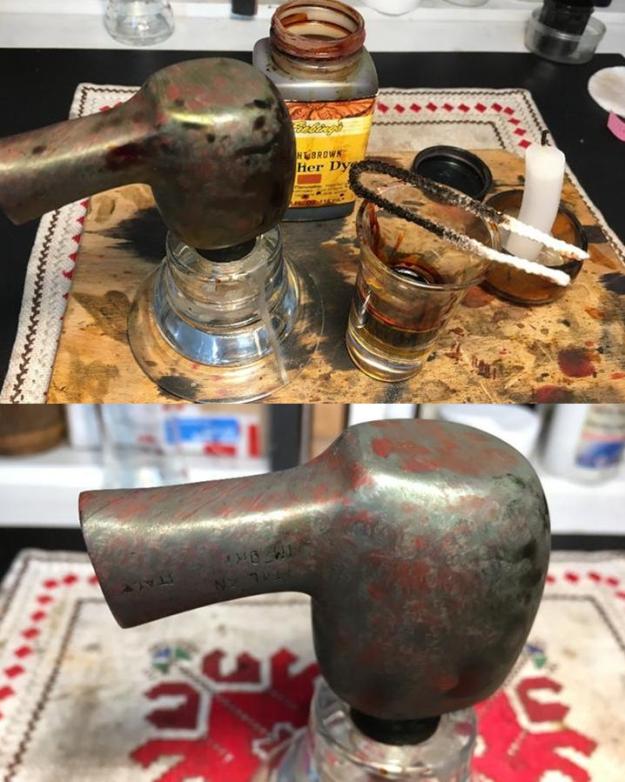
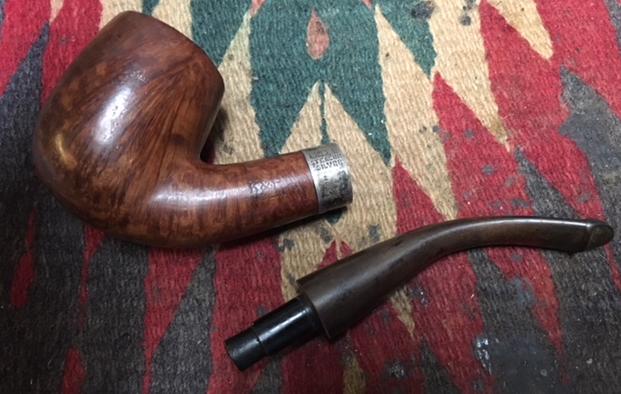 I took a photo of the stamping on the both the right and left side of the shank. It is very clear and readable. The stamping left reads K&P over Dublin and the stamping on the right reads shape number 217 and the COM stamp as mentioned above – Made in Ireland in a circle.
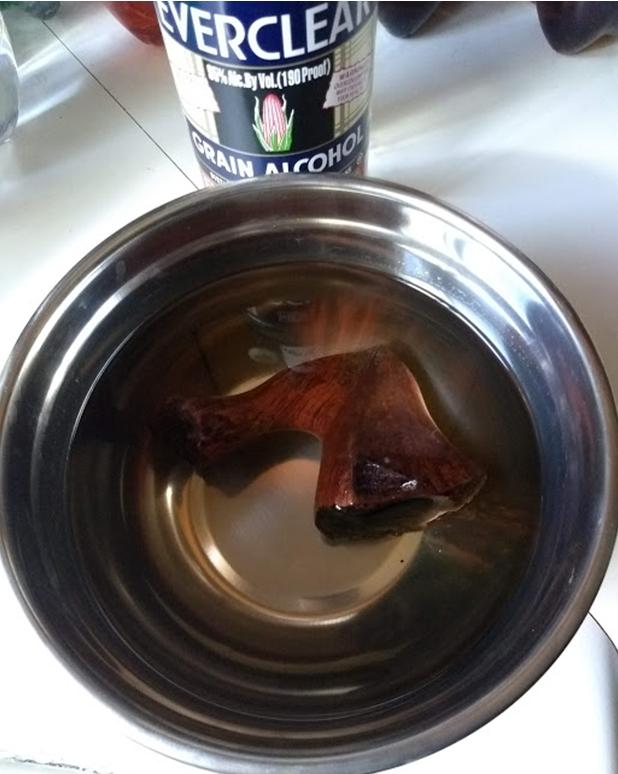
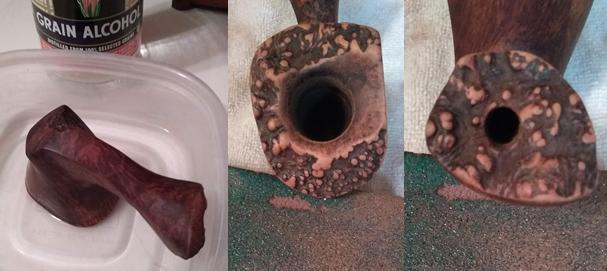
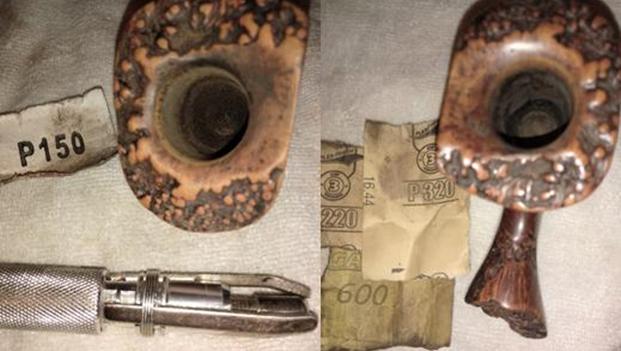
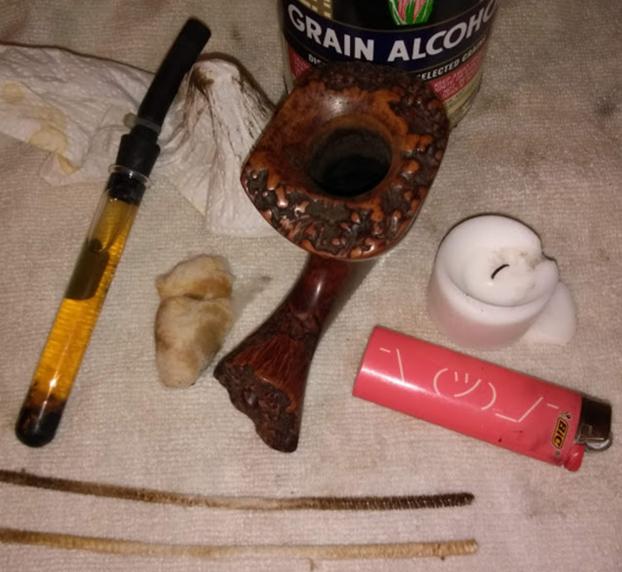
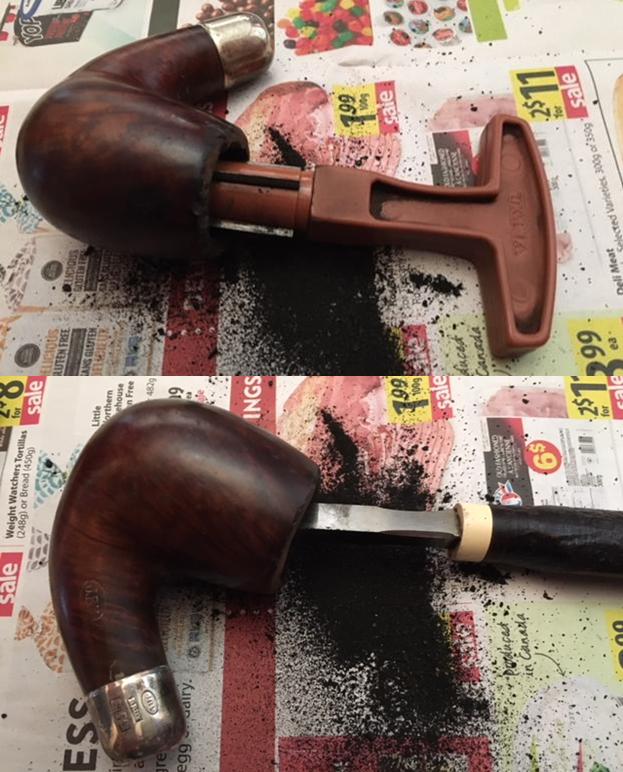
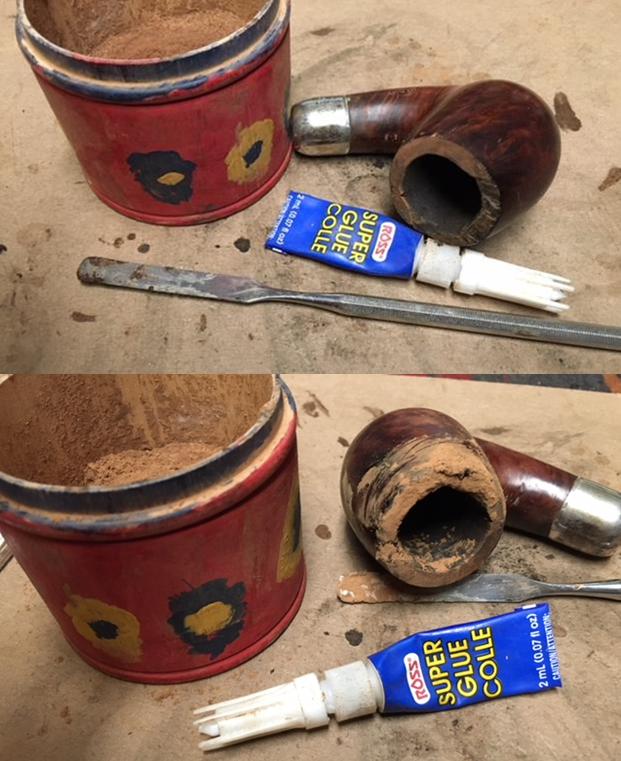
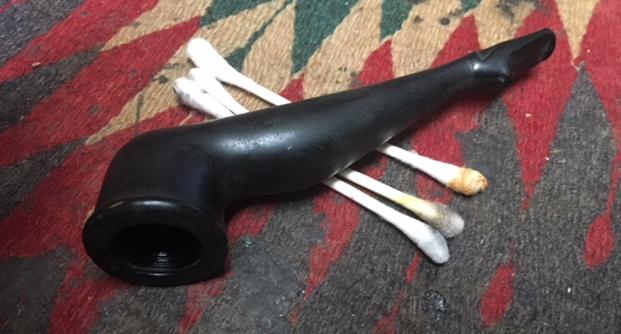
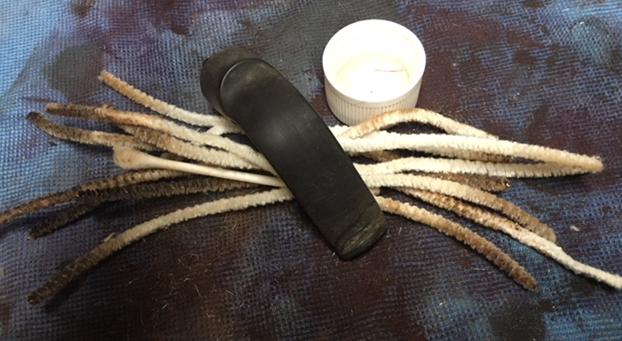
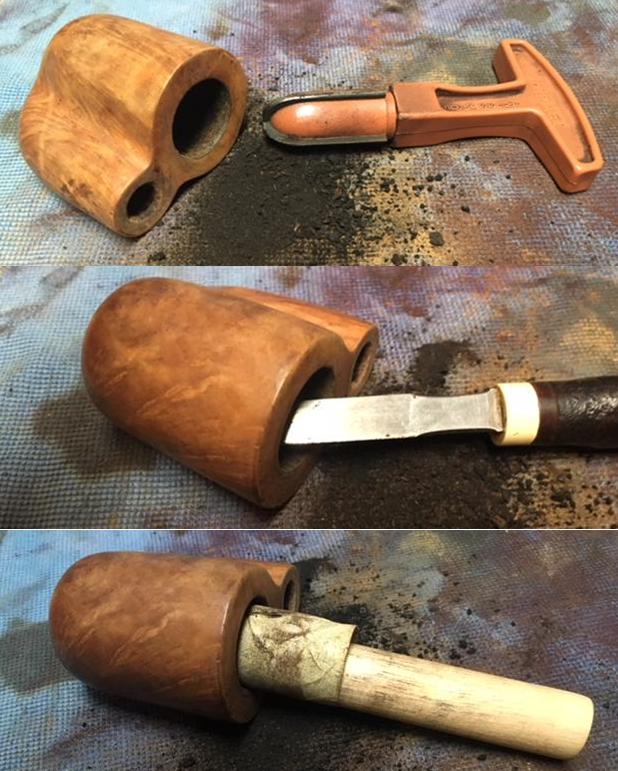
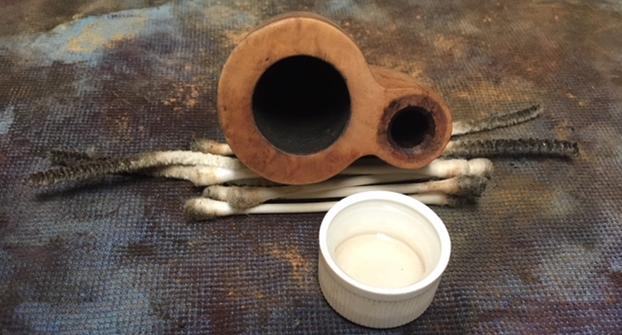
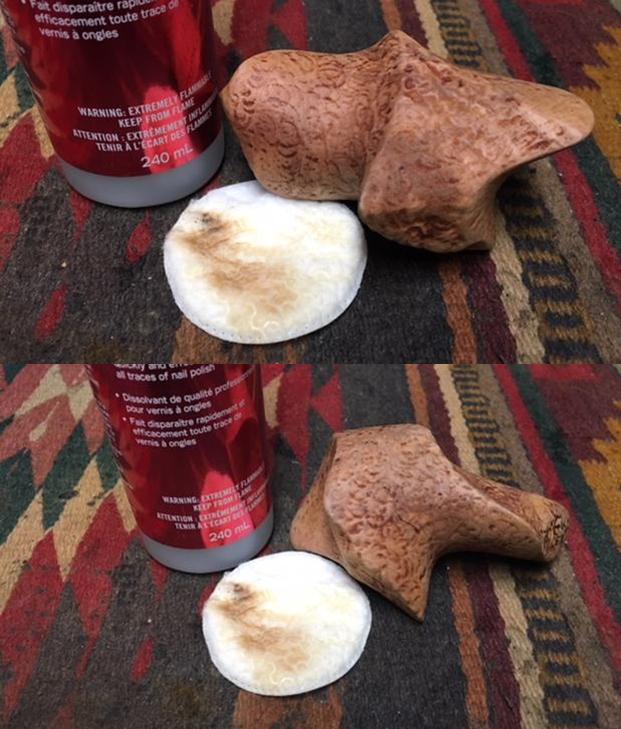
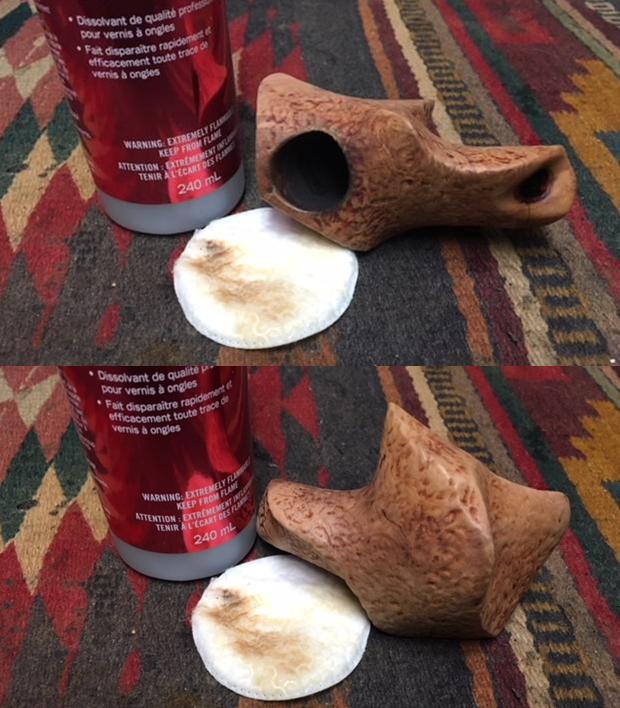
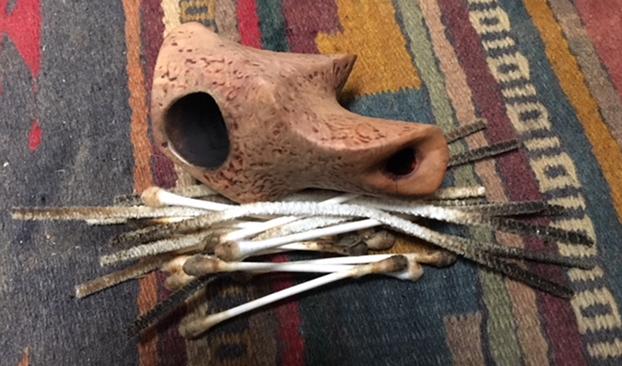
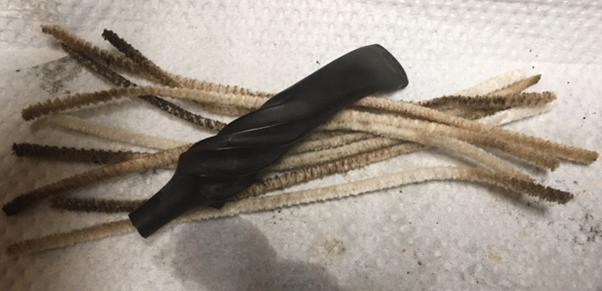
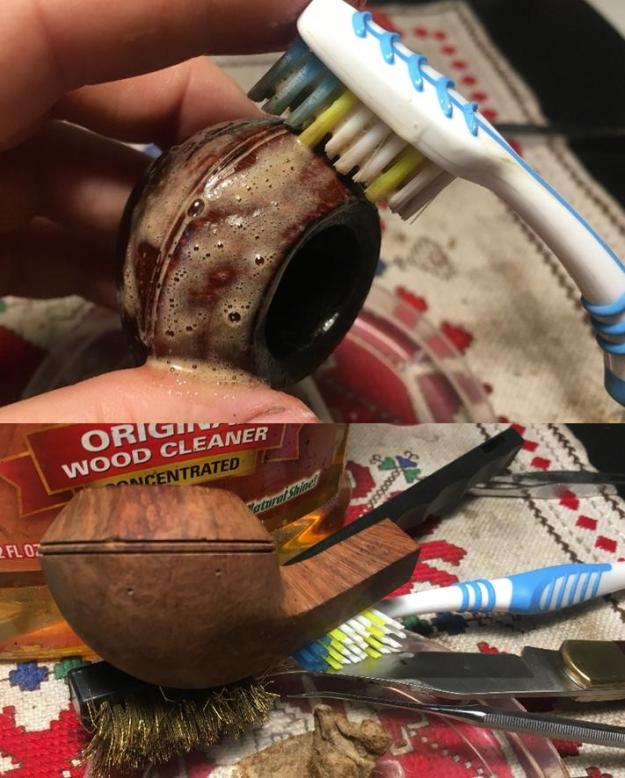
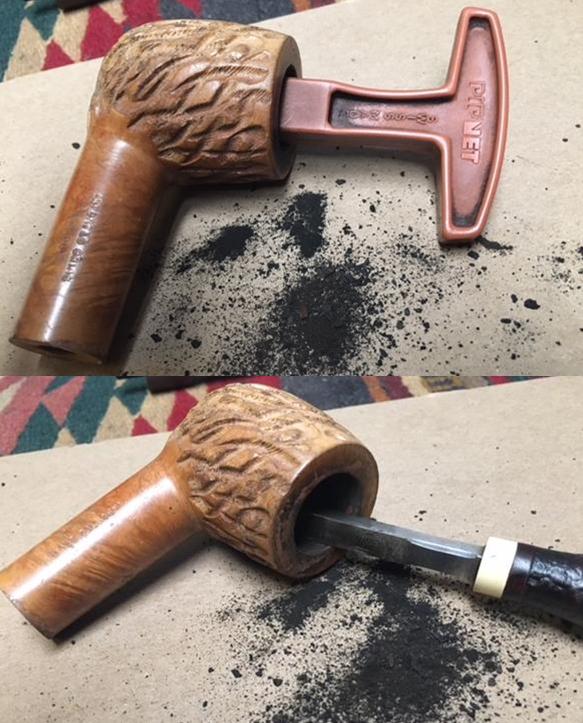
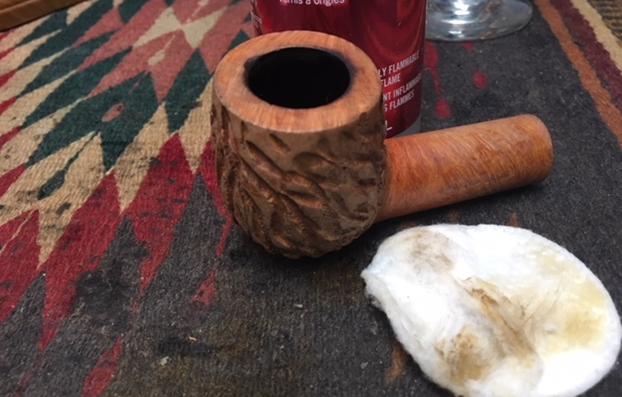
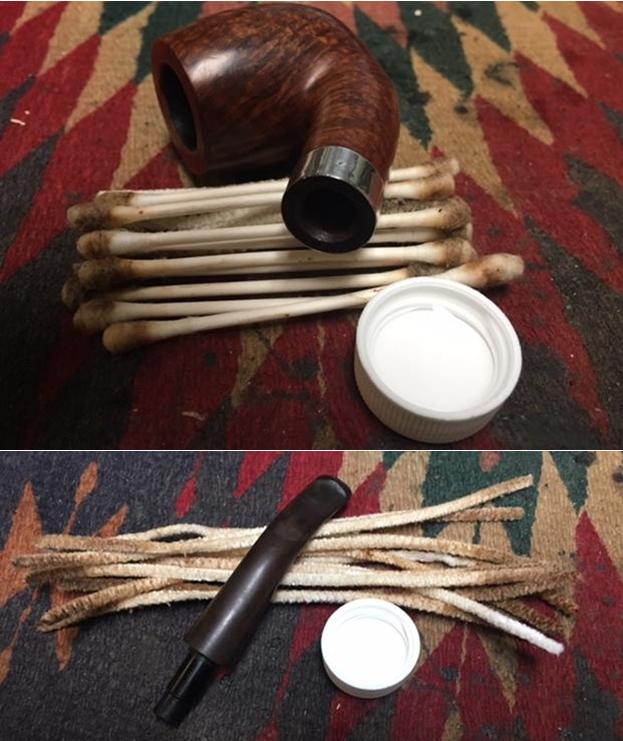
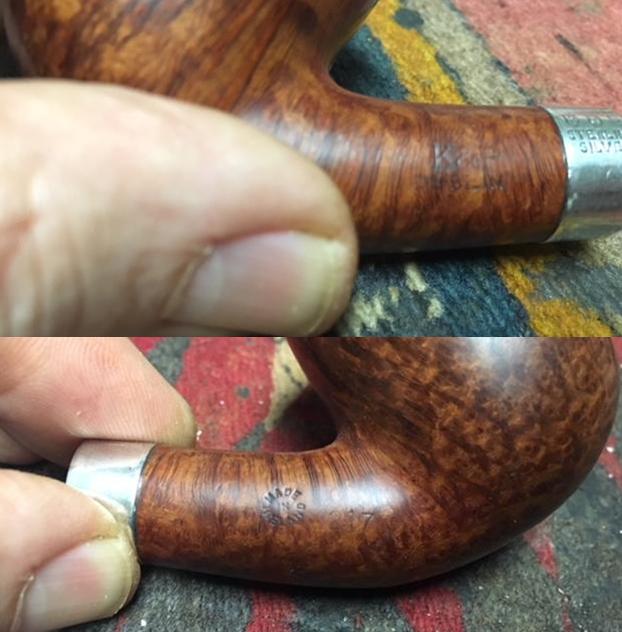 I started my clean up on the bowl with reaming and then cleaning out the airway to the bowl and the inside of the mortise as well as the airway in the stem. I reamed the bowl with a Savinelli Fitsall Pipe Knife to remove the cake on the walls. I used a dowel wrapped with sandpaper to sand down the walls on the bowl. I cleaned out the airway in both the bowl and stem with alcohol (99% isopropyl), pipe cleaners and cotton swabs until they were clean on the inside.
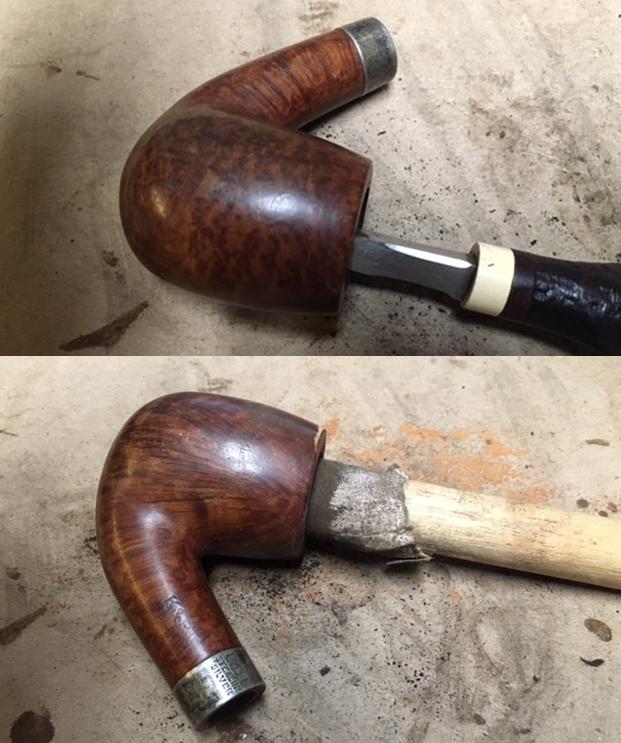
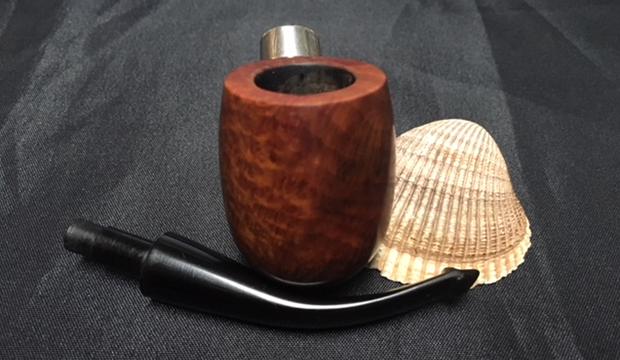
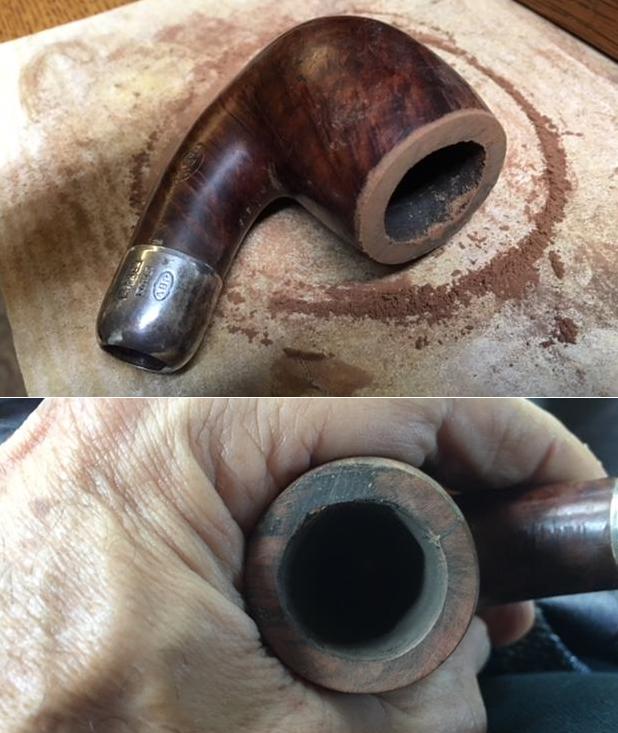
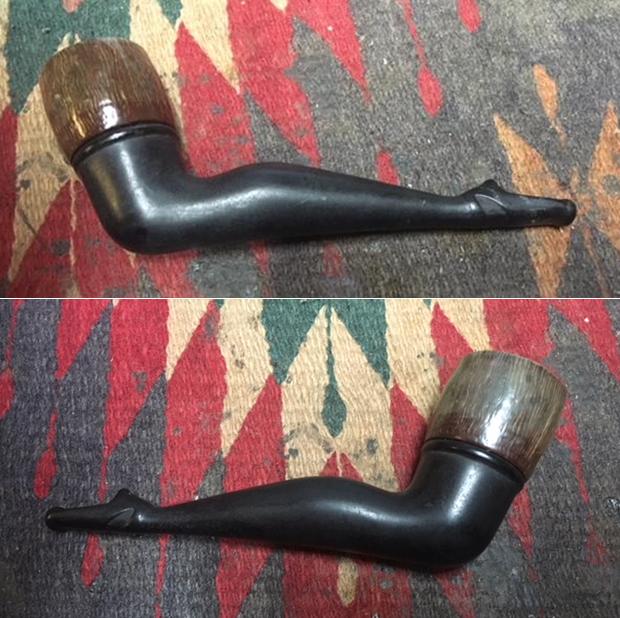
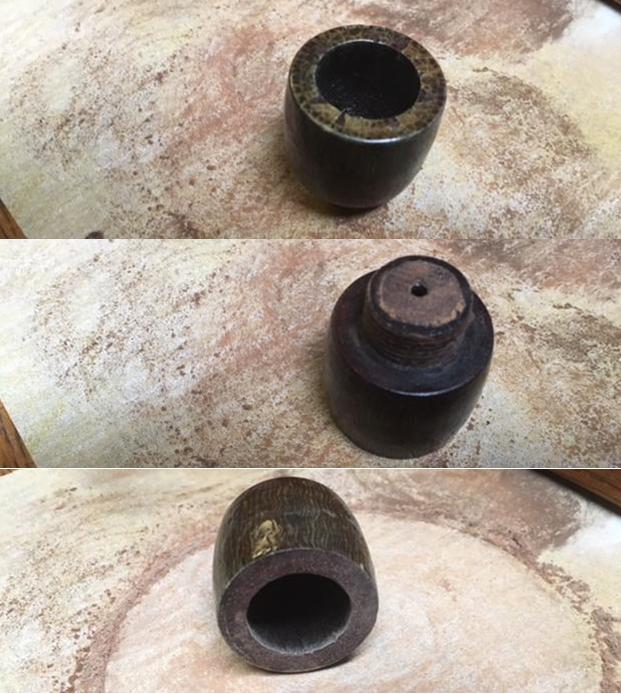
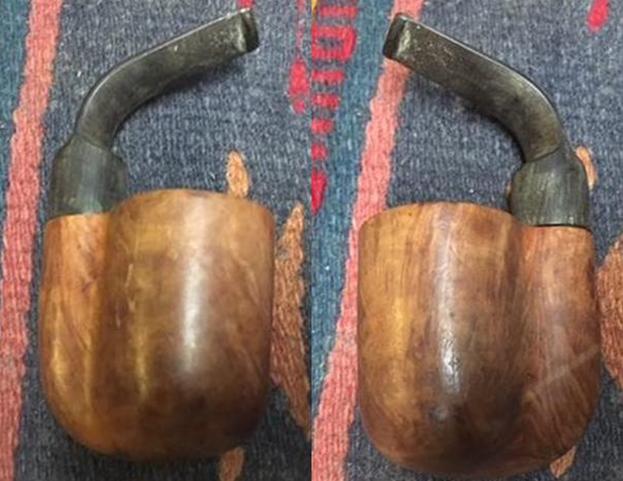
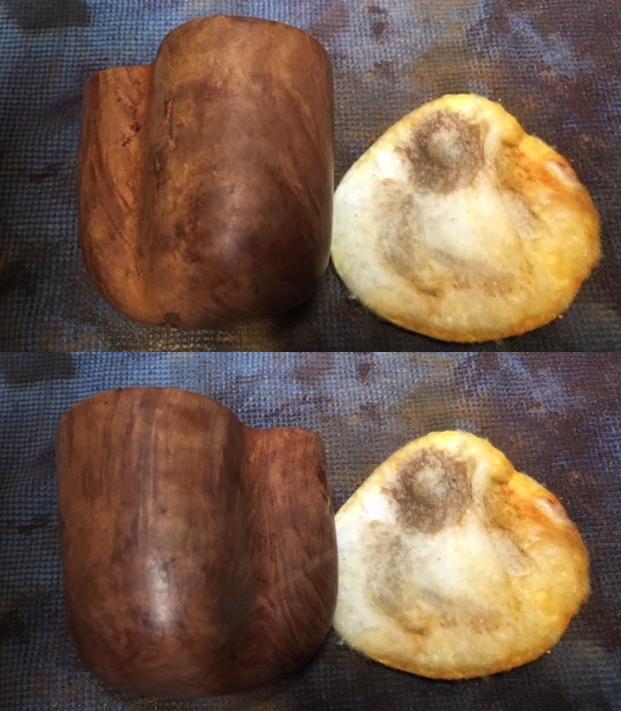
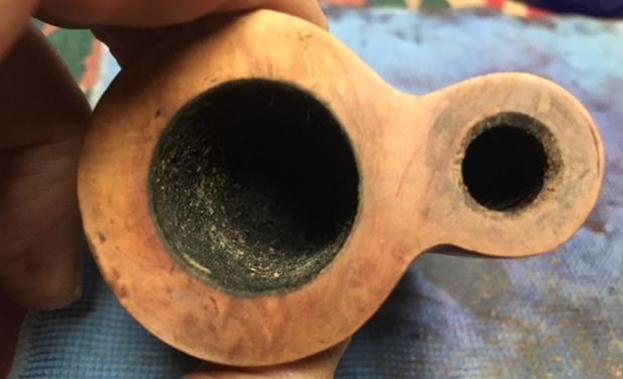
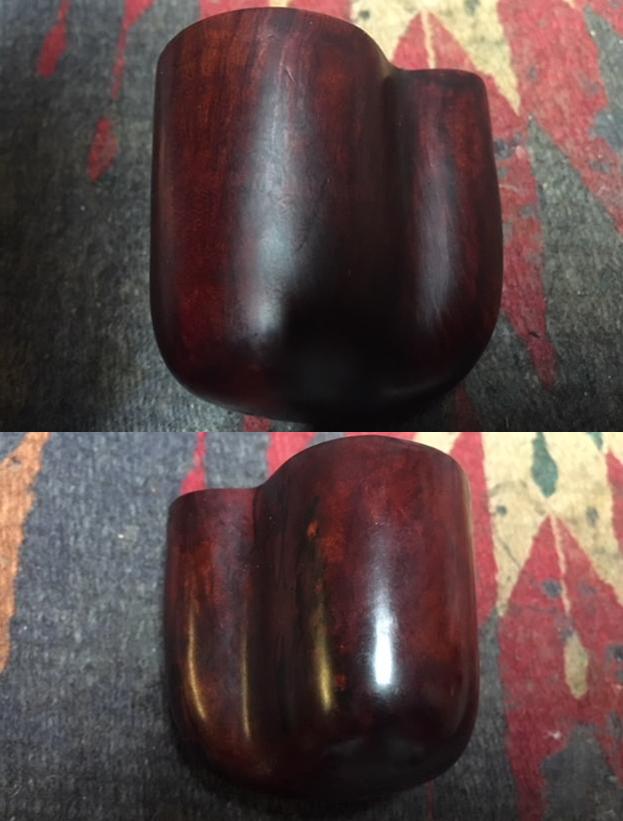
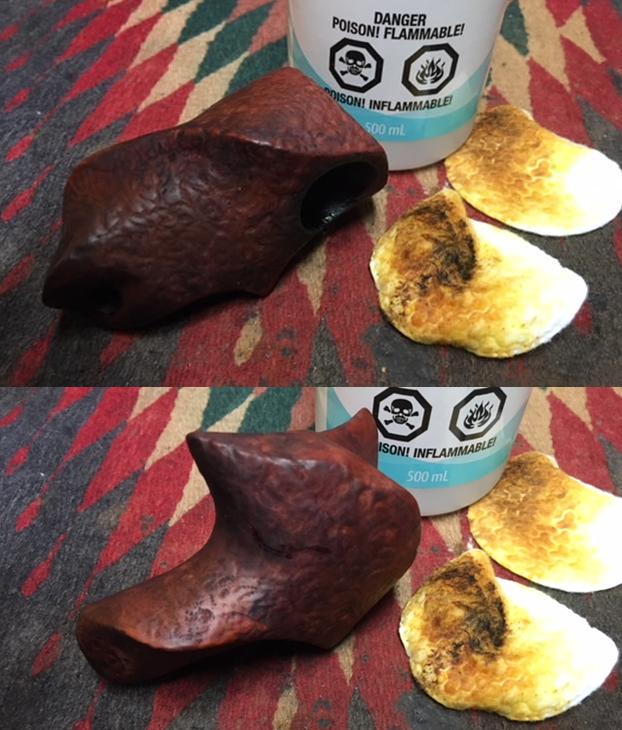
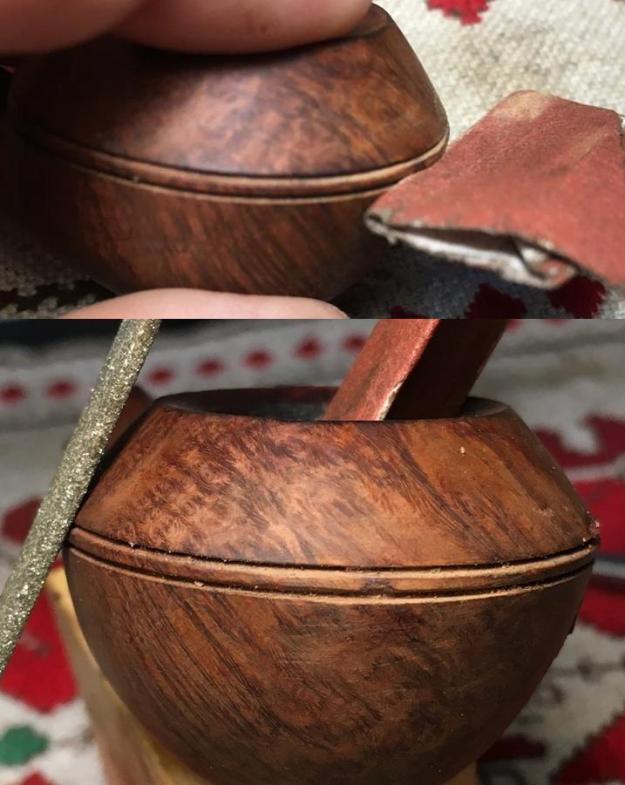
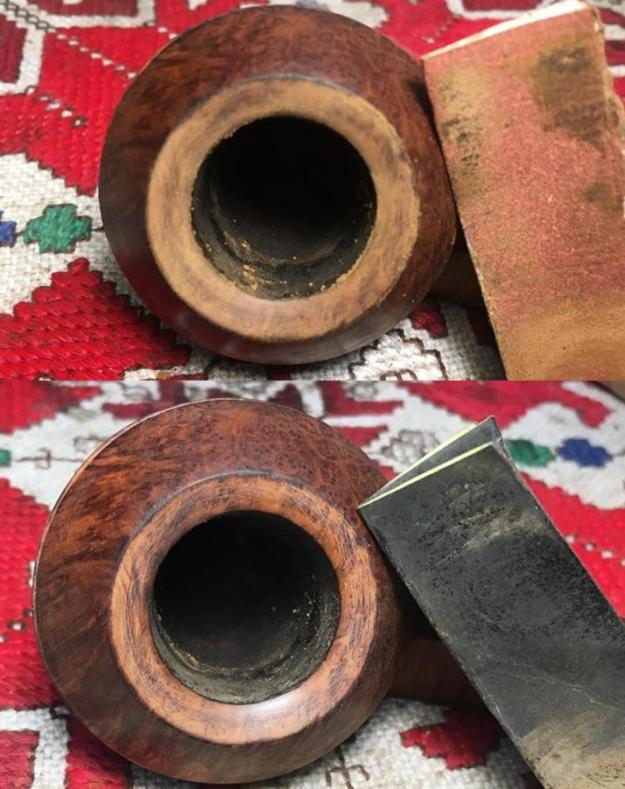
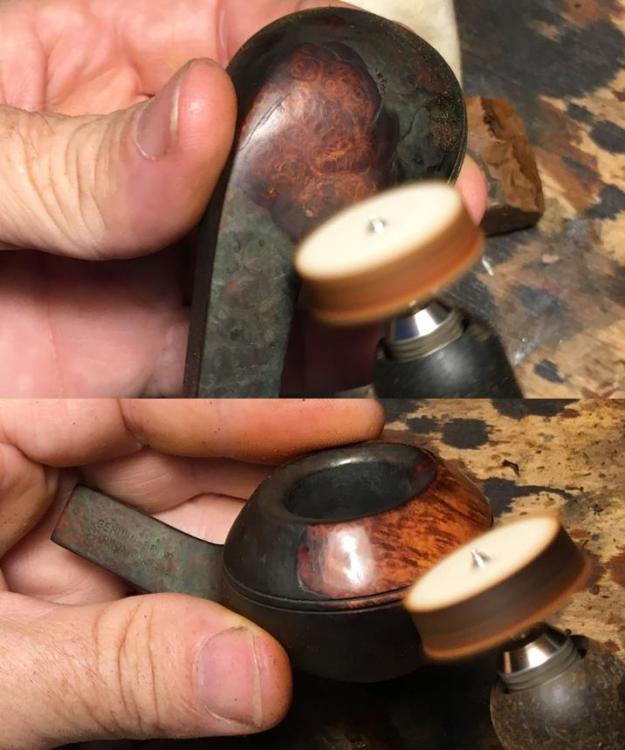
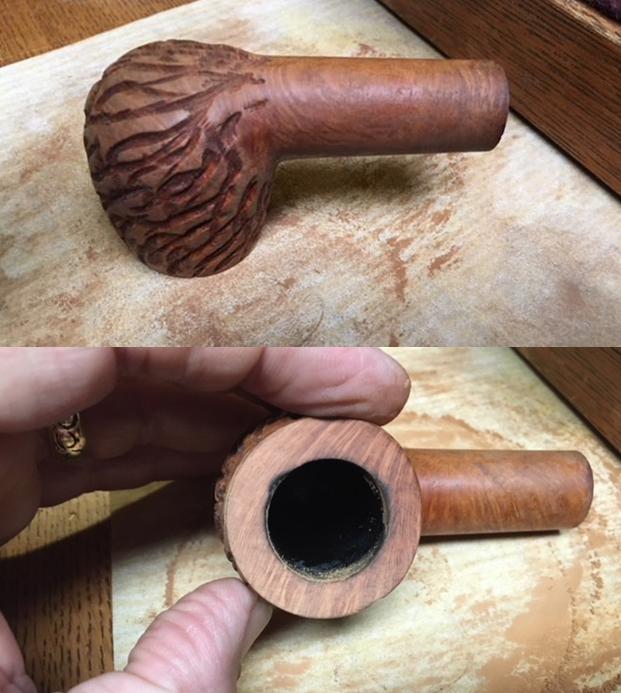
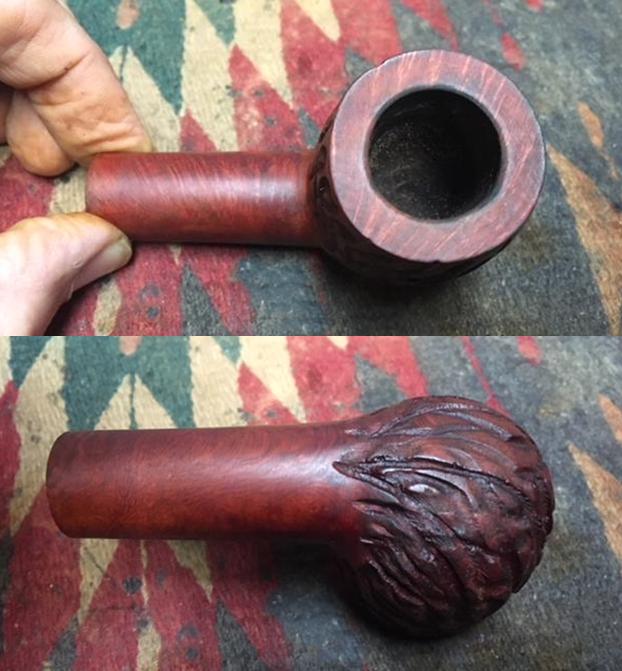
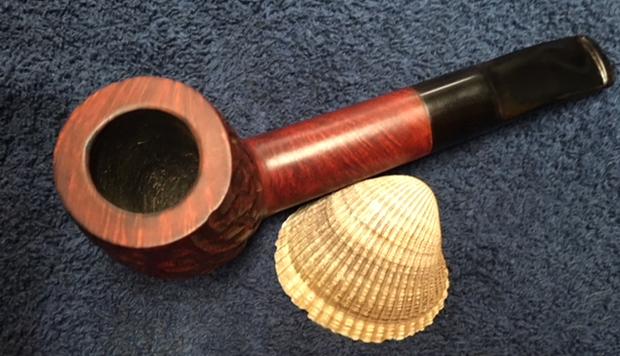
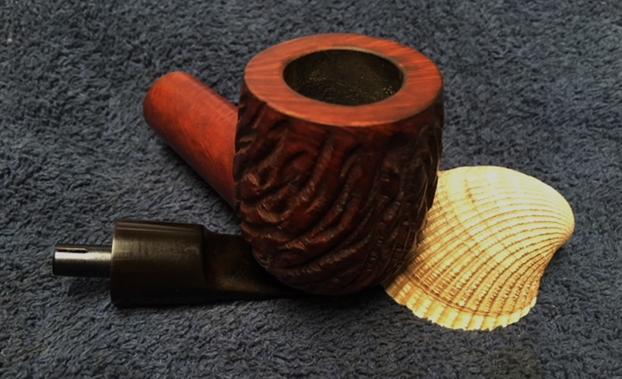
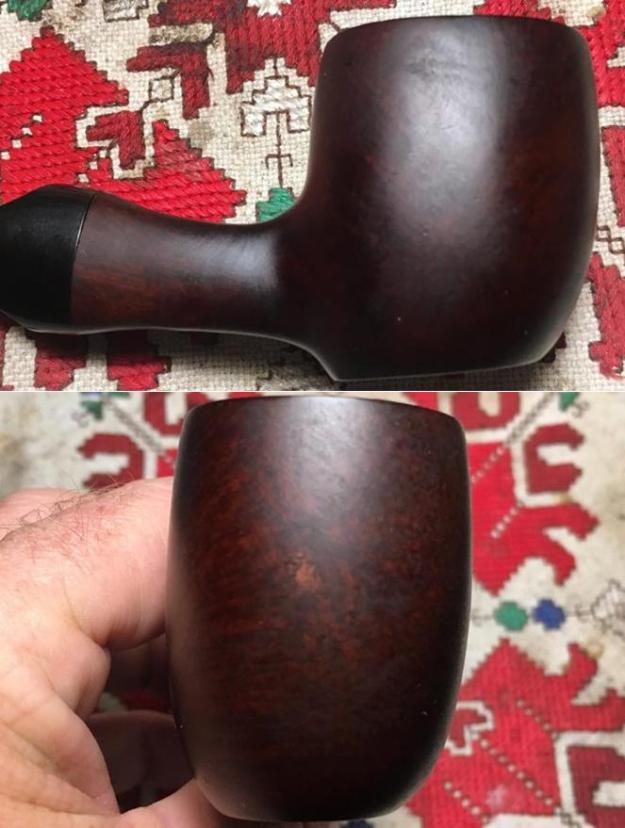
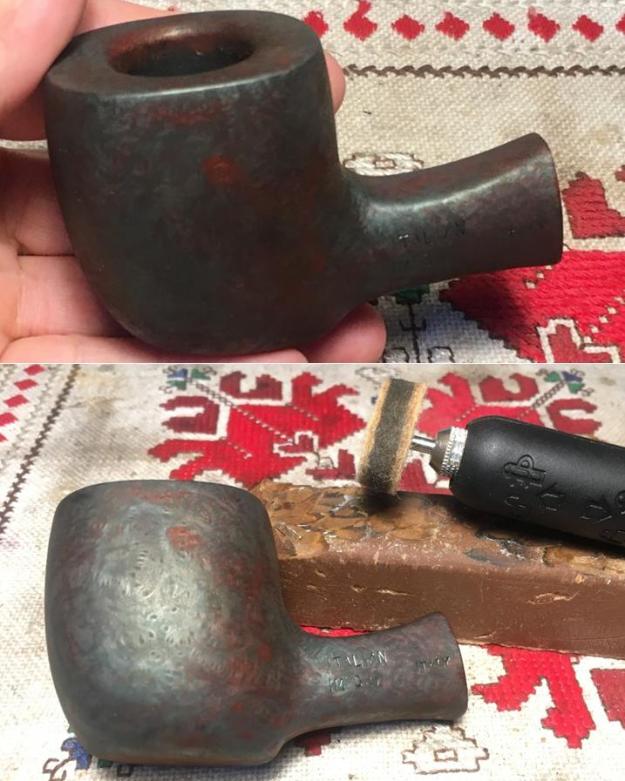
 To remove the damage from the rim top I lightly topped the bowl with 220 grit sandpaper on the topping board. I checked it repeatedly as I did the topping to make sure I had removed just enough to suffice to remove the damage. The second photo shows the topped bowl. You will note that I left a little of the damage on the rear outer edge so as not to top too much of the briar.
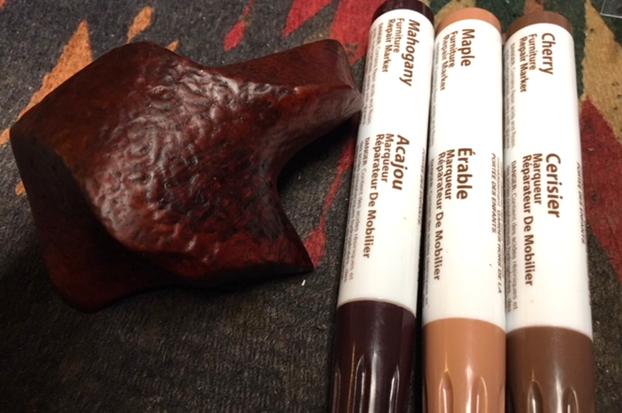
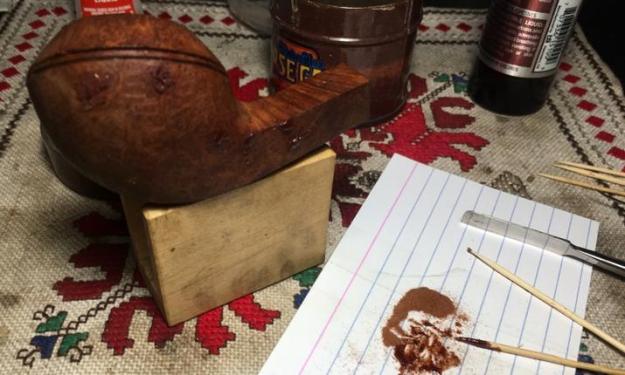
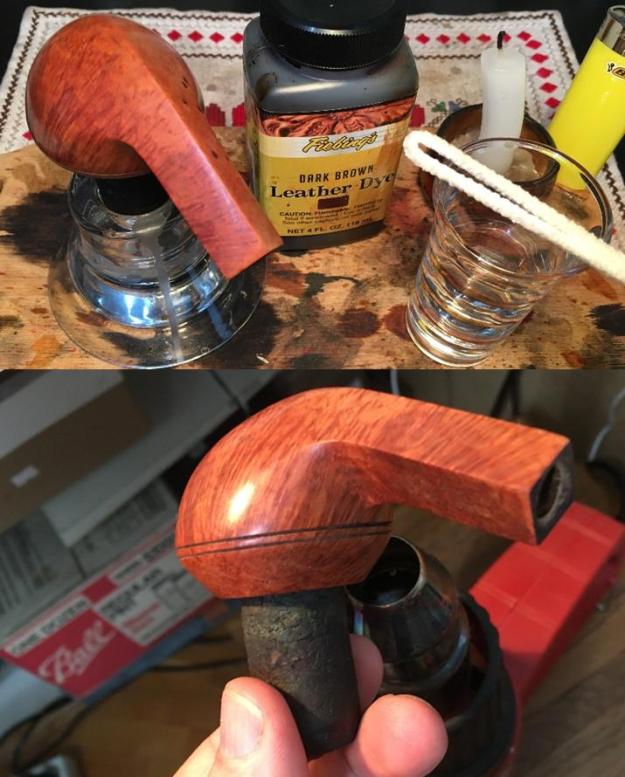
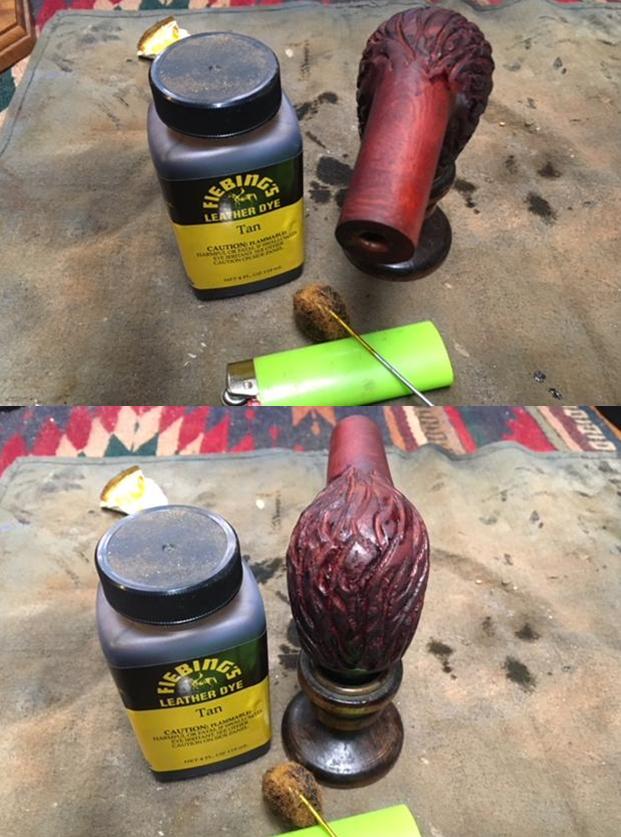
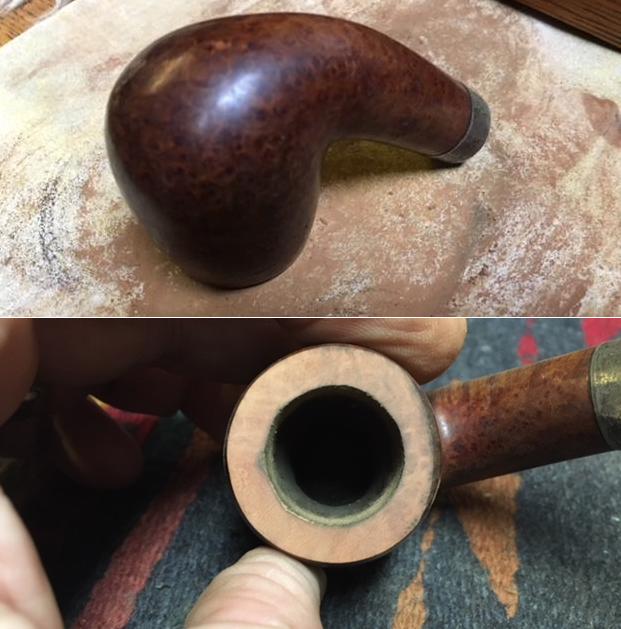 I wiped the rim top down with alcohol on a cotton pad to remove the dust then stained it with an Oak coloured stain pen. I buffed it lightly with a soft cloth to even out the stain.
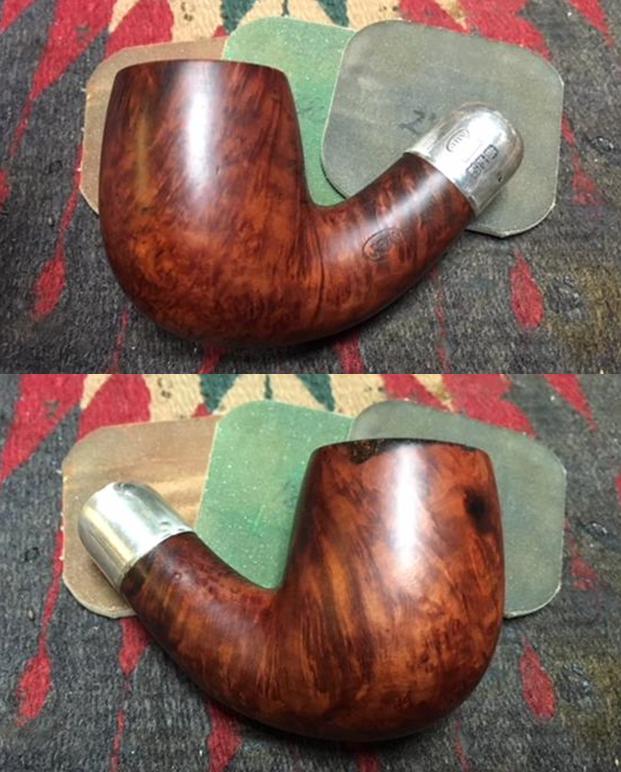
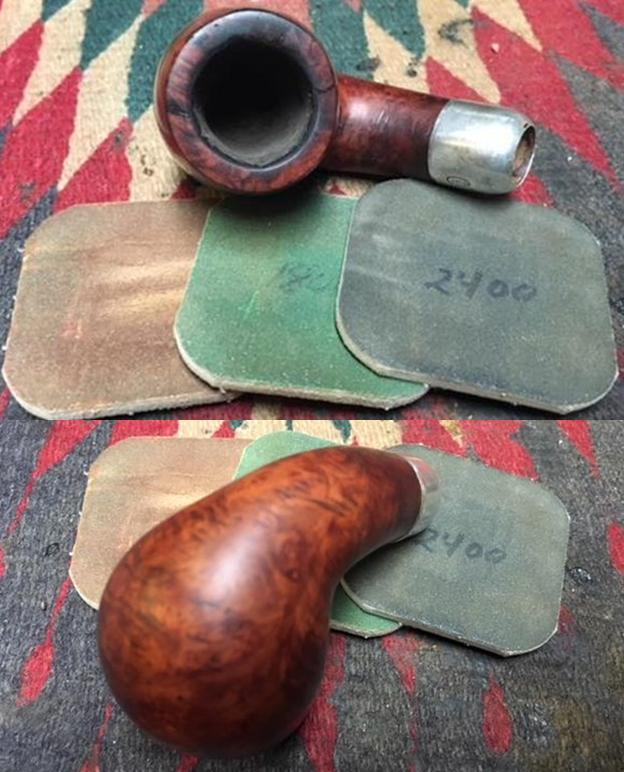
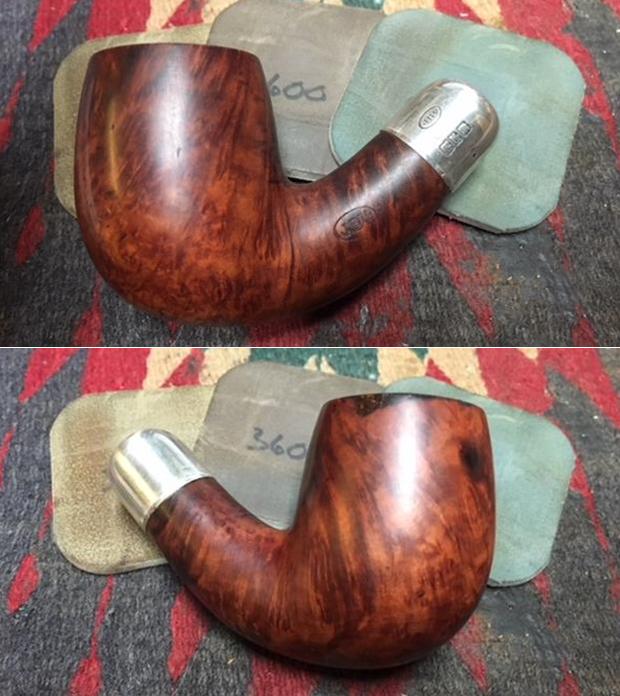
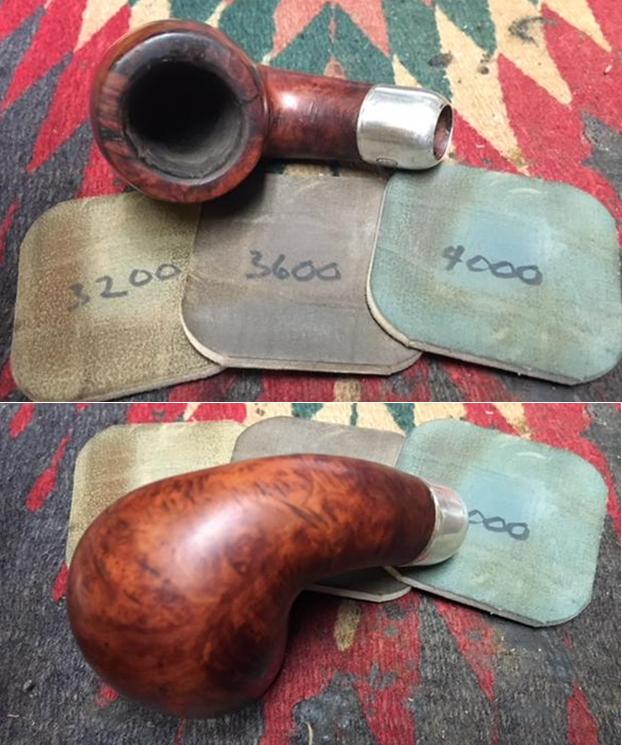
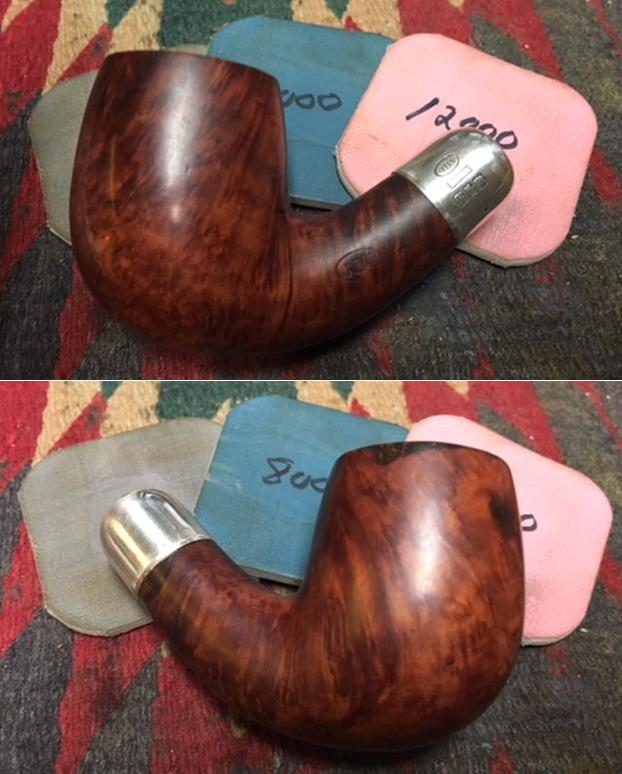
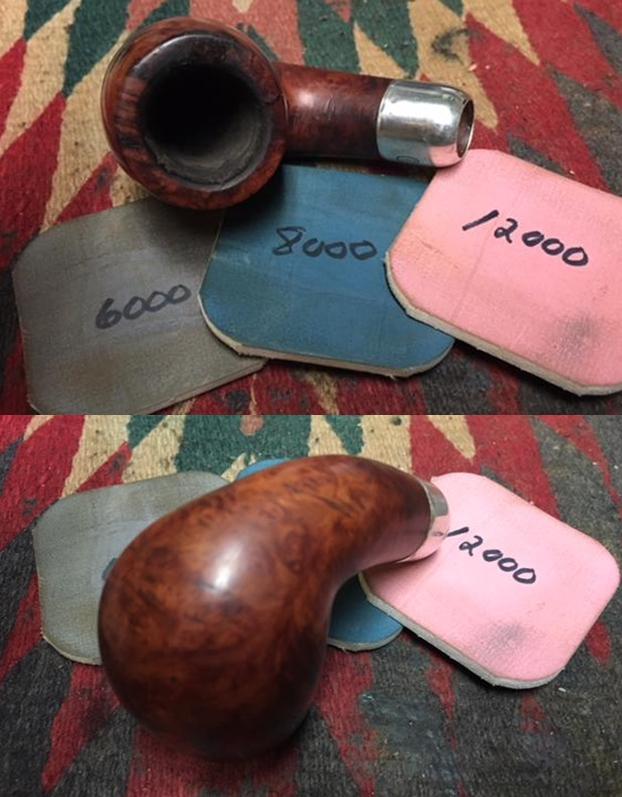
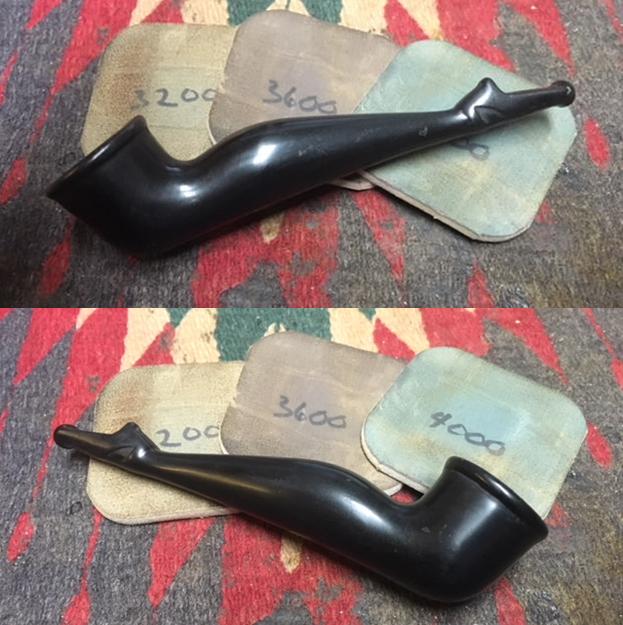
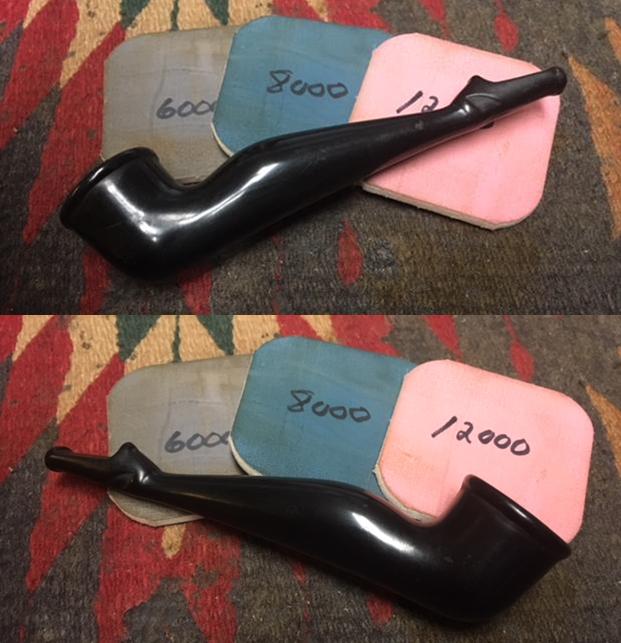
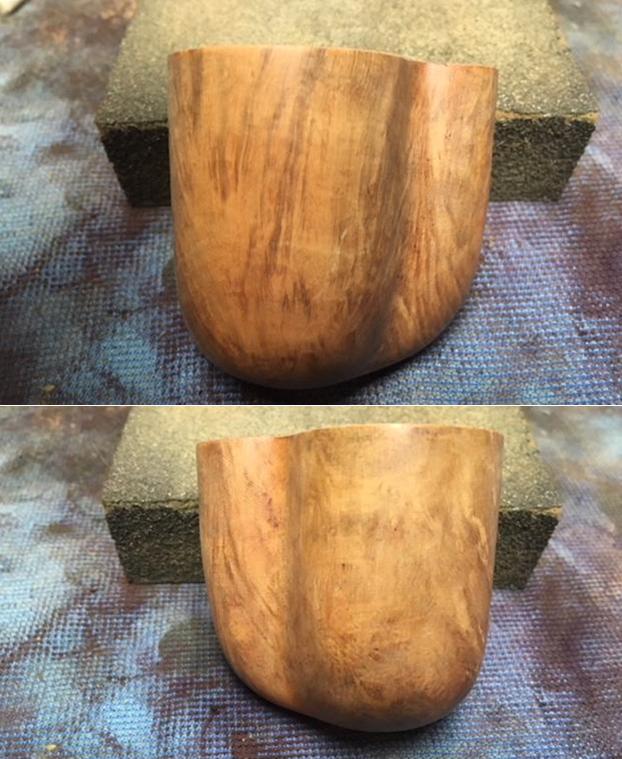
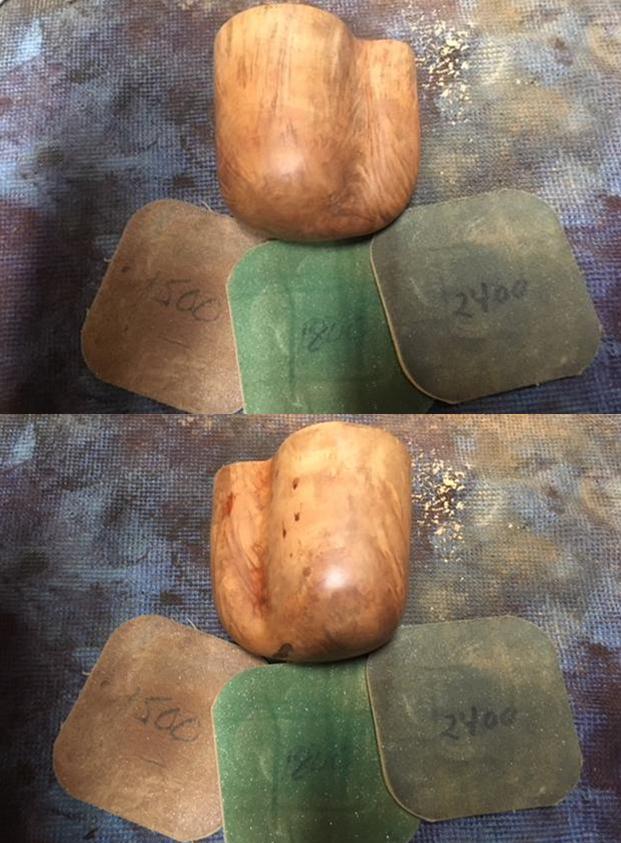
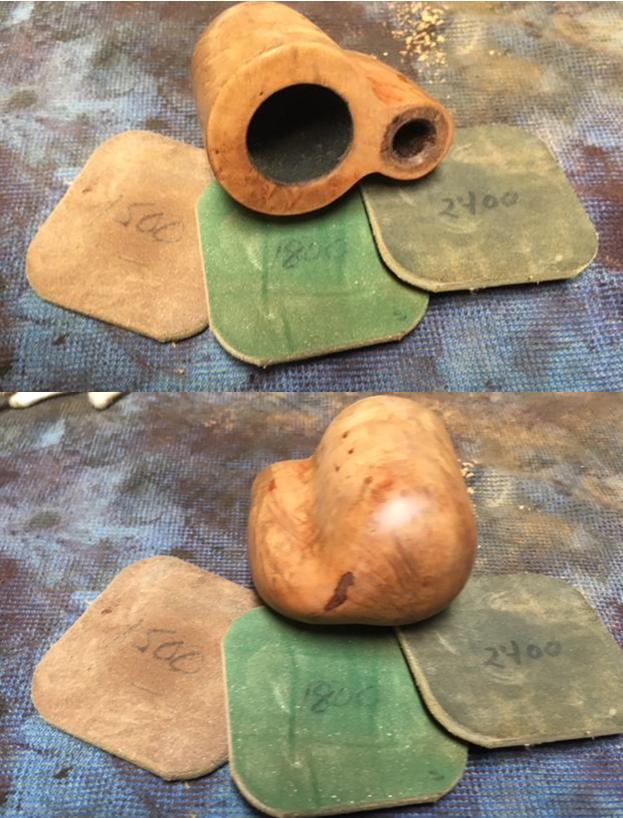
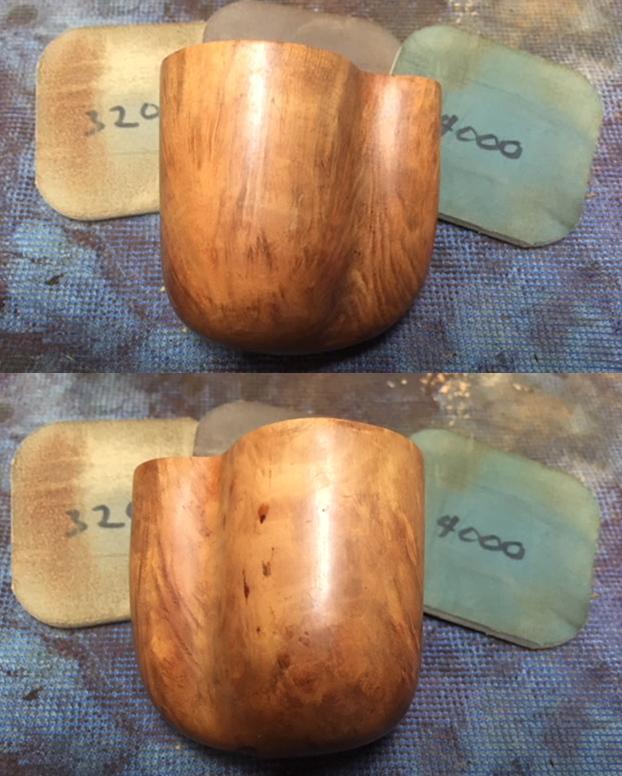
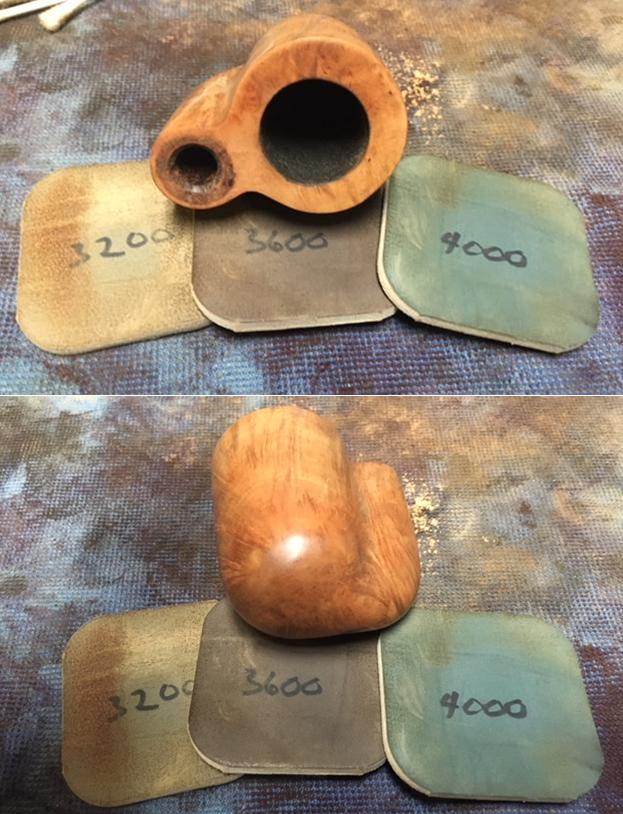
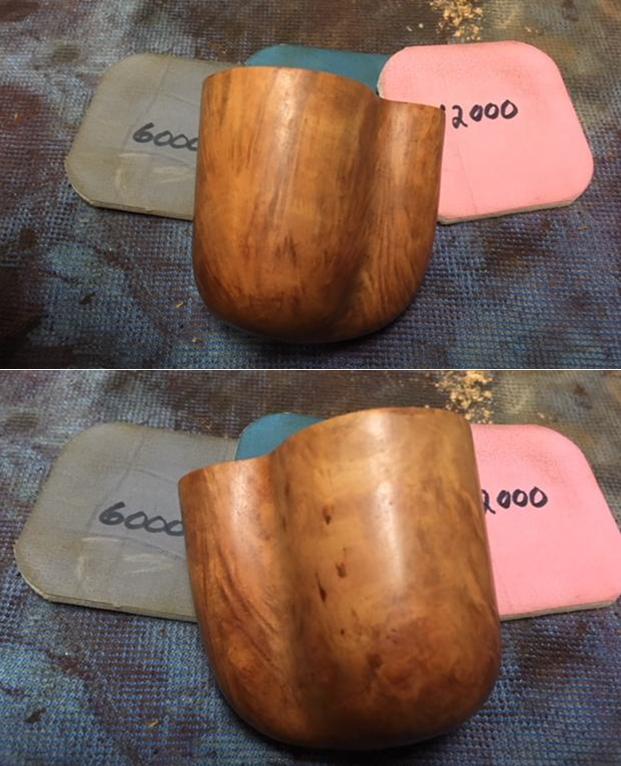
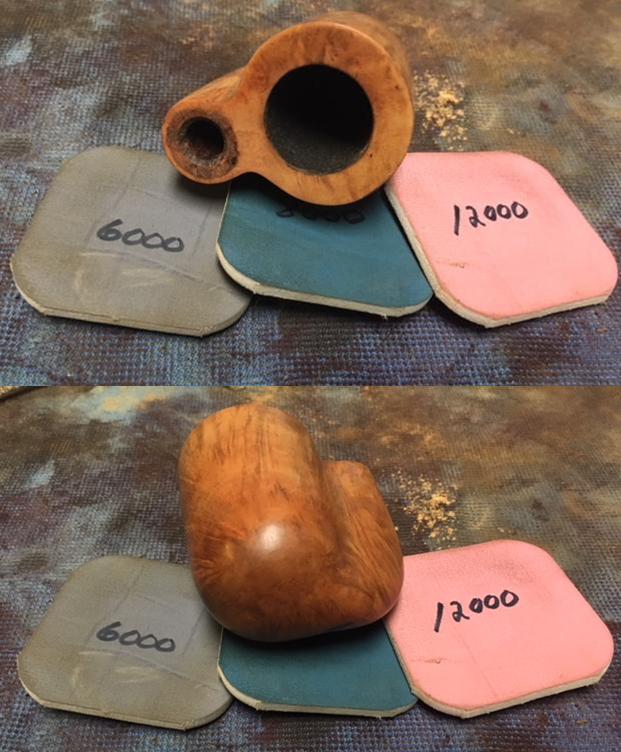
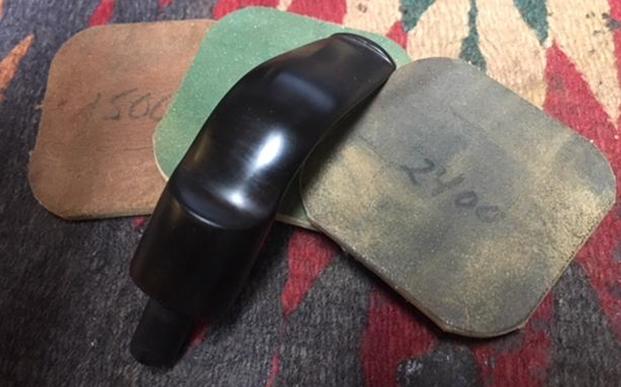
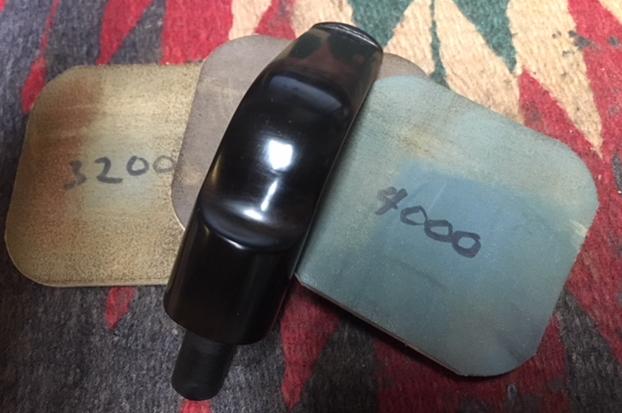
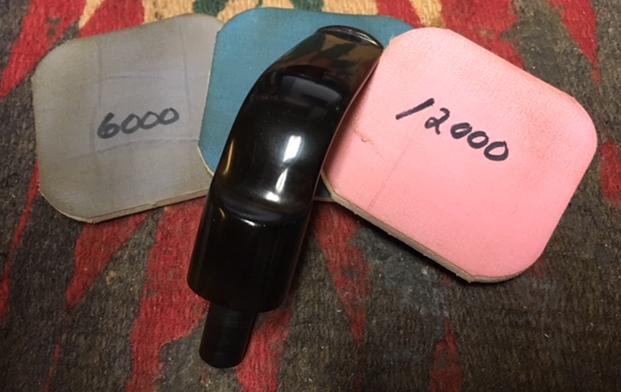
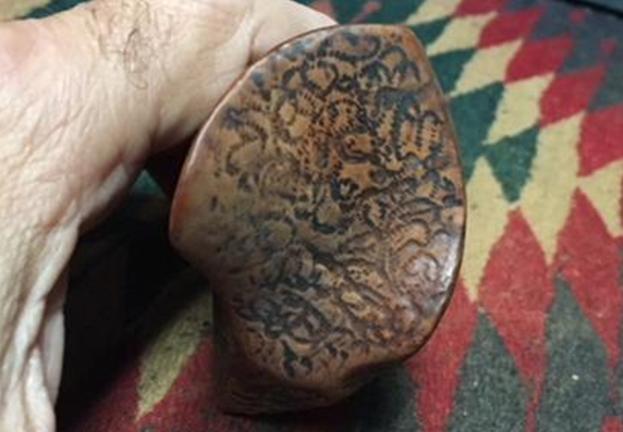
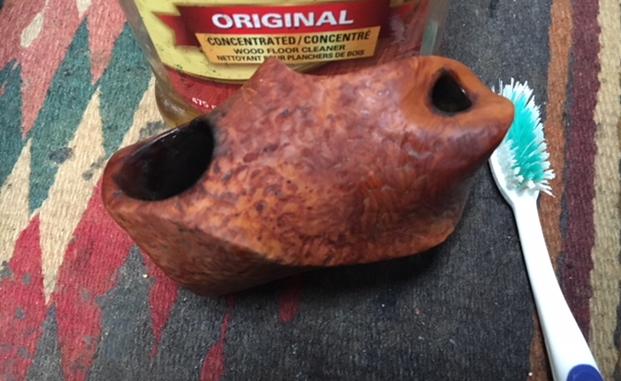
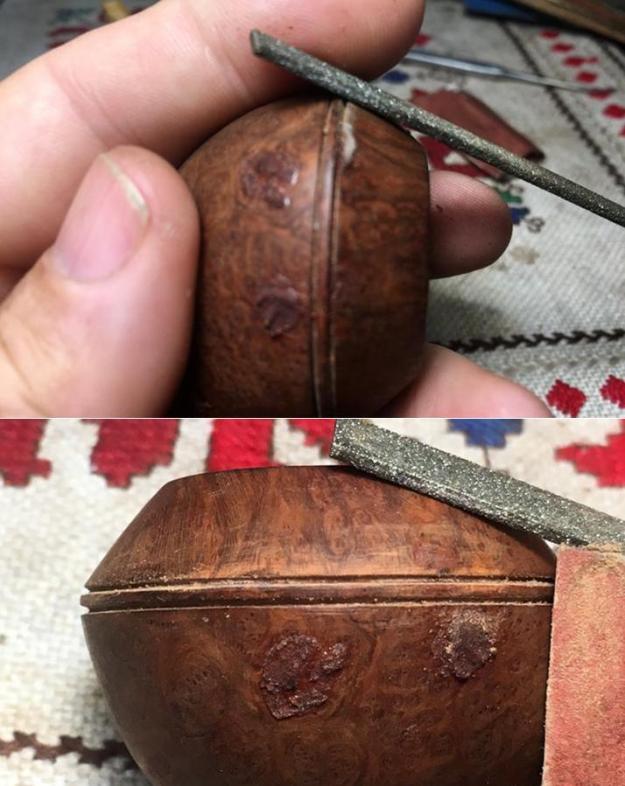
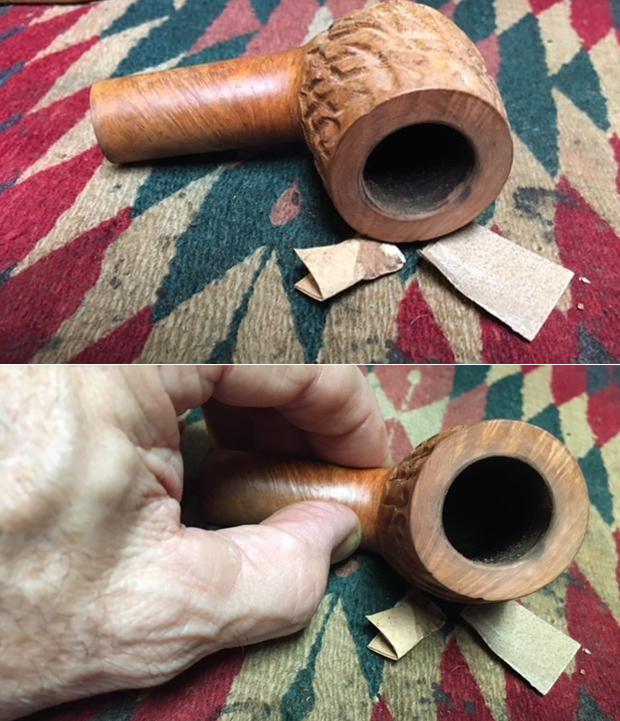
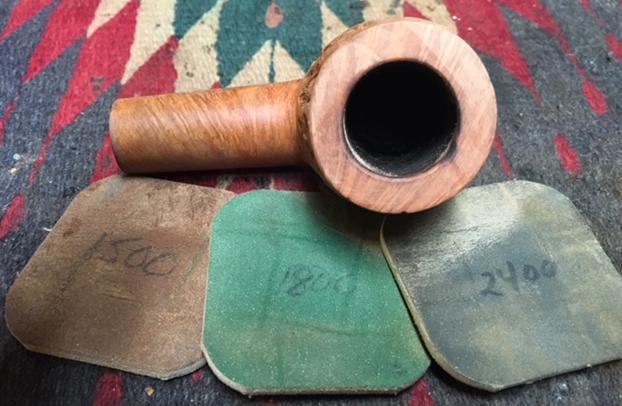
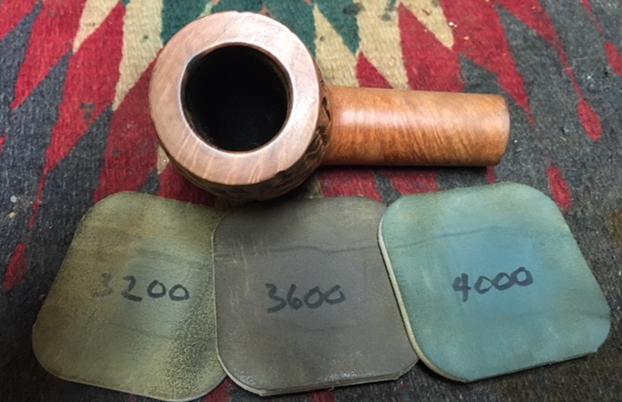
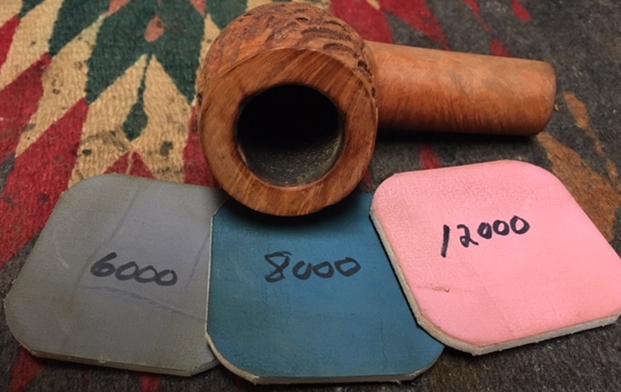
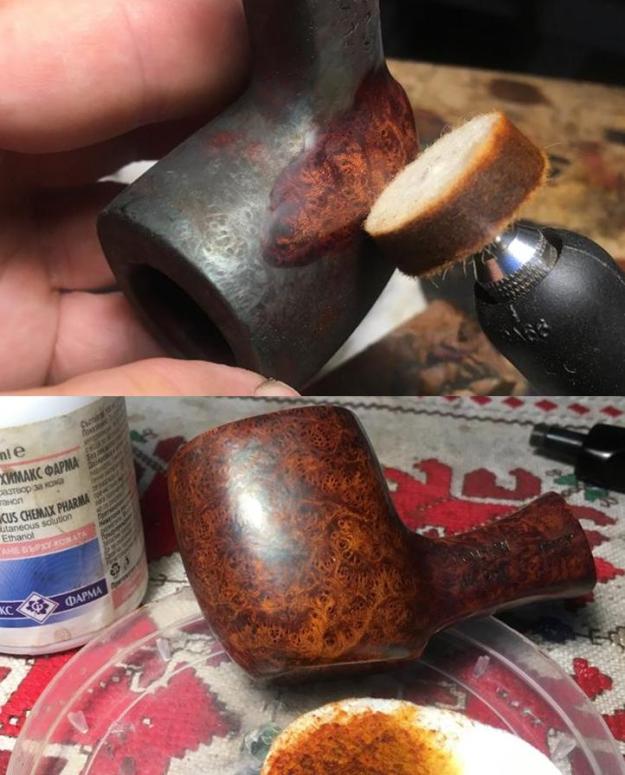
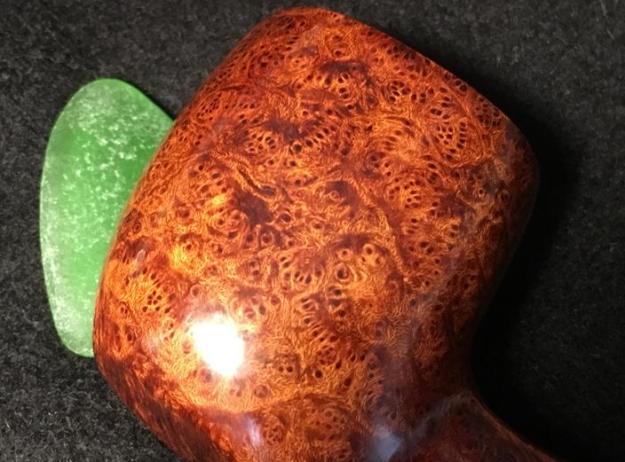
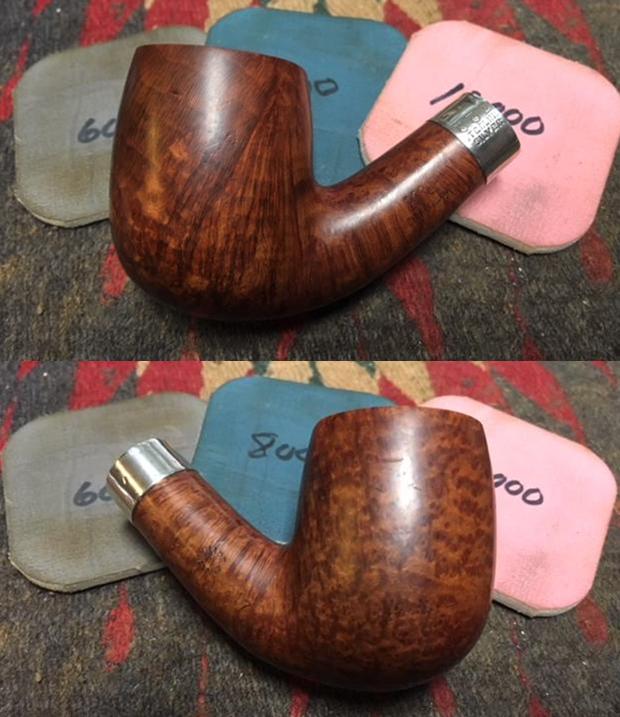
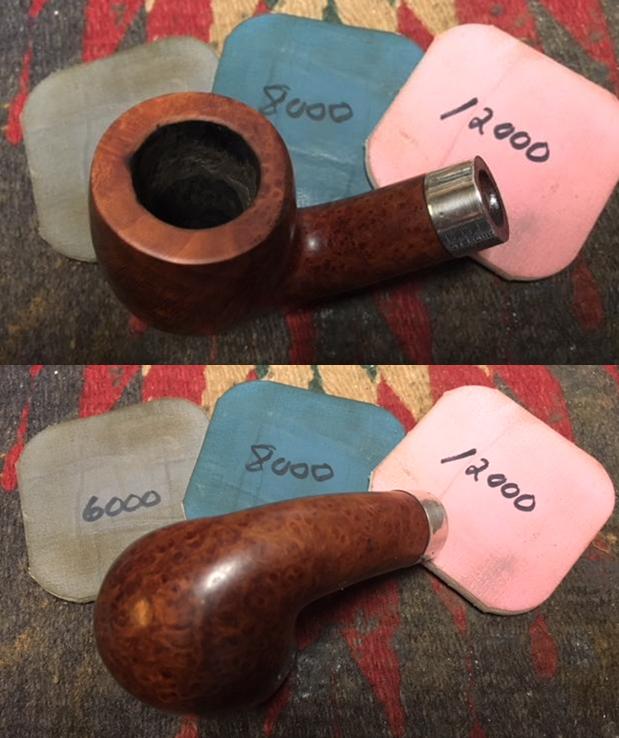
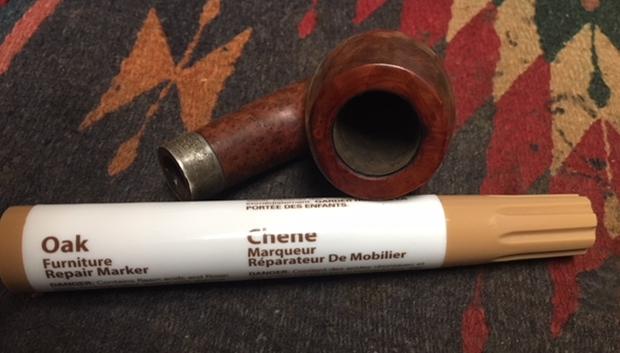 I wiped down the bowl alcohol on a cotton pad to remove the dust and grime on the surface of the bowl. I polished the briar finish with micromesh sanding pads – wet sanding with 1500-2400 grit micromesh pads and dry sanding with 3200-12000 grit pads. I wiped it down after each pad with a damp cloth. The grain began to shine through with both flame and birdseye showing up on the sides of the bowl.
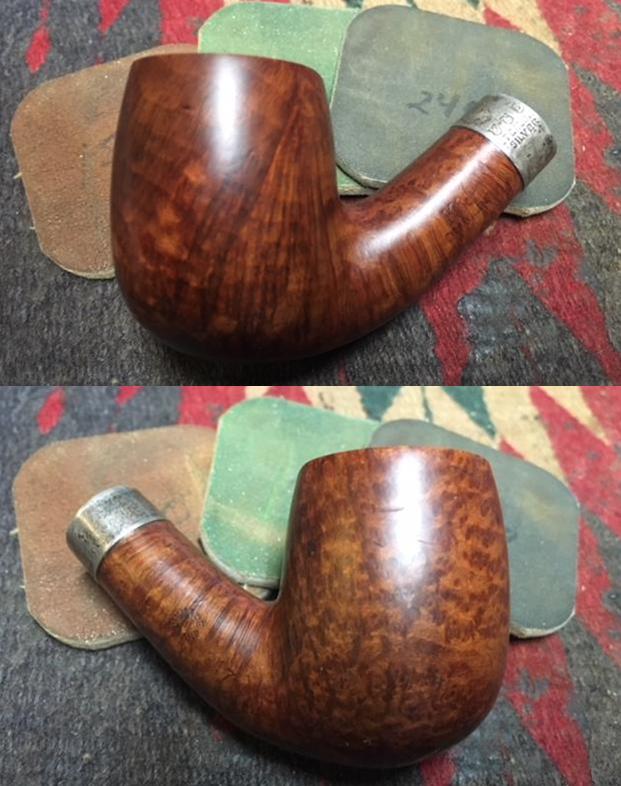
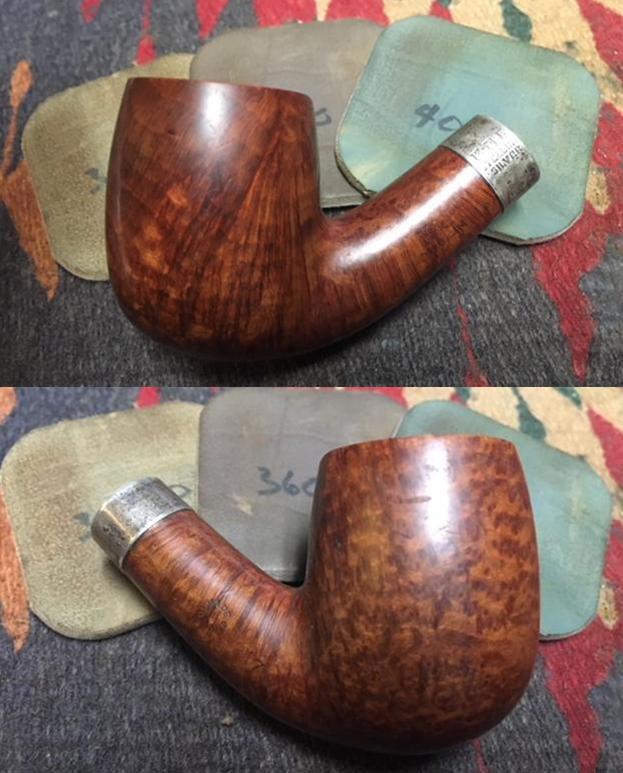
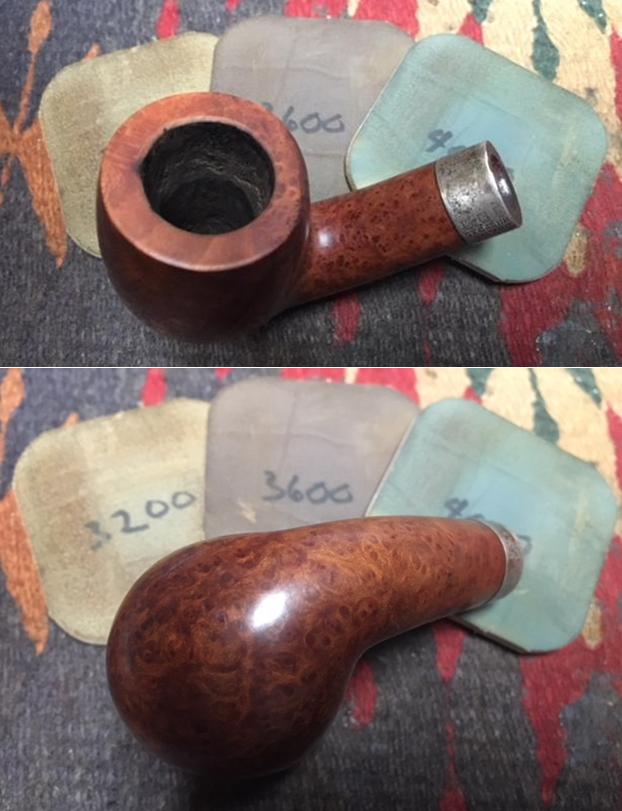
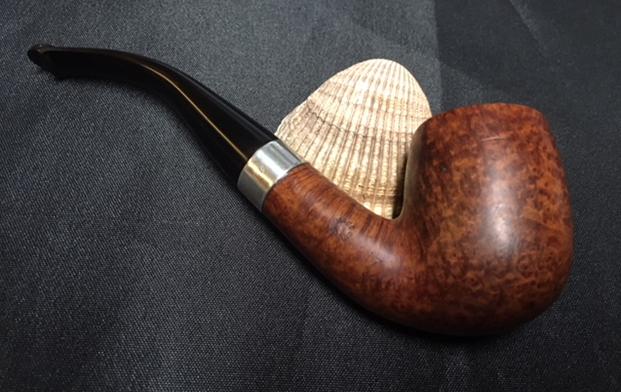
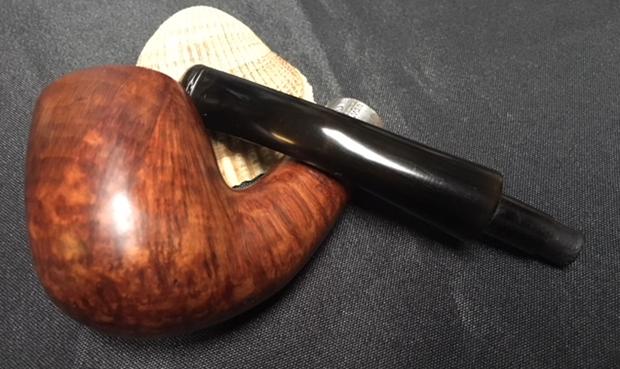
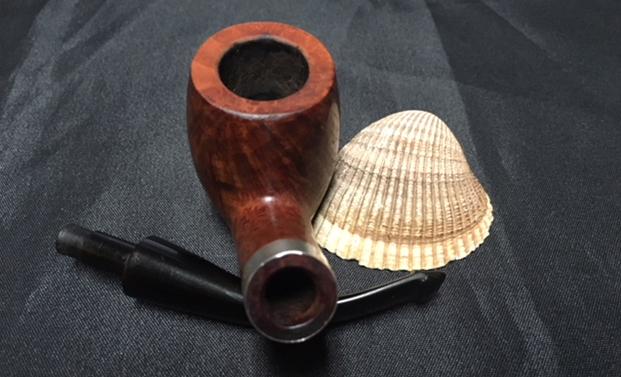
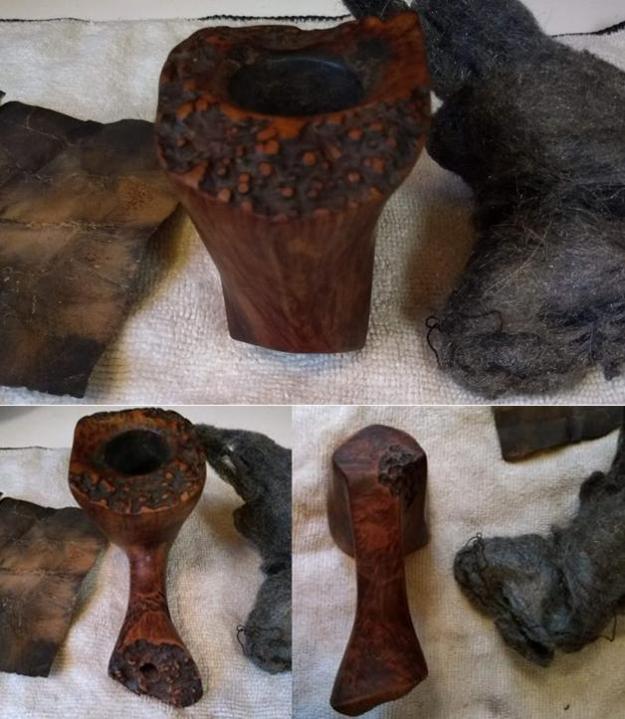
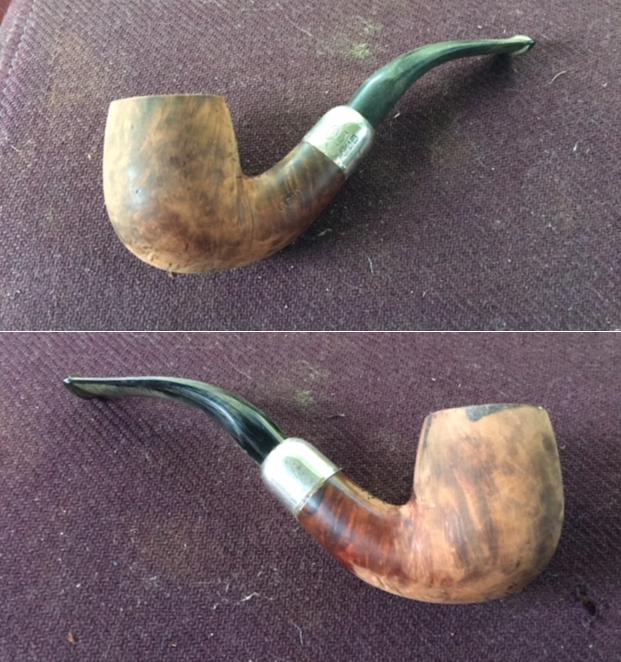
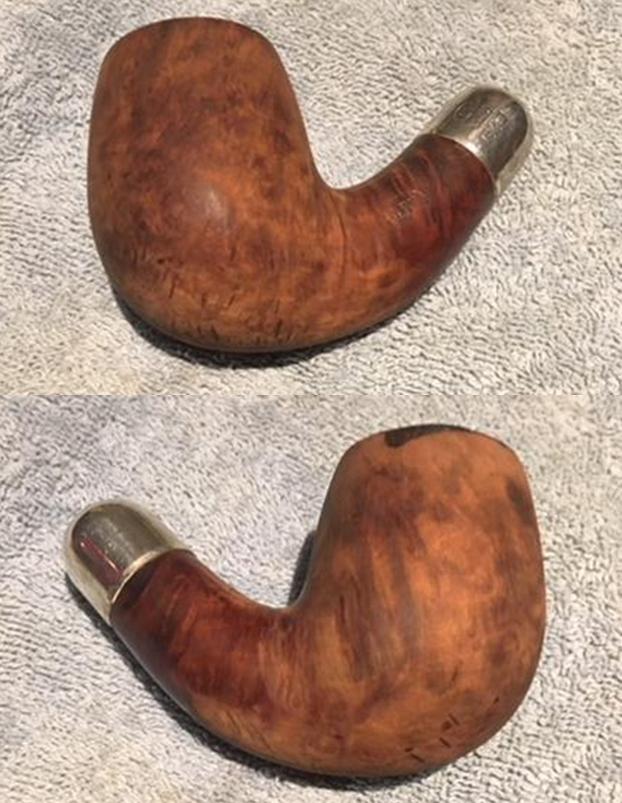
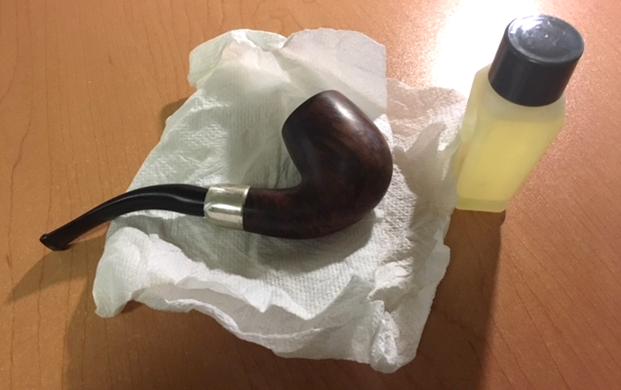
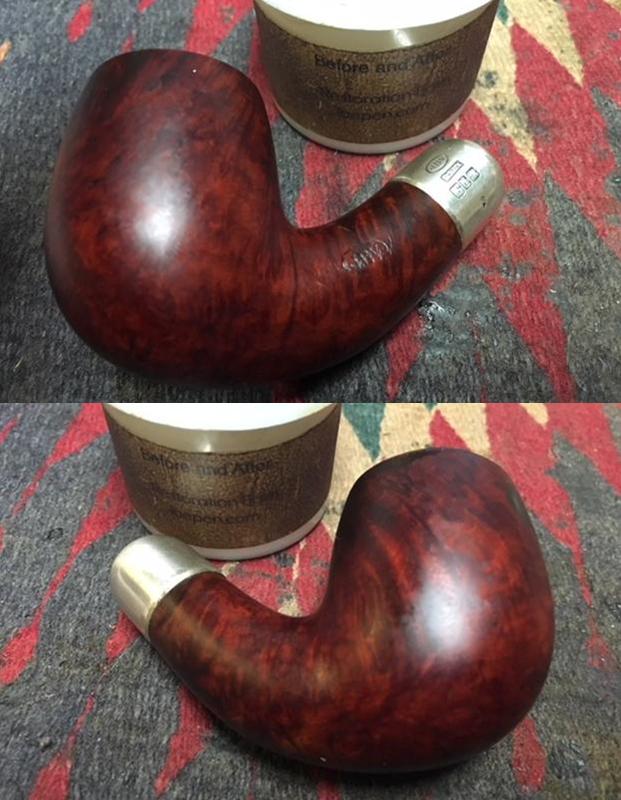
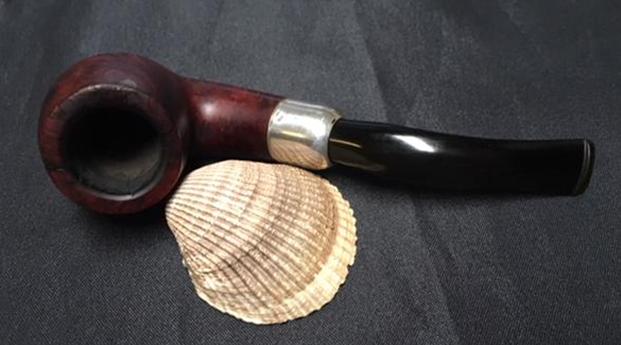
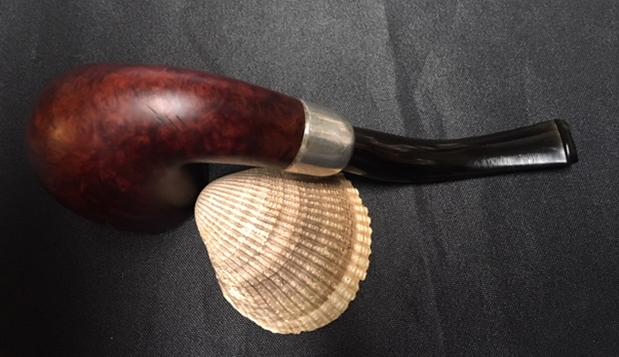
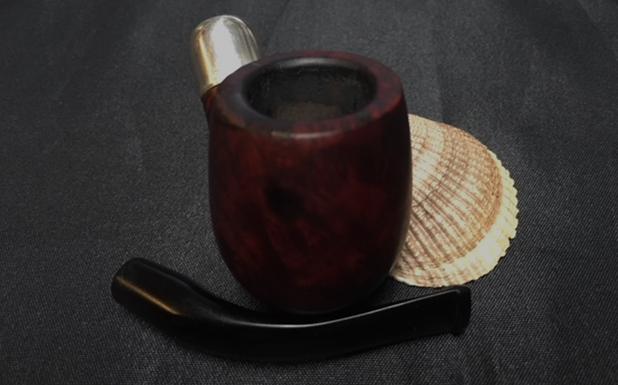
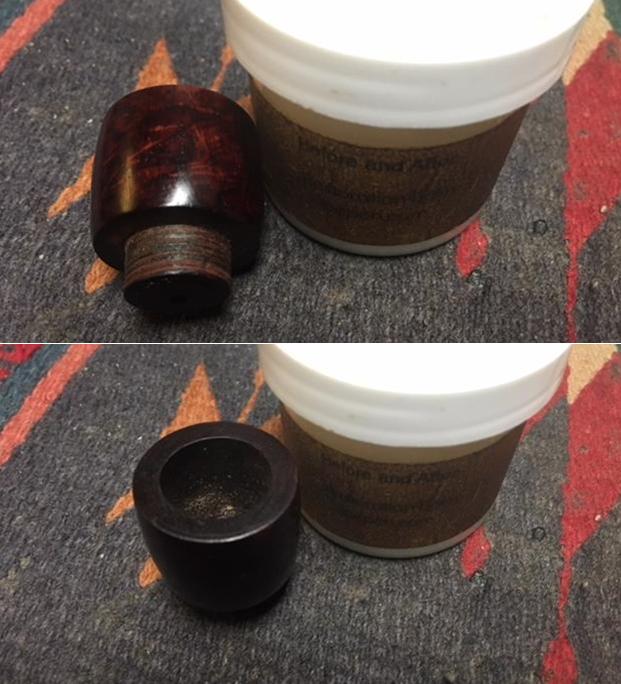
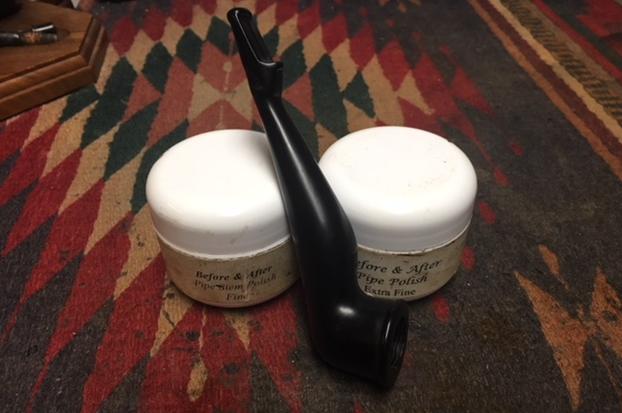
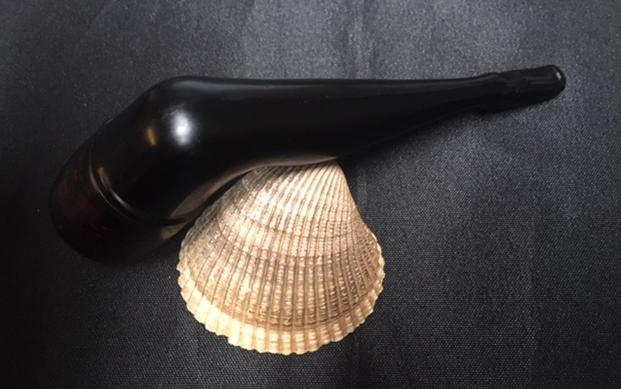
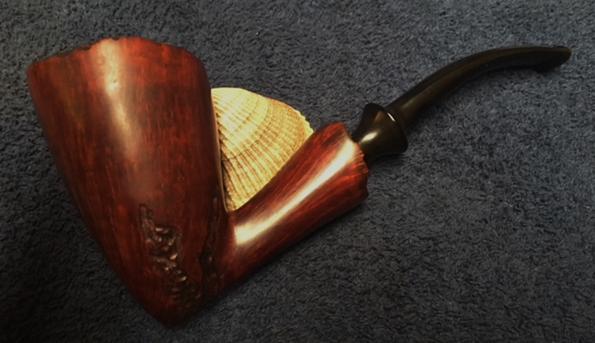
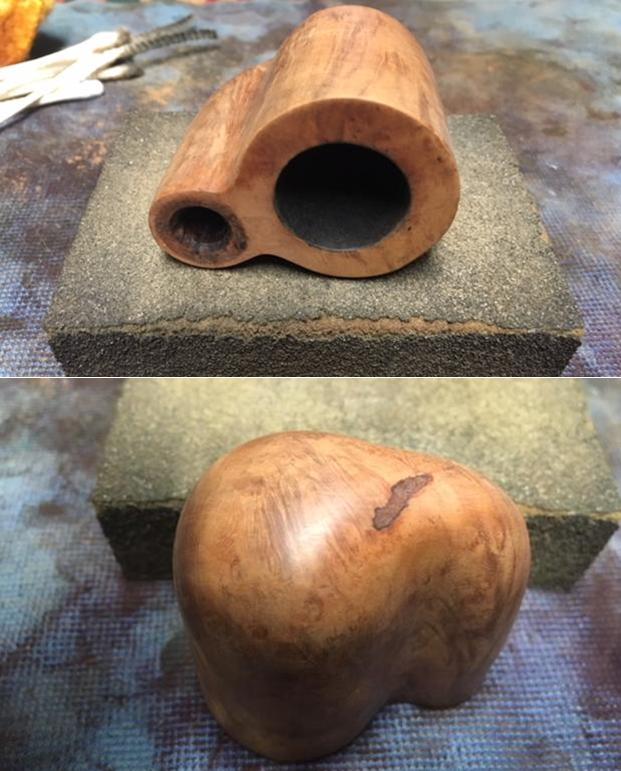
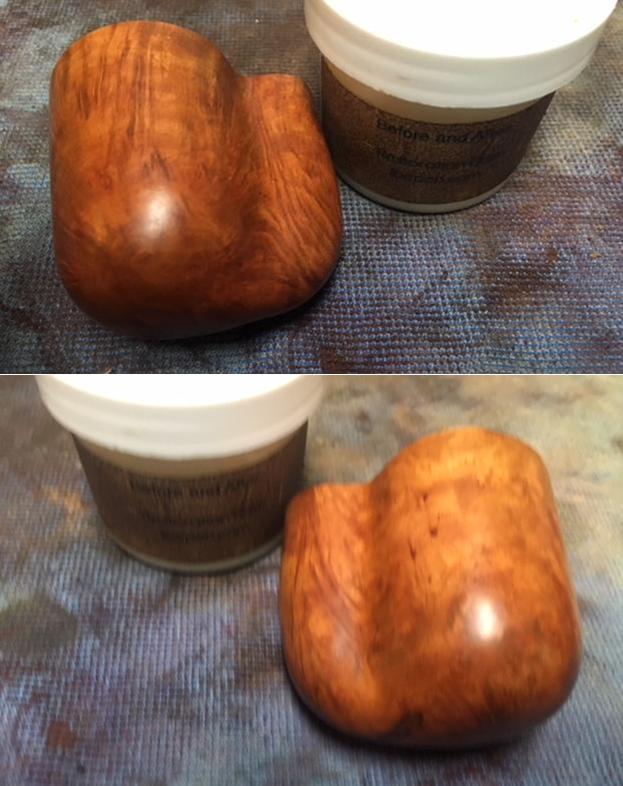
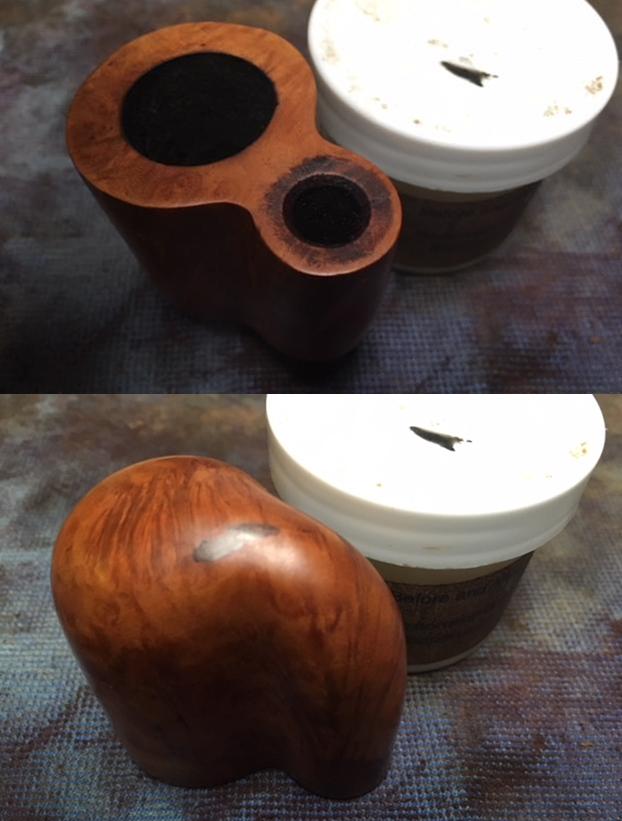
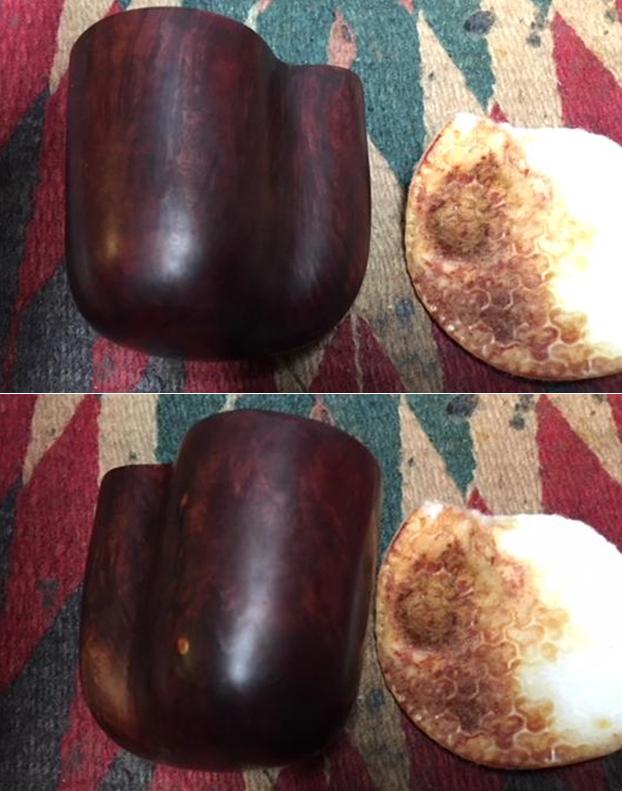
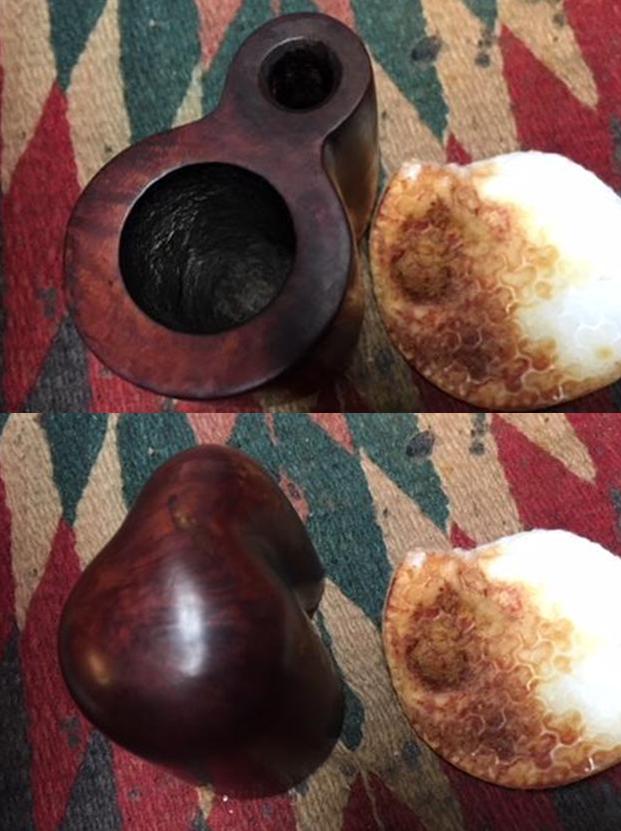
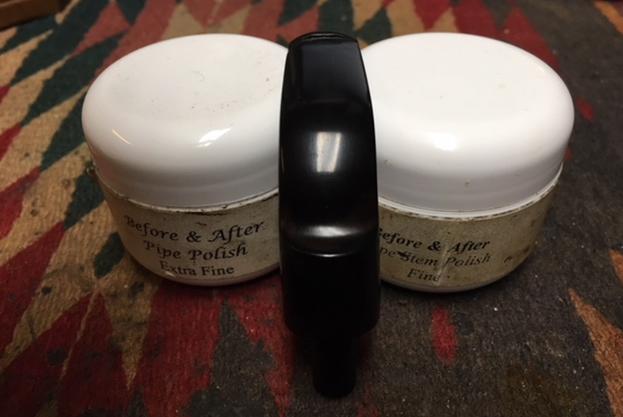
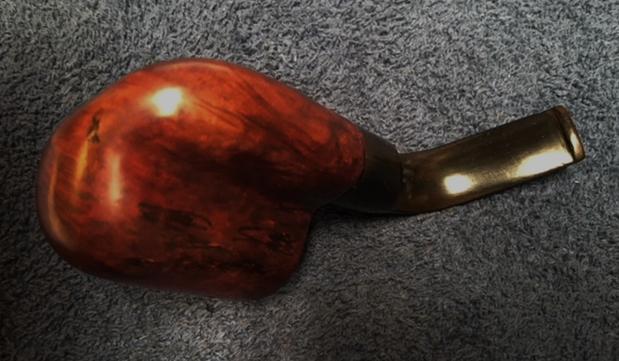
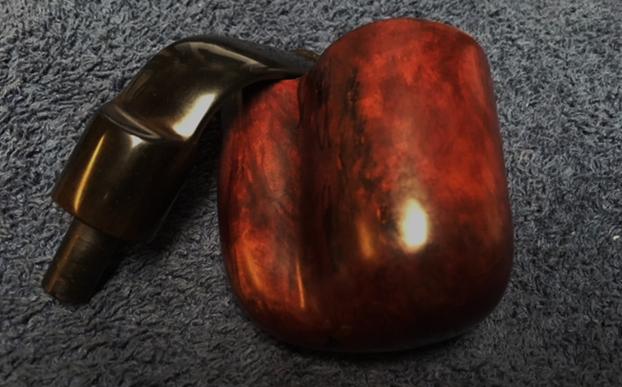
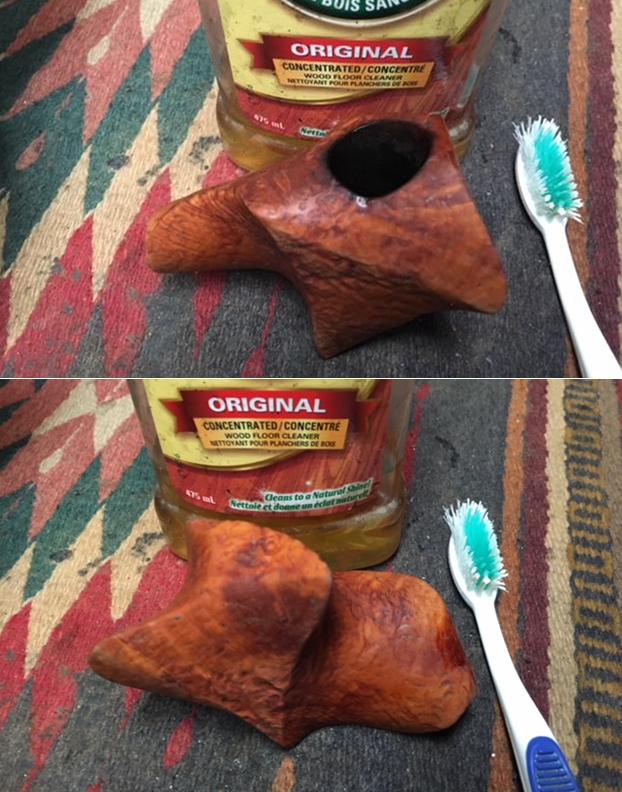
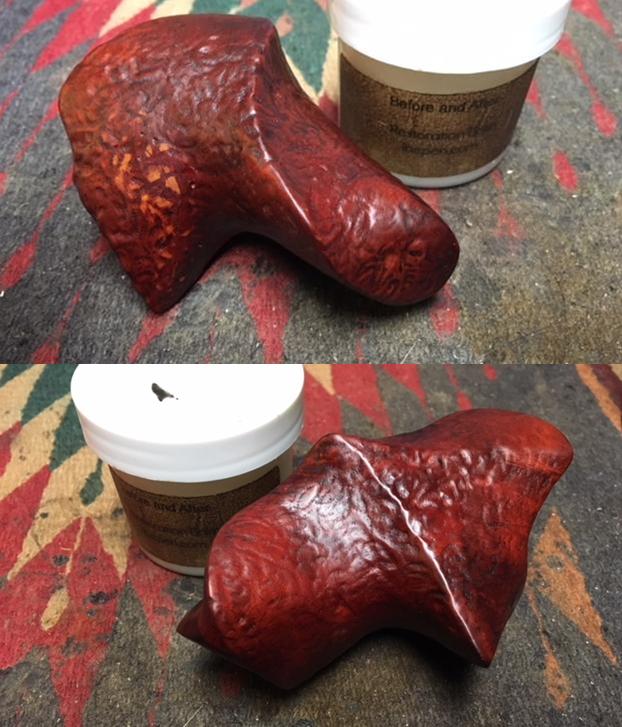
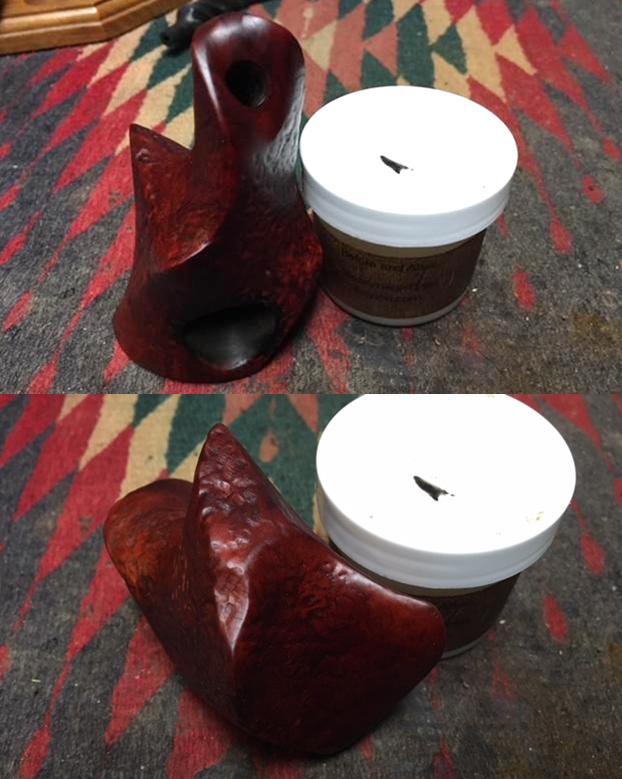
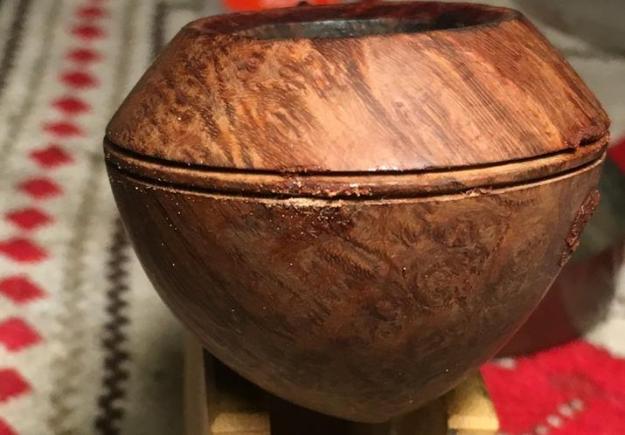
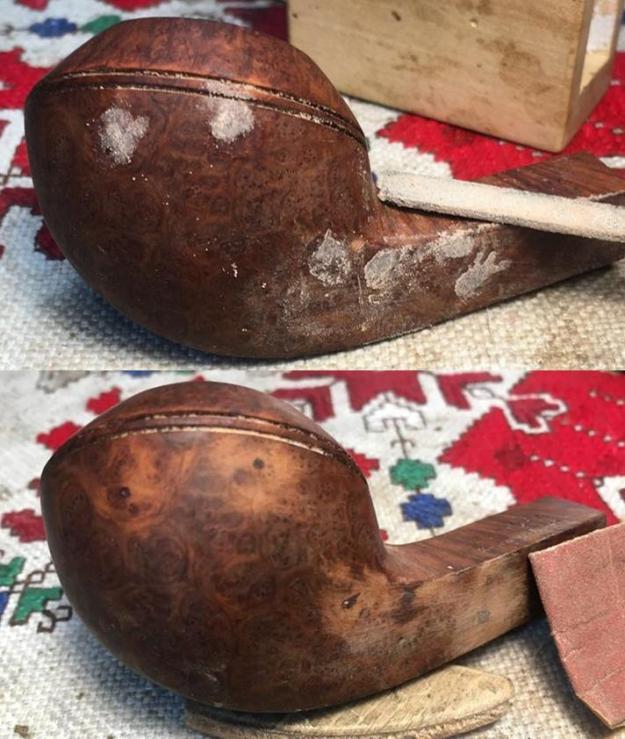
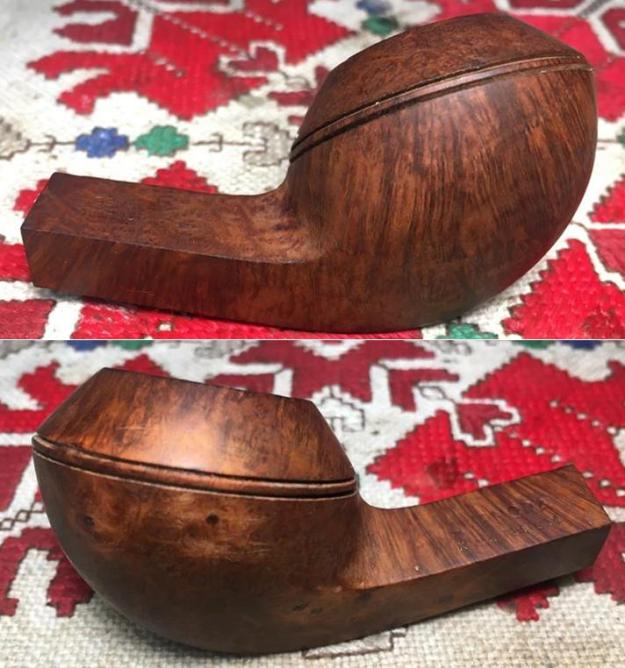
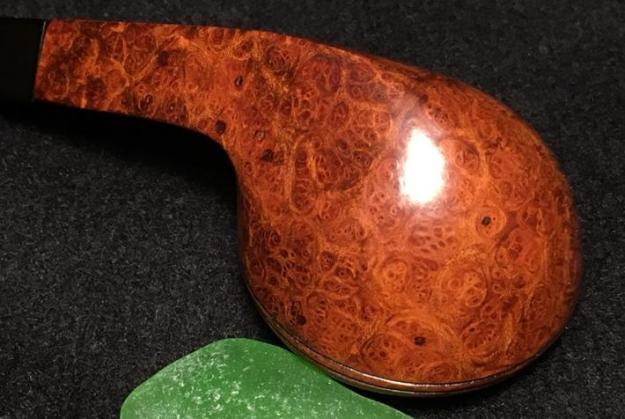
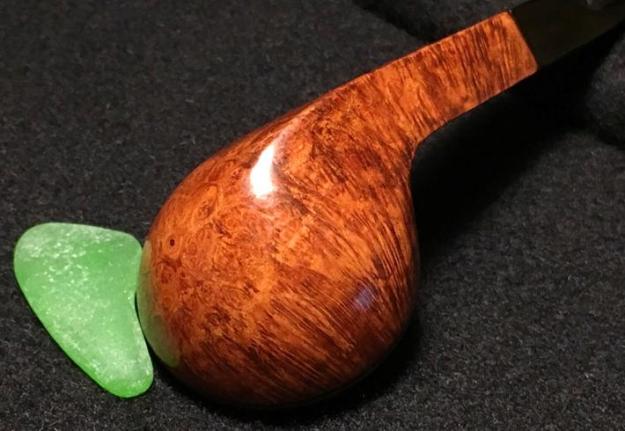
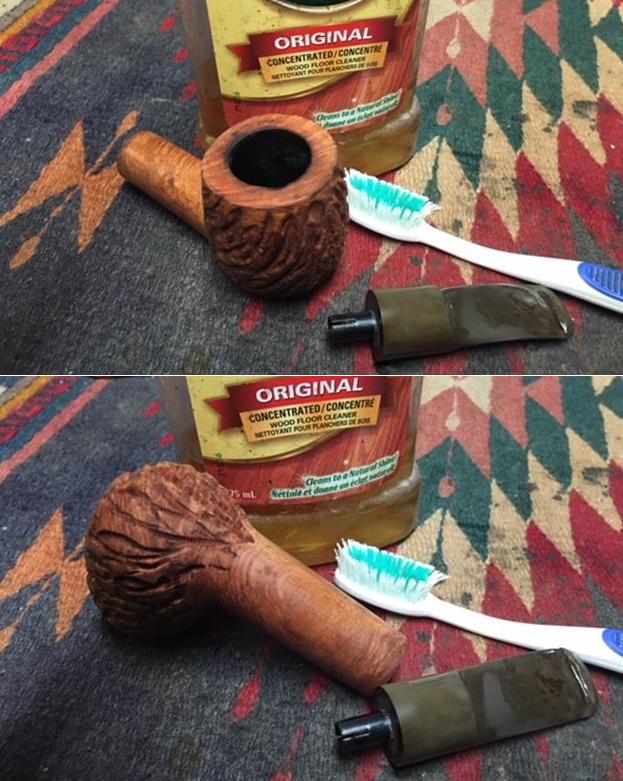
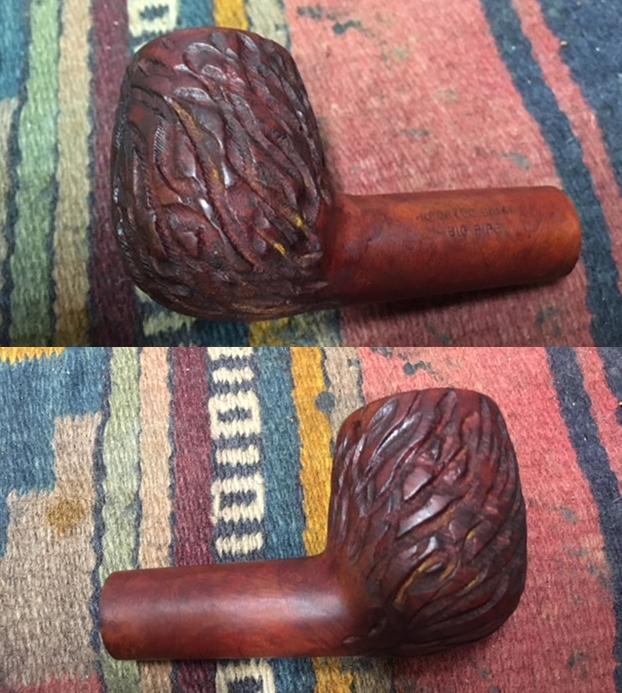
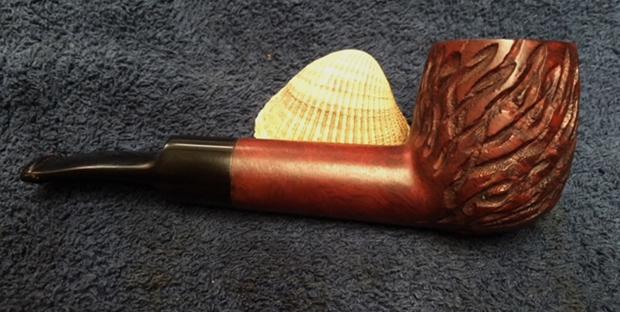
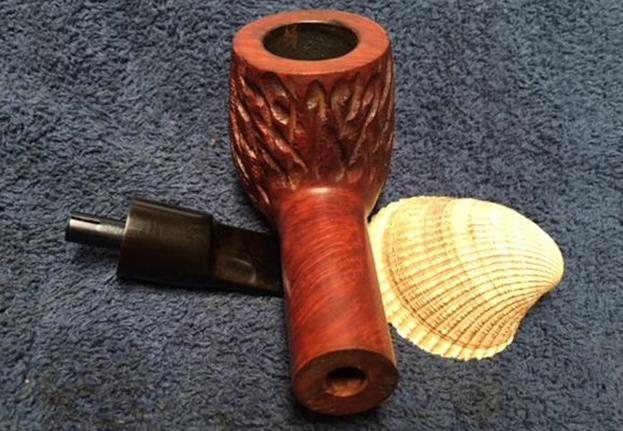
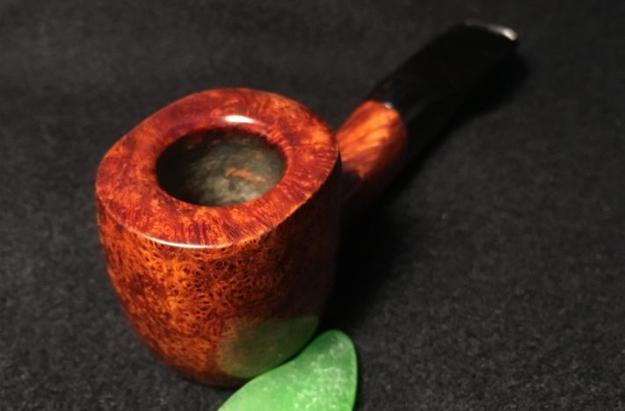
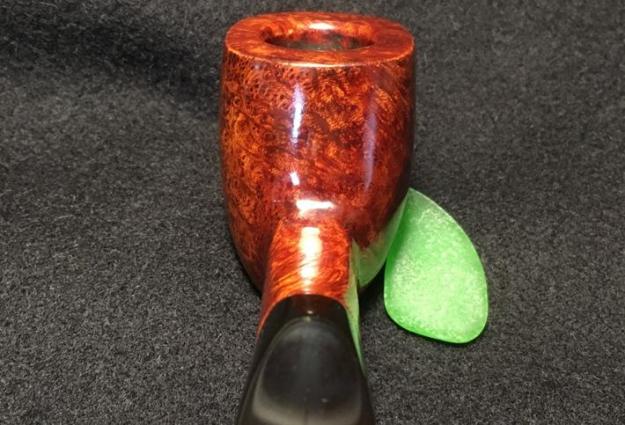
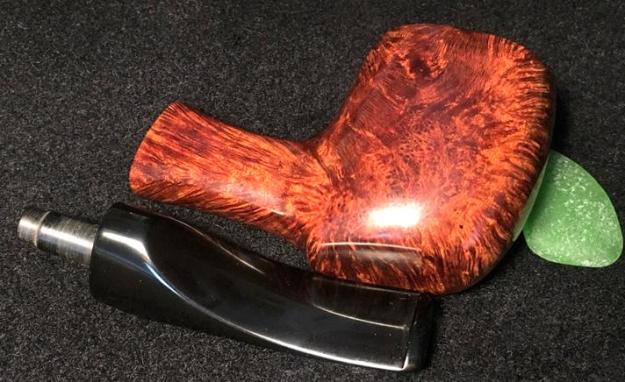
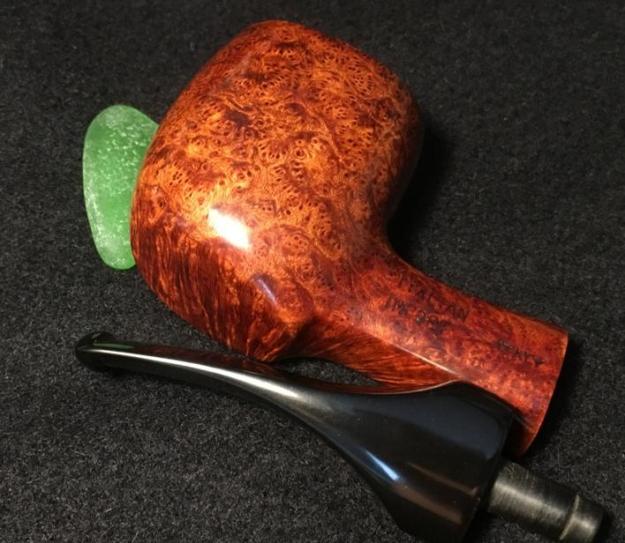
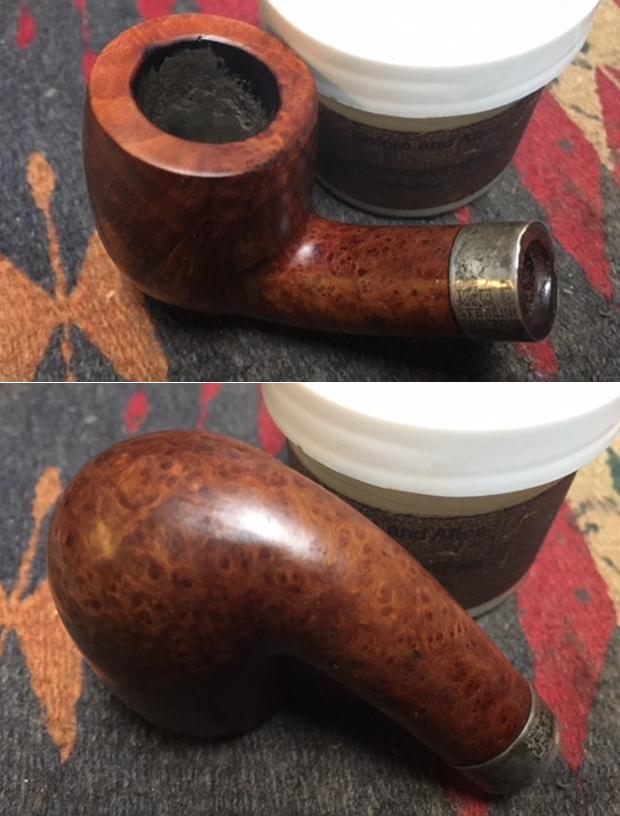
 I rubbed down the briar with Before & After Restoration Balm. I worked it into the finish with my fingertips and finished working it in with a shoe brush. The balm worked to clean, preserve and enliven the surface of the finish on the small bowl. The briar was coming alive so I took some photos of the pipe at this point.
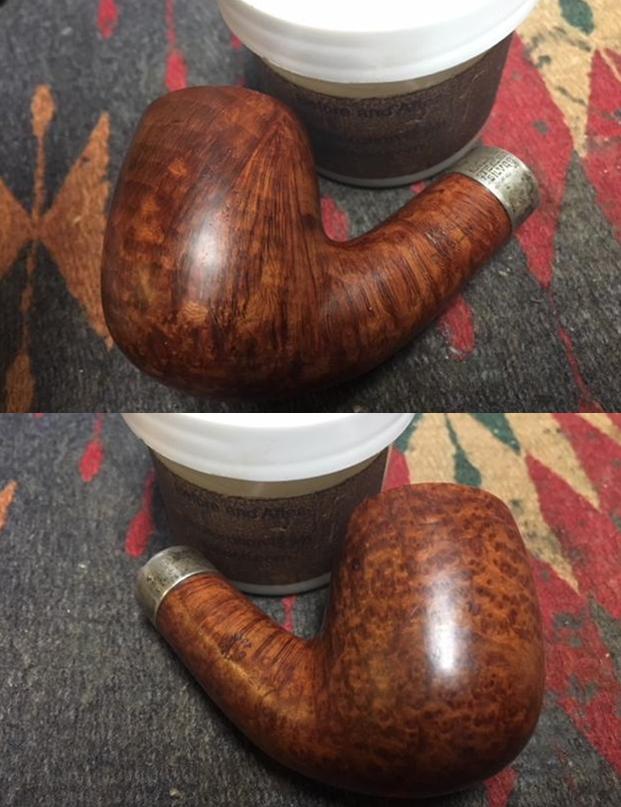
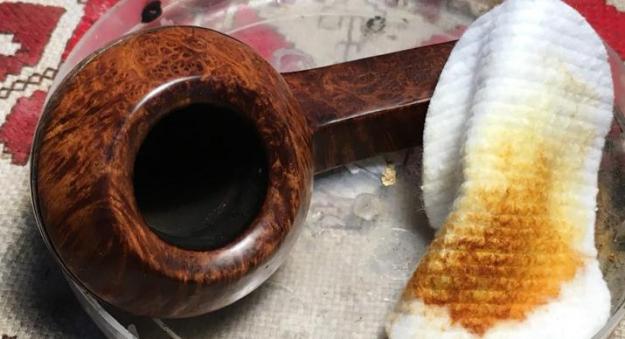
 I polished the silver band with Hagerty’s Silver Polish to remove the tarnish. It is a soft scrub that is put on the band and buffed off with a cloth afterwards. I used a cotton pad to remove the tarnish. I polished it further with a jeweler’s cloth to protect and give it a shine.
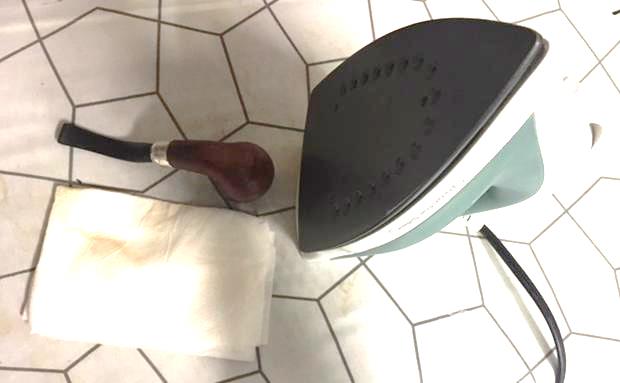
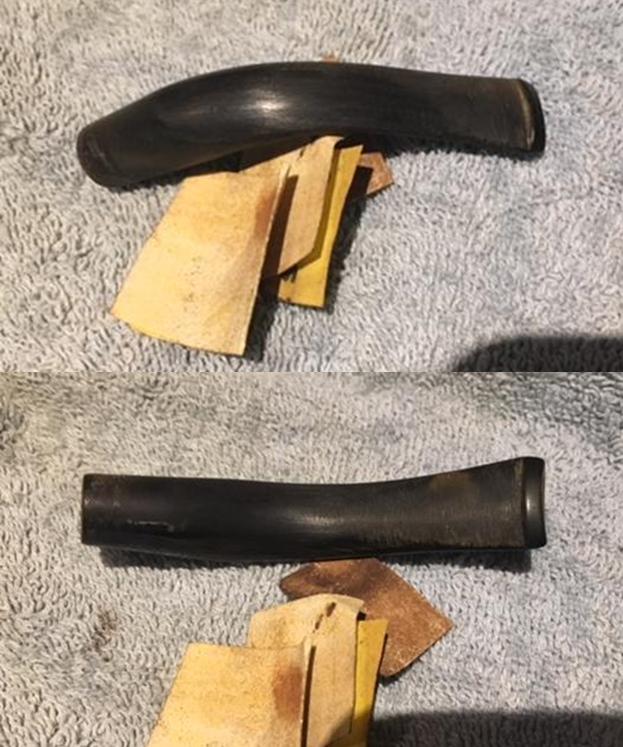
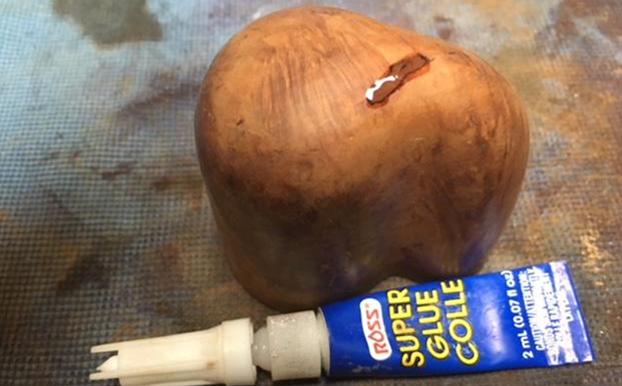
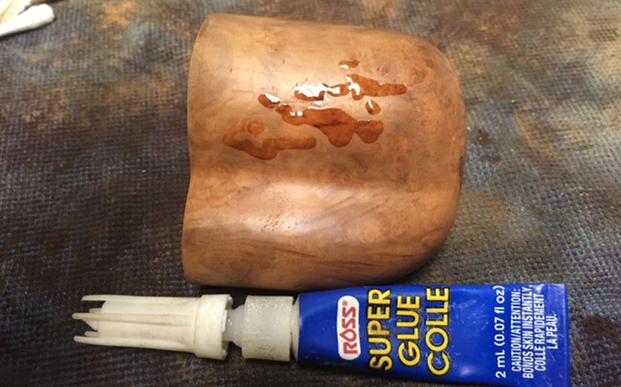
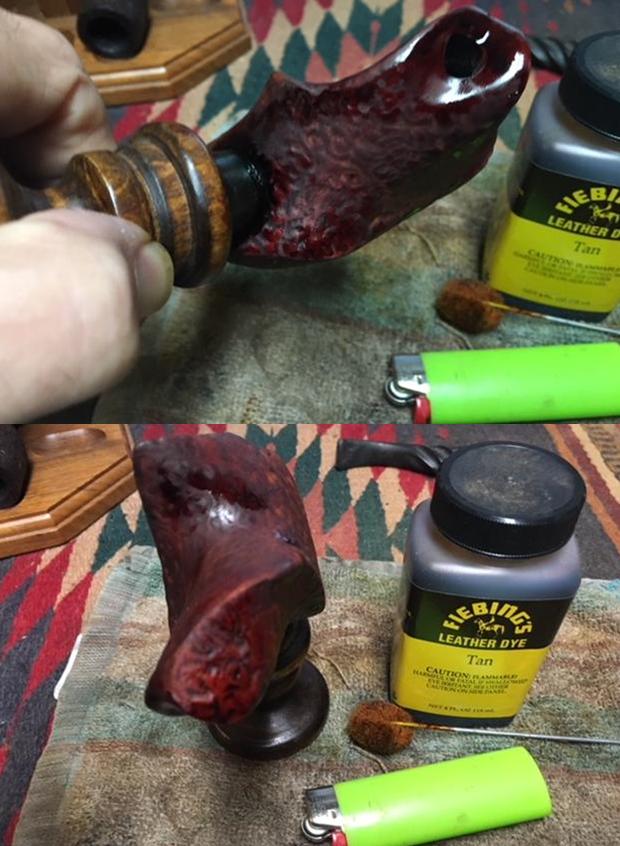
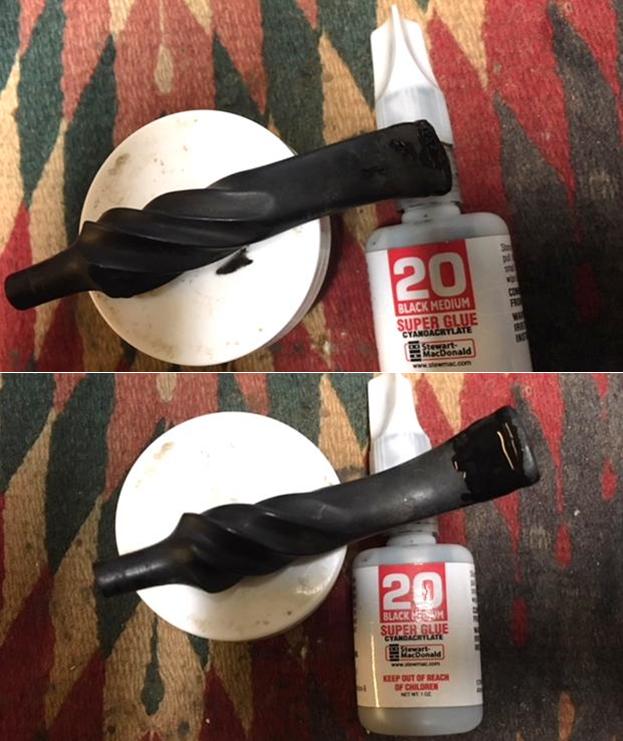
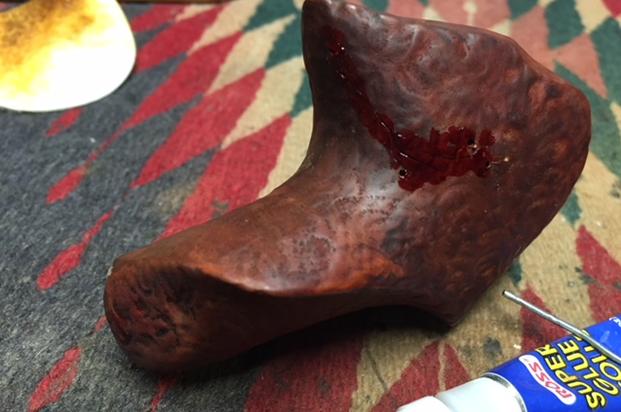
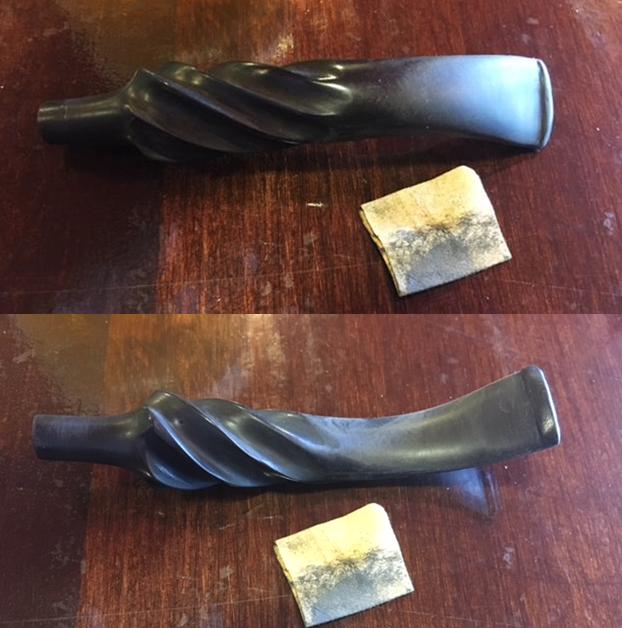
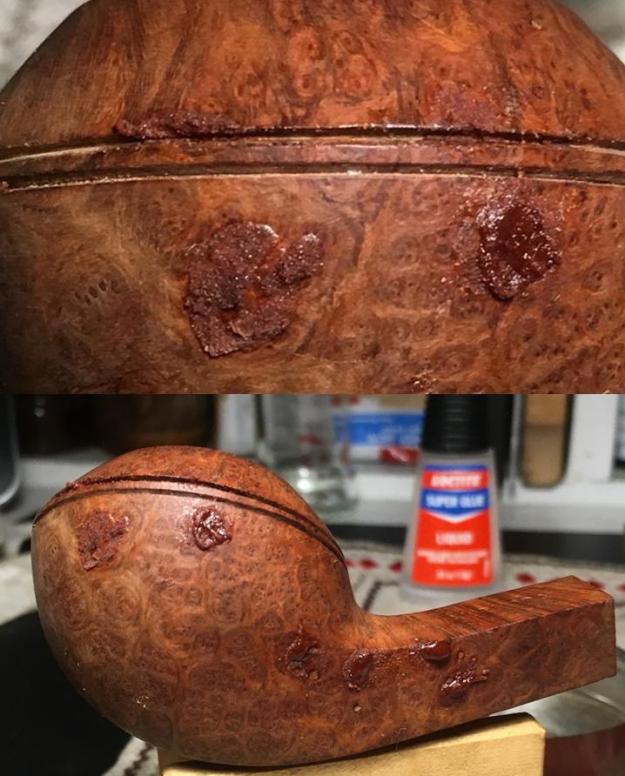
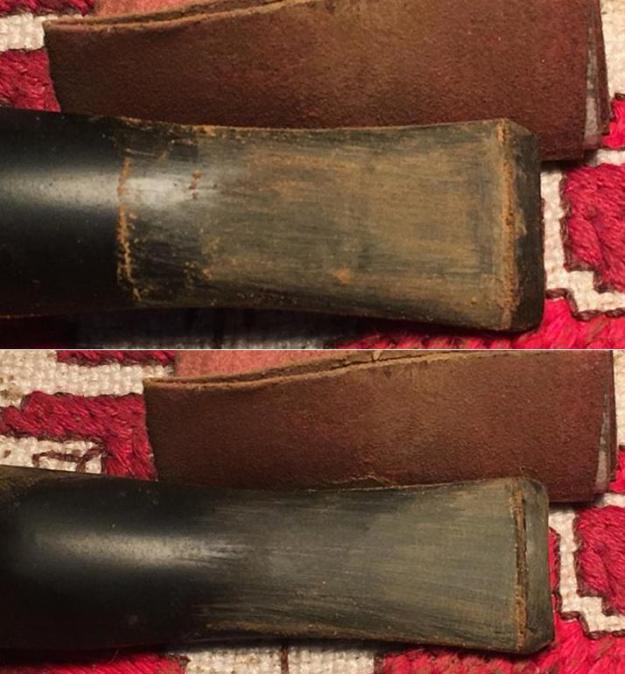
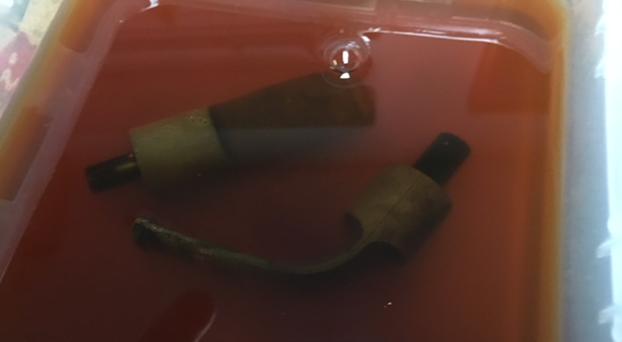
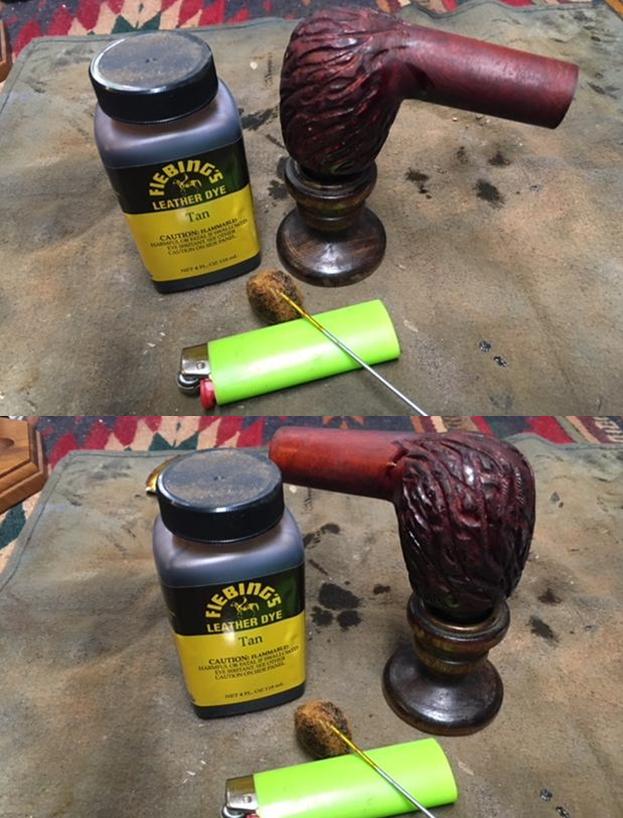
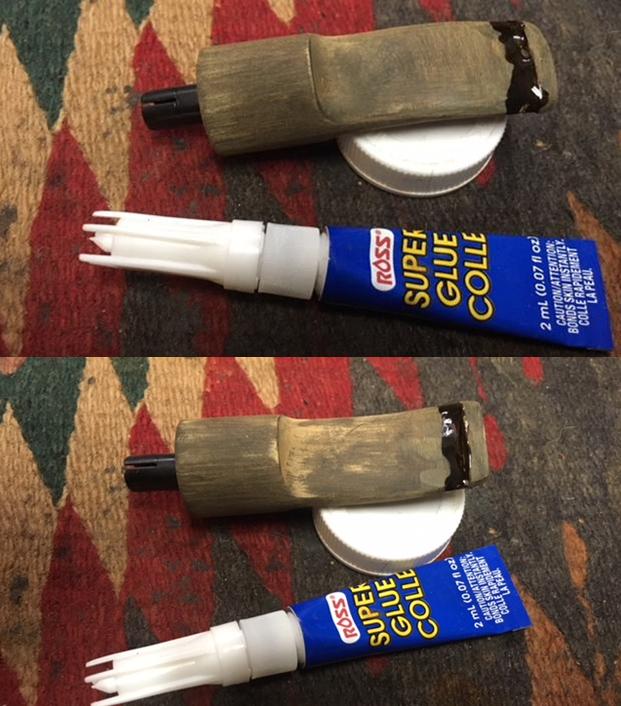
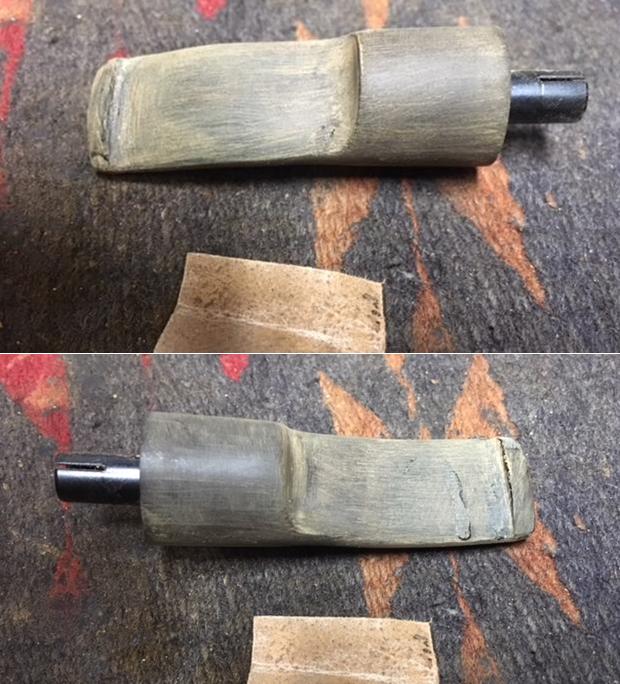
 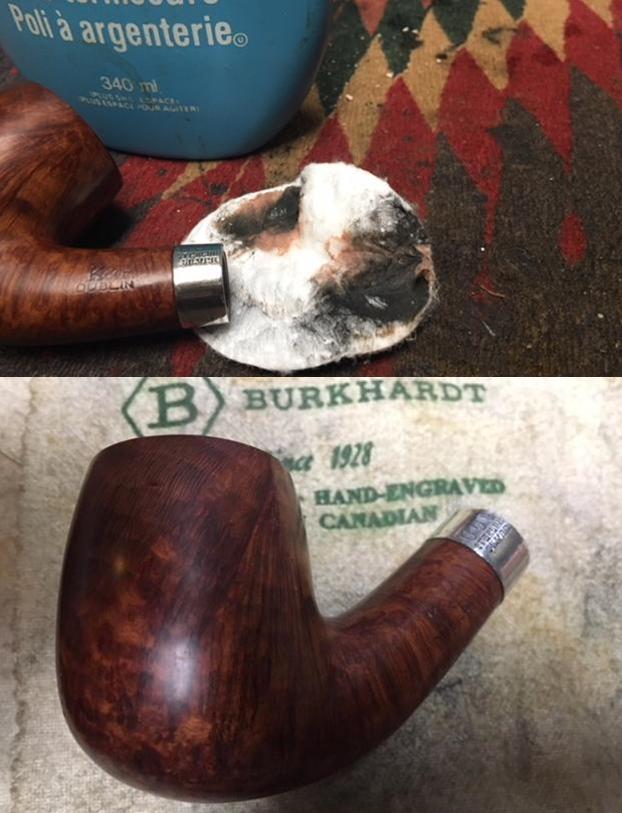 I set the bowl aside and began to work on the dents in the stem surface. I “painted” the vulcanite with a Bic lighter flame to try to raise the dents. I was able to get those on the underside completely removed. The deep one on the top surface of the stem and sides of the button needed to be addressed differently. I cleaned the areas around the button and filled in the dents with black super glue. When the repair cured I sanded the repairs and the oxidation with 220 grit sandpaper. I folded the paper and worked in the edges of the button.
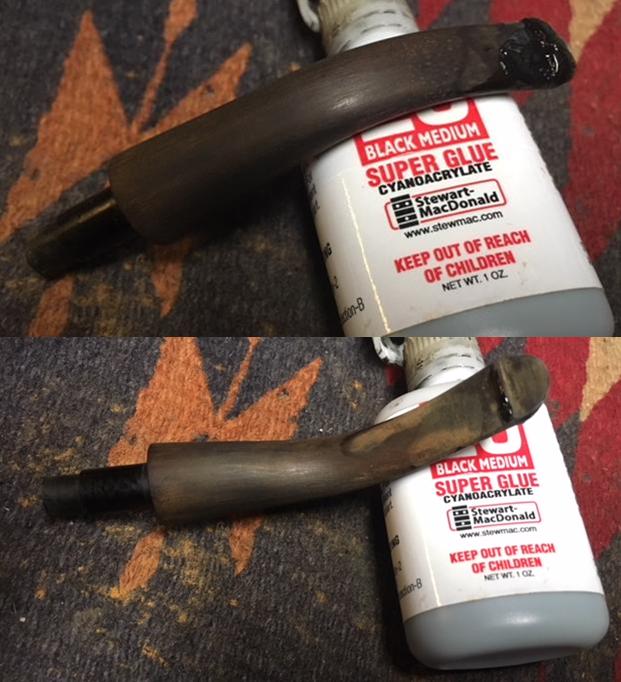
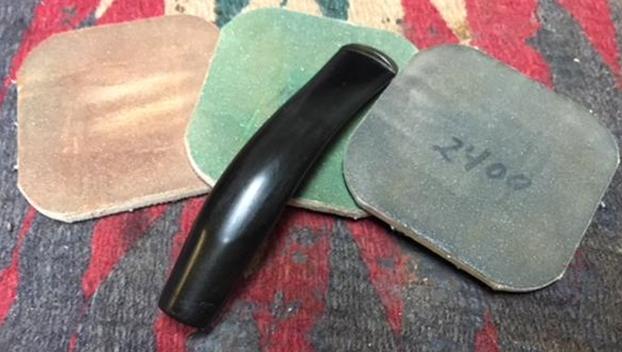
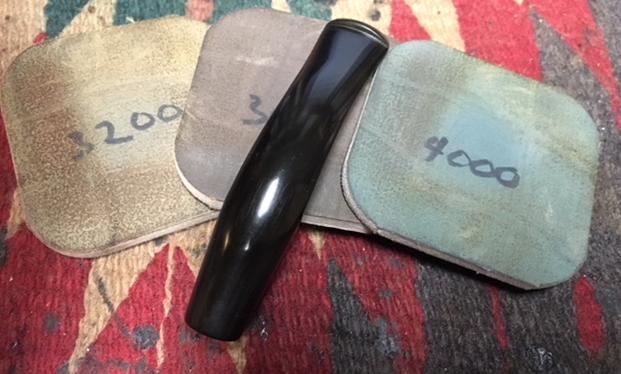
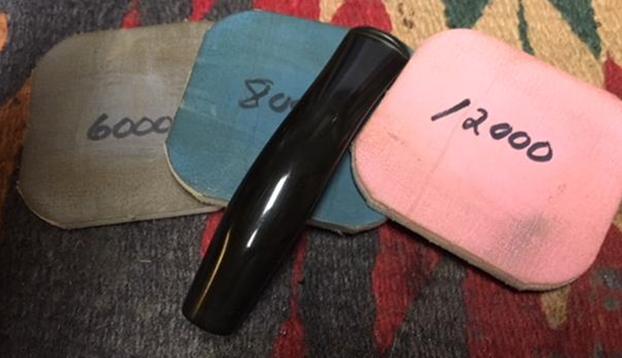
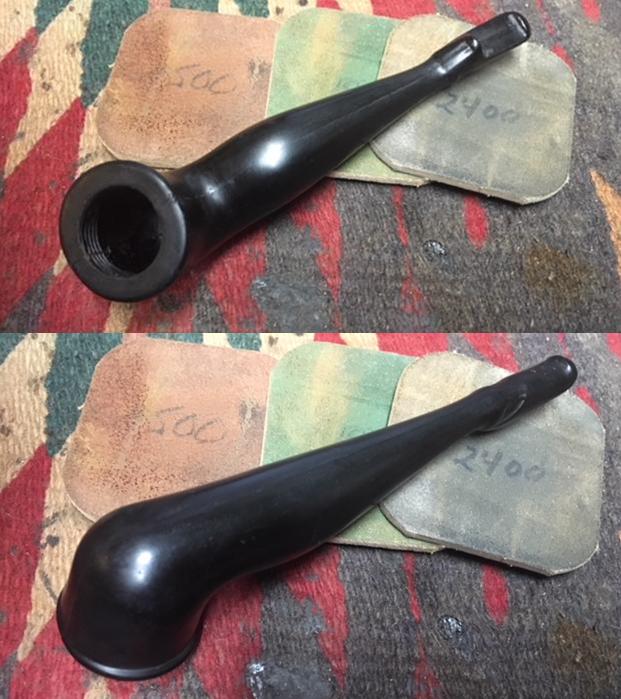
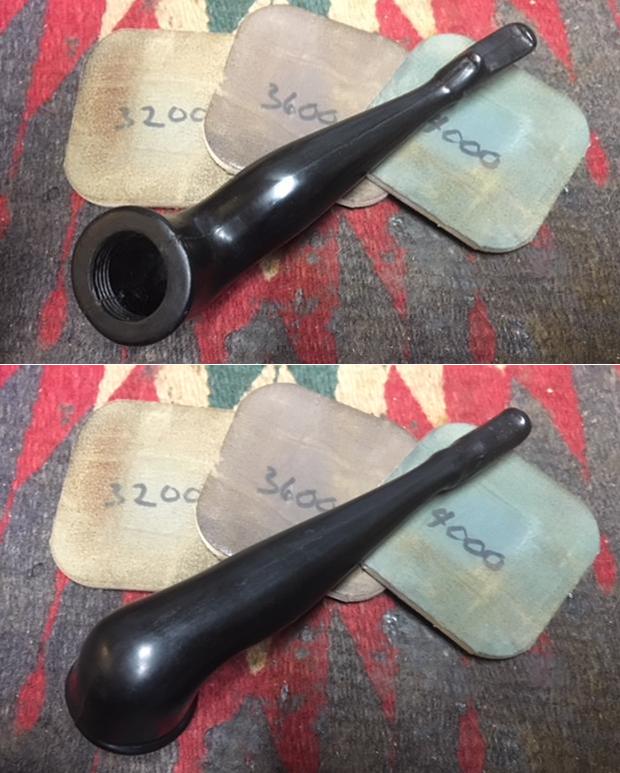
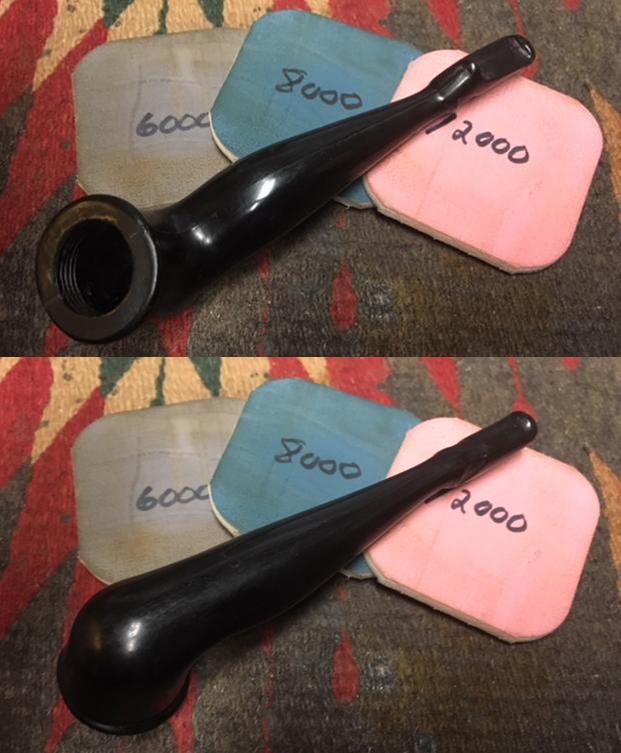
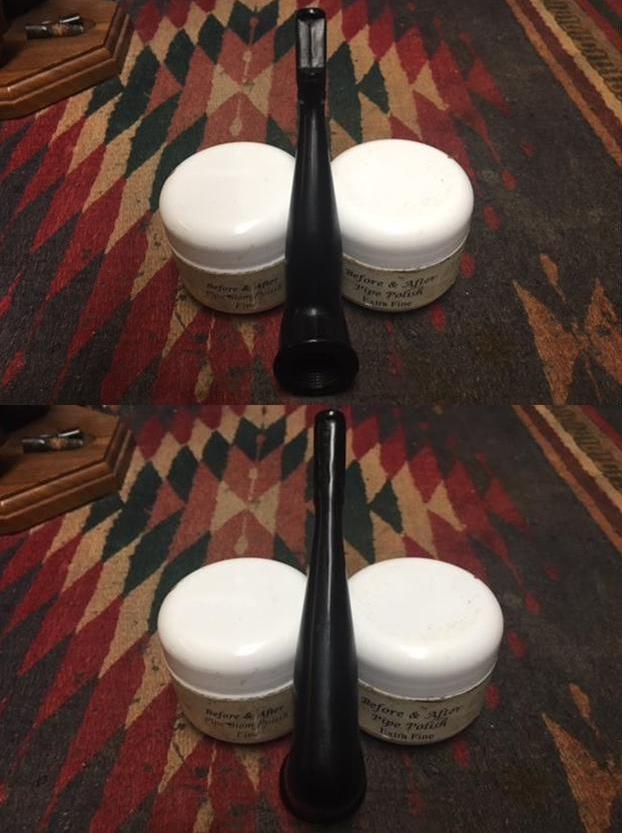
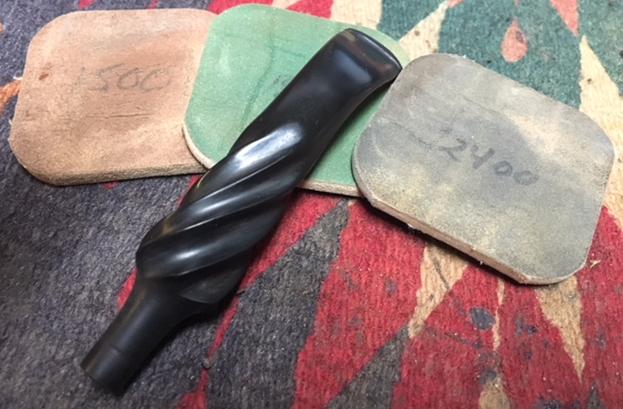
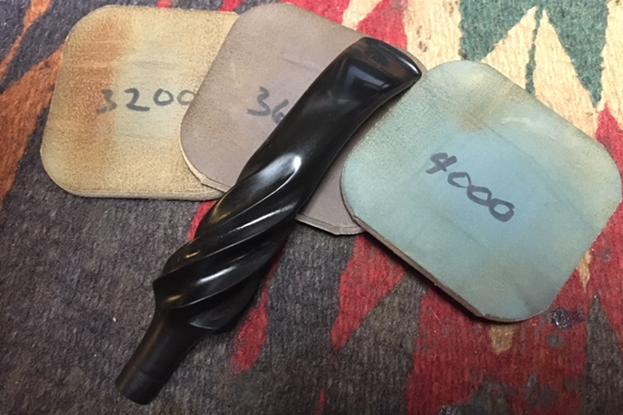
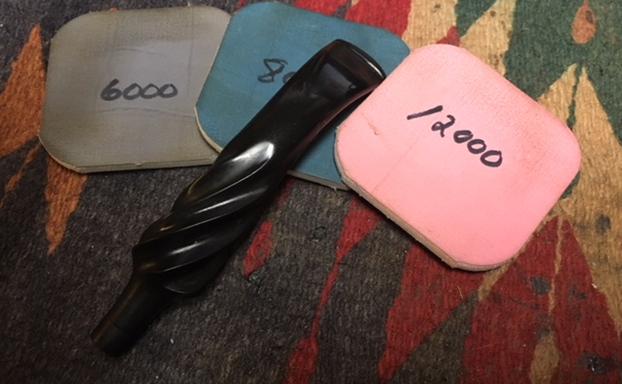
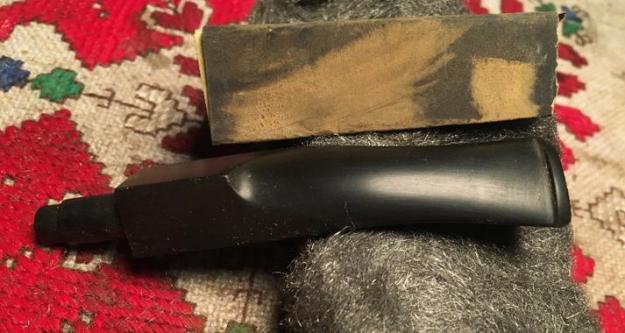
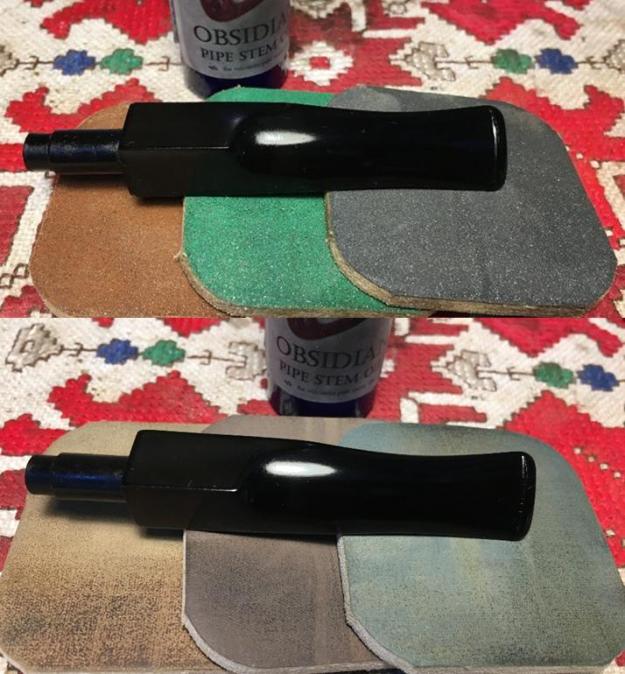
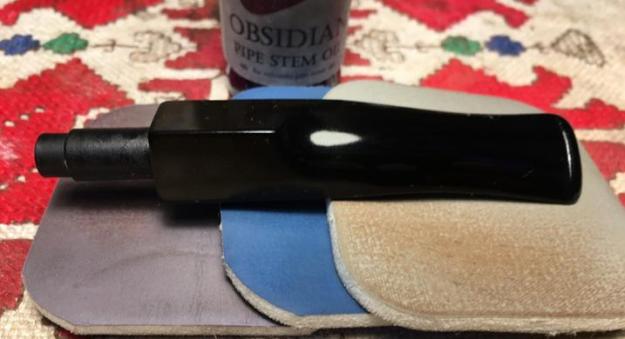
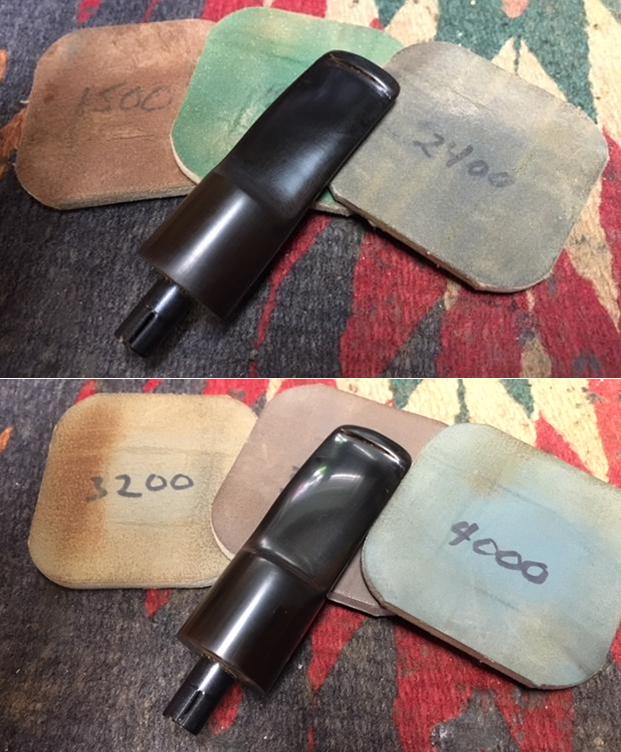
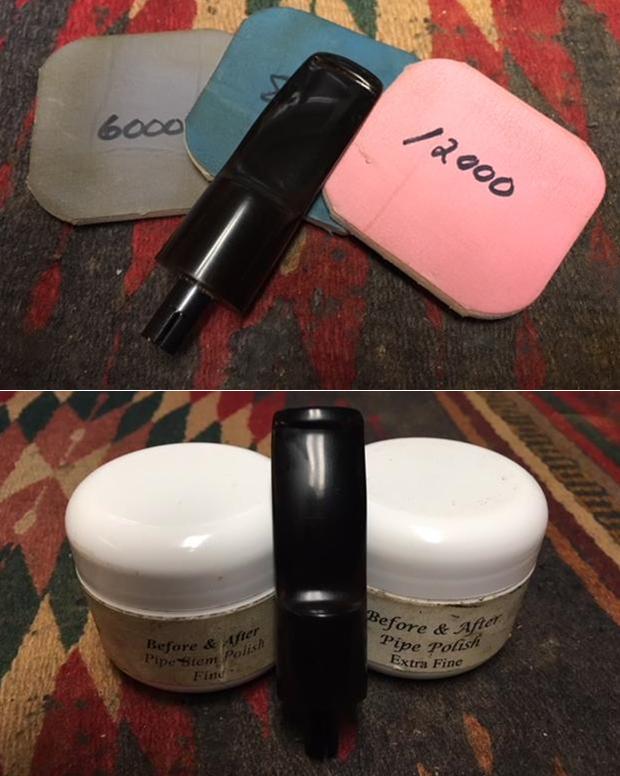
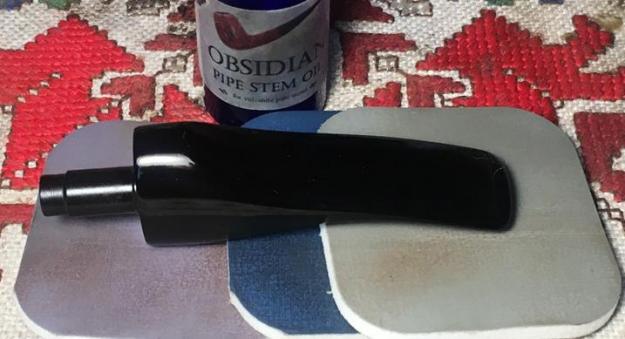
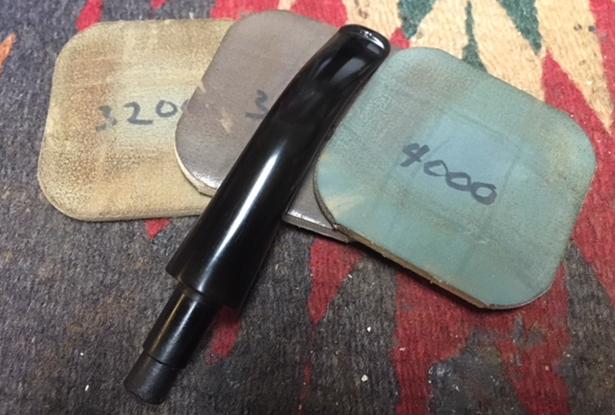
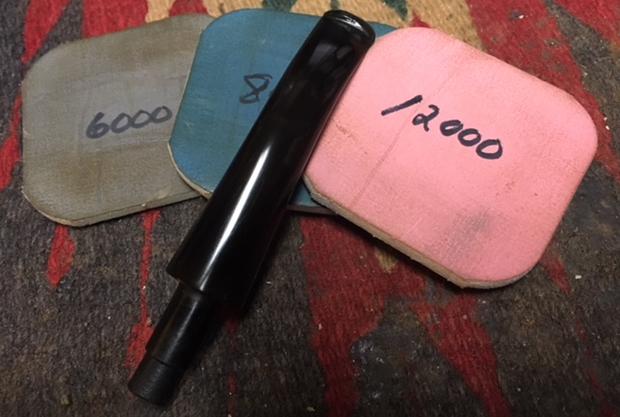
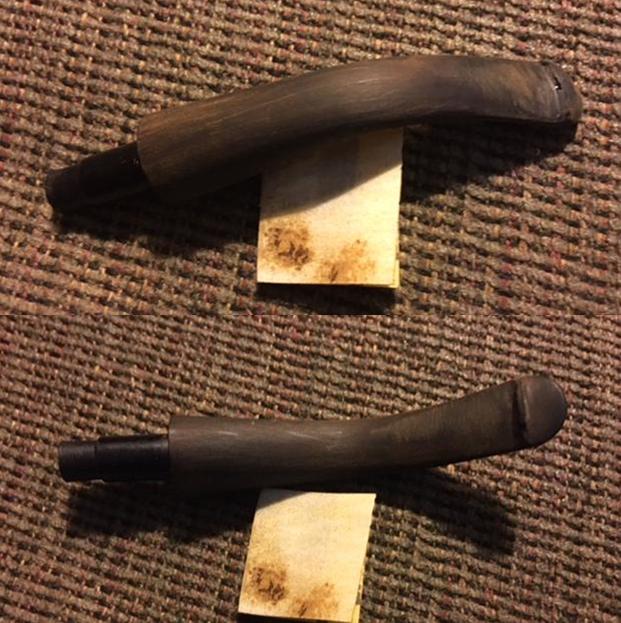 I polished the stem with micromesh sanding pads – wet sanding with 1500-2400 grit pads and dry sanding with 3200-12000 grit pads. I wiped the stem down with Obsidian Oil between each sanding pad.
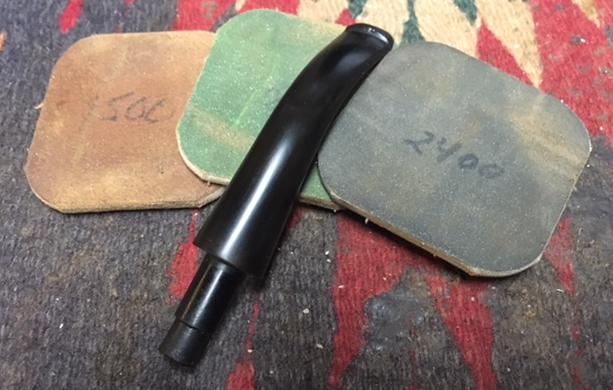
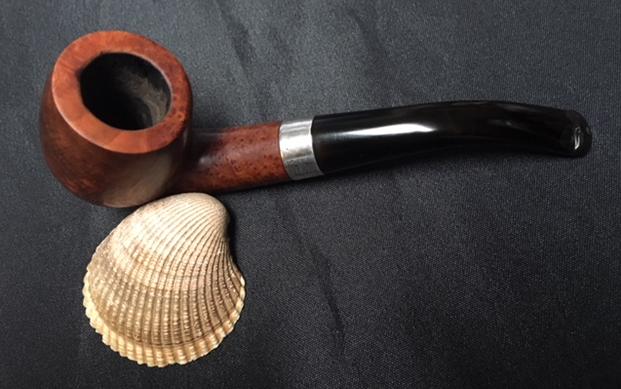
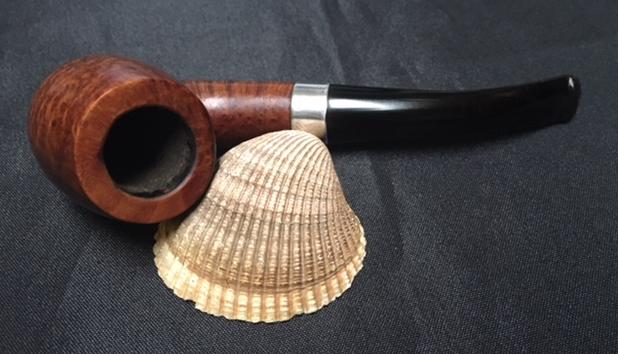
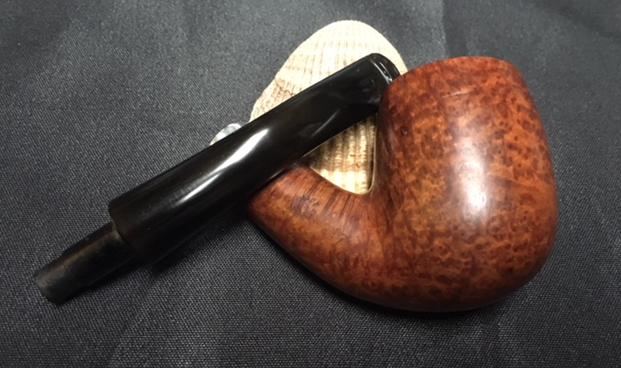
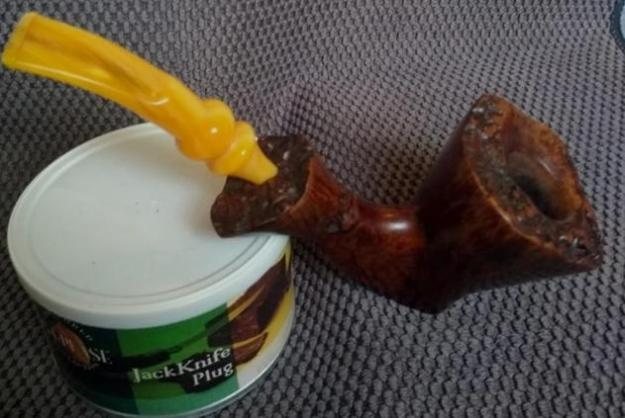
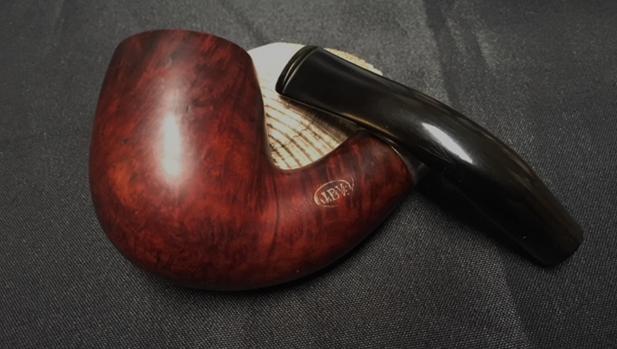
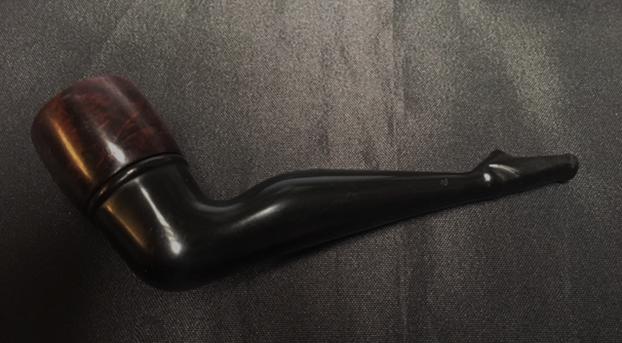
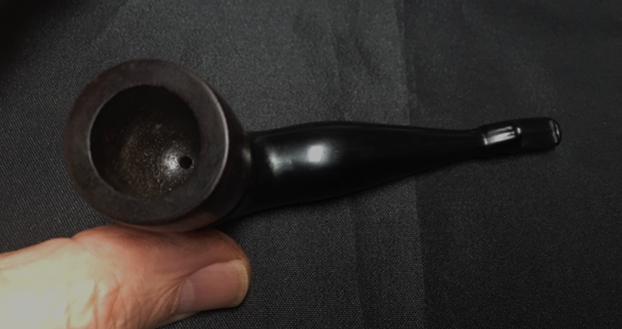
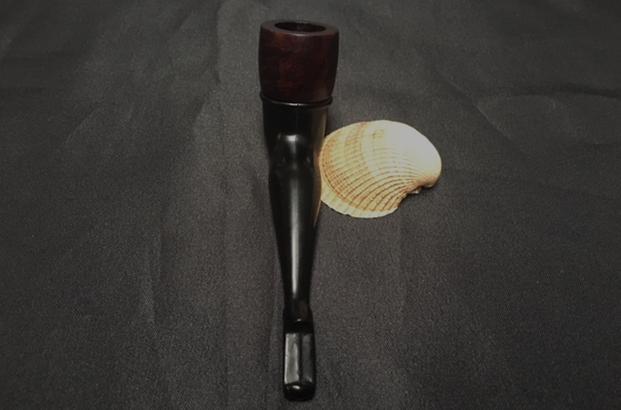
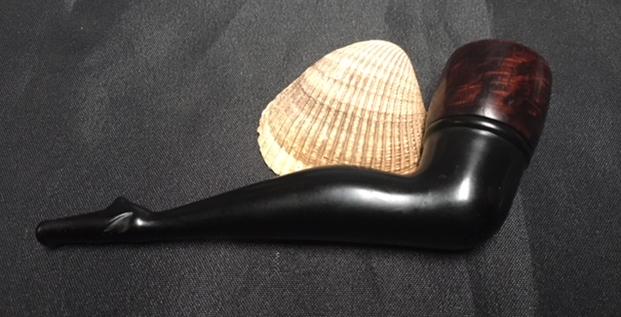
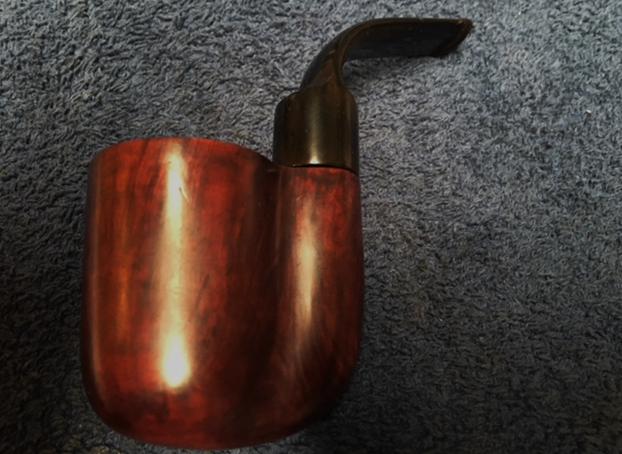
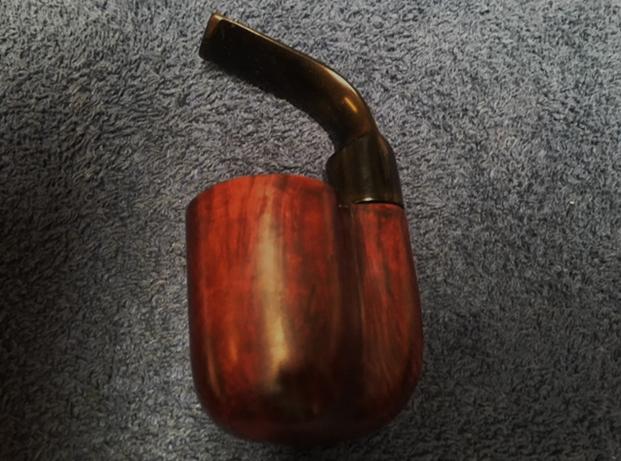
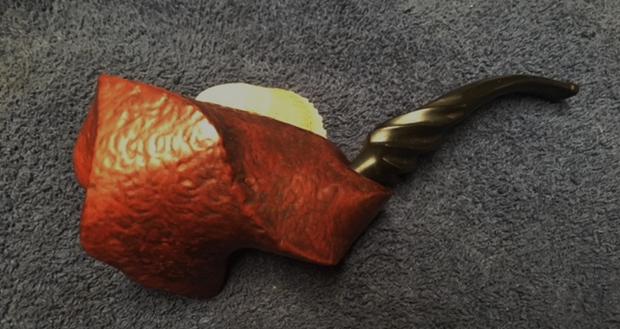
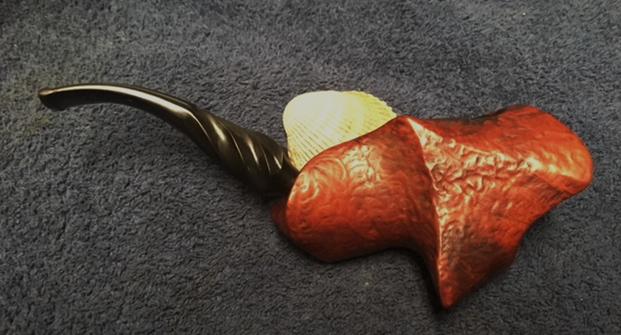
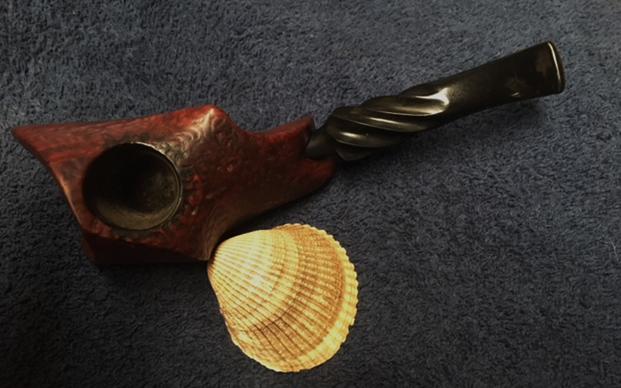
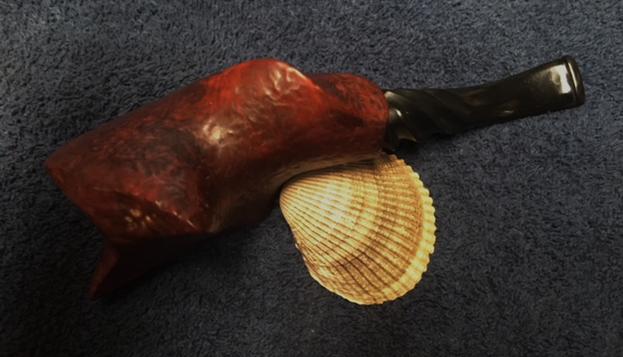
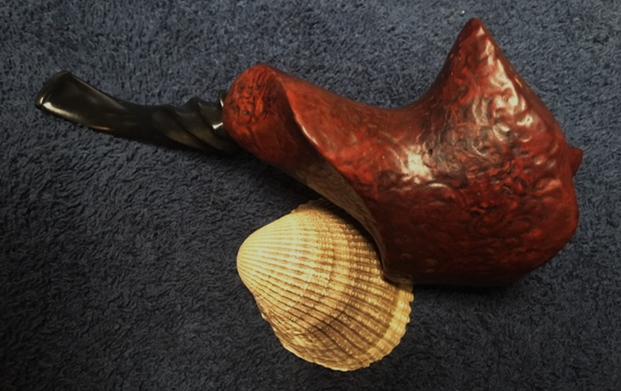
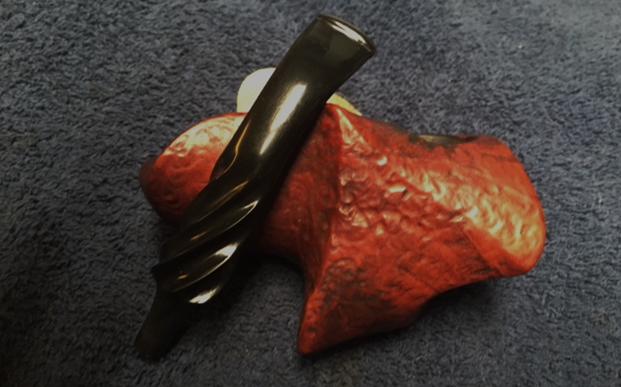
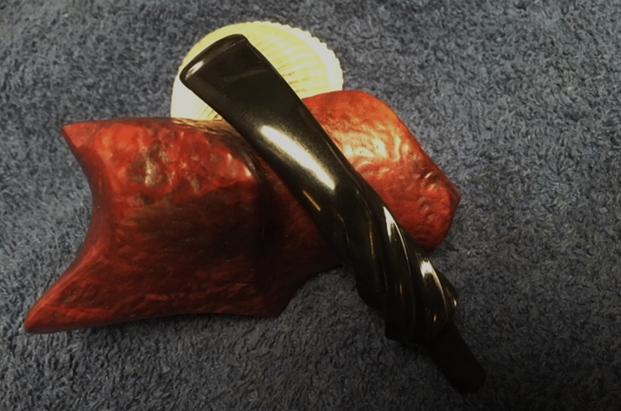
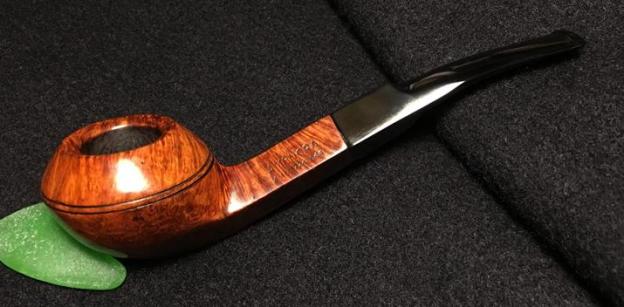
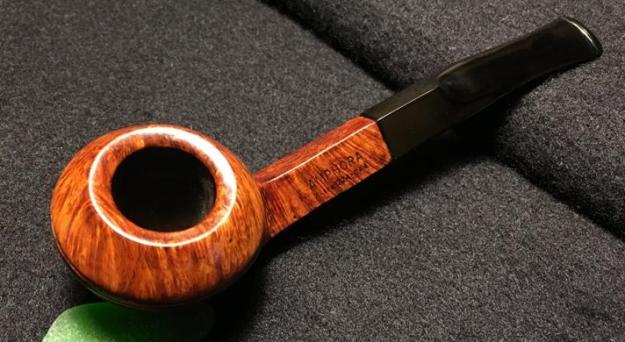
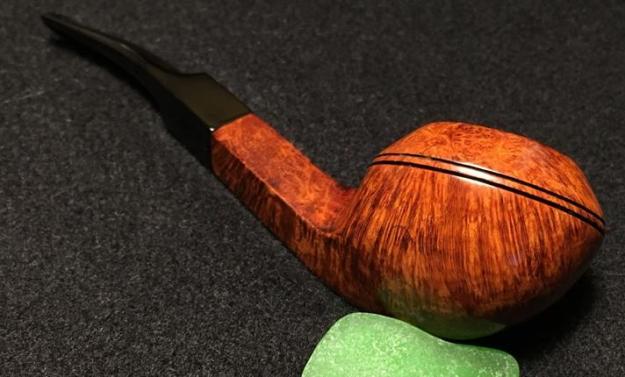
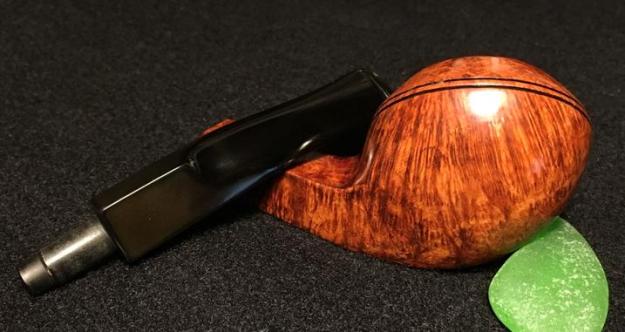
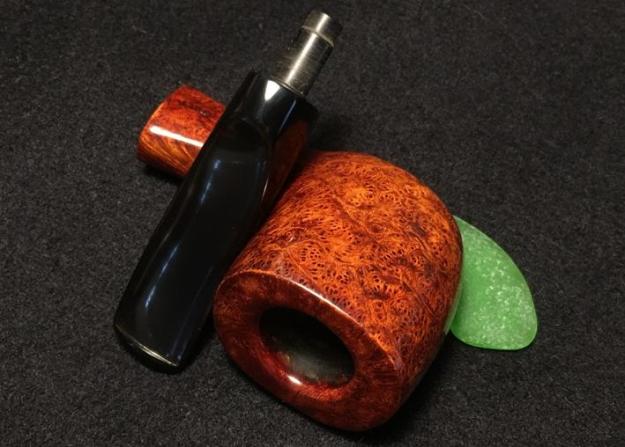
 I put the stem back on the bowl and buffed the pipe with Blue Diamond polish on the buffing wheel. I carefully avoided the stamping on the both sides of the shank. I gave both the bowl and the stem multiple coats of carnauba wax and buffed the pipe with a clean buffing pad to raise the shine. I hand buffed it with a microfiber cloth to deepen the shine. The finished pipe is shown in the photos below. I have one more pipe to finish for him – it is the last of the pipes he found while pipe hunting. This has been a fun bunch of pipes to work on. I look forward to moving through the rest of them. Thanks for looking.