
Blog by Steve Laug
Not too long ago I sent a meerschaum lined pipe to Jim. He received it and sent me a note saying that he had sent two pipes to me to have a look at and refurbish. The first of them was a Bullmoose shaped pot. It was an interesting shaped pipe and was stamped on the left side of the shank with the words London Royal and on the right side Imported Briar. I looked on Pipephil’s website http://www.pipephil.eu/logos/en/logo-l5.html and found the following. It appears that the pipe was made by LH Stern (LHS) in Brooklyn, New York in the US. The pipe that Jim sent to me was in rough shape. The bowl had a thick cake and the rim had a lava overflow and had been hammered out on hard surfaces to the point that the bowl front at the top was beaten and damaged. The inner edge of the rim top was damaged and the bowl was out of round. The finish was in really rough condition as well. It was cloudy and looked like the pipe was water damaged. It had a 14K thin gold band on the shank end and a saddle stem that had some tooth chatter and tooth marks on both the top and underside near the button. There was a faint hat logo on the left side of the saddle. The vulcanite was lightly oxidized but otherwise the damage was quite minimal. Jim included a note in the package that said the slot was too narrow to take a pipe cleaner. The tenon was threaded and still aligned with the shank. With a pipe in this condition I am always looking for pluses.
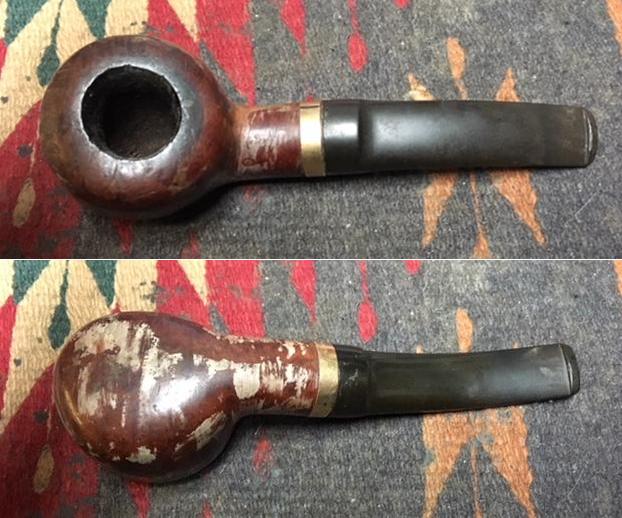
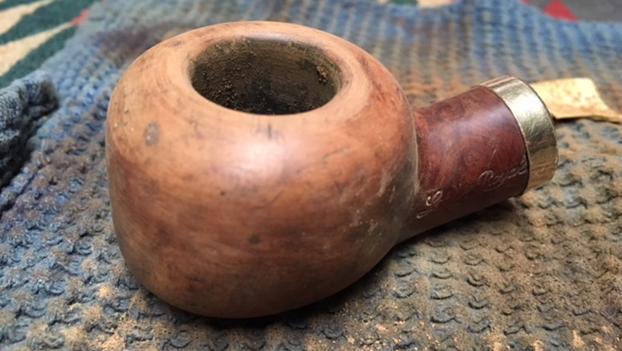
 I took close up photos of the rim top and the stem to show the general condition of the bowl and stem surfaces. The close up of the rim top shows the dents and damage to the front of the rim top. The out of round bowl edge is also visible. There is a thick cake in the bowl and lava overflow on the top surface. The stem is in decent condition. There are some tooth marks on the top and underside near the button. The gold band also has some damage to the finish and the band is loose on the shank. It is not torn or split.
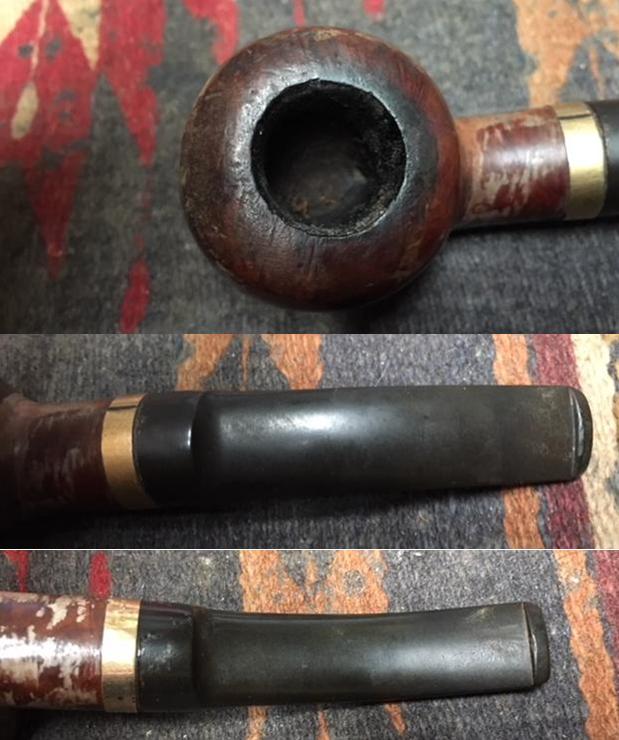 I unscrewed the stem from the shank and the inside of the mortise and the threaded tenon was dirty and coated with thick tars and oils.
 I reamed the bowl with a PipNet pipe reamer. I used the third cutting head and took the cake back to bare walls. I cleaned it up with a Savinelli Fitsall Pipe Knife to remove all remaining remnants of cake.
 I wiped down the outside of the briar with acetone on cotton pads to remove the spotted, water damaged finish on the bowl and shank. I took photos to show how it looked at this point in the process.
 I topped the bowl lightly on a piece of 220 grit sandpaper on a topping board. I sanded the bowl with folded pieces of 220 grit sandpaper to remove the finish.
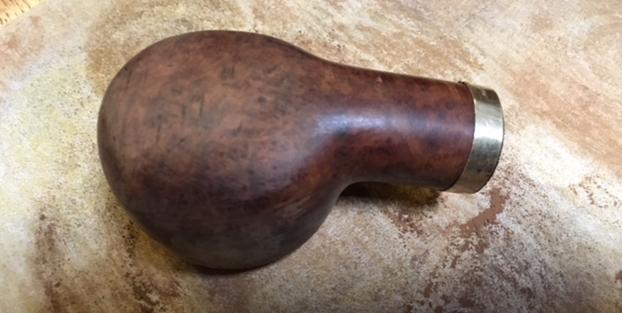 I wiped the bowl down with alcohol on cotton pads. I filled in the damaged areas on the bowl and rim top with clear super glue.
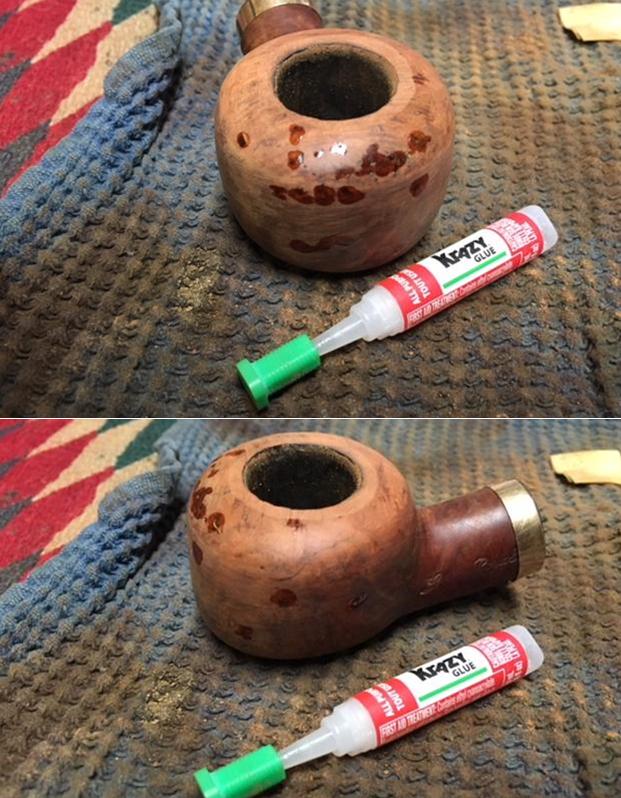 Once the glue dried I sanded the repaired areas back to smooth. I wanted to blend the repaired spots into the surface of the briar.
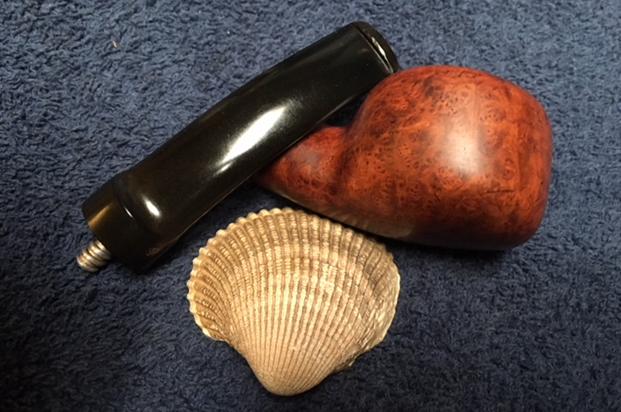
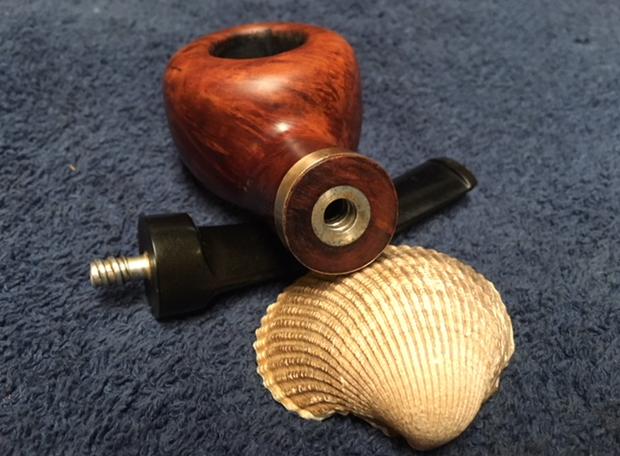
 The band was loose on the shank so I removed it and cleaned off the briar and the inside of the band so I could reglue it to the shank.
 I cleaned out the inside of the shank with pipe cleaners, cotton swabs and alcohol to remove the tars and oils that had built up on the threads of the metal insert and the mortise ahead of the insert.
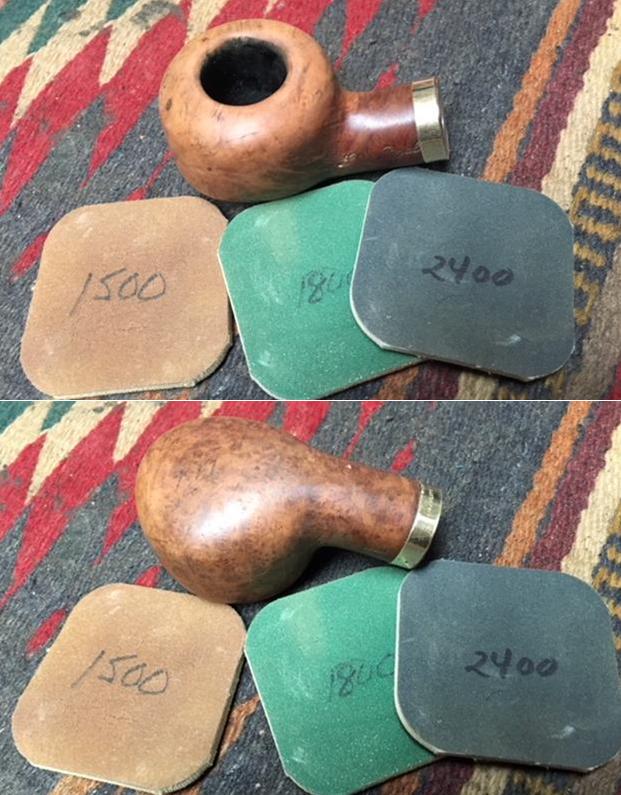
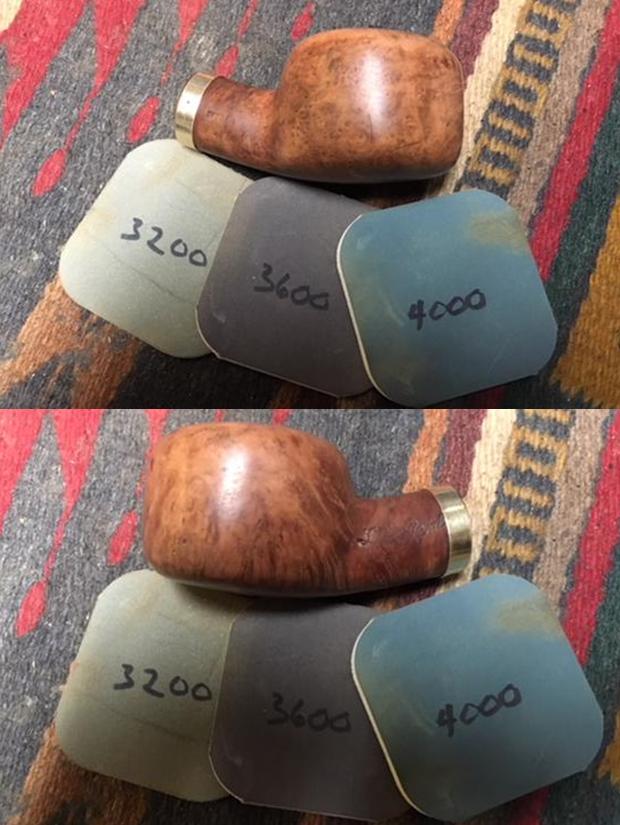
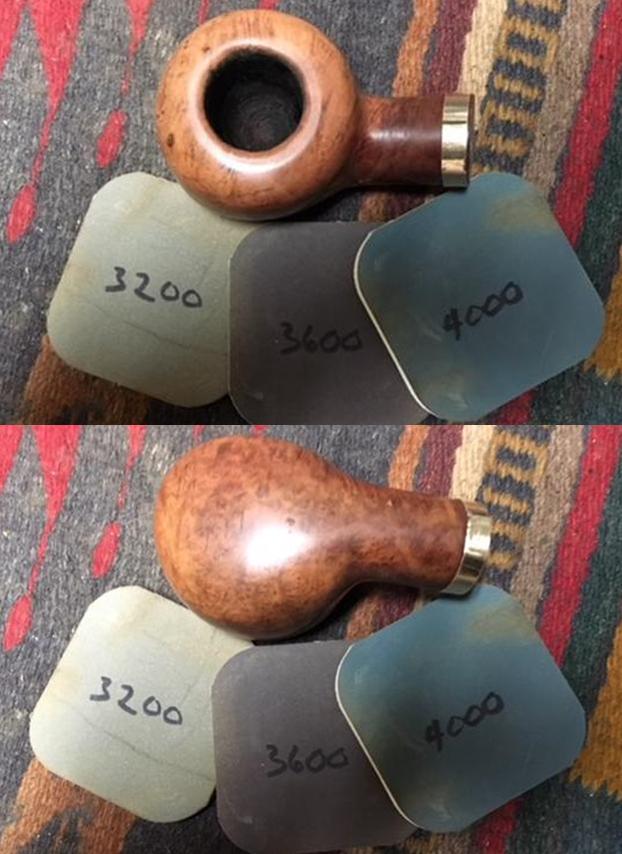
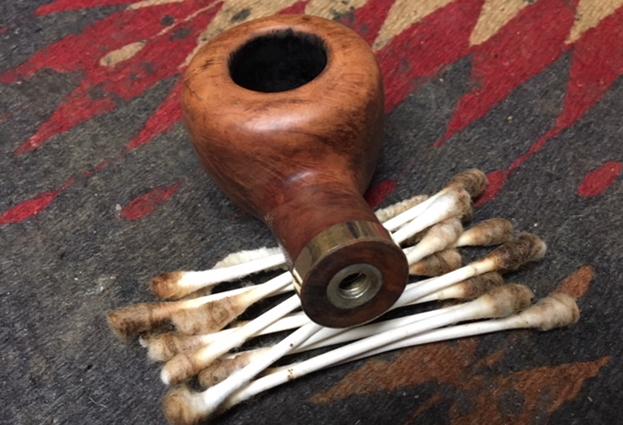 I polished the briar with micromesh sanding pads – wet sanding with 1500-2400 grit pads and dry sanding with 3200-12000 grit pads. I polished the gold band at the same time. The photos that follow show the progress.
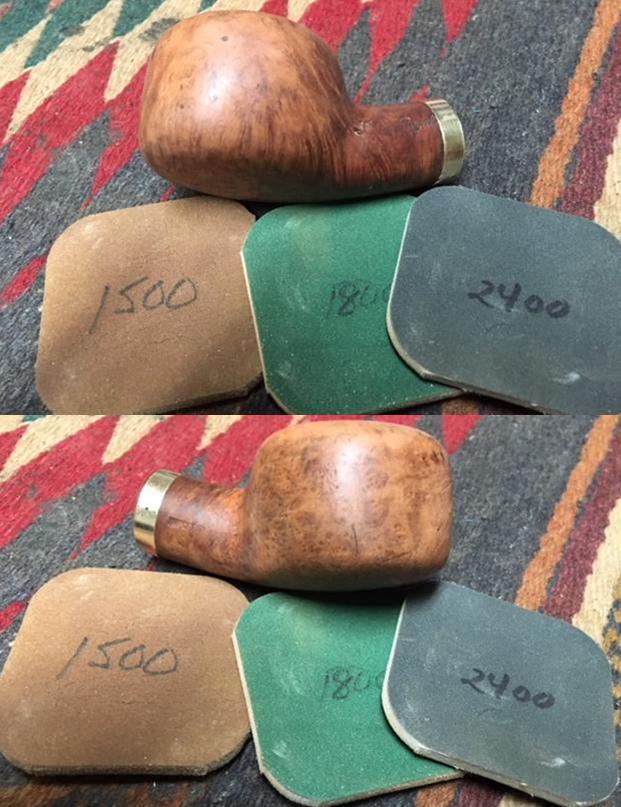

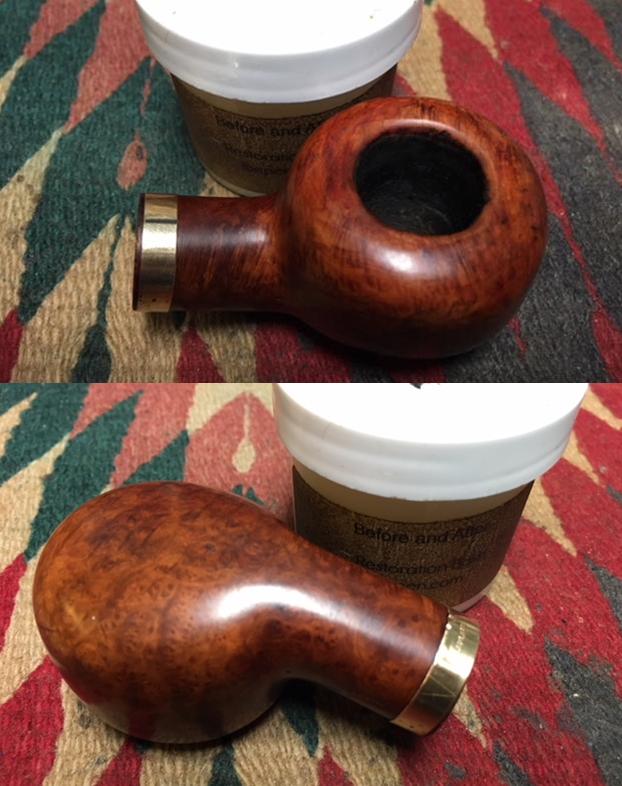
 I used a Maple stain pen to touch up the sanded rim top. I scrubbed the bowl with Before and After Restoration Balm. I rubbed it into the surface of the briar to enliven, clean and protect the briar. It also evened out the stain on the rim top. I buffed the bowl with a cotton cloth to polish the briar.
 I used some Weldbond all-purpose white glue to reset the band on the shank. I pressed it place and aligned the 14K stamp on the band on the underside of the shank. I wiped off the excess glue with a water dampened cotton pad.
 I set the bowl aside and turned my attention to the stem. I sanded the stem with 220 grit sandpaper to remove the oxidation on the surface of the vulcanite. I sanded out the tooth chatter and also sanded around the tooth marks on both sides.
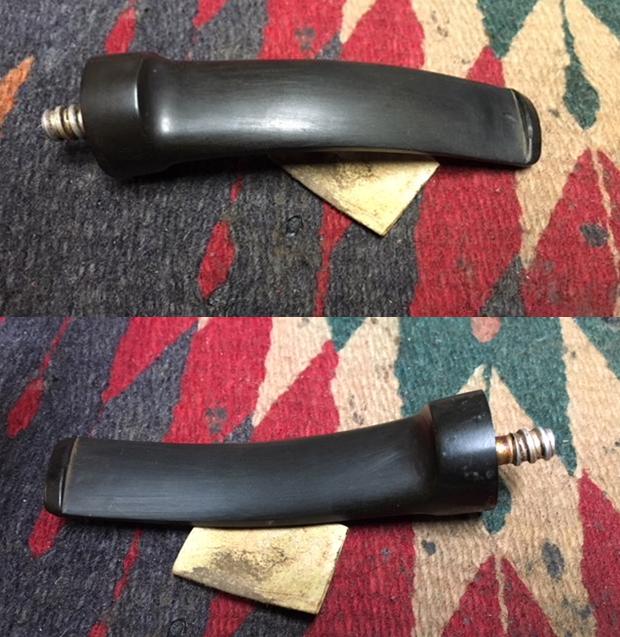 I used needle files to open the slot in the button of the stem. I reshaped and opened it to make it easier to push a pipe cleaner through the slot. The first photo shows the slot before I had worked on it. The second one shows the opened slot.
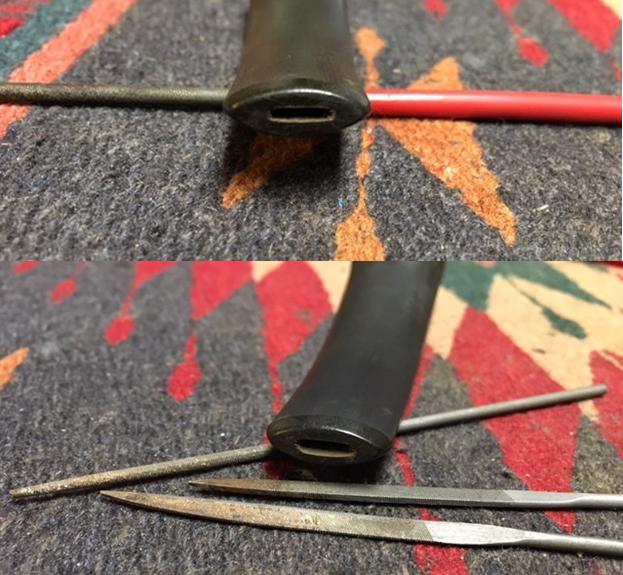 With the slot opened I was able to clean out the inside of the stem and tenon. I used pipe cleaners, cotton swabs and alcohol to clean out the oils. I scrubbed the threads on the tenon with steel wool and alcohol.
 I used some Rub’n Buff Antique Gold to touch up the top hat logo on the left side of the saddle stem.
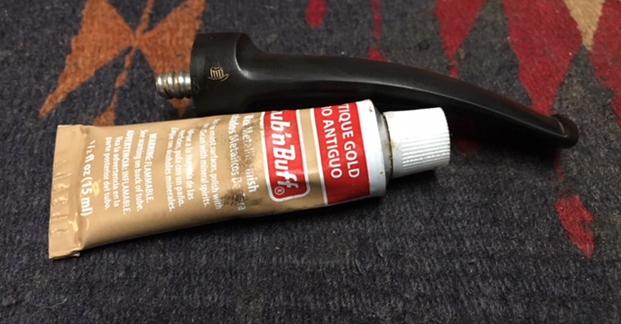 I polished the stem with micromesh sanding pads – wet sanding the stem with 1500-2400 grit pads and dry sanding it with 3200-12000 grit pads. The photos show the increasing shine on the stem. I finished by polishing it with Before and After Pipe Stem Polish – both Fine and Extra Fine and hand buffed it with a soft cloth.


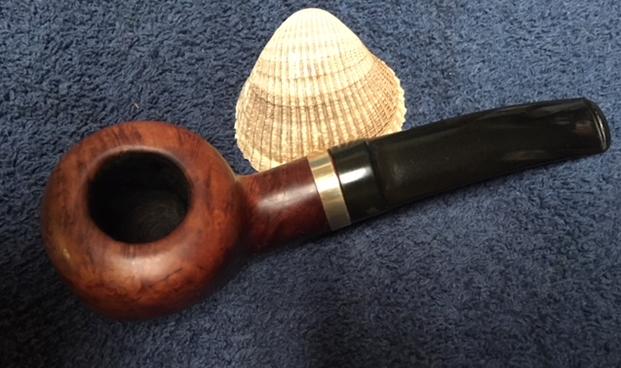
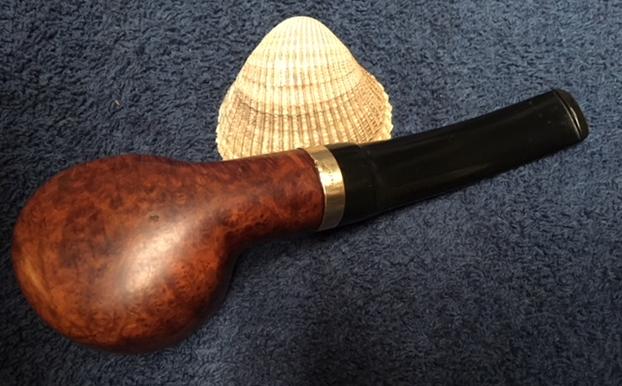
 This Imported Briar London Royal Bullmoose Pot turned out to be a real beauty with a mix of interesting grain underneath the grime and the damaged finish. The grain really is quite stunning. The rim top looks much better. The vulcanite stem is high quality and shined up well. I buffed the bowl and the stem with Blue Diamond polish to raise the shine on the briar and the vulcanite. I was careful to not buff the stamping and damage it. I gave the bowl and stem multiple coats of carnauba wax. I buffed the entire pipe with a clean buffing pad to raise the shine. I hand buffed it with a microfiber cloth to deepen the shine. The finished pipe is shown in the photos below. The rich brown stain allows the grain to really stand out on this little pipe and it works well with the rich black of the vulcanite stem. I will be sending it back to Jim once I finish working on his second pipe. I will be sending it to him soon and I know that he is looking forward to enjoying his first bowl in it. Thanks for walking through the restoration with me.


Pingback: New Life for a Damaged Meerschaum-lined Dr. Grabow | rebornpipes
wow!
LikeLike