Blog by Steve Laug
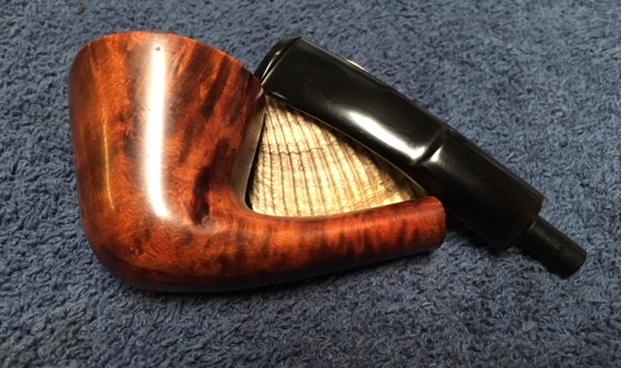
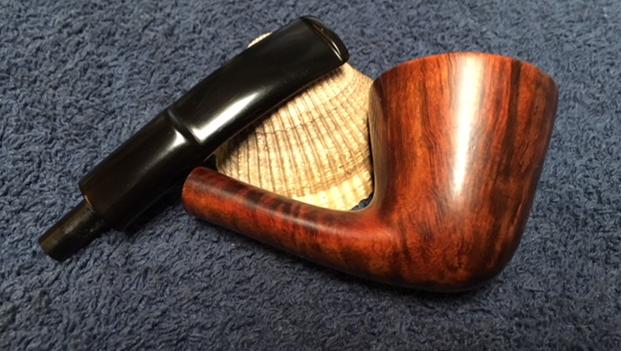
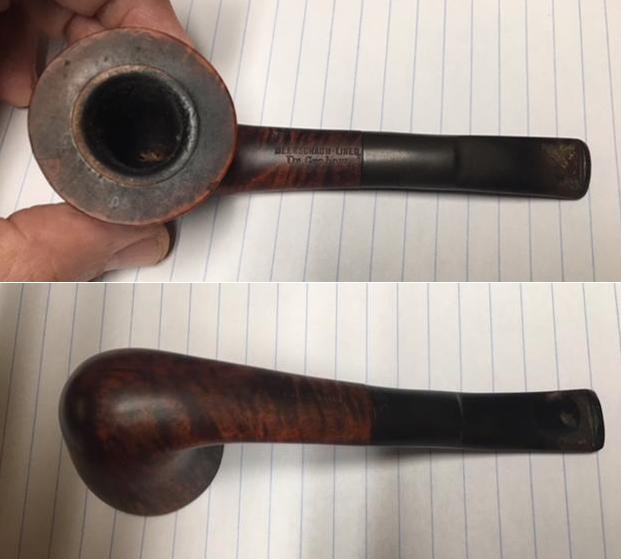
Not too long ago I sent a meerschaum lined pipe to Jim. He received it and sent me a note saying that he had sent two pipes to me to have a look at and refurbish. The first of them was a Bullnose shaped pot. I already restored and posted the write up of the restoration of the pipe on the blog (https://rebornpipes.com/2018/05/13/breathing-new-life-into-a-london-royal-bullmoose-pot/). The second was an interesting quarter bent Dublin that had a meerschaum lining. The pipe is stamped on the top of the shank Meerschaum-lined over Dr. Grabow and on the underside of the shank it is stamped Imported Briar. It had some nice grain on the sides of the bowl and shank. It had an oval shank. The rim top had some damage on it and the meerschaum lined bowl was heavily caked and the rim top had an overflow of lava. There were also pin holes and nicks in the rim top. The stem was lightly oxidized and there was tooth chatter on the top and the underside of the stem near the button. The top edge of the button and the bottom edge of the button also had tooth wear. The underside of the stem was stamped ITALY.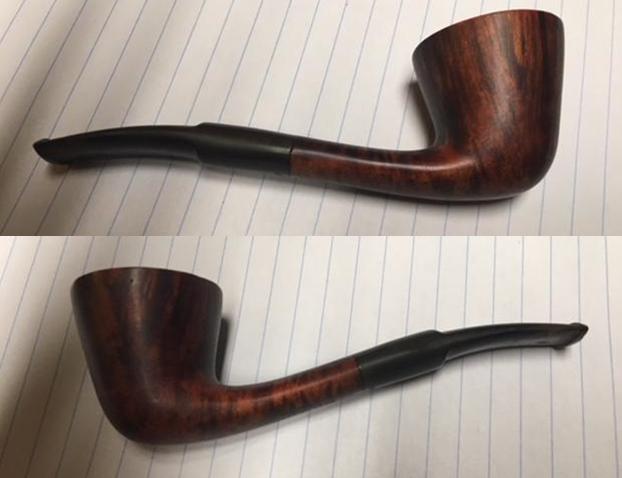
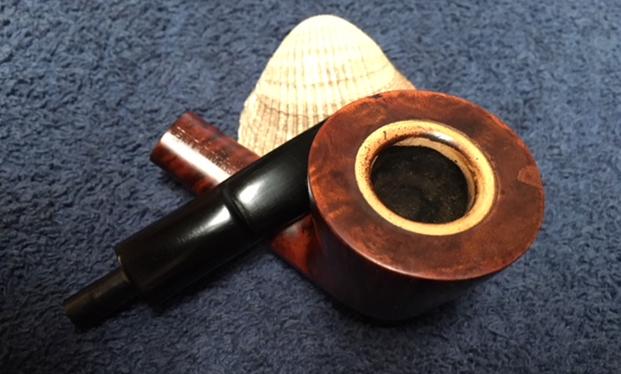
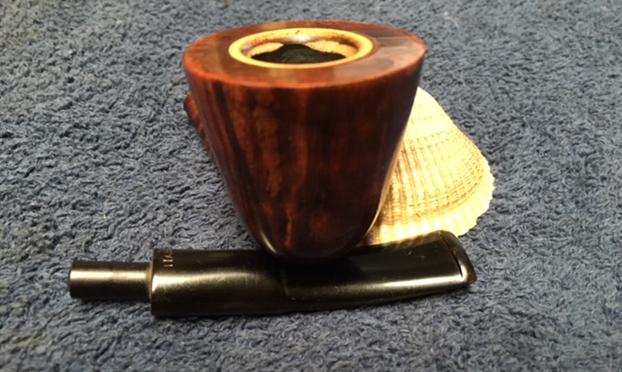
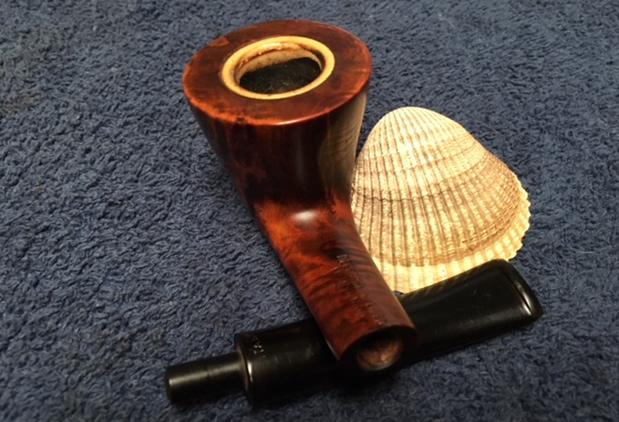
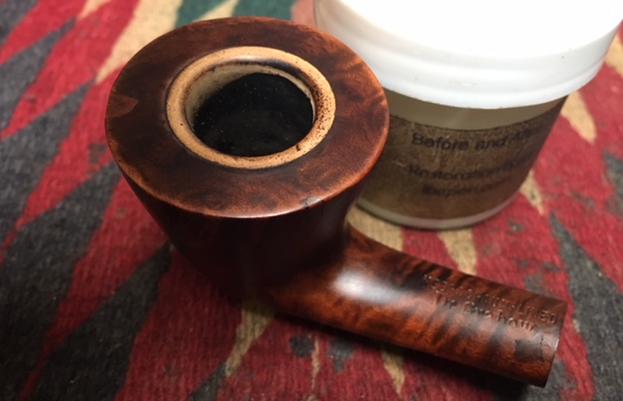
 The pipe that Jim sent to me was in rough shape. He said that when he received it he was turning it over in his hands and dropped it. When it hit the ground the bowl fractured on the underside along the length of the bowl and shank. There were multiple cracks. There was also a crack on the back left side of the bowl that extended from the edge of the rim to the bend in the shank. The cracks on the side of the bowl flowed through some of the large putty fills on the left rear of the bowl. There were also fills running the front of the bowl from top to bottom. The internals were dirty but it looked like the meerschaum lining was undamaged under the thick cake. I took close up photos of the rim top and the stem to show the general condition of the bowl and stem surfaces. The close up of the rim top shows the dents and caking on the lining of the bowl. There is a thick cake in the bowl and lava overflow on the top surface. The stem was in decent condition. There was some tooth chatter on the top and underside near the button. Fortunately there were no deep tooth marks in the vulcanite.
 I carefully reamed the meerschaum lined bowl with a Savinelli Fitsall Pipe Knife to scrape back all of the cake. I worked on the bowl lining and also the top edge of the bowl. I wrapped some 220 grit sandpaper around a Sharpie Pen and sanded the inside walls of the bowl and the rim edge.
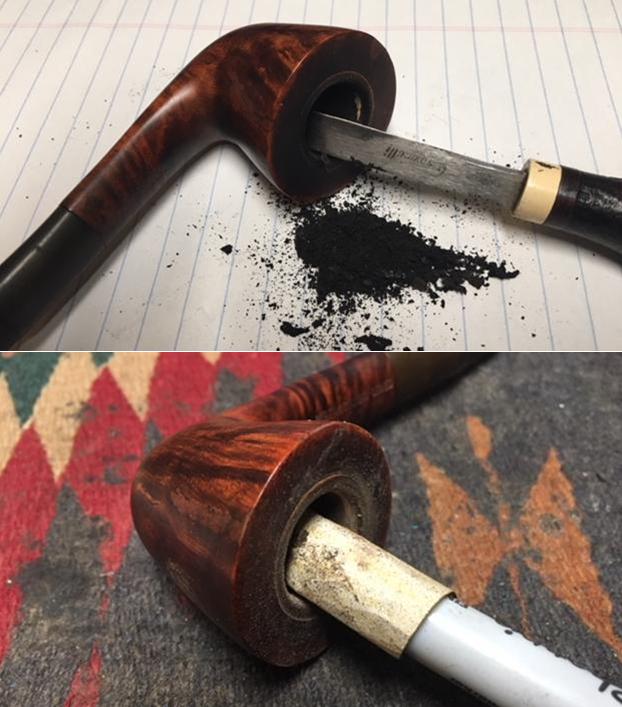 I dampened a cotton pad and scrubbed off the rim top and the meerschaum lining in the bowl. I was able to remove most of the build up and tars on the rim and bowl. I cleaned out the internals of the shank and the mortise with cotton swabs, pipe cleaners and alcohol until the interior was clean.
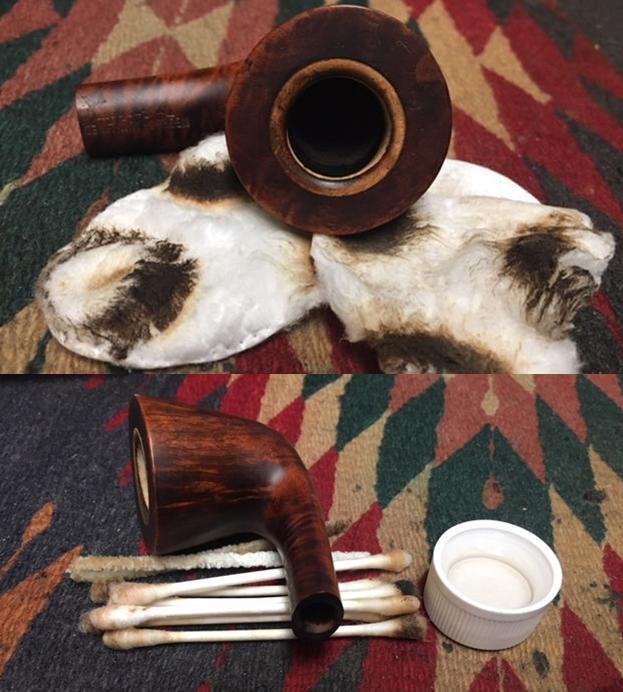 I rubbed the bowl down with Before & After Restoration Balm to clean, rejuvenate and enliven the briar. I buffed it with a clean cotton towel to polish it. Under the grime the cracks in the bowl and shank bottom and on the side of the bowl became very visible.
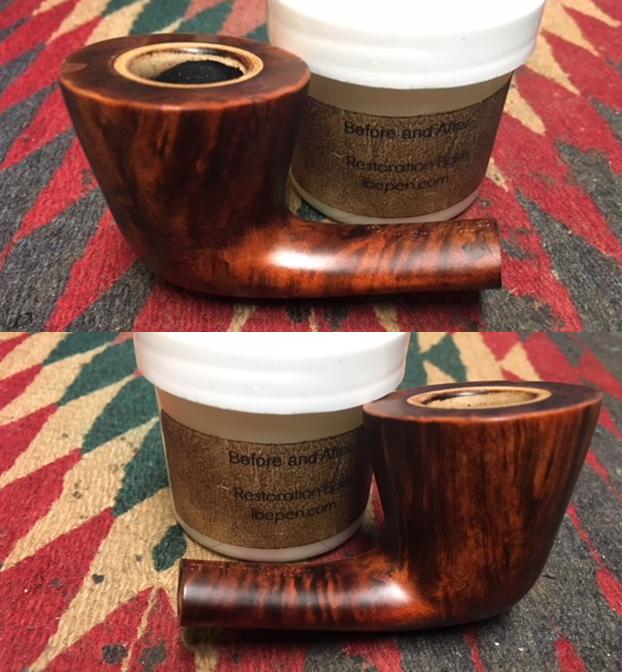
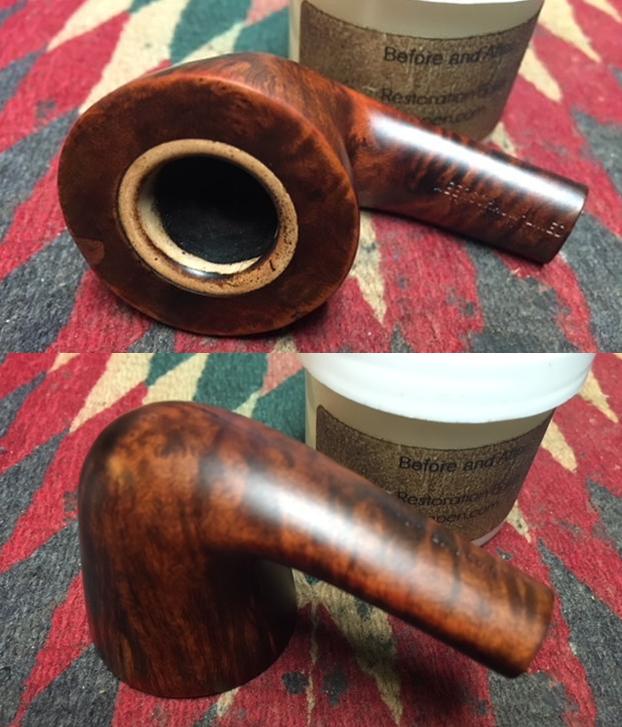
 I took photos of the cracks on the bottom and side of the bowl. The crack on the bottom looks like a long crack but in reality it was a series of shorter cracks. The crack on the left side of the bowl flows from the rim top through two separate fills.
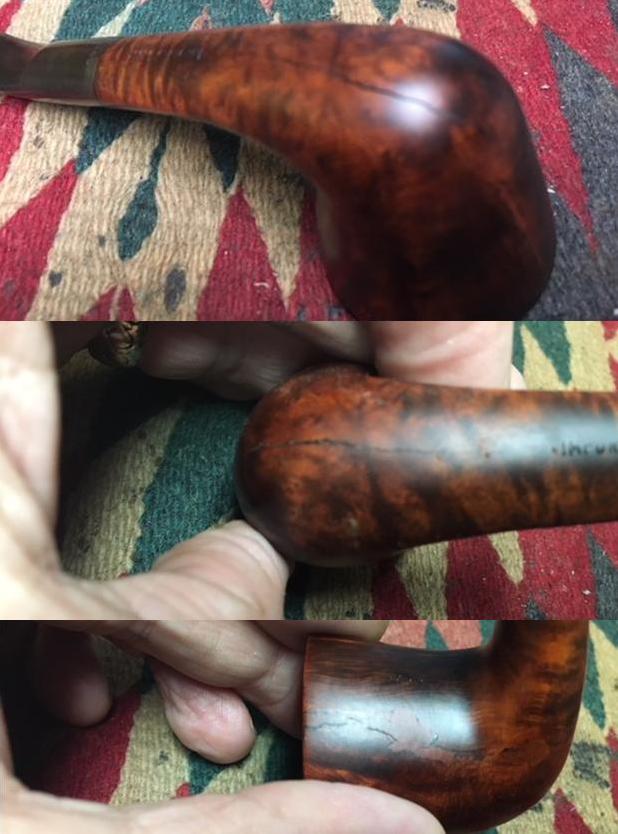 I cleaned out the cracks with alcohol and cotton swabs to clean out the debris. I drilled small micro drill holes at the end of each crack to try to stop the spread of the crack. I filled in the cracks with clear super glue and pressed them together and let the glue dry.
 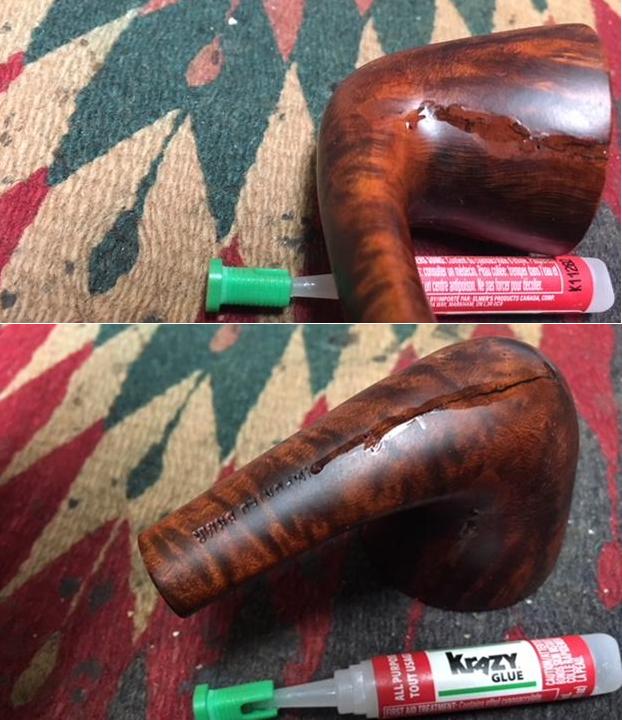 I sanded the repaired areas smooth to blend them into the surface of the briar around them. I used a walnut stain pen to colour the sanded areas around the repairs.
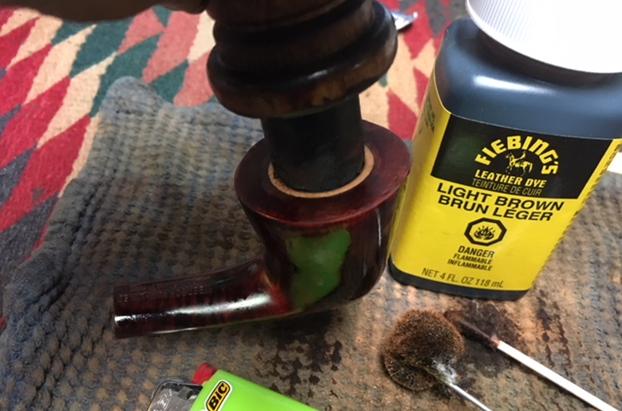
 I refilled some of the damaged fills on the shank/bowl junction and sanded them smooth. I touched those up with a stain pen. I stained the bowl with a light brown aniline stain to blend in the repairs and the rest of the stain on the pipe. I flamed it with a Bic lighter and repeated the process of staining and flaming it. I applied the stain to the top of the bowl with a cotton swab to avoid staining the meerschaum lining on the rim top.
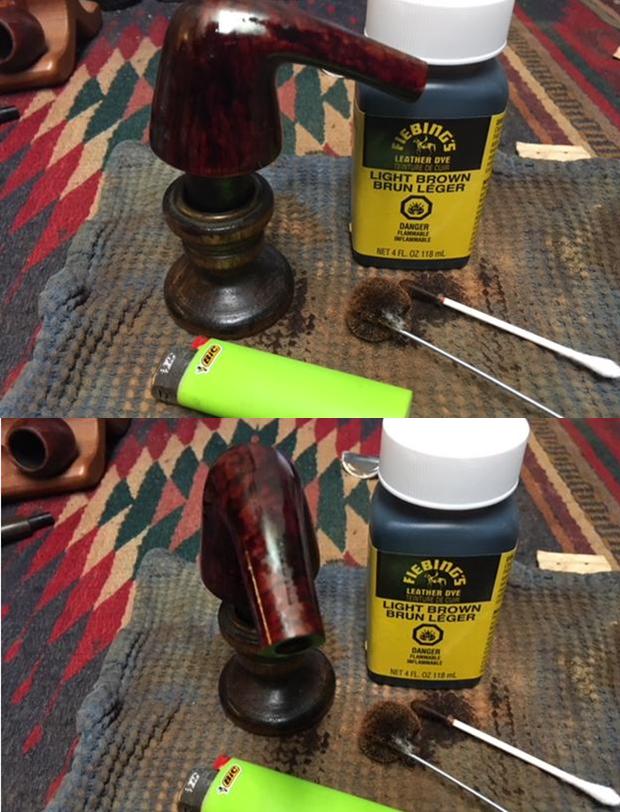
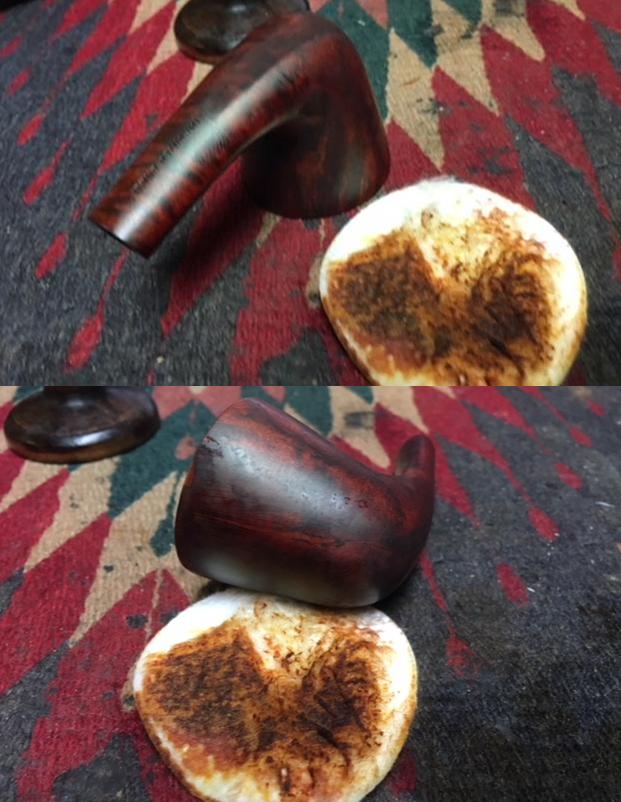
 I wiped down the bowl with alcohol on a cotton pad to smooth out the stain on the bowl surface. It did a good job of blending into the repaired cracks on the left side of the bowl and the underside of the bowl and shank.
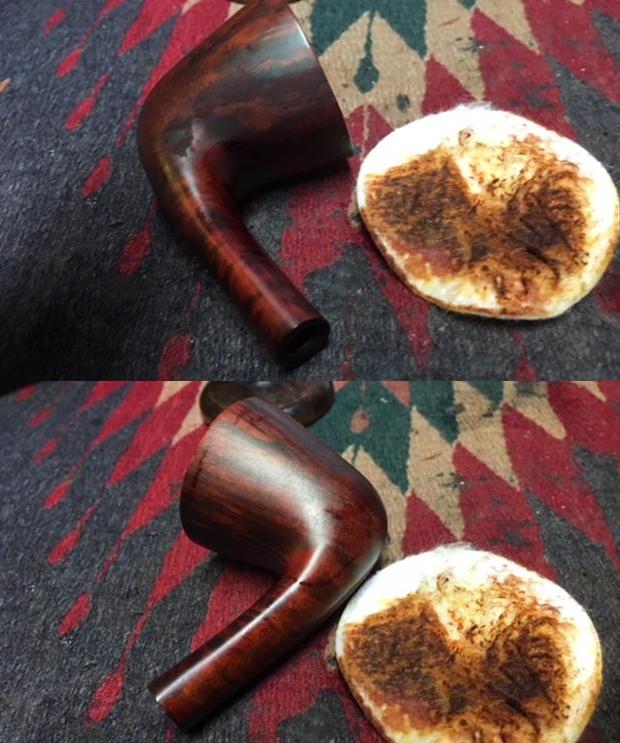
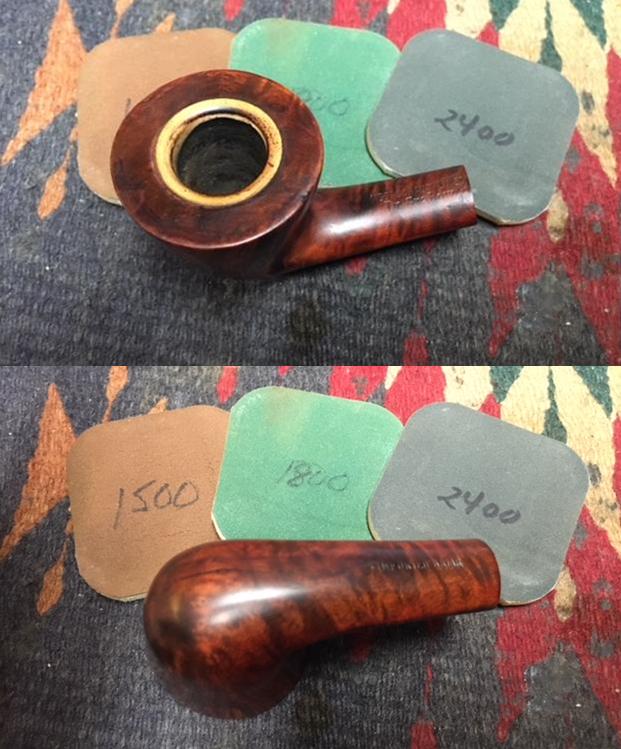
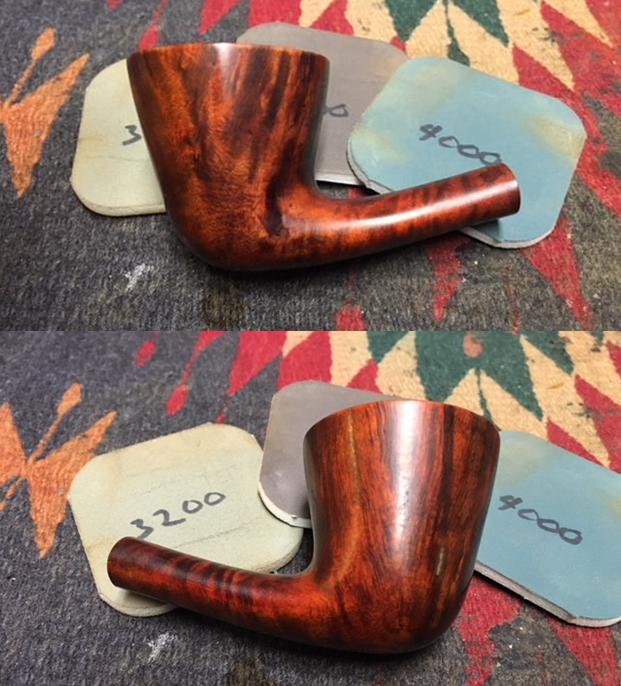
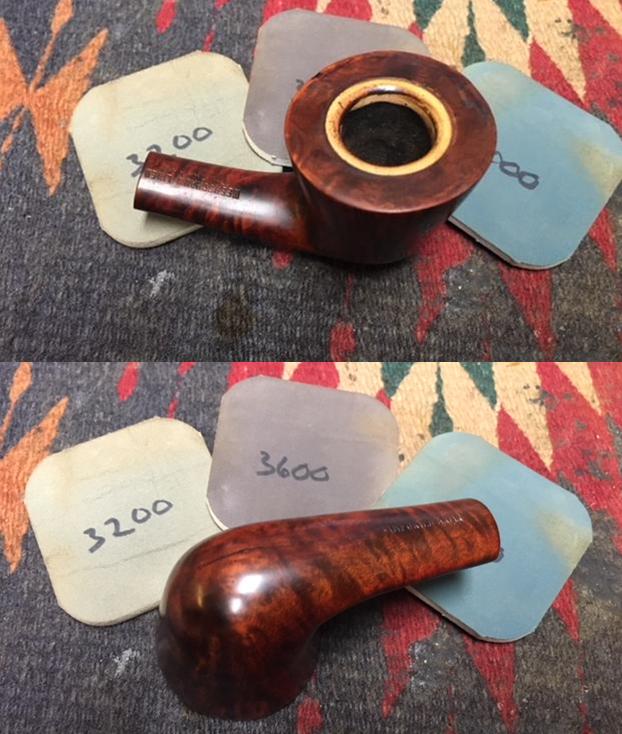
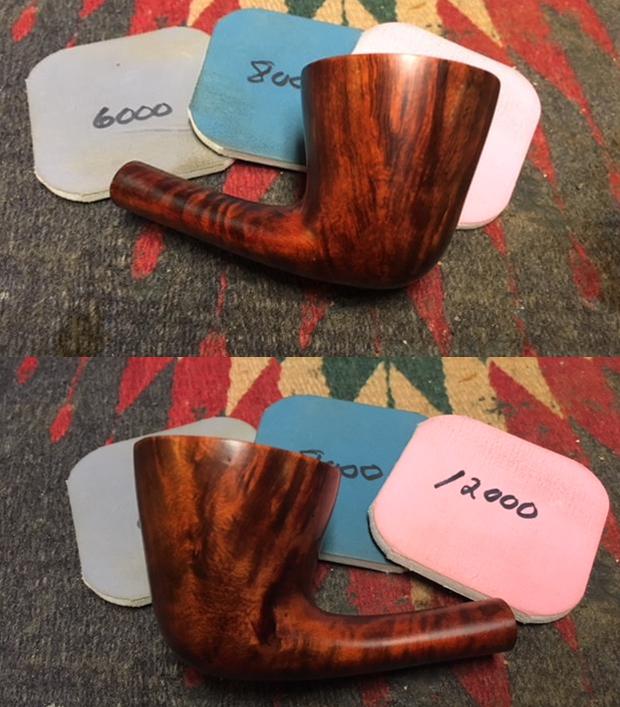
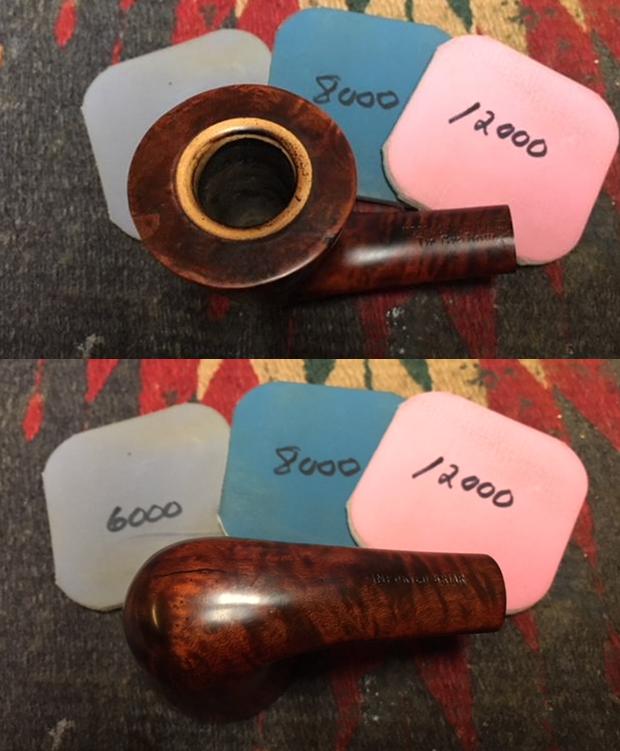
 I polished the briar with micromesh sanding pads – wet sanding with 1500-2400 grit pads and dry sanding with 3200-12000 grit pads. The photos that follow show the progress.
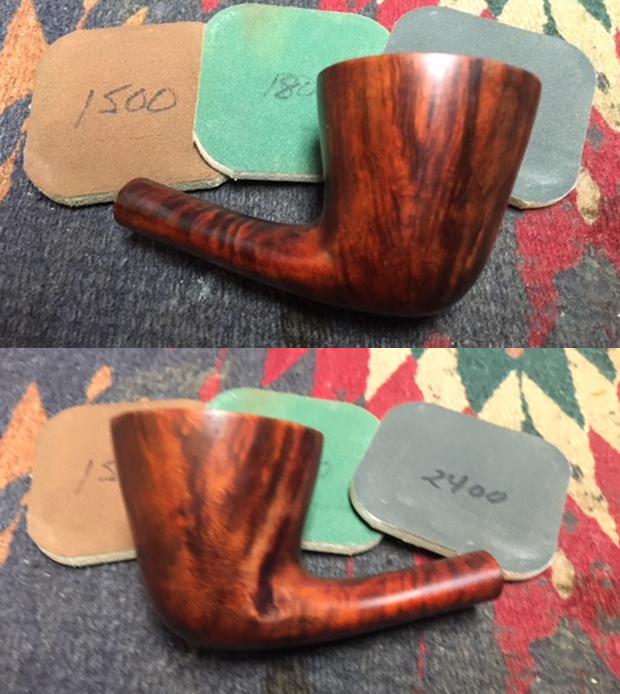
 I used a Maple stain pen to touch up the repairs one more time. I scrubbed the bowl with Before and After Restoration Balm. I rubbed it into the surface of the briar to enliven, clean and protect the briar. Buffing the balm also evened out the stain on the rim top and the repairs. I buffed the bowl with a cotton cloth to polish the briar.
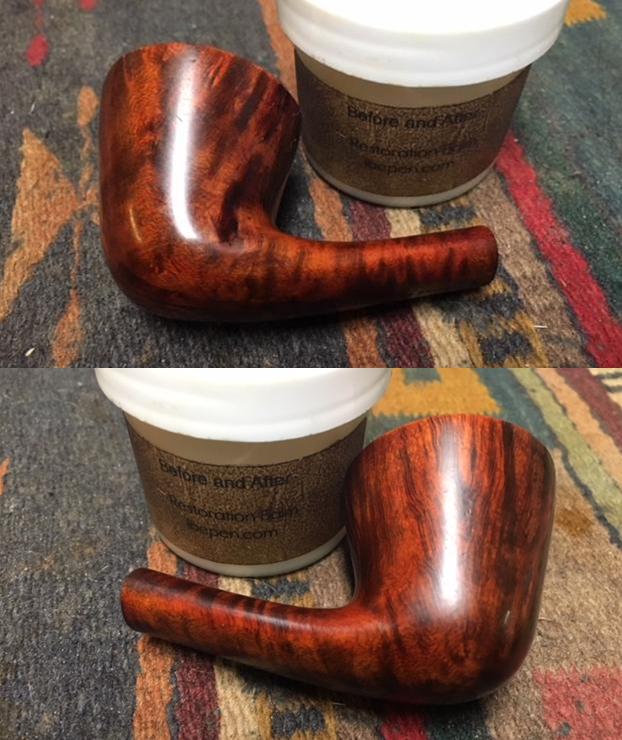
 I set the bowl aside and turned my attention to the stem. I sanded the stem with 220 grit sandpaper to remove the oxidation on the surface of the vulcanite. I sanded out the tooth chatter and also sanded the tooth marks on both sides.
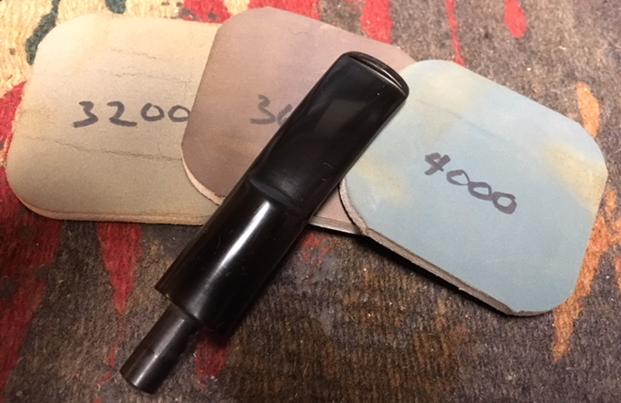
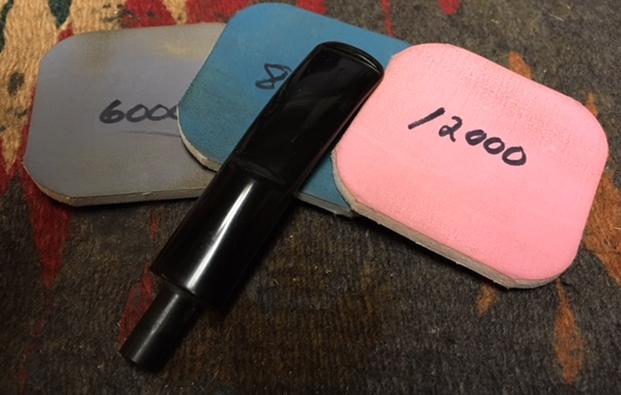
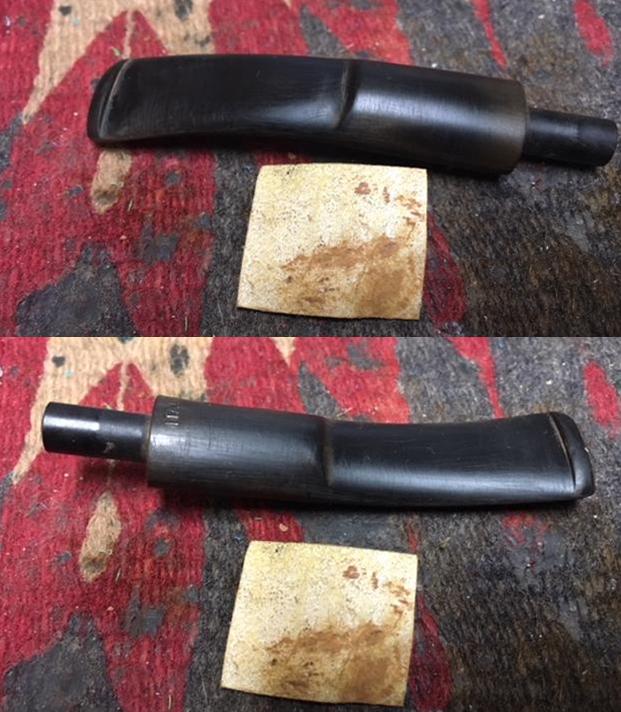 I polished the stem with micromesh sanding pads – wet sanding the stem with 1500-2400 grit pads and dry sanding it with 3200-12000 grit pads. The photos show the increasing shine on the stem. I finished by polishing it with Before & After Pipe Stem Polish – both Fine and Extra Fine and hand buffed it with a soft cloth.
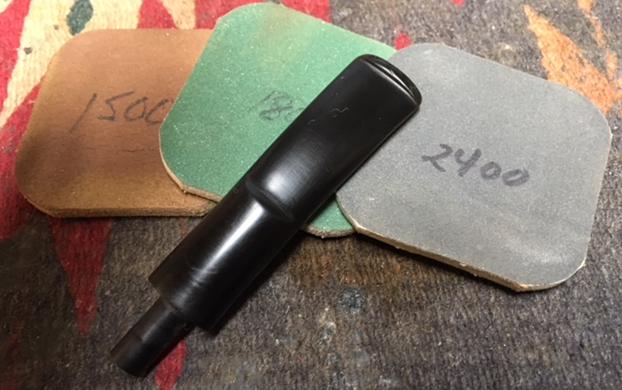
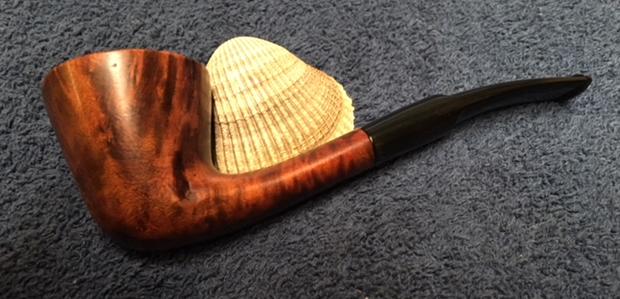
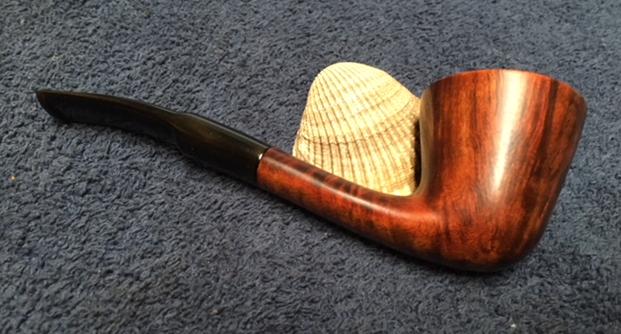
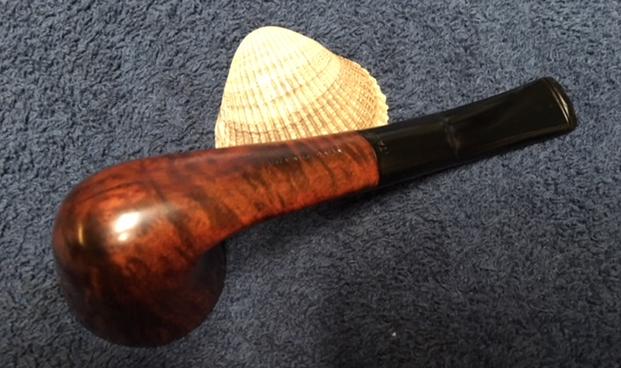
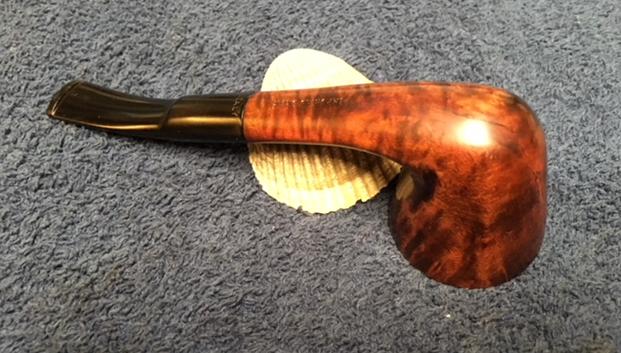
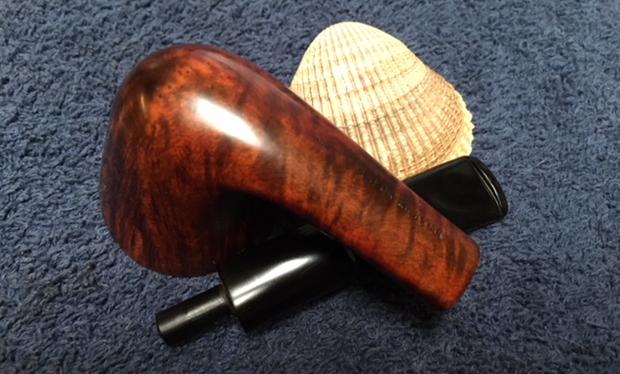
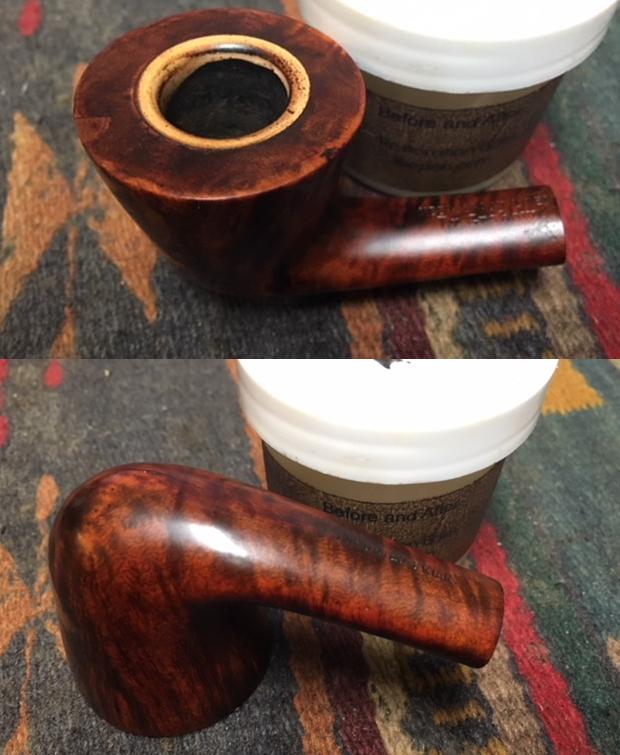
 This Meerschaum-lined Dr. Grabow Dublin turned out really well with a mix of interesting grain underneath the grime and the damaged finish. The grain really is really nice and the repaired cracks look cosmetically much better. The rim top looks much better. It should have a long life ahead of it and provide a good smoke. The vulcanite stem is high quality and shined up well. I buffed the bowl and the stem with Blue Diamond polish to raise the shine on the briar and the vulcanite. I was careful to not buff the stamping and damage it. I gave the bowl and stem multiple coats of carnauba wax. I buffed the entire pipe with a clean buffing pad to raise the shine. I hand buffed it with a microfiber cloth to deepen the shine. The finished pipe is shown in the photos below. The rich light brown stain allows the grain to really stand out on this little pipe and it works well with the rich black of the vulcanite stem. I will be sending it back to Jim in a few days. I will pack it up with his first pipe and get it in the mail to him. I know that he is looking forward to enjoying a bowl in it. Thanks for walking through the restoration with me.