
Blog by Steve Laug
The next pipe on the worktable is another interesting piece of pipe history that comes from the bag of old unsmoked and lightly smoked pipes that I have been working on intermittently. It is a straight Billiard. The bowl is NOS and unsmoked. The briar of the bowl is nicked and chipped from being shuffled through the lives and boxes of a lot of people over the years. There is a nickel band on the shank that is corroded and loose. There do not appear to be any stampings on the nickel of the band. The stem is made of a butterscotch coloured material that appears to be Amber but is not. I believe it an early acrylic called Amberoid. It has a threaded bone tenon and is in really good shape. The stem is by far the part of the pipe that is in the best condition.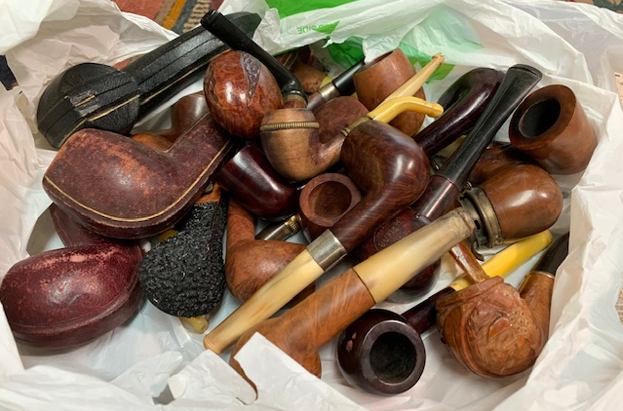 A short description would be that it is an unsmoked Billiard with a nickel band and an Amberoid stem that is connected to the shank with a bone tenon. It is stamped on the left side of the shank and reads C.P.F. in an oval with the word French arced above the oval and Briar arced below the oval. I have a collection of C.P.F. pipes here that I have worked to build up over the years in all different sizes and shapes as well as a variety of materials. This is a NOS/ unsmoked pipe that will fit well into that collection. I wrote a blog a few years ago on the brand that gives a clear history and defines the meaning of the C.P.F. stamp. Here is the link to the blog and a pertinent quote that I am including below.
(https://rebornpipes.com/2013/04/14/some-reflection-on-the-historical-background-on-cpf-pipes/).
From my research I believe that we can definitively assert that the C.P.F. logo stands for Colossus Pipe Factory. The brand was purchased by KB & B sometime between 1884 and 1898 and that it continued until 1915. That time frame gives help in dating some of the older CPF pipes you or I might find. It can be said that prior to the dual stamping it is fairly certain that the pipe is pre-1884 to 1898. After the dual stamping it can be placed post 1898 until the closure of the brand line in 1915. CPF made beautiful pipes. I believe Sam Goldberger was correct in his assertion of the potential carvers that made the pipes being of European training and the classic shapes and well aged briar. That coincides with all the CPF pipes that I have come across.
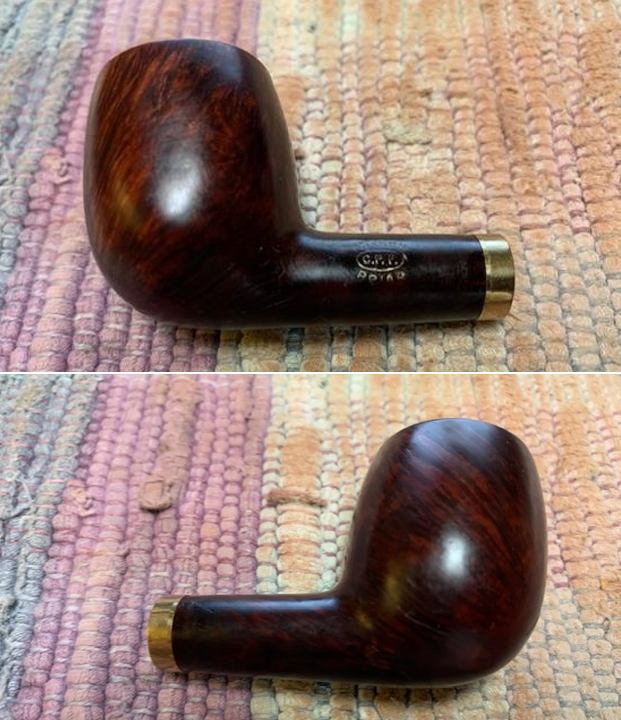
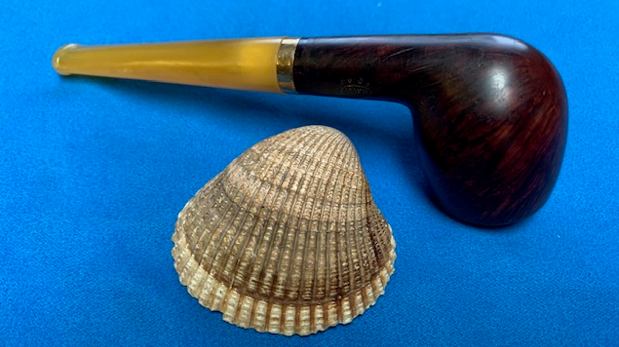
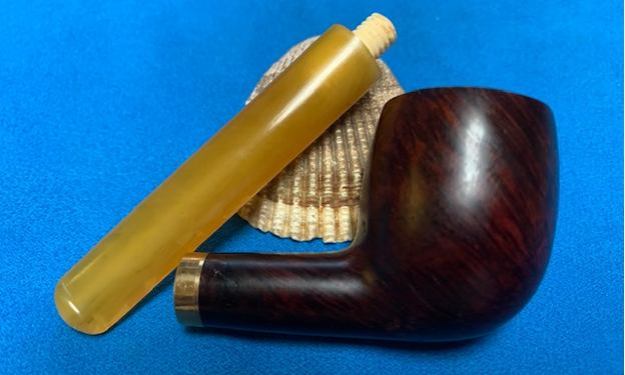
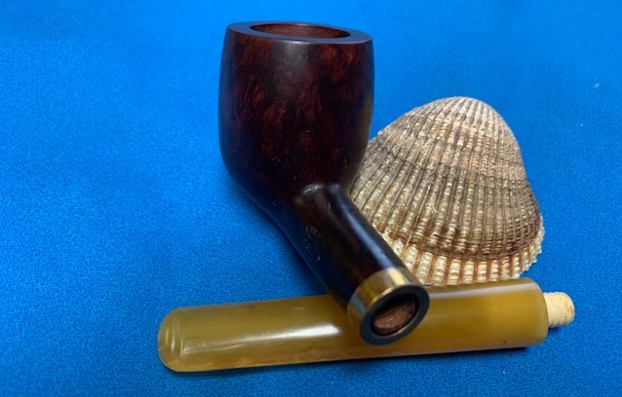
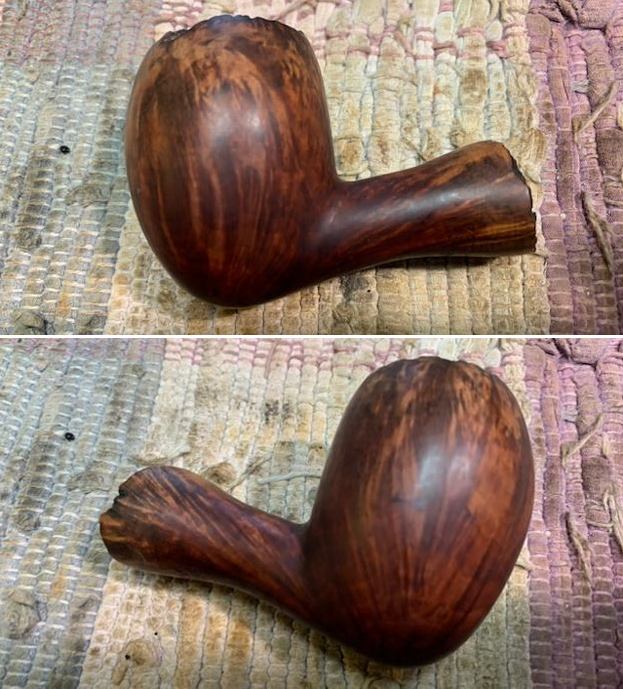
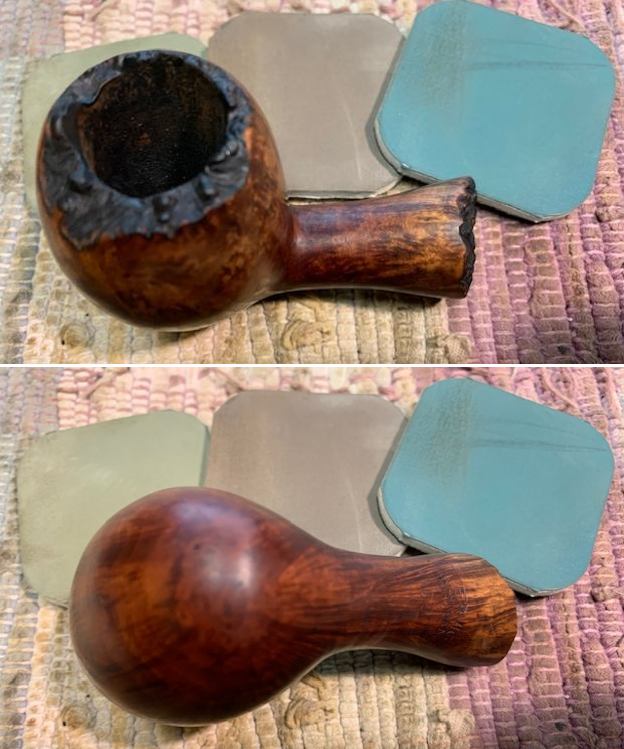
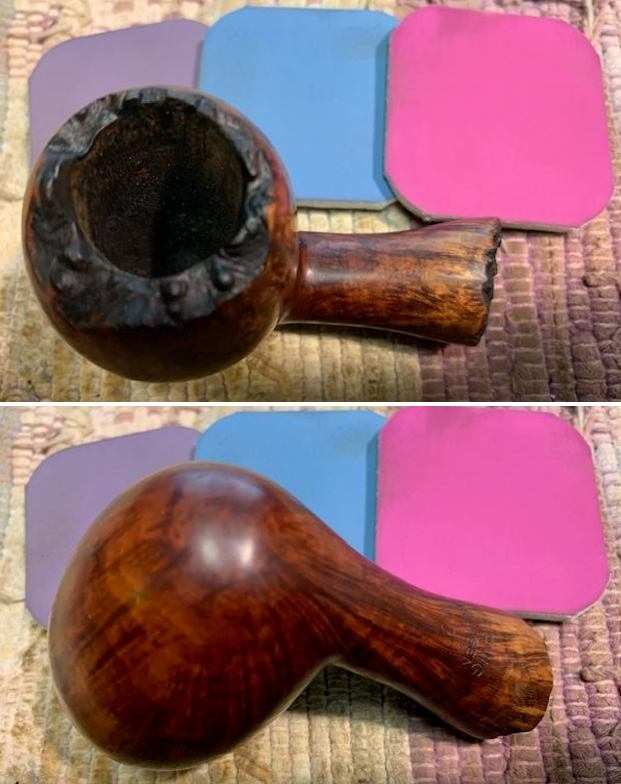
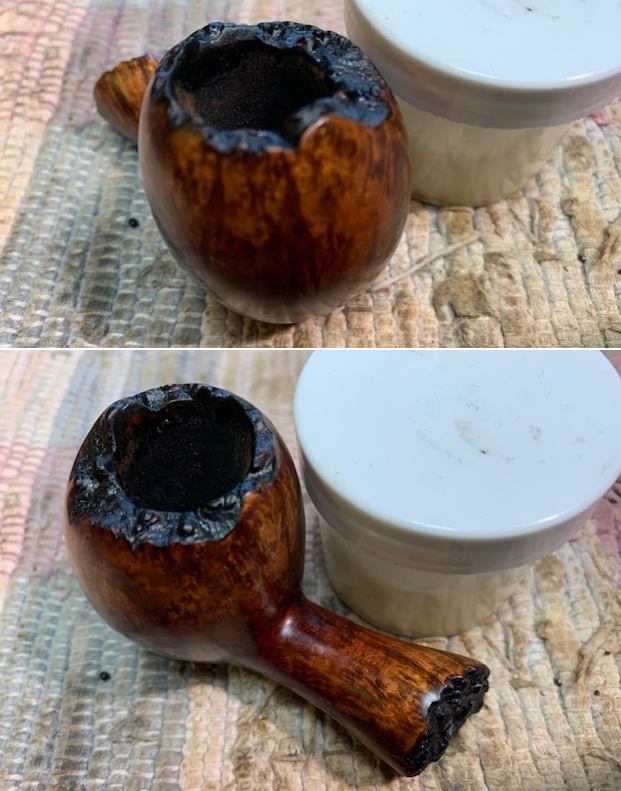
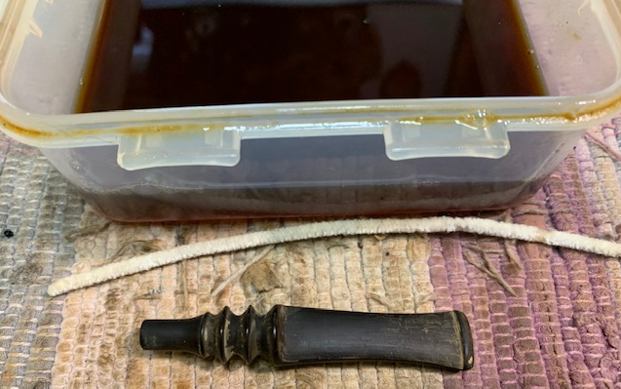
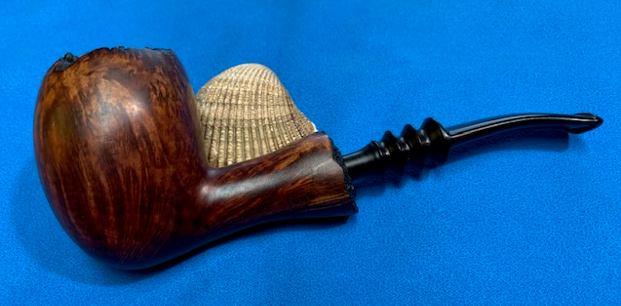
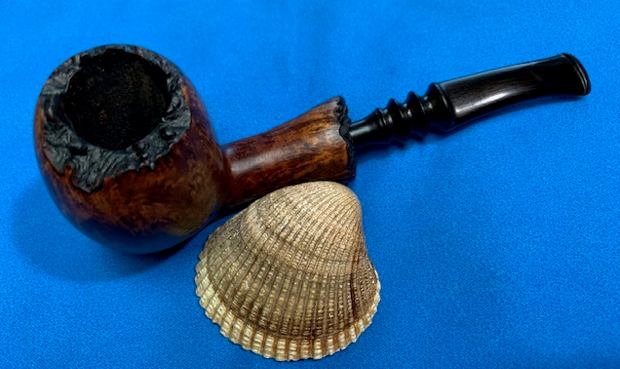
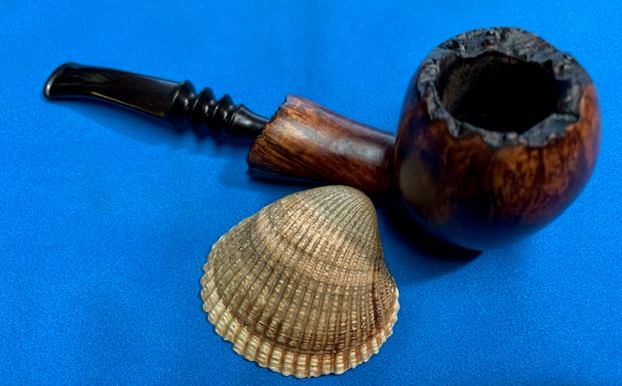
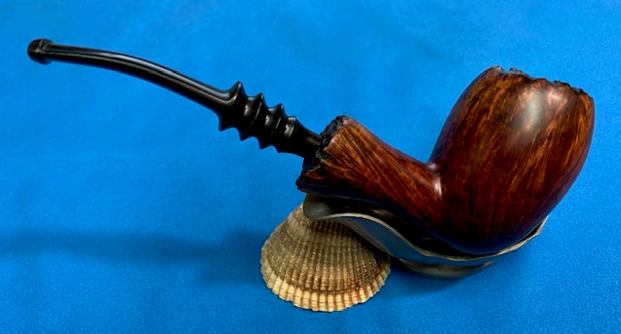
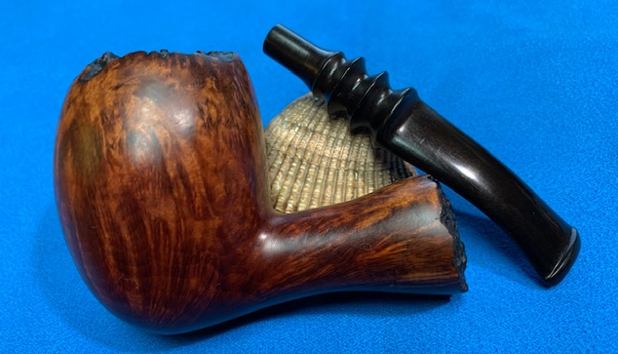
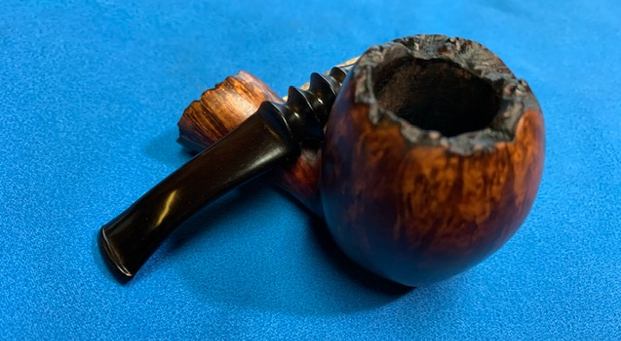
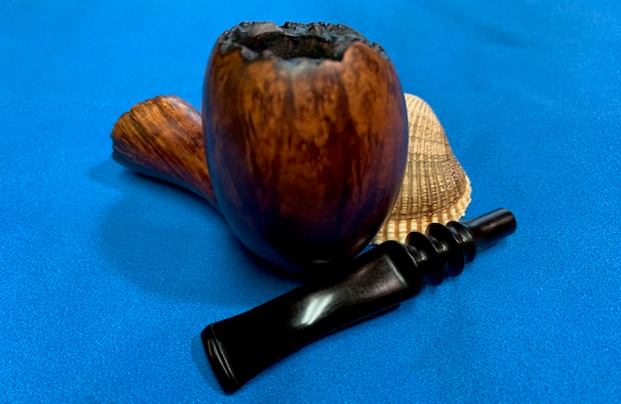
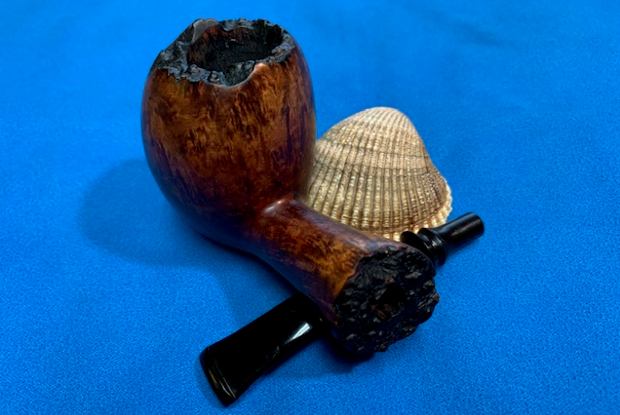
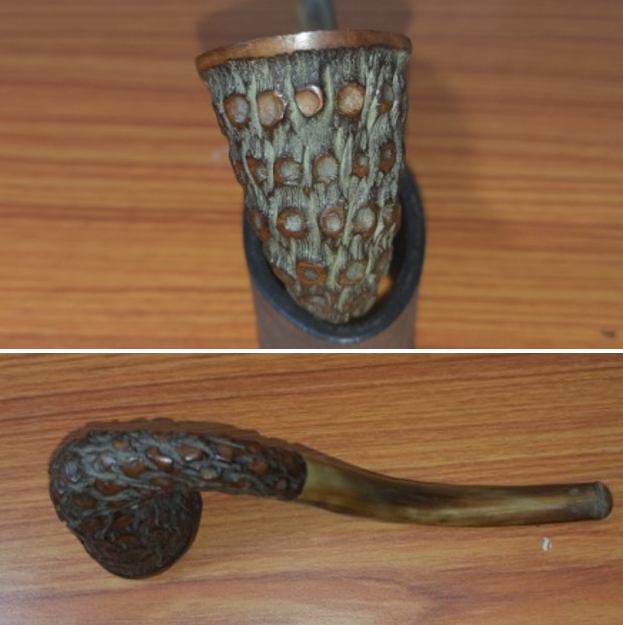
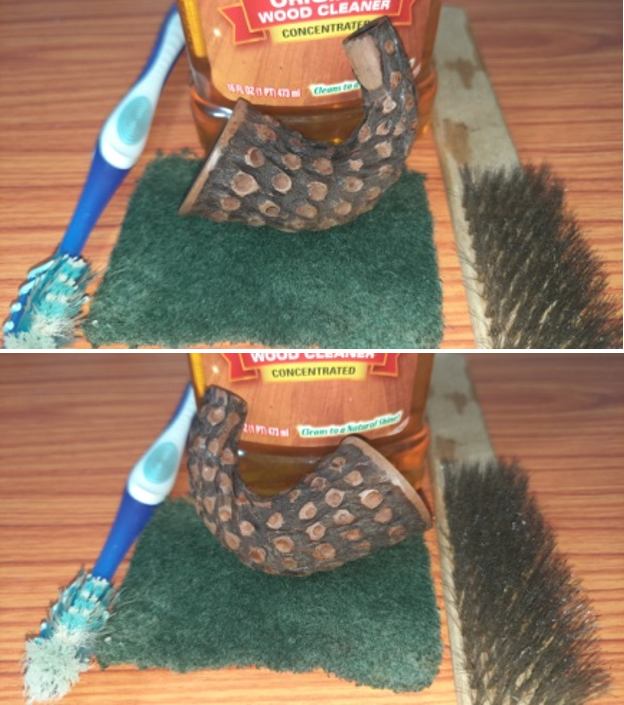
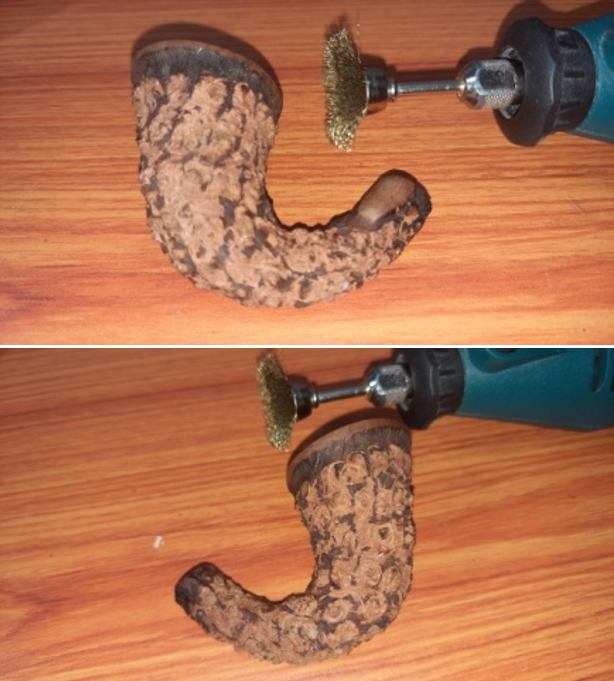
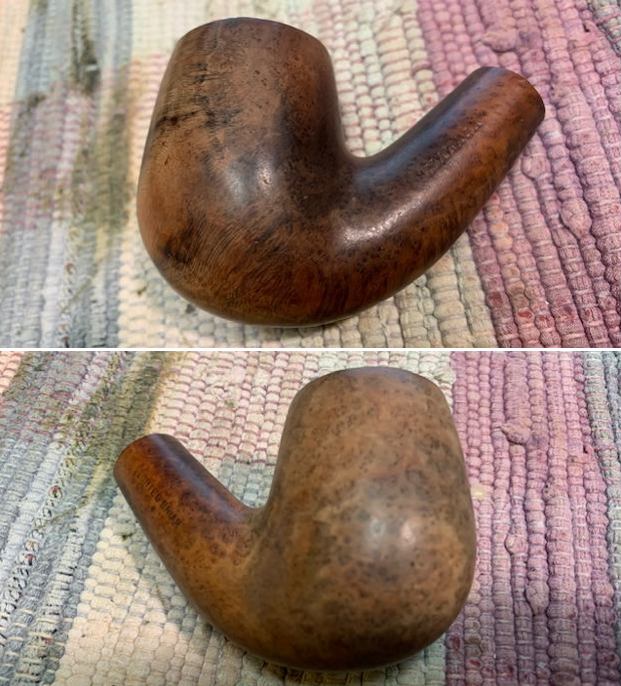
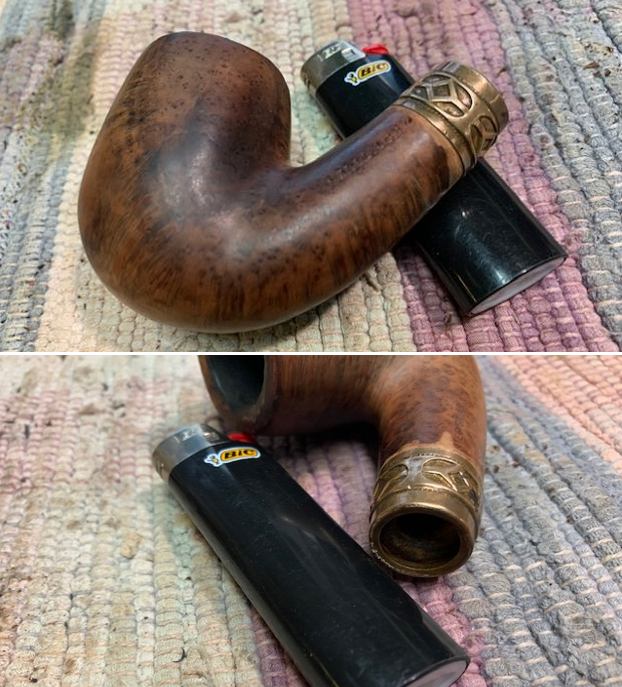
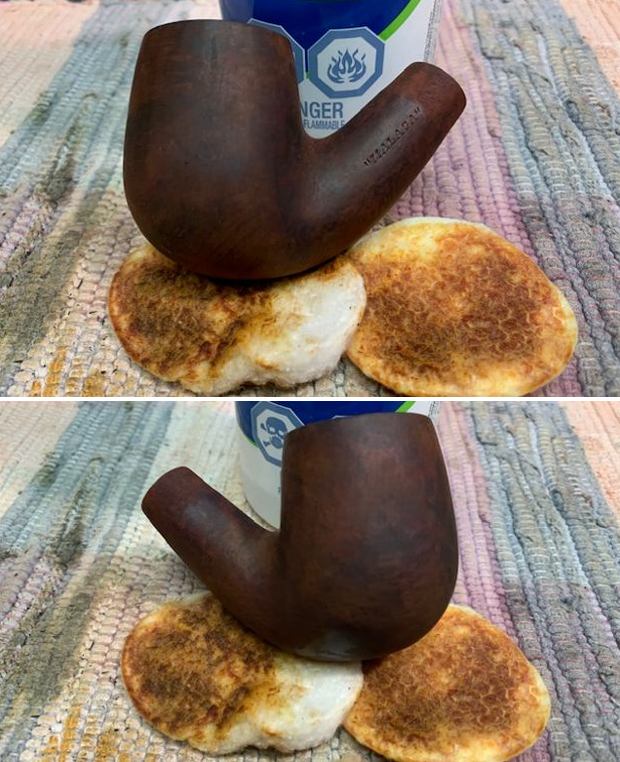
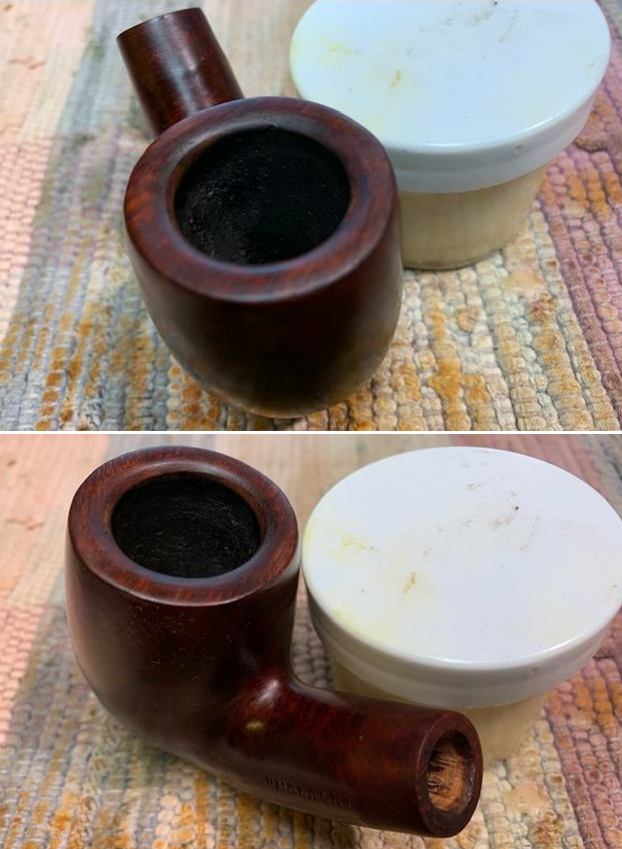
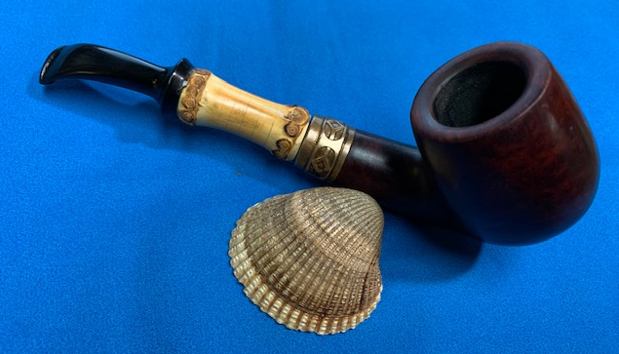
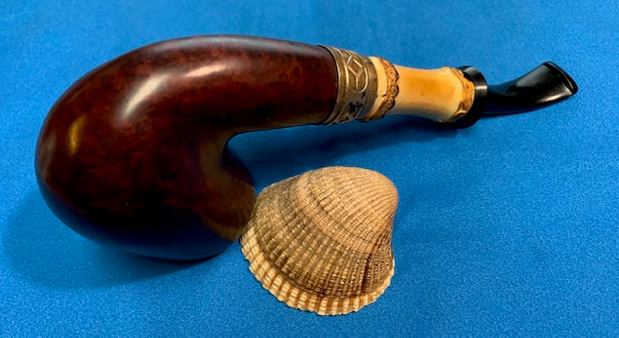
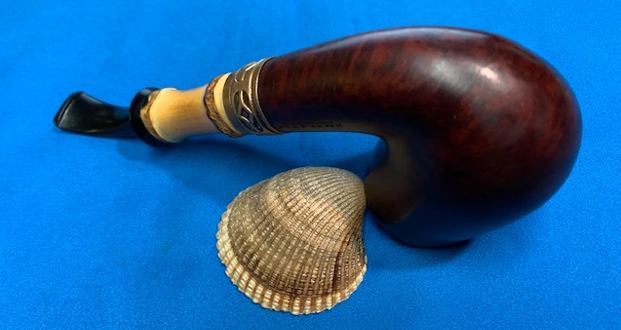
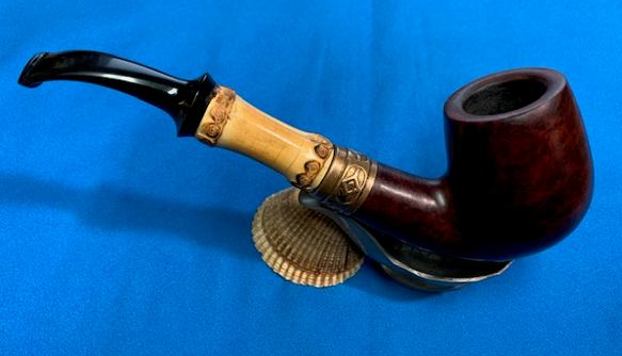
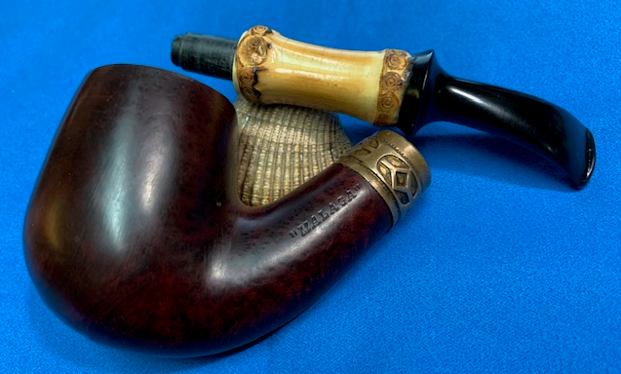
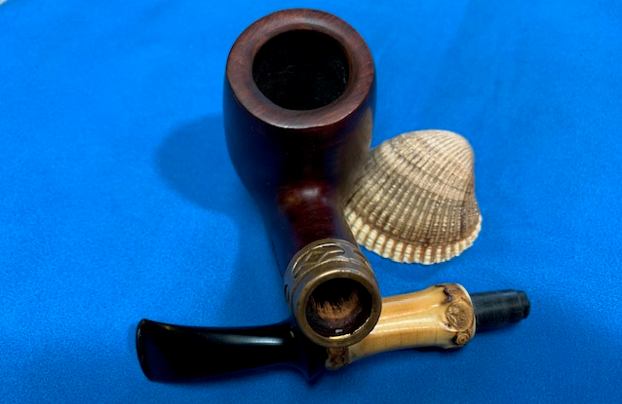
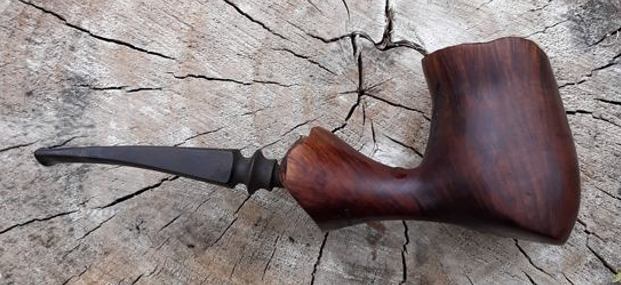
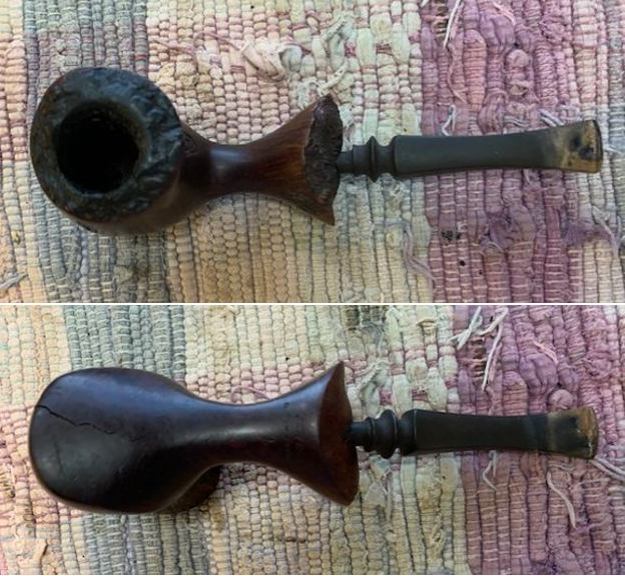
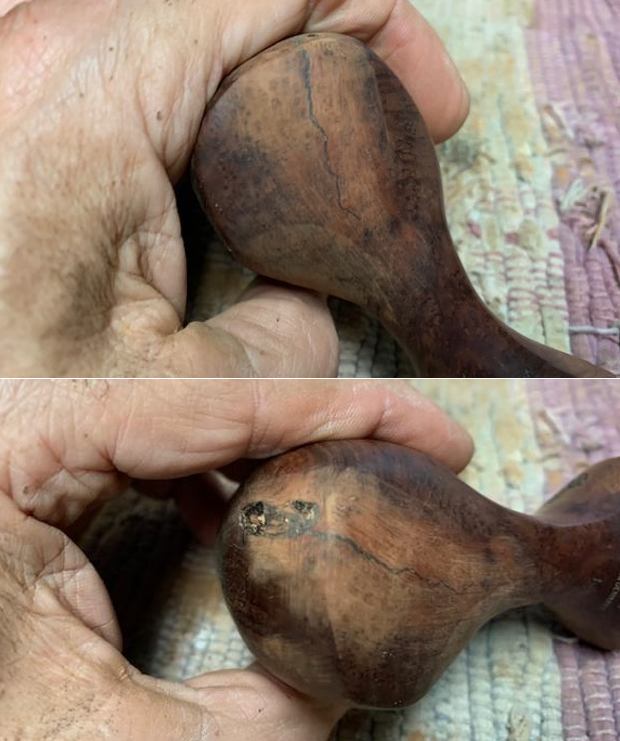
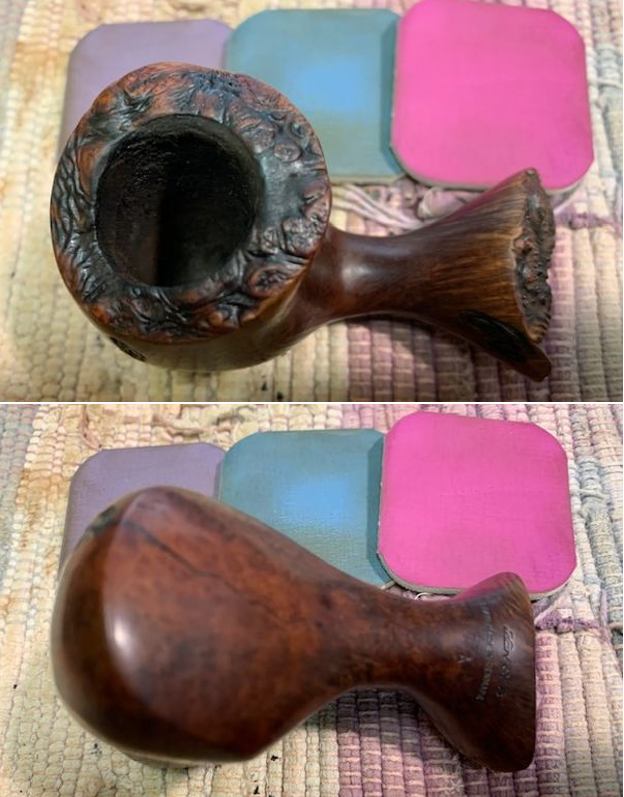
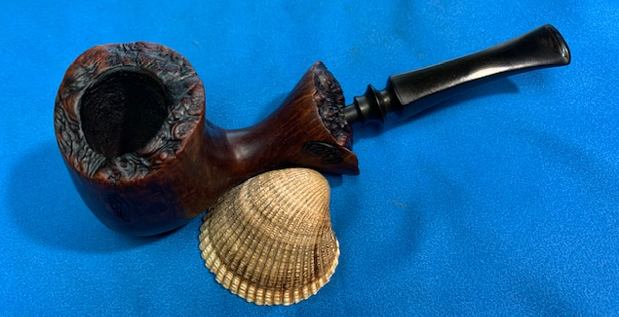
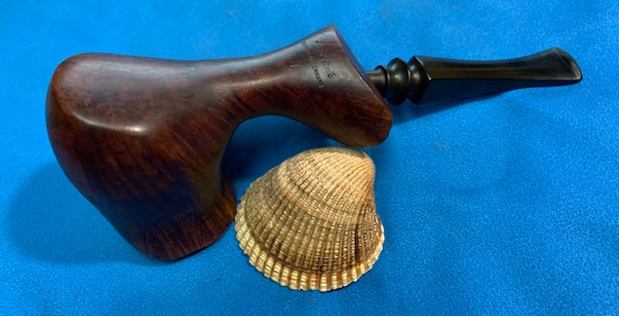
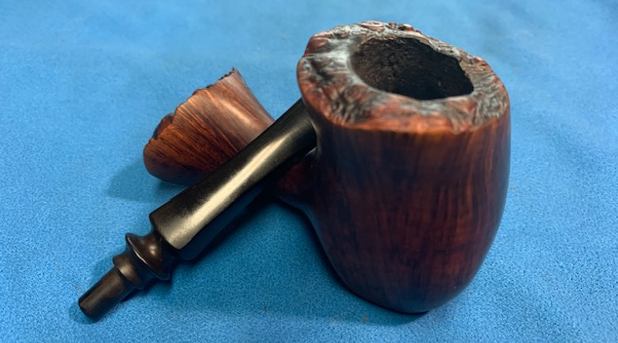
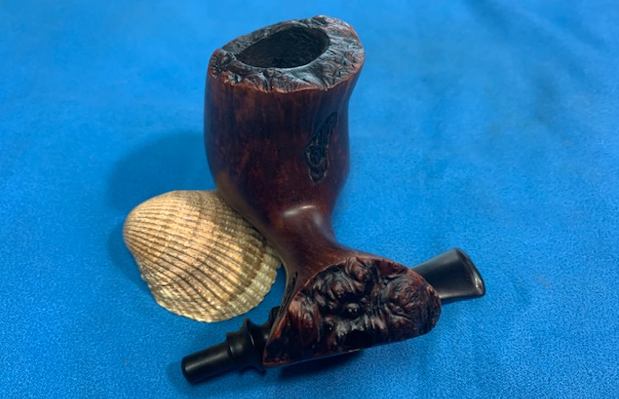
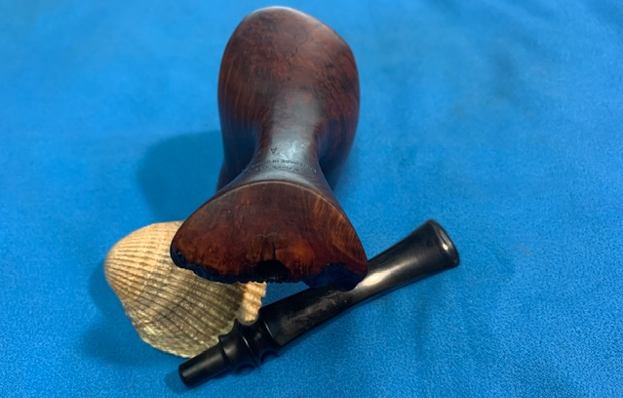
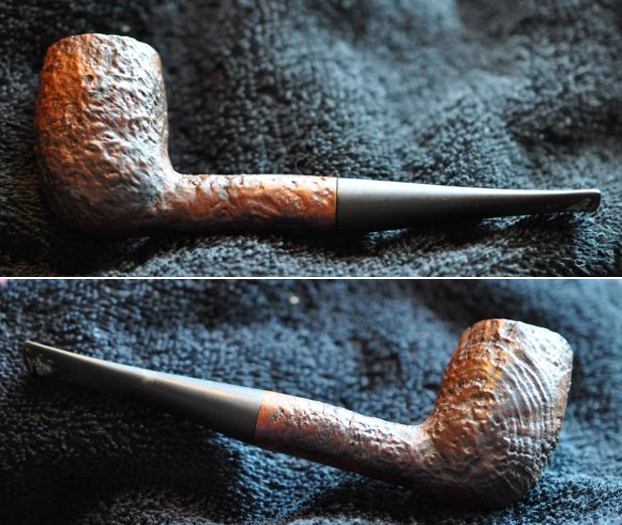
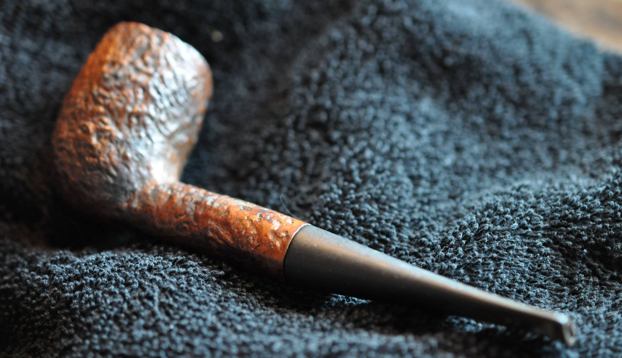
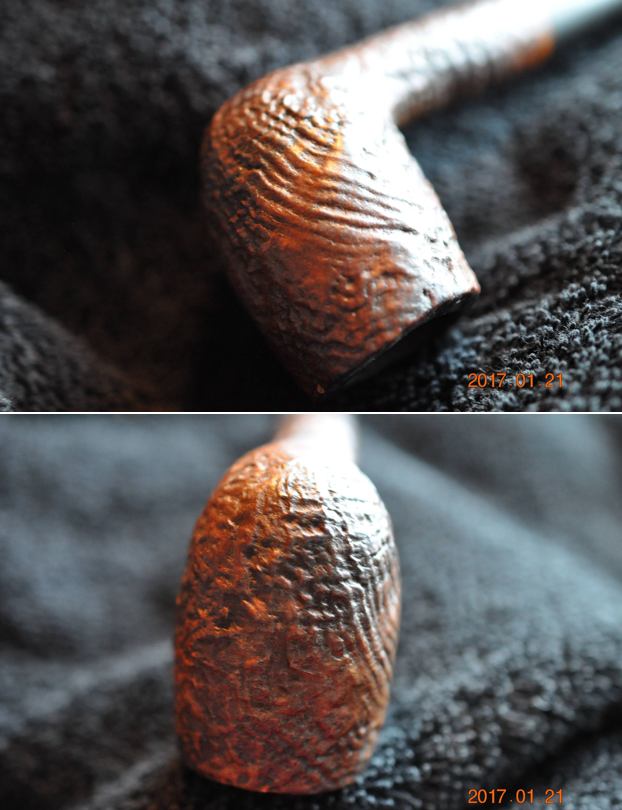
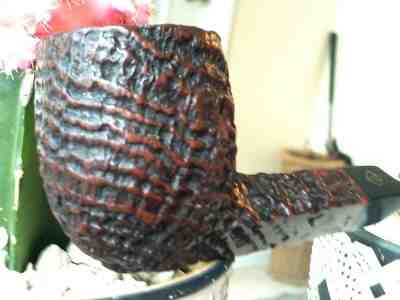
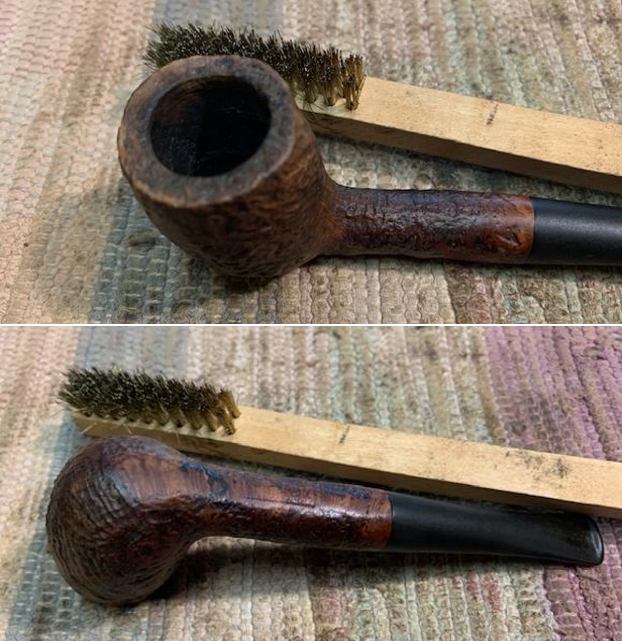
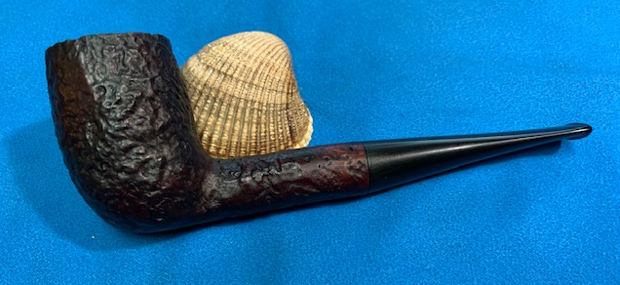
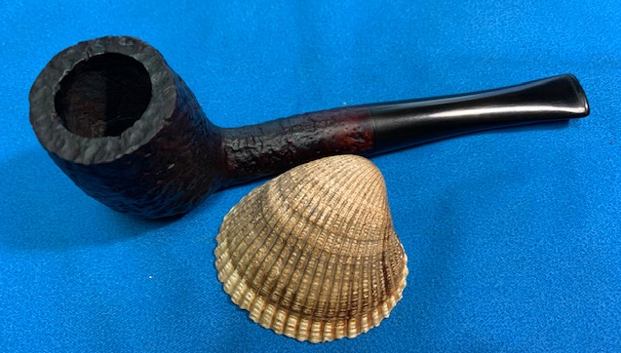
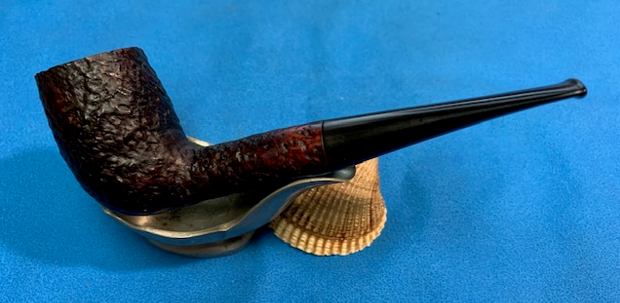
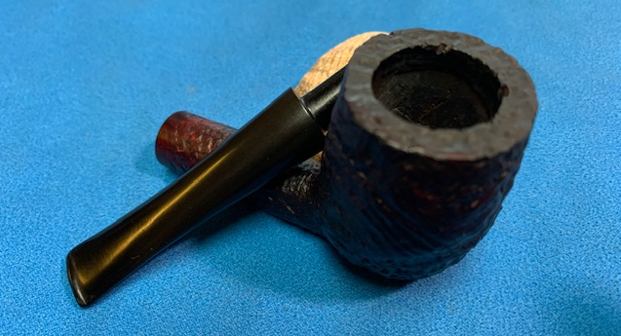
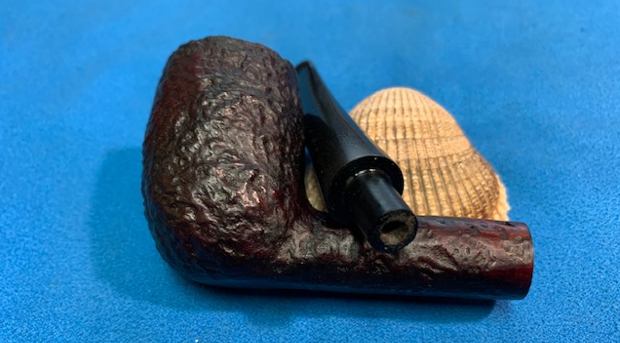
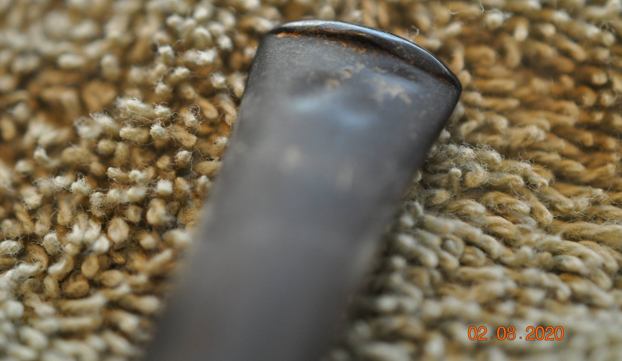
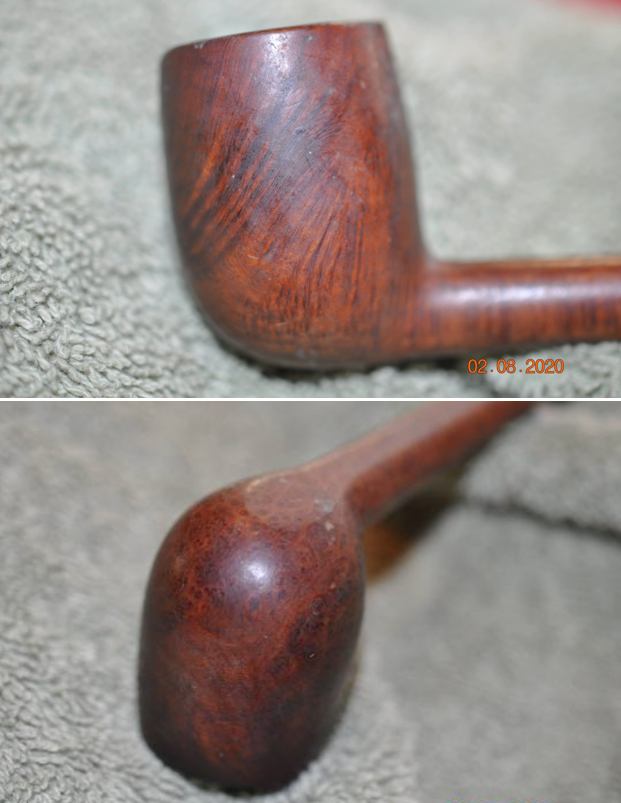
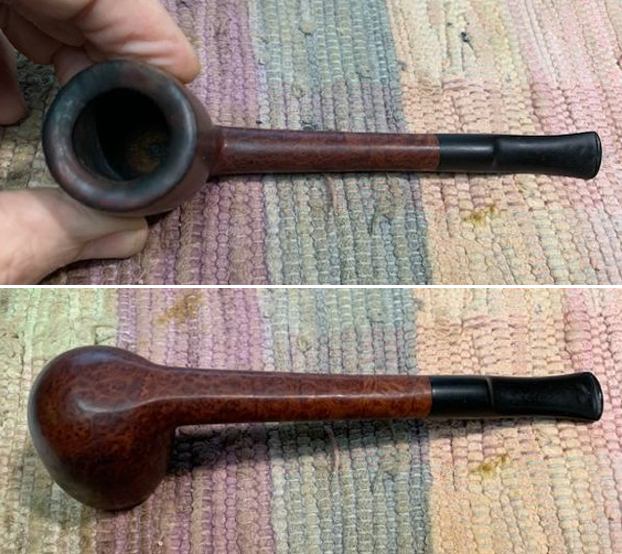
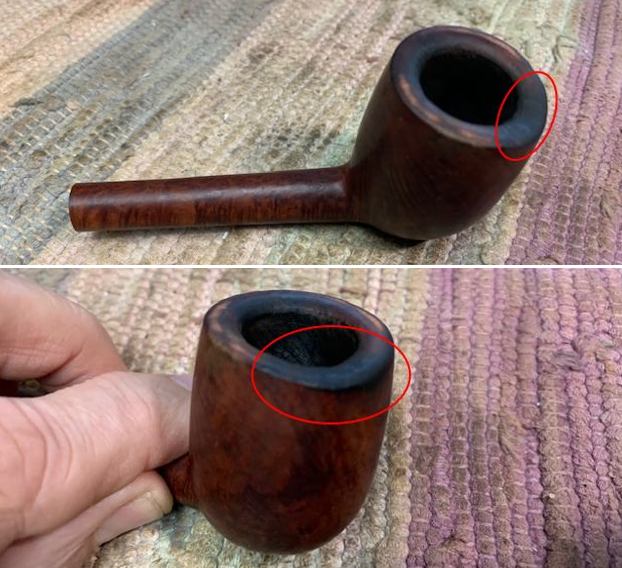
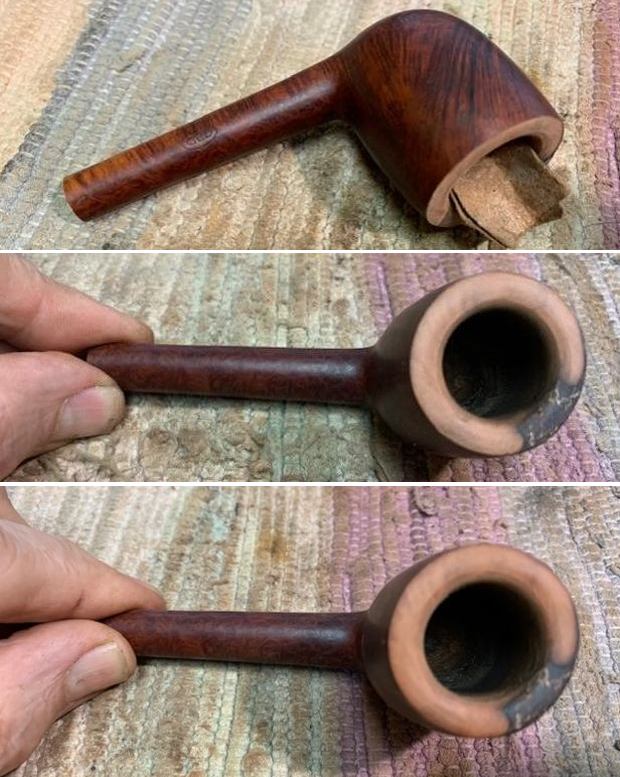
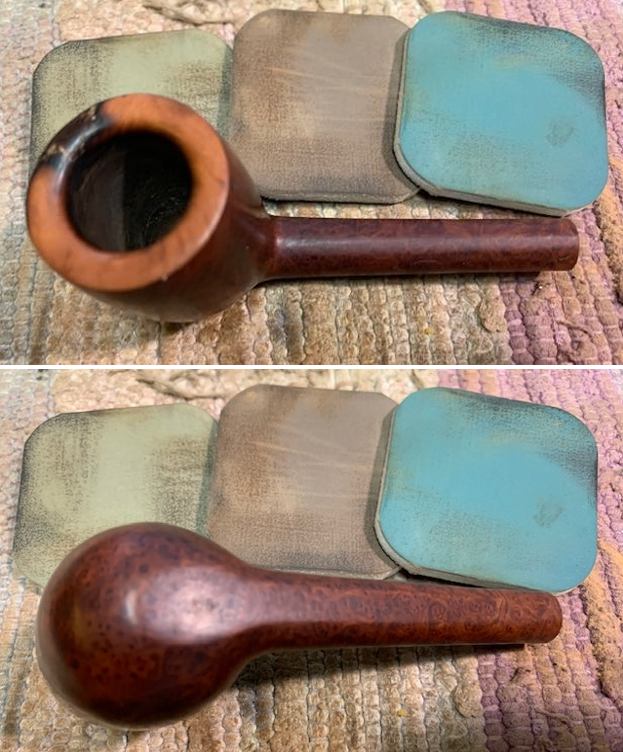
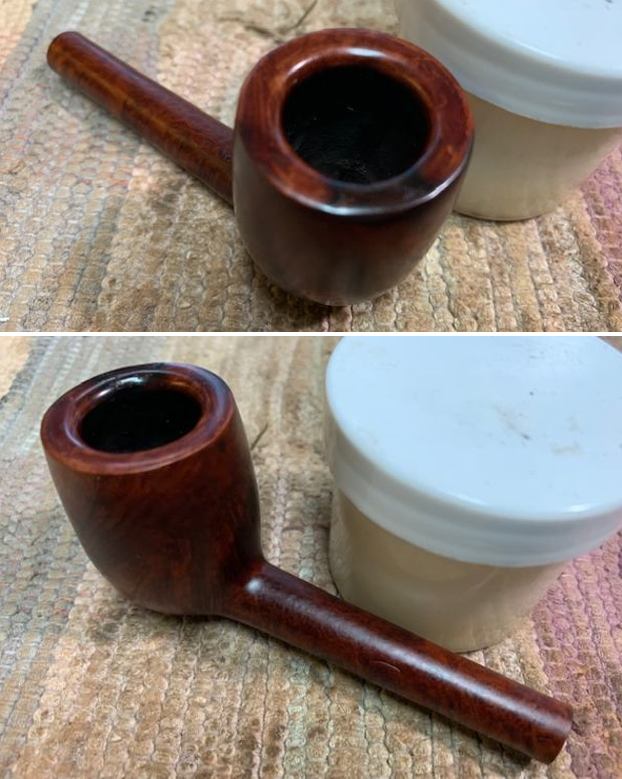
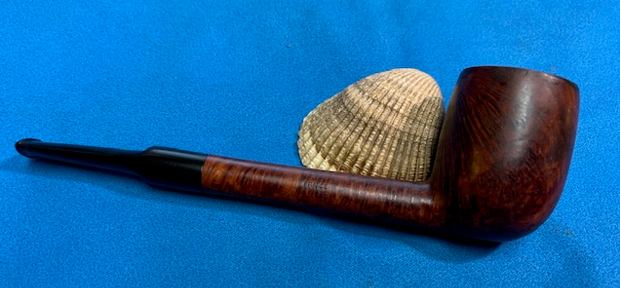
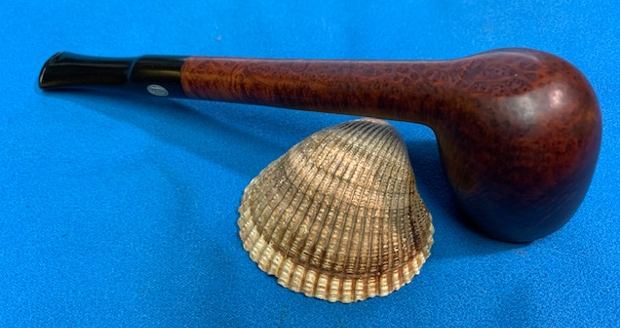
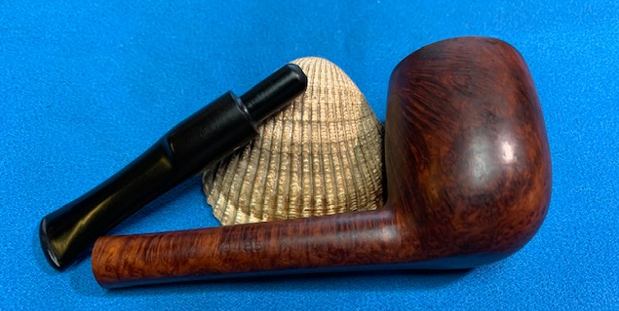
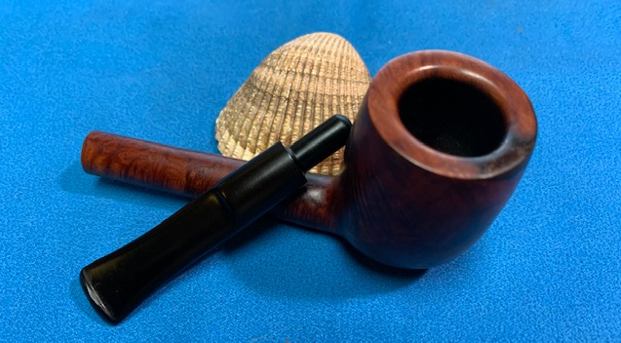
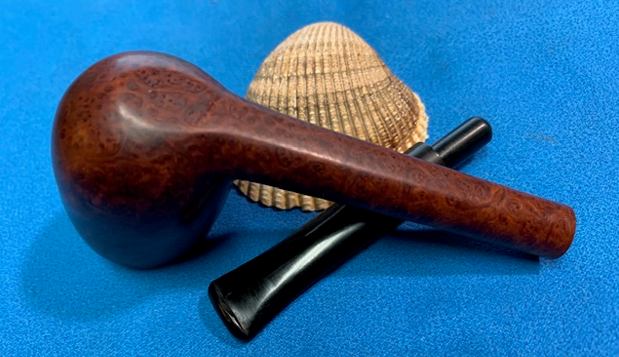
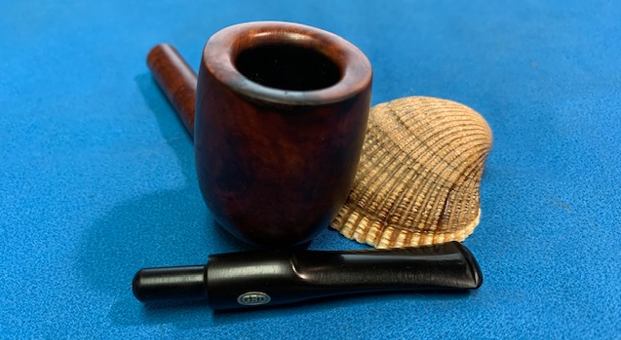
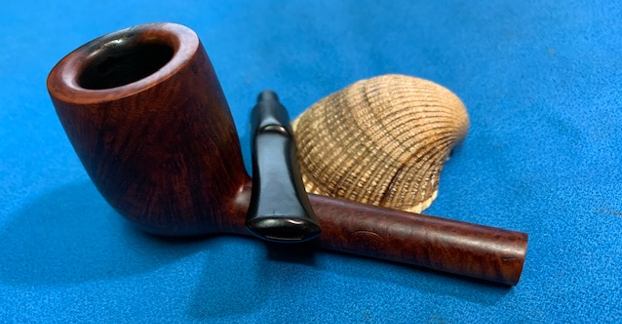
This unsmoked C.P.F. is another real beauty that I think may be a bit older than the previous NOS C.P.F. diamond shank Bent Billiard that I worked on. The rim top is clean but dusty and the finish obscures the grain that is on the bowl and shank. There are a lot of nicks and dents in the briar of the bowl sides. The gold stamping is clear and readable. The nickel band is corroded and does not have any marking. The stem is a Butterscotch coloured Amberoid (an early acrylic that was made to look like amber). There is some nicks and chipping in the surface but no tooth marks. It has an orific button (round airhole) on the end of the button. I took some photos of the pipe to show the condition when we received it. It was dusty, dirty and had some grime worked into the surface of the briar from sitting unused in someone’s collection. 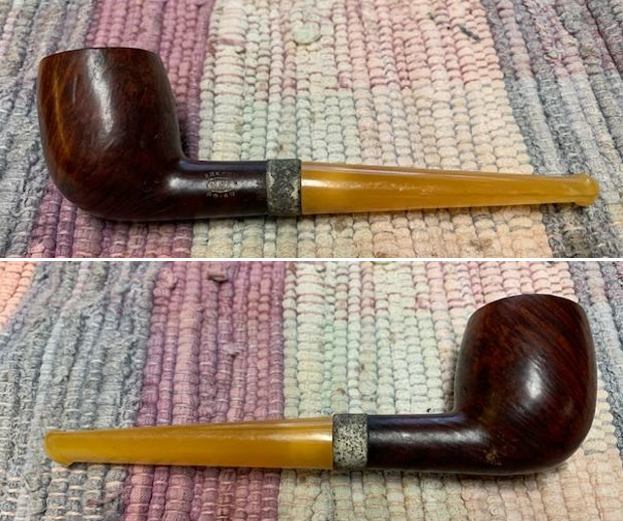
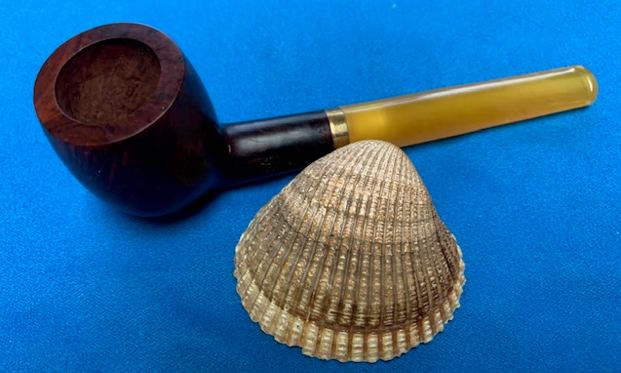
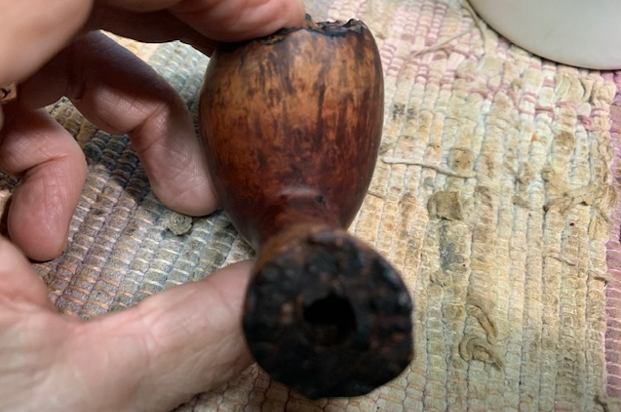
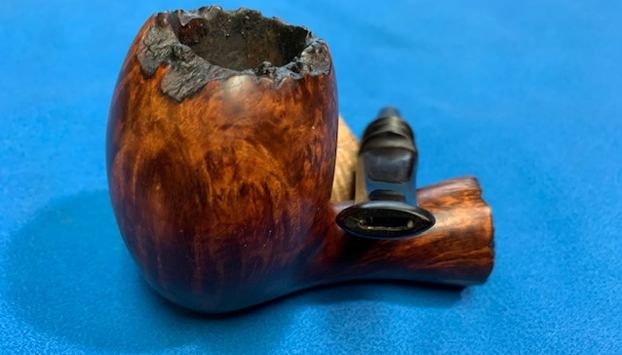
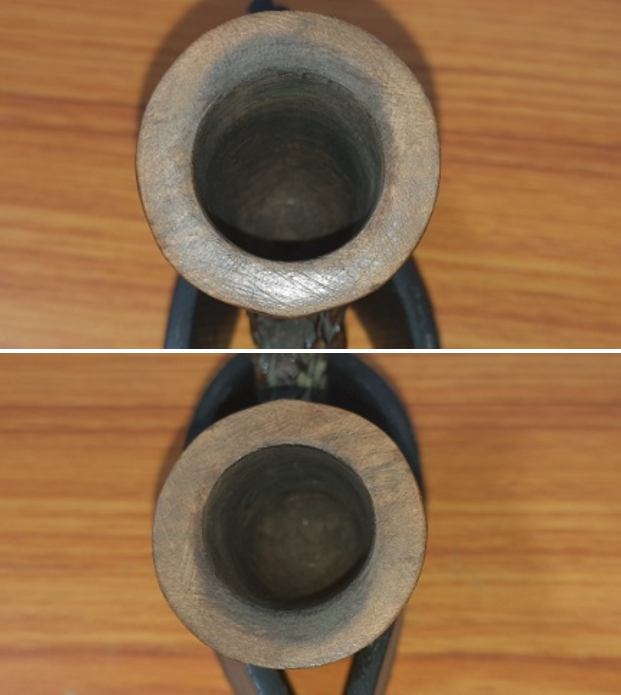
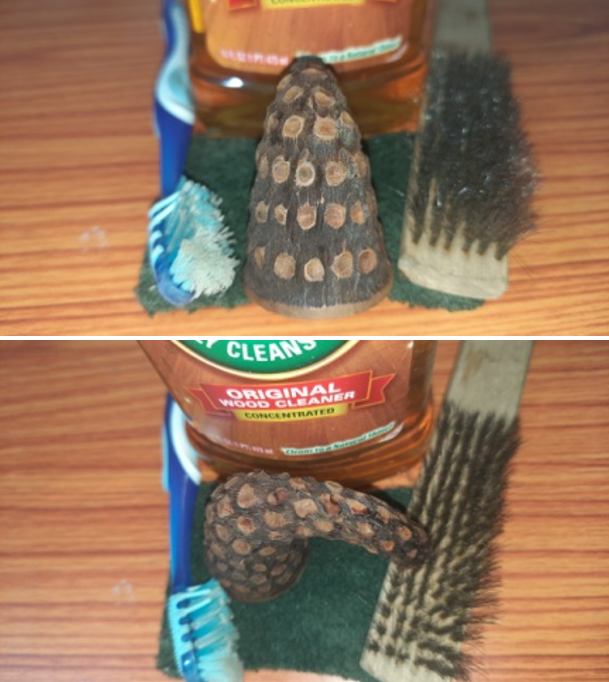
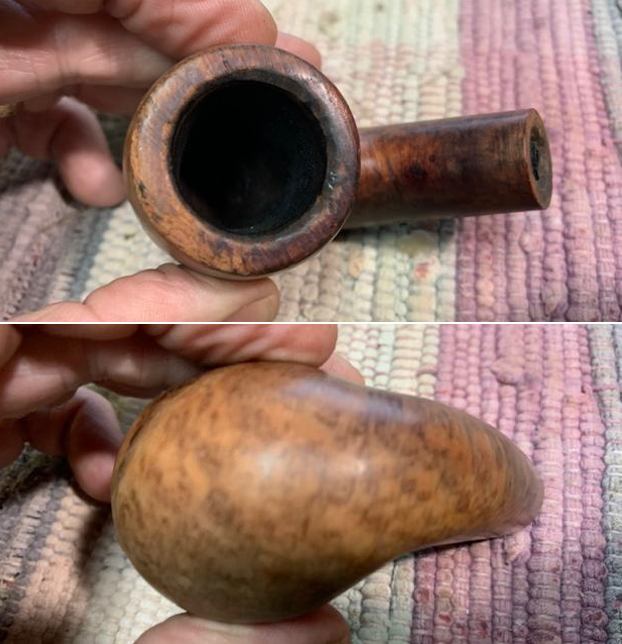
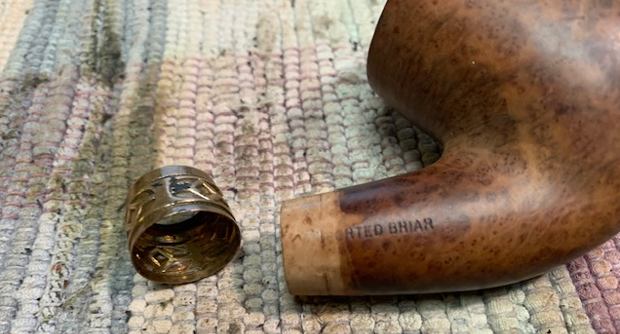
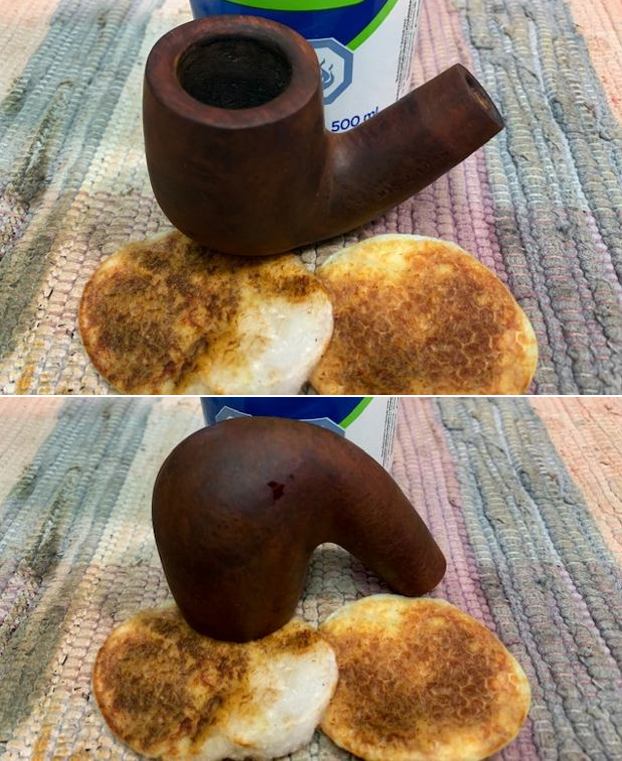
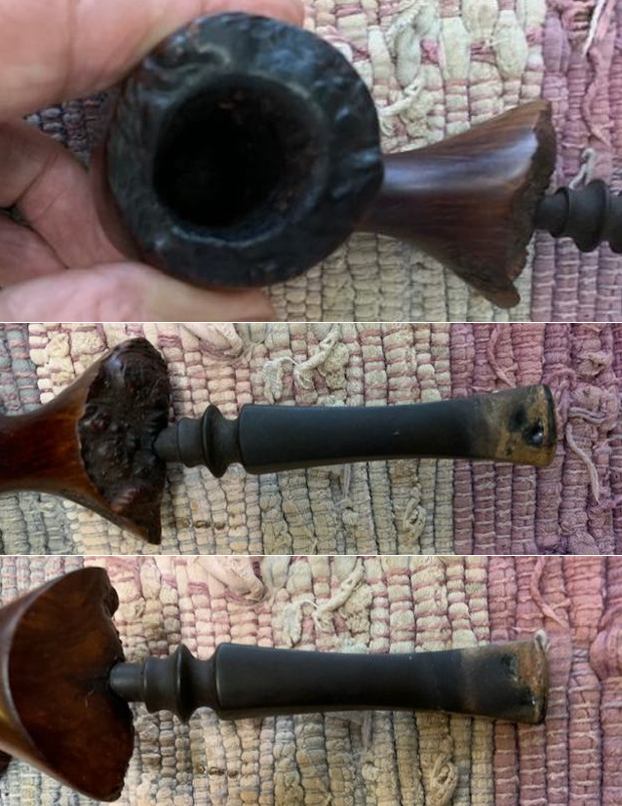
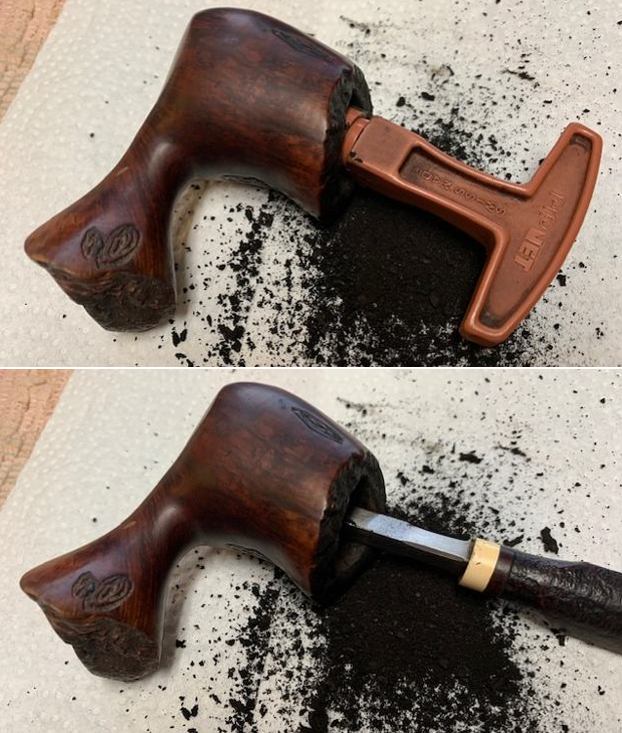
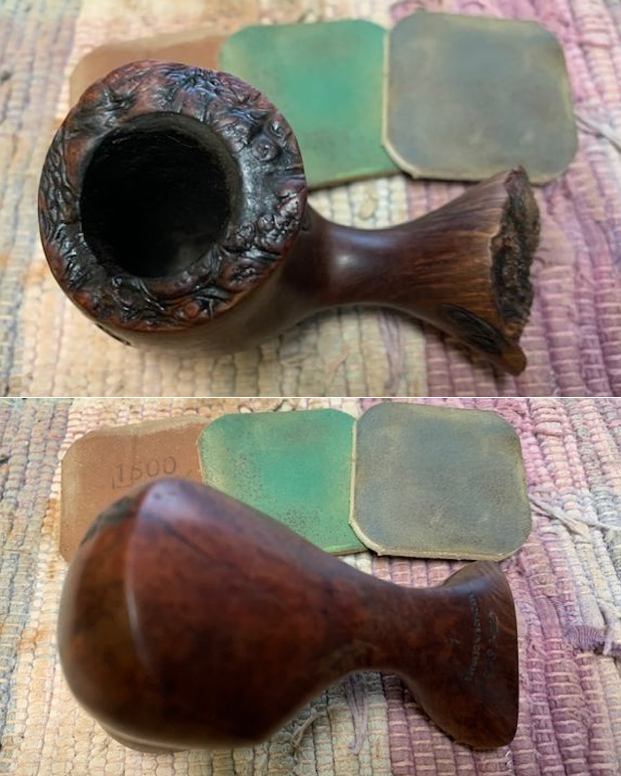
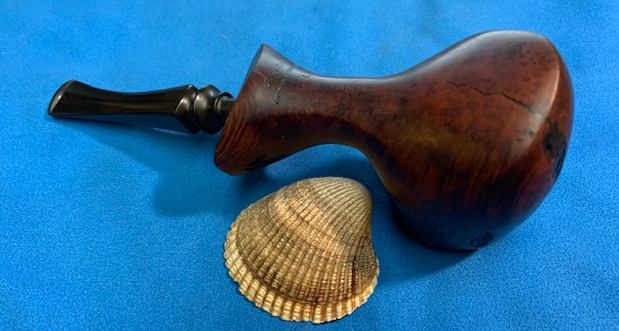
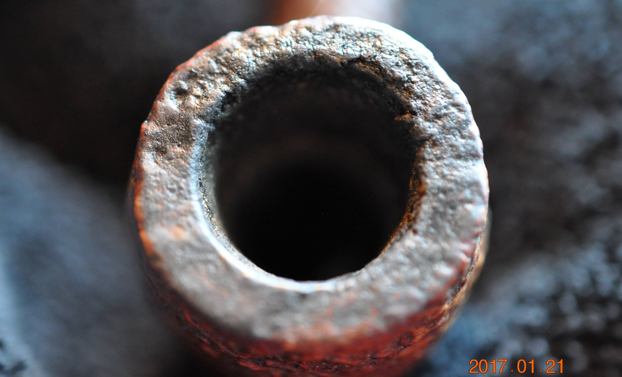
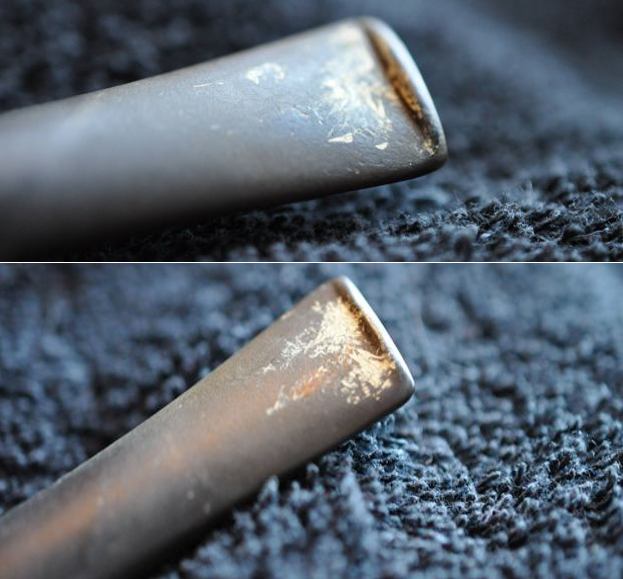
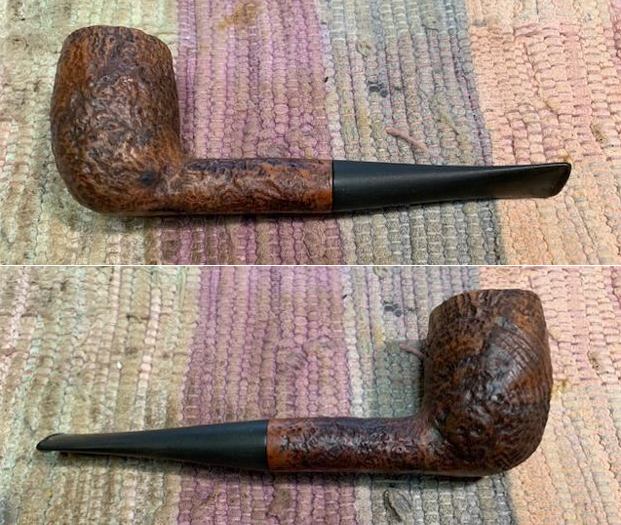
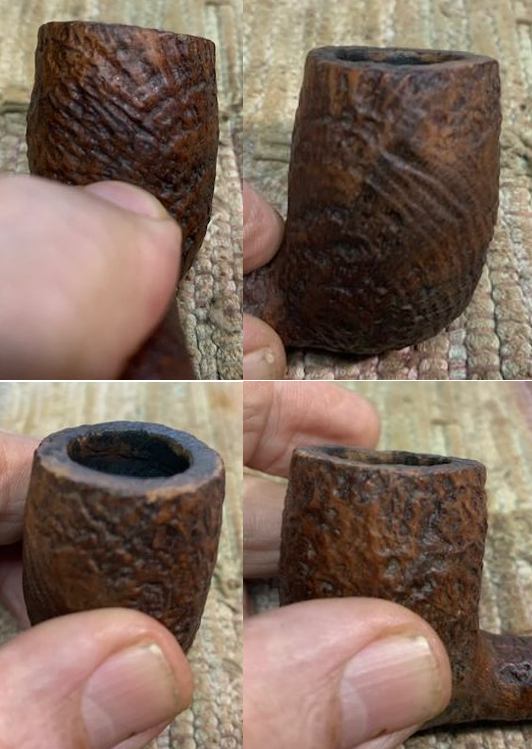
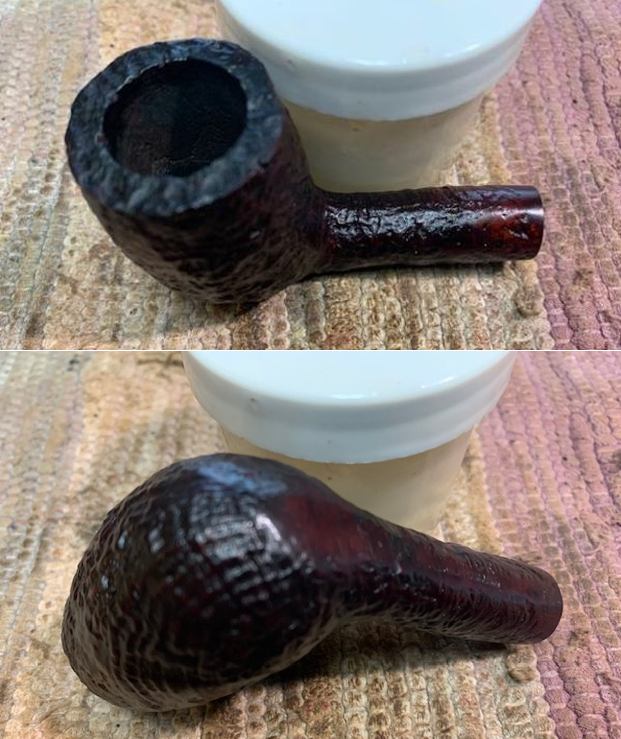
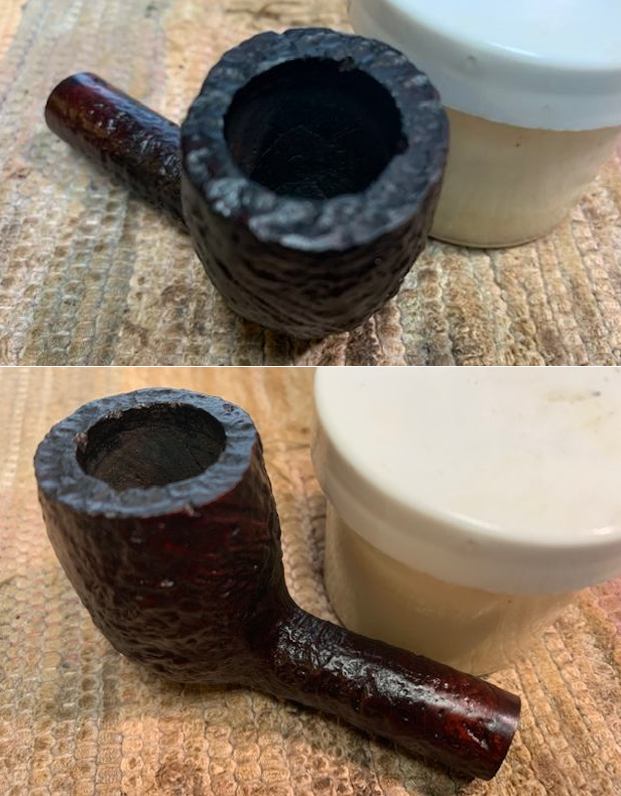
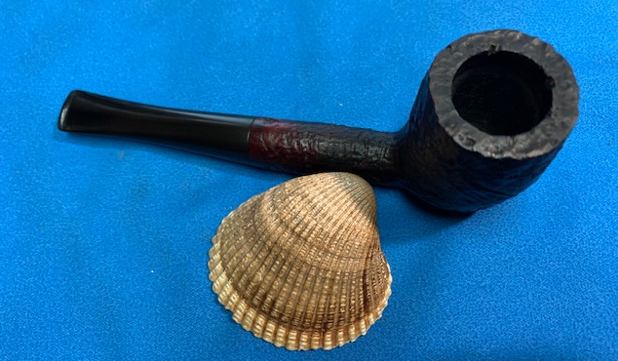
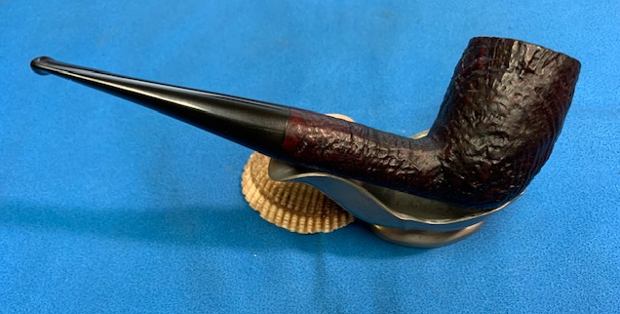
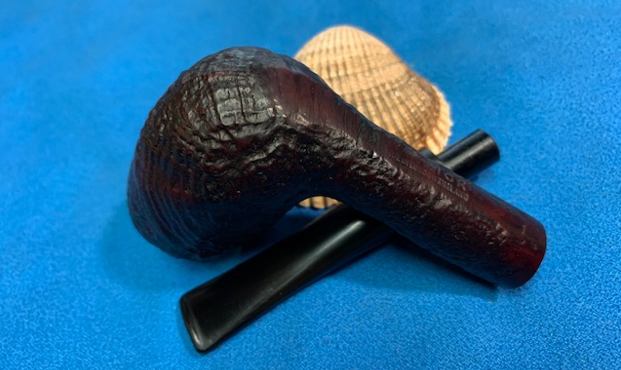
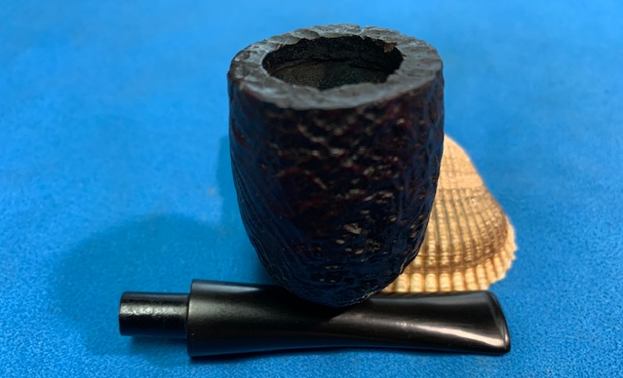
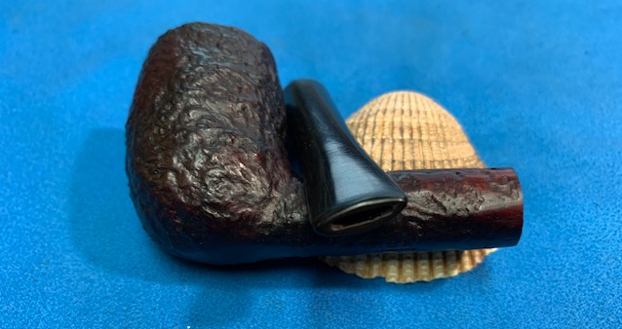
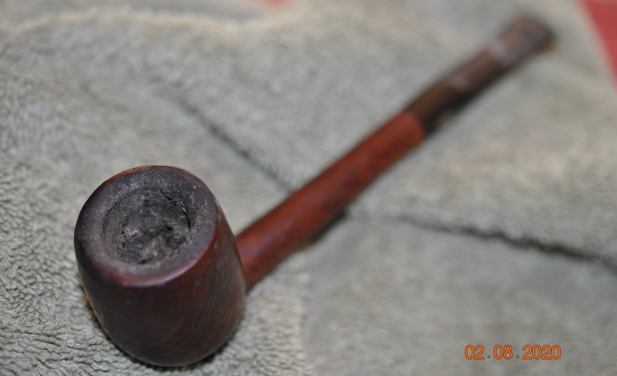
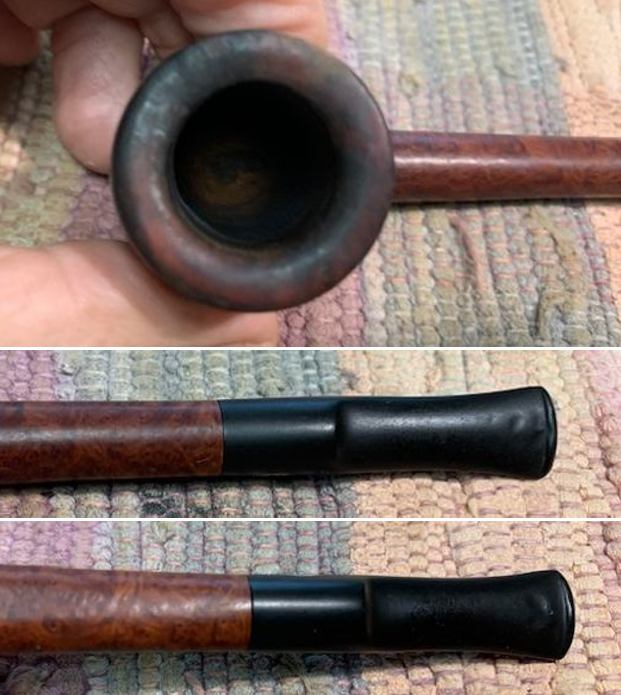
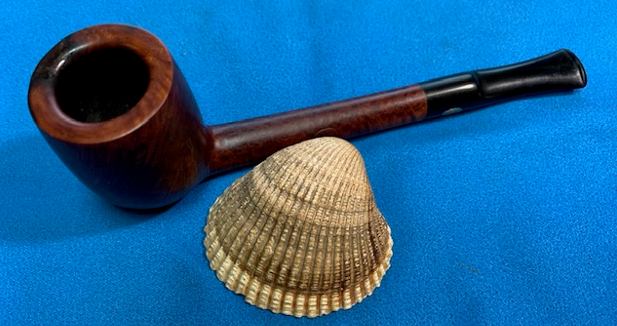
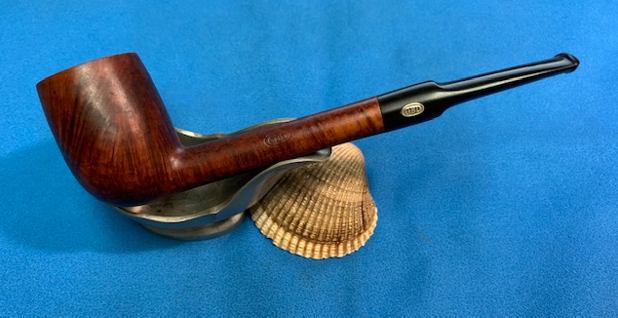
 I took close up photos of the bowl and rim top and the stem to show their condition. You can see the drilling is centered in the bottom of the bowl You can also see the clean briar of the bowl sides. The stem looks very good. You can also see the heavy corrosion on the nickel shank band.
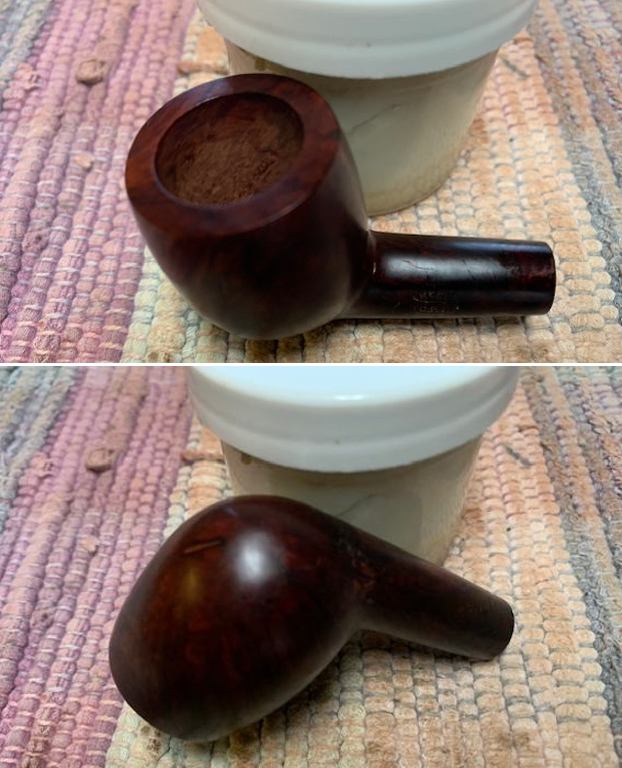
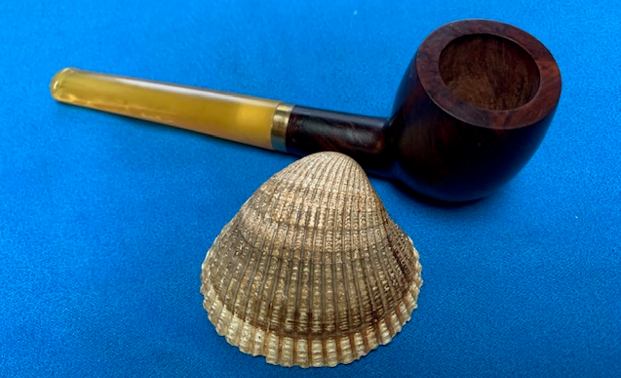
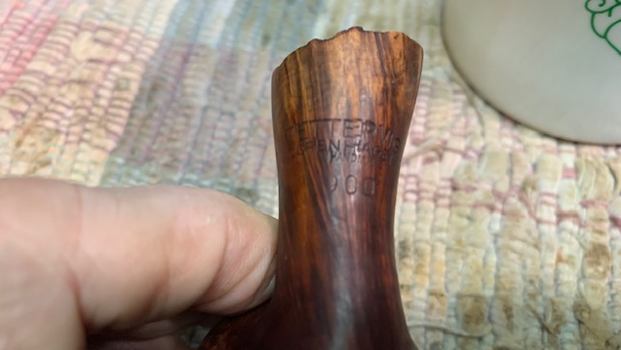
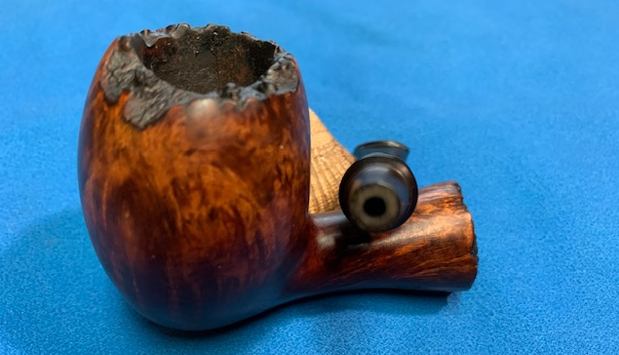
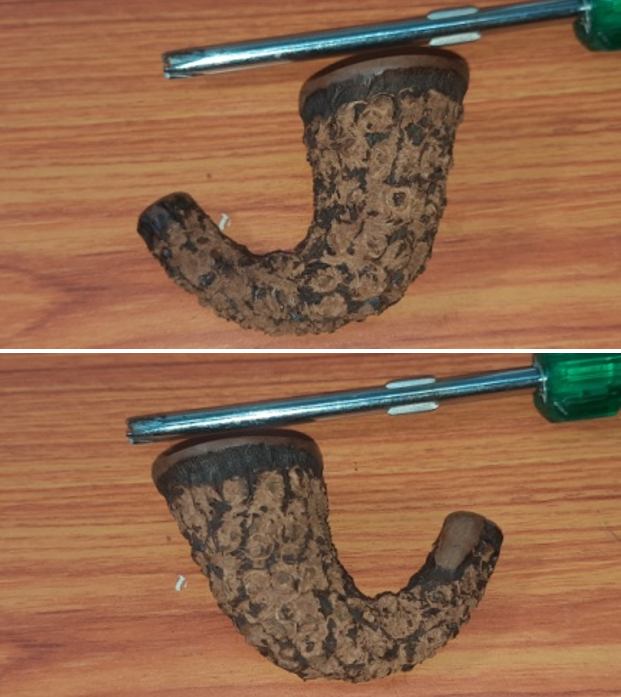
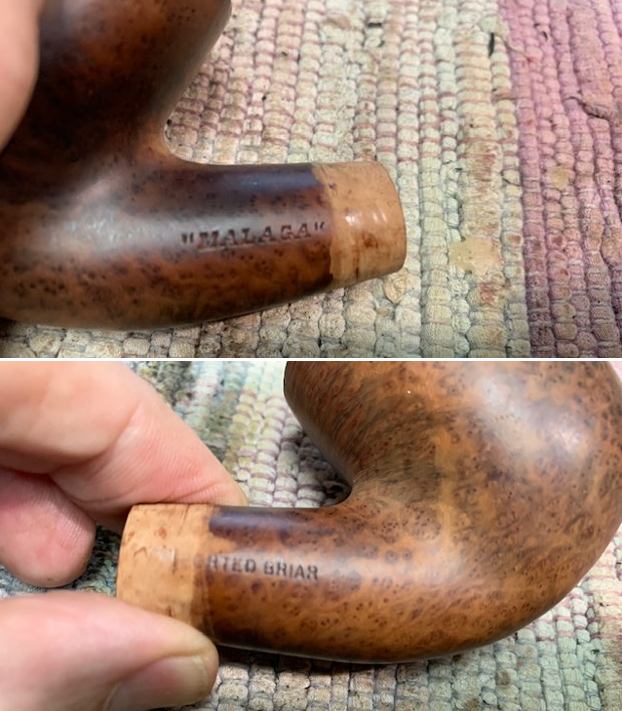
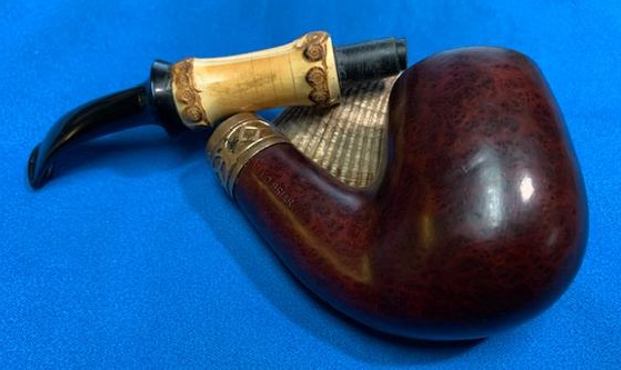
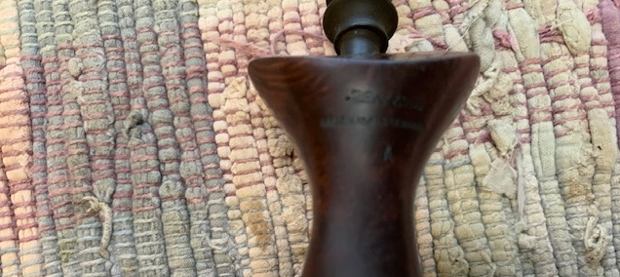
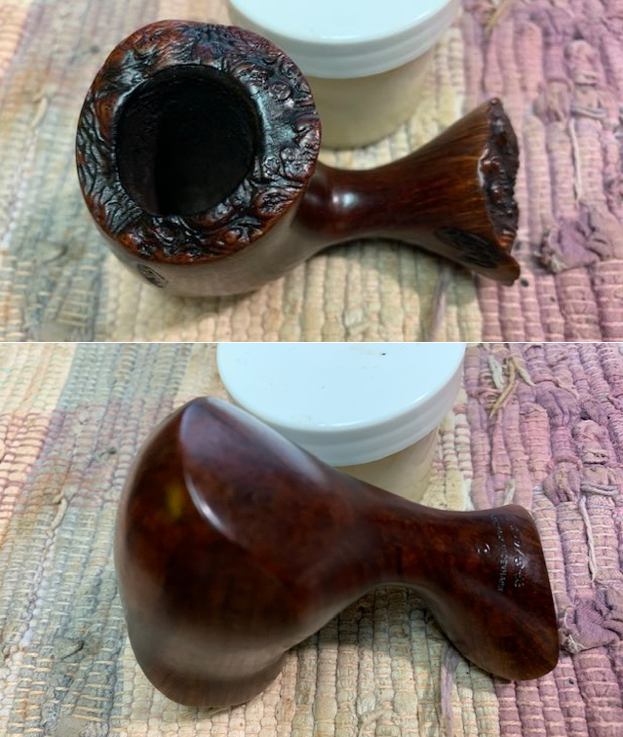
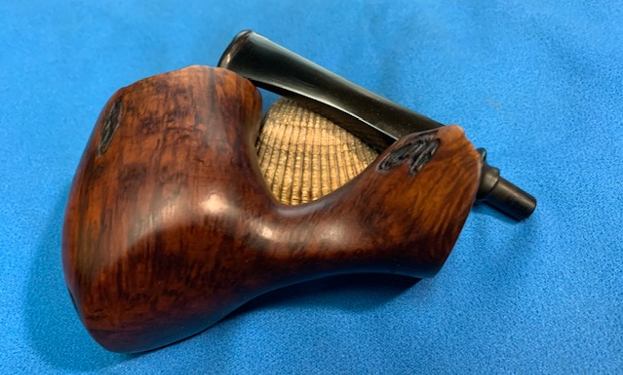
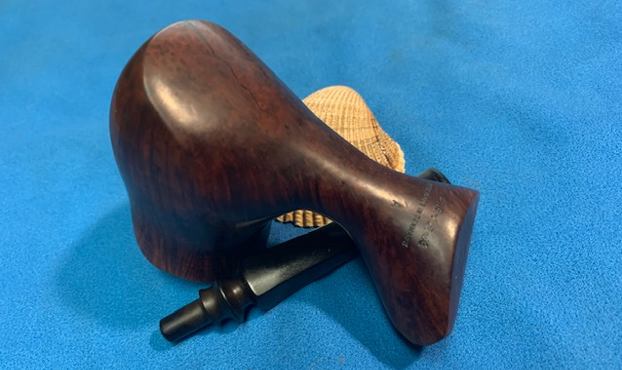
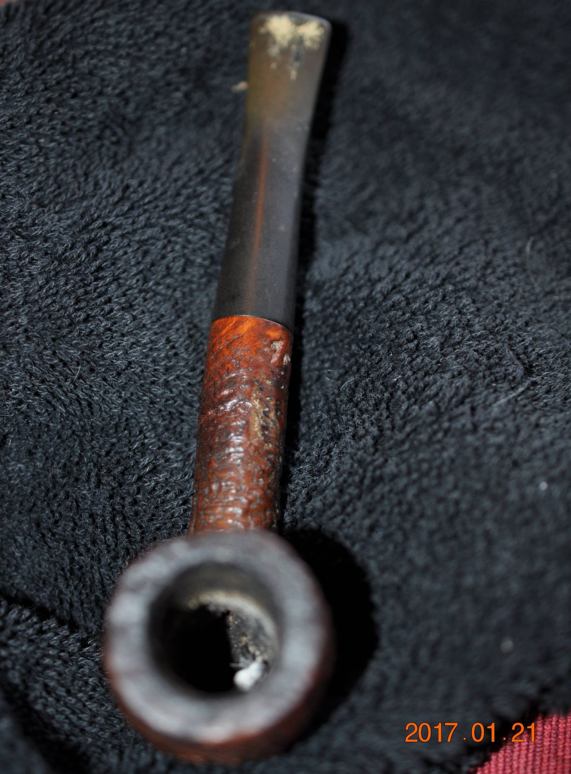
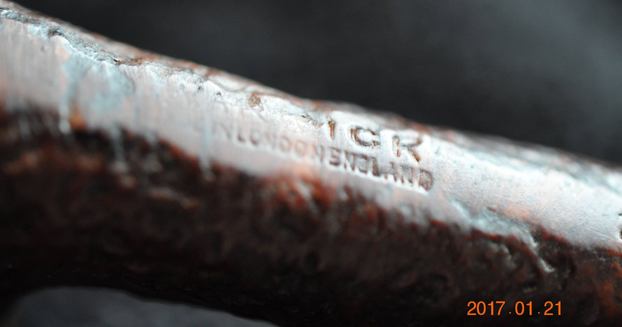
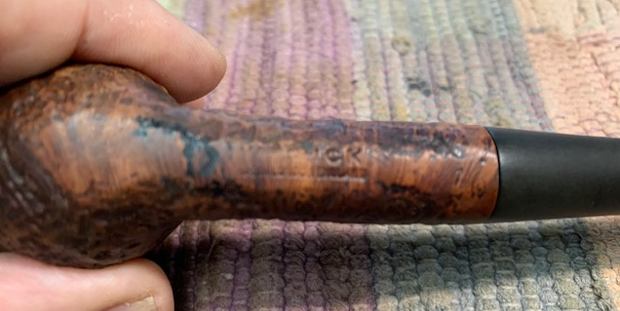
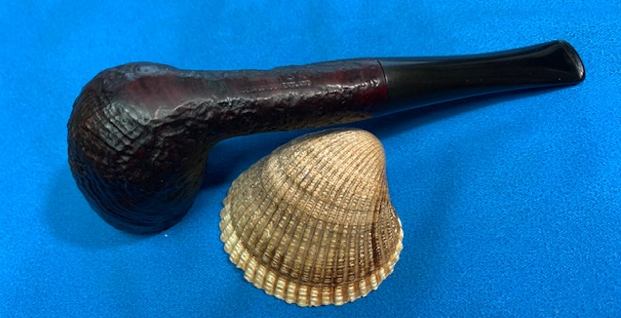
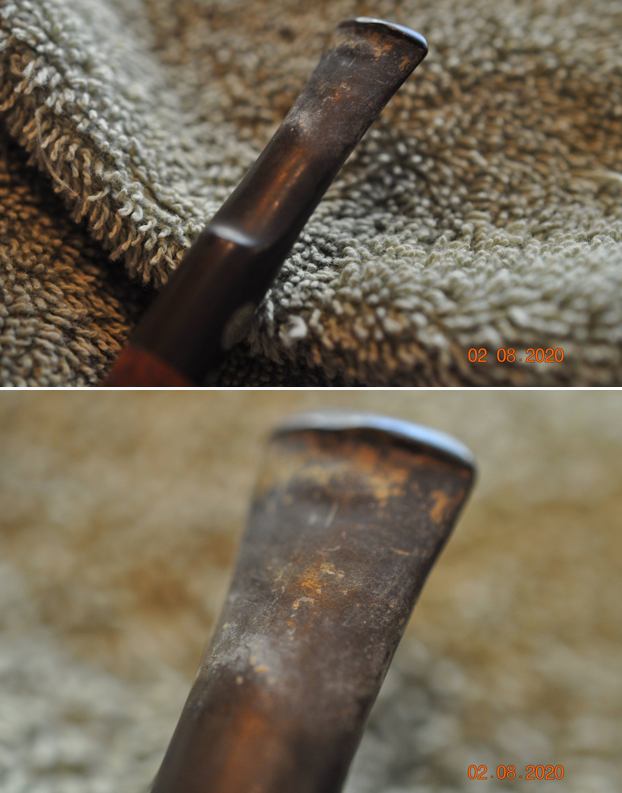
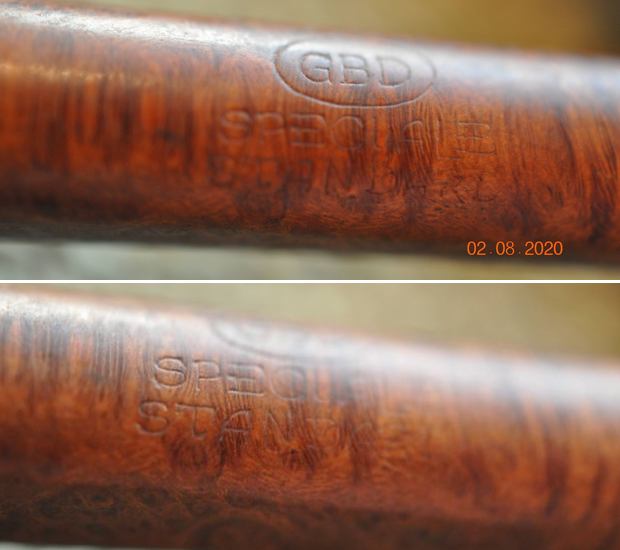
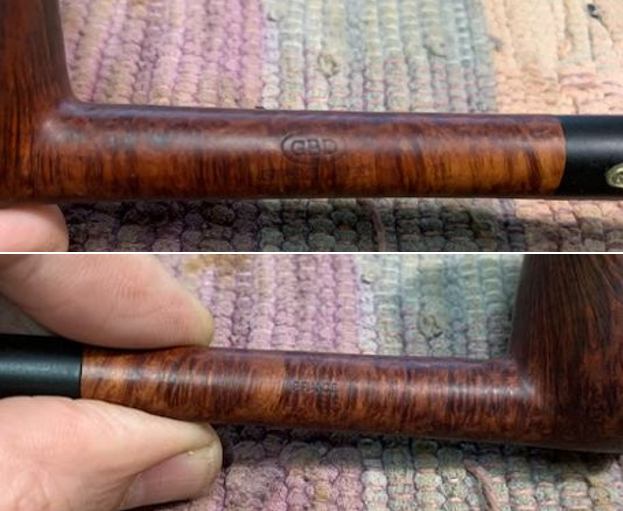
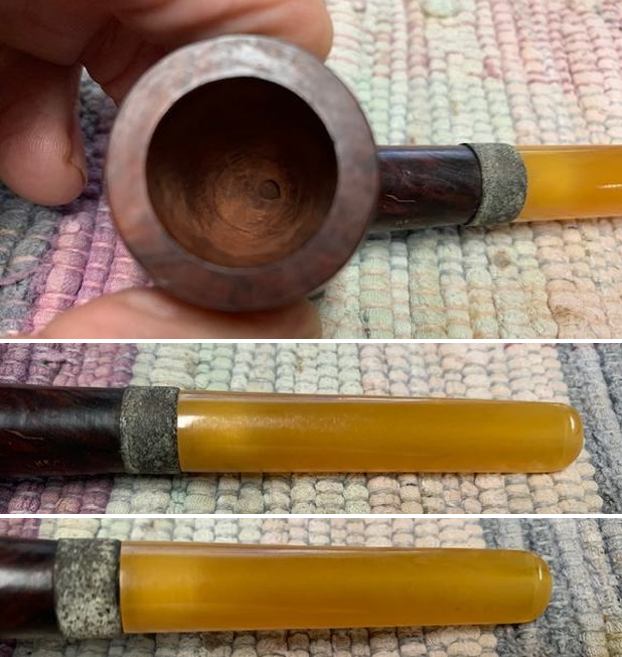 I took a photo of the stamping on the left side of the shank. You can see that it is faint but readable.
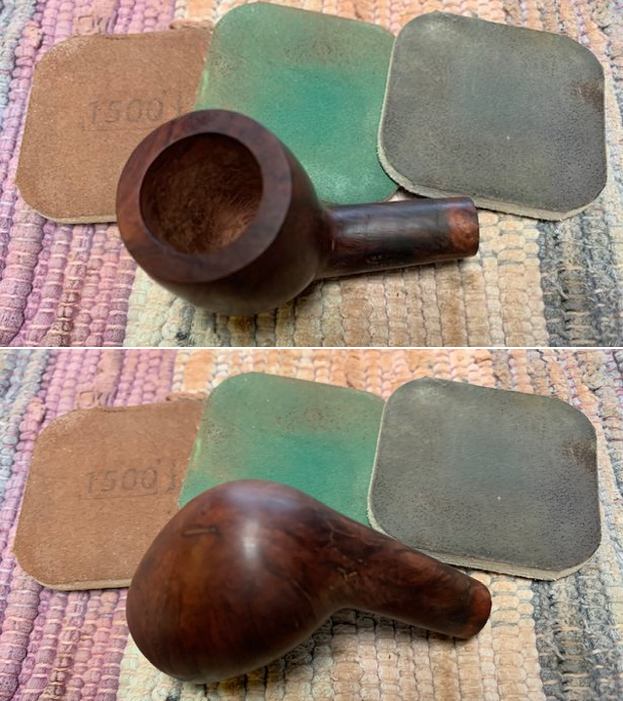
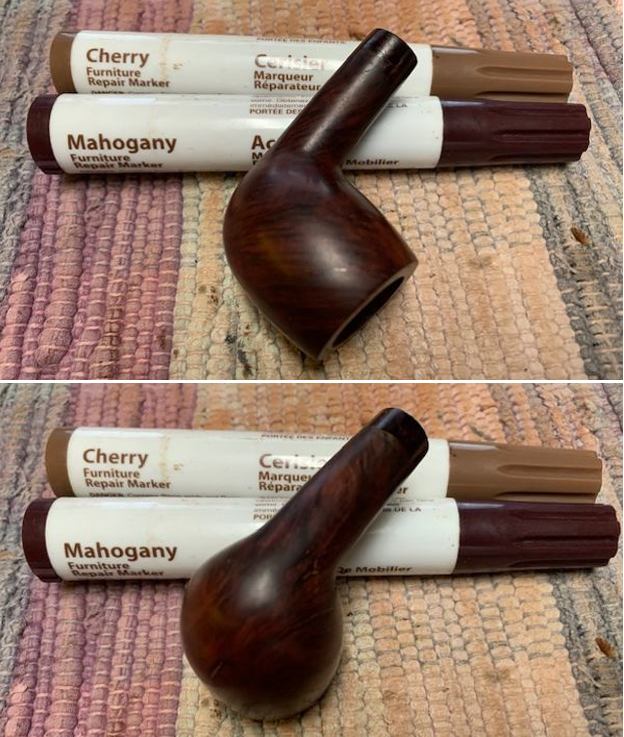
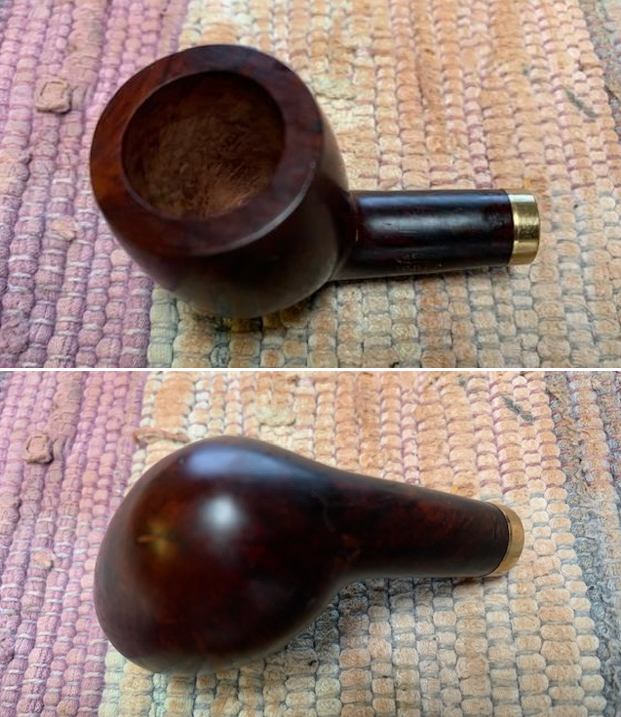
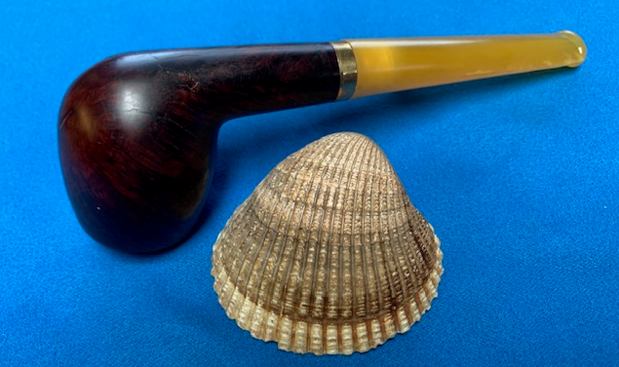
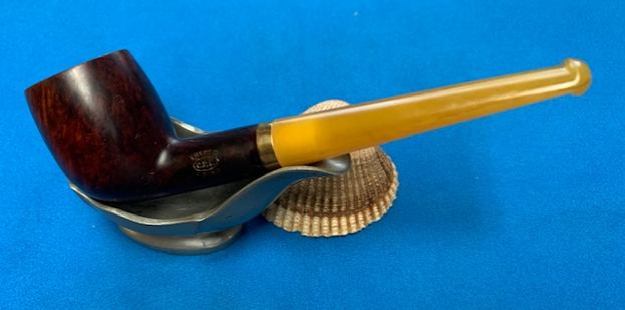
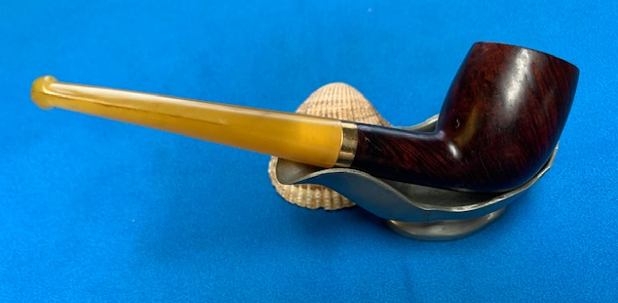
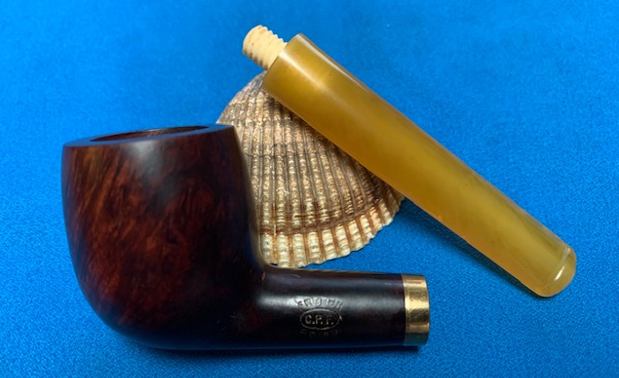
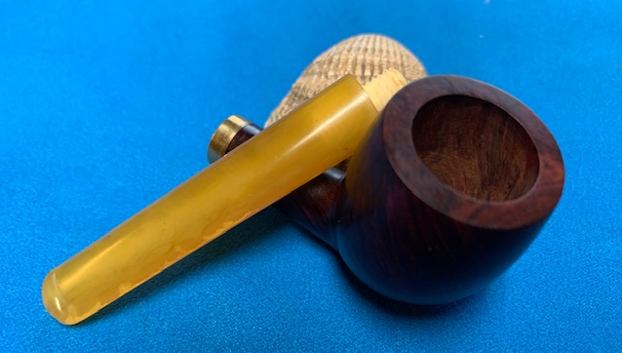
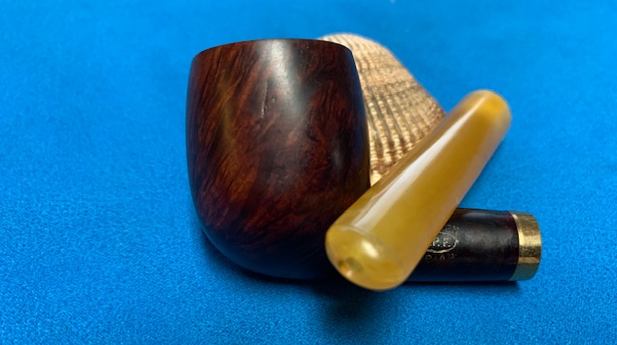
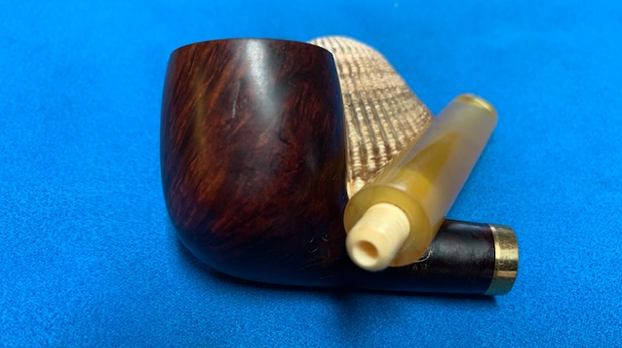
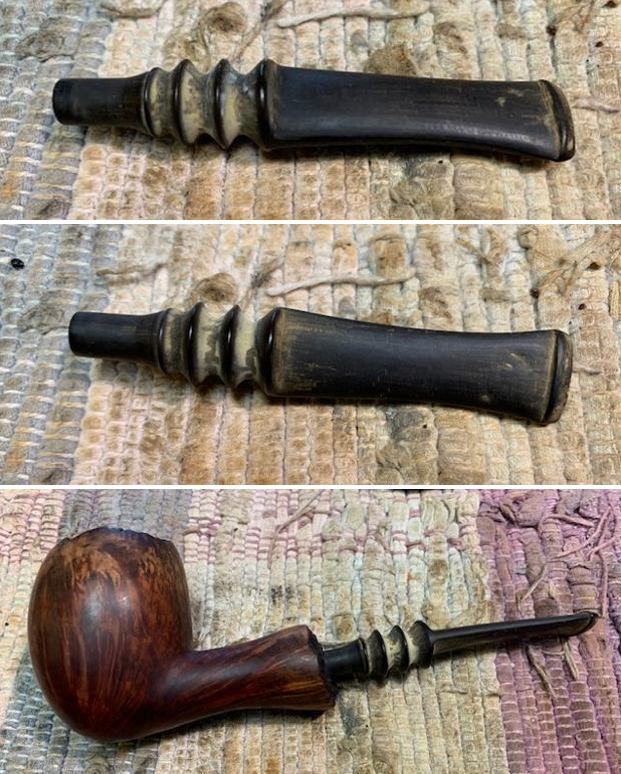
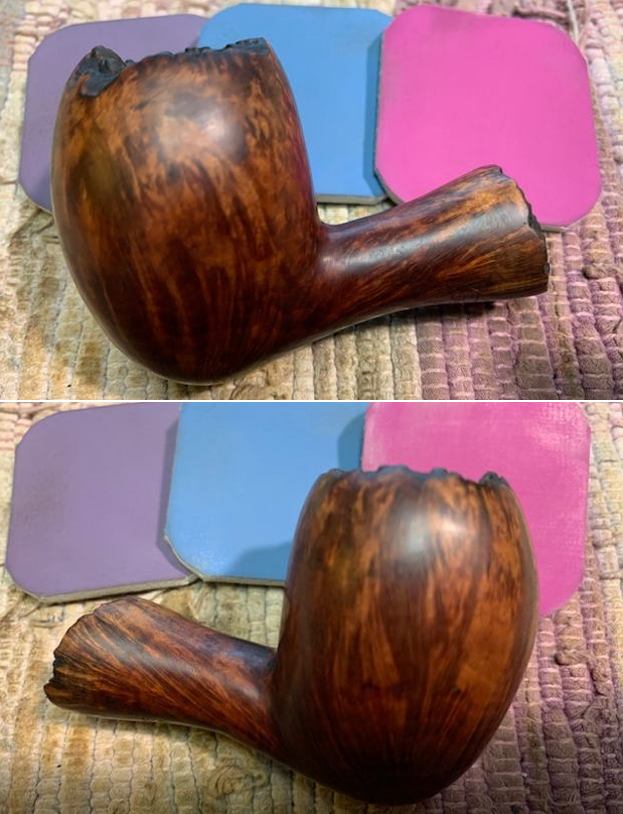
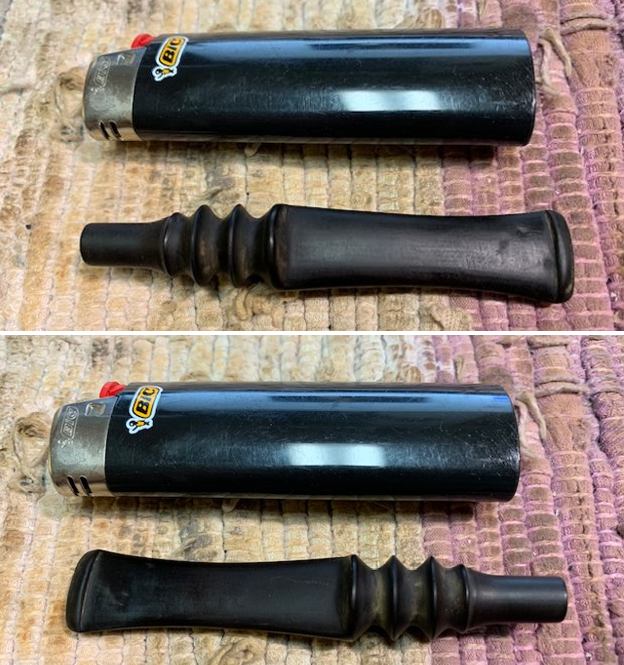
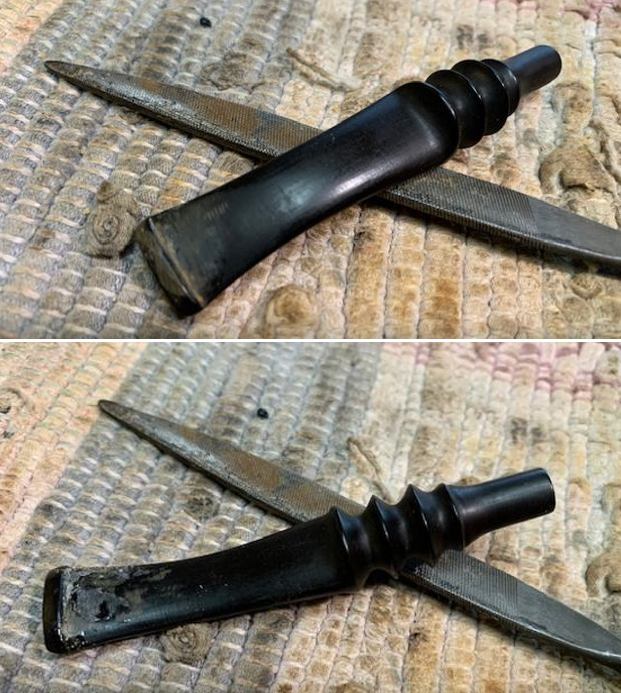
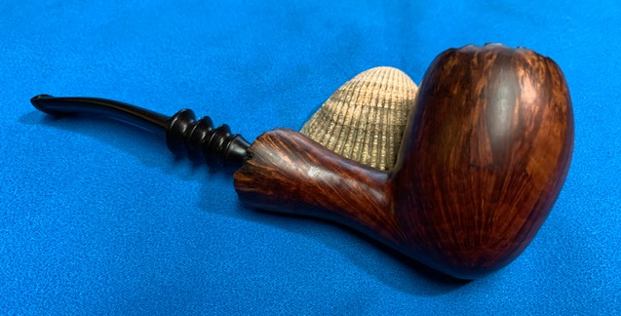
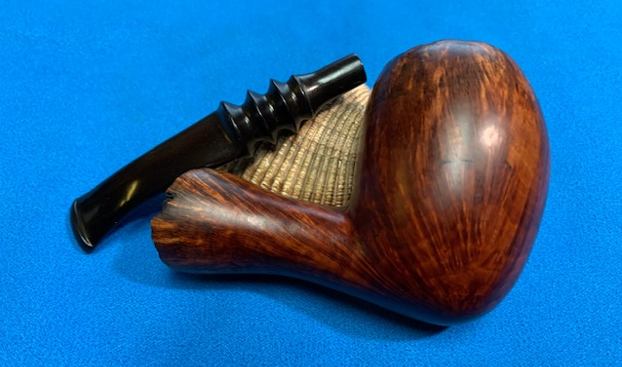
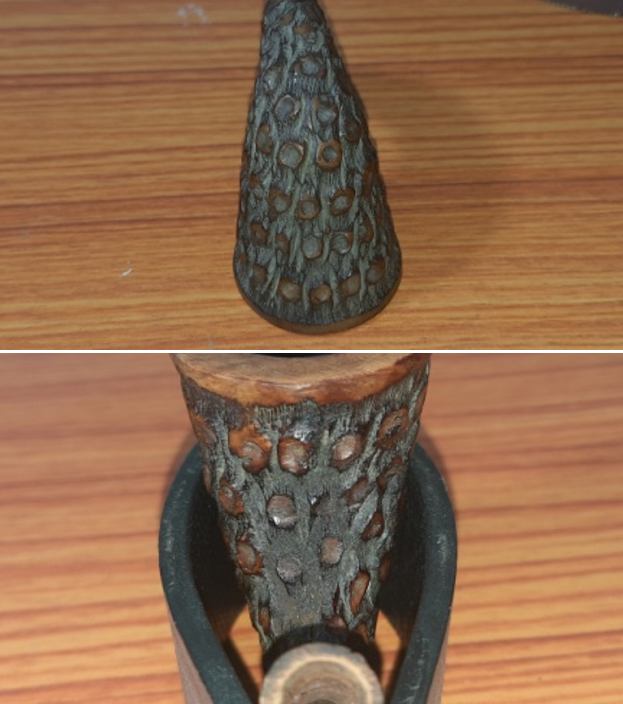
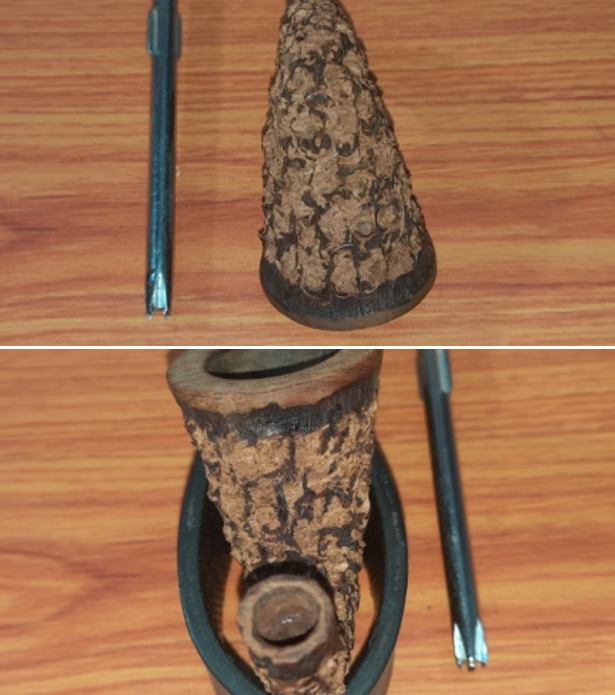
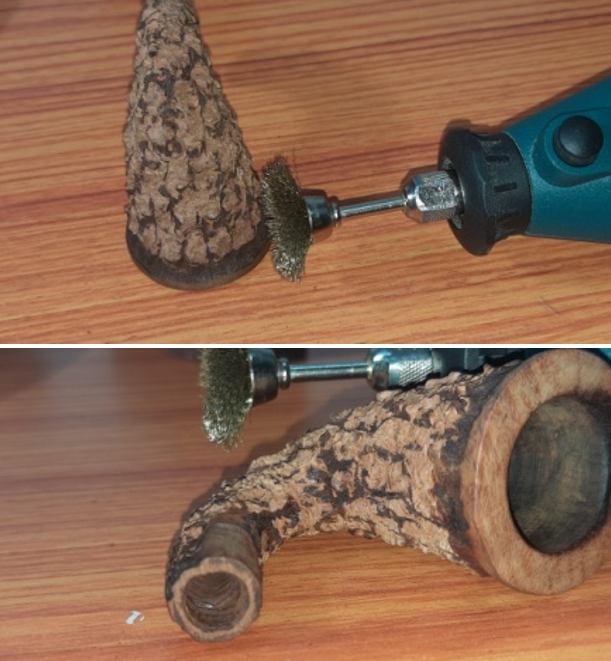
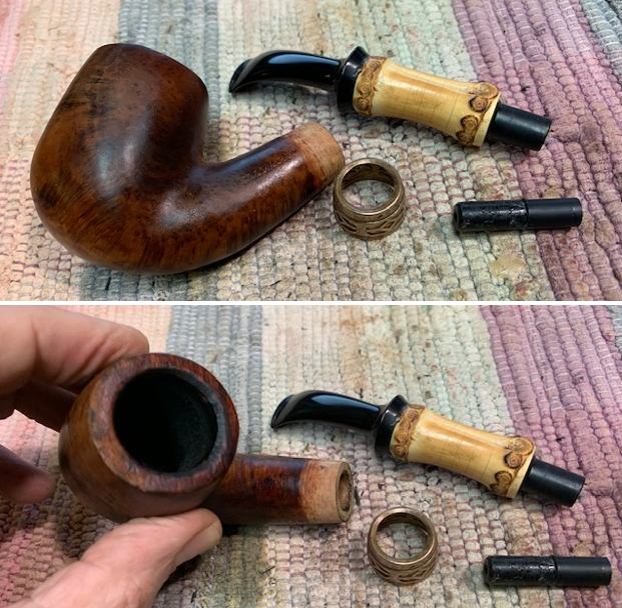
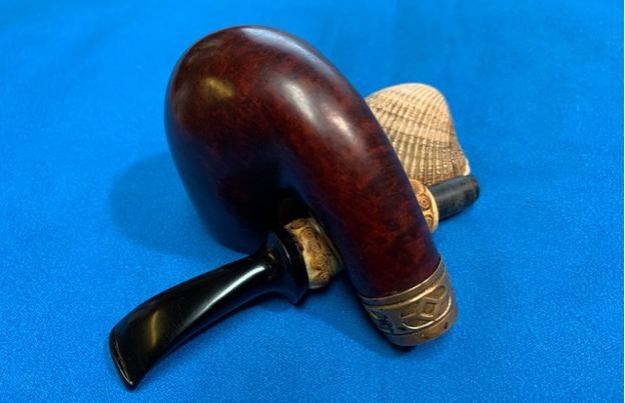
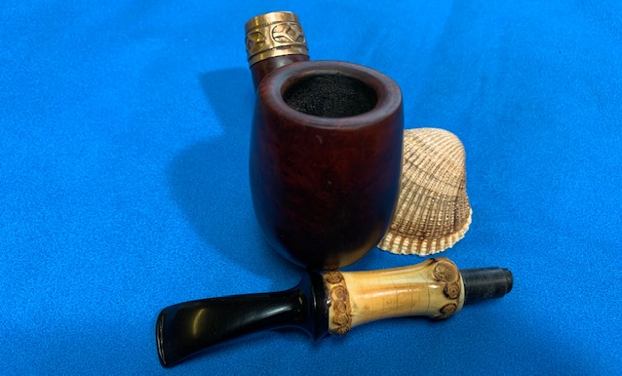
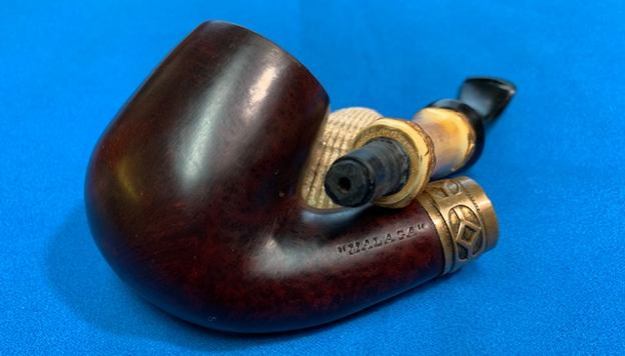
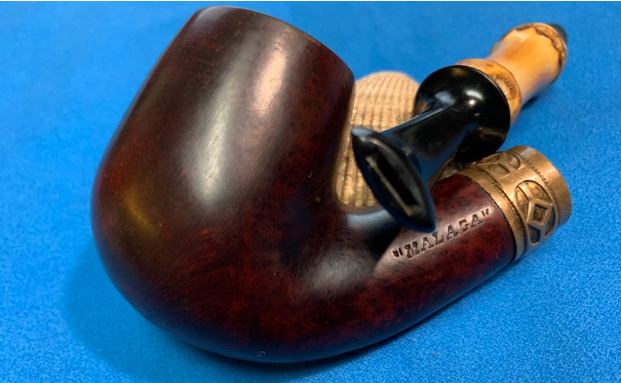
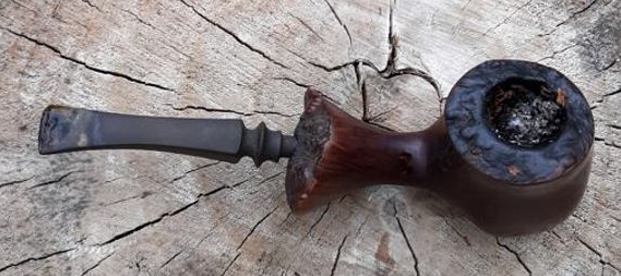
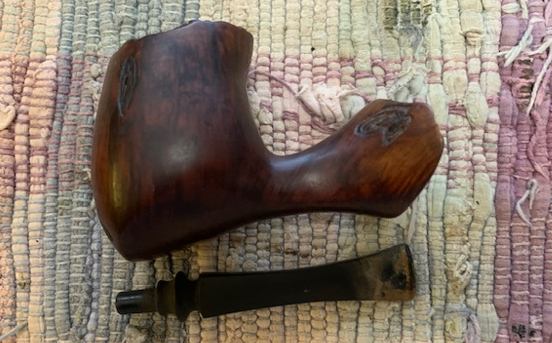
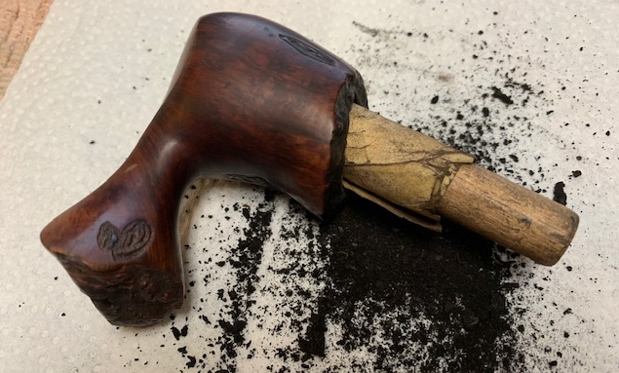
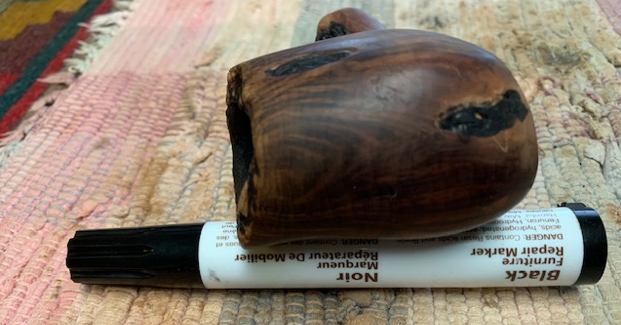
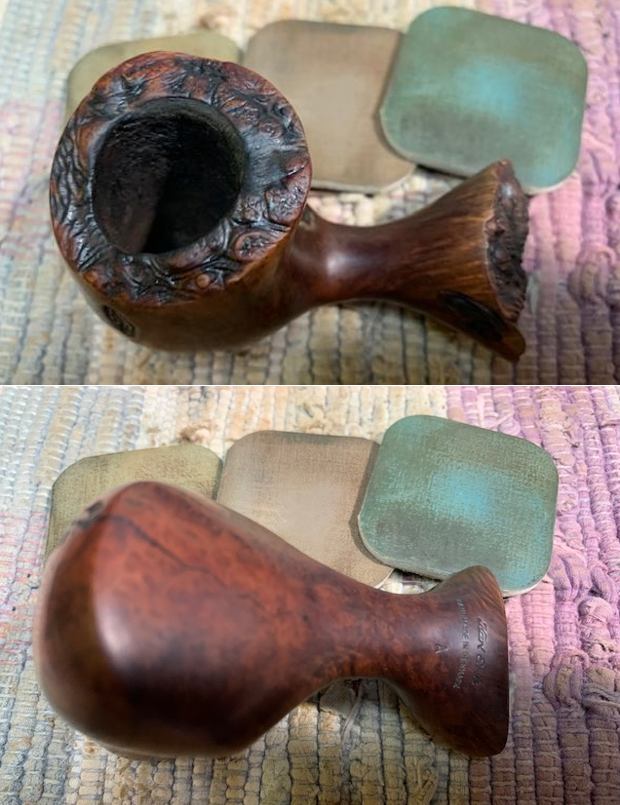
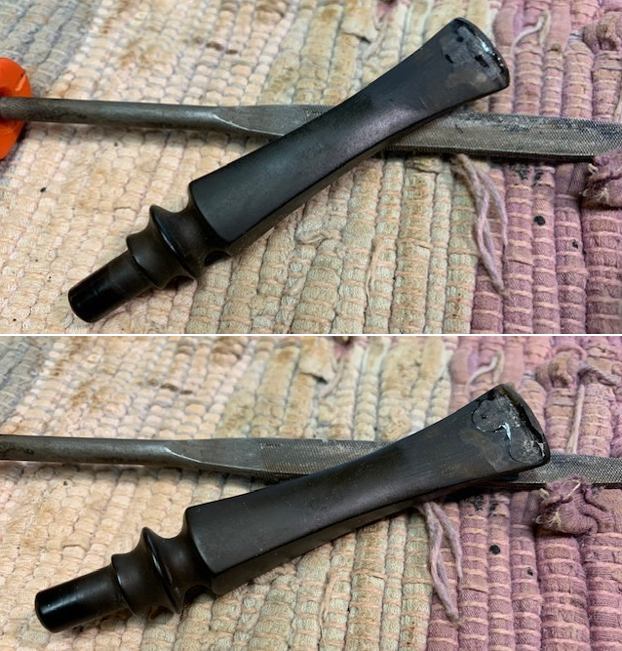
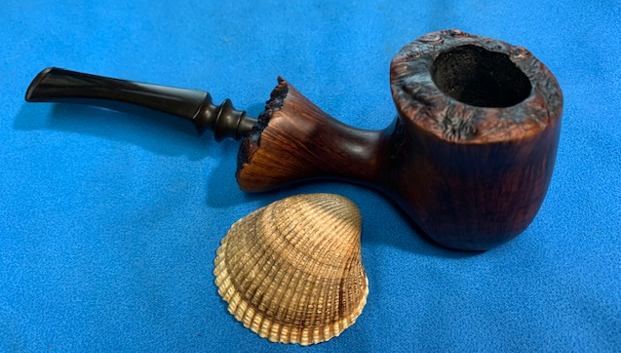
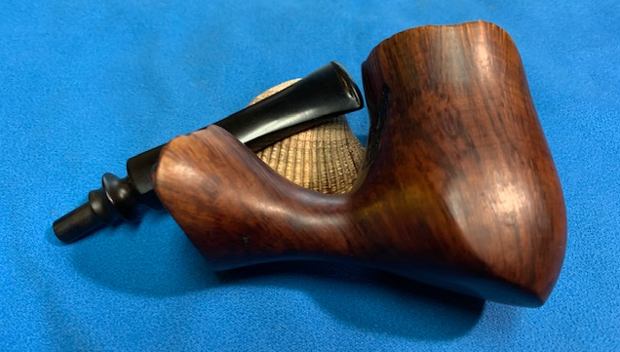
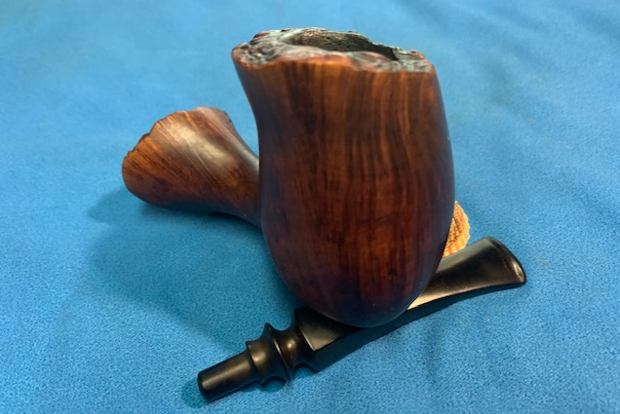
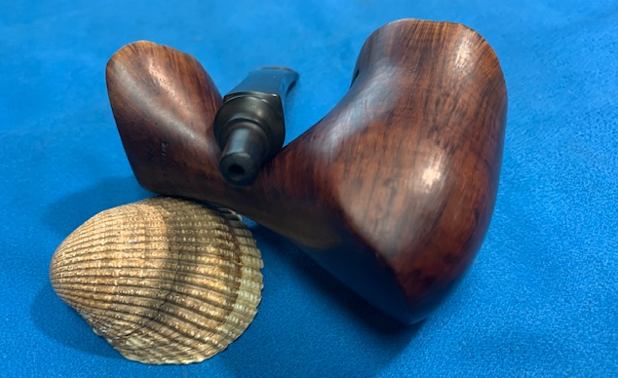
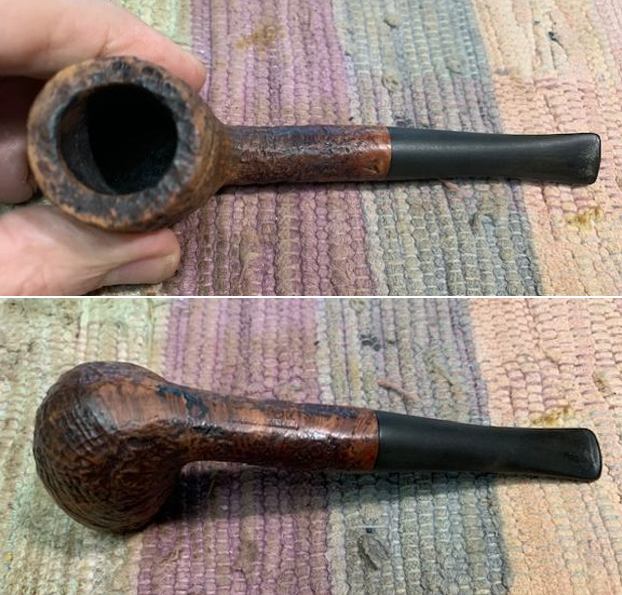
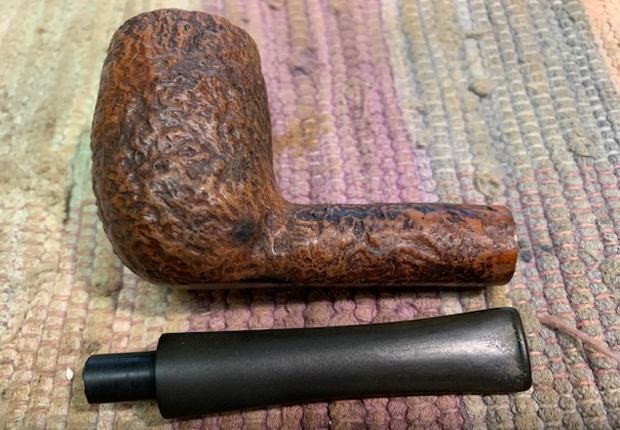
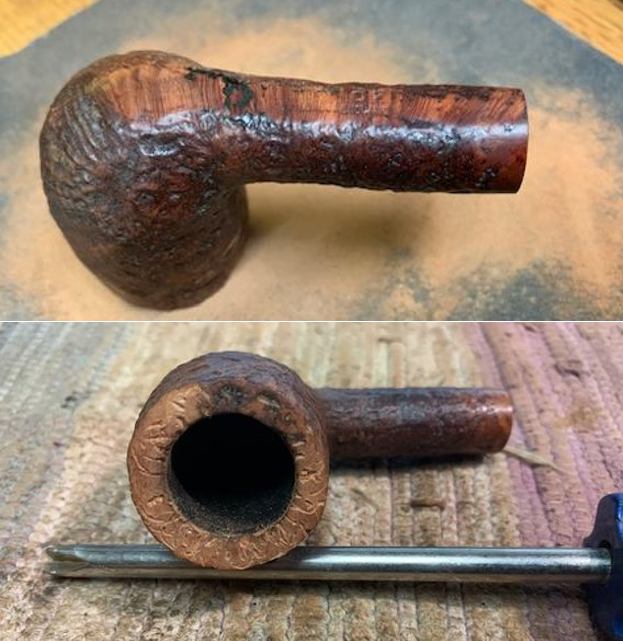
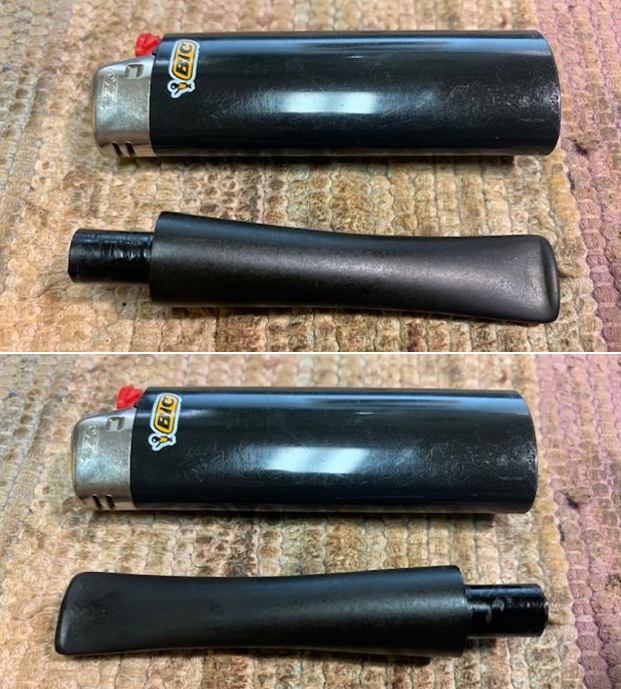
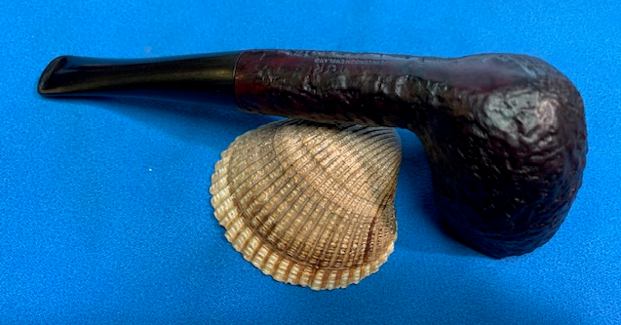
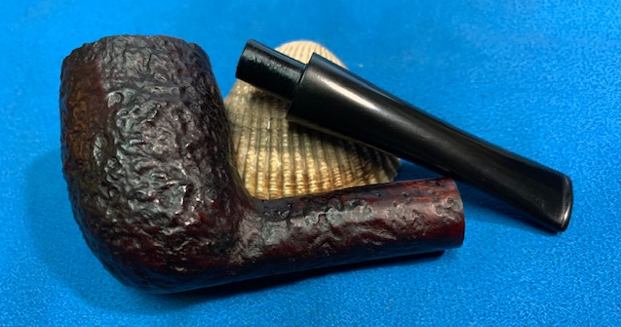
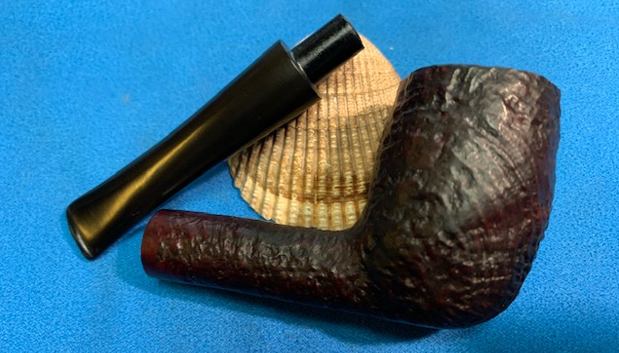
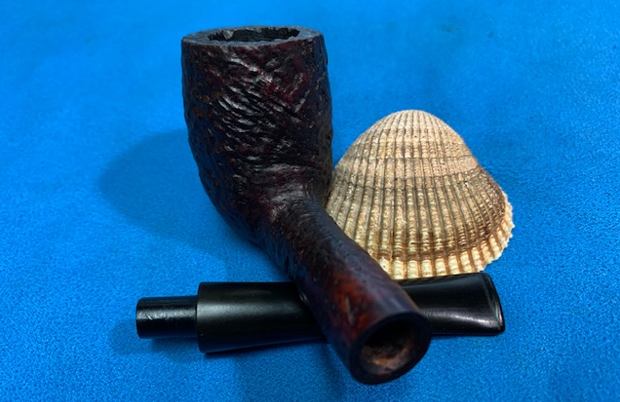
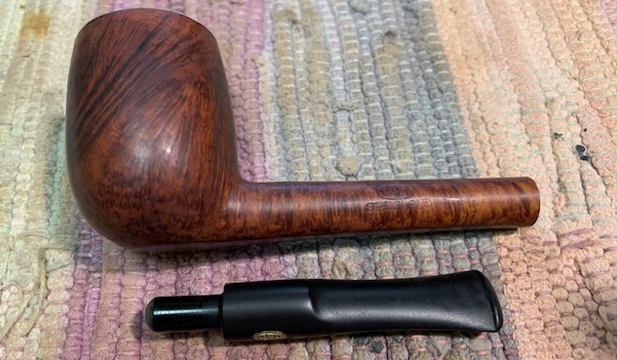
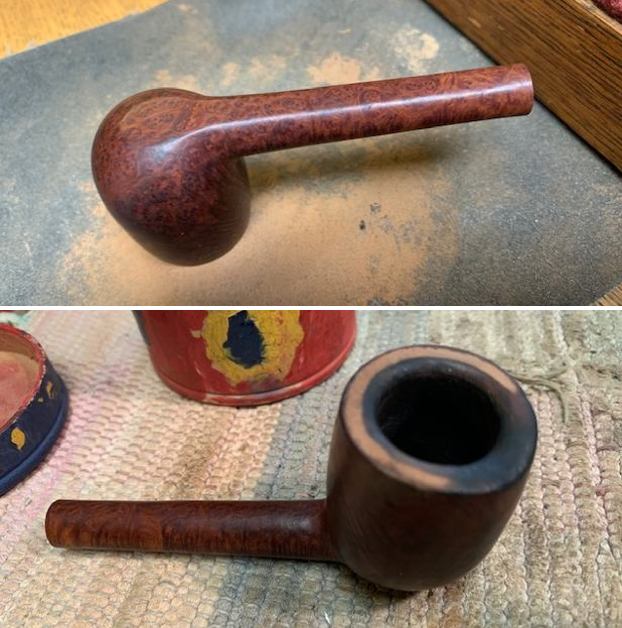
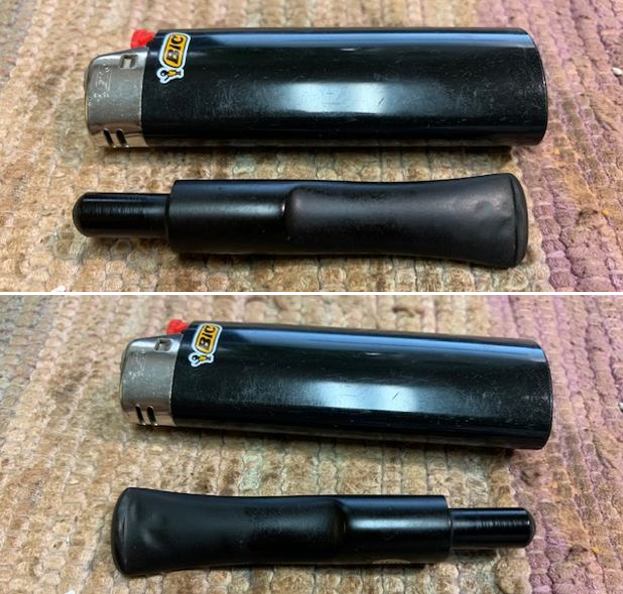
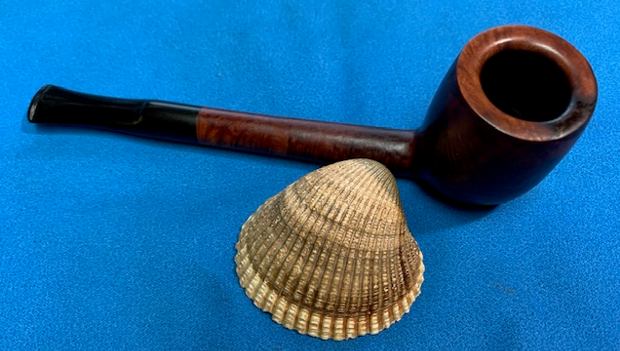
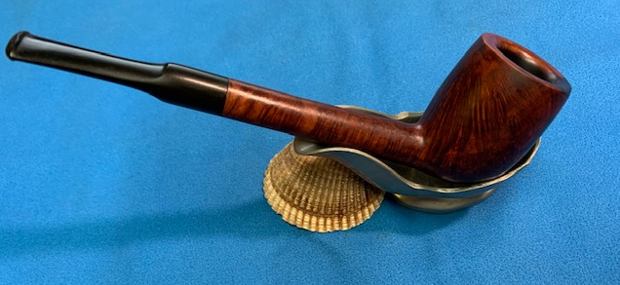
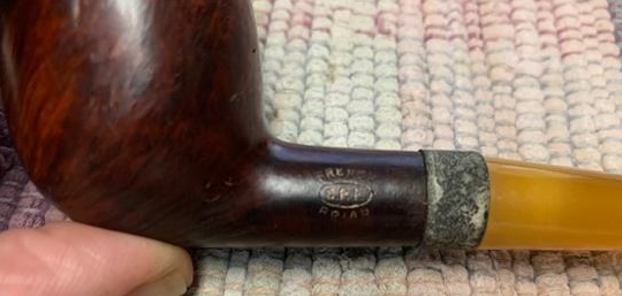 I removed the stem from the shank and took a photo of the parts to give a sense of the beautiful proportions of this nice little pipe. I think it will be quite stunning once it is restored.
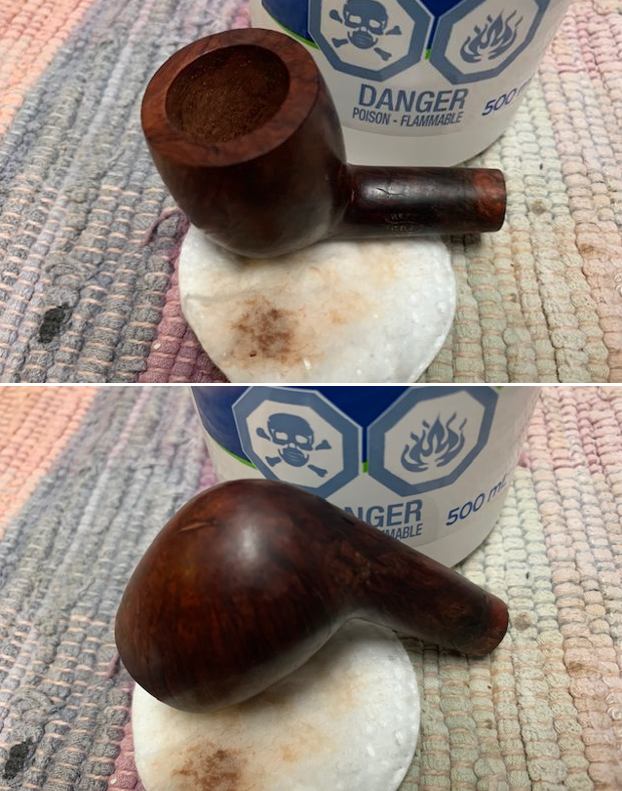
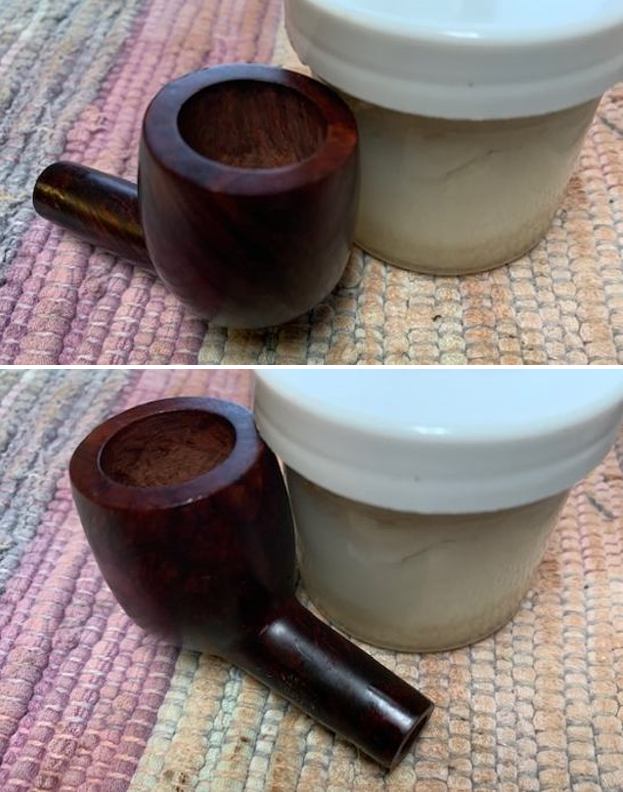
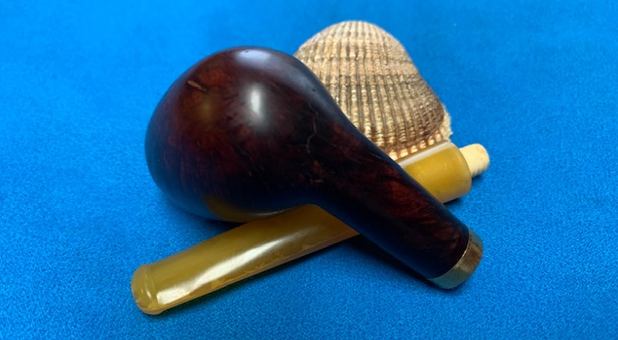
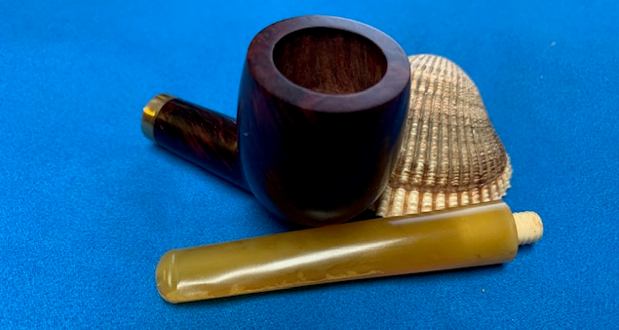
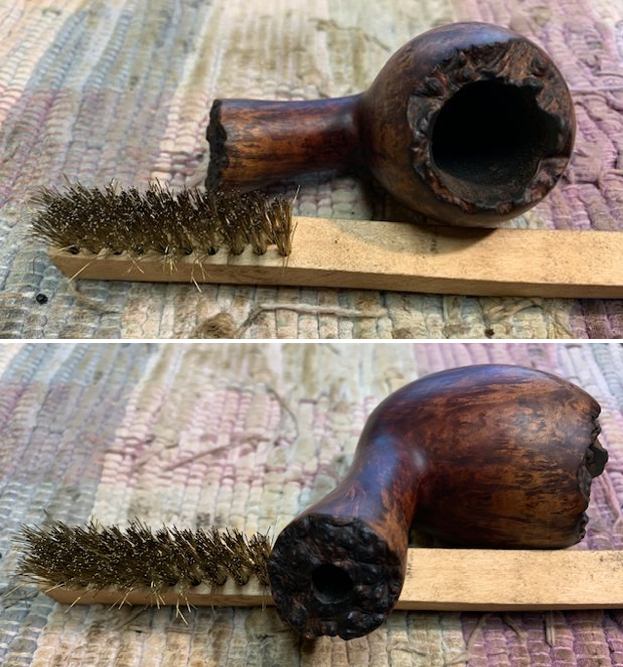
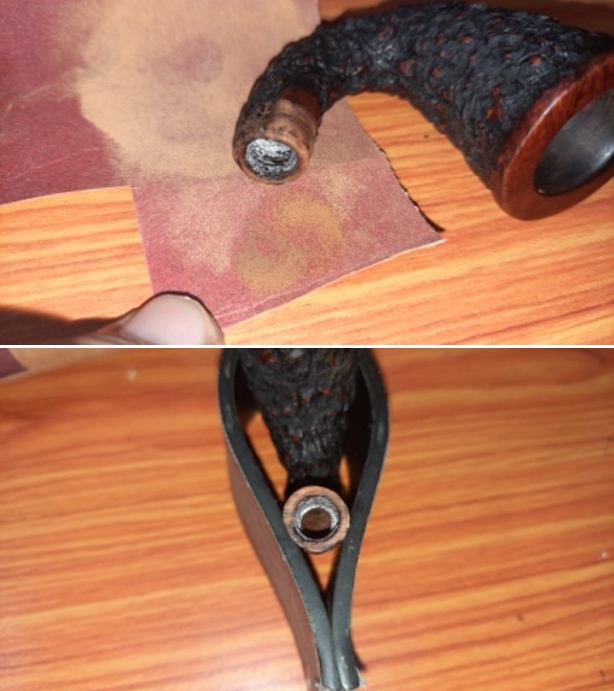
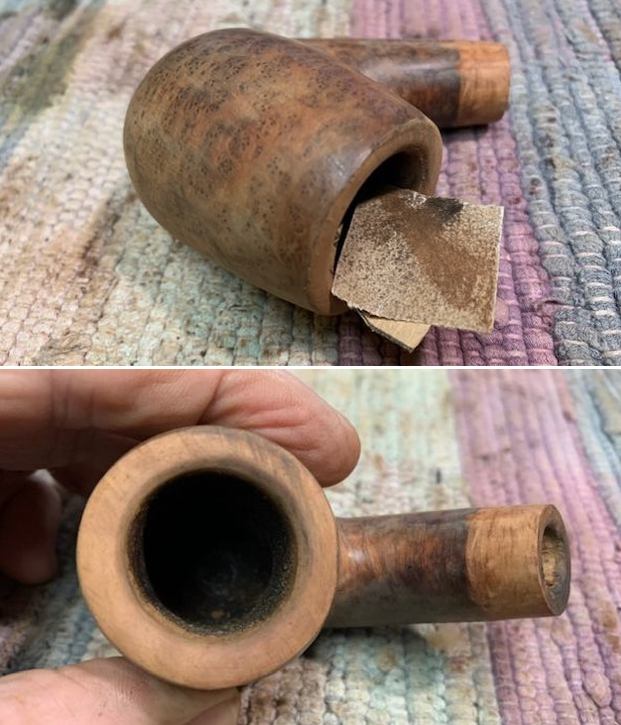
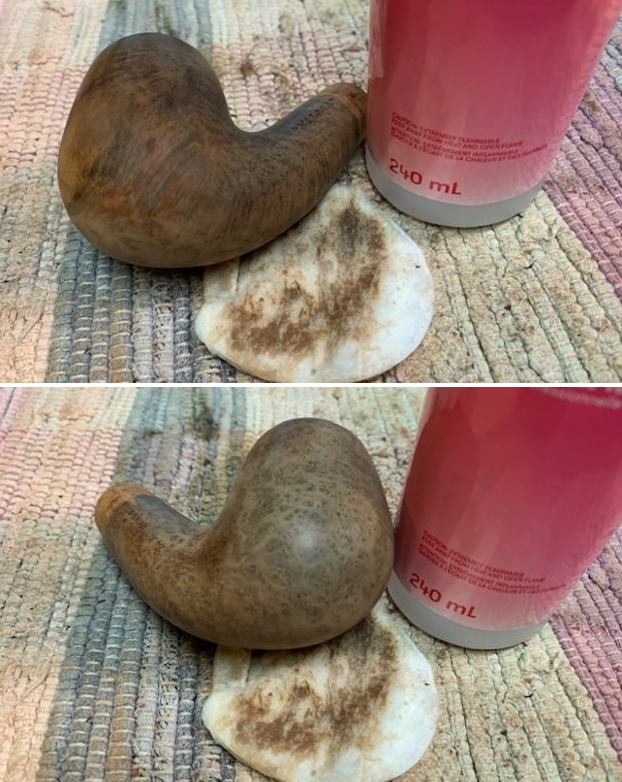
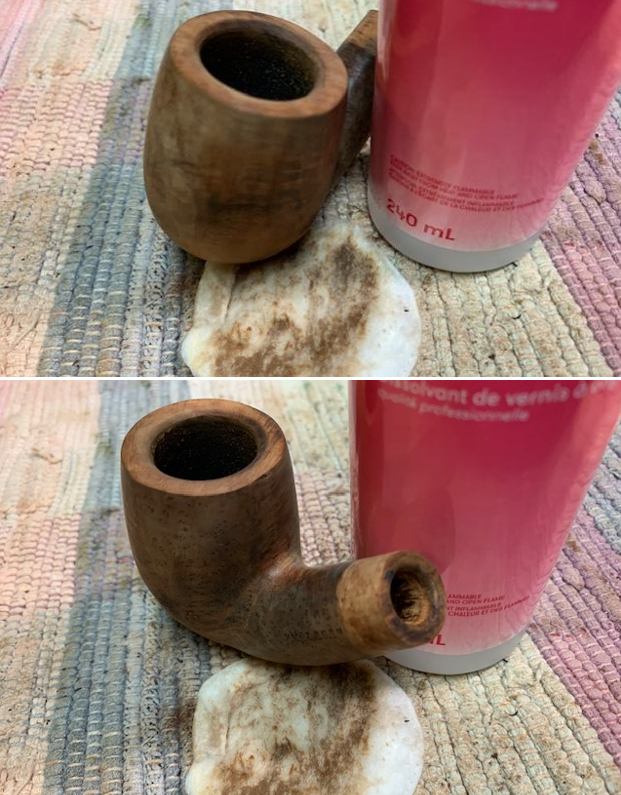
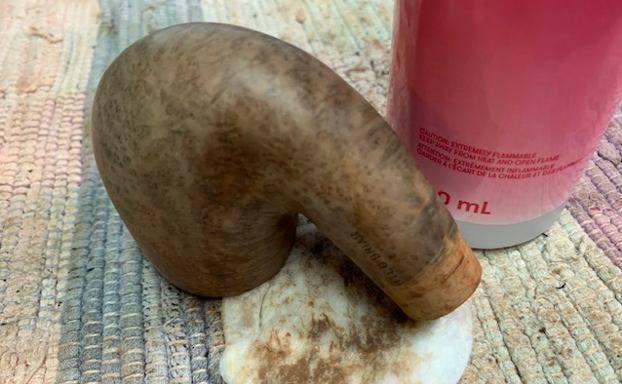
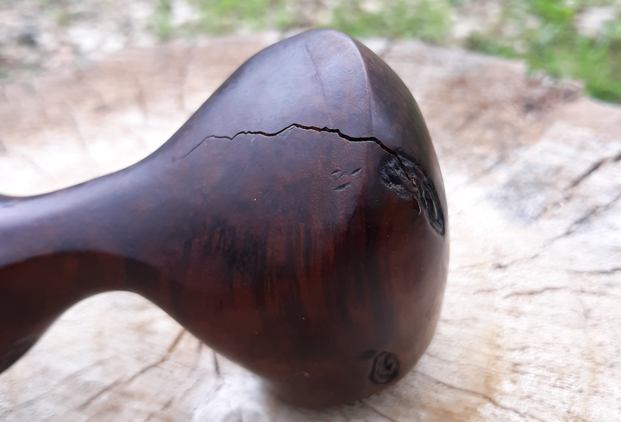
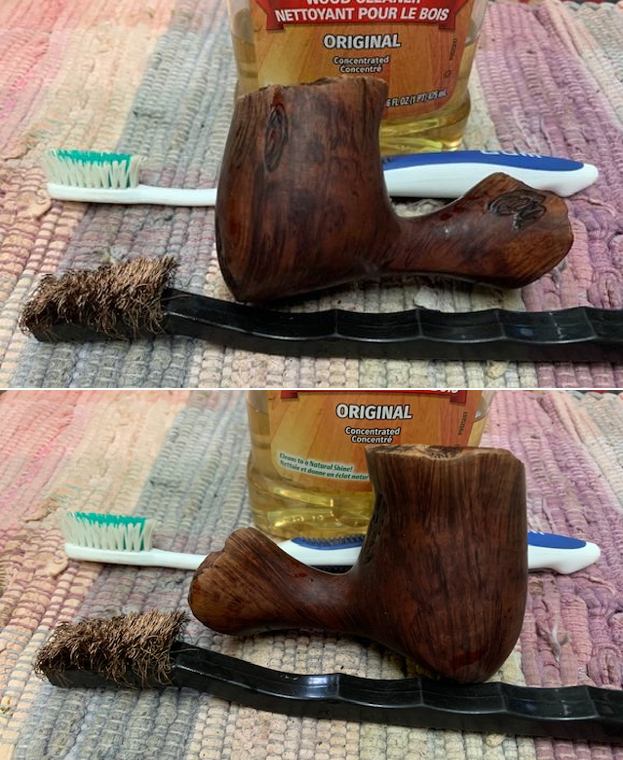
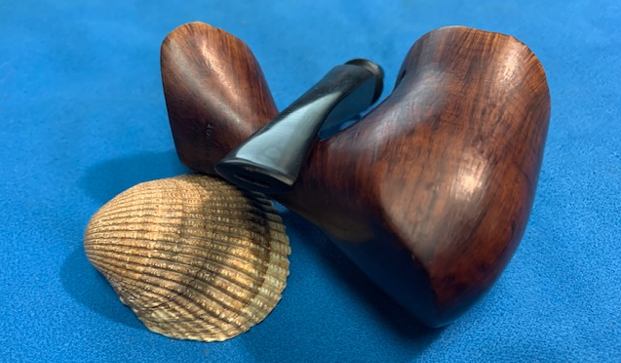
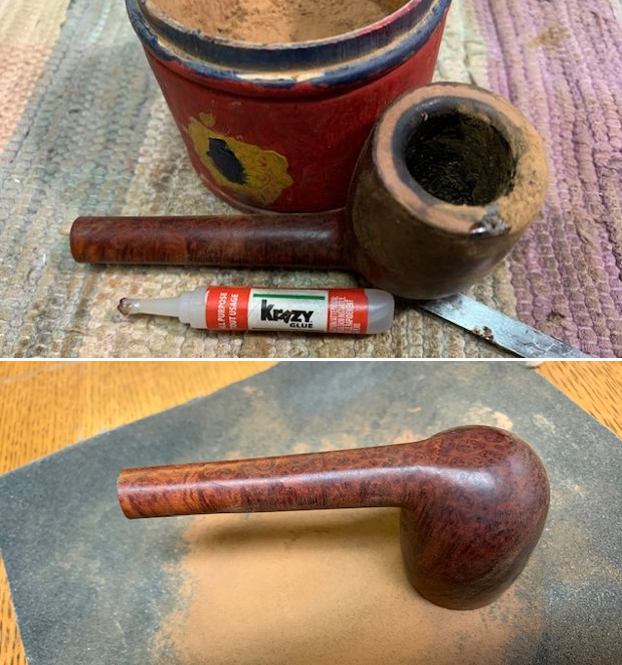
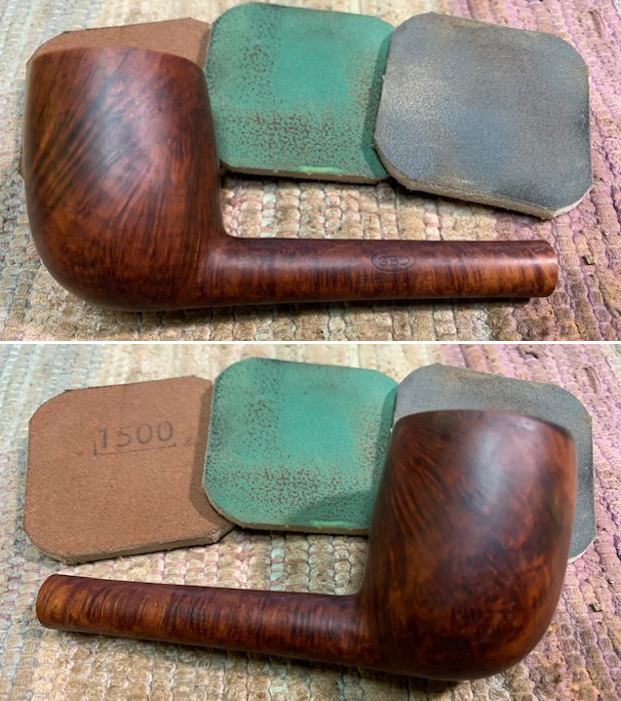
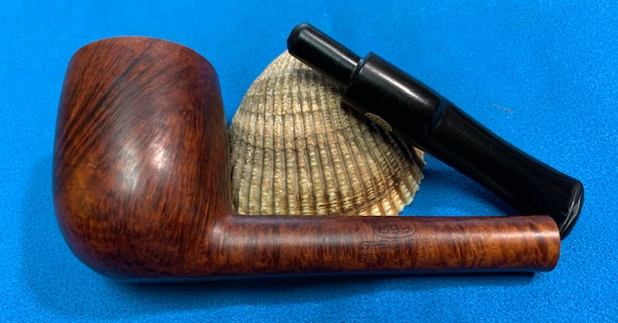
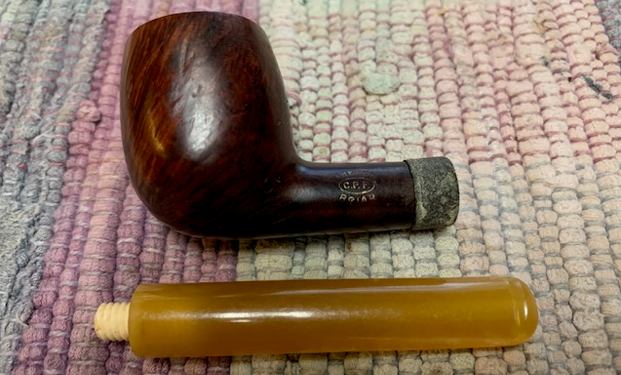 I removed the corroded band from the shank and wiped down the bowl with isopropyl alcohol to remove the old varnish coat. I repeated the process until it was removed and I could clearly see the grain around the bowl and shank as well as the many nicks and dings in the briar.
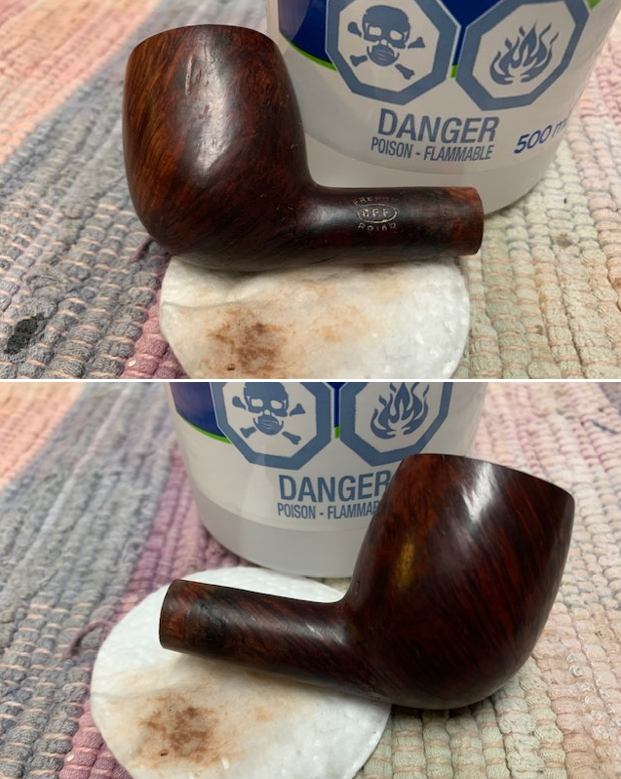
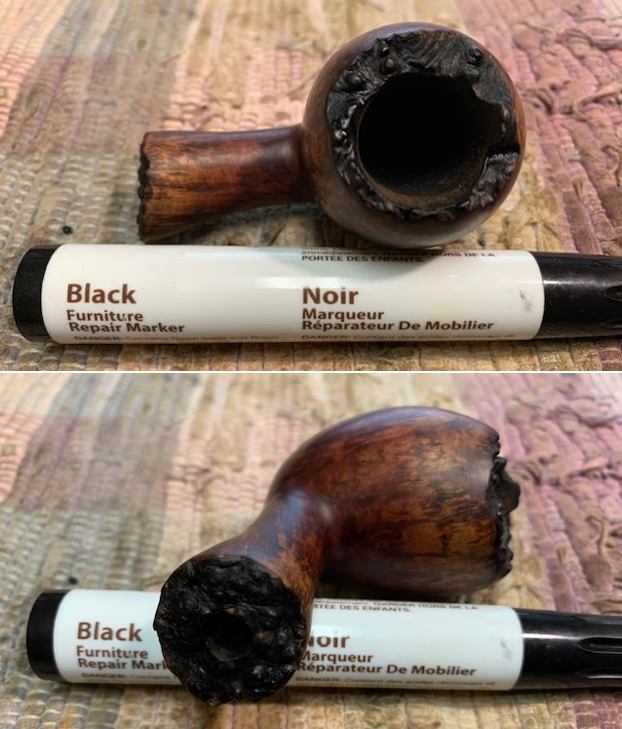
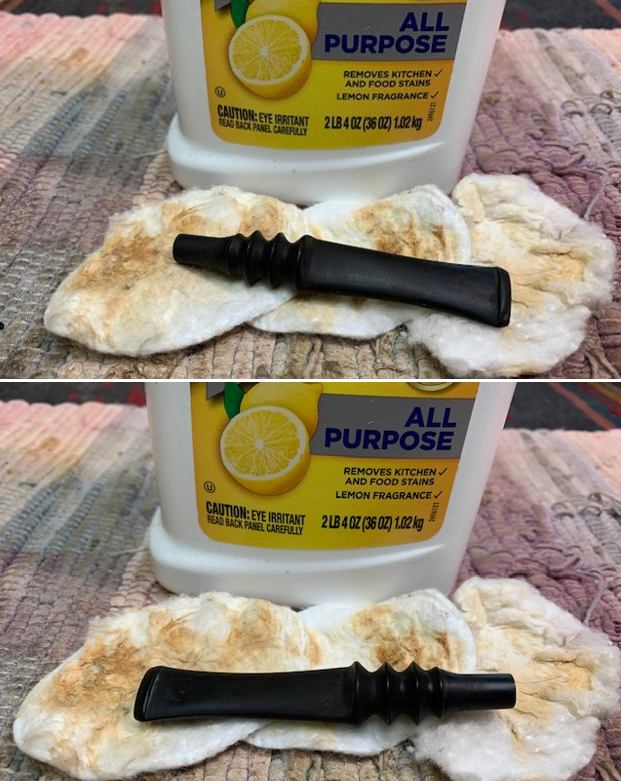
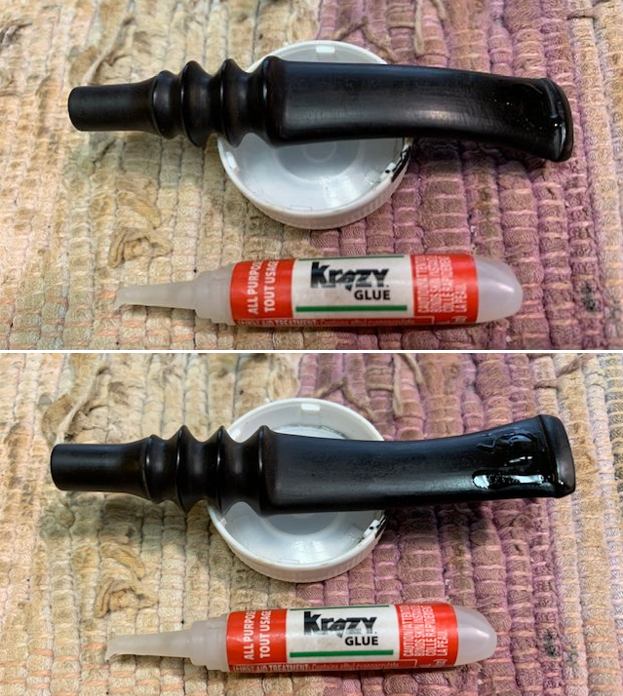
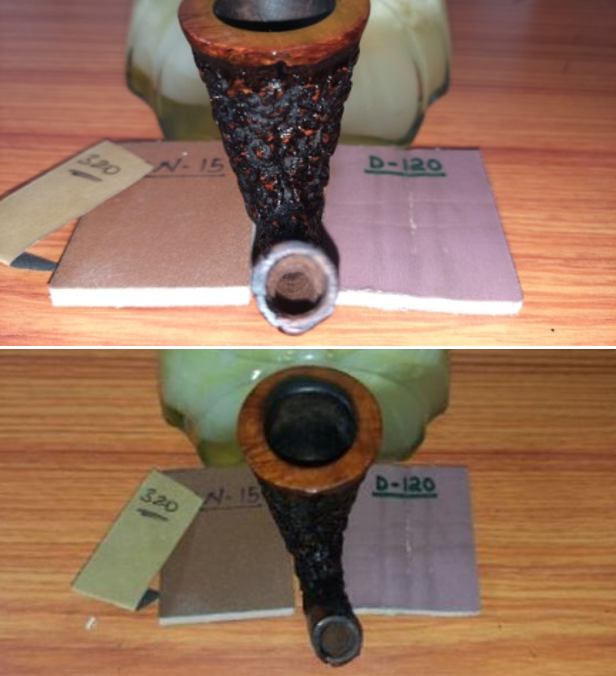
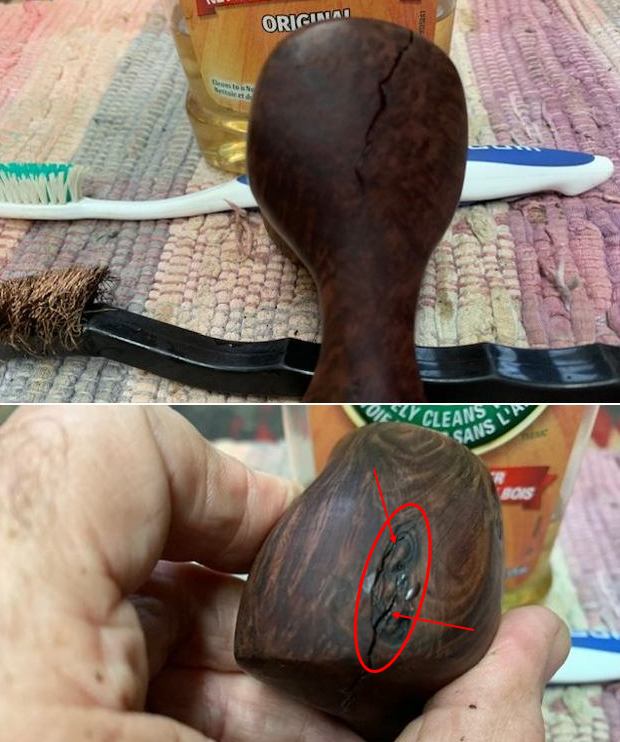
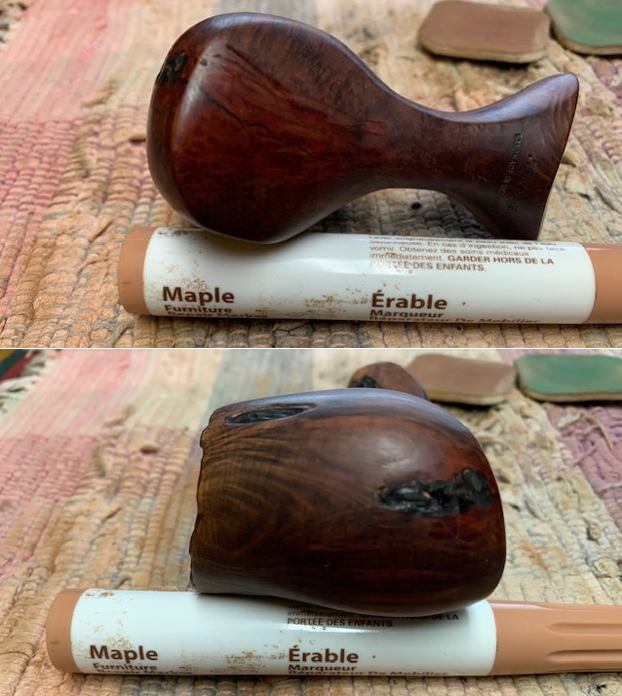
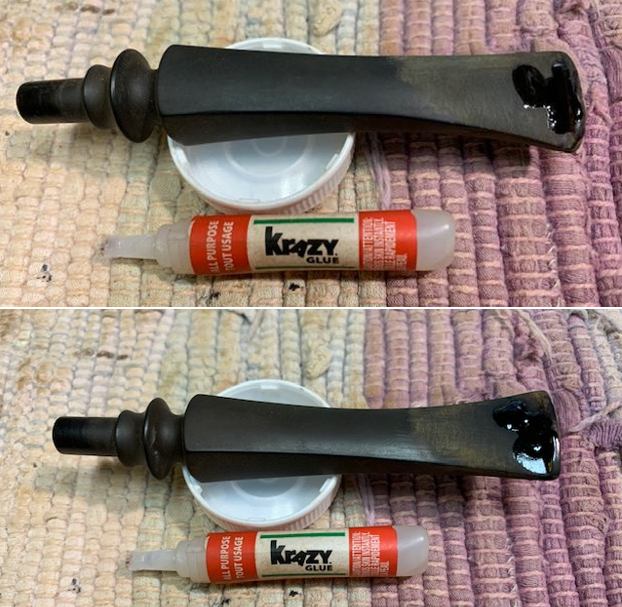
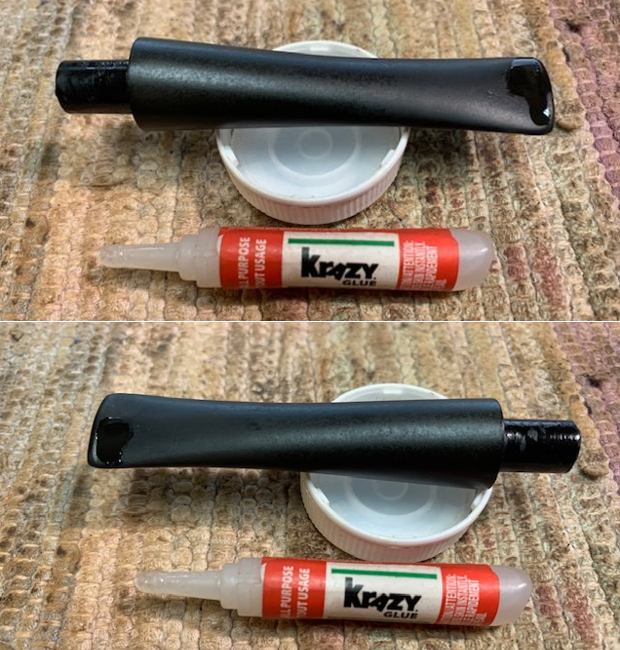
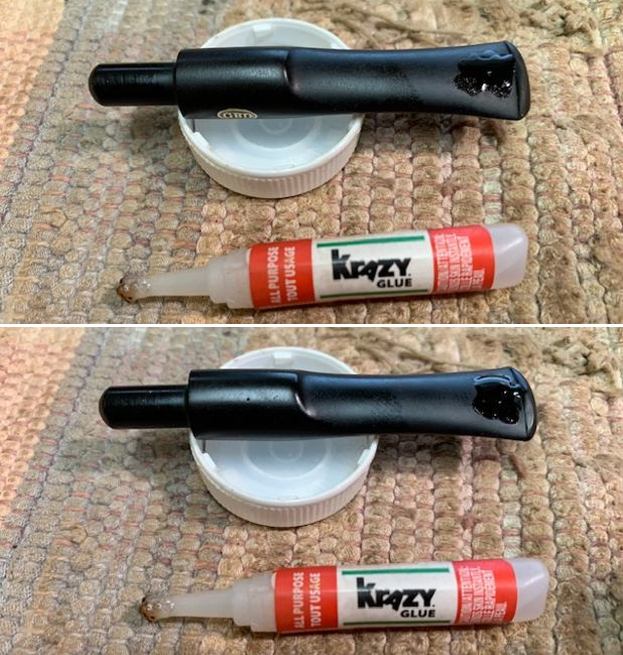
 I filled in the many deep cuts in the surface of the briar with clear CA glue. I was careful to not over fill them as I wanted to be able to polish them out with the micromesh sanding pads.
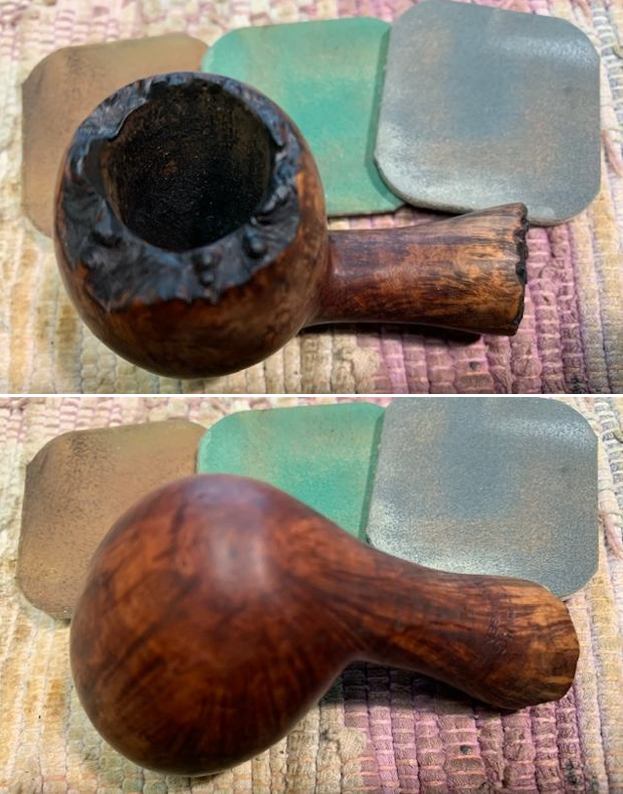
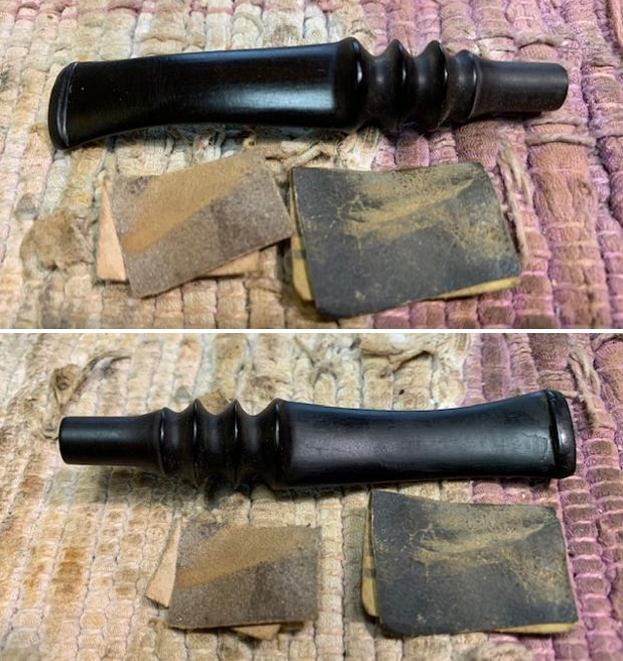
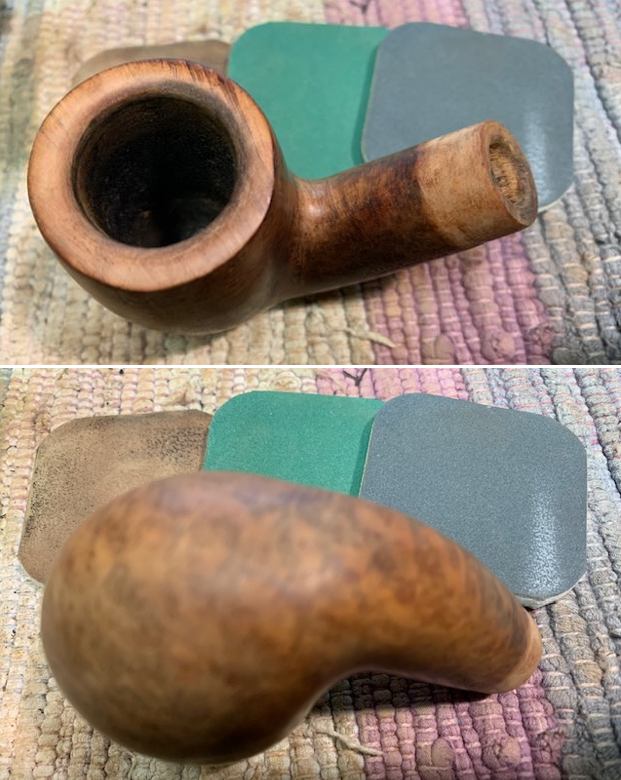
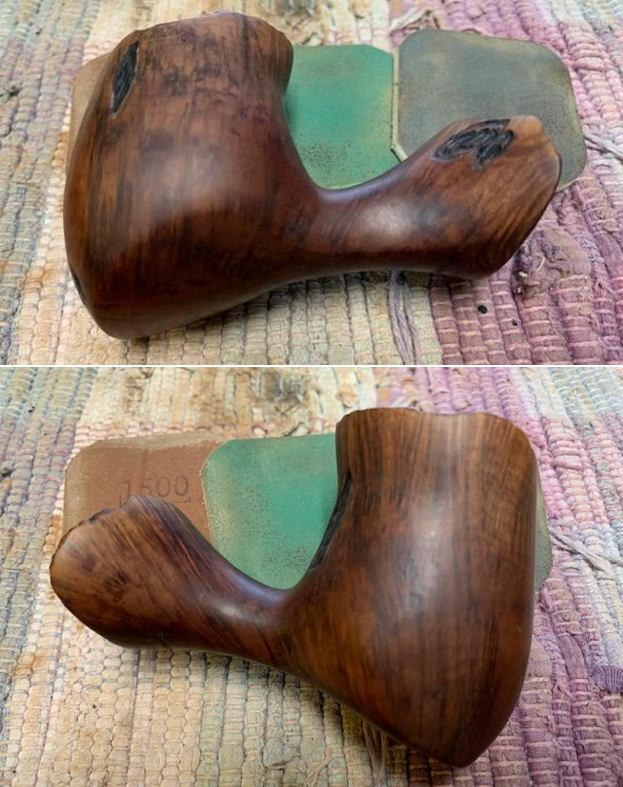
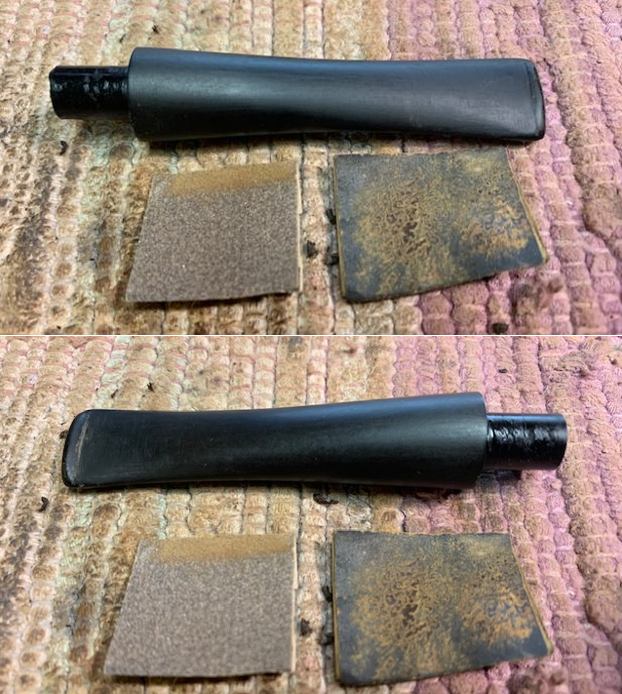
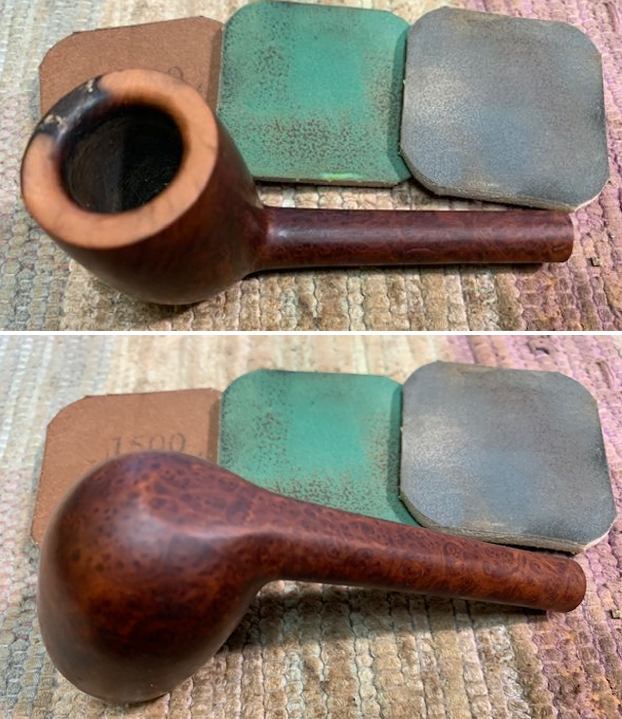
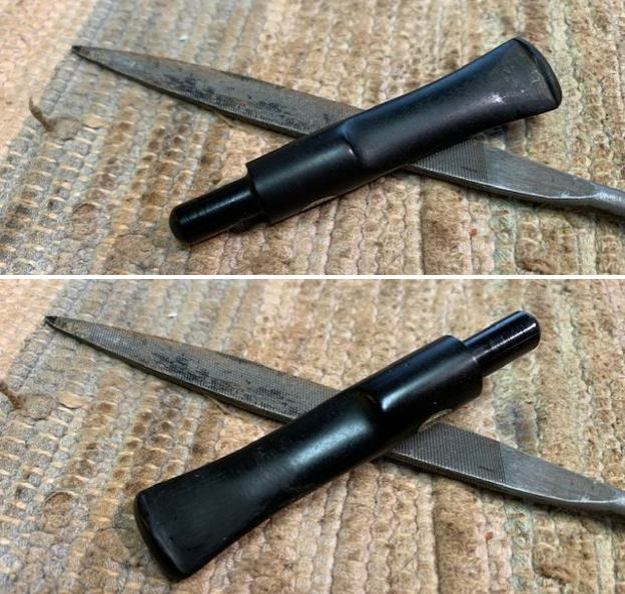
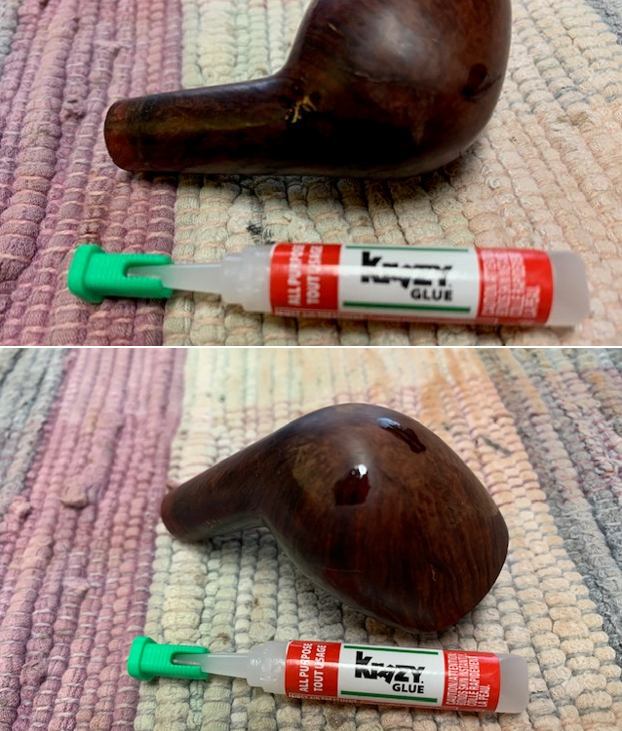 I polished the briar with micromesh sanding pads and dry sanded with 1500-12000 grit pads. I wiped the bowl down after each pad to check and make sure there was progress. By the end the bowl was taking on a natural shine and the grain really stood out.
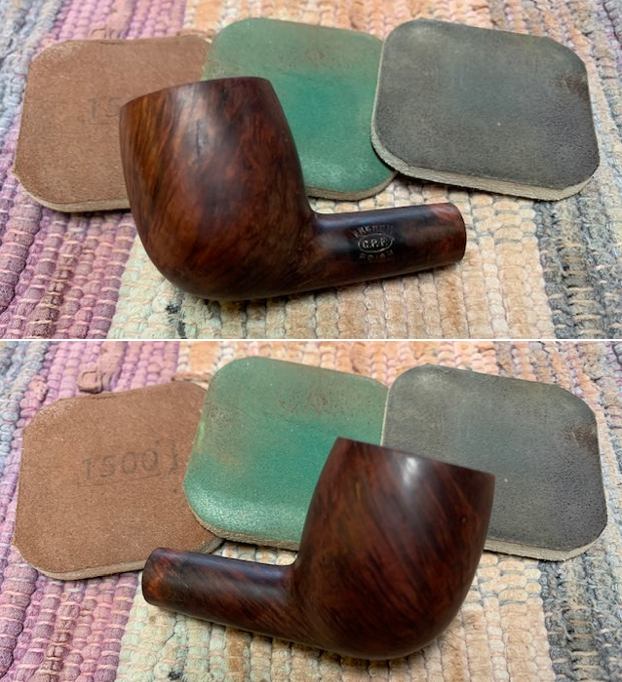
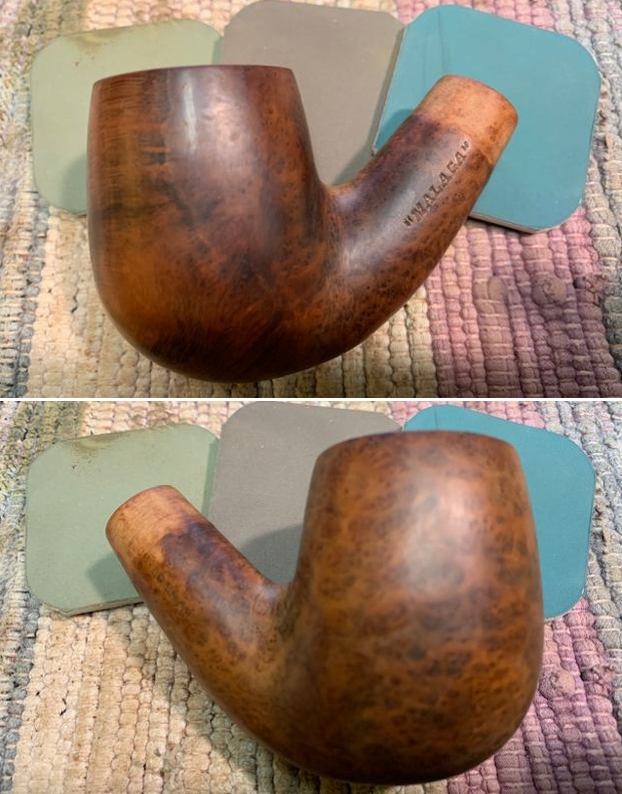
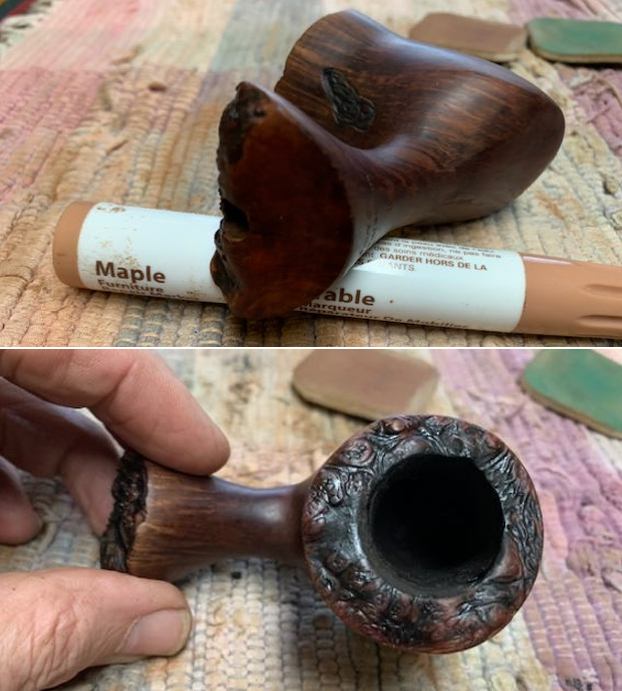
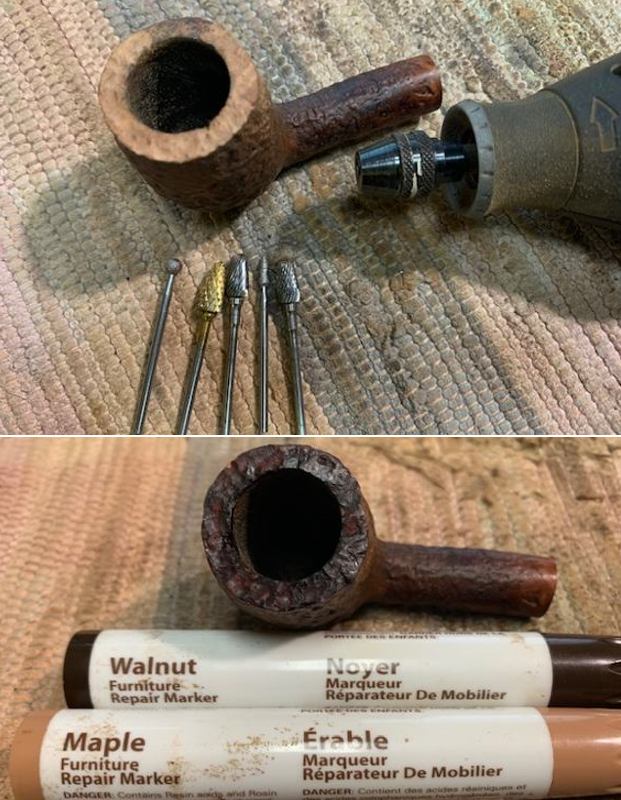
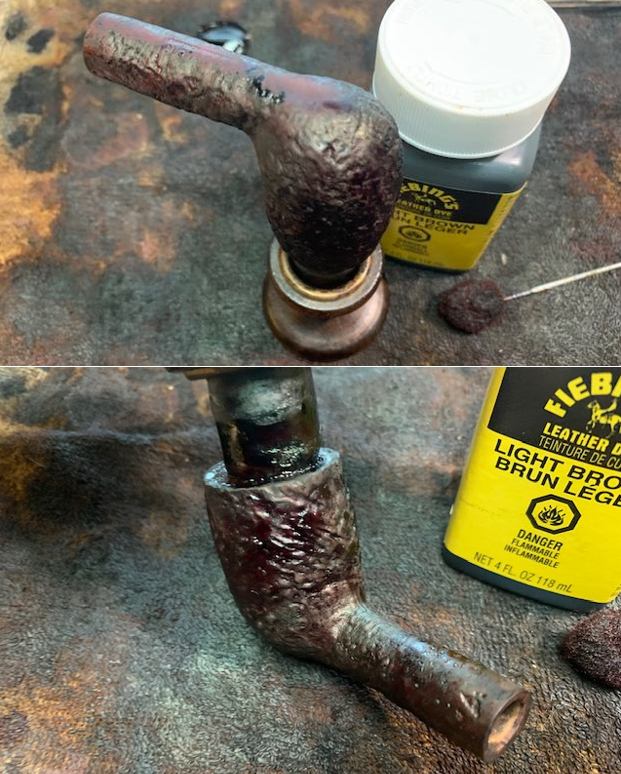
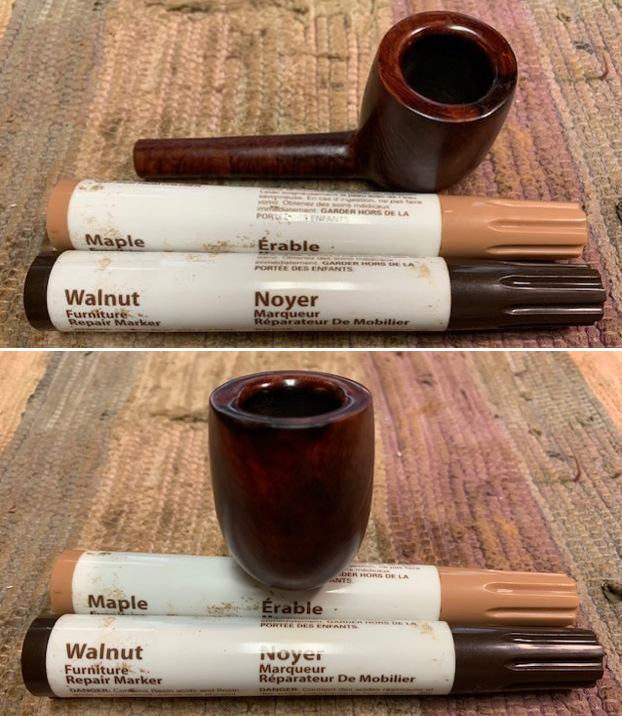
 I paused the polishing to touch up the light area that had appeared where the corroded band had been. I used a Mahogany and a Cherry stain pen to combine to match the rest of the bowl and shank. Once it was finished I touched up the gold stamping on the left side of the shank with Rub’n Buff Antique Gold. I worked it into the stamp with a tooth pick and rubbed it off with a cotton pad.
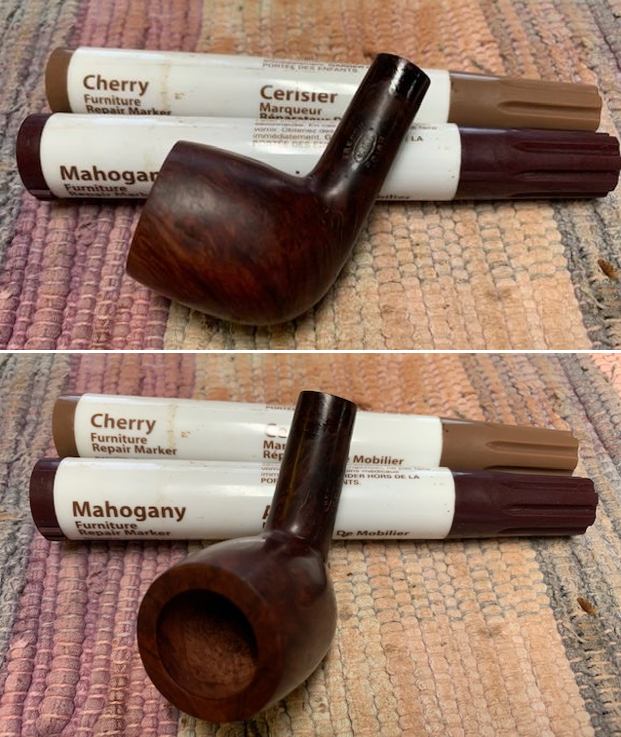
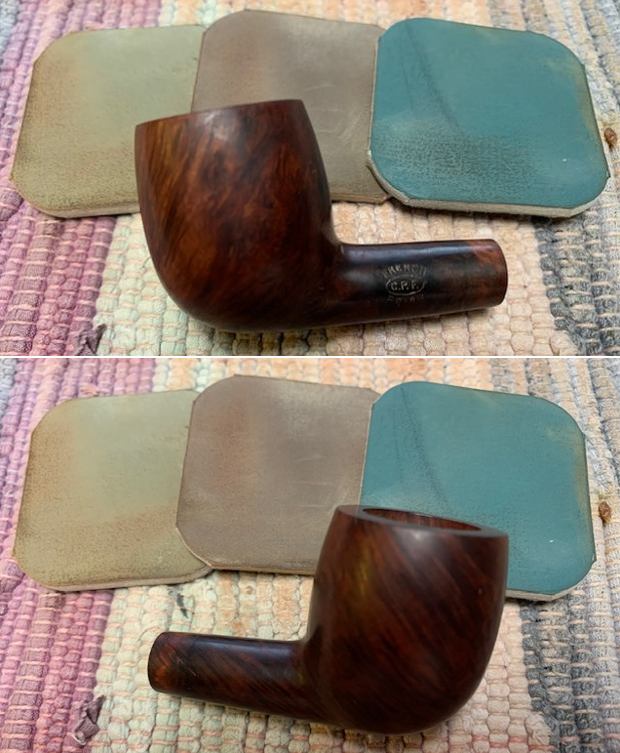
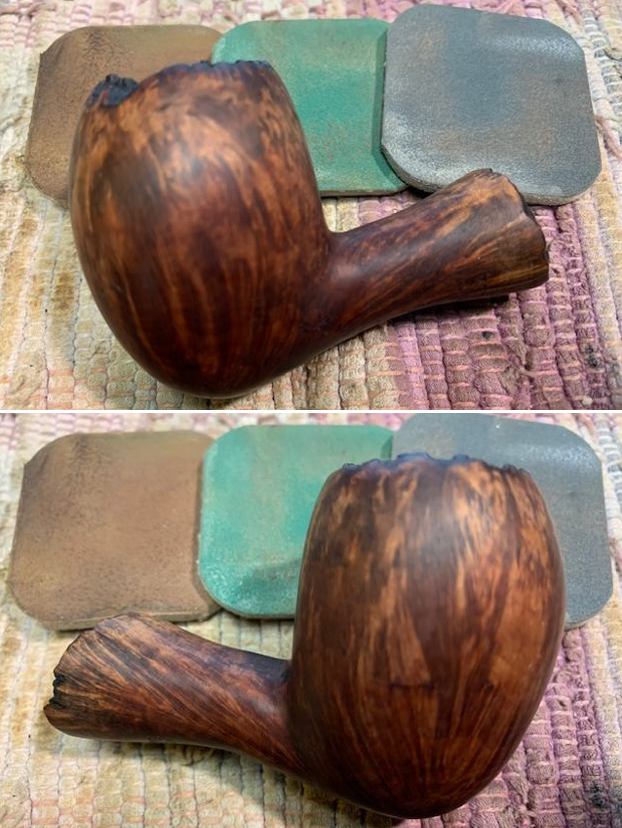
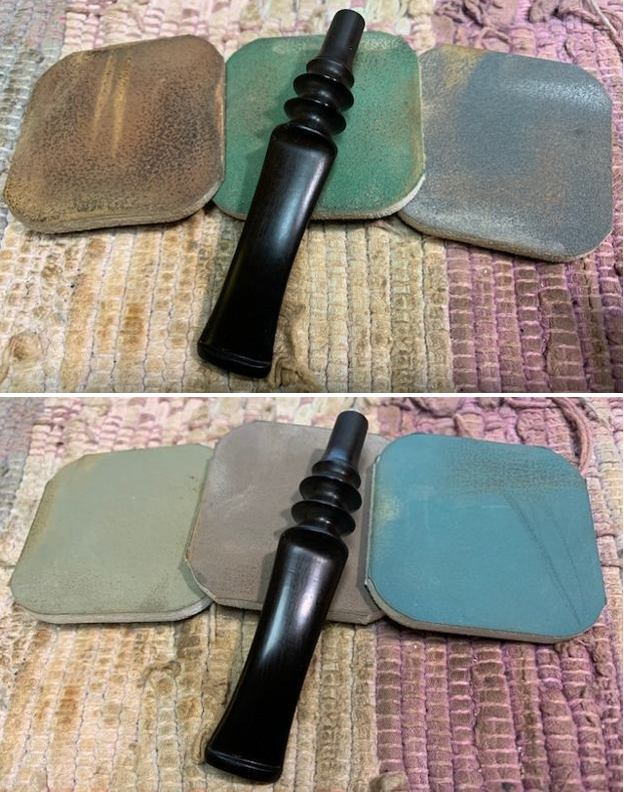
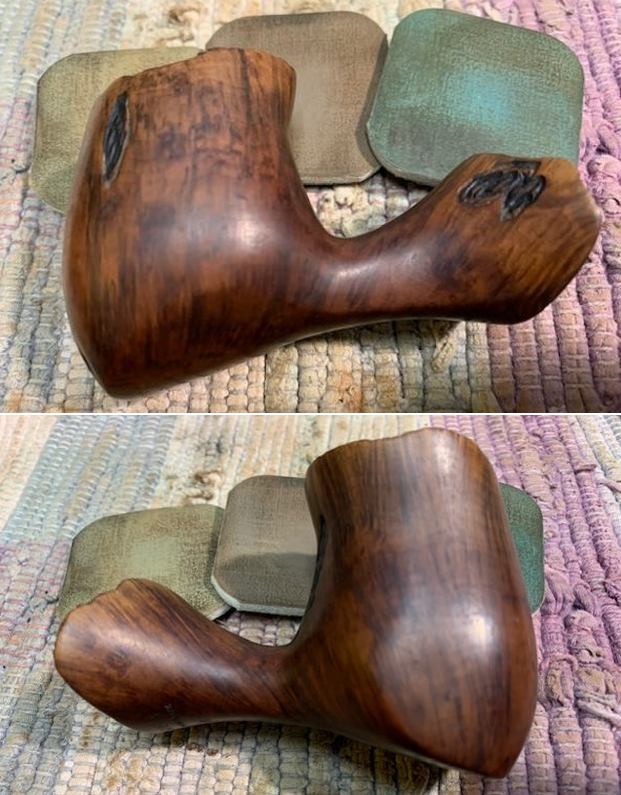
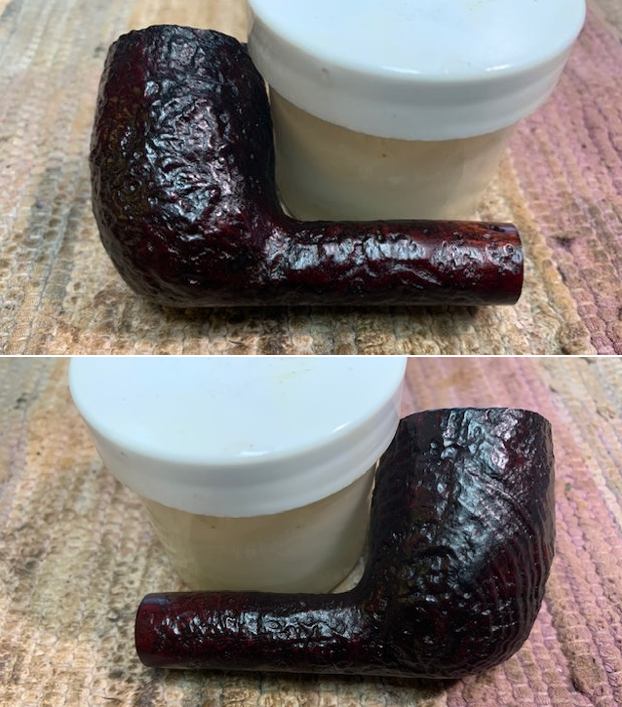
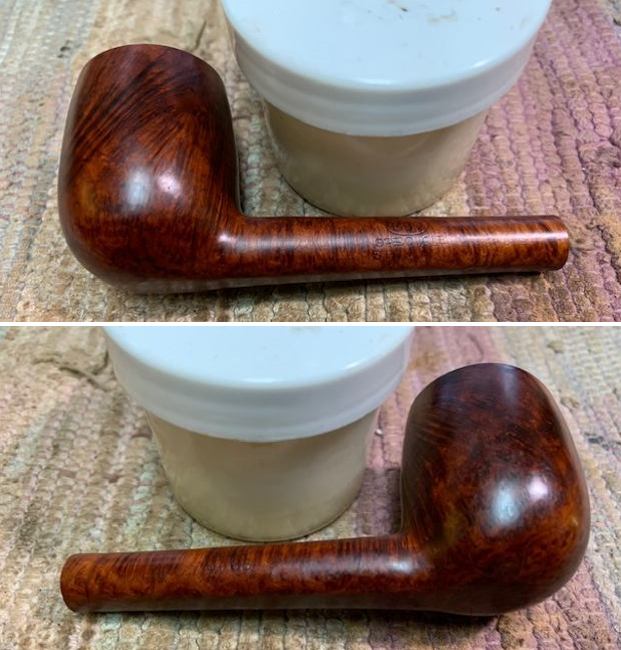
 I went back and finished polishing the bowl and shank with the final three micromesh pads – 6000-120000 grit pads. I wiped the bowl and shank down between each pad with a damp cloth. The bowl began to look very good.
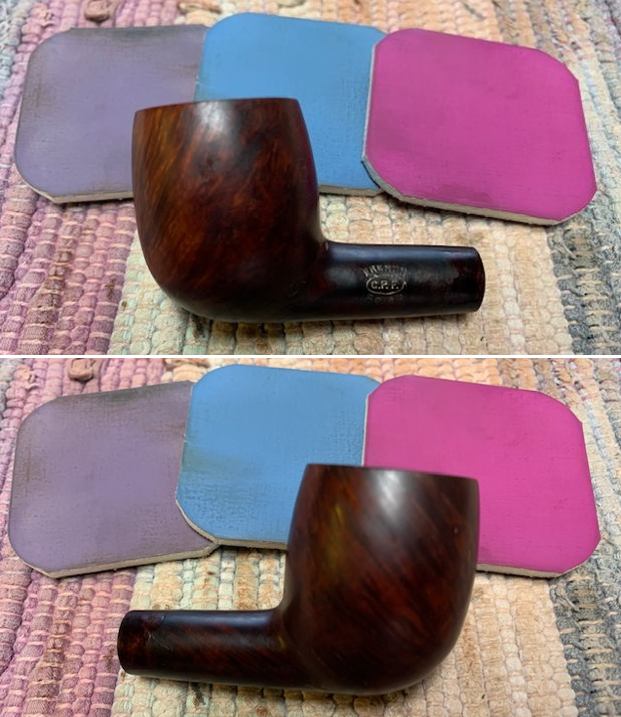
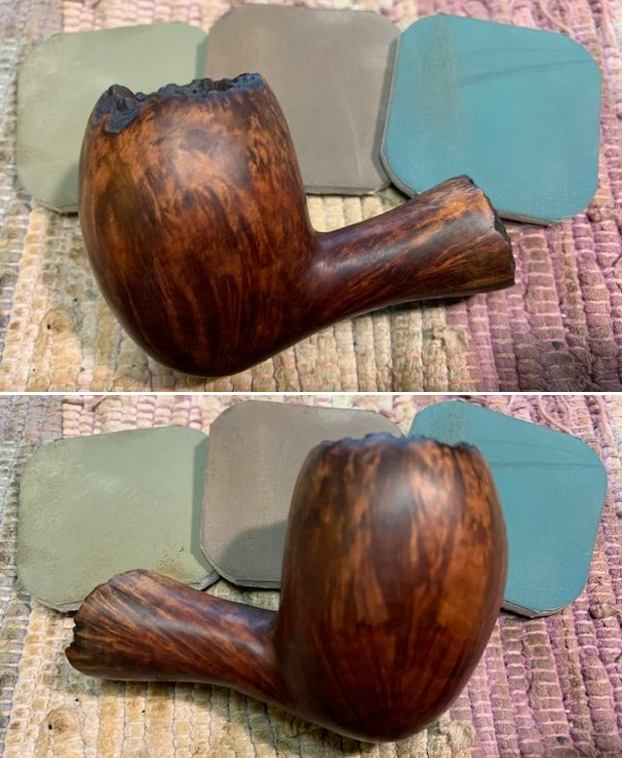
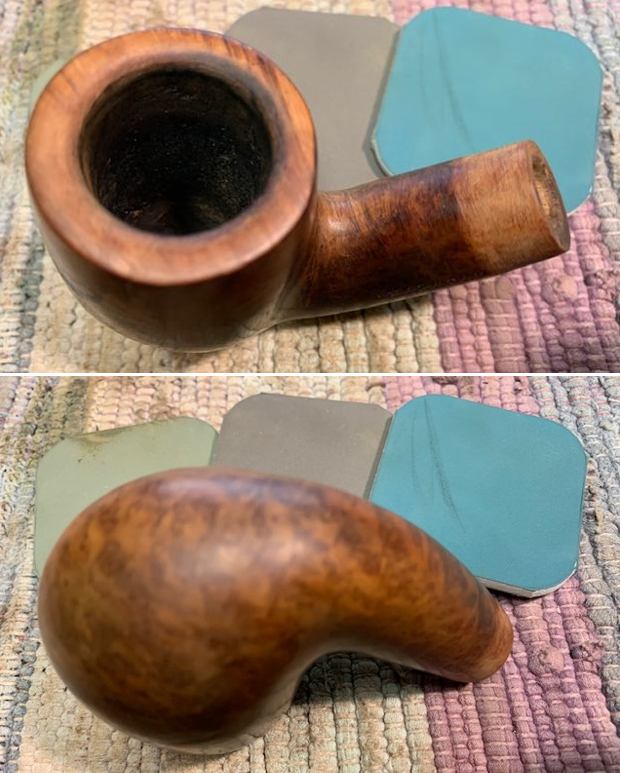
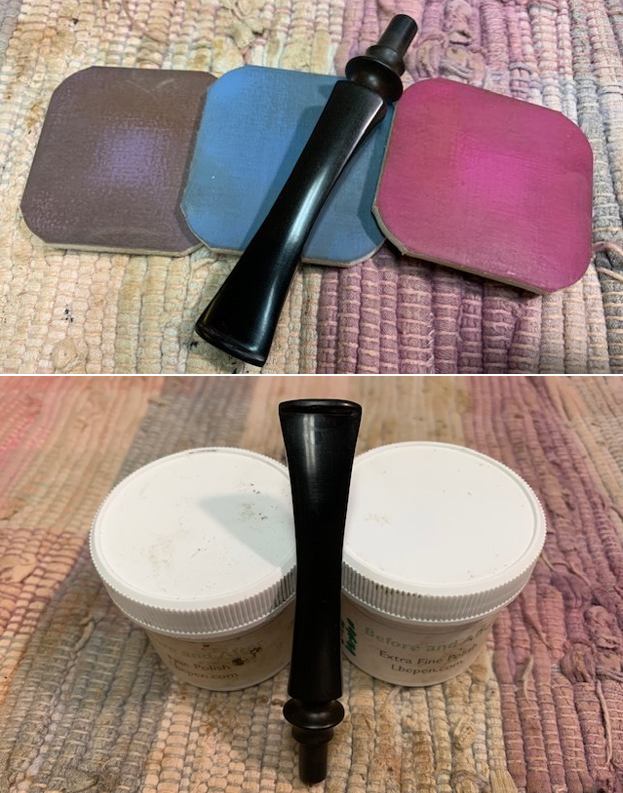
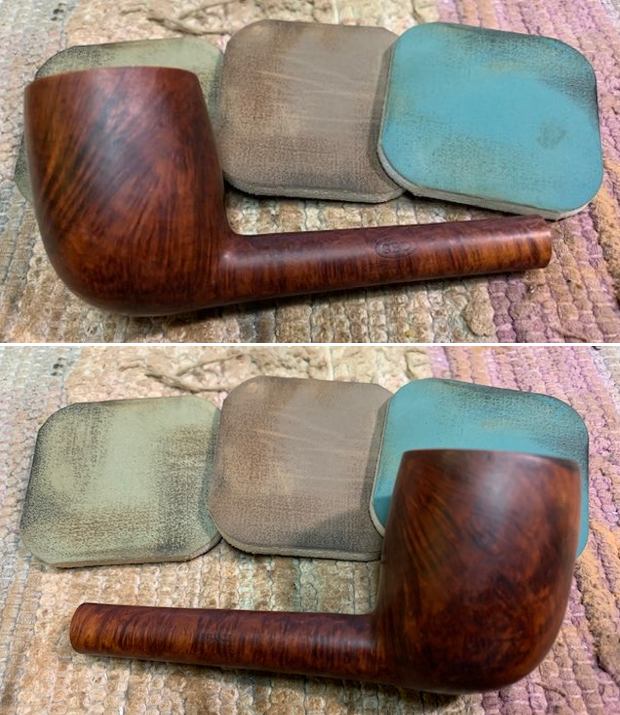
 I rubbed the bowl and shank down with Before & After Restoration Balm. I worked it into the surface of the bowl sides and shank with my fingertips to clean, enliven and protect the briar. I let the balm sit for 10 minutes, then buffed with a cotton cloth to raise the shine. The Balm did its magic and the grain stood out on the briar.
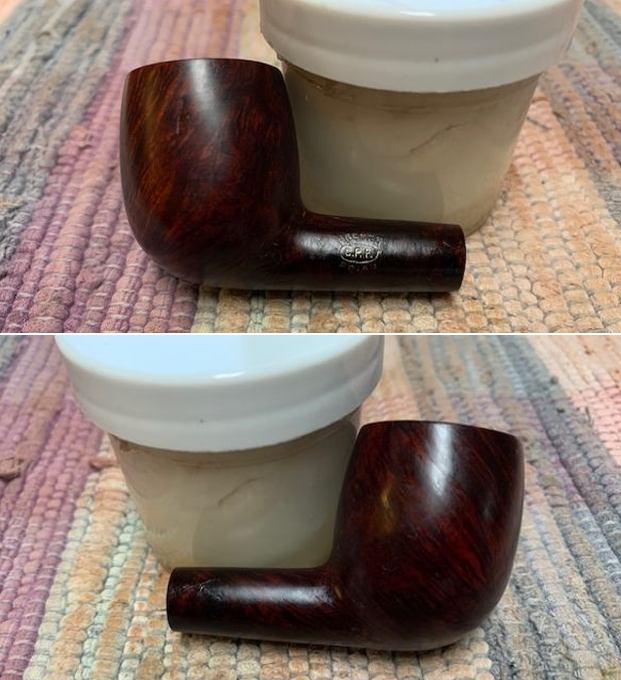
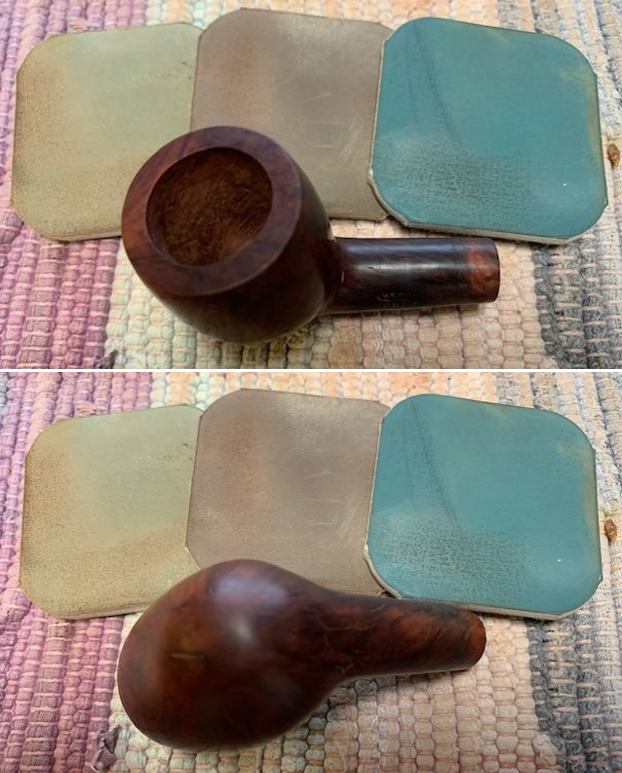
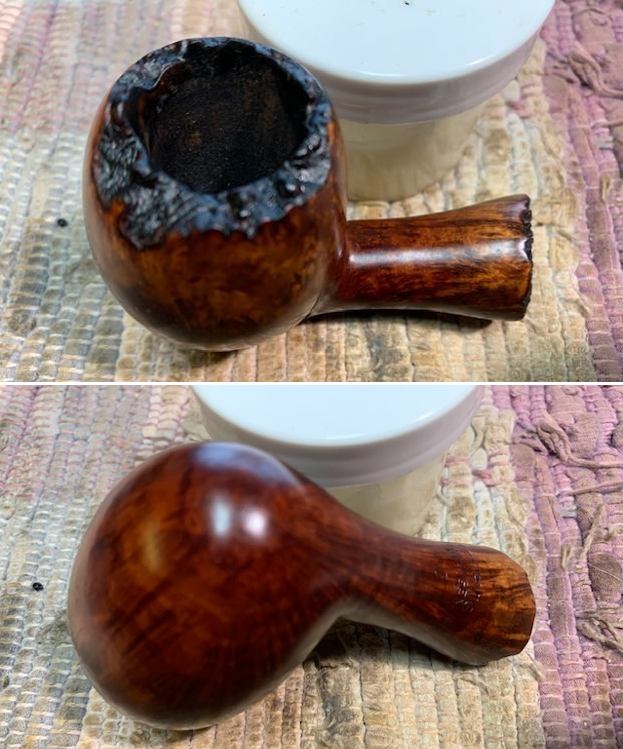
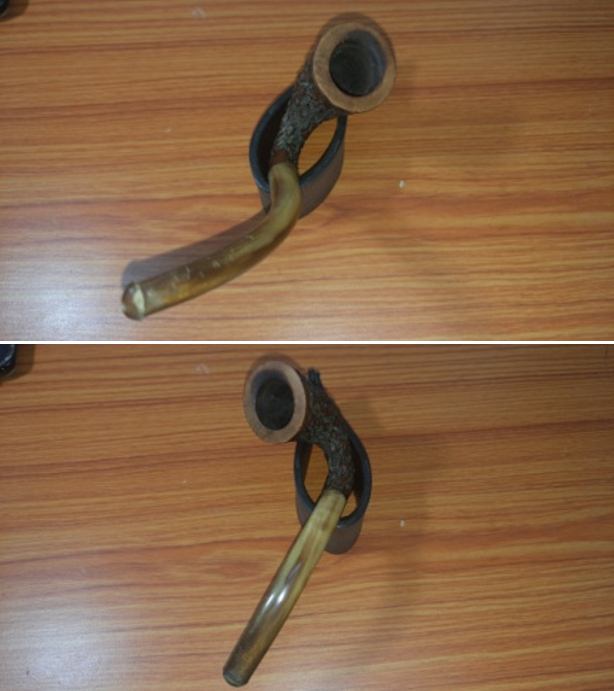
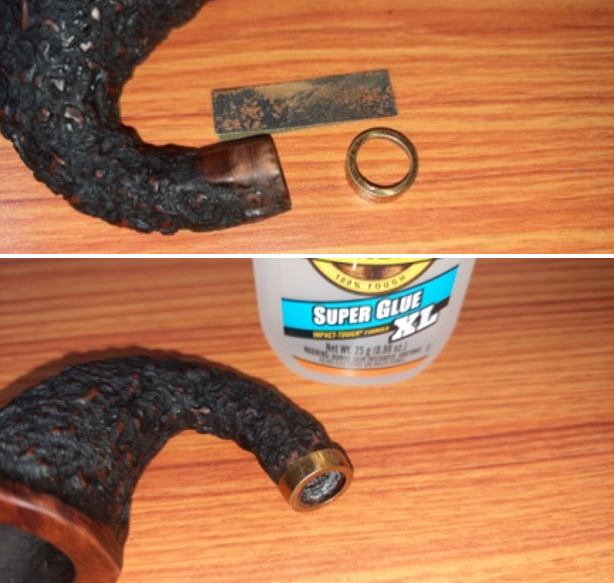
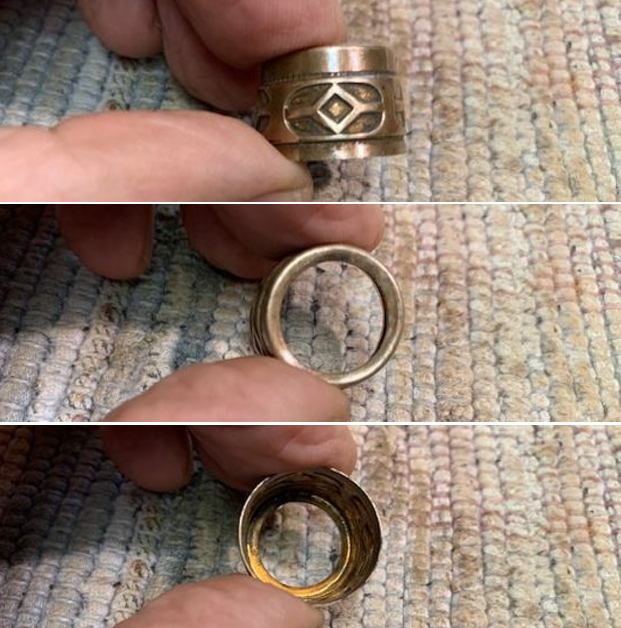
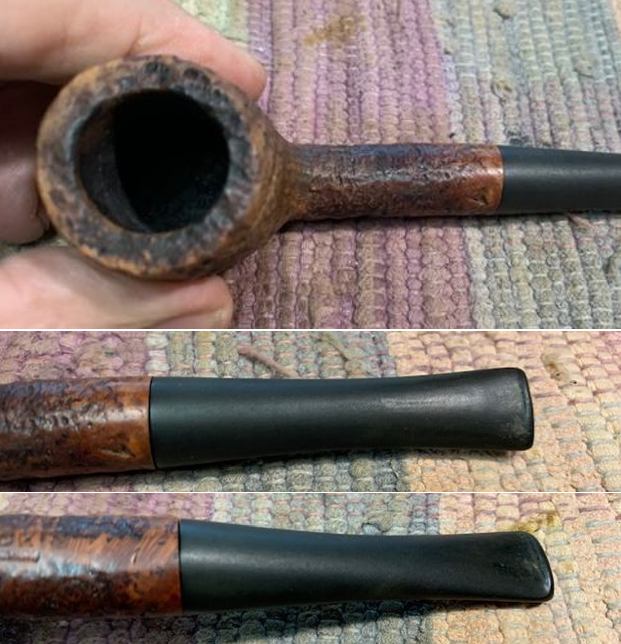
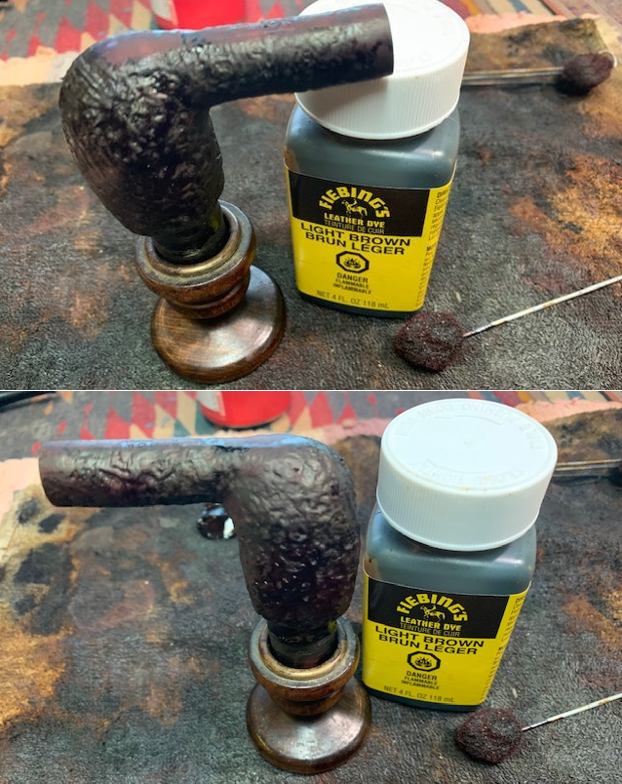
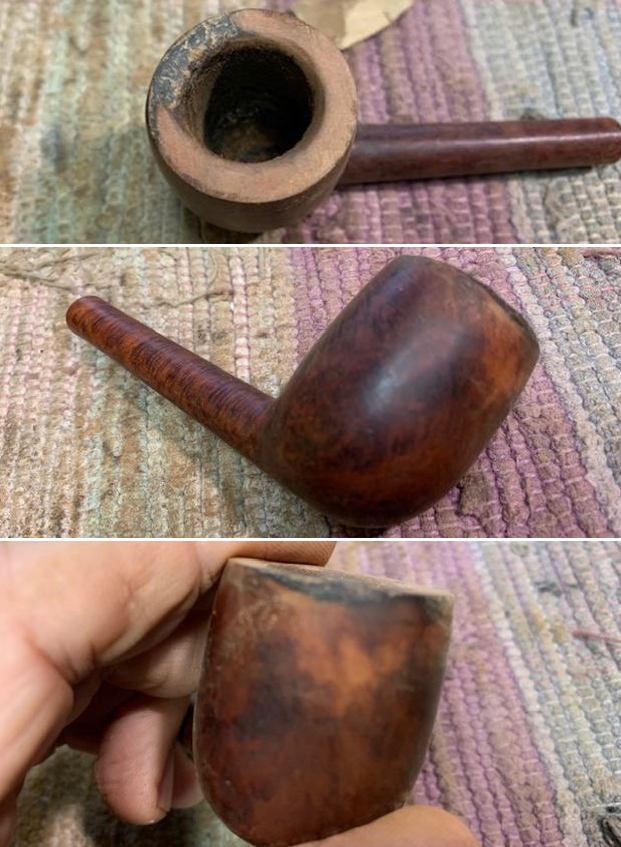
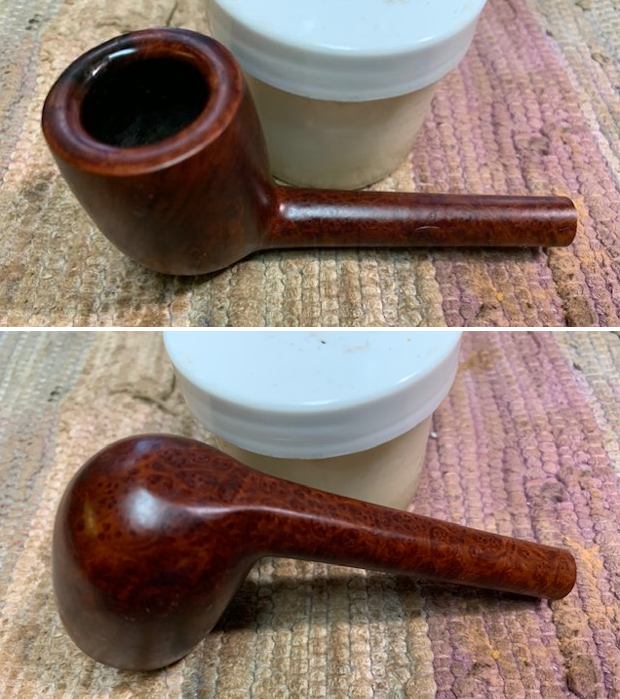
 Now it was time to deal with the band/ferrule. I cleaned off some of the oxidation and corrosion. It was badly pitted so it needed to be replaced. I had an older style polished brass band that would work. I pressed it onto the shank. I took photos of the new look of the pipe once it was in place on the shank end. I like the looks of the pipe now.
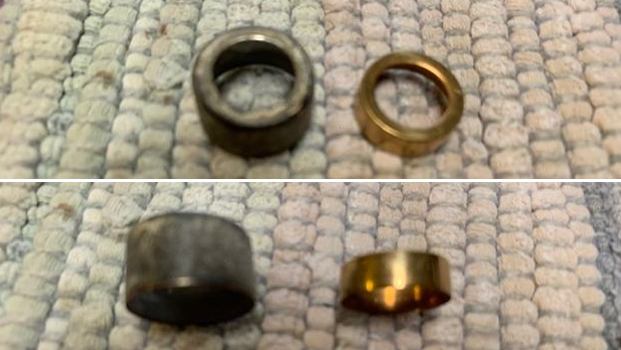
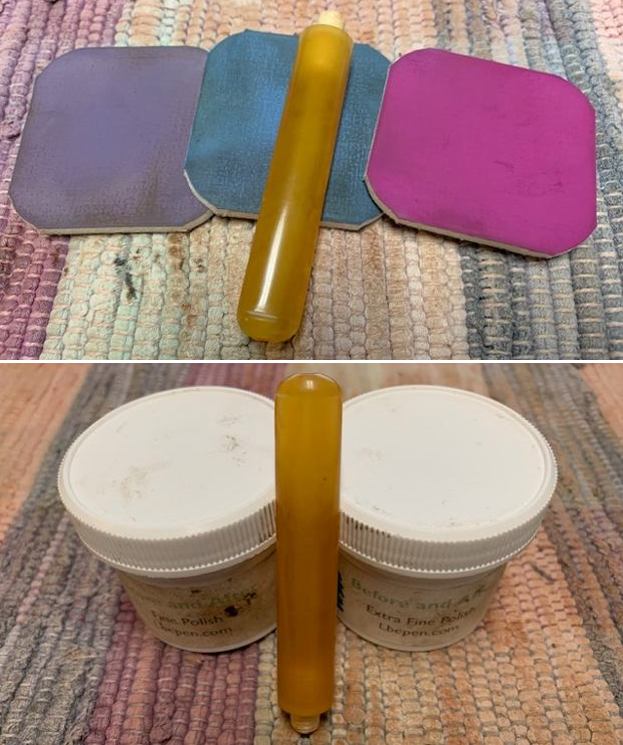
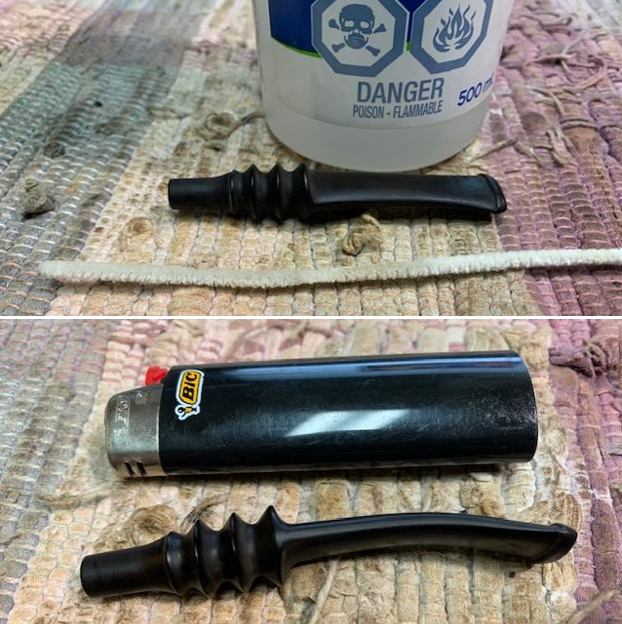
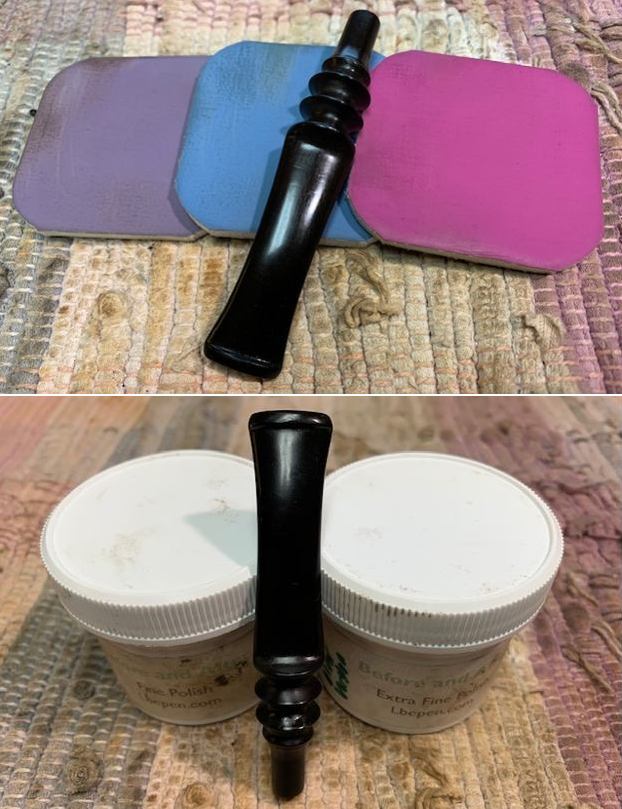
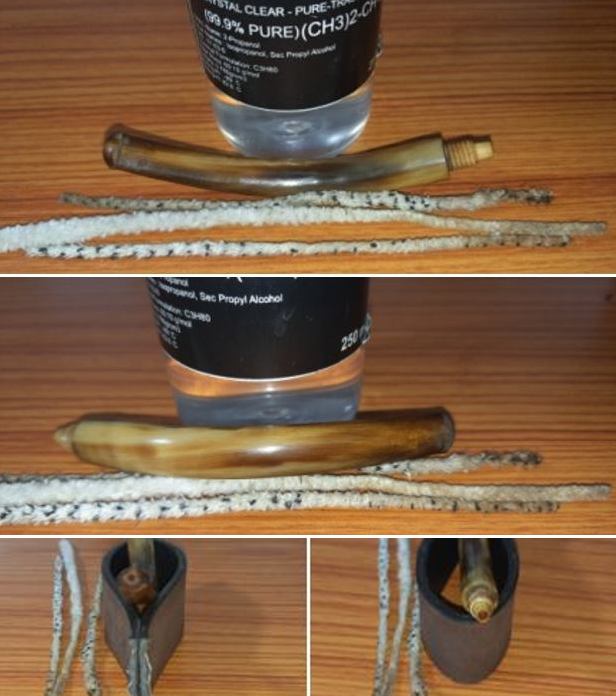
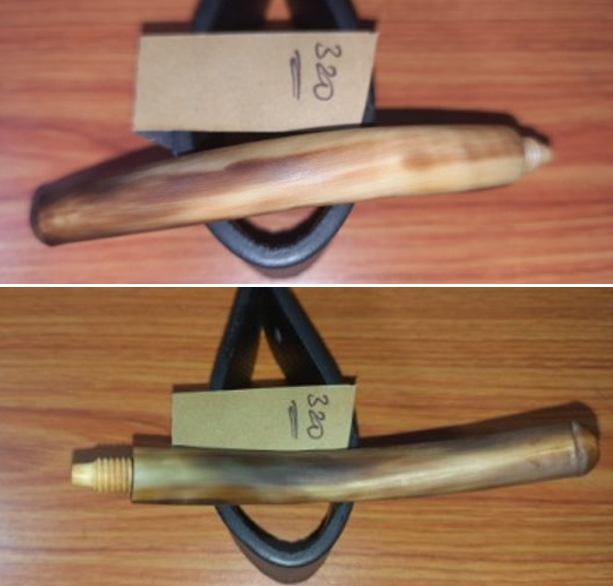
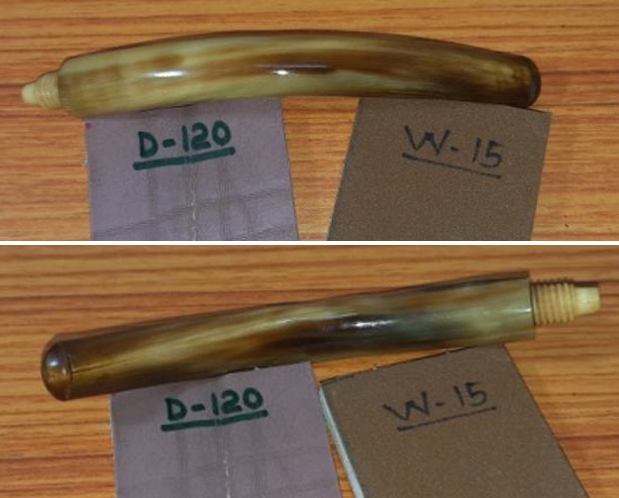
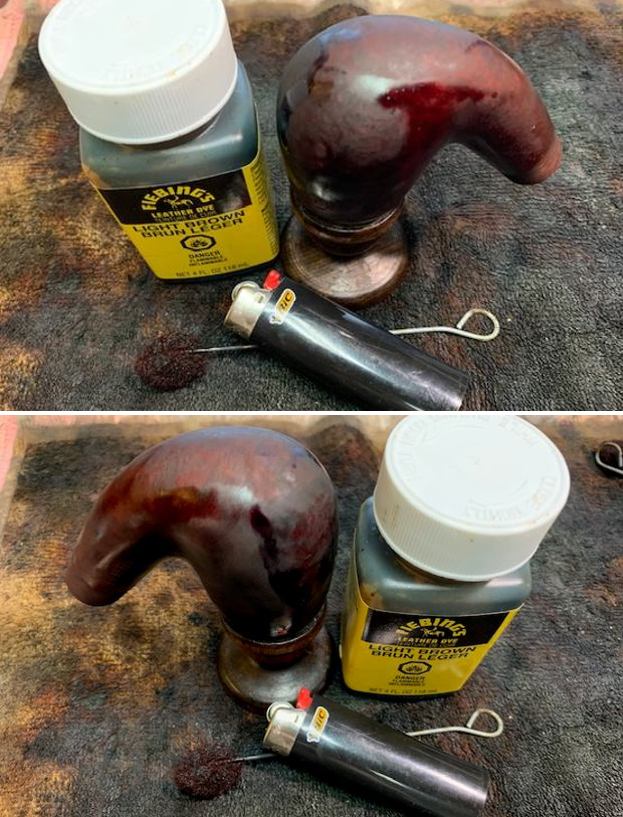
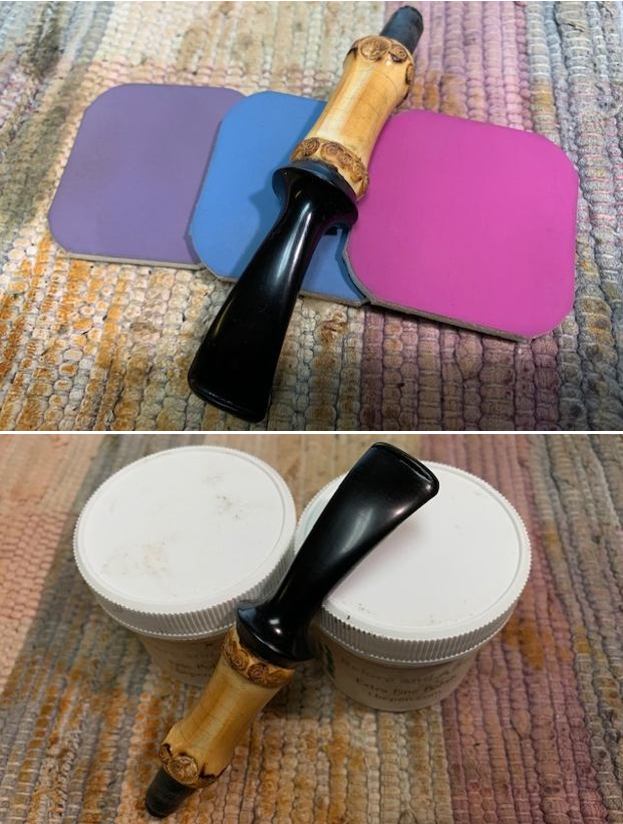
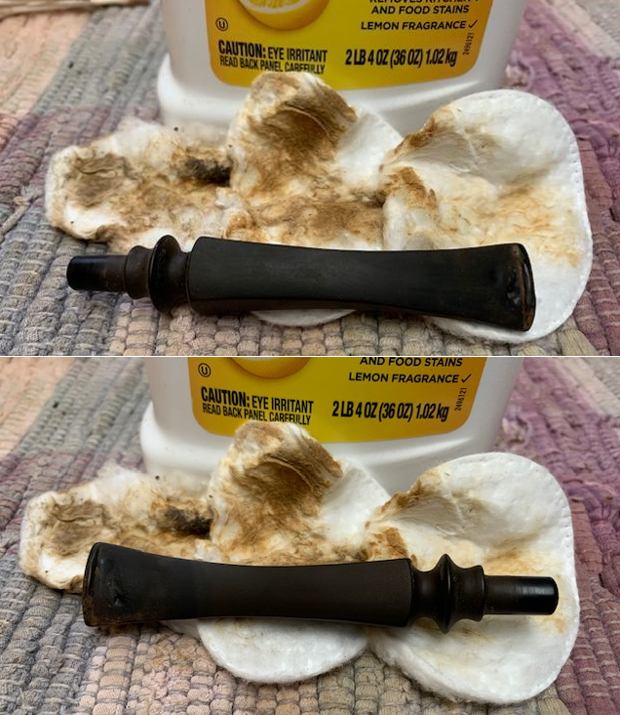
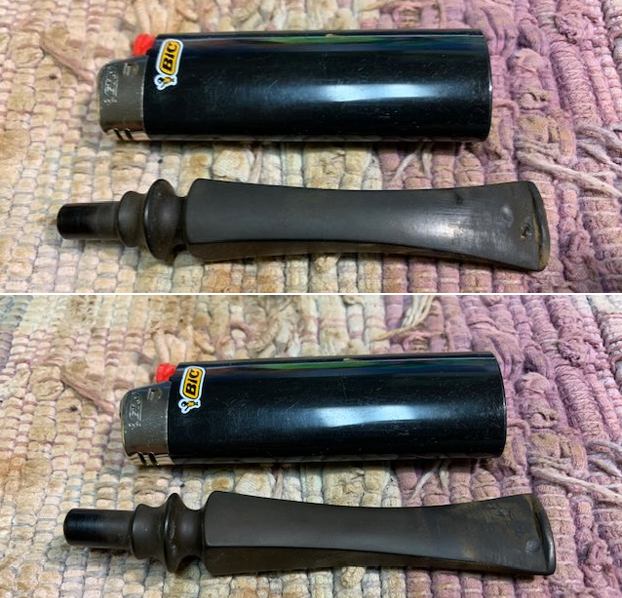
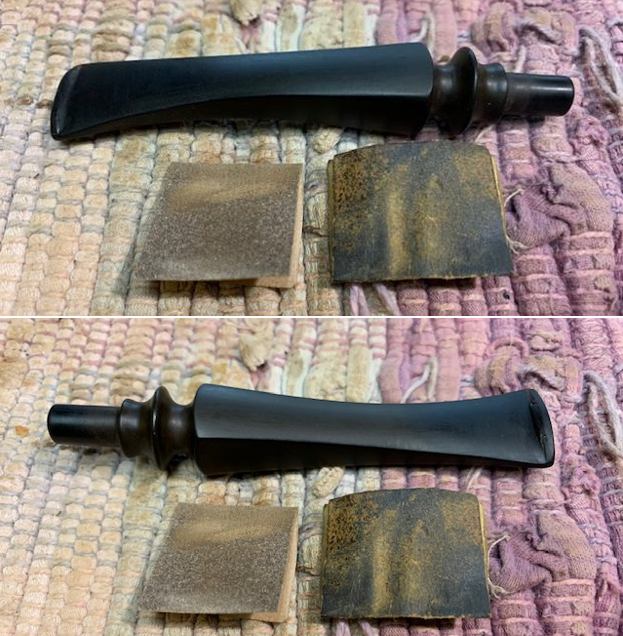
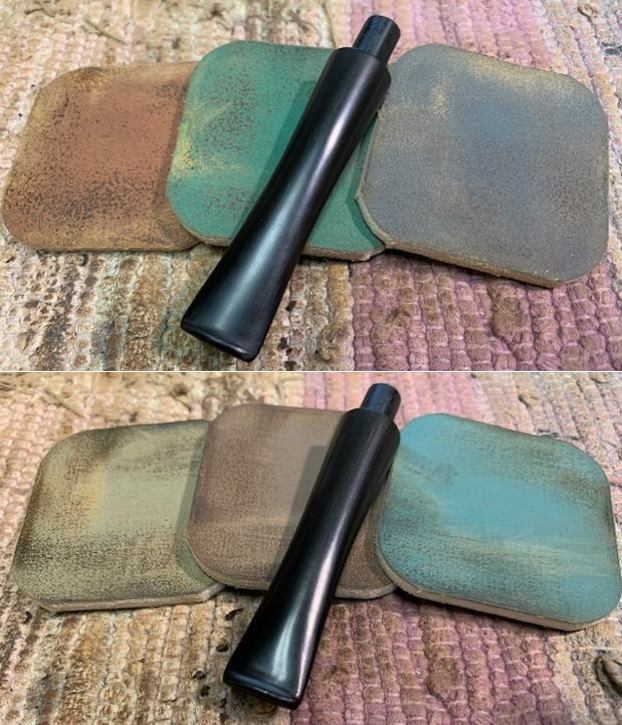
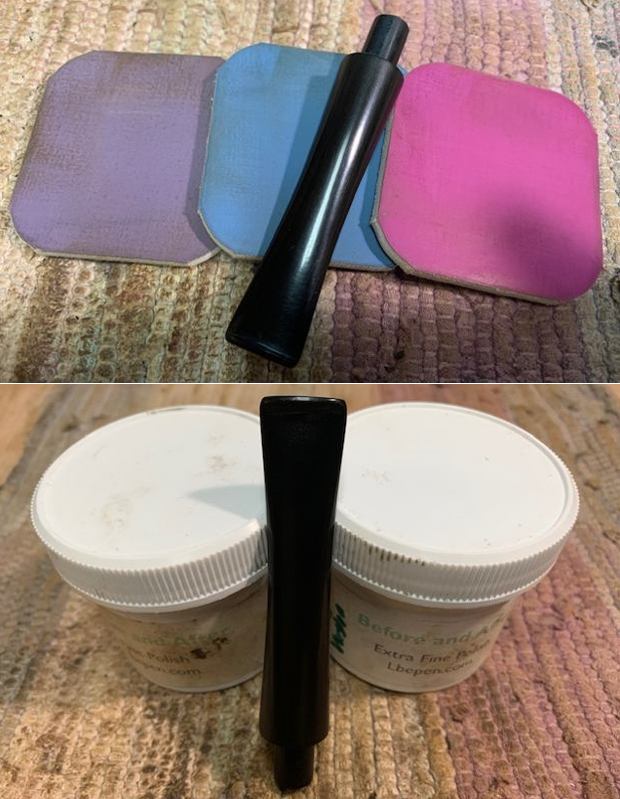
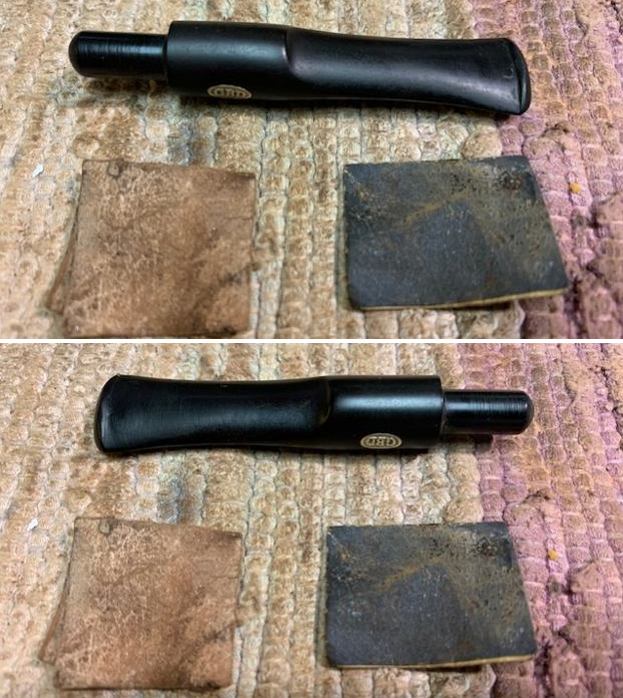
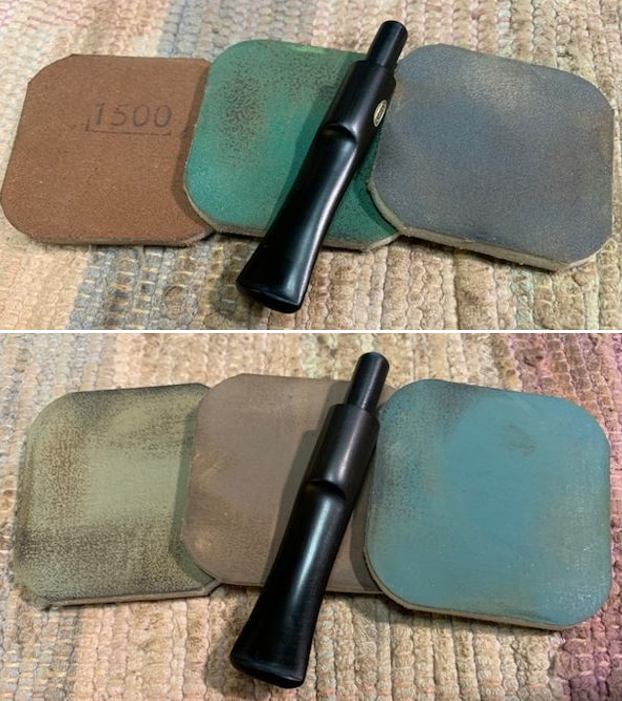
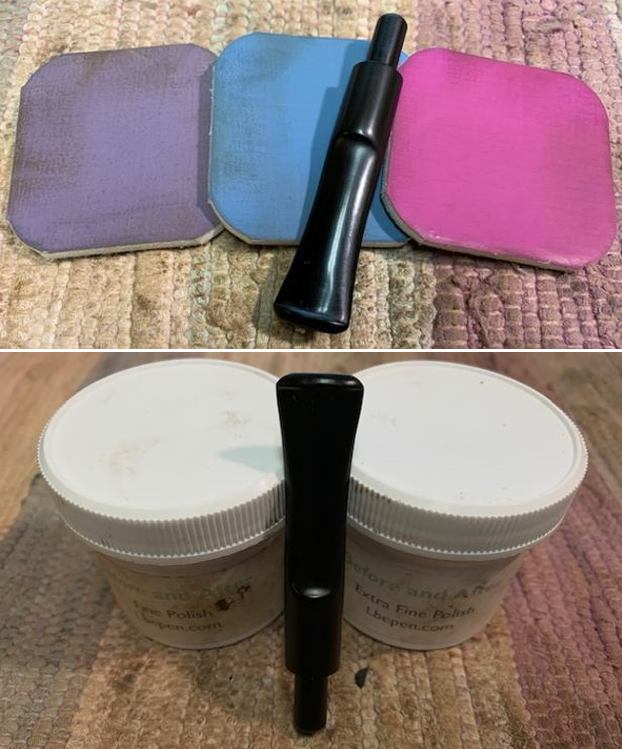
 I polished out the scratches in the surface of the Amberoid with micromesh sanding pads – 1500-12000 grit pads. I wiped it down with Obsidian Oil after each pad. The more I polished the stem the more I could smell the acrylic like odor of the stem material. I used Before & After Pipe Polish – both Fine and Extra Fine to further polish the stem. I gave it a final coat of Obsidian Oil as a finishing touch.
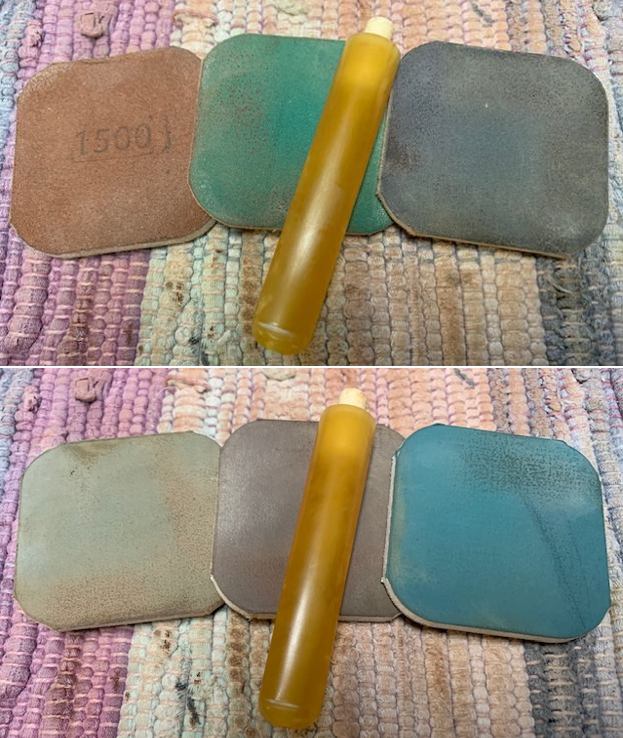
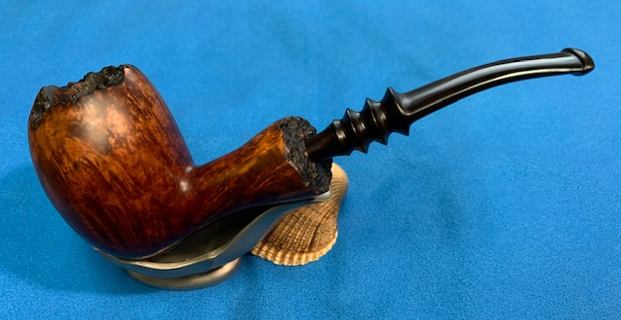
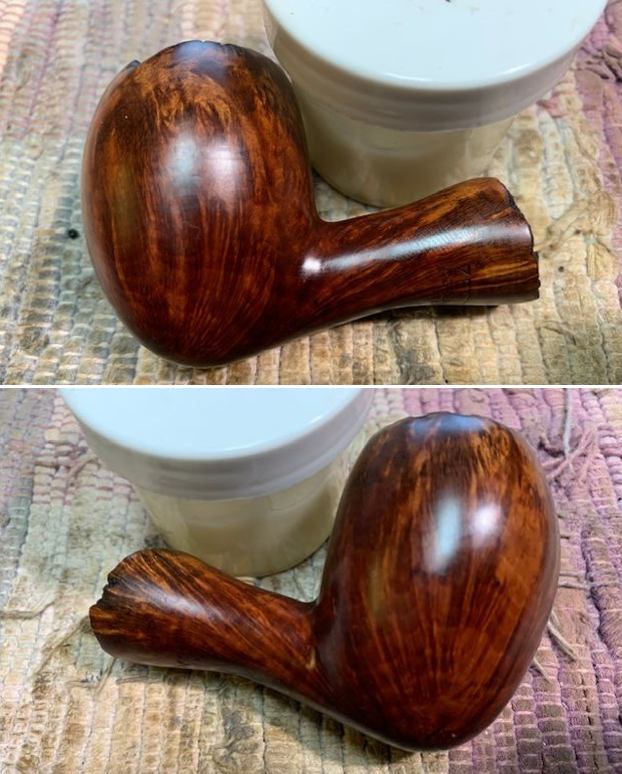
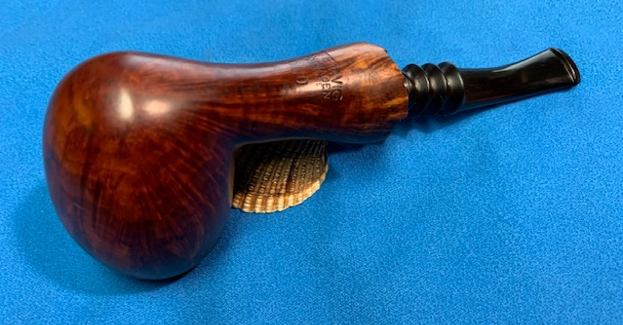
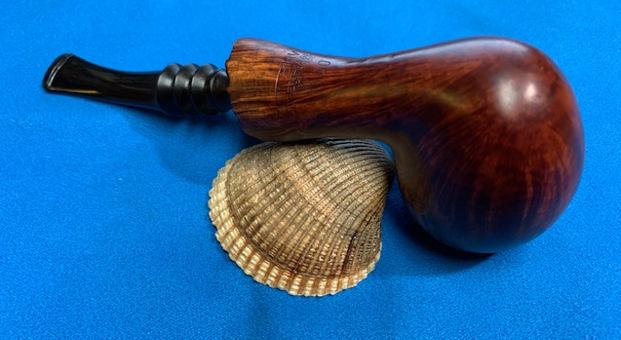
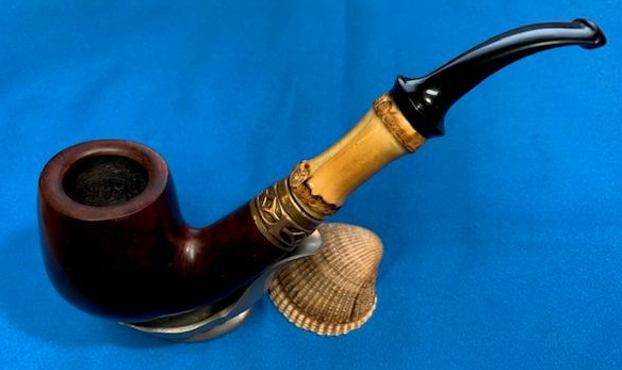
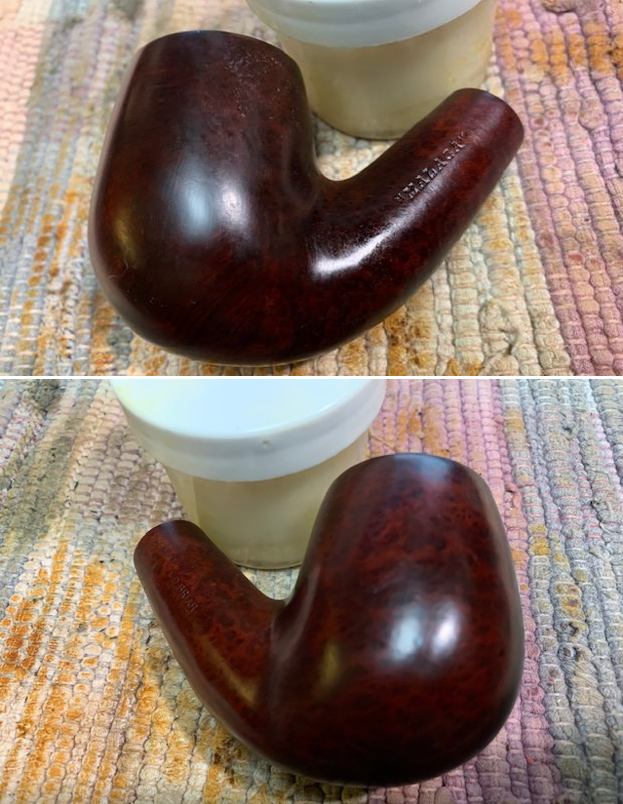
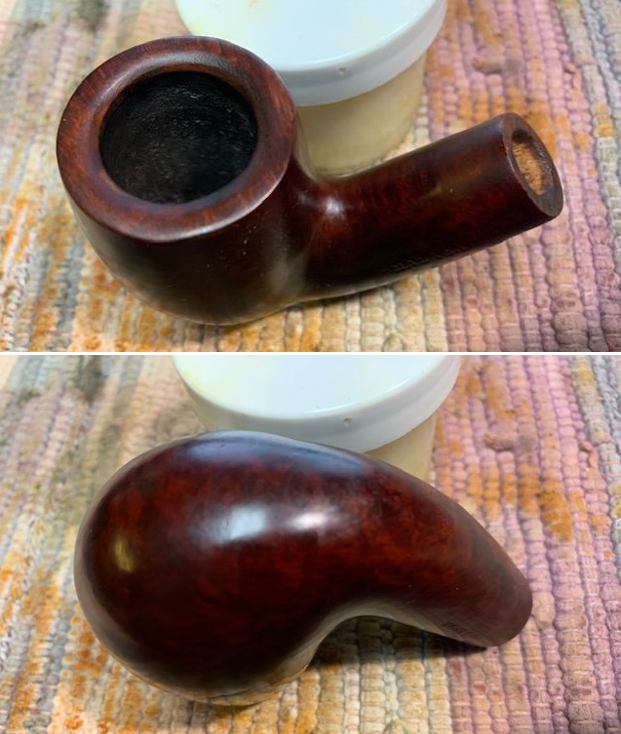
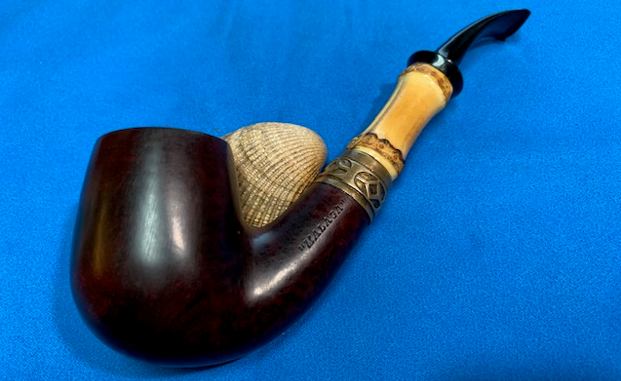
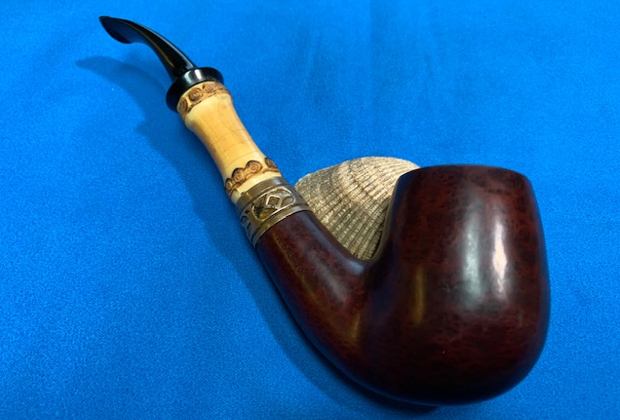
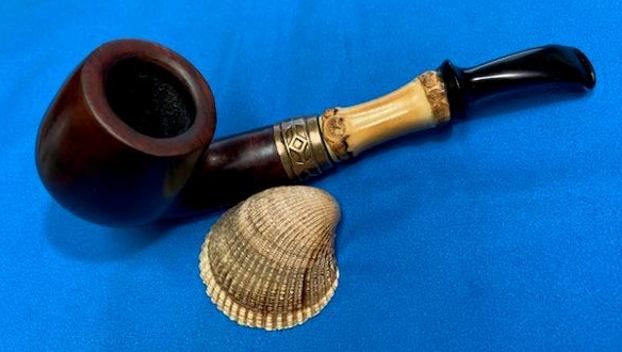
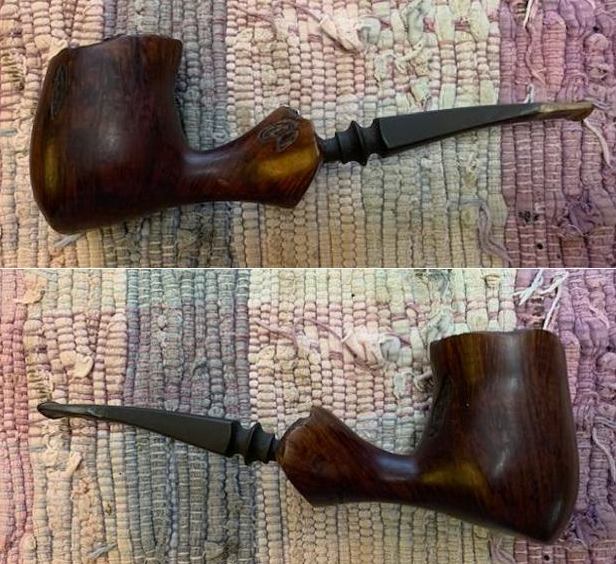
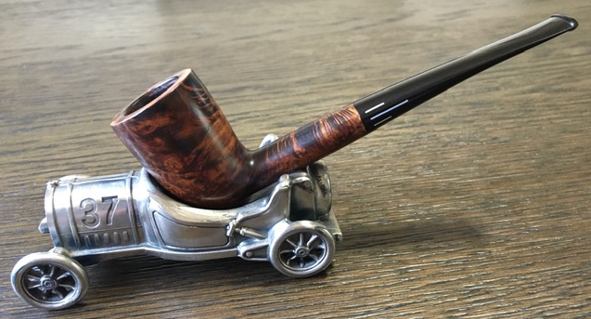
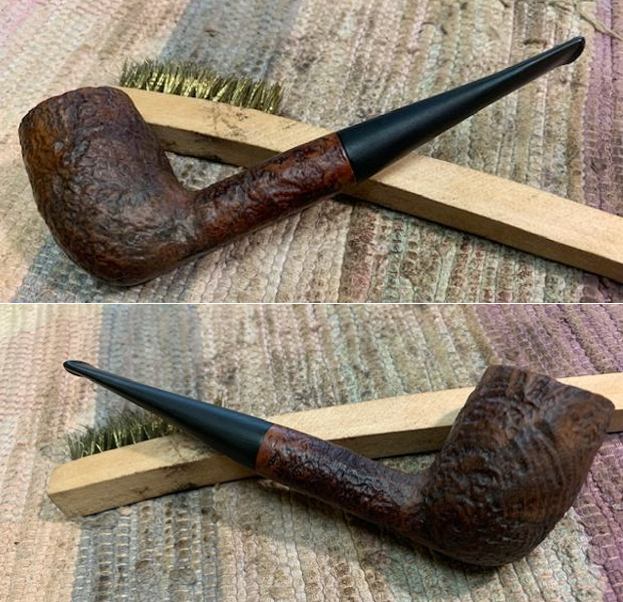
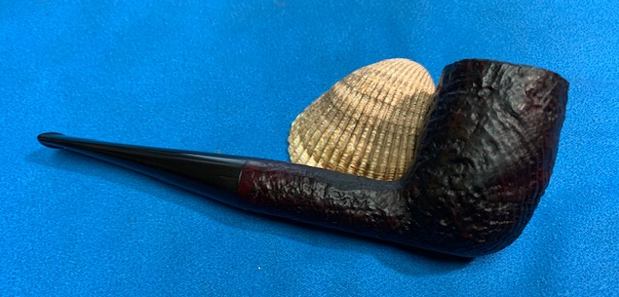
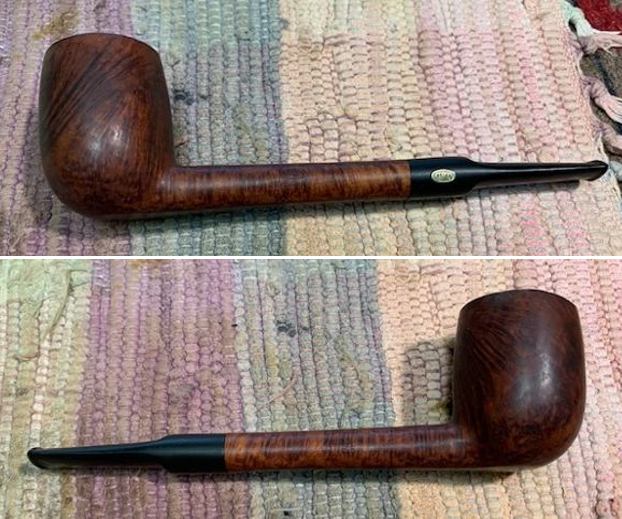
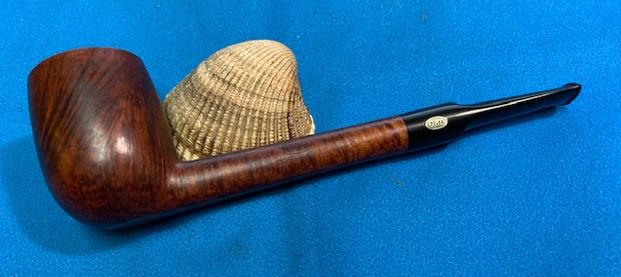
 I really enjoyed refurbishing this old C.P.F. French Briar Straight Billiard because I love the final touches that make it sing. I put the bowl and stem back together to have a look at the whole with the newly fit band on the shank. I carefully buffed the bowl and stem with Blue Diamond on the wheel. I gave it several coats of carnauba wax and buffed the pipe with a clean buffing pad to raise the shine. I hand buffed it with a microfiber cloth to deepen the shine. It is fun to see what the polished bowl looks like with the lacy shank band and the Butterscotch coloured Amberoid stem. This richly finished Billiard is light weight and it is clean and ready load up with my favourite tobacco (if I decide to smoke this 100+ year old unsmoked pipe). Have a look at it in the photos below. As noted above, Its measurements are Length: 5 inches, Height: 1 ½ inches, Outside diameter of the bowl: 1 inch, Diameter of the chamber: ¾ of an inch. The weight of the pipe is 33 grams/1.16oz. This is one is still a question mark for me. I may well add it to the other C.P.F. pipes in my personal collection of the brand as it is a unique addition. Time will tell. Thanks to each of you who are reading this blog. Remember we are not pipe owners; we are pipemen and women who hold our pipes in trust until they pass on into the trust of the next generation.
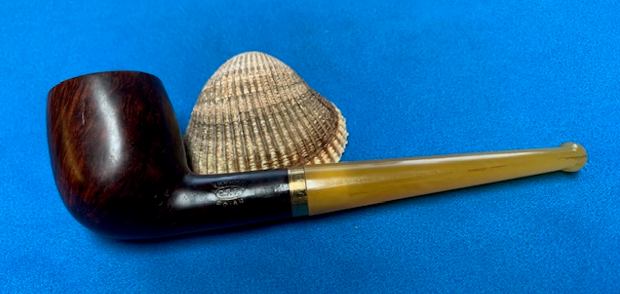


