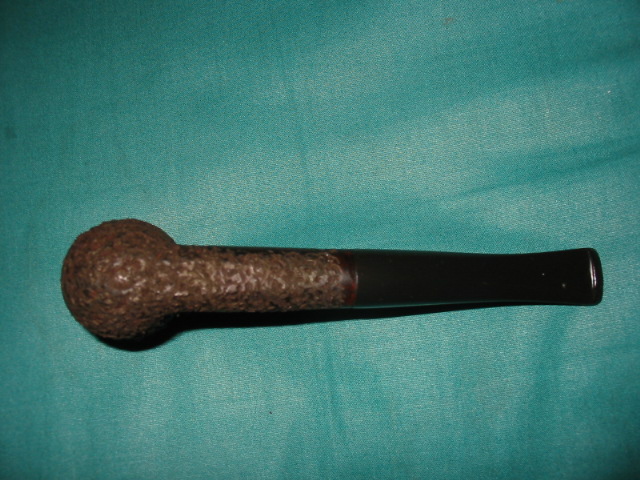
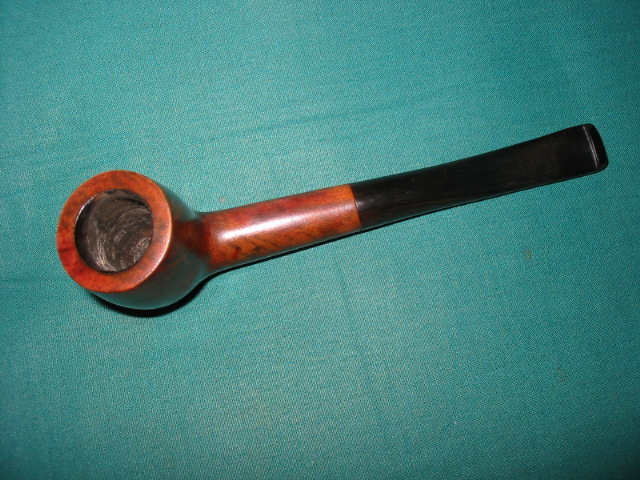
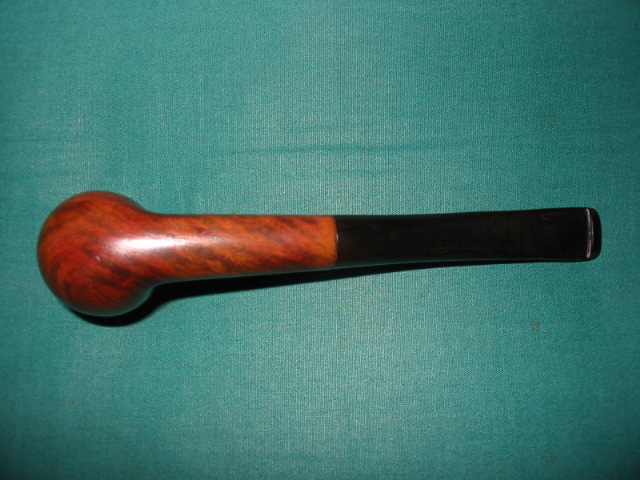
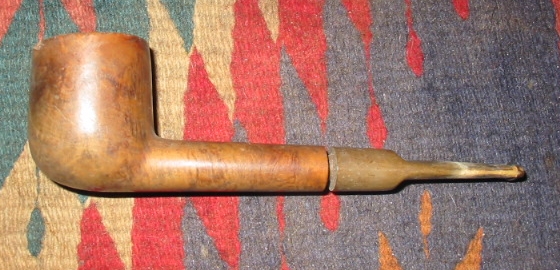
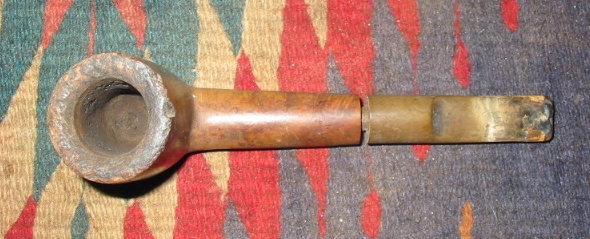
Tag Archives: Bowls – refinishing

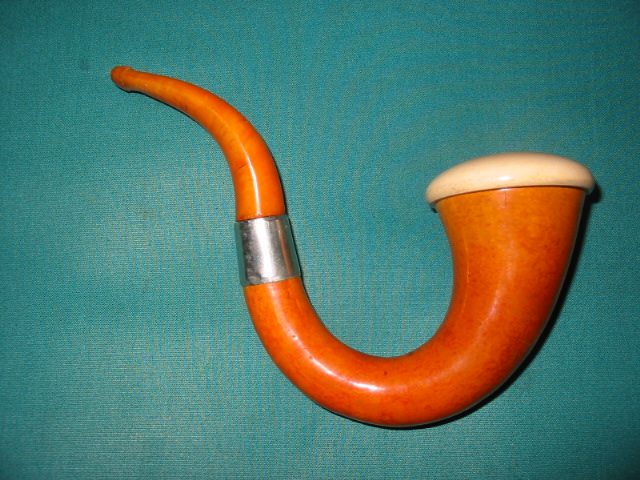
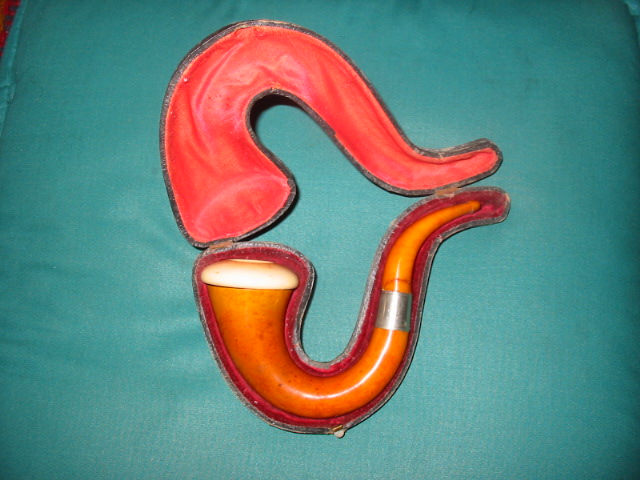
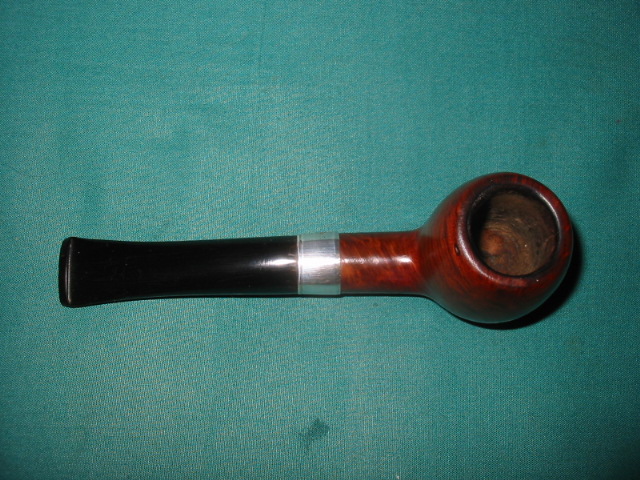
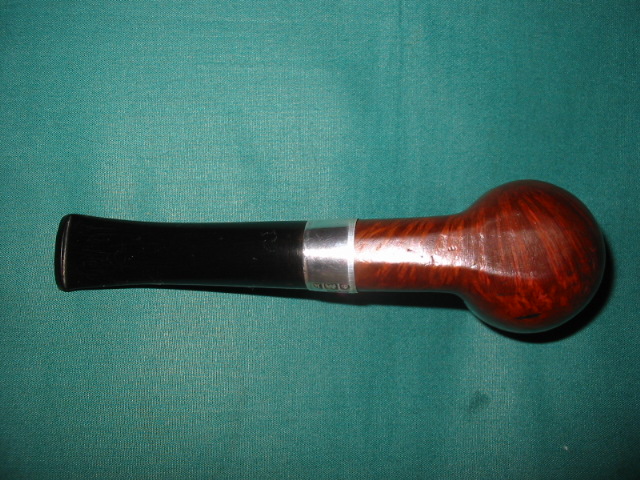
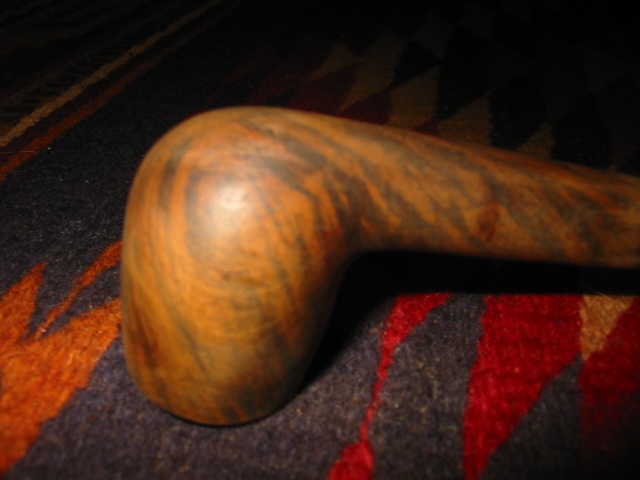
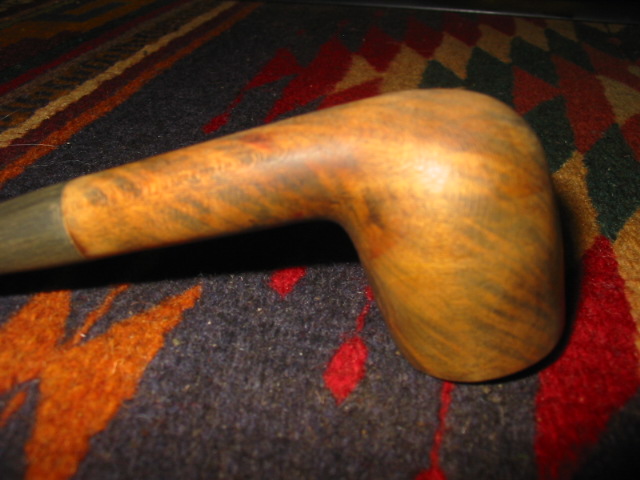
Refurb on a Gourd Calabash


This one needed a bit of work. The Meer bowl came out easily. The cork gasket was dry so I greased it with Vaseline to soften it. While it softened I cleaned out the gourd with a pic and wipes. It had some hard tars in it. The bottom of the bowl was black so I cleaned it as well. The rim was tarred and dark so I wiped it clean and then sanded with micromesh pads to get the grime off and give it a sheen. I set it aside and went to work on the outside of the gourd. It had lost its shine. I cleaned it with Murphy’s Oil Soap and once clean sanded with the micromesh pads. Once done I buffed it with White Diamond and Carnuba. Then I went to work on the stem. It is amber. In the case a piece of the stem was chipped and lying loose. I used super glue and repaired the chip. The silver band was loose on the gourd so I removed it and cleaned it with silver polish. I refastened it with superglue. Once the entire pipe was cleaned and the stem was cleaned and dry I reassembled the pipe and gave the cork another coat of Vaseline before putting the bowl back in. It is stamped with hallmarks that are hard to see as they are worn. It looks like the reclining lion (sterling silver) the other two are worn. The makers mark is MSNF in a rectangle. Not sure who that is? Anyone know??

Here is the finished product. Thanks for looking.

ImageImage

Image

I wrote to Gary Schrier regarding the Calabash via email and he replied as follows:

… Your pipe was made in the London area, and hallmarked at Goldsmith’s Hall, London, because of what sounds like a leopard’s head, that hall’s guild mark. The maker’s mark, “MSNF,” is unknown to me. Chances are likely it belongs to the “mounter” or silversmith who did the work (but not necessarily the maker of the actual pipe). It’s an insignificant brand, though; this does not detract from the pipe. It was probably made around 1907 thru 1911. I hope you enjoy it.

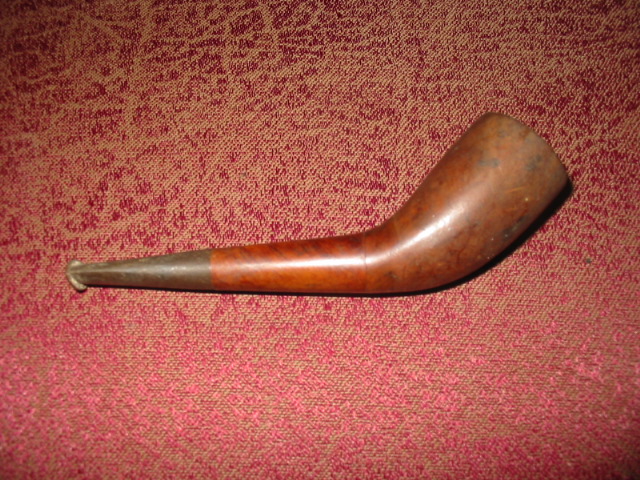
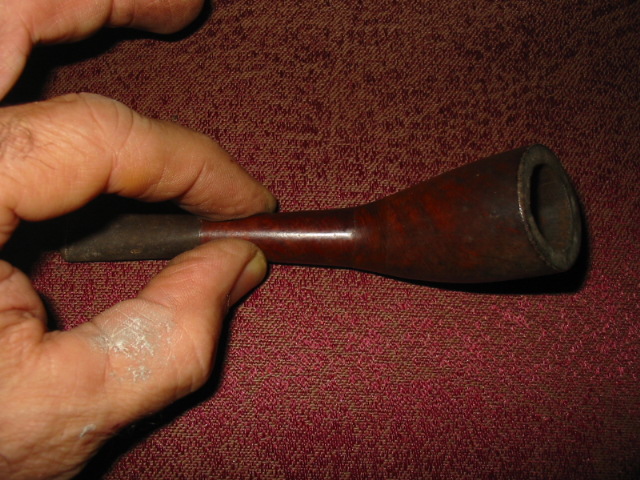
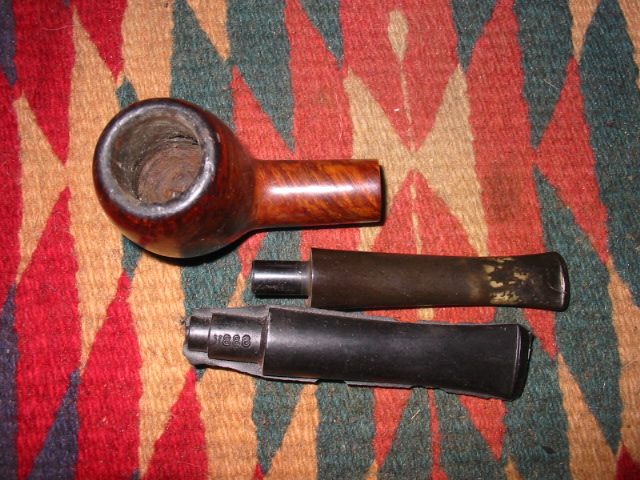
Refurb on a 3 part horn


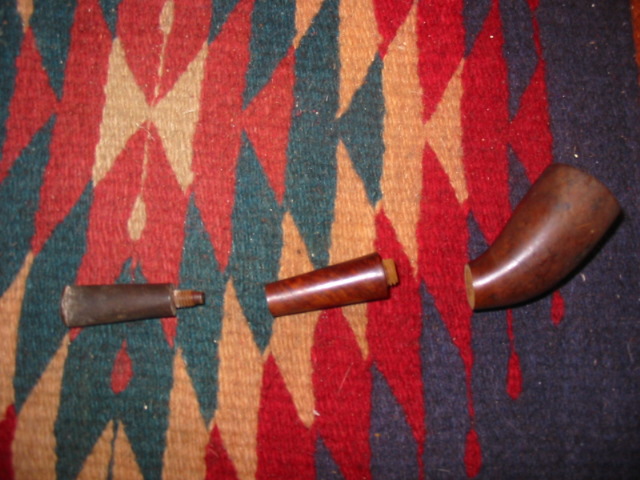
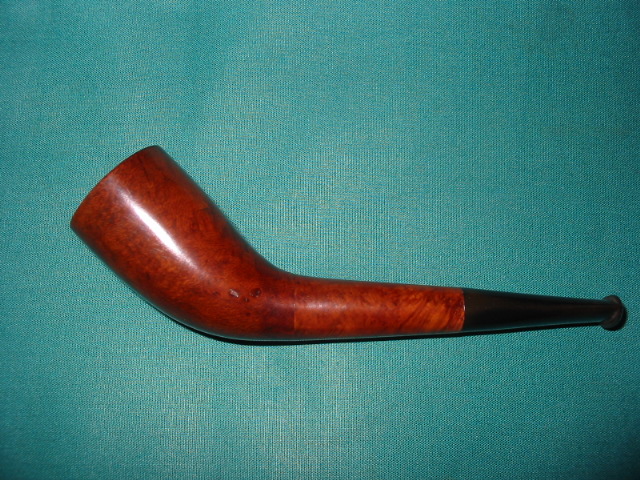
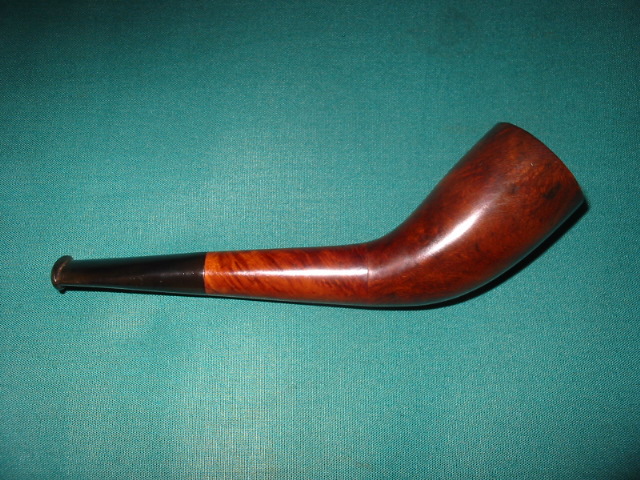
Just finished up this unique piece. It is three part horn. The bowl screws off the shank and has a briar thread connection. The stem is also a screw on with a metal connection into briar. The stem is also an orific button. There is no stamping on this old timer. I really like the uniqueness of it.

I reamed and clean the bowl. I took apart the three parts and cleaned each on separately. The outside was wiped down with alcohol to get off the grime. The insides were scrubbed with a bristle pipe brush and pipe cleaners and alcohol. The stem was oxidized so it was sanded with 400, 600, wet dry sandpaper and 1800, 2400, 4000 micromesh pads and then hit with red tripoli and white diamond before being given a coat of carnuba. I sanded and restained the bowl with a cherry stain and then buffed and waxed it as well. This one will be a fun one to smoke!

Before shots:

ImageImageImage

and after shots:

ImageImage

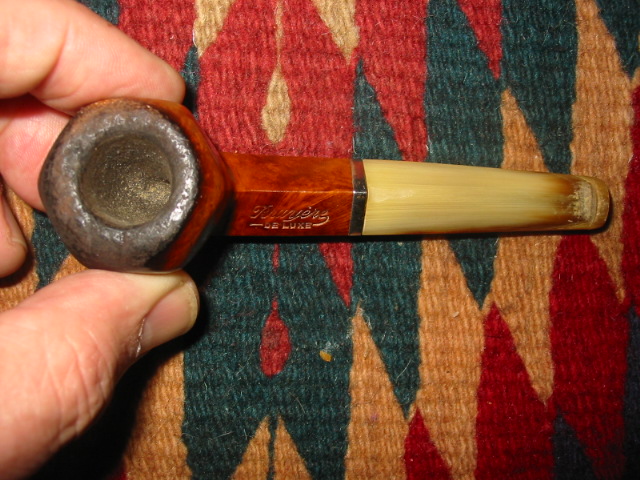
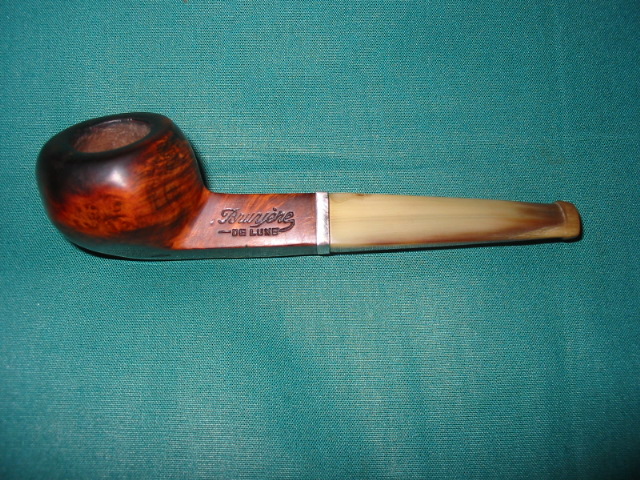
Bruyere Deluxe Horn Stem refurb


Blog by Steve Laug

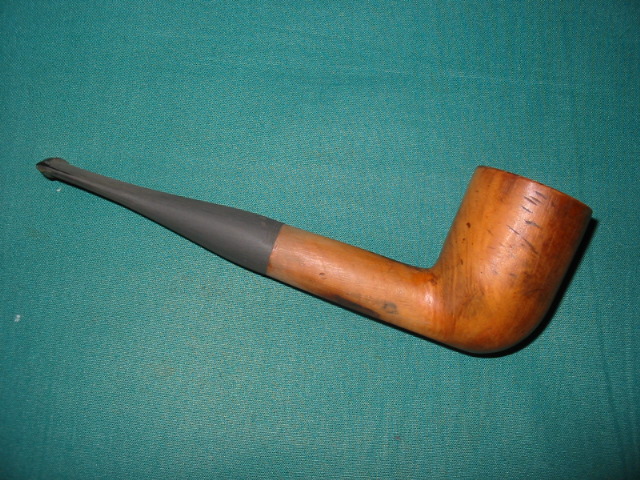
The two pipes that had what looked like horn stems arrived yesterday. They indeed were horn stems. One of them the little 4 1/2 inch bulldog need some work on the stem as it had some tooth marks. The bowl itself was rough. The varnish (?) was crackling and the lava had overflowed the top of the bowl and stained the wood around it. Fortunately it was not charred at all! I reamed and cleaned the bowl. It was a mess. Then I sent it to the alcohol soak and it lifted some of the tars and stain as well as the varnish. I then reworked the bowl with sand paper and with micro mesh pads. It then was re-stained with a black under stain and then a cherry over stain. I then buffed and polished it.

For the horn stem I heated a knife and used a damp cloth and the hot knife to lift the tooth marks. Thanks to Nigel and others (Chris/Caskwith) who gave that bit of advice. It is the same process that is used to lift dents in the briar. I repeated this process until they were gone and the stem was smooth to touch. I then used micro mesh to sand and polish the stem. Finally I gave it a buff with white diamond and carnuba wax.

Here are the before shots:

ImageImage

The front rim was solid but the tars seemed to have permanently stained the briar. I did not want to take much off as it would change the panel shape of the bowl so I cleaned the wood as deeply as I could and was able to get it so that I can see grain through the dark stain. I may give the entire bowl a dark stain to further hide the top but still considering that…

ImageImage

Image


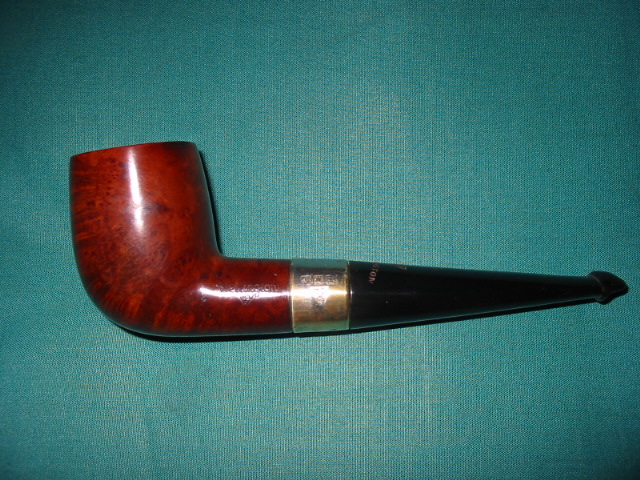
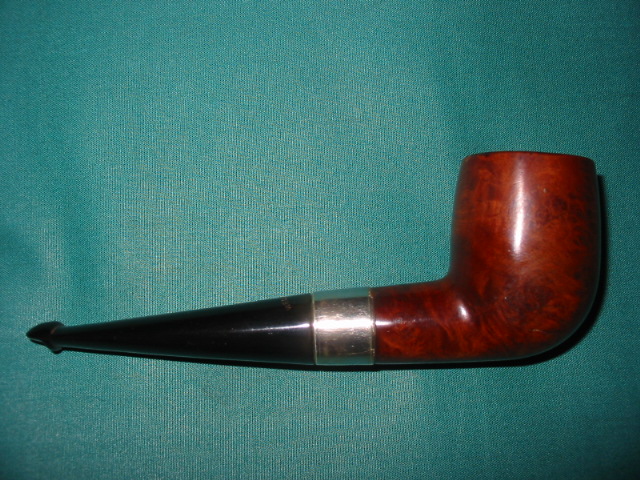
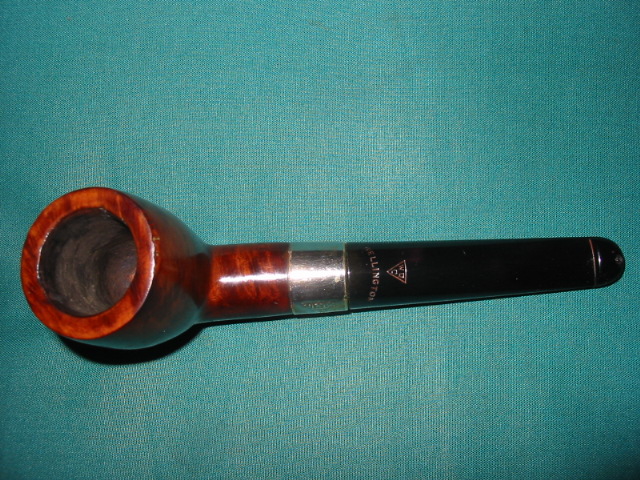
An Interesting Wellington Straight Billiard


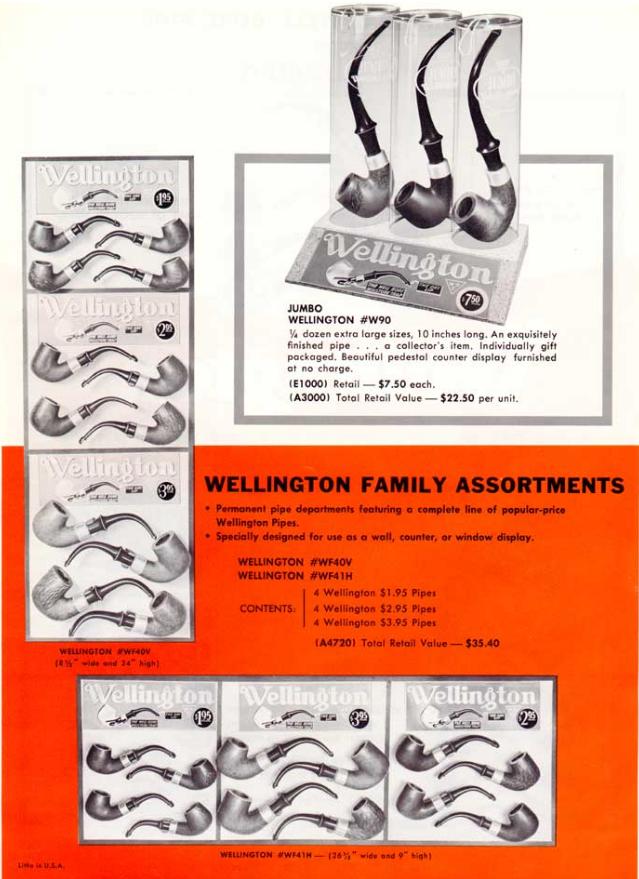
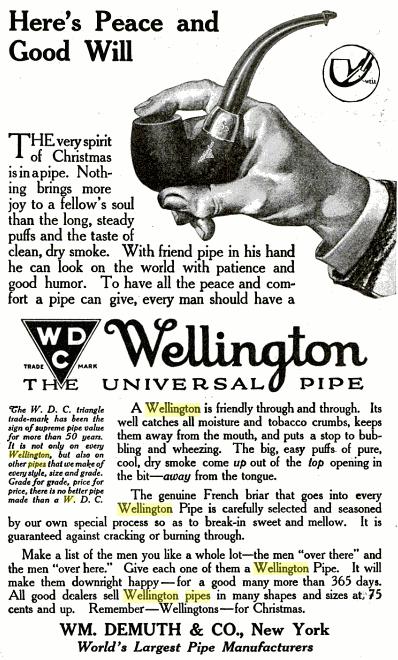
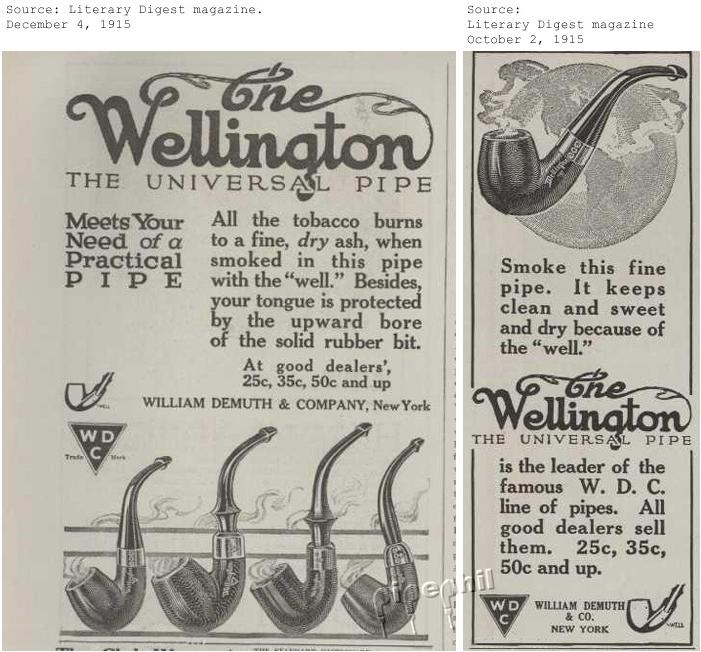
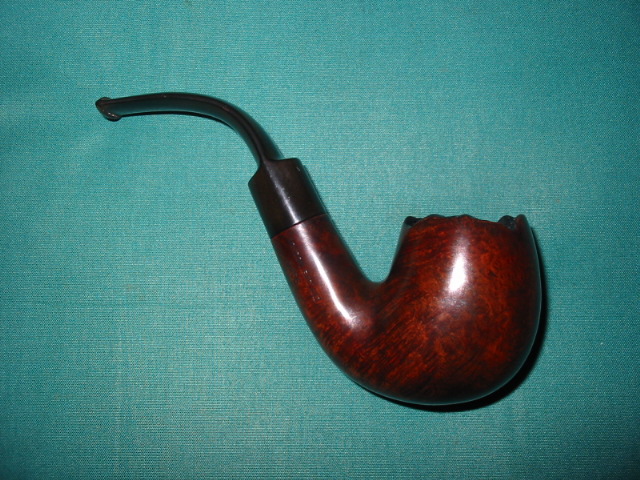
Just finished researching a bit on WDC Wellington Pipes. Yet in all of the research I cannot find the one that I picked up. It is a straight billiard. It is chunky and 5 1/2 inches long. It is a system pipe like the Wellington Bent pictured below but it is a standard P-lip stem with a regular tenon. The band is sterling silver and has the WDC triangle and hallmarks stamped in it – an anchor, a five point star, and an eagle. The shank is also stamped WDC in a triangle under a script Wellington. The stem is stamped the same way. The bowl is U shaped with draft hole at the shank side as usual. From there it drops down into the shank where there is a chamber – a bit different than the well in the picture below. It is more of a wide open chamber that tapers a bit to receive the end of the tenon. Very interesting design.

It was rough so I reamed and cleaned the bowl. Cleared out the reservoir and the shank with pipe cleaners folded in half and then gave the bowl an alcohol bath. I left it in for about a 1/2 hour and then took it out and cleaned it again. It did not need to be re-stained as it retained its colour. I buffed it with White Diamond and then gave it a coat of carnauba wax. The stem needed a buff as well. It was a bit oxidized. The stem is unique as well in that the tenon end is very open and tapering back to the whole in the Plip. Here are the after pics.

ImageImageImage

I have also included a couple of adverts that I came on that are interesting bits of history of the brand.

ImageImageImageImage

Had fun with this one – GBD International


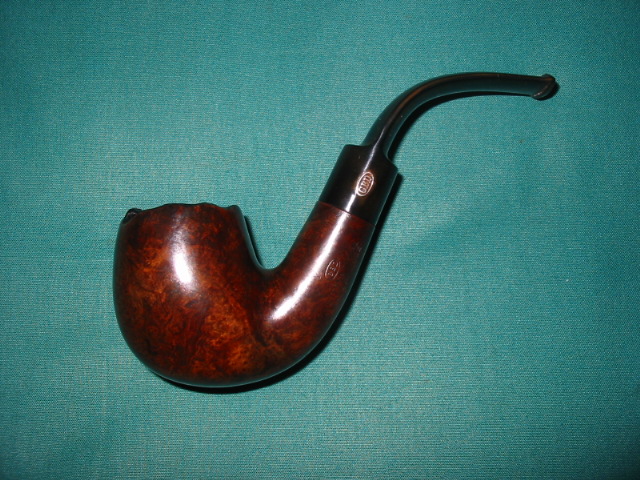
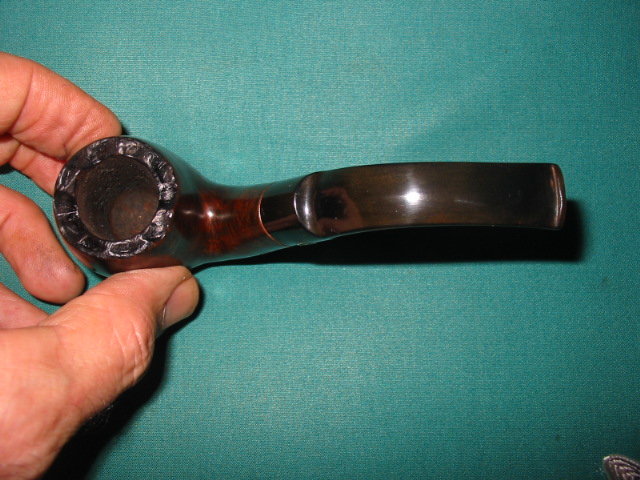
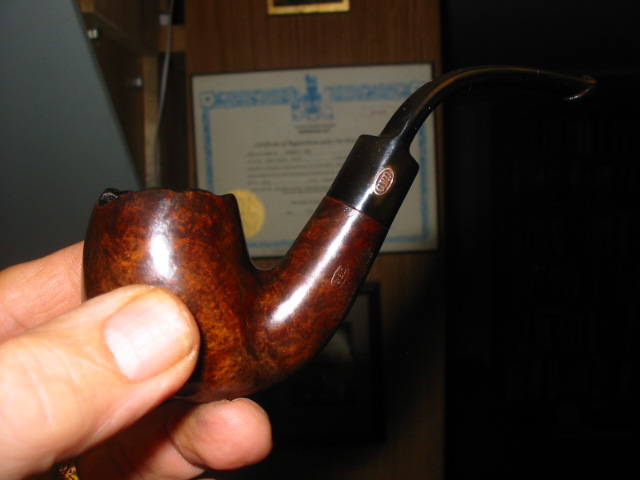
I just finished this beauty – a GBD International. It is a beautiful little pipe. The shape #9456 says it is a bent apple – I suppose that is so. I did some work on what they originally looked like. They had a plateau (Faux?? not sure) top that was stained black and the bowl was a medium warm brown.

This one was pretty well stained with dirt and grit. The finish was blown and the bowl was caked and dirty. The stem was brown and it was a pretty gross mess. It was one I was going to put off but today I decided to work on it. I am glad I did as it was actually quite fun to work on.

I cleaned the stem as usual. It was tough and still shows some oxidation under the flash of the camera. I will do a bit more in brighter light. But it looks good to the natural eye. The bowl was reamed and cleaned and put in the alcohol bath. I removed any of the bits of left over stain left. Then I used a pipe cleaner and stained the plateau black. Once I did that I had the notion to stain the whole pipe black as well. I then wiped off the stain on the bowl and washed it with a damp alcohol rag to get it to the tone of brown I was looking for. I am really pleased with the stain and how it came out. I love the contrasts of the brown undertones and the black overstain. The wipe and then sanding with micromesh really worked to highlight the birdseye and grain in it.

Thanks for looking.

ImageImageImage

Image

Here is a final picture to give you an idea of the size.


A New Rustication Method


Blog by Steve Laug

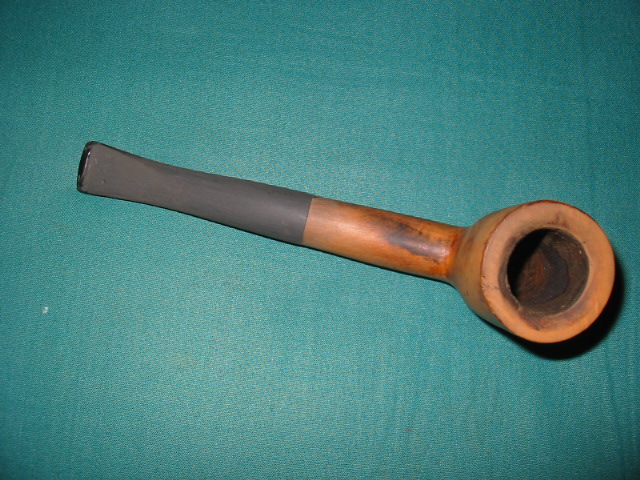
I finished cleaning up a pipe bowl, turned the tenon and fit the stem on it this afternoon, but then I was stuck. The pipe is stamped D in a circle and next to that Dover Cliff, it had a pleasing shape but was almost entirely without grain. I know this sounds impossible to most of us, but truly there was very little grain even visible on the bowl or shank. Rather, it was a piece of briar that was made up of bald spots connected by a few straight grains. It also had three significant burn marks – on the bottom of the shank, the top of the shank and on the rim. Added to that problem, there were probably 20 or more fills per side of the pipe that looked like scratches but were actually filled with black putty. They are visible in the sanded and clean bowl pictured below. The front and the back of the bowl also had fills. Interestingly, the rim was without fills as was the shank. The rim was chamfered inward toward the bowl but had burn marks all around the bowl as if it had been lit with a torch. My question was what to do with the finish on this pipe. I knew from experience that a coat of stain would only highlight the many flaws rather than hide them. The burn marks were significant enough that even sanded, they had permanently coloured the wood. No amount of stain would hide the burns on the shank and the rim. I could give it a solid stain of black or brown but I was not interested in using a solid body stain. That left me with two options – put it back in the box for another day or rusticate it. I decided to rusticate it and then stain it.

ImageImageImageImage

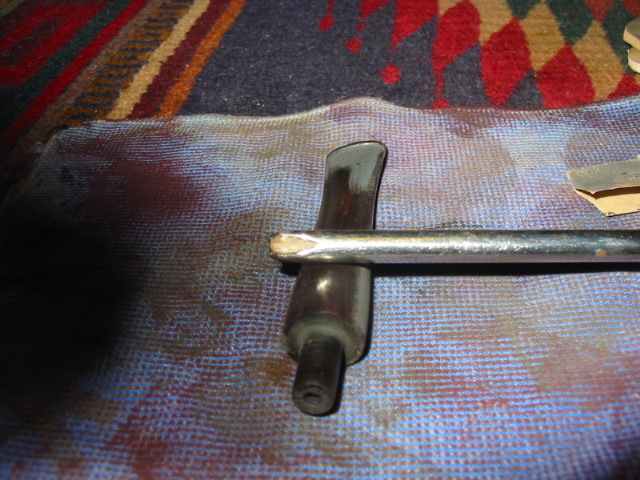
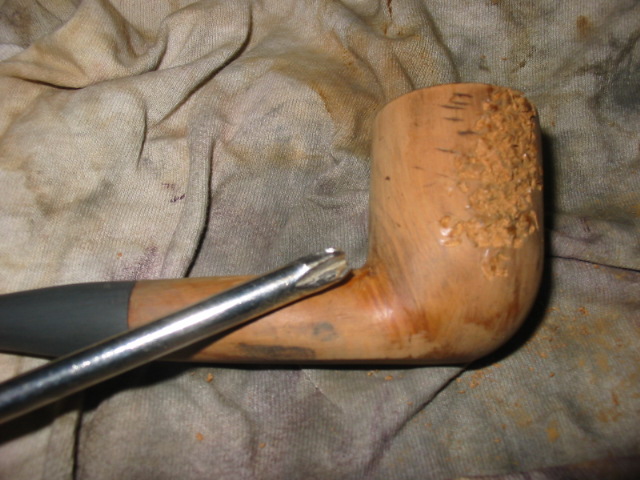
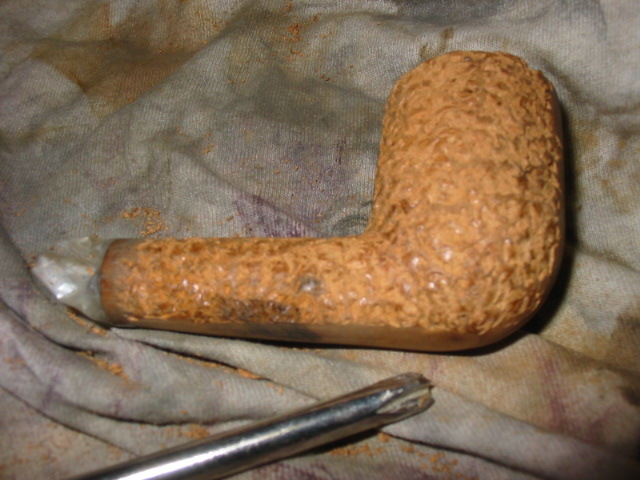
I took out my rustication tools and looked them over – the fistful of nails and the florist frog, (I have shown these both in a separate post on rusticating) and decided it was time to try something different. I took out my Dremel and put on the cutting/grinding wheel and took a Philips screwdriver and ground the tip off of it. Once I had ground the point off I used the grinding tool to cut a trench both ways across the remaining + to create what I was looking for. Once that was done the screwdriver was left with four points on the head of the shaft. These four points were sharp teeth. I polished the steel with my buffer and my new tool finished. The great thing was that it even had a comfortable handle which would allow me a bit of creature comfort as I pushed it into the briar and twisted it to rusticate the wood. It also would provide a very different rustication pattern in the briar than my other tools. It would produce a very rough rustication pattern that should be interesting on this particular pipe.

ImageImageImage

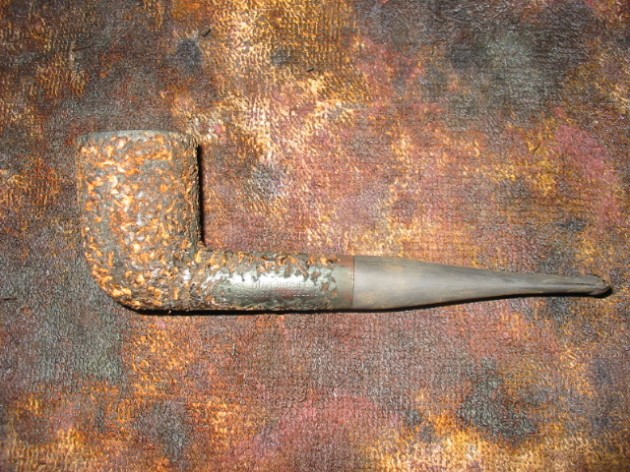
I decided to take my time and document the process as I worked on the pipe. As I worked on each step of the rustication I took photographs and wrote down what I had done. The tool worked very well and was a good fit in the hand. The sharp teeth cut deeply into the briar and left a rough finish to the surface of the briar. The process went quickly. It took me about a half hour to complete what turned out to be the first level of rustication. I left the rim of the pipe smooth and left a smooth rectangular area on the shank where the stamping remains. I decided to also leave a smooth band around the shank where it joins the stem. I find that it makes it much easier to match a stem to the smooth surface than to a rusticated chipped surface. All of these smooth spots stand out nicely. To protect the shank and create a band near the stem I wrapped the shank with cello tape up the shank about ¼ inches. The tape would protect it from the points of the tool and provide a straight edge for me to work against. I also put a strip of tape over the area where there was stamping on the shank to protect it. I avoided the rim as I rusticated the pipe so there was no need to tape it off. One of the great features of this new tool is the small tip size that allows me to rusticate very closely to the shank/bowl junction and up to the top edge of the bowl. It also was very easy to work near the band that I was creating at the stem/shank junction. The ease of control  made this a great tool to use.

Image

Image

I worked my way down the sides of the pipe from top to bottom. From there I moved to the shank sides from the bowl to the stem and the top of the shank from the stem to the bowl. I used the same pattern on the other side of the shank around the stamping and then on the underside of the shank and bowl. Once I had it completed it that far I took a few pictures and then proceeded to rusticate the remaining side of the pipe and back end at the shank/bowl junction. I finished the rustication with working on the front of the pipe. Once the pipe was fully rusticated the burn marks were pretty much obliterated and were definitely less visible. The many fills in the bowl were hidden under the rustication. I used a wire brush on the pipe bowl to knock of the loose chips of wood before I gave it an initial coat of dark brown stain.  I flamed the stain to set it deeply in the briar. It burned with the signature blue flame for quite awhile setting the stain in the deep grooves. Once it was dry I laid it aside for a bit and then took it to the buffer and gave it a light buff with red Tripoli. The finished pipe still needed more work in my opinion before it would be acceptable.

ImageImageImageImage

I took time to look over the pipe and handle it to get a feel for the rustication. I like a random look to the rustication rather than a repeated pattern. To me it looks more natural once it is finished. After this inspection I decided to give it a second level of rustication with the tool to make it even more rustic and more random in its look. This second rustication was much easier to do and took less time. One of the benefits of having the brown stain on the bowl is that the new places I rusticated were raw and stood out clearly. I could easily see where I needed to do more work on the bowl.  I worked my way around the bowl and shank again. I checked to see if it was in keeping with the look I wanted it to have and gave it a few more twists of the tool. Now it was ready for the finish stain.

ImageImageImage

Before I stained the pipe I needed to do some work on the rim. To address the burned areas on the rim the best decision was to top the bowl. It was not only burned but also worn around the inside edge of the rim and that needed to be addressed. I sanded in a slight bevel on the inner rim to restore the roundness of the bowl and give it a finished look. I re-stained the rim with the dark brown and let it dry before I re-stained the whole pipe with oxblood stain applied with the wool dauber that came with the stain. The pipe soaked up the stain nicely. I stained the top of the bowl and the smooth portions on the side of the shank and the band around the shank near the stem. I let it dry for several hours before I polished the smooth portions.  This drying also revealed some places on the bowl that needed a bit more stain to adequately cover them. So I re-stained those portions that showed bare wood in the crevices.

ImageImageImageImage

I used the micromesh sanding pads (1500 through 6000 grit) on the smooth parts of the pipe to polish them.  Once that was done I waxed the smooth portions. Then I buffed them with a soft cloth to give them a bit of contrast to the rusticated portions. I decided to leave the rusticated part with a matte finish. The pipe is finished in terms of the rustication and the staining. I will need to let the oxblood stain dry overnight before it is thoroughly dry.  The bowl feels amazingly good in the hand. The tactile nature of the rustication really gives it a rough yet pleasant feel.

ImageImageImage

The bowl is finished and ready for the stem. The above pictures give you the idea of what it looked like once it was finished. The contrast on the rim and on the smooth parts of the shank added a nice touch and highlighted the rustication. In person the pipe is a deep rich oxblood/cordovan colour that is not captured in the pictures above. The pits and crevices actually show the red and give depth to the rusticated surface. I gave the pipe one more once over under a bright light and touched up spots on the finish that did not get a good coat of the stain. I then went over the smooth surfaces with another coat of wax and hand buffed them before setting the pipe bowl aside for the night.

I then tackled the stem to remove scratches that showed up in the bright light. I used some 240 grit to take out some of the deeper grooves and some tooth dents in the reclaimed and reworked stem. My method is to remove the deeper grooves with the 240 grit and then use the 400 and 600 grit wet dry sandpaper afterwards. I find that if I use those first it seems to only polish the grooves rather than remove them. The 240 grit gives a solid base to work with in the polishing that takes place with the wet dry sandpaper and then the further polishing with the micro-mesh pads. I finished the polishing with 1500, 1800, 2400, 3200, 4000 and 6000 grit micro-mesh that was kept wet in a bowl of water that I kept by the work table. I changed the water between grits to keep it clean and to ensure that I was not polishing the older grime into the stem. The stem came out beautifully and was ready to be put back on the pipe while it rested overnight.

The next morning I polished the stem and the smooth areas of the pipe and rechecked the rustication to make sure that all areas were covered by the stain. I took the pictures below after it had been polished and was ready to smoke. The new rusticated finish creates a far better looking pipe in my opinion and provides a very tactile pipe for the pipe smoker who likes rusticated finishes. The new tool worked so well that I will have to sort through my box of bowls to re-stem to see if there is another pipe that could benefit from this kind of face lift. Thanks for looking.

ImageImageImageImage

Steve Laug

June 04, 2012

Reworked Old Apple


Blog by Steve Laug

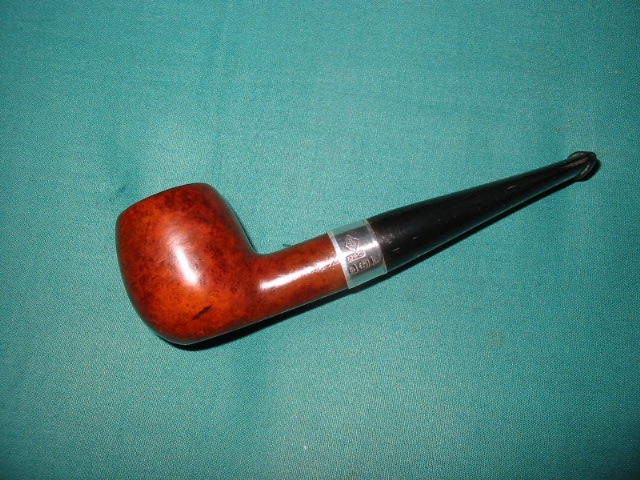
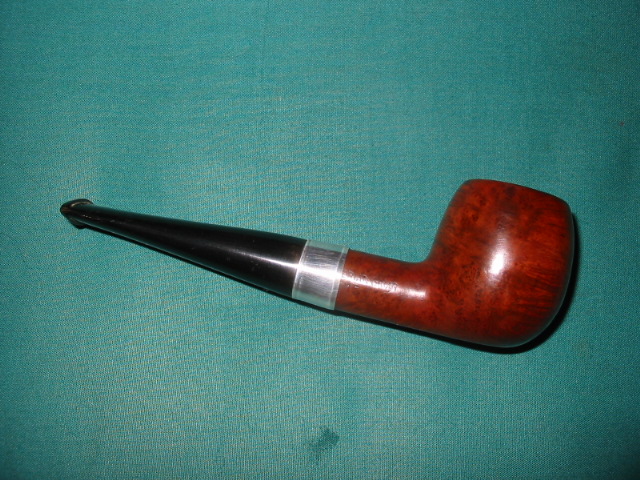
I had this old apple with very faint stamping that looked like it could have been stamped Edwards but not clear. I decided yesterday to rework it. The old stem had a split in the button and was shot. I decided to fit a new stem for it. I reamed and cleaned the bowl and fit the stem. While I worked on the stem I dropped the bowl in my alcohol bath for an hour. Once it was done I sanded the bowl and cleaned it some more. There were a couple of spots on it where small fills had fallen out so put some briar dust in them and then a spot of super glue. Once dry I sanded them smooth so that the stain would take around and in them. I put the stem on and stained the bowl with an oxblood stain as I figured that would match what was originally on the pipe. Once it was all polished it reminded me of an old timer that I had seen and been hunting for – a straight shanked BBB apple. Well that got me thinking and I dug through my box of bands and sure enough I had an old BBB silver band hallmarked 1909 that fit perfectly. The stem and pipe look older so the band added some more age to it. I really like the final look of this one.

Before pictures:
ImageImage

And the finished pipe:
ImageImageImageImage

Unique old pipe – “The Rubywood”


Blog by Steve Laug

I enjoy working with alternative woods that over the years have been used in pipes. I have worked with pear wood, cherry, walnut, manzanita and mountain laurel. But last evening I finished restoring an old pipe that revealed more than I expected as I worked away the old finish. It became more than speculation that I was not working with briar. It was too light in weight and just felt different. Once the black grime was gone I could see graining that was very different. The pipe is stamped “the Rubywood” that is all. I researched a bit and found that ruby wood is red sandal wood that is very hard and used for fine furniture. I don’t know about that but this is amazing looking wood. It has dark graining that is deep and then swirls that go through the grain as well. There are dark spots of ruby/red colouration that have come out in the refinishing. I turned the tenon and fit a stem for this one. Then restained it with an oxblood stain to highlight the natural reddness of the pipe.

Here are some pictures of the wood with the finish removed.
Image

Here are some pictures of the refinished pipe:

I wondered about toxicity of the wood so I posted it on Smokers Forums to see if anyone knew about this wood. I got this reponse from a friend there:
“I found quite a few pipes (made in China and India) made from Red Sandal Wood. Apparently parts of the tree are used in herbal medicine. Heck, if it gets rid of wrinkles I wouldn’t mind smoking that pipe

Pterocarpus Santalinus Uses : It is an astringent and a cooling agent and is used in several skincare preparations. It is used in the treatment of pimples, acne, wrinkles etc. It us also used internally in chronic bronchitis, gonorrhoea and gleet, chronic cystitis with benzoic and boric acids. Much used as a perfume for different purposes. The wood is used for making fancy articles and is much carved. It has been used in Ayurvedic medicine as an anti-septic, wound healing agent and anti-acne treatment. A paste of the wood is used as a cooling external application for inflammations and headache. A decoction of fruit is used as an astringent tonic in chronic dysentery.”

Thanks for looking.

From Sow’s Ear to Silk Purse


Blog by Steve Laug

This morning I decided to do a few more refurbs on pipes from my box. It is getting low on options as I have reworked the majority of the interesting ones. There are about 25 or so pipes to choose from now and many are in a real state of disrepair. As I sorted through them I came upon this one. I took it out of the box and turned it over in my hands. The bowl was clogged with the remnants of the last smoke – dried tobacco and sticky tars. I decided that this was the first pipe I would work on today. It would be a challenge to see if anything beautiful could come from this mess. It was a beat up old pipe. I think the previous owner must have always had it in mouth and chewed on it like a piece of straw and then used it to hammer nails. The top was chipped and dented with valleys and mountains and the whole covered in a thick coating of tars – pipe lava. The stem was gnawed on had deep dents and tooth marks. It was oxidized to a rich brown that stank of sulfur.

The first step in the process for me is always to ream the bowl and clean out the detritus of the past. I used a dental pick to get the remaining dottle out of the bowl and to make way for my reamers. I find that the dental pick works well as it is sharp enough to break into the hardened ball of tobacco remnant and remove it quickly. I work it around to clean out any loose leftovers so that I can work on the hardened cake that is left in the bowl. This one had a thick cake that was a bit crumbly and soft once the tobacco ball was removed. It would need to be reamed back quite a bit. I generally ream back to bare wood on these old timers as I want to start a hard cake that is not built upon the old crumbling base cake that was in the pipe when I started. I used the PipNet reamer on this one. I fit the cutting head into the T handle and began to carefully turn the reamer into the bowl. I generally do this over a plastic bucket as it is a mess. The coarse dust of the carbon that is cut away is a black cloud if you are not careful. I proceed slowly as it is easy to angle the cutting head and take the bowl out of round. Once it is done I tap out any dust that remains before moving the pipe to my work desk.

 ImageImage

On the desk I had placed a work surface that was washable and then took out the soft cotton wash cloths that I use to remove grime and stains and wet them with Isopropyl. I washed down the outside of the bowl including the rim. It removed much of the dirt the first pass and I continued to scrub until the cloth came back clean. For this part of the process I leave the old stem in place as it serves as a handle for me to hang on to while I am working with the bowl. I picked at the grime on the top of the bowl a bit with the dental pick and decided that indeed this one was a candidate for topping. The two pictures above show the pipe after the reaming and cleaning of the bowl. It is ready to be topped.

In preparation for topping the bowl I use a flat surface – either a hard flat board or a piece of glass to which I anchor the sand paper. This time however I wanted to try out a new trick that I had learned from a friend on one of the online forums so I anchored a piece of 240 grit sand paper on a Masonite clipboard and put the clipboard on the desk top. Topping the bowl is a careful process that involves keeping the rim flat on the sand paper and turning it either clockwise or counter clockwise until the chips and dents are minimized. The trick is to take if far enough to remove the majority of the dents and chips without changing the overall profile of the bowl. Too much of the top removed changes the pipe rather than merely restoring it. As I sand the top of the bowl I stop to check it regularly to see if I have removed enough of the damage to the bowl. On this particular pipe it took me quite a bit of time to take it down slowly to the point it was smooth enough to do the next step in the process.

Often once the top is close to being smooth enough the last remaining dents can be steamed out and then a minimal amount of sanding will finish the job. On this particular pipe the top was smooth after sanding it. There was no need to remove any further dents. However there were some major chips out the outer edge of the rim. To remove them would have involved sanding off a fairly significant amount of the top and would have changed the overall look of the pipe. I decided instead to chamfer the edges on the outer portion of the rim. I used a piece of sand paper held at an angle that I maintained throughout the sanding. The idea was to hide the battered edge and remove some of the damage while minimizing some of the larger chips. Once I had the outer rim repaired to my satisfaction I did the same to the inside rim to regain some of the roundness of the bowl. The previous owner seemed to have used a knife to remove cake so there were major chunks taken out of the inside edge. Chamfering the inner edge took care of most of the damage and made the rest relatively invisible to a quick glance.

I then cut a stem to fit – turning the tenon on a precast stem and also taking off the excess vulcanite on the area where the stem joined the shank. I wanted to get the fit to be precise without gaps. Once I had the fit correct and just needed to sand out the scratches I put the bowl in the alcohol bath to let it soak and remove the stain. I continued to work on the stem while it soaked. I generally leave the bowl in the bath for a minimum of 30 minutes and have even left them over night in an extremely dirty bowl. Once I take it out of the bath I wipe it down with a dry cotton cloth and let it dry. I then sand the bowl down to remove any scratches in the surface. I start with a 400 grit wet dry sand paper and work my way through the Micro-mesh pads 1500, 1800, 2400, 3200, 4000, and 6000 to get a good smooth surface. As I worked on the shank I noticed a fine crack that became evident as I removed the grime from the inside of the shank. I heated a nickel band and pressure fit it to the shank to take care of the crack.

I finished the bowl by re-staining it with a medium brown stain as an undercoat and then buffed and sanded it yet again. A top coat of oxblood stain followed that sanding. I find that the two coats of stain complement each other and add some depth and patina to the pipe that only the one colour does not give. It was then polished on the buffing wheel with White Diamond and then given several coats of carnauba wax. I had also finished the stem and put it on the bowl and buffed and waxed the entirety.

This is the finished product. I think you would agree it has ceased to be a sow’s ear and has become a silk purse!

ImageImageImage


Plugging a burnout


Blog by Steve Laug

I picked up an old Dunhill Root Briar off eBay that I knew would have to have a lot of work done to make it smokeable once again. It was obvious that it would need a plug as it was burned out. Many probably would not have bid on it but I got it for cheap and thought it would be worth learning how to do a briar plug to repair it. With not a huge amount invested in it I figured it was worth the education I would get doing a repair. I often will buy pipes on eBay that are rejects for the sole purpose of learning a new skill in the repair department.

When the old Dunhill arrived I opened the package for the initial inspection of the pipe. I wanted to have a clear picture of what I would be dealing with in the repair. On the underside of the bowl there was some kind epoxy fill that had been injected into small burnout spot. It had been also daubed on the bowl to provide a layer of “insulation” or something. It was really a mess in terms of the application of the epoxy. No amount of wiping the bowl down with alcohol or acetone would remove the goo from the surface of the pipe. I sanded it until the bottom was back to briar alone and the glue was gone. I then used a dental pick to check the integrity of the bottom of the pipe. I wanted to find out from the outside how far the damage had gone into the briar. If it was charcoal like and soft I would know the extent to which I would have to drill out the bottom of the bowl. I marked the extent of the damage with a permanent marker to show how far the burnout had damaged the briar.

Once I had the outside of the bowl cleaned up and the burn out clearly marked I turned my attention to the inside of the bowl. Once I had cleaned out the grit and grime from the inside of the bowl I found that the previous owner had reamed far too aggressively and compromised the thickness of the bottom of the bowl. It was almost ¼ inch below the bottom of the airway. The bottom of the bowl was in fact very thin. Using my dental pick I probed the bowl bottom to identify the extent of the damage around the burn out hole. It was virtually the same as the outside. With that information in hand I was ready to drill out the spot on the bowl.

I sanded out the inside of the bowl with a dowel and sandpaper to smooth out the hack job on the bottom. I then drilled out the burned out spot from the outside of the bowl with a drill bit slightly larger than the area I had marked with the marker. I was careful to get all the burned wood. Once the hole was open I again tested the soundness of the surrounding briar with my dental pick. I wanted to make sure that the damaged briar was removed. I re-drilled it a second time with a slightly larger bit to remove what remained of the damage. I then cleaned the pipe yet again. I wanted to make sure that the inside of the bowl was reamed and sanded to bare wood and that the bottom of the bowl that remained was free of carbon and dirt. I washed the entirety with isopropyl alcohol and then let it dry out.

I measure the outer diameter of the hole in the bottom and the inner diameter of the bowl. I then cut a piece of briar to those dimensions. The briar plug was shaped like a “T” and was actually significantly bigger than the pin hole that was originally in the bottom of the bowl. I had decided to create a new bottom for the bowl and a plug for the hole I had drilled. I used some wood glue and coated the bowl bottom and the inside of the hole. I then inserted the plug in the top of the bowl and used a rubber mallet and a piece of dowel to drive peg to the bottom of the bowl. The leg of the T extended through the hole in the bottom of the bowl that I drilled out. I had purposely made it longer than the thickness of the bowl so that it would extend below the bottom of the bowl. Once it was in place it not only was glued but in essence was pressure fit. I laid it aside to dry over night before I worked on sanding the leg of the T flush with the bottom of the pipe. The next morning I sanded it flush with the bottom of the bowl. It was a great fit as can be seen from the pictures that are included in this essay.

Once the exterior was smooth and ready to go I turned to the inside of the bowl. The top of the T formed a new thicker bottom for the bowl. I had made it thick enough to provide a new briar bowl. Because of the thickness I had used a spade bit to re-drill the bottom of the chamber and give it a concave feel like the original bowl. I also re-drilled the airway so that it would come out in the bottom of the new bowl. I again used the dowel and sand paper to smooth out the junction between the new surface and the old surface of the chamber walls. I wanted the transition between the two pieces to be smooth.

The final touch for this old timer was a good coating of pipe mud on the walls and on the bowl bottom. The mix I use for the mud is cigar ash and water. Others have used pipe tobacco or a mix of various things but I like cigar ash. The bonus is I get to smoke a good cigar in the process. I mix a good thick paste that I apply with a brush and a pipe nail. I brushed it on and tamped it into place with the brush and the nail. It gave a nice grey ash look to the inside of the bowl. The inside looked as good as new. I left it to dry through the night.

I sanded the rest of the bowl be careful to not damage the stamping. Once it was smooth and the scratches and nicks were gone I stained the outside of the bowl. I gave it a second and third coat with a Mahogany and then a brown stain. Between each coat of stain I flamed the stain by lighting it with a lighter. I find that this sets the stain a bit better than an air dry. I also buffed between coats of stain to make sure the coverage was even. The final coat of stain was applied, wiped off and then buffed with white diamond and then carnuaba.

I let the pipe mud cure for several days before I fired up the pipe. I was curious to see how hot the bottom of the bowl became. Success!! It smoked cool and dry to the bottom with no heat to the hand. The patch worked well. Next time I do a patch I will try to blend the flow of the grain a bit more!

I have been smoking it for a long time now and continue to be pleased with it. The patch is starting to blend in a bit more as it gets a patina. The pipe still smokes dry and cool throughout the bowl.

03/30/2012


This week my computer died!!! I was forced to dig out a very old laptop that I have sitting in the basement  so that I could at least have access to the internet. While I was cleaning up the hard drive I found these old photos of the same pipe. The repair may be a bit more visible in these photos if you are interested to have a look.