Tag Archives: Bowls – refinishing

This One is a Mystery Pipe – Is it a ?Dunhill?


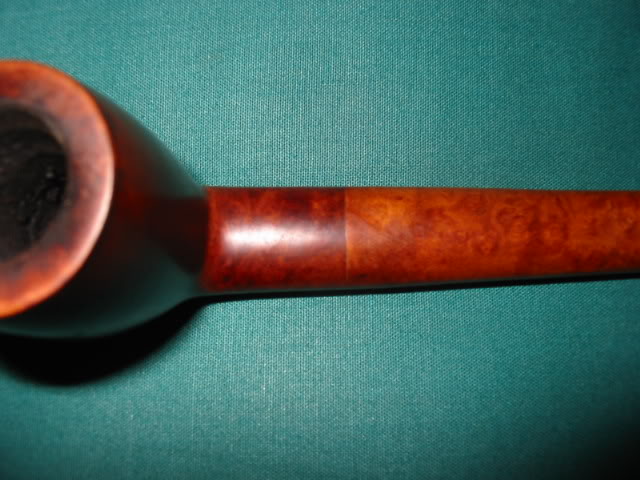
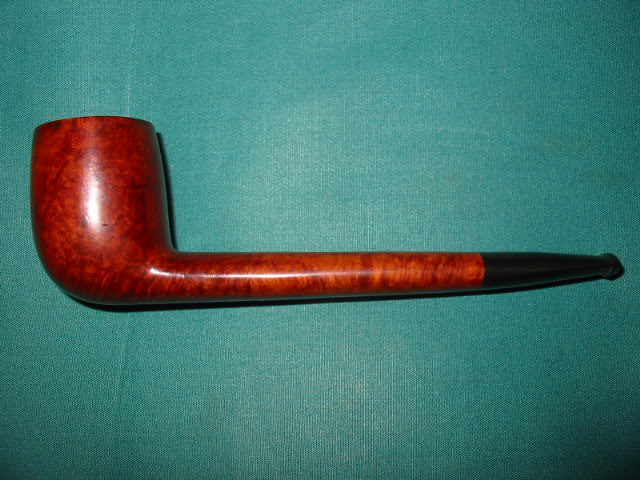
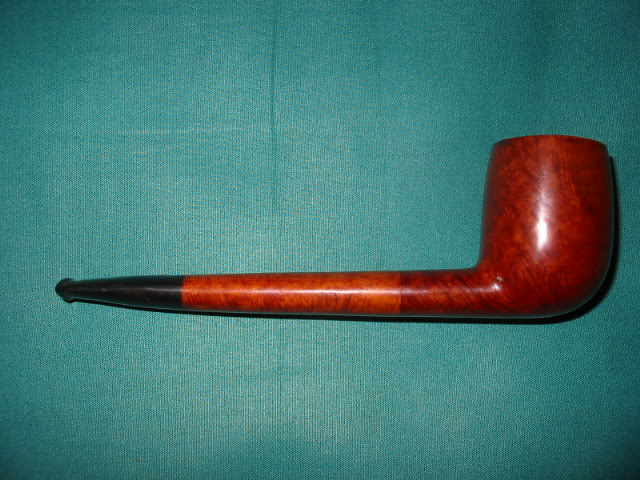
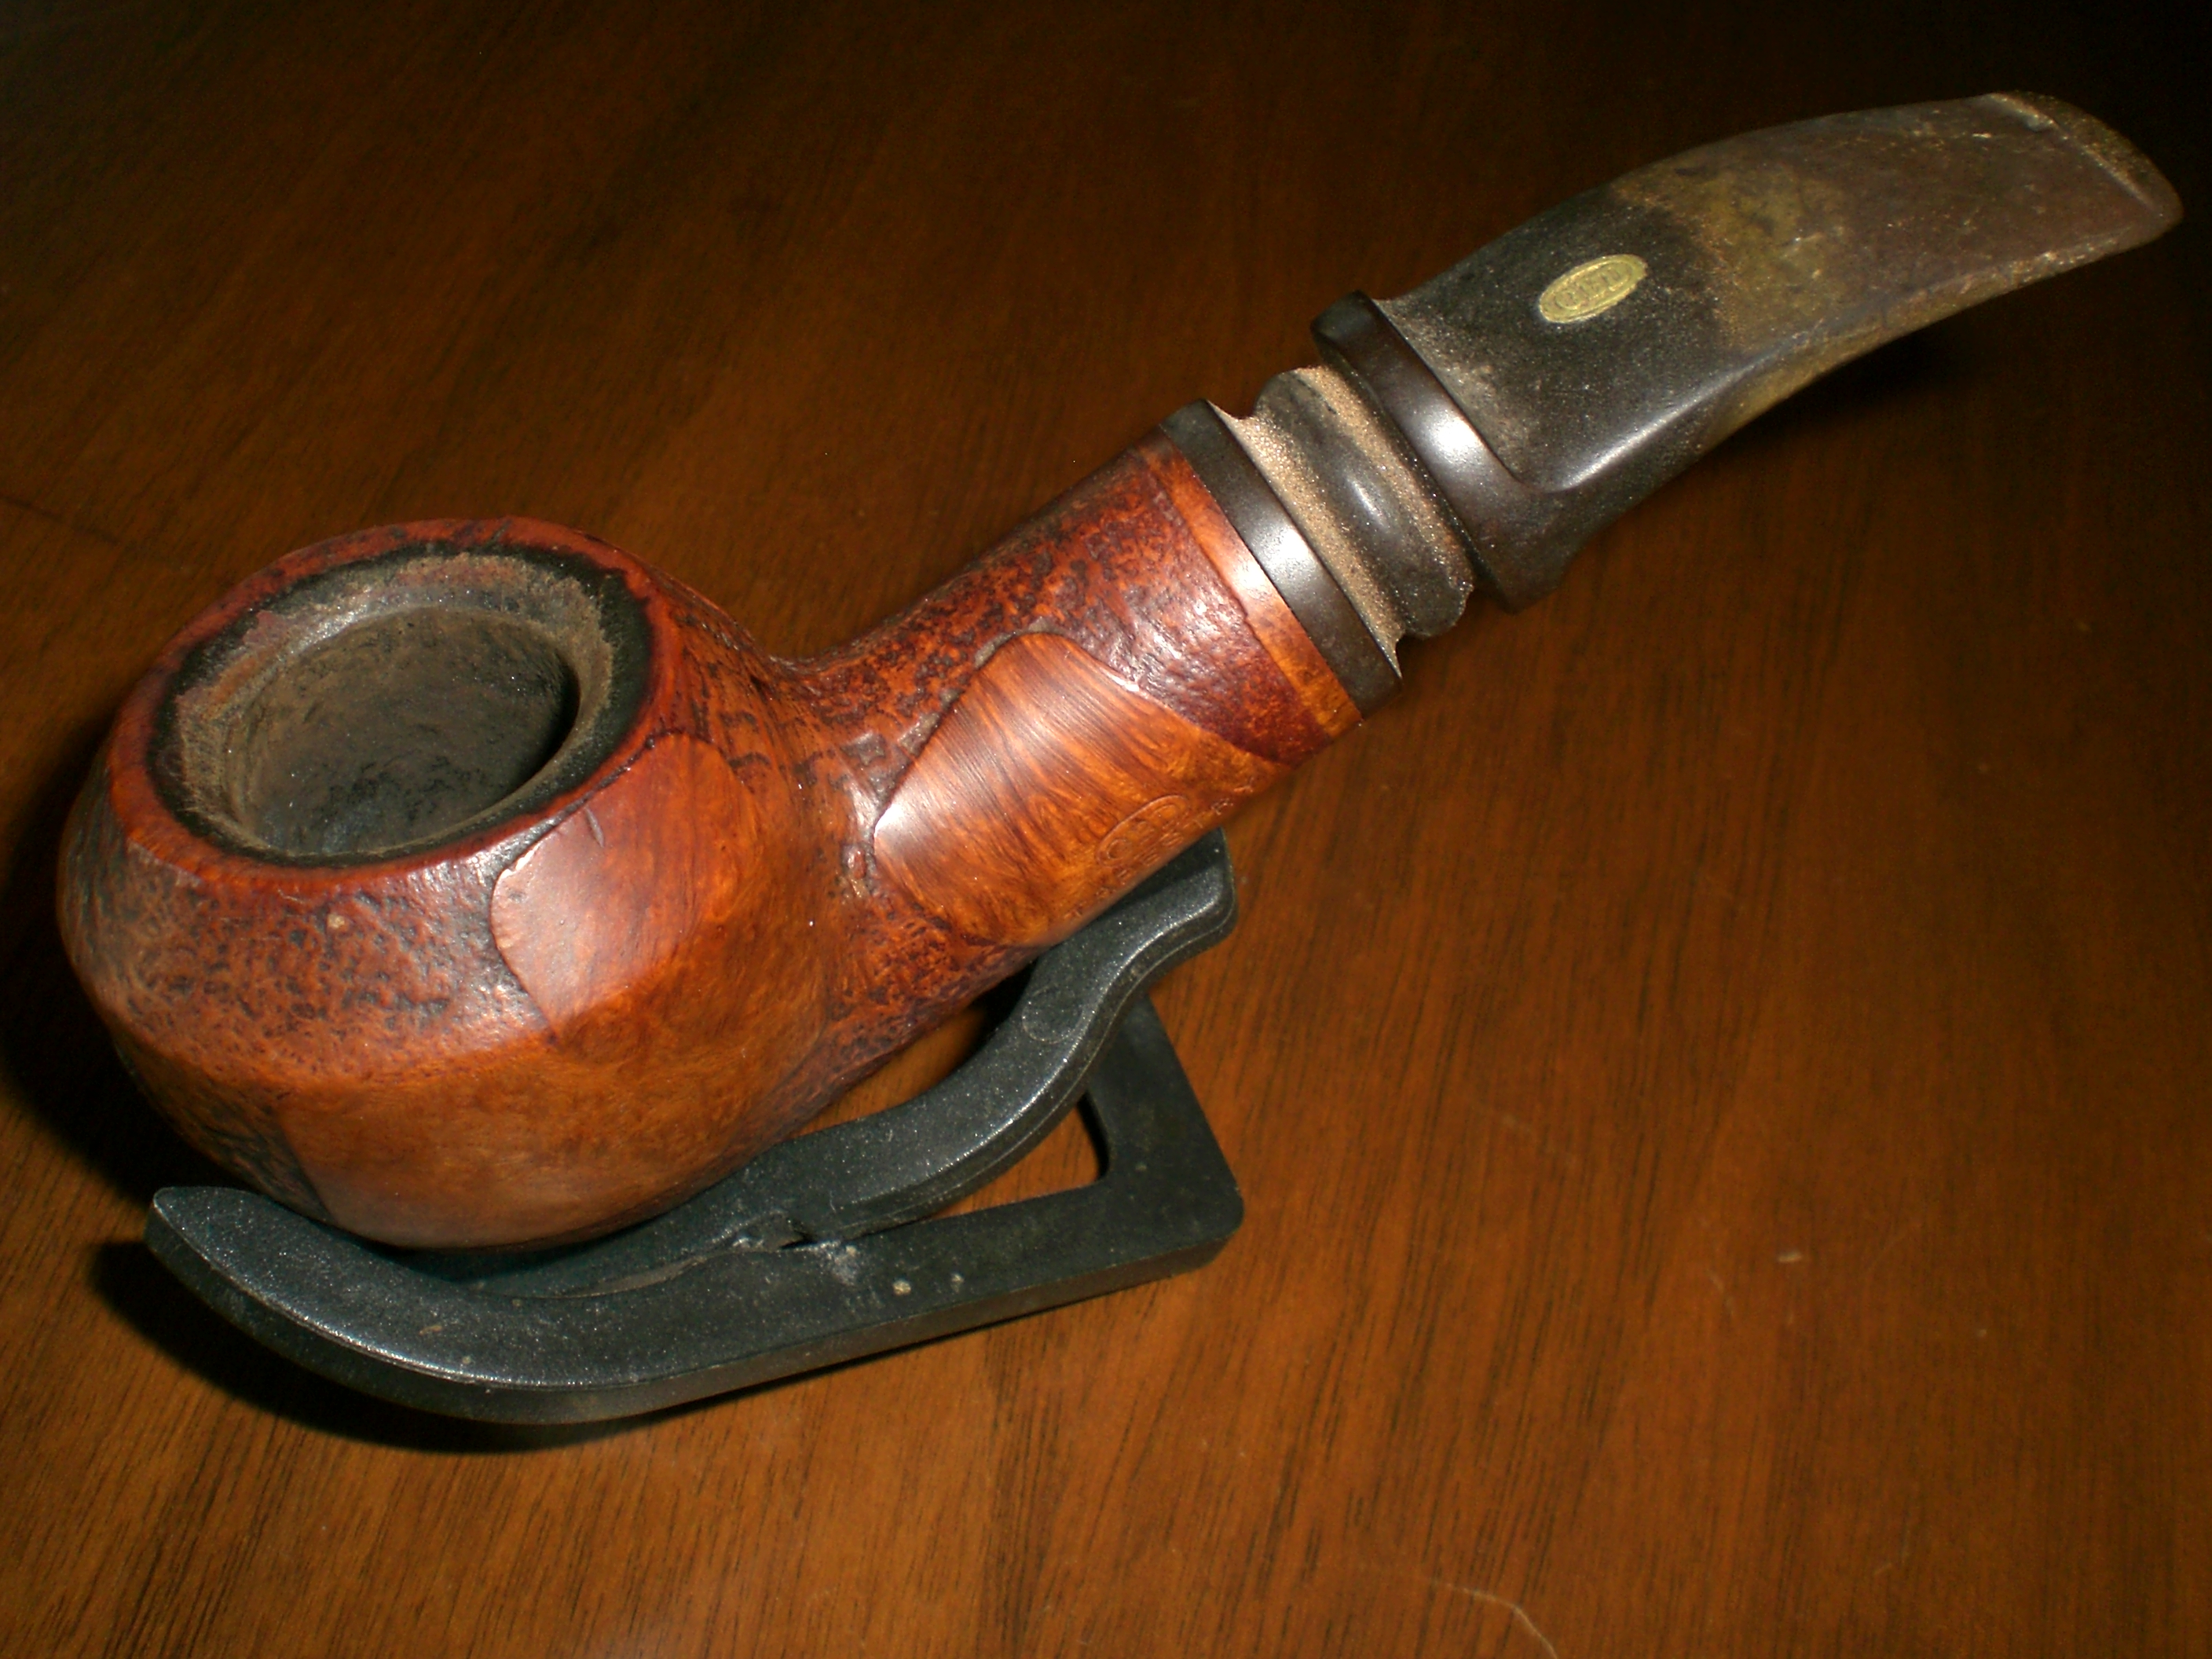
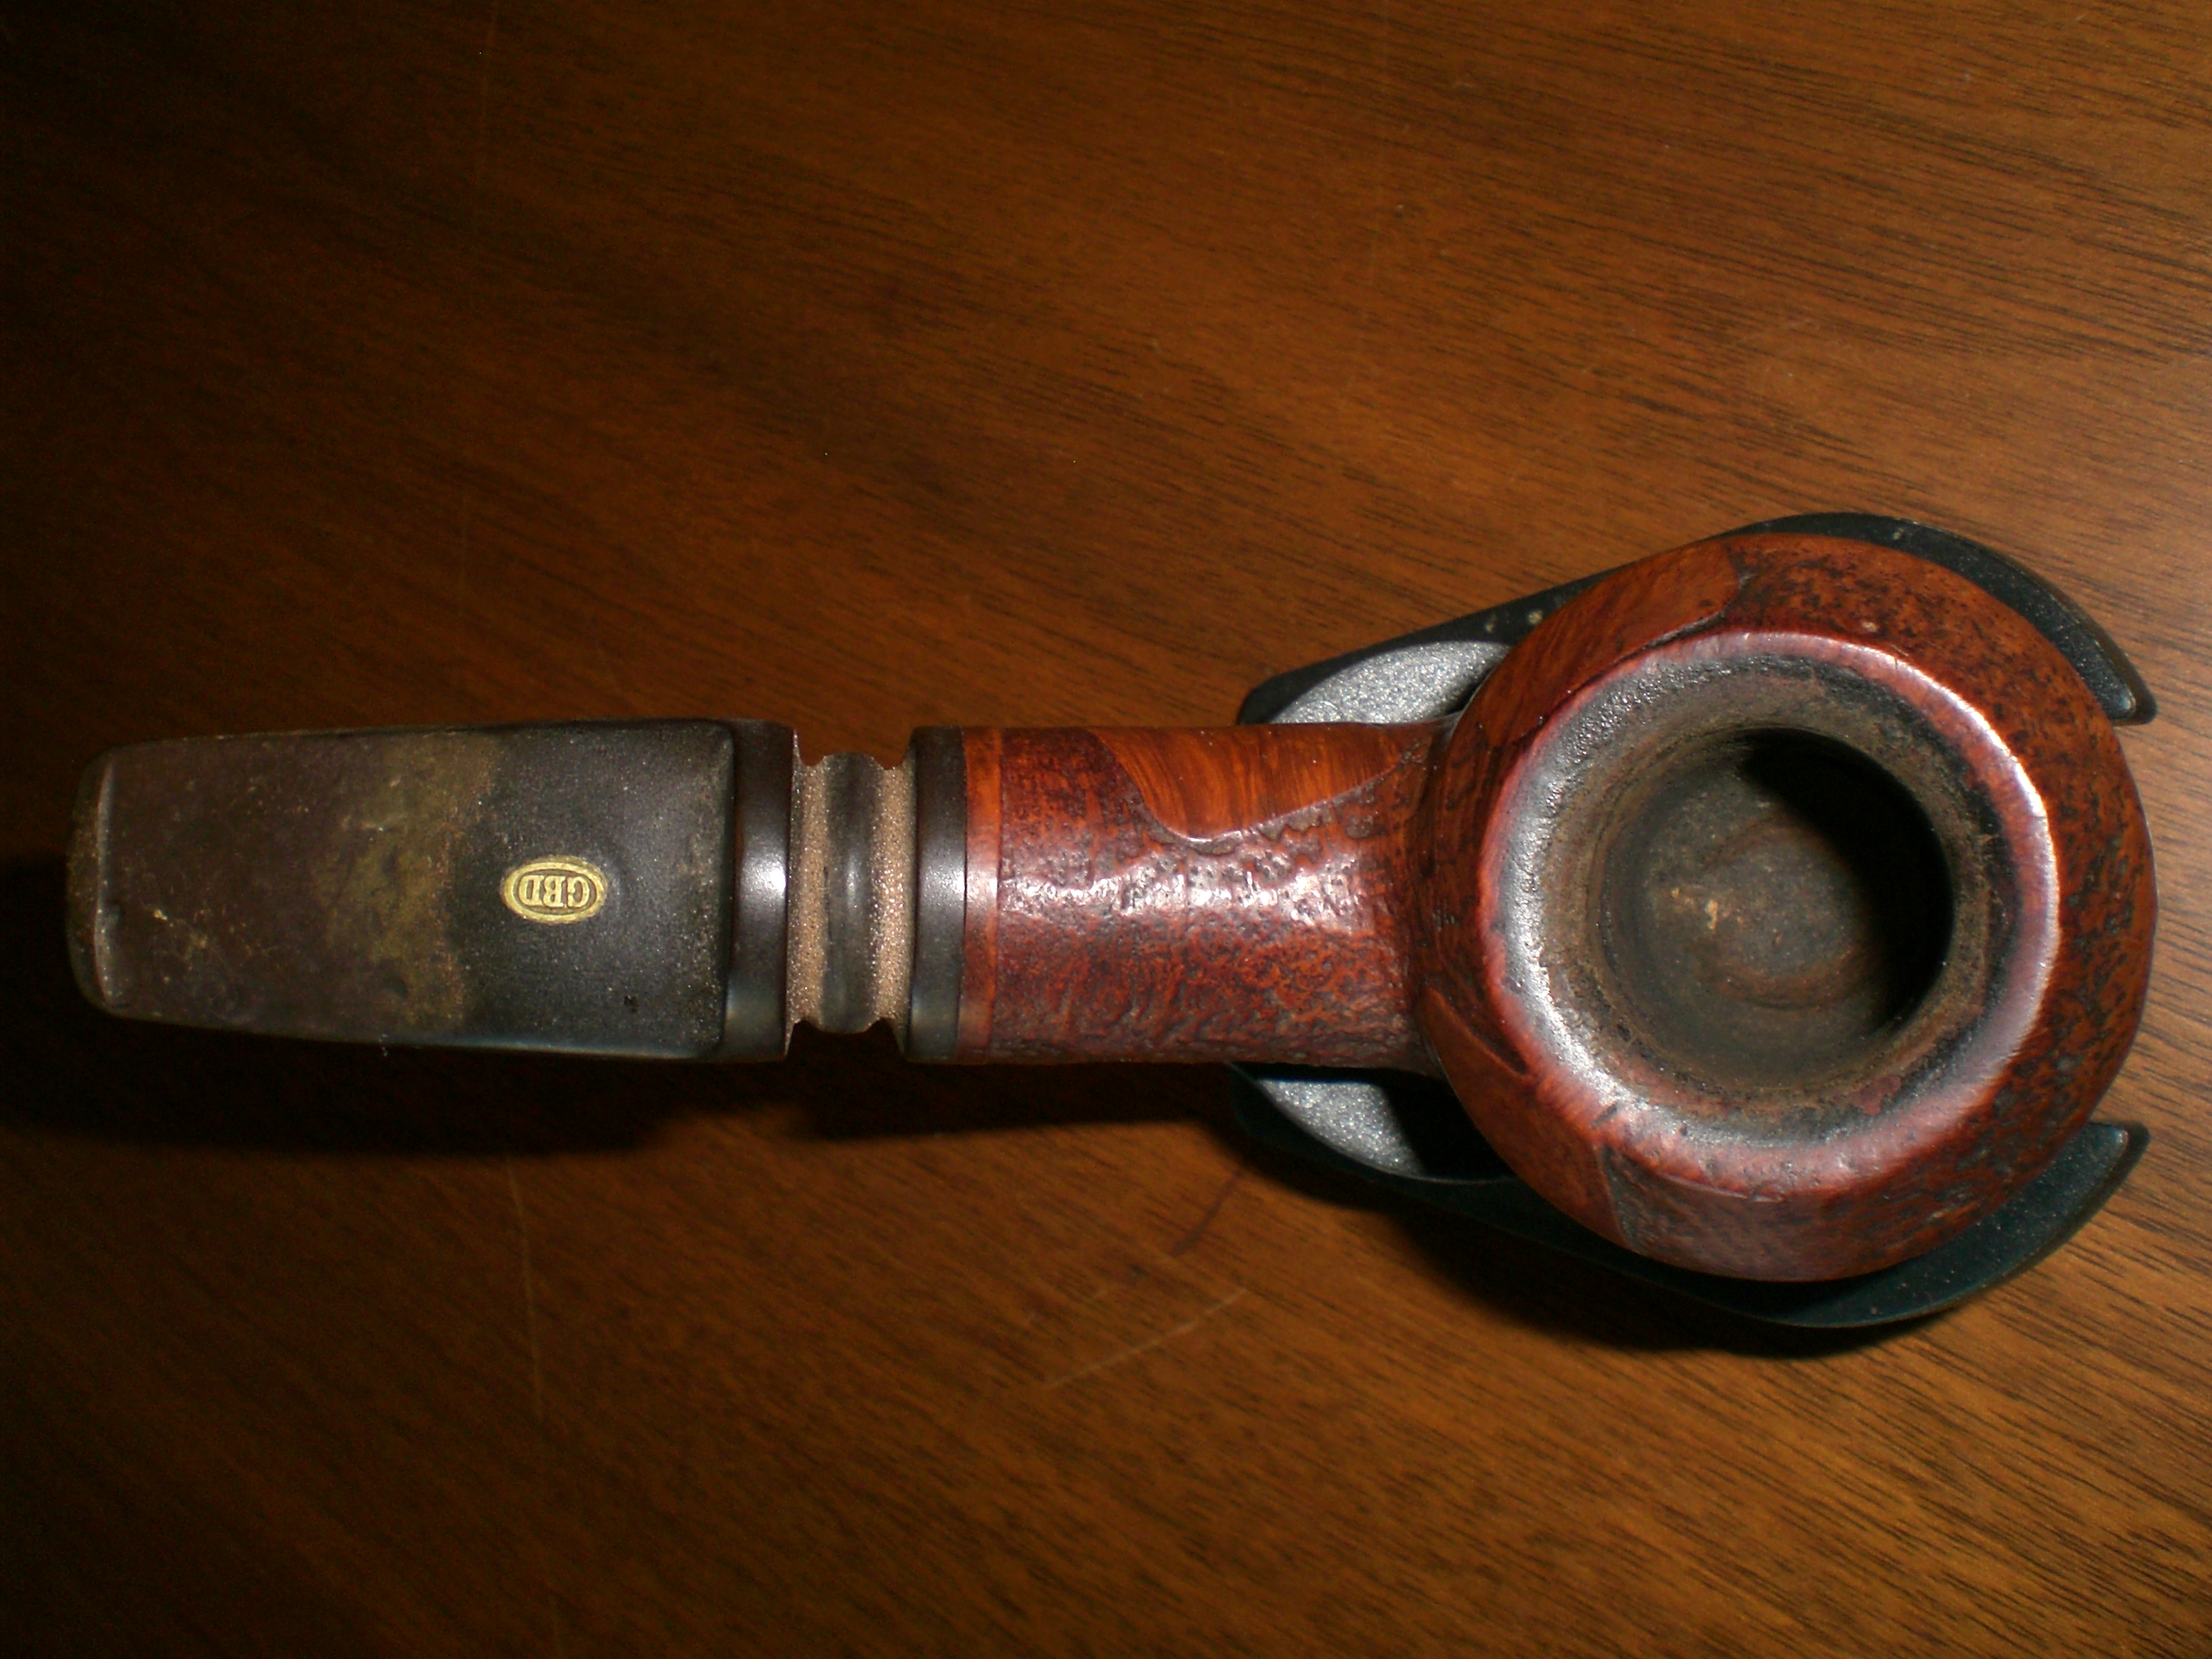
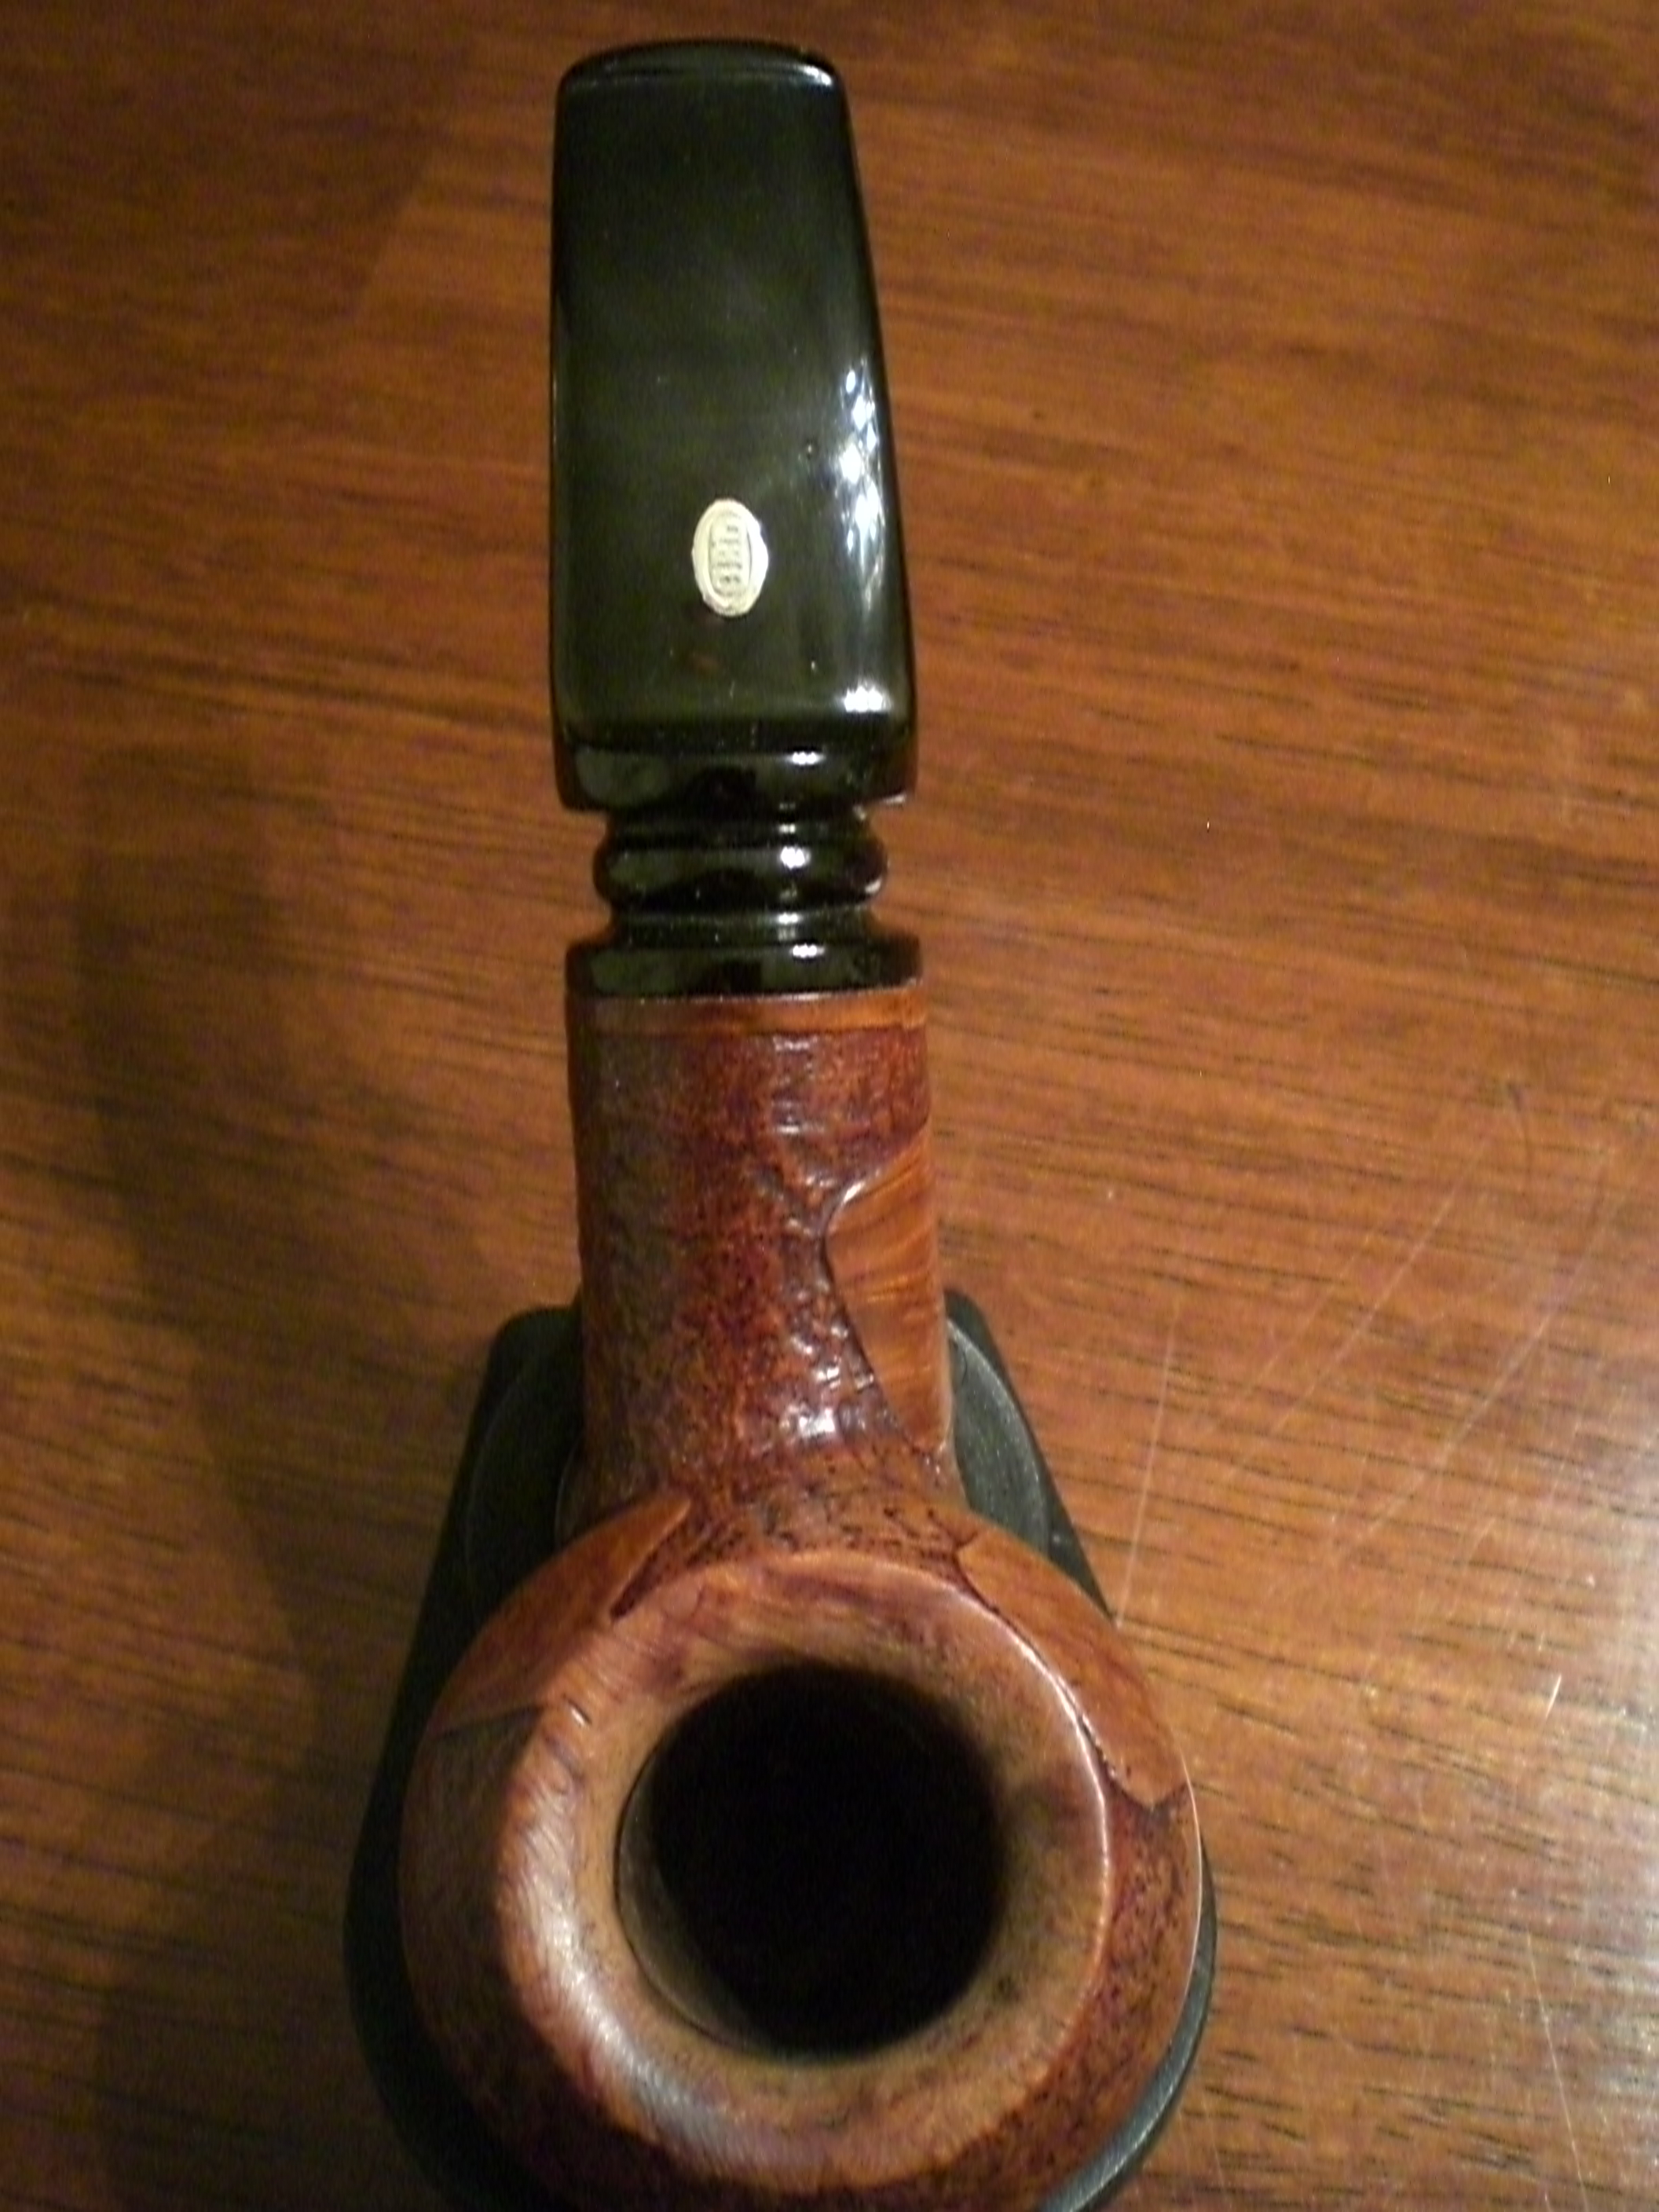
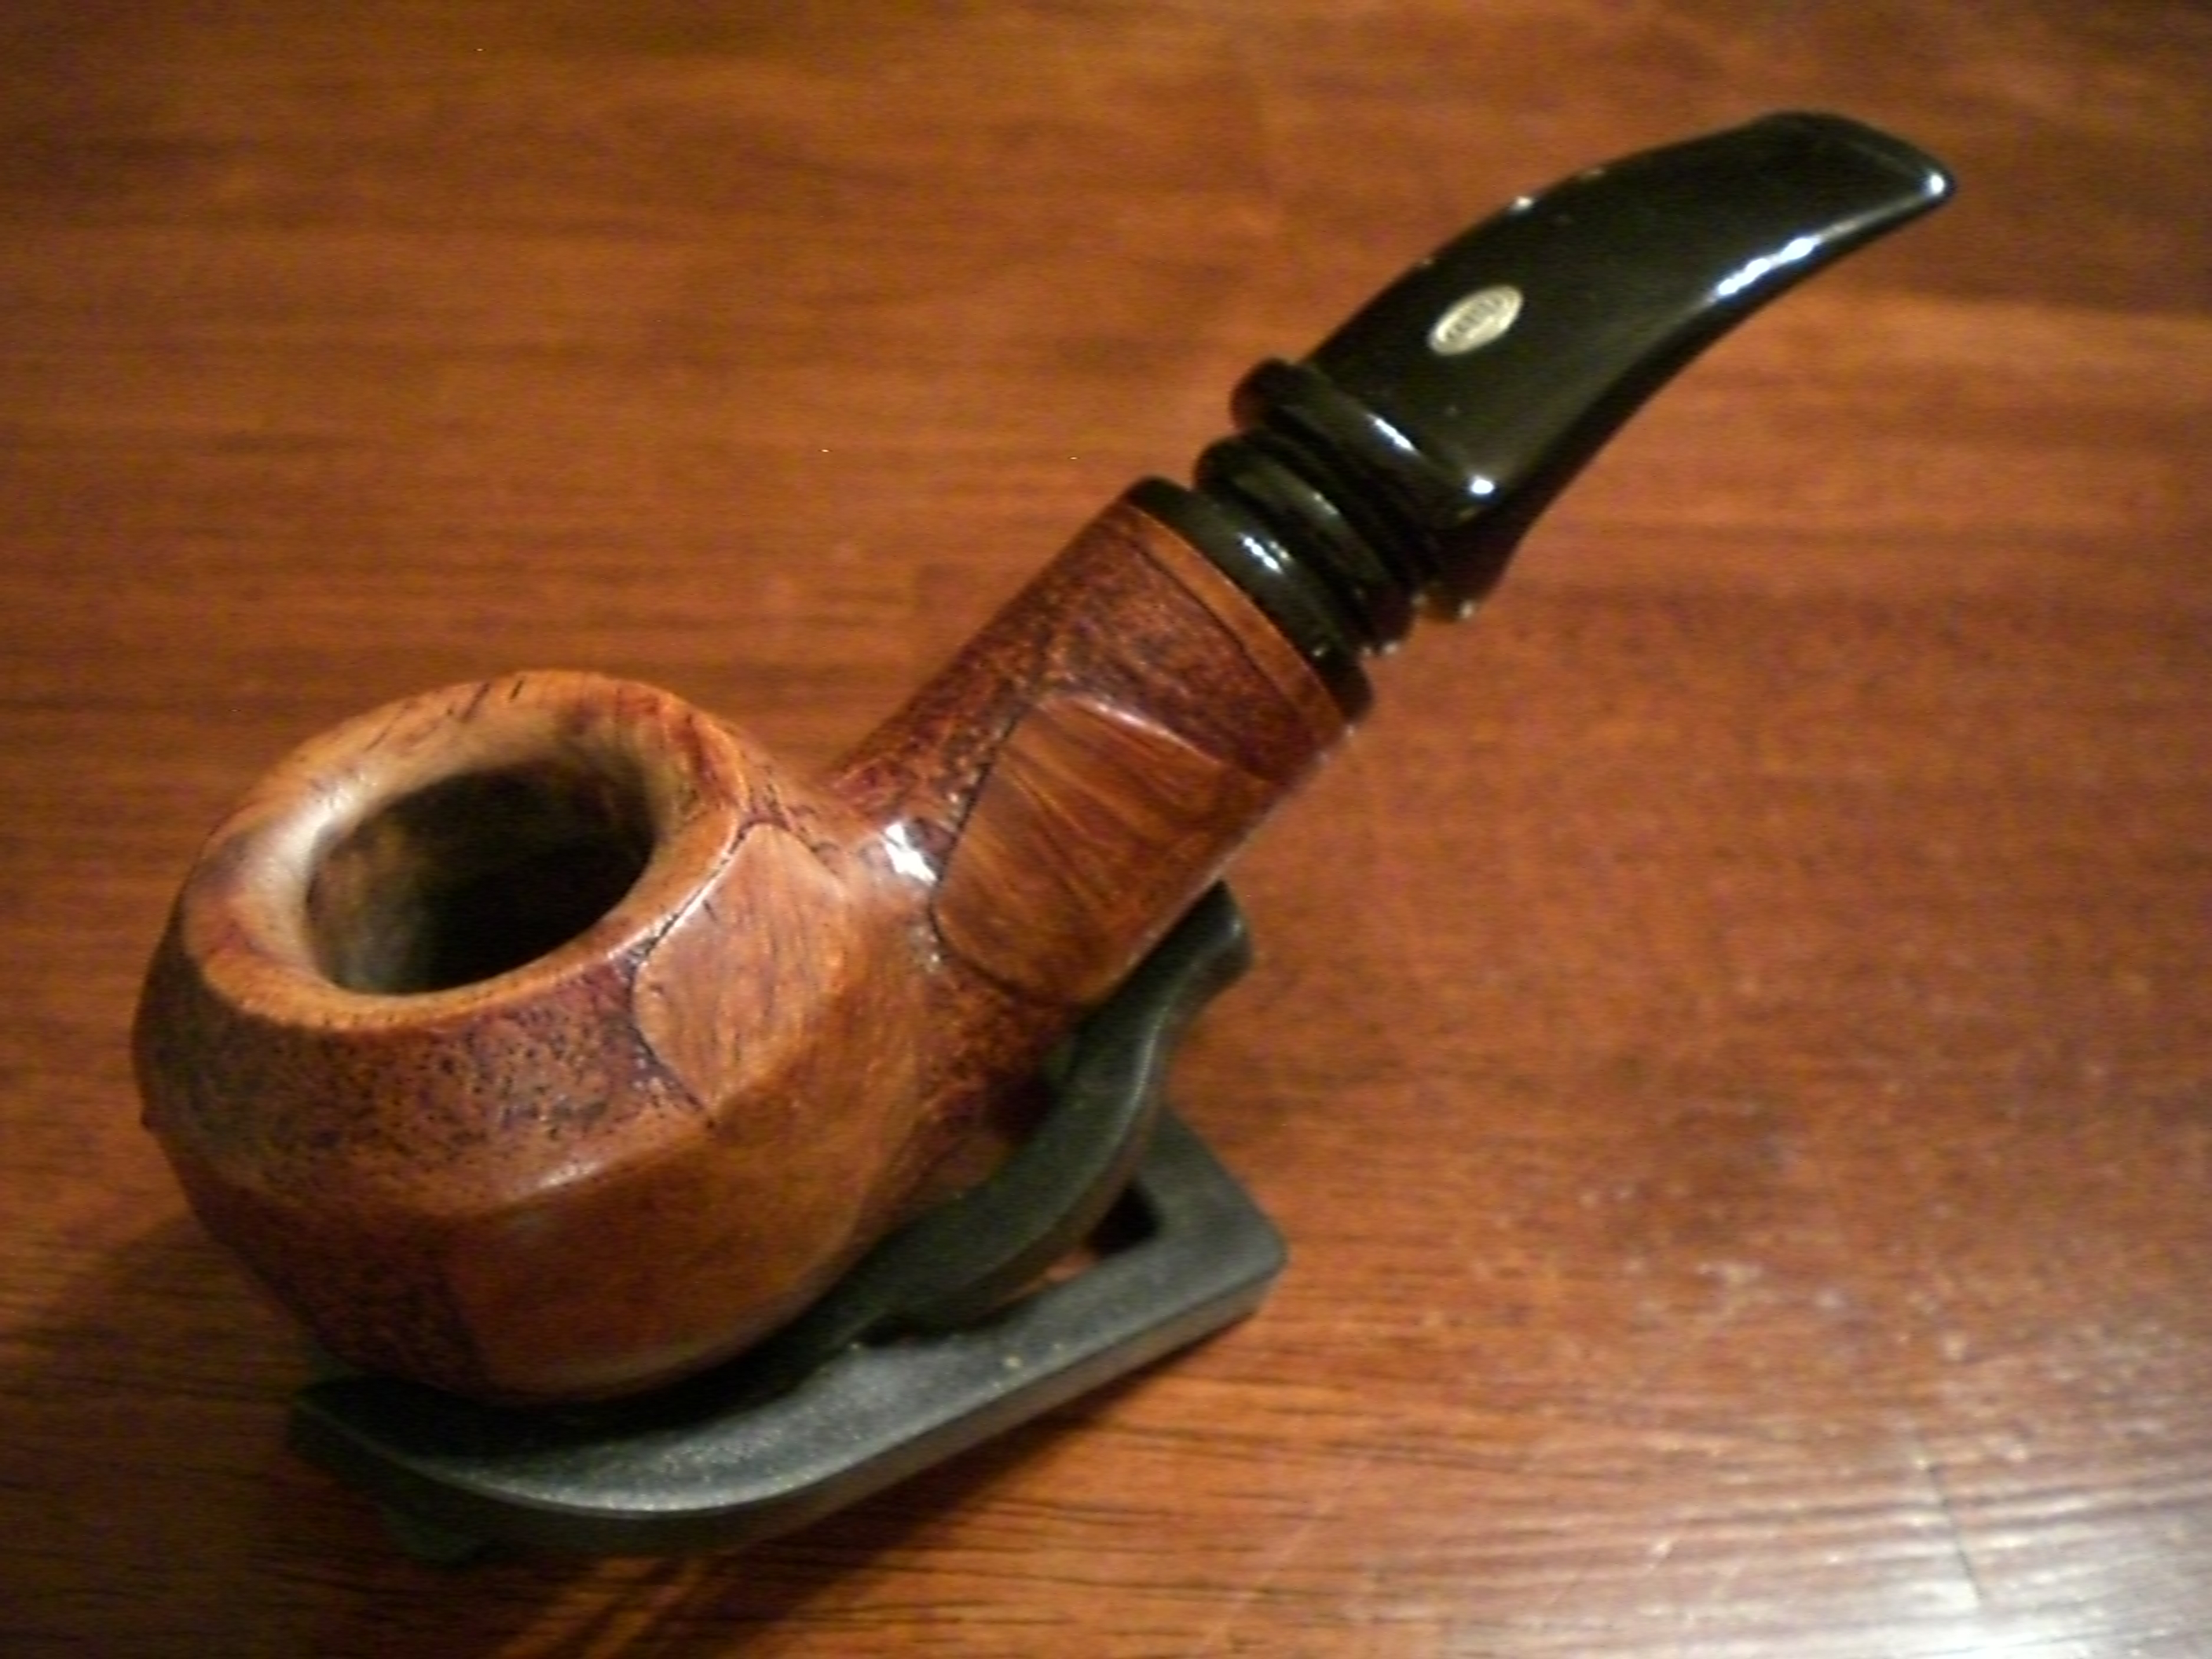
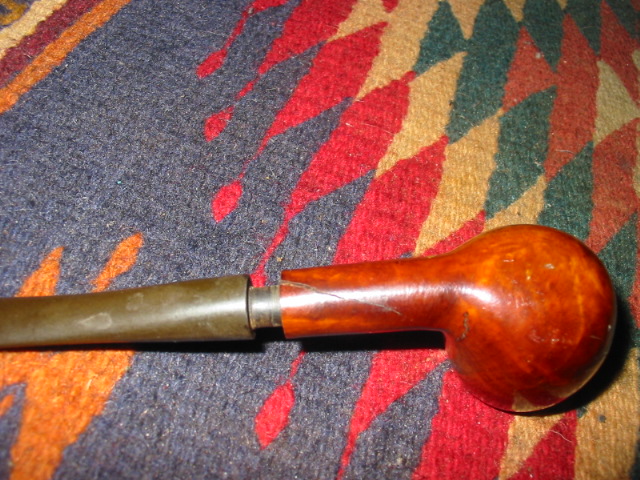
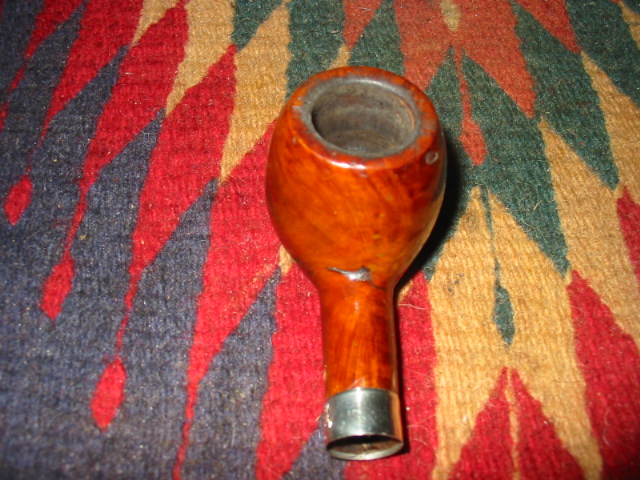
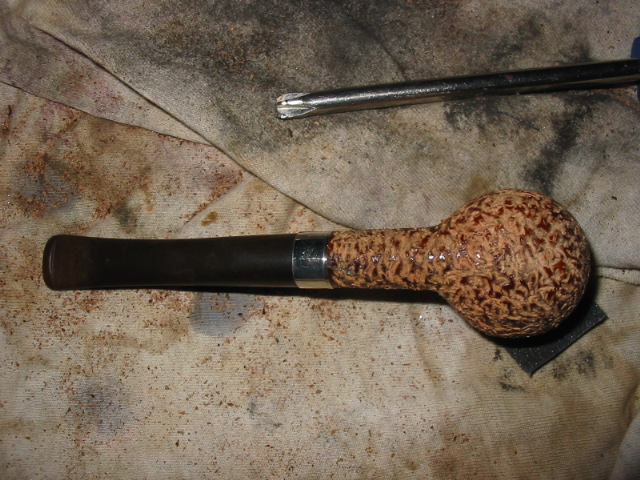
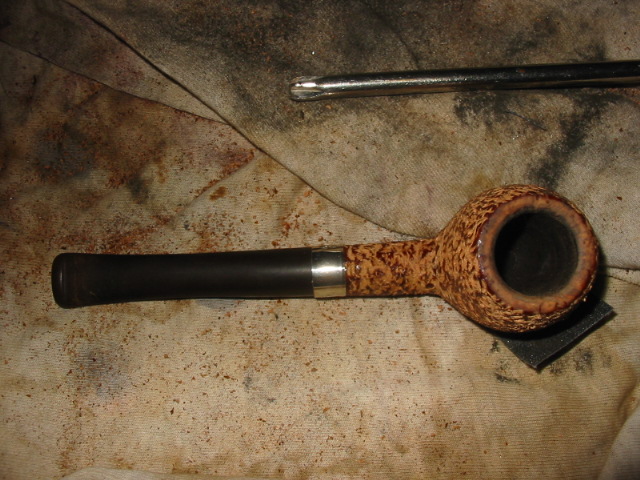
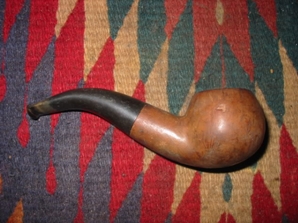
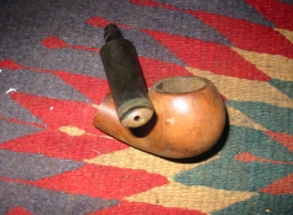
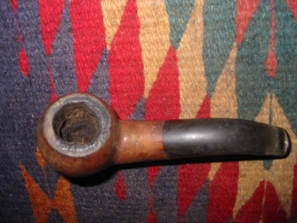
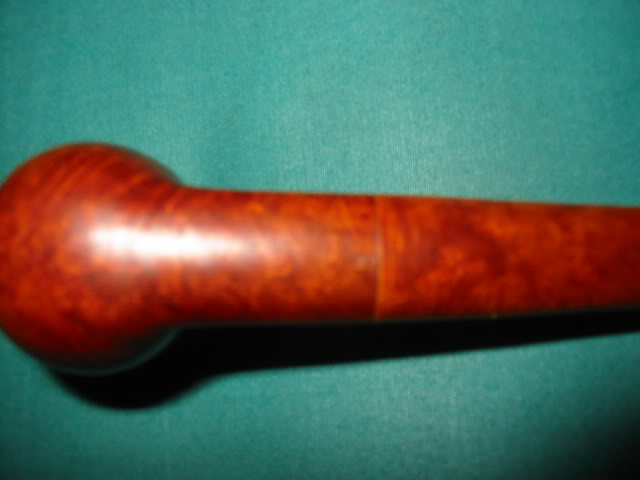
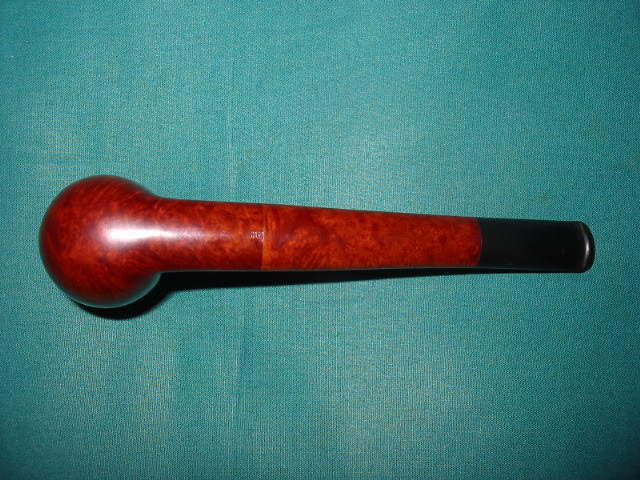
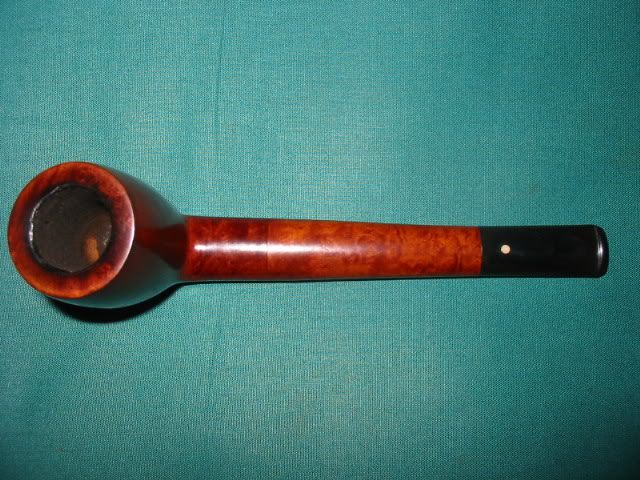
You will notice from the title of this blog piece that the Dunhill title is framed with question marks. The pipe is a mystery to me all the way around. There is nothing straightforward with it in terms of stamping or composition. It is composed of three distinct pieces (stem, shank and shank/bowl) that have been joined together at some point in the pipe’s history. From the pictures below you can see the junction of the bowl and the shank. The stem on the shank is a white dotted Dunhill stem. How did this pipe come to be and how did it incorporate at least two different pipes? It would be great if this old timer could tell its story because I am sure that it would be an interesting tale. Did the original owner break the shank on his pipe and then have a repair man do the fix? If so, did the repairman use a second pipe shank to add to the bowl for the repair or did the original owner take two of his pipes (both broken) and have them put together in this creative fashion? Did he take the bowl from one and the longer shank and stem from another and join them to form a new third pipe? Was the original of both pipes a Canadian or was the one that the bowl came from a billiard? I don’t think I will ever know the answer to those questions and even others if I took the time to think it out. But I do know that this is part of the pleasure I derive from working on estate pipes. I enjoy trying to put together the story of an old pipe.

I picked this one up from EBay. I was the only one bidding on it. I think the seller had marked it a Dunhill Canadian for sale so it had many viewers but no other bidders. I knew from a quick look at the pictures the seller provided that it was probably not a Dunhill. I could not be certain but the shape of the bowl did not quite measure up to other Dunhill Canadians that I have and the flow of the stem and bowl was different to my eye. Others may be able to point out other inconsistencies that they see but that is what I felt as I looked at the pipe. What caught my eye though and caused me to put in a minimal bid were the shank construction (reconstruction) and the flow of the pipe. I liked the looks of it. I was also curious to see how it was done. It looked like a well done repair, if indeed it was one. I wanted to see it close up and study it. The white spot on the stem was a bonus though I could see from the photos that it was not likely a Dunhill.

When it arrived I took it from the box and did a quick field dress cleaning of the pipe. Reamed the bowl, wiped down the outside with an alcohol damp cloth so that I could see the stamping or remnants of stamping that remained. The bowl portion (the section from the front to the union on the shank) has stamping on the bottom of the shank that looks to be what remains of a Sasieni stamp or at least the last few letters “ieni”. That is a bit mysterious to me in that the other Sasieni Canadian I have has the stamping running in the opposite direction. So my guess is that this one is upside down – not unheard of but interesting nonetheless. The shank and stem portion (from the junction backward to the stem) are definitely from the same pipe. The fit of the stem to the shank is absolutely perfect with no sanding or shaping marks, no gap and no change of profile to the stem. Under a bright light is possible to make out faint stampings on the shank remnant – and I do mean faint. They appear to be the last four letters of Dunhill – “hill” and under that there are the four letters “land” which could be then end of the word England. From that I would conjecture that what I have is a combination of a Sasieni and a Dunhill pipe. The Sasieni contributed the bowl and part of the shank and the Dunhill the rest of the shank and the stem. Whoever did the union of the two old pipes did a superb job as the joint is very well done. The grains of the two parts of the shank are very different and the staining does not match. But other than that it is a flawless union.
ImageImageImage

With the mystery still unsolved I went to work on the ?Dunhill?/Sasieni. I gave it a better reaming and also cleaned it. The bowl had been very caked when I initially cleaned it so I did a deeper reaming taking it back to the wood. It had a very heady smell of Lakeland style tobaccos so I wanted to remove the remnant of that in the cake and prepare it for the tobacco that I would smoke in it. The shank and stem were tarry and restricted by the gunk inside them. I used a shank brush and many pipe cleaners to clear out the airway. I also tried to shine a light down the bowl to see if there was any evidence of how the repairman had done the union of the shank pieces. But the light would not shine that far down the shank. From the ease with which the pipe cleaners slid down the shank and the smoothness of the airway it was clear that the job was very well done. I also used a drill bit on my KleenReem reamer and ran it through the shank with no catches.

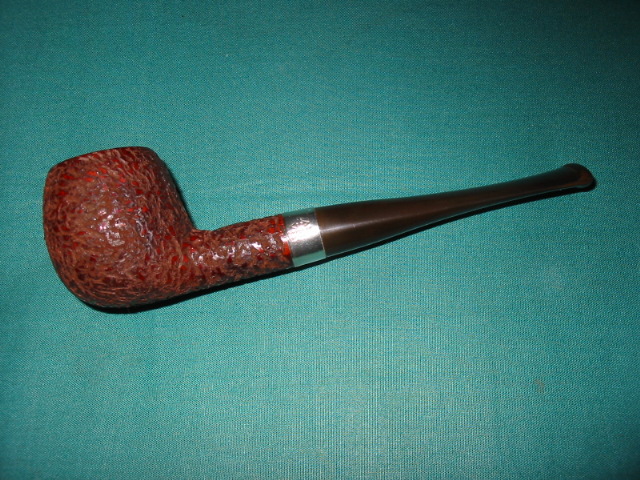
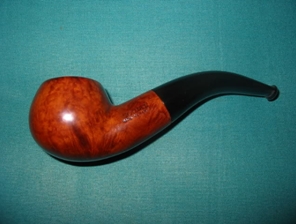
Obviously this was a favourite pipe for the previous owner. It was well cared for, repaired and put together and well smoked. I cleaned it with Isopropyl 99% and then sanded out the tooth chatter on the mouth piece. I wiped down the bowl and shank with undiluted Murphy’s Oil Soap and scrubbed it with a tooth brush. It removed the grime from the bowl and the rim. Once dry I cleaned off the remaining lava on the rim with 400 and 600 grit wet dry sandpaper. Once the bowl and shank were clean I wiped the entirety down with acetone. I wanted to get as much of the stain out so that I could try to get a bit better match on the two parts. I re-stained it with a cherry stain I have in the shop as it seemed likely that it was that colour from what was under the grime. The union of the two is still very visible even with a re-stain. The two parts took the stain very differently. I finished by buffing it with Tripoli and White Diamond before giving it multiple coats of Carnuba wax. I am happy with the results. I have smoked it quite often since the refurbishing and find that it is a great smoker. It is lightweight and comfortable in the mouth and the hand. The only thing that would make it even better in my opinion is to have the whole story behind this pipe. Ah well… I am going to go and fire up a bowl of good Virginia and enjoy adding my story to this pipe.
ImageImageImageImage

Refurb on an old AD pipe from 1909


Blog by Steve Laug

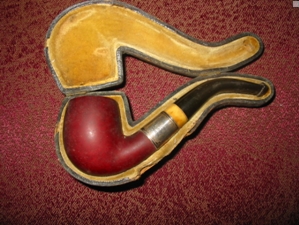
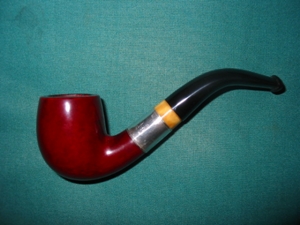
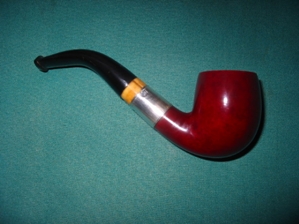
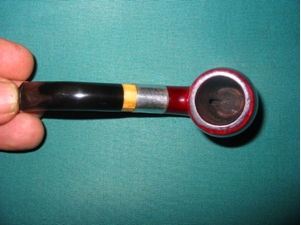
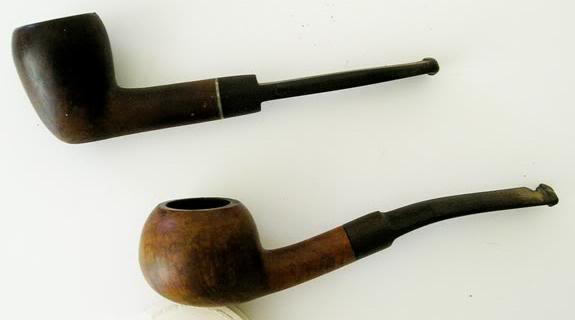
I finished refurbishing this old timer. I love the looks of it and wanted to share it with you all. It is a bit of a mystery in that it has no stamping on the bowl. The only marking is a hallmark that dates it to 1909 and the letters stamped in the silver of the band AD. The pipe is a cased little thing – just 4 inches long. The stem has a bone tenon but a slotted button instead of the orific hole on most pipes of that era. The ivory band is part of the stem and it inserts into the metal band. The bowl is stained an oxblood red. I reamed and cleaned bowl and shank. I cleaned the threads and the inside of the stem with a shank brush, bristle pipe cleaners and fluffy cleaners. The silver band was polished with tarnish cleaner and a silver cloth. The stem was sanded to remove chatter and then I used Micromesh pads 1500,1800, 2400,3200 4000 and buffed with Tripoli and White Diamond. I rubbed down the case with some leather renewer and it definitely looks better.

The book, Who Made that Pipe attributes the AD stamping to Alfred Dunhill. The Silver Hallmarks site dates it as Birmingham Silver 1909 and the Makers Marks identify the work as being done by Arthur Downing Ltd. That sounds correct to me. The final attachment photo is the clip from the Hallmarks Site. So the mystery remains – is it a Dunhill or is it a nice older pipe banded by Arthur Downing Ltd? Who knows but it smokes great.

Here are the pictures of the pipe before I worked on it
AD1
AD2

Here are some pictures of the finished pipe.
AD3
AD4
AD5

And here is a picture of the logo on the silver band as found on the British Hallmarks site. It matches the stamping on the silver band exactly.
Image

GBD 9438 Tapestry Refurb


Blog by Al Jones

I am truly honored that forum owner, Steve, asked me to write a guest article on his wonderful blog. Just a little over one year ago, I made the transition from occasional cigar smoker to an avid pipe smoker/collector. Pretty early on, I discovered that access to better quality pipes could be had through the estate market. It was also about that time I found the SmokersForums.uk forum and quickly made that venue my go-to spot for pipe information. While reading the “Restoration & Maintenance” section, it became apparent to me that even finer estates could be found if I was willing to put in a little elbow-grease and restore them. If one reads the “Stickies” in that section, pipe restoration techniques can be quickly learned thru contributions from professionals and amateurs. I was fascinated and dove in.

My tools evolved from simple sandpaper and some buffing wheels mounted in a hand drill to a bench mounted buffer, micromesh sanding papers, reamers, needle files etc. Making some of the tools to save a few bucks was all part of the fun and learning process. I favor Vulcanite stems, so occasional maintenance will be a part of my pipe smoking experience.

Due to my Welsh heritage, I’m a big fan of anything British, primarily cars and motorcycles. So, it seemed natural to be attracted to the classic shapes produced by the British masters. I’m a fan of GBD brand pipes and those estates can be readily found at reasonable prices thru Ebay, etc. The 9438 Author shape is a particular favorite and I have several models of that shape. The pipe I chose to document in this article is in Tapestry finish. I was intrigued by the turned stem and after a little research, I found it was a “chair-leg” stem used on certain Tapestry models. My joy in finding this pipe quickly evaporated when I opened the box and saw the level of oxidation on the many curves and crevices. I tend to purchase estates with saddle stems, but this one ramped the difficulty notch up significantly. Indeed this stem proved to be the most difficult I’ve encountered.

Some “before” shots of the pipe:

Typically, it takes me about an hour or so to restore a stem. This one took nearly twice that long. Fortunately, the previous owner had left no teeth indention issues to resolve. I soaked the stem in a mild Oxyclean solution as the first step. In badly oxidized stems, I think this step pays off in removing oxidation from the inside of the stem as well. Next up, I used some 1500 and than 2000 grit wet paper until the brown was removed. Getting oxidation from the chairleg creases was frustrating and finger aching. I almost gave up at one point, but sitting the project down for a few hours strengthened my resolve. I’m always eager to smoke an estate I’ve cleaned up, so there is always that pot at the end of the rainbow. I found wrapping the sandpaper around a thin kitchen knife allowed me to get the oxidation from those thin crevices. Next up, was a polish with each of the final four grades of “micromesh” (4000, 6000, 8000 and 12000). Micromesh comes in pads and sheets. I found the larger, 6” x 2” sheets last longer and are easier to fold into creases, etc. Following the micromesh, the stem had a deep, black shine that I enjoy on my mostly Vulcanite stems.

The next step was to buff the stem lightly with some White diamond and then “Blue Magic Plastic Polish”, each product getting it’s own cloth wheel. The Blue Magic product is made for the automotive industry and available at most autoparts stores (Megiuars also makes a similar product). Some folks are adverse to putting an automotive product on their stems, but so far, I’ve found no adverse tastes, etc. I do think the product helps “seal” the Vulcanite as oxidation seems to either not occur or very slowly. James Upshall pipes are noted for their fast oxidation, but so far my restorations using this product has kept my collection shiny. I also gave the pipe a light coat of “Obsidian Stem Oil”.

The bowl wasn’t in bad shape, but had the usual tobacco/tar buildup on the bowl top. I used my Castleford reamer set to remove the thin cake than soaked the bowl with Sea Salt and Everclear for a few hours. This was done while I was working on the stem. Following the soak, the draft hole was thoroughly cleaned with a series of bristle pipe cleaners soaked in Everclear. I’ve had success eliminating ghosts by cleaning this area of the pipe until the cleaners come out nearly white. I gave the bowl a light buff on the wheel with some white diamond, then Carnuba wax. A hand polish with Paragon wax completed the briar clean up. The wood on the bowl top was a little lighter in color, but I knew smoking it would even out and darken that area. (plus I was not looking forward to prepping and staining the mixed “Tapestry” finish..)

The completed pipe:

It may be a combination of the pipe shape and the effort required to refurbish it, but this particular pipe has become a favorite. I swore that I’d never purchase another chairleg stemmed pipe, but won an Ebay auction last night for another GBD Tapestry pipe with a chairleg stem……

Smoke safe!
Al Jones

Restoring Horn Stems


Blog by Steve Laug

I have had the pleasure of working on over a half dozen horn stems on some old pipes I have purchased and been given. Each of them presented a different challenge in terms of restoration. Several had the normal tooth dents and chatter that come as a normal part of the stems of many old pipes while other stems had been gnawed to the point of changing the profile of the stem forever. Horn is significantly different to work with than vulcanite or Lucite stems. In many ways it is softer and more pliant than either of the other materials. When it is in good order the sheen is almost translucent and there is deep almost internal warmth to them. In this article I want to talk about the process of reworking horn stems and restoring them to their former glory.

The first issue with horn stems I had to learn to work on was the tooth dents and tooth chatter that often covers the last half inch or more of the stem just ahead of the button. When I first attacked this I did it with a bit of fear and trepidation as I had all kinds of concerns about the laminate of the horn separating or delaminating. However, through the help of several of the folks on Smokers Forums, an online pipe smoking community, many of my concerns were alleviated. Here are some pictures of this first issue with horn stems. I took pictures of the top/side profile and the bottom/side profile of this particular stem as it highlights the issue.

ImageImage

Looking closely at the stems above you will see the tooth marks along the button area of the stem. This area was rough to the touch and was dry and almost flakey feeling. I was concerned that the horn had softened from the breakdown of the outer coating and wondered if it could be brought back. They were shallow though so I went to work on them with multiple grits of sandpaper to smooth out the surface. I used 240 grit to smooth out the roughness and then worked my way through 400 and 600 grit wet dry sandpaper. The trick with the latter two was to wet them as I sanded the stem. Each progressively higher grit smoothed out the roughness until it was smooth to touch. The wetness of the sandpaper made the grit really bite into the surface of the horn. I then used micro-mesh pads beginning with 1500 grit followed by 1800, 2400, 3200, 4000 and 6000. By the time I got to the 3200 the scratches in the surface were virtually gone – even under a bright light. Again the trick is to work with a bowl of water near at hand to wet the pads as you sand the stem. When I finished with the 4000 and 6000 there was a good sheen to the stems.

At that point in the process I took them to my buffer to finish the work. I used White Diamond polishing compound on the buffing wheel to give it a deep gloss finish. Then I gave a polish with carnauba wax and buffed to a glassy finish.

Here are some pictures of the finished stem minus the tooth chatter. The original issue had been addressed and the stem returned to its former beauty.

ImageImage

One quick note that I should mention is that horn will stink as you work it. Its smell has been likened to the smell of a tooth getting drilled by the dentist or burning hair. I found though, that as I worked with it I got used to it.

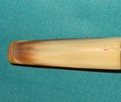
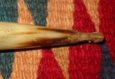
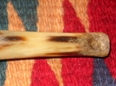
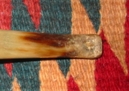
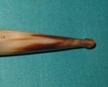
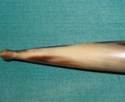
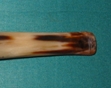
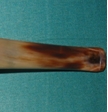
The second issue with horn stems that I had to learn to deal with was more serious. It involved deep tooth dents and a chewed stem. The stem pictured below was a real mess. The previous owner obviously gnawed it and clenched it so the horn was dented and chewed with the profile changed. The question for me was whether I would be able to raise the tooth dents and smooth the surface while reworking the profile of the old stem to make it look as much as possible like it did when it came out of production. Here are three pictures to give you a look at the stem in its state of disarray.

ImageImageImage

Looking closely at the stem pictured above you will see the depth of the tooth dents in the second and third picture and the serious loss of shape in the stem profile in the first picture. The profile shows the pinched look of the stem in front of the button and how thin the stem had been squeezed by chewing. My concern was whether there would be enough meat on the stem at that point to restore it without breaking through into the airway. The second and third pictures show the stem from the top and the bottom. In those two pictures you can see how deep the dents are in the surface of the stem. Also notice the virtual loss of the lip on the edge of the button. The stem appeared to be a loss.

From Chris Askwith, a talented young British pipe maker I learned a few tricks that I was anxious to try out on the stem (http://www.askwithpipes.com/). I had used the same tricks to lift dents out of the rims and sides of briar bowls so I was looking forward to seeing the process work as described by Chris. I steamed the dents and lifted the major depth of them by using a damp cloth laid on the surface of the dents and then heating a butter knife on the gas stove and applying the hot blade to the wet surface of the cloth on the stem. The gentle hiss and the presence of steam assured me that the steaming was working. You have to be careful as you work this process, checking repeatedly as you apply the knife and steam to make sure not to scorch or split the horn. Most of the deeper dents rose significantly and the more shallow ones came out completely.

I sanded the stem and cleaned up the chewed part starting with 240 grit sandpaper as I did with the stem above. I gradually worked my way through 400 and 600 grit wet dry sandpaper clean up and even out the surface. I worked on the profile and cleaned up the sharp edges of the button with a set of needle files to restore the right angles of the button and stem surface. There were still a few remaining spots on the stem where the tooth dents had cut the surface of the horn and would not lift with the steam. I addressed these by filling them with a few drops of clear super glue. The glue dried quickly and left a small bump in place of the dent. I sanded these with the sandpaper combo mentioned above until the surface was even and smooth. Once I had a clean and smooth surface to work with I then moved on to Micro-mesh pads beginning with 1500 grit followed by 1800, 2400, 3200, 4000 and 6000. By the time I got to the 3200 the scratches in the surface were virtually gone – even under a bright light. Again the trick was to work with a bowl of water near at hand to wet the pads as you sand the stem. When I finished with the 4000 and 6000 there was a good sheen to the stems. They were beginning to shine like glass.

I took the stem to my buffer and used White Diamond polishing compound to  buff the surface smooth and shiny. It was truly glassy in terms of look and feel. I finished the stem by applying a good coat of carnauba wax and buffing to polish the wax.

Here are some pictures of the finished stem minus the tooth dents and with a restored profile. Notice the restored profile of the stem in the first and second picture below. Notice the functional button and lip that has been restored. The third and the fourth picture show the top and bottom of the stem and show the way the super glue patch and the work with the steam and sandpaper restored the deep pits in the surface of the stem.

ImageImageImageImage

Because of the success I experienced with these two different issues with horn stems I have gone on to bid on others that need work. I have found those that only needed a buff and polish to restore them to their pristine condition and I have found others with similar problems to those shown above. The challenge of restoring them to the original beauty always is a draw to me. To smoke one of these old horn stem pipes is an experience that all pipemen should have. The work to restore them is worth the effort when you put the newly restored stem in your mouth for the first time. There is nothing quite like the feel of a “new” horn stem on your lips as you puff a favourite tobacco. And that is to say nothing of the good aged briar that is on the other end of the stem. Give restoring a horn stem a try. It is a pleasure! Won’t you join me for a bowl full in one of these old timers?

Steve Laug

June 8, 2012

Refurbed Piece of pipe smoking history – A Brittish Buttner Billiard


Blog by Steve Laug

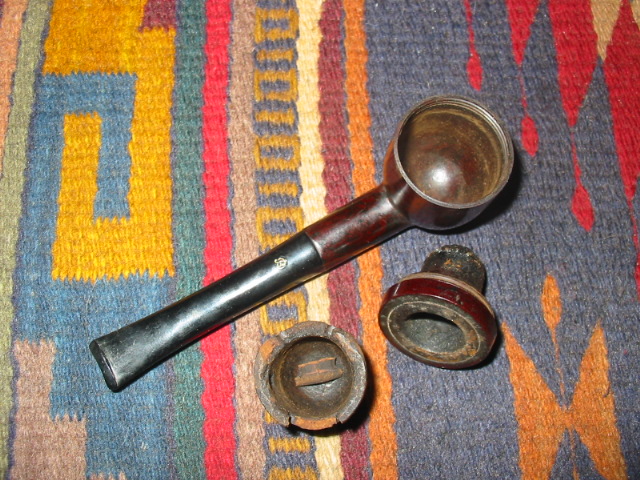
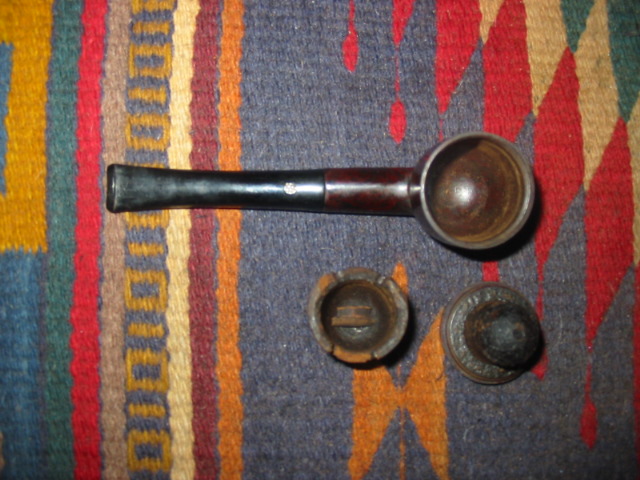
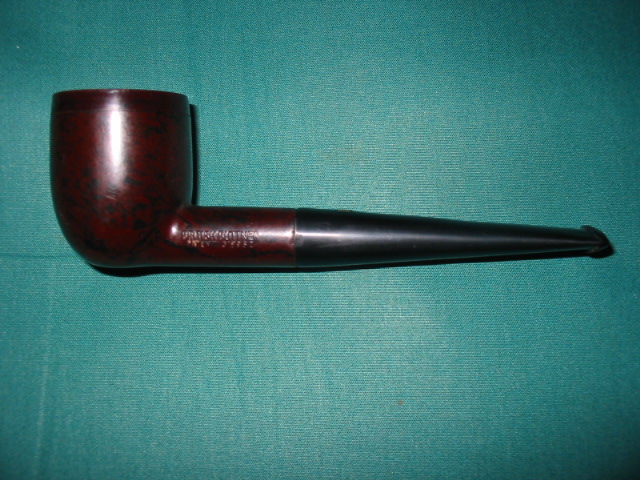
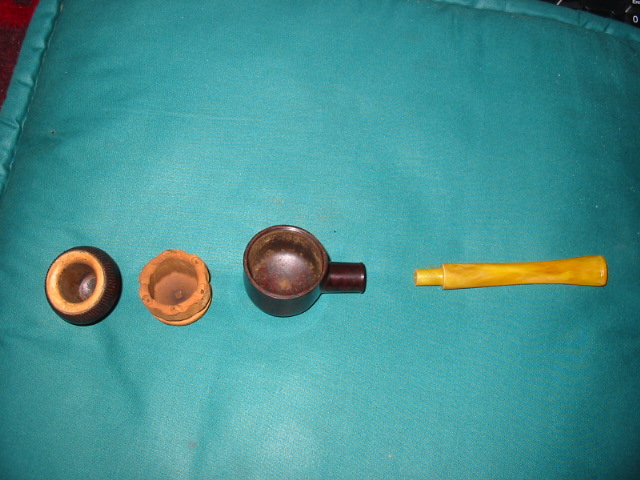
I picked this pipe up on Ebay awhile back solely for my historical interest in this kind of pipe. I am drawn to creative pipe manufacturers and the search for a drier and cooler smoke. It is that interest that attracted me to the gadgetry of the British Buttner pipes. This is the second one that I have purchased on Ebay. The first one is older (patent is earlier)and has a yellow Bakelite stem and is a pot in terms of shape. I have also collected a Bakelite canister that holds an extra clay insert bowl. I saw this one and added it to the collection. It looks like a briar billiard but is not. It is a Bakelite bowl and Vulcanite stem. The tenon is long and extends to the air hole in the bowl. There is a clay insert that sits in the bottom of the Bakelite bowl. This one has a few chips out of it but is still workable. The rim unscrews and holds clay bowl (much like a gourd calabash. It is mounted on the rim and screws into the bowl. I cleaned the inside of all three parts and cleaned the stem and shank. I have polished it with wax and since have smoked it several times. It is a very different smoke – very similar to a calabash smoke; very cool and dry.
Here are some pictures of it taken apart before cleaning:

ImageImage

Here it is cleaned and polished.

ImageImage

Here are some pictures of the older British Buttner


Refurbed Breezewood Acorn


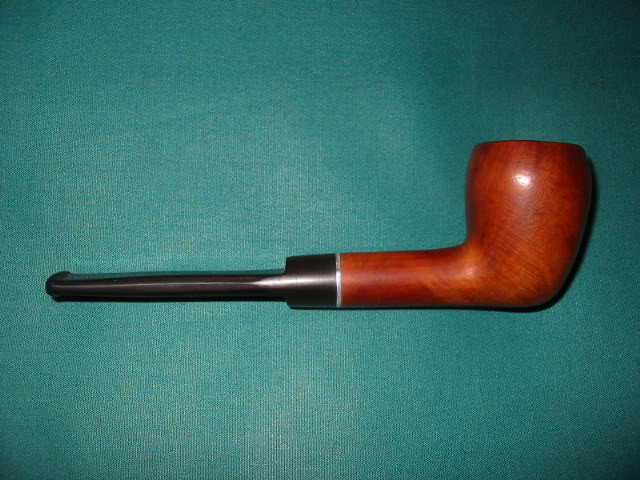
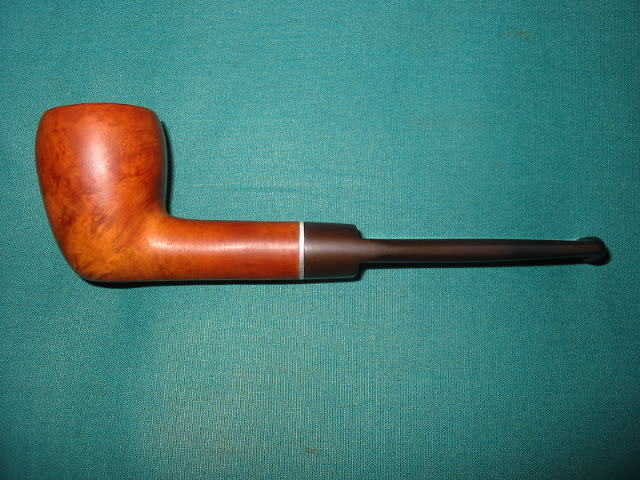
I picked this old timer up in the ebay purchase that included the Bertrams author. It was almost black it was so dirty. It is incredibly light weight. Once I got the grime off I could see a wee bit of the stamping left and it read Breezewood. I reamed and cleaned the inside. The stem is a screw mount like the old Kaywoodies. It has been clipped of stinger contraption but it is a good open draw. I cleaned the stem and used the micromesh sanding disks on it. The bowl was soaked in an alcohol bath to remove the finish and grime and then sanded with 220, 400, 600 sand paper and then micromesh 1800, 2400, and 4000 grit pads. Here are the before and after shots. Below the pictures I have posted a write up of the history of Breezewood pipes by the late Mike Leverette (a friend and historian of things pipe).

The pipe is pictured in the top photo below of the two pipes.

Image

Here is a series of photos of the refurbished pipe.
Image

ImageImageImage

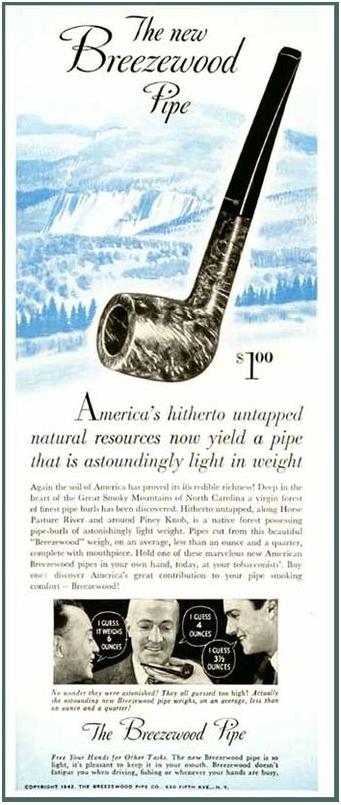
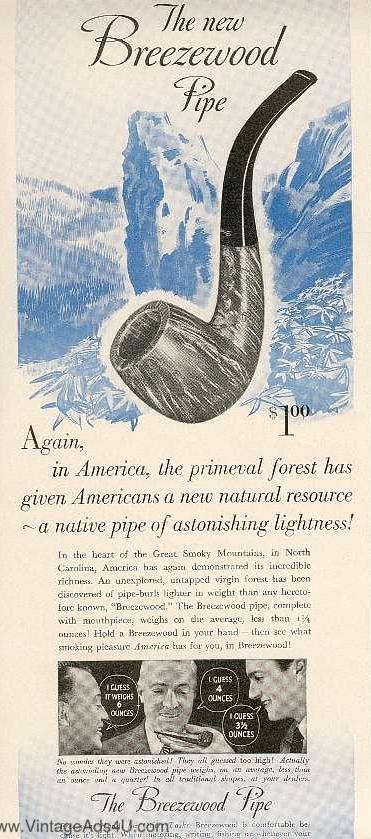
Here are some informational ads on Breezewood pipes

ImageImage

I wanted to include this brief article by Mike Leverette as it gives background history that is not commonly known or available regarding these early alternatives to briar that came out during the war years.

“There were at least three pipe brands made from the Mountain Laurel; Trapwell, Breezewood and Custombilt. Trapwell pipes were made by D & P Pipe Works beginning on or before 1943. D & P Pipe Works, owned by D. P. Levitas (Ross 2005), began making pipes in 1938 (Wilczak and Colwell 1997) probably in New York City but relocated to Sparta, Alleghany County, North Carolina in 1943 (Sparta/Alleghany CoC 2006), in order to be closer to the huge population of Mountain Laurel in the area. Later, this company changed their name to Sparta Pipe Works and still later to Sparta Industries. I have one Trapwell World’s Best Briar pipe in my collection, a small billiard, and here again; it is a great little smoker. World’s Best Briar was their marketing ploy for Mountain Laurel. Trapwell’s ‘trap’ is a highly complicated condensing system when compared to most regular metal condensers. After the war, Trapwell pipes were made from regular briar wood, or “imported briar” until their demise.

According to a 1942 Life magazine advertisement, Breezewood pipes were made by The Breezewood Pipe Company, located at 630 Fifth Avenue, New York City, though Wilczak and Colwell state the Breezewood pipes were made by Kaufmann Brothers & Bondy (KB&B) beginning in 1941 (Wilczak and Colwell 1997). The Breezewood Pipe Company may have been a subsidiary of KB&B. To quote the 1942 Life magazine advertisement; “There, deep in the Great Smoky Mountains, they found it – found an uncharted virgin forest of burls, great old burls that had been growing there uncounted years. And from these old burls, pipes of astonishing lightness of weight are made – their name: Breezewood.”

At the present time, this is all I have been able to find on the history of Breezewood pipes. Here again, the one Breezewood pipe, a small billiard, I have in my collection is a great little smoker. I am not overly fond of metal condensers and this Breezewood pipe has a simple tube condenser similar to Dunhill’s “inner tube”.


Another Rustication – another finish with the new tool


Blog by Steve Laug

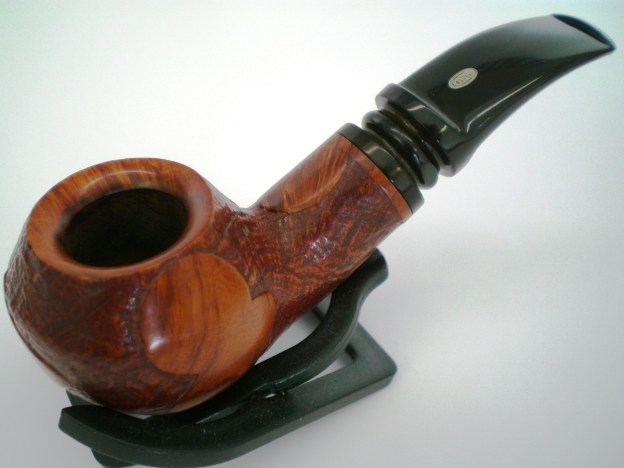
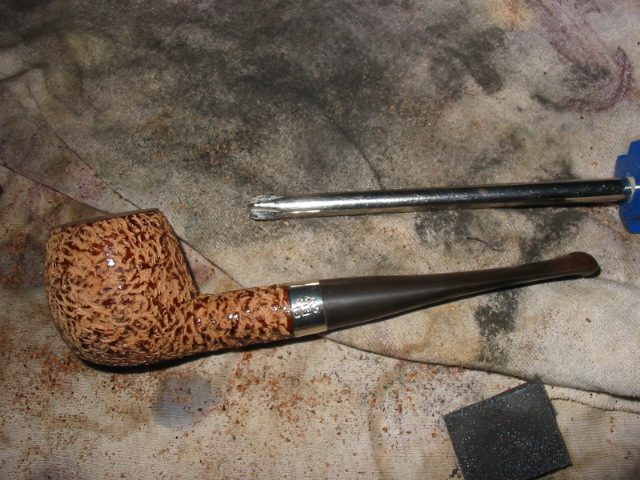
I have been looking through my box of pipes for refurbishing for a second one to rusticate with the new tool. I had several laid aside as potential candidates for this treatment but had not gotten around to doing it yet. Then this week I received a box of pipes and pipe parts from a purchase on EBay. In the box was this little apple shaped pipe. It had a large split in the shank that is visible in the photo below. The bowl was also extremely caked and needed to be reamed and cleaned. I always do that field dressing before I go to work on the deep clean and refinishing. Before I could do anything with the finish on this pipe I would need to repair the cracked shank. I cleaned the surface of the shank and used a dental pick to remove the grit that had built up in the crack. I wanted the surface to be clean so that the glue would adhere correctly and bind the two sides of the crack cleanly together. I then filled the split with superglue and squeezed the crack together with a pair of pliers. After the glue dried I banded the shank with a pressure fit nickel band. I reworked the tenon so that the stem fit correctly.

Image

When I had repaired the pipe I examined the bowl to see what choices I might have regarding refinishing. The shape is one of my favourites so I would have like to just do a clean and re-stain of the bowl. However, the closer I looked the more I realized that my only option, if I were to hide the fills and crack well, was a rustication. So my choice was made and I decided to rusticate it with the new tool I had crafted from the Philips screwdriver. I also decided to give it a bit of a different rusticated look than the previous one I have posted here. I wanted to see if the tool would give a bit of versatility in the rustication pattern that it created. With that mission in mind I attacked the bowl seen in the pictures below.
ImageImageImageImage

I wiped down the outside of the bowl with some acetone to clean off the grime and give me a fresh surface to work on. I spread out a cloth on my work table to collect wood chunks that came out in the rustication. I have found that it is easier to clean up after my work this way as I merely have to fold up the cloth and shake it out when I am finished. From the last time I used the tool I had learned that the handle was hard on the palm of my hand so I also wrapped it with a thick cotton cloth to act as a pad. This additional padding would add a cushion of comfort for me as I pressed and twisted the shaft into the briar of the bowl. The picture below shows the beginning of the process of rustication. I generally start with the side of the bowl while holding the bowl in my hand and pressing the shaft of the tool into the wood and twisting it and moving across the surface of the wood. I often move from the side of the bowl to the shank. In this case I did a portion of the bowl and then moved to the shank and did the rustication all the way around the shank and on the bottom of the bowl before moving on to finish the bowl.

Image

This rustication pattern is slightly different than the previous one. I was aiming to experiment with the versatility and it was working well in my opinion. I decided to go over the surface of the bowl only one time before checking and roughing up sections that needed further roughening. I wanted the finish to have a softer look on this bowl than the first one I did. I also wanted to leave some high spots that could be polished to give a contrast finish rather than a matte finish. I think the feature I like the most in the new tool is the ability to navigate the tip very close to the band without damaging it. It is very easy to control in tight spaces on the pipe. The four pictures below show the pipe after the rustication is completed. Above and to the right in each picture is the blade of the tool that I use in the process of rustication.

ImageImageImageImage

Once the rustication was completed I used some 240, 400, and 600 grit sandpaper to sand the top of the bowl and clean it of stain and dark spots. My goal for the rim was to be able to see the grain patterns once it was stained as it would serve as a contrast to the rough surface of the bowl.

The pipe was ready to be stained. I decided to use a dark brown stain on this one, knowing full well that when I gave it a buff it would lighten considerably. I applied the Fiebings stain with the dauber that came with it. I find that the wool ball on the end of the dauber is thick enough that it carries the stain into the nooks and crannies of the rusticated surface. When I stain a pipe bowl, I always start on the bottom of the bowl as the stain will run toward the top. I follow it up the sides with good coverage and finish with a coat on the rim of the pipe as the last thing. It seems to also help keep the stain on the outside of the bowl. I generally stain the shank once the bowl is completed.

When the entirety is stained I light it with a match to flame the stain. The flame burns off the alcohol with a blue flame that sets the stain more deeply in the briar and helps it dry it quickly. The fire is short-lived and there is no concern of setting your bowl on fire. Be sure however to remove the open jar of stain so that you do not inadvertently set that on fire. I then re-stained the pipe a second time following the same pattern, flamed and set it aside while I work on the oxidation on the stem. I let the stained bowl dry for two hours before taking it to the buffer and giving a light buff with Tripoli and White Diamond. I decided to buff this bowl instead of just leaving it rough like the previous one because I was trying to achieve a different look.

I finished the buffing by giving it a light buff with carnauba wax. I am happy with the finished pipe and the look that it has. It is very different from the previous pipe I rusticated with the tool and demonstrates the capacity of the tool to work different finishes.

The final four pictures below show the finished pipe.

ImageImageImageImage

Refurbed Social by Comoy’s


This afternoon late the postie delivered the Social pipe made by Comoy’s that I picked up off Ebay a few weeks ago. I took it apart and went to work. The bowl was pretty caked and broken up inside… cake falling off the walls. The The top was tarred. I reamed and cleaned it. Interestingly this is an old timer. It has the old orific button as I show in one of the before shots of the stem. It has some kind of reservoir between then end of the stepped tenon and the the airway into the bowl. It is below the airway and the tenon is drilled with the airway high to match up.

I put the bowl in an alcohol bath and cleaned it up. The mess came off really well. I then sanded the bowl with 600, 1800, 2400 and 4000 grit and then restained it with a medium brown stain. The Stem was soaking in Oxyclean and when I removed it I cleaned the grime off of it. It was a bit oxidized so that came off no problem. I then buffed the entirety with white diamond and then Carnuba. Here are the before shots:

ImageImageImageImage

You will note there are some pretty deep dents in the side of the bowl. These came out a bit but they remain as character marks. There were some on the underside of the shank as well. They too remain.

After refurbishing:

ImageImageImageImage

Refurbed and old timer – WDC Bakelite


I finished up a pipe that is stamped WDC in a triangle and Bakelite on the shank. The bowl is briar and by the way the stem is put together it is clear that it is an old timer. It has a screw mount stem with a bone tenon and the red Bakelite stem has an orific button.

The bowl was caked and had cob webs! (no kidding). The bowl and shank were cleaned and reamed as usual. The stem had bite marks and needed to be sanded and then finished with micro-mesh pads and finally a trip to the buffer and Tripoli and White Diamond. The bowl was re-stained with cherry and then buffed and polished. The stem was over turned a bit so heated the tenon water and it seemed to expand (?) a bit and loosen so I was able to straighten it out on the shank and it fit perfectly. I wonder if on these old bone tenons that the hot water may actually expand them a bit – not sure how that works but it certainly worked with both of the ones I did today.

Thanks for looking and all of your comments. It made for a great day and it is good to look back and see the work completed today!

Before:

ImageImage

After:

ImageImageImage

Refurbished another horn stemmed pipe


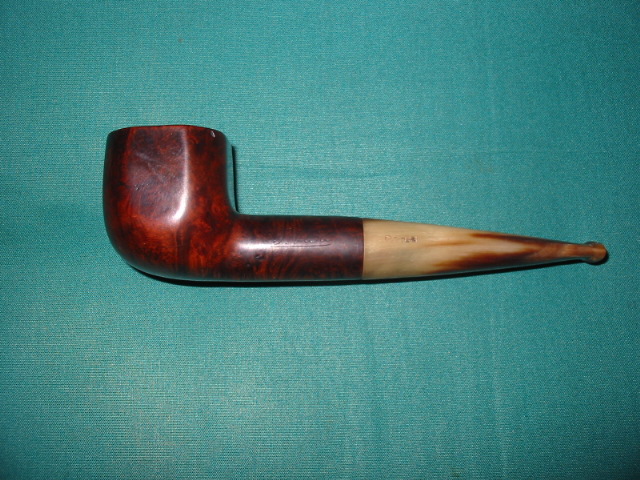
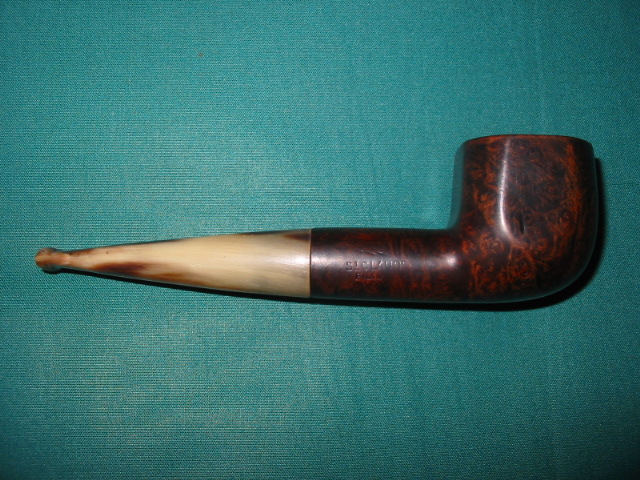
I just finished the second little horn stemmed French pipe that I picked up recently. It is stamped P. Viou which is an old French brand made in St. Claude. It is a 5 inch long pot that is paneled as well. The bowl was in pretty good shape – I reamed and cleaned it. The finish was rough so I removed the varnish and the stain and re-stained it. It came out a bit darker than the original but it really highlights the grain. The rim is beveled in a bit, chamfered nicely.

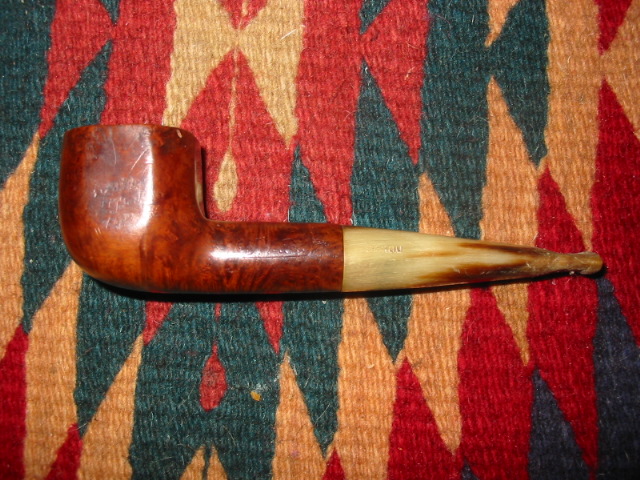
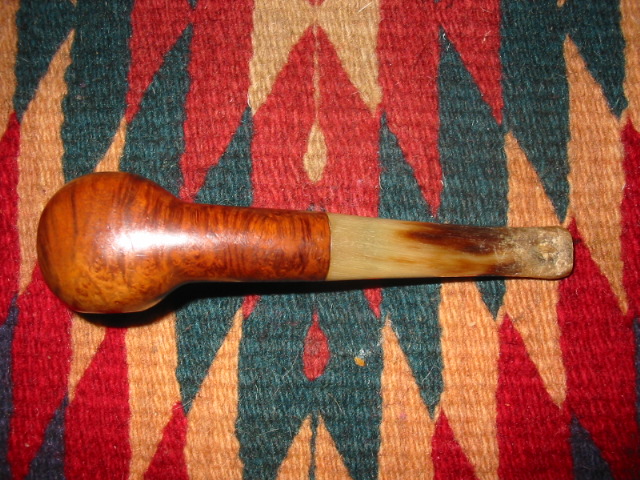
The stem was a mess. The previous owner obviously gnawed it and clenched it so the horn was dented and chewed with the profile changed. I steamed the dents and lifted them with a damp cloth and hot knife. Most of them came out. I sanded the stem and cleaned up the chewed part. I then restored the profile and filled the remaining spots with super glue and then sanded and buffed. I like the end product.

Here are some before shots:

ImageImage

Image

Here is the refurbished pipe:

ImageImageImageImage