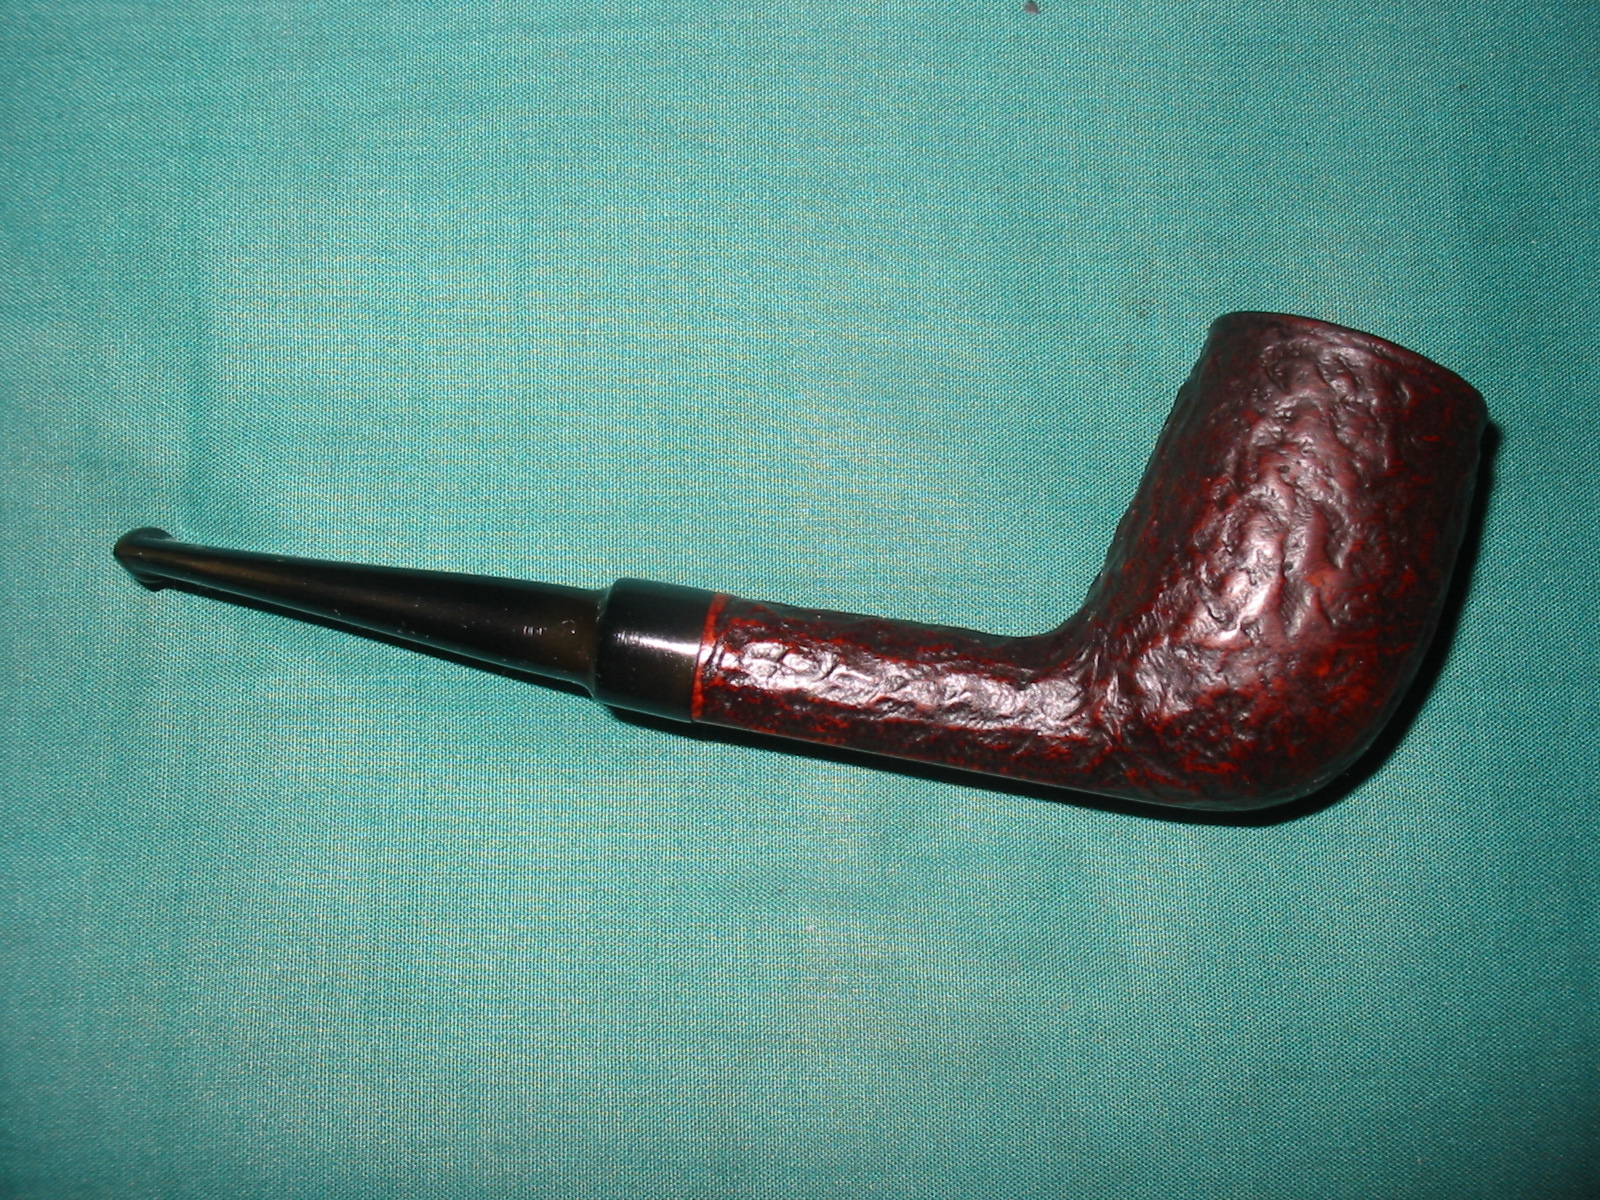
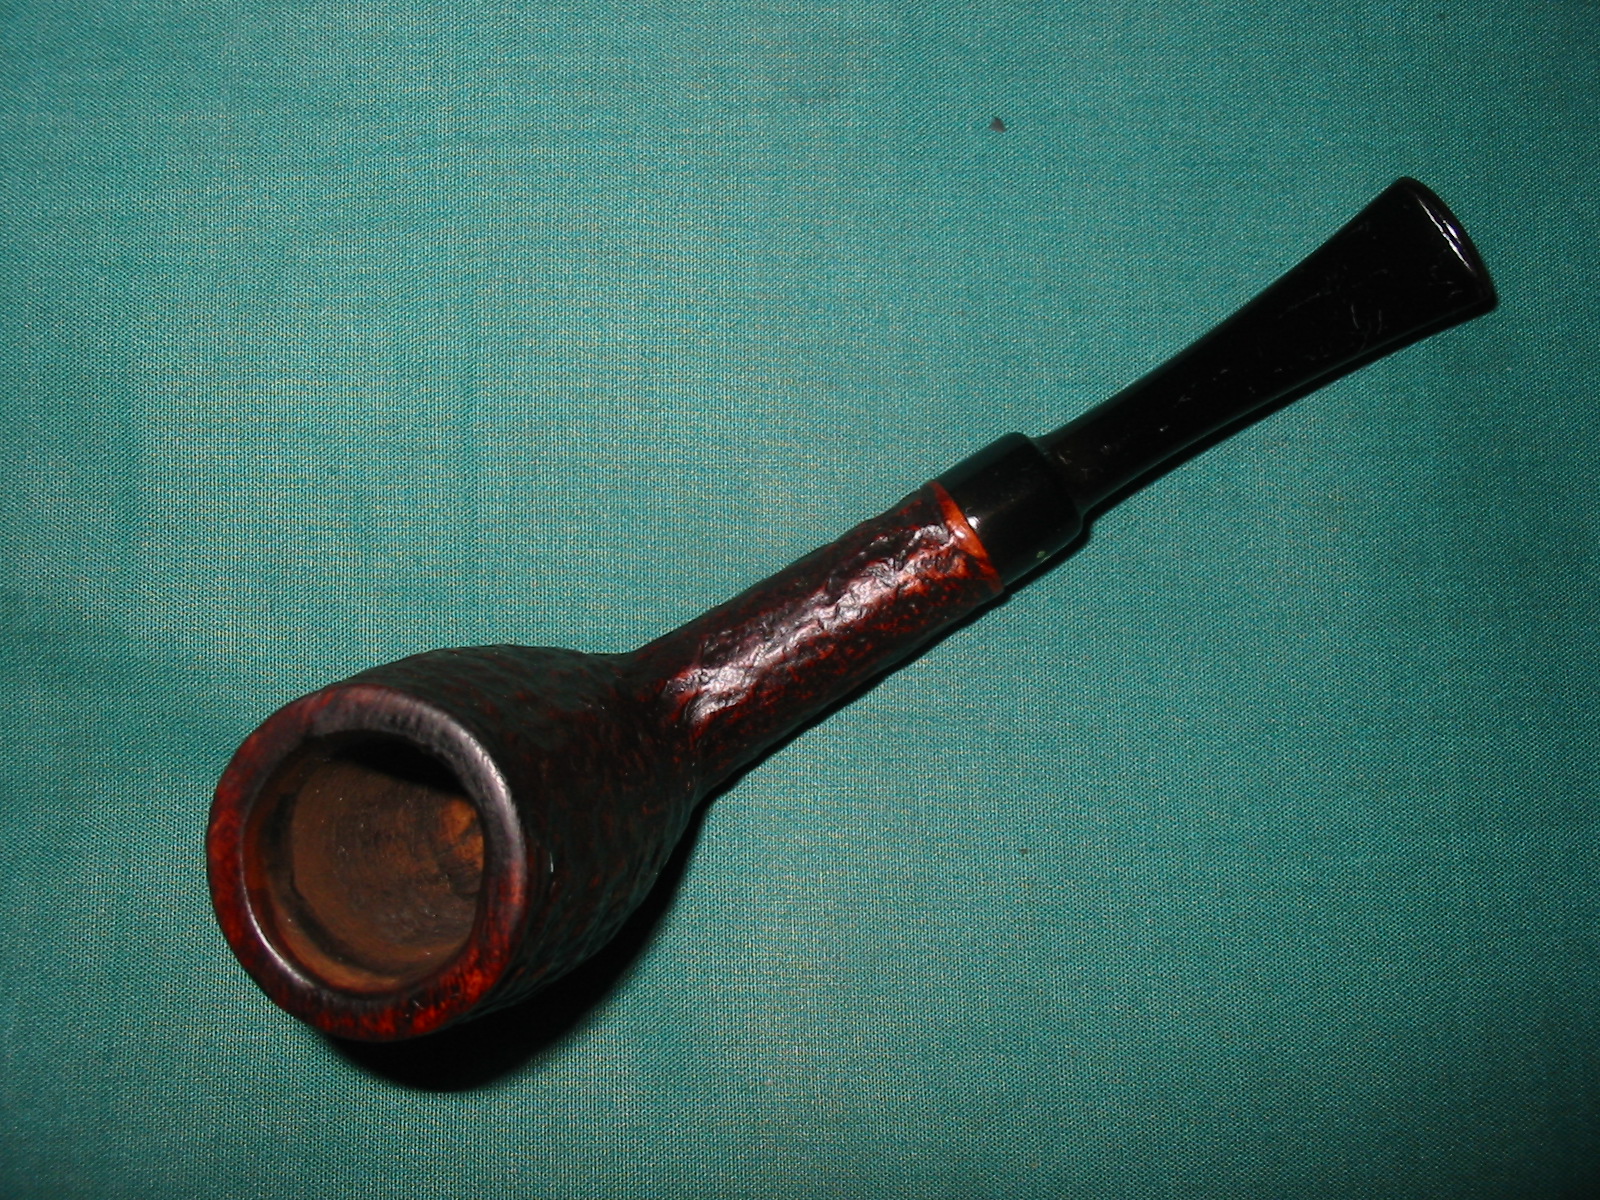
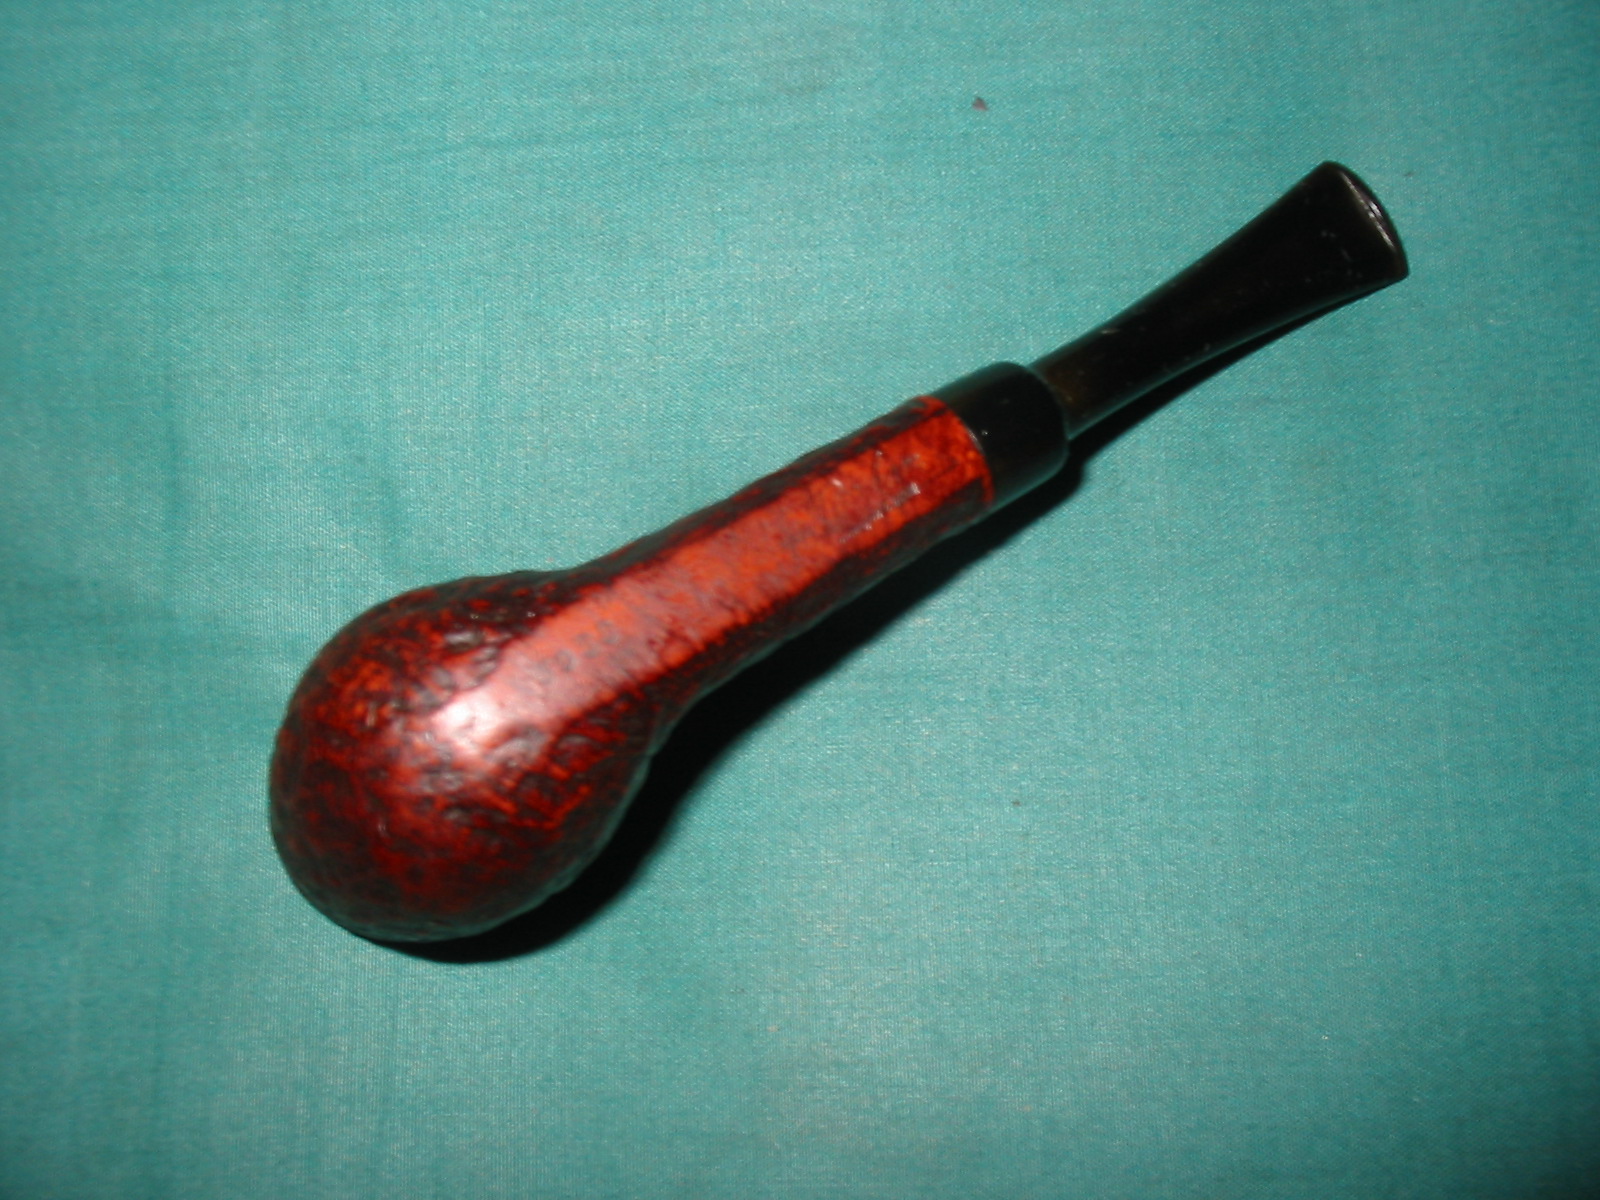
Tag Archives: Bowls – refinishing

Breathing New Life into an Astleys 48 Cherrywood


Blog by Steve Laug

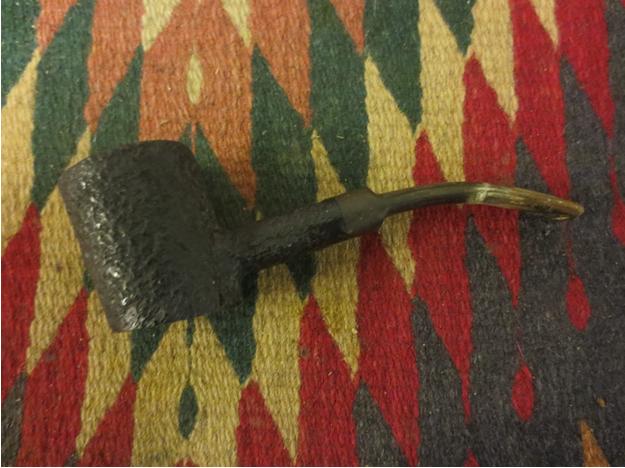
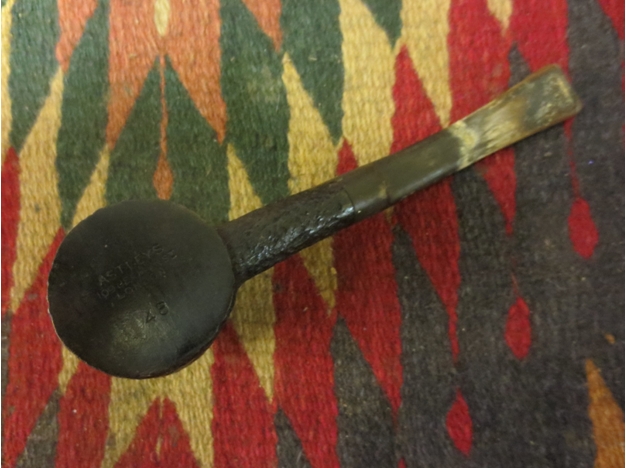
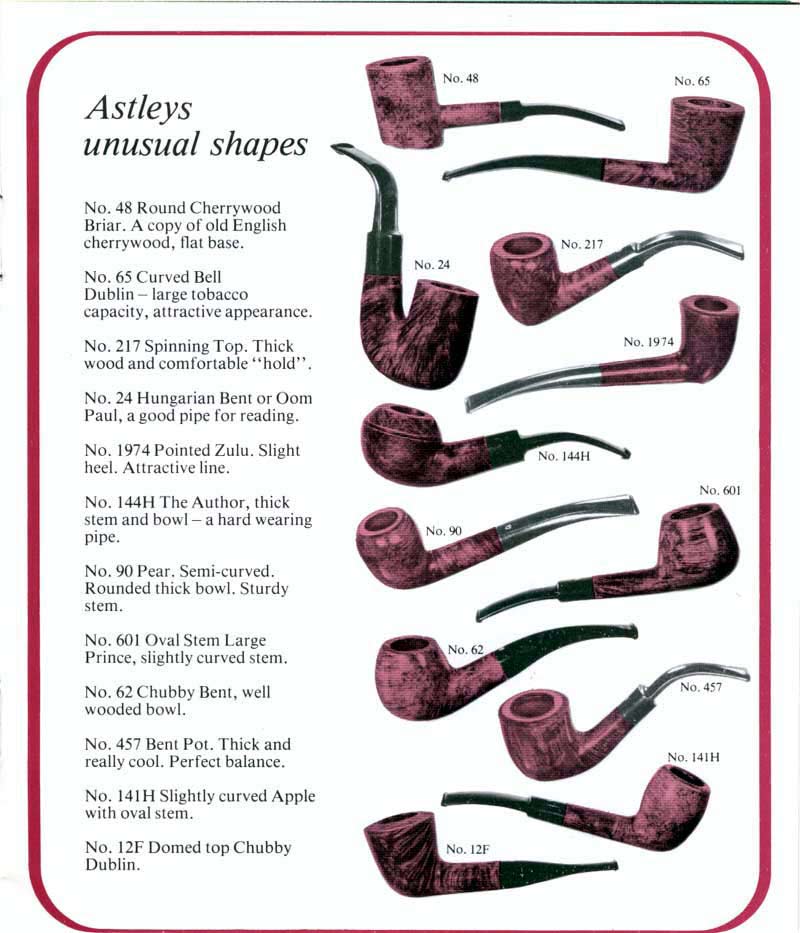
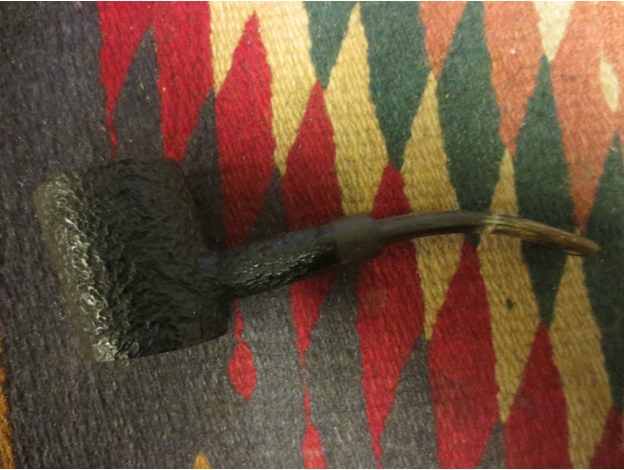
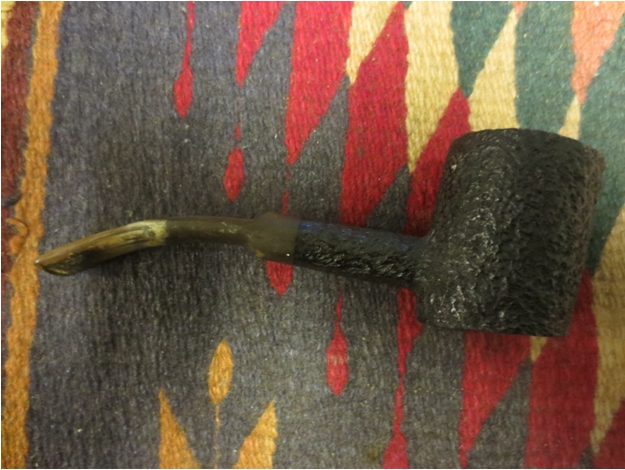
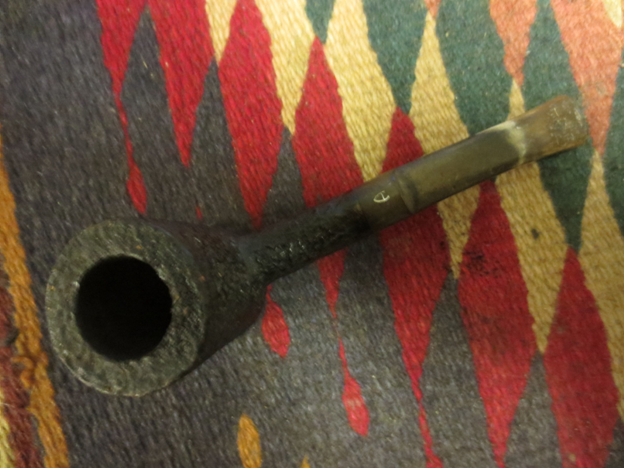
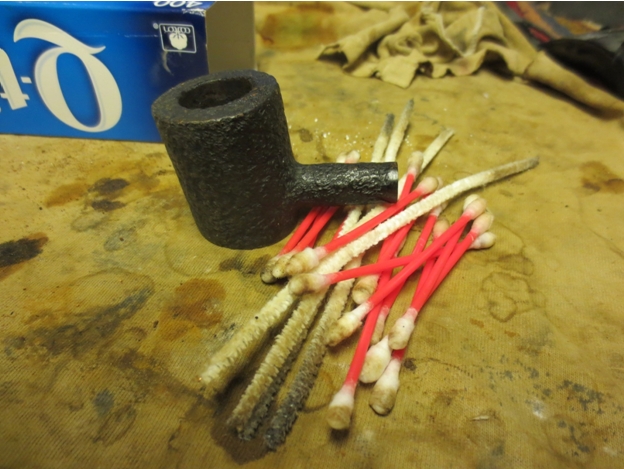
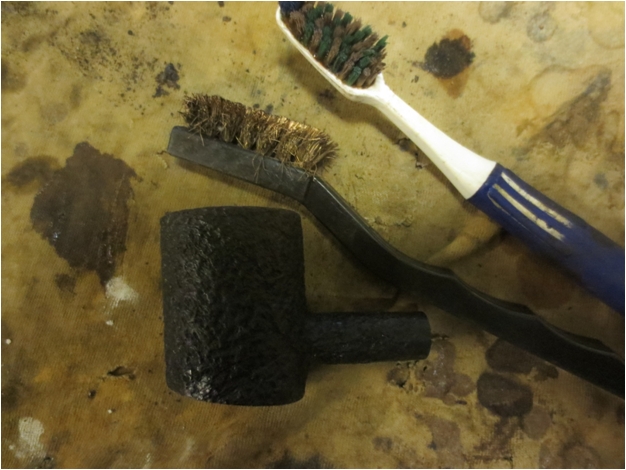
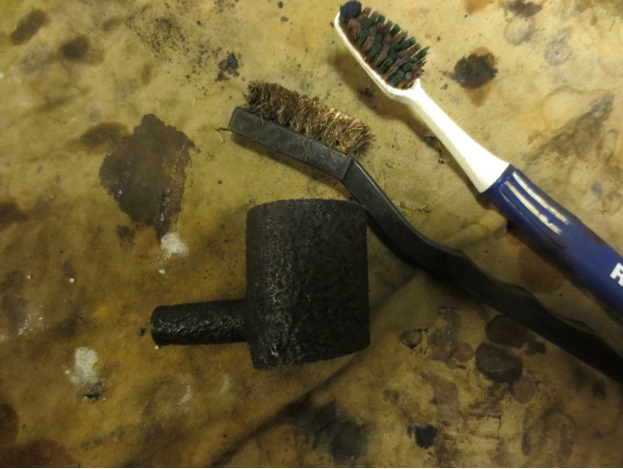
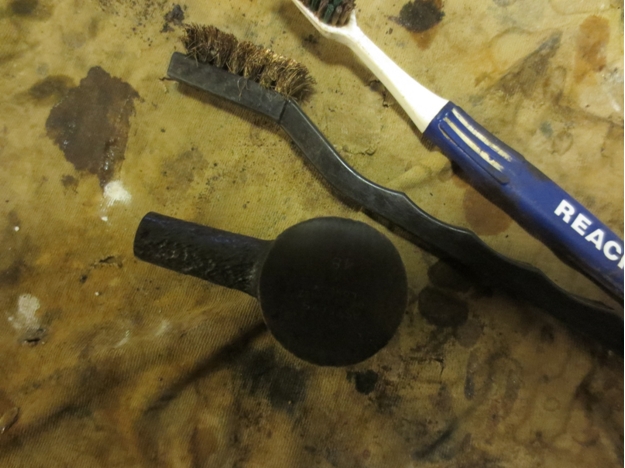
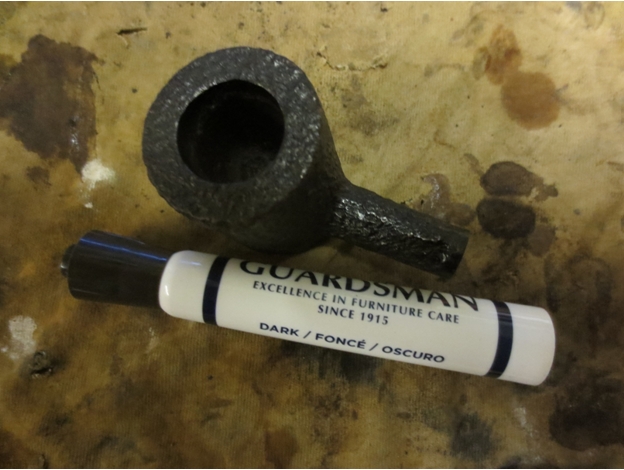
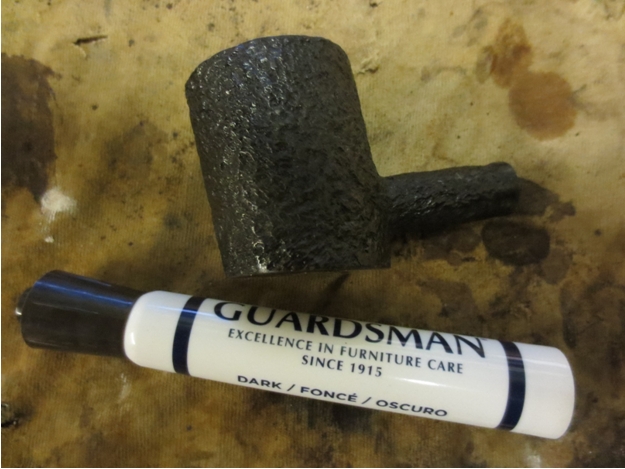
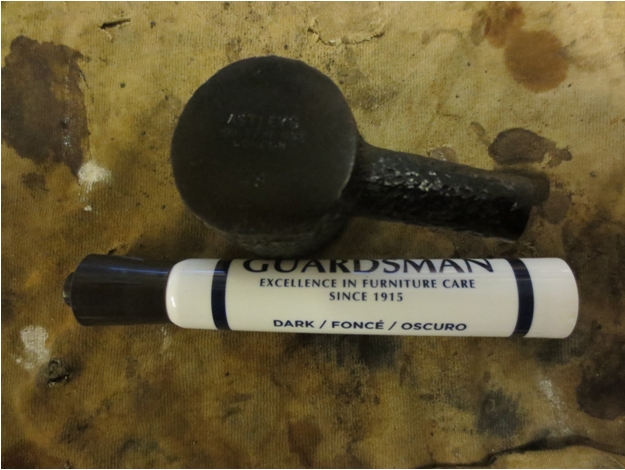
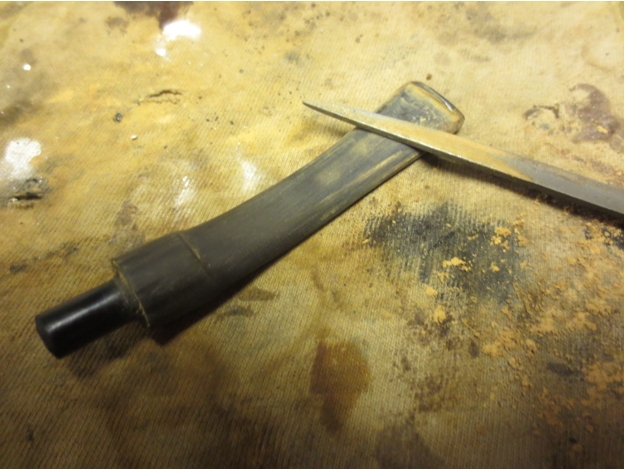
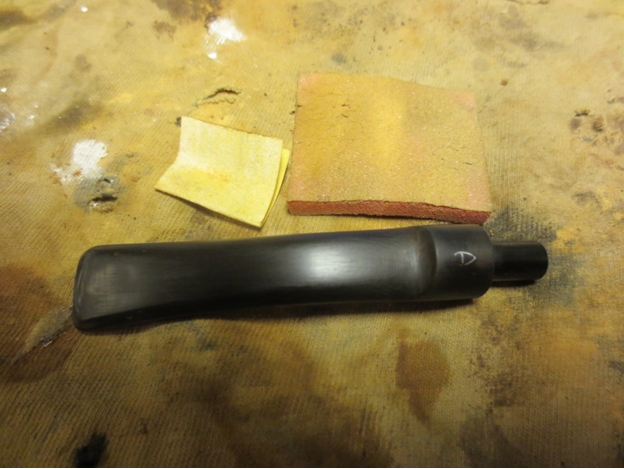
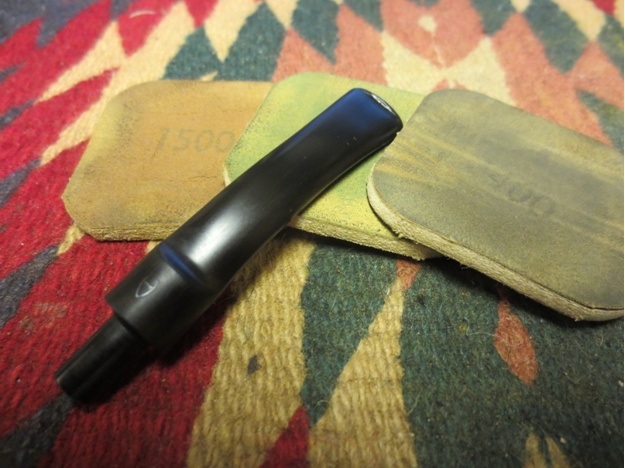
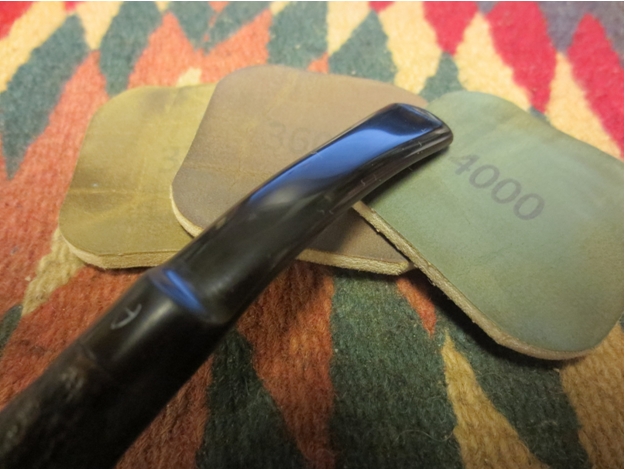
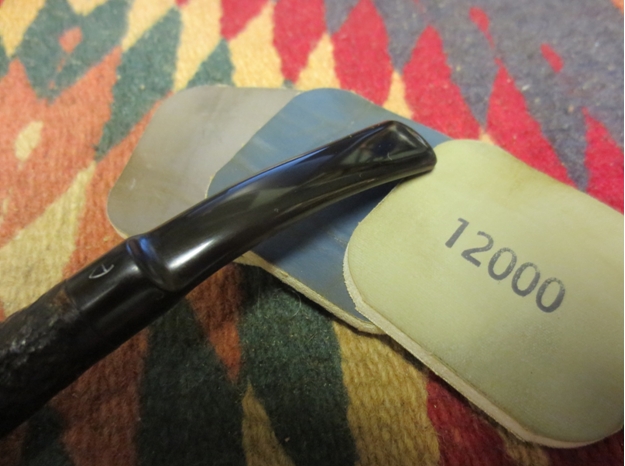
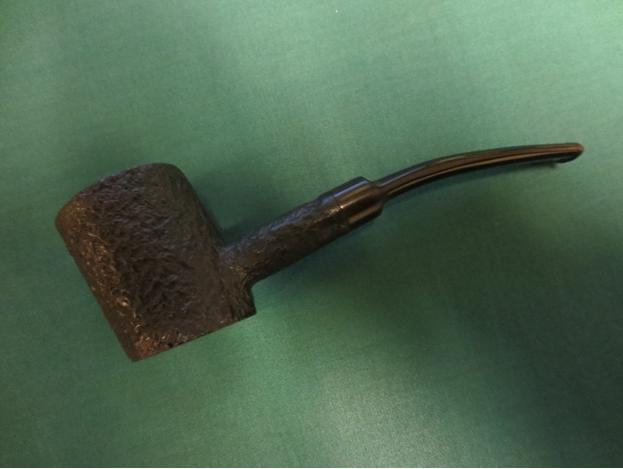
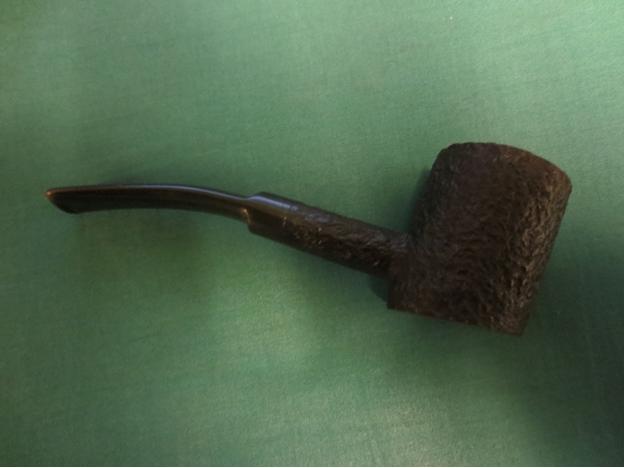
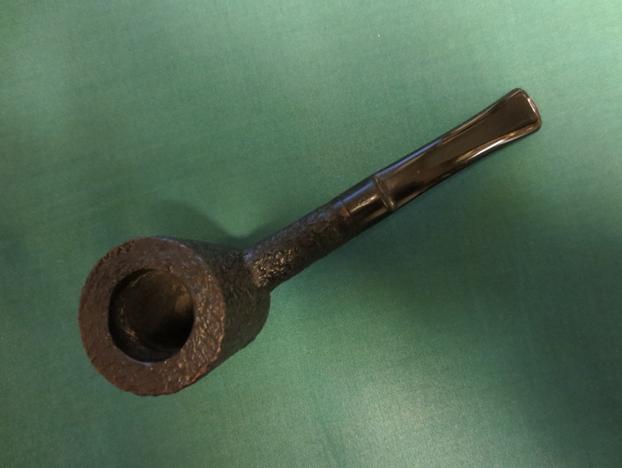
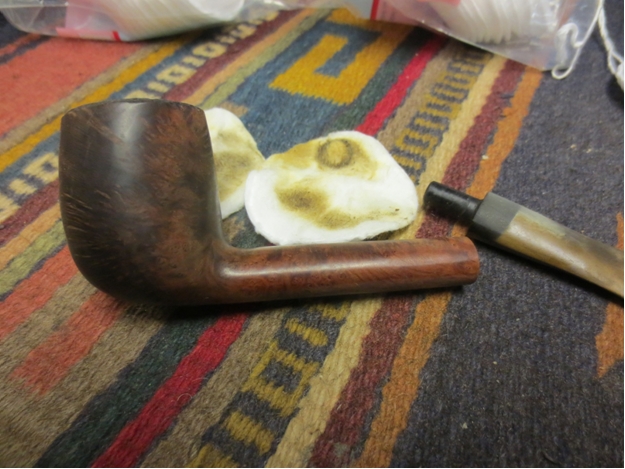
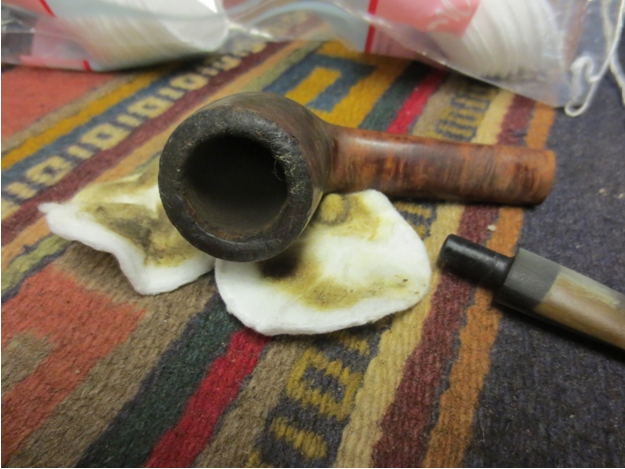
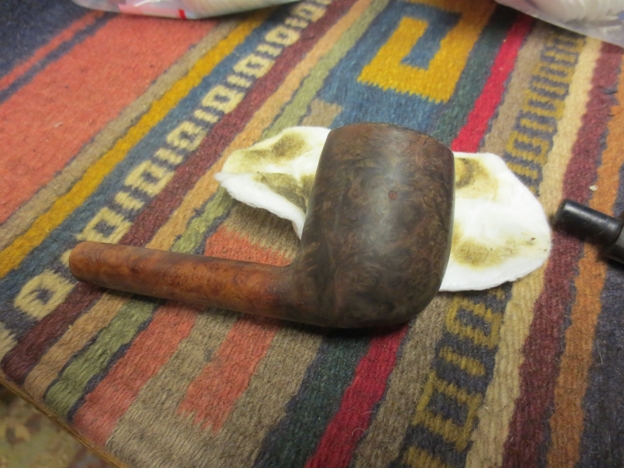
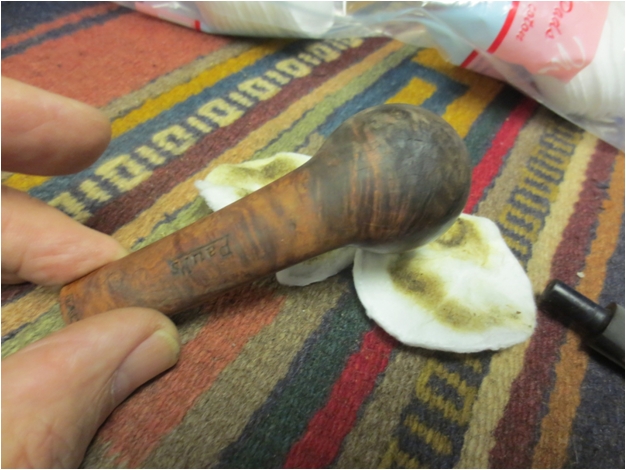
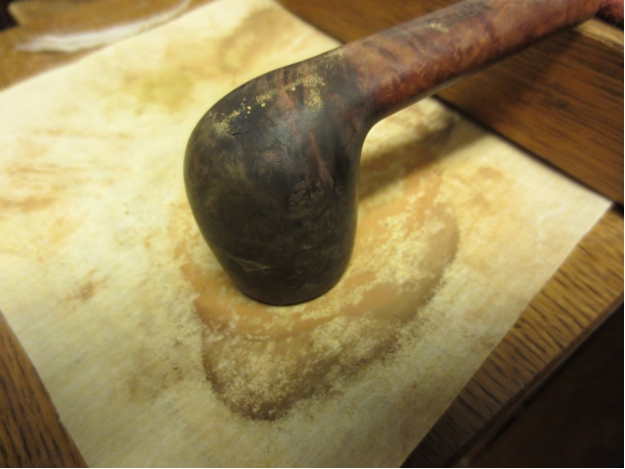
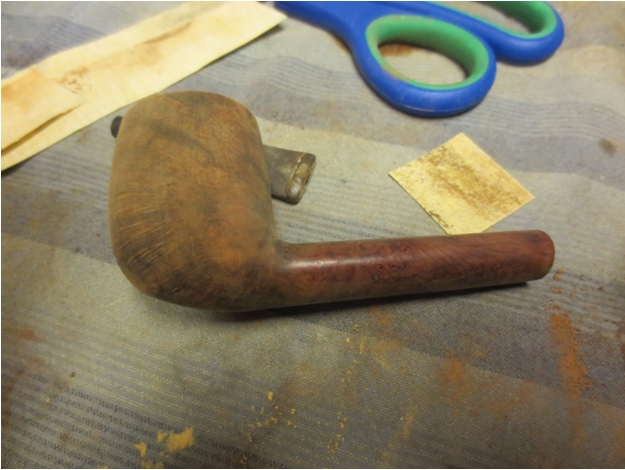
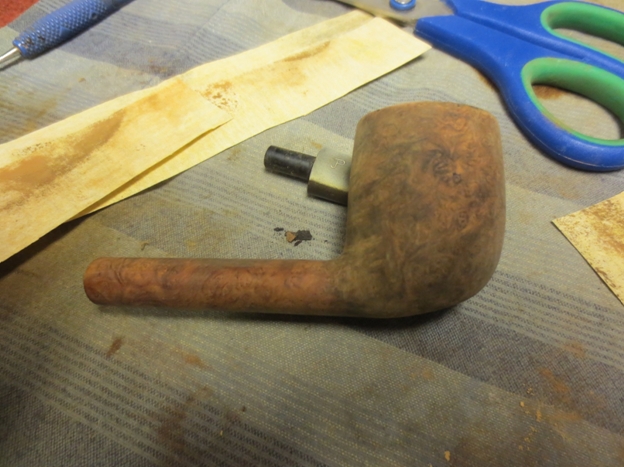
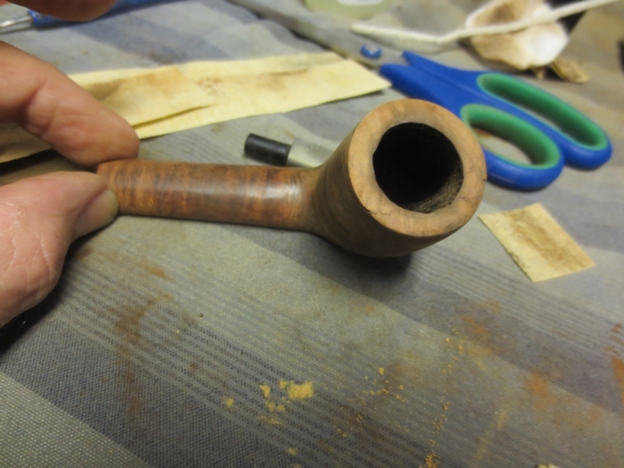
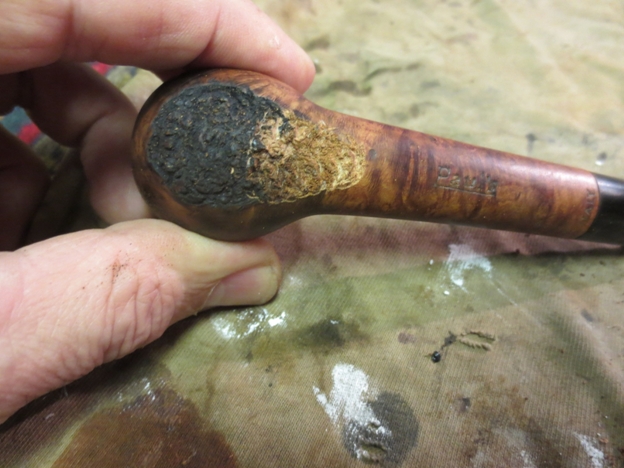
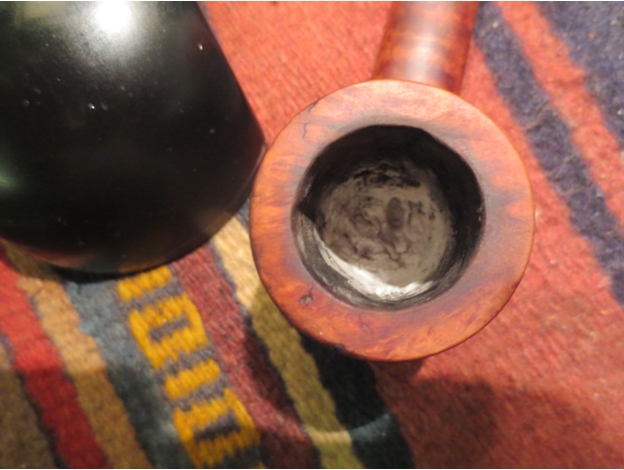
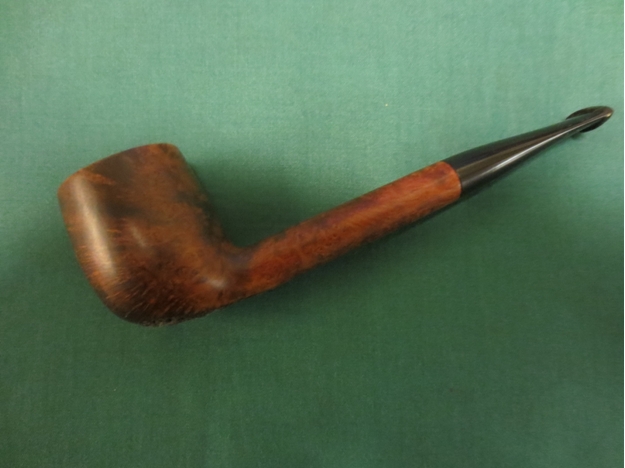
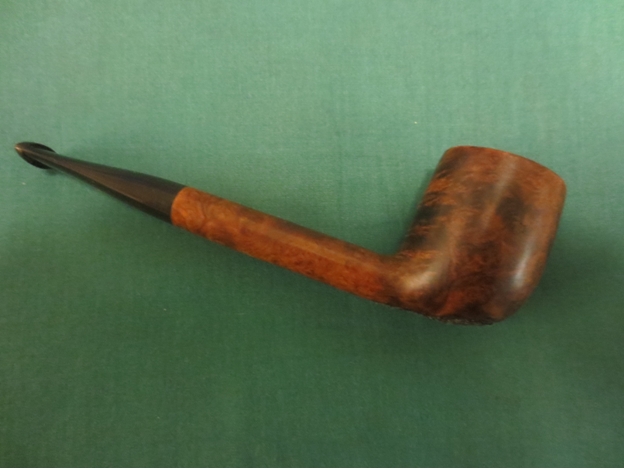
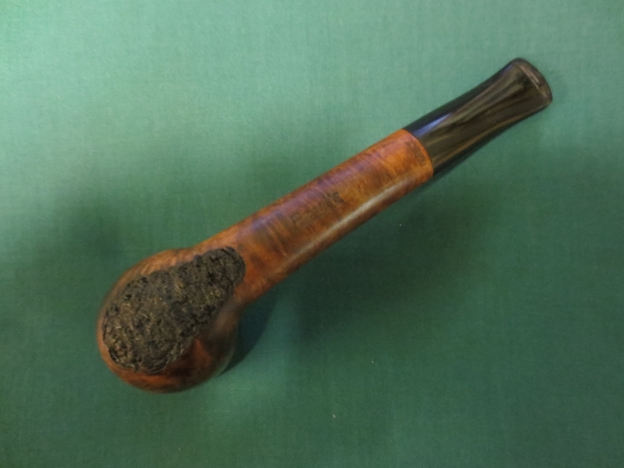
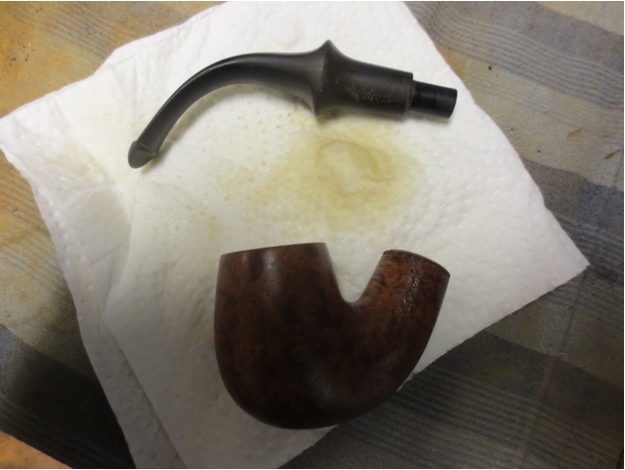
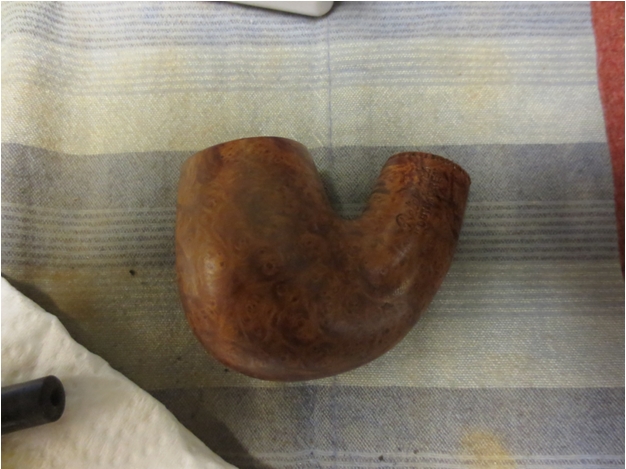
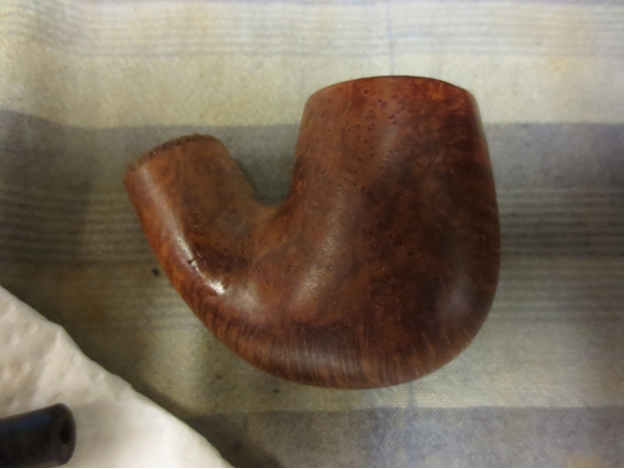
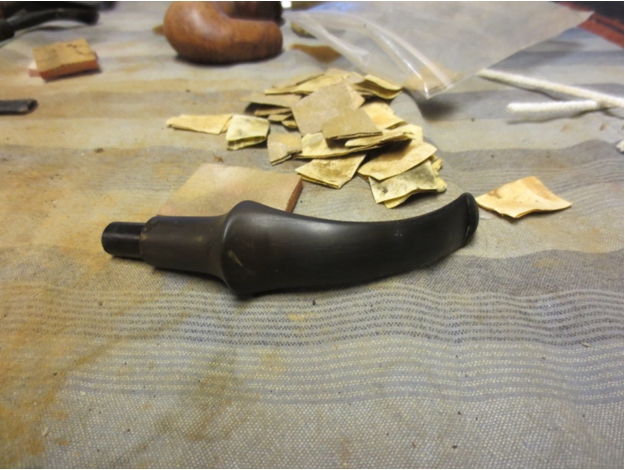
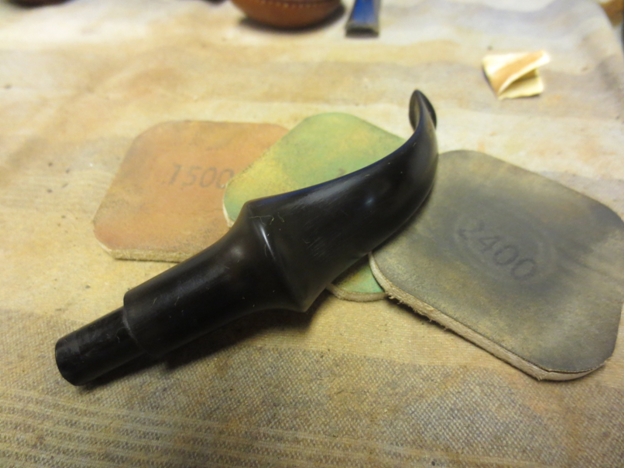
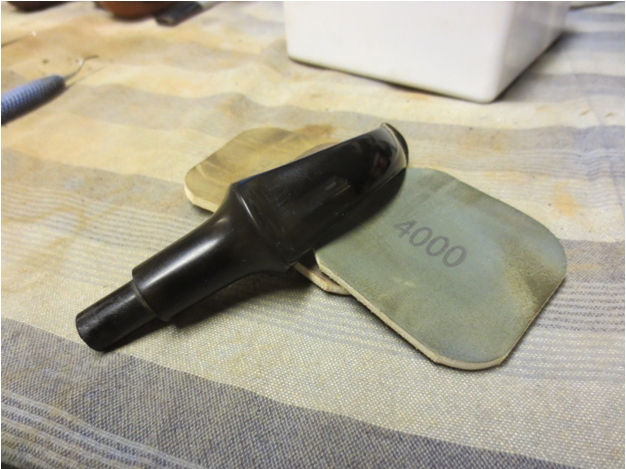
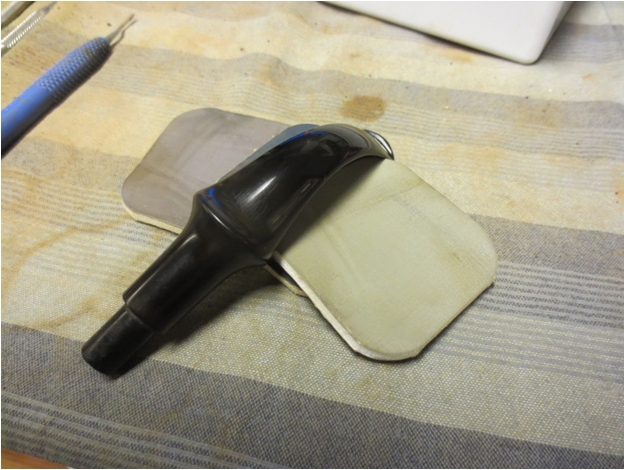
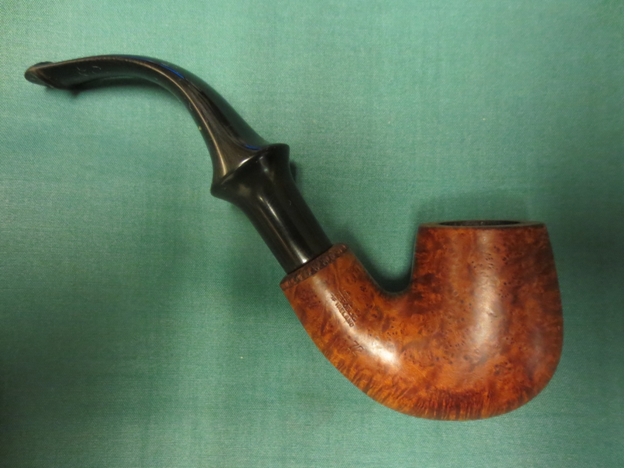
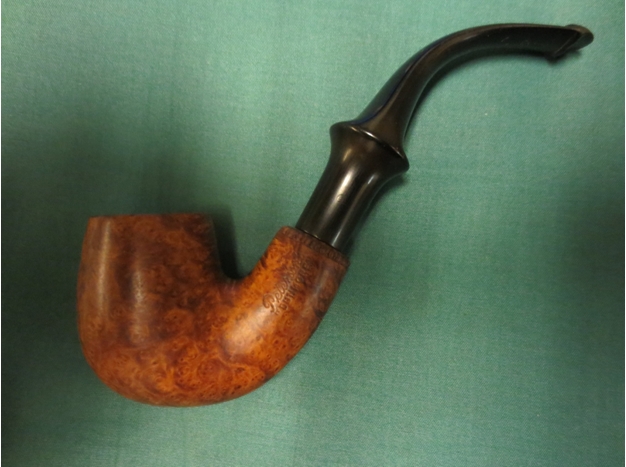
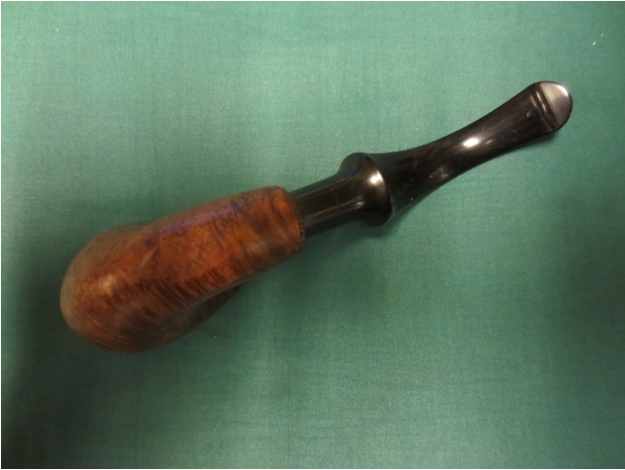
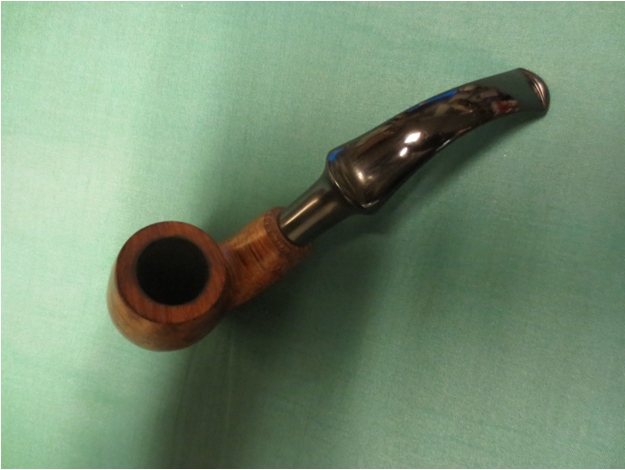
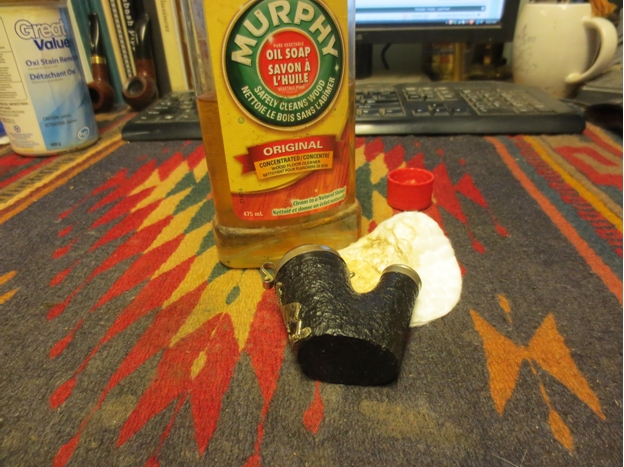
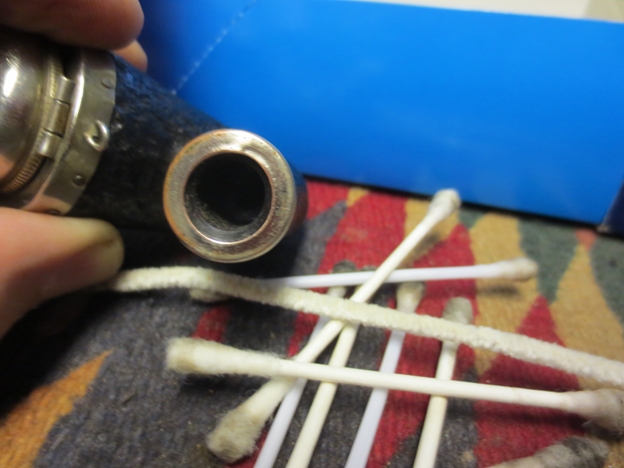
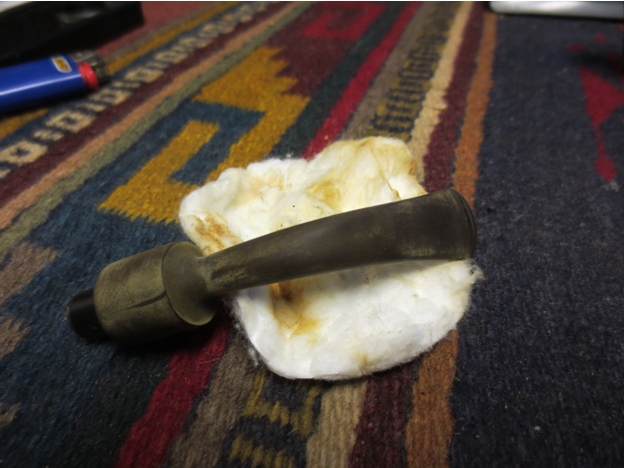
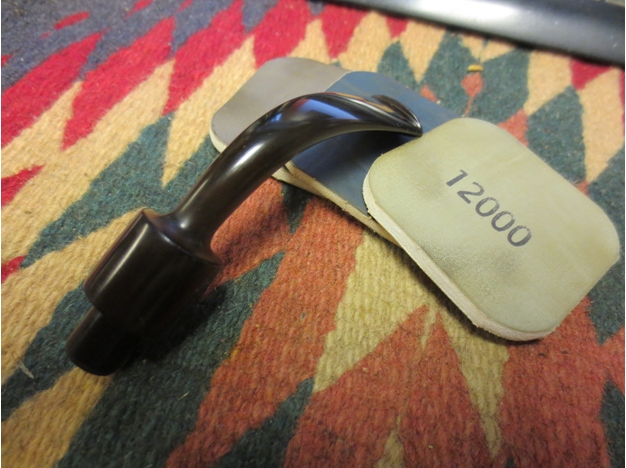
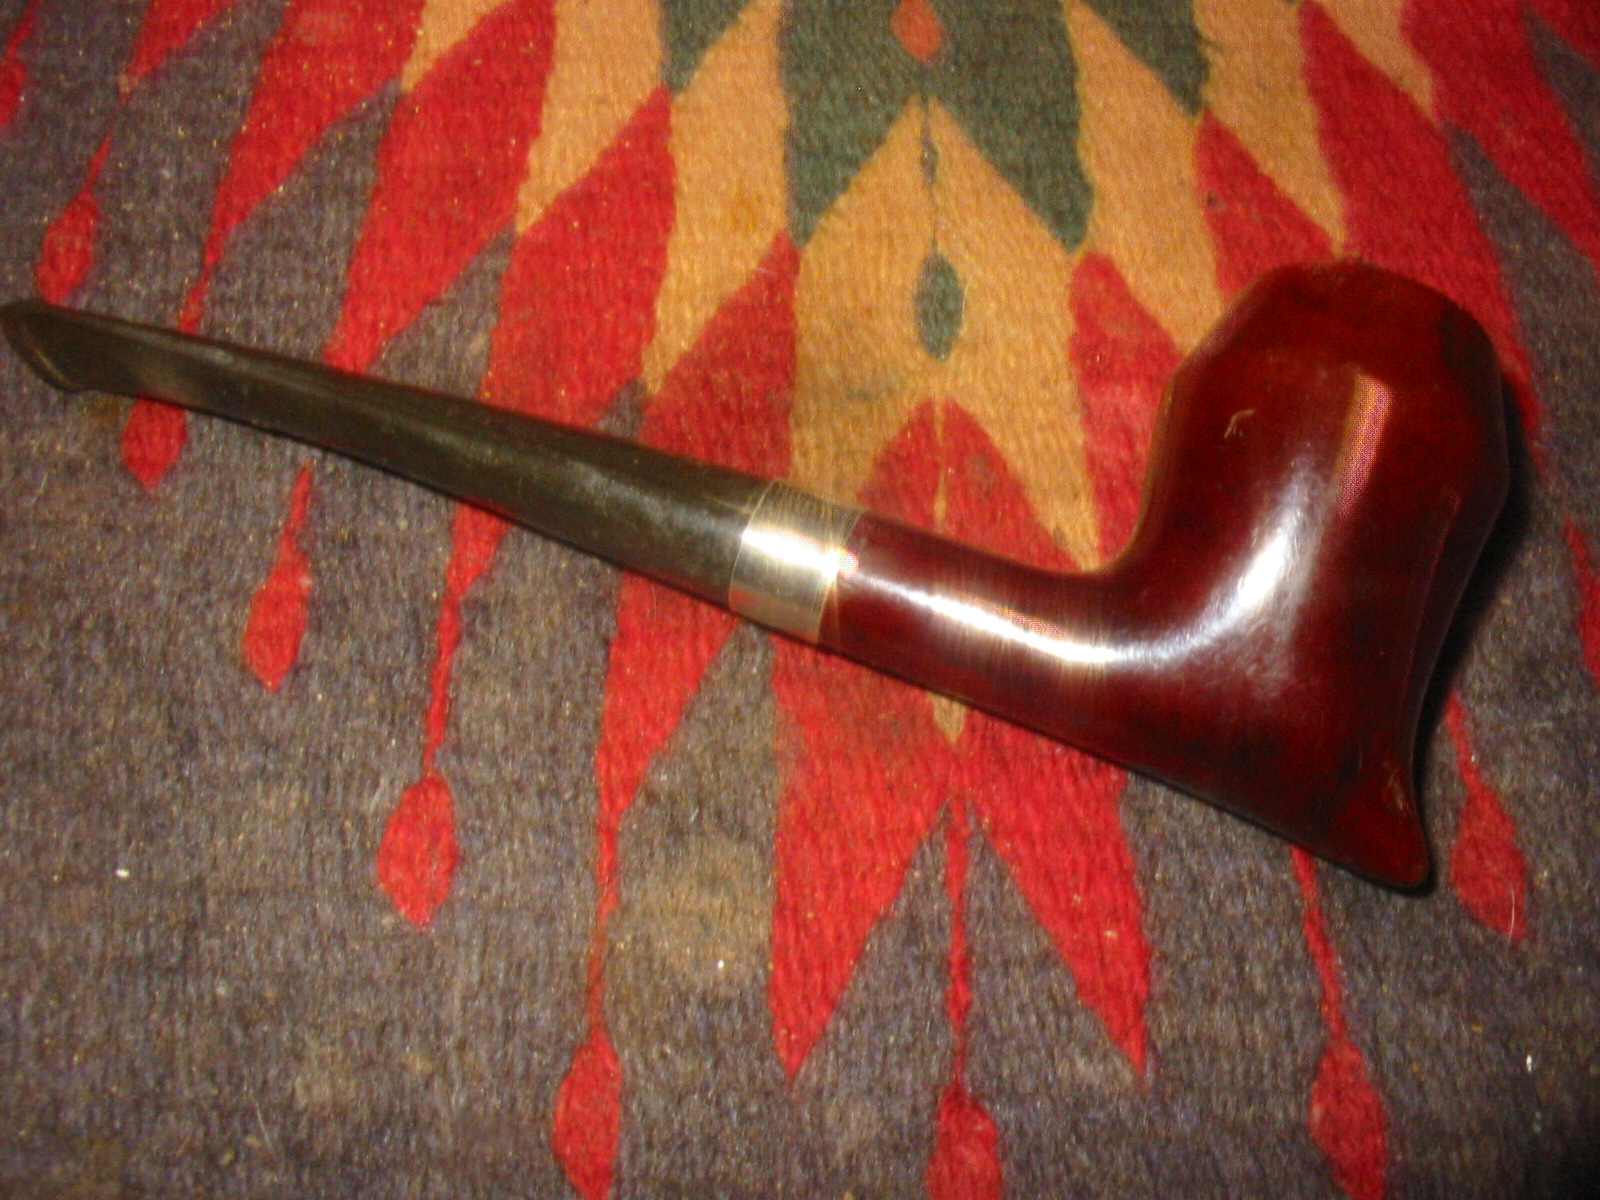
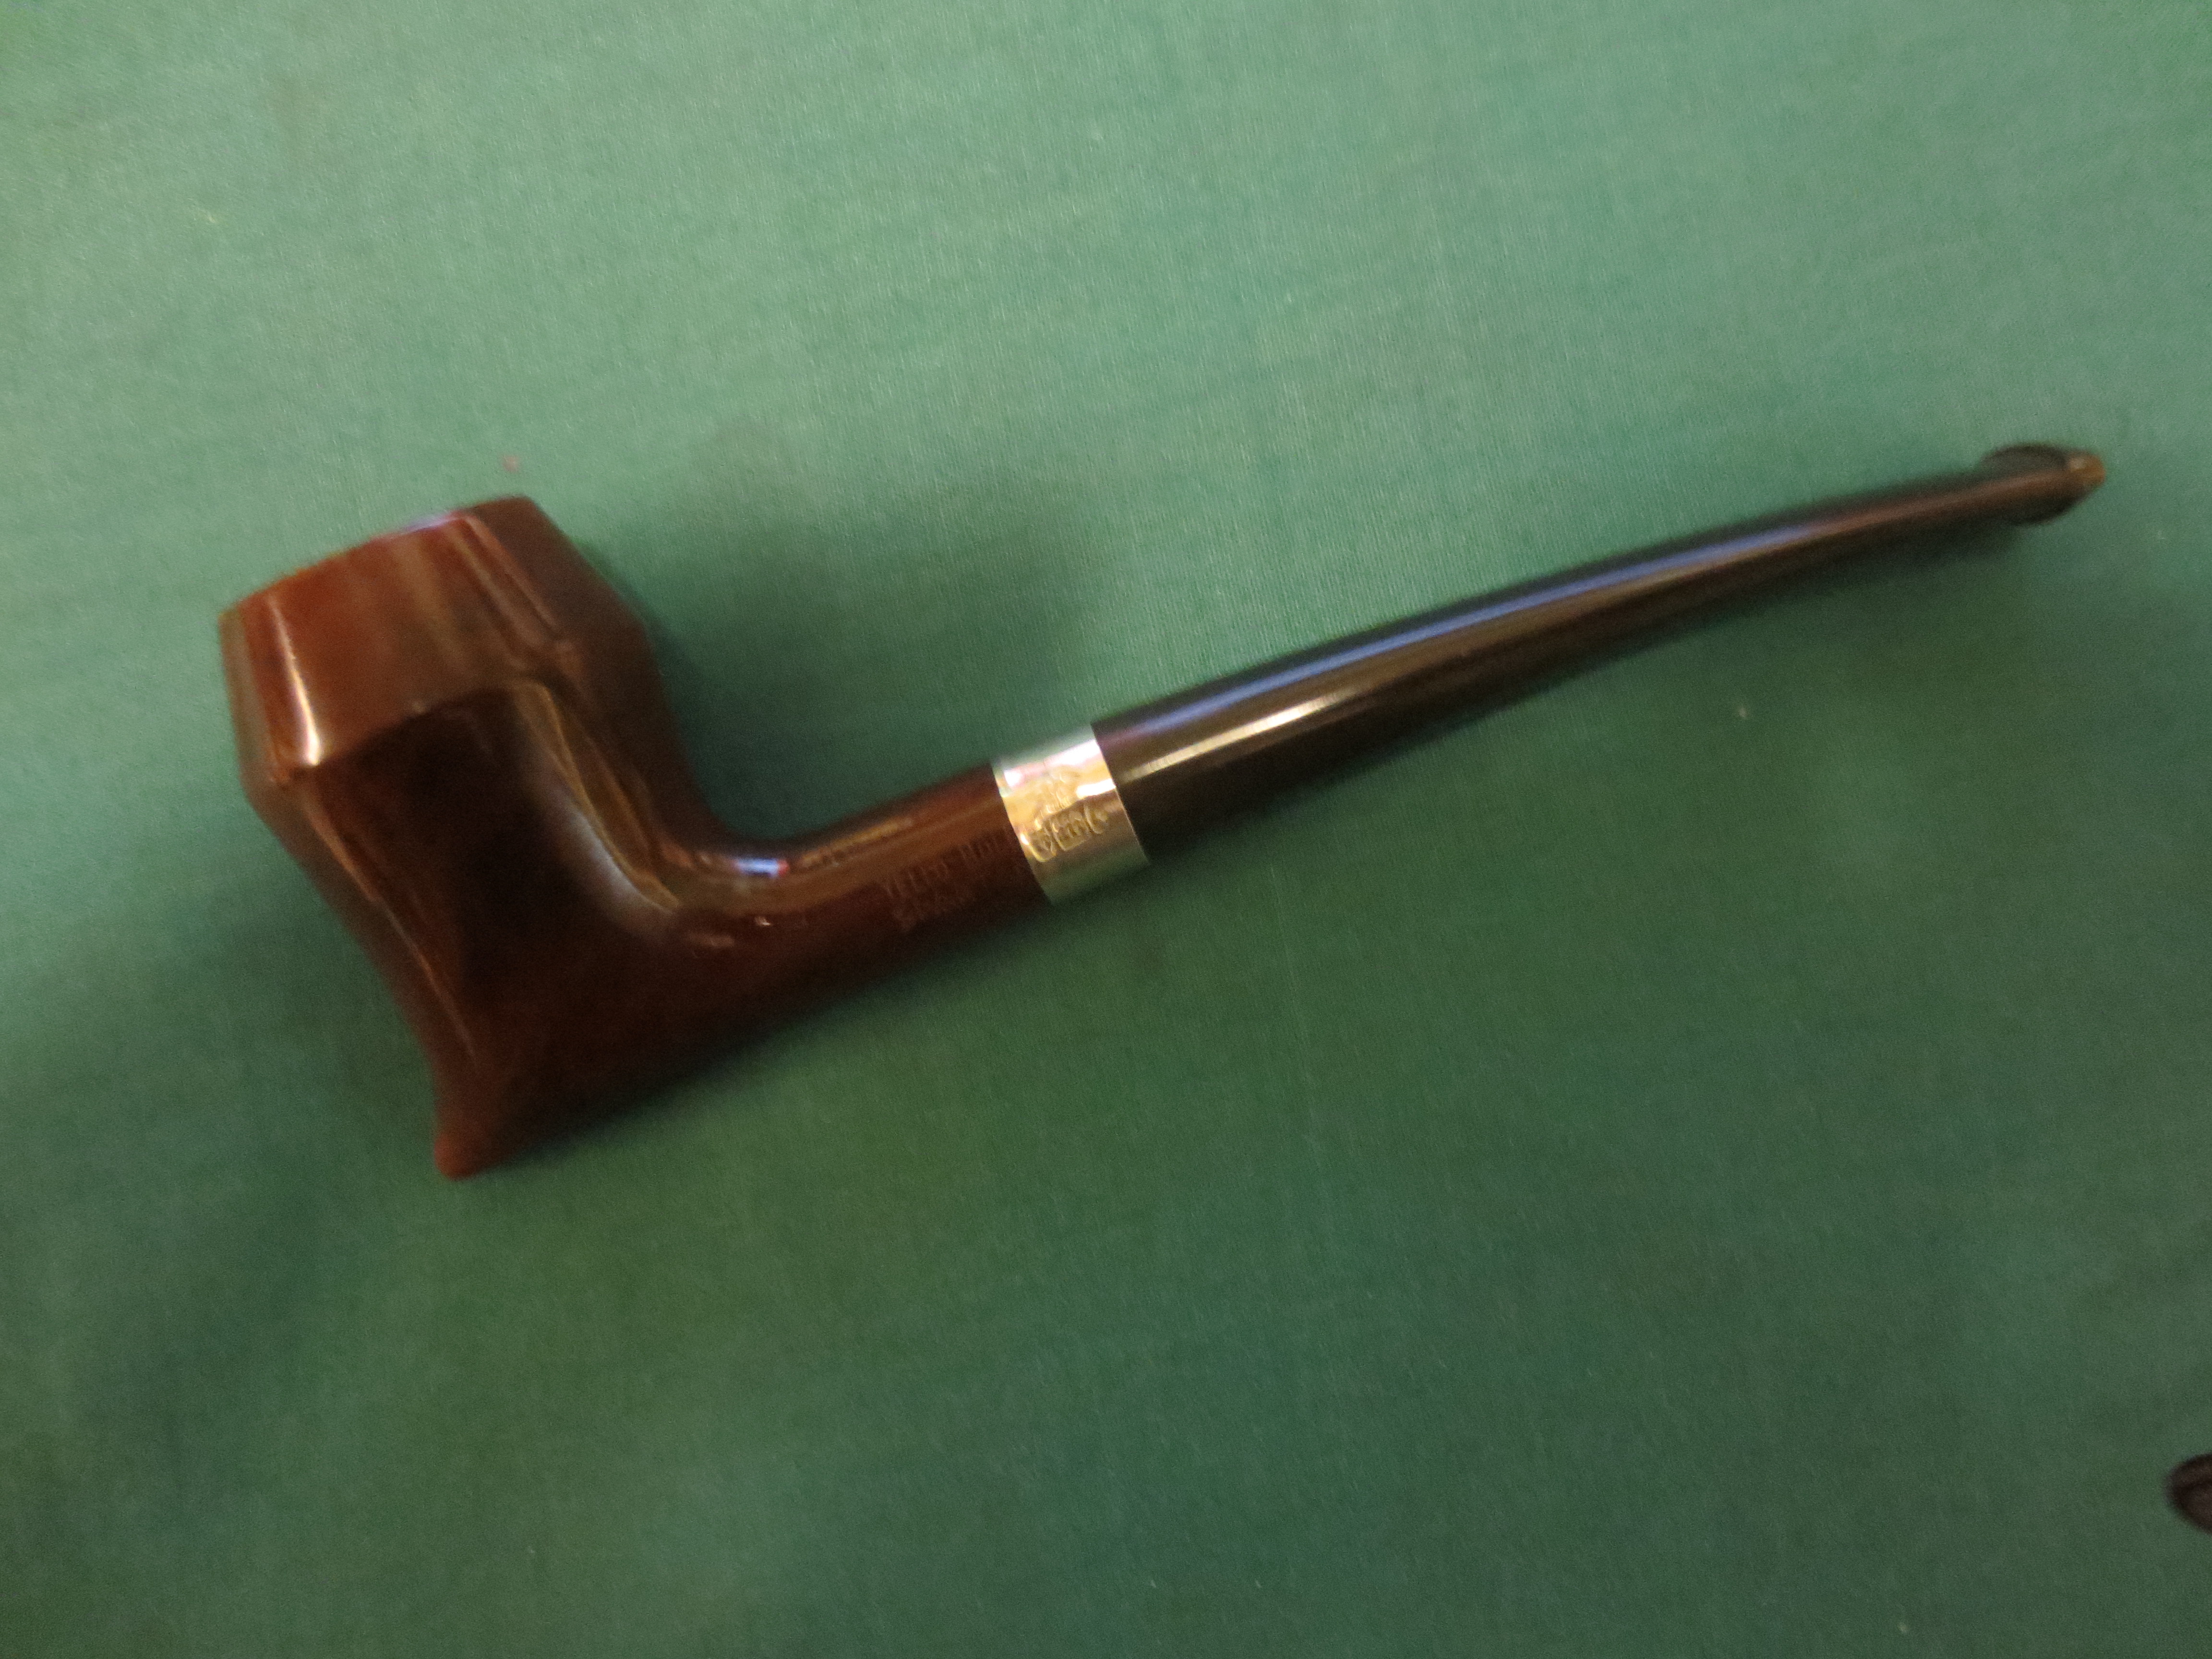
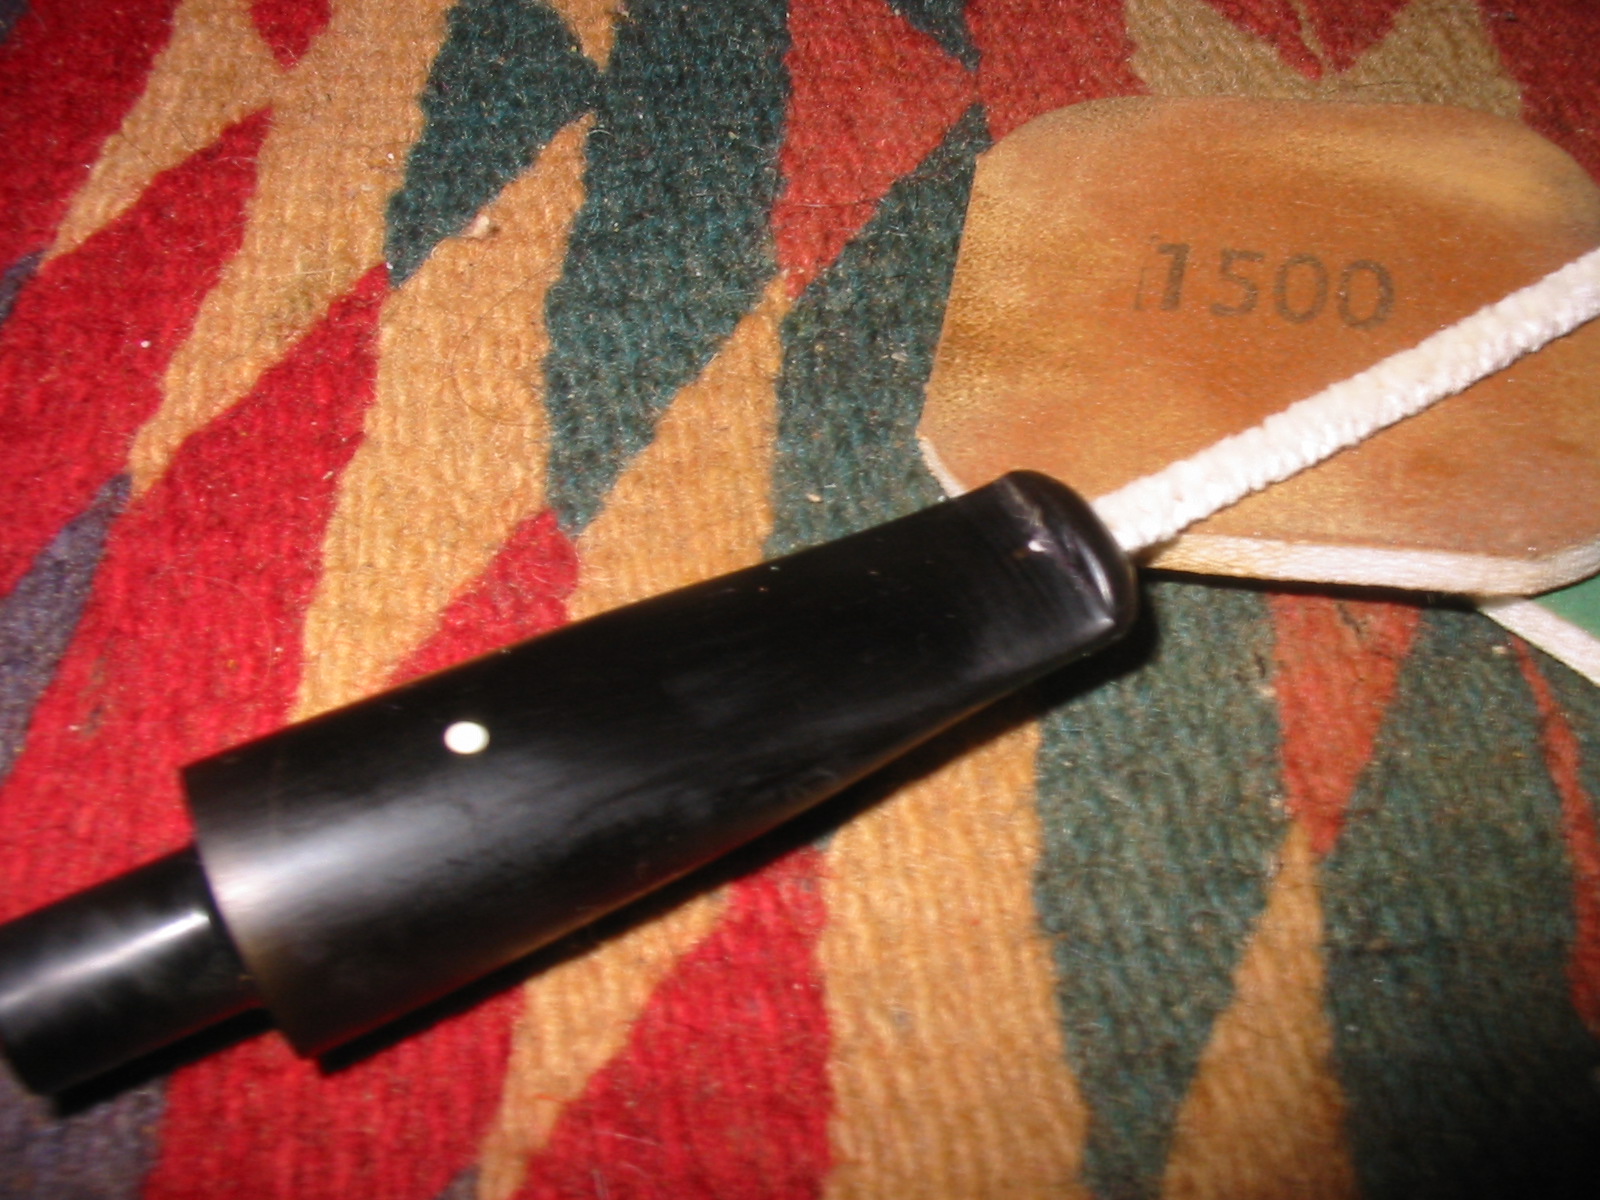
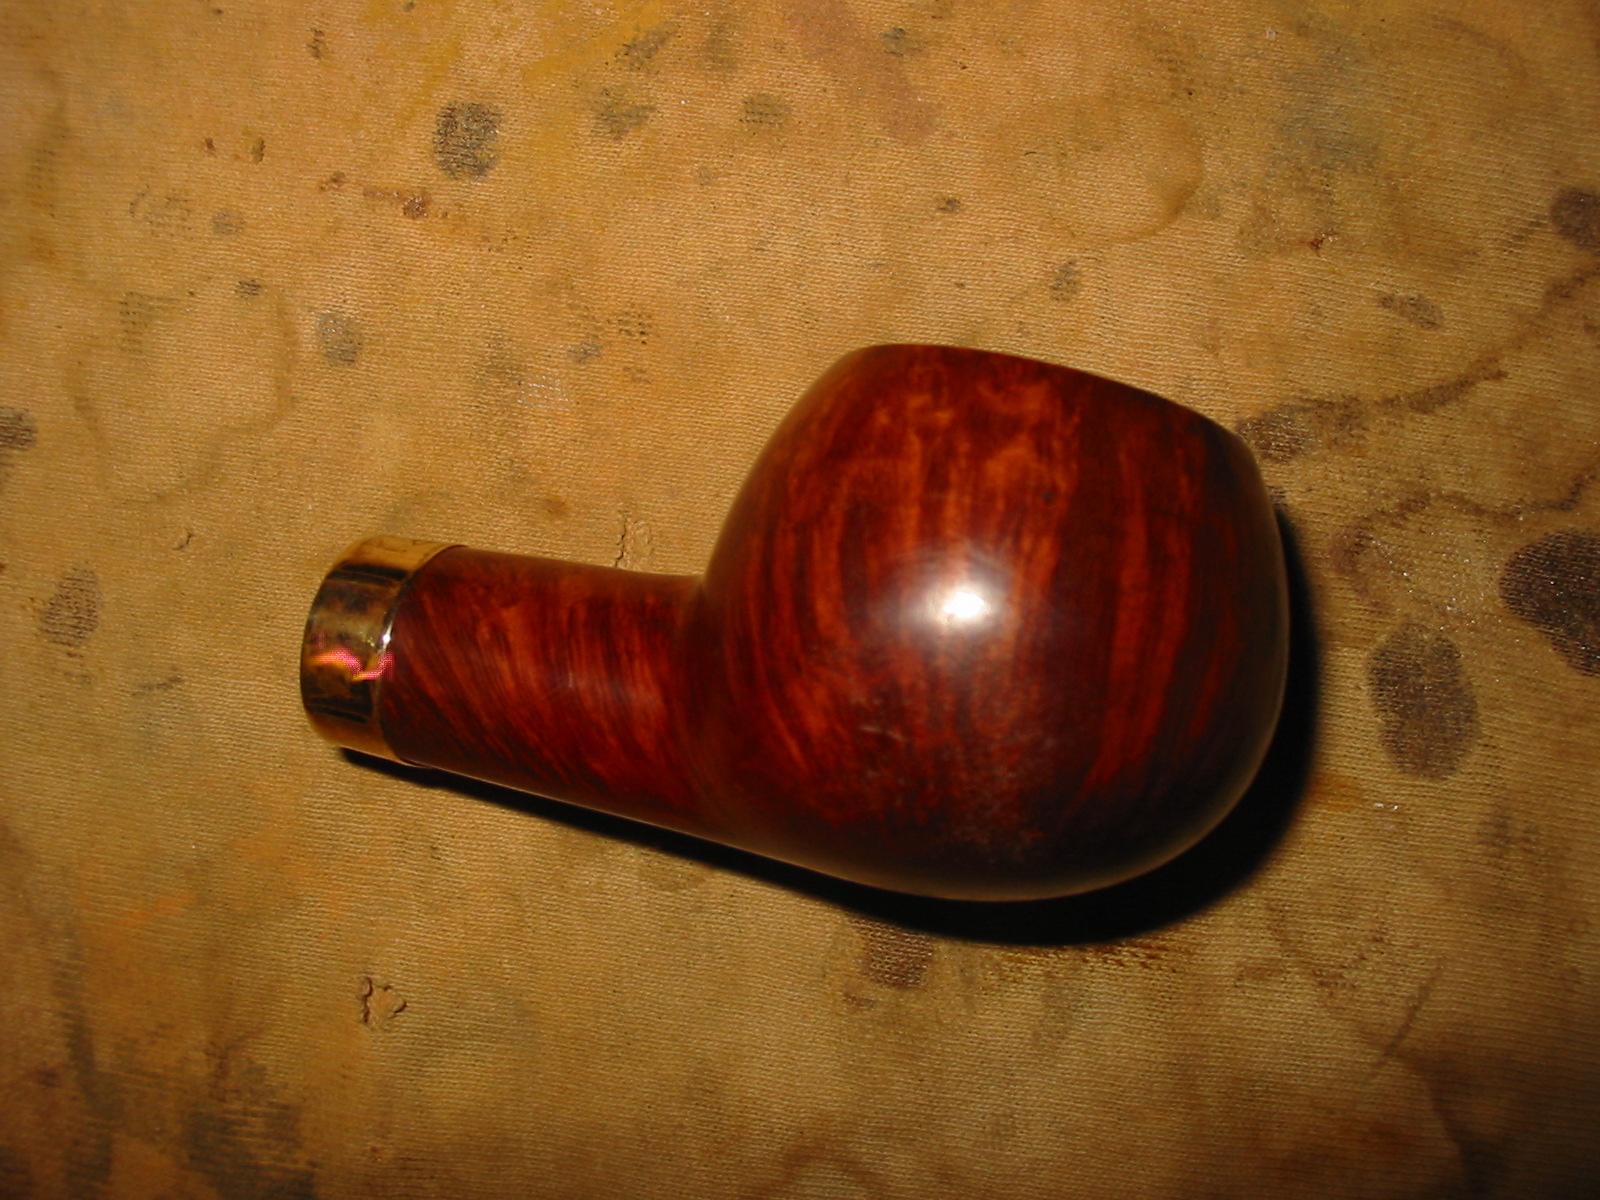
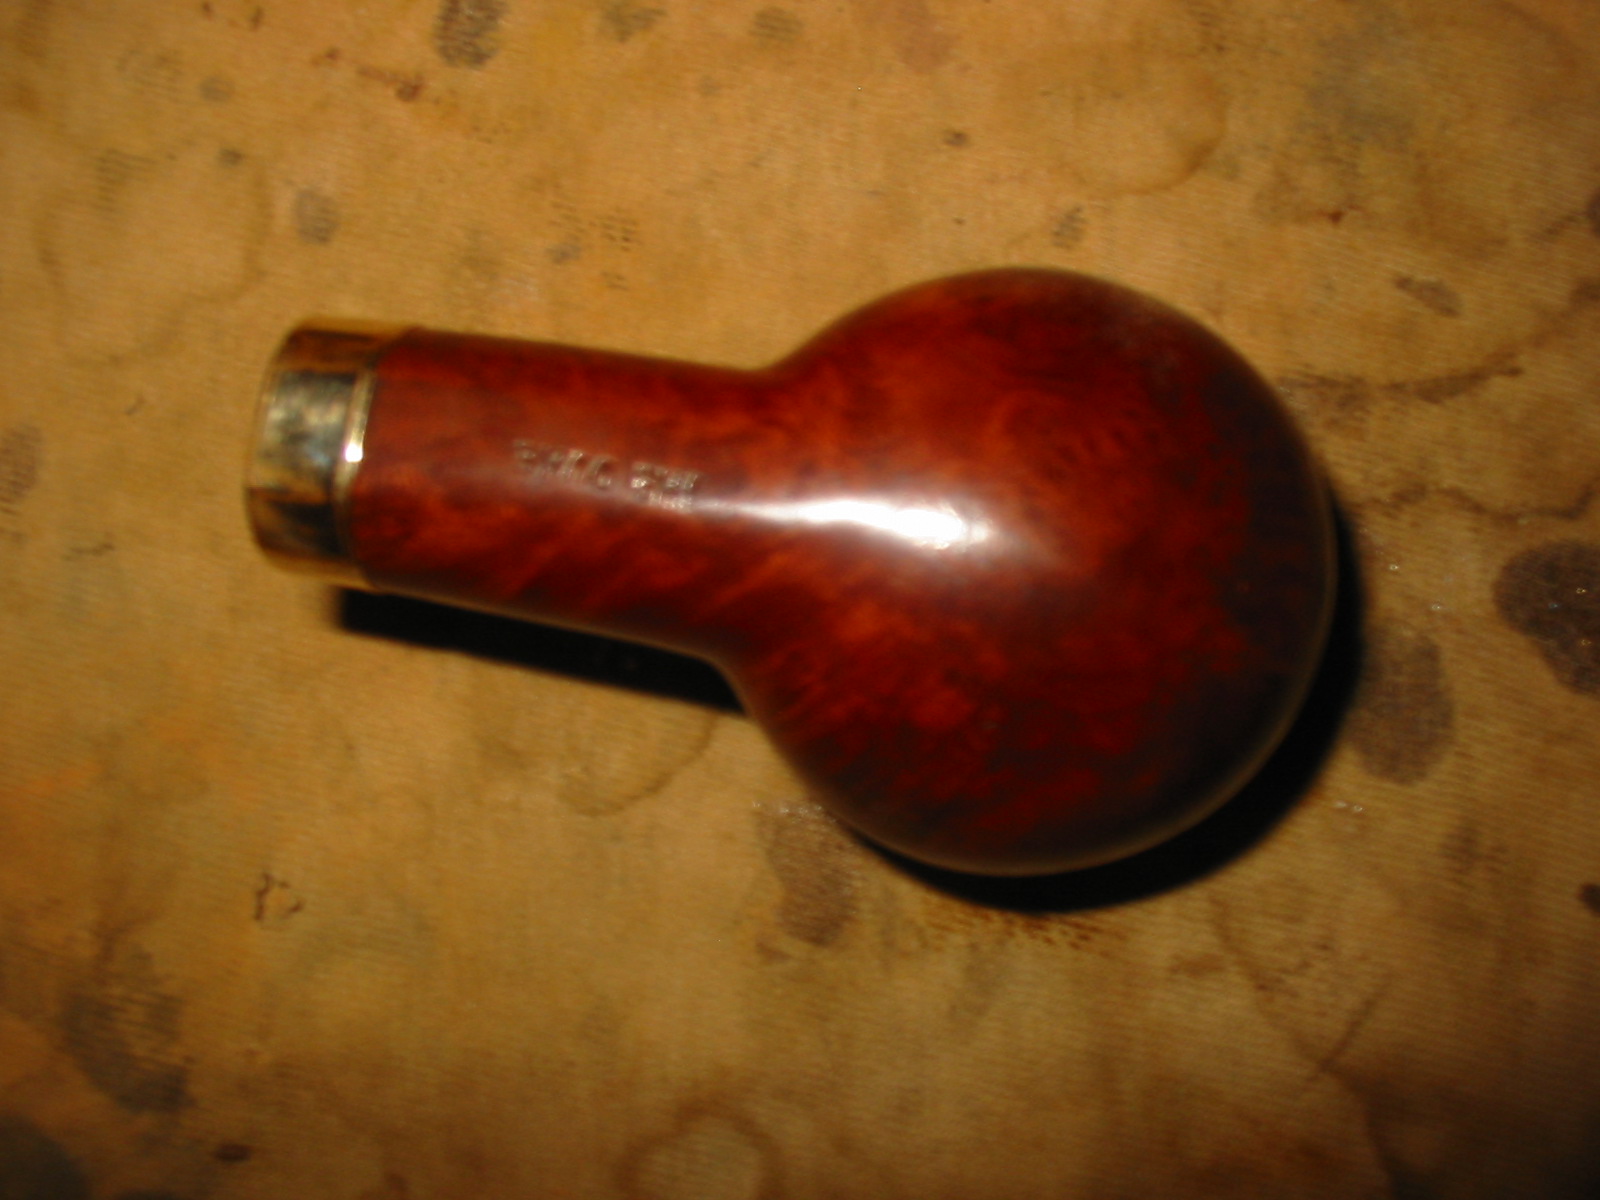
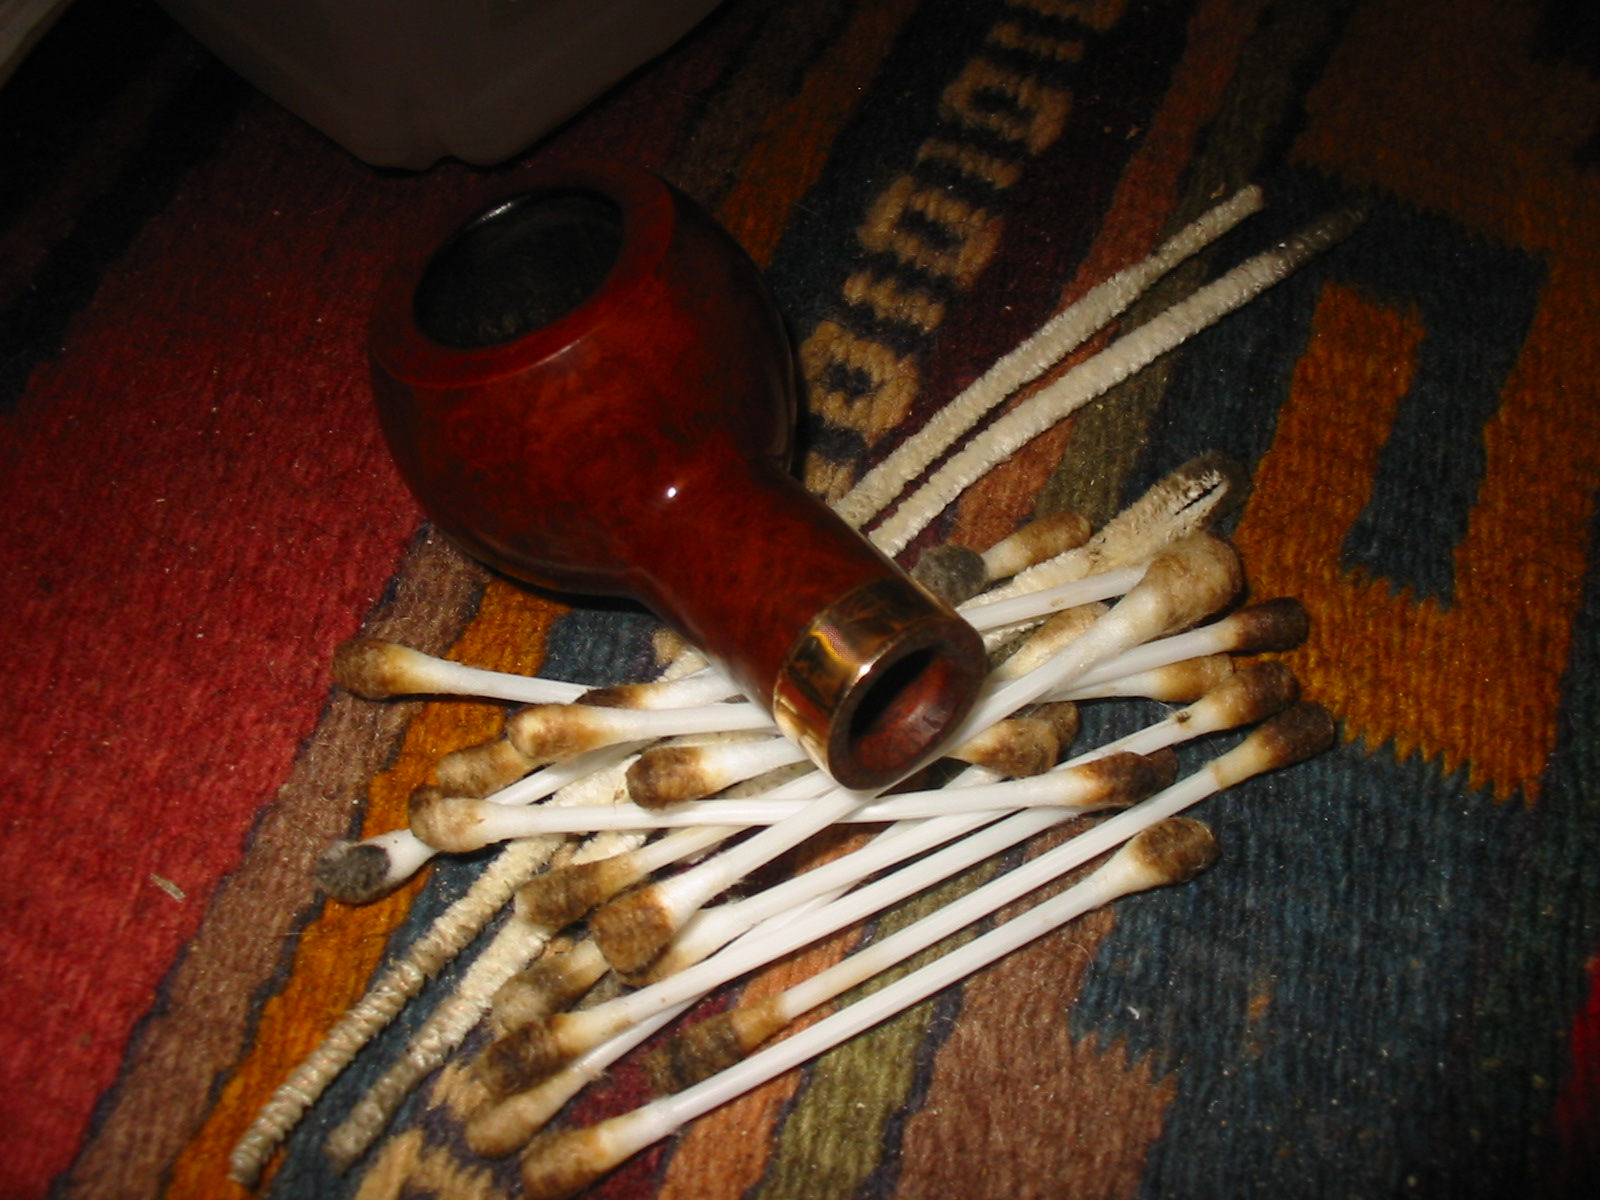
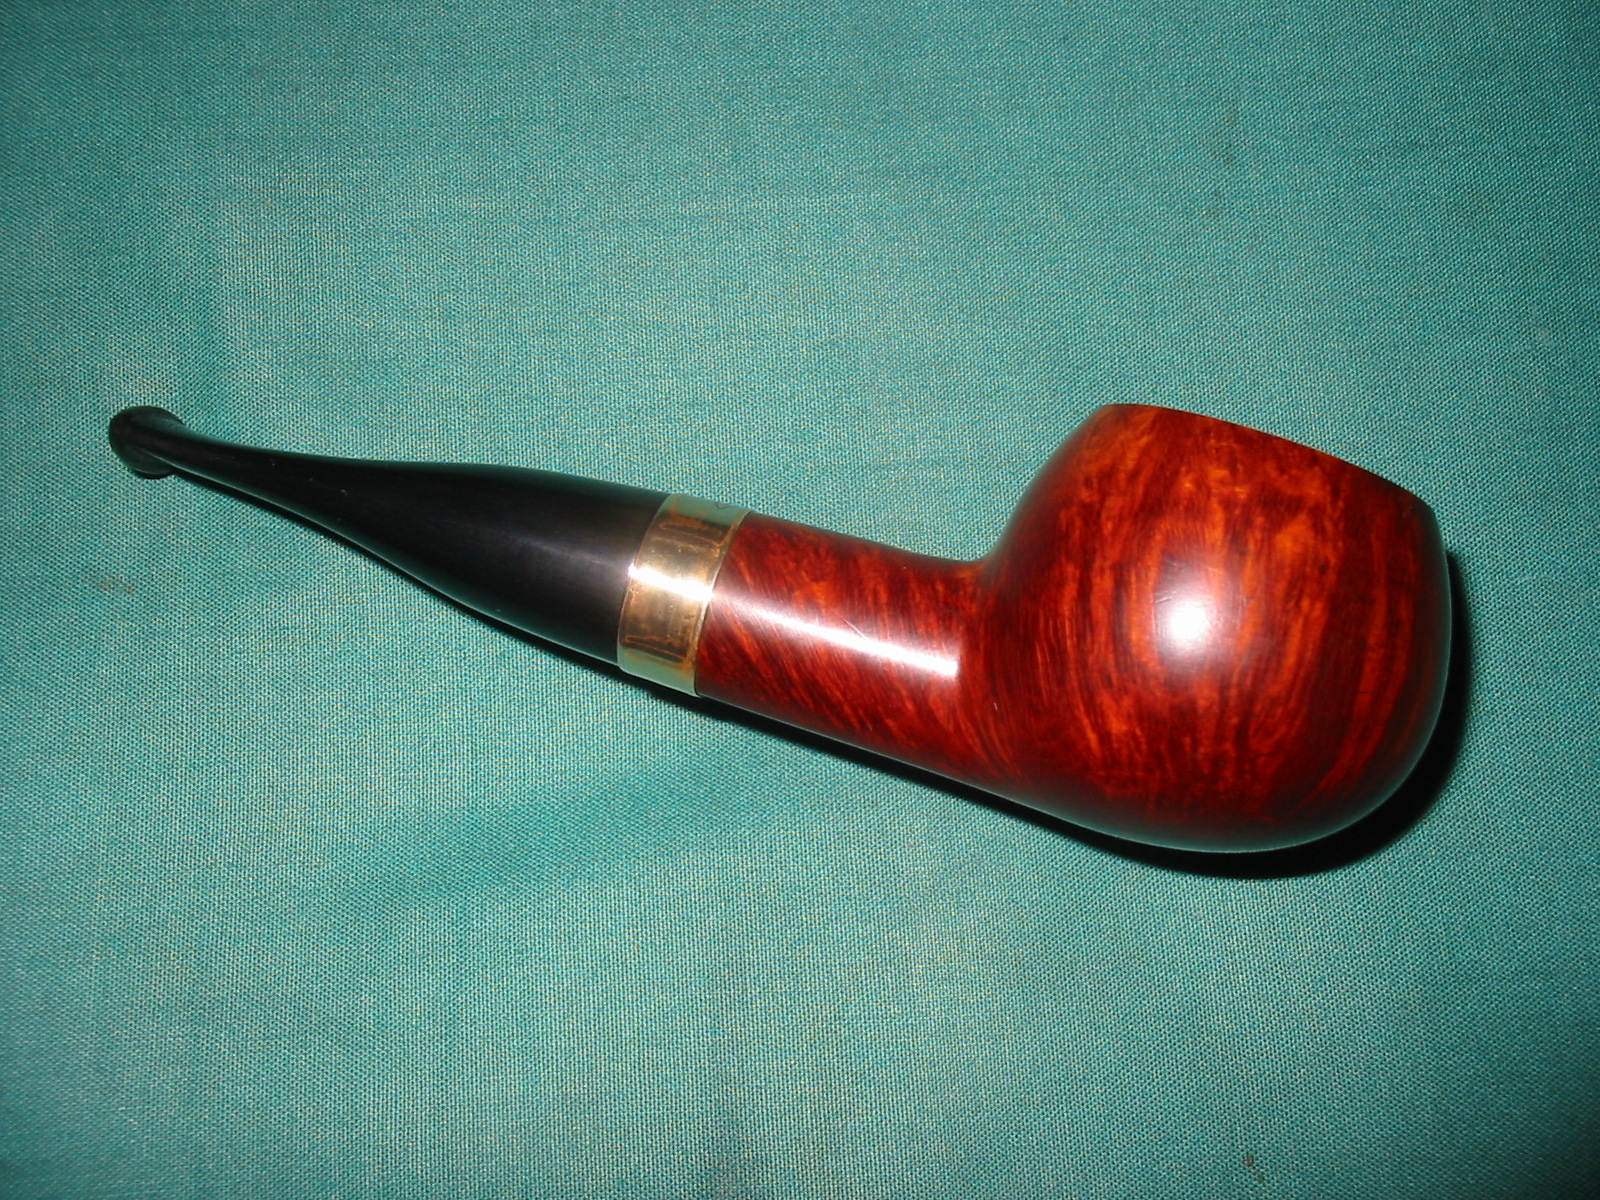
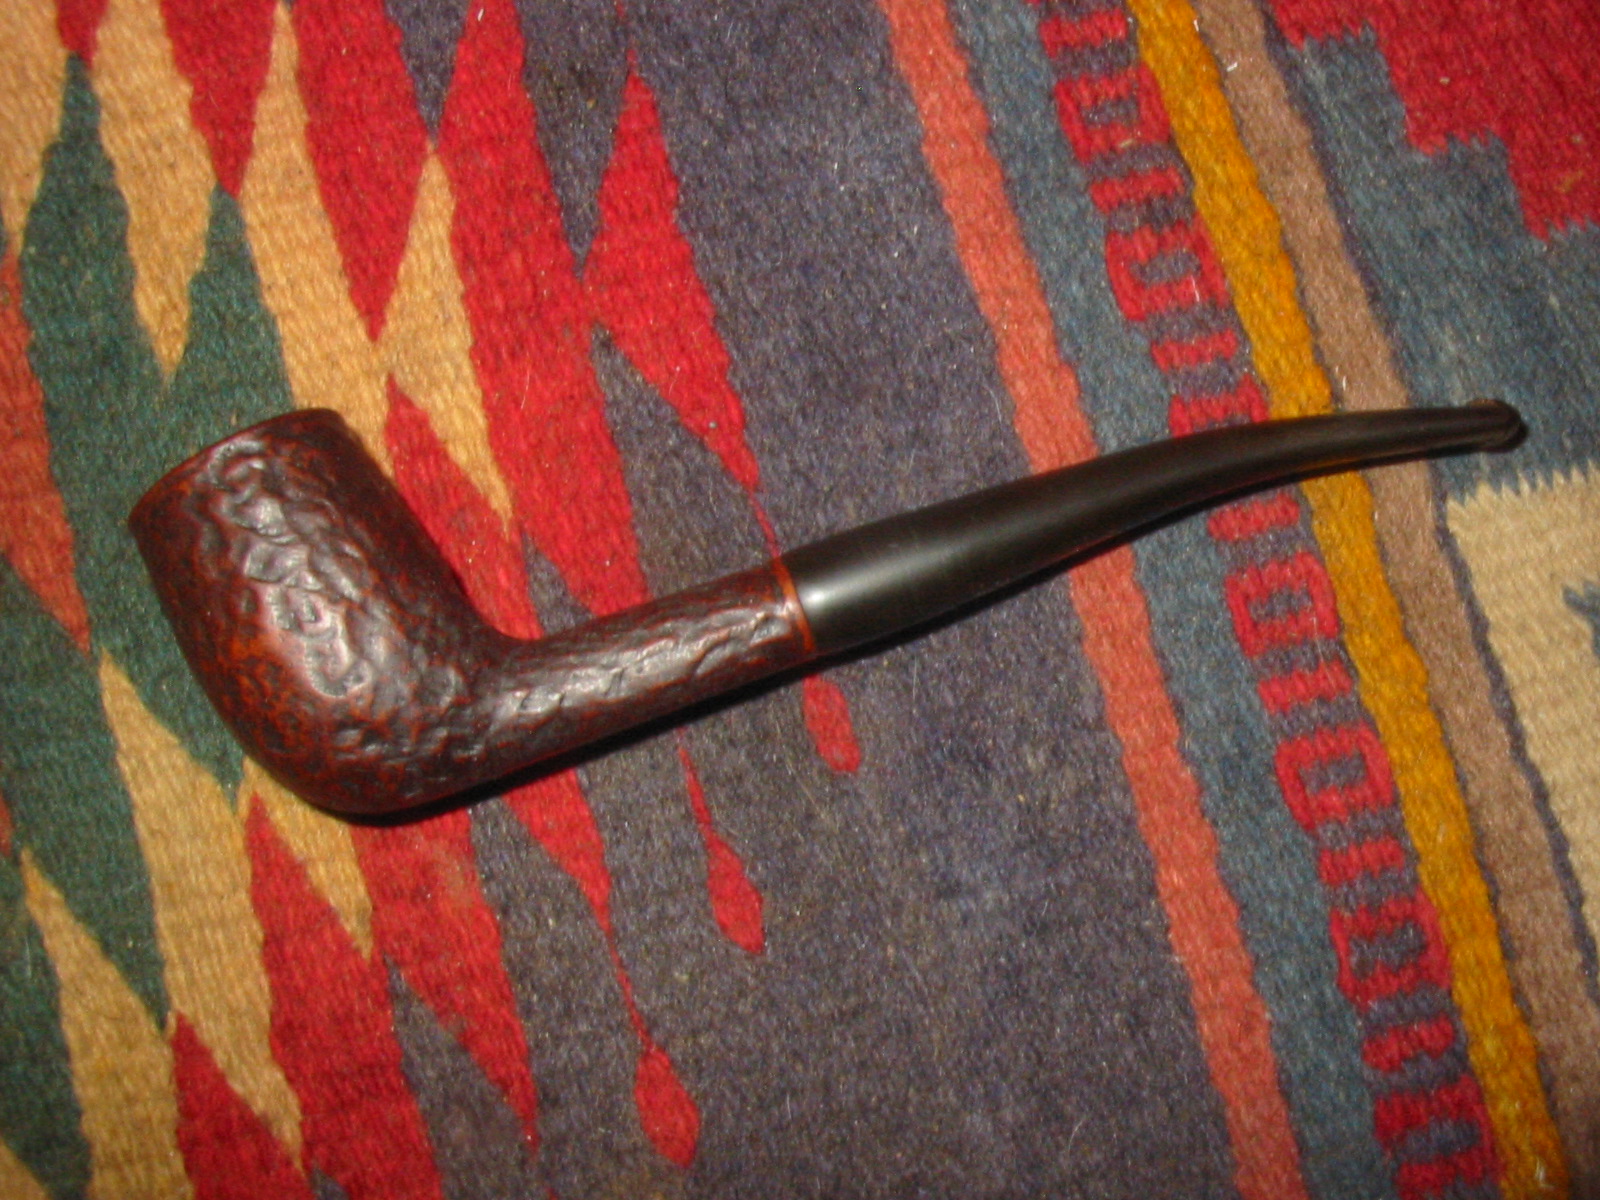
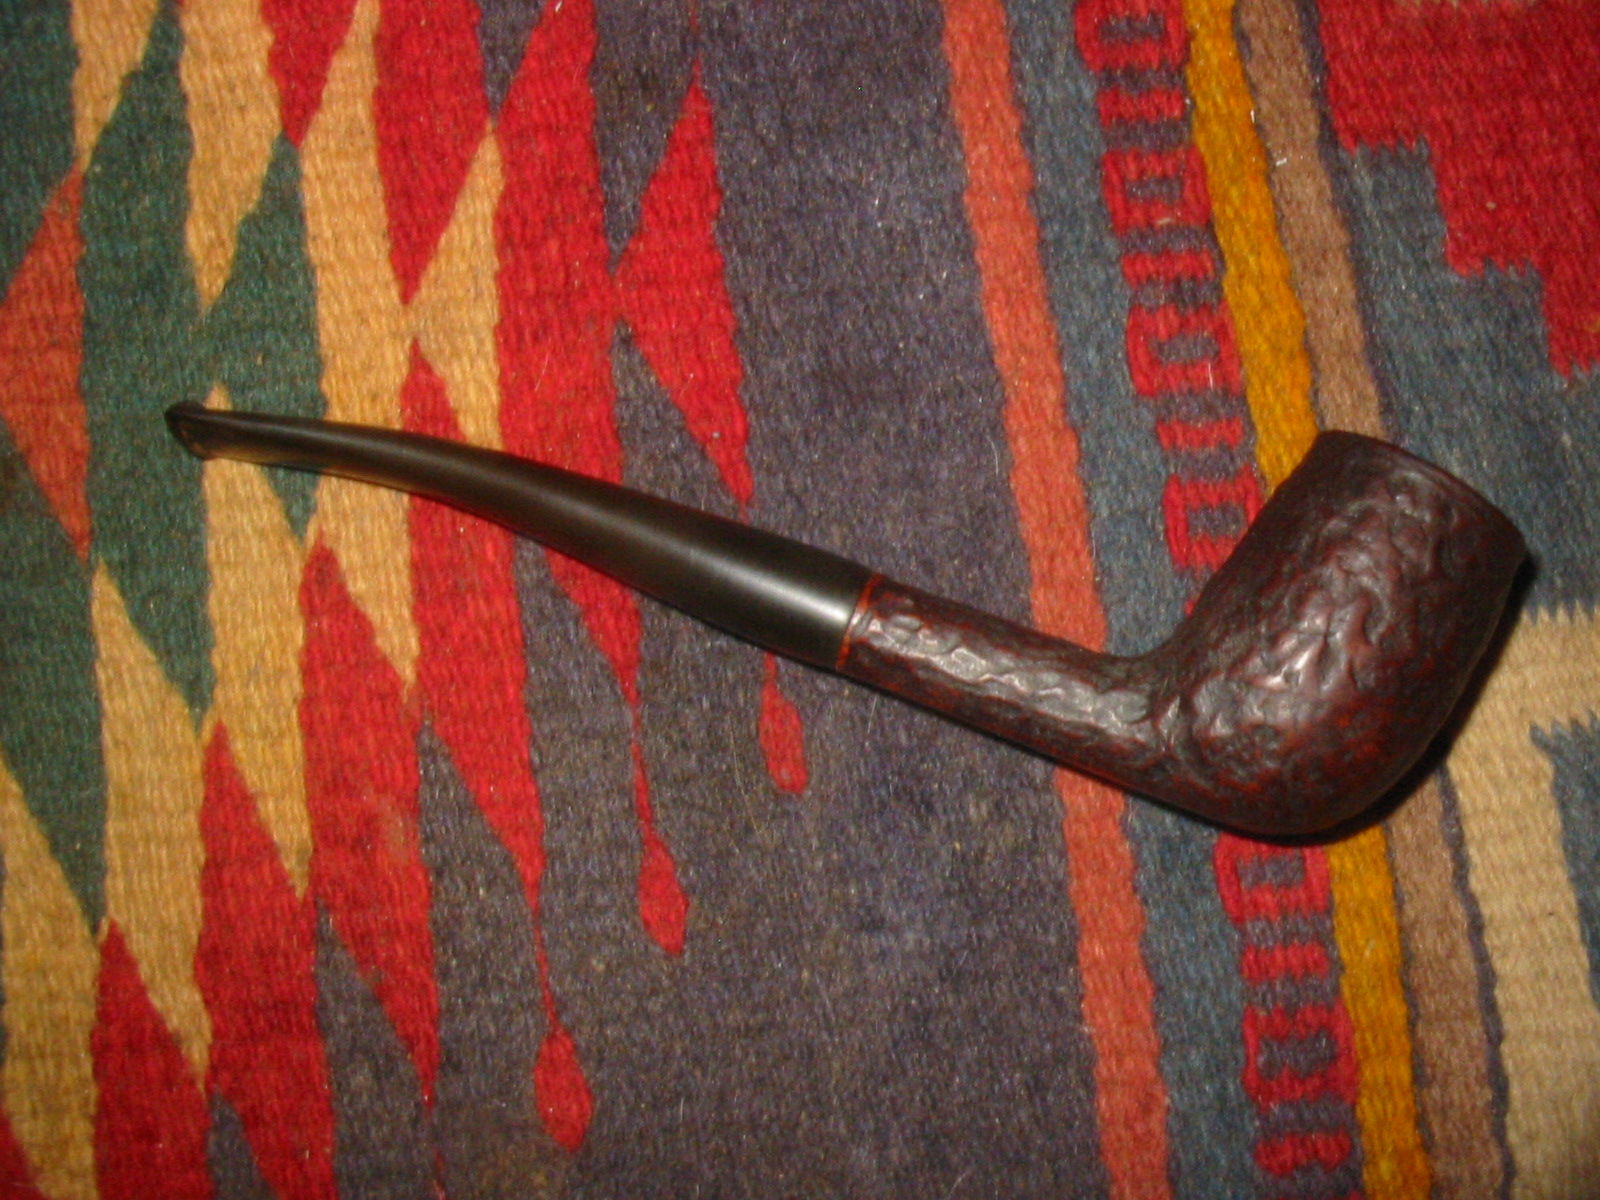
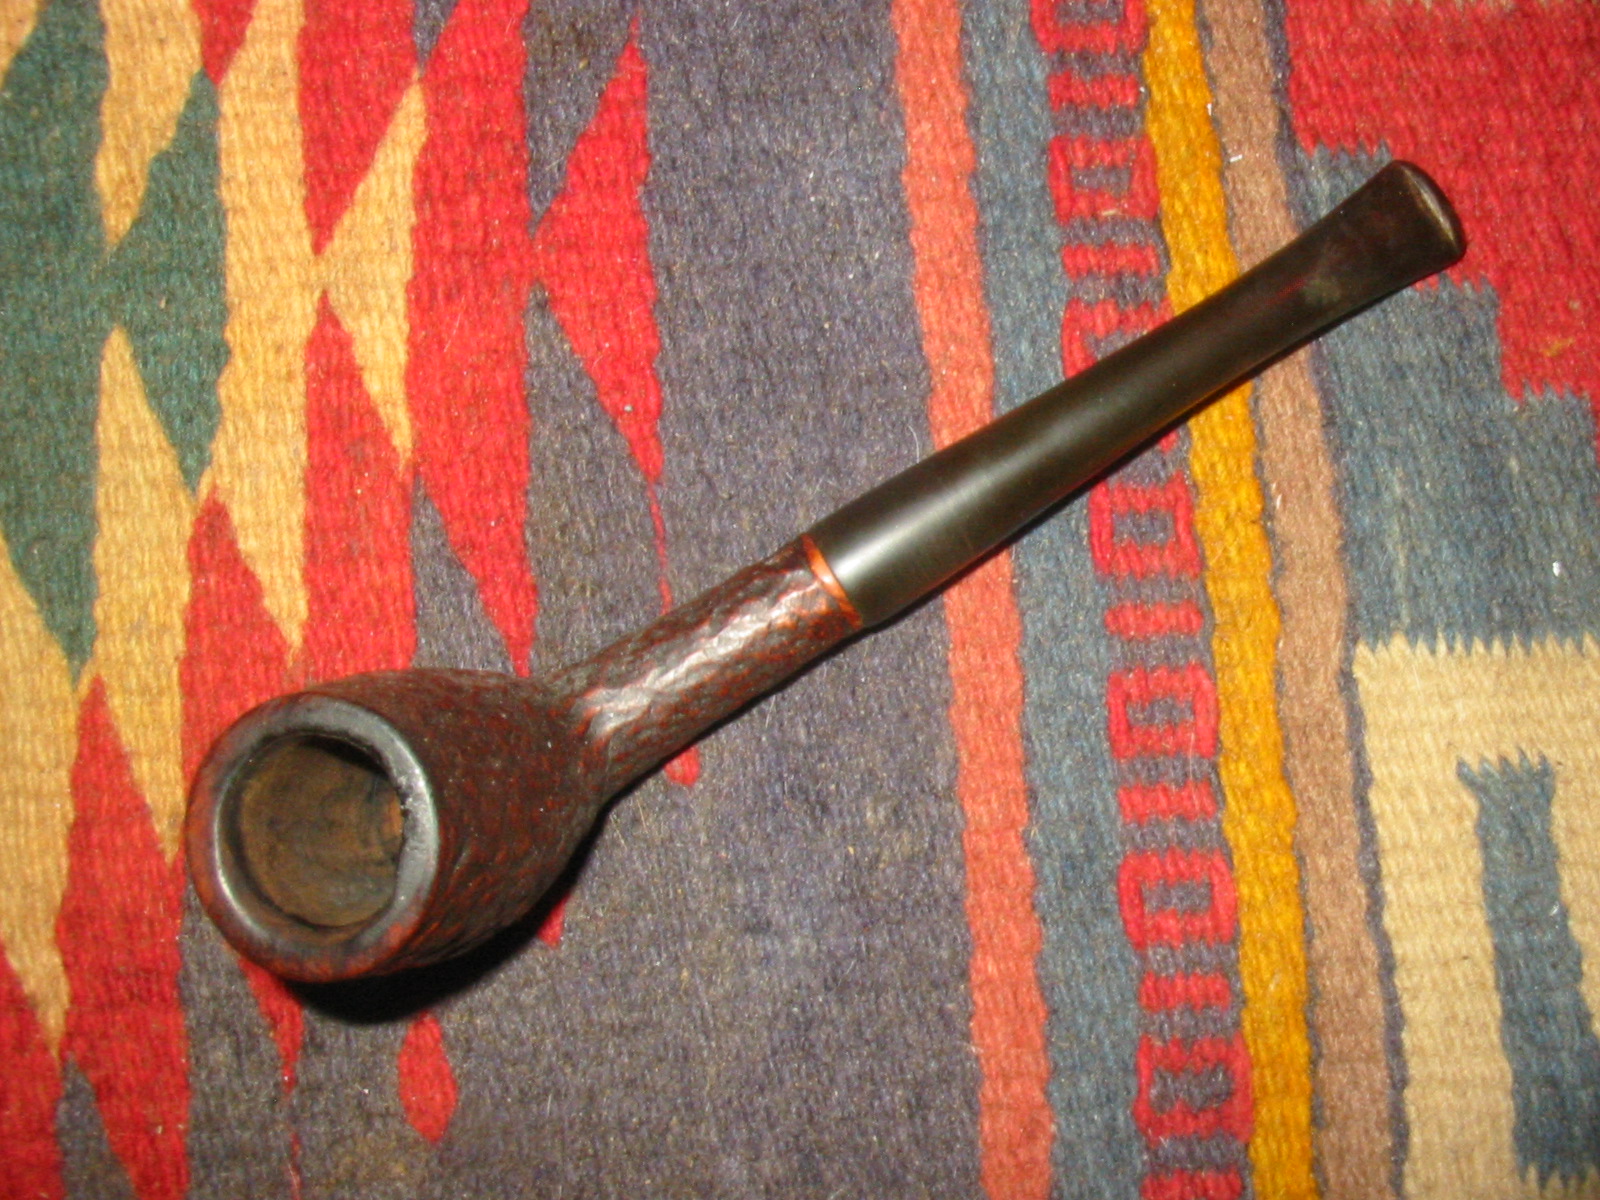
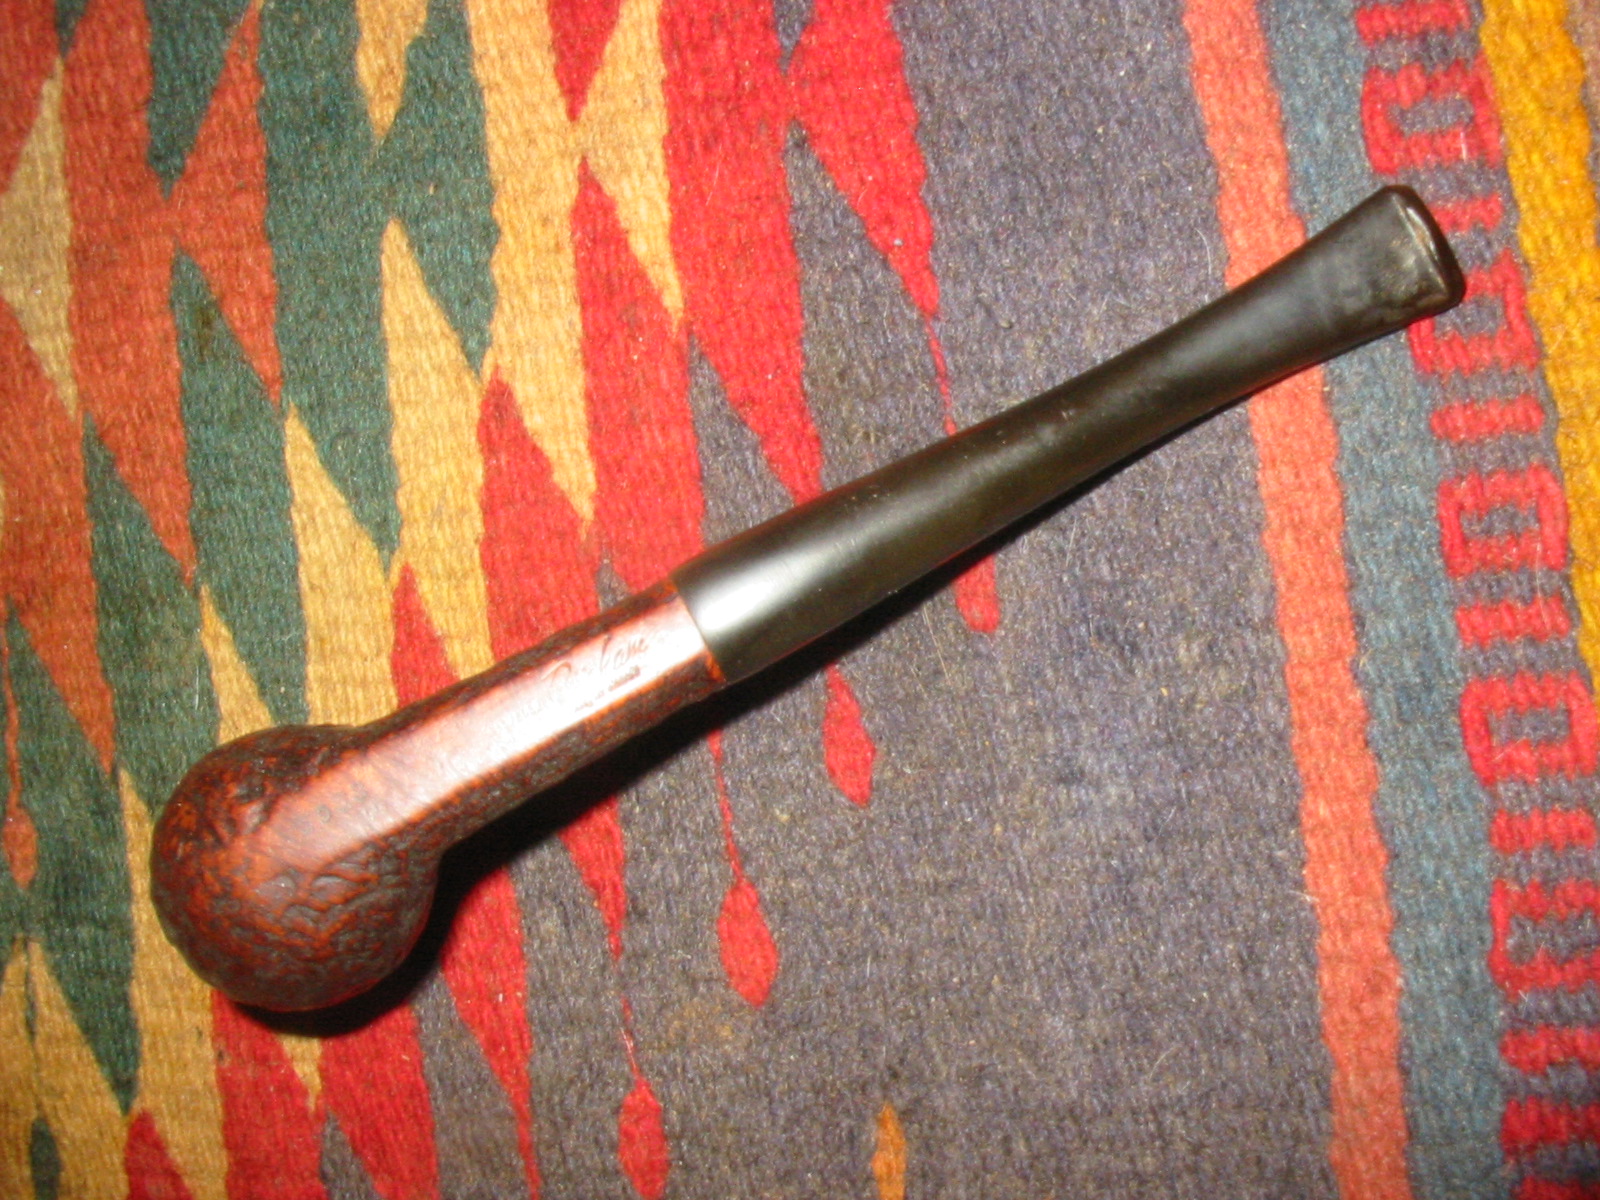
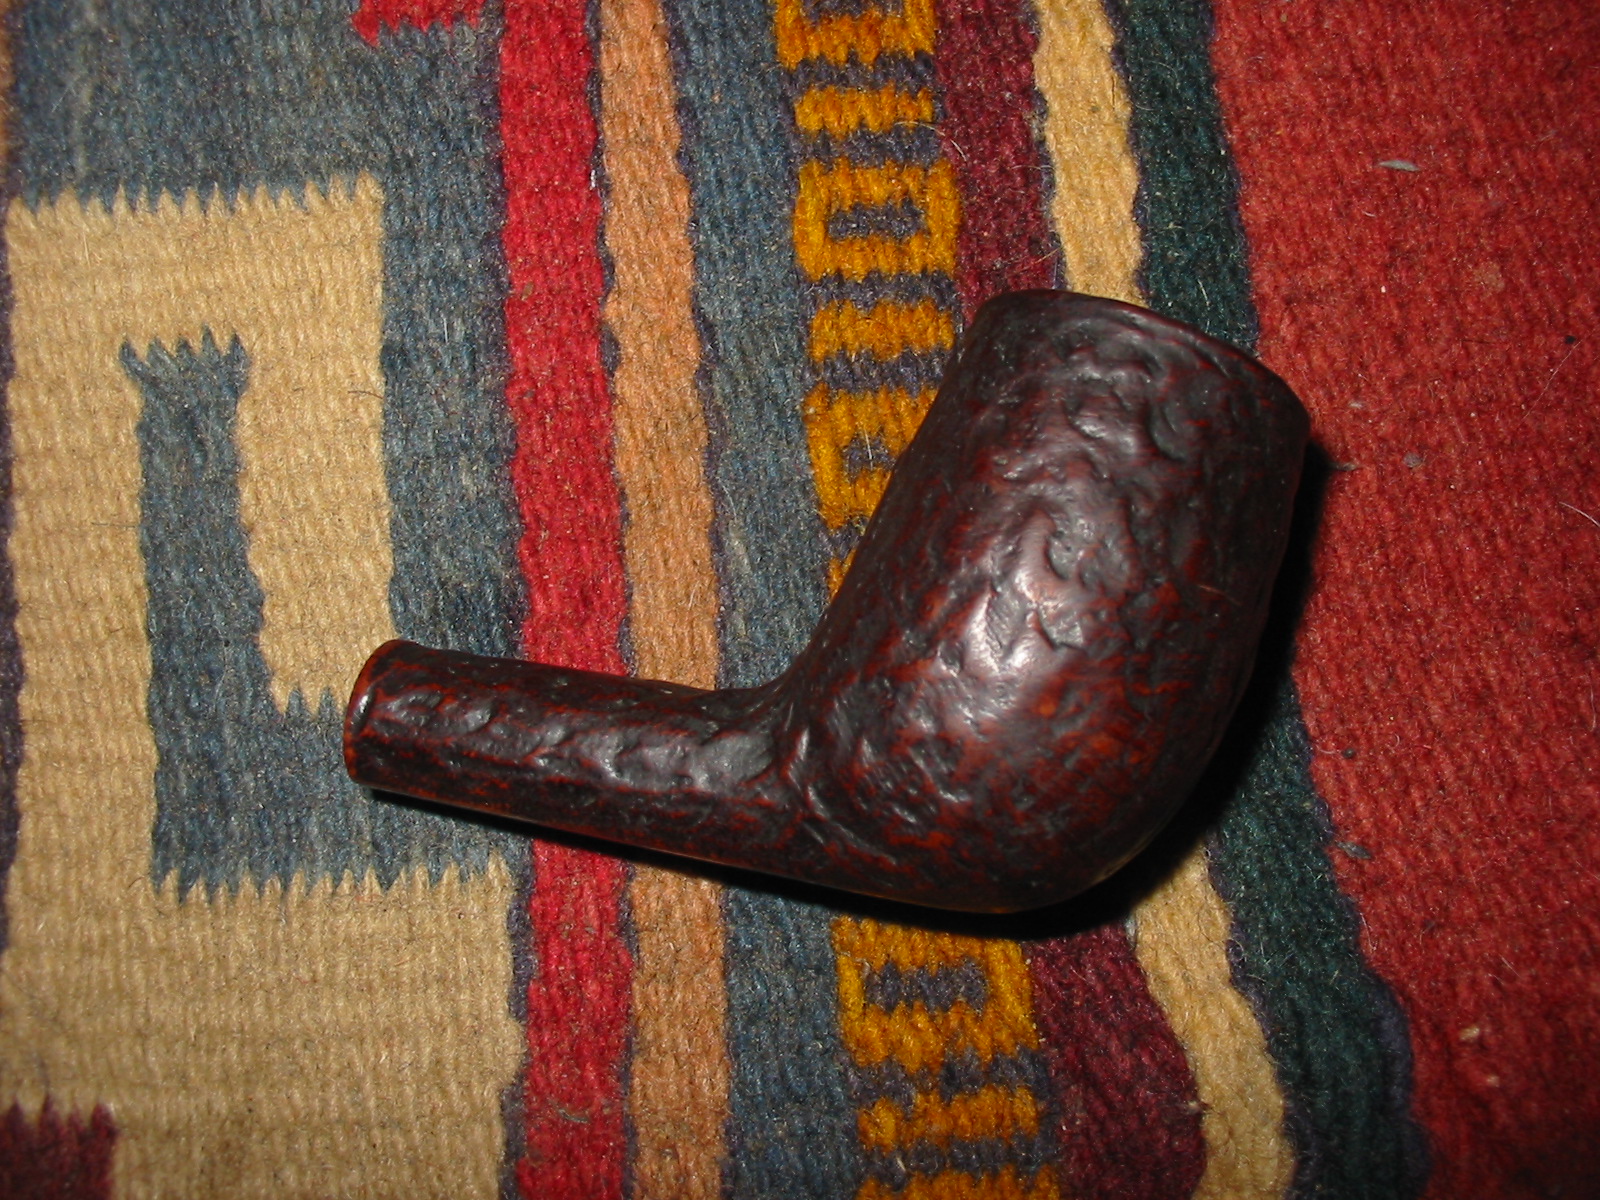
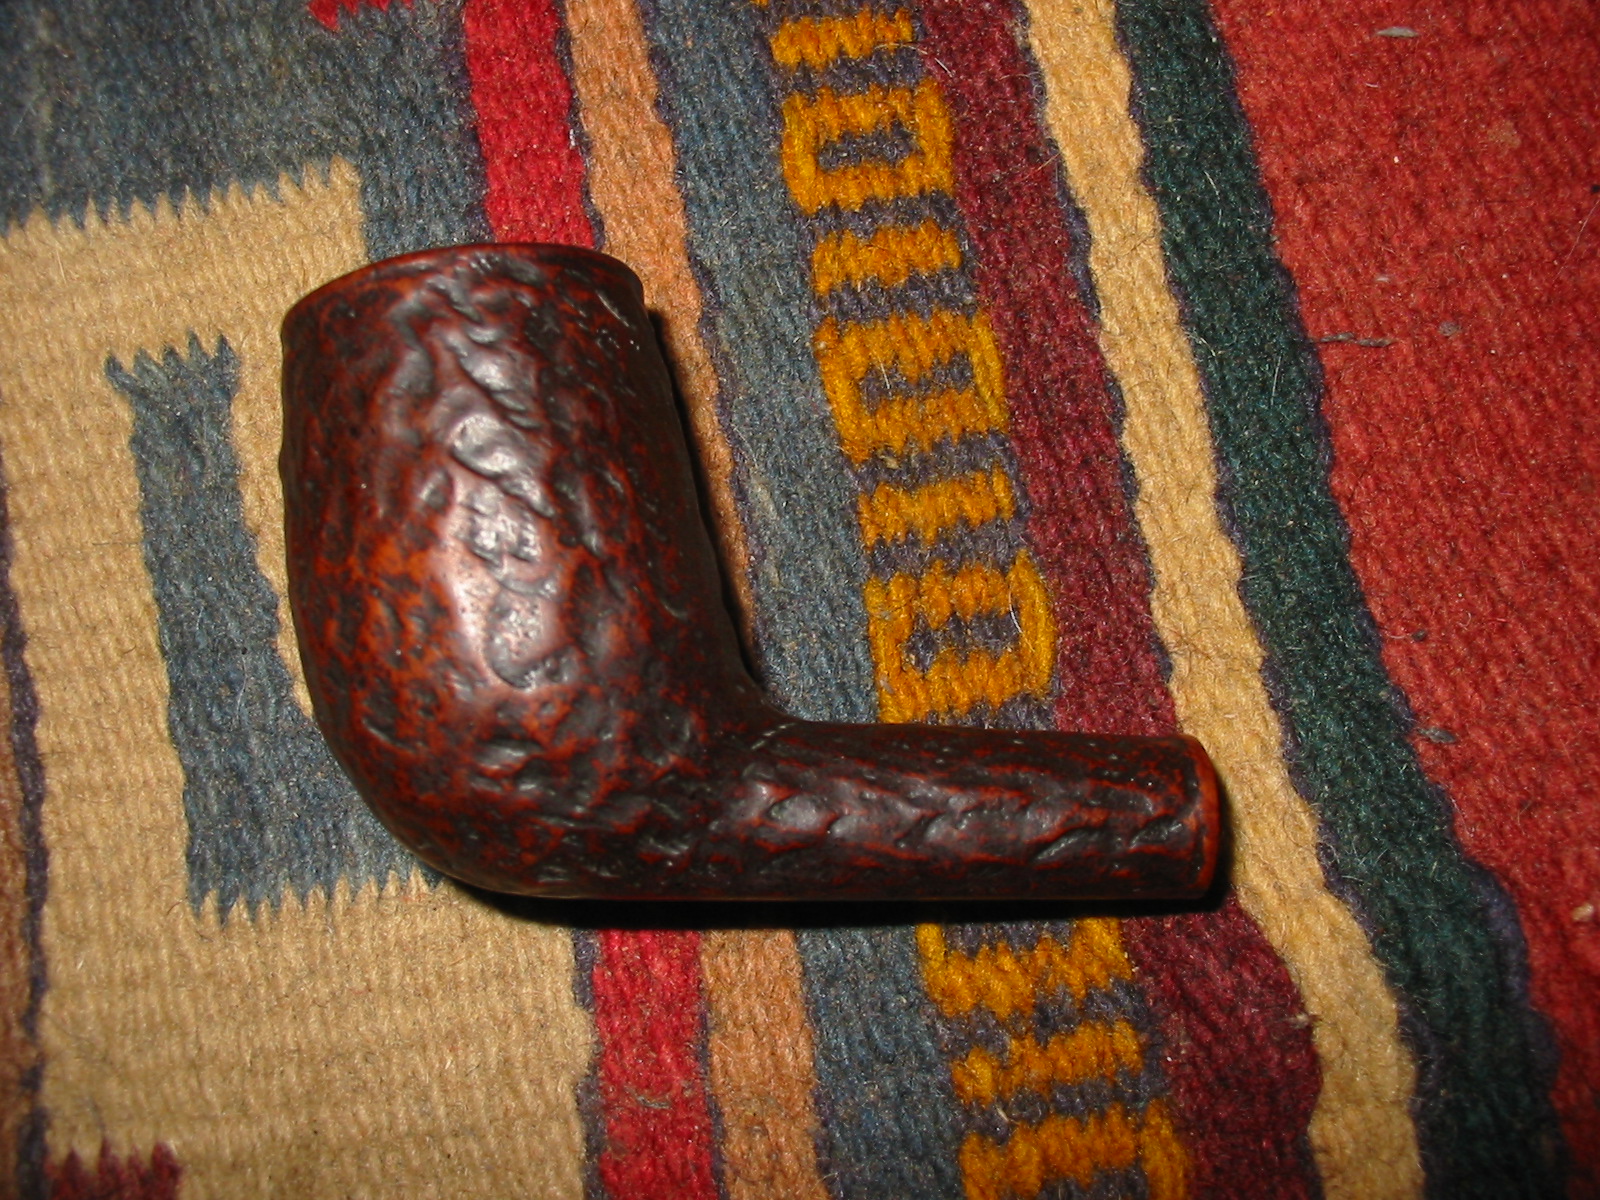
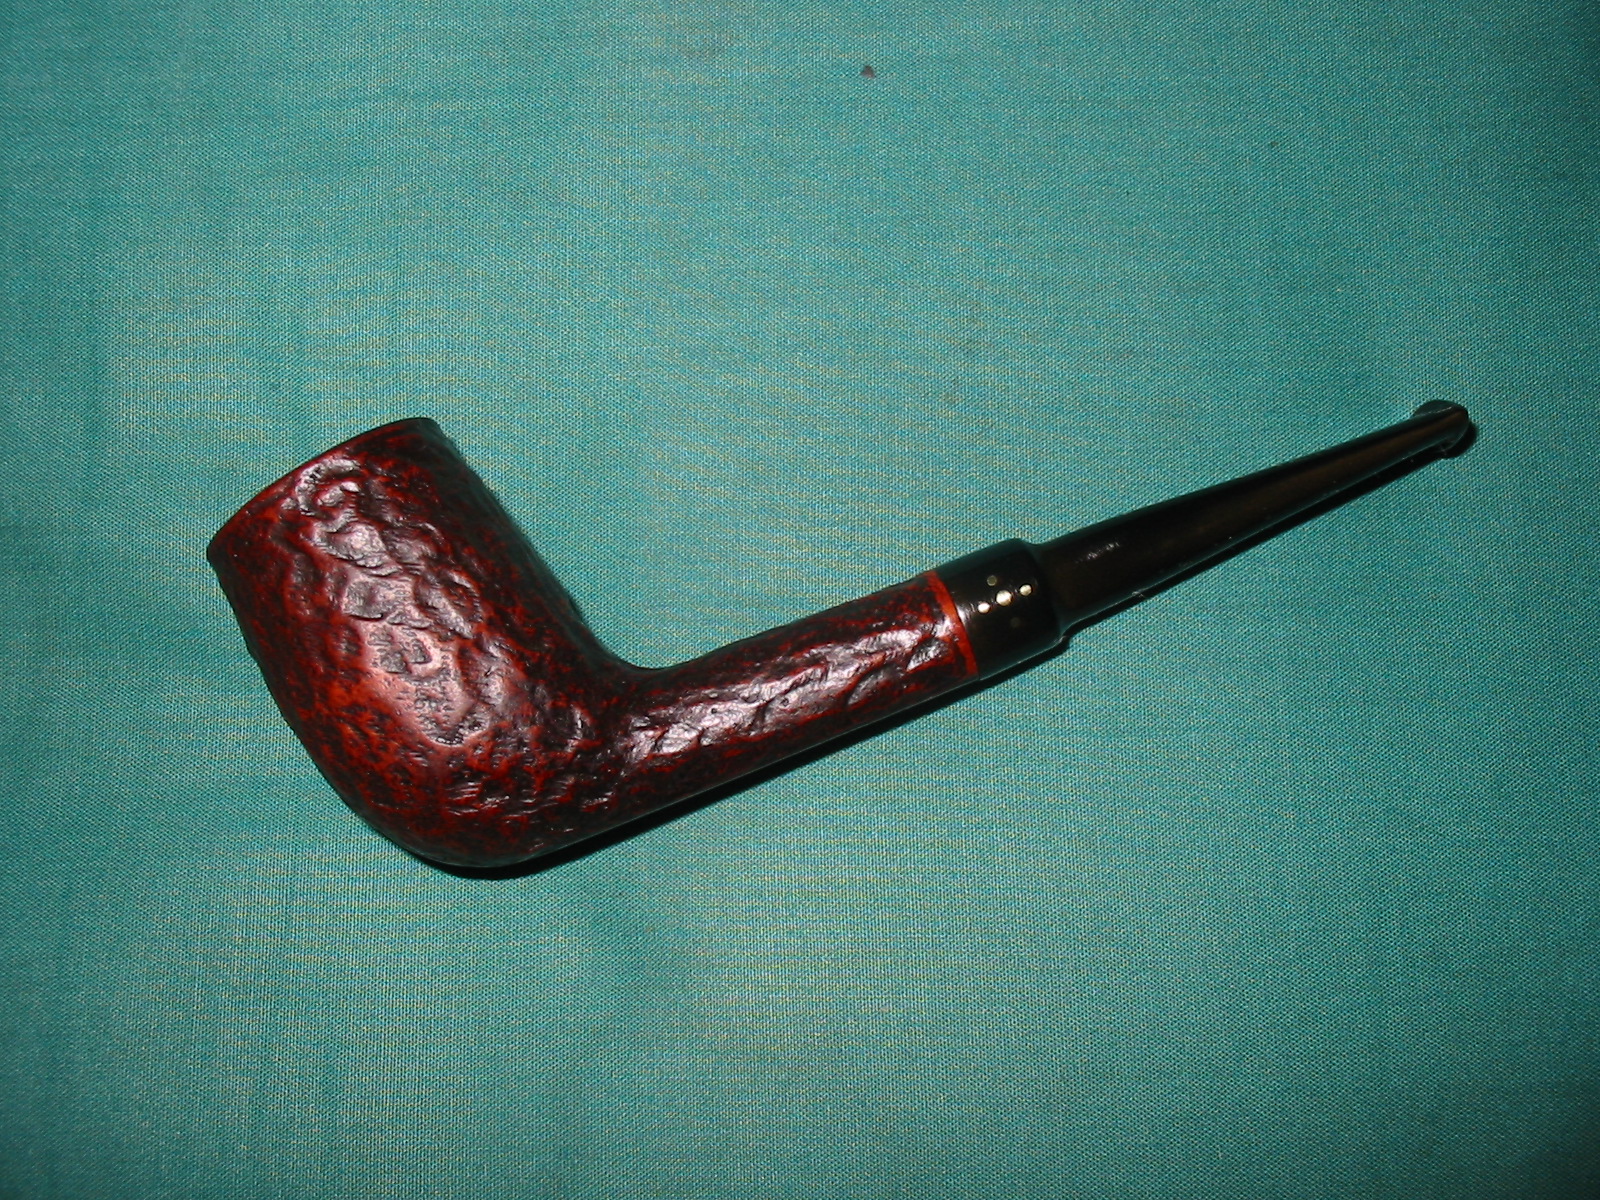
The third pipe from my recent pipe hunt that I chose to restore was the last one pictured below. It is a rusticated Astleys Cherrywood style pipe with a tight rustication pattern resembling a sandblast. I think the process may have been to rusticate and then to sand down the high spots until they were smooth. The texture is really well done and comfortable to hold. The pipe is a light weight with a classic look.IMG_2049The finish was in pretty good shape with a few worn spots where the stain was rubbed off on both the bowl and shank. The rim had a buildup of tars and oils that had hardened and formed a scale on the rim. The bowl had a thick cake that choked out the diameter of the bowl. The stem had been over bent to the point it hung oddly in the mouth rather than the way the original bend had made it hang. It was also oxidized and had a buildup of calcium around the button end of the stem that covered several deep tooth marks on both the top and bottom sides of the stem.IMG_2115 IMG_2116 IMG_2117 IMG_2118As shown in the photo above the bowl had been stamped on the smooth bottom of the bowl. It read Astleys over 109 Jermyn St.Under that was stamped London over 48. I looked up the shape in an old Astleys catalogue (page pictured below) and found the 48 was round Cherrywood Briar. The description stated that it was a copy of an old English cherrywood with a flat base. The correct bend can also be seen in the photo below from the catalogue.astleys-booklet_page_07I reamed the bowl with a PipNet reamer and took the cake back to bare wood. The oily, sweet, aromatic smell was more than I wanted to deal with in terms of ghosting.IMG_2231IMG_2232IMG_2233IMG_2234I cleaned out the internals with isopropyl alcohol and cotton swabs and pipe cleaners until they came out clean. I scrubbed the pipe with undiluted Murphy’s Oil Soap and a soft tooth brush for the sides and shank. I used a brass bristle tire brush to clean off the buildup on the rim. I then scrubbed the rim again with soap. When the scrubbing was finished I rinsed it with running water and dried it off with a cotton towel.IMG_2238IMG_2239IMG_2240IMG_2241IMG_2242I used the stain pens from Greg to touch up the worn spots on the finish of the bowl and shank. I buffed the bowl with a shoe brush once the stain was dry.IMG_2243IMG_2244IMG_2245IMG_2246Once the bowl was cleaned and buffed I turned to work on the stem. I used a needle file to give better definition to the crease on the button and clean up the bit marks on top of the button on both sides. I heated the tooth marks with a Bic lighter to raise them and then sanded the stem with 220 grit sandpaper to remove the small marks left behind. I also sanded to remove the calcium and oxidation on the stem.IMG_2247IMG_2248Up to this point I worked on the stem off the pipe. I avoided the area on the saddle where it sat against the shank so as not to round the shoulders. I cut a plastic washer and put it between the stem and the shank to allow me to work on the shoulders without damaging them when I sanded. I lightly reworked that area with the 220 grit sandpaper and then sanded the entire stem with medium and fine grit sanding sponges.IMG_2249IMG_2250There were still some small divots in the top of the stem so I removed it from the pipe and sanded them once more with the 220 grit sandpaper and the sanding sponges.IMG_2251I sanded the stem with the usual battery of micromesh sanding pads – wet sanding with 1500-2400 grit pads and dry sanding with 3200-12,000 grit pads. I rubbed the stem down with Obsidian Oil between each set of three pads. As the stem absorbs the oil the oxidation comes to the surface and the oil makes sanding much simpler. When I finished with the 12,000 grit pad I gave it a light buff with White Diamond.IMG_2252IMG_2253IMG_2255I gave the light spot on the shank shown in the above photo a touch up of stain and then put the stem back on the pipe and buffed the whole pipe lightly. I gave the bowl several coats of Halcyon II wax and then buffed the stem with more carnauba. I gave the entire pipe a light buff with a soft flannel wheel. The finished pipe is shown below.IMG_2256IMG_2257IMG_2258IMG_2259

Restoring a Yello-Bole Imperial Bulldog for John


Blog by Steve Laug

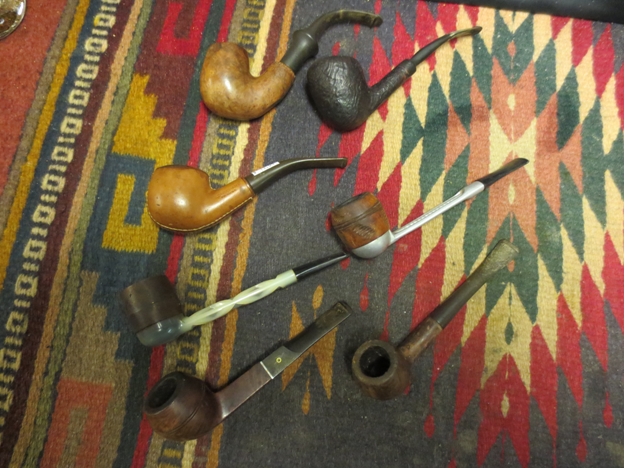
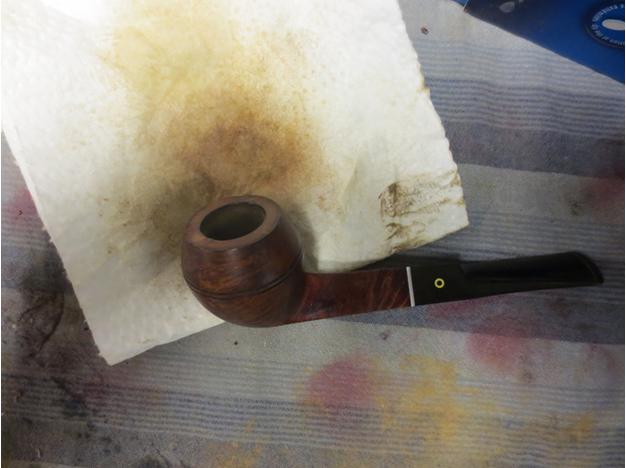
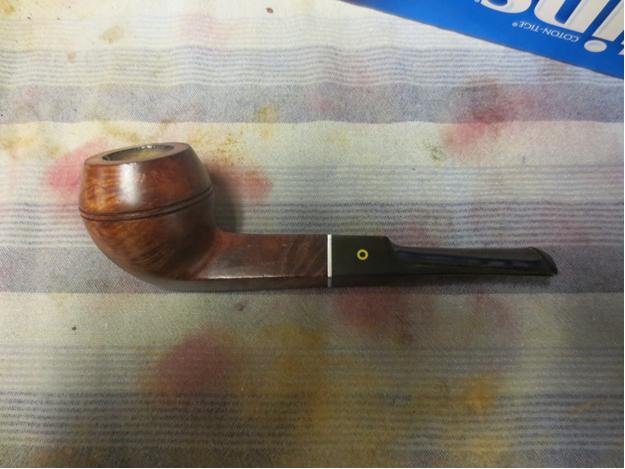
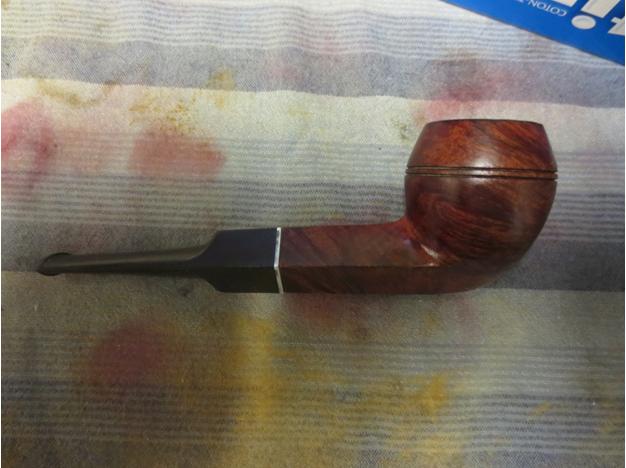
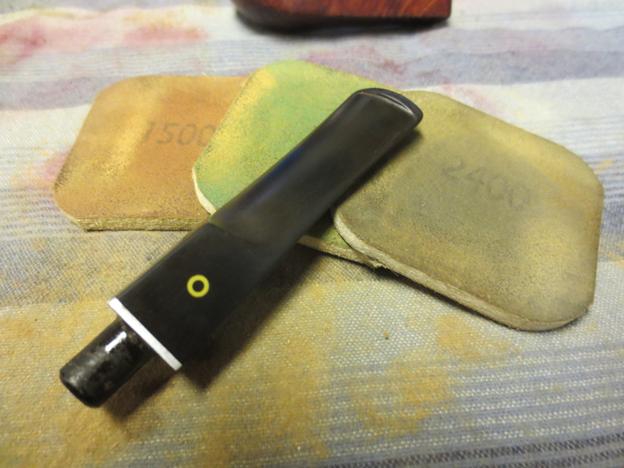
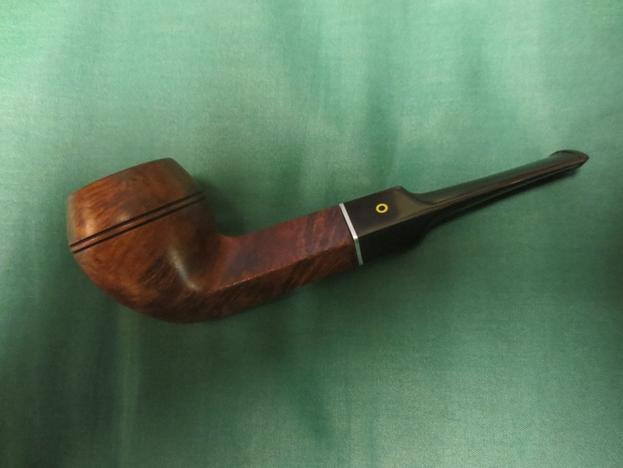
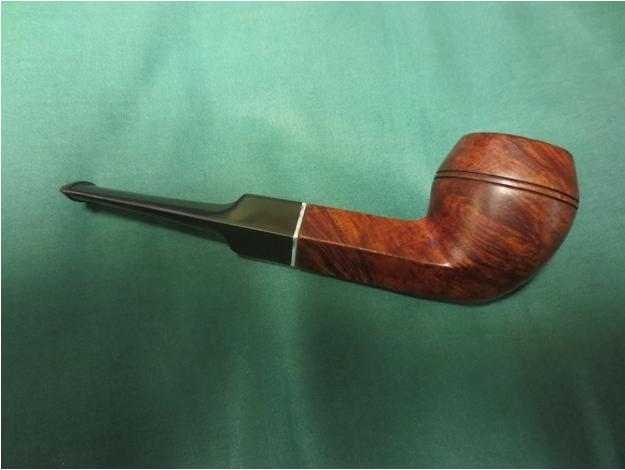
The last of John’s pipes that I worked on while he was working on the Danish Sovereign Peewit was a beautiful old Yello-Bole Bulldog. It was stamped KBB in a cloverleaf on the left side of the shank next to four lines of stamping. The first read Yello-Bole and underneath that was stamped Cured with Real Honey and an R in a circle. The third line read Imperial in script and the fourth read Imported Briar. The stem had a push tenon and had the yellow circle inset in the vulcanite. It is shown in the photo below – it is the last pipe in the column on the left side of the photo.IMG_2050 This pipe actually was one of the free ones that came with the pipe rack that John purchased. It was sitting on the rack without a stem. The stem was inside the humidor jar. I had seen it before and had assumed that the tenon was broken but it was not. It was just very loose and would not stay in the shank. The metal spacer that separates the shank and stem was attached to the stem and not to the bowl. The bowl itself was very dirty and caked. The finish was not too bad and there were no deep dents of scratches in the briar just some ground in grime. The rim was caked with a thick buildup of tars and oils that had almost fossilized. The stem was in good shape other than being oxidized. There was tooth chatter on the top and underside of the stem.

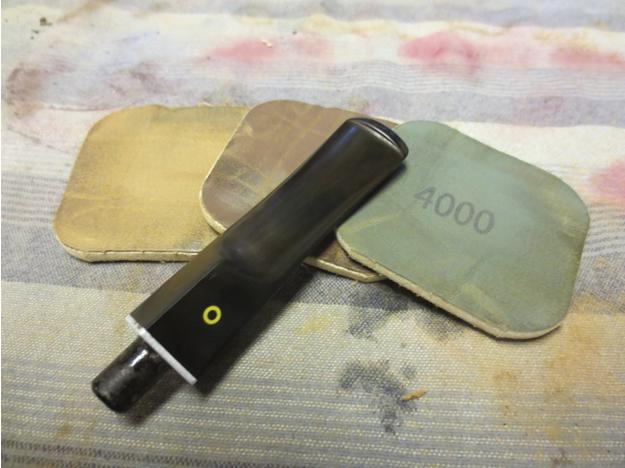
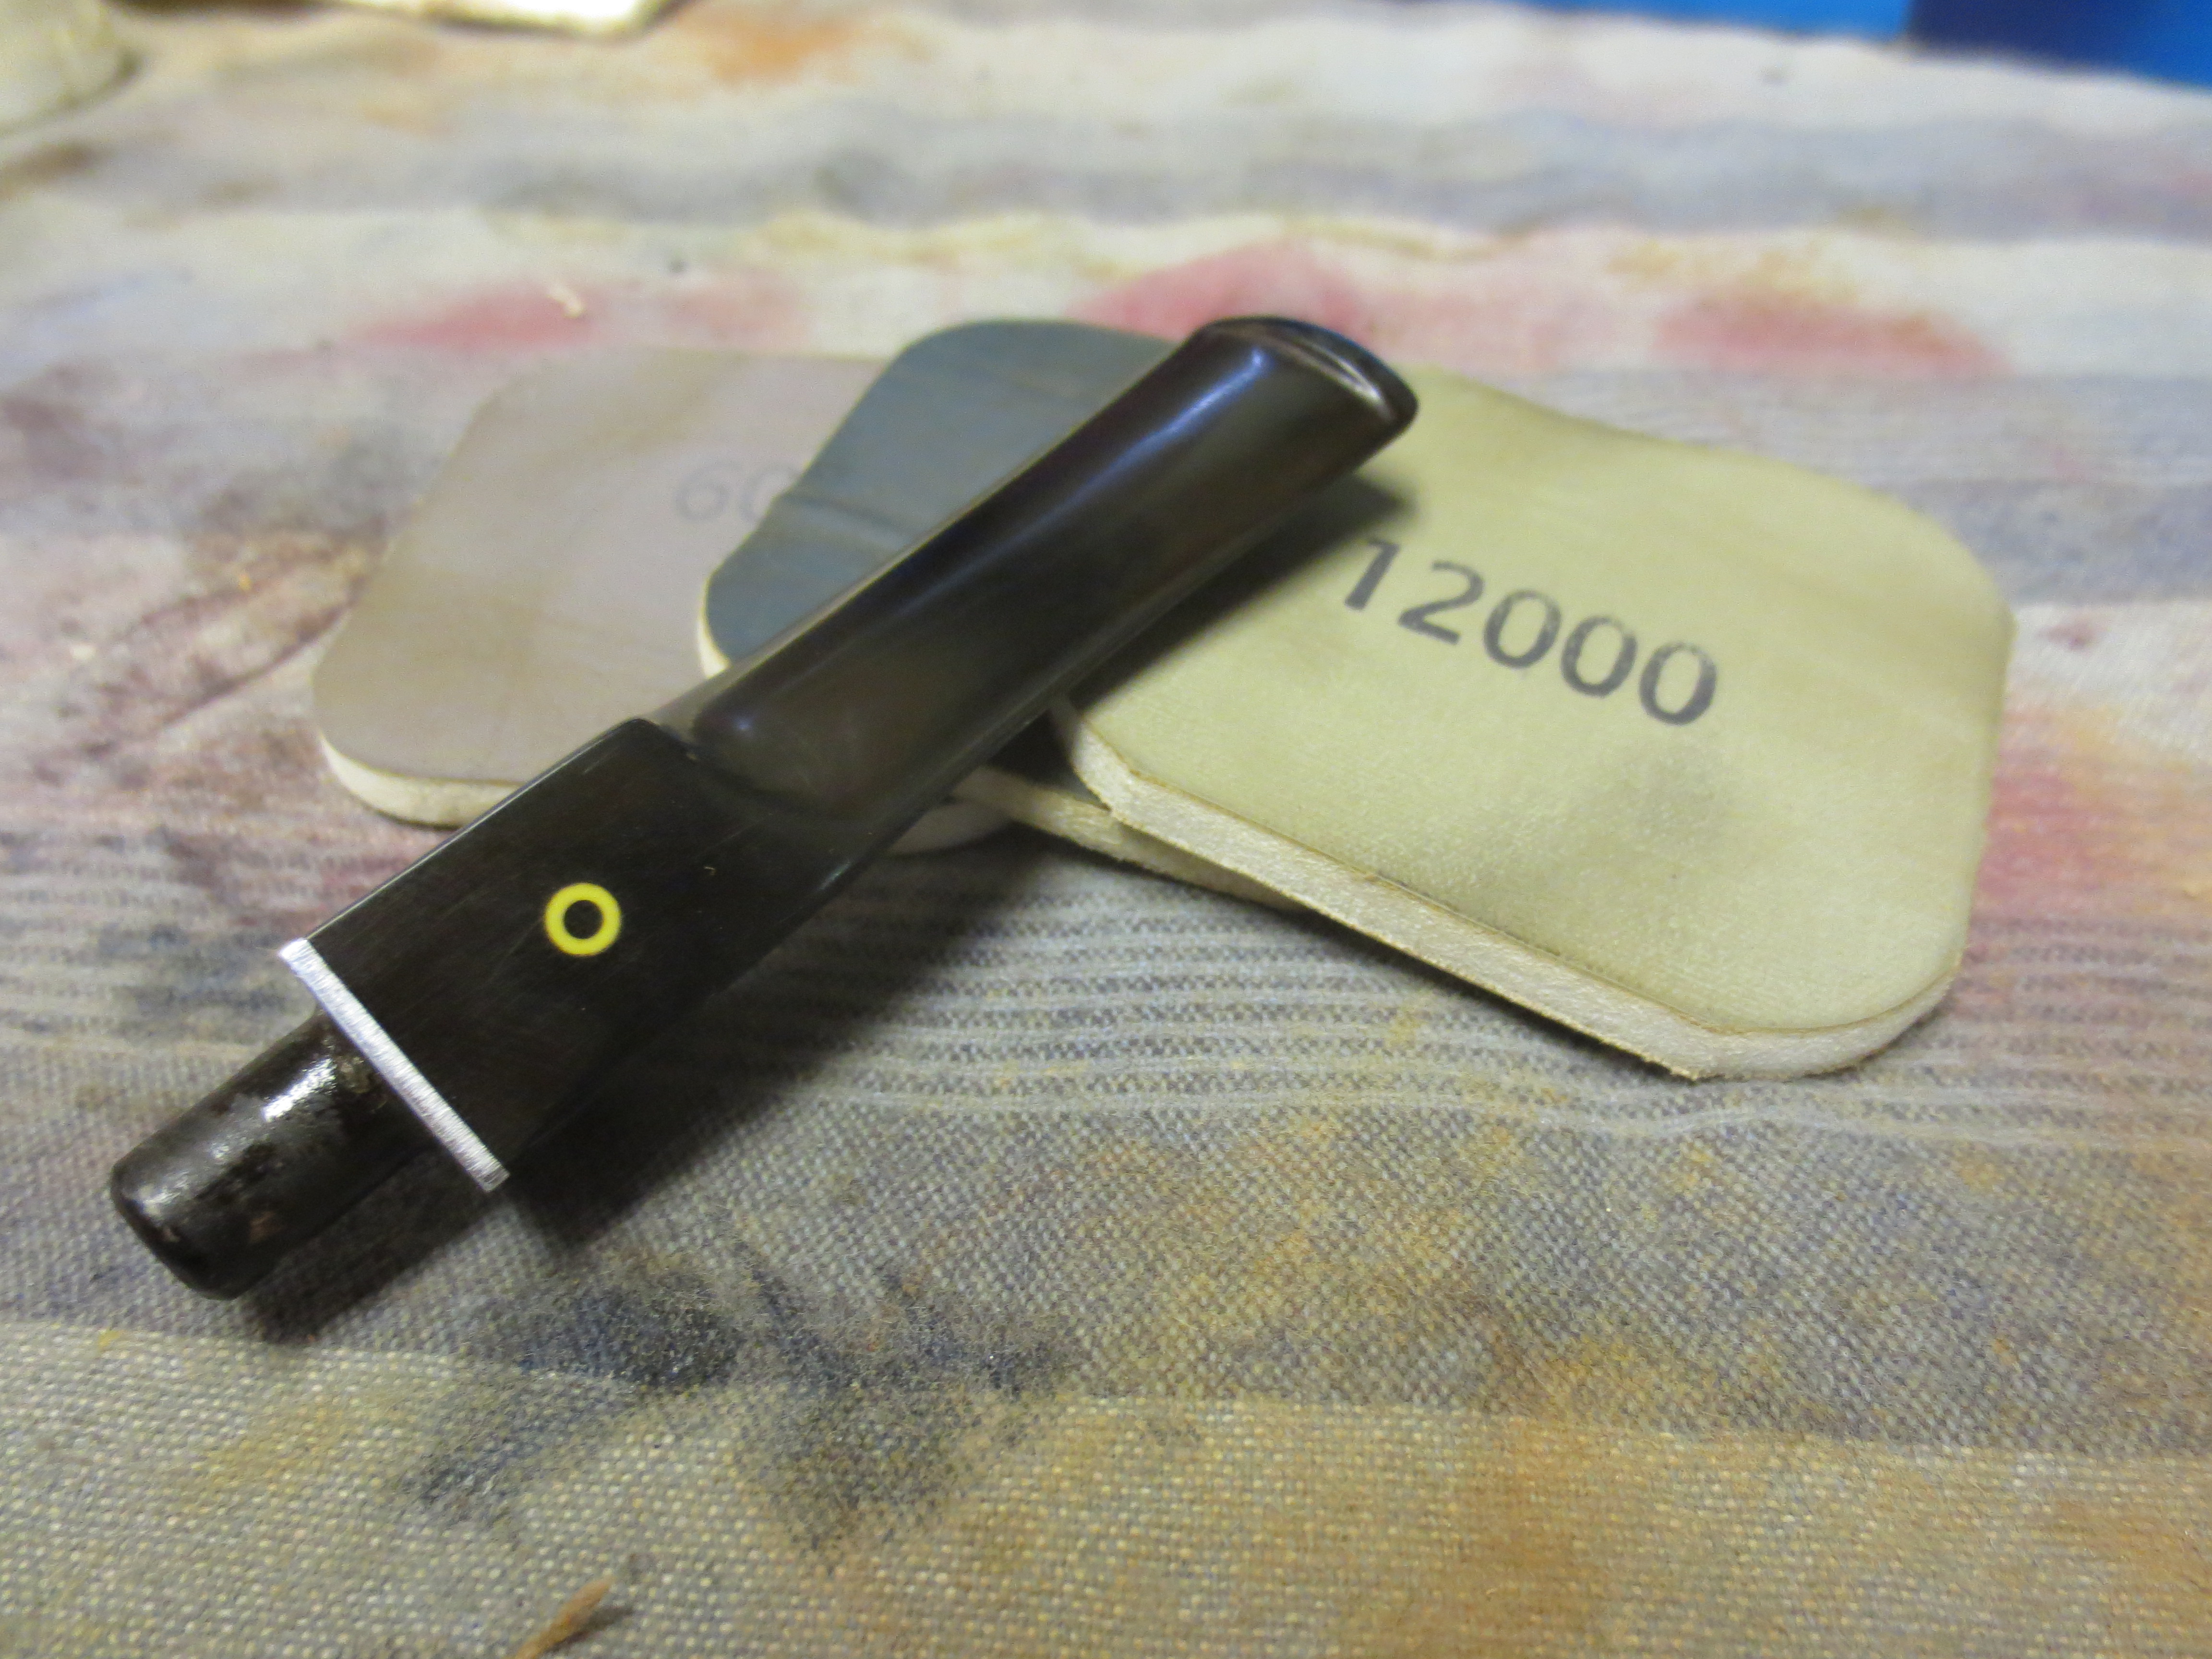
I used cotton swabs, pipe cleaners and isopropyl alcohol to clean out the bowl, shank and the inside of the stem. I worked them until them came out white. I scrubbed the aluminum space with alcohol and then with a metal polishing cloth to bring back the original shine.IMG_2088 IMG_2089 IMG_2090 IMG_2091 I wiped down the briar with acetone on cotton pads to remove the grime from the finish of the bowl and the grain underneath really popped.IMG_2092 IMG_2093 The rim buildup was so hard that I used the topping board and sandpaper to remove it and lightly sand the rim surface itself to remove the pitting. I sanded the outer edge with a folded piece of sandpaper to minimize the rough spots on the edge.IMG_2094 IMG_2095 I sanded the rim with a medium and a fine grit sanding sponge and then wet sanded it with 1500-2400 grit micromesh sanding pads. I touched up the rim with the stain pens until it matched the stain colour on the bowl. I then wiped down the pipe with some olive oil on a paper towel and let it soak into the finish.IMG_2098 IMG_2096 IMG_2097 I sanded the stem with 220 sandpaper to remove the tooth chatter and oxidation and then with a medium and fine grit sanding sponge. I wet sanded the stem with 1500-2400 grit micromesh sanding pads and dry sanded it with 3200-12,000 grit sanding pads. I rubbed it down with Obsidian Oil after each set of three pads. When I had finished with the sanding I buffed the stem with White Diamond. To make the stem snug in the shank I used a cotton swab and water to wet the mortise in the shank to swell the briar. This helped a lot and the stem was much tighter. It was still too loose to my liking so I ran clear superglue around the tenon and lightly sanded it to obtain a snug fit on the stem.IMG_2099 IMG_2100 IMG_2101I put the pipe together and buffed it with White Diamond. I gave it multiple coats of carnauba wax to seal and protect the stem and bowl. I buffed it with a soft flannel buff to get the shine. The finished pipe is shown below and is yet another clean and ready pipe for John to load and smoke. I look forward to hearing what he thinks of the smoking characteristics of this old timer. It turned out to be a beautiful pipe with nice looking mixed grain. The old vulcanite was interesting to me in that it had pieces of metal that were part of the casting of the stem. I remember reading somewhere that these occurred in stems that were made during the war years when rubber was at a premium. To my thinking that helps to date this bulldog to the late 1940s or early 1950s. Enjoy your “new” pipe John and be sure to let us know how it smokes for you.IMG_2102 IMG_2103 IMG_2104 IMG_2105

Changing Directions in the midst of a Refurb – Plugging a Burnout in a Paul’s Canadian


Blog by Steve Laug

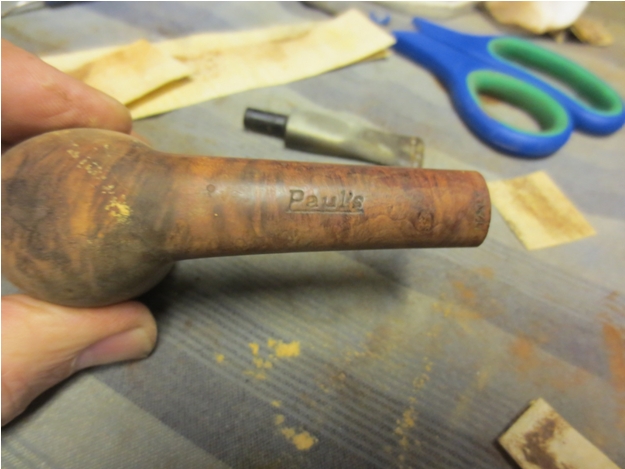
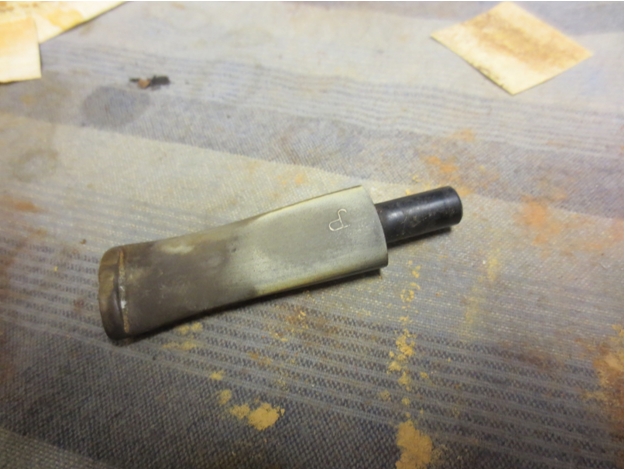
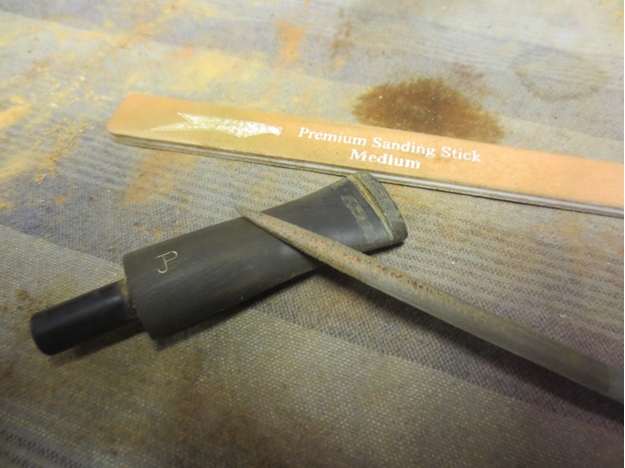
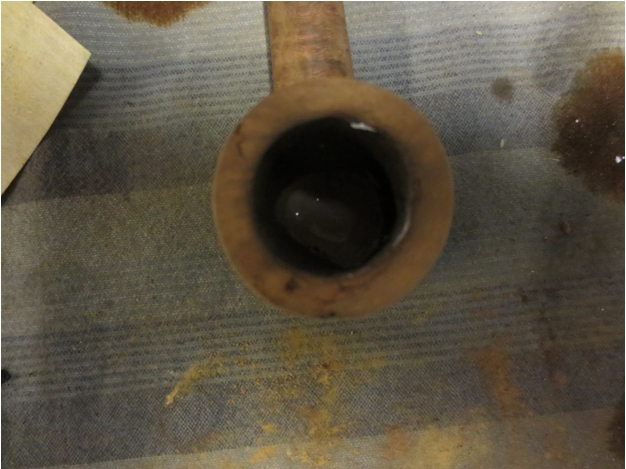
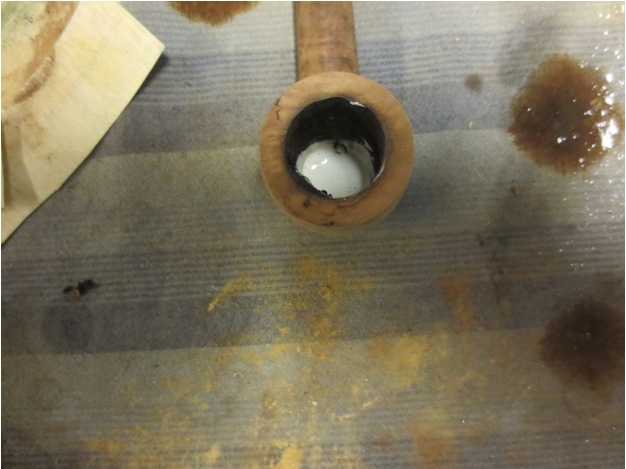
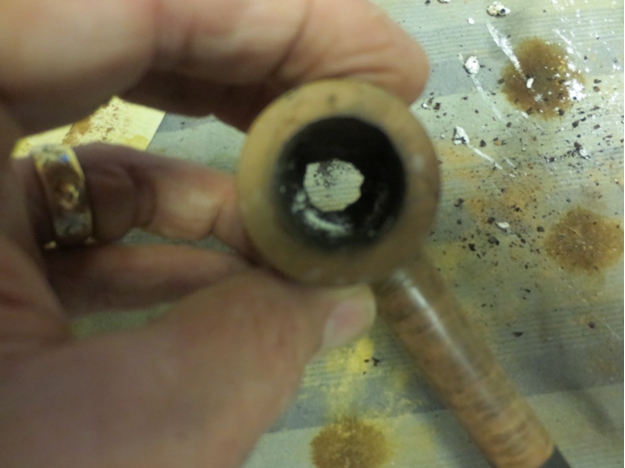
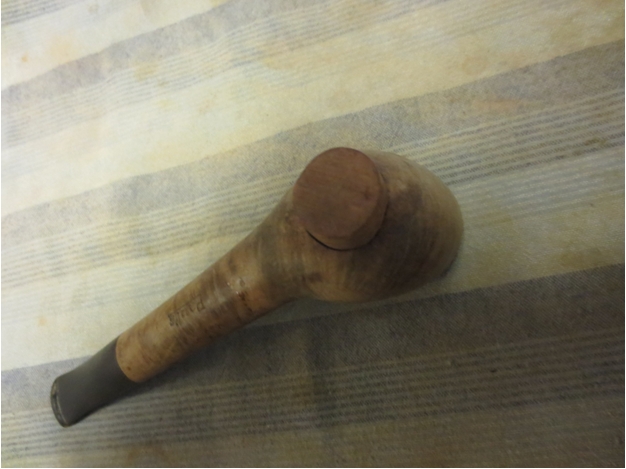
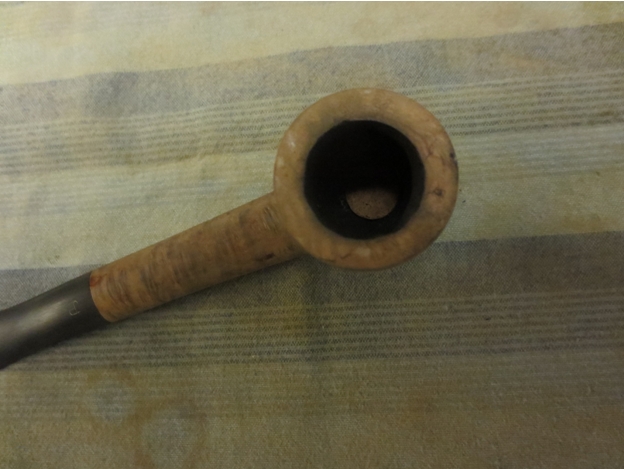
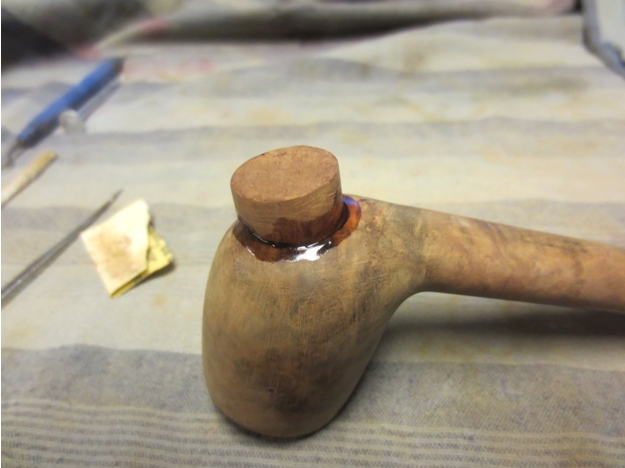
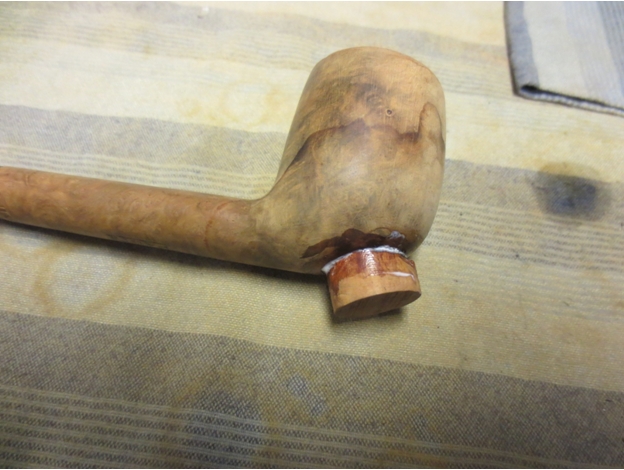
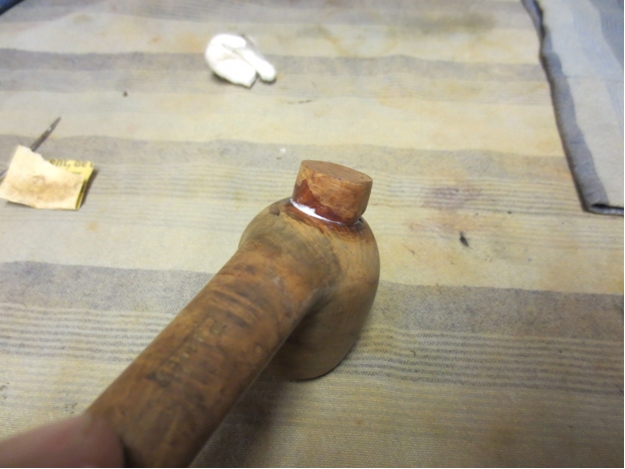
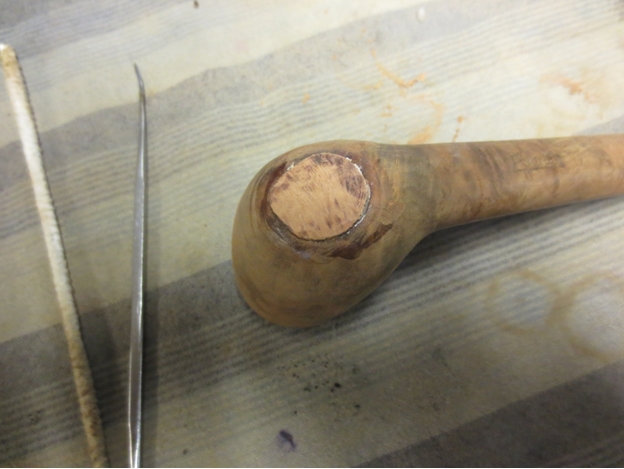
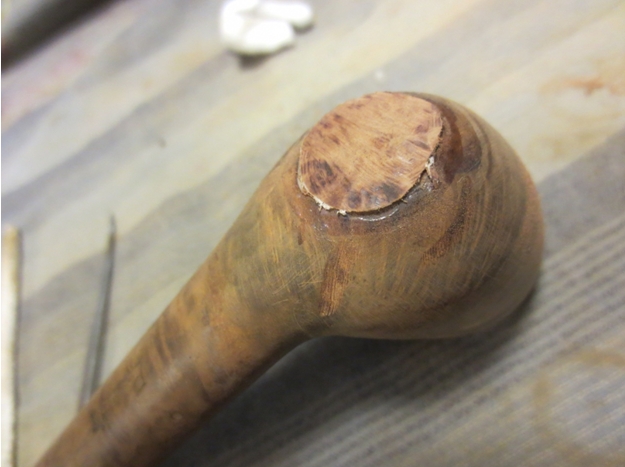
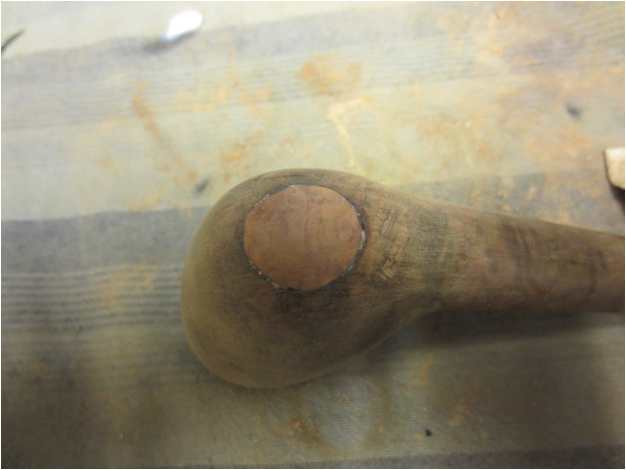
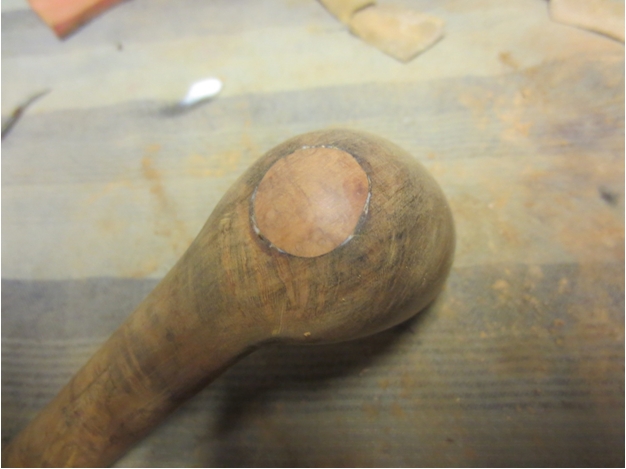
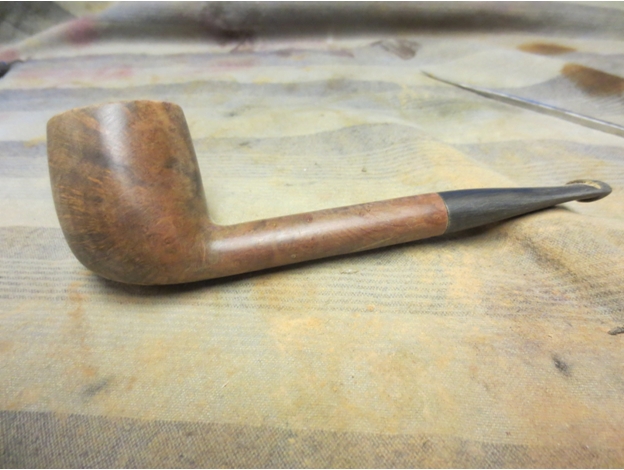
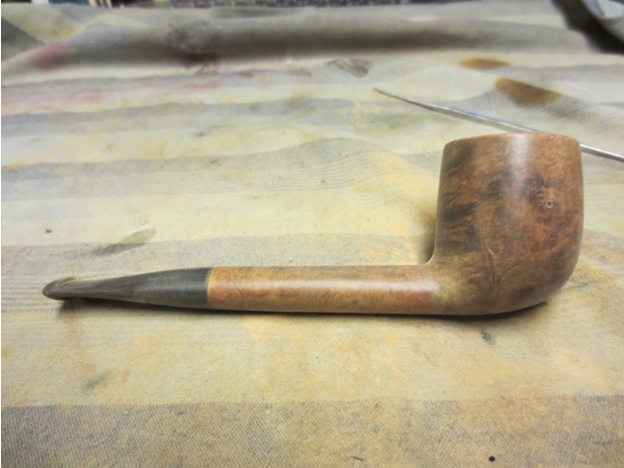
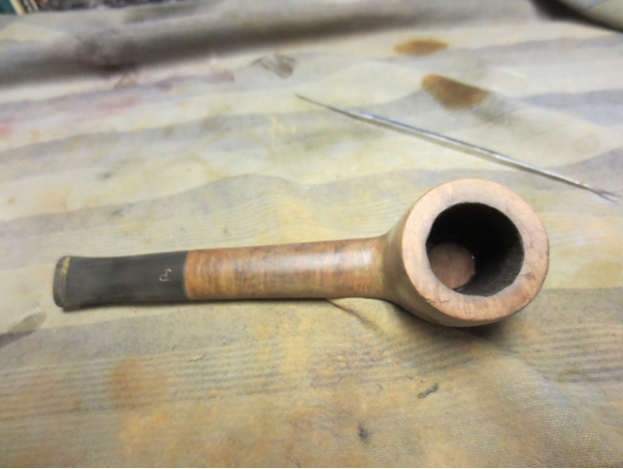
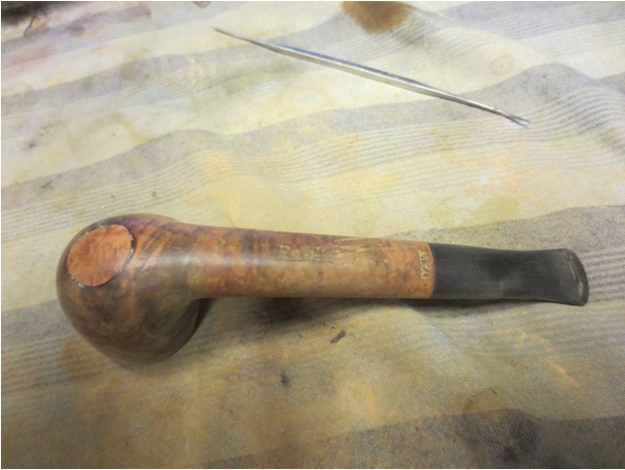
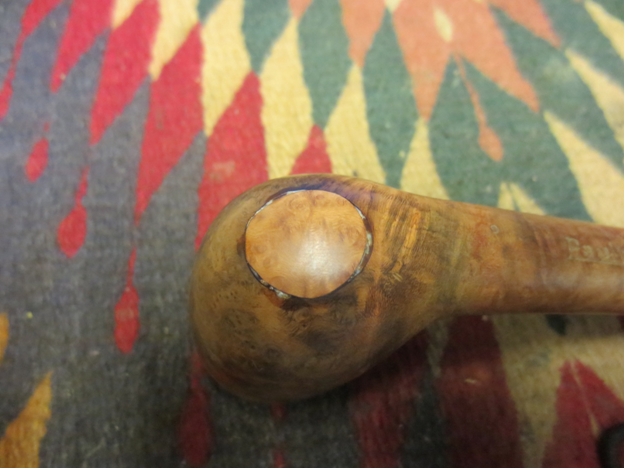
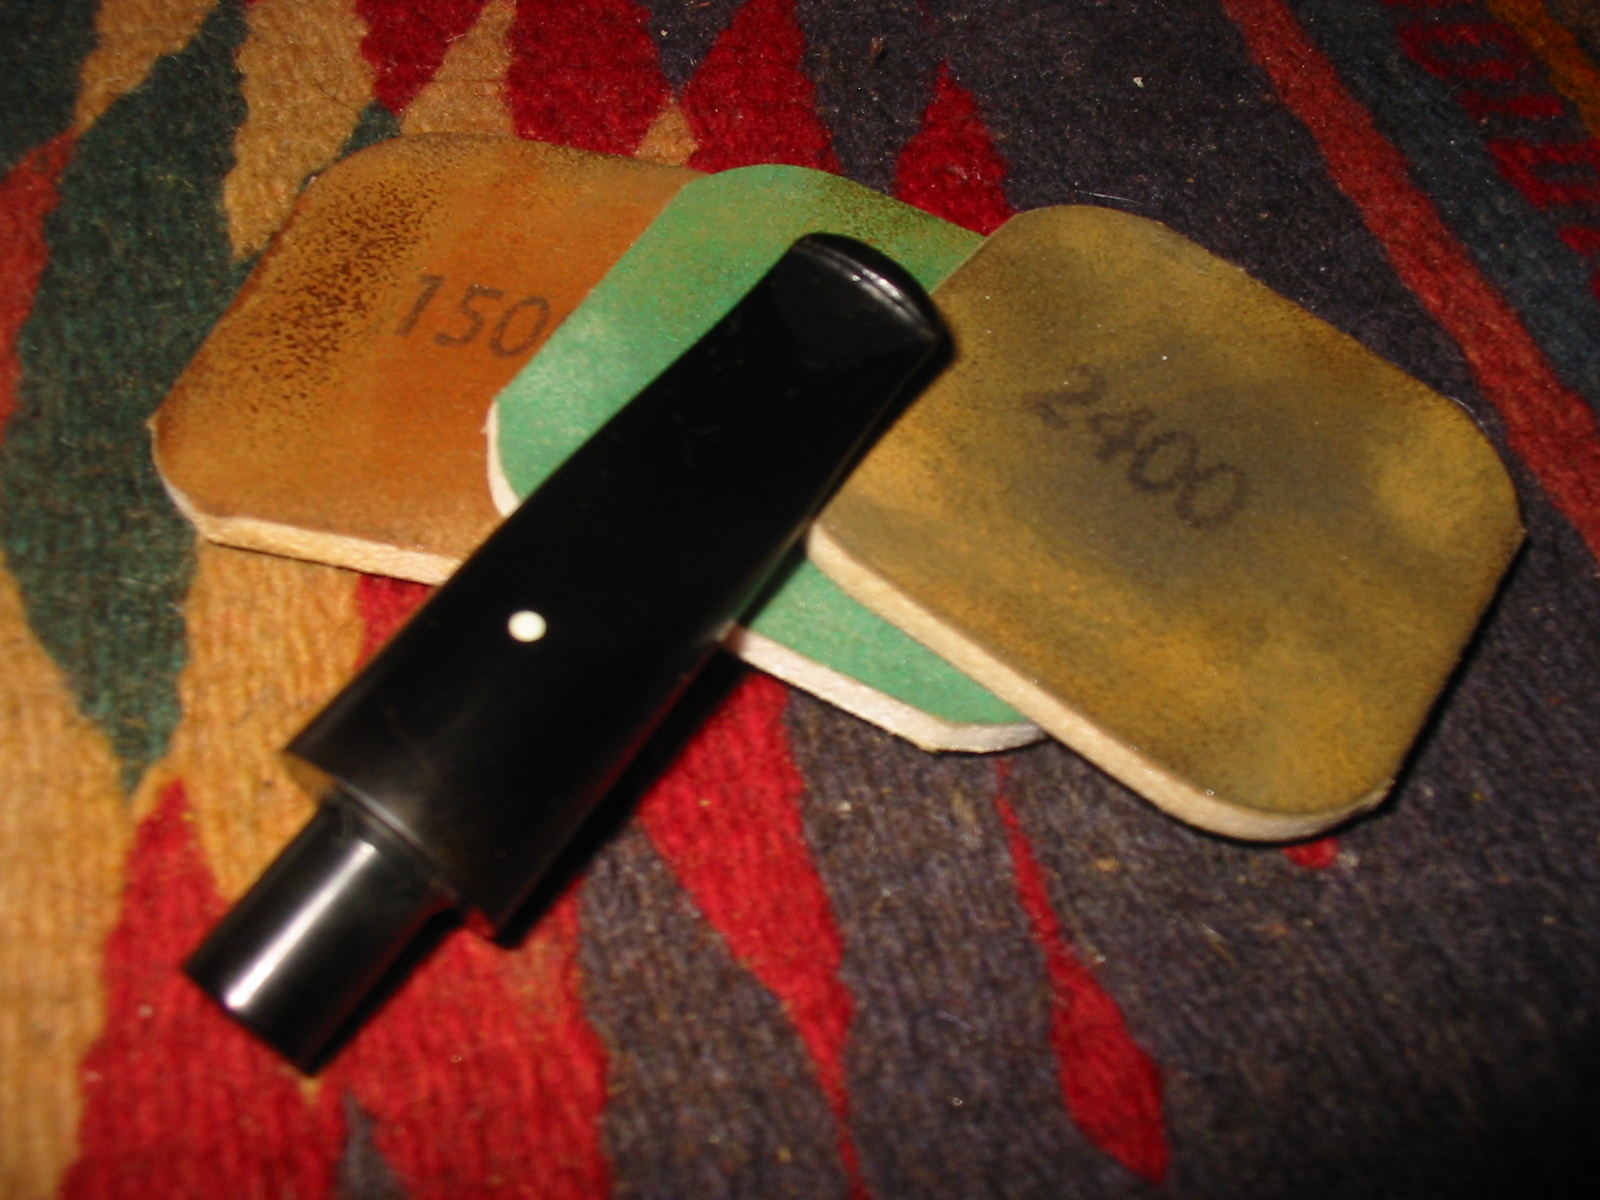
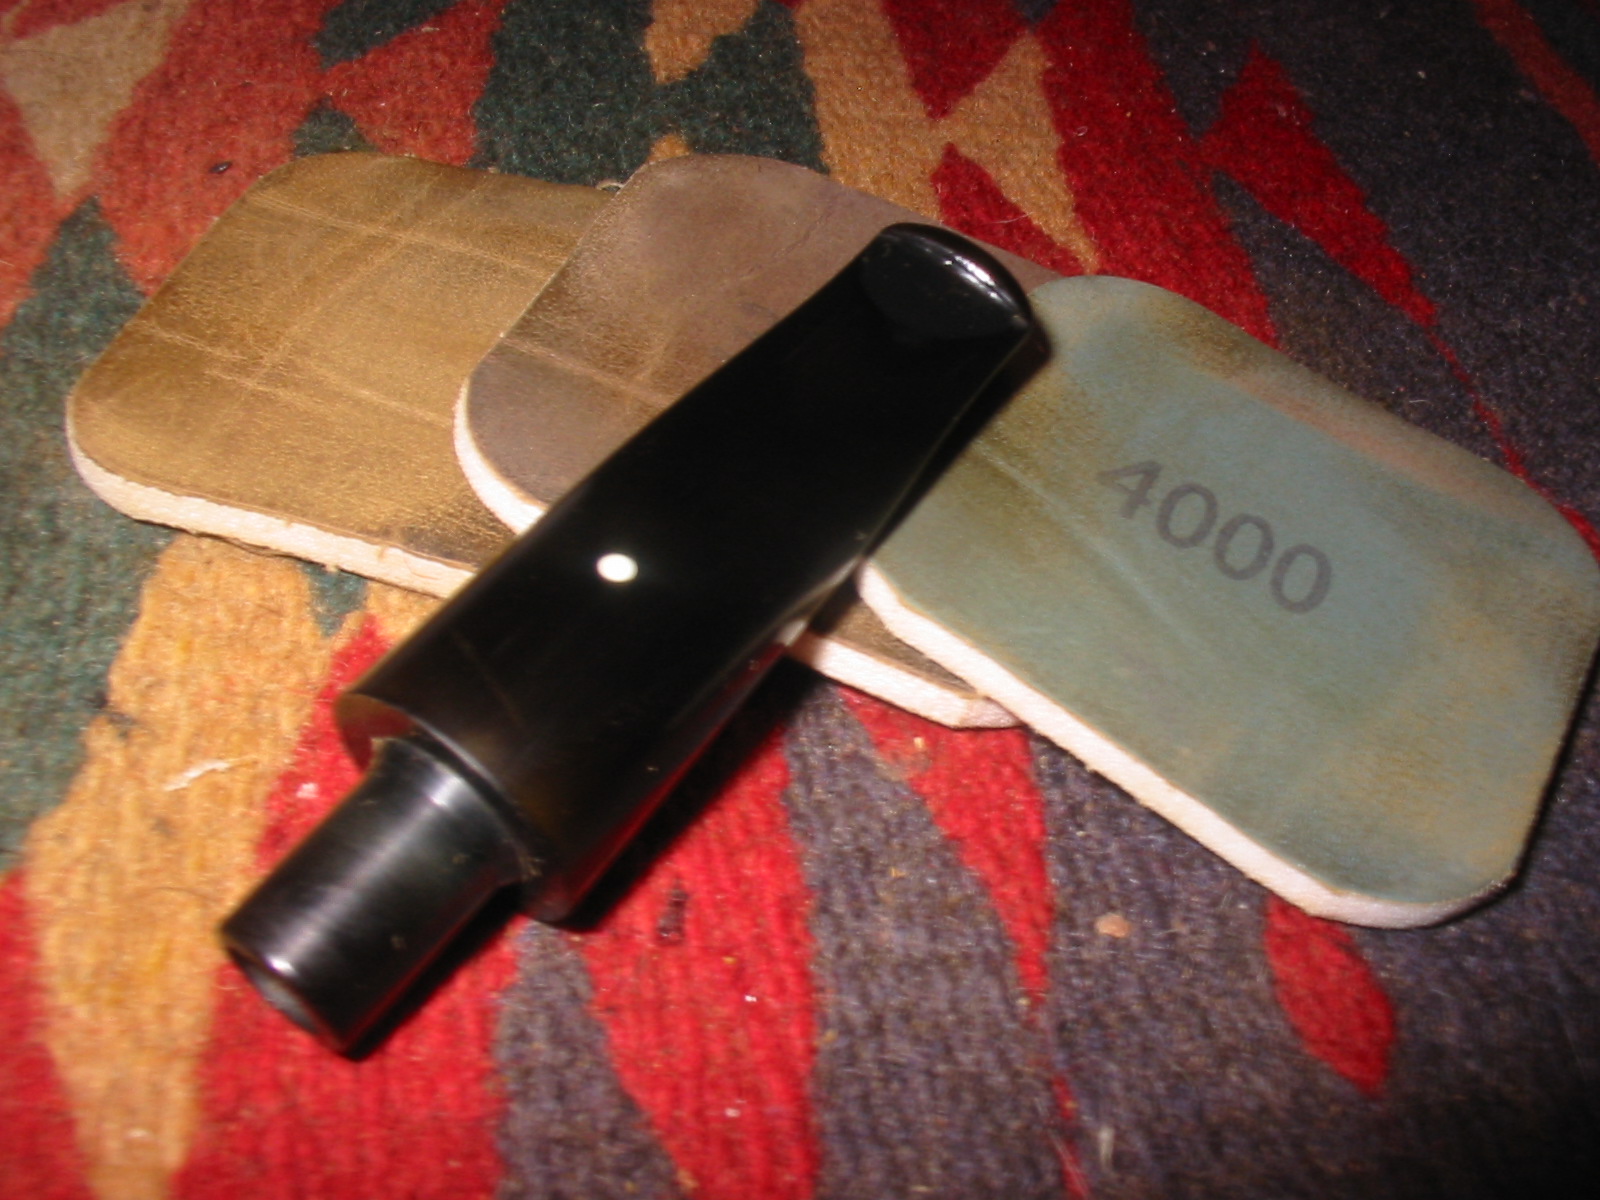
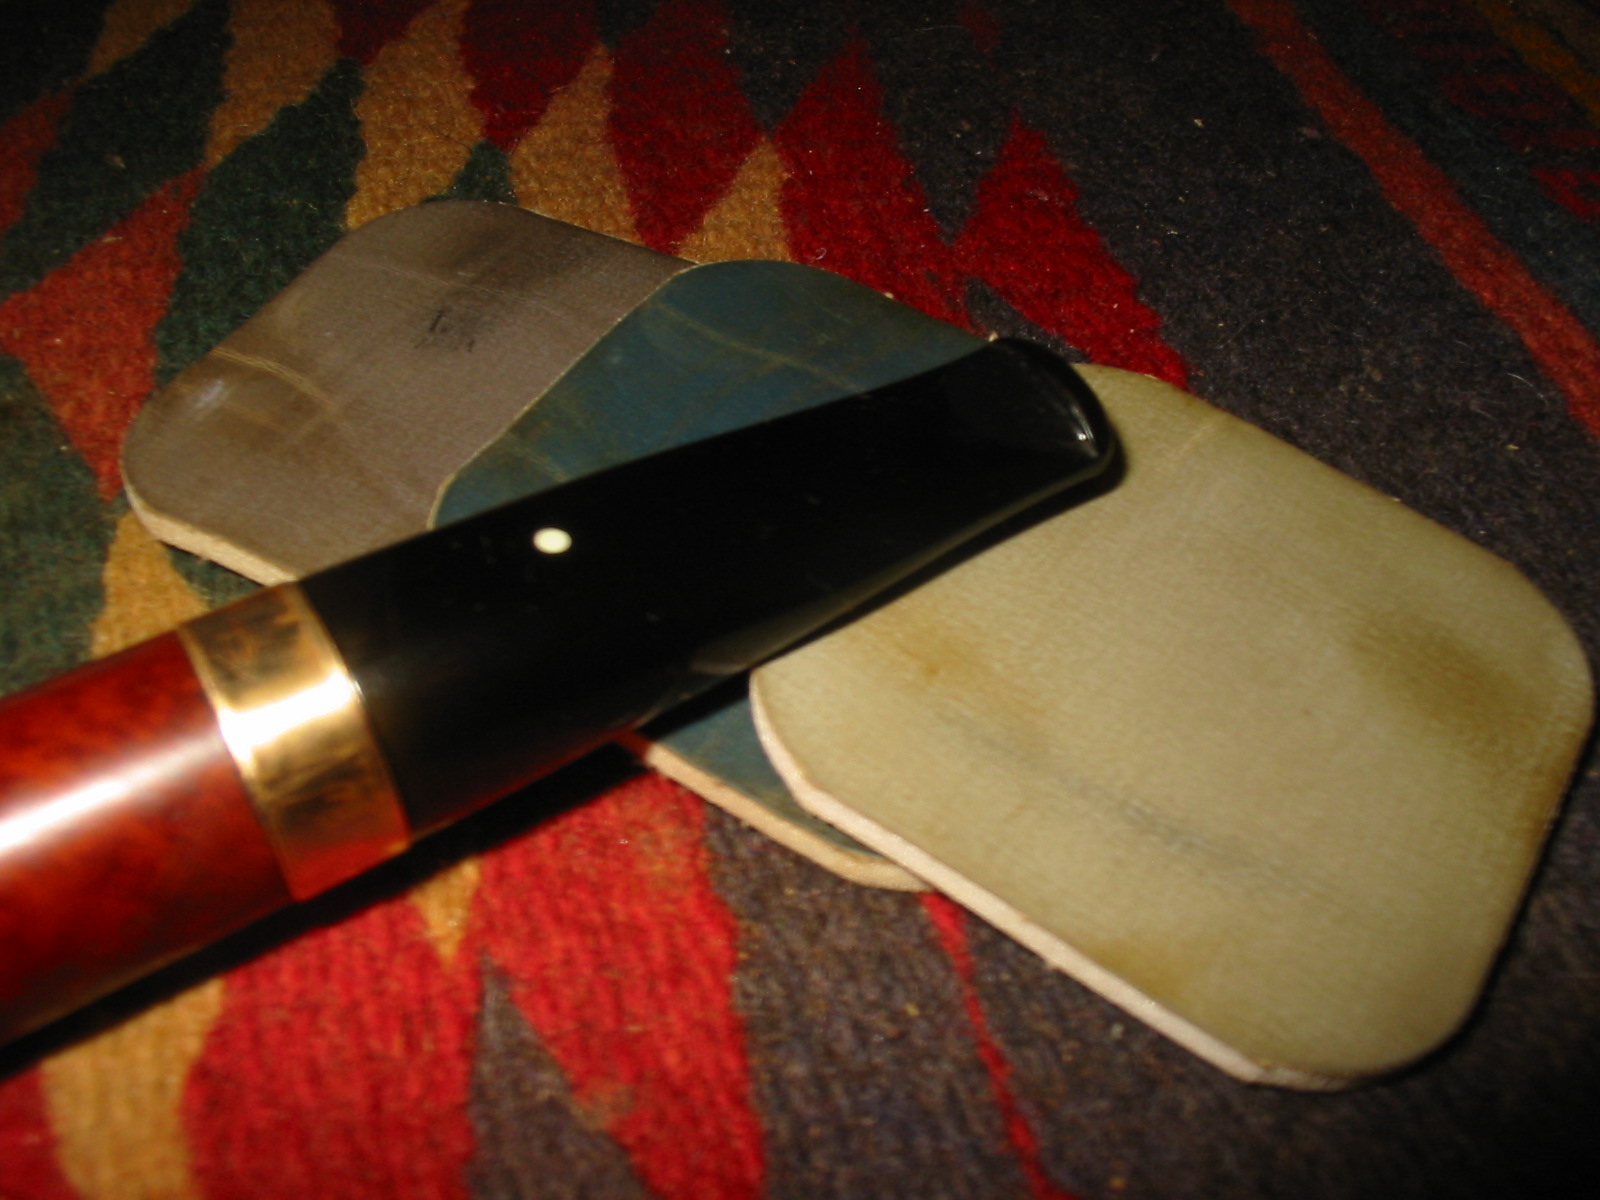
I am finally getting around to cleaning up the pipes I found on my recent pipe hunt. I decided to choose what I thought would be the easiest one. It was filthy and greasy. The top looked like it had been used as a hammer. I figured that it would clean up quickly and I liked the look of the briar that was peeking through. The bowl was stamped PAUL’S on the underside of the shank and Italy across the end of the shank. There is a stylized P on the stem. There was a sticky glue on the briar in several places that I think came from the price tag that was on the pipe. The bowl was really dirty and over reamed. The bottom of the bowl was almost flat. But there was a buildup of carbon from the top down about half way and there was tobacco fragments in the bowl bottom. The sides were no longer parallel and the airway entered above the bottom of the bowl. The stem was oxidized and had tooth chatter on the top and bottom of the stem.Plug1 Plug2 Plug3 Plug4I cleaned up the sides of the bowl interior with a PipNet reamer and used a dental pick to remove the detritus on the bottom of the bowl.Plug5I scrubbed the exterior of the briar with acetone to remove the grit, grime and grease from the finish. It actually took off the grime and took it down to the nice grain that I had seen peeking through. I think that the briar is oil cured as there is an oily texture to the wood.Plug6 Plug7 Plug8 Plug9 The top was so beat up that it had to be topped to smooth out the damage and restore the clean edges. I set up a topping board and worked on the top until it was smooth and the outer edges were sharp and well defined.Plug10 Plug11 Plug12I sanded the bowl with 220 grit sandpaper and a medium and fine grit sanding sponge to further clean up the finish. There was some darkening on the sides and bottom of the bowl and I wanted to bring it back to the same look as the shank and the rim. The idea was to bring the pipe back to clean and natural finish so that if I stained it the blend and matching would be much easier.Plug13 Plug14 Plug15 Plug16I decided to soak the bowl in an alcohol bath to remove some of the oils and grease on the surface. While it soaked I worked on the stem.Plug17I sanded the stem with 220 grit sandpaper to remove the oxidation, calcium buildup and tooth chatter. I carefully sanded around the stamping on the stem to preserve it.Plug18 Plug19I used a needle file and a sanding stick to rework the edges of the button and sharpen the crease.Plug20 Plug21I took the bowl out of the alcohol bath and dried it off. Once the inside had air dried it was time to raise the bottom of the bowl to the bottom of the entrance of the airway. I mixed a batch of plaster of Paris and packed it in the bottom of the bowl until it was level. Things were looking good at this point. Once it was dried I would give it a coat of pipe mud and it would be good to go.Plug22 Plug23That was when things began to go south for me! I was sanding the bowl bottom and had found a spot that seem to give as I sanded on it. I had wondered if the bowl bottom was too thin from the over reaming but had not seen the soft area of the briar. I used a dental pick to exam the spot and with very little effort the end of the pick went right through the bowl bottom! BURNOUT. I poked around some more and found that there were several very soft spots. This was not what I wanted to find on what I thought would be a very easy clean up!! YIKES.Plug24With very little effort the entire area that was darkened broke away. I used a drill to clean up the ragged edges and make the hole round. I used a Dremel with a sanding drum to even out the edges and used it on the inside of the bowl to bring it back into round on the side where there had previously been a slope from a bad over reaming job.Plug25 Plug26 Plug27I had a round piece of briar left over from a plug I had cut for another burnout I had repaired. I smoothed out the bottom of the plug and fit it into the hole in the bowl. Once the fit was good and snug I glued it in place with wood glue then a top coat of super glue.Plug28 Plug29 Plug30 Plug31 Plug32 Plug33 Plug34 Plug35While the glue was hardening I used the Dremel and sanding drum to take off the excess briar from the plug.Plug36 Plug37I sanded the plug with 220 grit sandpaper to shape it to the curves of the heel of the pipe. The spots that appear as gaps around the plug are where the glue has already dried hard. These will disappear as the glue cures and hardens.Plug38 Plug39I sanded the entire pipe with a medium and fine grit sanding sponge and then wet sanded with 1500-2400 grit micromesh sanding pads to remove the scratches from the finish and blend in the patch with the surface of the briar.Plug40 Plug41 Plug42 Plug43 Plug44 Plug45 Plug46I left the pipe overnight to give the glue time to cure. In the morning I sanded the bottom area of the bowl to smooth it out as the areas around the patches had swollen above the patch when they dried.Plug47Since the briar had been oil cured I decided to rub it down lightly with some olive oil and let it soak in. The next four photos show the pipe after the light rub down with oil.Plug48 Plug49 Plug50I spent a bit of time thinking about the next steps in the process. I had a decision to make – whether to leave the plug smooth and just stain the pipe and keep it glaringly present or to rusticate the bottom of the bowl and blend the plug into the rustication pattern. I decided to rusticate it. I took out the rusticator that Chris made for me and drew a boundary line around the area on the bottom of the bowl that I wanted to rusticate.Plug51 Plug52I pressed the rusticator into the briar and twisted it until the surface was roughened I used a brass bristle wire brush to knock off the loose briar and smooth things out. I buffed the rustication with White Diamond to smooth the high points.Plug53I stained the rusticated area with a black aniline stain and flamed it to set the stain. I sanded the lines around the rustication and the peaks on the rustication as well to get the look I wanted for this piece.Plug54 Plug55When I came home from work this evening I decided to extend the rustication back along the shank. I used the rusticator to work the briar and then stained the entire rustication with a black aniline stain.Plug56 Plug57I sanded the stem with my usual array of micromesh sanding pads to bring out the shine. I wet sanded with 1500-2400 grit pads and dry sanded with 3200-12,000 grit pads. I rubbed the stem down with Obsidian Oil between each set of three pads.Plug58 Plug59 Plug60I mixed a batch of Plaster of Paris to rebuild the bottom of the bowl and raise the part that was untouched by the plug to the same height as the plug and to the bottom of the entrance of the airway from the bowl. I inserted a pipe cleaner in the airway and put the mix into the bowl. I tamped in the plaster mix with a pipe nail and the cuticle tool. It dried to touch fairly quickly and I wiped down the walls of the bowl with a cotton swab and water. I smoothed out the bottom of the bowl the same way. Once the plaster has cured I will give the bottom of the bowl and walls a thin coat of pipe mud to preserve and protect the new plug and the freshly shaped briar on the walls of the pipe.Plug61I buffed the bowl and stem with White Diamond and then gave it multiple coats of carnauba wax. I buffed it with a soft flannel buff to raise a shine. The finished pipe is shown in the photos below. The soft colour of the oil cured briar and the light coat of olive oil bring out the grain. The contrast of the rustication on the bottom of the bowl and the black stain on that gives the bowl a fresh look. One of the side benefits of the added rustication is that the bowl is now a sitter whereas before the rounded bottom of the shank made that impossible. The pipe needs to cure for a few days and then I will give it an inaugural smoke.Plug62 Plug63 Plug64 Plug65.

Restoring a Peterson Dunmore #72


Blog by Steve Laug

The Dunmore line from Peterson really is a stripped down pipe. The one that I worked on this weekend was in essence a system pipe. The lack of a ferrule is made up for by a stylized carving around the shank end. The stem sits snugly against the end of the shank but is not flush with the diameter of the shank. The saddle on the stem has a different flair than a regular Peterson pipe. The one we found had a Plip stem. This particular Dunmore was found by my friend John when we went pipe hunting this weekend. We had a blast as can be seen from the haul of pipes that he picked up below. The Dunmore is picture at the top left of the first column in the photo below. below. IMG_2050 While John worked on restoring the oak pipe rack that he had found I worked on his Peterson Dunmore. This old pipe had some beautiful grain – birdseye on both sides and cross grain front and back. The bowl almost perfectly aligned with the grain on this one. I forgot to take pictures of the pipe before I began cleaning it up so the only one that is left of the pre-clean is shown in the group photo above. I reamed the bowl with a PipNet reamer and then cleaned out the sump and the internals of the bowl and stem with pipe cleaners, cotton swabs and isopropyl alcohol until all came out clean. Dunmore1 The finish on the bowl was virtually non-existent as it had worn away. I wiped it down with acetone to clean the briar and remove the oils and marks that had settled on top of the wood. The acetone pads came away dirty with the grime more than with any previous colour or stain. Cleaning the surface revealed even more clearly the marvelous grain that was on this pipe. Dunmore2 The top of the bowl and rim had some damage from tapping out the pipe. The outer edge of the rim particularly had taken a beating. The bowl was still in round so the inner edge was fine. To minimize the damage to the top and the outer edge I set up a topping board with 220 grit sandpaper and worked on the bowl top. (The whole time I was working on this pipe I gave a running commentary to John as he wanted to know the process so that he could clean up some of the other pipes once he had finished the rack). Dunmore3 Dunmore4 After topping the bowl I sanded the outer edge with a folded piece of 220 grit sandpaper to remove some of the darkening around the bowl top. I resanded it with medium and fine grit sandpaper to remove scratches and did the same to the rim top. I sanded the entirety of the rim and edges with 2400 grit micromesh to smooth it out. After wiping down the briar with alcohol to remove the dust from the surface of the bowl John and I decided not to stain the pipe but to keep it natural. I rubbed it down with a bit of olive oil to give some life to the wood and then buffed it with White Diamond. I was careful to not buff the areas around the stamping so as not to damage them. I chose rather to buff these areas by hand with a shoe brush. I gave the bowl several coats of carnauba wax and buffed it with a soft flannel buff to shine it. Dunmore5 Dunmore6 Dunmore7 There were two small crevices that showed up on the inside of the bowl on the right side about ¼ inch below the rim. I mixed a batch of pipe mud and filled the small crevices and smoothed the mud over the surrounding area of the bowl. I set it aside to dry while I worked on the stem.

The stem had a lot of tooth chatter and a few shallow tooth marks on the top and the bottom next to the button. It also had a deep oxidation that required a lot of elbow grease to remove. I sanded the stem with 220 grit sandpaper to remove the surface oxidation and the calcification near the button. I “painted” the stem with my Bic lighter to raise more of the oxidation to the surface and also to raise the small tooth marks on the stem. I sanded it some more with the 220 grit sandpaper followed by a medium and a fine grit sanding sponge. That work brought it to the condition shown in the next two photos below. Dunmore8 Dunmore9 I sanded it with micromesh sanding pads – wet sanding with 1500-2400 grit pads and dry sanding with 3200-12,000 grit pads. I rubbed the stem down between each set of three pads with Obsidian Oil. After finishing with the 12,000 grit pad I buffed it lightly with White Diamond on the wheel and then rubbed it down one more time with the oil. When it had dried I gave the stem multiple coats of carnauba wax and buffed it to a shine. Dunmore10 Dunmore11 Dunmore12 I hand buffed the completed pipe with a bit more wax and a shoe brush to finish the polish. The finished pipe is shown below in all of its beauty. I am really glad we decided to leave the wood natural and only give it a light oil finish before waxing. The grain stands out well and the feel of the pipe in hand is very nice. John loved the finished pipe. I am looking forward to hearing from him once he has smoked it a few times. Dunmore13 Dunmore14 Dunmore15 Dunmore16

Restoring an Old BBK Hunter Pipe


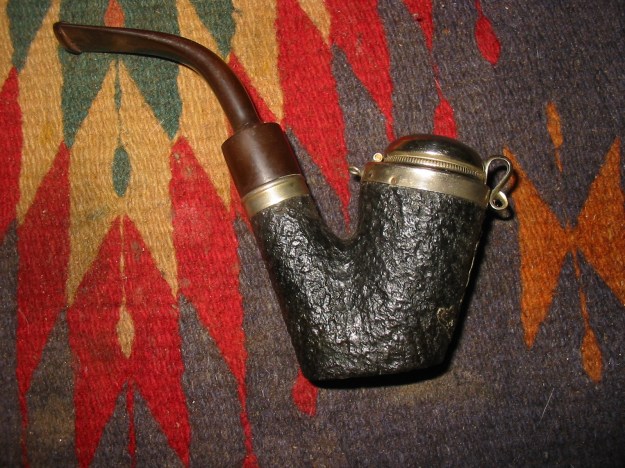
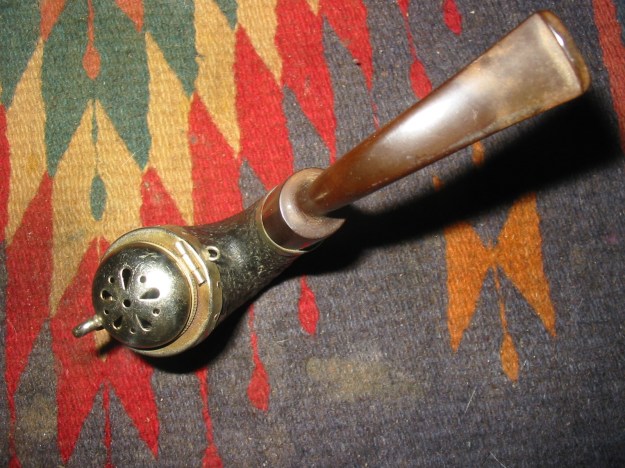
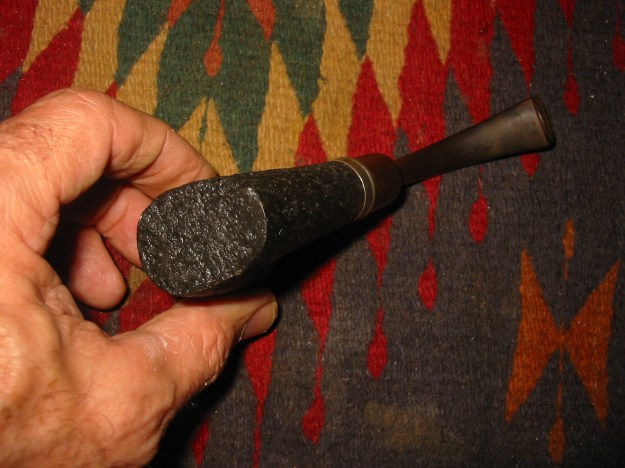
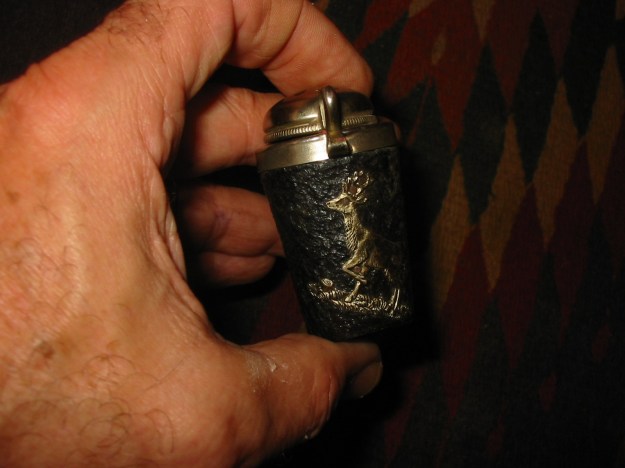
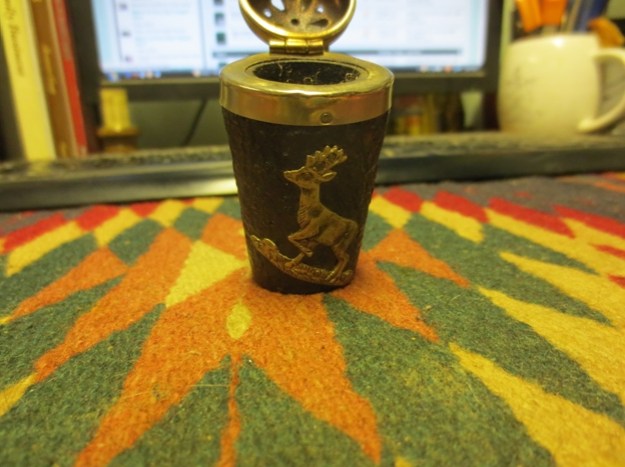
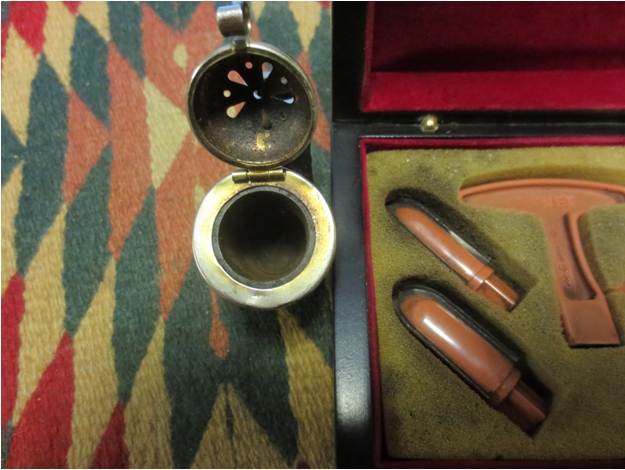
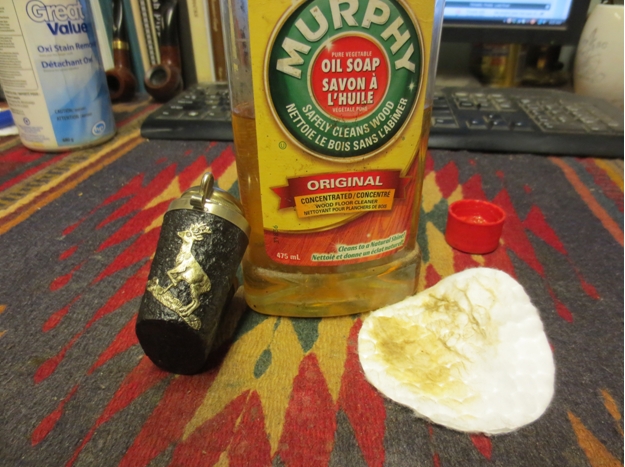
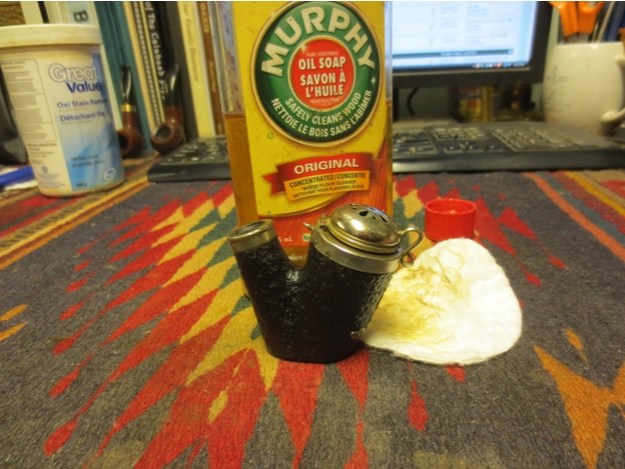
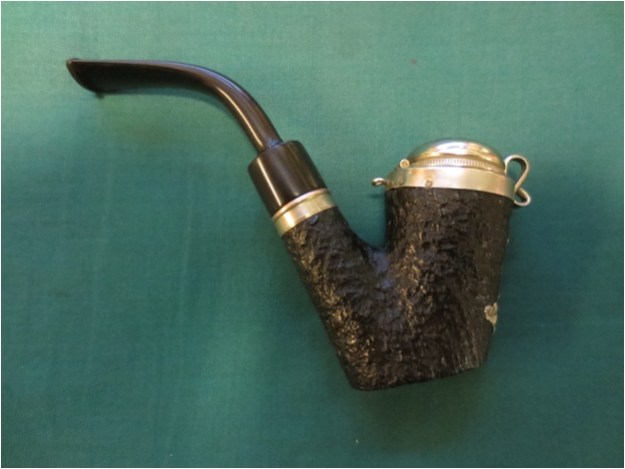
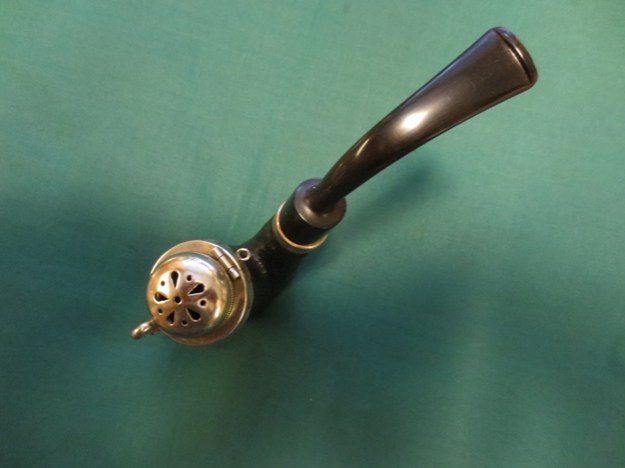
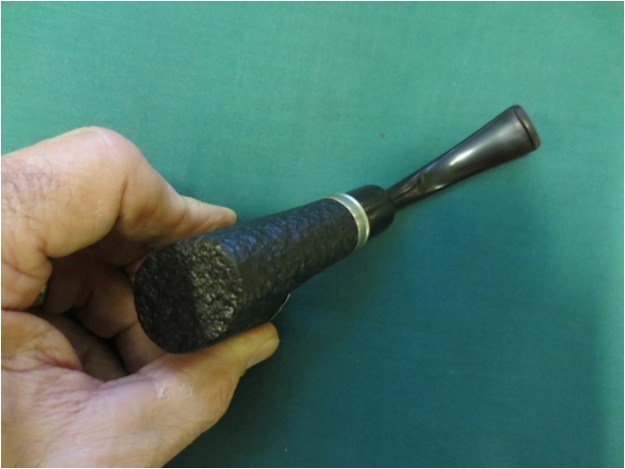
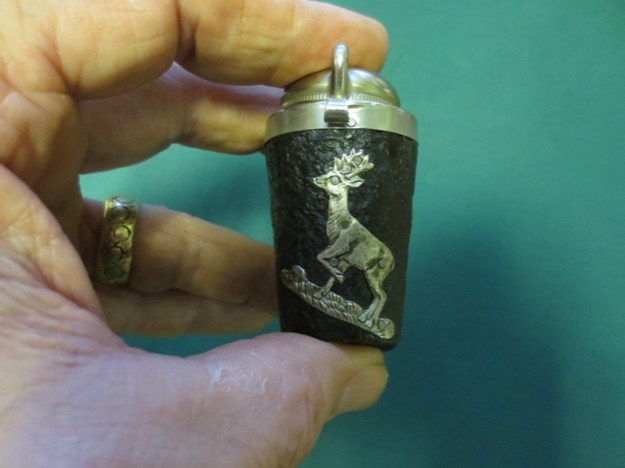
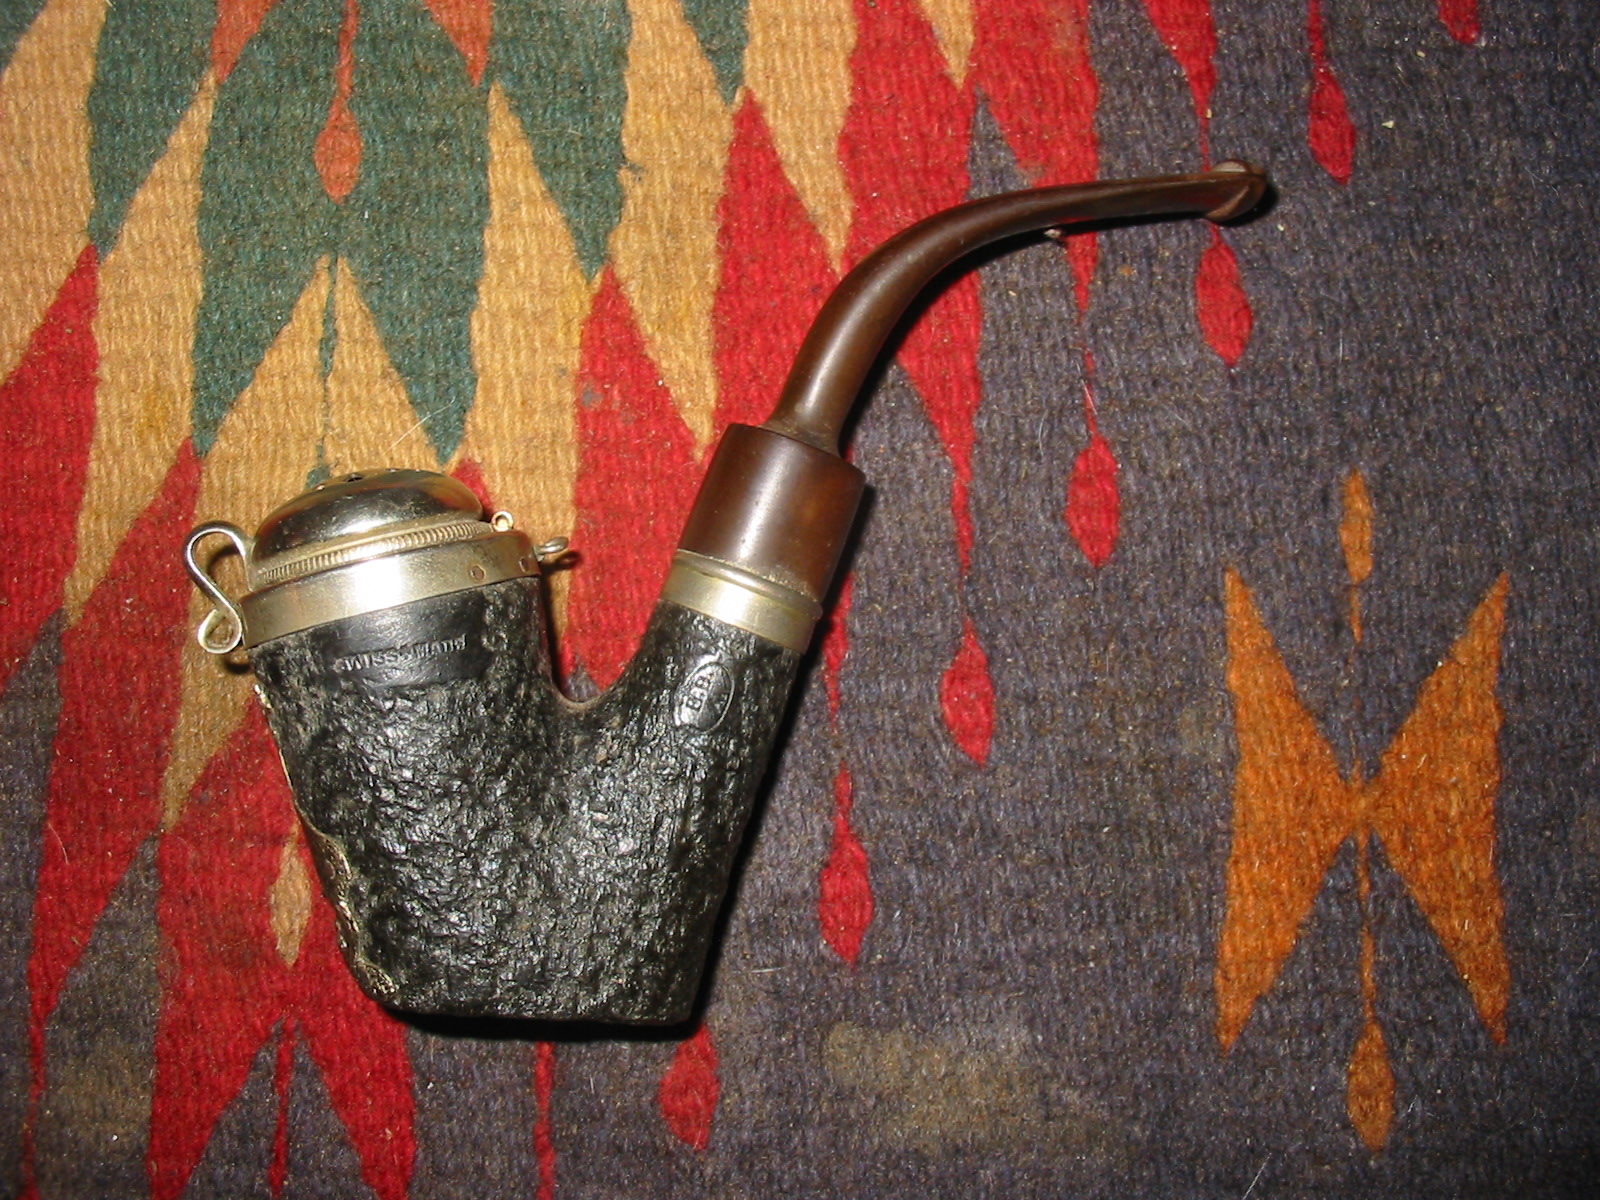
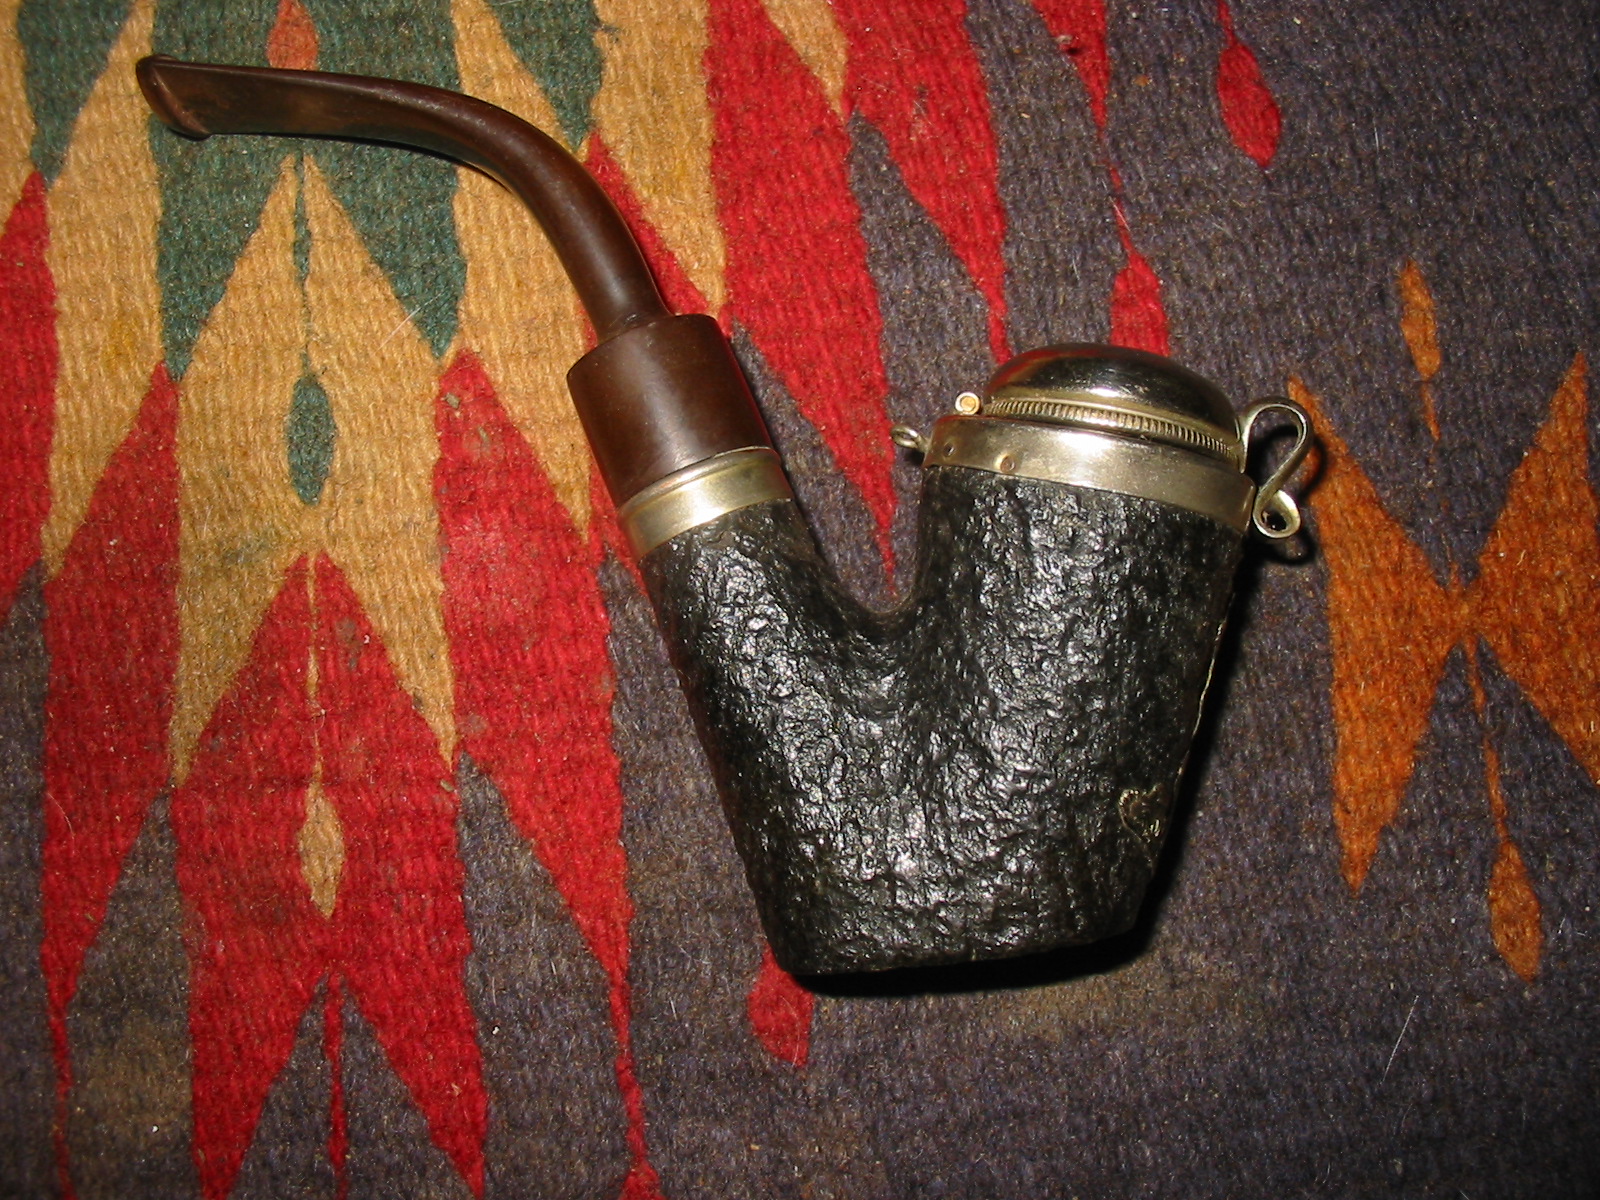
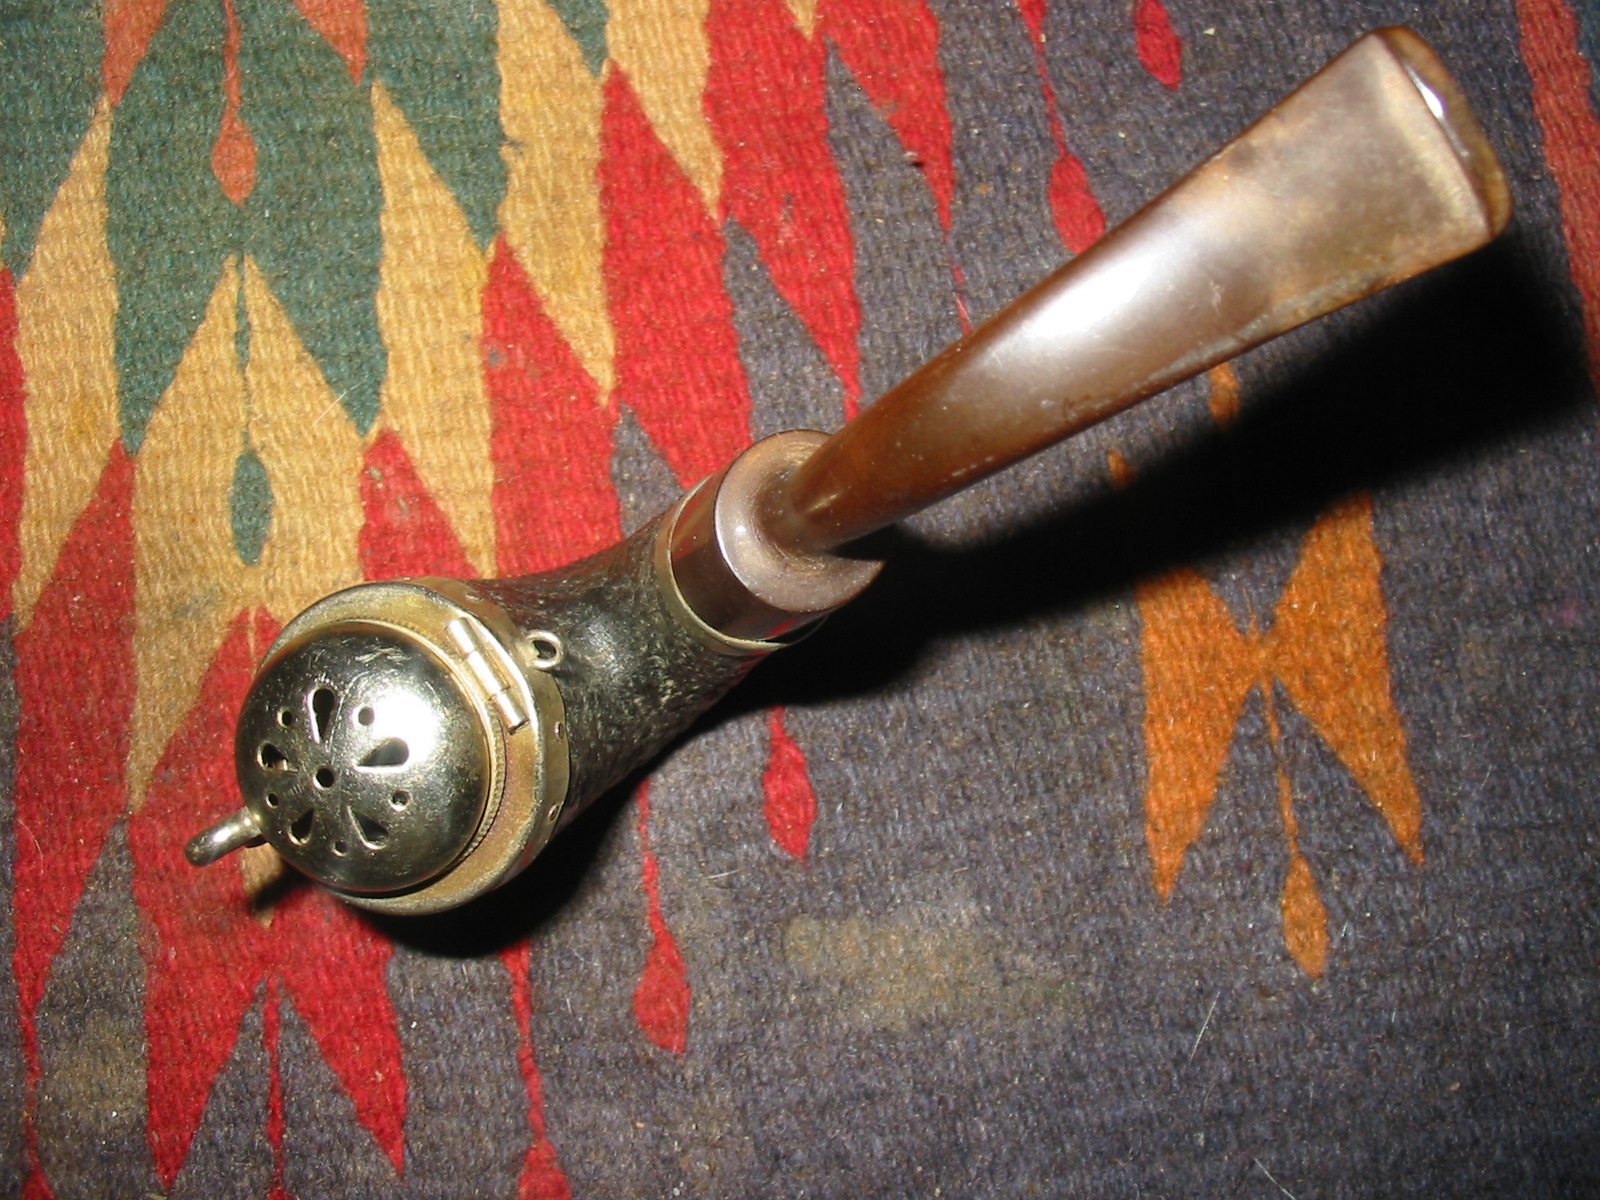
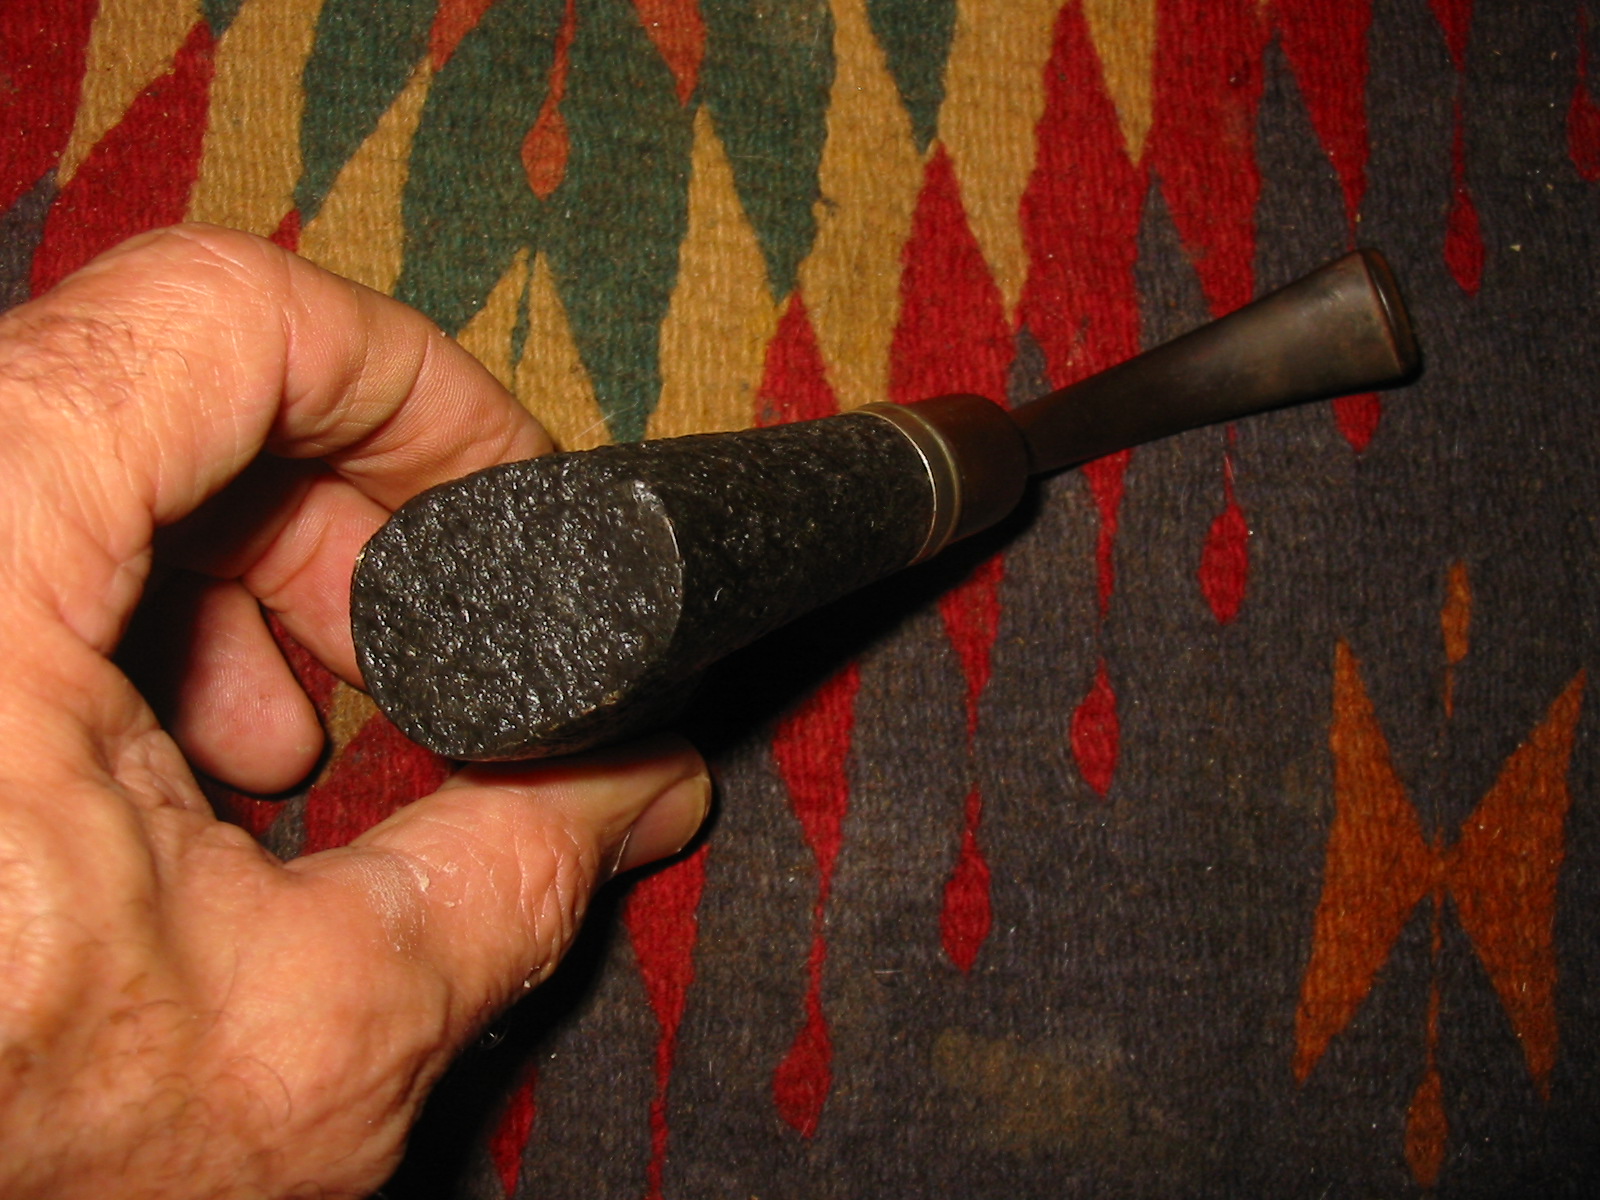
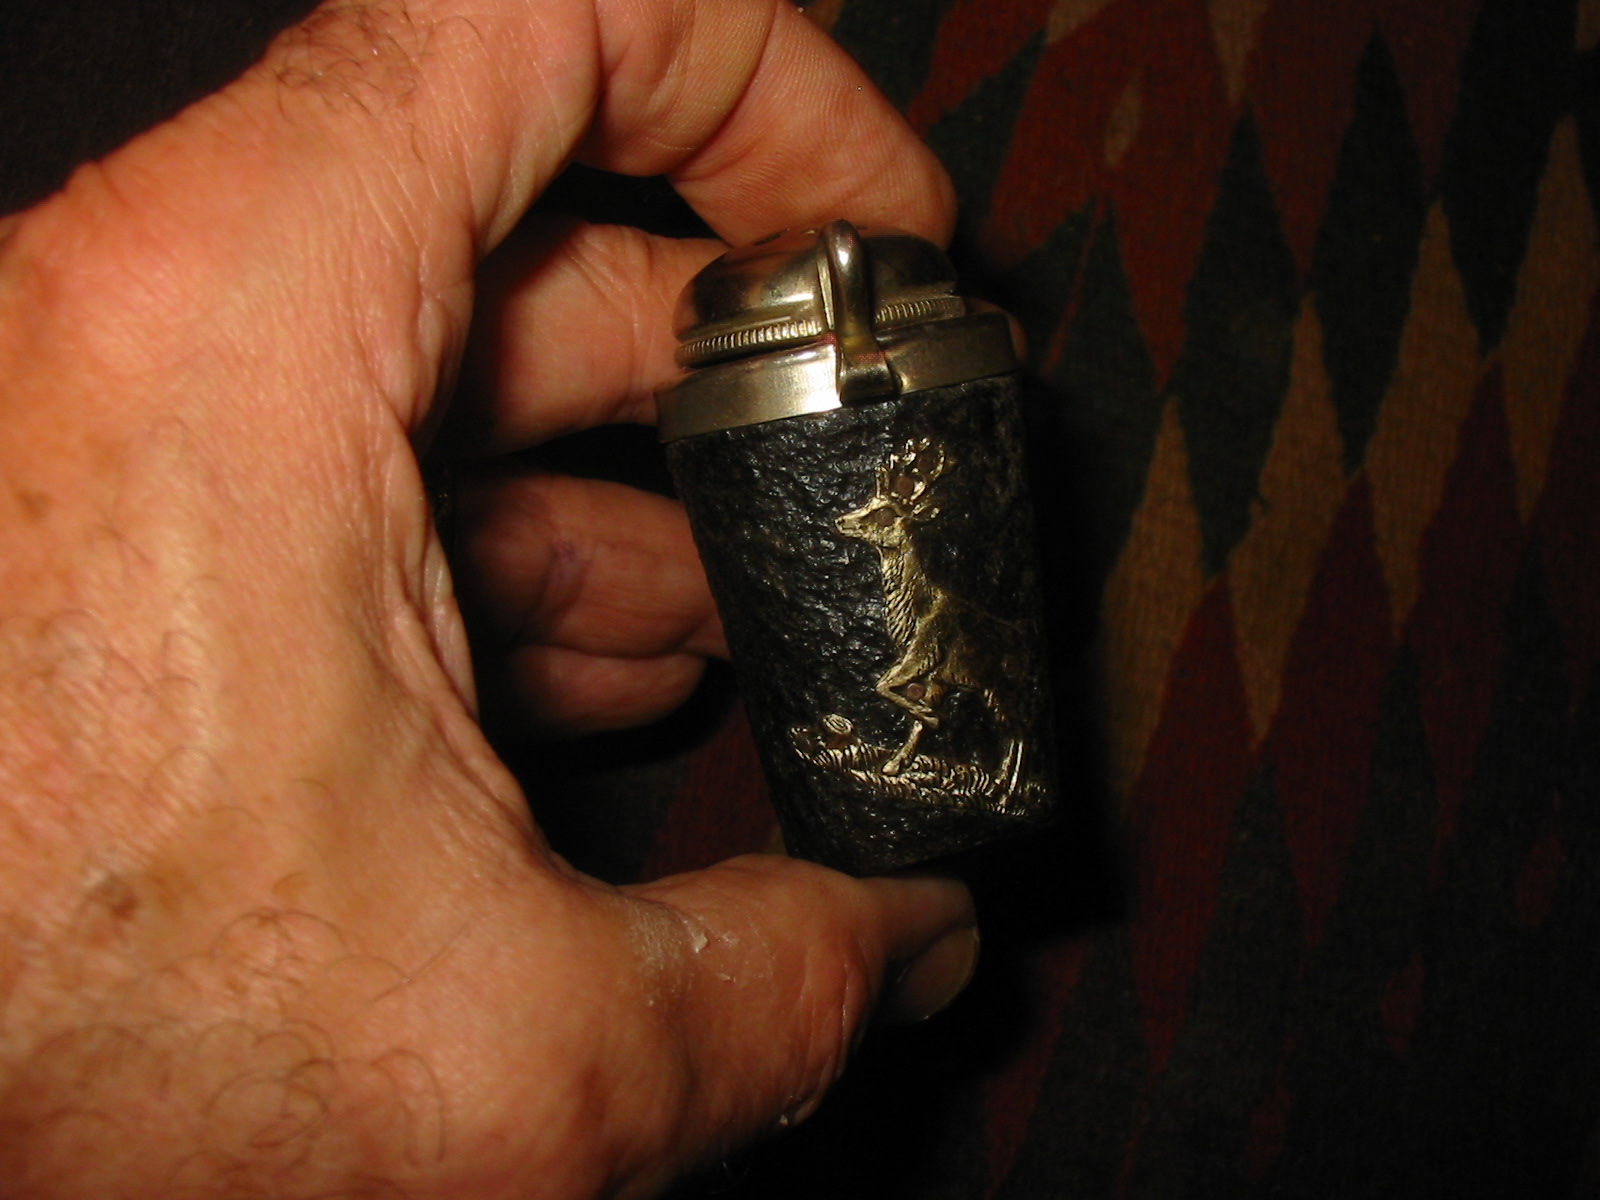
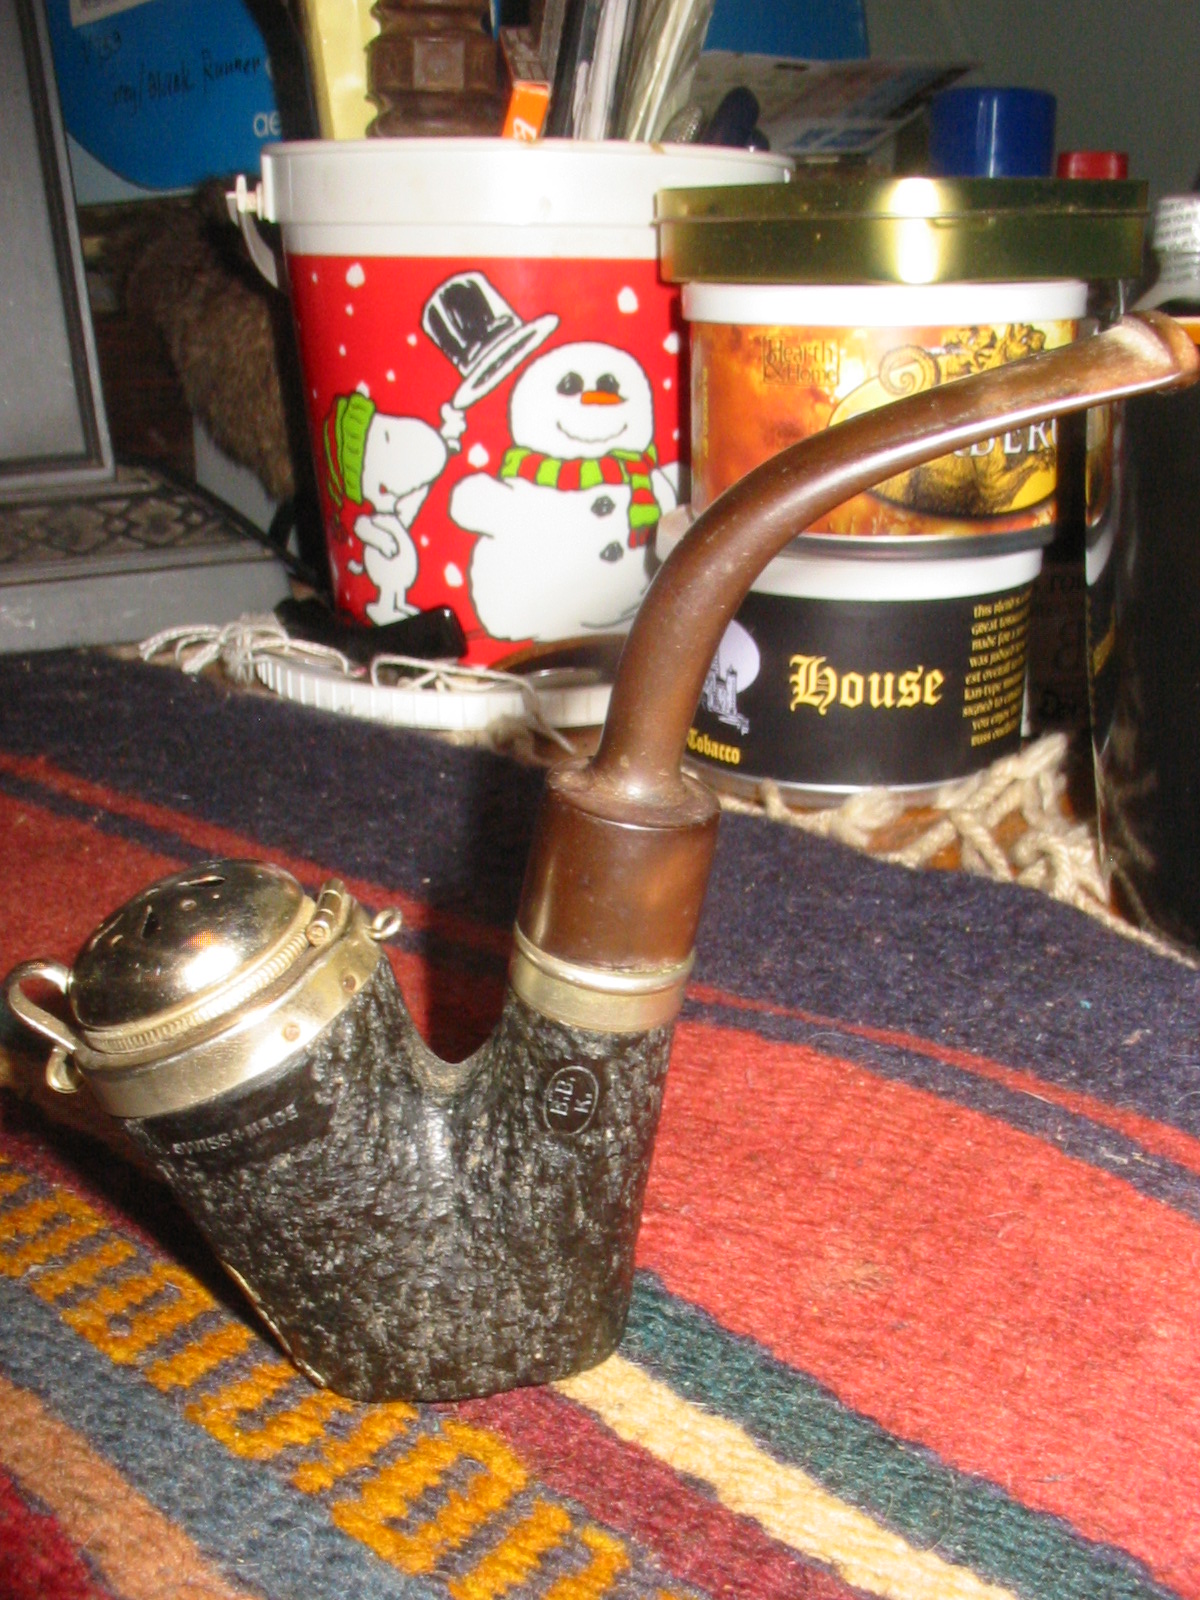
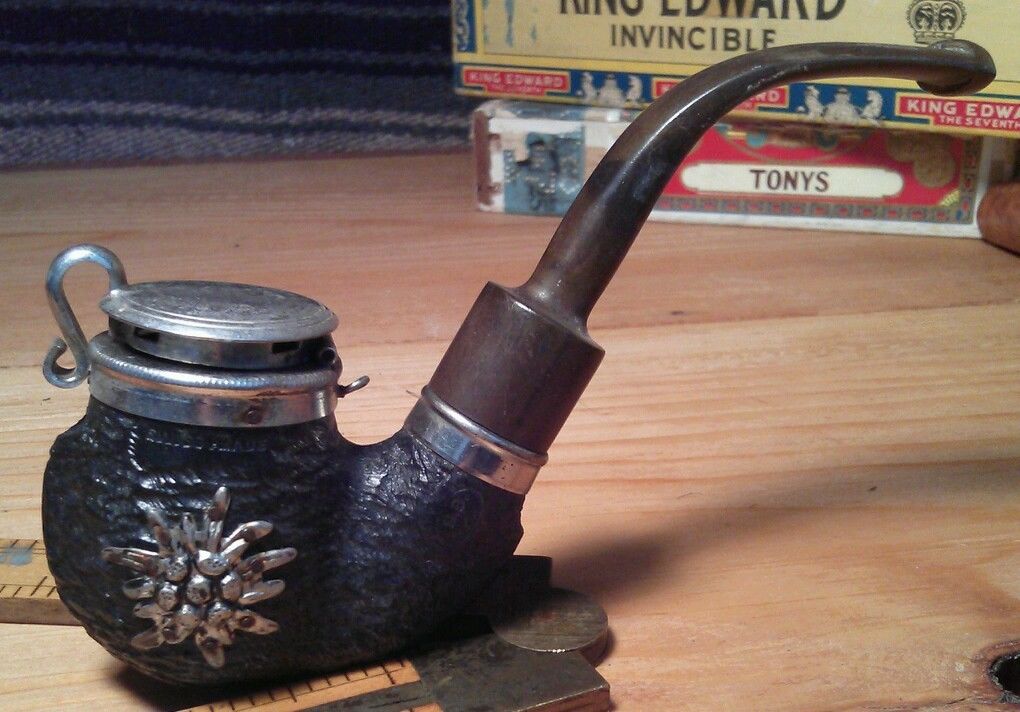
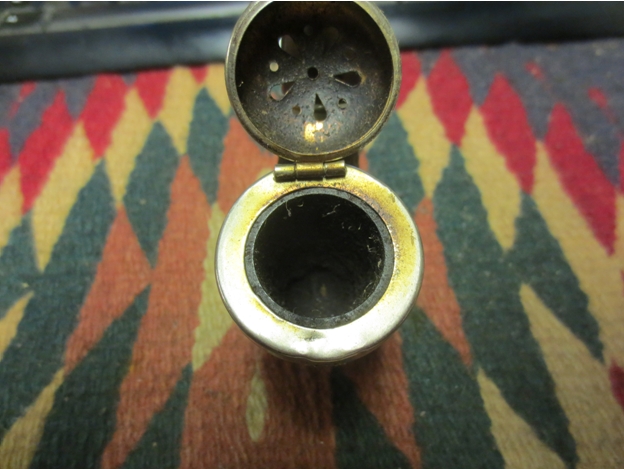
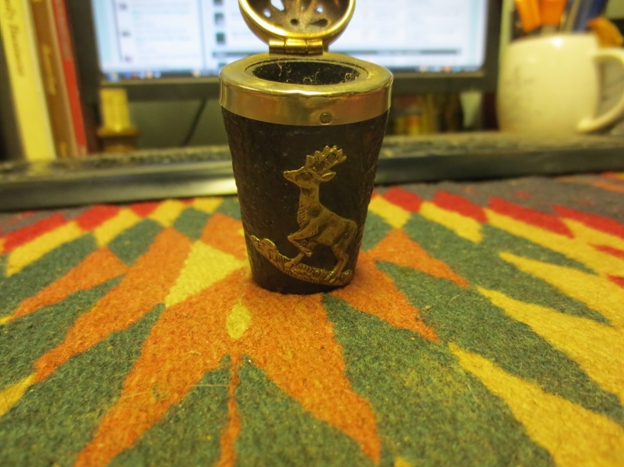
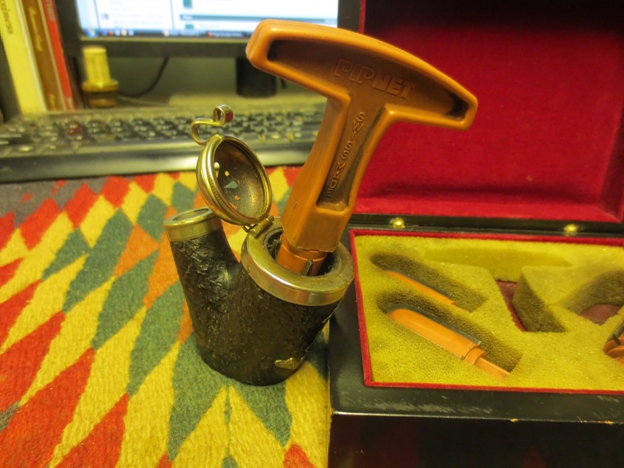
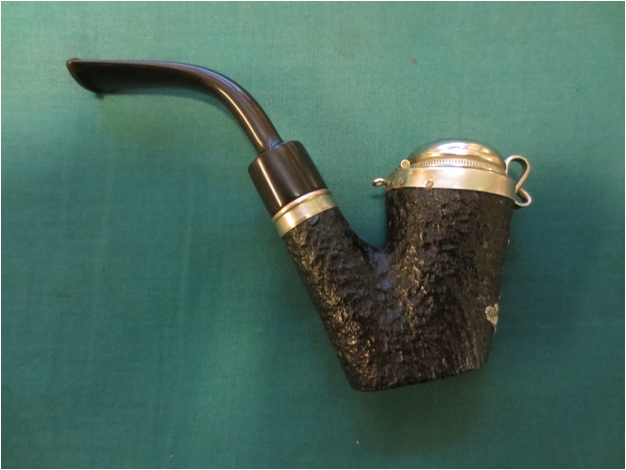
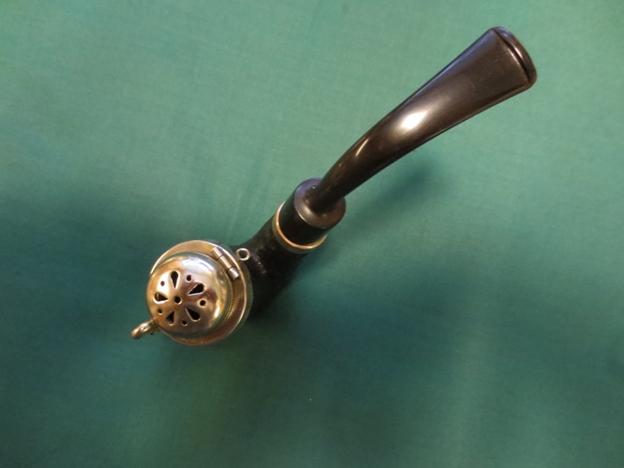
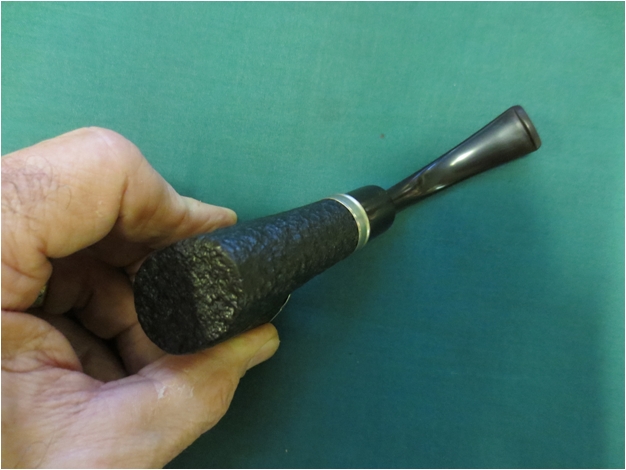
In the box of pipe bowls that I received was a complete sitter with a silver shank band and windcap. Upon looking at the side of the bowl I could see that it was stamped Swiss Made and on the side of the shank it was stamped BBK. The finish was sandblasted and well done. The stain was either a dark brown or a black. The cap was in good shape. Under the cap the silver rim trim was also blackened and tarry. The end cap/band on the shank was also silver and quite nice. Inside the cap was blackened and the bowl was caked with a crumbly aromatic smelling cake. The inside of the shank was black with tars and oils and the stem was very tight in the shank. The stem was clean of tooth marks and dents but was badly oxidized. On the front of the bowl was a carved/pressed stag climbing the bowl. There were nails holding the top rim cap and the stag emblem on the briar. On the back of the rim cap was a small silver ring where a chain had obviously been sometime along the way. It was missing as was the place on the stem where it attached to the stem. I have seen these before on German-made pipes as a means of keeping the stem and bowl together.
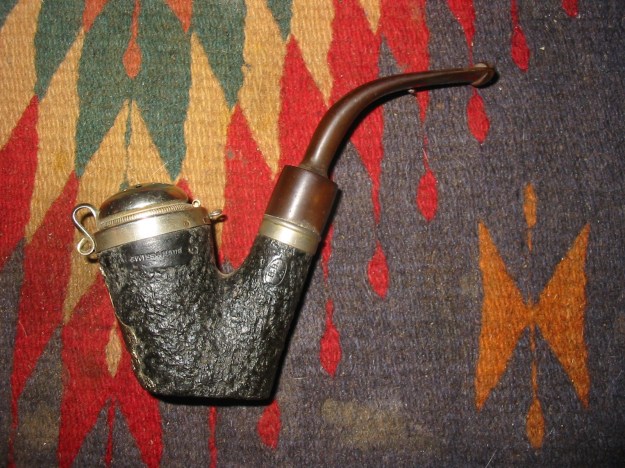
IMG_8233 IMG_8234 IMG_8236 IMG_8237 IMG_8238
I have cleaned up several BBK pipes over the years. The last one was a square shank panel billiard that I have written about previously on the blog https://rebornpipes.com/2012/09/21/refurb-on-a-bbk-panel-billiard-swiss-made/. I had never done much research on the maker or the meaning of the BBK initials. I knew that it was a Swiss made brand as the shanks of all the pipes I had cleaned up and restored were stamped with that moniker. I did not however have any idea of the history of the brand. This time I decided to do a bit of digging and see what I could find out about the pipemaker. IMG_8245 I checked one of my usual sources of information, Pipedia and found that there was actually quite a bit of helpful information to be found there. http://pipedia.org/index.php?title=Bru-Bu. I have copied, edited and summarized that material below. I find the information quite fascinating to read and gives me more appreciation for the pipes themselves.

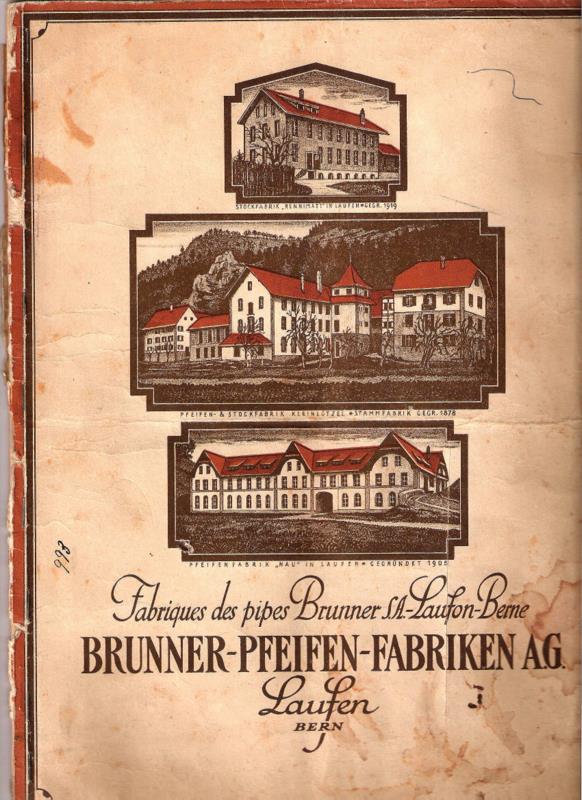
“Josef Brunner, oldest son of the farmer Konstantin Brunner from the hamlet Nieder-Huggerwald, belonging to the community of Kleinlützel (Canton Solothurn), was sent in 1871 to a pipe turner in Winkel/Alsace for his apprenticeship. As was usual at that time, Brunner wandered as a journeyman after ending the apprenticeship. Eventually, he went to Saint-Claude, France which was then the world’s stronghold of briar pipe manufacturing. There, Brunner was able to increase and deepen his knowledge in the field of industrial pipe making. When he returned home in 1878, he installed a small turner’s workshop in the house of his father. With the energetic support of his two younger brothers, he began to produce tobacco pipes of his own calculation, taking them to the markets in the surrounding area. In 1893, Bernhard Brunner’s wife inherited the mill in Kleinlützel. At this point, the pipe fabrication was transferred to an annex belonging to the mill. Now it was possible to drive the machines by water power – an important relief to the workers and a considerable innovation compared to the previous pedal-driven system.

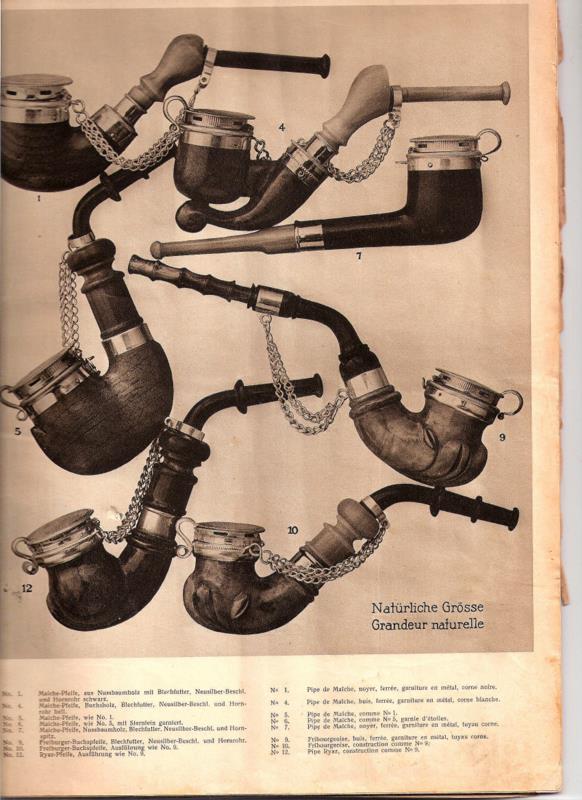
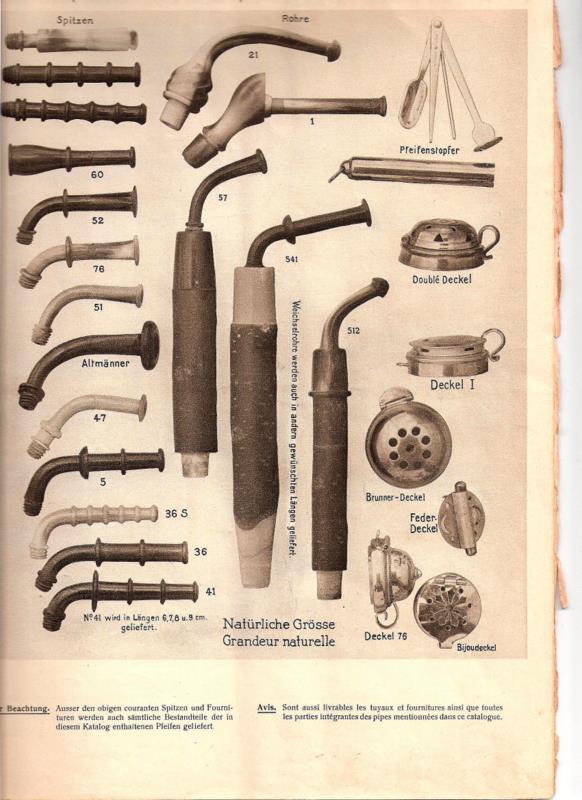
On the Pipedia site they also had some photos of a catalogue from BBK that was interesting. They note that it was an early catalog and came to them courtesy of Guido Brunner, Josef Brunner’s grandson.” Unbenannt Unbenannt2 Unbenannt3
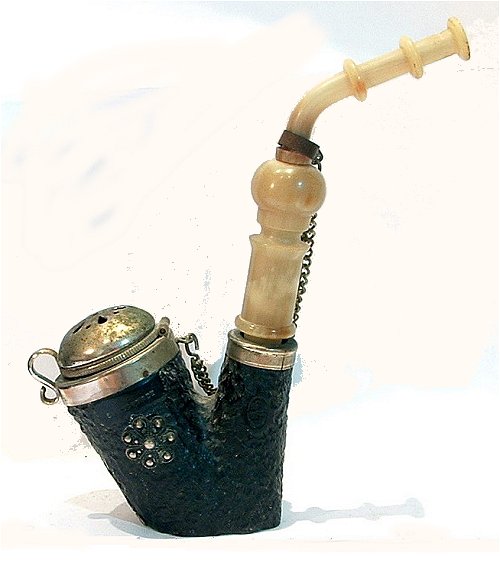
Also on the Pipedia site was a photo of a pipe that was very similar to the one I have but obviously older. The stem on mine is not horn but is rather a hand cut vulcanite that makes it much newer in age than the one below. However the shank cap, the rim cap, the Double Deckel wind cap (pictured on the last page of the above catalogue are the same. The one I have is also missing the chain from the cap to the stem but the finish and everything else about the pipe below is parallel to the one I worked on. It was interesting to see how they attached the chain to the stem. That gave me an idea on how to attach a new chain to the one that I have. The stem on this one however made me question whether the one that I had was an original or some newer replacement stem. More digging would be required to know whether my stem was original or not. BBK_9 A bit more digging revealed one for sale on EBay that had the exact same stem as the one I have. It also was missing the chain and the shape and top cap was slightly different but the stem was identical. Now I knew that the one I had was at least original. BBK Further information was found on the Pipedia site that spoke of the growth of the company. “The production was boosted, and business developed pleasantly. A new factory building was realized by 1896. Corresponding to another demand, a department producing walking sticks was added in 1900. The pipes from Kleinlützel were well appreciated and received many awards, e.g., a gold medal for outstanding craftsmanship at the National Swiss Fair in Bern in 1914.
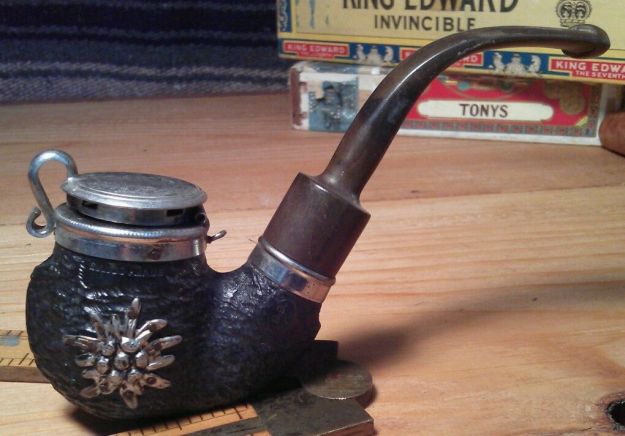
The business developed so well after the turn of the century that even a lack of workers in Kleinlützel occurred. The problem was solved by founding a subsidiary company in the small nearby town Laufen an der Birs in the Canton of Bern. This plant didn’t exist too long. The disastrous economic crisis in the 1920’s and early 1930’s forced the Brunner family to restrict the fabrication of pipes dramatically. In addition the big French pipe factories in Saint-Claude – although suffering from the same circumstances – flooded the Swiss market with pipes at prices that couldn’t be matched by Swiss producers. By 1931 ca. 150 of 180 Brunner employees had been sacked – the rest remained in Kleinlützel, where the cheap electric energy ensured a meager survival.

In 1932, Mr. Buhofer joined the Brunner family. The company was named Brunner-Buhofer-Kompagnie, and, shortly thereafter, Bru-Bu. Buhofer had made his fortune in the United States but, homesick, returned to Switzerland to search for a new challenge.

Bru-Bu’s fabrication program was expanded with many handcrafted wooden art articles: carved family coats of arms, bread plates, fruit scarves, and – more and more – souvenir articles for the expanding Swiss tourism industry. Pipes remained in the program continuously, but the offerings changed from traditional Swiss pipes to the more standard European shaped pipes. Bru Bu is widely known as BBK.”

One further point of interest to me was found in the last paragraph of the Pipedia article linking BBK pipes to Former Nielsen. I have two of Former’s pipes so this stood out to me.

“At some point in the late 1970’s, Bru-Bu went out of business. Some of the Brunners, as far as known, continued as timber traders. But in 1986 new life filled the old Bru-Bu pipe workshop, when Dr. Horst Wiethüchter and “Former” Nielsen started to produce the high-grade Bentley pipes there.”

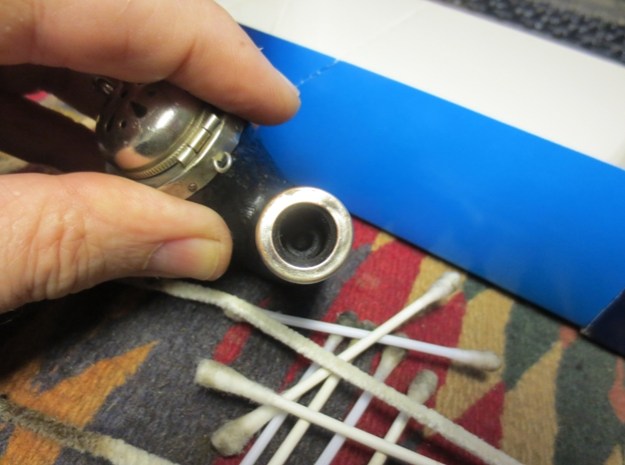
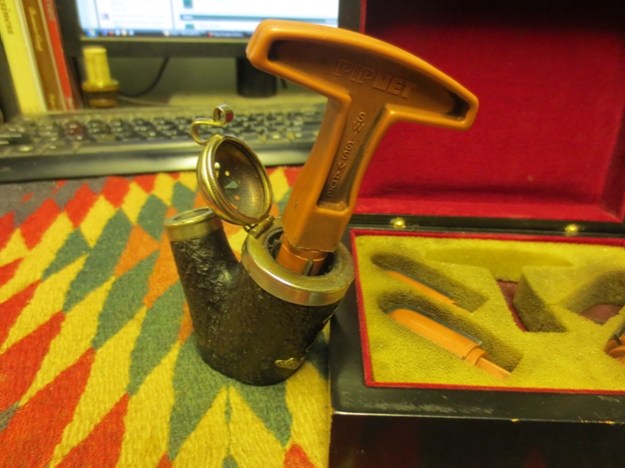
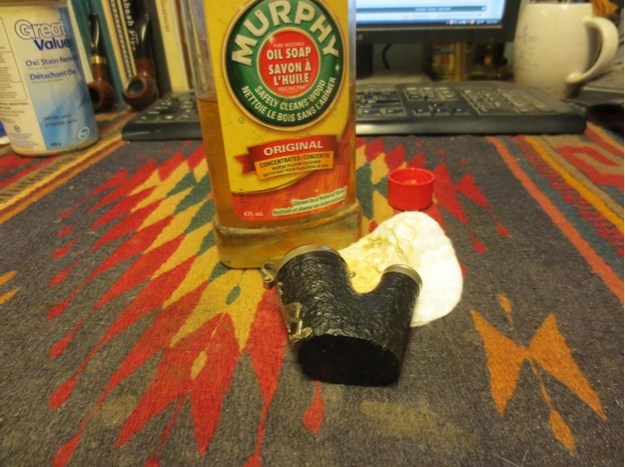
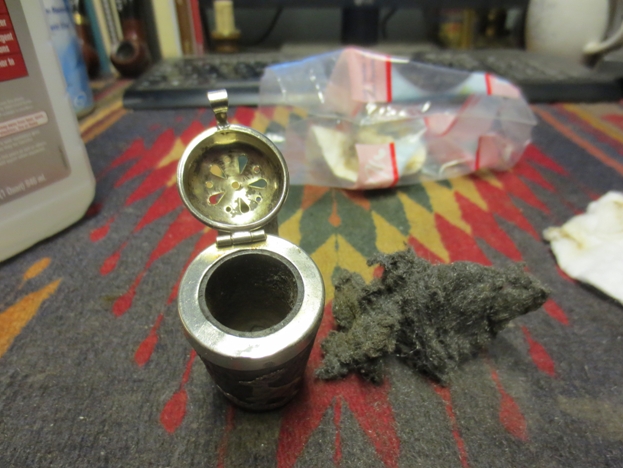
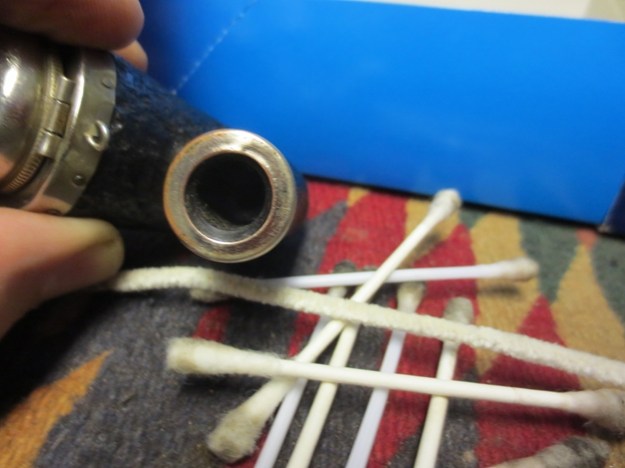
I am not sure why it works this way but once I have some background information on a pipe I move into cleaning and restoring it with more gusto. It seems to energize me knowing a little about the company or individual who carved the pipe I am working on at the moment. I took the next two photos show the inside of the lid and the front of the bowl before I started cleaning up the pipe. The tars and oils on the inside of the lid were rock hard did not come off with scrubbing with alcohol or oil soap. Instead it would take more work to remove it. IMG_1685 IMG_1686 I reamed the pipe with a PipNet reamer (also Swiss Made by the way) to remove the cake buildup around the inside of the rim. Once the bowl was clean and smooth I wiped it out with cotton swabs and isopropyl alcohol. IMG_1690 IMG_1691 I scrubbed the briar with undiluted Murphy’s Oil Soap and then wiped it off with a cotton pad. The finish was in great shape under the grime and once polished with a soft cloth and Halcyon II wax it had a rich glow to the sandblast. I wiped down the silver with a silver polishing cloth and the tarnish on the rim cap, the shank cap, wind cap and stag emblem came off very easily and the silver shone. IMG_1692 IMG_1694 IMG_1693 I scrubbed the inside of the windcap and the rim with 0000 steel wool to remove the tars and oils that had hardened on the surface of the caps and the inside of the windcap. It came off easily and then I polished with the silver polishing cloth. IMG_1695 I cleaned out the inside of the shank with pipe cleaners, cotton swabs and isopropyl alcohol. The tars that came out of the shank were black and thick. It took quite a few swabs before the shank and sump area were clean and the cotton was still white after I ran it through the shank. IMG_1696
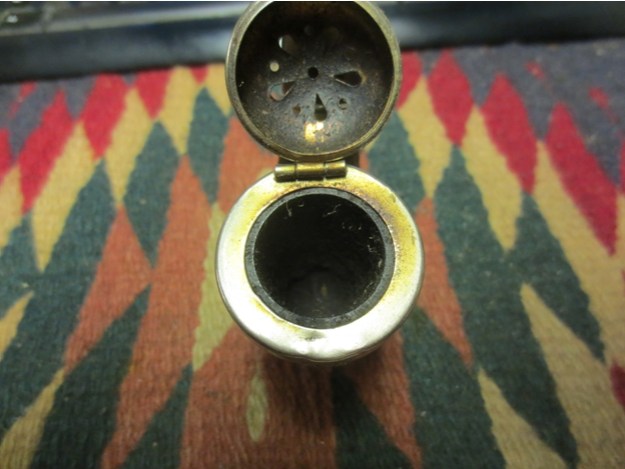
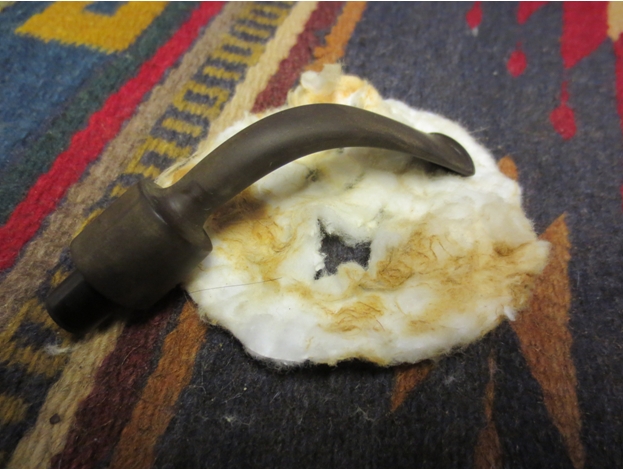
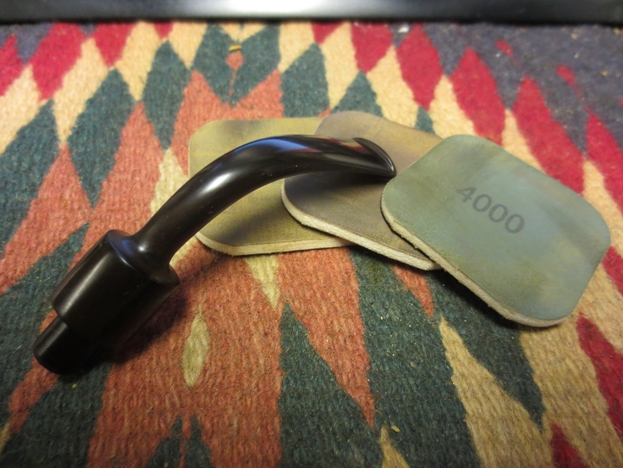
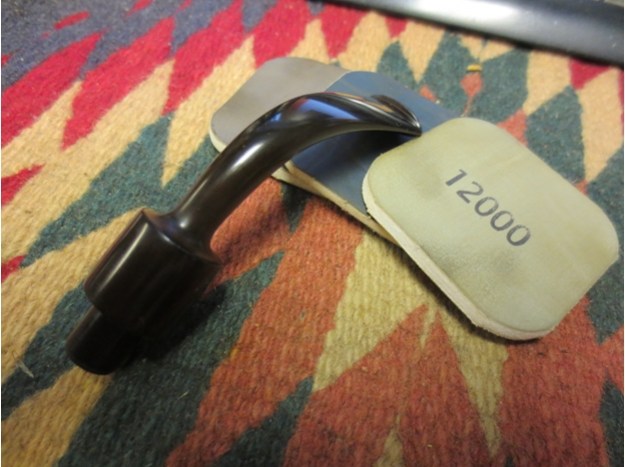
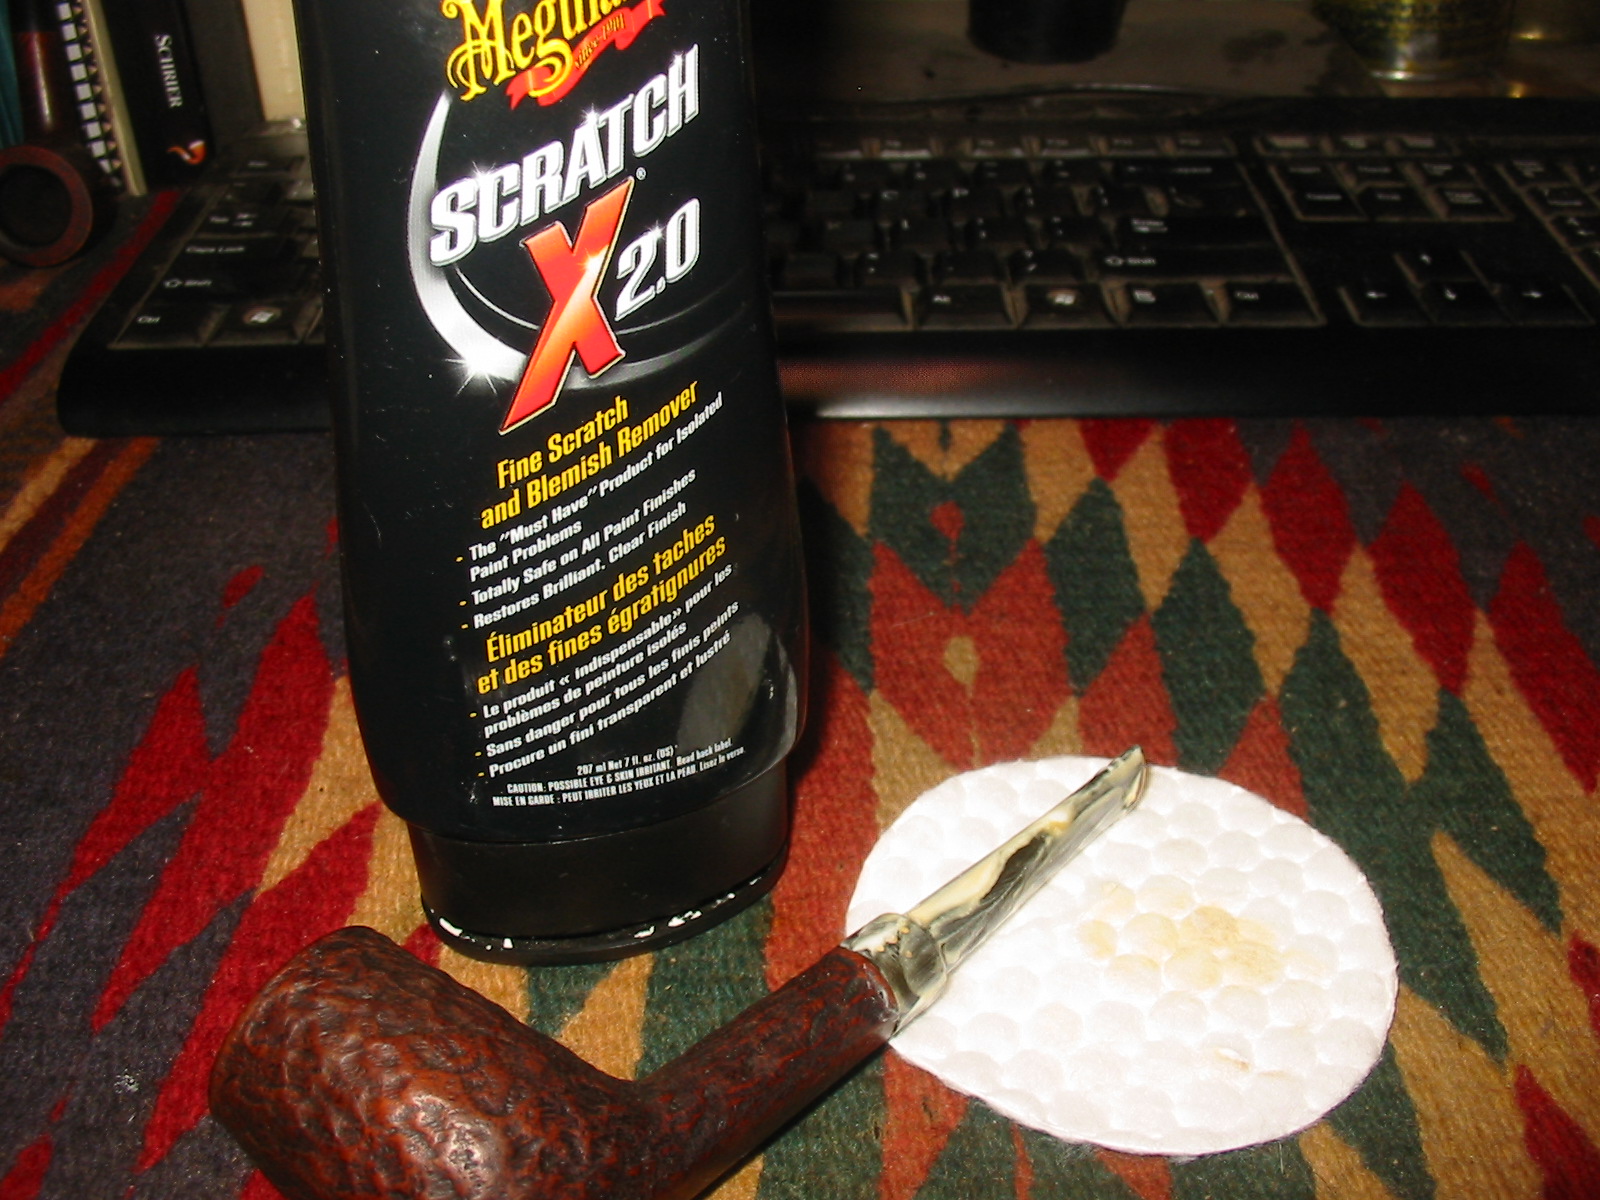
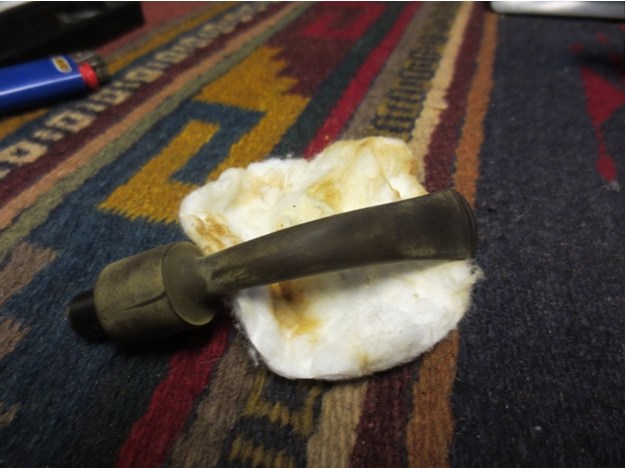
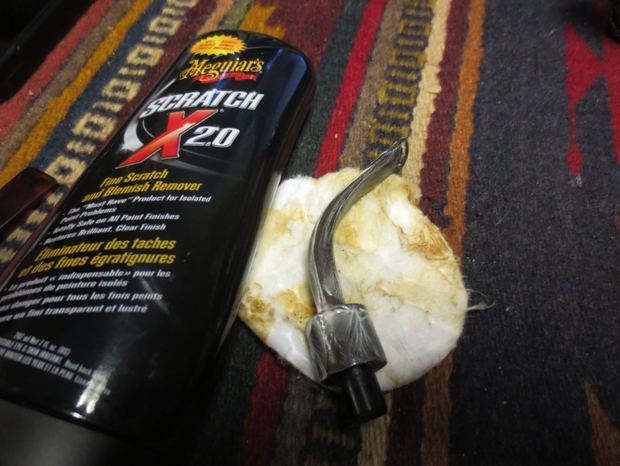
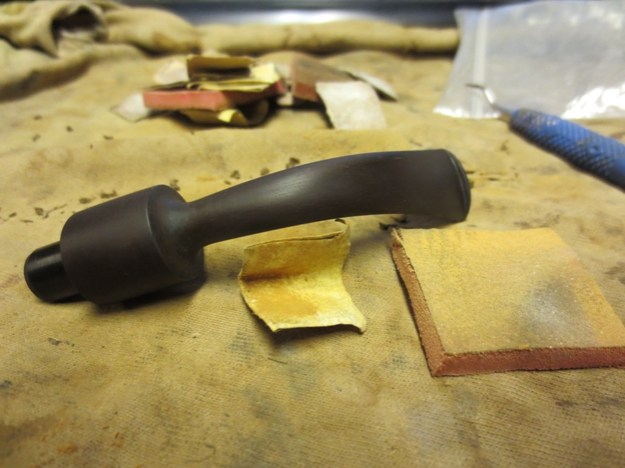
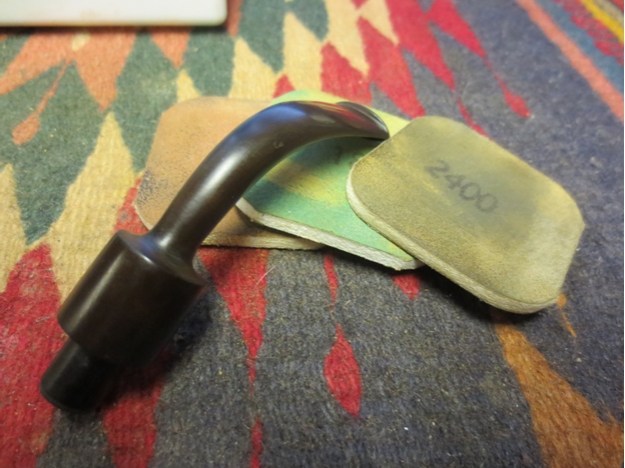
IMG_1697 The stem had been soaking in Oxy Clean while I worked on the bowl. I removed it from the bath and dried it off. The oxidation had softened significantly and I was able to see the black of the vulcanite show through the brown oxidation. IMG_1698 I scrubbed the stem with Meguiar’s Scratch X2.0 and once dry wiped it off to see how much more of the oxidation had been removed. The second photo shows the stem after I had wiped off the polish. There was still a lot of work to do on this stem. IMG_1699 IMG_1700 I sanded the stem with 220 grit sandpaper and then with medium and fine grit sanding sponges to remove more of the surface oxidation. It took some careful sanding but the oxidation was finally coming off and the stem was moving toward the place where I would sand it with micromesh sanding pads. IMG_1701 I buffed the stem with red Tripoli and White Diamond before sanding with the micromesh pads. I wet sanded with 1500-2400 grit pads and dry sanded with 3200-12,000 grit pads. I rubbed the stem down with Obsidian Oil between each set of three pads. I buffed the stem with White Diamond and then rubbed it down with Obsidian Oil one last time. I buffed it with carnauba wax and then a soft flannel buffing pad to raise the shine. IMG_1702 IMG_1703 IMG_1704 I gave the silver caps a final polish with the silver polishing cloth, buffed the pipe by hand with a shoe brush and then took the final photos below. The finished pipe is ready to load a bowl and fire up its inaugural smoke. I still have to do a hunt for a piece of chain to connect the cap to the stem and make a strap or connector to hold it to the stem. IMG_1705 IMG_1706 IMG_1707 IMG_1708 IMG_1709
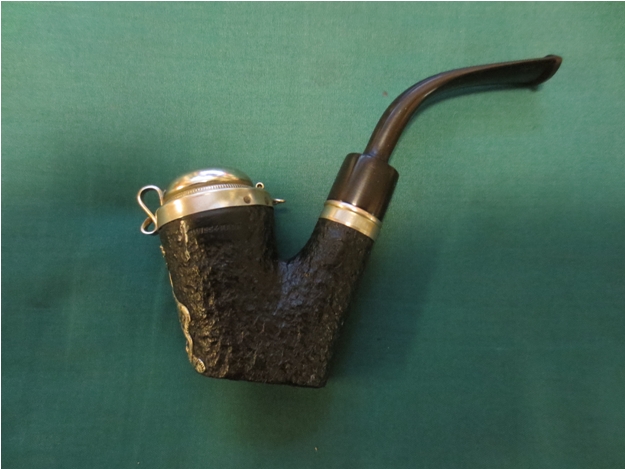
Yello-Bole Spartan – A Brylon Pipe Restemmed and Restored


Blog by Steve Laug

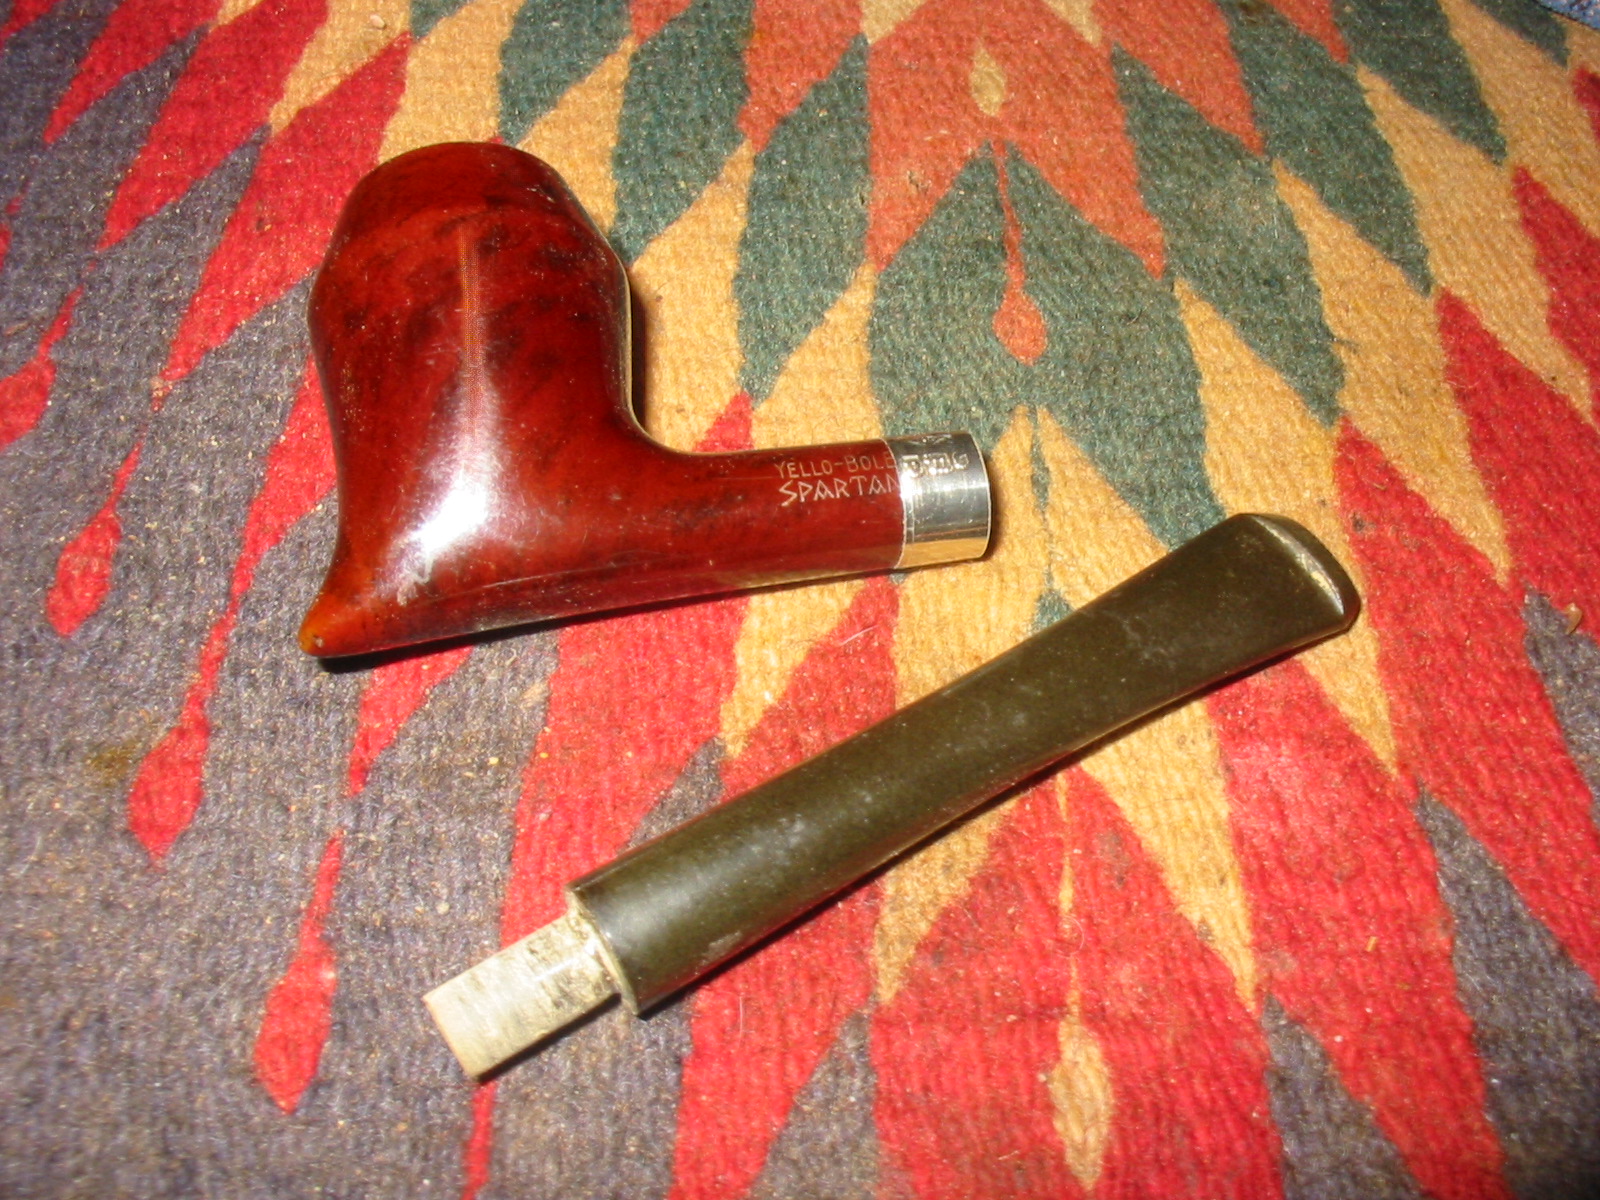
I was gifted a box of pipe bowls and stems from Jim Wagner on Smoker’s Forums. It is a great to have this box of interesting old pipes. Jim, I sure appreciate the gift box and am enjoying looking at it and choosing what to do next. The first one that caught my eye was a Yello-Bole Spartan. From reading about them the Spartan was originally a briar pipe but this one was definitely not briar. It was synthetic for sure and brown like some of the older Bakelite pipes that I have picked up over the years. I knew though from the feel of it that I was dealing with a Brylon pipe. Many folks hate them because they say the burn hotter and are heavier than briar pipes. While that may well be true I still have an older Medico I picked up 32 years ago when my first daughter was born and have smoked it a lot since that time. Several years ago I put a long Church Warden stem on it and a brass ferrule and made it into a good-looking long pipe. I have smoked it long enough that it even has developed a cake and now smokes quite well. If I am mindful to not puff hard it stays relatively cool.

Knowing that it was a Brylon pipe made me want to do a bit of digging into the history of the material. I looked on the S.M. Frank website (http://www.smfrankcoinc.com/home/?page_id=2) and found the following information:

“In 1966, S. M. Frank developed a synthetic material called Brylon as a cheaper alternative to briar. The material, a high temperature resin mixed with wood flour, was cheaper than briar, more resistant to cracking, chipping, charring and burnouts. However to some there are some drawbacks, heavier in the mouth, hotter when smoked quickly, and also simply put, “wasn’t briar.” Millions of these pipes have been sold in the 3 decades since and continue to be part of the Yello-Bole and Medico lines. Two Brylon lines in Kaywoodie, Marmont and Impulse, were briefly tried and abandoned in the late 80′s.”

I know that Brylon has a bad name among pipemen and gets a lot of disparaging comments whenever it is brought up on the pipe forums. However, pipes are still being made and sold so there must be some enduing quality. Maybe it is the indestructibility of the pipe. Perhaps we will never know what attracts folks to them. But I have one in my hand that needs work and I am loath to pass up the opportunity to learn from the process of rejuvenating this old pipe.

As usual reading the history of the material helped to give me a clearer picture of the pipe that I was working on this time. It also gave me some background on another Brylon pipe that I have in my collection. I bought that Brylon new at a 7-Eleven convenience store along with a pouch of Borkum Riff the day my oldest daughter was born. It was a delicate billiard and attracted me that early morning in 1982. I have smoked it enough that it has developed a good cake and finally smokes very cool. A few years back I restemmed it with a long Church Warden Stem and banded it with a brass ferrule to liven it up a bit. The finish was worn to I polished it. I still smoke that old Brylon and enjoy it.

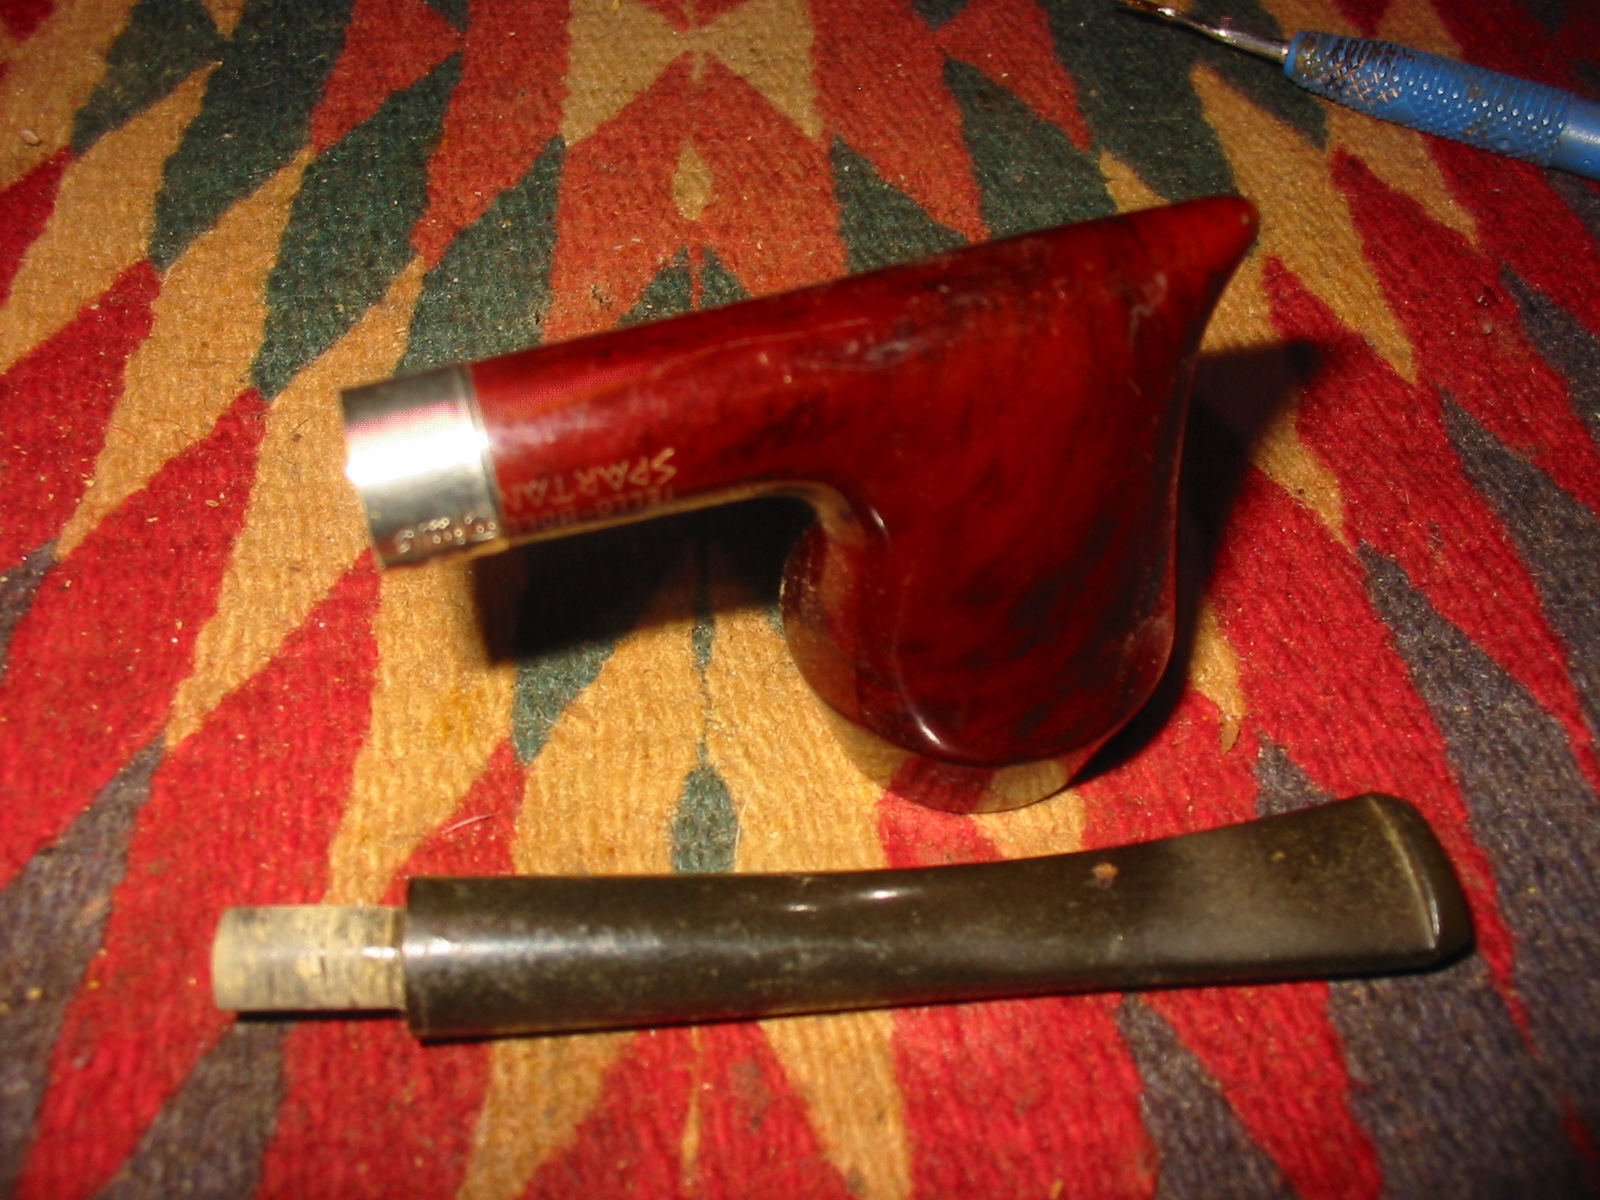
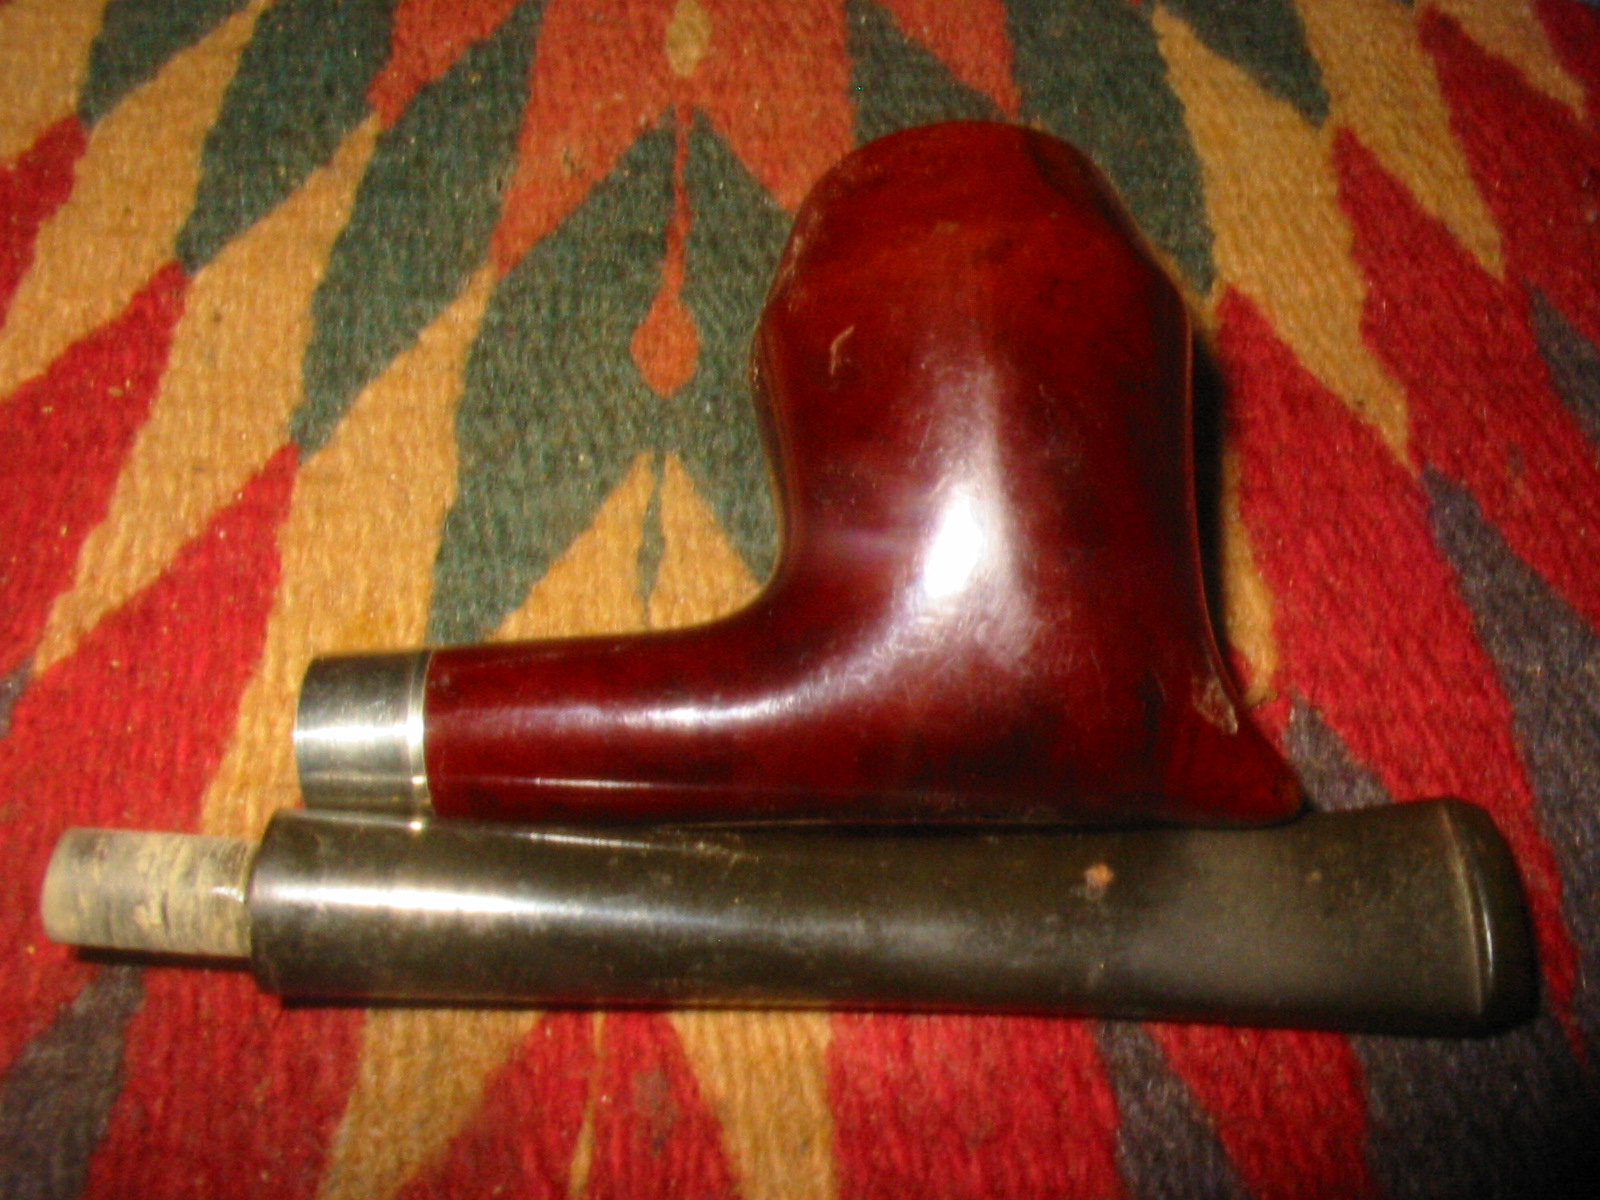
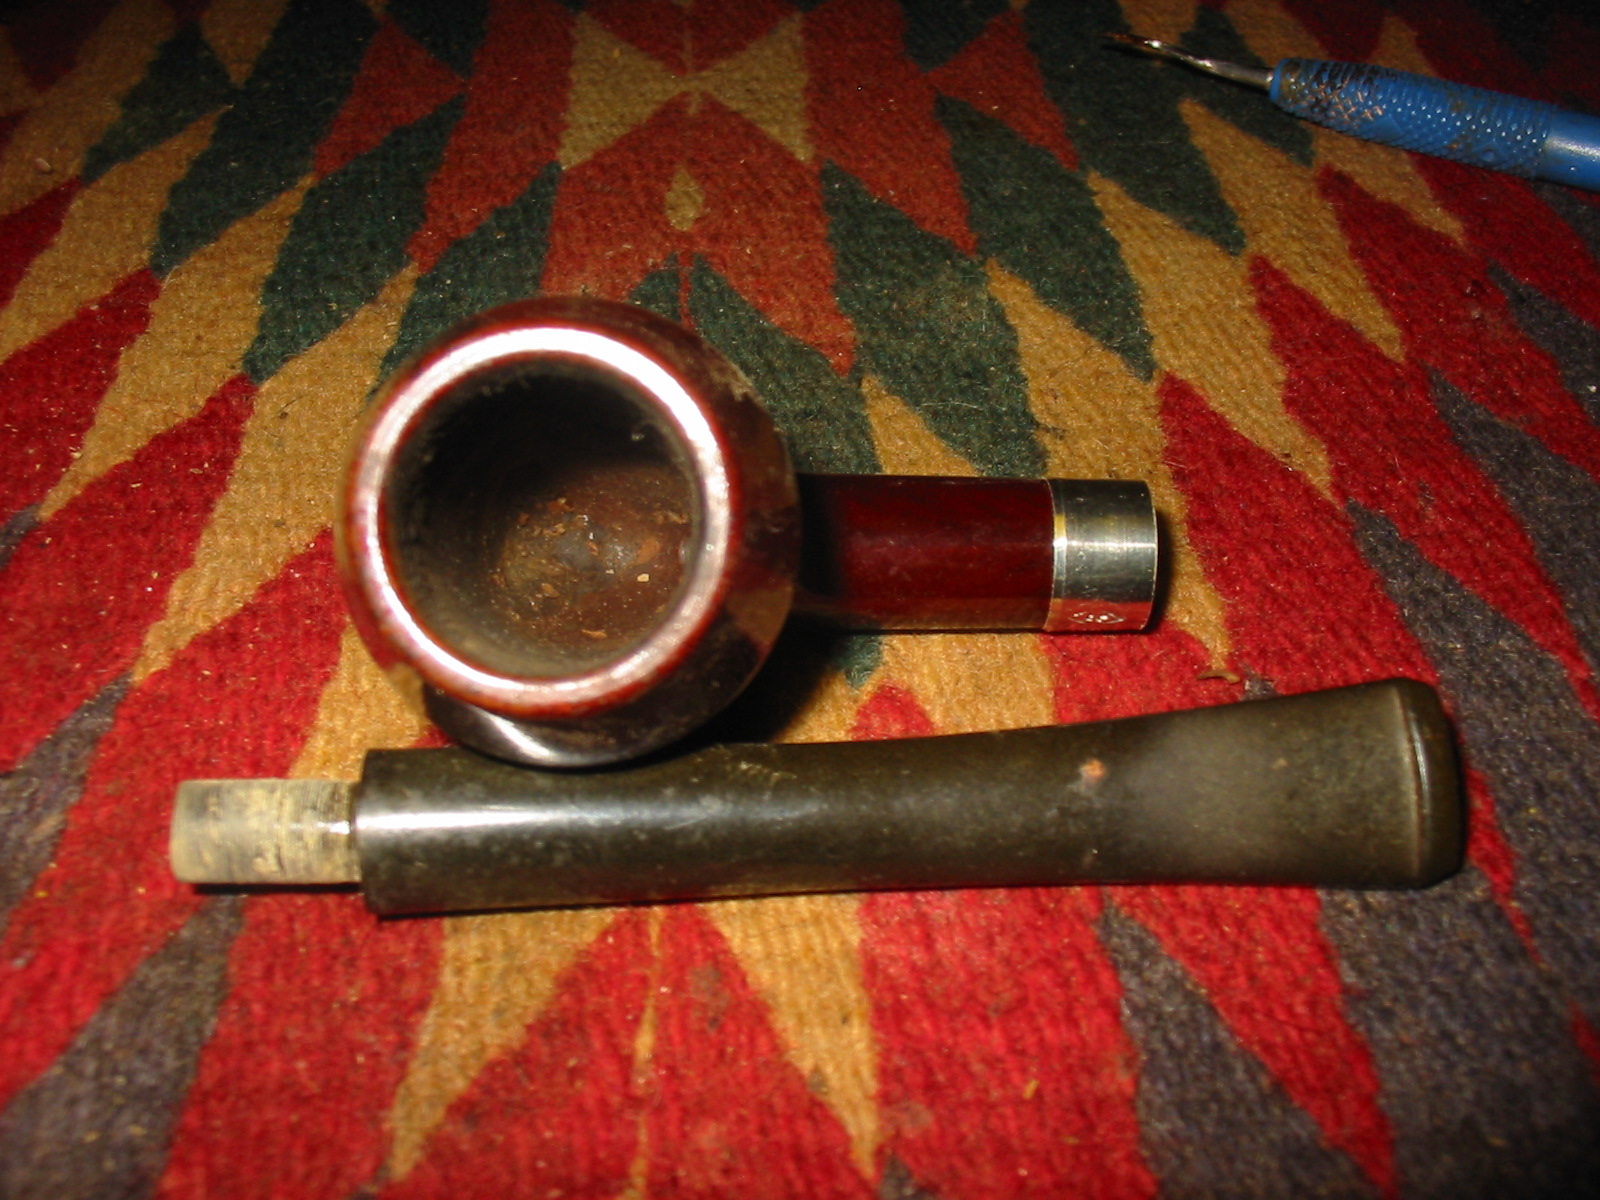
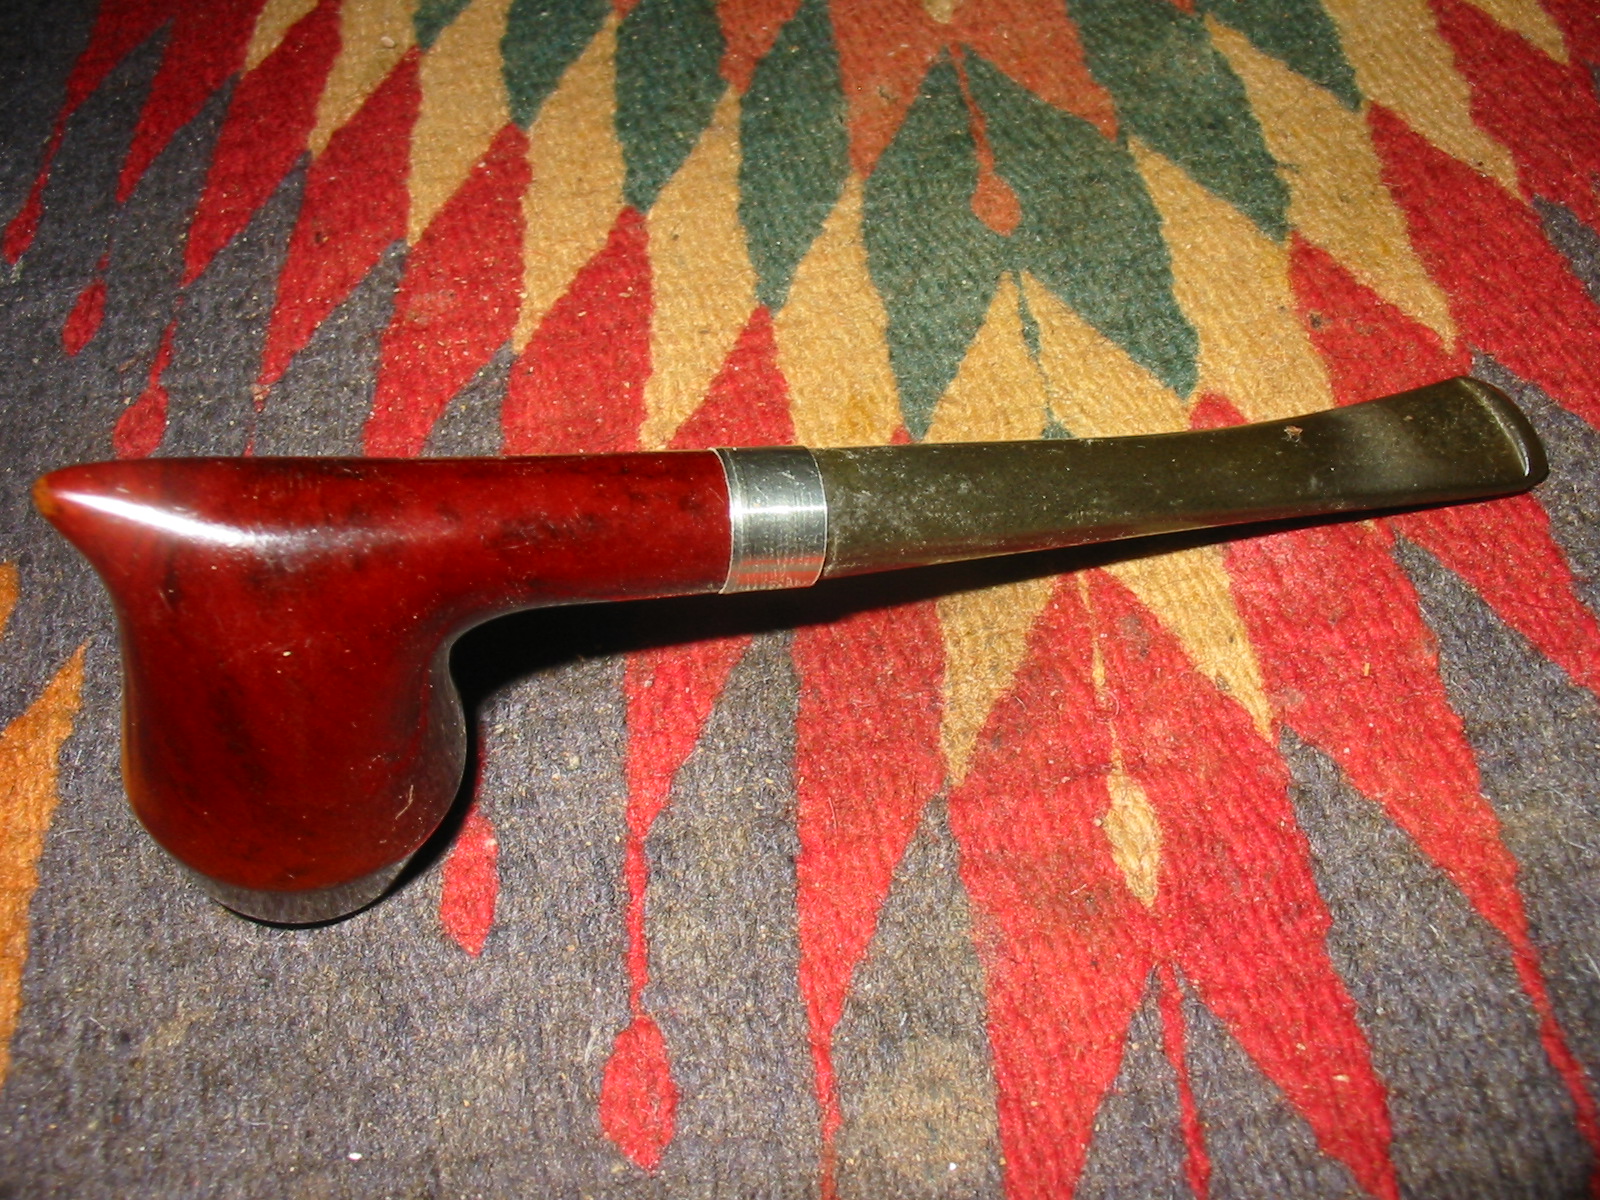
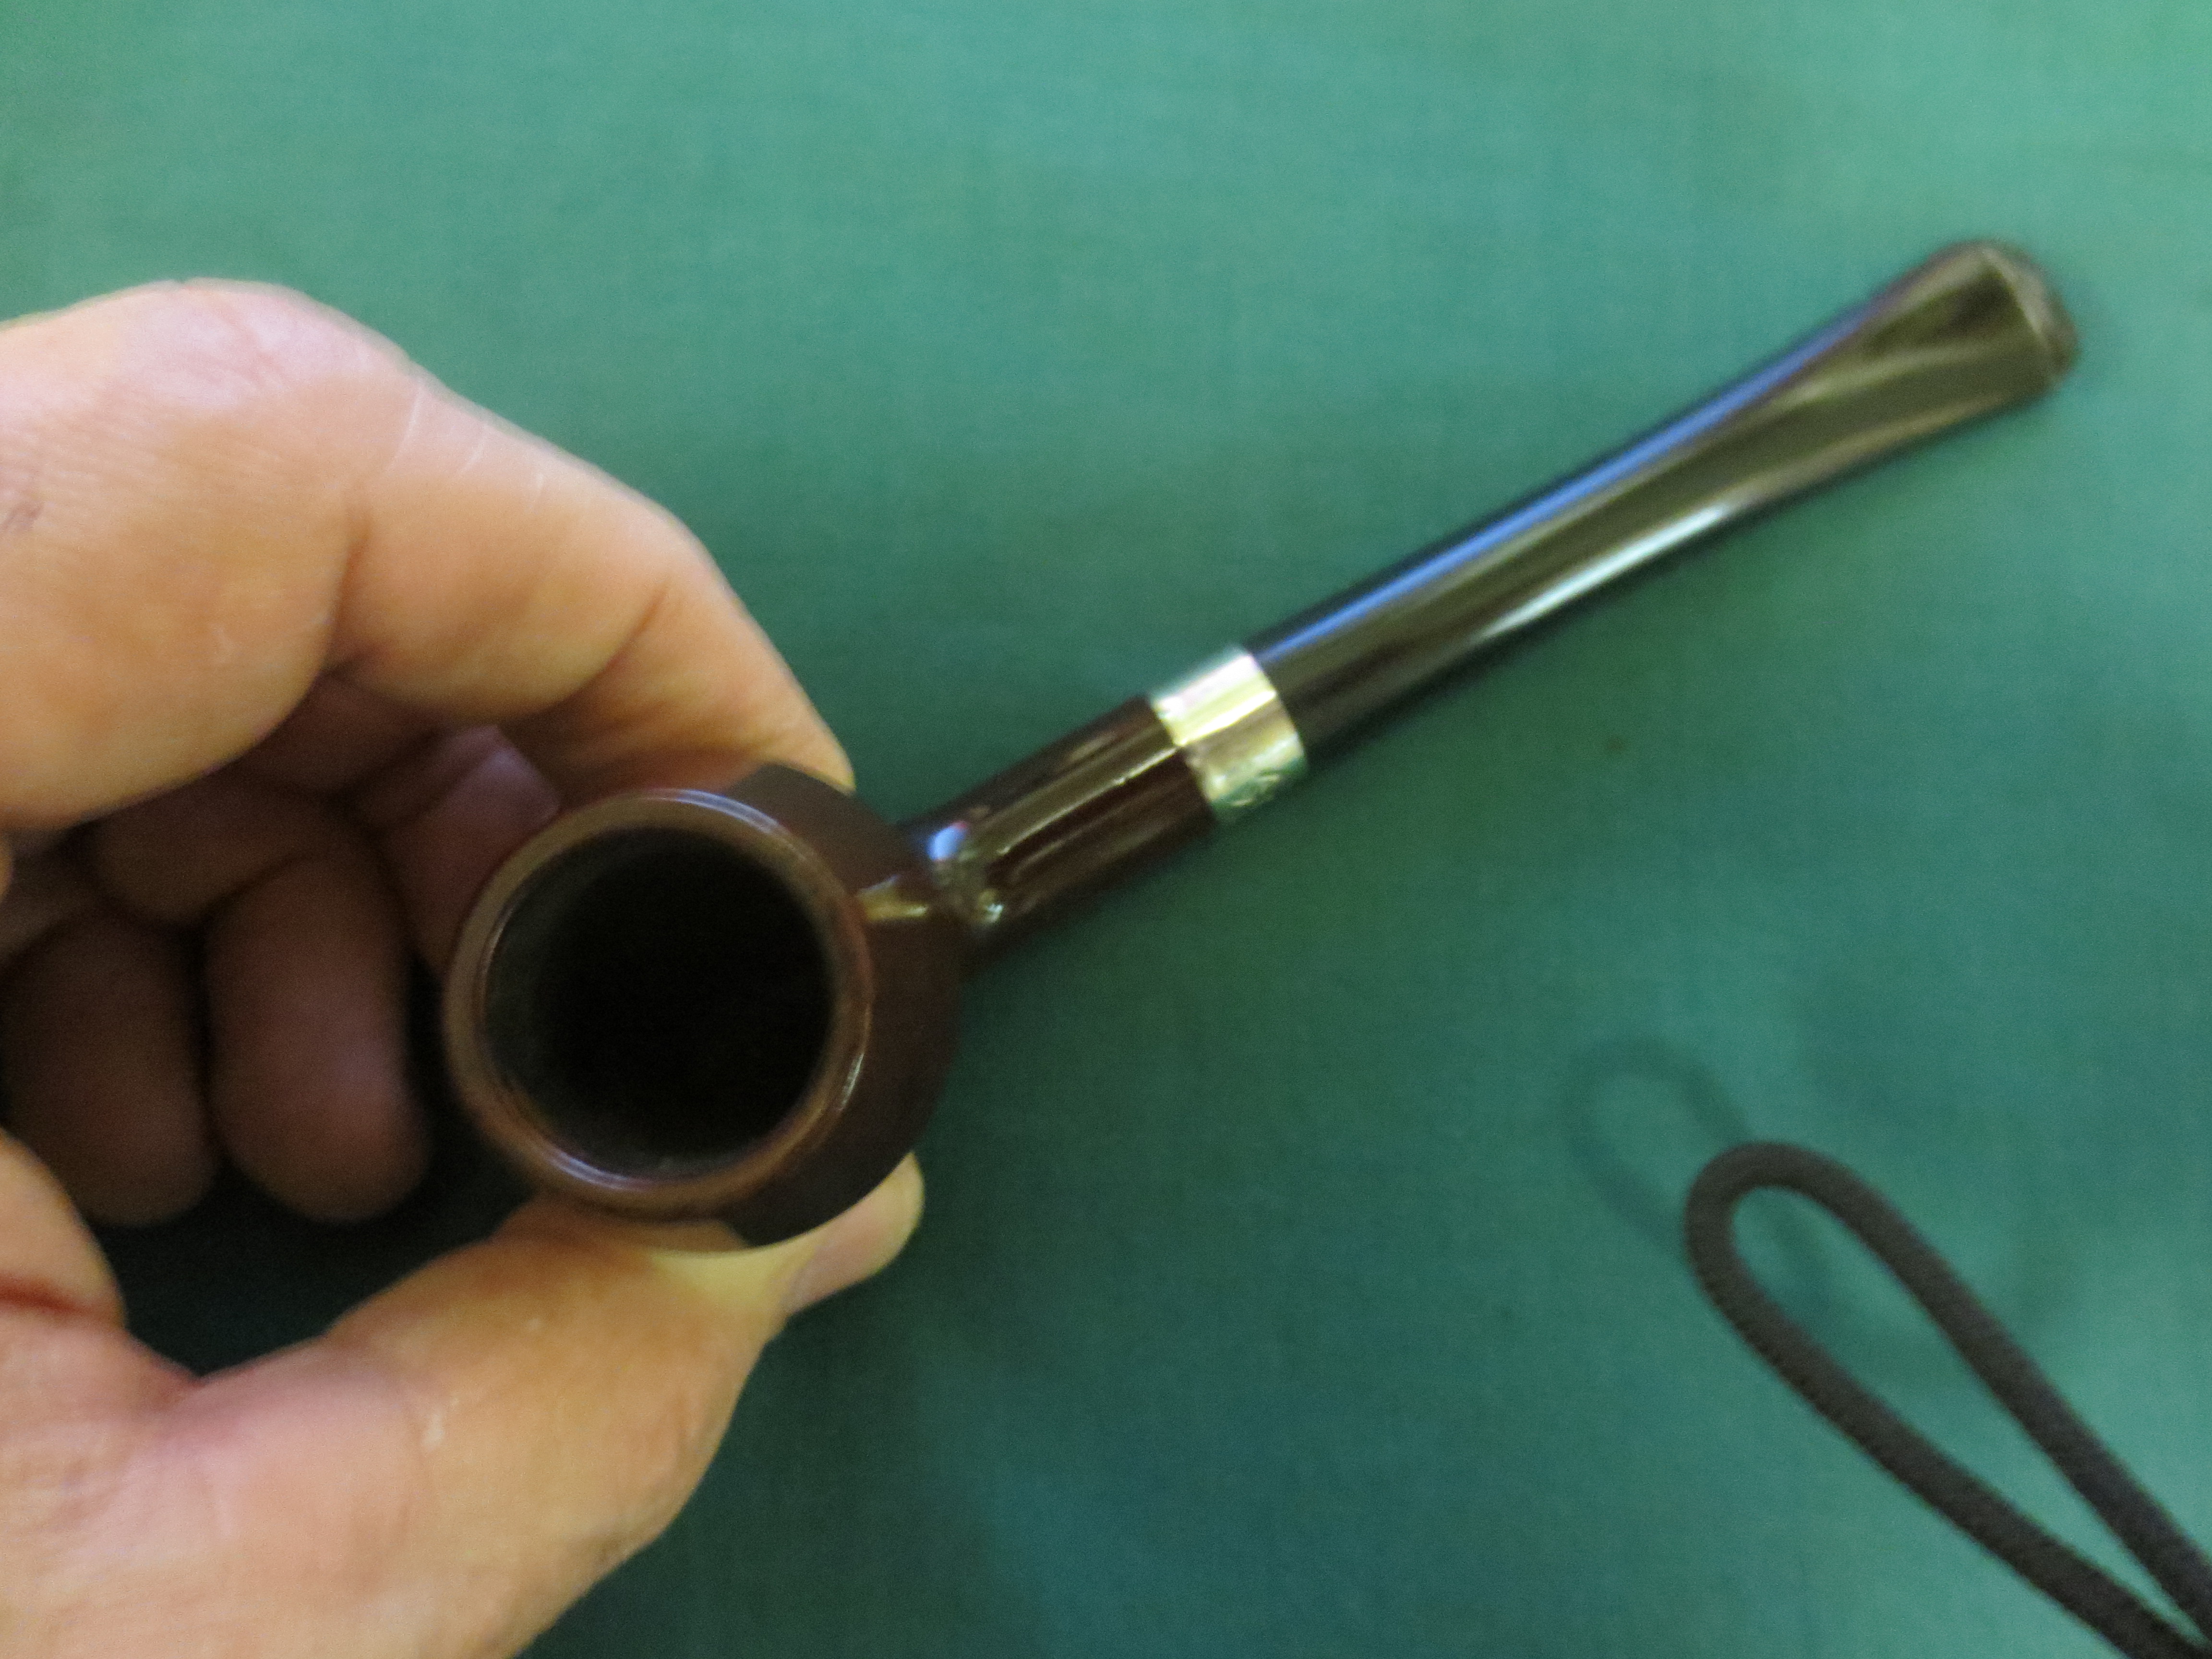
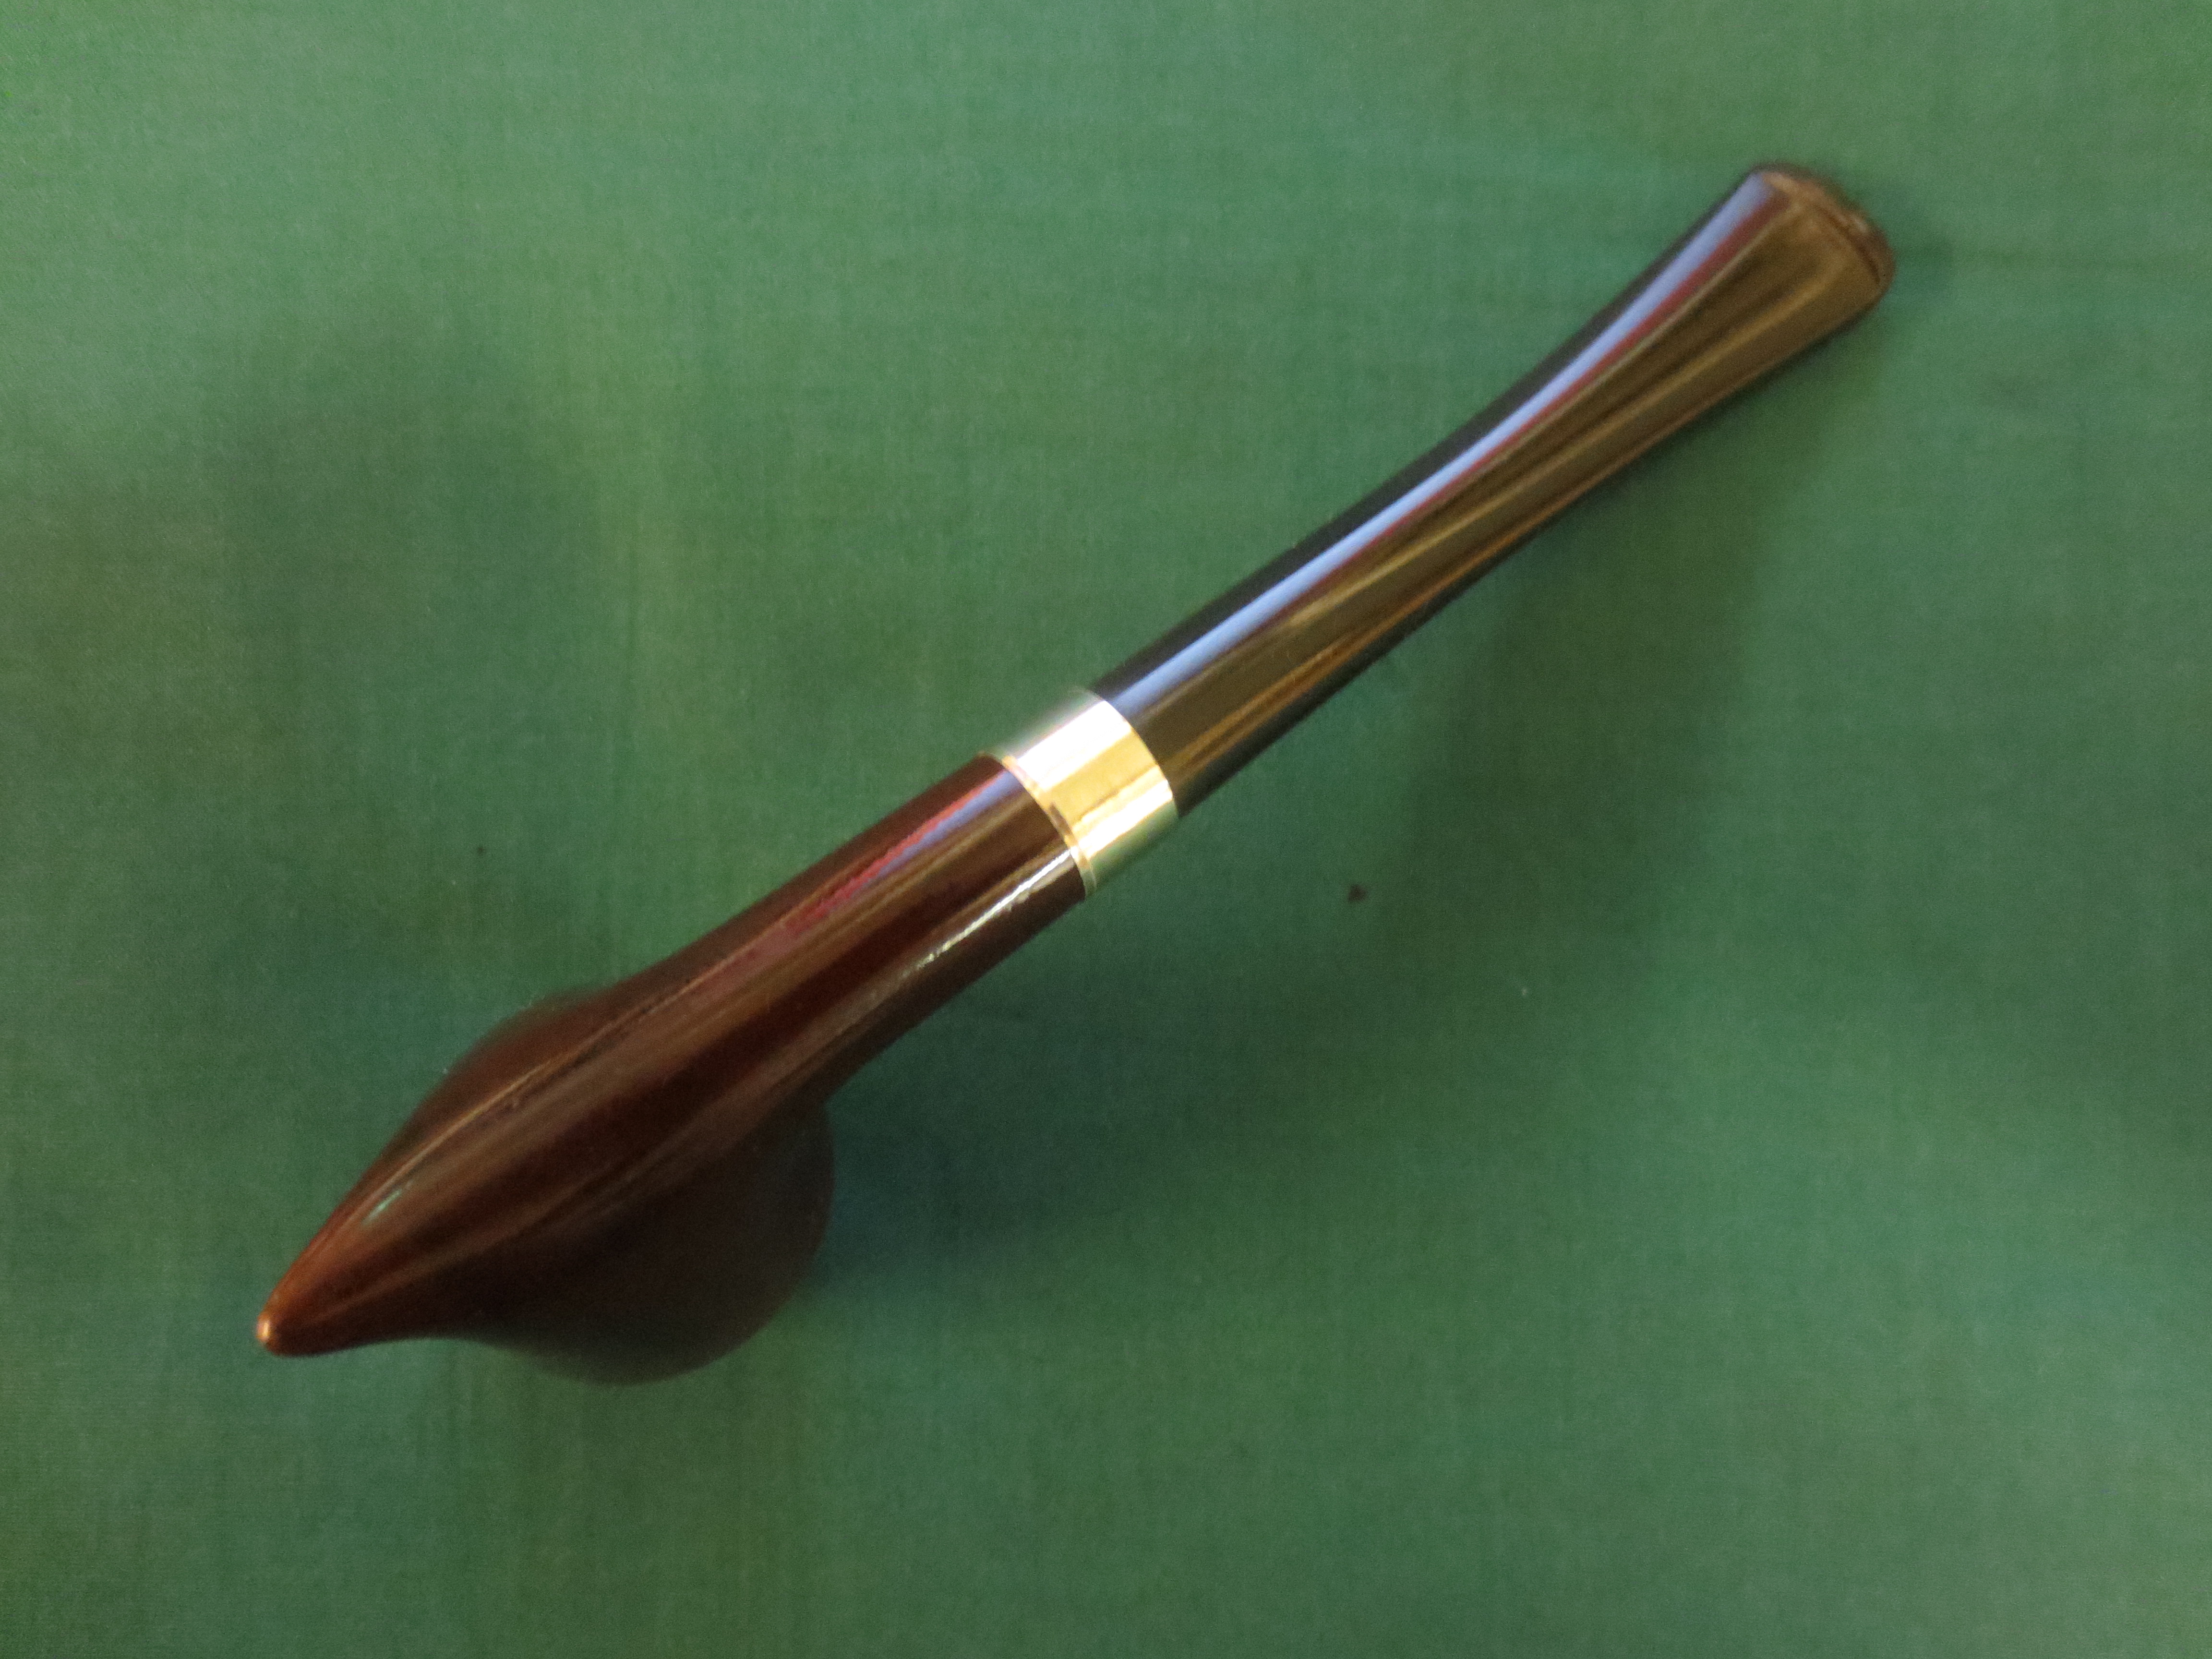
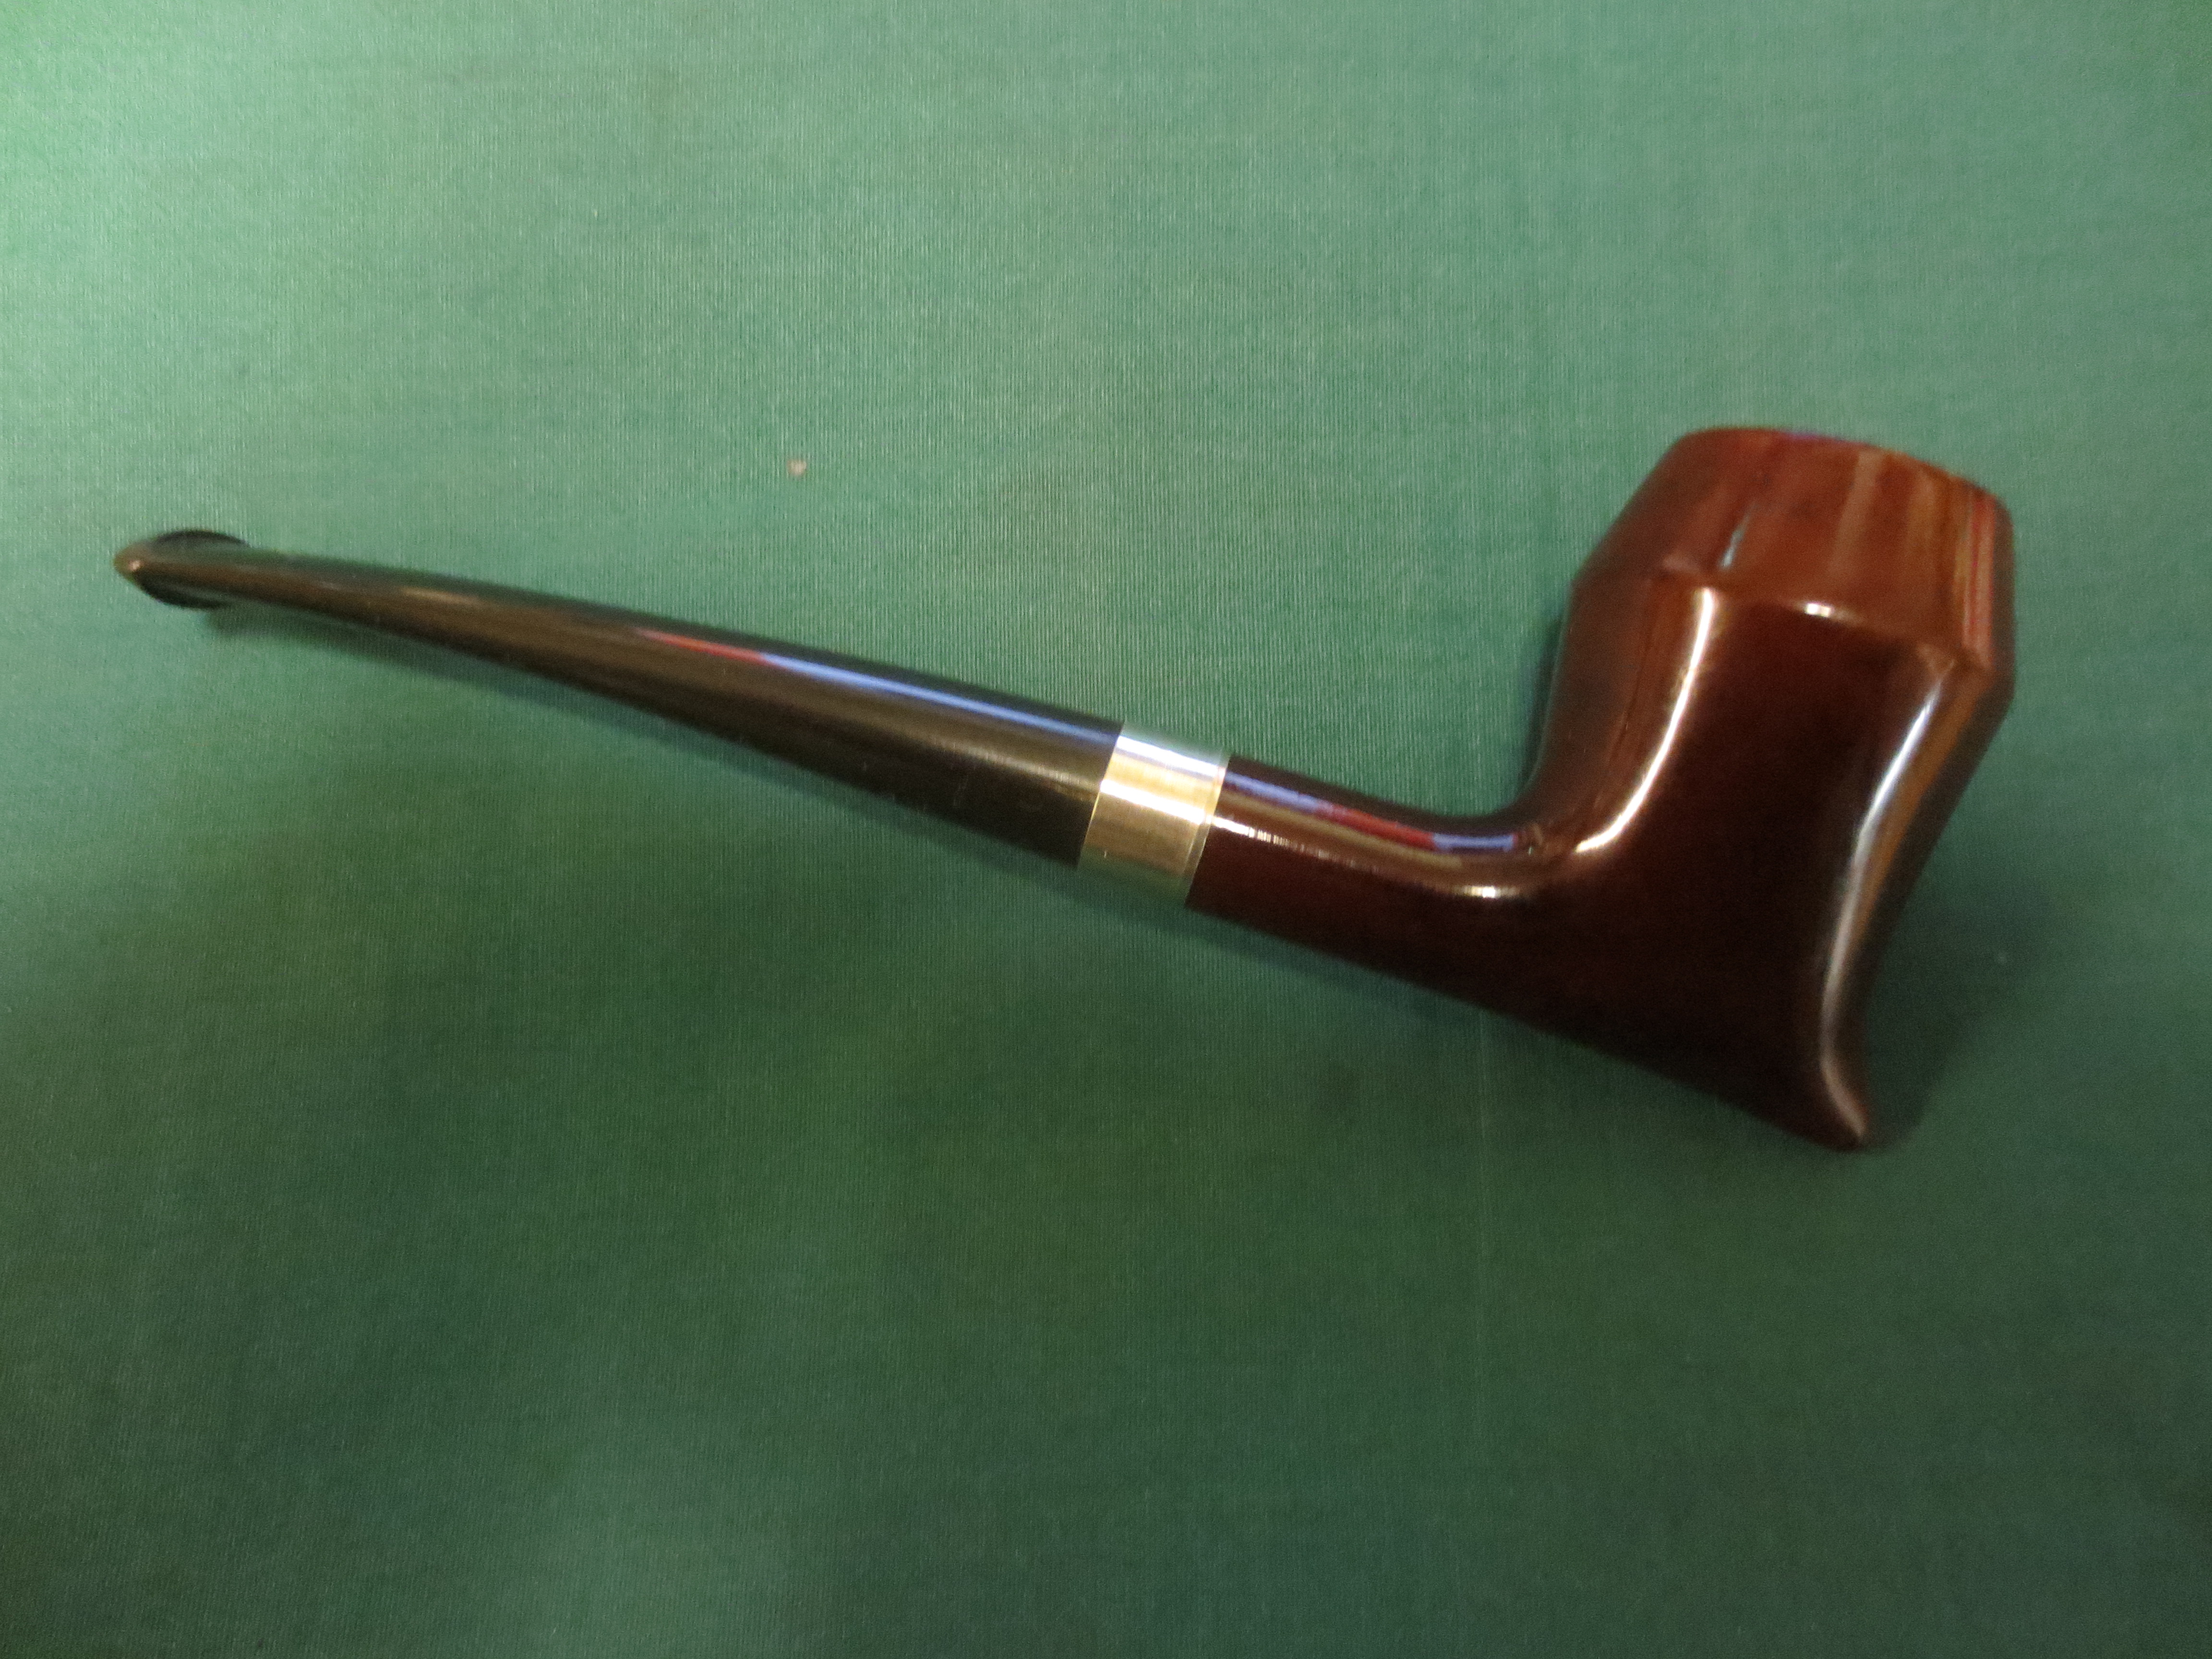
However, back to the Brylon pipe at hand. This bowl was an unusual shape and one that I had not seen before. It was smoked but clean. There was the beginning of a cake in the bowl so it would soon be a cool smoker as well. It was without a stem so I found one in my stem can with a slight bend that had the same diameter as the shank and sanded the tenon by hand with 220 grit sandpaper until it was a snug fit in the shank. It looked good on the pipe but there was still something missing when I sat back and looked at the pipe. I thought maybe a bit of bling would do the trick so I went through my nickel bands and found one that was the perfect size to press on the shank and not cover the stamping on the left side.

I heated the band with a lighter and then pressed it into place on the shank. Heating the band causes it to expand and slide on to the shank while it is still hot. Once the band cools it contracts and the fit is tight unmovable. I used a sharp knife to bevel the inside edge of the mortise to accommodate the new stem solidly against the end of the shank. IMG_8222 IMG_8226 IMG_8225 IMG_8223 The stem was one that I repurposed from another pipe and it looked like it belonged on the Spartan in my opinion. The slight bend looked good with the shape of this Brylon Spartan. The stem was oxidized and dirty but did not have any tooth marks of gouges. Once I had the pipe banded I pushed the stem into place and took the photos below. IMG_8228 IMG_8231 IMG_8230 IMG_8229 I removed the stem and sanded it with 220 grit sandpaper followed by a medium and a fine grit sanding sponge. For me this step always cleans up the stem and allows me to deal with subtle reshaping of the stem. In this case the reshaping was minimal but I did some work on the underside to give it more of an arc than originally was present. I sanded until the scratches and oxidation was removed from the stem. It was clean and the flow and angles were what I was looking for. Then I sanded with micromesh sanding pads – wet sanding with 1500-2400 grit pads and dry sanding with 3200-12,000 grit pads. I rubbed the stem down with Obsidian Oil between each set of three micromesh pads. Since Brylon is plastic like I decided to also sand the Brylon bowl to remove some of the scratches and smooth out one small nick in the surface of the bowl. Each successive grit of micromesh gave the finish a deeper shine and the contrasts in the Brylon surface began to stand out. IMG_8240 IMG_8243 IMG_8241 When I had finished sanding the bowl and the stem I buffed them with White Diamond and then gave the pipe several coats of carnauba wax. I polished it with a soft flannel buff to give a shine. In retrospect, I think that Brylon must be pretty indestructible and I figure I could have just thrown the pipe in the dishwasher to sanitize it. I am sure it would not have caused the least bit of damage. The finished pipe is shown below. It is cleaned, has a light cake and is ready to be fired up with an inaugural smoke. Who knows I might even like it enough to keep it around as a yard pipe. IMG_1677 IMG_1683 IMG_1682 IMG_1678

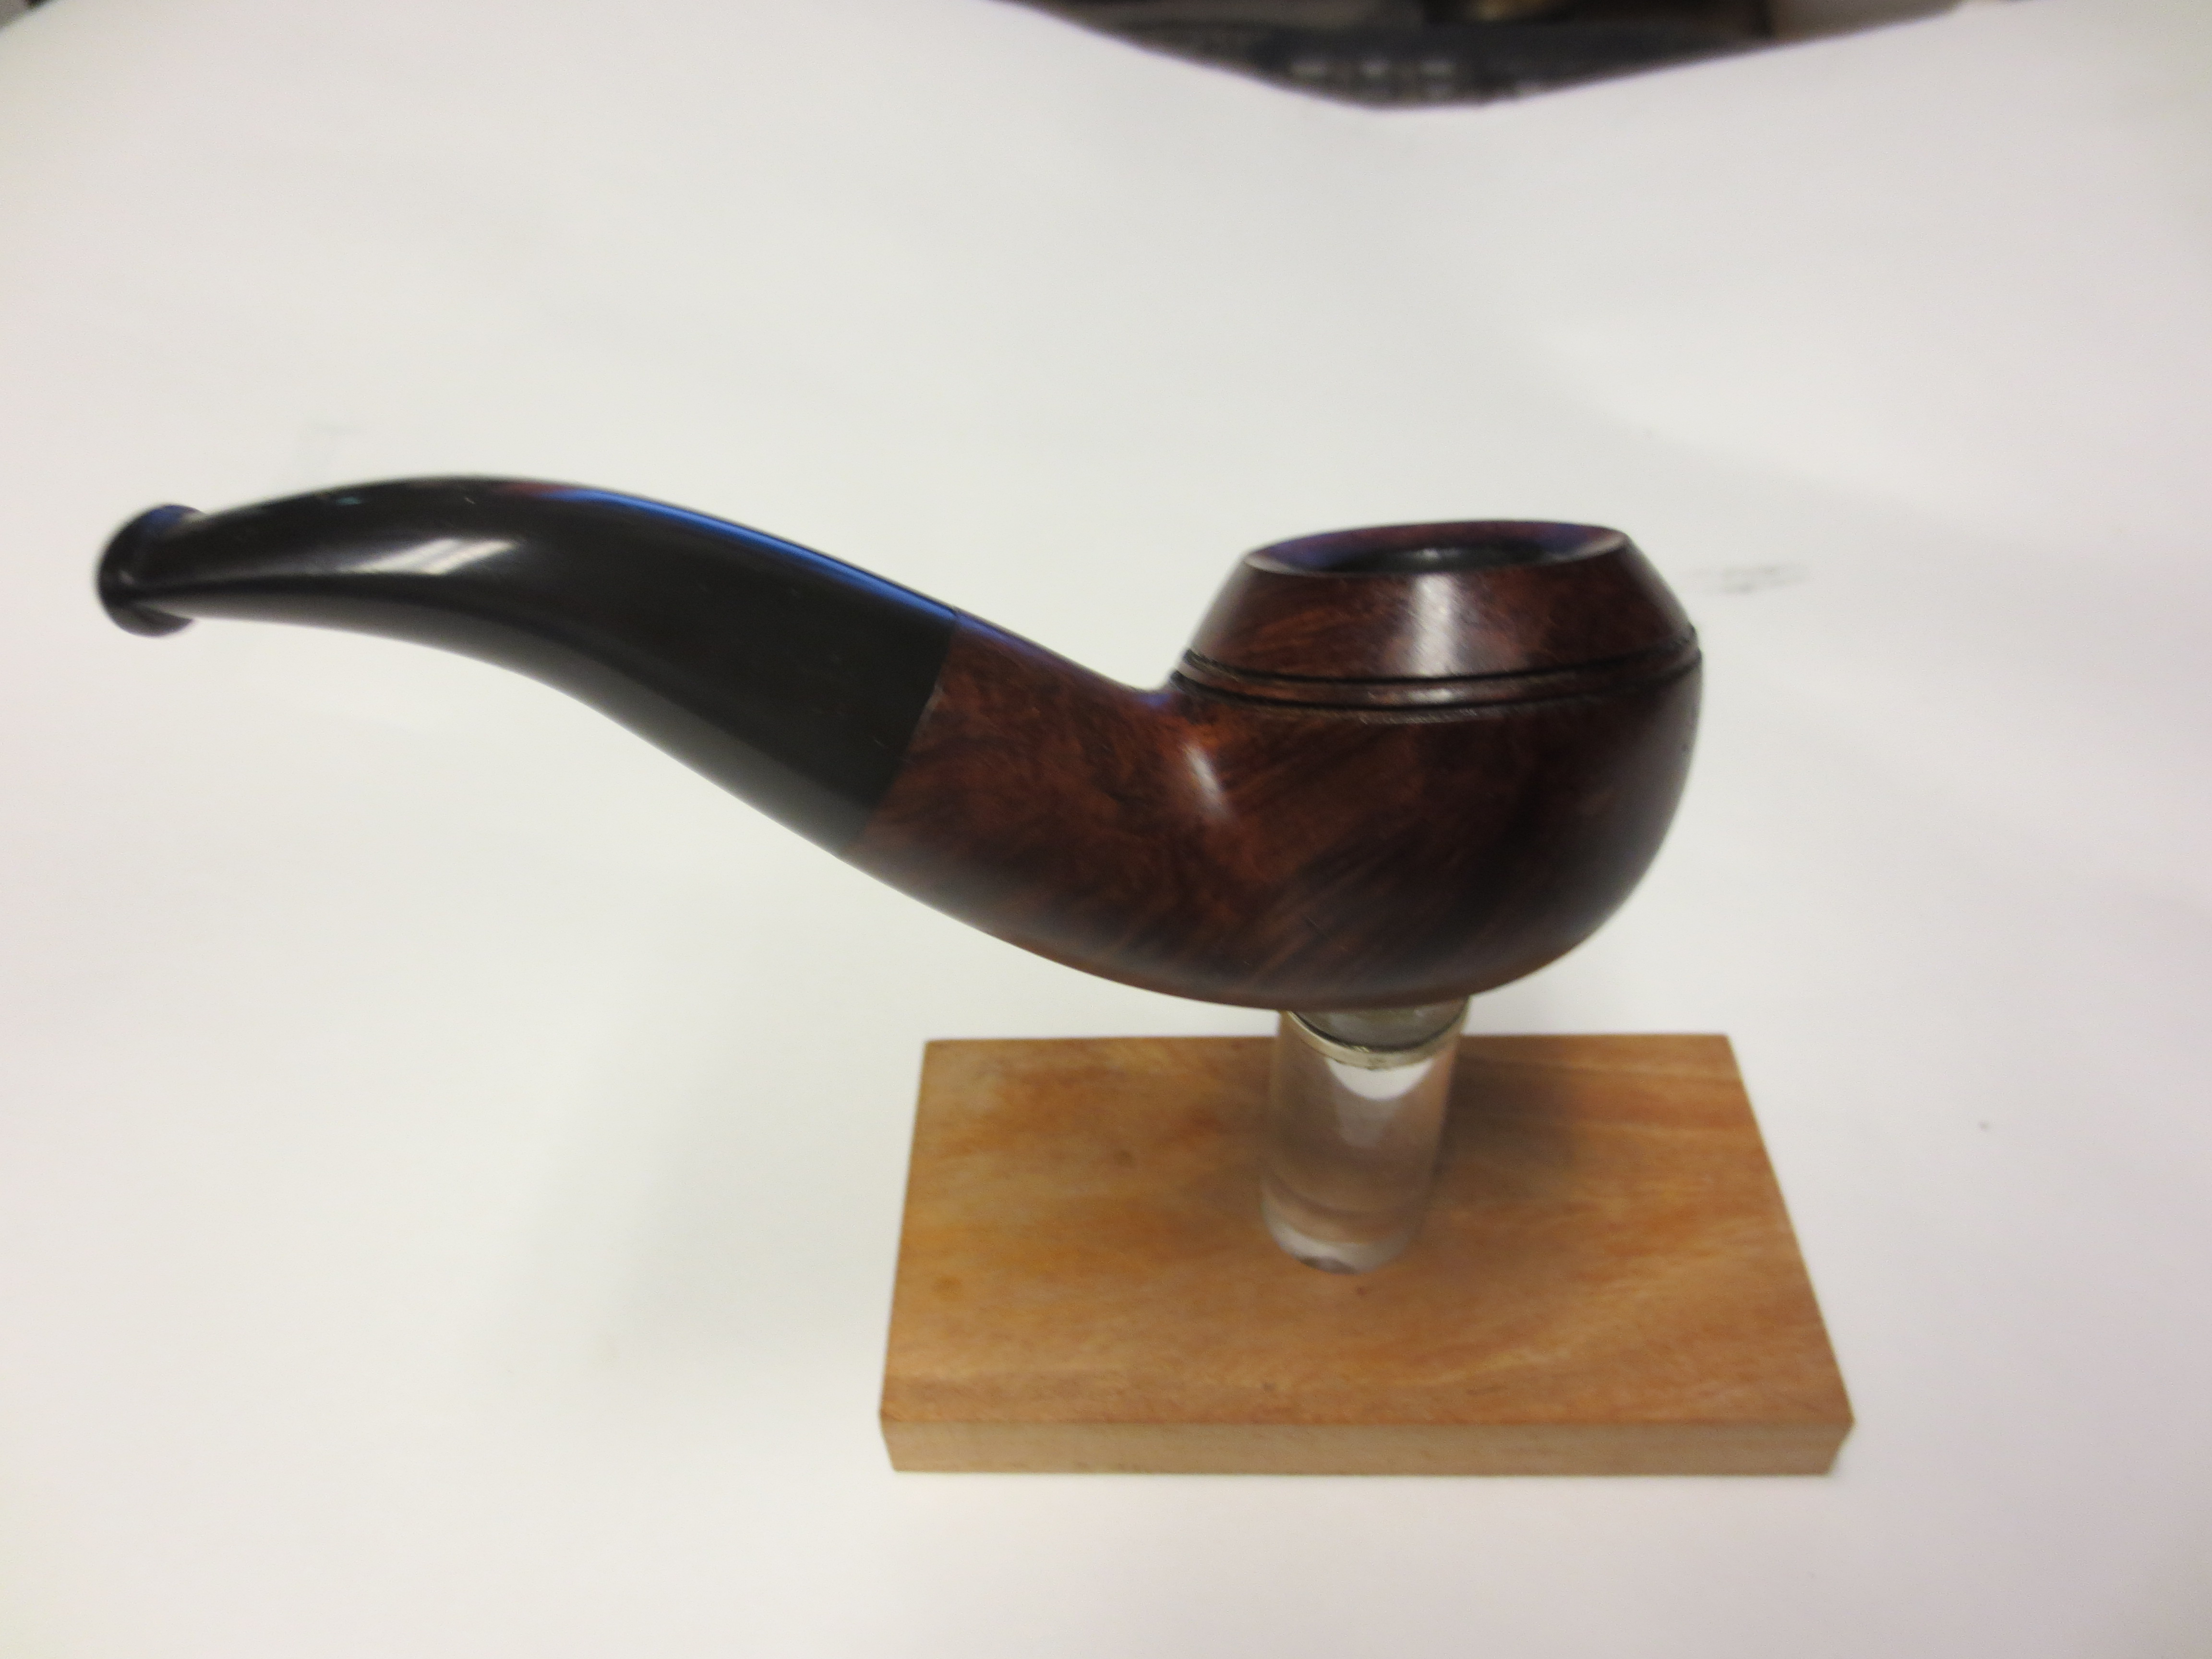
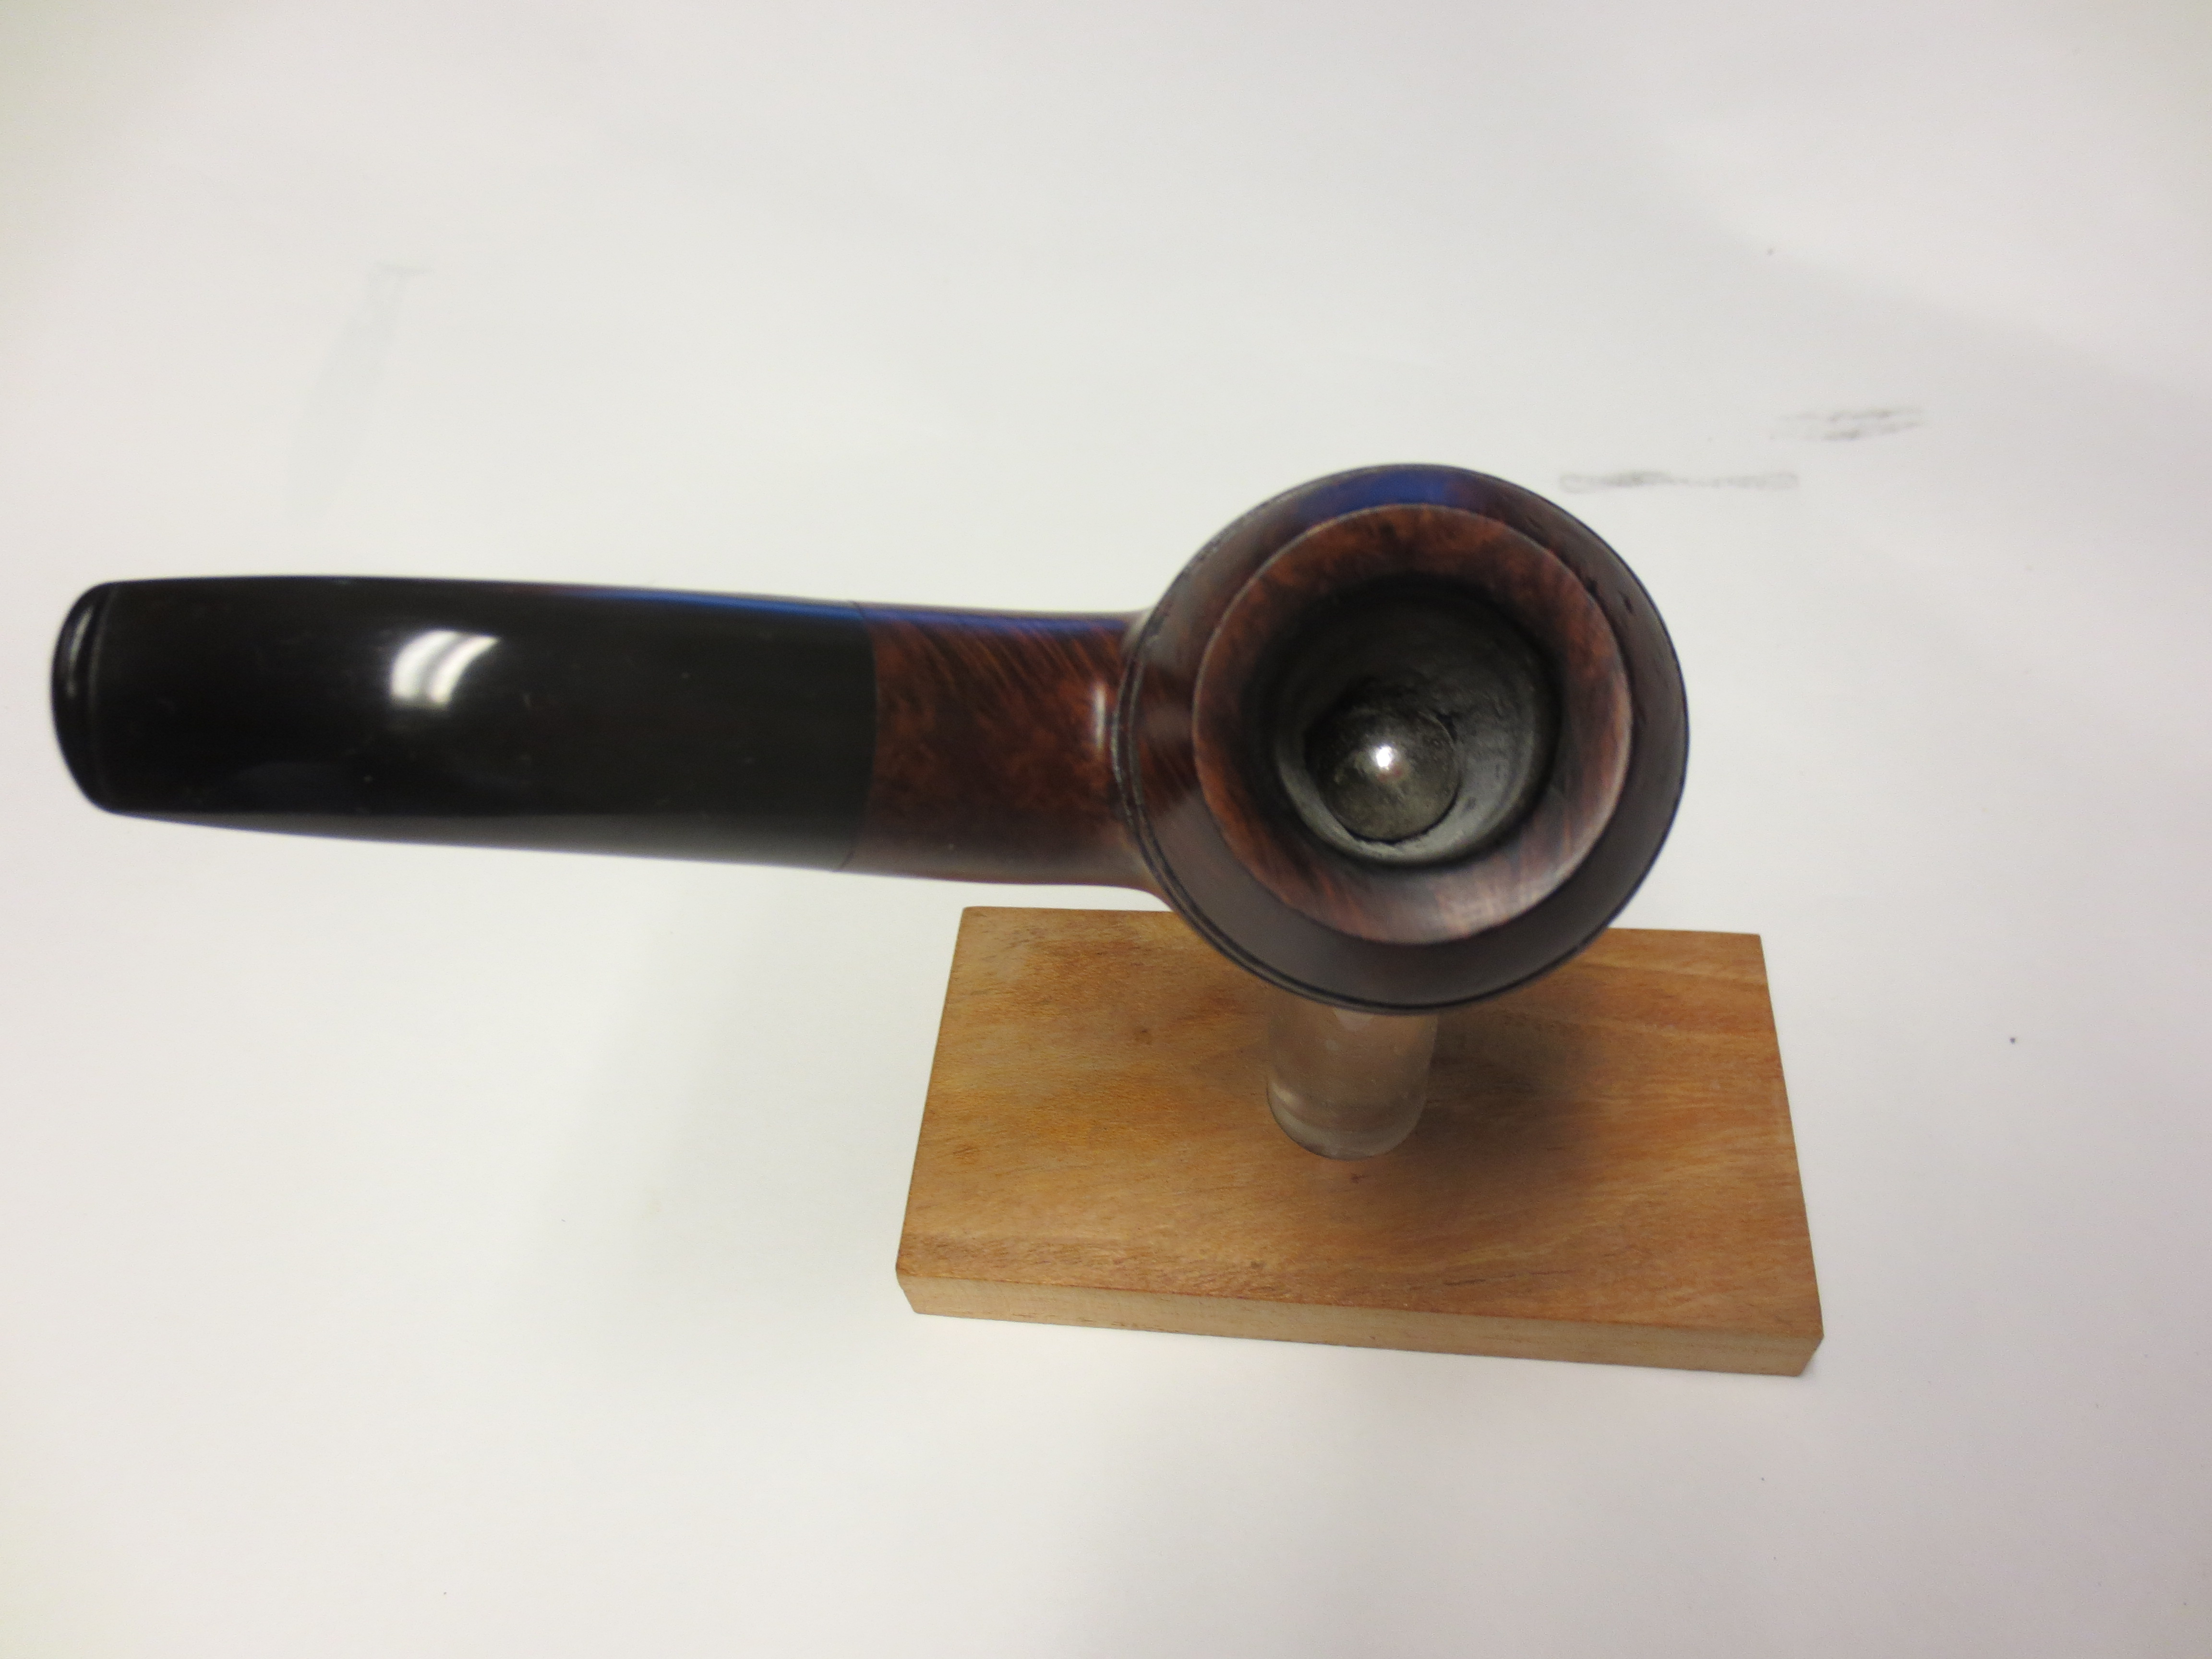
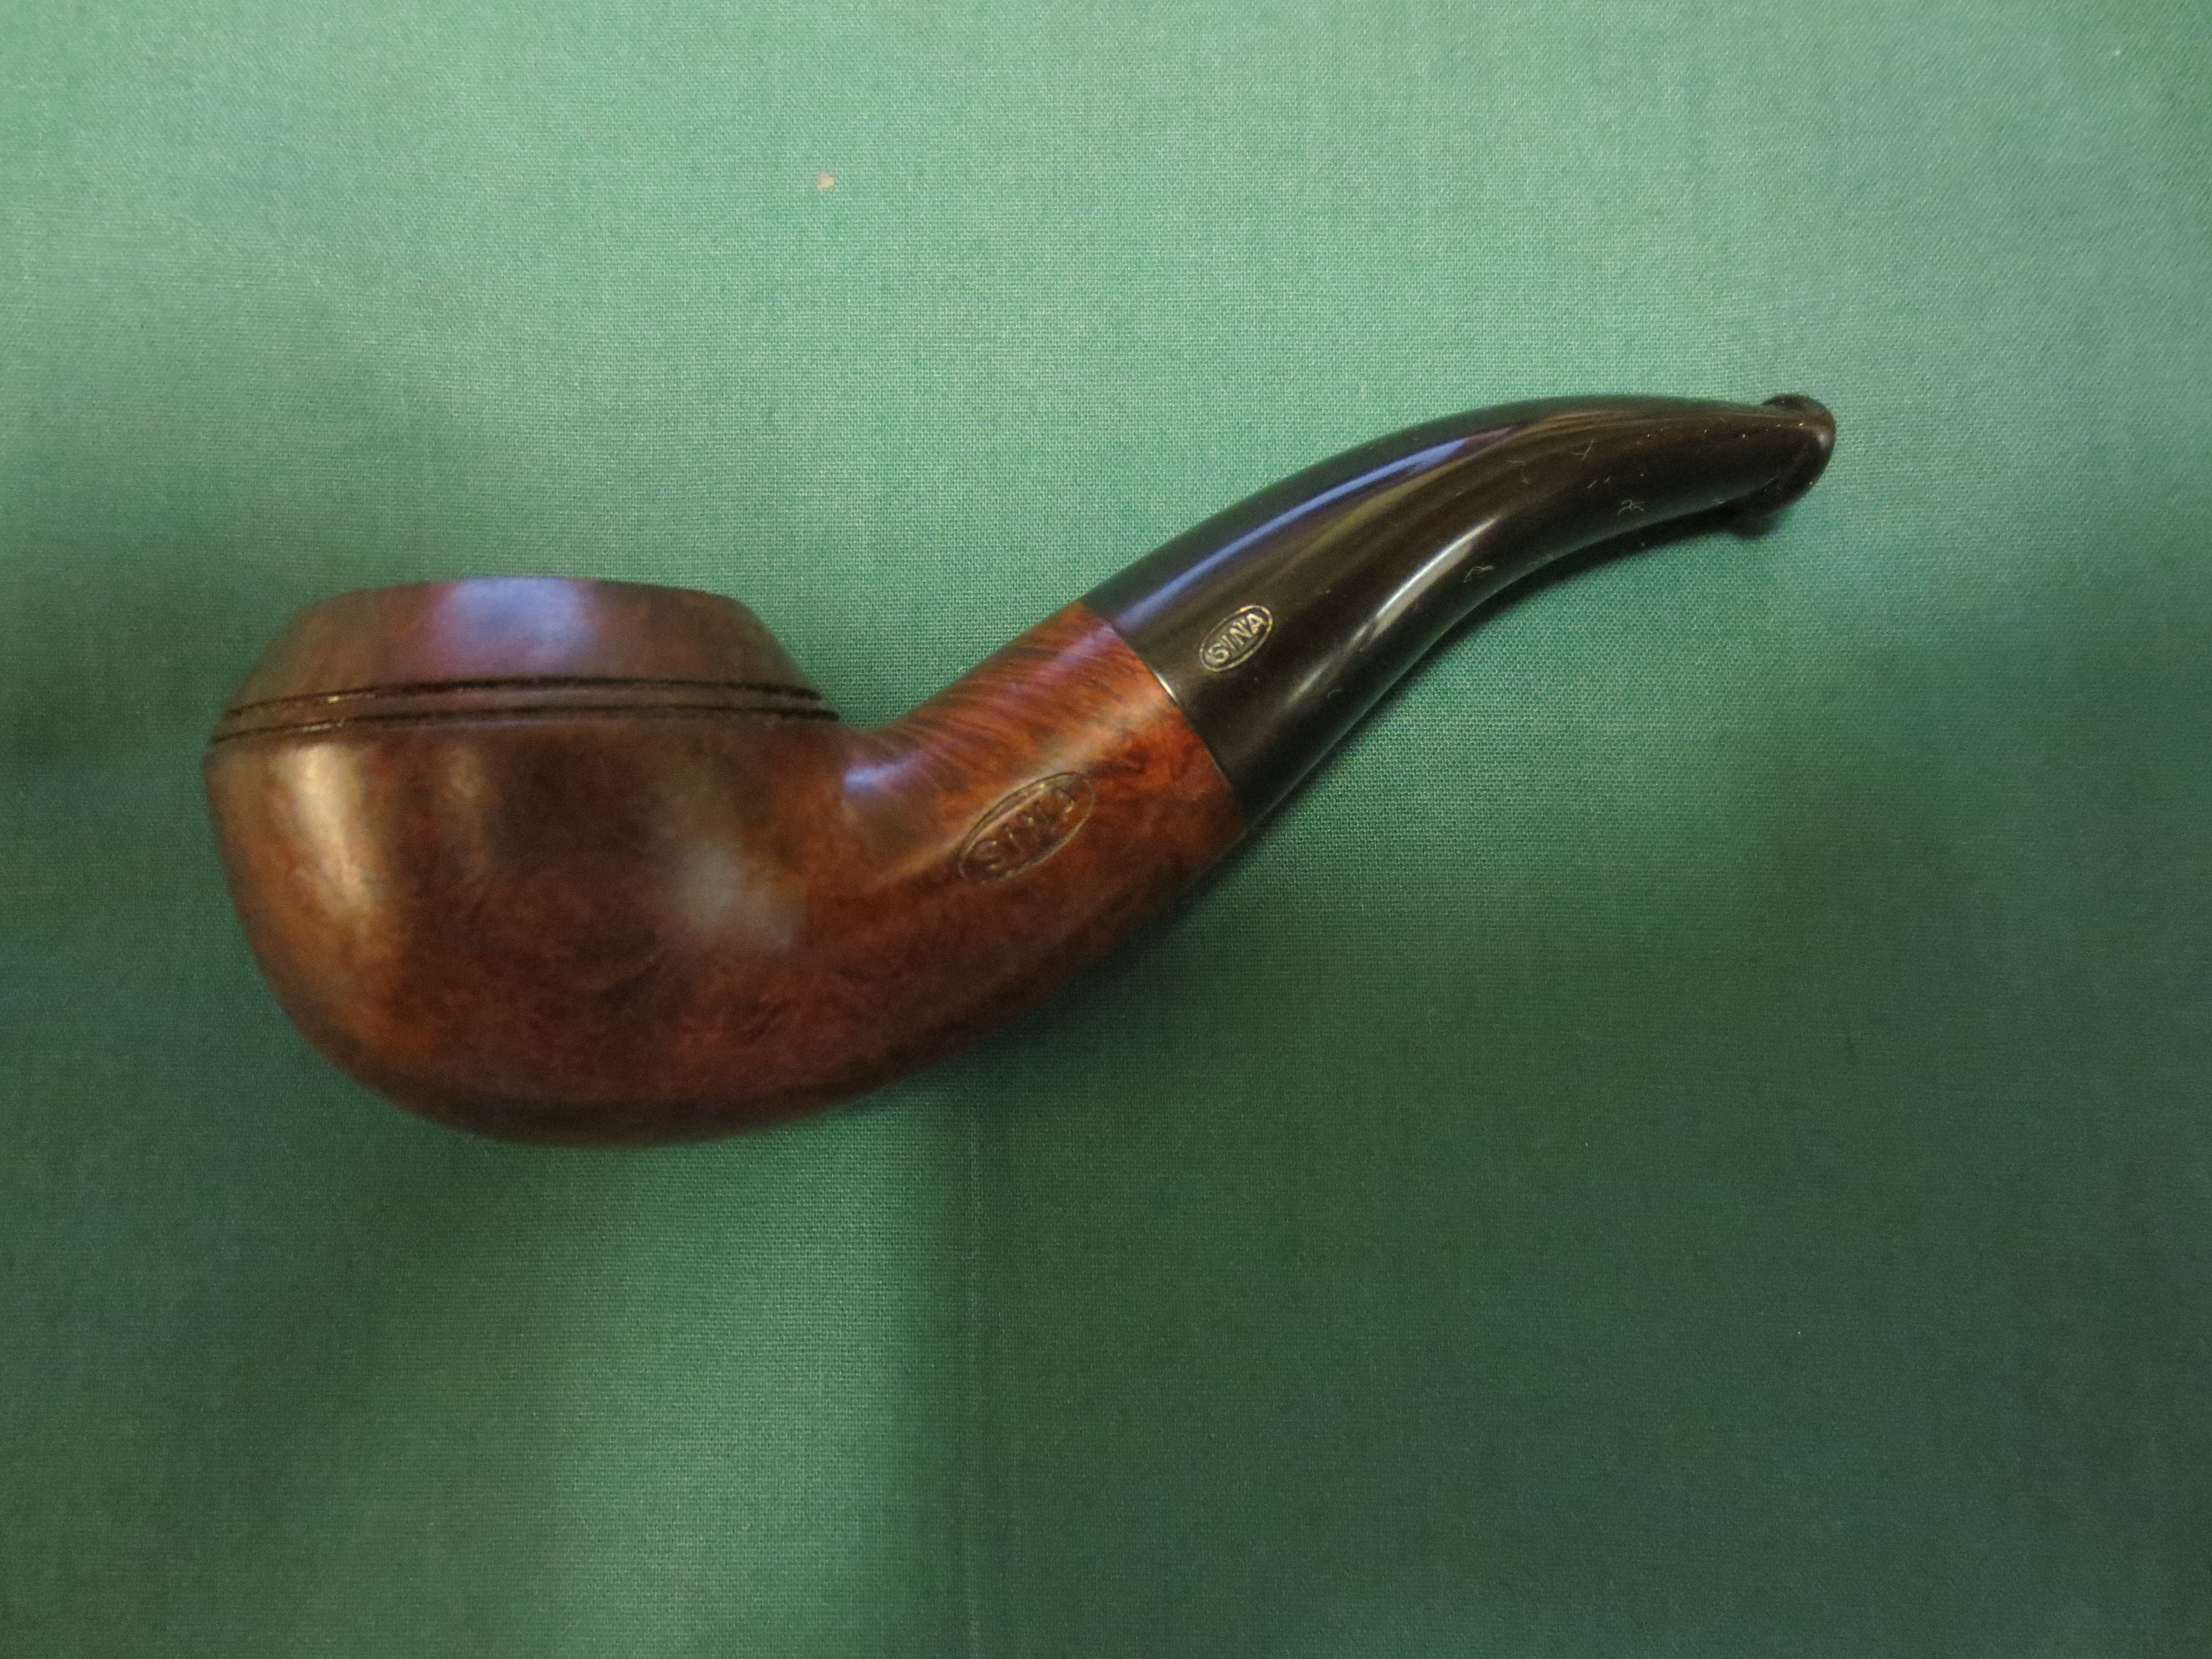
Giving New Life to a SINA Rhodesian


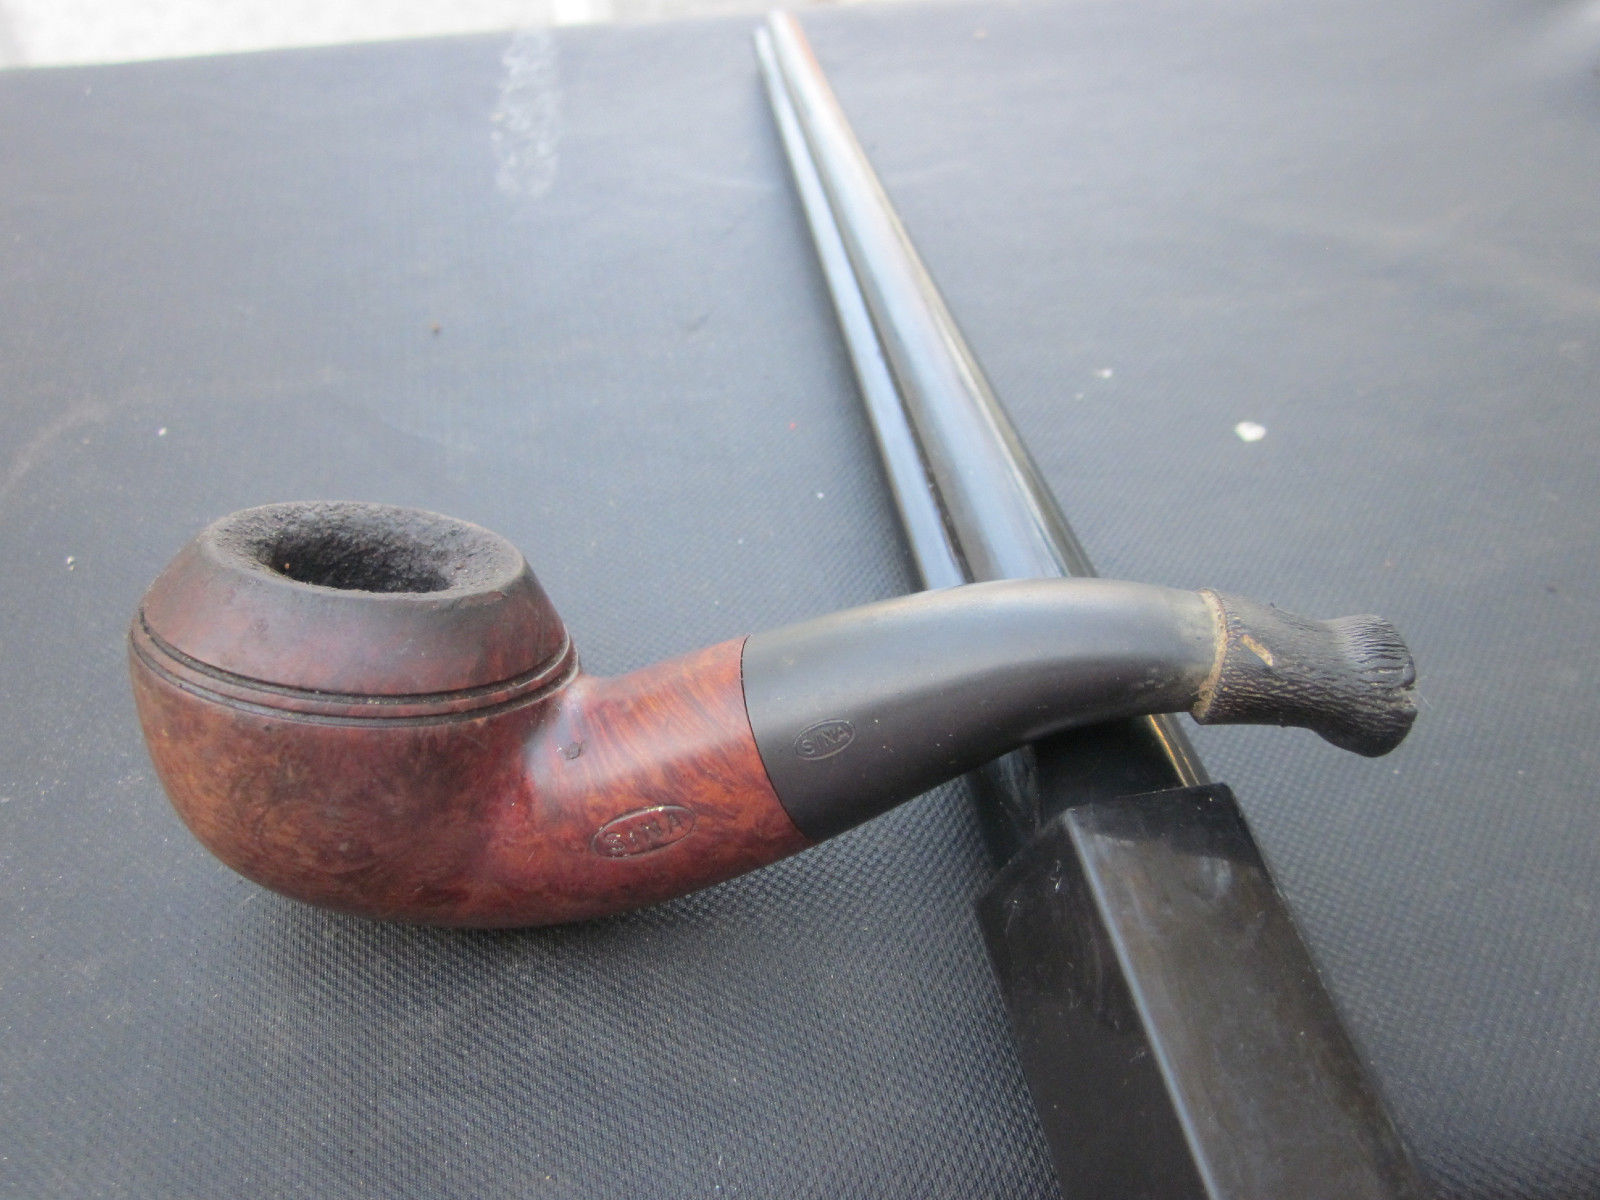
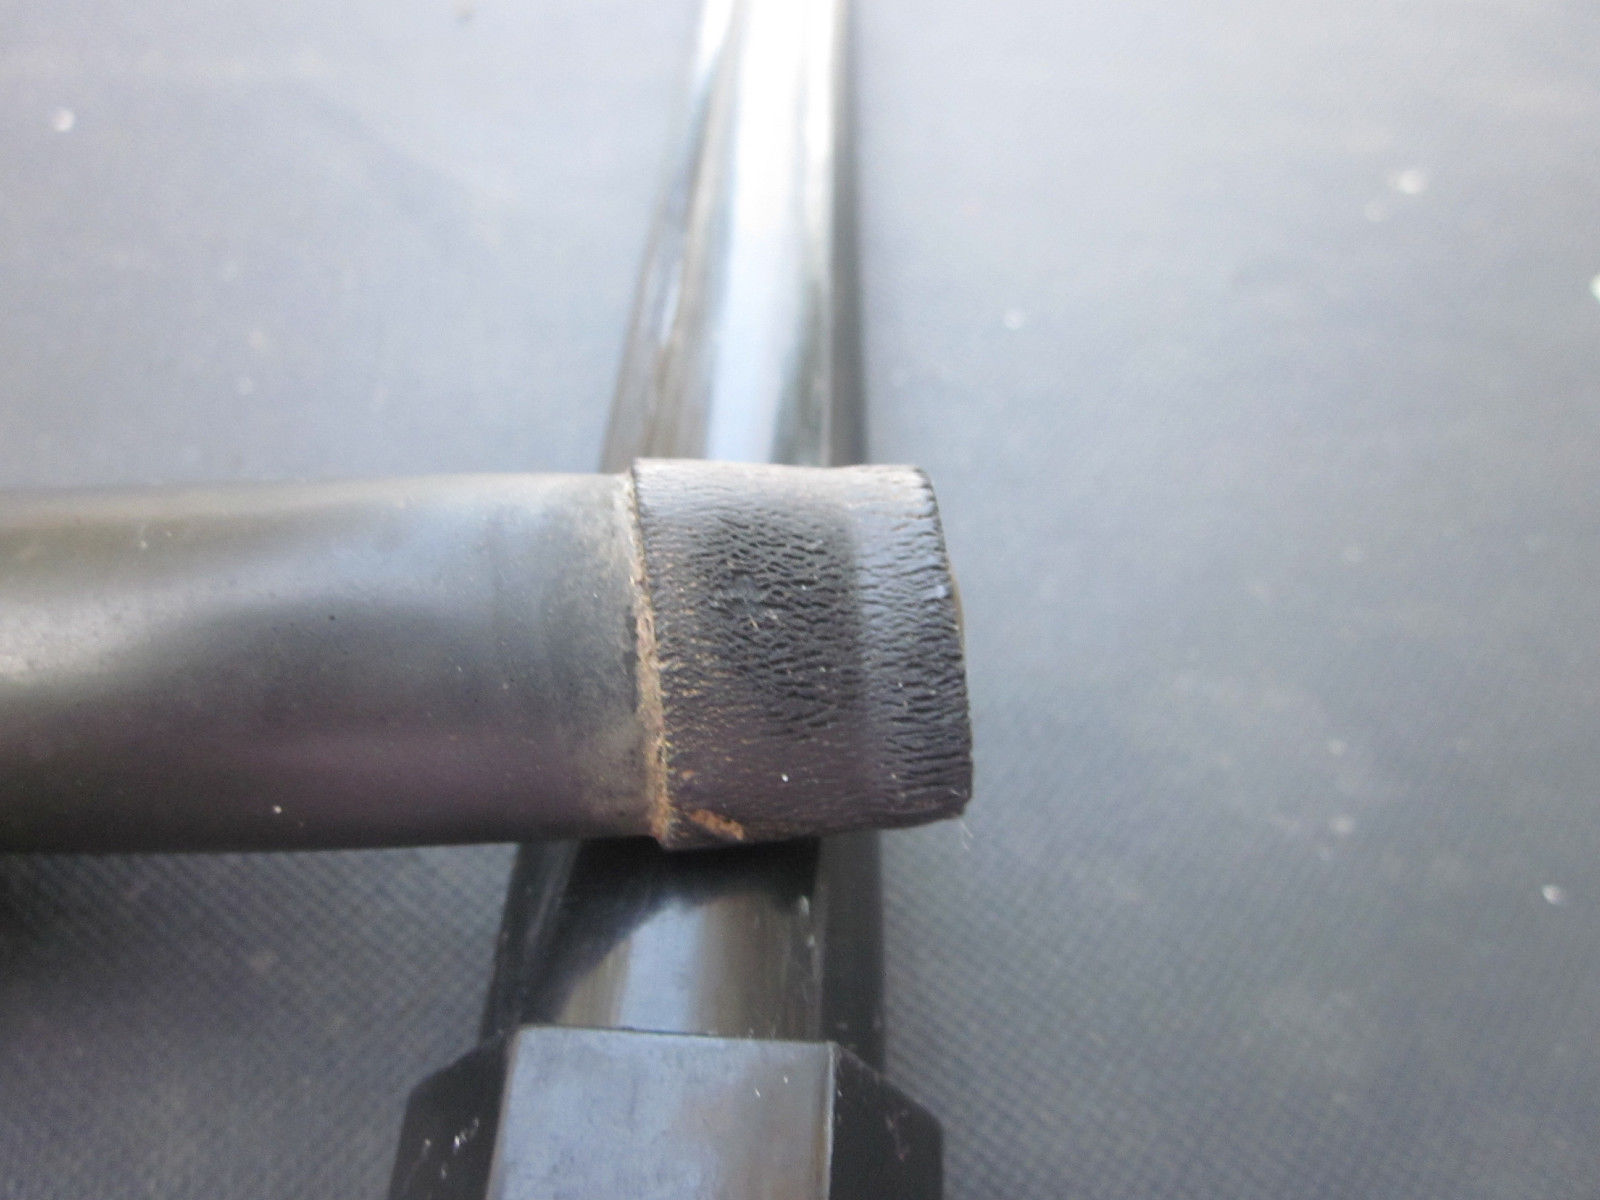
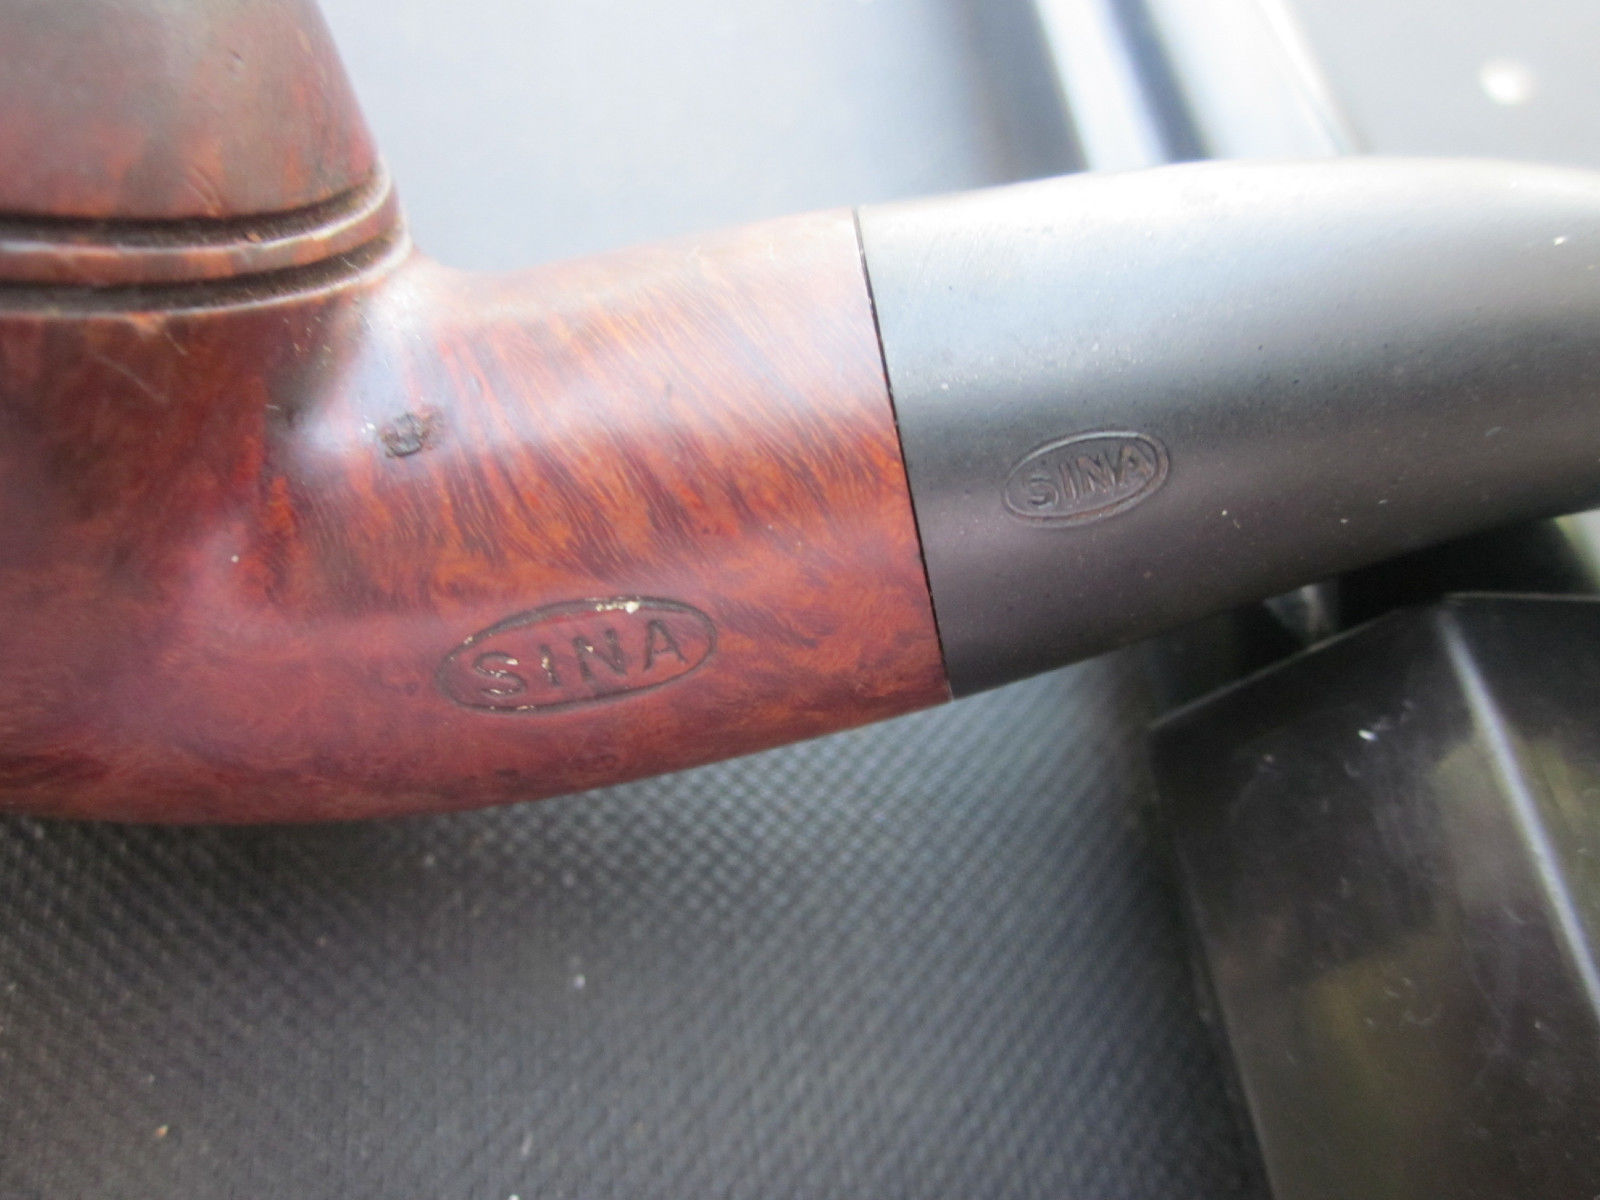
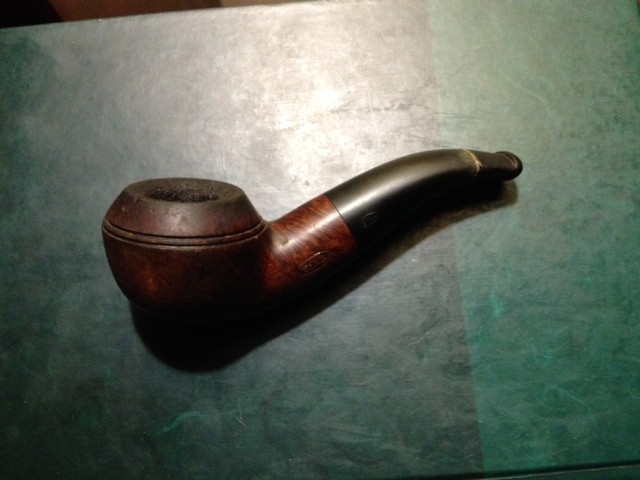
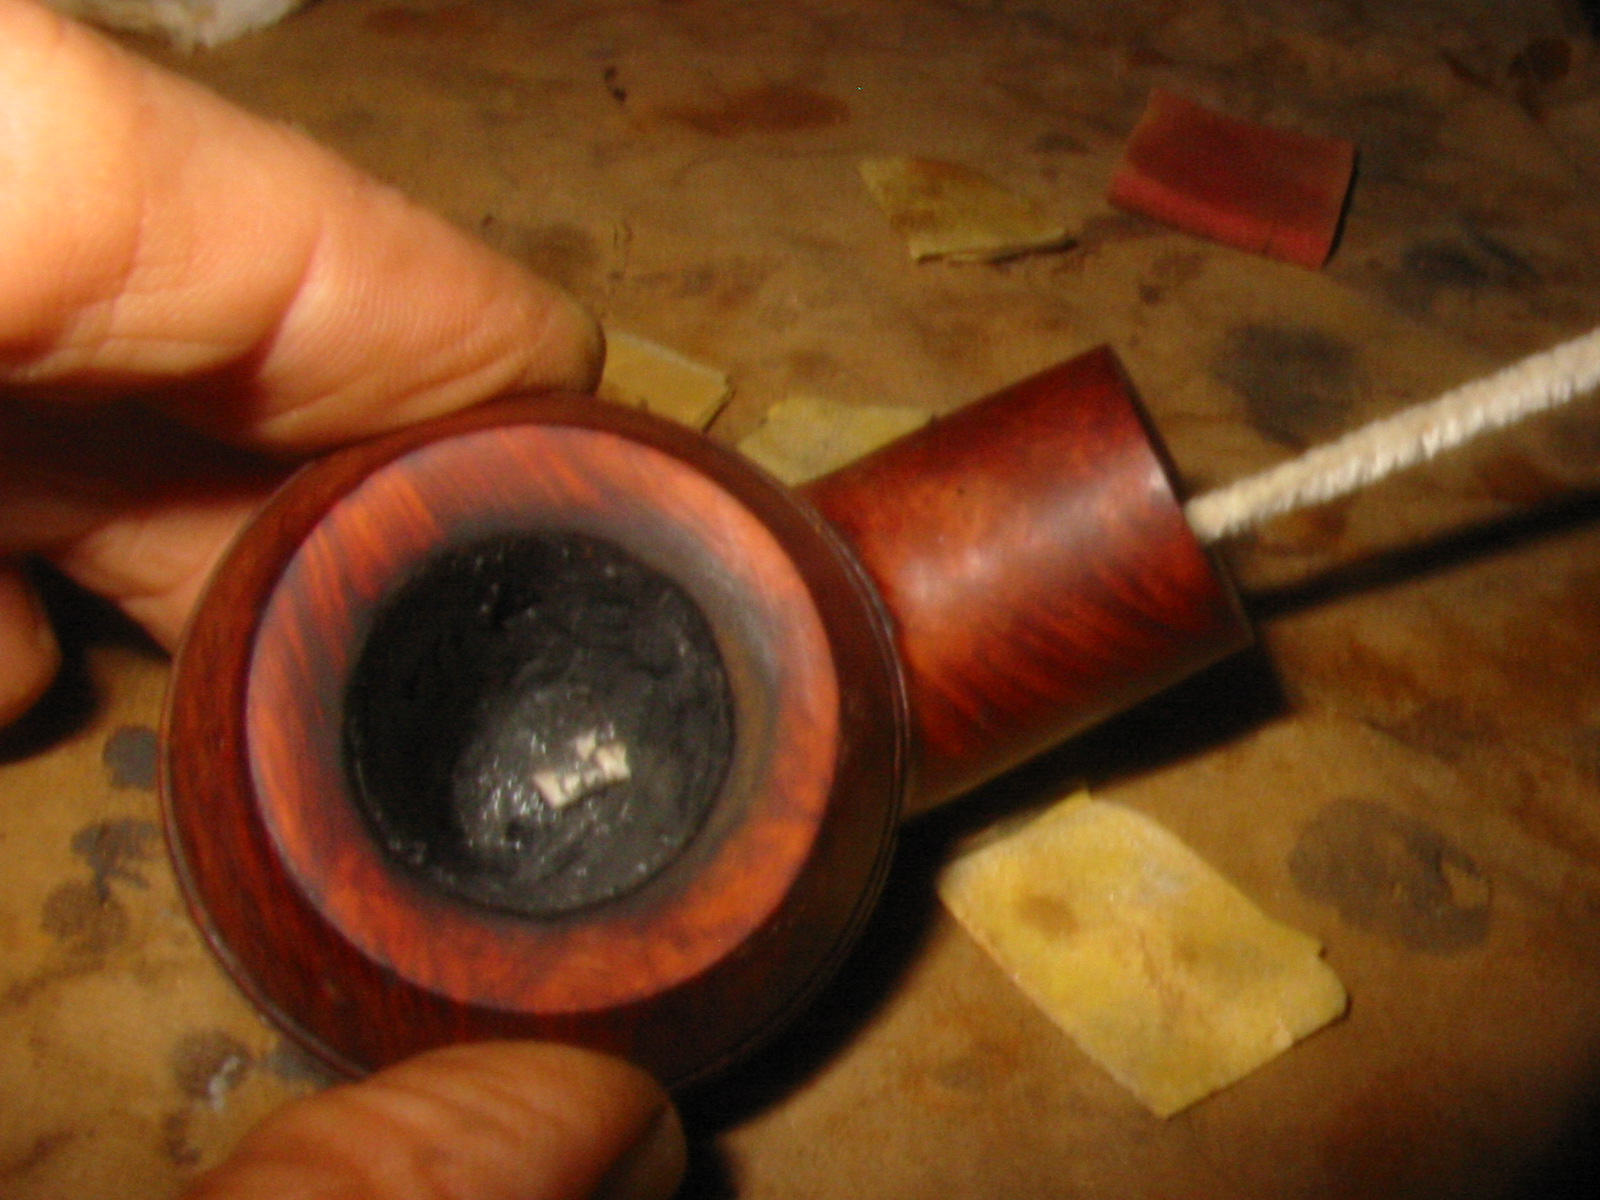
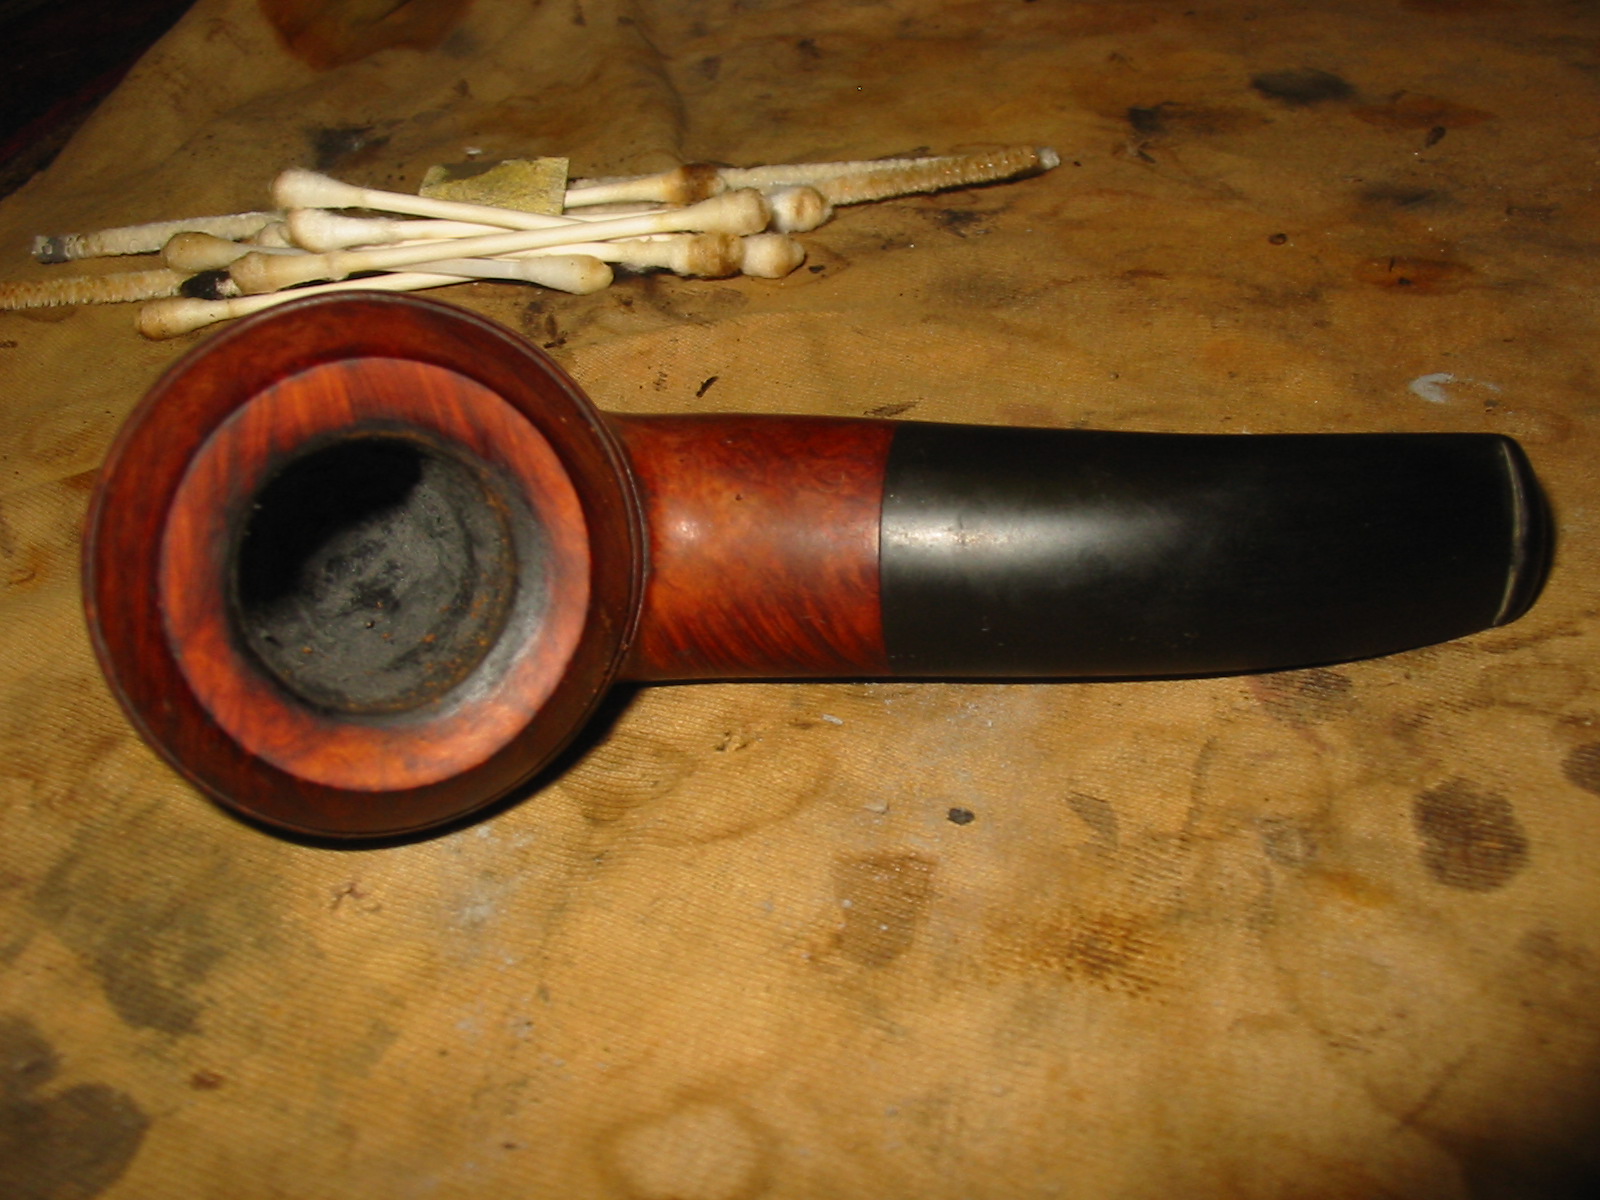
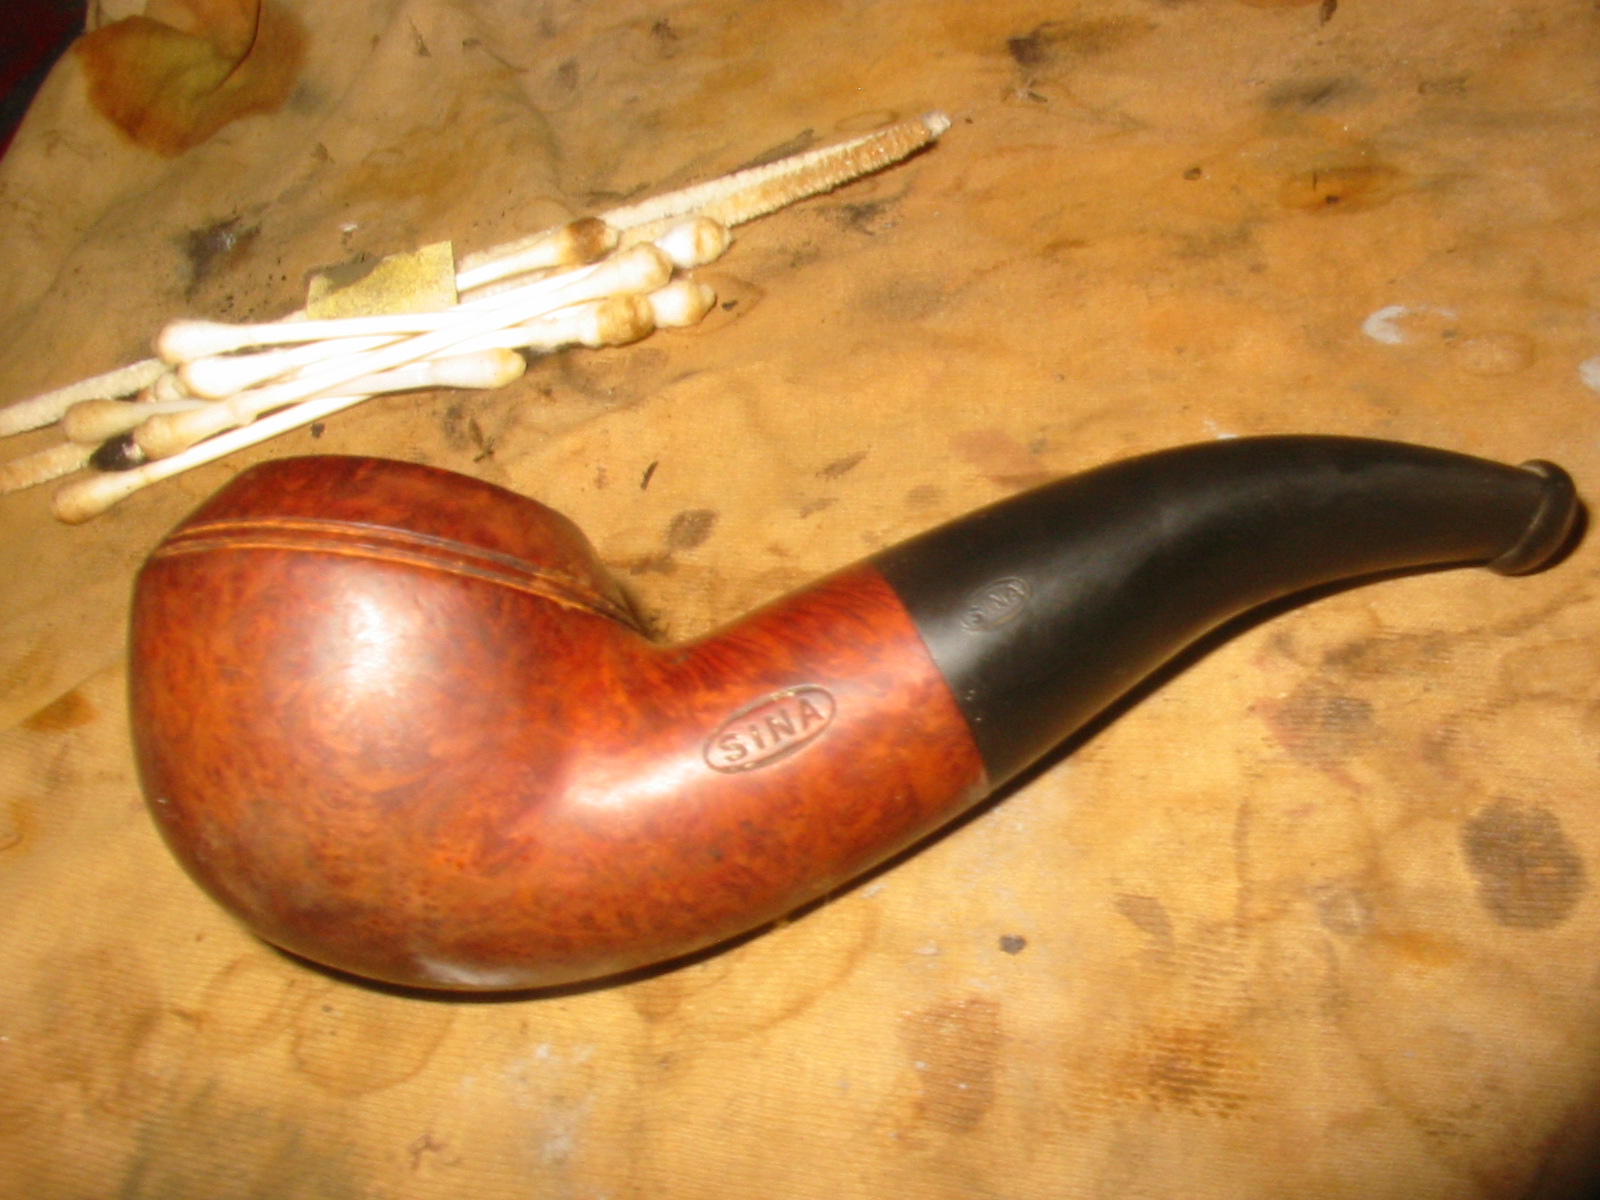
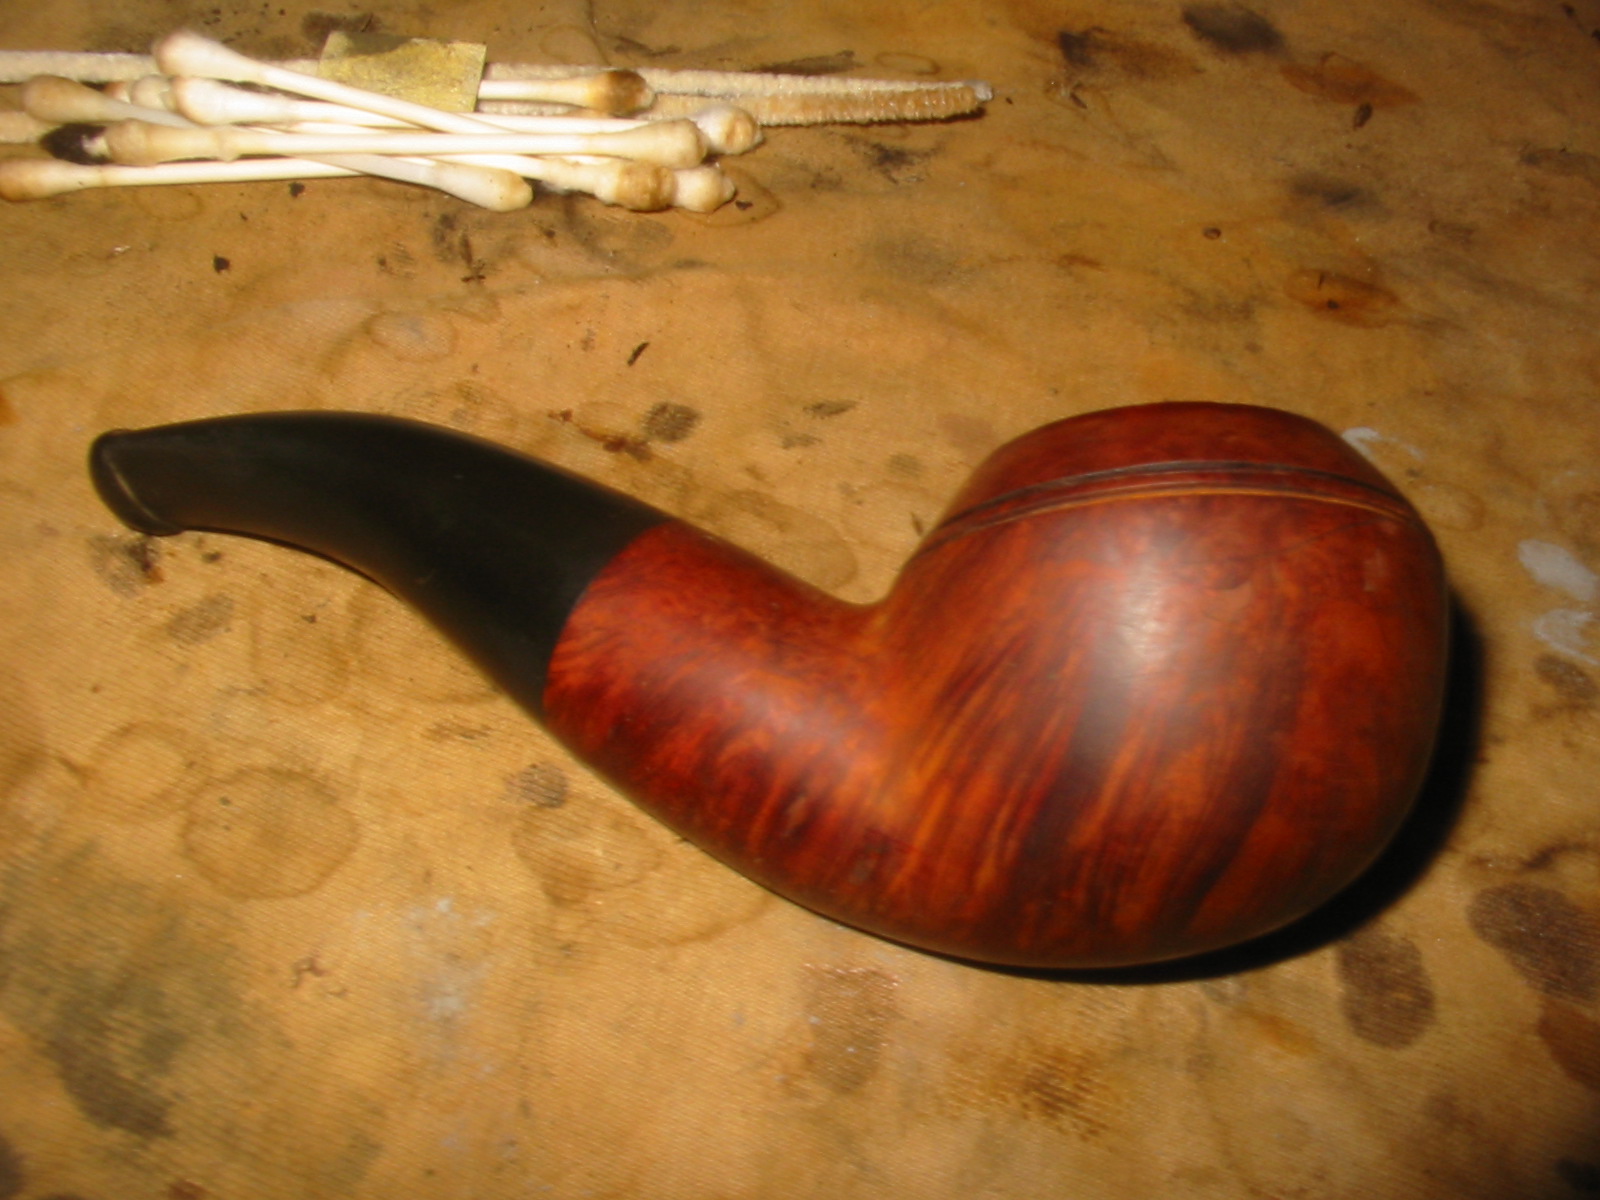
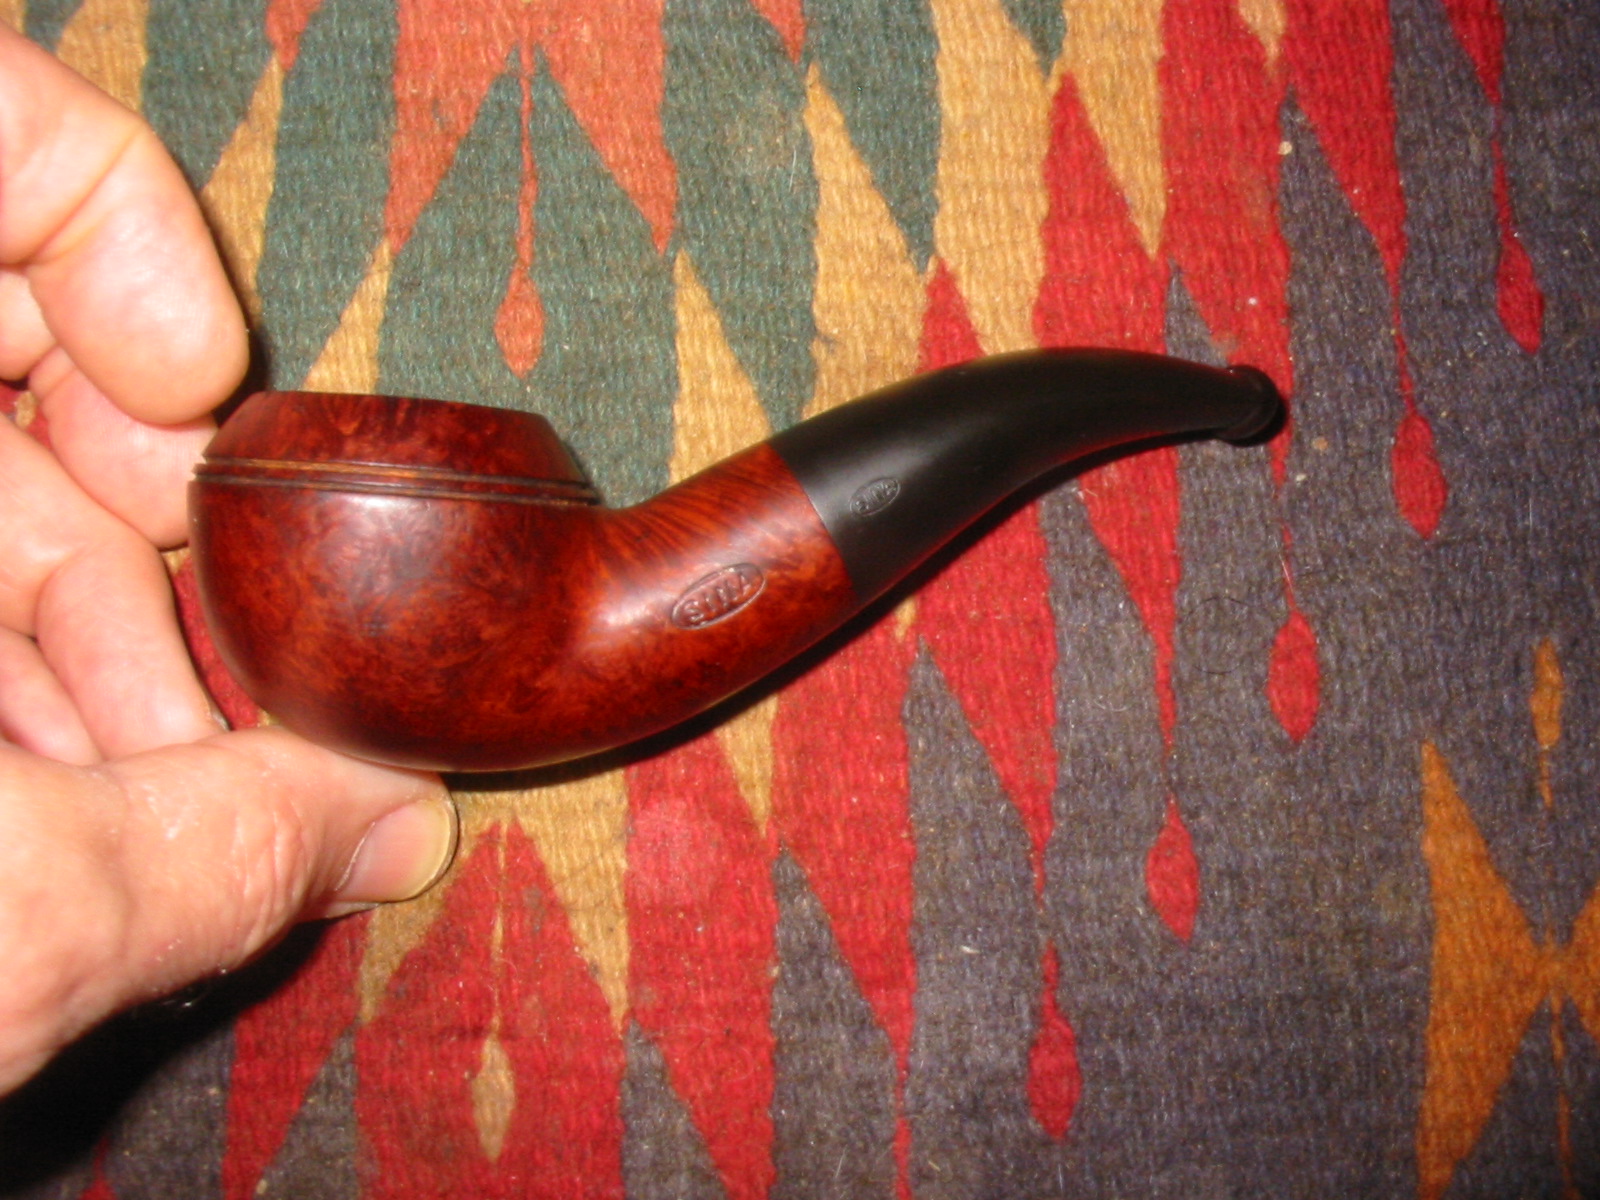
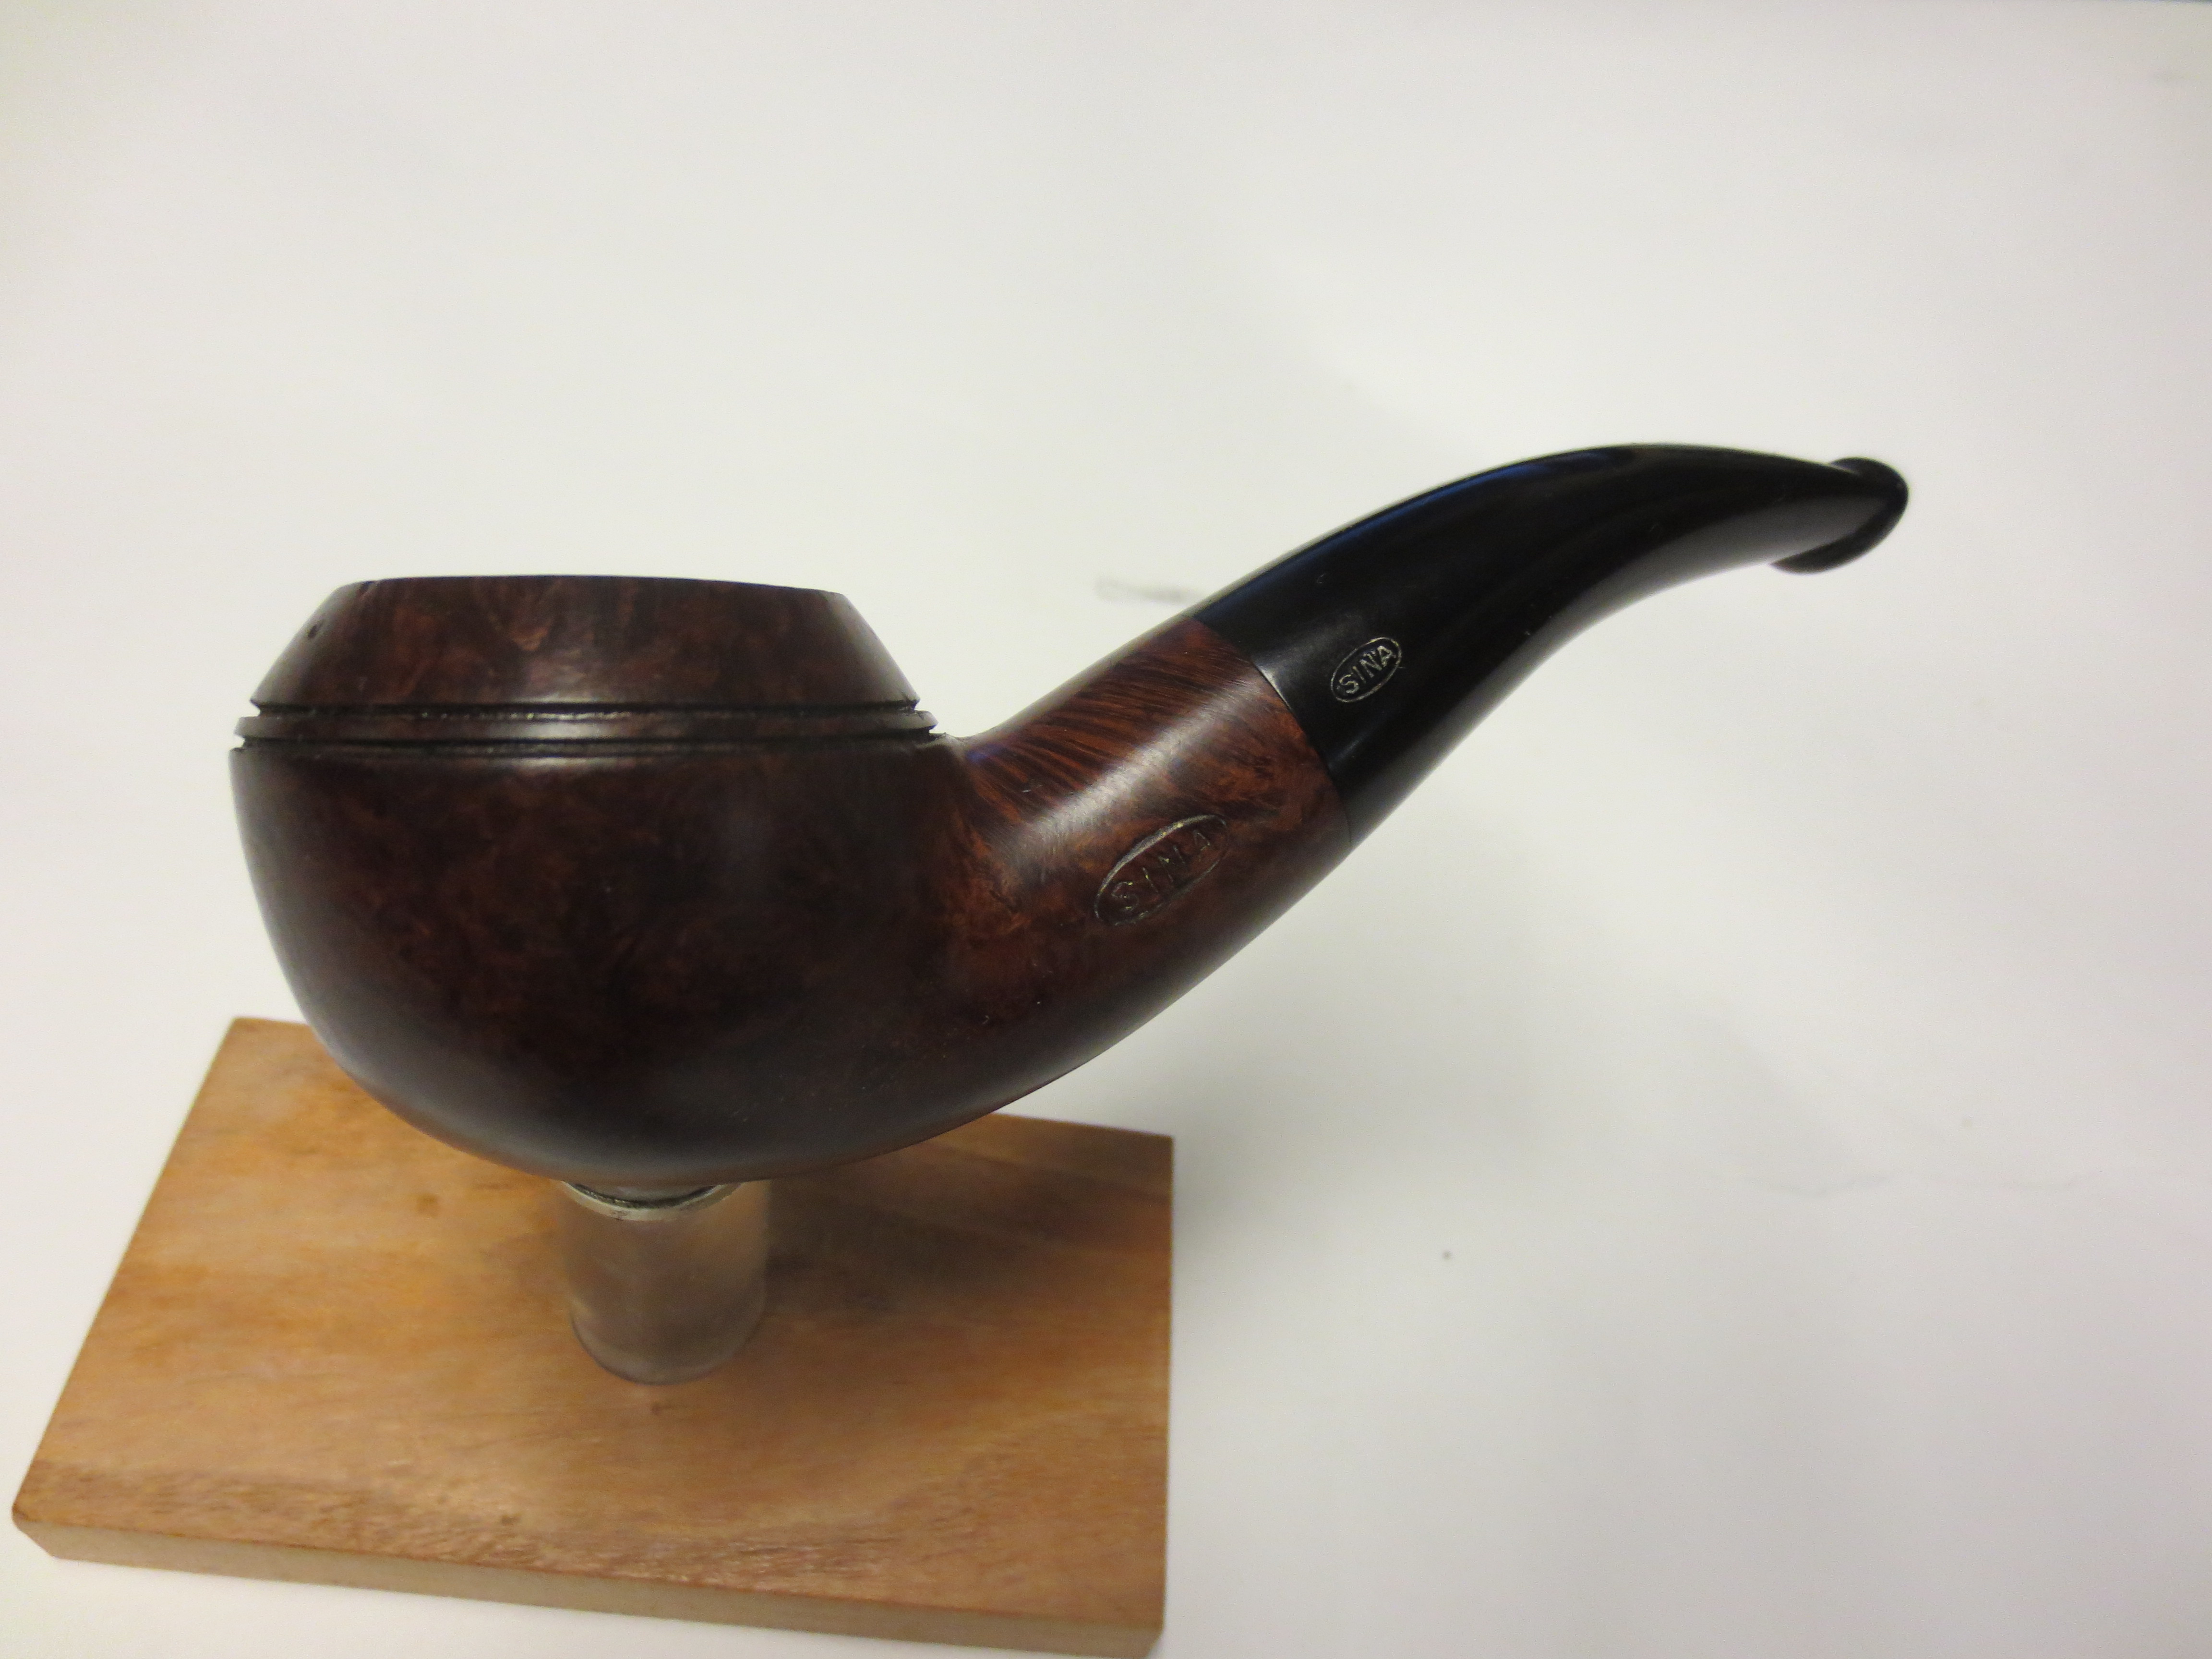
When I first saw this old Rhodesian on Ebay I wanted it. It had the look of GBD 9242 but was chunkier than normal. I have had the 9242 on my wish list for a long time and have missed many over the years on Ebay. But this one seemed to be under the radar. It was stamped SINA on the shank and the stem and France on the underside of the shank near the stem. It looked to be in rough shape in terms of cake and finish. The stem looked oxidized and the rubber bite guard looked positively ancient. I watched the pipe for several days and there was no action so I bid a low-ball bid on it. No one else bid until the last two hours. Then there was some hot action between one other bidder and myself. I threw the top price I was willing to pay for the pipe in and sat out the auction to see what would happen. I won the pipe and only had to wait to receive it. The seller sent it out on a Friday from New Jersey in the US and it arrived in Vancouver, Canada on Tuesday. I was very surprised when I came home to find that it was already here. The photos below are from the seller. They give an accurate portrayal of the condition of the pipe. Sina1 Sina2 Sina3 Sina4 The photos showed that the condition of the pipe was rough. The cake build up on the rim was like rock. The finish was worn and had hardened pieces of tobacco stuck to the finish. The outer edge of the rim was actually still in good shape and the bowl was still round. The inner edge looked to be fine under the grime. The double ring around the bowl was in fair shape with some small chipping on the bottom edge of the ring. It was minor and would definitely clean up. The grooves of the rings were filled with grit so that they were almost the same height as the rest of the bowl surface in some places on the pipe. There were some fills on the side of the bowl and shank but they were hard to see under the grime. The shank was dirty and the stem did not fit flush against it due to the buildup. The stamping was crisp and showed white paint on both the shank and the stem. There was an ancient fossilized rubber bit guard on the end of the stem so I was hoping that it had protected the stem from damage.

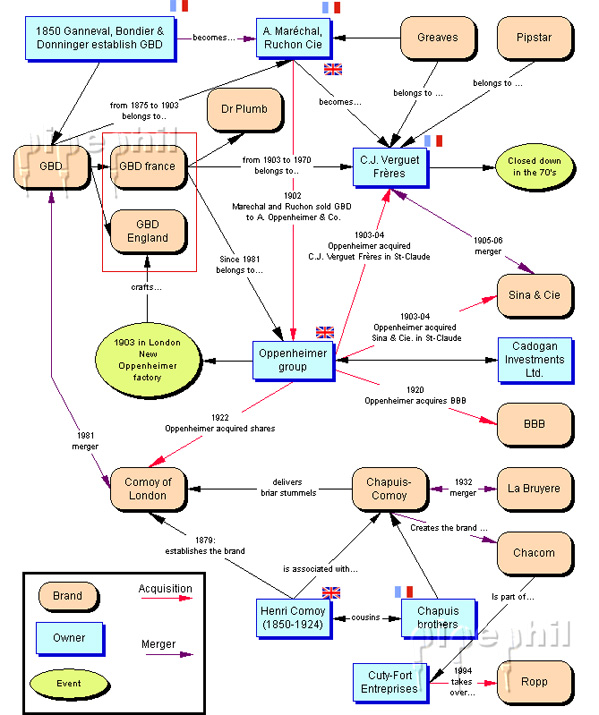
I did a bit of research to find out about the maker of the SINA pipe. I looked on Pipephil’s site and was able to find out that there was indeed a connection to GBD. The connection was with the French branch of GBD. Noname From the screen capture above you can see the two links under the photo on the left. The first connects the pipe to the Marechal Ruchon & Co. factory that made GBD pipes. They eventually sold out to the Oppenheimer group. The French brand was also connected to C.J. Verguet Freres and to Sina & Cie which were sold to Oppenheimer in 1903-1904. In 1905-1906 Oppenheimer merged the two companies. The accompanying chart gives an overview of the twisted trail of the GBD brand and its mergers and sales. The chart also comes from the Pipephil site and was the second link under the above photo. GBD Pipe Connections Armed with that information I knew that the pipe was made before the 1905-1906 mergers. This also fits well with the thick hard rubber stem and the shape of the button and orific opening. The thick shank also fits well with the period as the 9242 shape thinned down considerably in the later years of manufacture. I really like the shape and style of this era of pipe history so this one would be a pleasure to clean up.

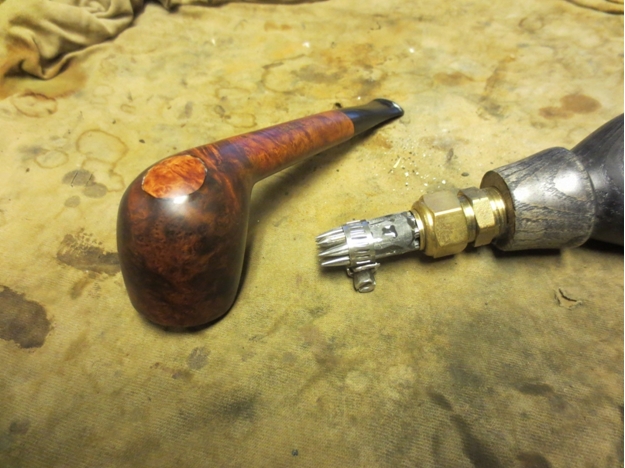
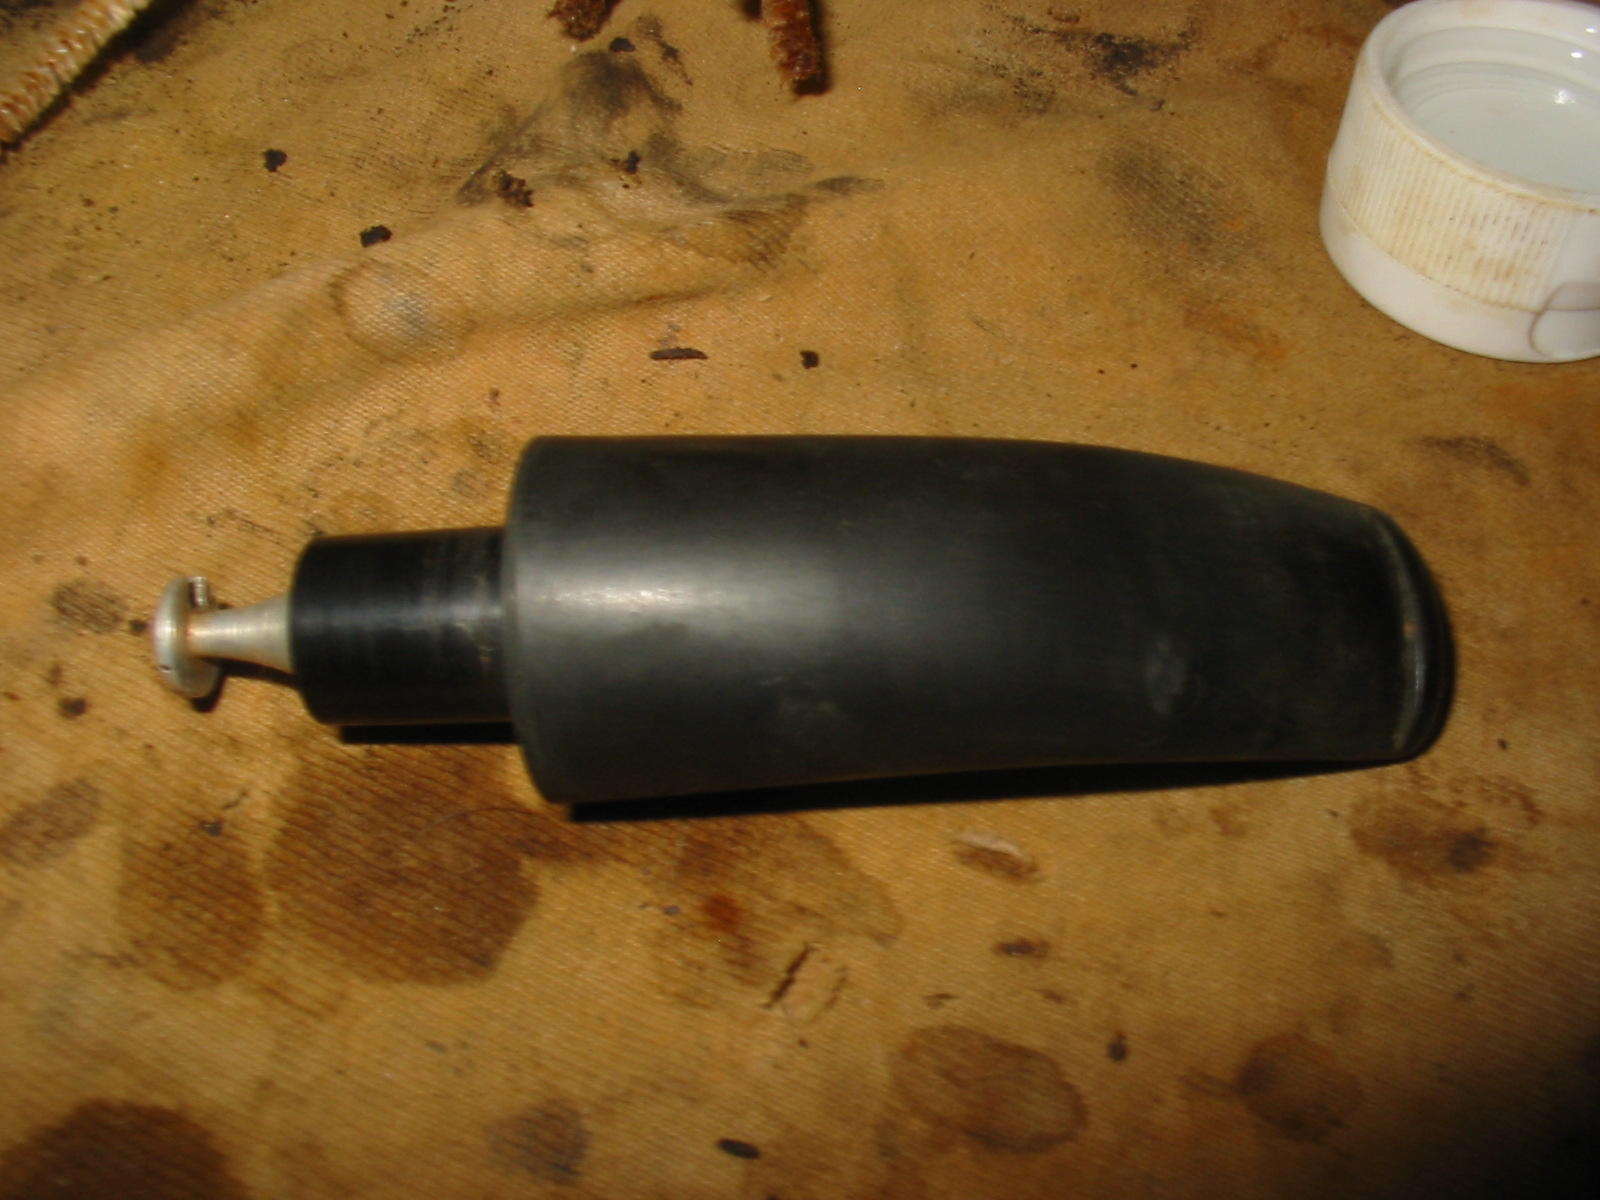
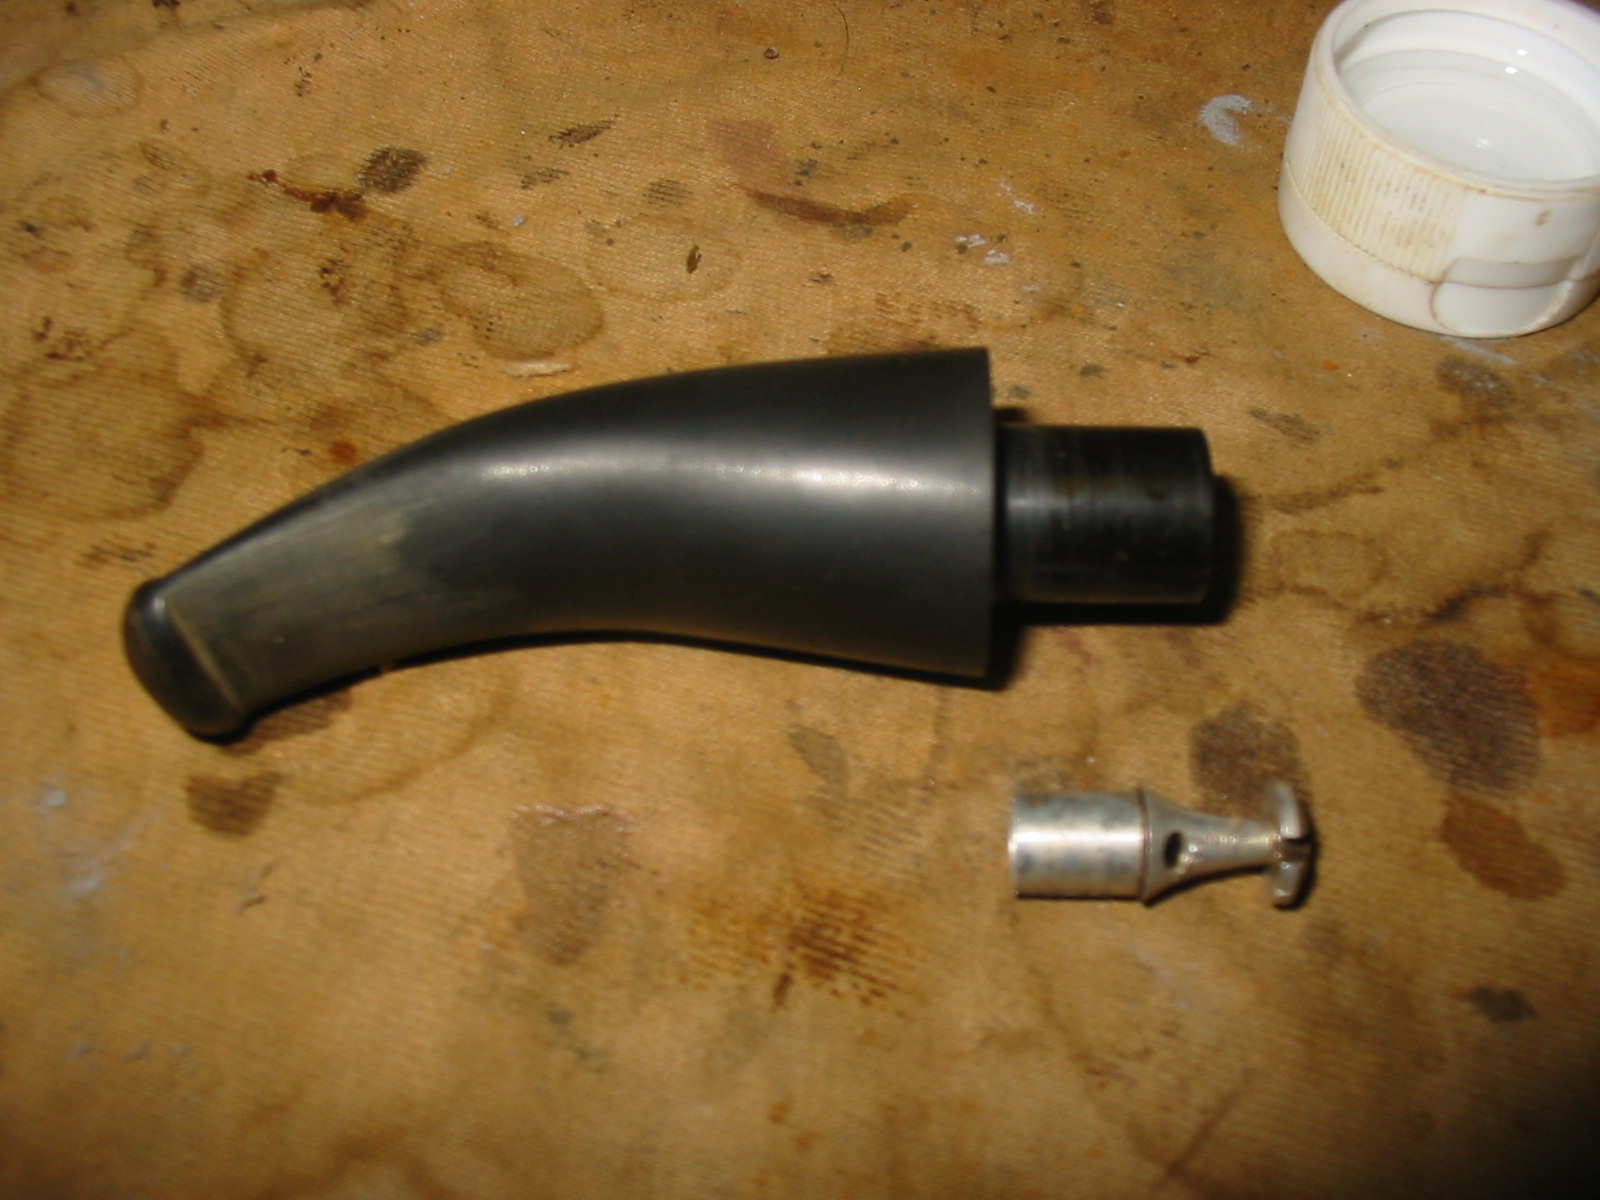
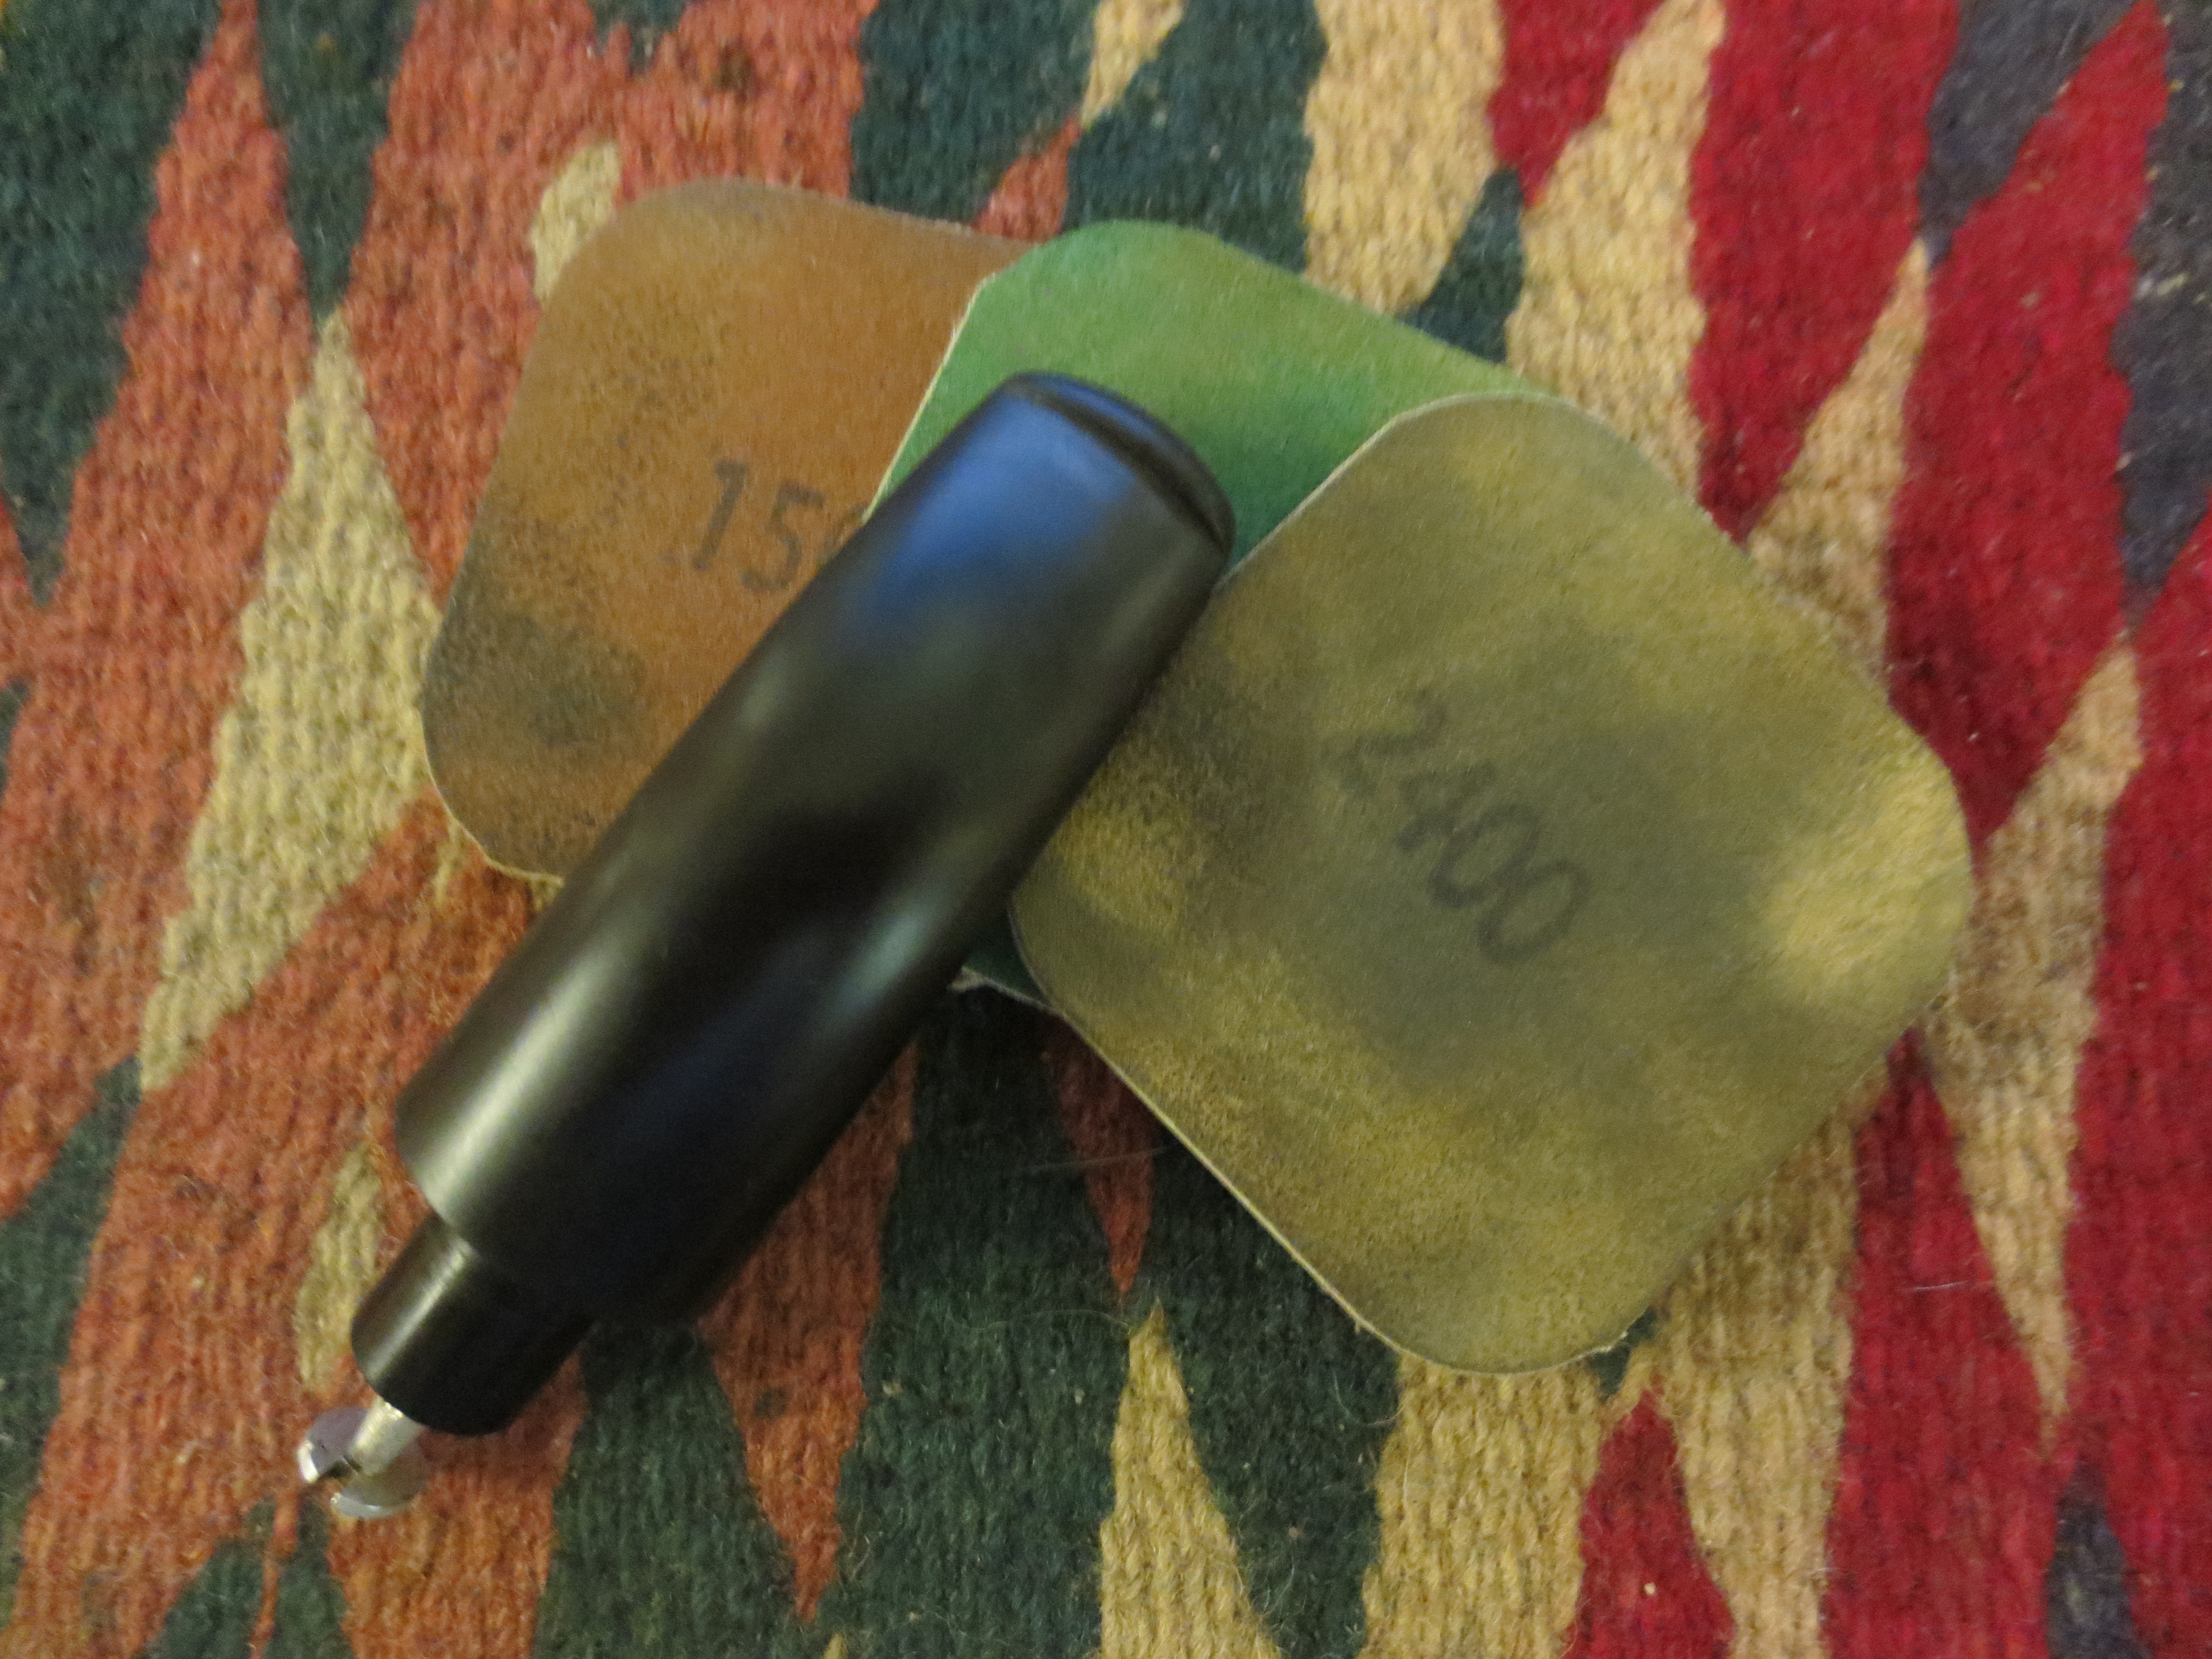
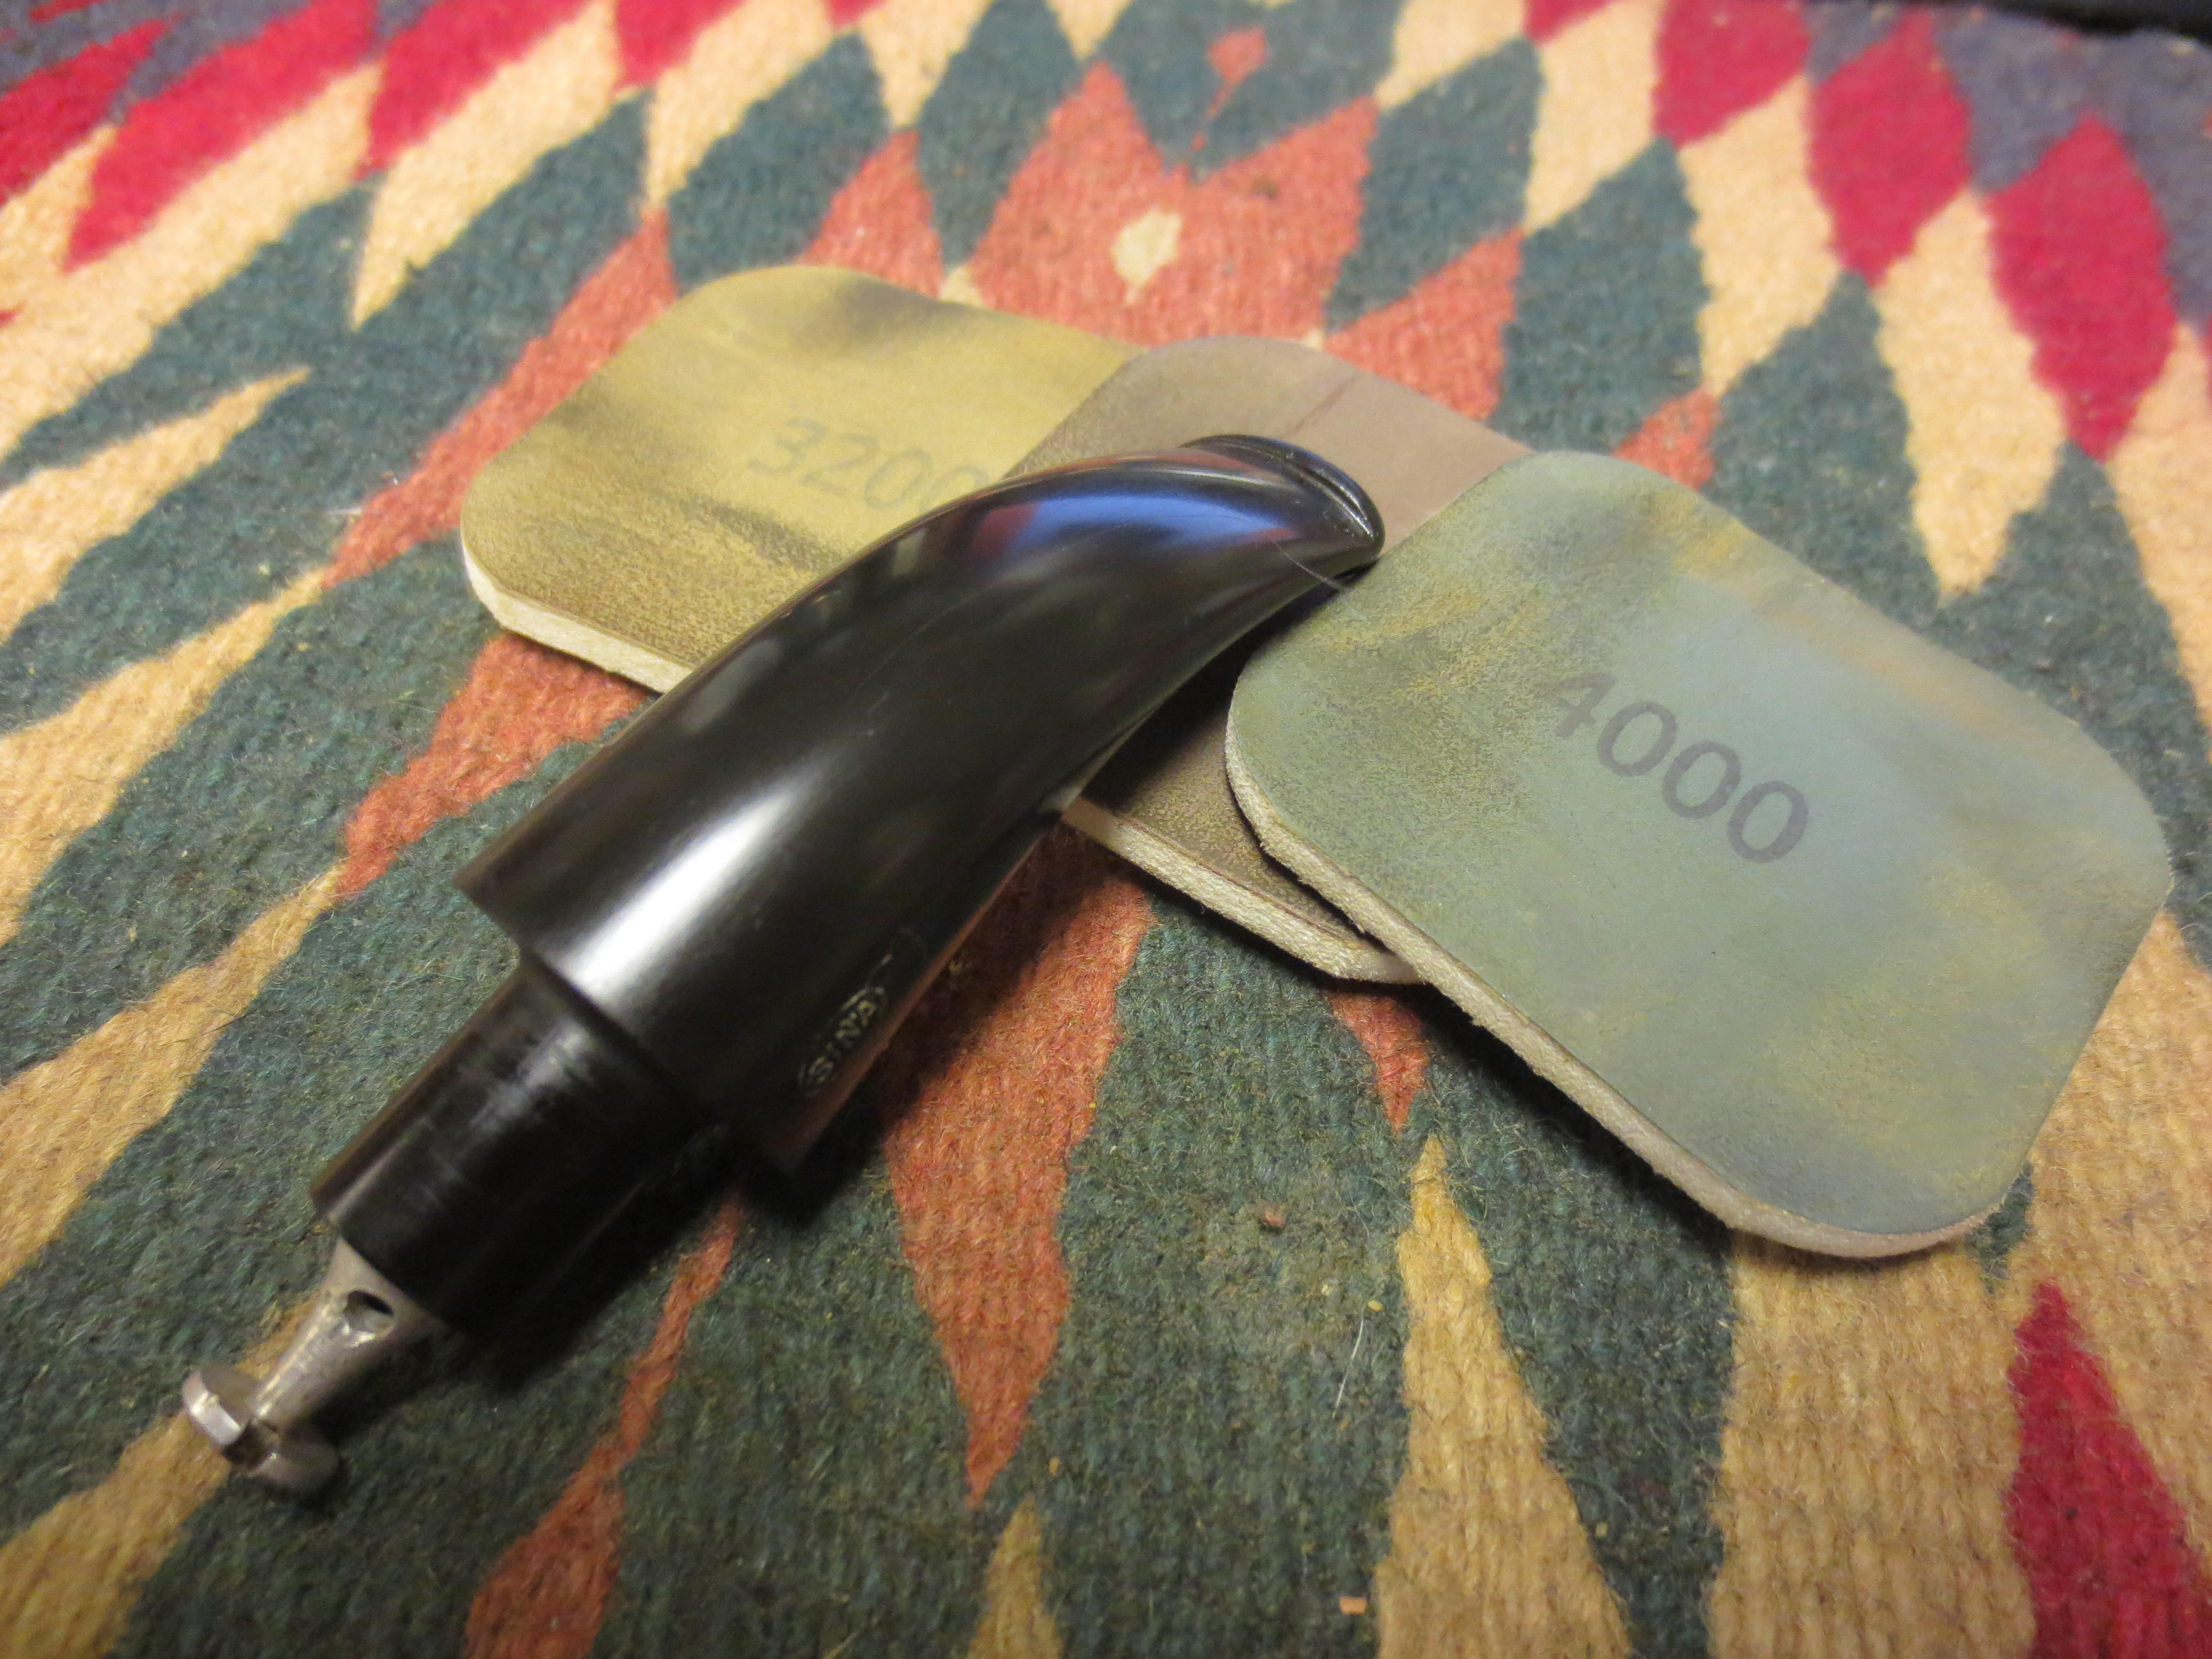
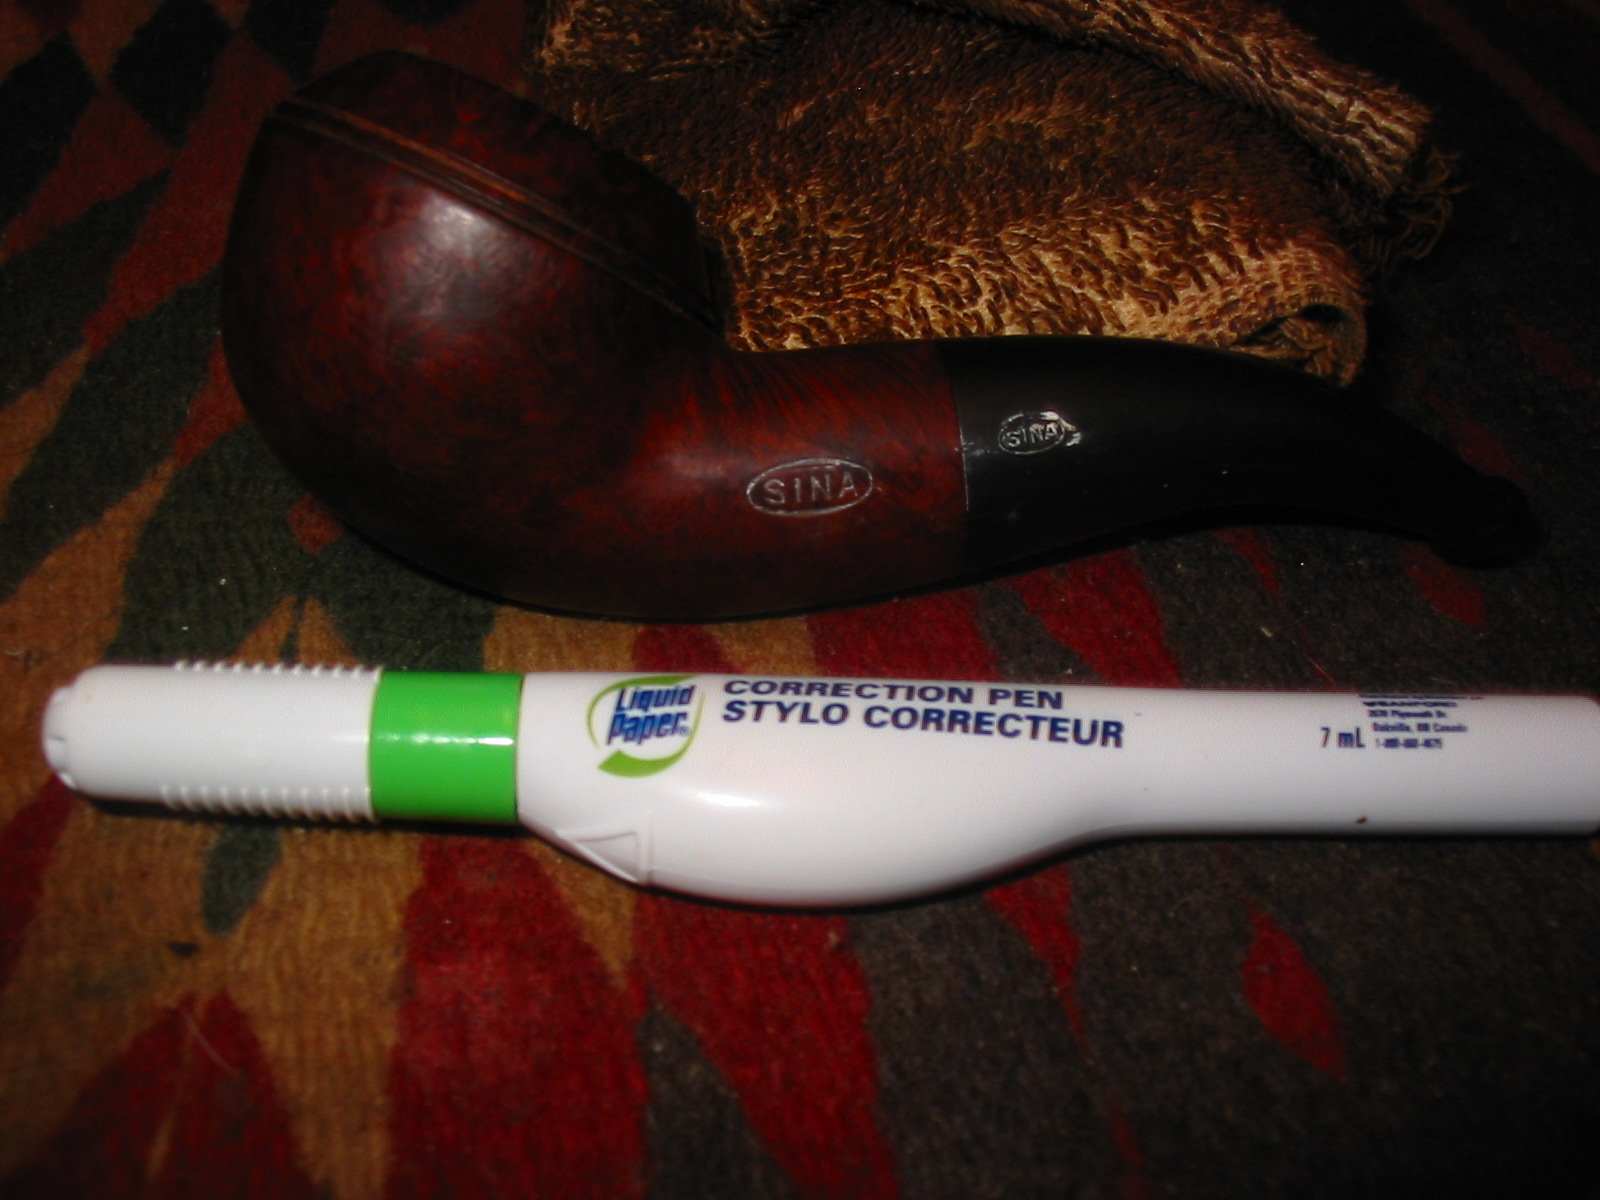
I started by cutting off the fossilized rubber bit guard. Underneath the stem was in fairly decent shape. There was a tooth indentation on the top and bottom of the stem next to the button but it was very shallow. The rubber of the stem was clean underneath behind the calcified line on the stem. Sinaa IMG_8184 IMG_8183 Sinaf Sinad I reamed the bowl with a PipNet reamer using the smallest cutting head first and then working up to one that fit the bowl. I find that if I use this procedure I am less likely to damage the shape of the bowl and inner rim.IMG_8185 The tarry buildup on the rim was impervious to Murphy’s Oil Soap or even saliva and a hard scrub. It was hard as rock. I sanded it lightly to see if I could remove the tar. It looked like that was the only way this stuff would be removed. I carefully sanded the bevel of the rim to remove the tars and clean it up. I wiped it down with oil soap after each sanding to make sure I was only removing the surface. I sanded the inner edge with a folded piece of sandpaper and reached down into the bowl with the sandpaper as well. IMG_8198 I was able to remove the tar but there was some charring and darkening at the back inner edge of the rim that remained. I sanded it smooth but it is still visible in the photo below. I scrubbed out the shank which was absolutely filthy and smelled of sweet aromatic tobacco. The bowl itself also needed to be cleaned and I found that the back inside wall of the bowl around the entrance of the airway was damaged. It was pitted and the opening was very flared so I would need to use some pipe mud to repair that and reshape the opening. I used isopropyl alcohol 99%, cotton swabs and pipe cleaners to clean out the shank. IMG_8200 I mixed a batch of pipe mud – water and cigar ash to repair the inside of the bowl. I put a pipe cleaner in the shank with the tip showing in the bottom of the bowl and rebuilt the wall around the bottom of the bowl next to the airway. I used a dental spatula that Joyal sent to me and it worked perfect for pressing the pipe mud into place and packing it into the rough wall. I was able to reshape the airway so that the wall was smooth and clean. Once it was packed and cured for a short time I removed the pipe cleaner so that the air would move freely through the bowl and shank and allow the mud to cure. IMG_8204 I wiped down the outside of the bowl with undiluted Murphy’s Oil Soap to remove the grime and tobacco bits from the finish of the bowl. I also scrubbed the hard rubber stem with the oil soap to remove the grime on it. The rubber was not too badly oxidized at all once the grime was gone. I find that this old rubber does not have the same trouble with oxidation as later vulcanite stems. The rim damage is visible in the photos below. I would need to do some more sanding on the surface to smooth it out and remove as much of the damage as possible without changing the shape of the rim bevel. IMG_8207 IMG_8209 IMG_8210 IMG_8211 With the bowl cleaned I set it aside to let the pipe mud cure and turned my attention to the stem. There was a unique stinger apparatus in the end of the tenon that looked like a mushroom cap on the end. It was black with tars and the draw on the stem was quite tight. IMG_8199 I cleaned the stinger with alcohol on cotton pads and swabs and was able to remove the tarry buildup. It took quite a bit of scrubbing but I was also able to push a pipe cleaner through the stem and out the button. I had to guide it around the mushroom cap end but I cleaned it until the metal was shiny. IMG_8201 IMG_8202 IMG_8203 Once it was clean I could see that it appeared to be pressure fit into the tenon and not threaded. I was not certain so I wrapped a cotton pad around the end and carefully turned it by hand until it popped free of the end. The photo below shows the insert clearly. It had to slits on the sides that could be spread open to make a tighter fit if necessary. The end of the tenon was quite open without the stinger. The insert end of the stinger gives some idea of the diameter of the airway. With the stinger out of the way I cleaned the stem with cotton swabs, pipe cleaners and isopropyl alcohol until it was clean. IMG_8205 I buffed the stem with red Tripoli and White Diamond and then sanded it with micromesh sanding pads. I wet sanded with 1500-2400 grit pads and dry sanded with 3200-12,000 grit pads. I gave the stem a final buff with White Diamond and then gave it several coats of carnauba wax. IMG_1654 IMG_1659 IMG_1660 I decided not to stain the pipe but rather to give a rubdown with olive oil and let it dry for several days. The photo below shows the pipe after it has been drying for several days. The rich dark reddish brown colour of the briar comes out nicely and the fill areas are well blended into the finish. IMG_8212 I used a correction pen with white out to restore the white in the stamping on the left side of the shank and also on the stem. I applied the white out and then let it dry before rubbing it off with a cloth. IMG_8213 IMG_8214 I gave the bowl a coat of Danish Oil to protect the finish and give it a completed look. I applied the oil with a cotton pad and set it up to dry overnight. The pipe is shown in the photos below after the oil has dried.
IMG_1655 IMG_1656 IMG_1657 IMG_1658 My old camera is slowly dying so I am adjusting to a new camera. I had my daughter help me with the following photos. I like the overall look that the new camera delivers as it is truer in terms of colour and shine of the pipe. I am still learning the ropes with all the settings though. I took two series of photos for the finished pipe. The first series of five photos I used a flat white background to see how that would turn out. The last series of four photos I used the same green background I have used in the past. The photos against the green background actually give a truer picture of the colour of the pipe. Ah well still a lot to learn with this camera. IMG_1661 IMG_1662 IMG_1663 IMG_1664 IMG_1665 The finished pipe is cleaned and ready to fire up with its inaugural bowl. The old soldier from the early 1900’s will once again feel the warmth of the fire and tobacco and the draw of a pipe man enjoying its feel in his hand. I think this weekend will be the time to enjoy a nice bowl of aged 5100 in this pipe. IMG_1666 IMG_1669 IMG_1668 IMG_1667

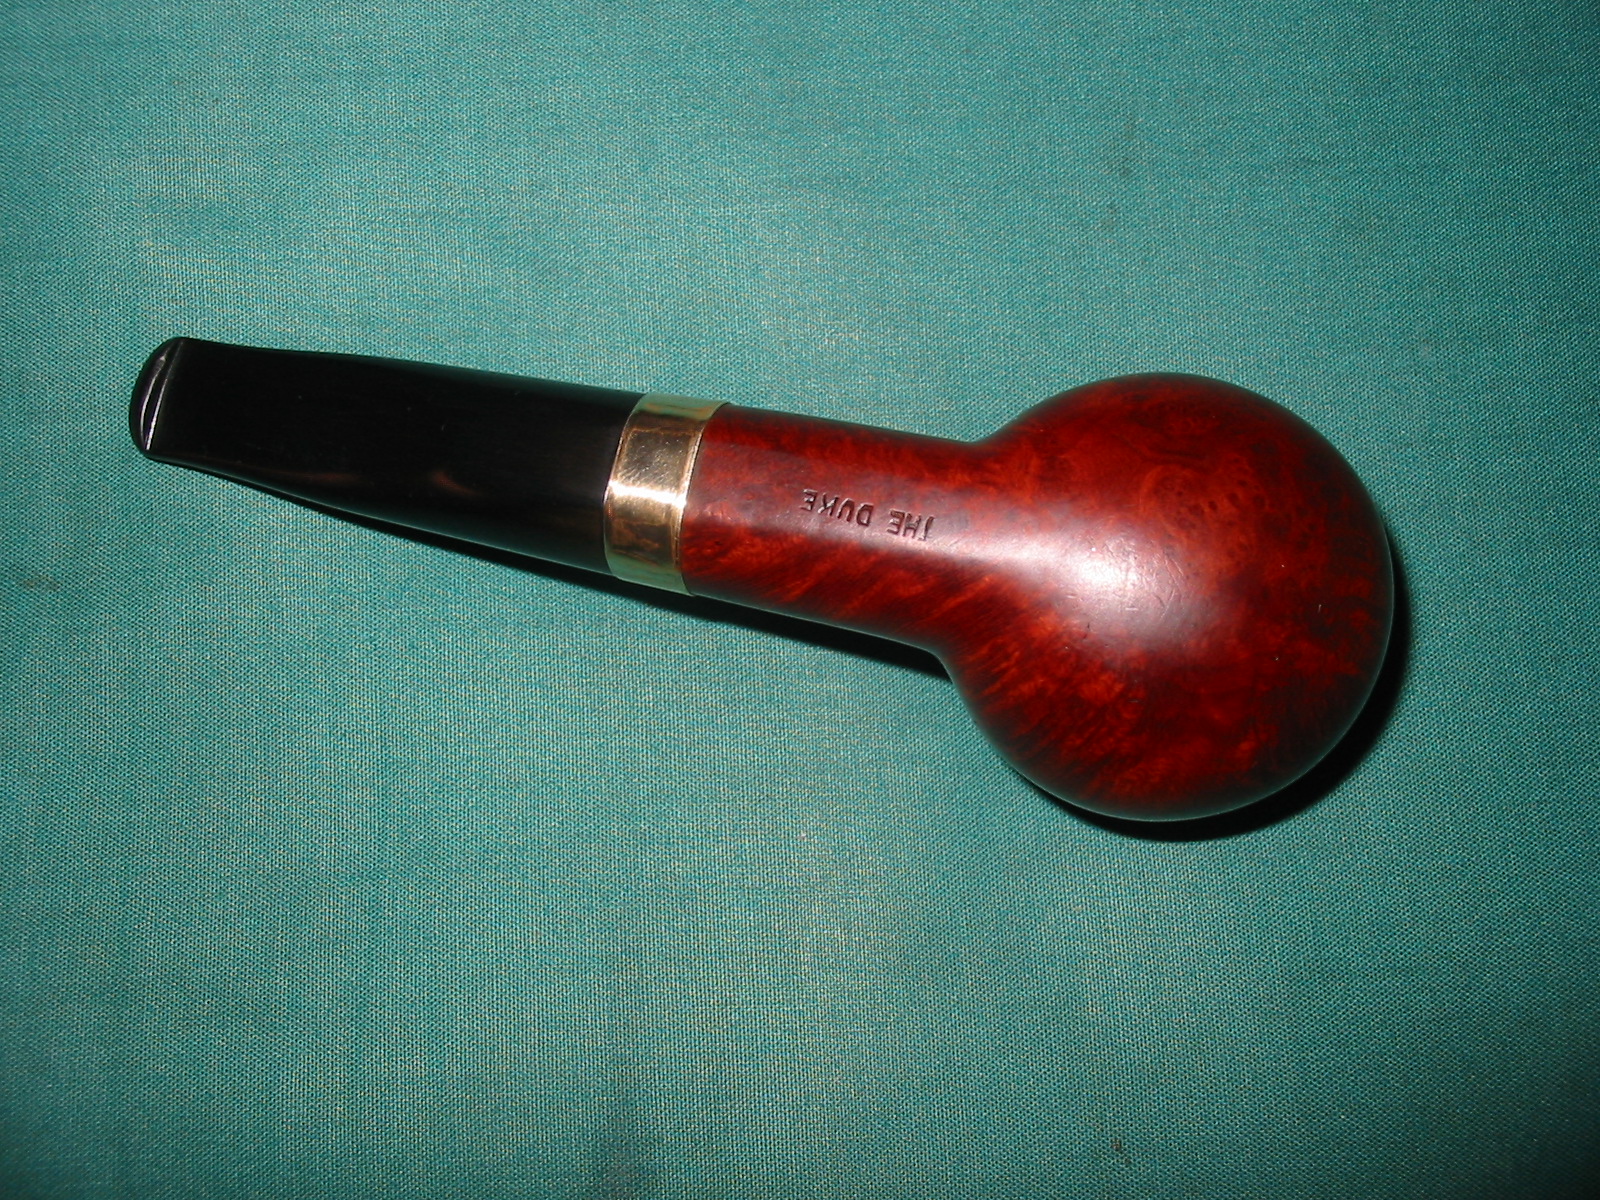
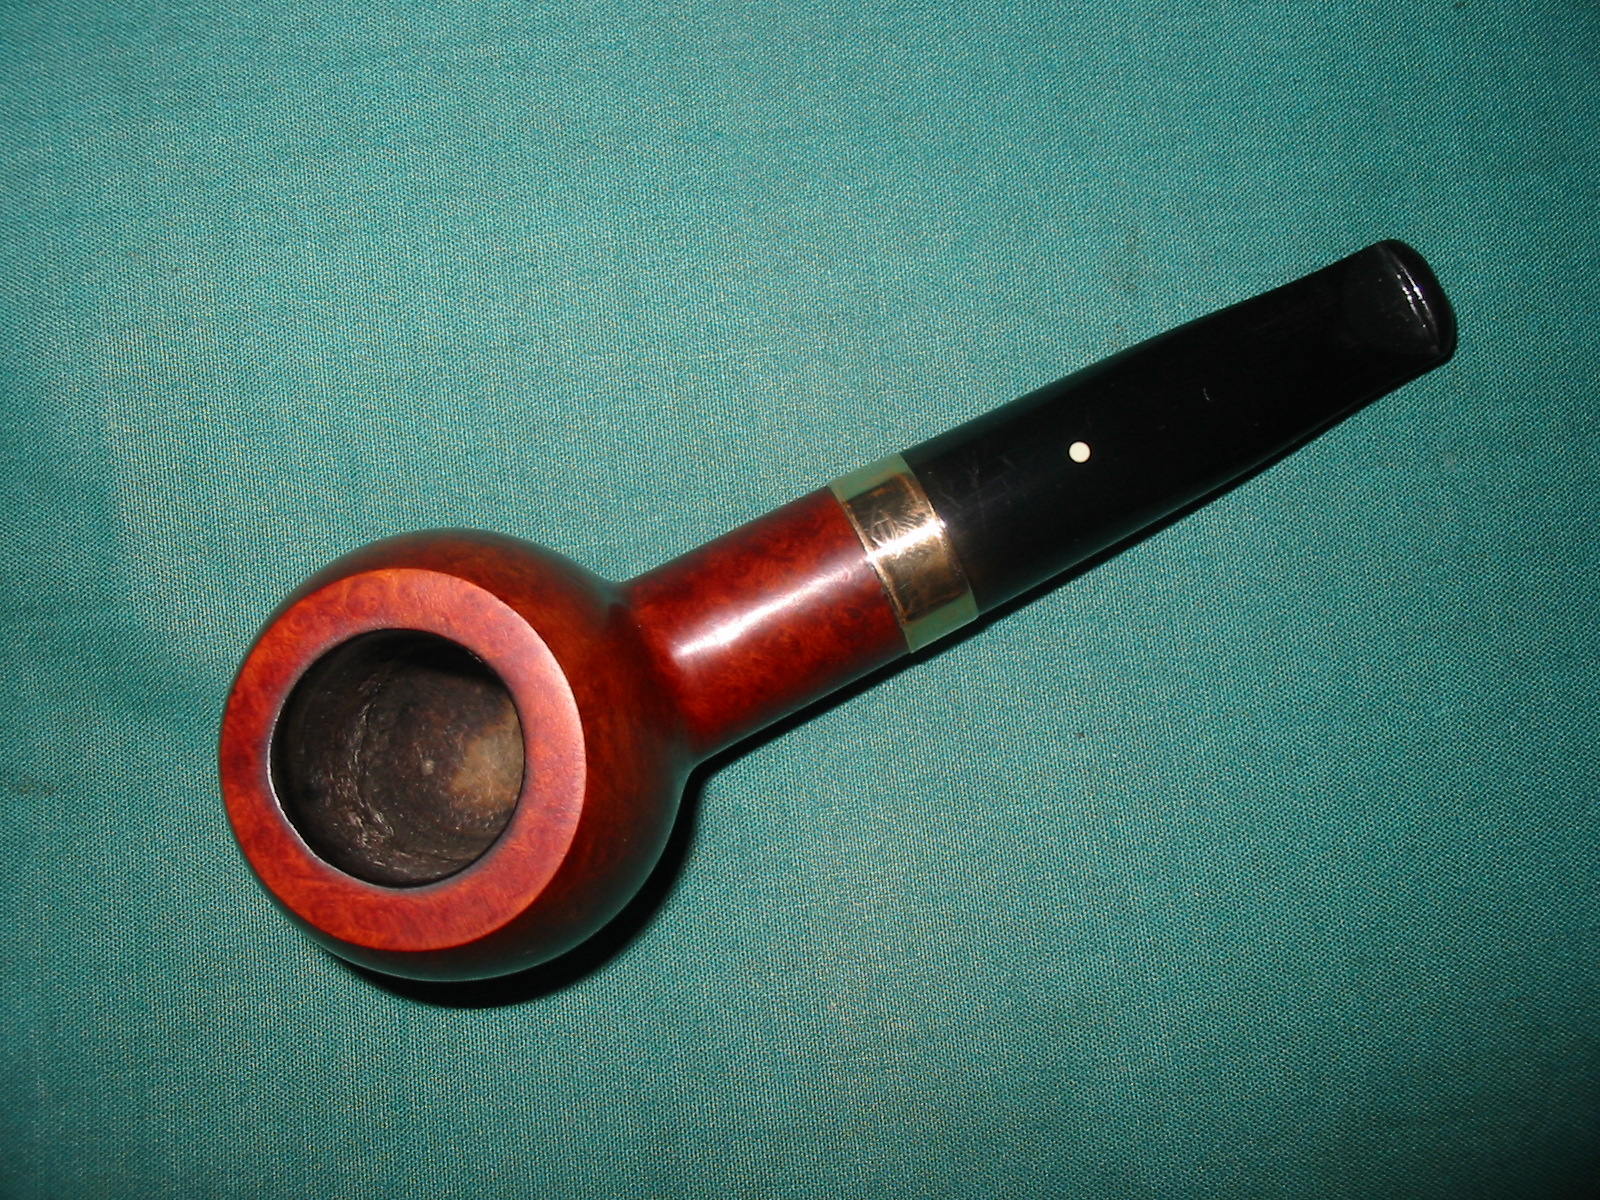
Restoration of a Barclay Rex HGP Briar Root Labelled “THE DUKE”


I read a post by dmcmtk on Pipe Smokers Unlimited Forum regarding a pipe he picked up that was a Barclay Rex with a white spot on the stem. He had written to the store and received a response that the pipe was made for them by Dunhill. I had no idea that Dunhill had made pipes for the NY shop so I began to hunt down some of these pipes looking for the tell-tale white dot on the stem. I found some on Ebay under the Barclay Rex shop store there and one stood out to me and seemed to call my name. The write-up on the ad read:

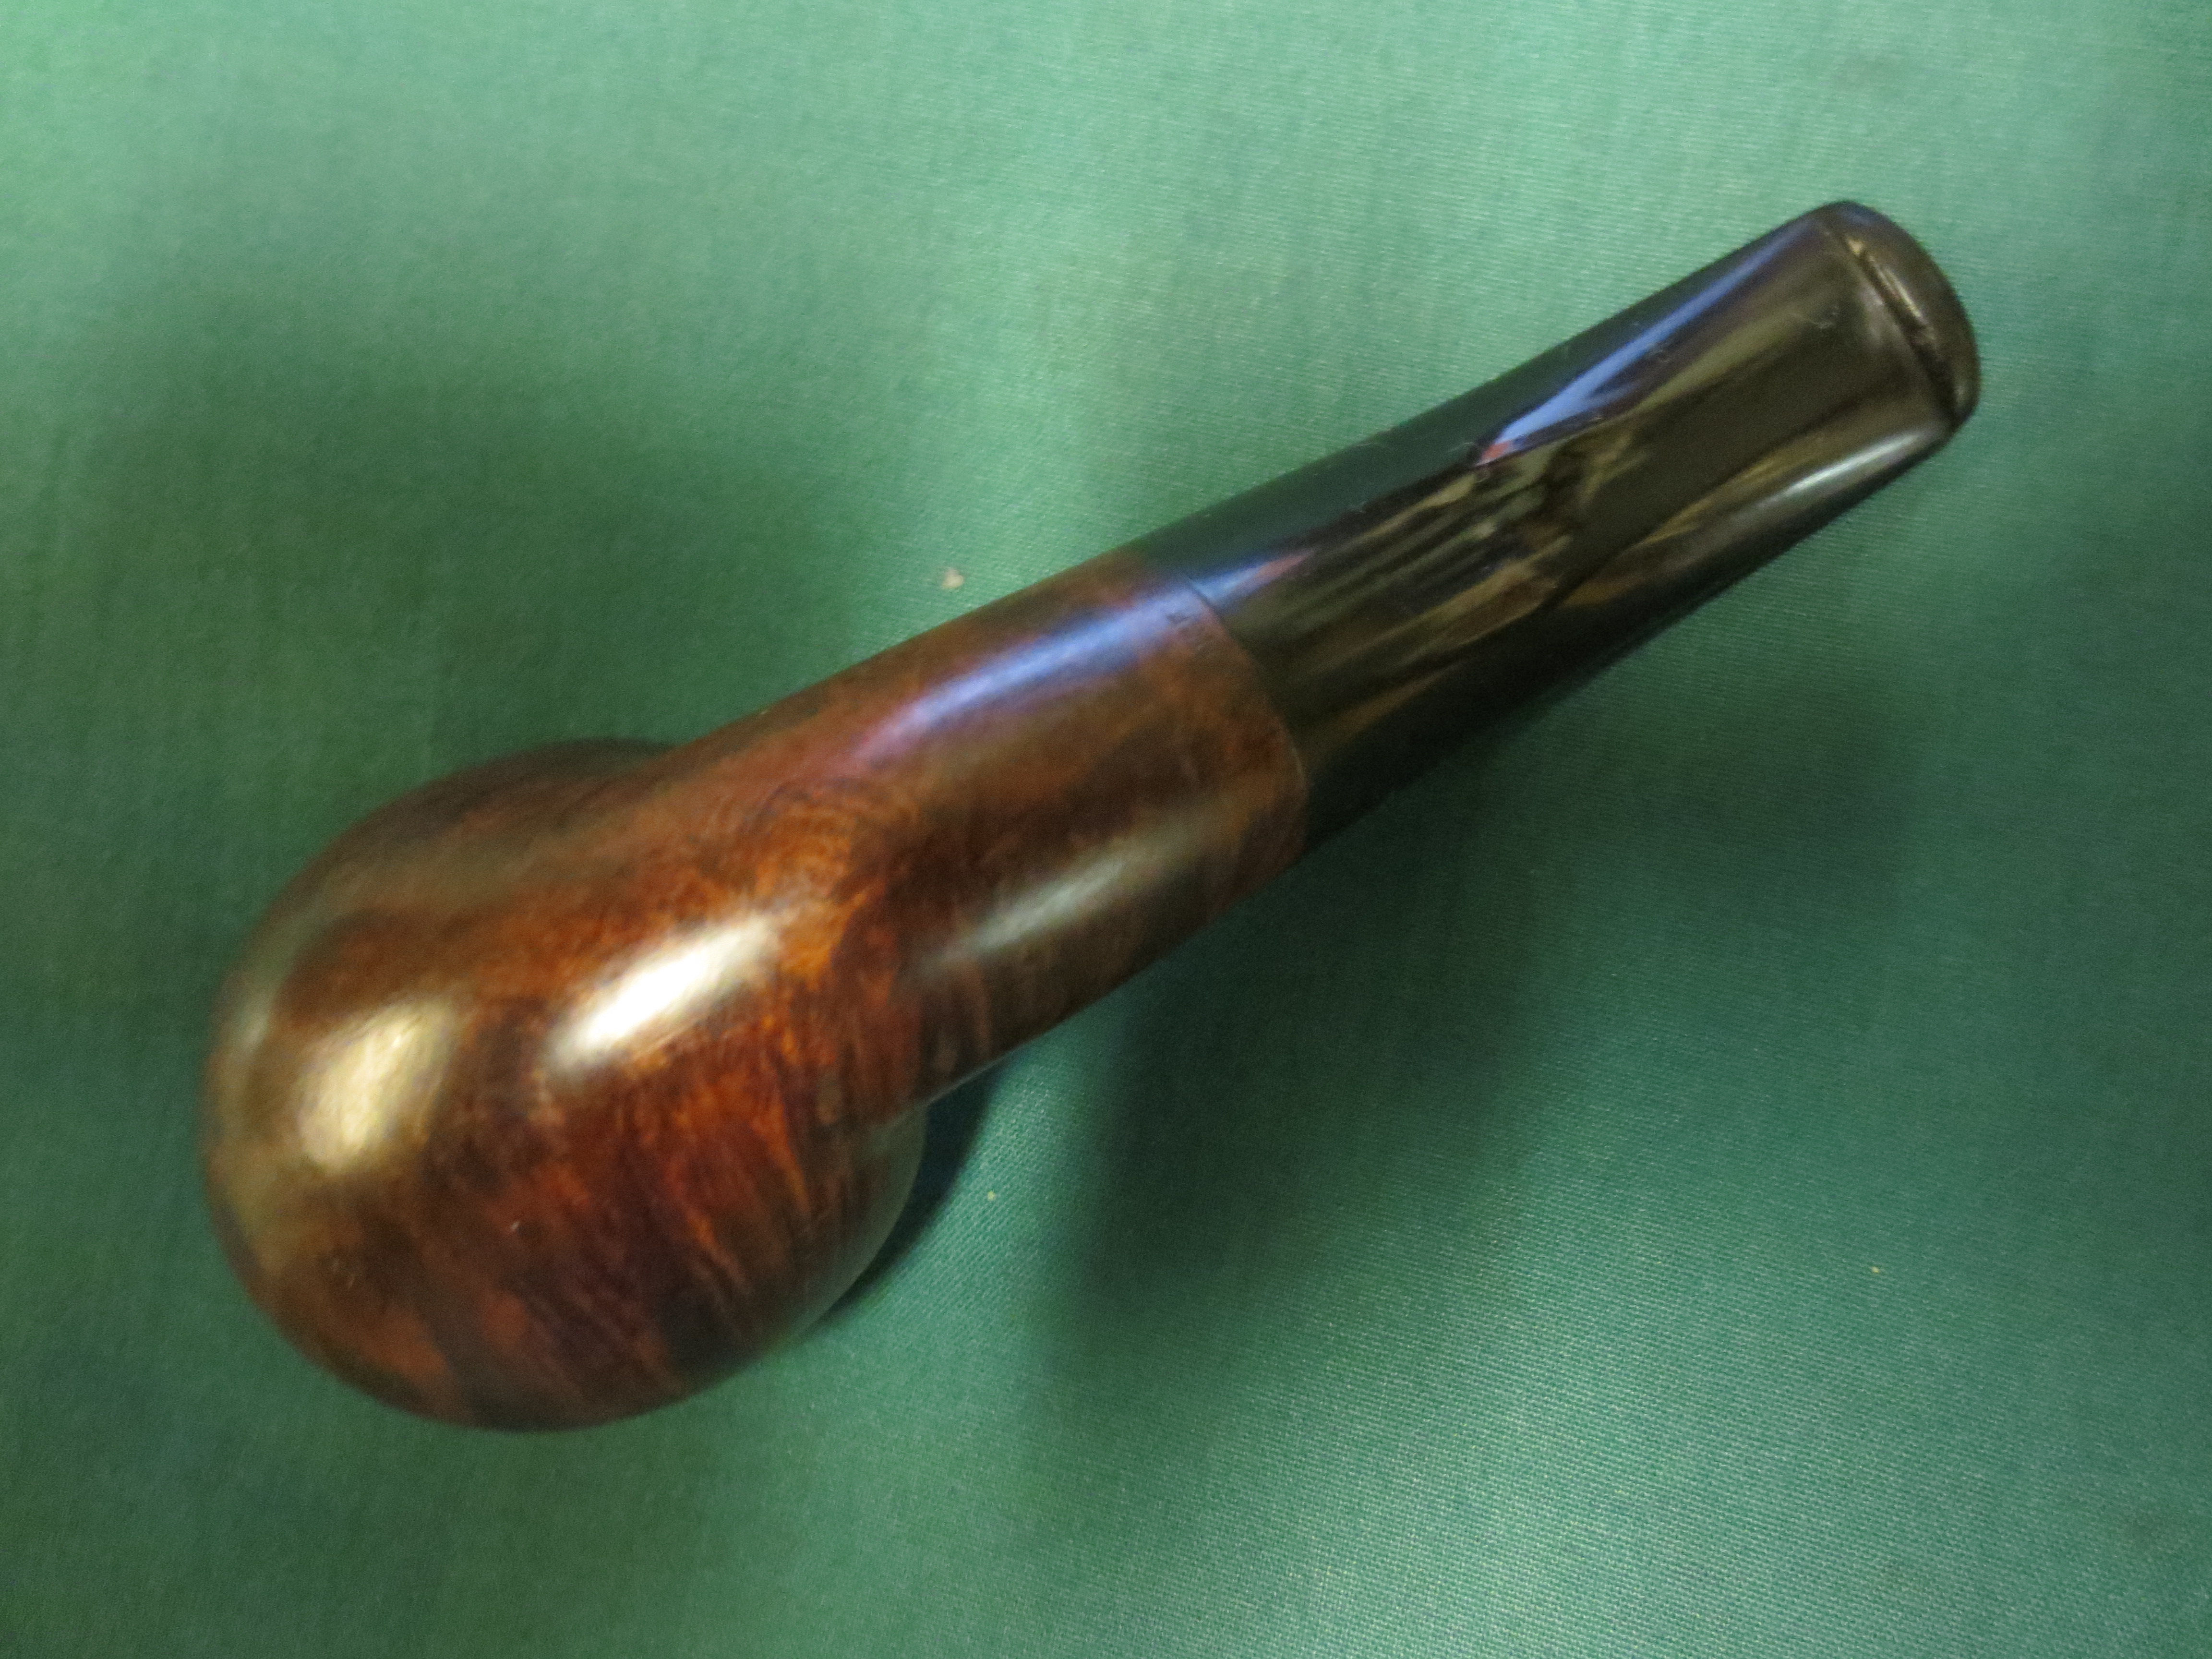
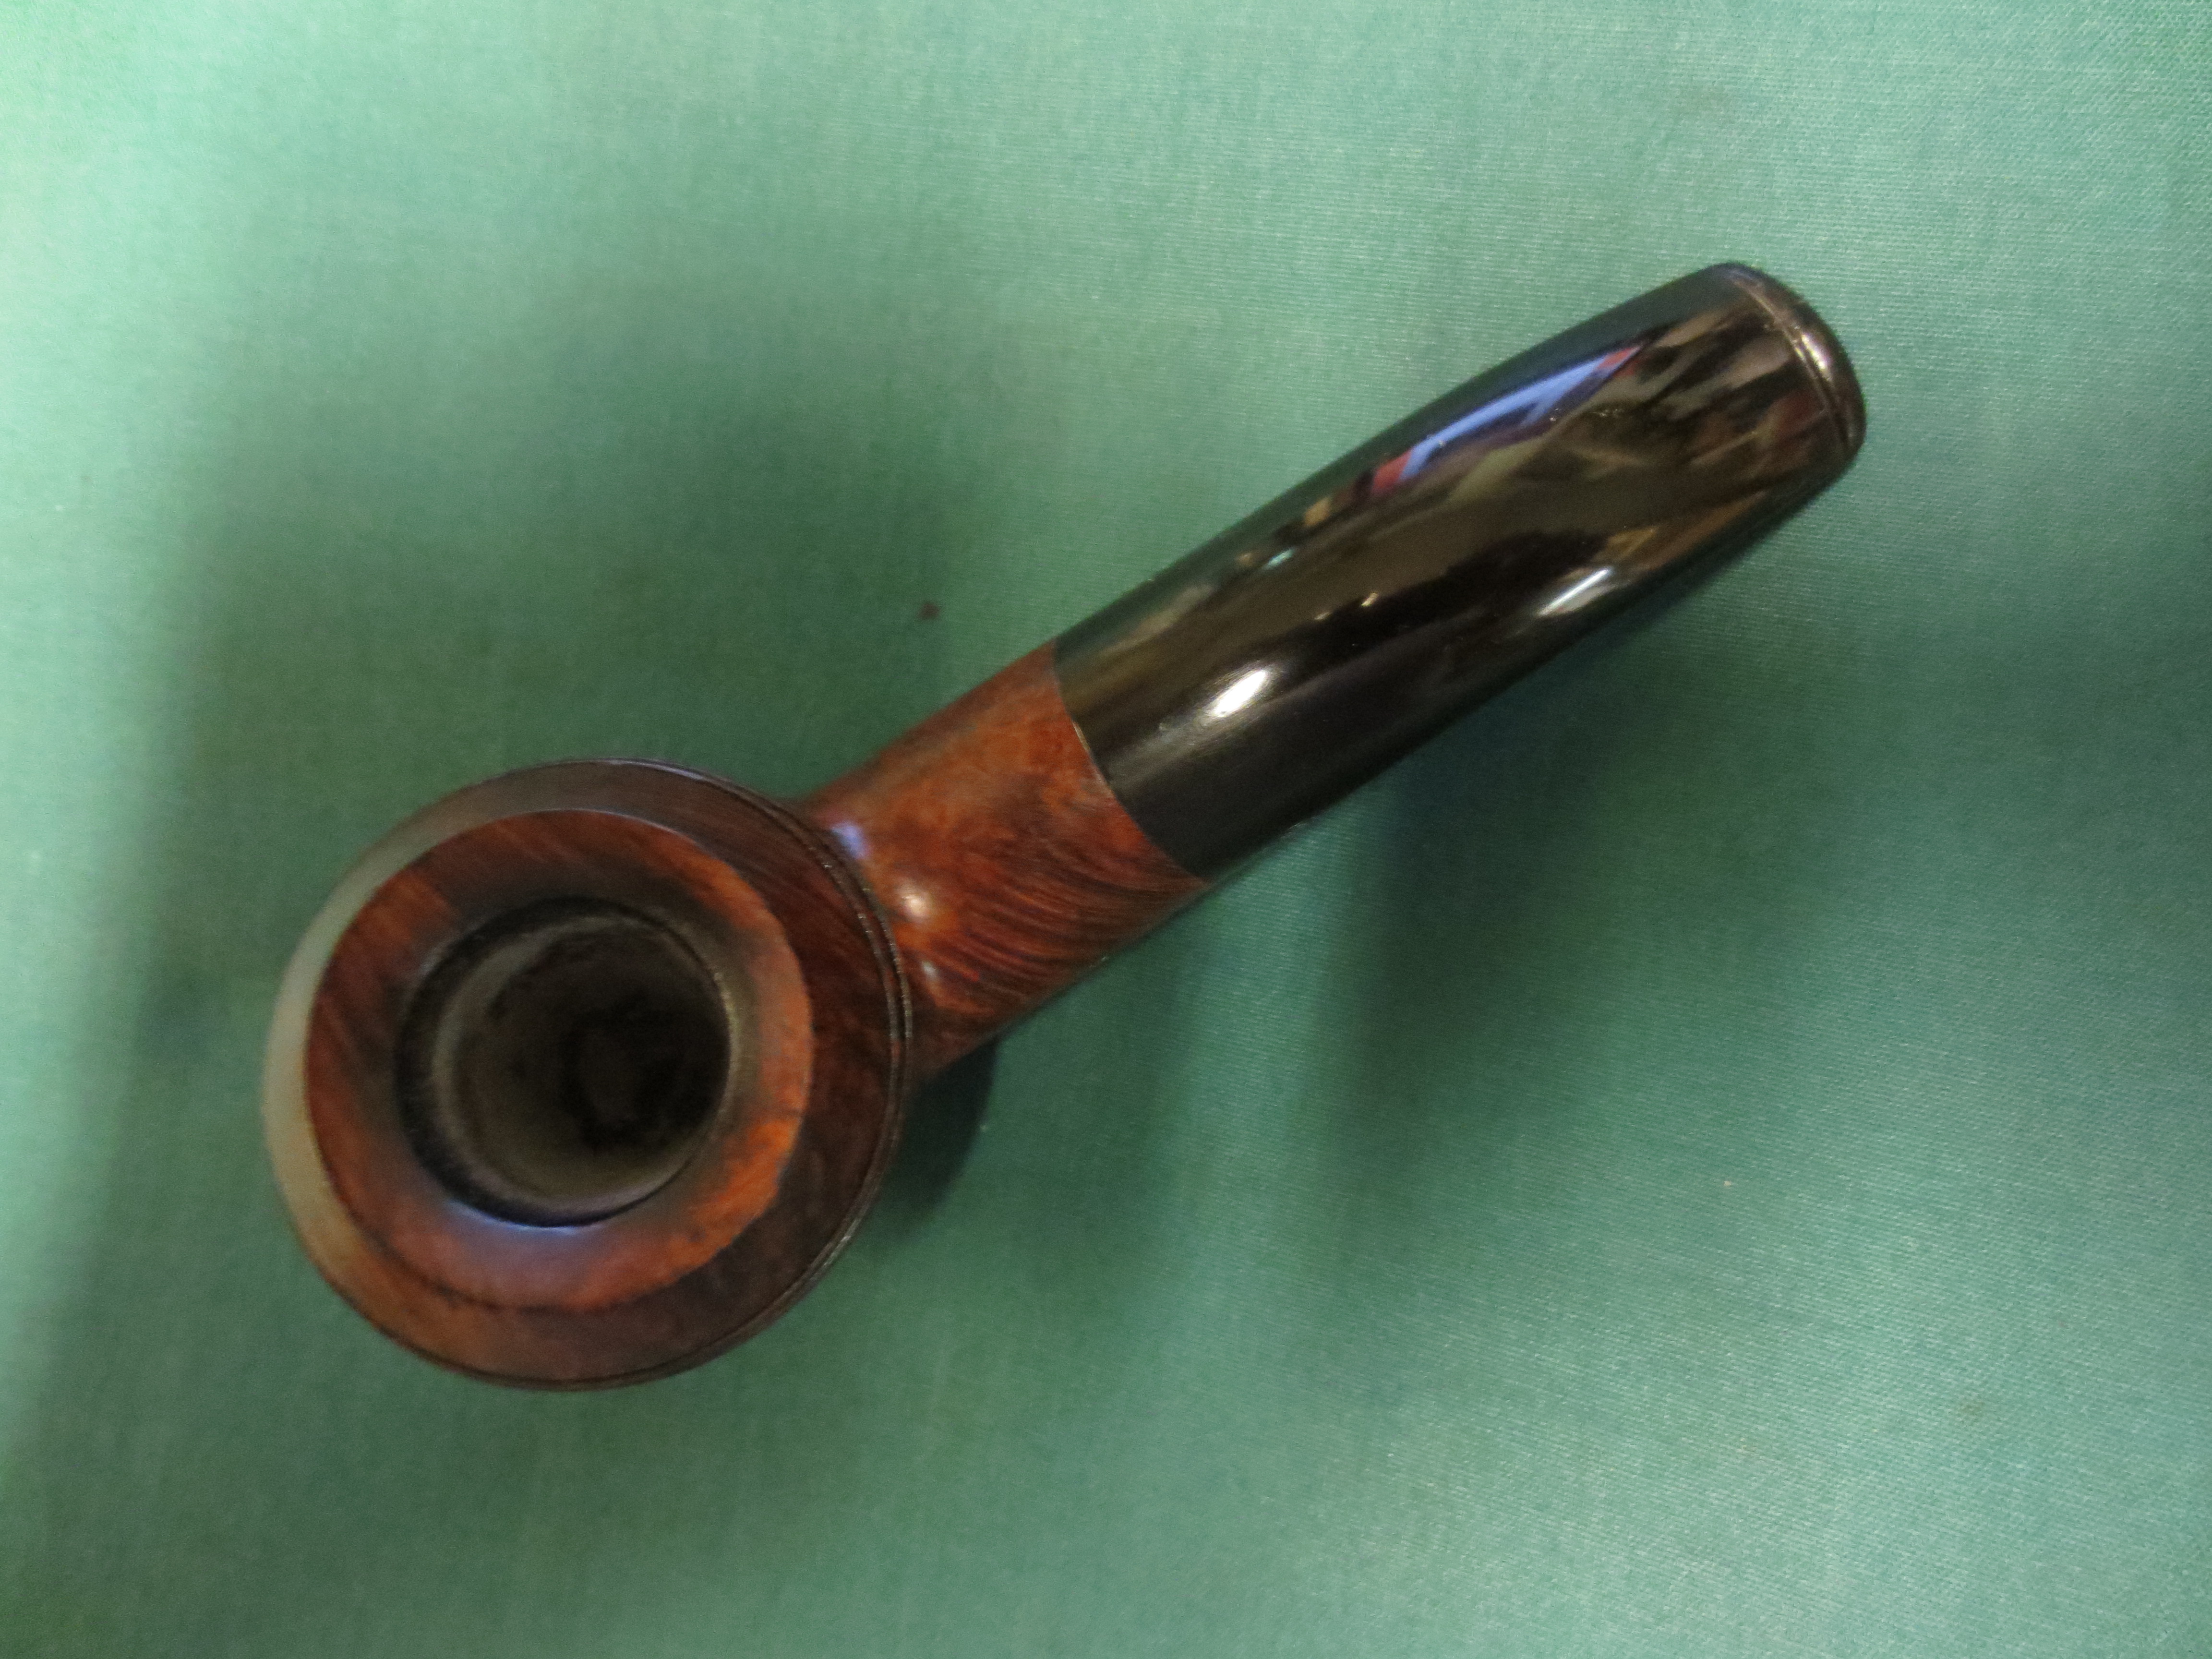
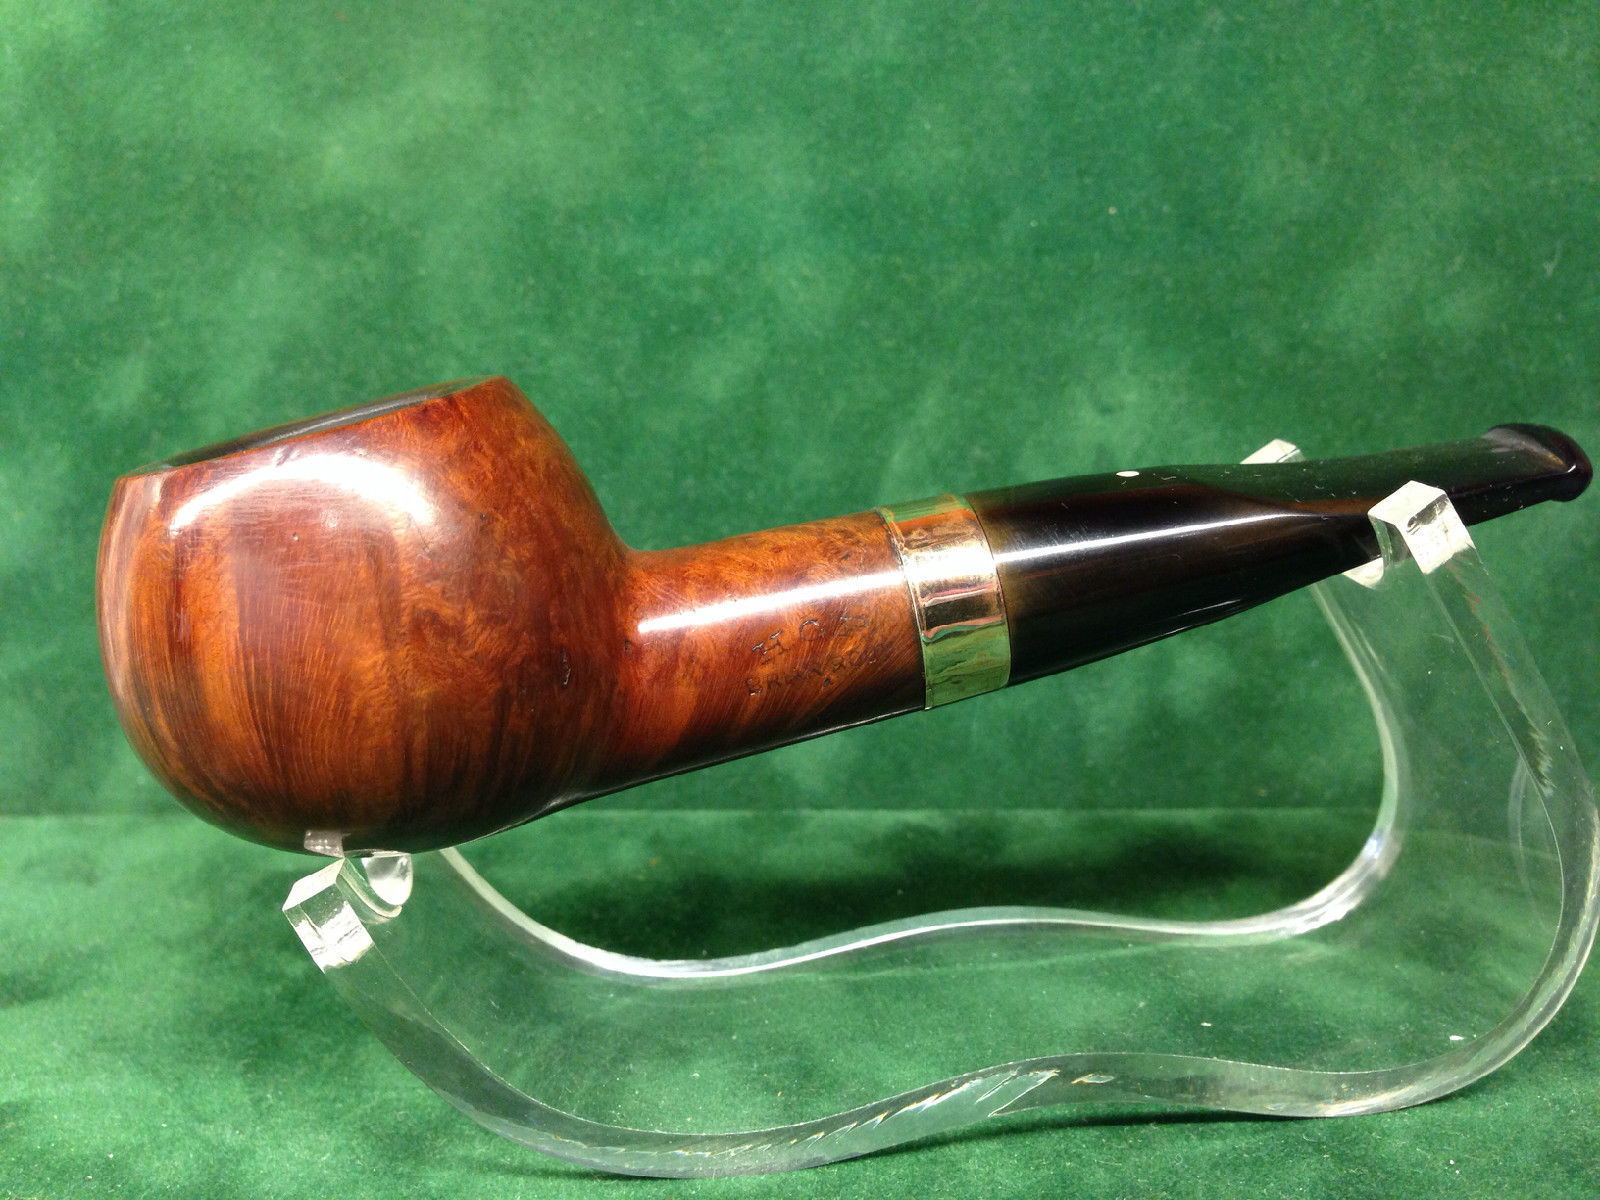
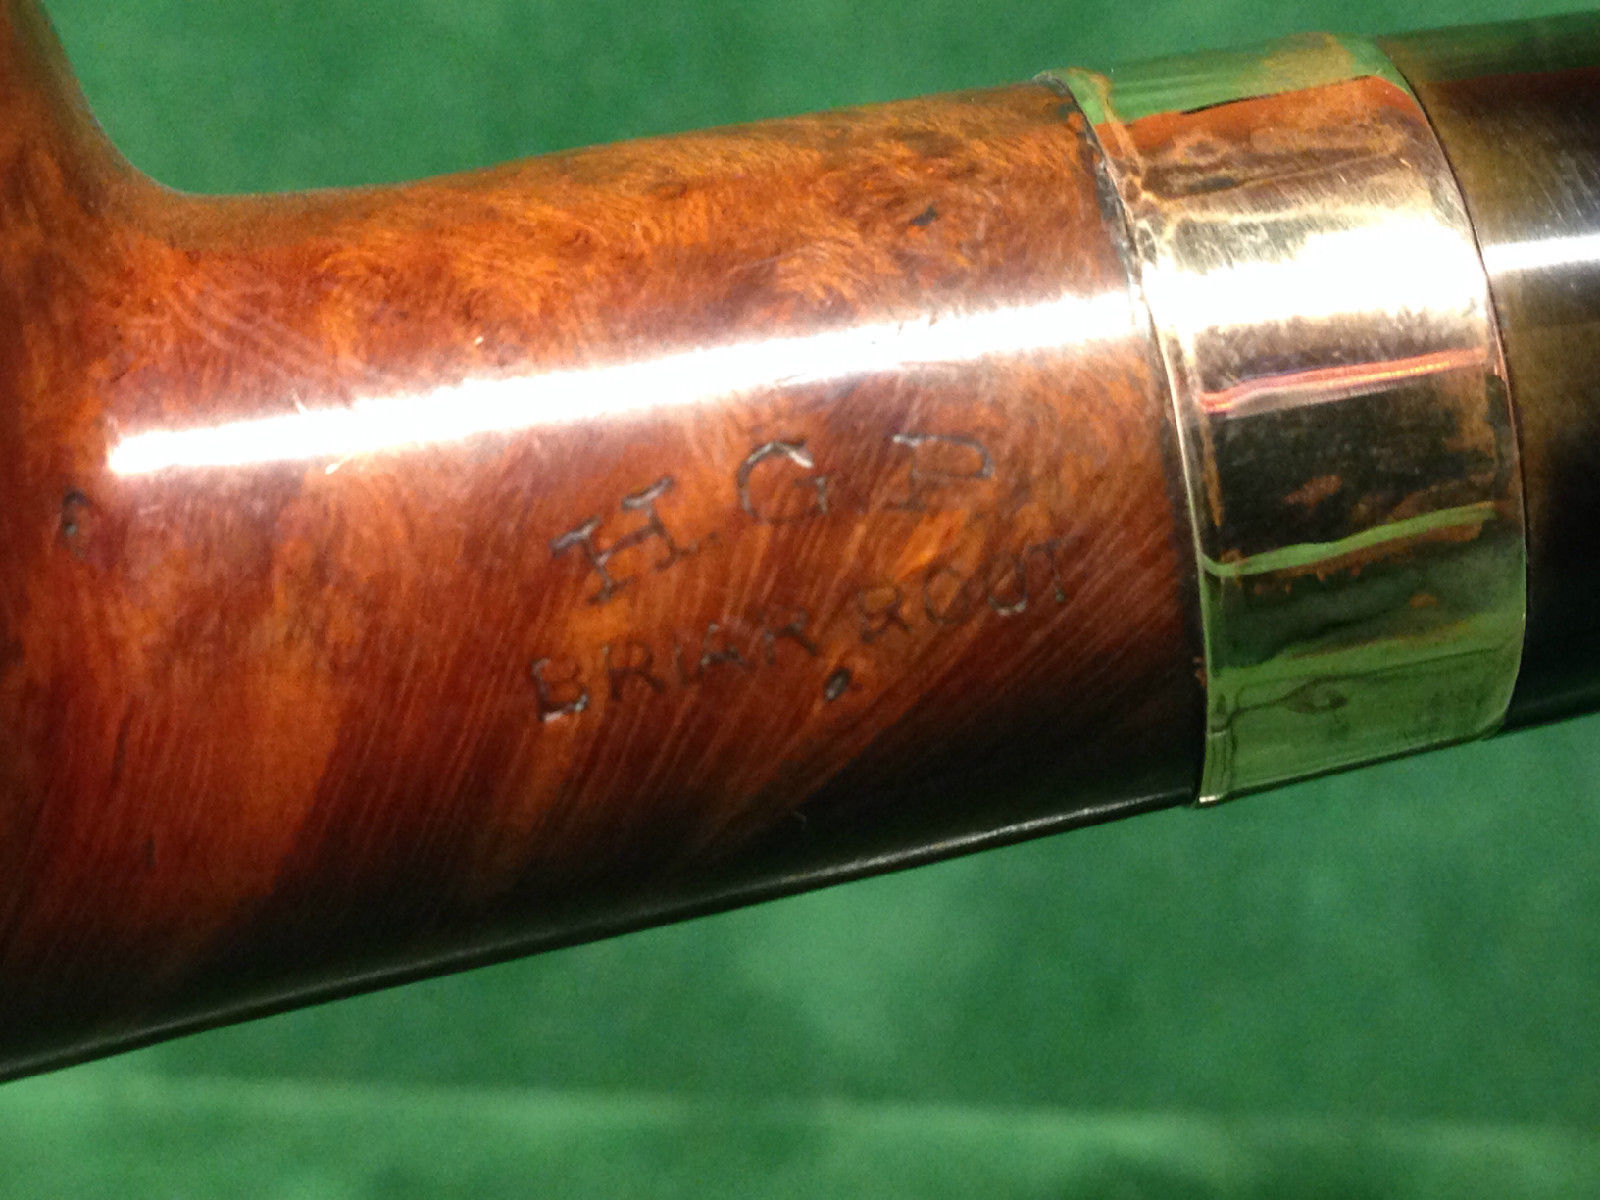
“This is a HGP Stubby Briar Root estate pipe that has been carefully restored on-site.The stem is in excellent condition and has very little visible wear; there are a few nicks on the bowl. This pipe was made by hand for Barclay Rex and likely dates to before 1960. The letters HGP actually stand for the craftsman’s initials.”

The story and the shape intrigued me and it had the white spot on the stem. I was hooked. It had a buy it now price so I went for it. I contacted the store and paid the bill and the pipe was mine. I was not too concerned about the condition as I would work on it anyway. The ad said that it had been carefully restored on-site so I would see what that meant when it arrived. The photos below were on Ebay and give a good idea of why the shape caught my attention. $_57 $_58 $_59 $_60 $_61 $_62 $_63 $_64 $_65 $_66 I wrote to Barclay-Rex to find out a little background information on this pipe and the stamping it showed in the pictures. I received this email response:

Dear Steve,
This was made by a pipe maker who worked for Barclay Rex for a time in the mid-20th century. His initials were HGP and he would stamp his pipes as such. We are unsure why the maker decided to place a white dot on his stem, but we have come across one or two more of his with the same combination. Unfortunately, his full name has been forgotten with time.
– barclayrex1910

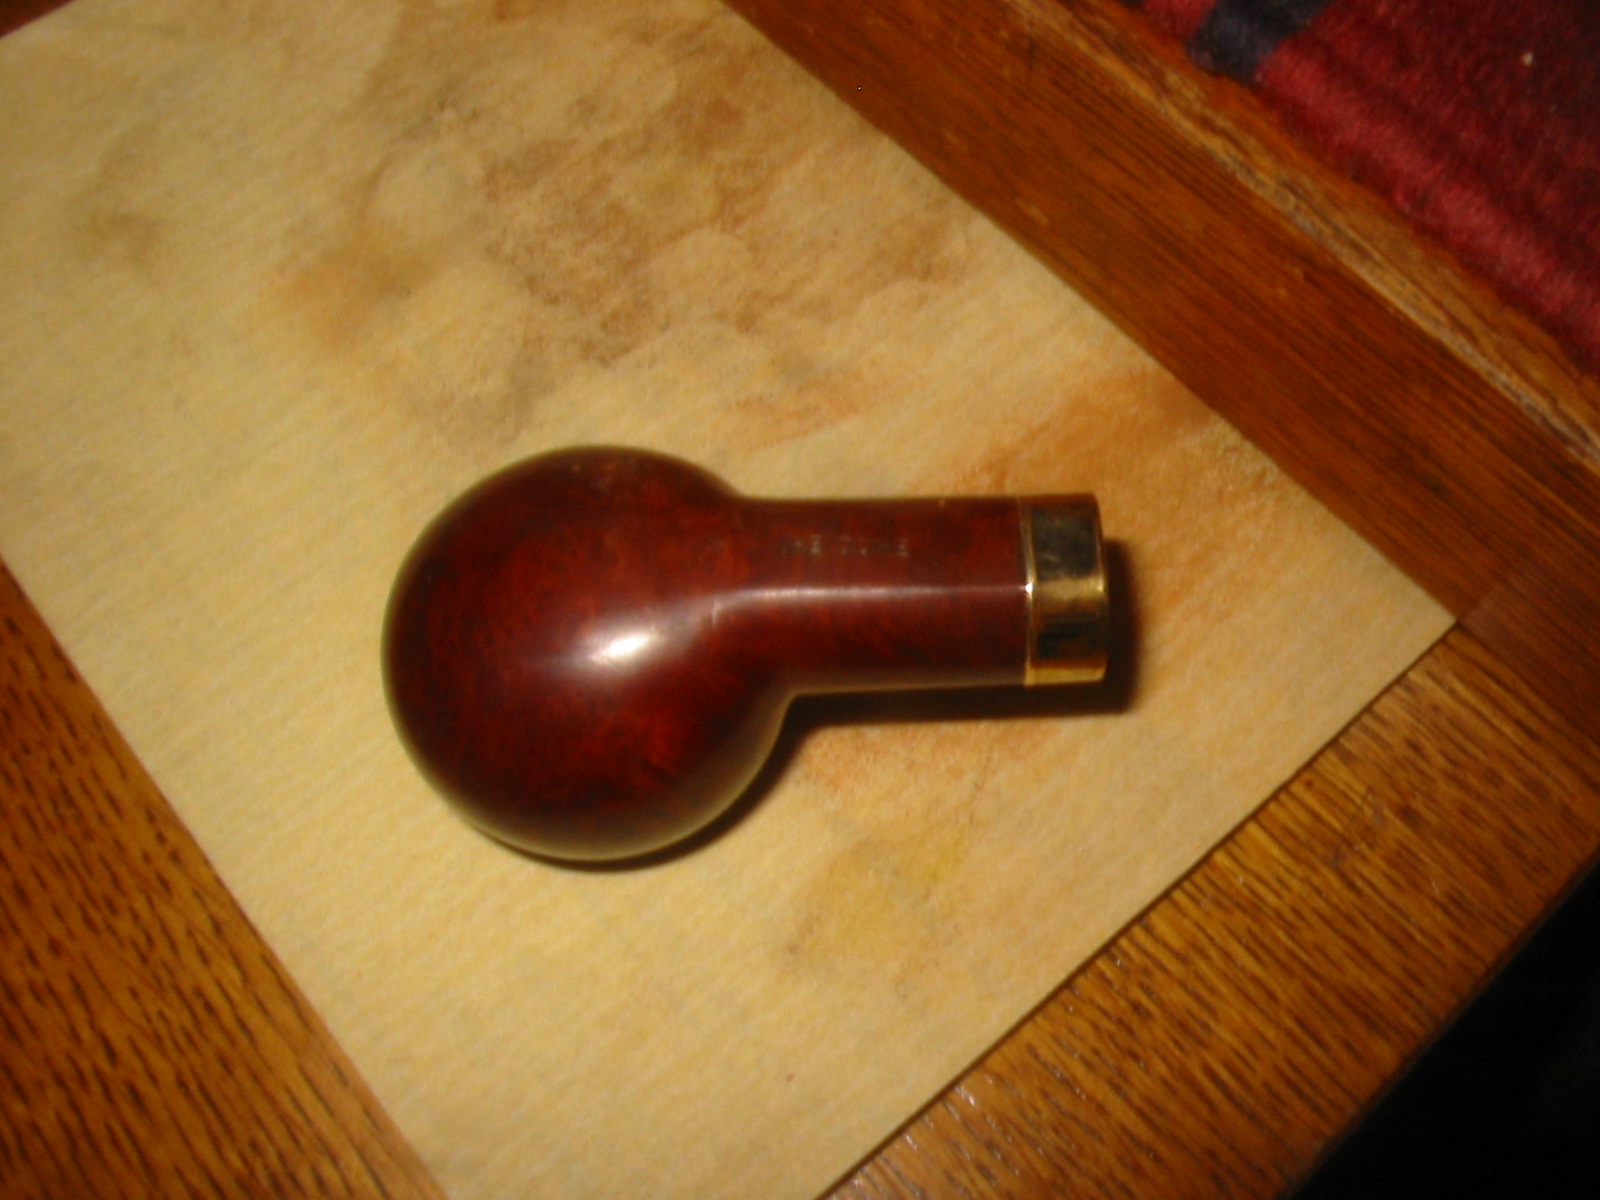
When the pipe arrived it was in good shape. The stamping indeed was HGP over Briar Root on the left side of the shank and The Duke on the bottom of the shank. Part of the shank and bottom of the bowl was flattened so that it was a sitter. I took it apart to examine it more closely. It was anything but cleaned and restored. The stem was rough – there was oxidation next to the band that went quite deep. There was a gouge on the right side of the stem that was quite deep. The top and the bottom of the stem from the taper to the button had obviously been modified to make a more pronounced taper. The file marks were still evident in the vulcanite. The width of the button end of the stem had also been modified and was narrower than originally designed as the sides of the stem also showed file marks. The button itself had a orific opening but someone had modified it into a poorly shaped slot. The stem had deep tooth marks on the surface of top and bottom near the button. There was a bite through on the top side next to the button. The angle of the taper was very abrupt and sharp with distinct cut marks. The tenon was fit for a filter by the appearance of it and the inside was very tarry. A filter would not have fit with all of the buildup in the stem. The bowl was another story. It was out of round with burn marks on the inner edge that needed some work. It had been reamed so that was not an issue. Then inside of the shank was filthy. The tars and oils were thick against the end of the mortise.

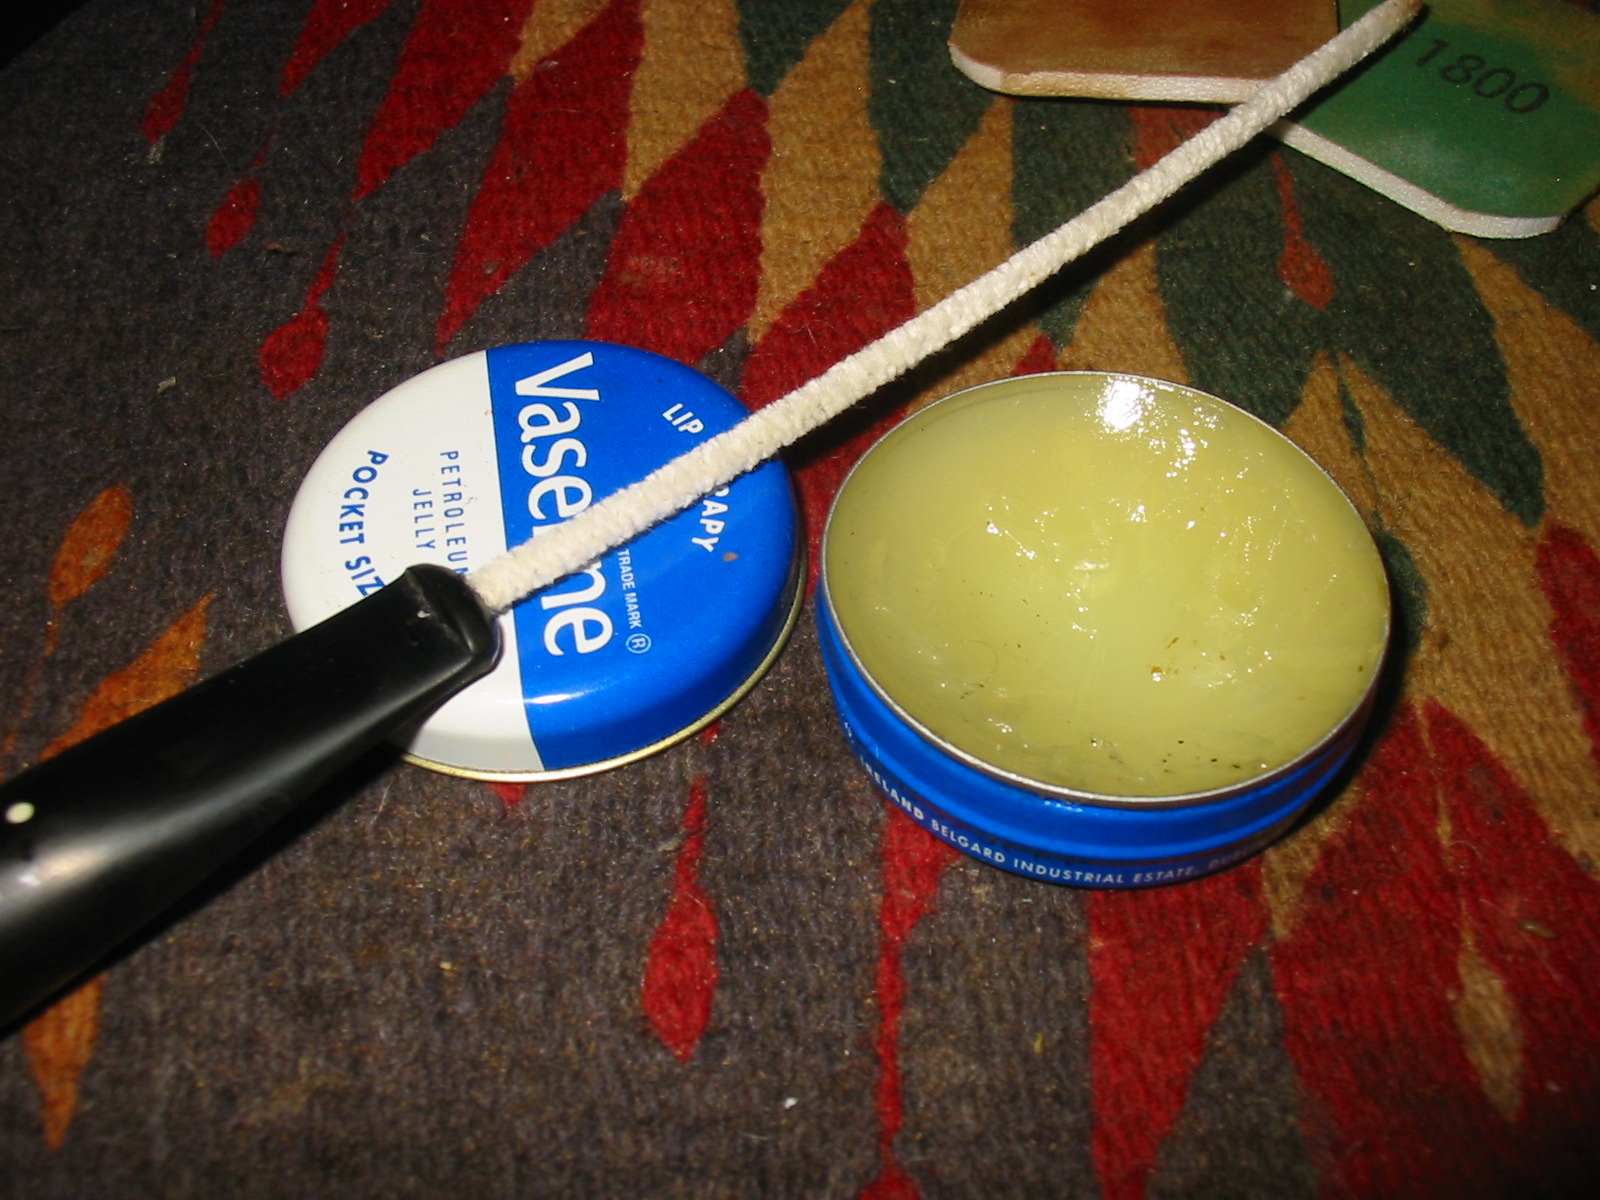
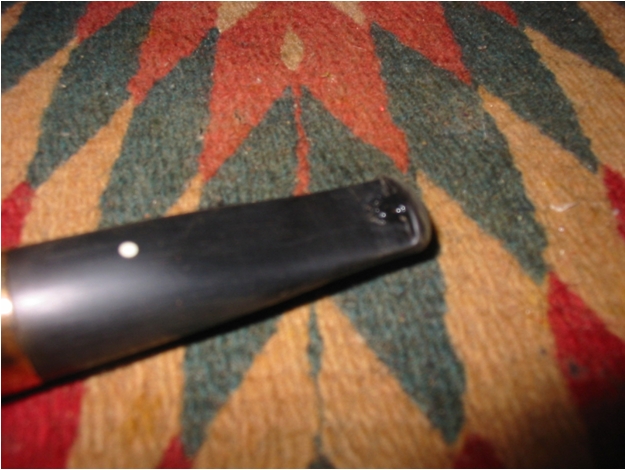
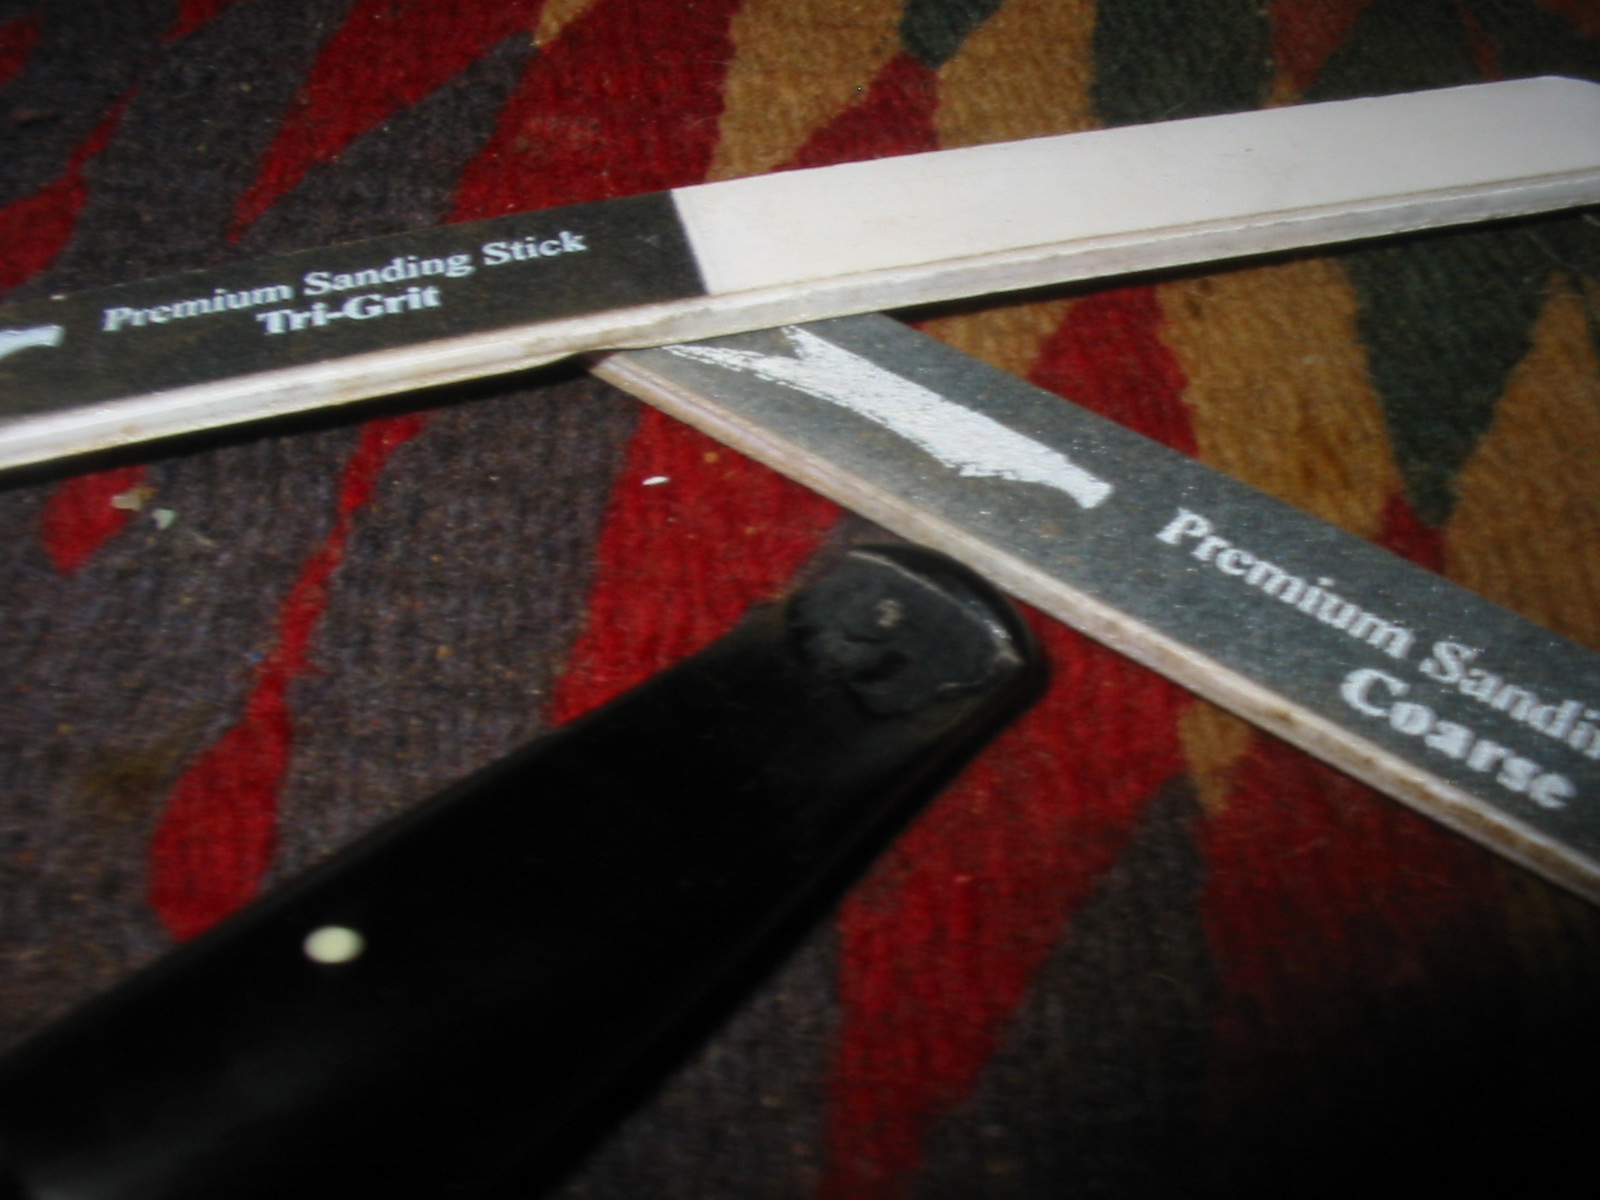
I decided to work on the stem first. I wanted to address the taper of the stem and cleanup the file marks and gouge in the top portion. I sanded the stem with 220 grit sandpaper to remove the scratches and reshape the taper. This took quite a bit of sanding to reshape the angles and edges of the stem. There was a slight hip on both sides of the stem that needed to be sanded out to get a smooth flow to the lines of the sides. The next series of photos show the progress in reshaping and repairing the stem. I worked on the taper first to remove the sharp angles of the sides and top of the taper and work on a flow to the profile of the stem. IMG_8158 IMG_8159 I sanded the gouge on the top right side of the stem until it disappeared and also worked on the transition from the flattened top and bottom of the taper and the round end next to the shank. The wet spot on the first photo next to the button highlights the spot where the small hole in the top of the taper was. At this point the taper is smooth and the transition is beginning to look right. The profile shot below shows the work that has been done. IMG_8163 IMG_8164 I continued to sand and smooth out the taper to give it a look similar to a Peterson tapered stem. The first photo shows the taper after all of the shaping. I rubbed some Vaseline on a pipe cleaner and inserted it in the orific slot in the button so that I could patch the hole in the top side of the stem. The second photo below shows the size and placement of the hole. IMG_8178 IMG_8180 I used black super glue for the repair and sprayed it with the accelerator to harden it more quickly. I found that the accelerator allows me to sand more quickly but curing actually takes longer. I sanded it with sanding sticks to smooth it out and then build it up several more times to give more thickness to the stem at the button. I reshaped the sharp inner edge of the button with a needle file. Superglue patch IMG_8181 After sanding with the sticks I sanded the patched area with 220 grit sandpaper and then with medium and fine grit sanding sponges to smooth out the scratches and blend in the superglue patch with the rest of the stem surface. IMG_8182 I finished sanding the stem with micromesh sanding pads – wet sanding with 1500-3200 grit pads and dry sanding with 3600-12,000 grit pads. I rubbed the stem down with Obsidian Oil between each three grit sequence of pads and let it sit until absorbed before continuing with the next set of three pads. When I finished sanding with the last three grits of micromesh I rubbed it down with a final coat of Obsidian Oil and when dry put the back on the pipe and gave it a buff with White Diamond. IMG_8187 IMG_8188 IMG_8189 I set the stem aside and turned my attention to the bowl. I decided to top the bowl to even out the rim as most of the inner rim damage did not go too deeply into the bowl. Topping it would smooth out the rim and allow me to correct the damage that made it out of round. I set up the topping board with the 220 grit sandpaper and sanded the top until the rim was smooth and the burn damage was minimized. I sanded the inner edge with a folded piece of 220 grit sandpaper to further mask the damage to the inner rim. IMG_8161 IMG_8162 I sanded the topped bowl with medium and fine grit sanding sponges and then with 1500-4000 grit micromesh sanding pads. I cleaned out the sanding dust from the bowl with a damp cloth and wiped down the top of the bowl with an alcohol wipe to prepare it for restaining. I decided against restaining the whole bowl and to just stain the rim. Thanks to Greg I have a set of staining pens that make this kind of thing quite easy. I started with the lightest stain pen and then used the medium stain pen to match the colour of the bowl. I buffed it with White Diamond and then gave the bowl and rim a quick buff with carnauba wax. After the buffing I sanded the band with the micromesh sanding pads and then polished it with a polishing cloth. The finished bowl is shown in the photos below. IMG_8167 IMG_8168 IMG_8169 IMG_8171 IMG_8172 The next photo shows what I did next, though in retrospective I probably should have done this first, I did not. I cleaned out the inside of the shank with isopropyl alcohol, cotton swabs and pipe cleaners to remove the tarry buildup in the mortise and airway of the pipe. IMG_8175 Once I finished cleaning out the inside of the pipe I gave it a quick buff with White Diamond and then gave it multiple coats of carnauba wax, buffing with a soft flannel buff between coats. The finished pipe is shown below. The restoration and refurbishment are complete and now it can be honestly said that it has been “restored”. The amount of work it took to bring this pipe back to a finished look was far more than I expected when I bid on it. I honestly was surprised at how dirty and unfinished it was when it arrived. Now I have a pipe that I can be proud of and enjoy smoking. The look and feel in the hand is exactly what I like and I look forward to firing up the first bowl in it very soon. IMG_8192 IMG_8193 IMG_8194 IMG_8196

Yet Another Frankenpipe – A pipe made from assorted pieces


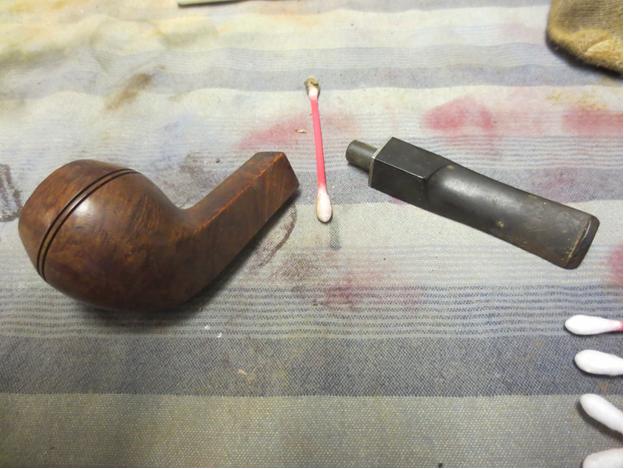
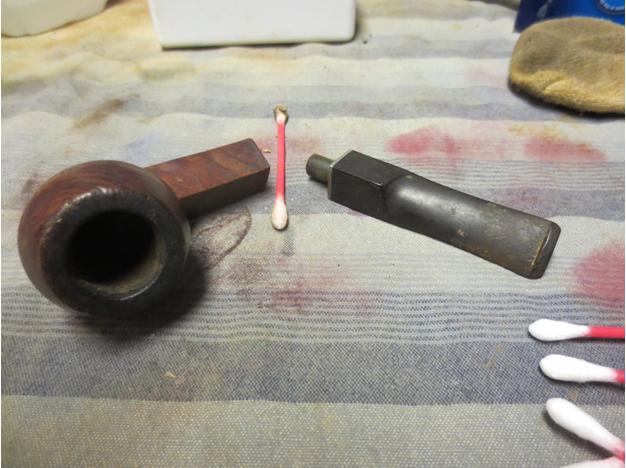
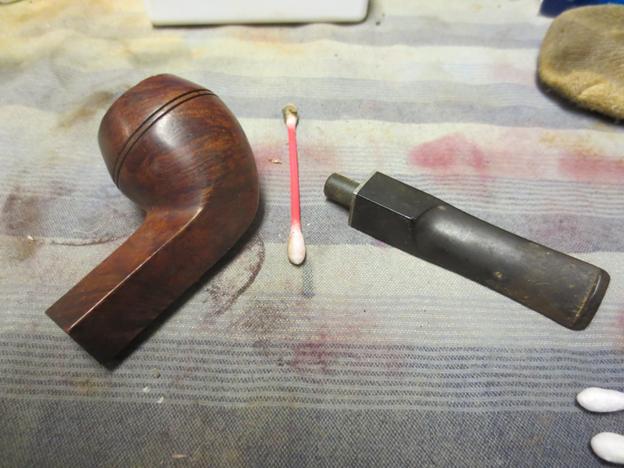
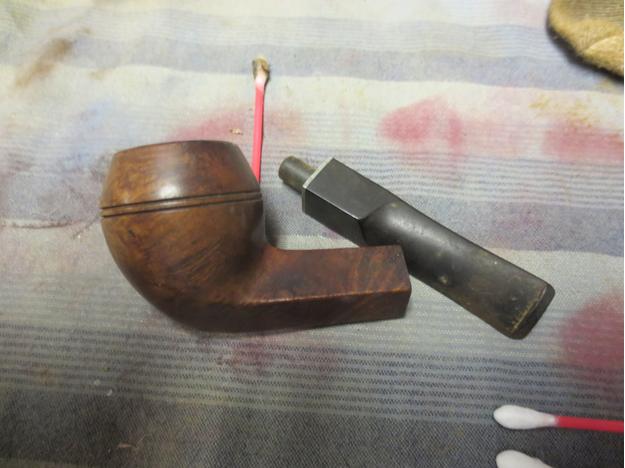
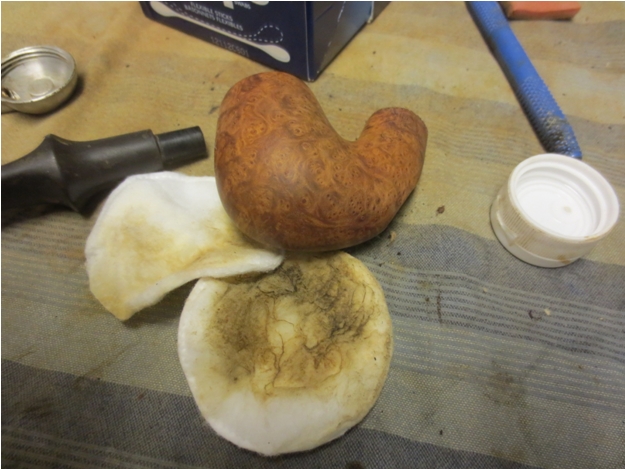
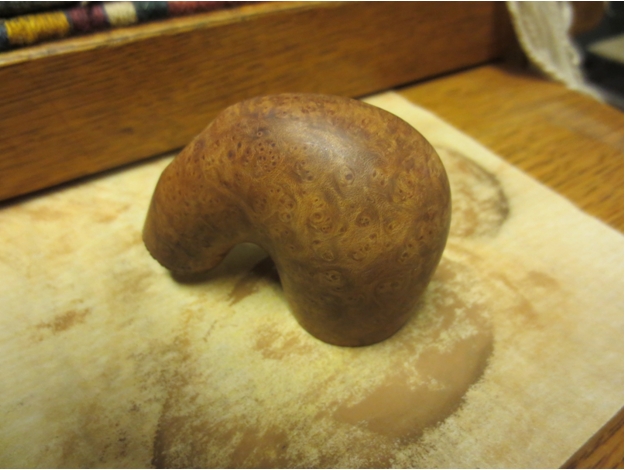
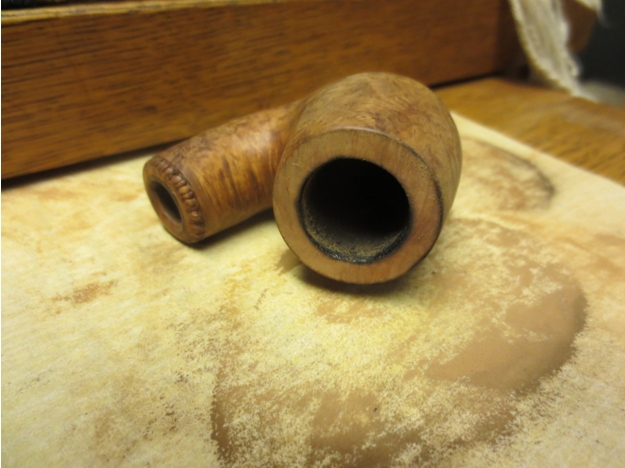
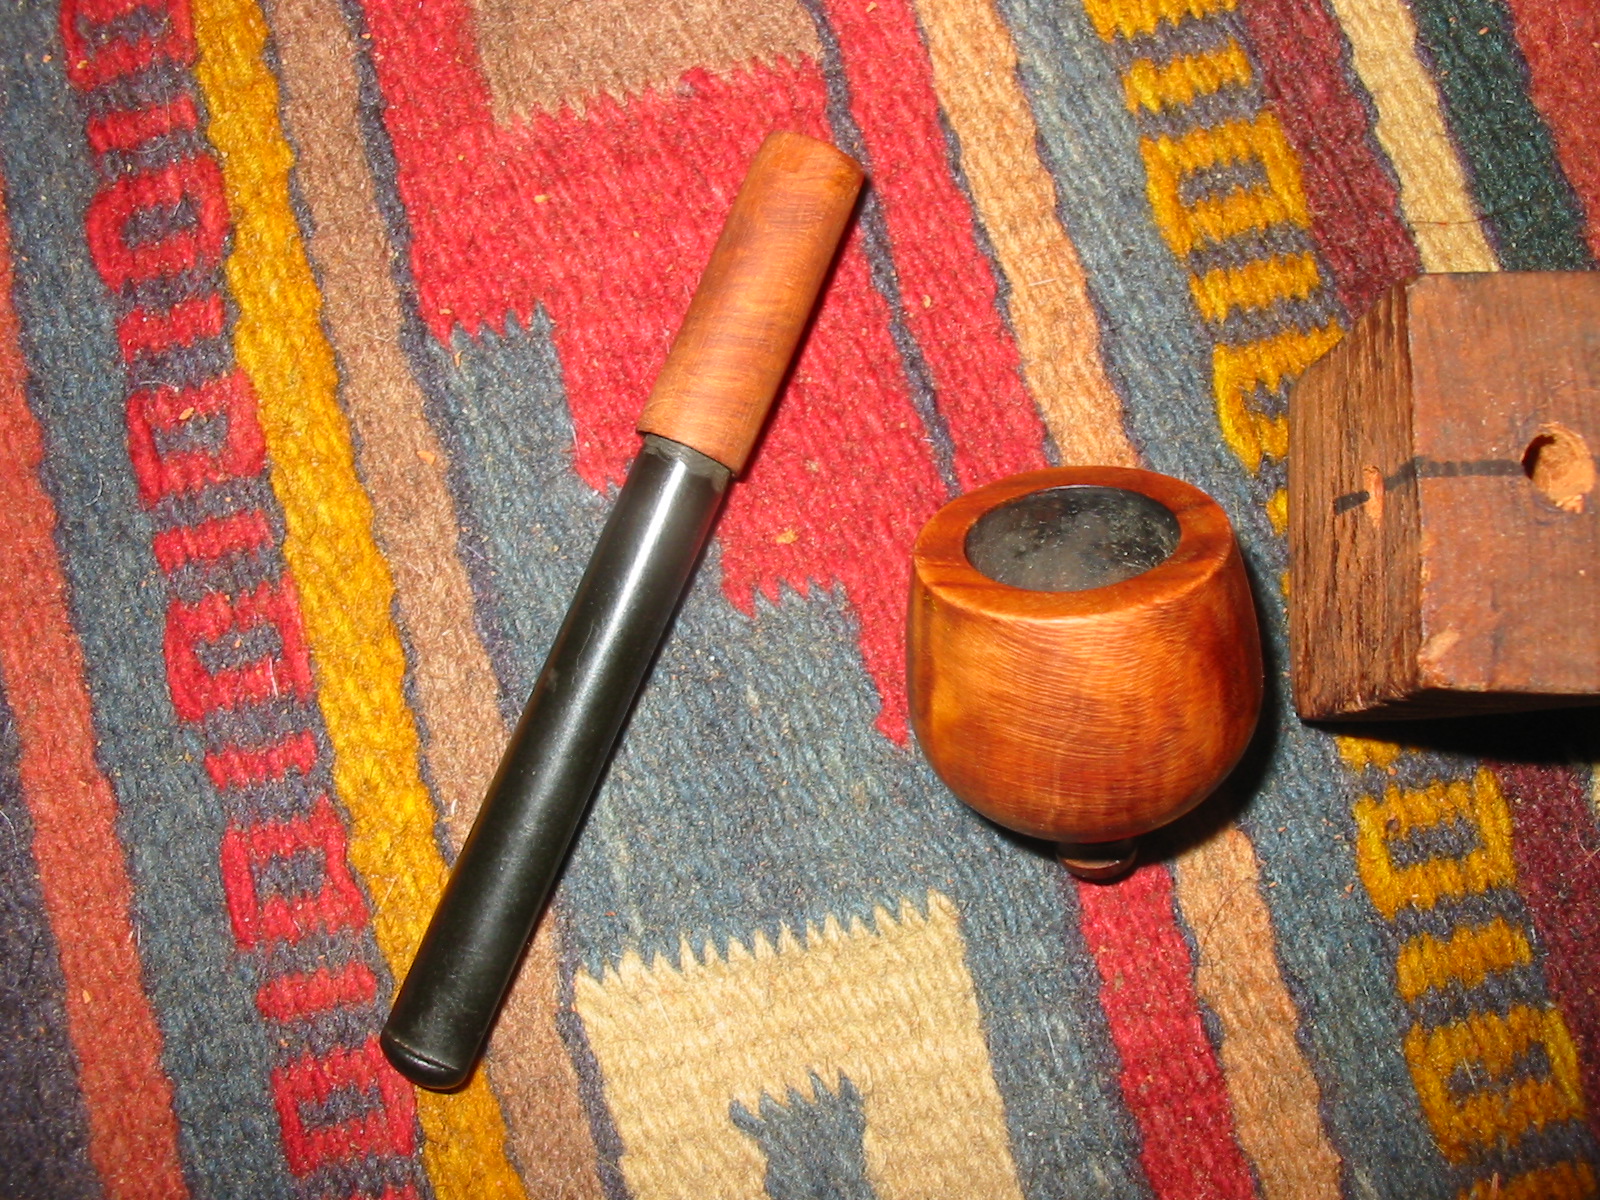
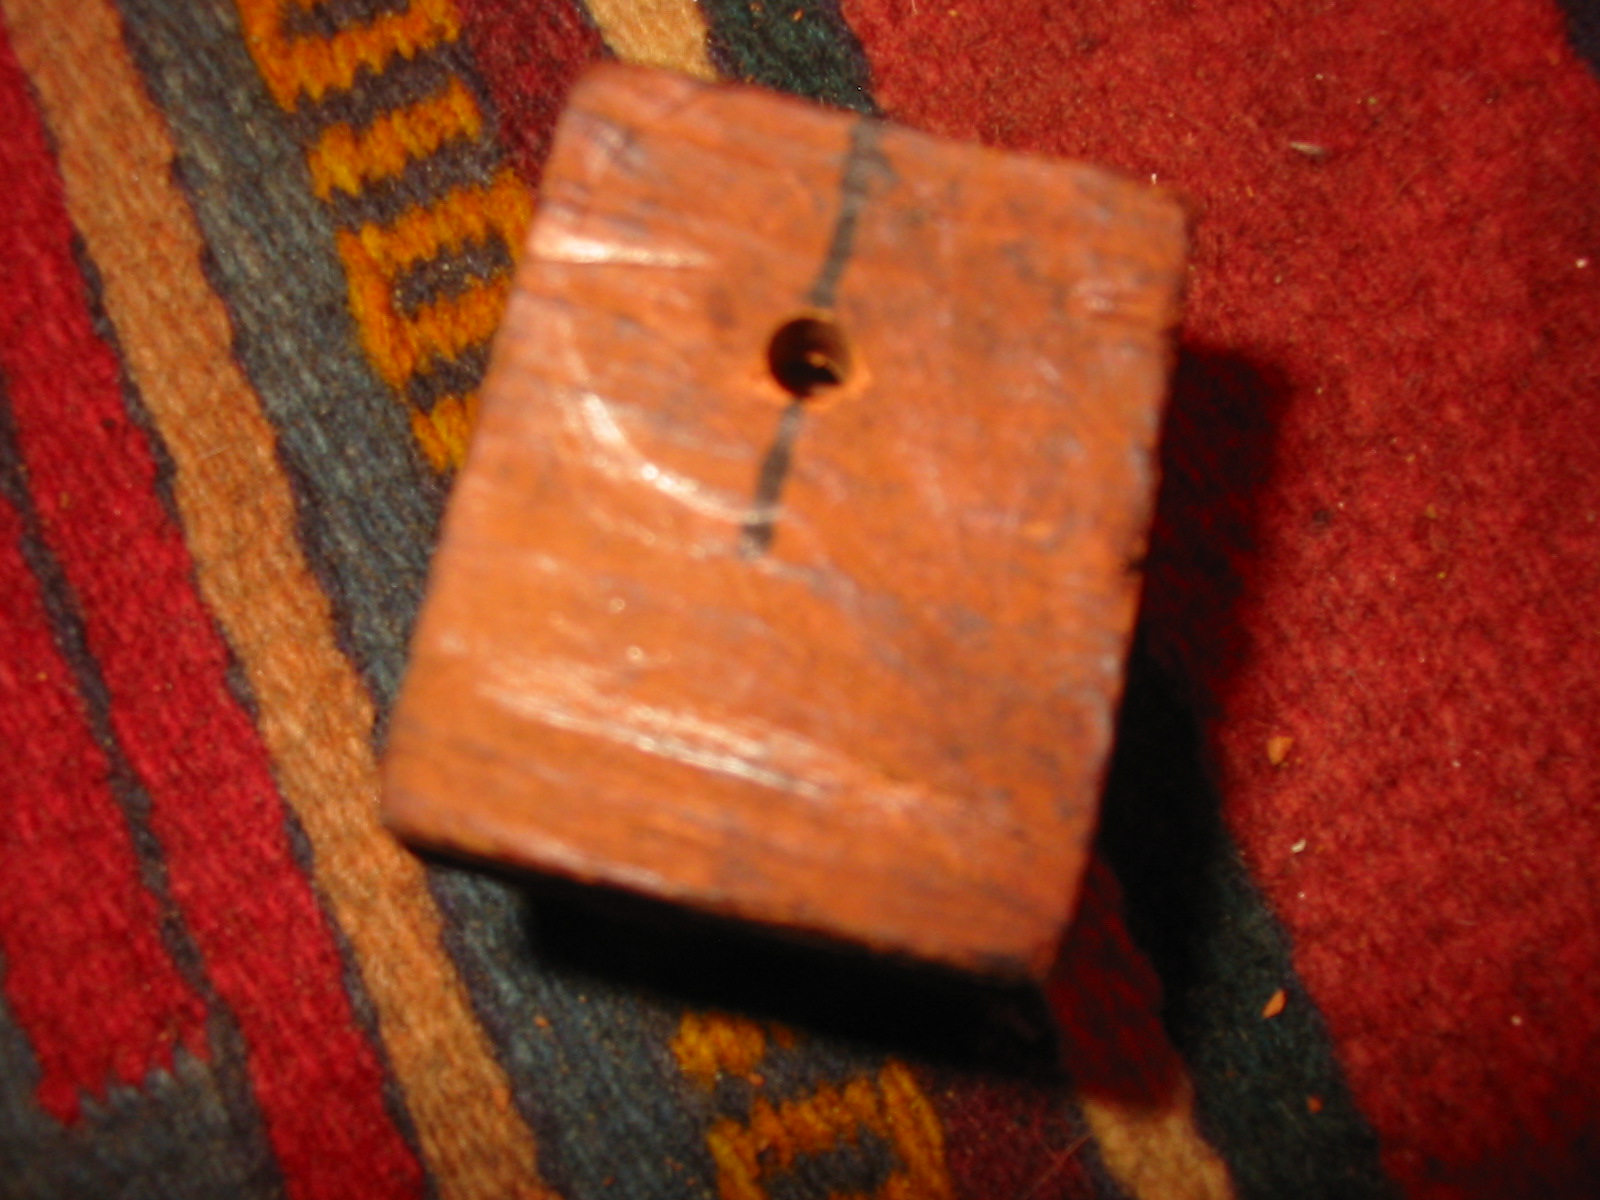
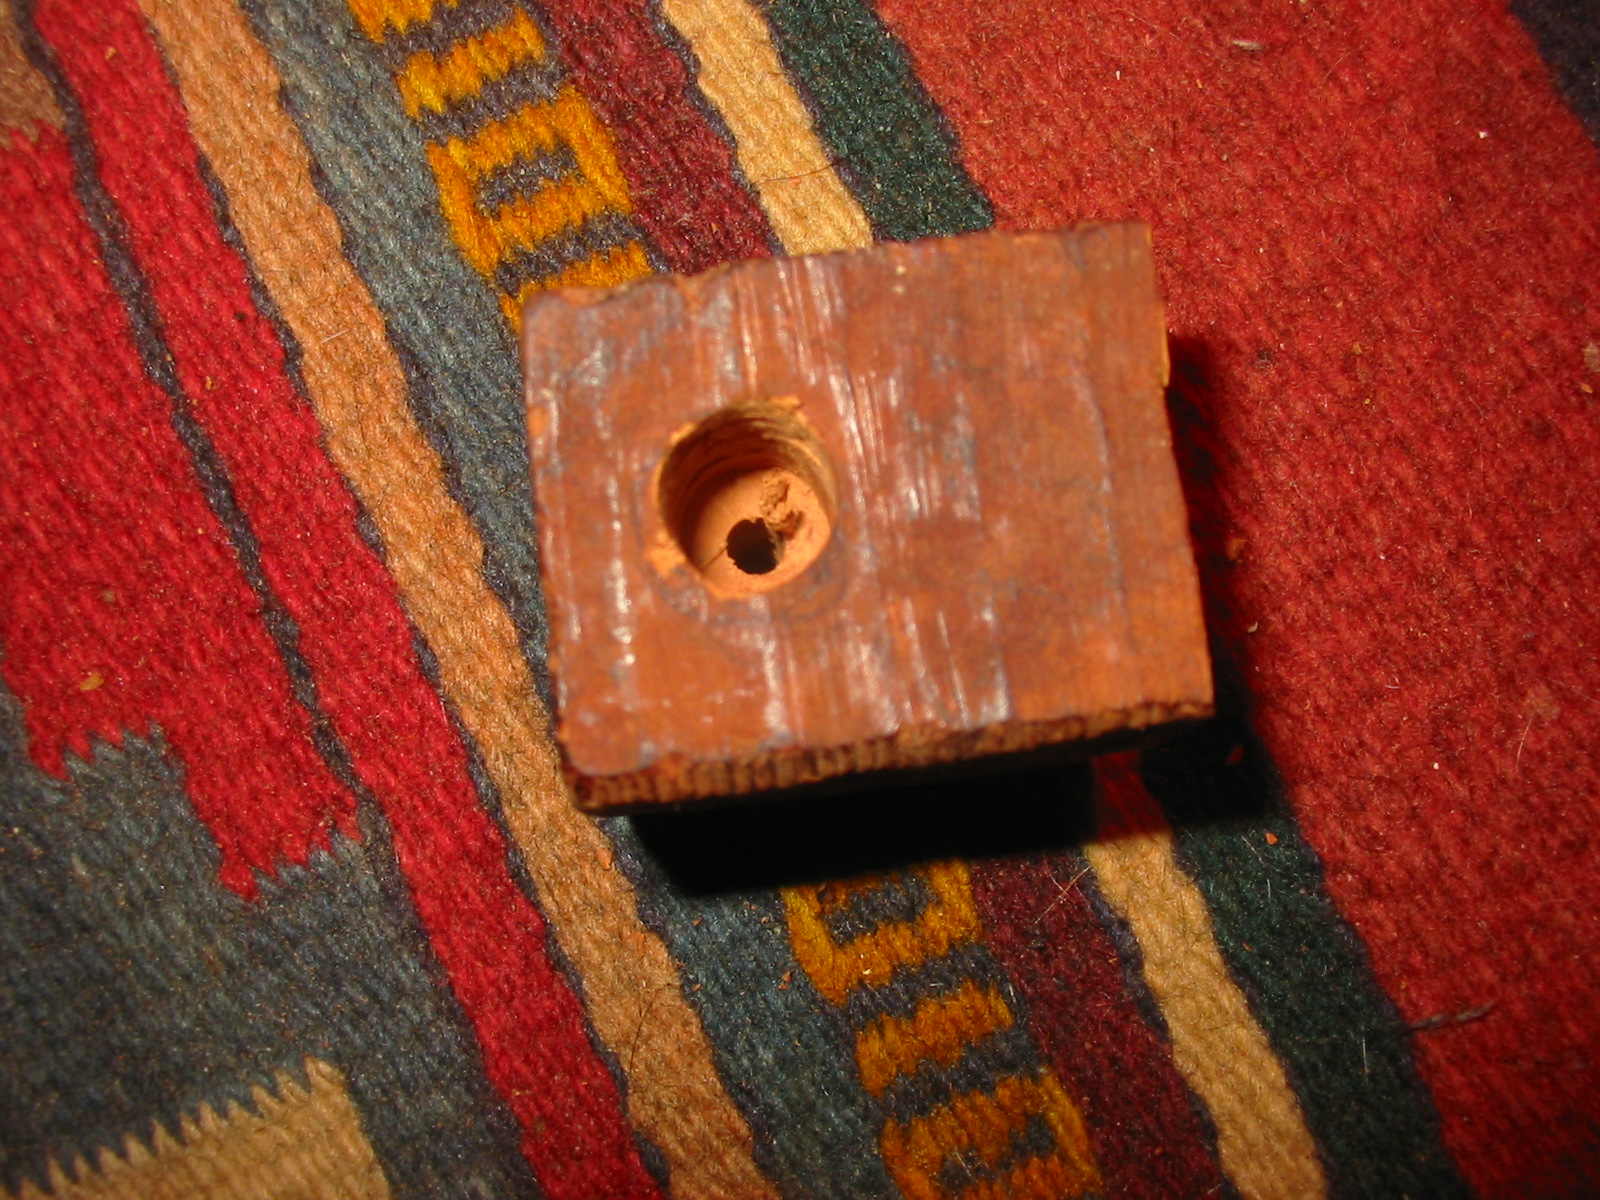
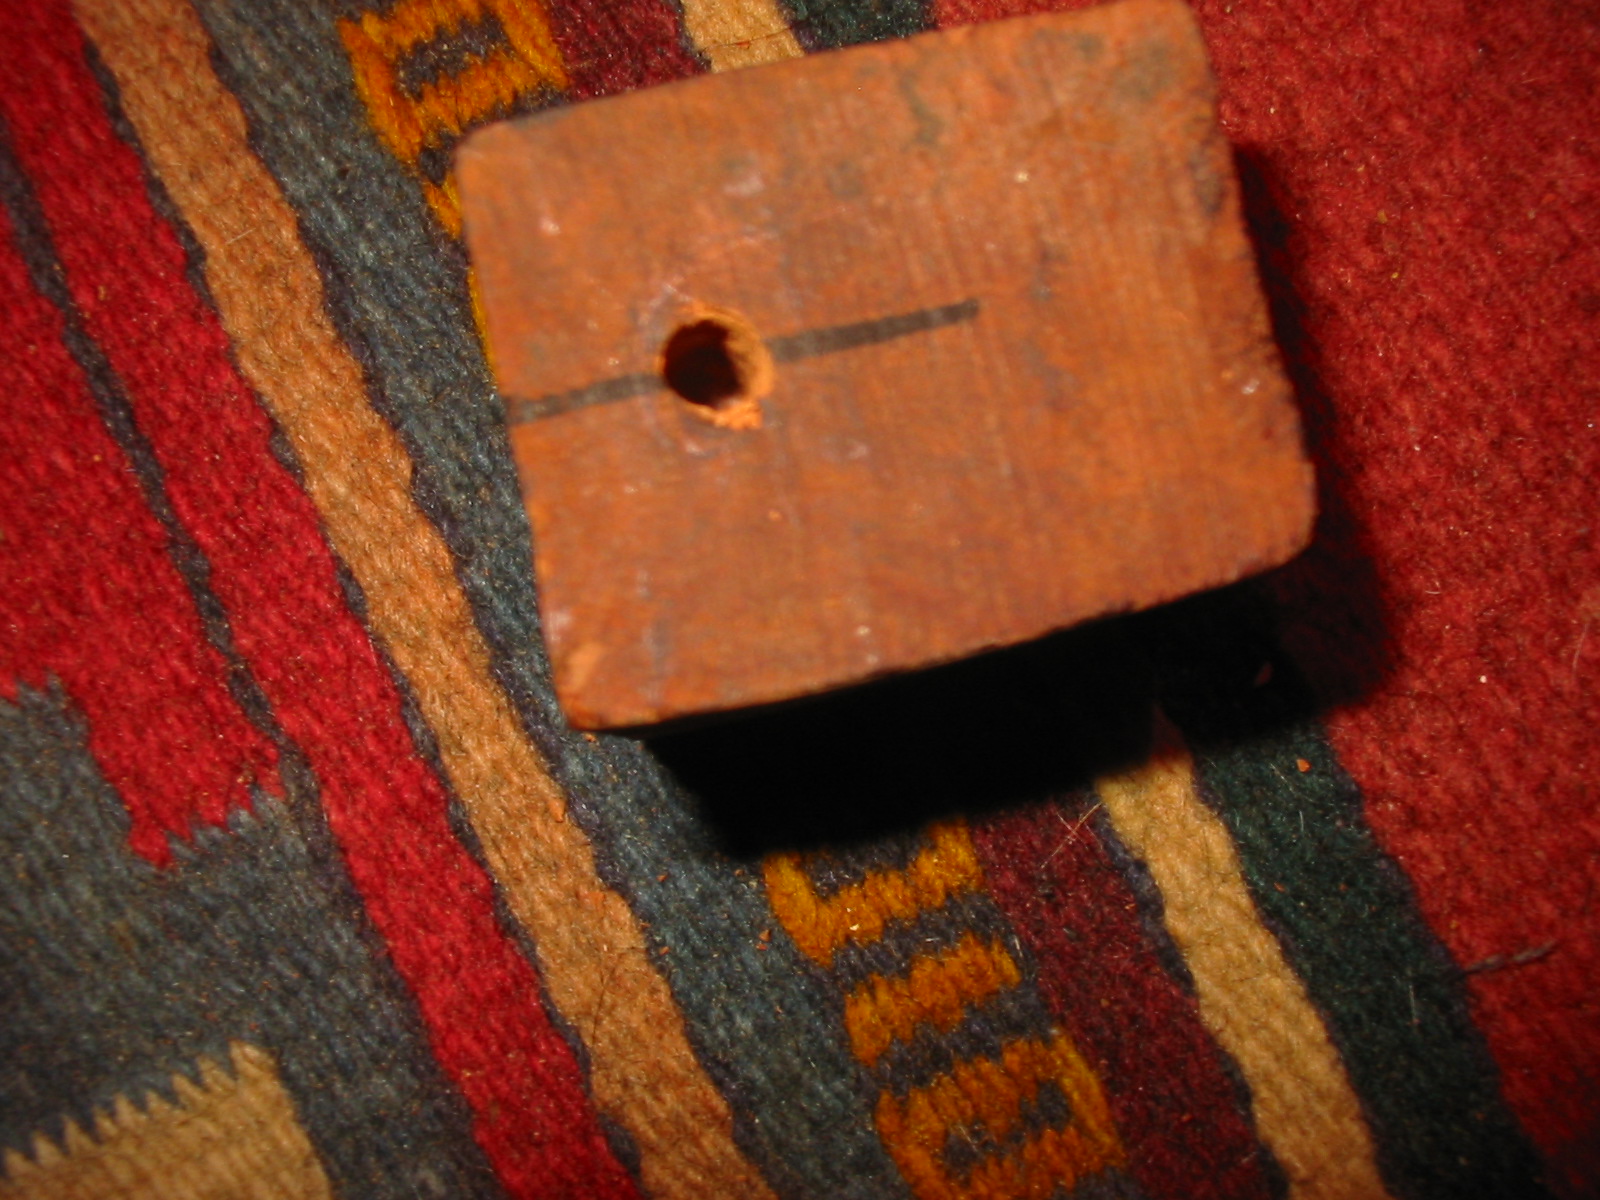
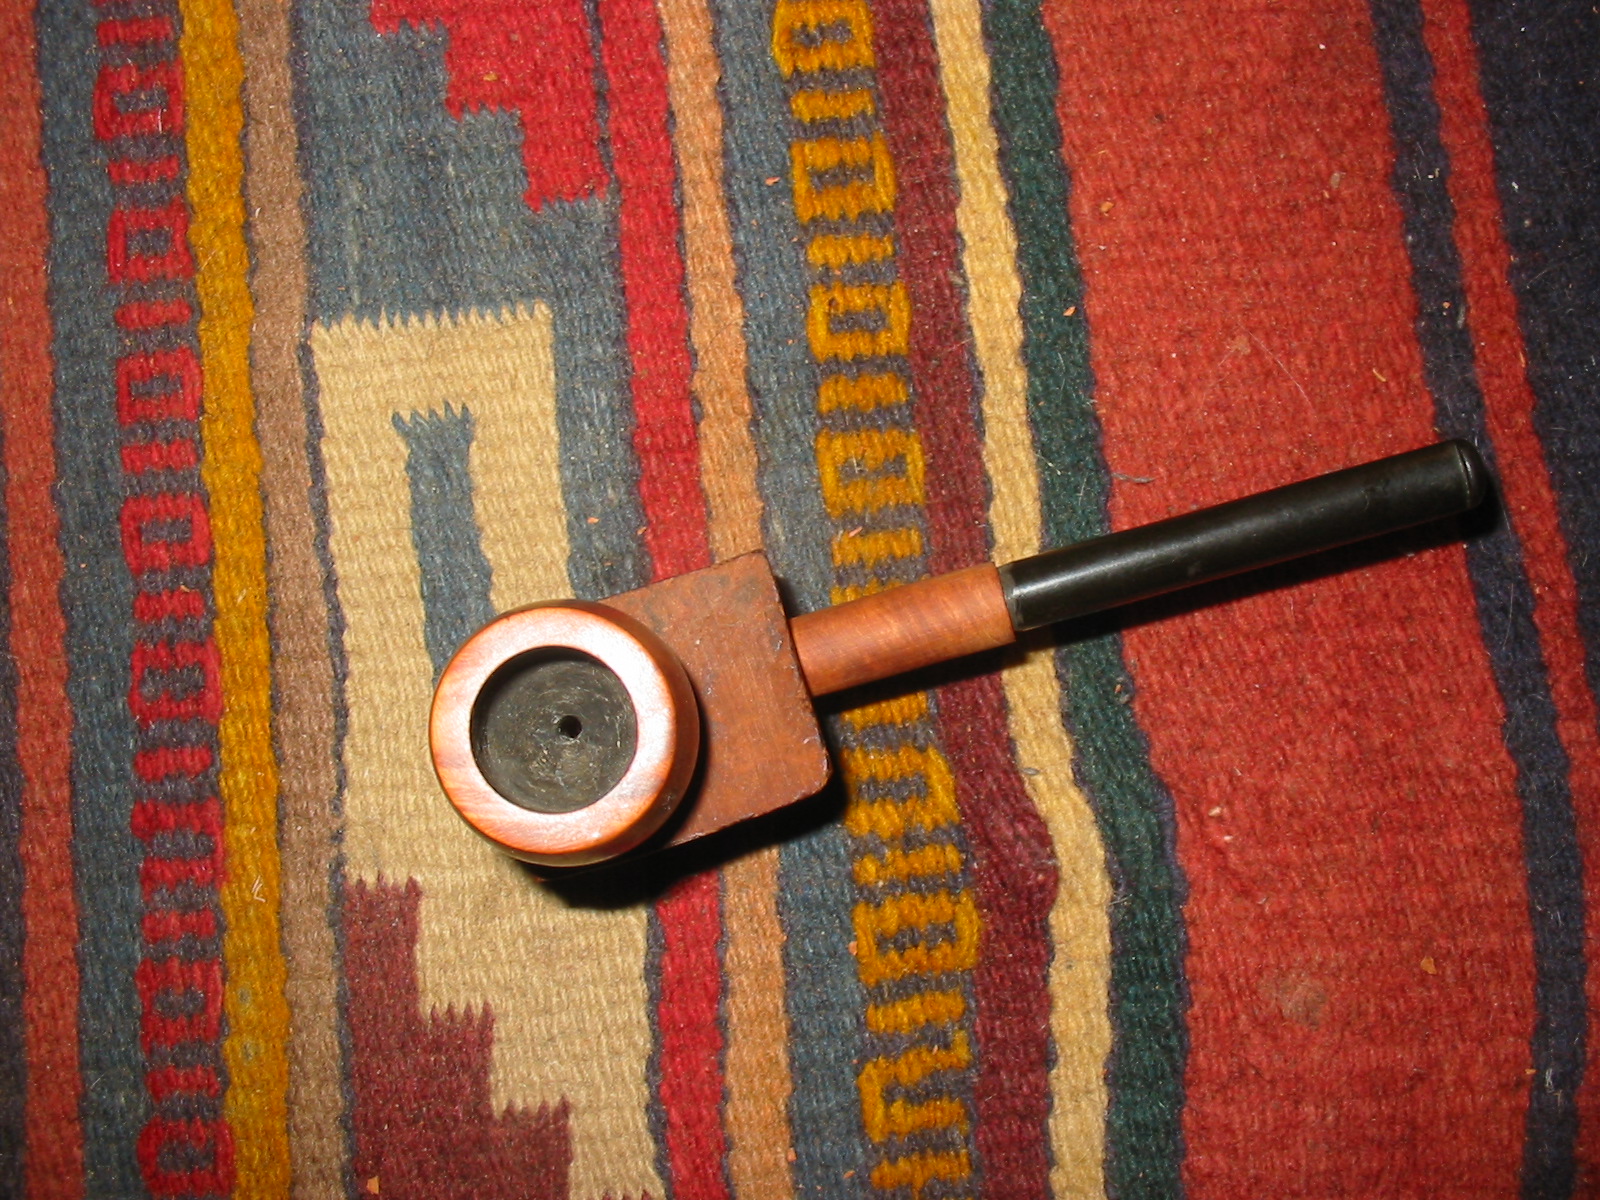
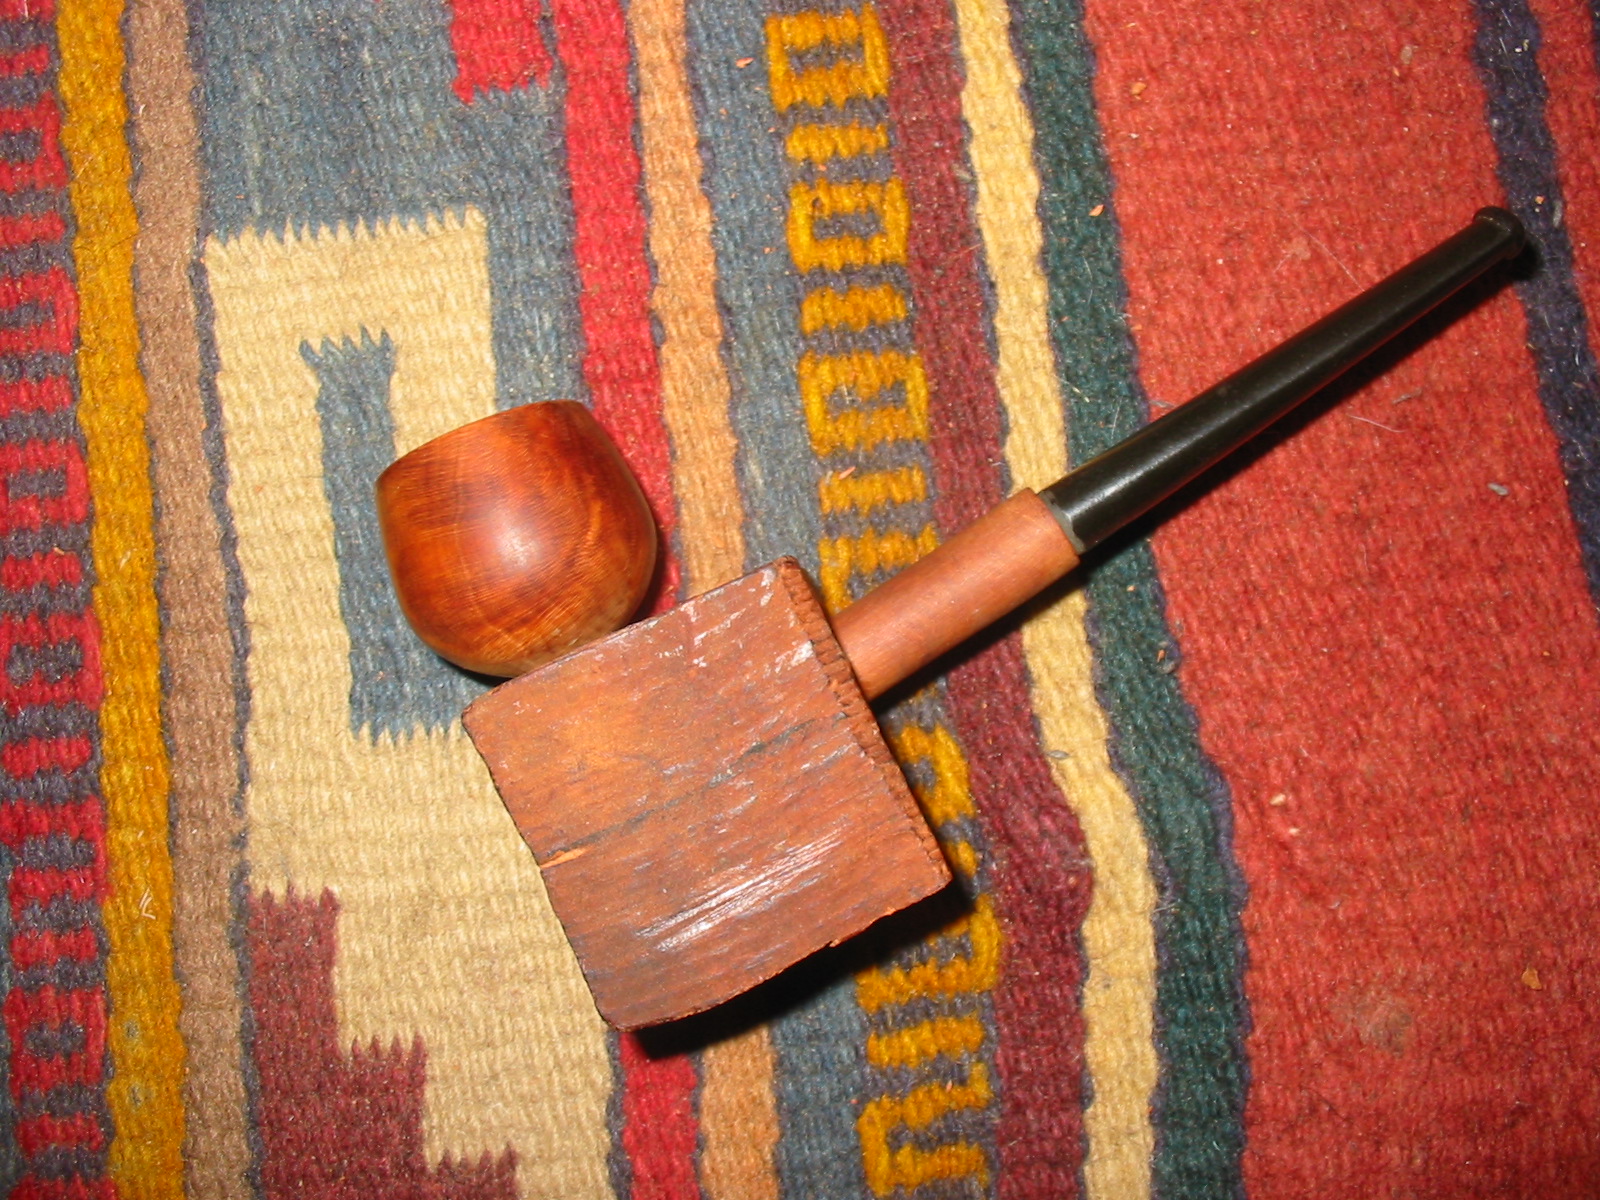
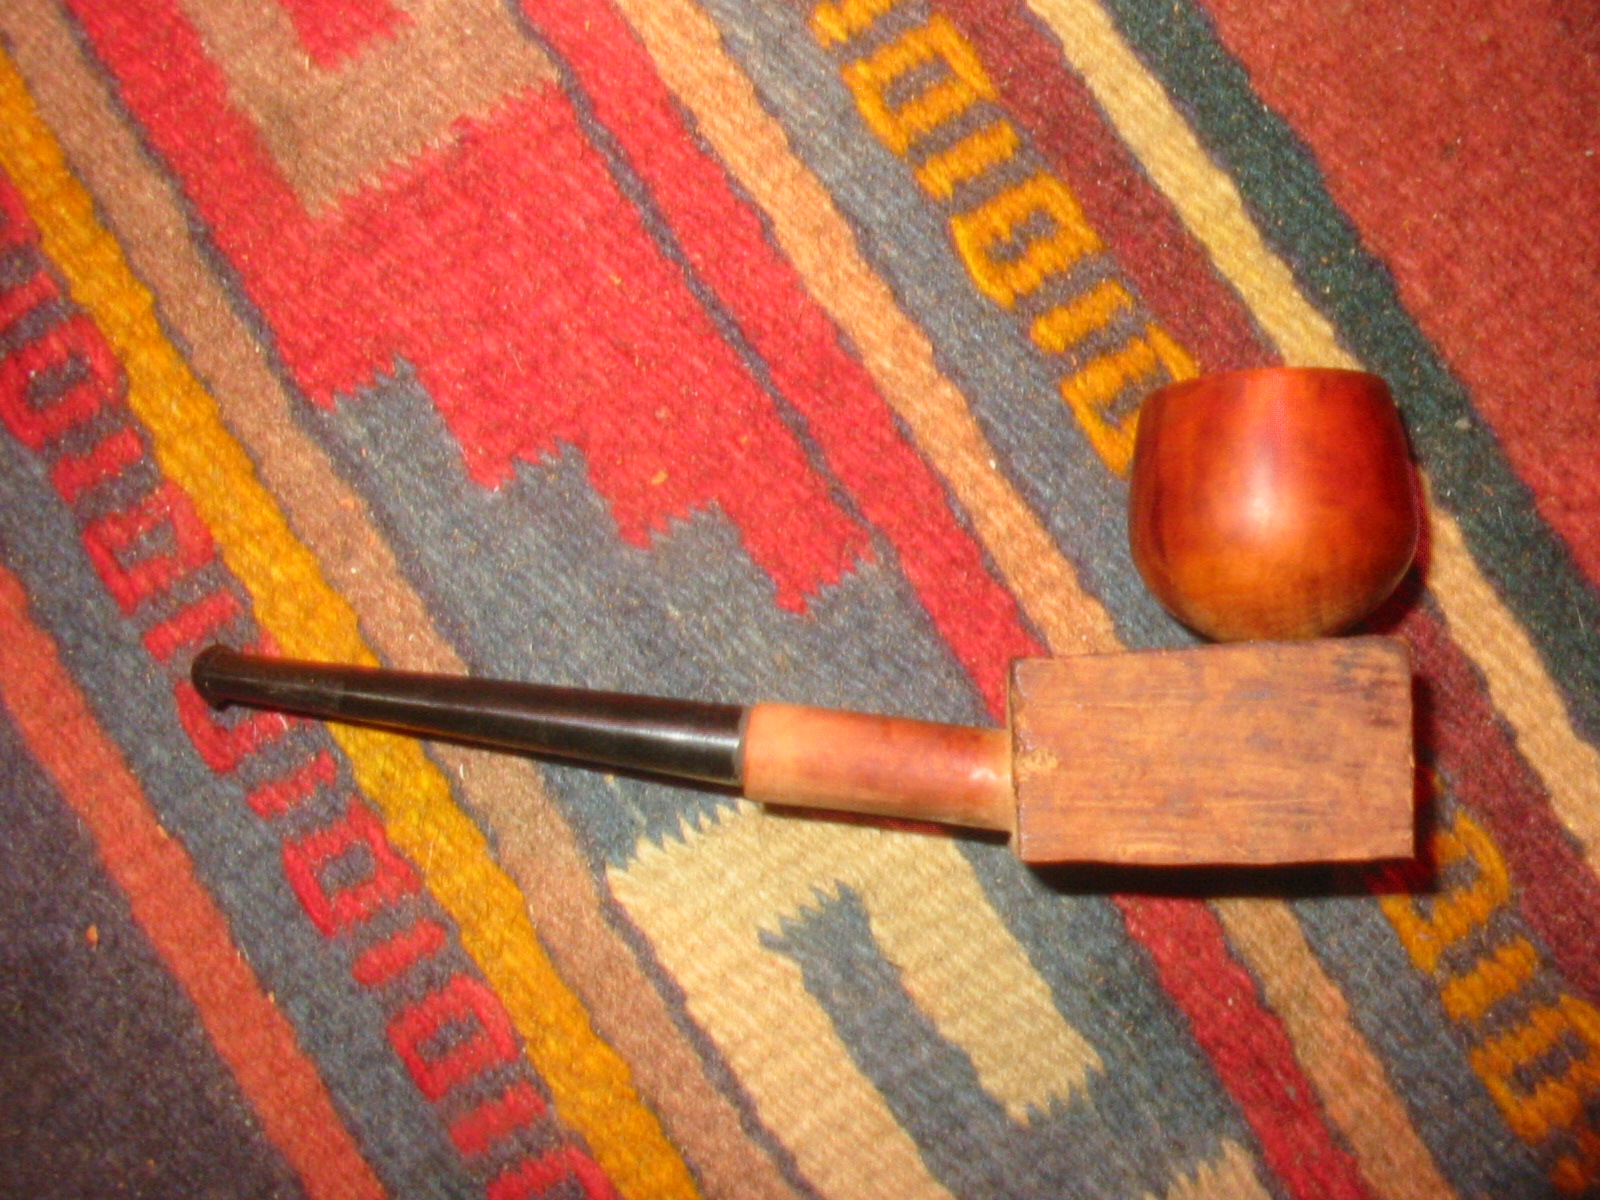
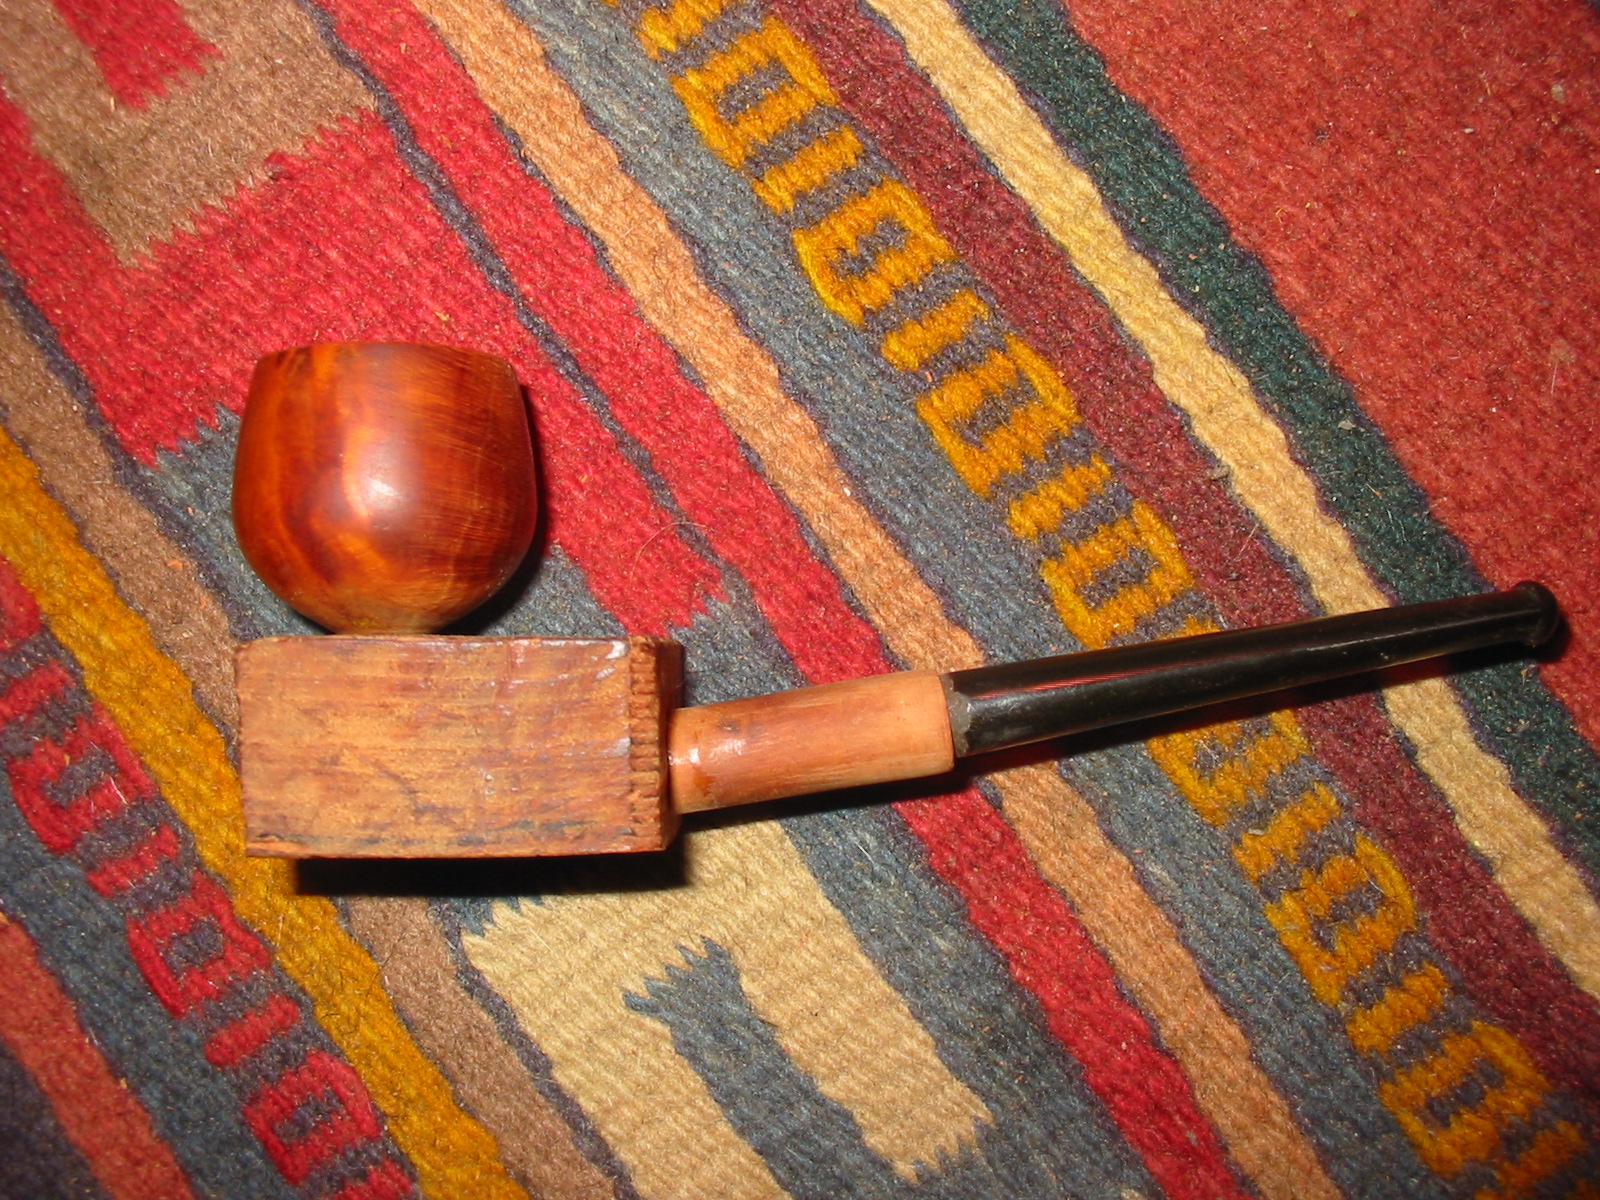
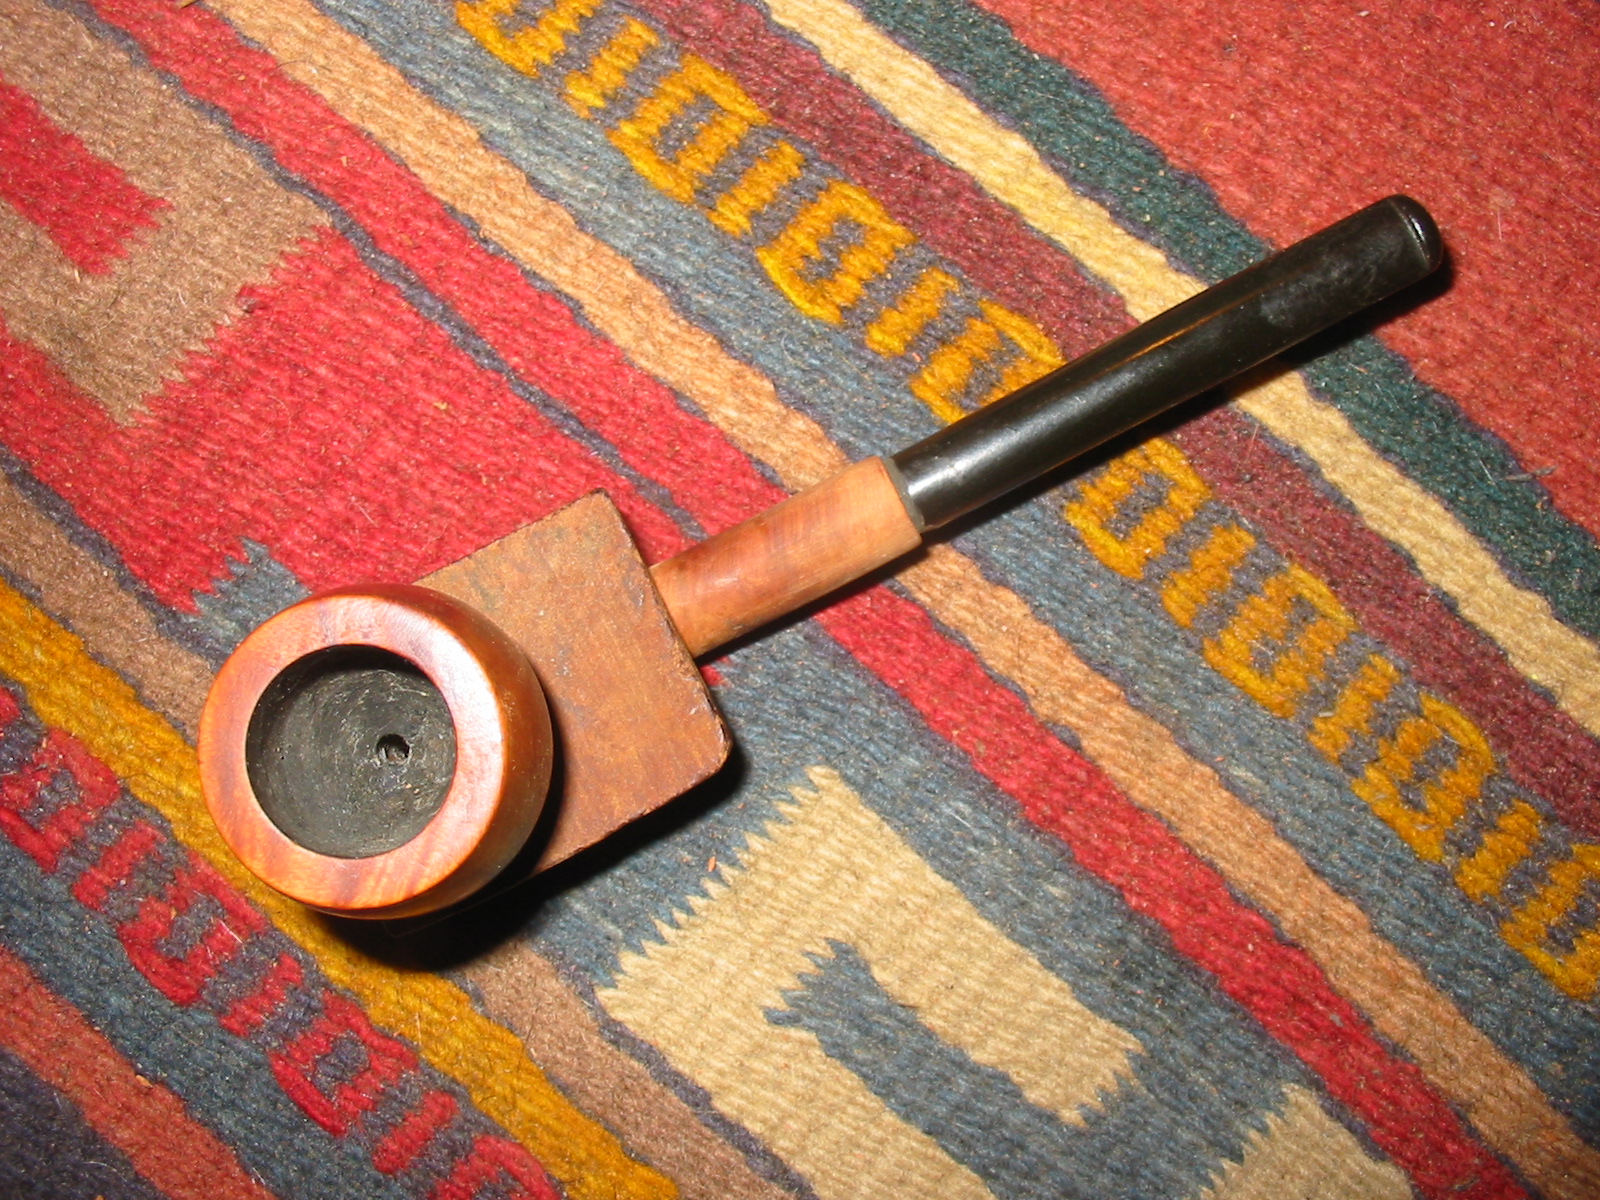
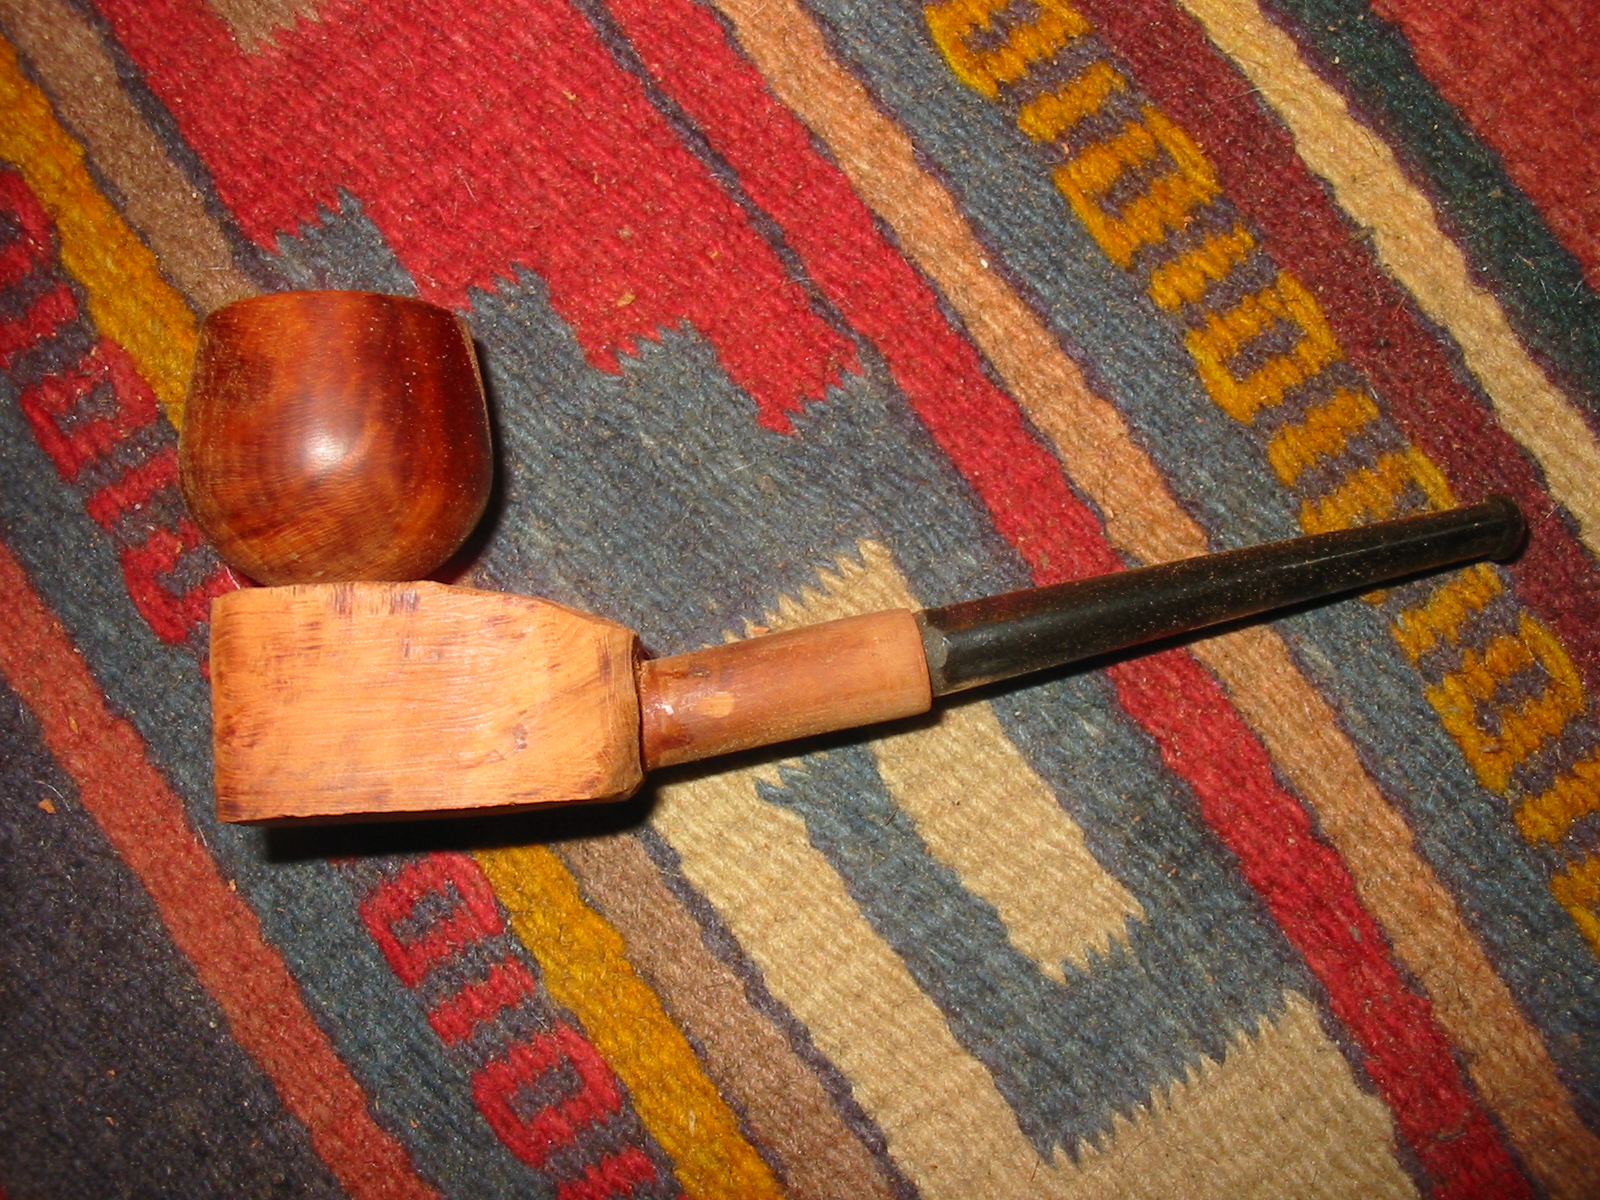
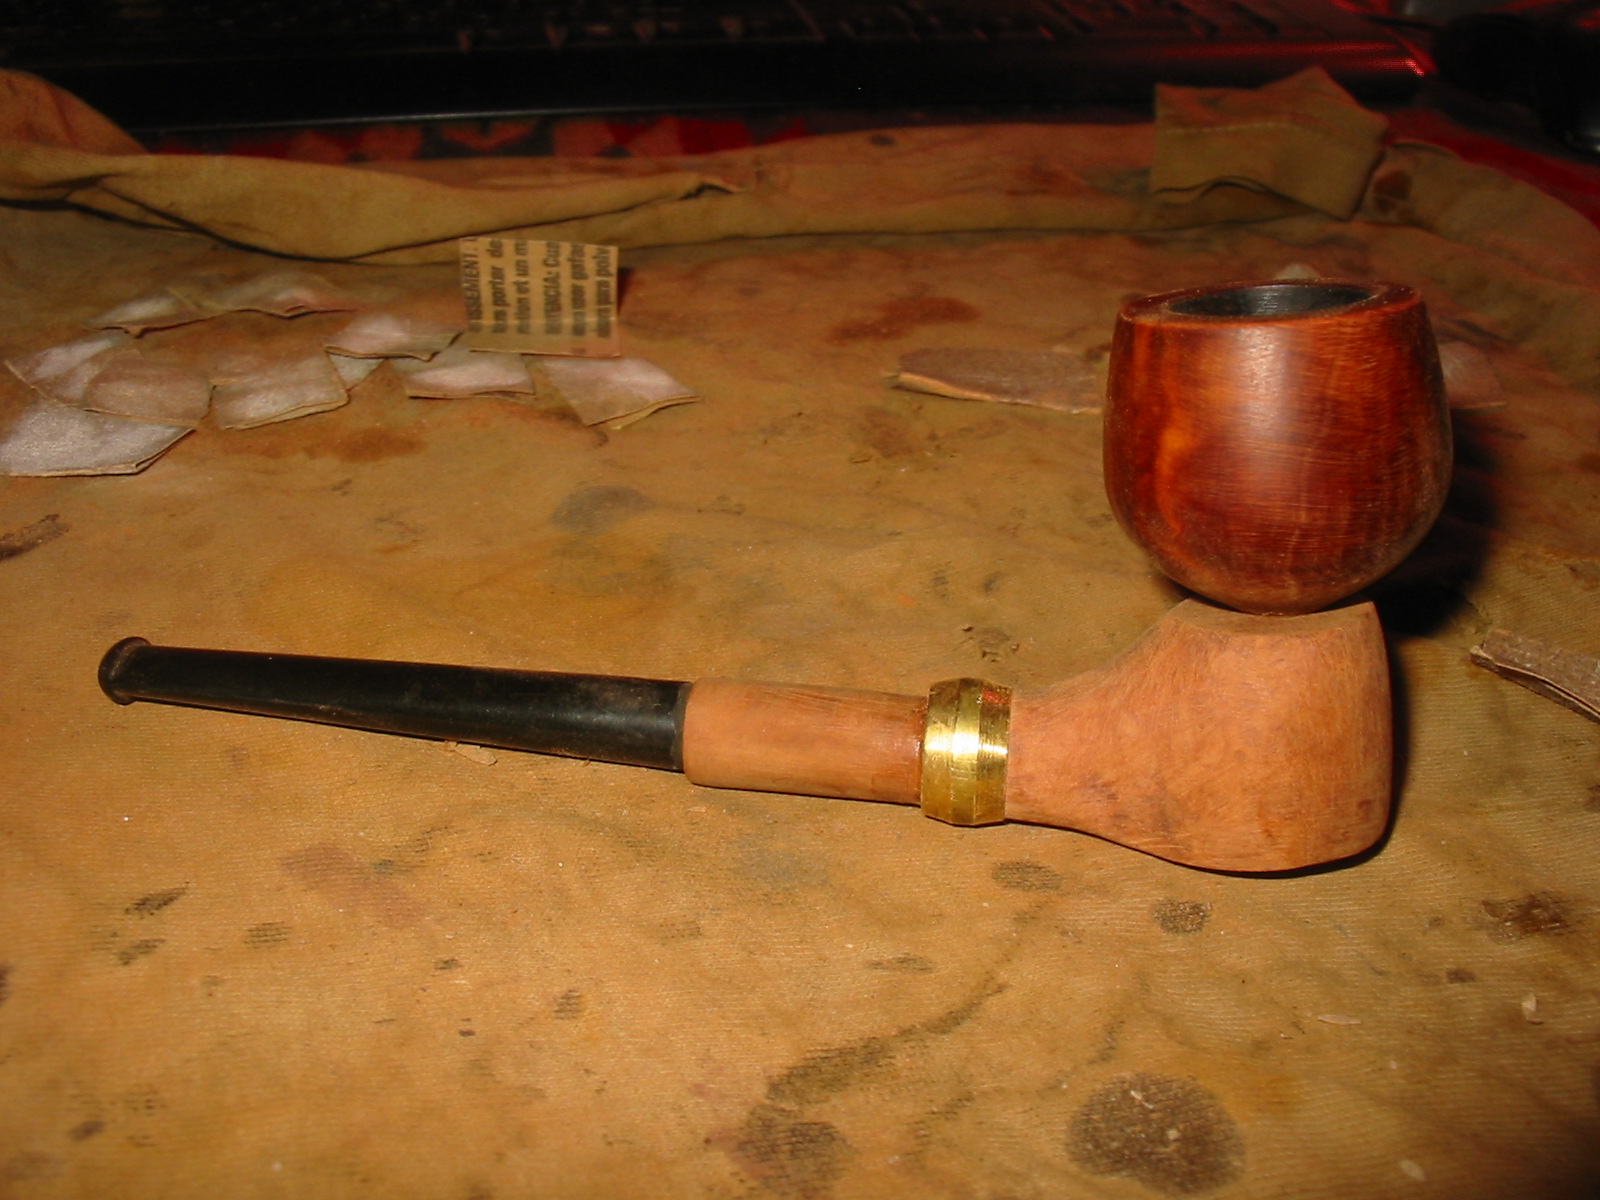
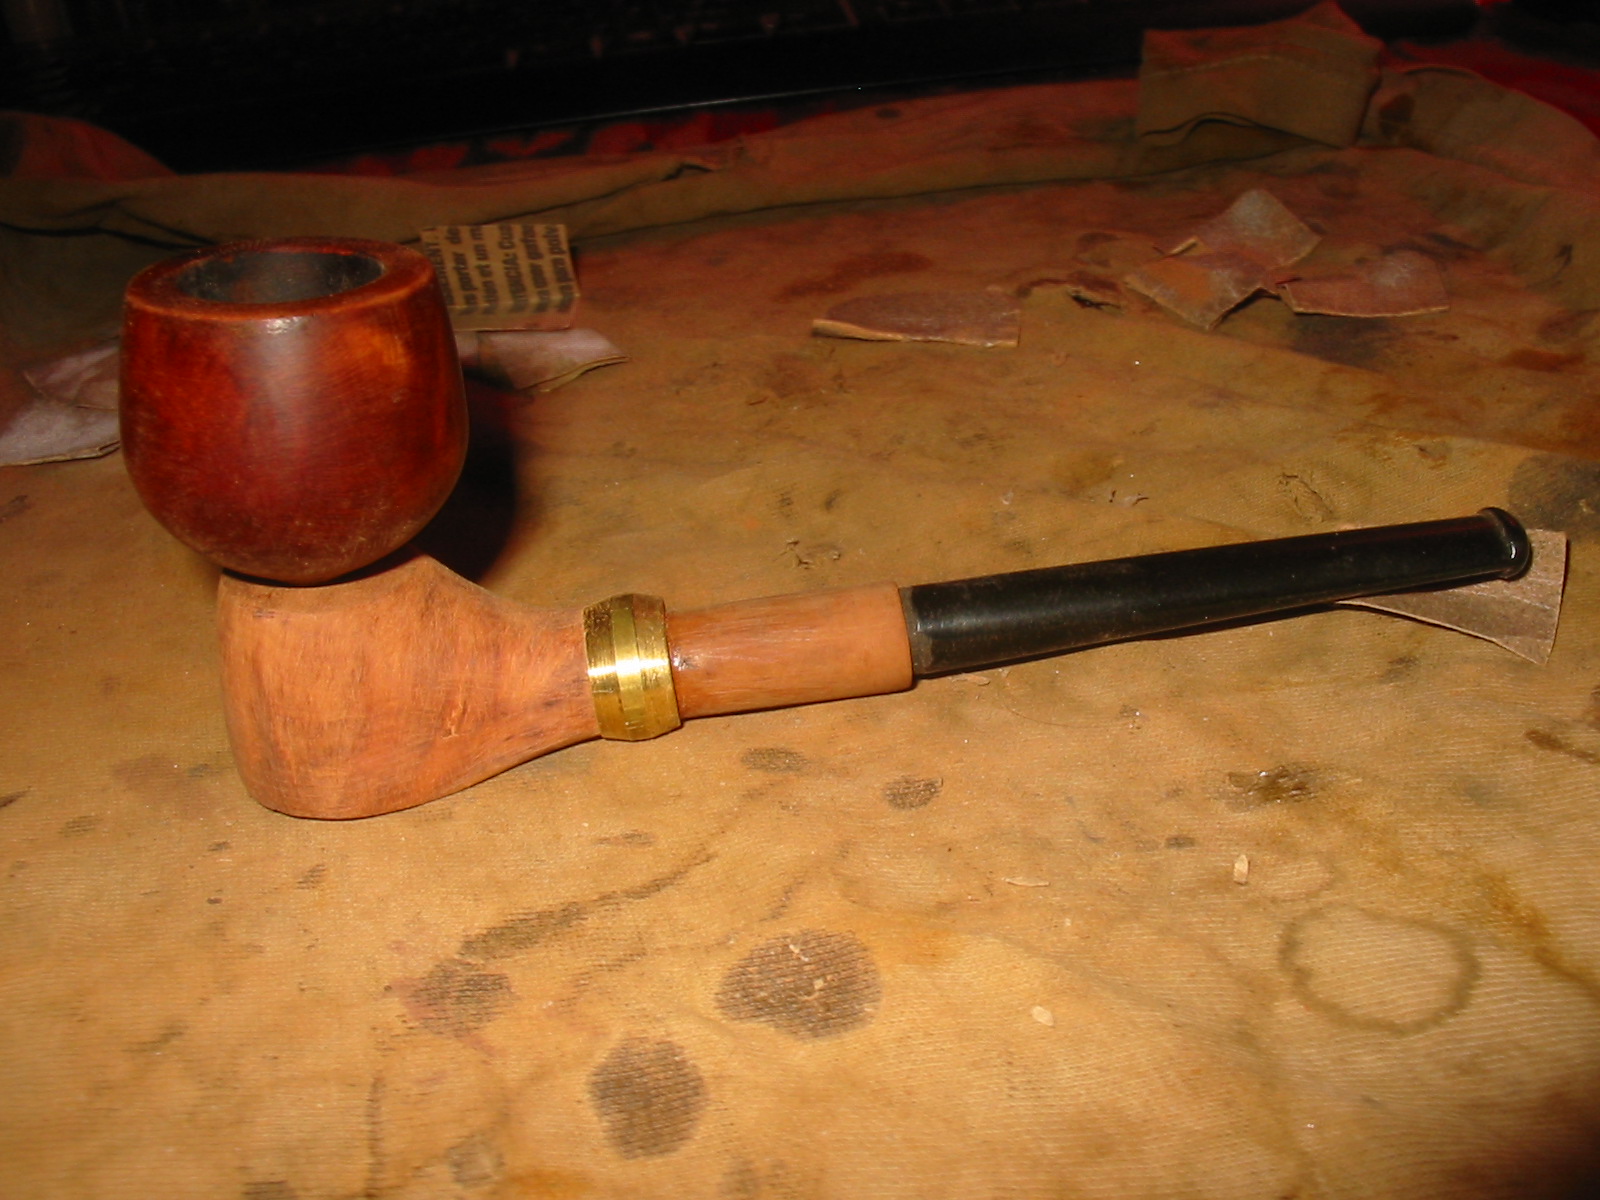
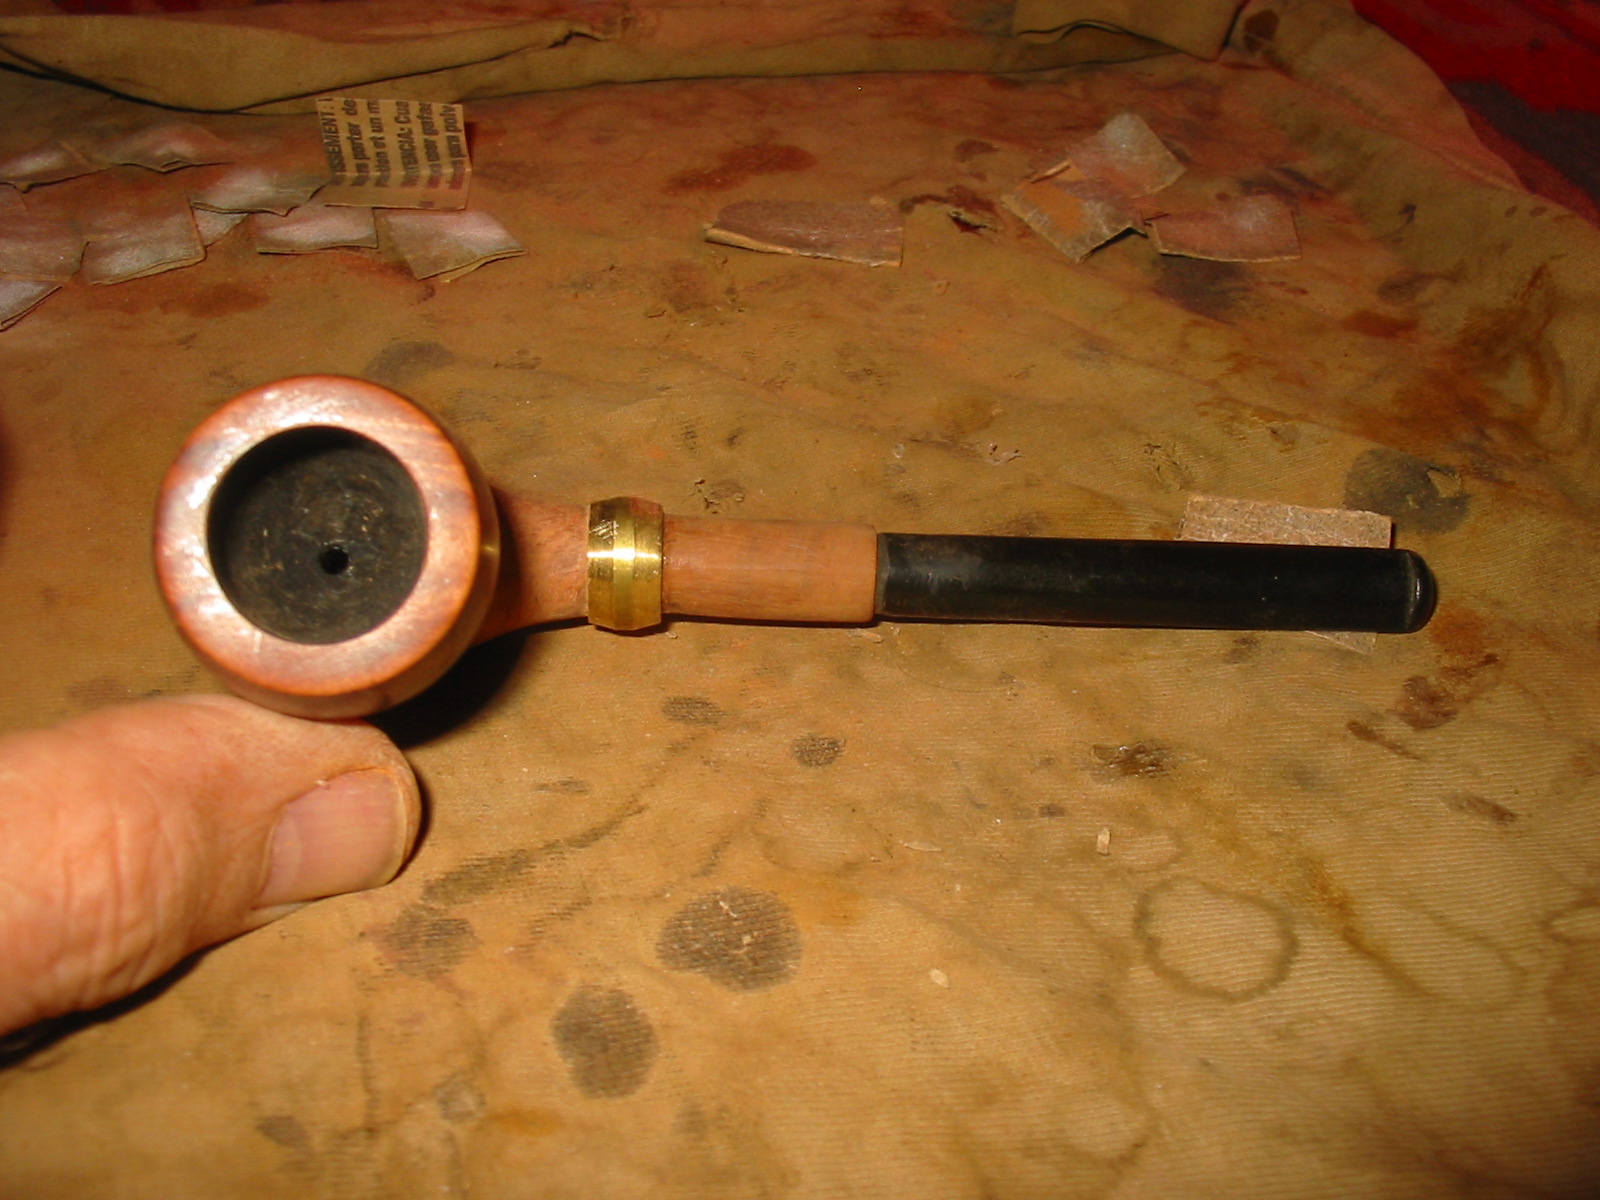
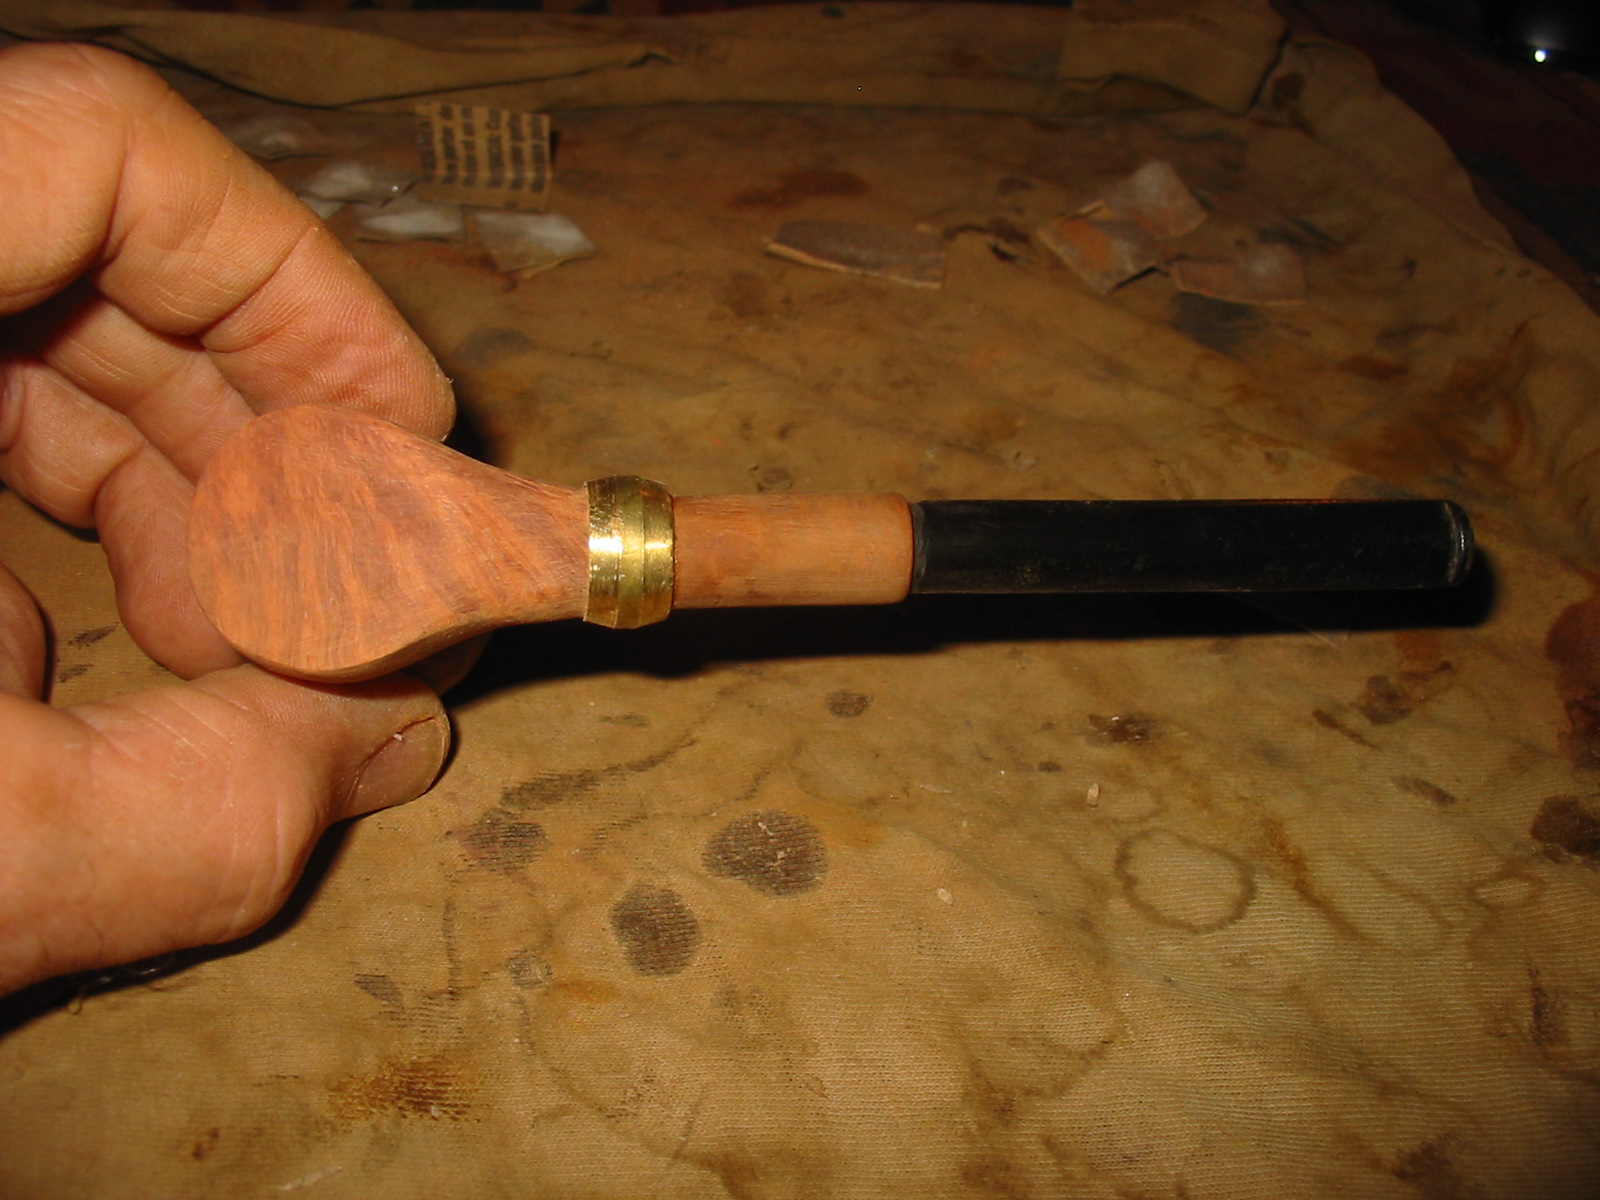
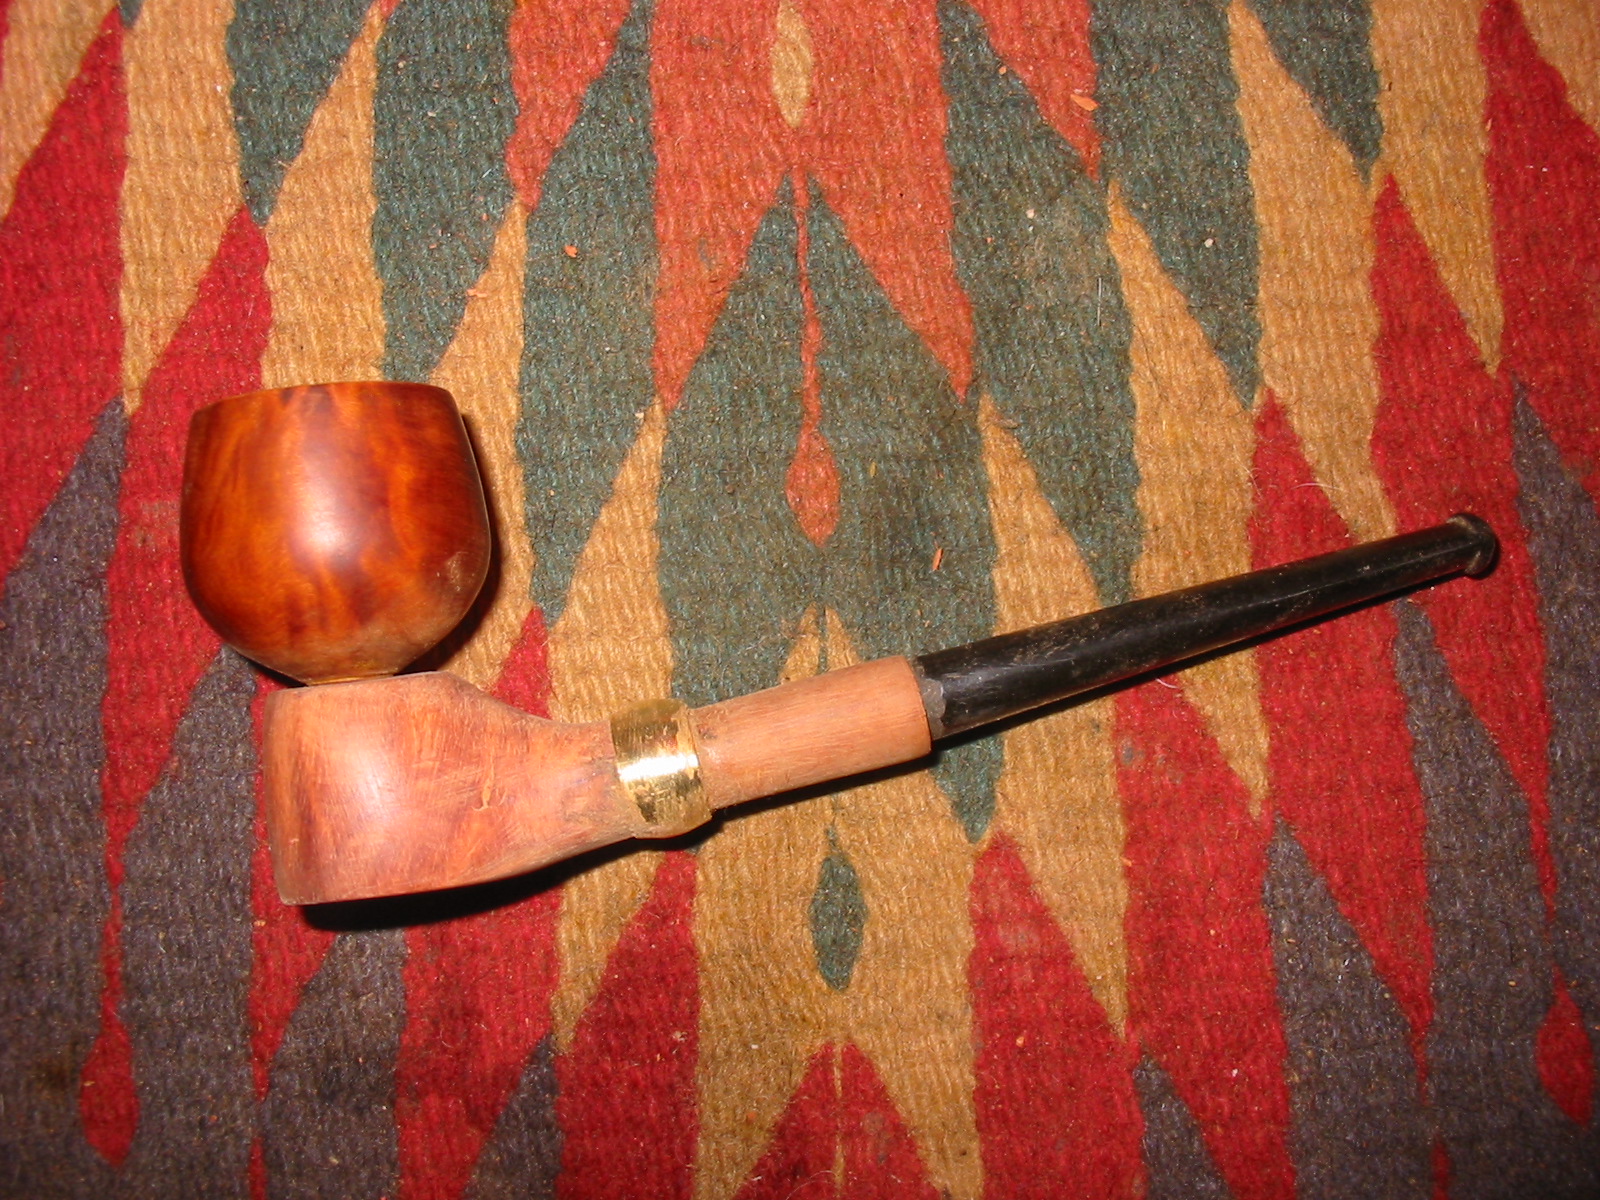
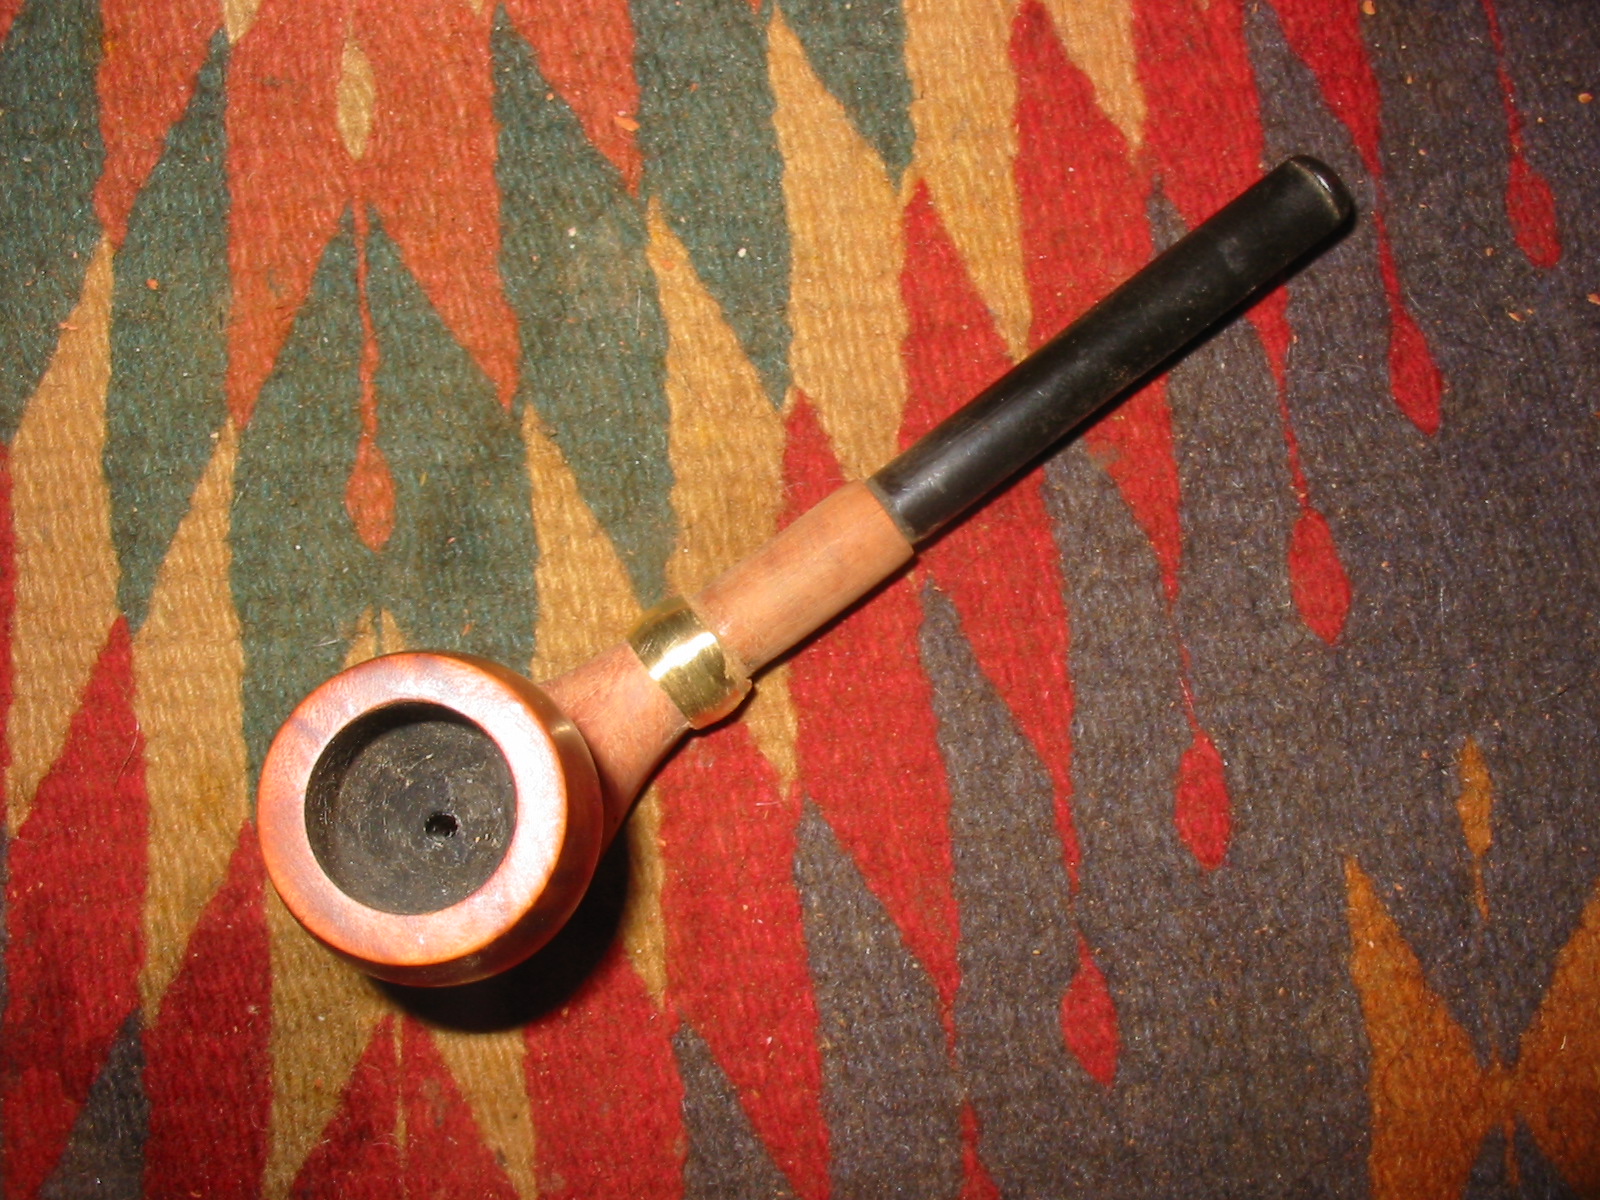
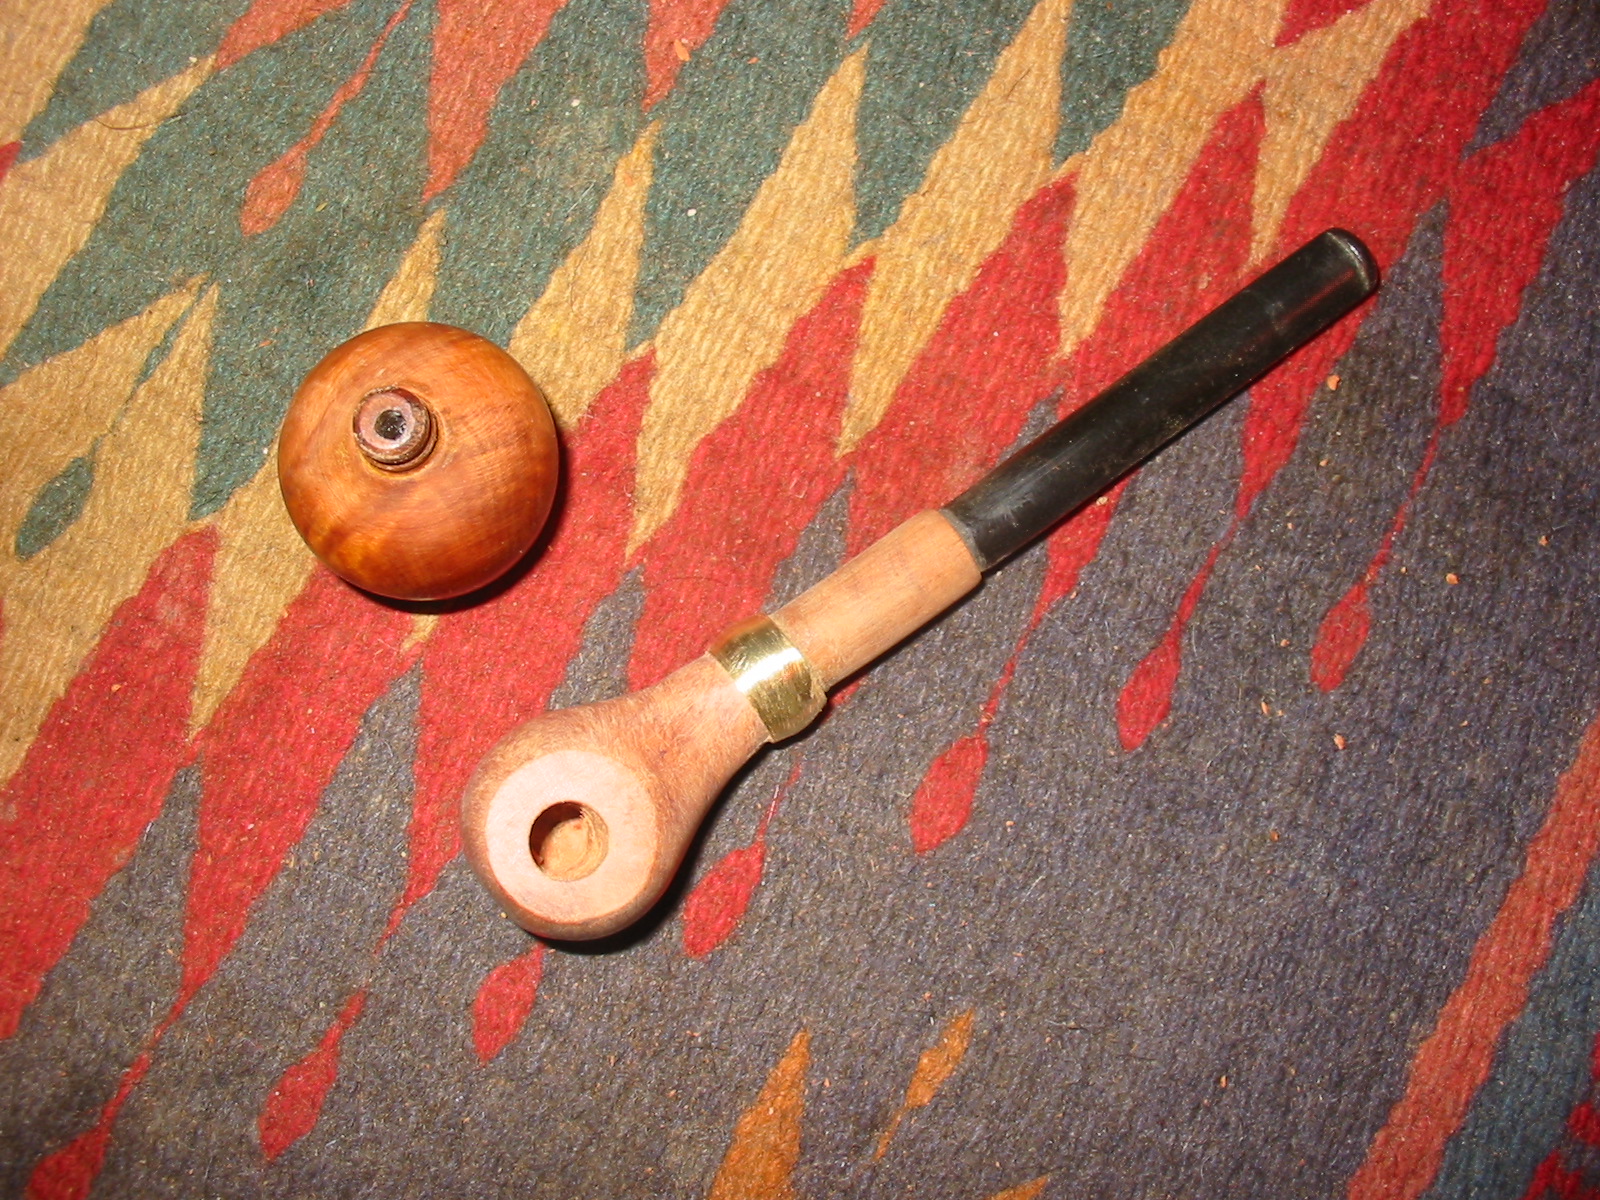
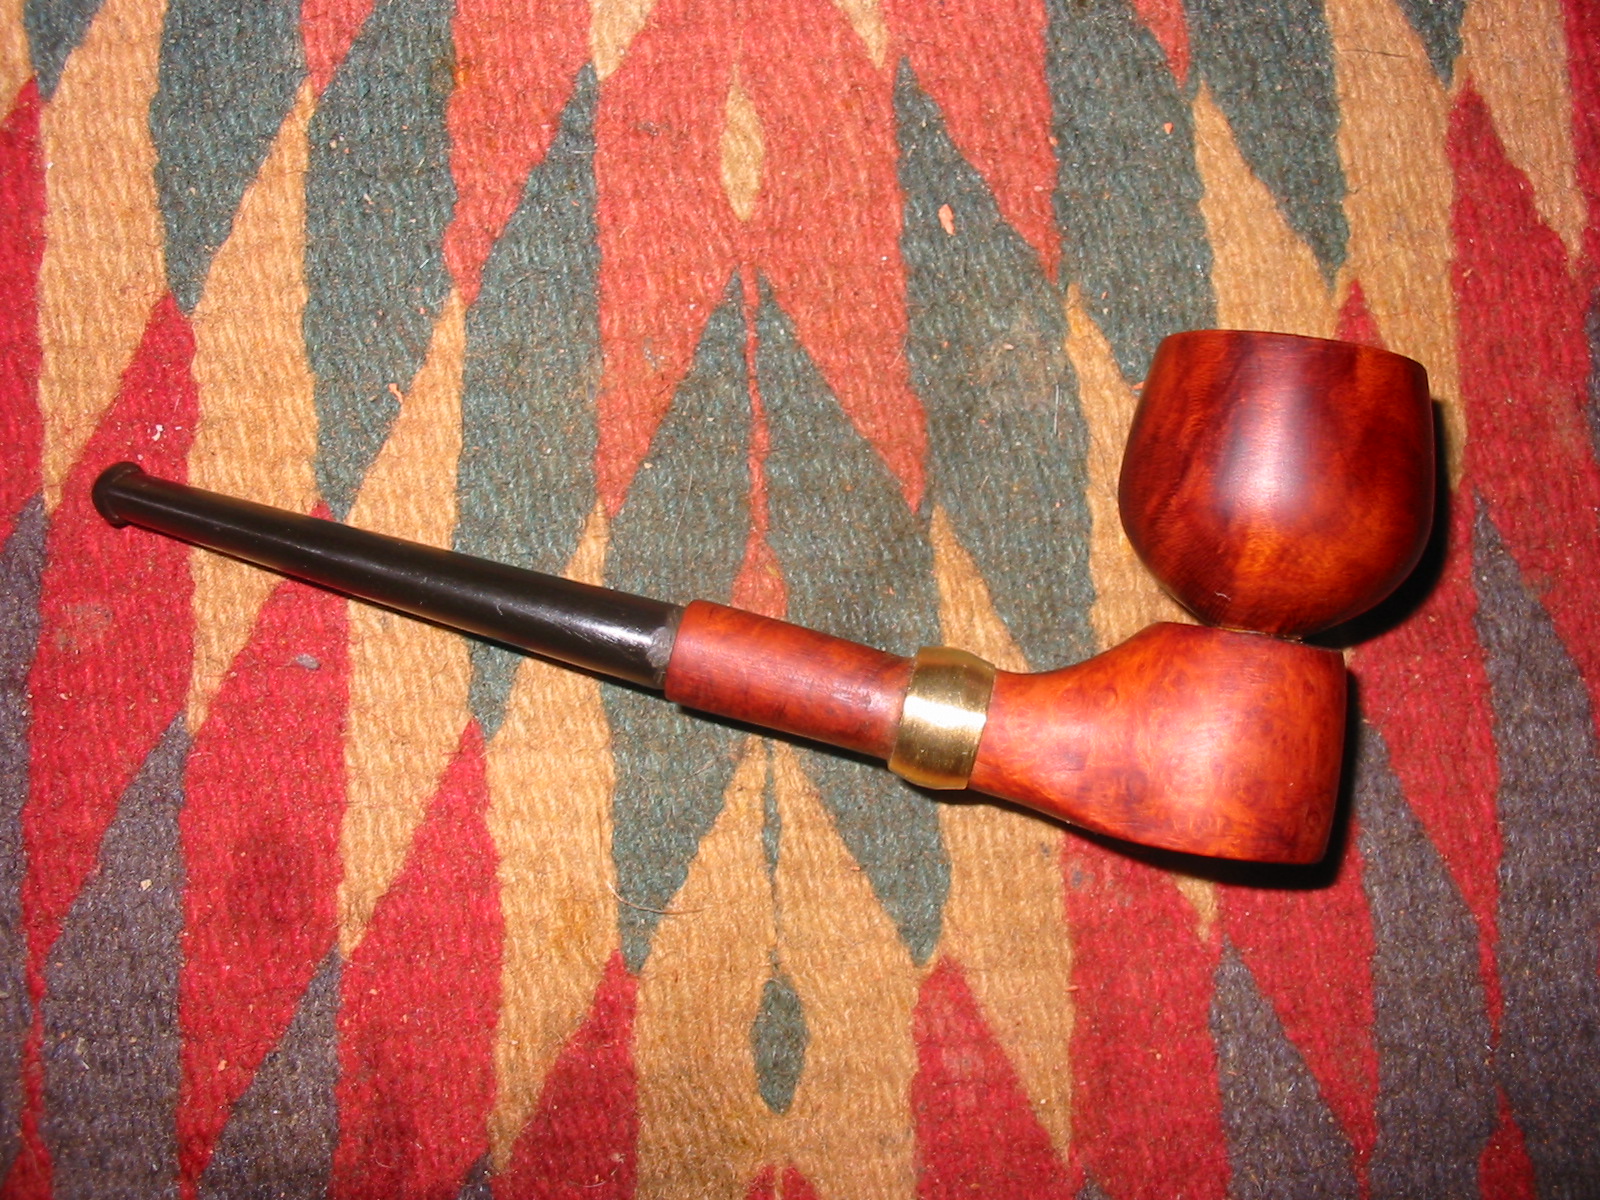
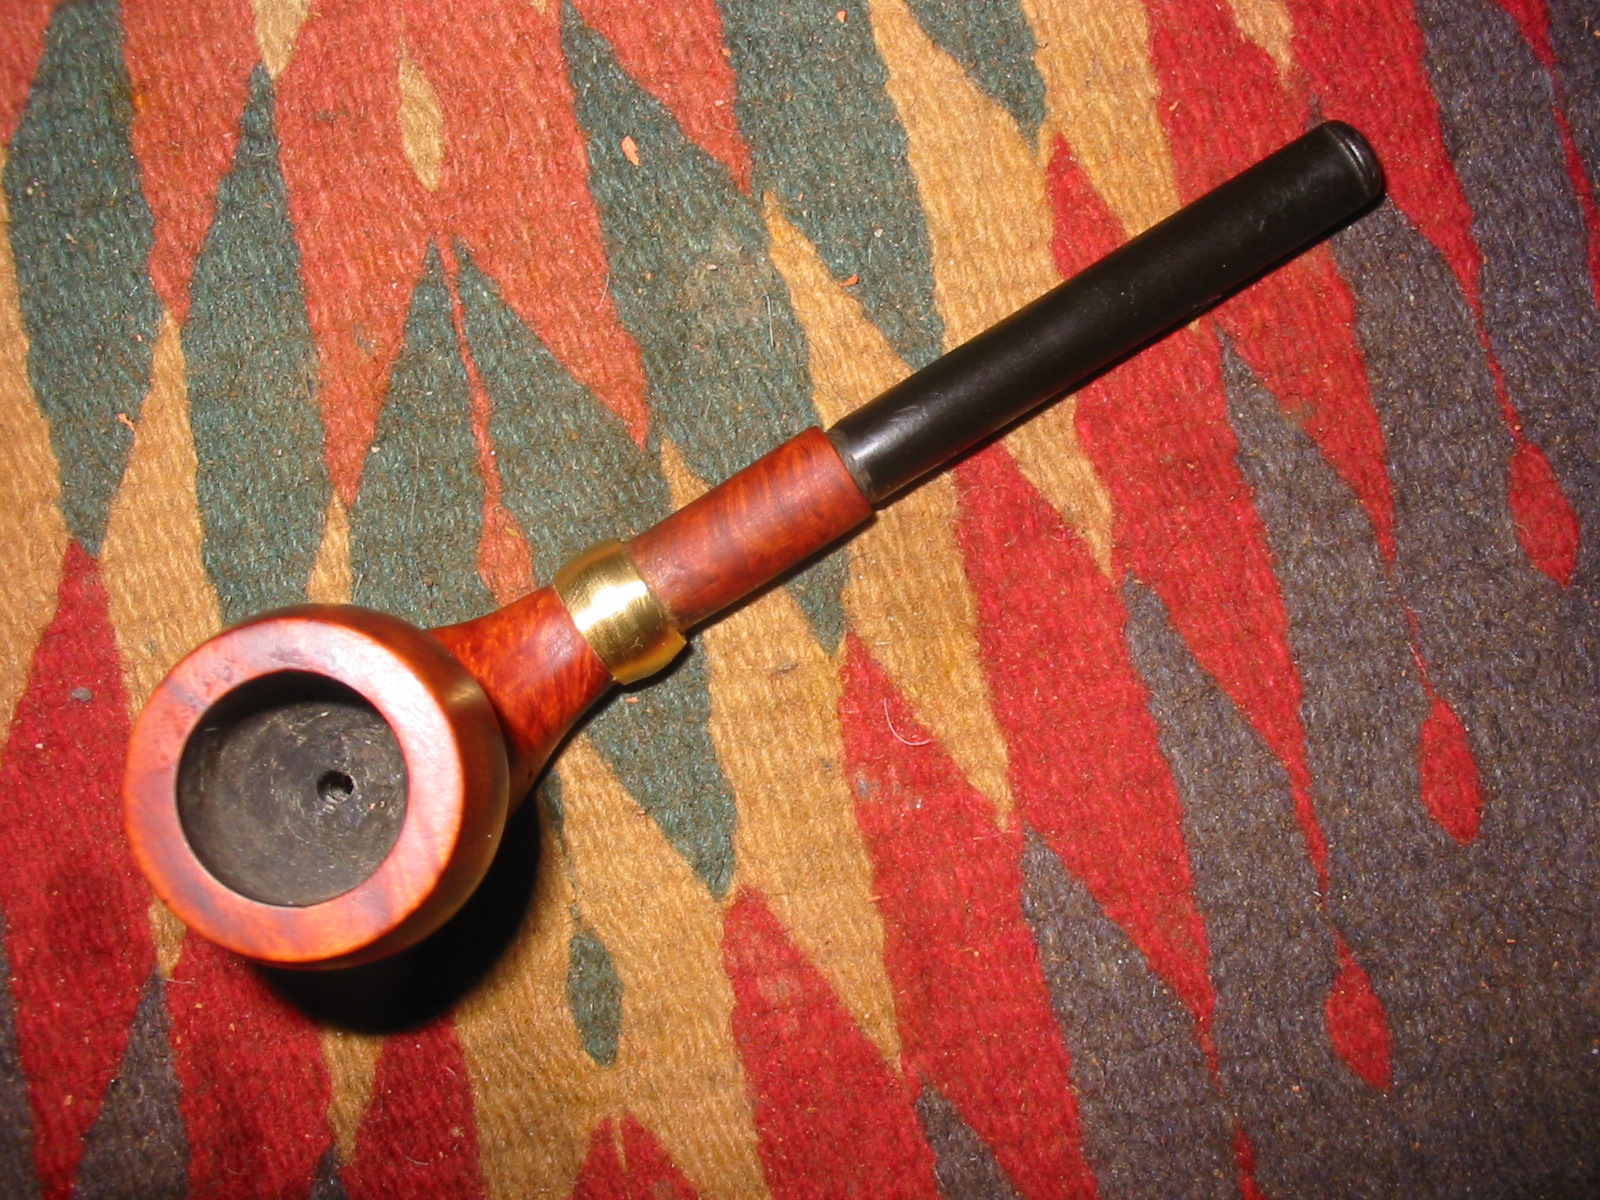
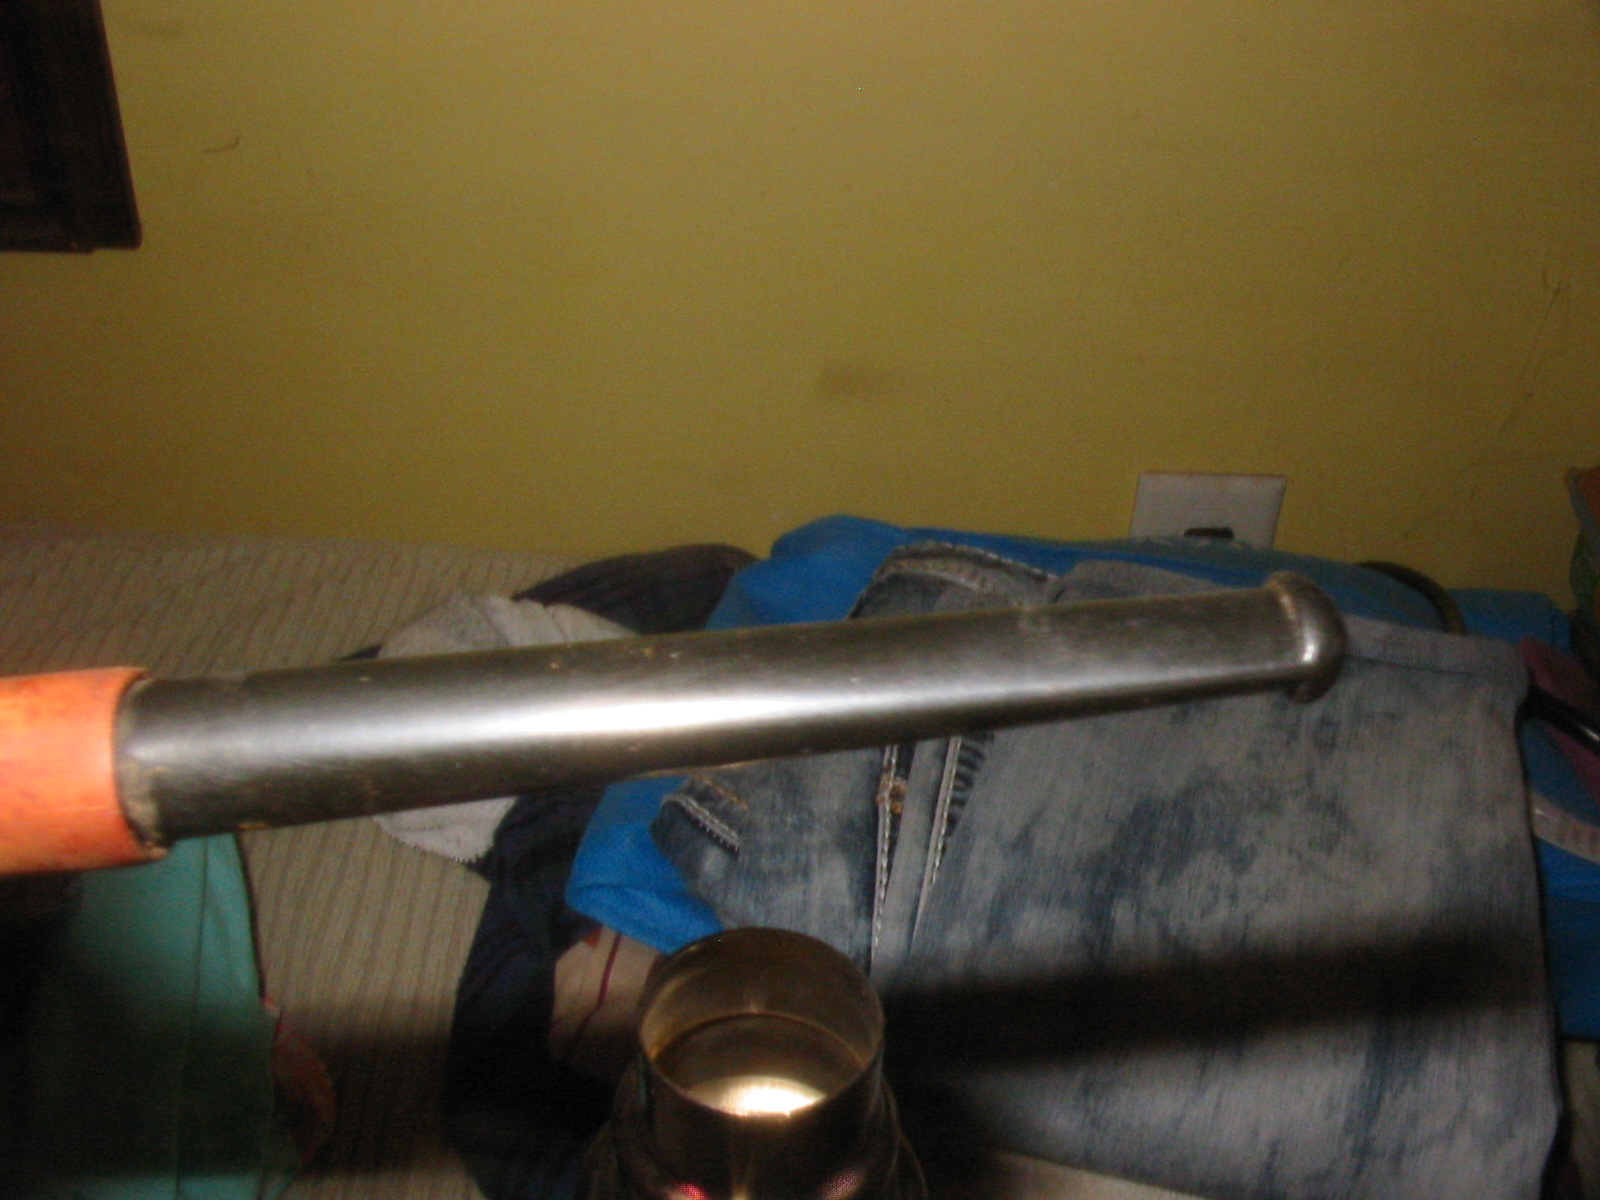
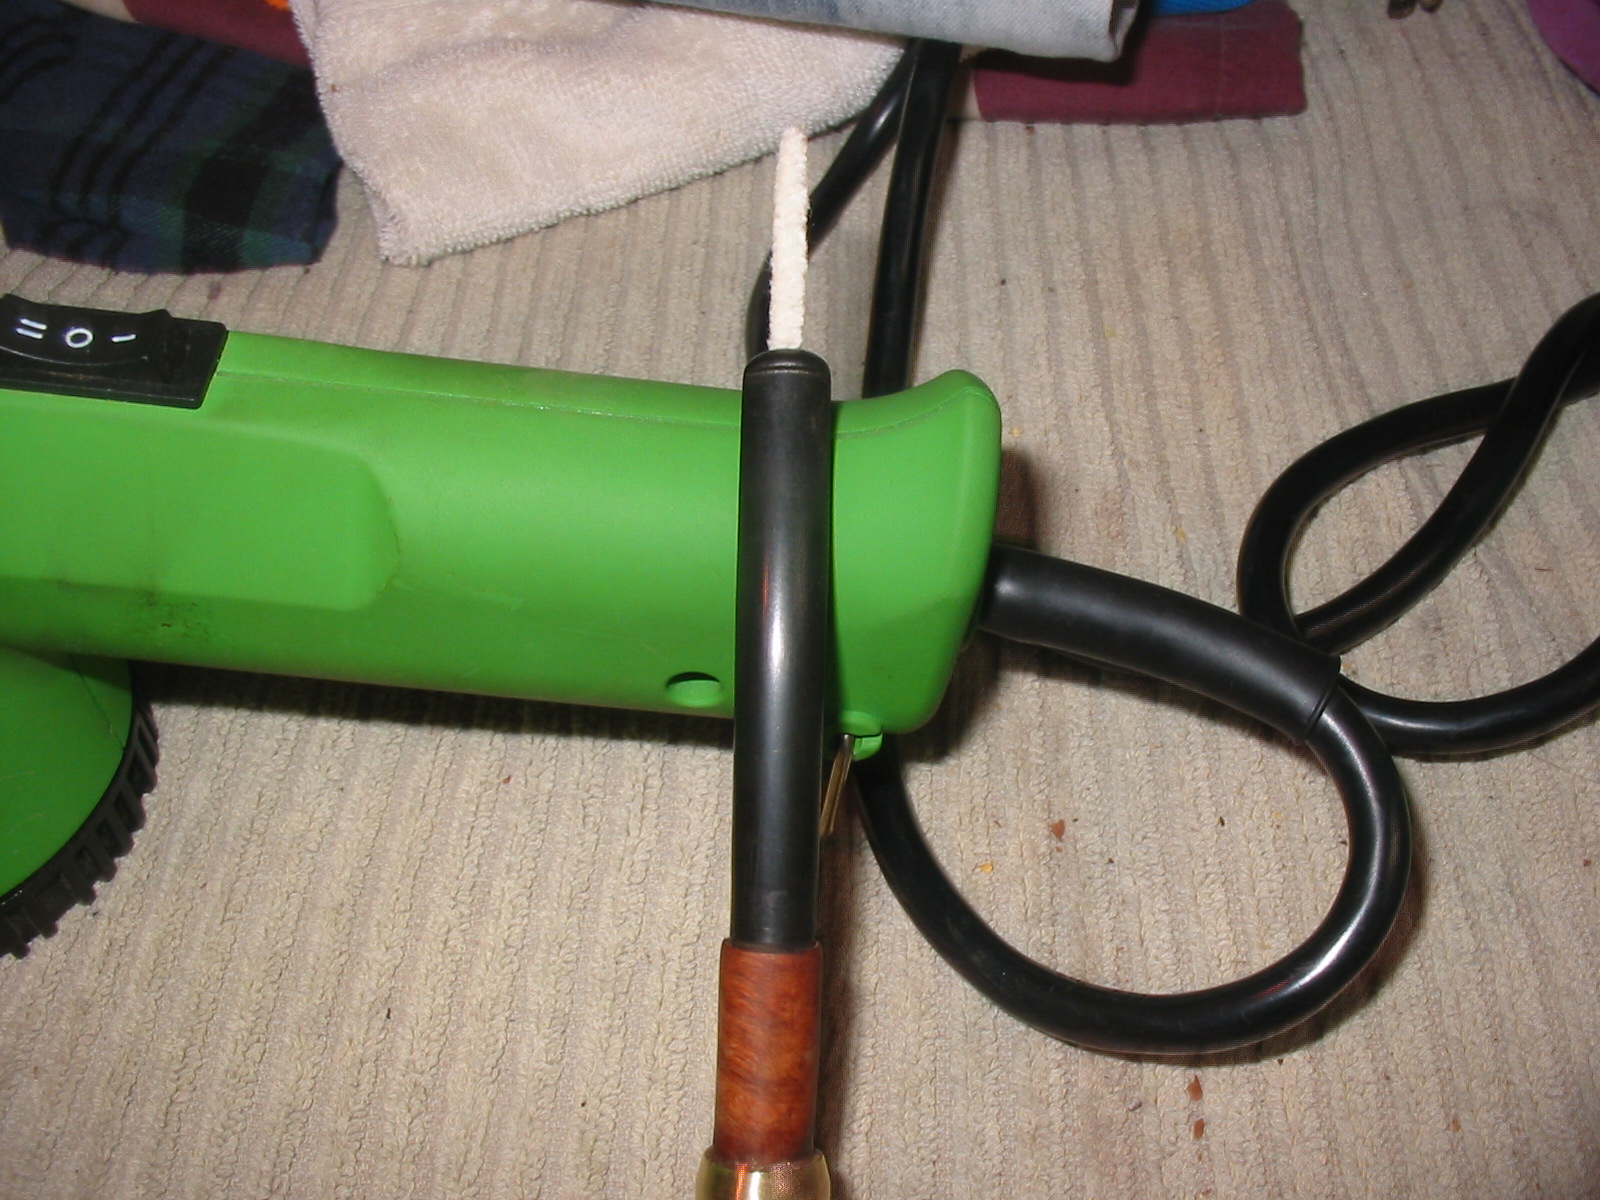
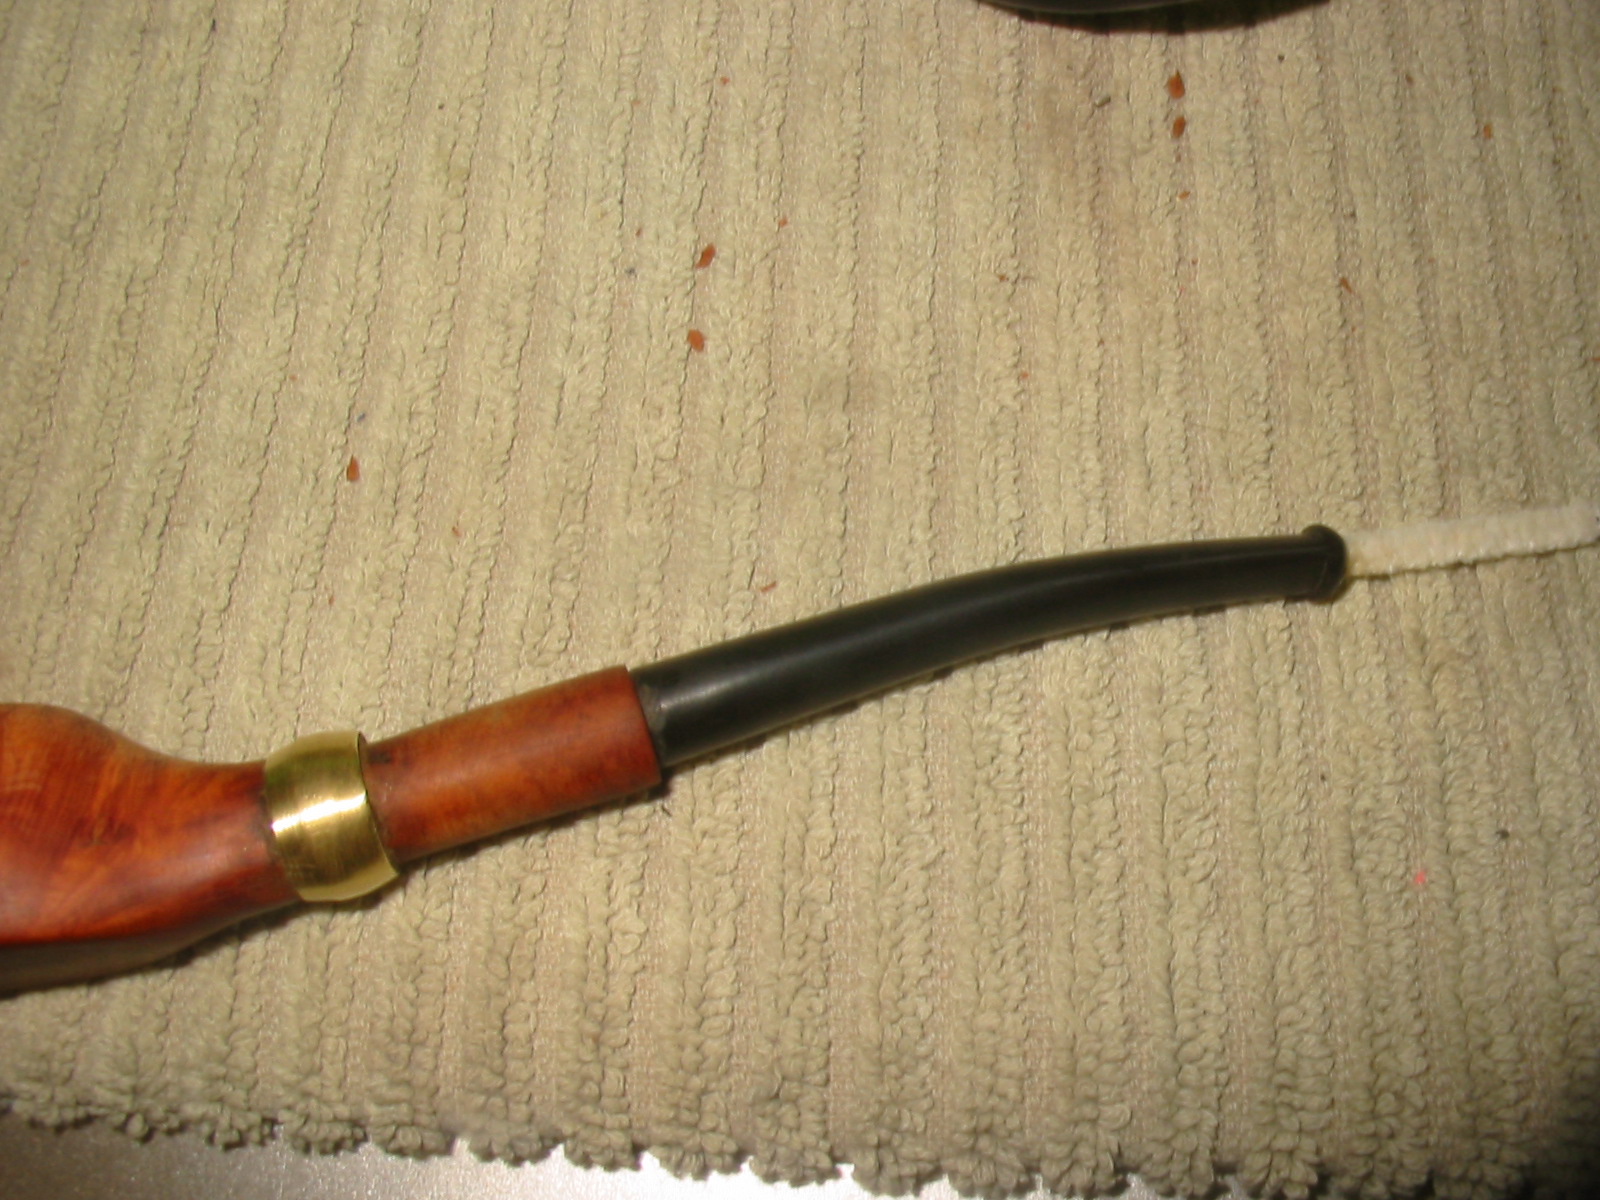
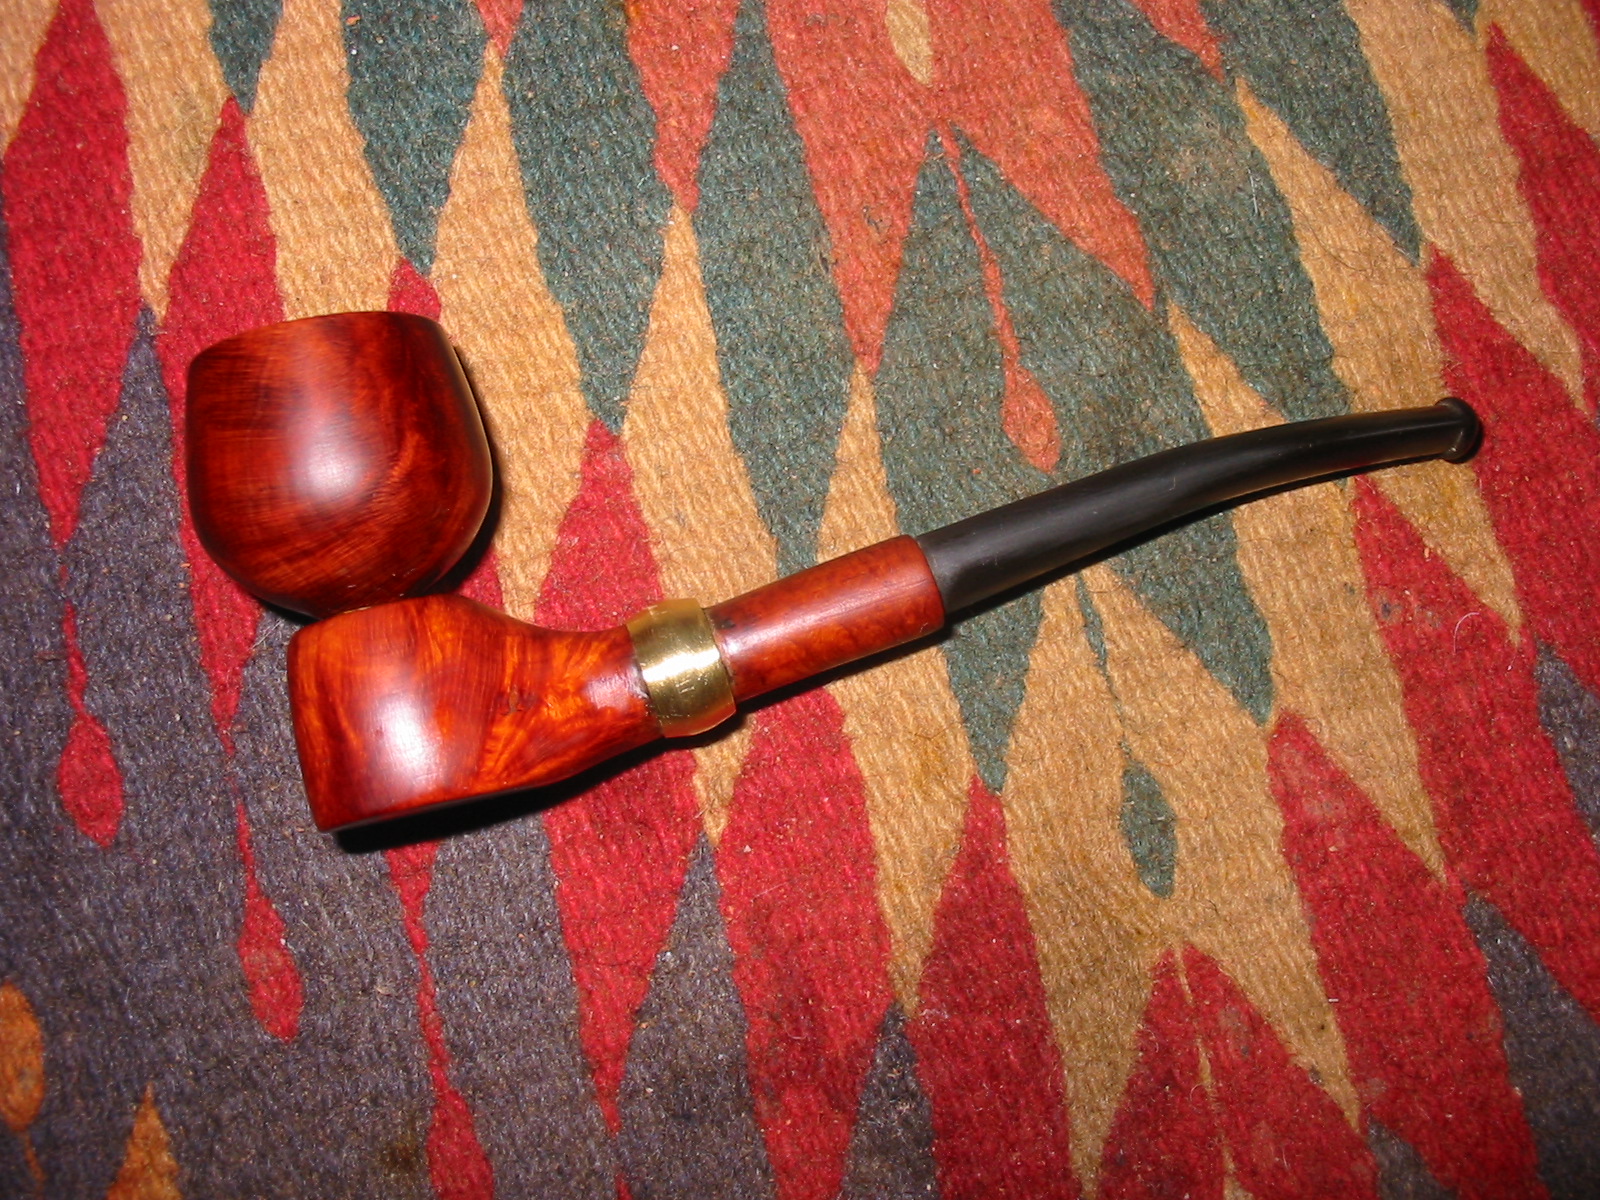
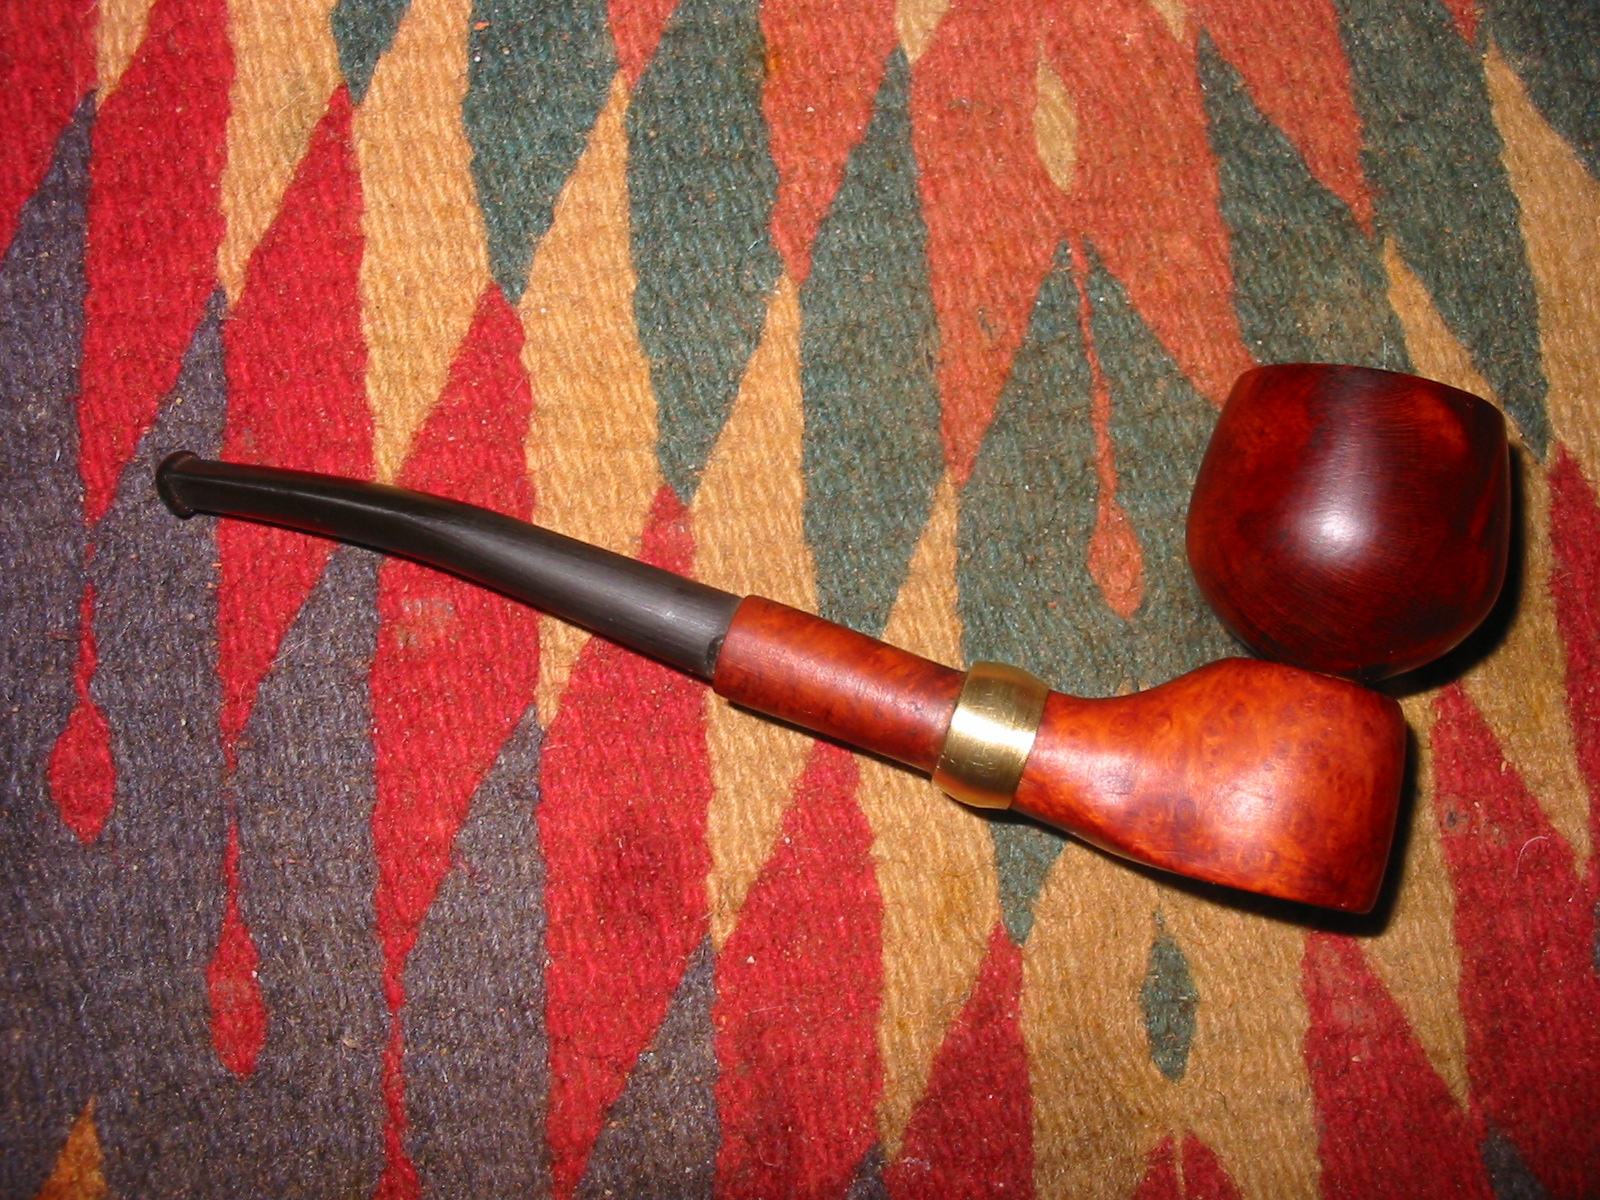
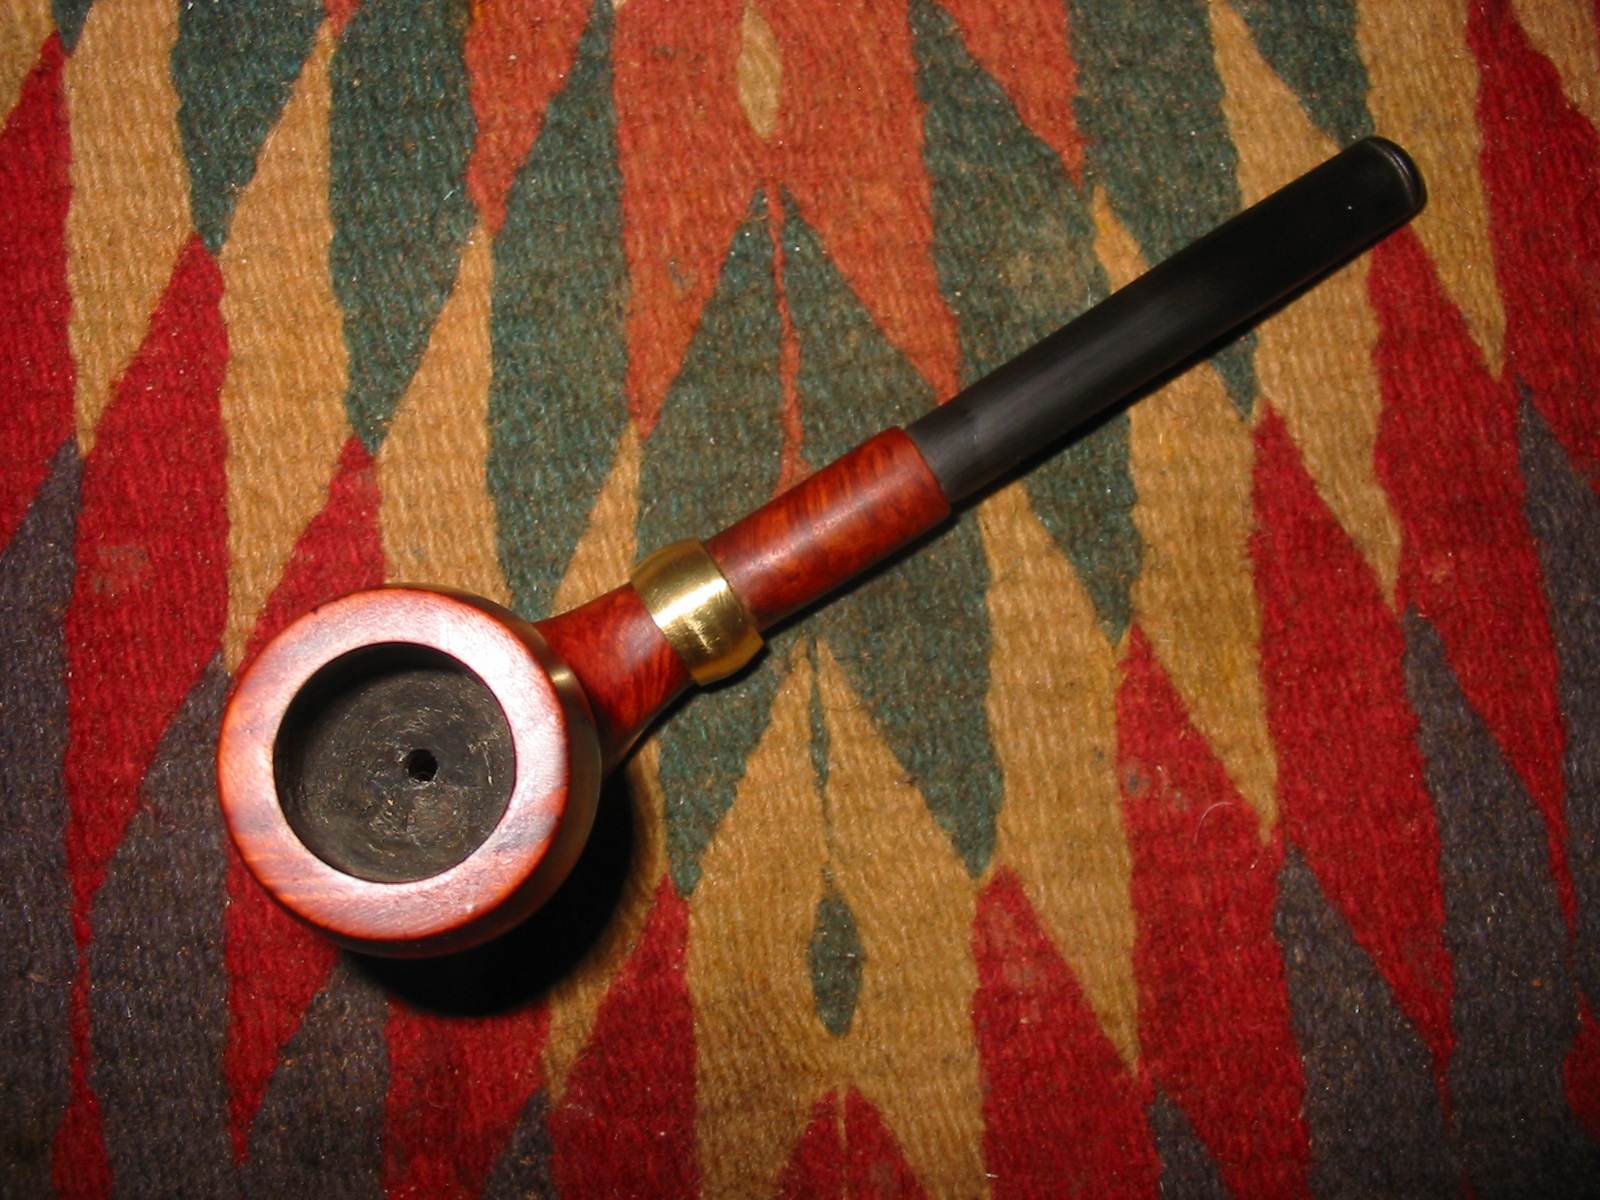
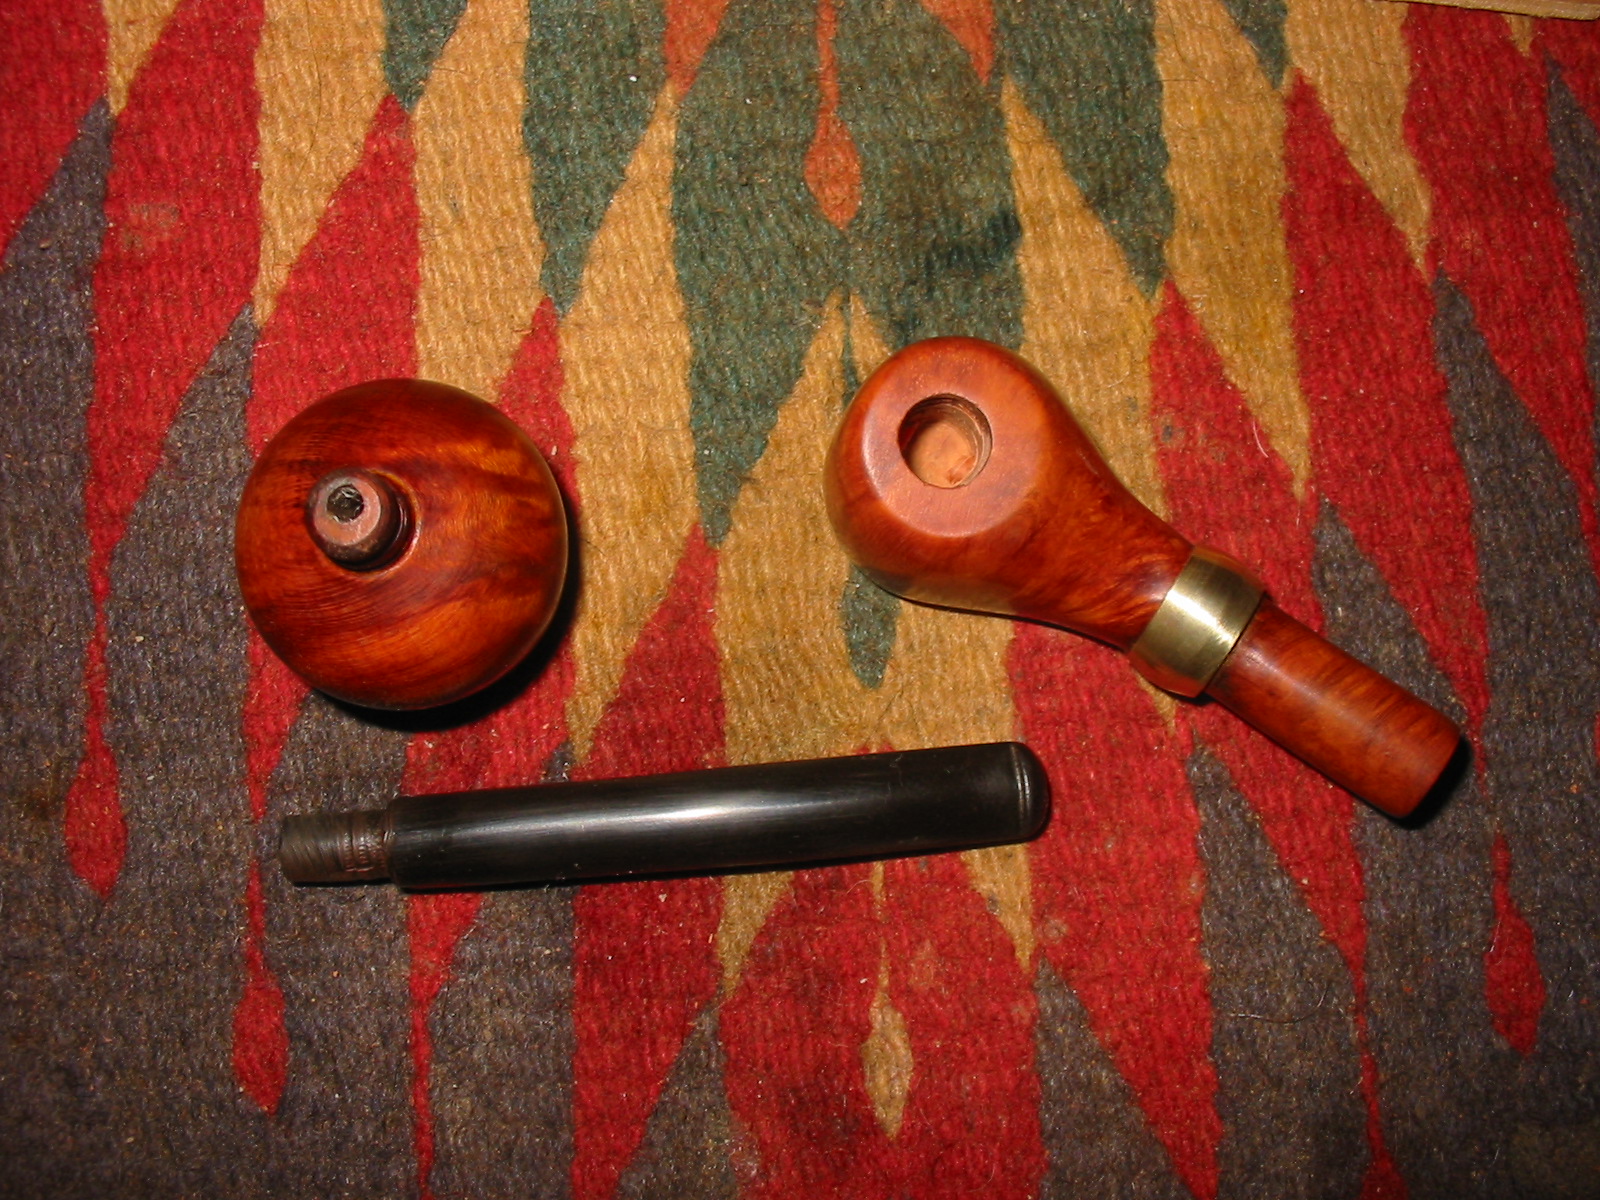
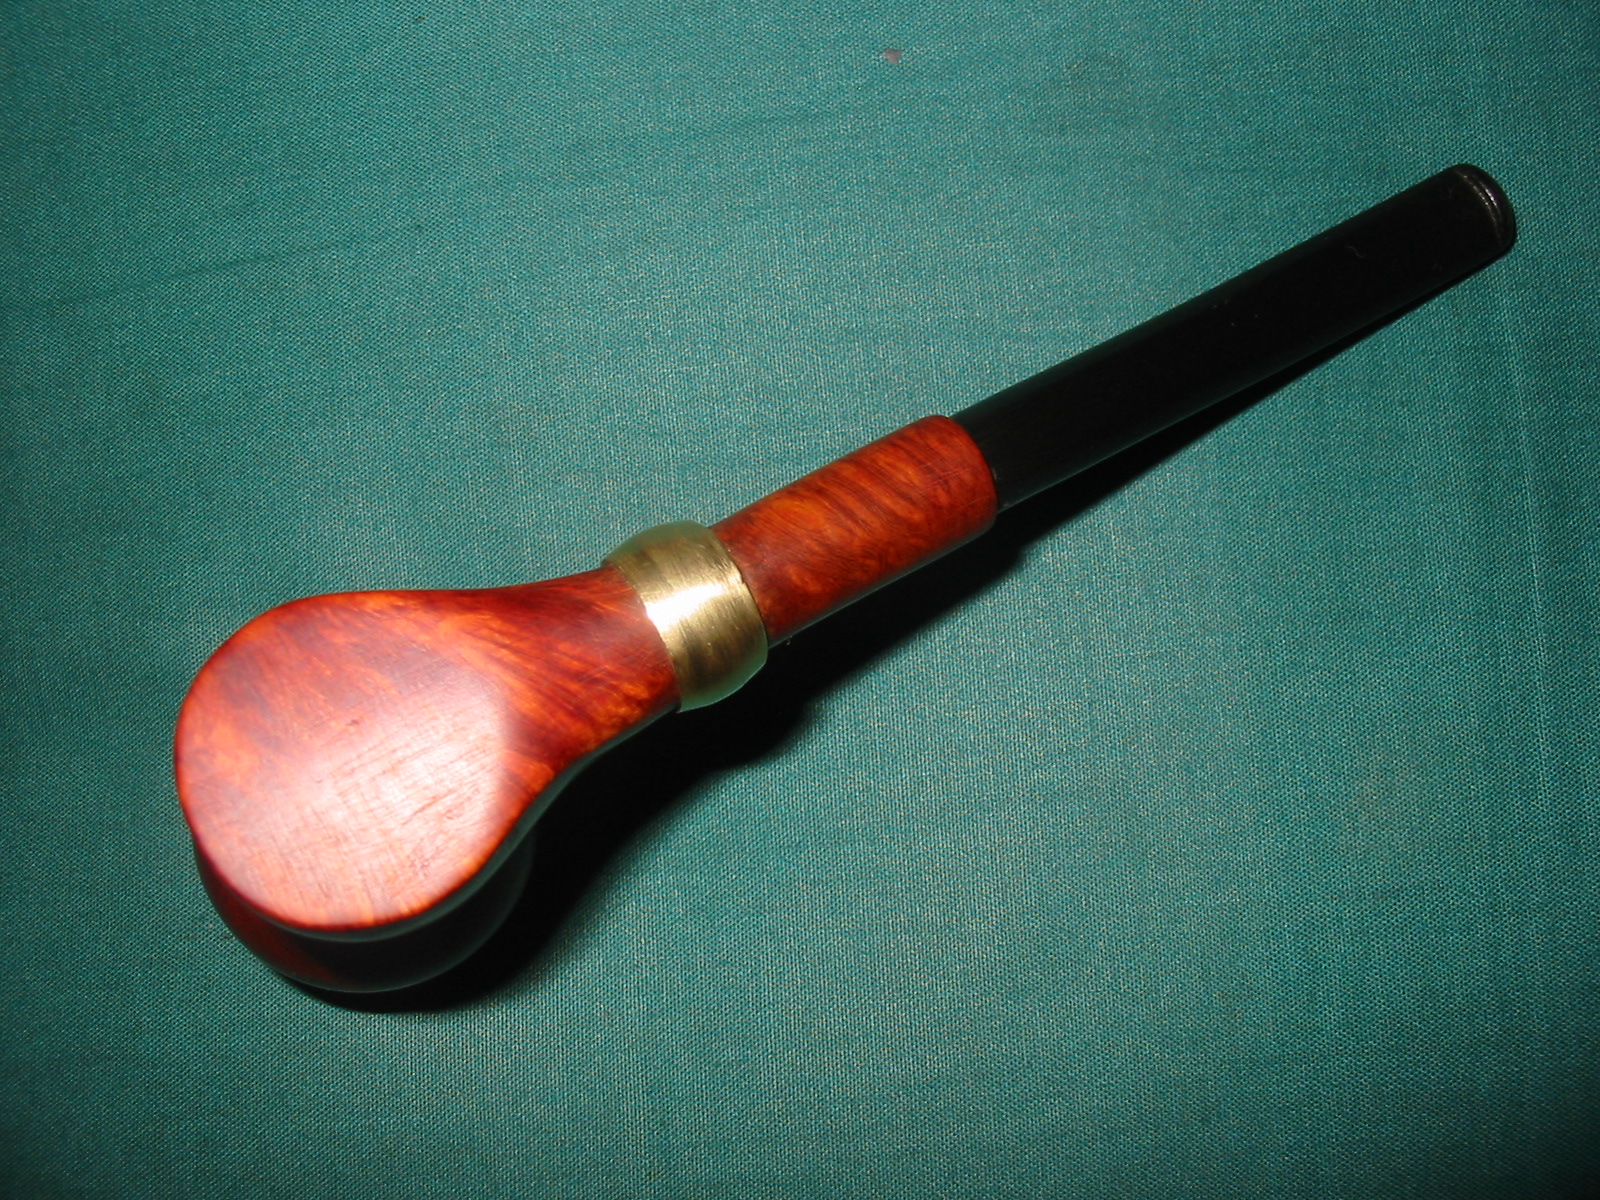
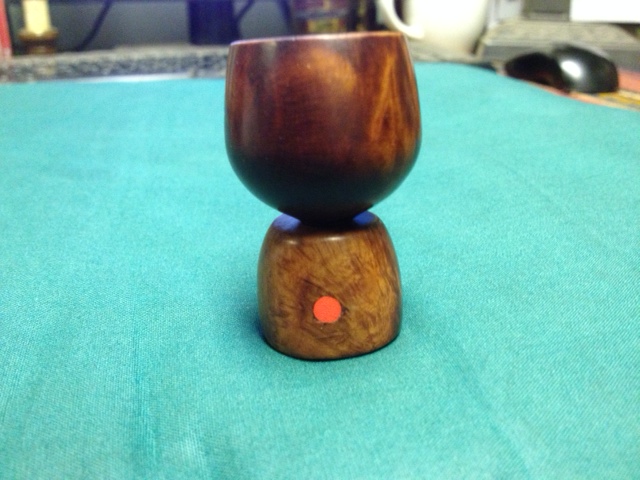
Frankenpipes are born out of having no more pipes in the refurb box to work on. I have many in transit at the moment but none with which to sit and unwind. That always is a recipe for me to dig in the boxes of parts and see what I can come up with to keep the hands busy. The pipe that follows was born of fiddling with parts in my parts box. The part I started with was an old bowl that I received in a gift box recently that did not have a pipe to go with it. It was a pressure fit bowl that obviously sat on a base of some kind of system pipe. I searched the Metal Pipes website to see if I could find out any information but did not find any likely candidates for this mystery bowl. It had some nice grain on it so it seemed like a shame to just let it sit in the box and wait for a potential pipe for it. I also I had a cut off shank piece that I had made for another purpose, a stem that fit the shank nicely and a block of briar that was too tiny for a pipe. The small block is one that I have been scavenging pieces off of to make plugs for burnout repairs. As I looked at the pieces I had an idea for putting them together into an interesting pipe that had kind of art deco feel to it. Now it was time to bring the pipe together and actualize my vision. IMG_8072 I measured out the drilling areas for the block. I needed to drill the airway large enough to insert the briar shank. I would use the Missouri Meerschaum concept of inserting the shank into the briar block. I started by drilling the first hole in the end of the block. I drilled the mortise area first. I did this in stages as it needed to be big enough for the shank piece to be pressure fit into place. Afterward I drilled the rest of the airway in the block. I decided to drill it all the way through to the other side of the block so that I could put in a funky plug on the front end. I looked around for what I would use and had several ideas. Time would tell which I would choose in the end. IMG_8069 I moved through several drill bits until the bit that was the size of the shank piece. I drilled it deep enough to inset the shank quite deep in the hole. IMG_8070 I marked the airway exit on the top of the block with a permanent marker and drew a line to show the track of the airway. I marked my drill bit to the depth of the top of the airway and drilled the hole in the top of the block. I wanted the hole to be the size of the nipple on the bottom of the bowl so that it would pressure fit into the hole. I wanted the hole to go through to the top of the airway so that the nipple on the bowl would sit on top and create good airflow from bowl to stem. IMG_8071 I pressure fit the bowl in the top of the block and the shank in the end of the block for the next two photos. I wanted to see if the parts all fit together well. I gave the shank a slight angle upward and would later bend the stem if the look was correct. Everything worked well at this point. For the plug on the end of the block I decided to do something simple. I wanted a plug that would be like a coloured dot on the end of the base. I cut off a piece of knitting needle and inserted it in the airway at the end of the block that is not showing at this point. I glued it in place and used the Dremel to take the overage back flush with the block. IMG_8073 IMG_8074 The height of the block was too much so I wanted to cut it in half. I do not have power tools to do that kind of thing so a bit of sweat equity and a small hack saw did the job. I sliced off the bottom half of the block to be used in making bowl plugs at a later date and now the height was more suitable to this little sitter. IMG_8078 I glued the shank into place in the block with epoxy and angled it the way I wanted it to be when I finished the work on the base. IMG_8079 IMG_8080 IMG_8081 IMG_8082 I used the Dremel and a sanding drum to begin to shape the block into a base for the pipe. I wanted a slope upward to the bowl – the sides would also slope upward. My idea was to have the bowl sitting on top of a volcano like base. IMG_8088 IMG_8089 It took a lot of sanding to get the shape even close to what I had envisioned and in the process I ran into my first problem. The joint of the block and the shank could not be sanded smooth or the walls would be too thin and the shank would break too easily. I probably should have used a Delrin tenon to connect the two parts but as usual looking back is not overly helpful. So I had to improvise with this one. I had a small brass pressure fitting that would look kind of interesting on this little Frankenpipe so I worked the joint area to accommodate the brass fitting. The photos below show the pipe taking shape with the brass band high on the shank. (At the time of these photos I had not yet glued the band on the shank.) IMG_8090 IMG_8091 IMG_8092 IMG_8093 I filled in the openings around the edges of the fitting where the shank joined the block with briar dust and wood glue packed into place with a dental pick. I sanded the ridges on the fitting with 150 grit sandpaper to remove them. I would have to do more work on the look of the band as I worked out the details later. I took the following photos after I had done more shaping of the base and glued the band in place. While the band is not beautiful it certainly strengthens the joint on the shank of the pipe and makes up for my lack of planning! IMG_8094 IMG_8098 The photo below shows the base with the bowl removed. You can get a clear picture of the base without the bowl and how the bowl looks from the bottom. The hole in the base is the same size as the nipple on the bowl. IMG_8099 I sanded it for another hour before calling it a night and then wiped it down with some light olive oil to get an idea where the scratches were that I needed to do more work on and also to see the grain. The next four photos show the pipe at this point in the process. There is still more sanding to do on the base and shank as well as some minor shaping. The idea though is clear – and the pipe is smokeable. The draw is very good and there are no leaks around the joint where the bowl presses into the base. So far so good. IMG_8100 IMG_8103 IMG_8104 IMG_8106 I set up a heat gun and bent the stem over the rounded handle of the heat gun to get a slight bend in it. I set the bend with cool water. With the bend the pipe is a sitter. The bend pulls the weight backward and the pip sits nicely on the button and the flat bottom of the base. IMG_8108 IMG_8110 IMG_8111 I did quite a bit more sanding and shaping of the base with 150 and 220 grit sandpaper. Once I had the shape to where I wanted it I sanded it with medium and fine grit sanding sponges. I gave the bowl and shank a wipe down with a cloth that was dampened with olive oil. Other than that the bowl and shank are not stained. IMG_8118 IMG_8119 IMG_8120 IMG_8126 While the shaping was finished there was still a lot of sanding to do to remove the scratches that remain in the briar. I also want to do some sanding on the band to remove scratches and polish it as well. The vulcanite stem also needs sanding and polishing. I took the pipe apart and sanded all the pieces with micromesh sanding pads. I sanded all of them with 1500-2400 grit pads and then finished sanding them with a 6000 grit pad. I buffed the parts with red Tripoli and then White Diamond and gave each part of the bowl and base multiple coats of carnauba wax. IMG_8127 I sanded the stem with a fine grit sanding sponge and then with the various grits of micromesh sanding pads. I wet sanded with 1500-2400 grit pads and dry sanded with 3200-12,000 grit pads. I buffed the stem with White Diamond, rubbed it down with Obsidian Oil and finished by giving it a buff with carnauba wax. IMG_8128 IMG_8129 IMG_8130 I sanded the brass band with the micromesh pads to polish it as well. When I had finished I gave the pipe a final buff with White Diamond and then applied carnauba wax to each part. I buffed them with a soft flannel buff to finish the shine. IMG_8132 IMG_8133 IMG_8134 IMG_8135 The final photo is of the front of the pipe. The knitting needle plug that I used is a bright reddish orange circle that sits at the base of the pipe on the front. The colour of the pipe is the red of the previous four finished photos. The last photo was taken with my cell phone and is a bit washed out. photo 2
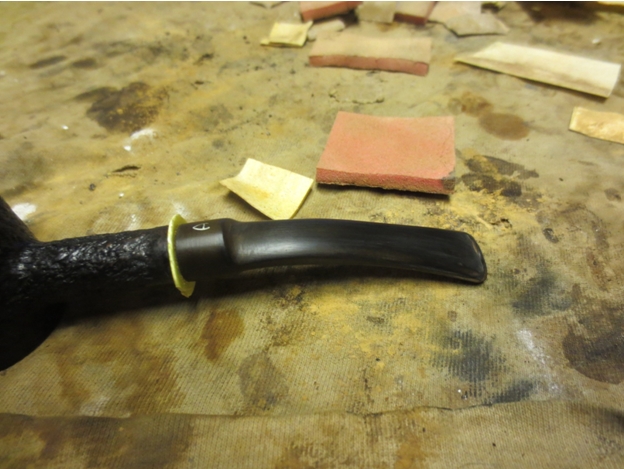
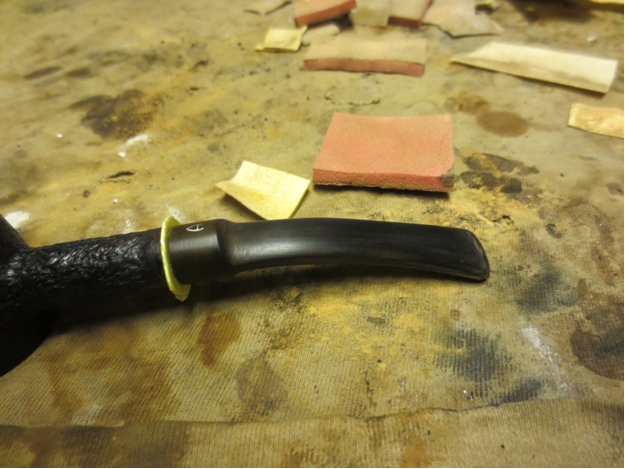
Restoring a Gift Brigham 595S Zulu – A new stem and a new look


I wrote earlier in a blog post about helping a Bill Tonge with the stamping on a Brigham pipe that he had picked up. He had told me that the stamping was 5955 on the underside of the shank. He said he had called Brigham and that they had told him that number was not on their shape charts. He had hit a dead-end. We connect on Twitter so he contacted me and asked for help. I thought I would give it a try to see what I could find out about the pipe. I Googled and read various online pipe forums where information was given. I searched for Brigham shape and numbering charts and old catalogues. Nothing helped. Then I decided to go to the Brigham site itself and go through the layers of information there and see what I could dig up. I was certain the clue to the mystery had to be there. It was just a matter of spending the time reading through the layers of information there to see what could be found.

Using this information I took the number that was given to me – 5955 stamped on the bottom of the pipe’s shank – as my starting place. The first number in the stamp denoted the series (1 to 7). Thus the pipe was a 500 series pipe. The next 2 numbers indicated the shape number which in this case was 95. I am assuming that is the shape number for the Zulu or yachtsman shape of this pipe. Summarizing what I had learned so far – I now knew what the first three digits in the stamping meant. The “595” indicated a 500 series pipe in shape #95. Reading further I found that a letter could follow the numbers in the stamp – particularly on older pipes. The letter indicated the size of the bowl. Thus the letter S = small, M = medium, ML = medium/large, L = large. I wrote the questioner and asked him to magnify the stamping on his pipe. Sure enough, the pipe was a 595S – the final stamp was the letter S, making this pipe a 500 series Zulu with a Small bowl. Mystery solved on this one.

I sent him the information and shortly later received a tweet from him that he was sending the pipe to me. He thought I would enjoy working on it and seeing what I could do with it. It arrived here in Vancouver yesterday and I opened the box Bill had sent. Inside were quite a few samples of English tobaccos that he was passing on to me, a nylon Falcon style pipe that Bill had refinished and the old Brigham Zulu. The smells were divine and I am looking forward to enjoying Bill’s generosity. But last evening I had to get started on the old pipe. I had a Brigham 5 dot stem in my stem can that I had scavenged from a friend who had a Brigham that he converted to a church warden. He did not want the saddle style stem so he gave it to me. Being the scavenger that I am I have had it in the can for about 15 years. Last night it met the pipe that it would grace.

Before I worked on the fit of the new stem I took some pictures of the pipe when it arrived. The pipe was definitely a Brigham, stamping and finish said that clearly. The stem was not a Brigham stem. It was a poorly made replacement stem. It was larger in diameter than the shank and bulged as it moved away from the shank. The finish on the stem was rough and the fit was poor. The rubber had a different feel to it than most of the vulcanite stems I have worked with. It was very thick at the bit and was not a comfortable stem to hold in the mouth. The tenon was definitely not a Brigham tenon. At first it looked to have been cut off but upon closer examination it was clear that the back part of the tenon was like a Dr. Grabow or Medico filter tenon with the slits on the sides that allowed the tenon to be widened to fit tighter in the shank. Into that tenon someone had inserted a piece of aluminum tubing that had walls that were approximately twice as thick as the aluminum used in the Brigham tenon. When I tried to fit the Brigham filter in, which should have fit nicely in even a cut off tenon, it did not fit. All of that confirmed my suspicions that the tenon was a repair replacement. IMG_8038 IMG_8039 The finish on the bowl was dirty and the grooves were plugged with an oily build up almost to the point that the Brigham rustication was smoothed over. The bowl was slightly out of round with some burn damage on the inner rim at the back left and right sides of the bowl. The cake in the bowl was quite heavy and smelled of good heavy latakia tobacco. It was uneven and I wanted to do some work on the inner rim and try to bring it back as close to round as I could so I would need to ream the bowl back to the wood to do that work. IMG_8040 The stamping on the underside of the bowl is worn but legible. The Brigham stamp is identifiable as 595S and next to that is a patent number that is almost illegible but I think it reads Can. Pat. 372982 which is the same patent number as one of my older Brighams. The Brigham logo is stamped over Made in Canada and is next to the patent number. IMG_8041 I removed the stem from the bowl, reamed it and cleaned the outer surface with Murphy’s Oil Soap and a tooth brush. I use the soap undiluted and scour until the surface is clean and then rinse it off with running water. I keep the water out of the inside of the bowl and shank. IMG_8022 IMG_8023 IMG_8024 IMG_8025 I cleaned out the inside of the bowl and shank with cotton swabs, pipe cleaners and isopropyl alcohol. Once I had the majority of the tarry buildup out of the shank I found that the metal end of the hard maple filter had broken off inside the shank and was stuck against the airway. I examined the airway from the inside of the bowl and poked at it with a dental pick. I soon found that the airway was clogged at the side of the bowl with a tarry, oily buildup. I picked it free and found the airway very open and quite large. I was able to carefully turn a drill bit by hand into the shank and catch the metal of the end cap and draw it out of the shank. I then scoured the shank with alcohol until all the cleaners came out white.

I then cleaned the inside of the 5 dot stem that I had and fit it into the shank of the pipe. It fit well and actually had an interestingly look (IMHO). It was oxidized and needed work but it fit. The shank was still very tight at the end so I was not able to get the maple filter to fit in the tenon and still fit tightly against the shank. I have to do a bit more work opening the far end of the mortise to accommodate that. The next series of four photos show the 5 dot stem and give a rough idea of the look of the pipe at this point. IMG_8029 IMG_8032 IMG_8034 IMG_8035 I took the next three photos of the two stems side by side to show see the difference in diameter of the stems and the difference in shape of the two tenons. In the first photo the top stem is the replacement one and the bottom is the original Brigham made stem. The second and third photos show an end view of the two different tenons side by side. The one on the left is the replacement tenon and the one on the right is the original Brigham. Note the difference in diameter of the inner circle of the opening and the thickness of the walls of the tube in both tenons. The maple filter tube fit tightly in the replacement stem with no allowance for air to flow around the tube. It was shorter as well so the filter would not have been used with the replacement stem. IMG_8042 IMG_8043 IMG_8044 To start the cleanup on the oxidized stem I decided to use the Meguiar’s Scratch X2.0 scratch remover on the stem. It works quite well to remove some of the surface oxidation. I let it dry before buffing it off with a soft cloth. IMG_8045 The deeper oxidation still remained so I sanded the stem with 220 grit sandpaper and medium and fine grit sanding sponges. I followed up with micromesh sanding pads – wet sanding with 1500-2400 grit pads and dry sanding with 3200-12,000 grit pads. I rubbed it down with Obsidian Oil between each set of three pads and a final rub down at the end. IMG_8047 IMG_8050 IMG_8051 Once the Obsidian Oil had dried I buffed the pipe with White Diamond and then gave the bowl a light coat of carnauba wax and the stem several coats of carnauba wax. I buffed in between with a soft flannel buff to polish each coat. The finished pipe is shown below. I am looking forward to firing it up with one of the good English tobaccos that Bill sent along. Thanks again Bill for the great addition to my collection. IMG_8059 IMG_8060 IMG_8061 IMG_8062